DIY JUMPSUIT from Men's shirt - Jumpsuit month series - Ep 1

DIY JUMPSUIT from Men's shirt - Jumpsuit month series - Ep 1

Welcome and welcome back to my sewing blog!
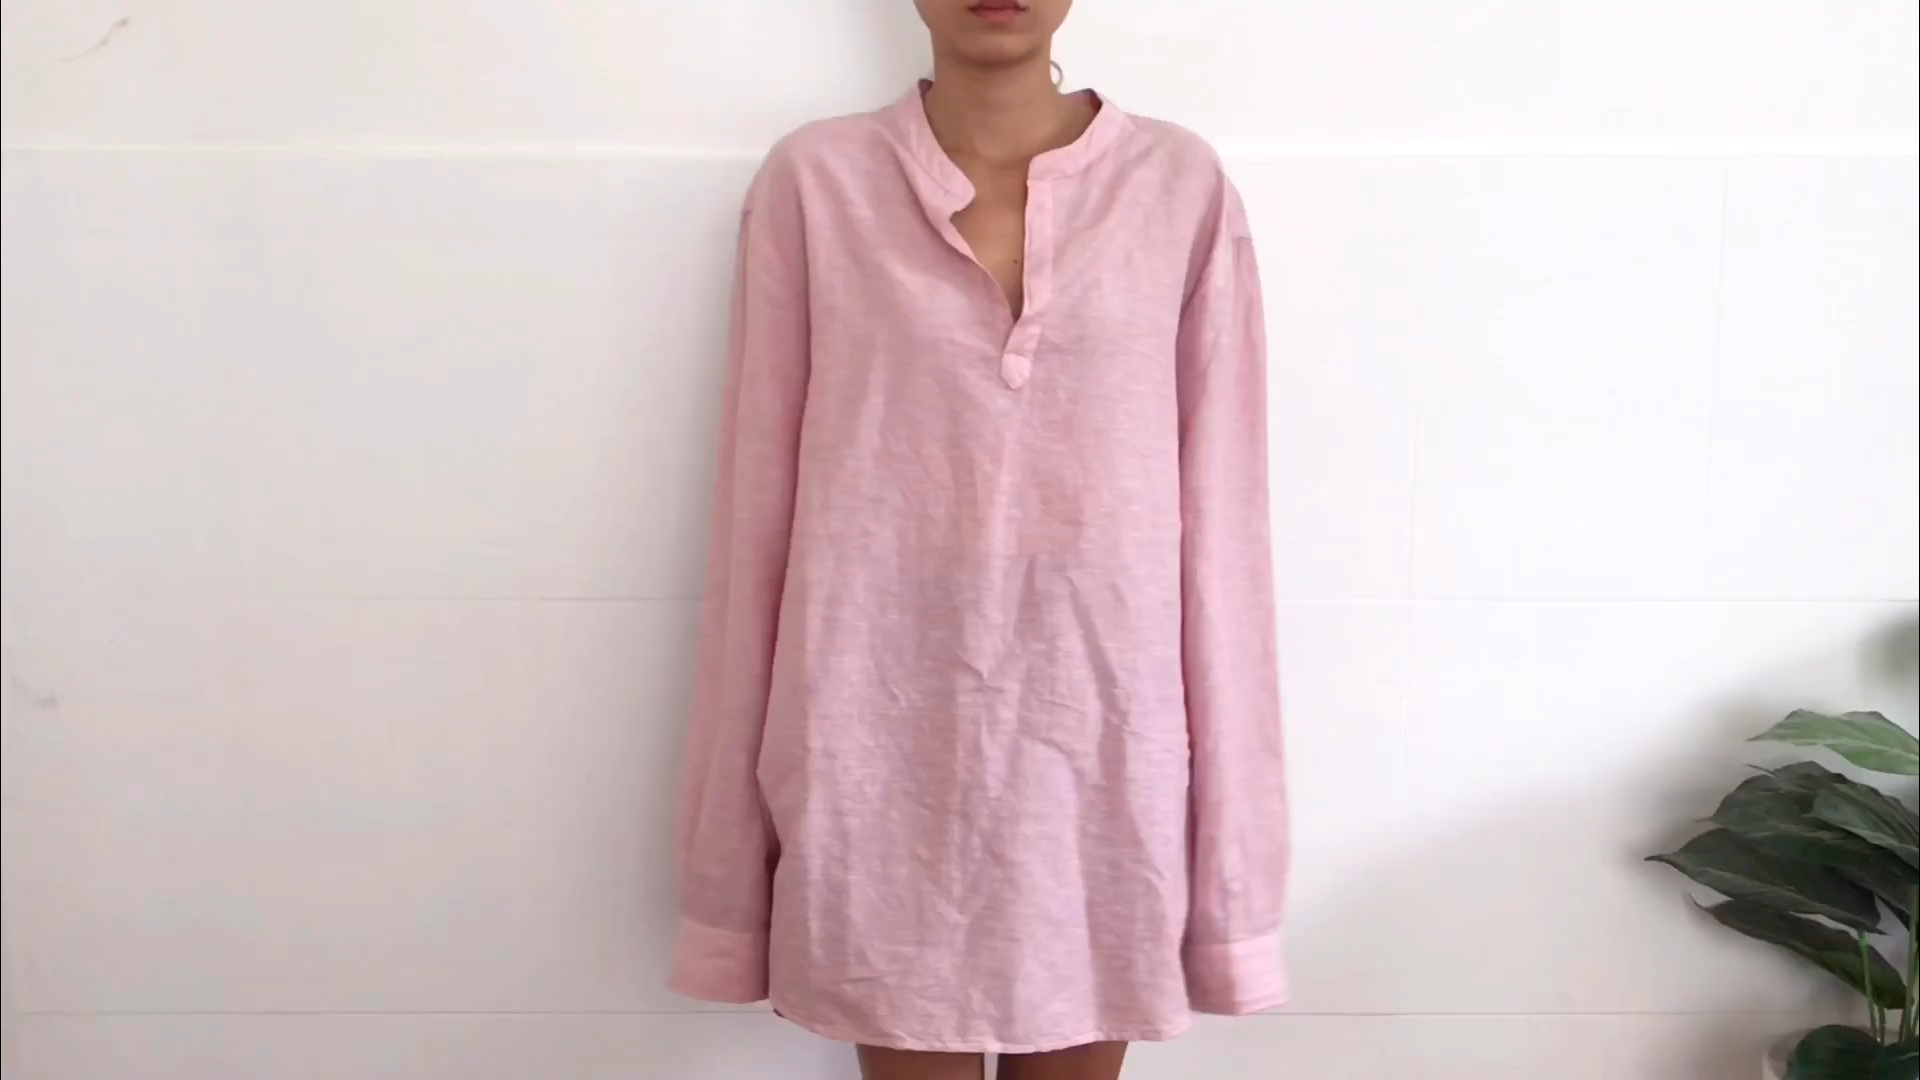
Today’s blog, I want to make this month more special for me as it's my birthday month. The series "Jumpsuit month" is coming to you with the first DIY refashion Men's shirt into this sexy open back jumpsuit.
So let’s get started!
WHAT YOU’LL NEED
Men’s shirt in XXL size
Measuring tape
Chalk
Scissors
Pins
Sewing machine
Overlocker (optional)
SEWING THE JUMPSUIT
THE BODY
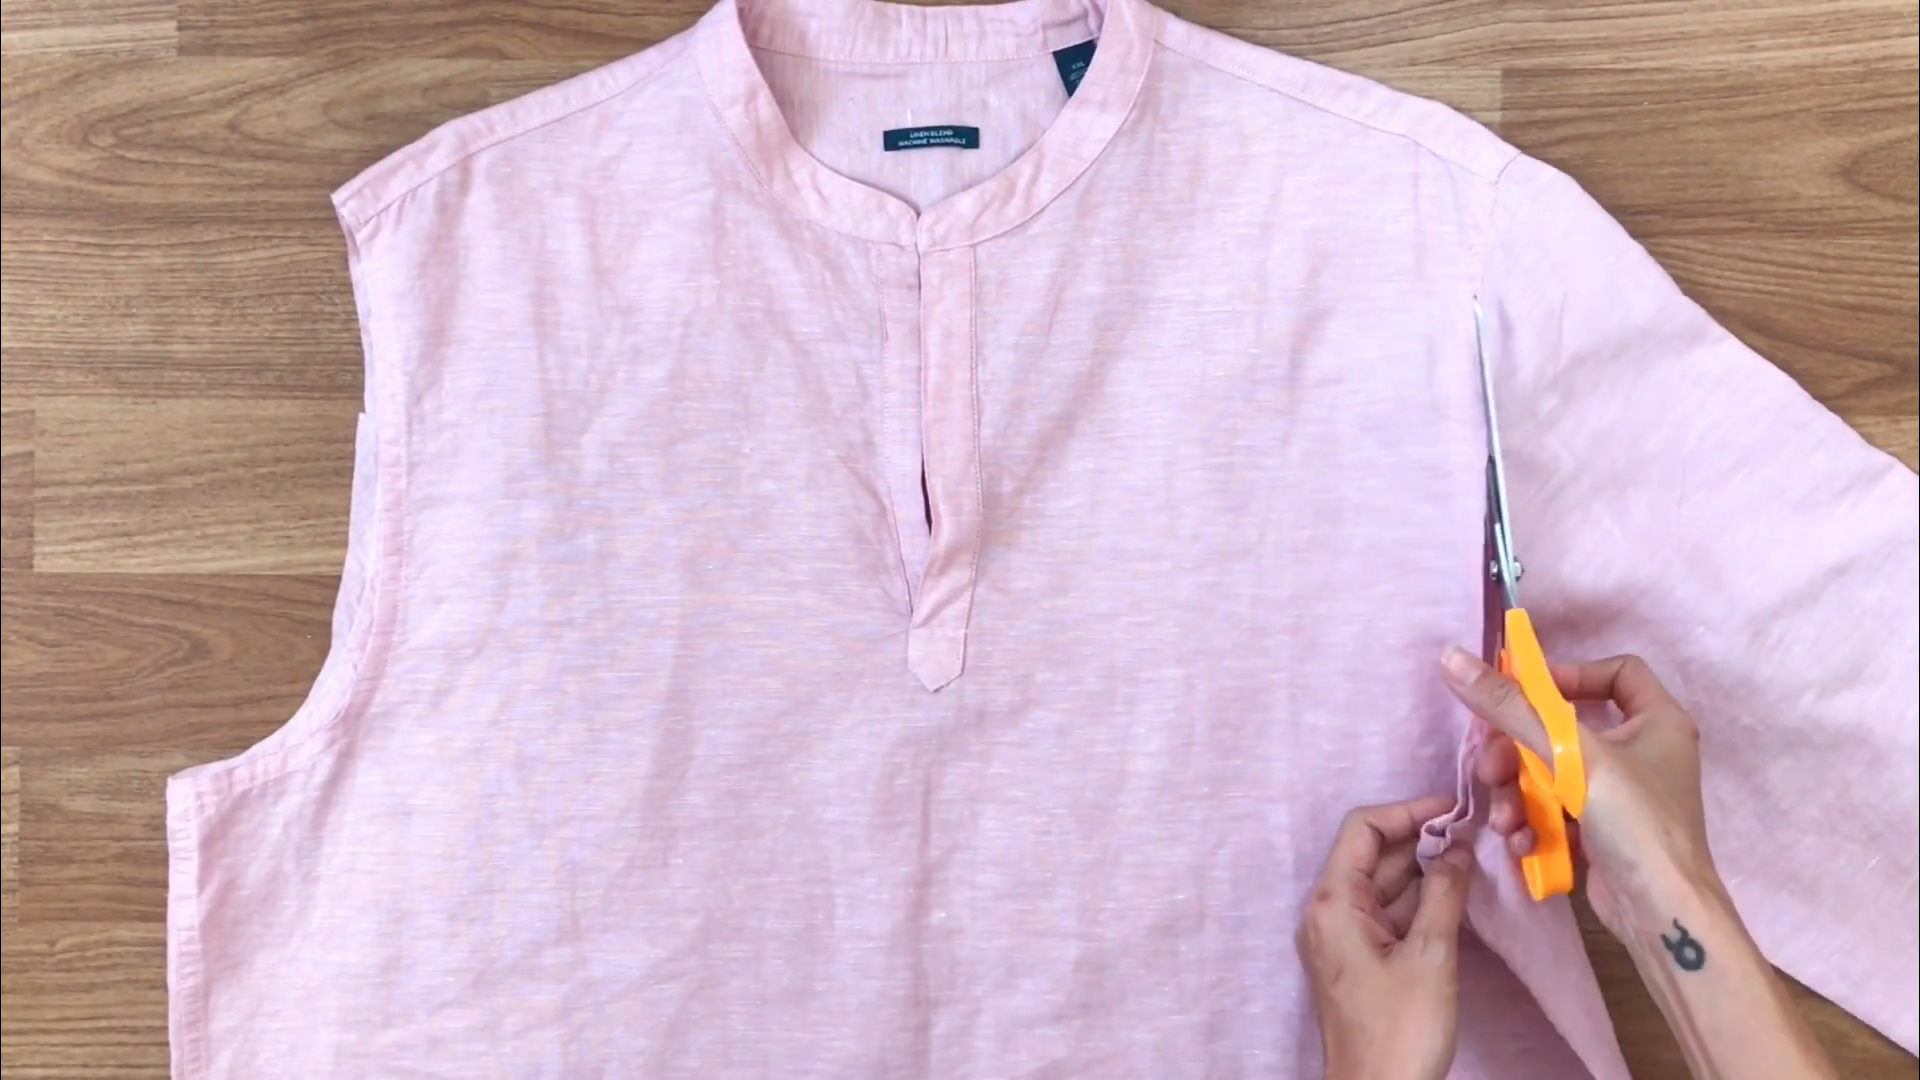
First step is removing two hands of the men's shirt.
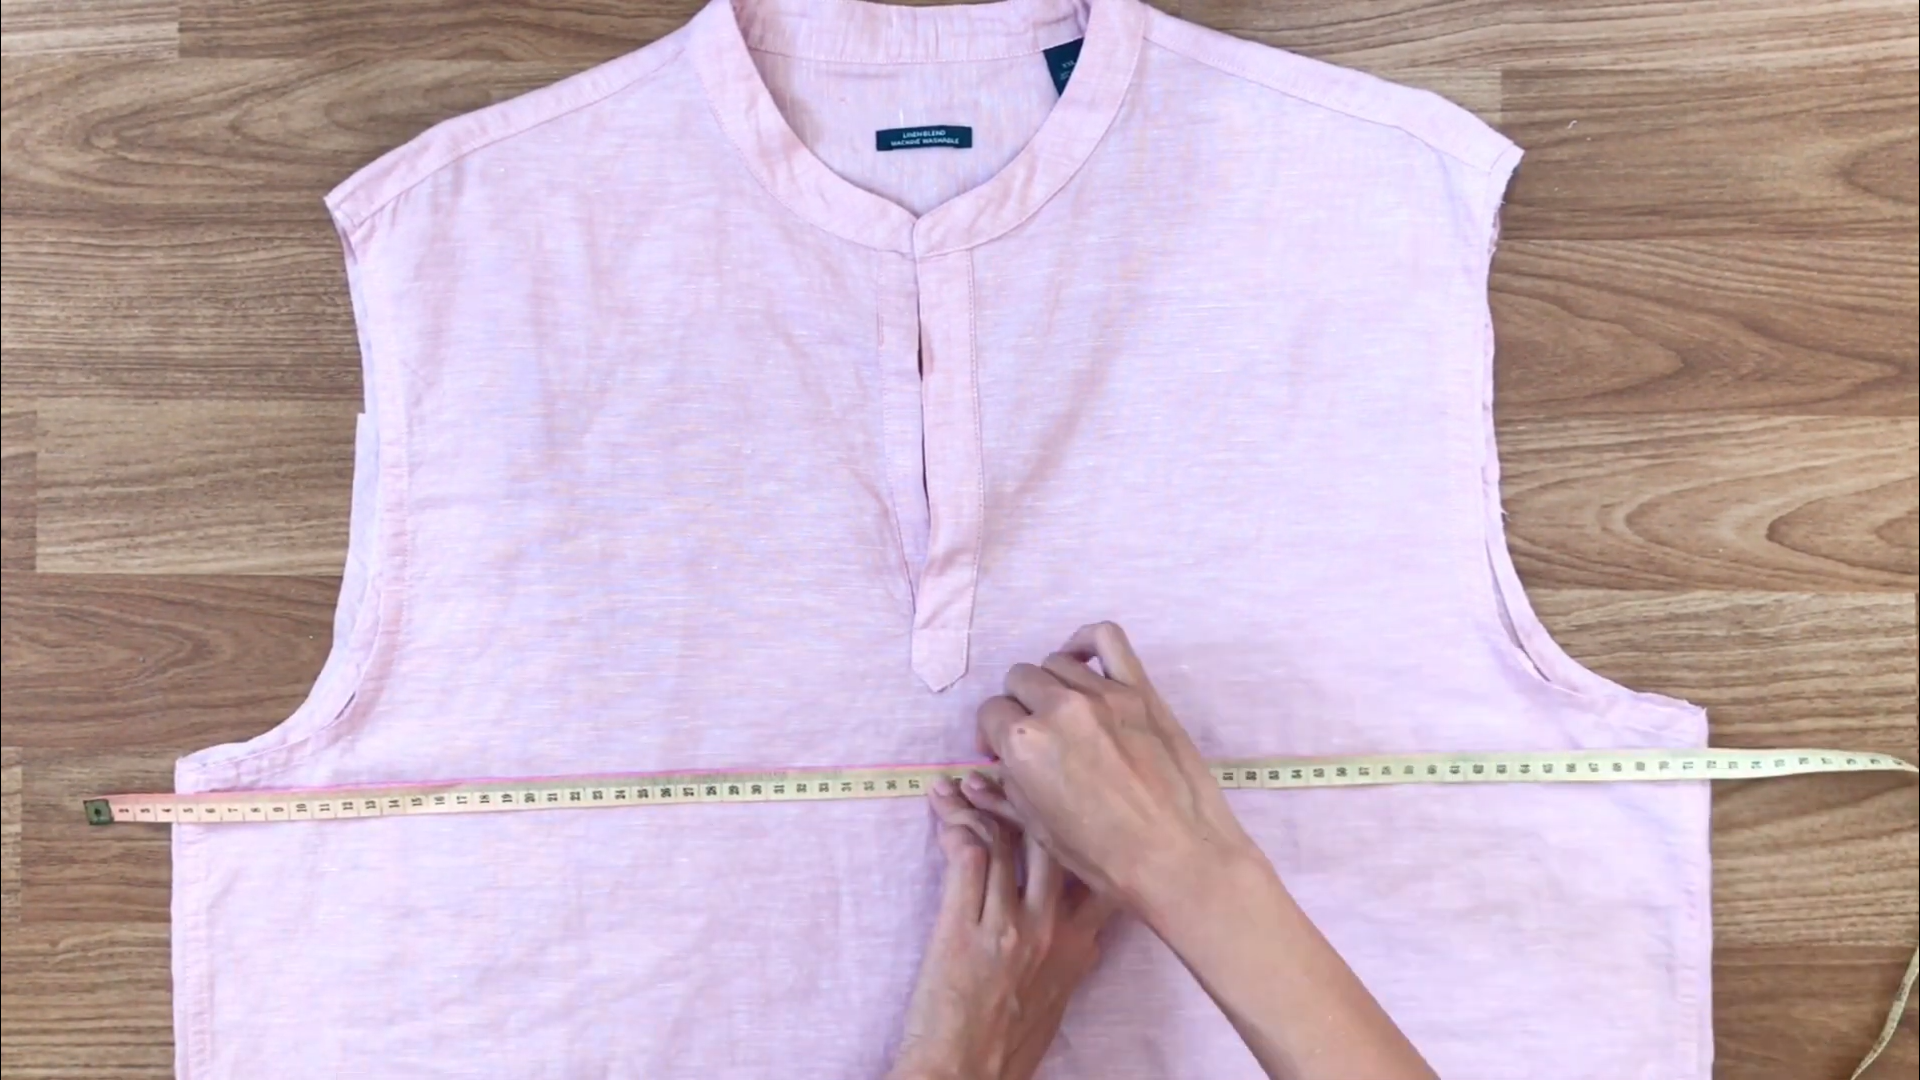
After that, draw a horizontal line right under the hands.
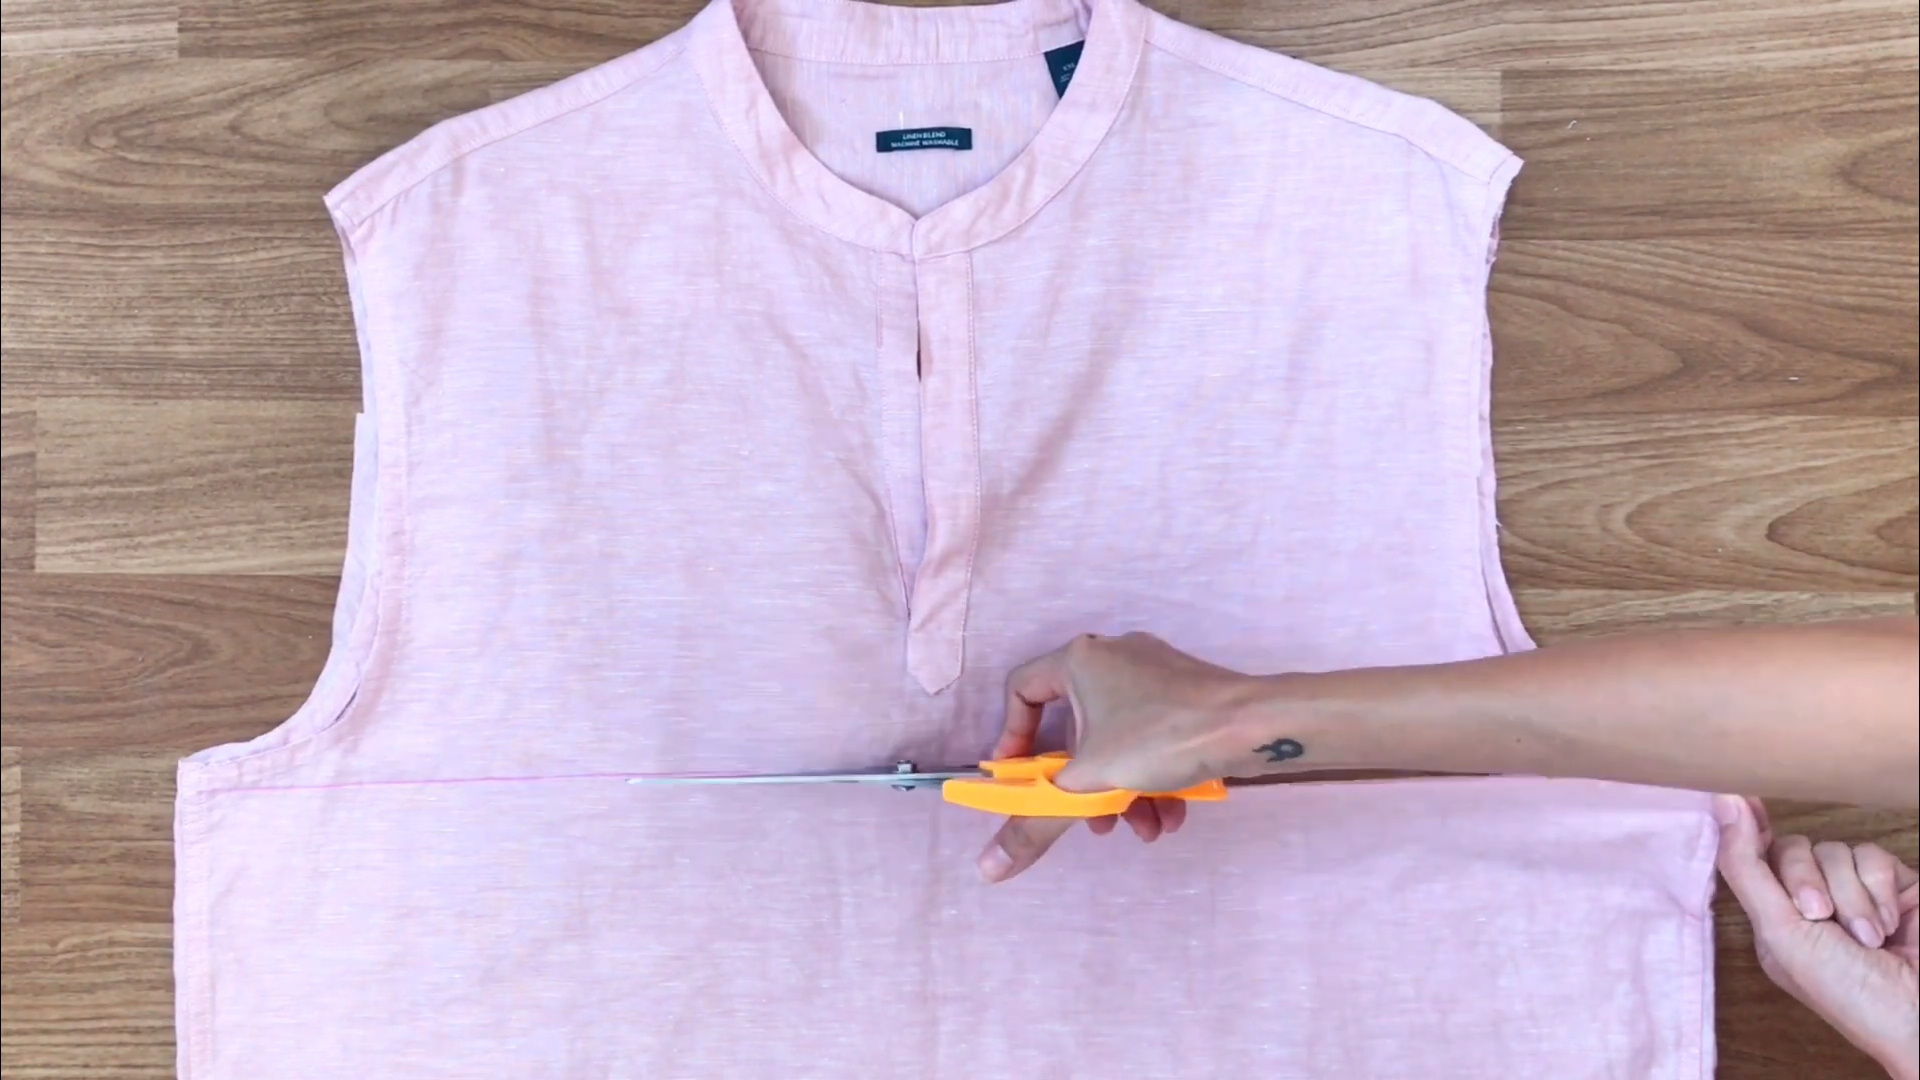
Then, cut by the drawing line.
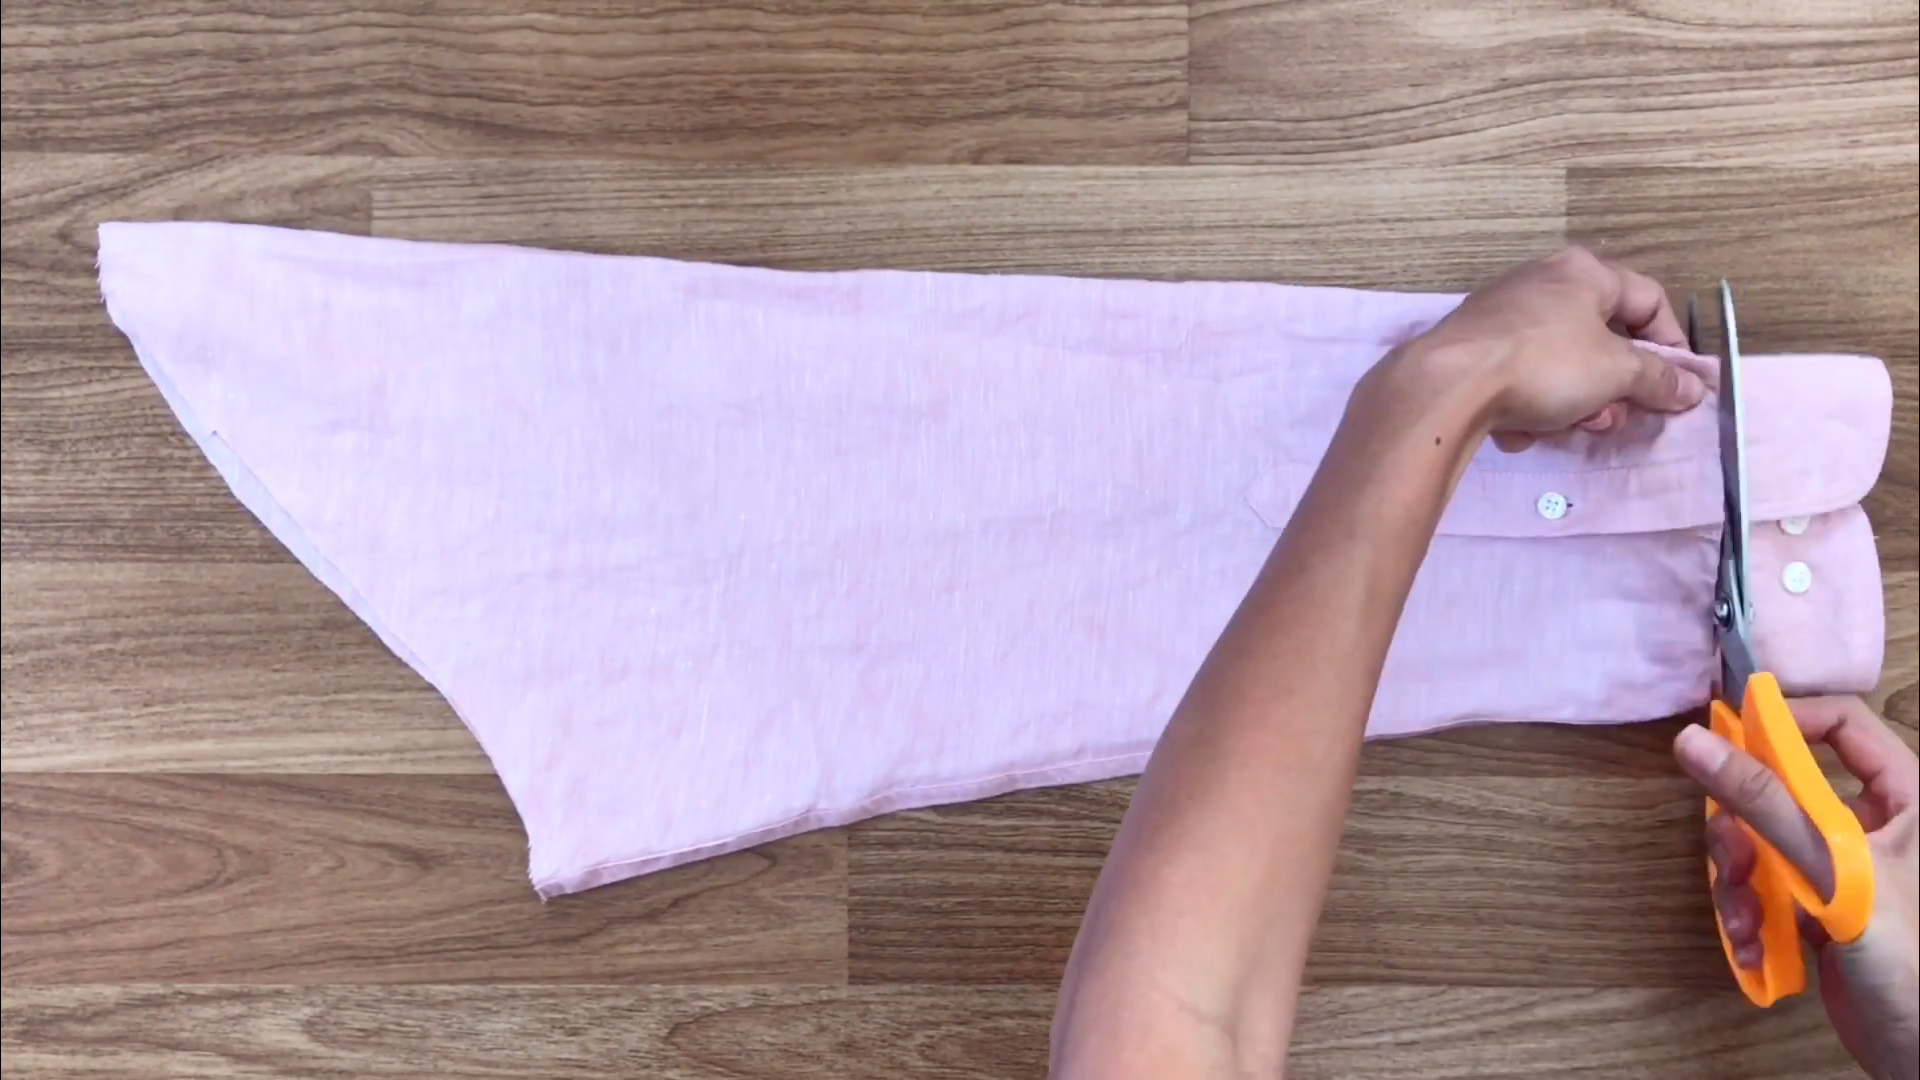
THE PANTS
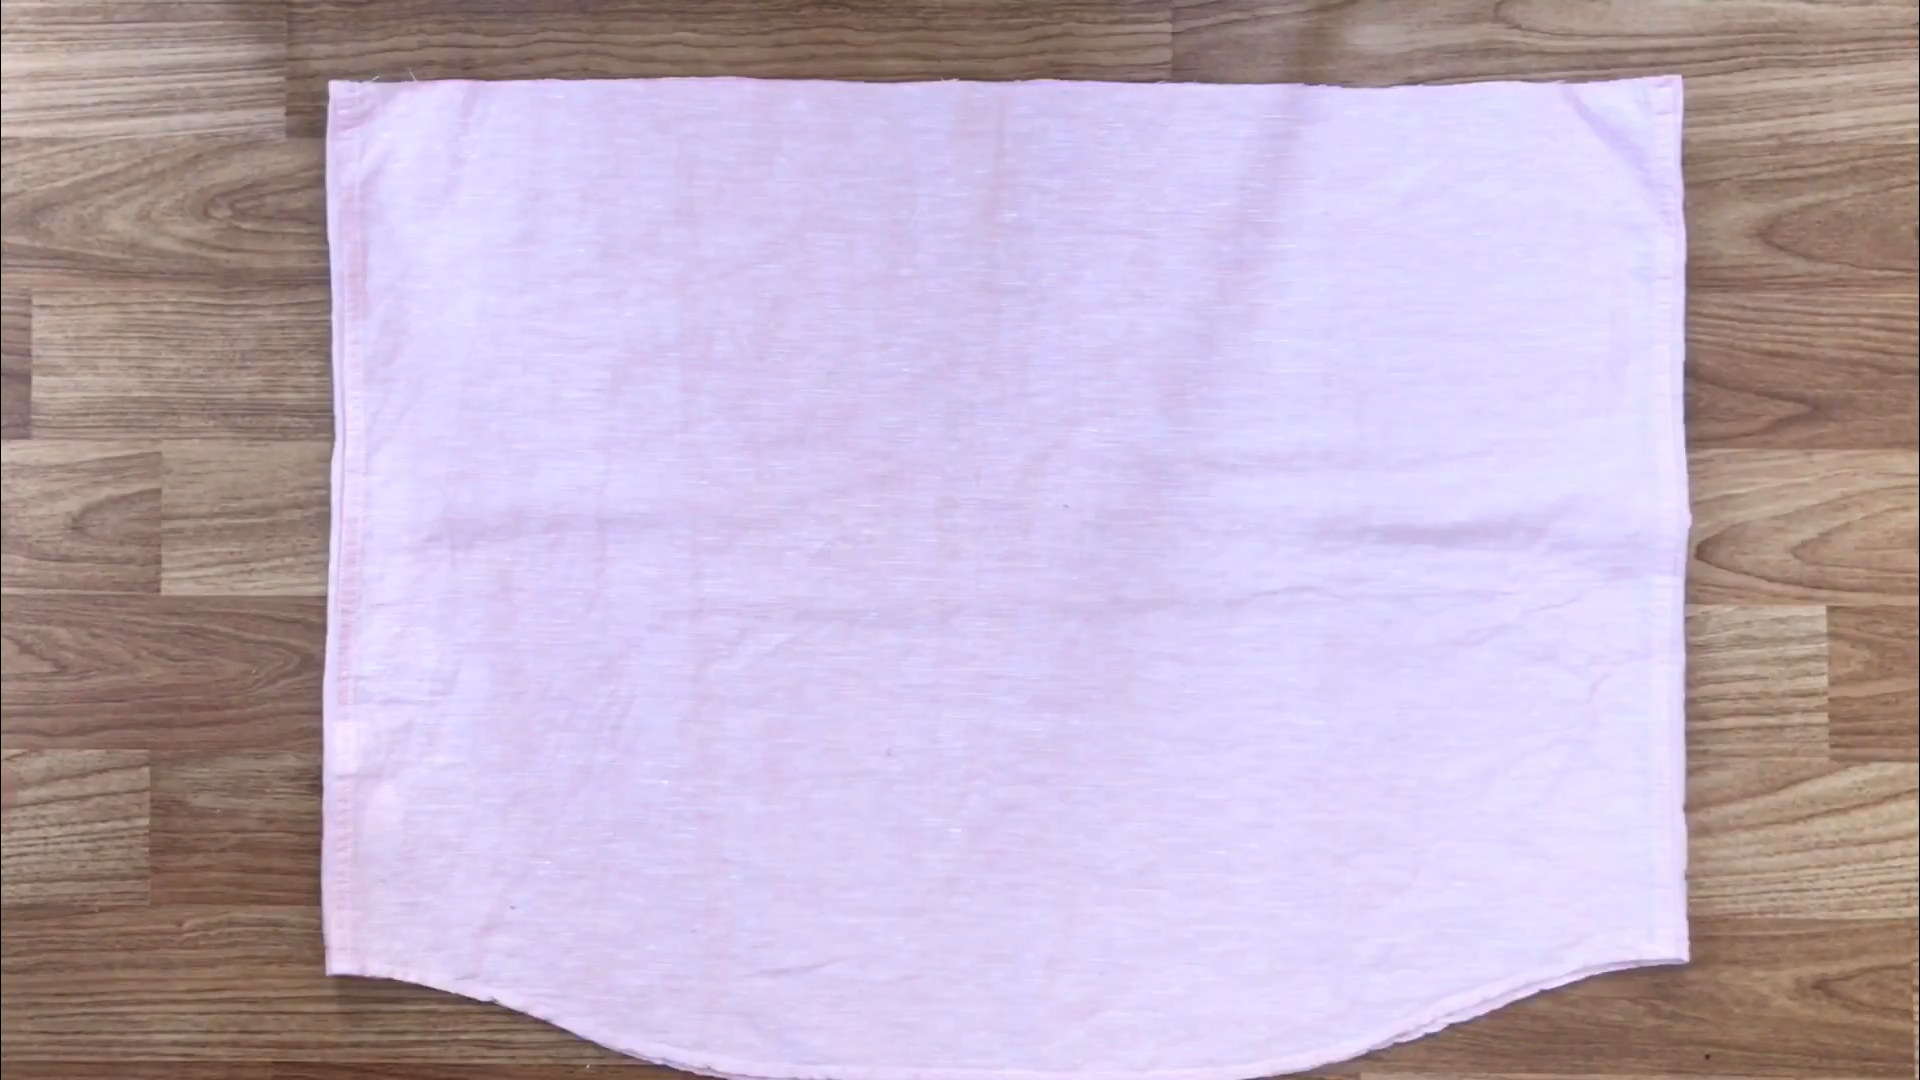
Use the bottom of the men's shirt to create pants for the jumpsuit.
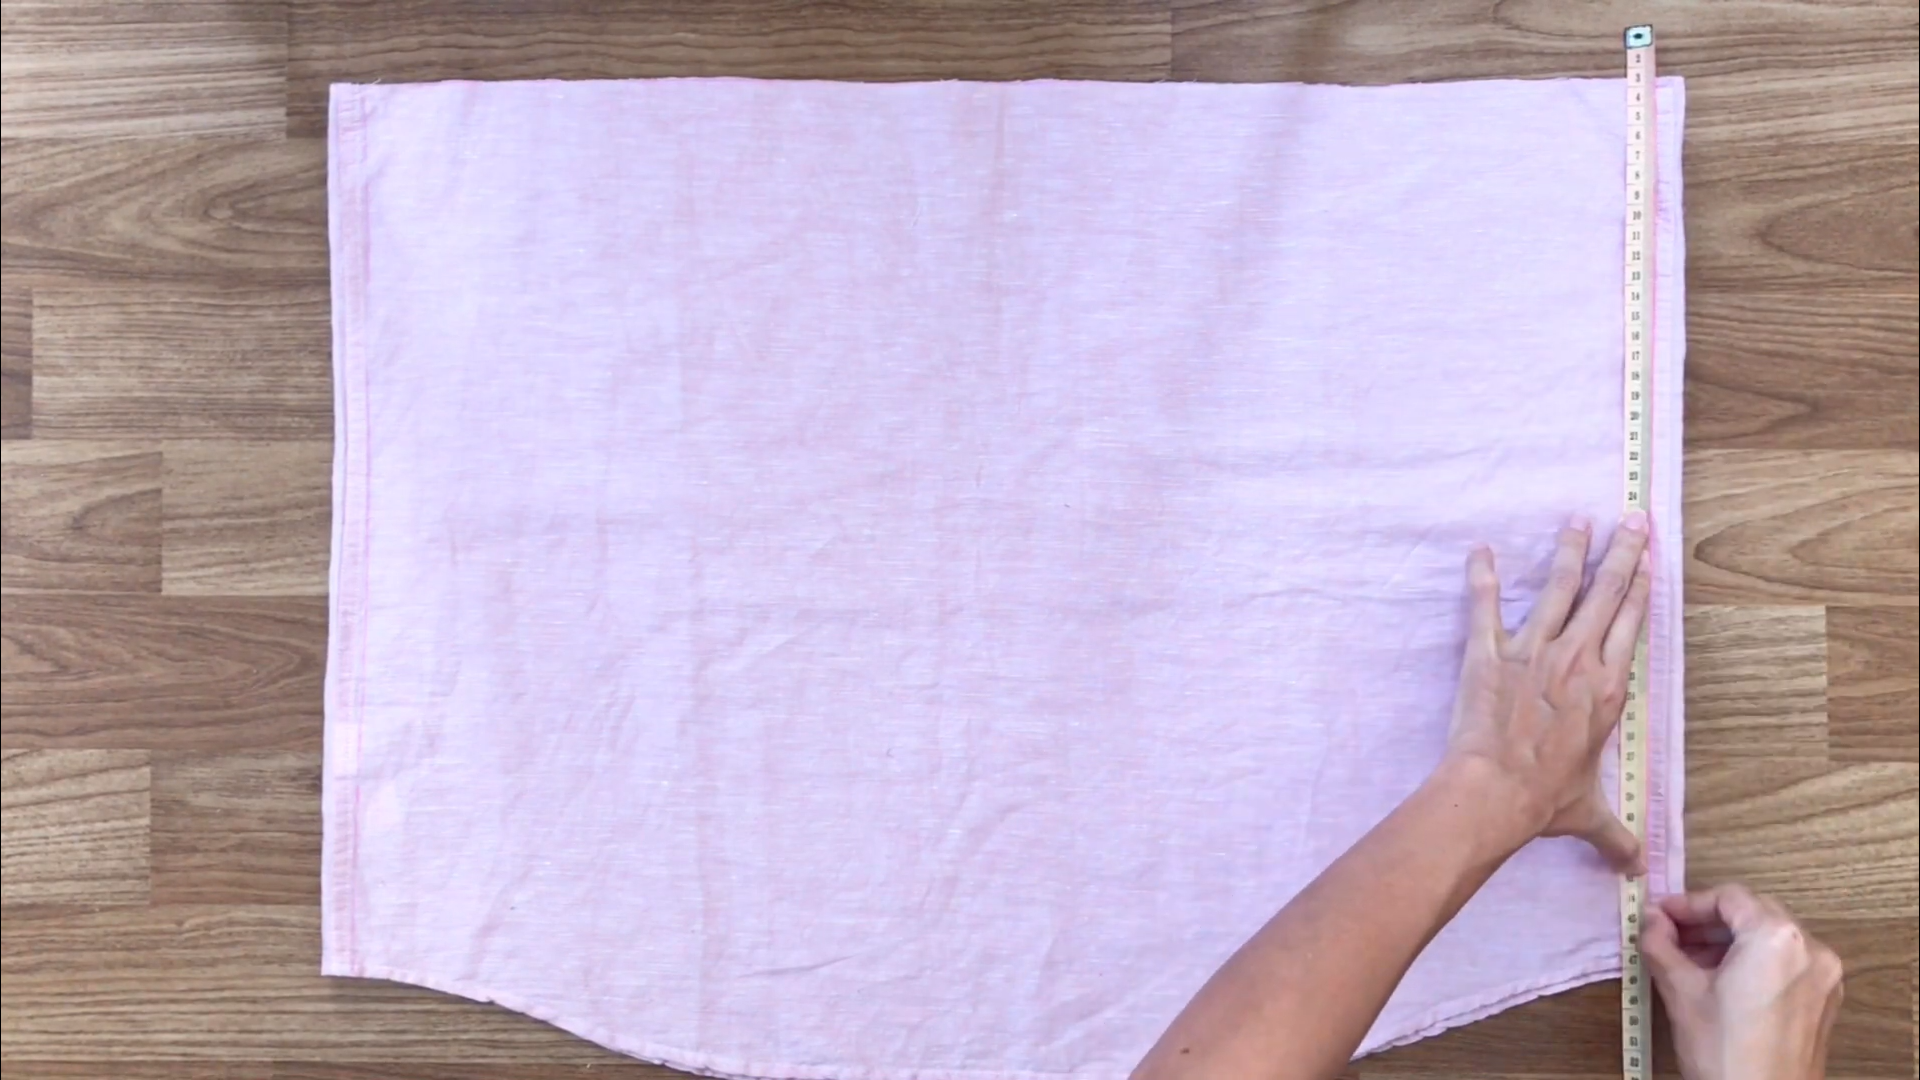
First, draw a straight line at two sides of the shirt.
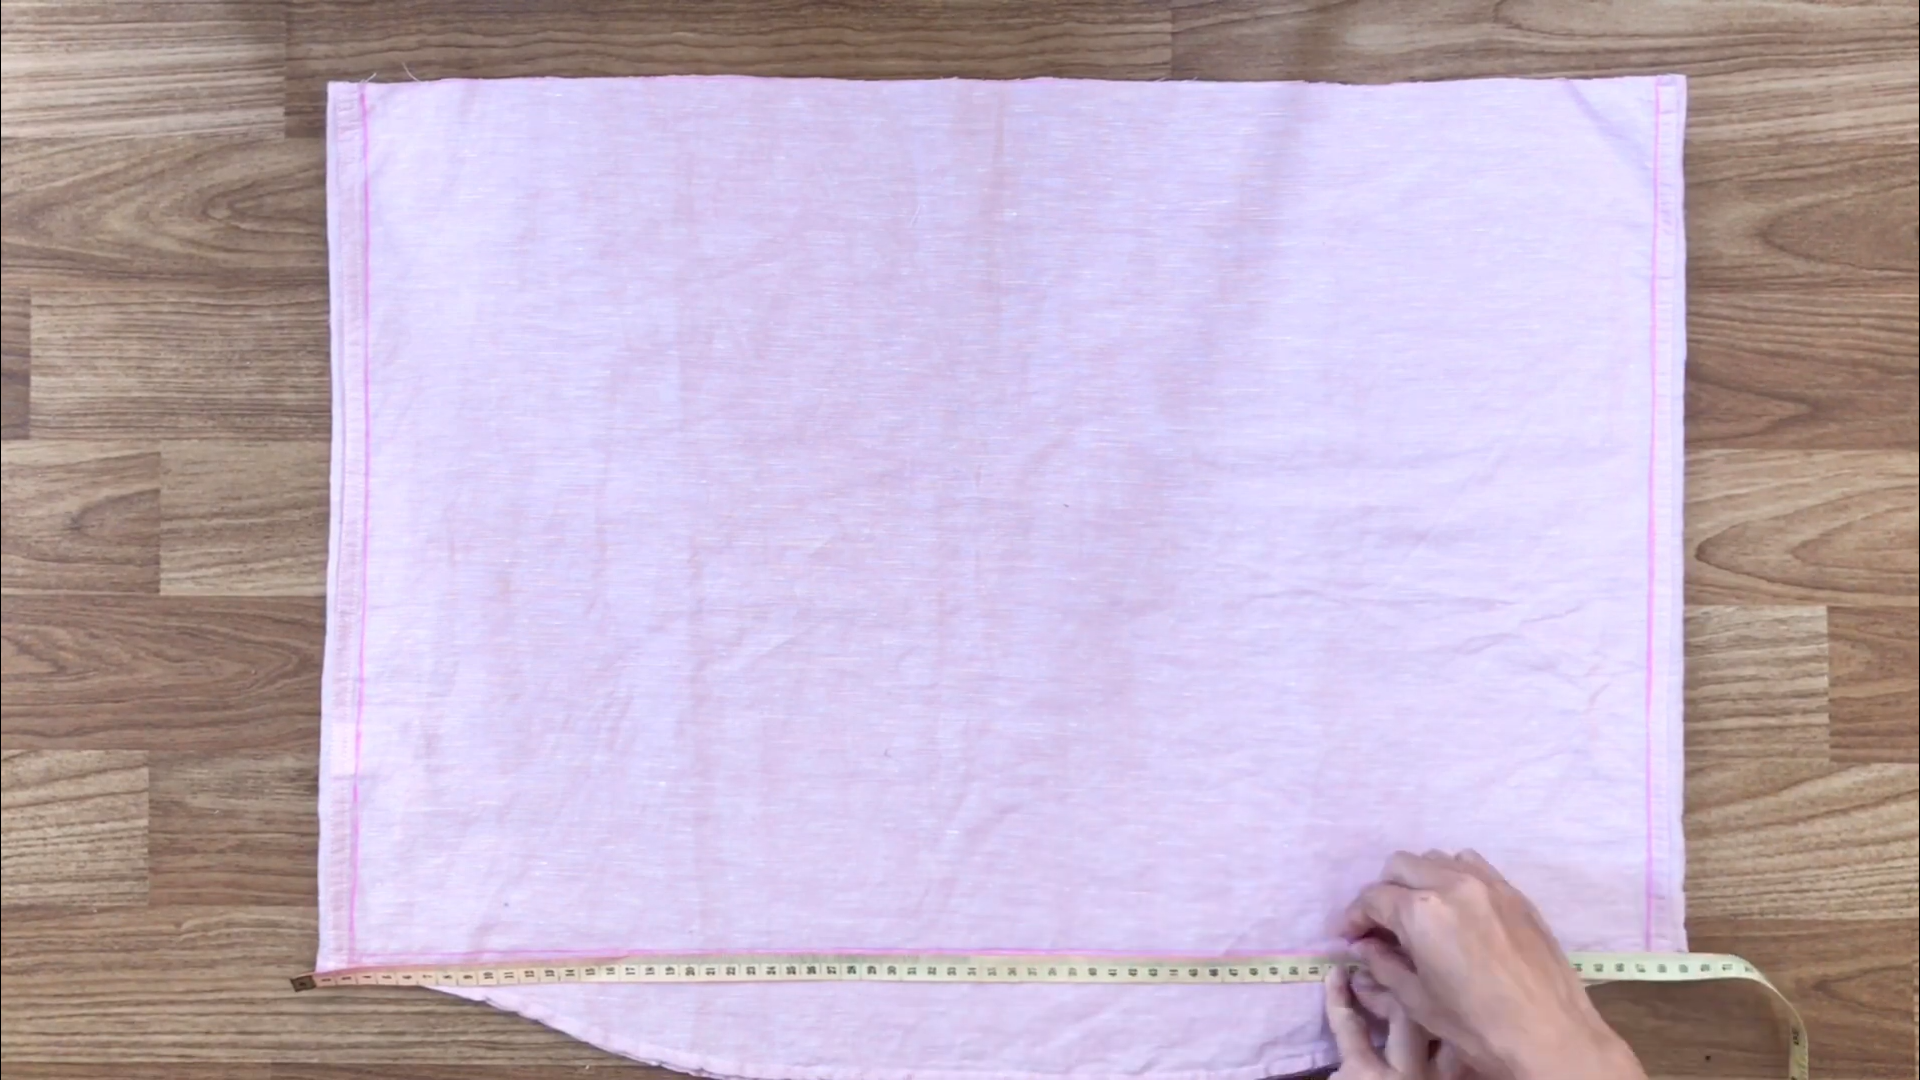
Then, draw a horizontal line at the end to form a rectangle.
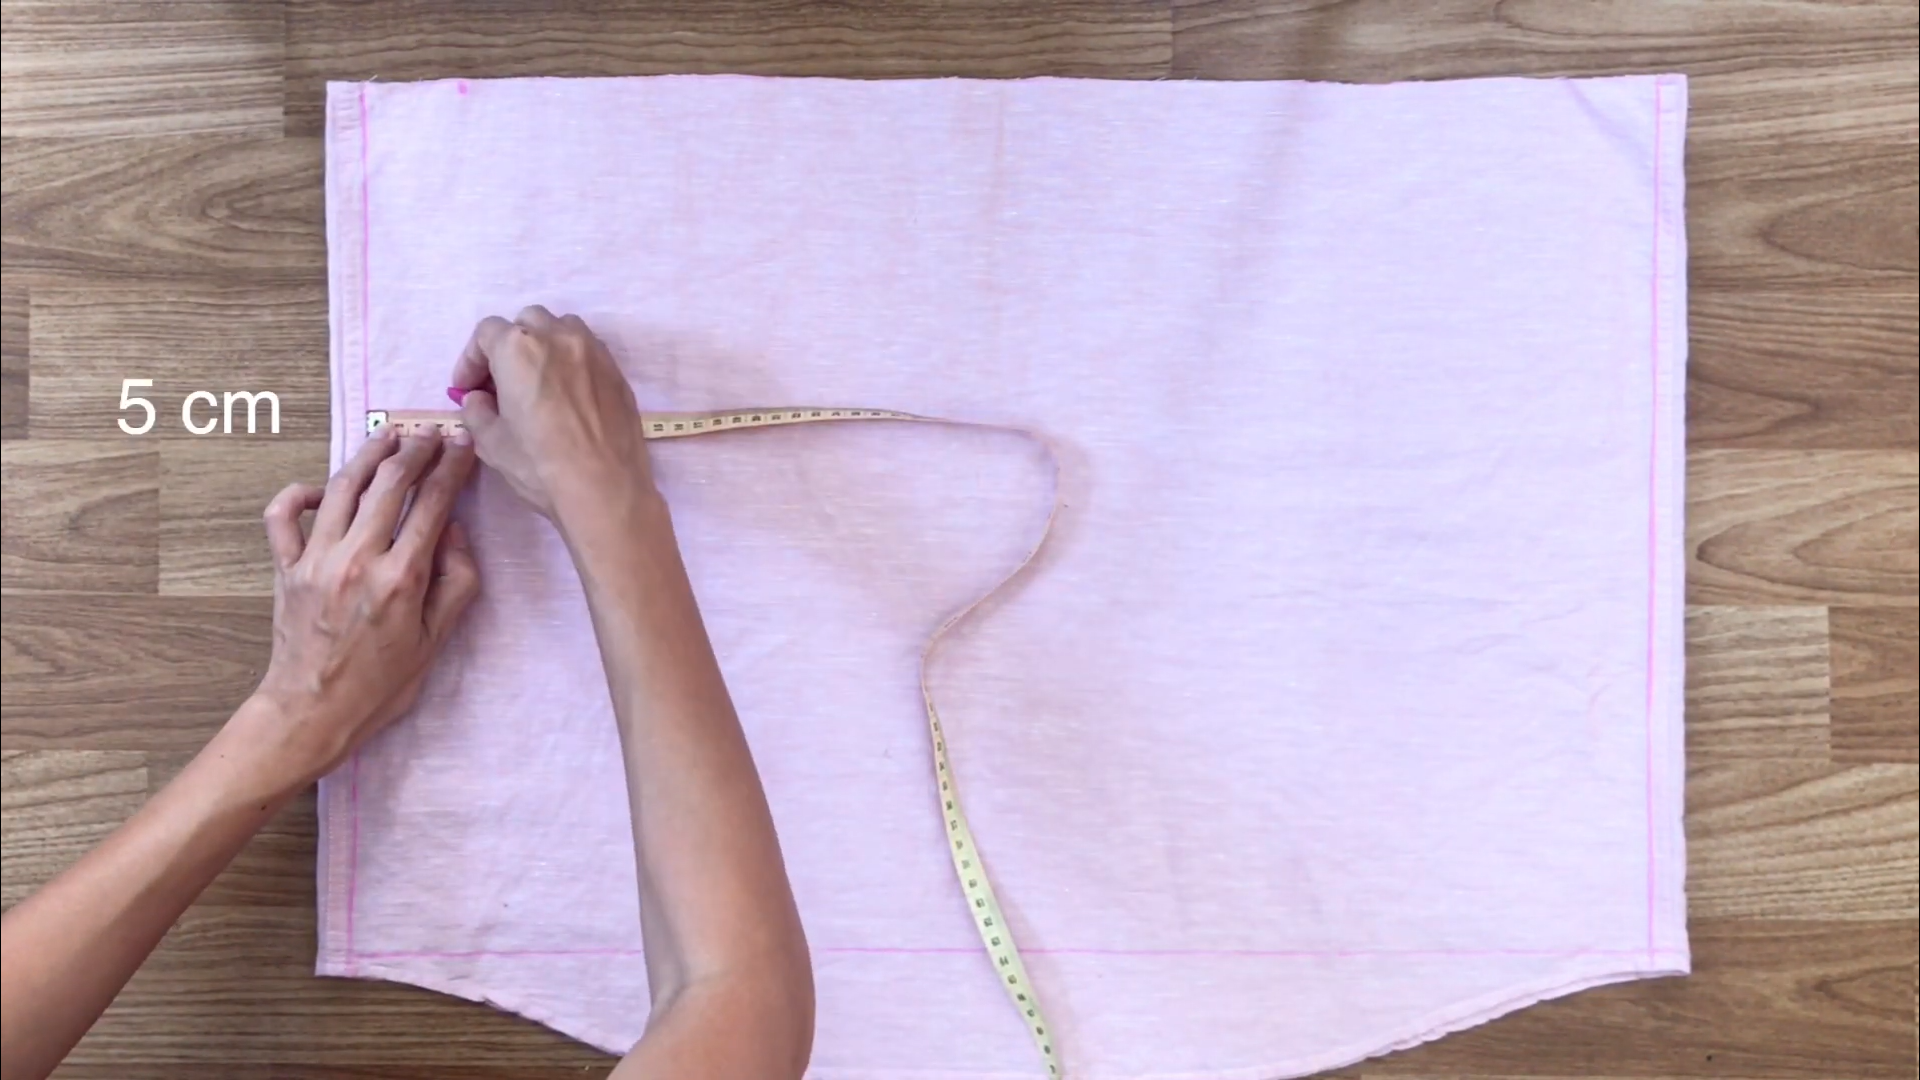
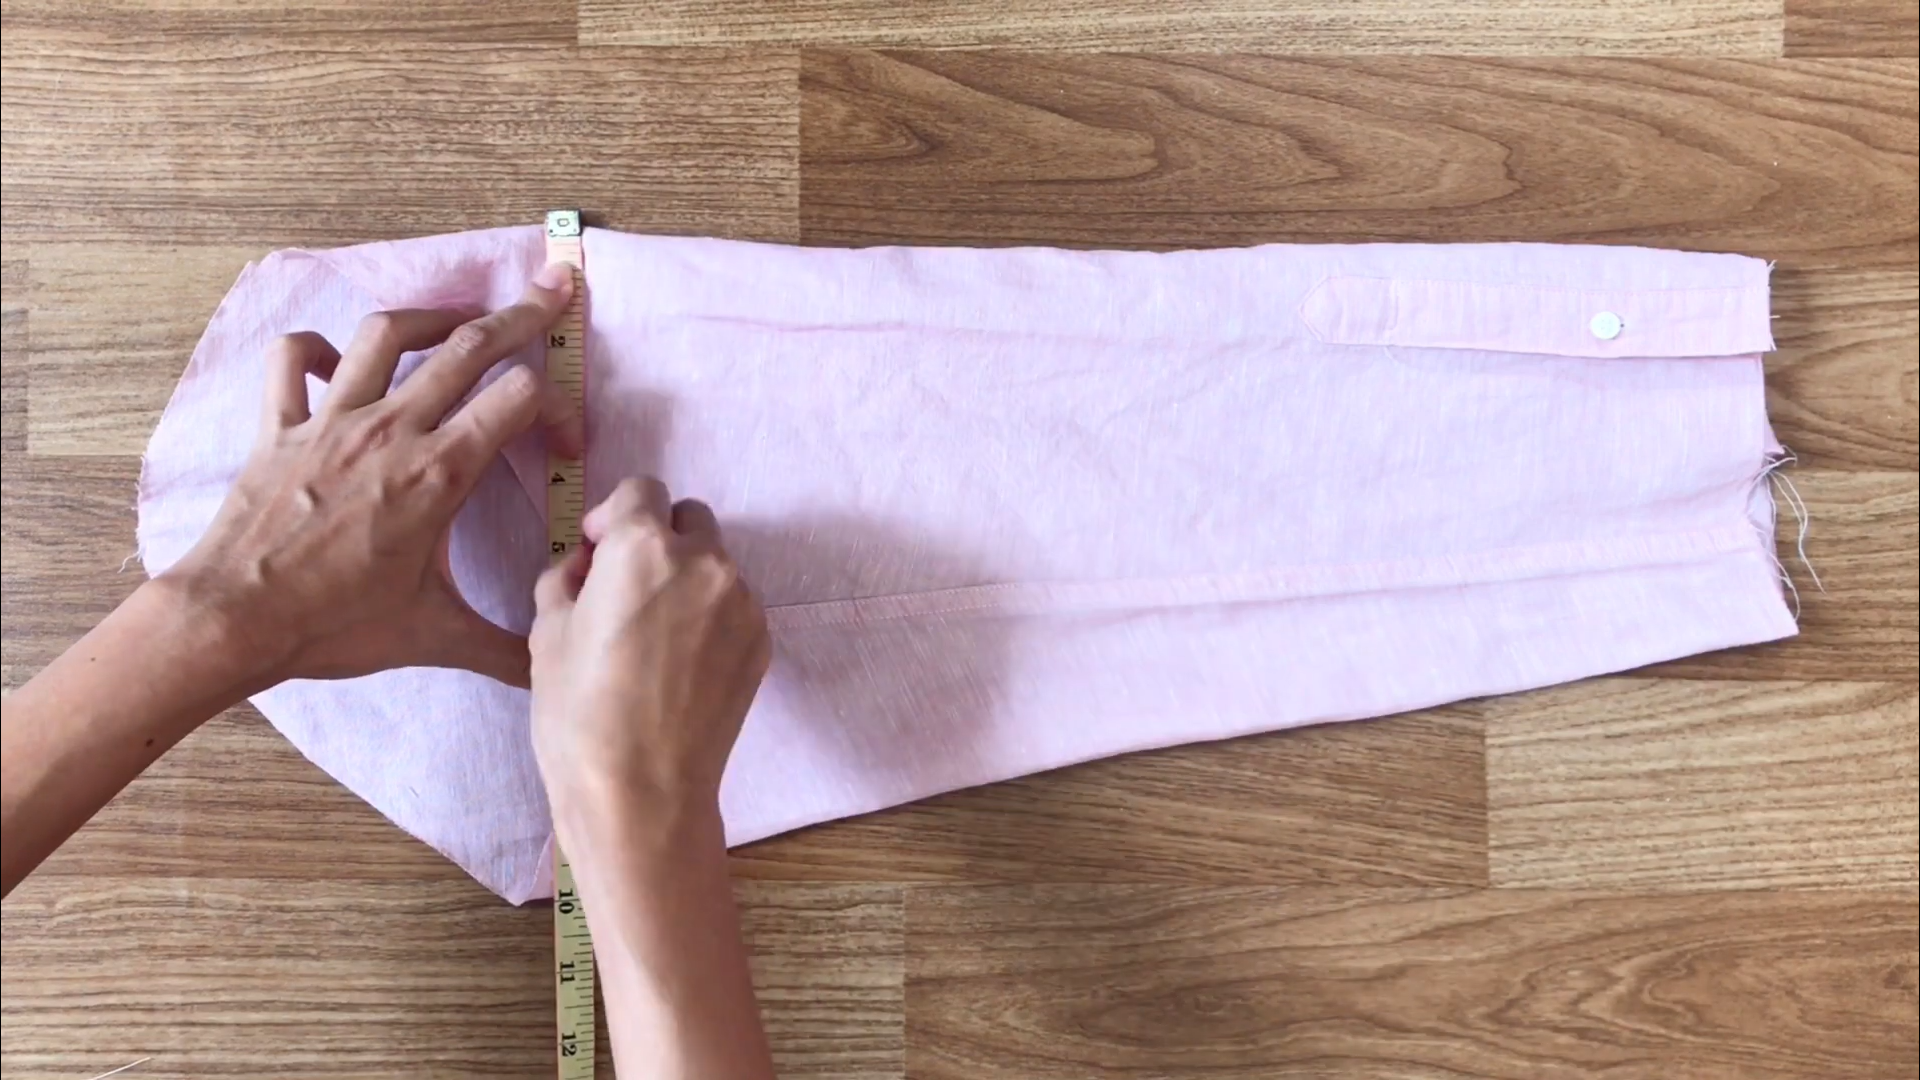
On the left side, mark 5cm inside from the top and draw a straight line down.
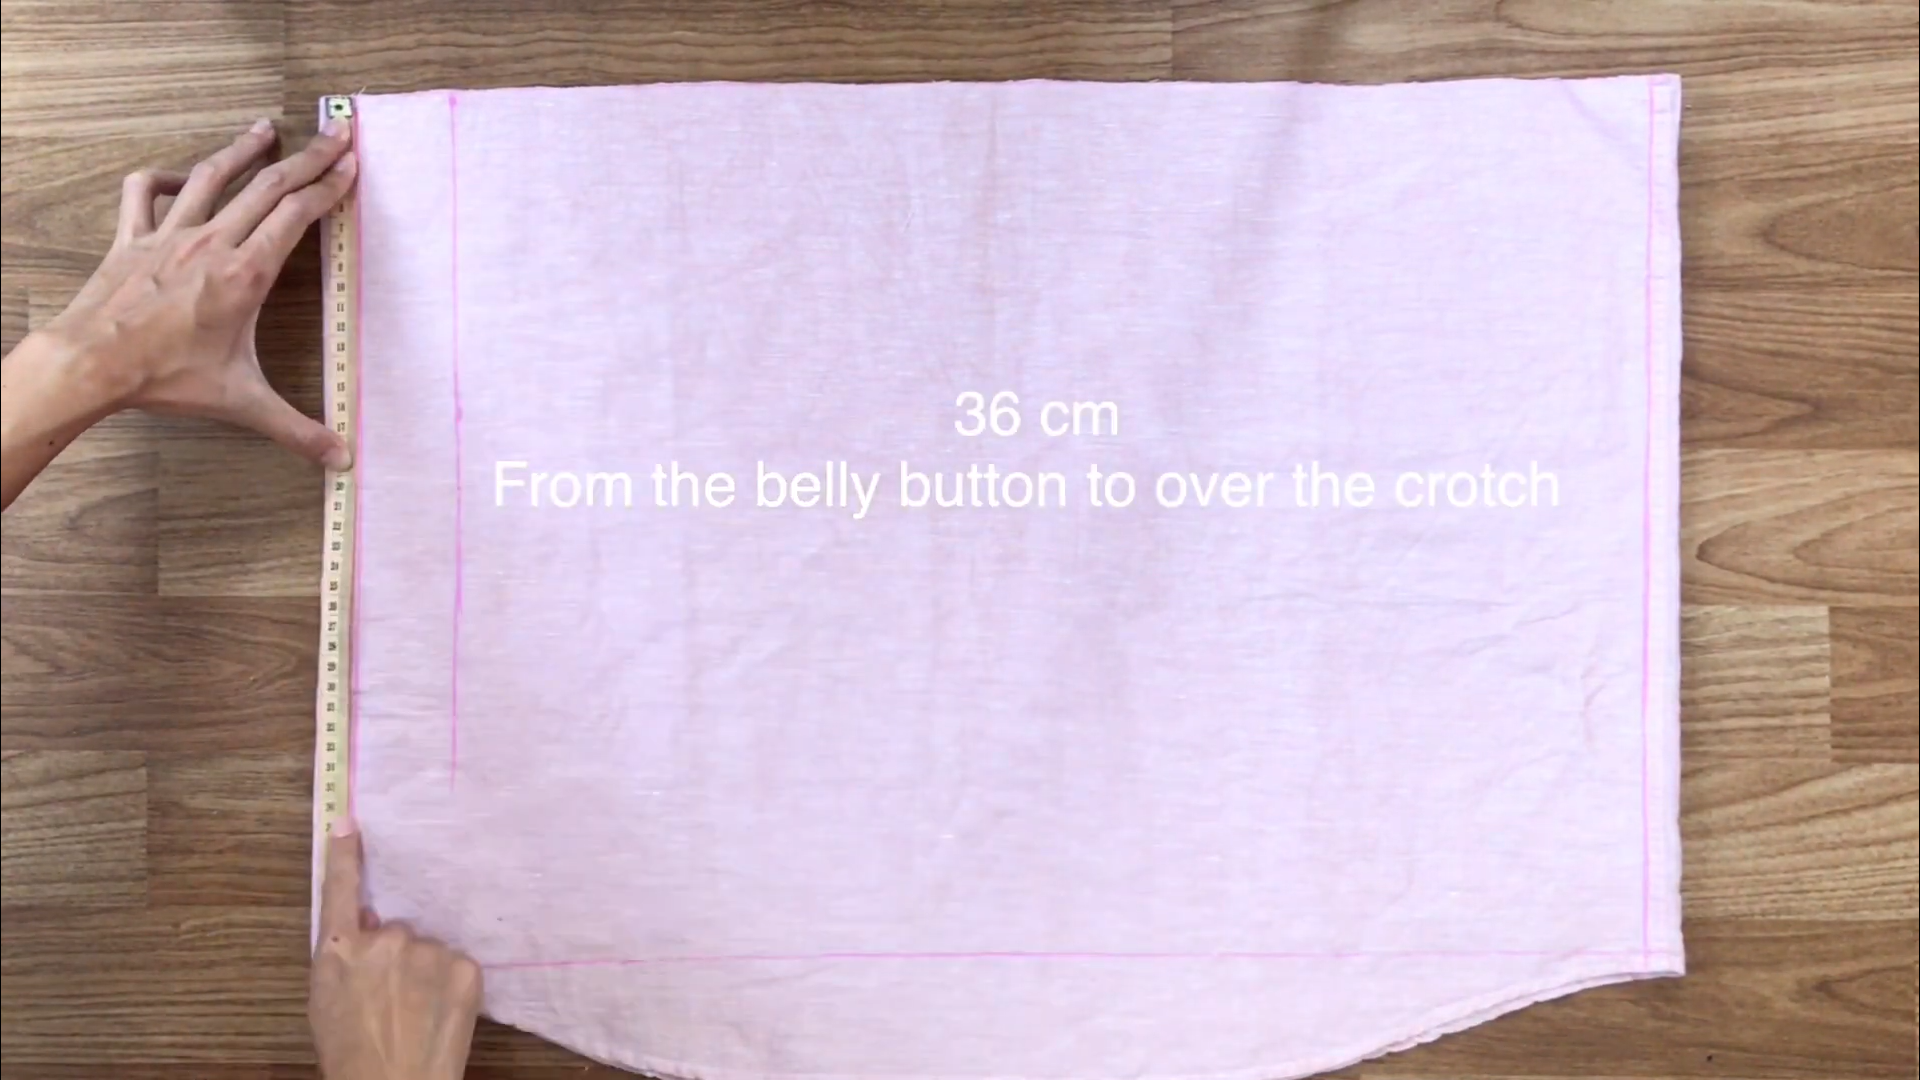
Then, measure 36cm from the top.
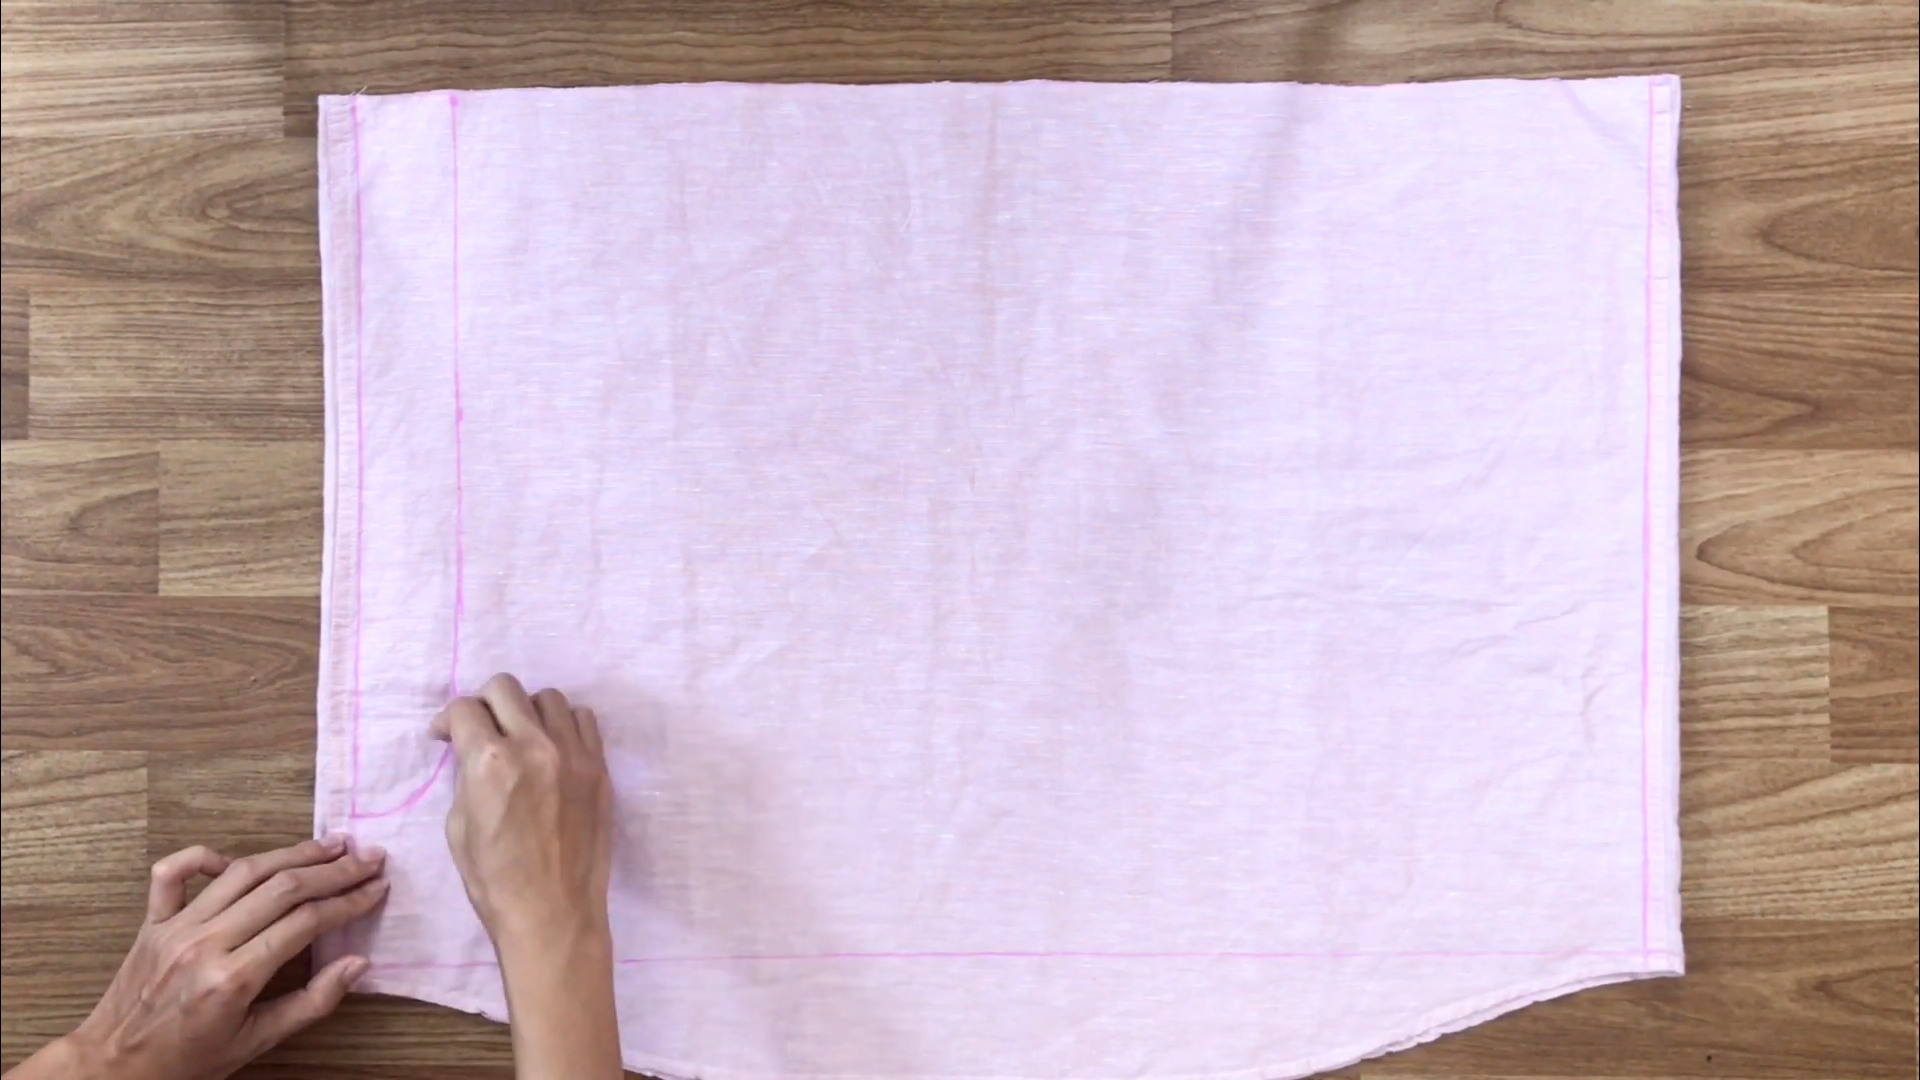
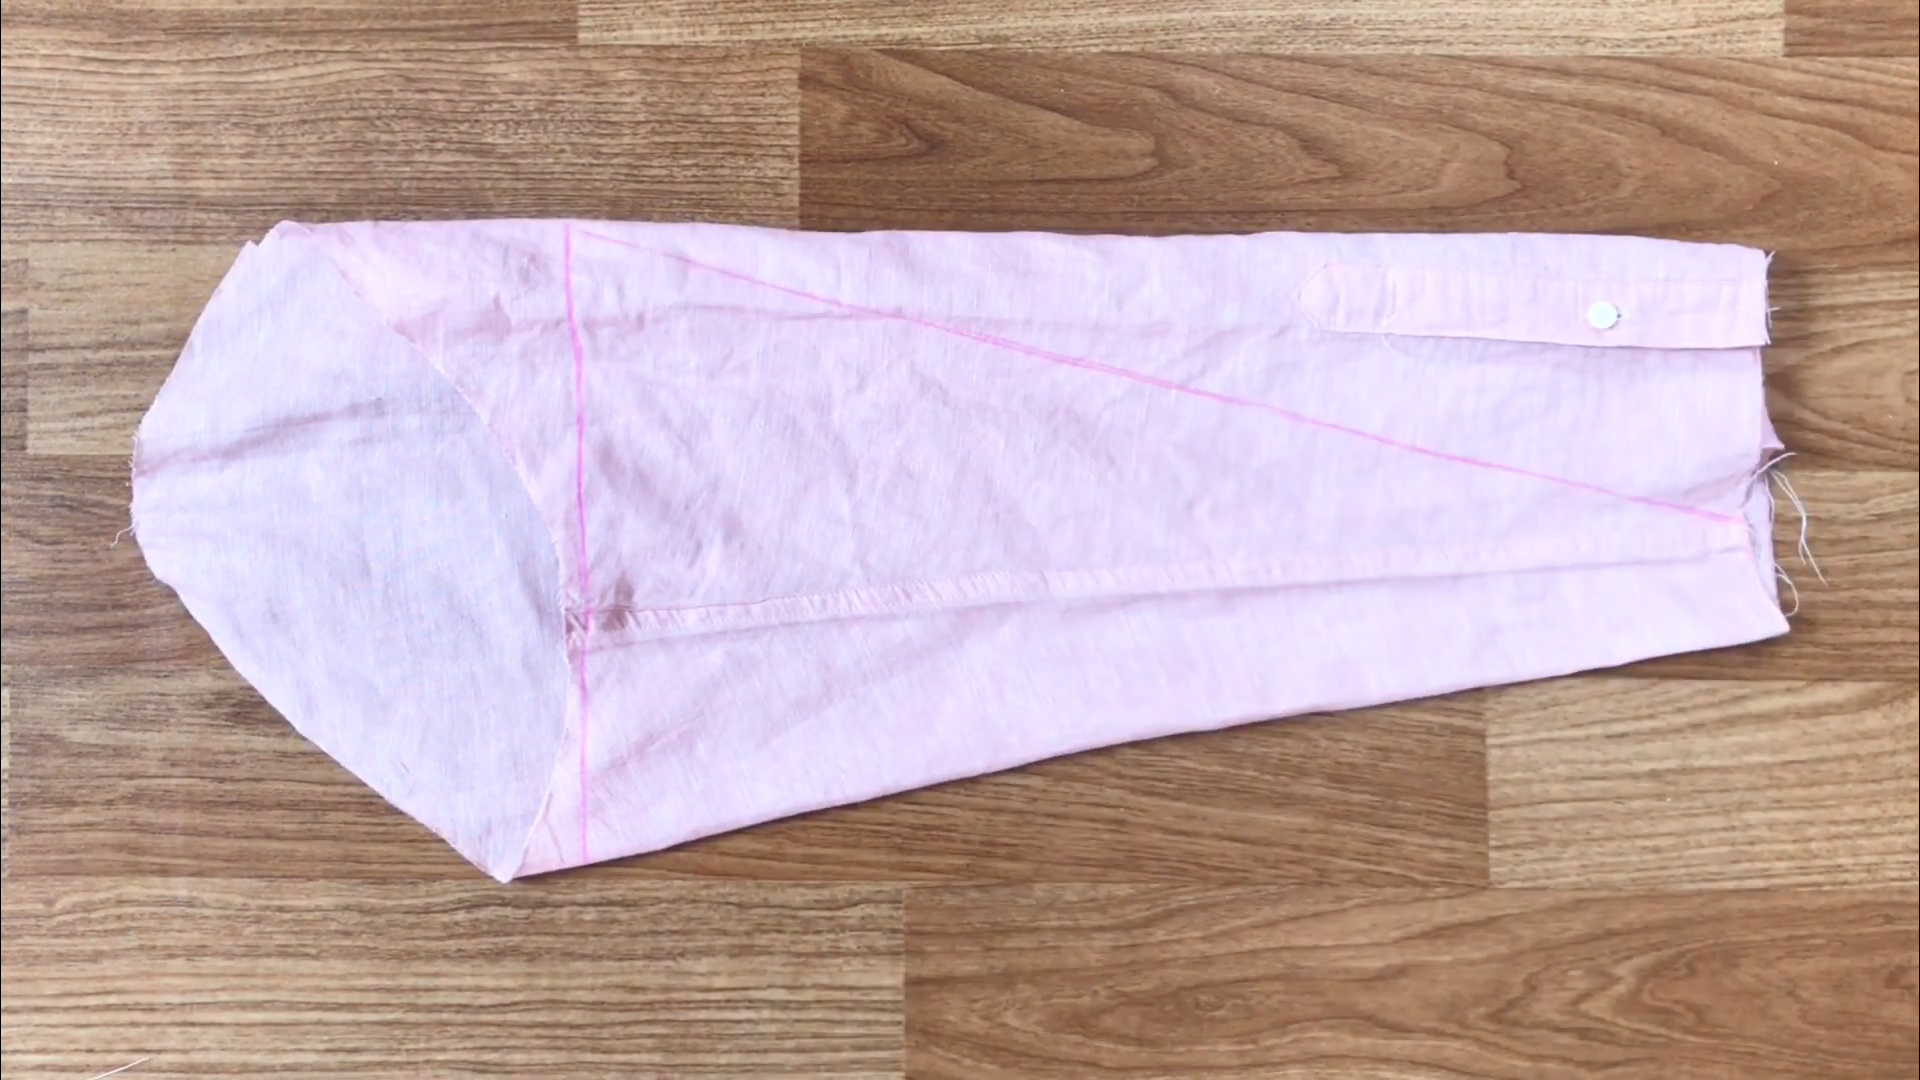
And, draw an arc connect to the inside line.
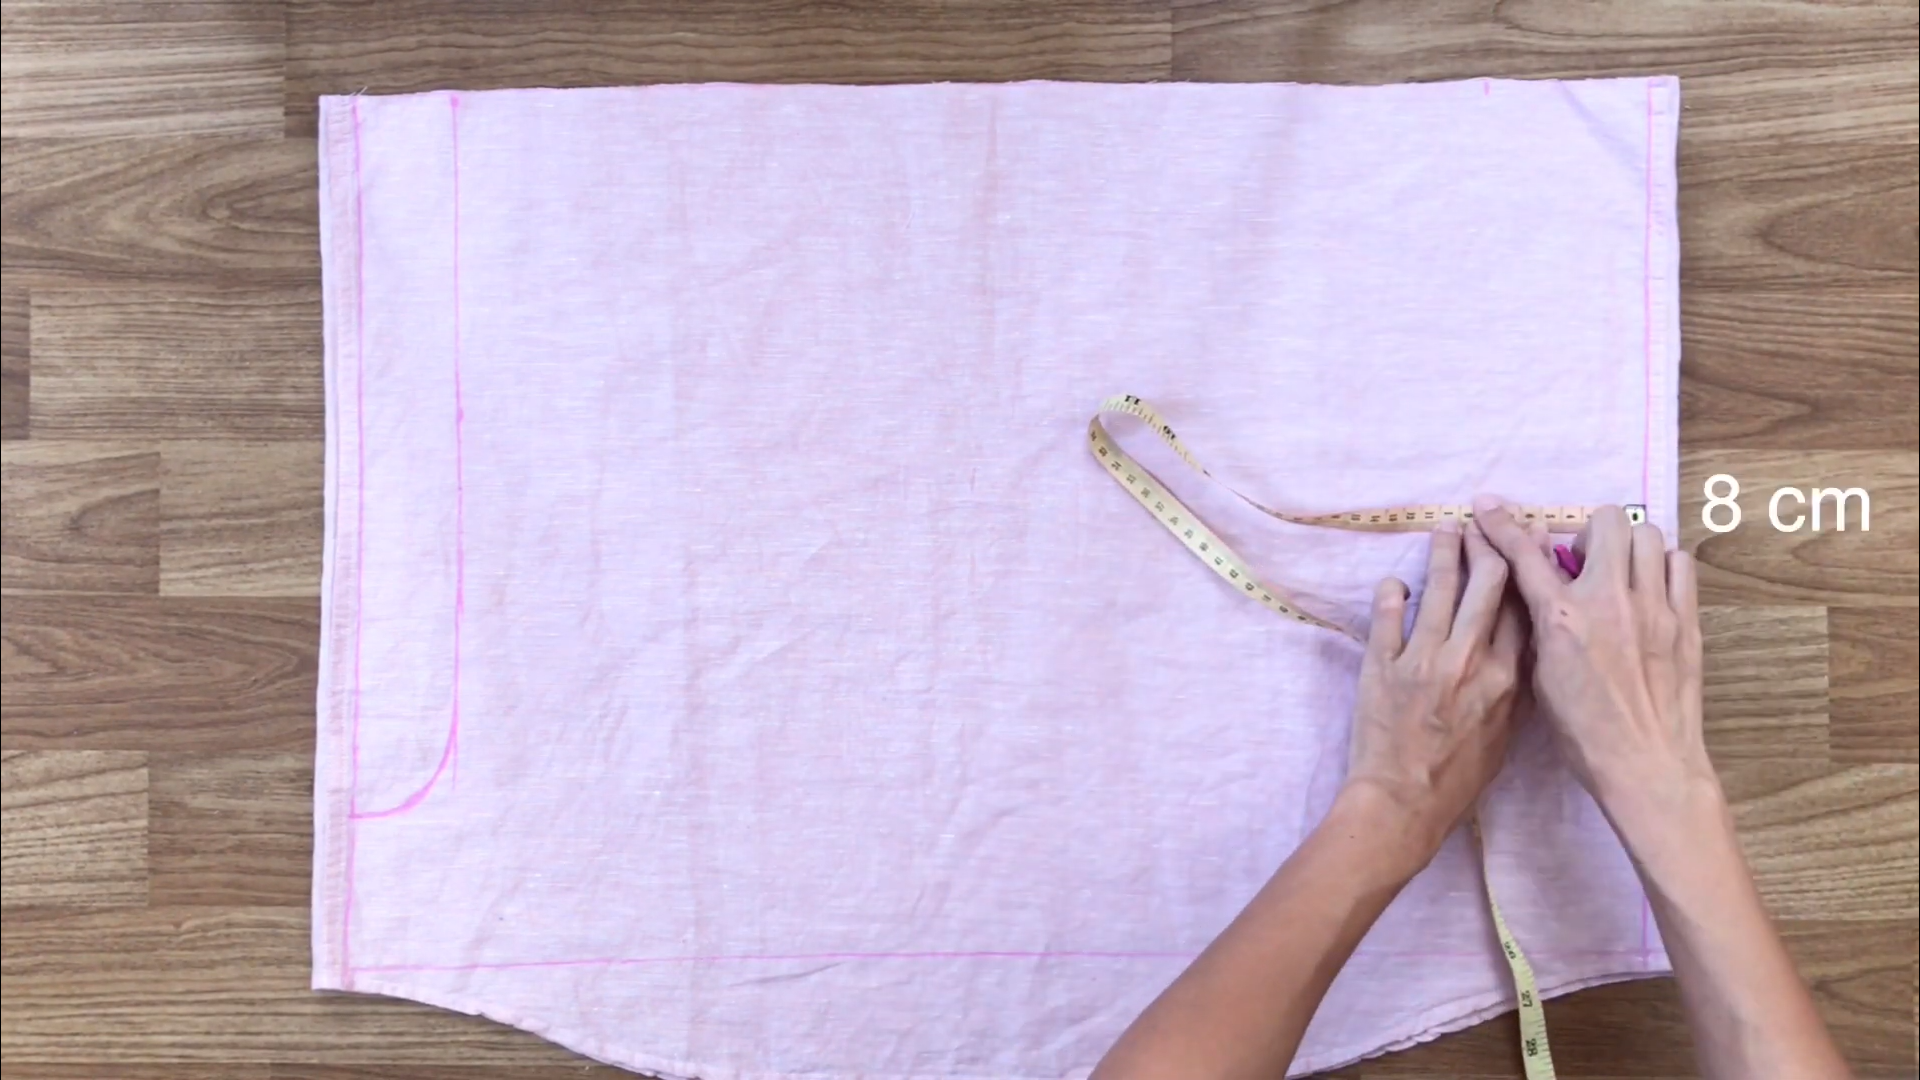
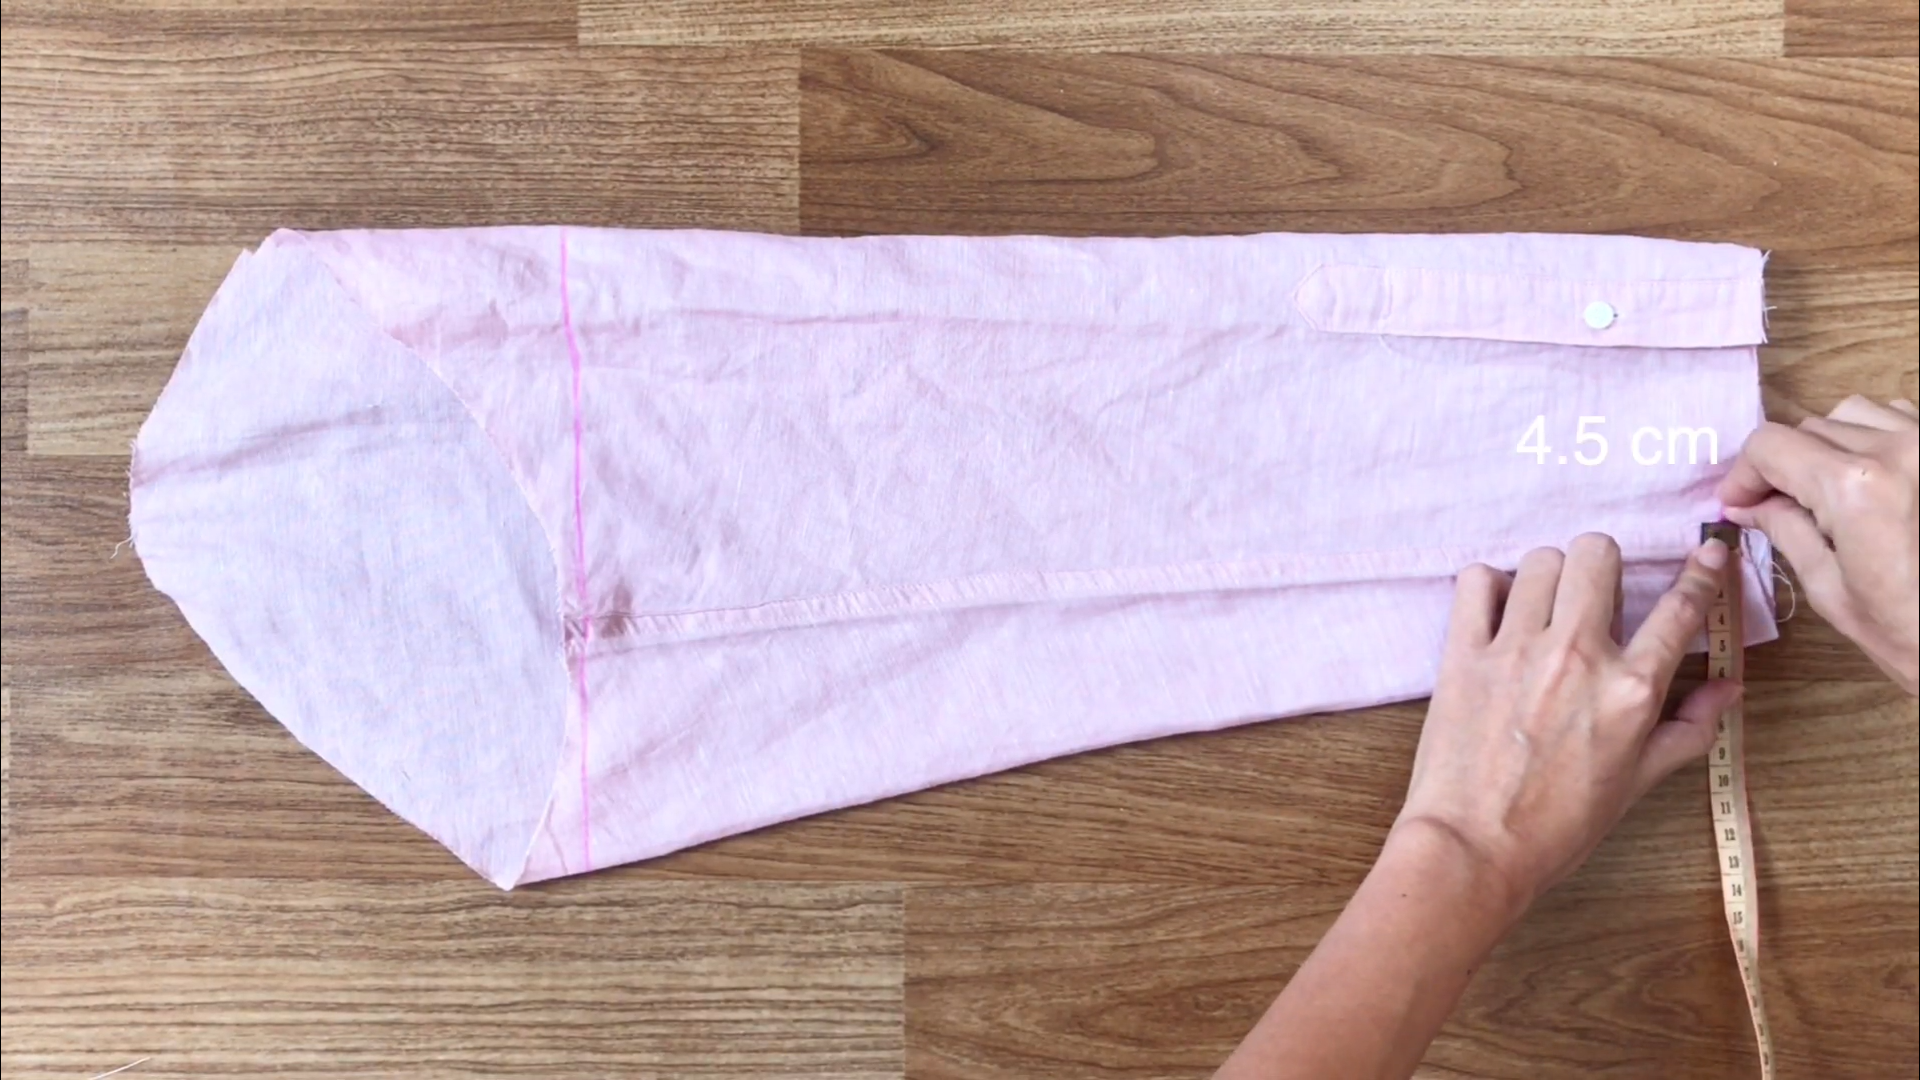
Repeat on the right side, mark 8cm inside and draw a line down.
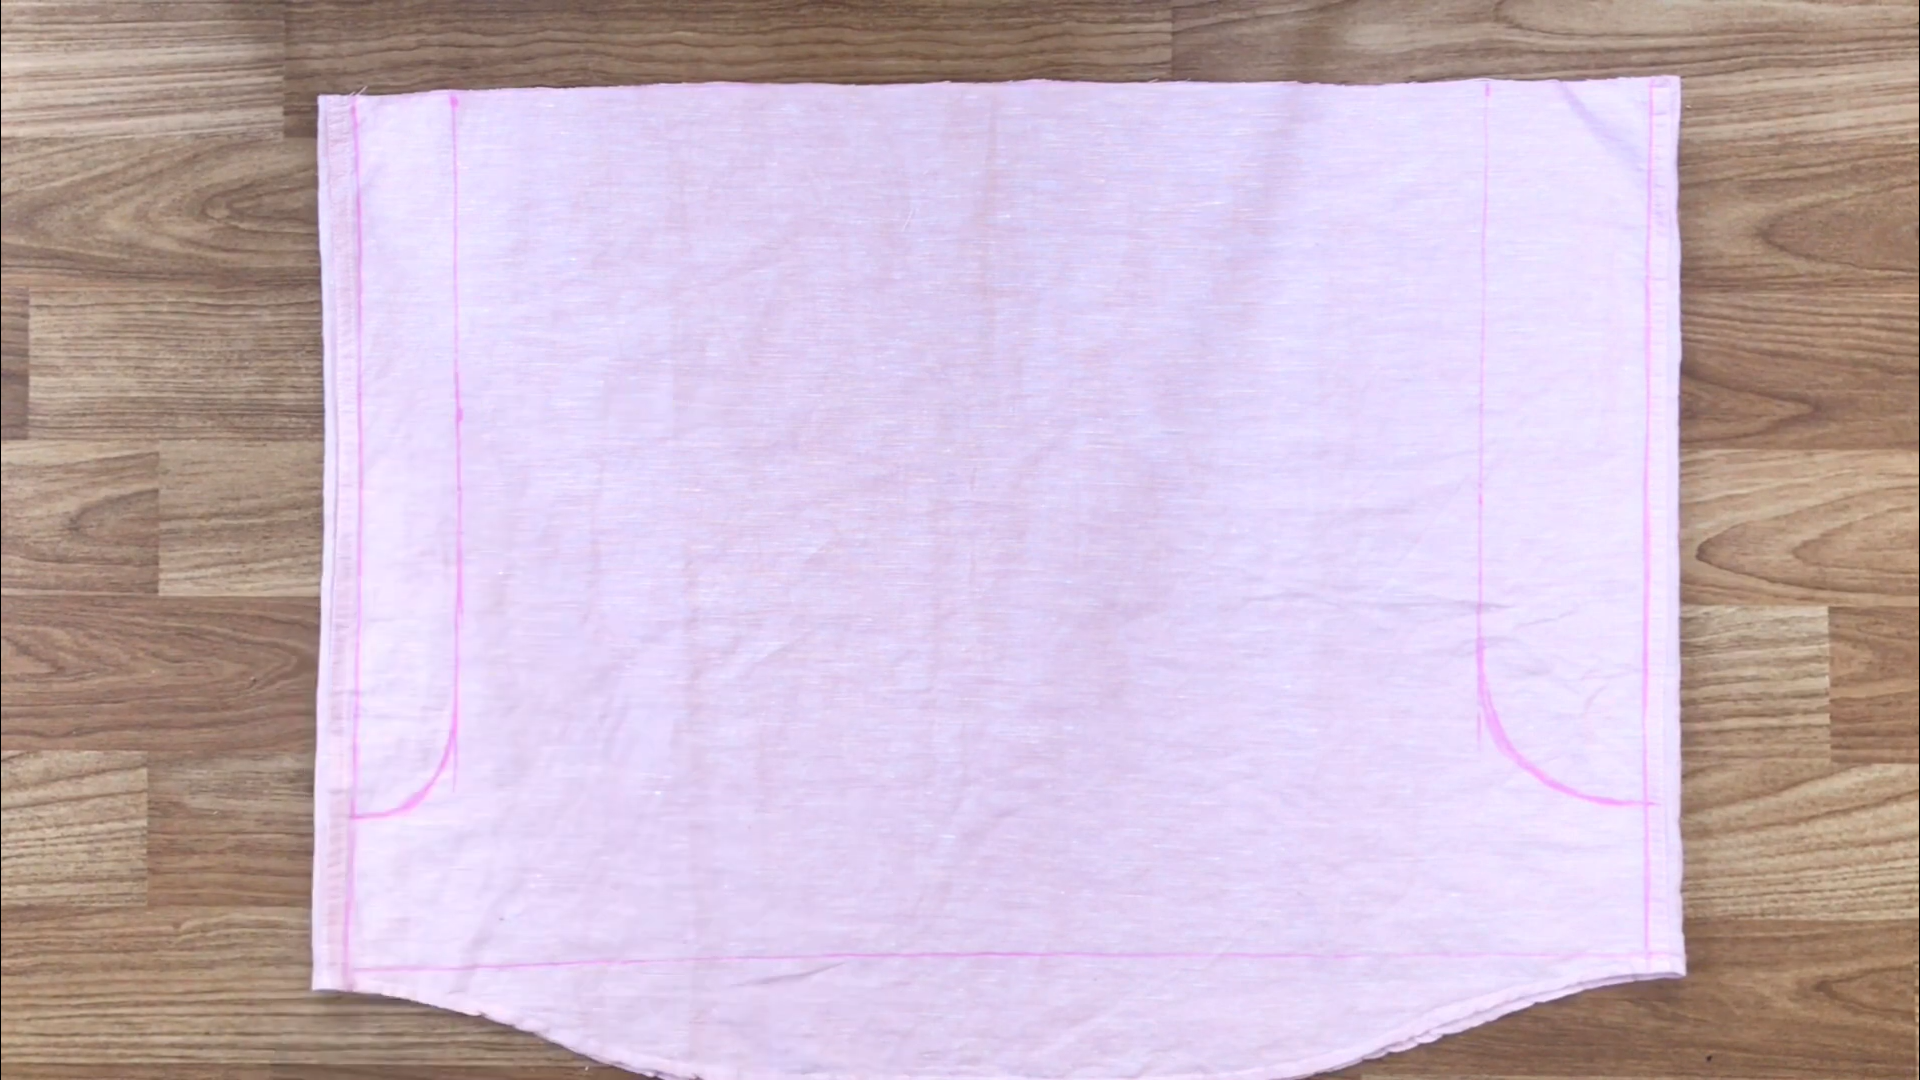
Then, measure 36cm and connect with an arc.
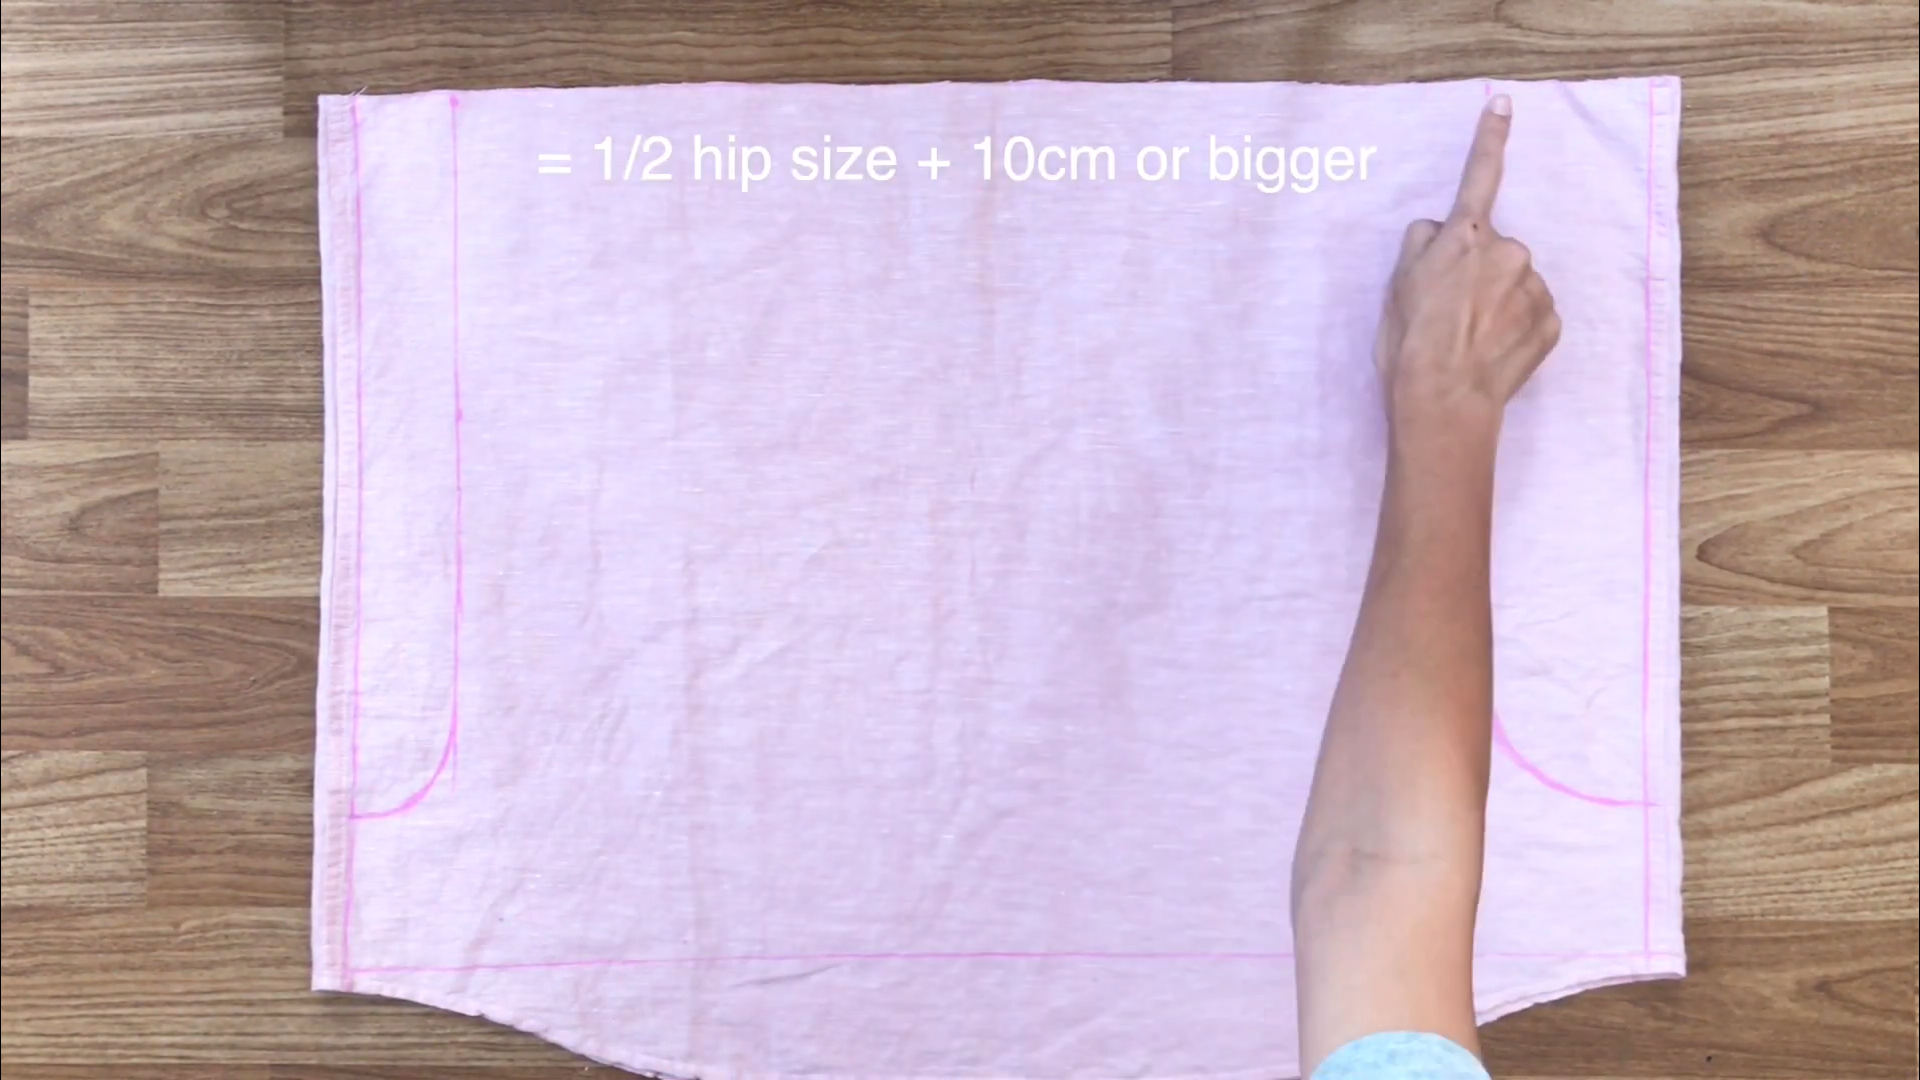
Make sure the width between the lines is half your hip size plus 10cm or bigger.
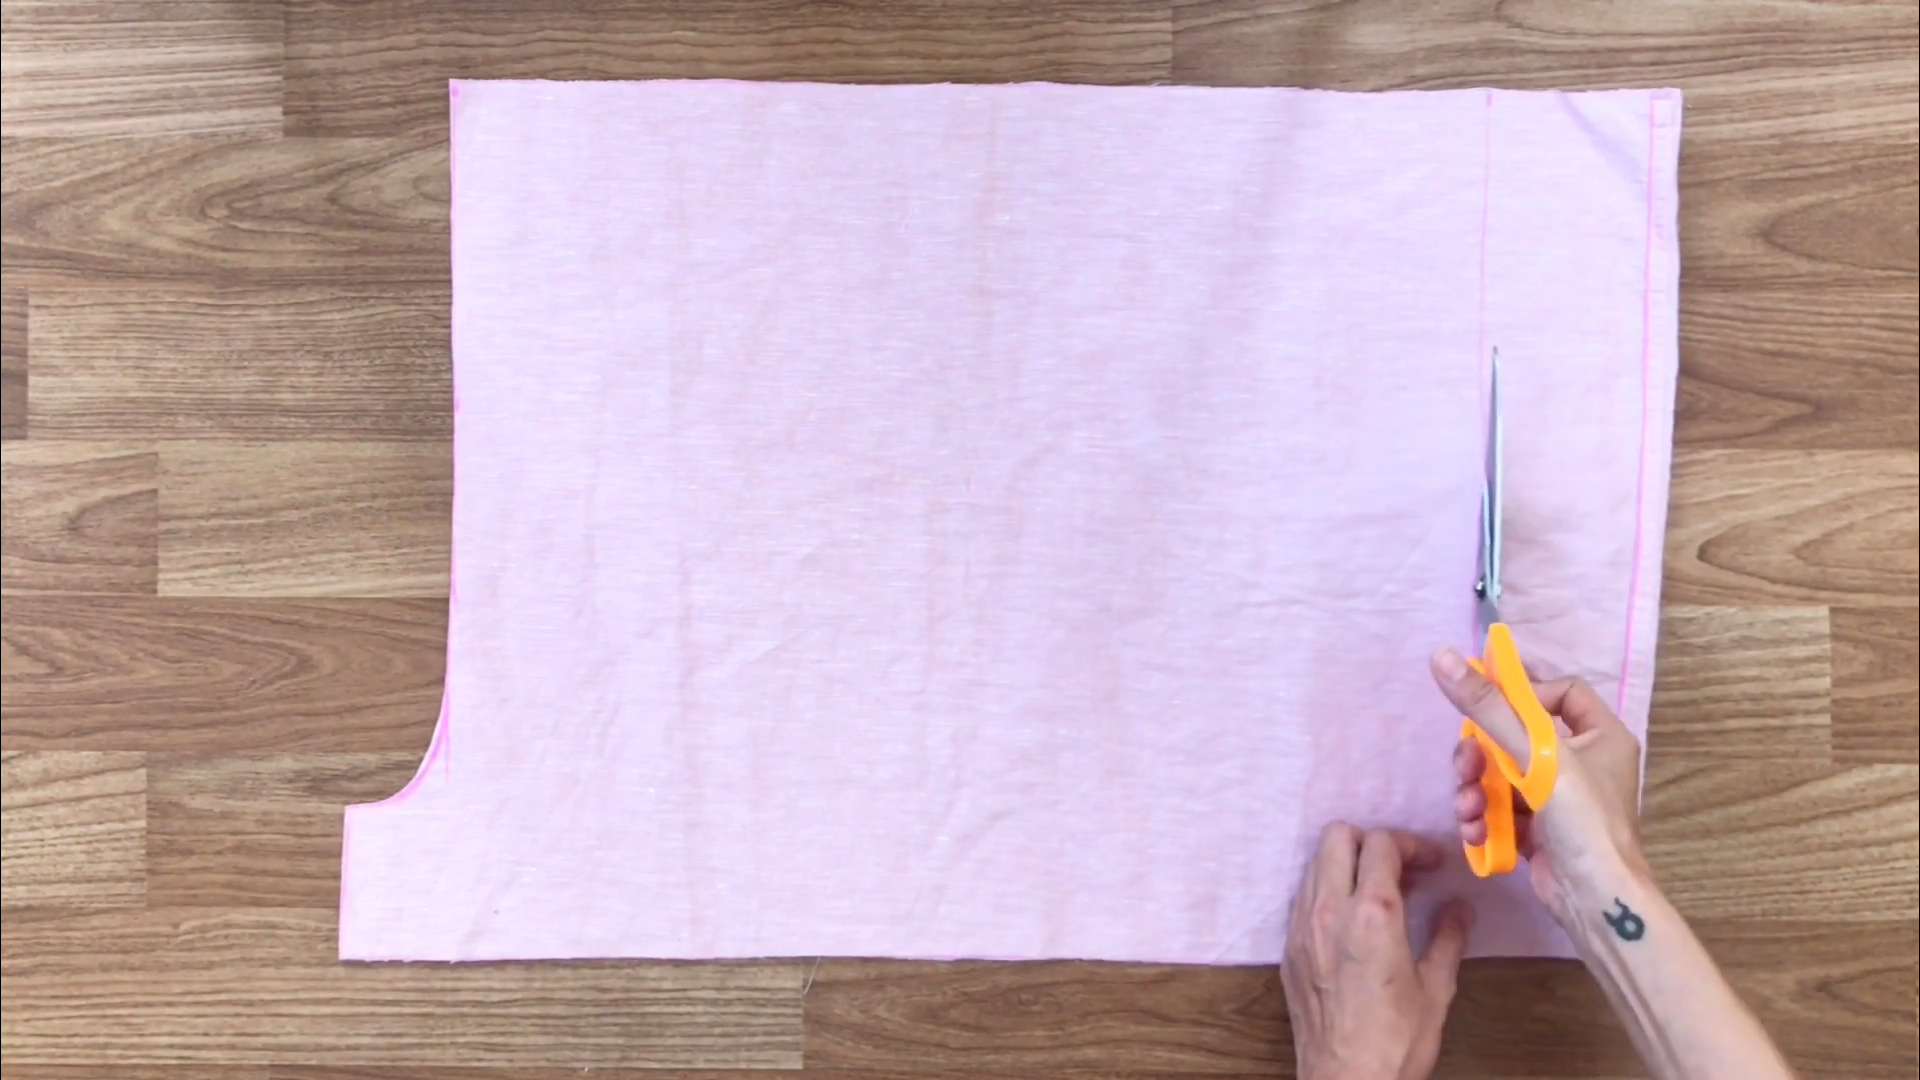
Then, cut along these lines.
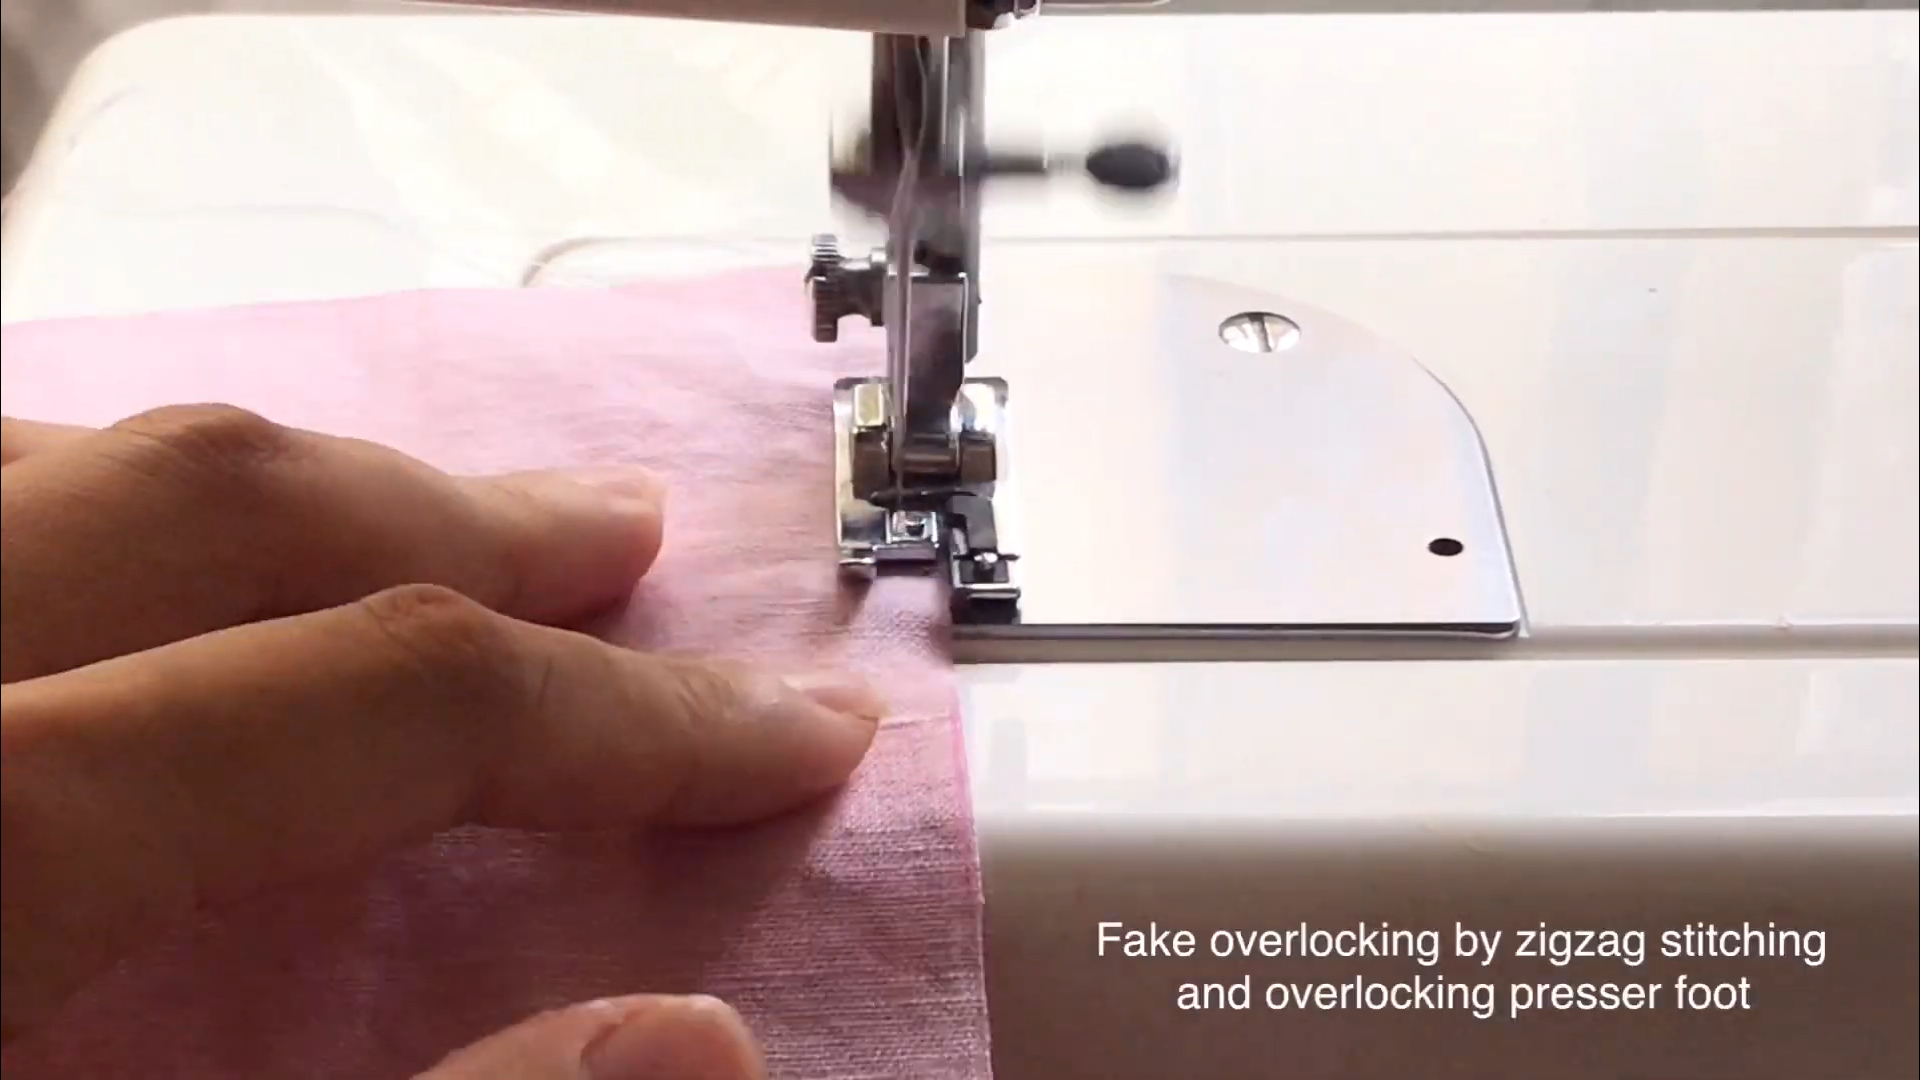
Overlock the edges.
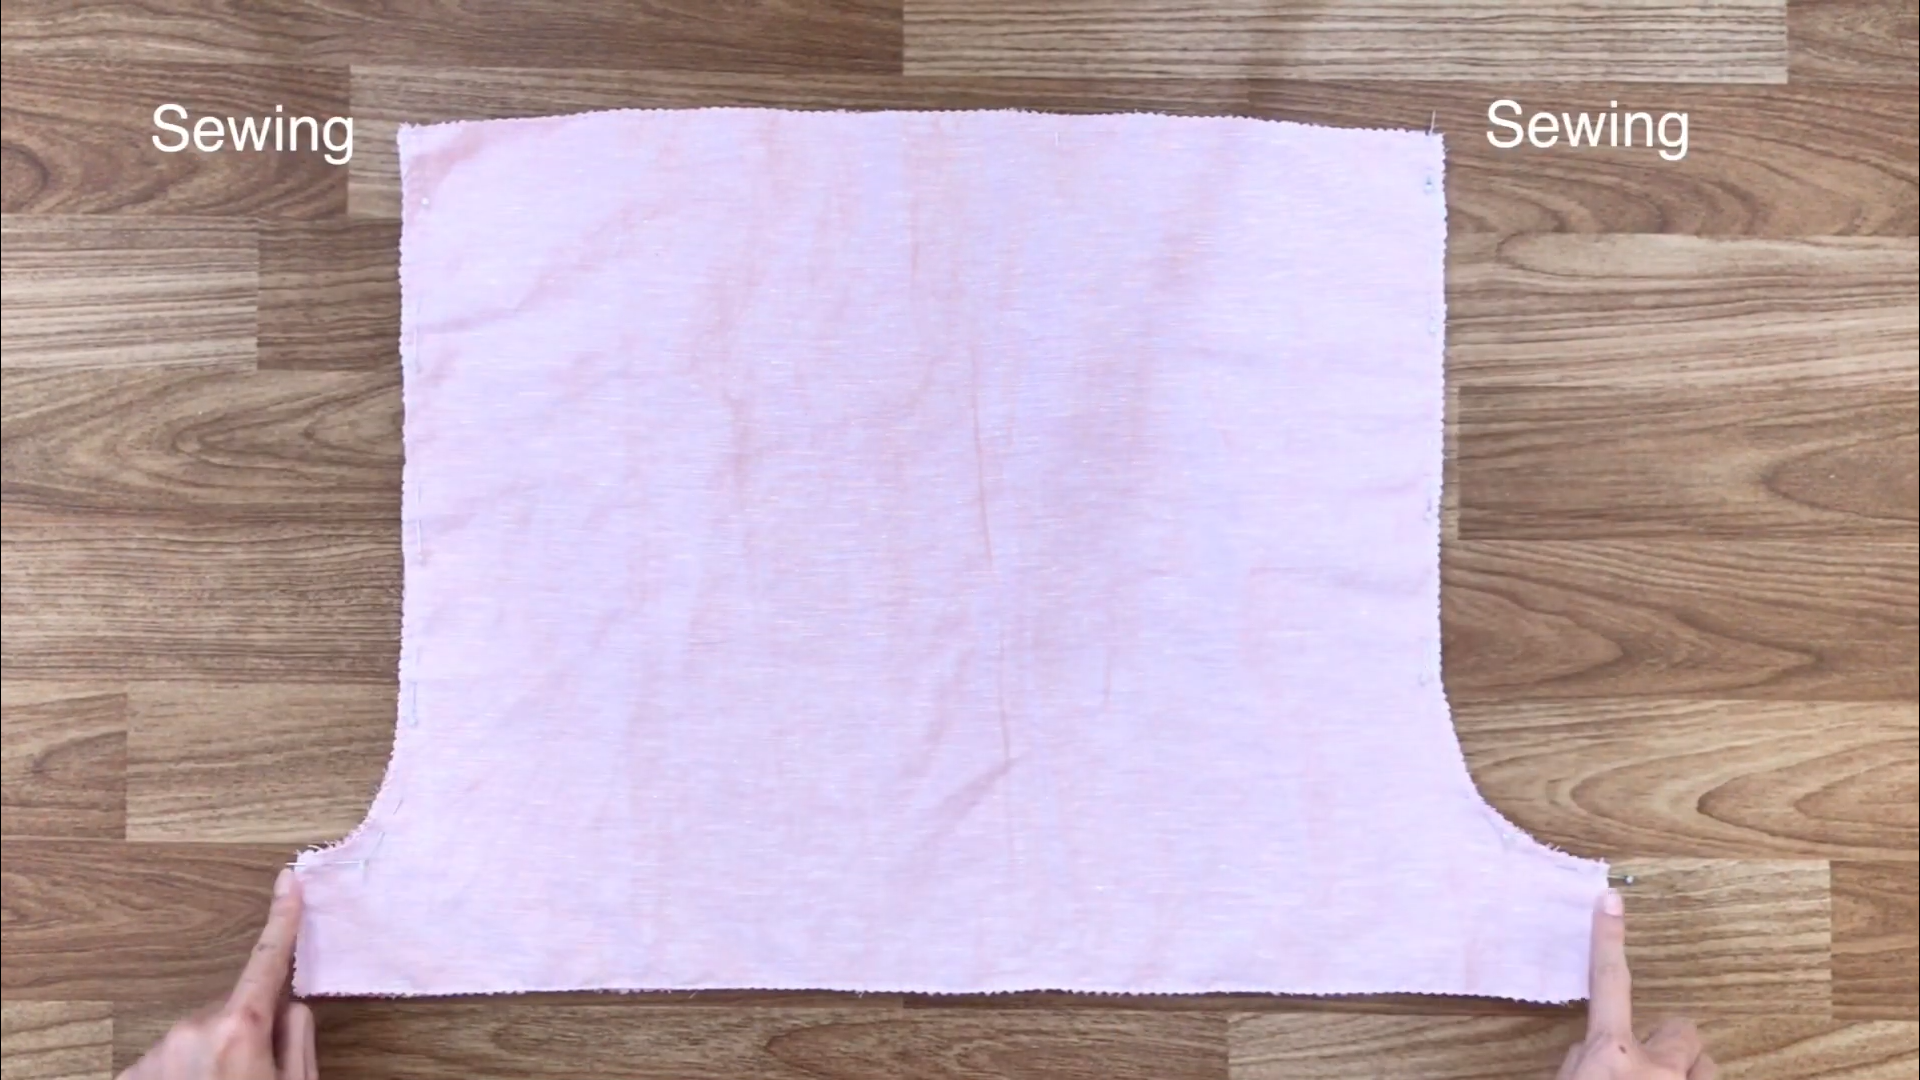
Then, connect two pieces of fabric together at the front and the back by the pins and sewing.
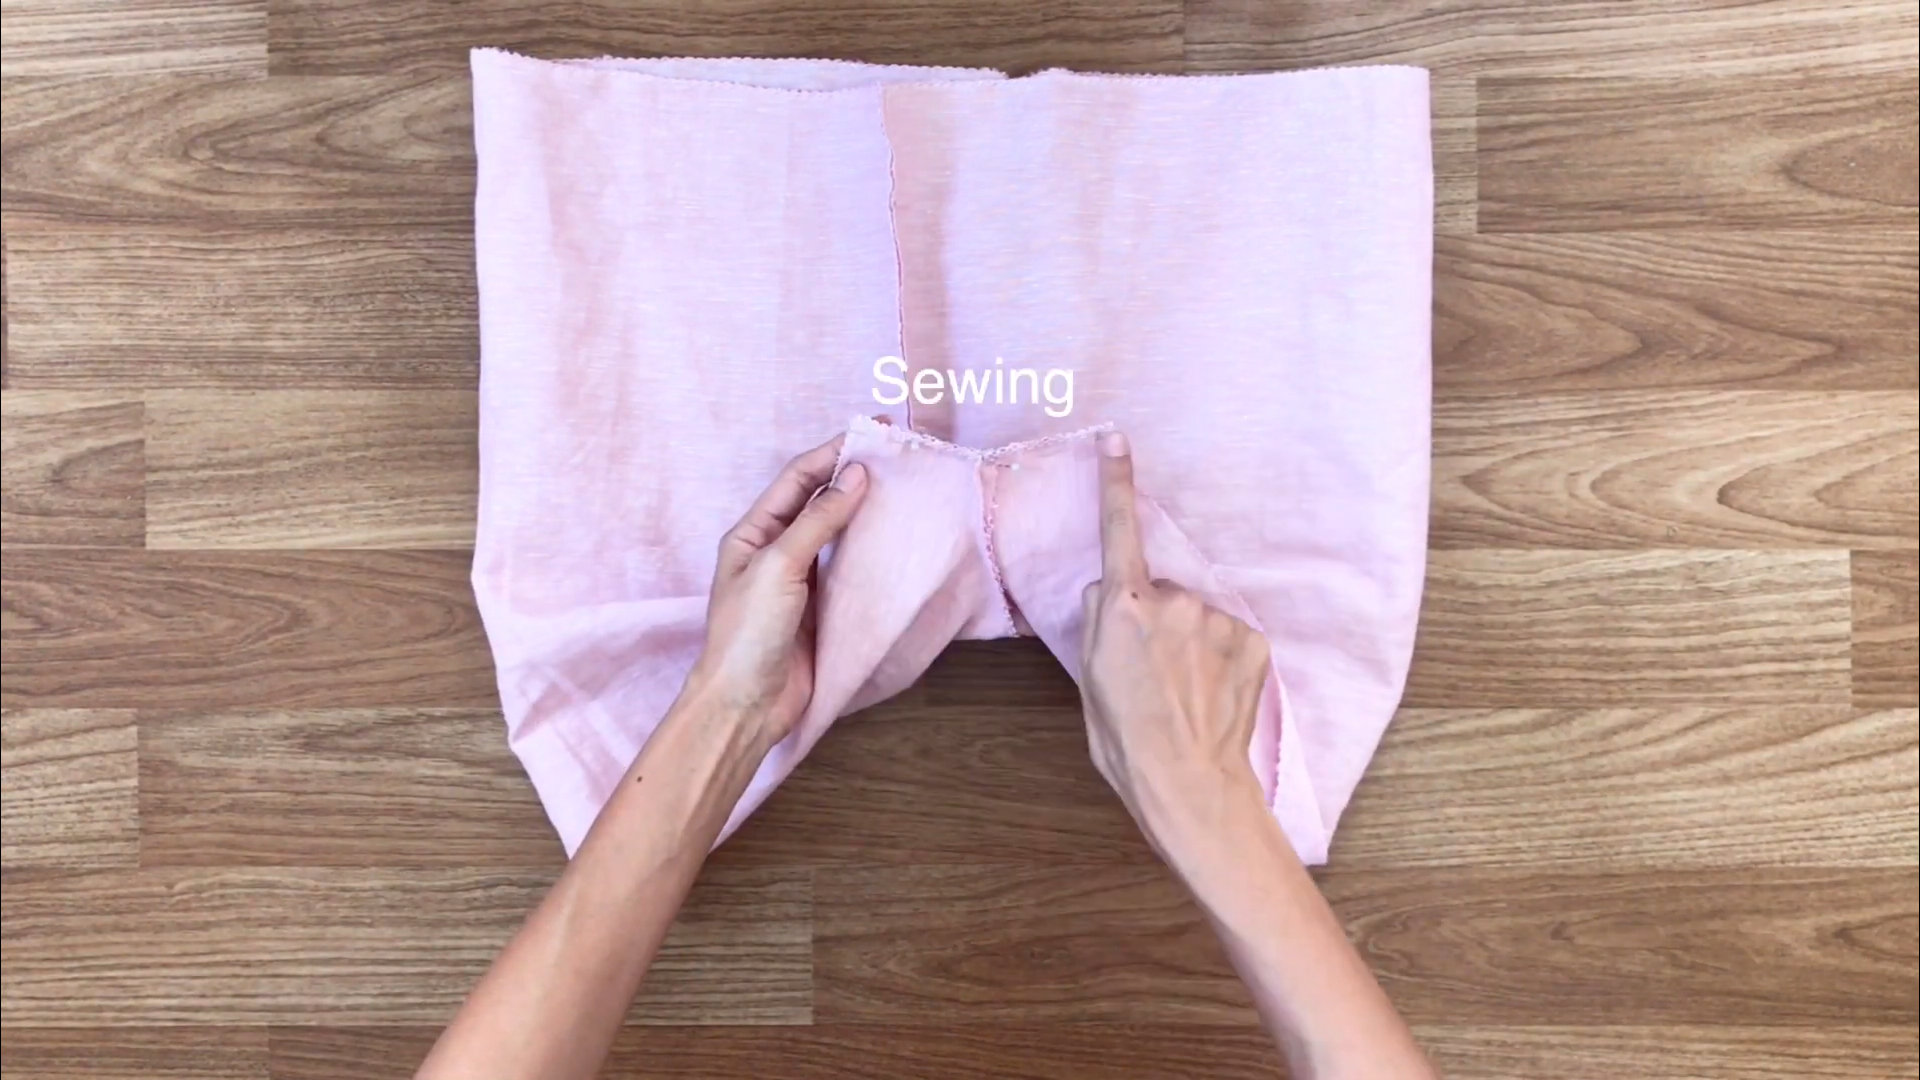
After that, fold the front and the back face each other. Then connect the crotched line together by the pins and sewing.
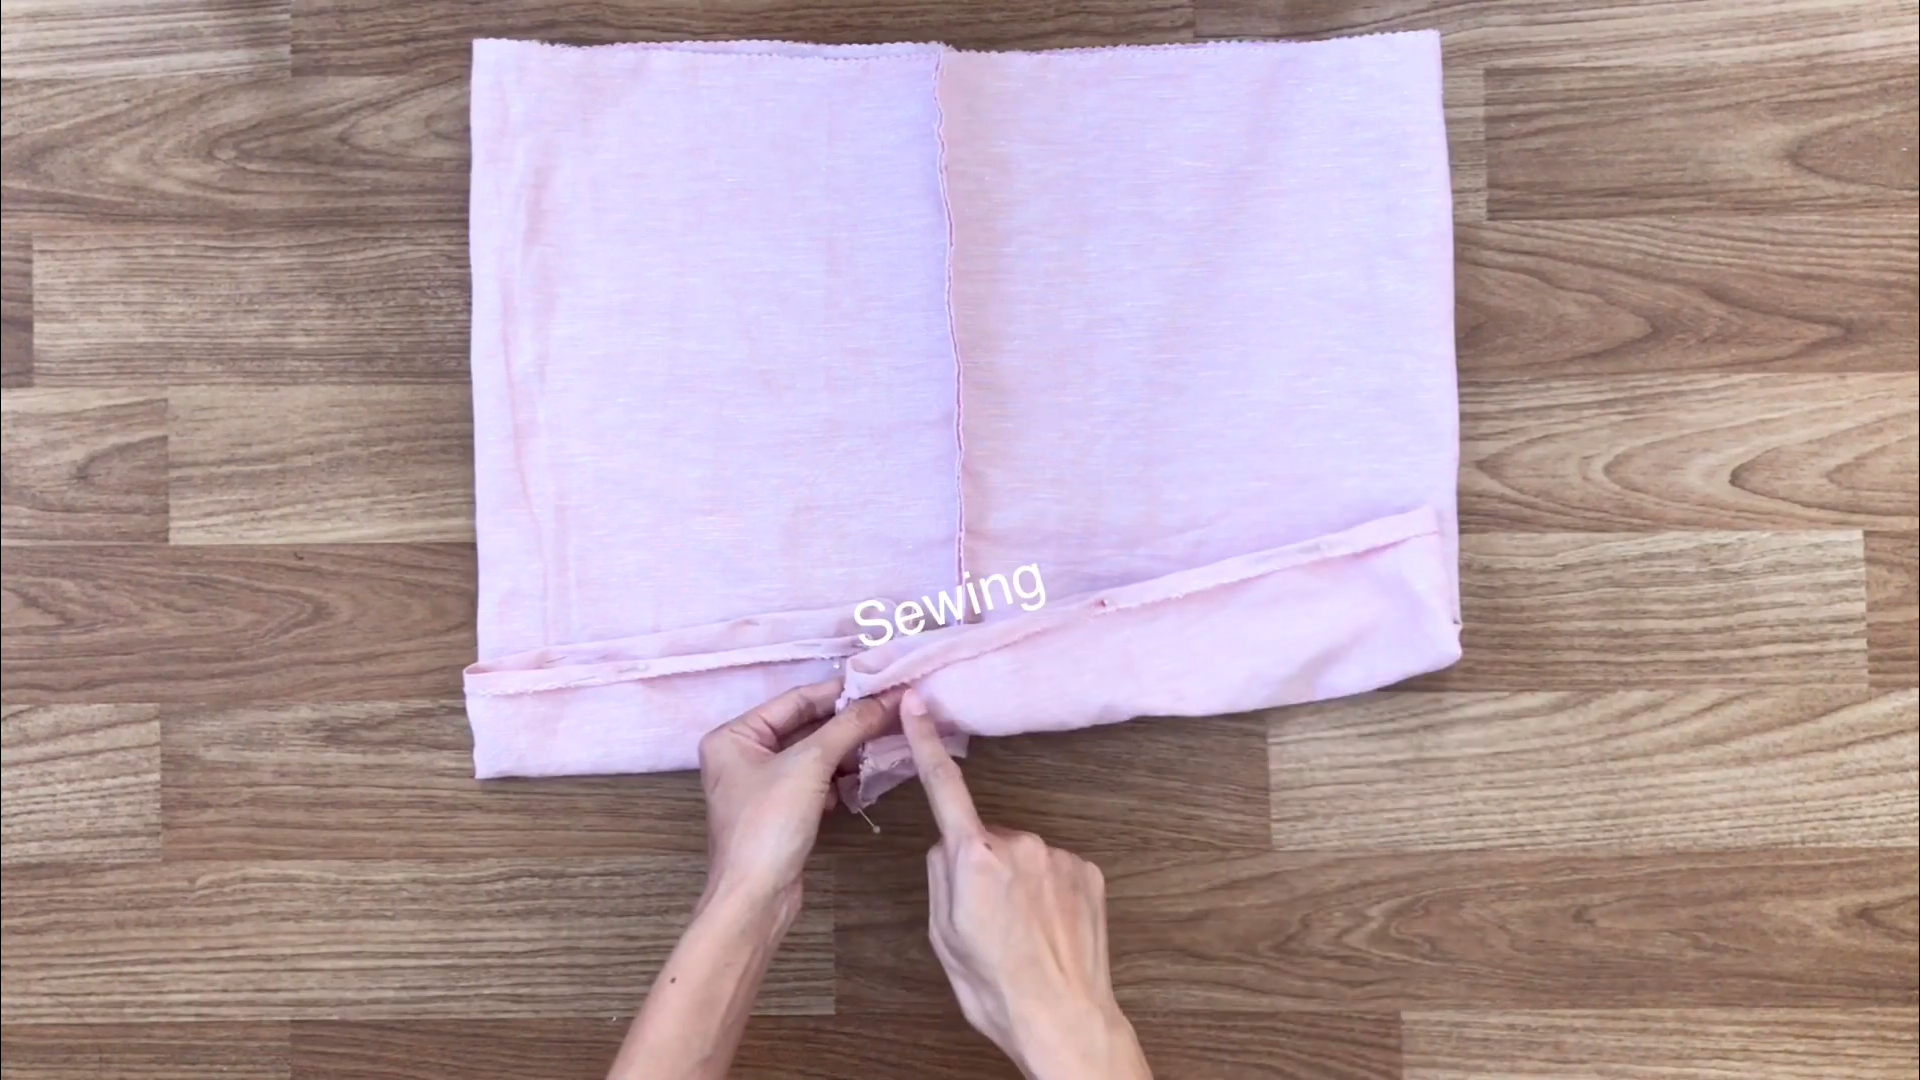
Finish the pants by folding and sewing the ends.
THE TOP
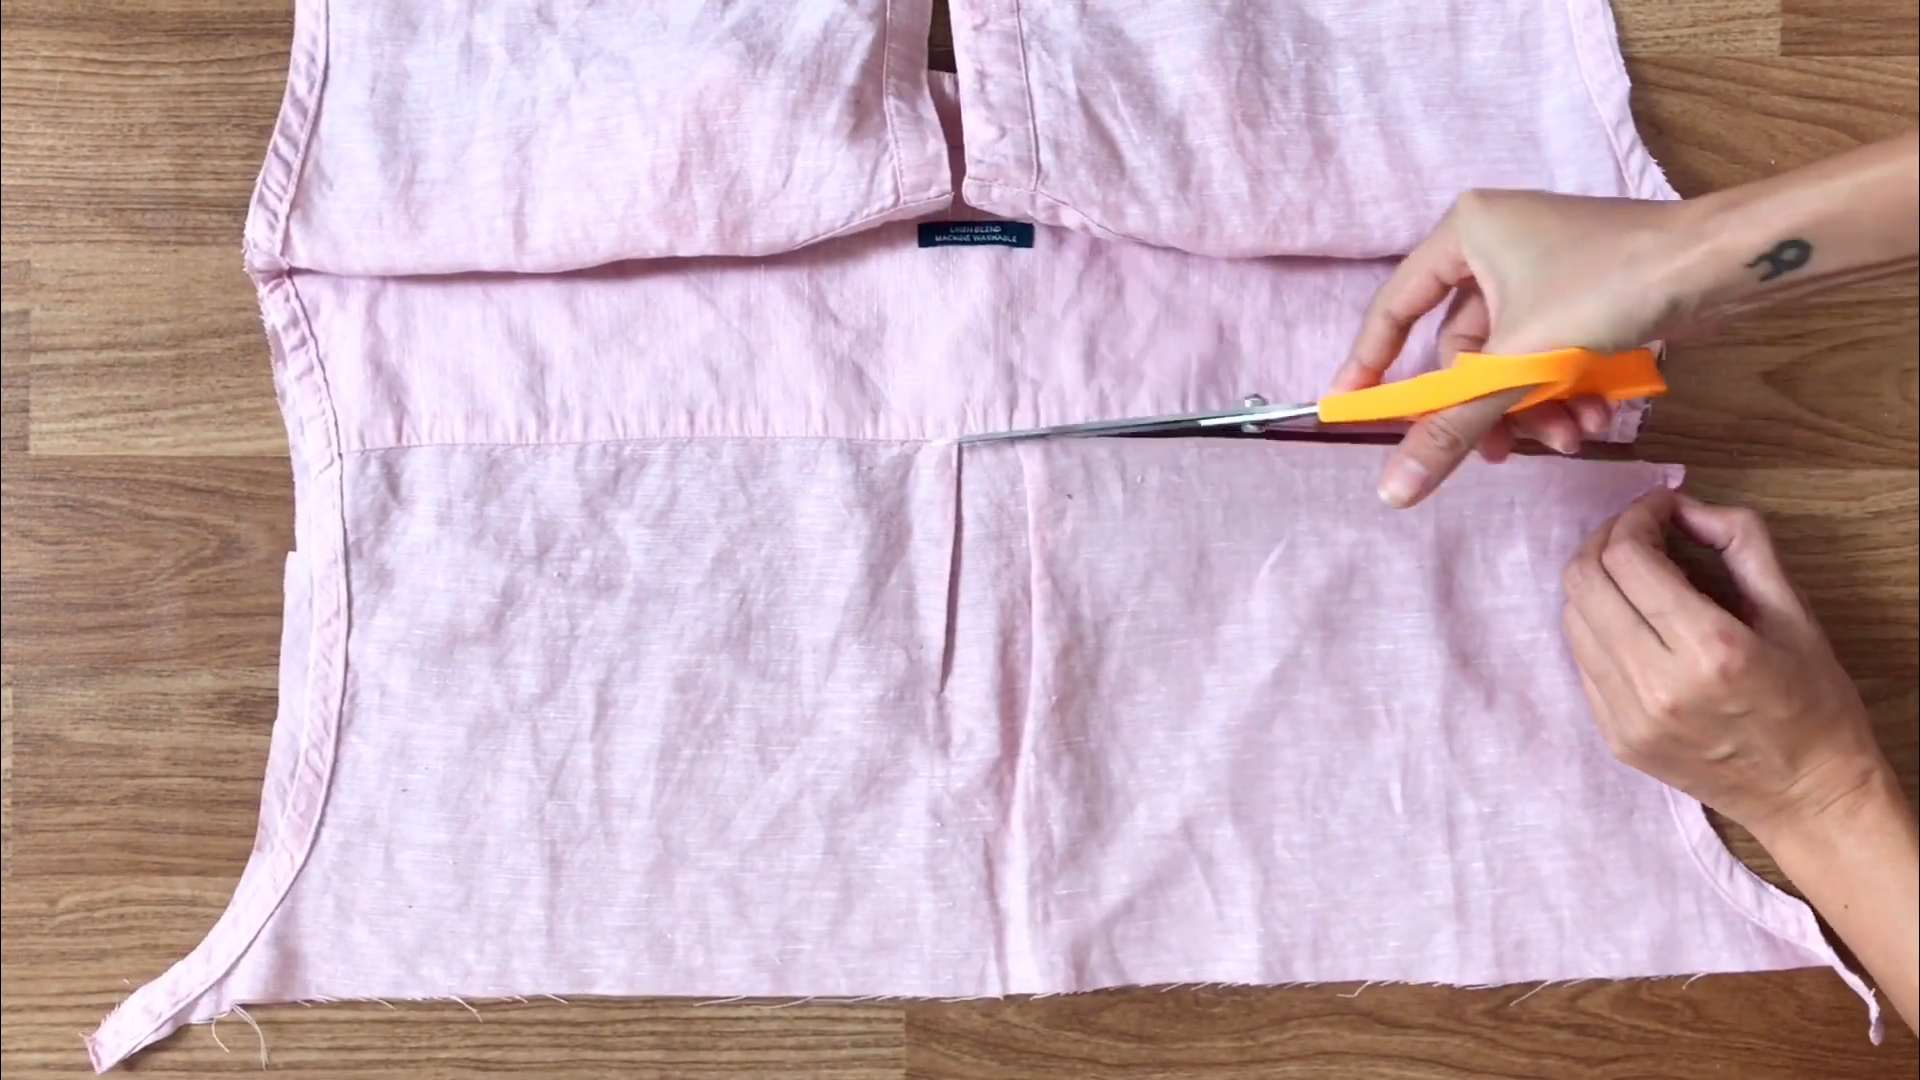
At the top of the men's shirt, cut the fabric at the back.
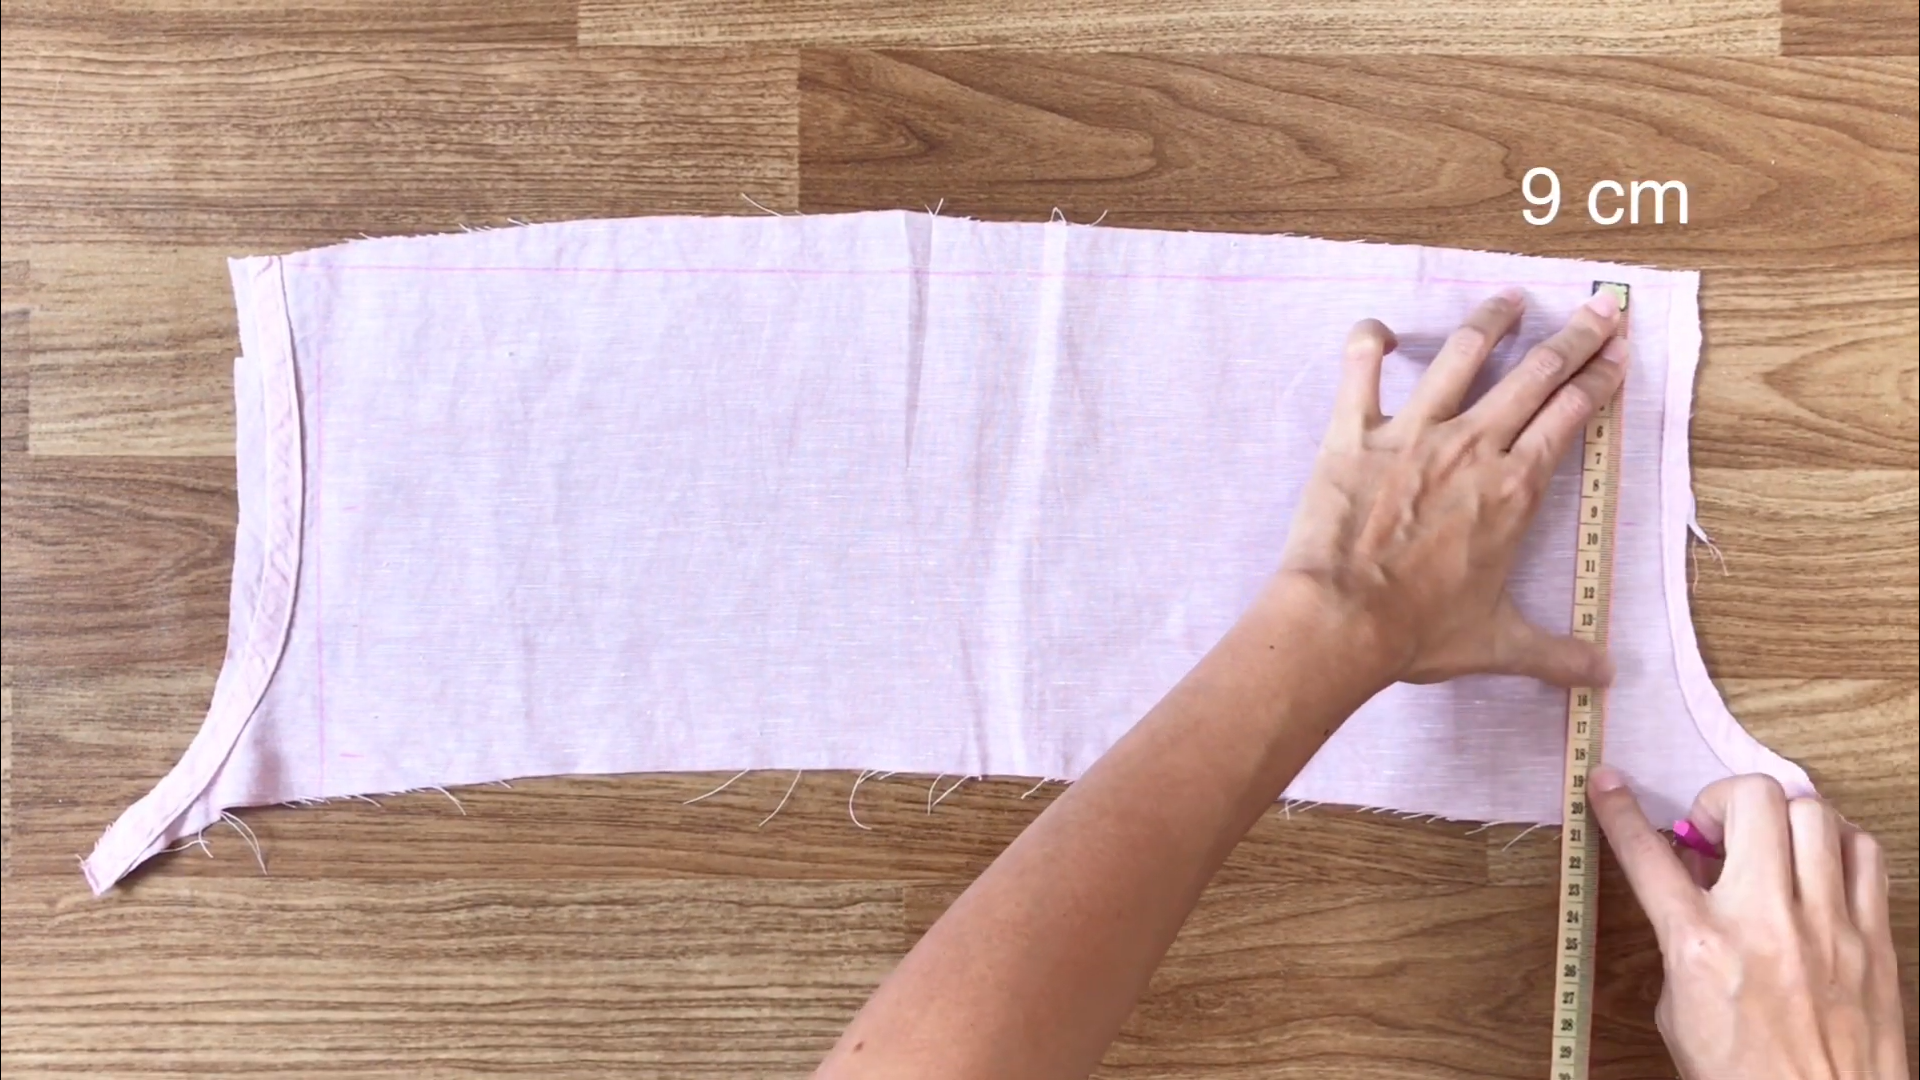
And, use it to create two rectangles with 9cm width.
Use the sleeves to form the jumpsuit front by cutting one end.
And, draw a straight line at the other.
At the top, mark at 4.5cm from the end.
Connect this mark to the end of the sleeve and cut along the line.
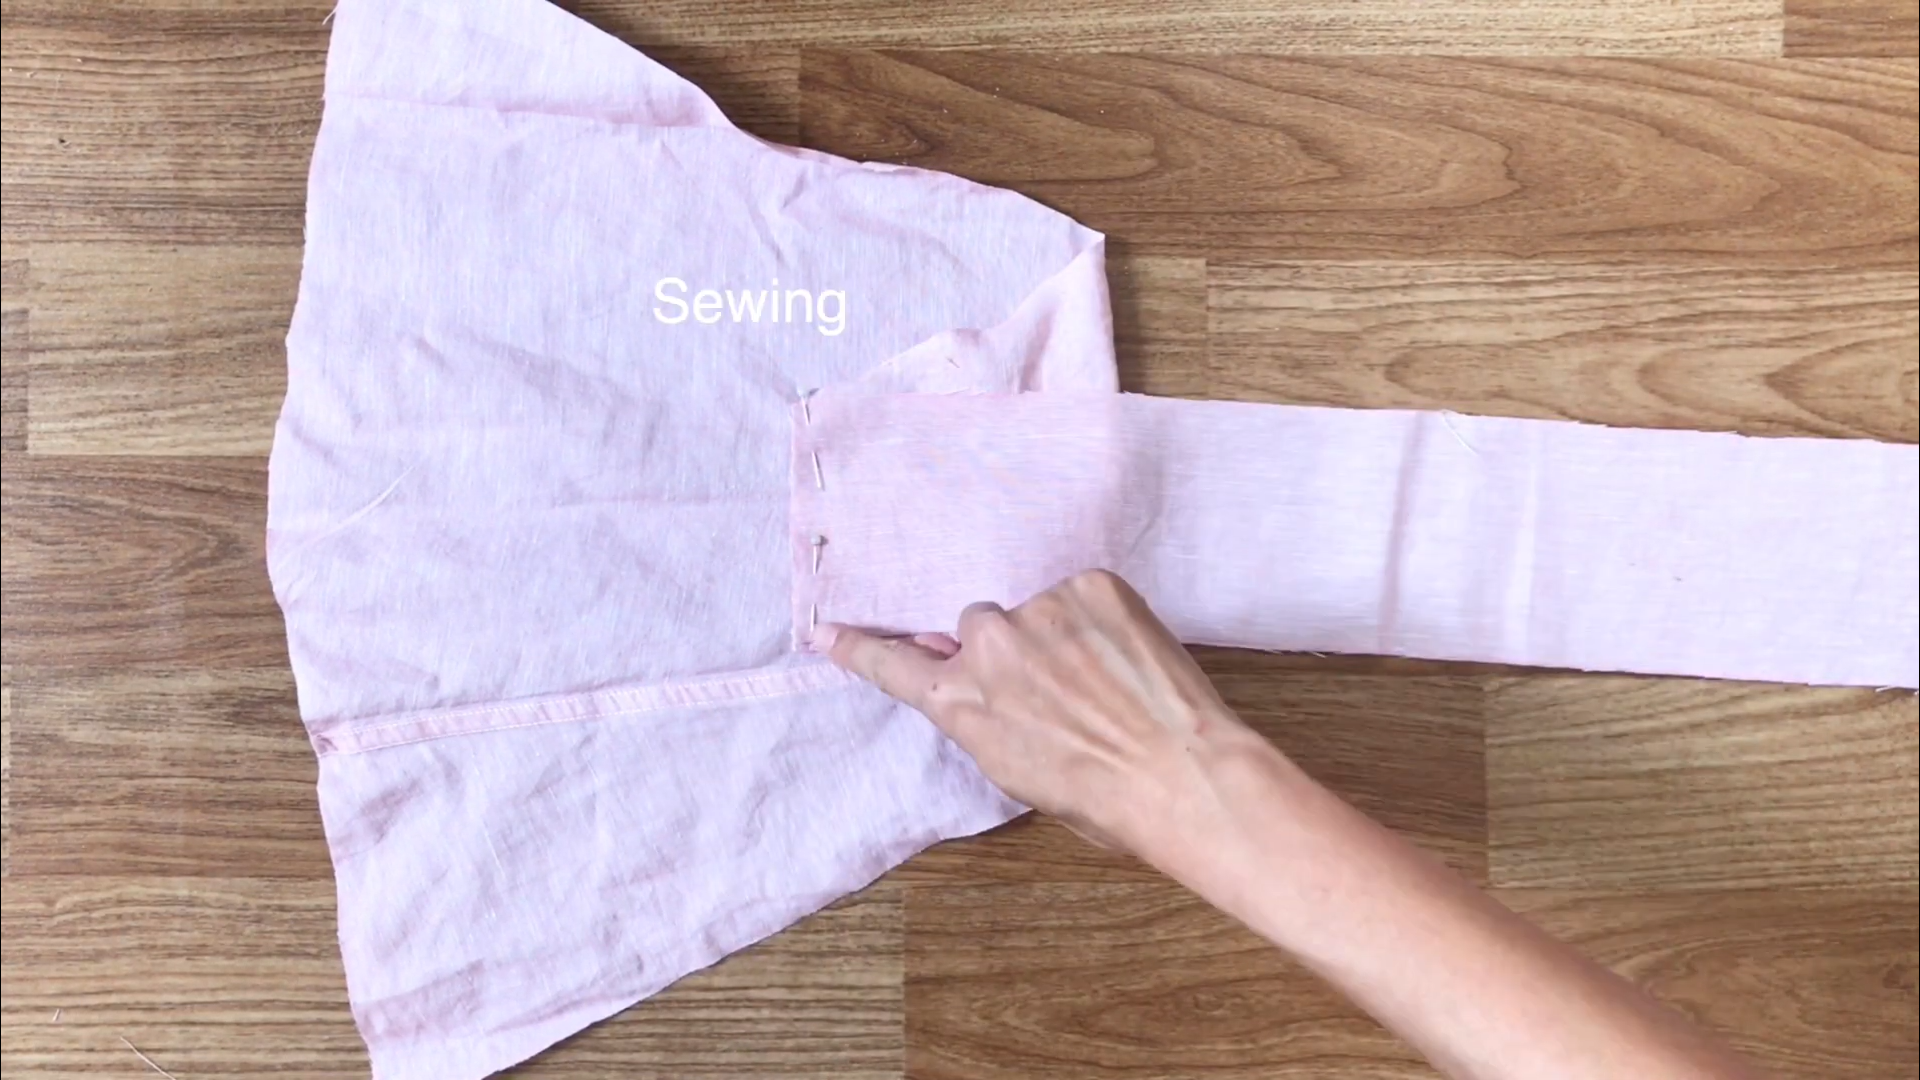
Open the sleeve and sew it to the rectangles.
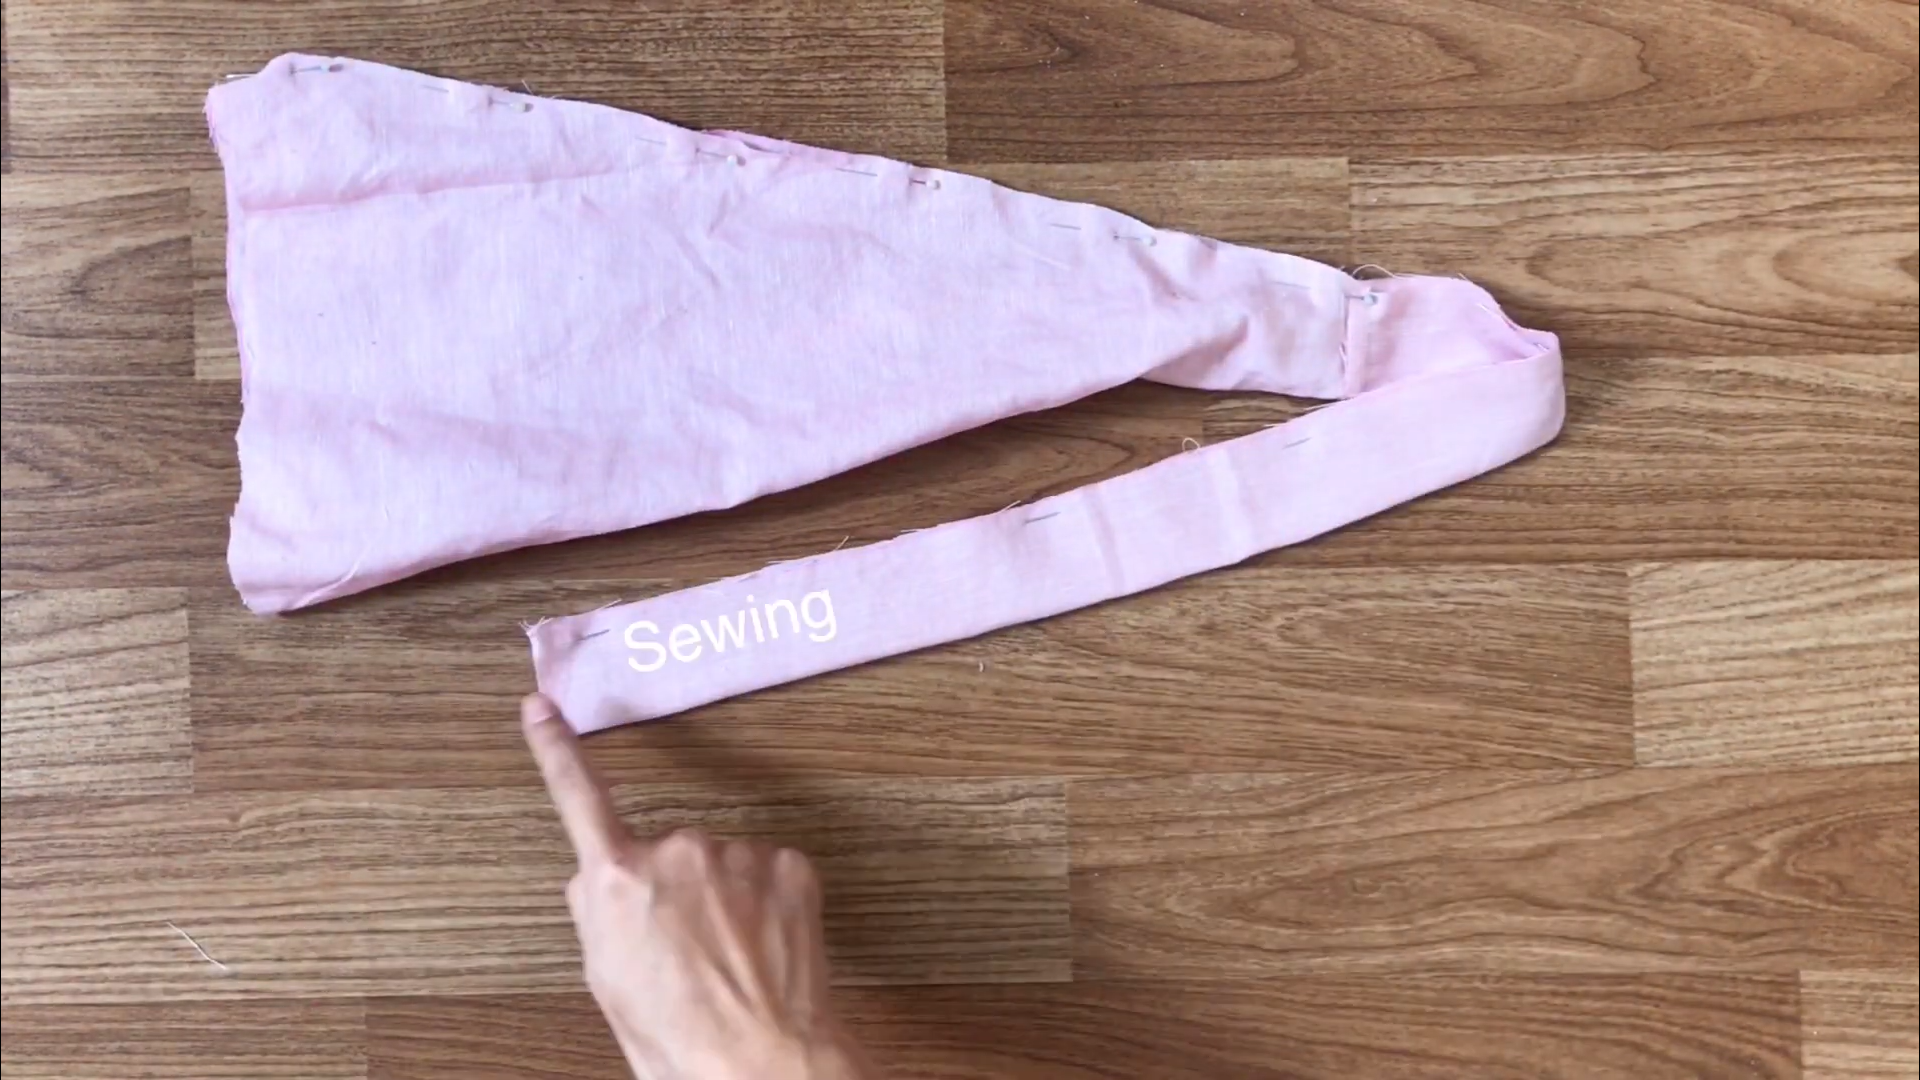
Fold the sleeve and rectangle in half, pin, and sew.
Remember to sew a curve at the end of the rectangle.
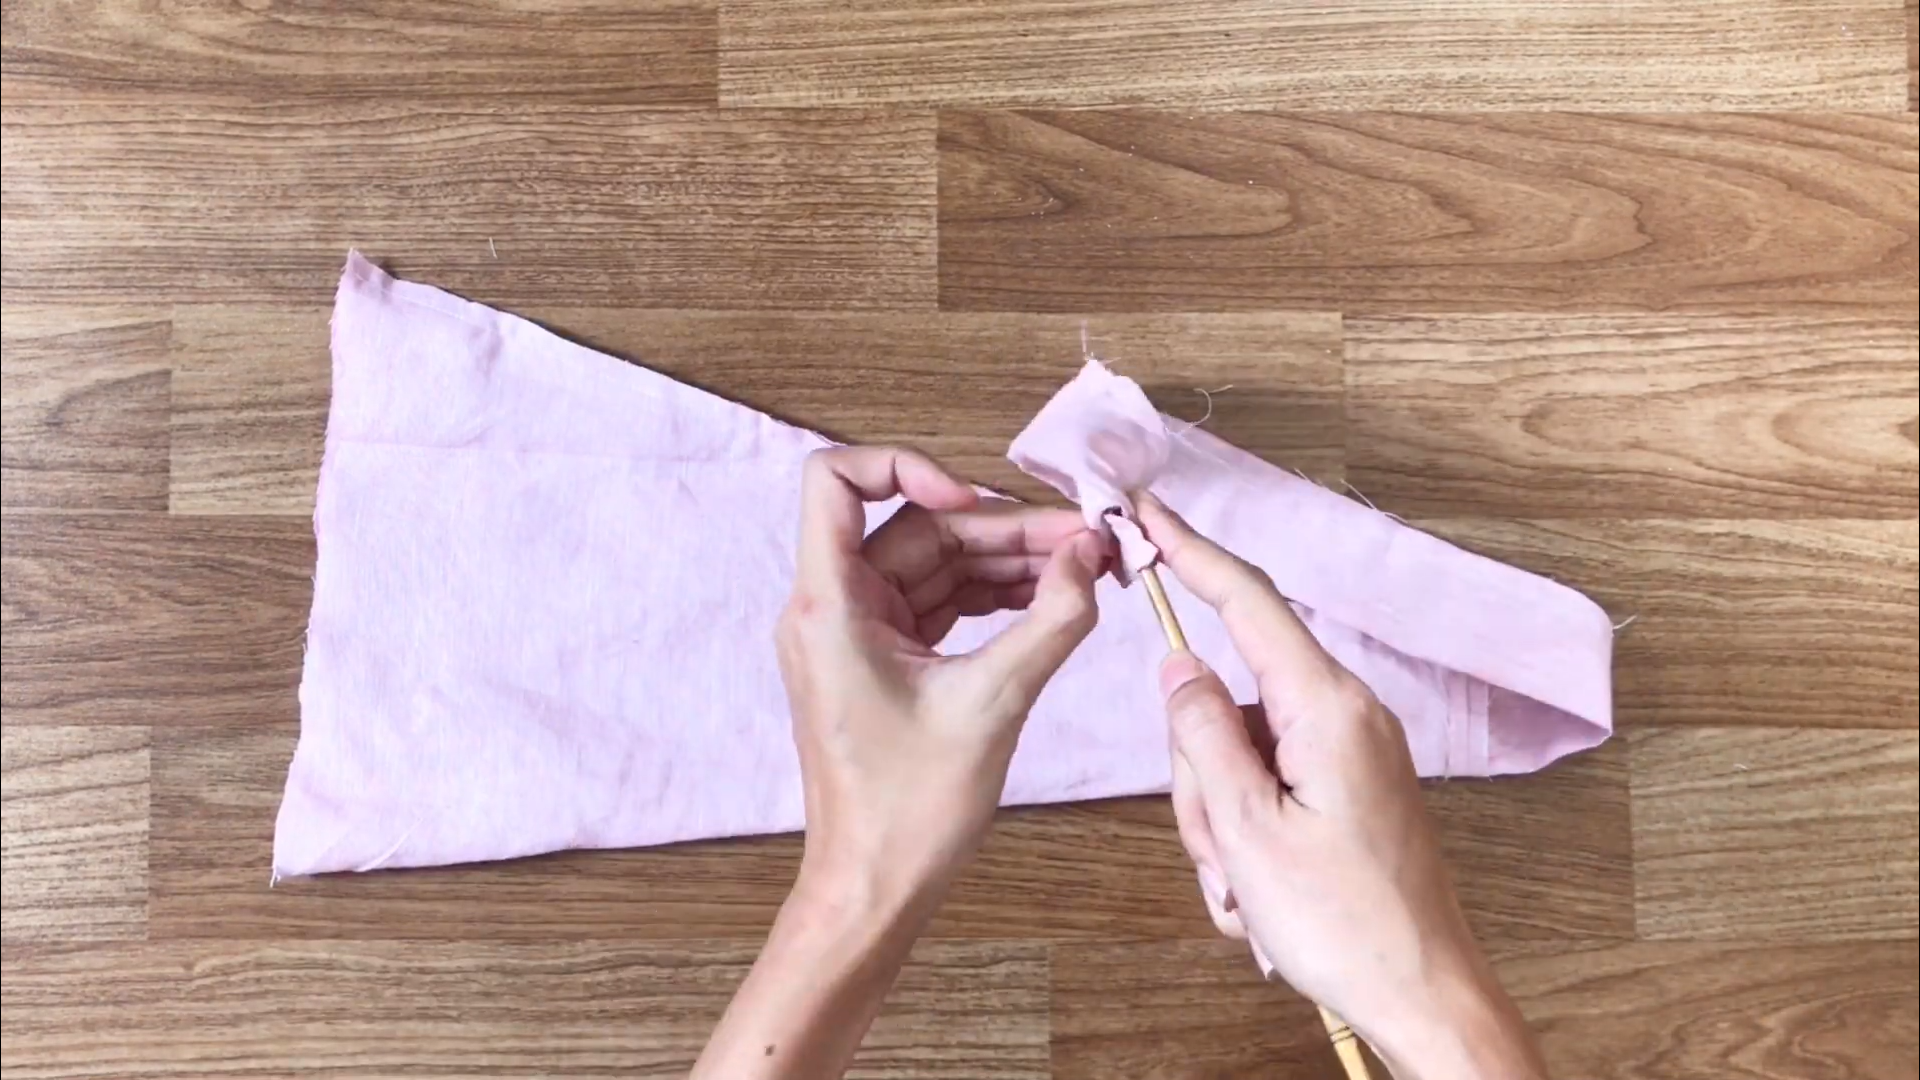
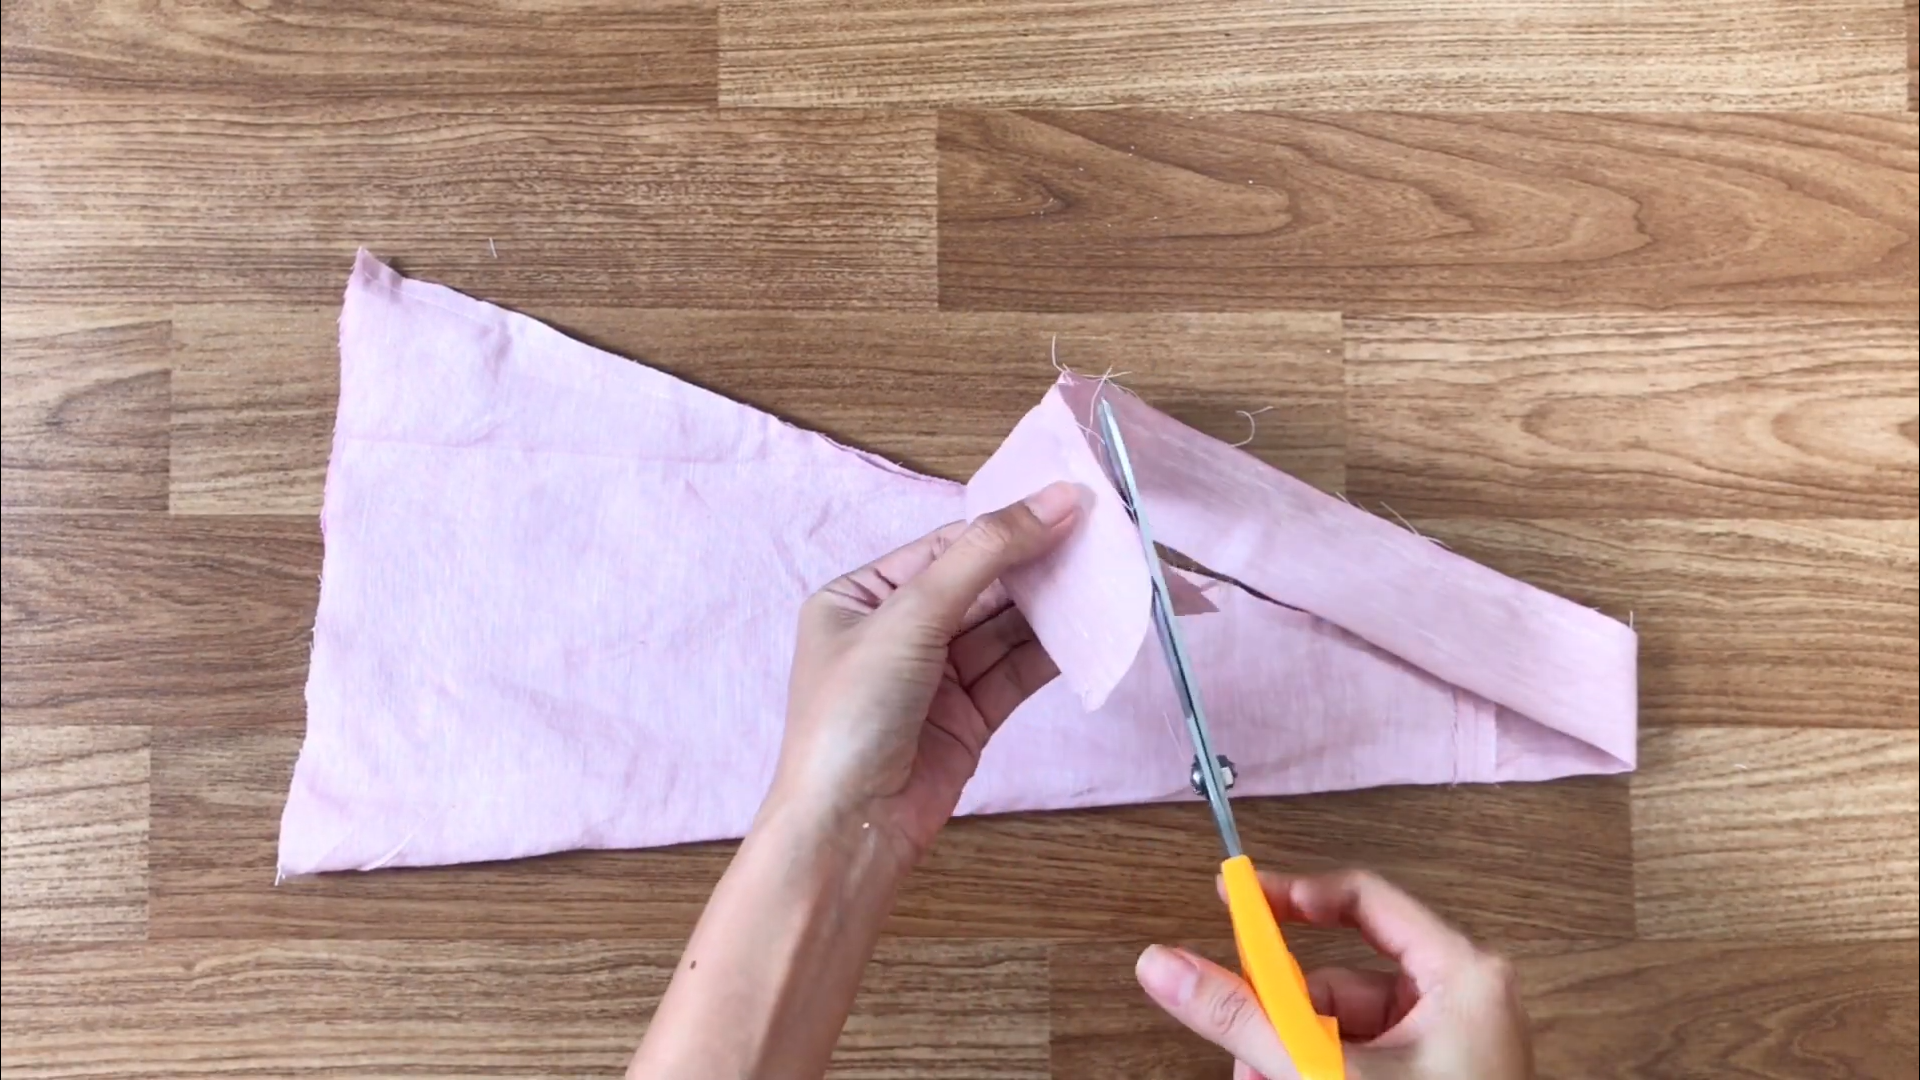
Use a long stick to turn it right-side-out.
Then iron to shape.
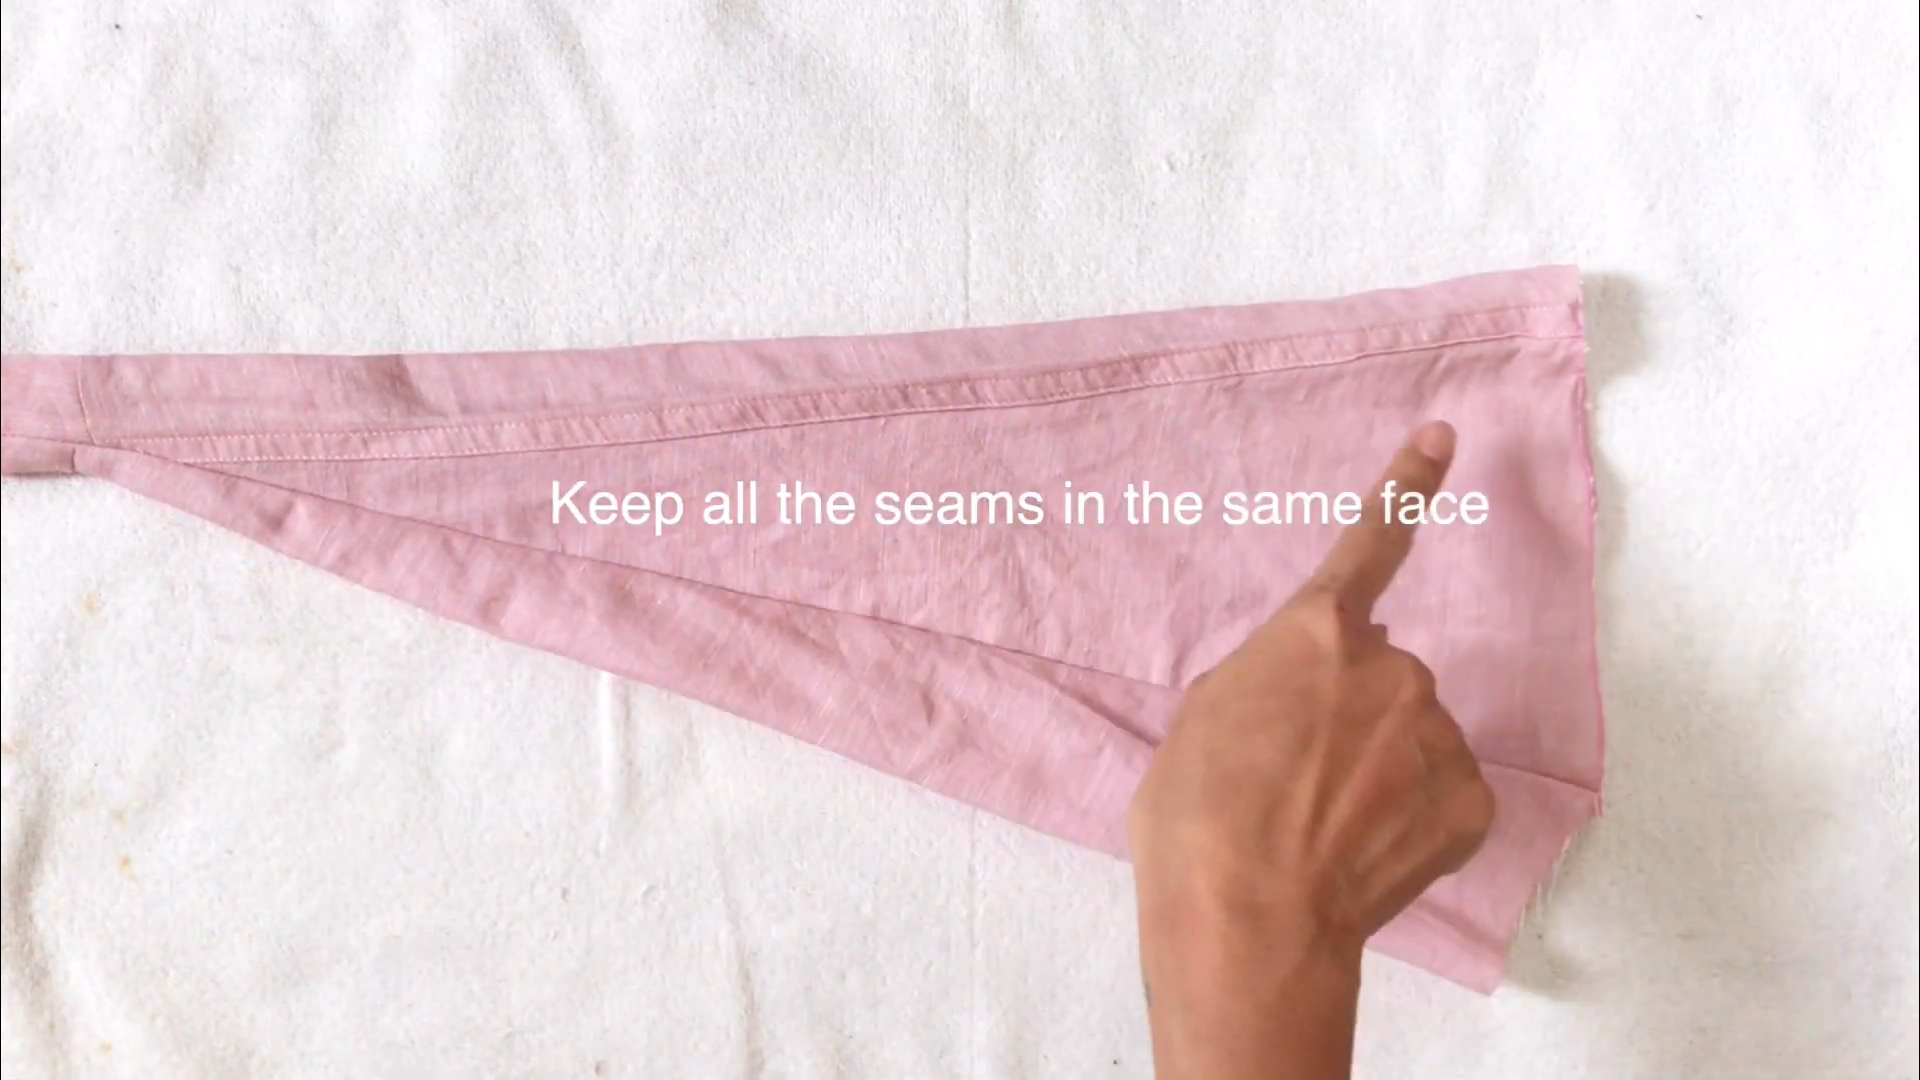
Make sure all seams face the same direction.
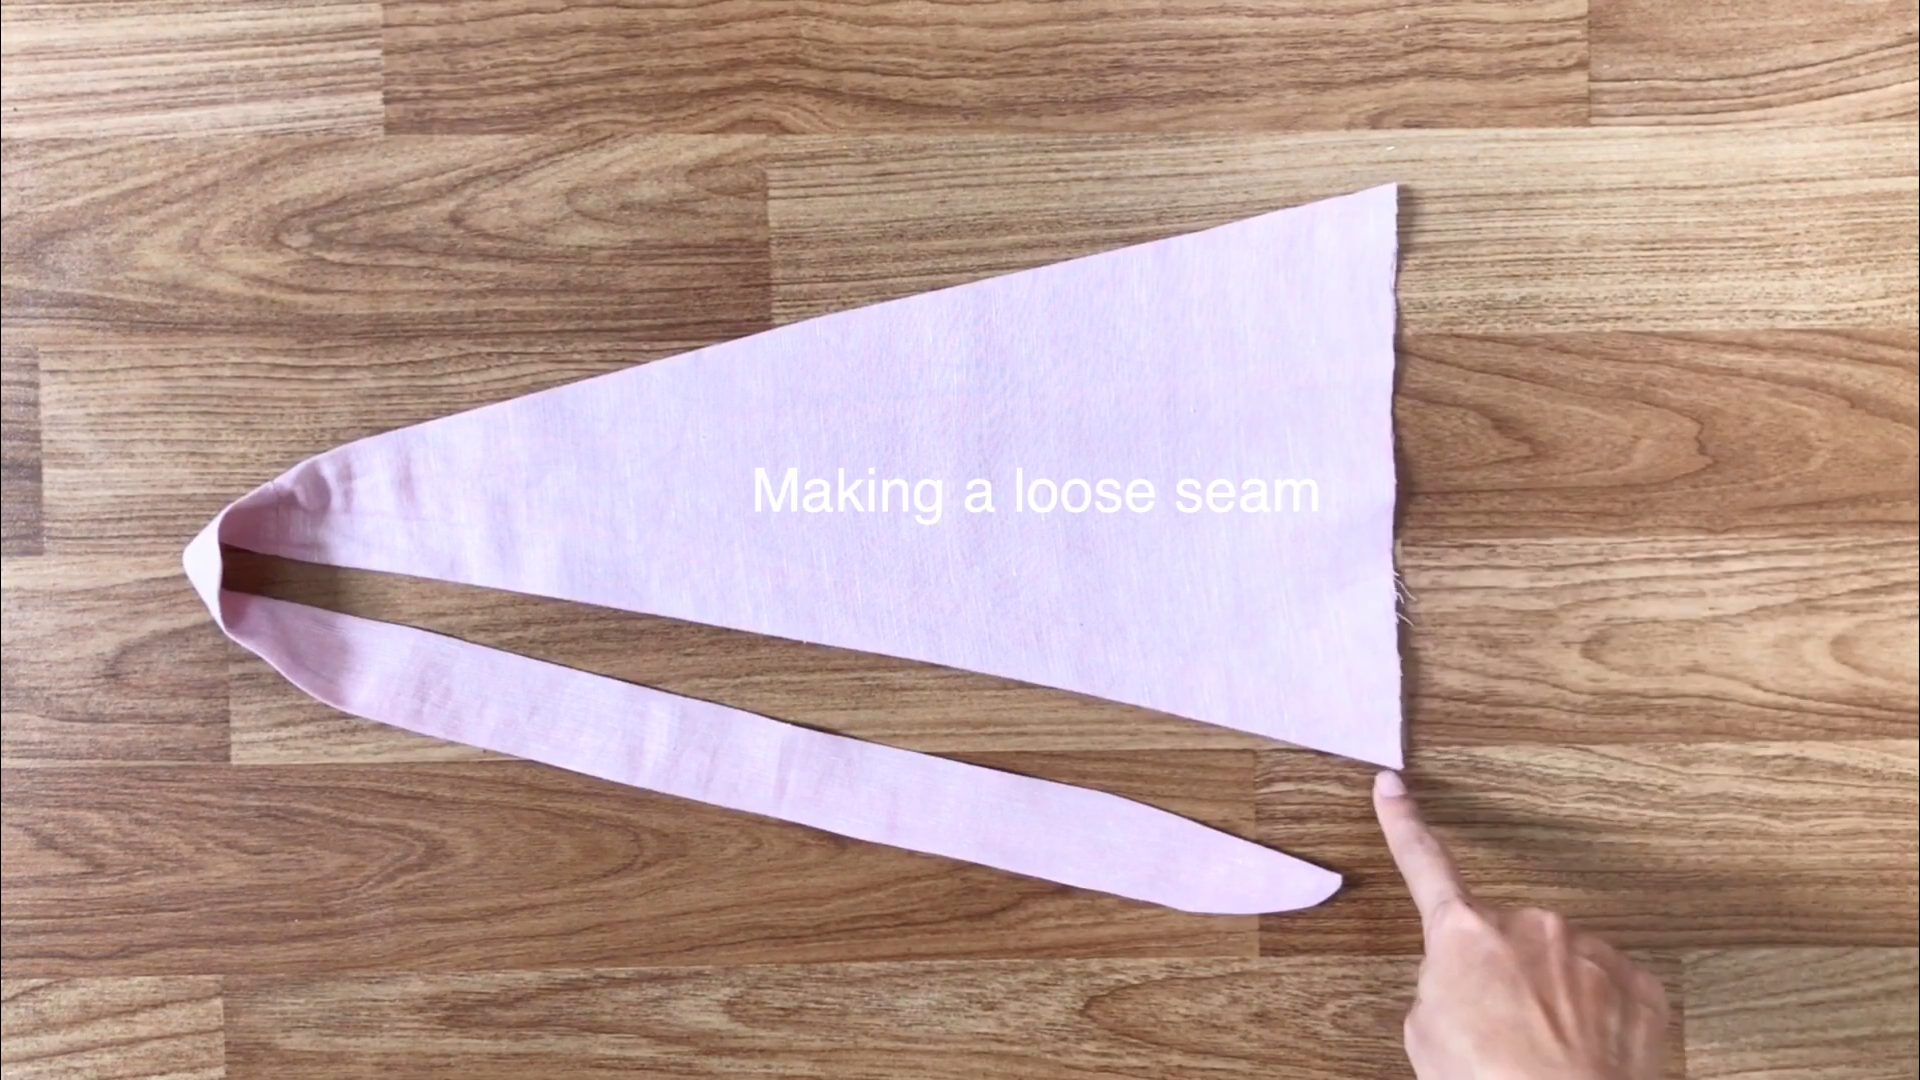
After overlocking the end, make a loose seam.
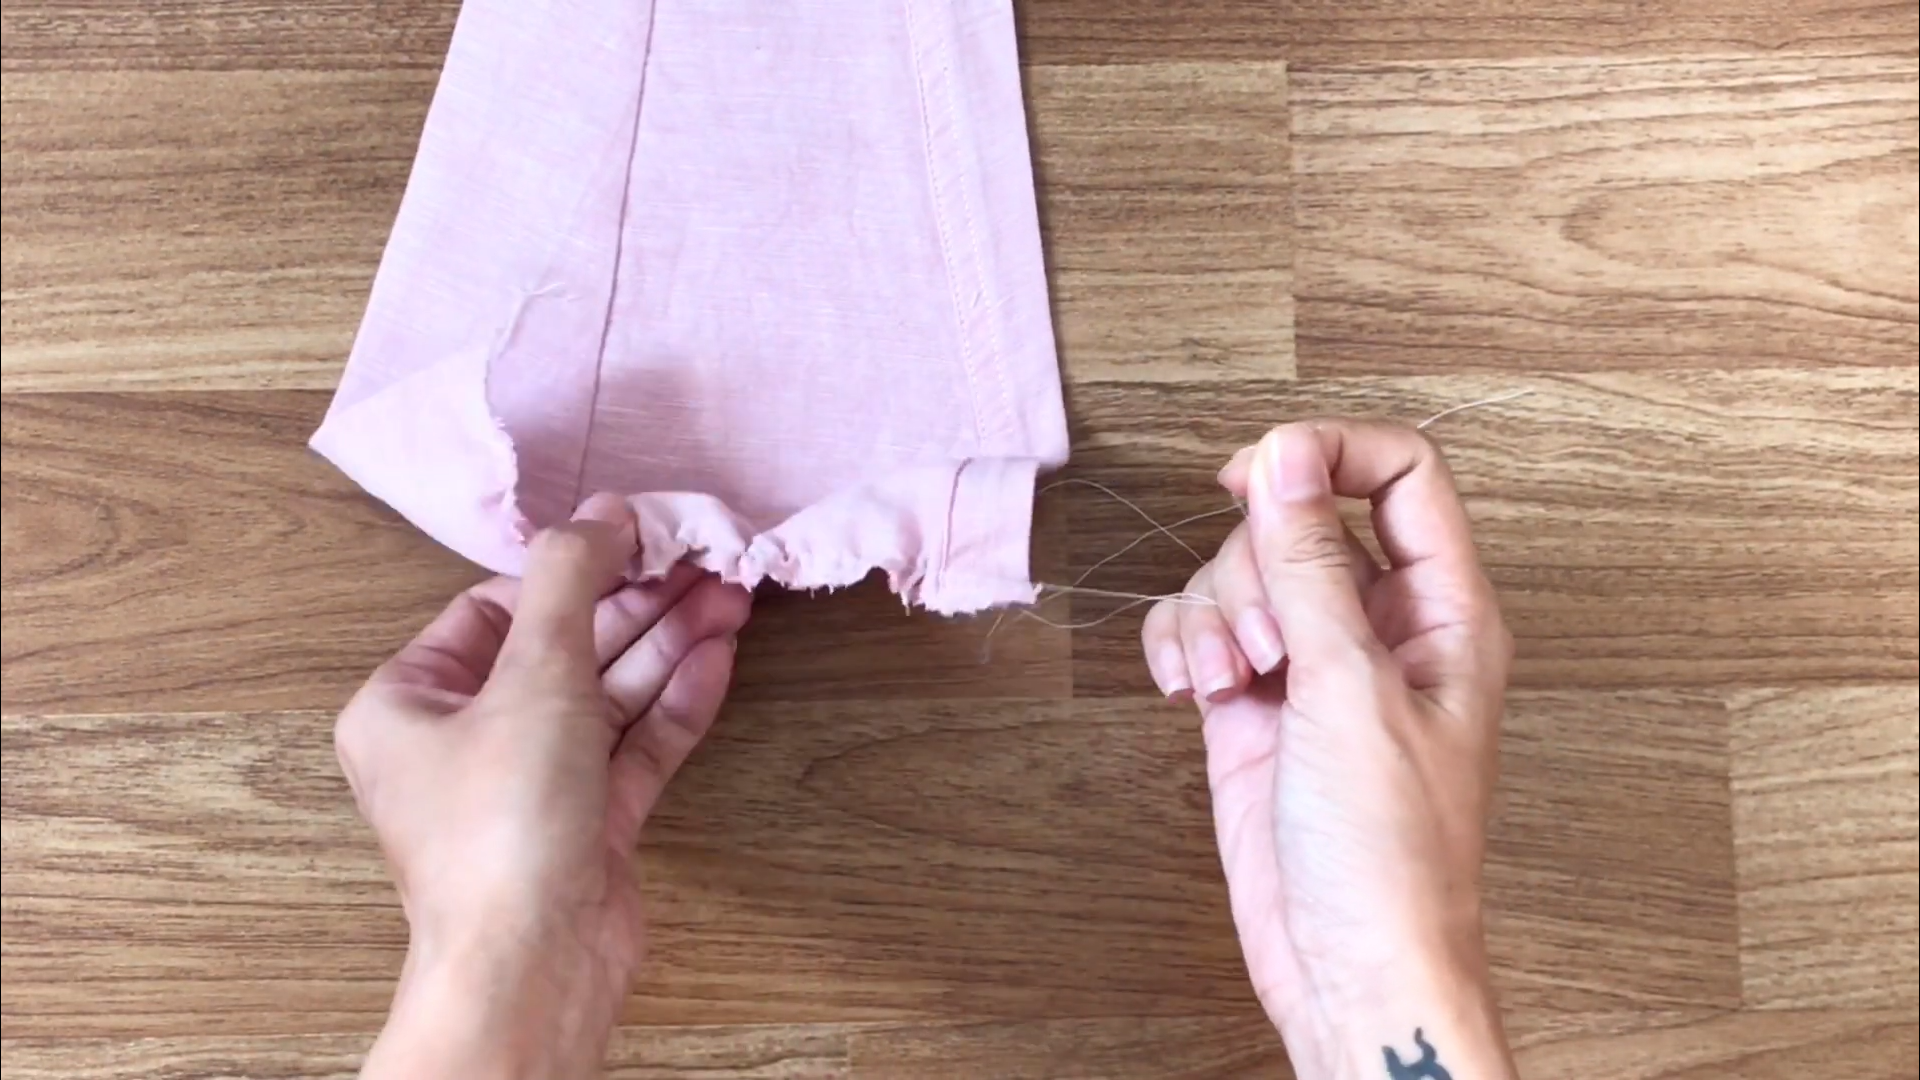
Then, create a frill.
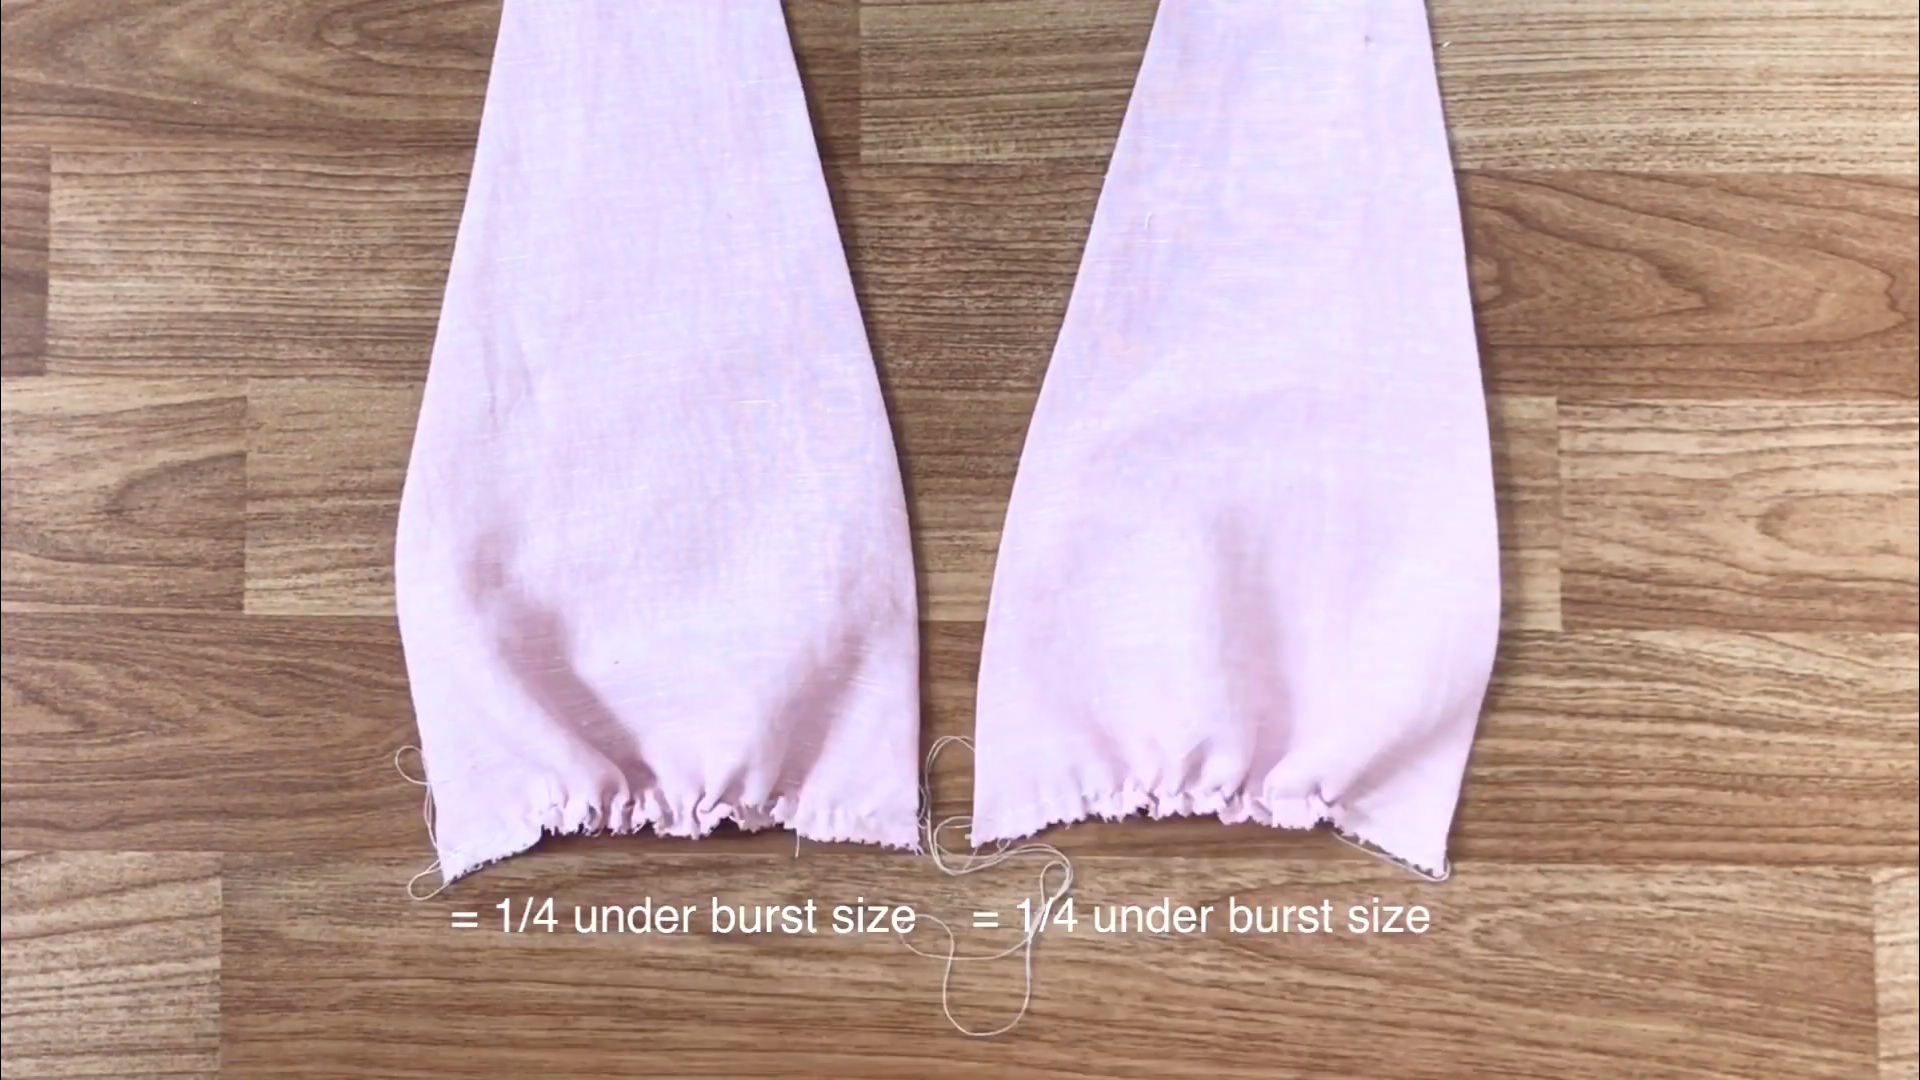
Make sure the width of the end had to be a quarter of your under burst size.
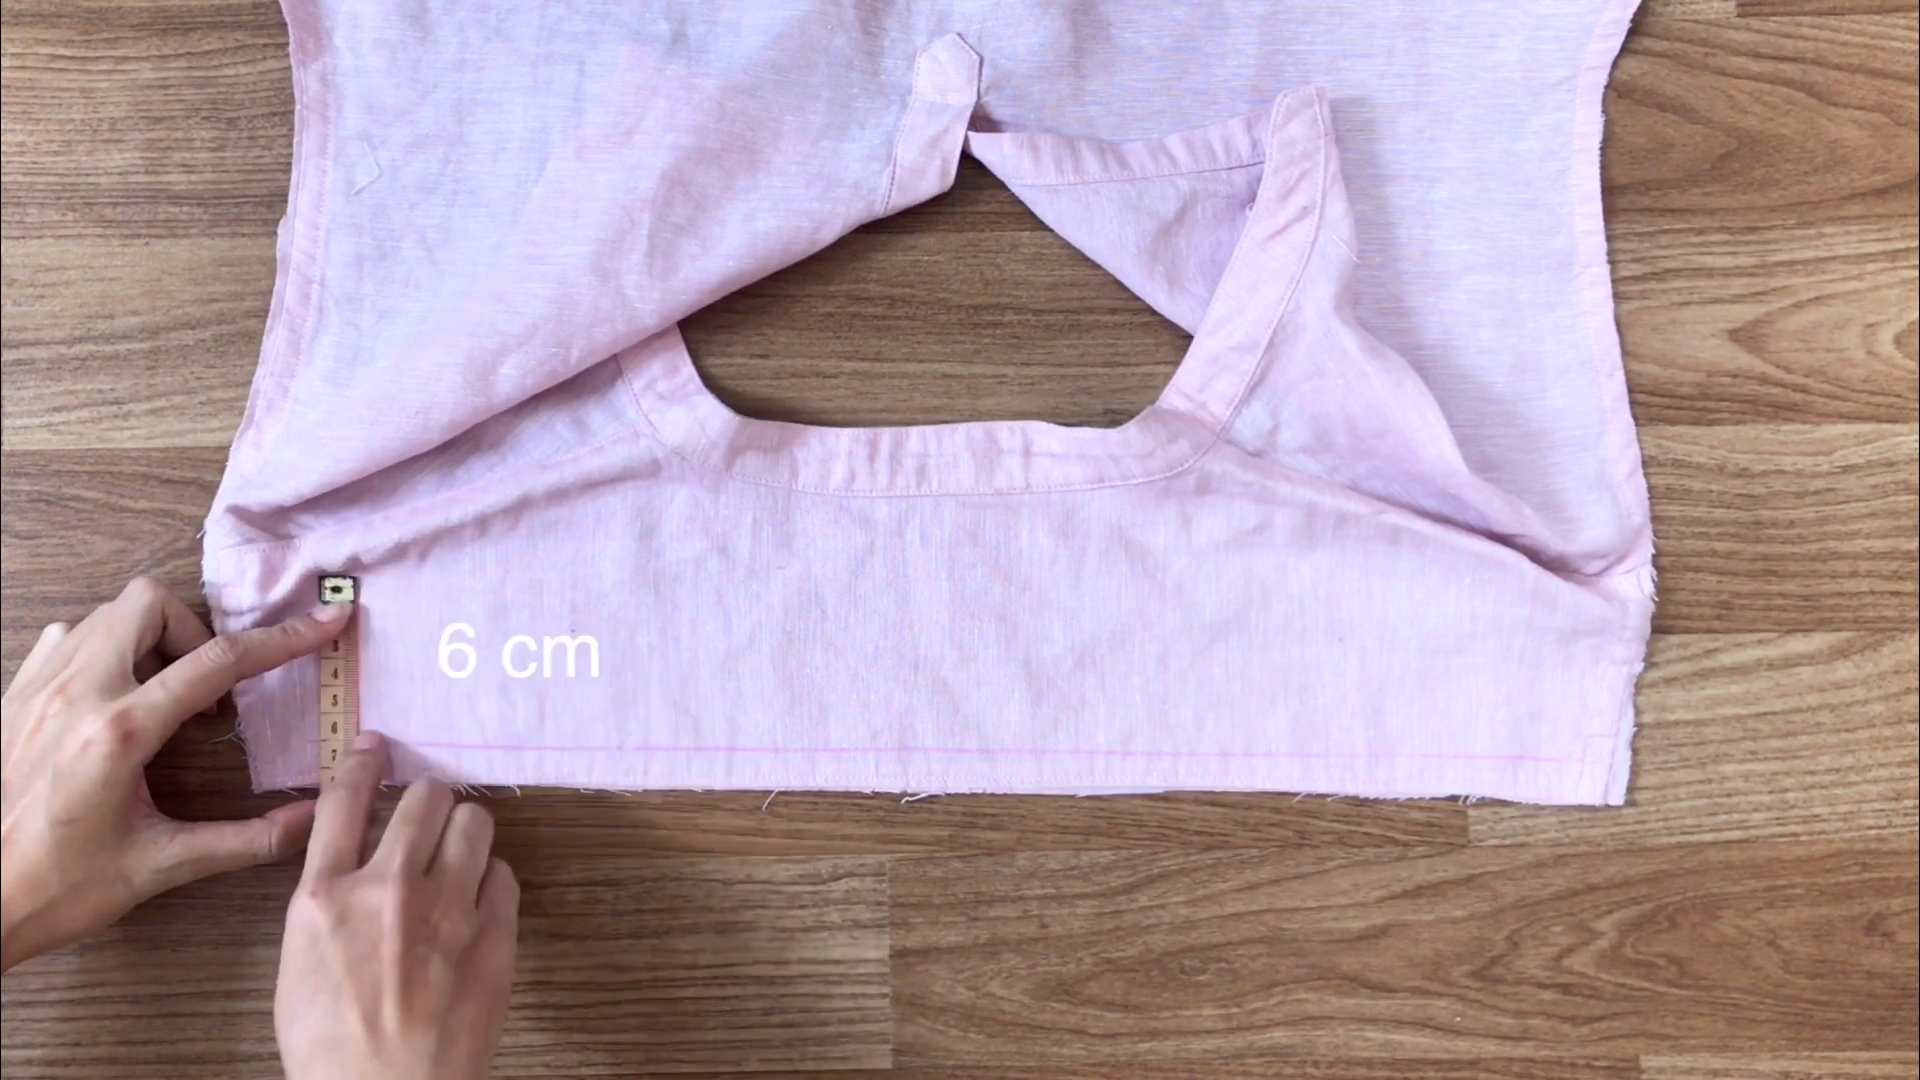
Use the leftover fabric from the top of the men's shirt to cut the rectangles with 6cm width.

Then, connect these rectangles together to have a long fabric.
Make sure the length of the long fabric will be the same with the length of the pants.
CONNECT THE TOP AND THE PANTS
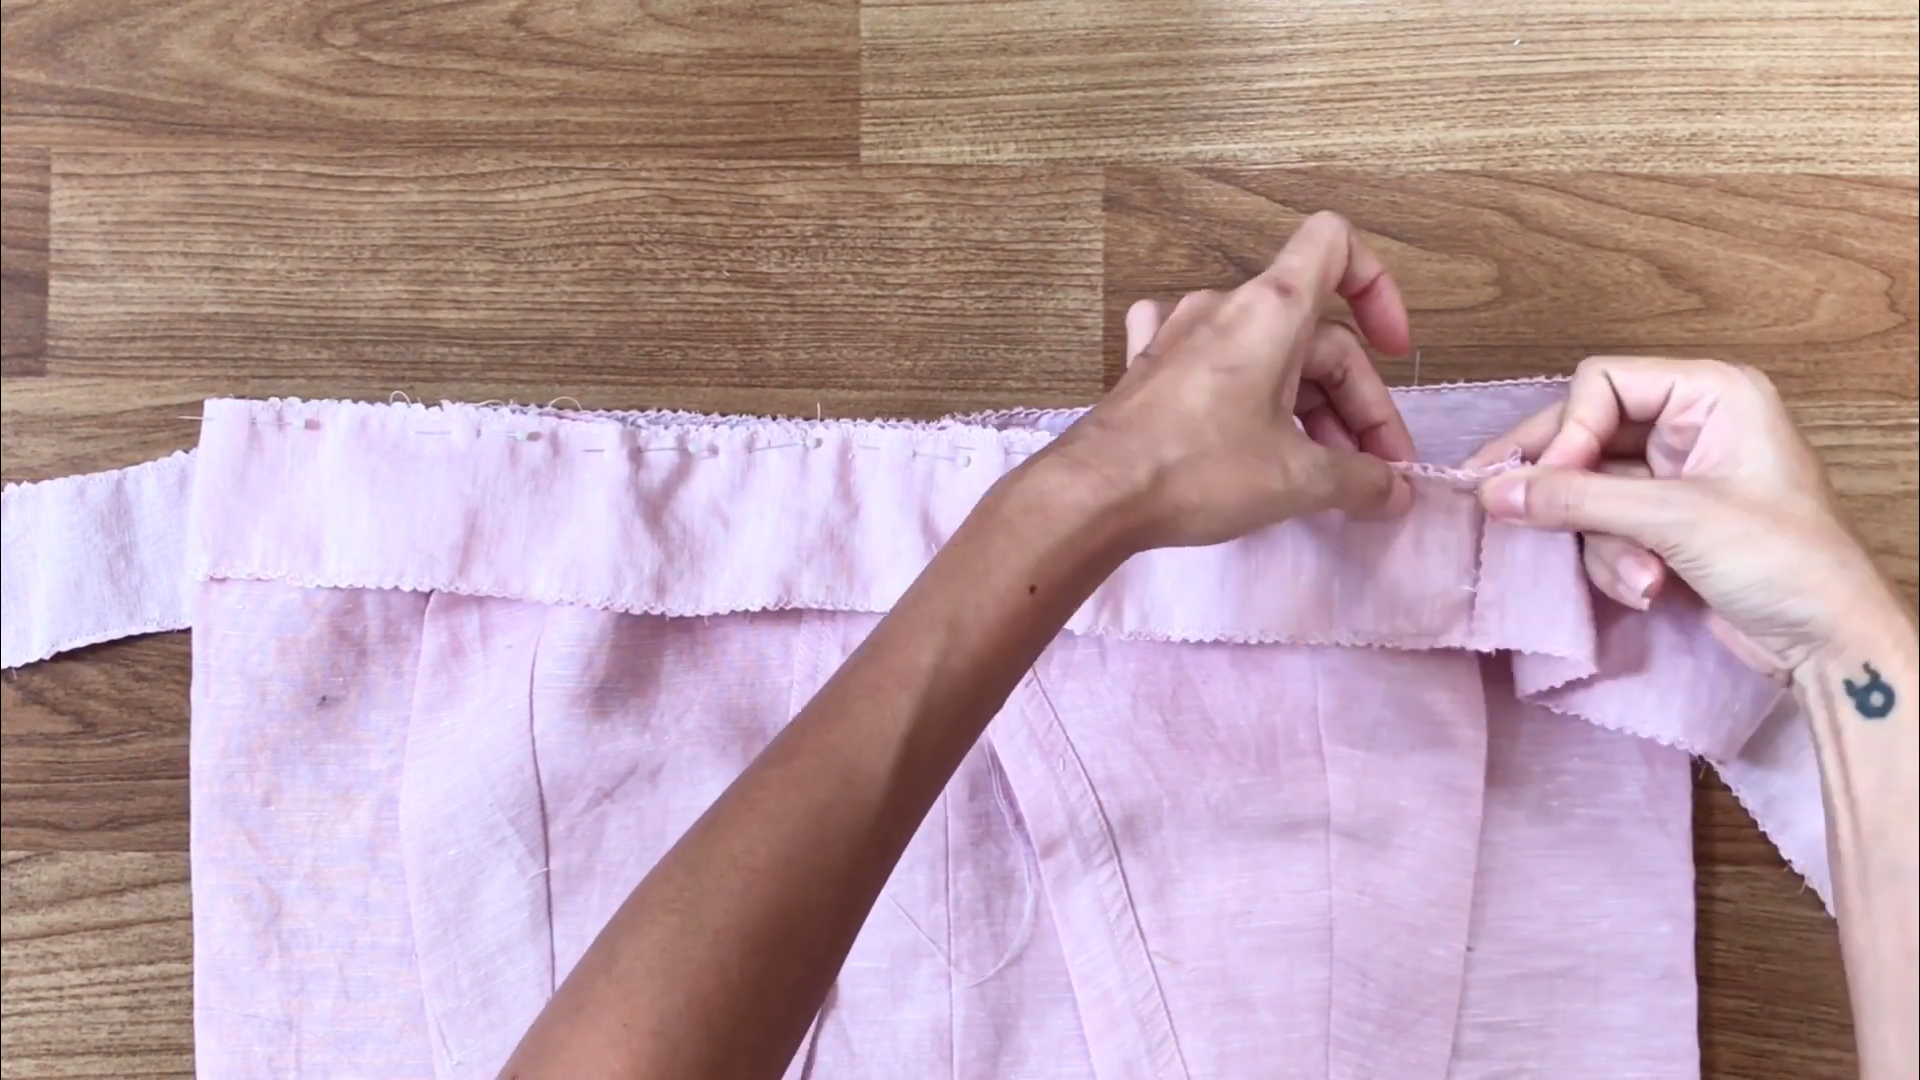
Put the top in the middle between the pants and the long fabric and fix them together by the pins.

Then, sew along the edge to connect the pants and the long fabric strip.
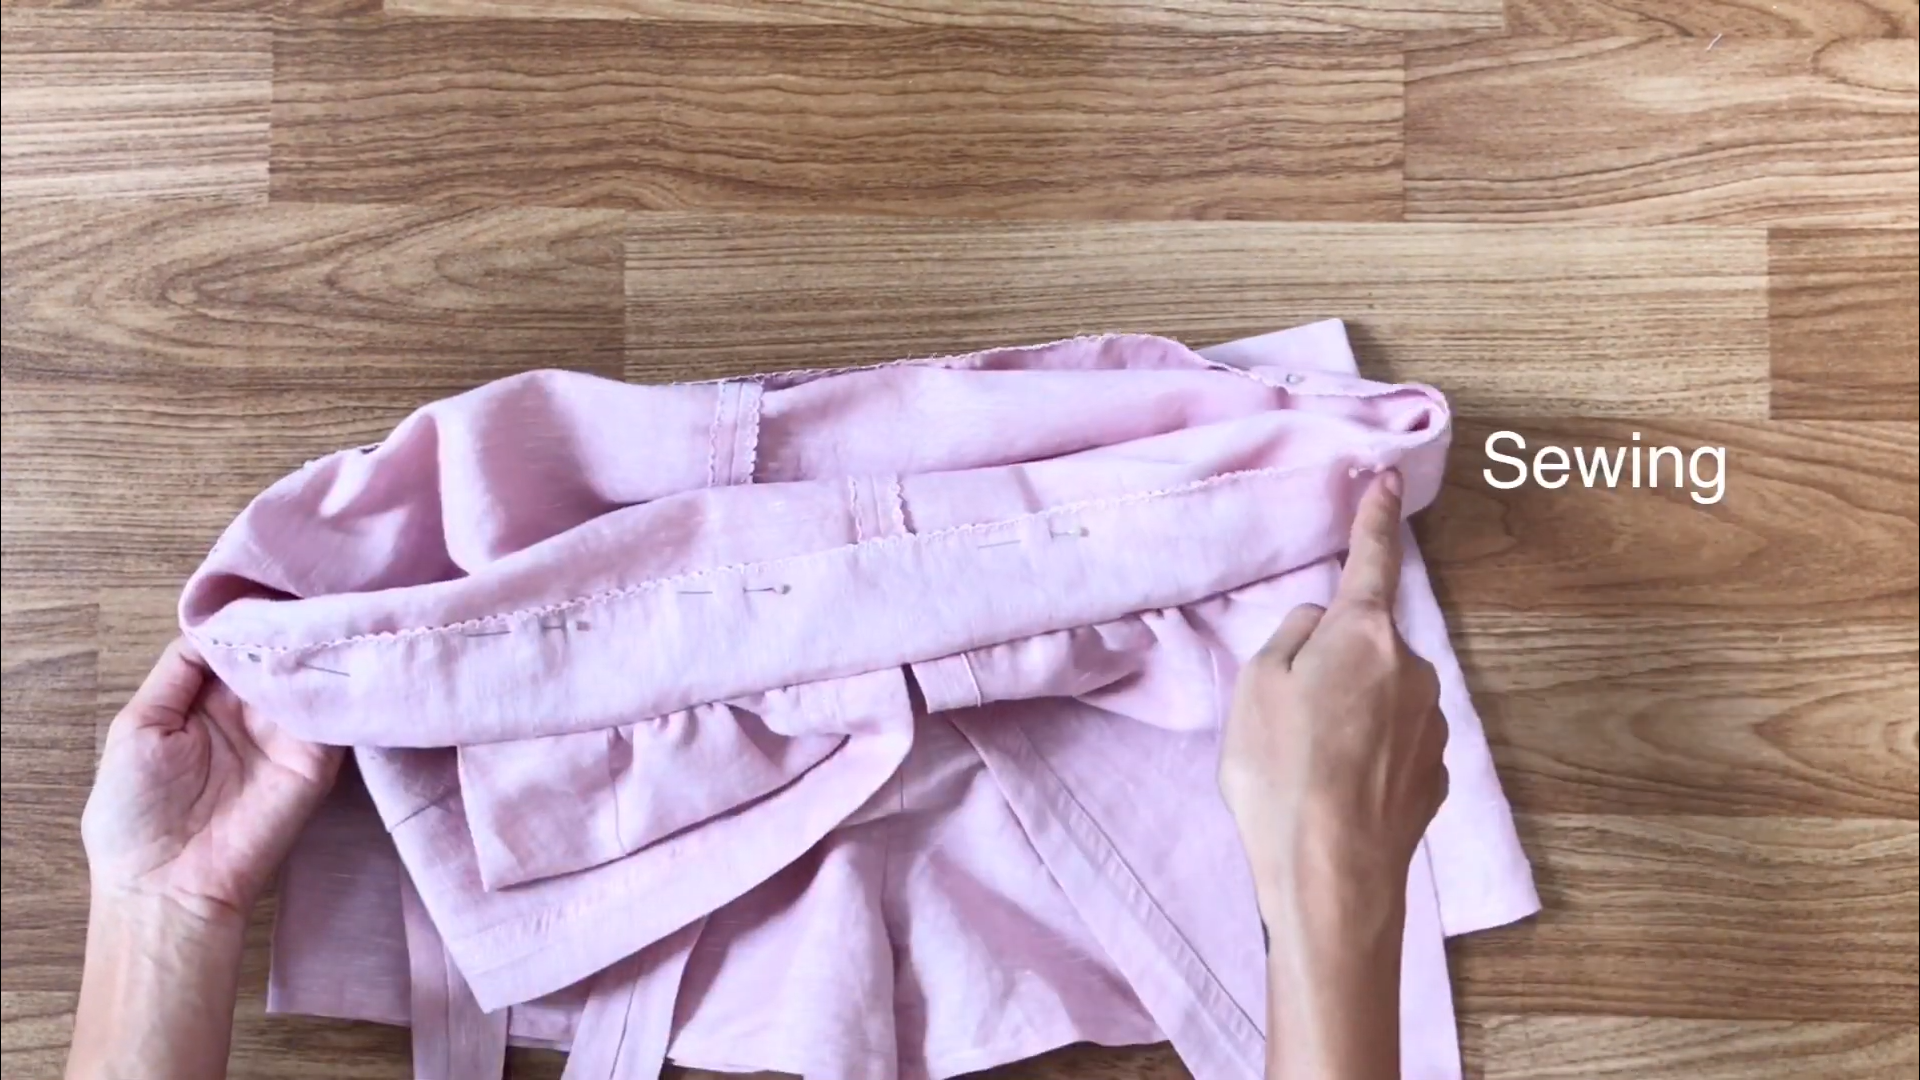
After the first seam, fold the long fabric inside and sew it to the pants again, creating a second seam.
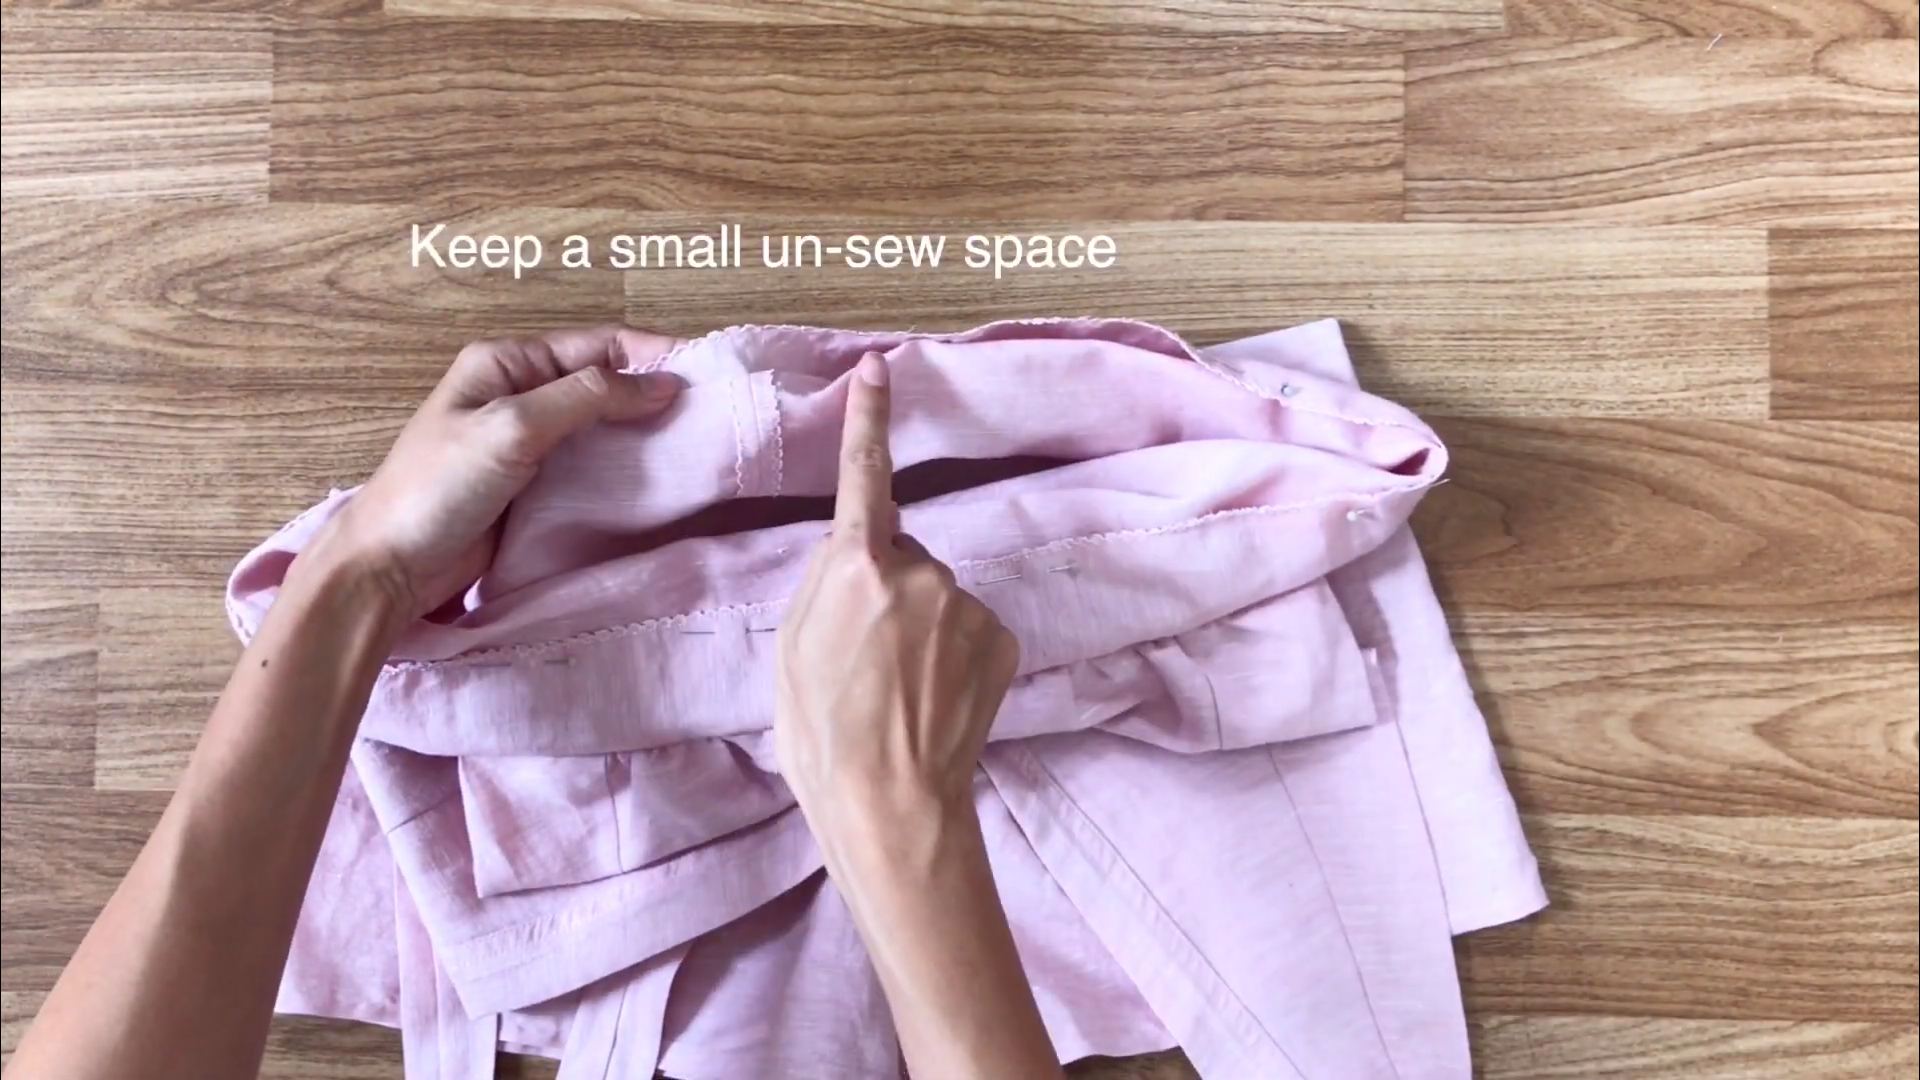
Leave a small opening in the middle of the back pants to insert the elastic band later.
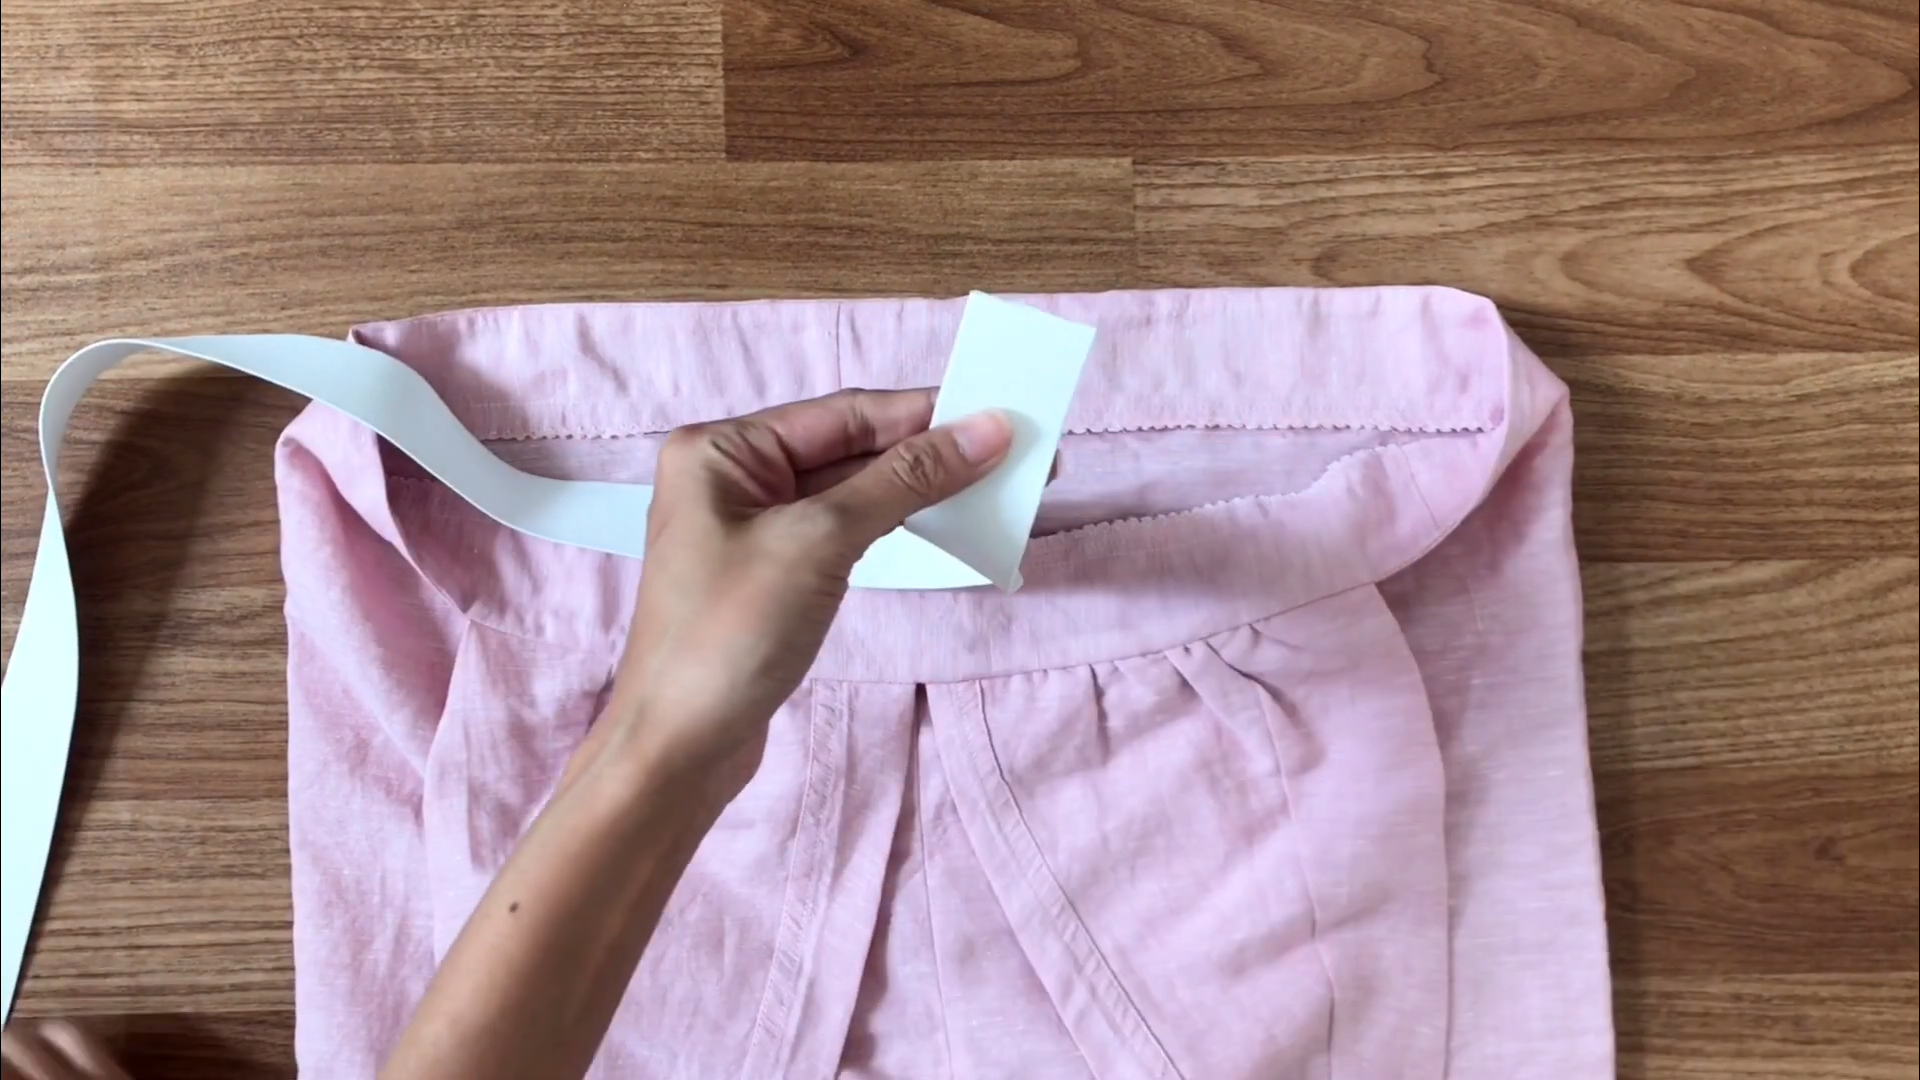
To make it look nice, check the size of the elastic band to match with the width of the fabric hole you just created.
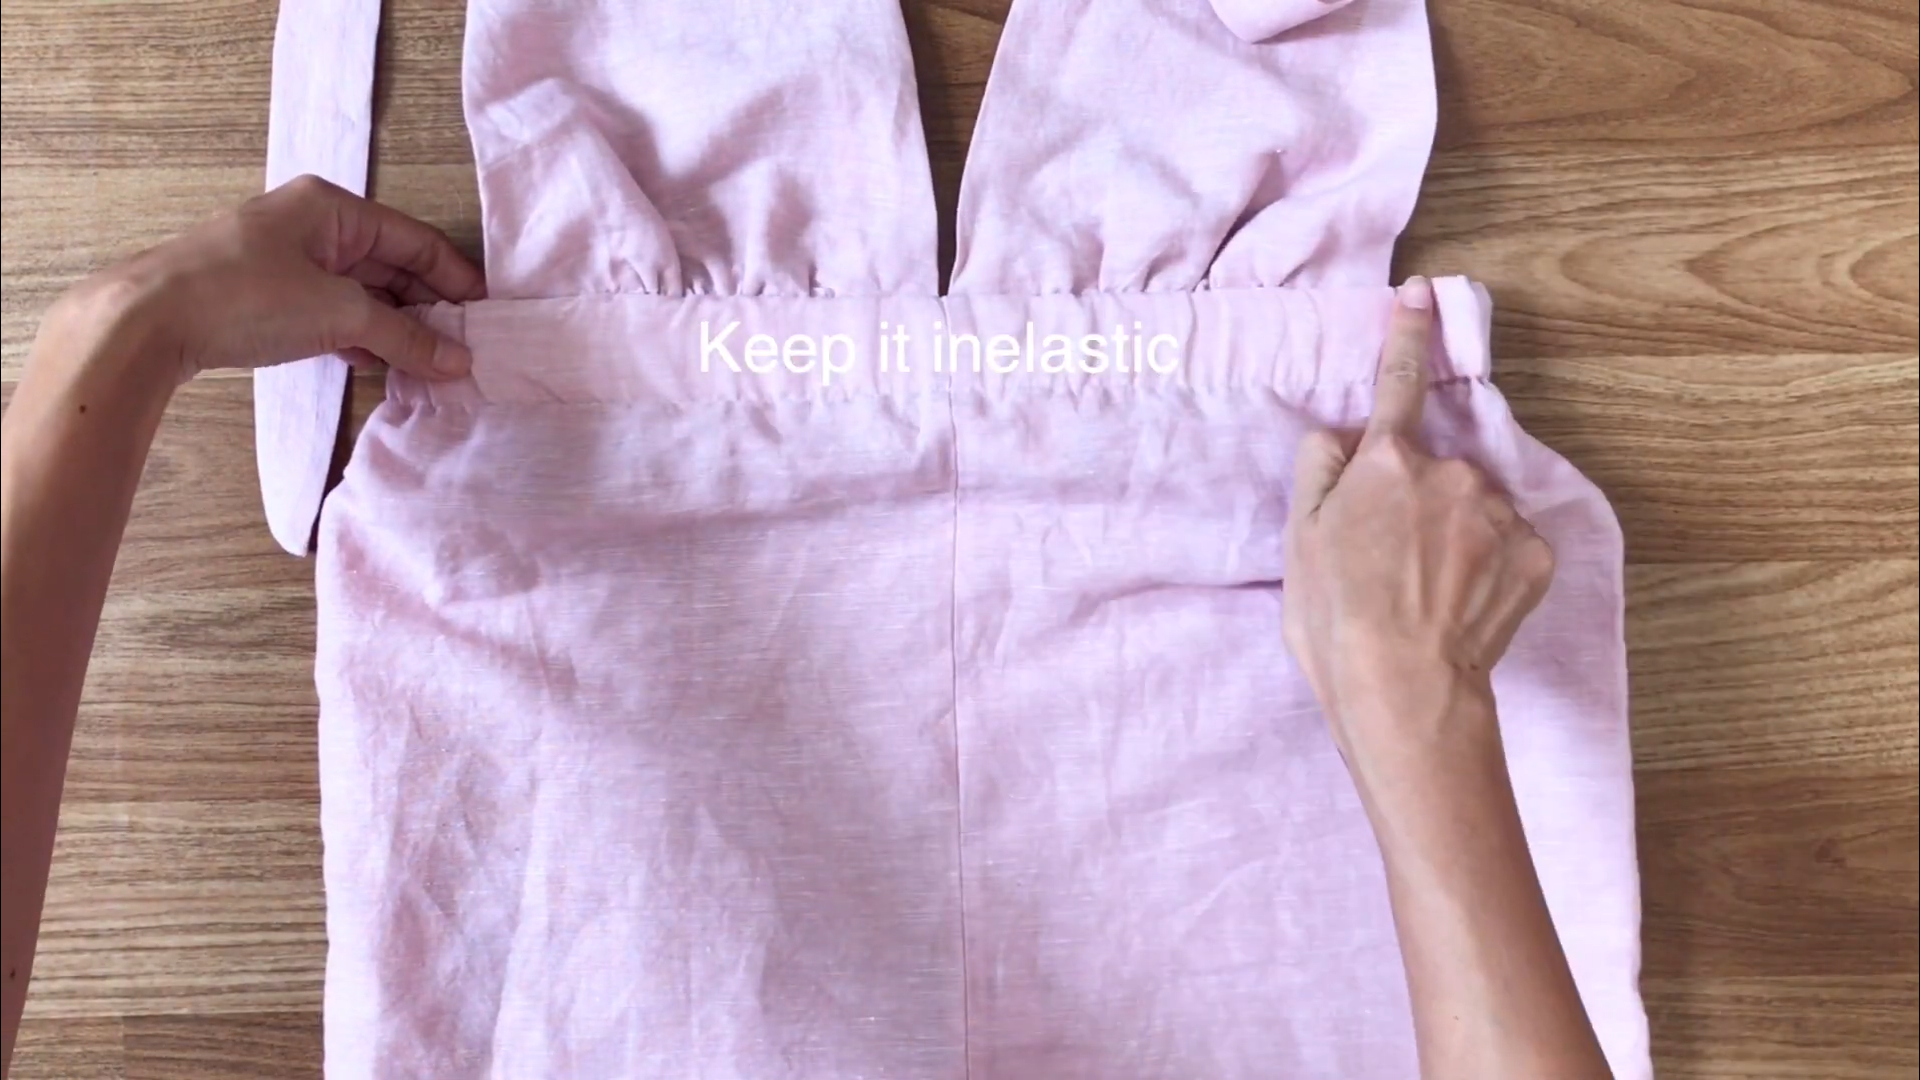
At the front of the jumpsuit, leave it inelastic to ensure there's enough space to cover your front body.
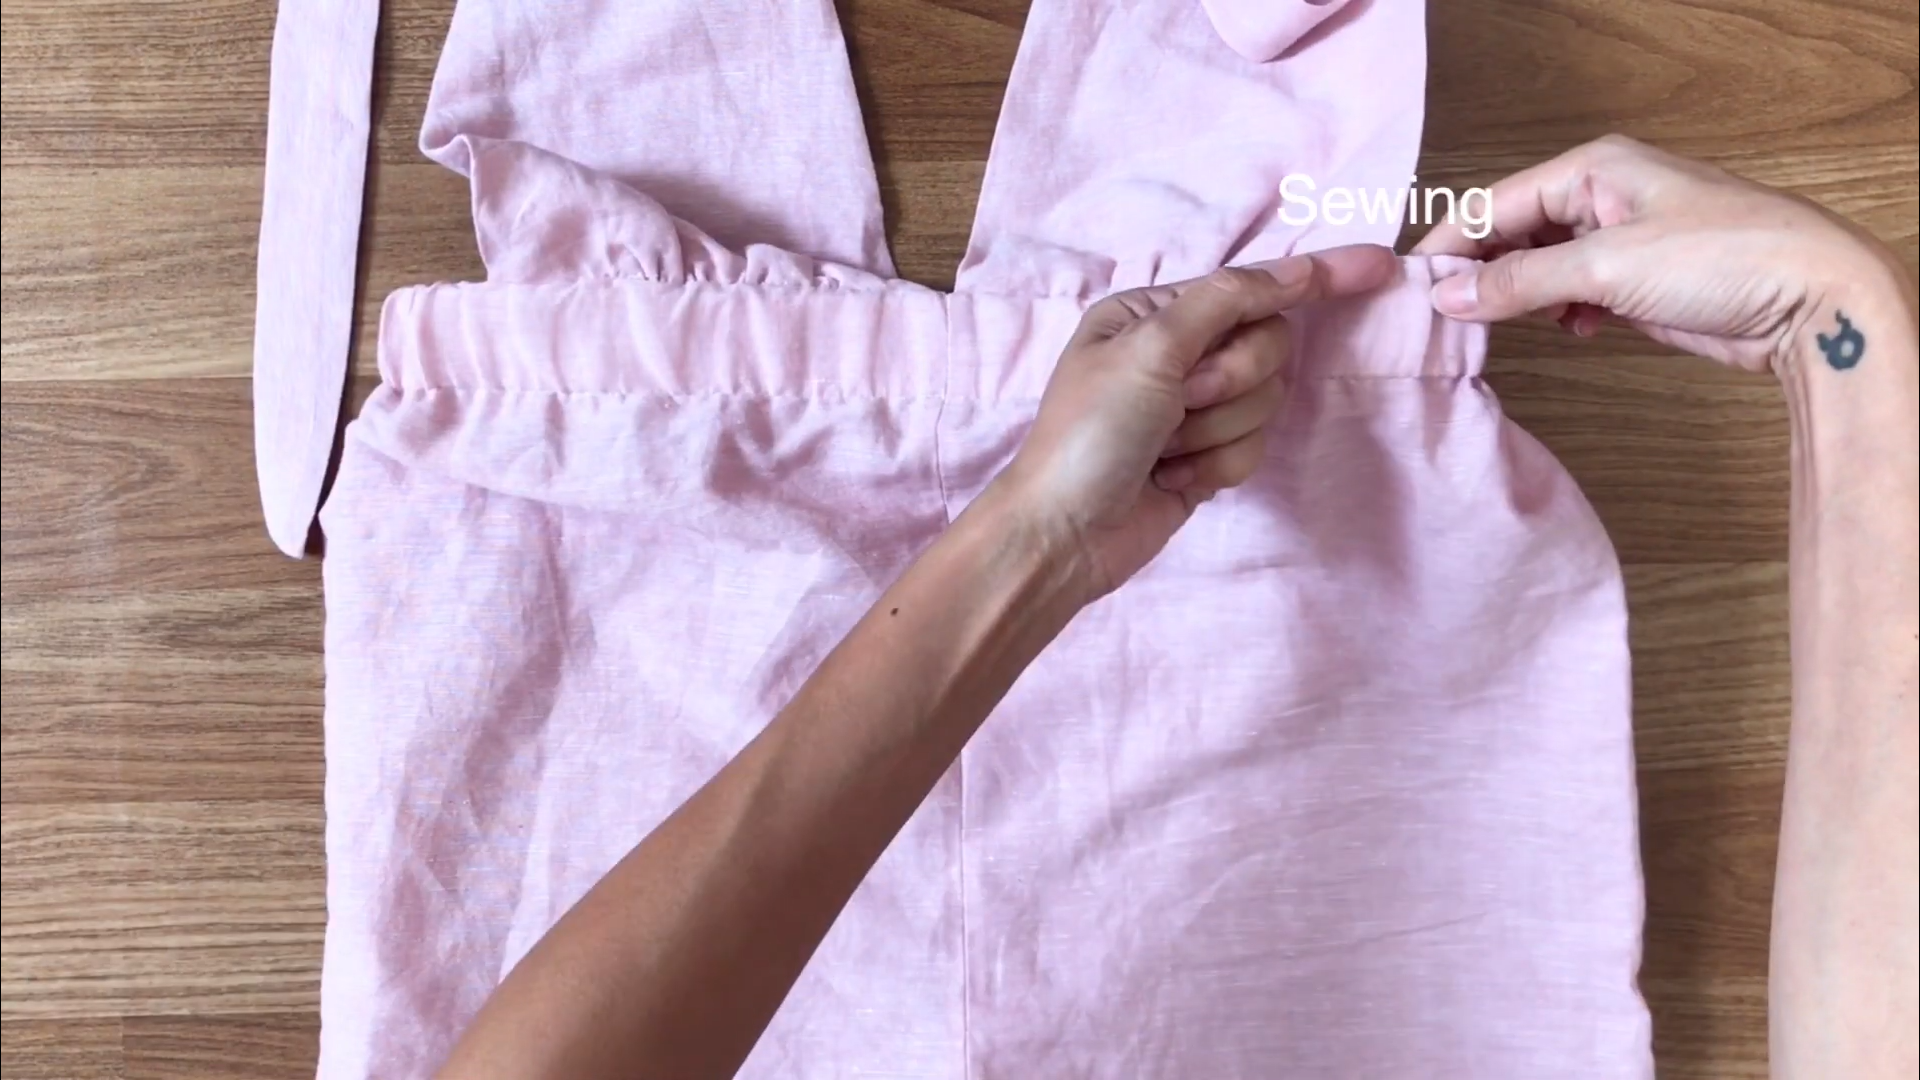
Sew the sides to keep the elastic in place.
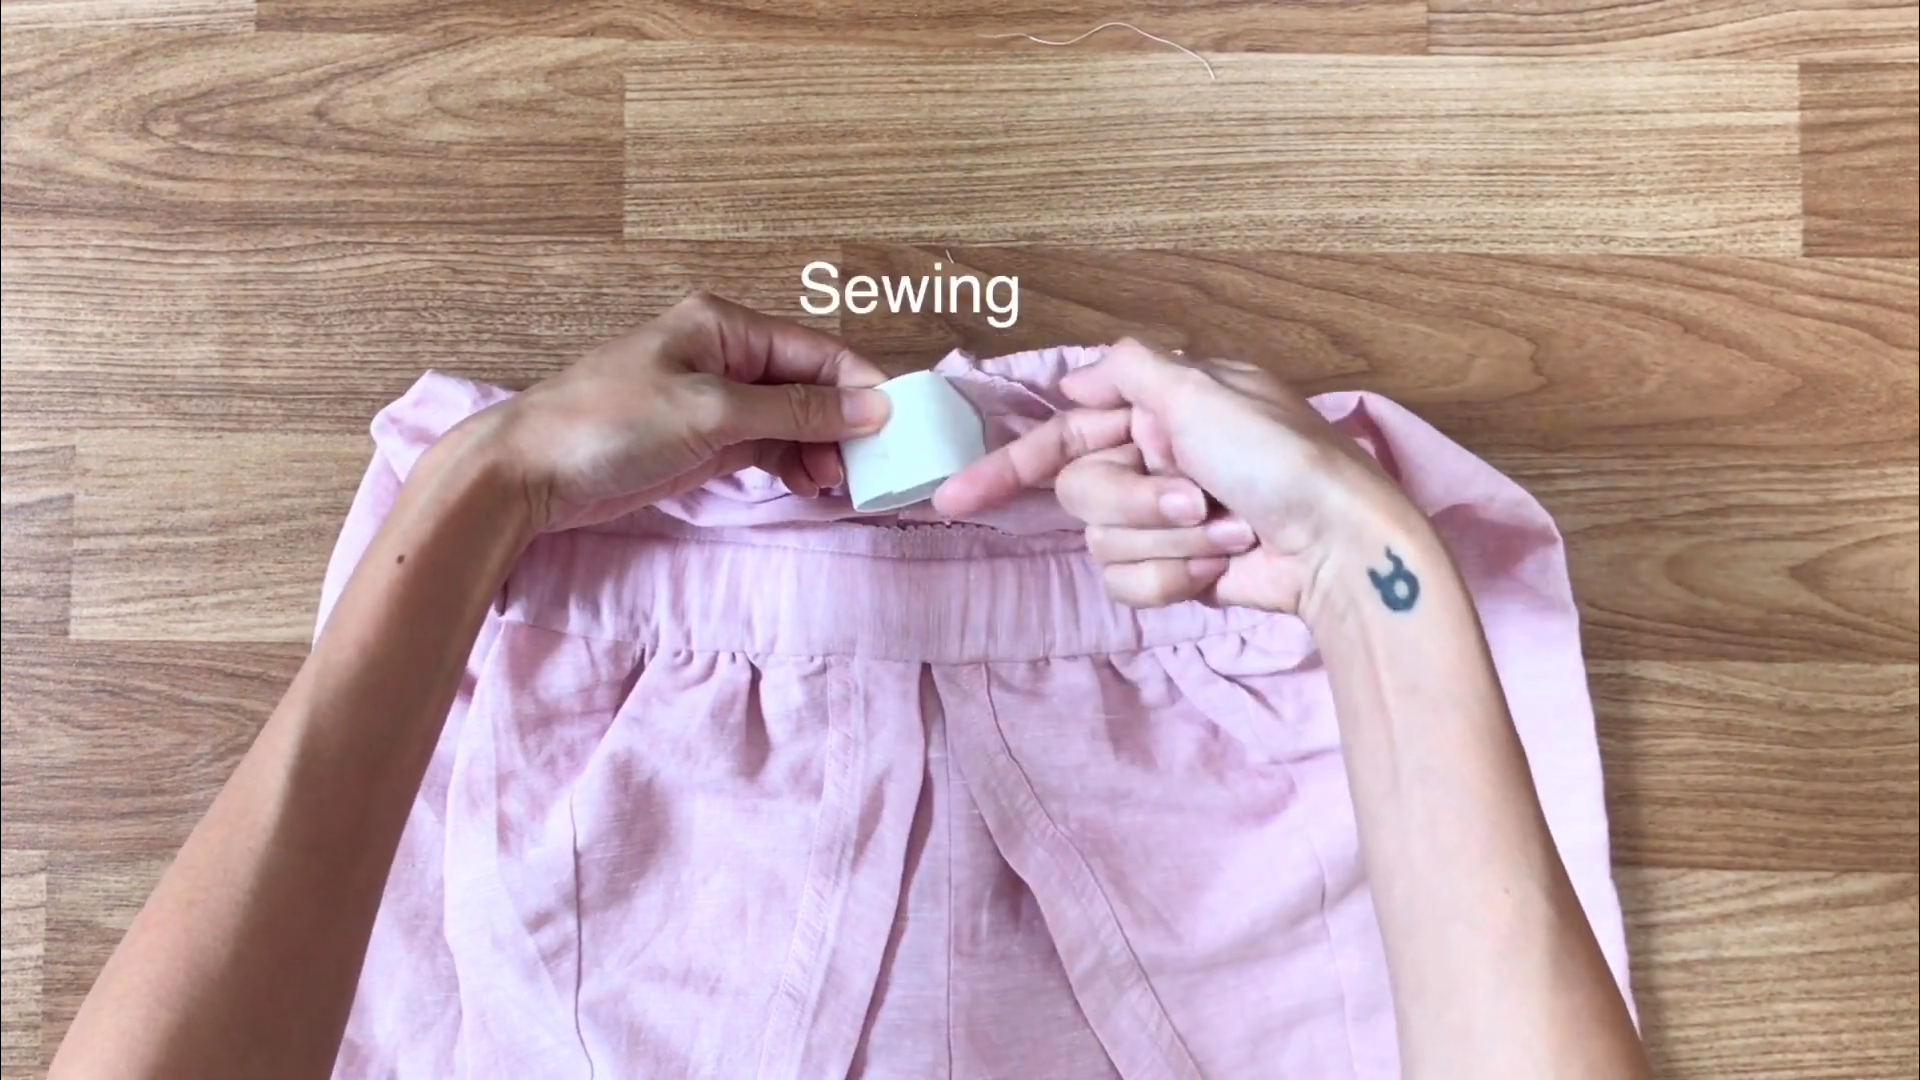
Then, sew the ends of the elastic band together and close the opening.

DIY JUMPSUIT from Men's shirt - Jumpsuit month series - Ep 1
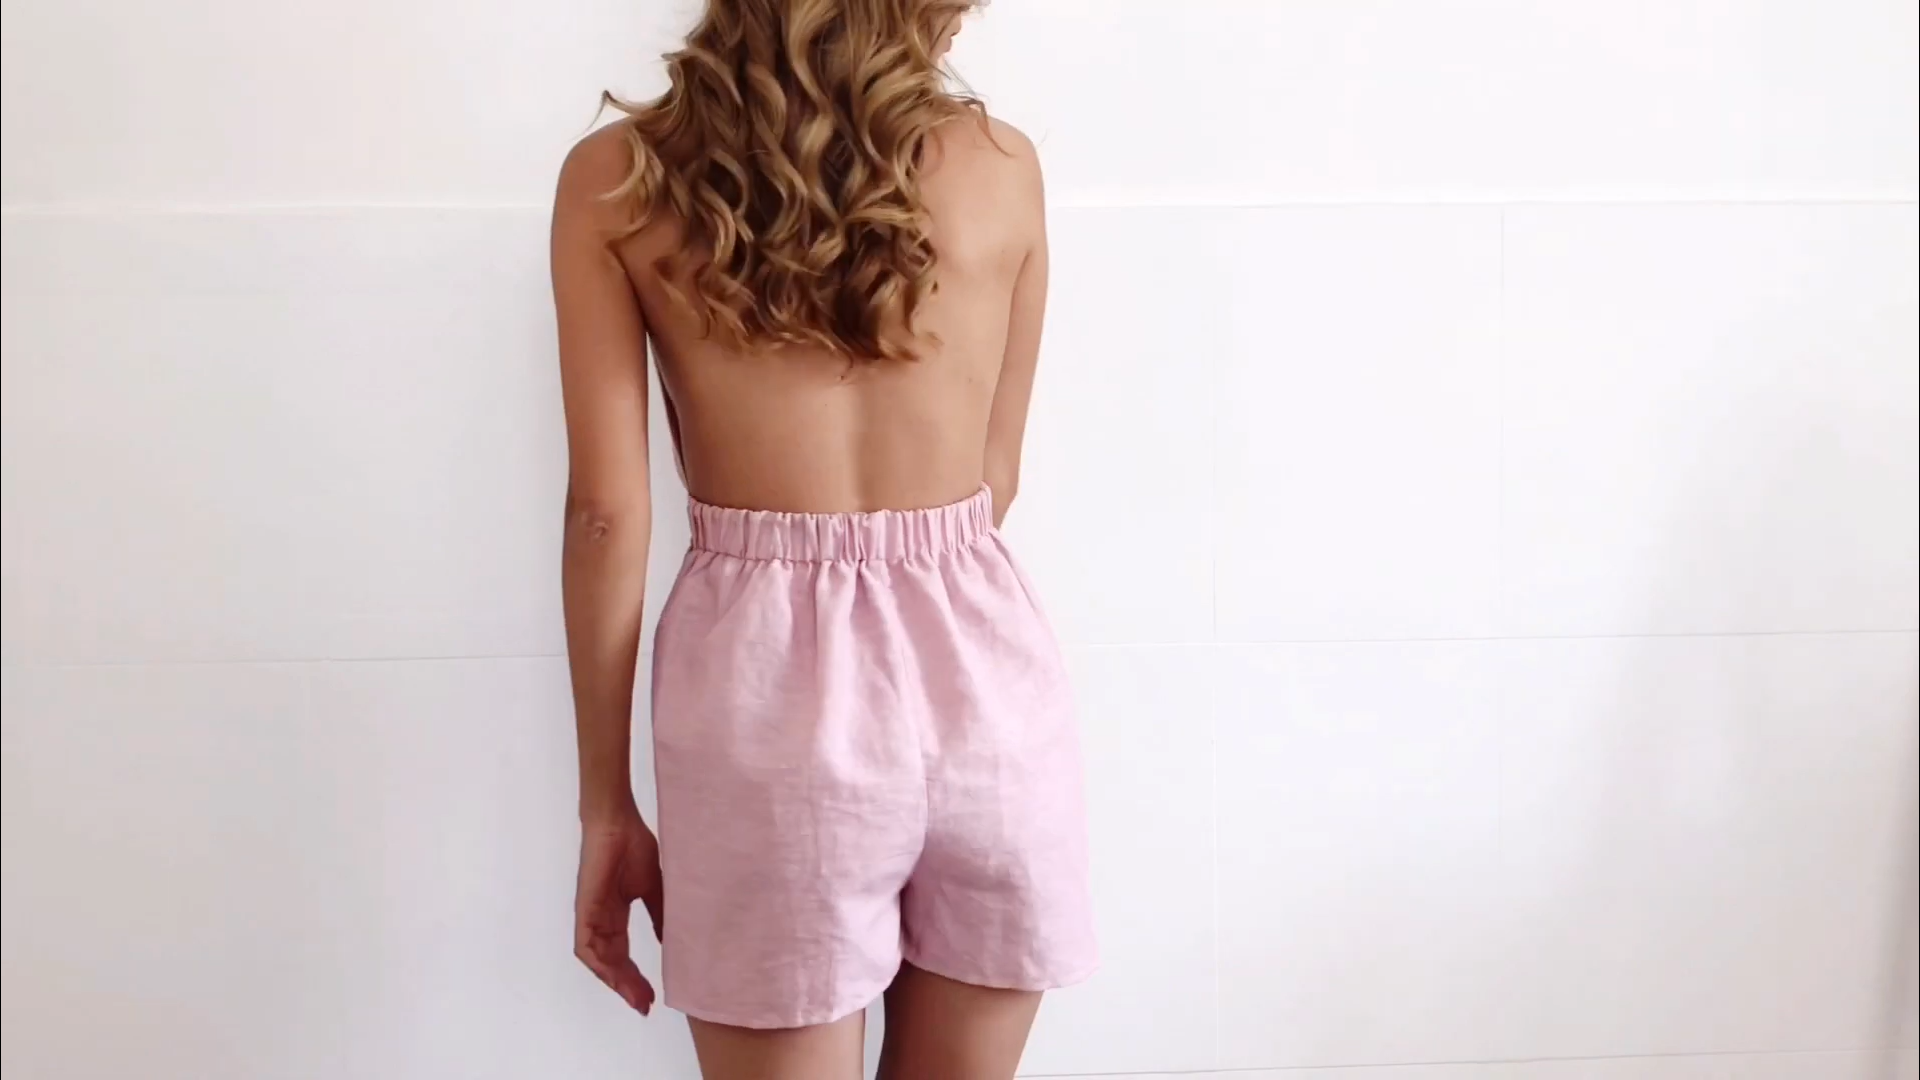
And we finish the jumpsuit!
This jumpsuit is sexy and playful at the same time, perfect for a fun day out or a night on the town.

And it won't be too difficult to make. So I hope you will give it a try.
If you liked this project, please share it and subscribe to my channel so you won’t miss any of my upcoming DIYs.
Until next week, happy sewing!