DIY JUMPSUIT from T-Shirts - Jumpsuit month series - Ep 3

DIY JUMPSUIT from T-Shirts - Jumpsuit month series - Ep 3
Welcome and welcome back to my sewing blog!
The DIY this week for the "Jumpsuit month" series is this cutie jumpsuit that I transformed from my old T-shirts. It's a very easy DIY that you can finish quickly after a few cutting. But I promise it will turn out great. And it's also a good way to reuse your old T-shirts, right?
Let’s get started!
WHAT YOU’LL NEED

2 T-shirts in M & XXL size
Sewing machine or needle and thread
Elastic band
Pins
Scissors
SEWING THE JUMPSUIT
THE TOP
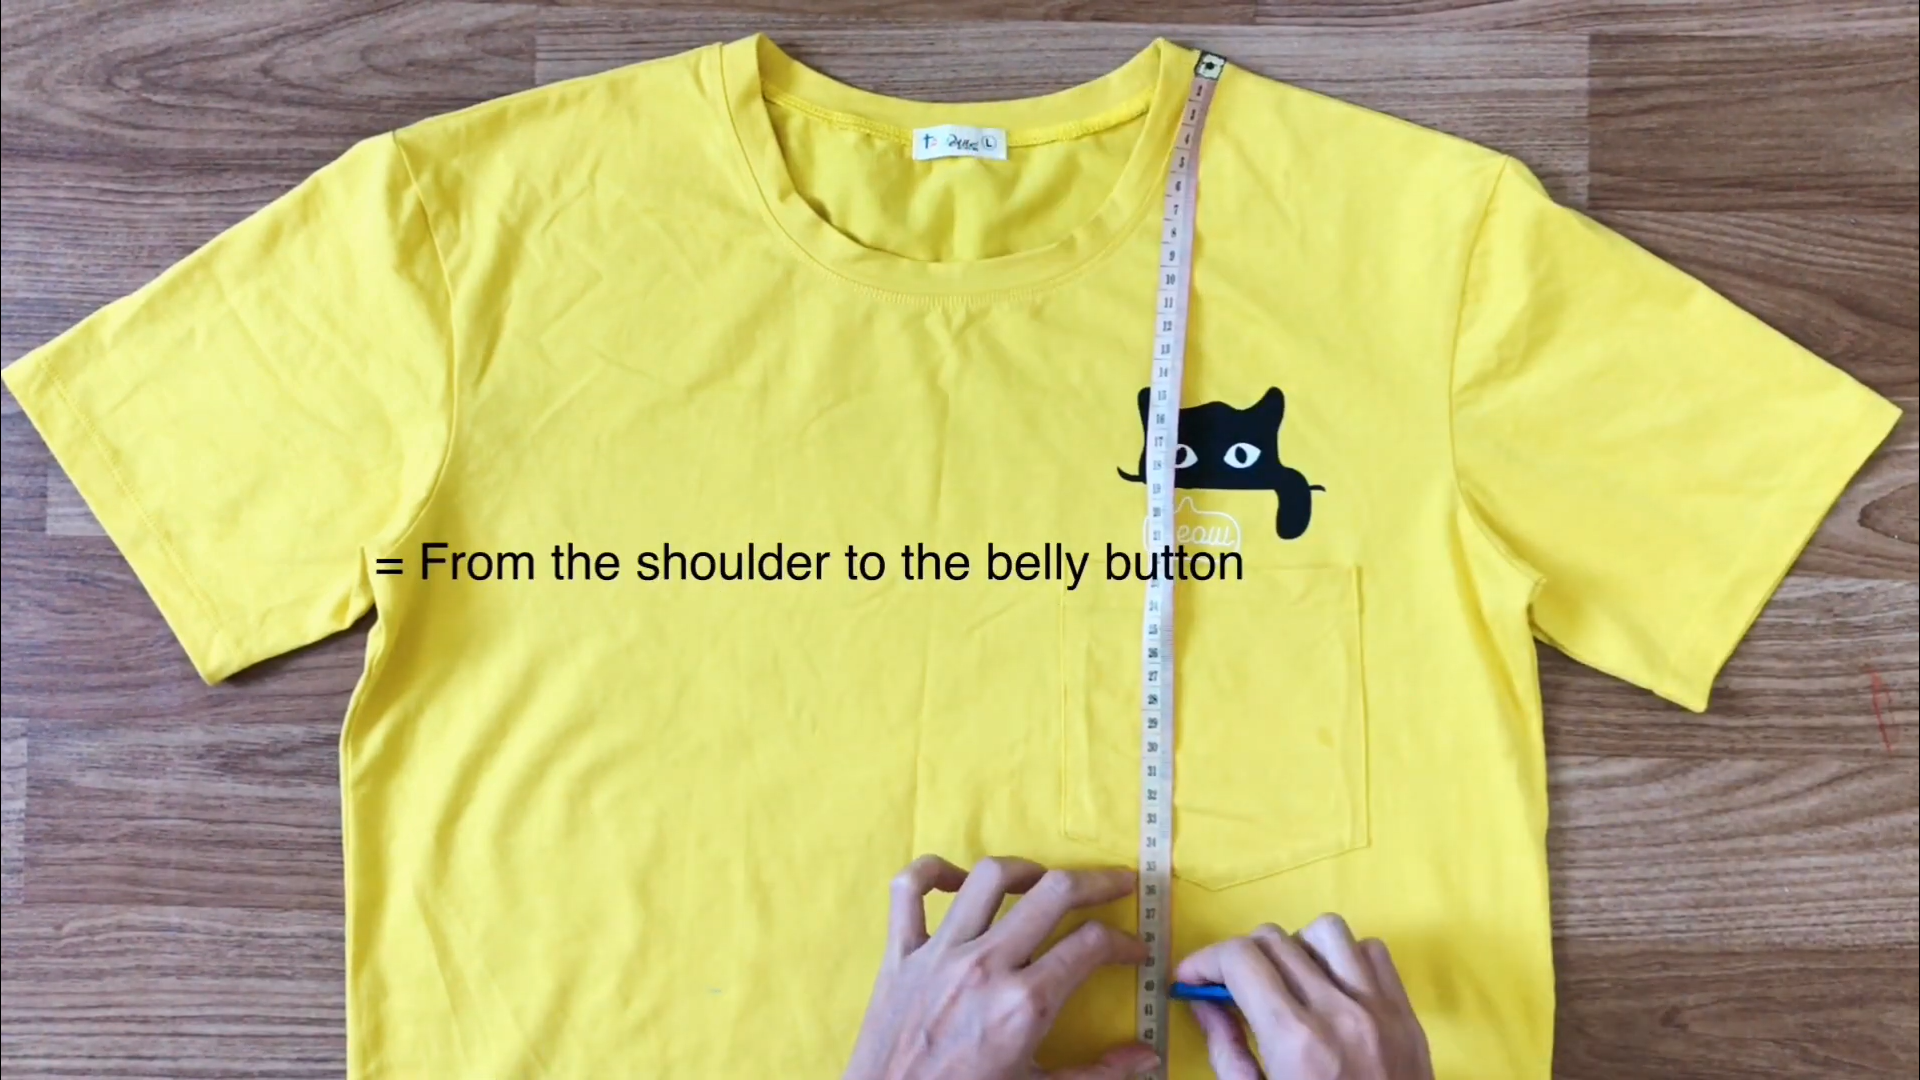
The first step is working on the yellow T-shirt.
From the neck of the T-shirt, measure down 40 cm, which is the width from your shoulder to your belly button.
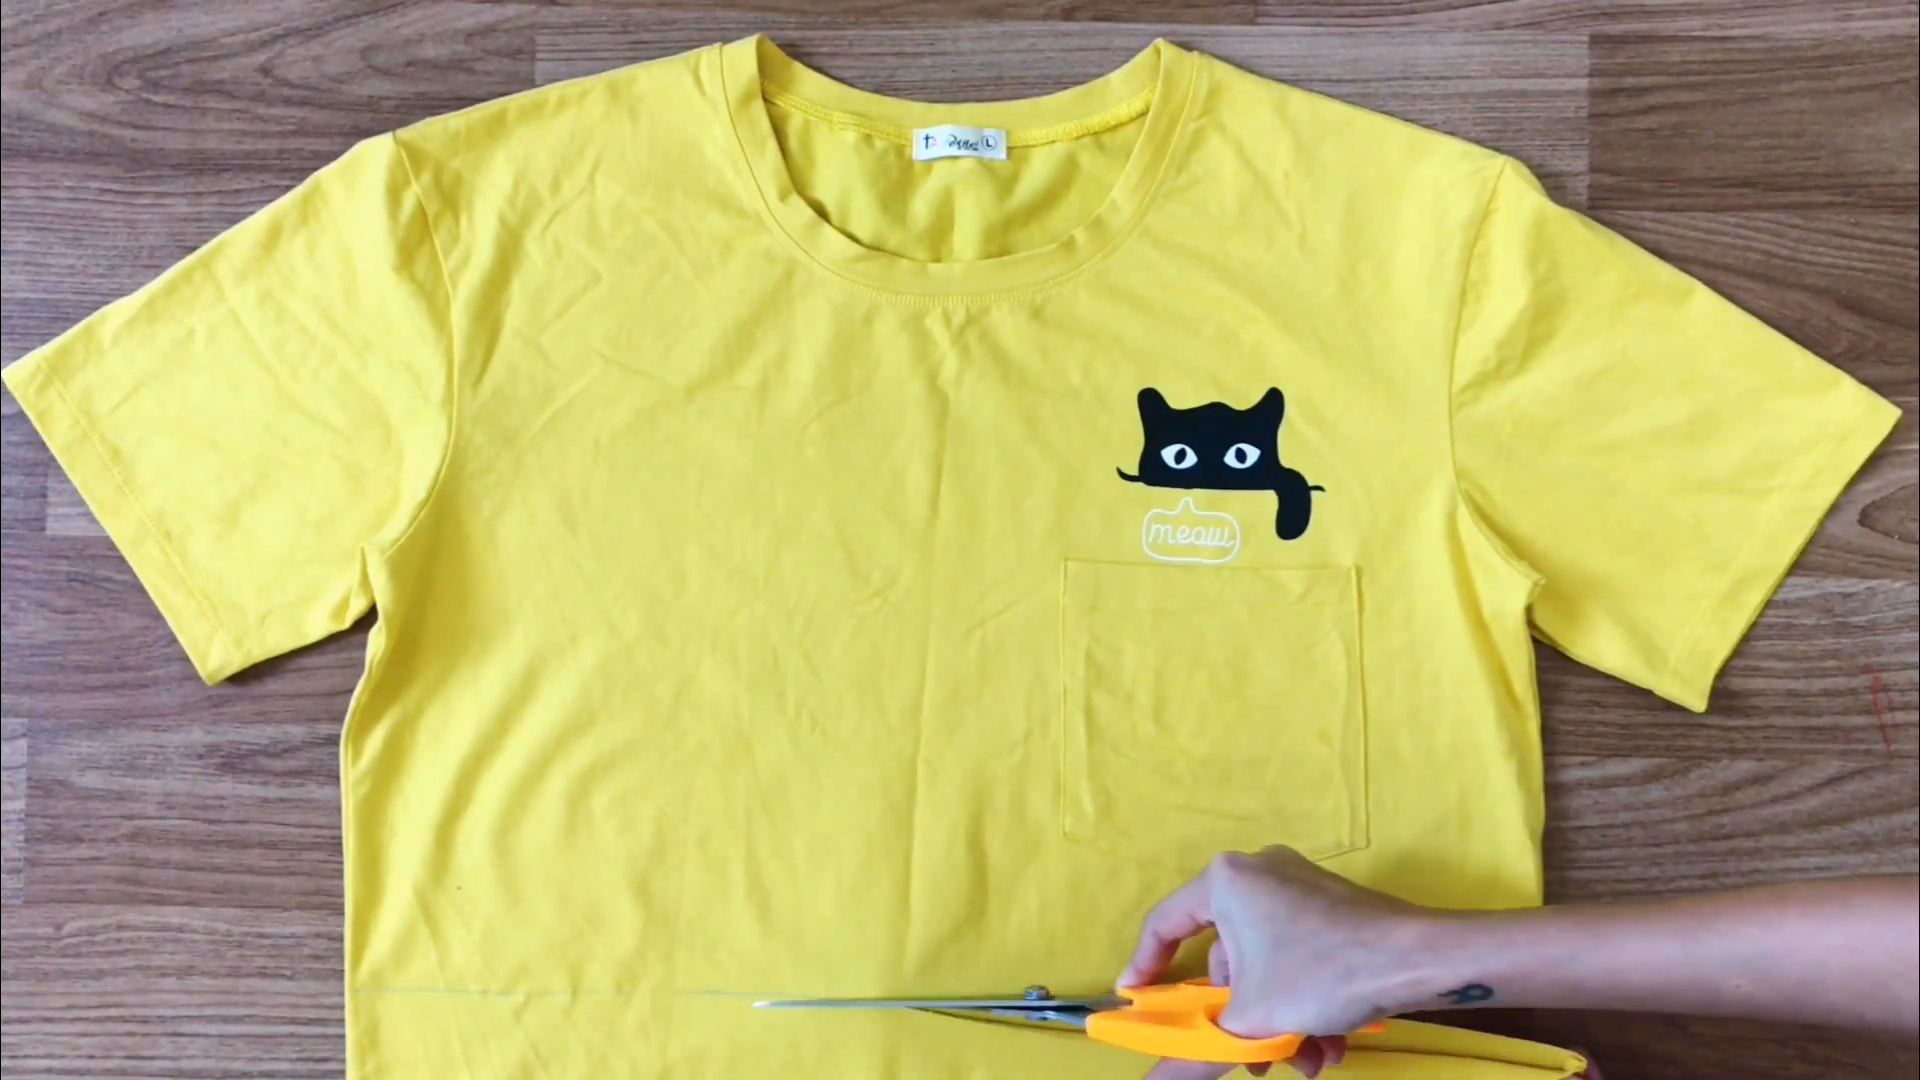
Then, draw a horizontal line and cut by the drawing line to create the top part of the jumpsuit.
THE BOTTOM
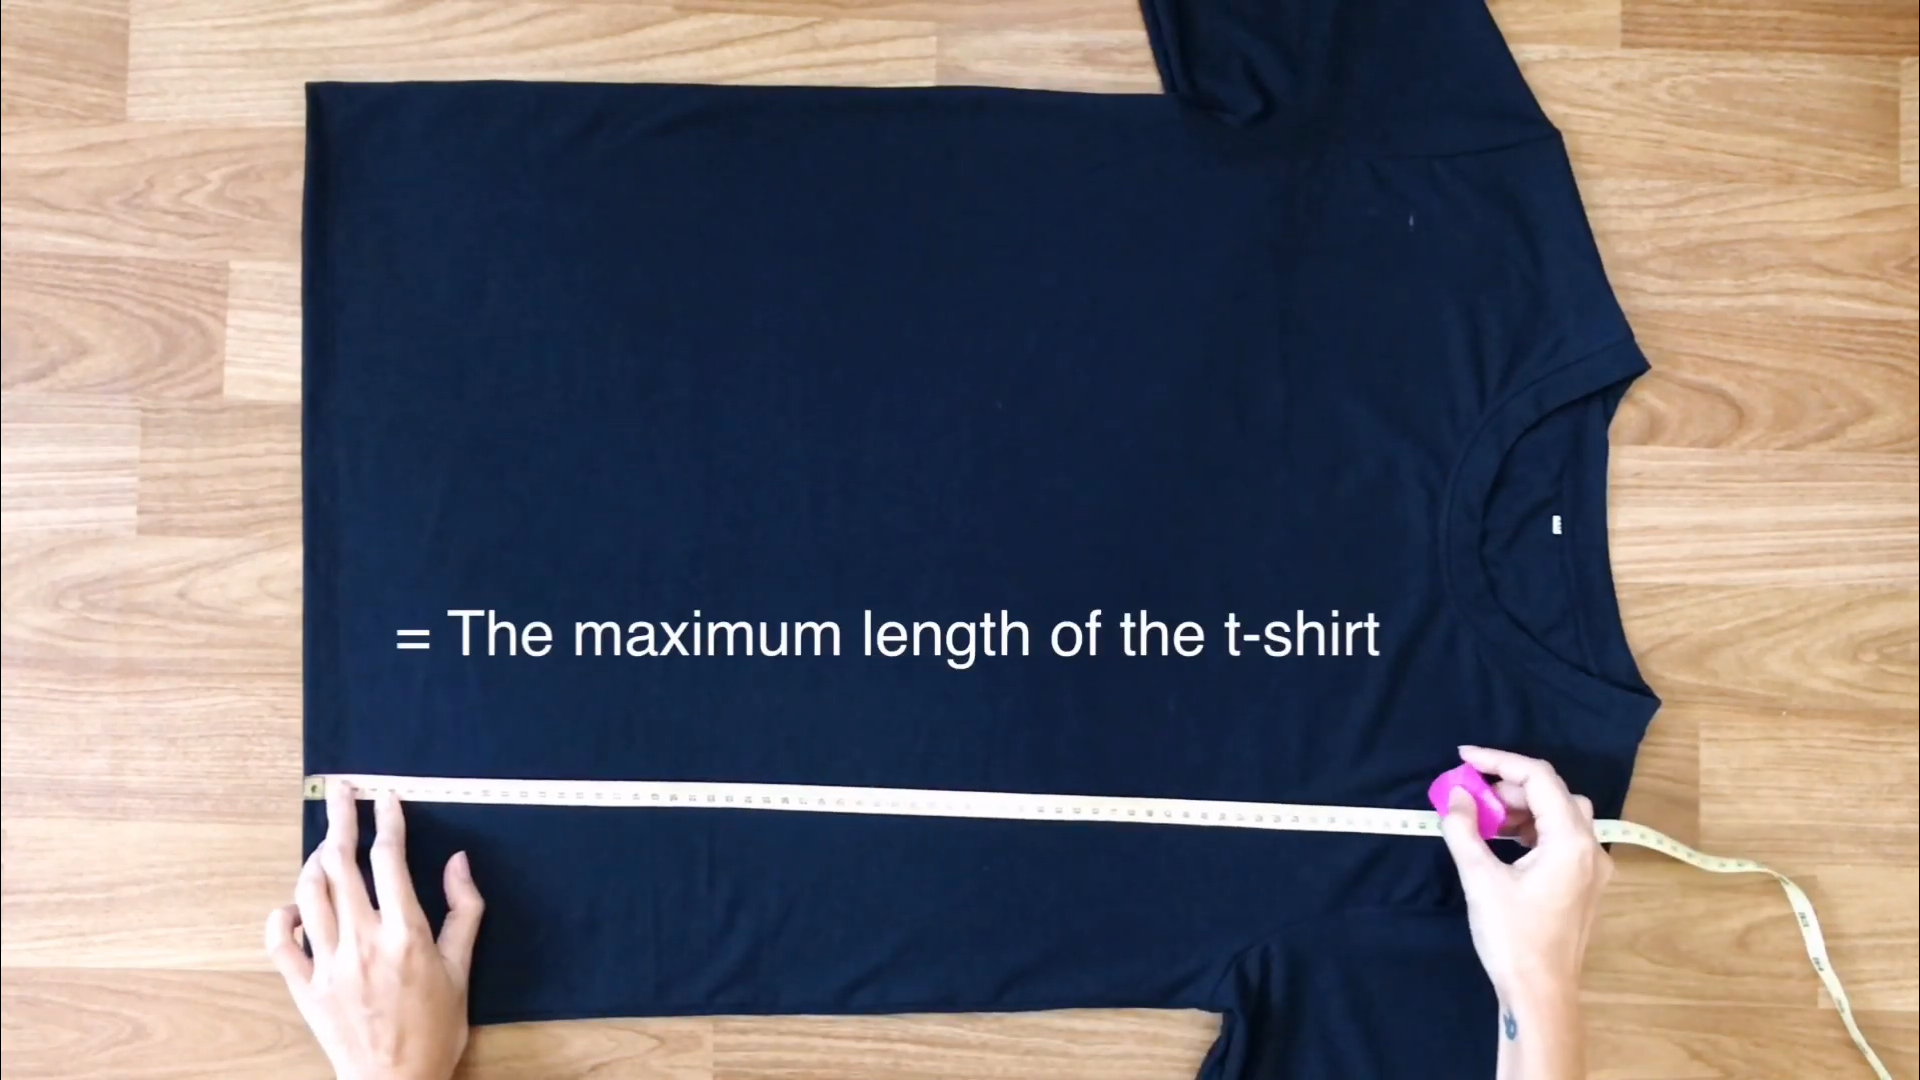
The black T-shirt will form the bottom part of the jumpsuit.
Cut rectangles from the black T-shirt, each with a length of 60 cm and a width of 40 cm.
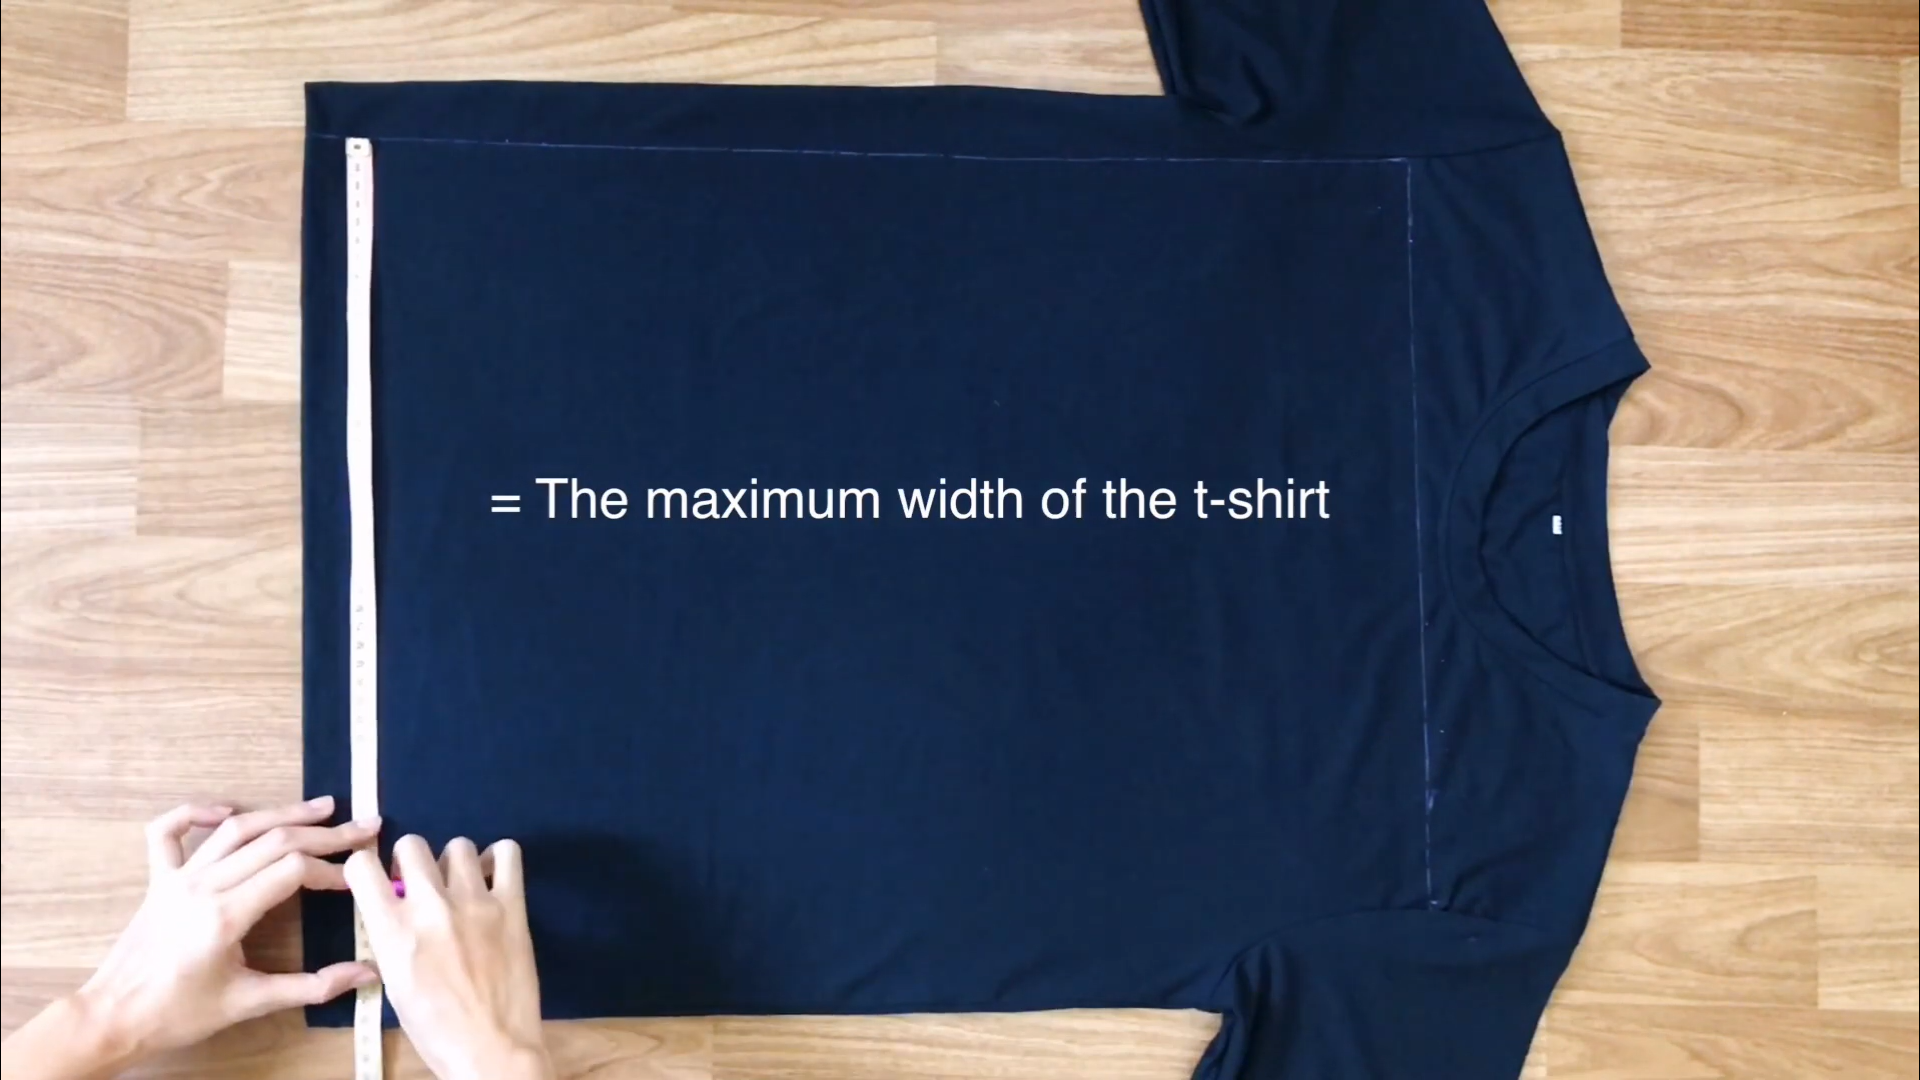
These measurements are the maximum you can obtain from the T-shirt, so using a very large T-shirt is advisable to get sizable rectangles for the pants.
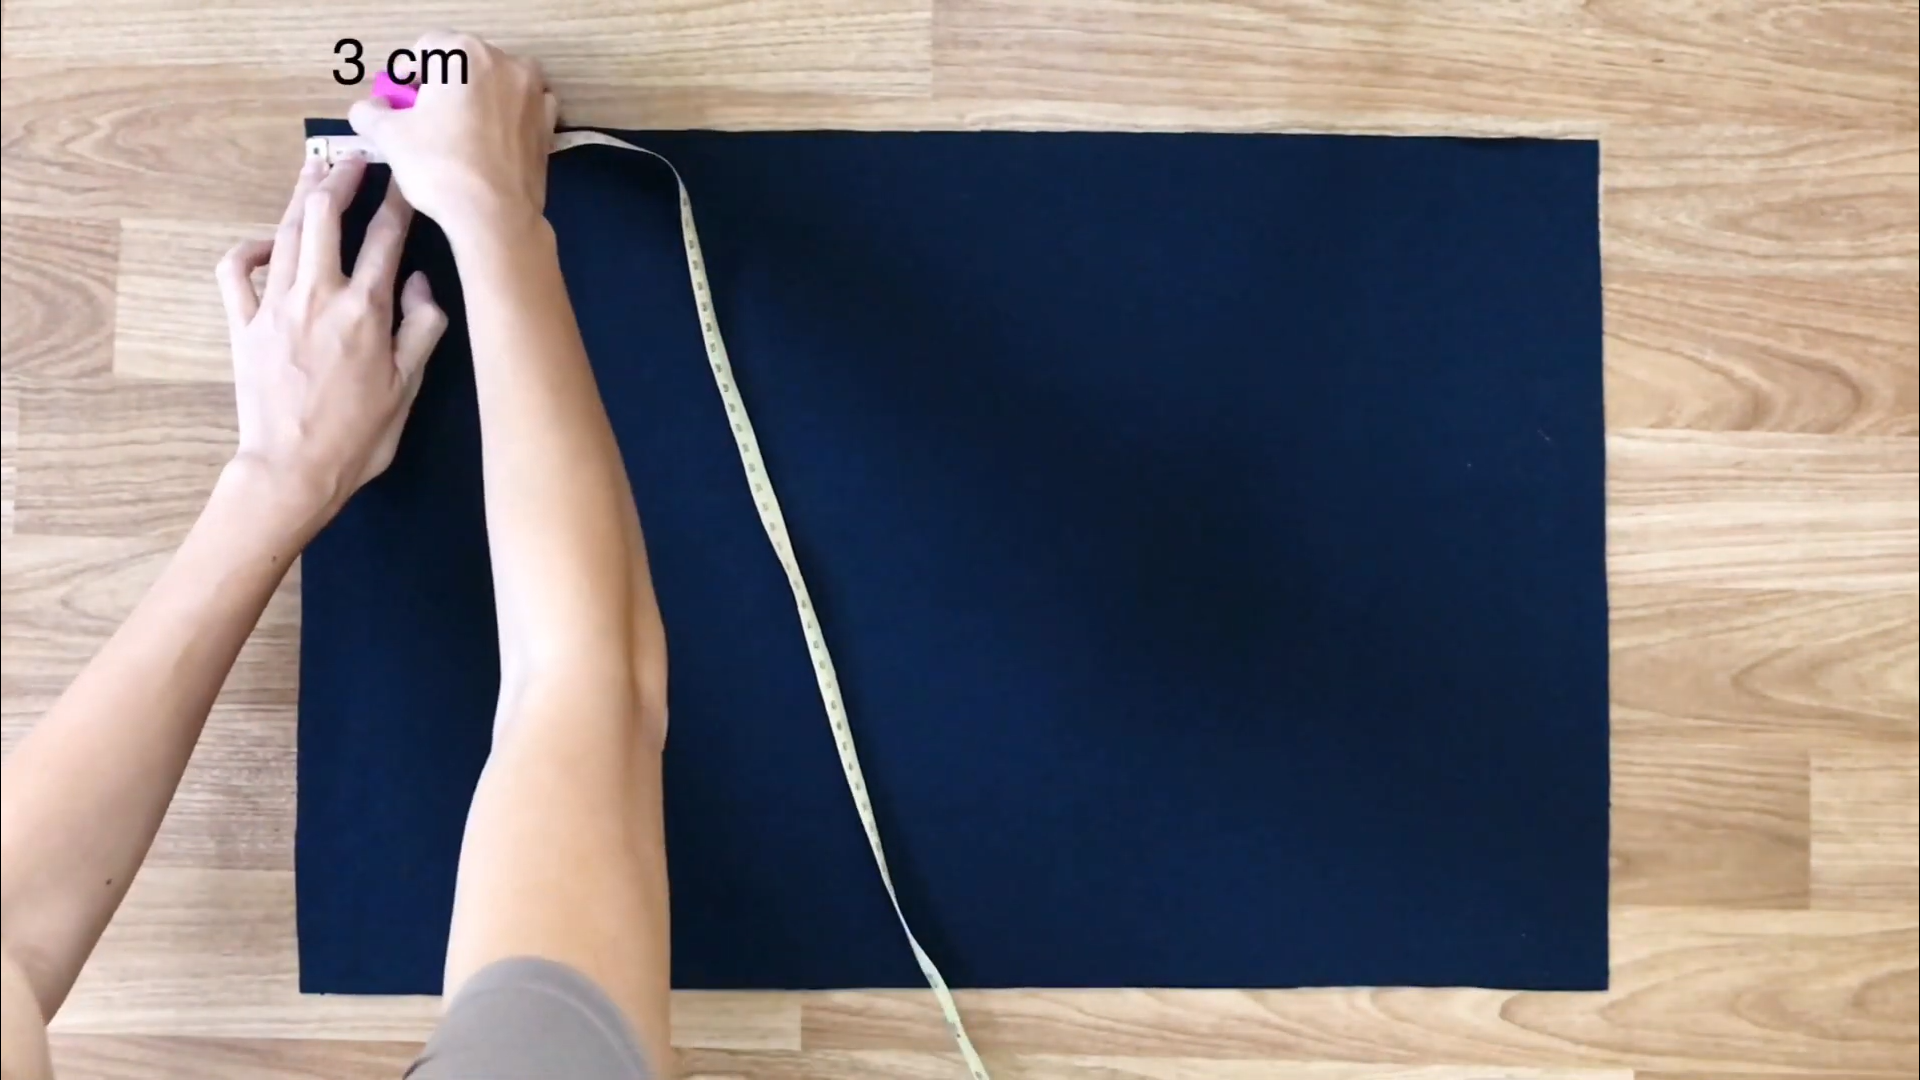
On the left side of each rectangle, mark a point 3 cm from the top.
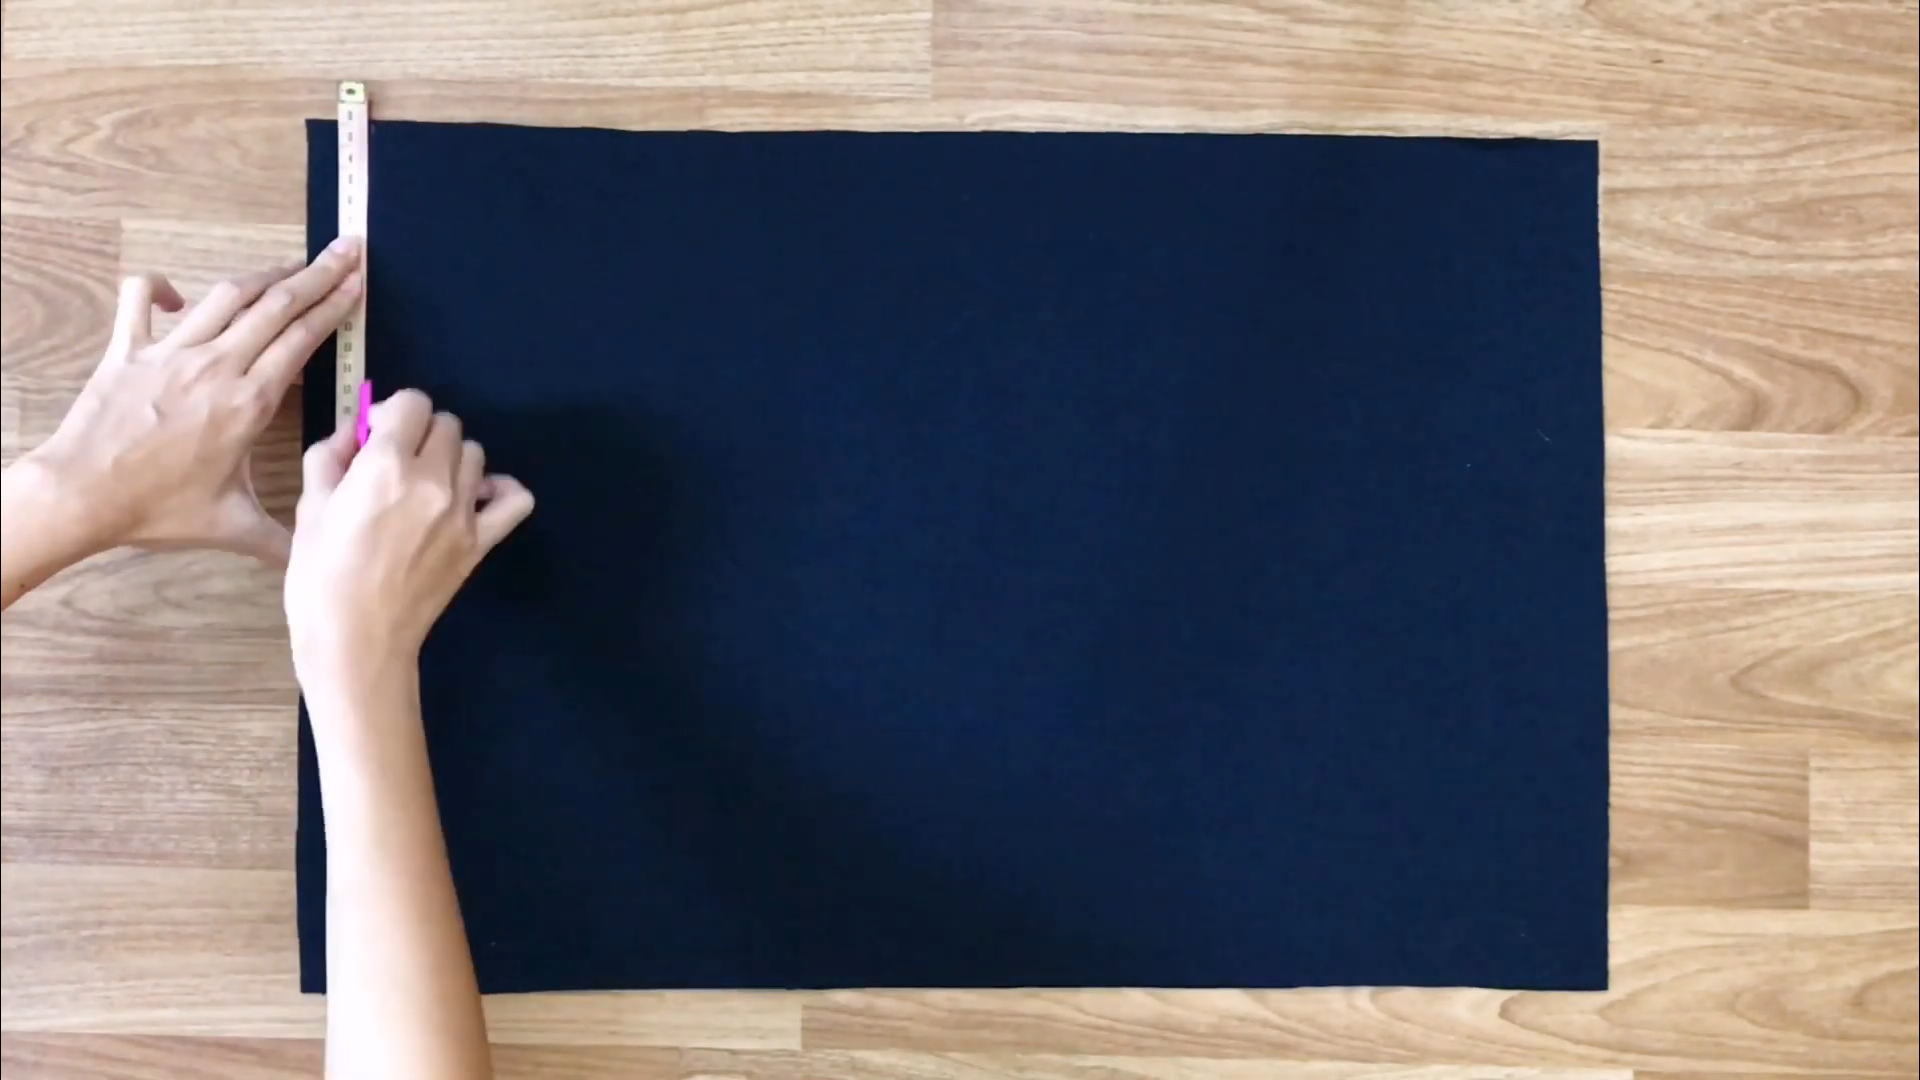
Draw a straight line downward from this mark.
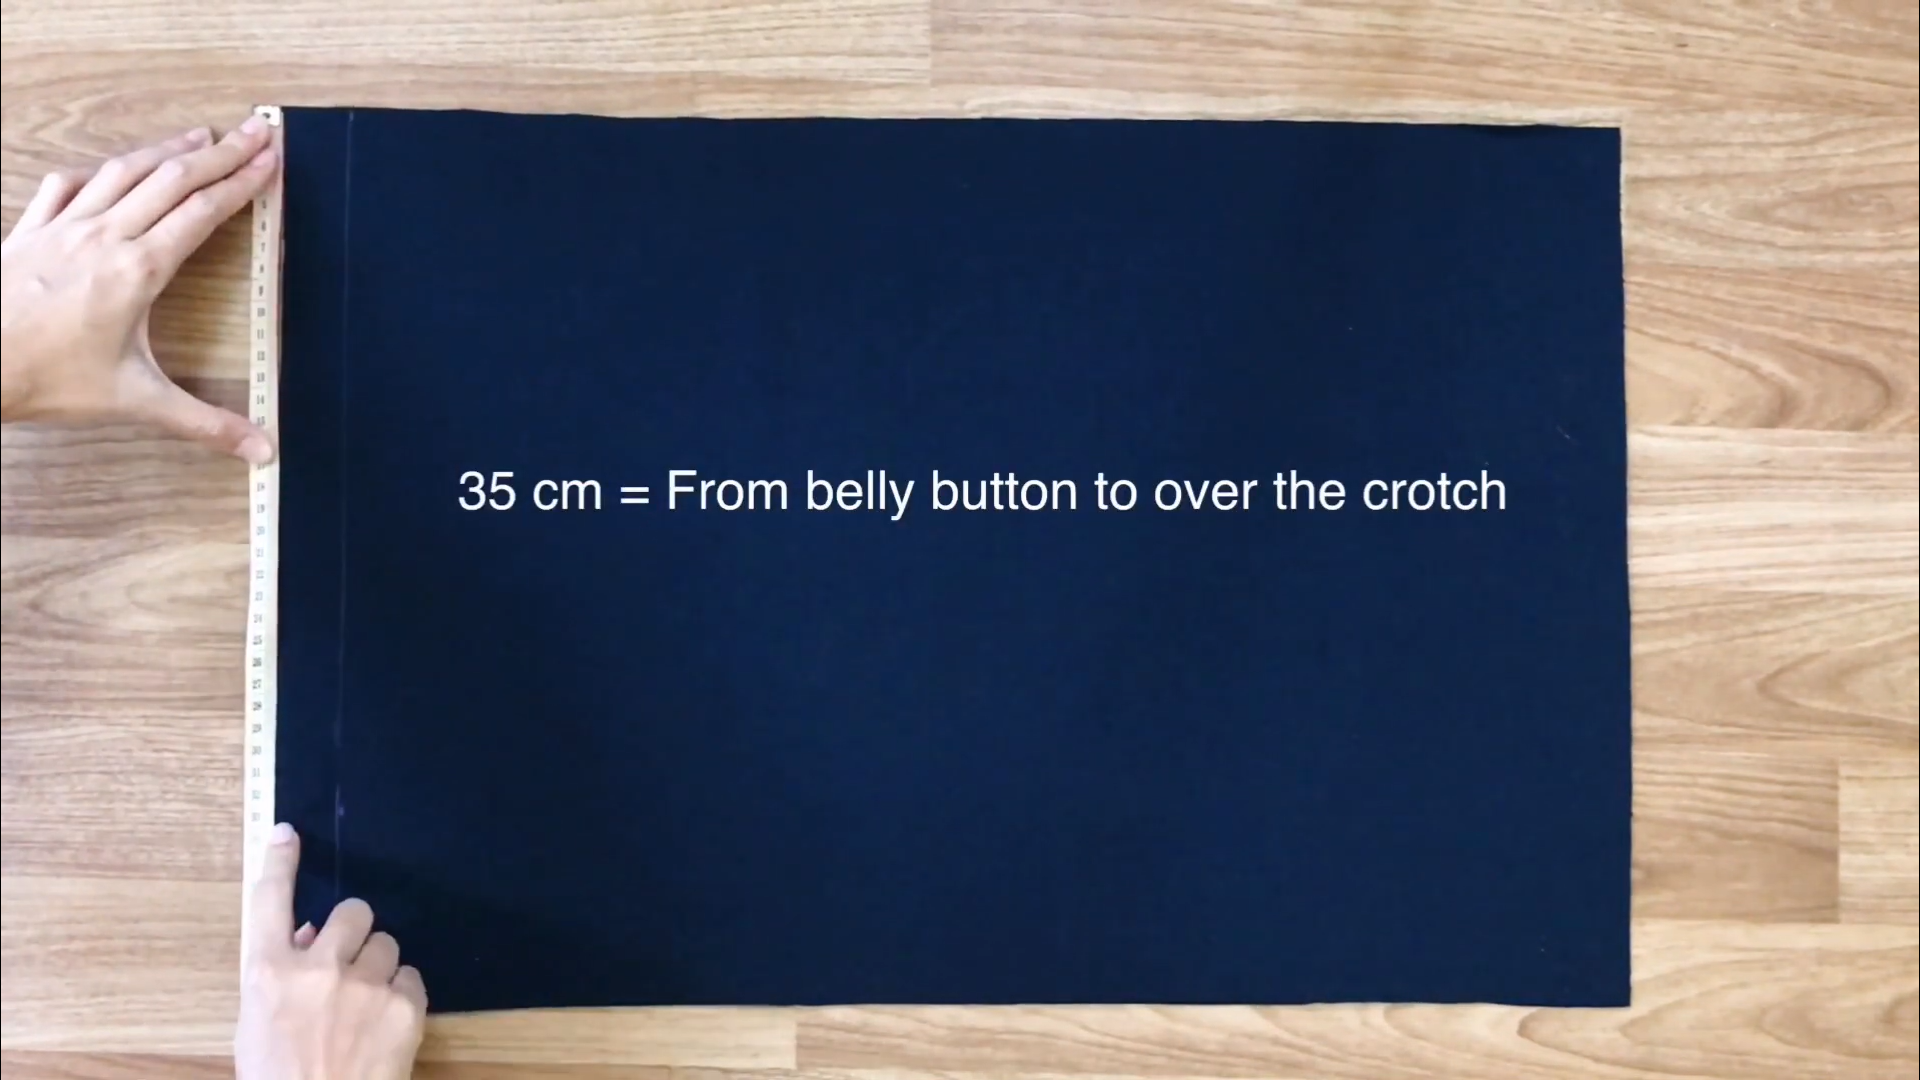
Then, on the left side, mark a point 35 cm down, which is the width from your belly button to over the crotch.
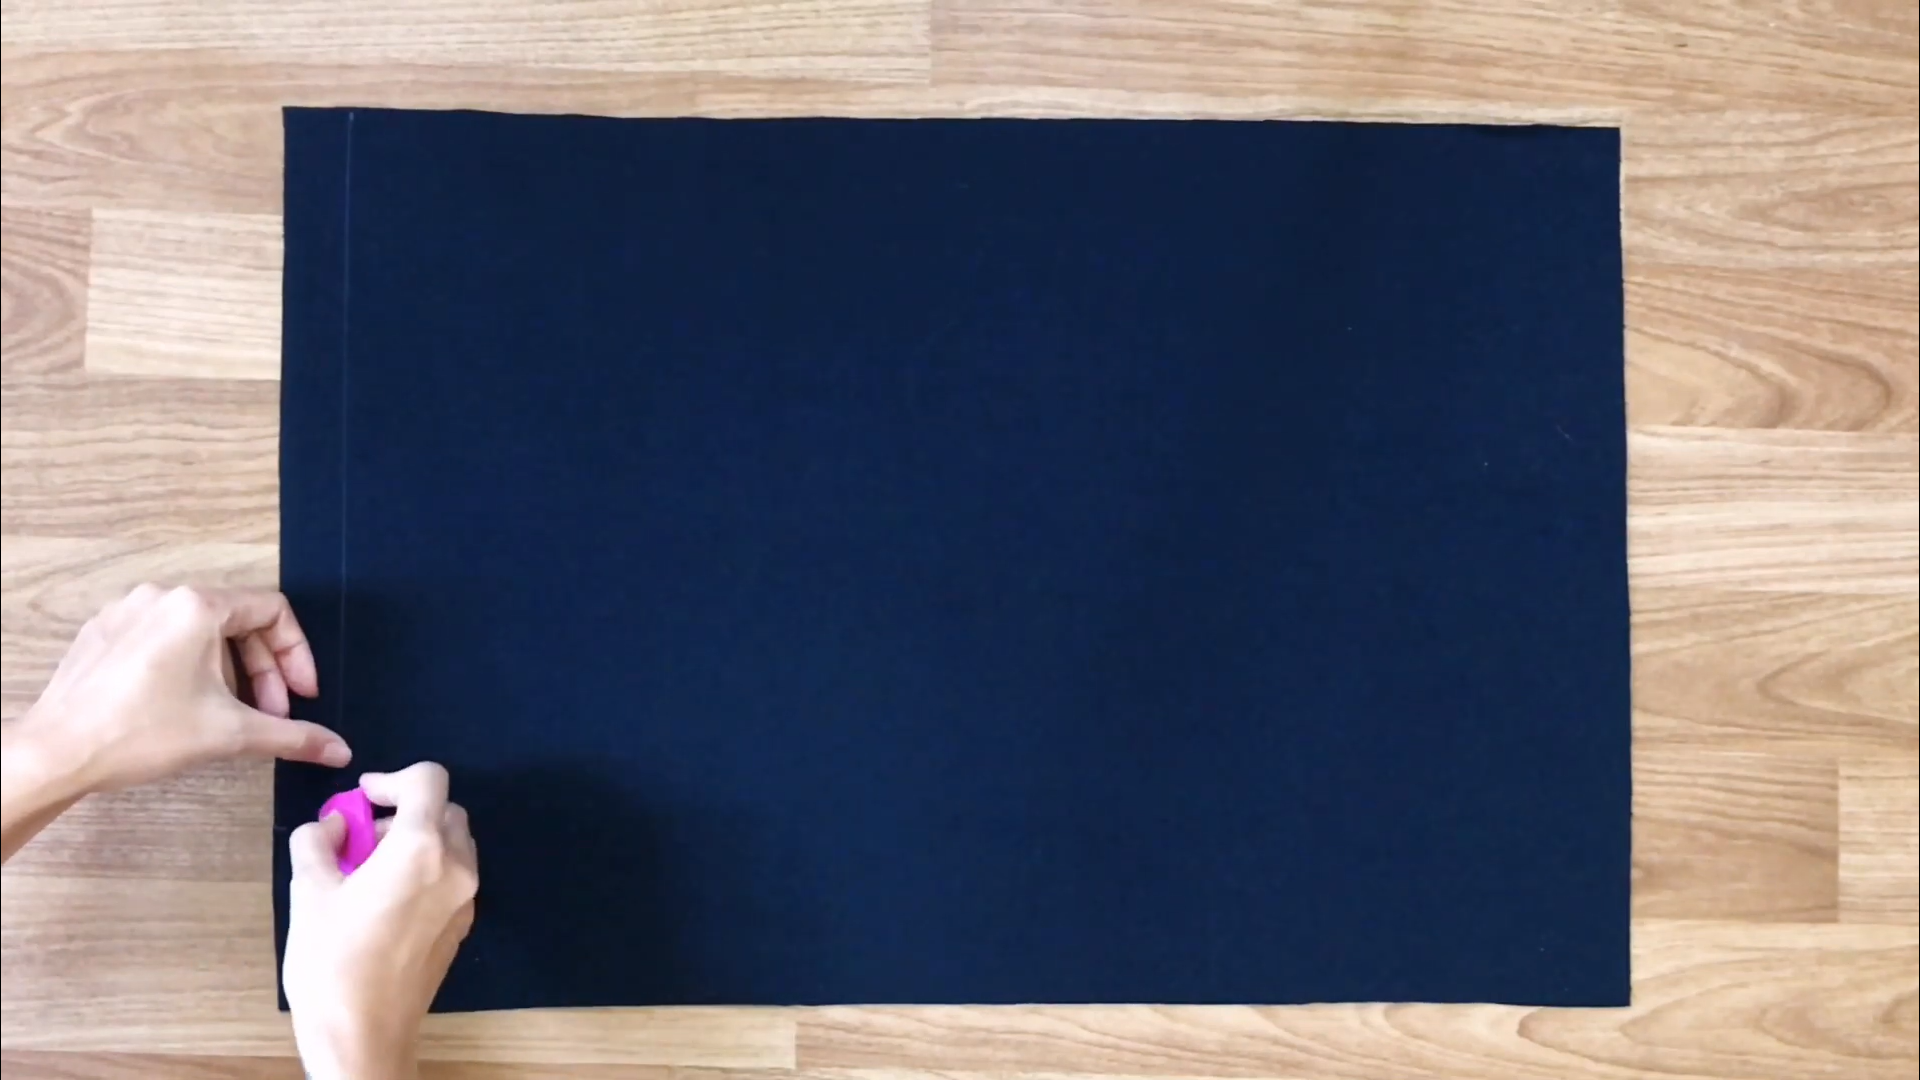
Draw a curved line from this mark to the horizontal line you previously drew. This will be the front of the pants.
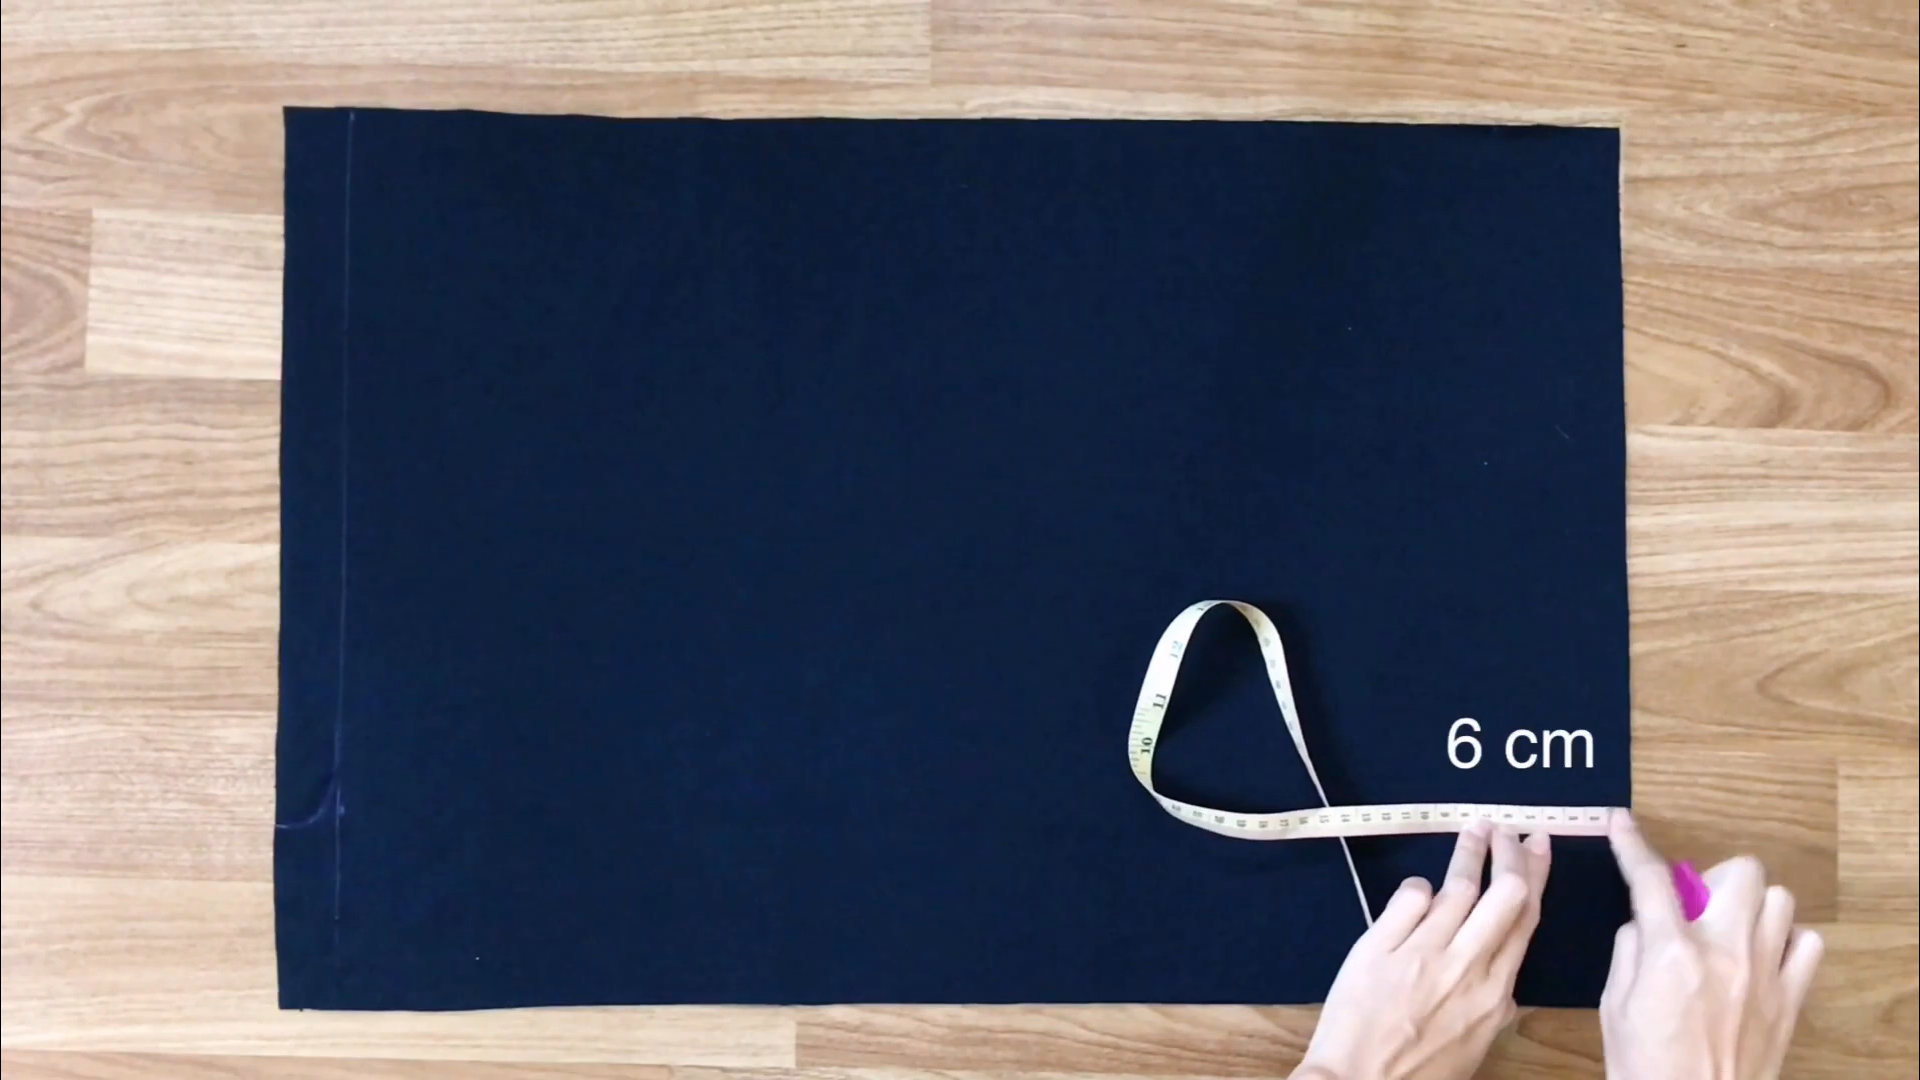
Repeat a similar process on the right side, but mark a point 6 cm inside instead of 3 cm.
This will form the back of the pants.

Make sure that the width between the front and back lines is equal to the width of the yellow T-shirt plus 2 cm, and it should be larger than half your hip size.
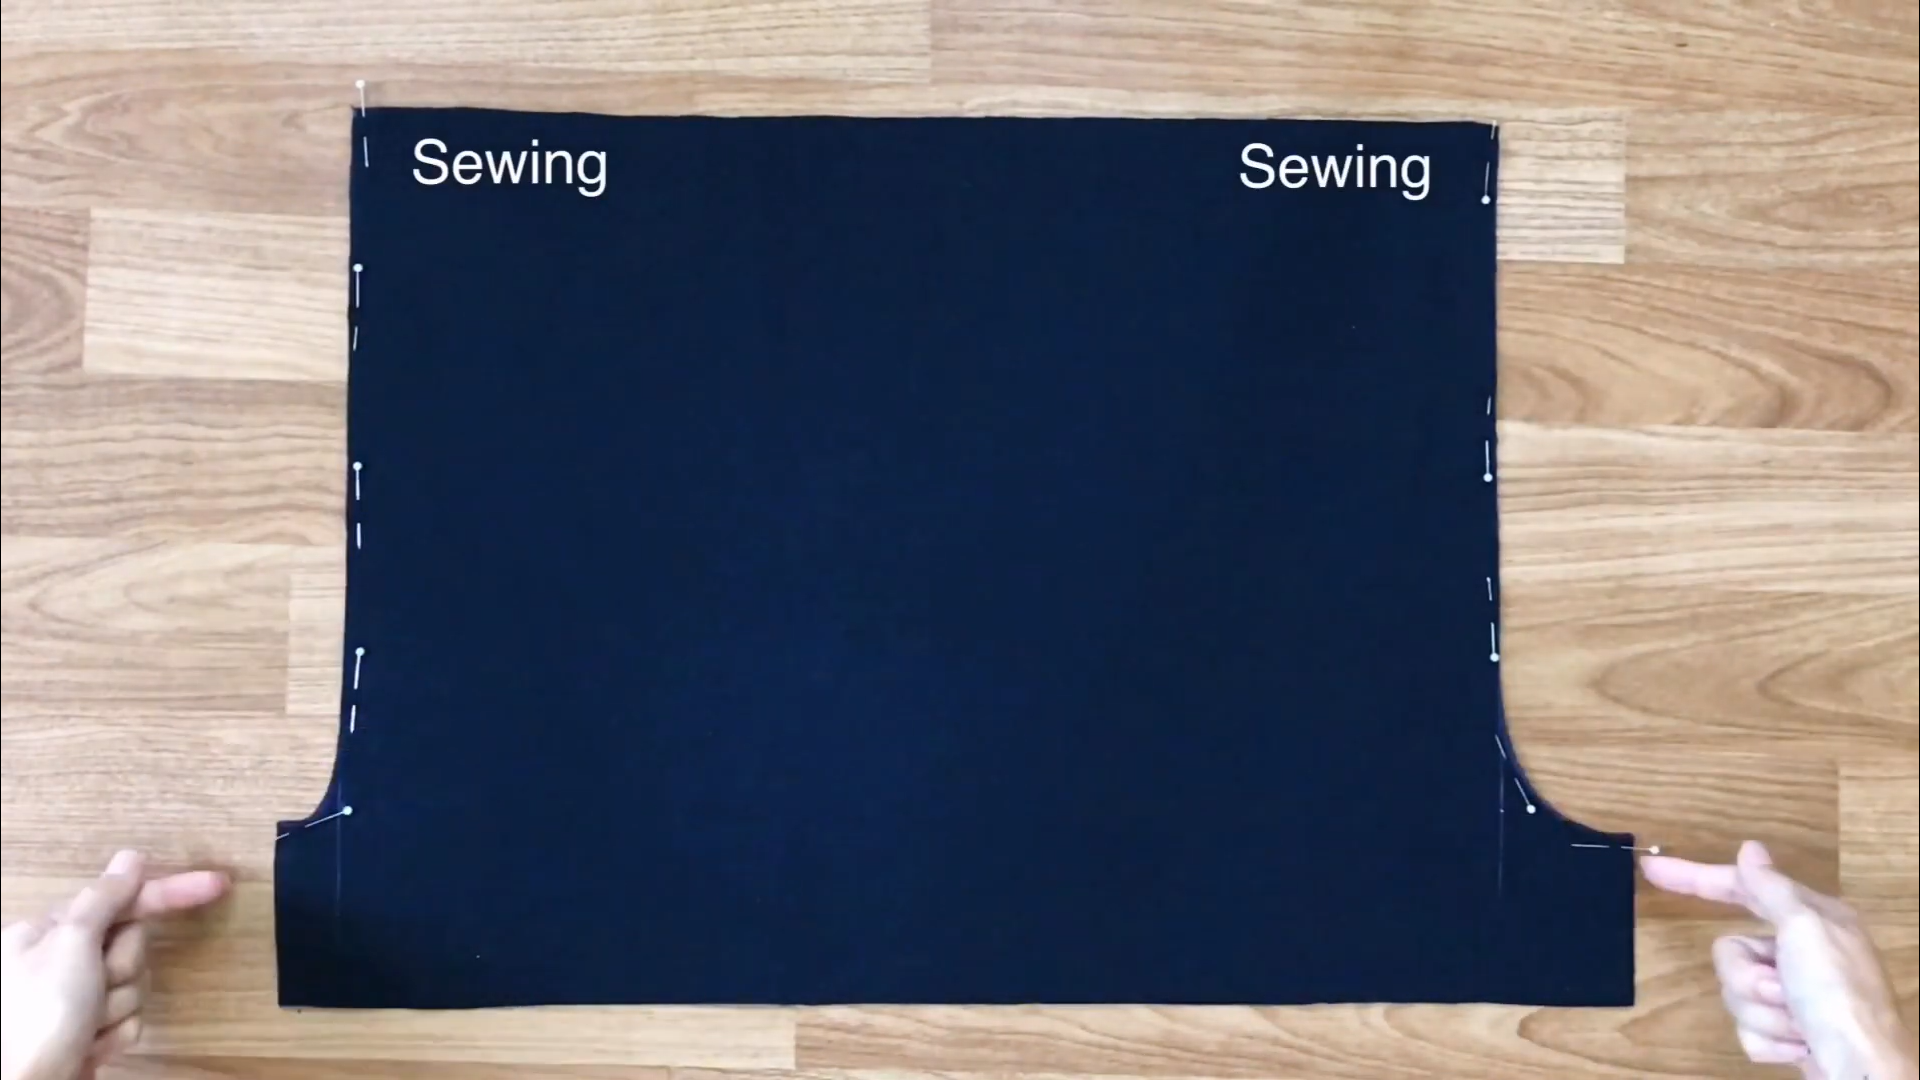
After cutting, connect the two patterns of the pants together at the crotch lines using pins, then sew along these lines.
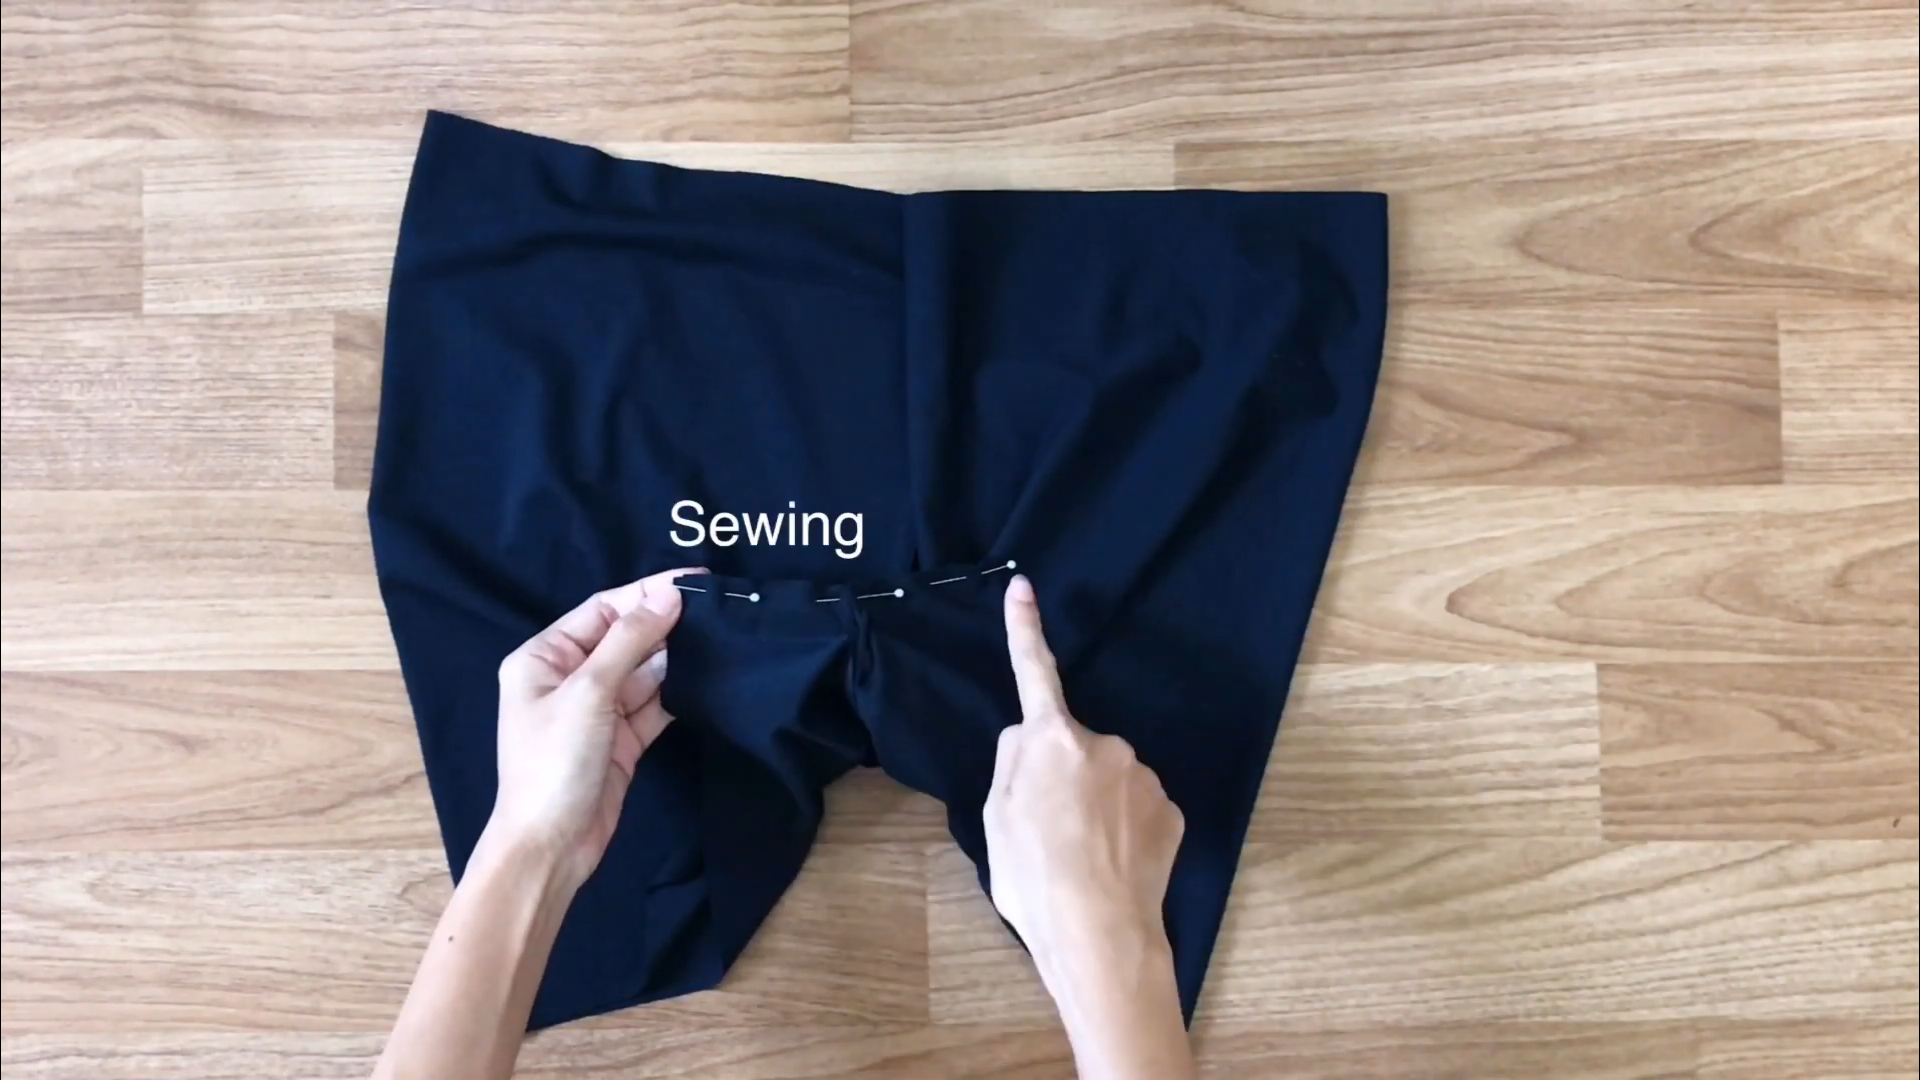
Next, connect the ends of the crotch lines together.

Fold the ends of the pants inside to hide the cut edges and seams, finishing the pants.
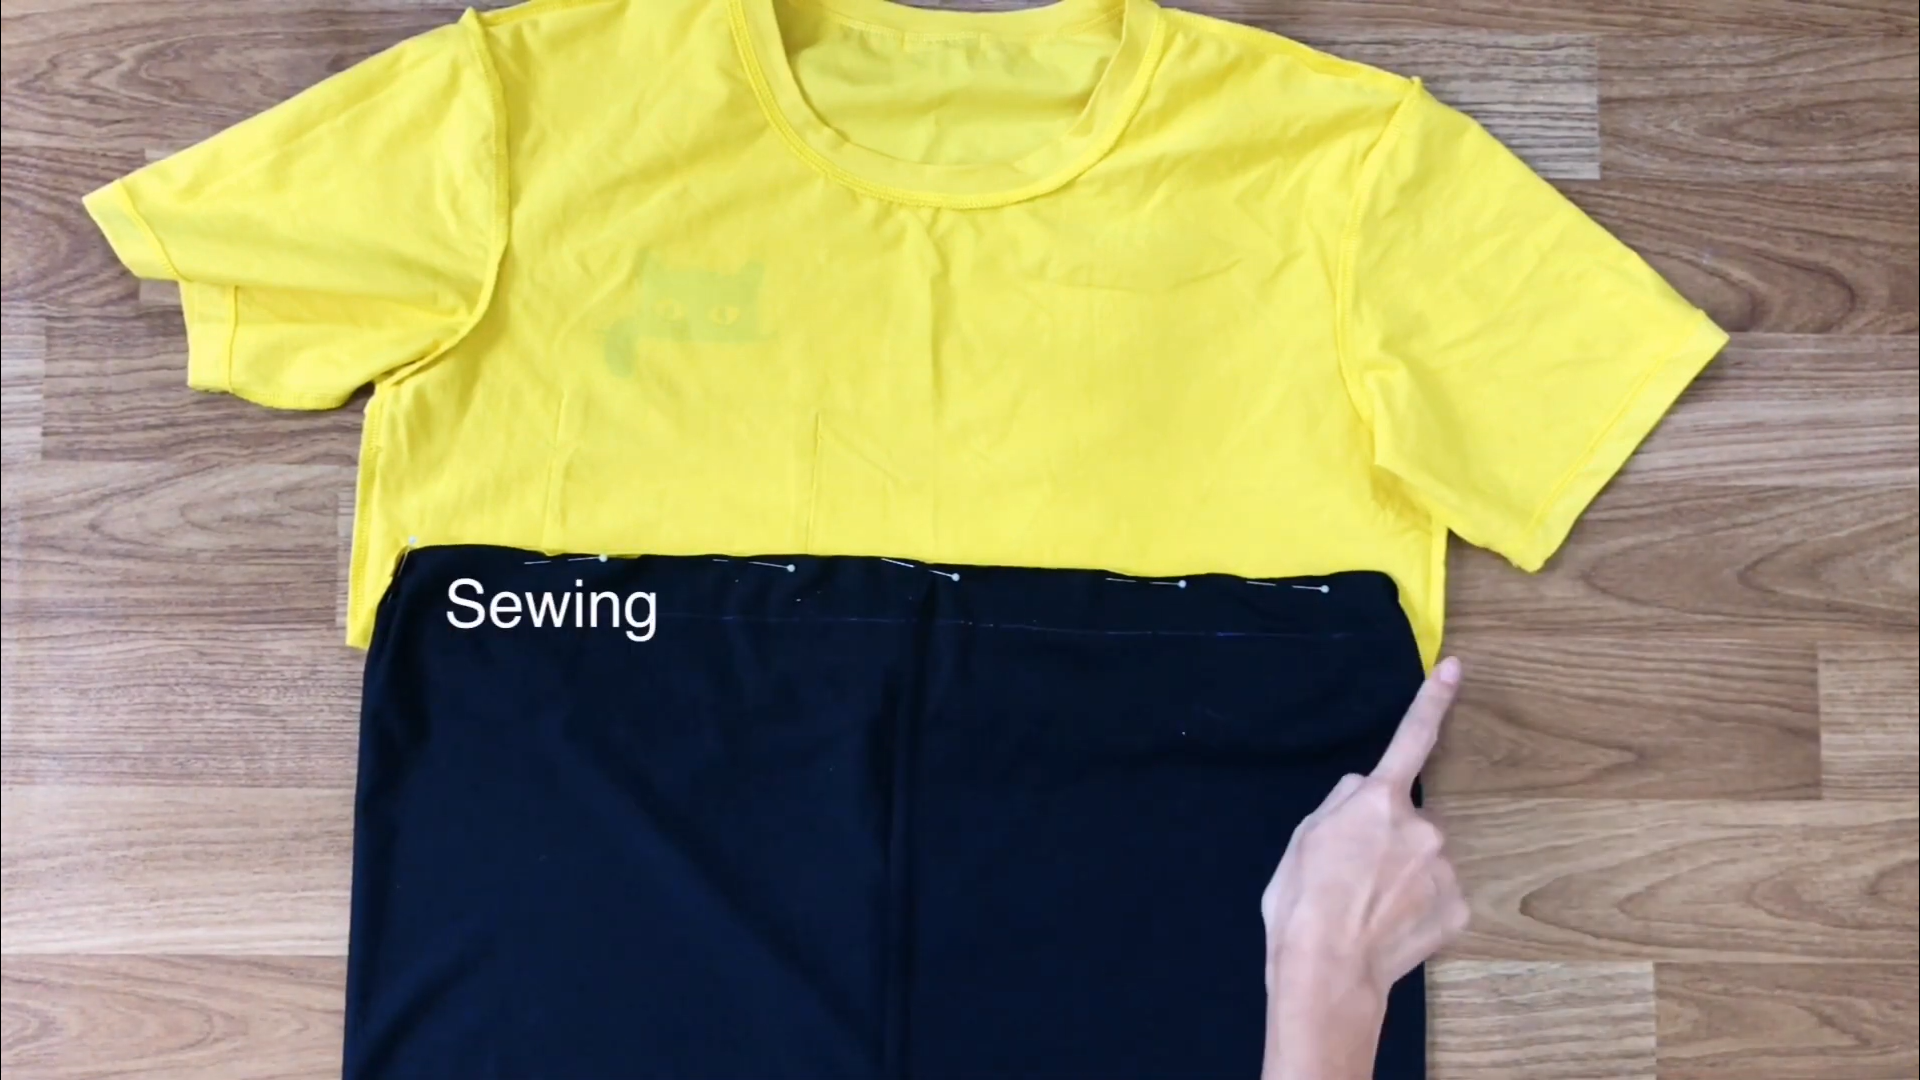
CONNECT THE TOP AND BOTTOM
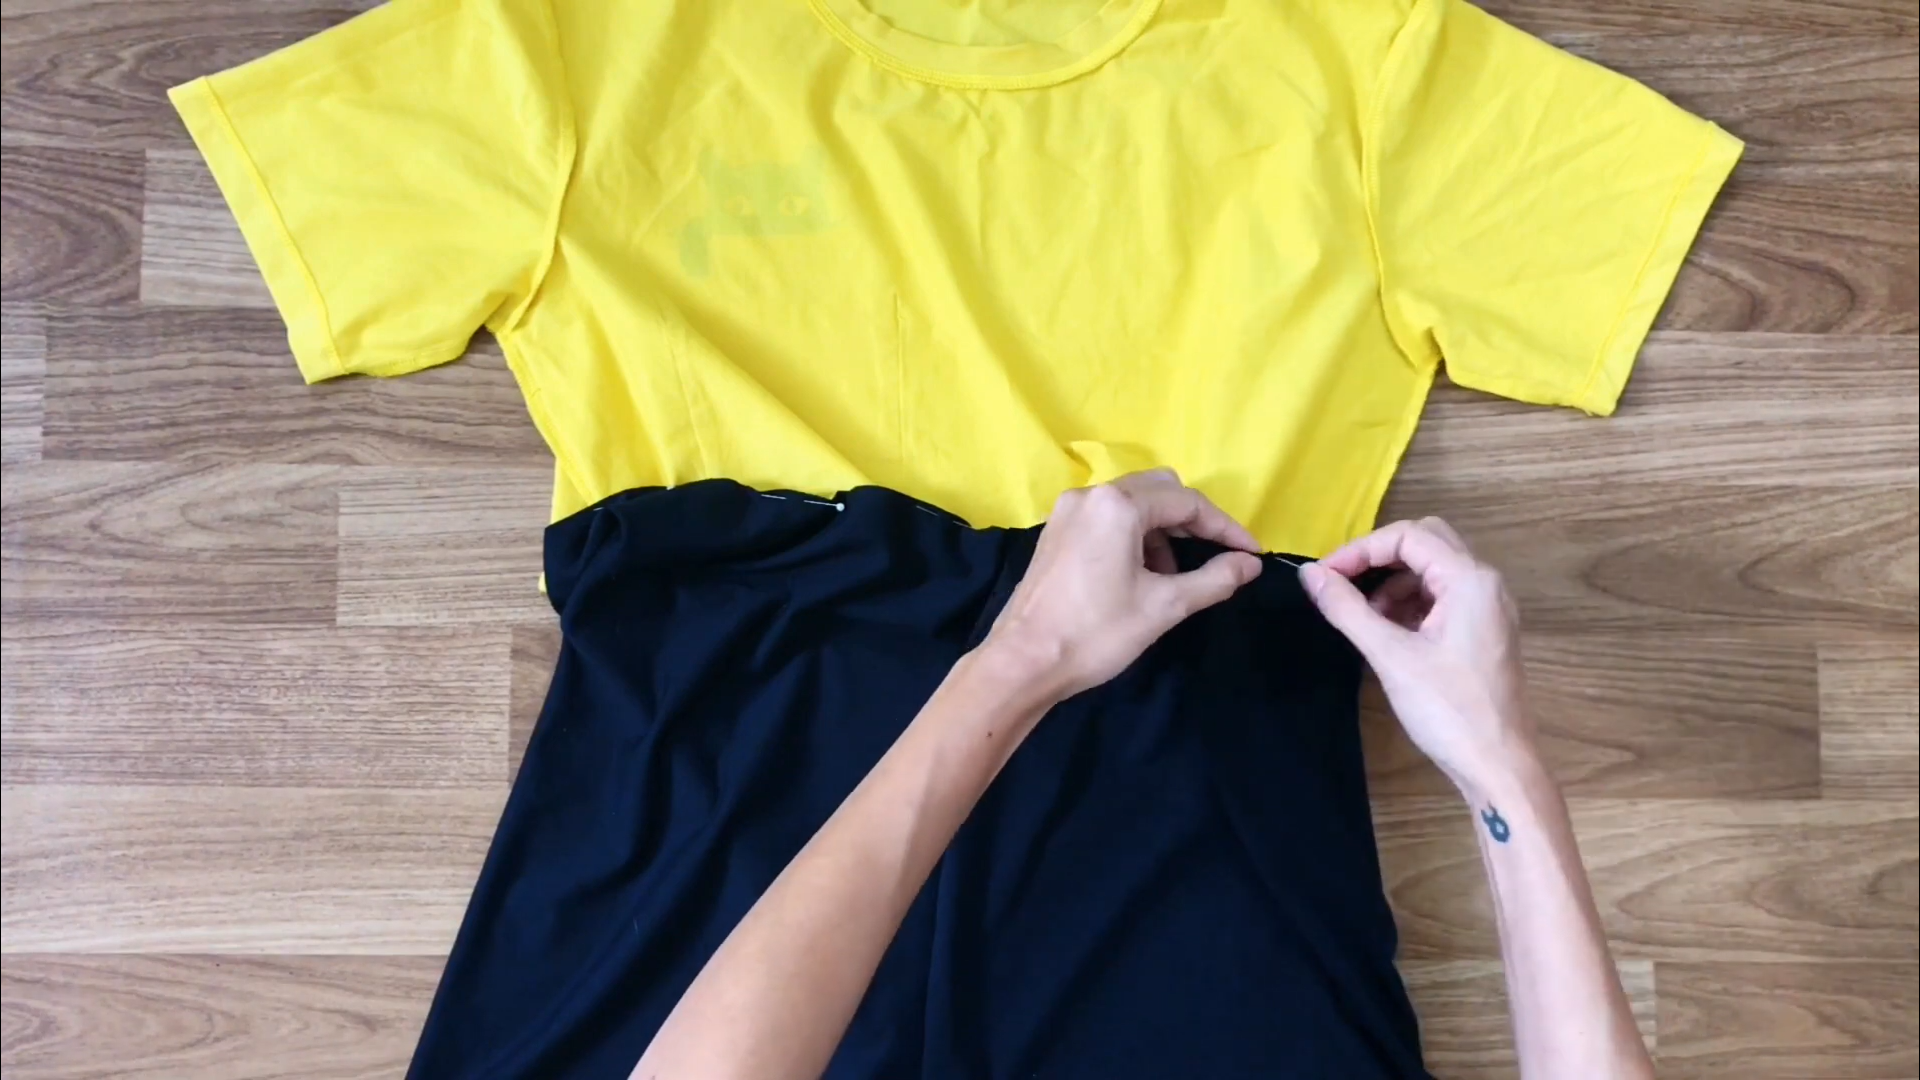
Start by connecting the sides first, using pins to hold them in place, and then sew.
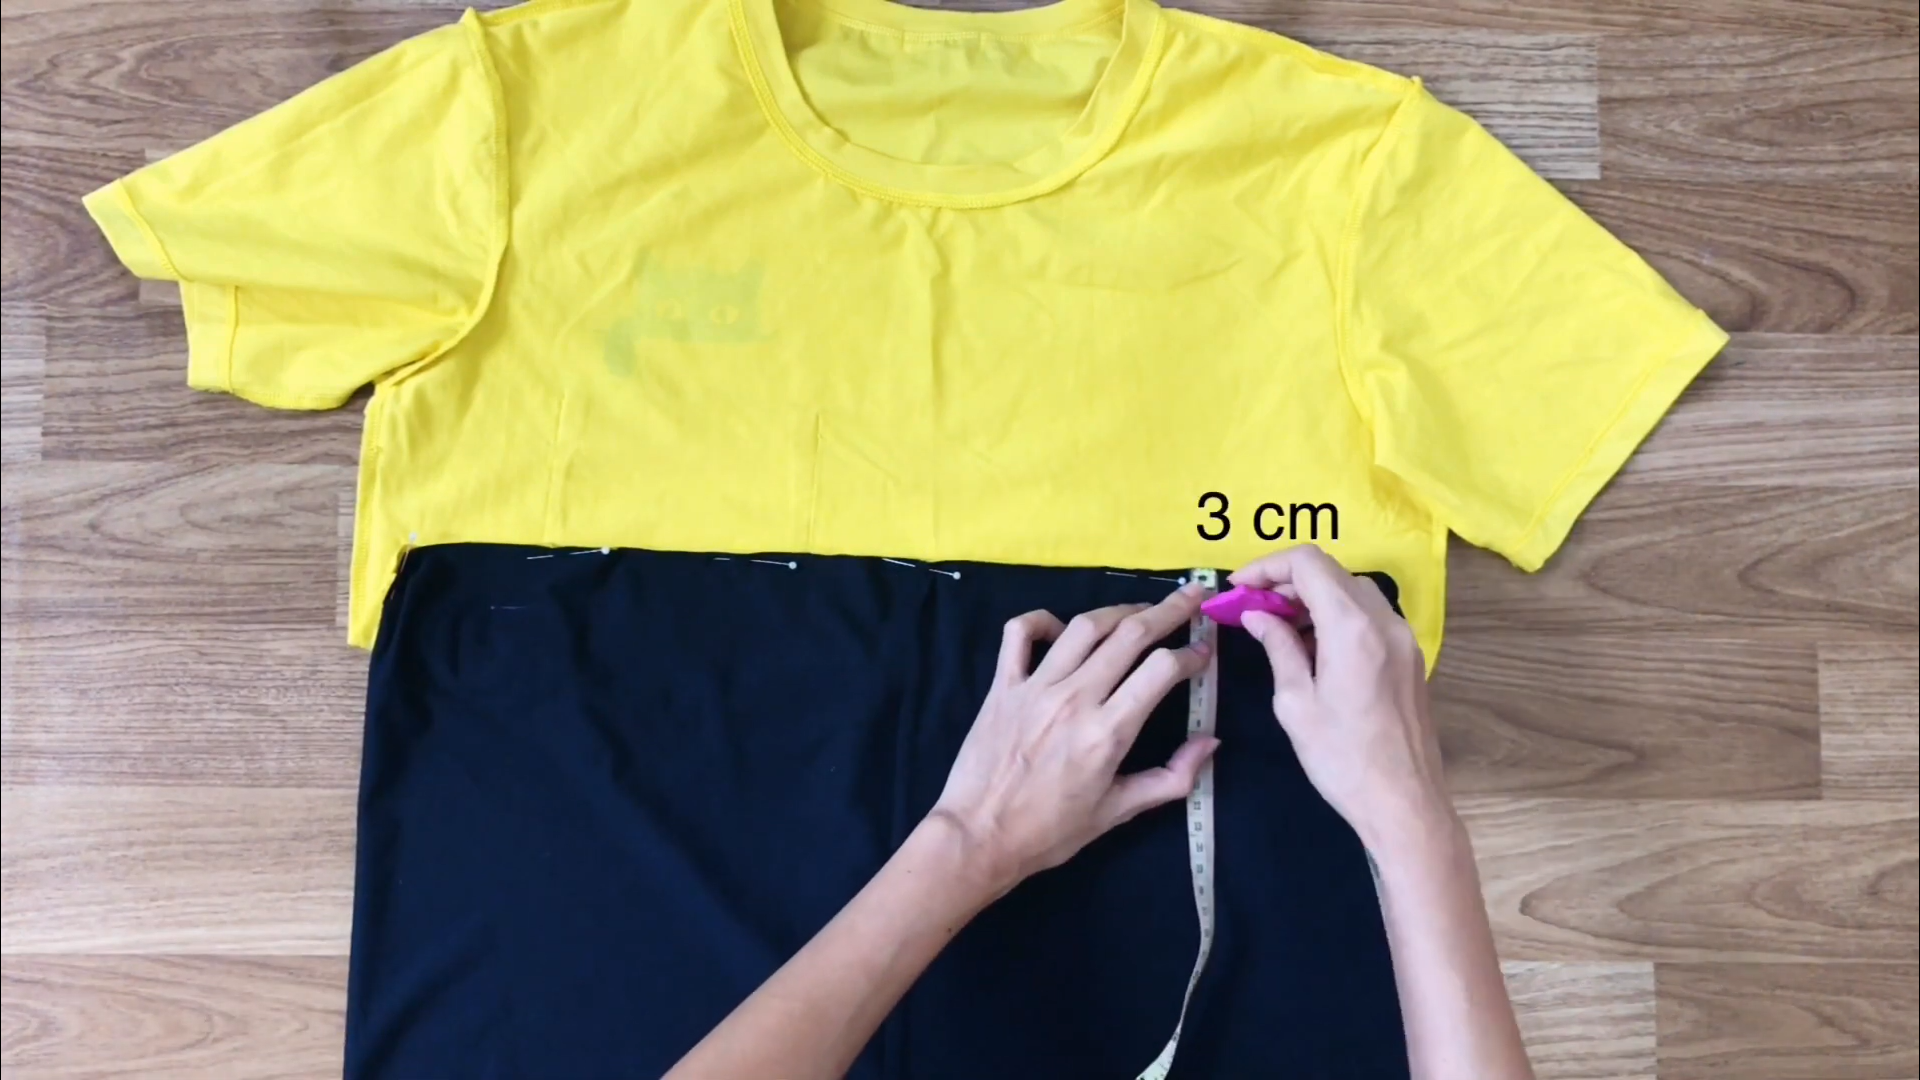
Draw a horizontal line 3 cm inside the top of the connecting line.
Then, sew along this line.
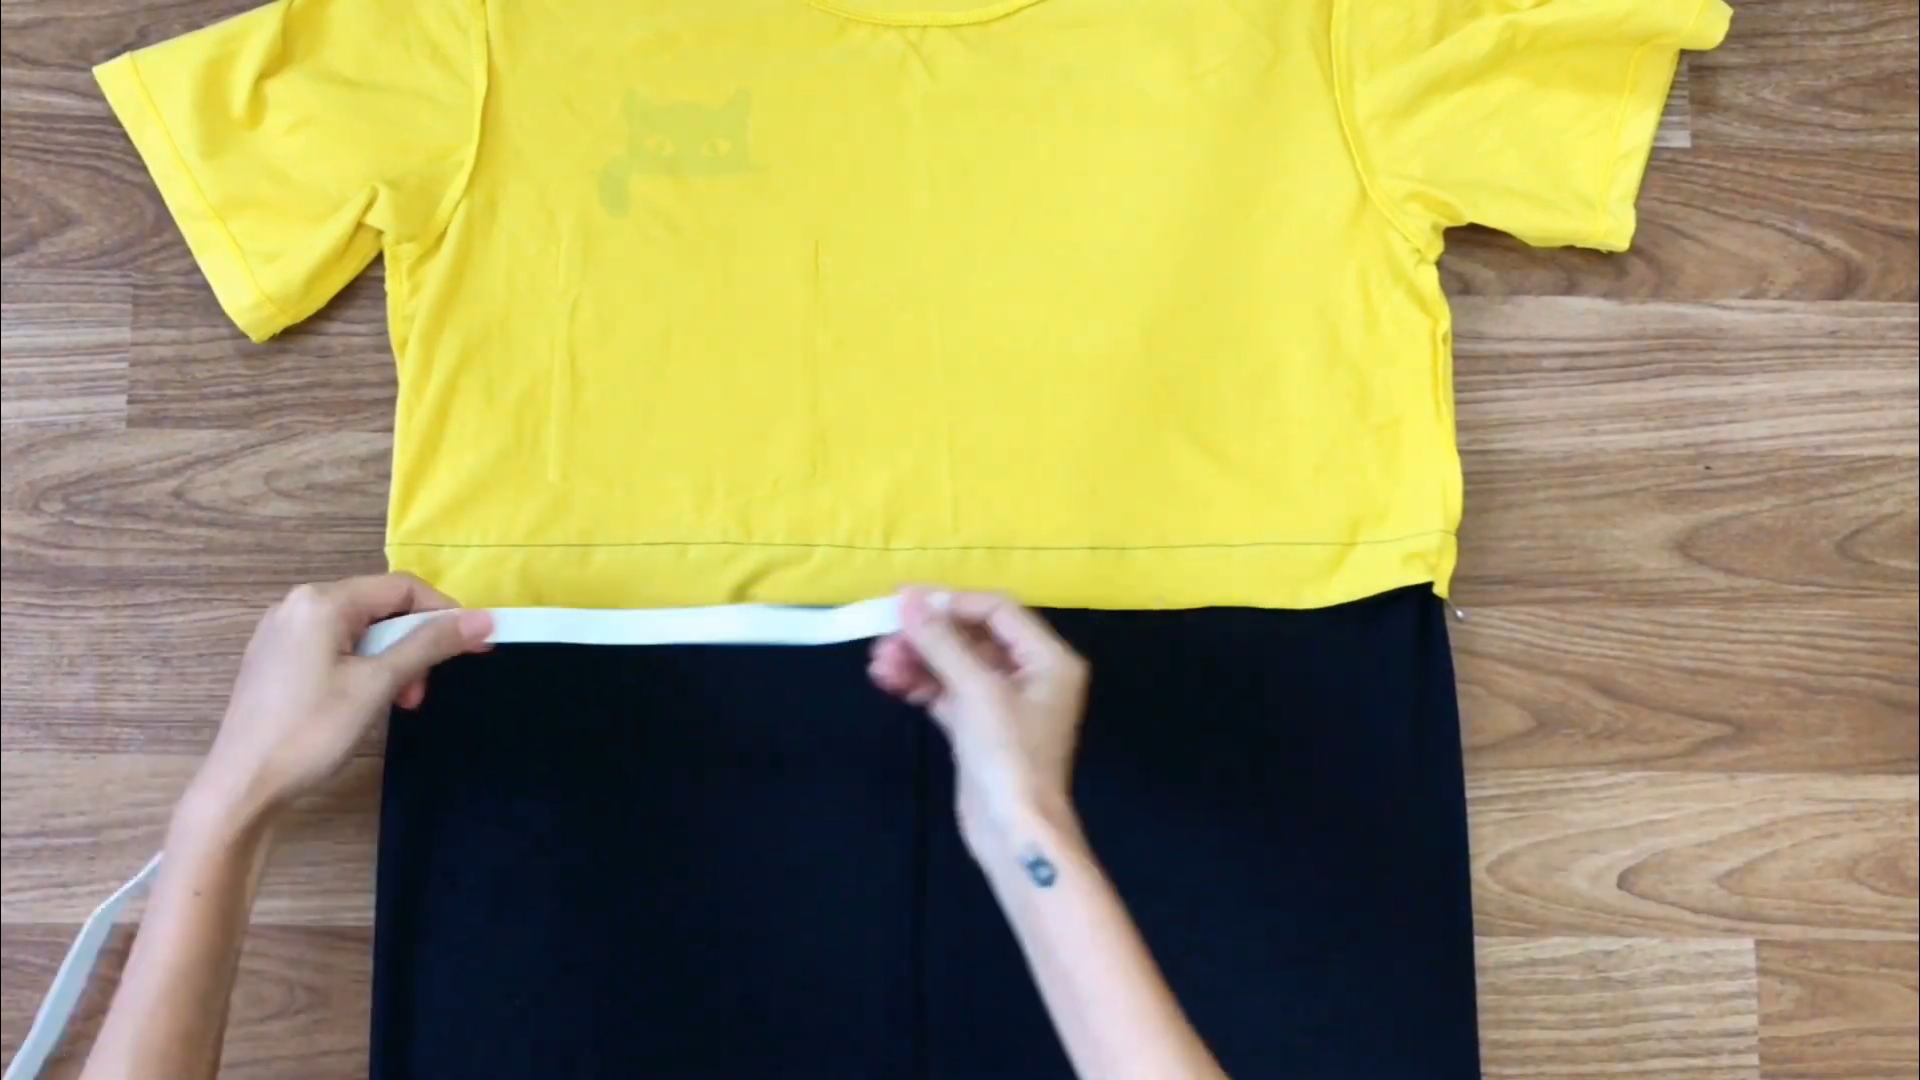
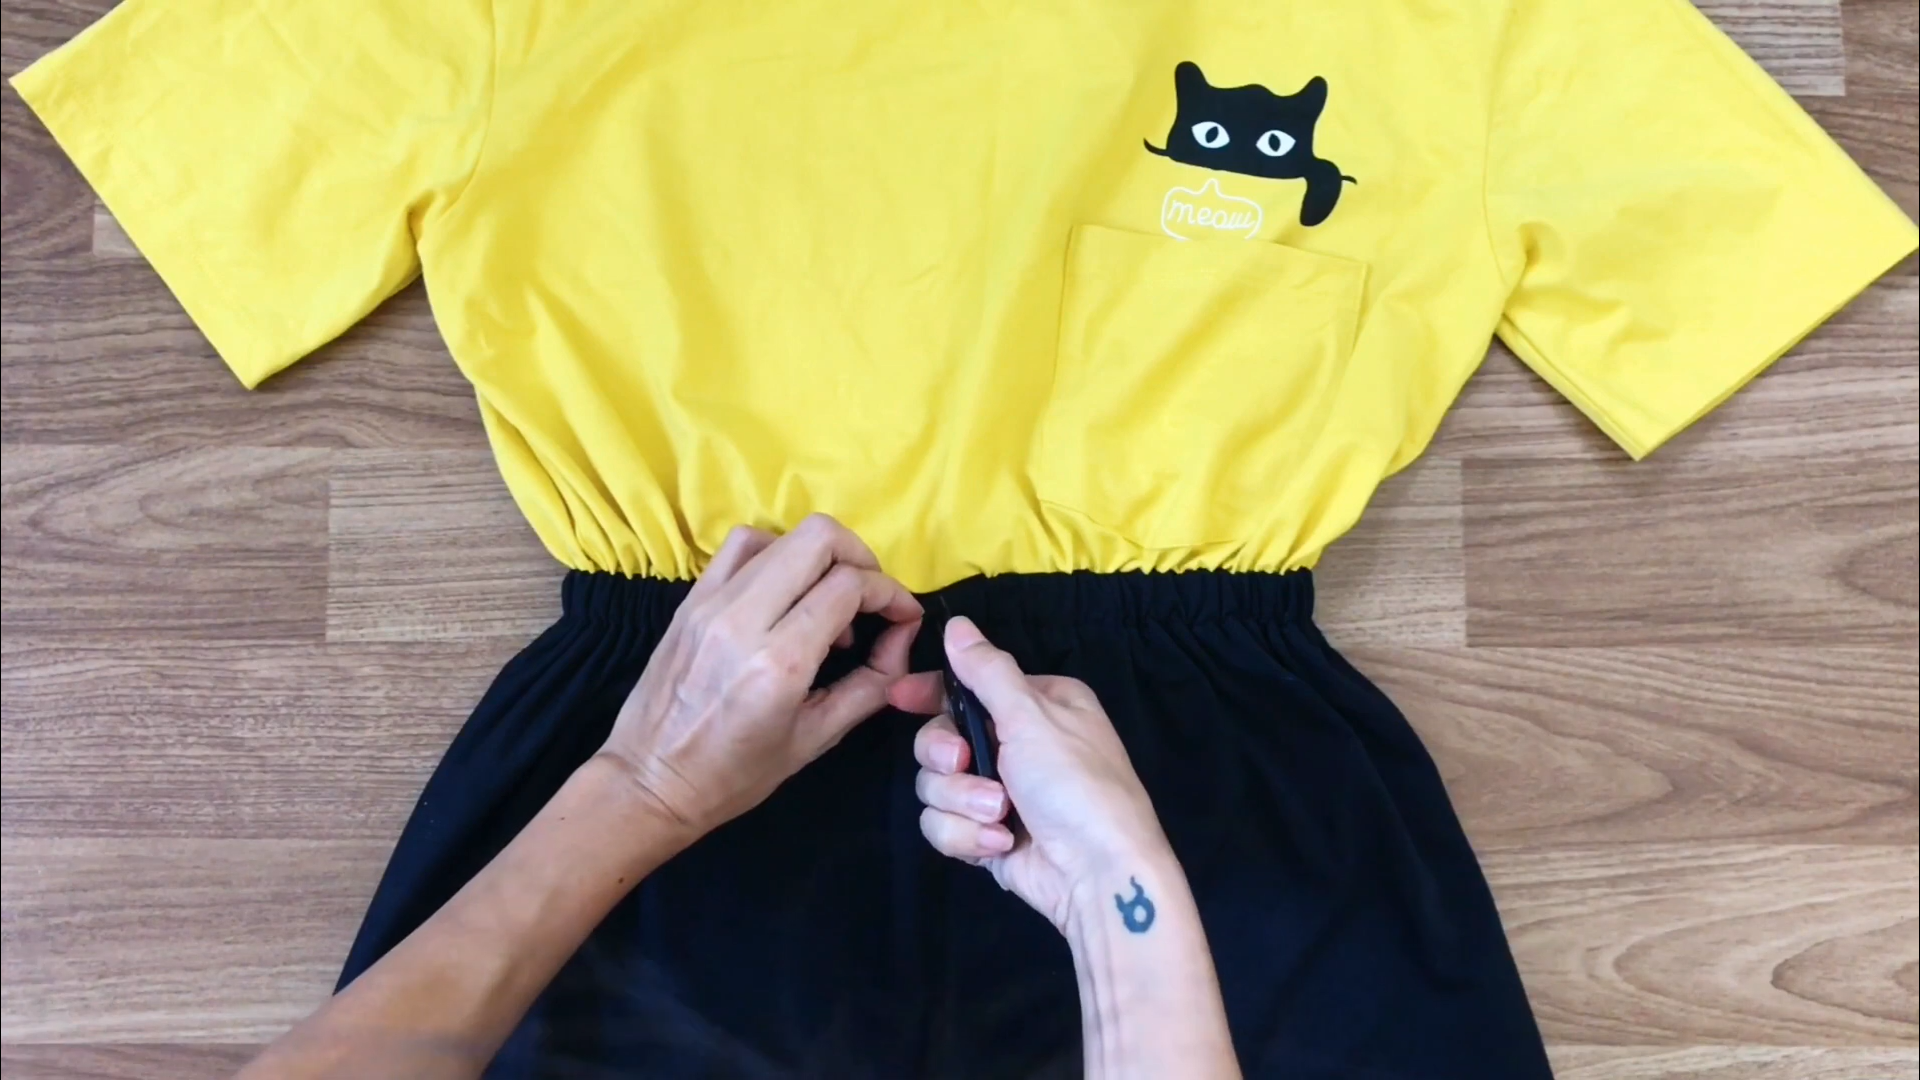
To make the jumpsuit fit snugly around your body, use a small elastic band at the waist.
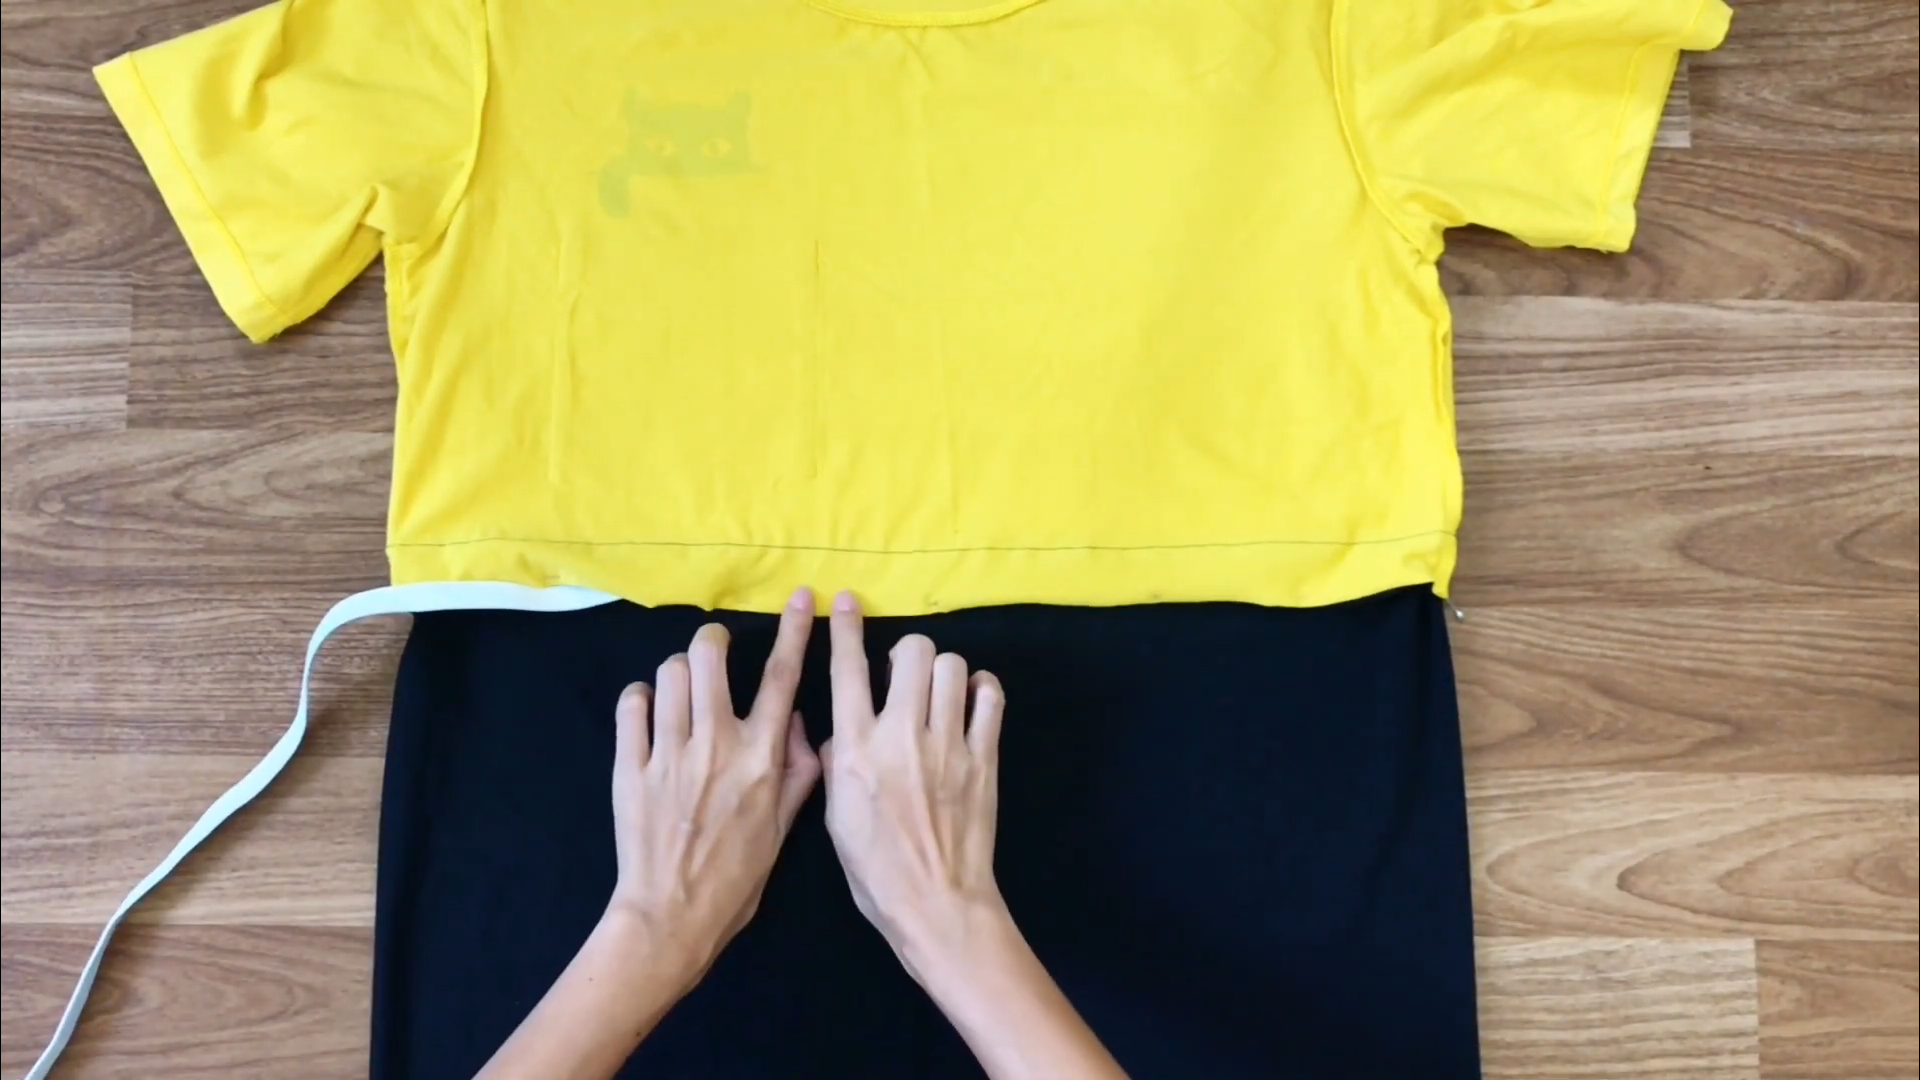
Measure the length of the elastic band to determine the size of the fabric hole you need to make.
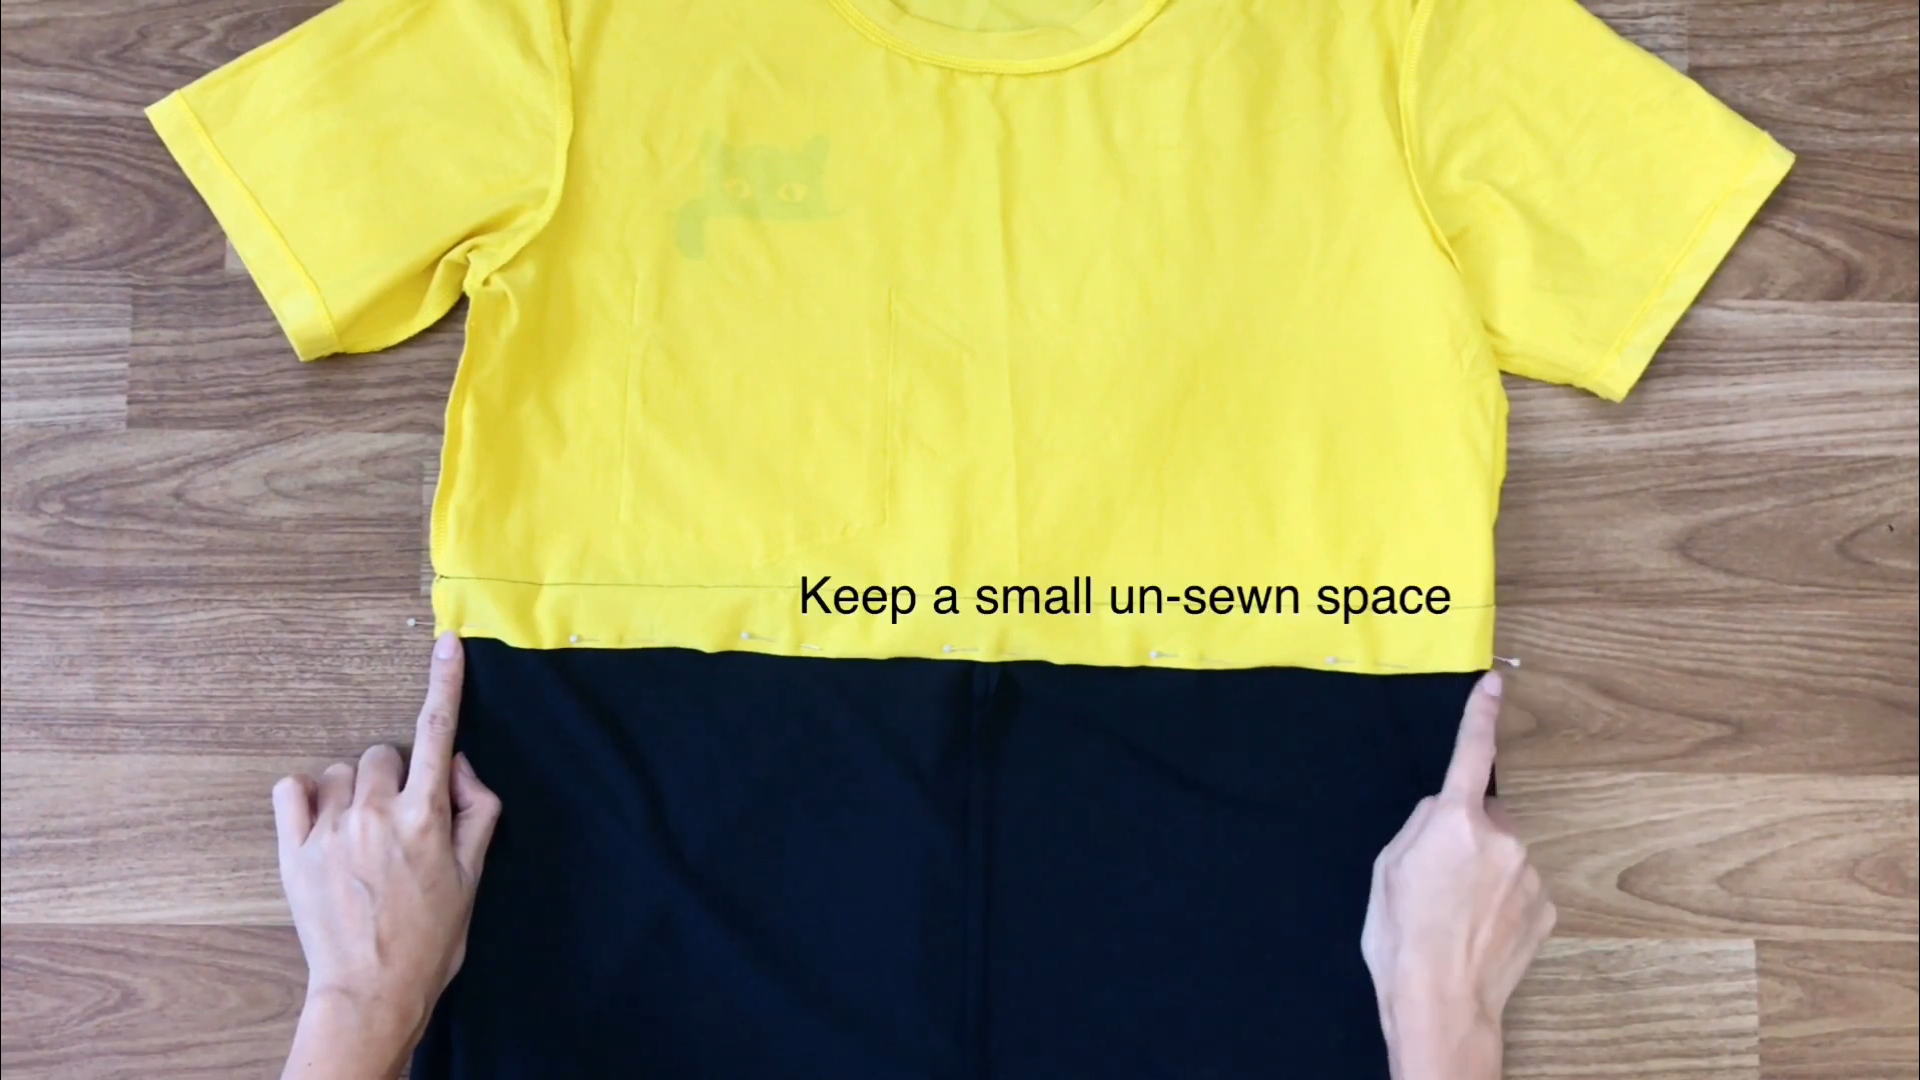
Remember to keep a small unsewn space to insert the elastic band later.

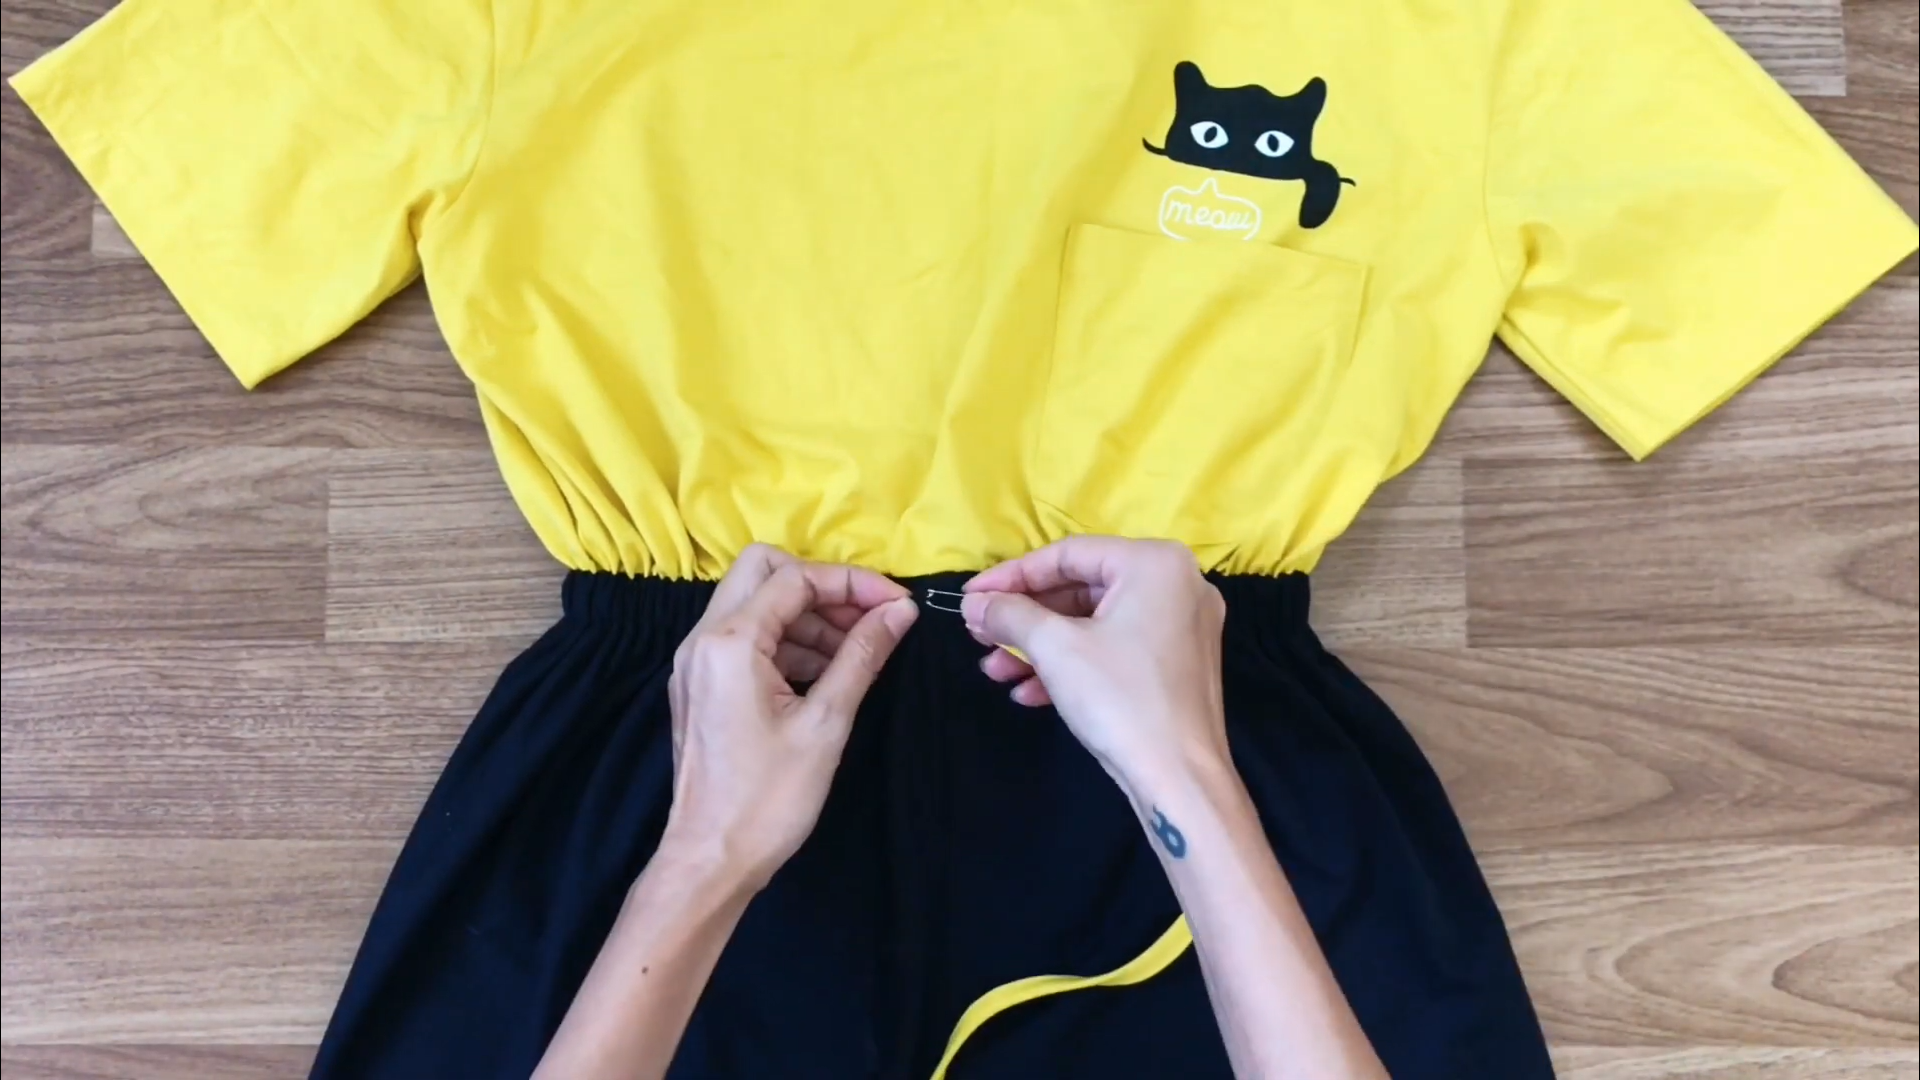
Use safety pins to guide the elastic band through the hole.
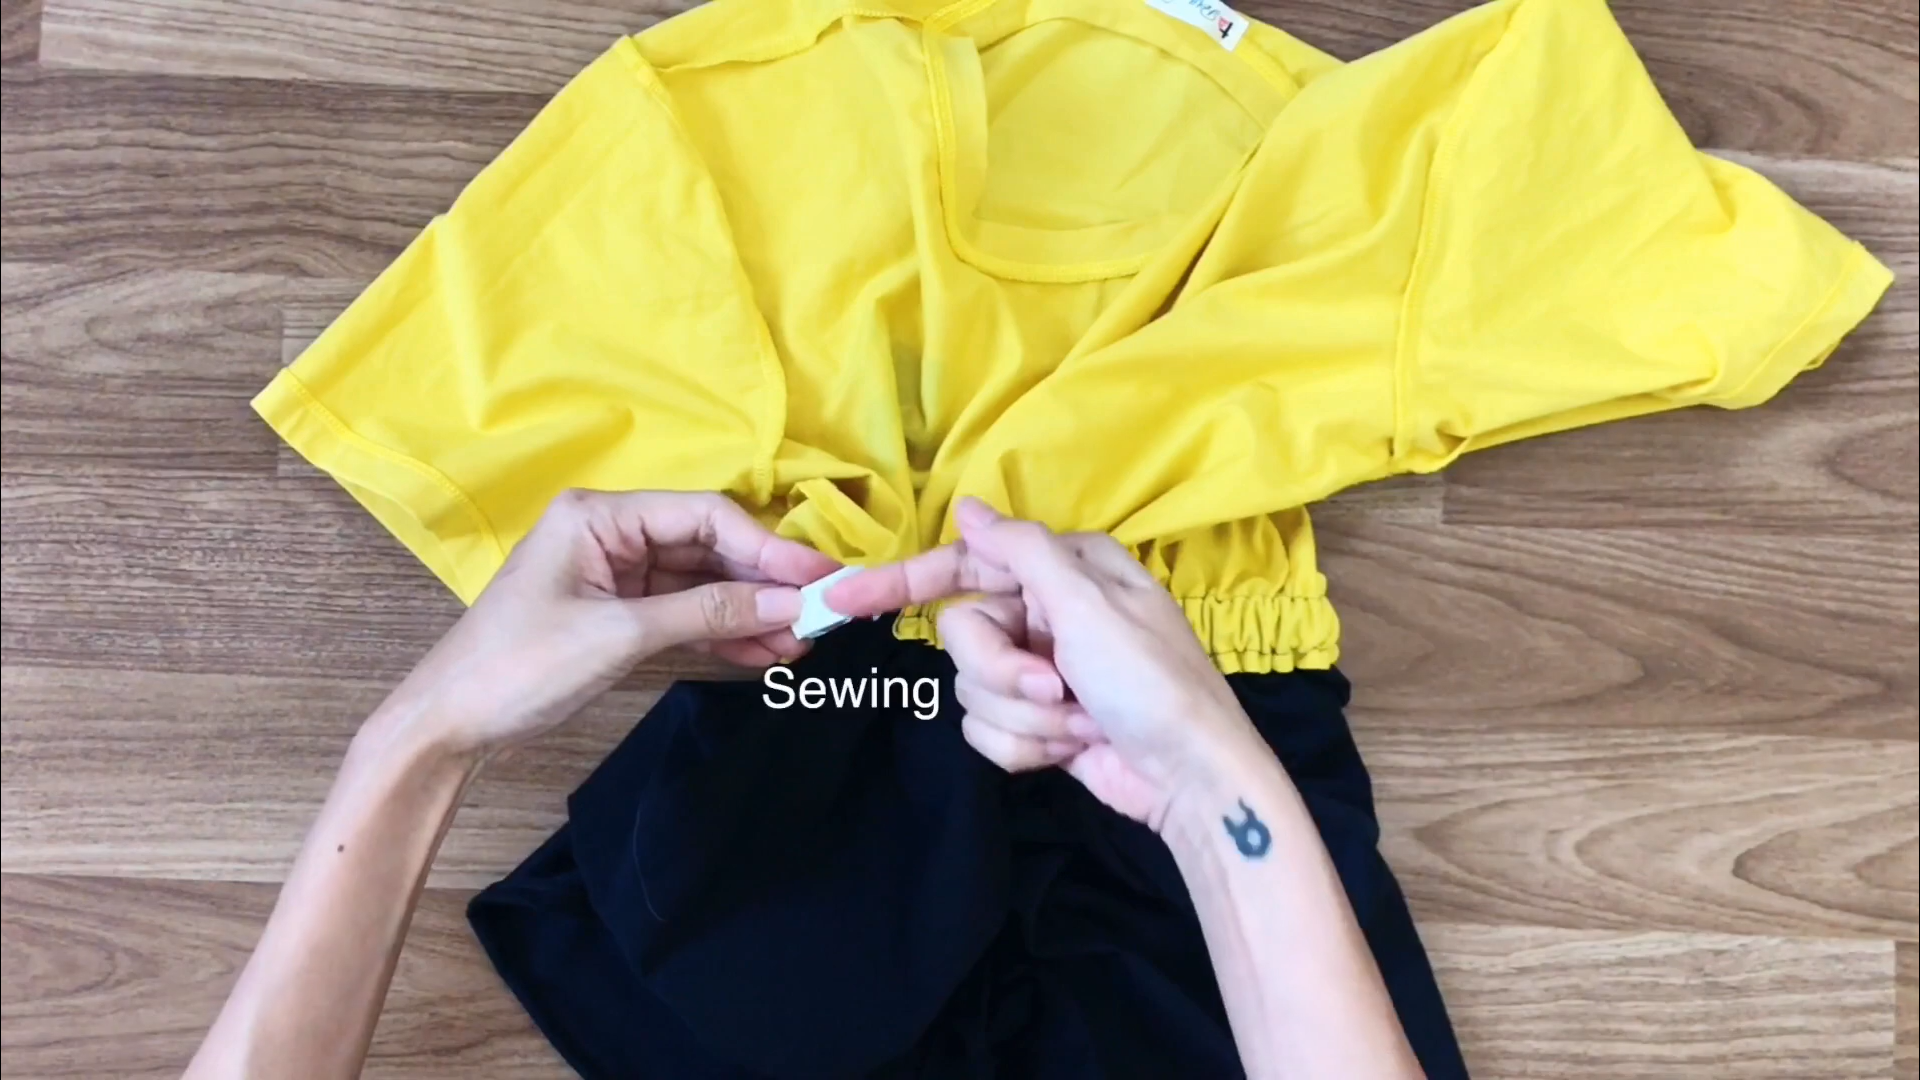
Once through, sew the ends of the elastic band together and close the unsewn space.
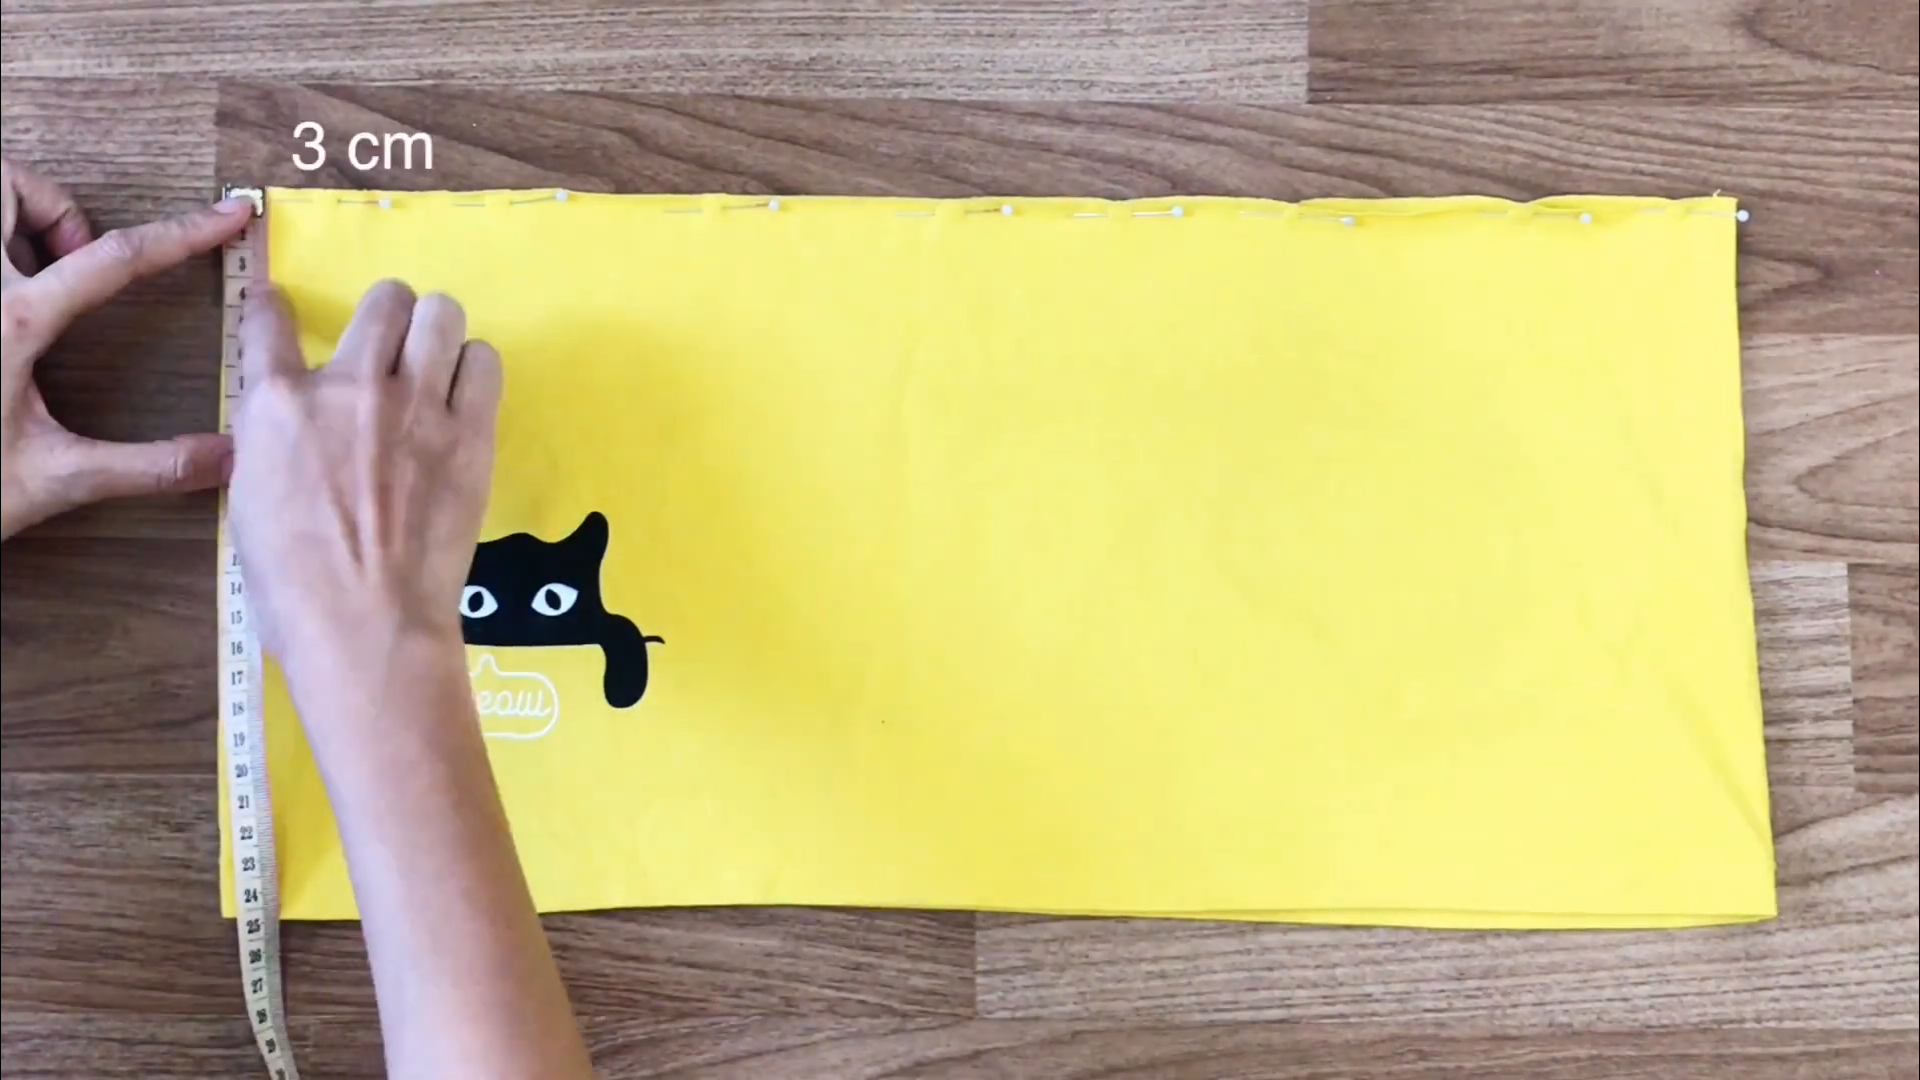
From the leftover fabric of the yellow T-shirt, cut a long strip with a width of 3 cm.
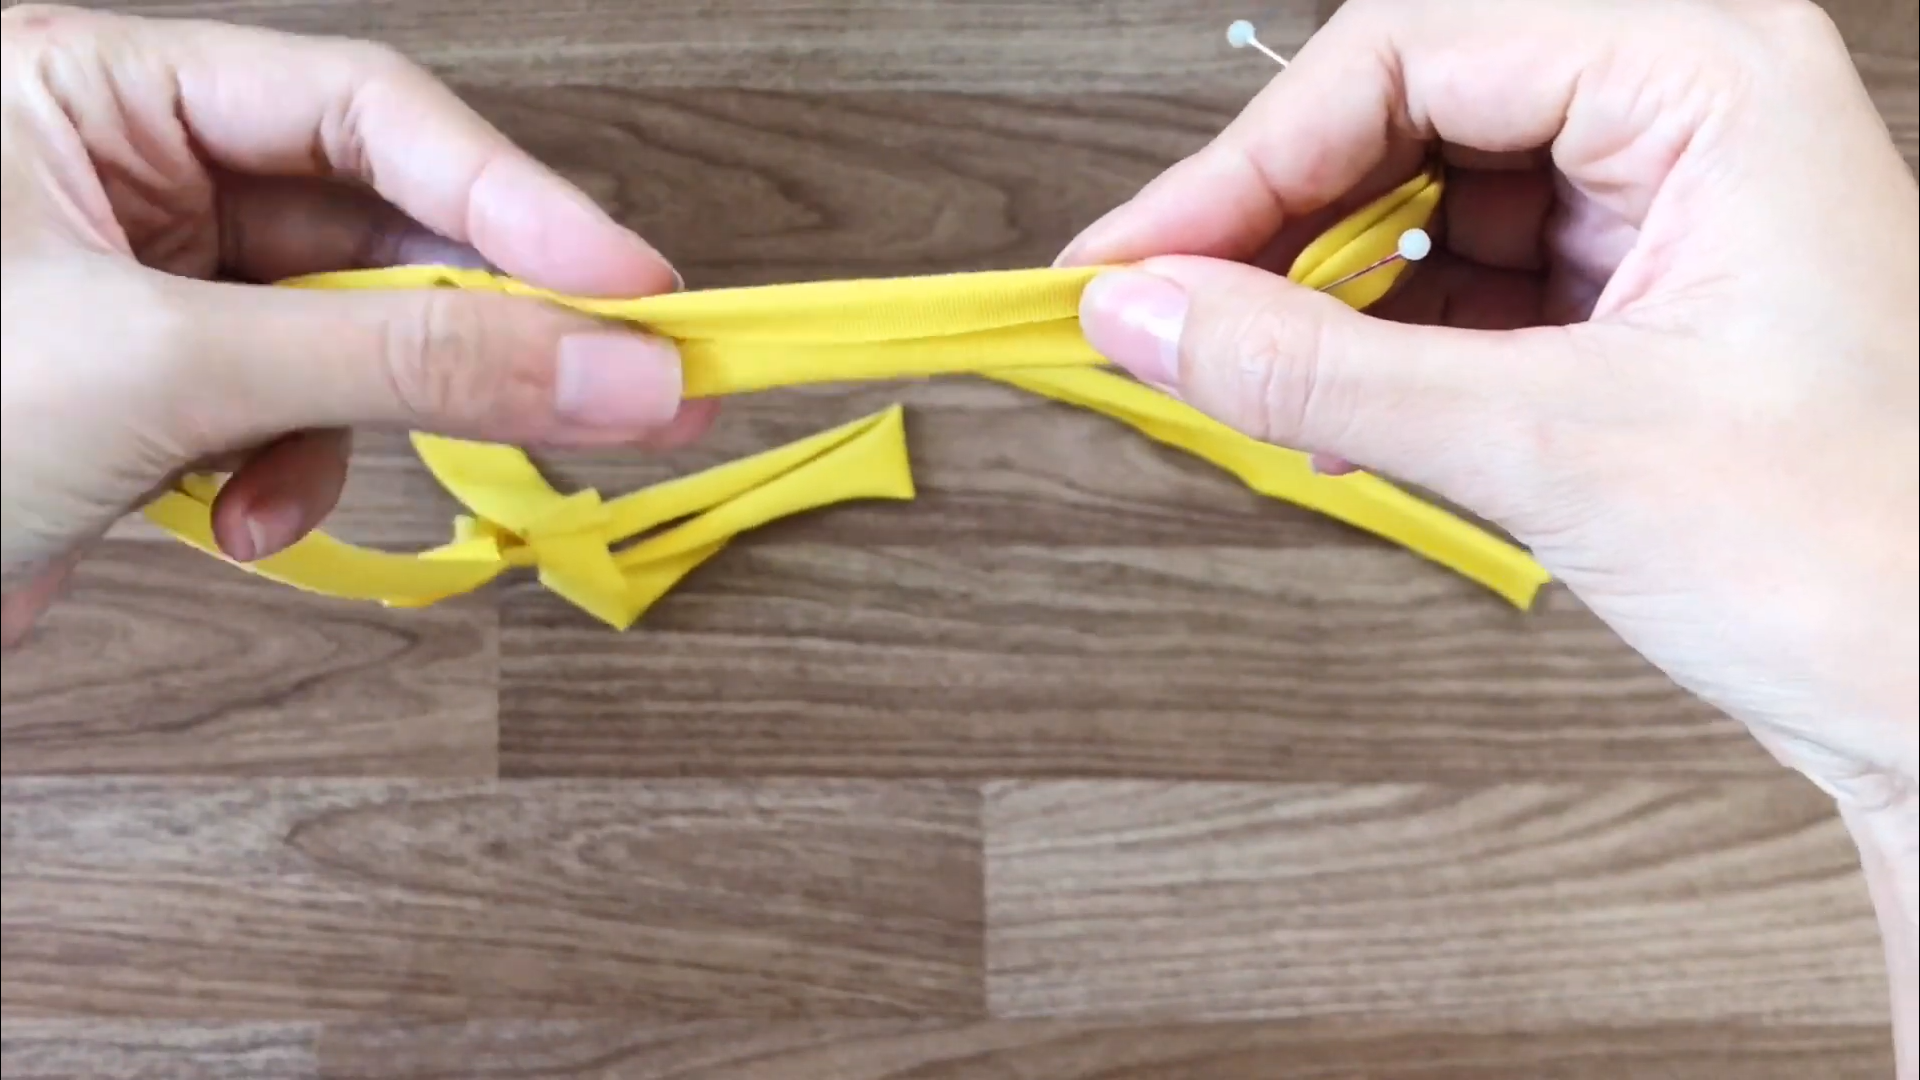
Fold the edges of the strip to the middle, then fold it again to create a fabric belt for the jumpsuit.
Cut two small holes in the middle front of the jumpsuit.
Then, put the fabric belt inside.
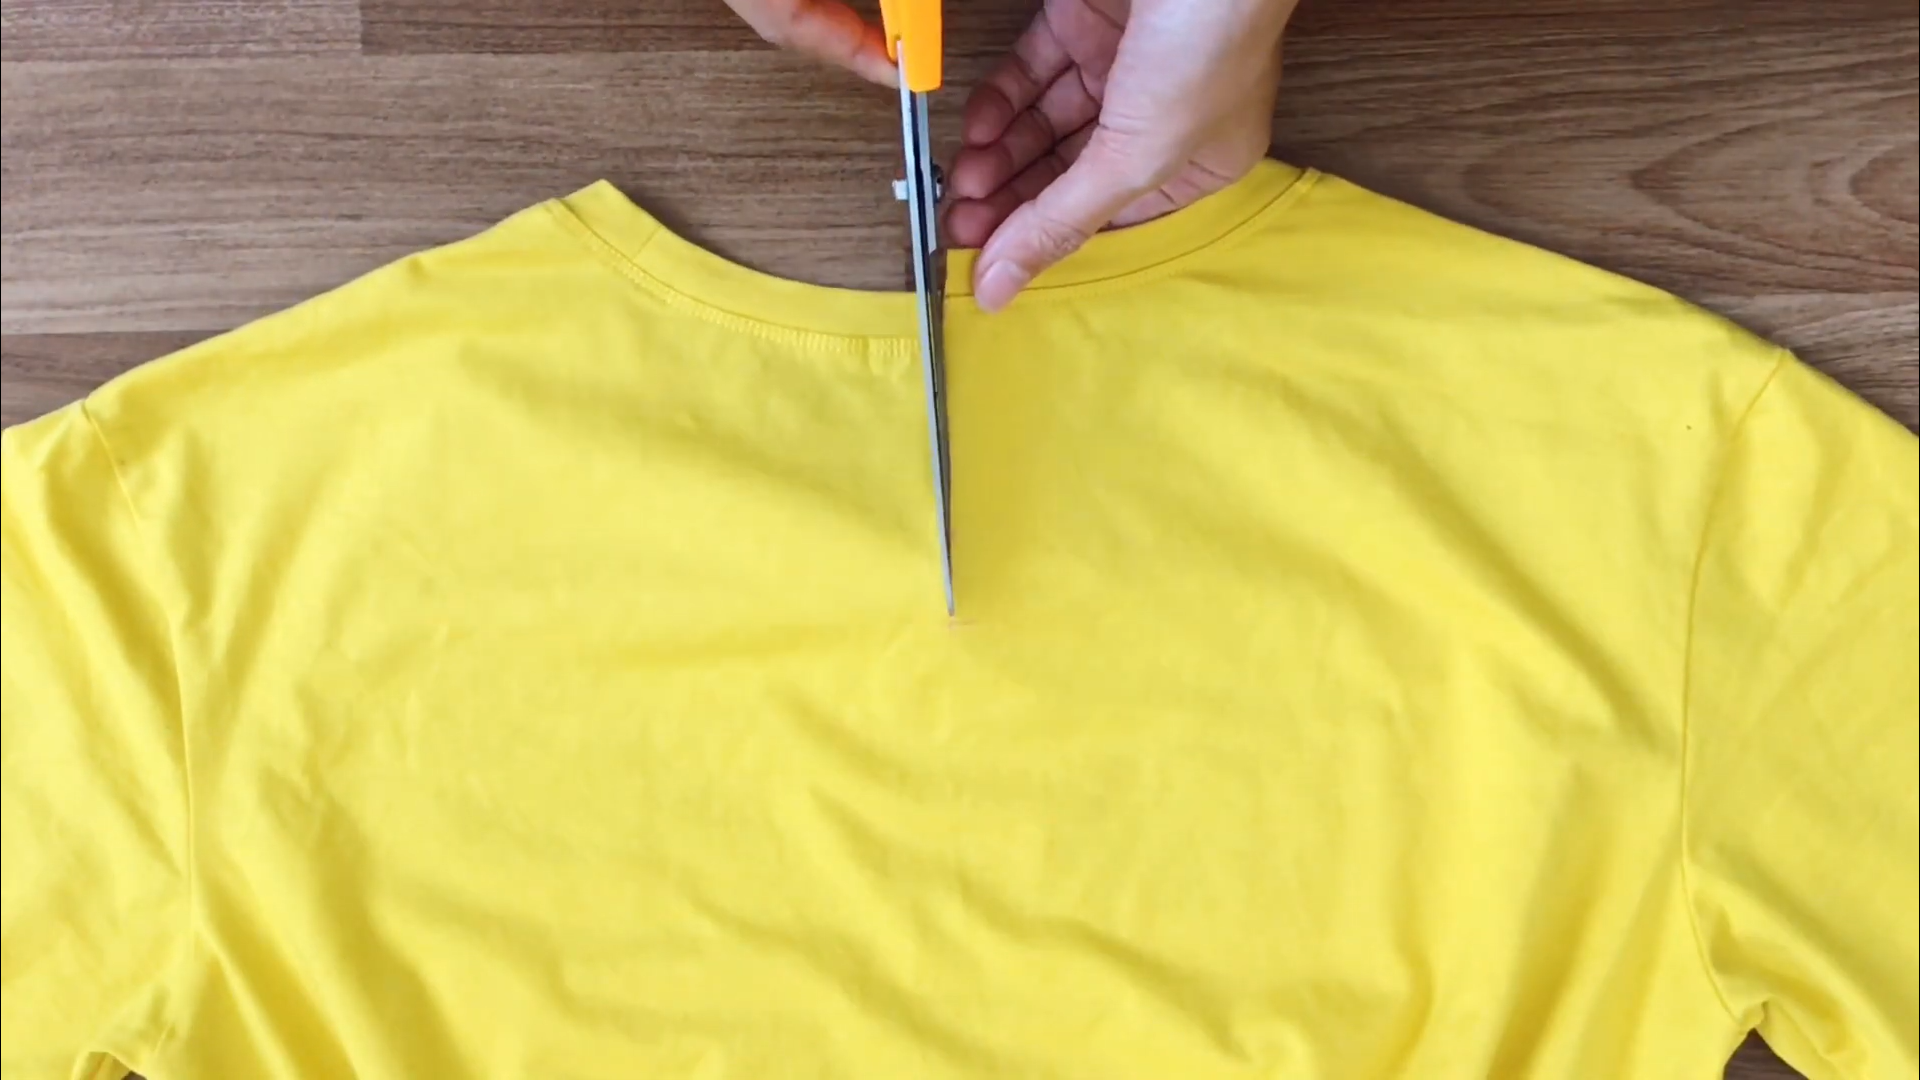
Because the neck of the yellow T-shirt is quite small, it may be difficult to wear the jumpsuit.
To solve this, cut a 10 cm slit at the back of the neck.
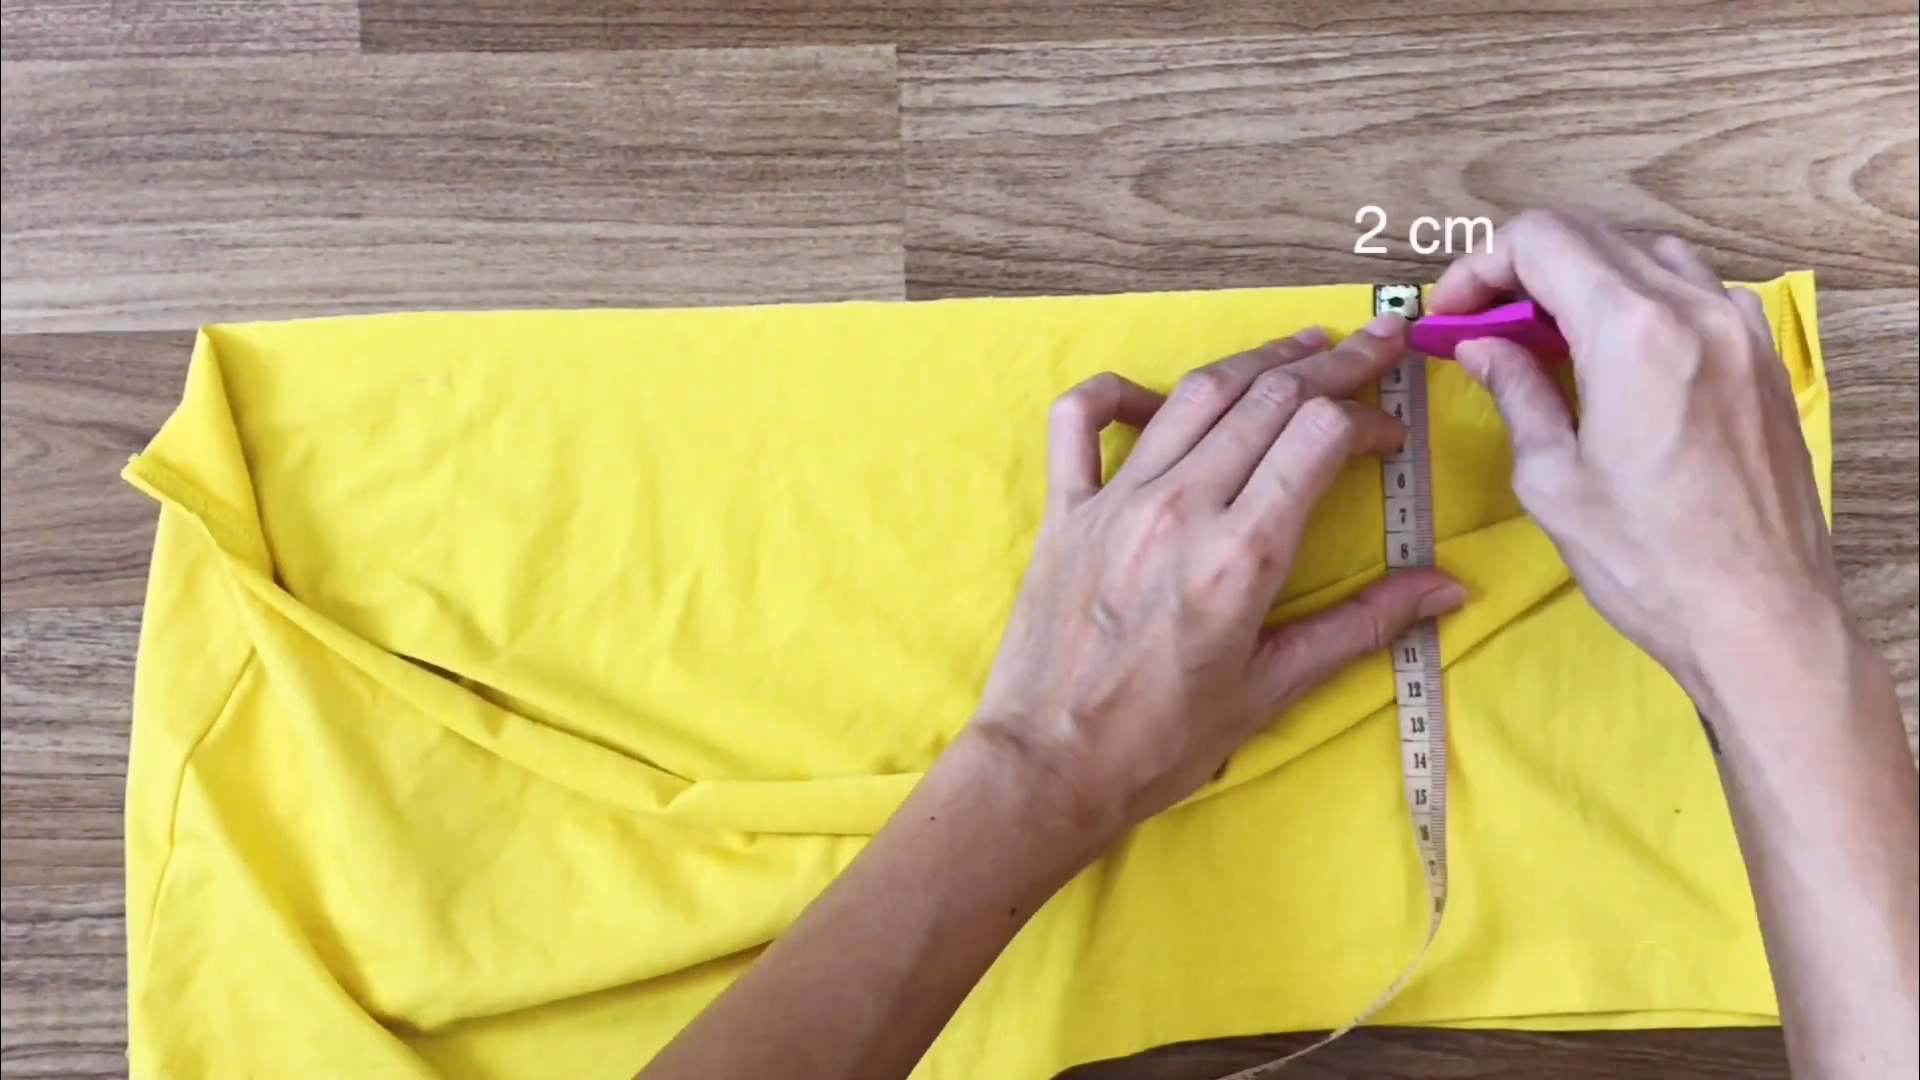
Then, use a 2 cm fabric strip to bind and hide the raw edges of this slit.

Finally, sew a small button on one side of the slit and create a buttonhole on the opposite side to close the neck when wearing the jumpsuit.
DIY JUMPSUIT from T-Shirts - Jumpsuit month series - Ep 3
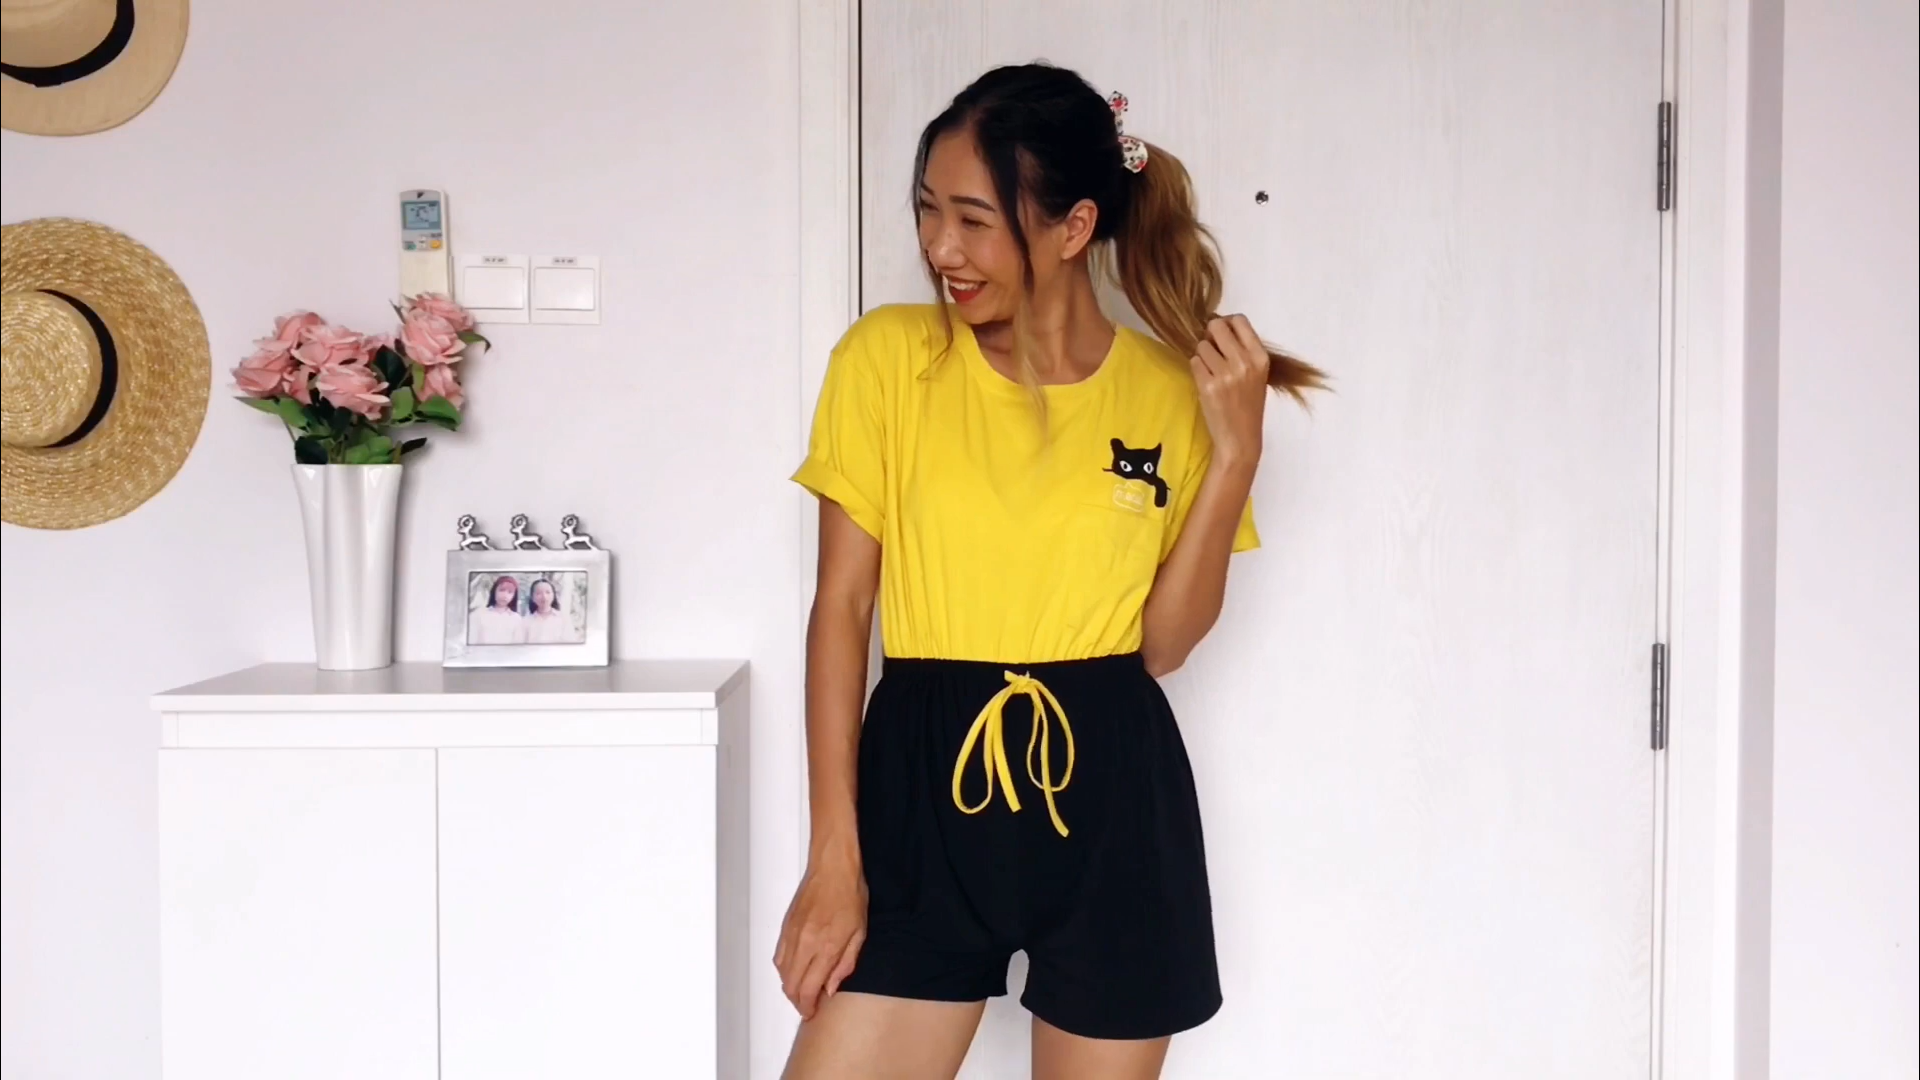
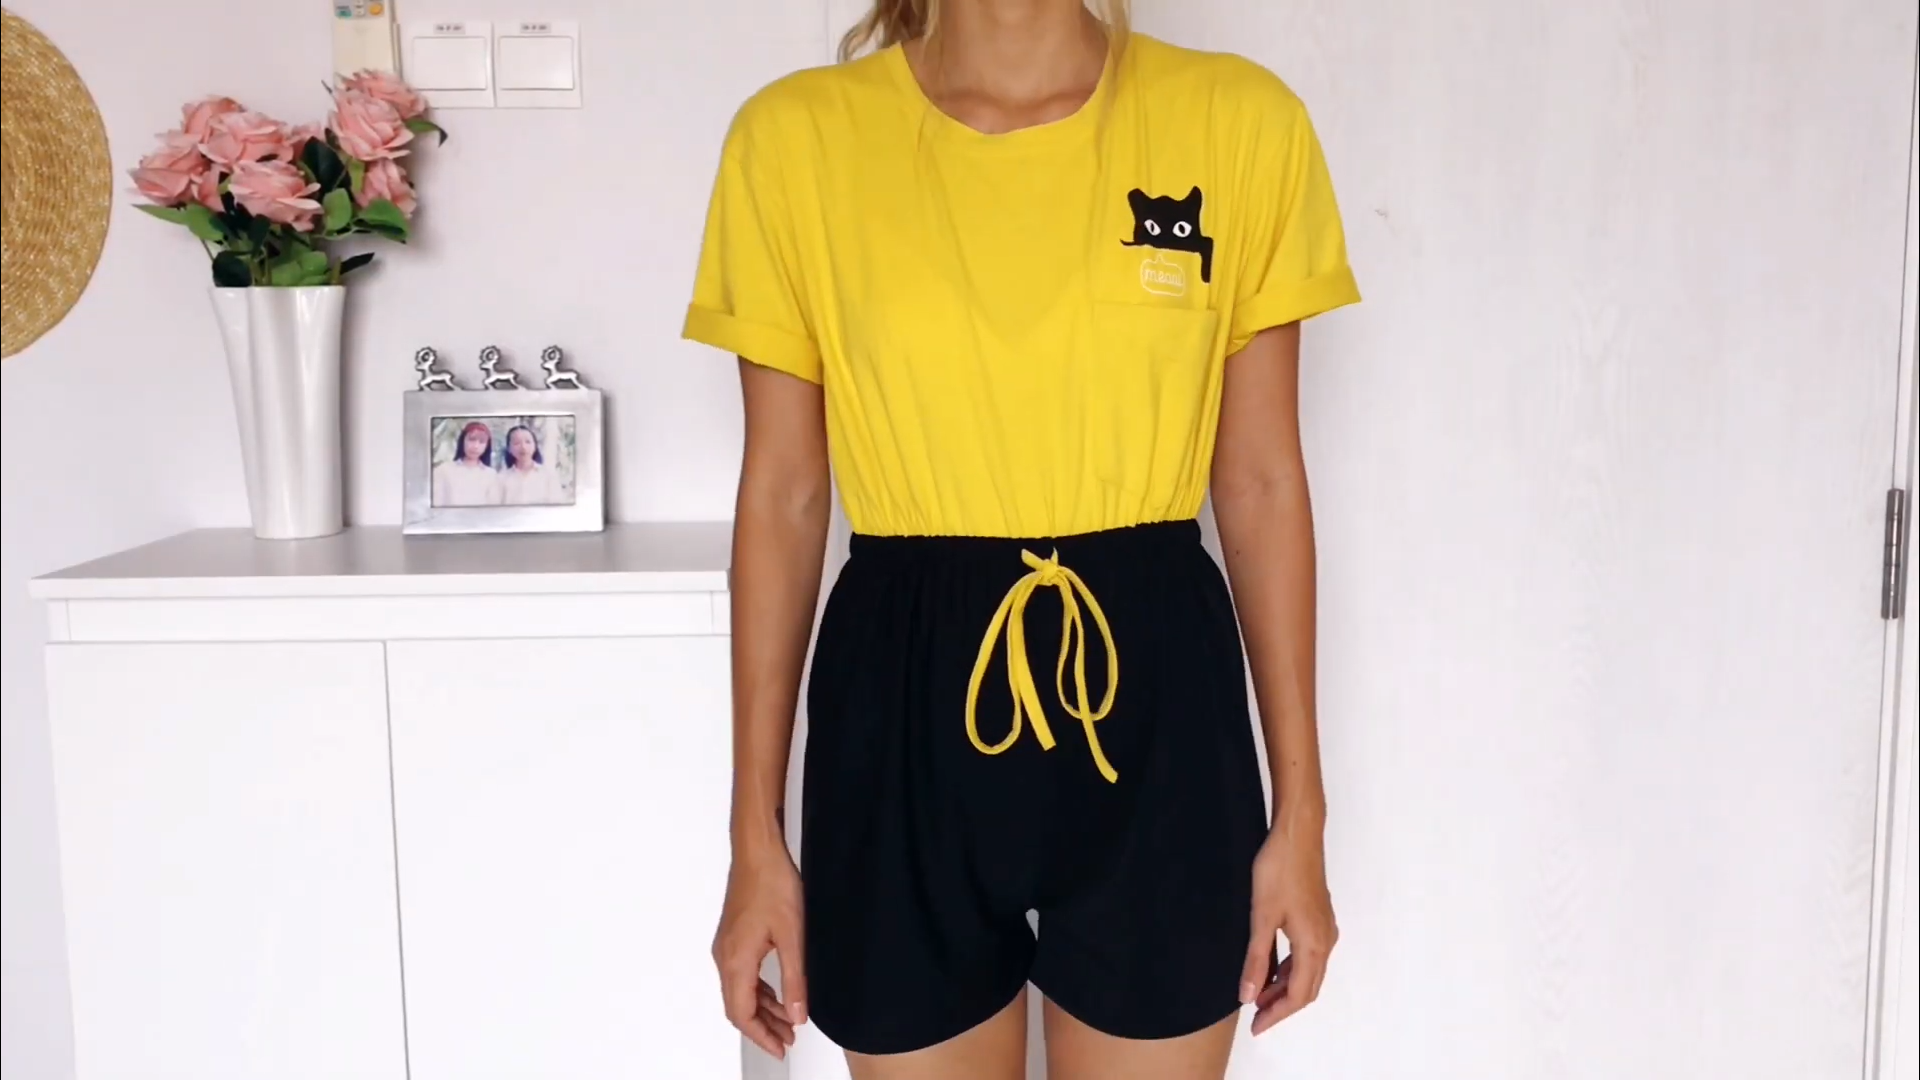
Voilà! And I've finished this DIY. Here's my final transformation!
This jumpsuit is very cute and comfortable. It's also one of the reasons why I love jumpsuit.
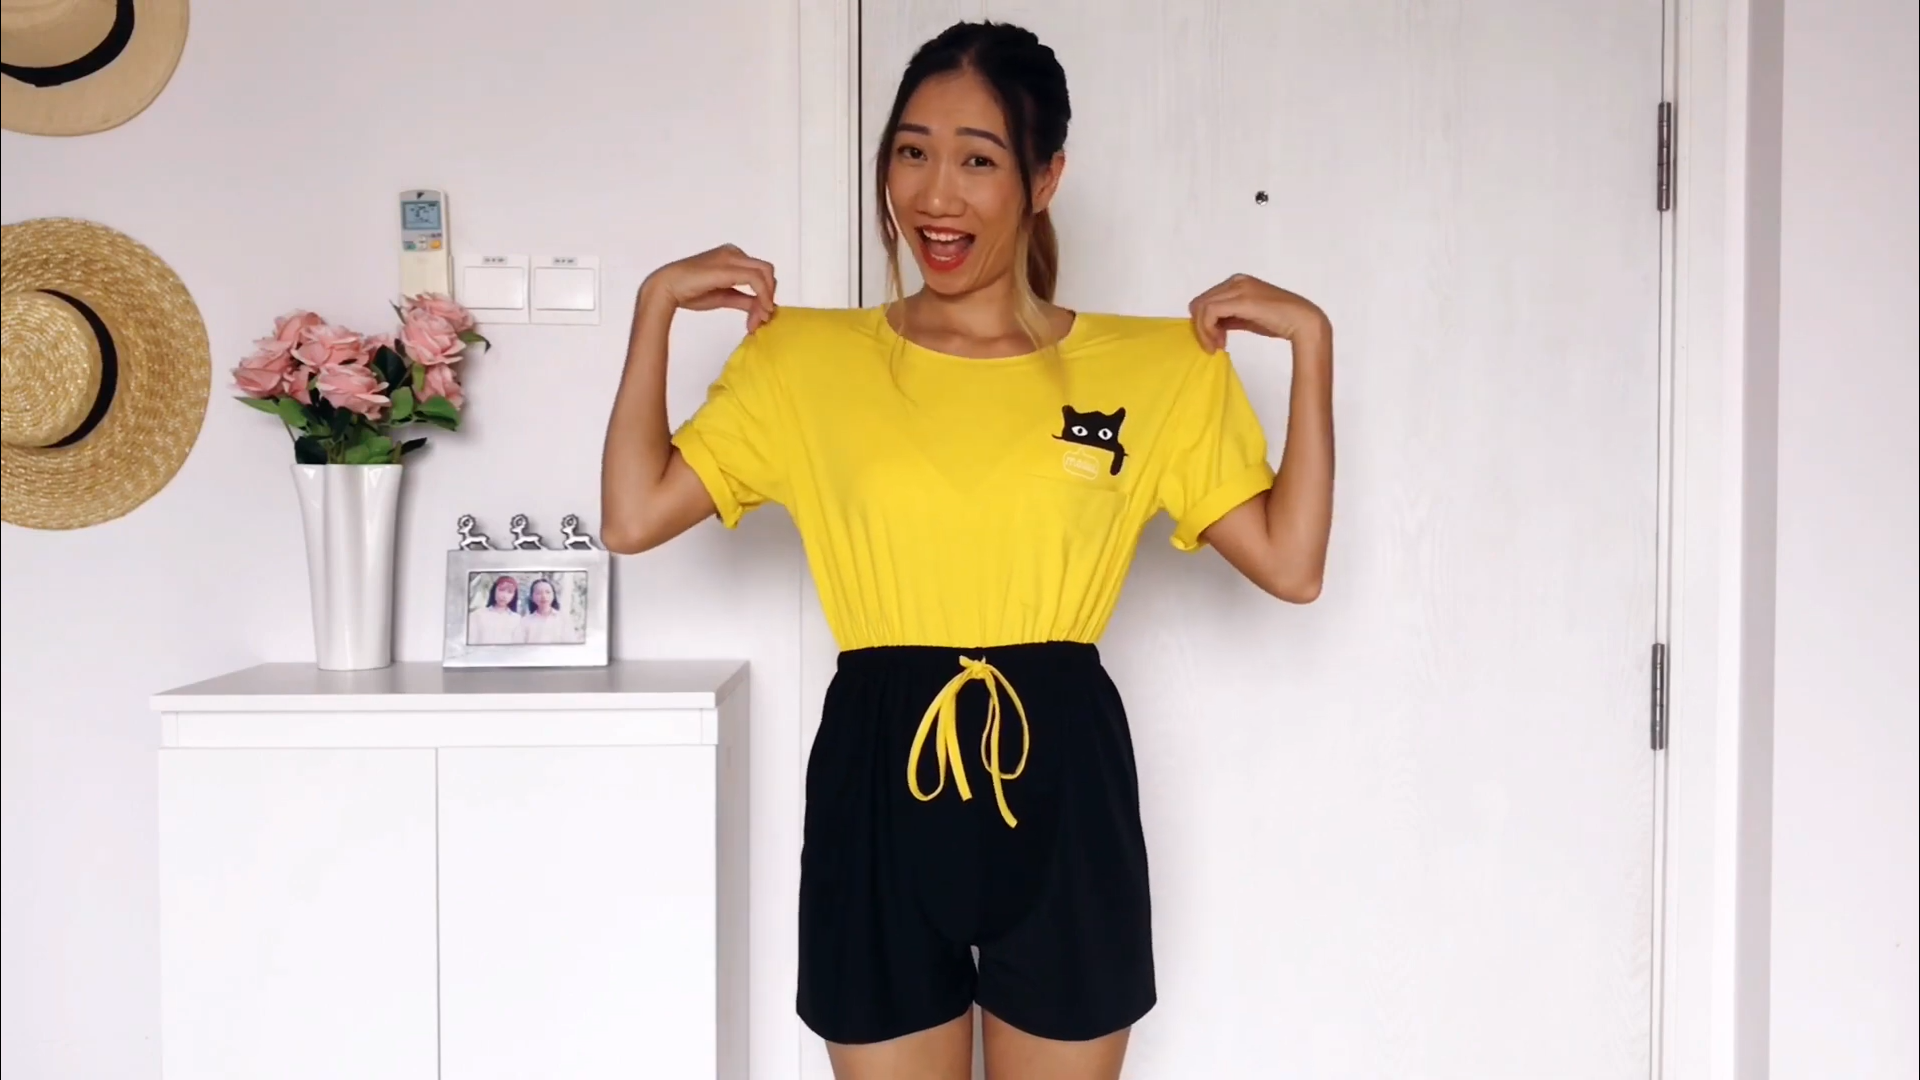
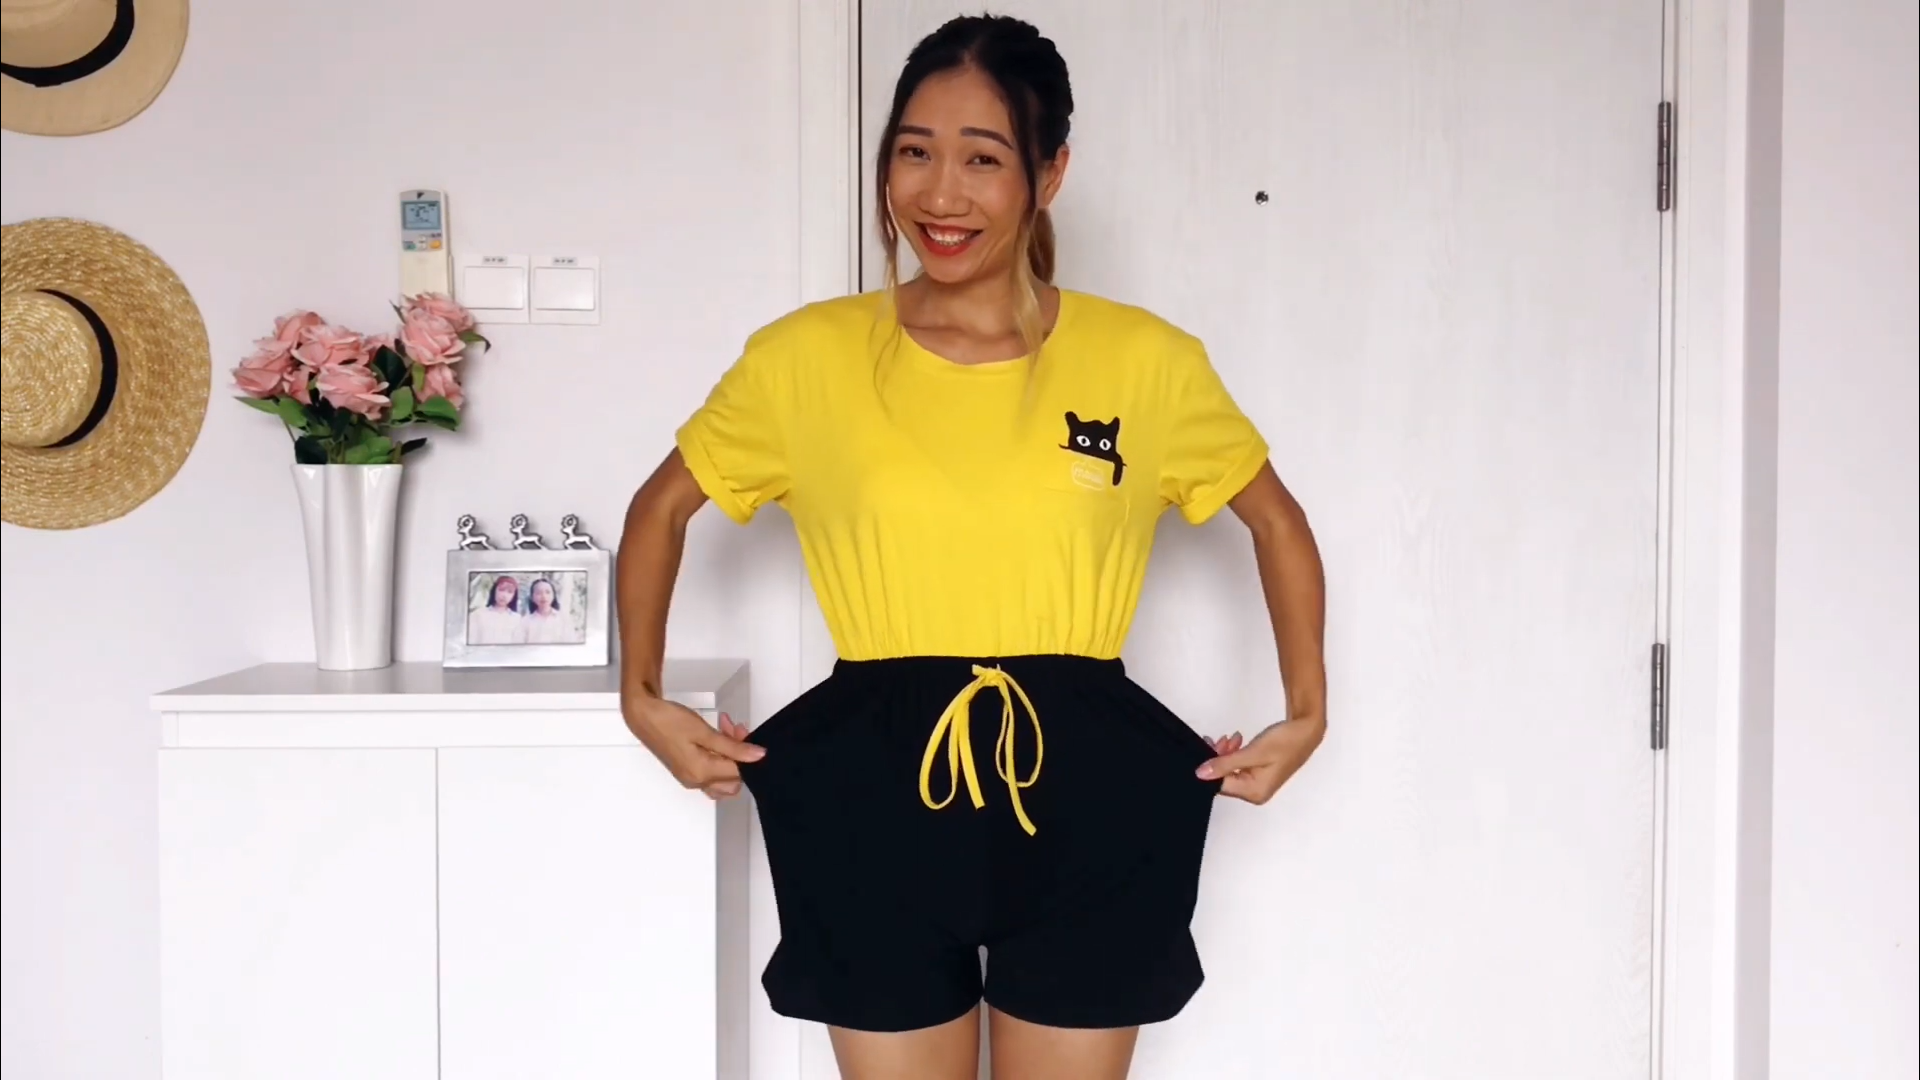
And it won't be too difficult to make. So I hope you will give it a try.
If you liked this project, please share it and subscribe to my channel so you won’t miss any of my upcoming DIYs.
Until next week, happy sewing!