DIY Wrap skirt with leg slit from scratch - Autumn wardrobe

DIY Wrap skirt with leg slit from scratch
Welcome and welcome back to my sewing blog!
It's going to autumn now. One thing is really love about this season is the color vibe. It's so cozy. So today's blog, I'll share with you how to make a wrap skirt with leg slit that you can wear this season or any other season.
Let’s get started!
WHAT YOU’LL NEED
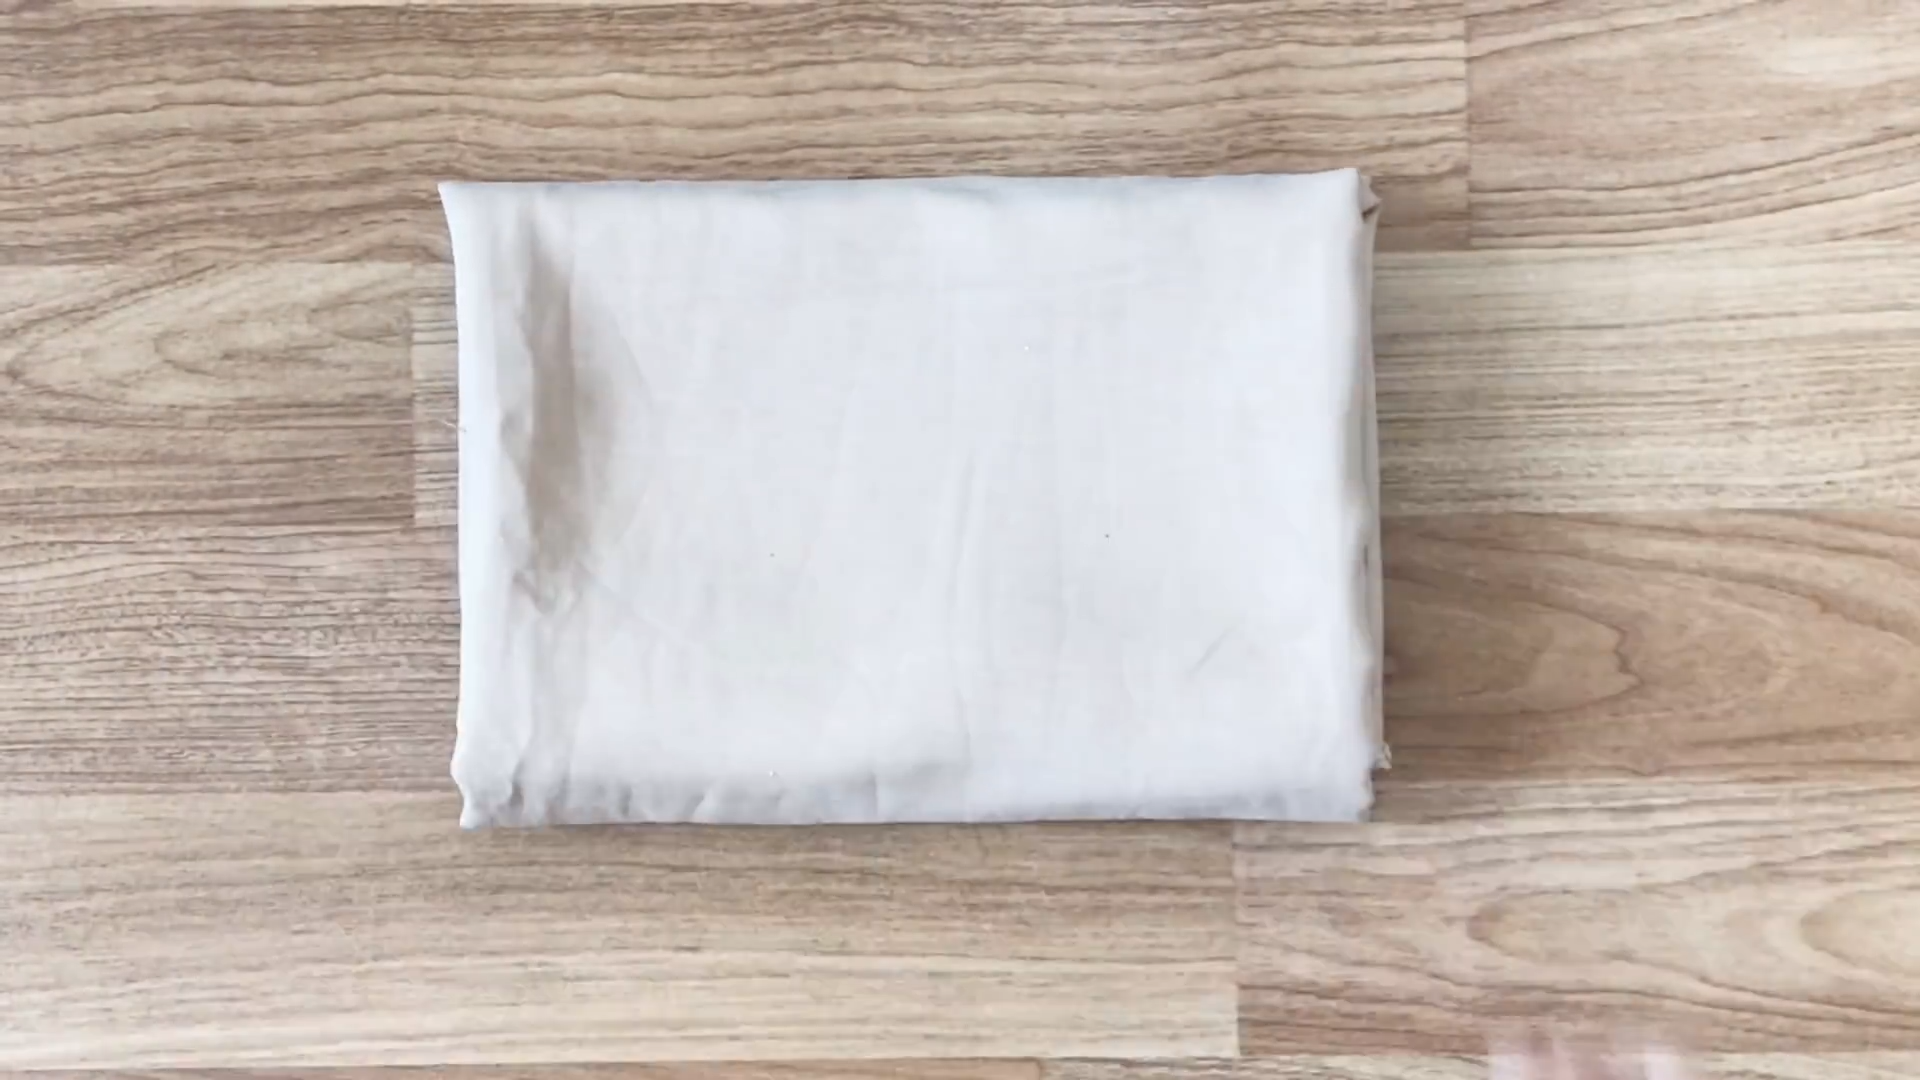
1.5m of fabric in caramel color
Sewing machine or needle and thread
Elastic band
Pins
Scissors
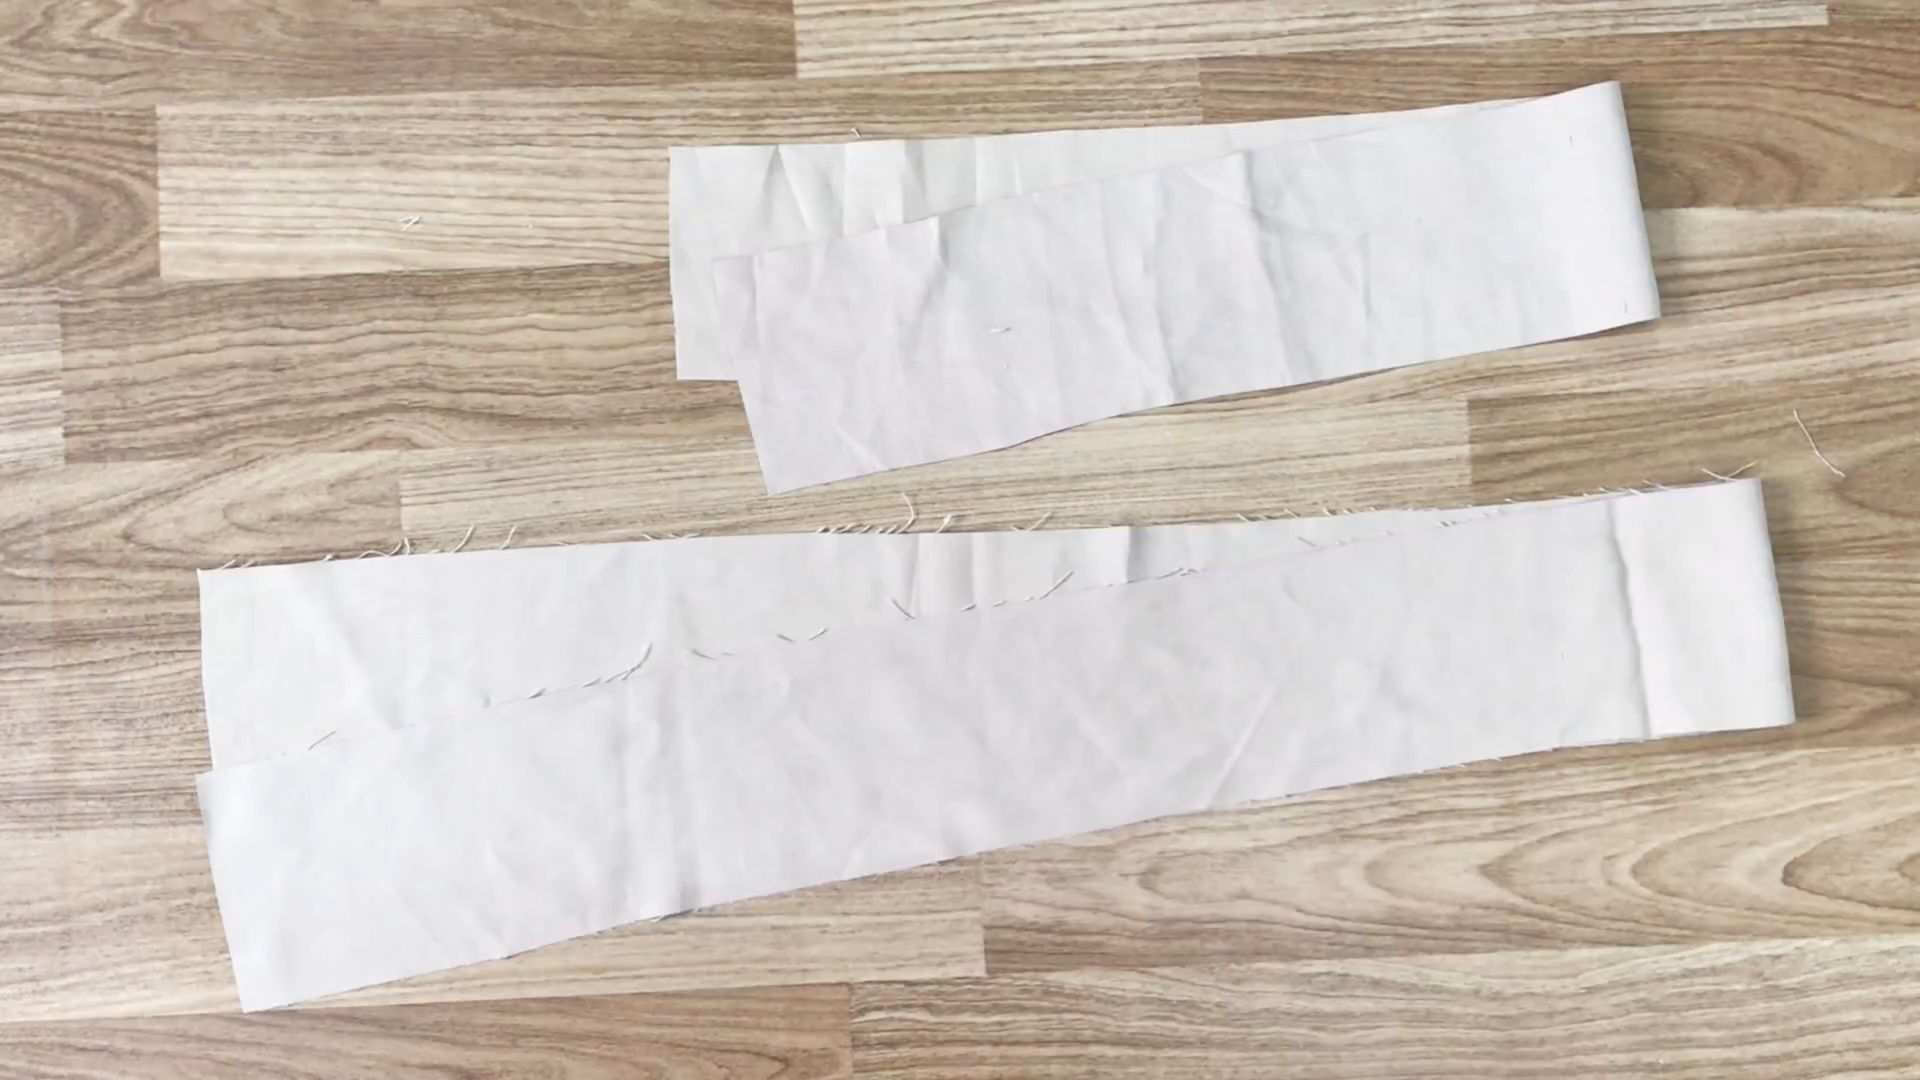
MAKING THE PATTERNS
Here’s the pattern for the project. To get a clear understanding of all the measurements needed for the pattern, watch the video from 0:18 to 4:13.
Remember, you can adjust these measurements to fit your own dimensions!

THE BACK PATTERN

The back pattern
Draw a rectangle with a width of 50 cm, which is half of your hip size plus 4 cm, and a length of 75 cm, which is the length from your belly button to just over the knee. This length determines how long you want your skirt to be.
After cutting this rectangle, you will have the back pattern of the skirt.
THE FRONT PATTERN
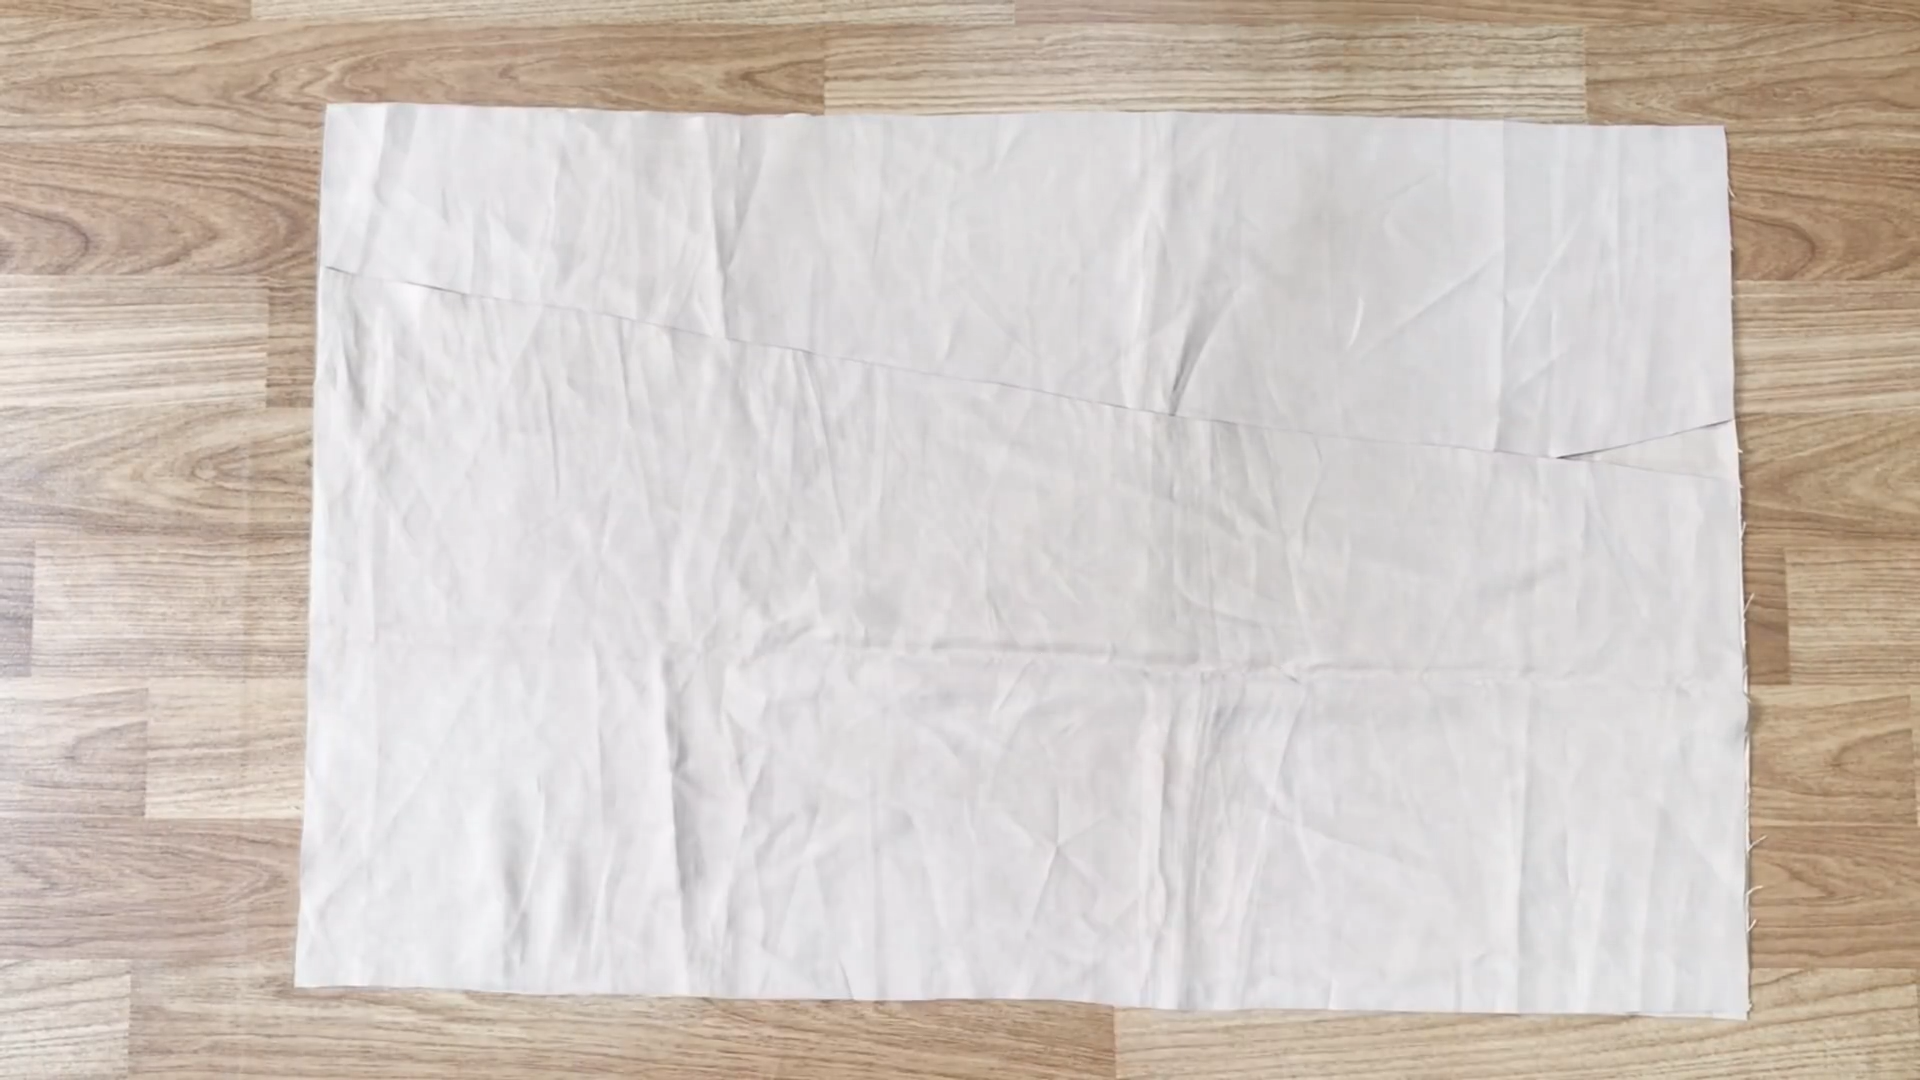
THE FIRST PART:
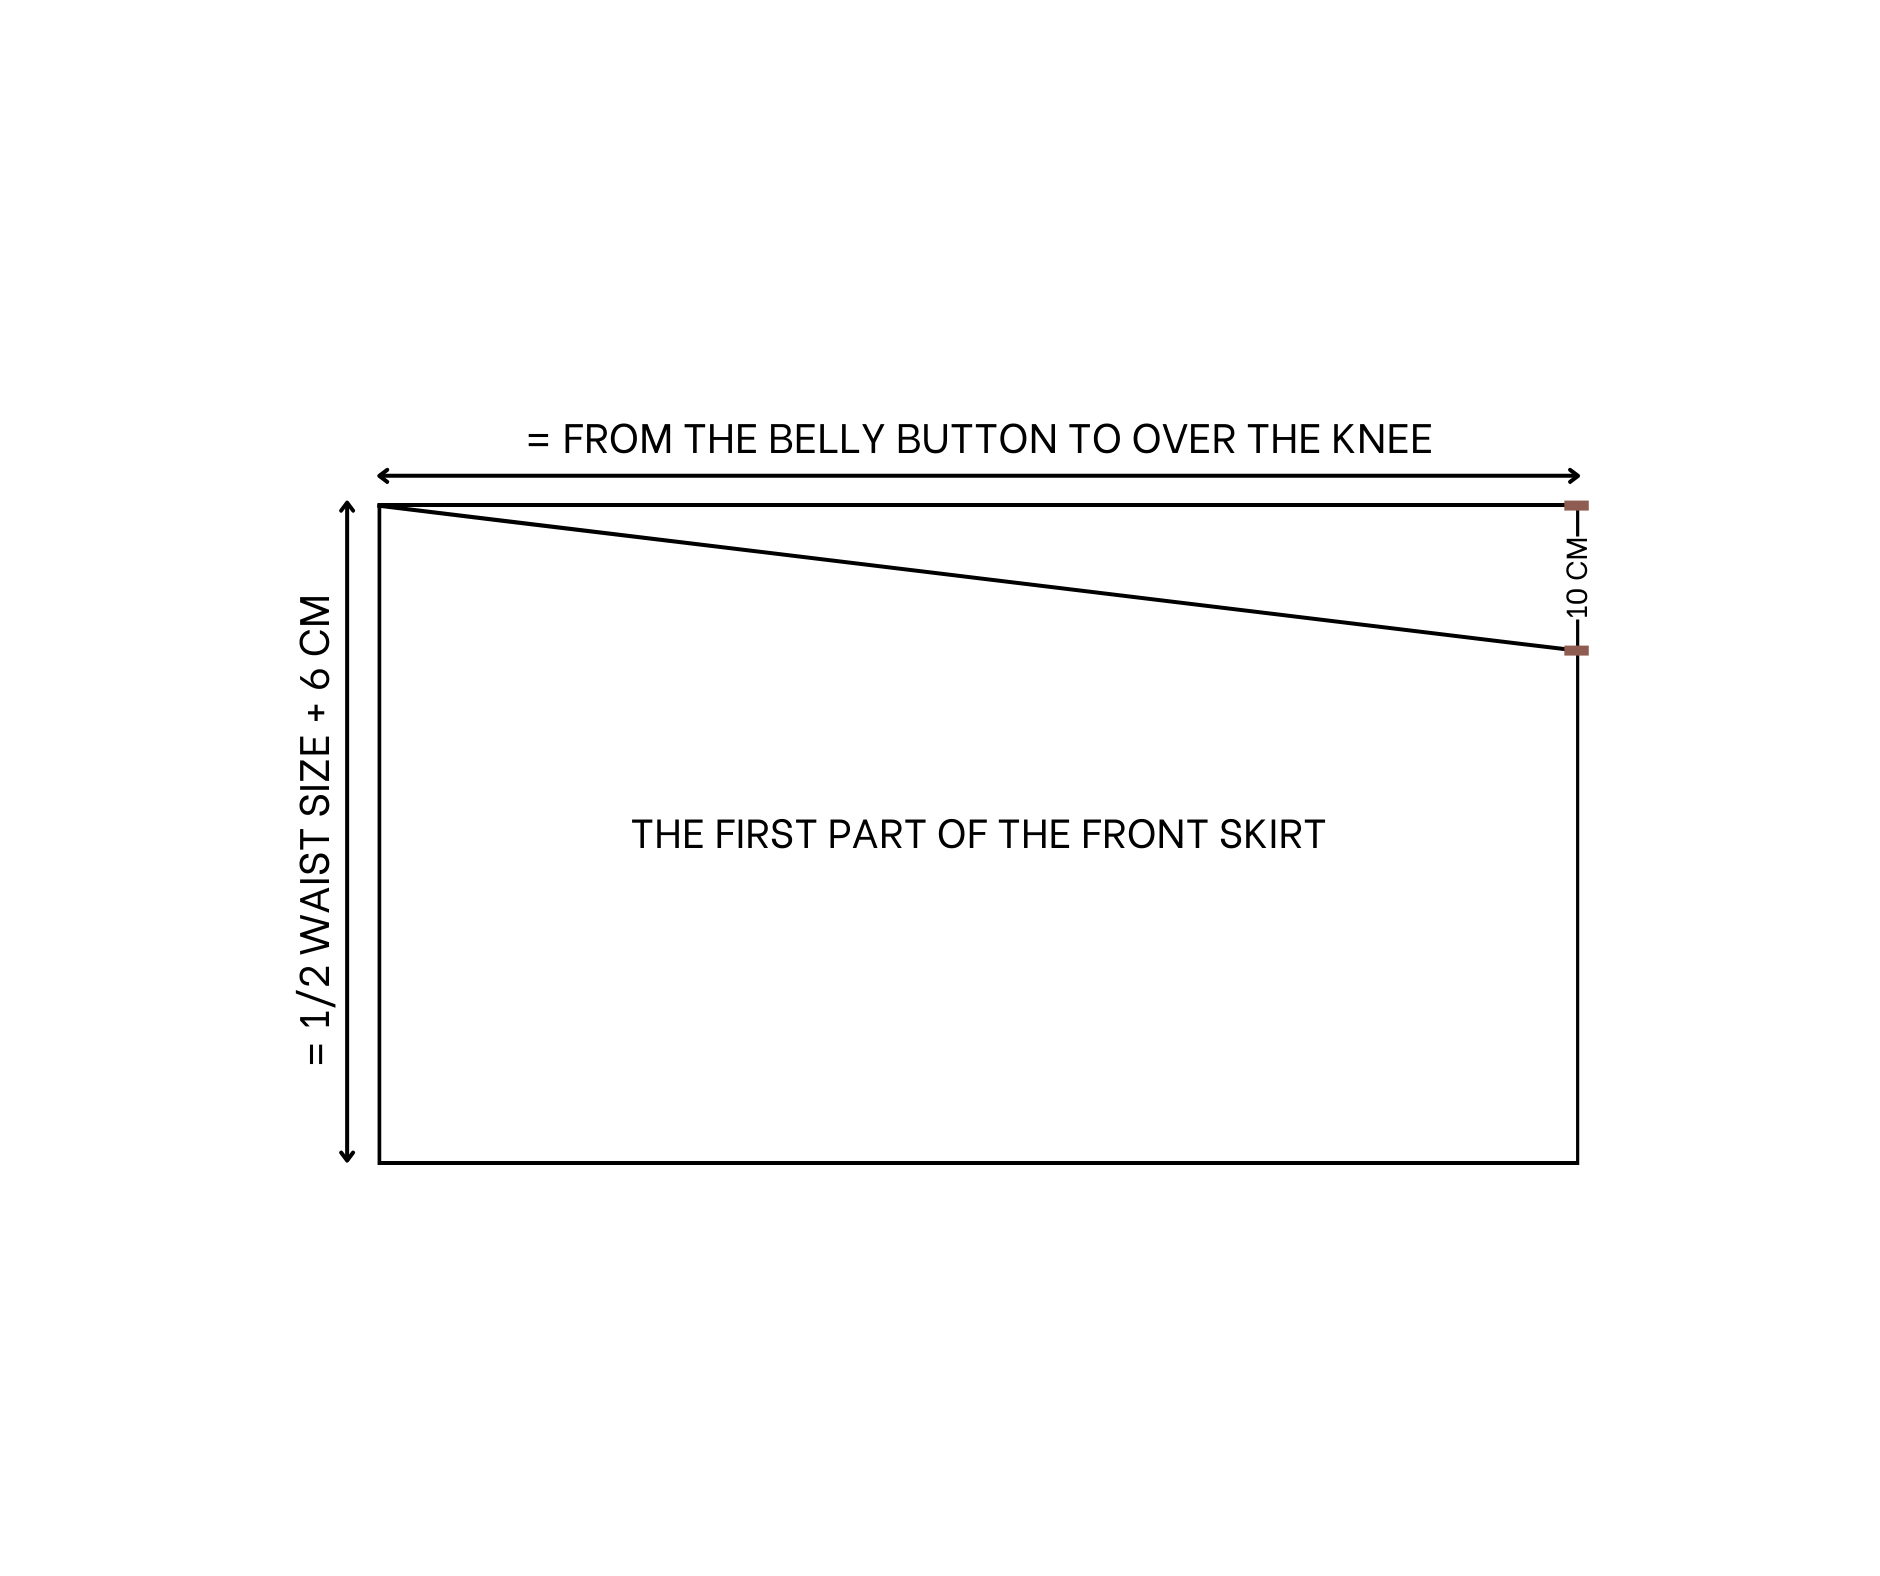
The first part of the front skirt
Draw another rectangle with a width of 38 cm, which is half of your waist size plus 6 cm, and a length of 75 cm.
After cutting this rectangle, you will have the first part of the front skirt.
To create a slit at the leg, draw a slanted line from the top corner of the width to a point 10 cm inside the end of the rectangle.
THE SECOND PART:

The second part of the front skirt
Draw another rectangle with the same length of 75 cm and a width of 32 cm, which is half of your waist size.
After cutting this rectangle, draw a slanted line 15 cm inside the end of the rectangle to create another slit at the leg.
SEWING THE SKIRT
THE BODY
Now, apply the two front skirt parts to the back skirt at both sides.
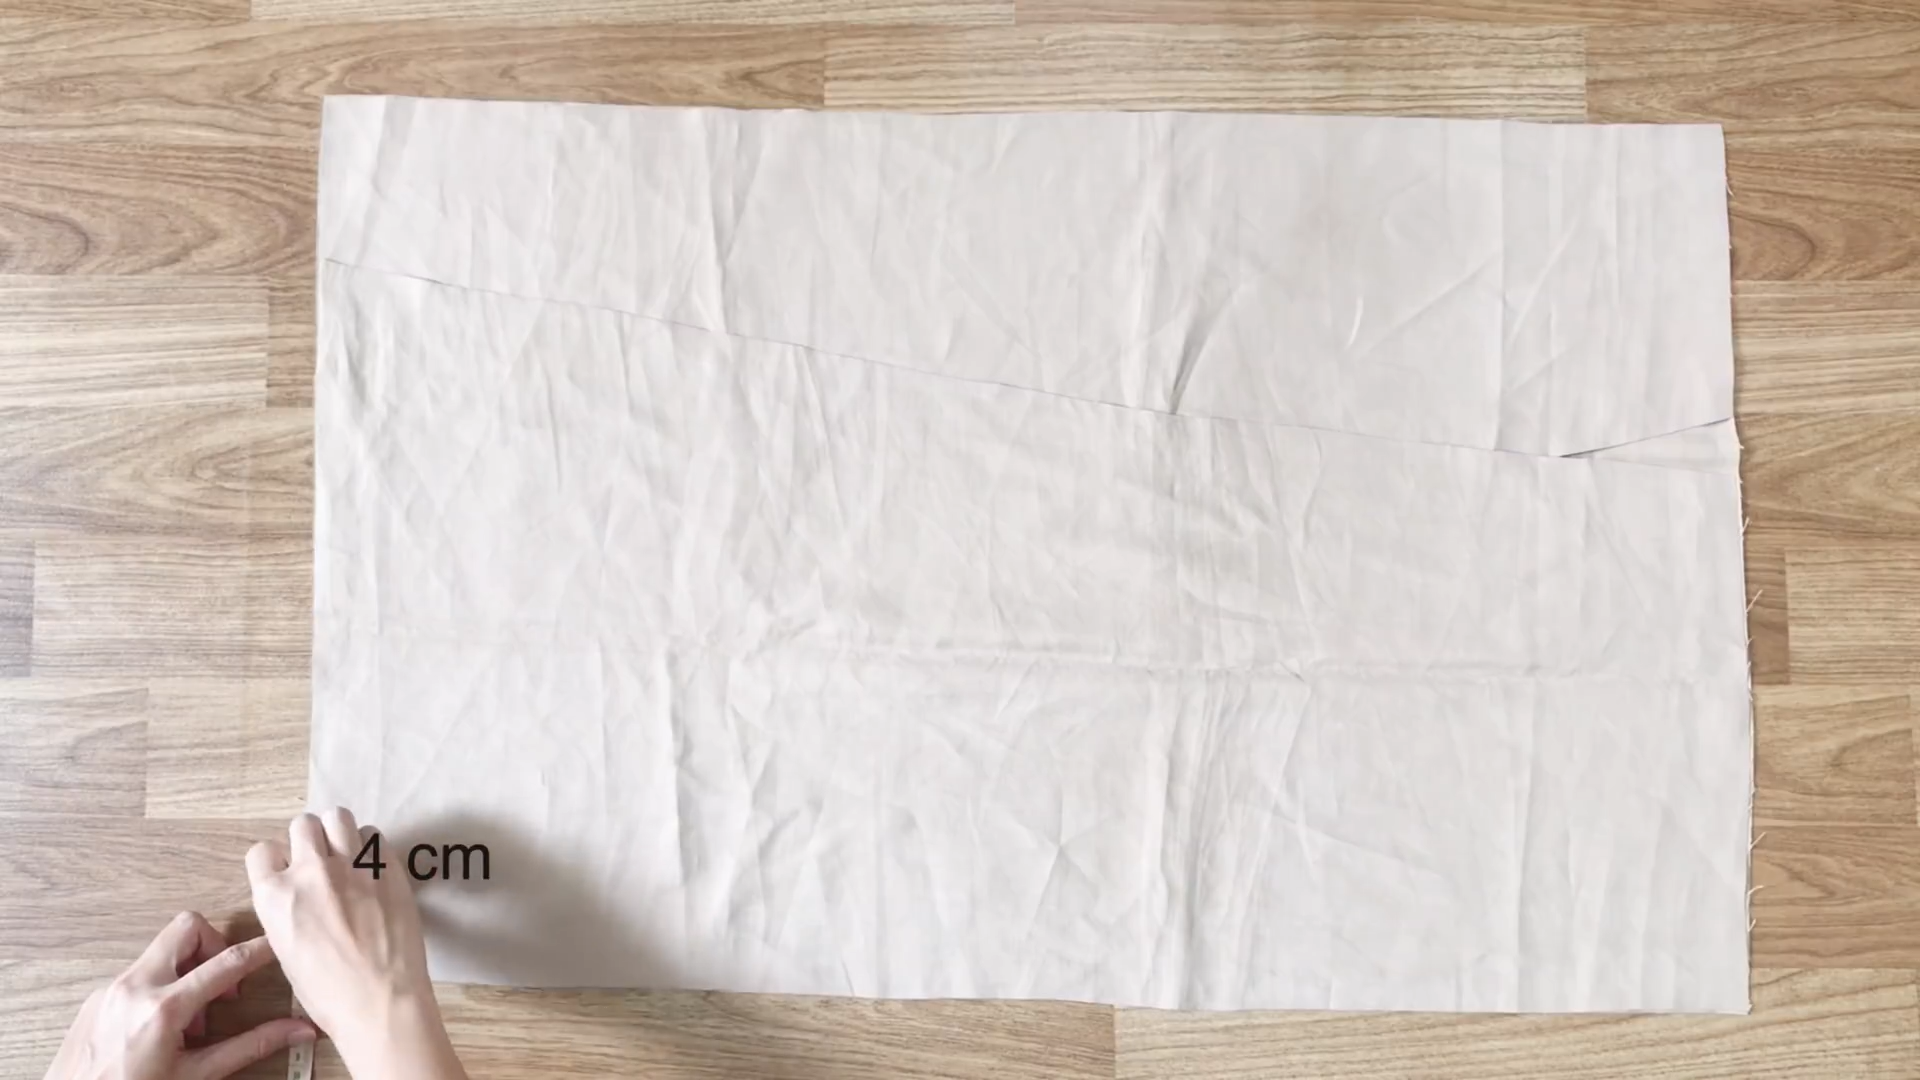
At the waistline, mark a point 4 cm inside.
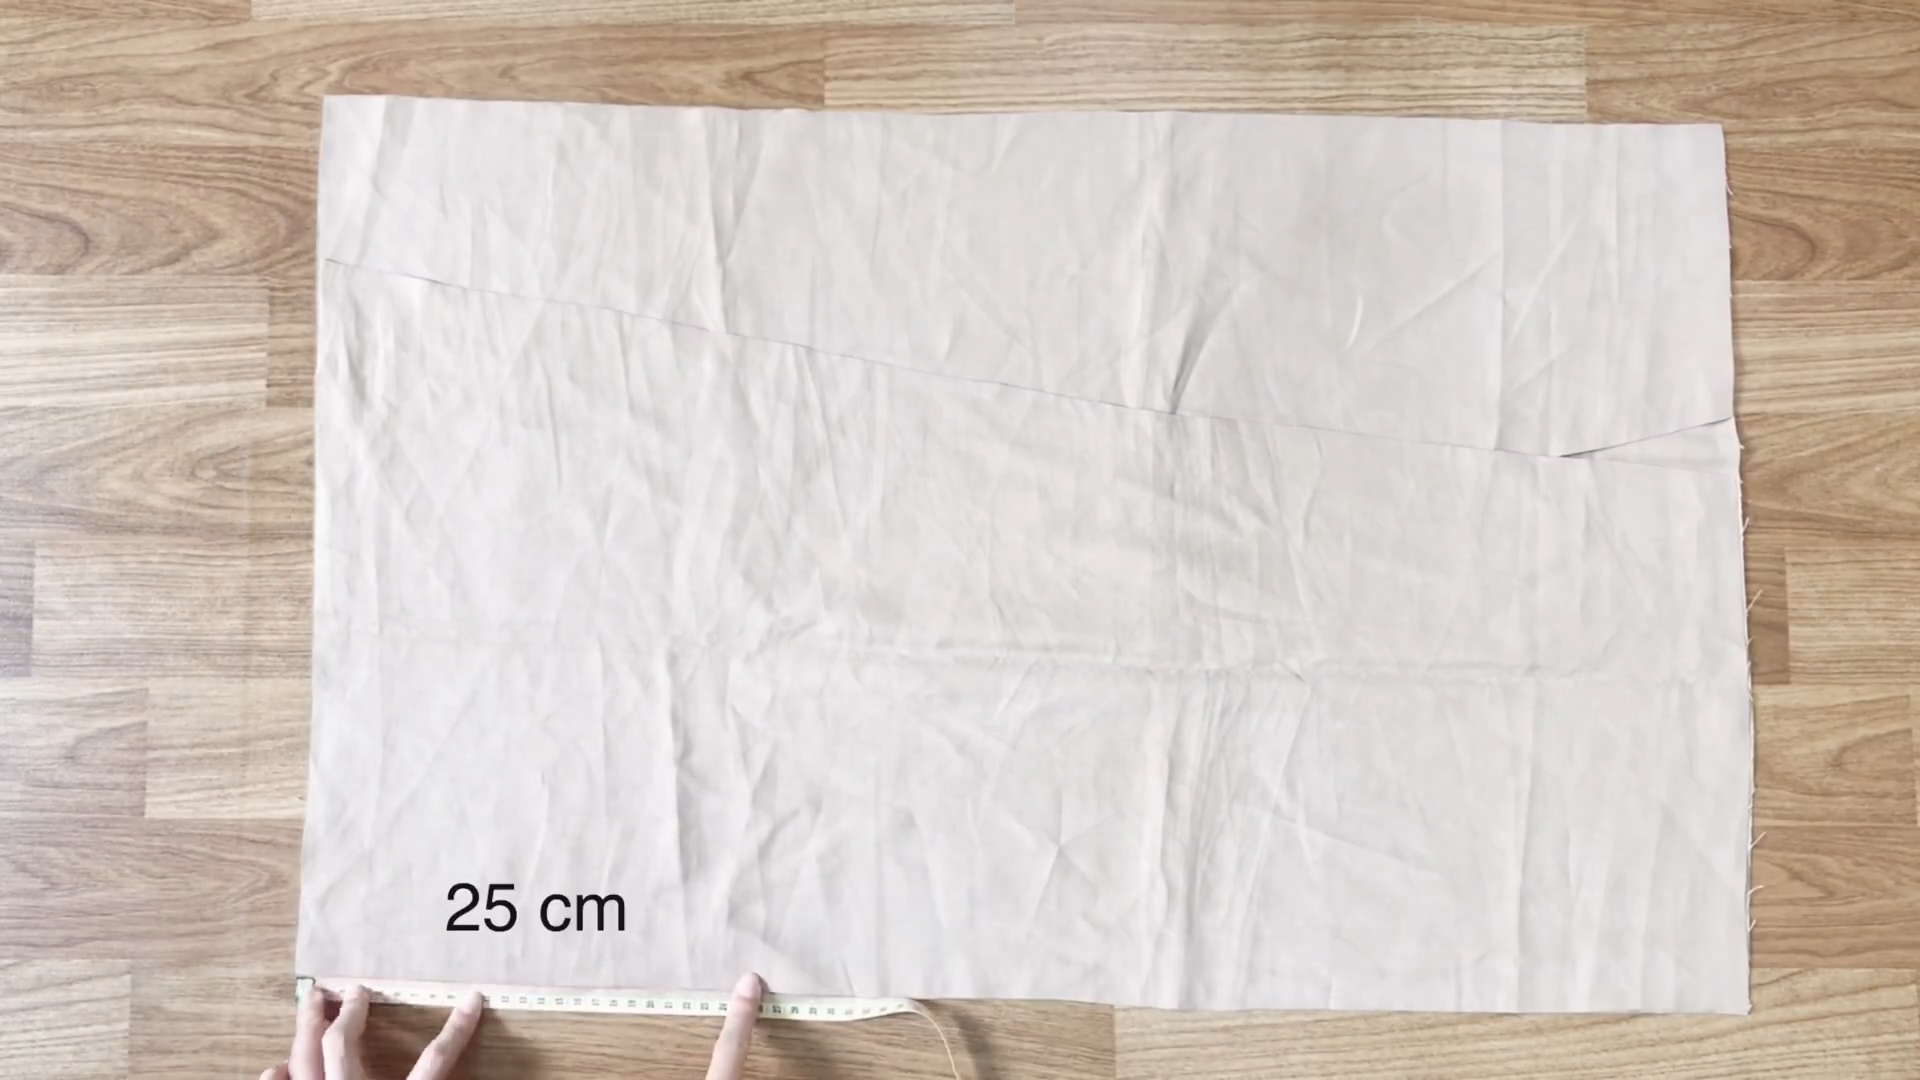
Draw a line from this mark to the side seam at 25 cm down, creating a slightly curved line.
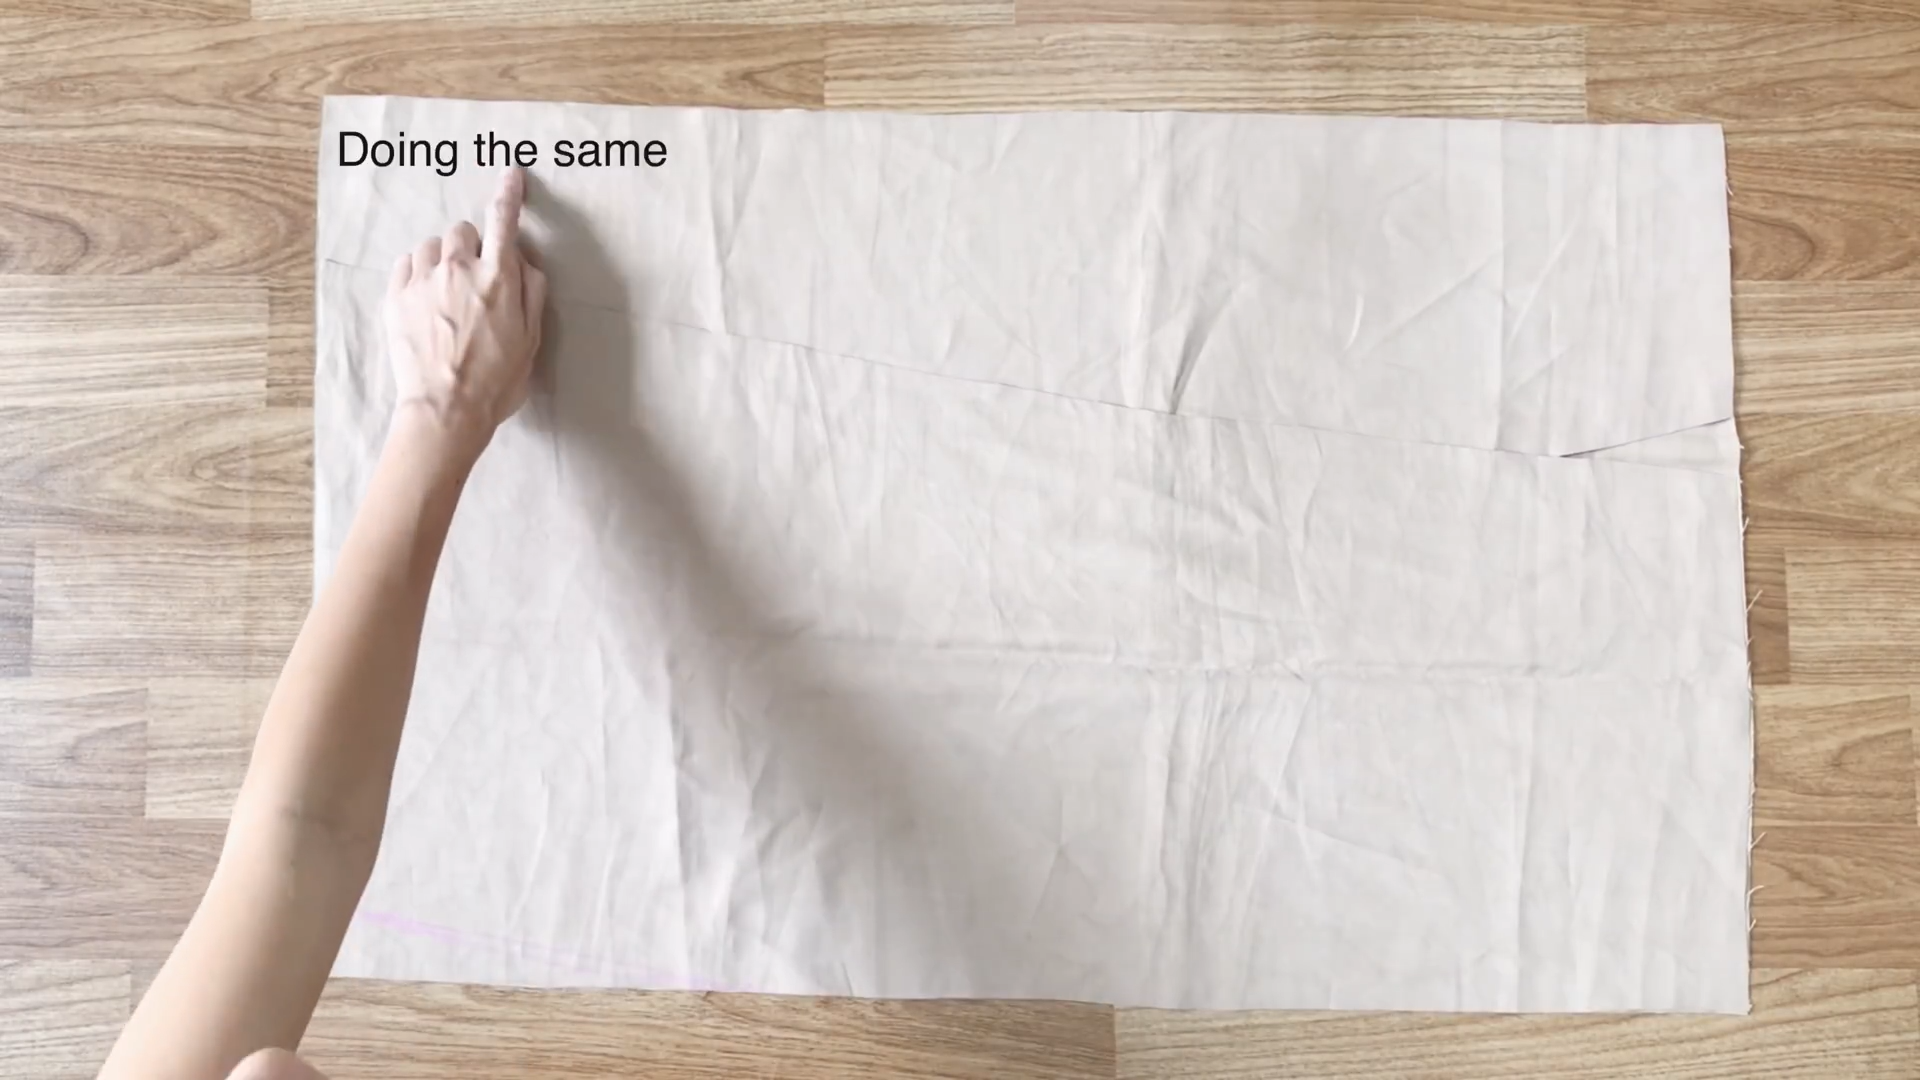
Repeat this process for the other side.
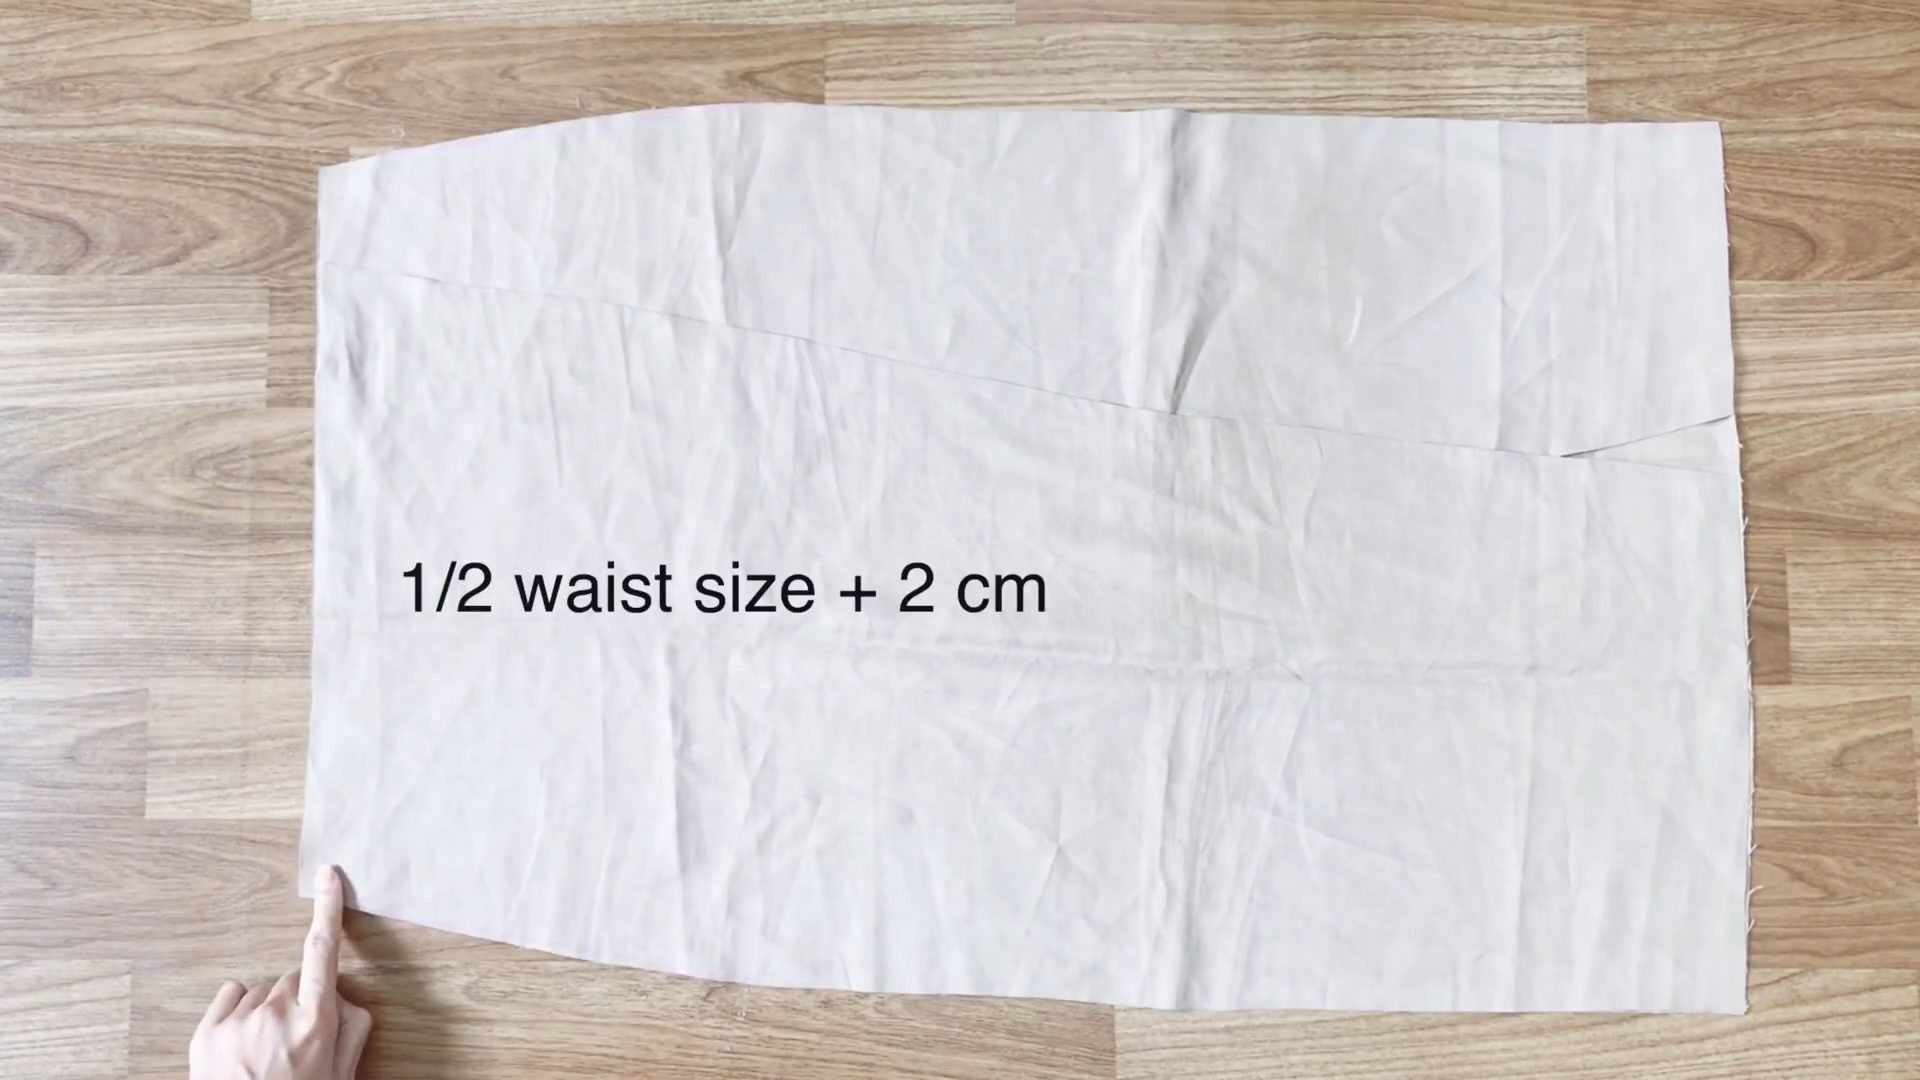
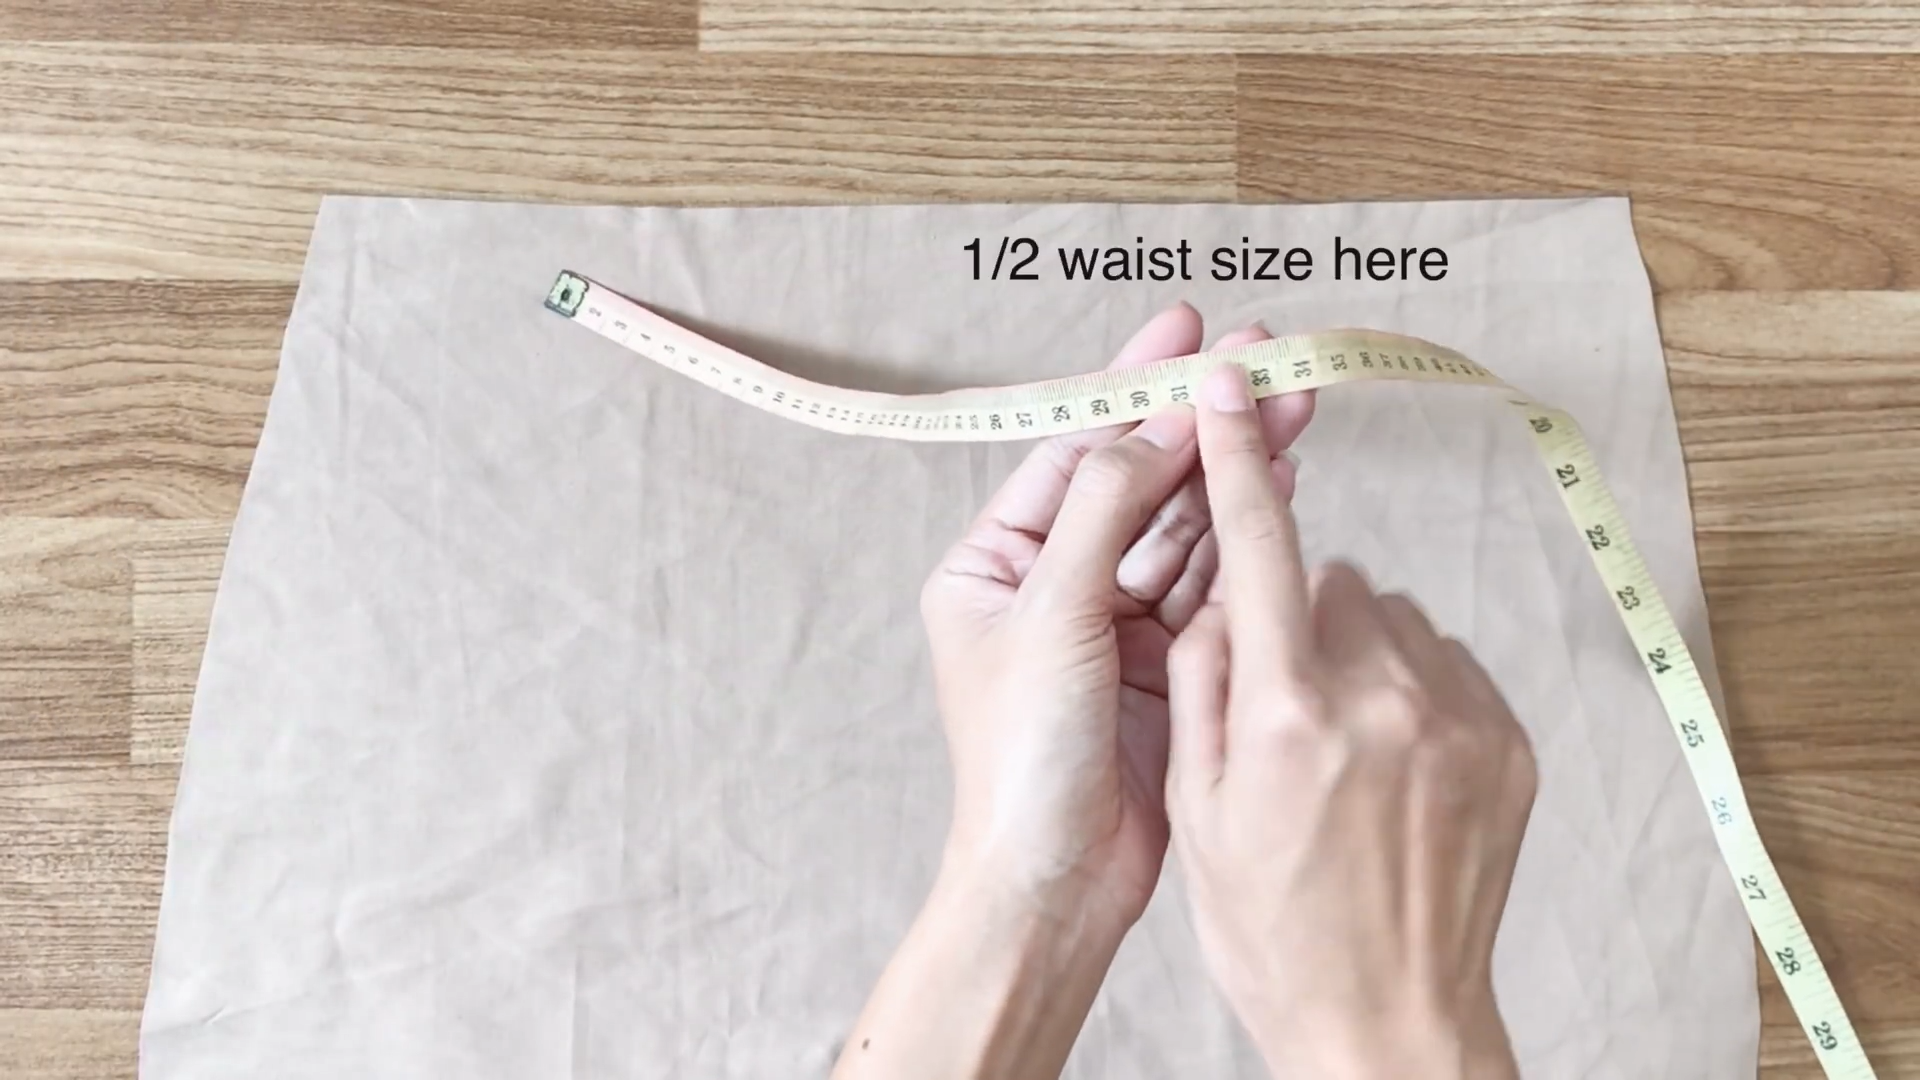
Make sure the width of the first front skirt part after cutting is half of the waist size plus 2 cm.
For the waistline of the back, check the gap between the width of the pattern and half of your waist size.
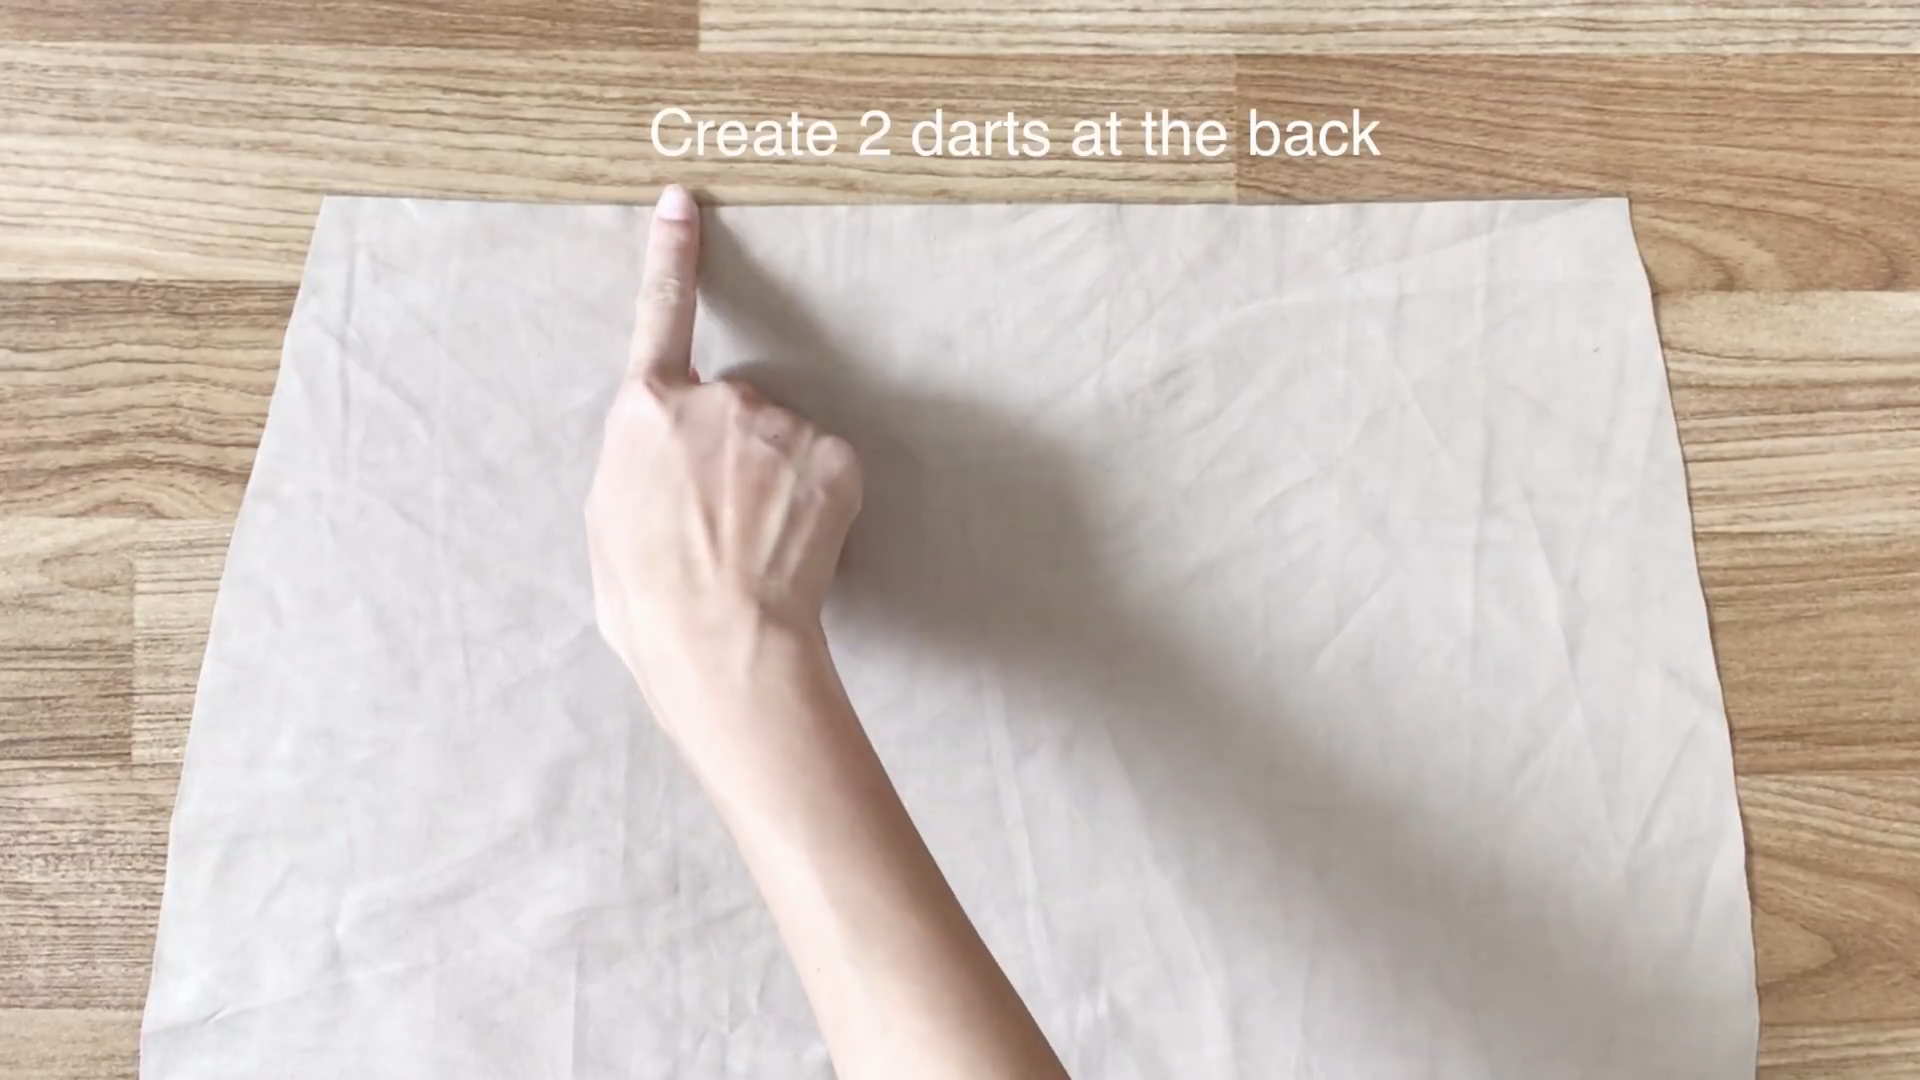
If the gap is 8 cm, create two darts at the back, each 4 cm wide.
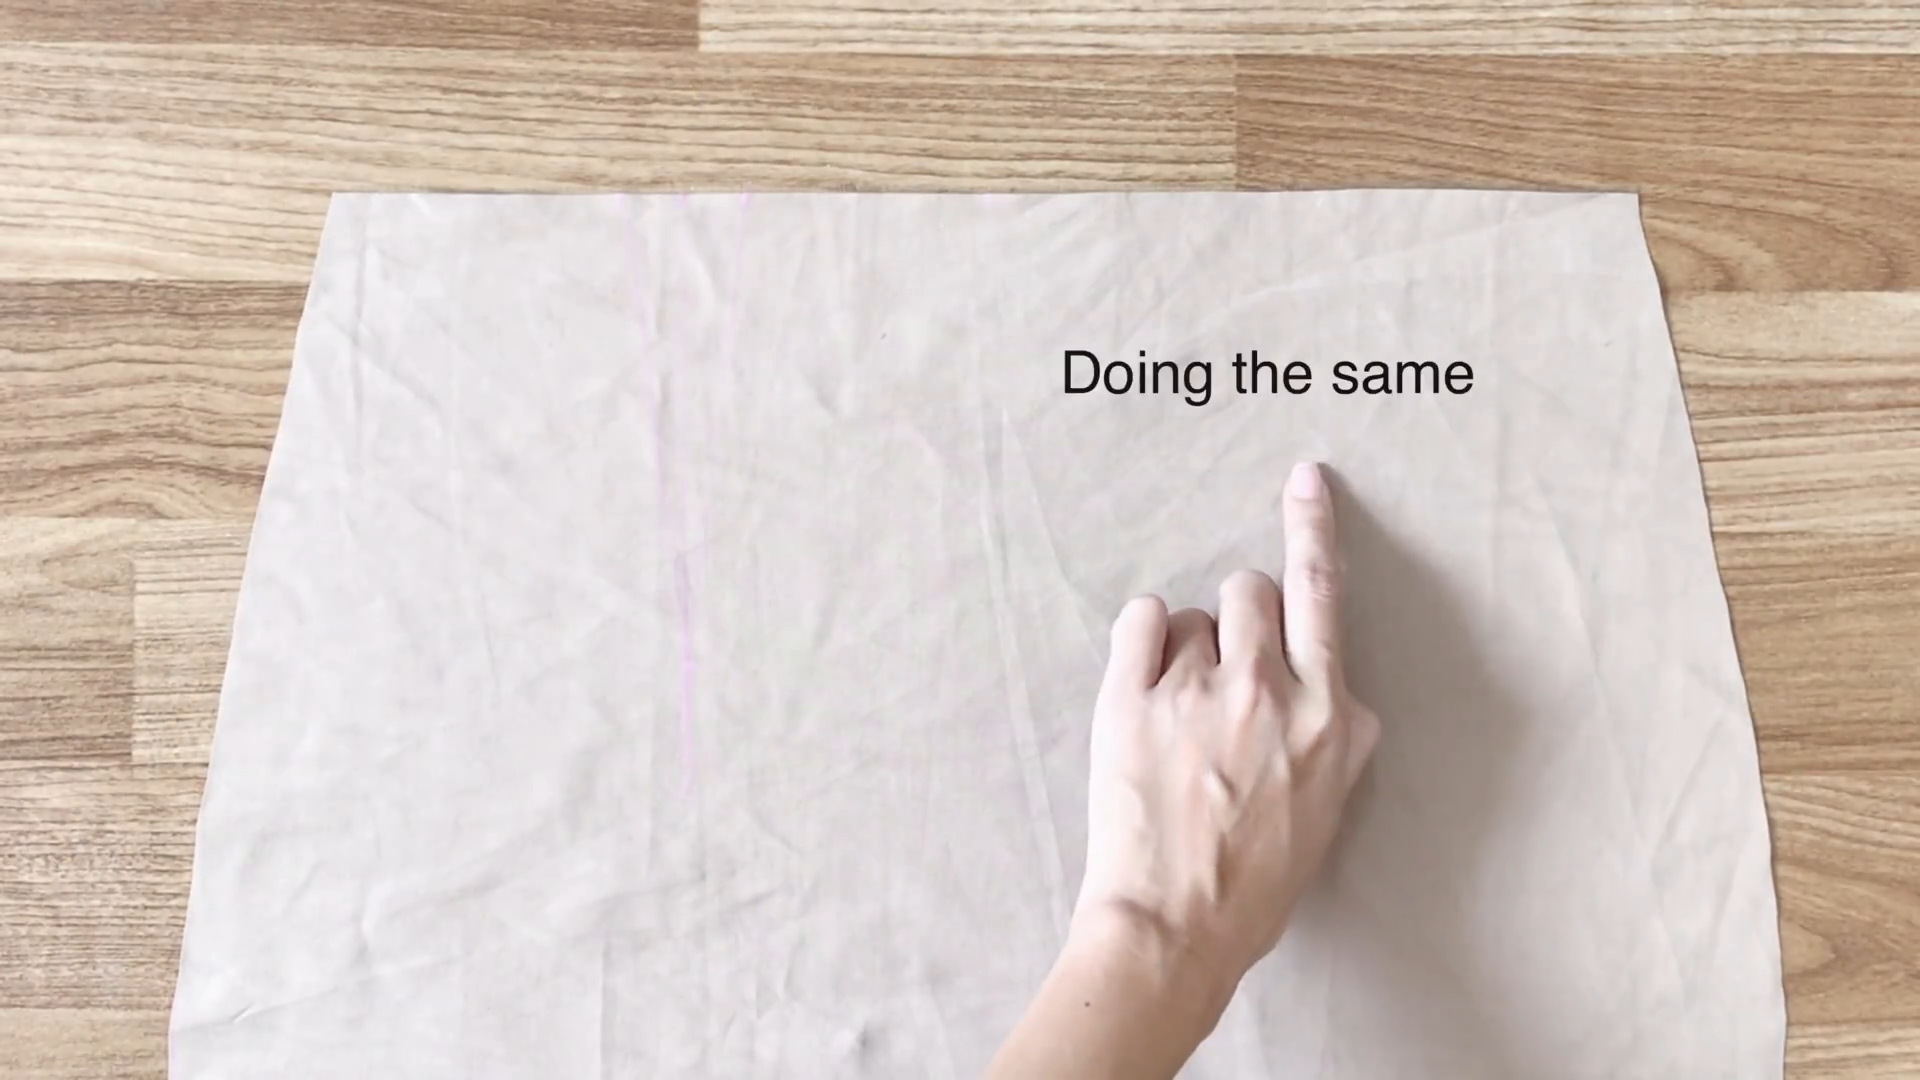
Draw two triangles facing each other, each with a width of 2 cm and a length of 15 cm.
Make sure the final width of the back at the waistline is half of your waist size plus 2 cm.

Fold and sew the two triangles together.
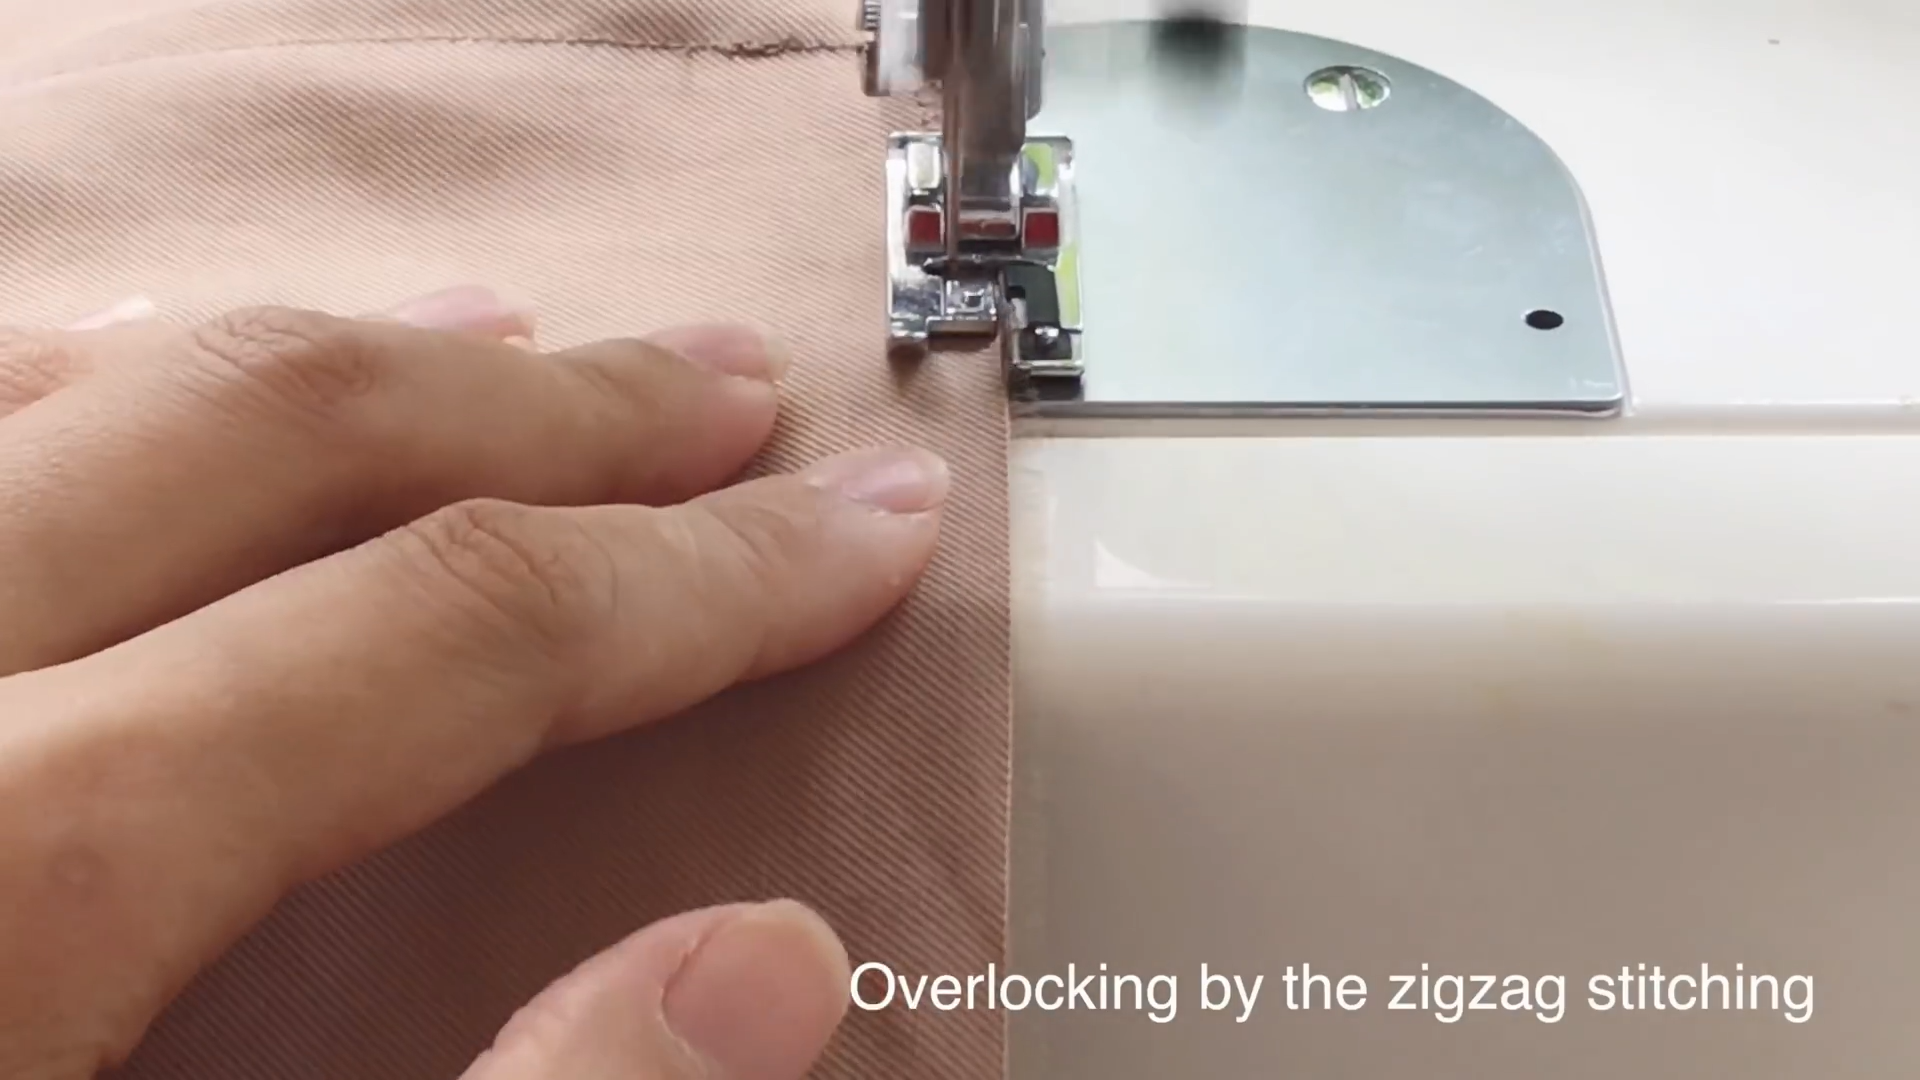
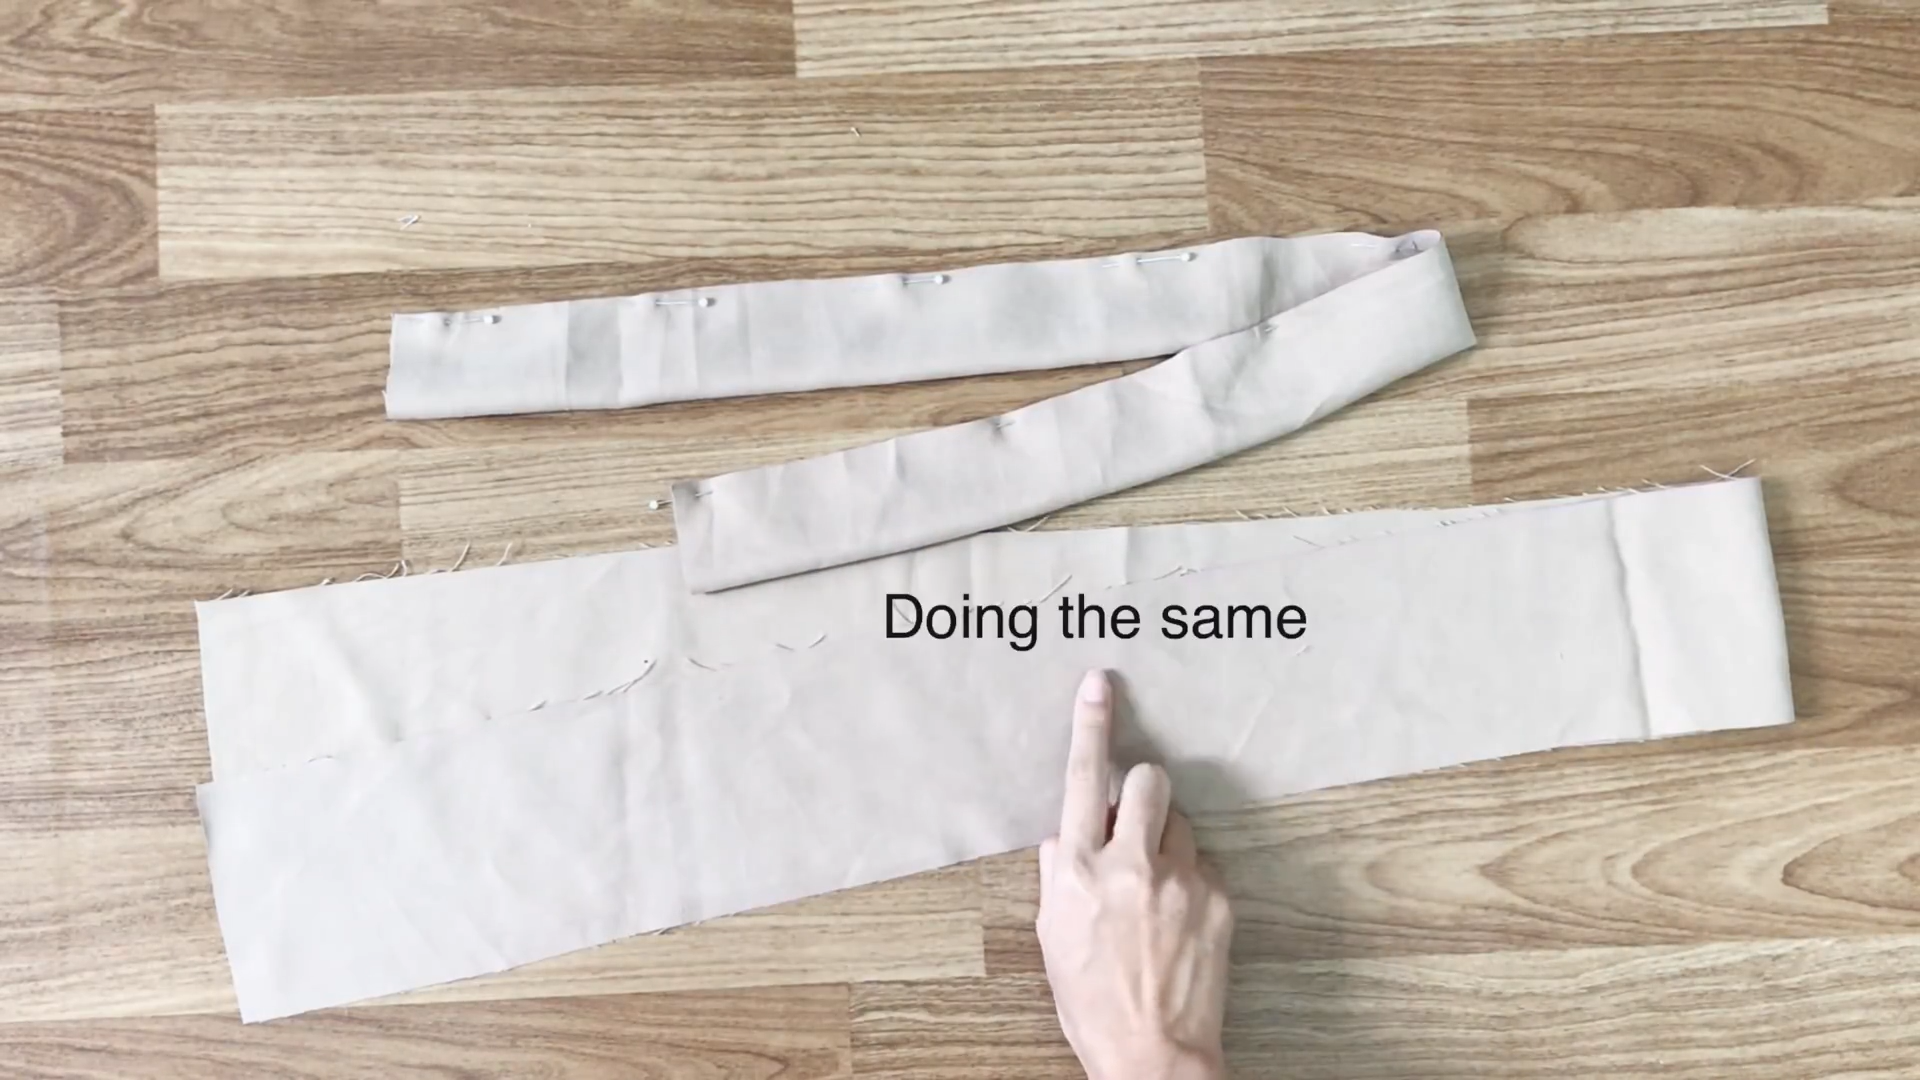
After all, overlock all the patterns to protect the fabric.
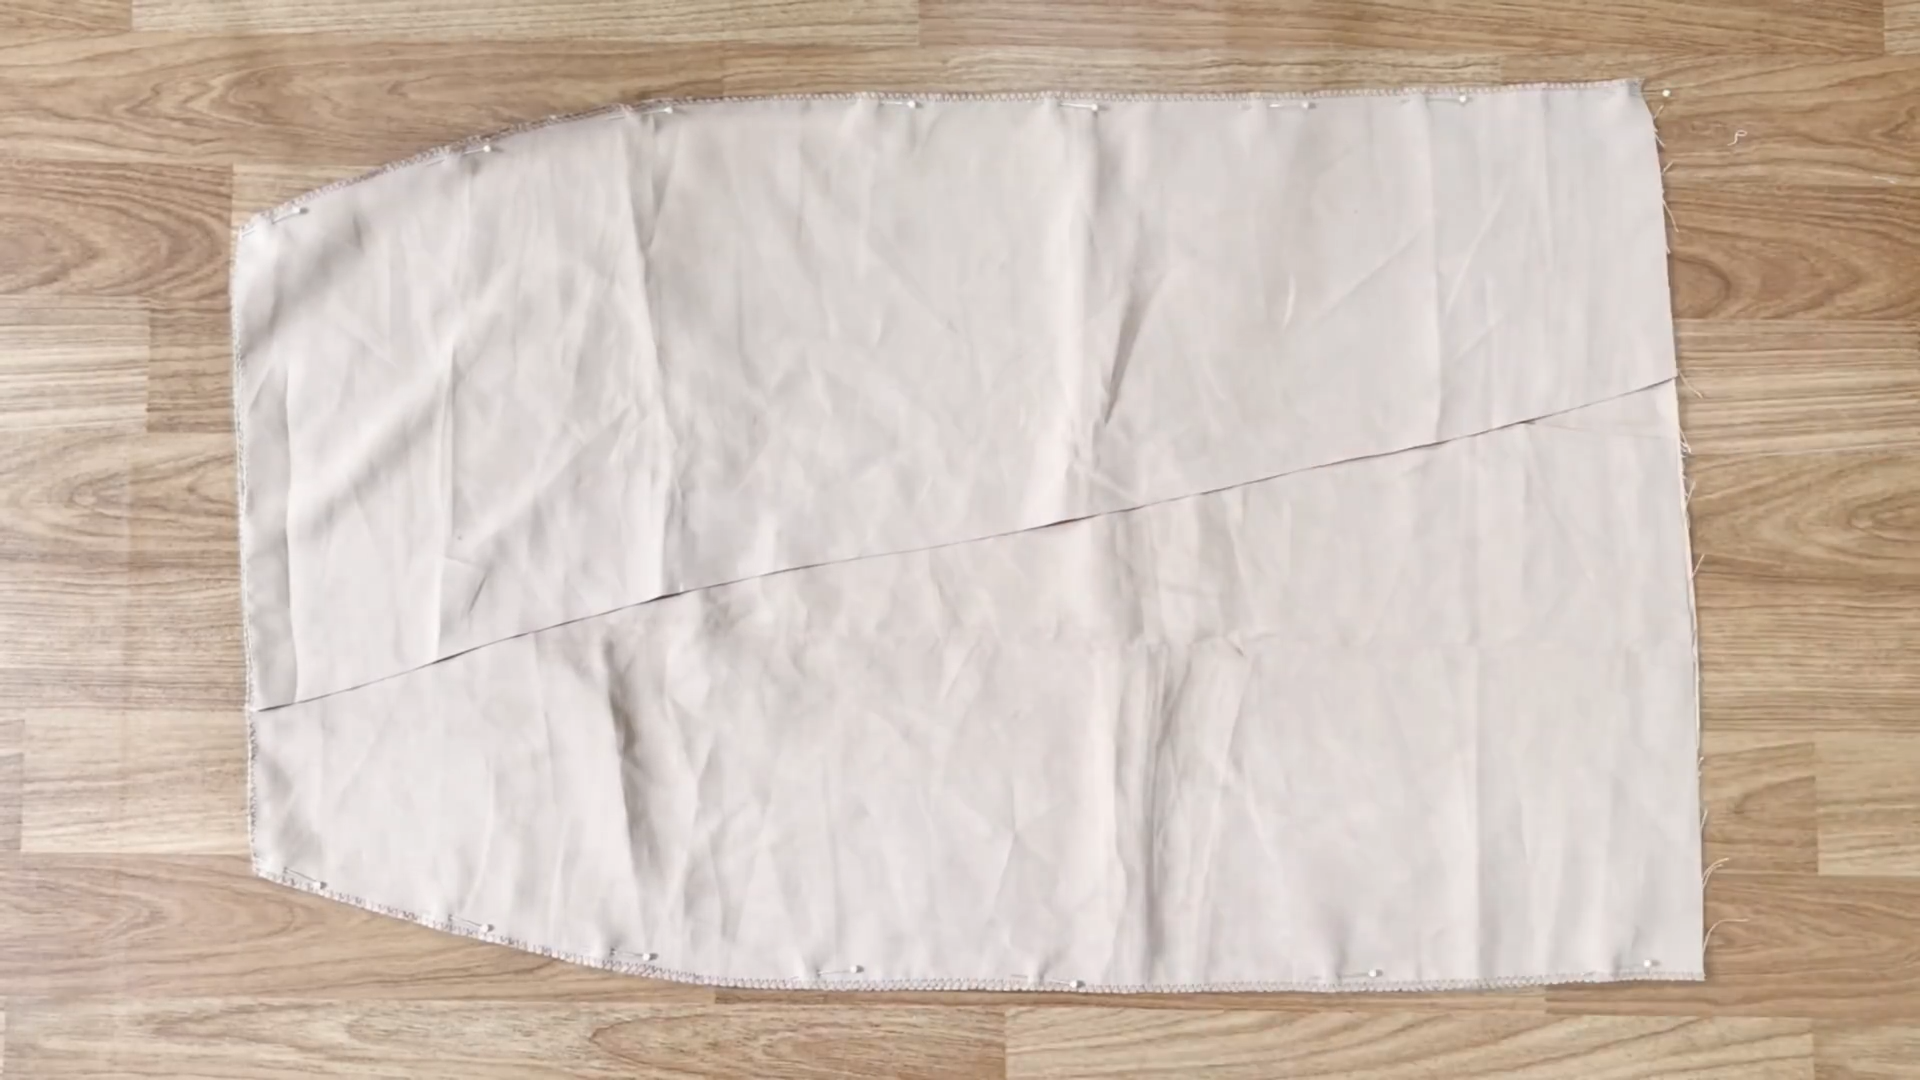
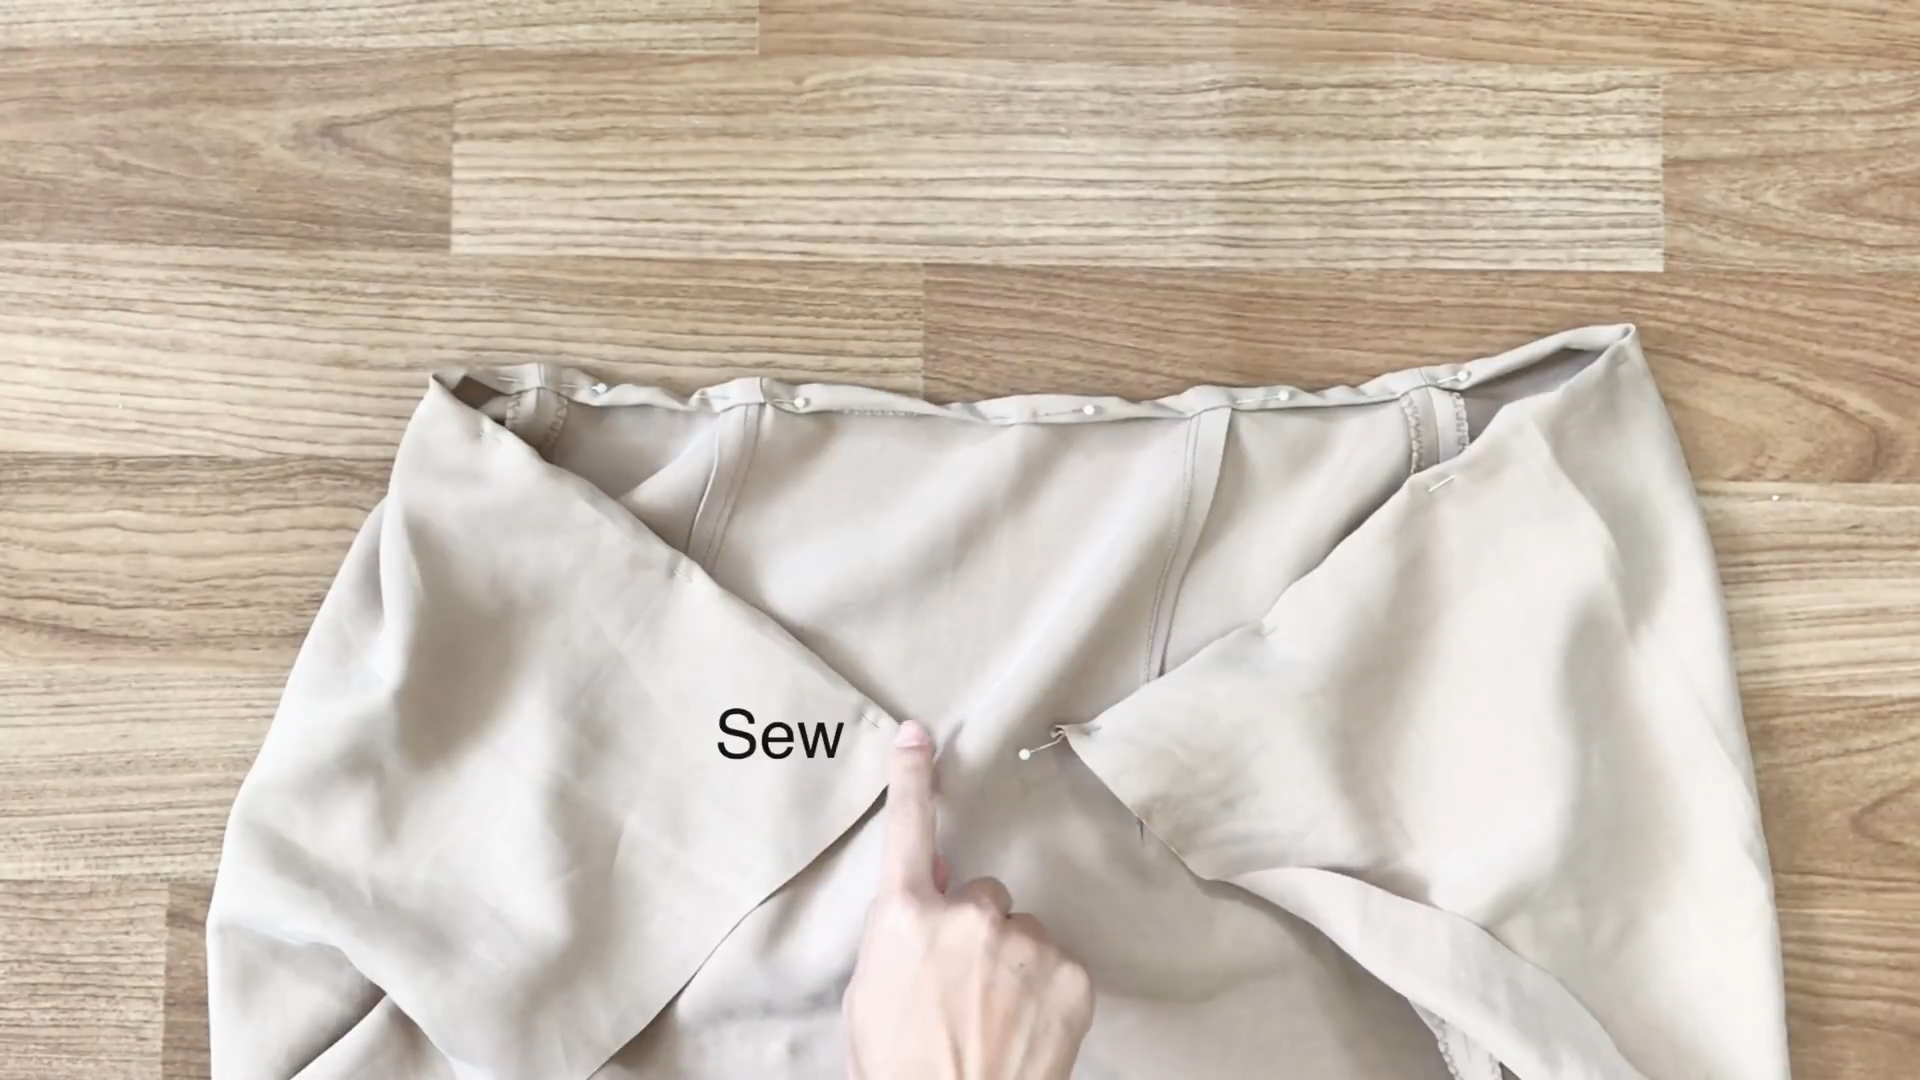
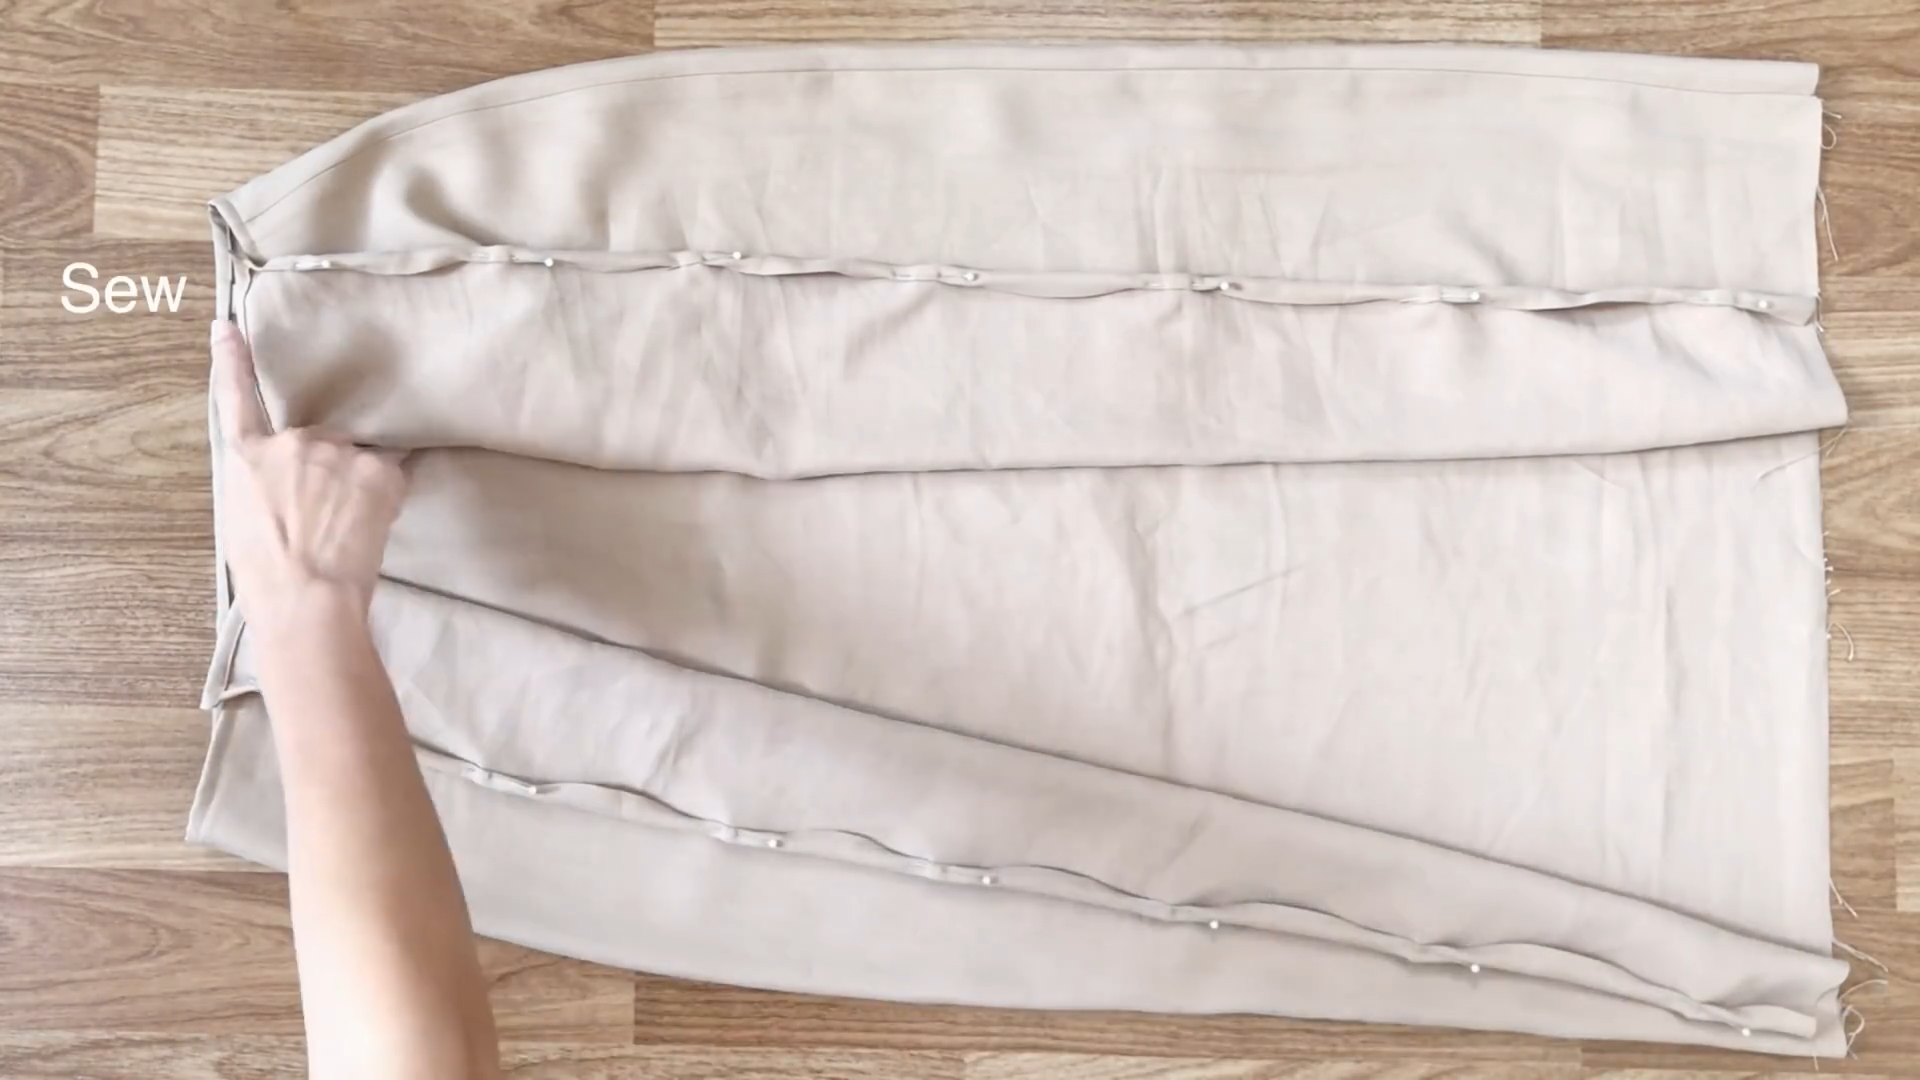
Connect the front and back of the skirt at both sides using pins to hold them together, then sew.
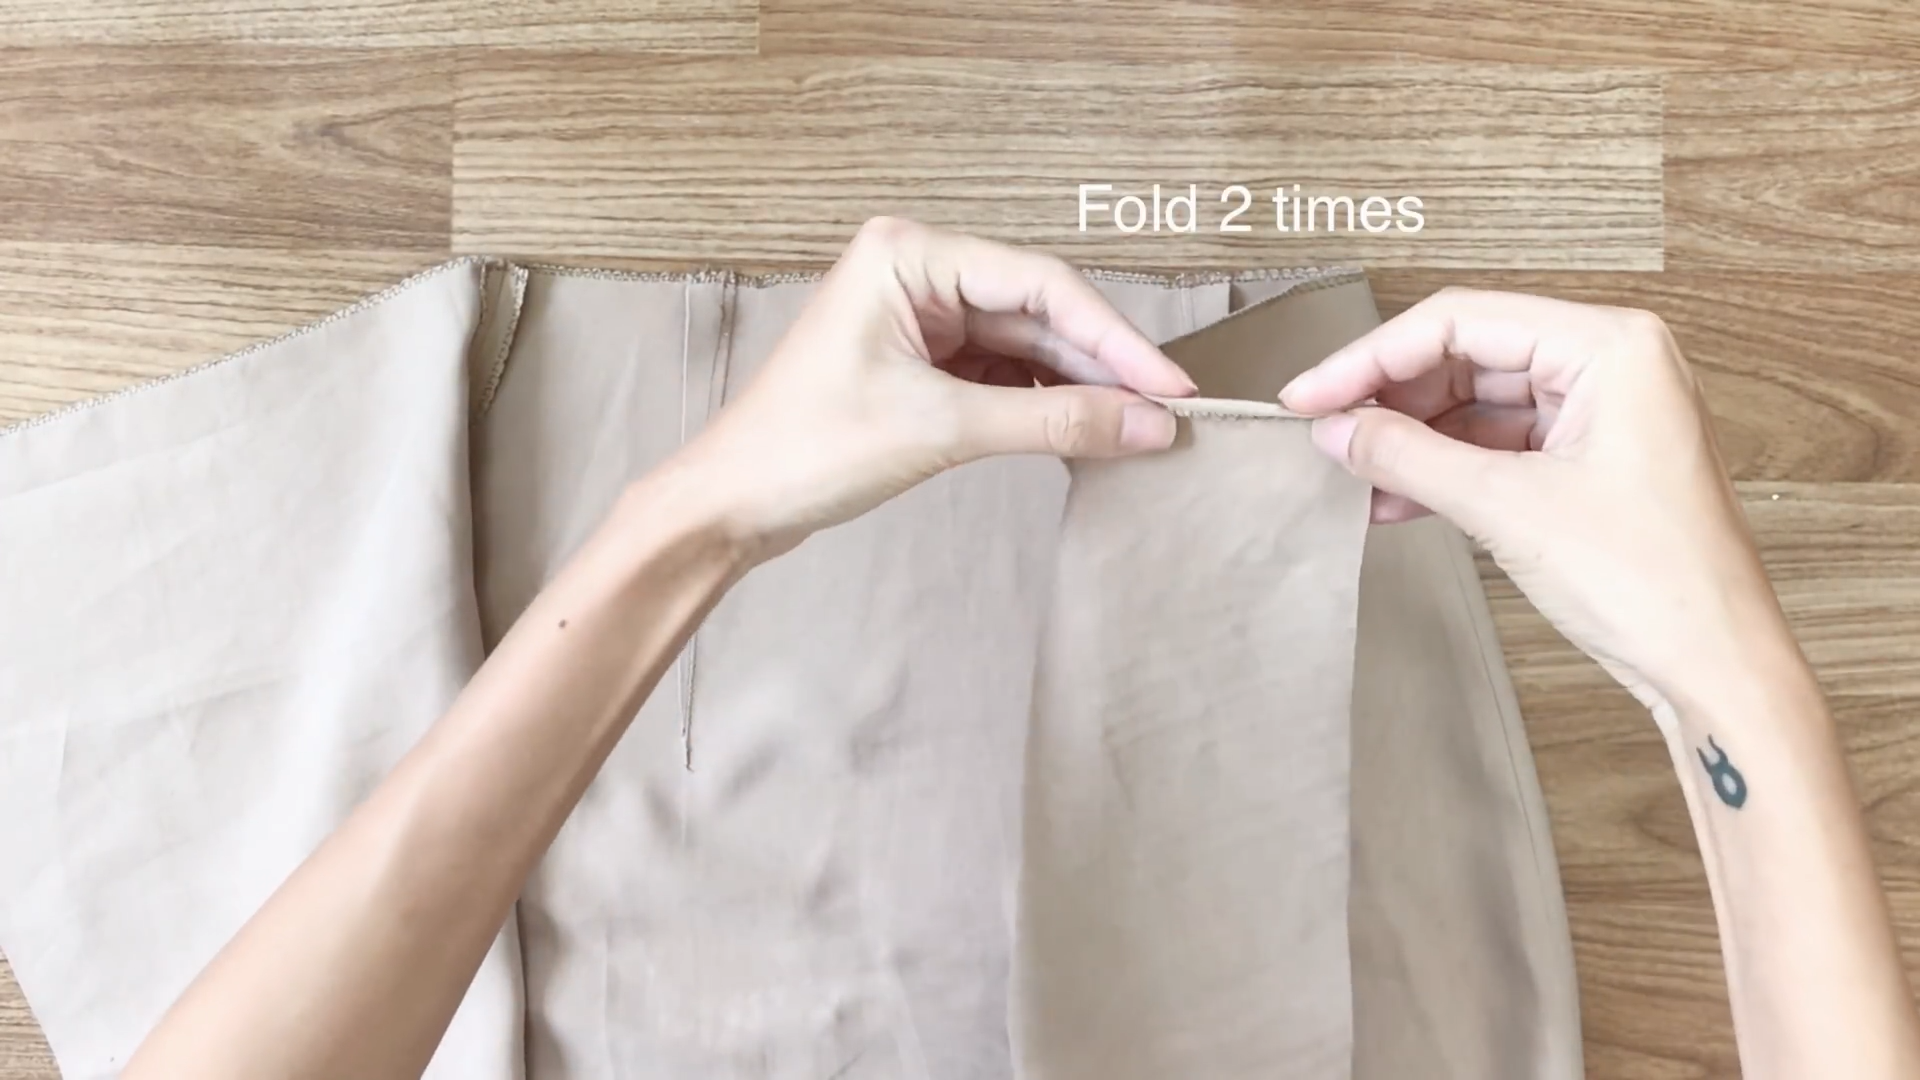
At the waistline, fold the top of the fabric inside twice to hide the cutting.
Then, sew to finish the waistband.
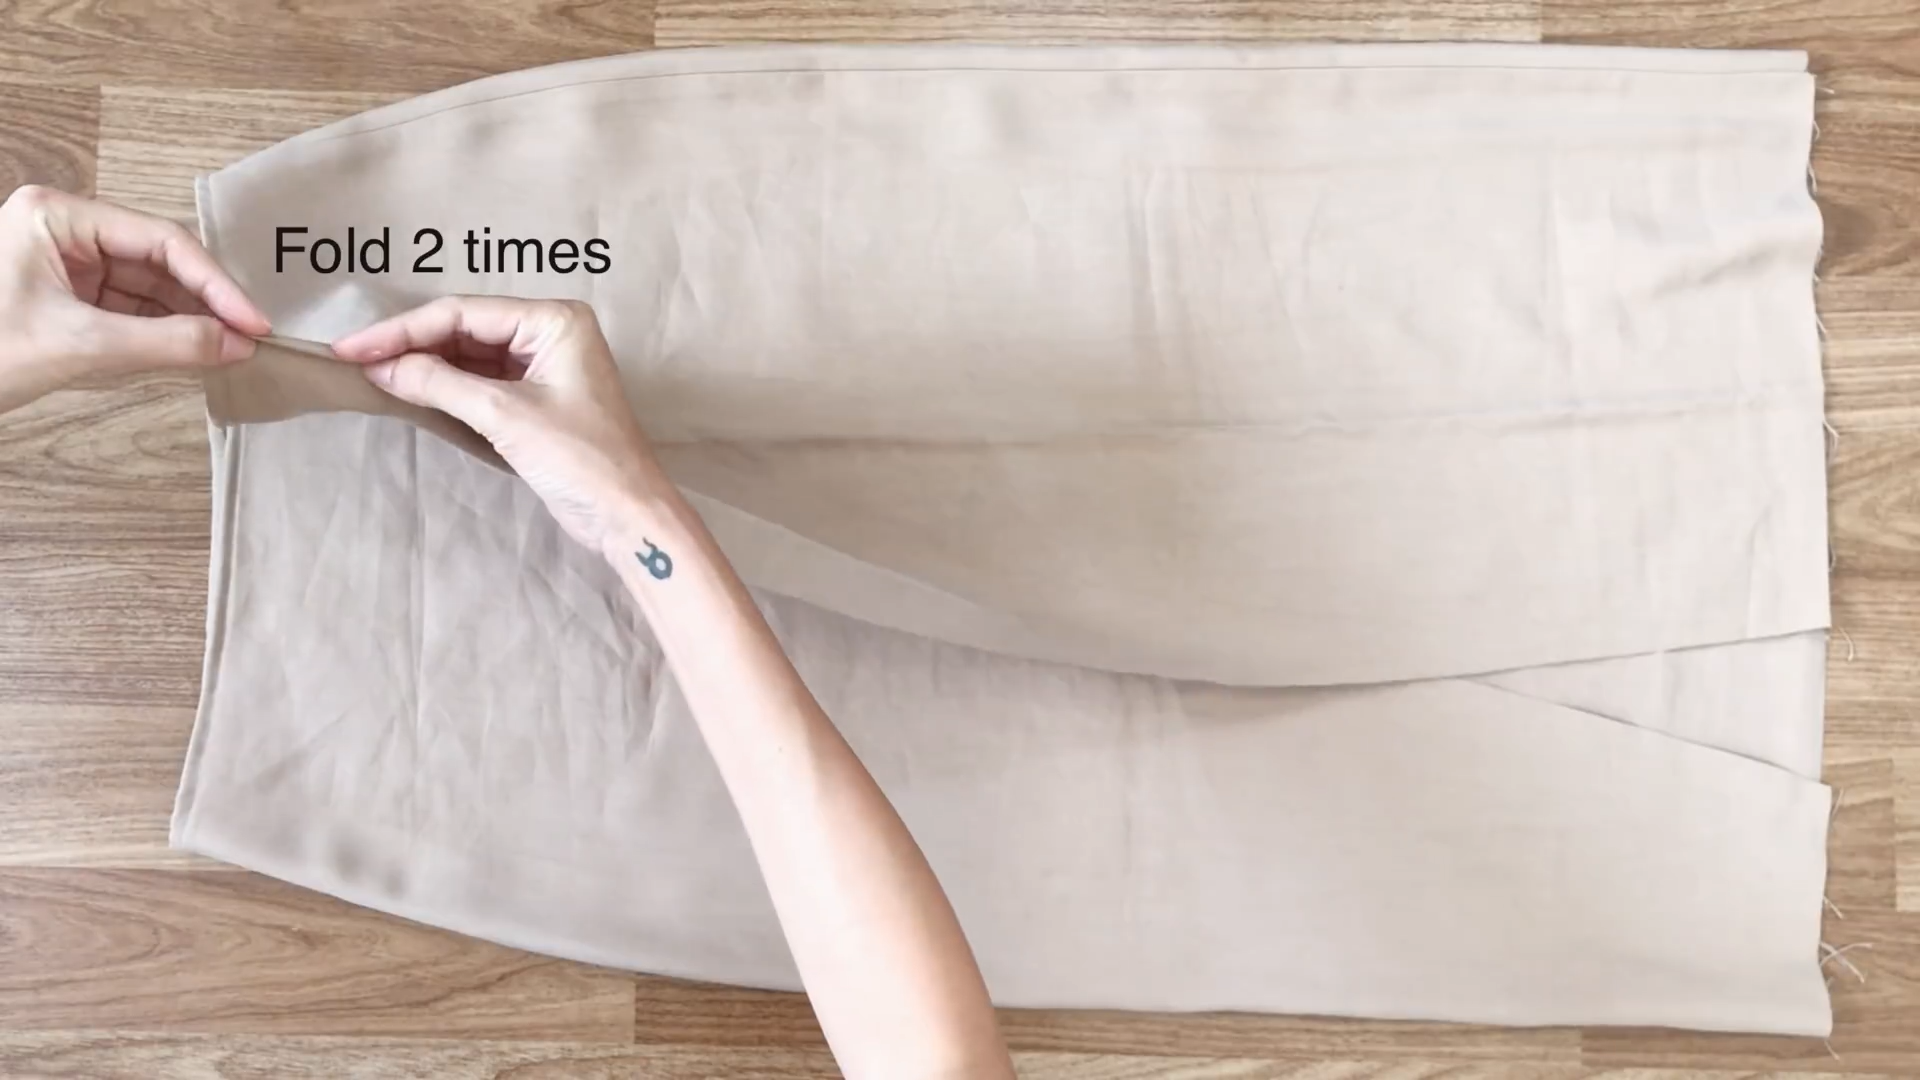
Fold and sew the edges of the front skirt twice.
Then, repeat the process for the hem of the skirt.
THE TIE
Cut two long rectangles to create the ties for the skirt.
The short tie should be 10 cm wide and 70 cm long, and the long tie should be 10 cm wide and 120 cm long.
Fold two sides of the length together and sew to form the ties.
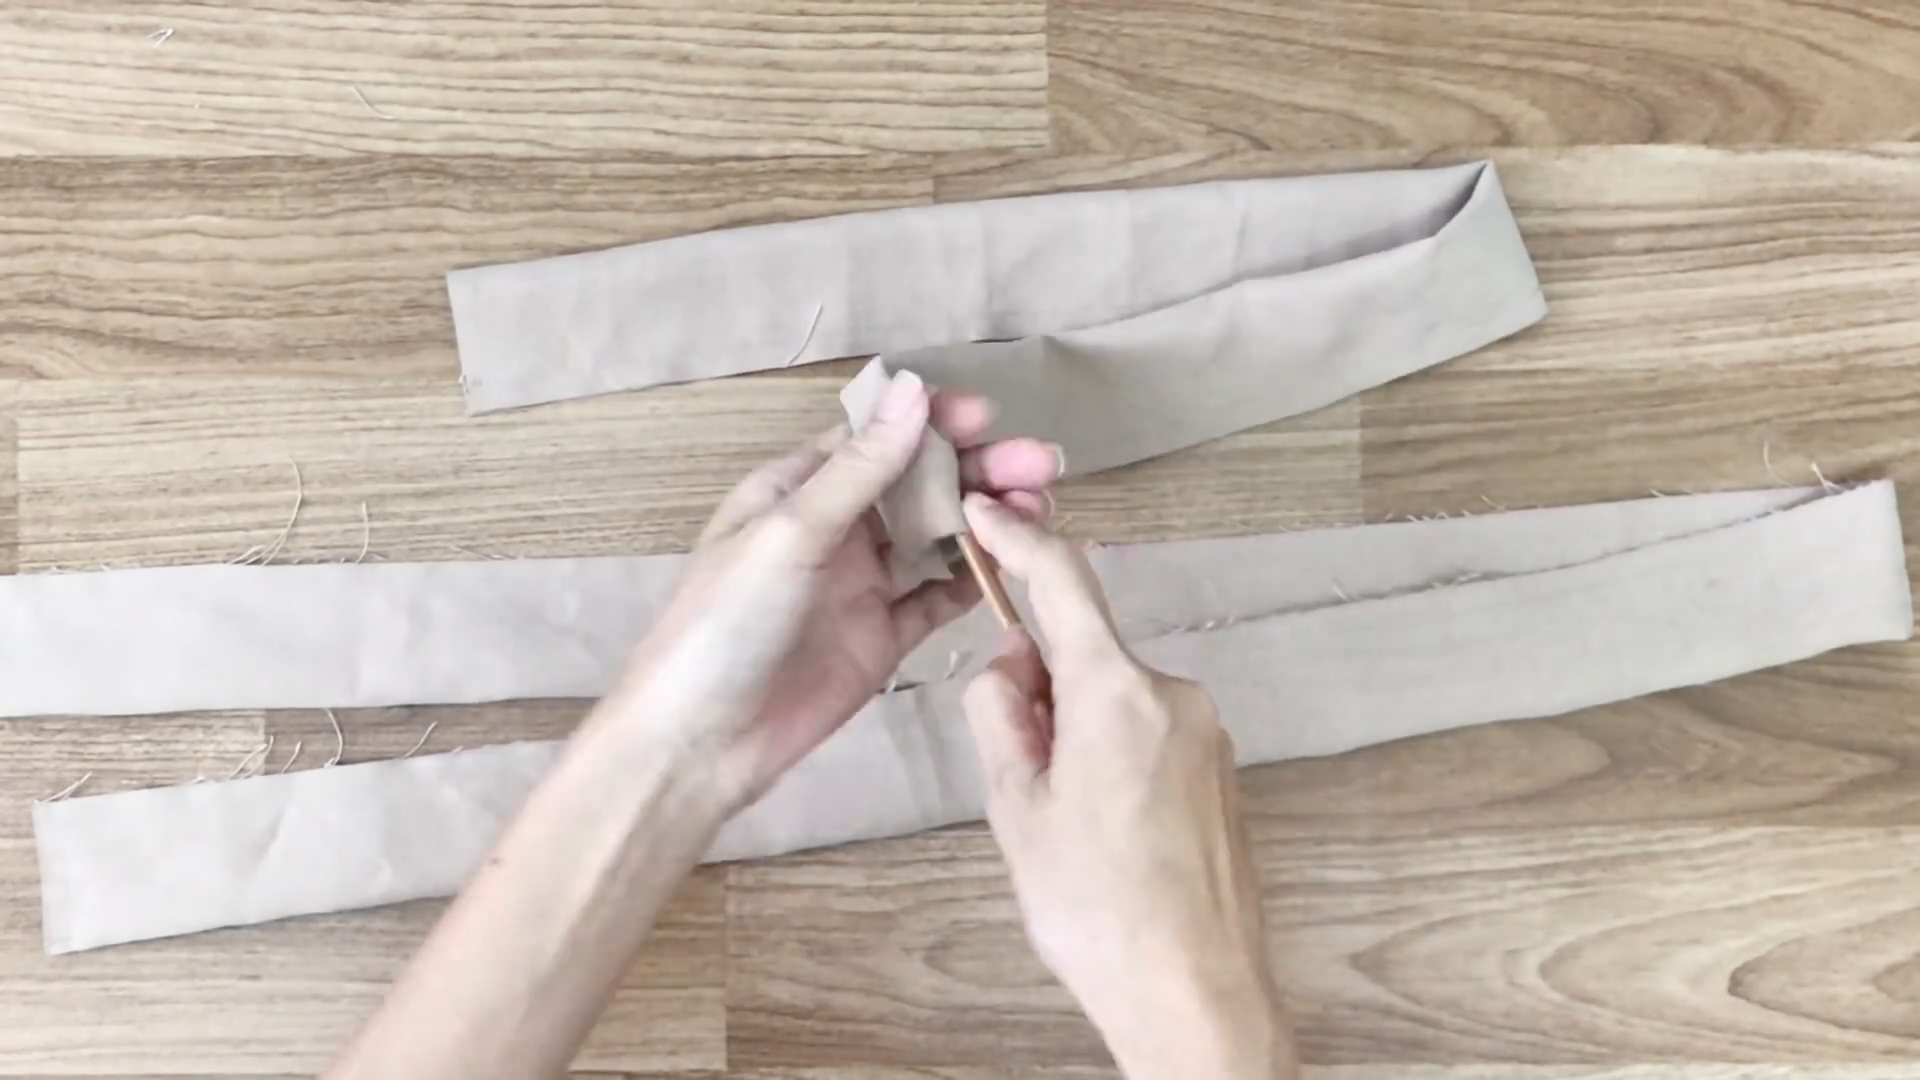
After sewing, turn the ties right side out using a long stick.
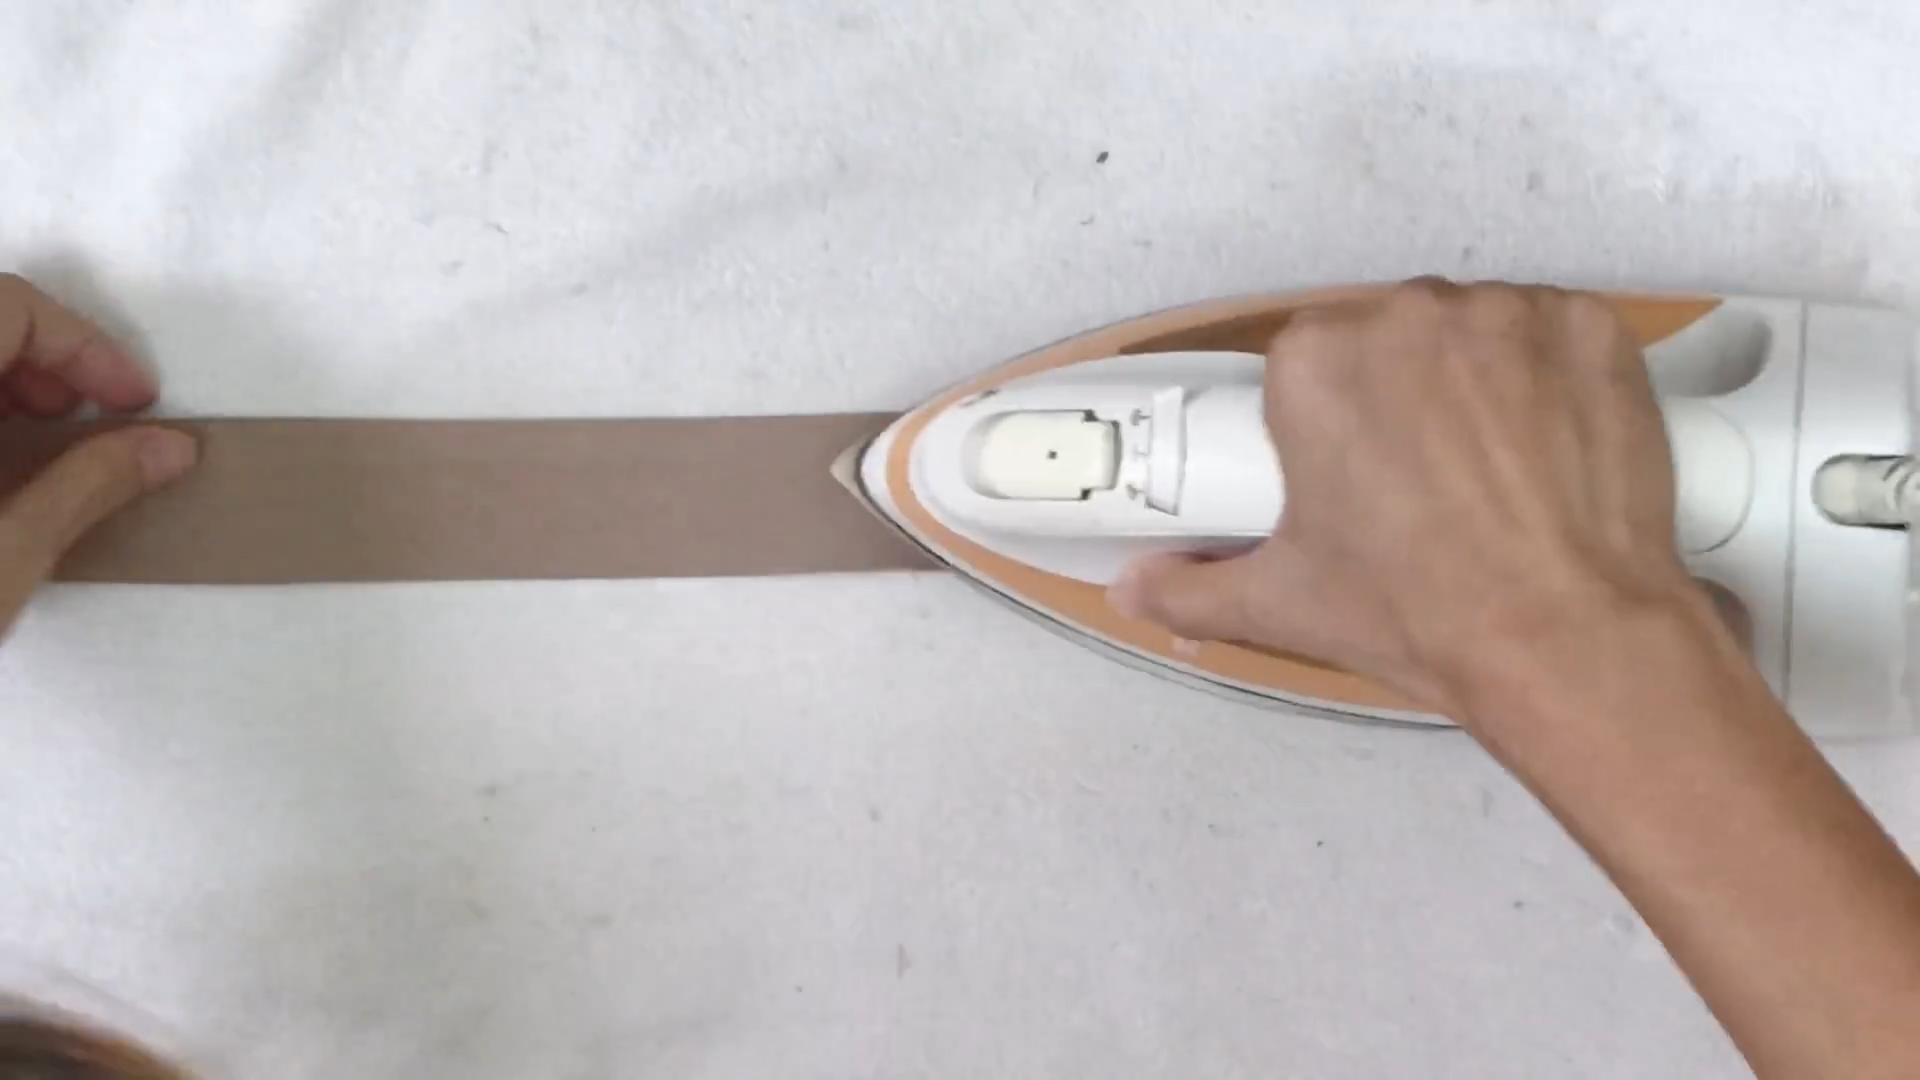
Then, iron them flat.
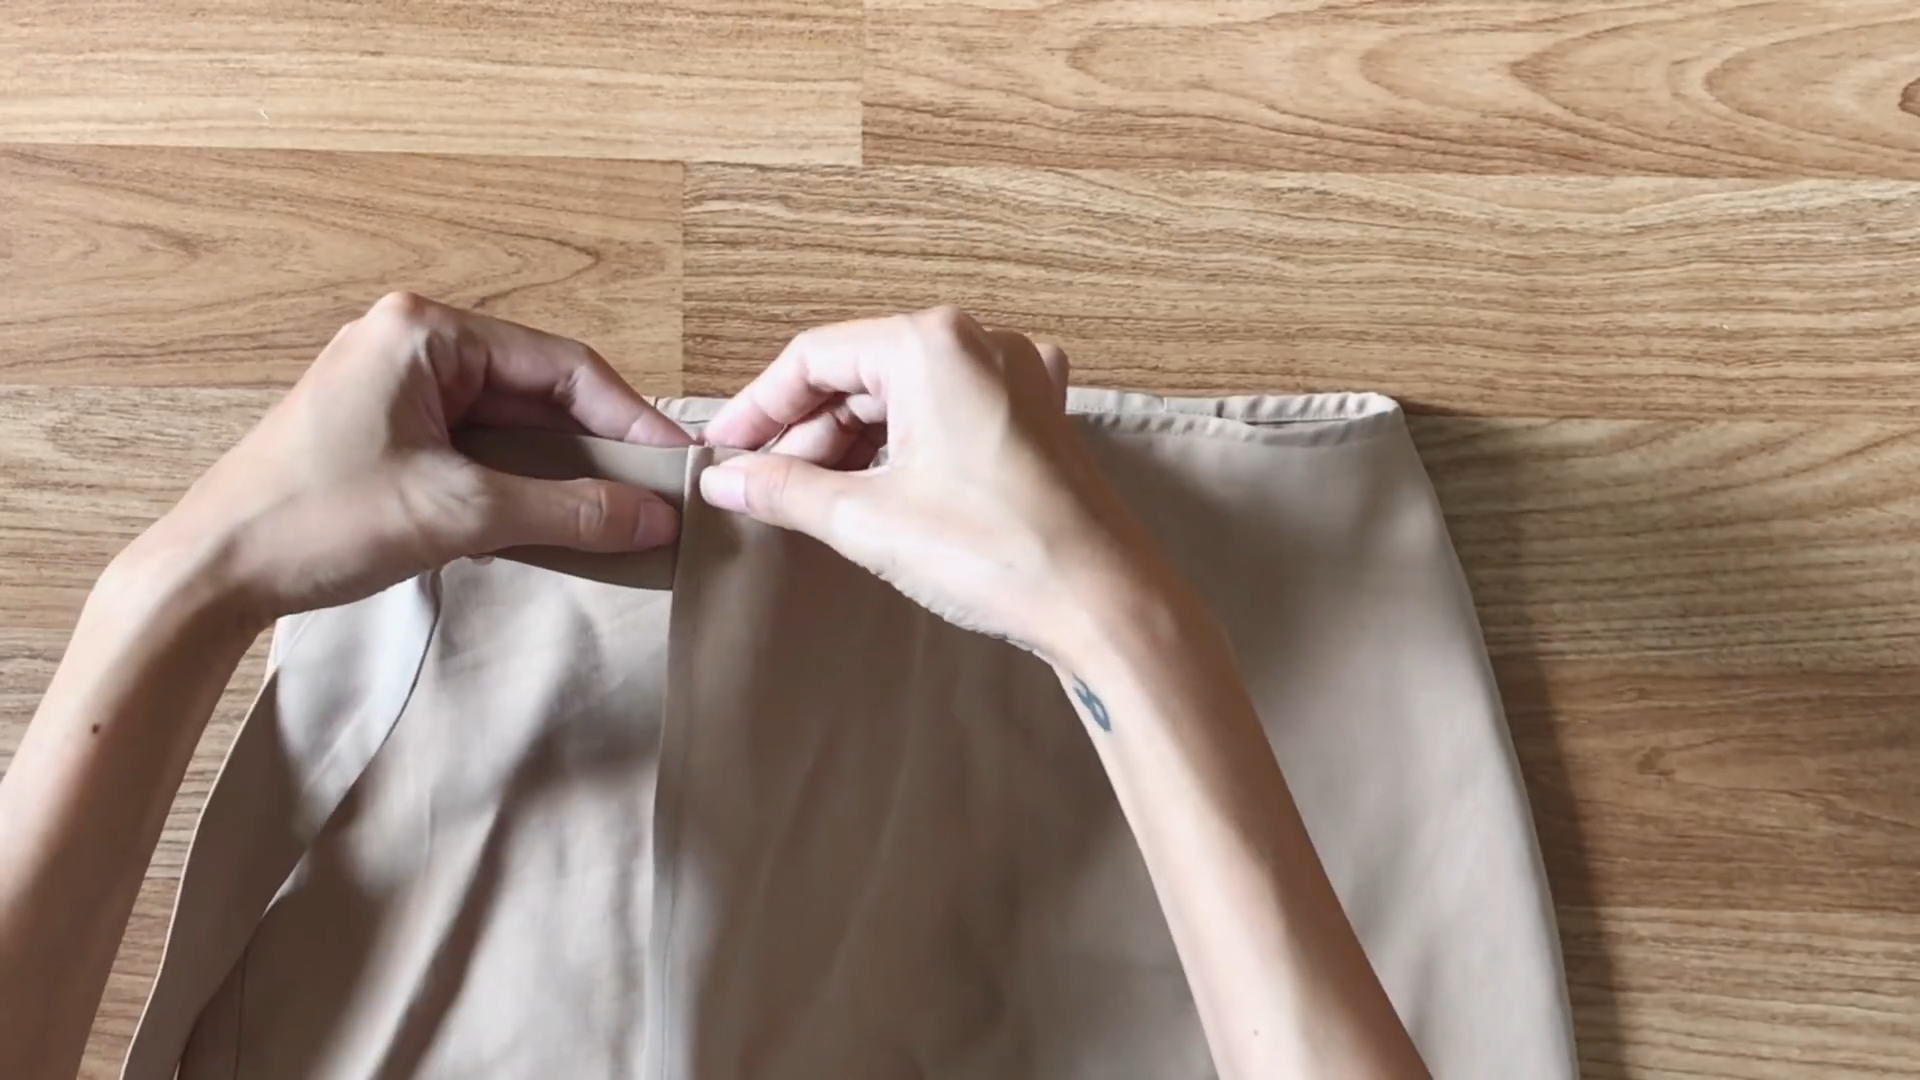
Attach the short tie to the first part of the front skirt.
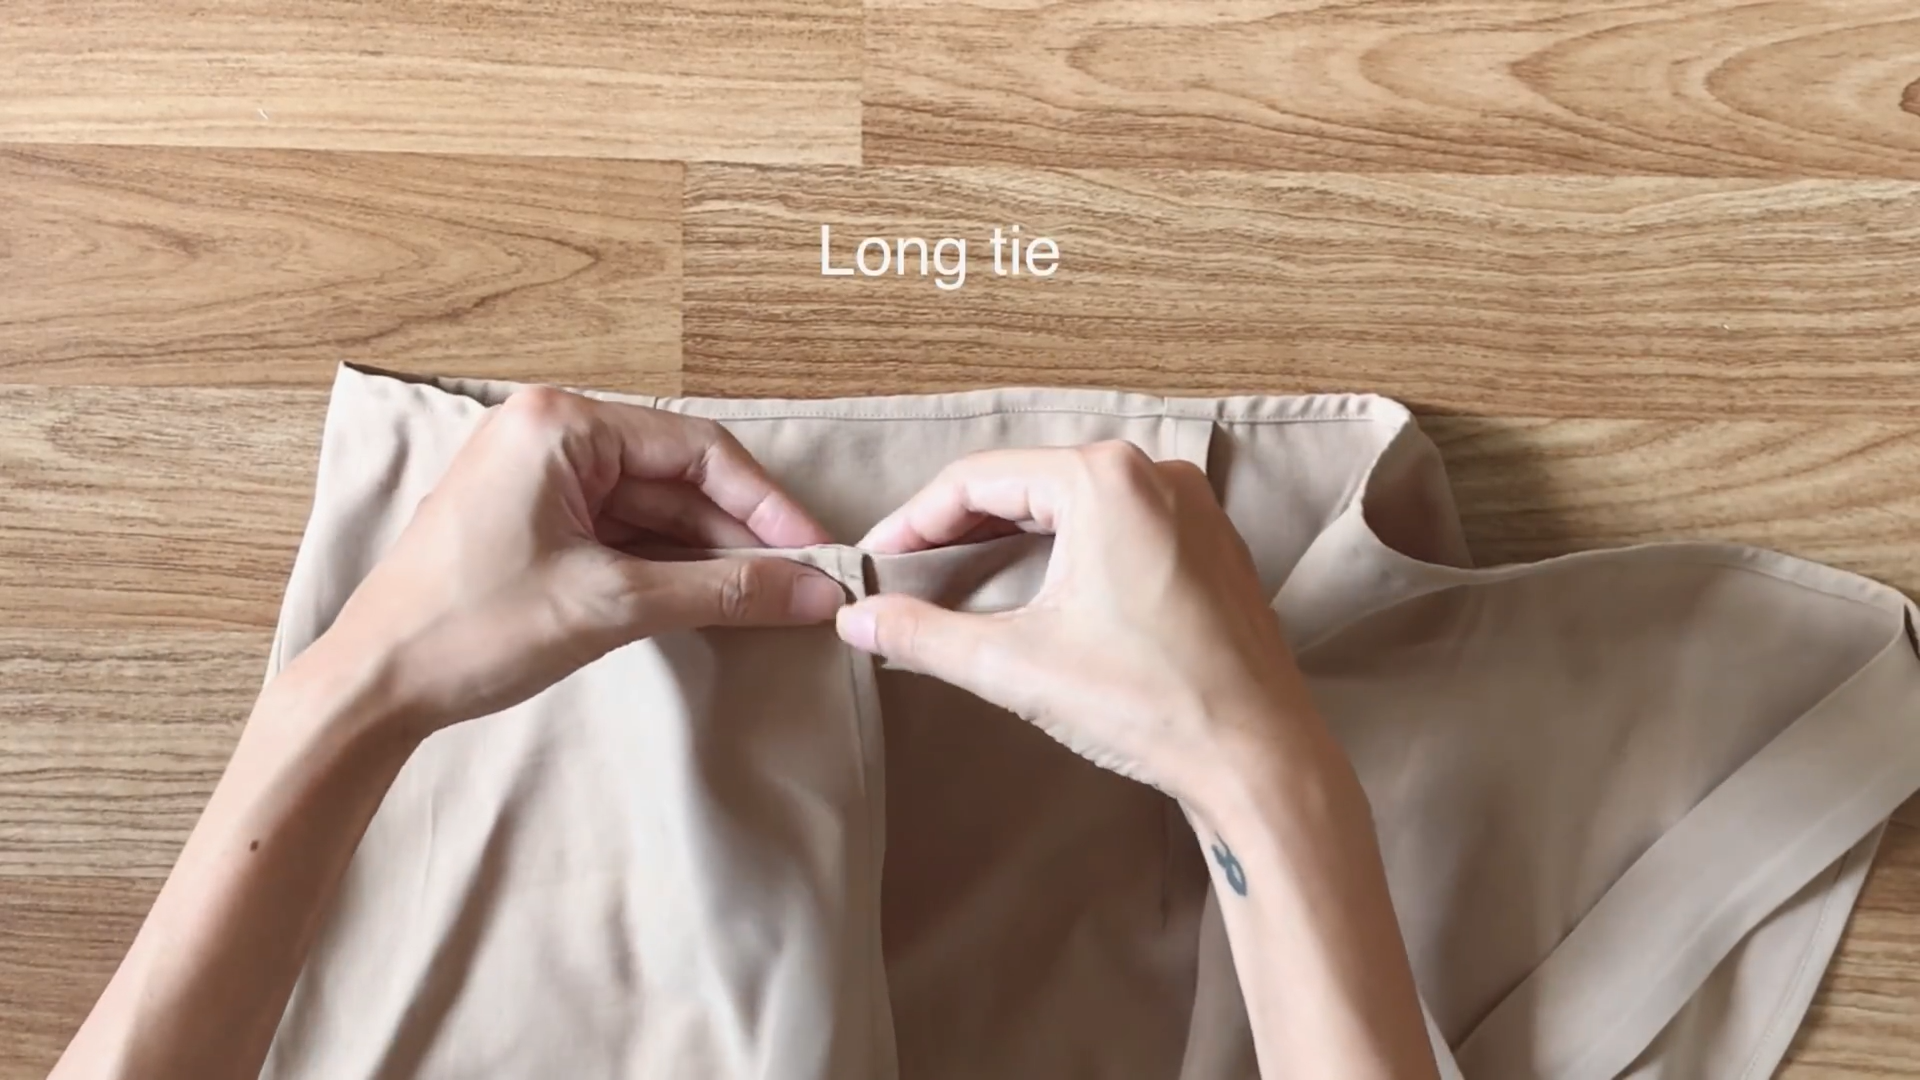
And, the long tie to the second part of the front skirt, then sew them in place.
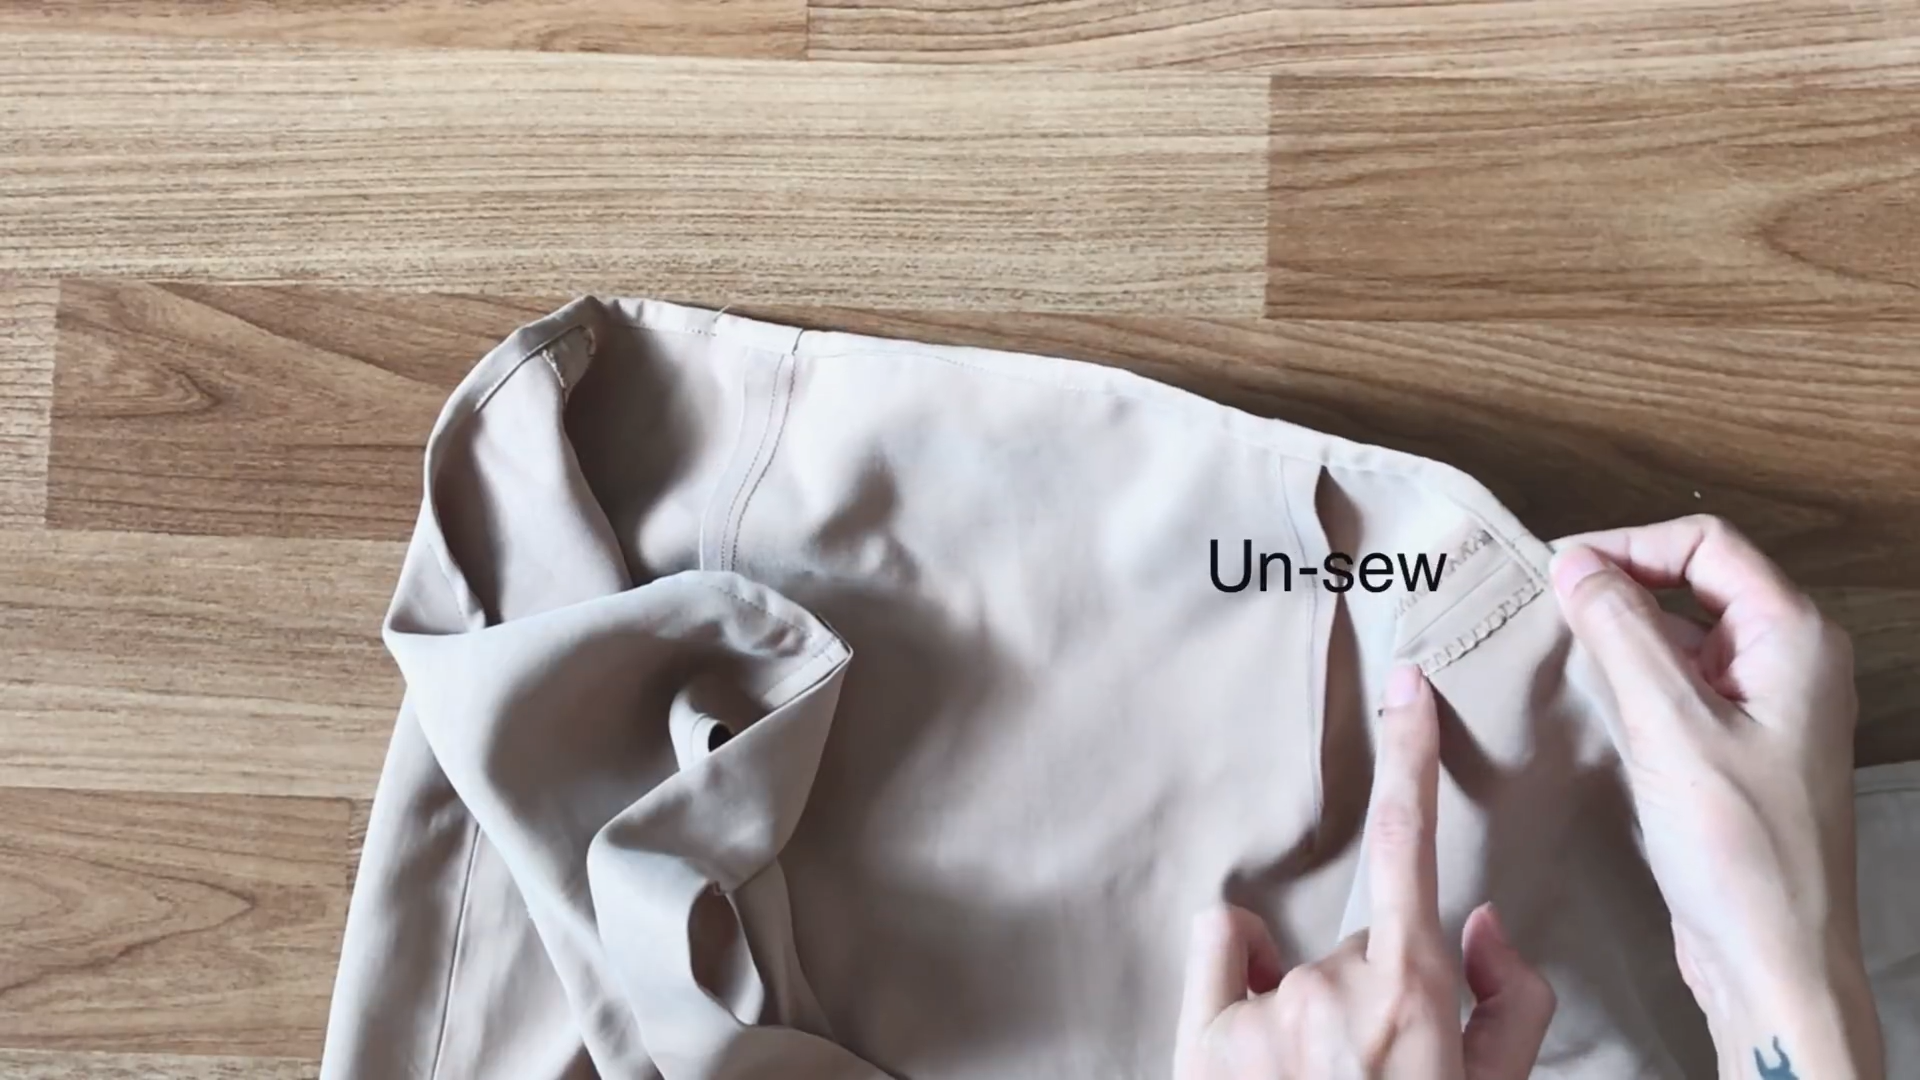
The final step is to make a small hole on the side of the skirt for the long tie to pass through, allowing you to wear the skirt easily.

DIY Wrap skirt with leg slit from scratch
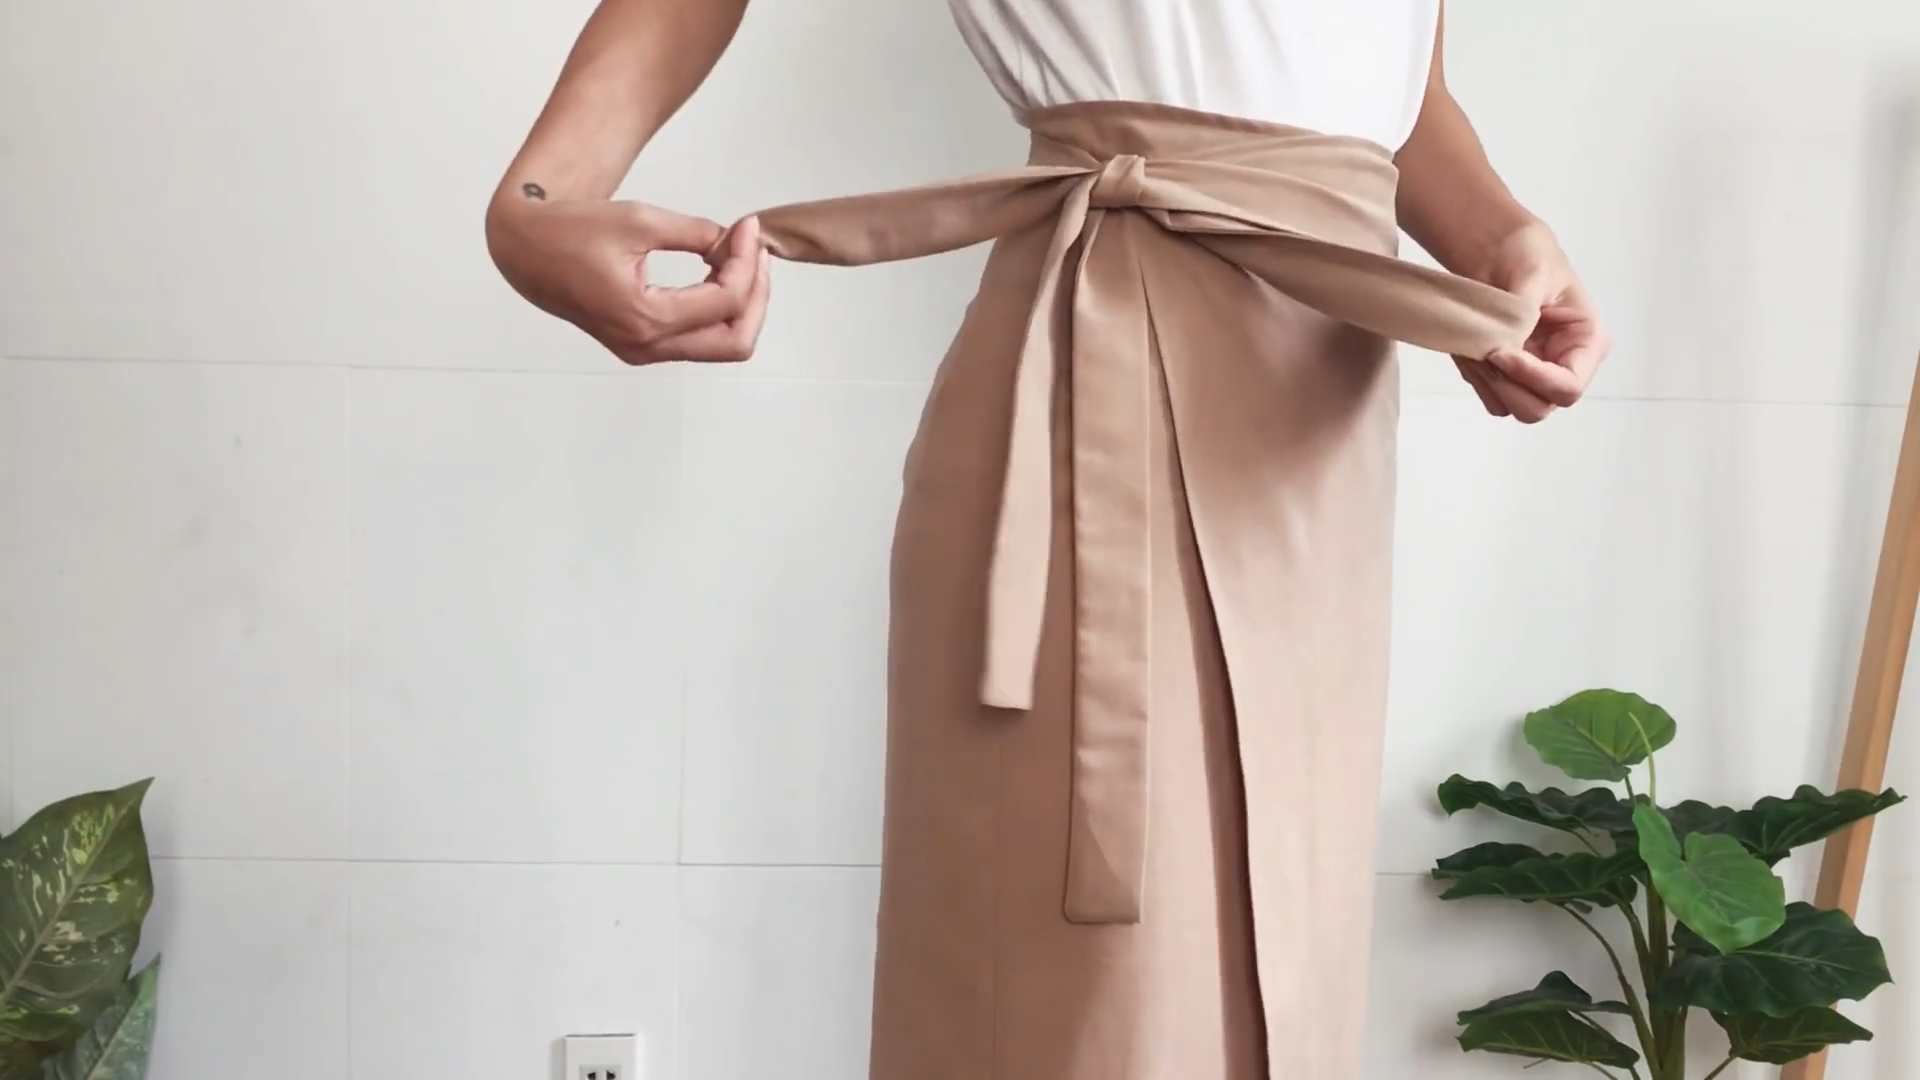
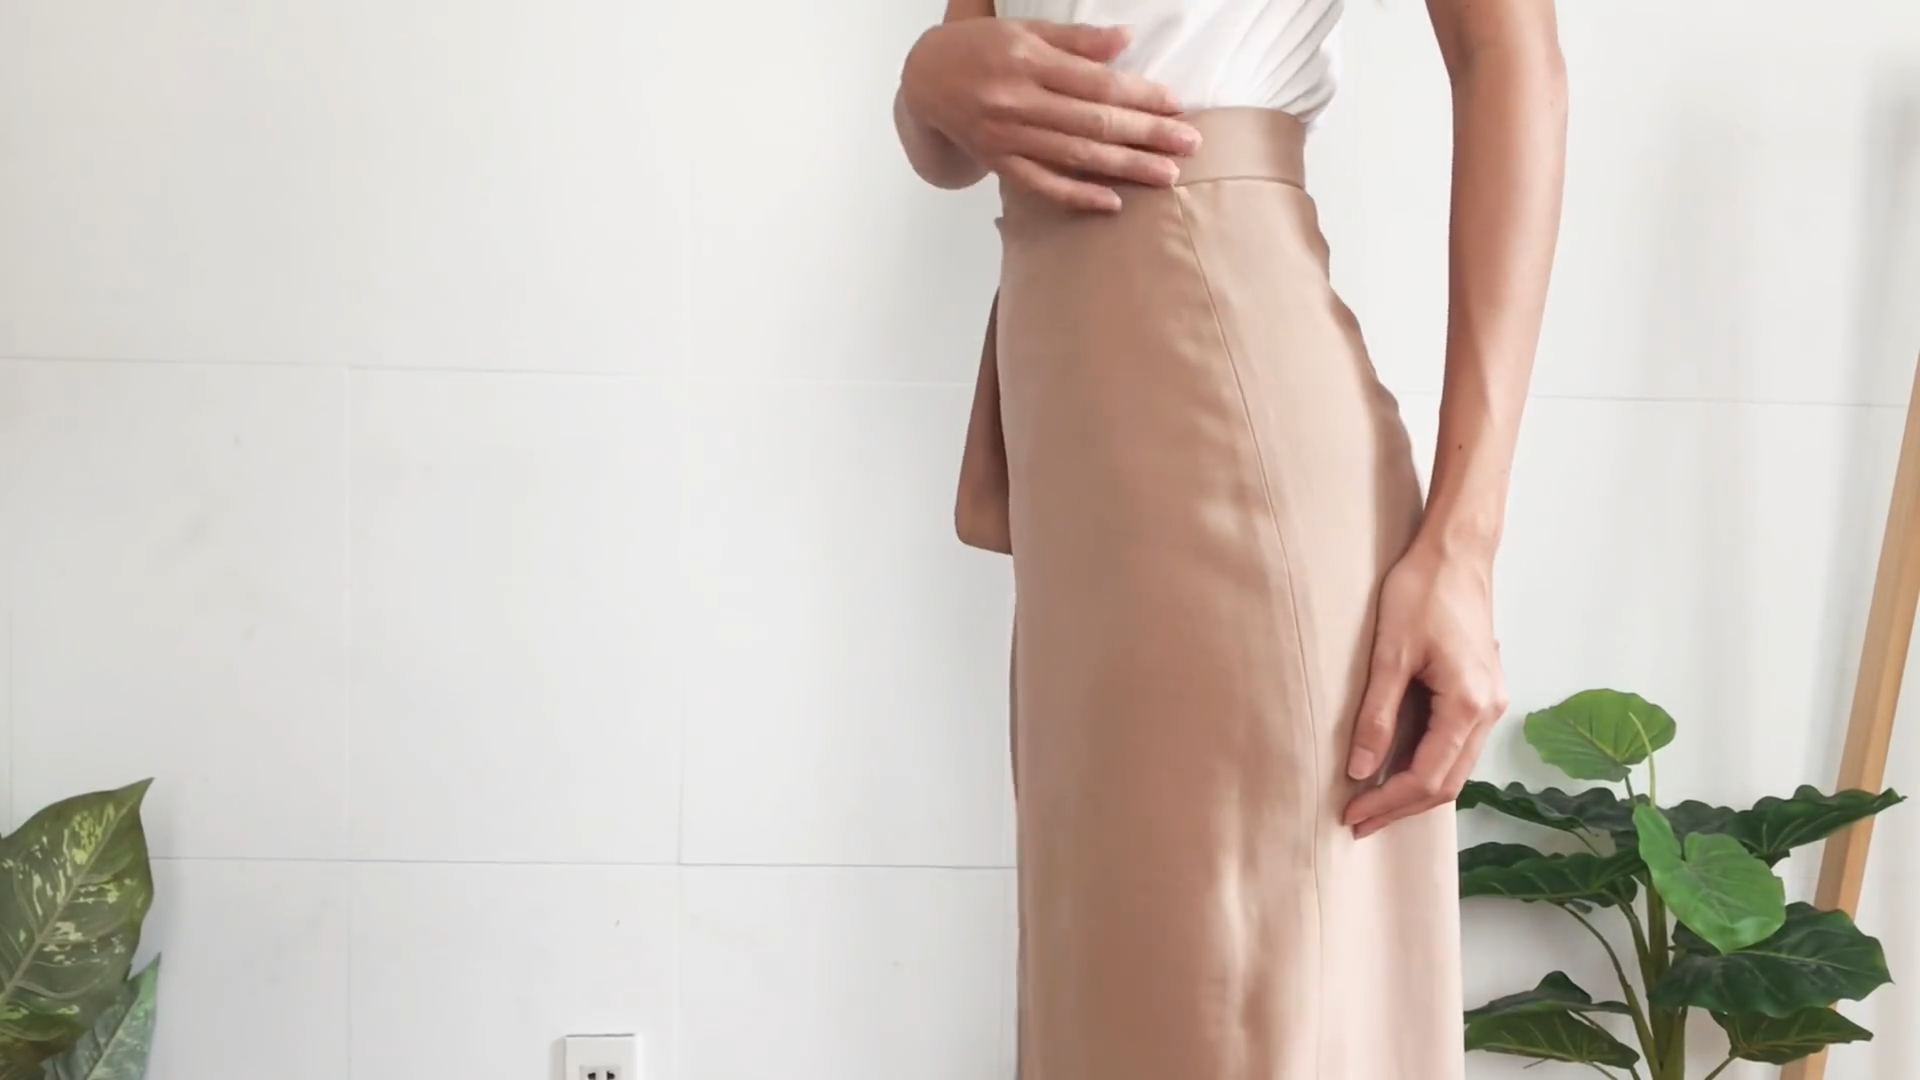
And I've finished this DIY. Here's my final transformation!
Wrap skirt is a very classic skirt that can fit easily on all body. Because you can control the waistline by the ties. I made it a little sexier with a slit at the leg. But you can just make it fully cover if you don't want the slit.

And it won't be too difficult to make. So I hope you will give it a try.
If you liked this project, please share it and subscribe to my channel so you won’t miss any of my upcoming DIYs.
Until next week, happy sewing!