DIY Matching set (gathered crop top & High waisted wide leg pants)|Dating wardrobe| Ep 2-Picnic date
DIY Matching set (gathered crop top & High waisted wide leg pants)|Dating wardrobe| Ep 2-Picnic date

Welcome or welcome back to my channel. My name is Jess and I love doing DIY, making clothes in a "simply but pretty" way.
In today's tutorial, I'm so happy to introduce you all my new series "Dating wardrobe" where I will share with you my picks for the dating outfits I would love to wear on the different types of dating. And in this video, I'll share with you how I made my picnic date outfit. As it's an outdoor dating, I want the outfit is not only pretty but also comfortable and suitable for outdoor activities. That's why I choose this matching set. It's included a crop top with gathered fabric design and shoulder ties. And a high waisted wide leg pants with elastic waistband at the back. So you don't have to worry about installing the zipper and it's also more comfortable.
So I hope you like it and try it out. Let’s get started!
WHAT YOU’LL NEED
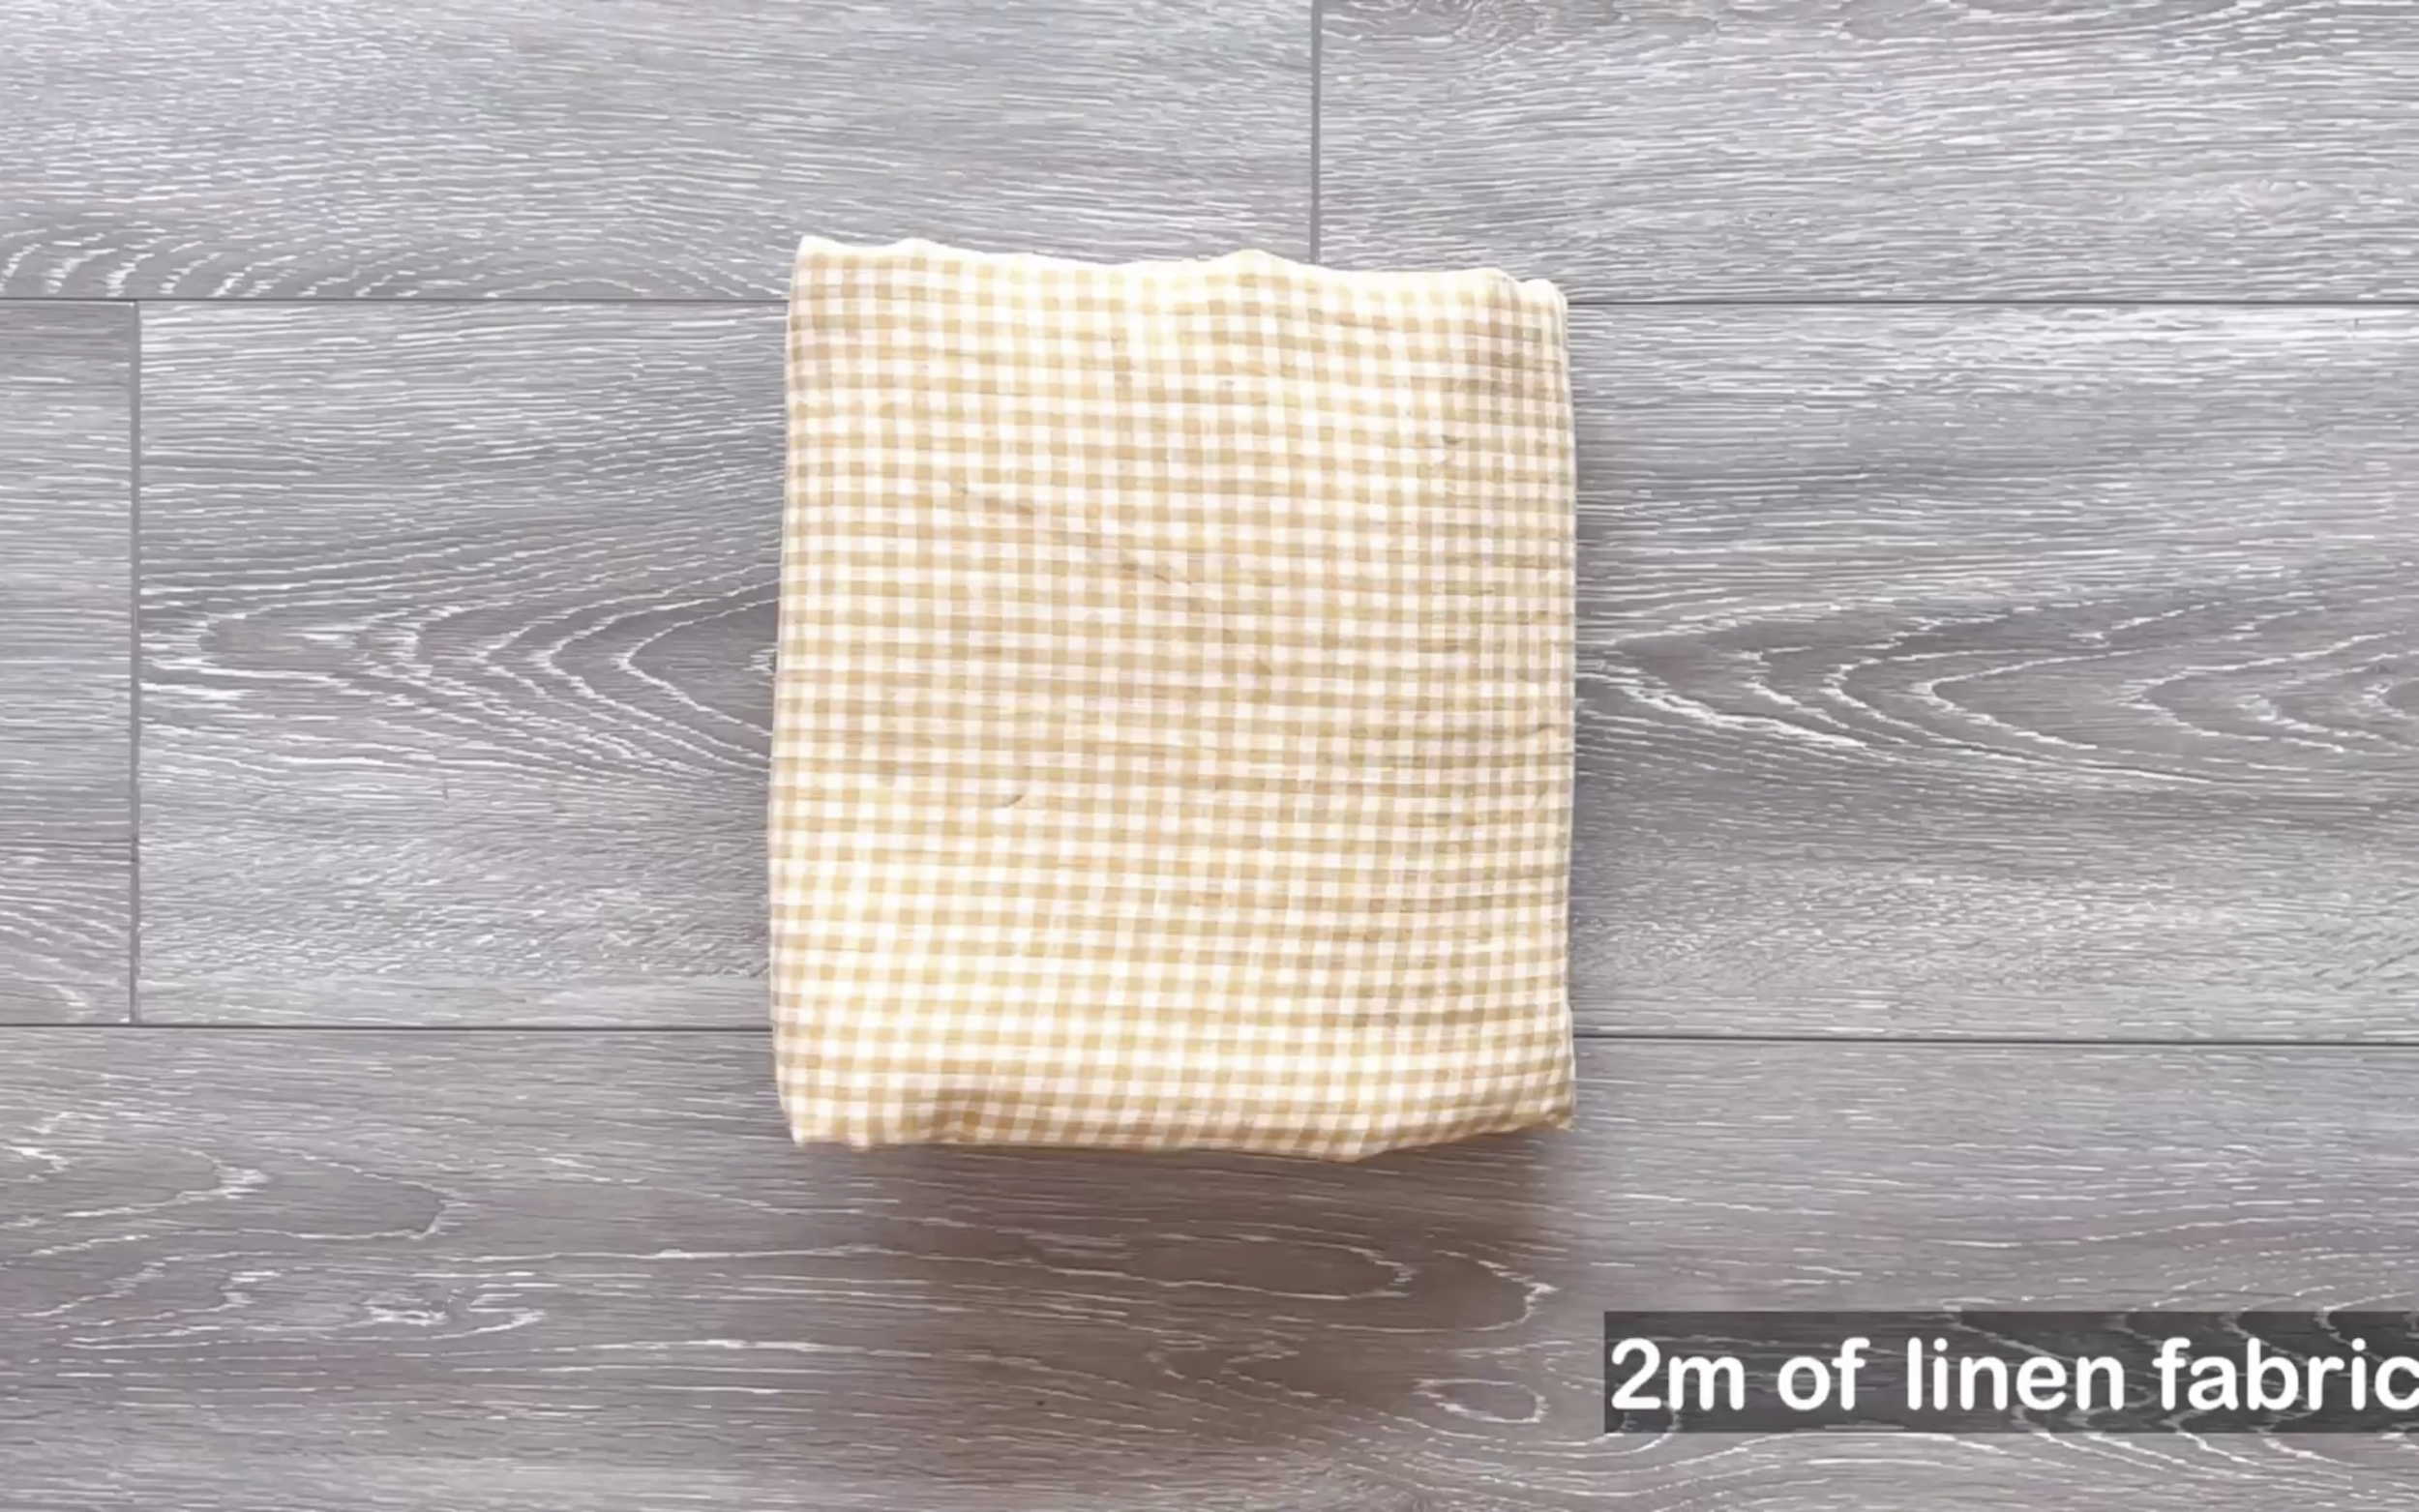
2m of linen fabric
Pattern paper
Sewing machine
Pins
Scissors
Ruler
Long stick
Buttons
MAKING THE PATTERNS
Here’s the pattern for the project. To get a clear understanding of all the measurements needed for the pattern, watch the video from 0:56 to 8:30.
Remember, you can adjust these measurements to fit your own dimensions!

THE CROP TOP PATTERN

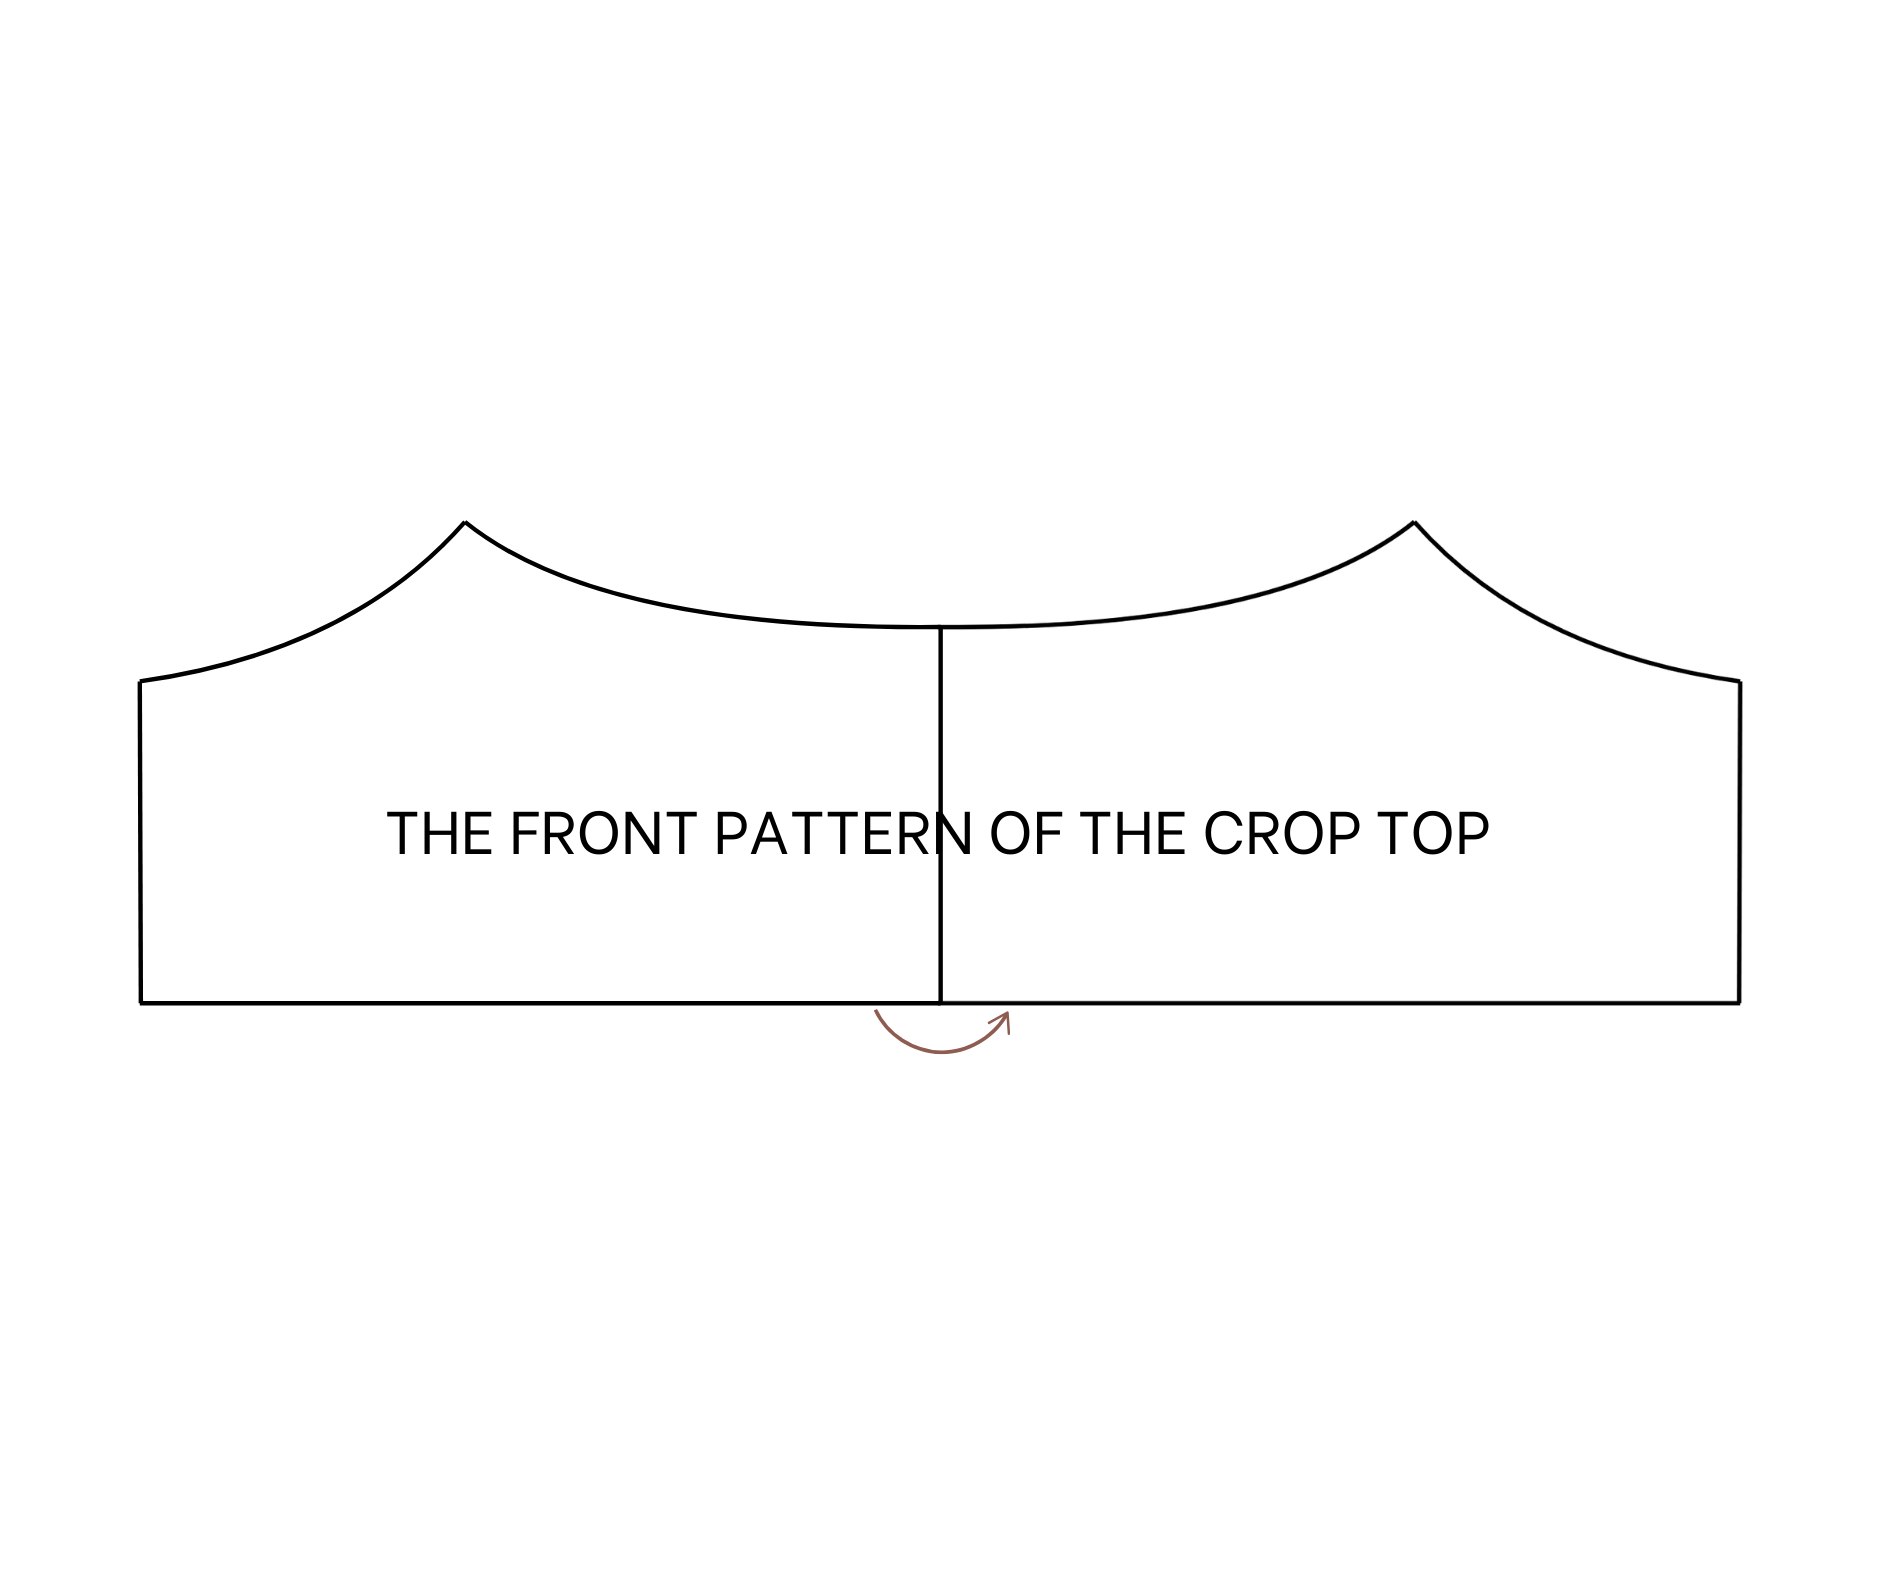
To make the pattern for the crop top, fold the paper in half first.
Then, draw a rectangle with 30 cm width, which is 1.5 times a quarter of the bust size, and 20 cm length, which is the length from above to below the breast plus 2 cm for seam allowance. This length can cover the breast, and one length line is a folding line.
From the cutting point between the length line and the width line, mark down 6 cm on the length line. This is the length from above the breast to under the armpit minus 1 cm.
From this cutting point, mark 12 cm on the width line, which is 1.5 times the width from under the armpit to the inside shoulder, where the position for the tie is.
Then, connect the two marks together.
Based on this line, draw a slightly curved line to finish the under-armpit line of the crop top.
From the top of the folding line, mark down 4 cm, then connect this mark to the mark on the width line made before.
Based on this line, make a slightly curved line to finish the neckline of the crop top.
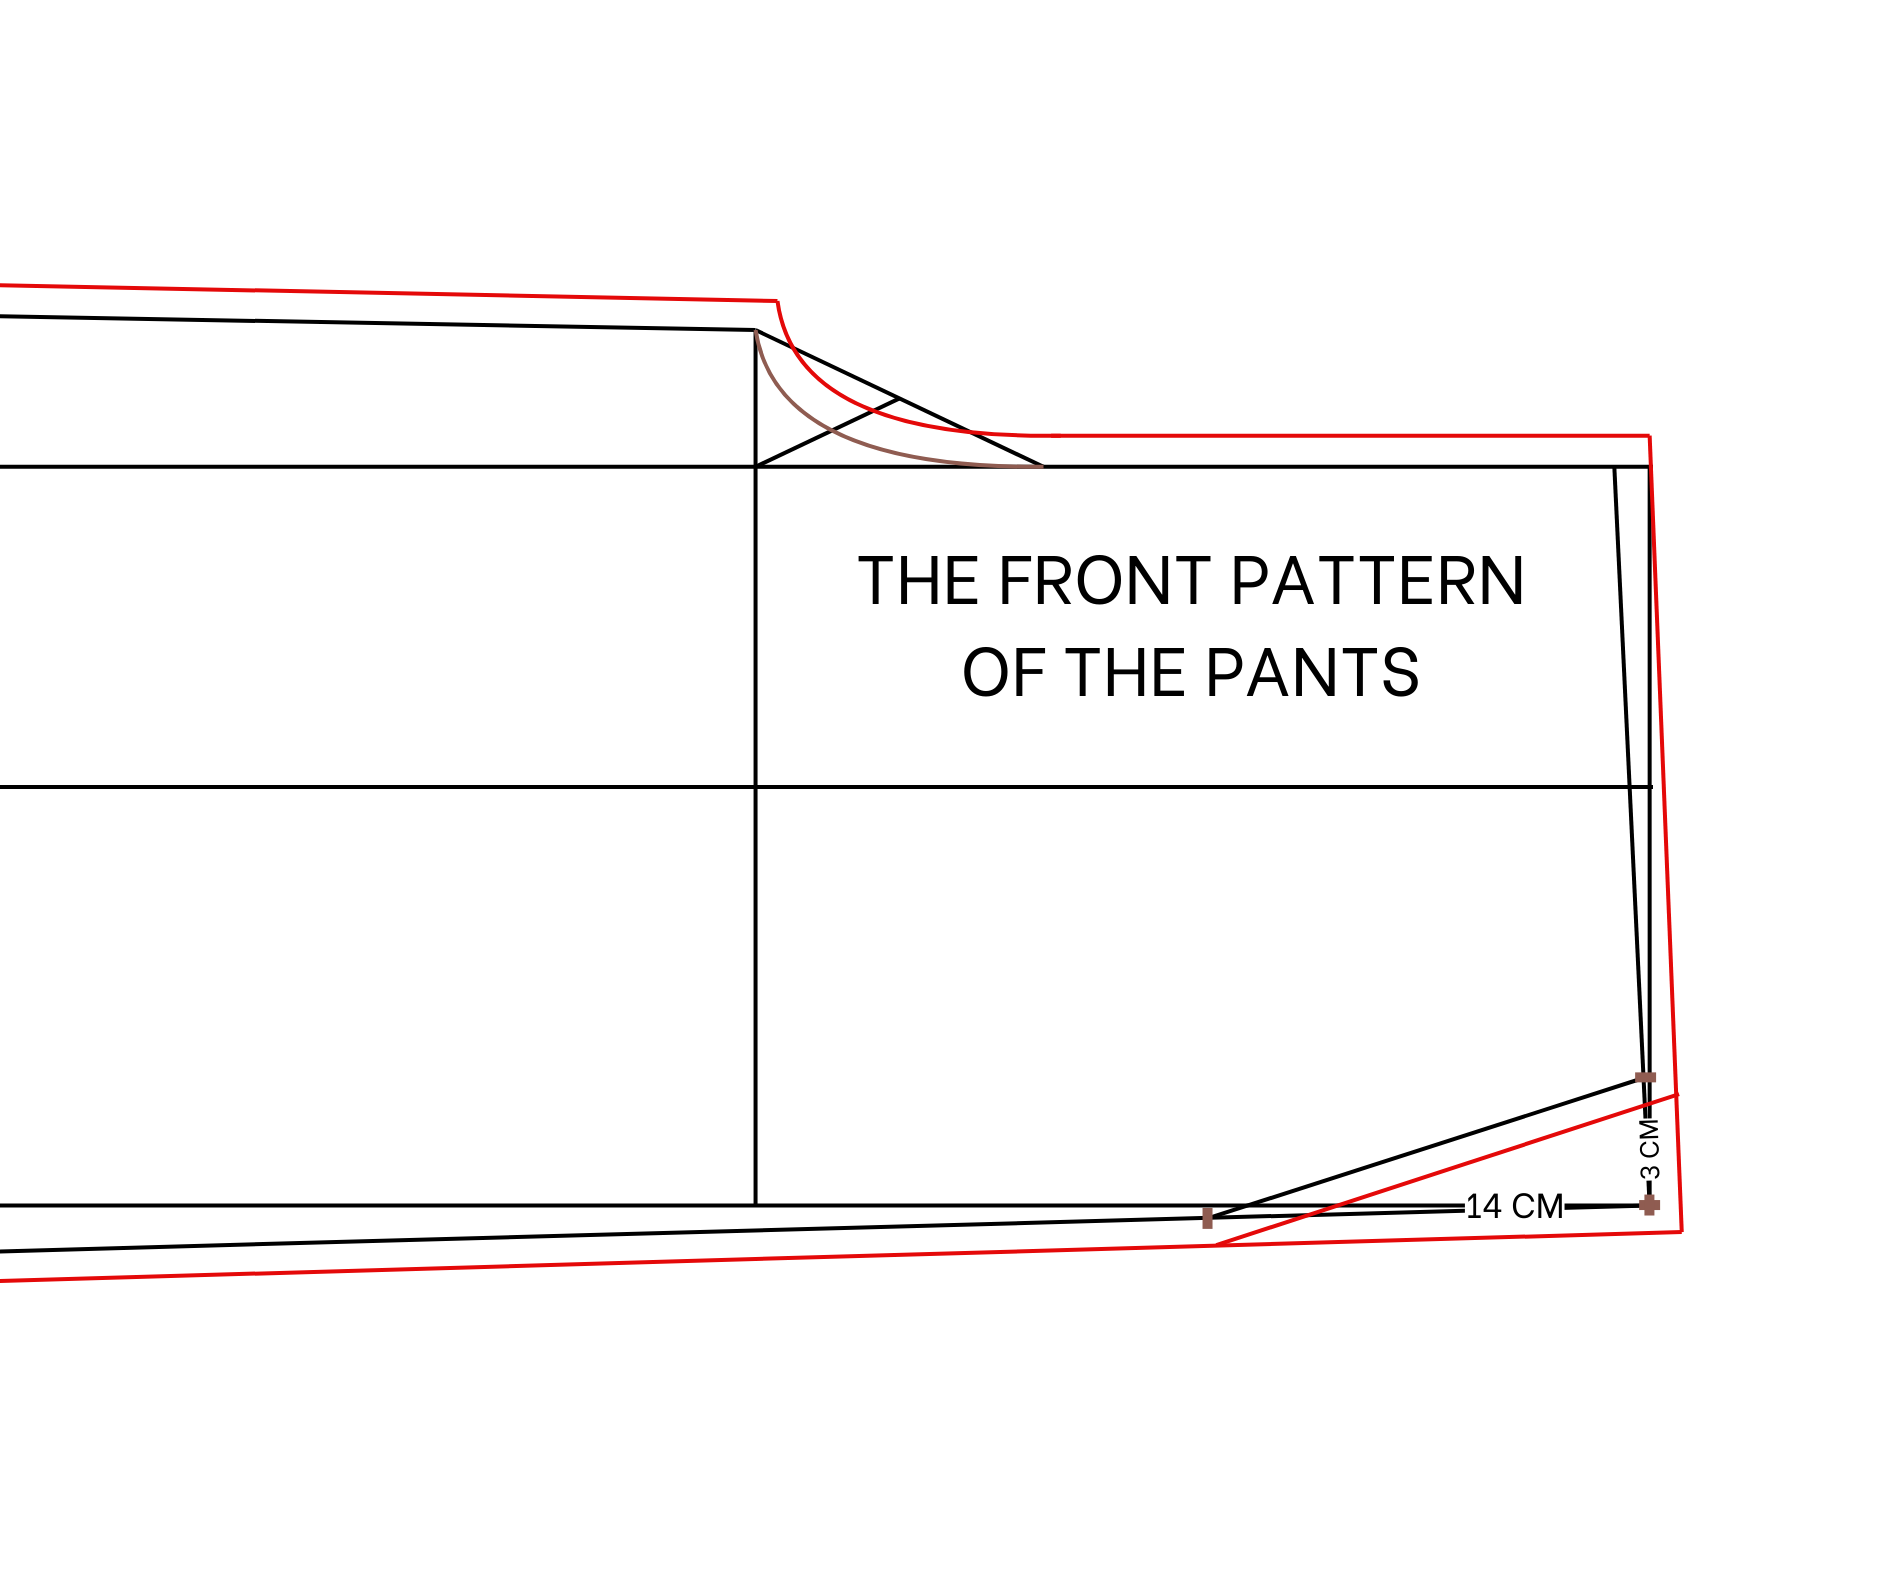
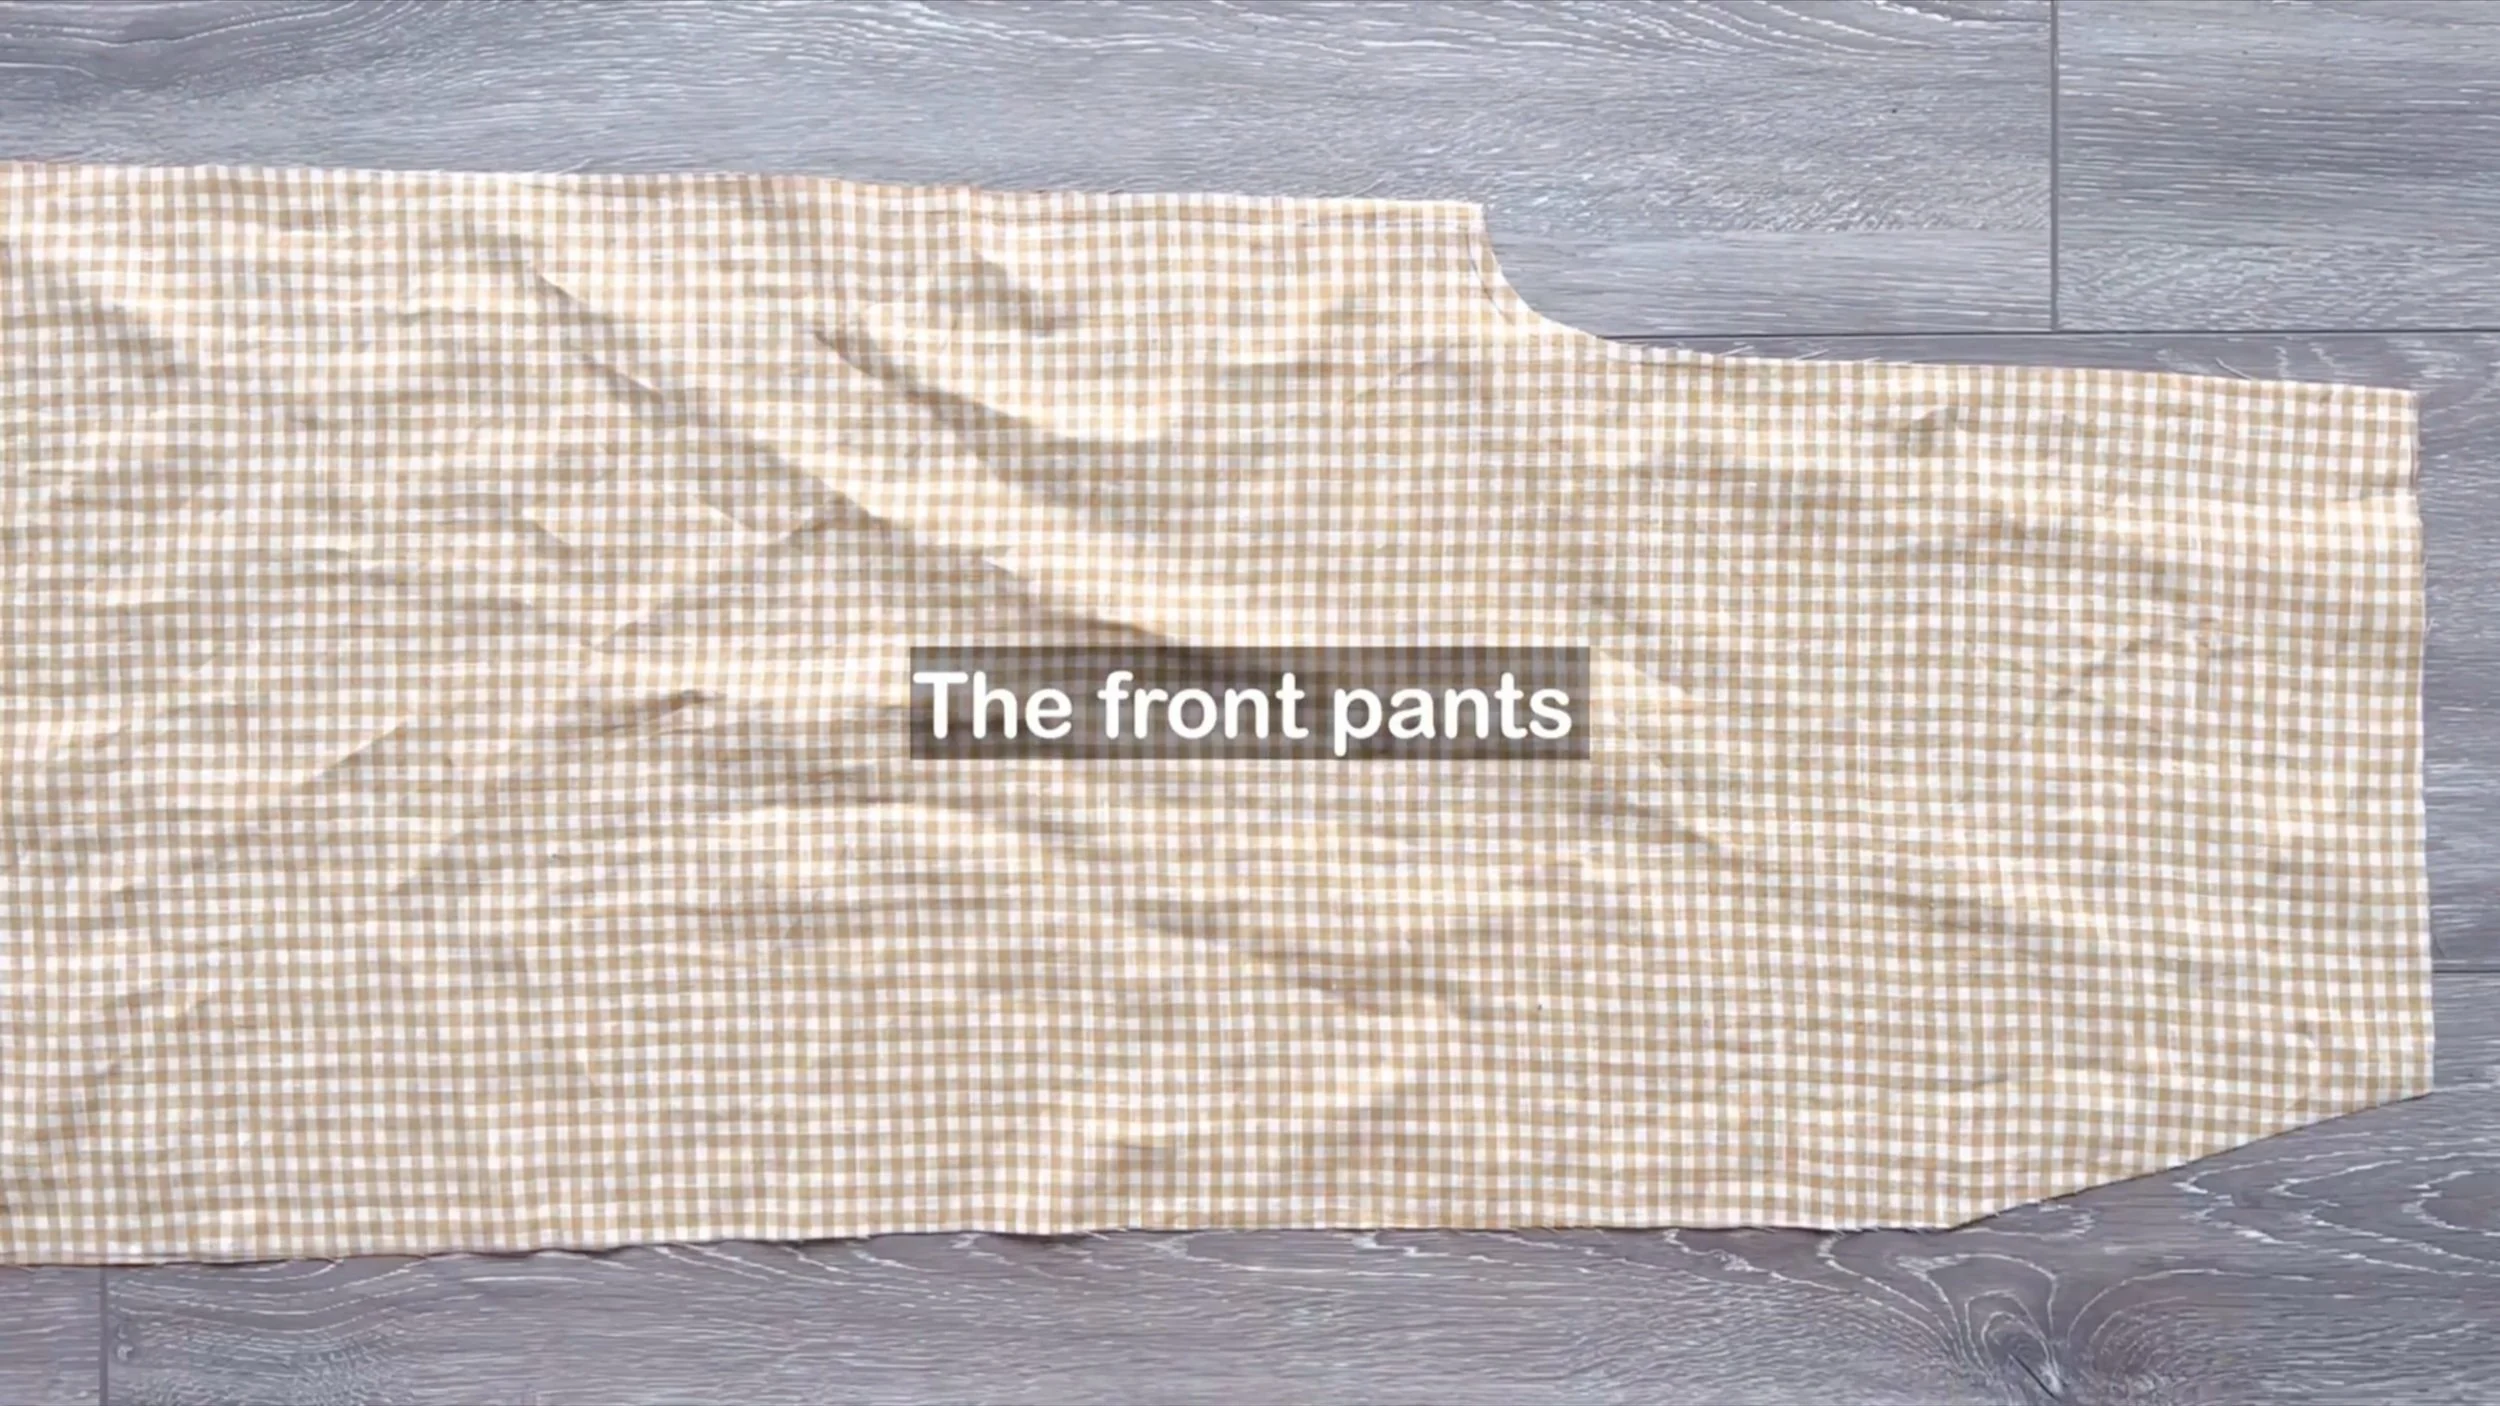
THE FRONT PANTS PATTERN

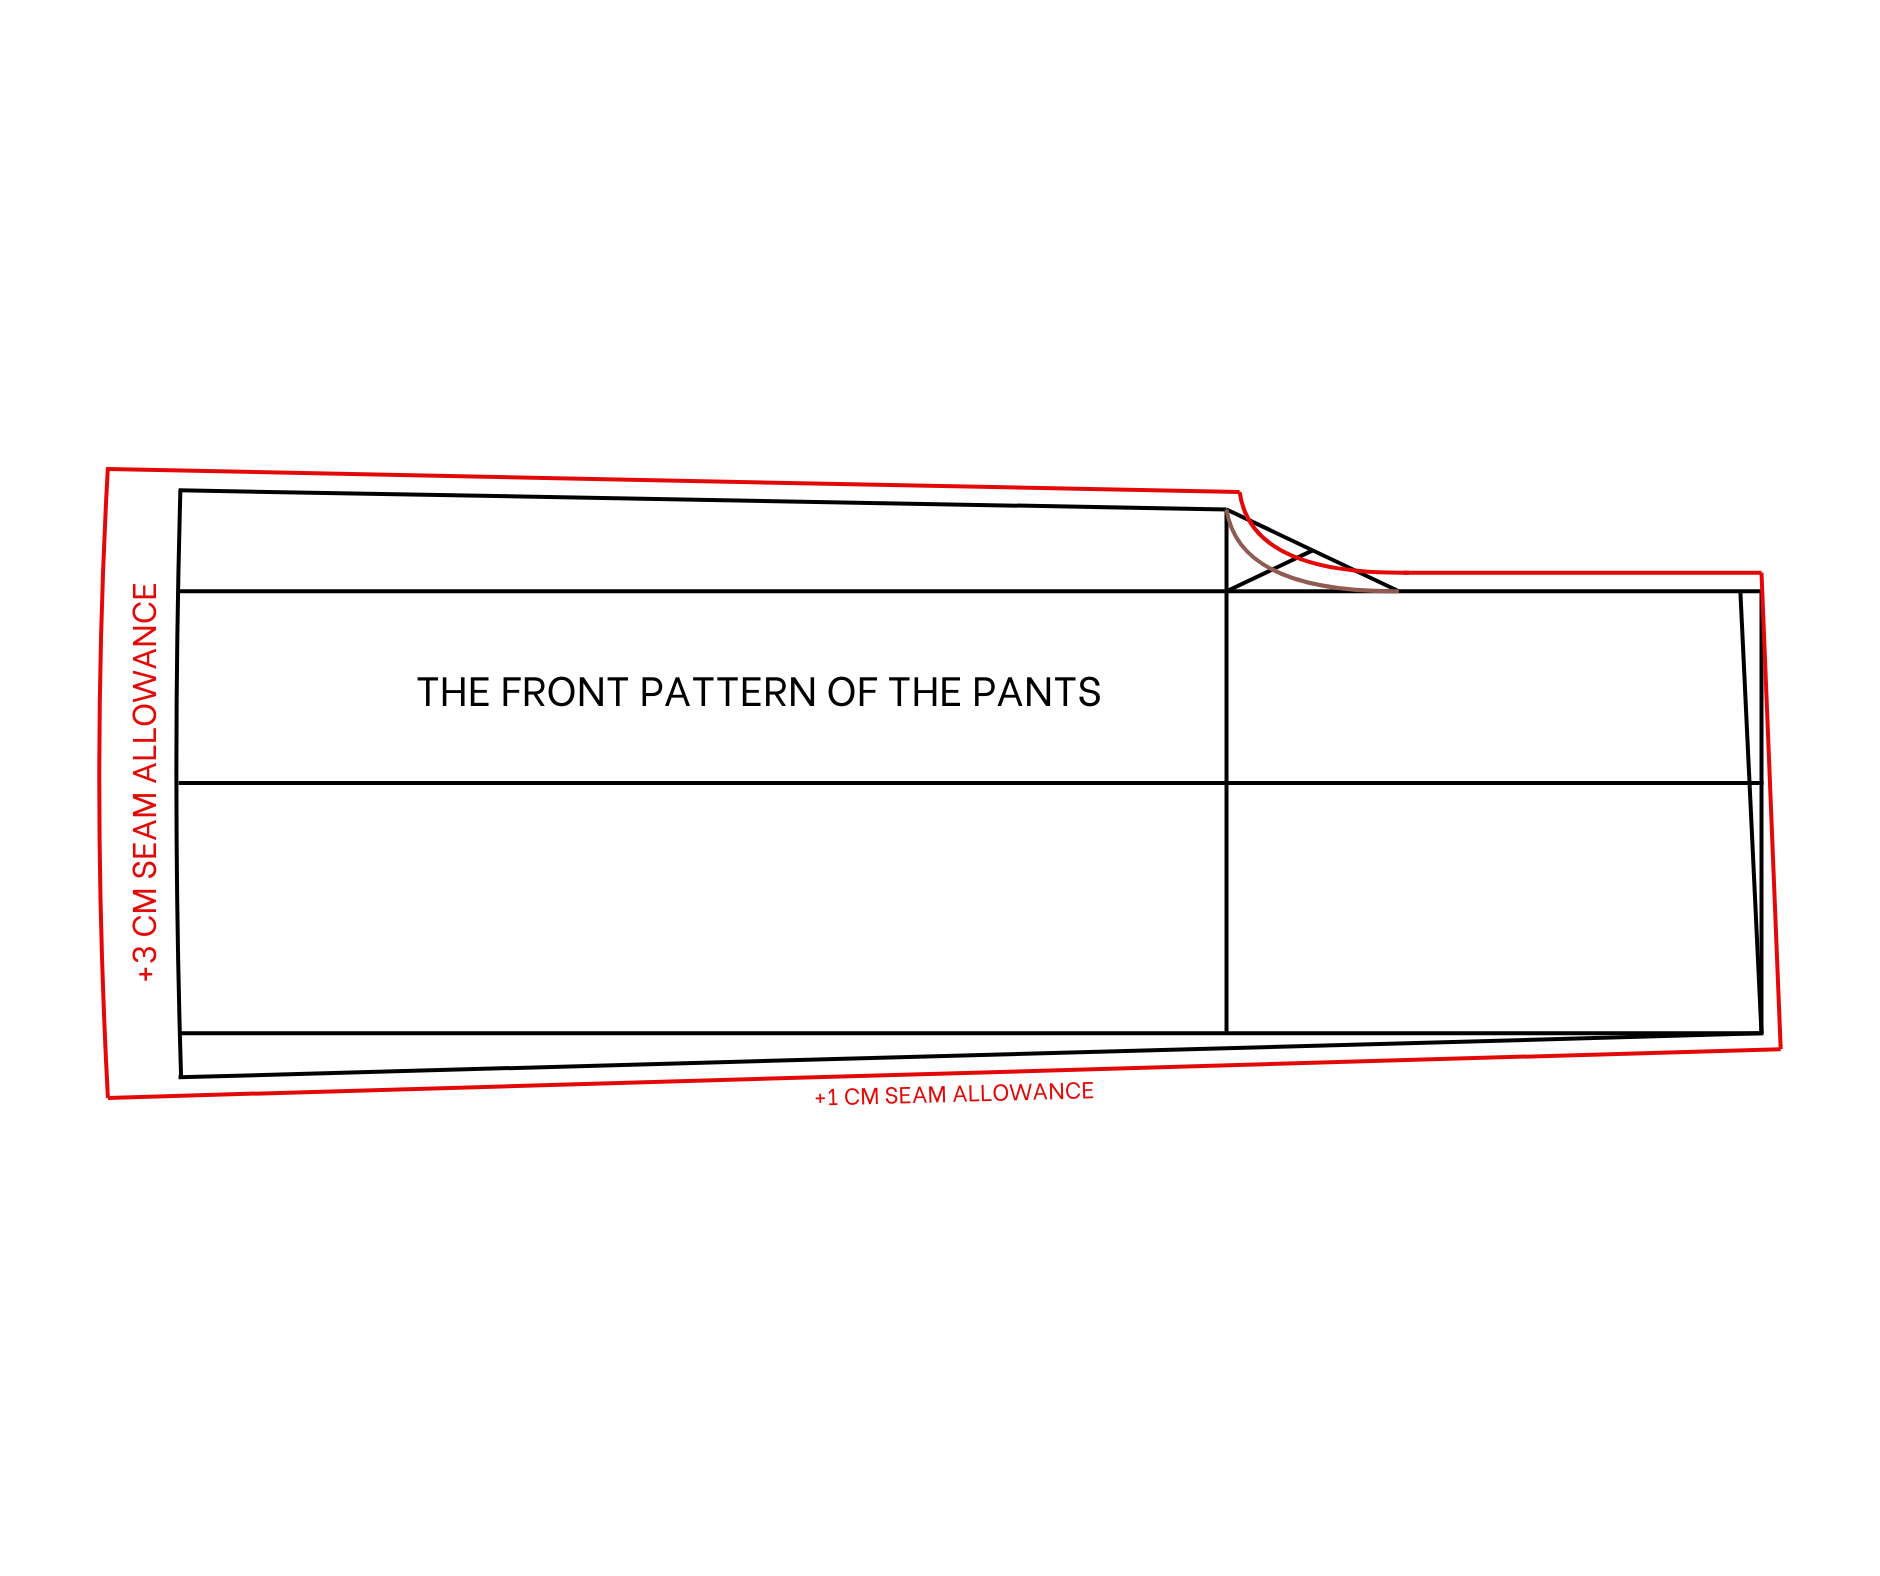
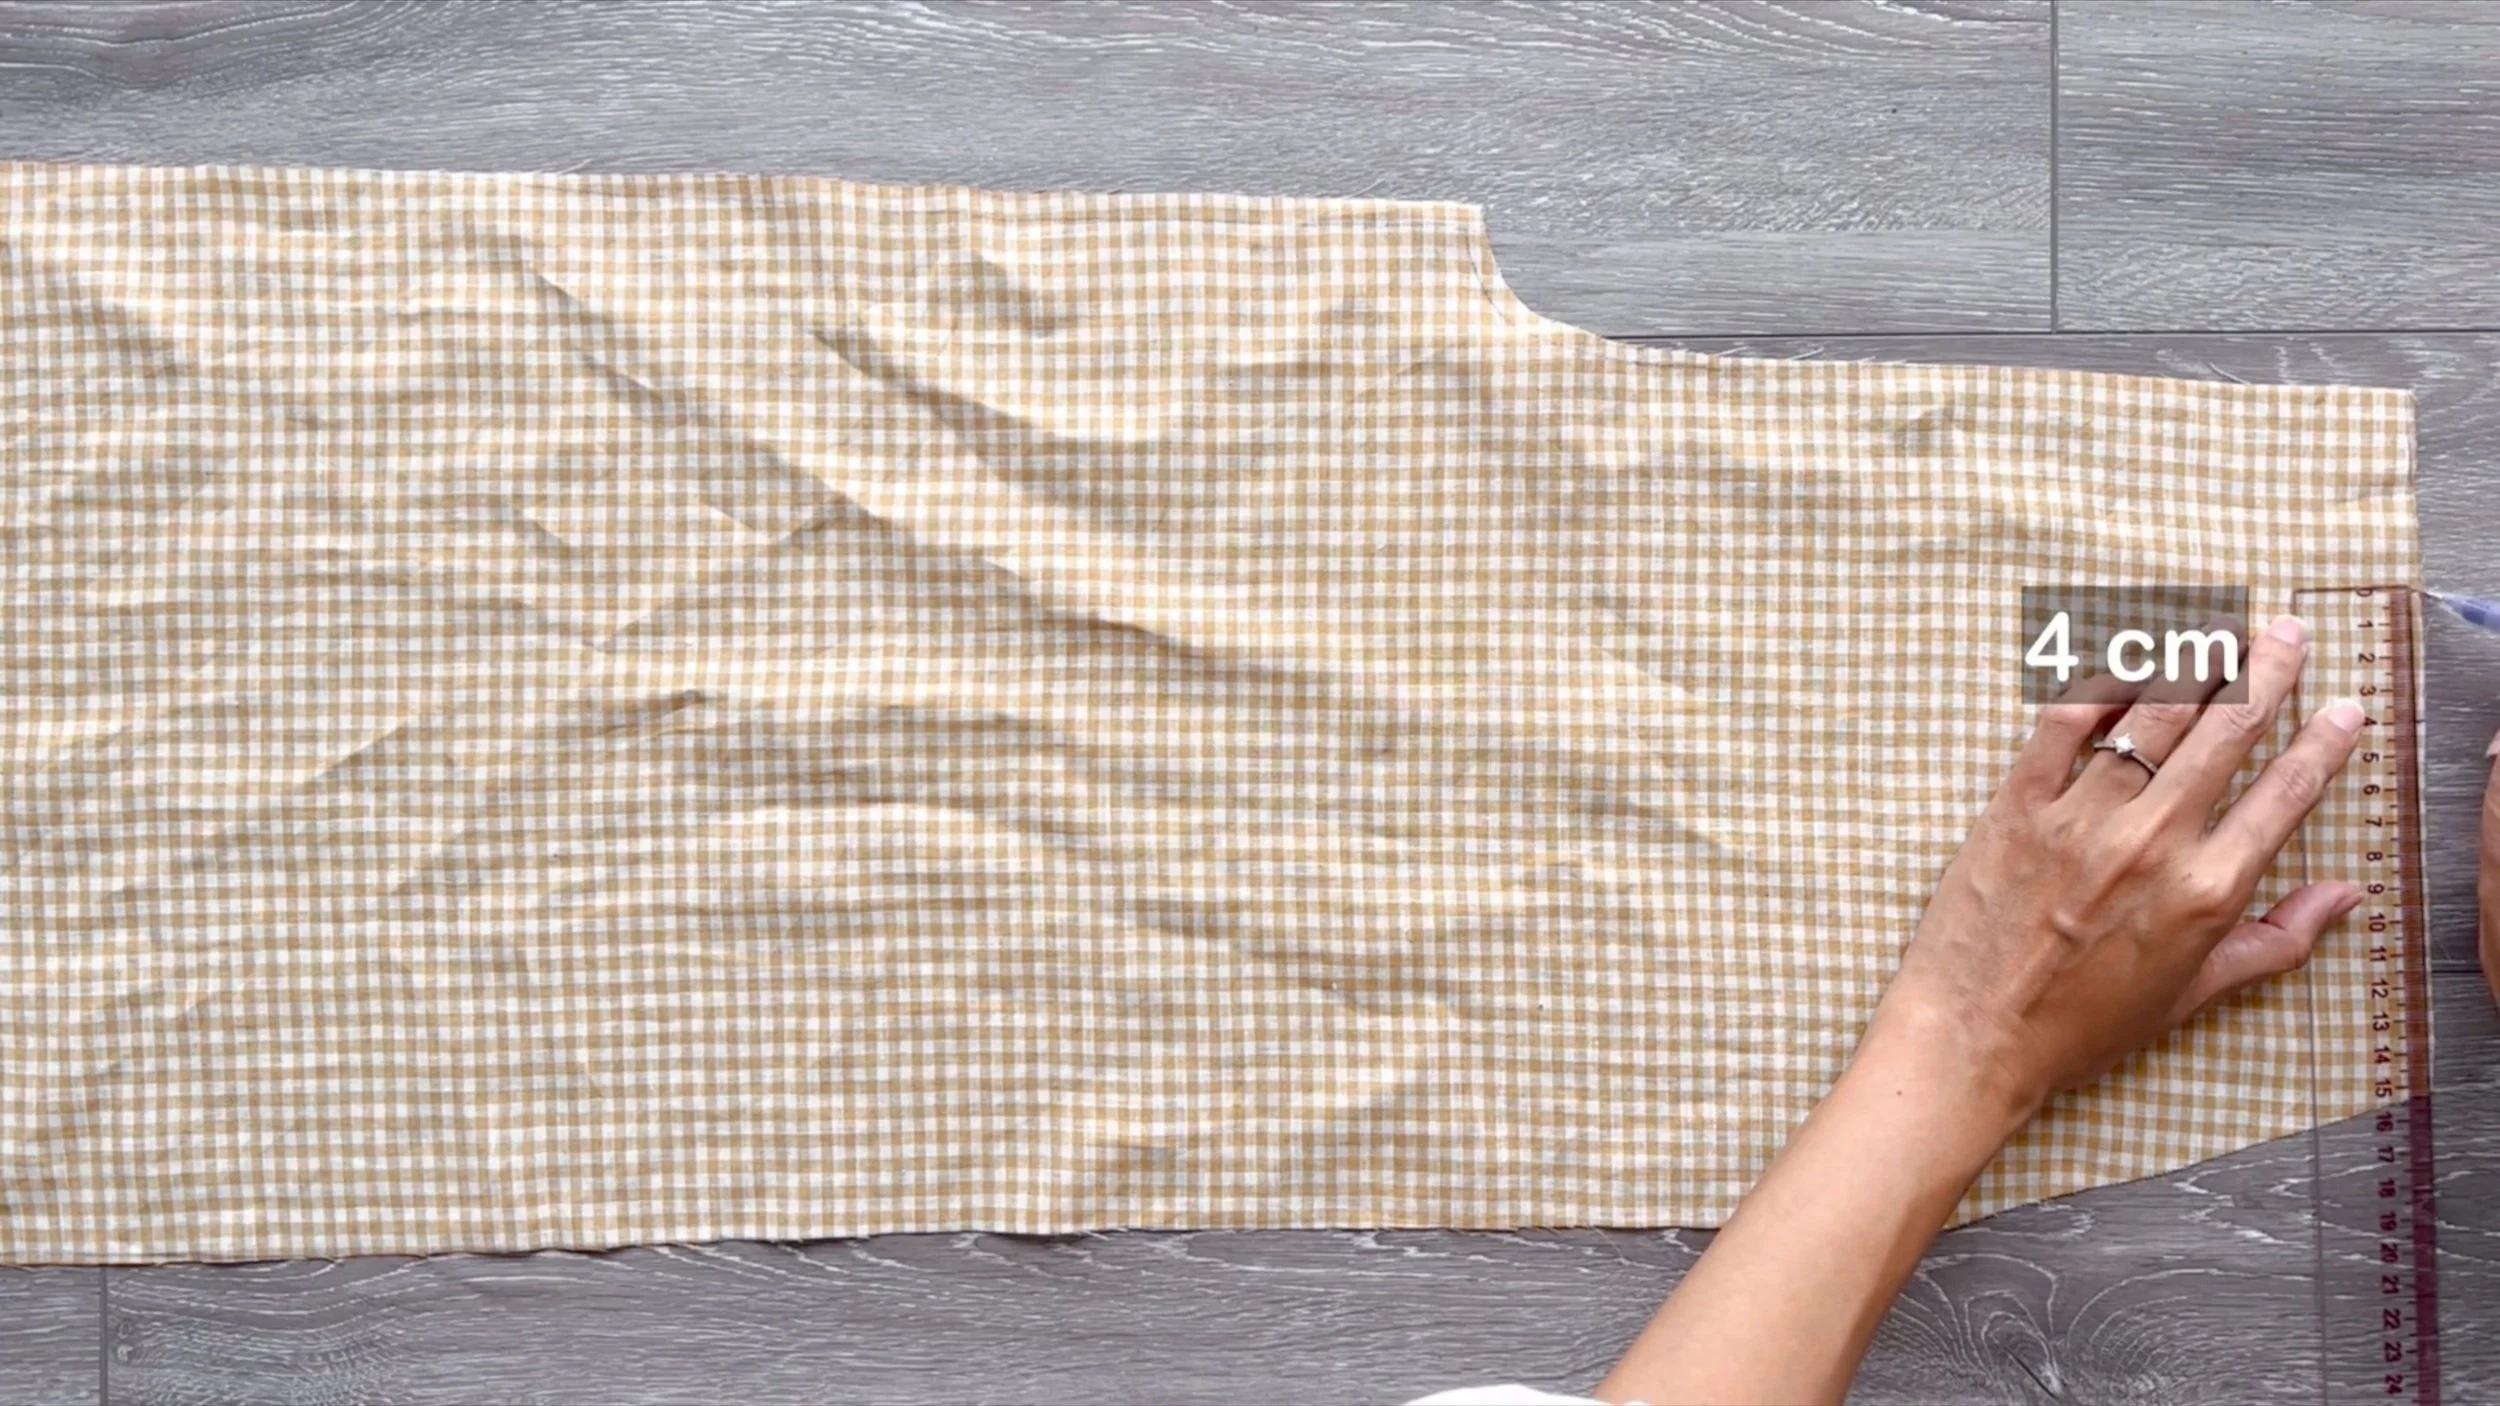
Moving to the pattern for the pants, draw a rectangle with 24 cm width, which is a quarter of the hip size plus 1 cm, and 85 cm length, which is the length from the belly button to the ankle. This is the desired length of the pants.
From one width line, draw another one 29 cm next to it. This is a quarter of the hip size plus 1/10 of the hip size minus 3 cm for the waistband. This defines the crotch length of the pants. From this line, increase by 4.5 cm, which is 1/20 of the hip size.
At one end of the line, mark 1/3 of the length of the line between the two width lines.
Then, connect this mark to the end of the second width line.
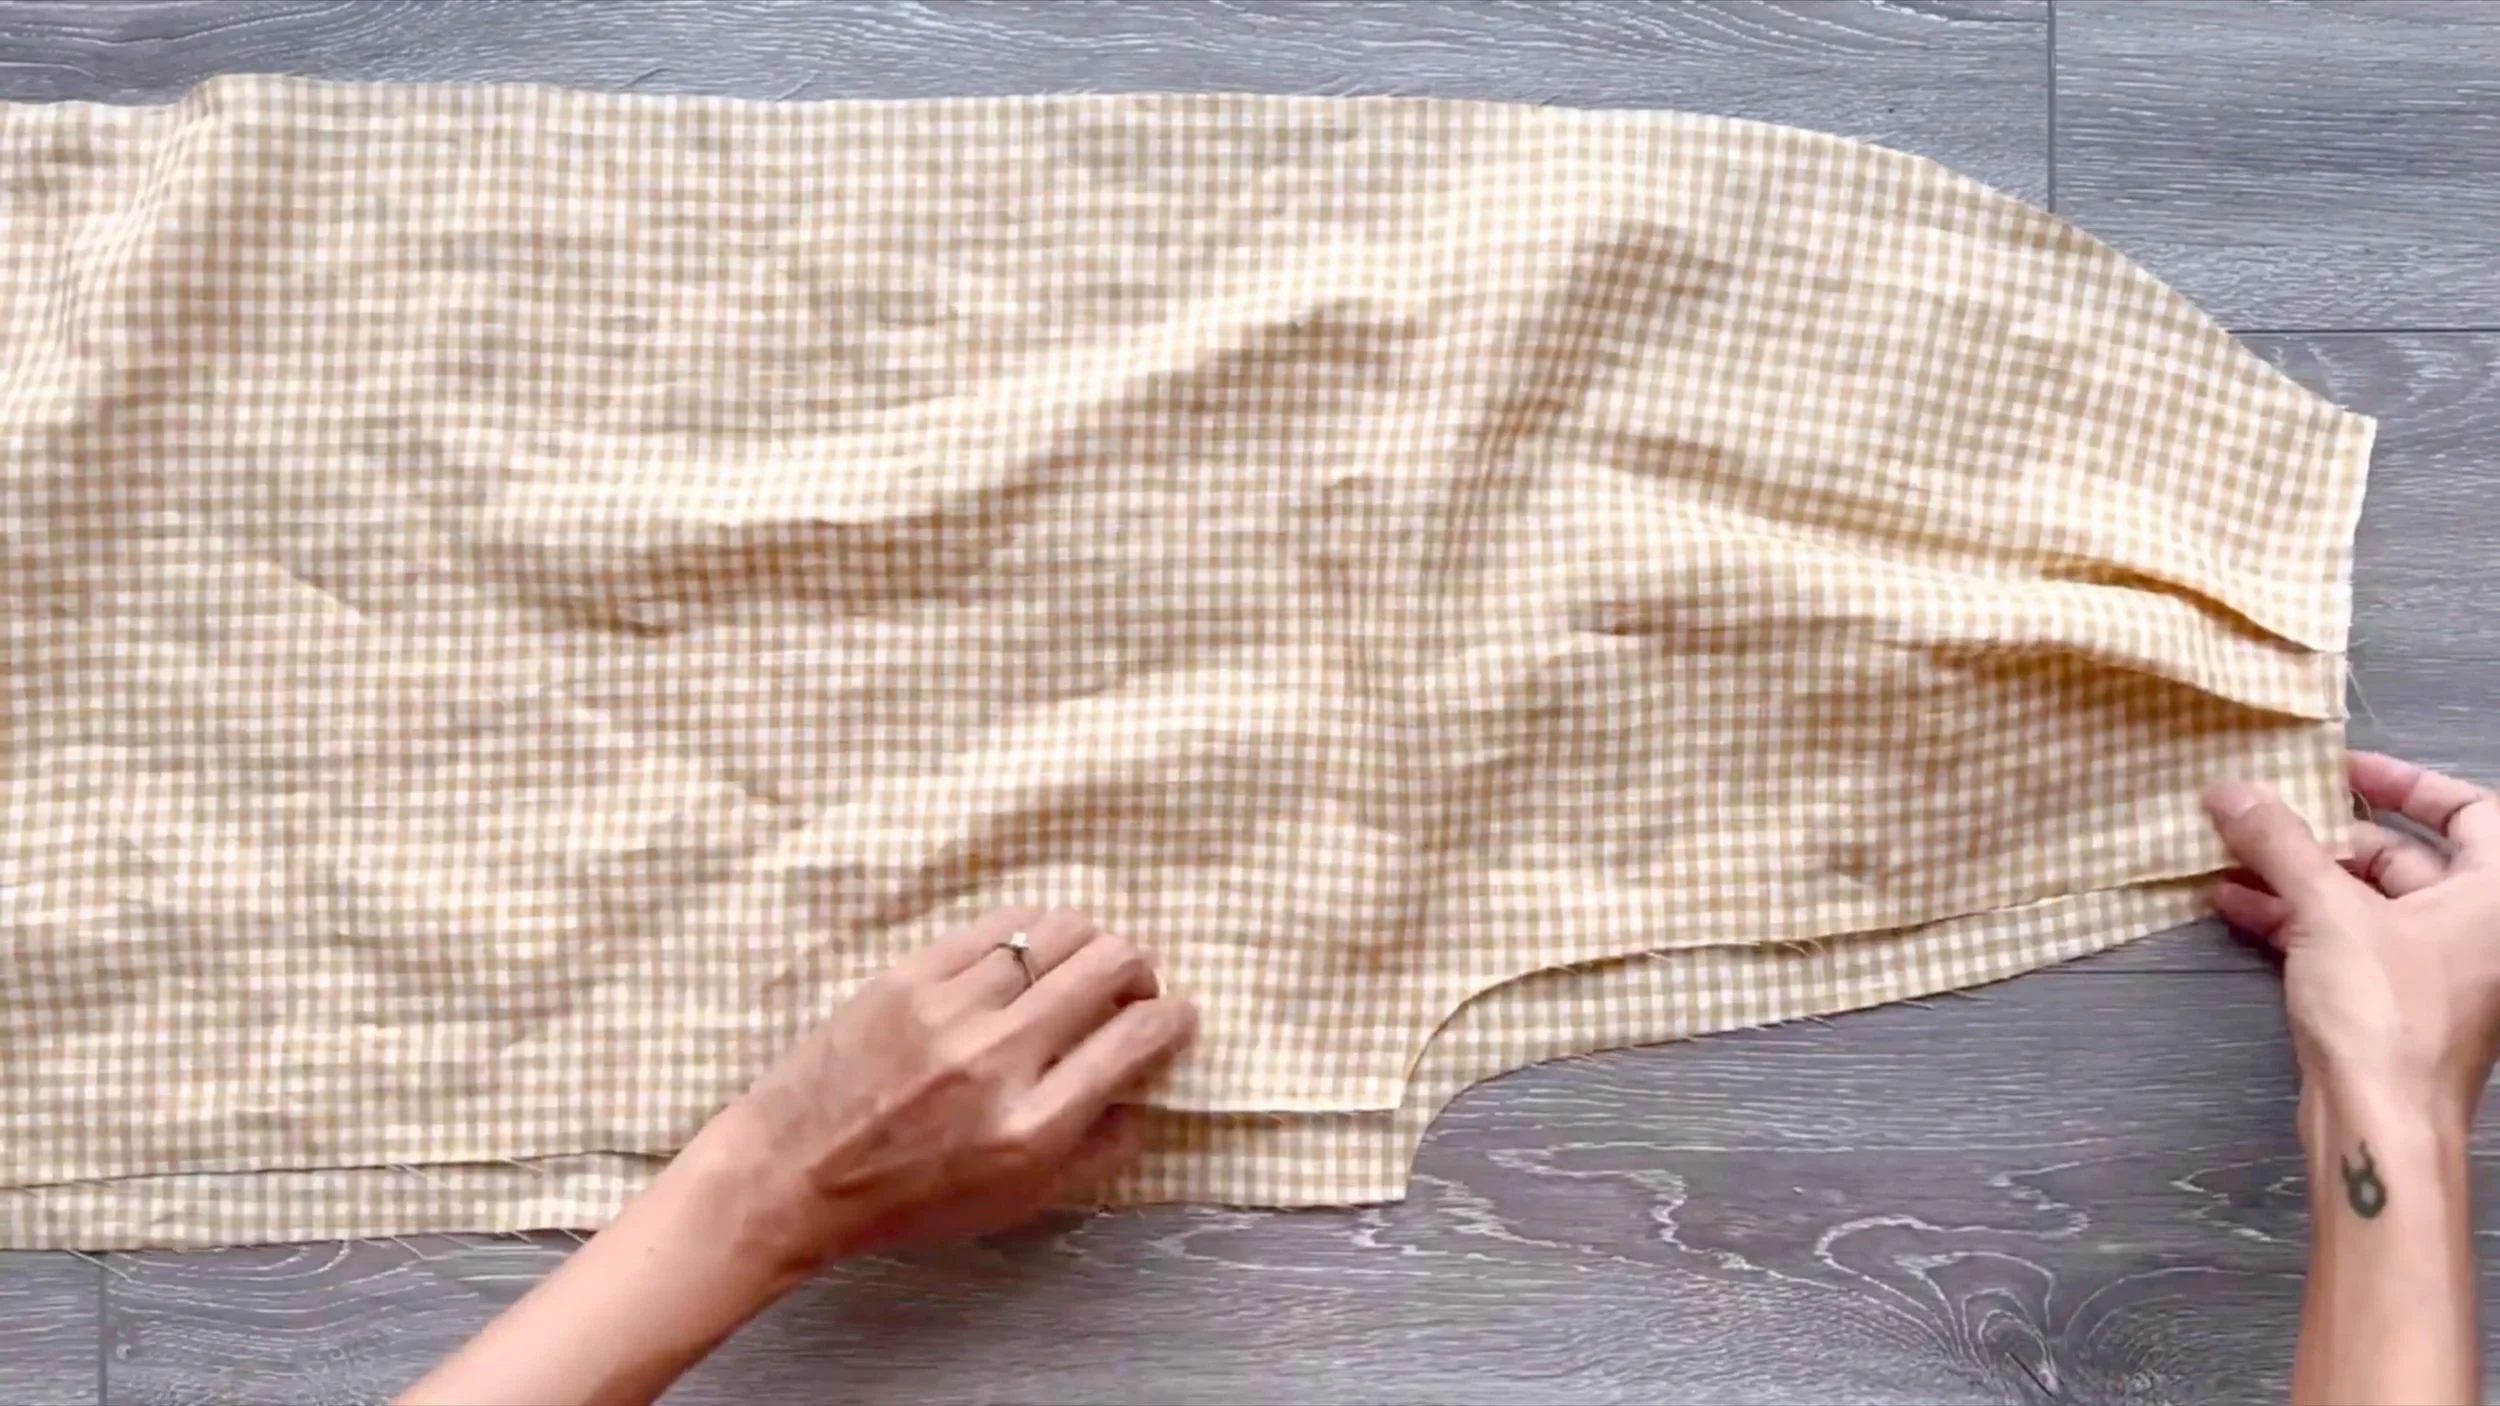
Based on this, create a curved line to form the crotch line of the front pants.
At the top of the crotch line, mark down 1 cm. Then, connect this mark to the other end of the top width line to finish the new waistline for the front pants.
Mark the middle of the second width line first.
Then, draw a horizontal line based on it later. This line will meet the ending line at one point.
From this point, mark 16 cm to both sides, which is a quarter of the desired leg width minus 1 cm.
After that, connect these marks to the end of the crotch line and one end of the waistline to complete the inside leg line and the sideline of the front pants. Since they are not straight lines, make the ending line slightly curved.
Add 1 cm for seam allowance after that, except for 3 cm at the ending line.
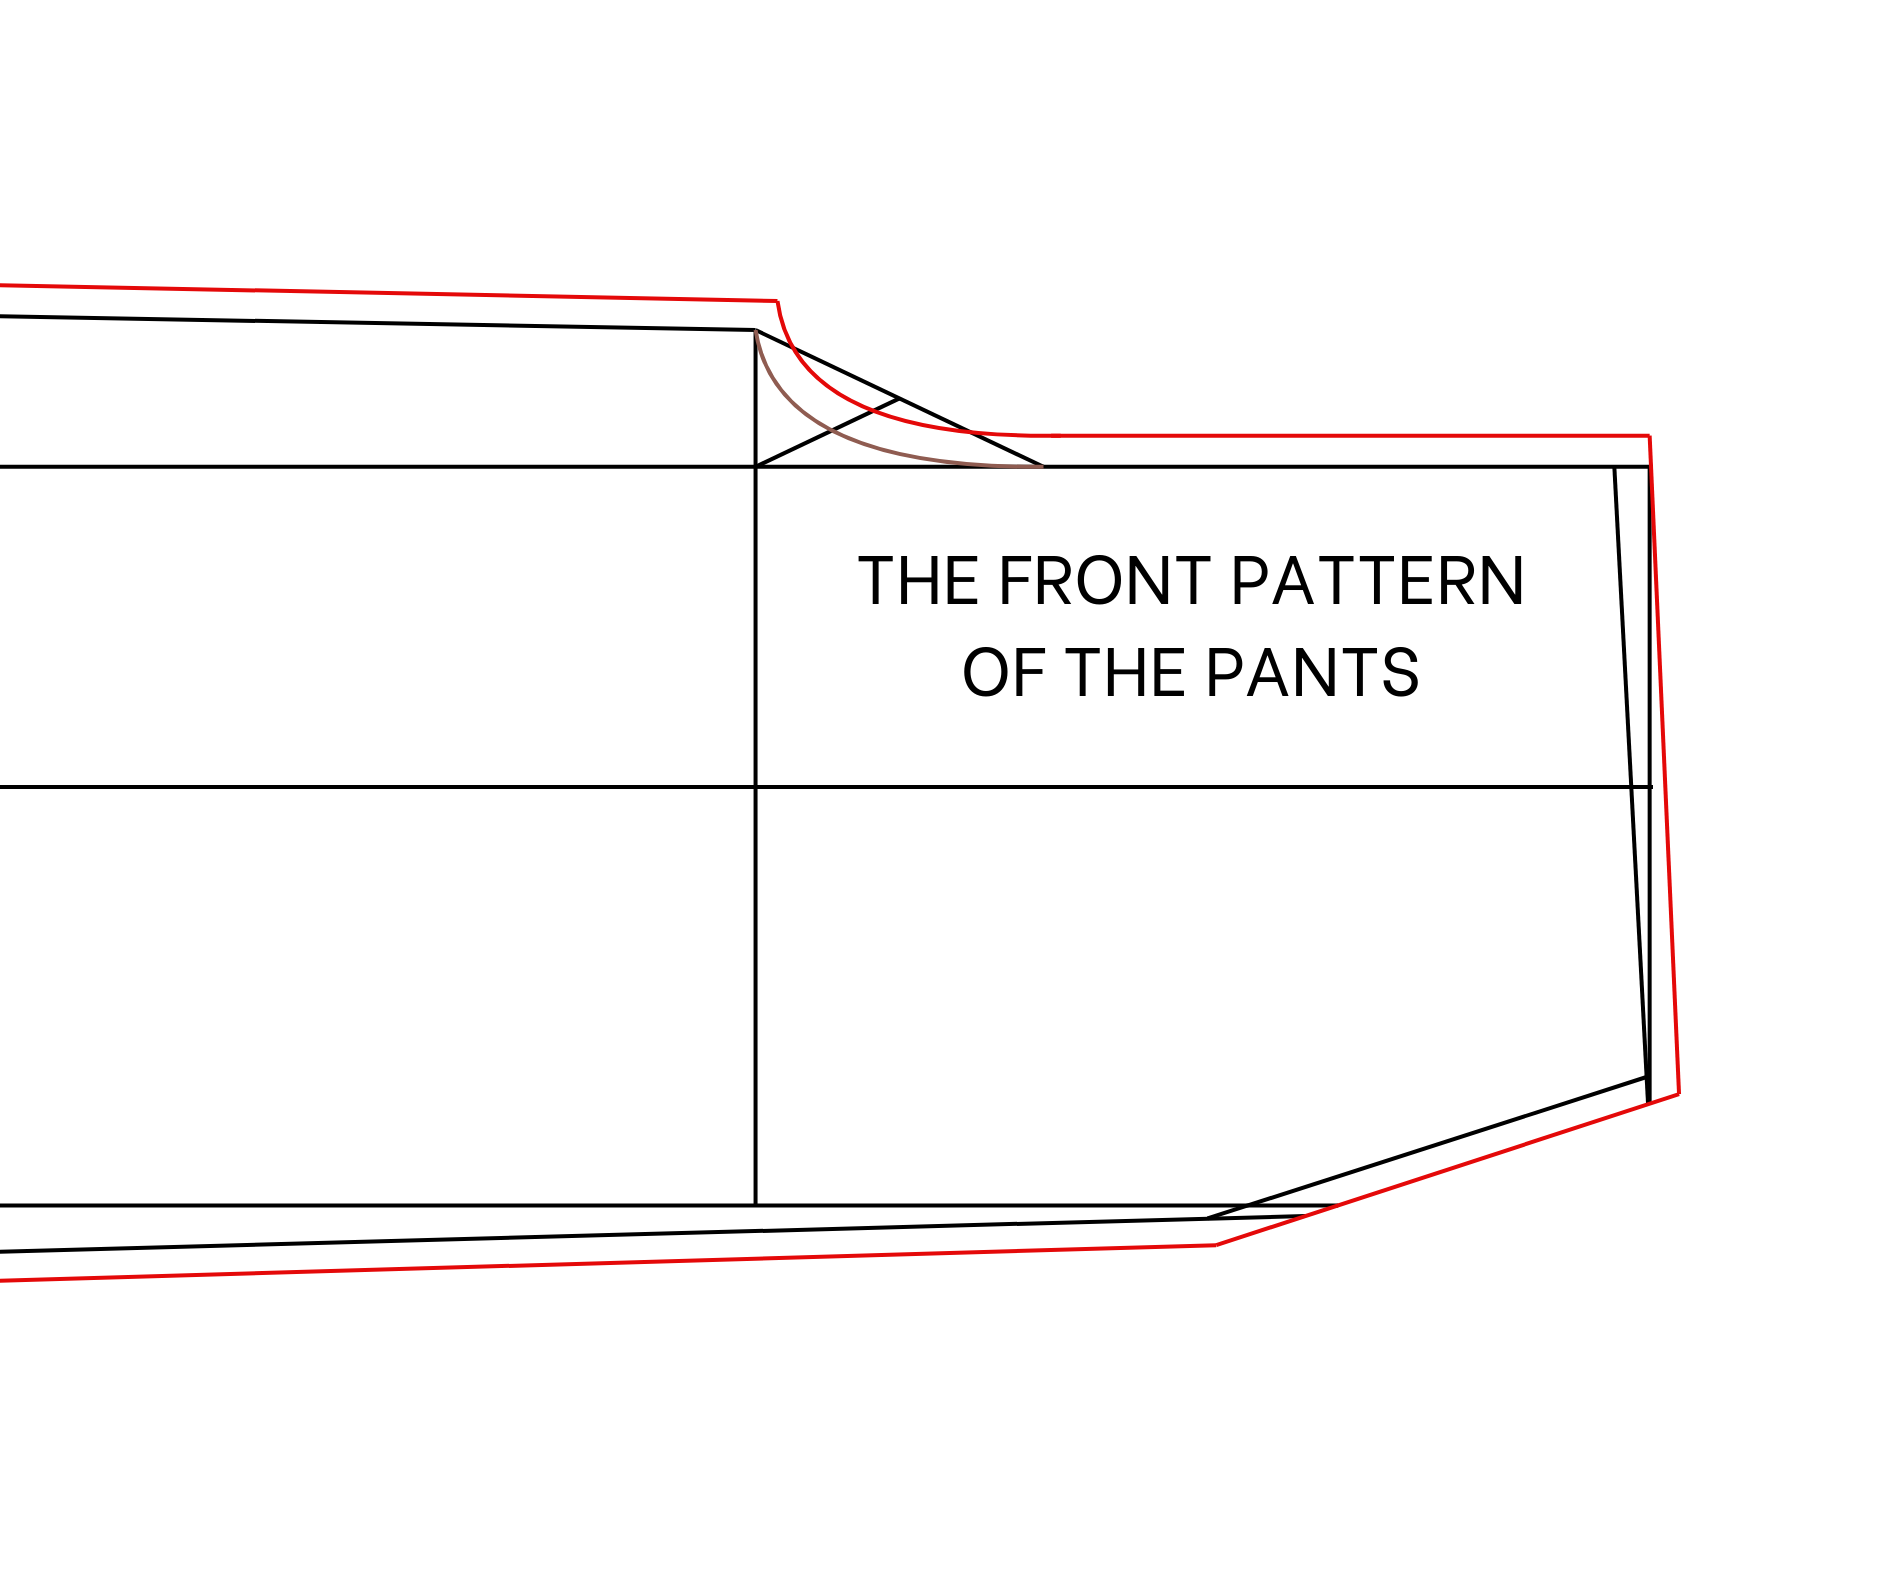
THE BACK PANTS PATTERN


To make the back pattern of the pants, create the front pattern without the seam allowance first.
At the end of the crotch line, make a line 1 cm under it. The width of this line will be 9.2 cm, which is 1/10 of the hip size.
From one end of this new line, mark up 1 cm first.
Then, connect it to the mark on the length line to create a crotch line for the back pants. This line will intersect the top width line at one point.
From this cutting point, increase the crotch line by 2 cm.
Then, connect the end of the crotch line to the other end of the top width line to create the waistline for the back pants.
Since the pants are designed to have a folded fabric look at the front with no zipper, the total width of the waistline must be bigger than the hip size to allow for wearing.
Therefore, the waistline at the back pants will be a quarter of the hip size plus the gap between a quarter of the hip size and a quarter of the waist size plus 1 cm.
After that, connect the end of the waistline to the end of the ending line to complete the sideline of the back pants.
At the other end of the ending line, increase by 4 cm first.
Then, connect it to the end of the crotch line to complete the inside leg line of the back pants.
To finish the curved crotch line, use the same method as for the front. Now, check the length of the sideline at the front pants to adjust the sideline length at the back pants to match, ensuring they can be connected later.
Do the same for the inside leg line. Also, adjust the ending line of the back pants slightly.
Then, add seam allowance.
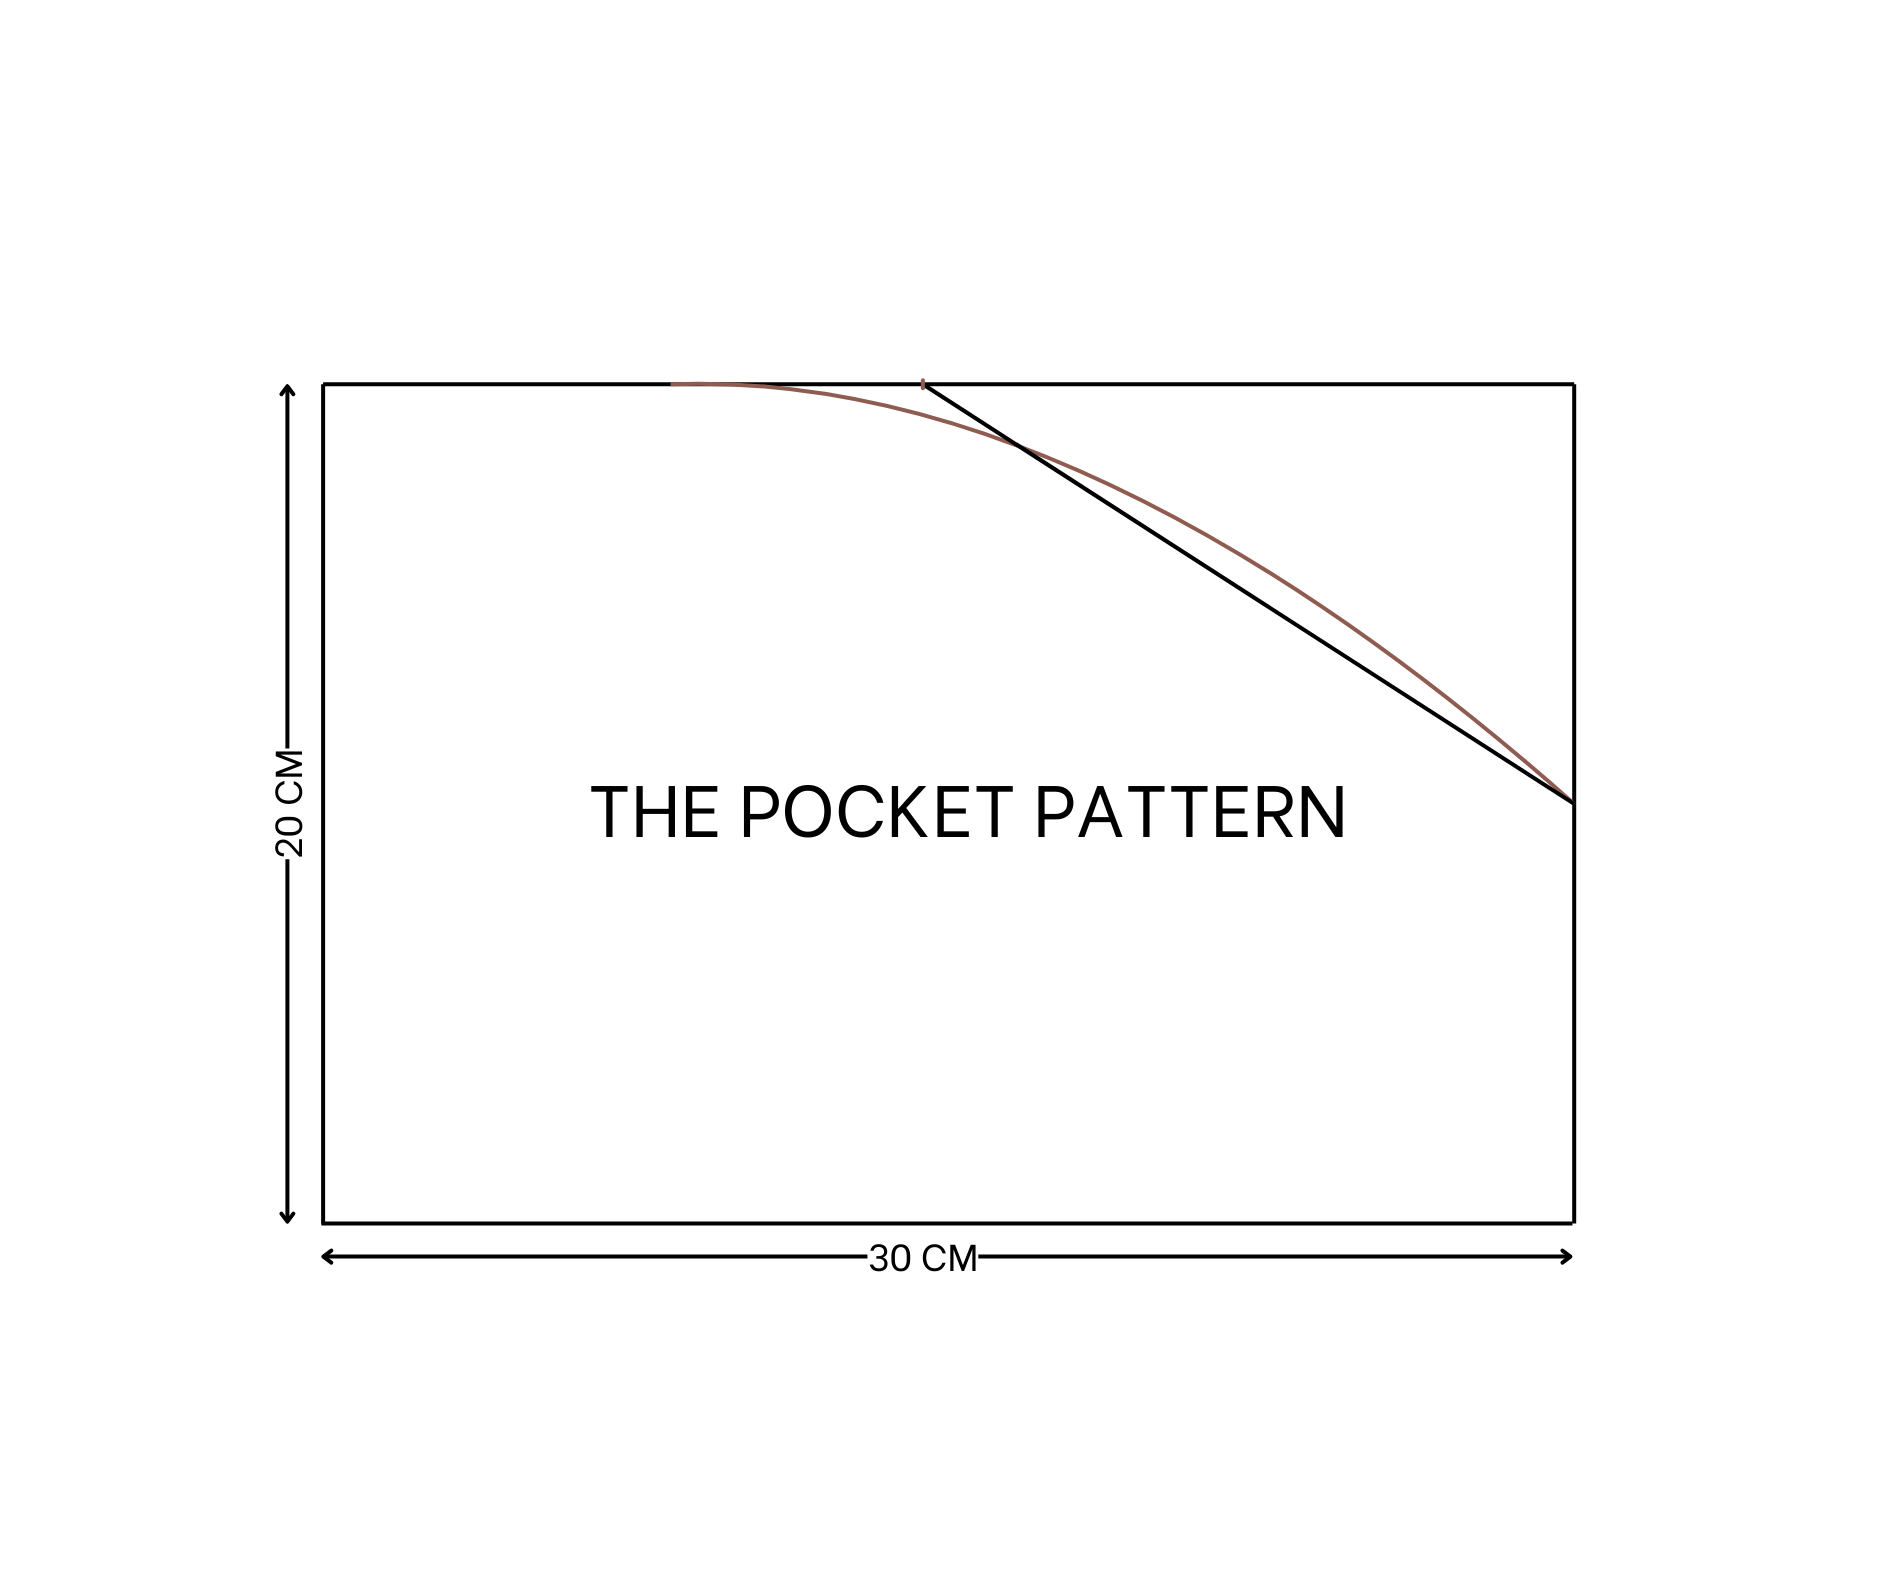
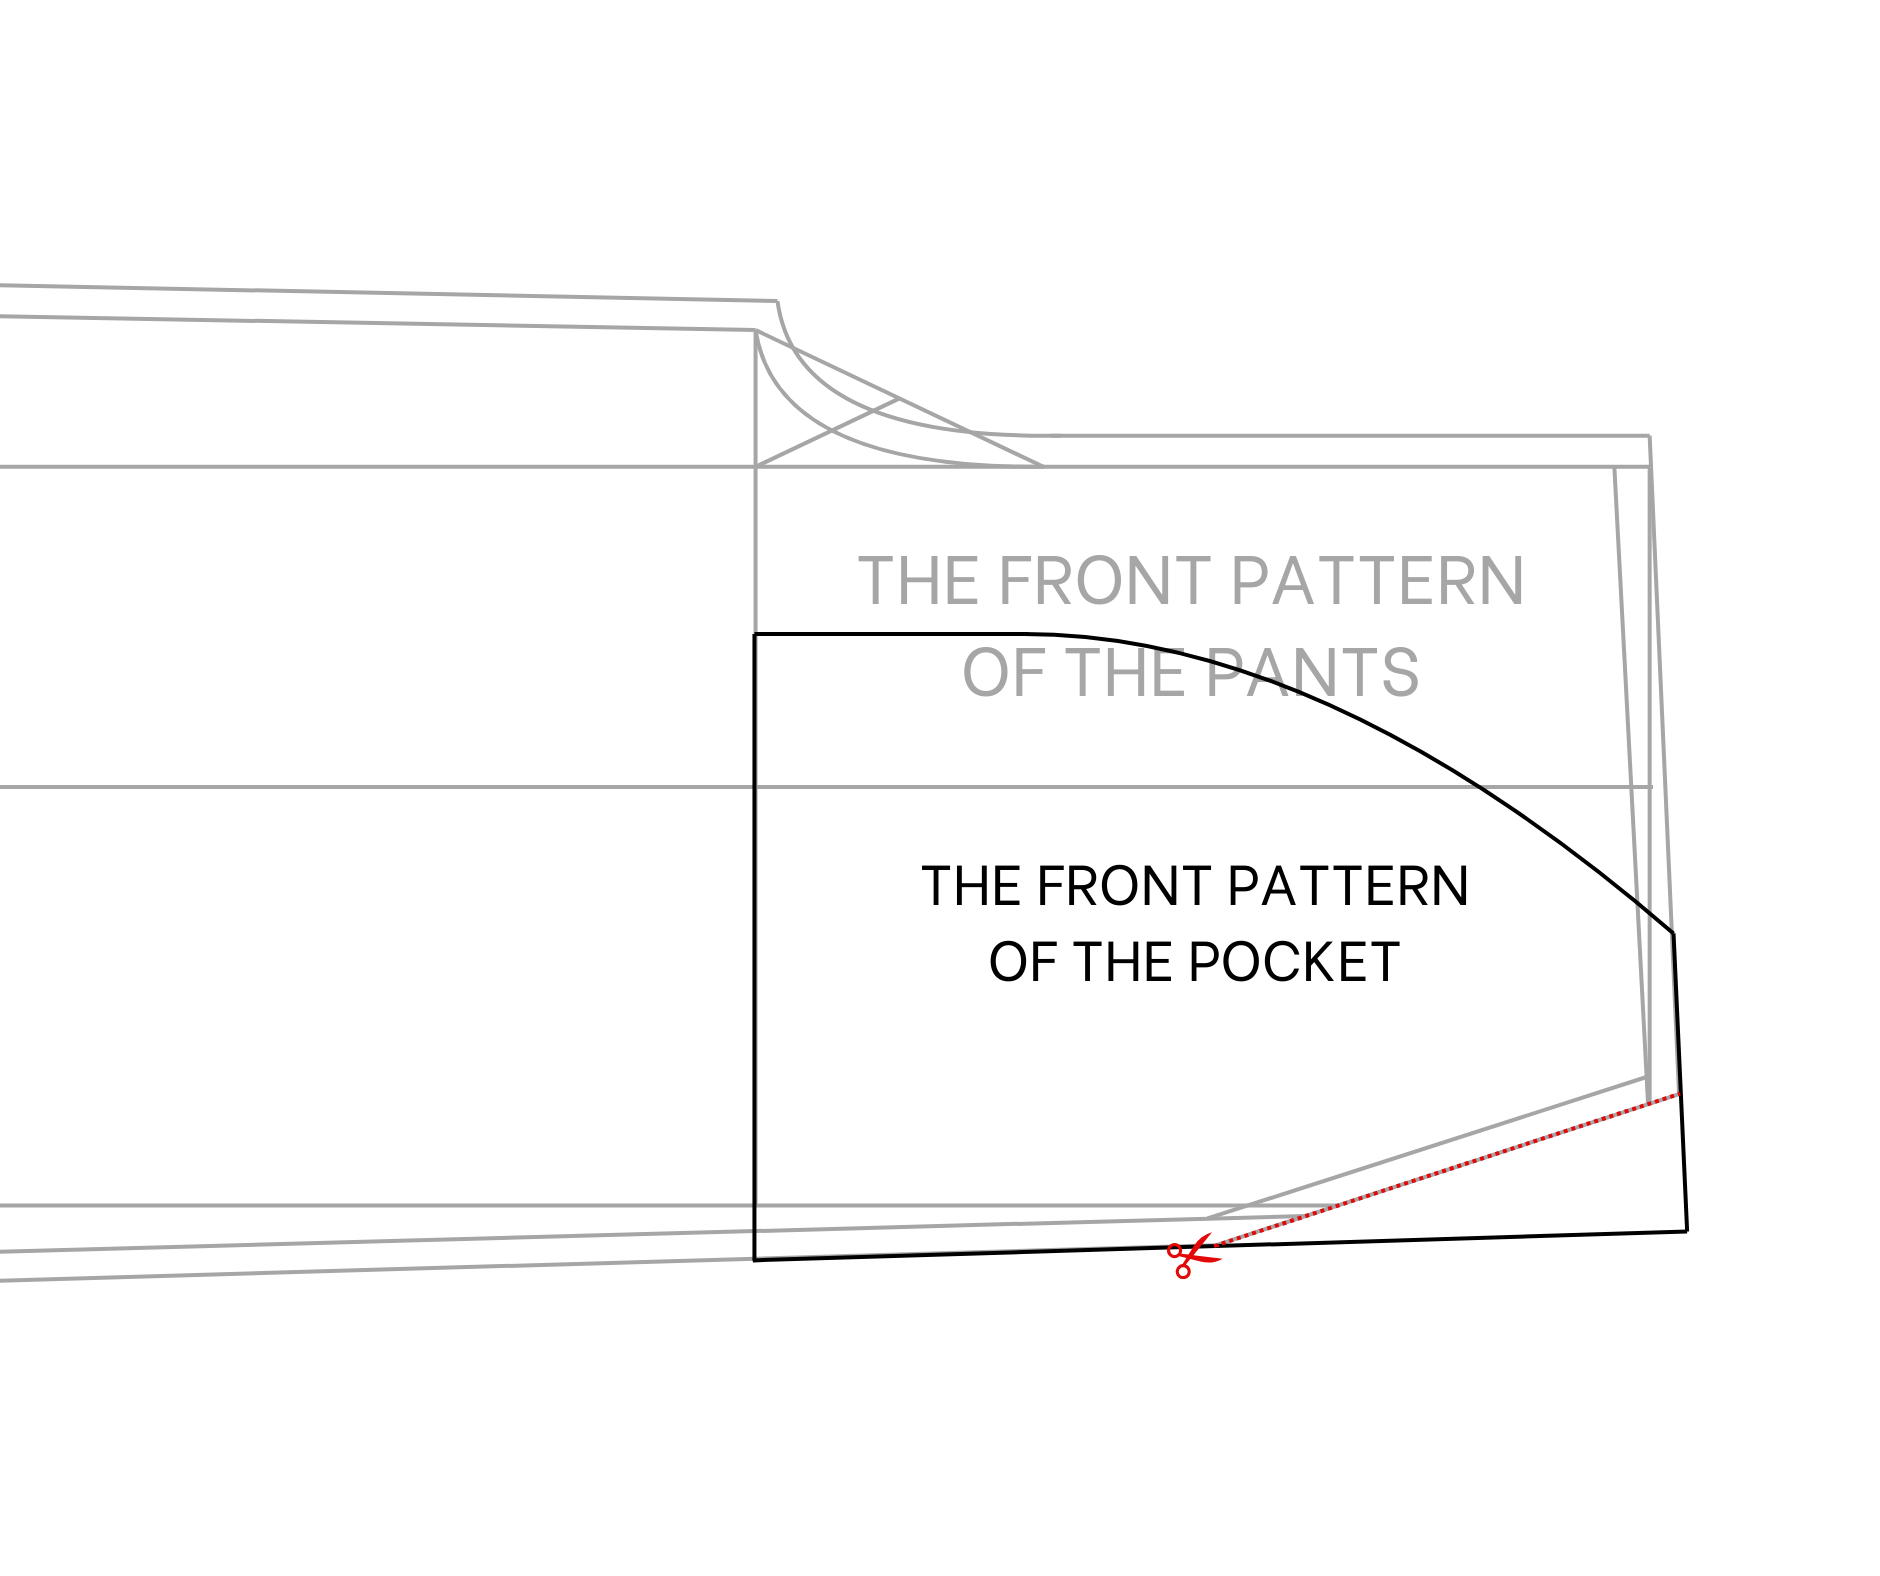
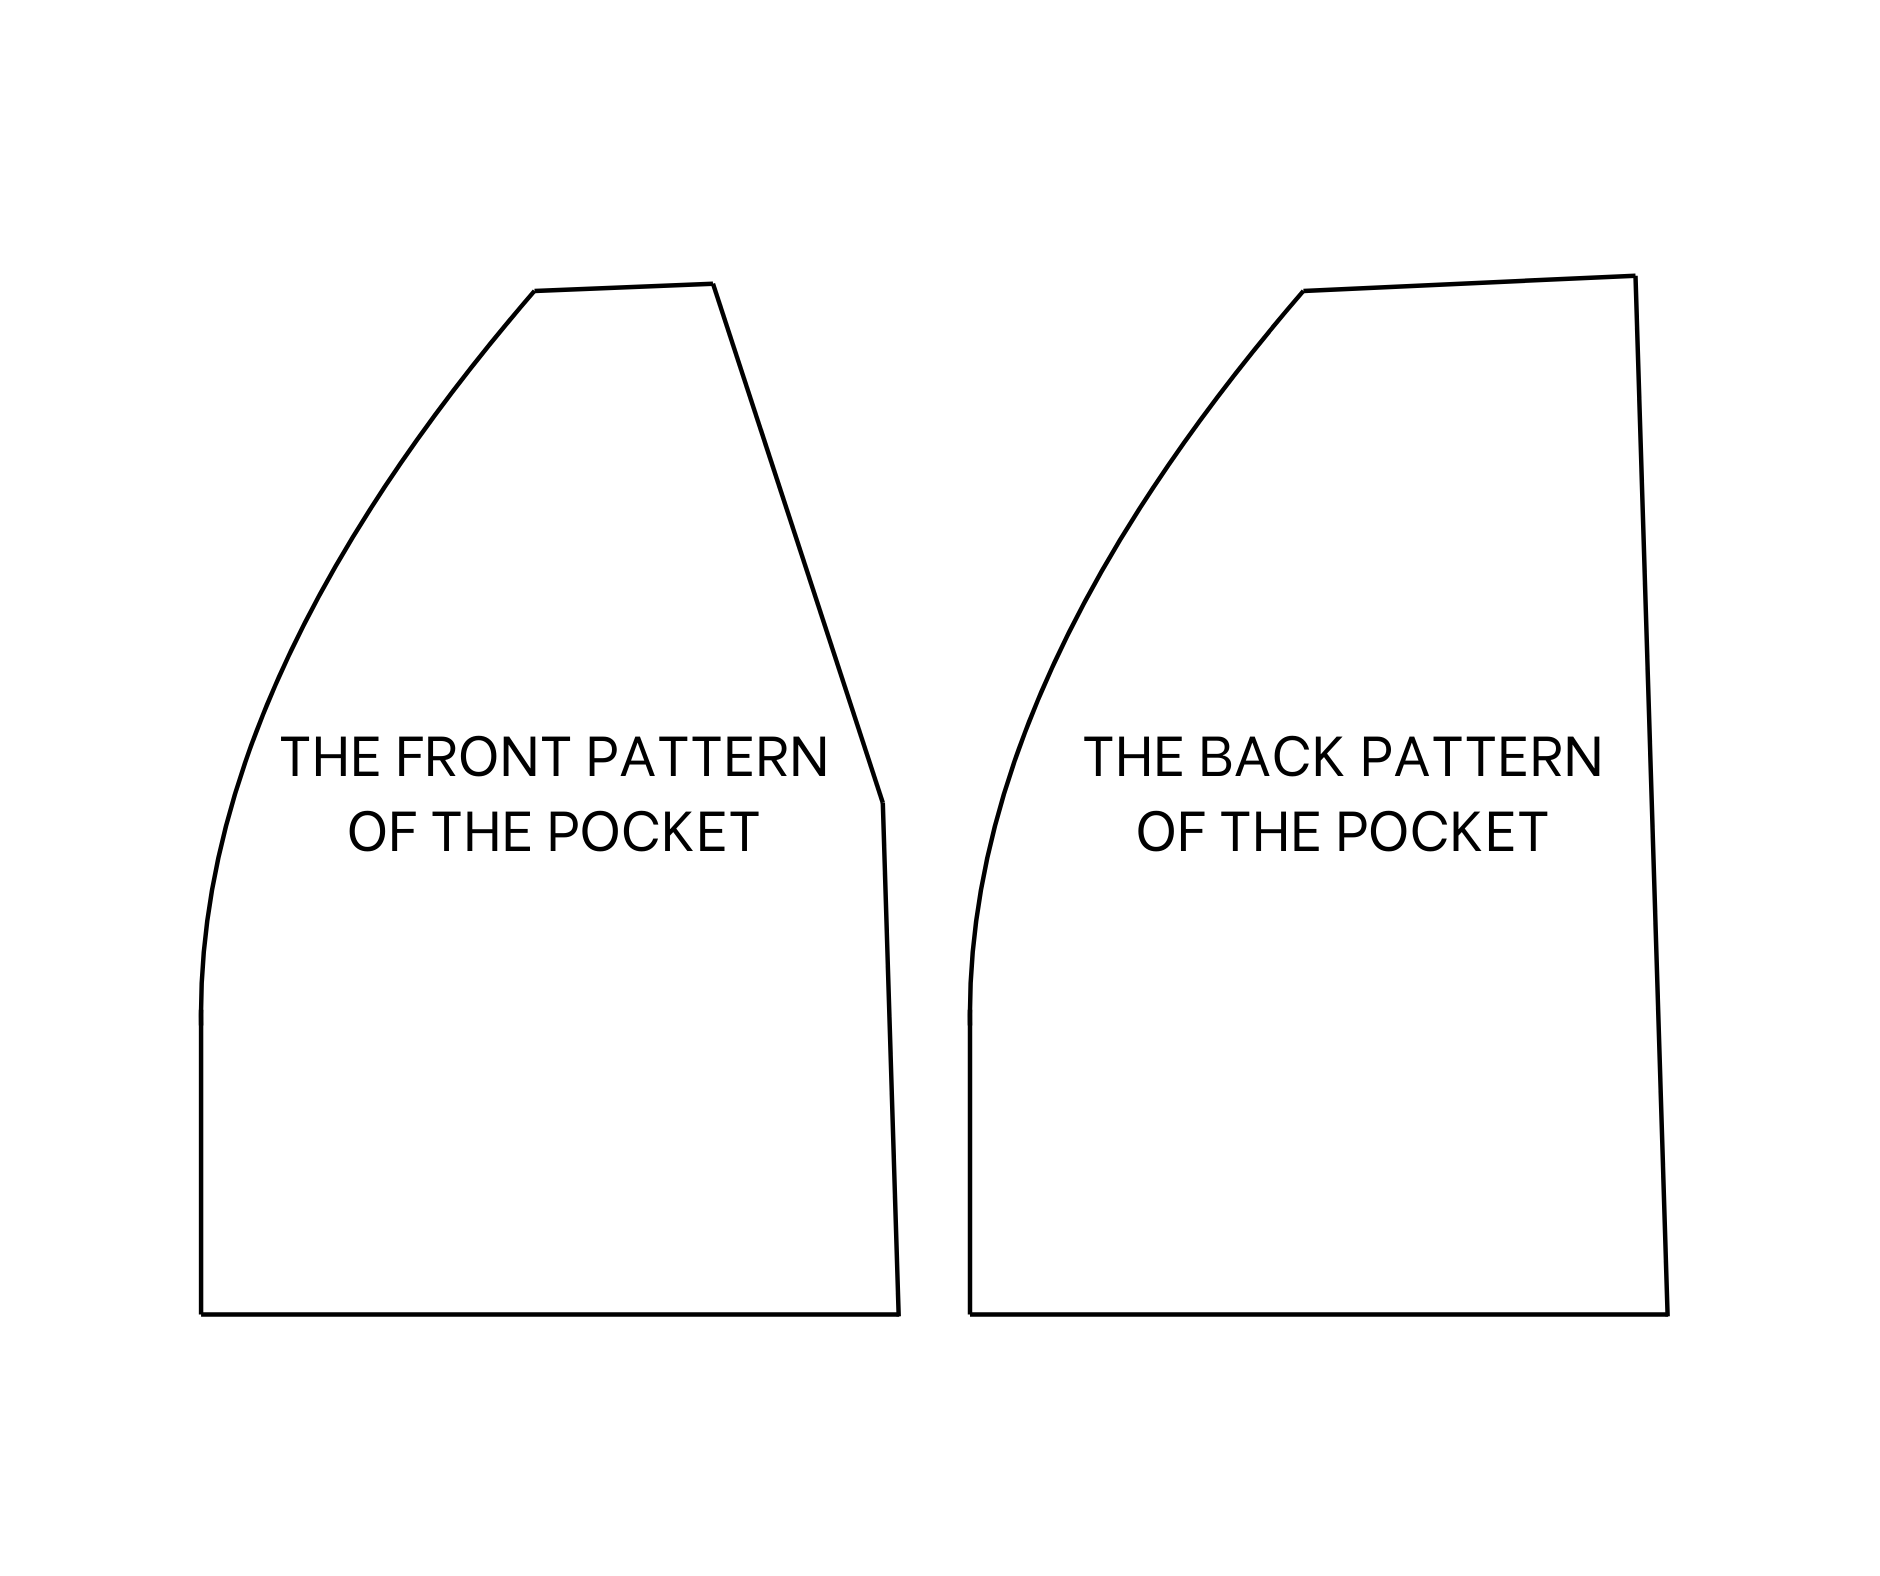
THE POCKET PATTERN
To make the pocket pattern, cut a rectangle with 20 cm width and 30 cm length.
On one length line, mark the middle first.
Then, connect this mark to the mark in the middle of the width line next to it.
Based on this new line, draw a slightly curved line to shape the pocket pattern.
Cut two pieces like this.
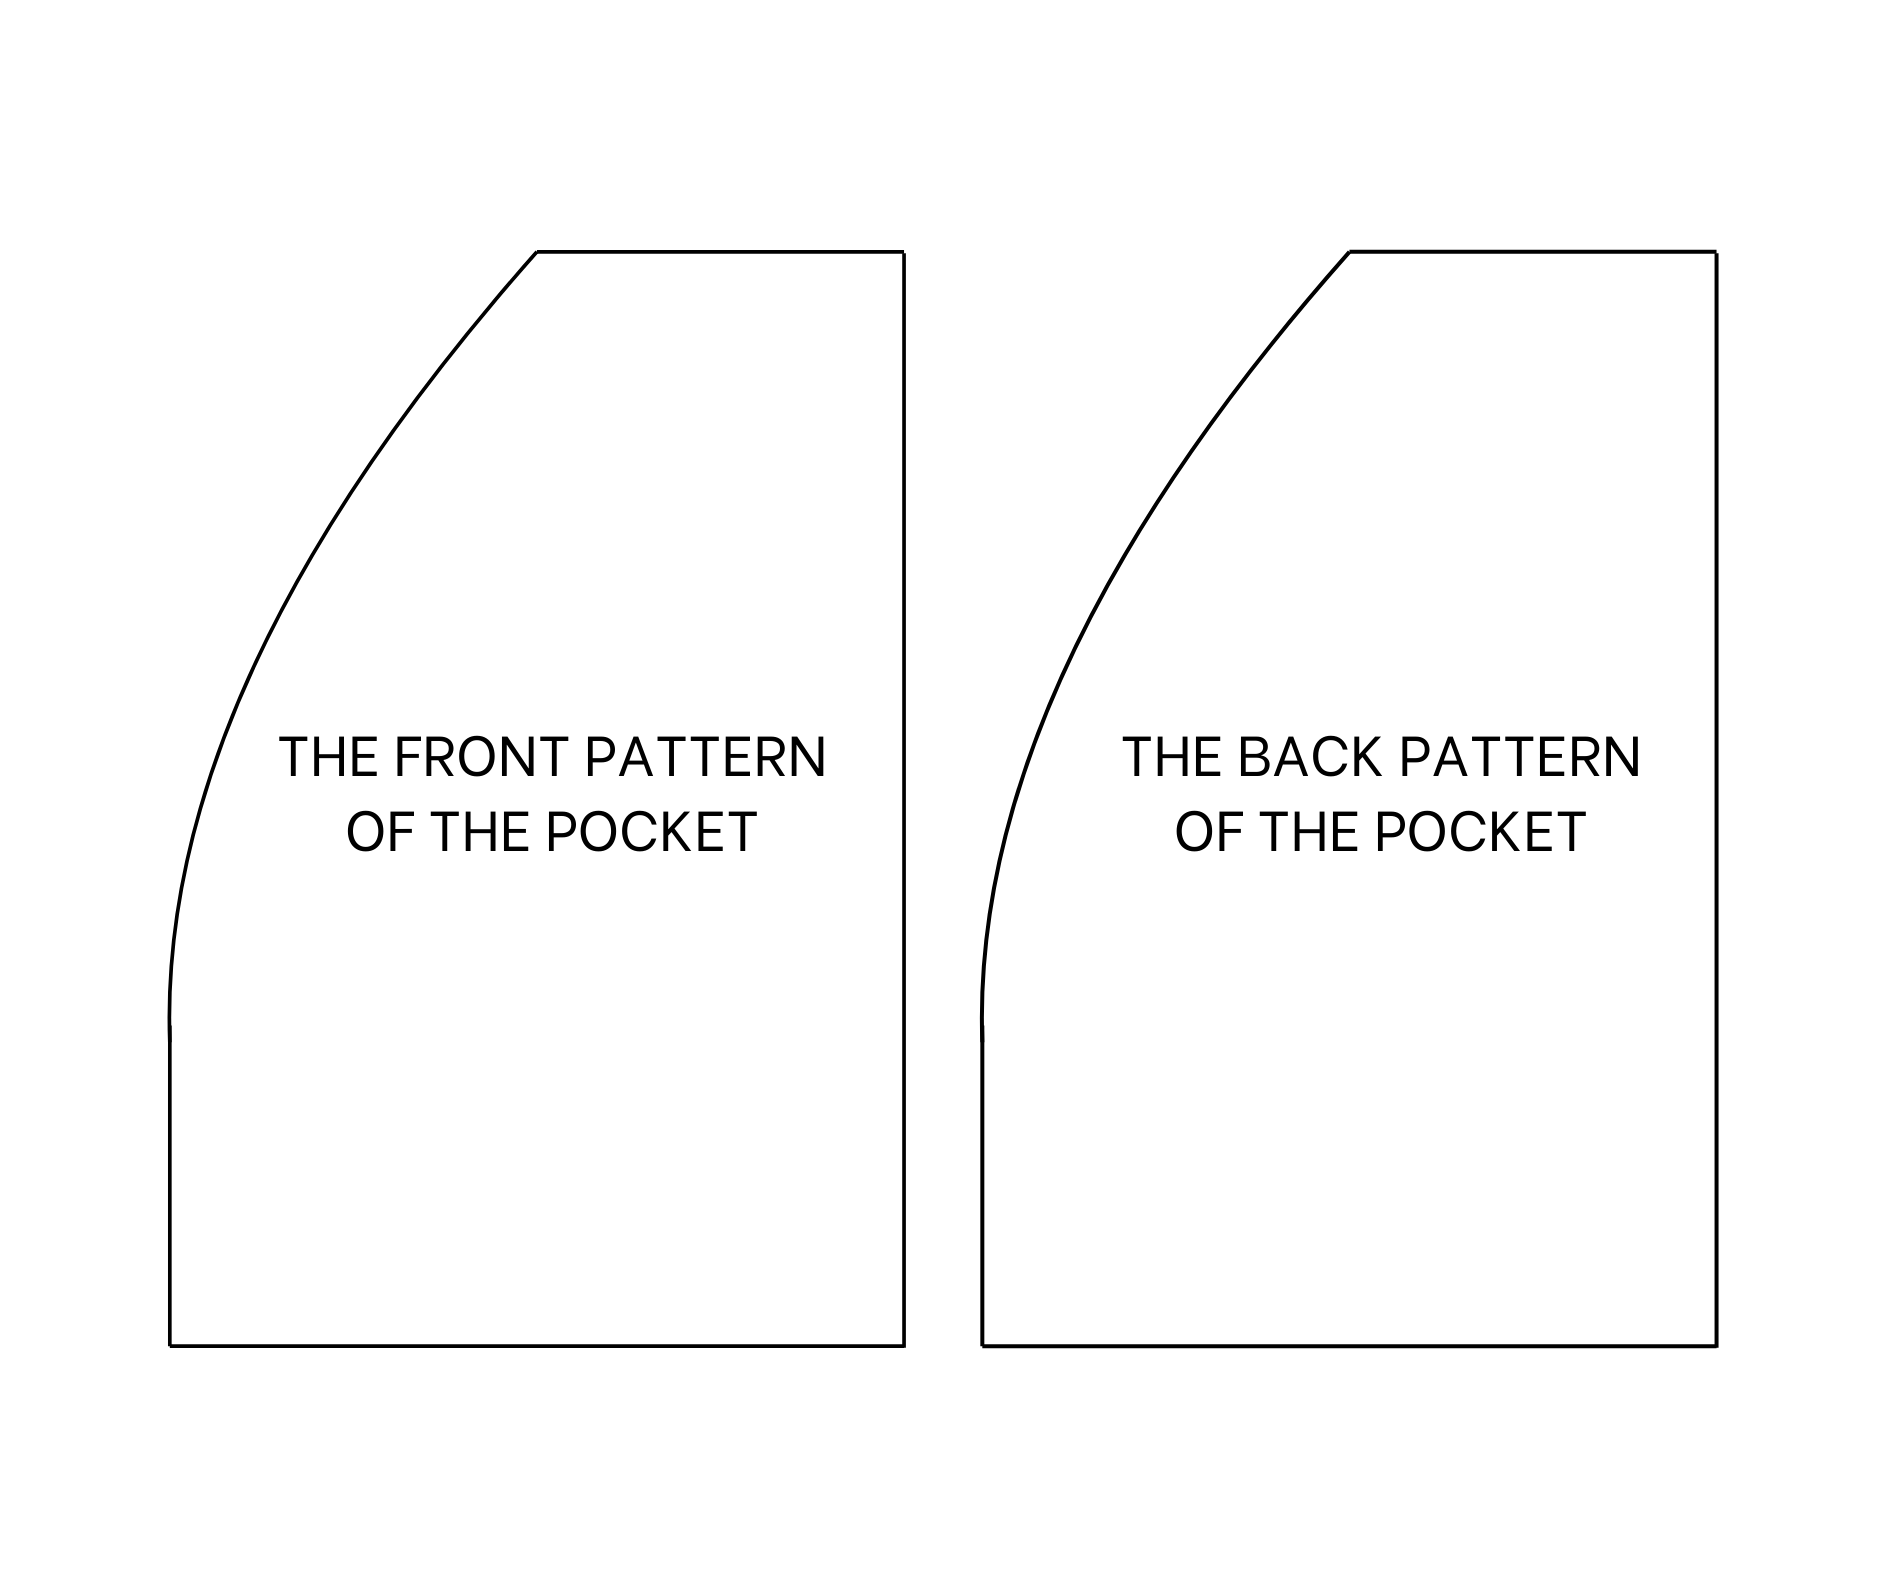
After that, apply the pocket pattern to the top of the front pattern to copy the waistline and the sideline.
After cutting, keep one pattern as the back pattern of the pocket and continue working on the front pattern.
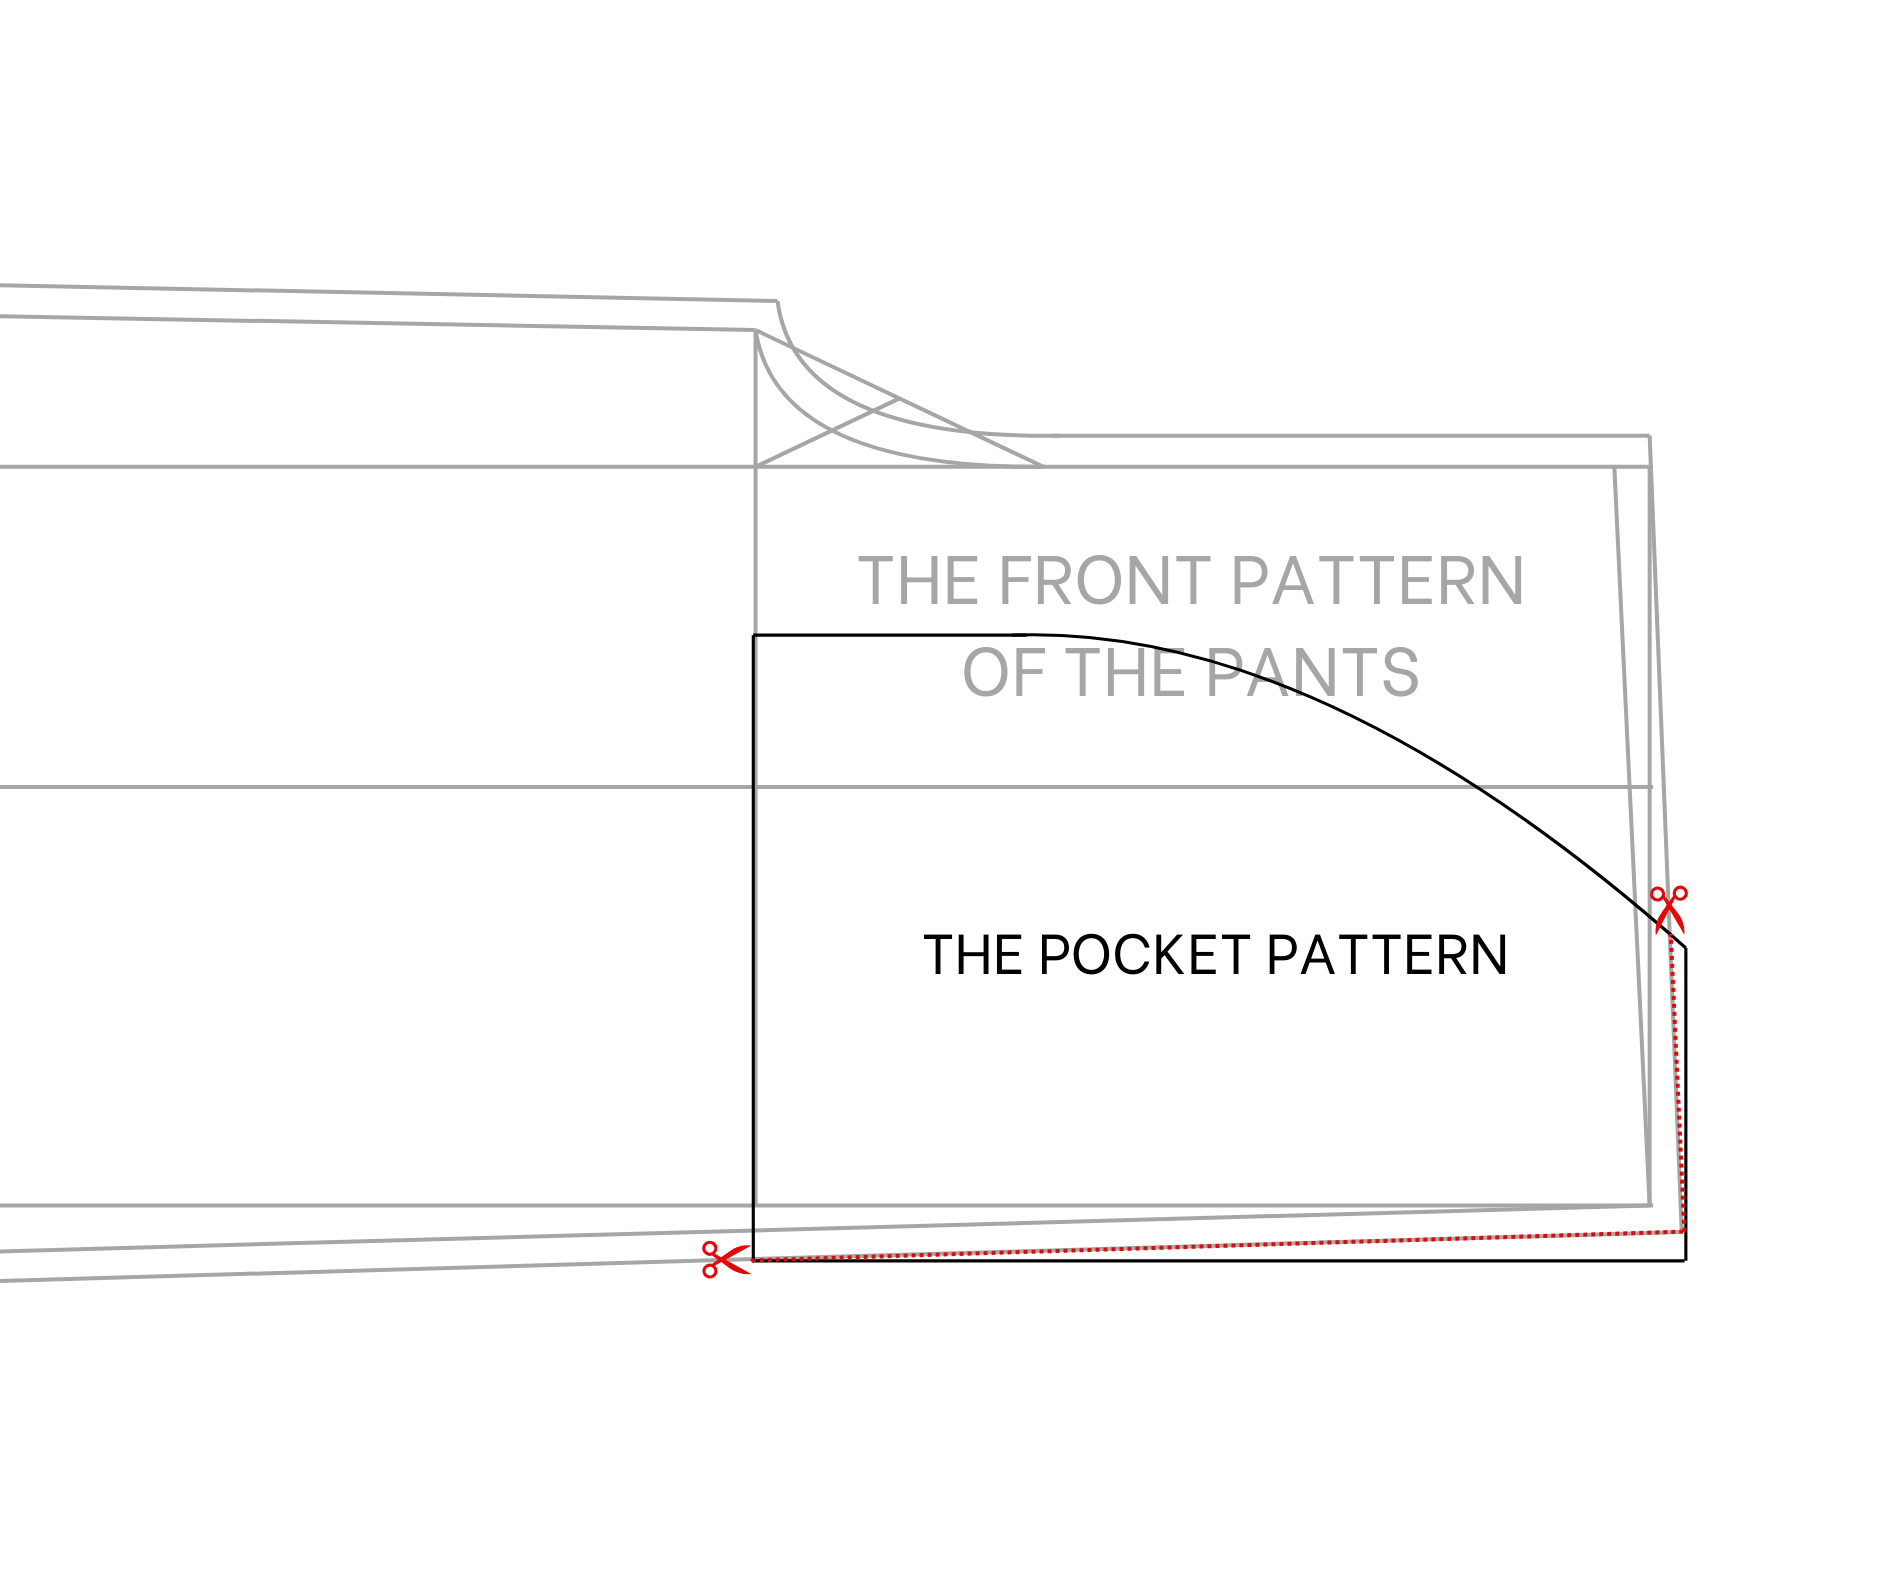
For a side pocket look at the front, create this look by drawing an inclined line with 4 cm width and 14 cm length.
Add 1 cm seam allowance for this line and cut.
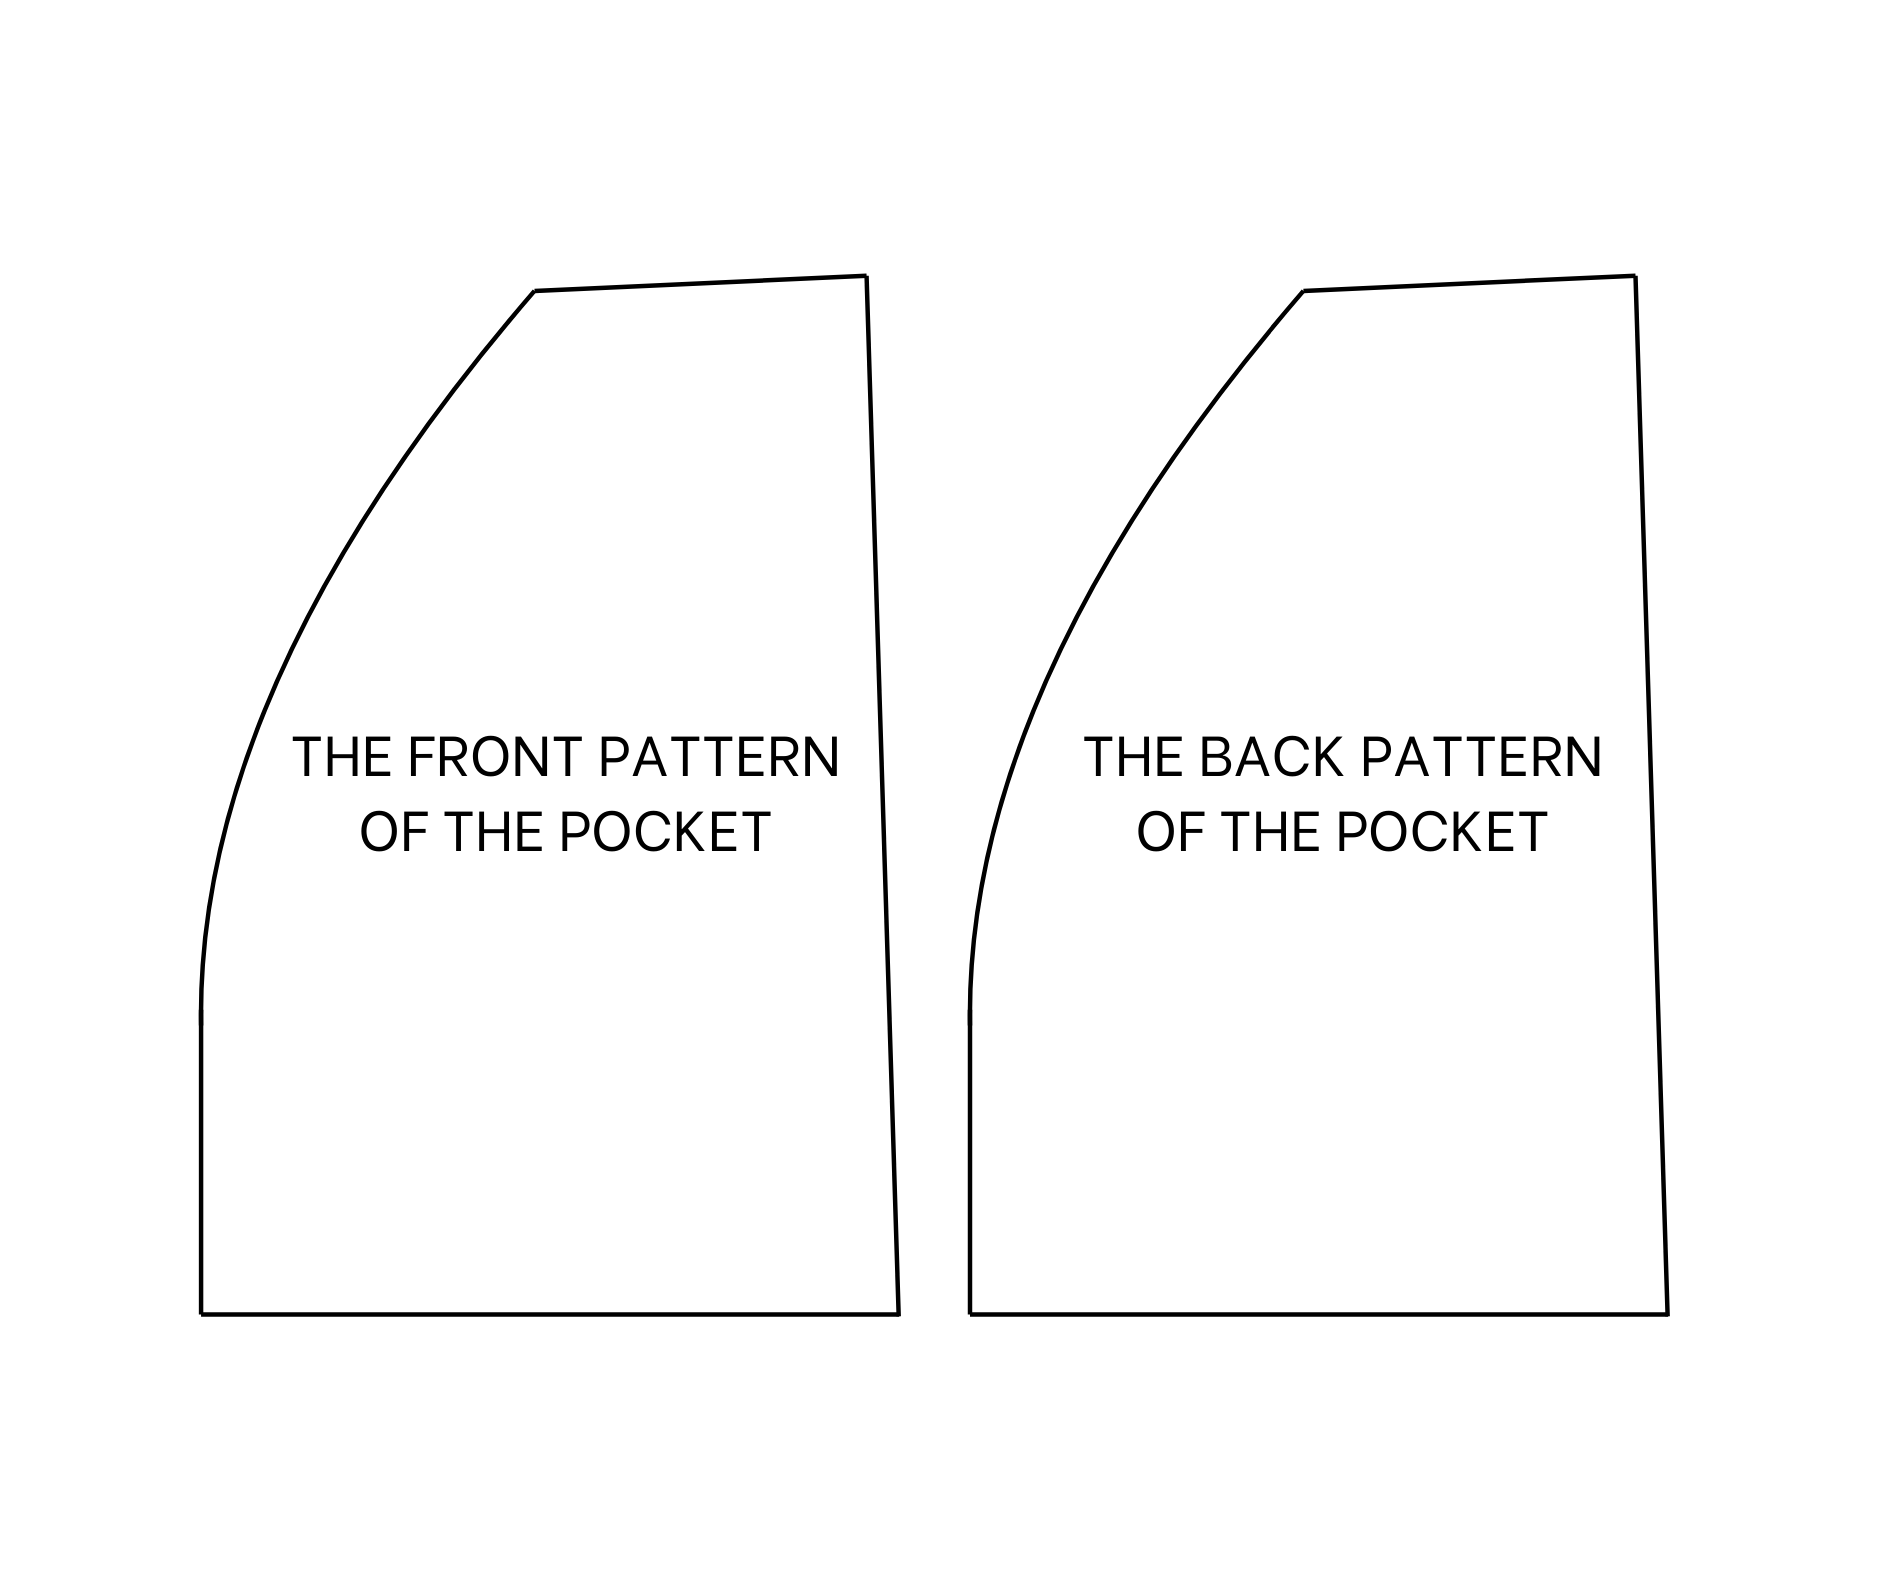
Then, apply one pocket pattern to this part to copy the inclined line from the front pattern.
Now, the front and back pocket patterns are ready.
SEWING THE SET
THE CROP TOP
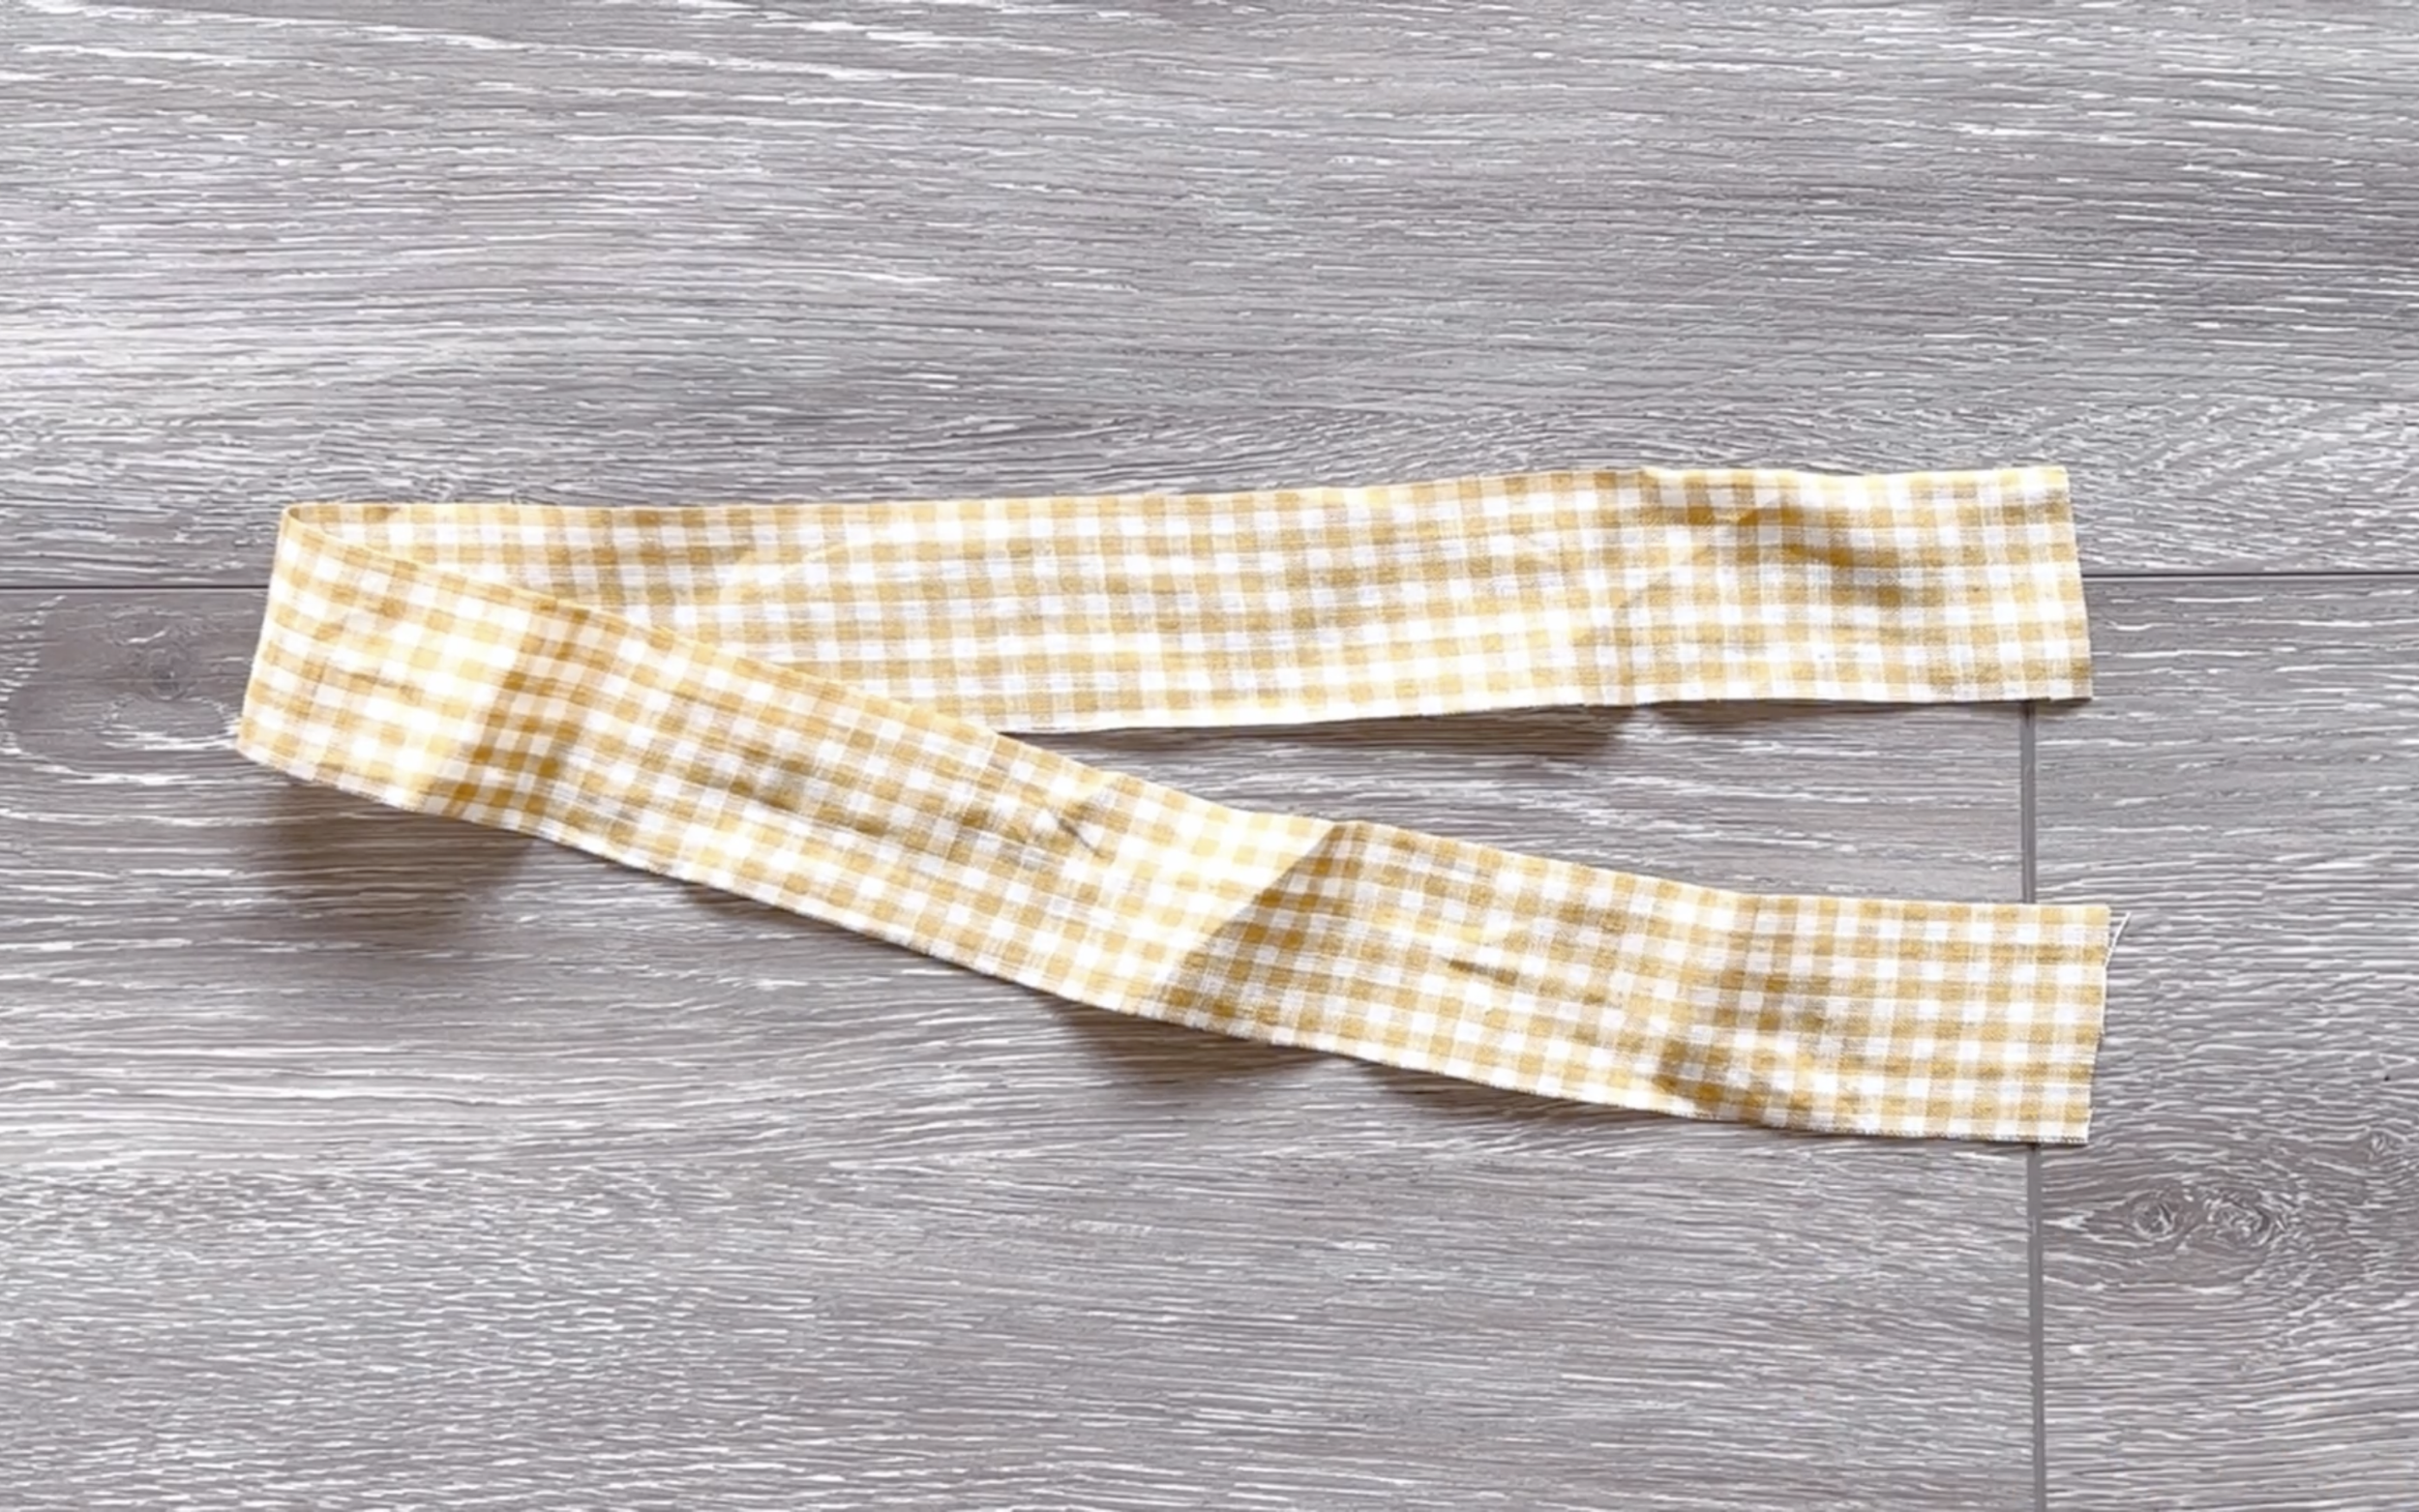
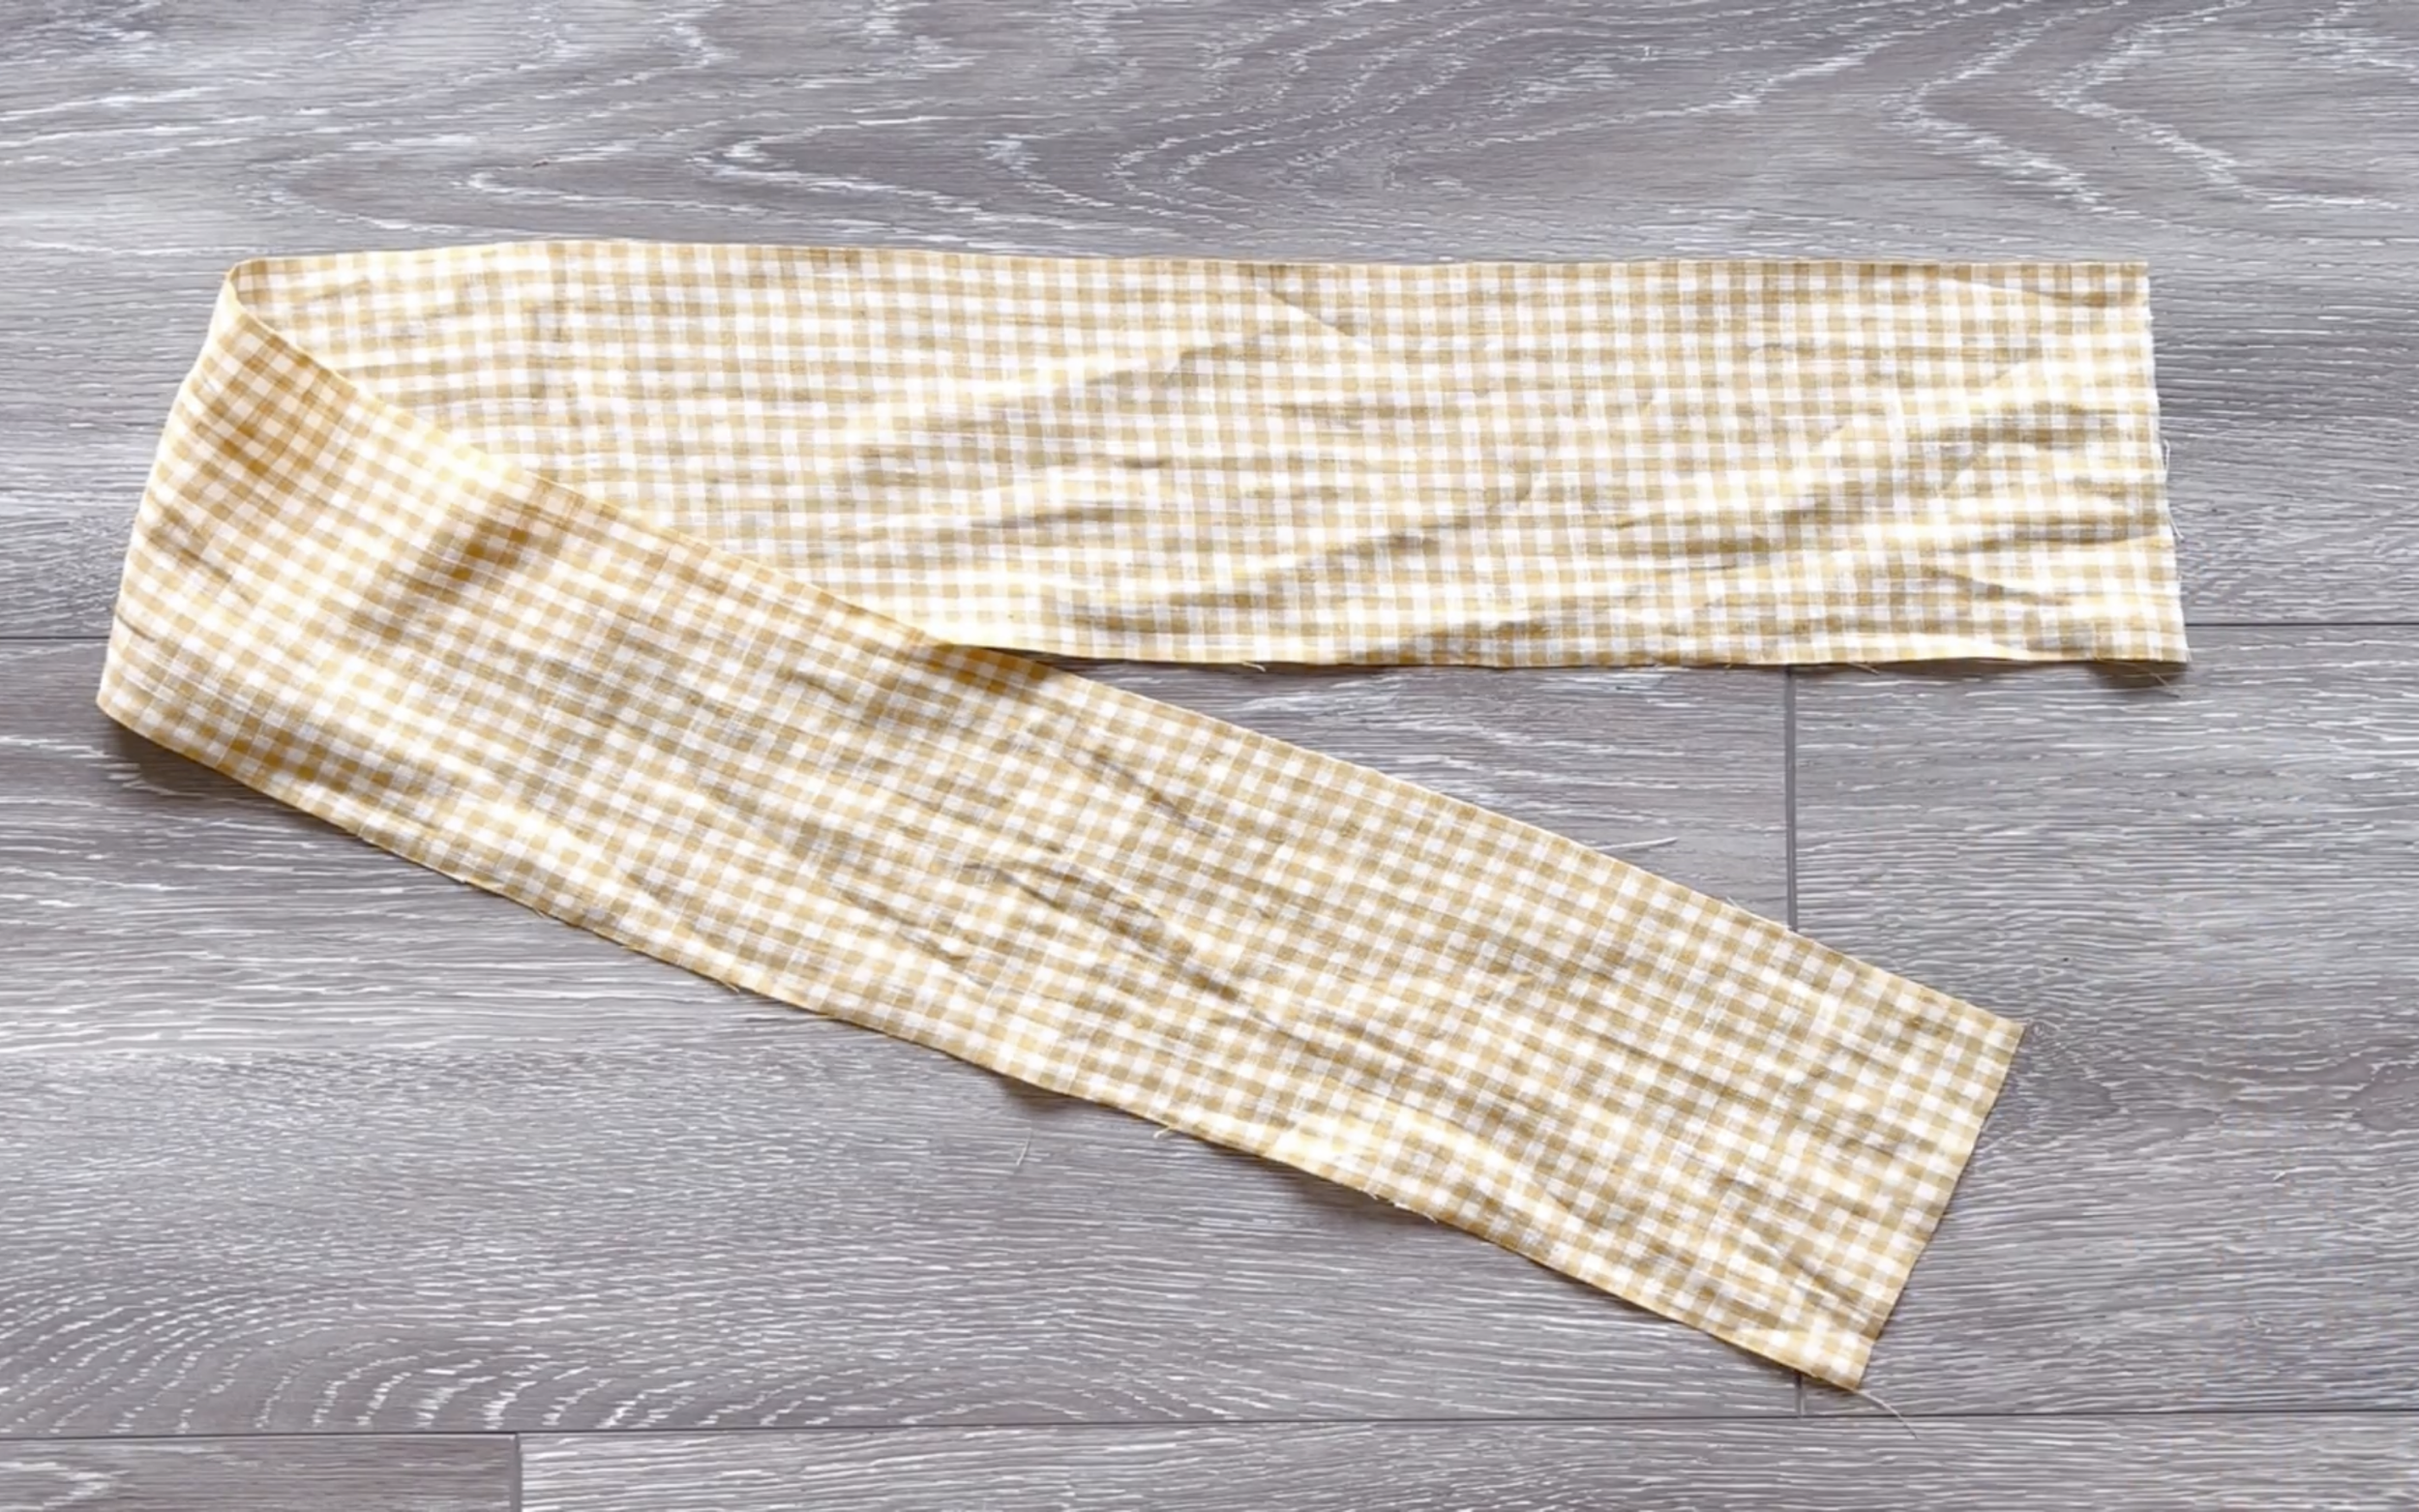
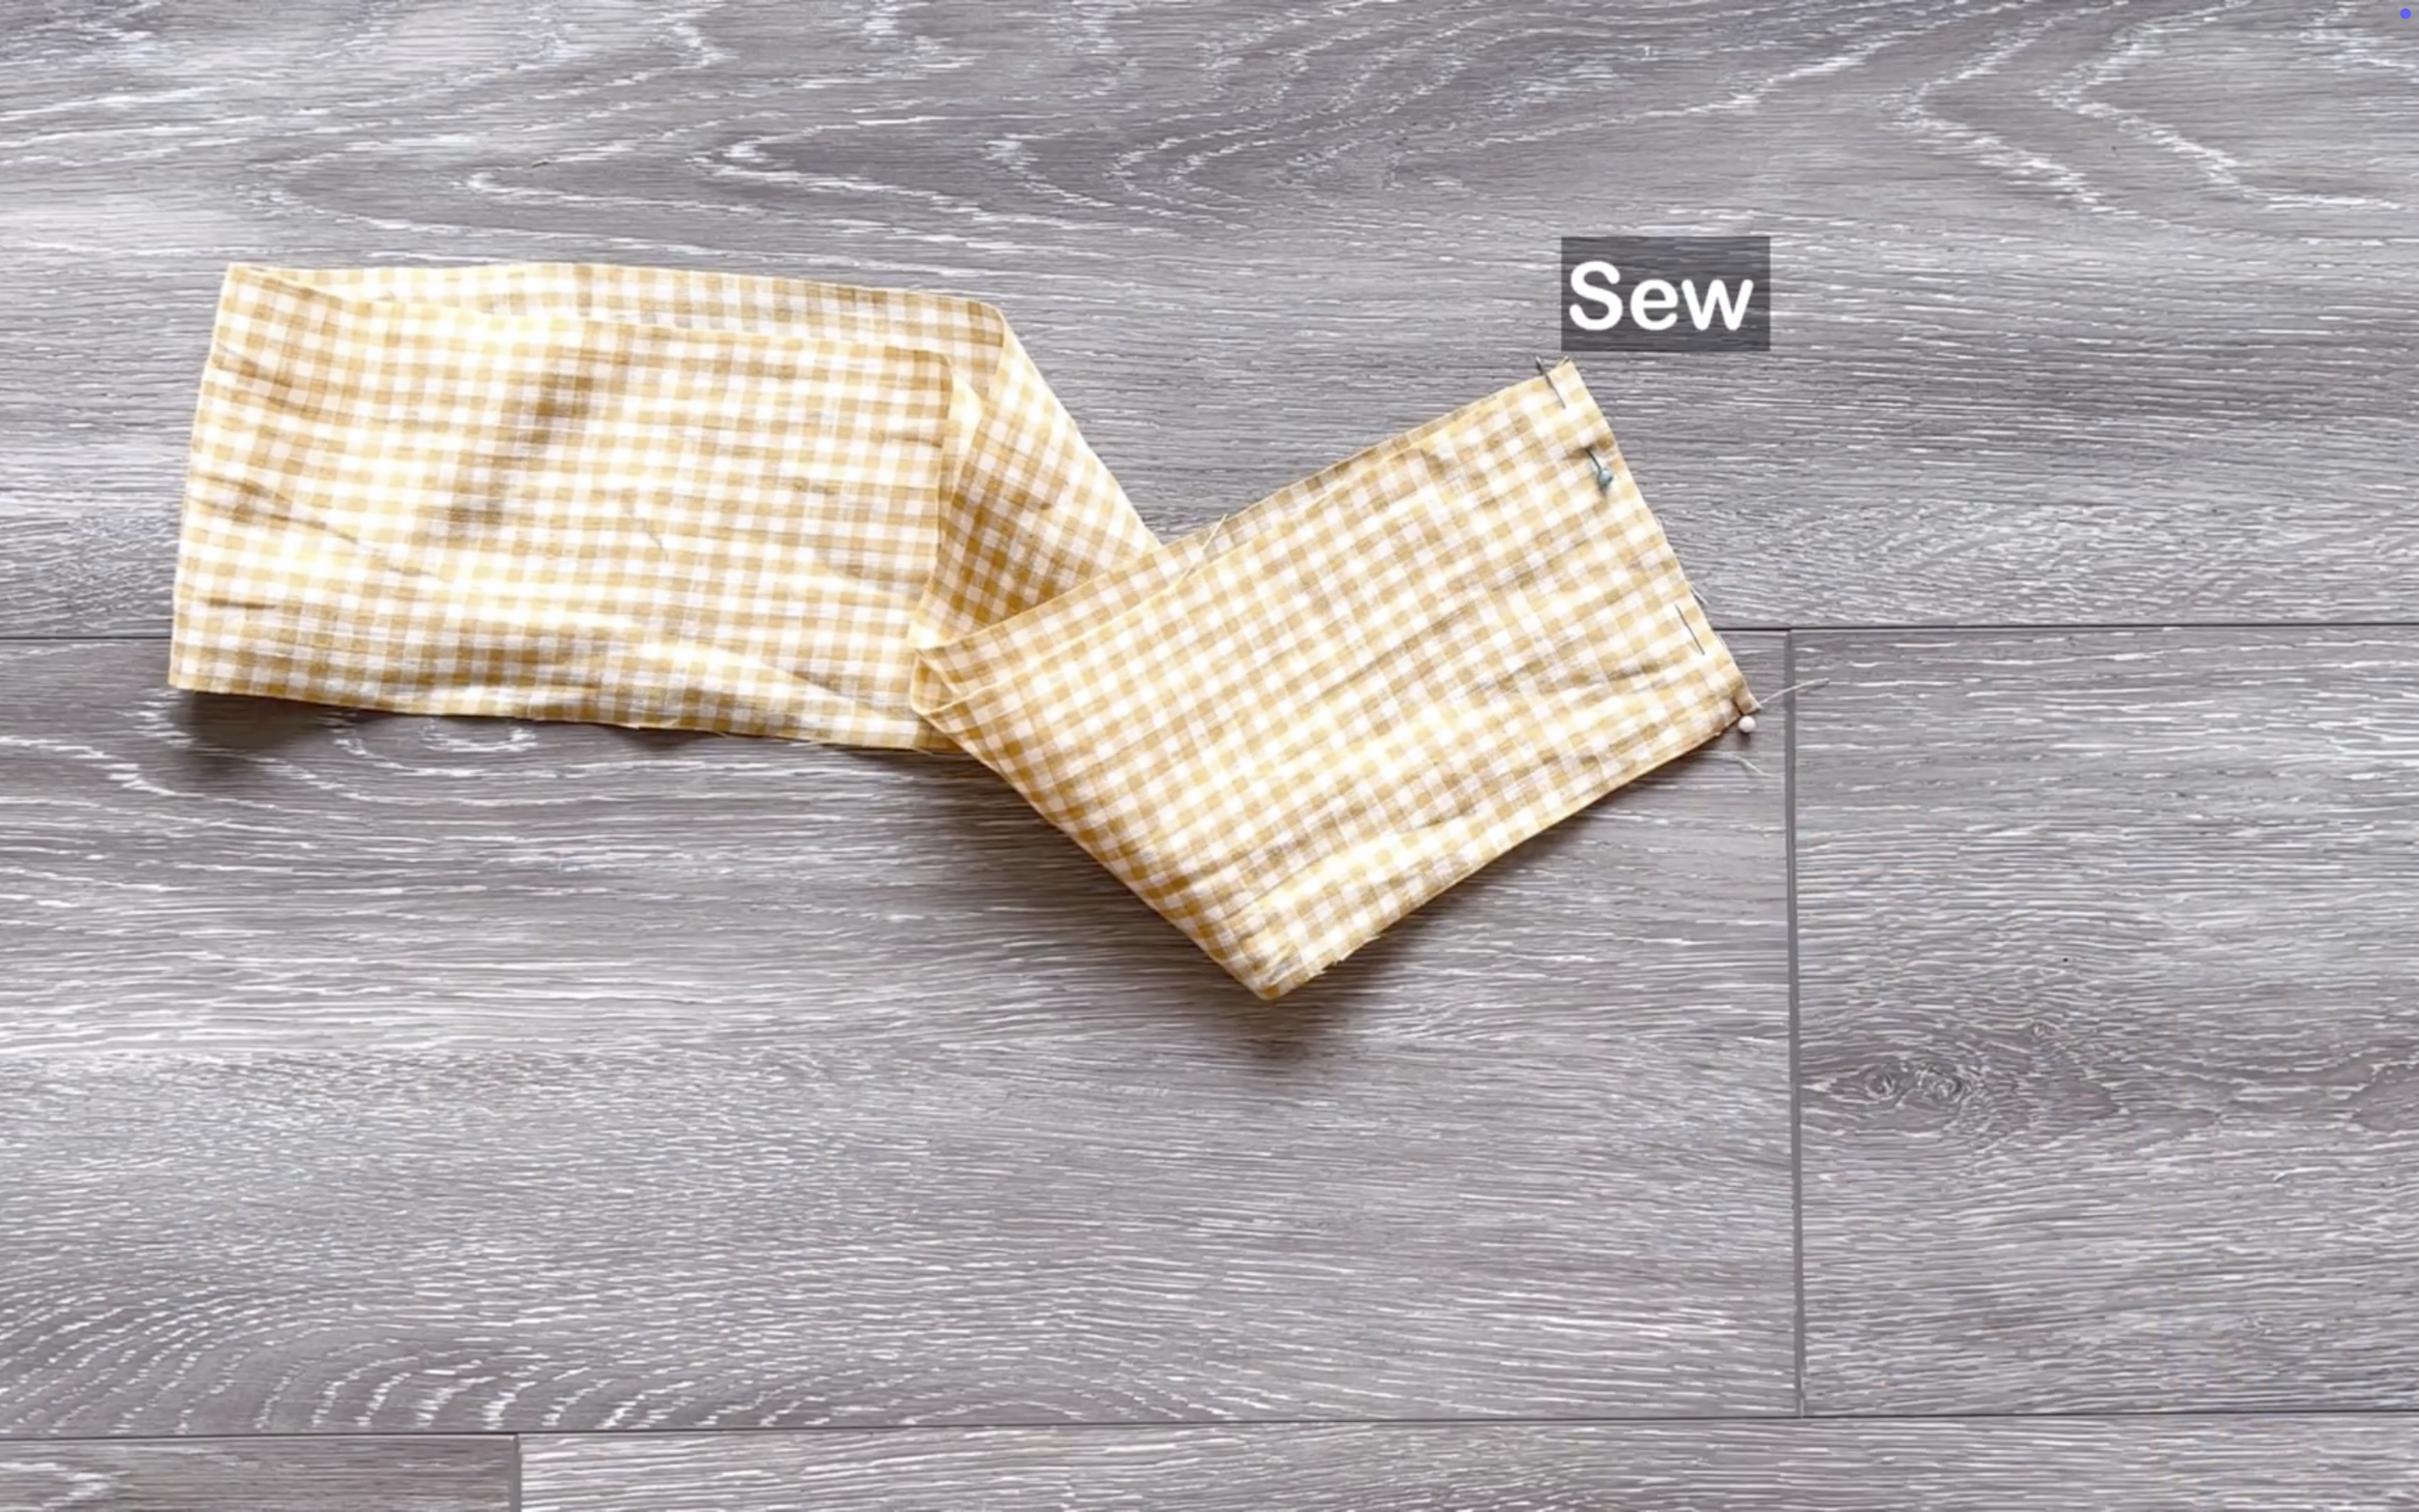
Cut a long fabric with 3.5 cm width and around 45 cm length.
Fold two length lines of the fabric to the middle first, then keep folding it again and sew them together to create a tie for the crop top.
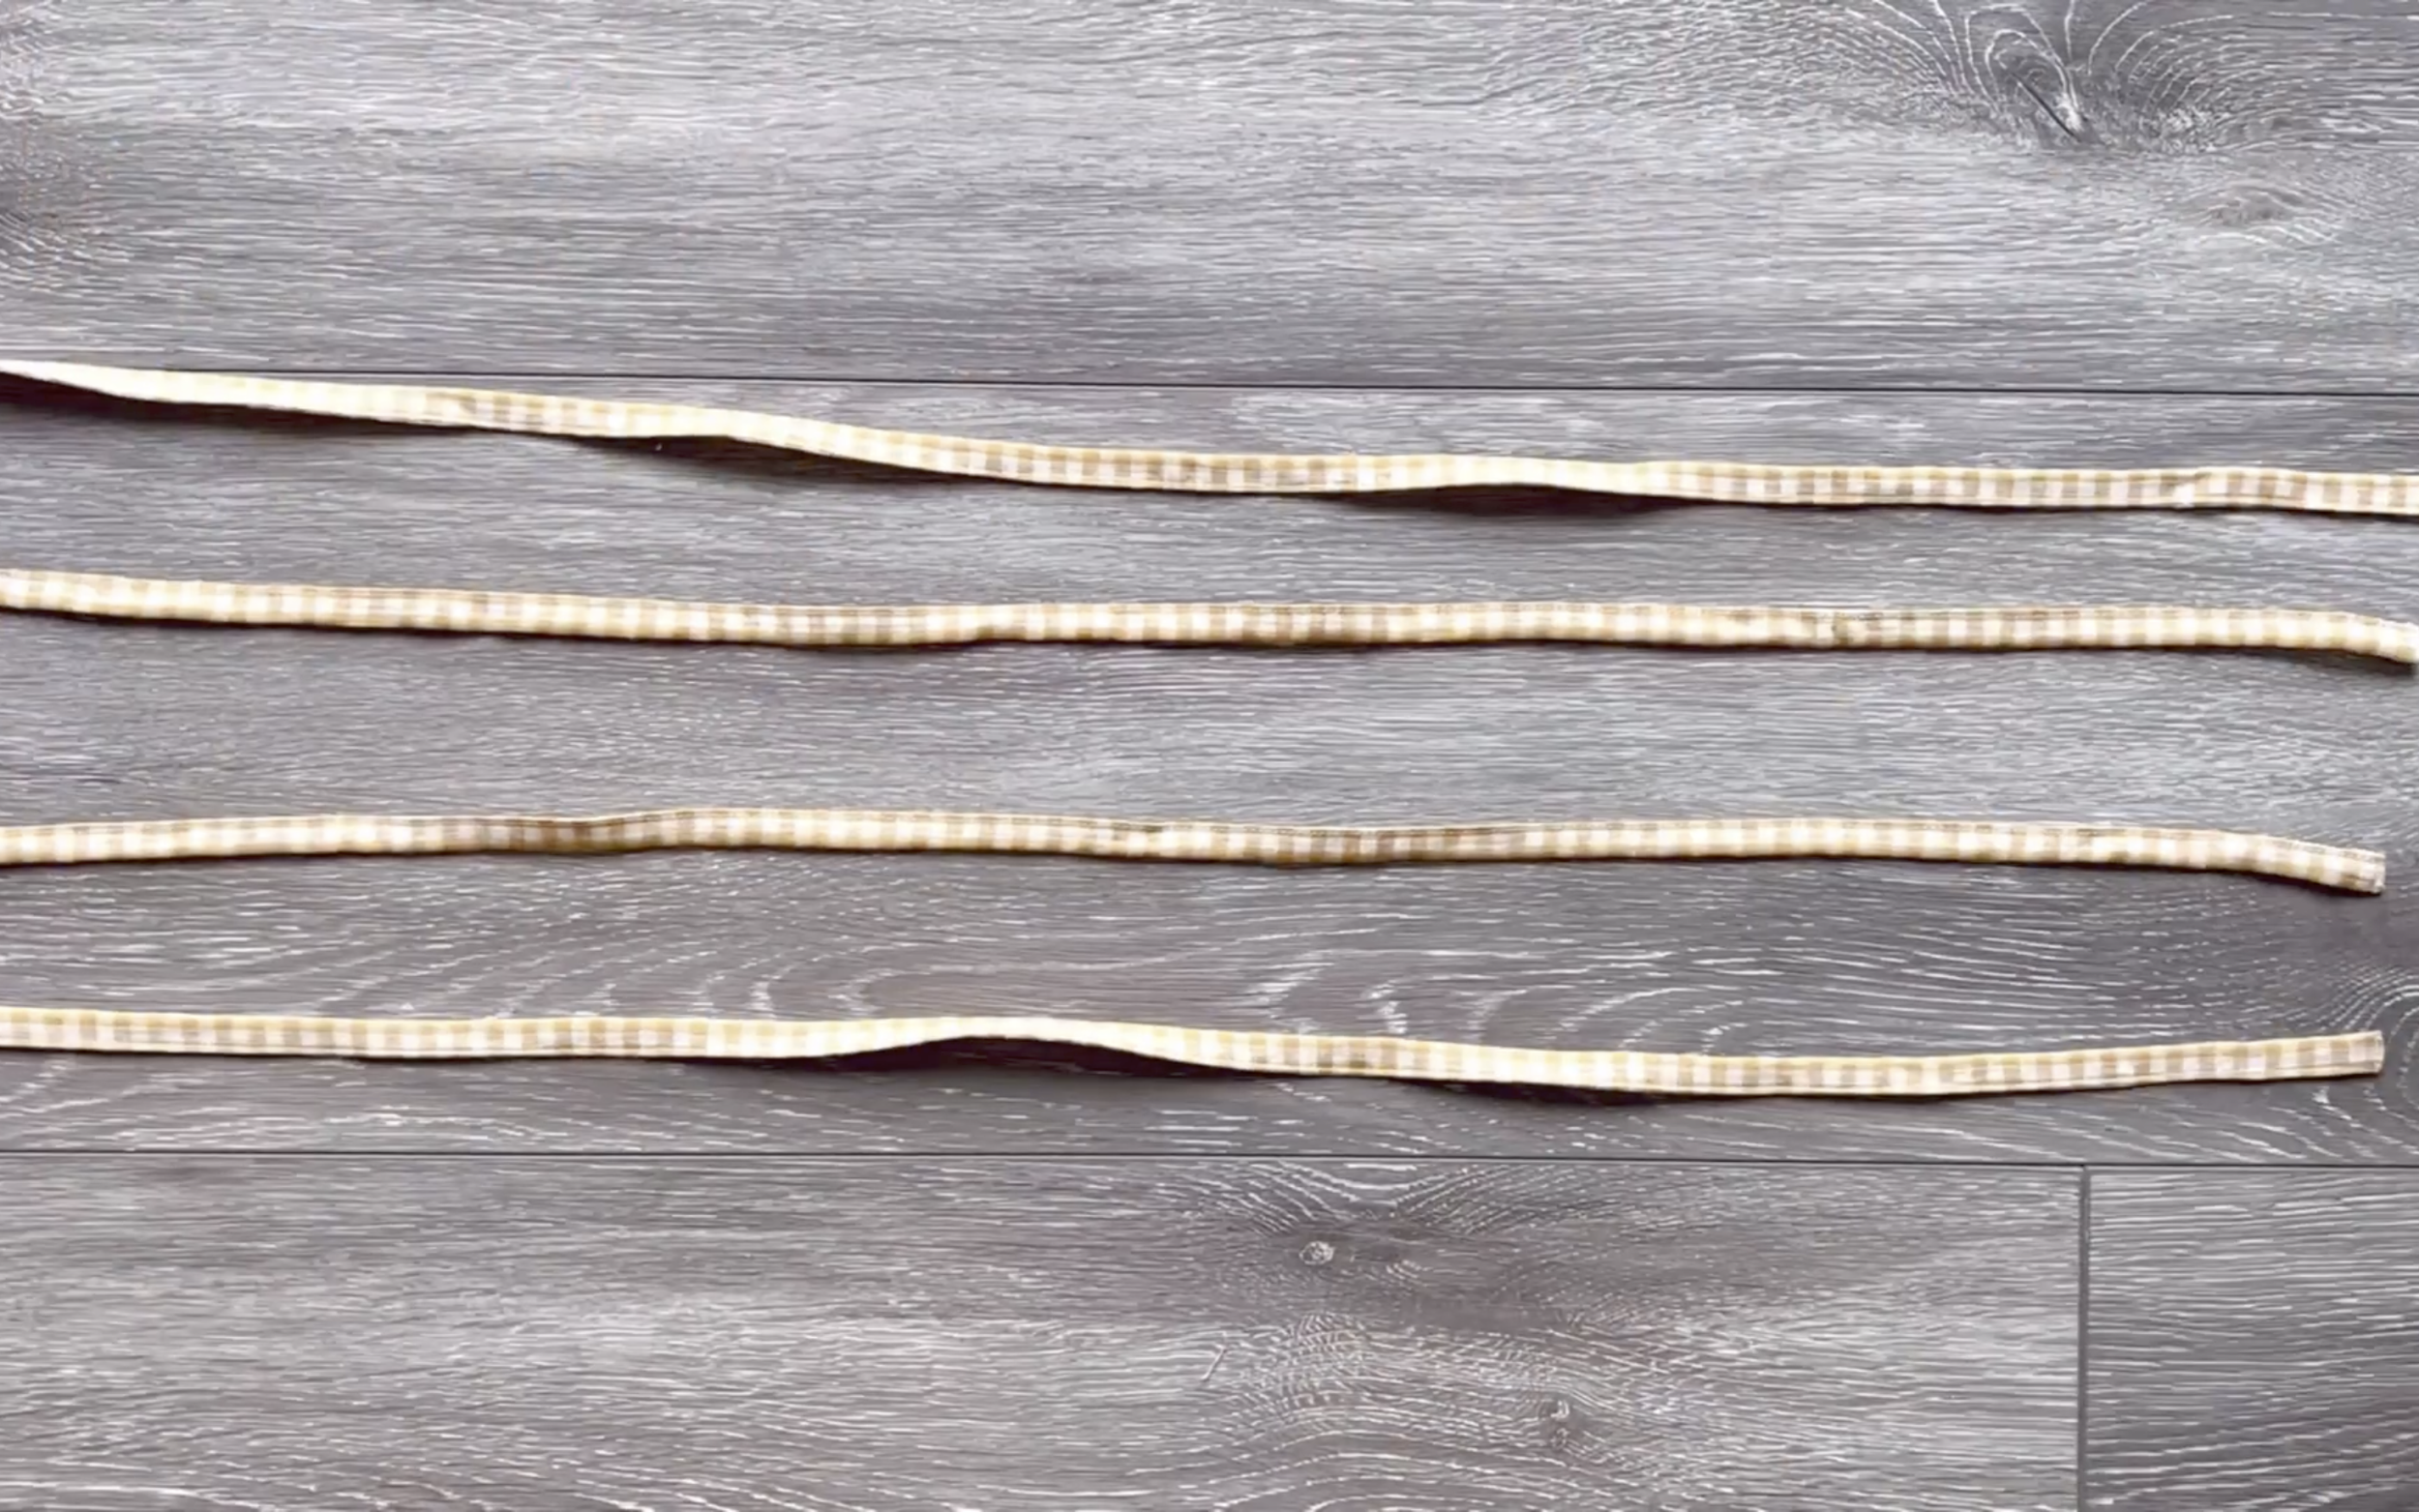
Four ties are needed for this crop top.
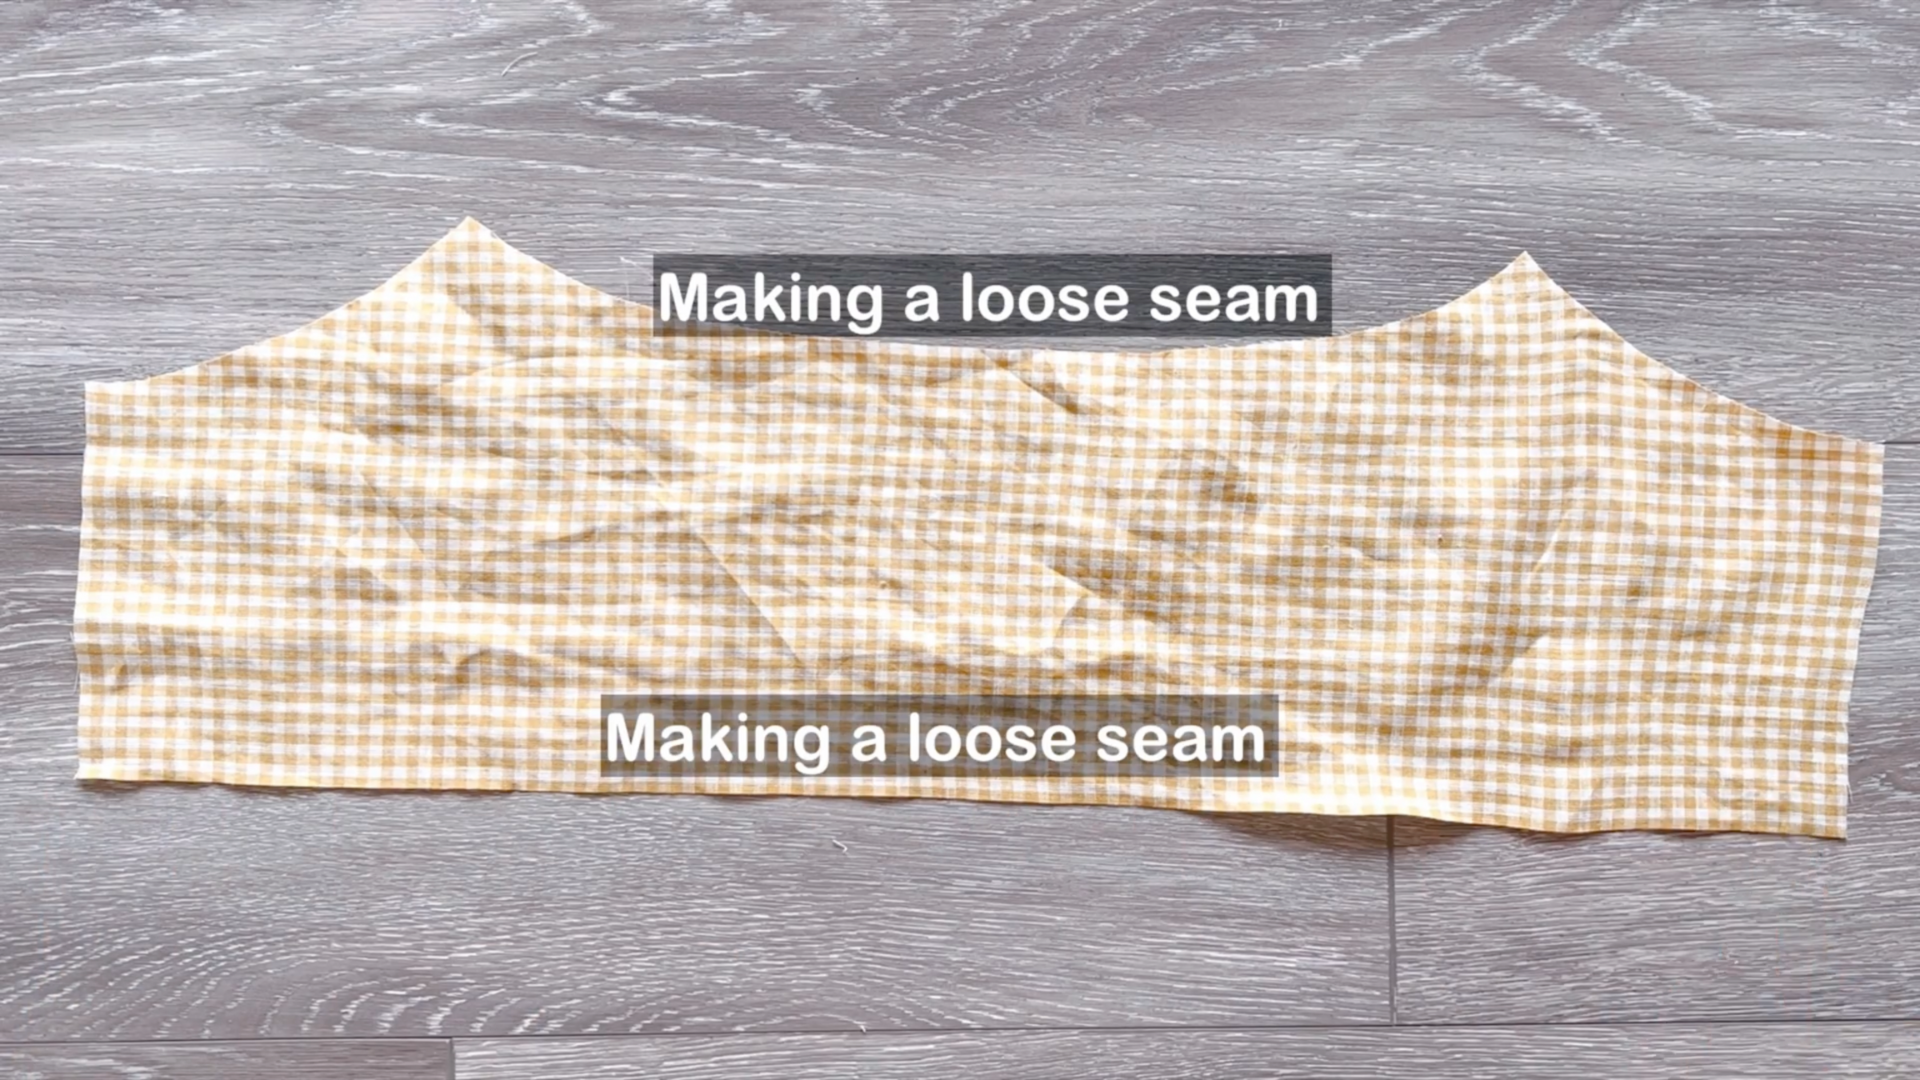
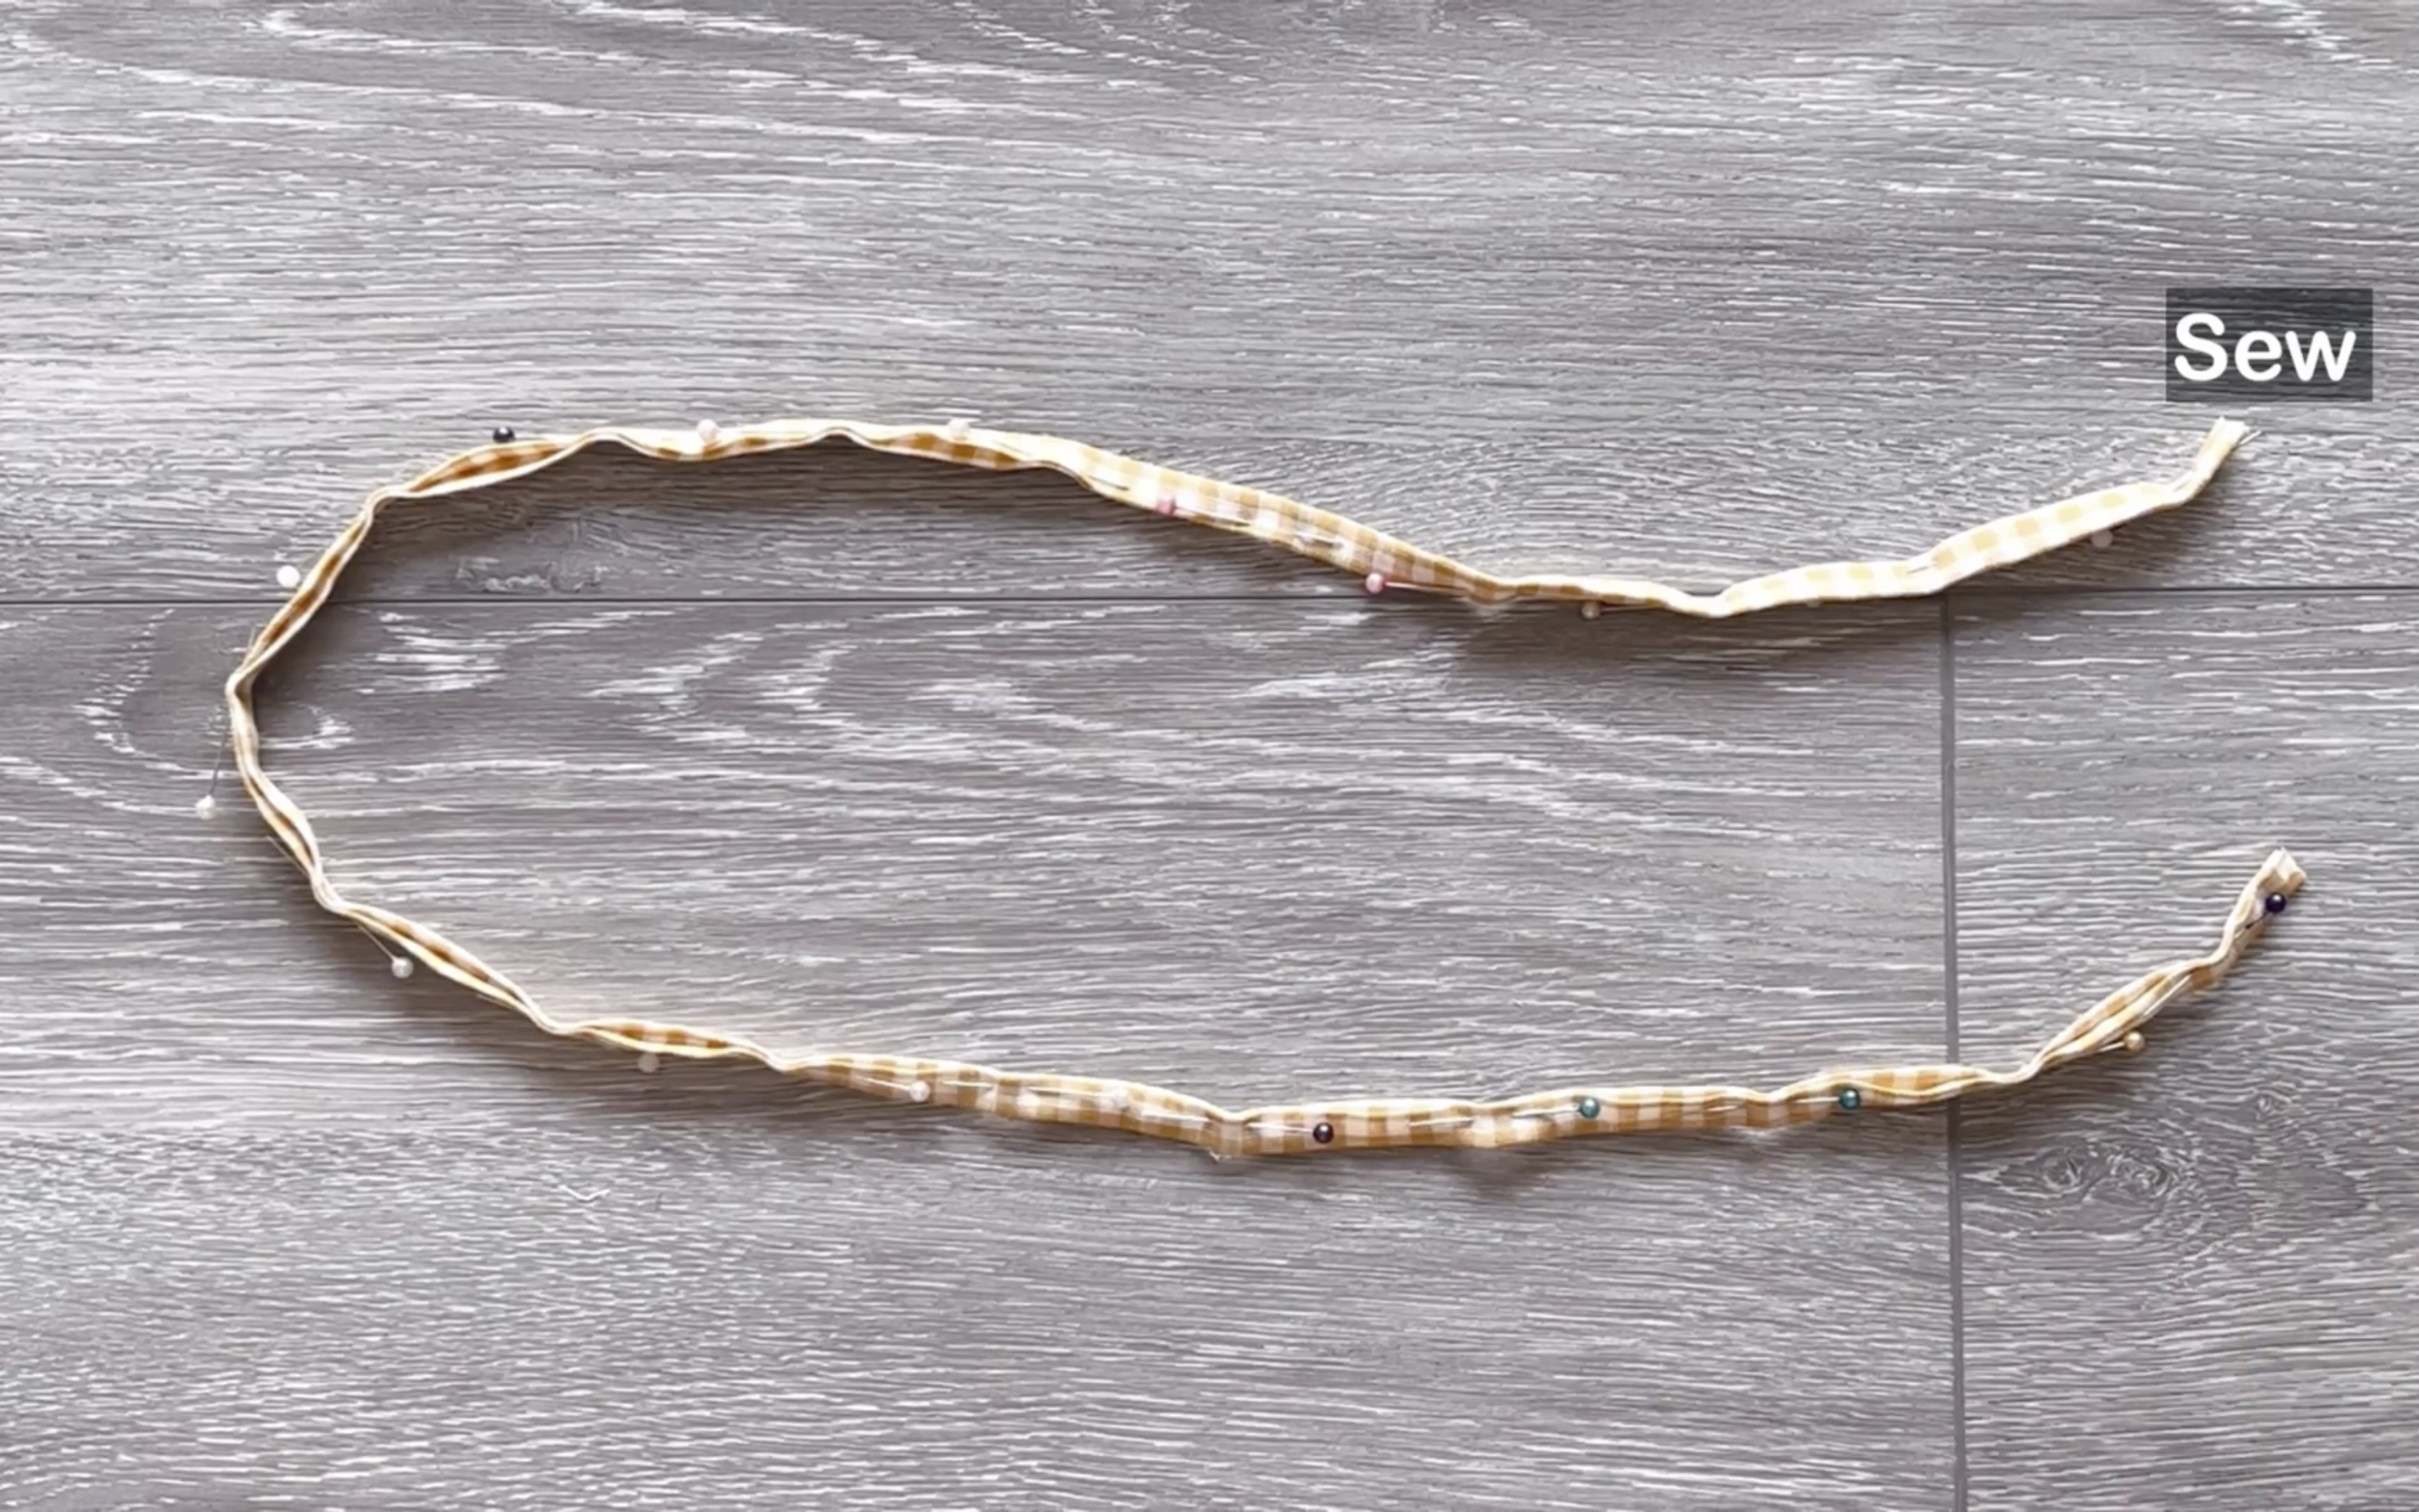
After cutting the front piece of the crop top, make a loose seam at the top and the bottom to create a gathering fabric there later.
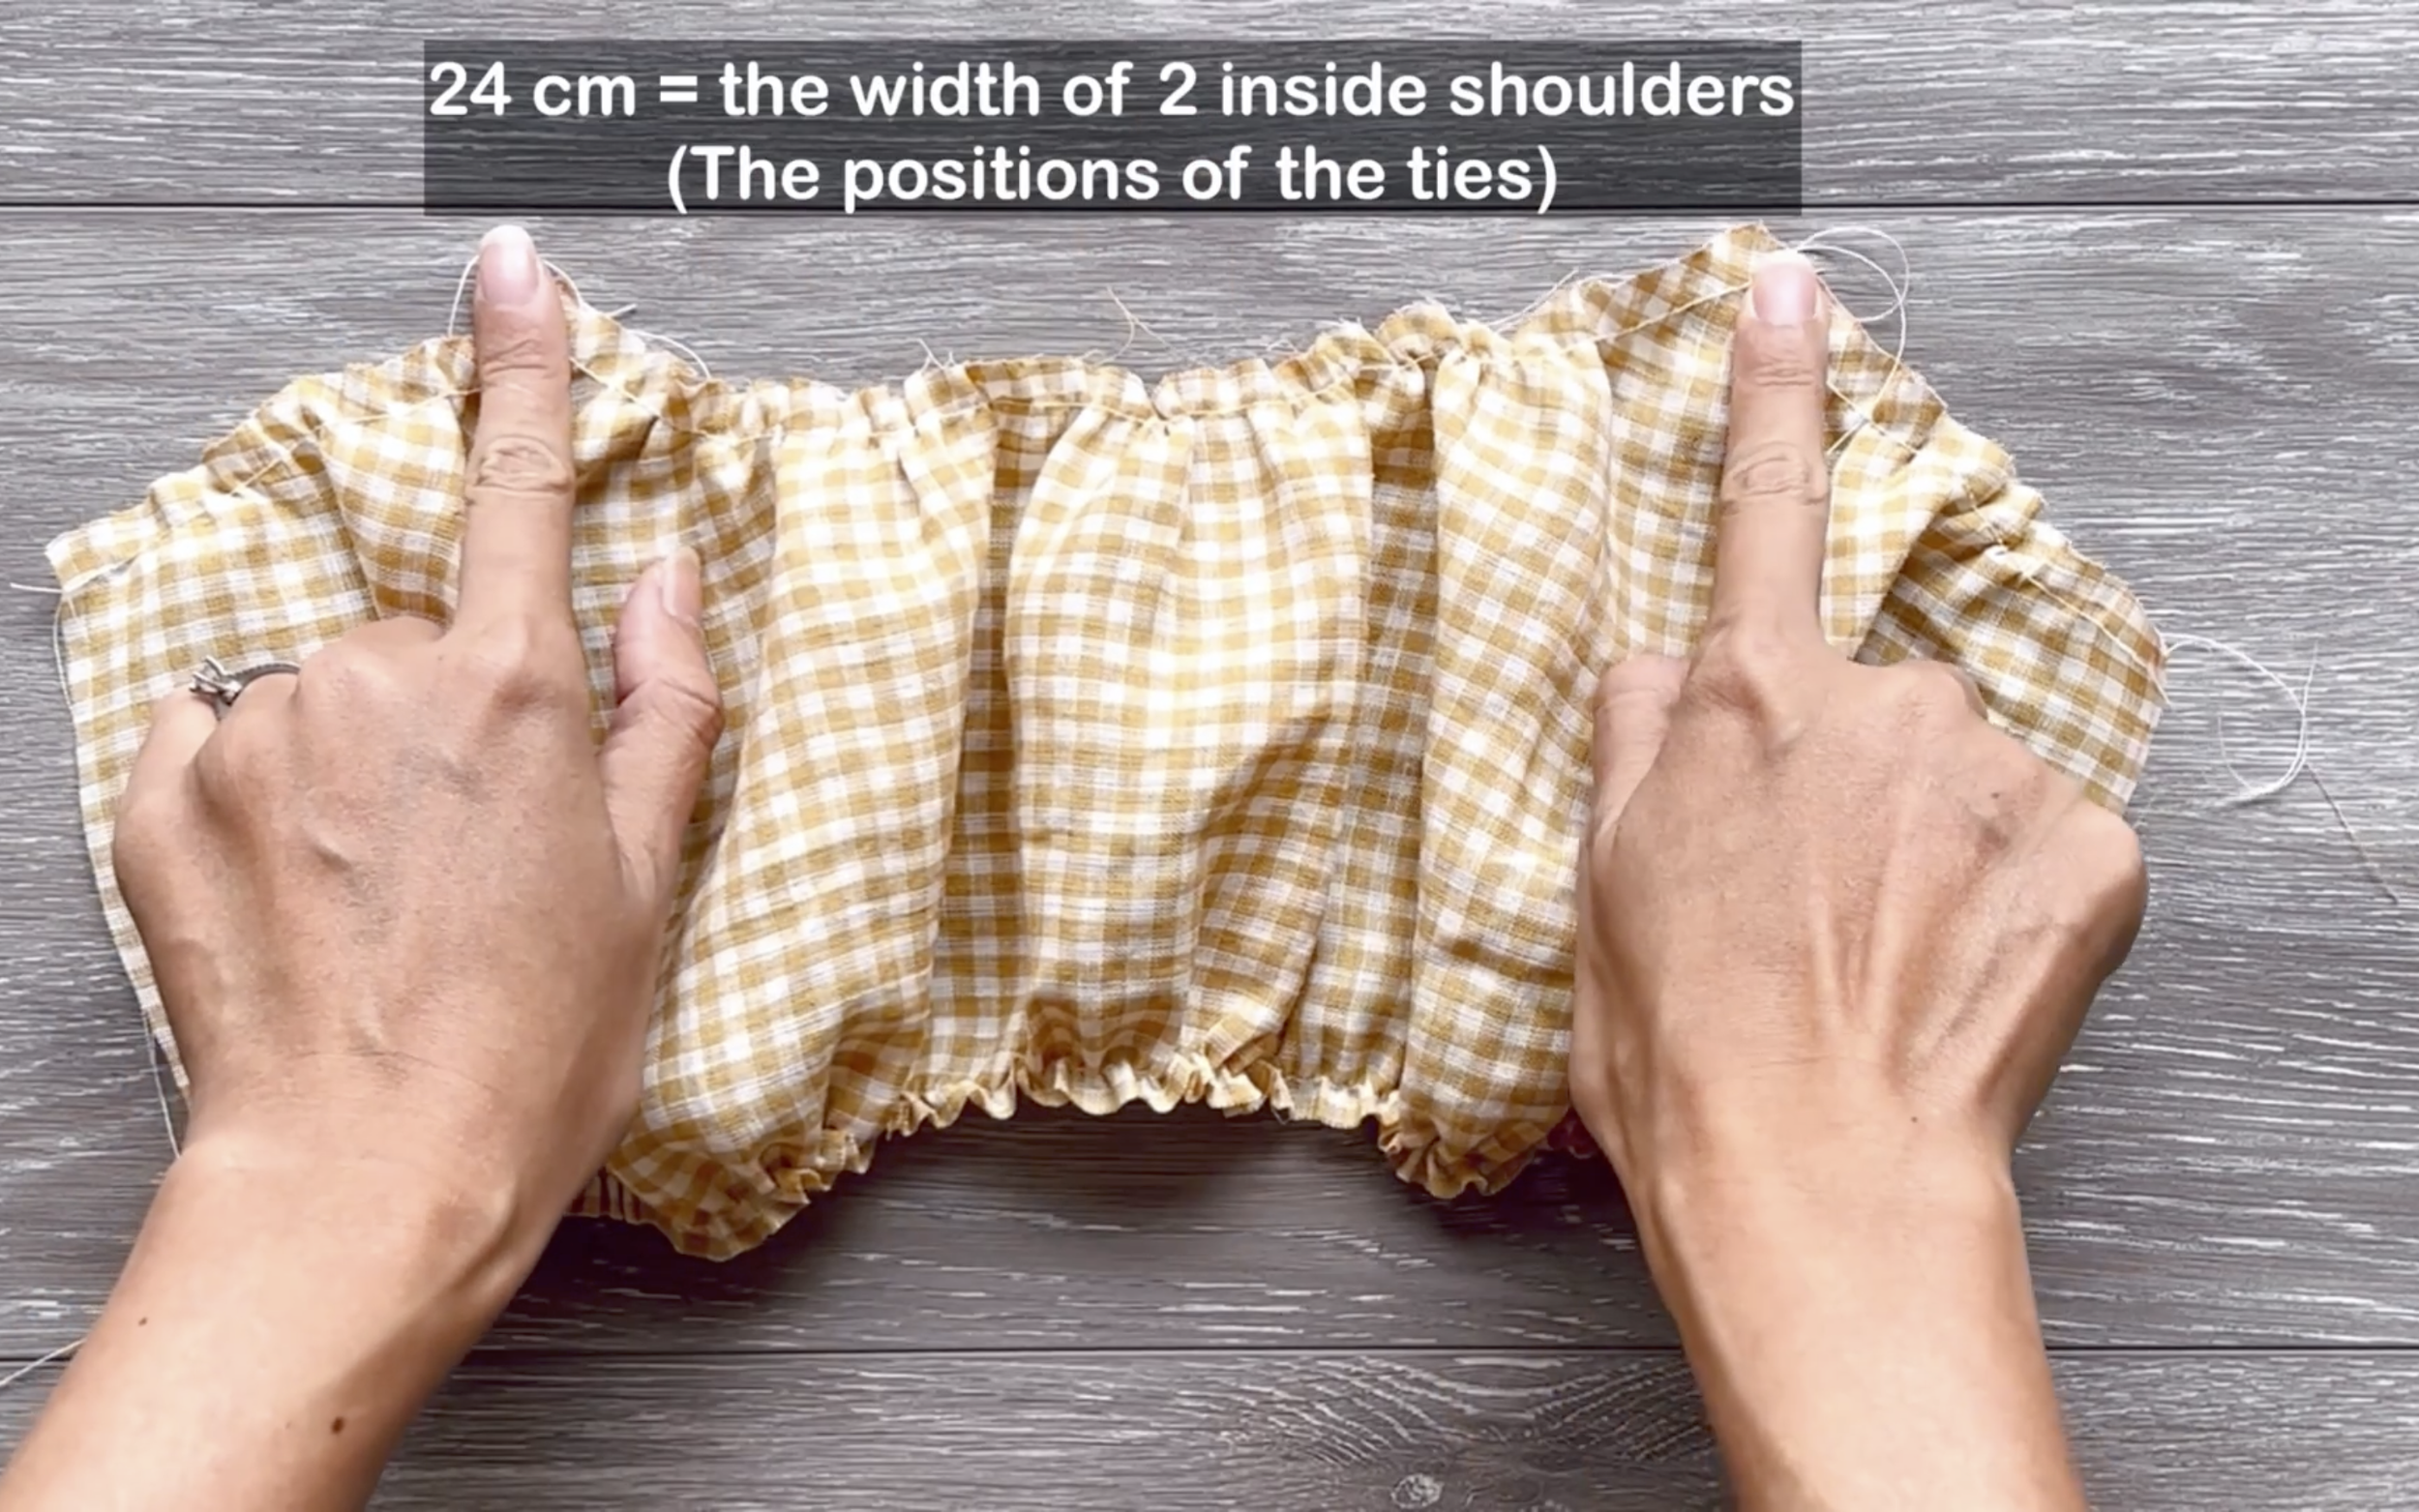
The final width of the gathering fabric at the top should be the width between two inside shoulders, which is the position of the tie.
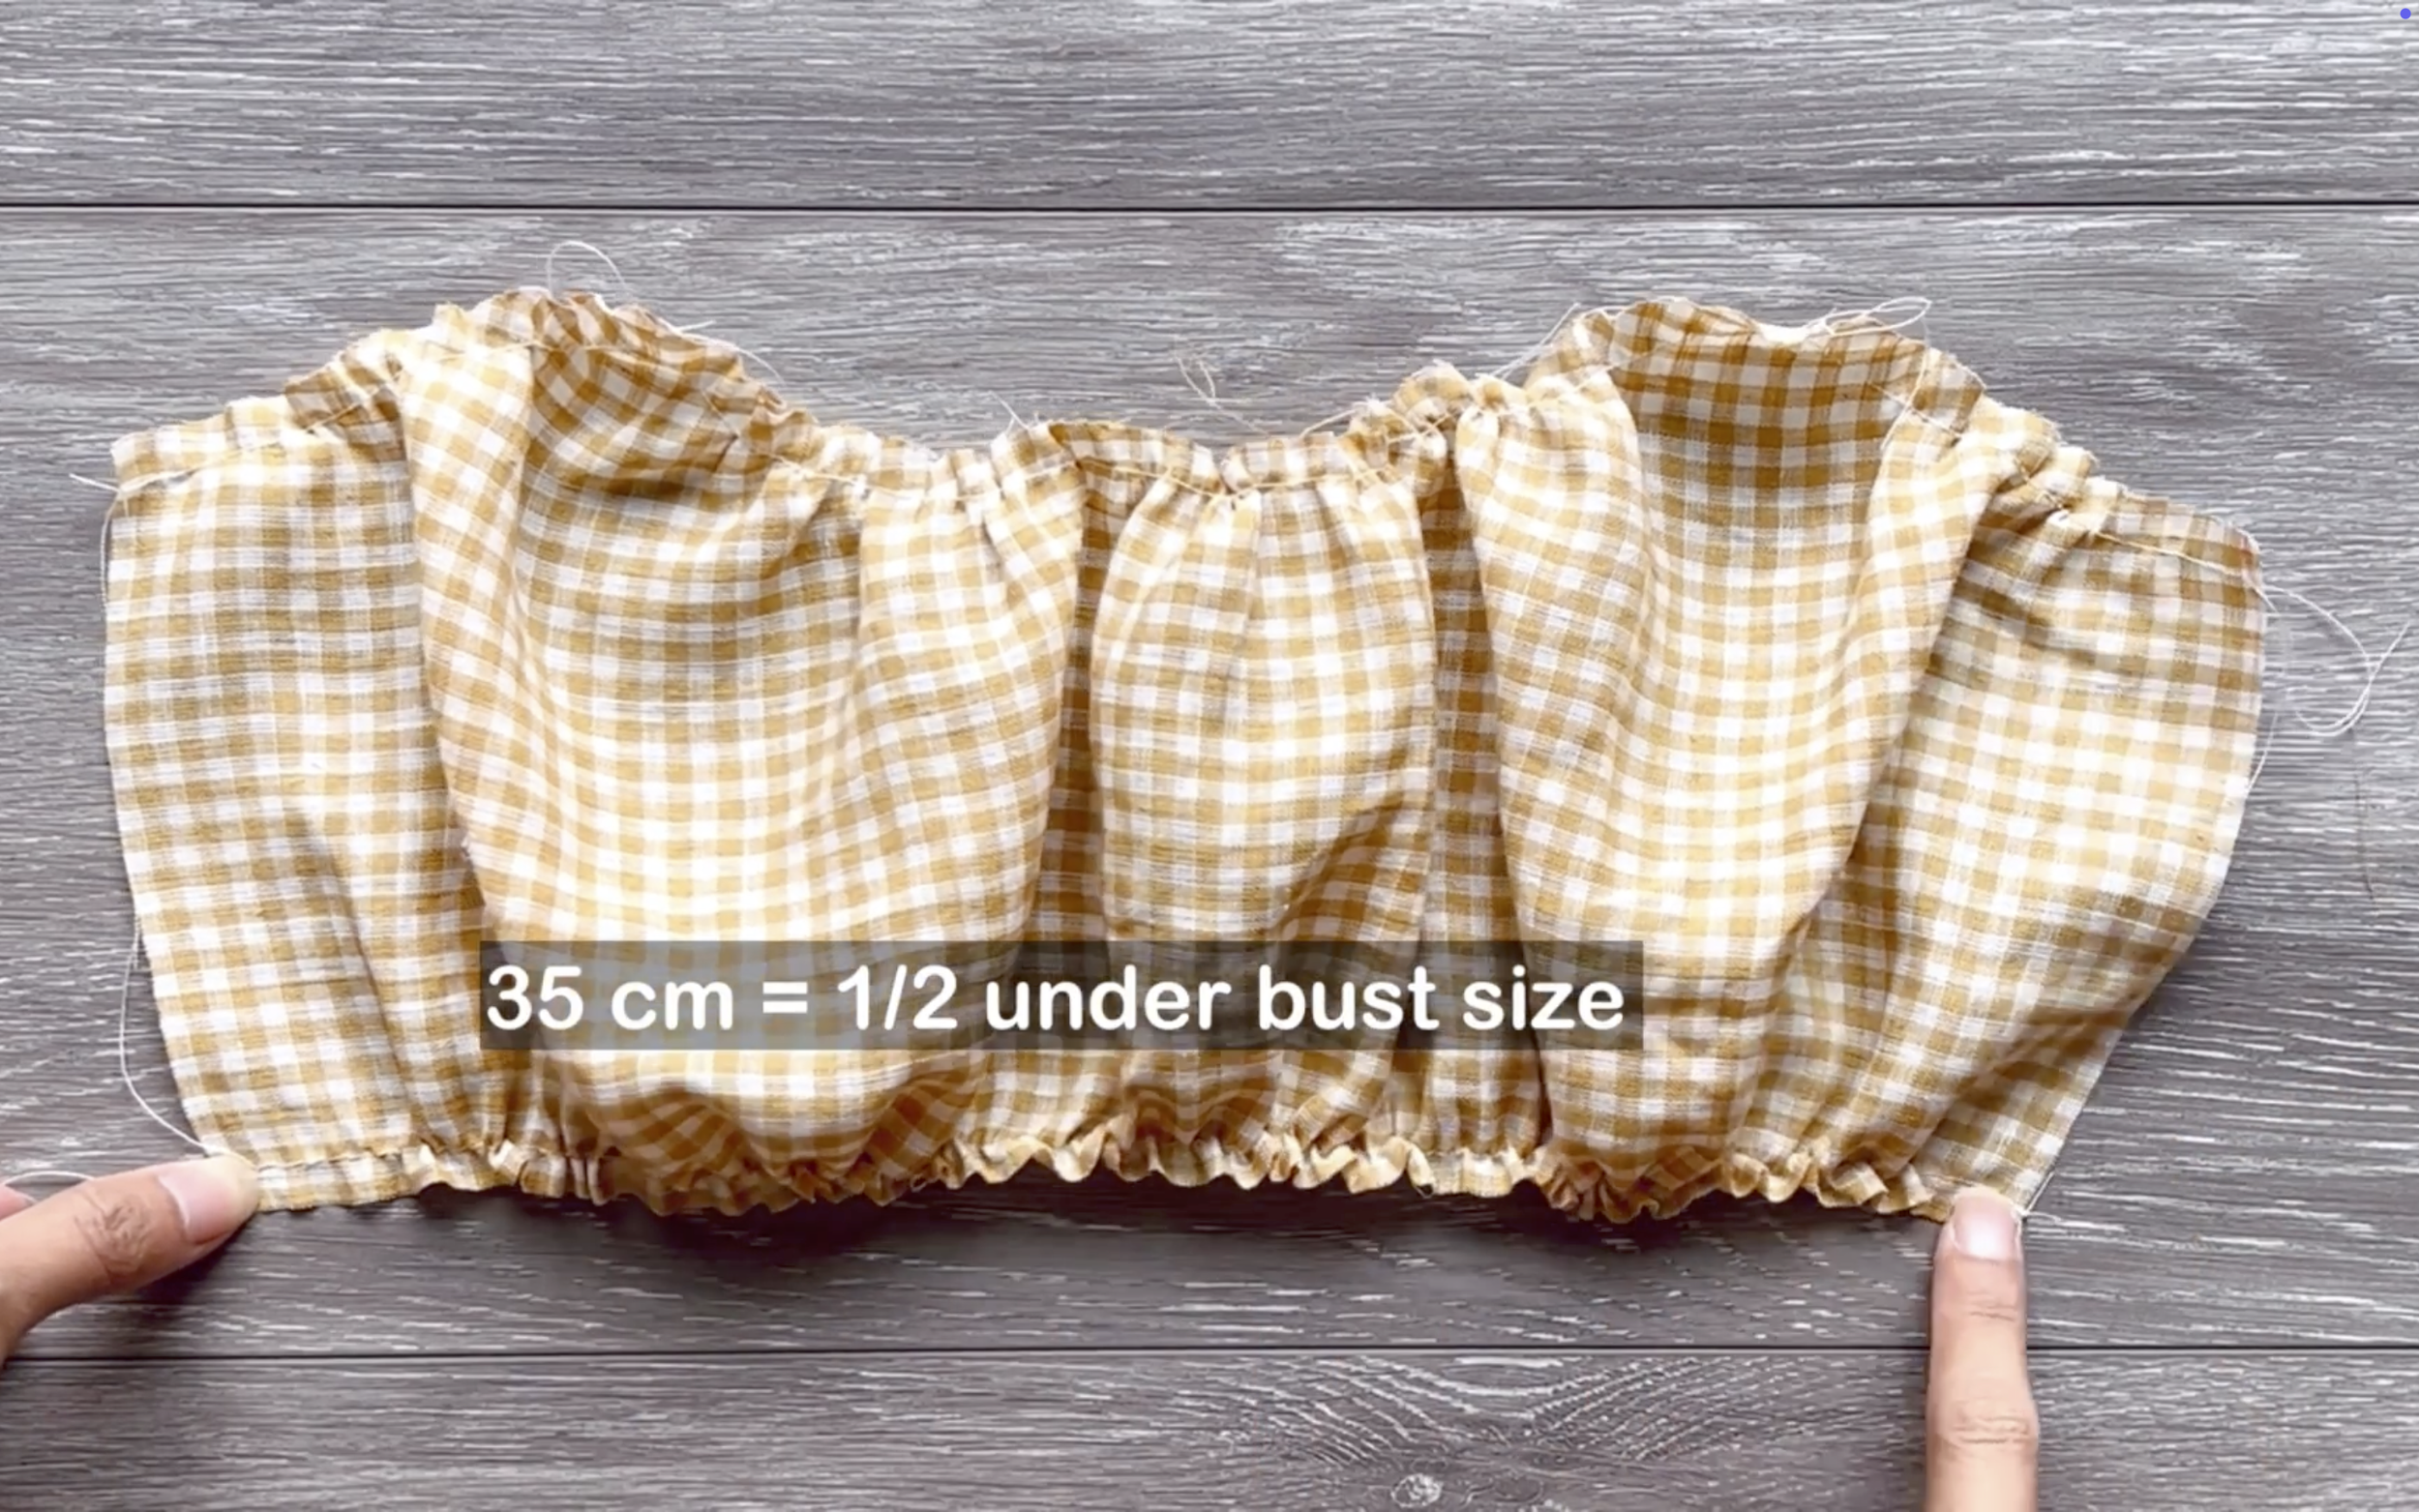
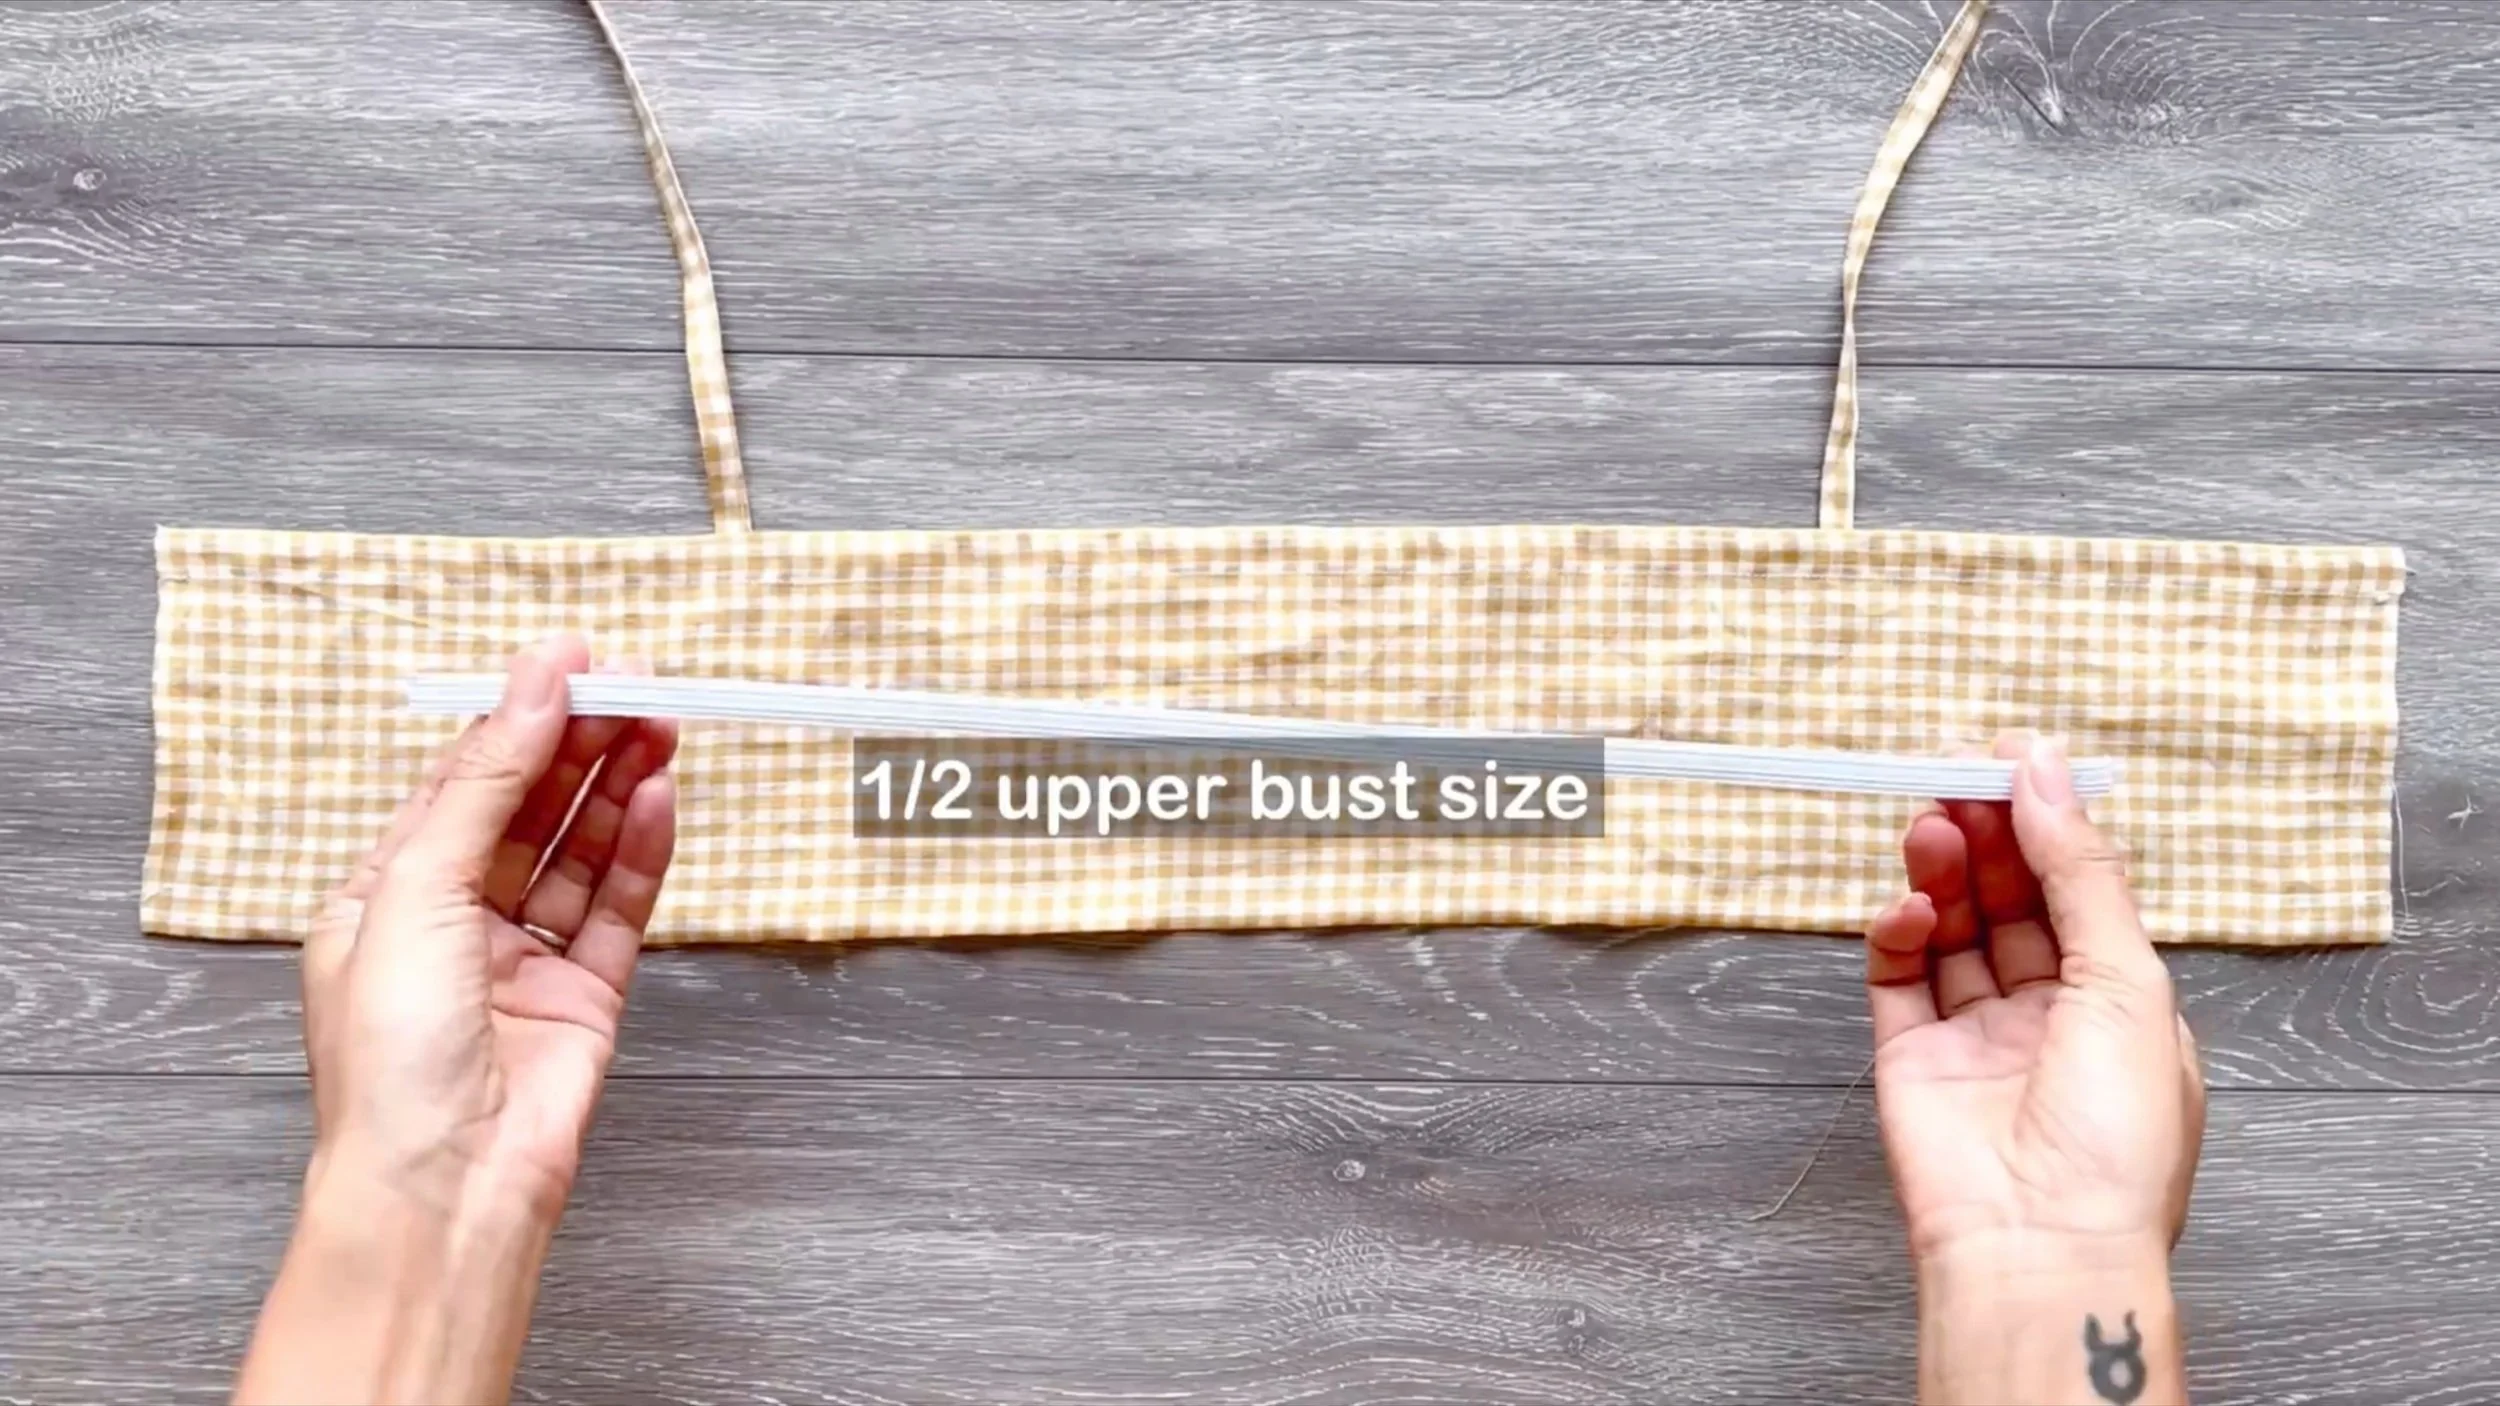
The width at the end of the crop top should be half of the underbust size.
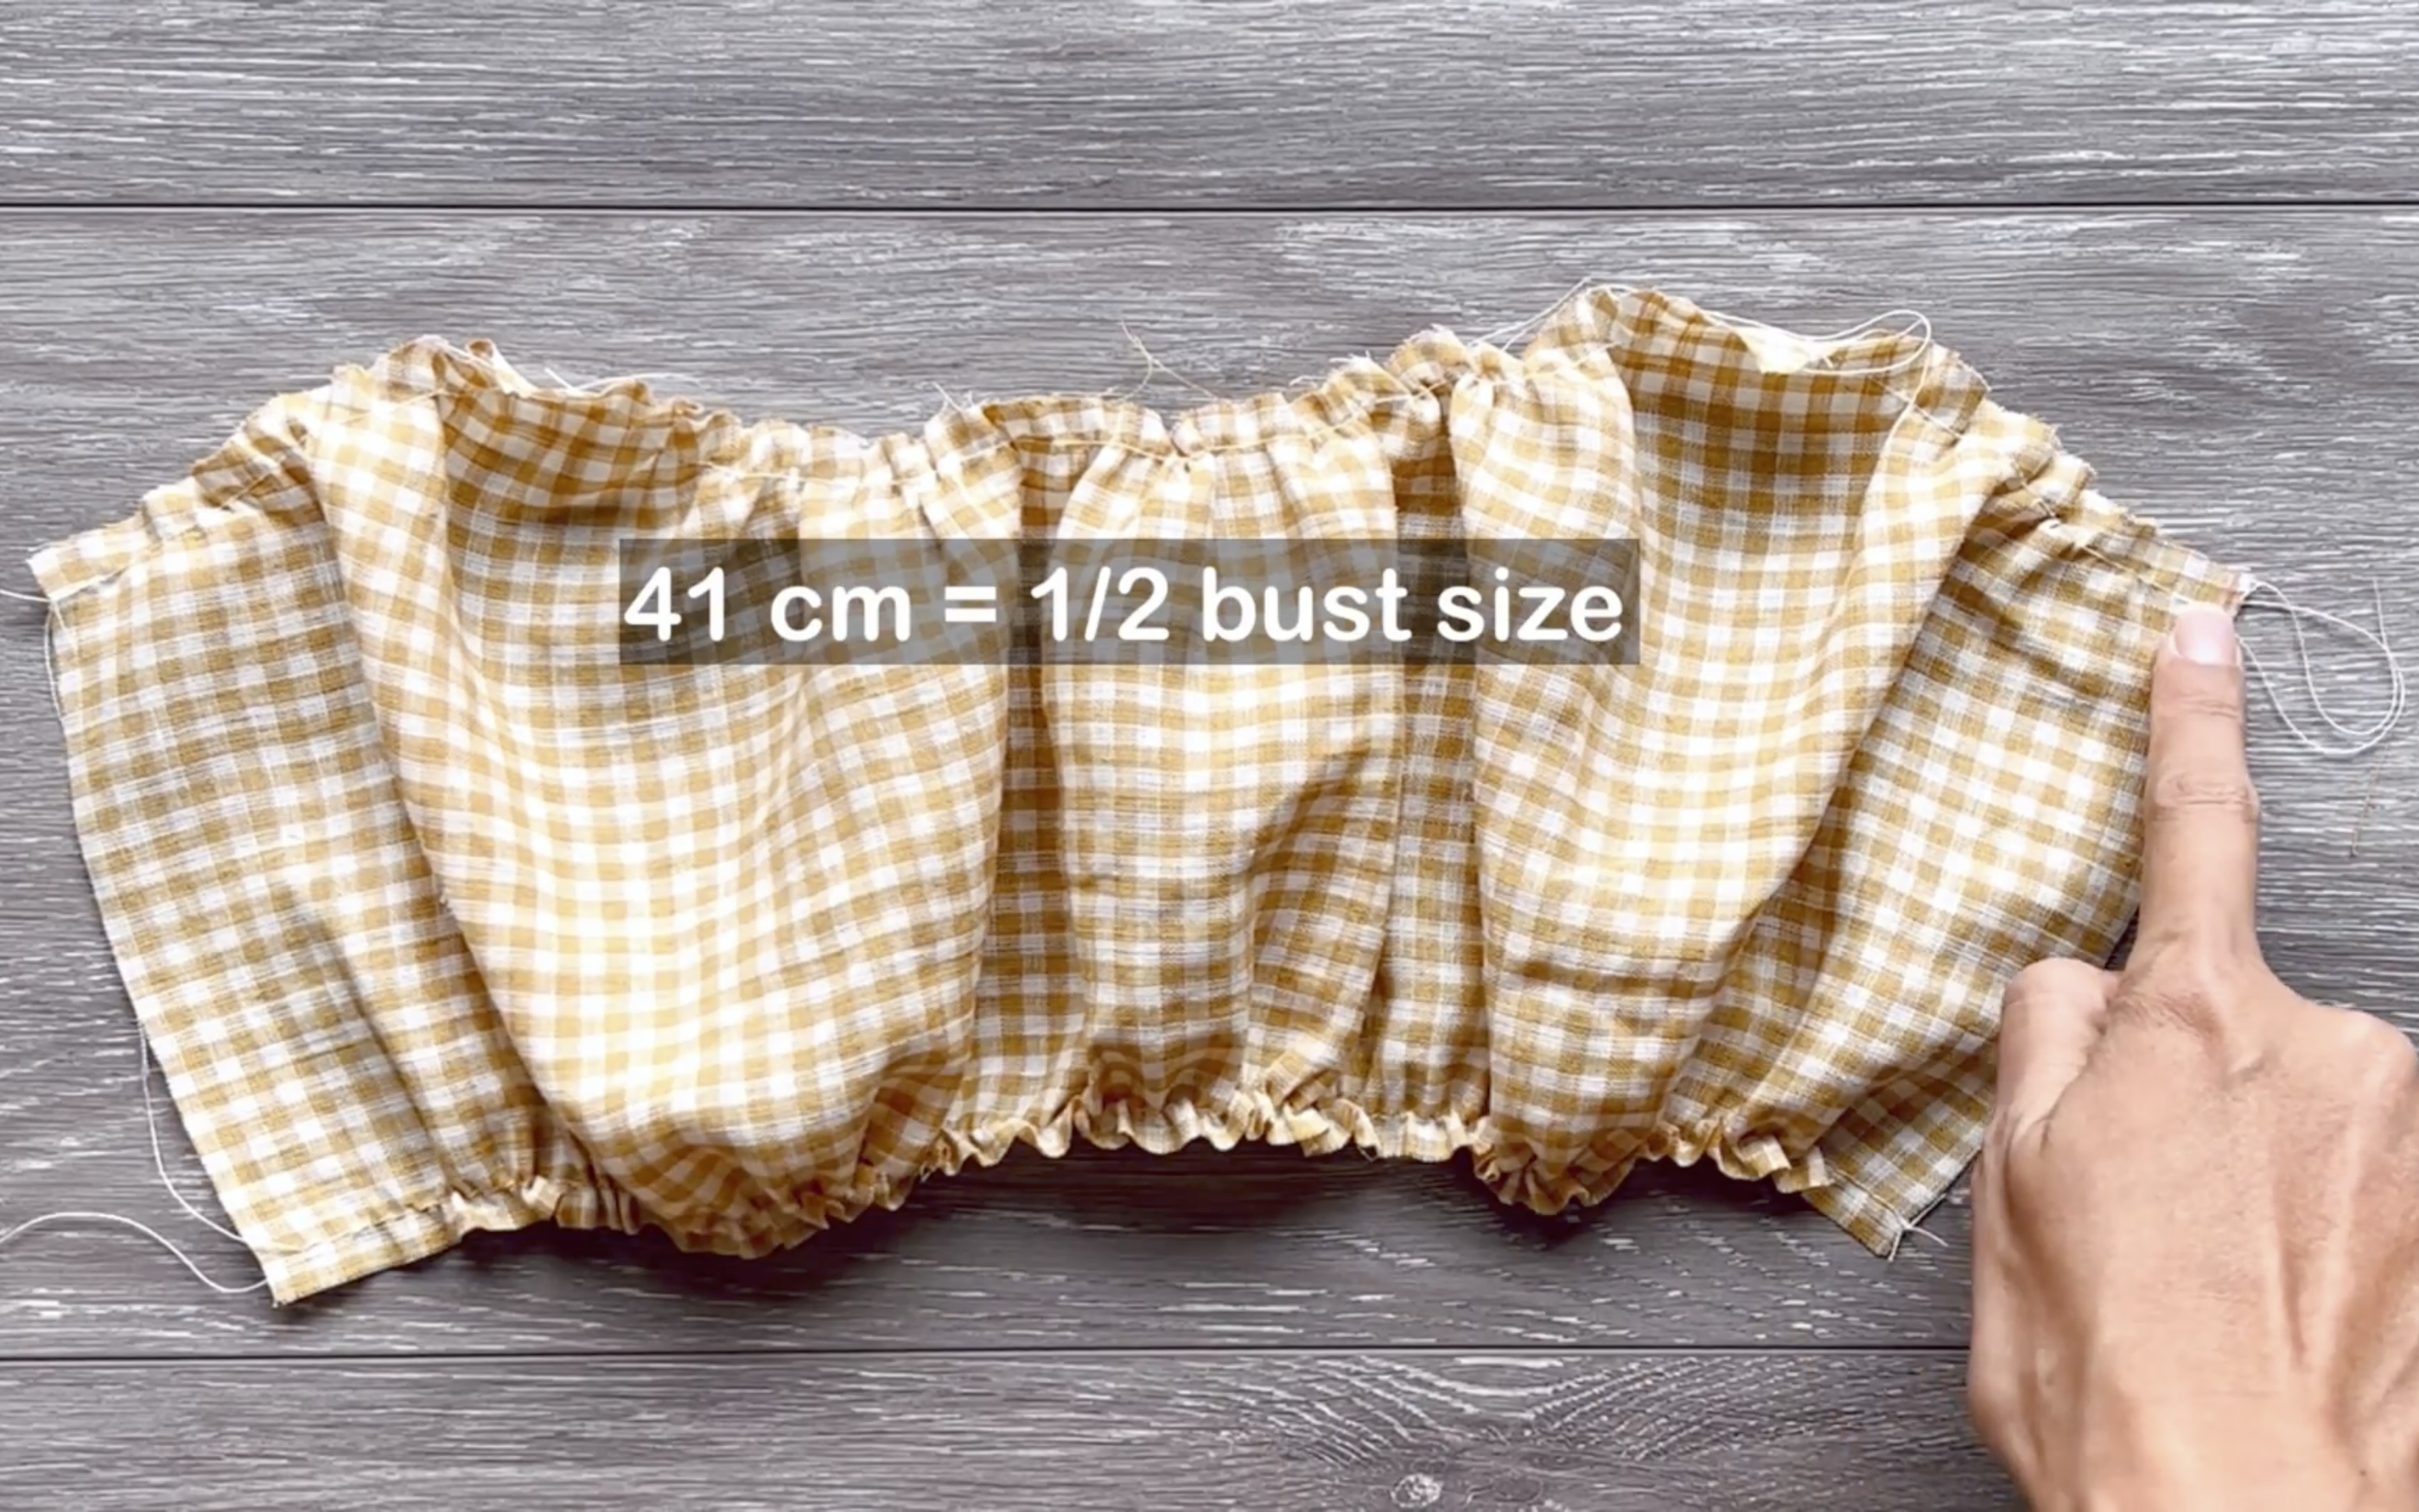
The width between two under armpits should be half of the bust size.
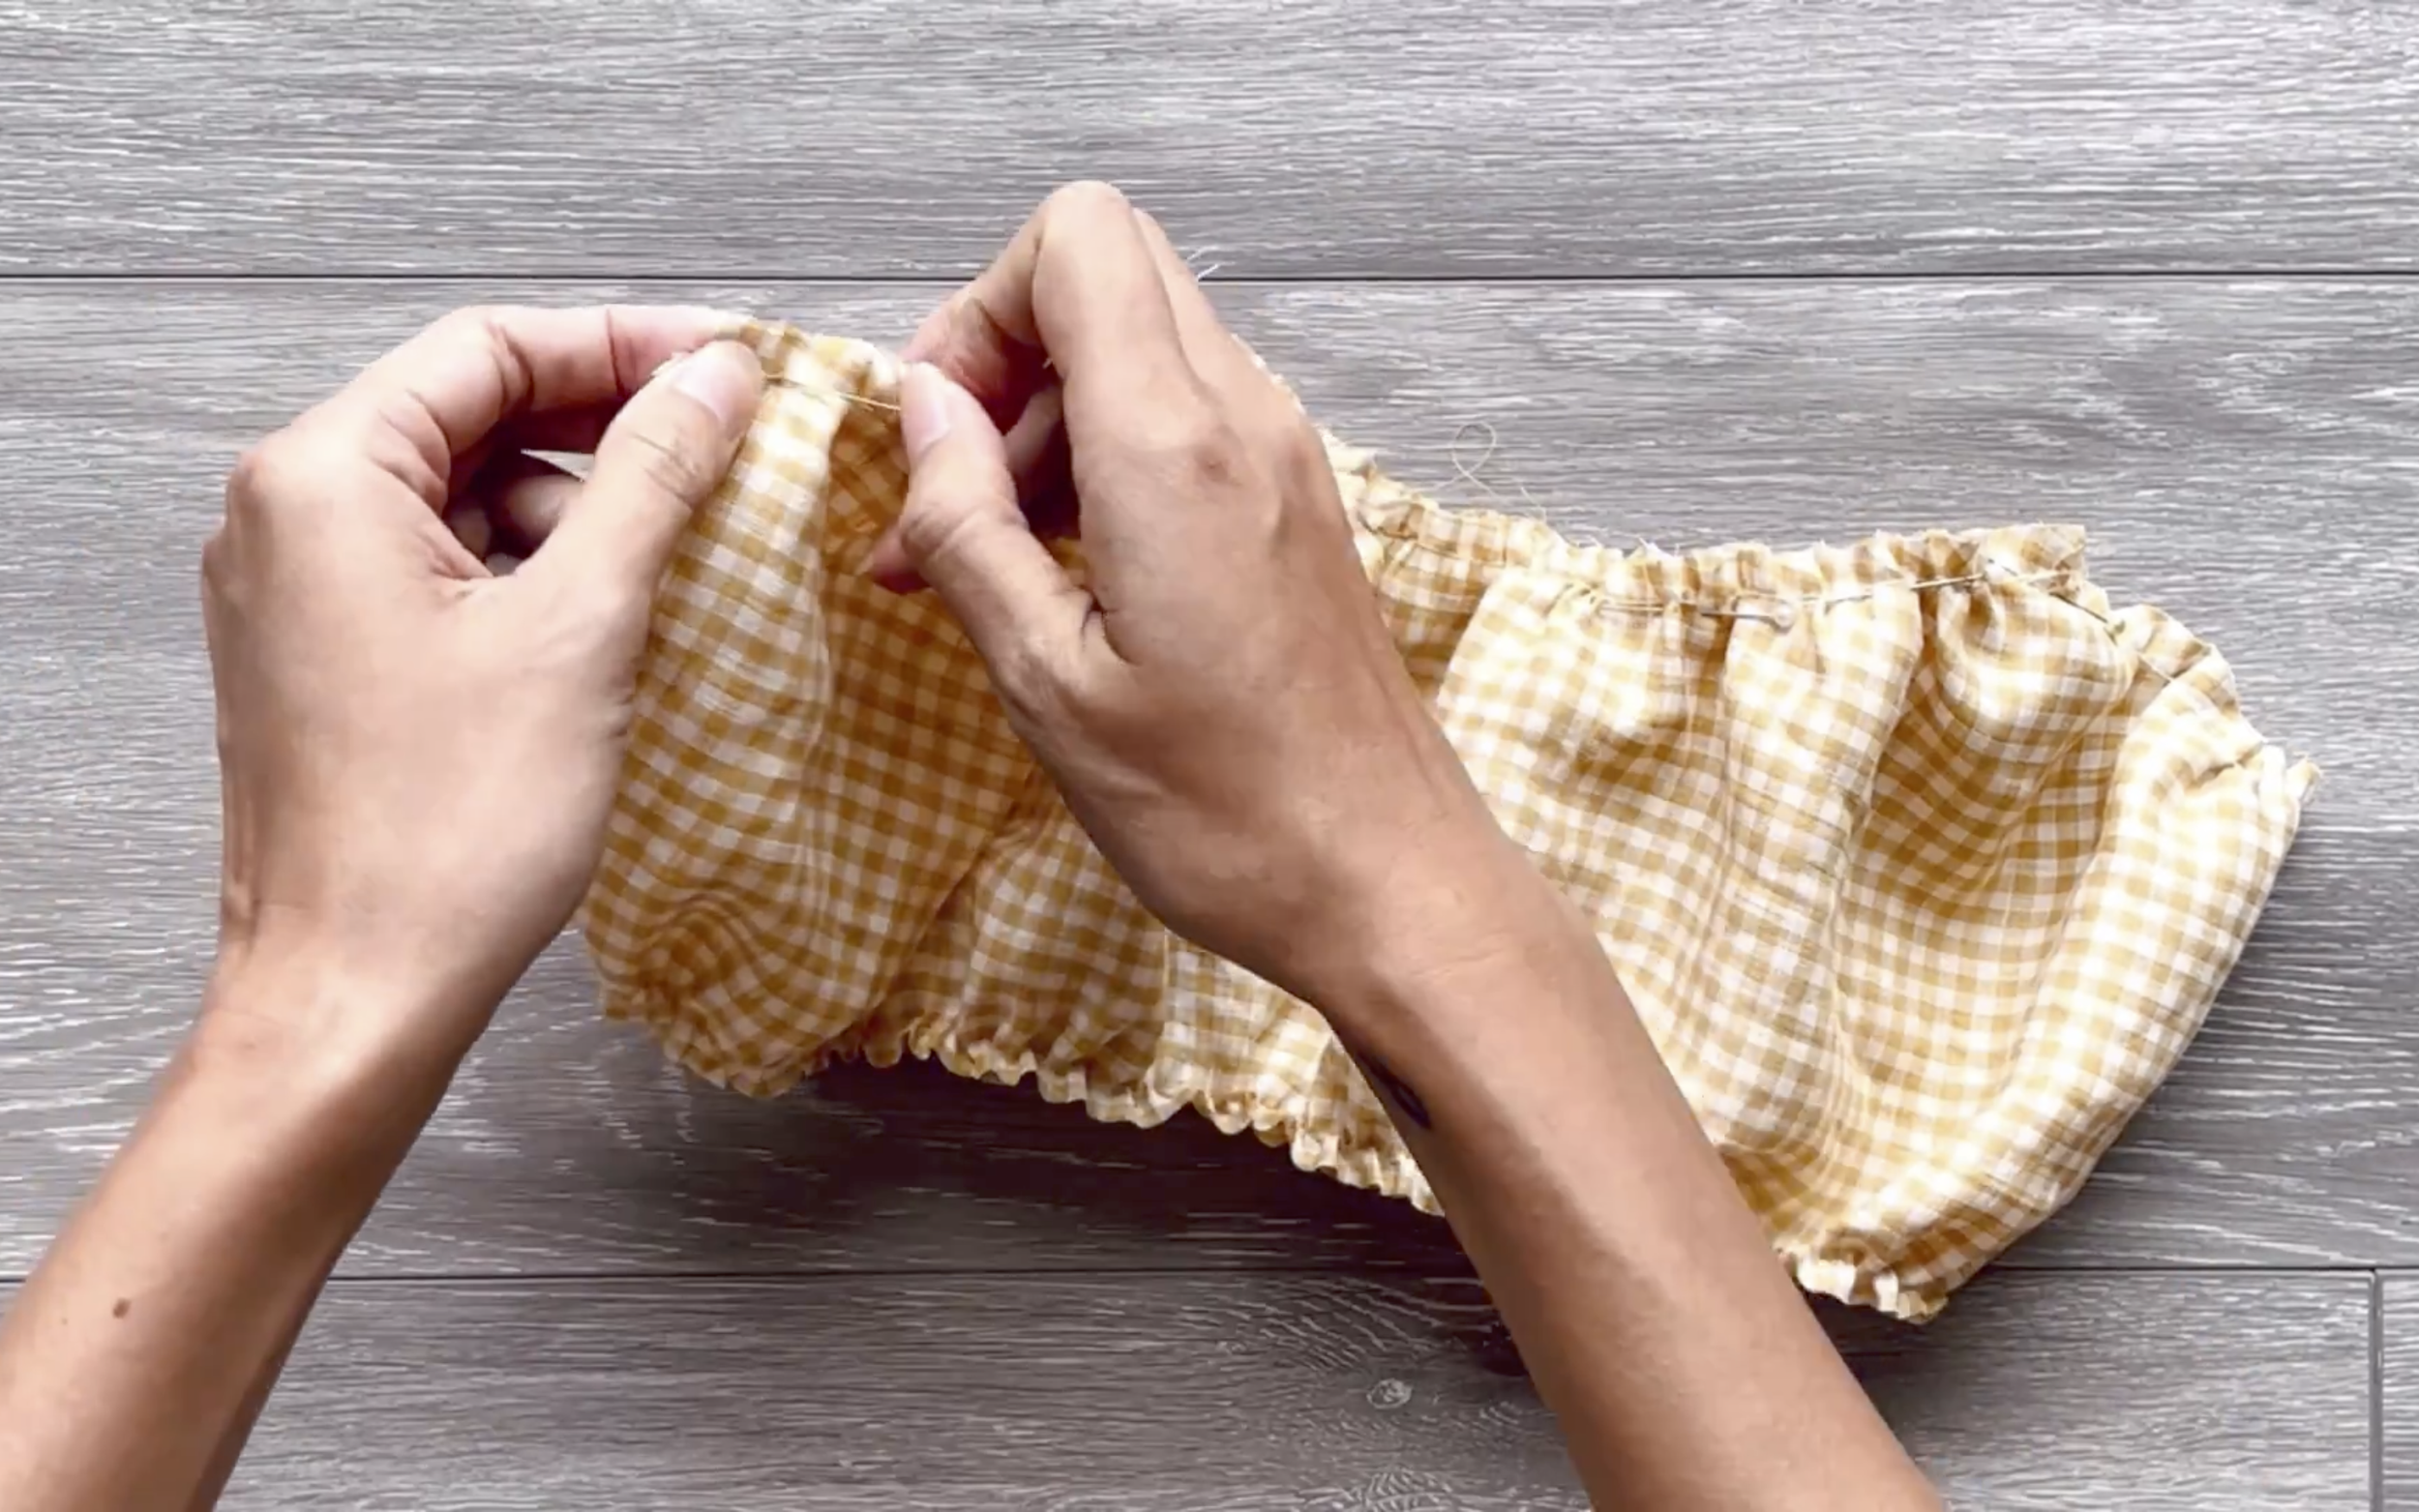
Make another piece like this, then connect them together with pins.
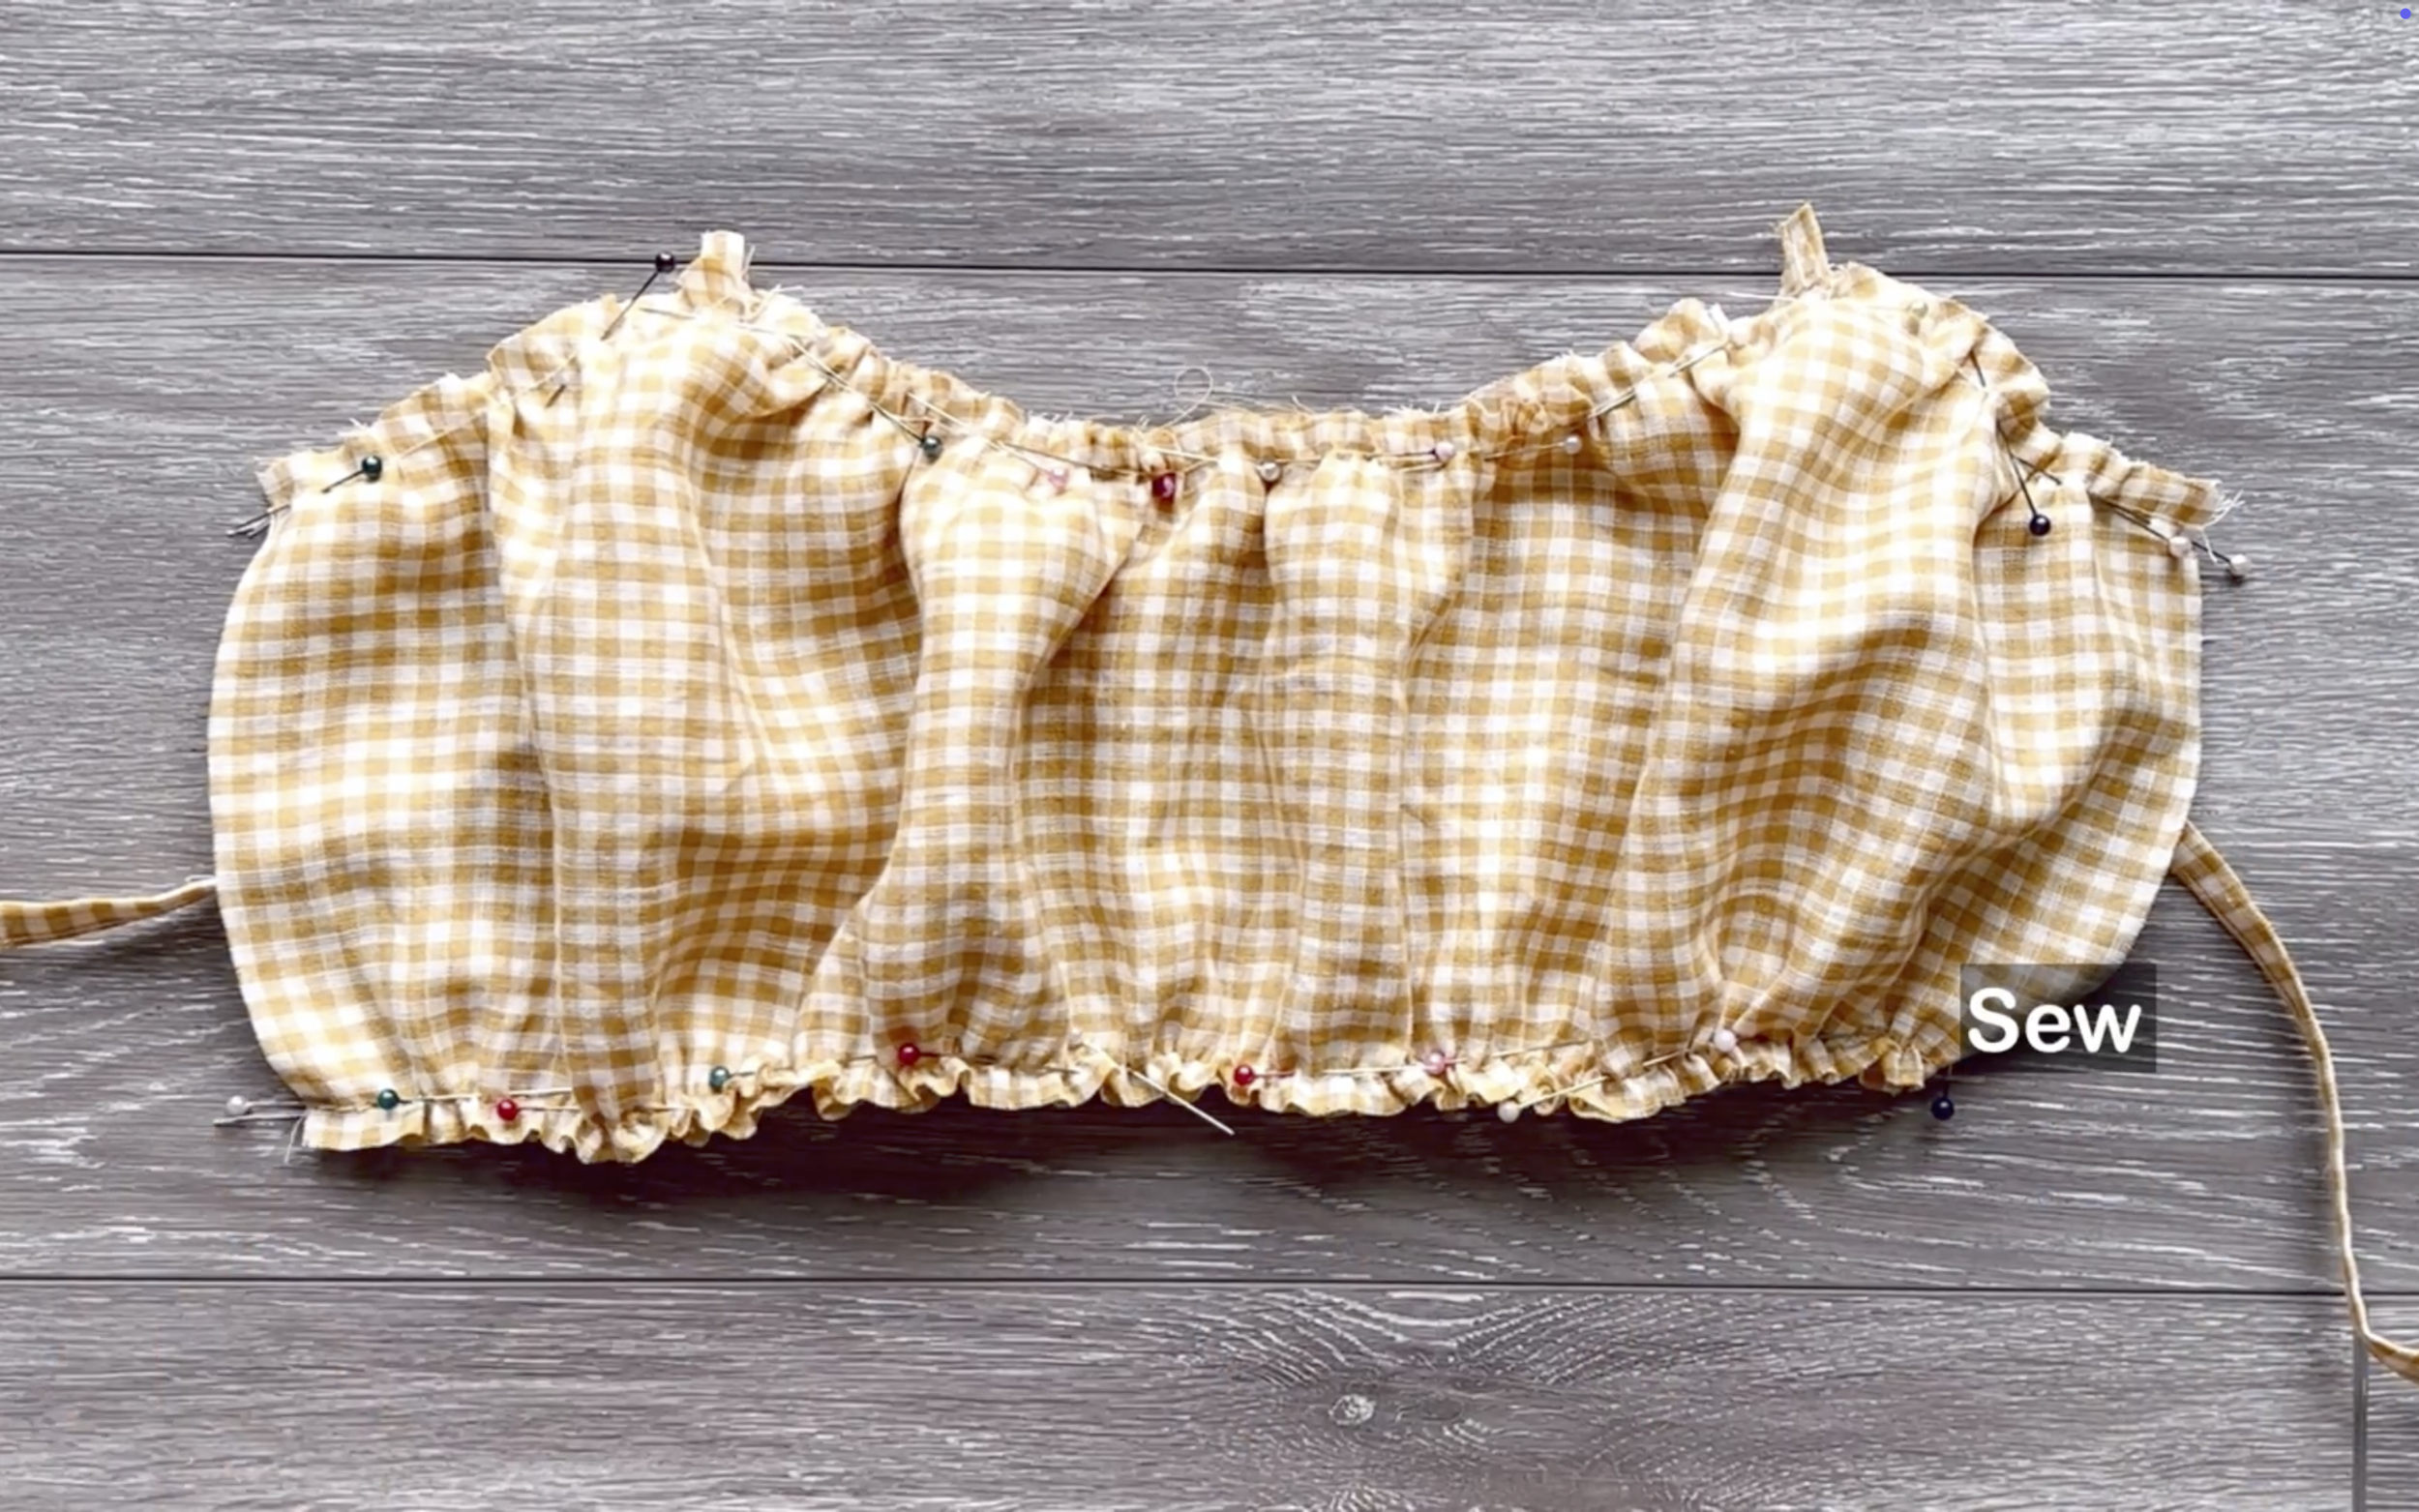
Add the tie to the position and sew.
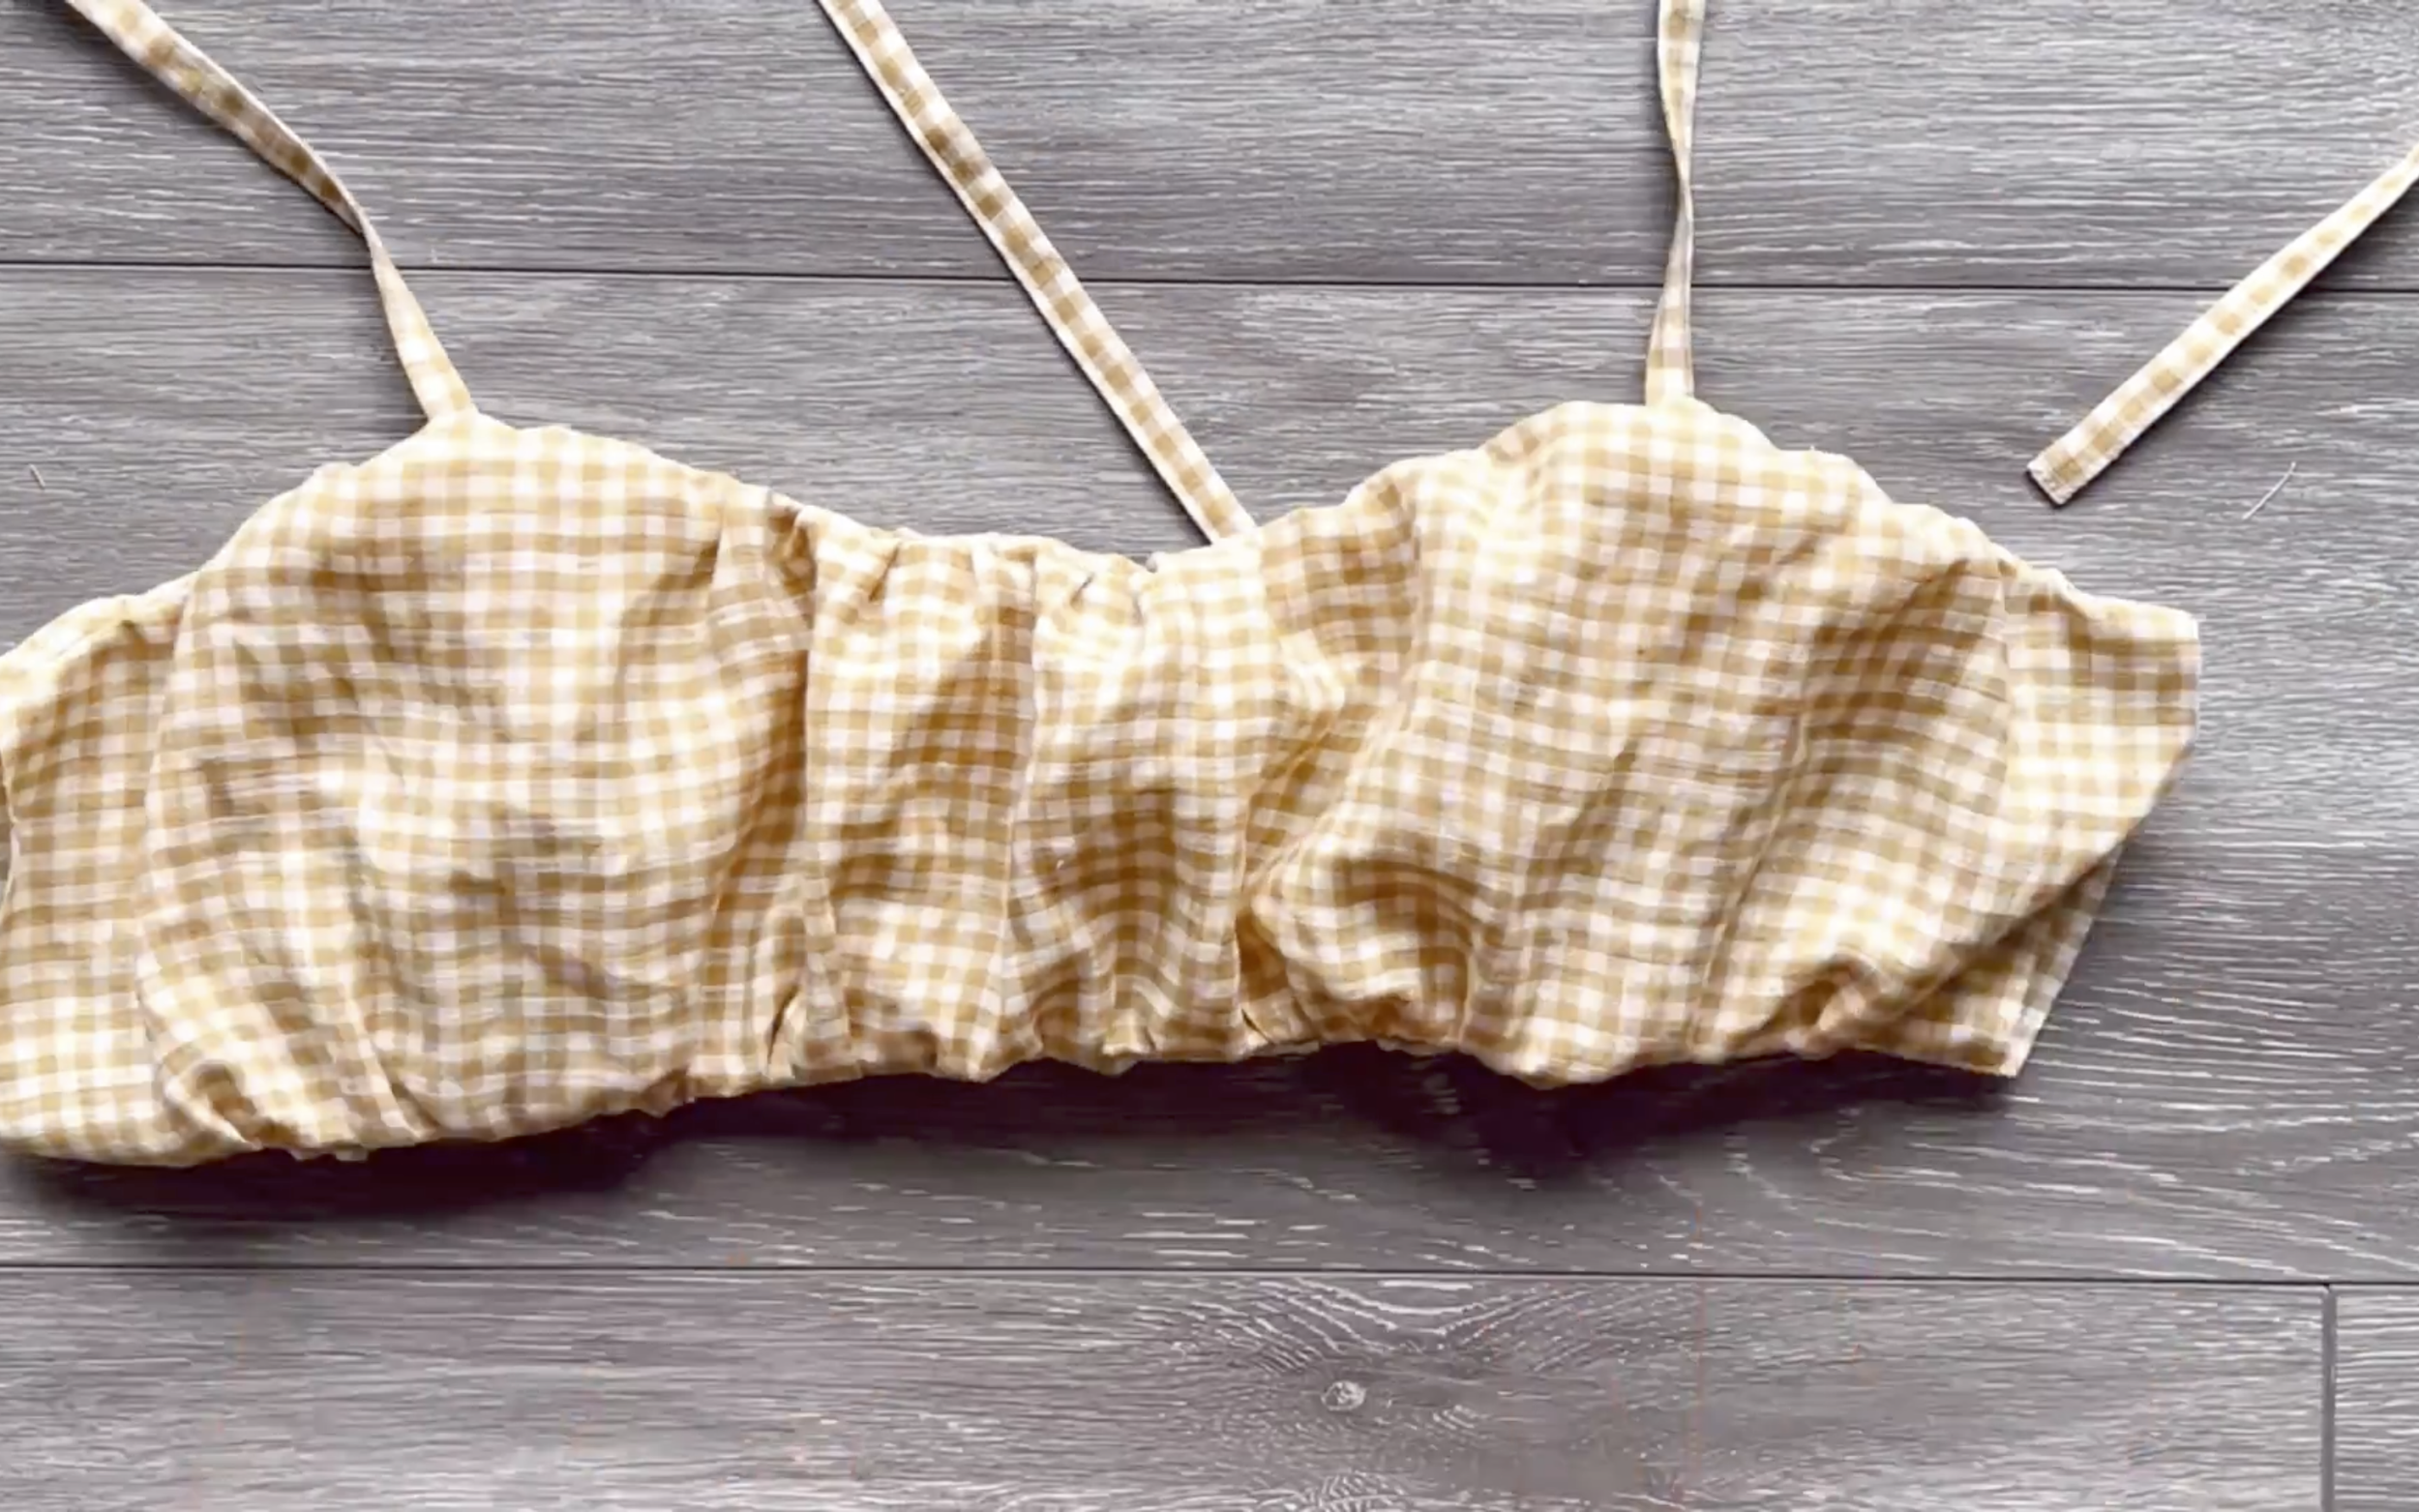
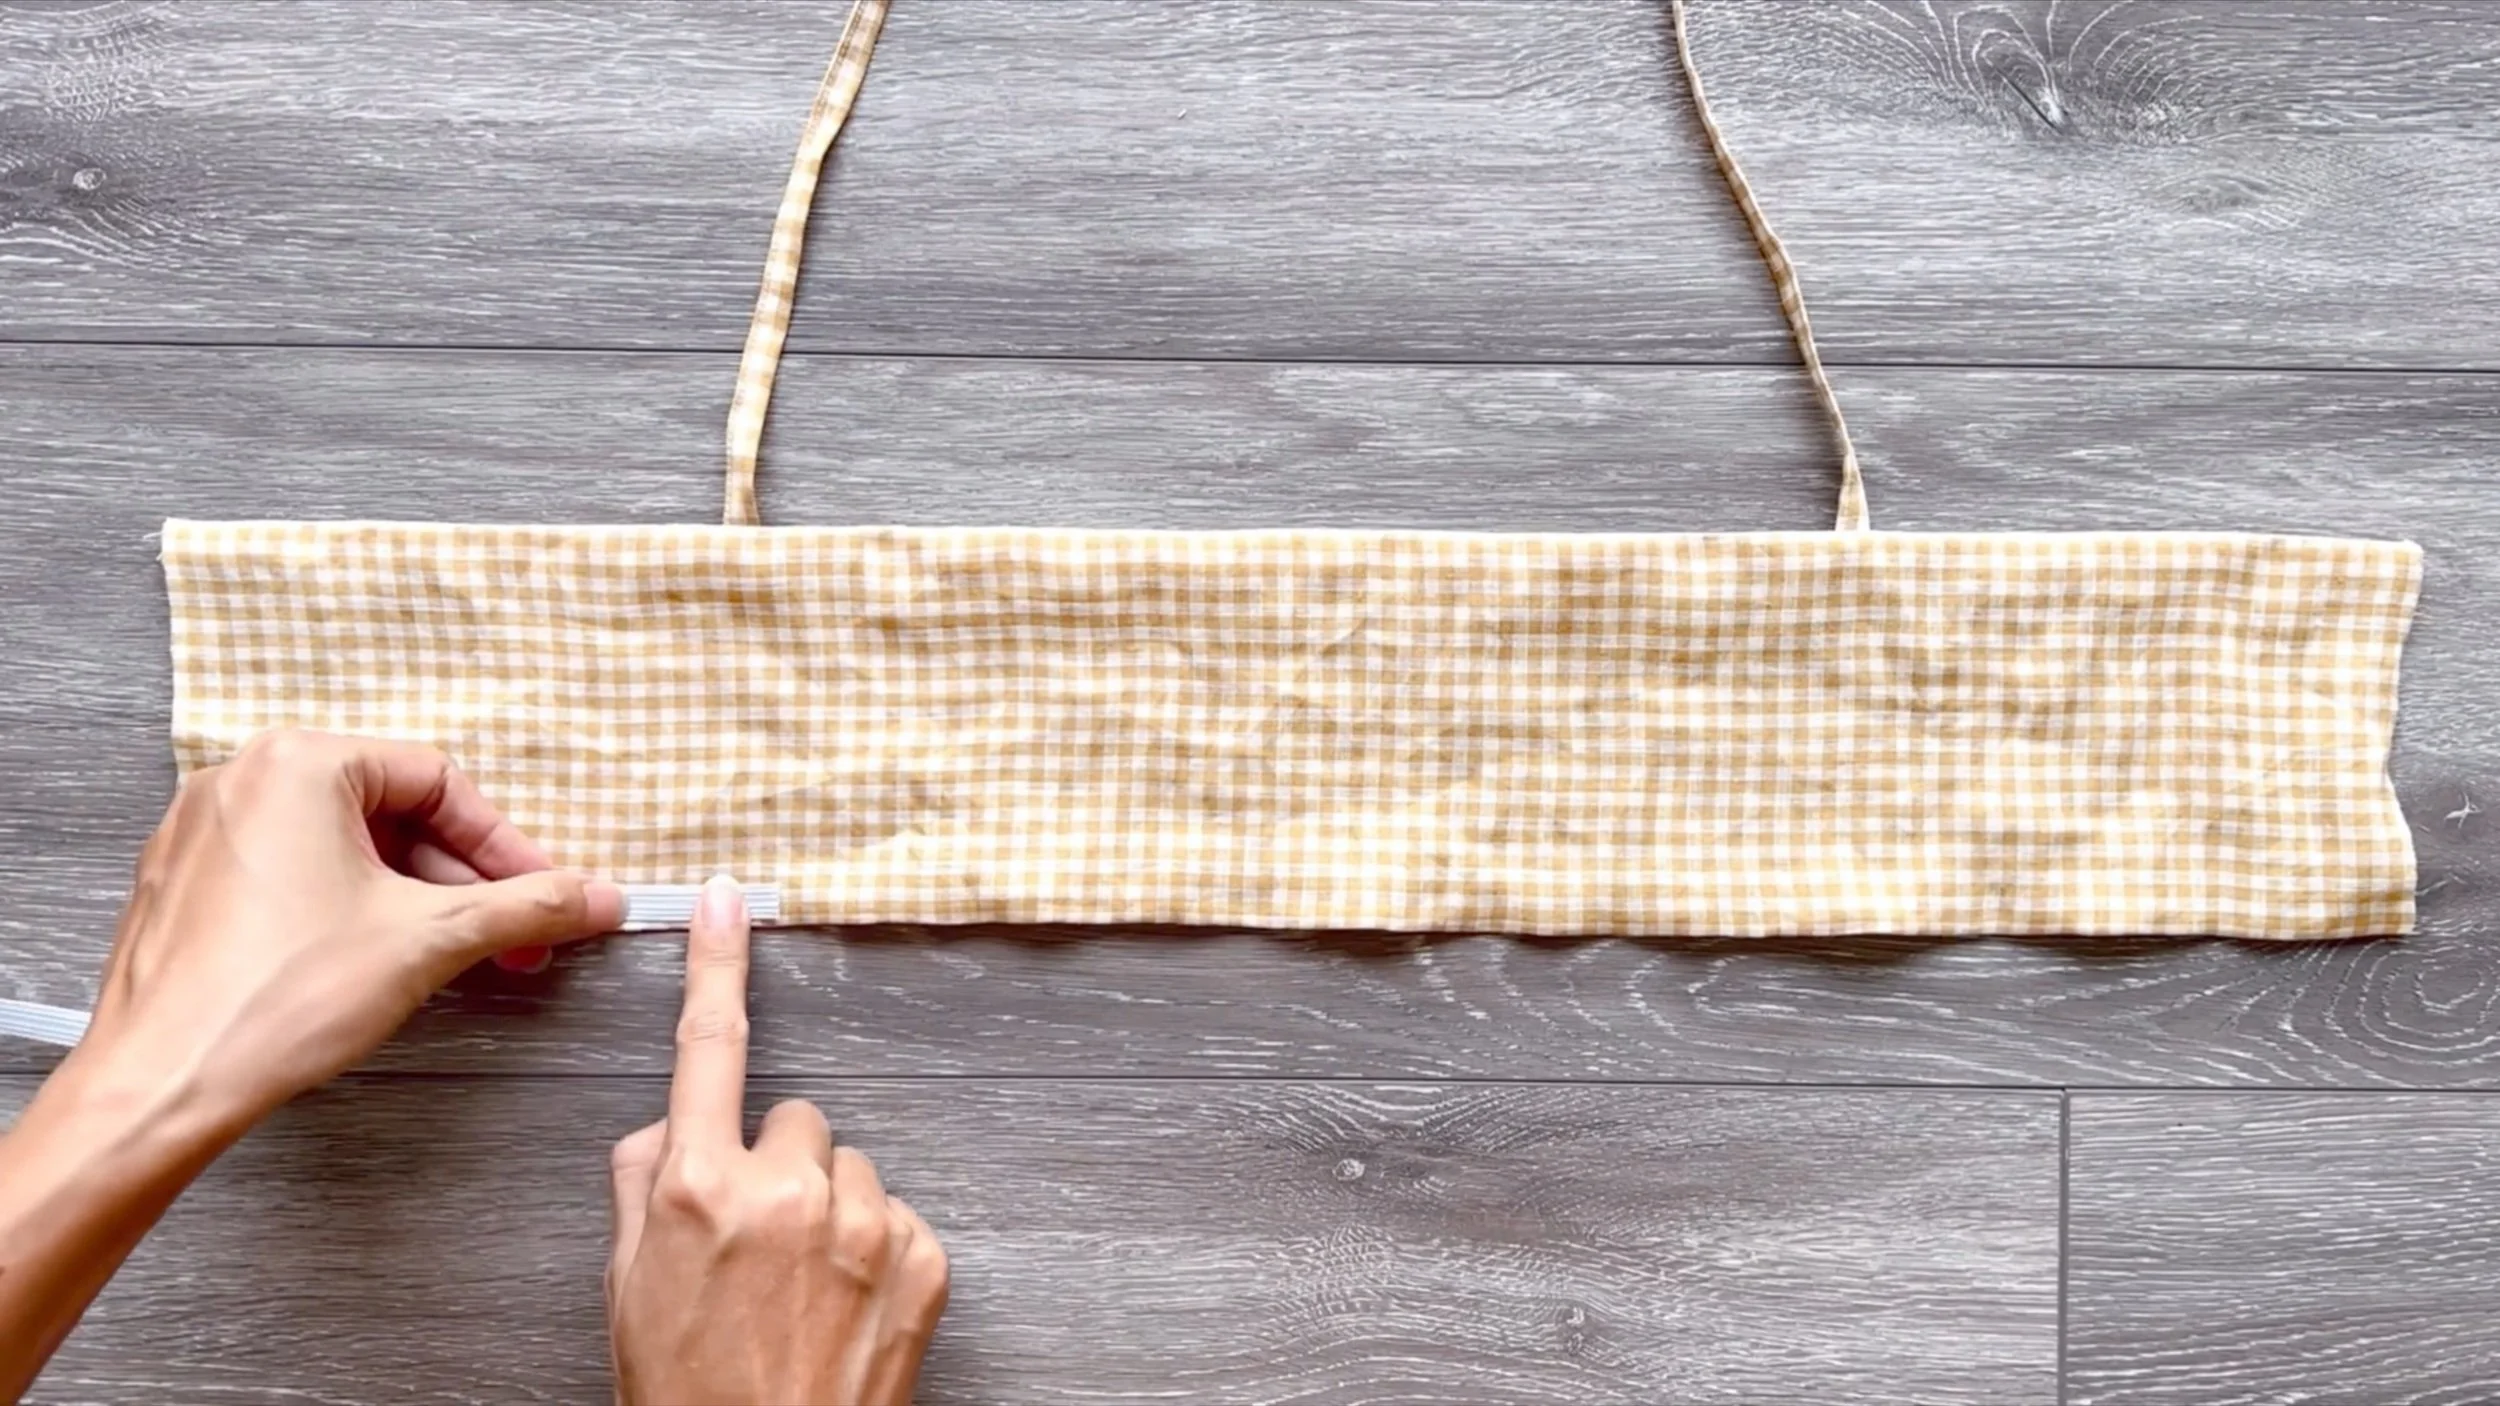
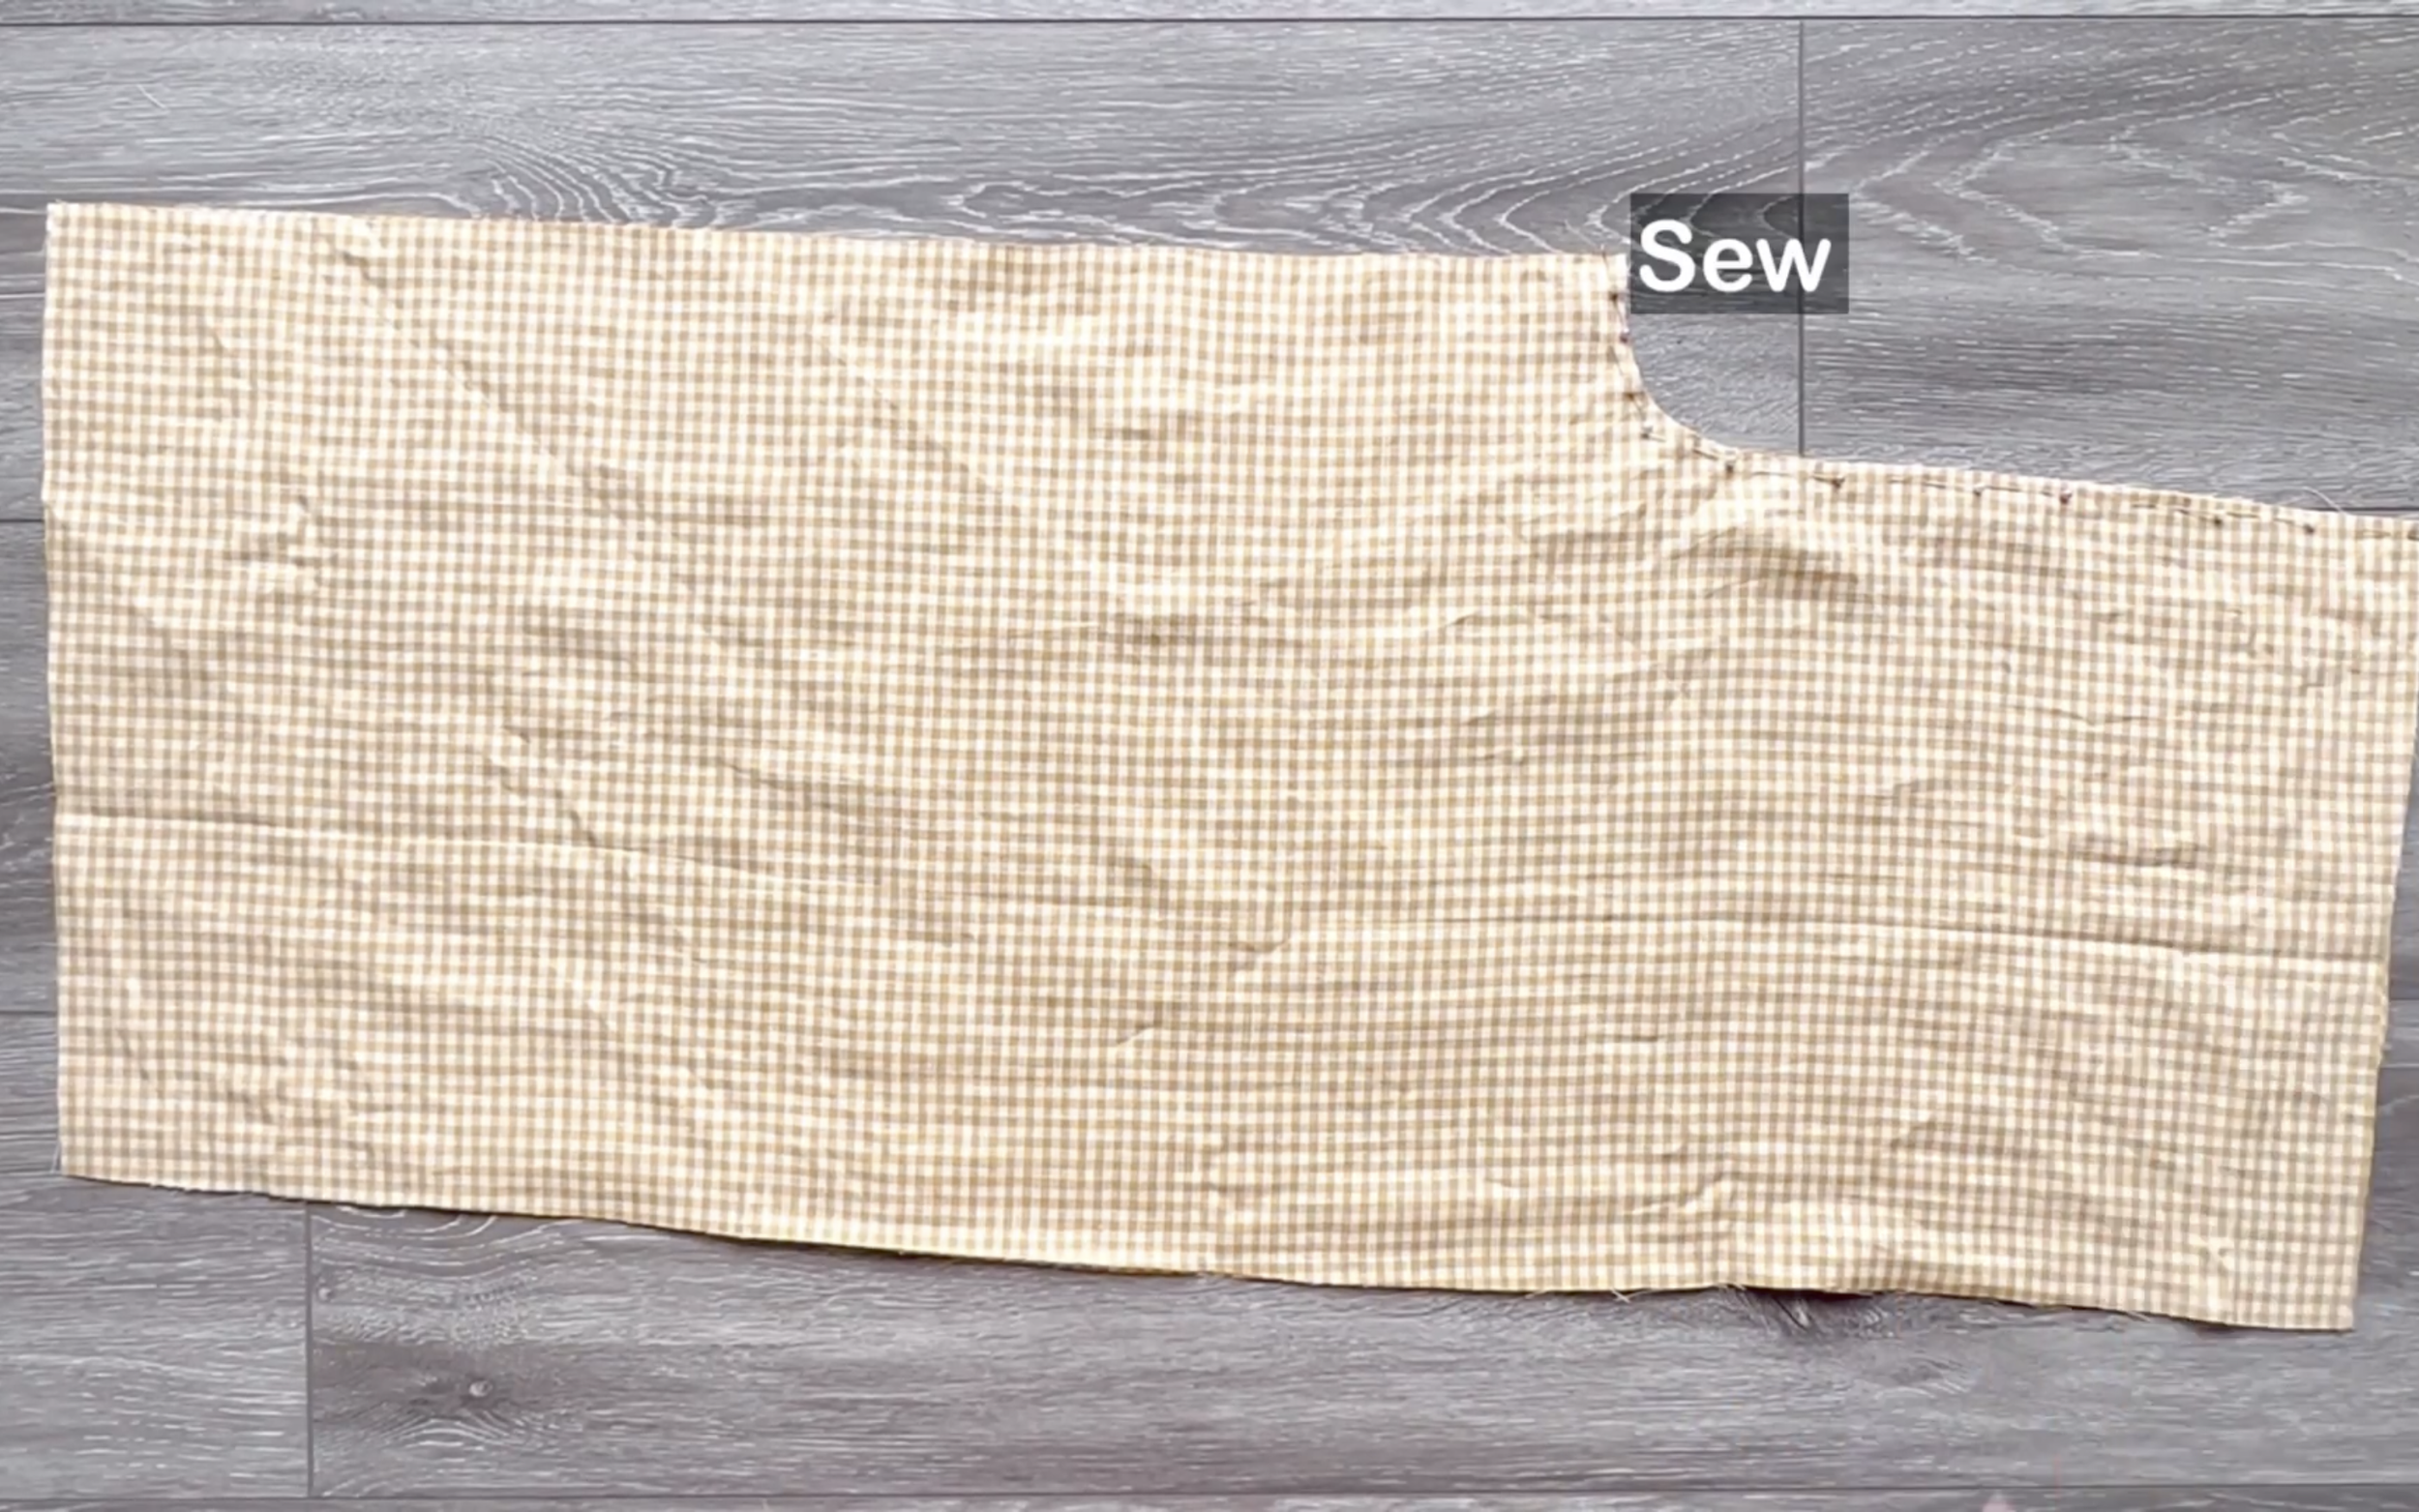
The front part of the crop top is complete after turning it inside out.
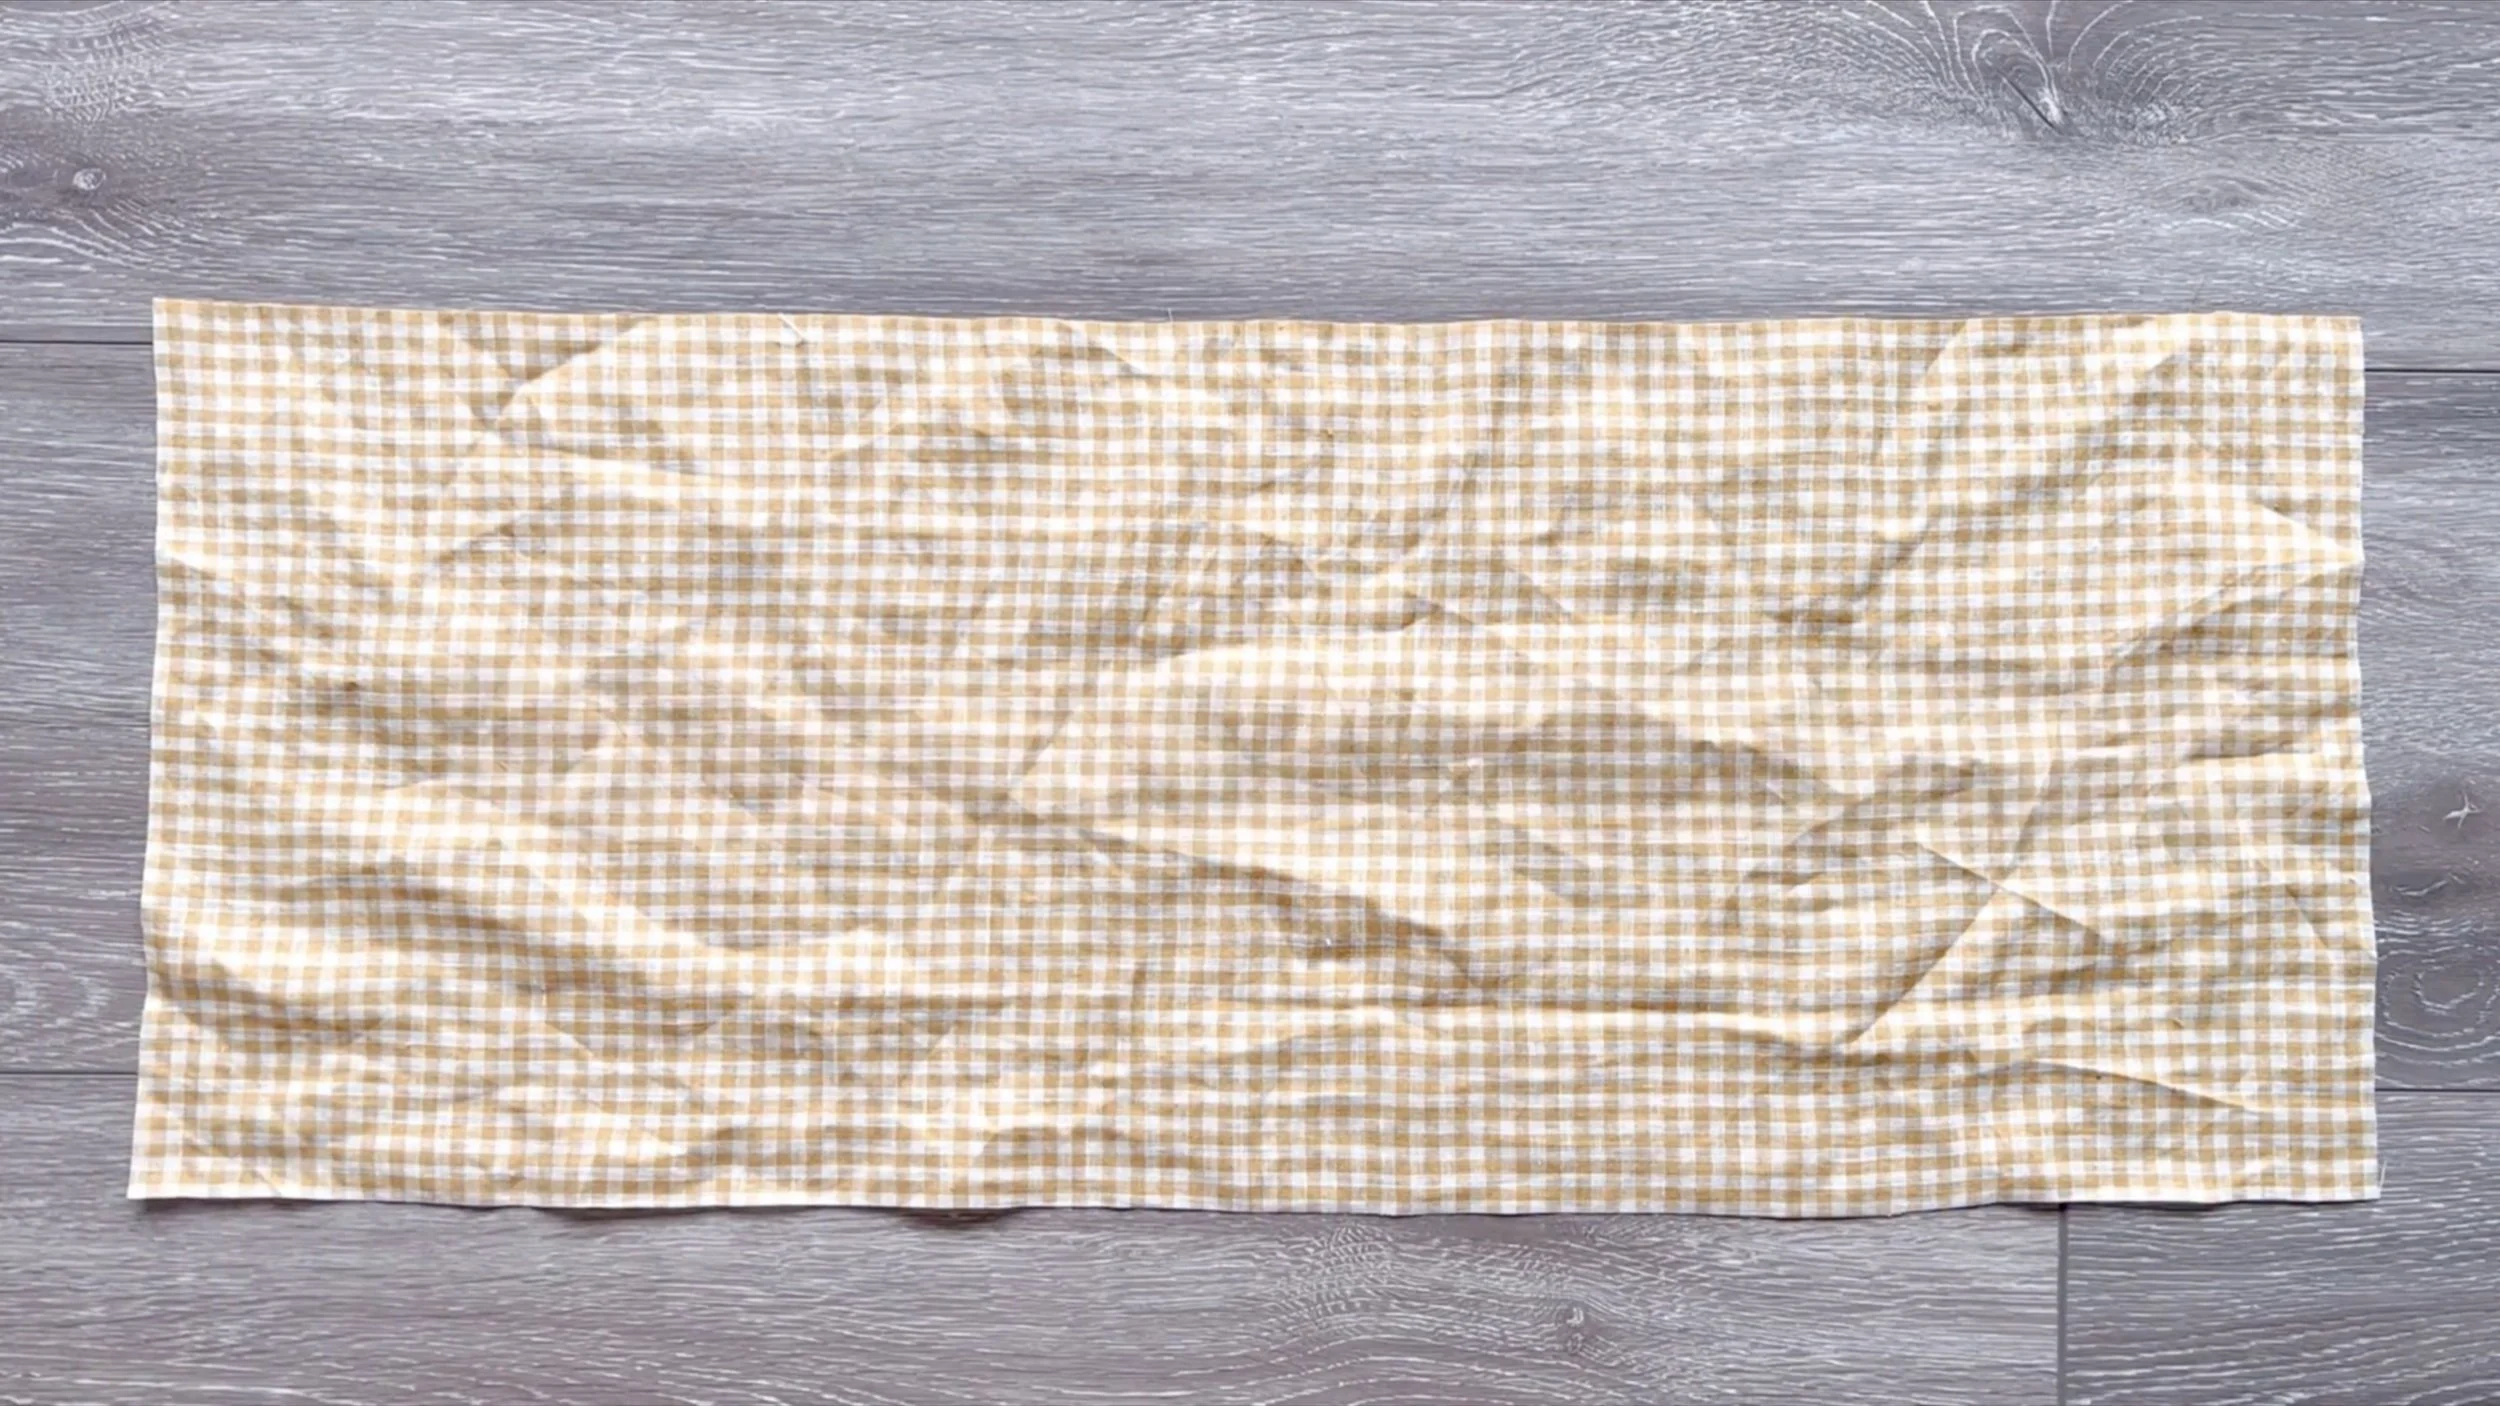
For the back of the crop top, cut a fabric with 26 cm length, which is twice the length of the sideline at the front crop top plus 2 cm for seam allowance, and 60 cm width, which is 1.5 times half of the bust size.
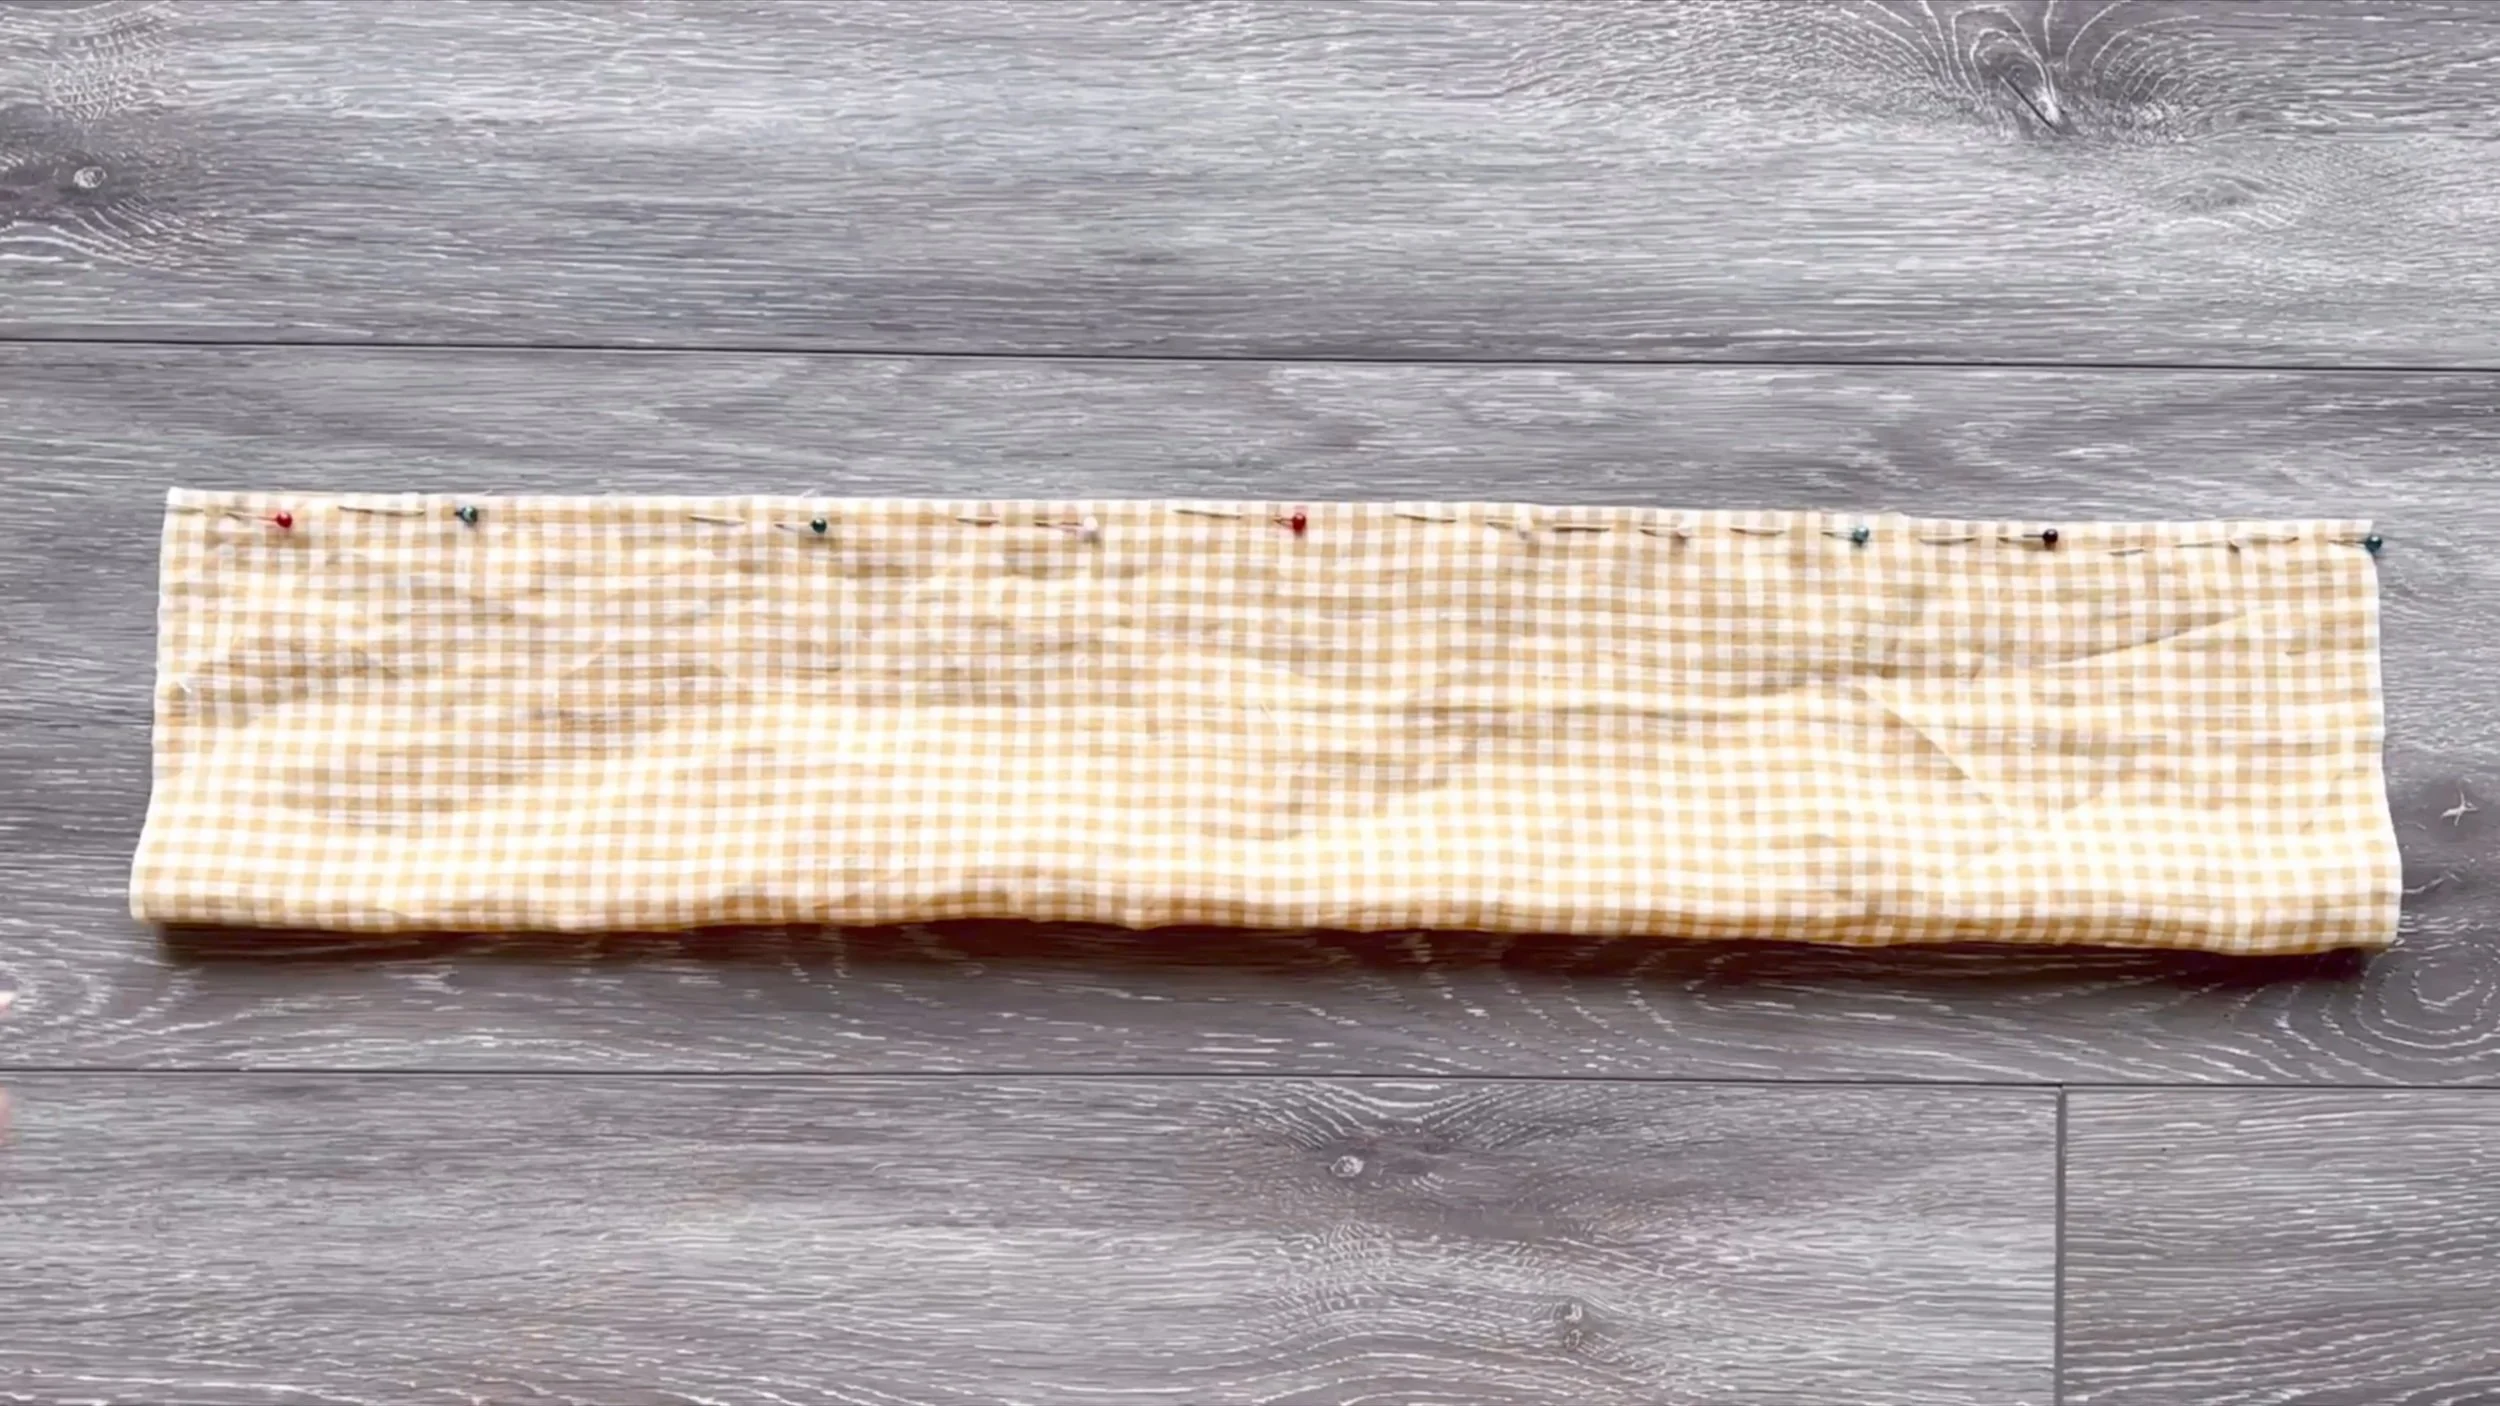
Fold two width lines together and secure them with pins first.
Mark the position for the tie later and sew them on together after adding the tie.
And sew them on together after adding the tie.
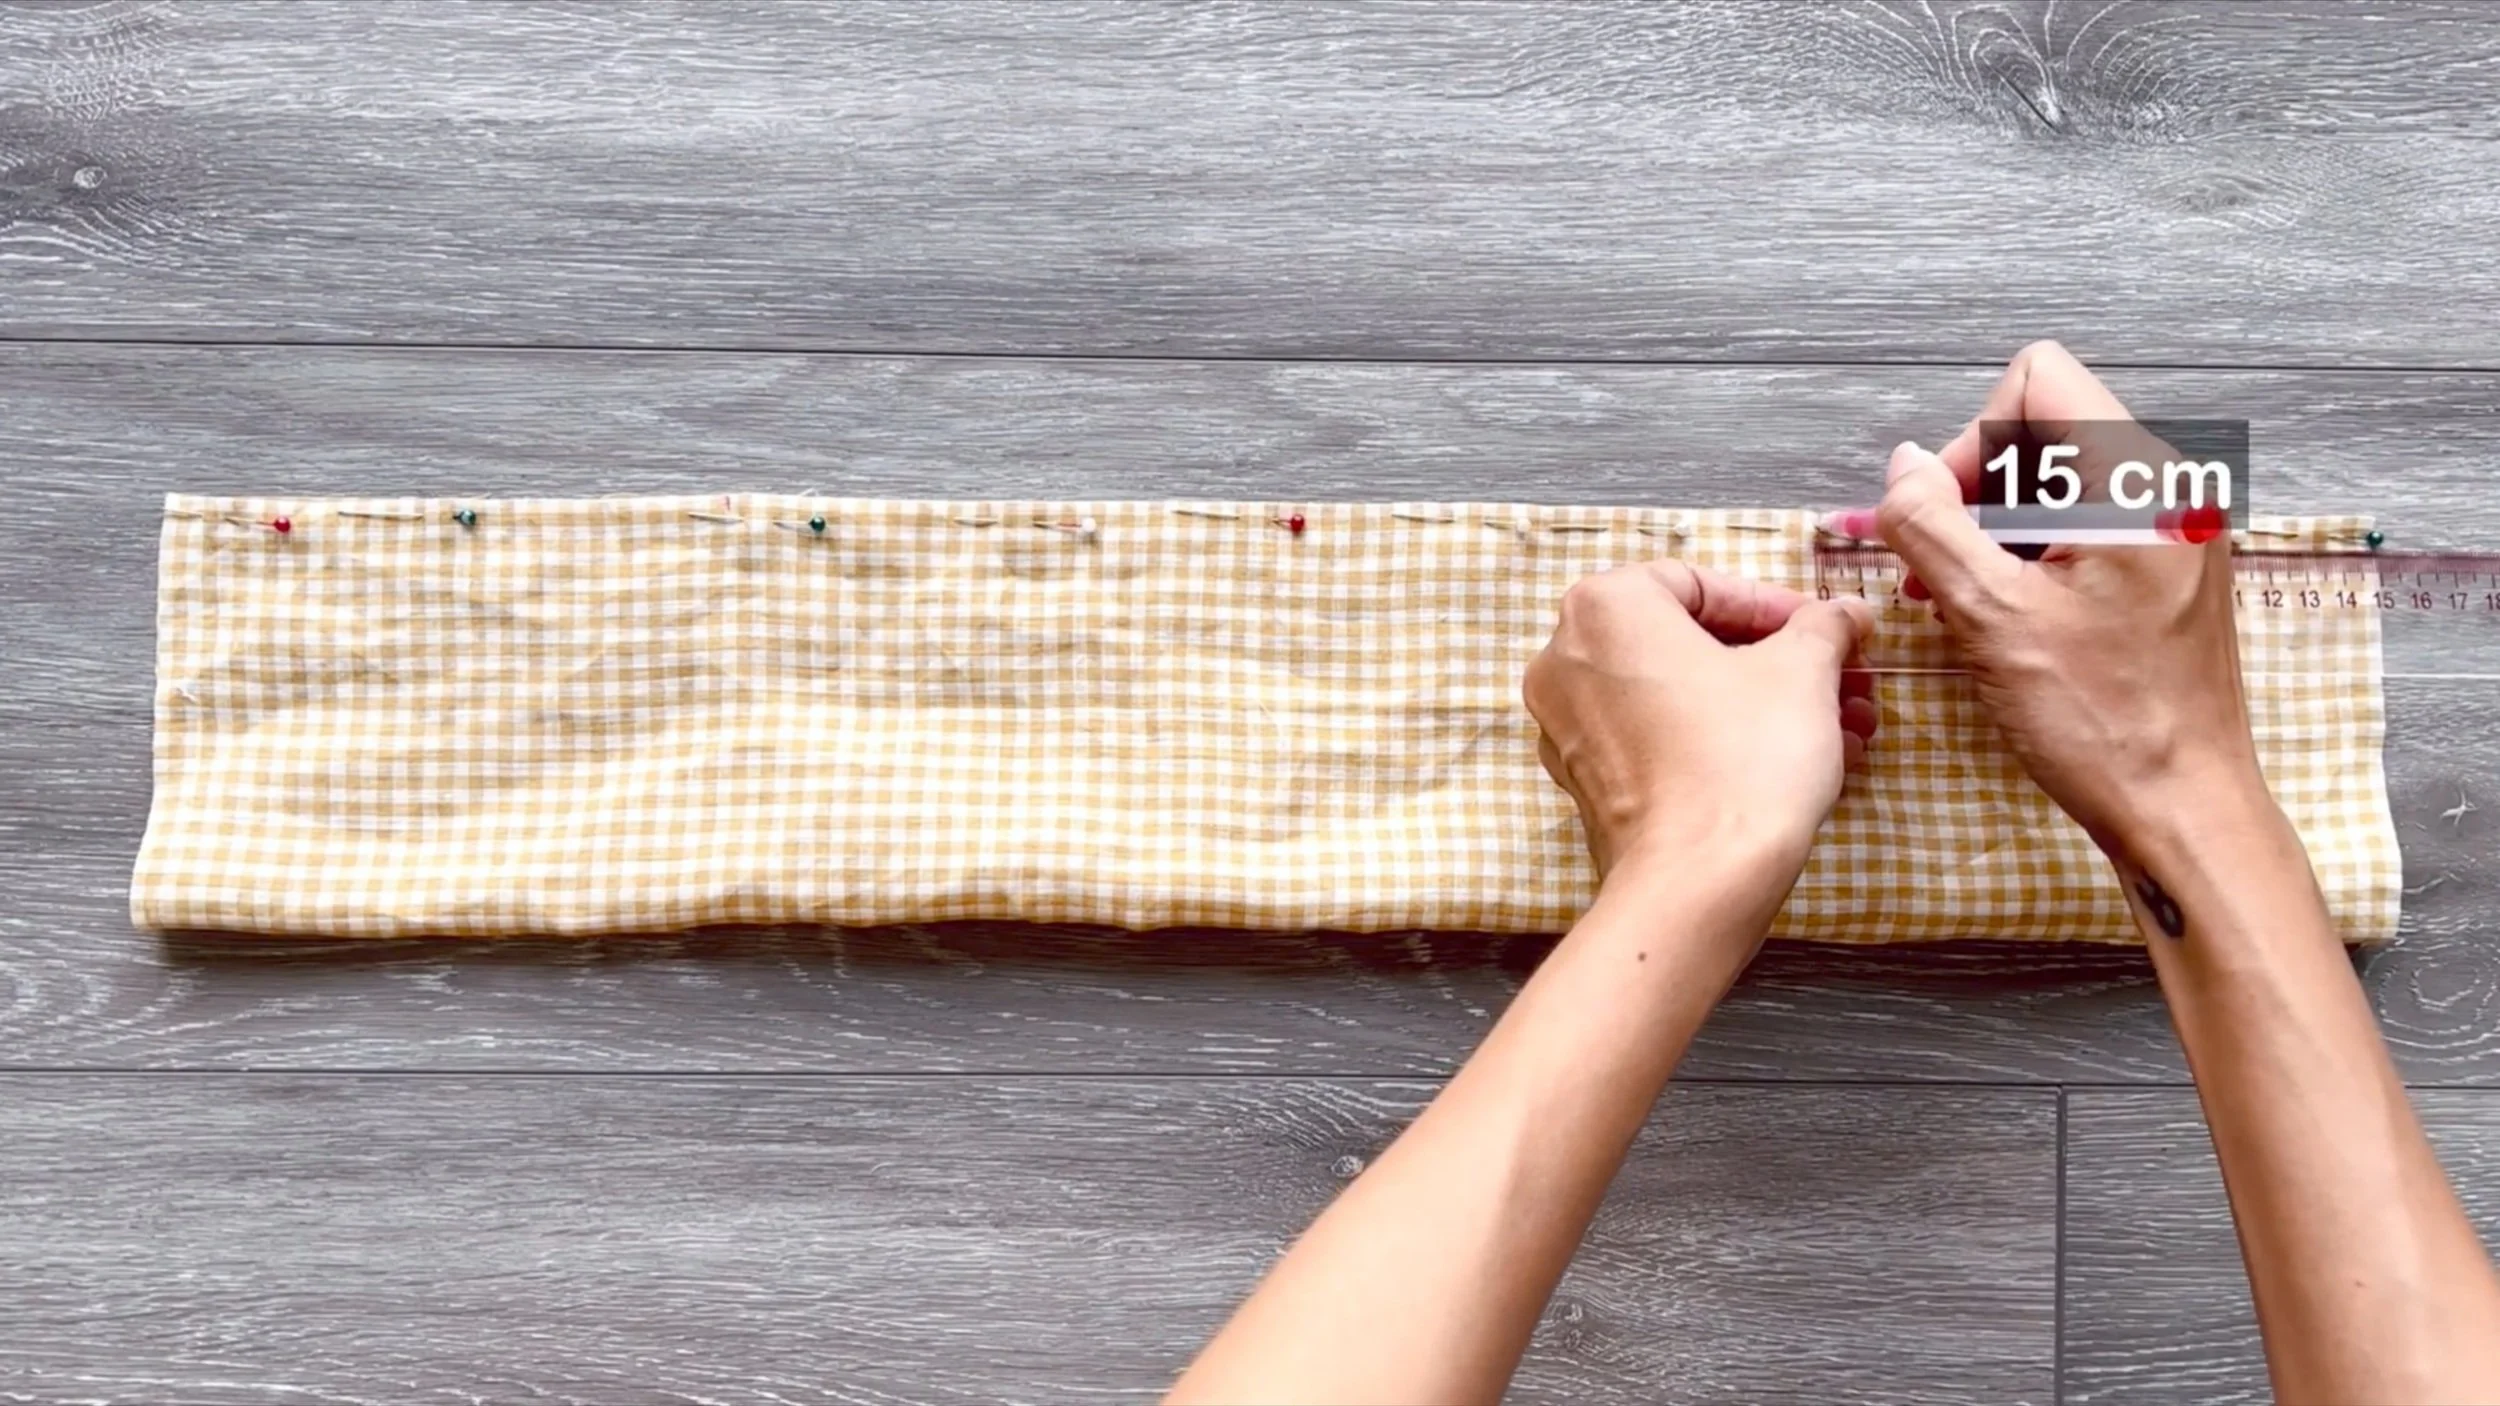
An elastic band will be used at the top and bottom of the back part, so measure the width of the fabric hole to be made first.
Make sure the fabric hole is slightly bigger than the width of the elastic band to allow easy insertion.
Then sew.
The length of the elastic band at the top of the back part will be half of the upper bust size.
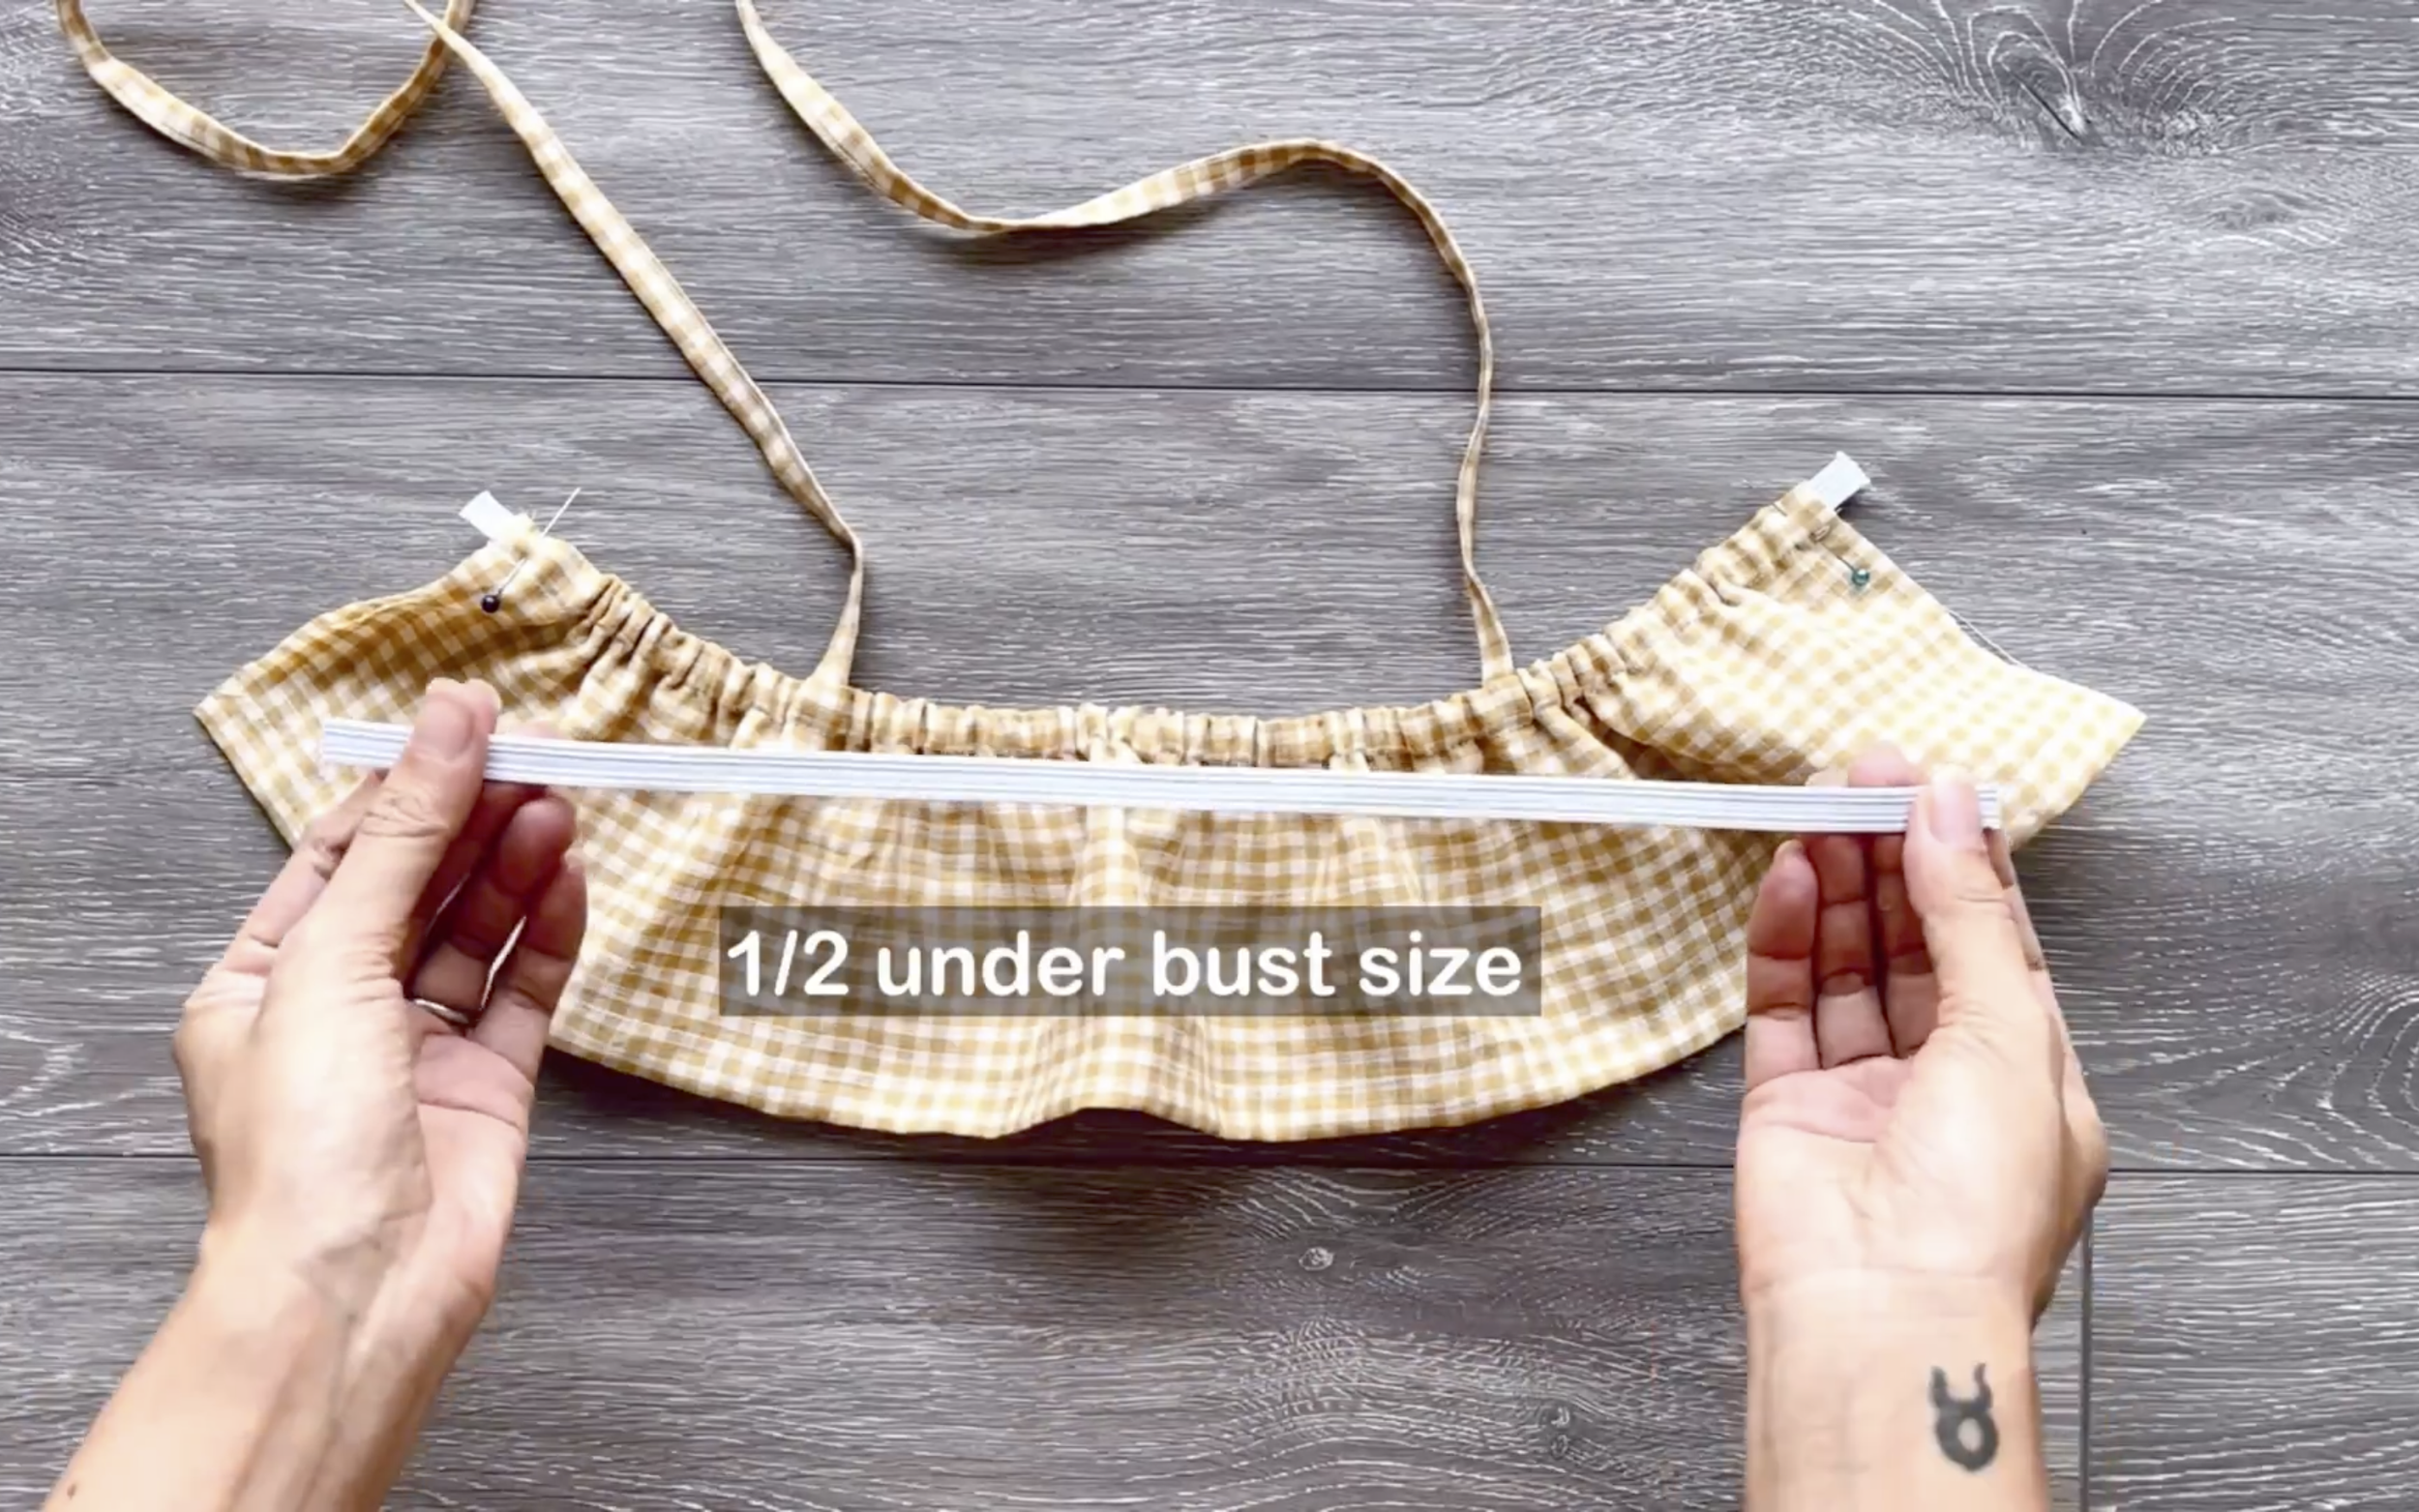
The length of the elastic band at the bottom of the back part will be half of the underbust size.
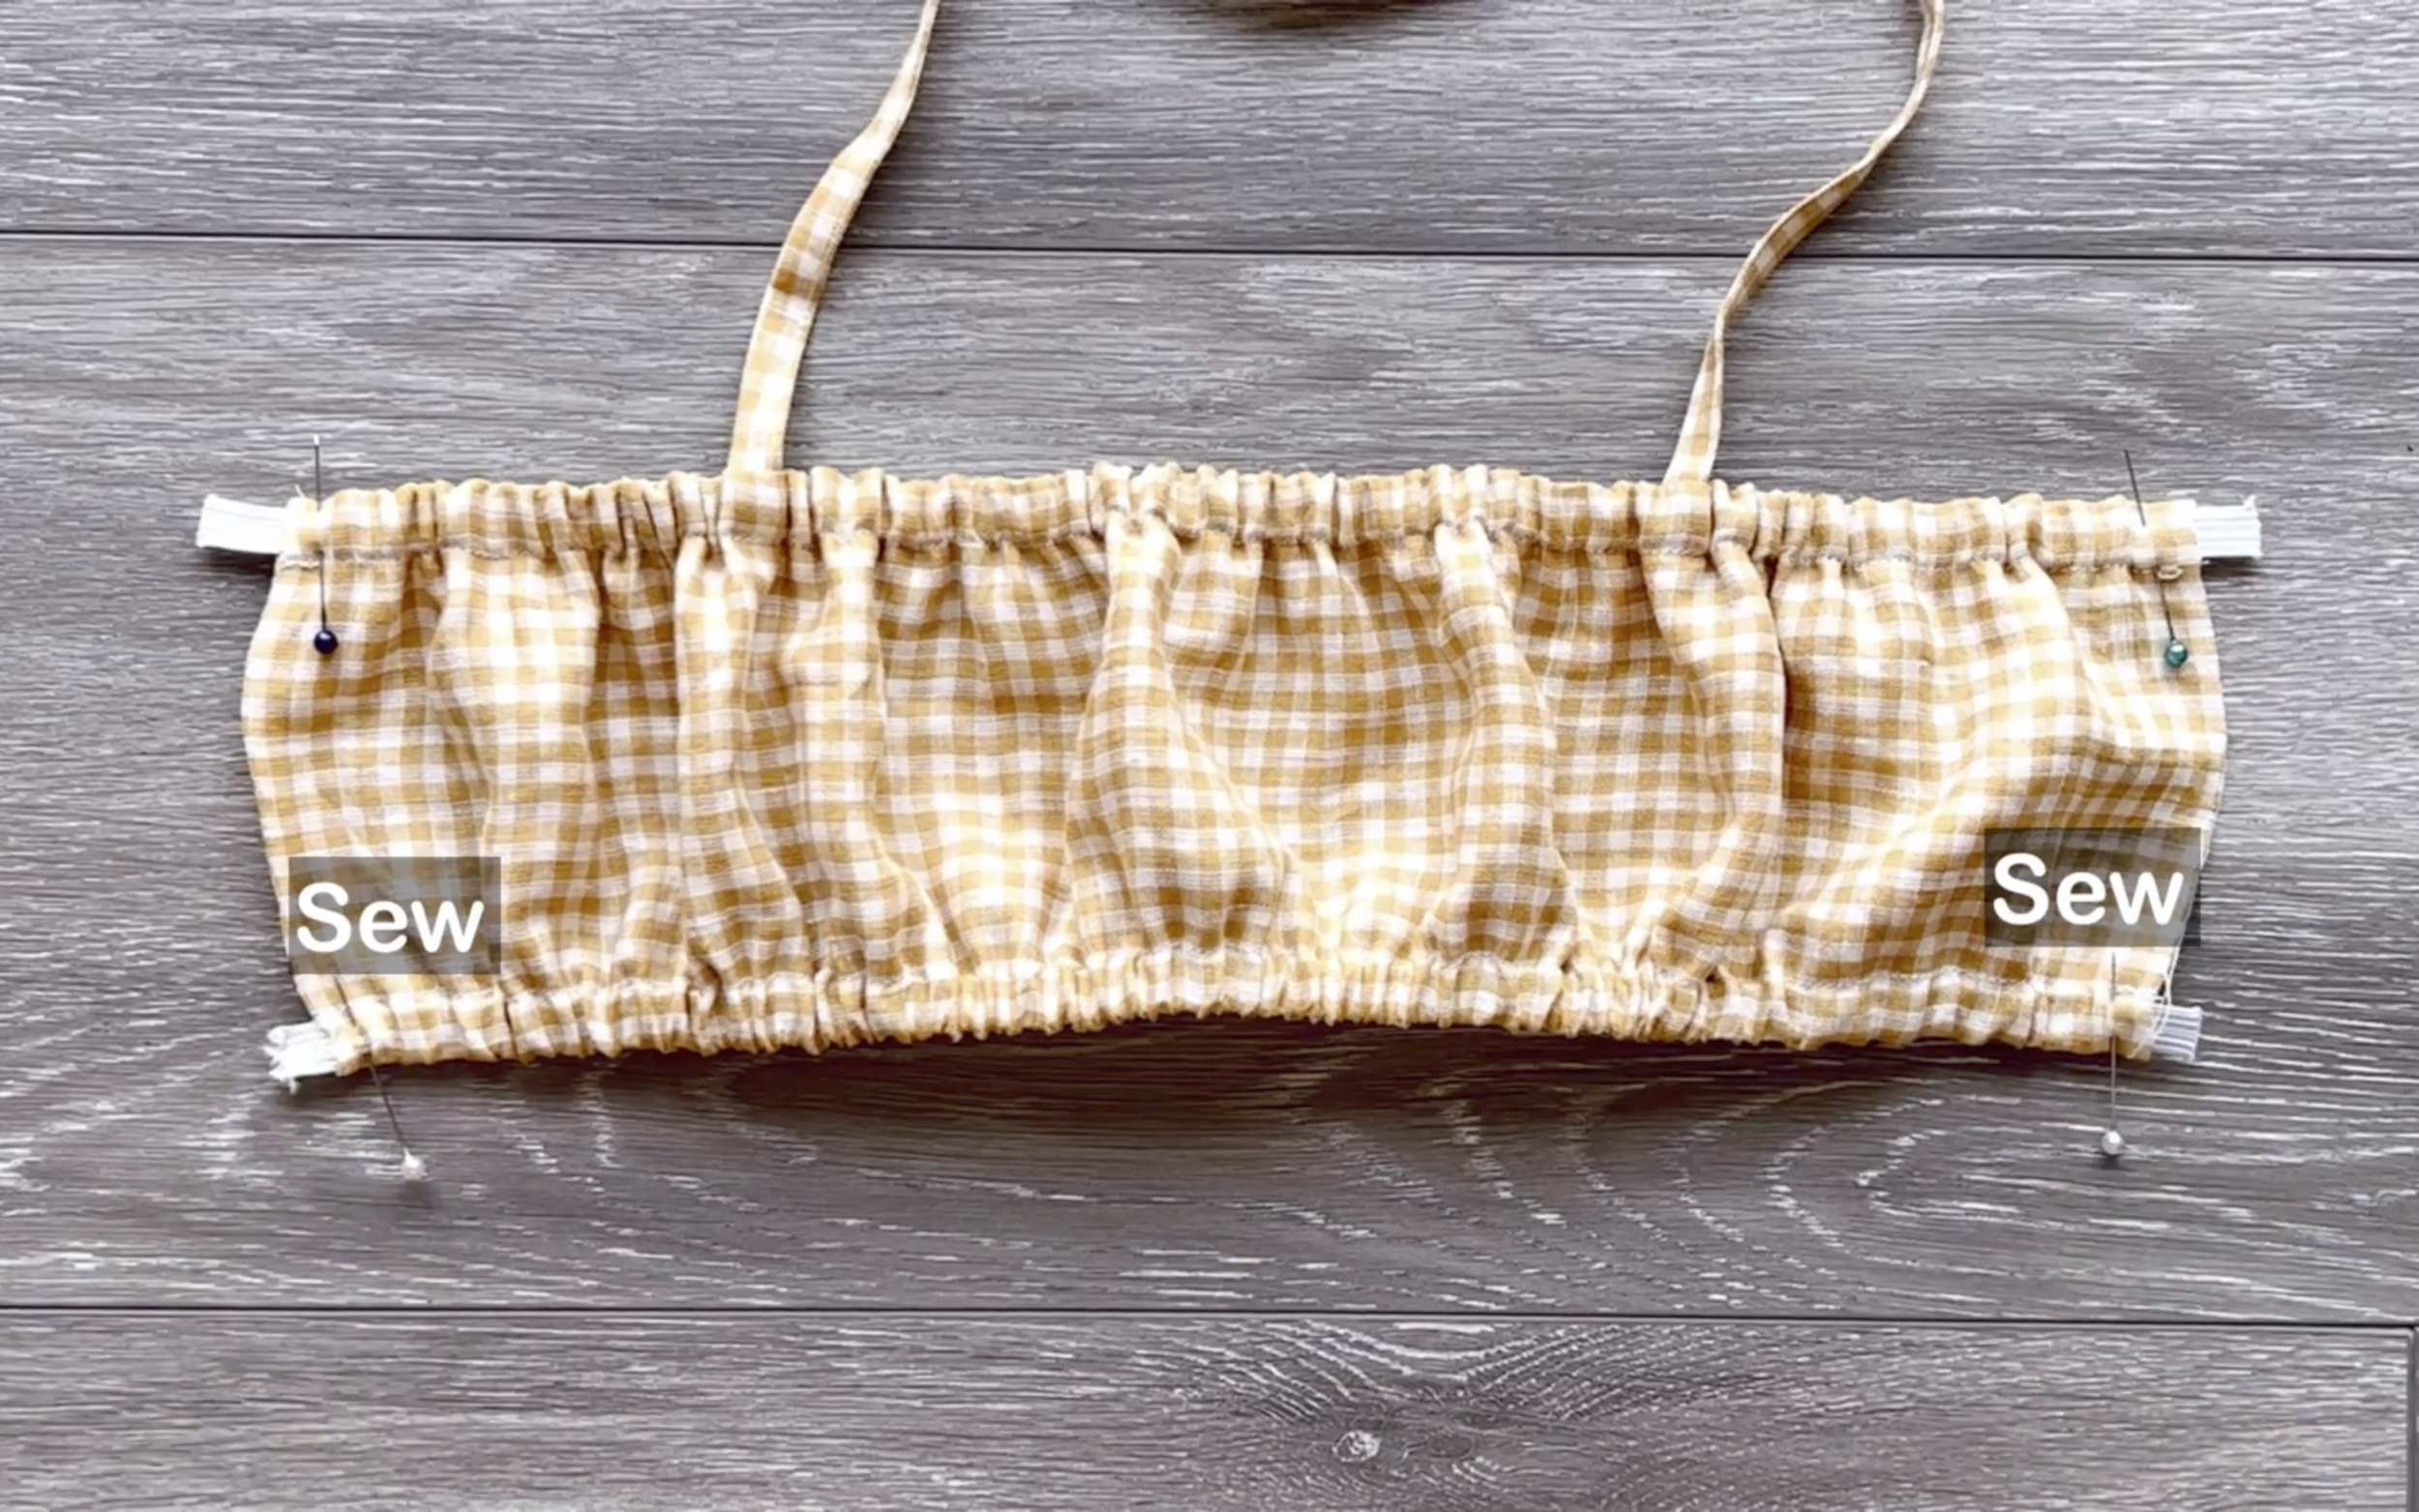
Sew both ends of the elastic band to the fabric to keep them from moving.
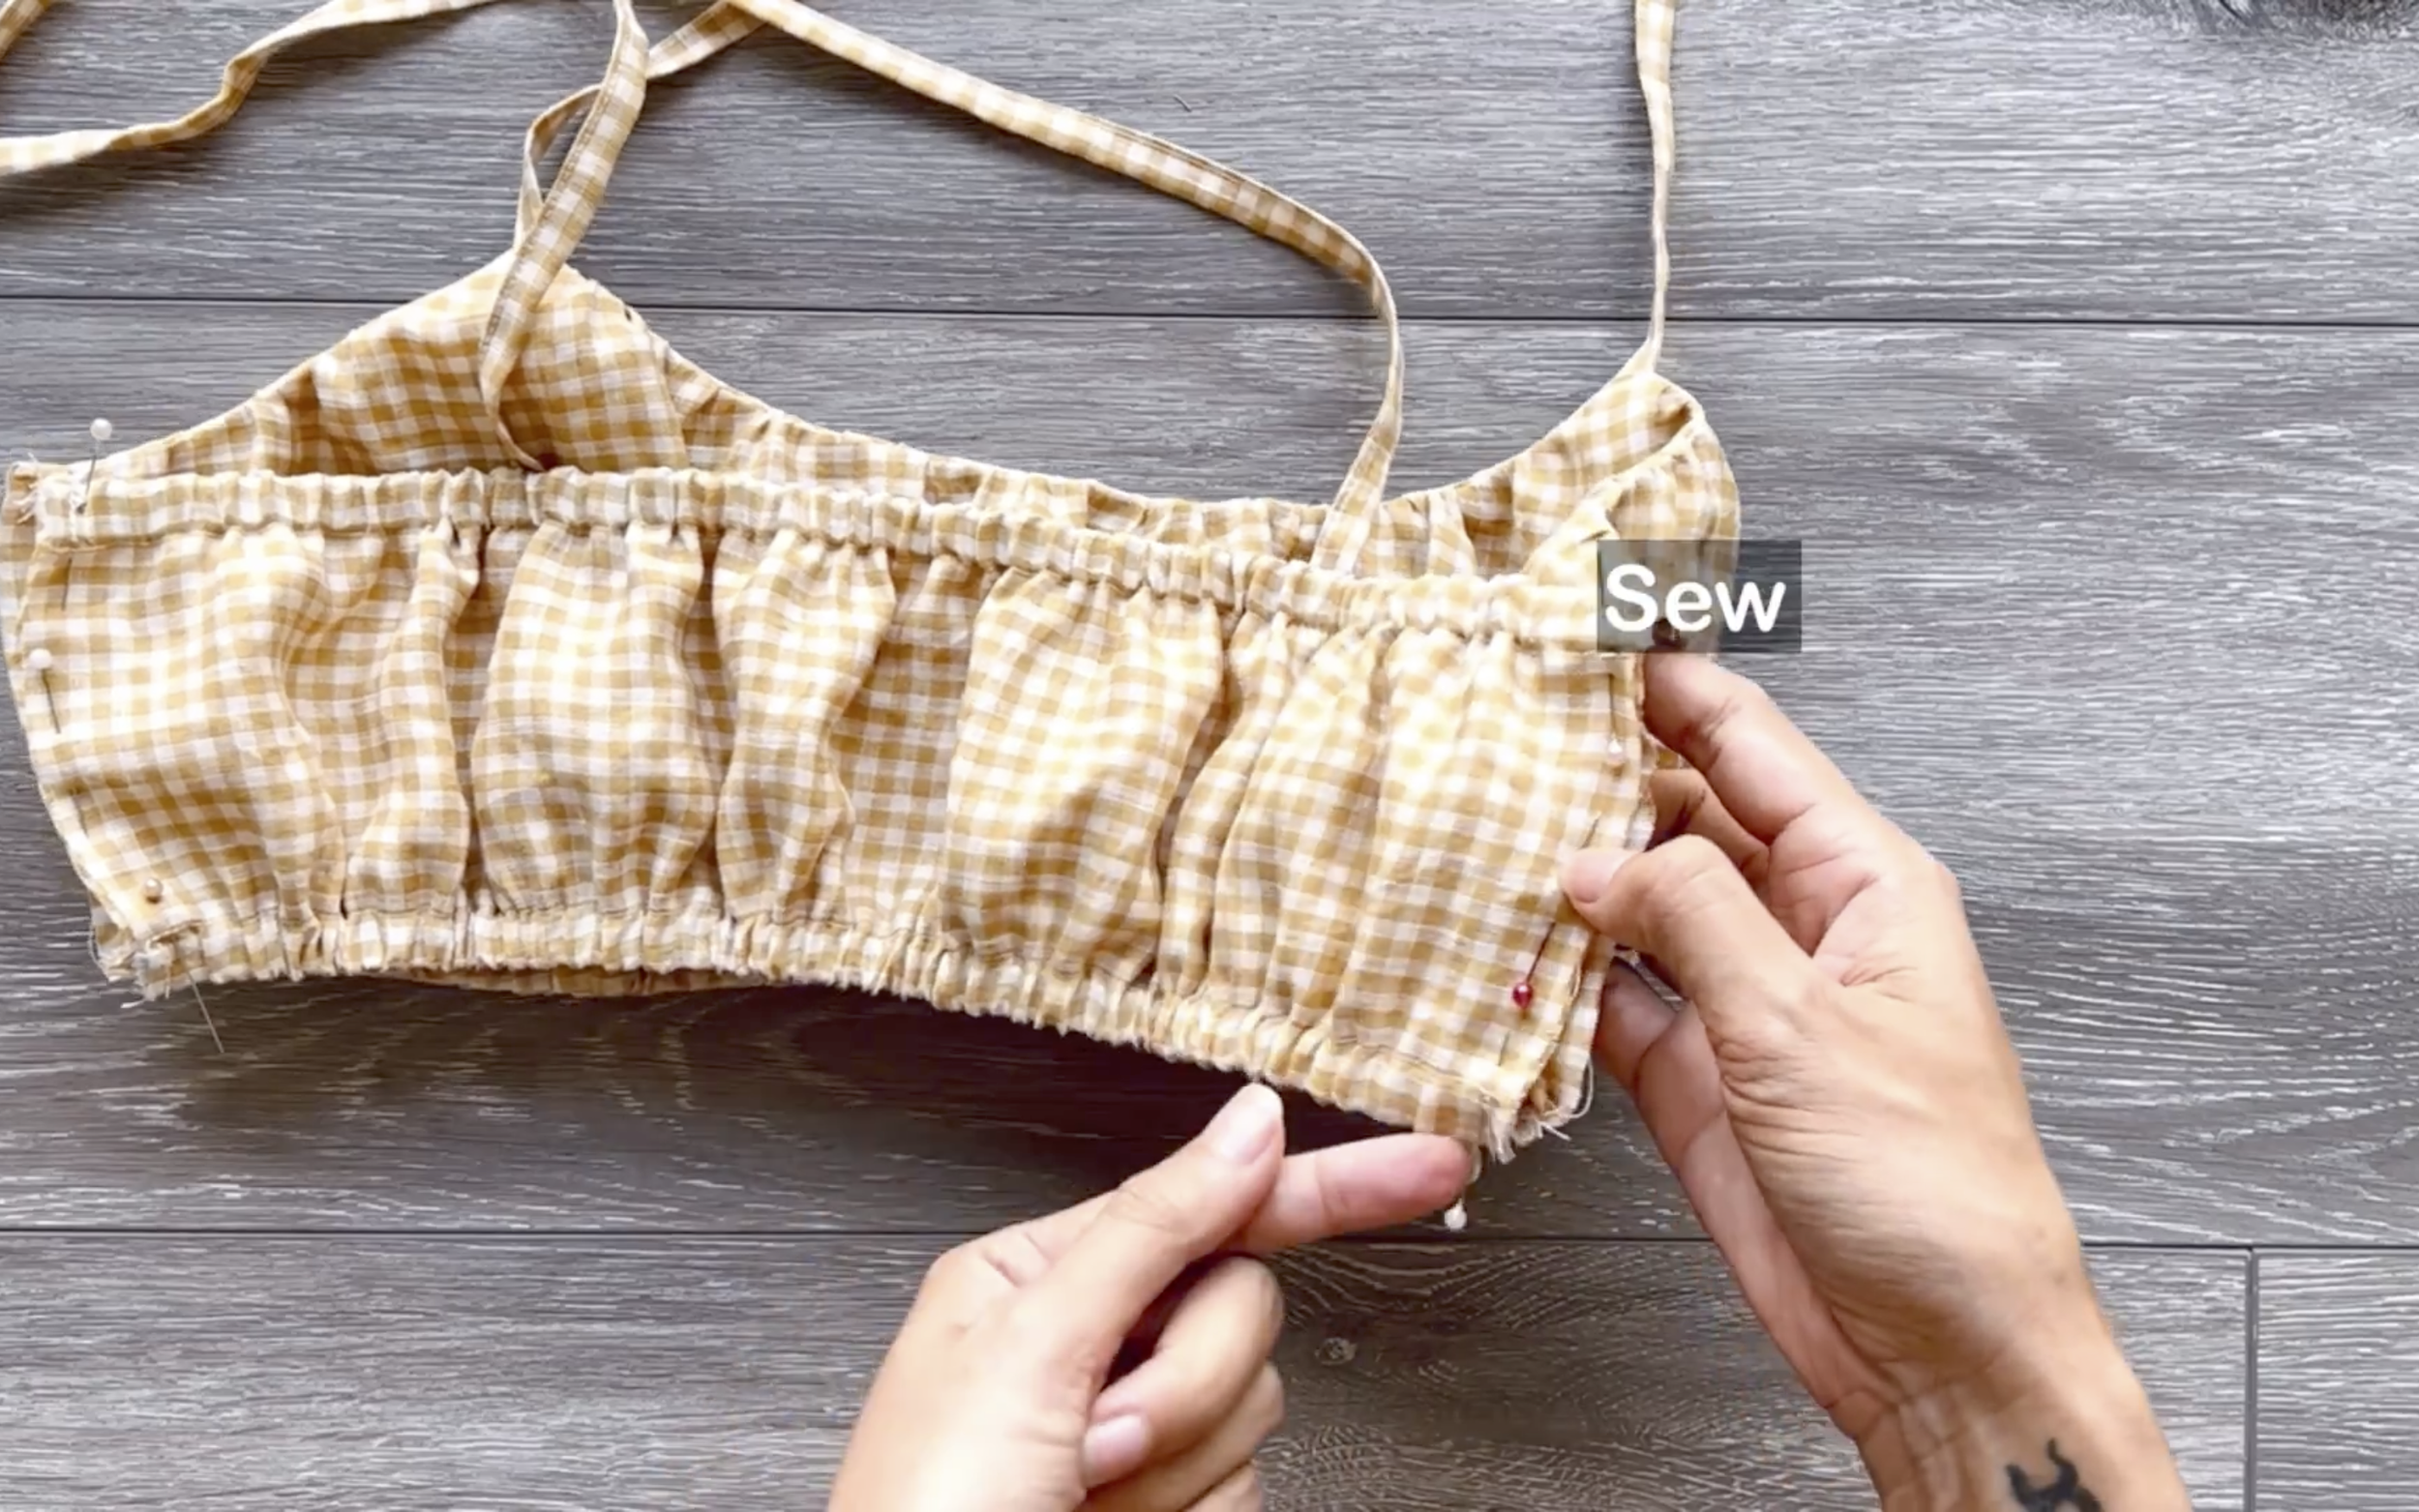
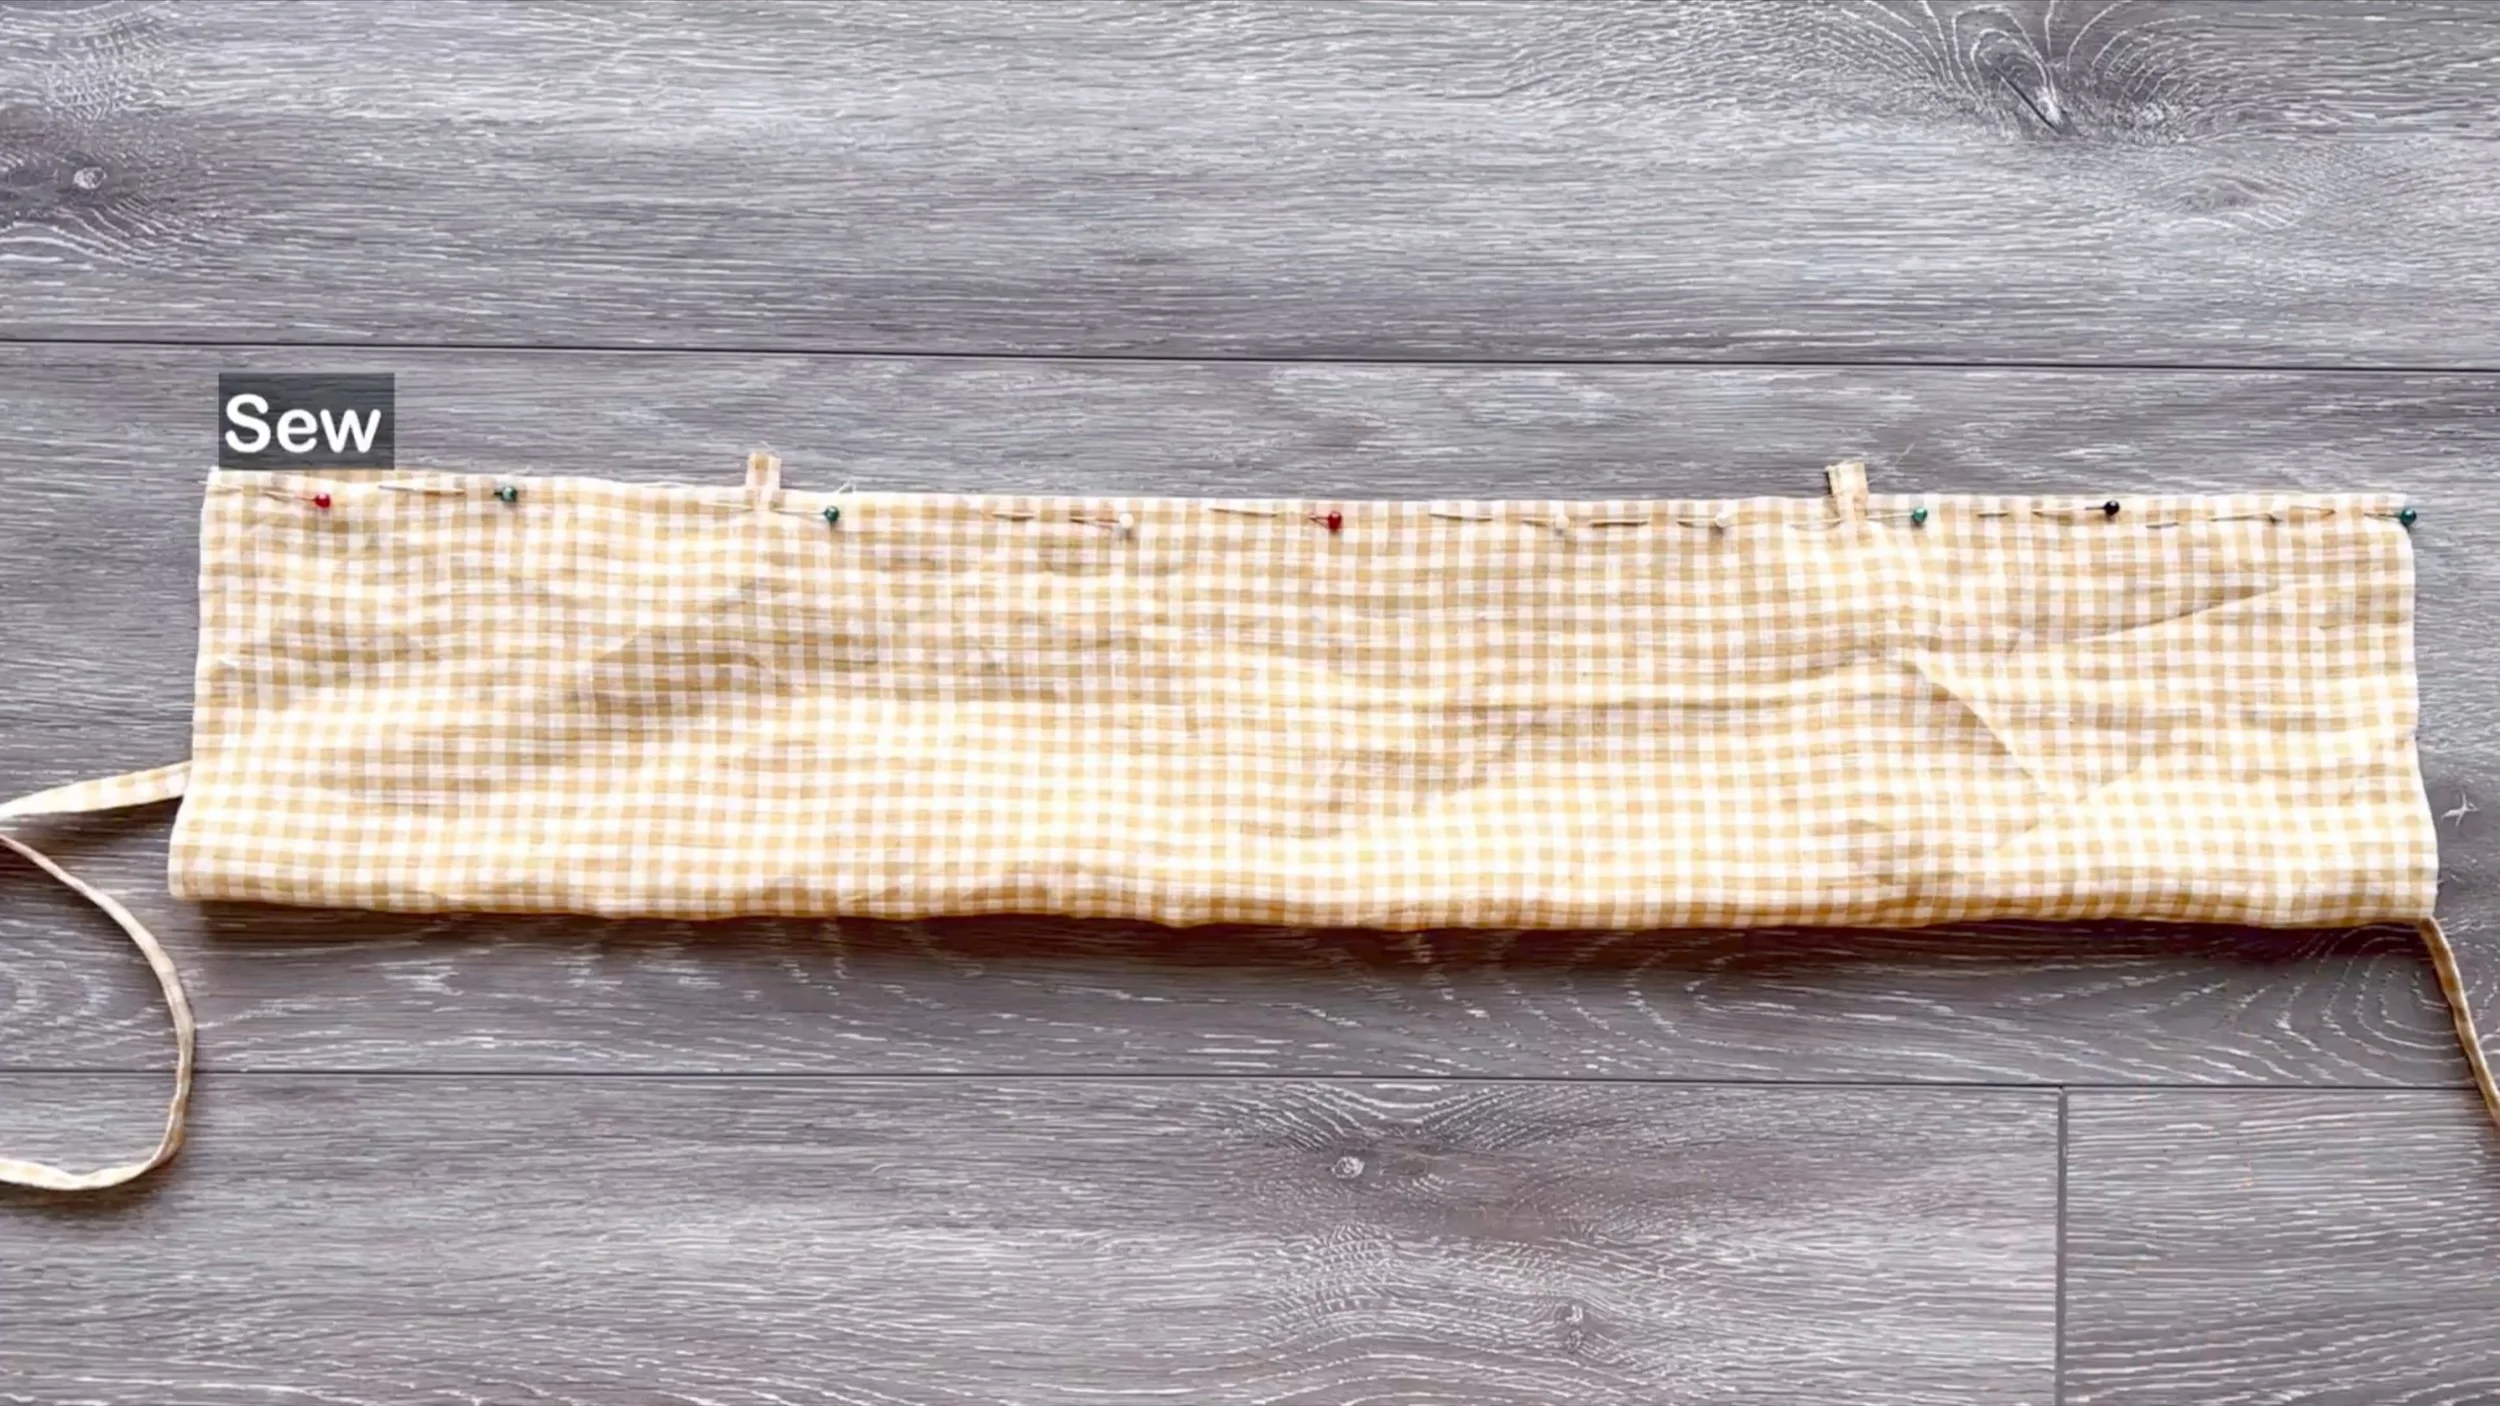
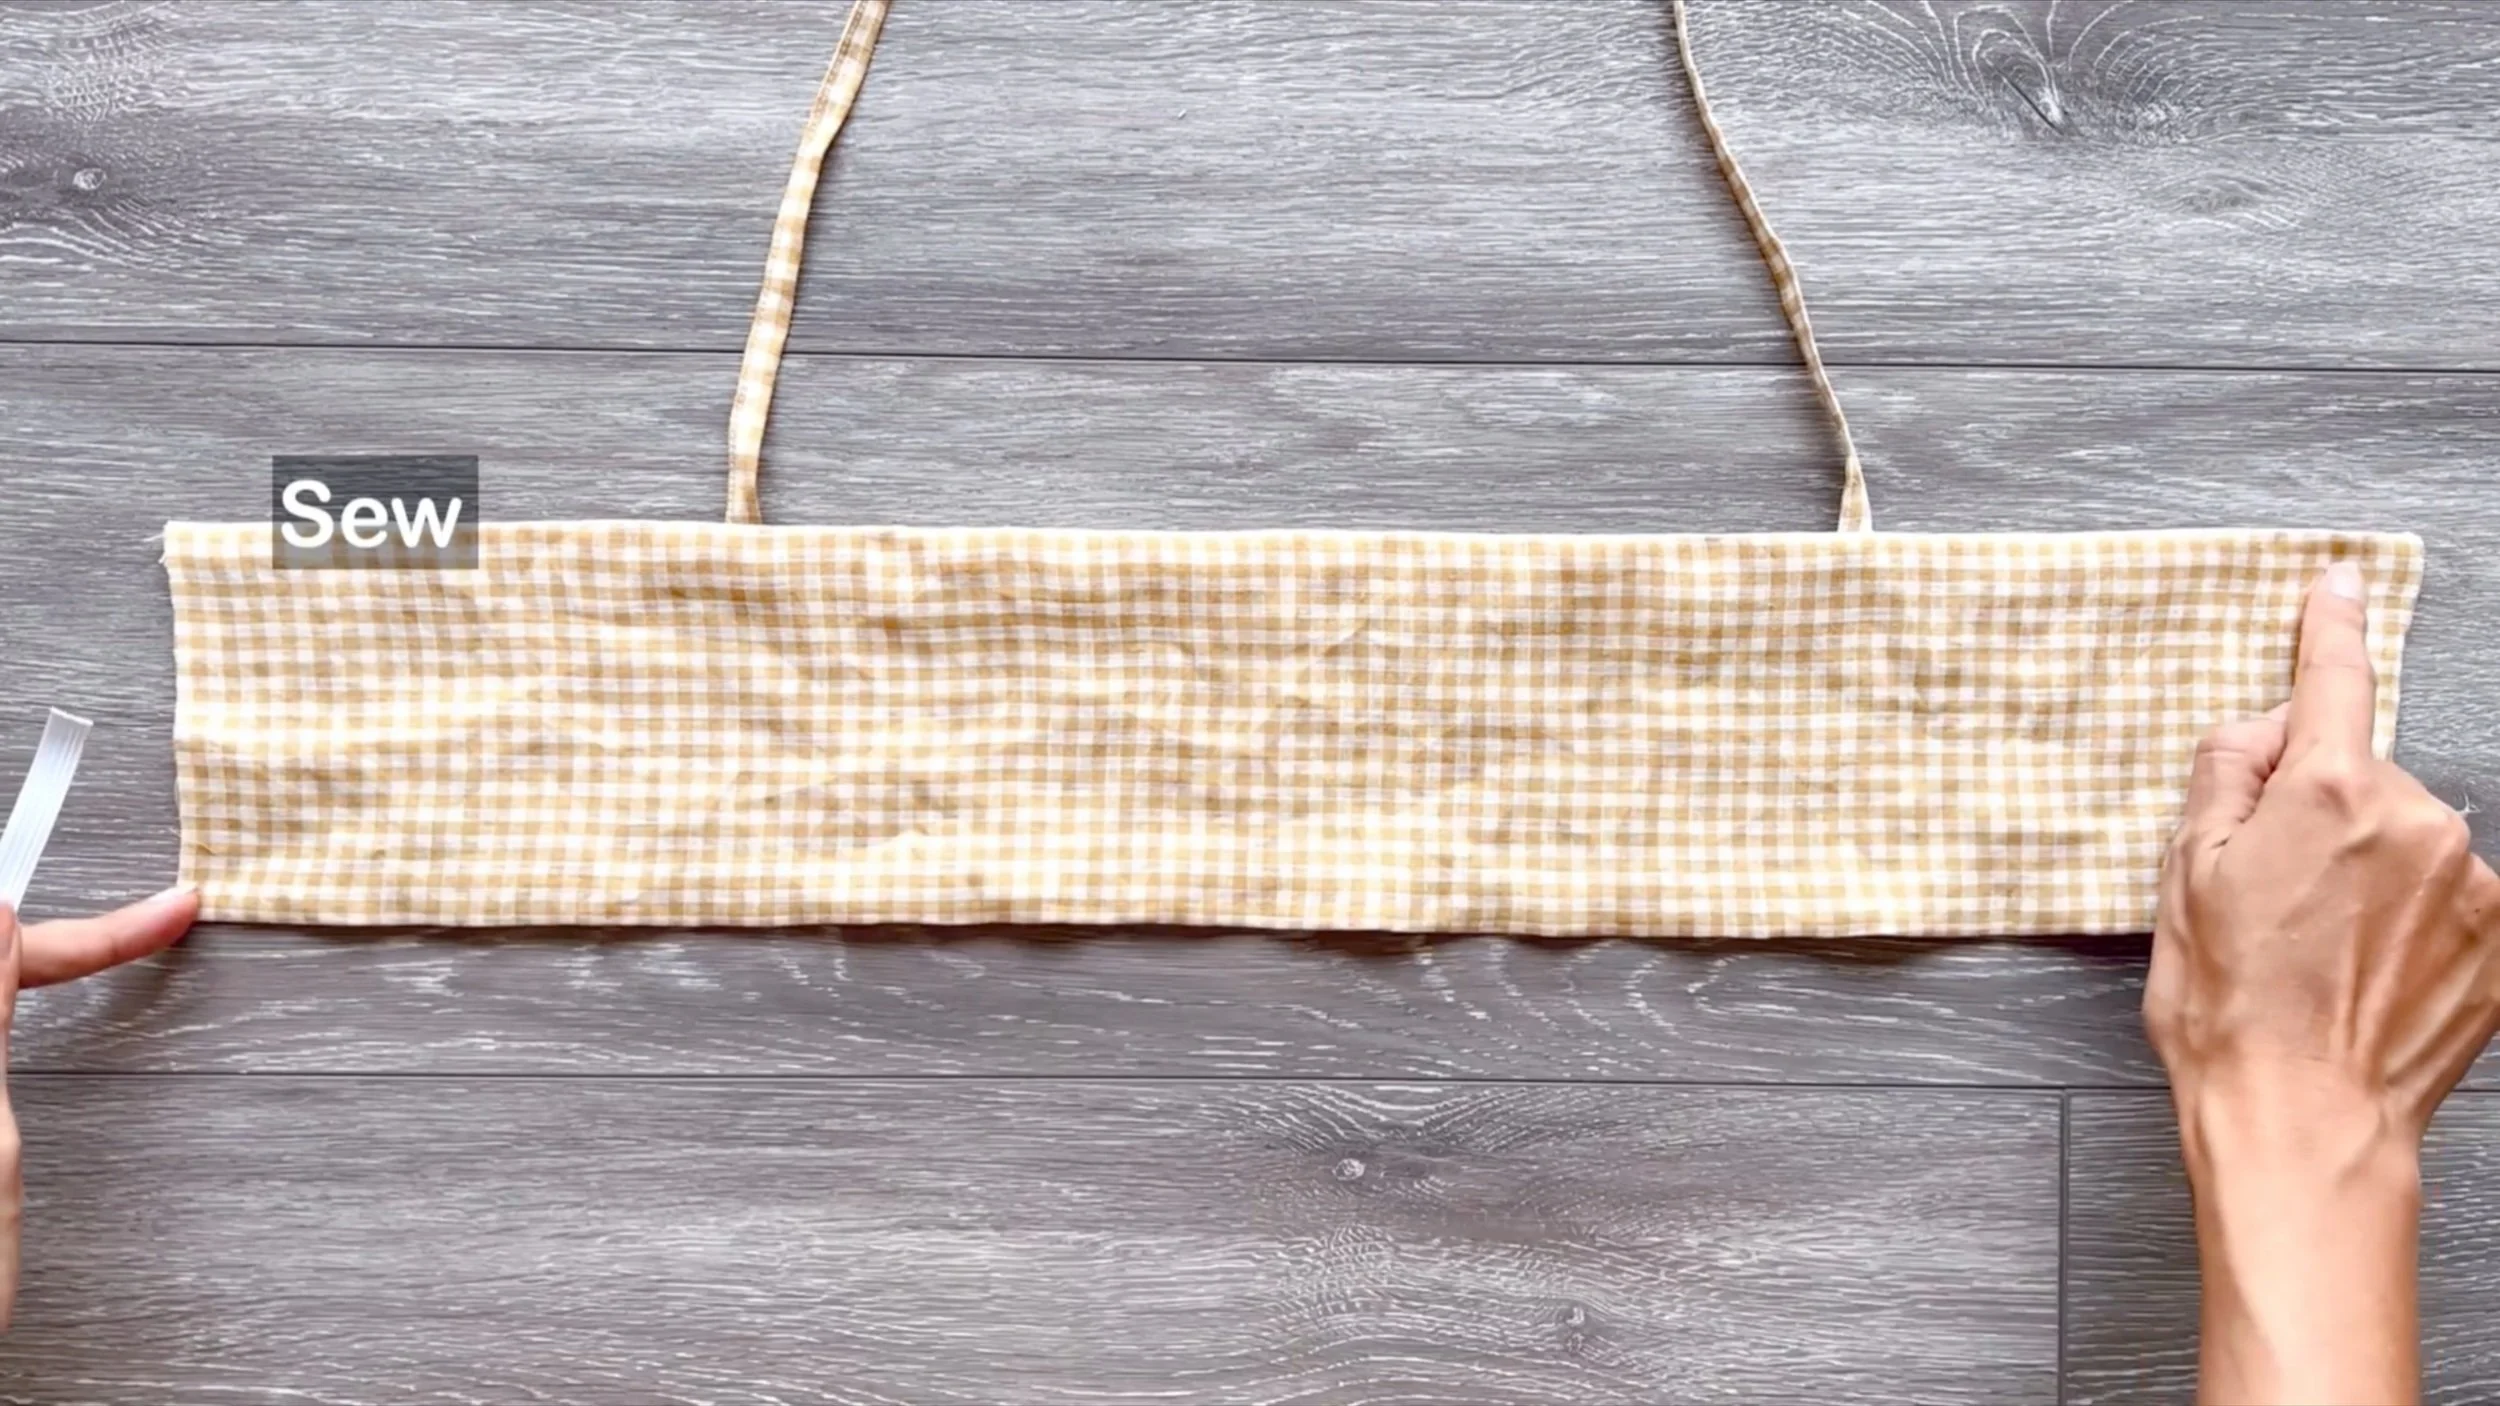
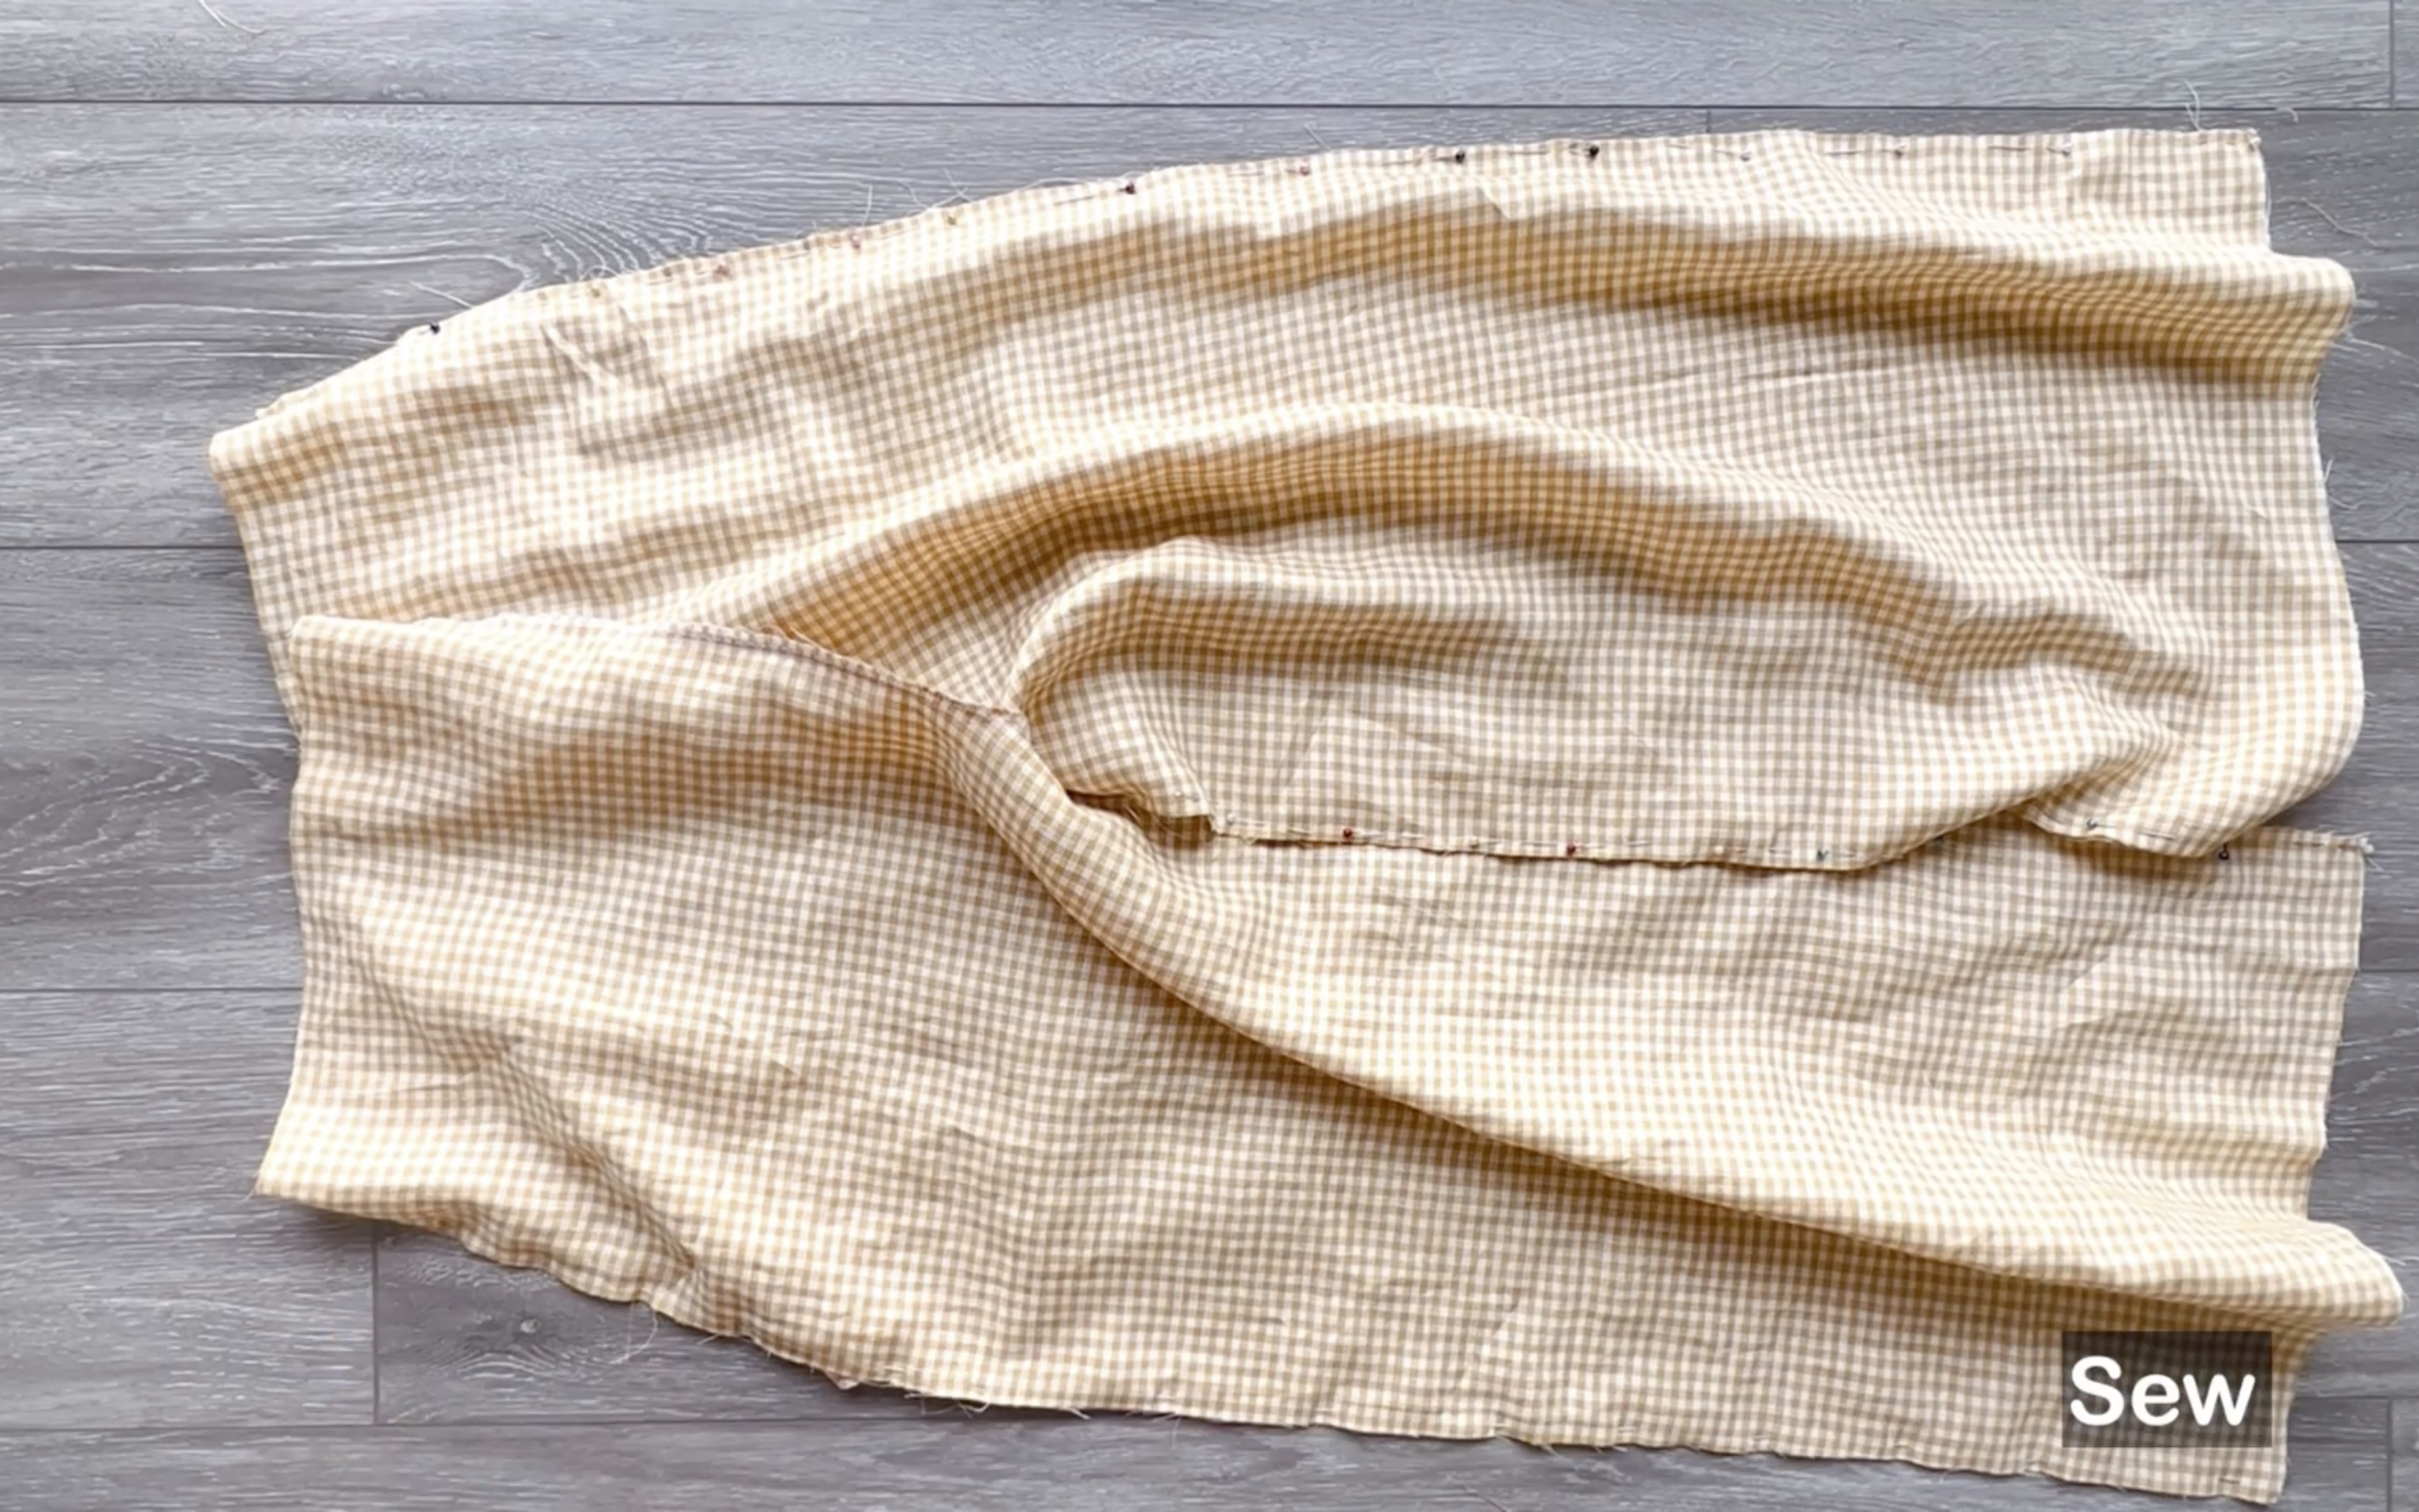
Now, connect both sides of the back part to one piece of the front part and sew first.
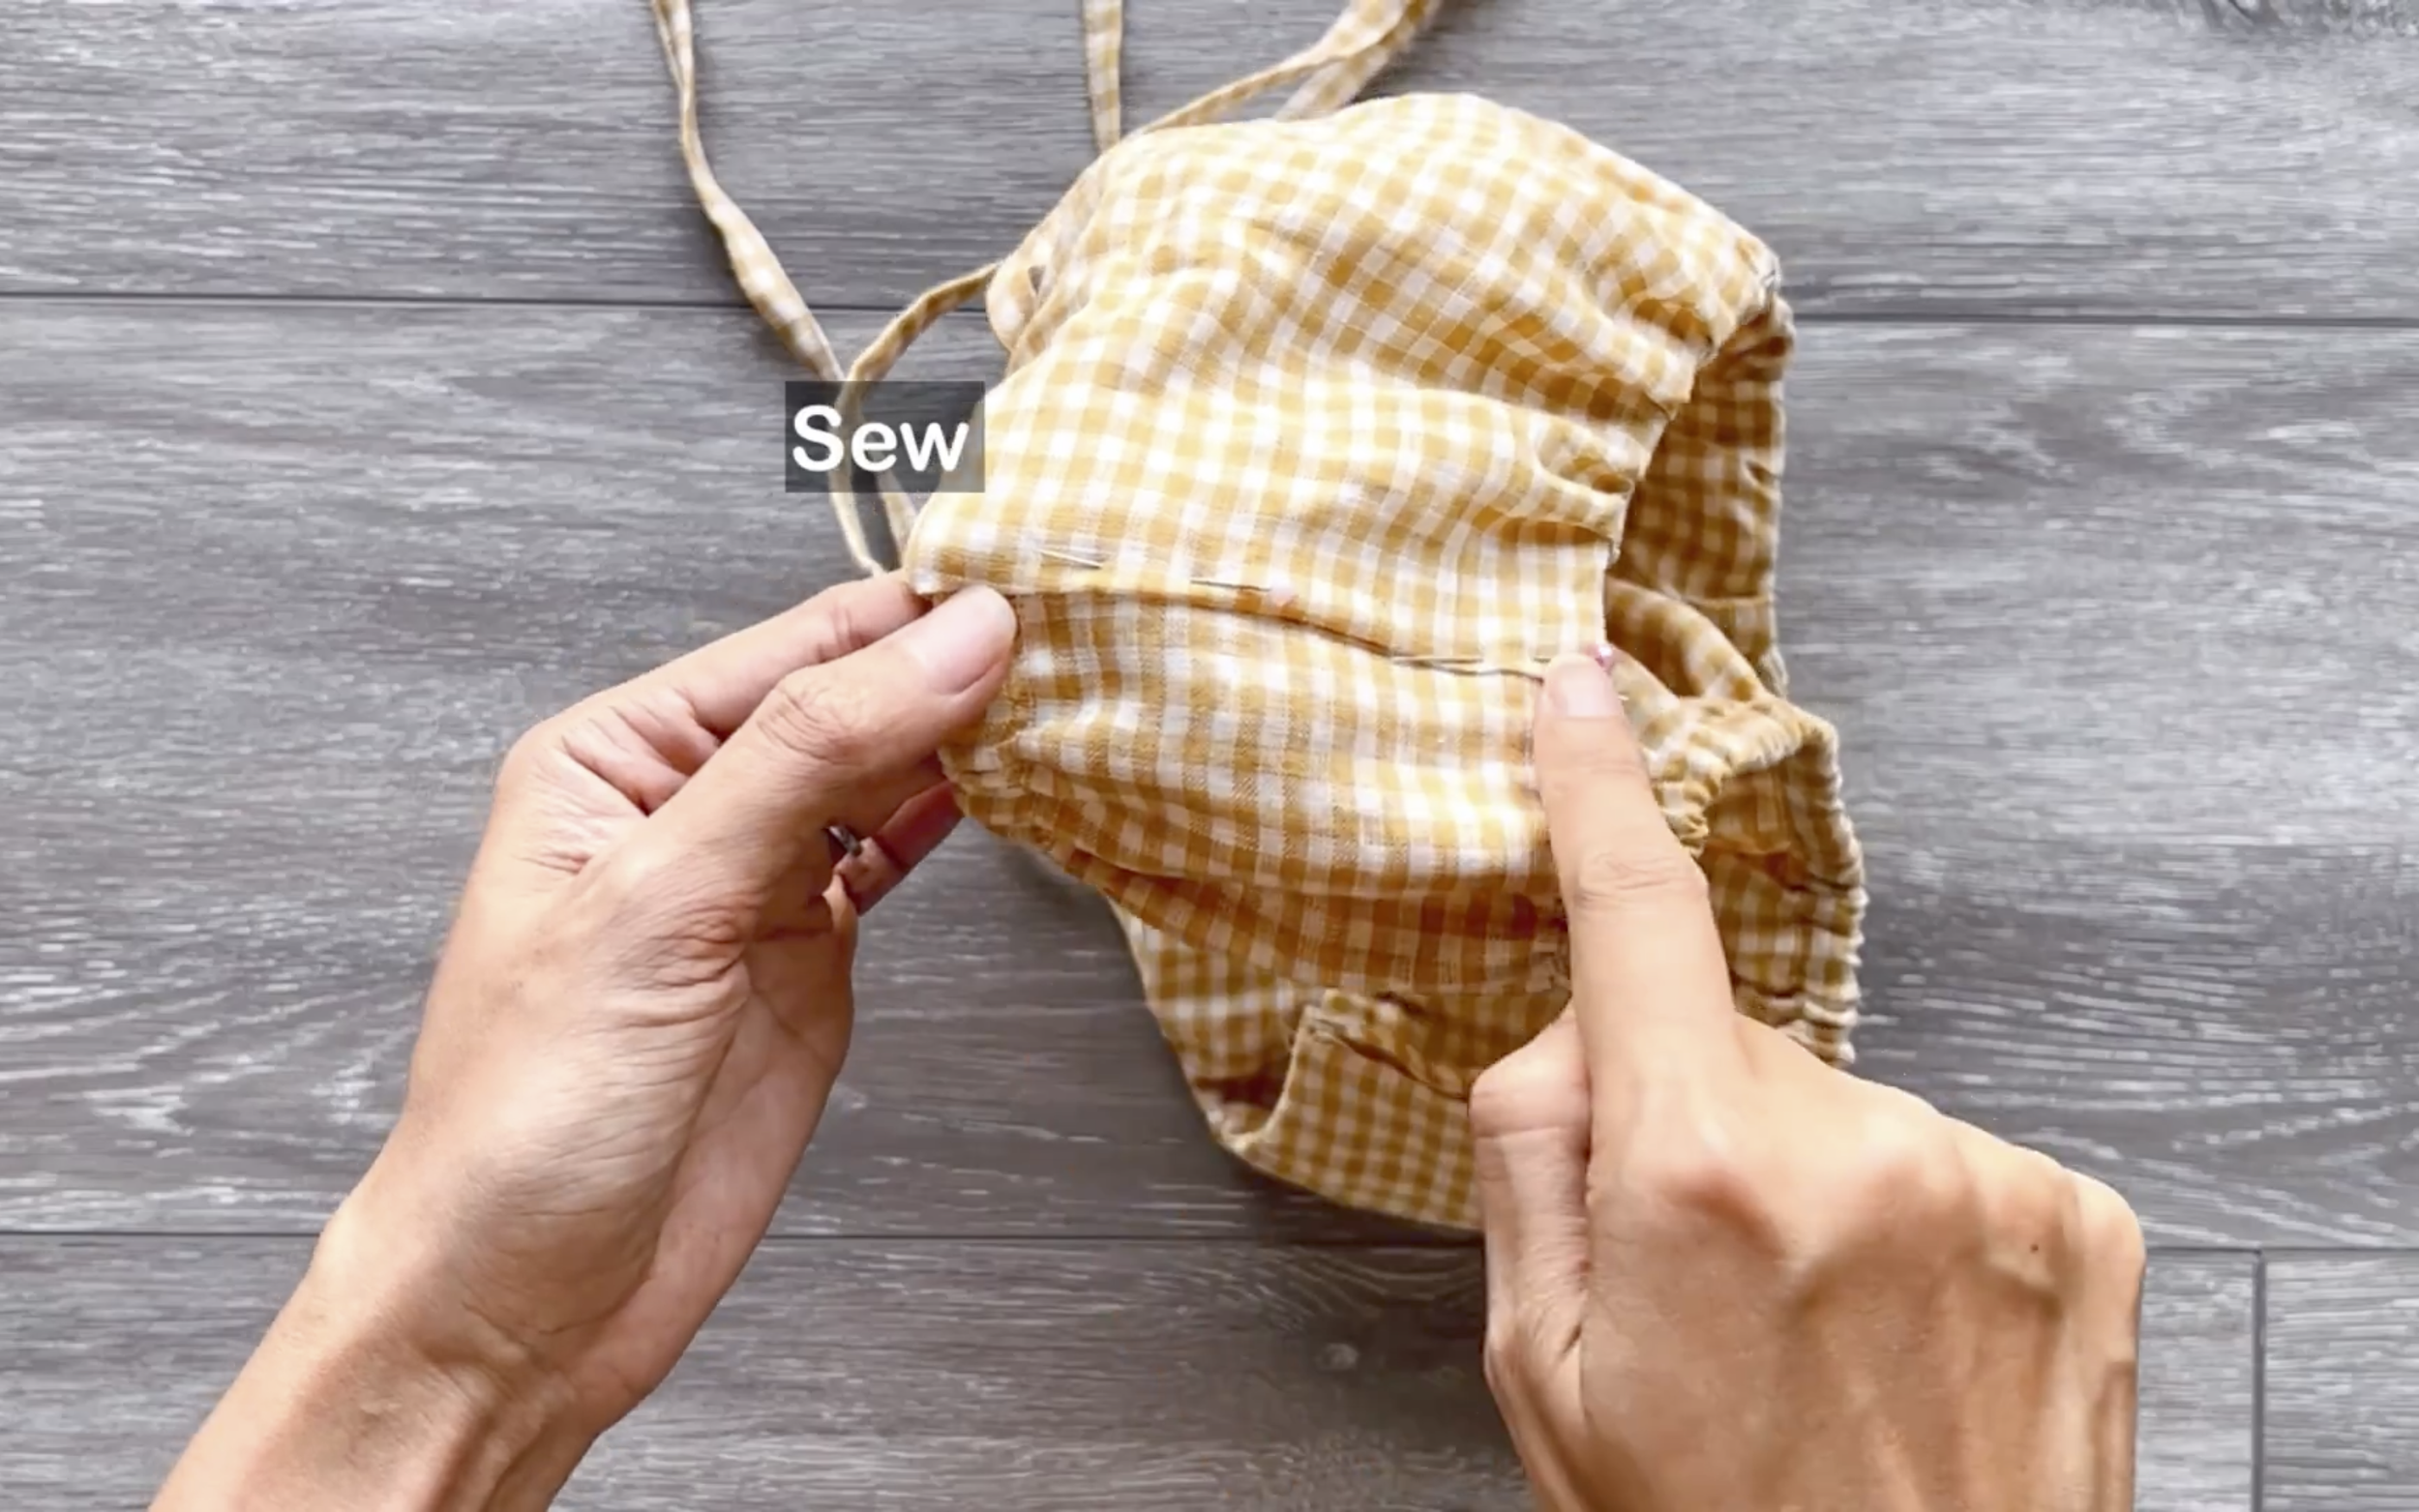
After sewing, fold the end fabric of the other piece of the front part inside and over the first seam, then make the second seam.
THE PANTS
Moving to the pants, start working with the front piece first.
At the waistline, make a fold fabric by creating two folds, each 4 cm wide.

The final width of the waistline after all will be 13 cm, which is a quarter of the waist size minus 3 cm that was cut off for the side pocket earlier.
Do the same for the other piece of the front pants.

Then, connect them together at the crotch line.
After sewing, connect the front pocket pieces to the front pants at the side, cutting and sewing.
Then, connect the back pieces of the pocket to the front pockets.
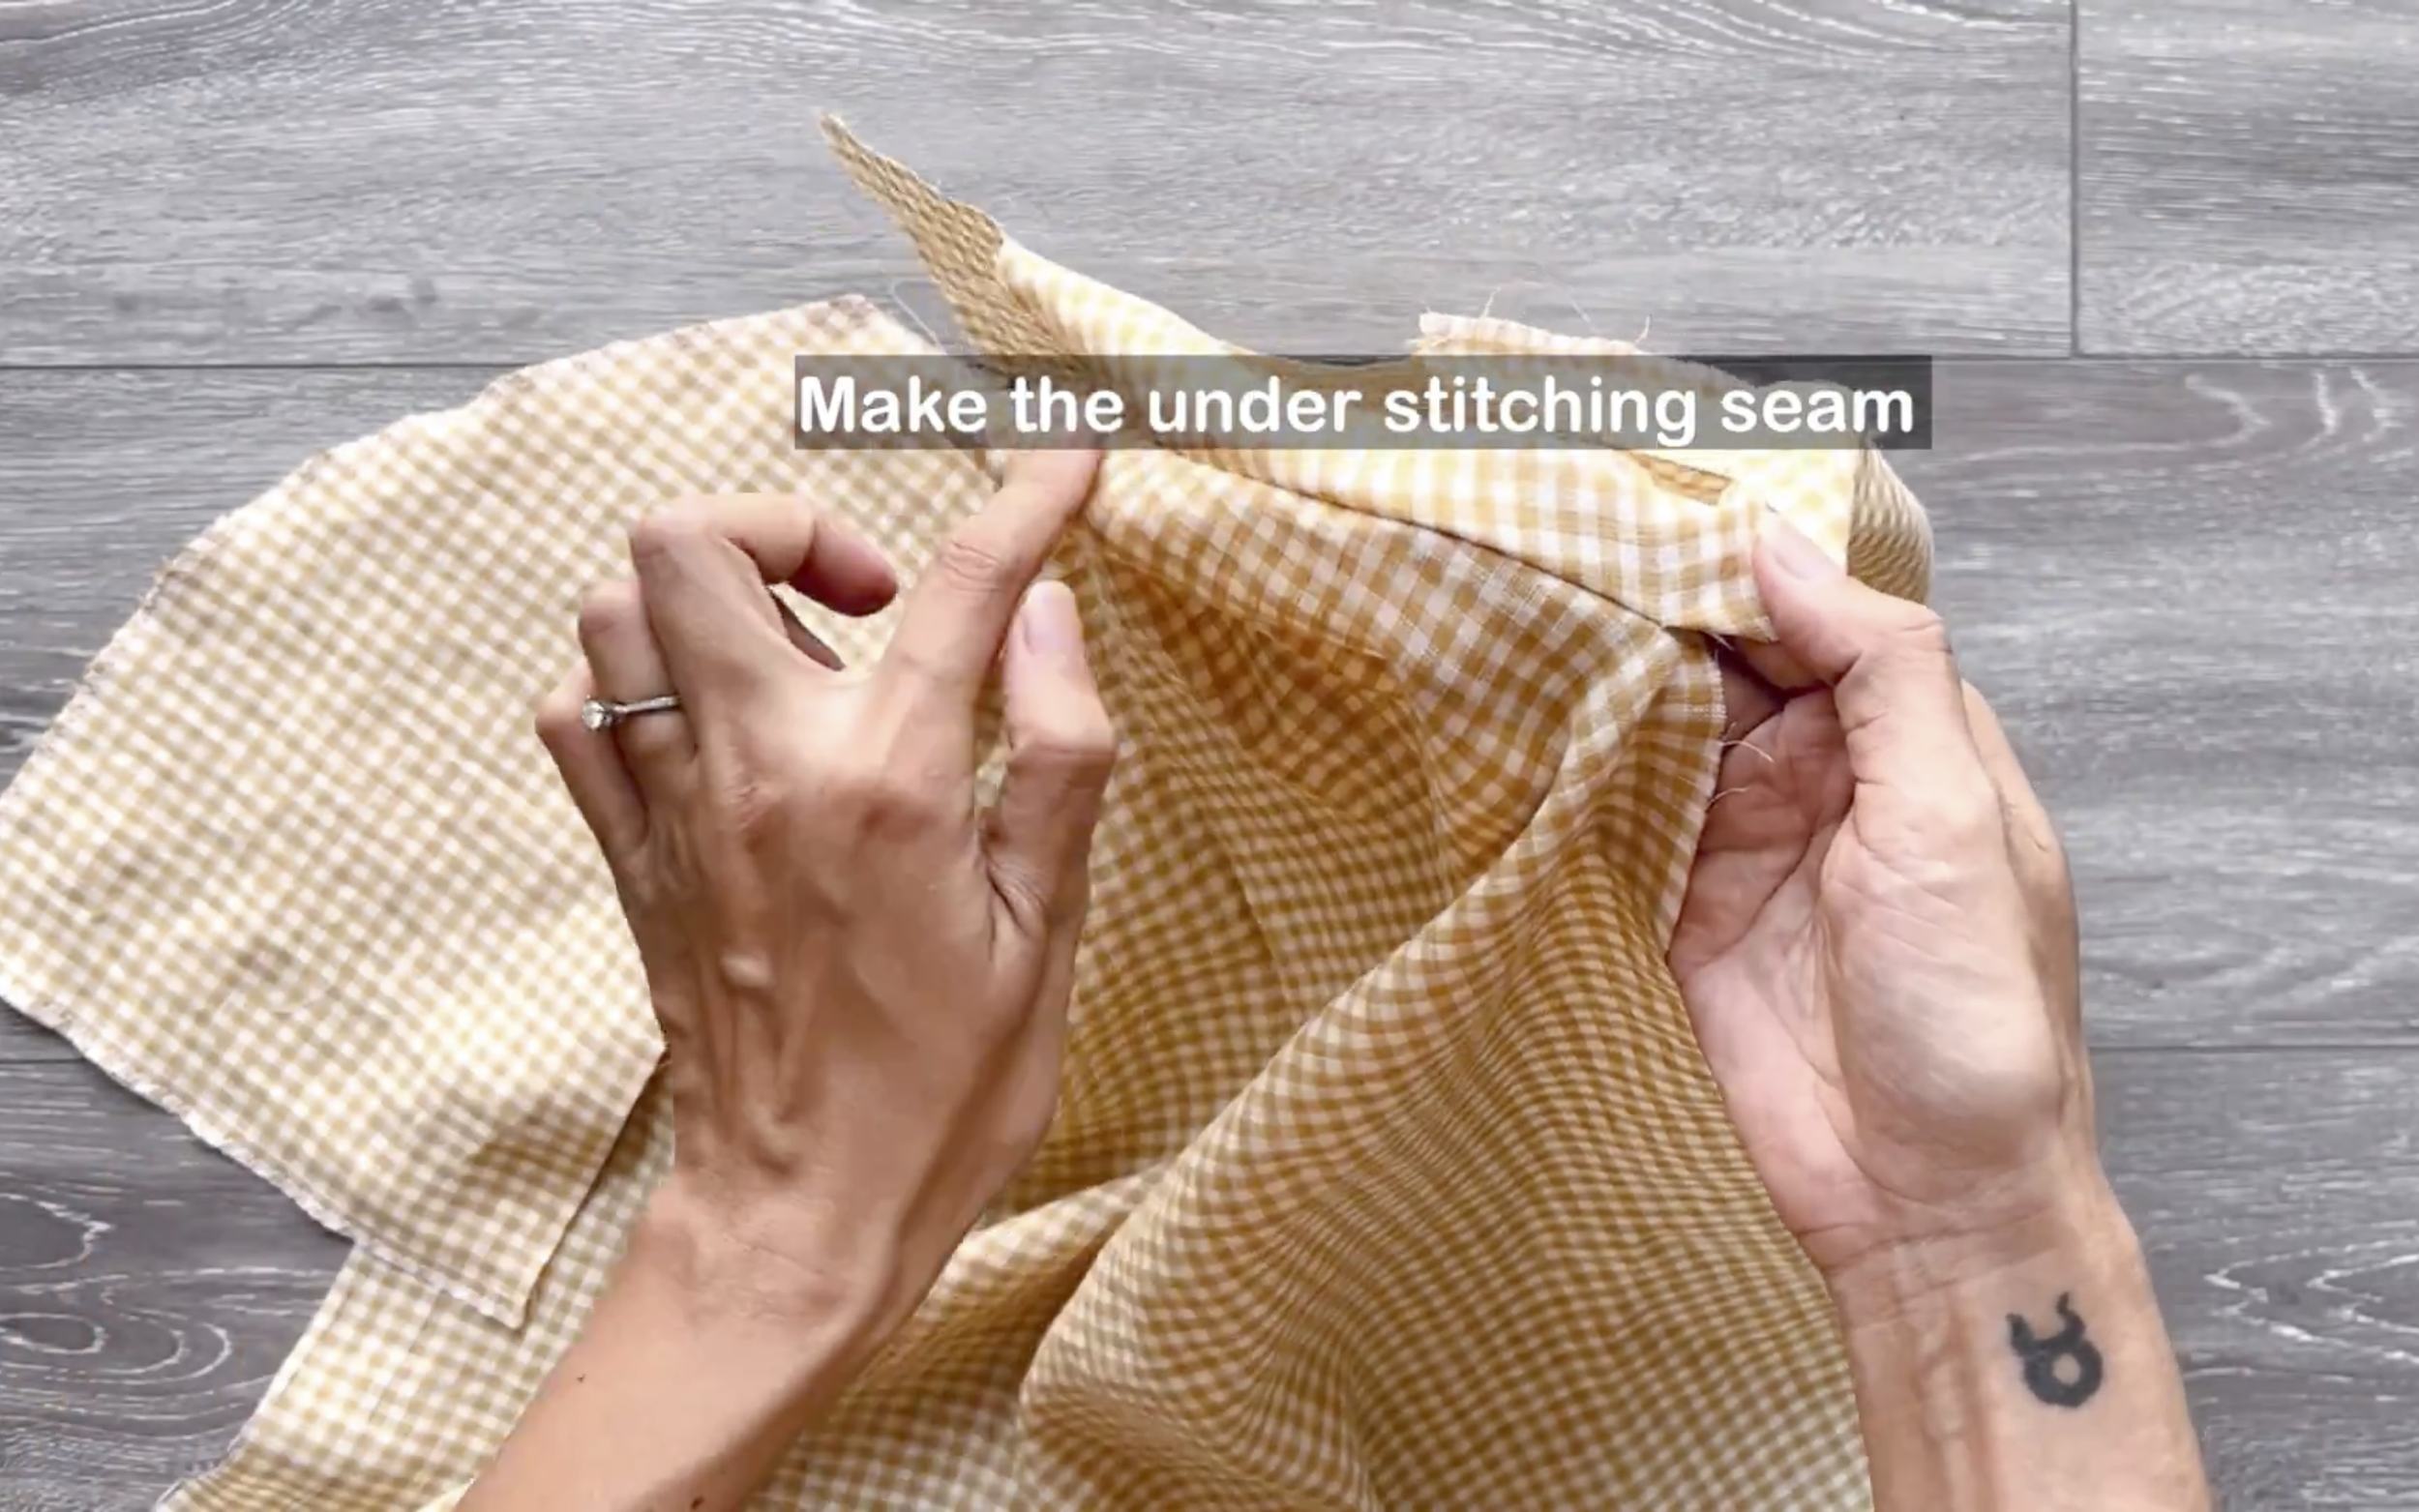
Make an under-stitching seam at the incline lines of the pocket before turning the pocket inside the front pants.
Connect the pocket to the front pants at the waistline and sideline.
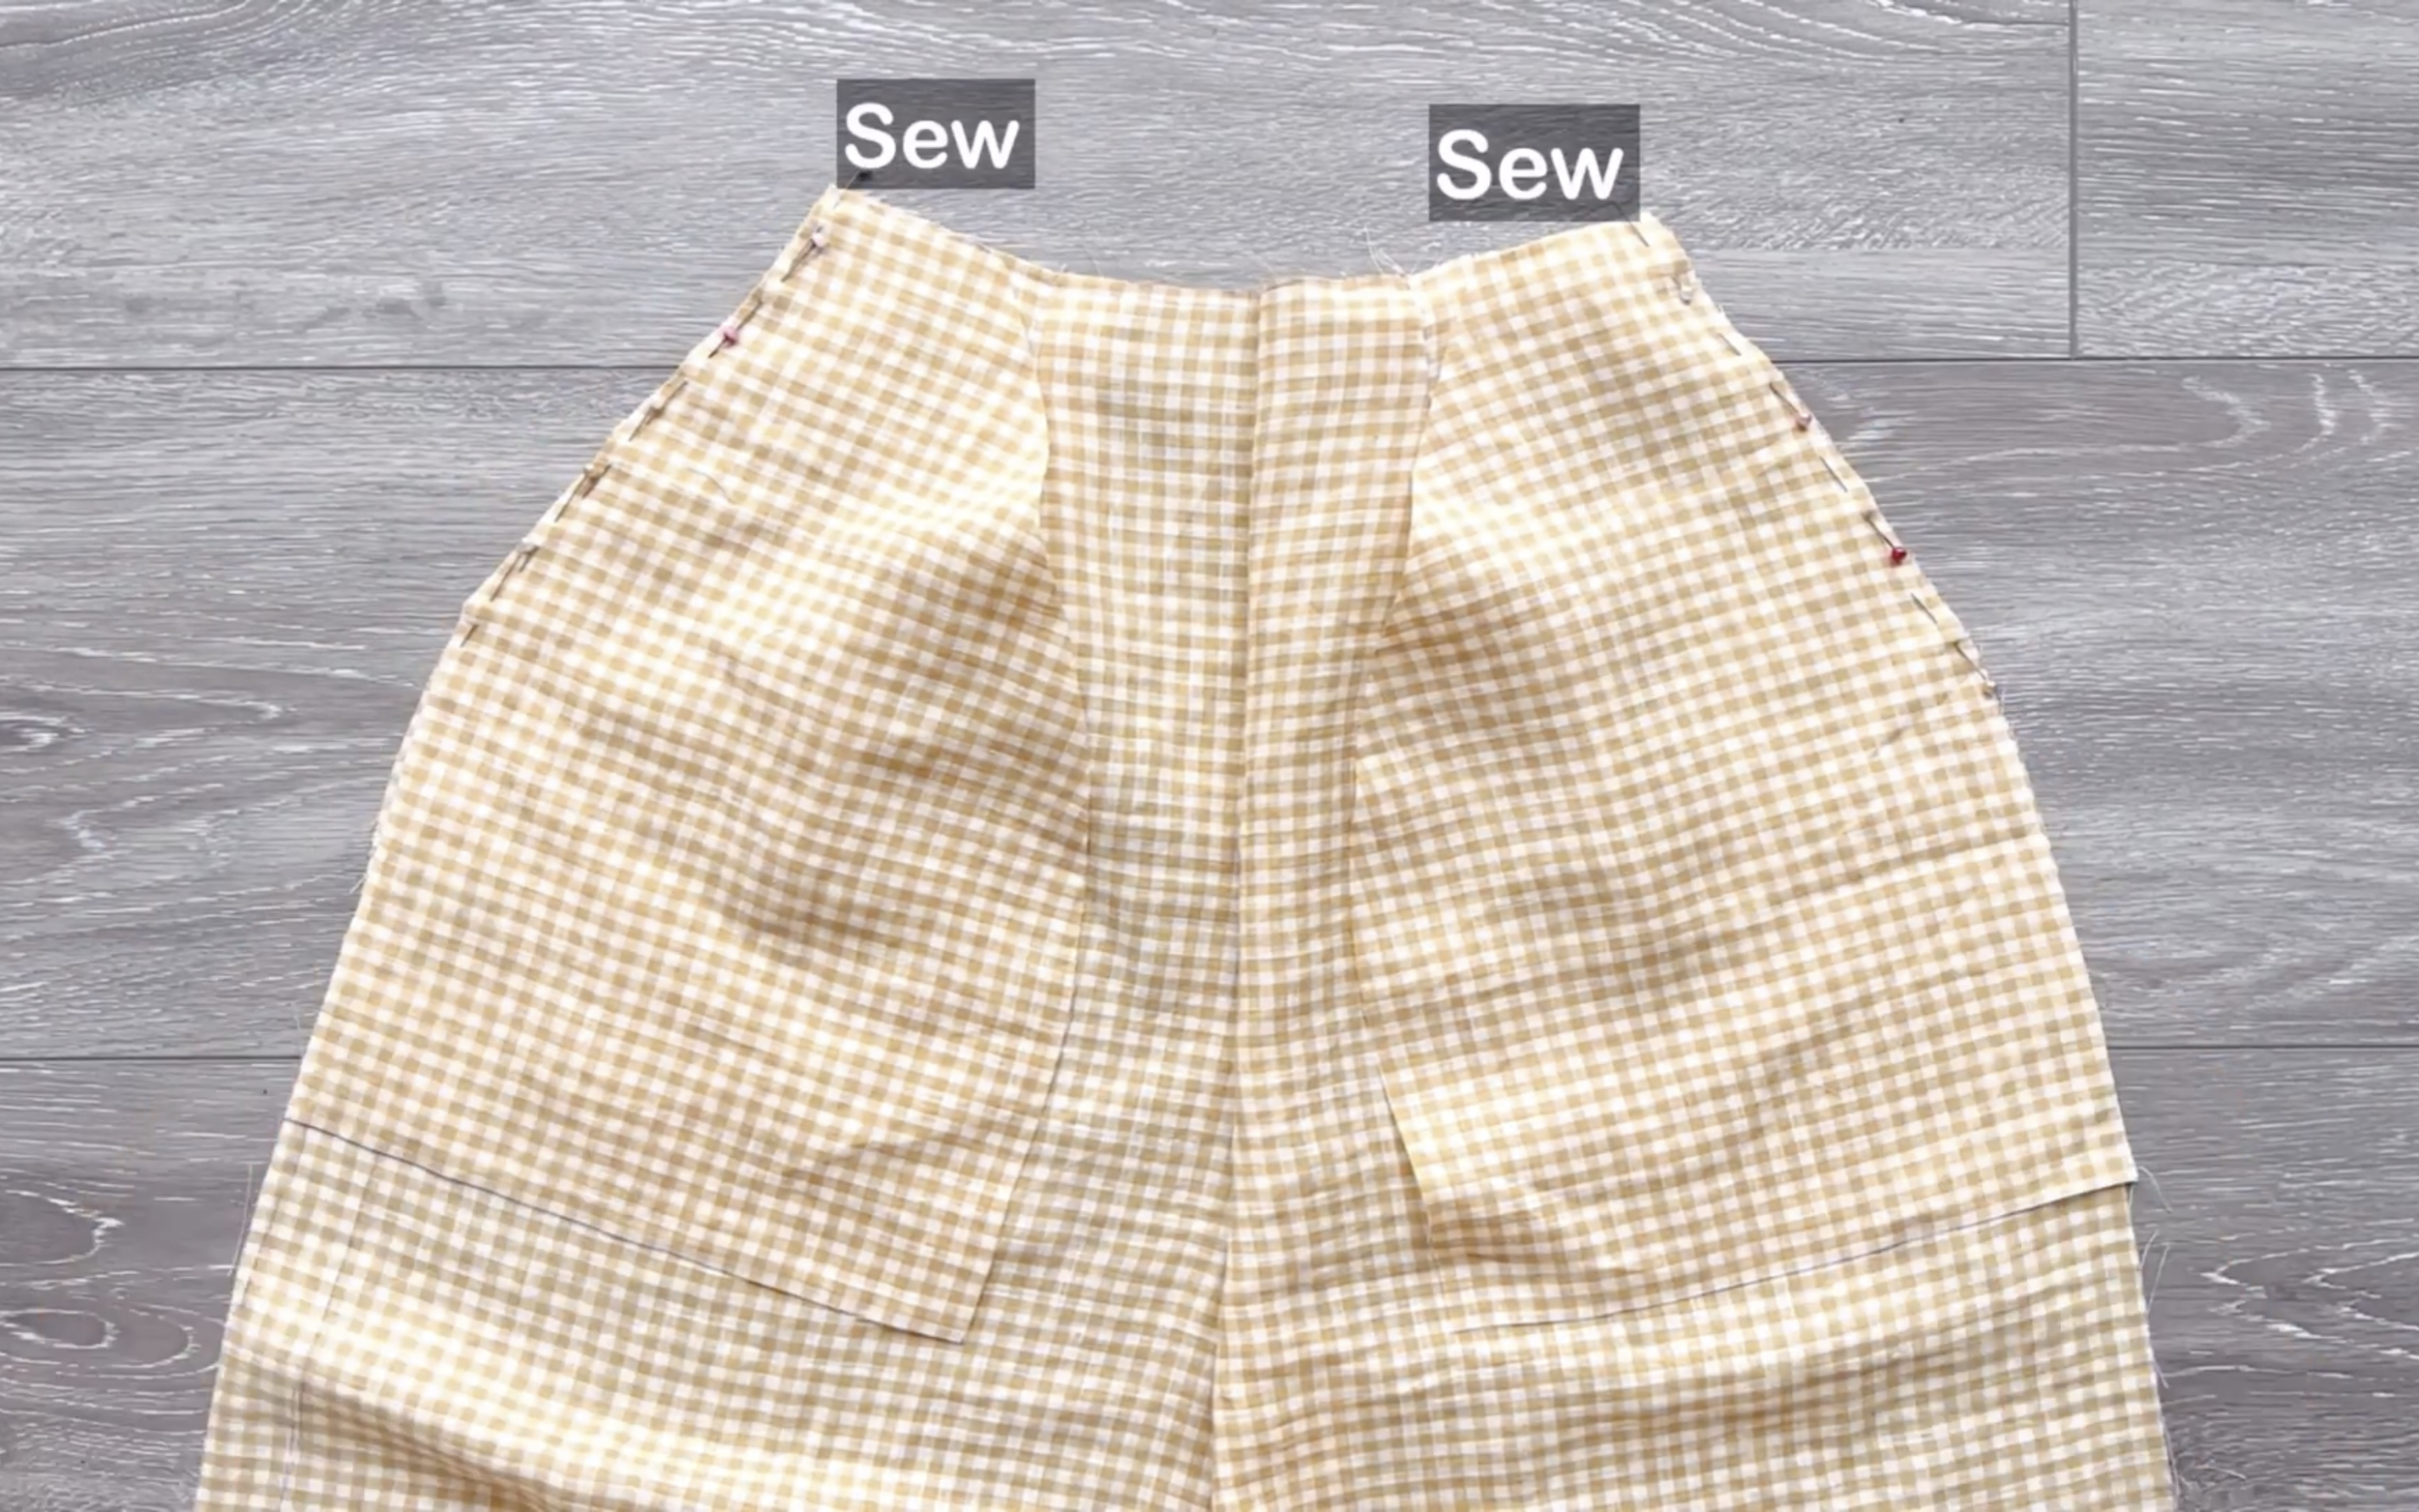
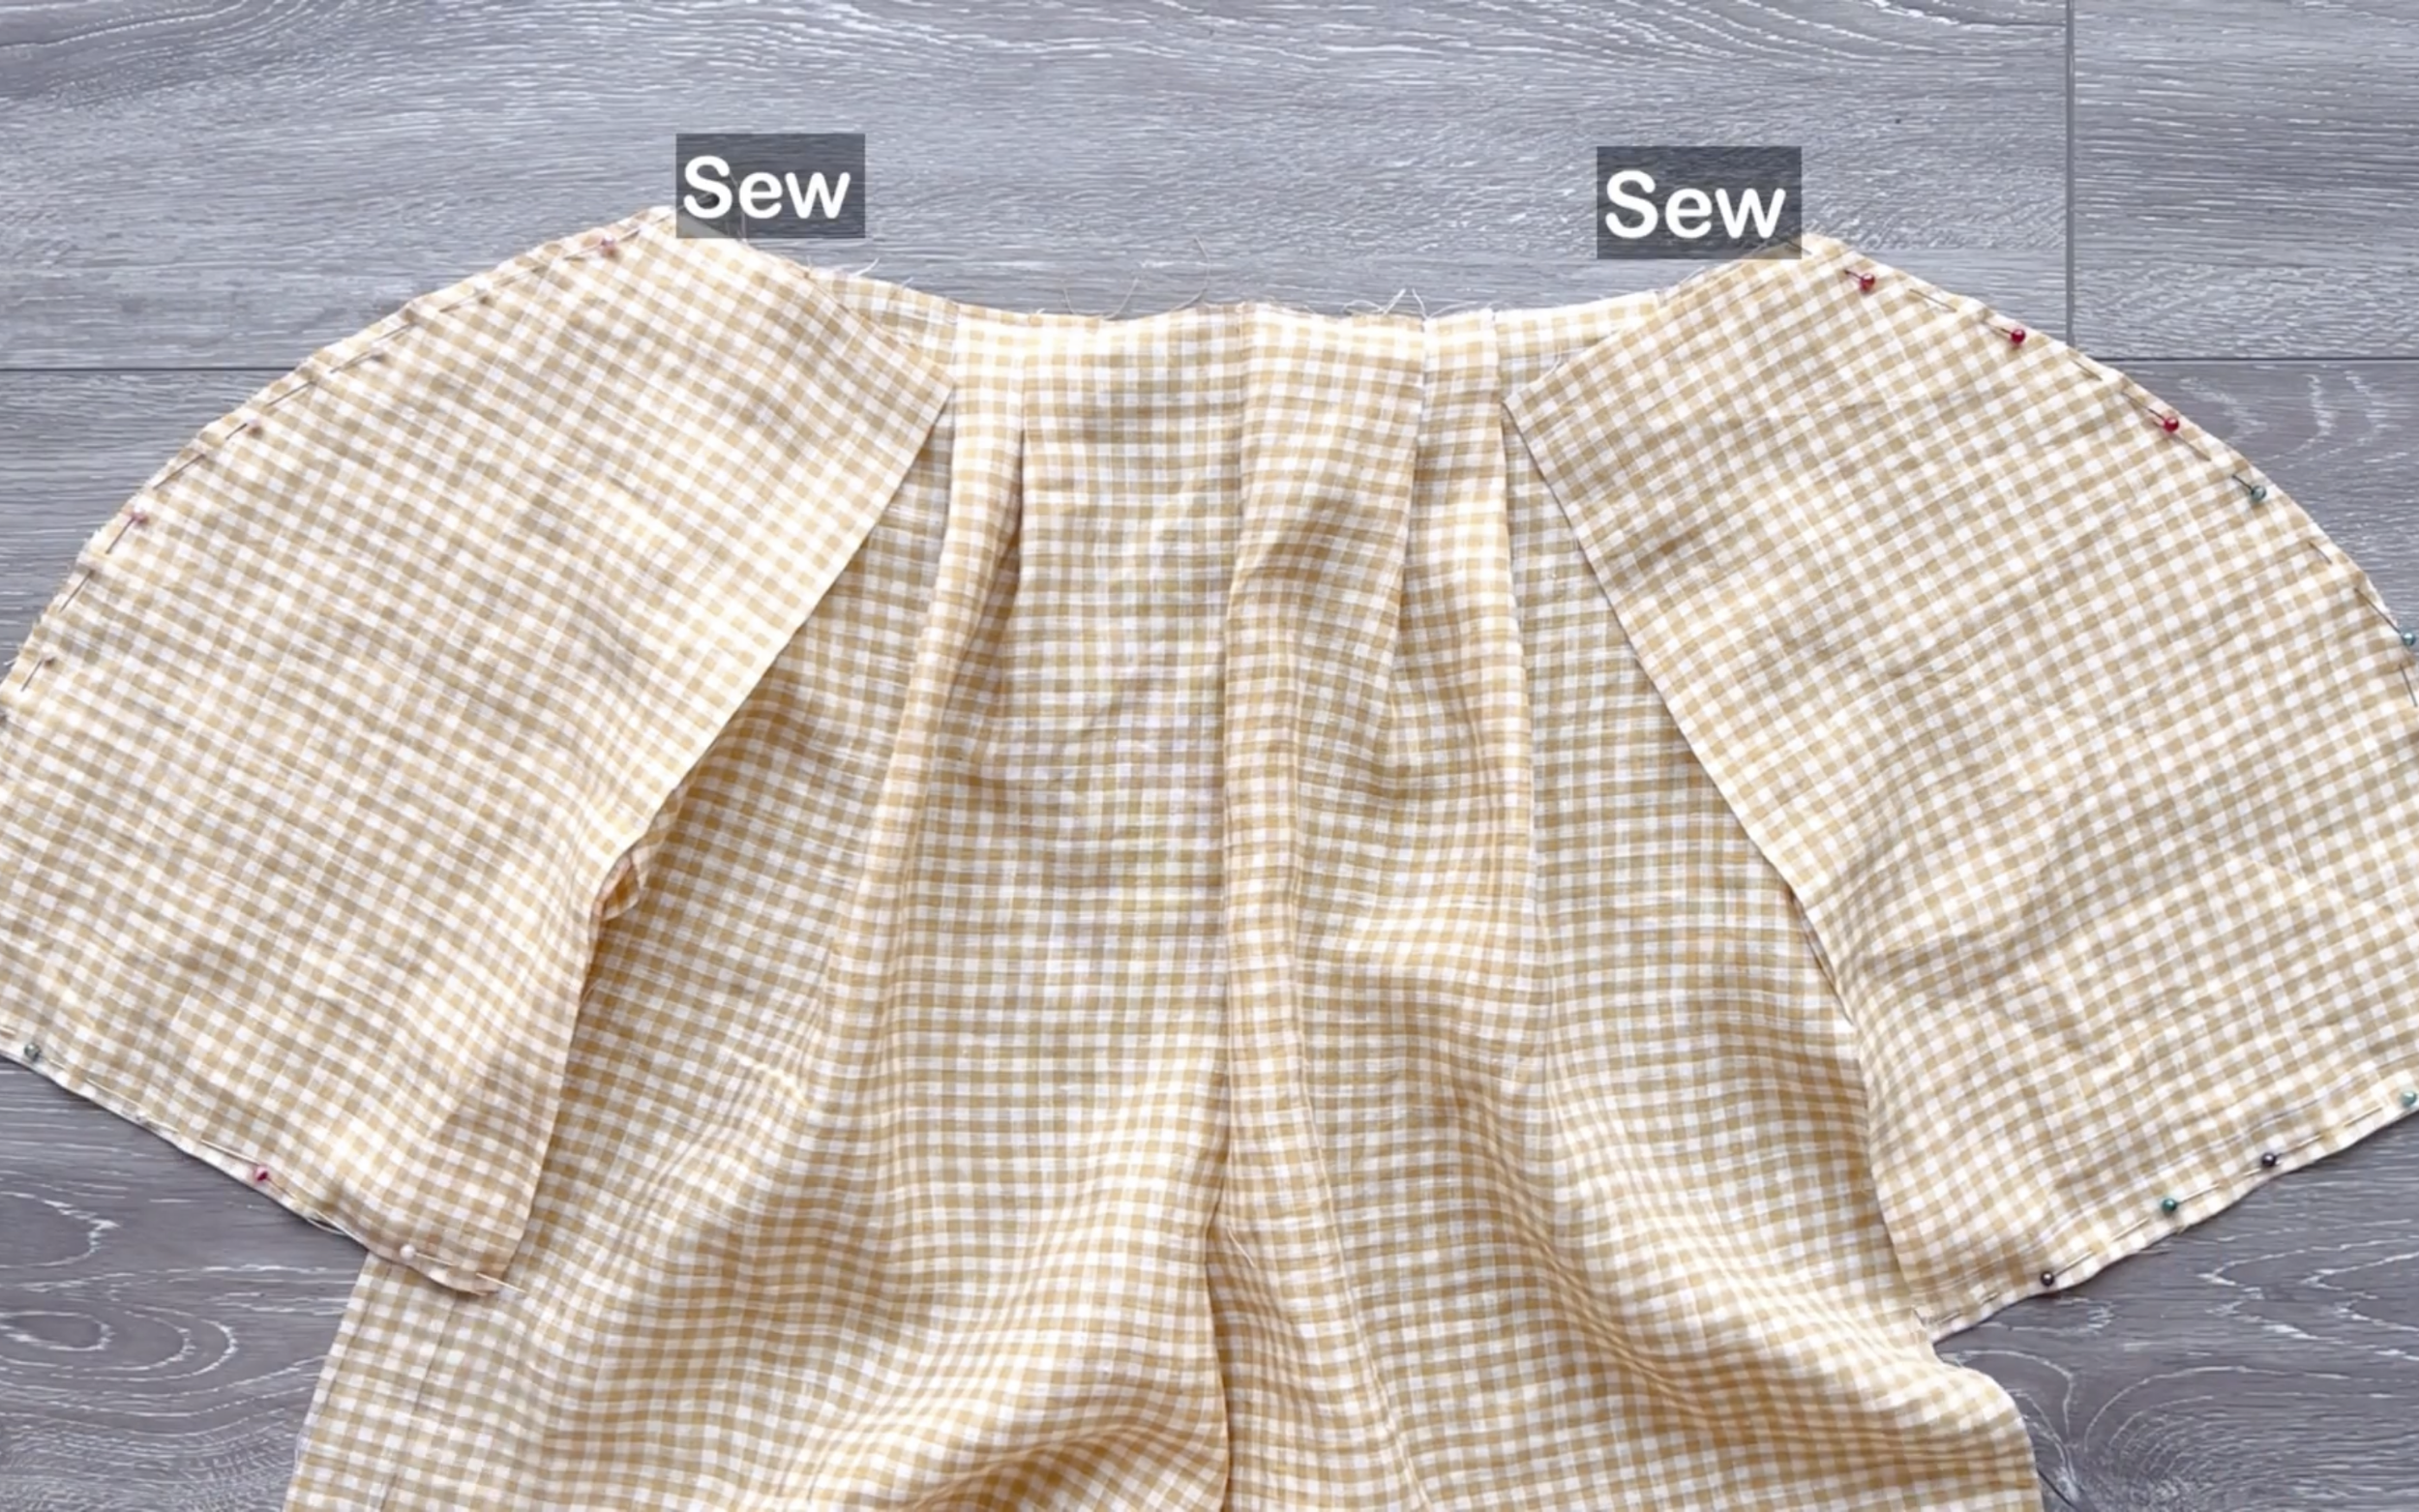
For the back pants, connect the two pieces together at the crotch line first.
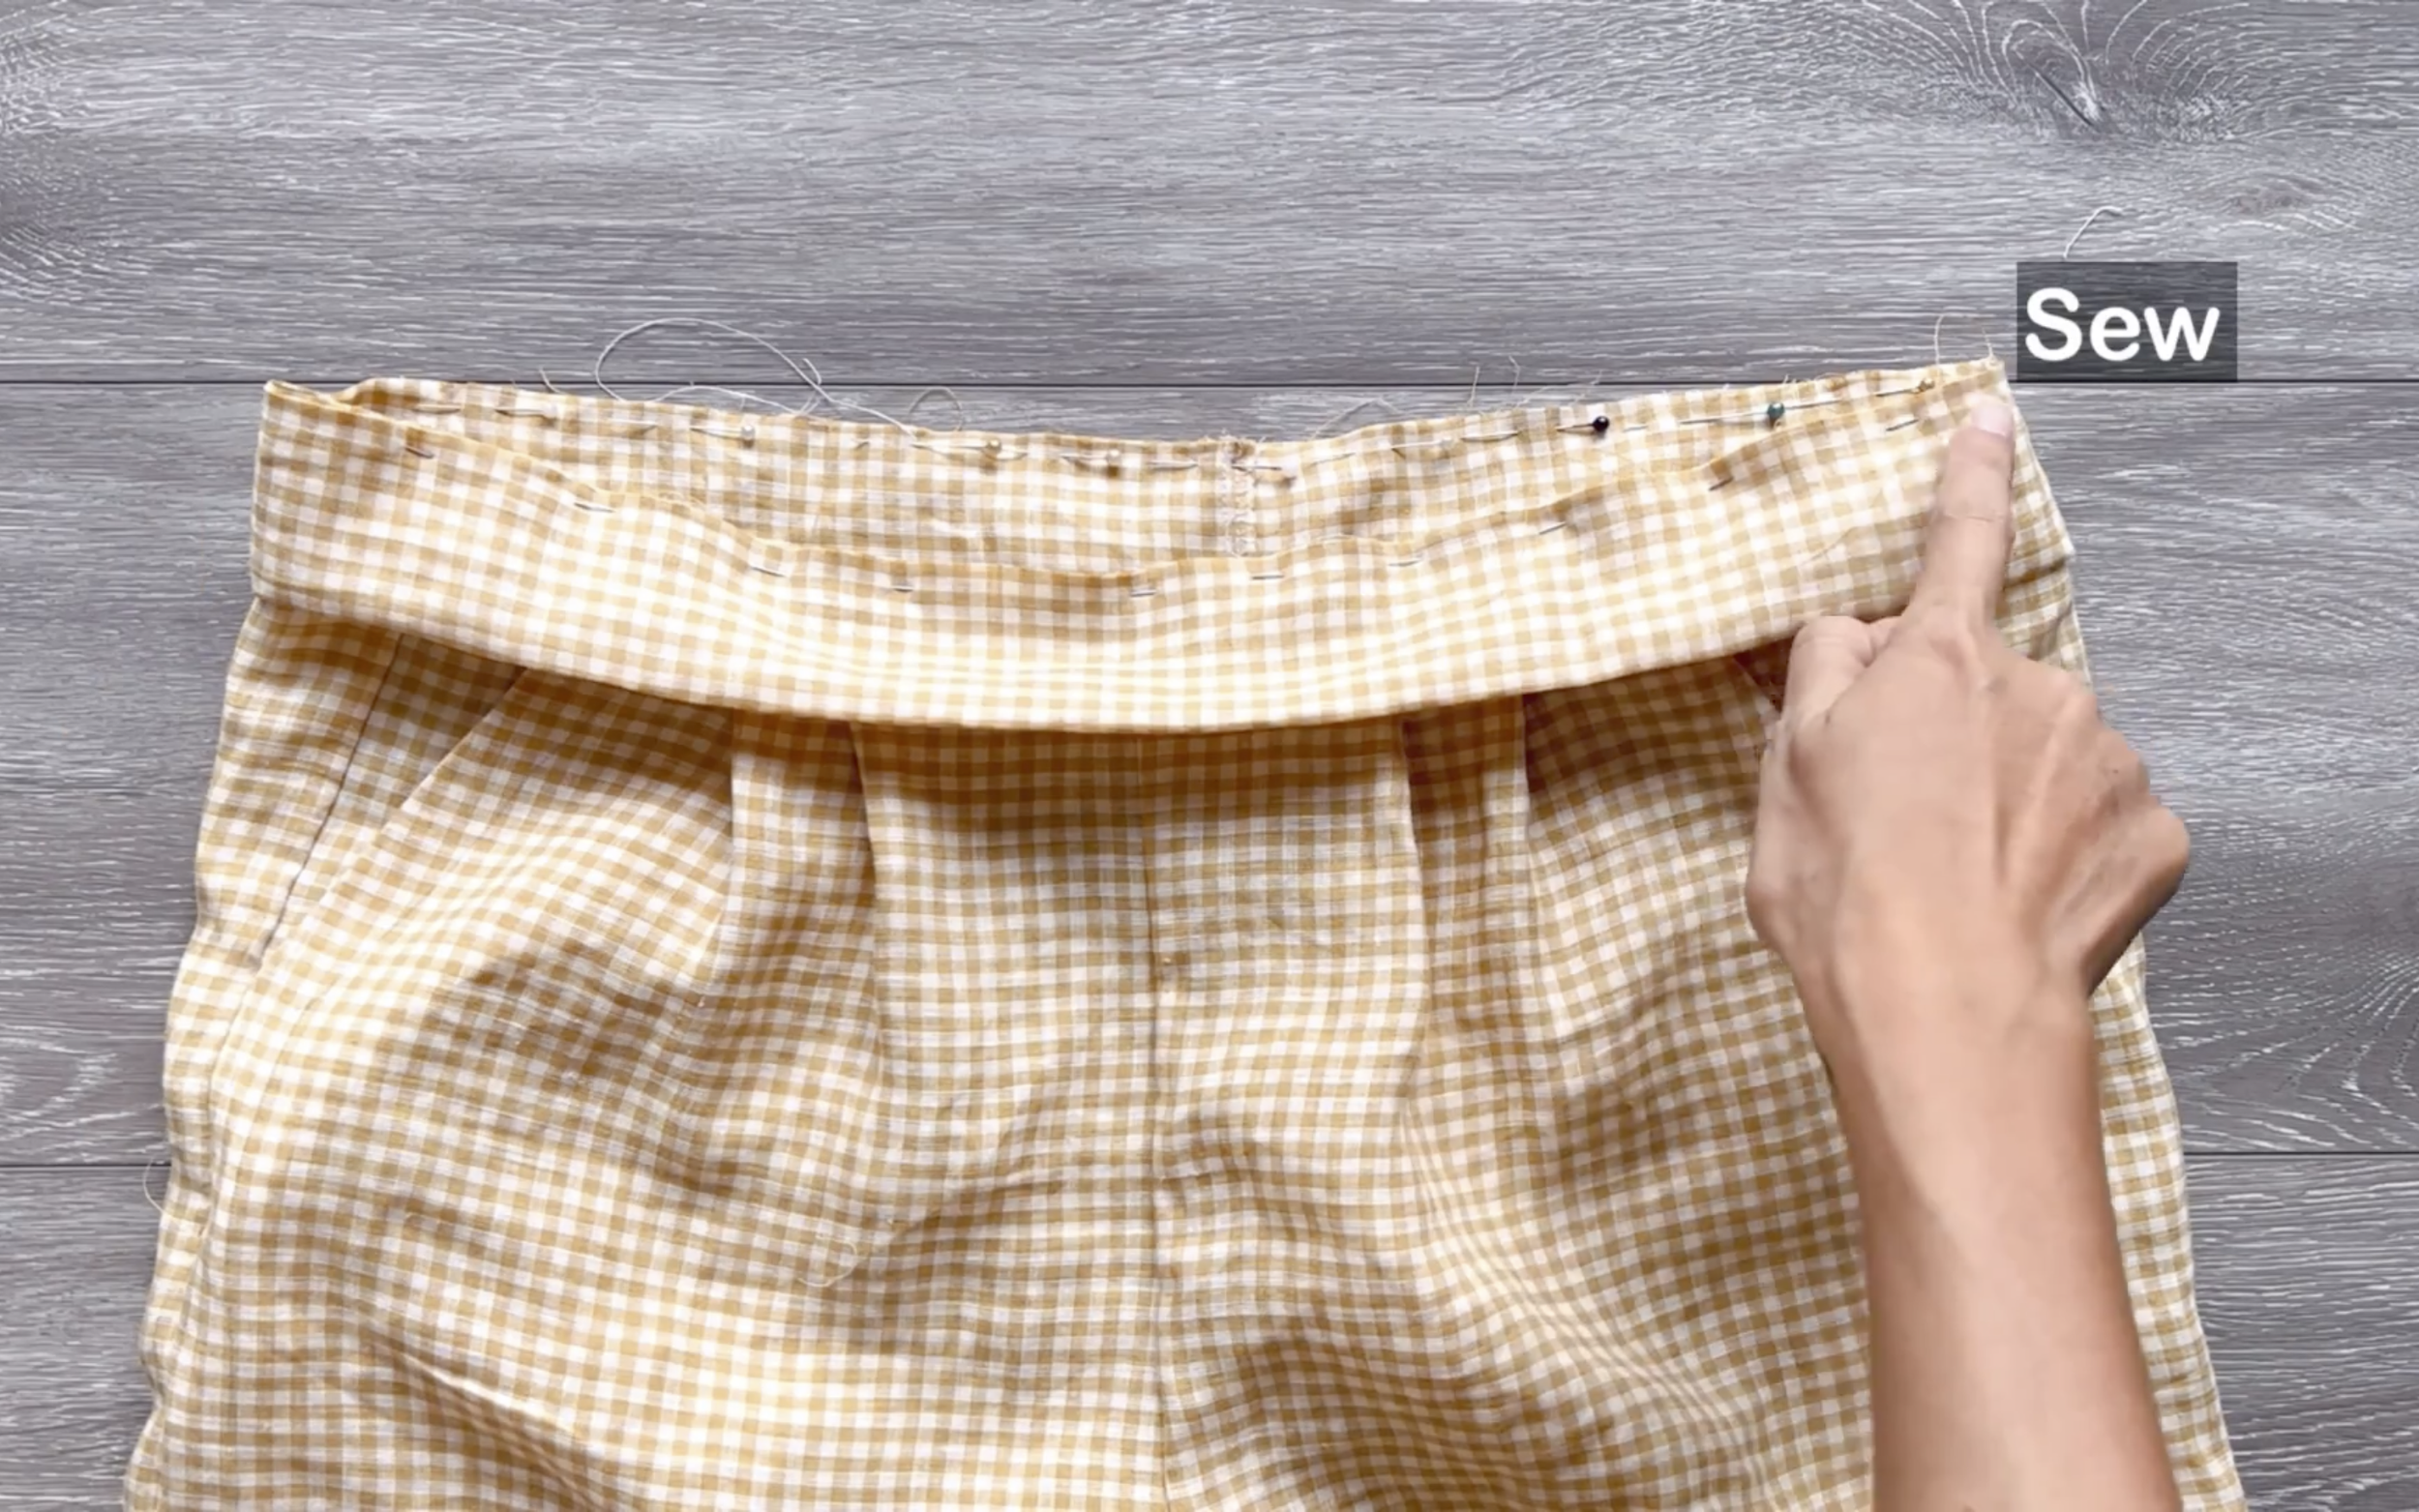
Then, connect the back and front pants at the sideline and inside leg line.
To make the waistband, cut a fabric with 8 cm length, which is twice the length of the waistband needed plus 2 cm for seam allowance, and 96 cm width, which is the same as the waist of the pants plus 2 cm for seam allowance.
Connect the two length lines together to create a circular fabric first.
After sewing, fold the two width lines together before attaching them to the waistline of the pants.
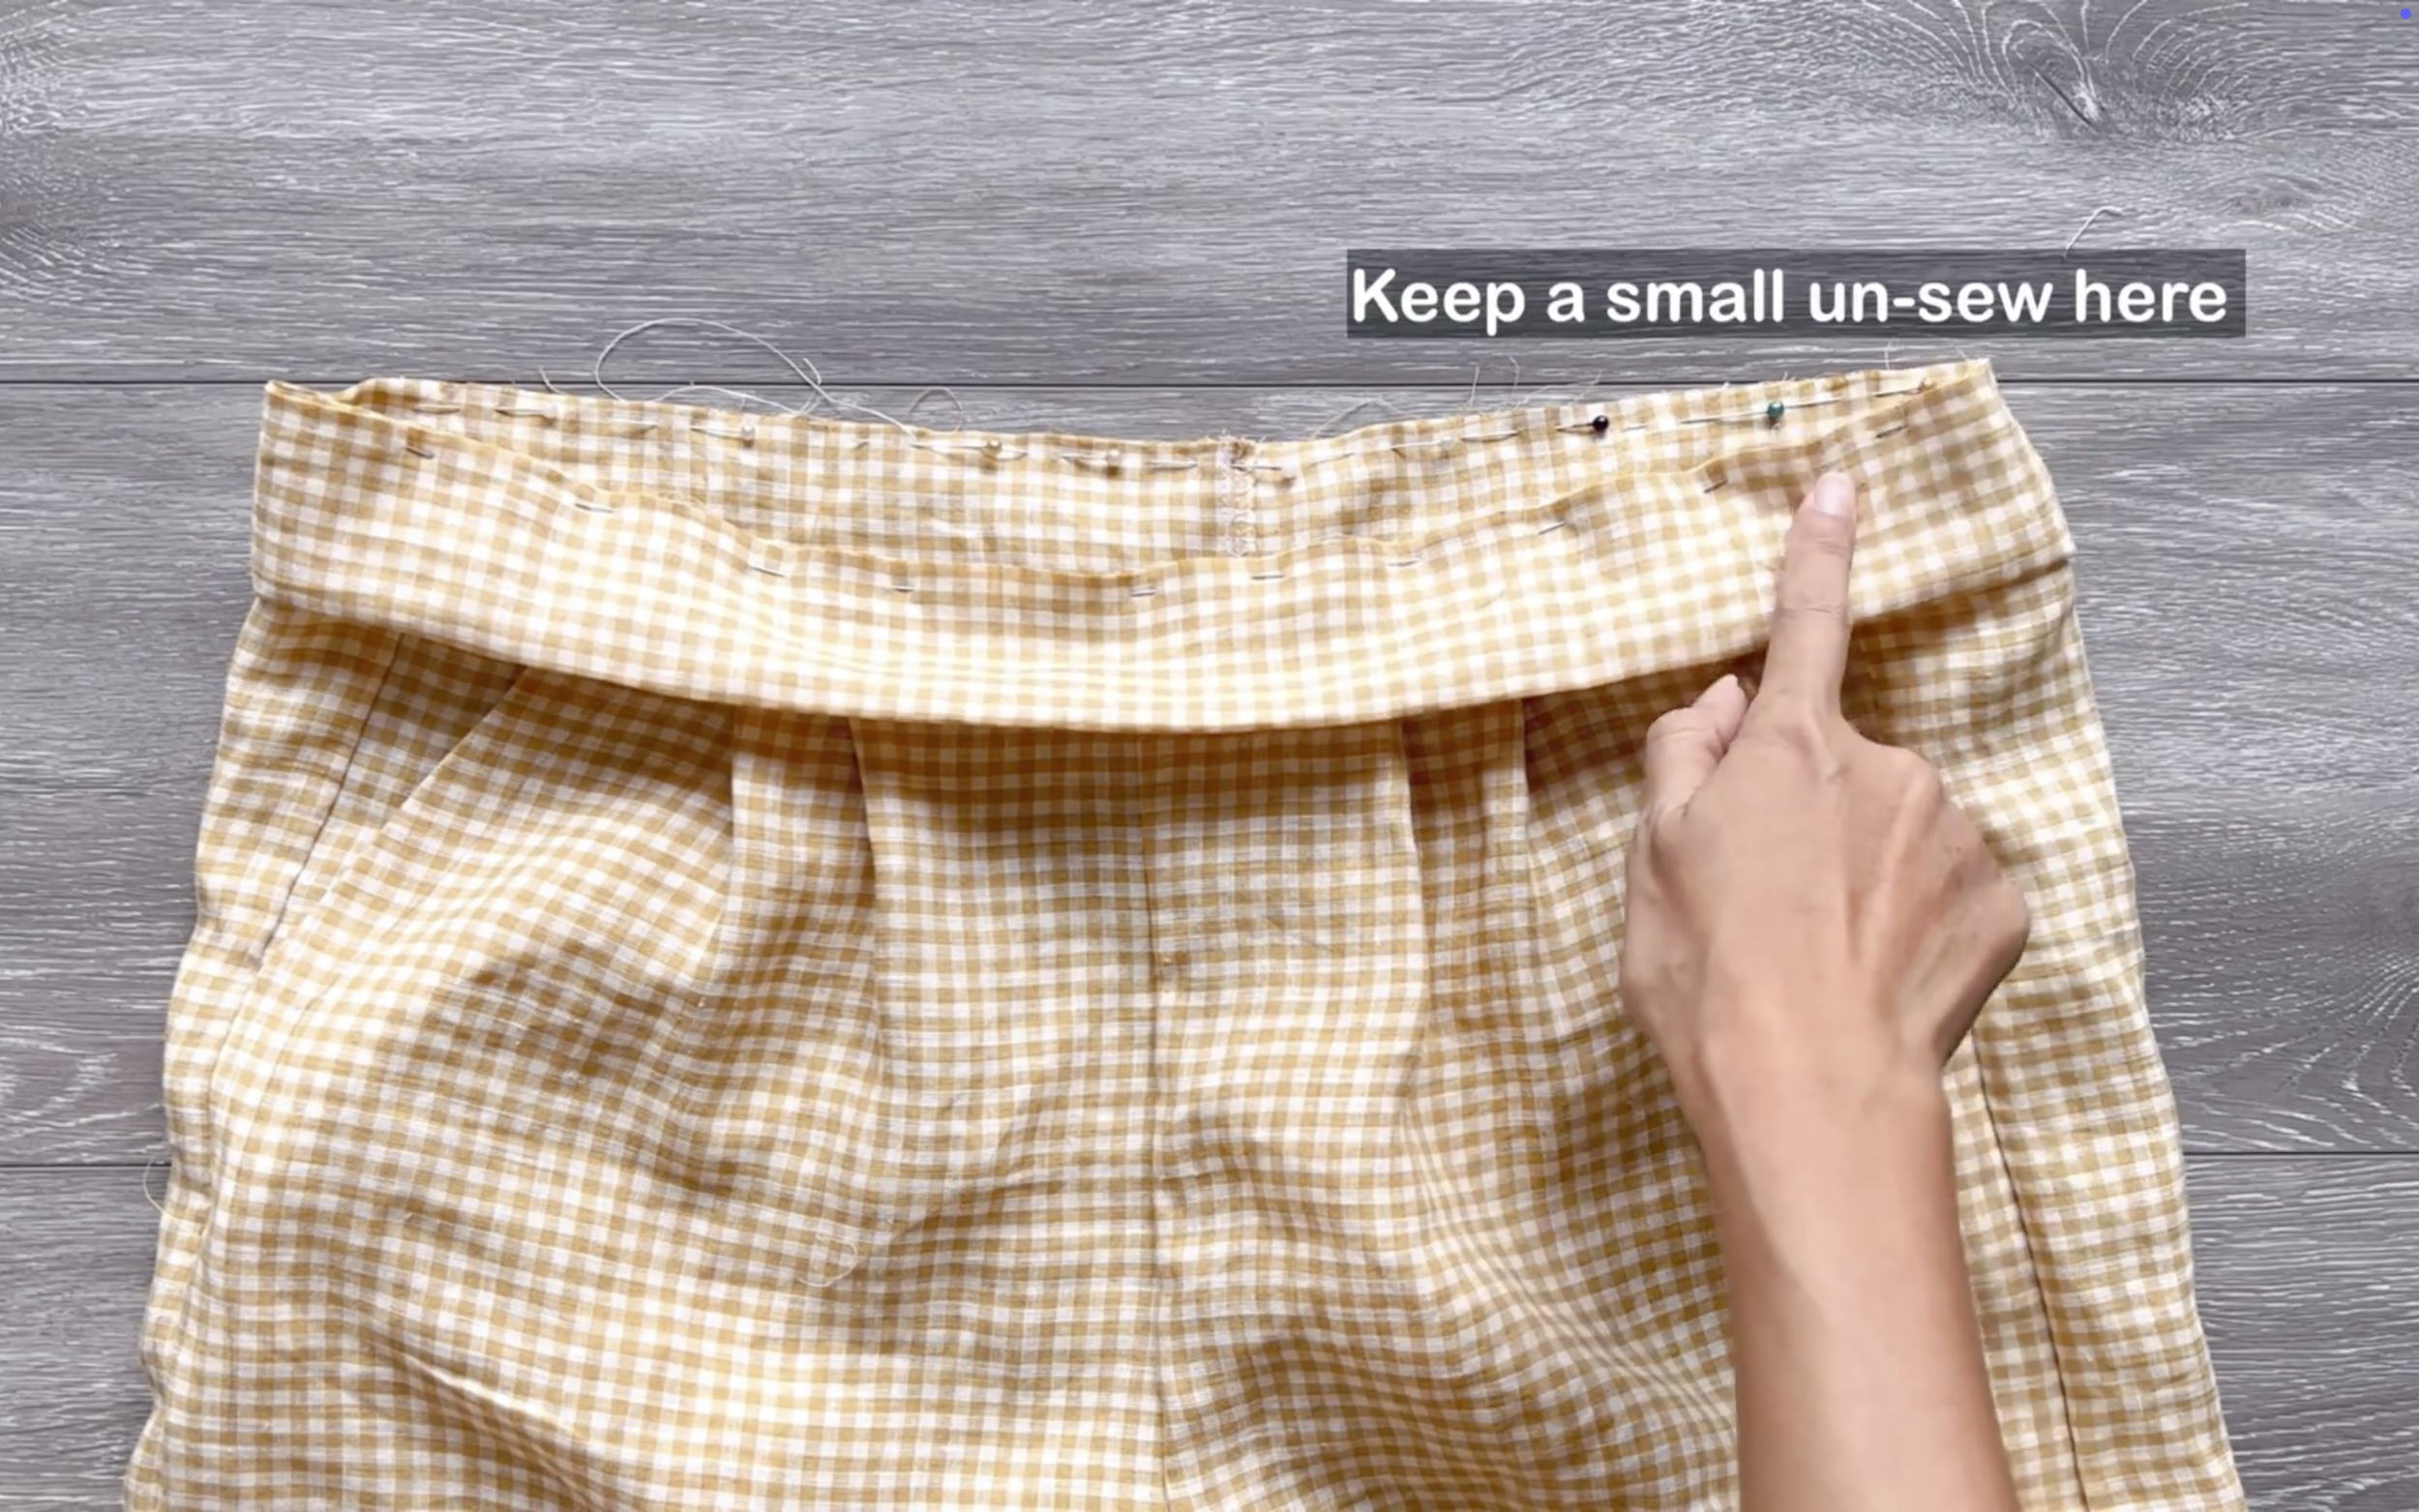
Leave a small unsewn space for the elastic band to go through later.
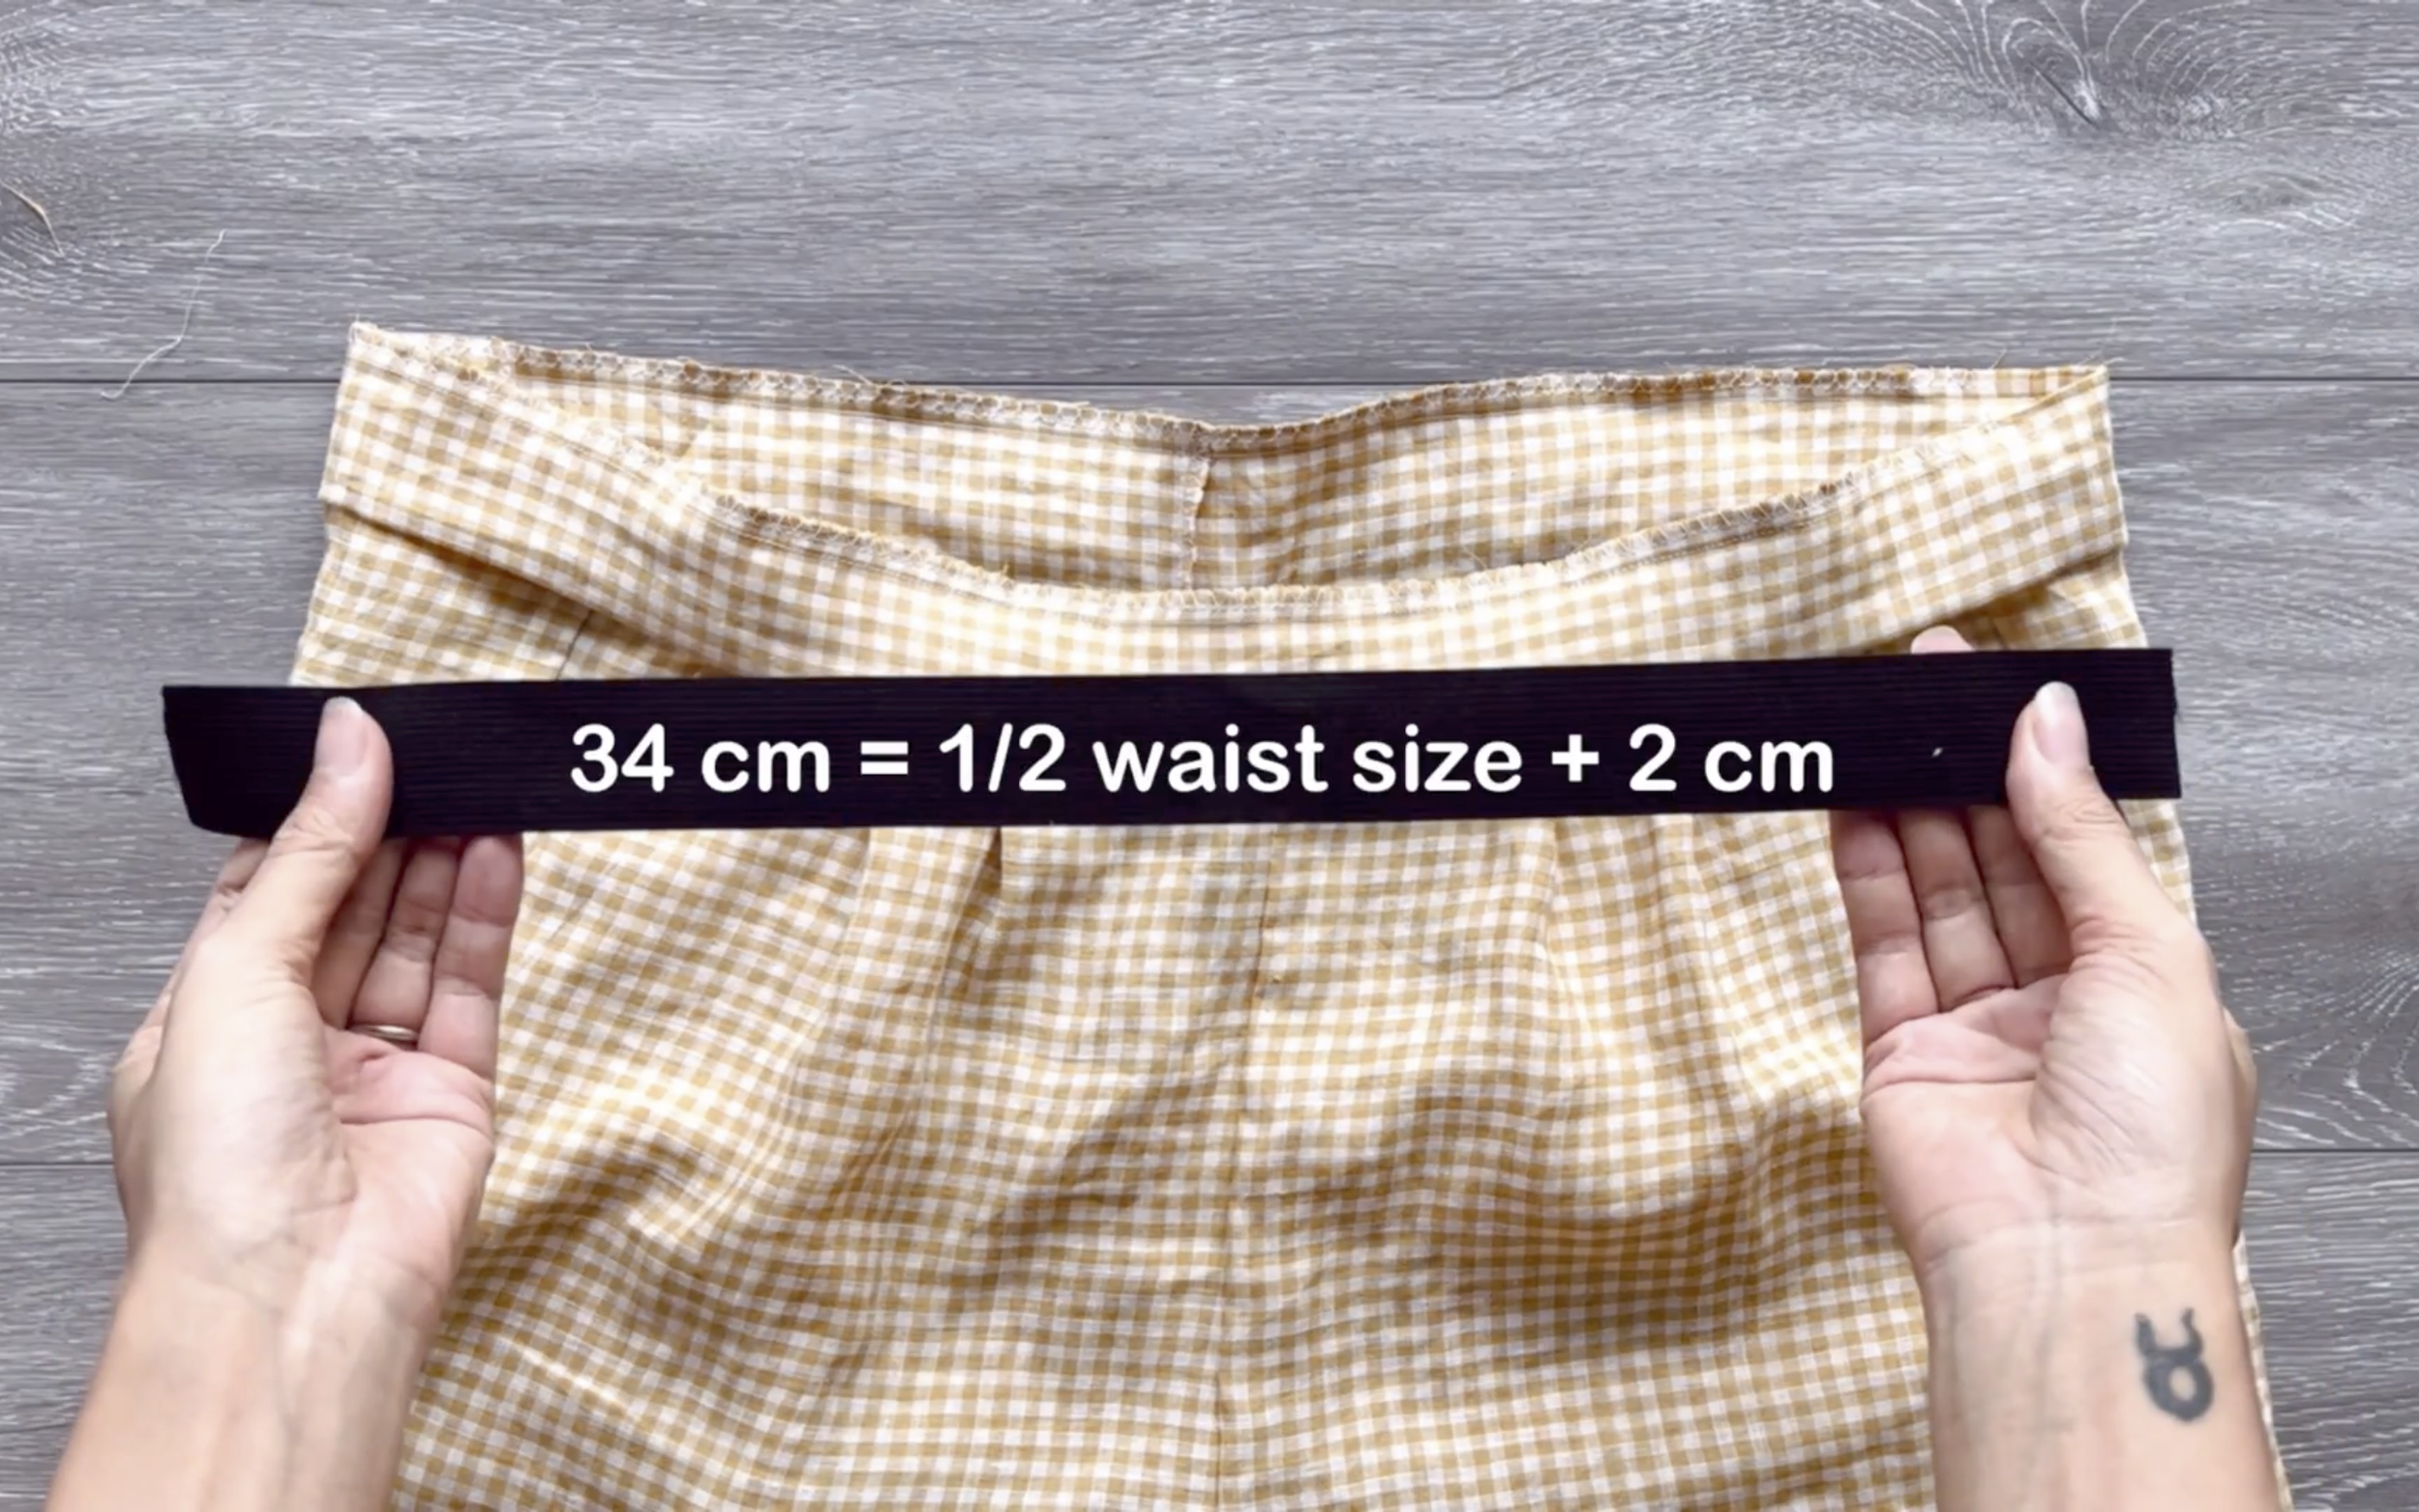
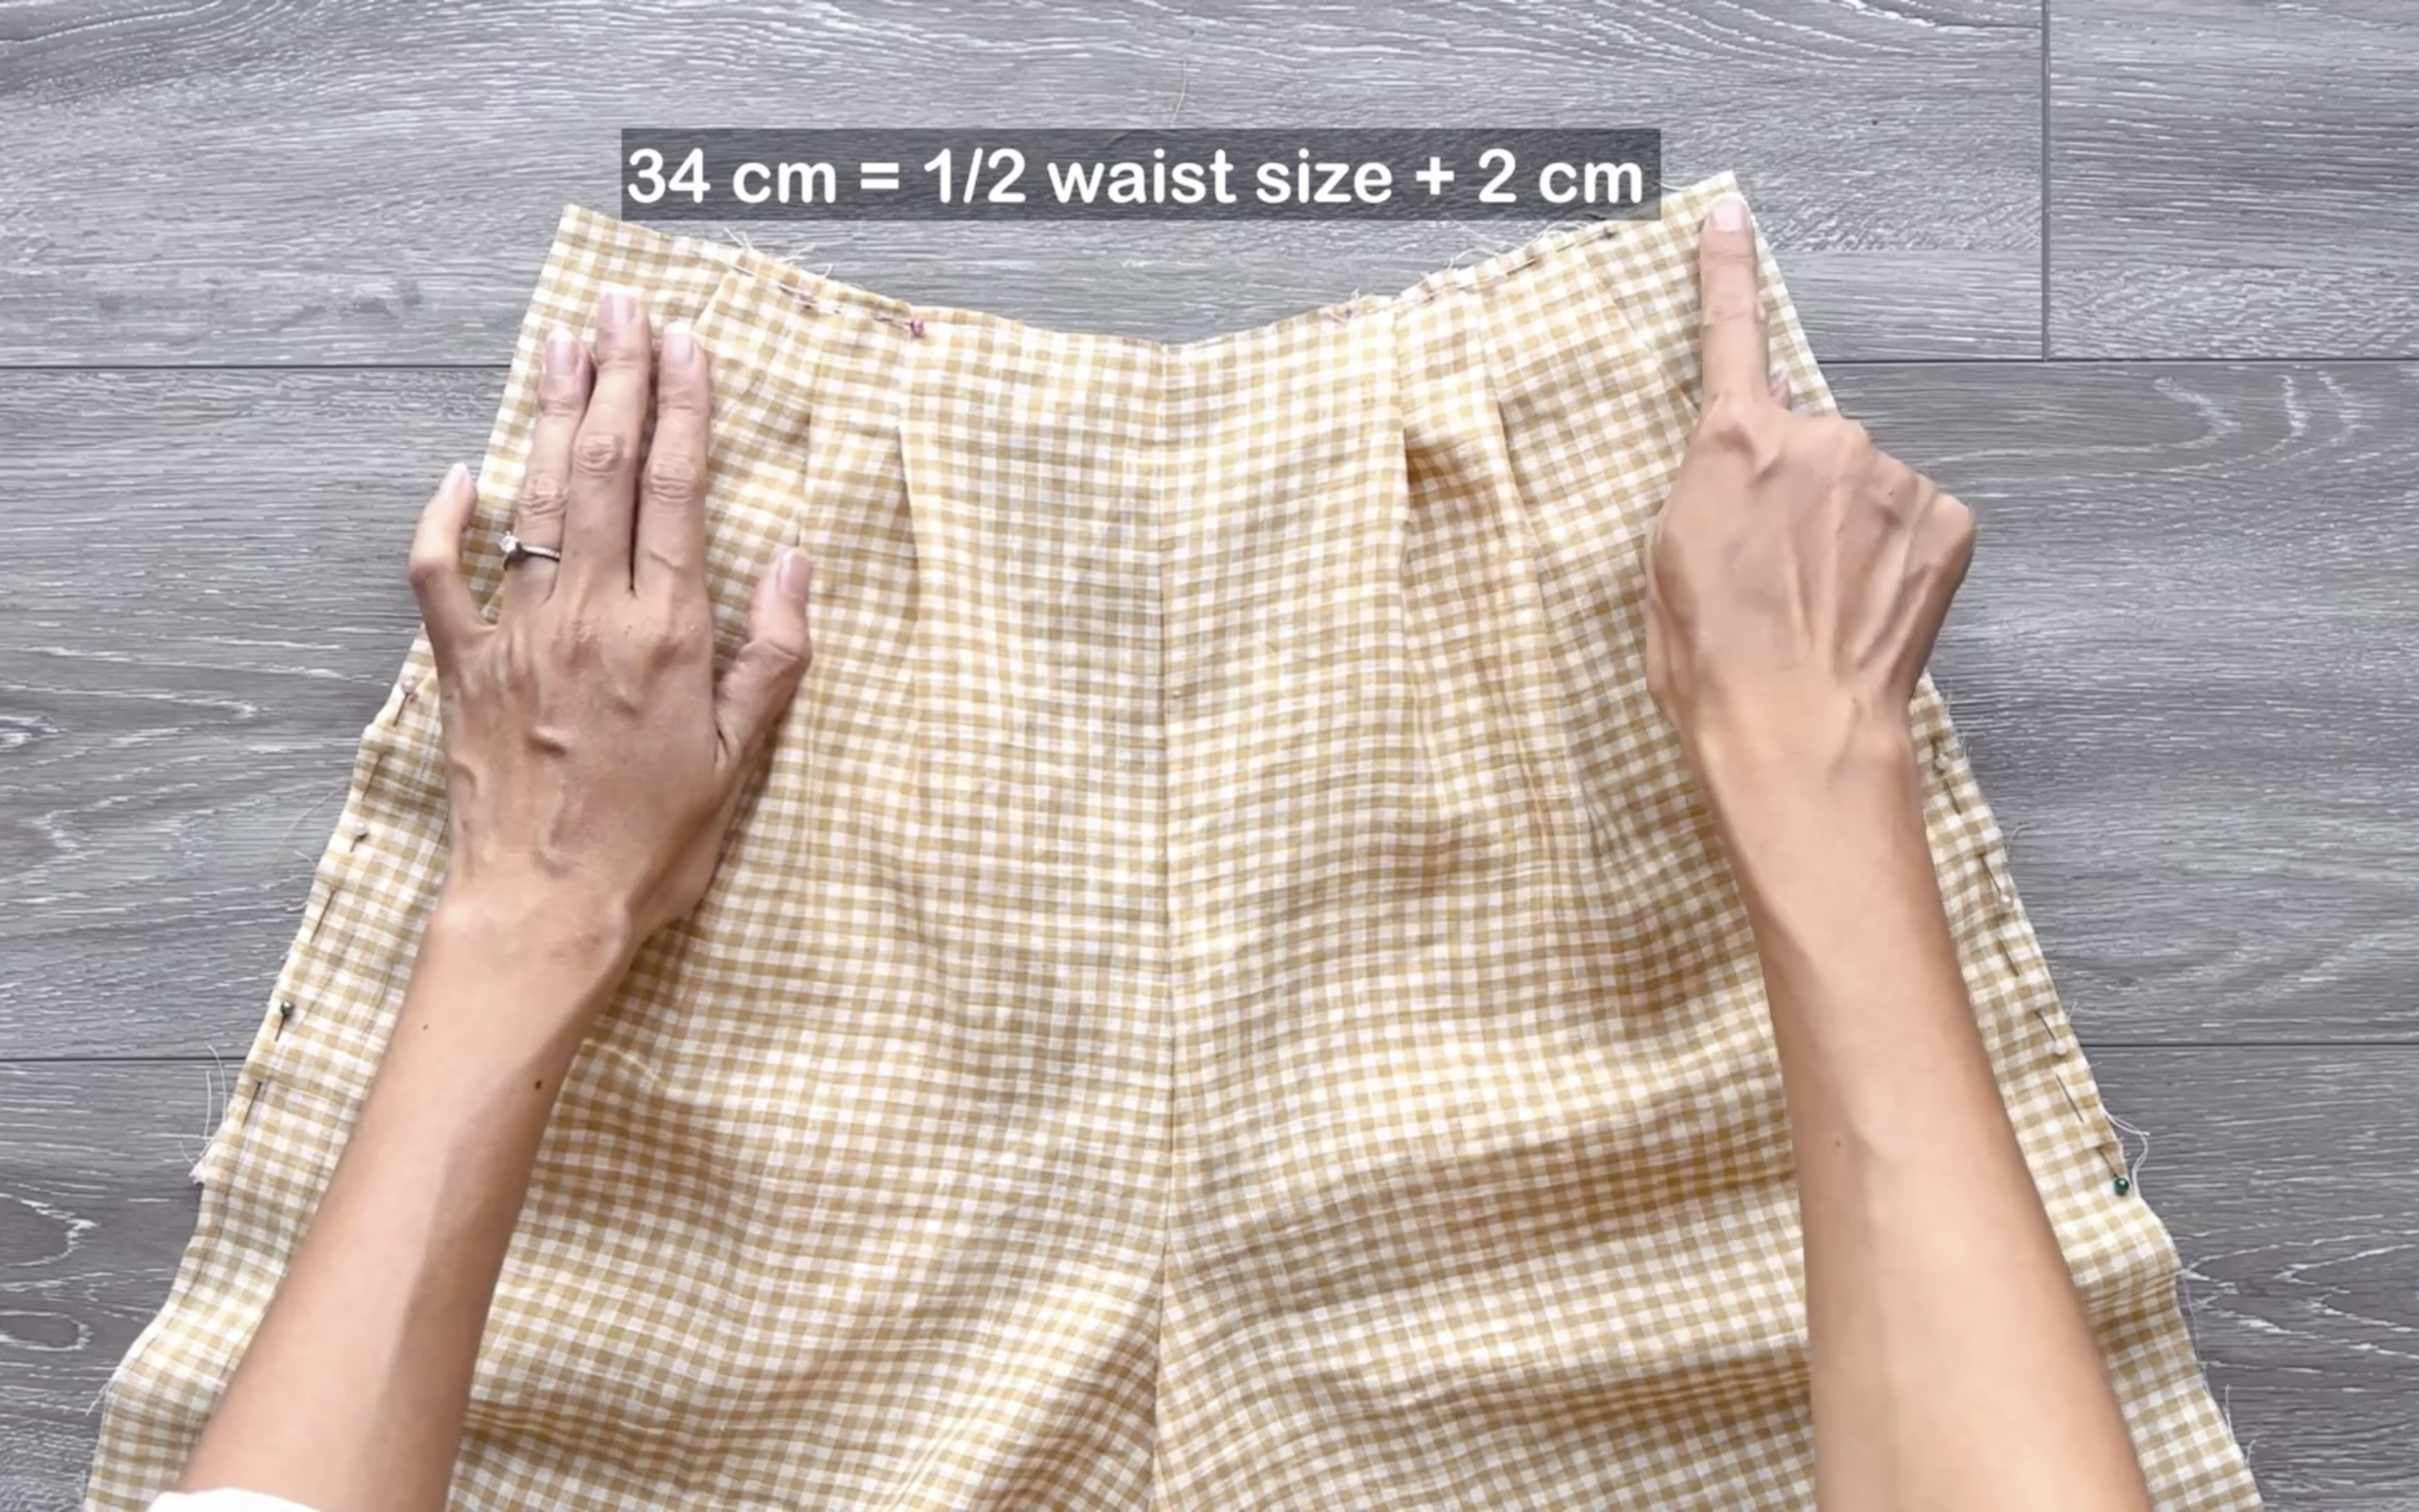
Cut a 34 cm length elastic band, which is half of the waist size plus 2 cm, and thread it through the waistband.
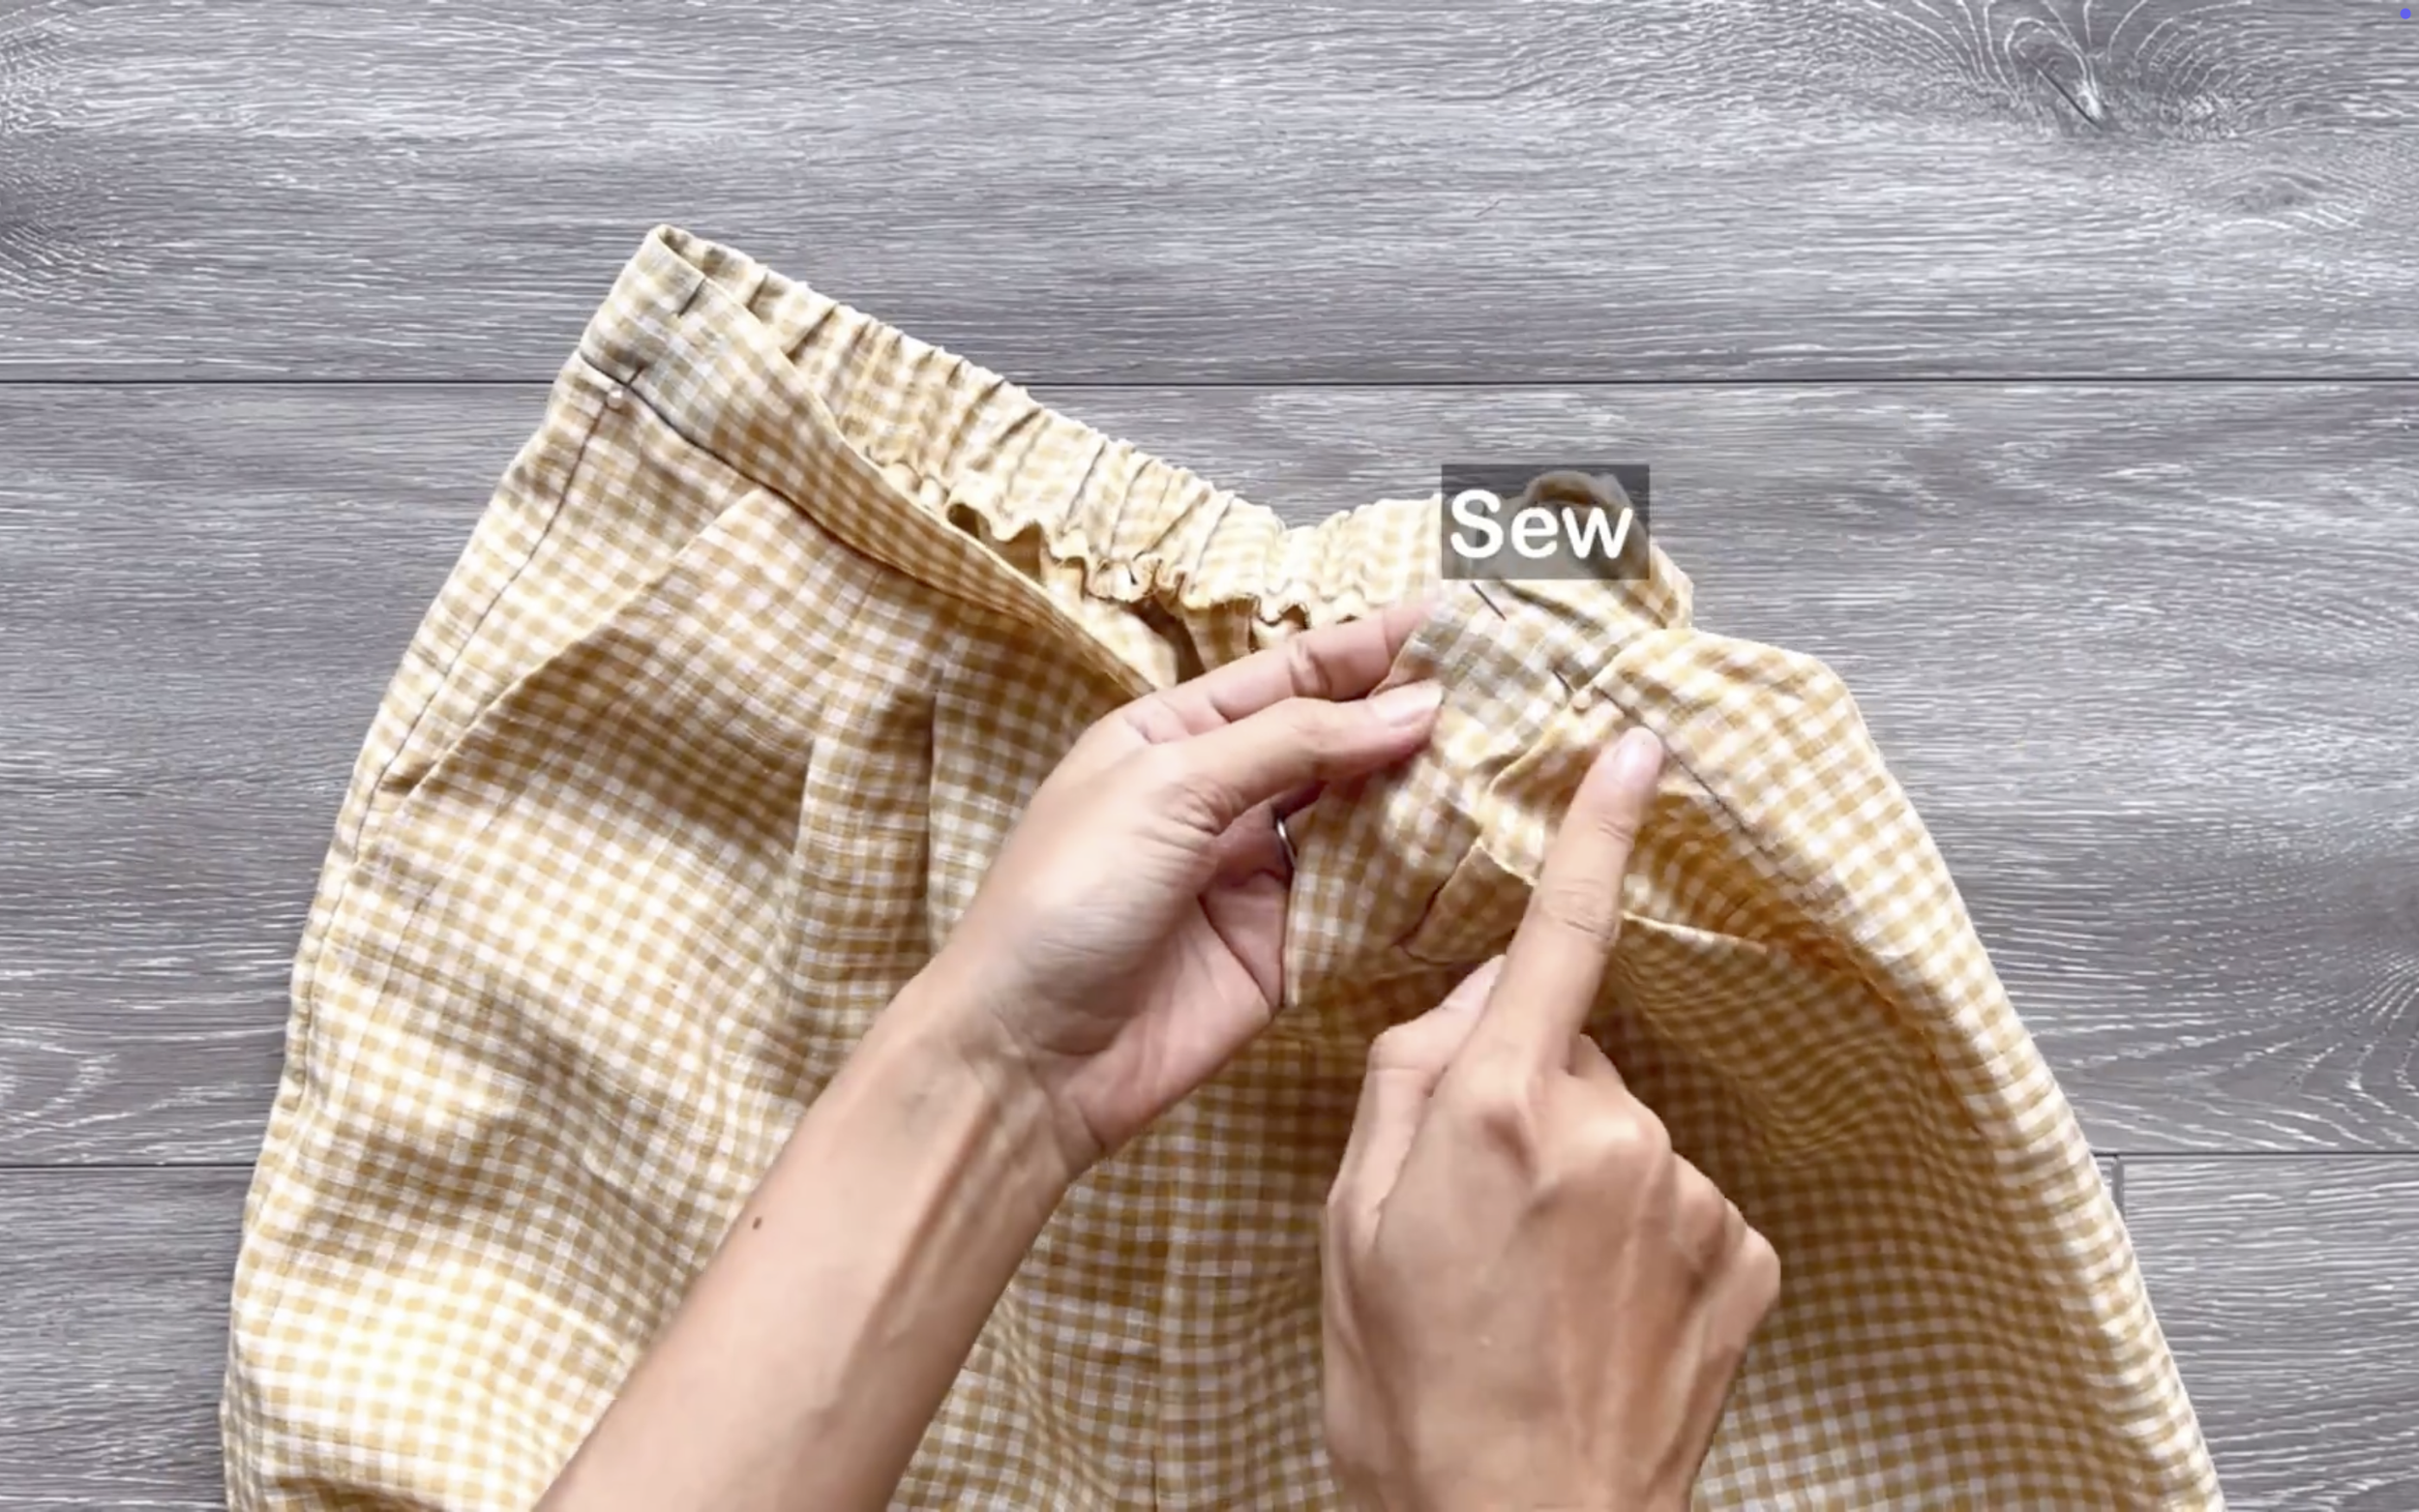
Sew both ends of the elastic band at both sides of the waistband. Close the unsewn space to complete the waistband.
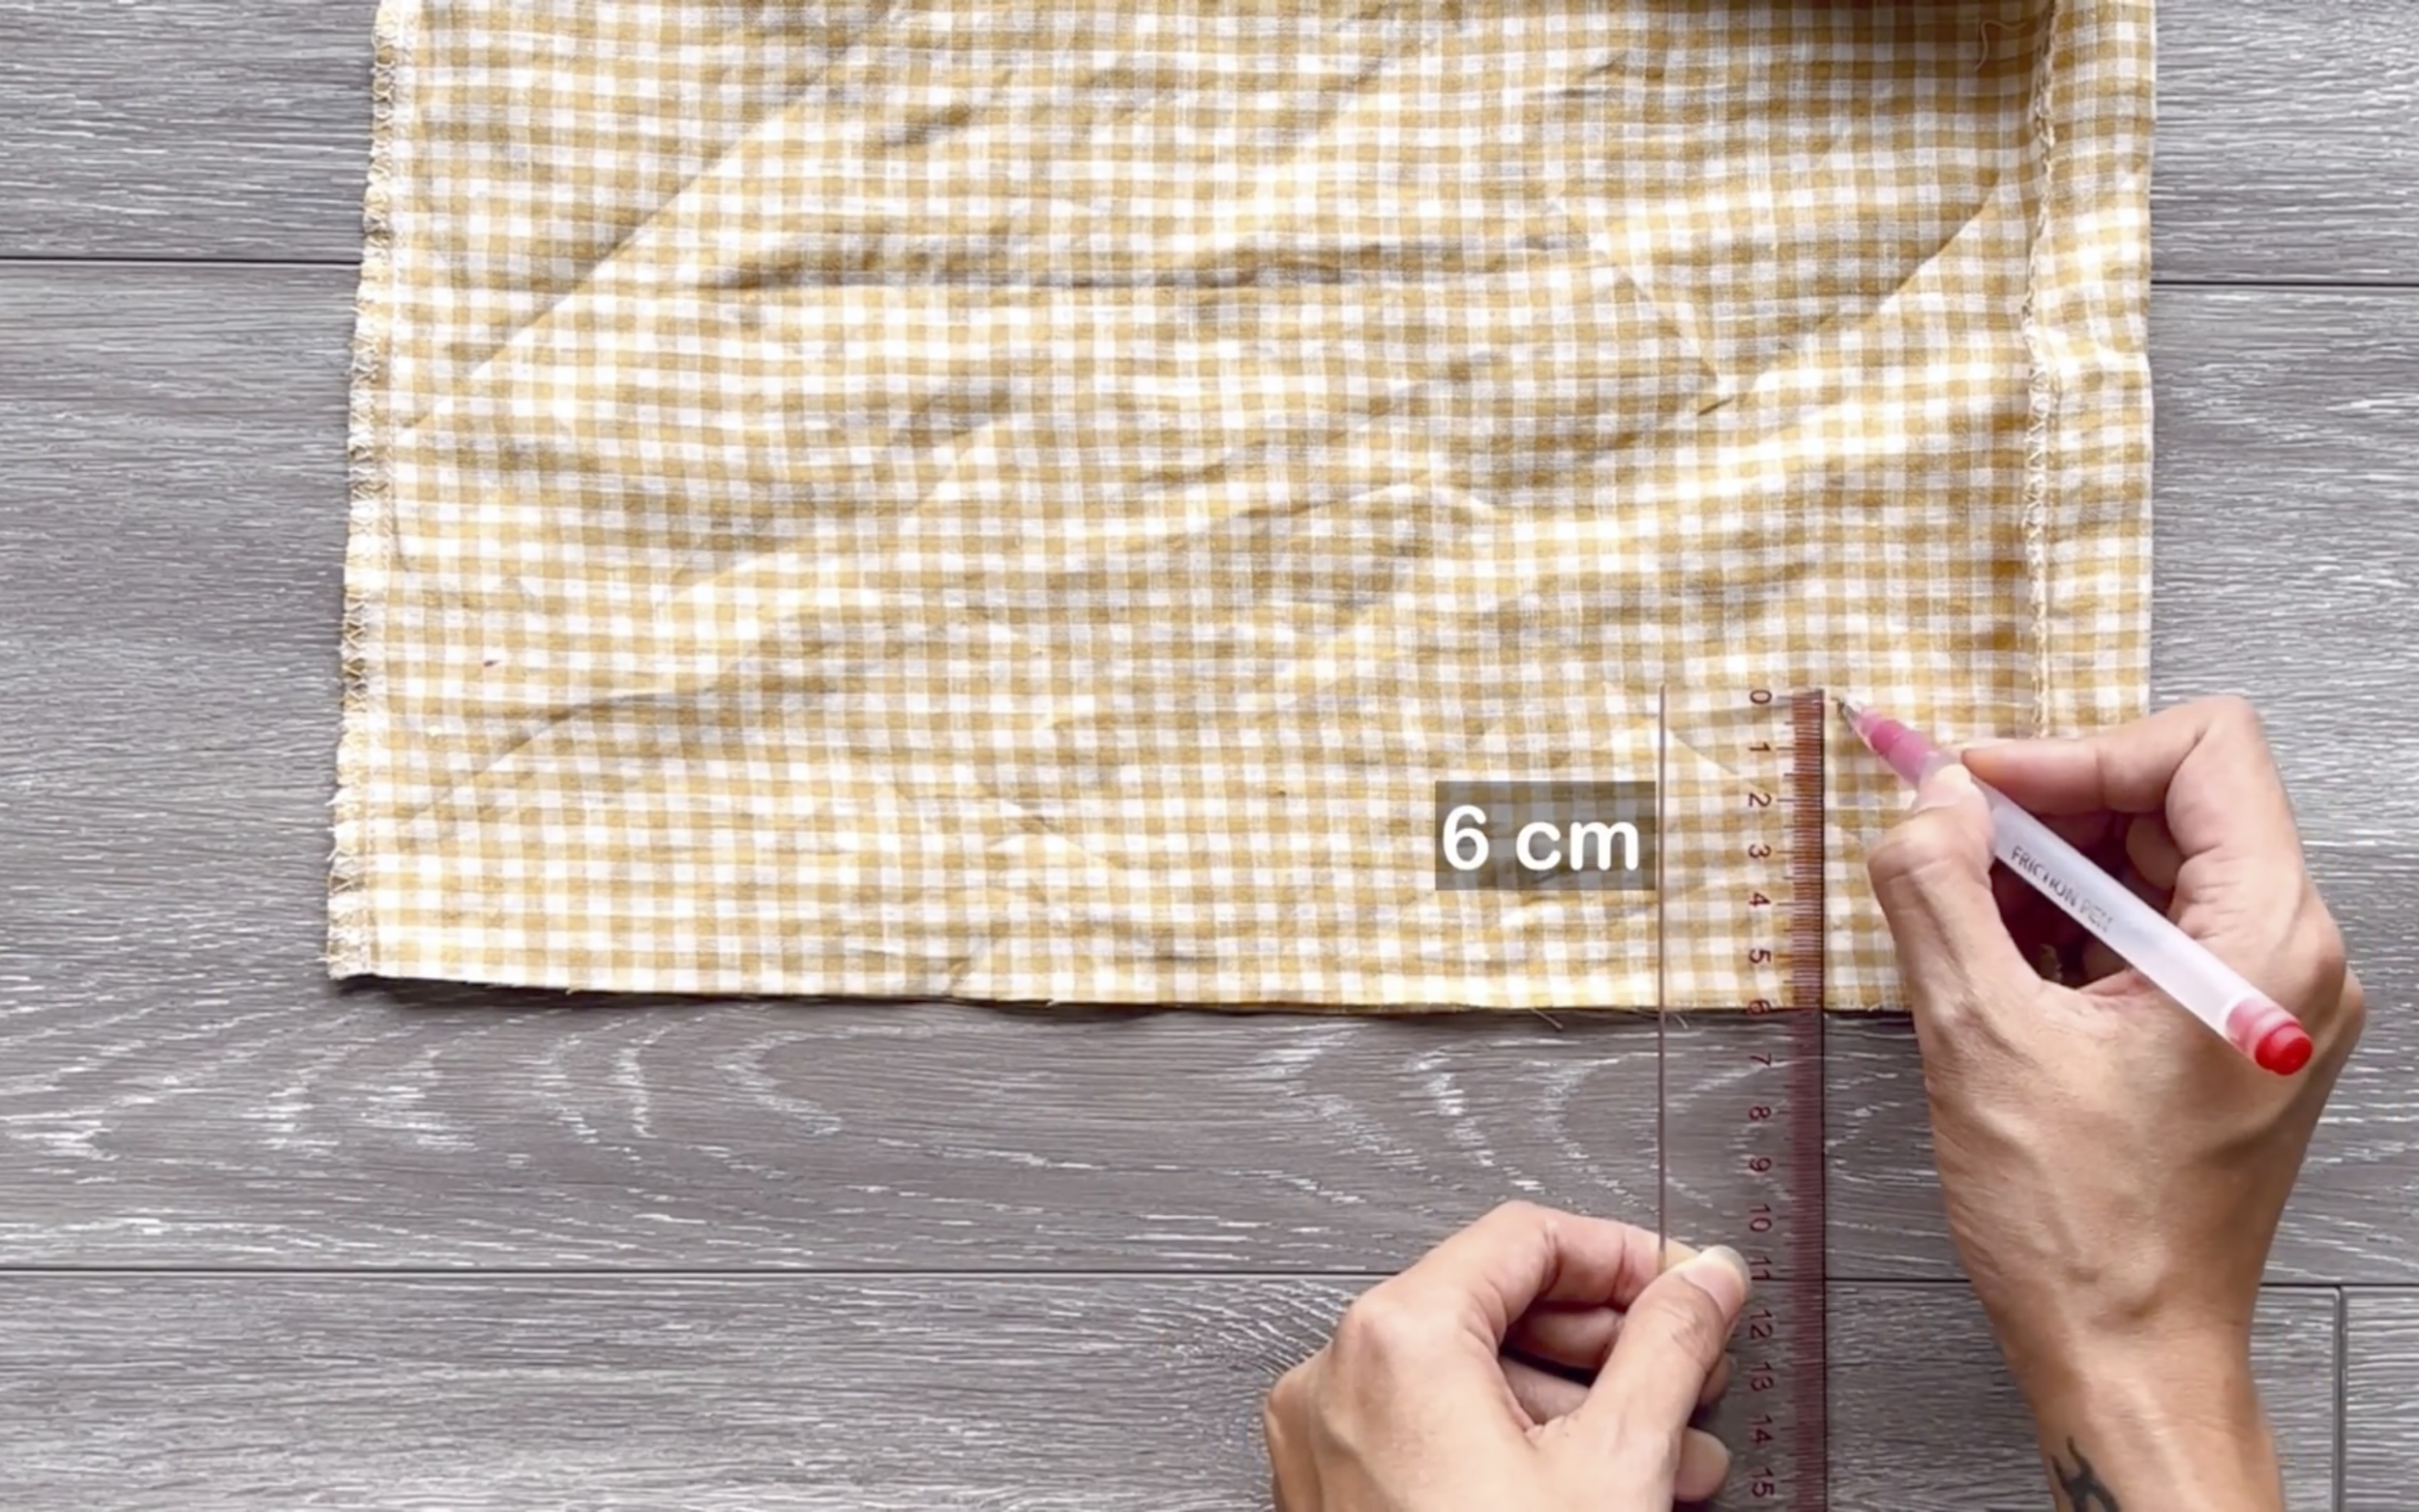
For the final step, finish the leg openings.
Draw a line 6 cm above the ending line first.
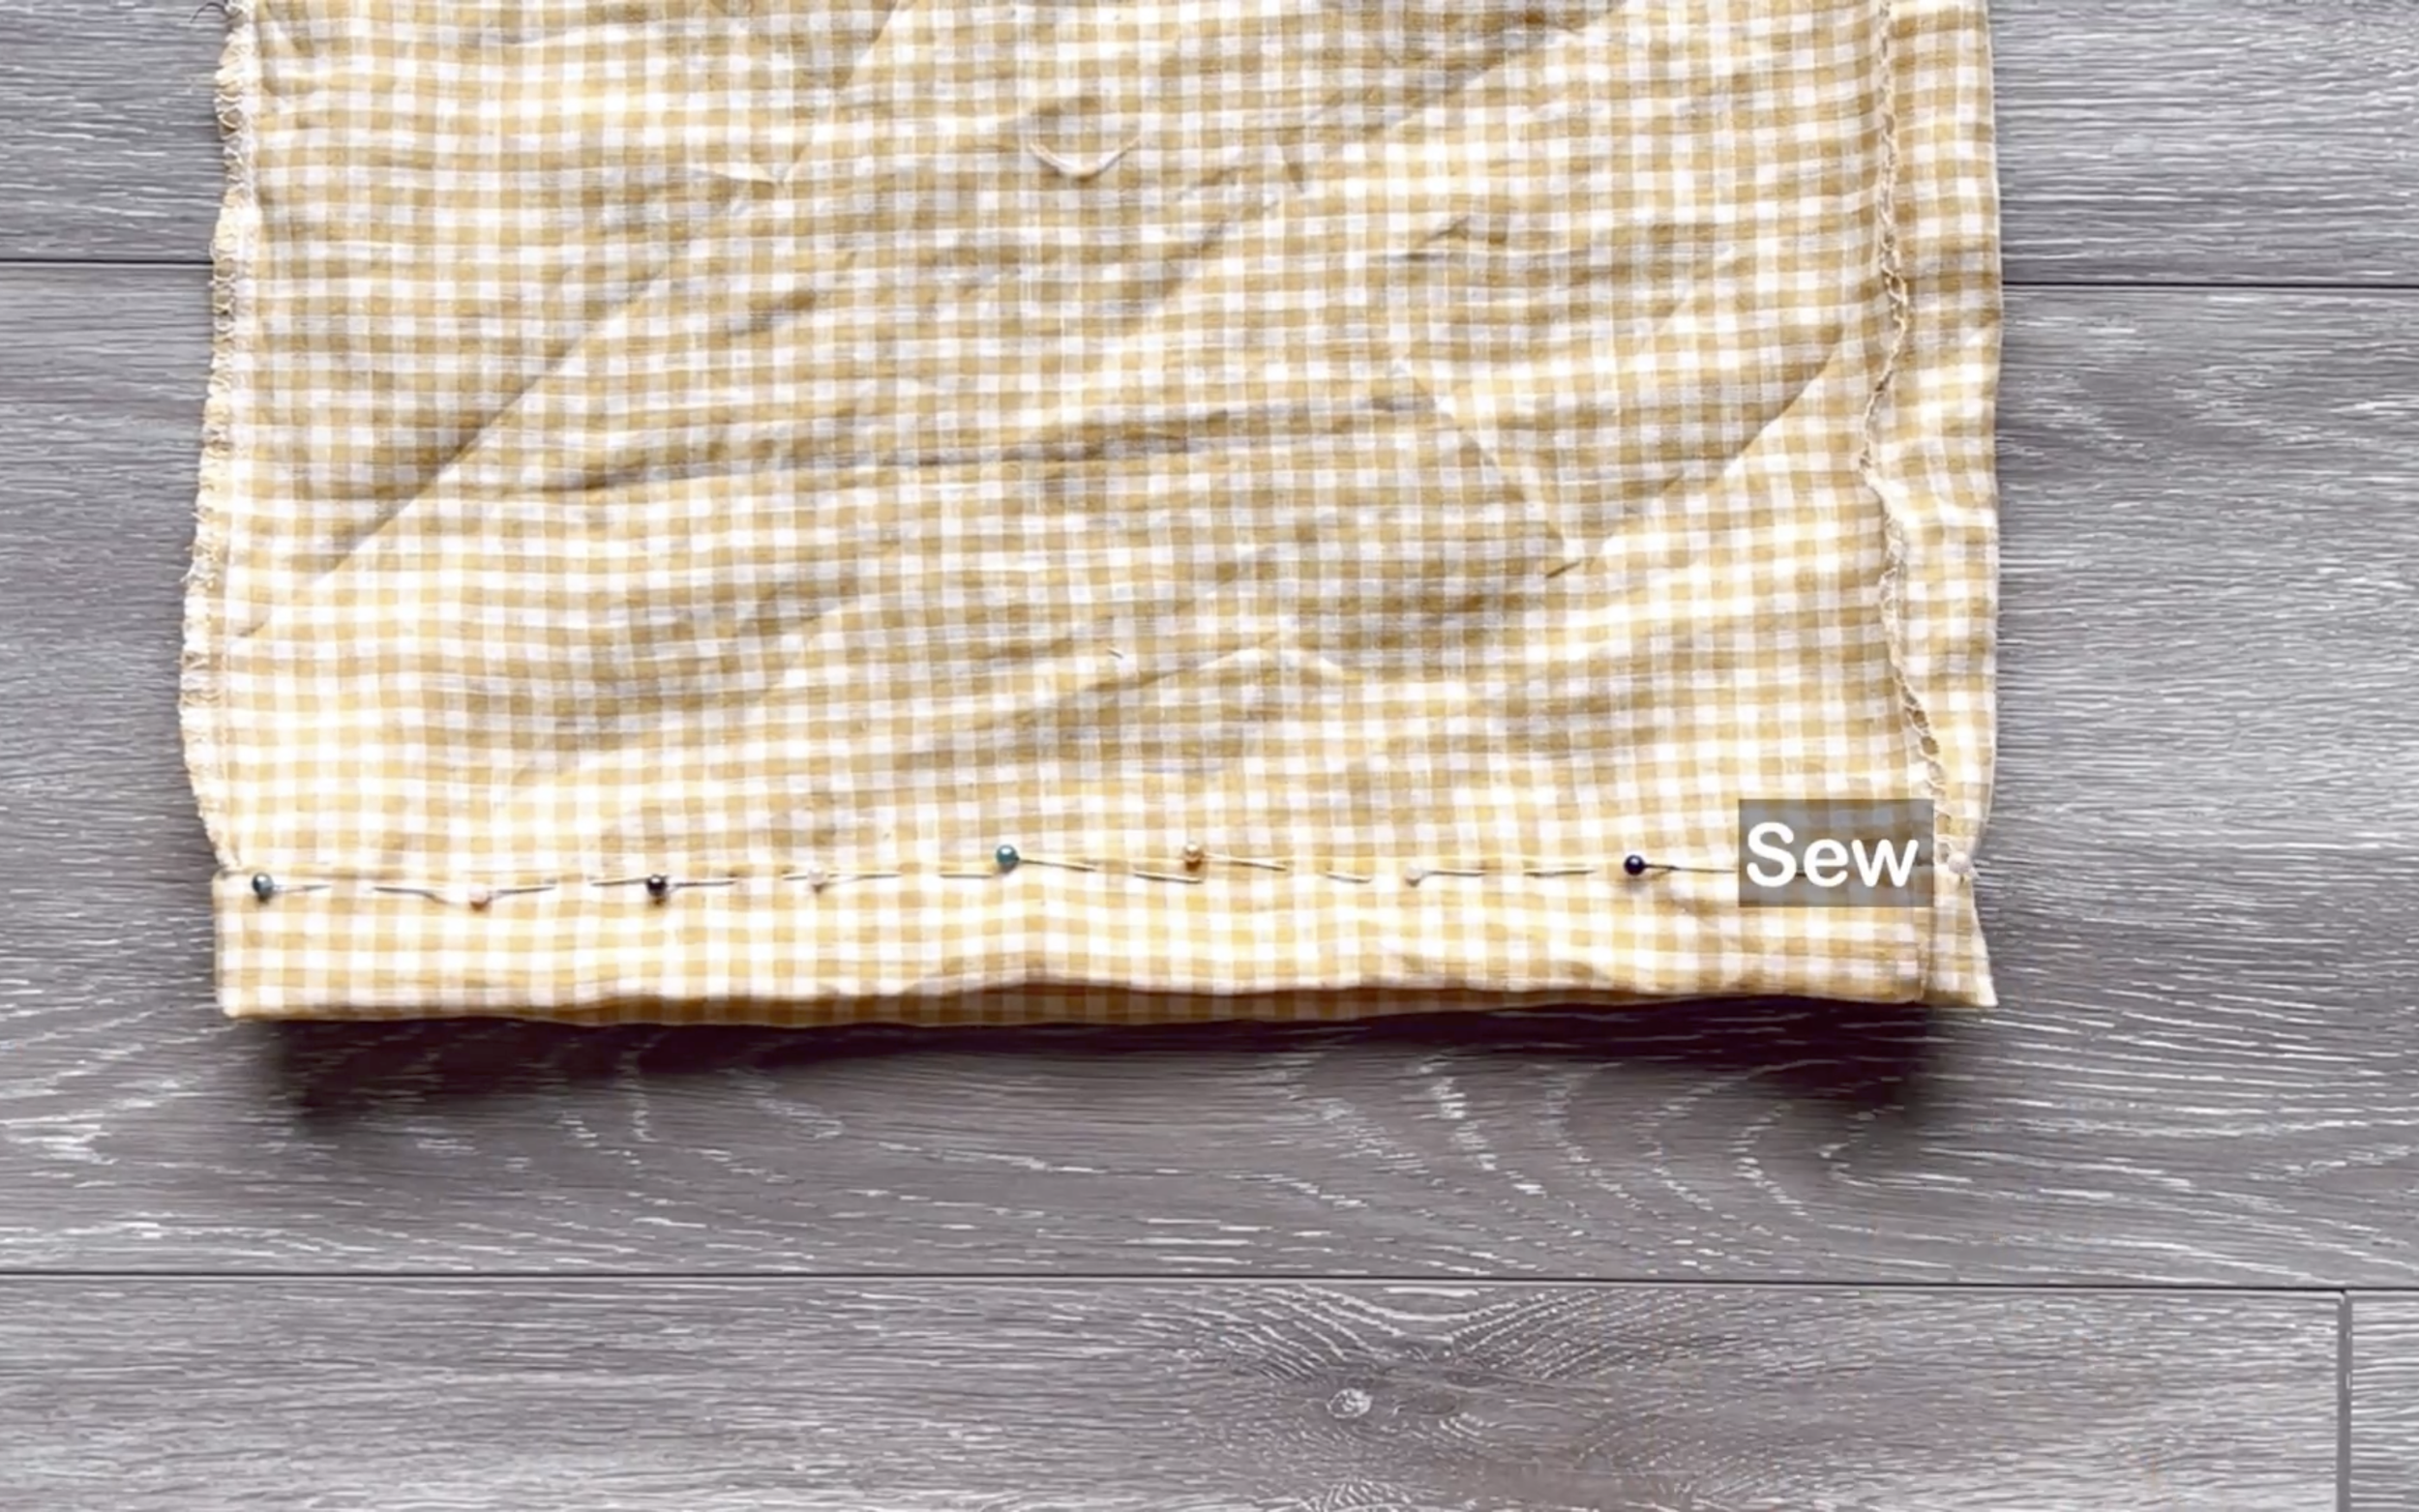
Fold the end fabric inside by 1 cm first, then keep folding it to the line drawn before, and sew.

DIY Matching set (gathered crop top & High waisted wide leg pants)|Dating wardrobe| Ep 2-Picnic date
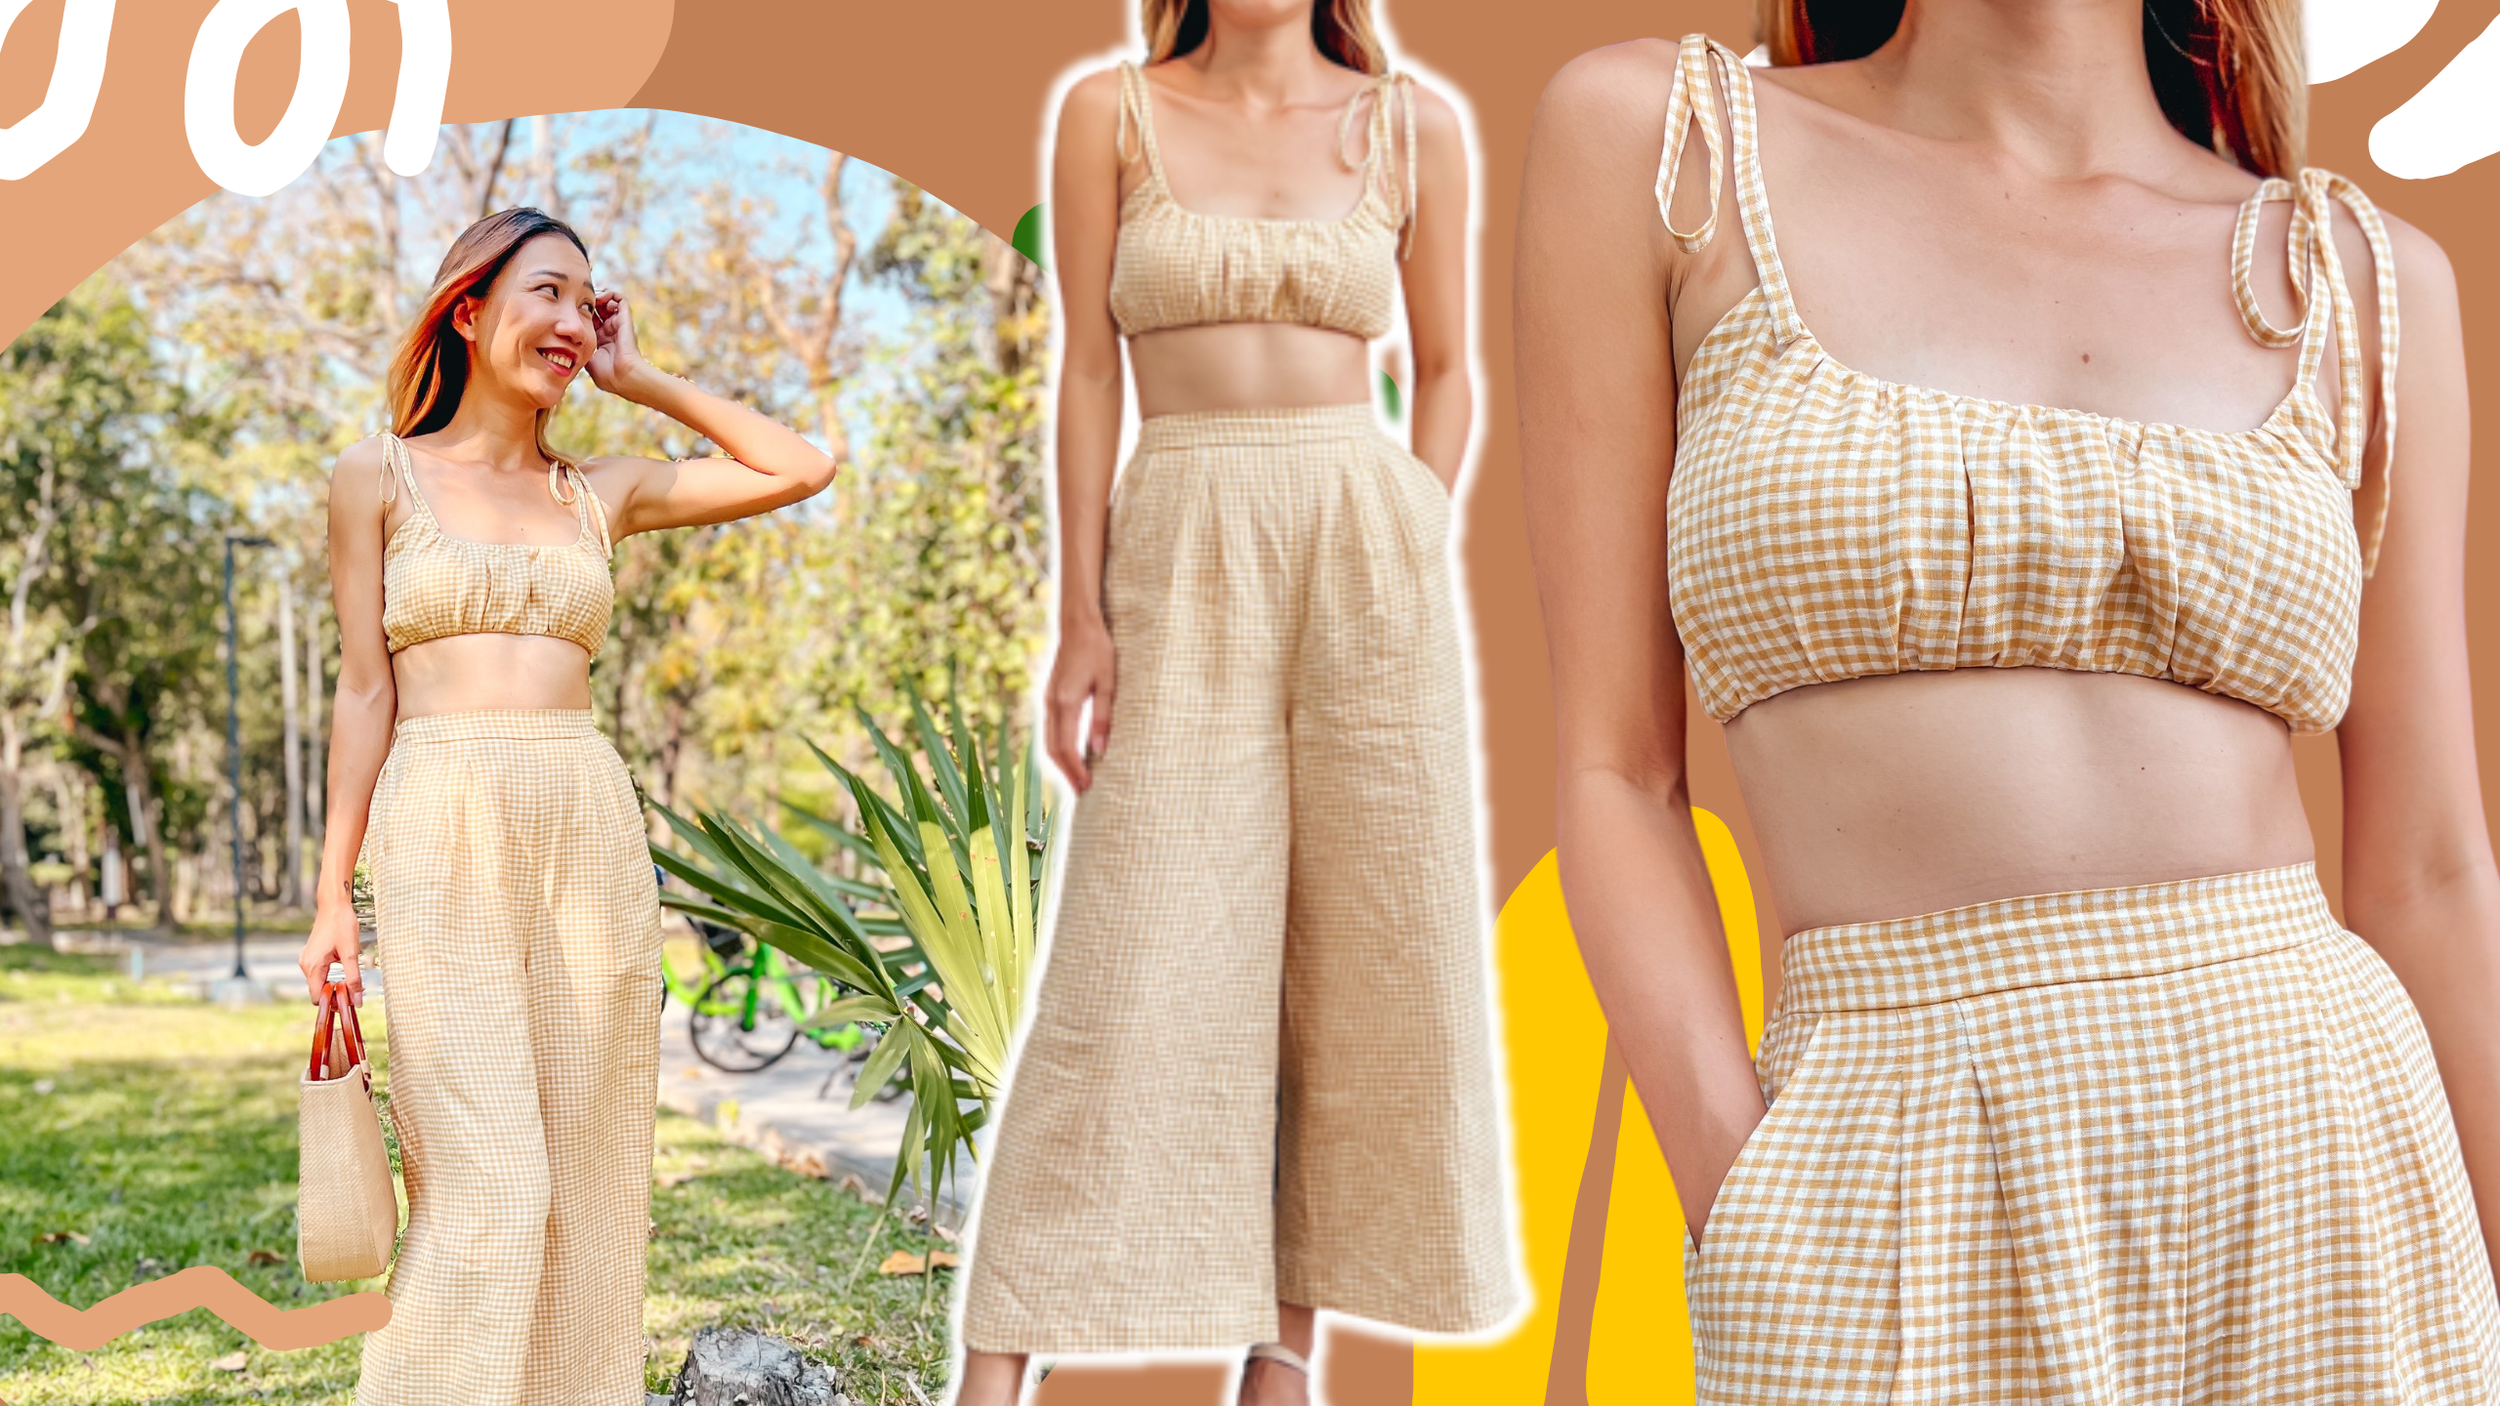
And here’s the final look!
This outfit is not only cute and a little sexy but also super comfy and perfect for staying active. Whether running or riding, you’ll feel great in it.

DIY Matching set (gathered crop top & High waisted wide leg pants)|Dating wardrobe| Ep 2-Picnic date
I hope you found my step-by-step guide helpful and inspiring.
If you’re interested in making your own, give it a try and let me know how it goes!
Until then, happy sewing!