DIY Refashion Men's shirt into 2 piece Summer set (Puff sleeve bustier top + Ruffle mini skirt)
DIY Refashion Men's shirt into 2 piece Summer set (Puff sleeve bustier top + Ruffle mini skirt)
Welcome or welcome back to my channel. My name is Jess and I love doing DIY, making clothes in a "simply but pretty" way.
It has been a while since my last thrift flip. So in today's tutorial, I'm going to share with you another idea to transform a Men's shirt into 2 piece matching set. This is a supper hot matching set for your hot summer day.
So I hope you like it and try it out. Let’s get started!
WHAT YOU’LL NEED
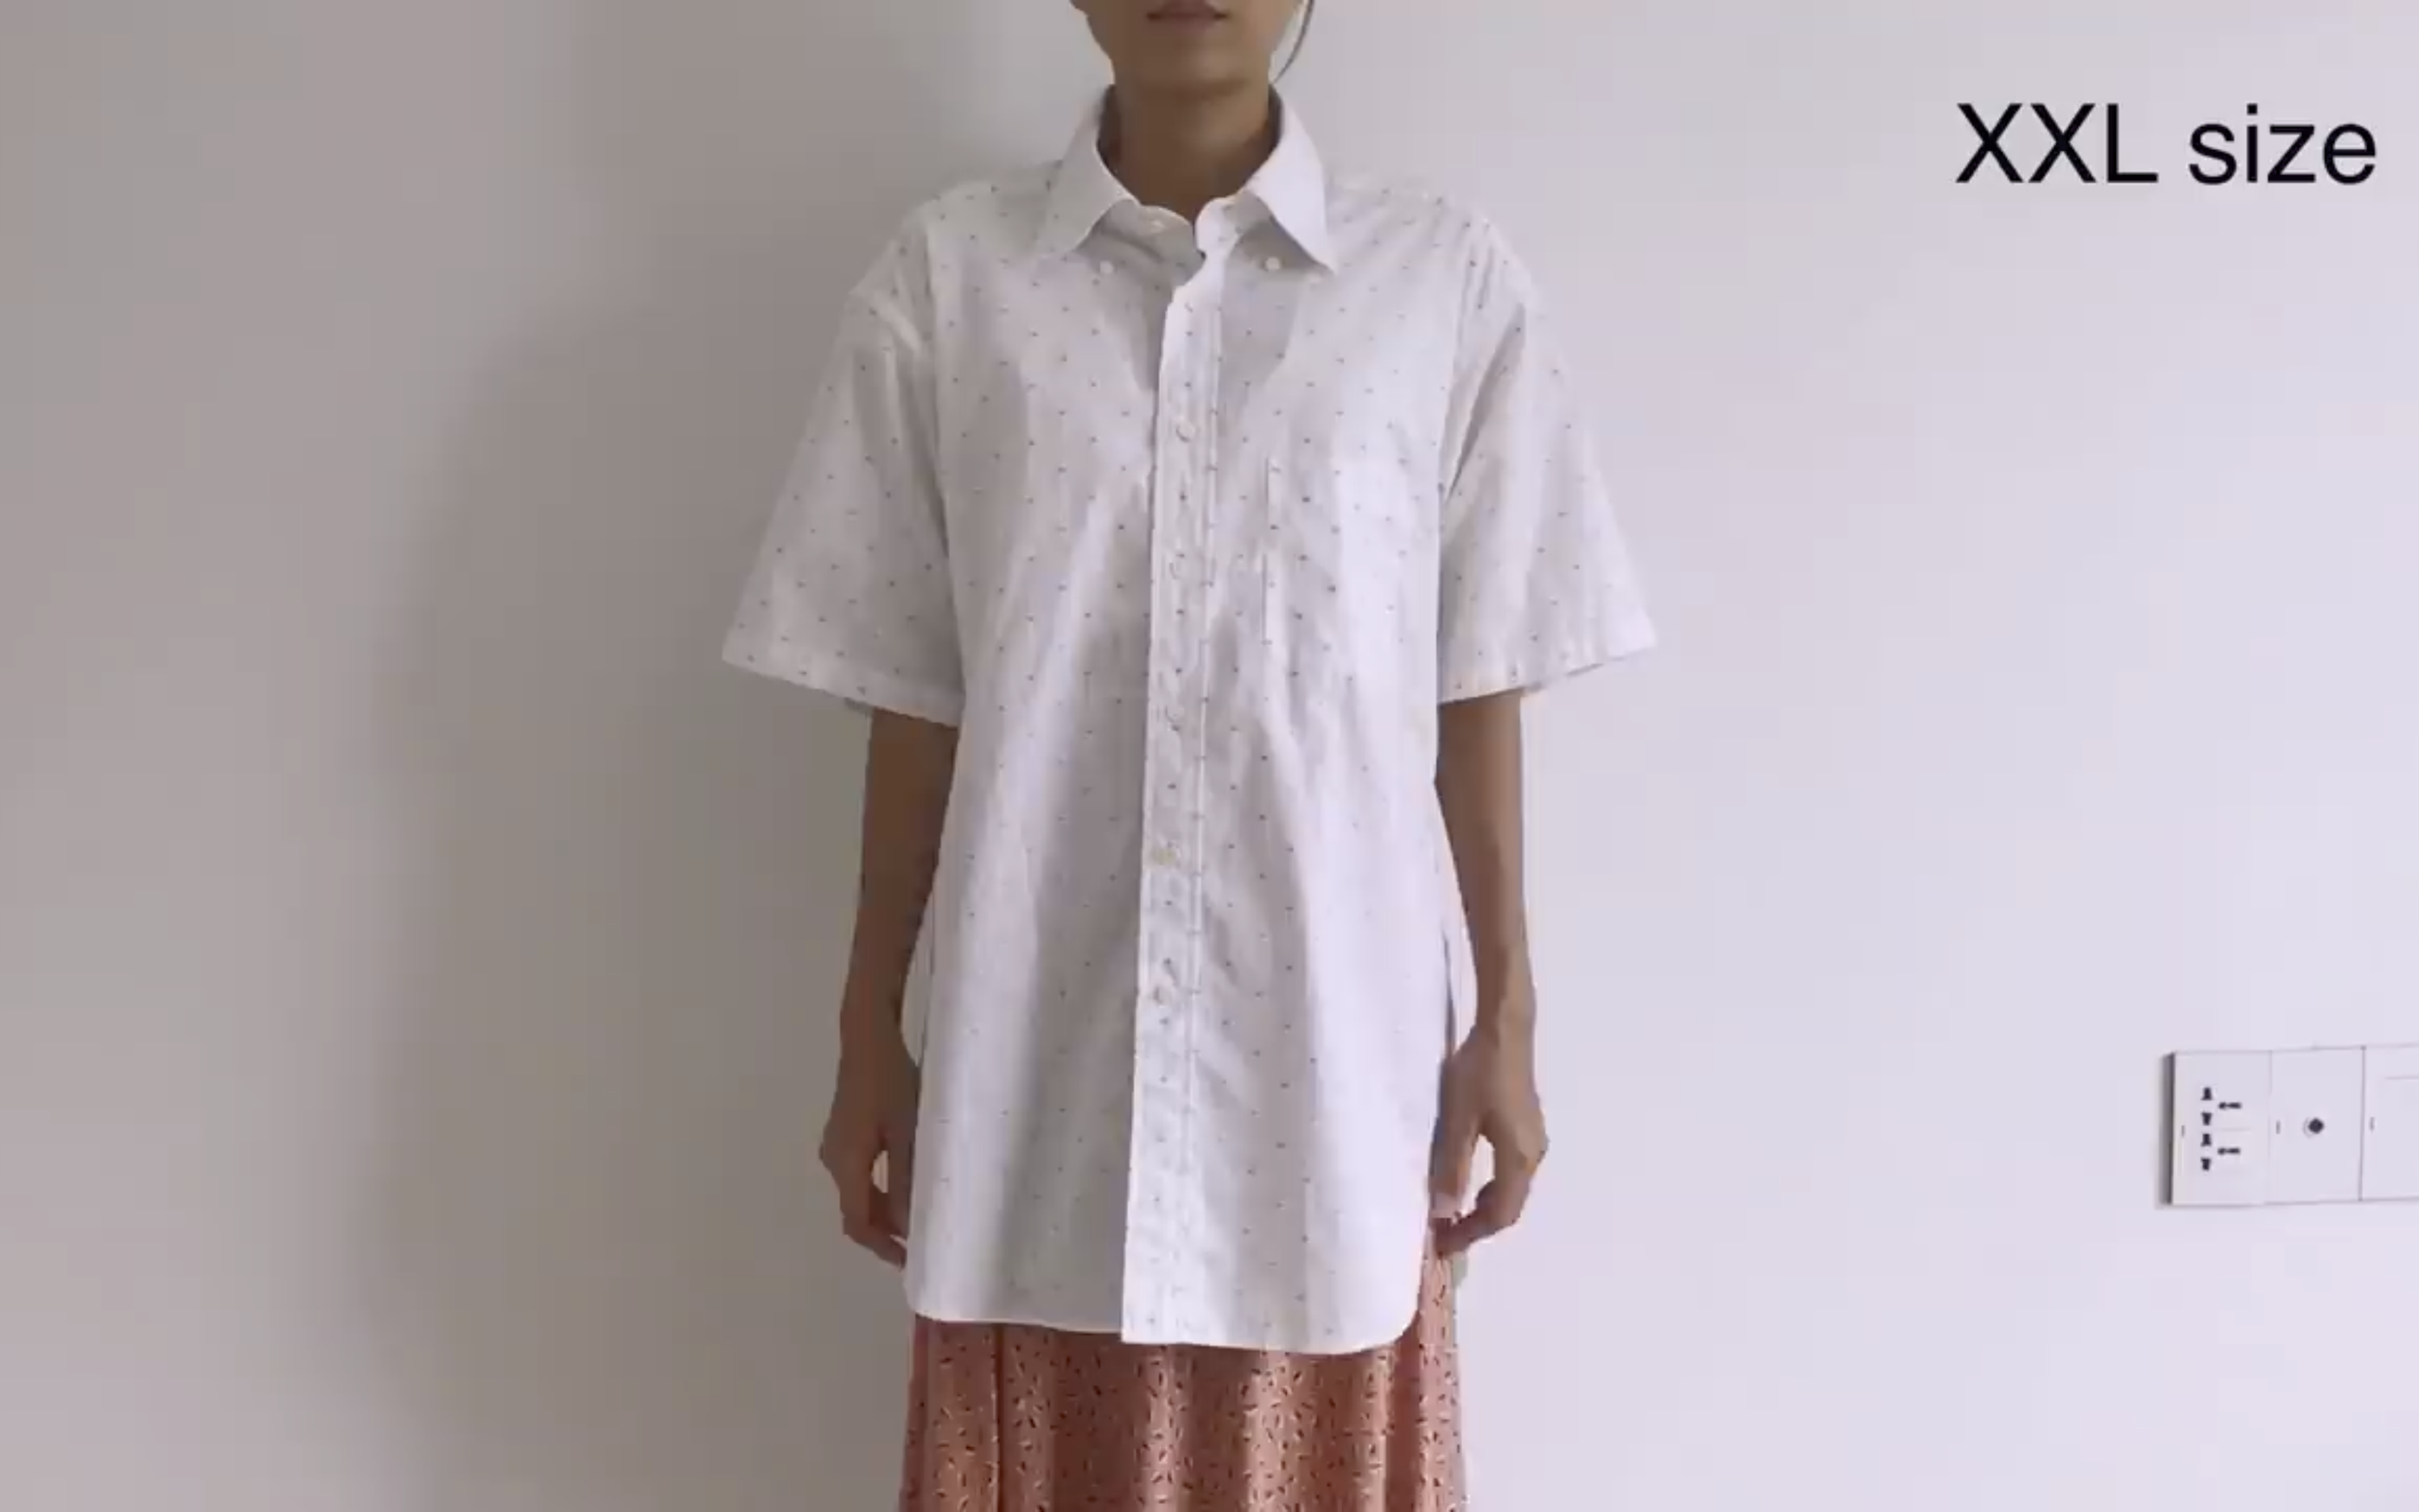
XXL size Men's shirt in cotton fabric
Sewing machine
Pins
Scissors
Ruler
Long stick
Zipper
Buttons
SEWING THE SET
THE CROP TOP
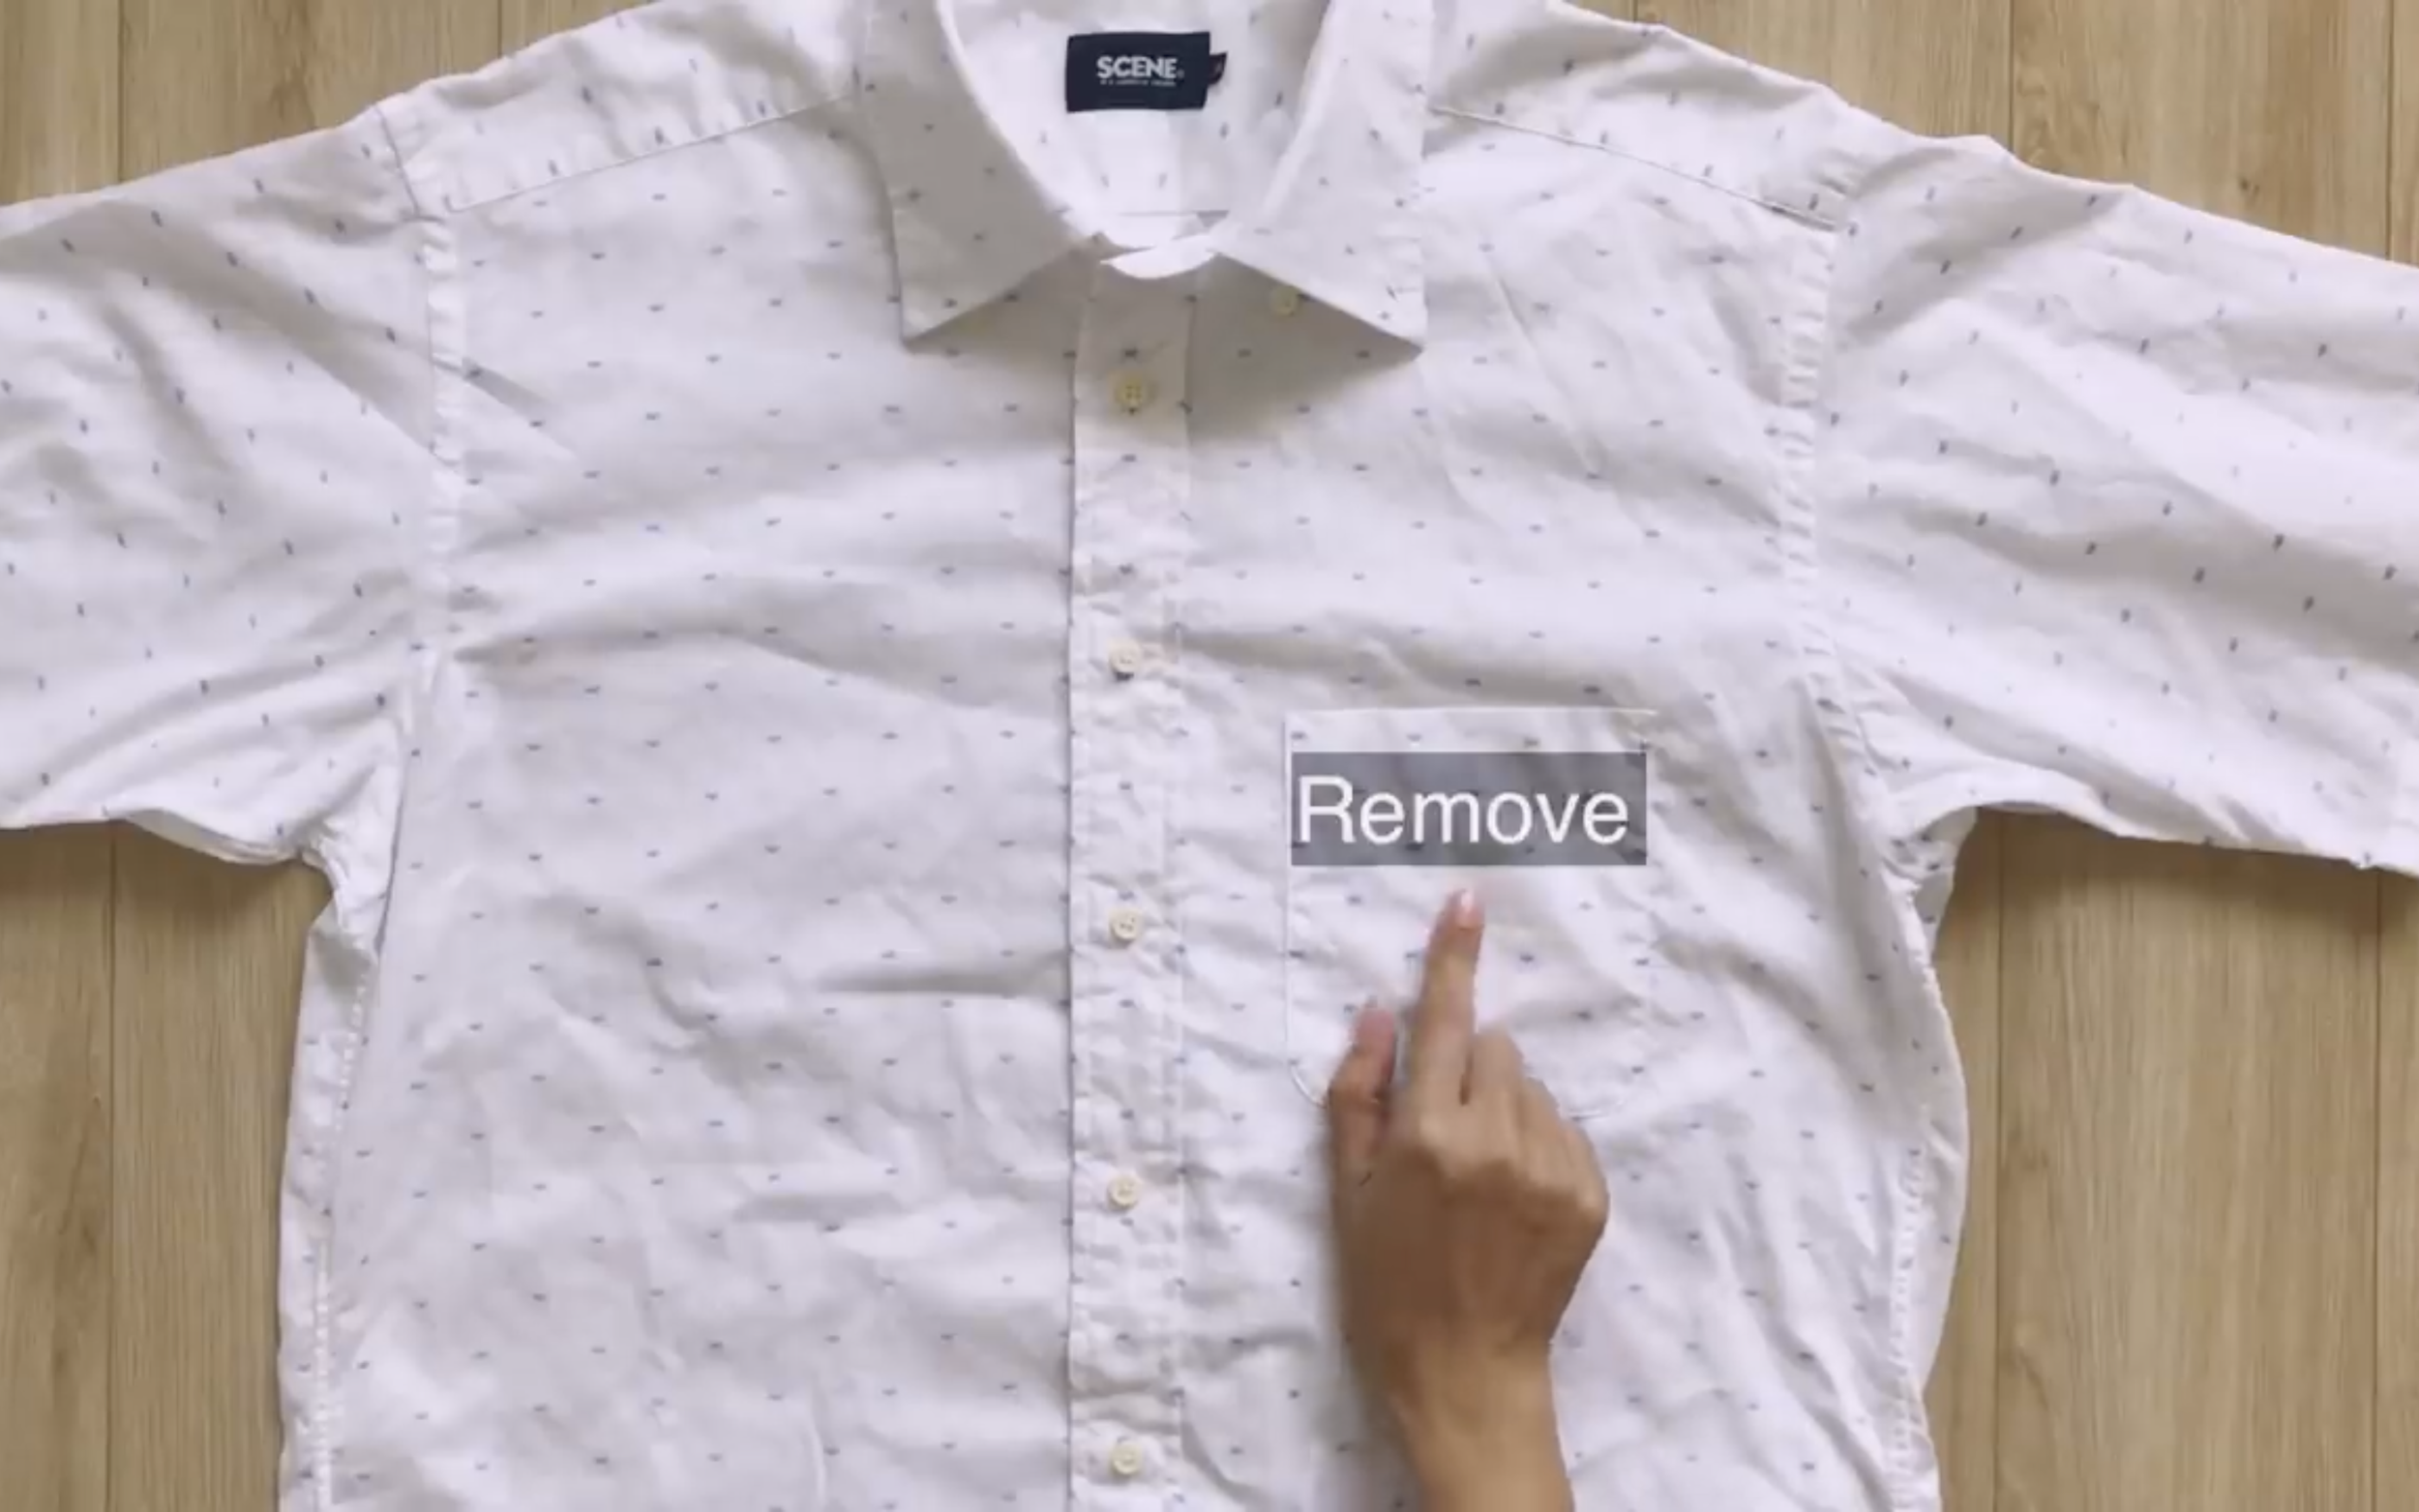
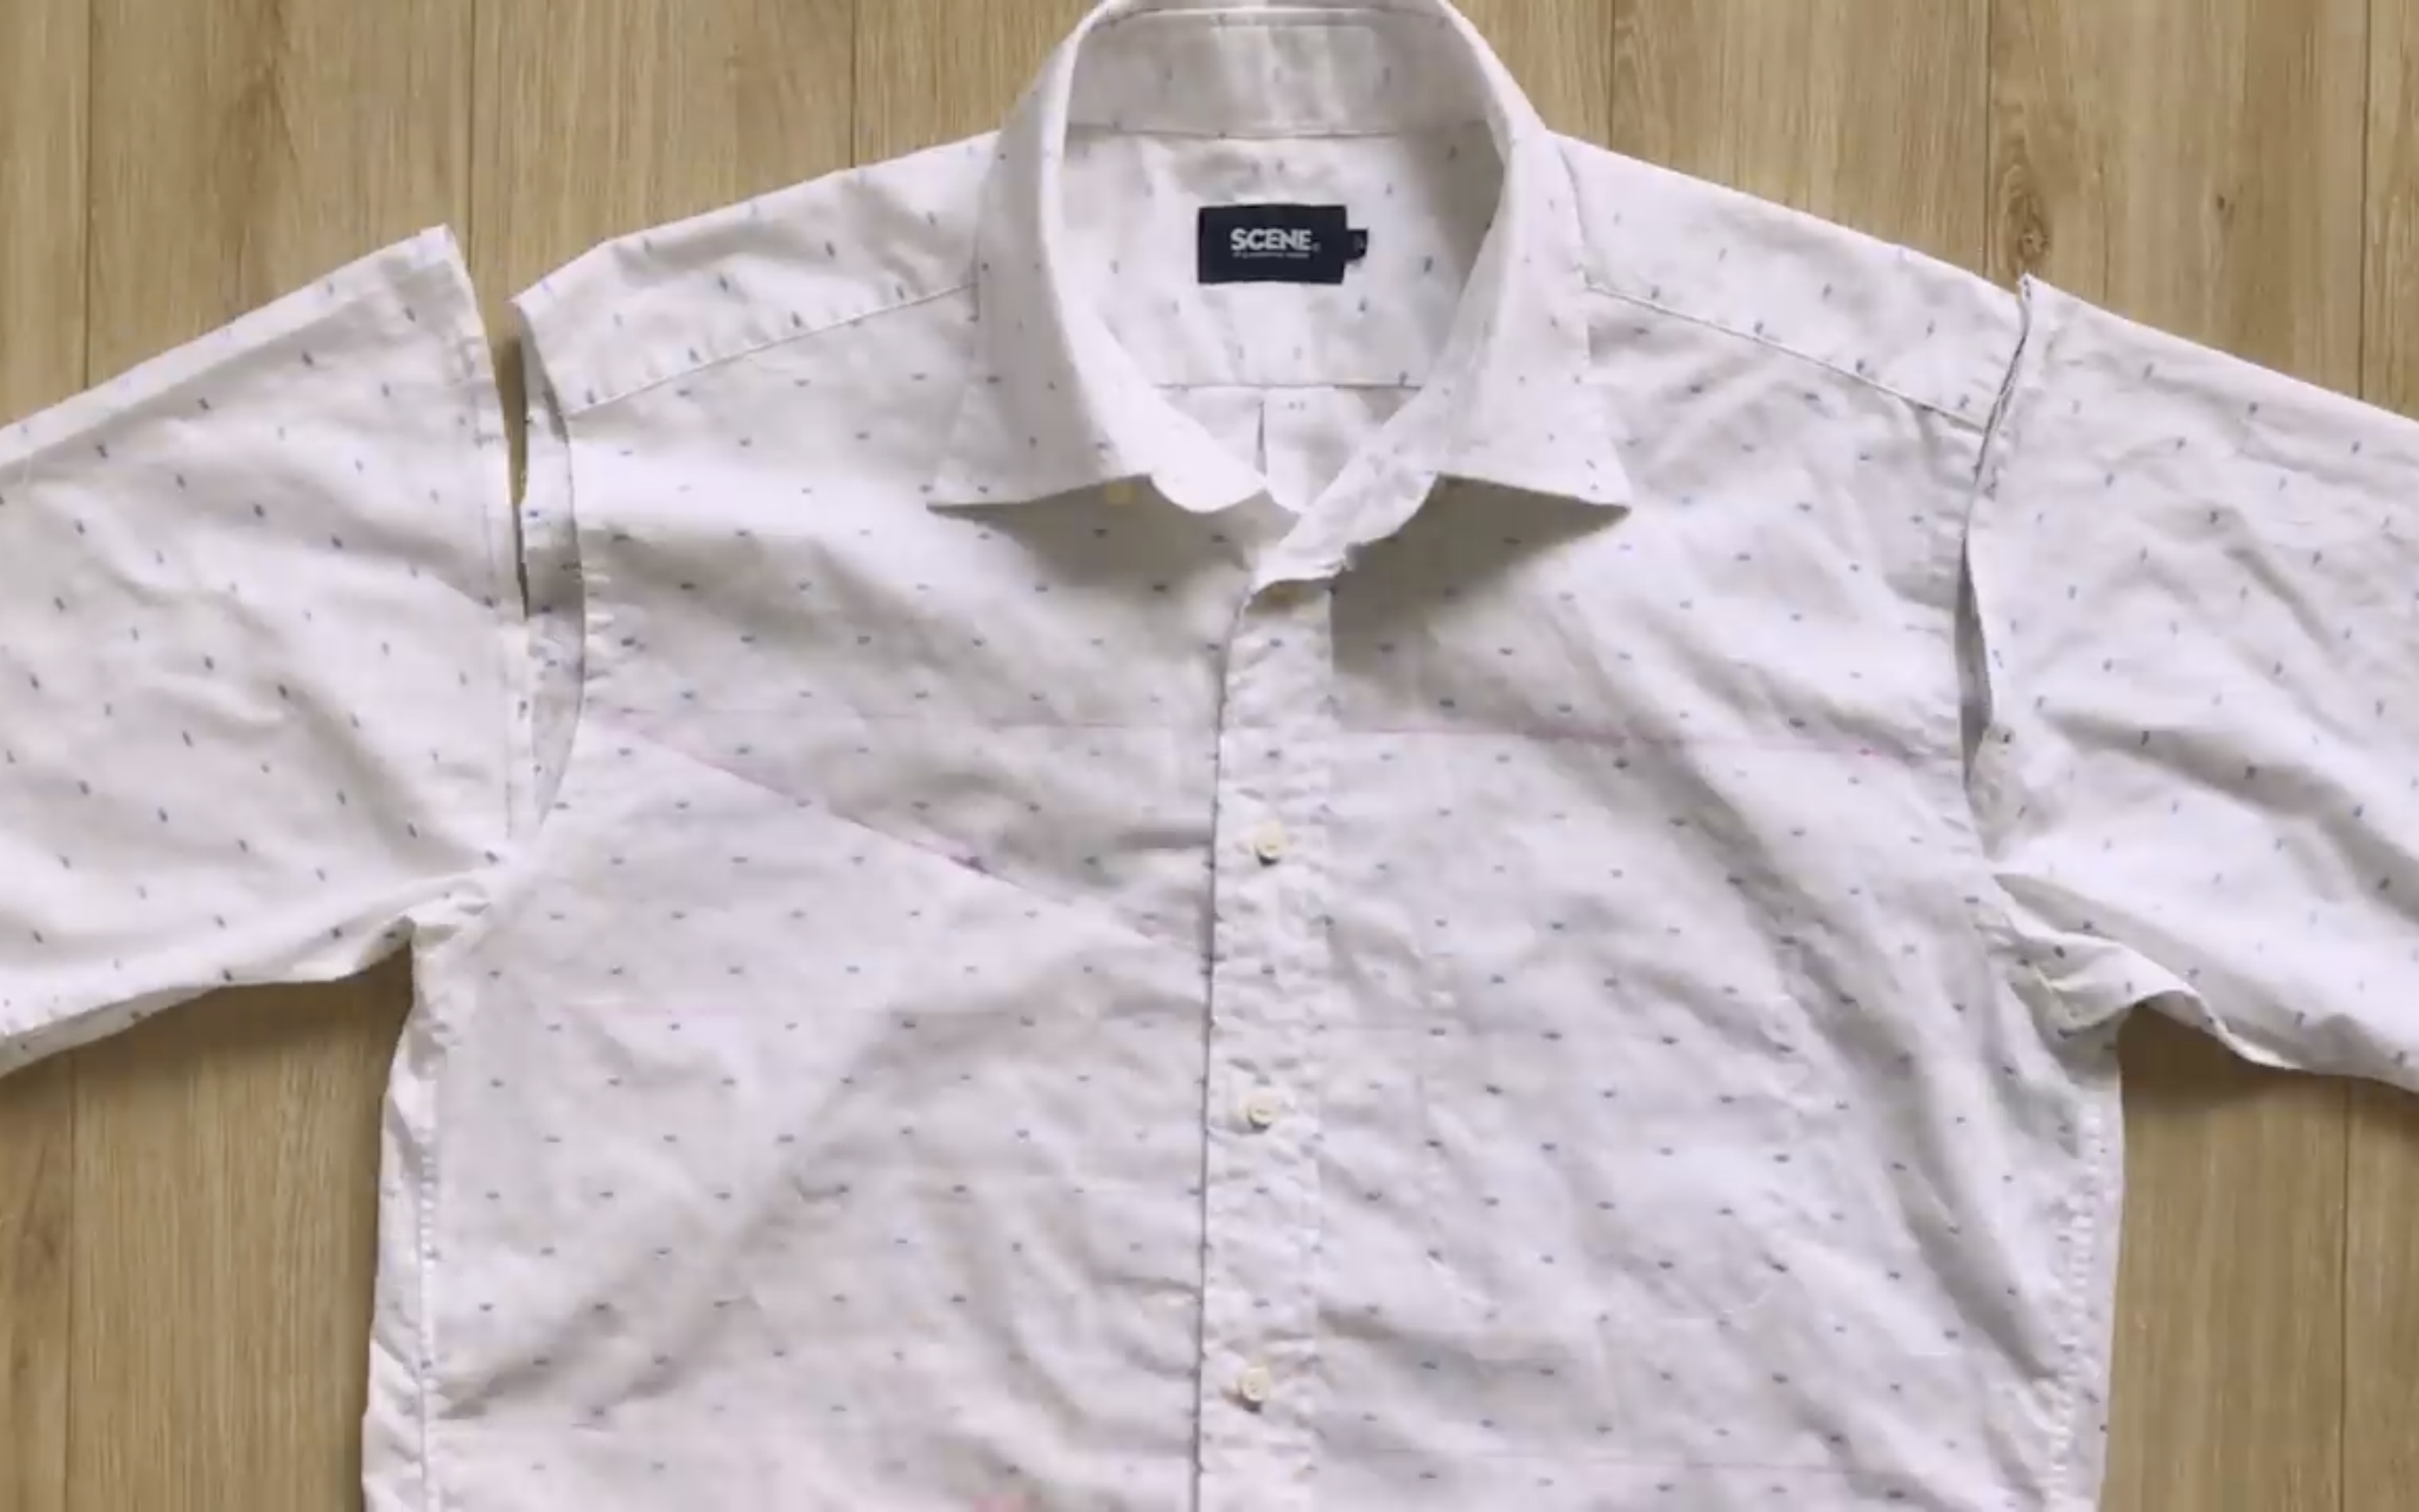
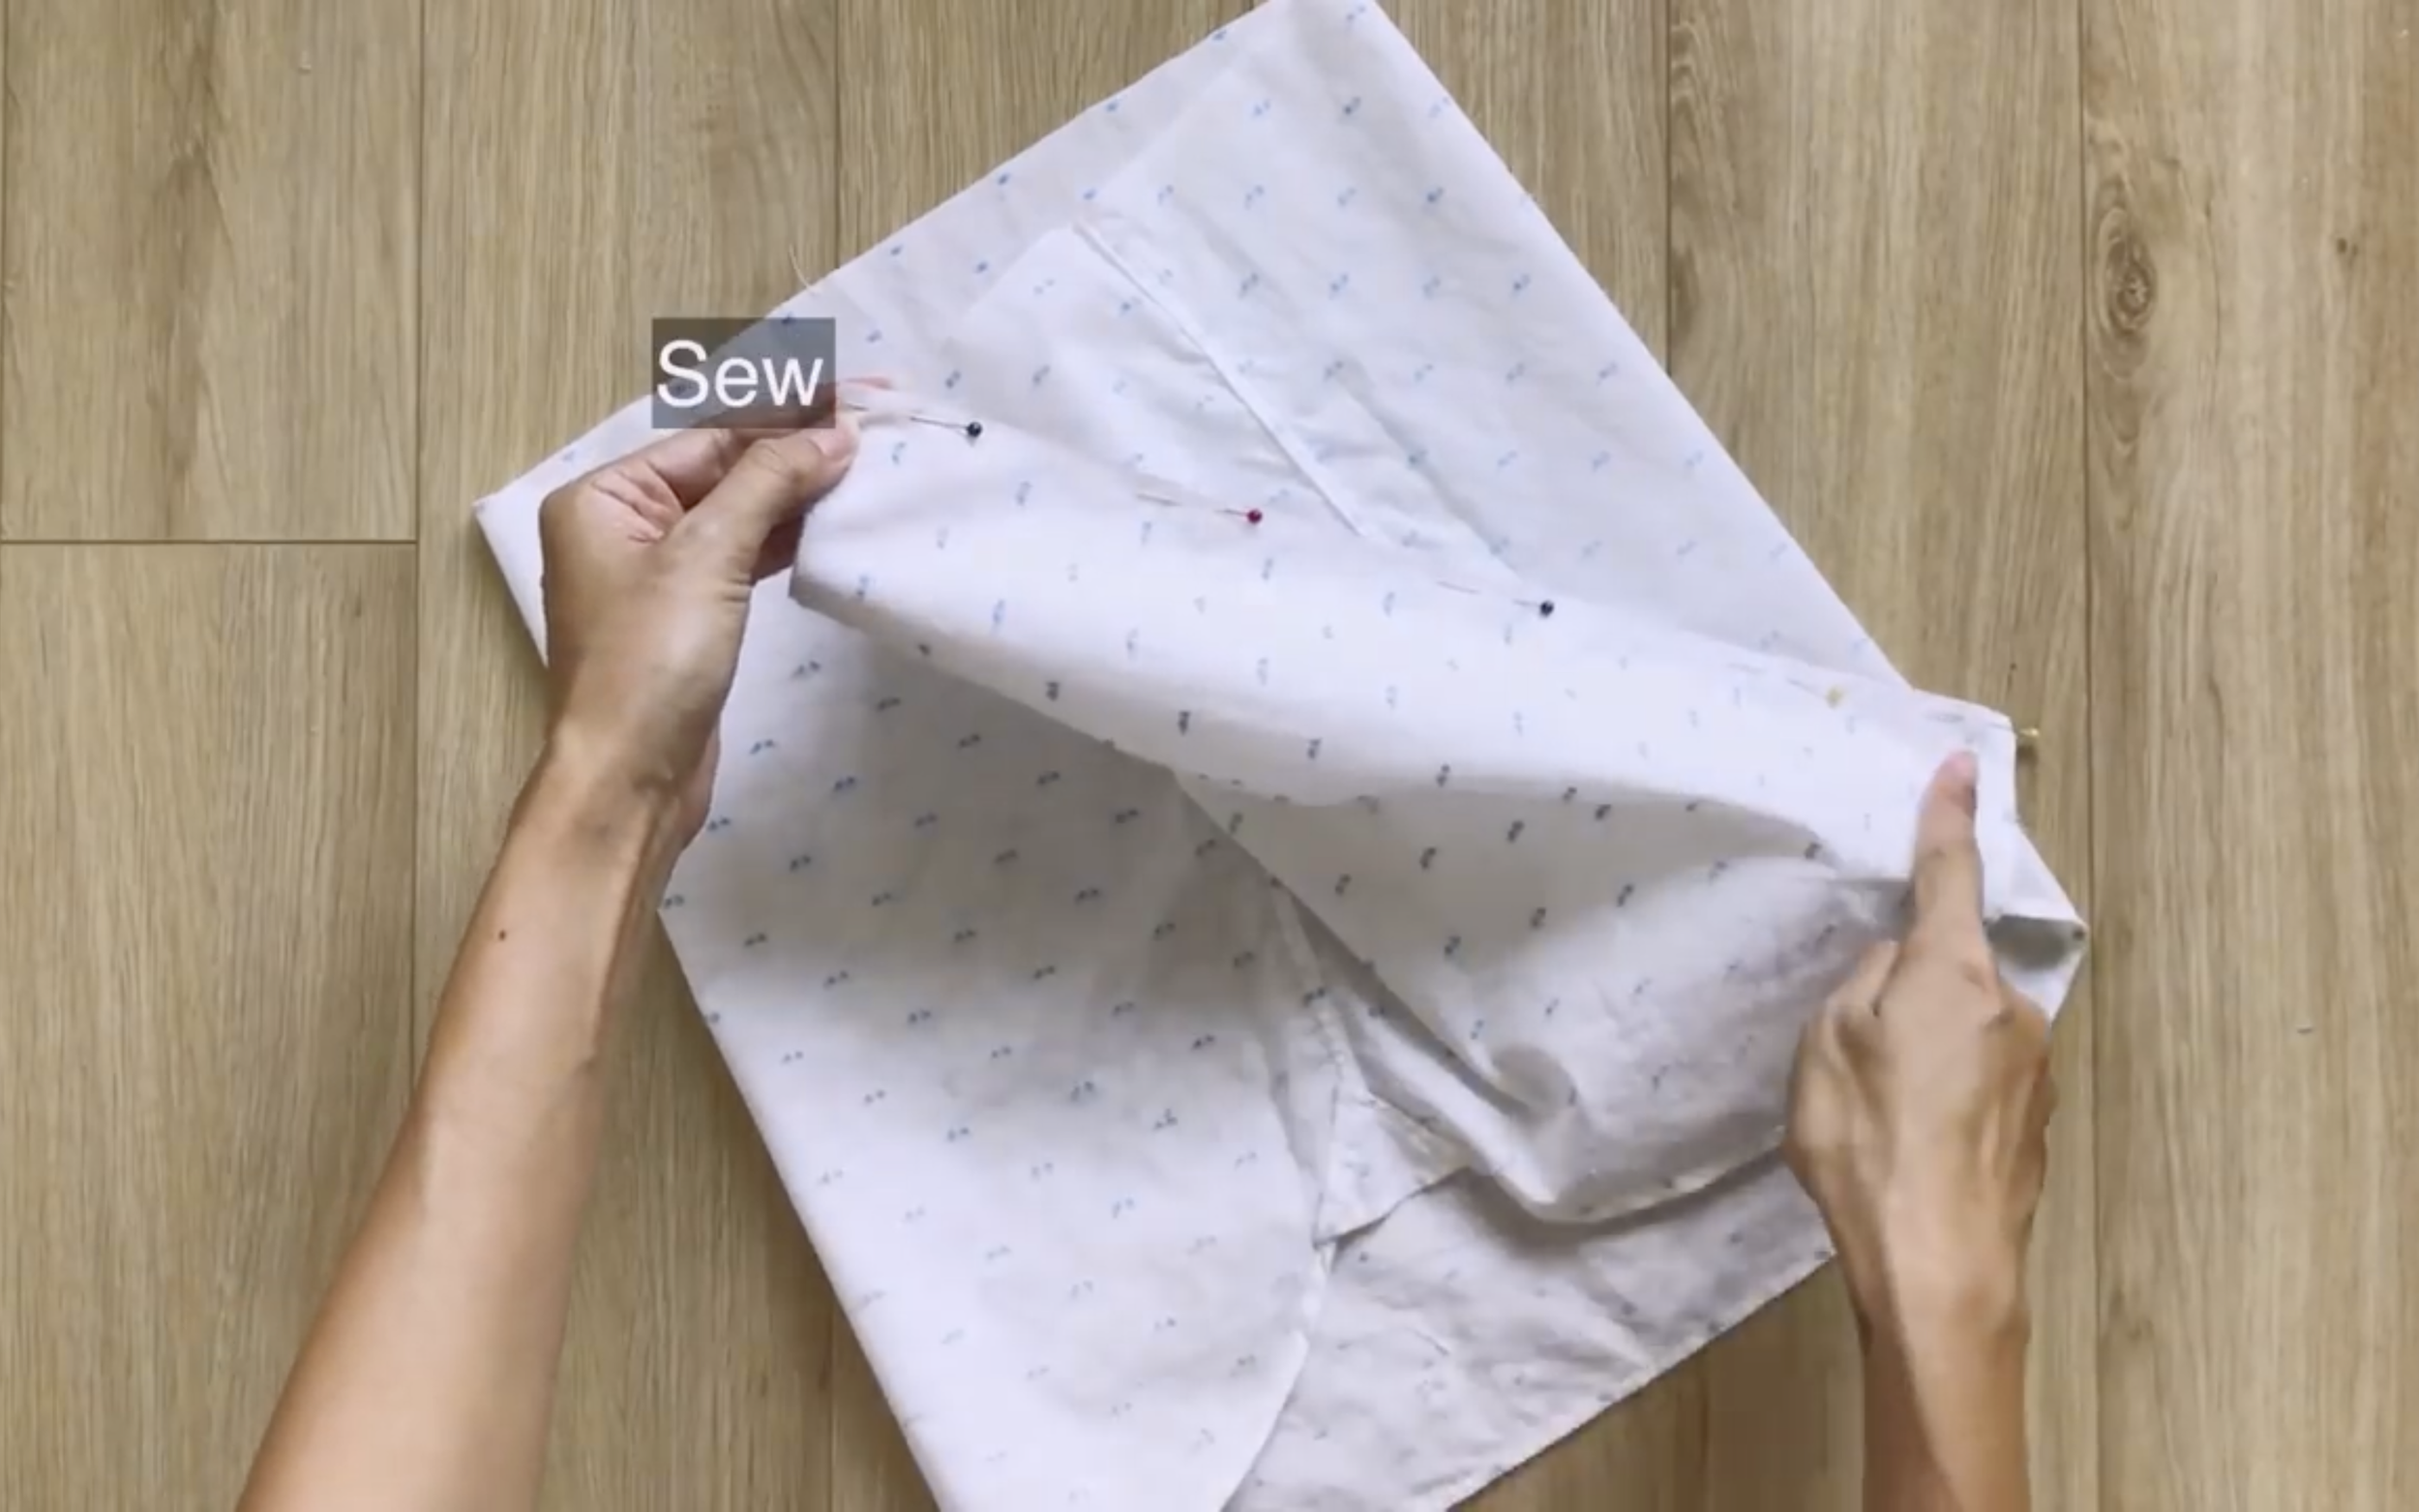
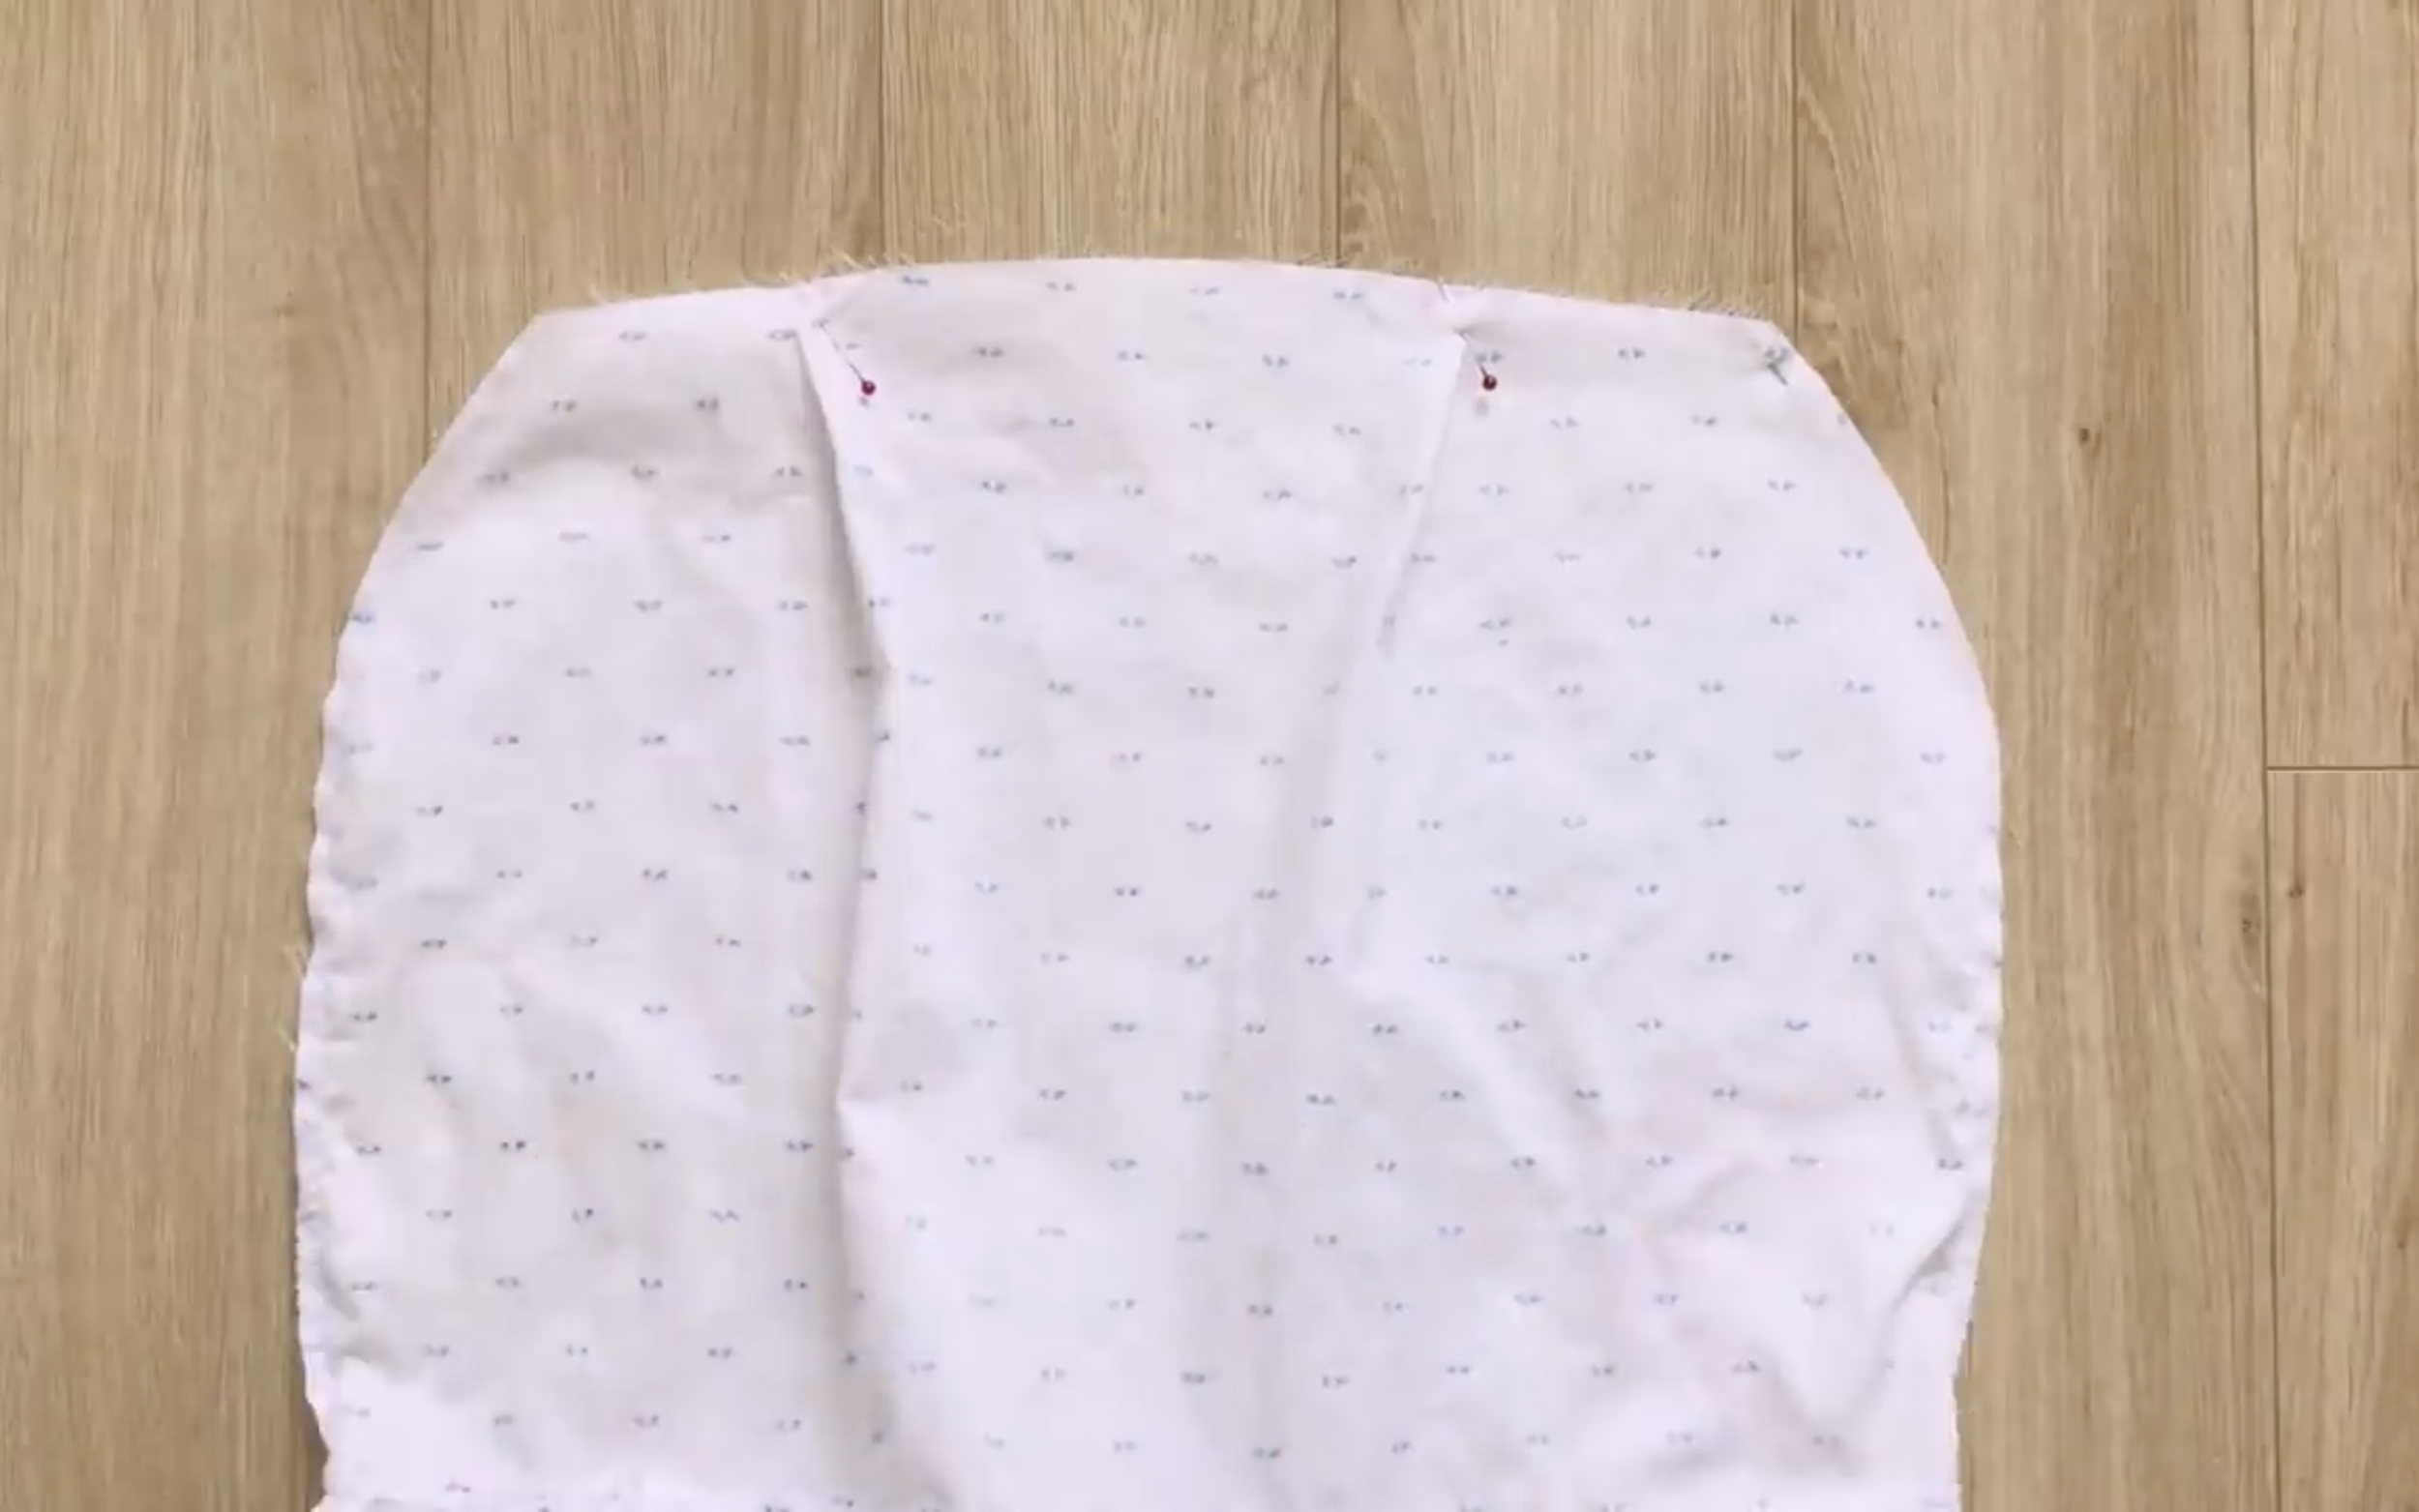
Removing the front pocket first.
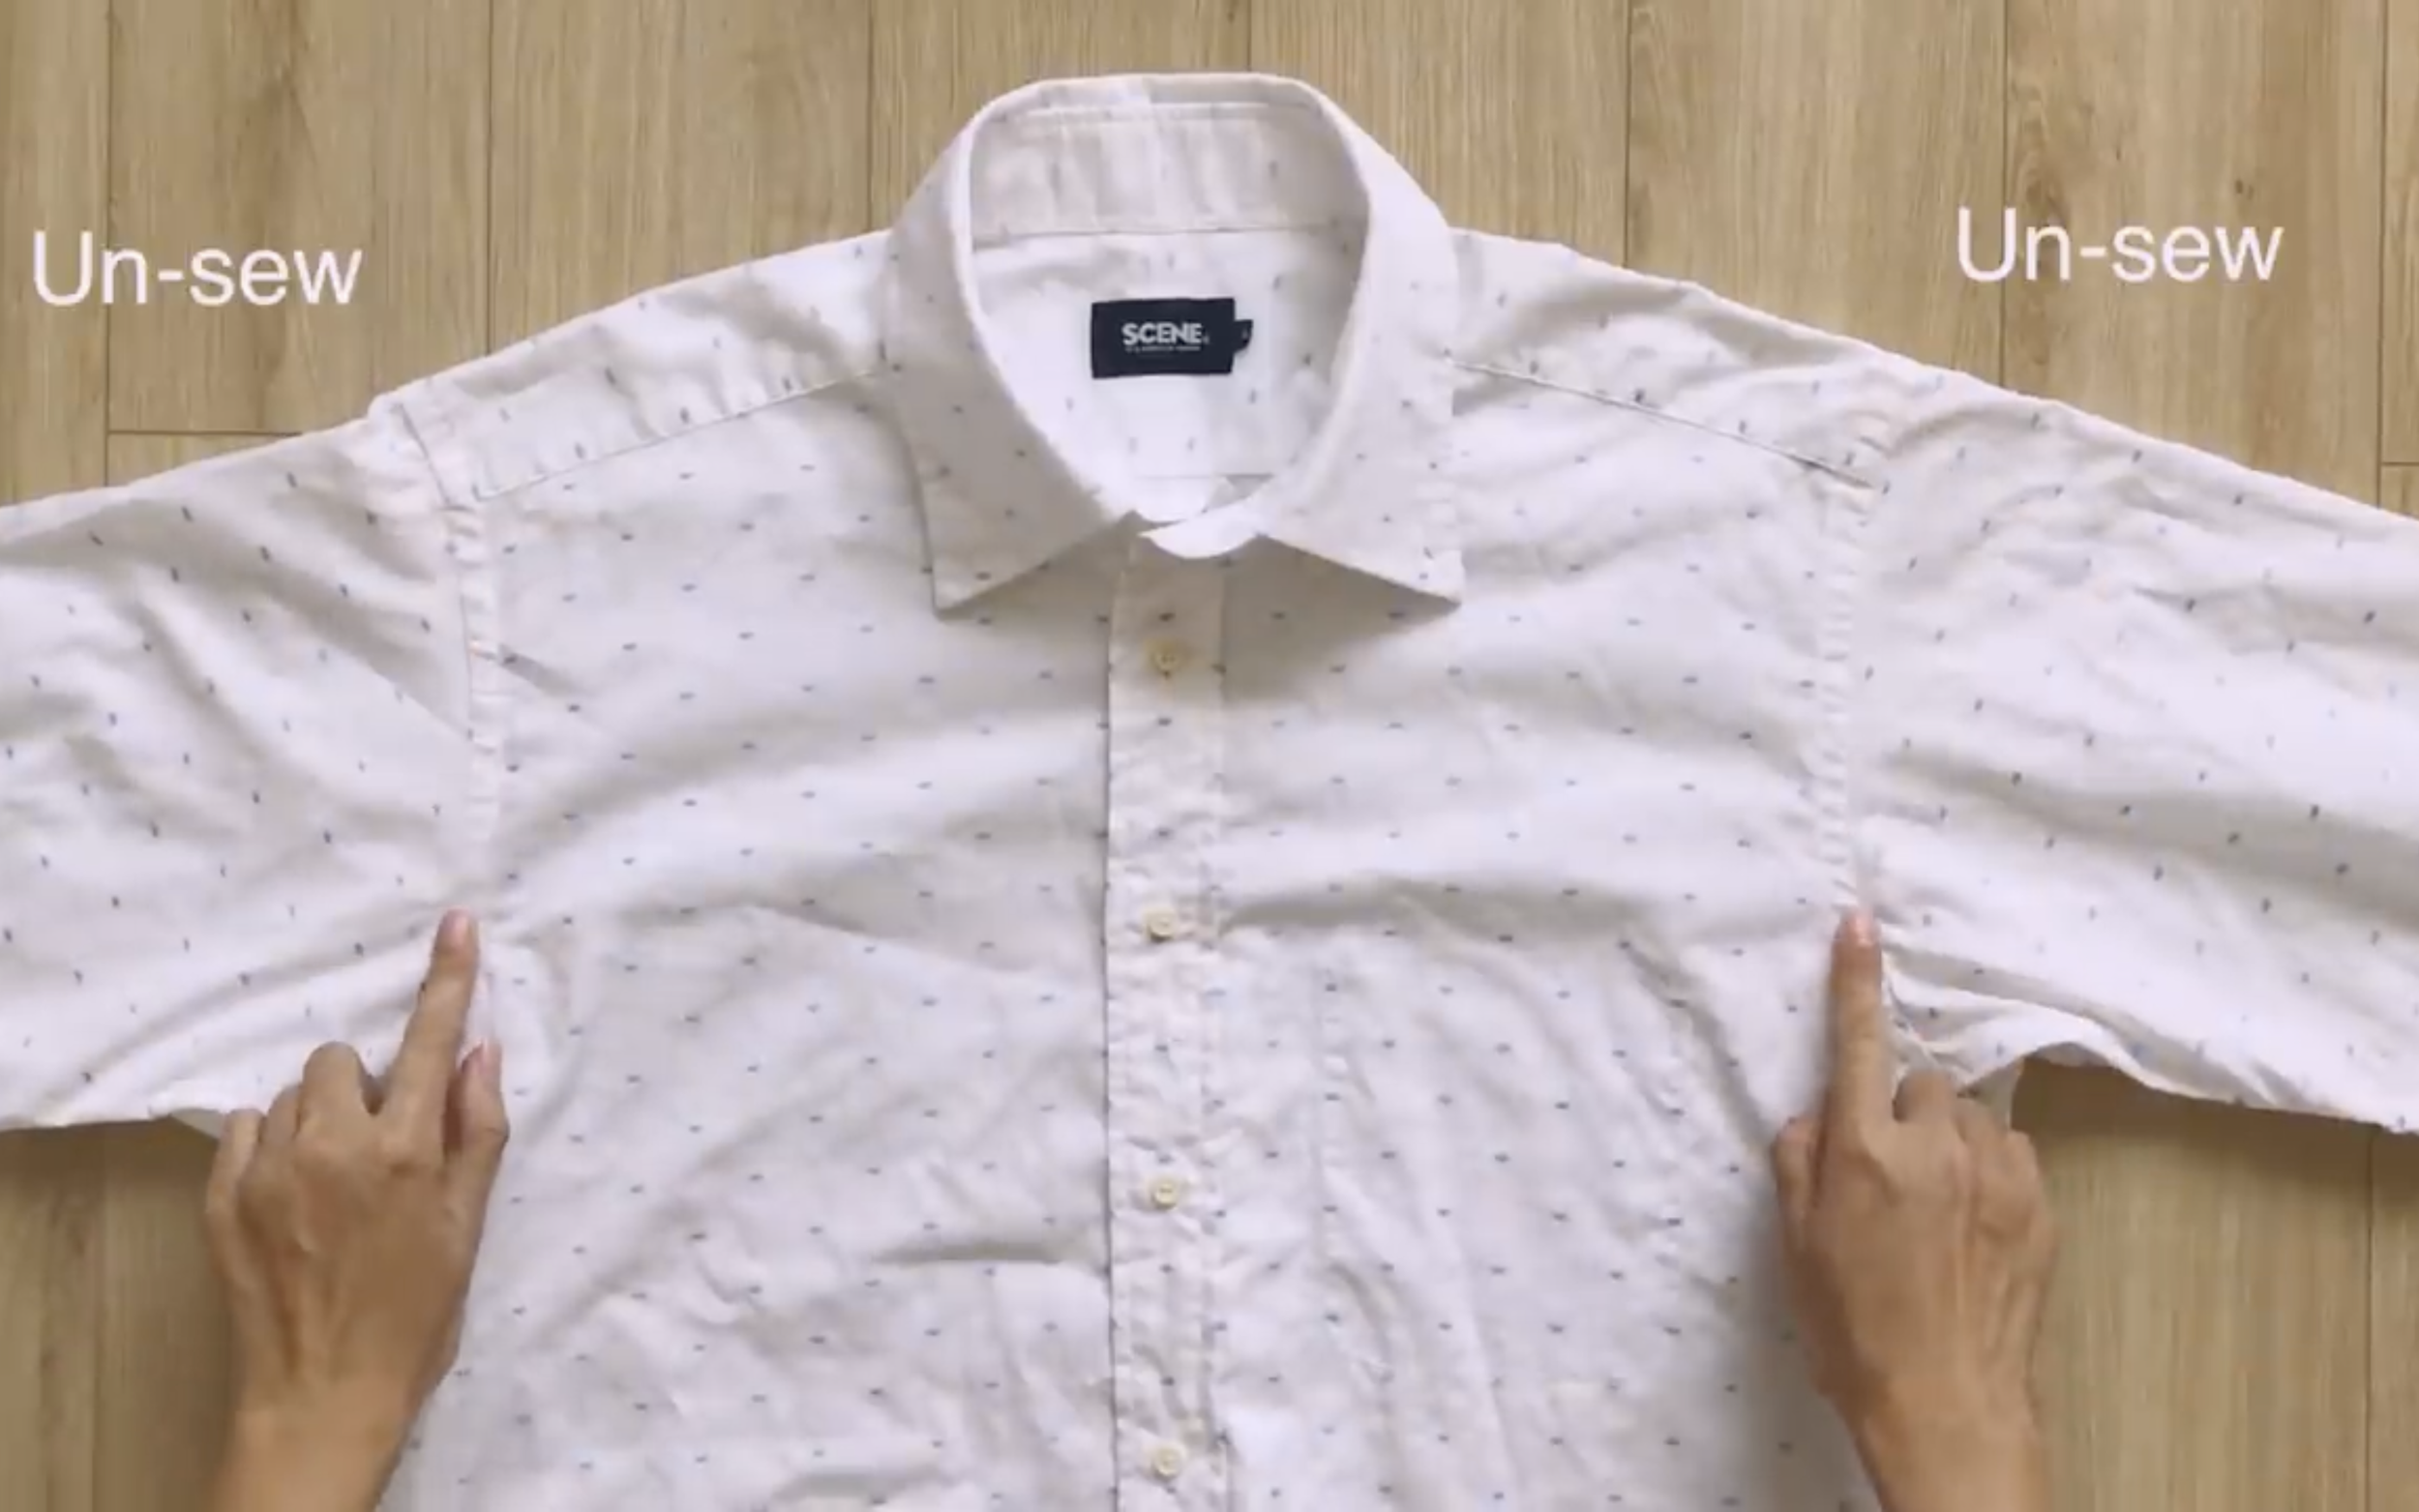
After that, unsew the seam at the sleeves.

However, keep a small part at the end of the sleeves to keep it connected to the main body of the shirt.
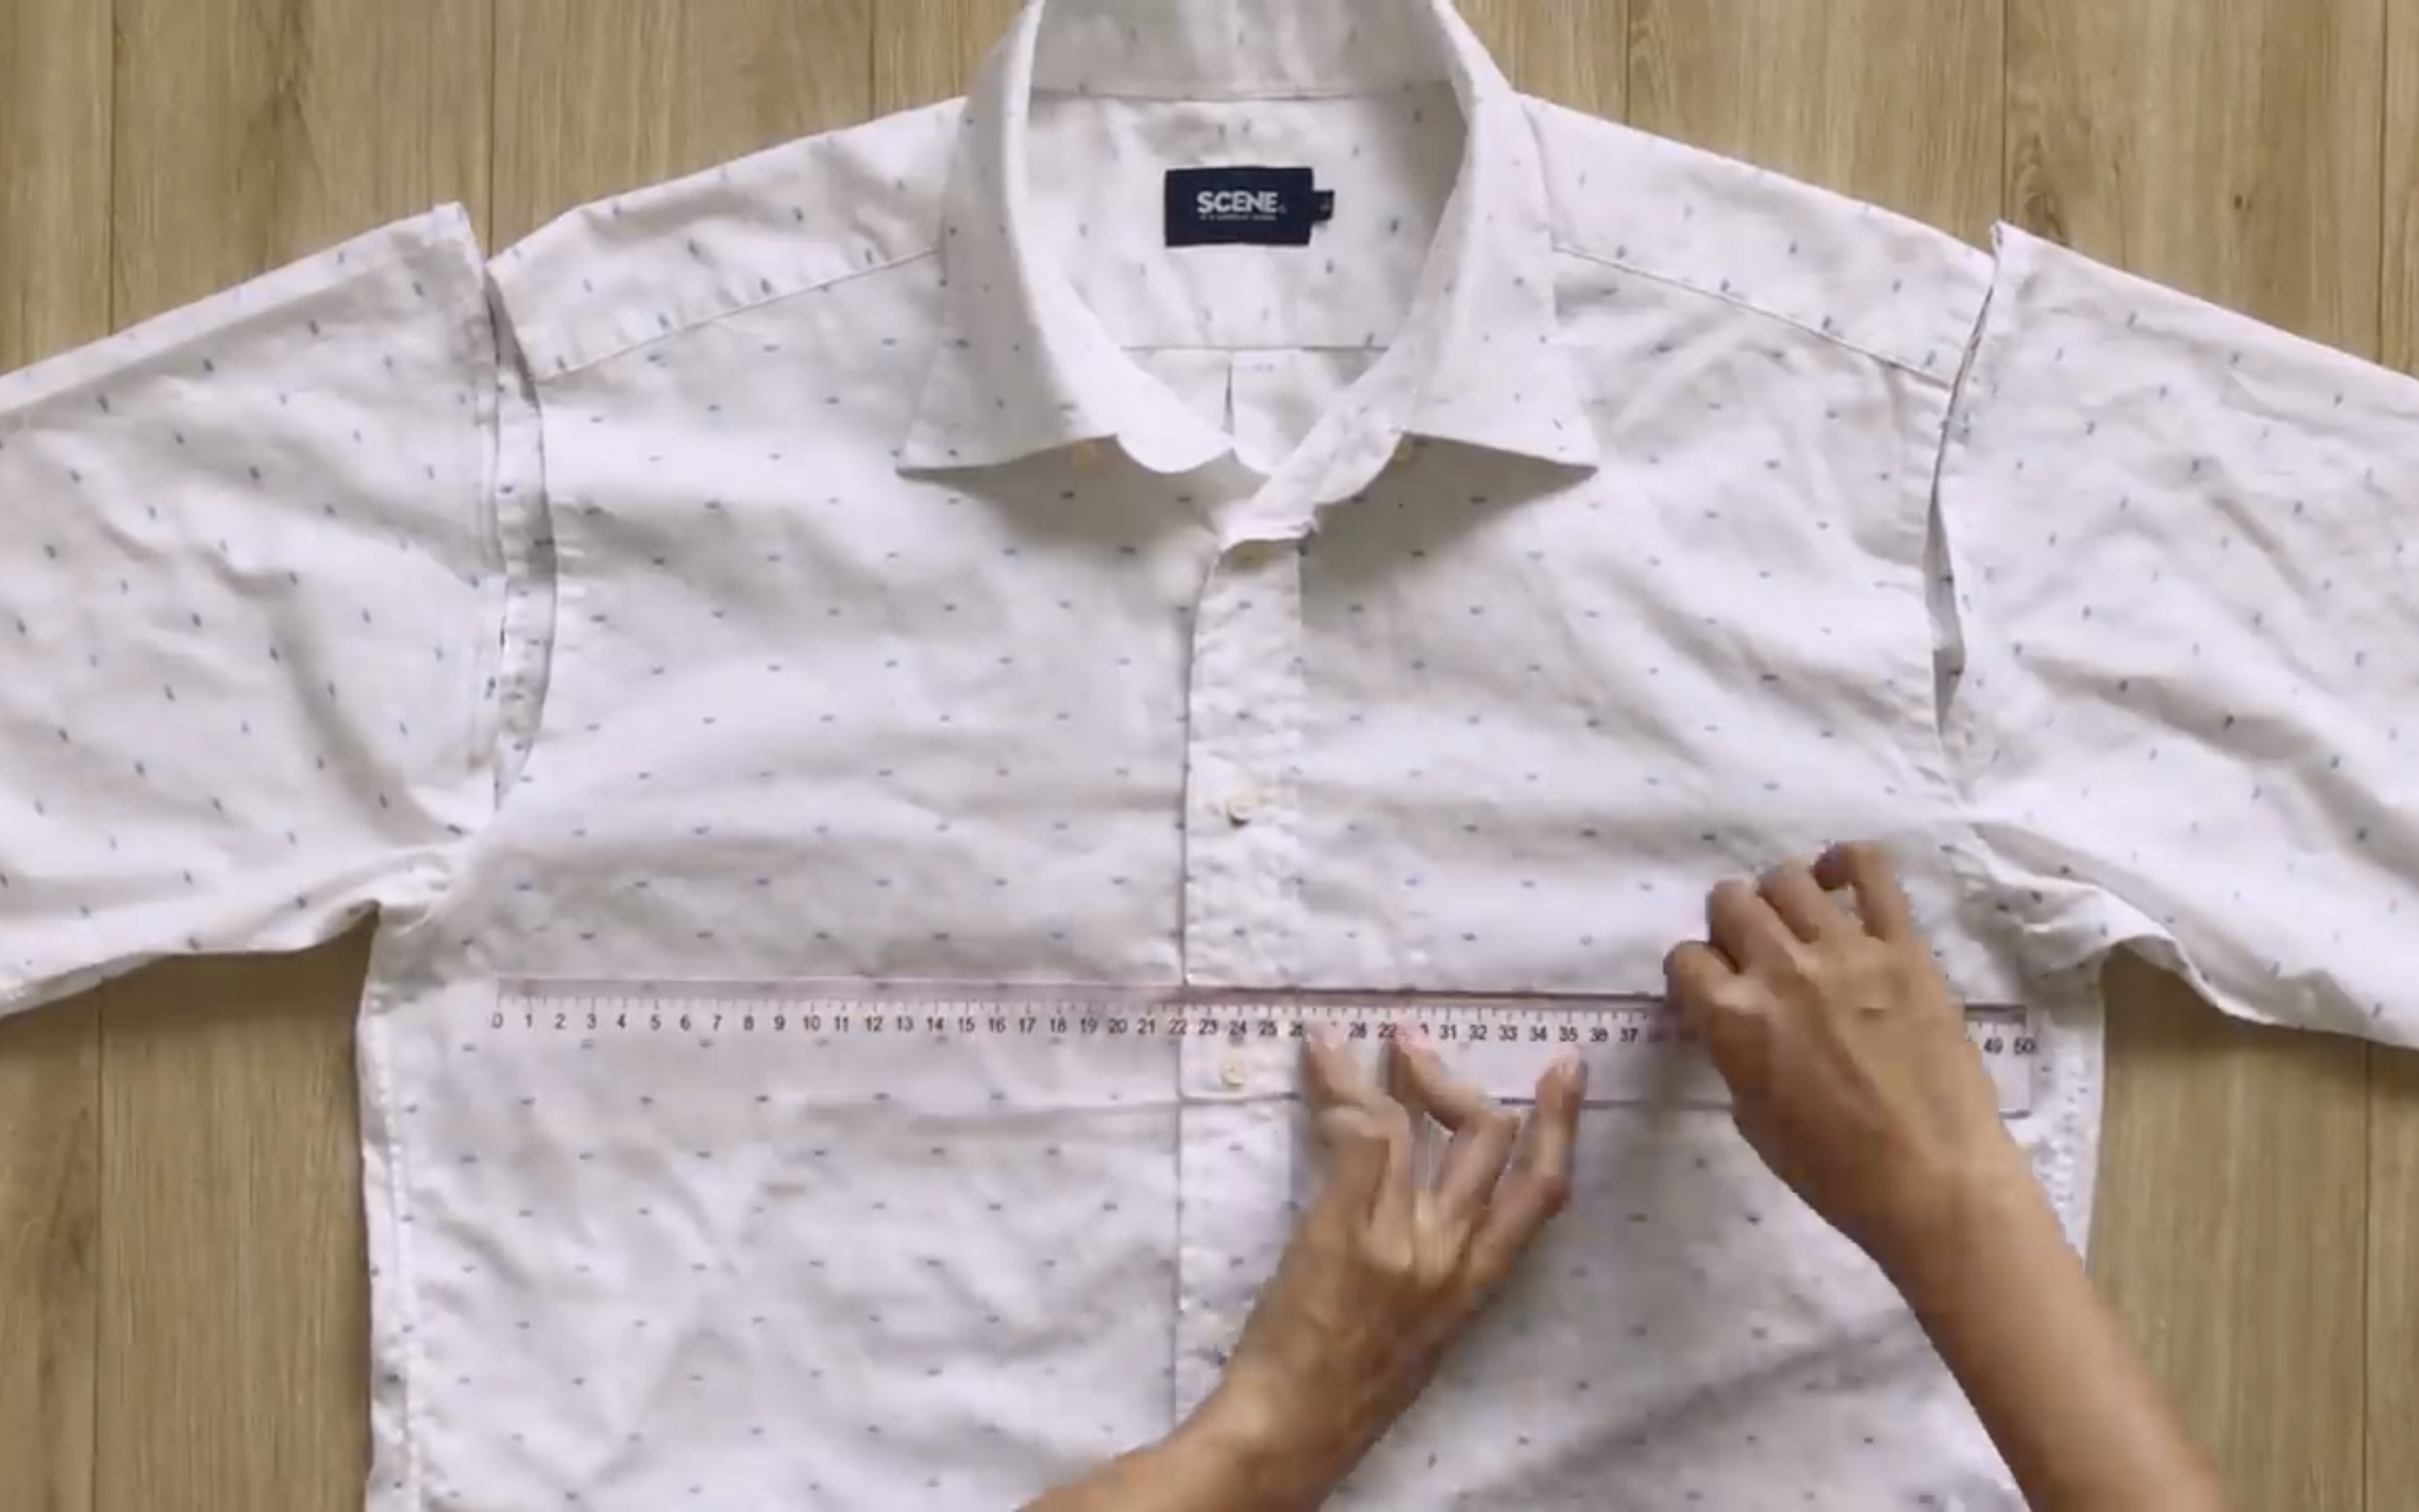
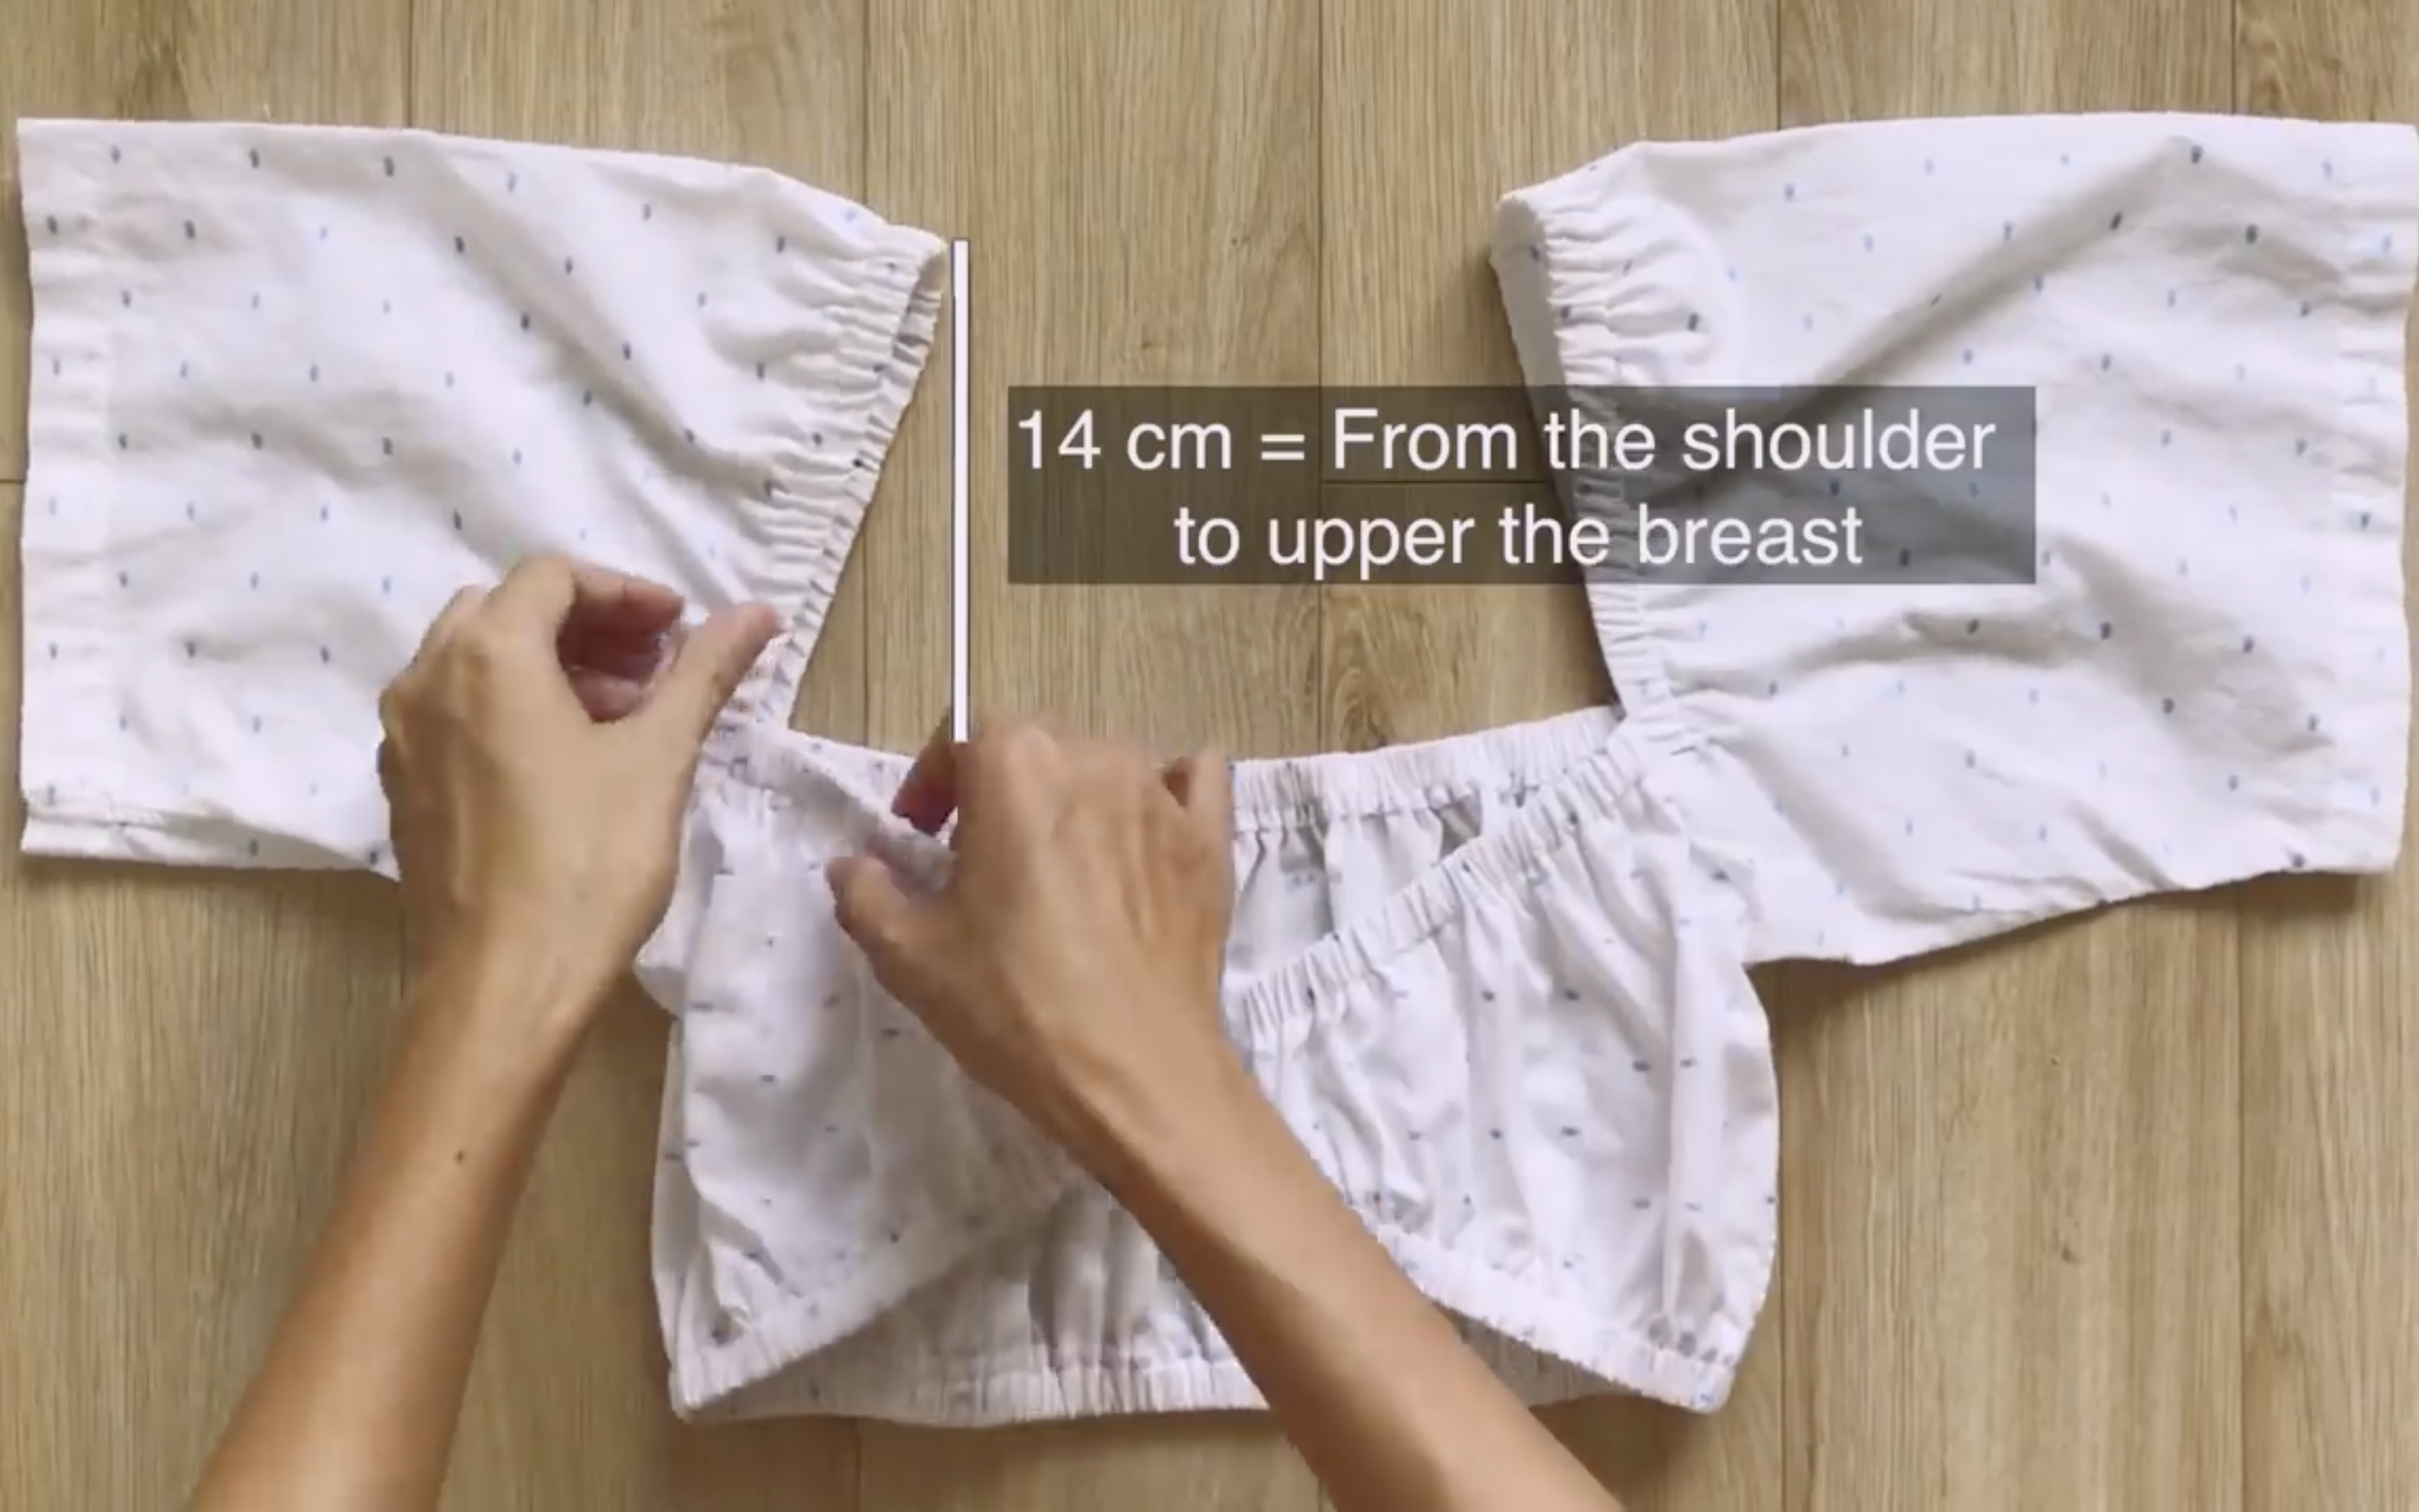
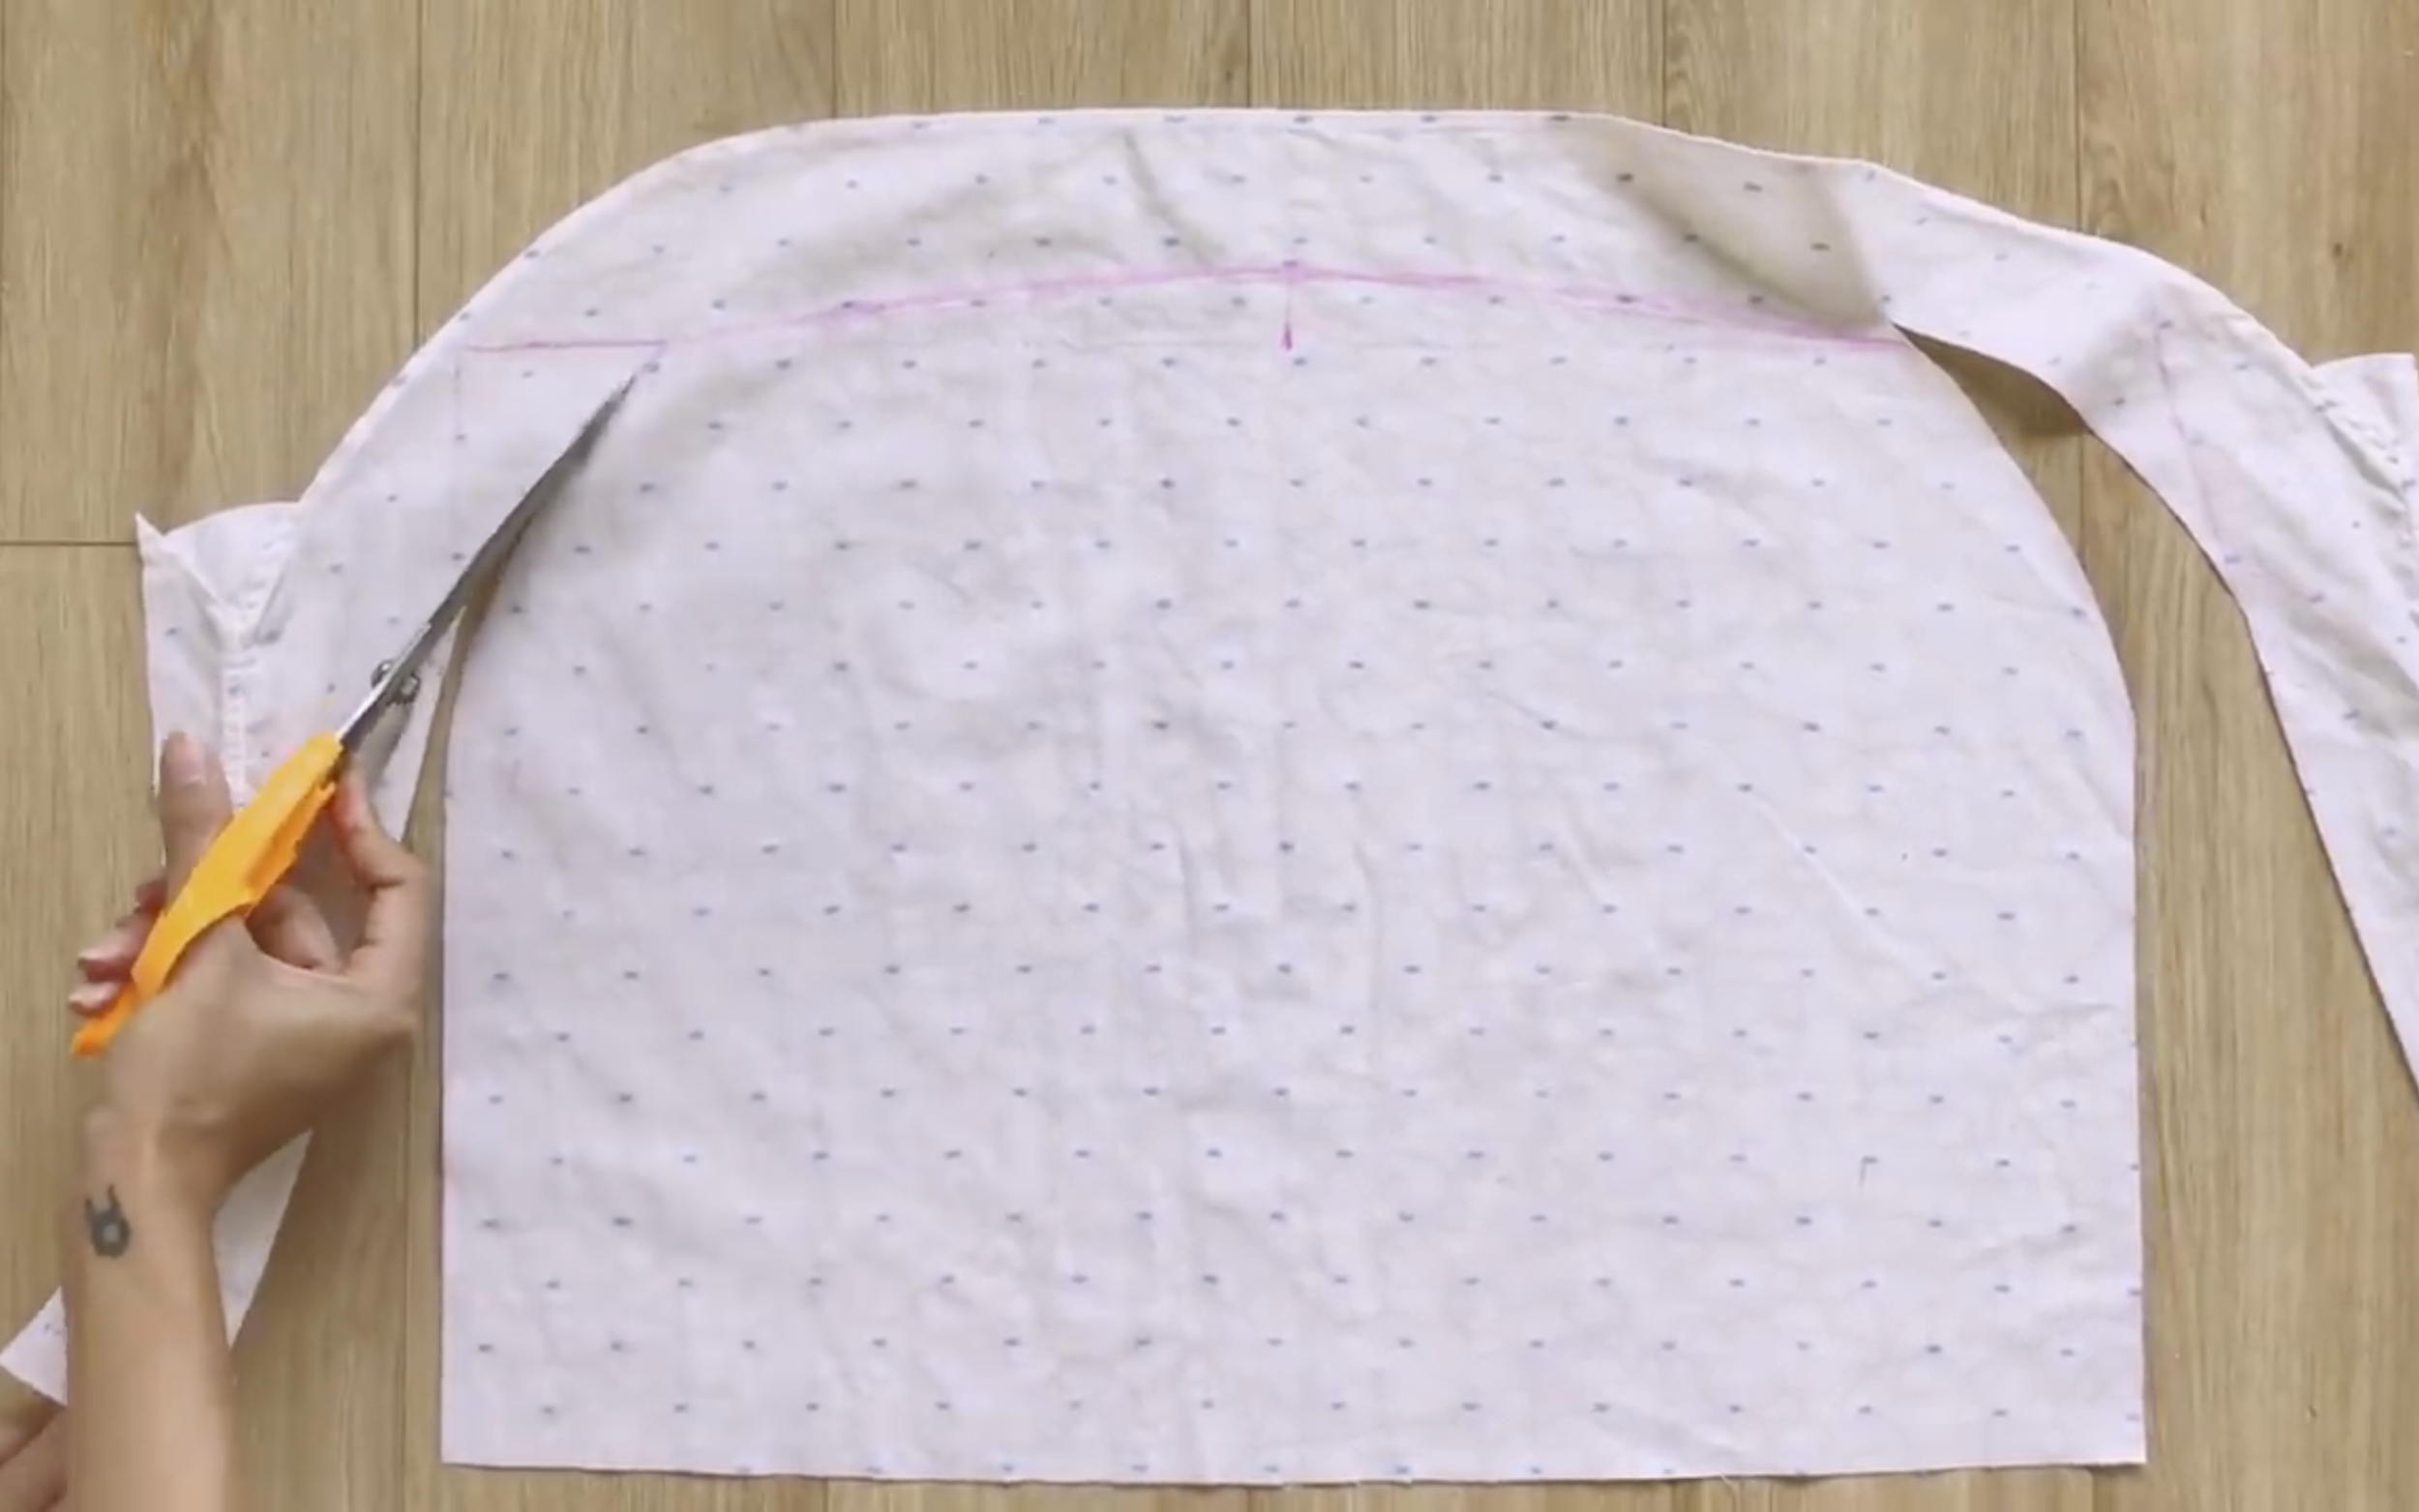
Draw a horizontal line at the end of the sleeve first.
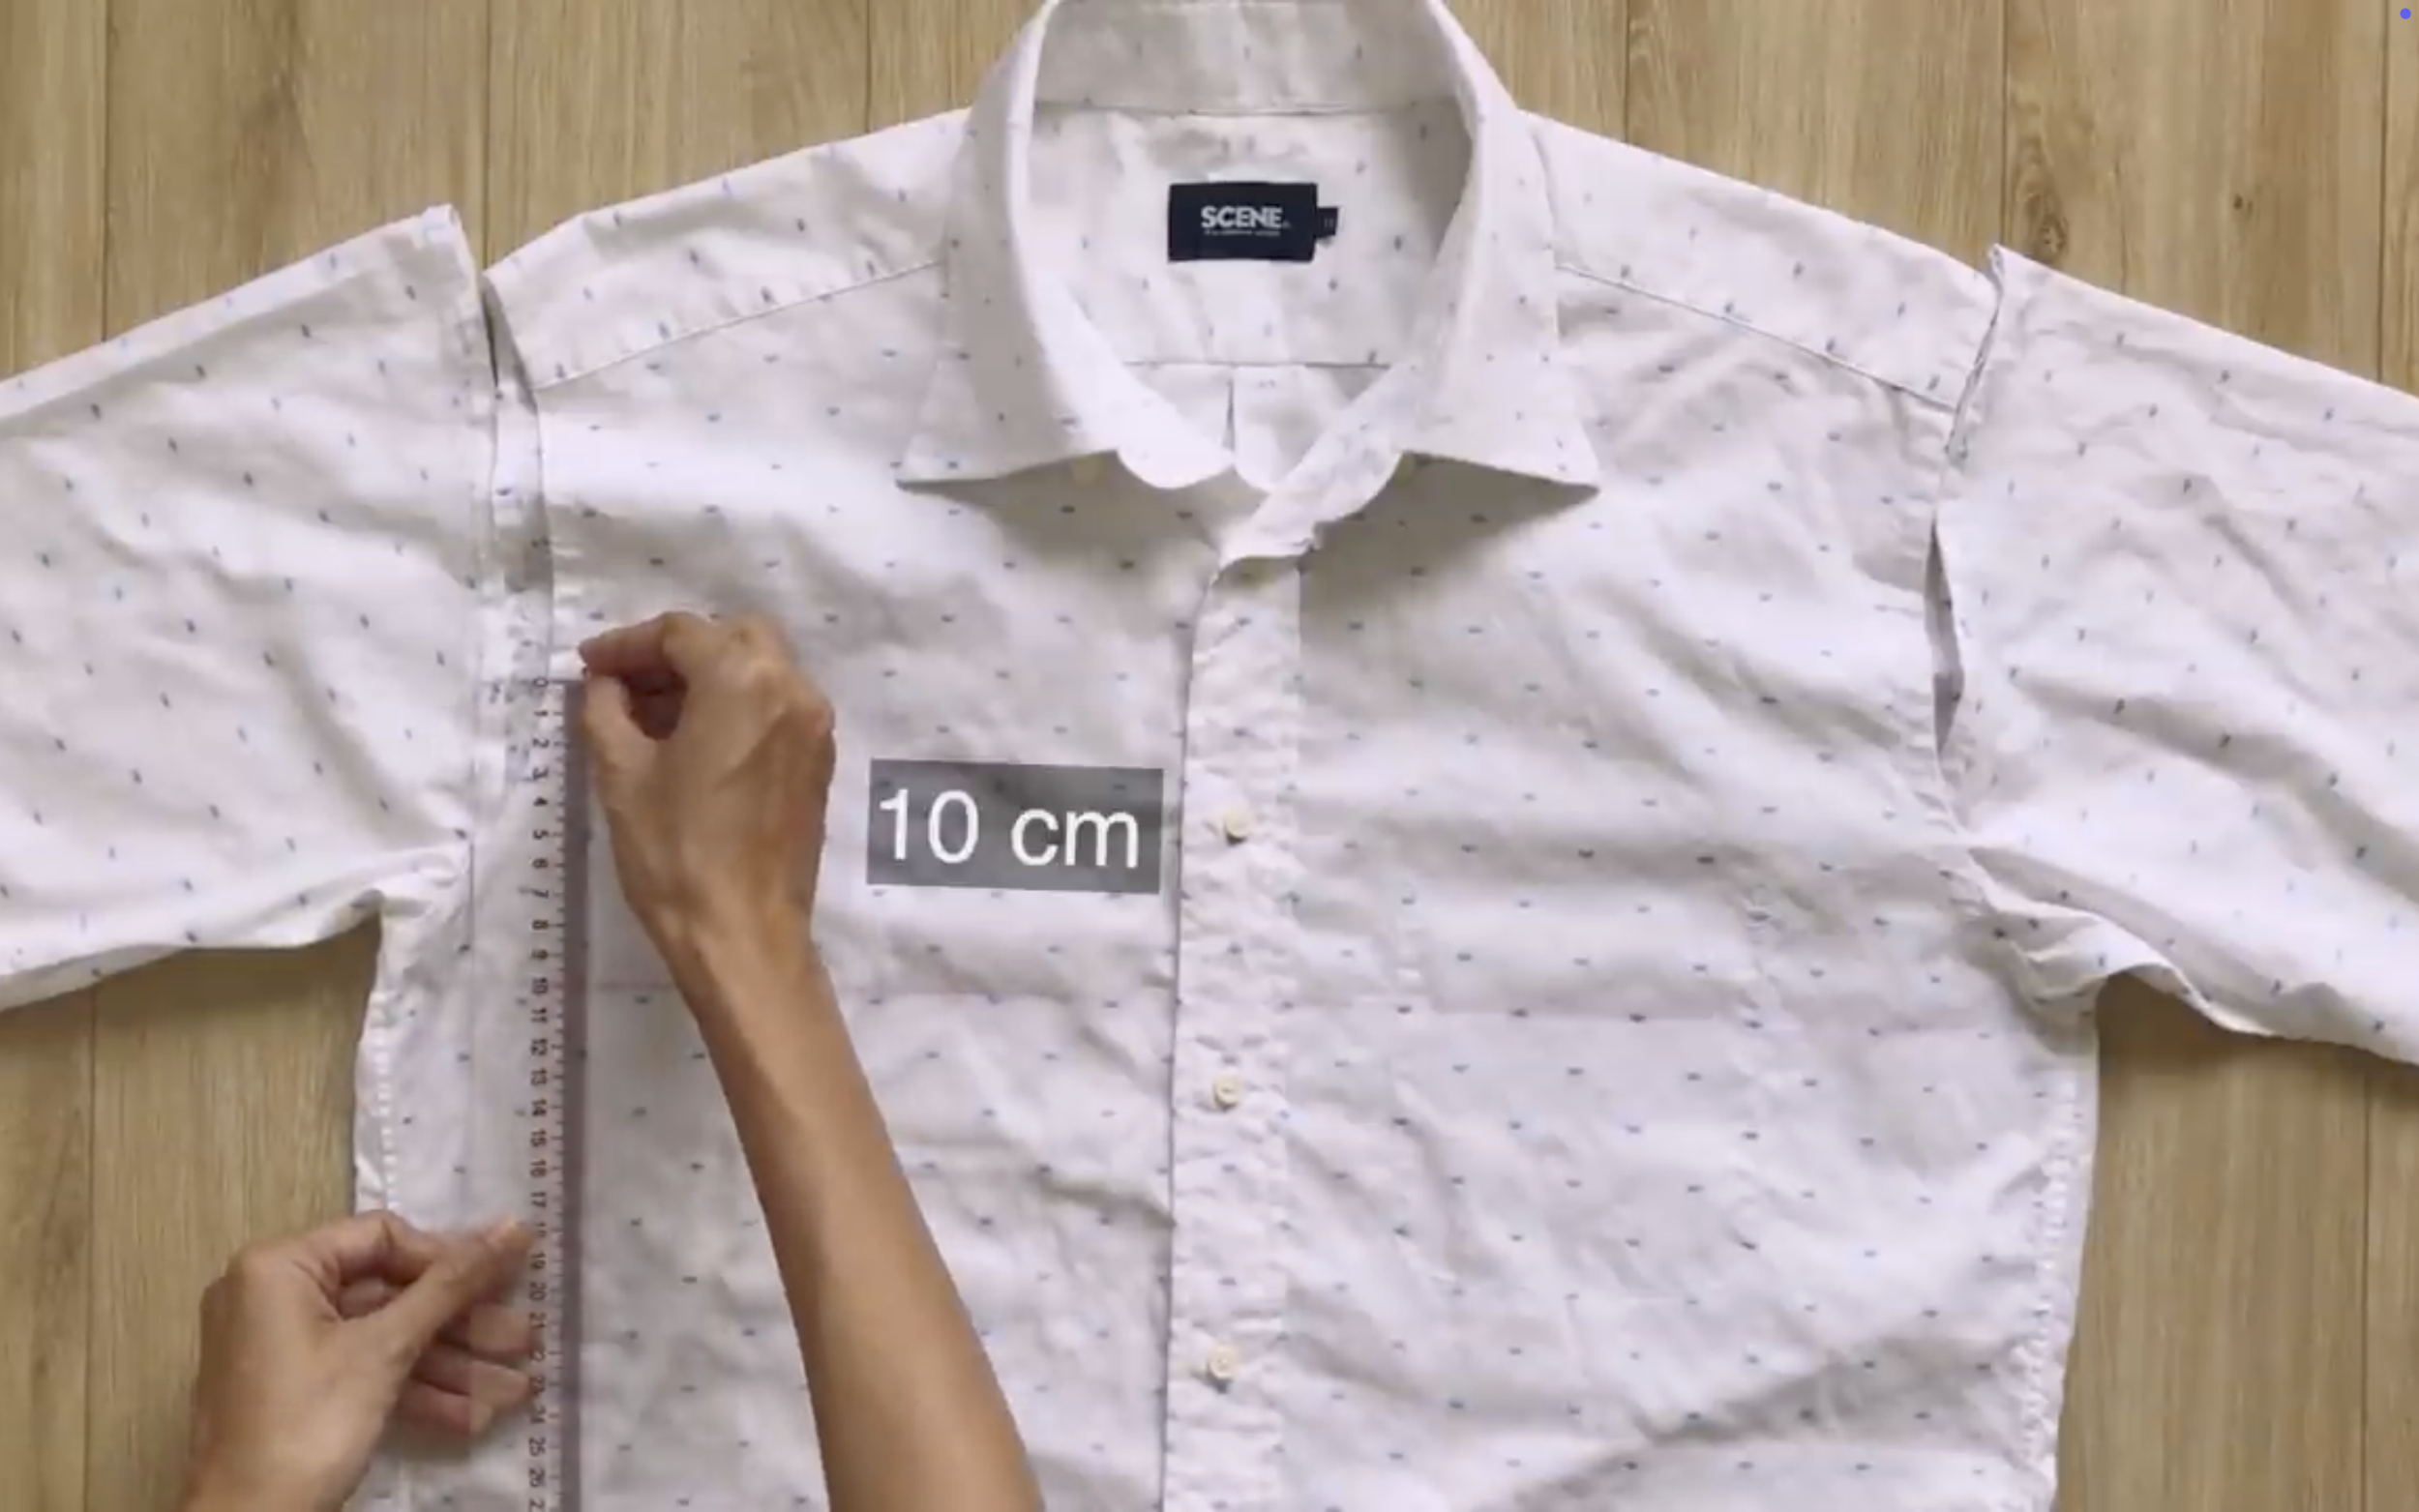
Then, from that line, draw another horizontal line 10 cm above…
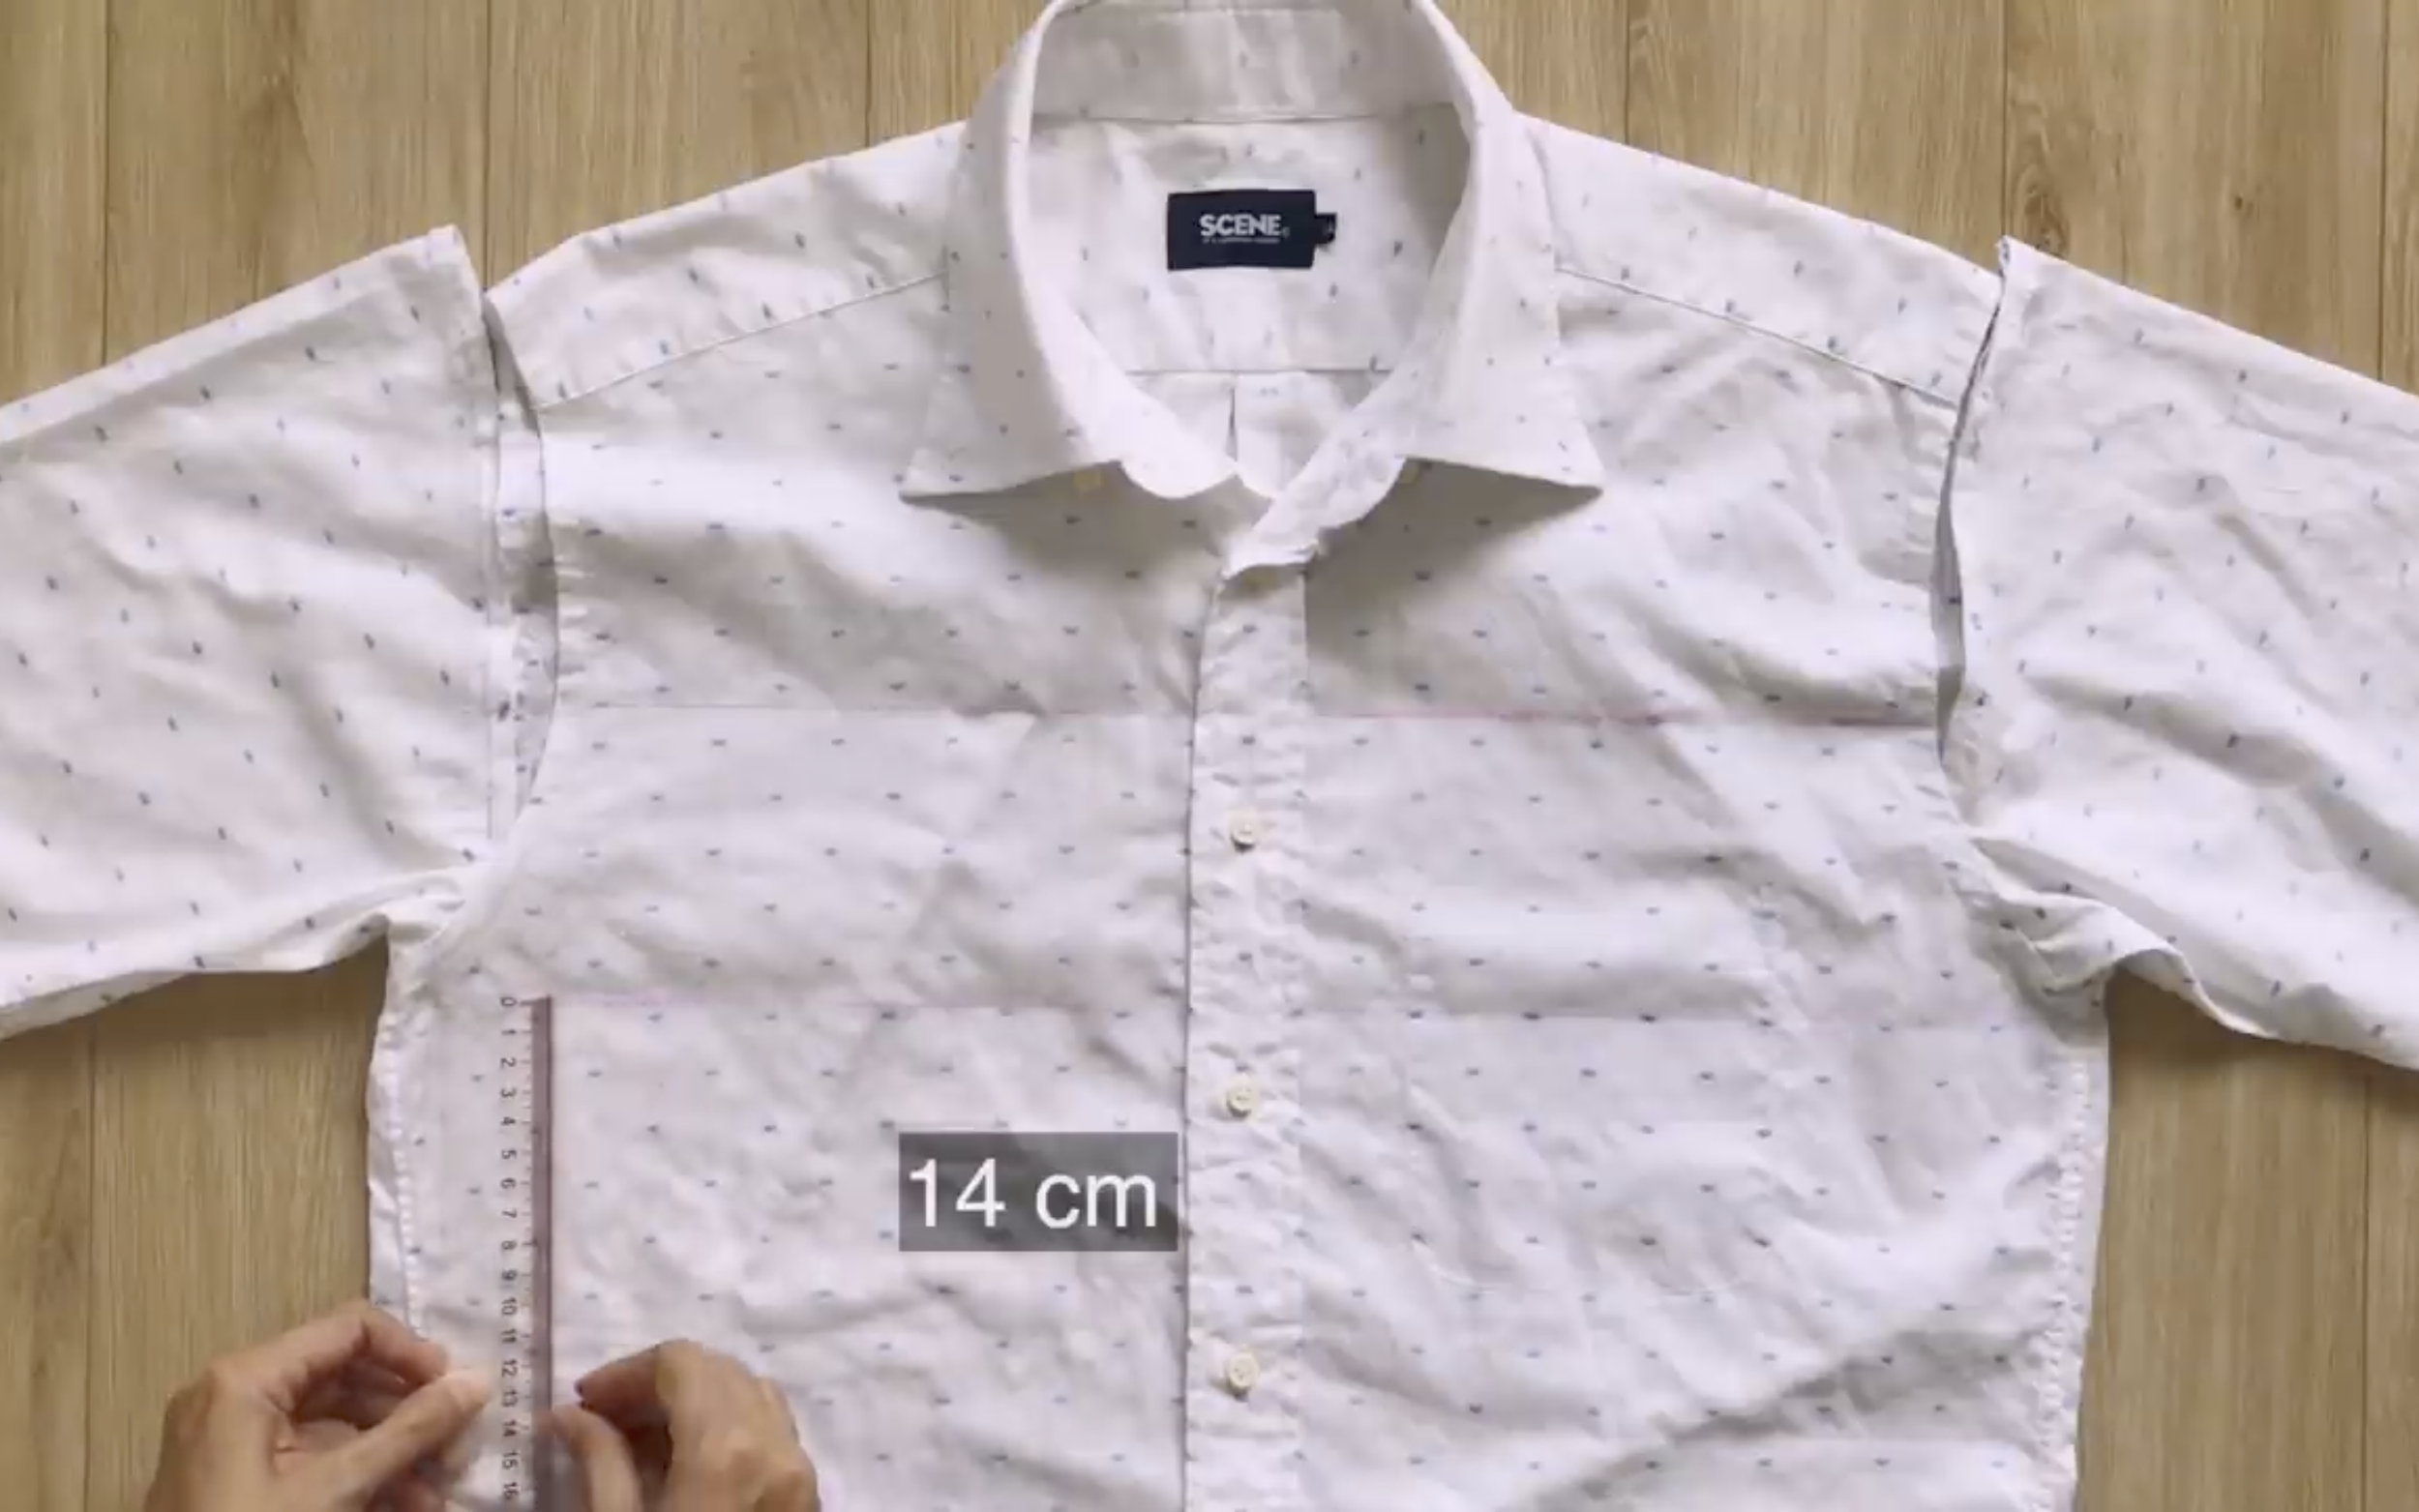
… and 14 cm below it.
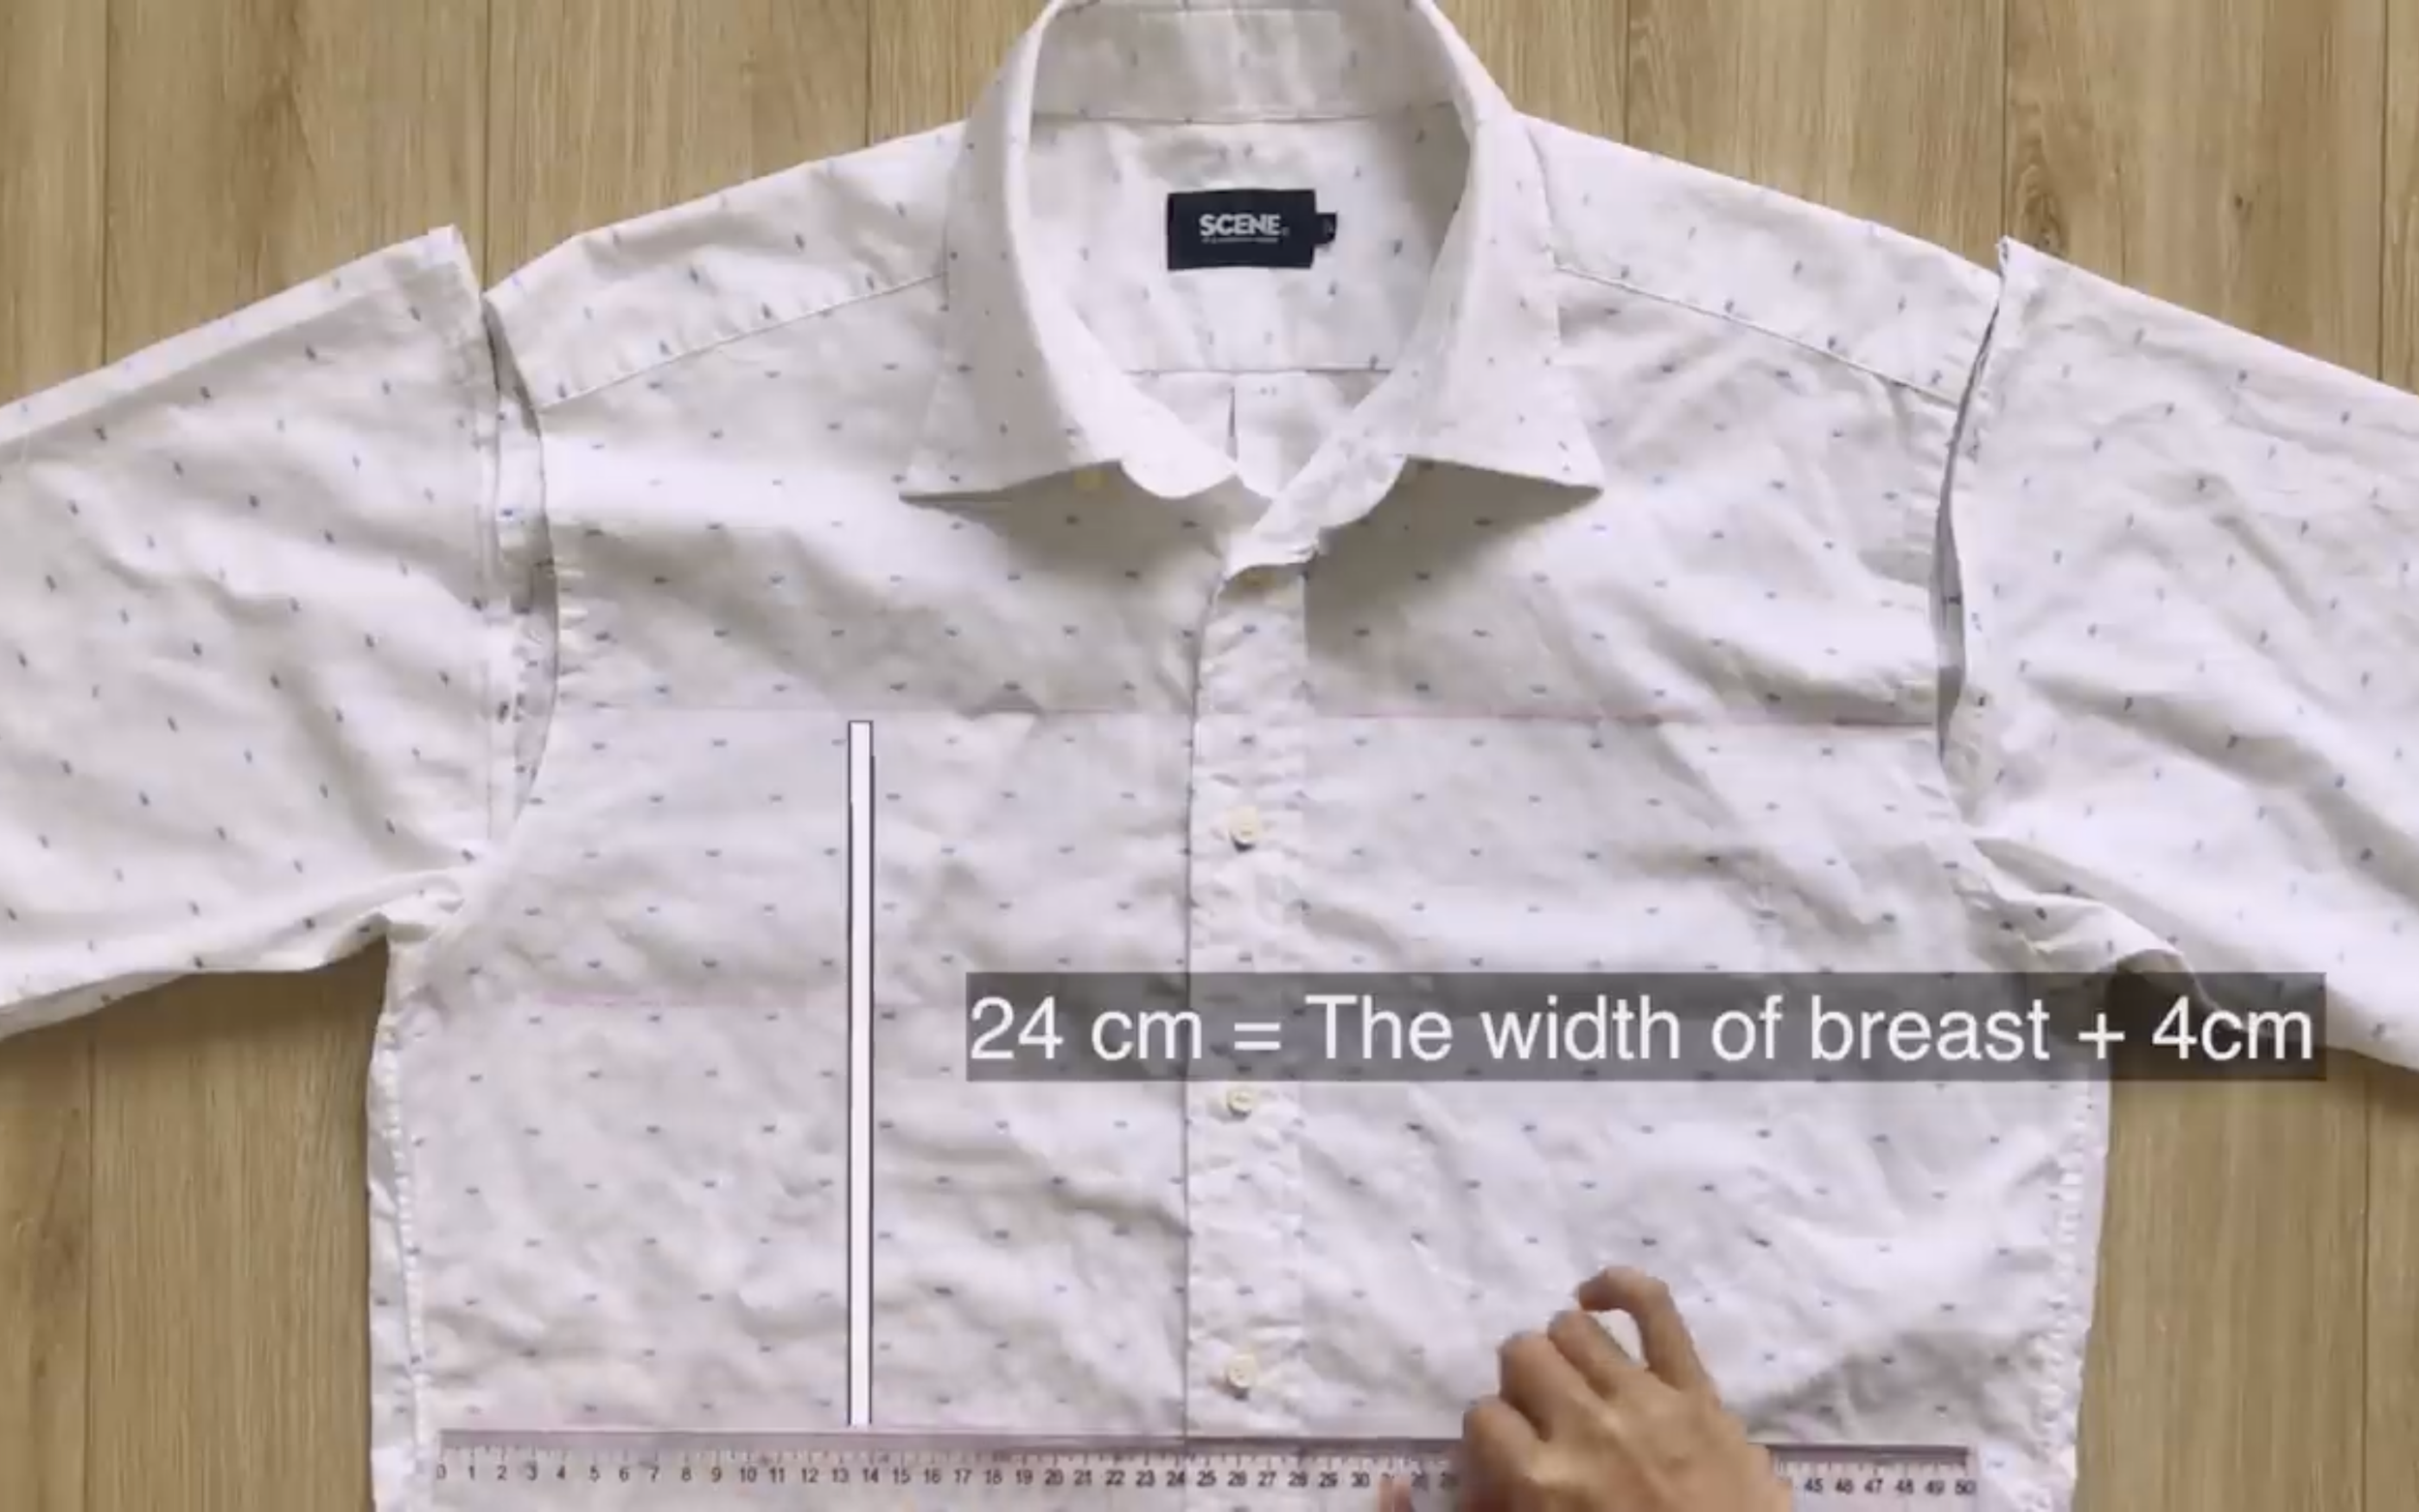
So the width between two horizontal lines will be 24 cm, which is the width of the breast plus 4 cm.
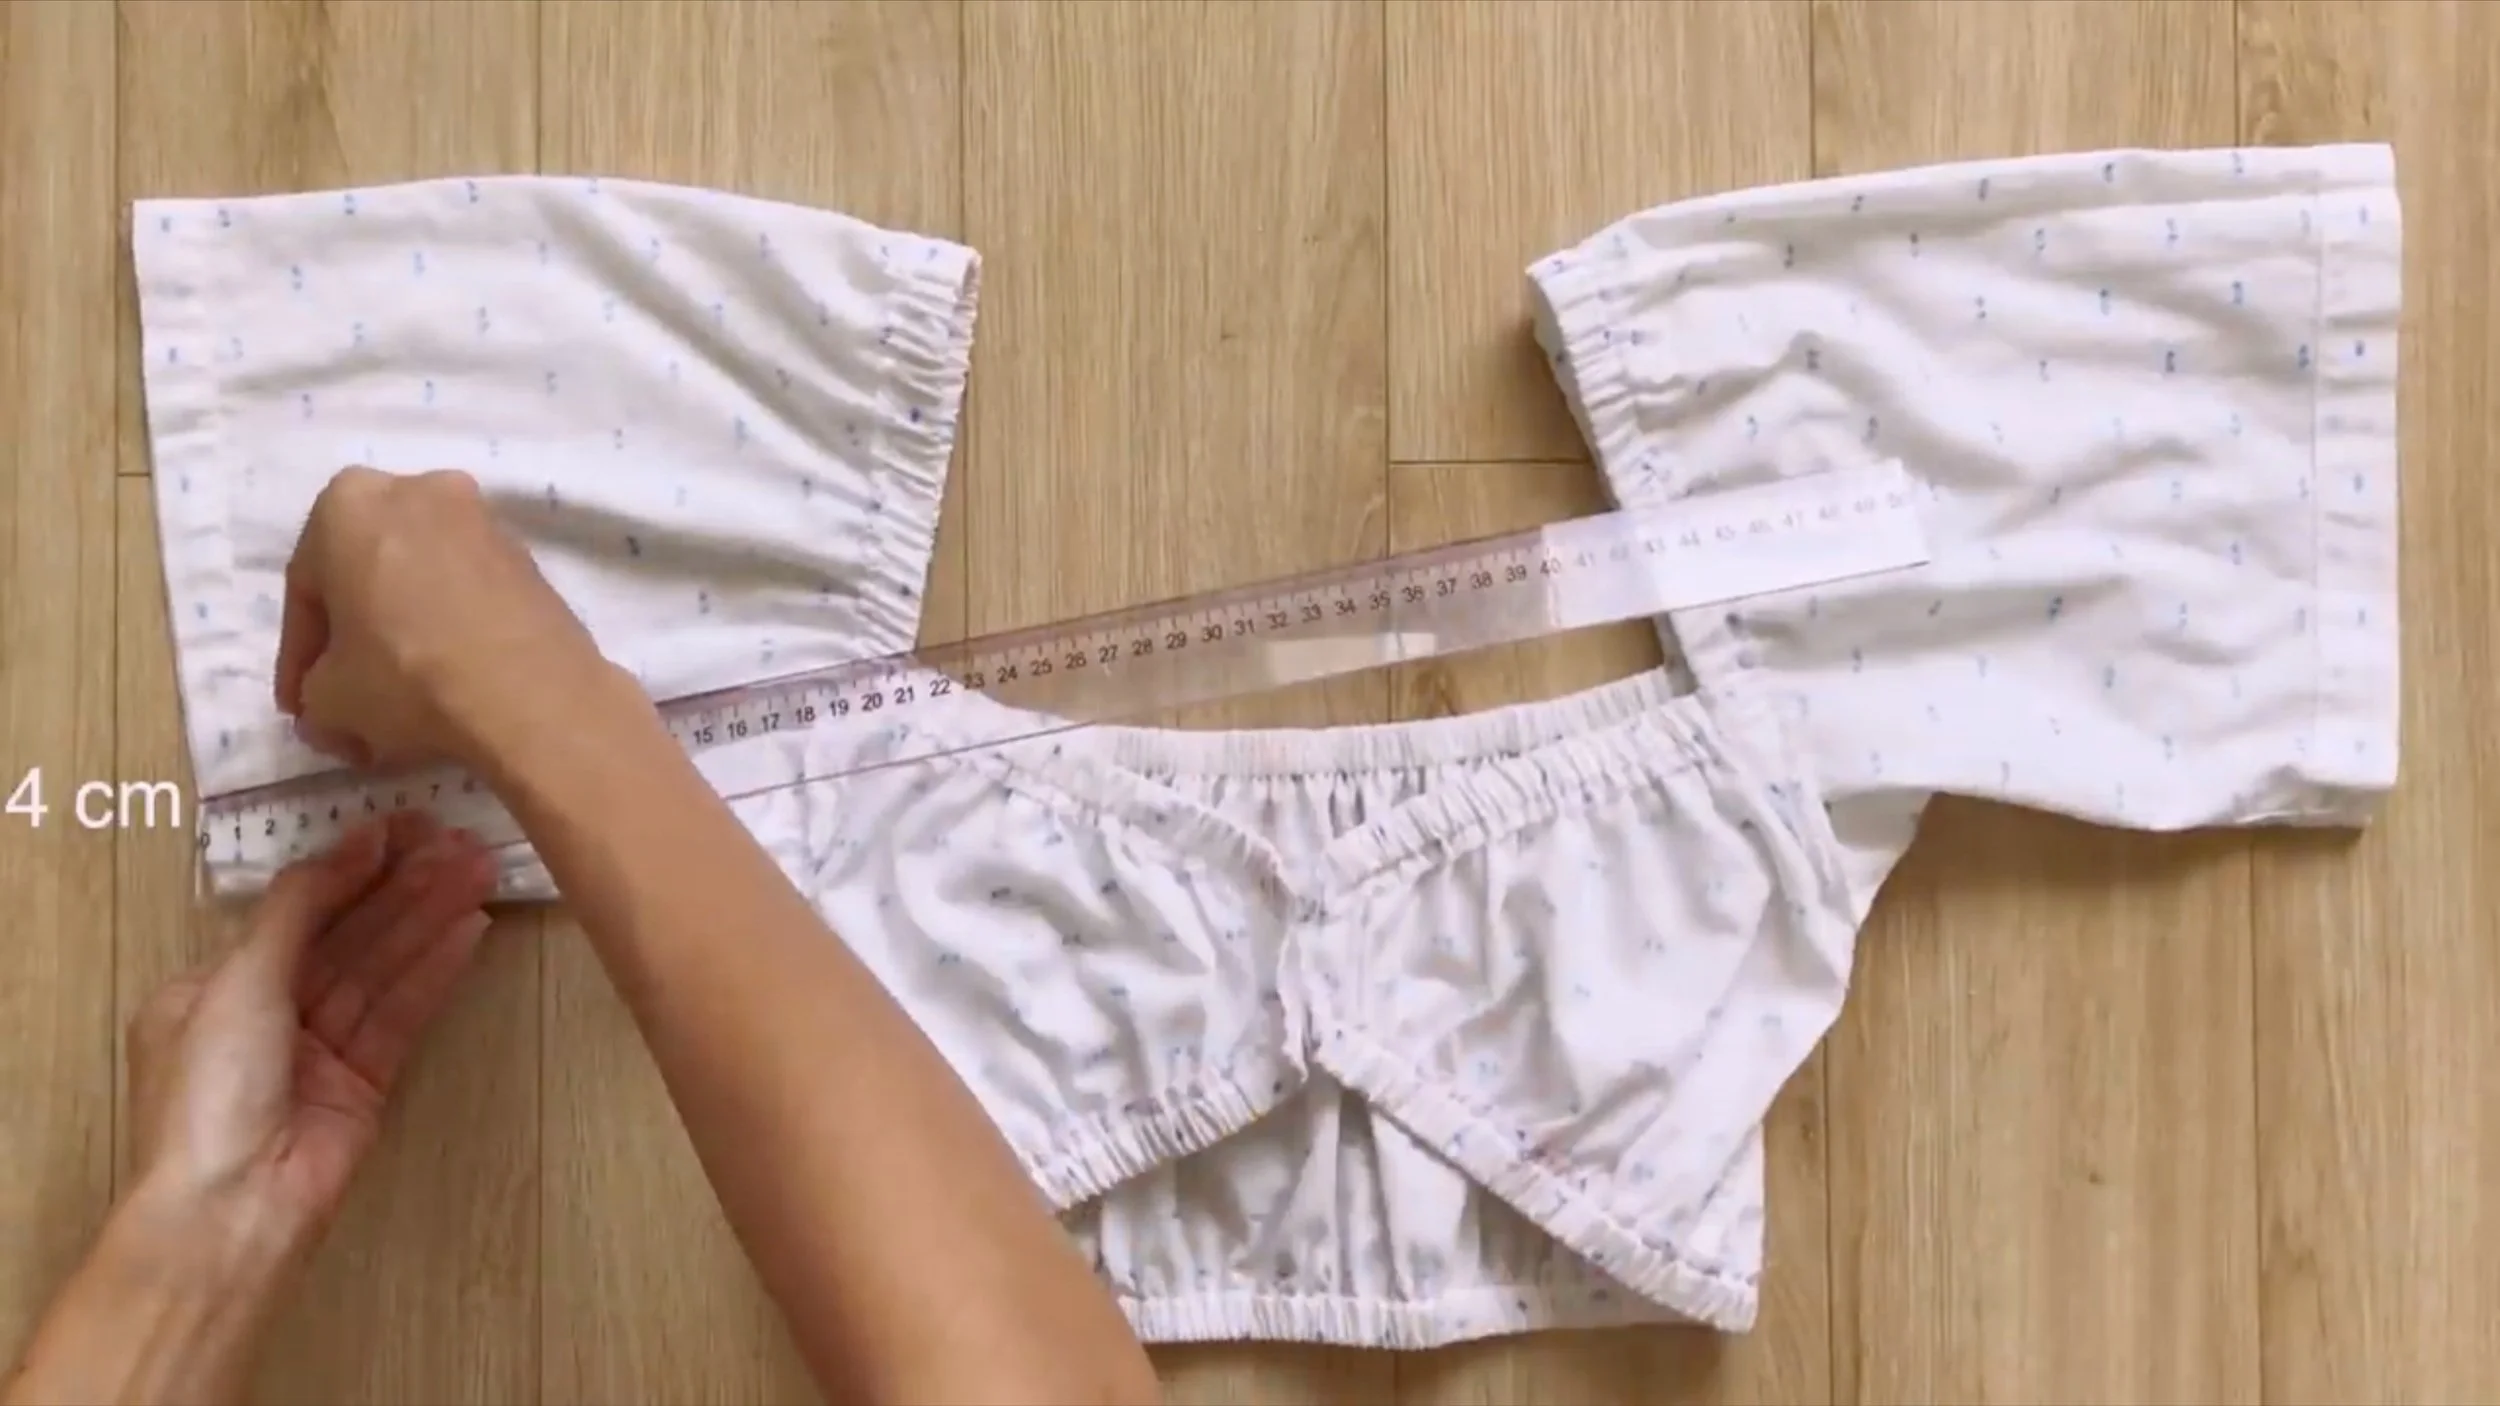
At the middle of the first horizontal line, mark 2 cm above.
Then, connect this mark to the end of the second horizontal line on the same side.
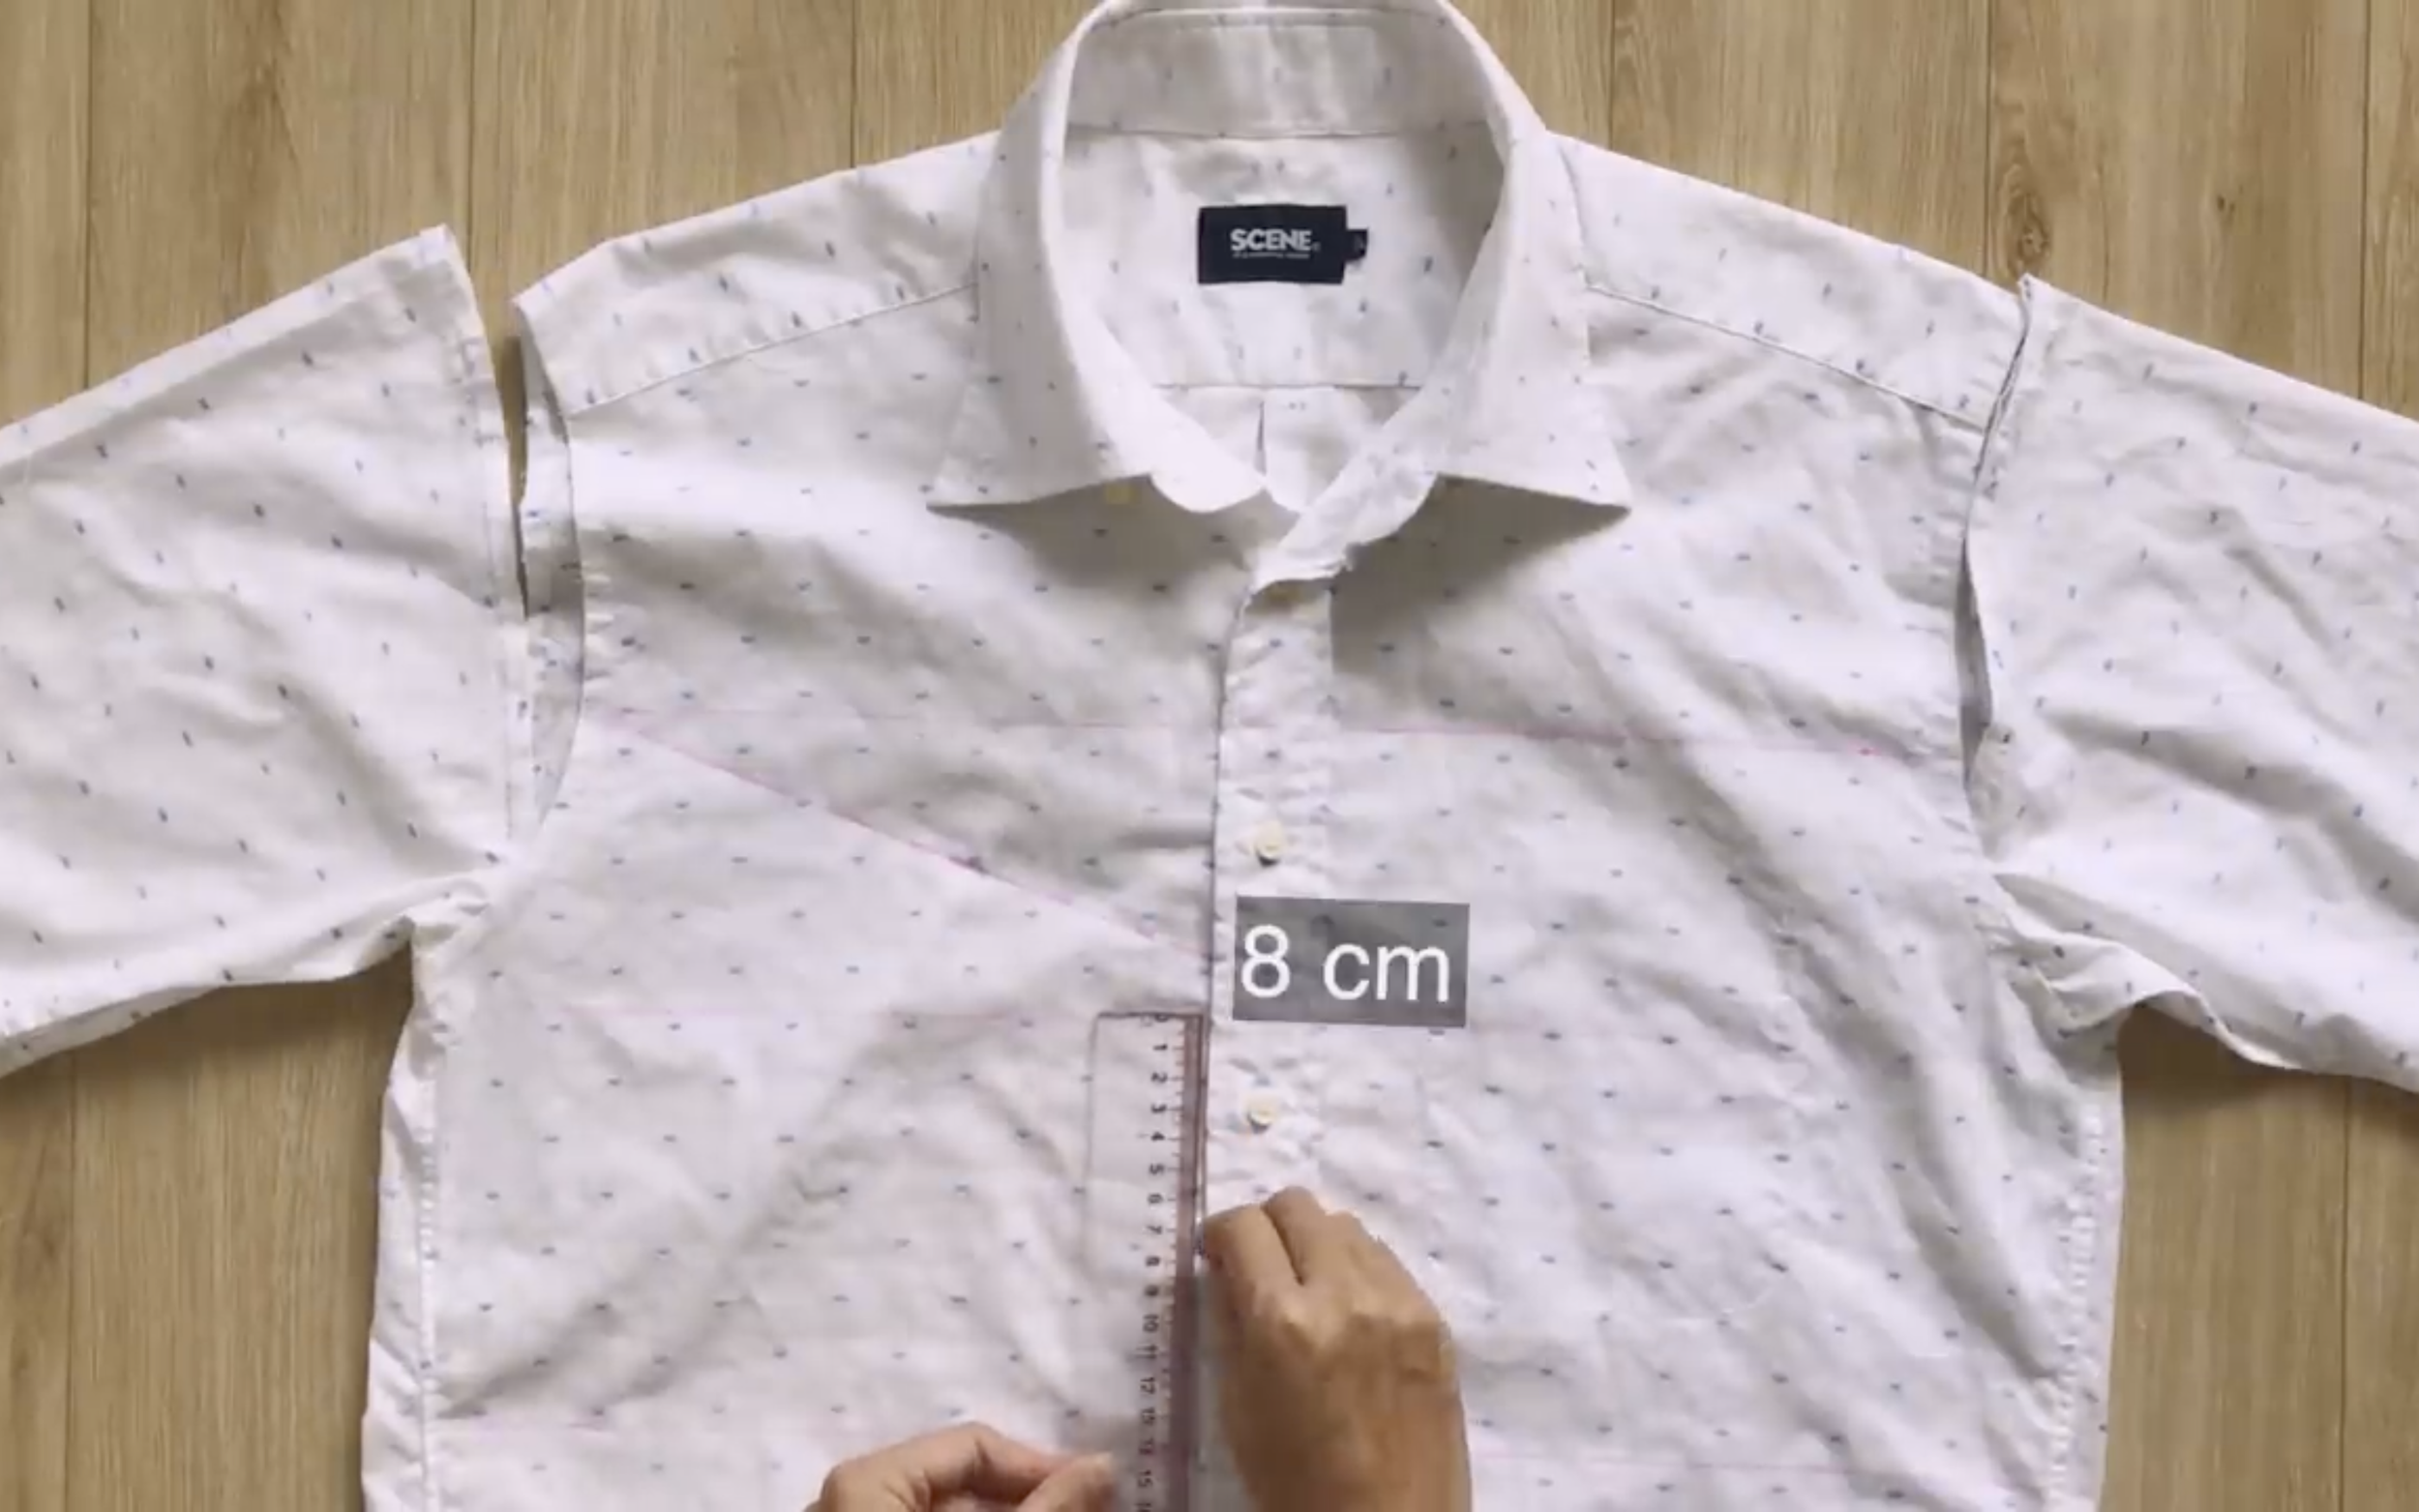
After that, mark 8 cm below the middle of the first horizontal line.
And connect it to the end of the third horizontal line on the same side.
By doing this, the shape of one breast area is created.
Repeat the same for the other side.
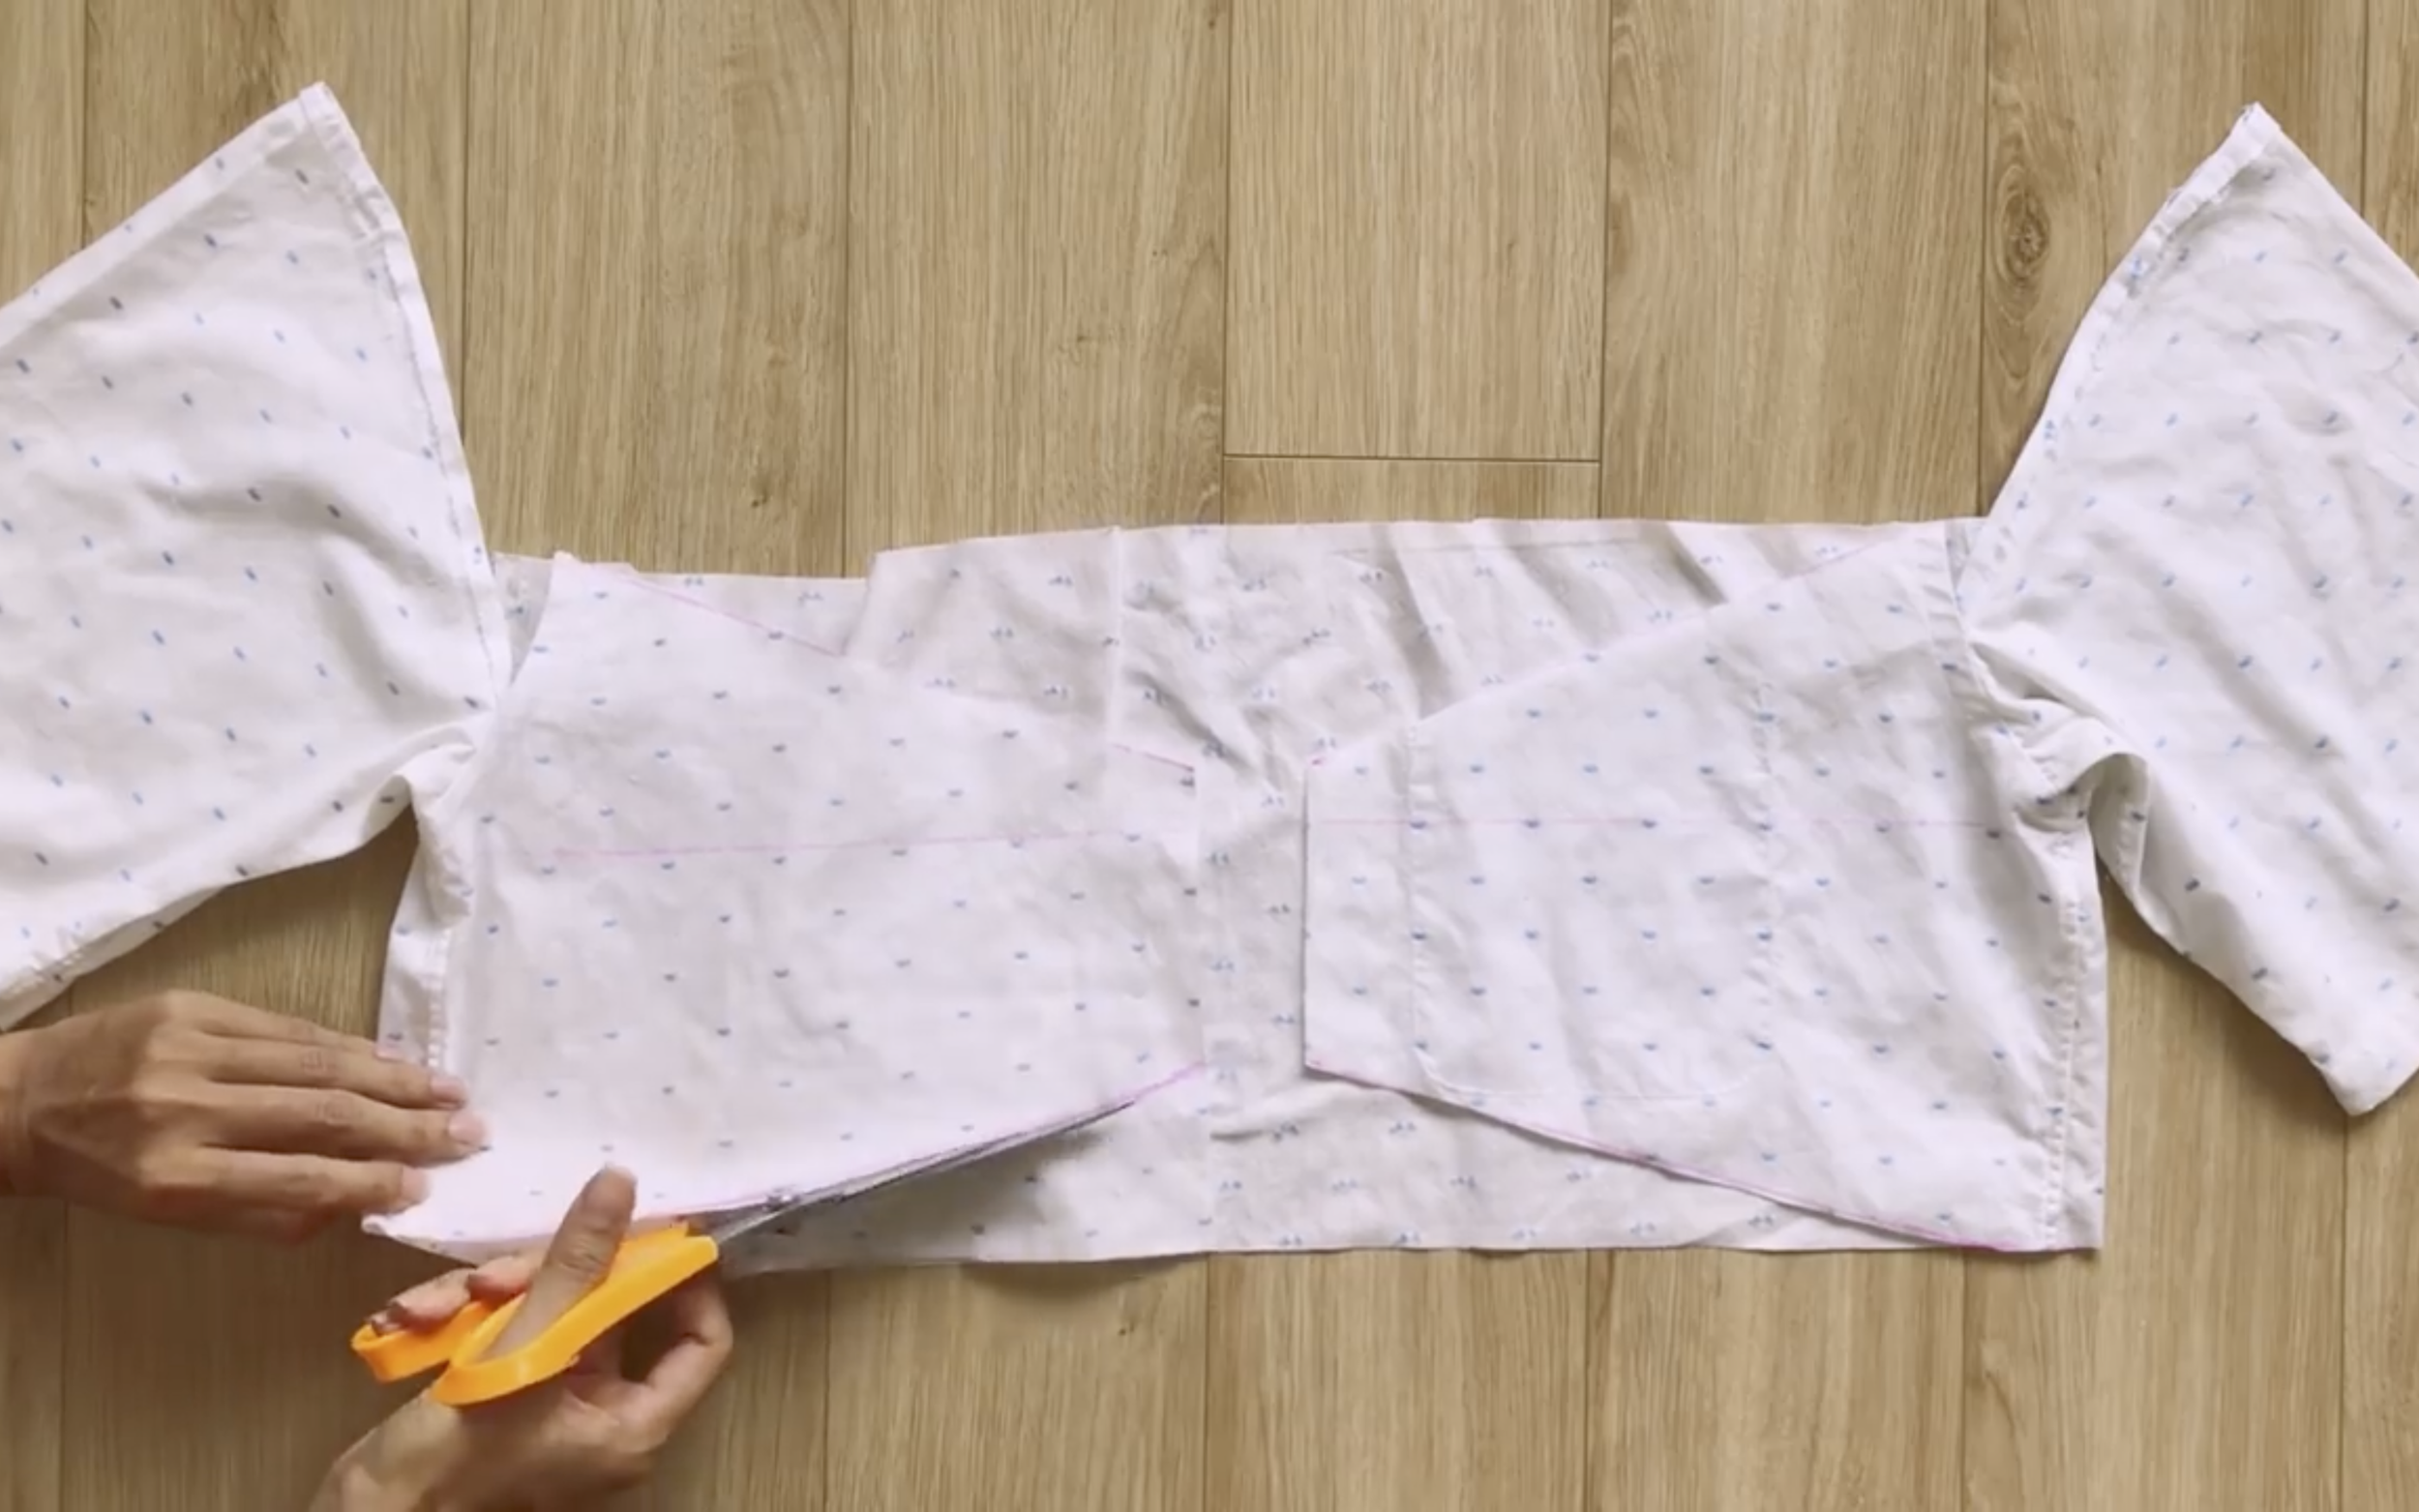
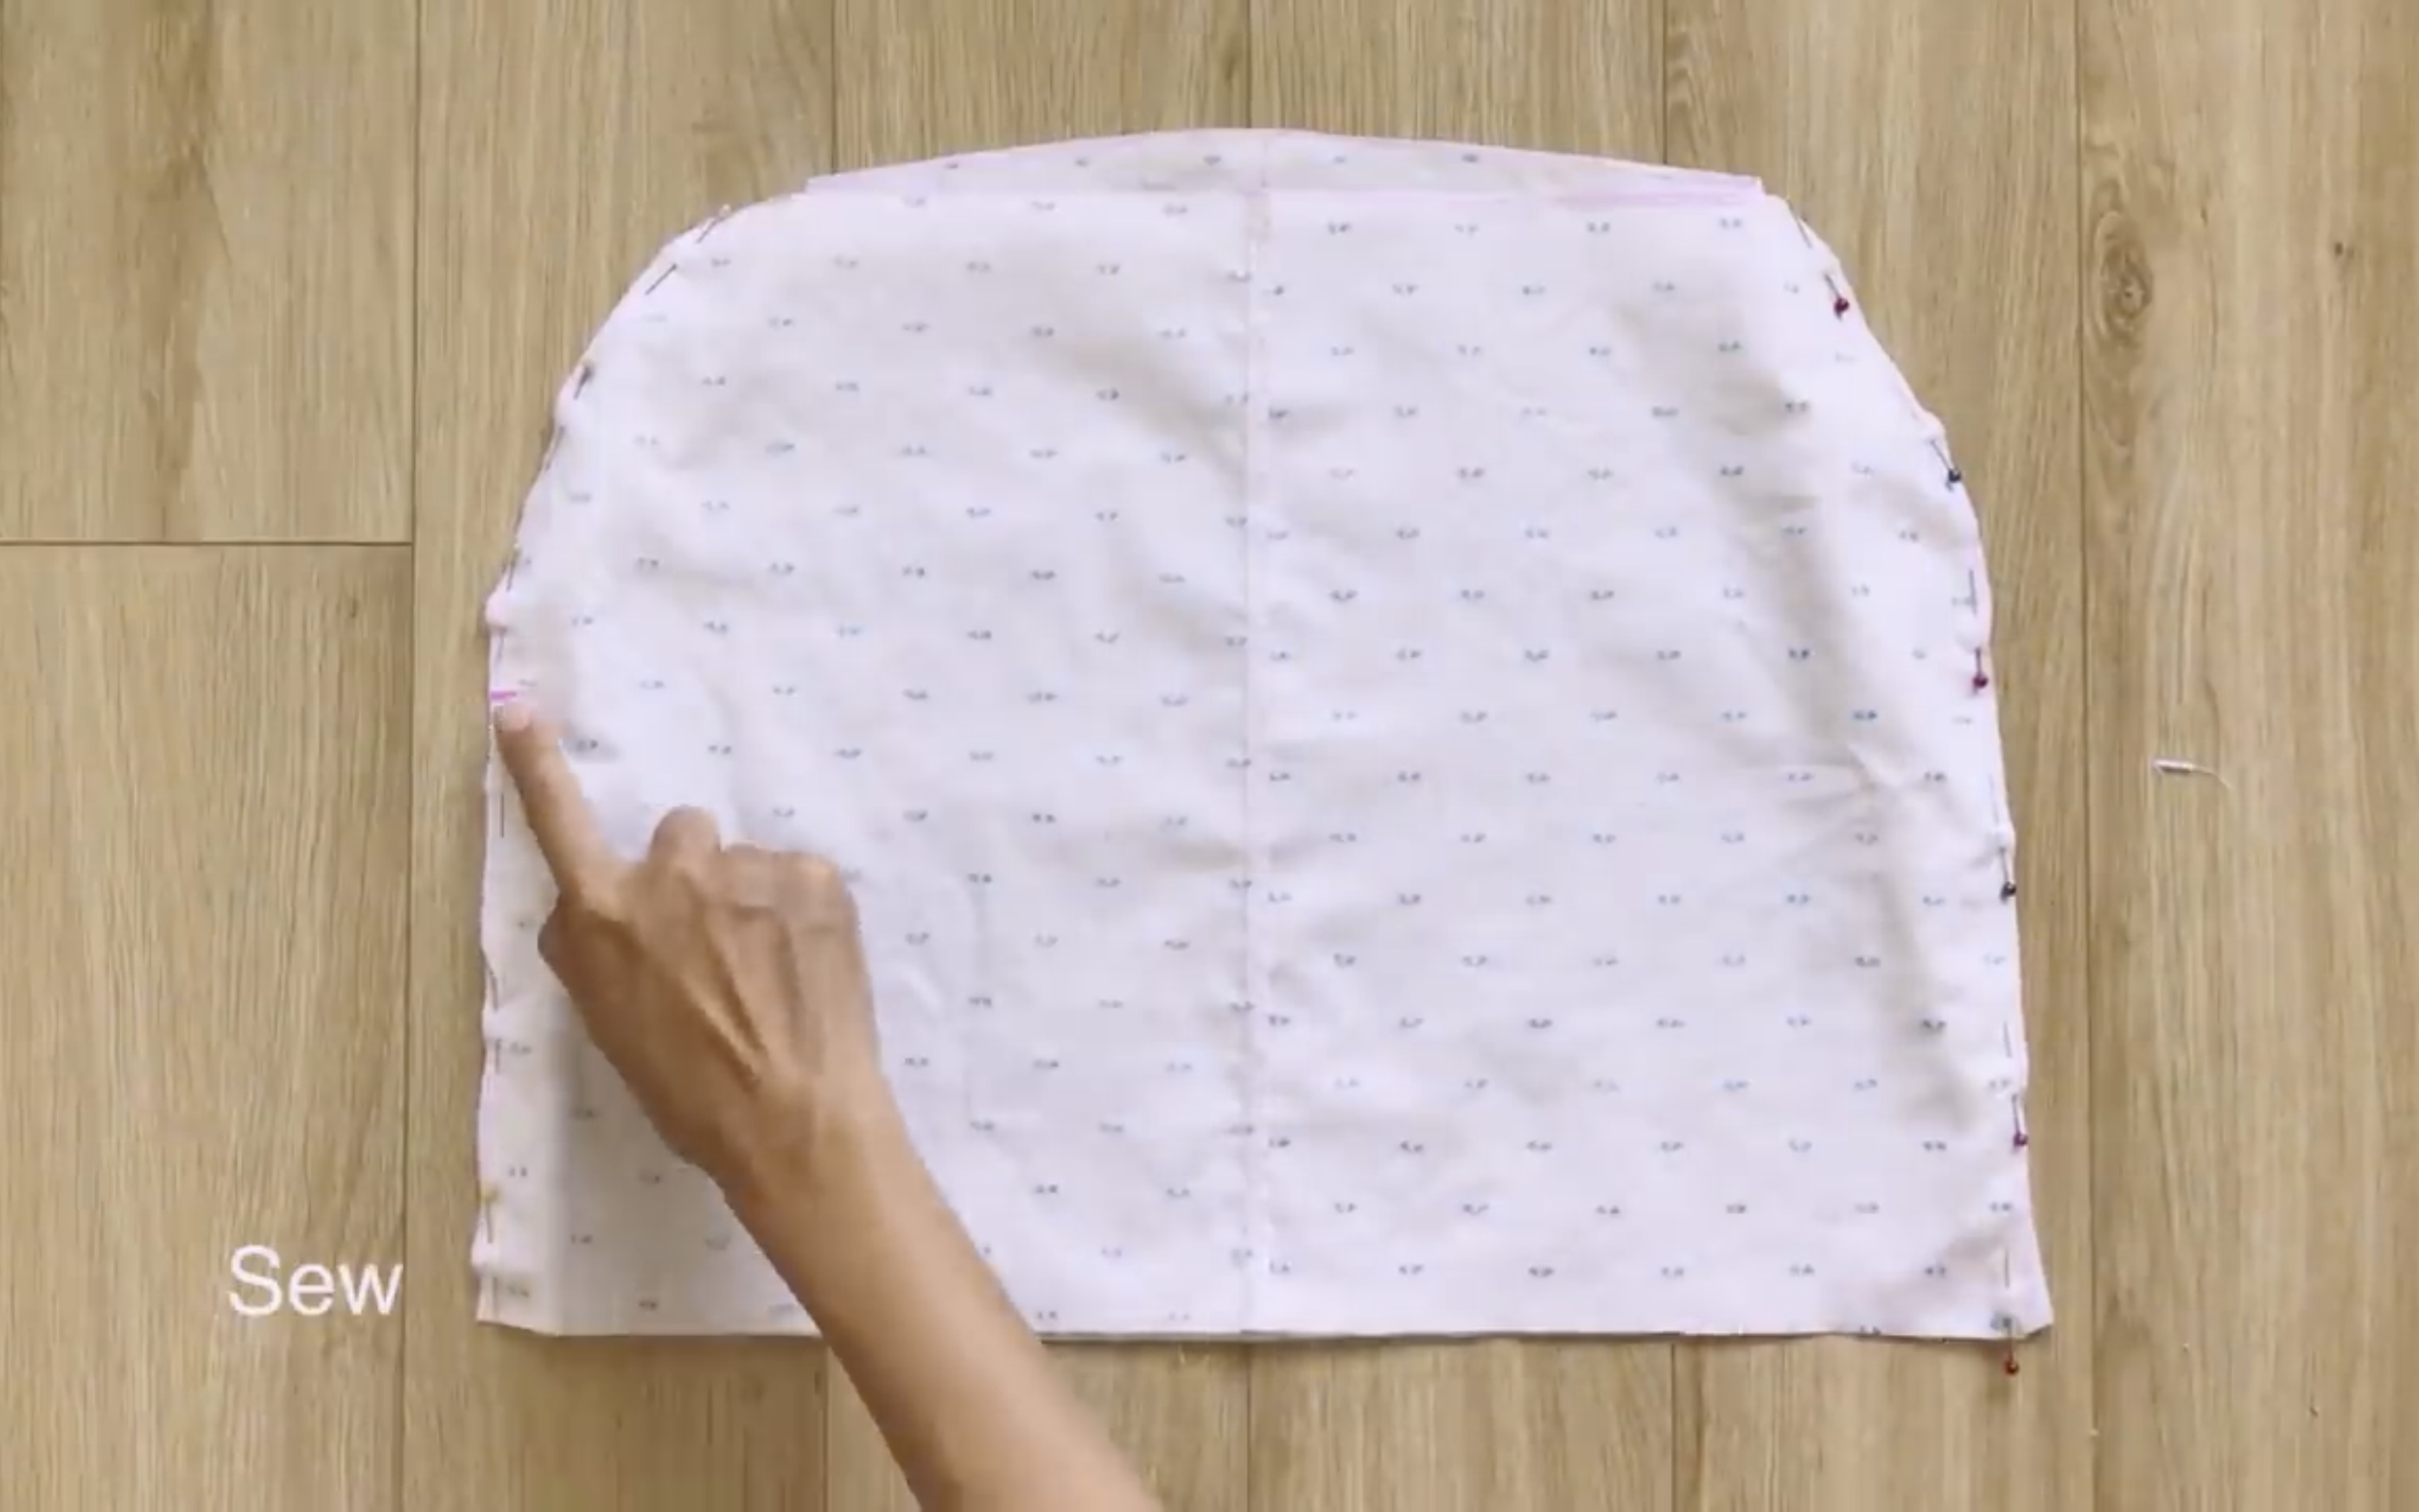
Then cutting.
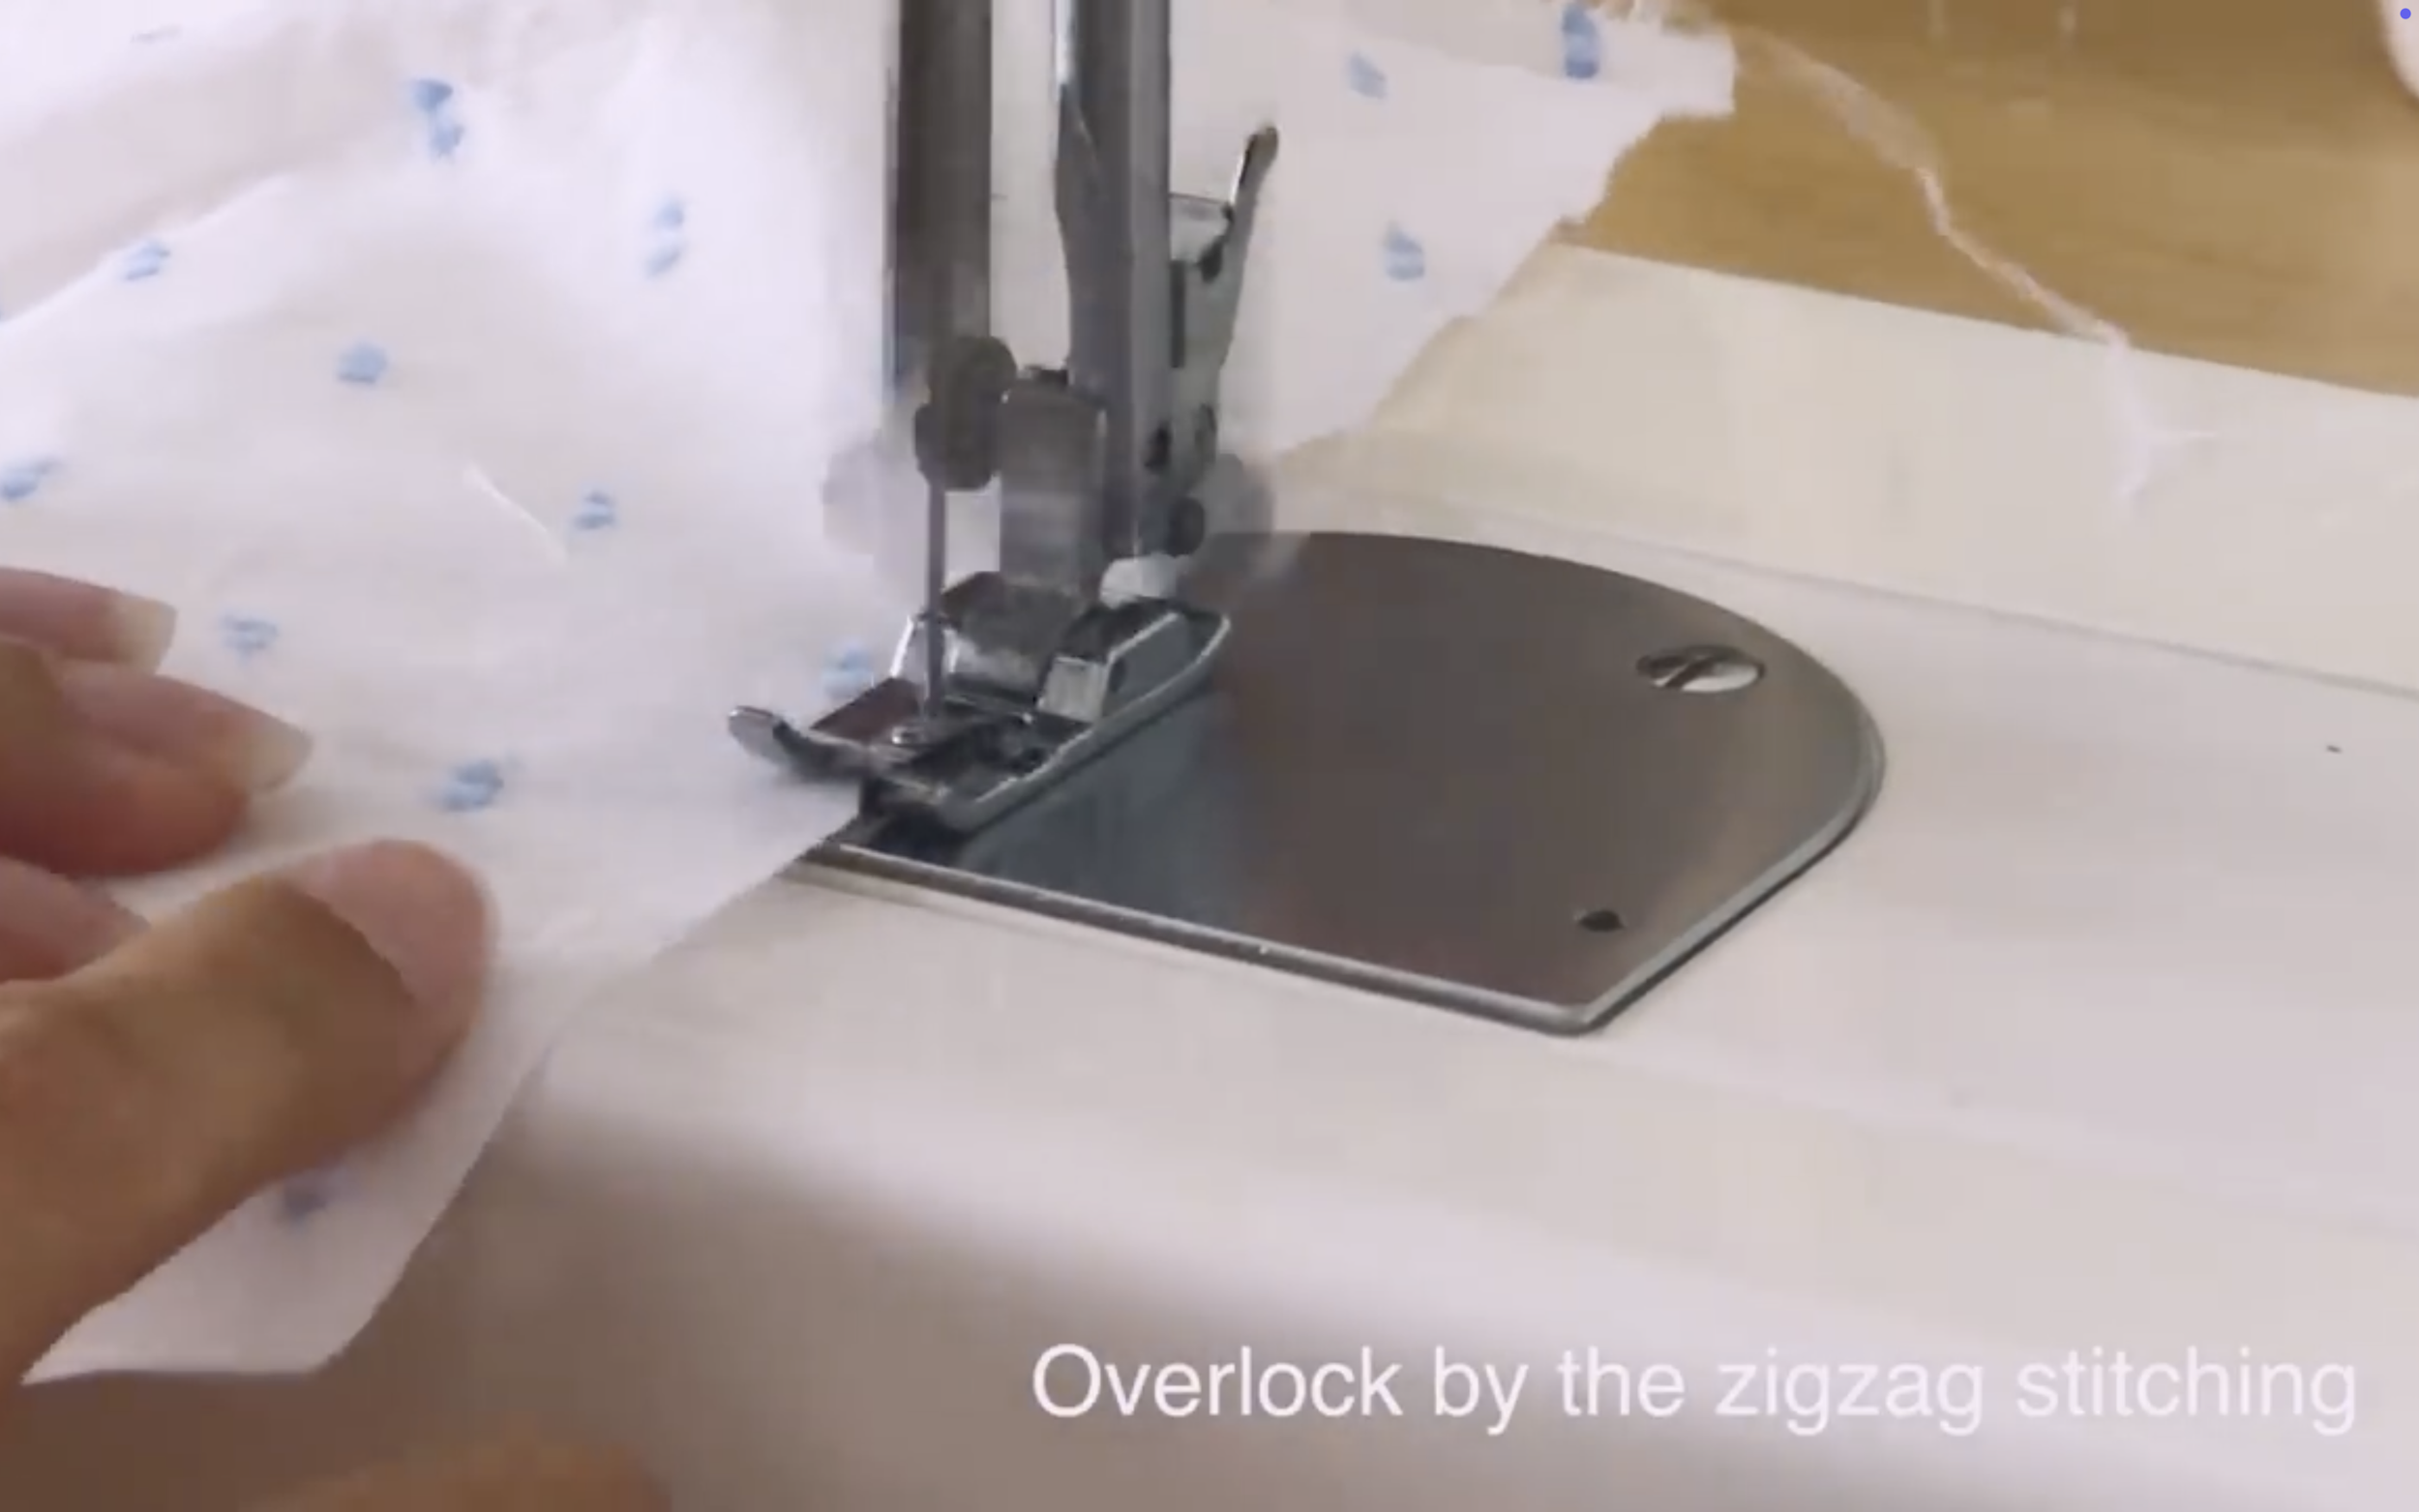
After that, overlock to protect the fabric.
A 1.5 cm width elastic band is used for this crop top, so measure the width of the fabric hole needed first.
Then, create the fabric hole.
After that, sew both ends of the elastic band to secure them.
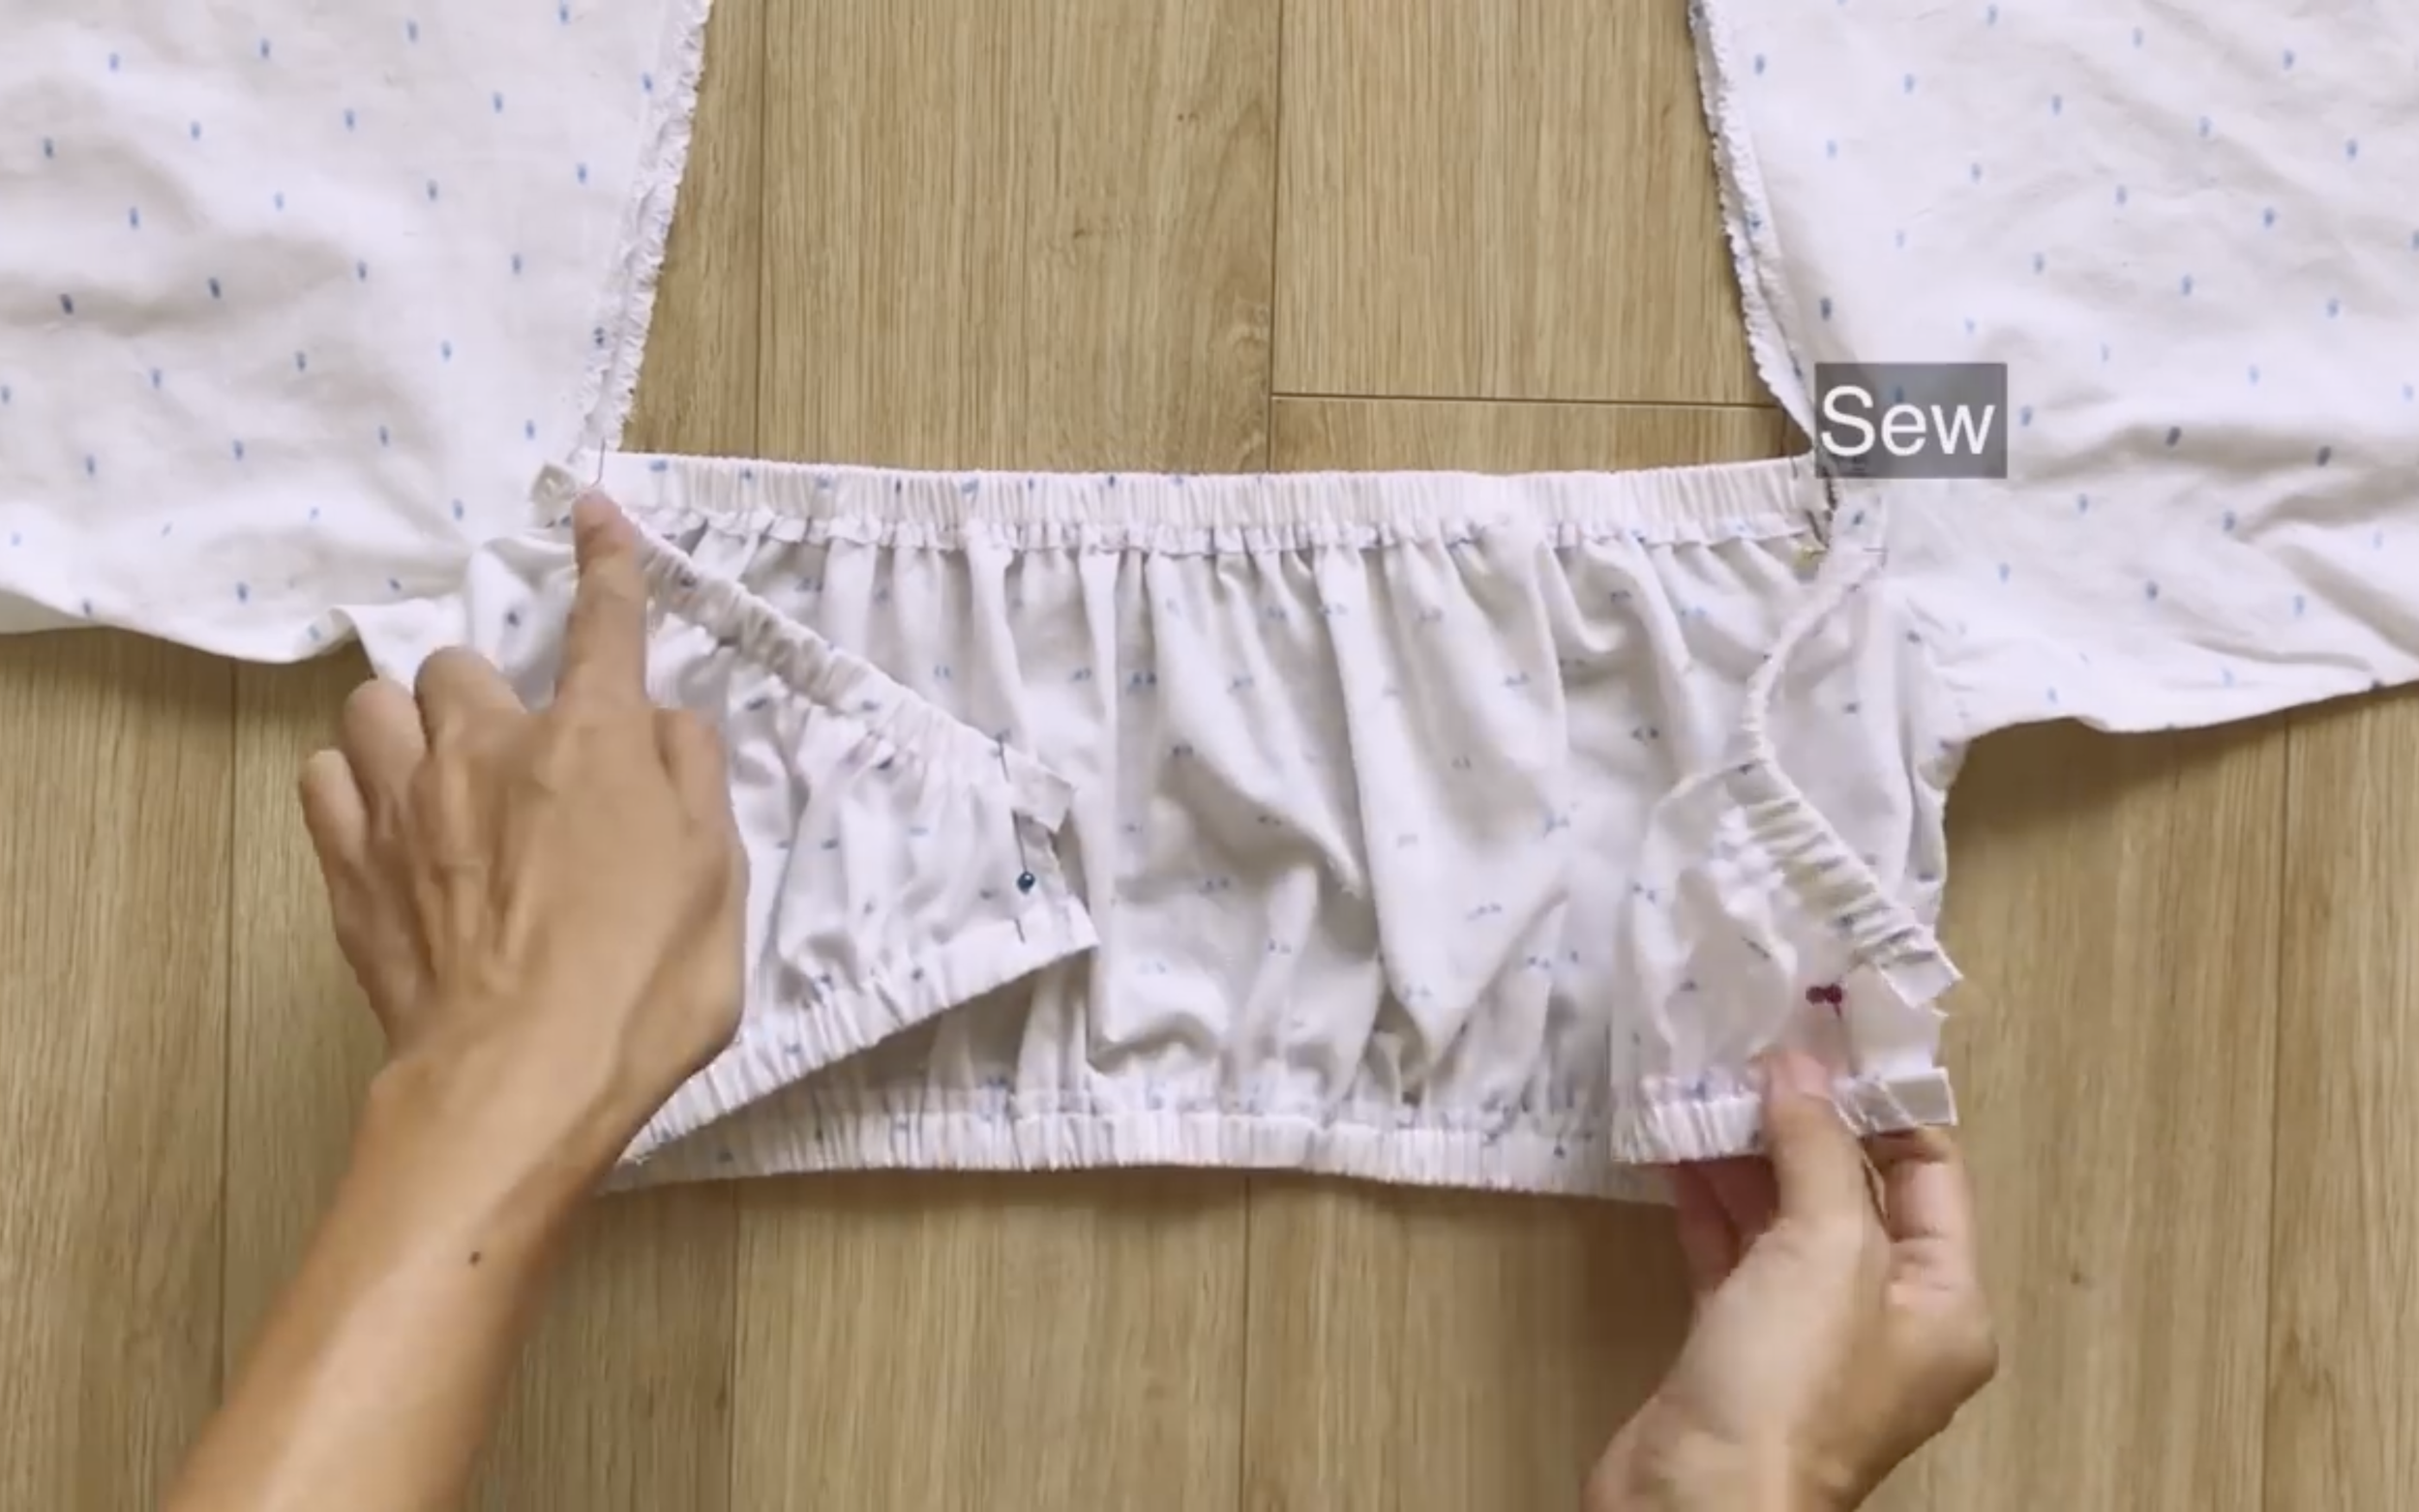
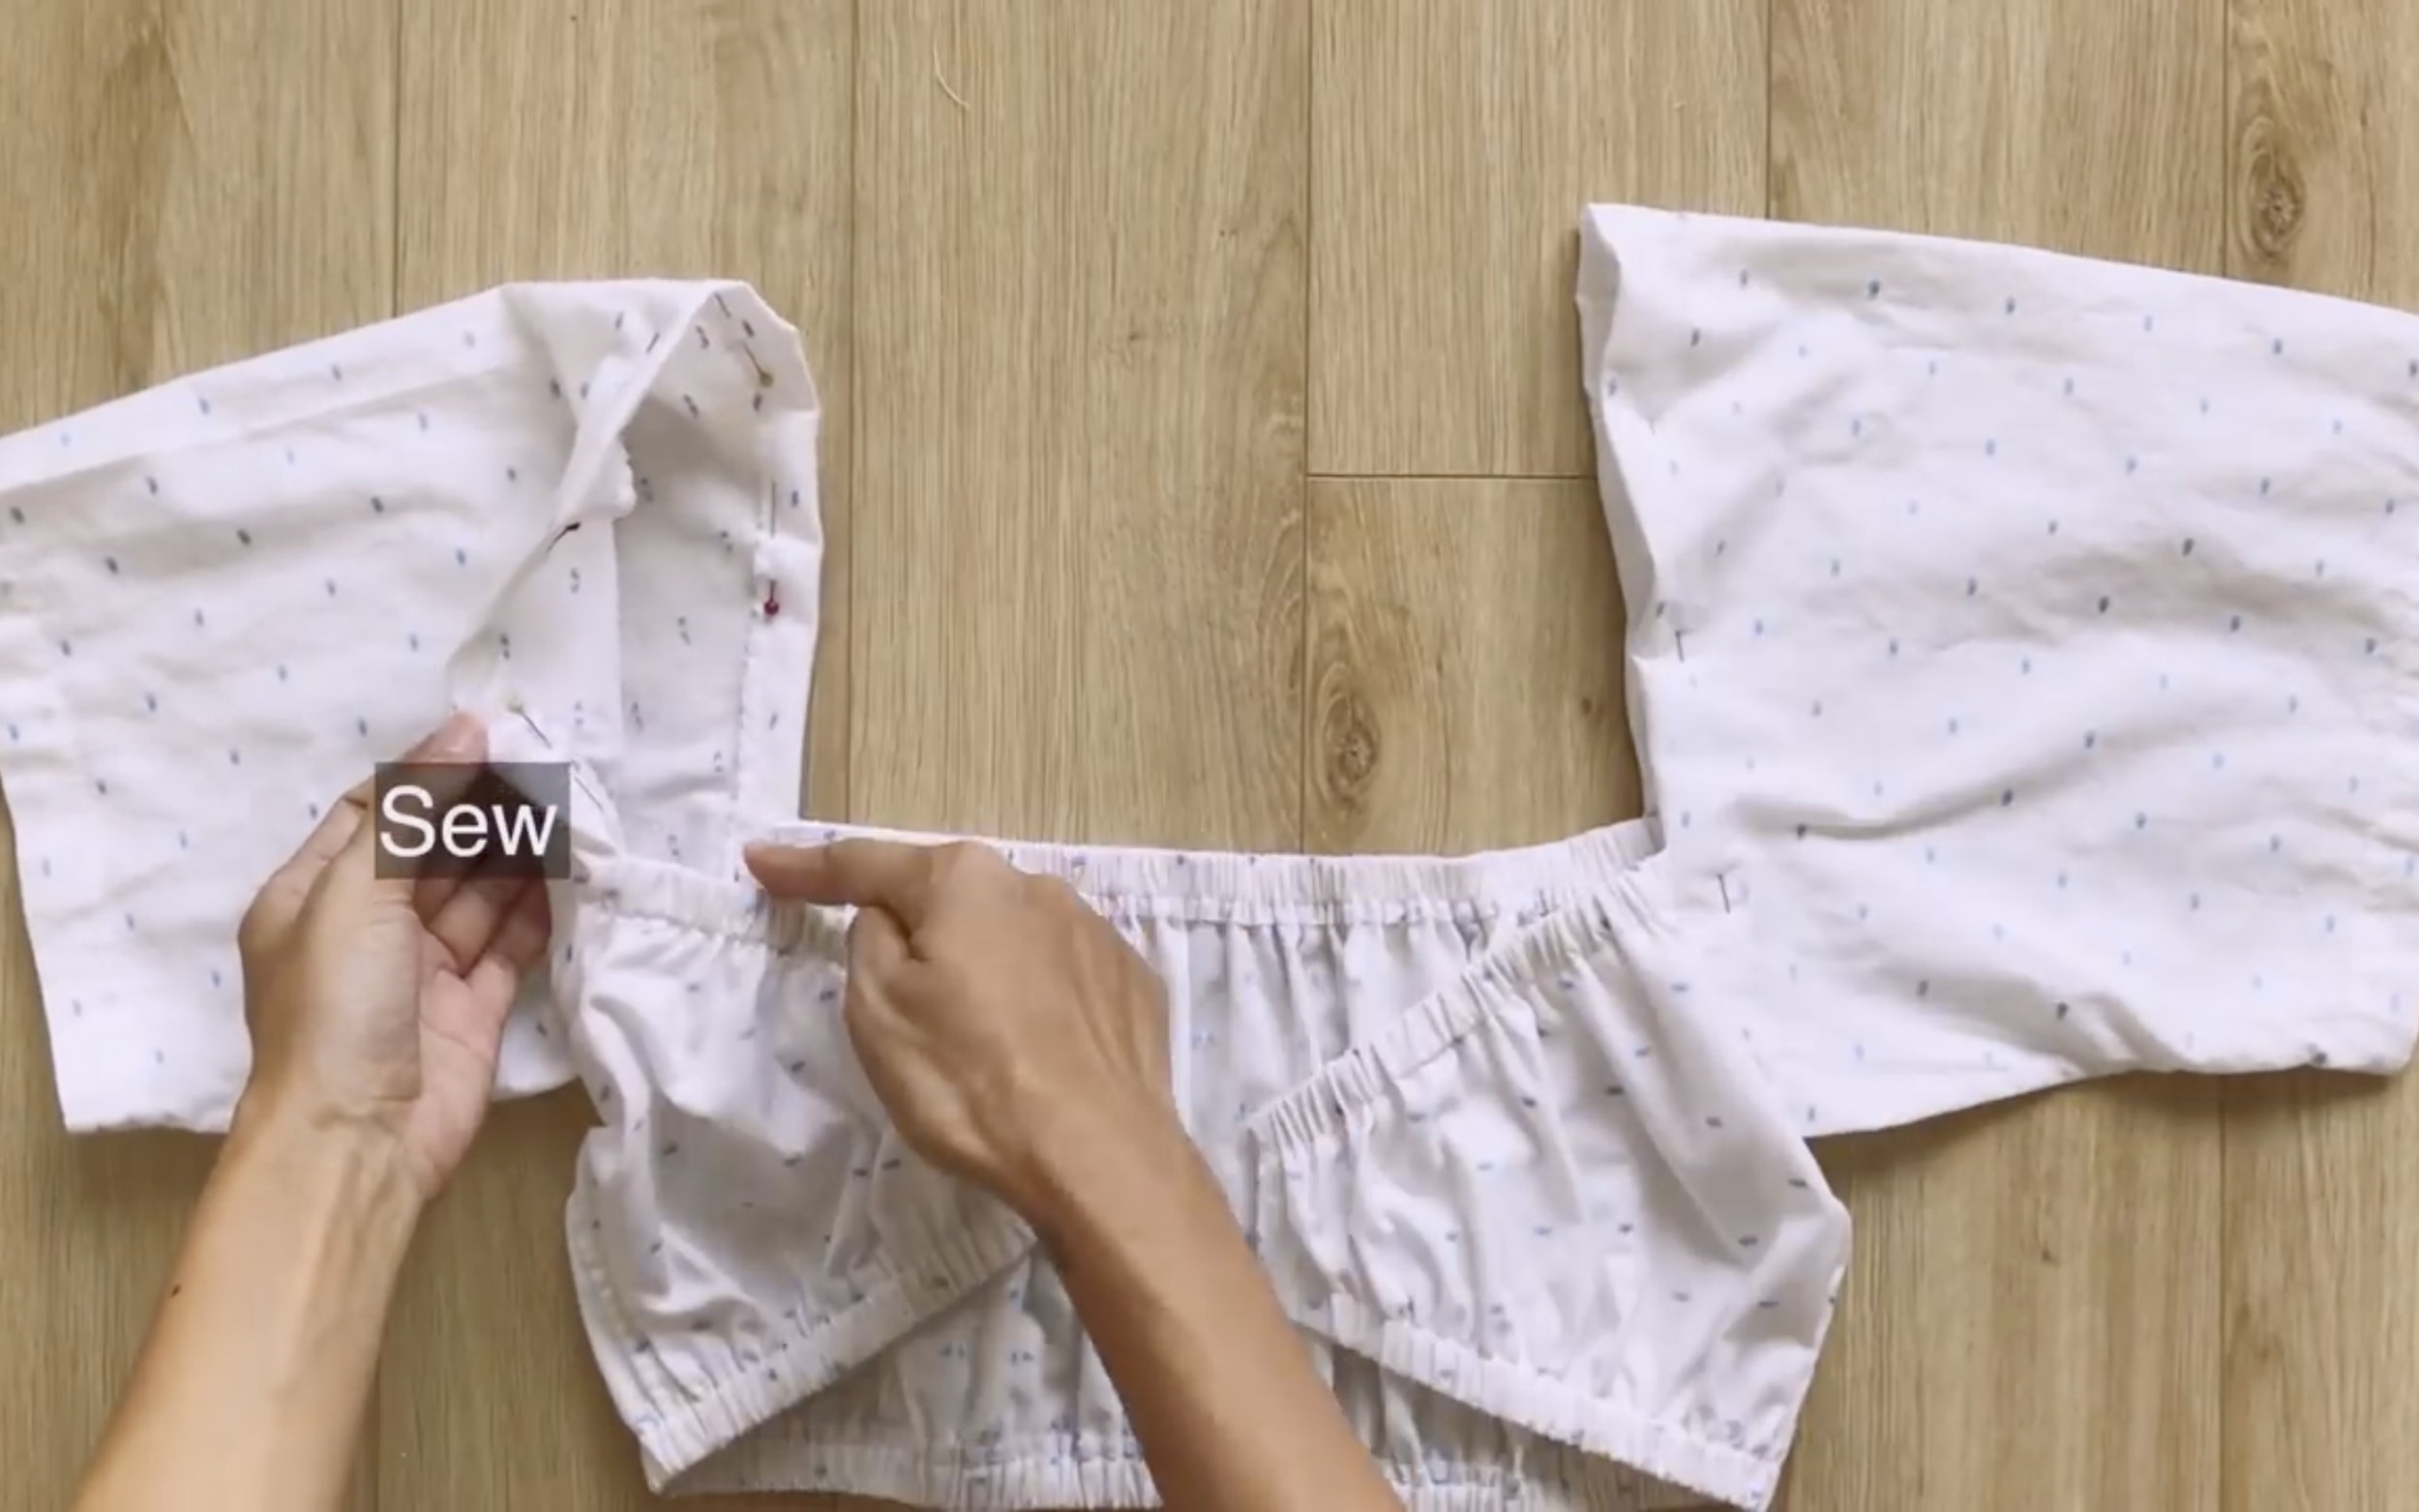
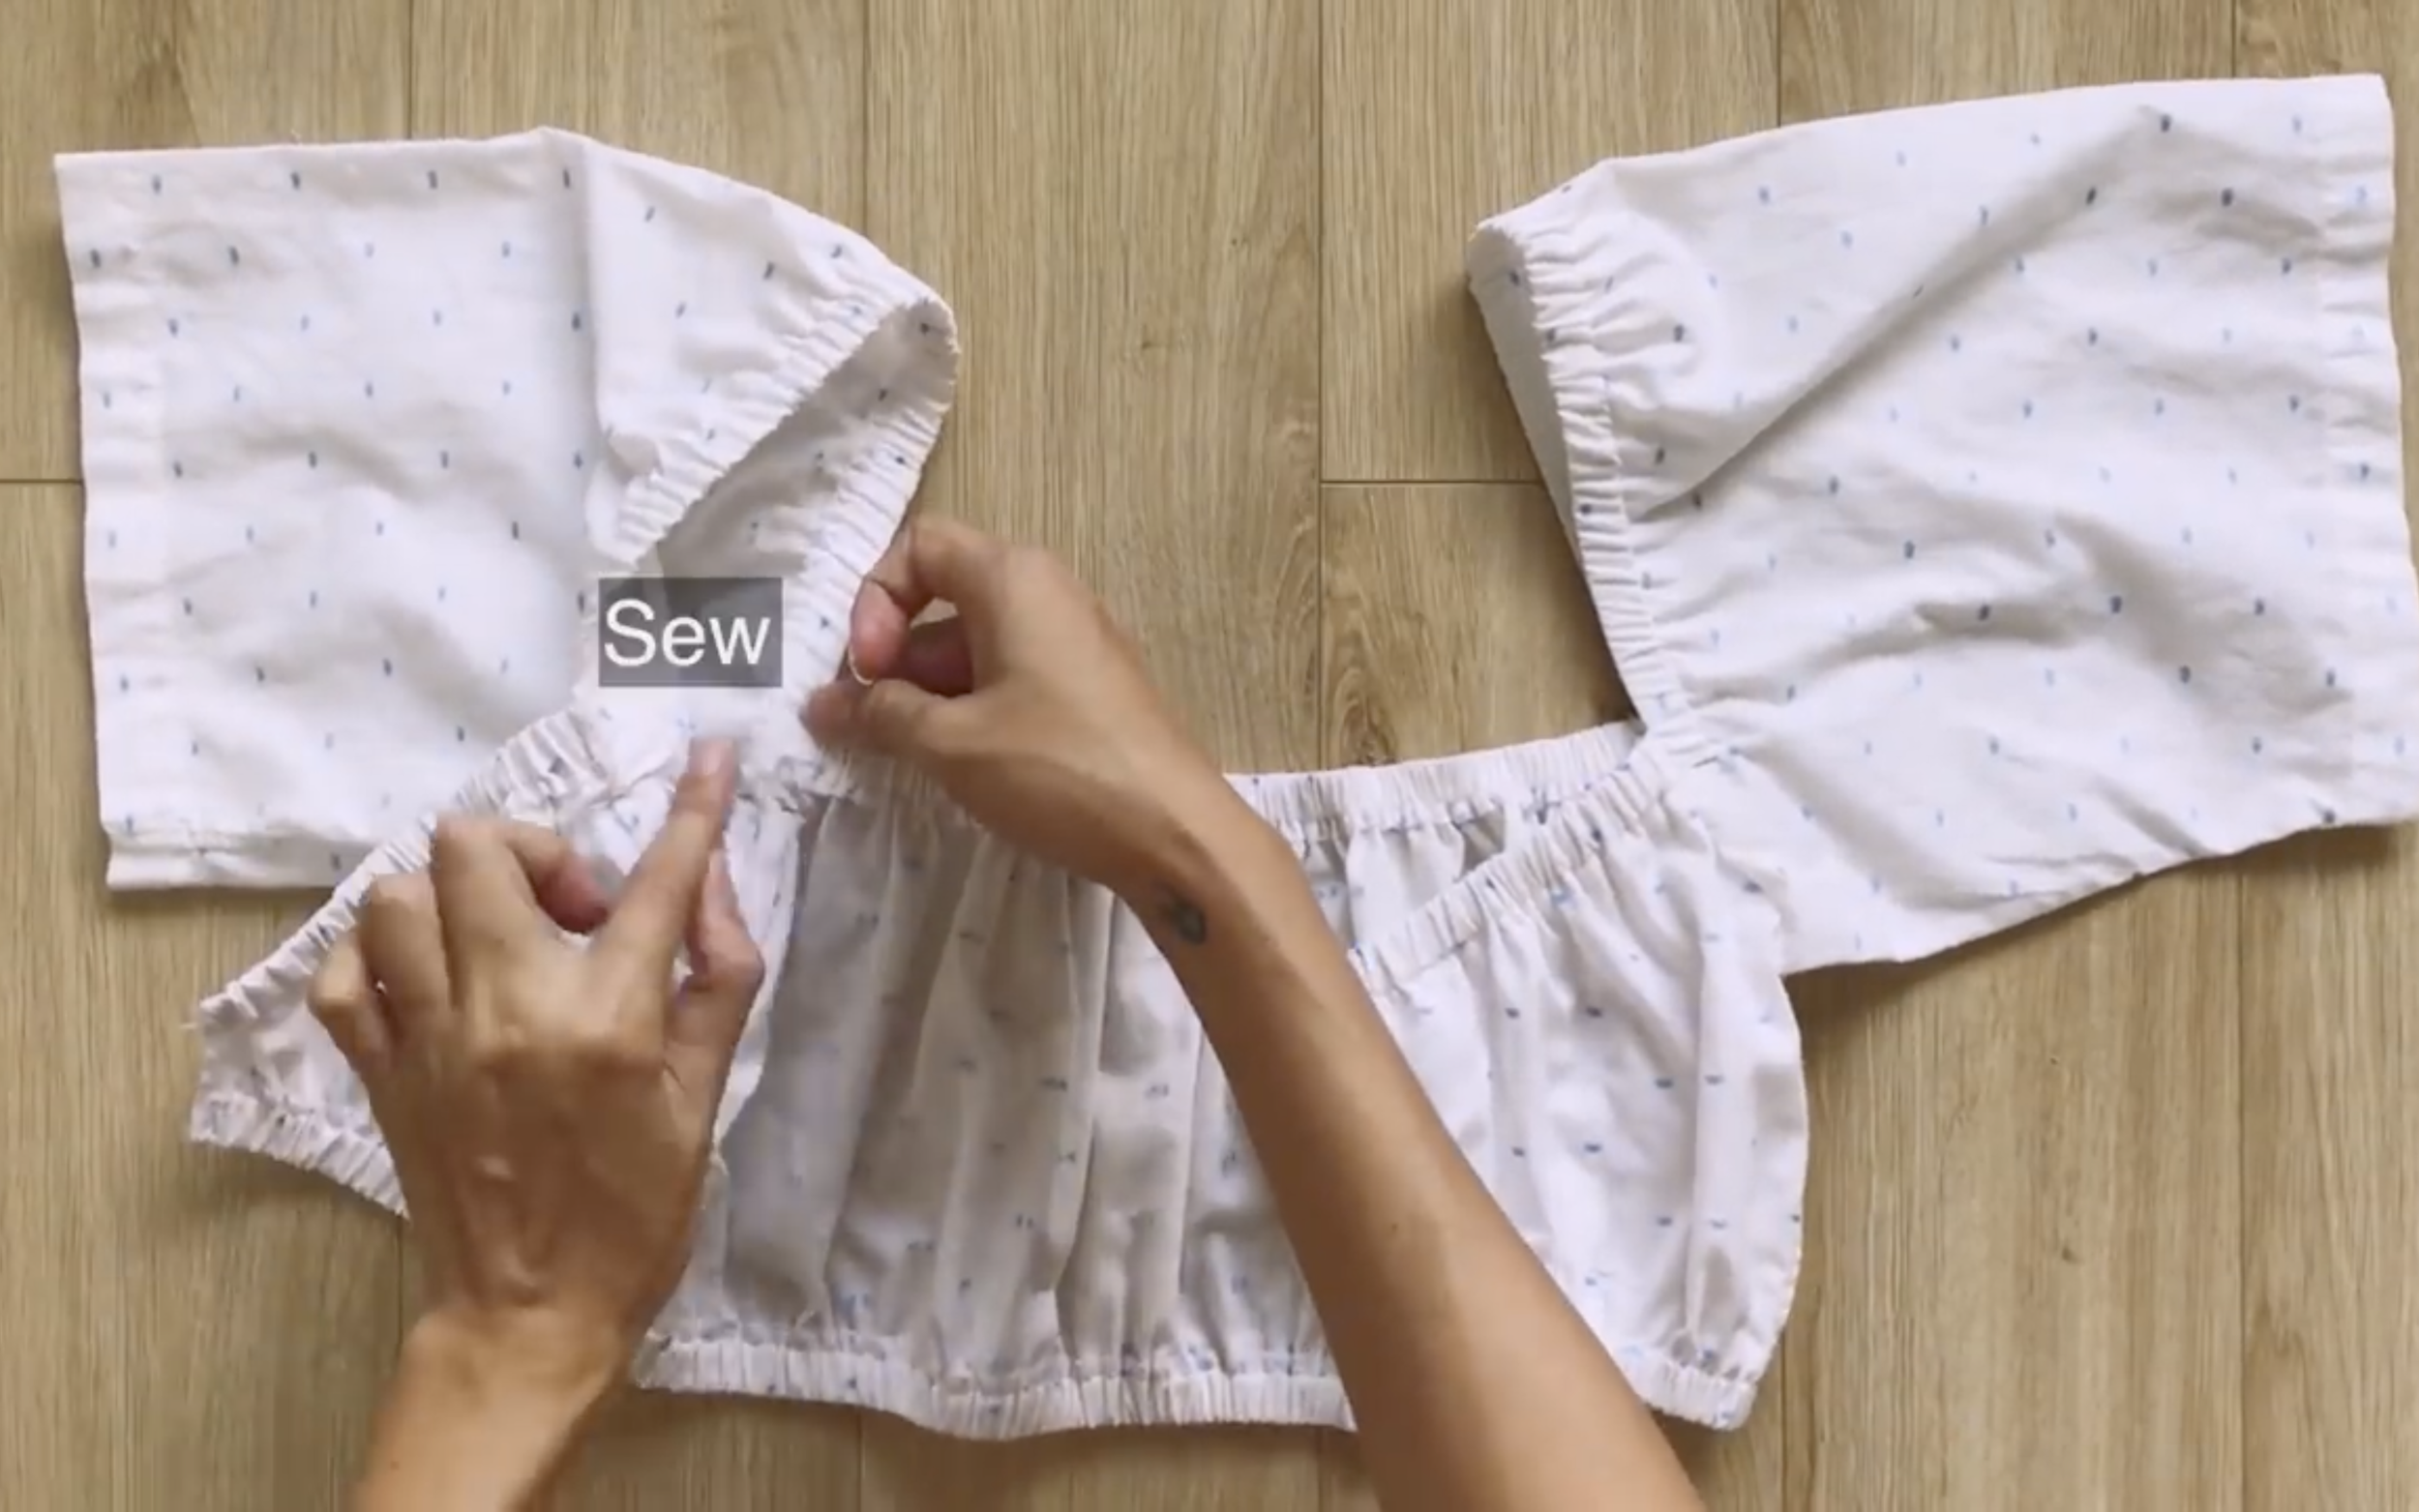
Now, connect the sleeve to the main body of the crop top and sew.
After that, fold the end of the fabric at the top of the sleeve inside to create a fabric hole and sew.
After inserting the elastic band through the fabric hole, sew both ends to keep it in place.
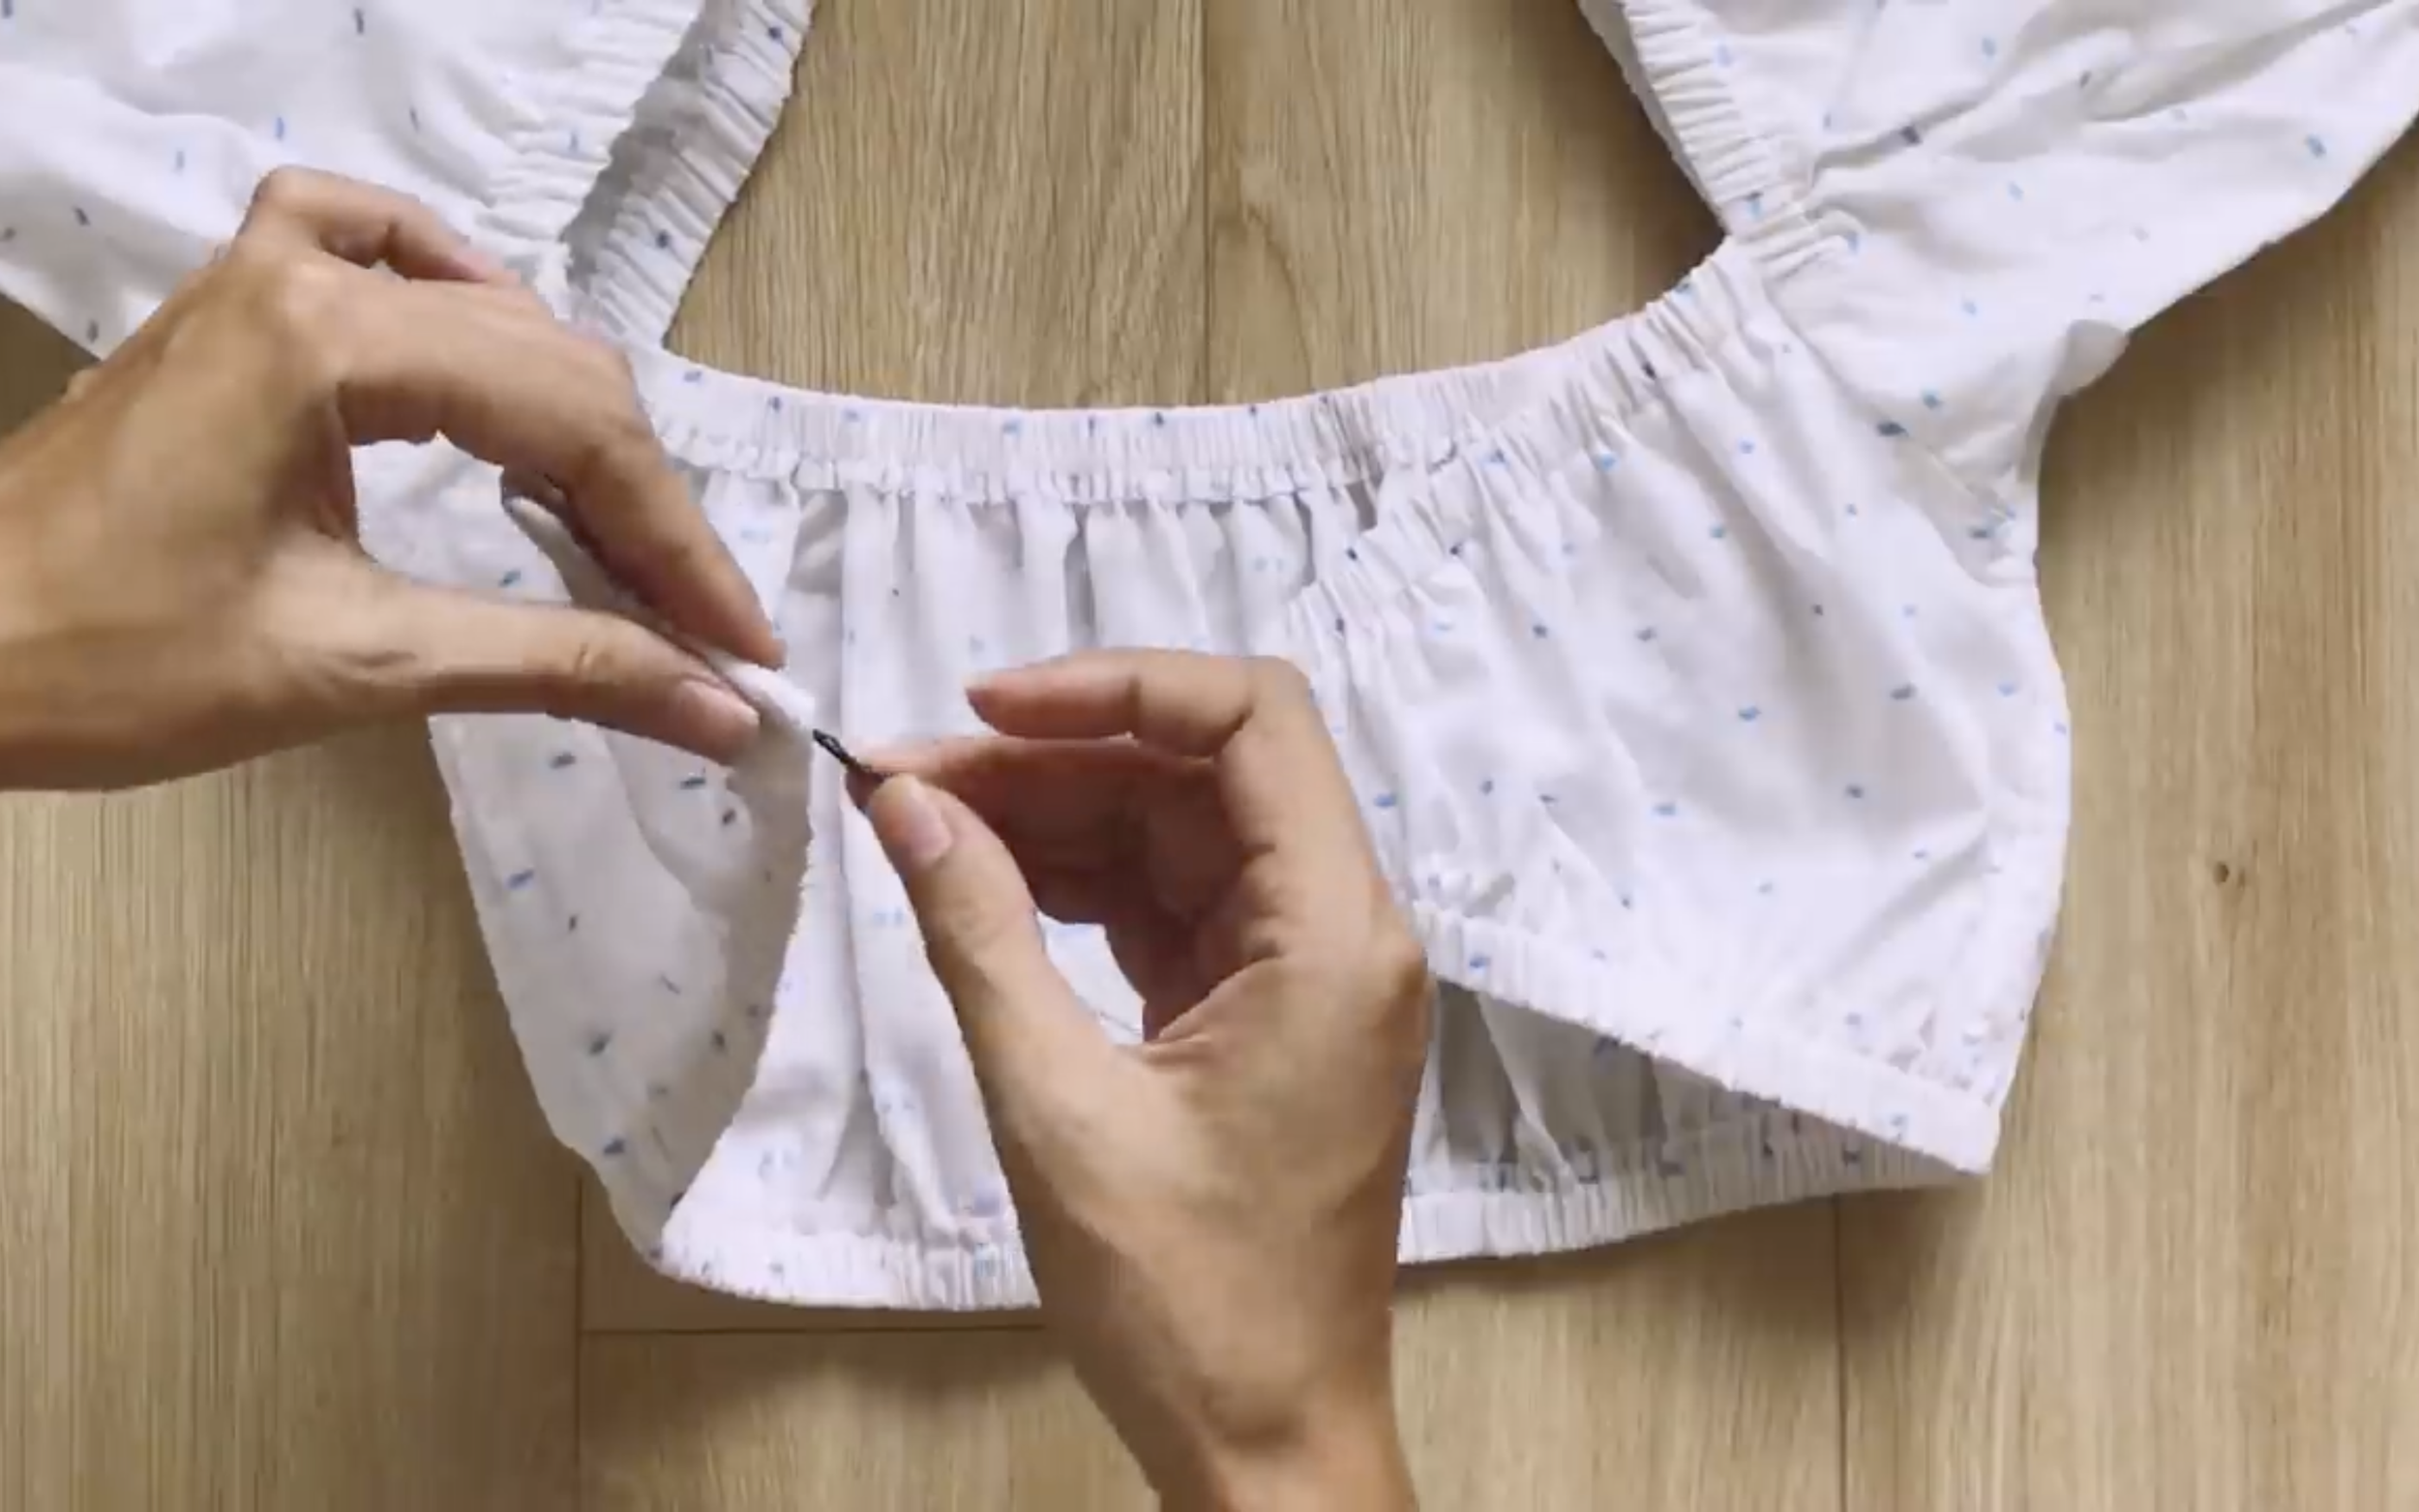
Make sure the top part is positioned in the middle of two pieces of the lower part.
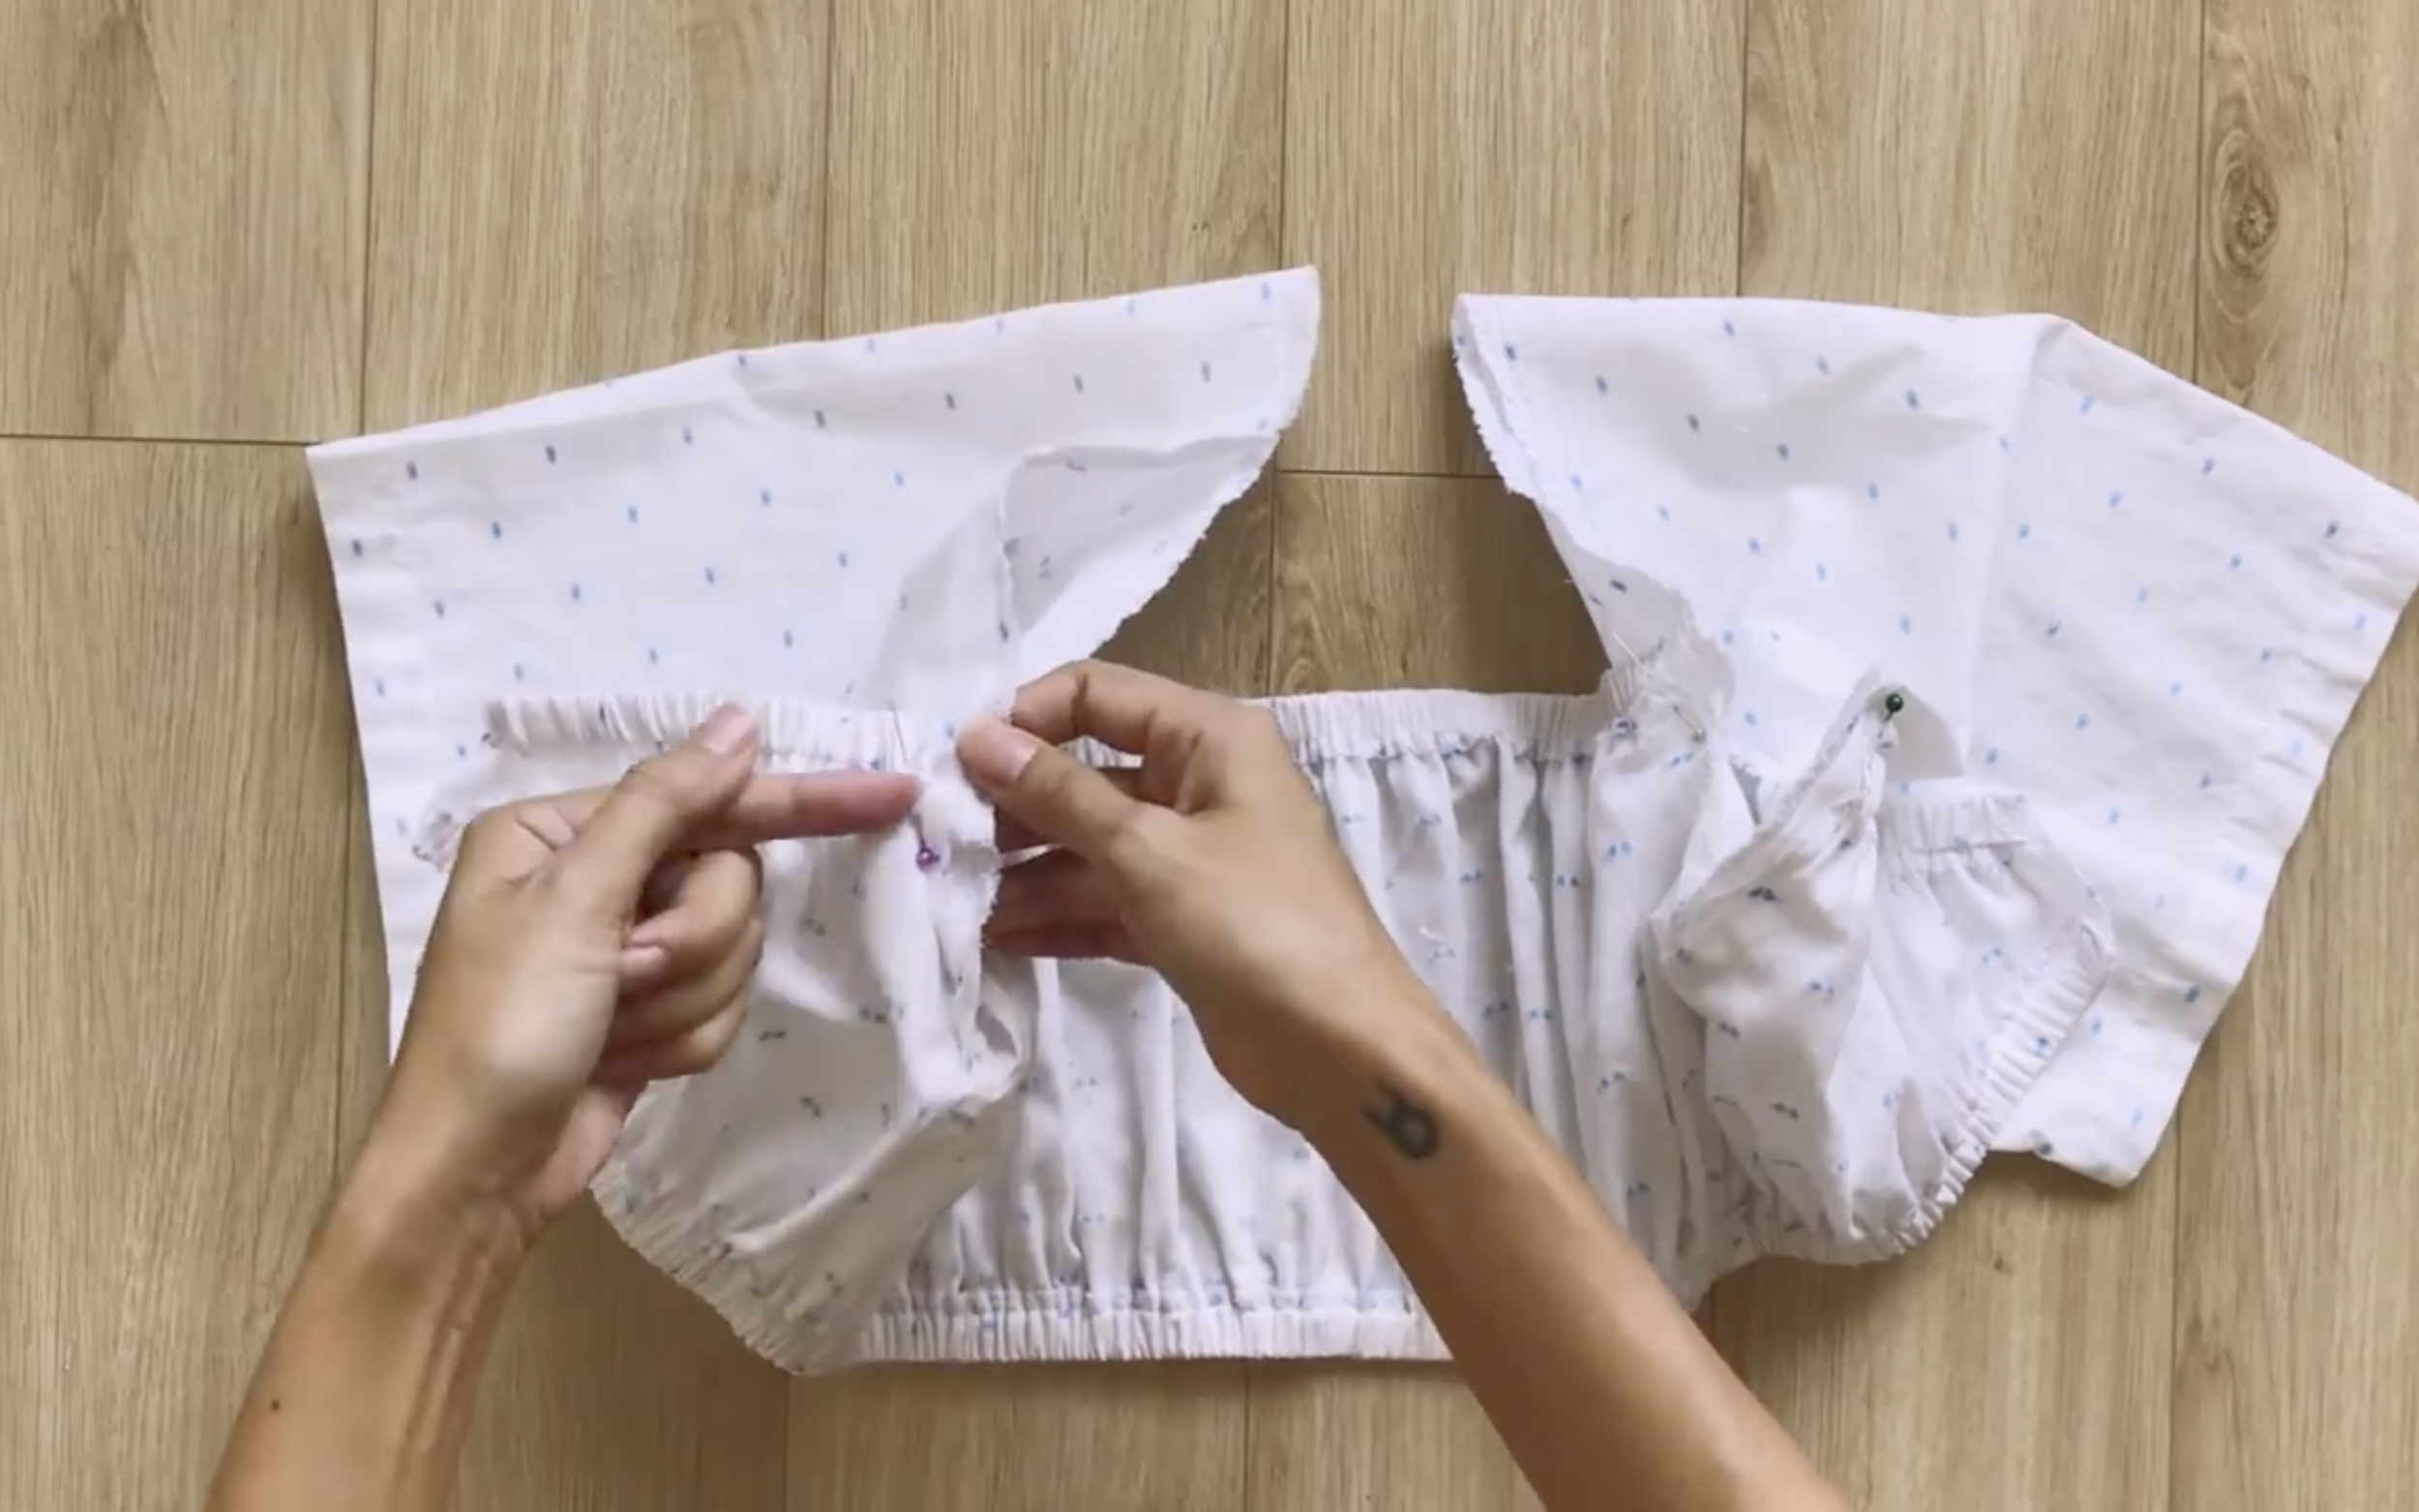
Moving to the end of the sleeve, draw a line 4 cm inside to match the position for the puffy effect first.

Then, add a circular fabric piece with a 2 cm width to create a fabric hole later.
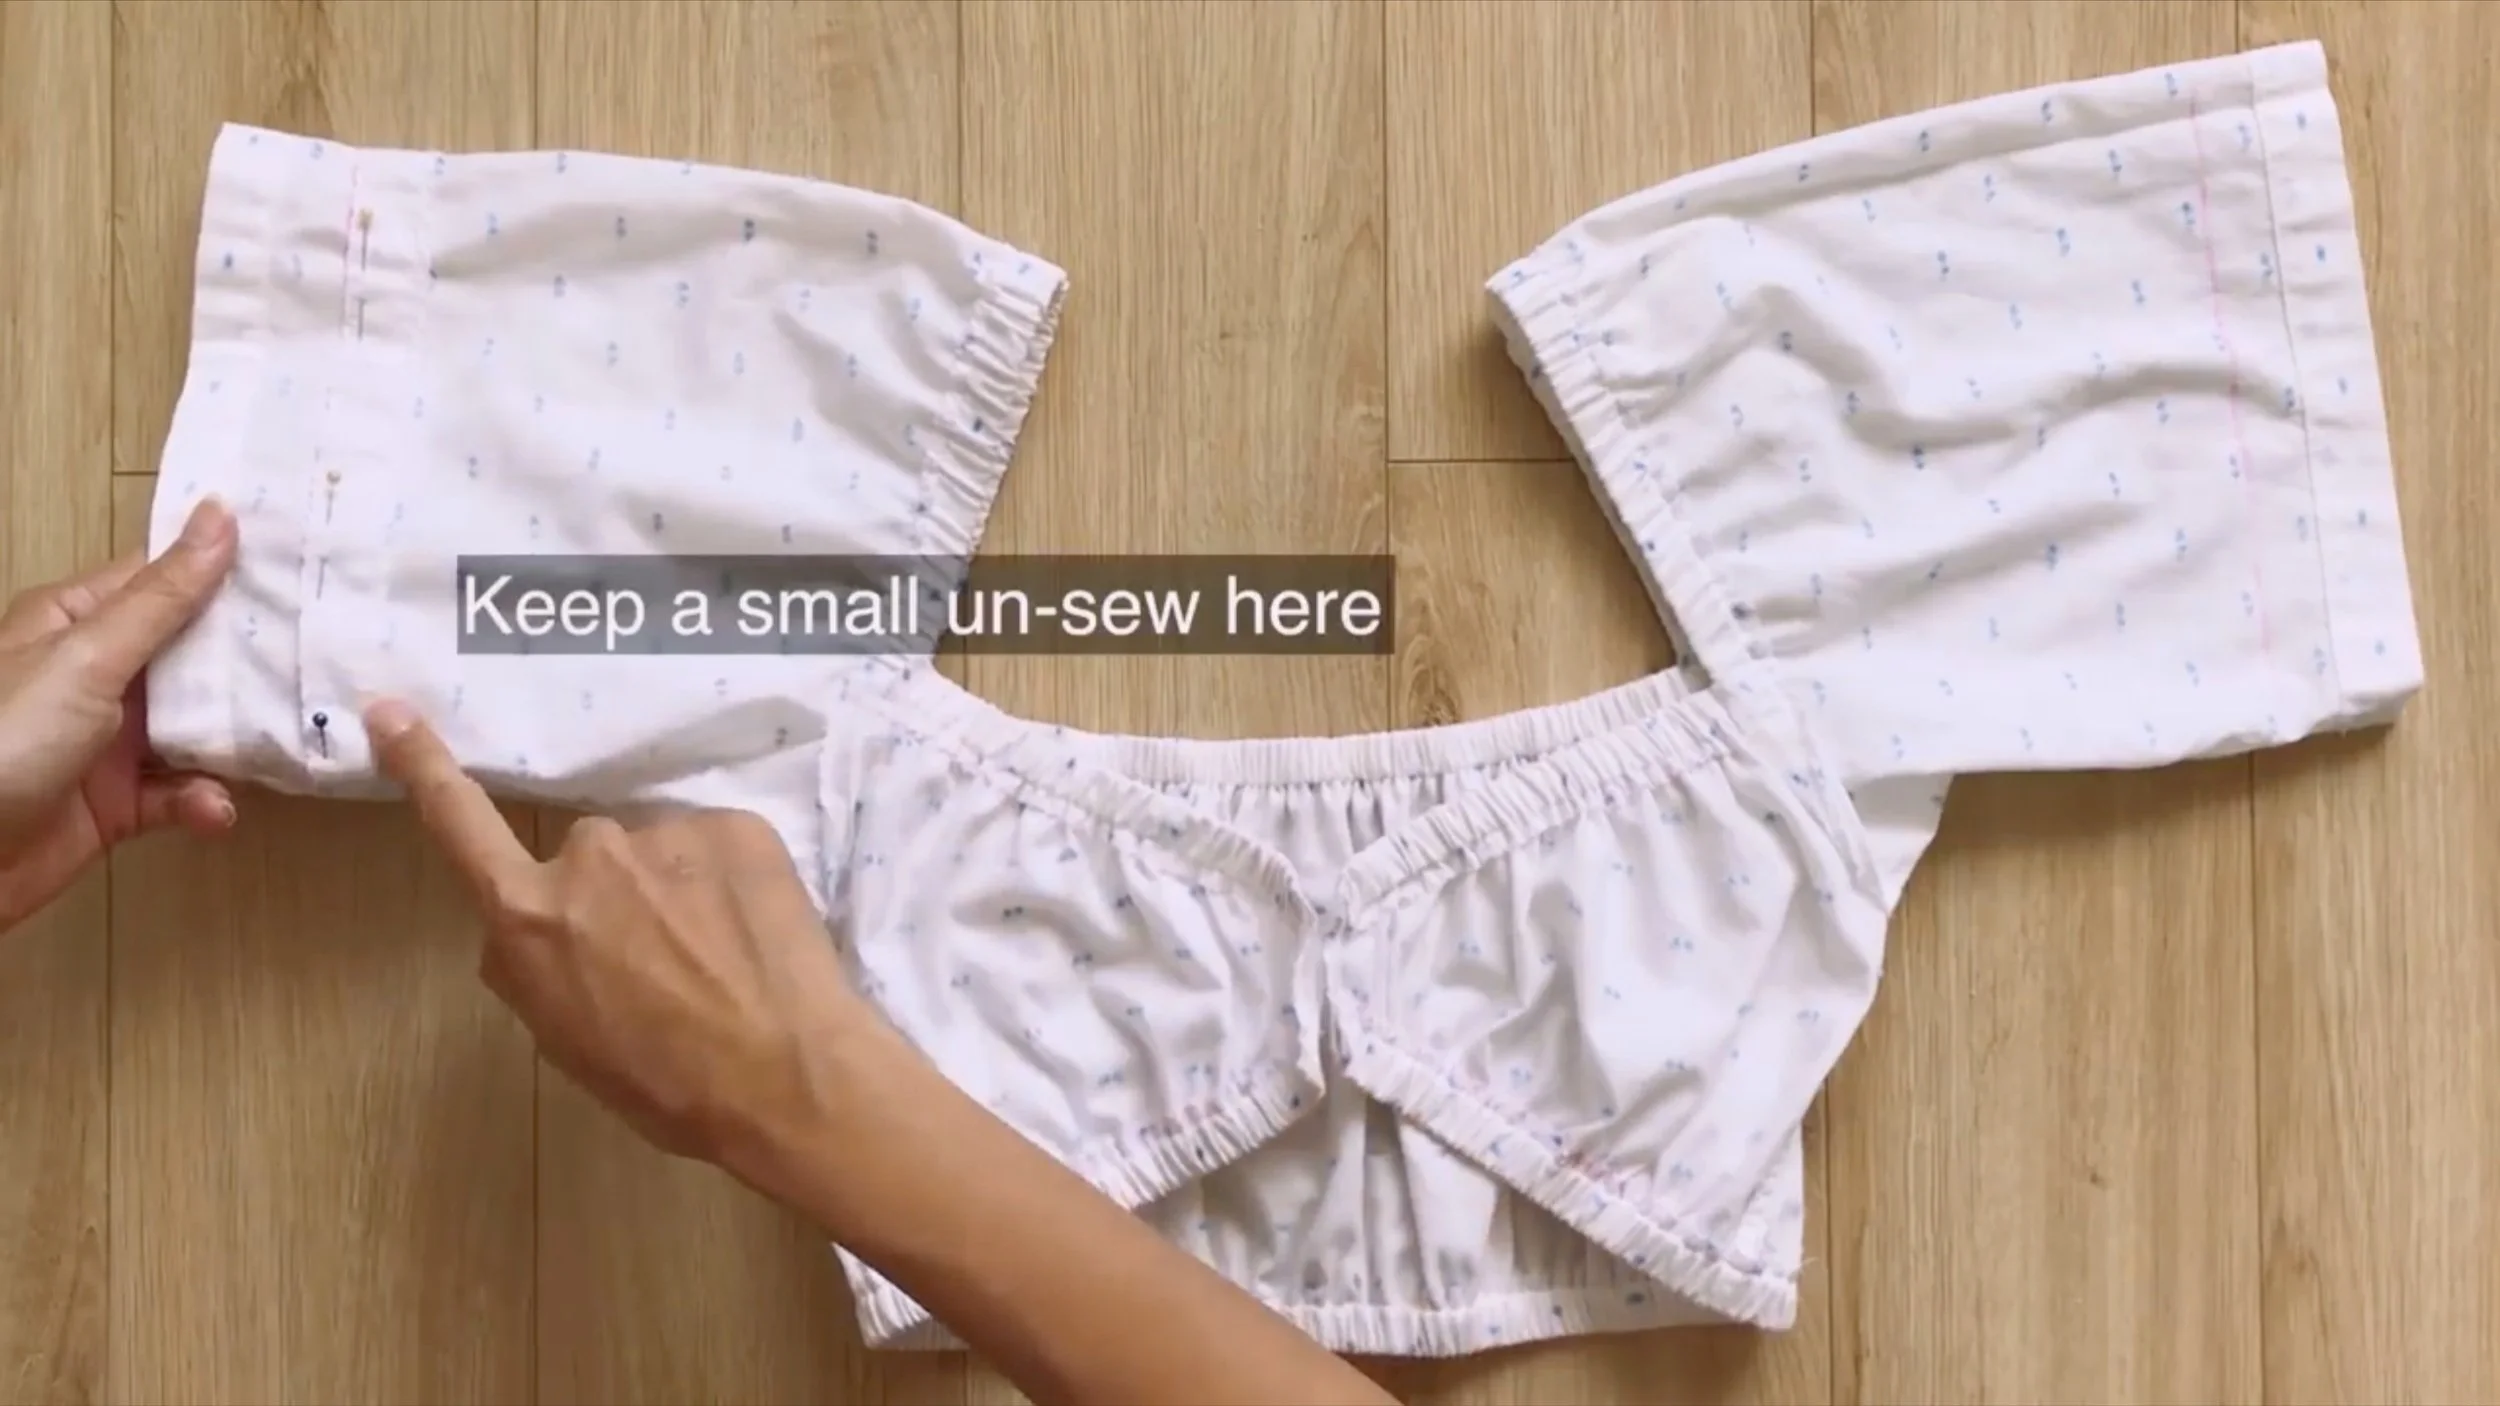
Sew both sides of the circular fabric but remember to leave a small unsewn space on one side for the elastic band to pass through later.
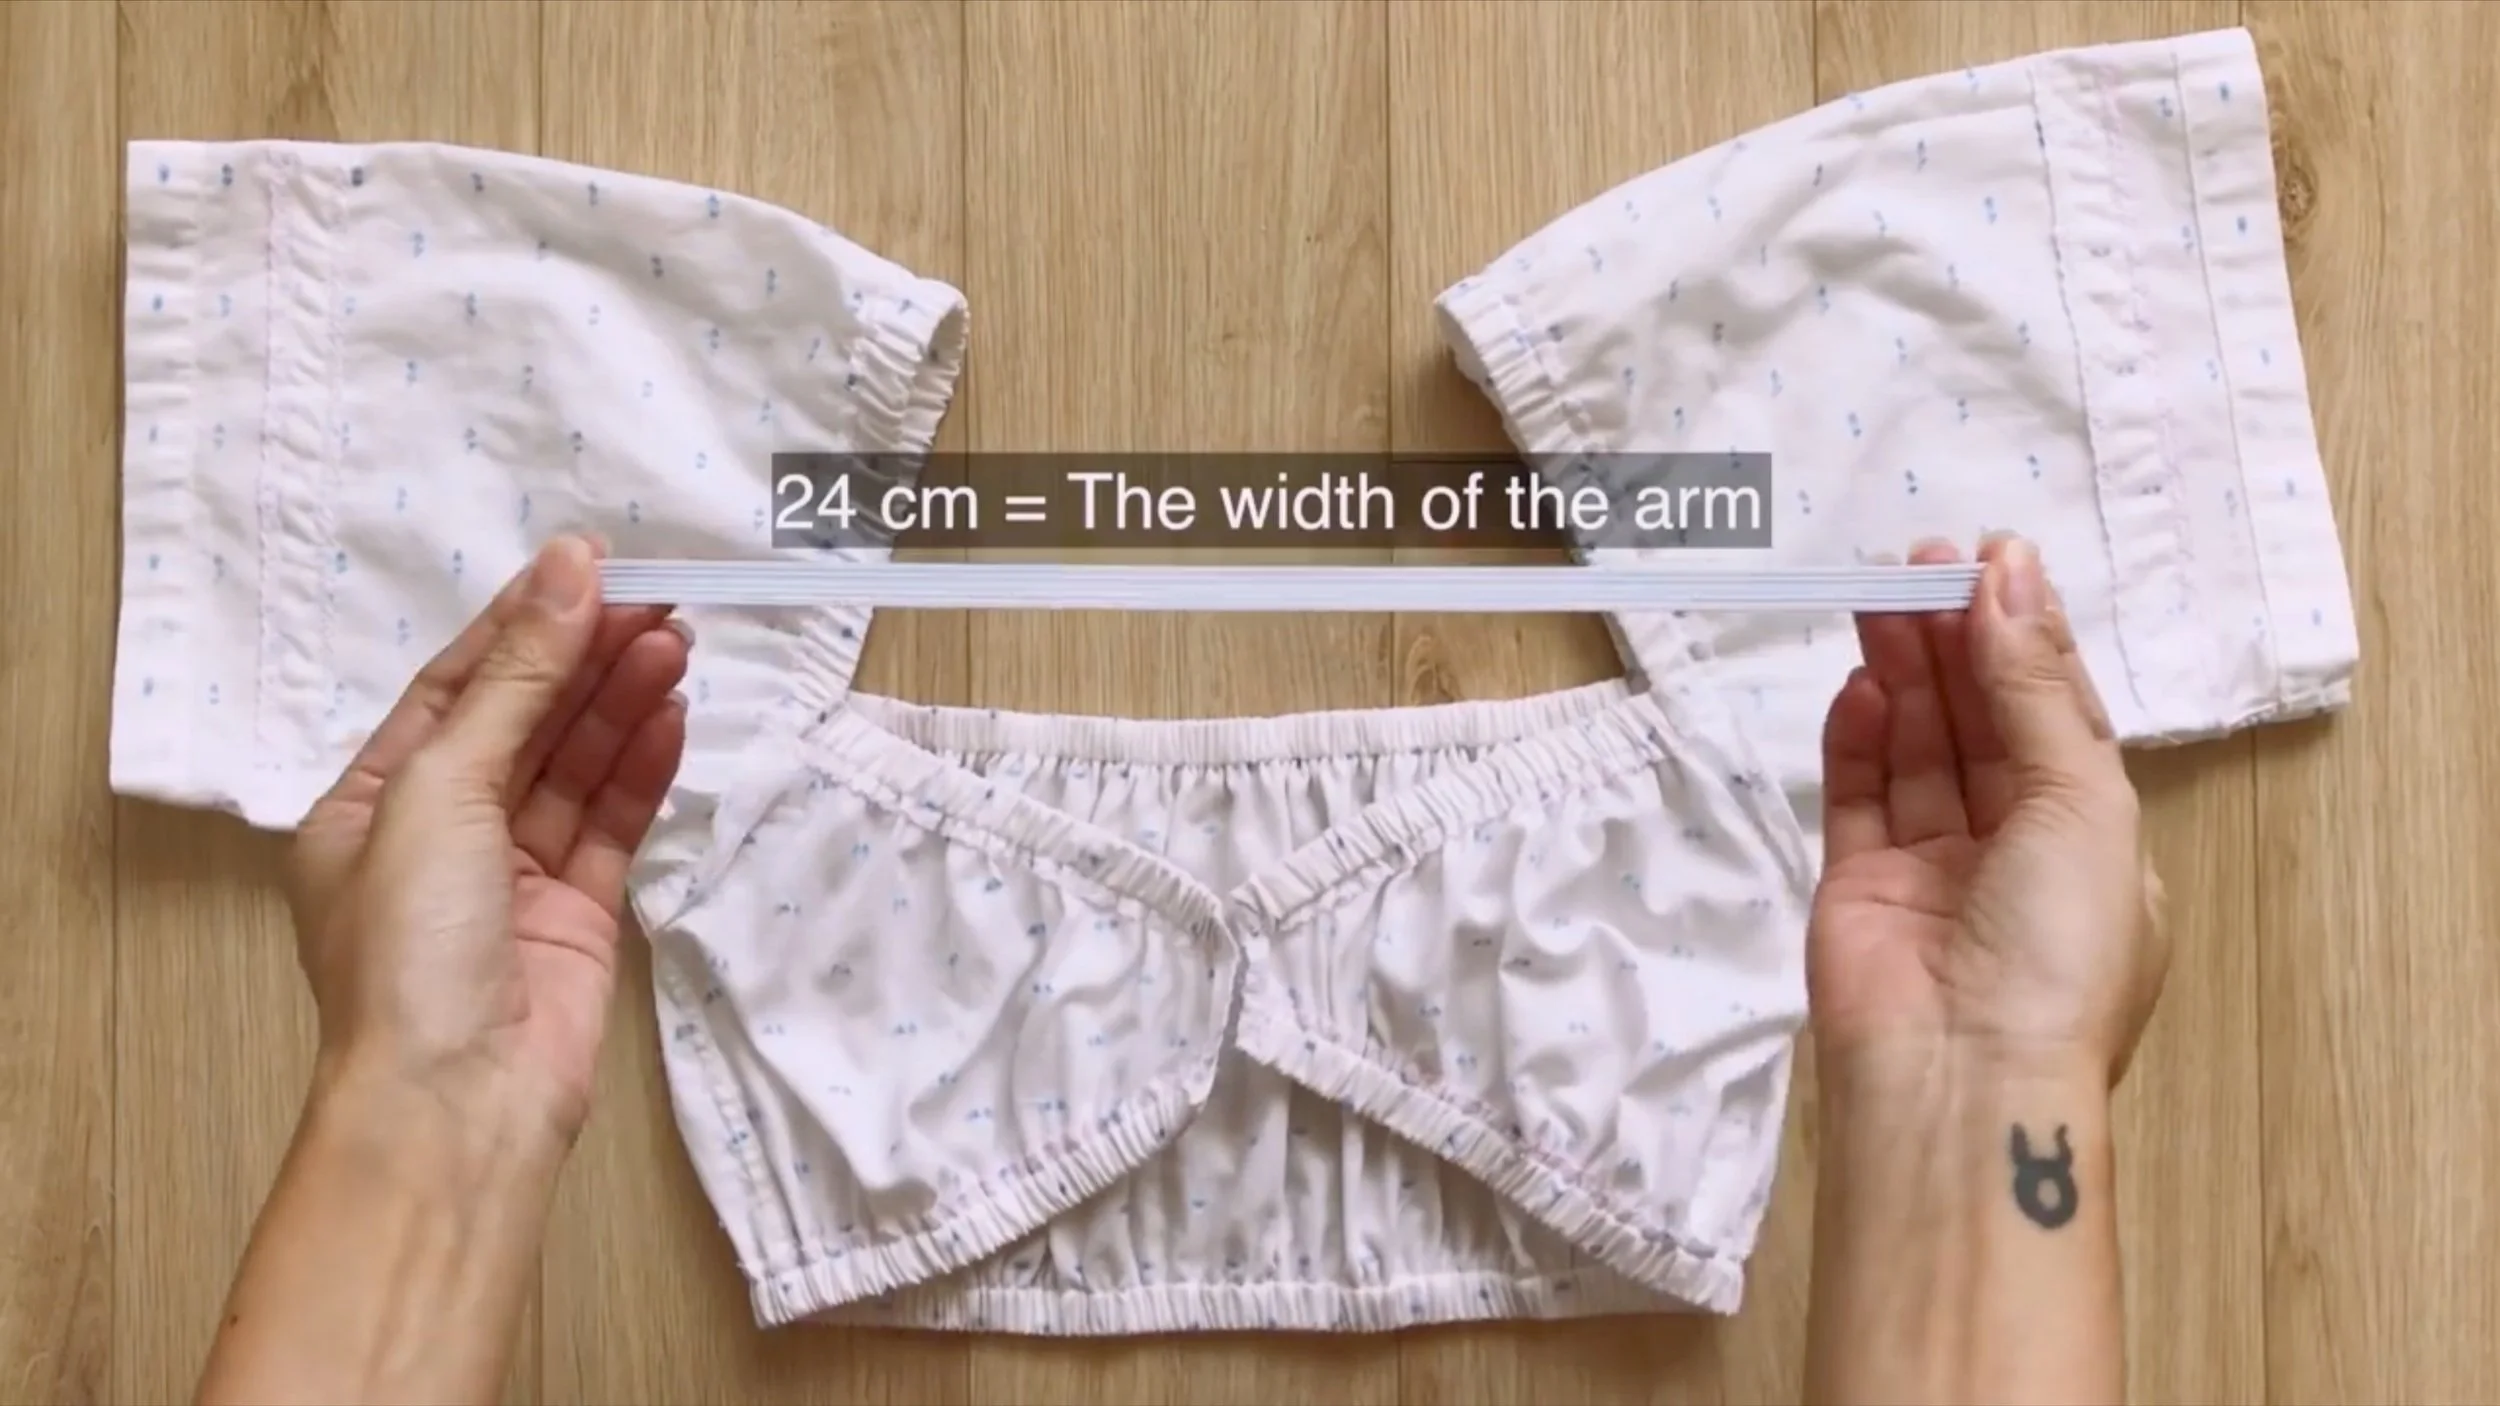
The width of the elastic band for the end of the sleeve should match the width of the arm.
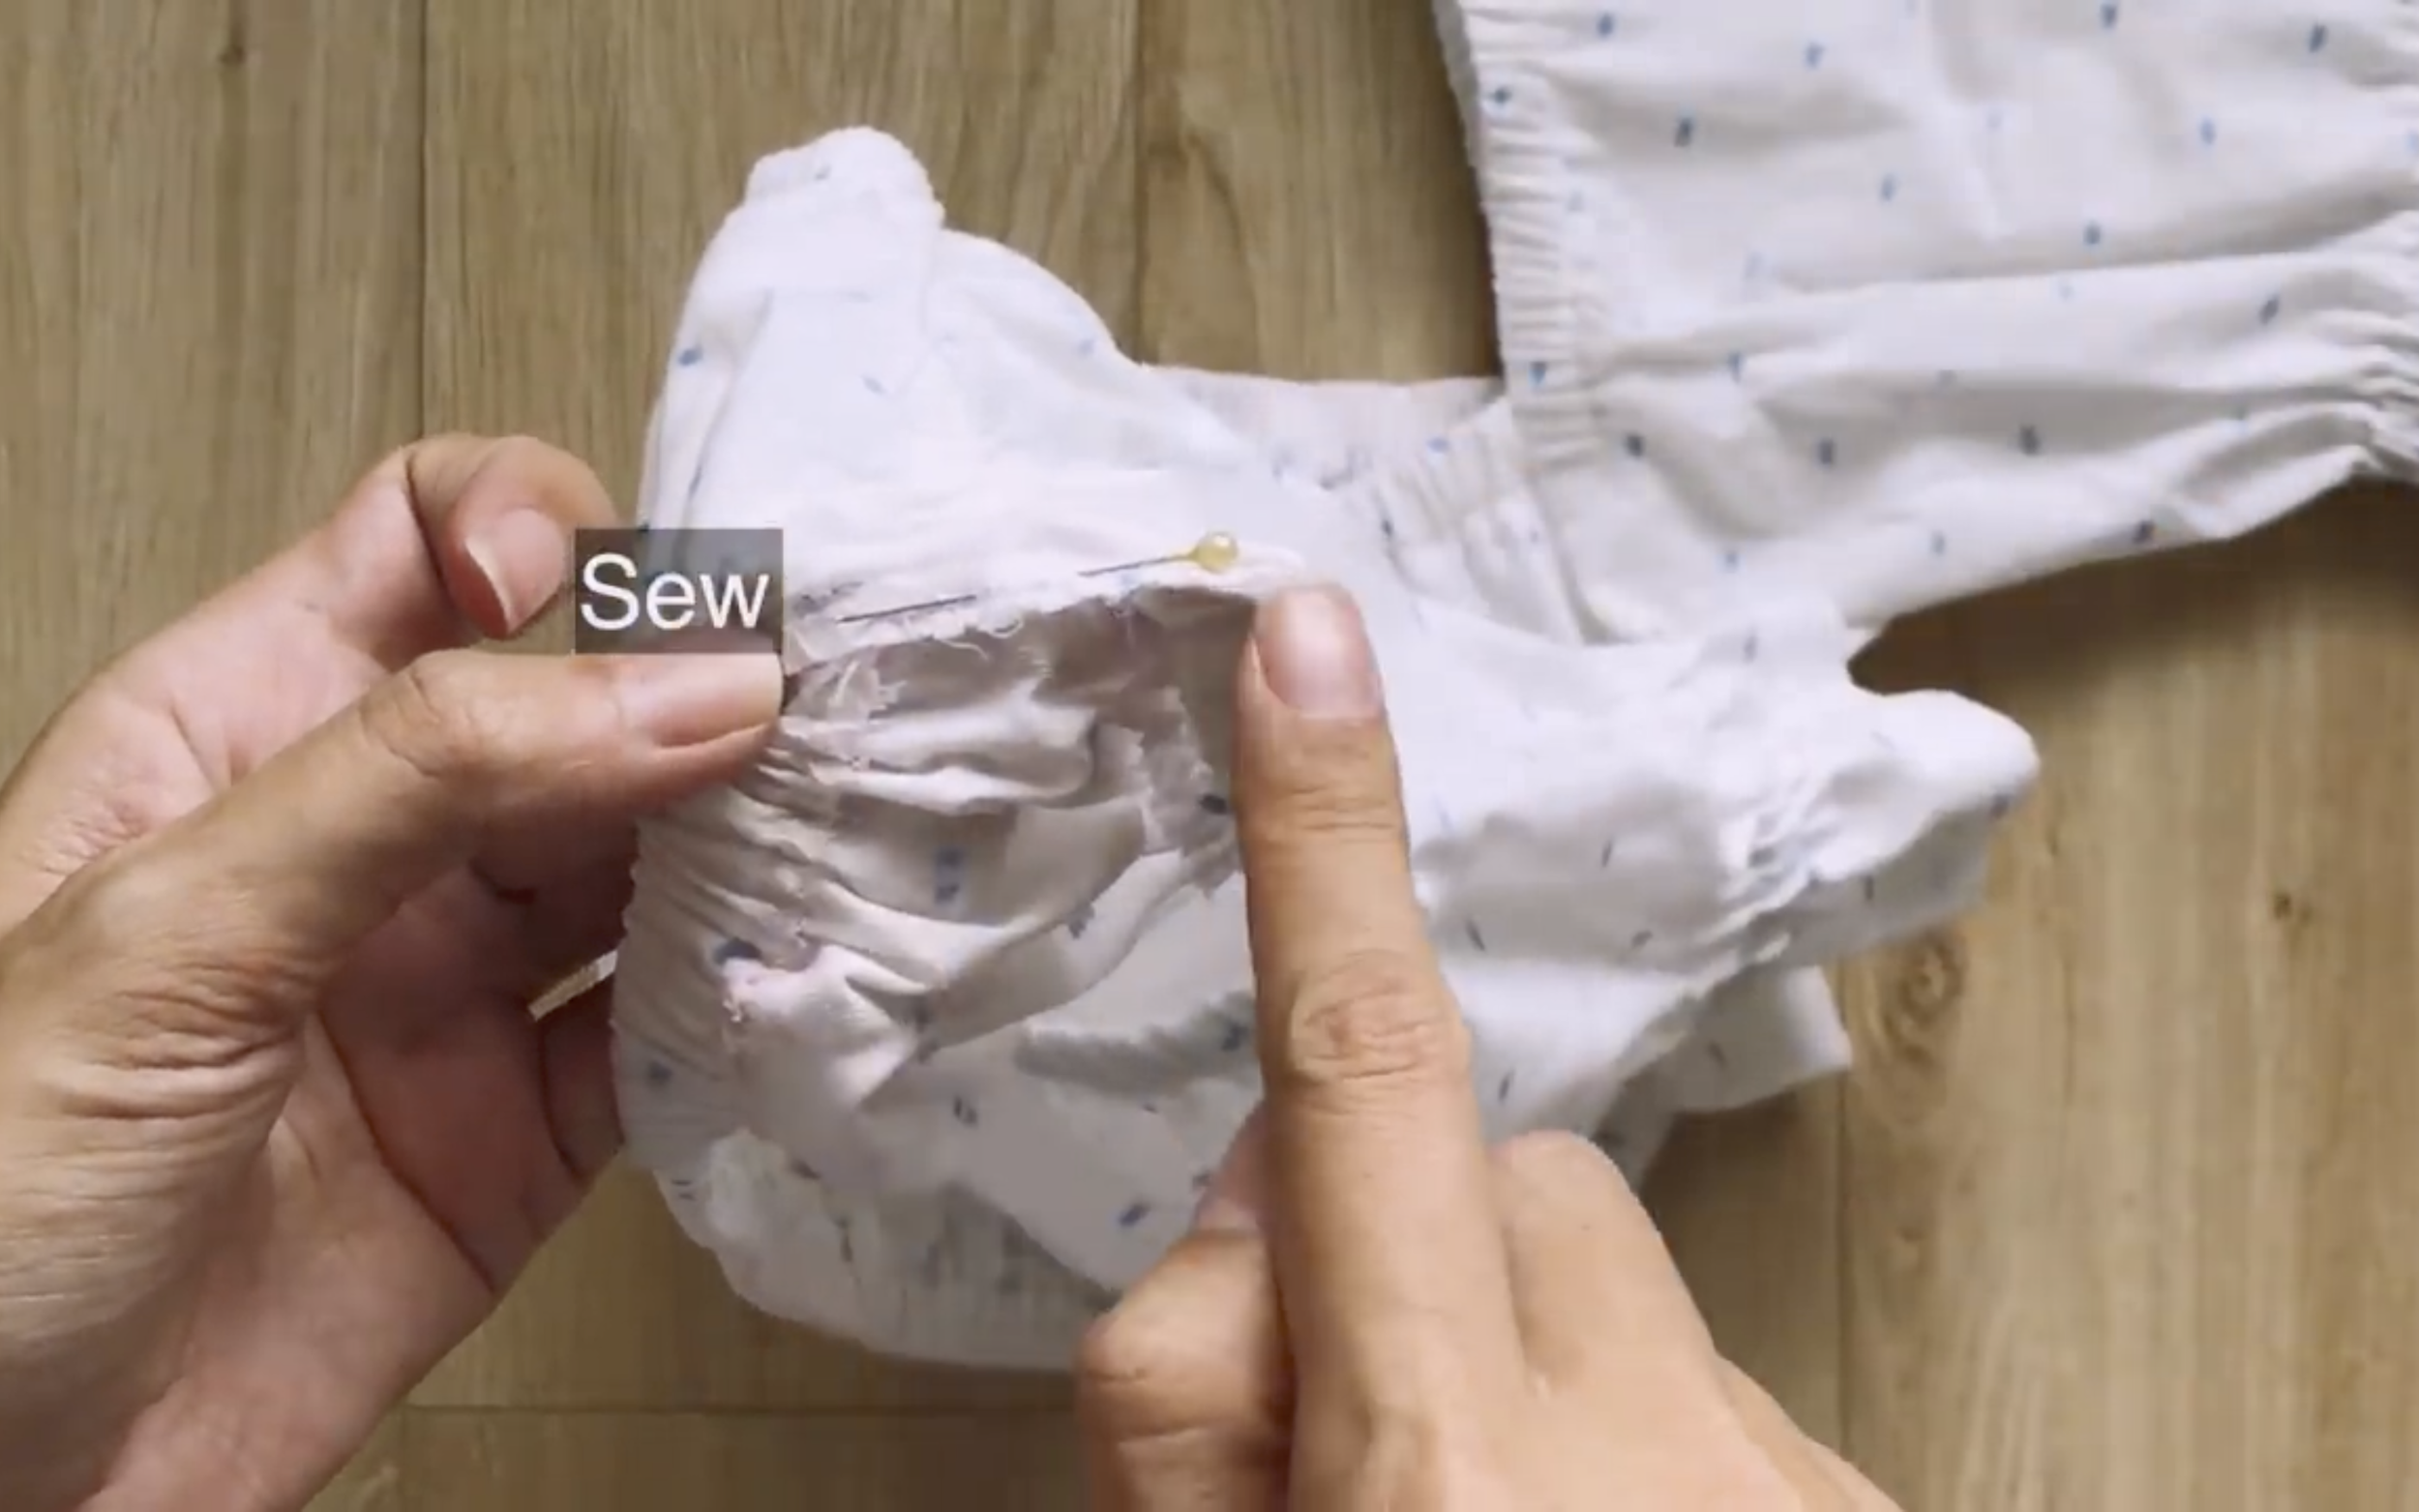
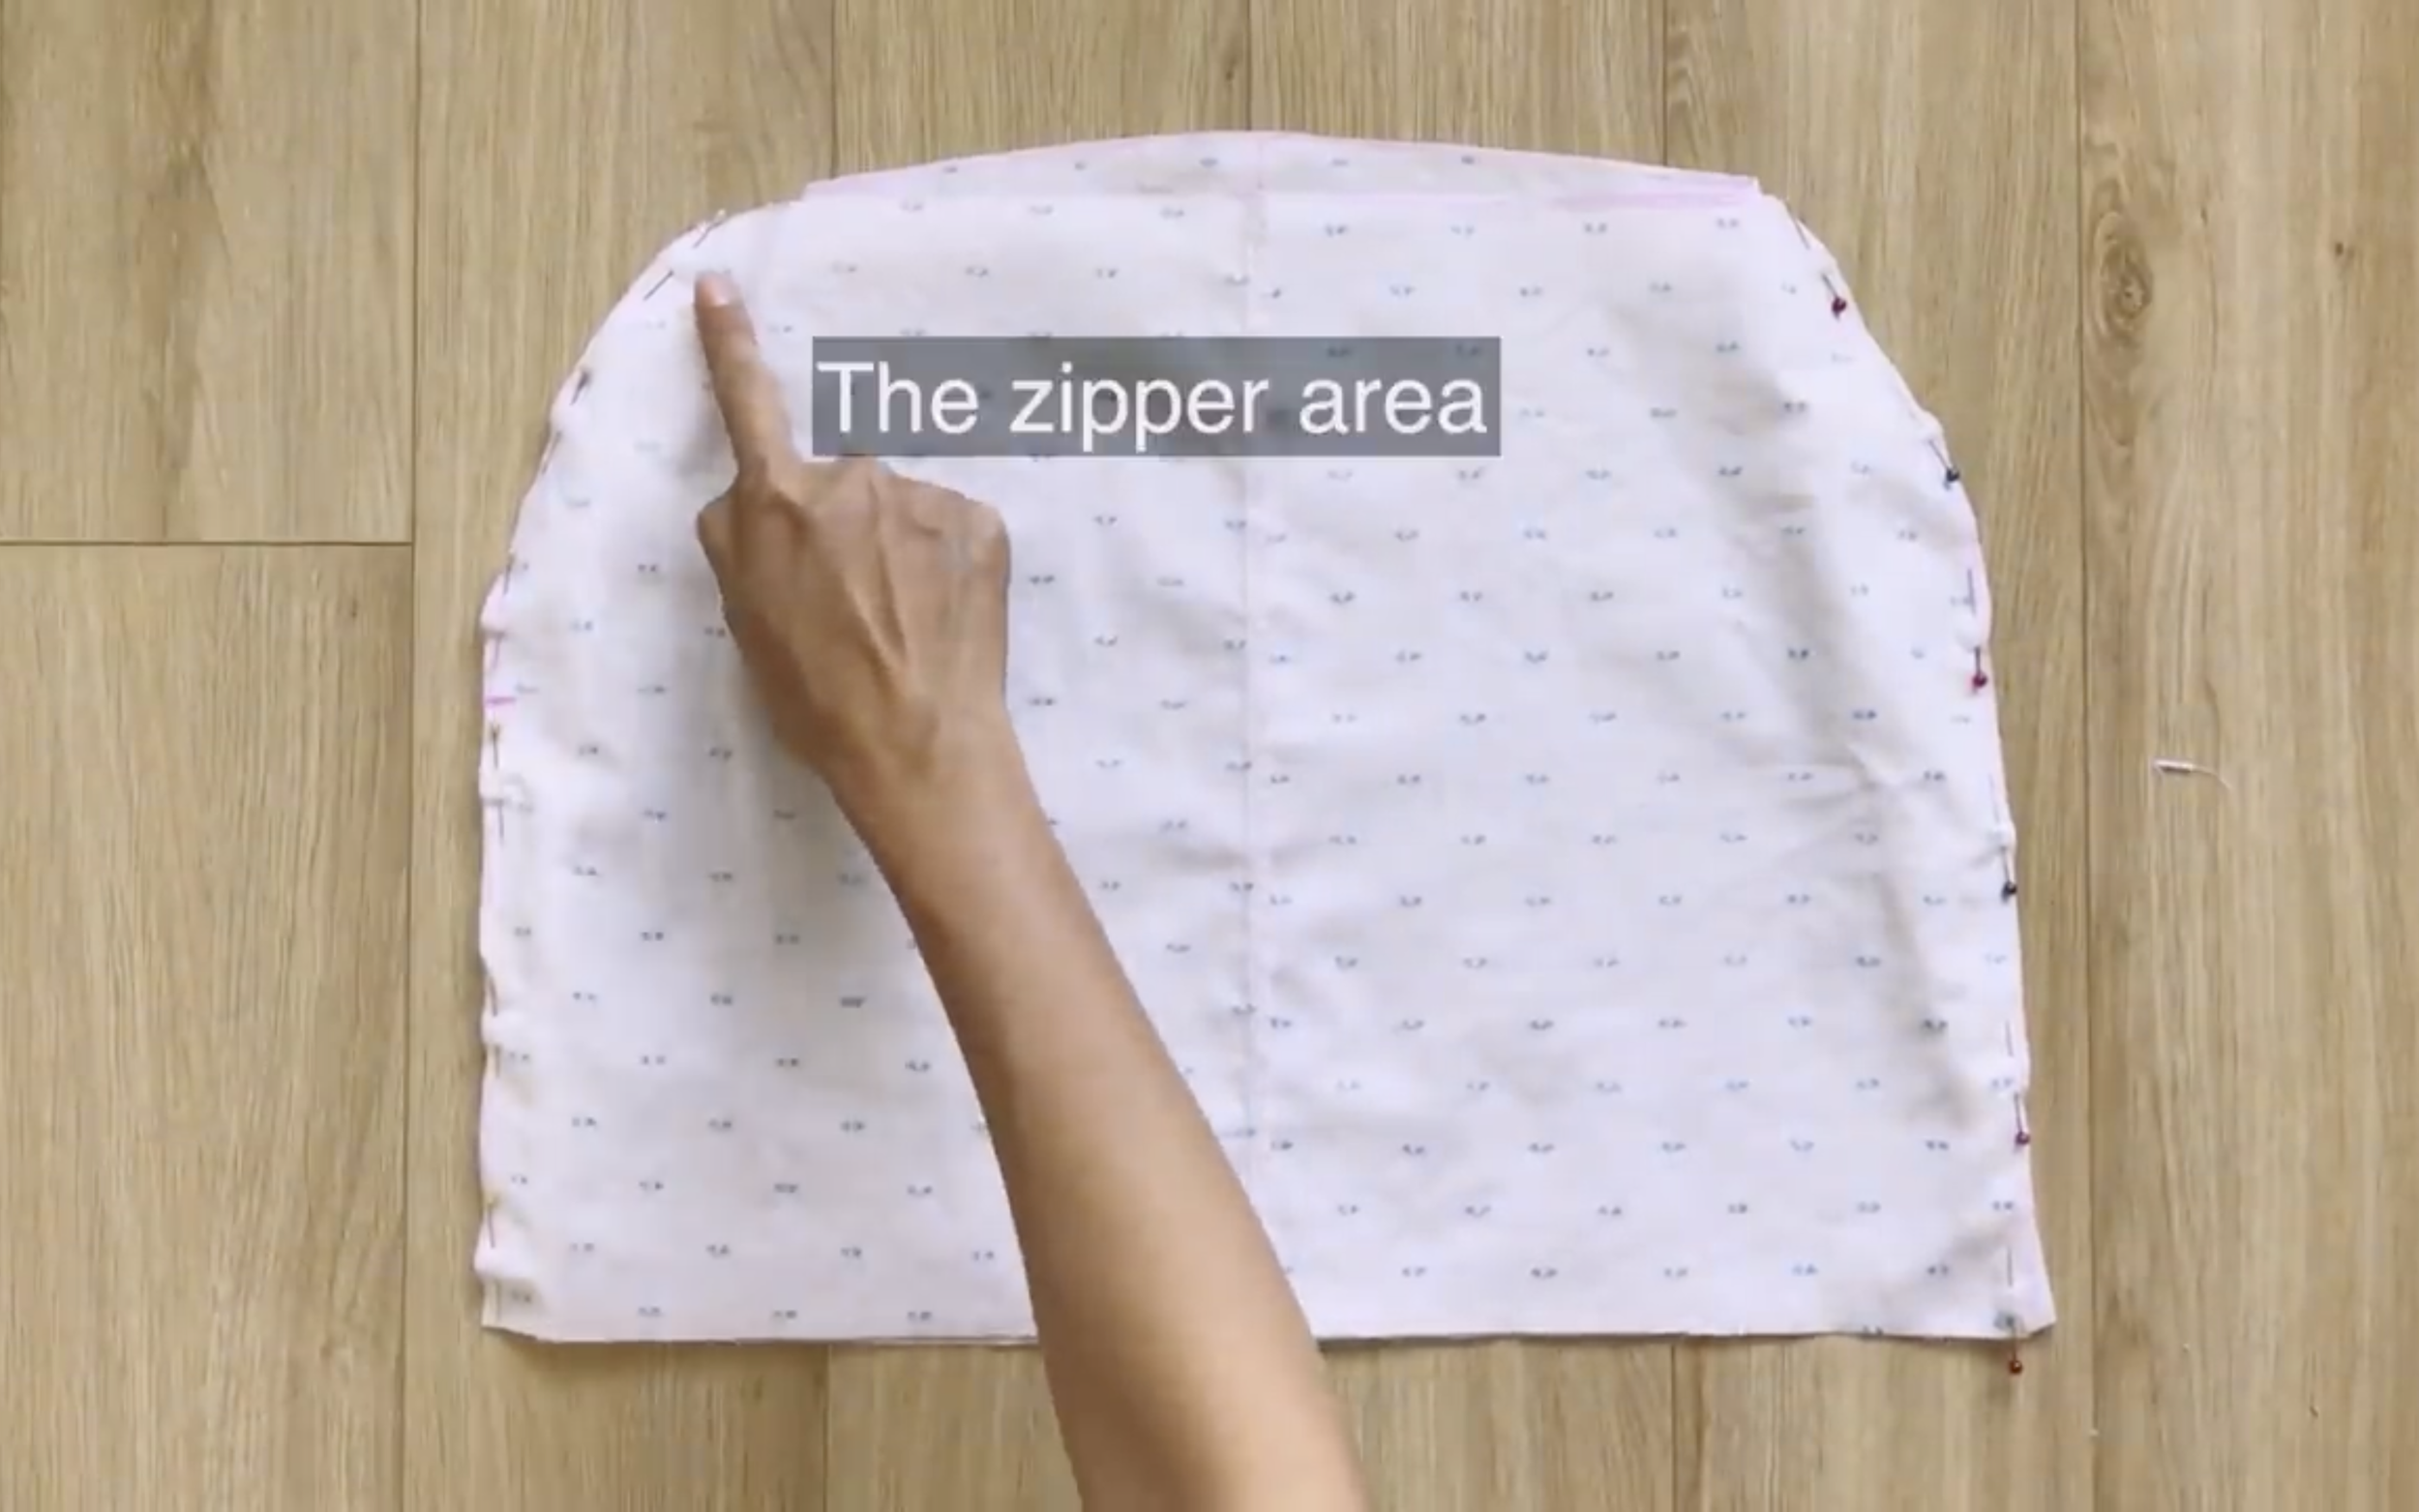
At the middle of the bust, fold the end fabric inside to create a small hole.
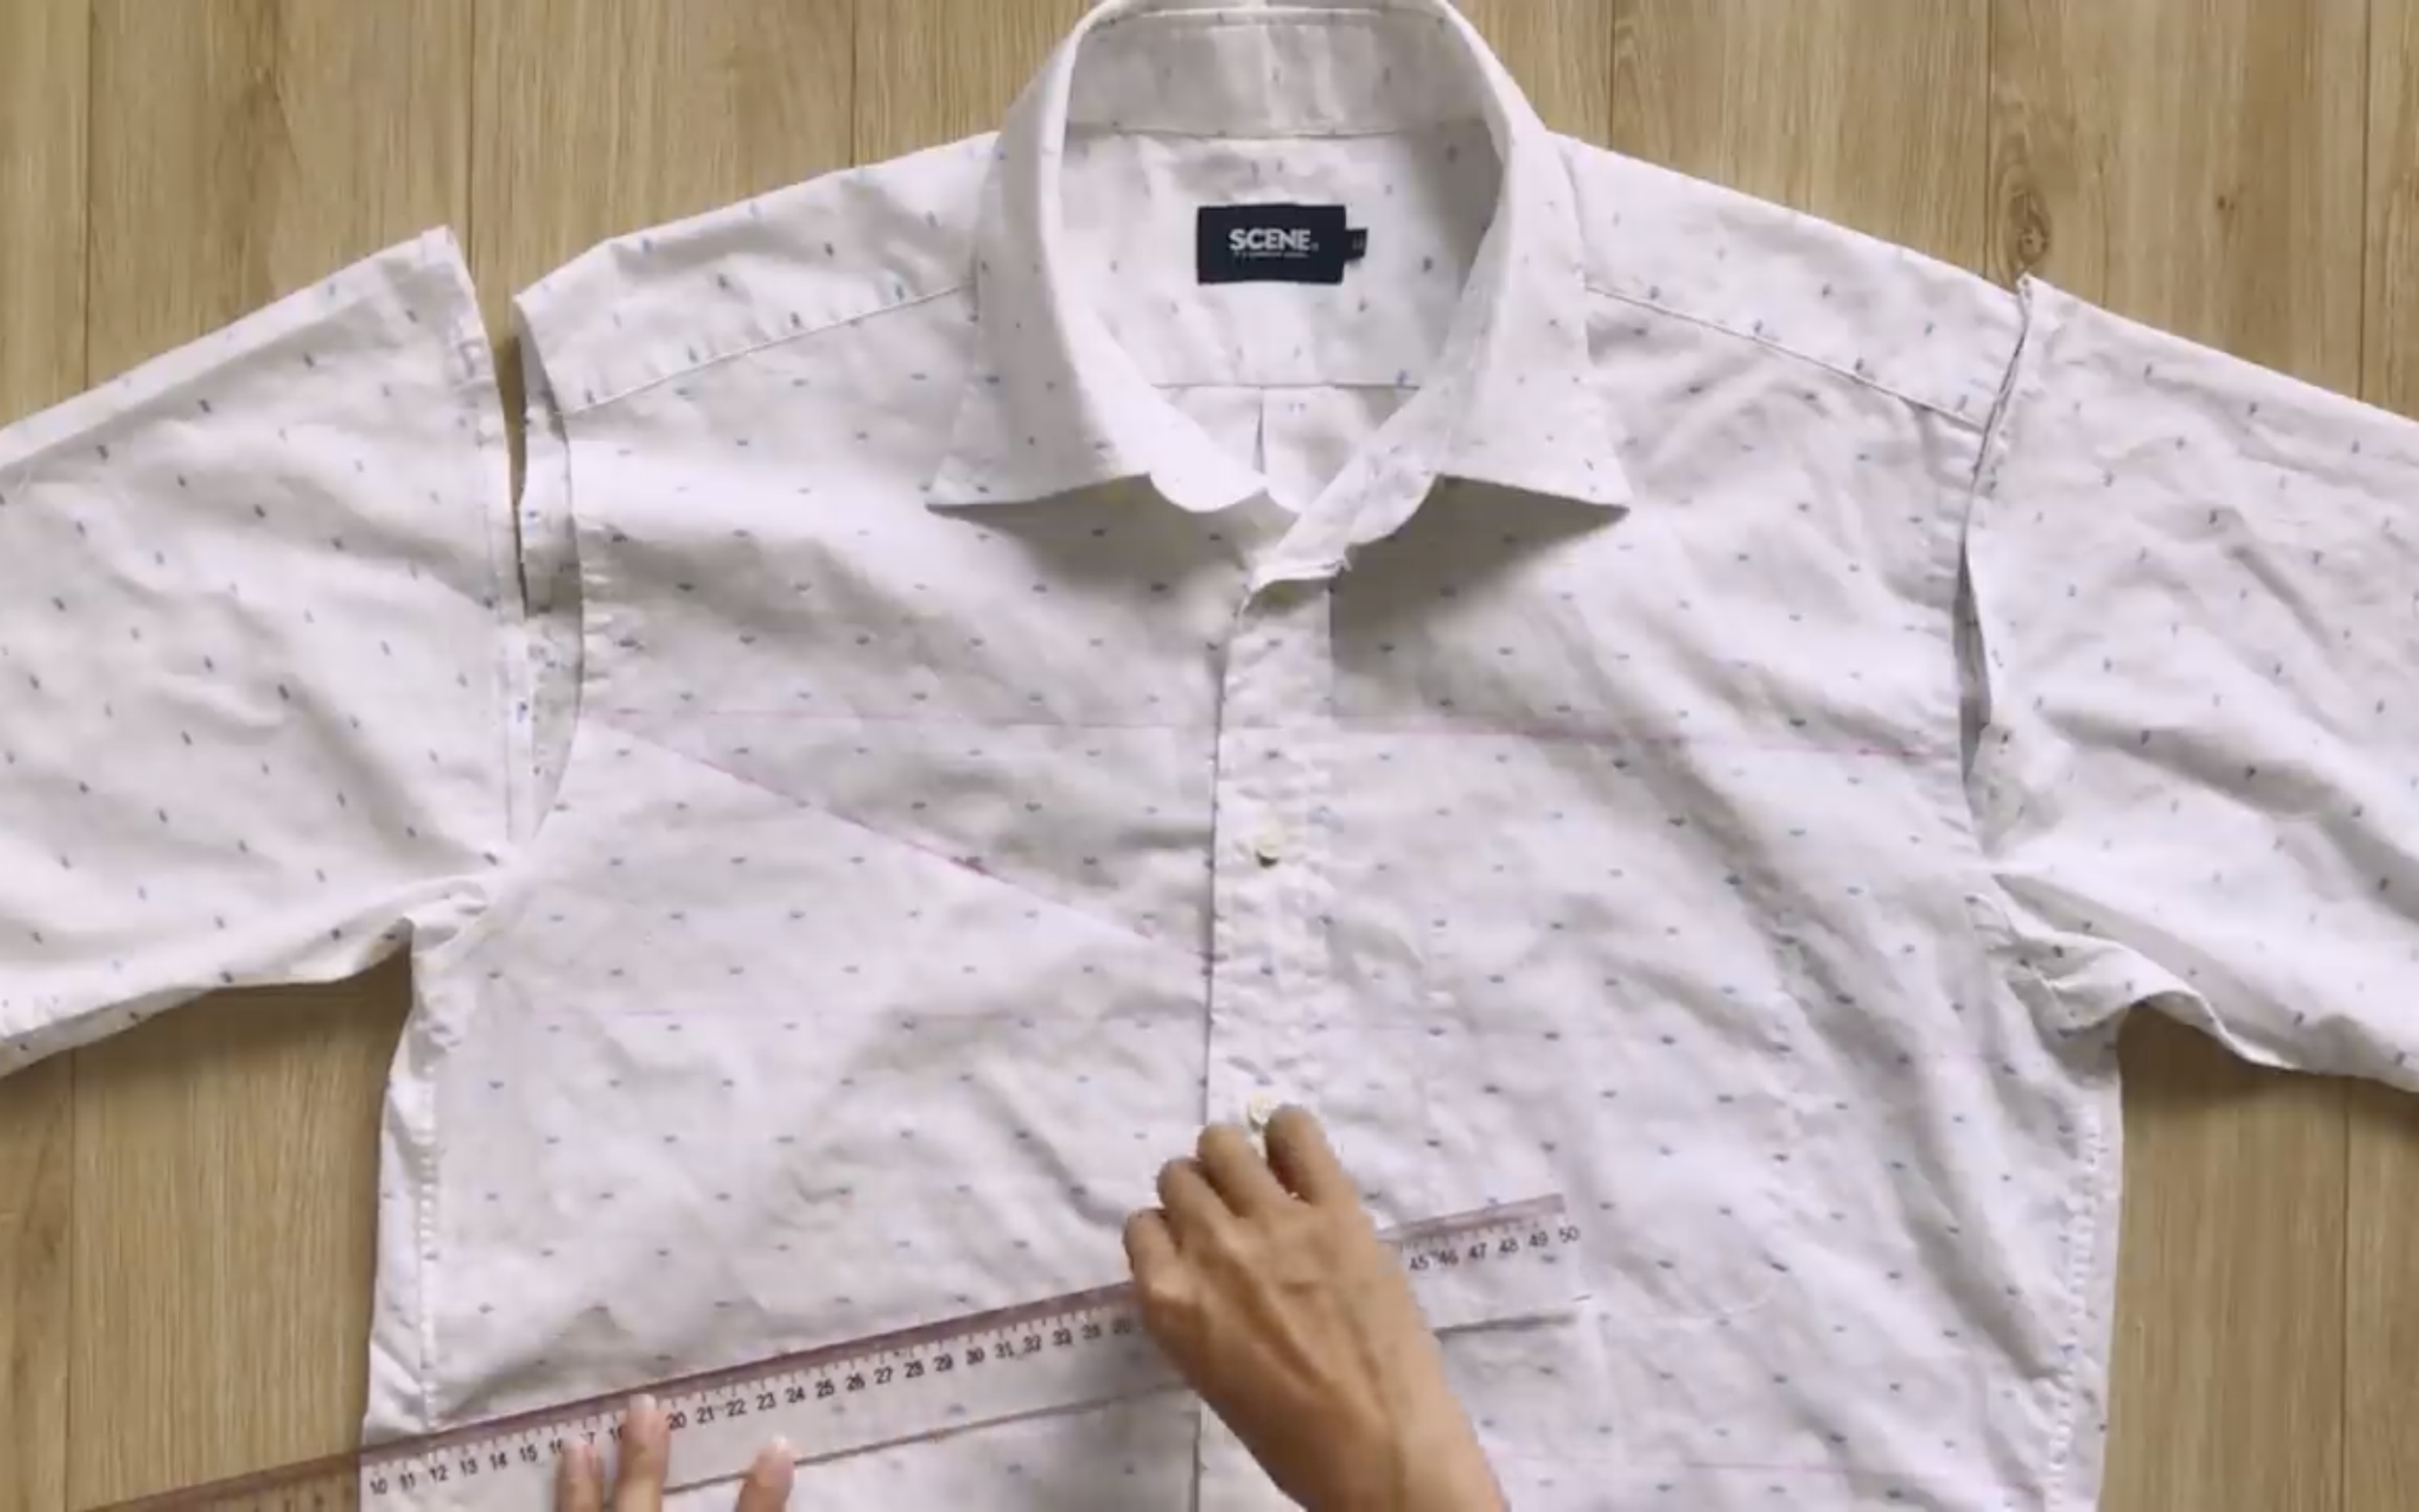
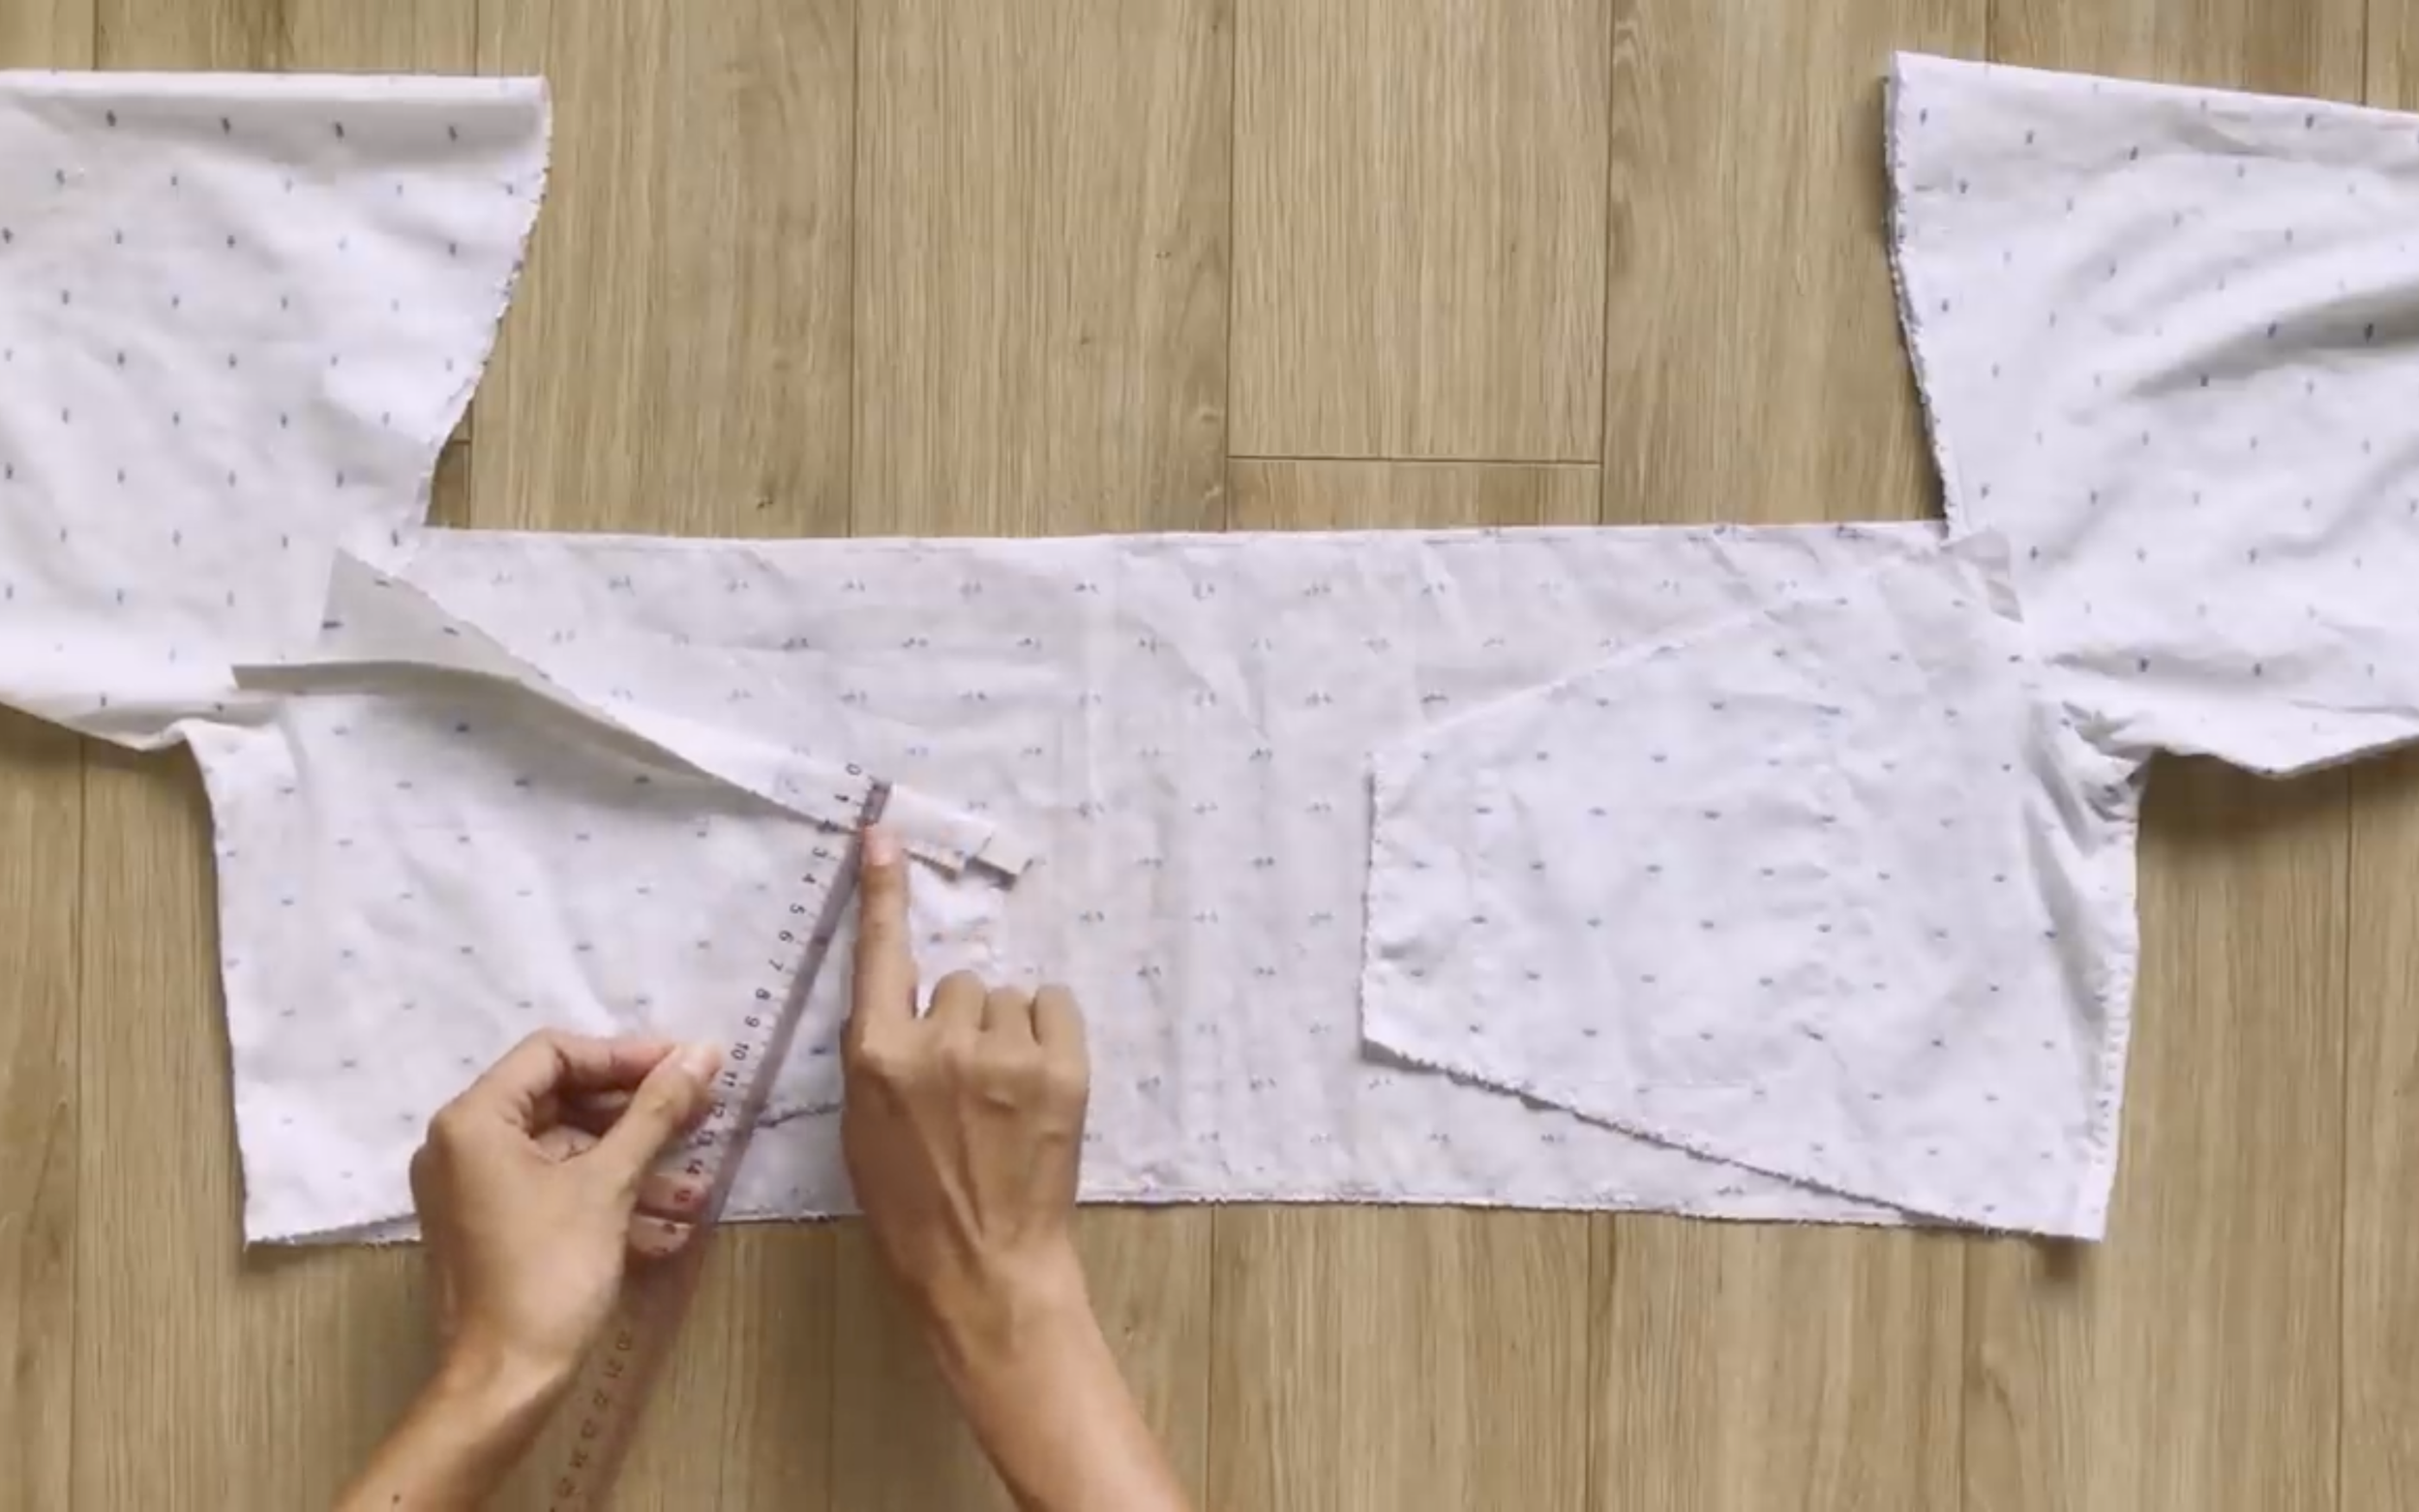
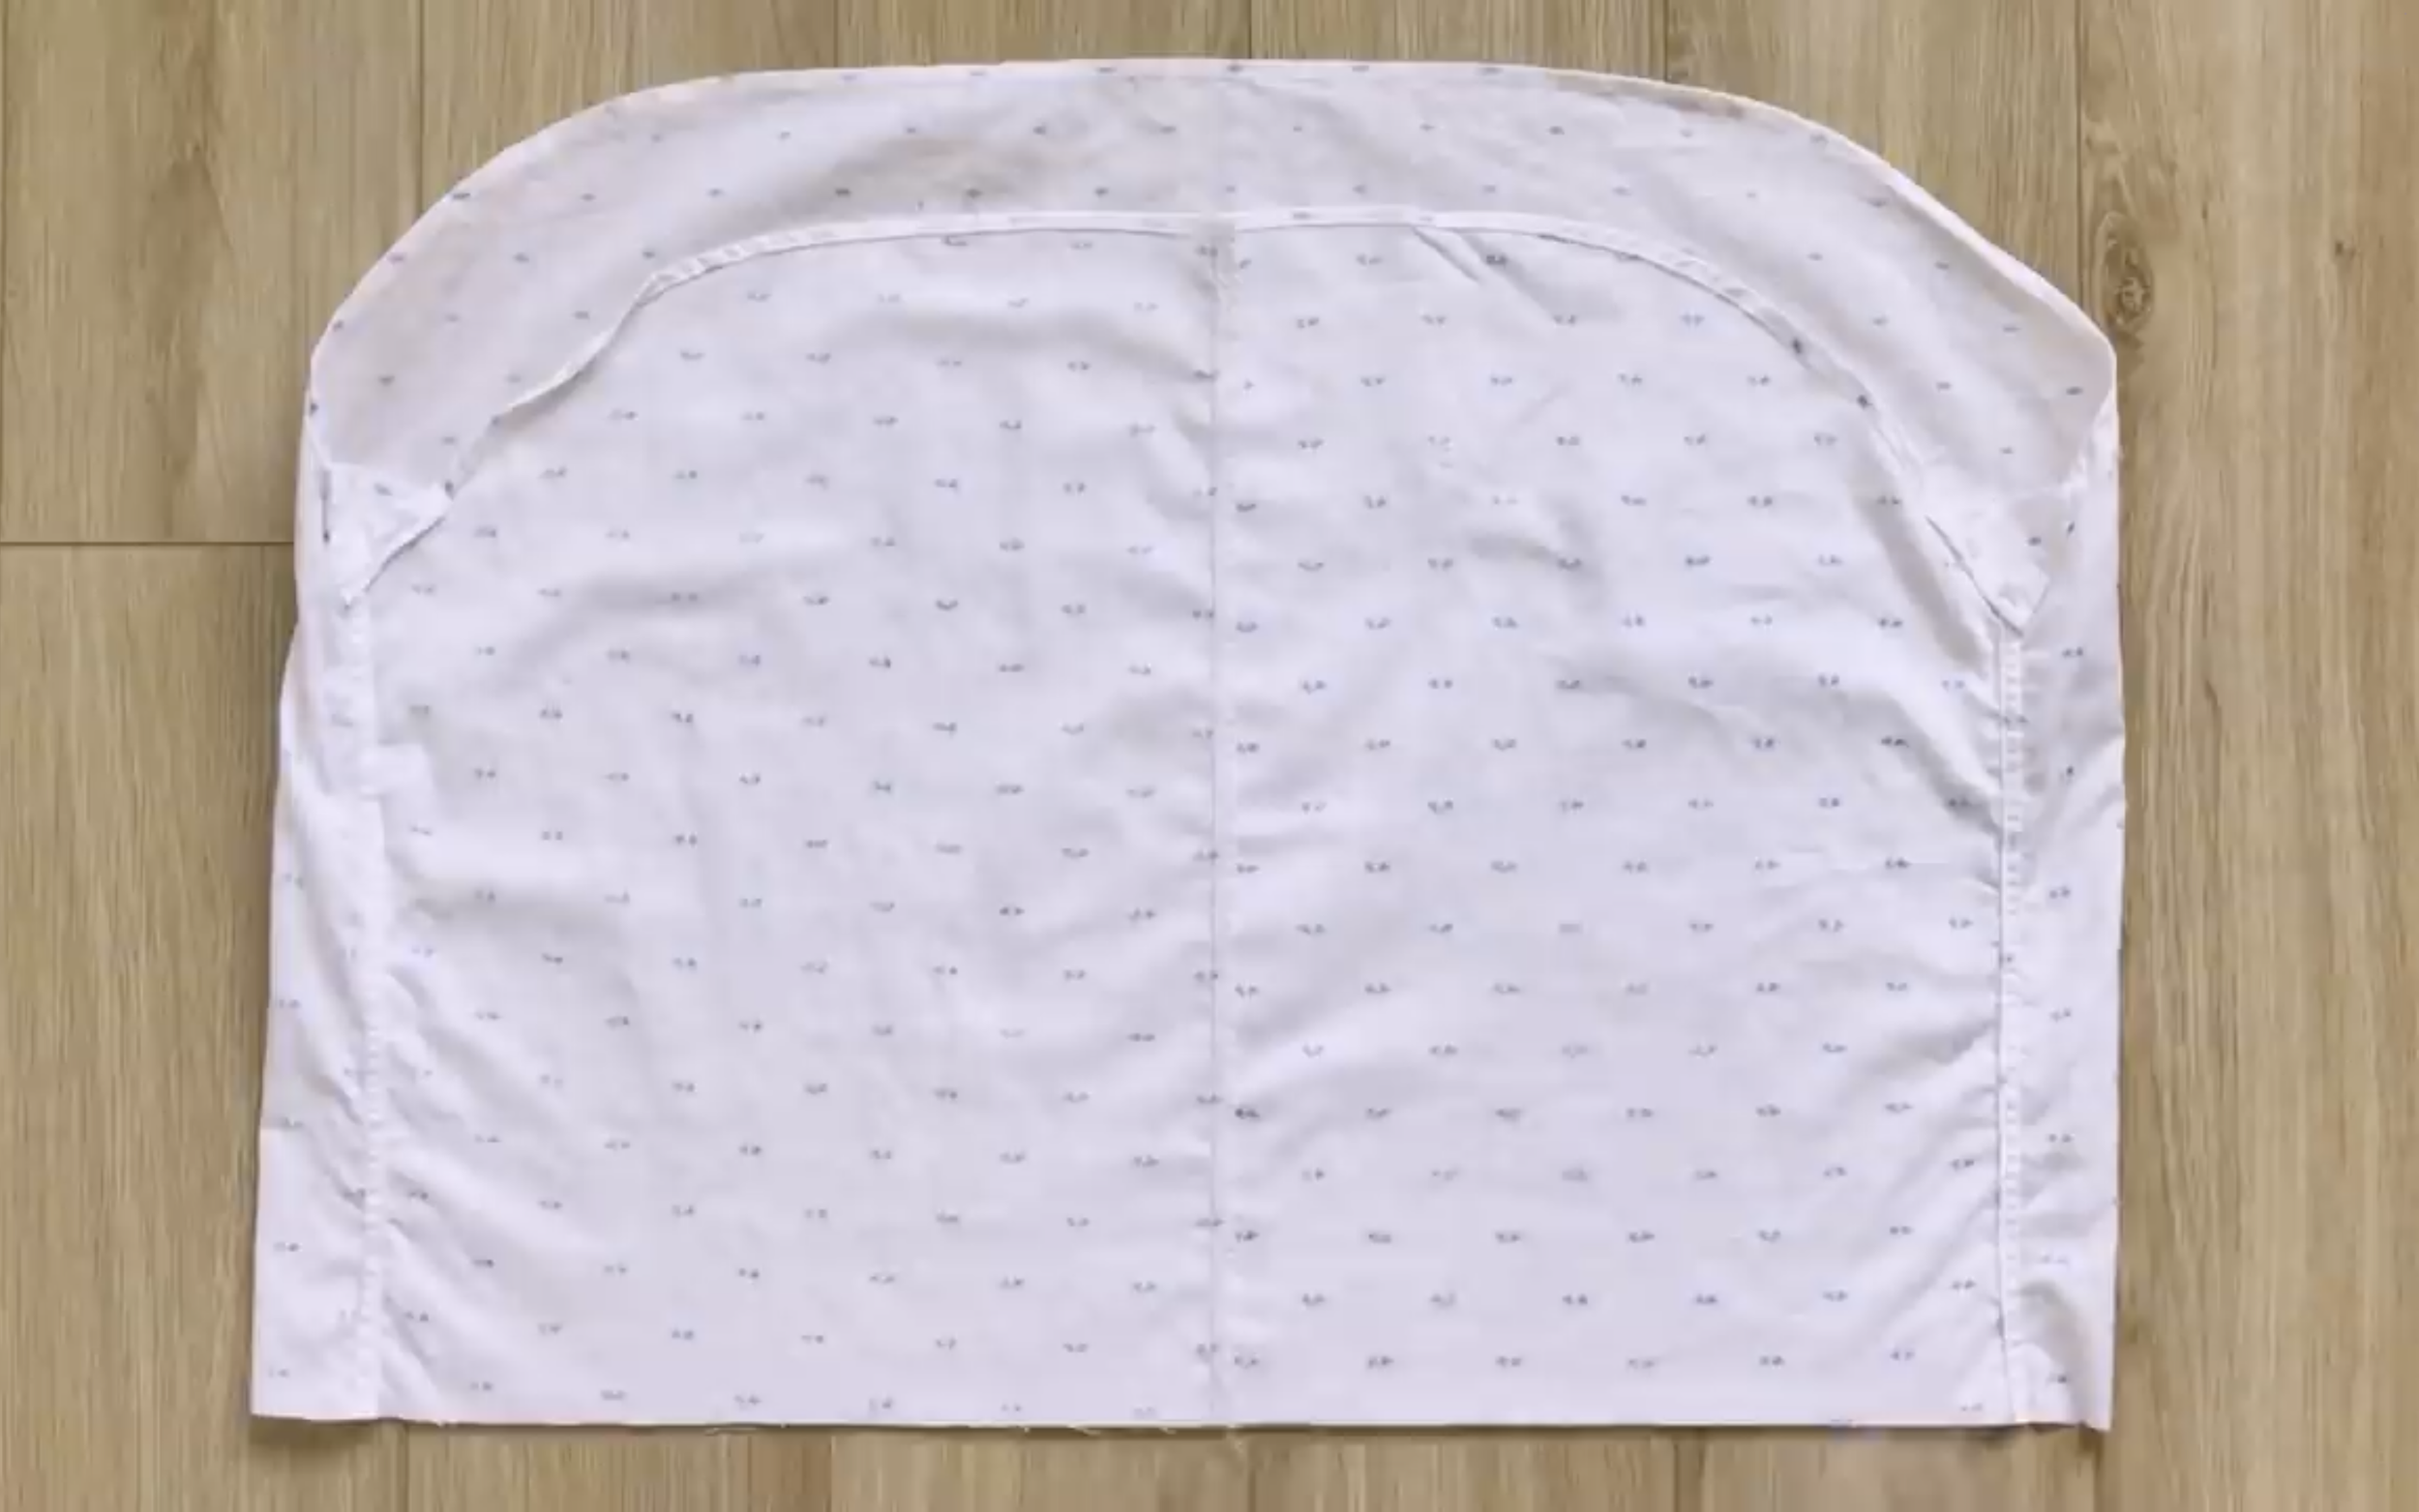
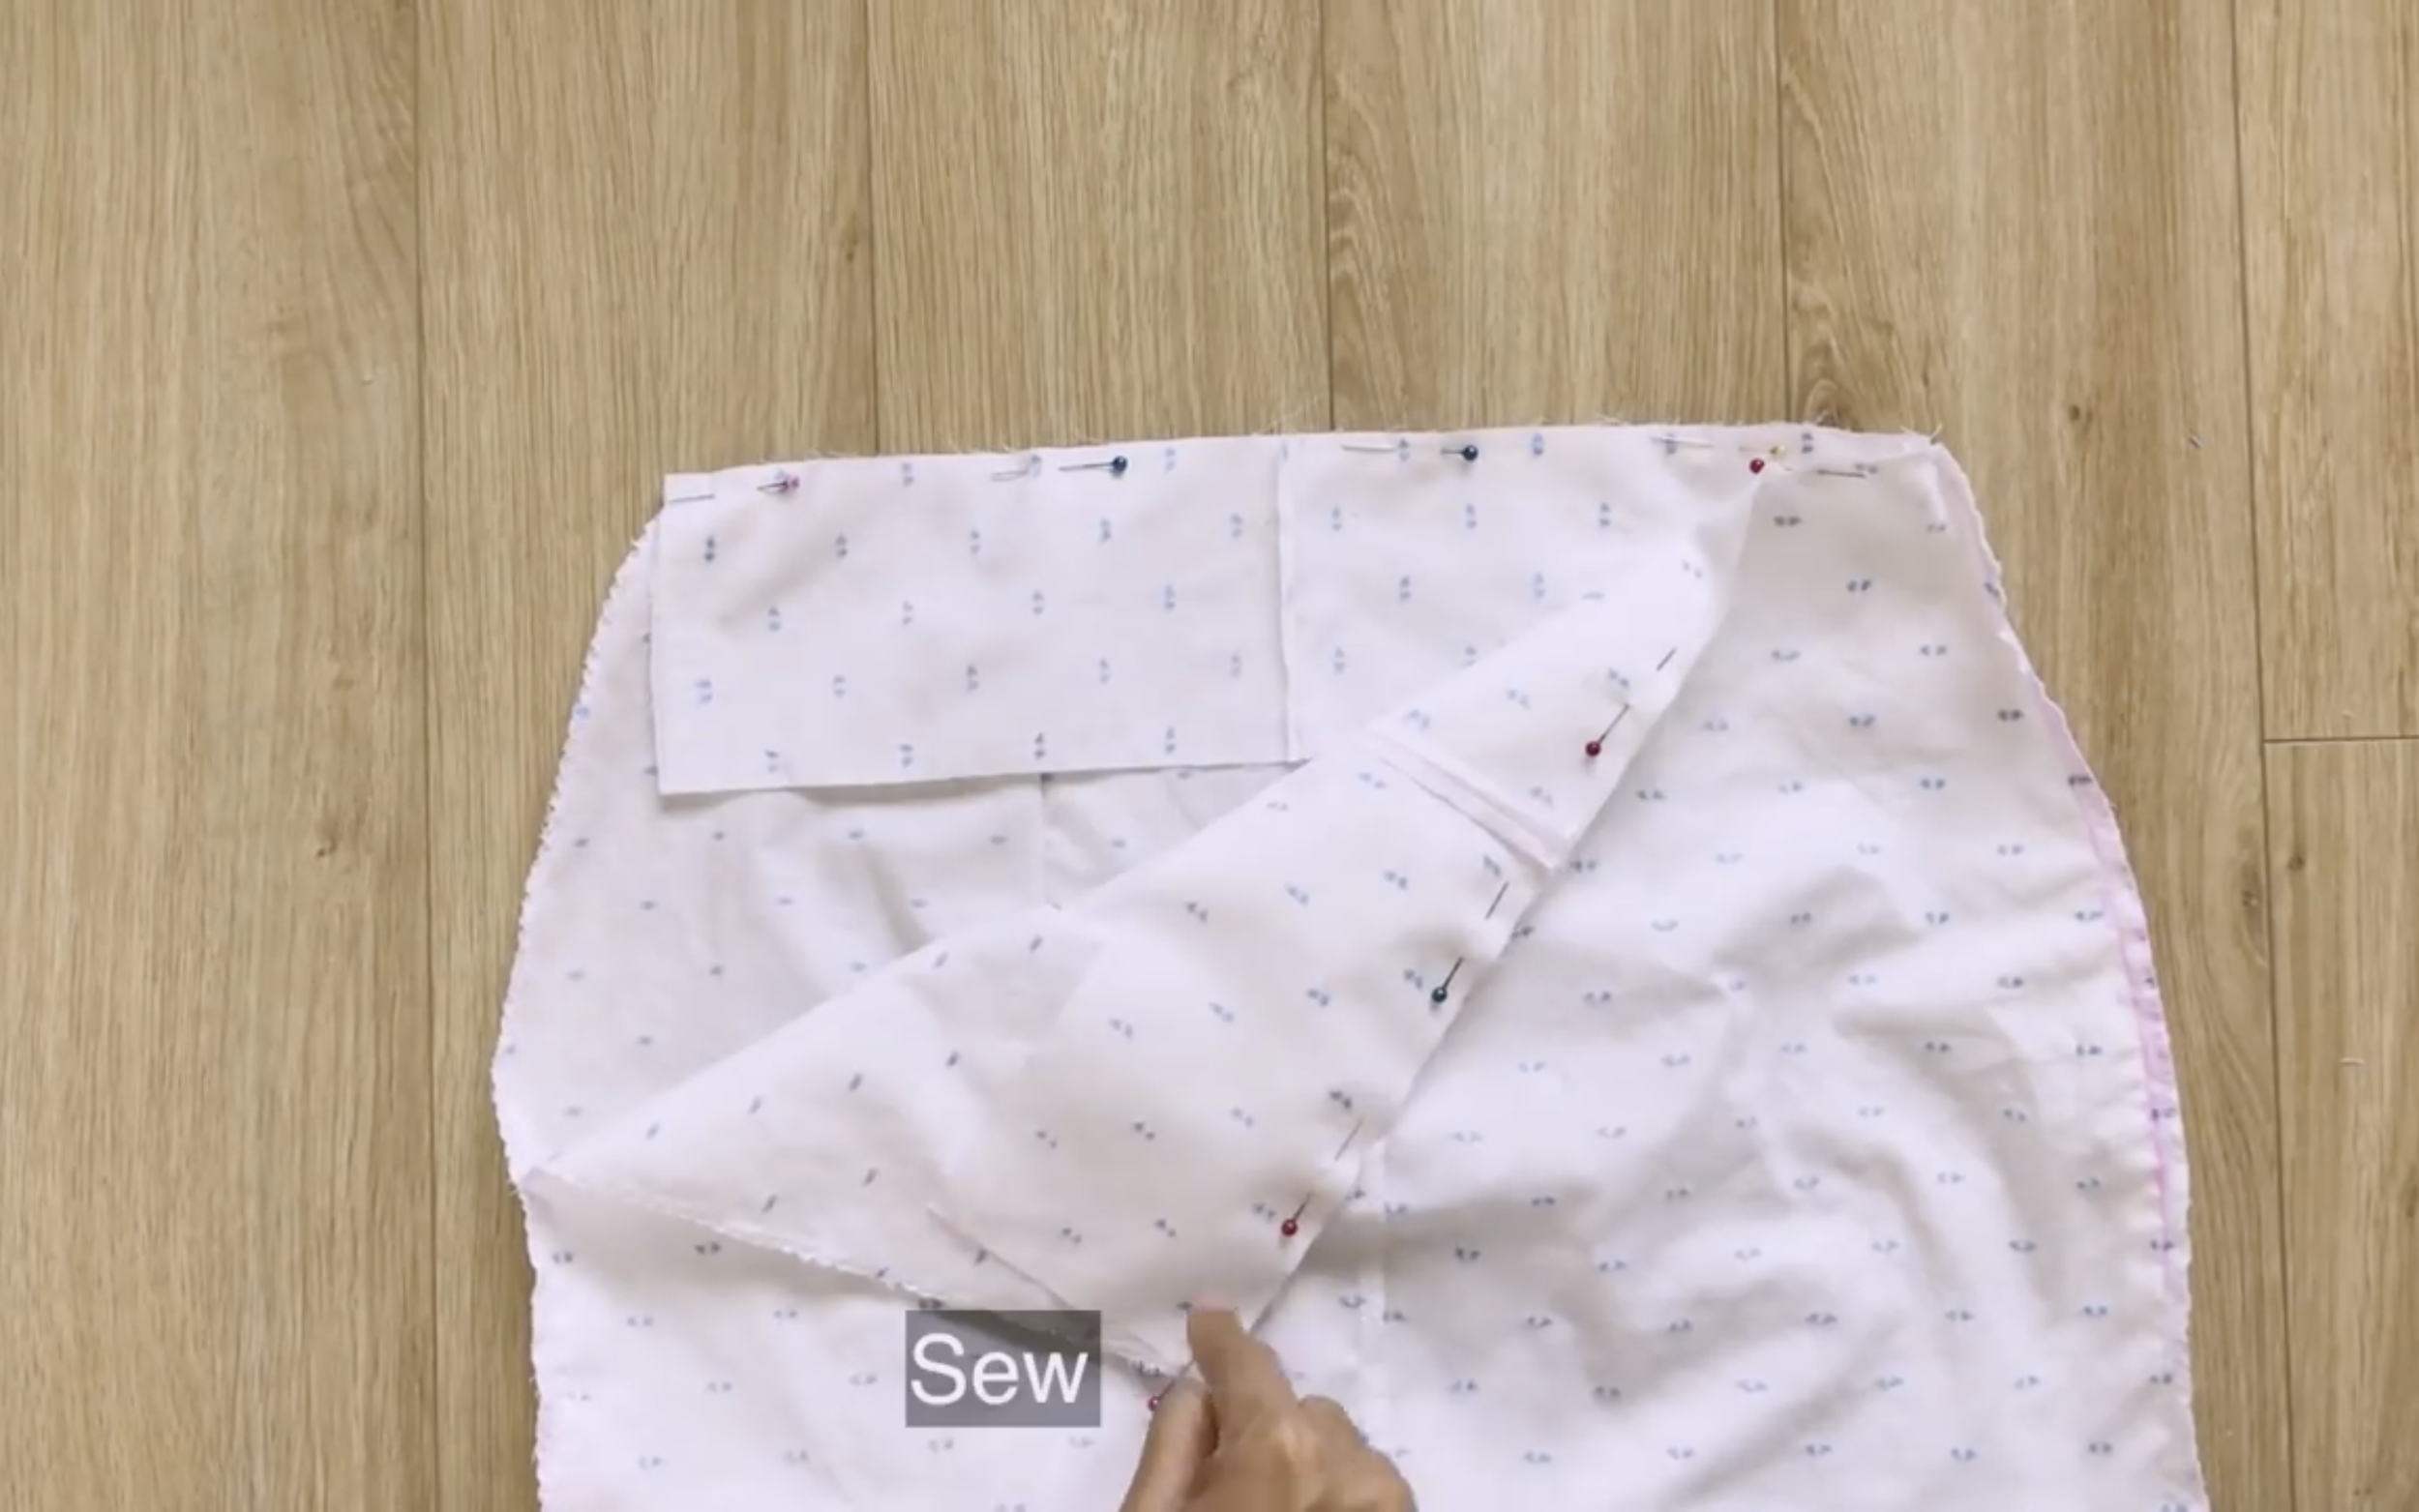
Moving to the skirt, use the leftover fabric from the main shirt to make it.
THE SKIRT PART
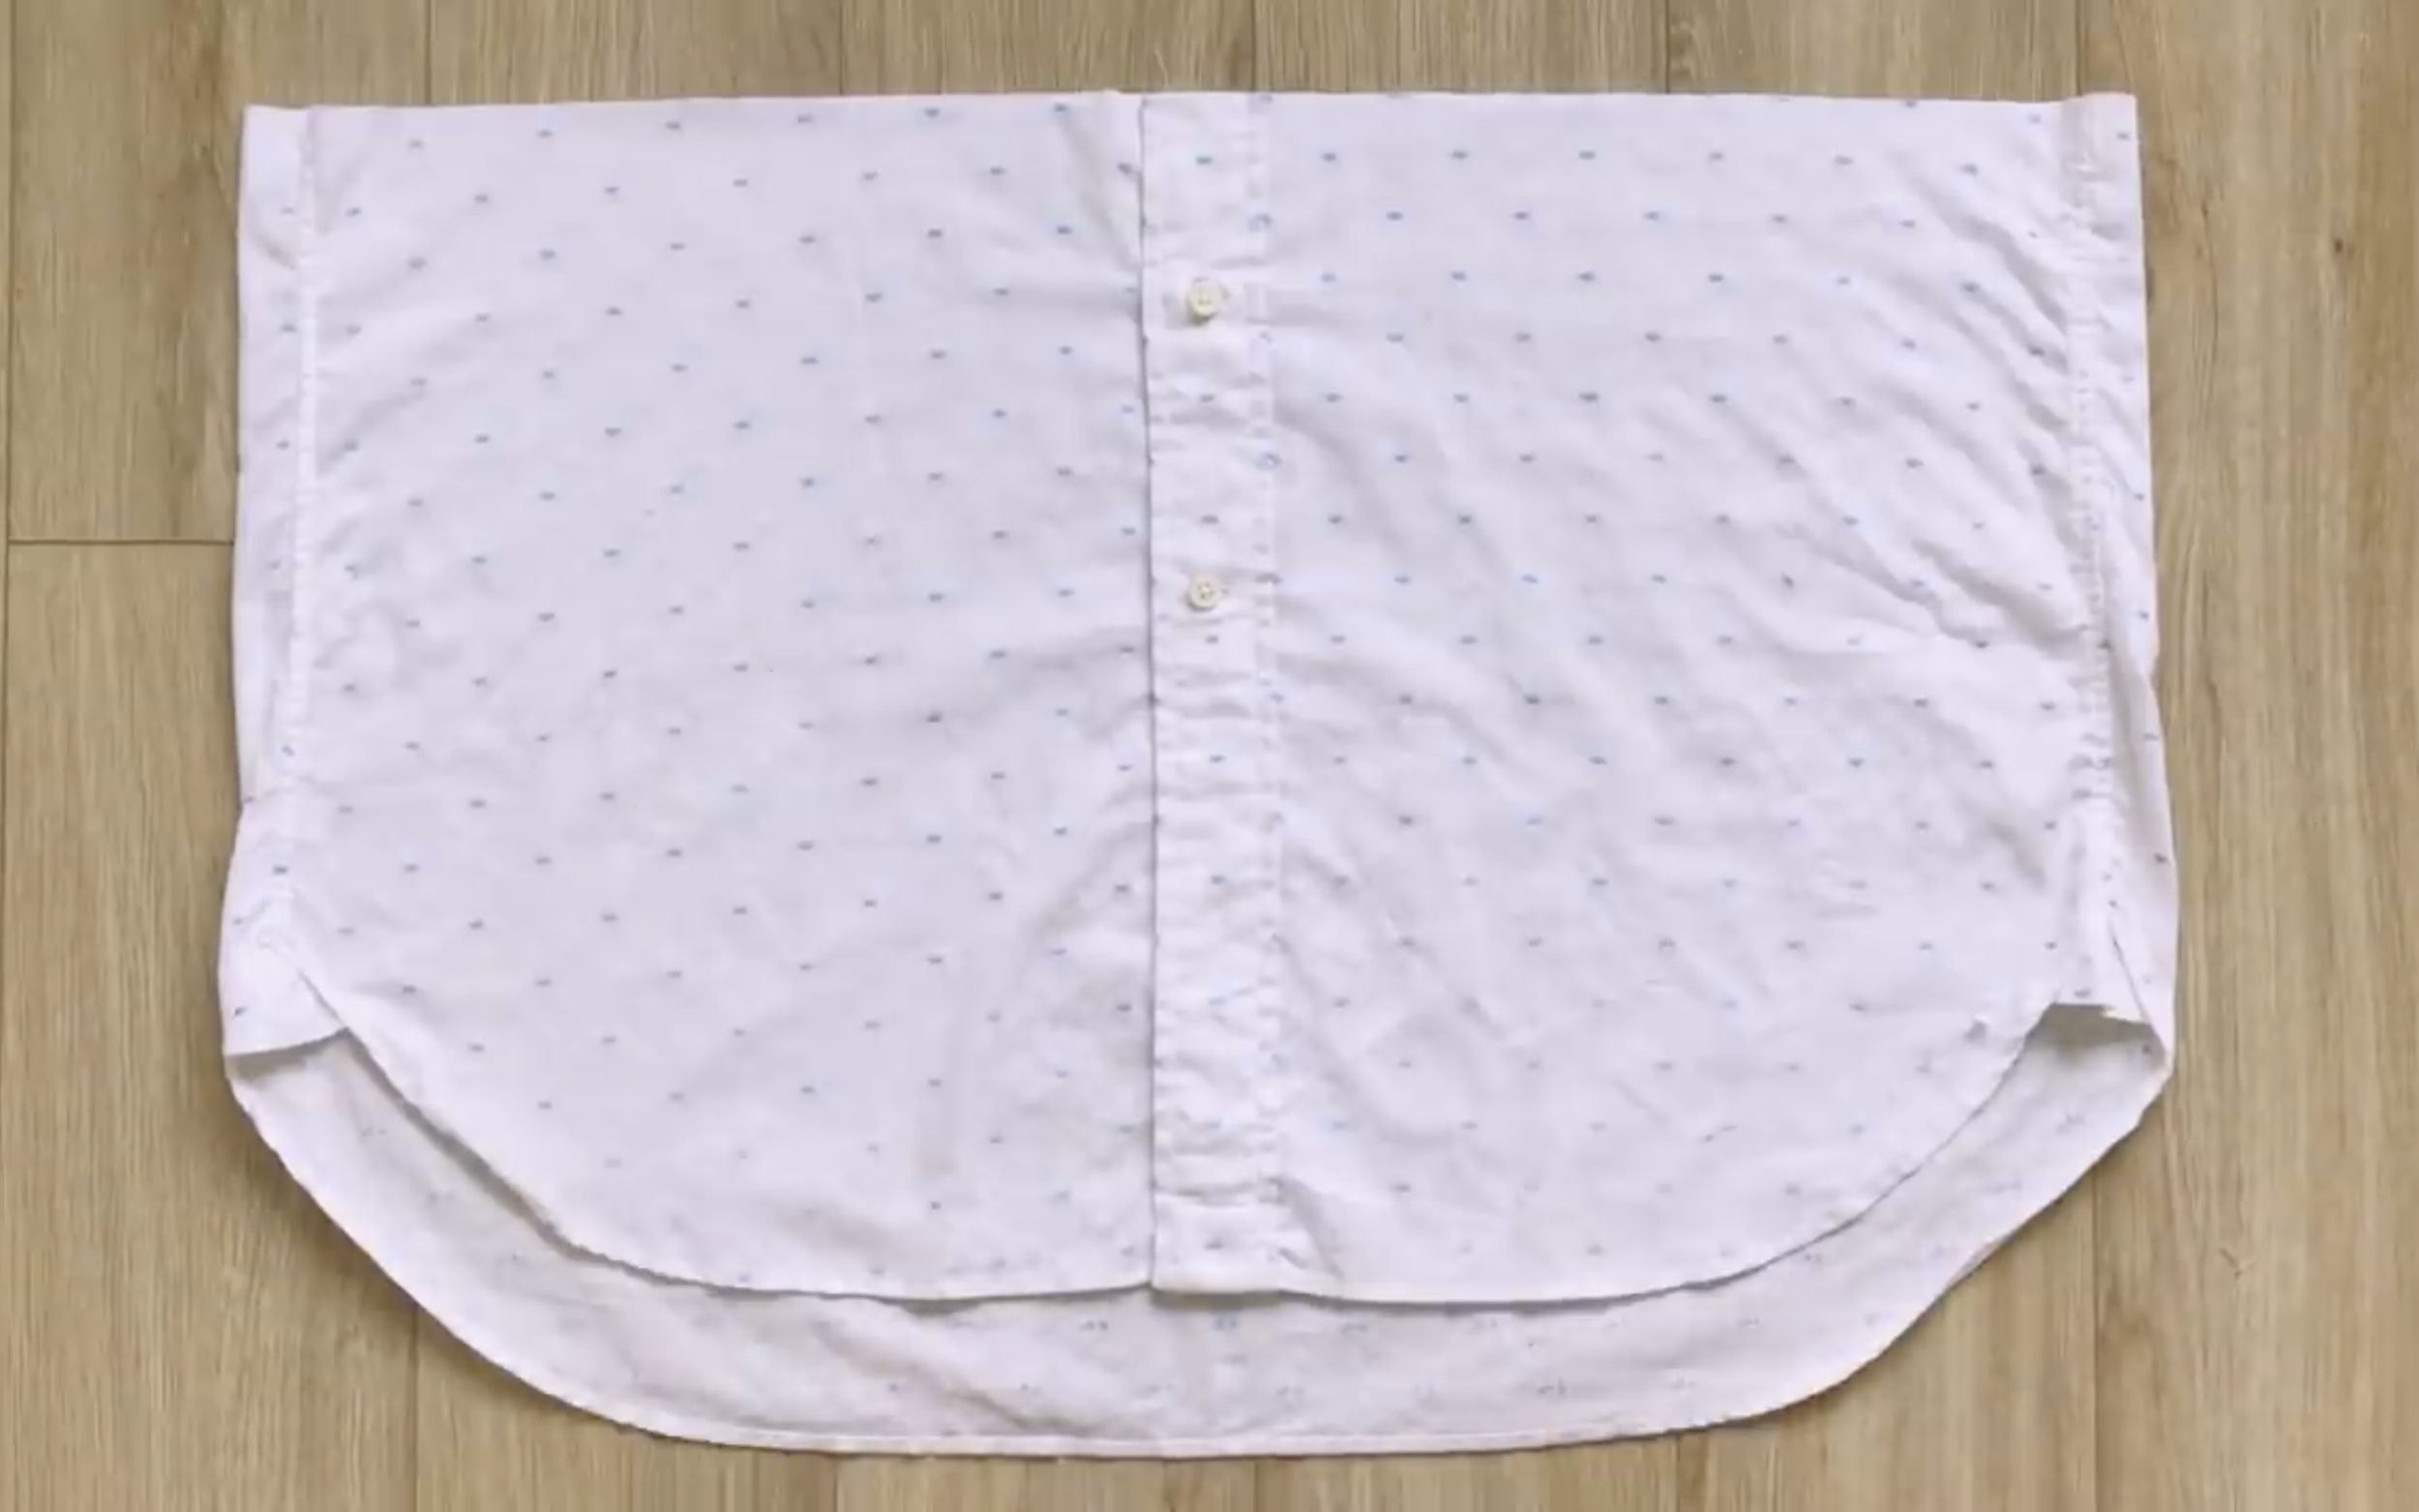
Moving to the skirt, use the leftover fabric from the main shirt to make it.
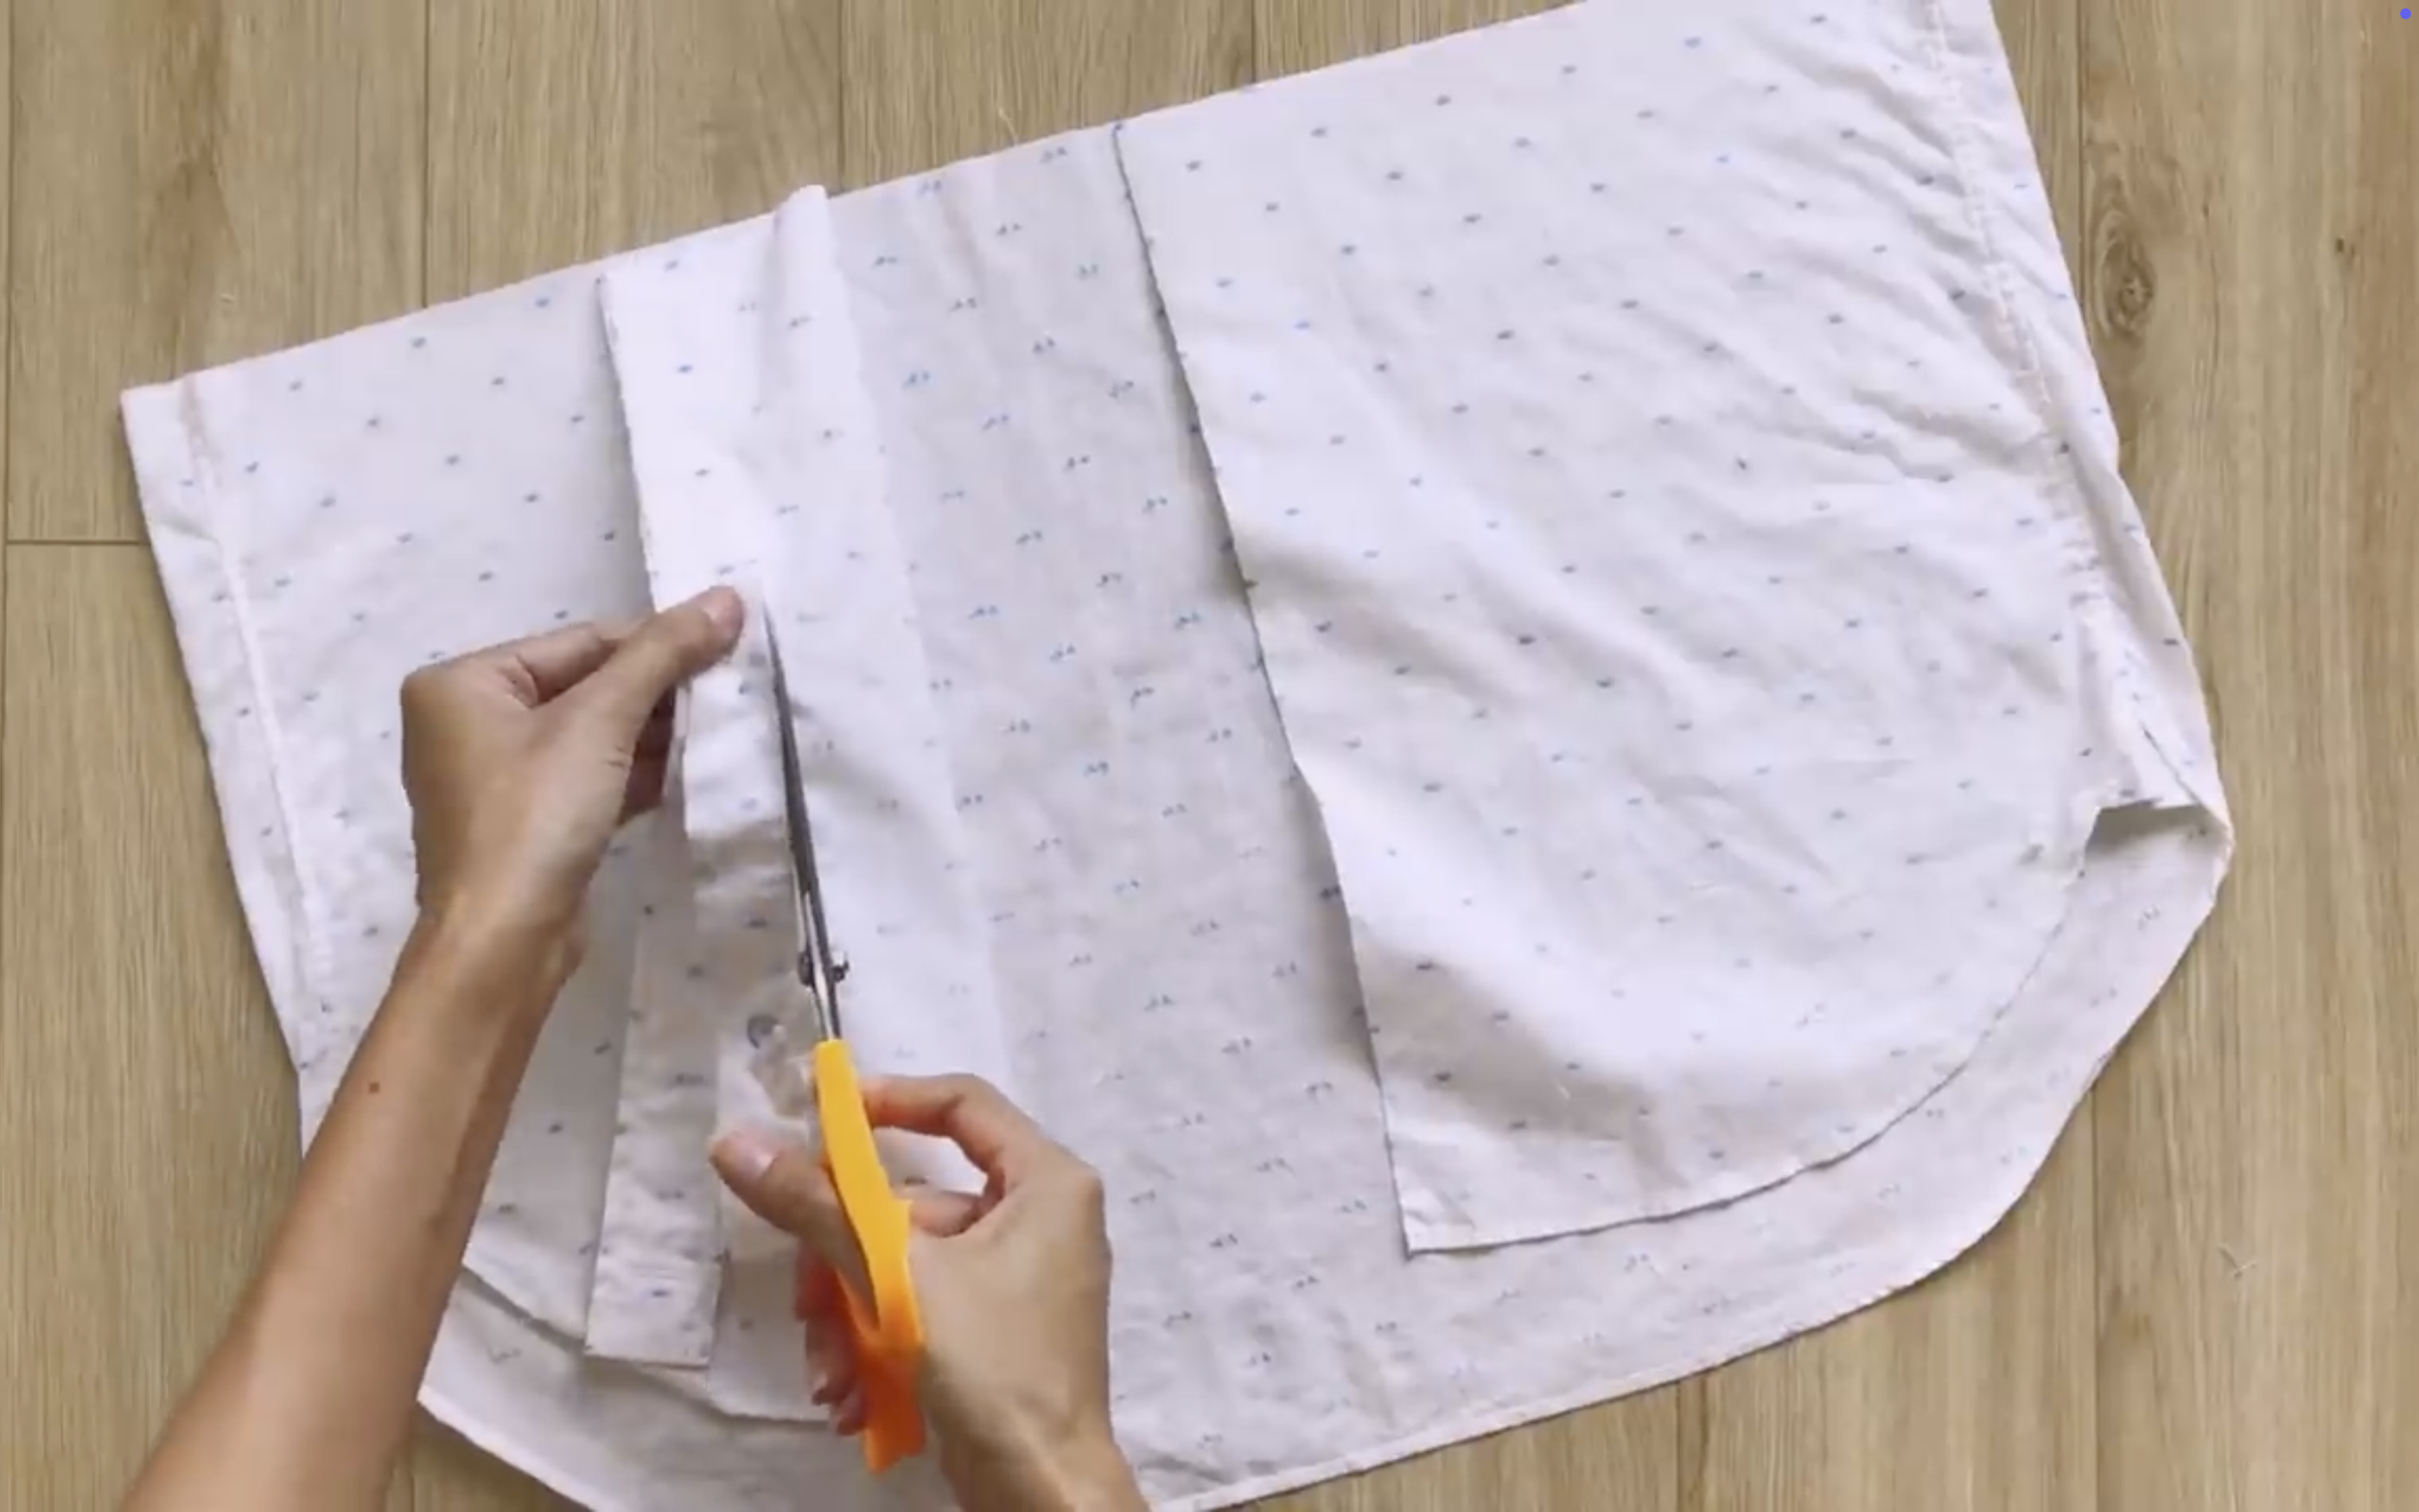
Then cut the button area.
After that, sew both sides together.
If the shirt is not too big, the width at the front of the shirt may not have enough fabric.
It is around 46 cm, which is half of the hip size.
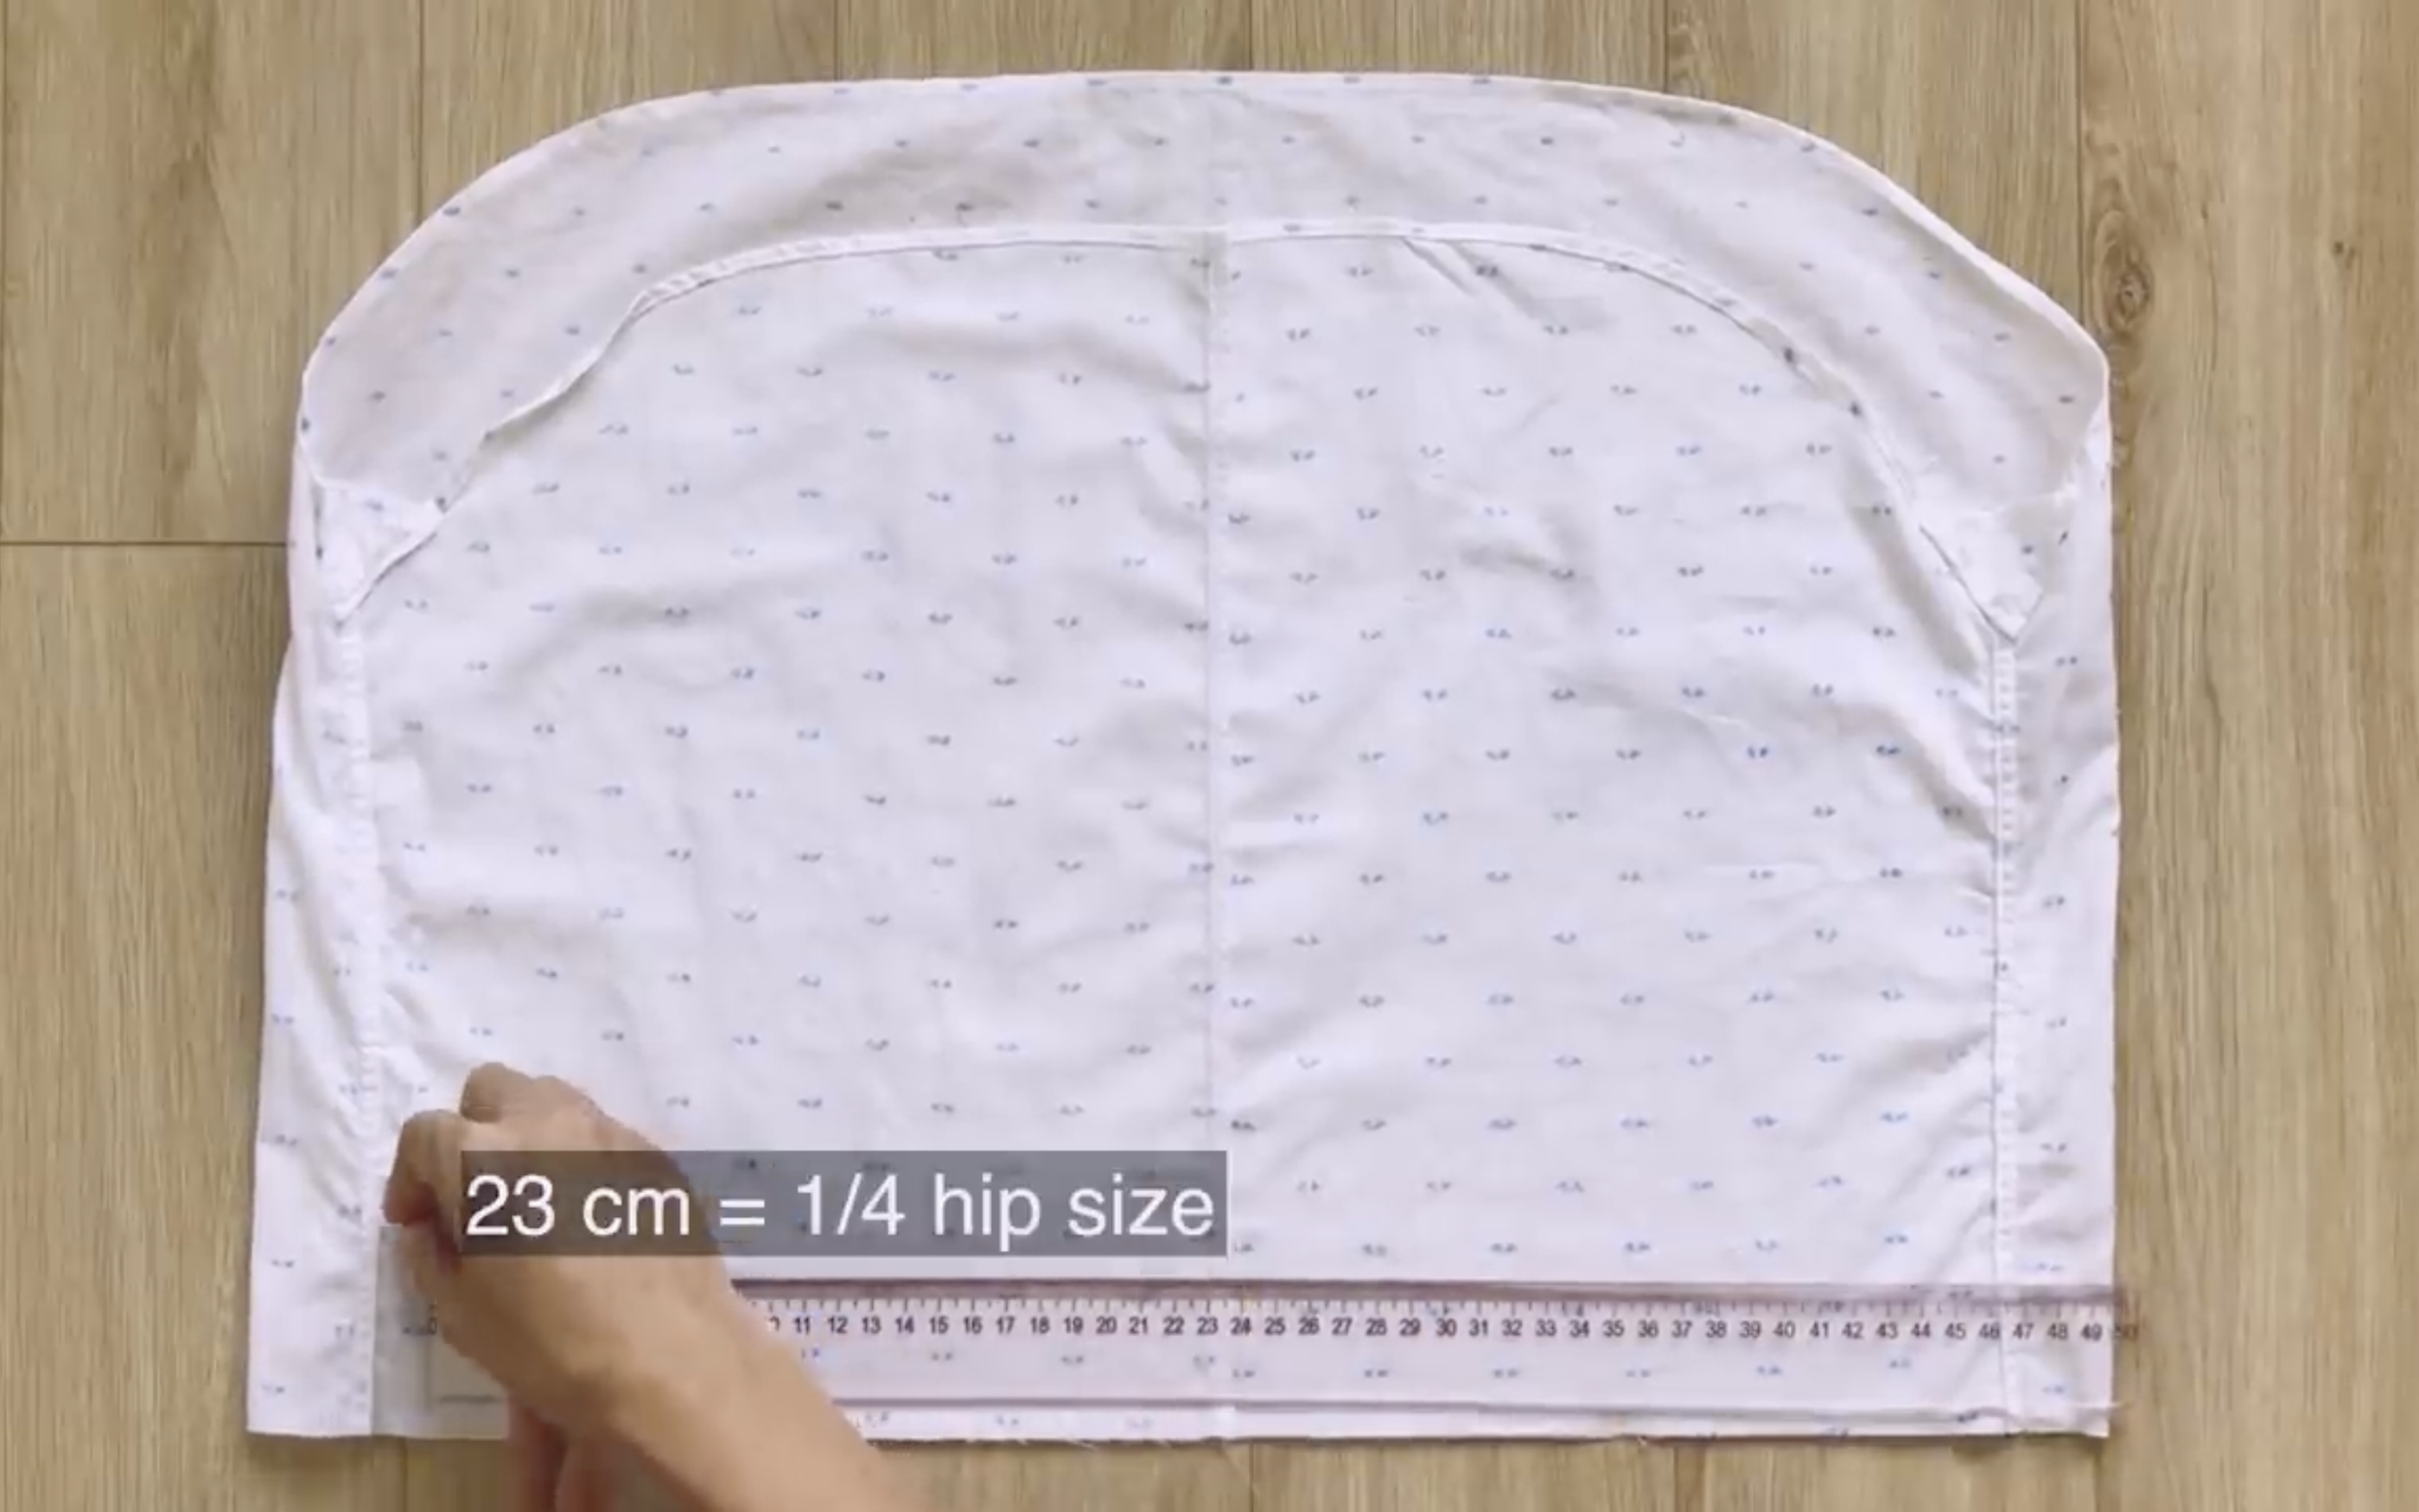
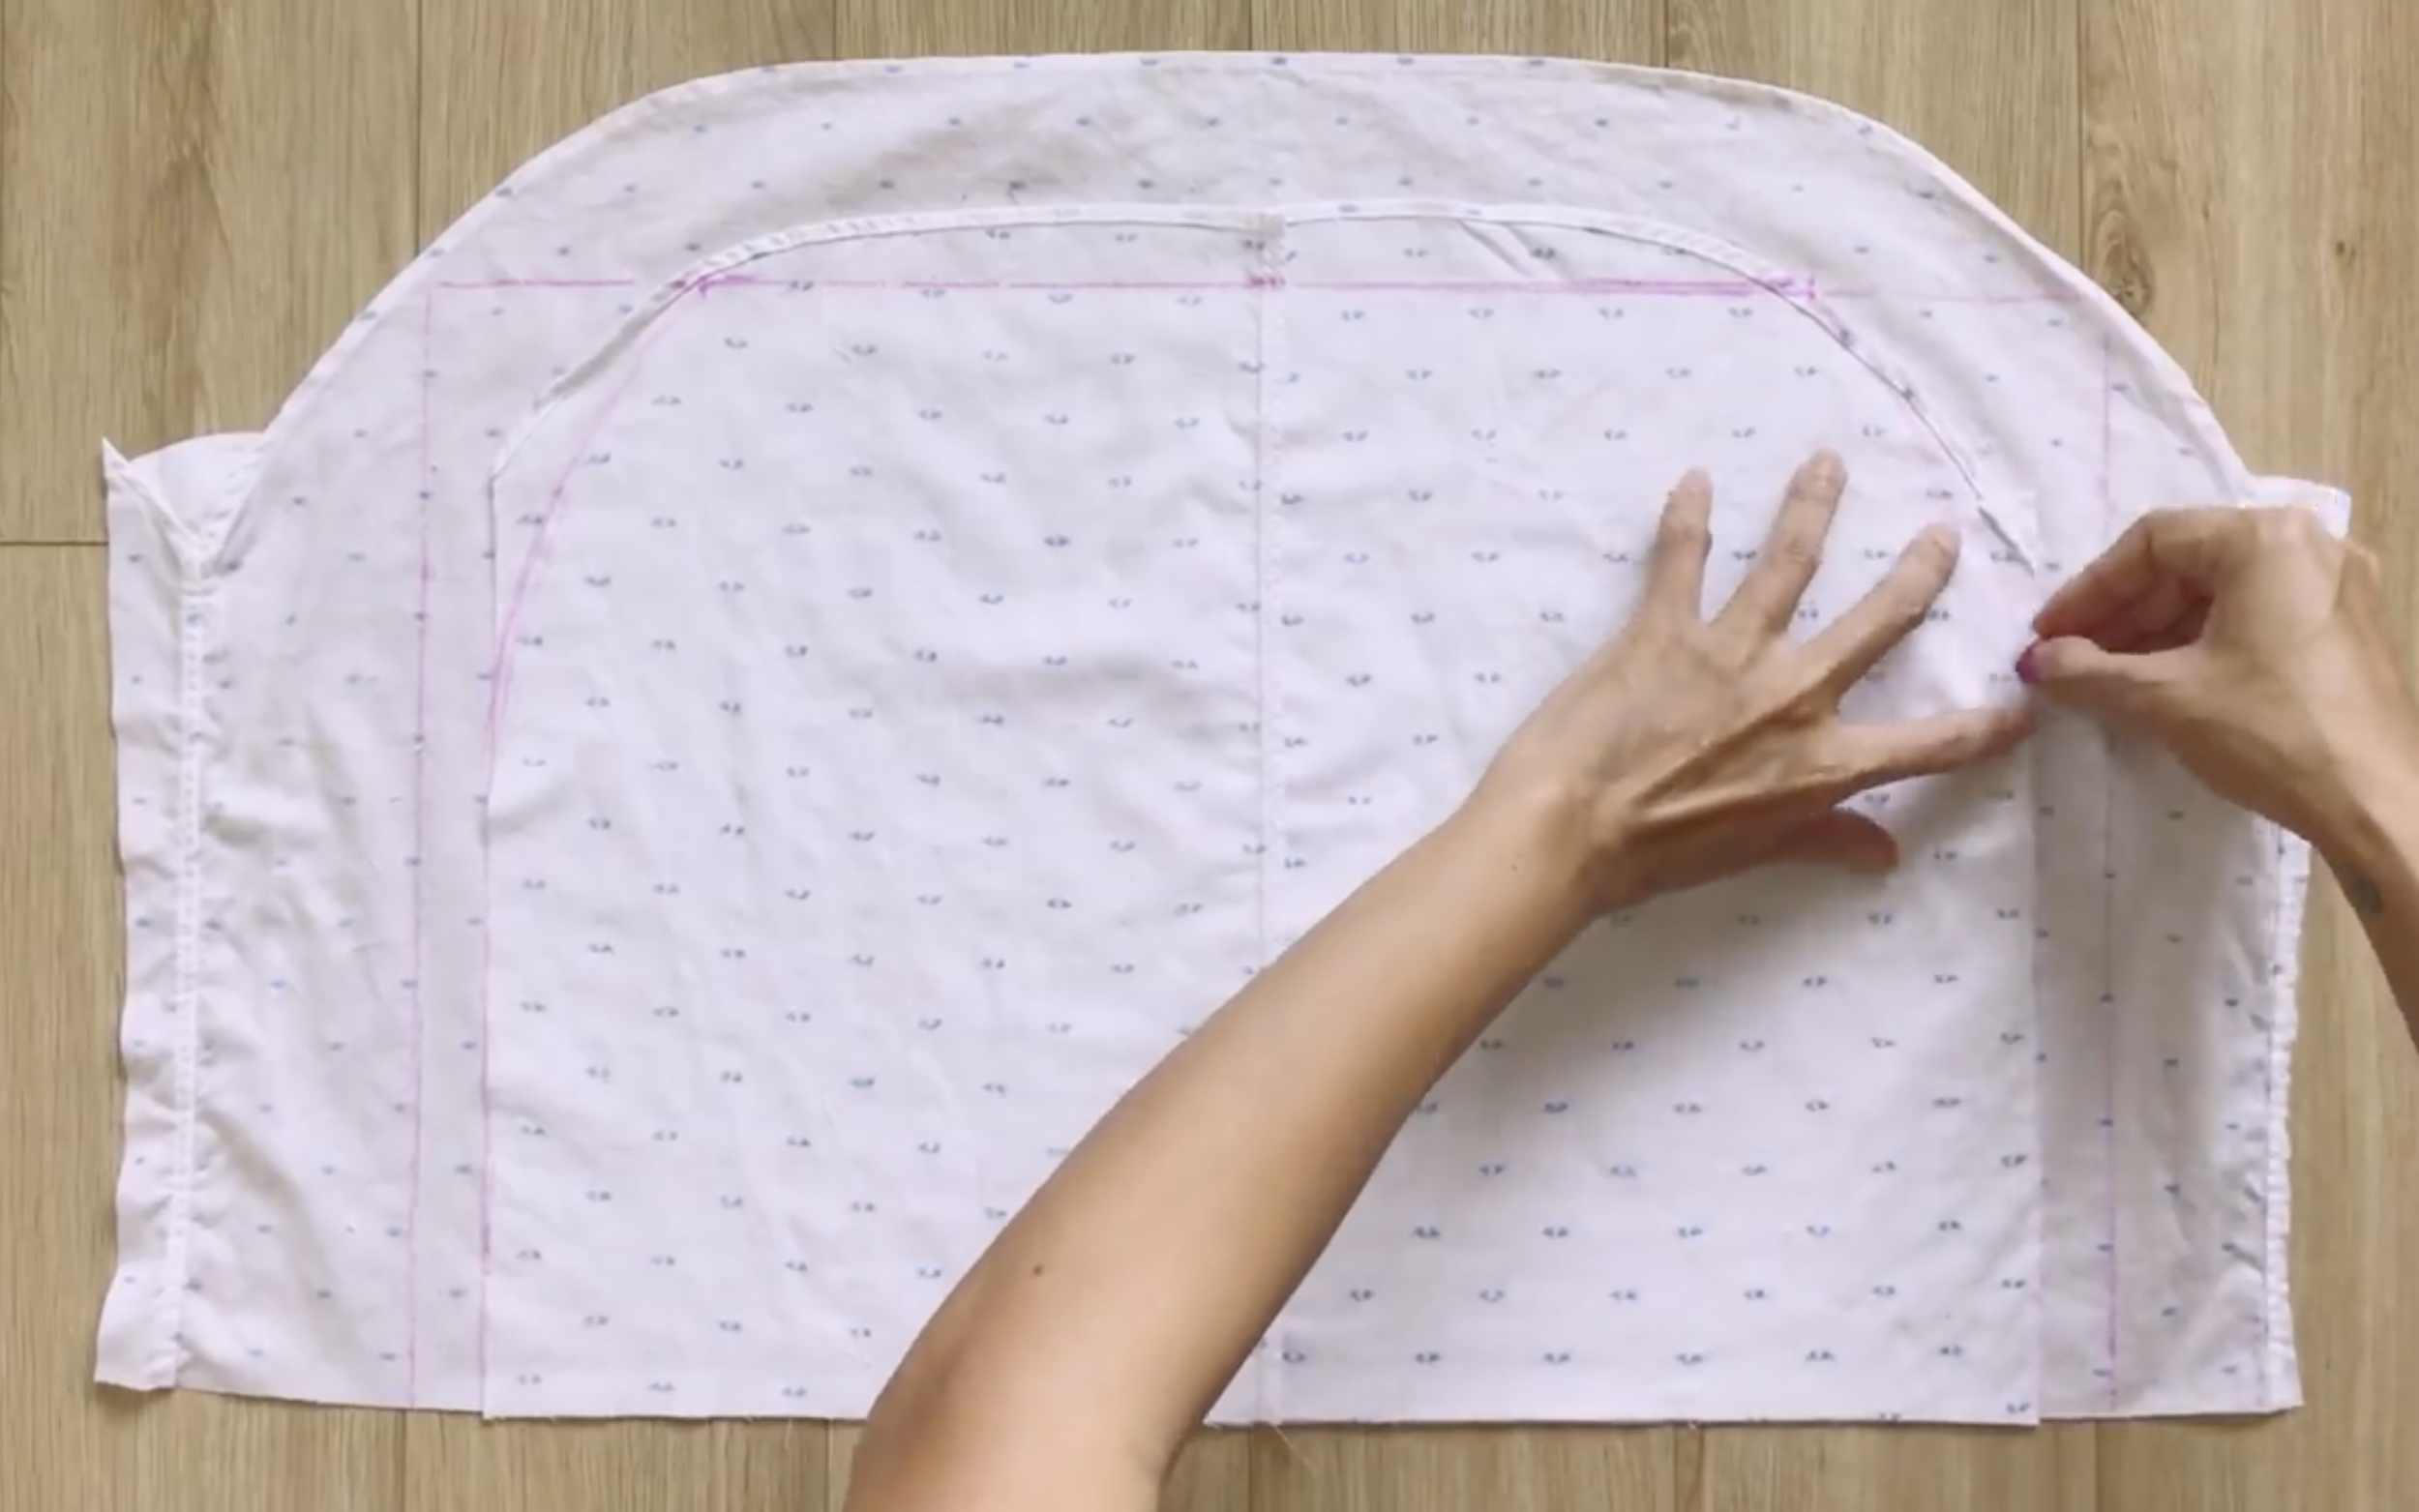
So, from the middle line, draw two lines on each side at 23 cm, which is a quarter of the hip size. This creates the difference between the front and back of the skirt.
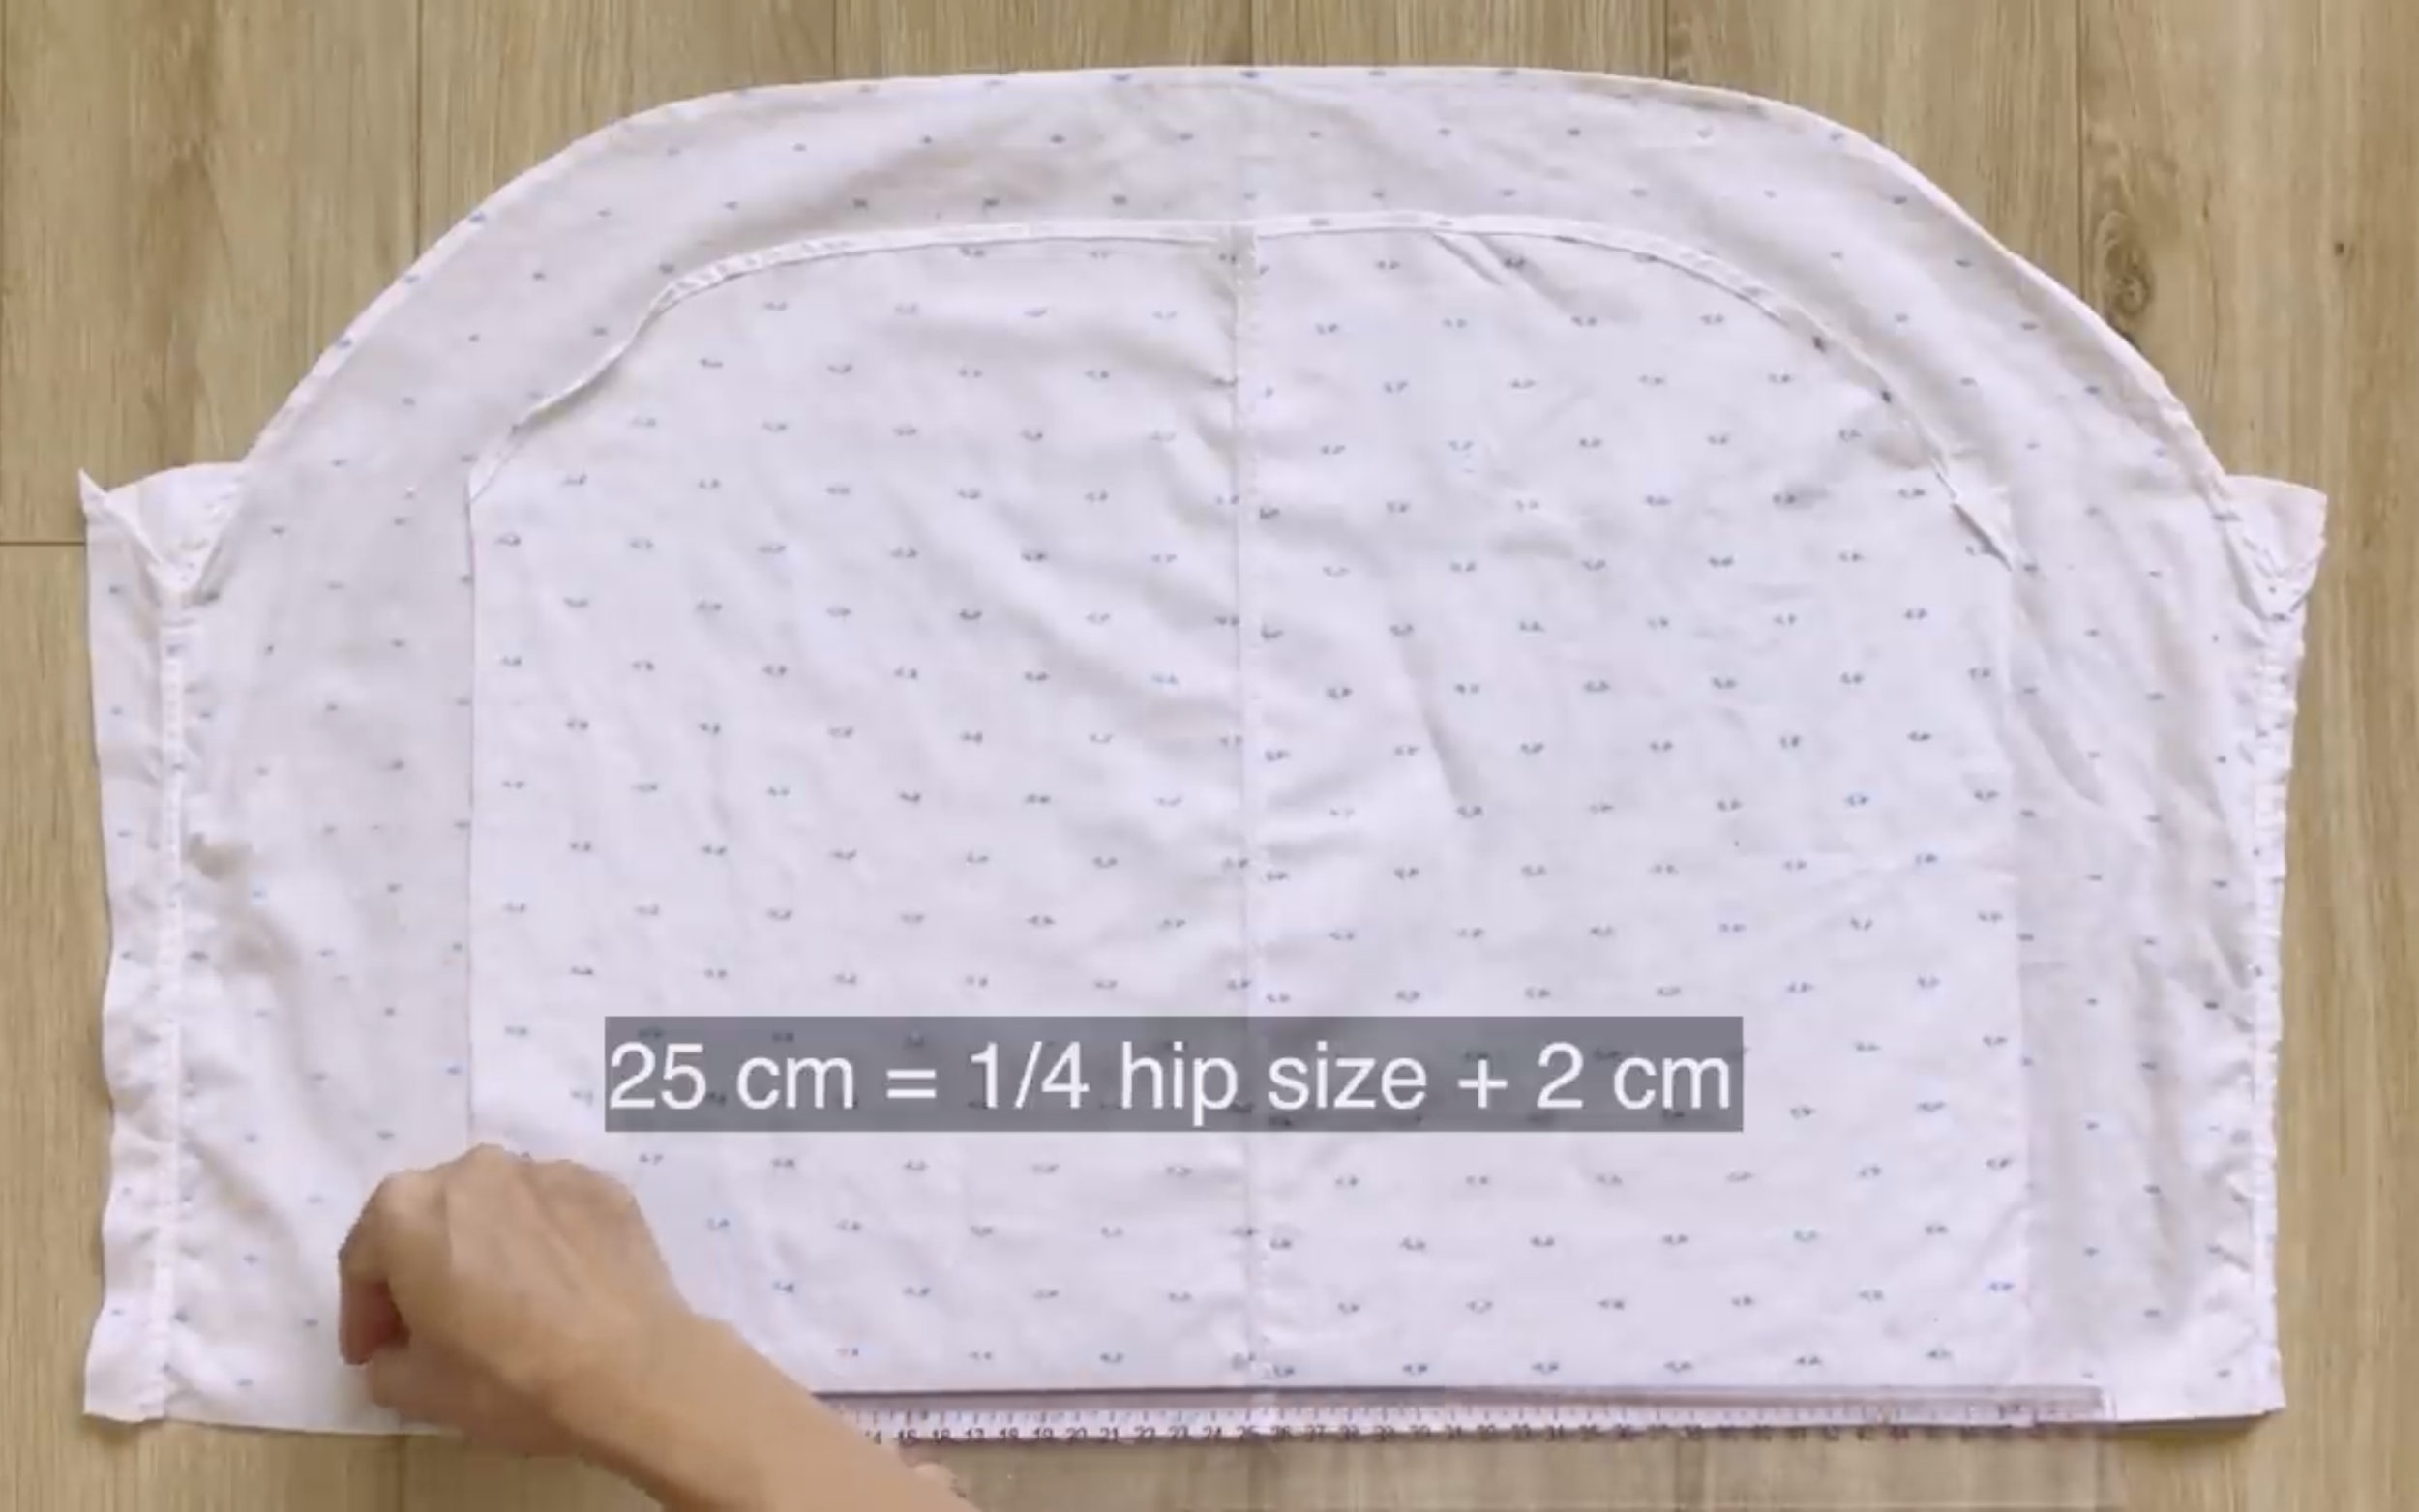
After that, draw another two lines 25 cm from the middle line, which is a quarter of the hip size plus 2 cm. This is for the back of the skirt.
So, the total width of the skirt when the front and back are connected will be the hip size plus 4 cm for seam allowance.
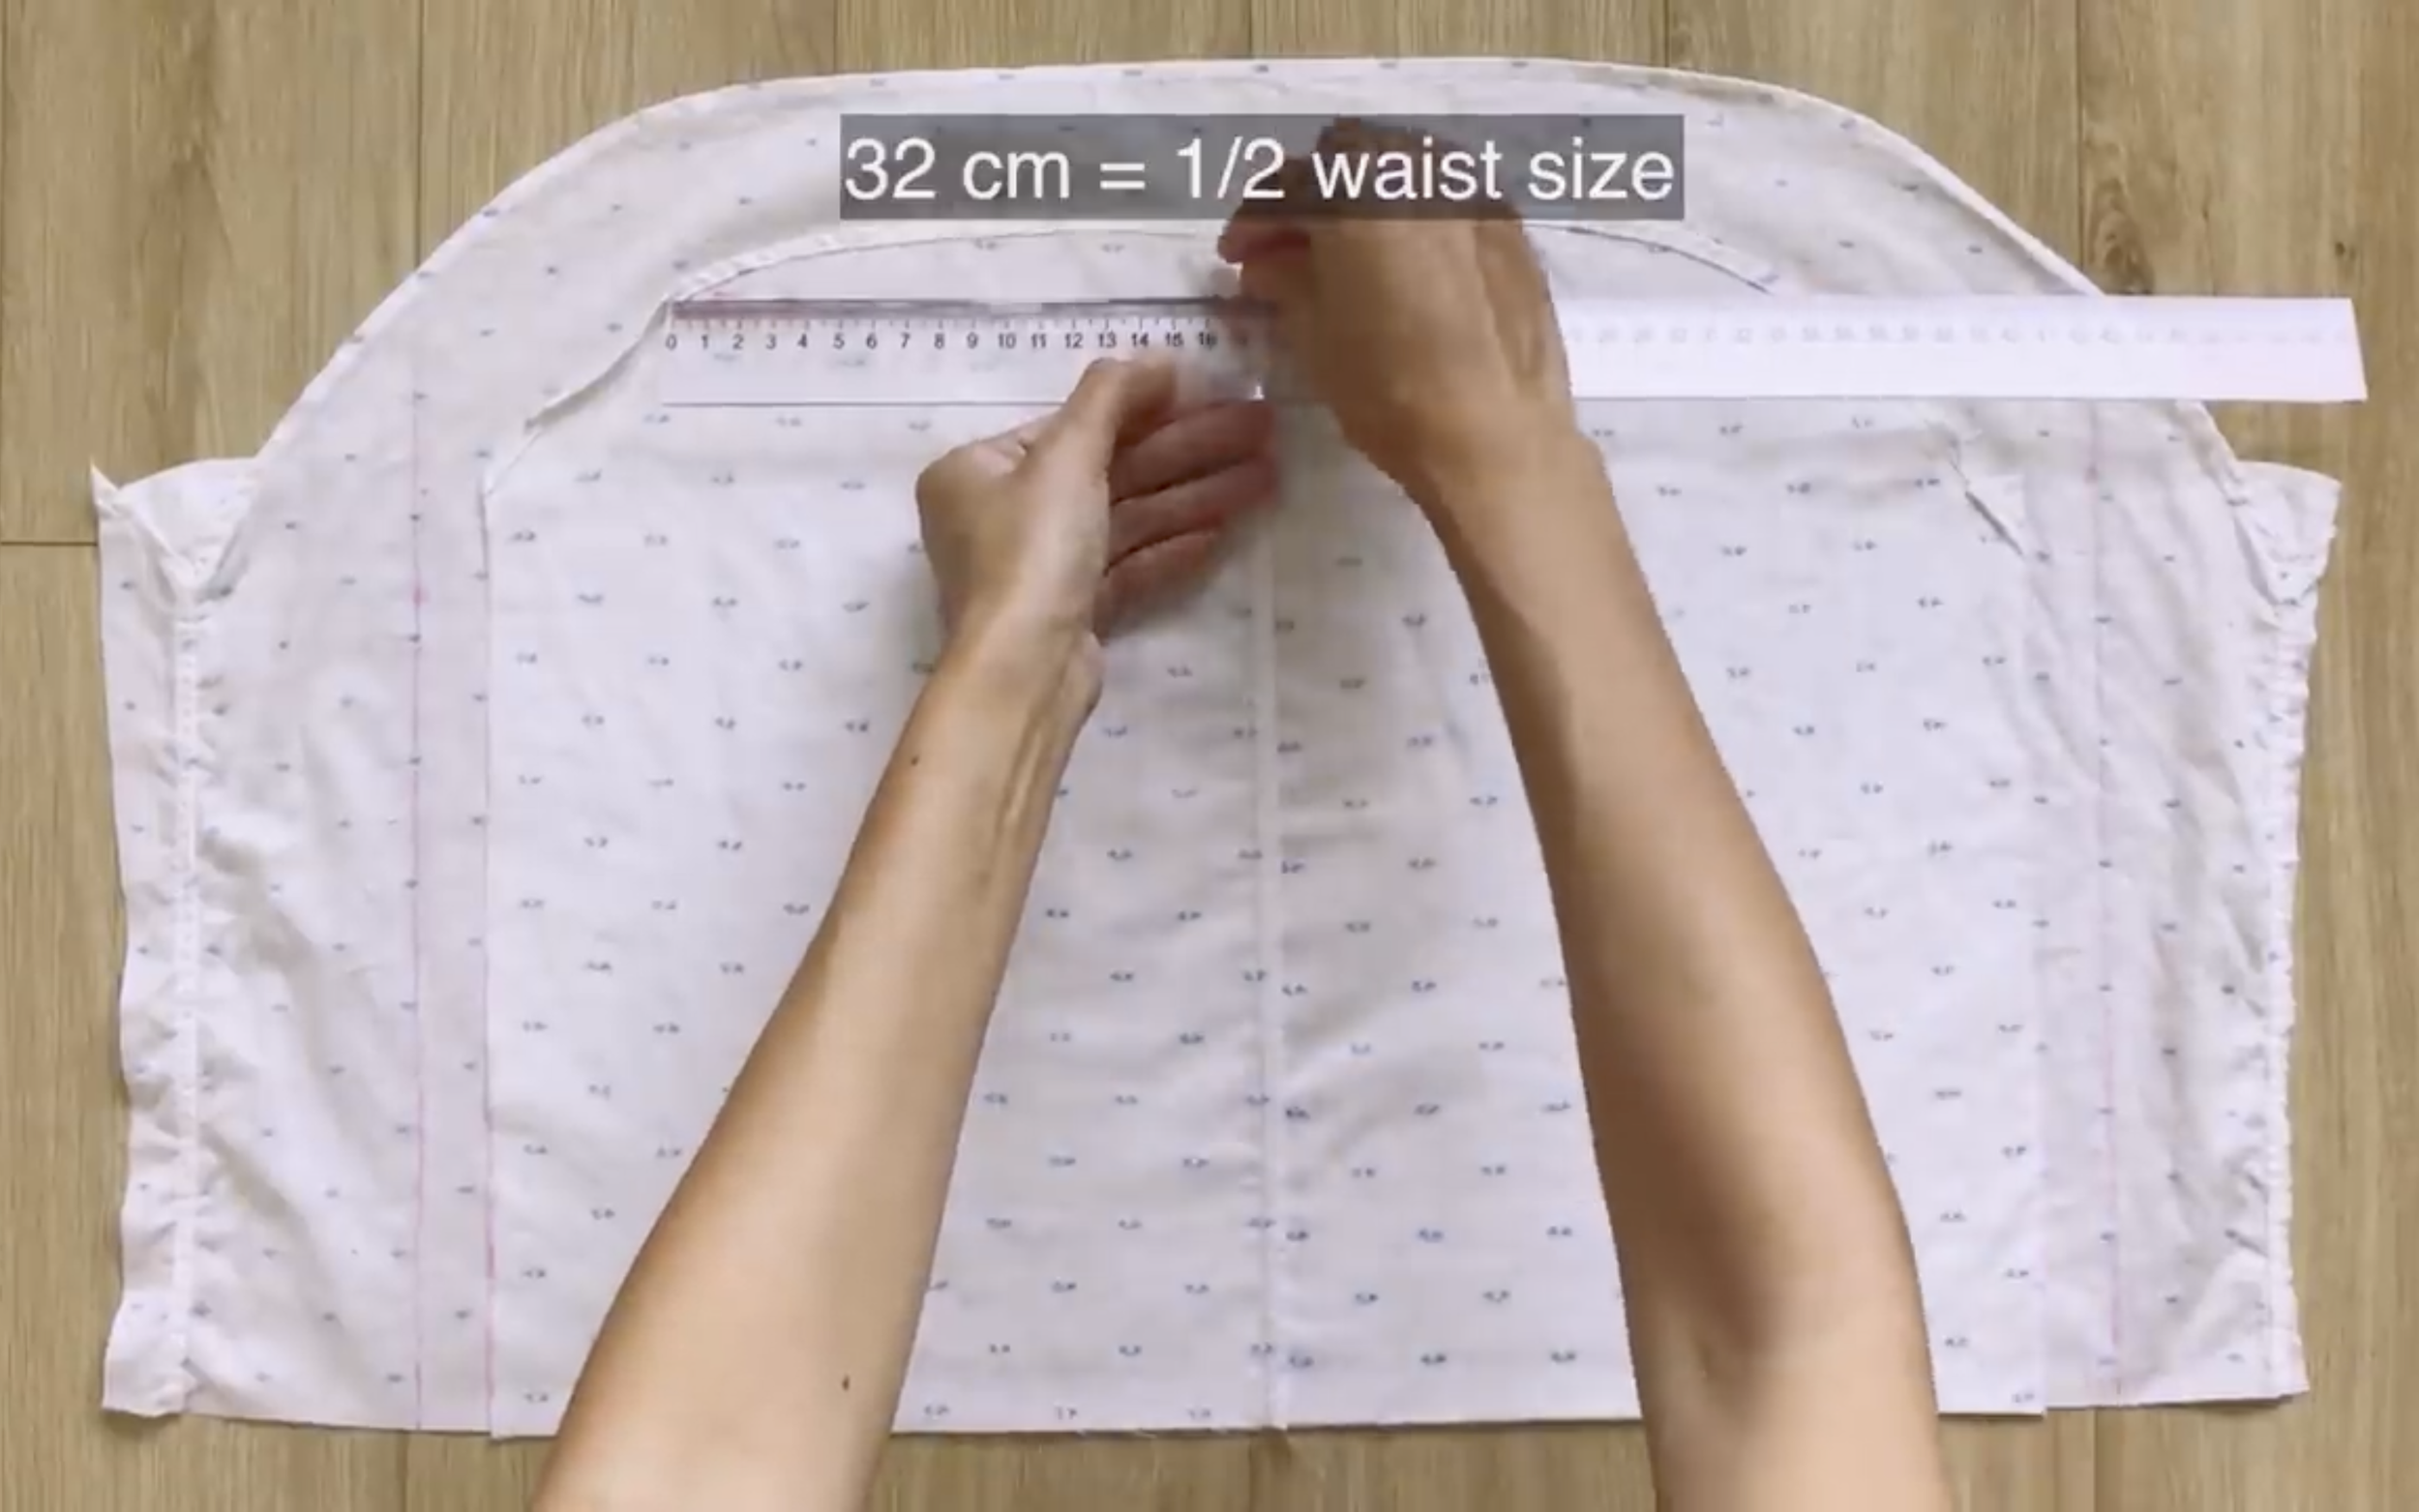
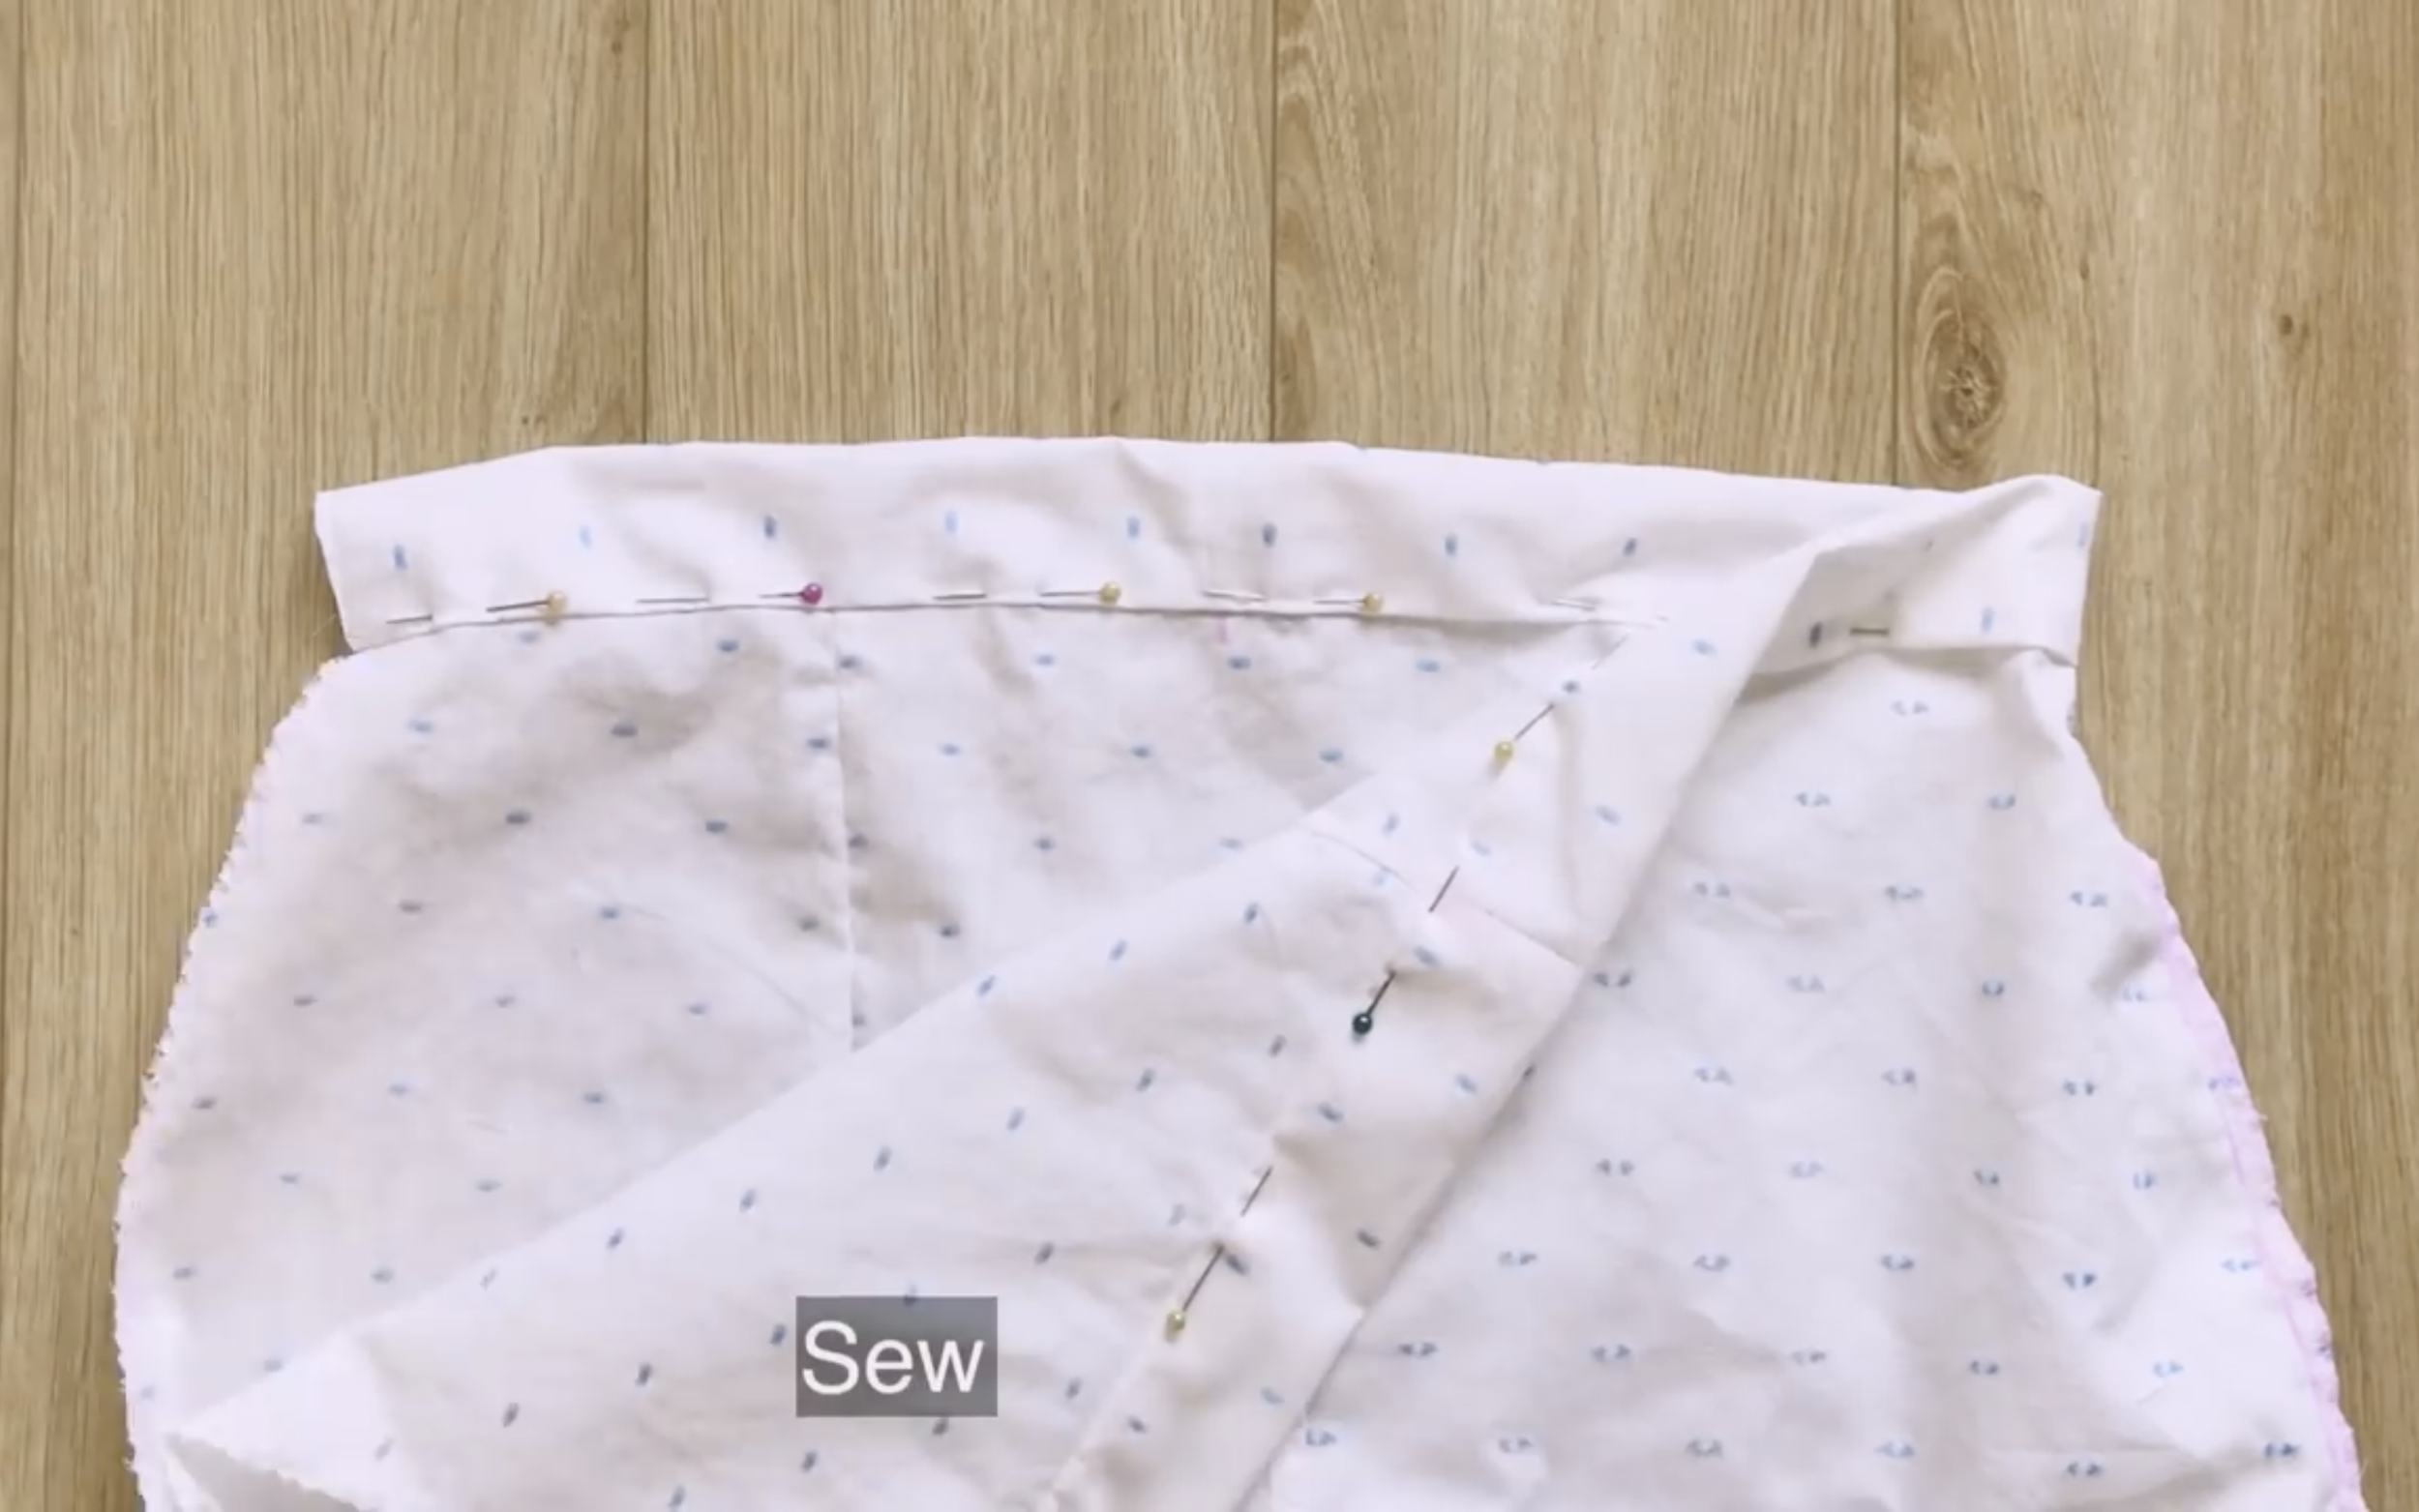
Measure the width at the top of the skirt to be 32 cm, which is half of the waist size, to get the maximum length for the skirt.
At both ends of the top line, draw a curved line connecting to the end of the skirt. This will be the sideline of the skirt.
Apply the same measurements to the back of the skirt.
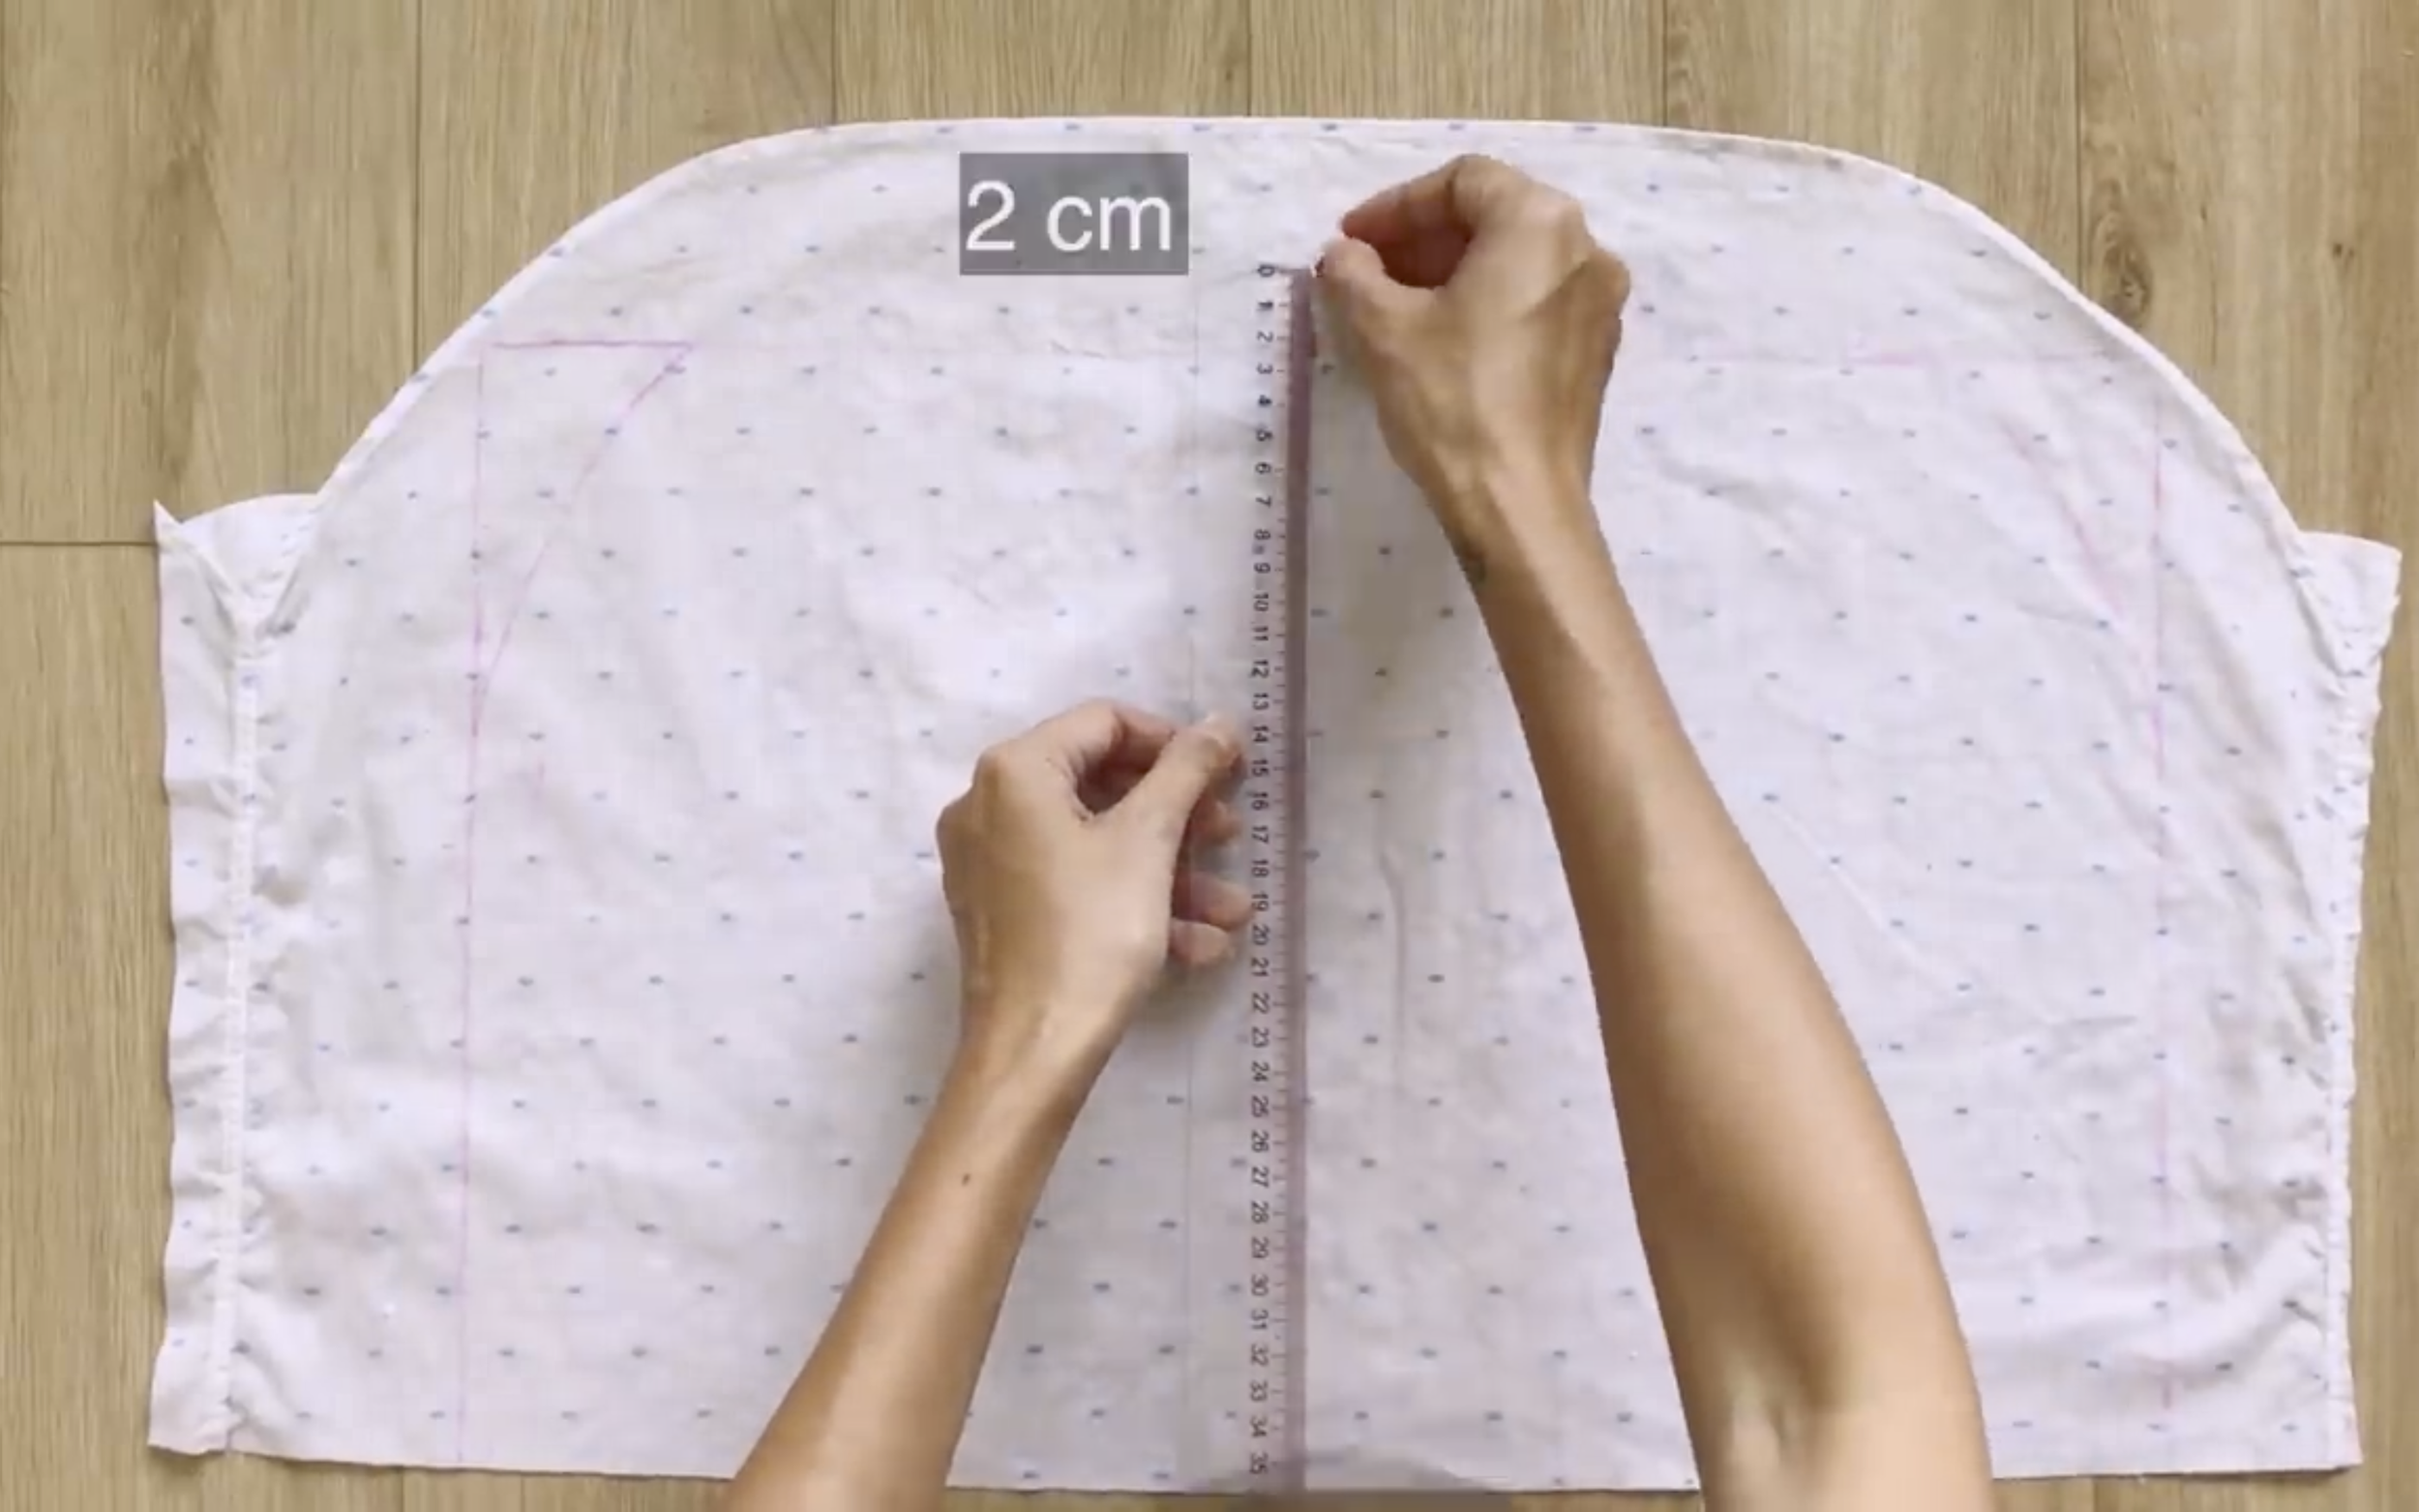
The back of the skirt should be slightly higher than the front, so add 2 cm extra for the back.
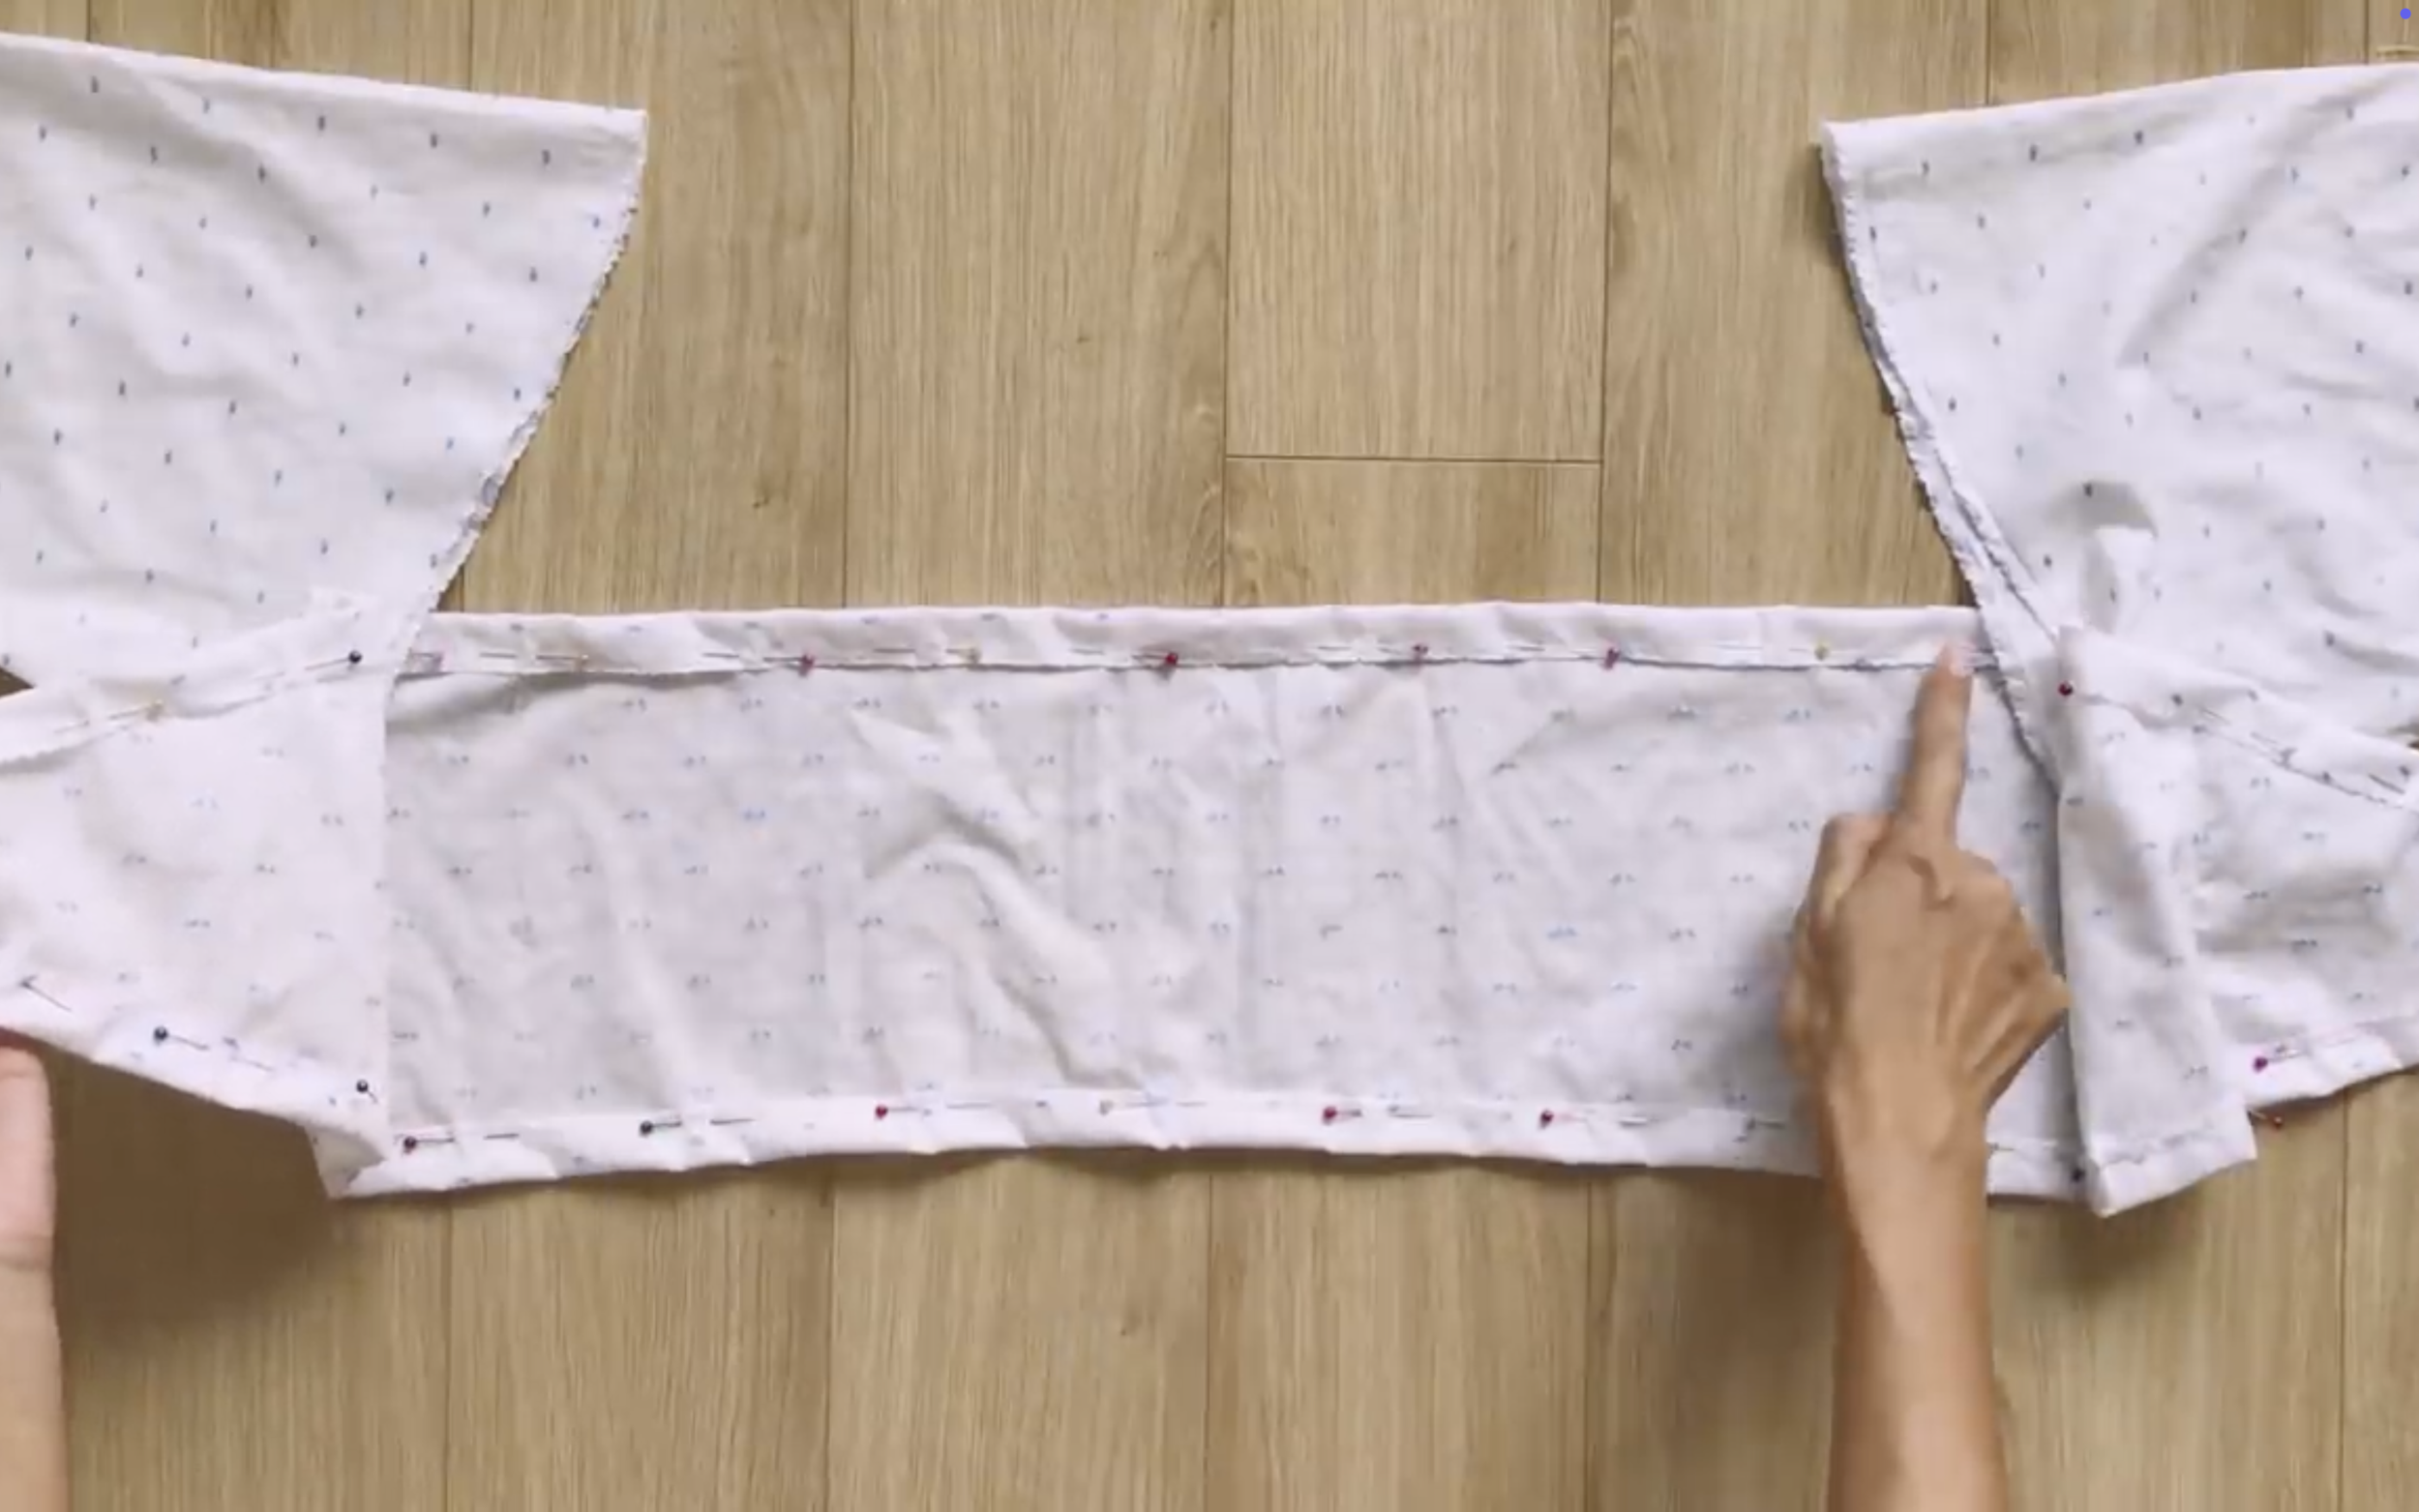
Then, sew.
After cutting, connect the front and back of the skirt together at the sides and sew.
However, leave a small unsewn space on one side for the zipper later.
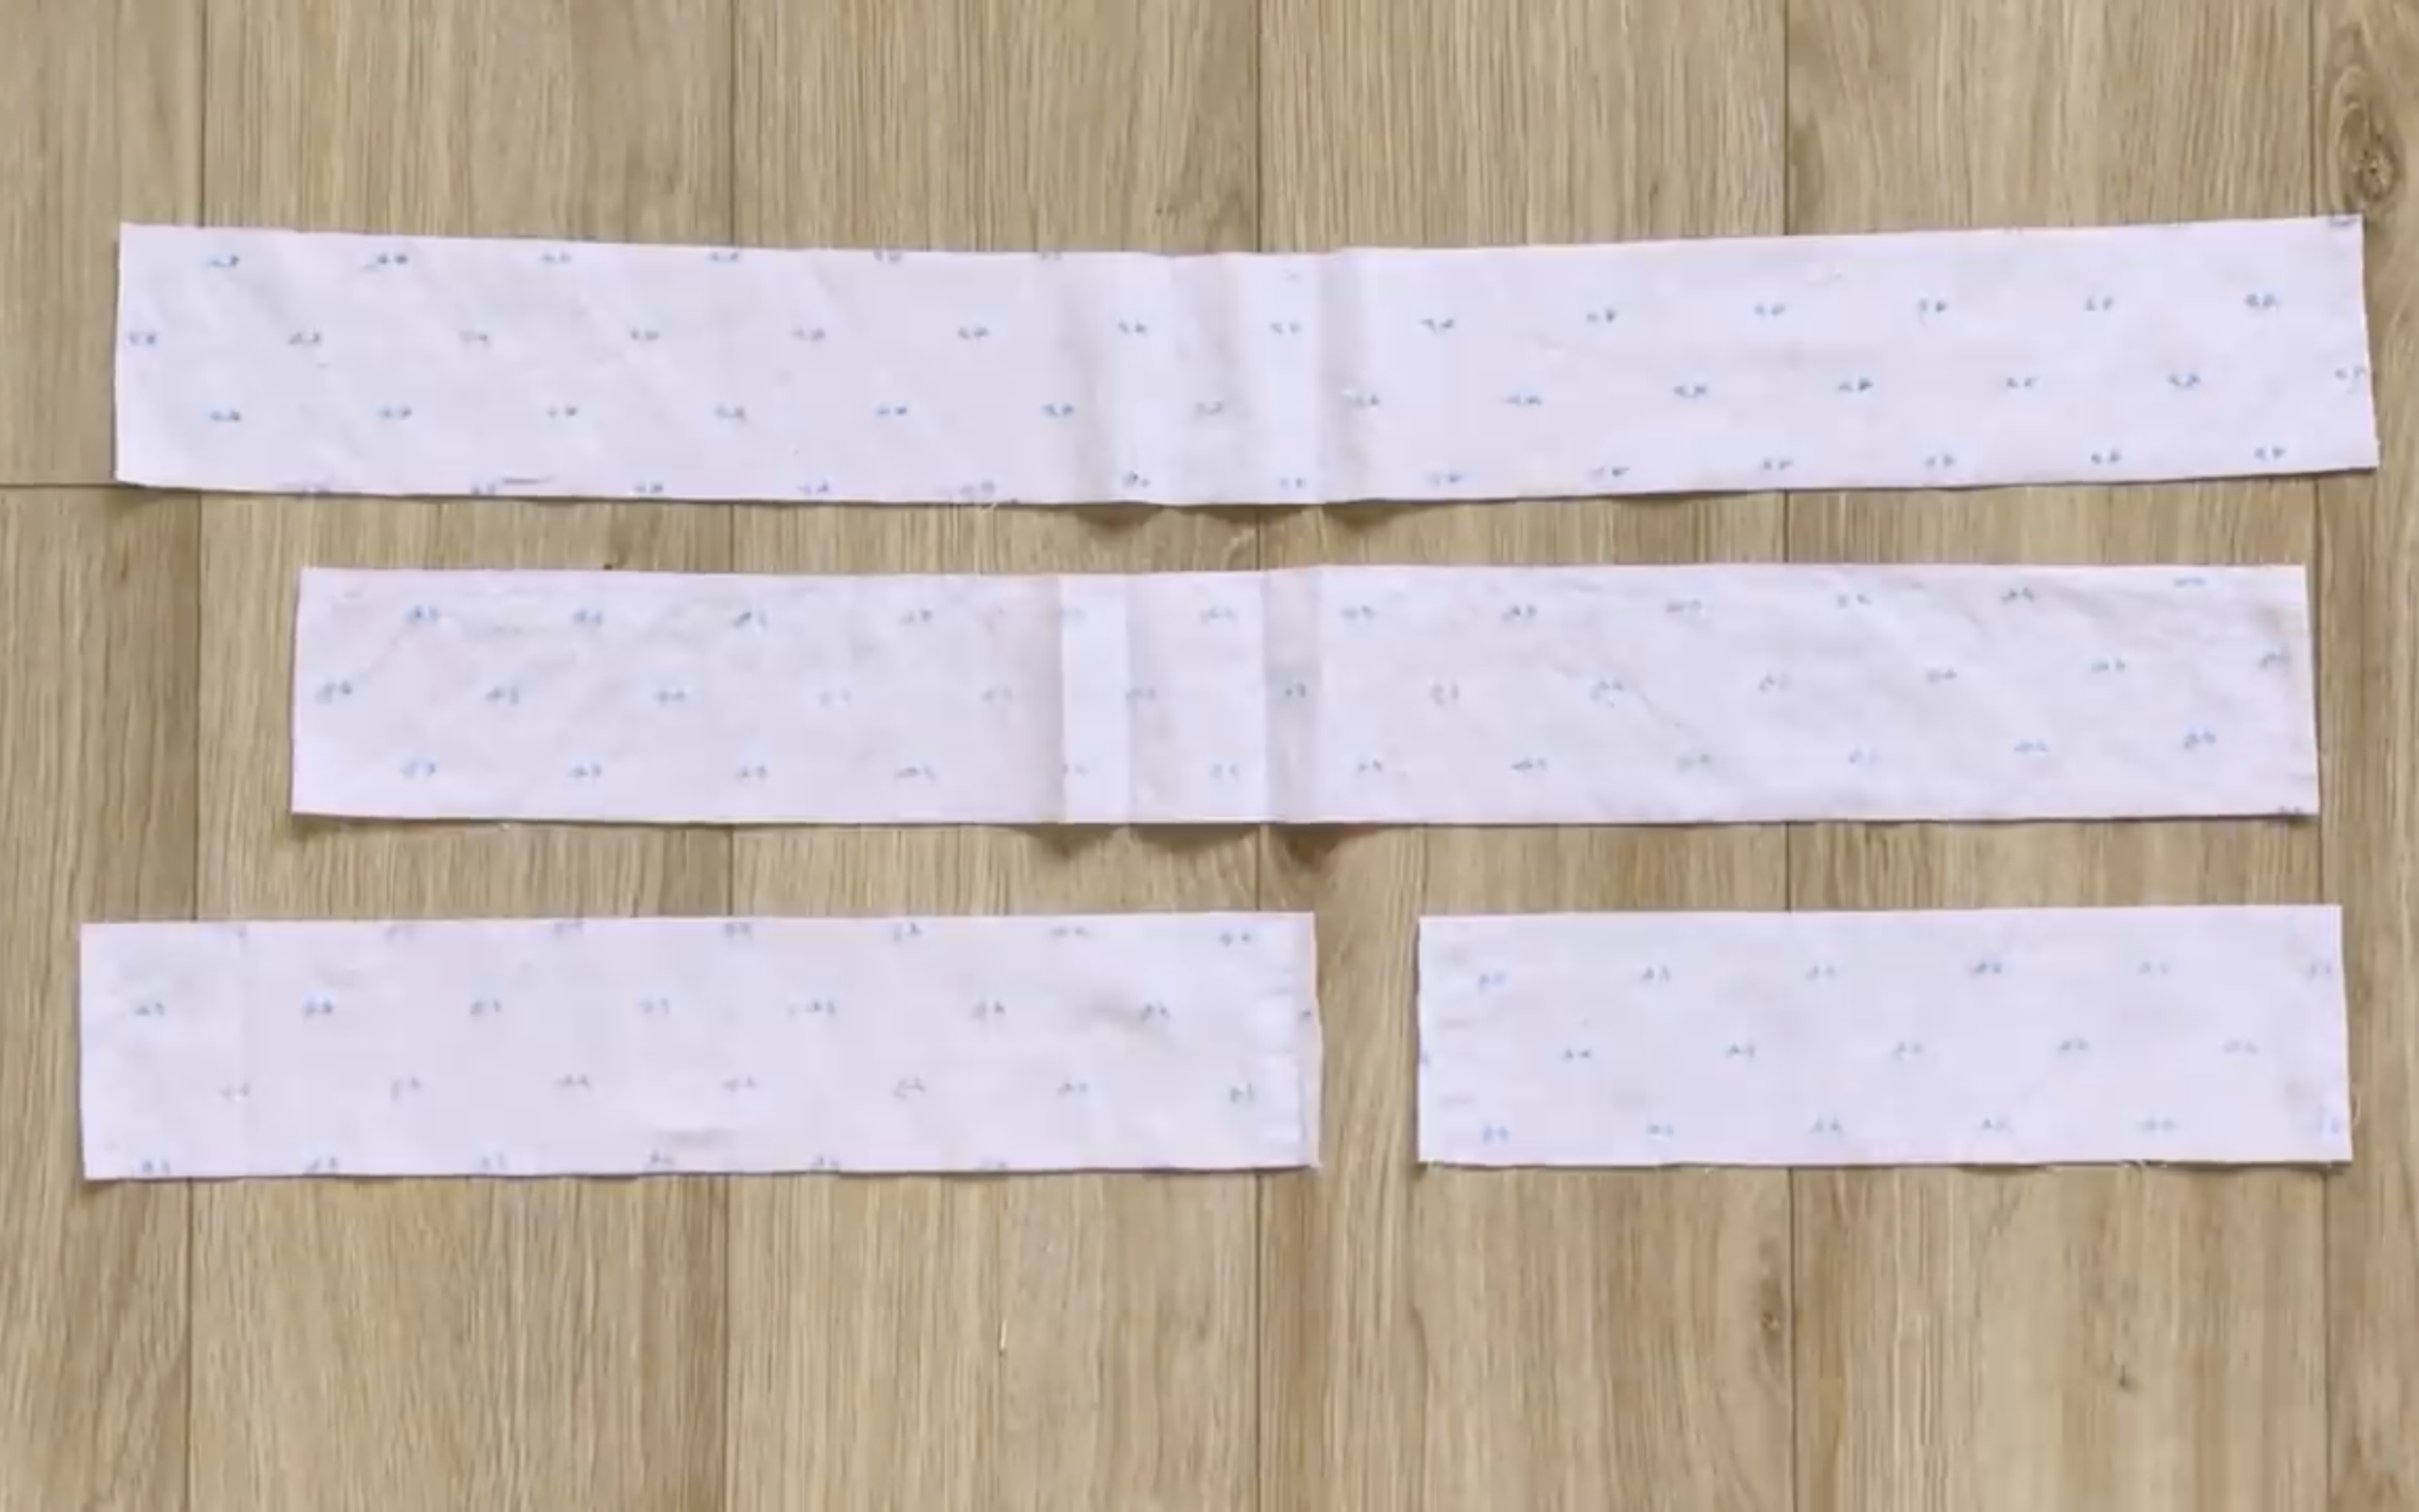
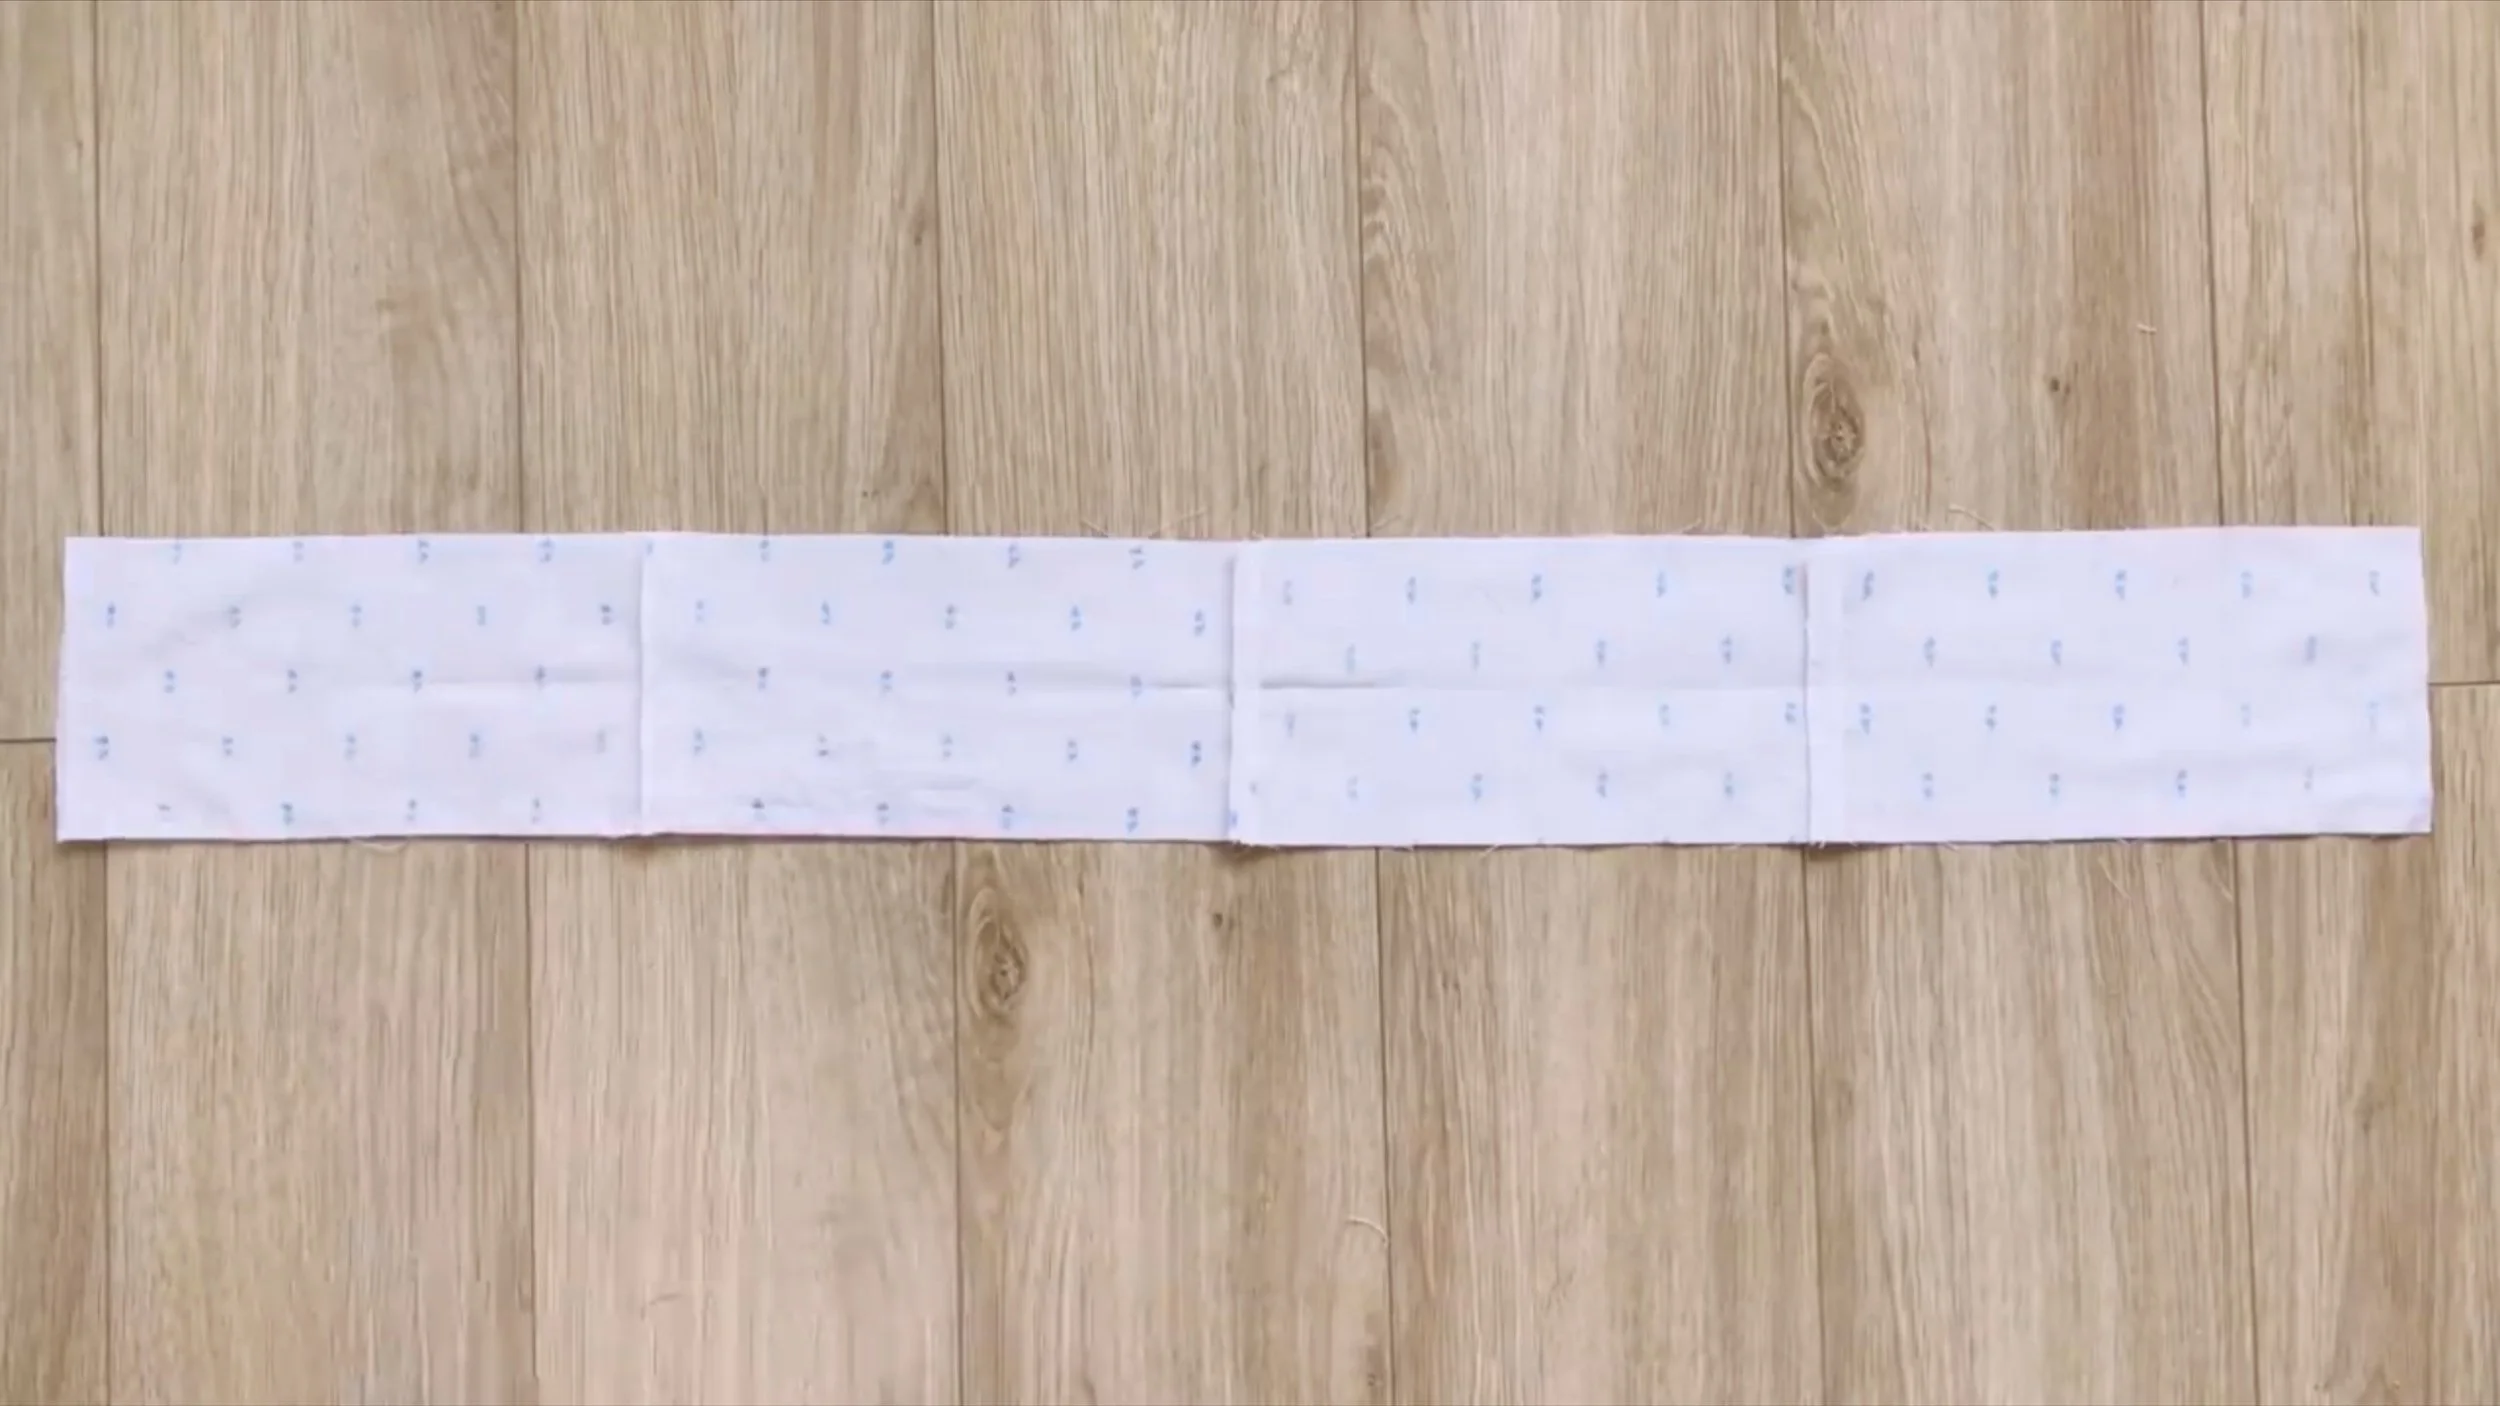
Use the remaining leftover fabric from the shirt to cut rectangles with a 6 cm width and a total length of 138 cm, which is 1.5 times the hip size, or longer if more fabric is available.
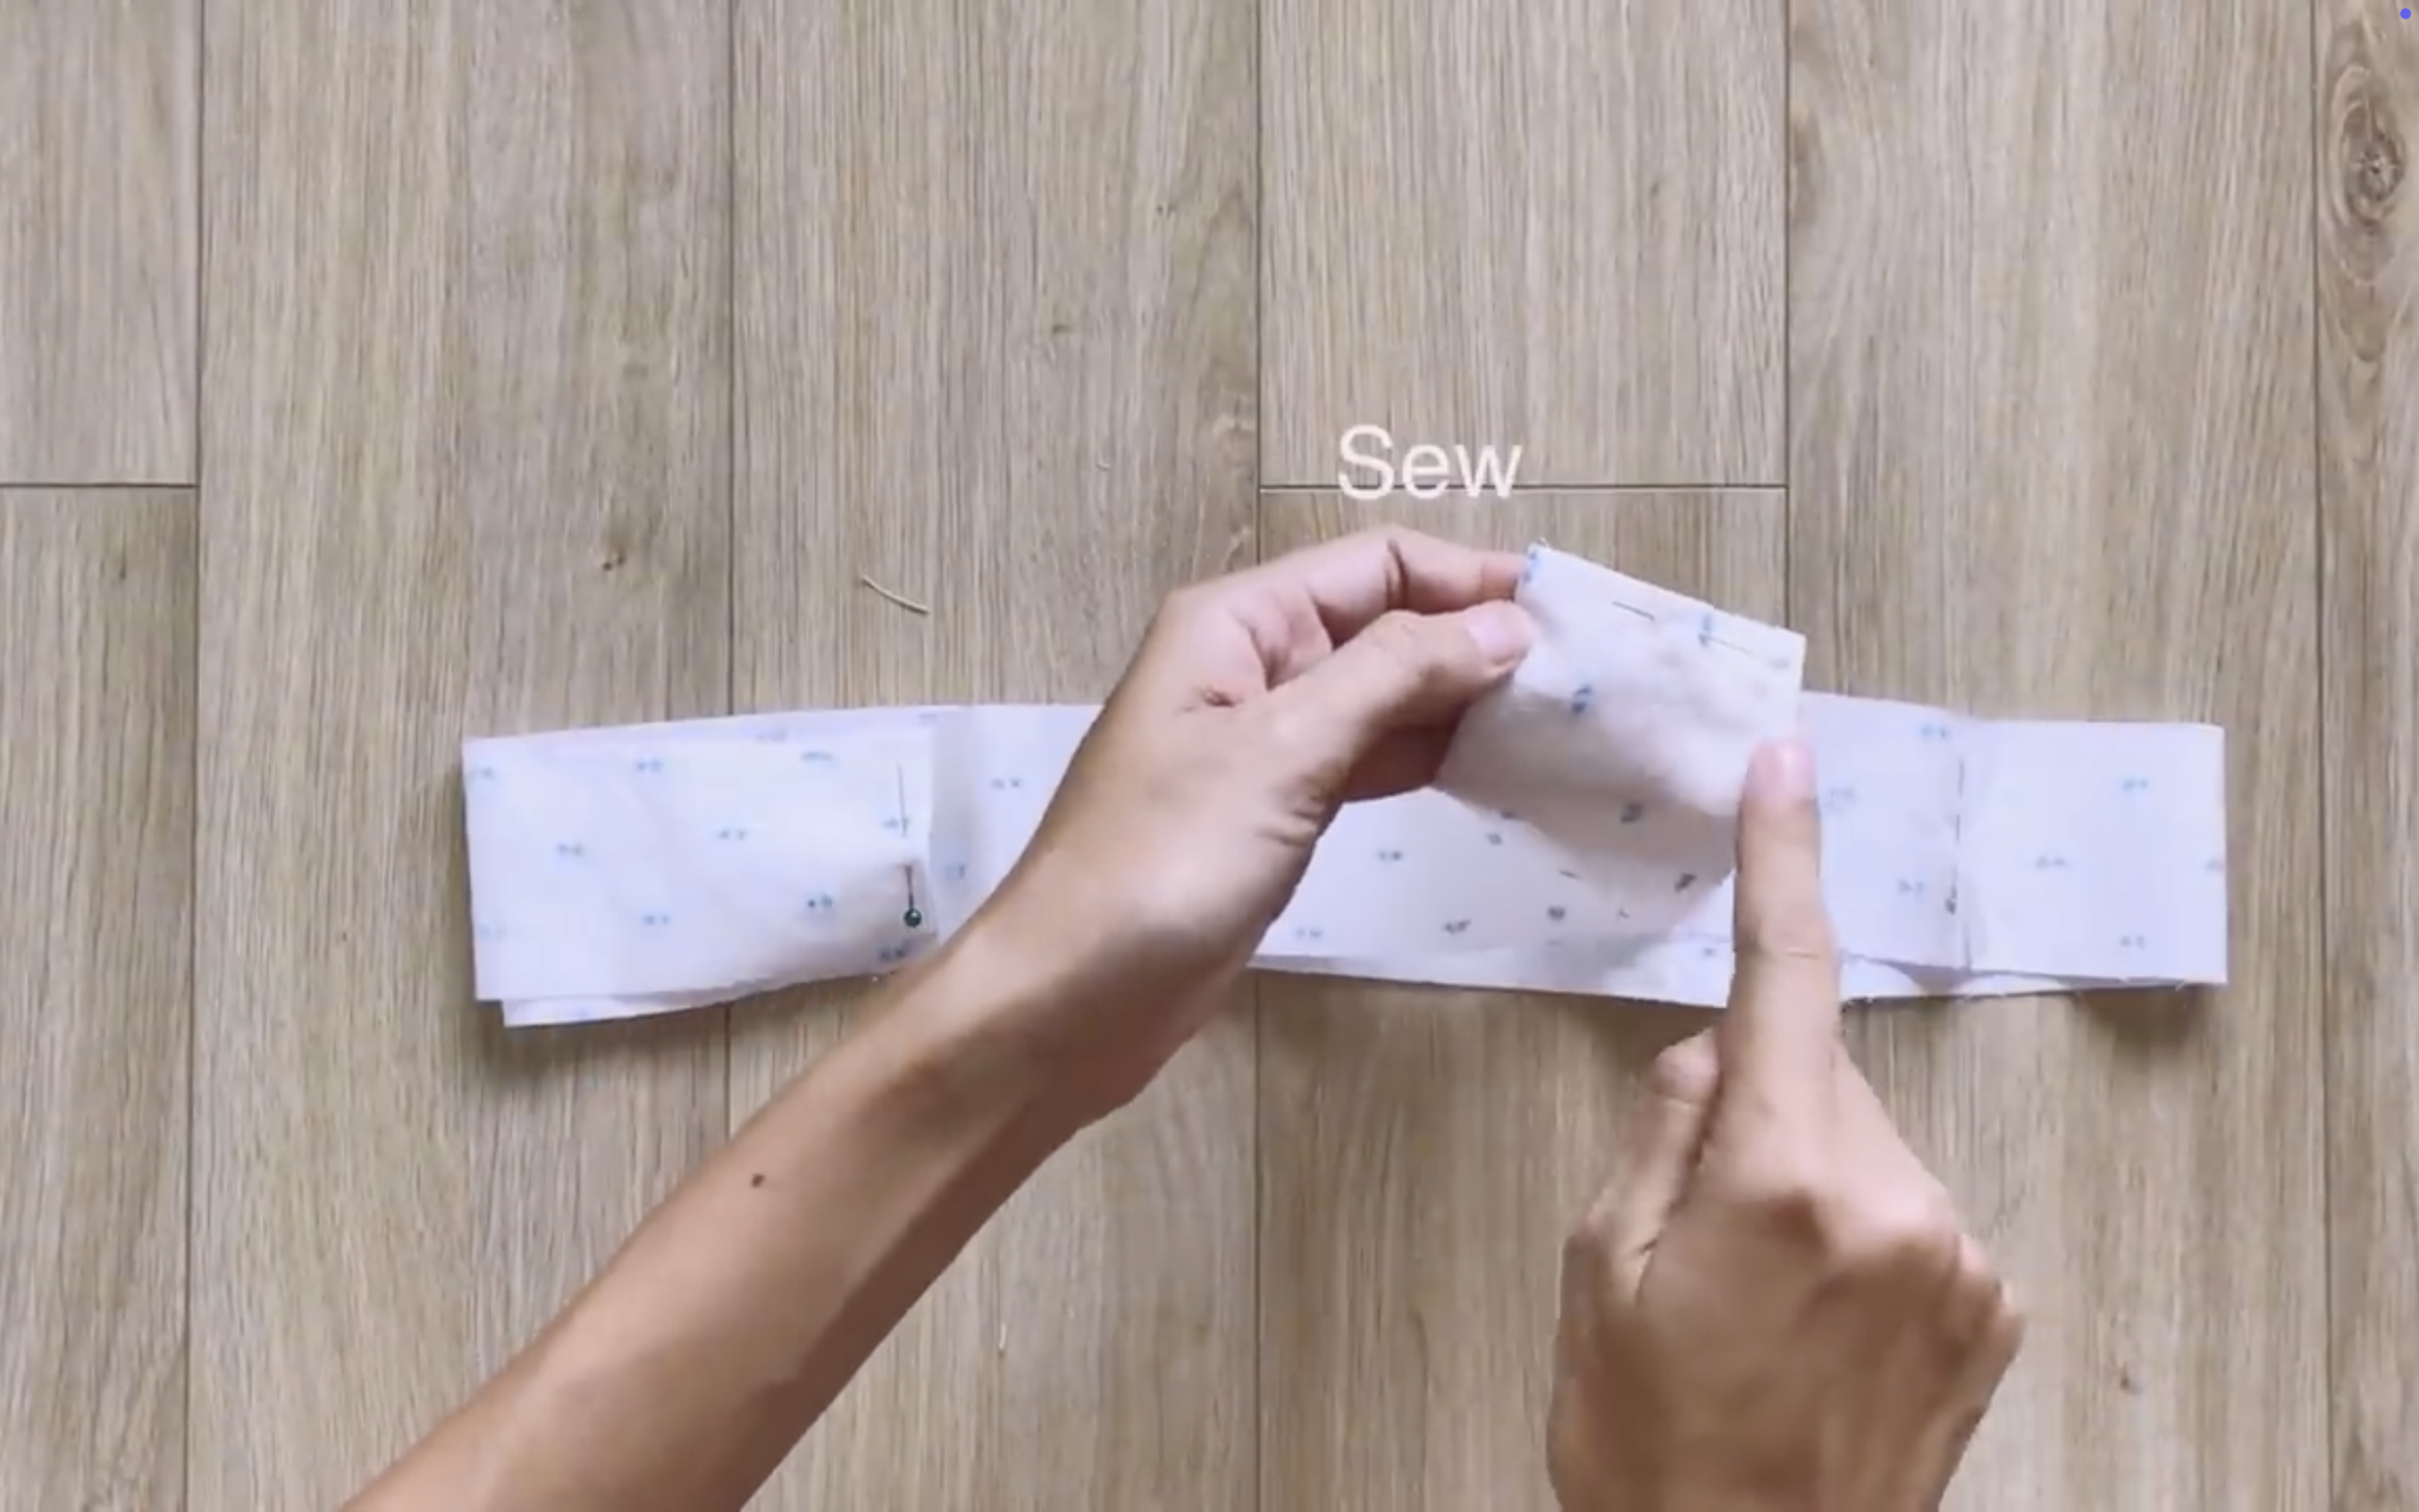
Then connect them together to form a circular fabric.

After that, fold one end of the fabric inside twice to finish it.
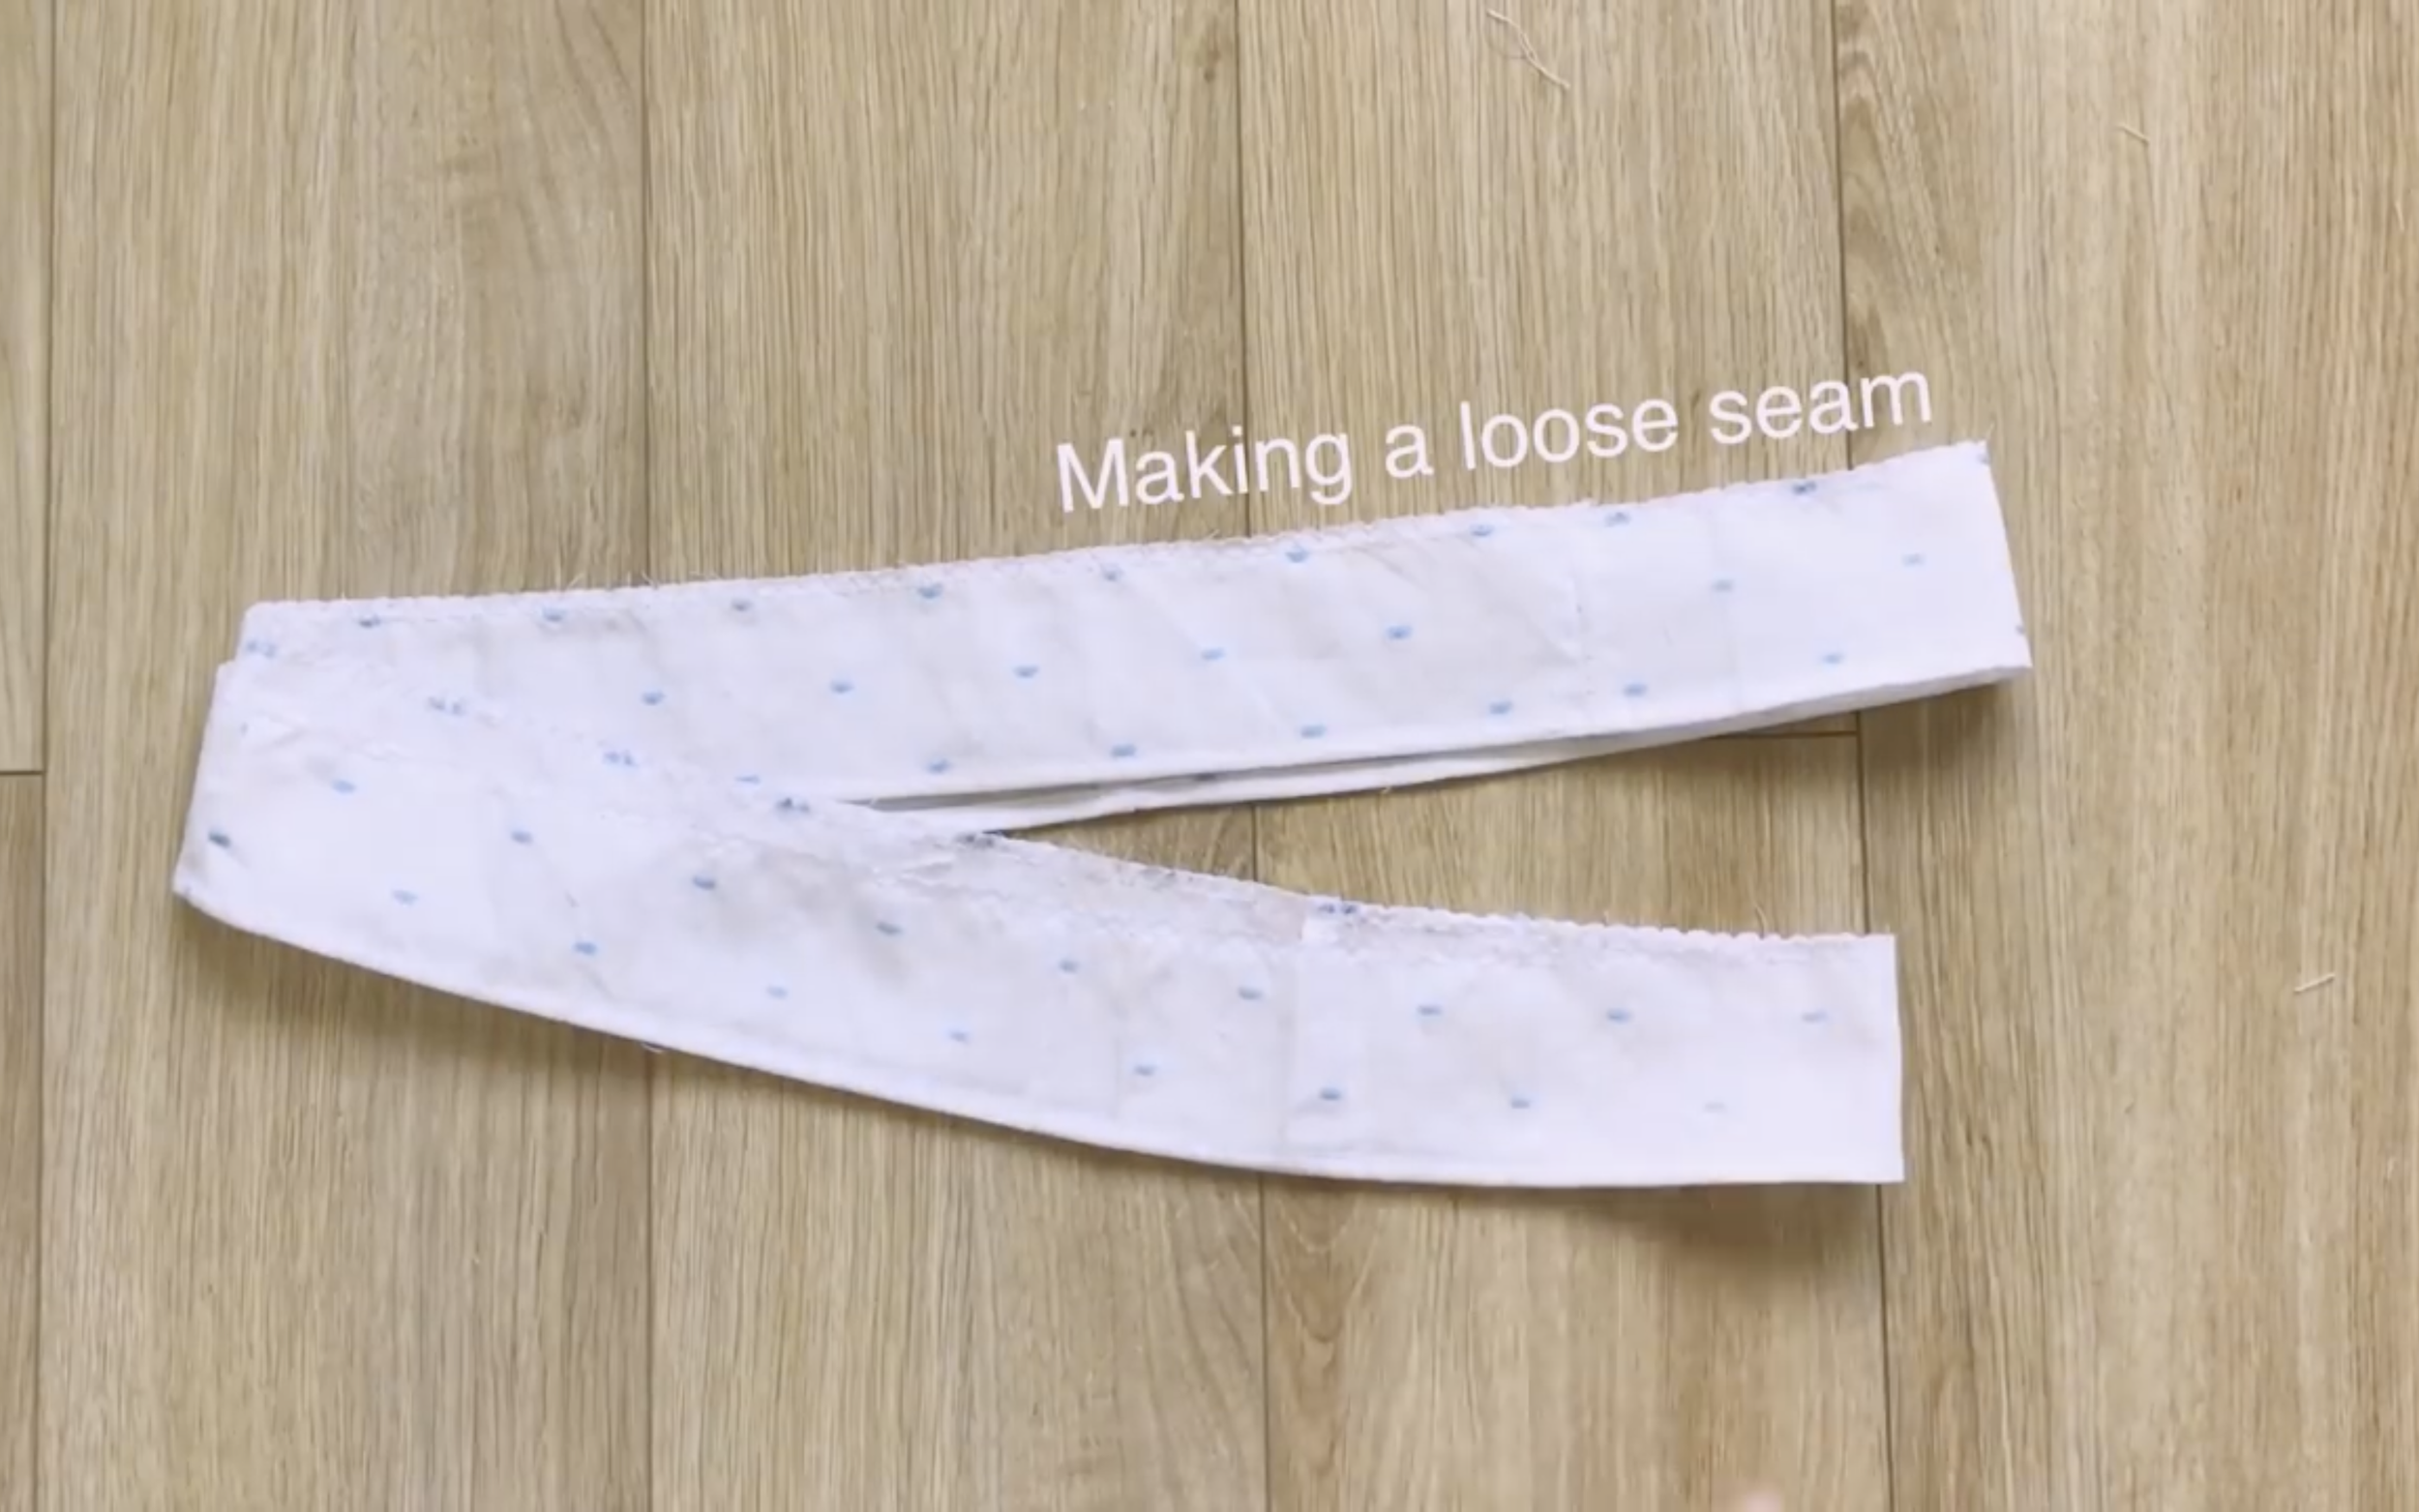
At the other end, make a loose seam first, then create a puffy effect later.

Make sure the final width of the ruffle is 92 cm, which matches the hip size or the width at the end of the skirt. This allows the ruffle to be attached to the skirt.
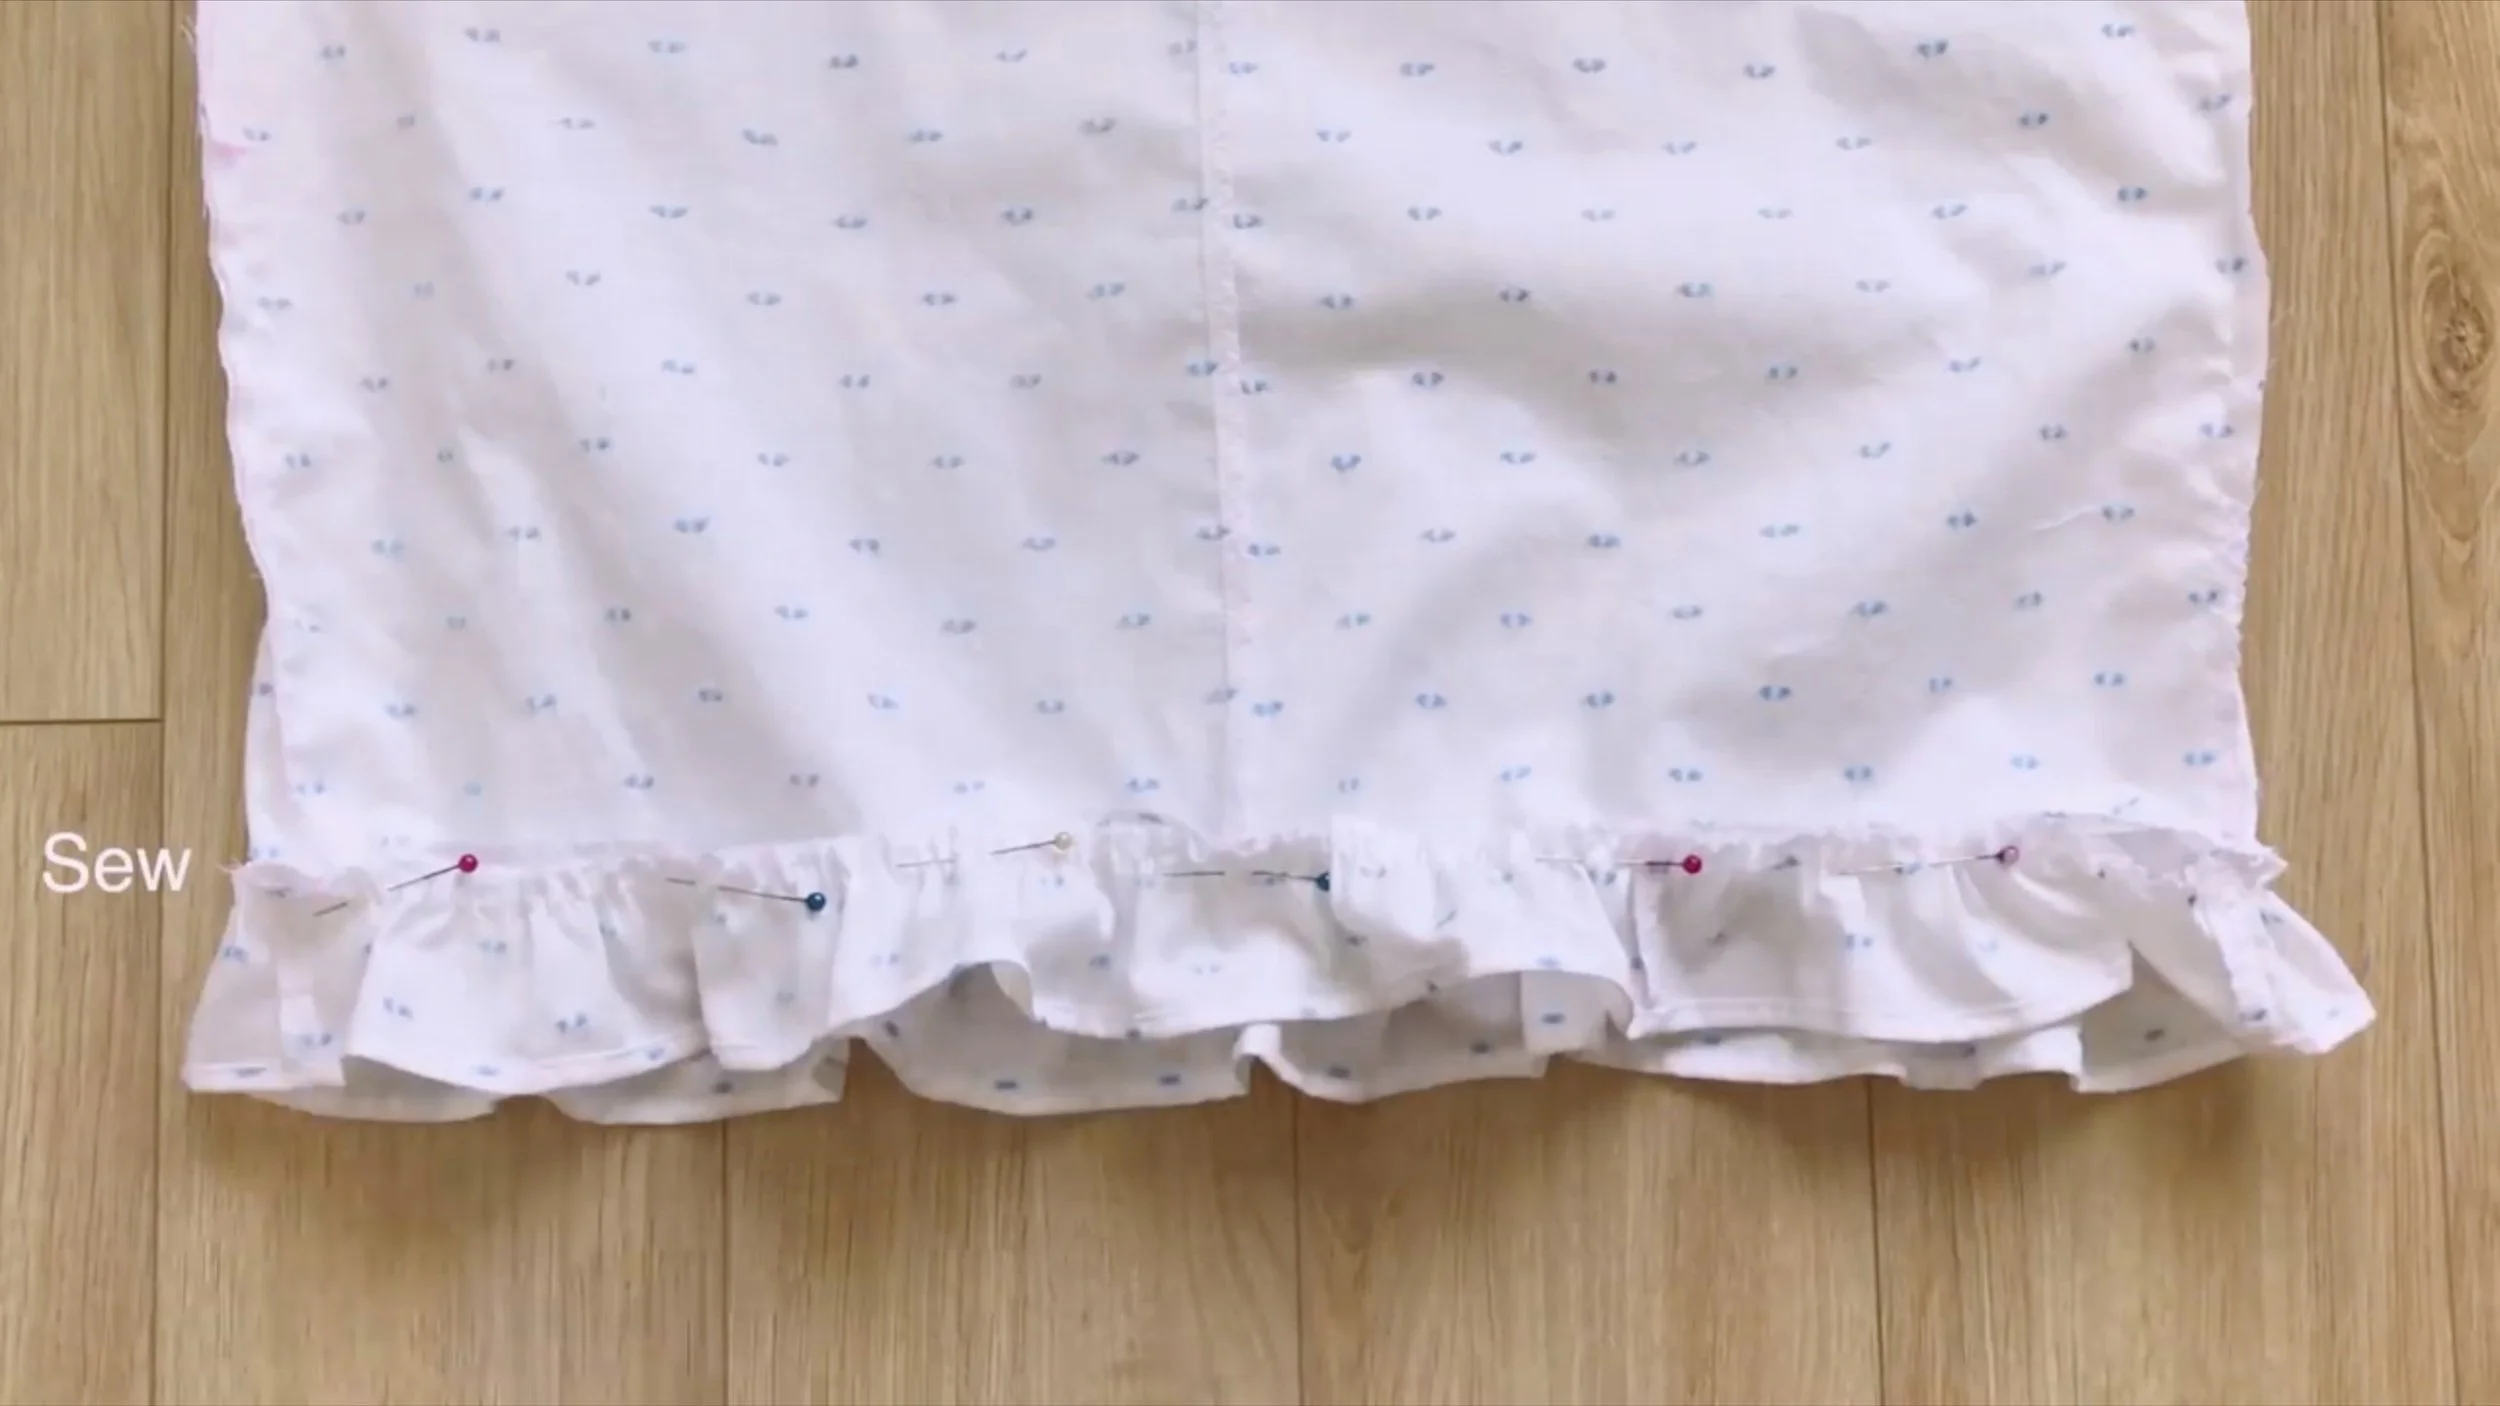
The ruffle is added to make the skirt longer and add a cute touch to the matching set, but this step can be skipped if not needed.
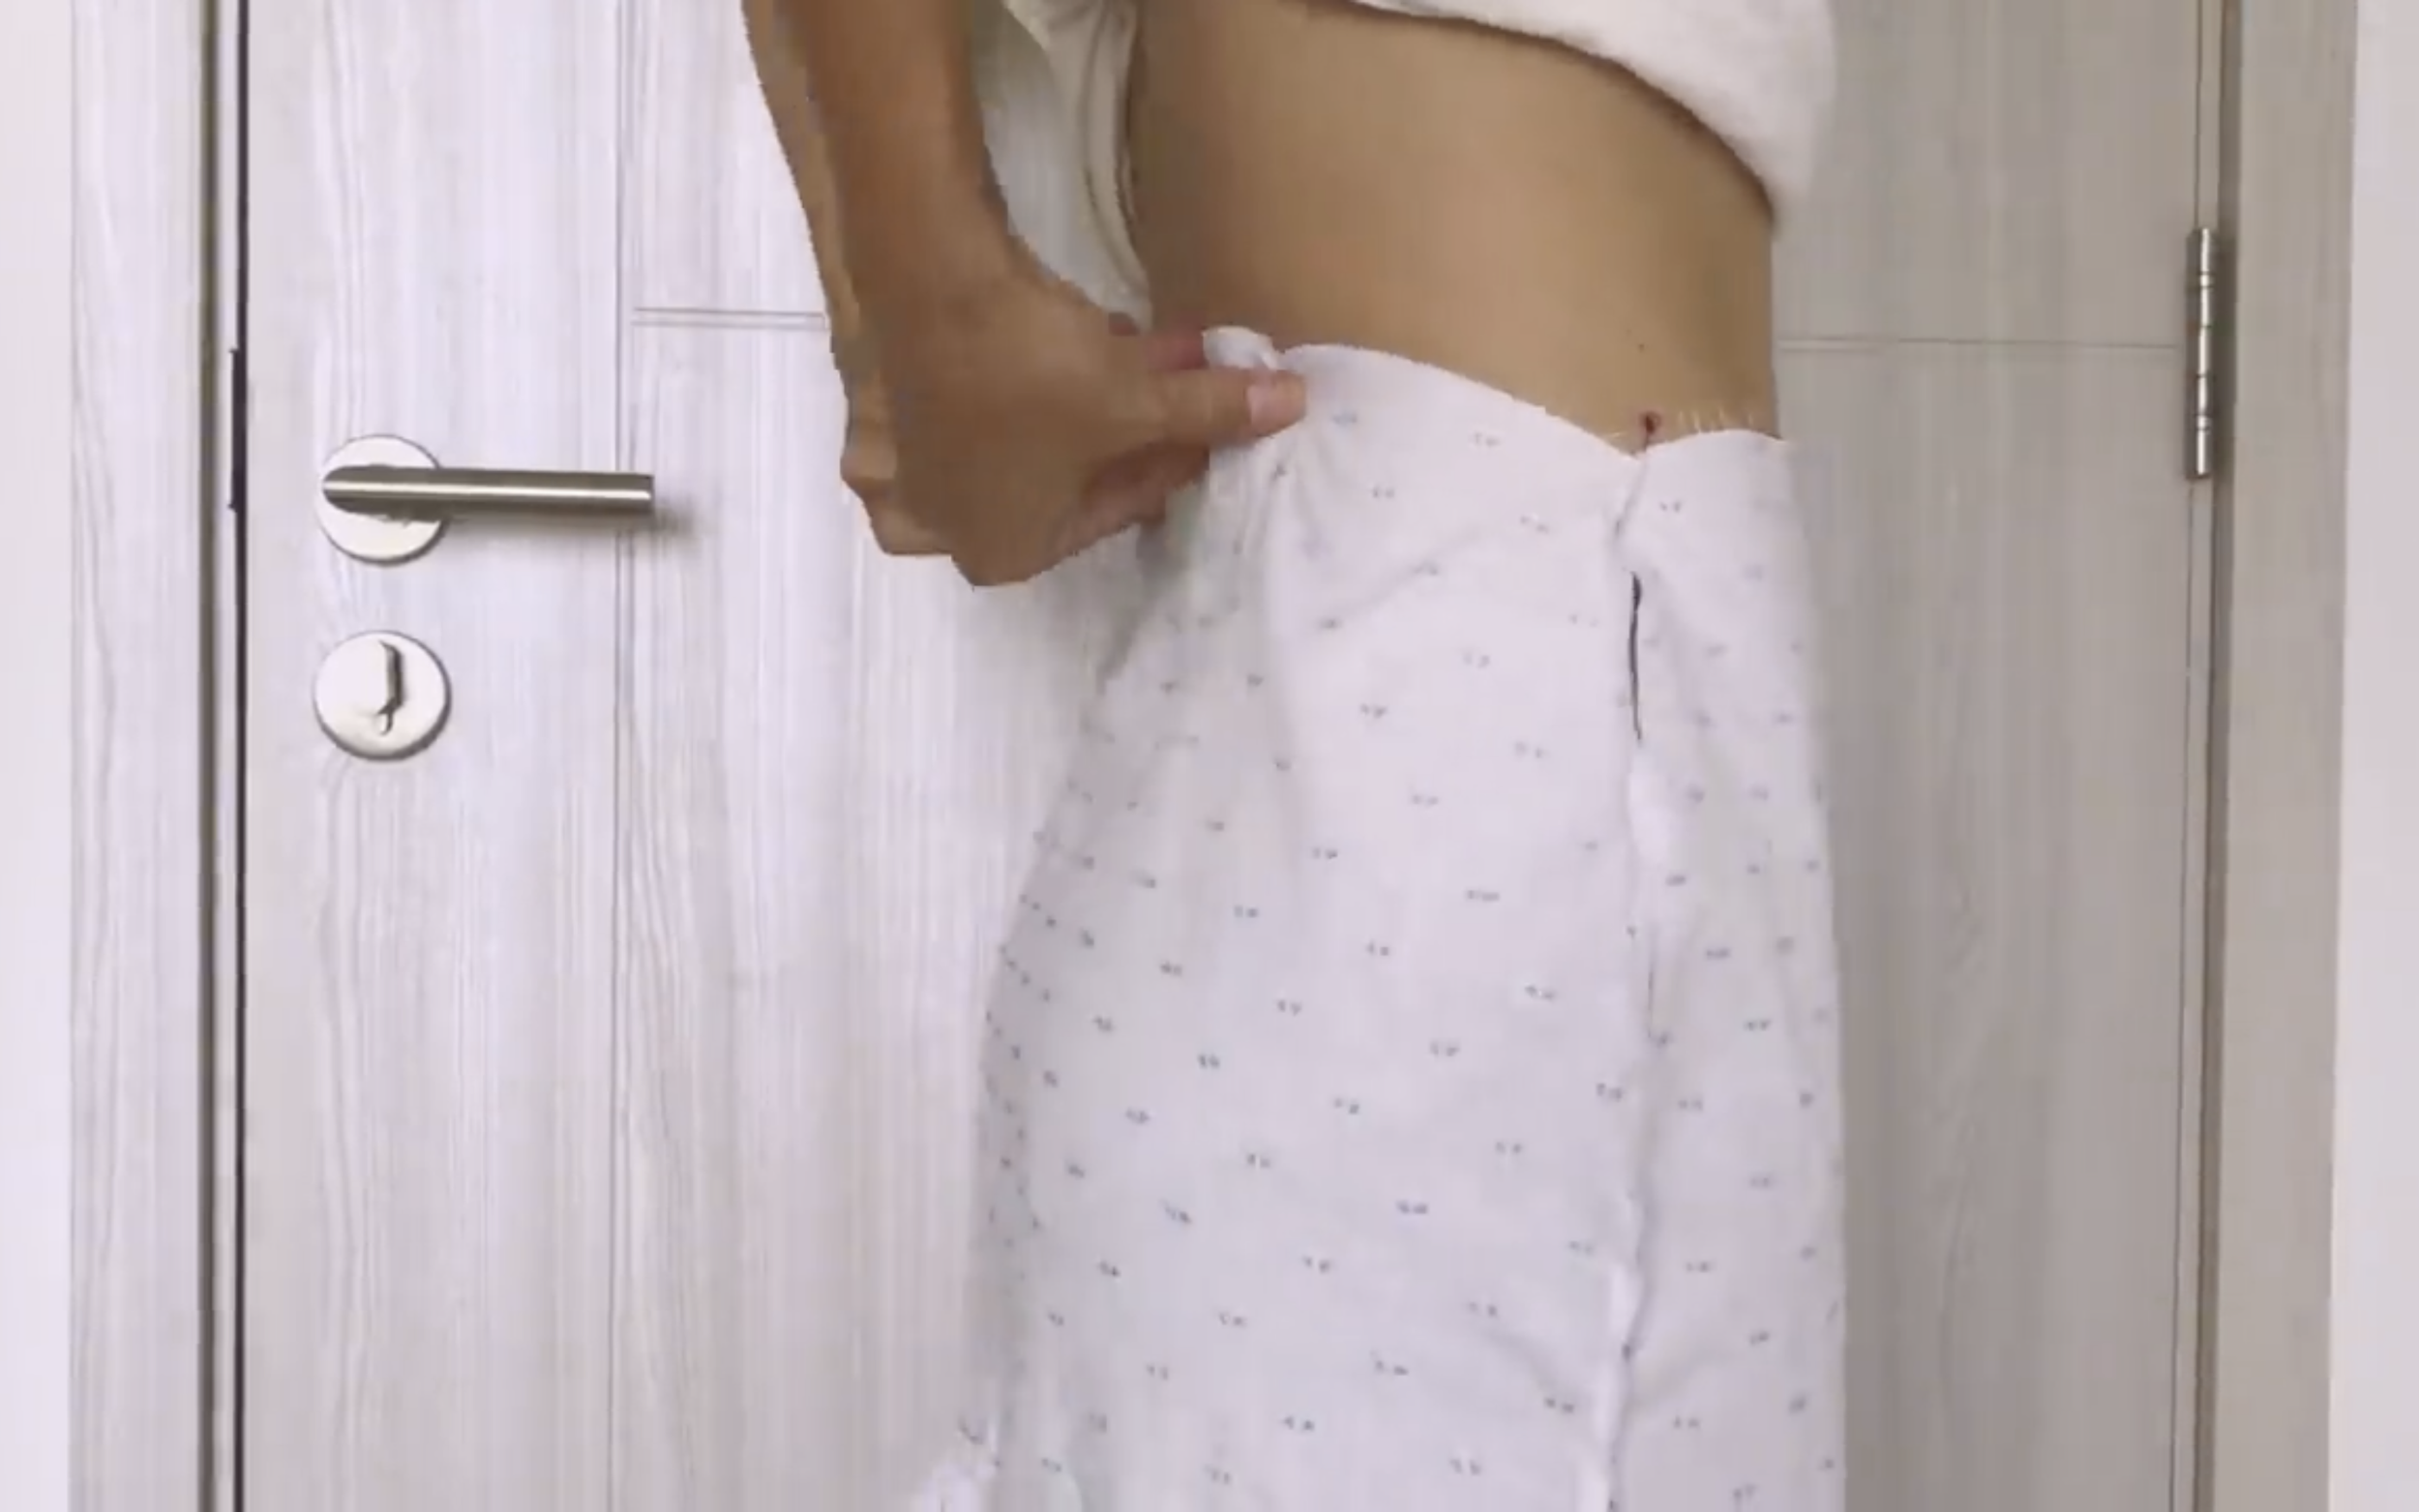
Put the skirt on to mark new sidelines and adjust the back for a better fit.
Then, sew the measured parts to fit better.
Cut a long rectangle with an 8 cm width and a 66 cm length, which is the waist size plus 2 cm, to create a waistband for the skirt.
Attach it to the top of the skirt and make the first seam.
After that, fold the other side of the waistband inside twice over the first seam and make the second seam to complete the waist.
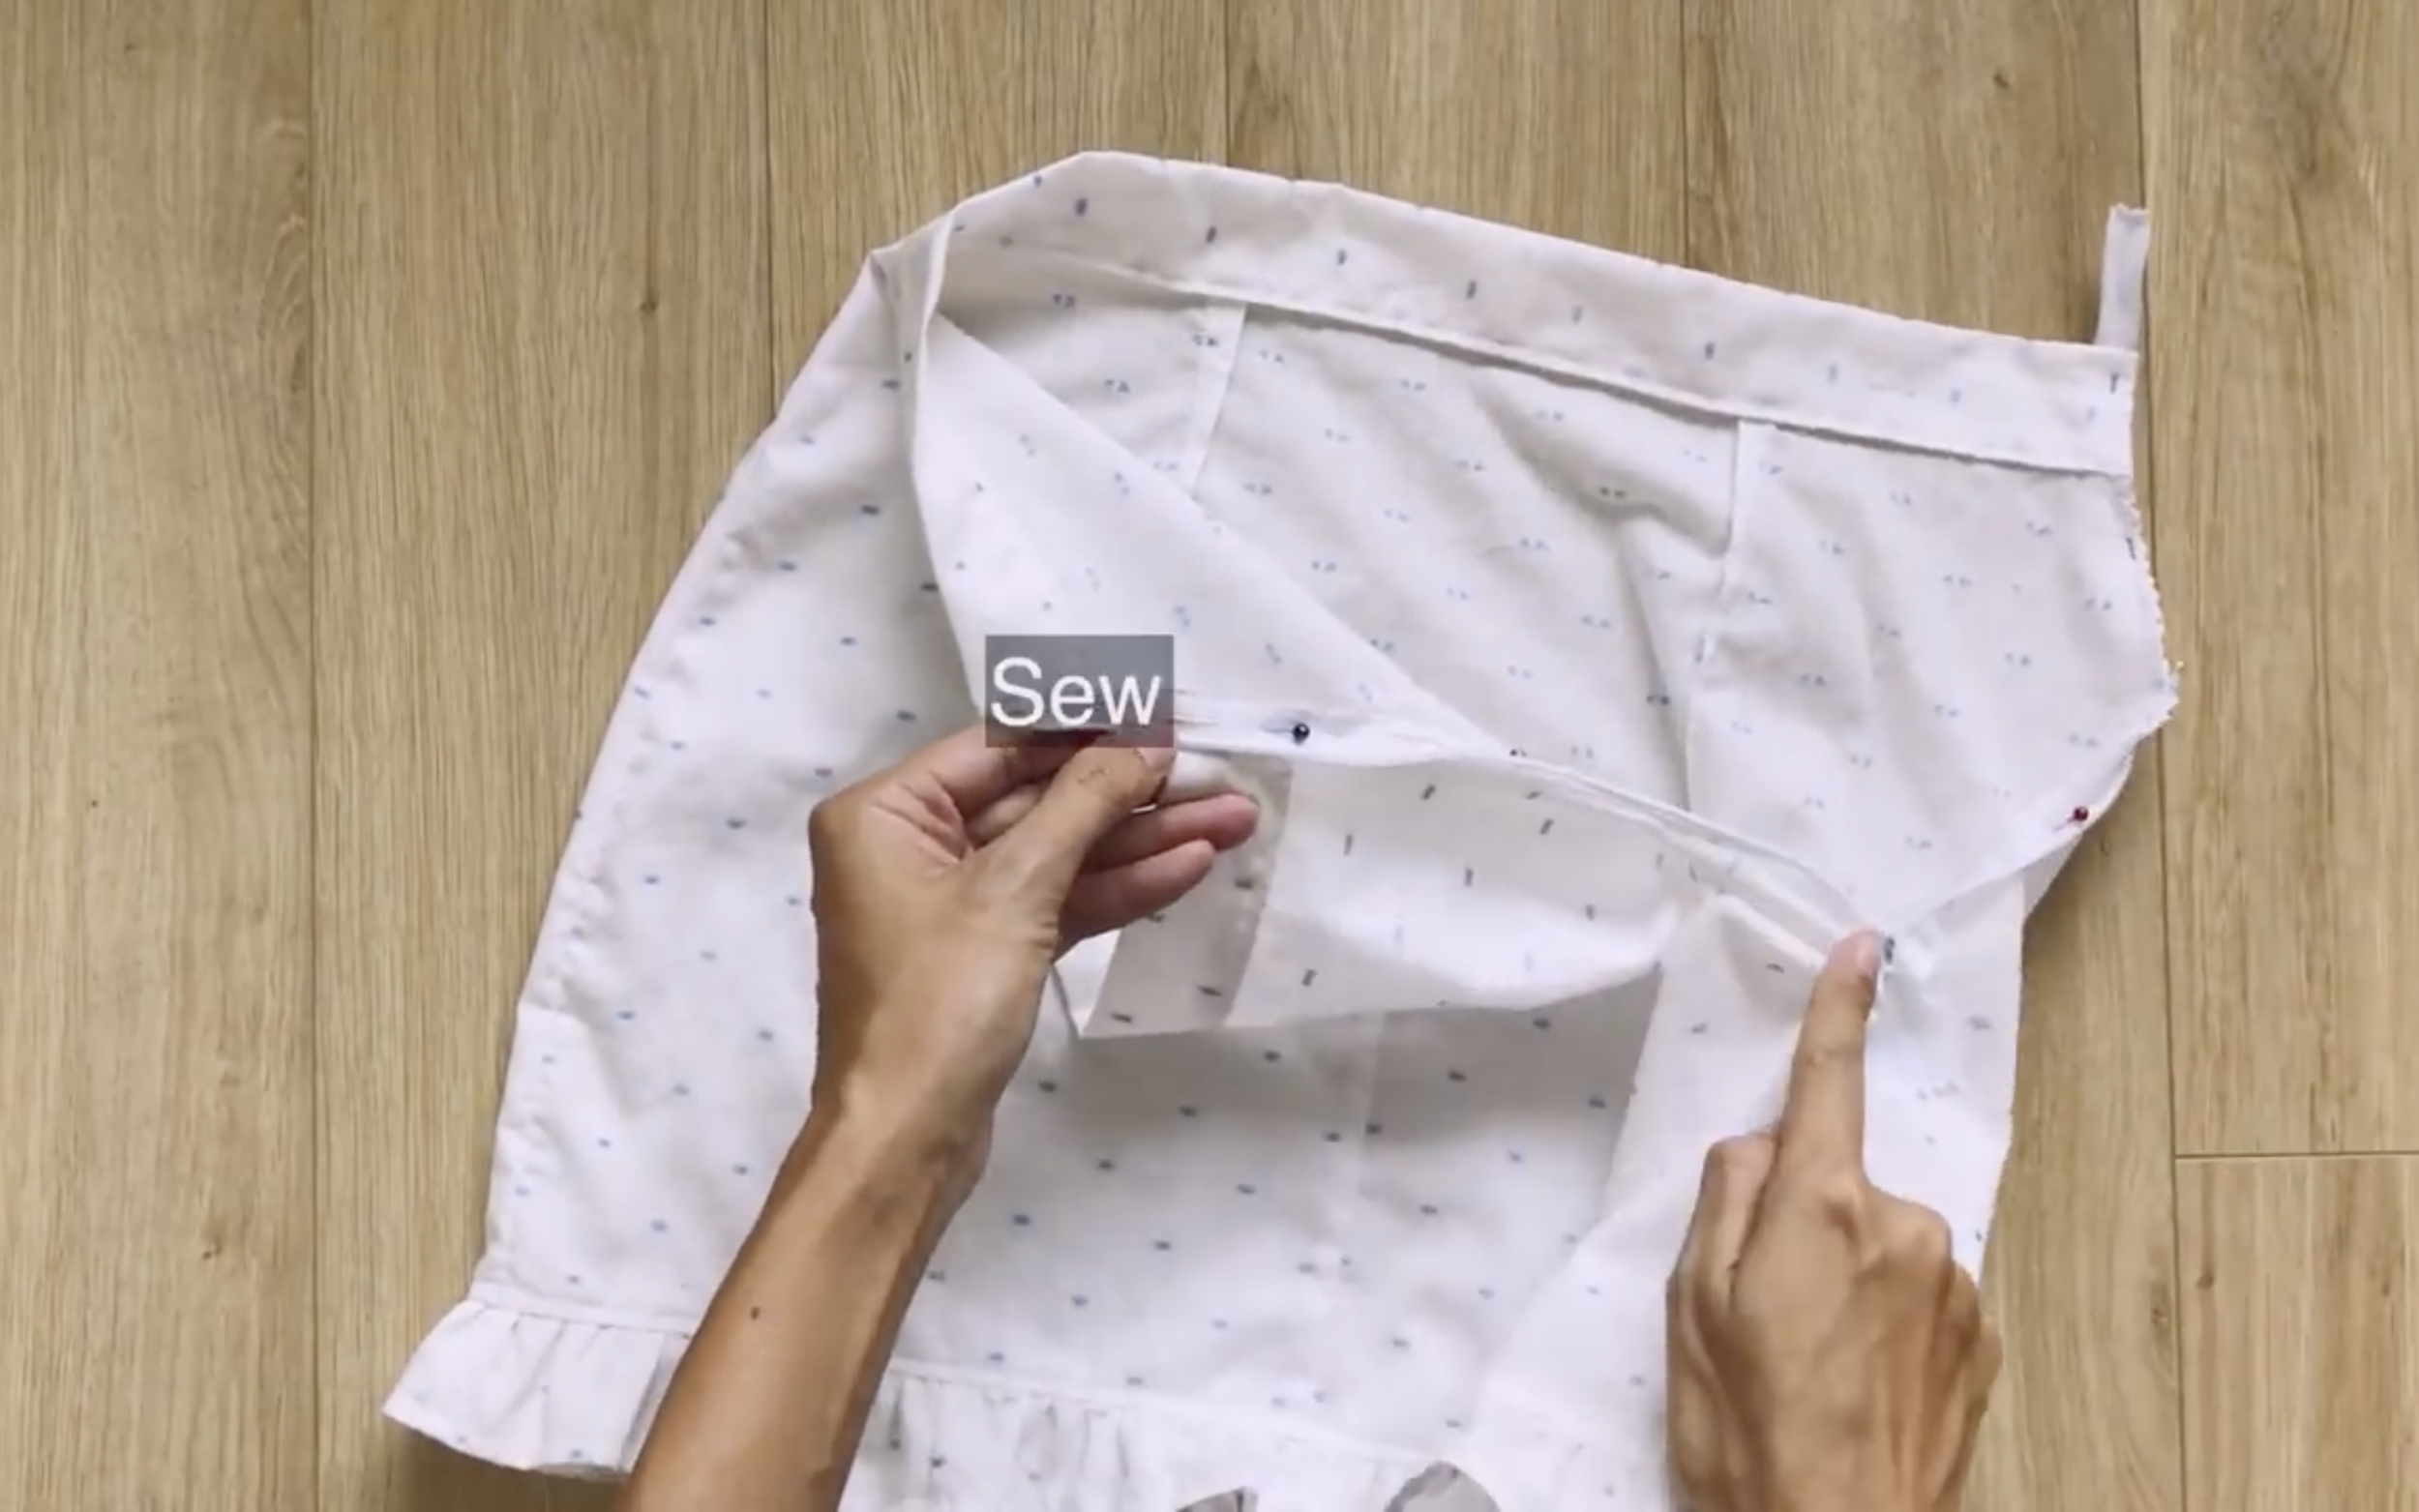
The last step is installing the zipper. An invisible zipper is used for this skirt to achieve a cleaner look.

DIY Butterfly sleeve, deep v-neck, open back dress | My perfect wedding series - Ep 2
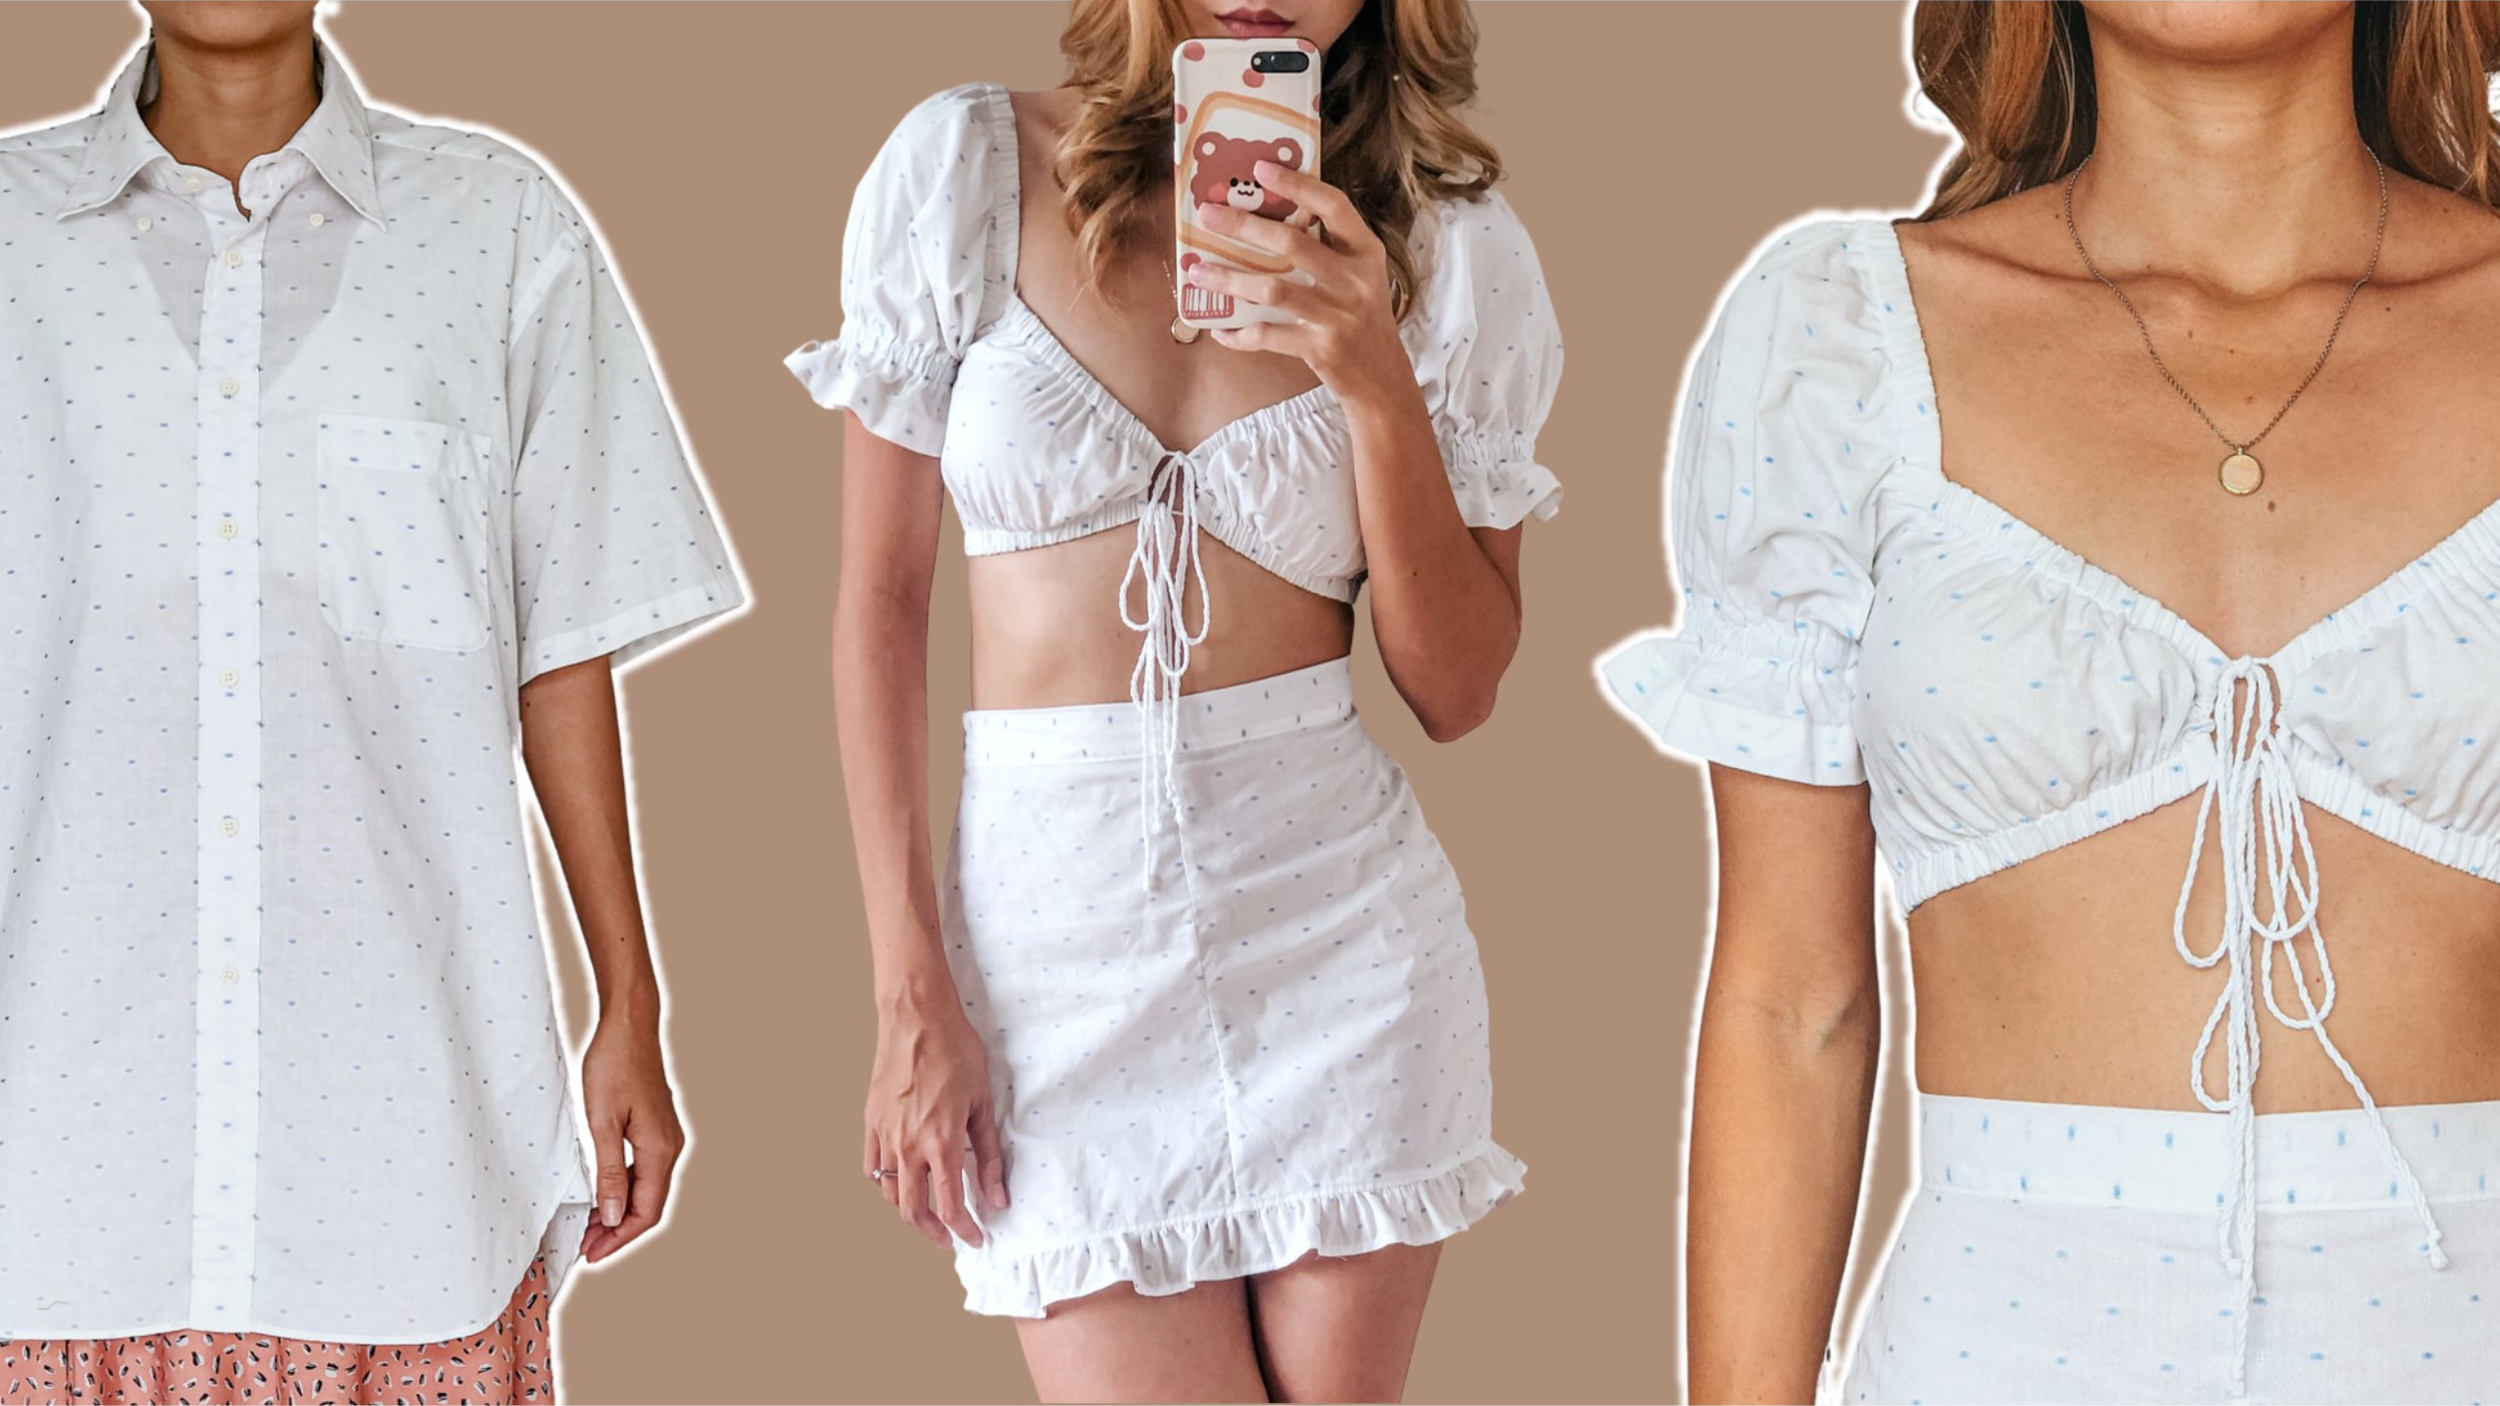
And here’s the final transformation!
This matching set is both sexy and cute, making it the perfect combo.
I hope you found my step-by-step guide helpful and inspiring.
If you’re interested in making your own, give it a try and let me know how it goes!
Until then, happy sewing!