DIY MIDI DRESS from scratch - An easy way to make a pretty dress for your wardrobe

DIY MIDI DRESS from scratch

Welcome or welcome back to my channel!
Today's blog, I'm going to share with you an easy way to make a midi dress to full fill your autumn/fall wardrobe. This dress is very easy to fit to your body and you can wear it in any season. It could be your spring/summer dress. But when it's getting colder, you just put the jacket outside and go in with a boot.
So, let’s get started!
WHAT YOU’LL NEED
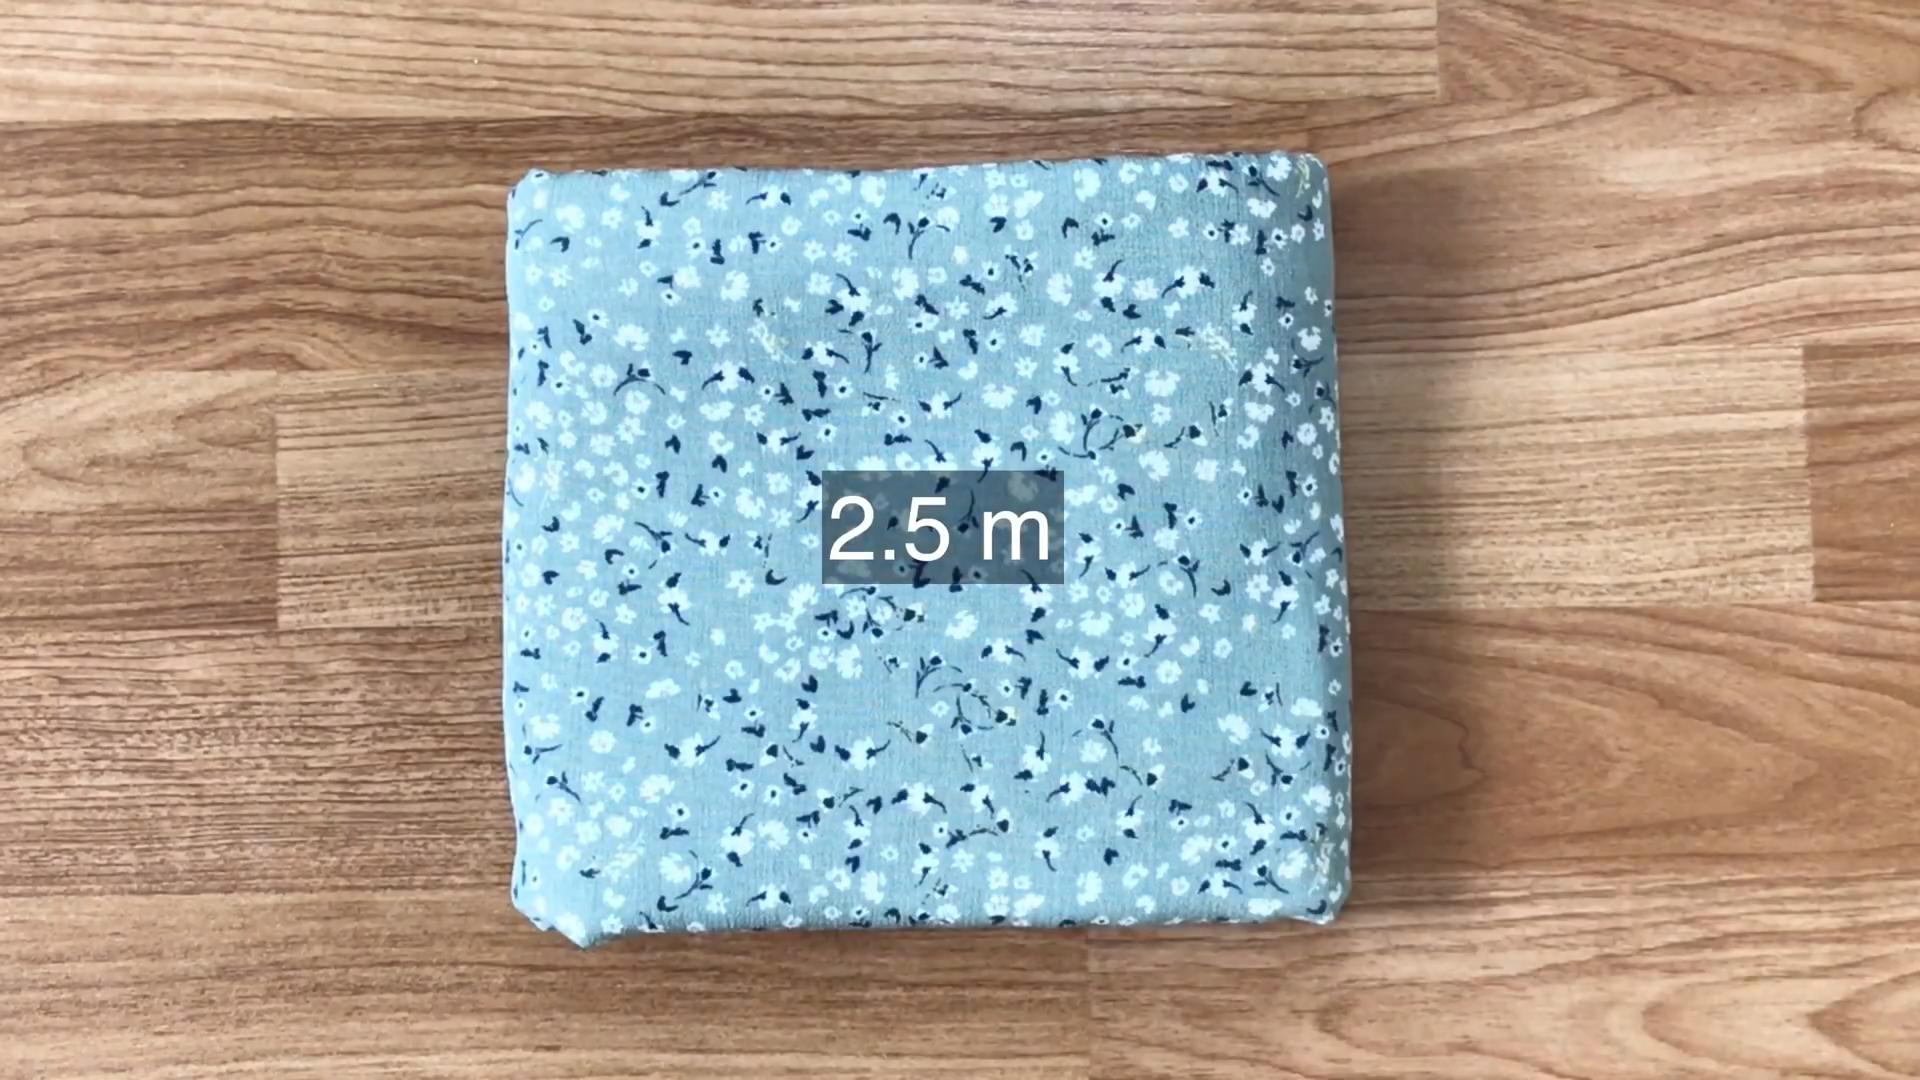
2.5m of mix chiffon fabric
Pattern paper
Sewing machine
Pins
Scissors
Ruler
Long stick
SEWING THE DRESS
THE TOP PATTERN

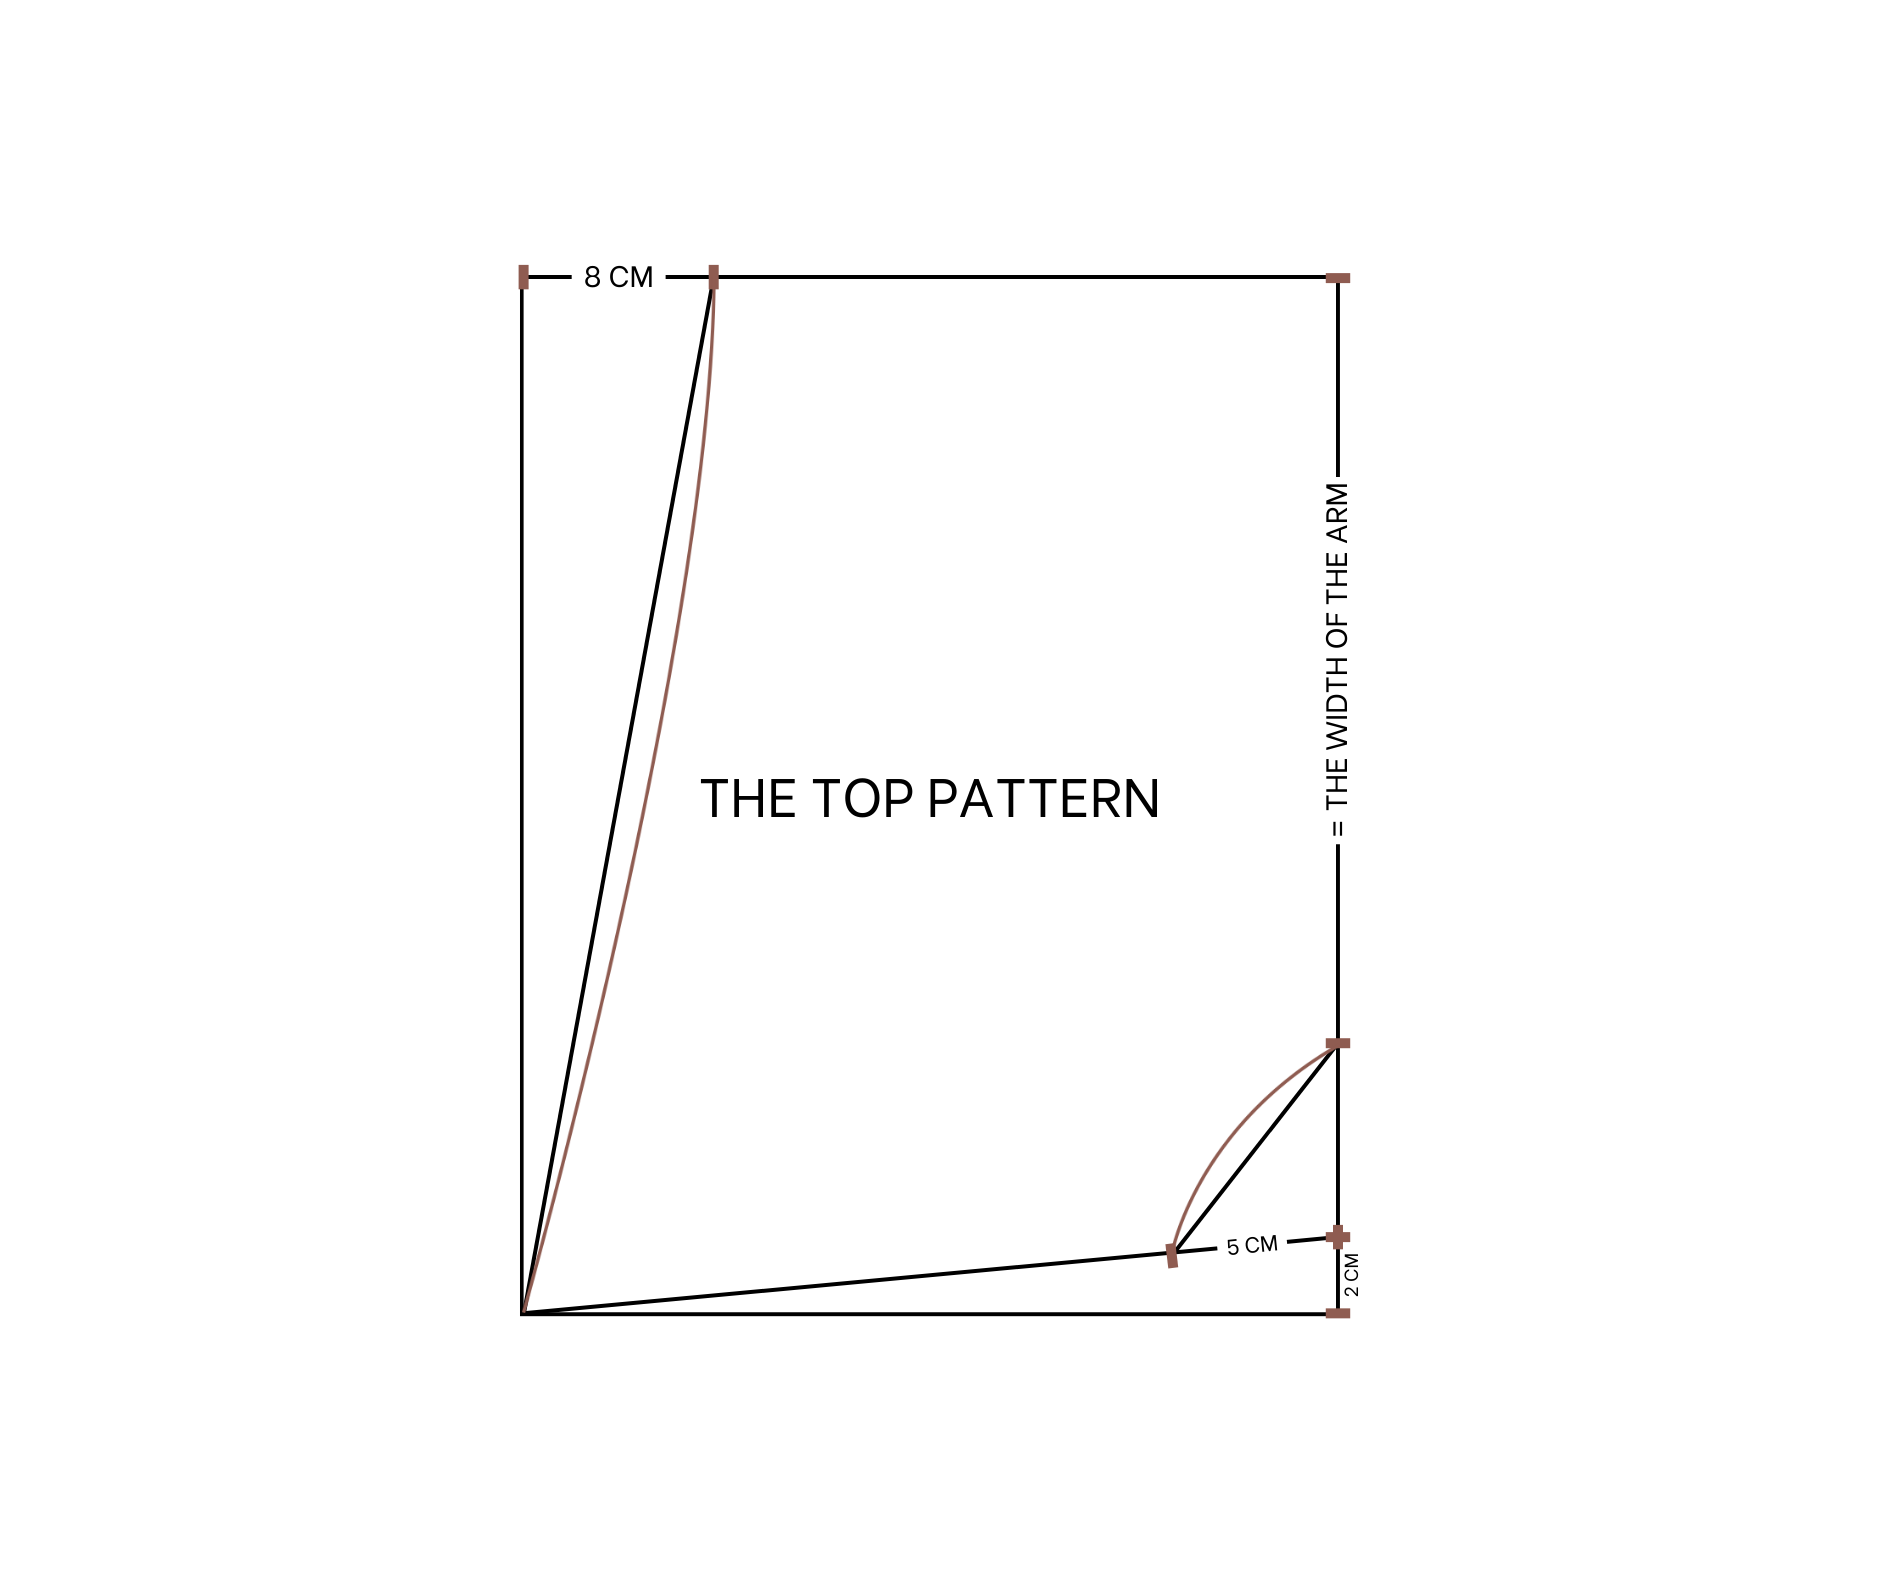
The top pattern
The first step is to cut a rectangle with 60 cm width, which is 2 times the width from the shoulder to under the breast, and 41 cm length, which is half of your bust size.
At the end of the right, go up 2 cm and draw a line to connect it to the end of the left side.
At the left of the top, go to the right 8cm and draw another line to connect to the end of the left.
Remember to draw a little curved line at the top. This will be the neck area of the dress.
At the right of the top, go down 22cm and mark there. This will be the width of the arm.
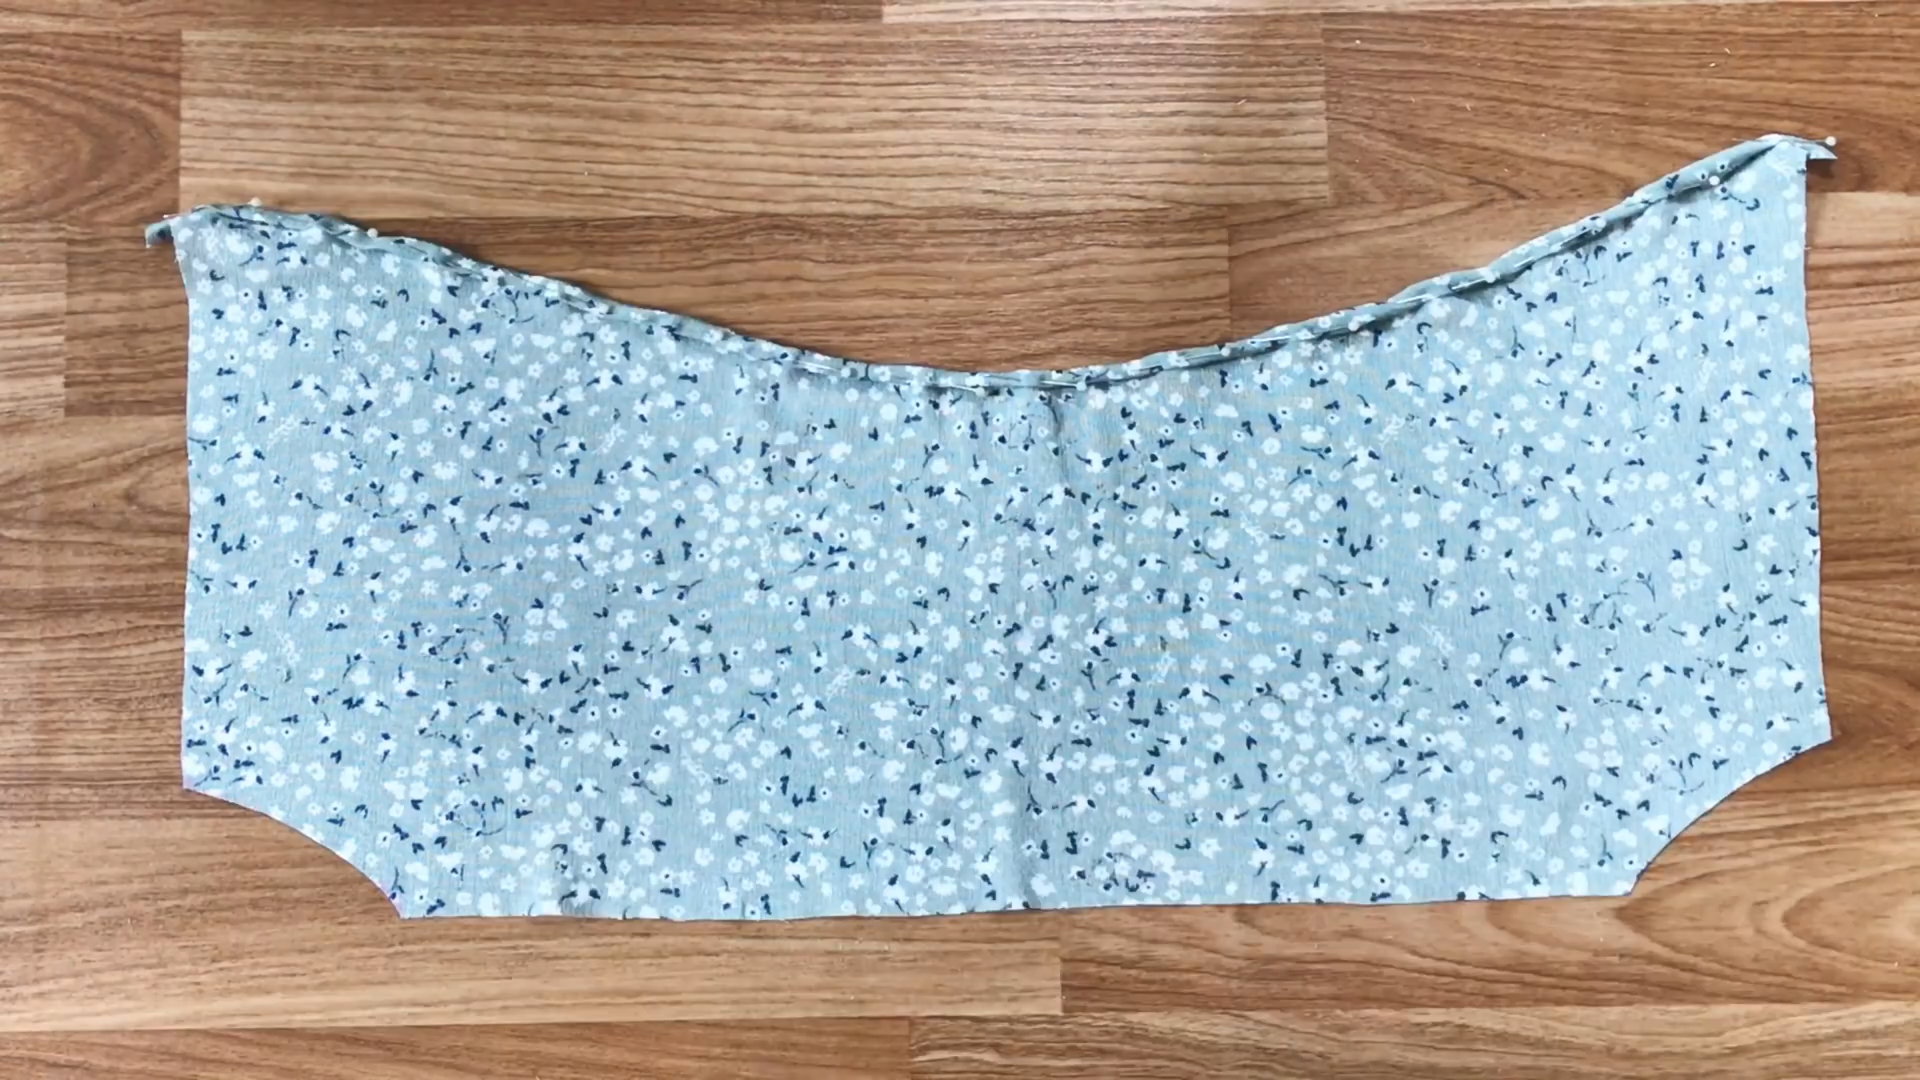
After cutting, fold the line at the neck area twice to hide the cutting. Then, sew along the folded line.
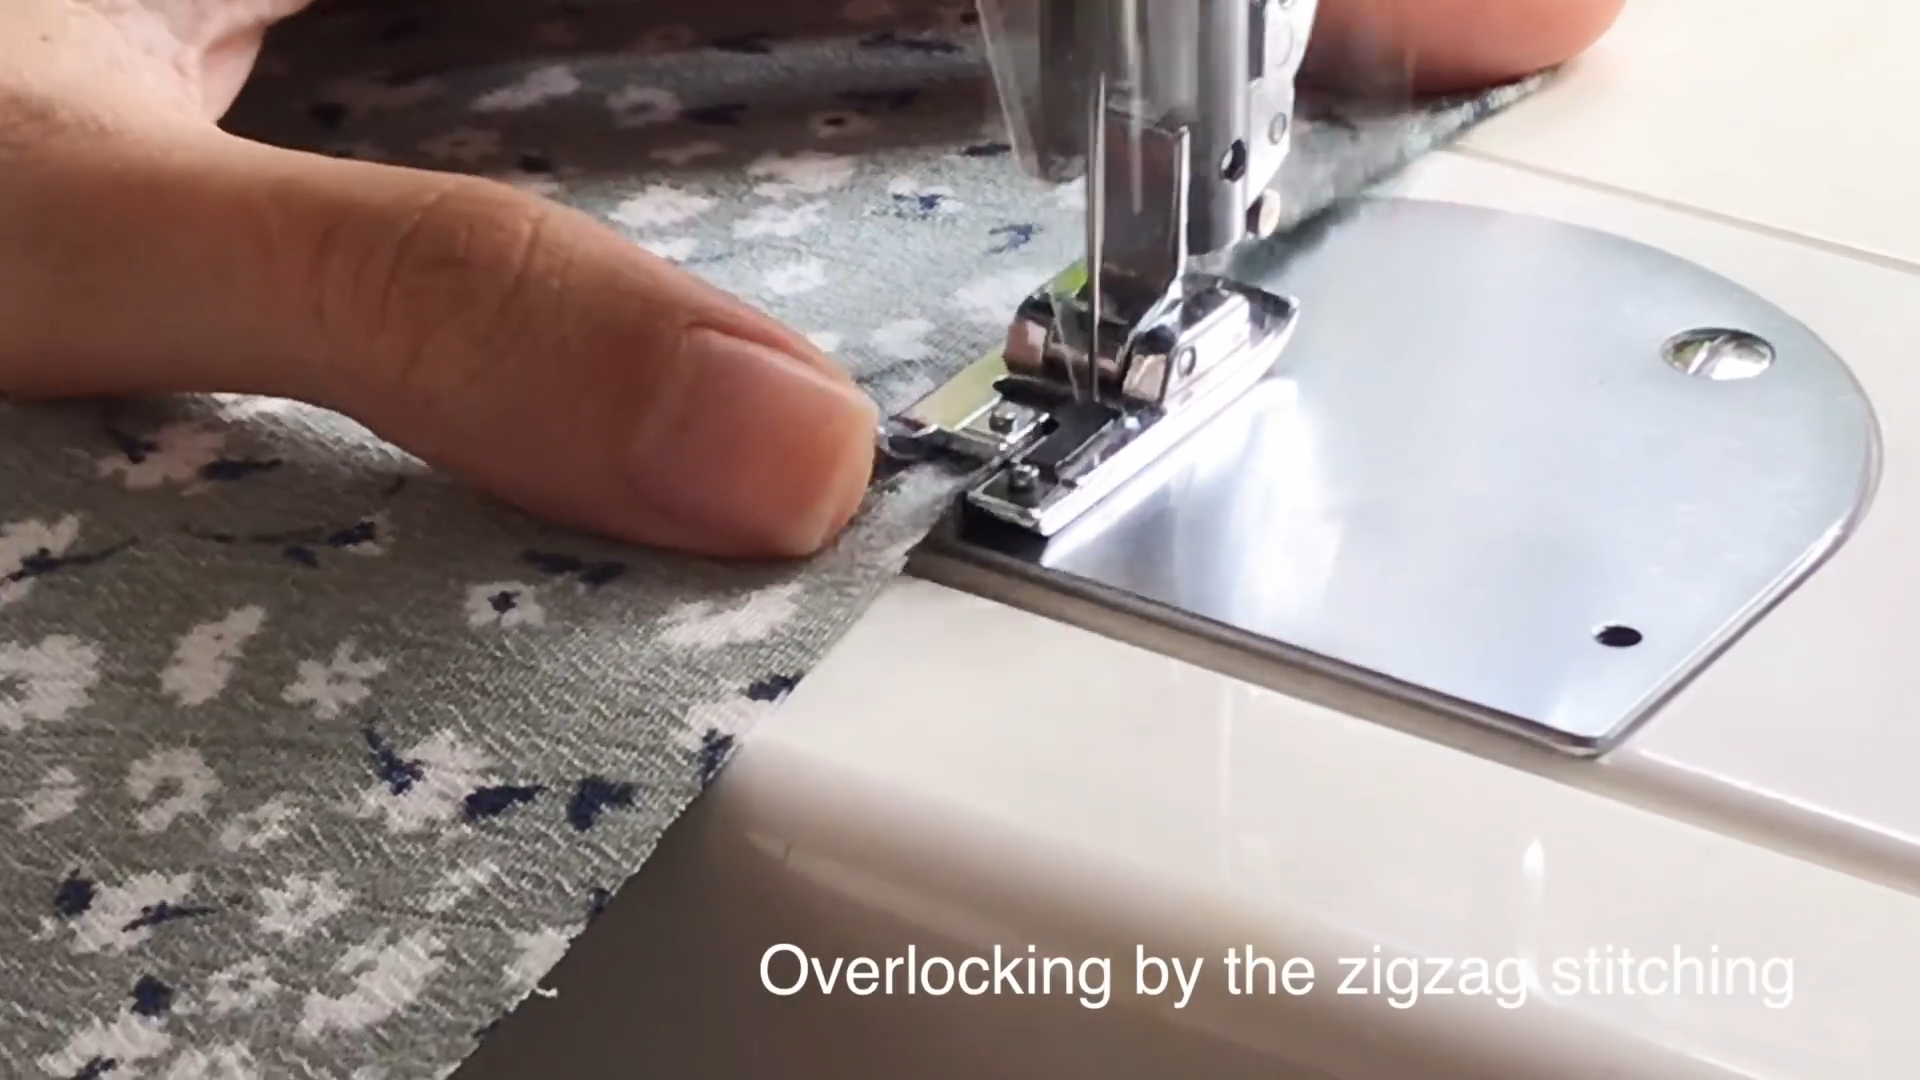
Also, overlock the rest of the cutting after that.
Make one more piece like that.
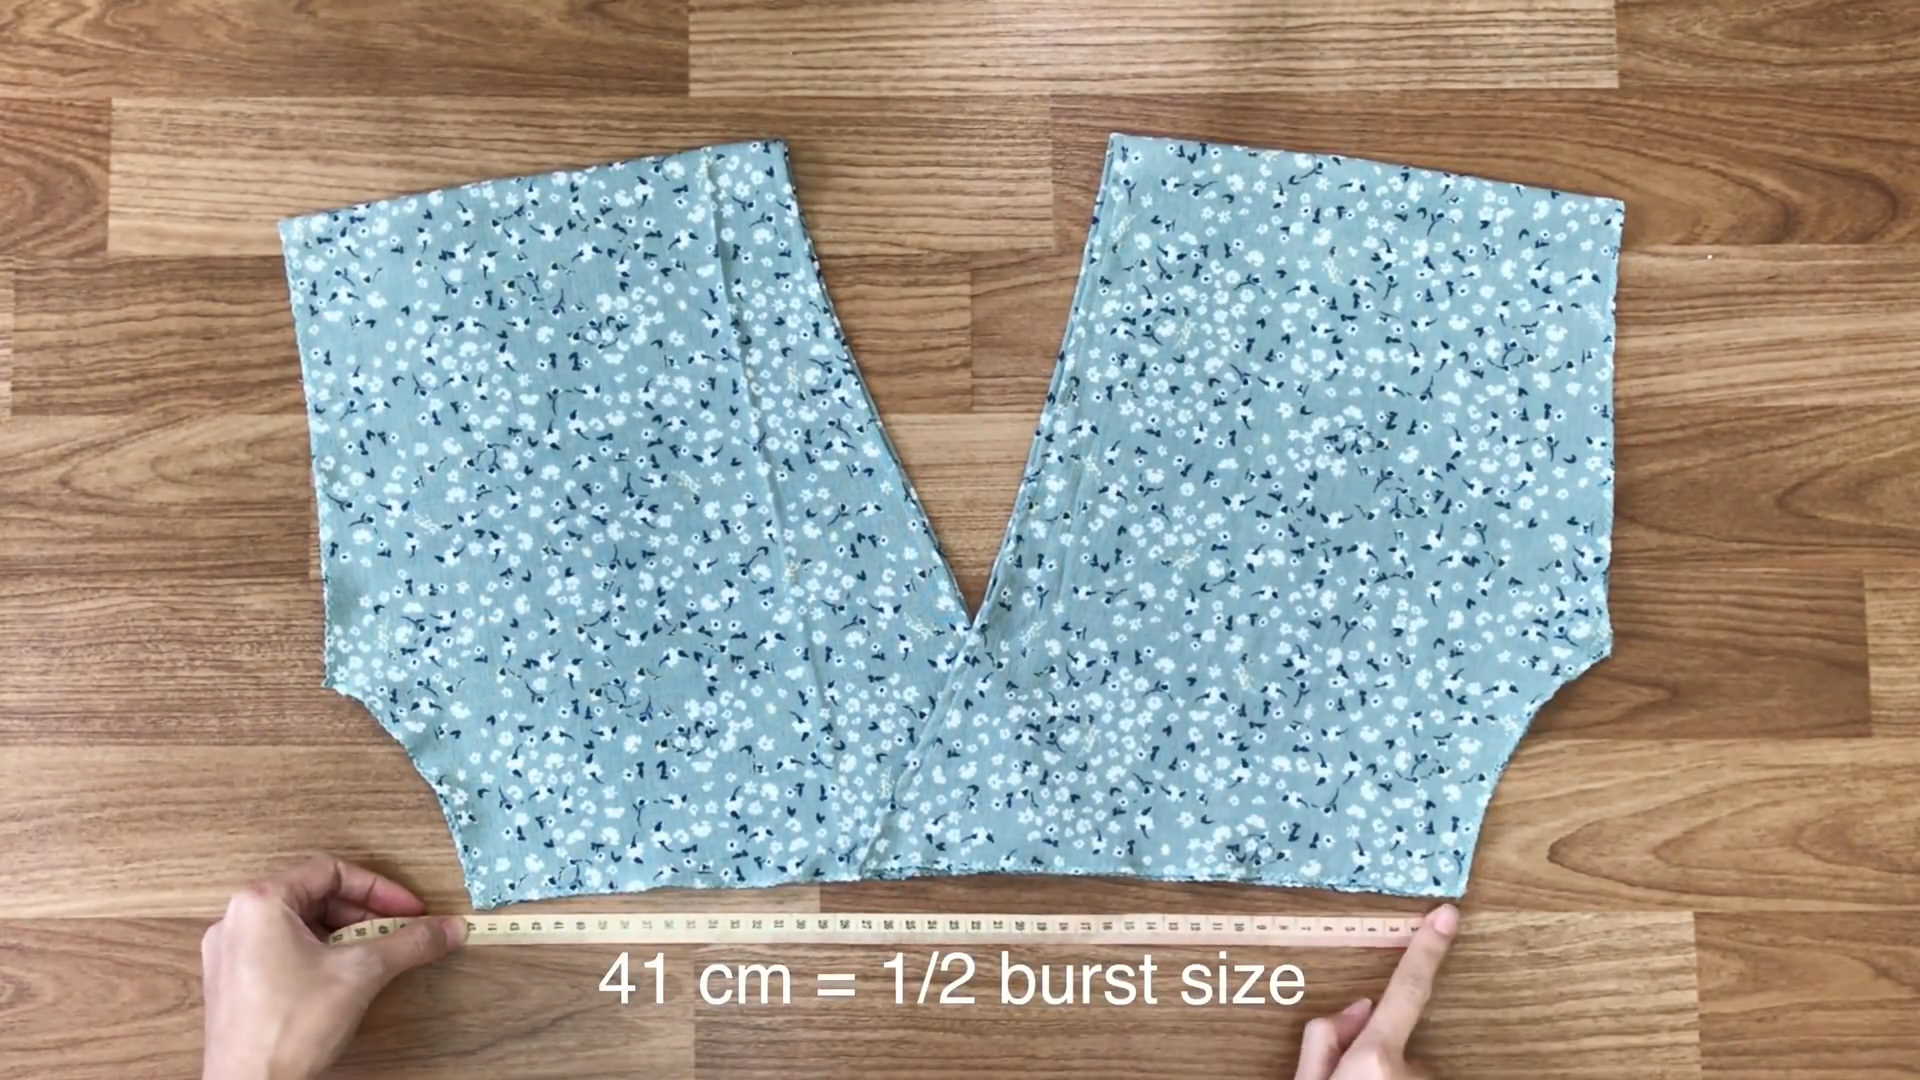
Then, connect two pieces together at the end of the neck.
Make sure the width in the end has to be half of your bust size. So, you can wear the dress later.
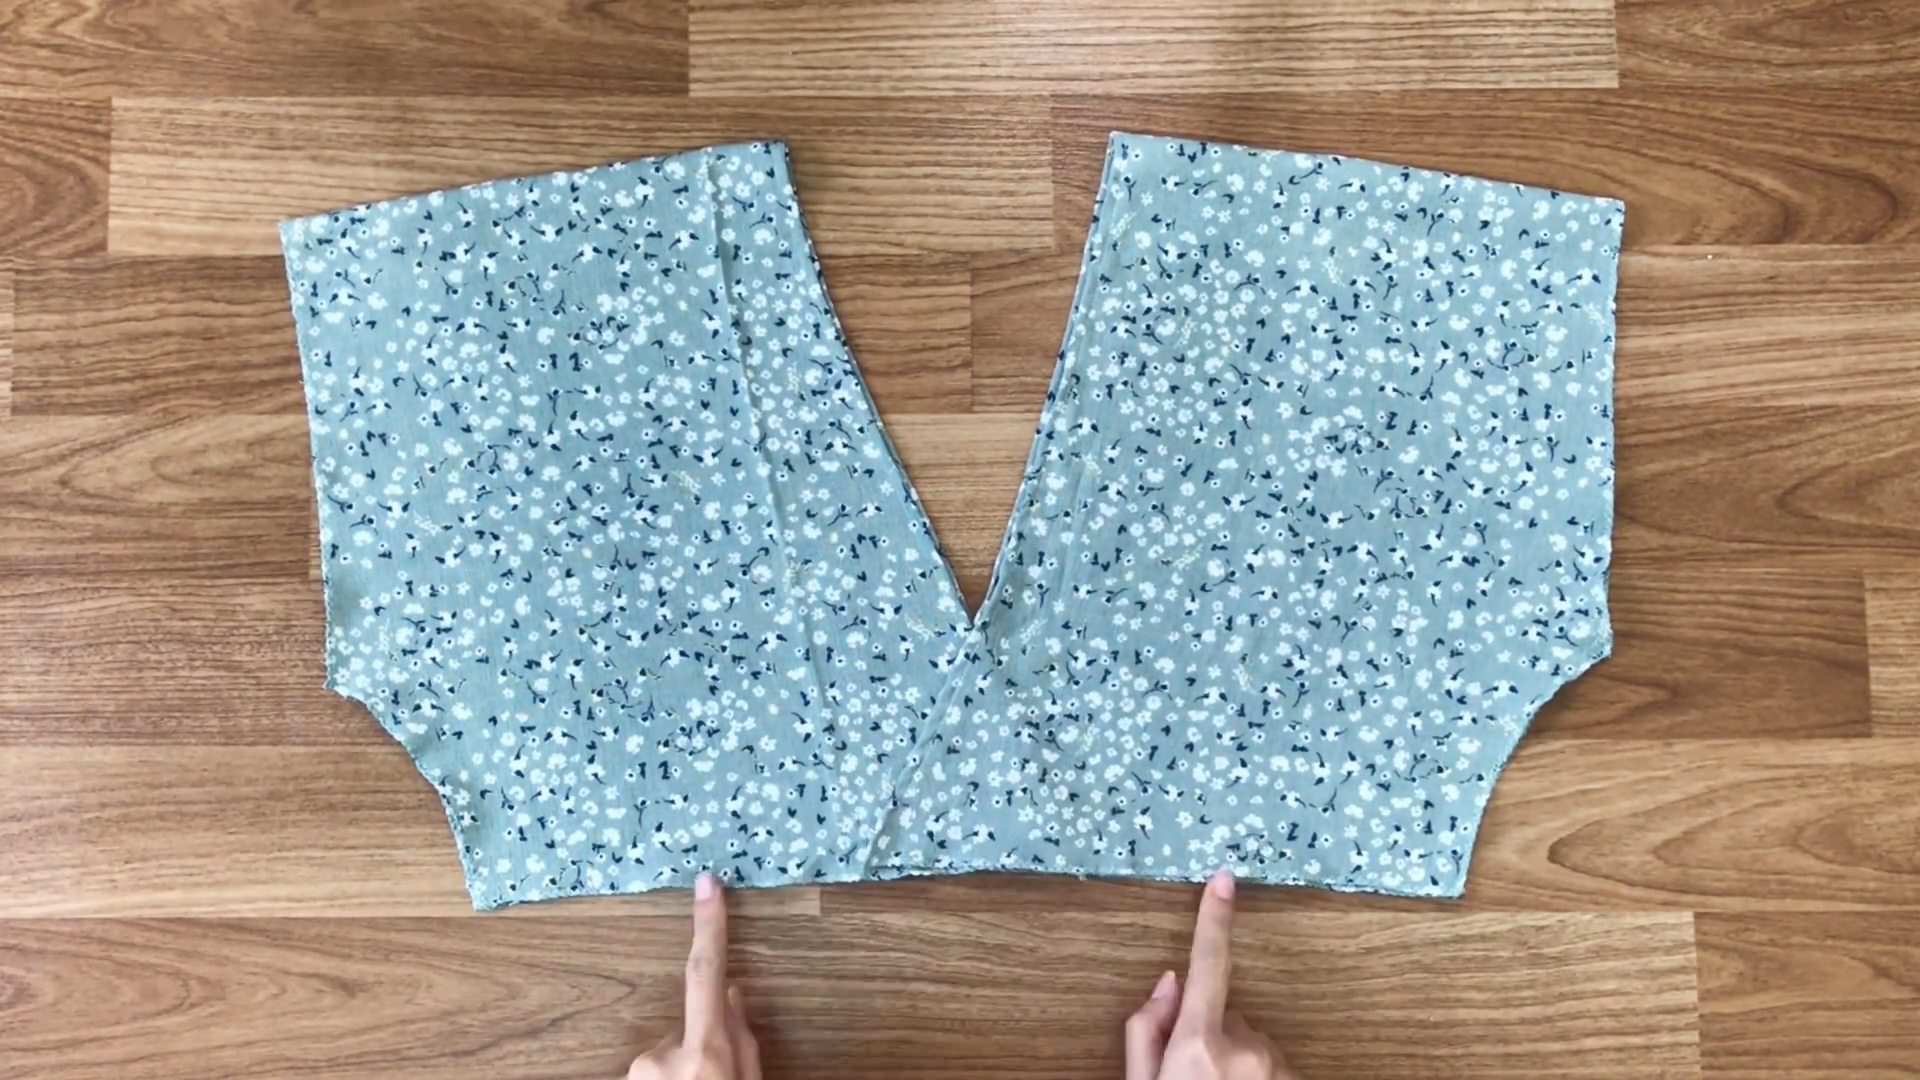
Sew the connected parts to keep them together.
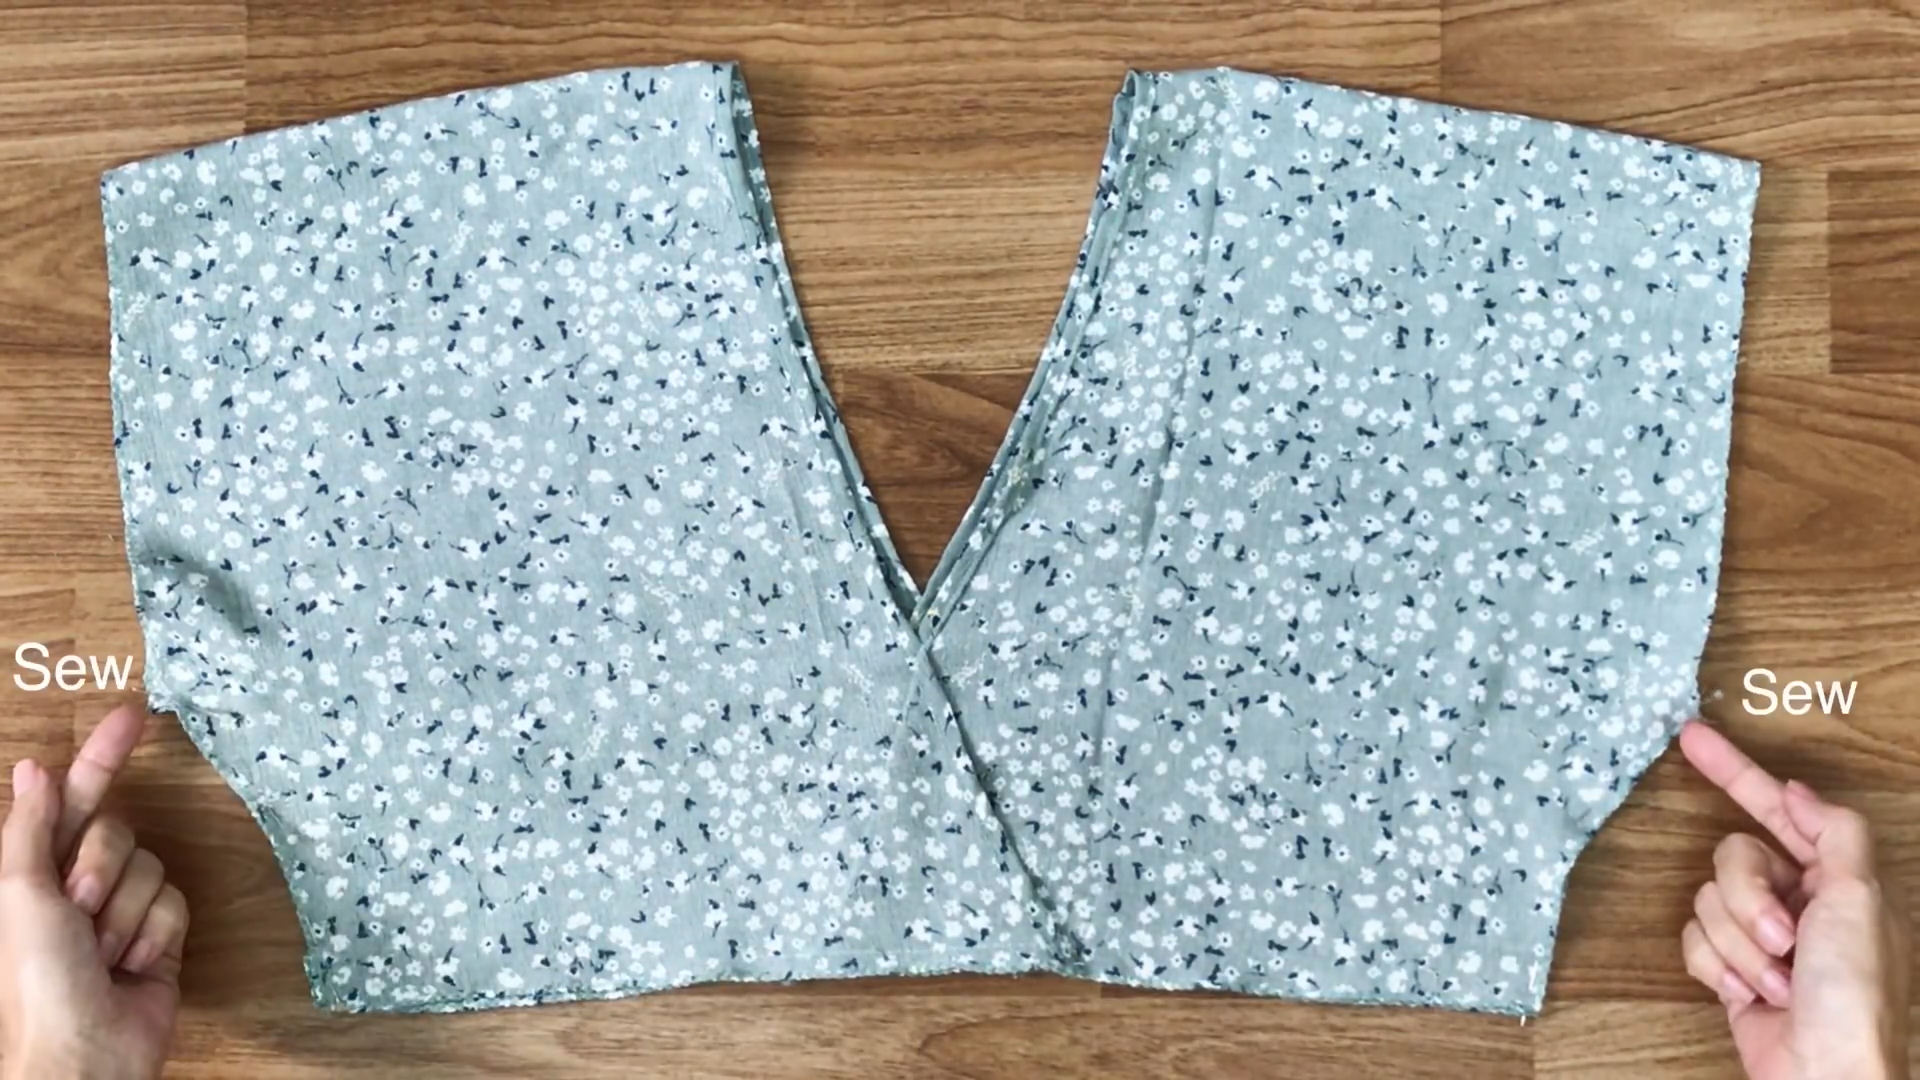
Now, connect two sides of the top at under the arm areas.
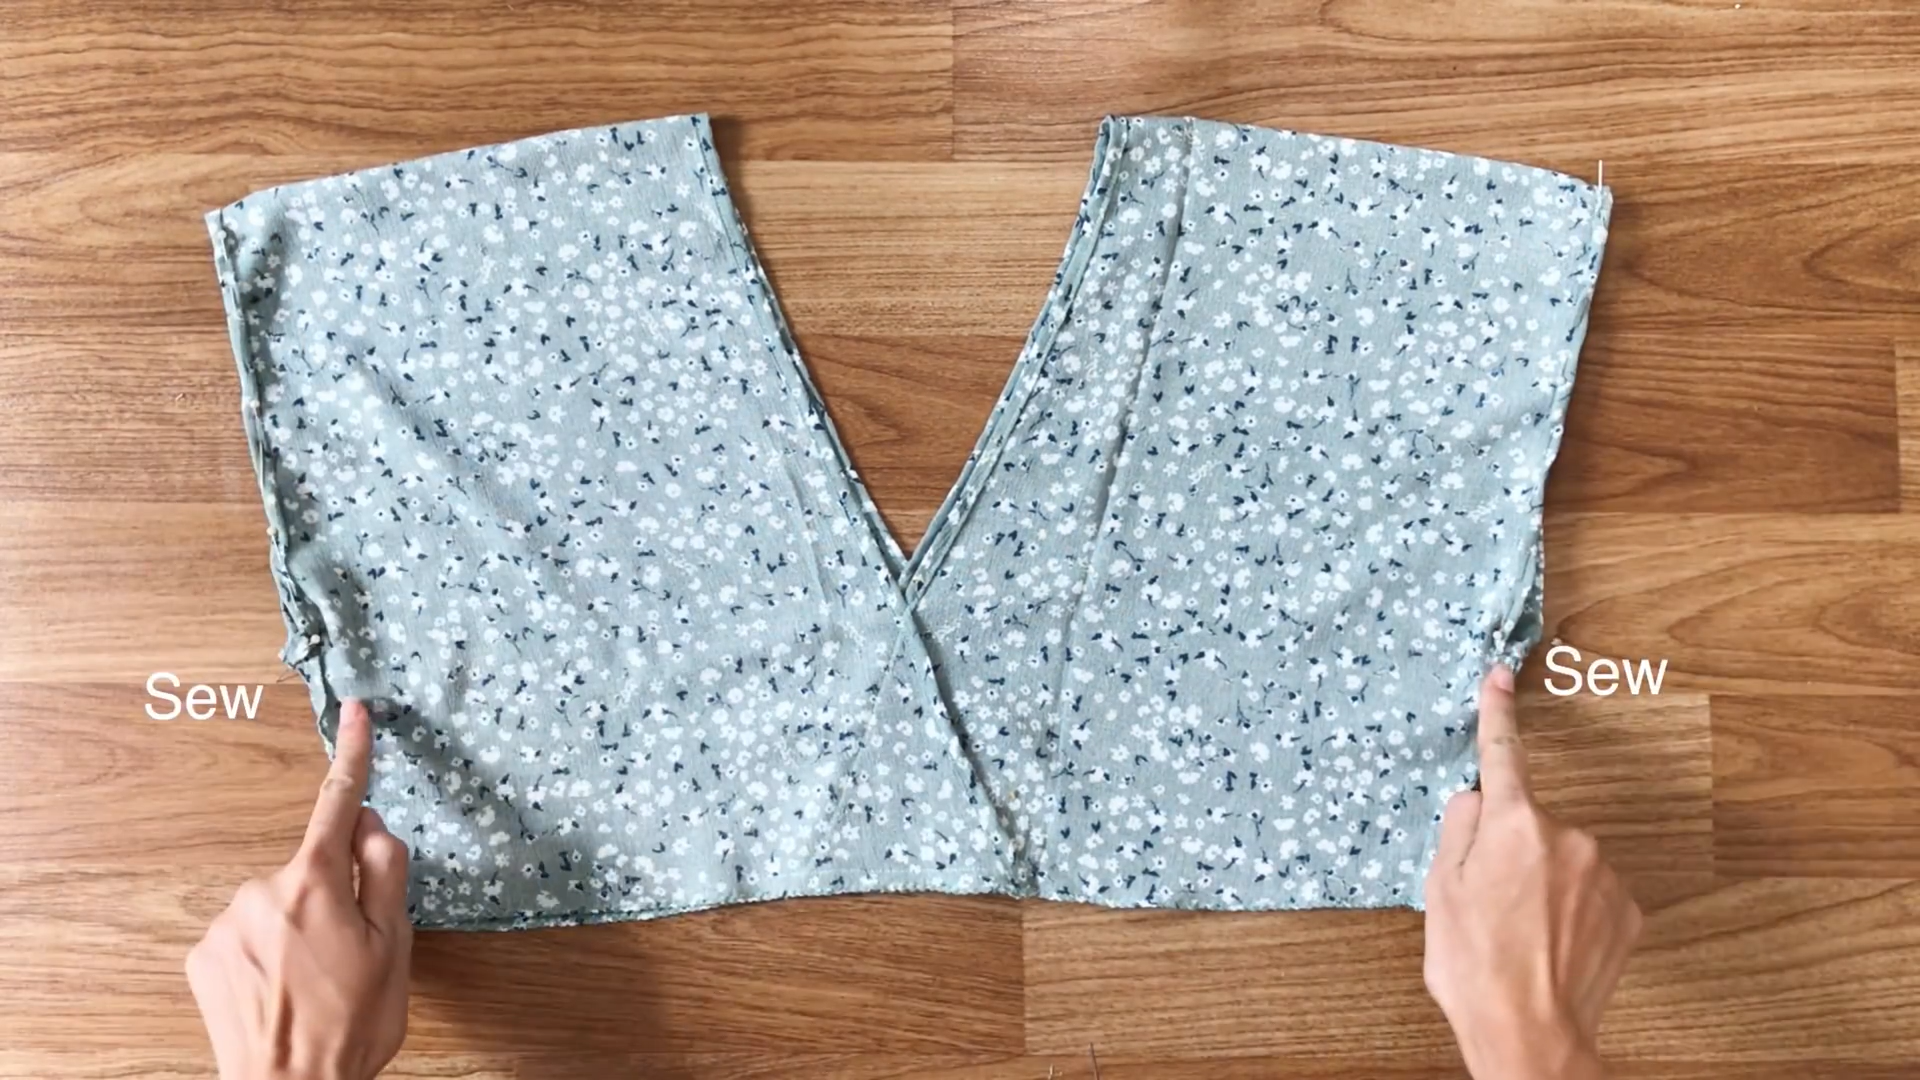
After that, fold the end of the fabric at the hands twice to hide the cutting and sew it to finish the hand of the dress.
THE BOTTOM PATTERN

The bottom pattern
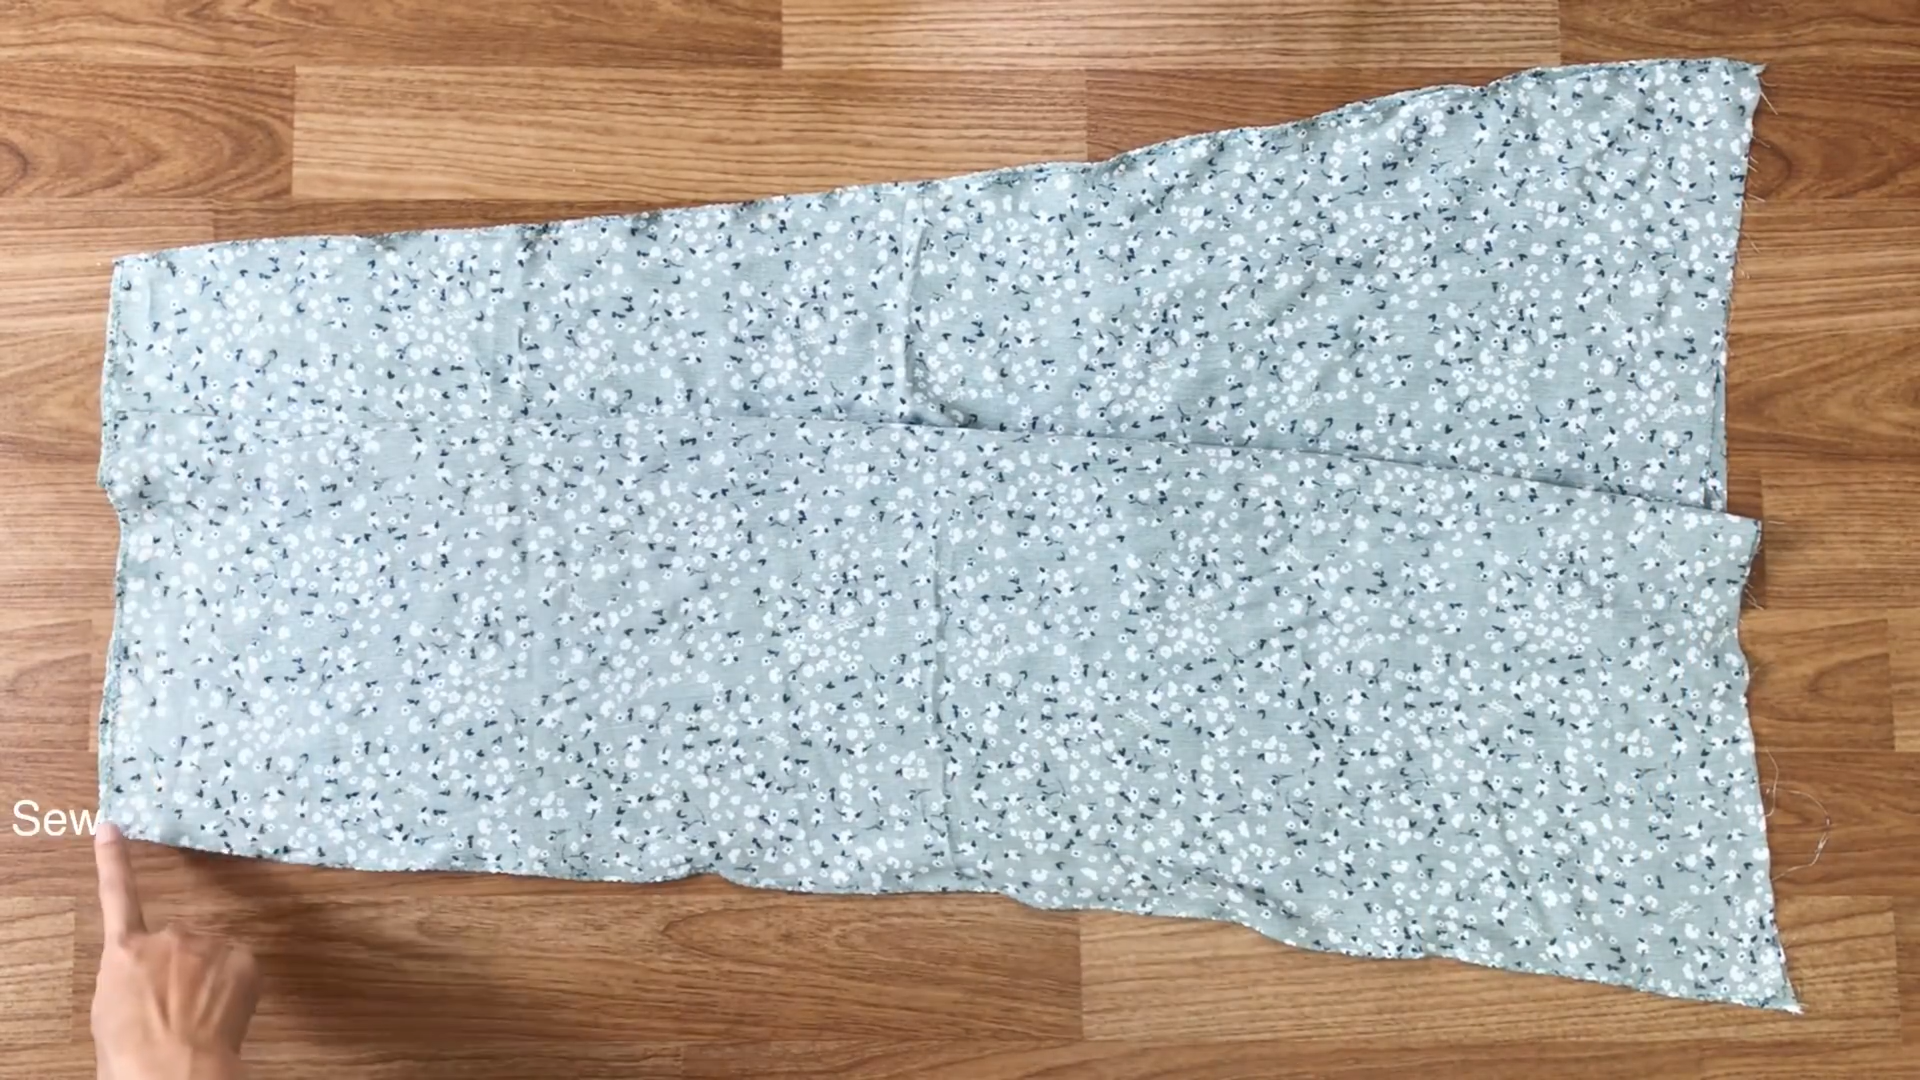
Cut a rectangle with 90cm length, which is the length from under the breast to over the knee or the length you want for your dress. And 35cm width, which is 1.5 times a quarter of the hip size.
Please note that the fabric is folded in half. So, the total width of the rectangle is 70 cm, which is 1.5 times a half of the hip size.

After cutting, you’ll have the back of the bottom dress.
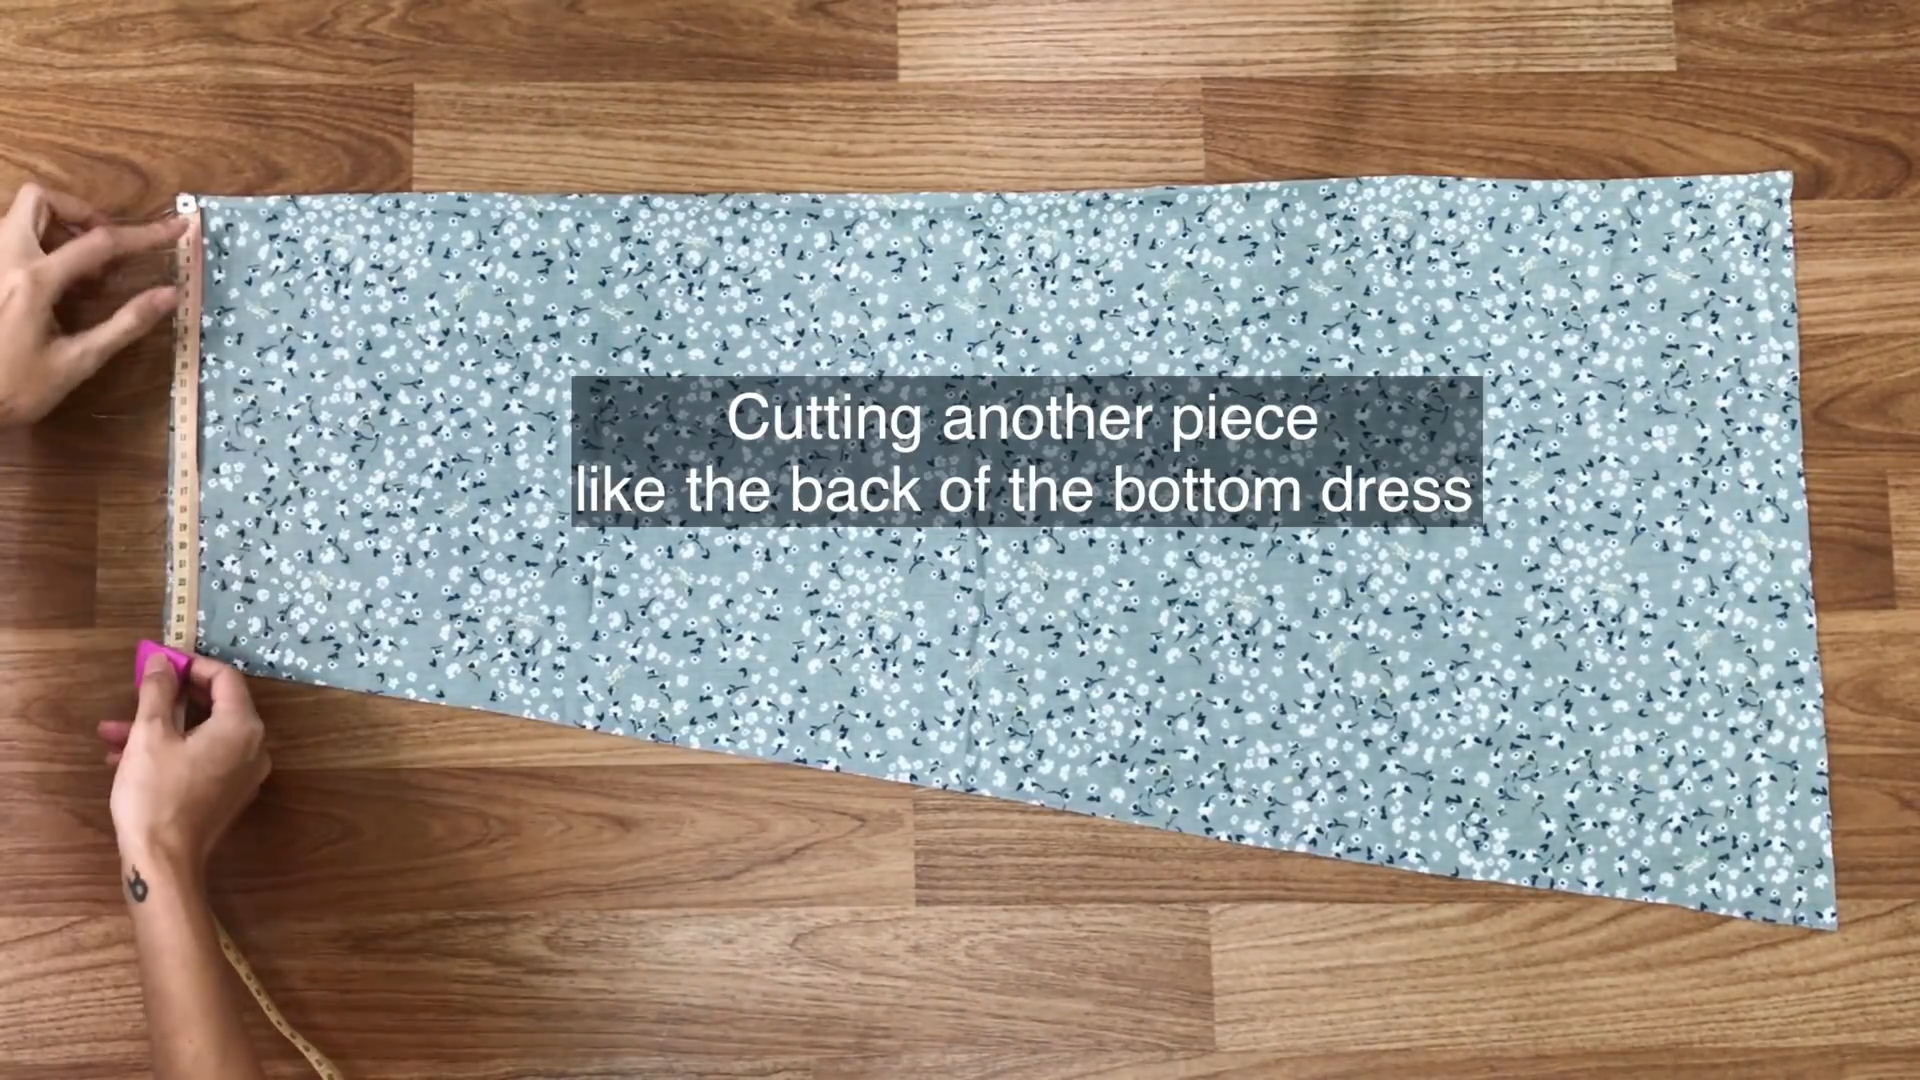
To make the front of the bottom dress, cut another piece like the back first.
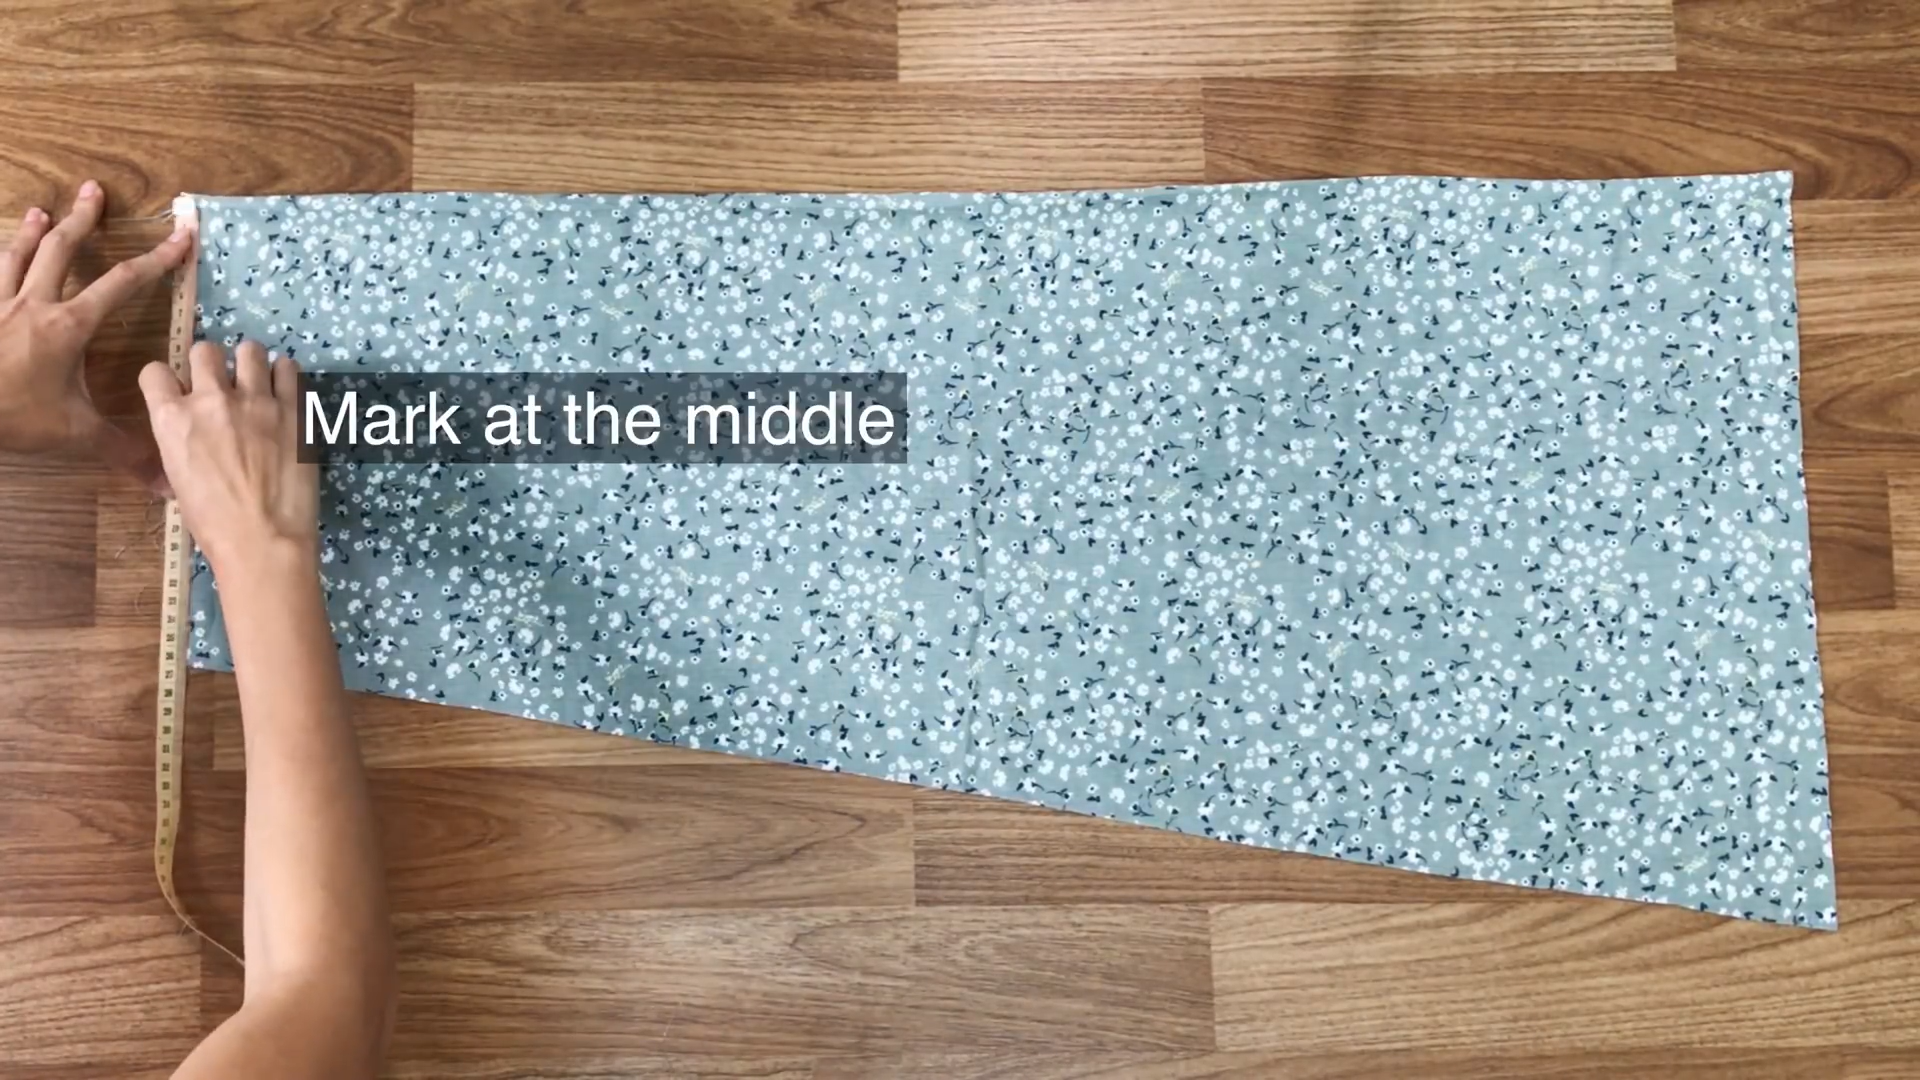
Then, mark at the middle of the top. And it’s around 10cm.
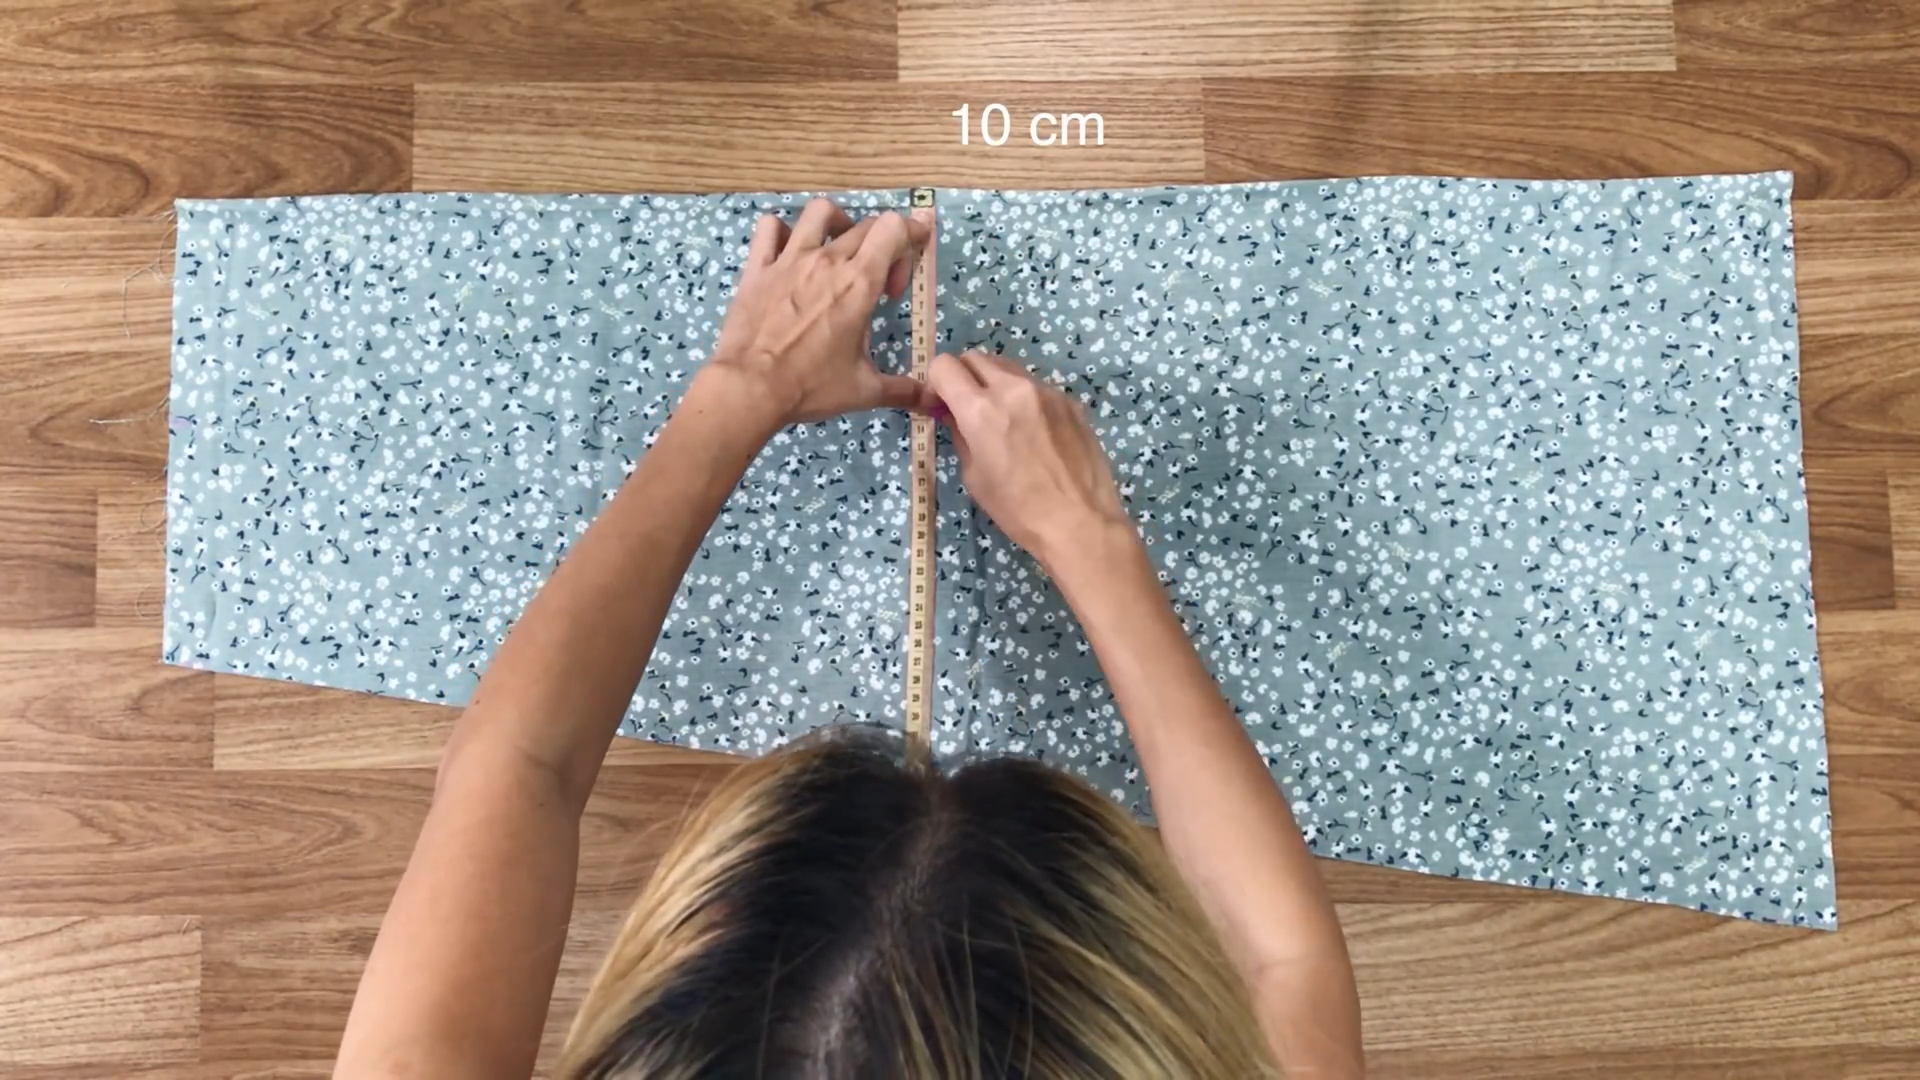
So, draw a line at 10 cm down from the folding line.
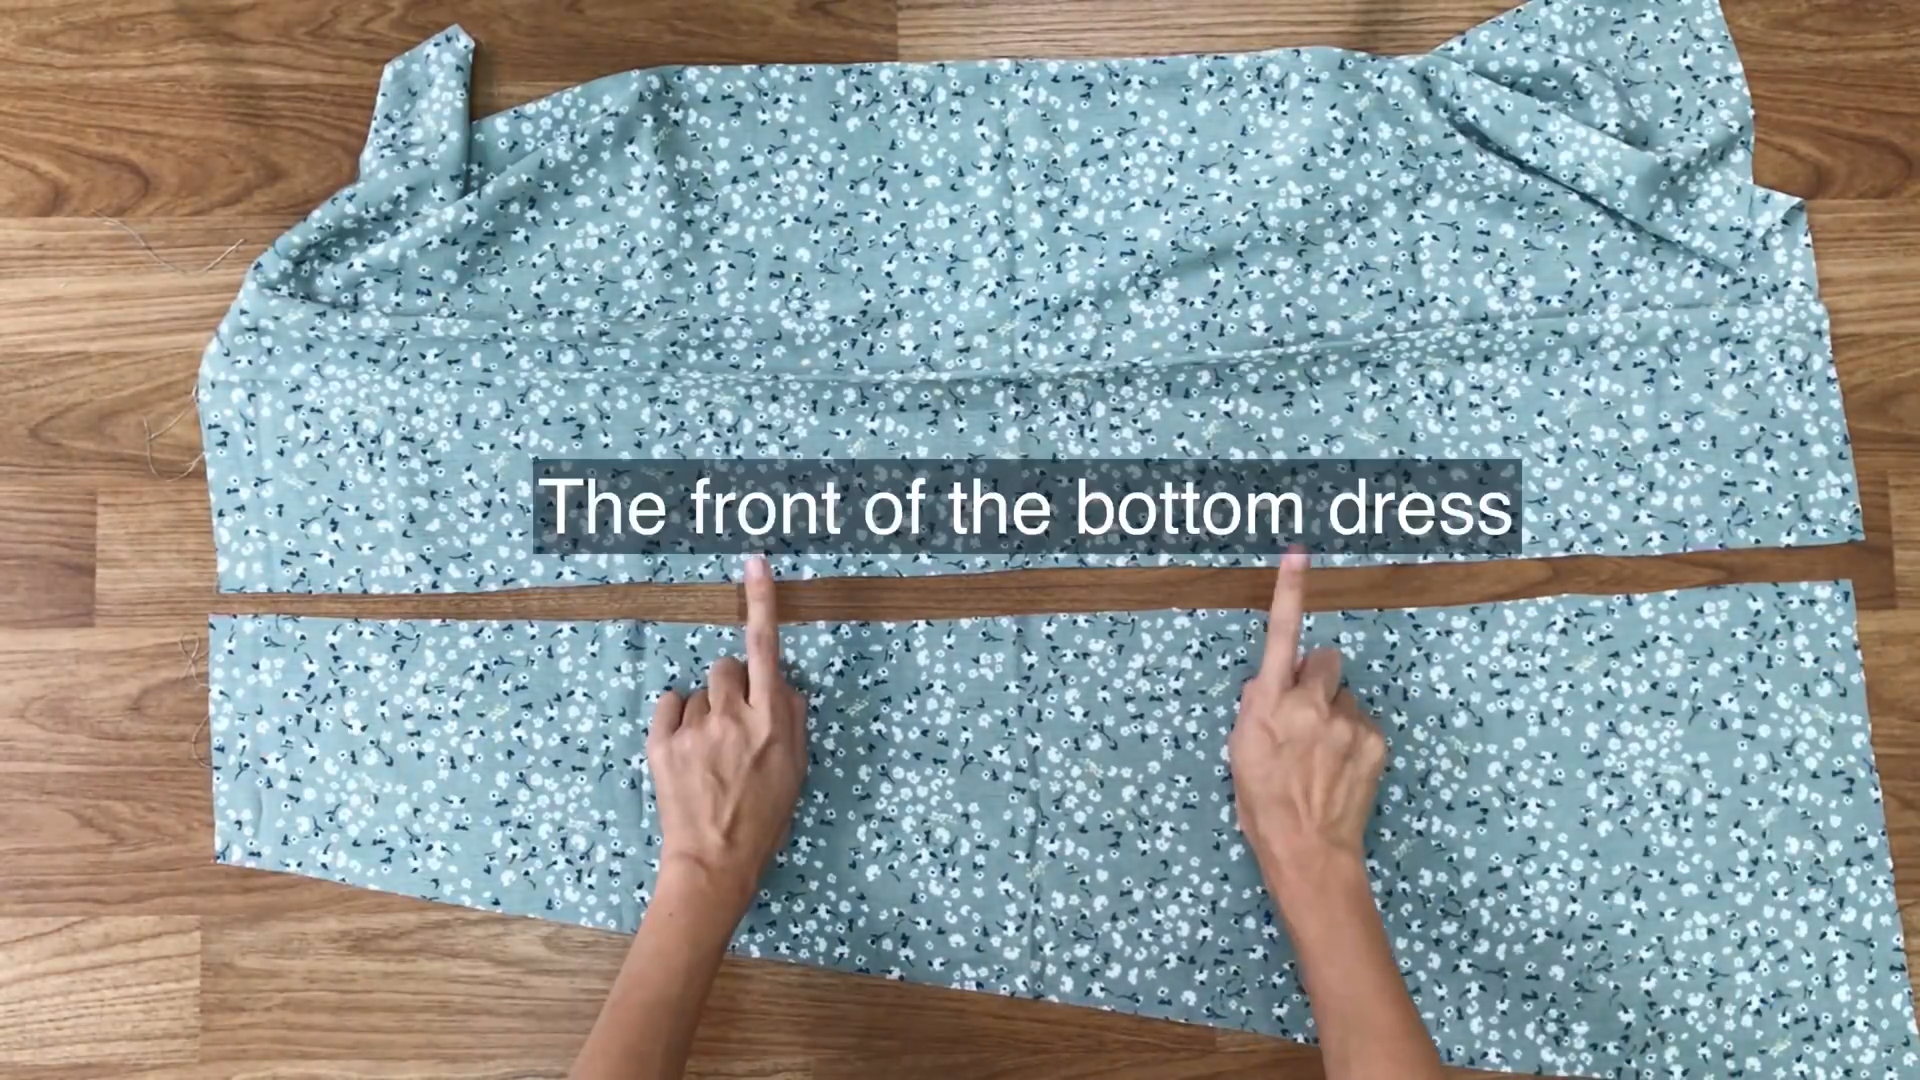
Then, cut by that drawing line to have two pieces of the front of the bottom dress.
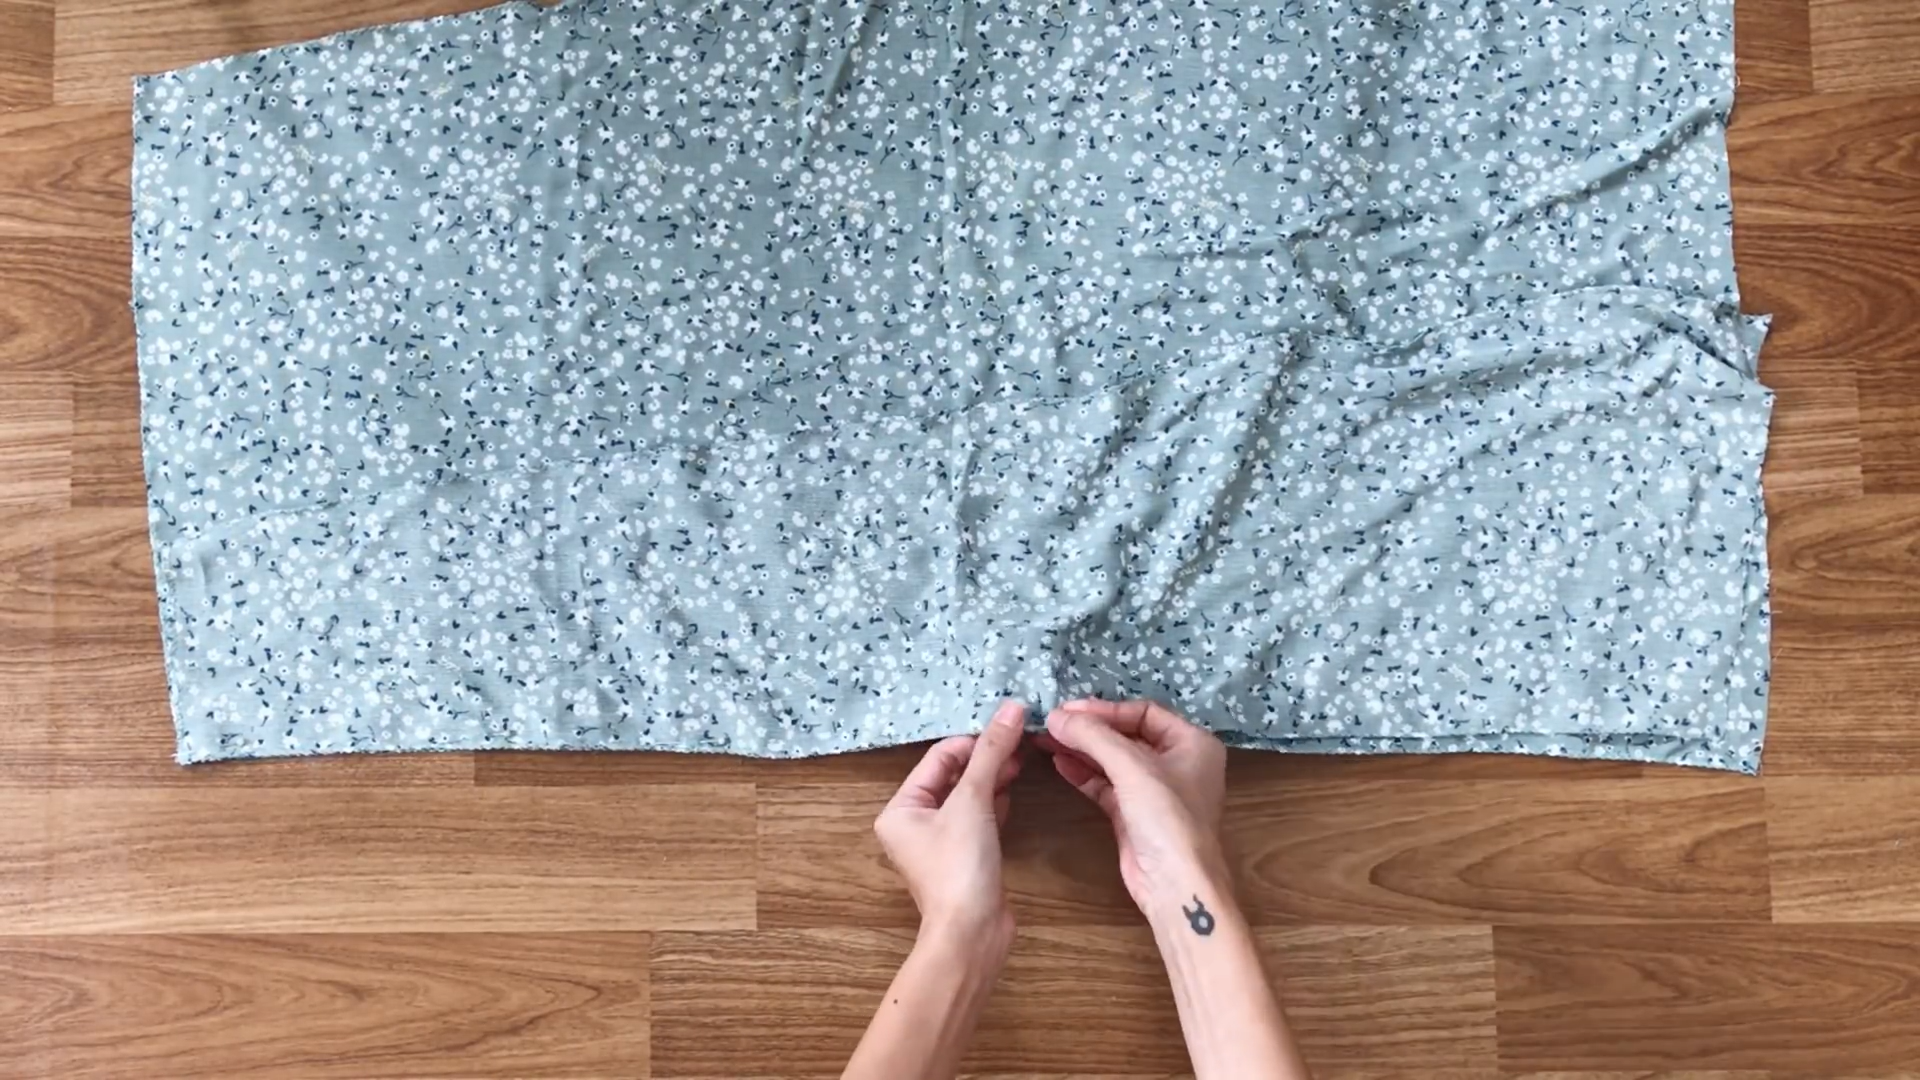
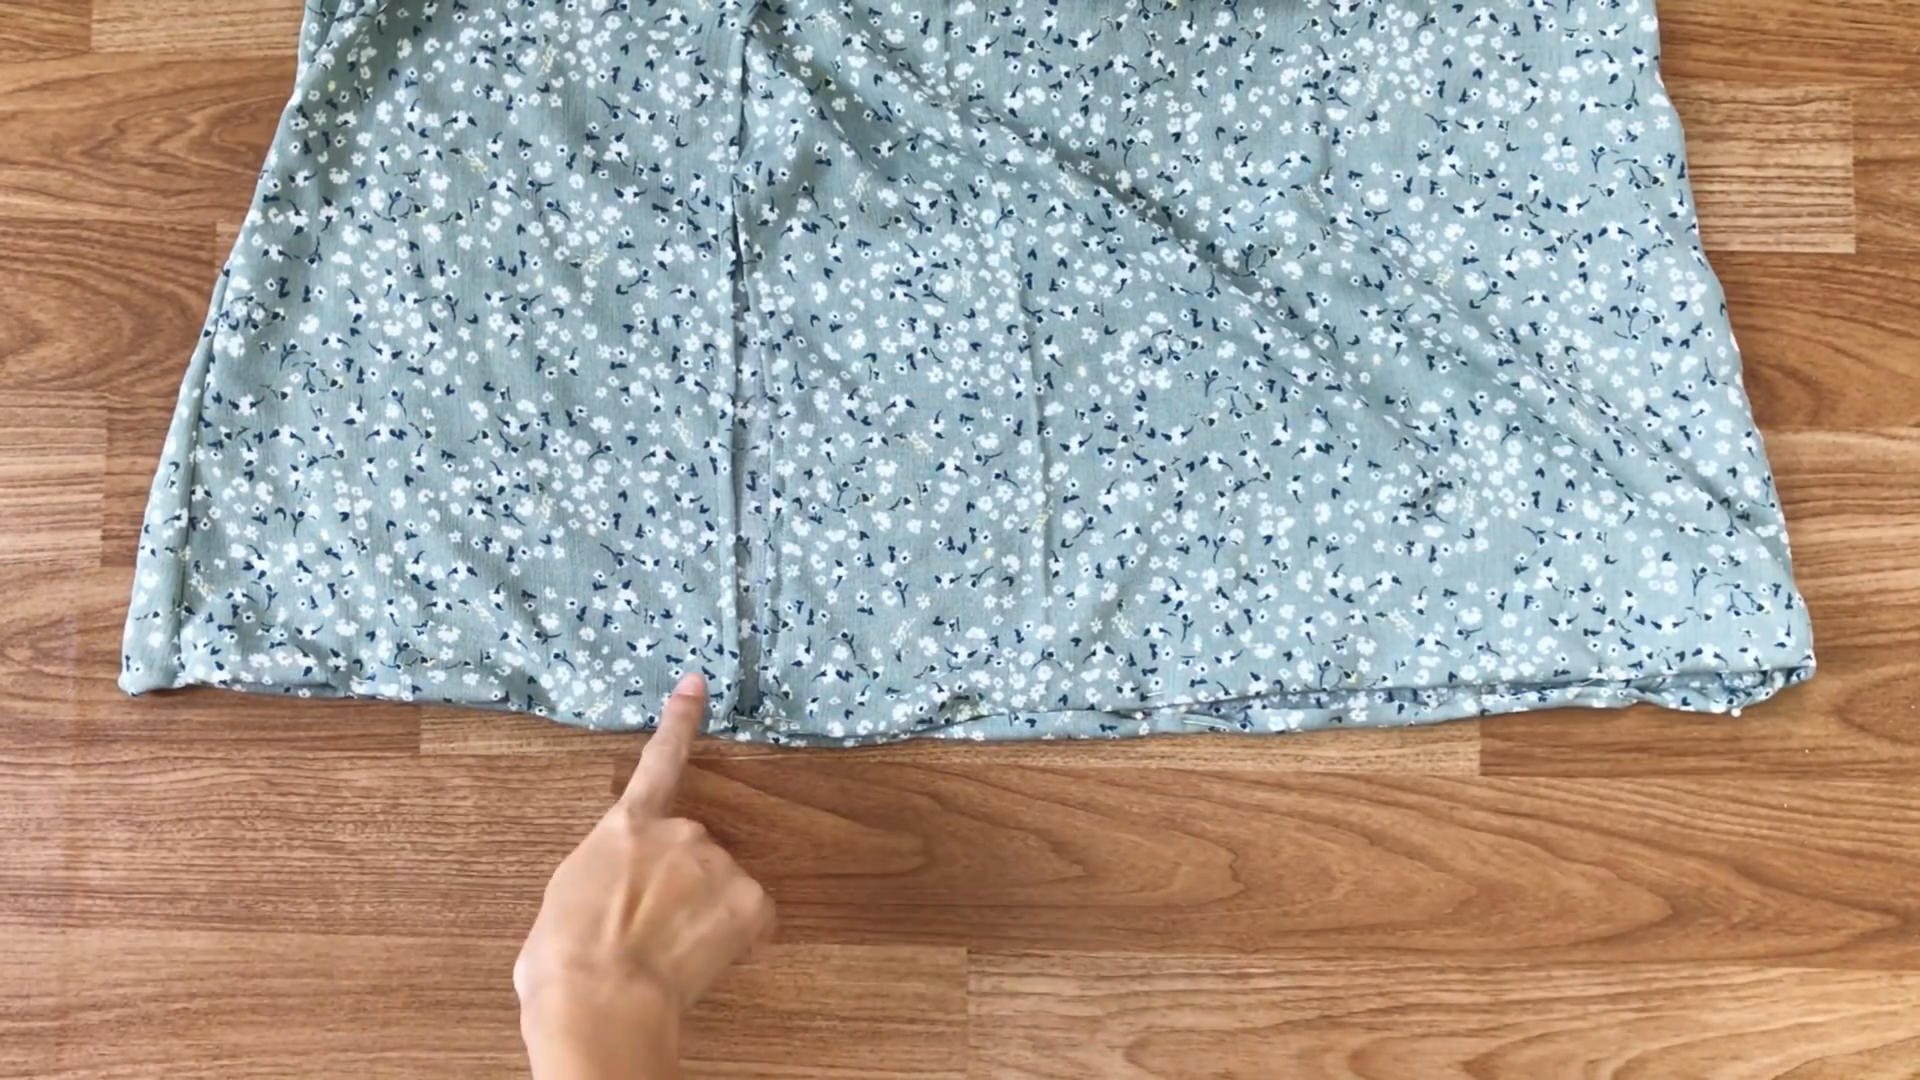
Connect two pieces of the front together by the pins first.
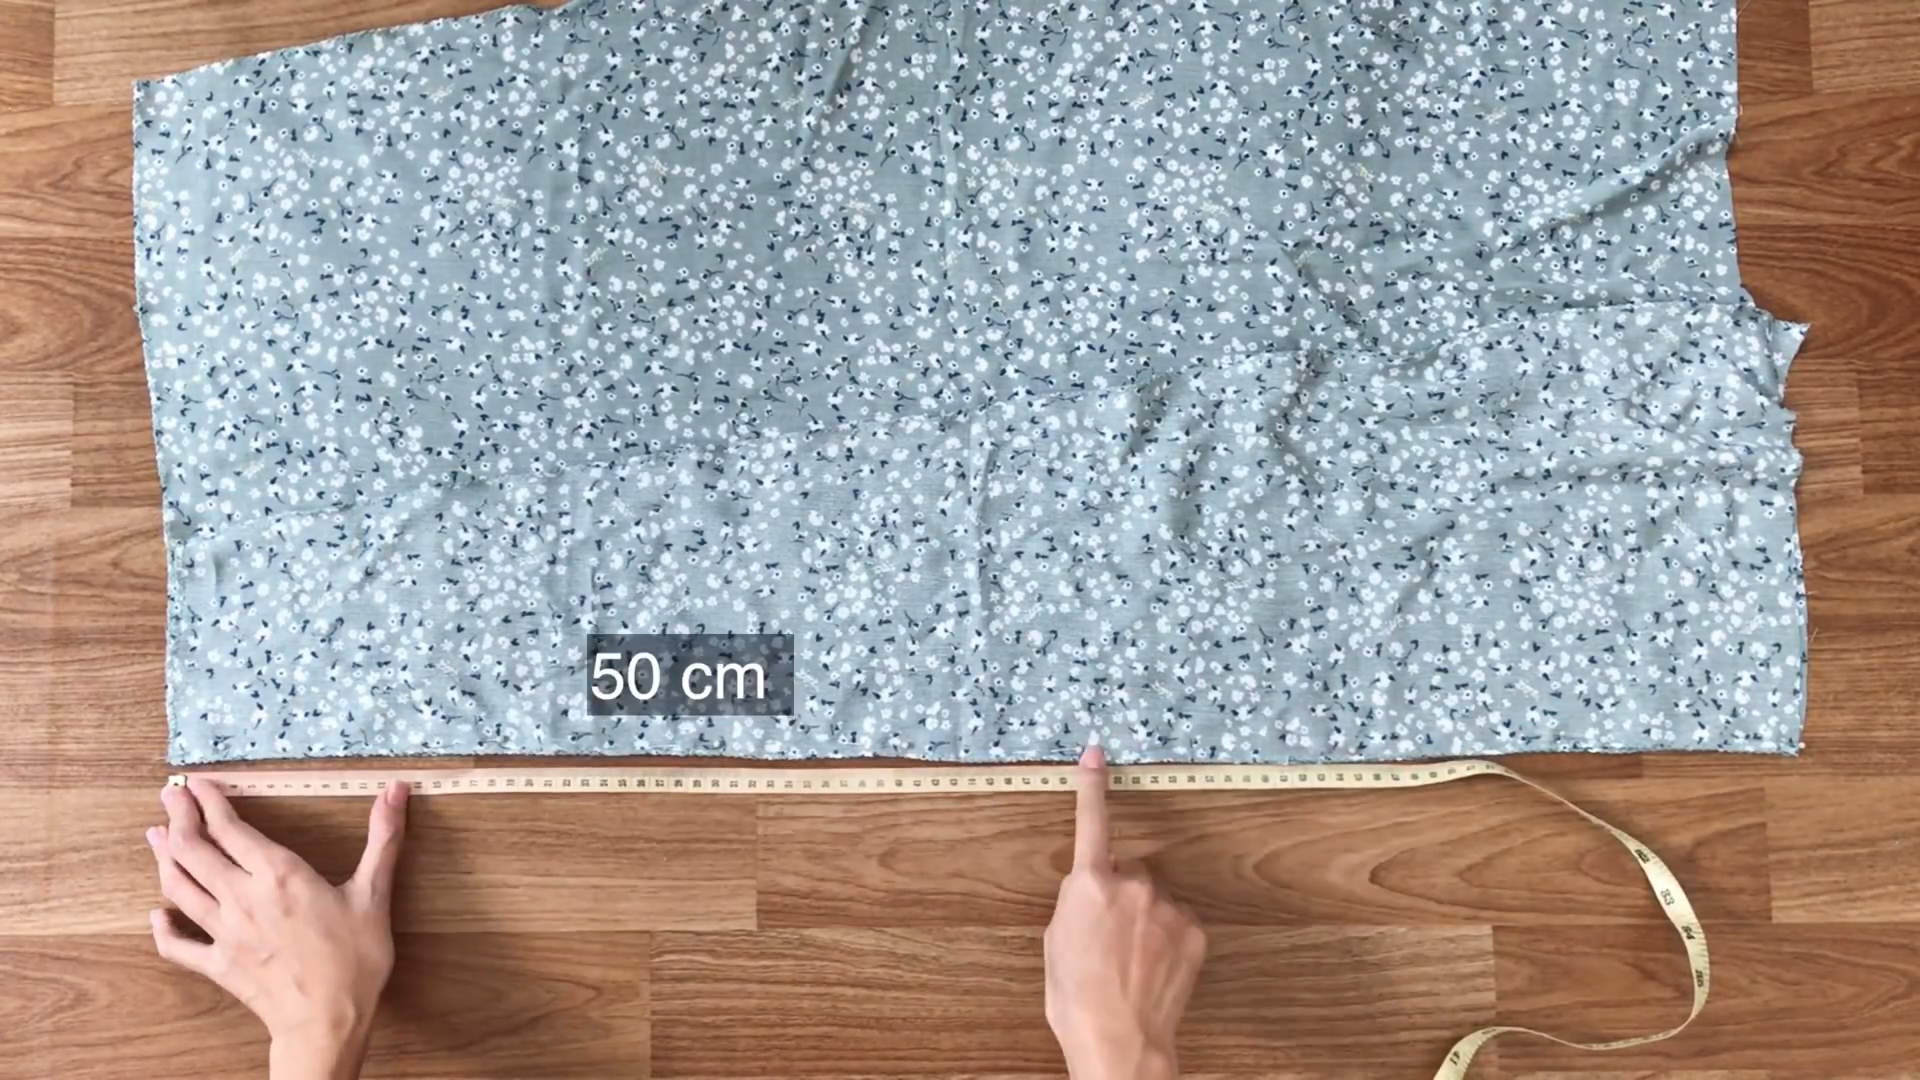
Then, mark at 50cm on the connected line.
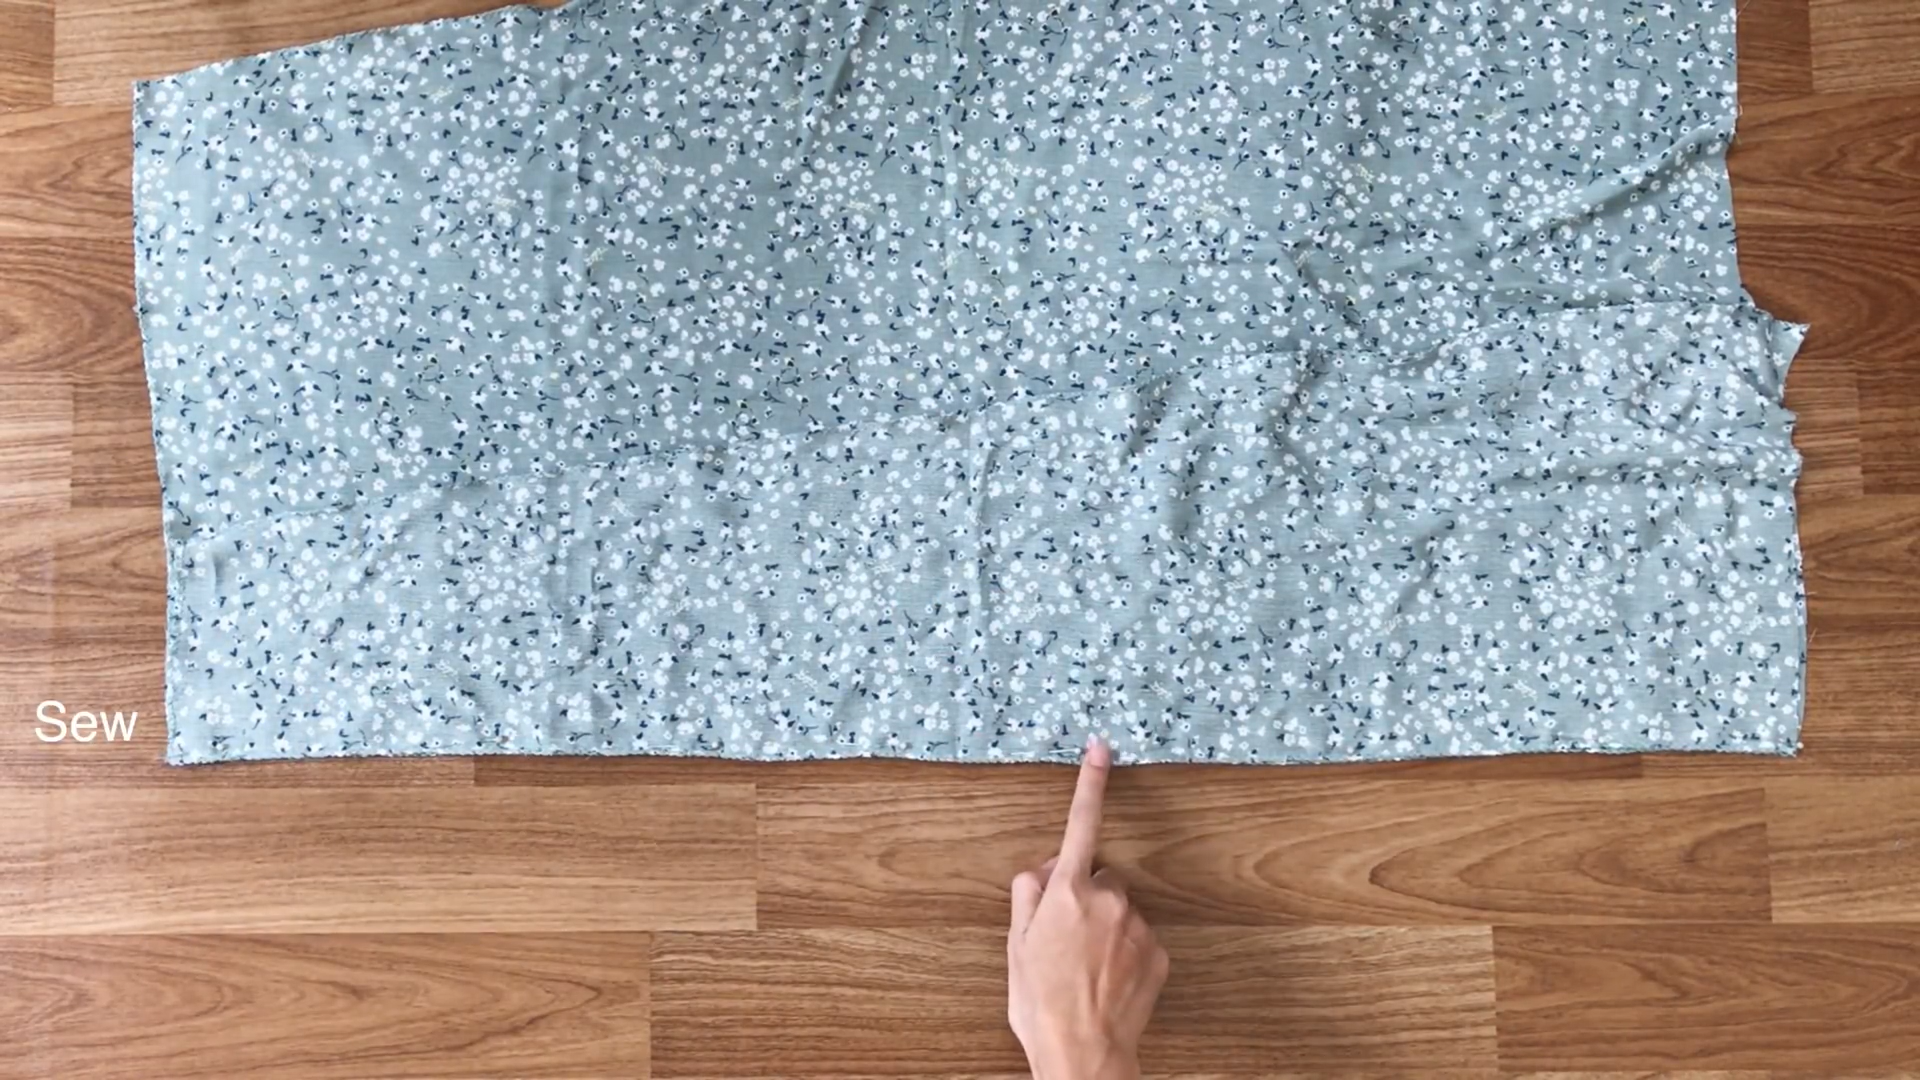
And sew from the top to that mark. So, the dress will have a slit at the leg.
Fold the fabric at the split part inside and sew to finish it.
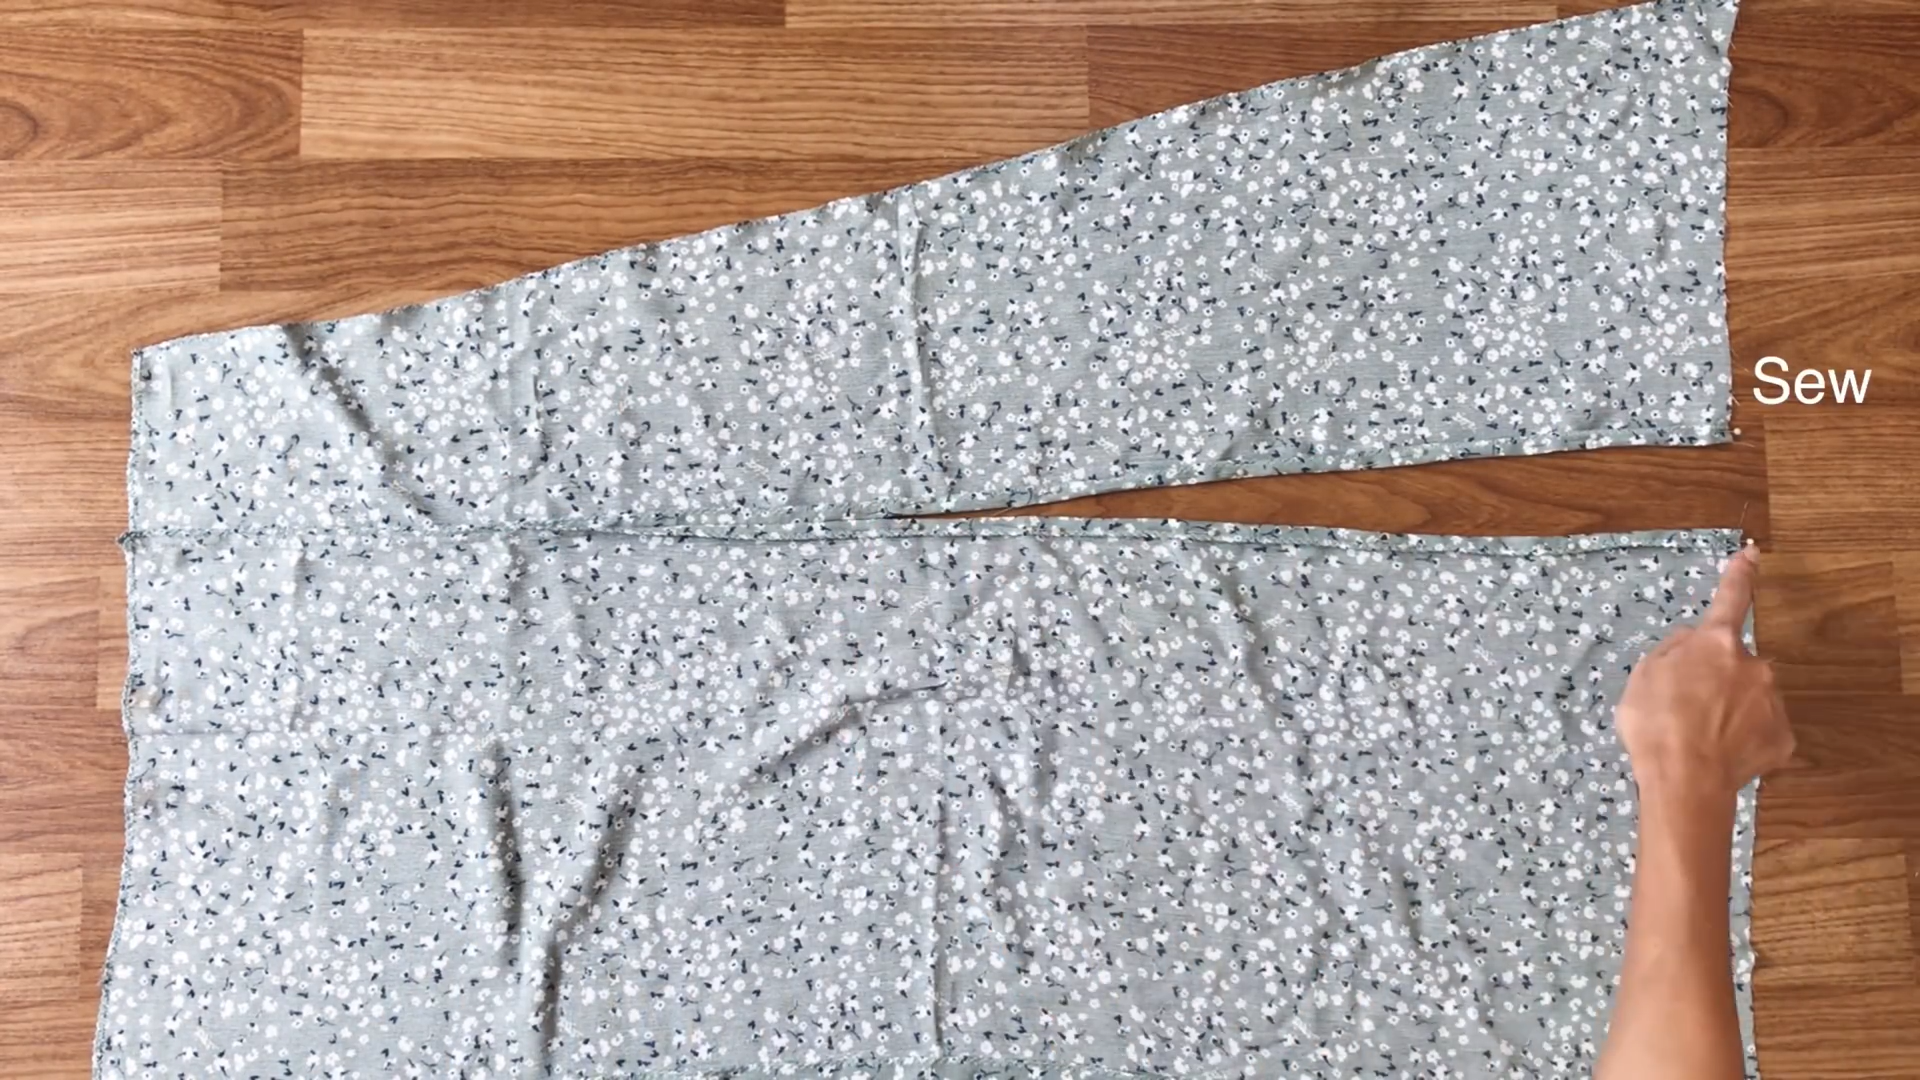
Now, connect the front and the back of the bottom dress together at two sides. Then, sew along the pinned line.
Fold the end of the dress twice to hide the cutting and sew to finish it.
CONNECTING THE TOP AND THE BOTTOM
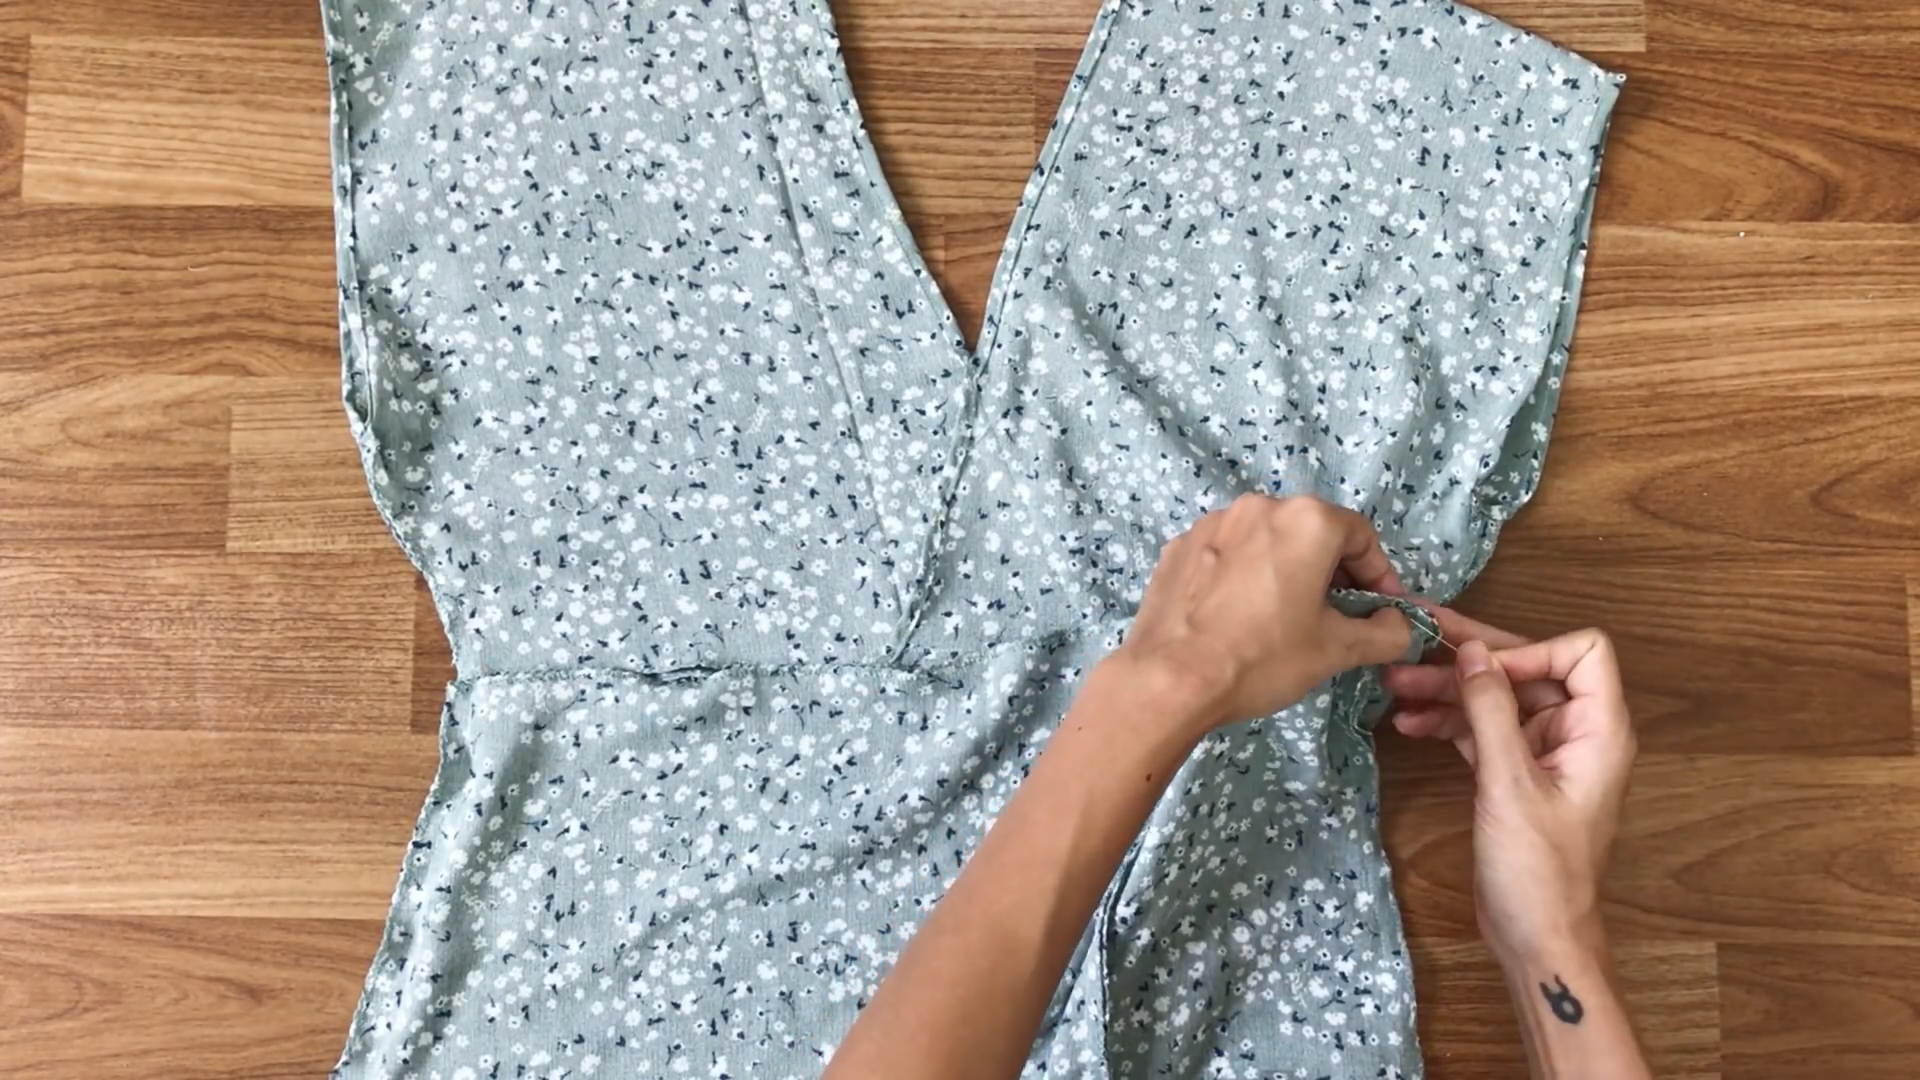
The next step is to connect the top and the bottom of the dress together. Connect them at two sides first. Then, connect the rest later.

Because there will be an elastic band at the connected part, measure the width of the elastic band first to mark where to sew.
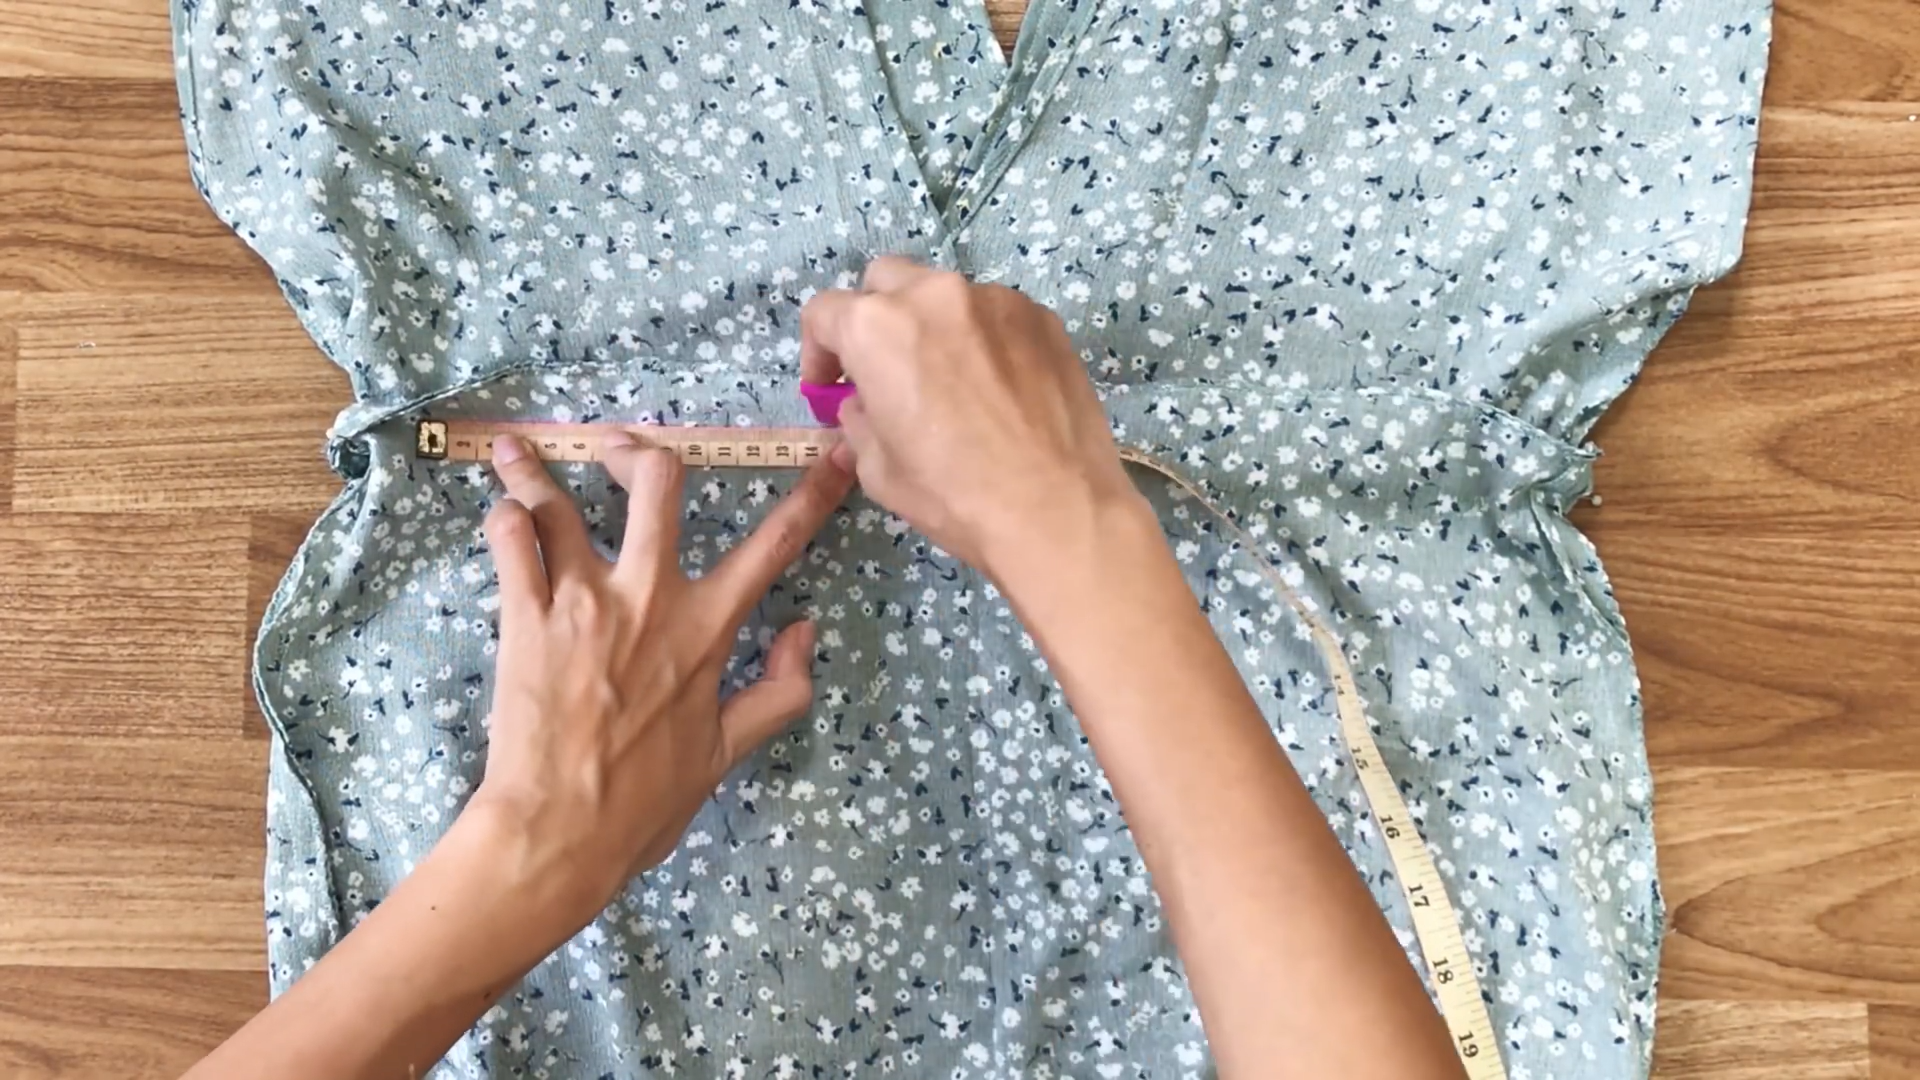
Then, draw a line to help sew easier.
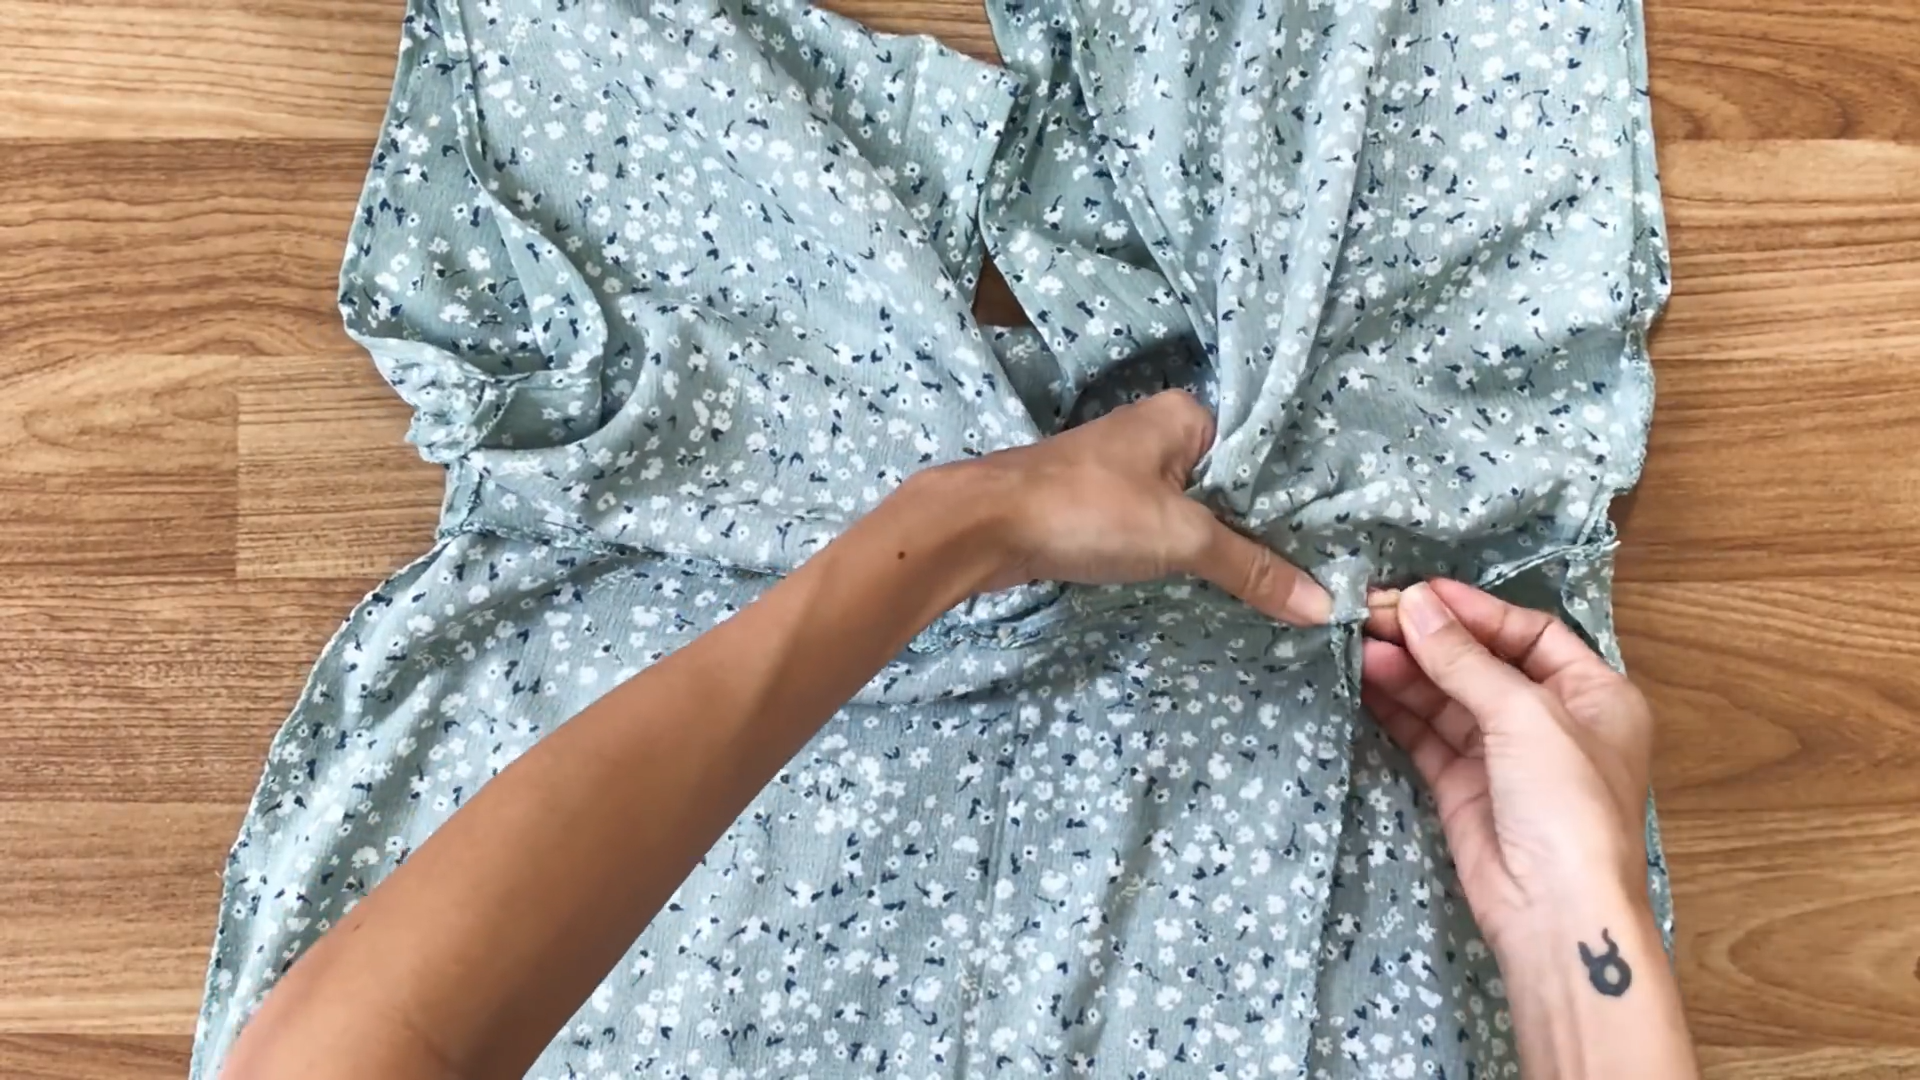
After the first seam, fold all the fabric down and make another seam to create the hole for the elastic band to go through.
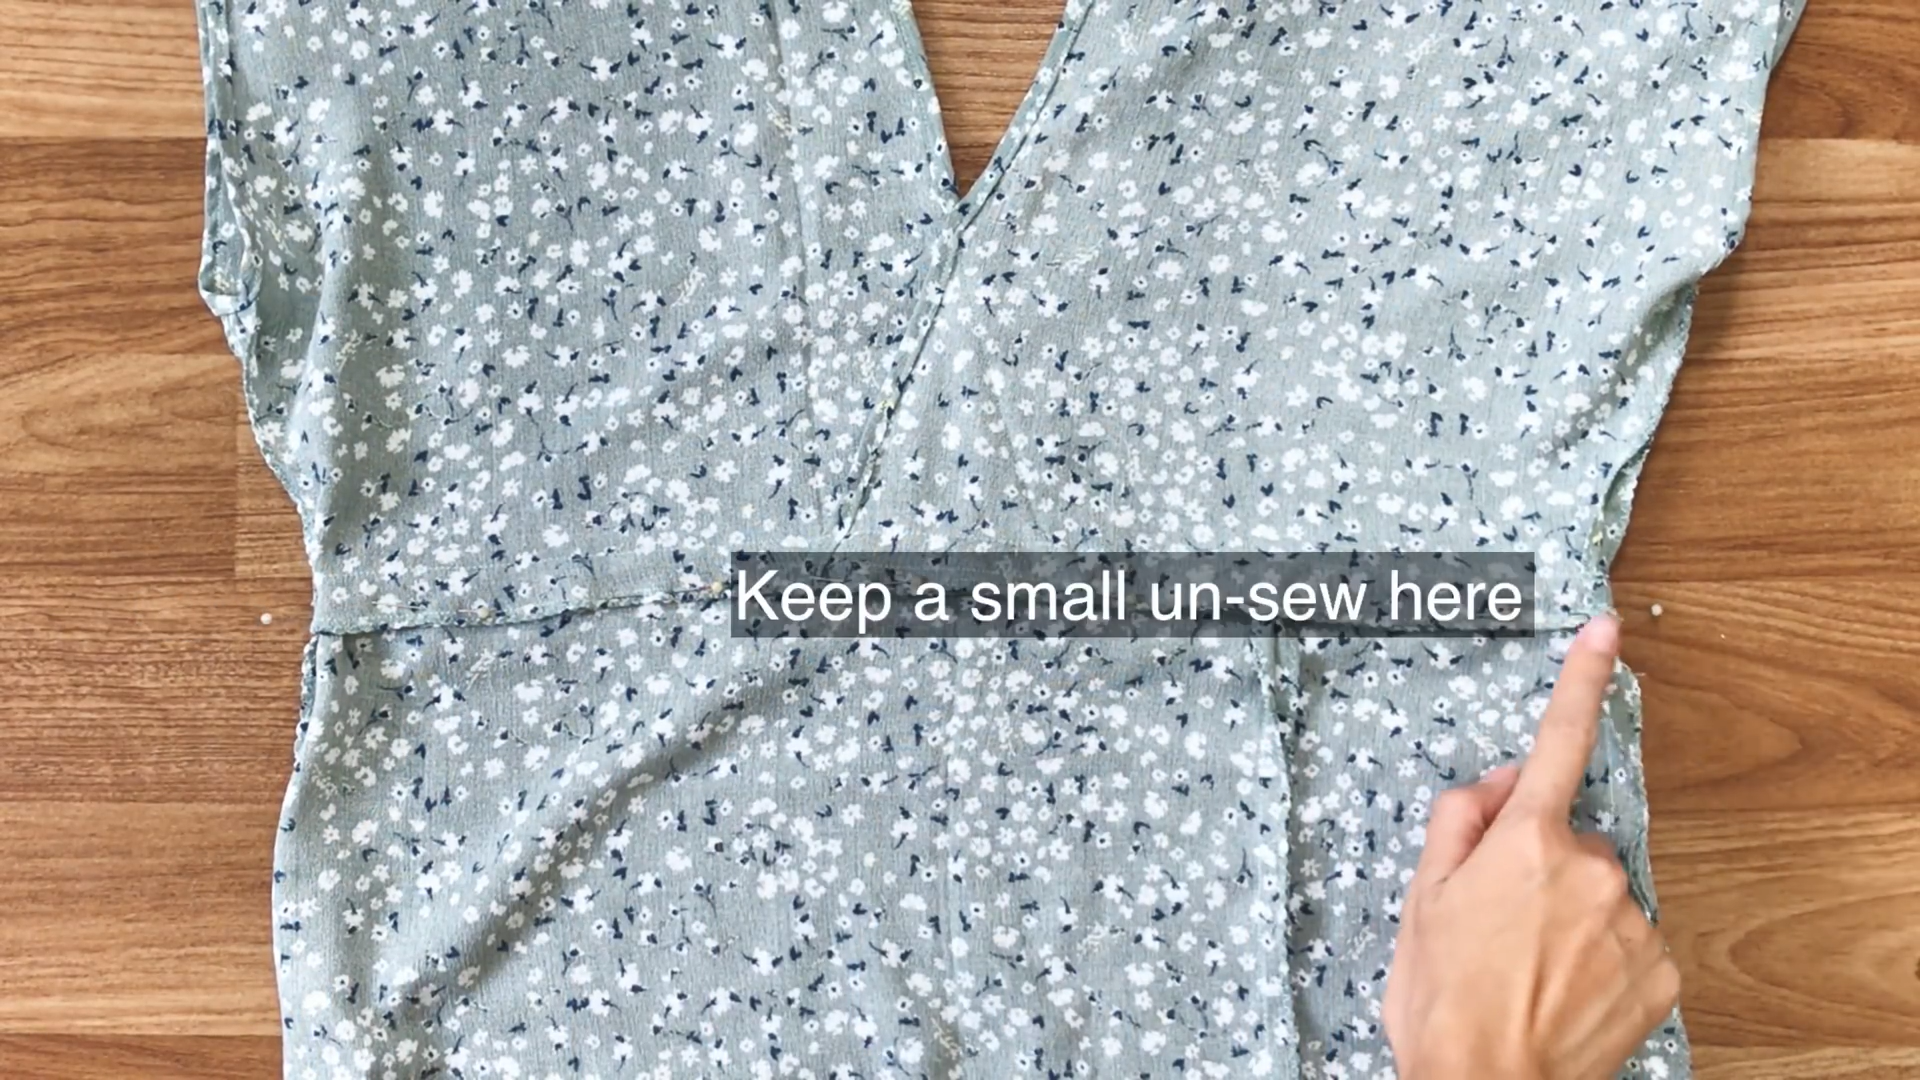
Remember to keep a small un-sewn space at one side.
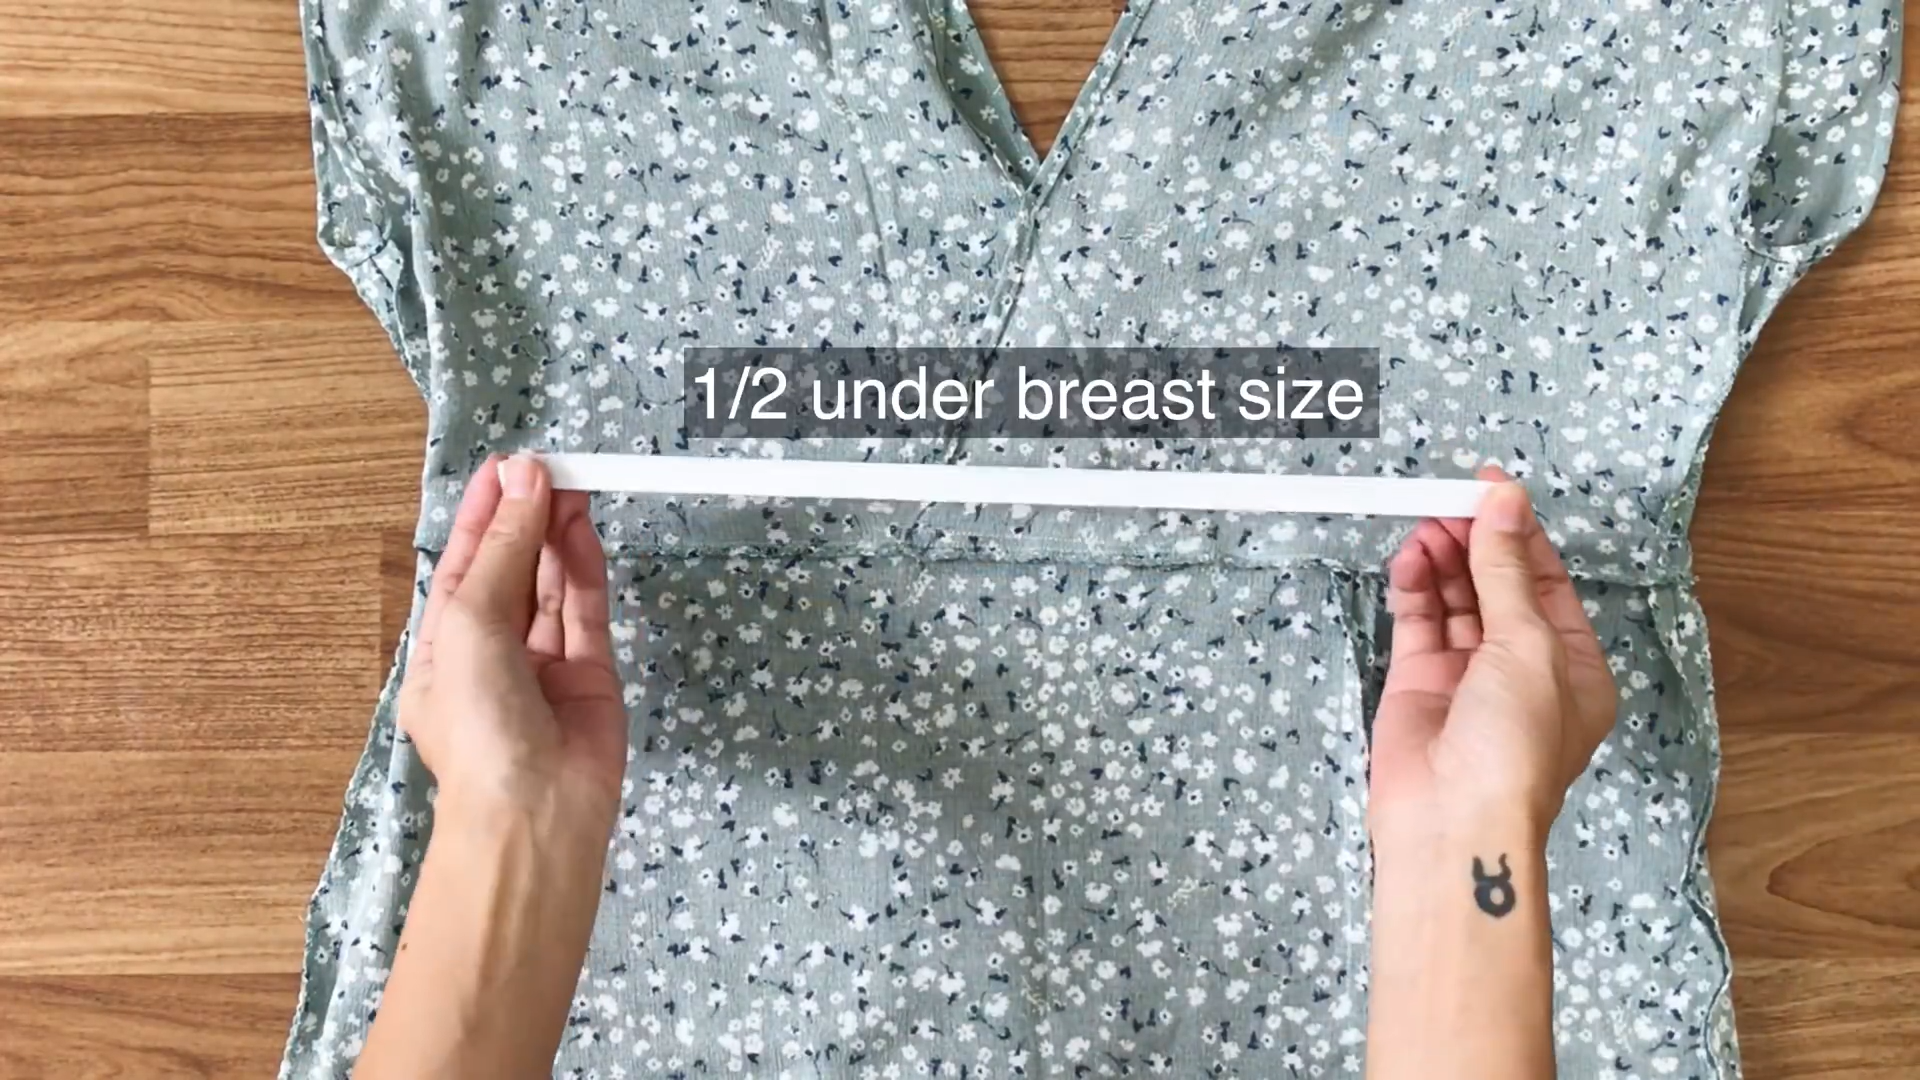
Cut the elastic band with the same size as the under breast.
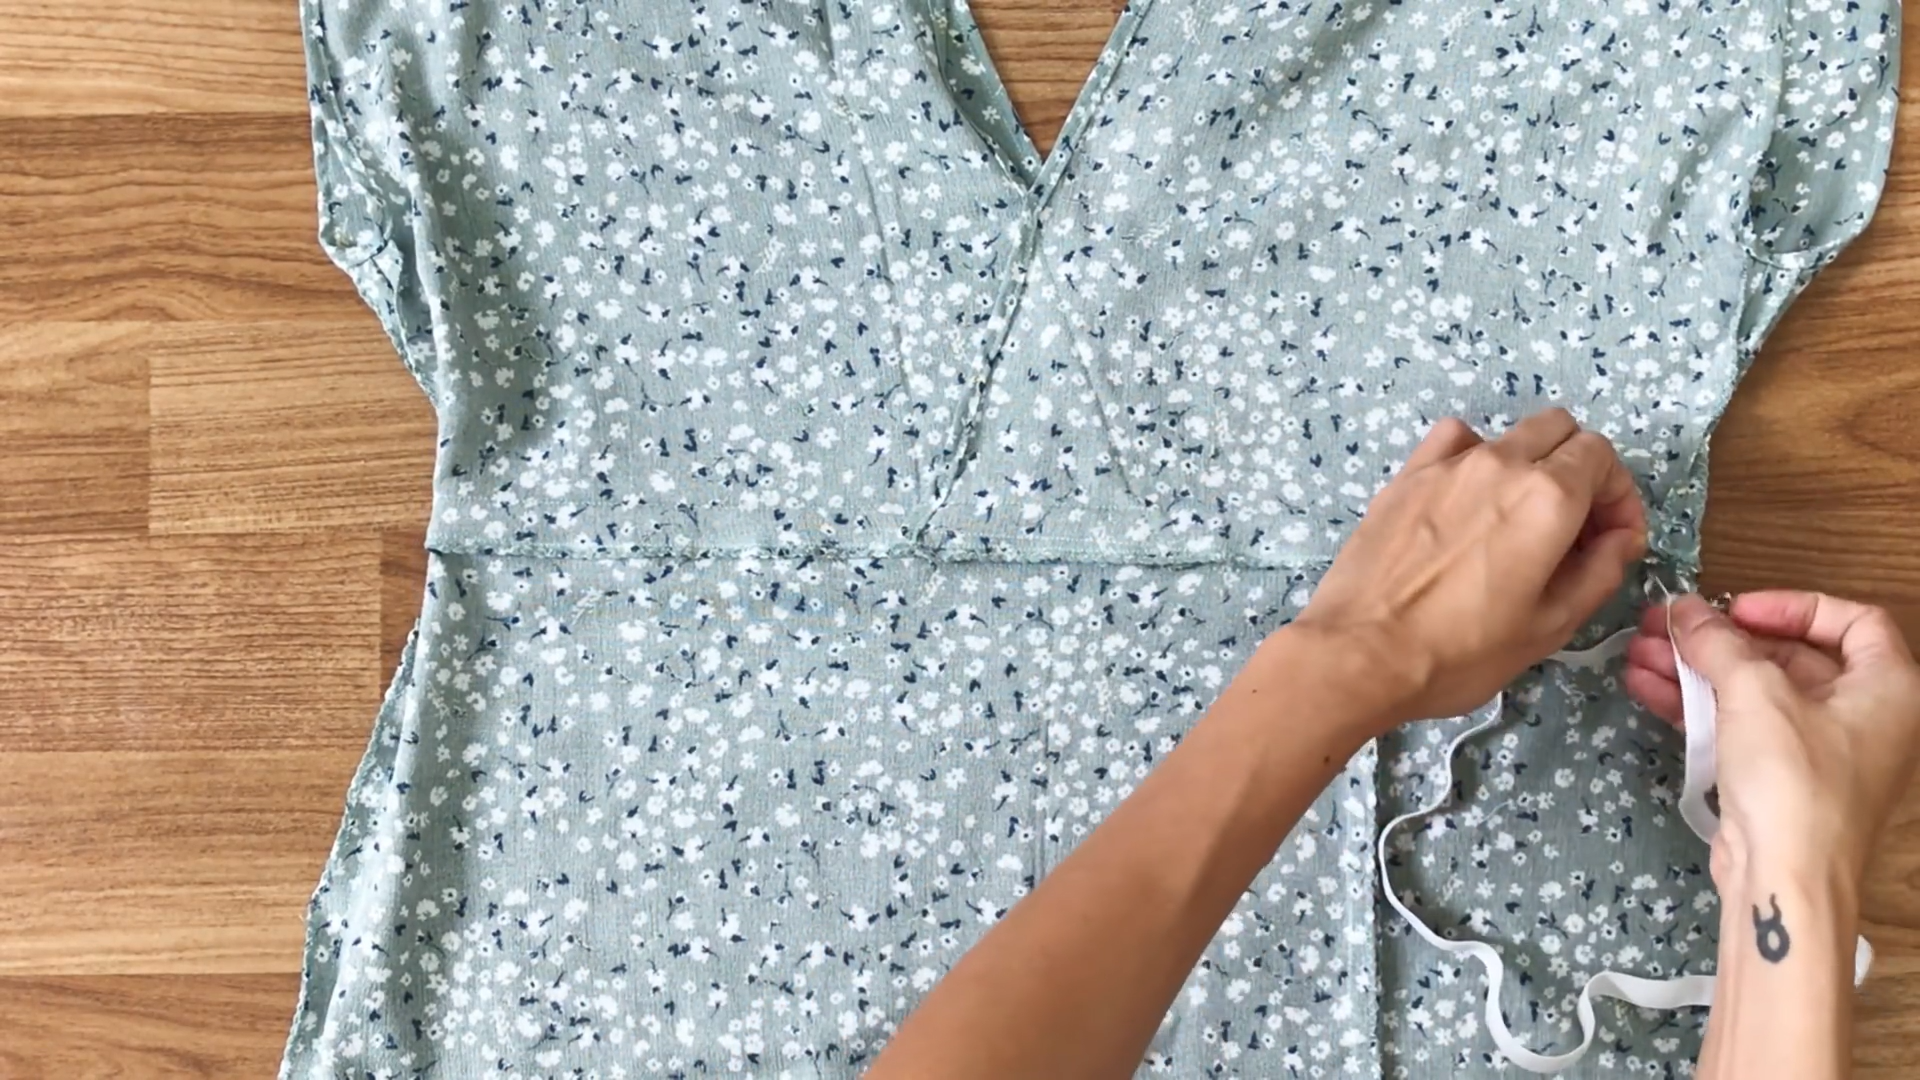
Then, use two safety pins to put it through the fabric hole.
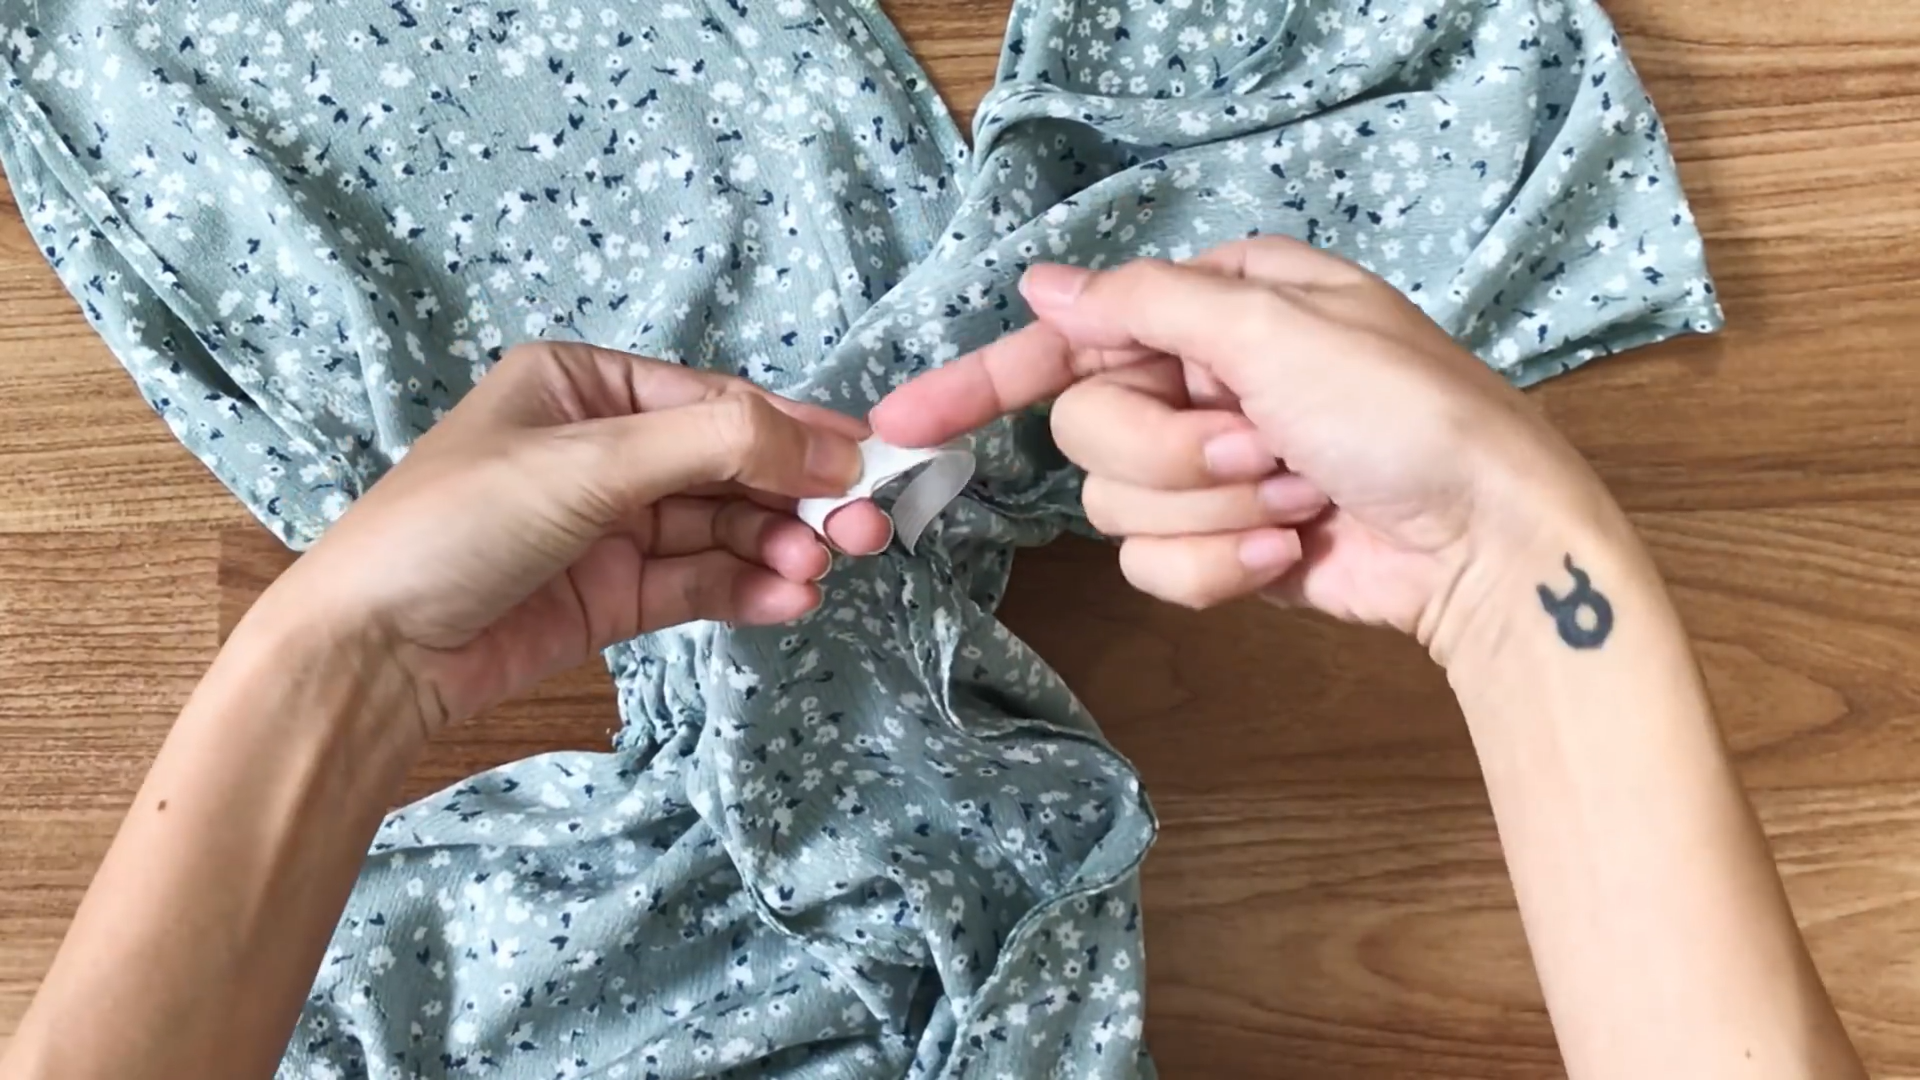
Sew two ends of the elastic band after that and also sew to close the fabric hole.

DIY MIDI DRESS from scratch
And that’s a wrap!
Here’s the final result of our DIY project - a midi dress. This dress is so floating and super beautiful. I could wear it any time in any season.

I hope you’re inspired to create one for yourself. Happy sewing!
Please let me know your thoughts in the comments below. I would love to know more from you guys to improve my skills.