DIY Smock Jumpsuit - Refashion old dress into smock jumpsuit - Thrift flip

DIY Smock Jumpsuit - Refashion old dress into smock jumpsuit
Welcome and welcome back to my sewing blog!
I hope you're having a great weekend and why not making a DIY :) Today I'm so excited to share with you a very cute DIY and just perfect for the weekend outfit.
I hope you enjoy this video and subscribe to my channel to see more videos like it. It'll send me more passionate to keep doing these tutotials to you.
So let’s get started!
WHAT YOU’LL NEED
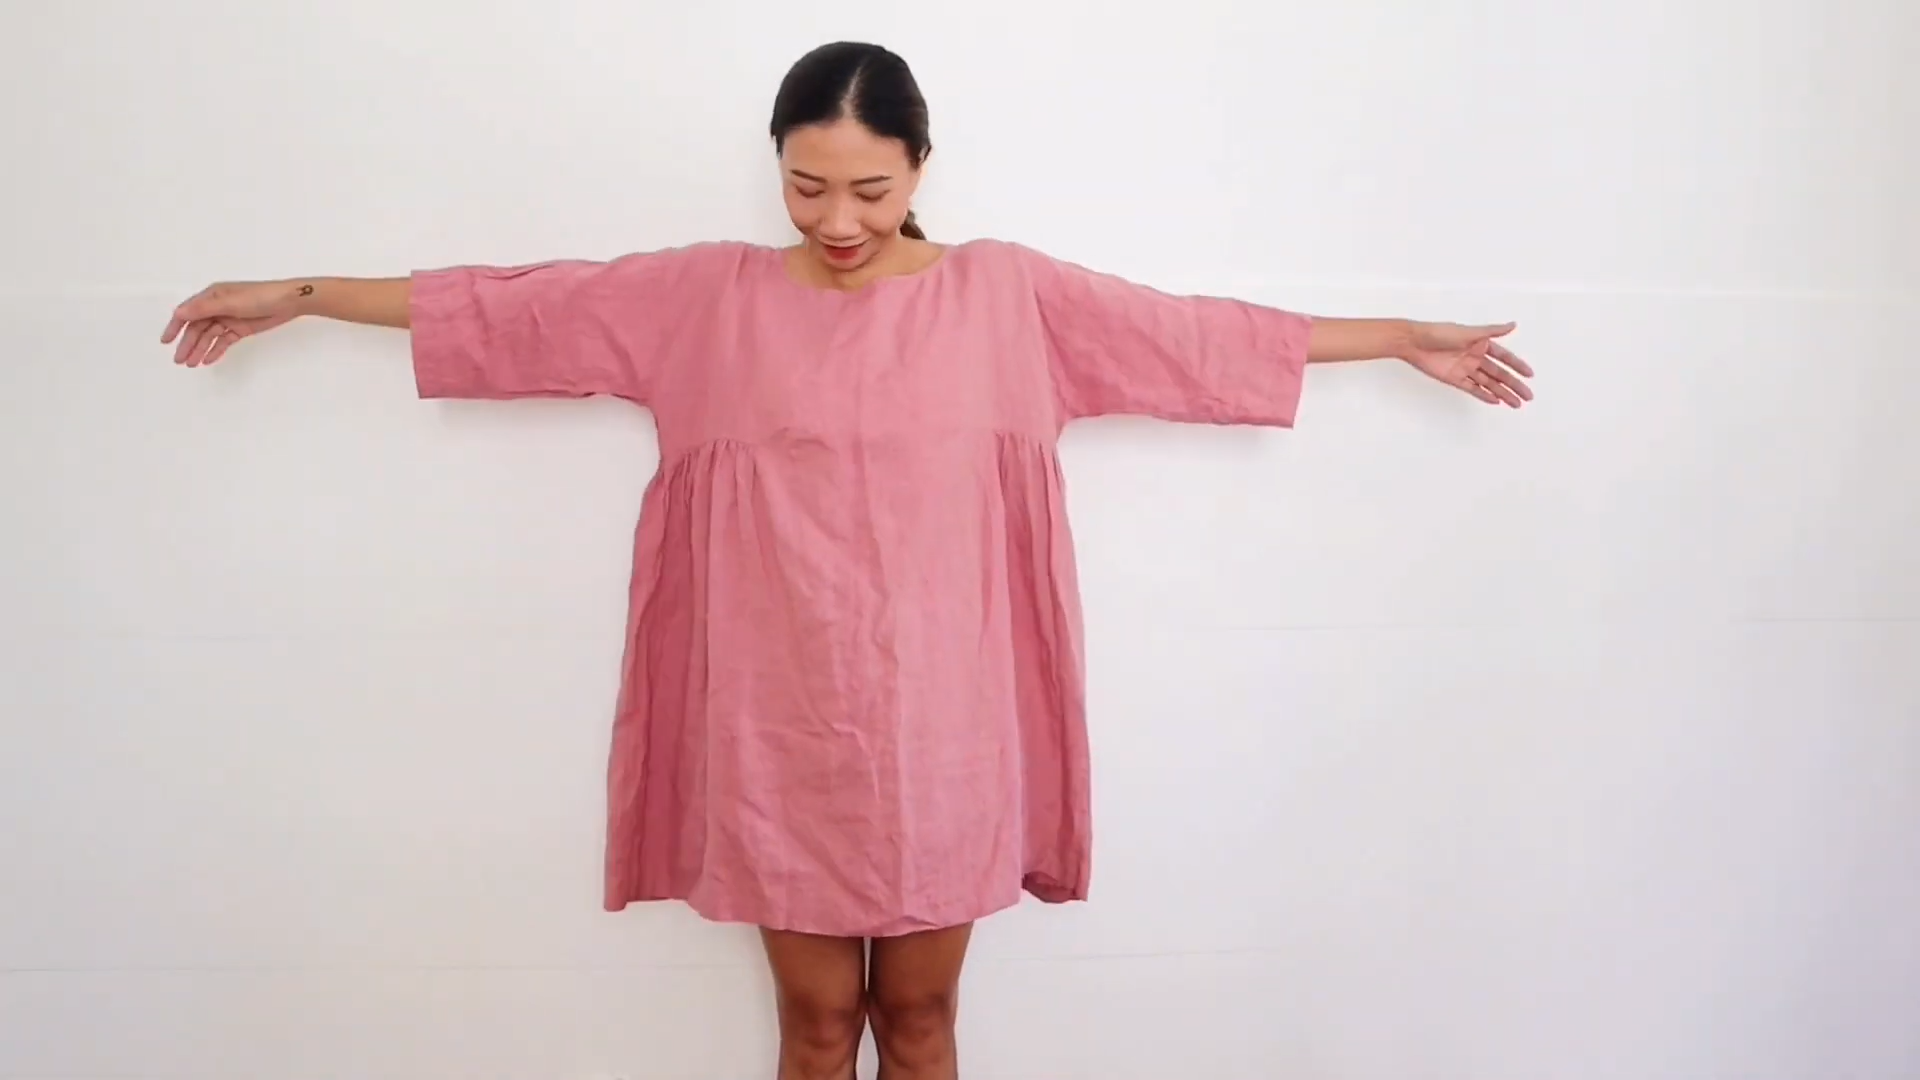
Old dress
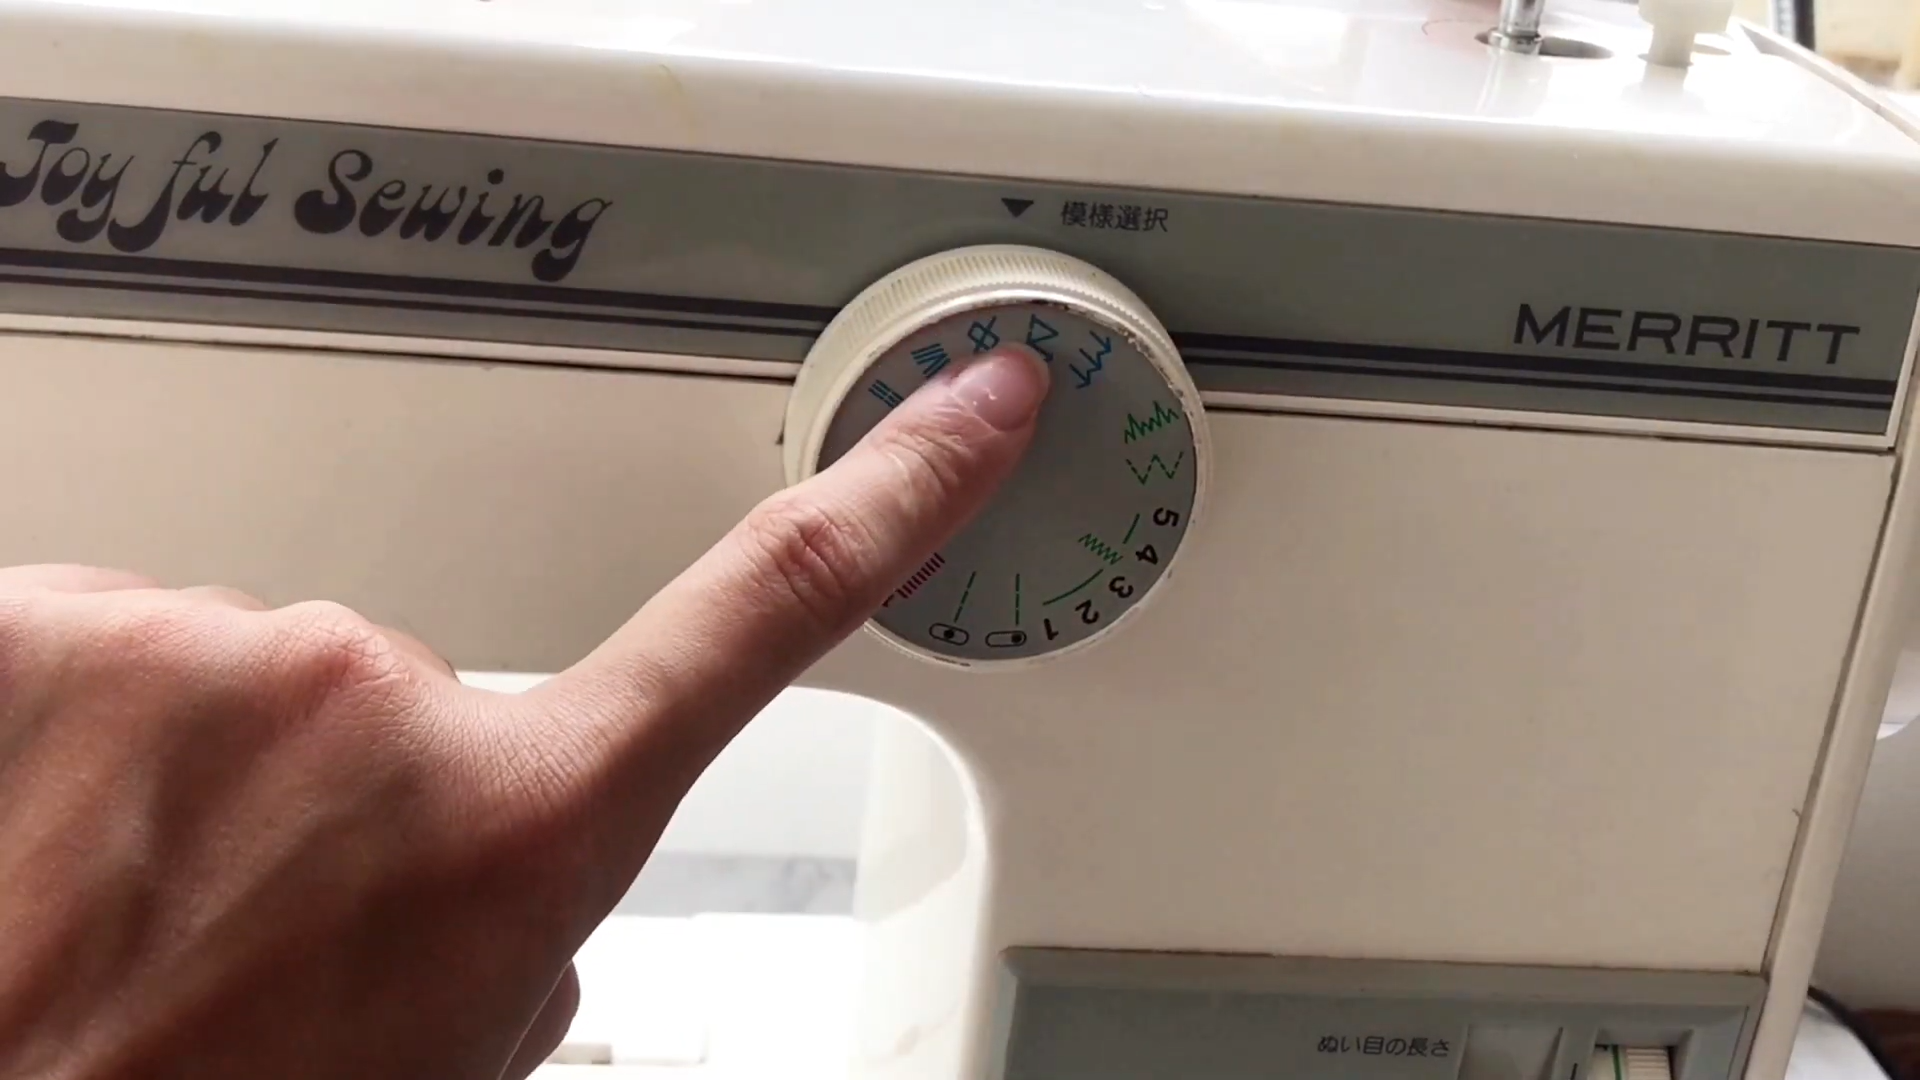
Sewing machine
Pins
Scissors
Ruler
SEWING THE JUMPSUIT
THE BODY

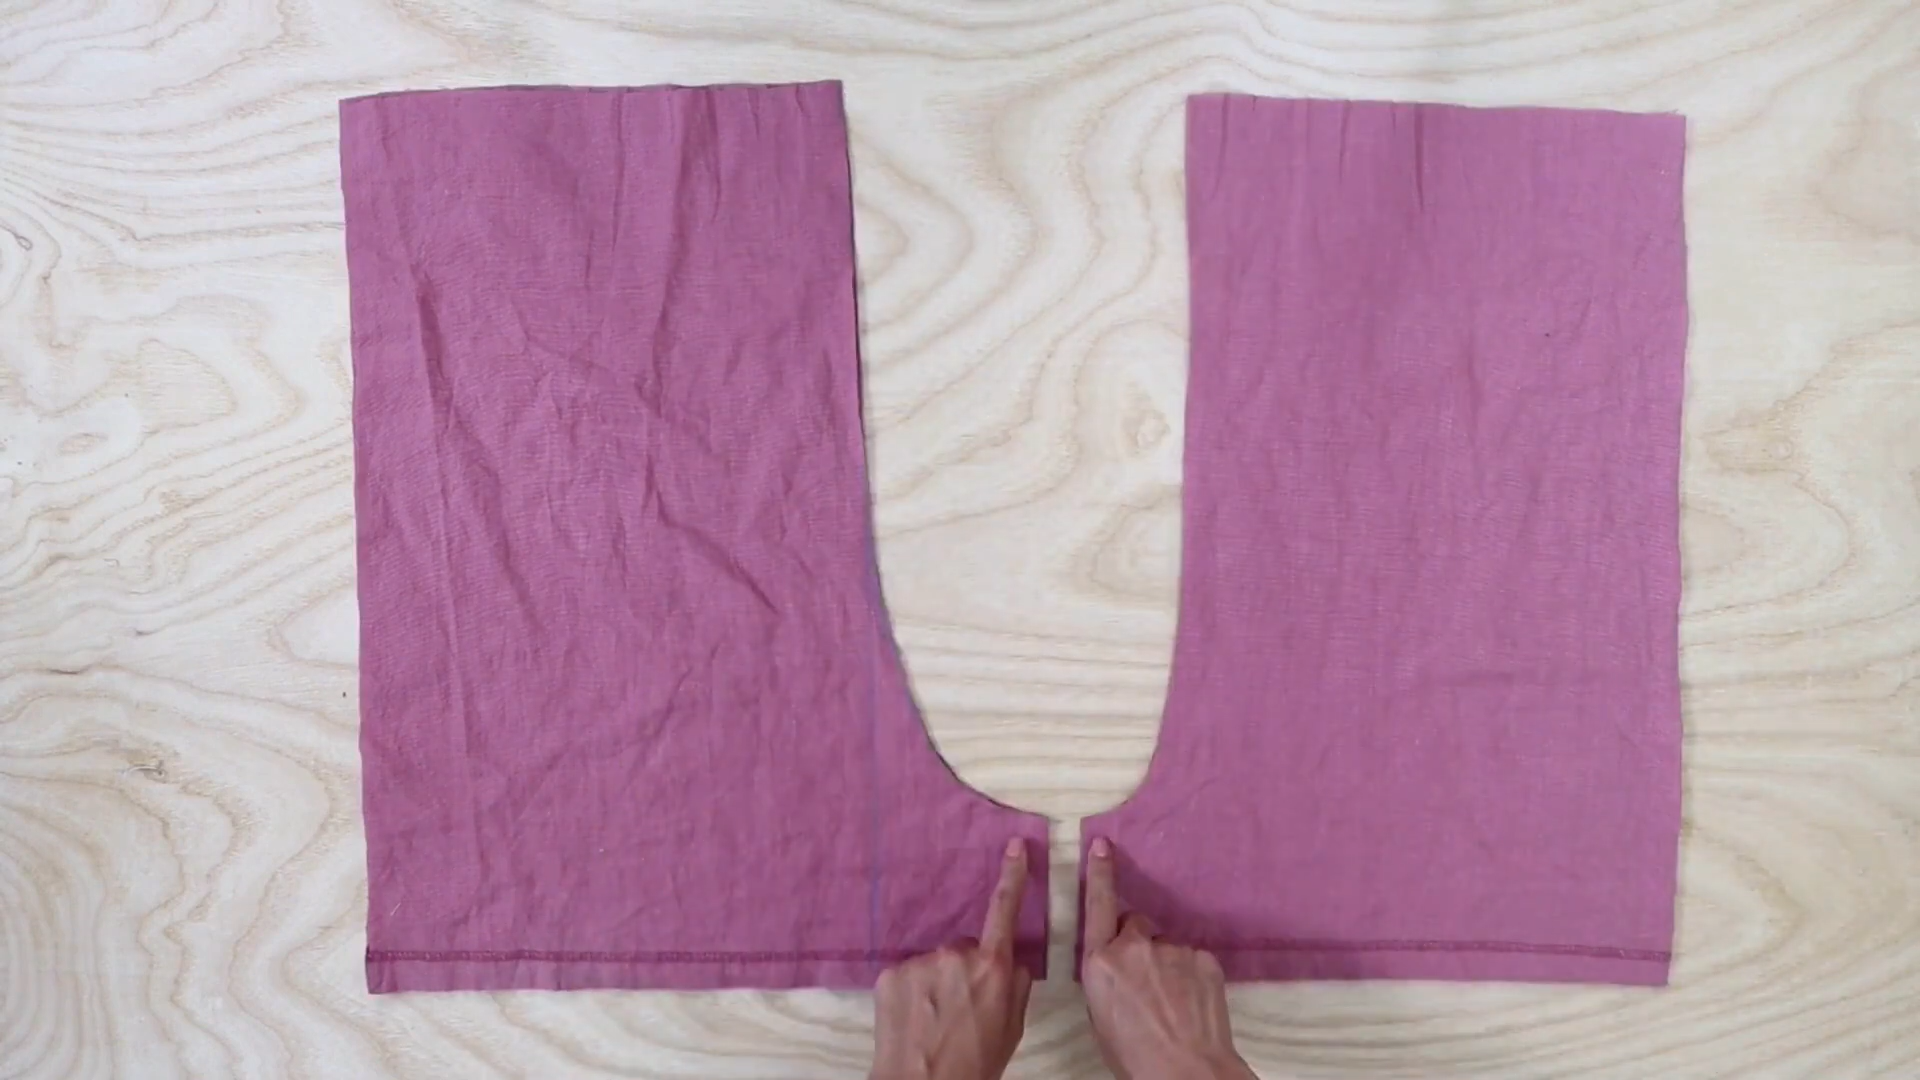
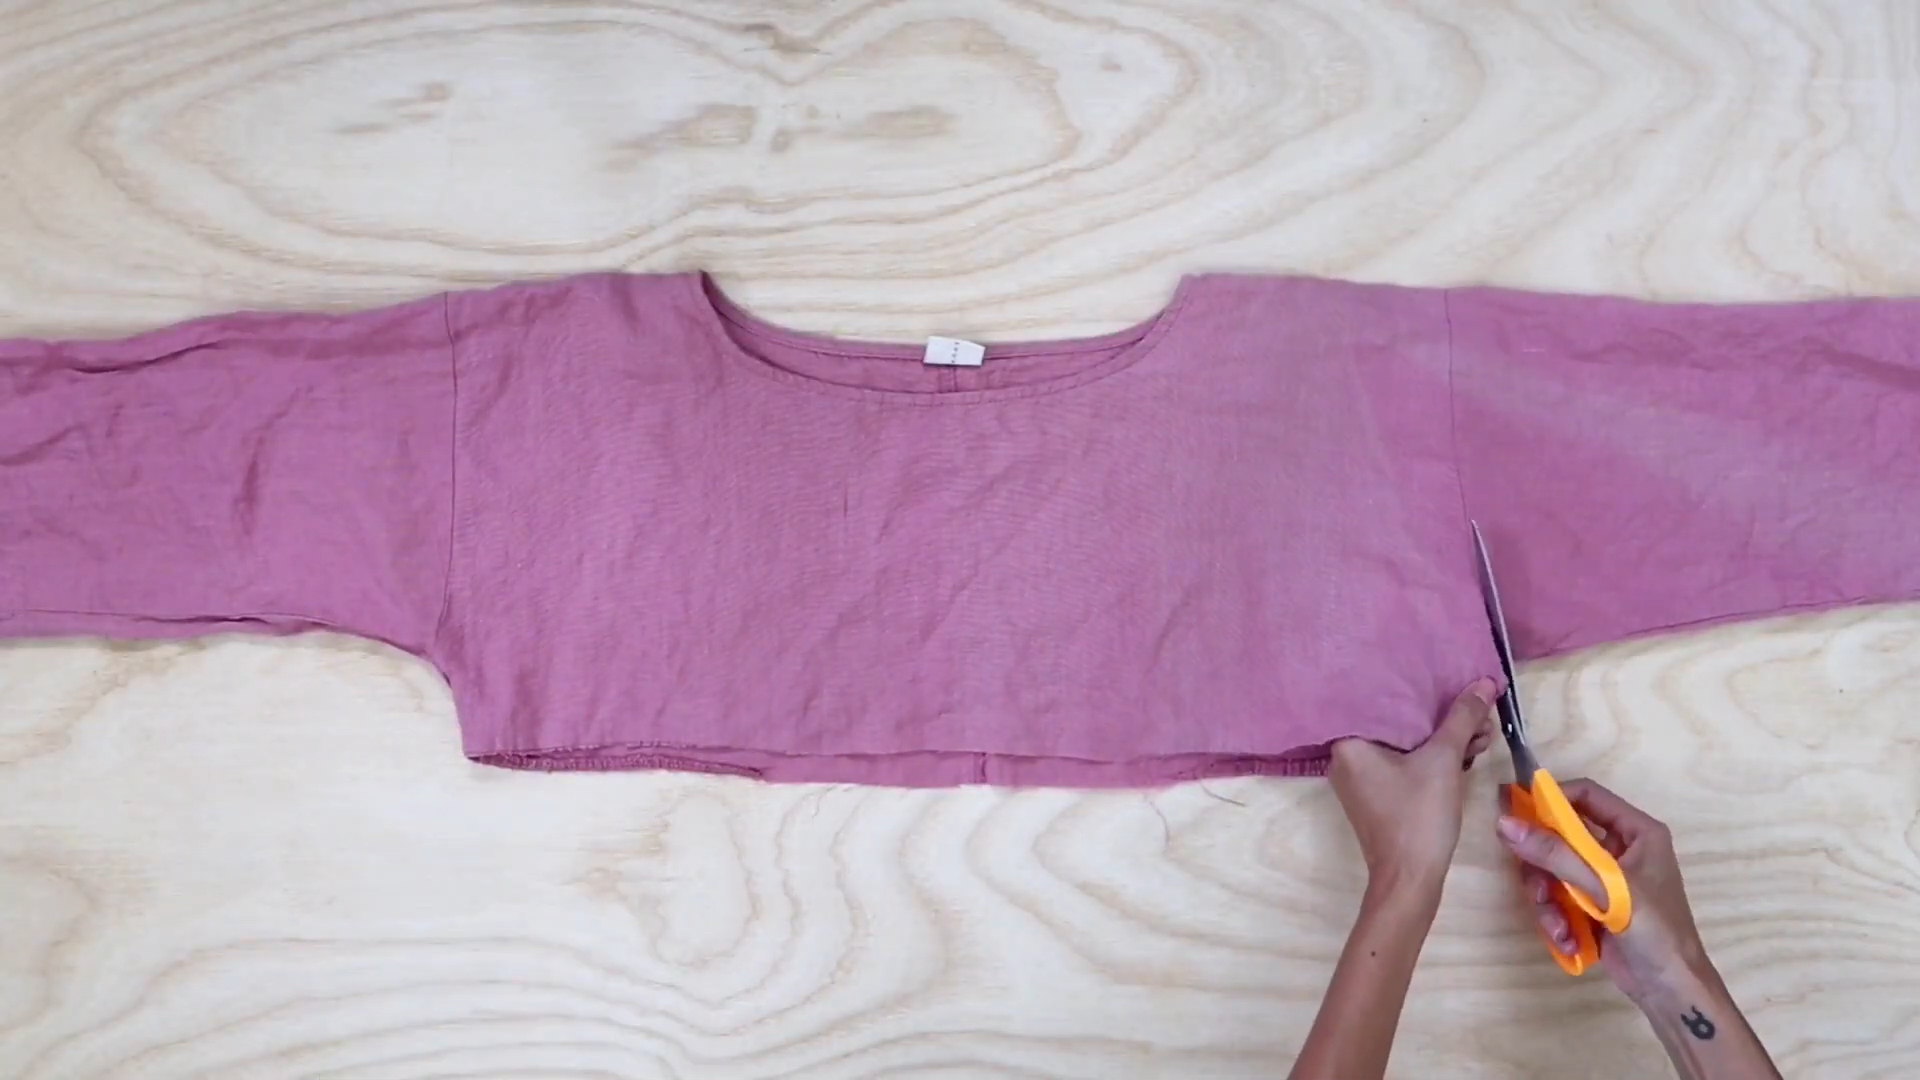
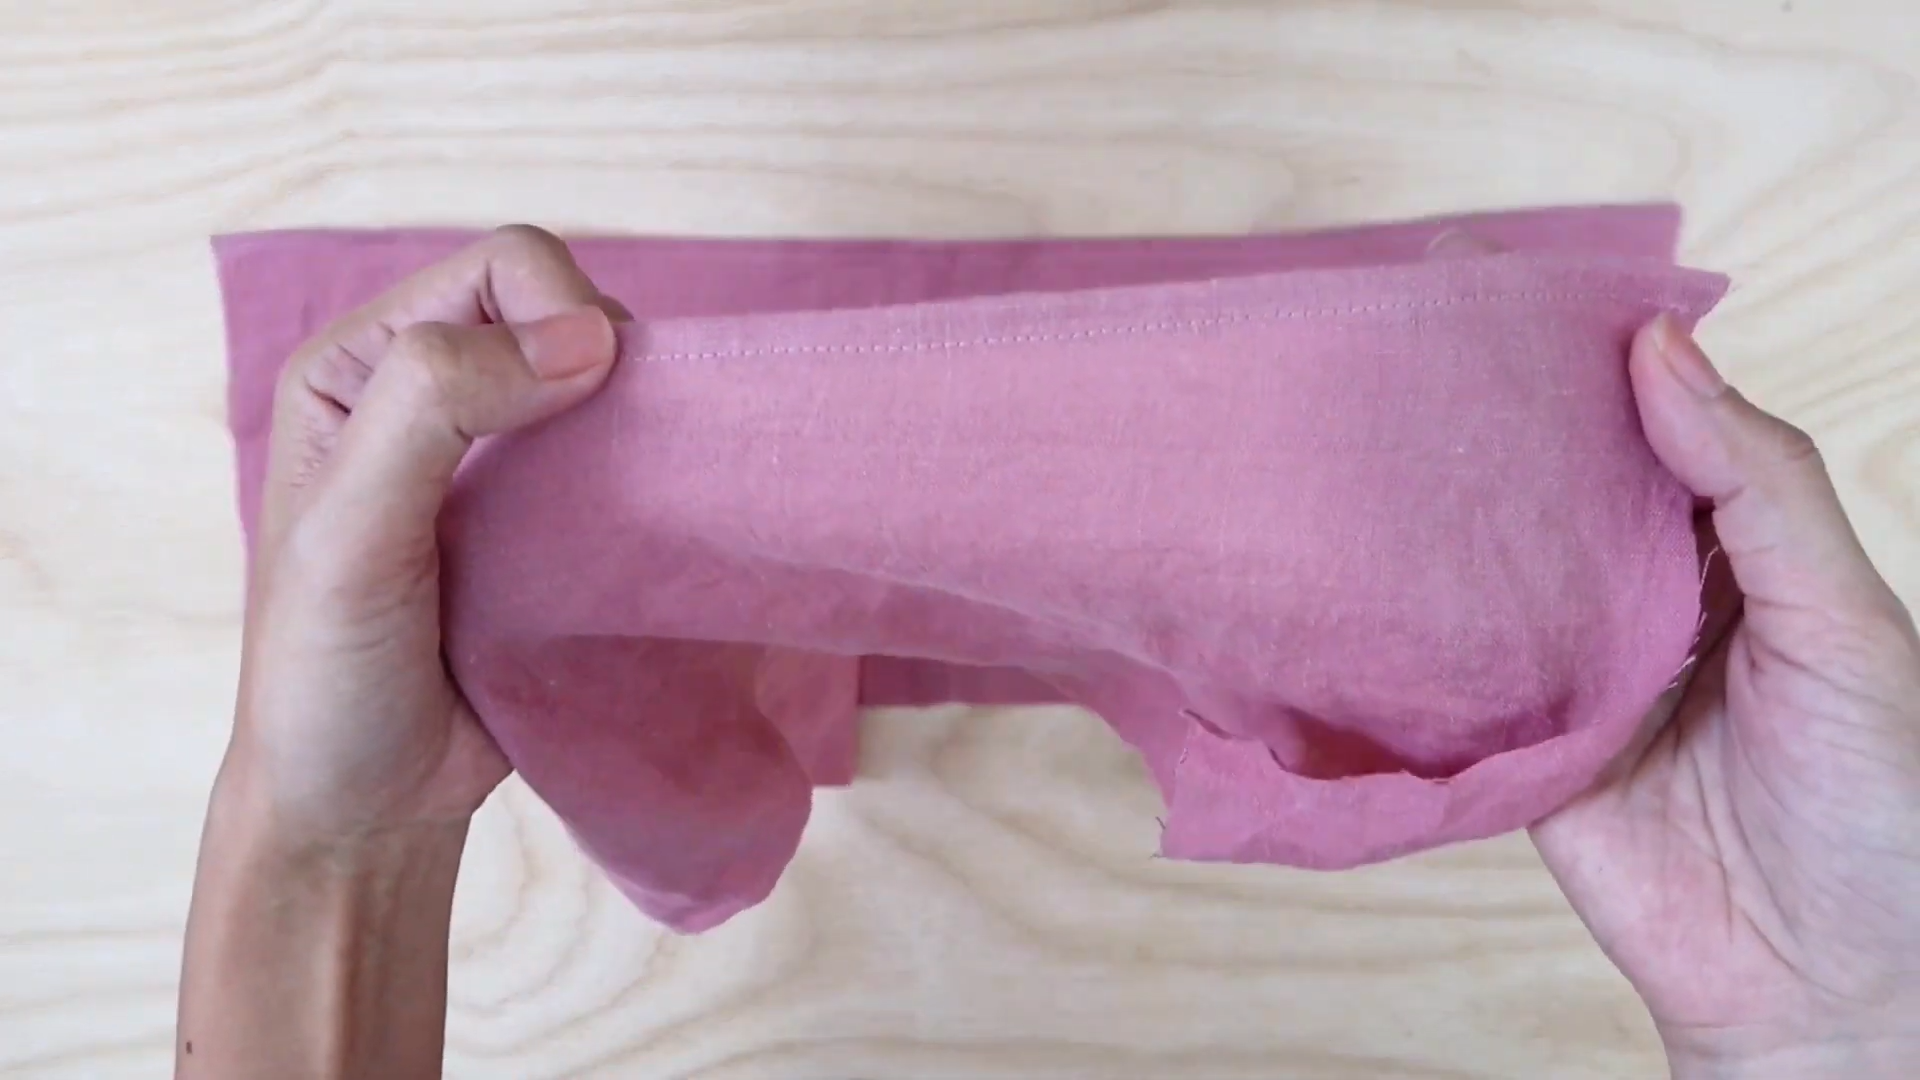
The first step is to cut the dress by two lines under the armpit.
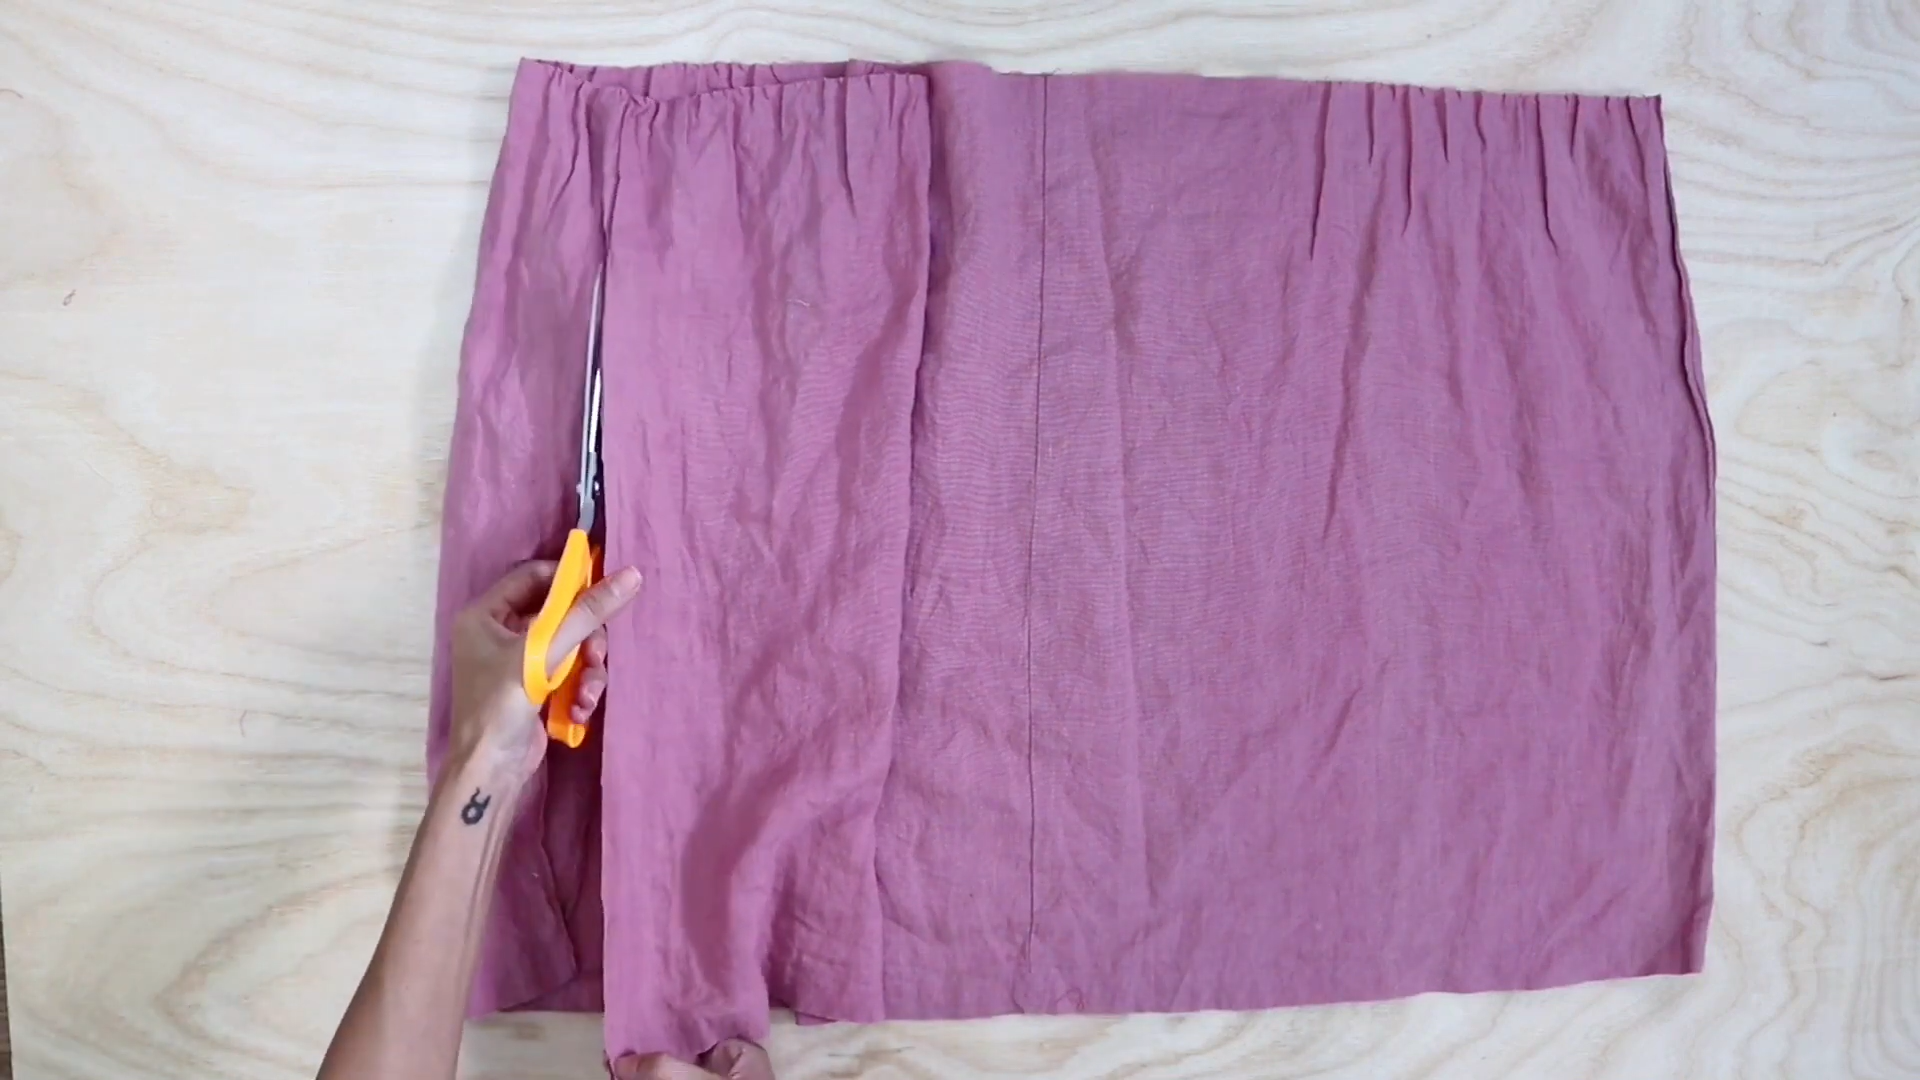
The next step is cutting two sides of the dress. These will be the front and the back of the pants for the jumpsuit.
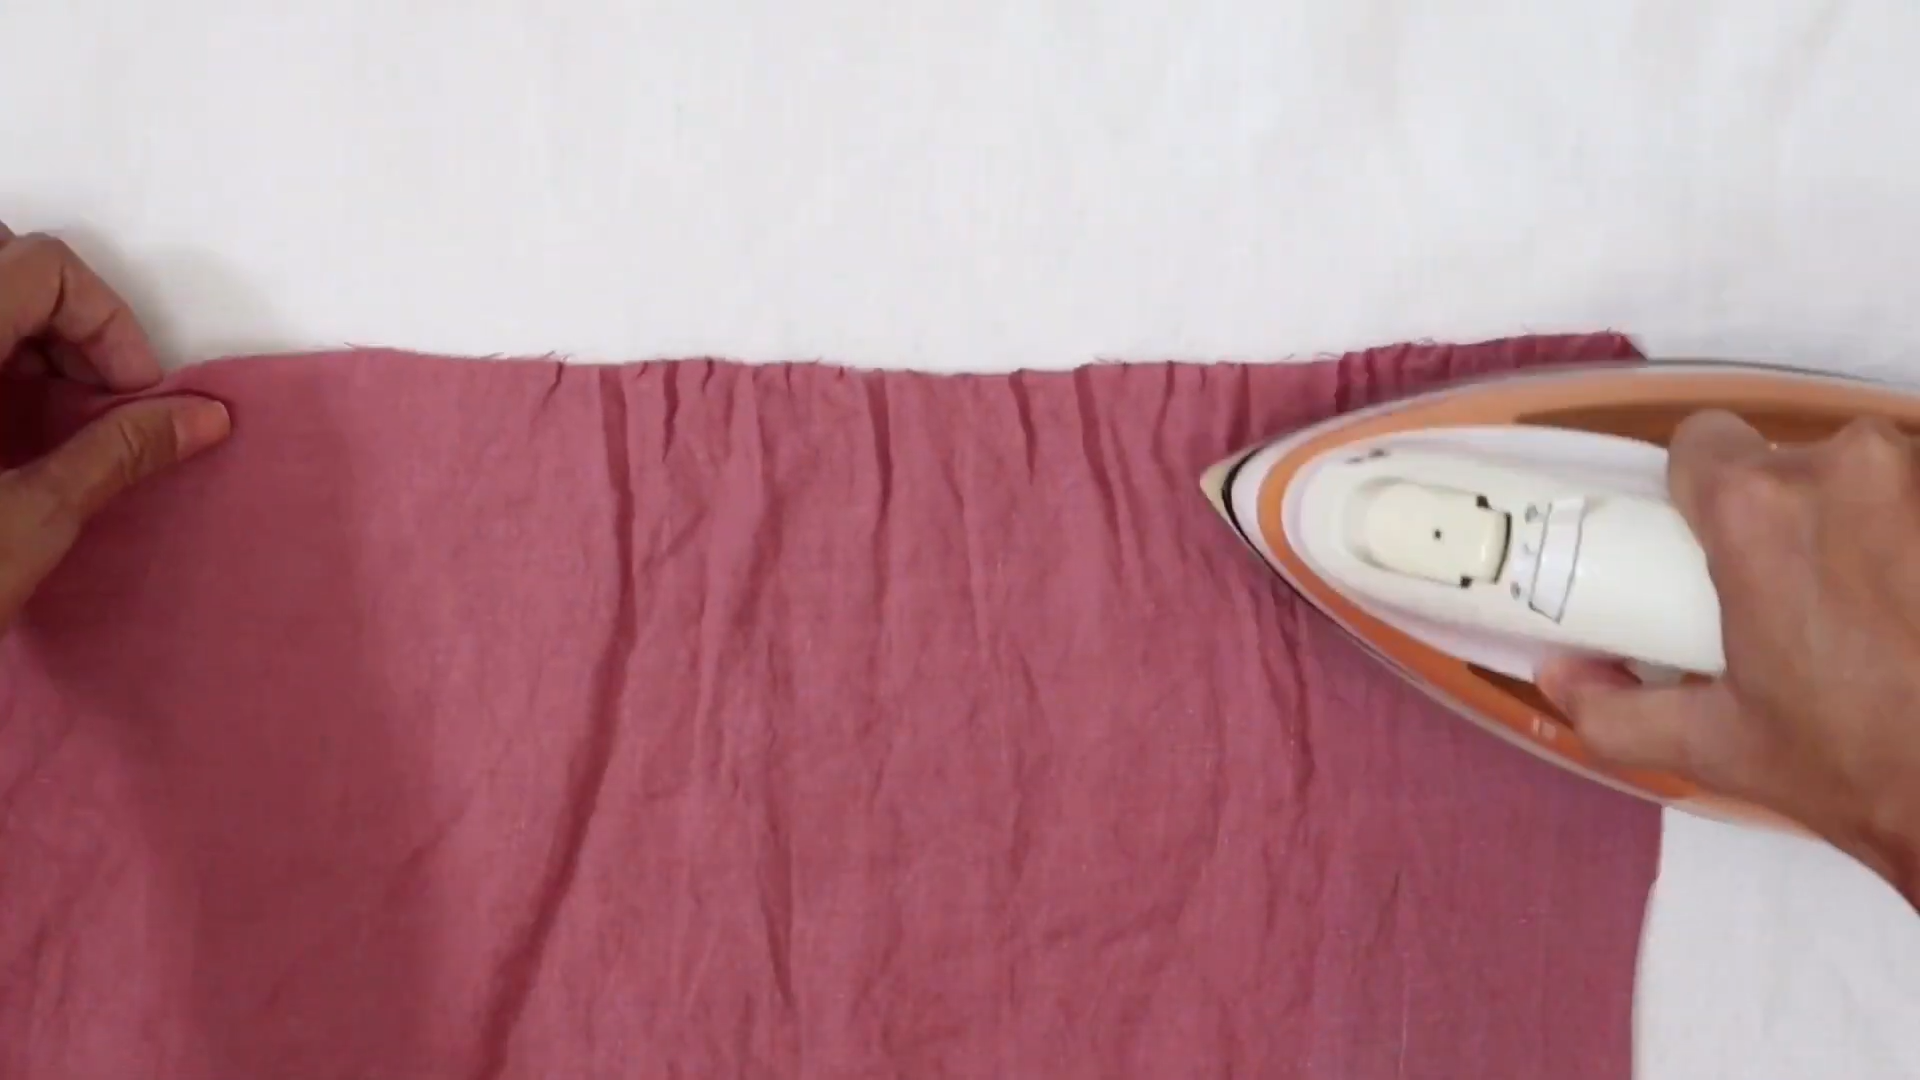
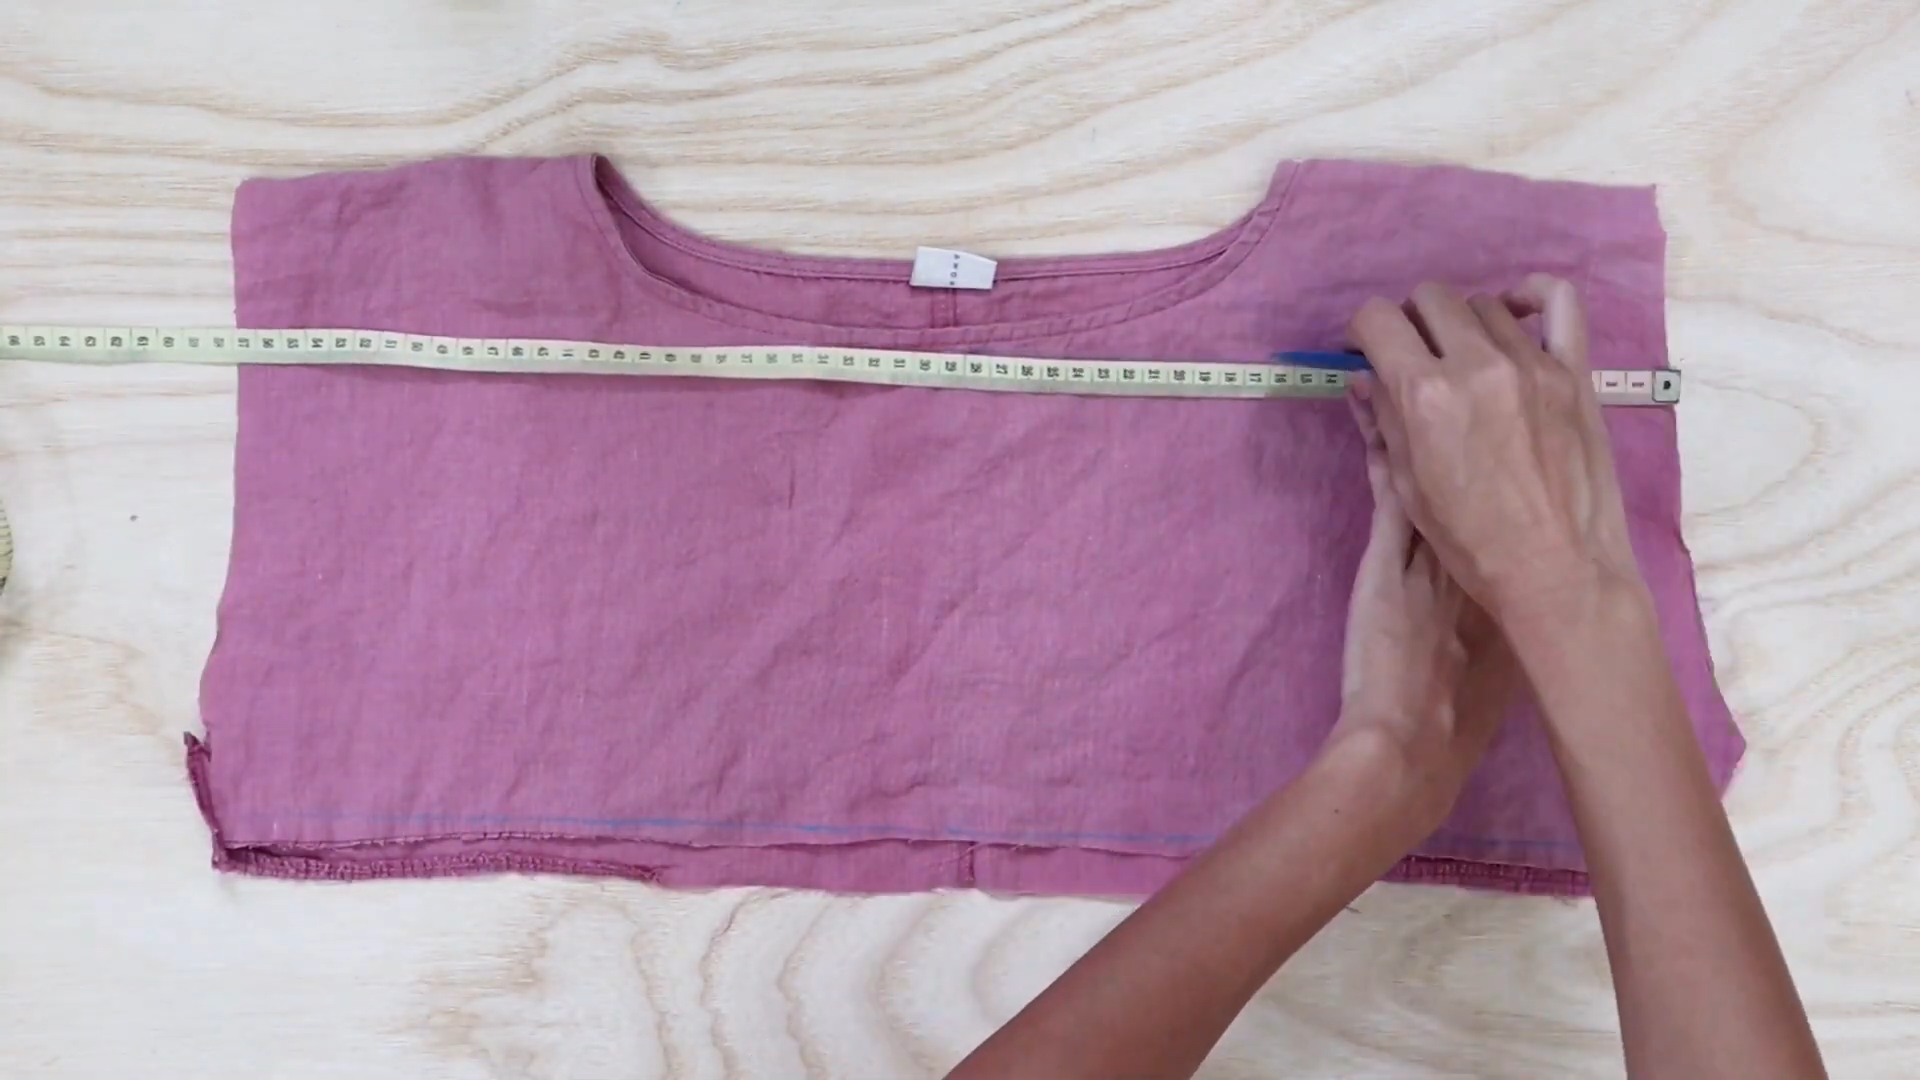
Use an iron to make the fabric straight before drawing.
THE PANTS
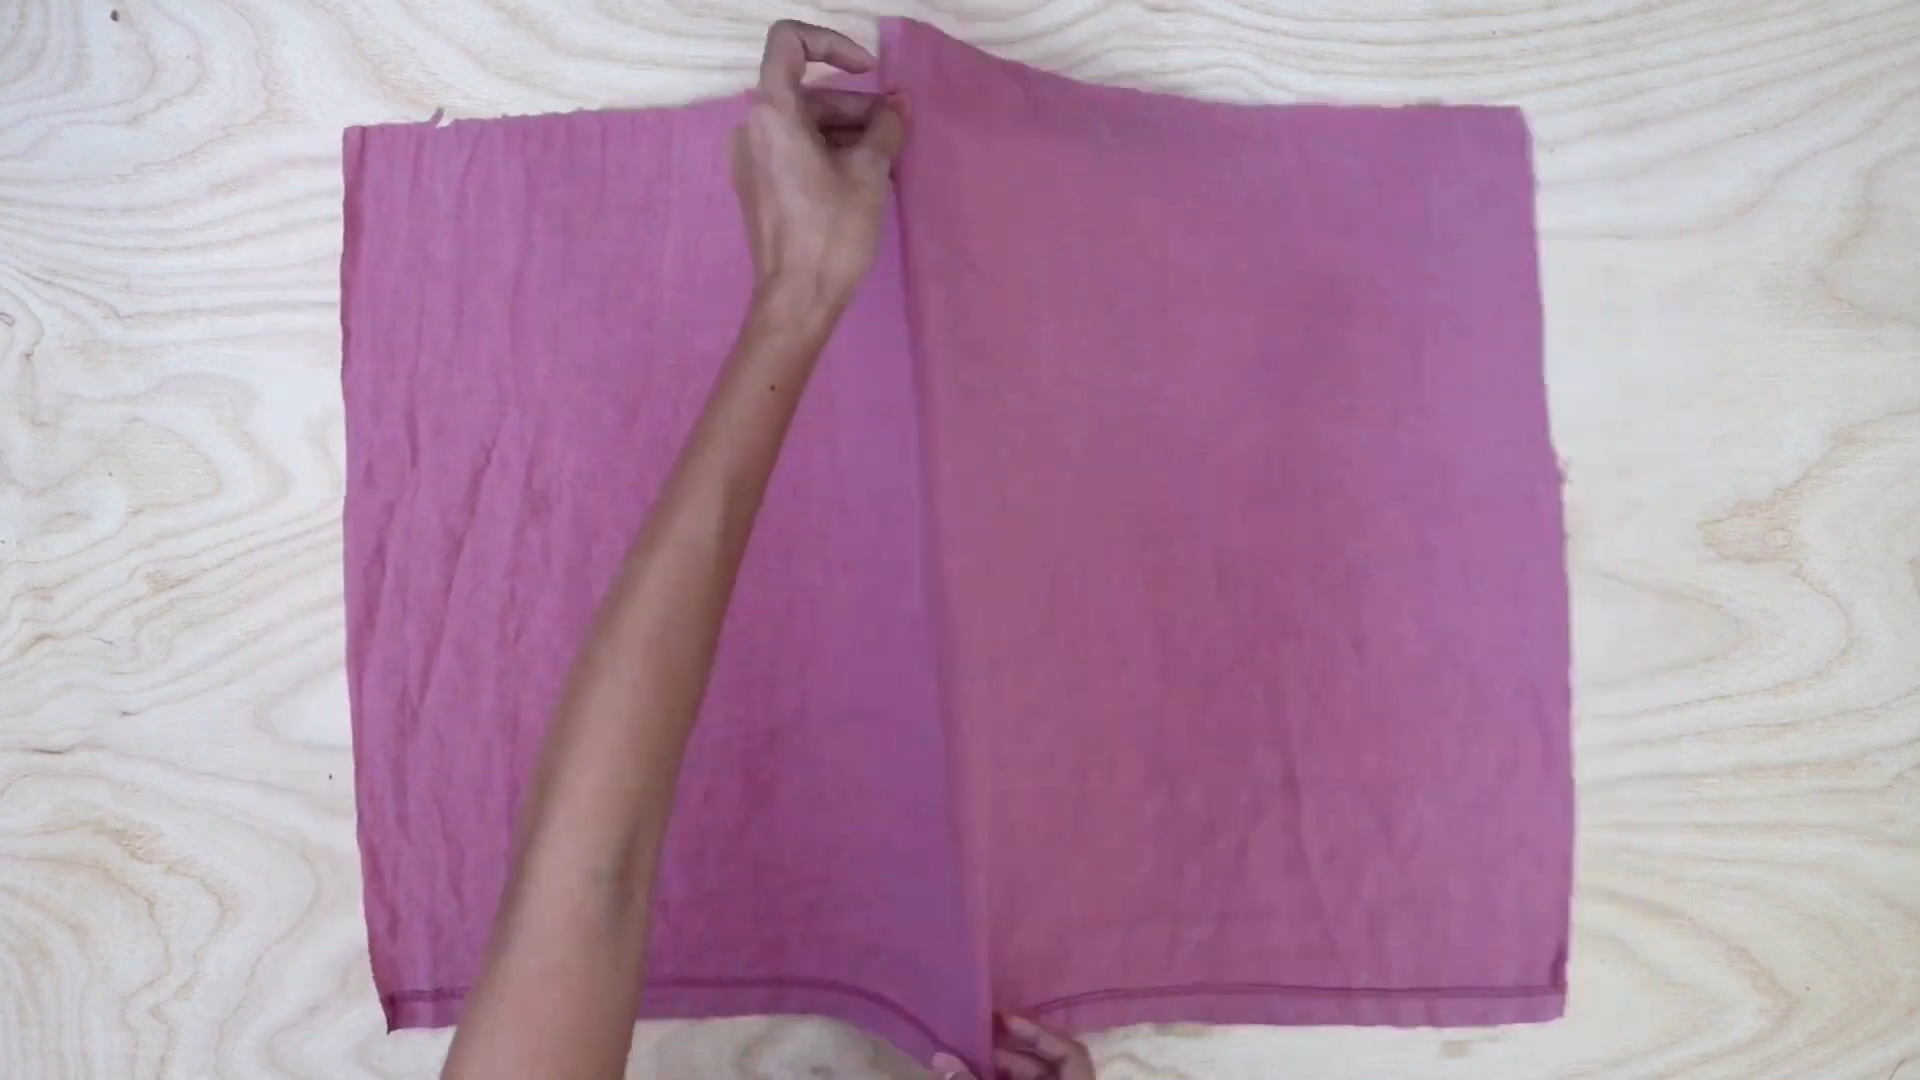
For the front of the pants, fold the fabric together.
Remember to keep the end of the fabric straight.
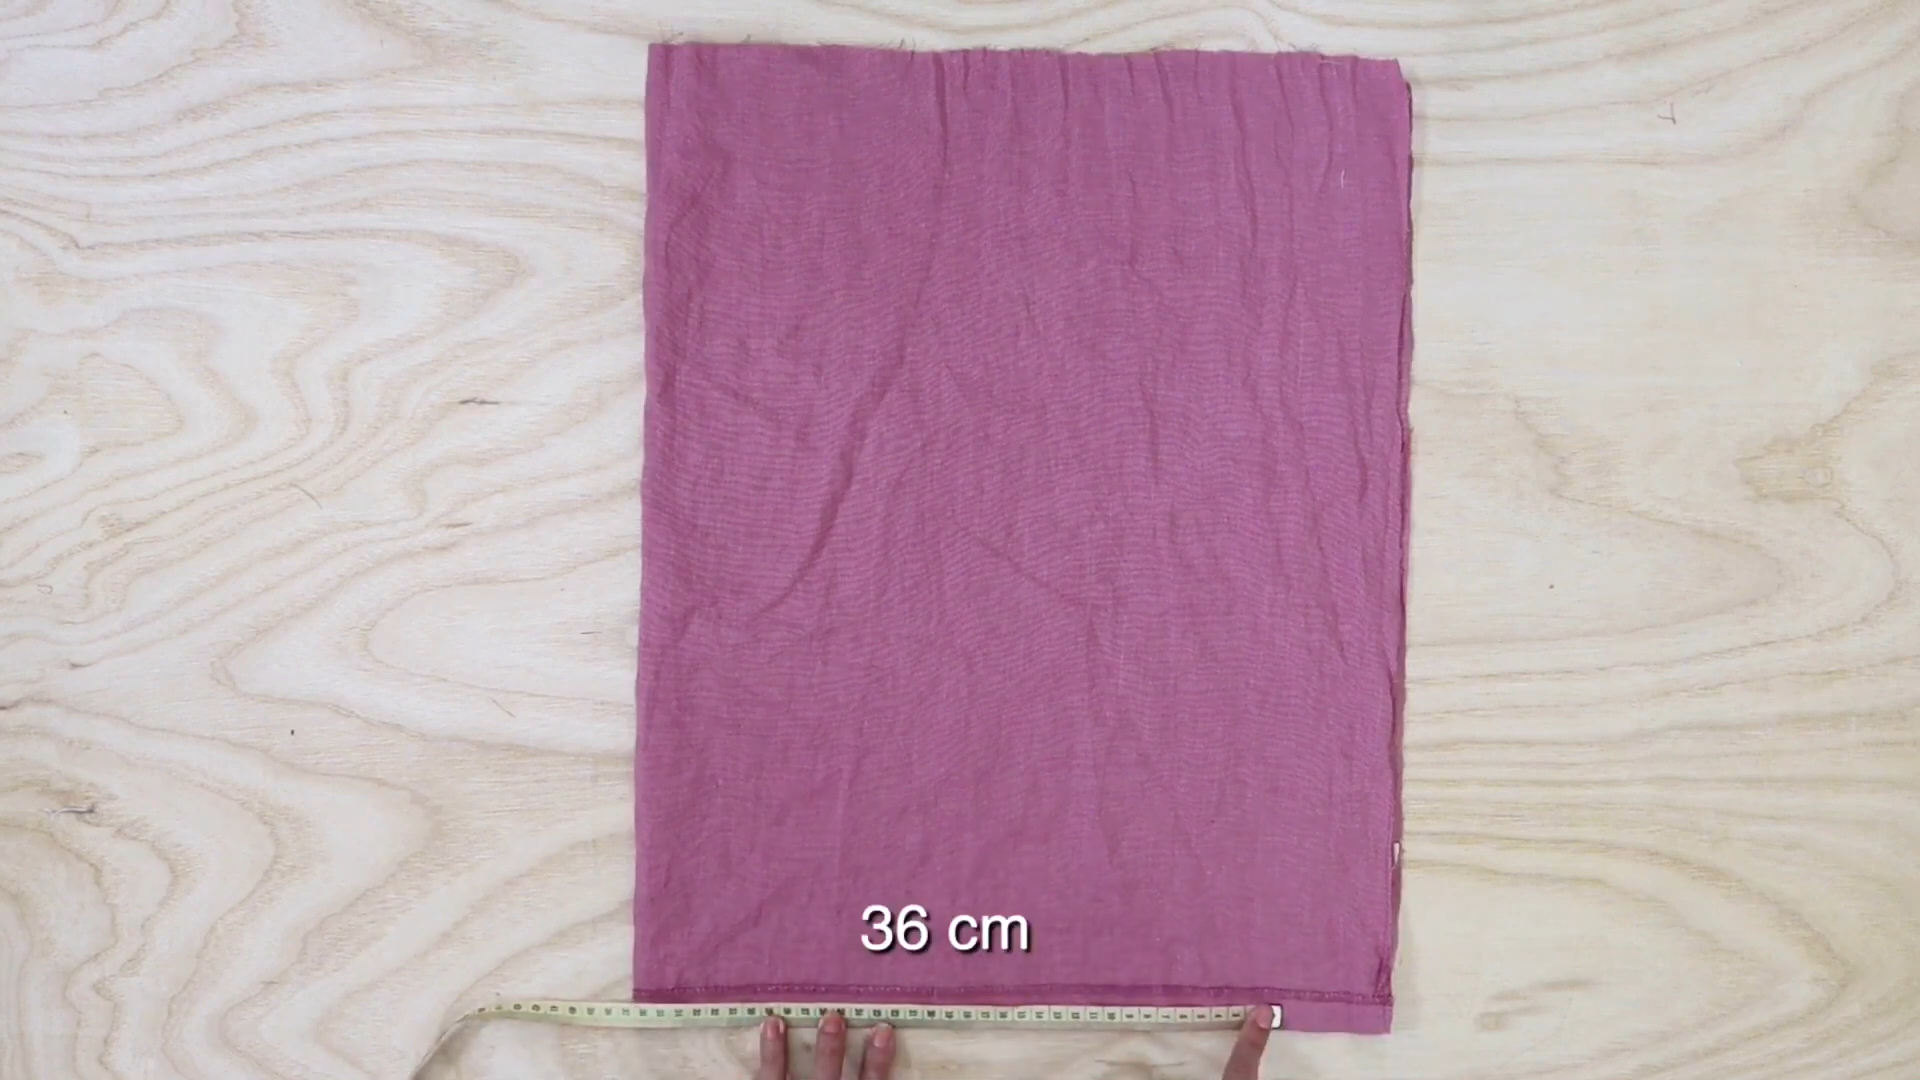
At the end of the fabric, go to the right 36 cm and make a mark there. Then, do the same for the top of the fabric.
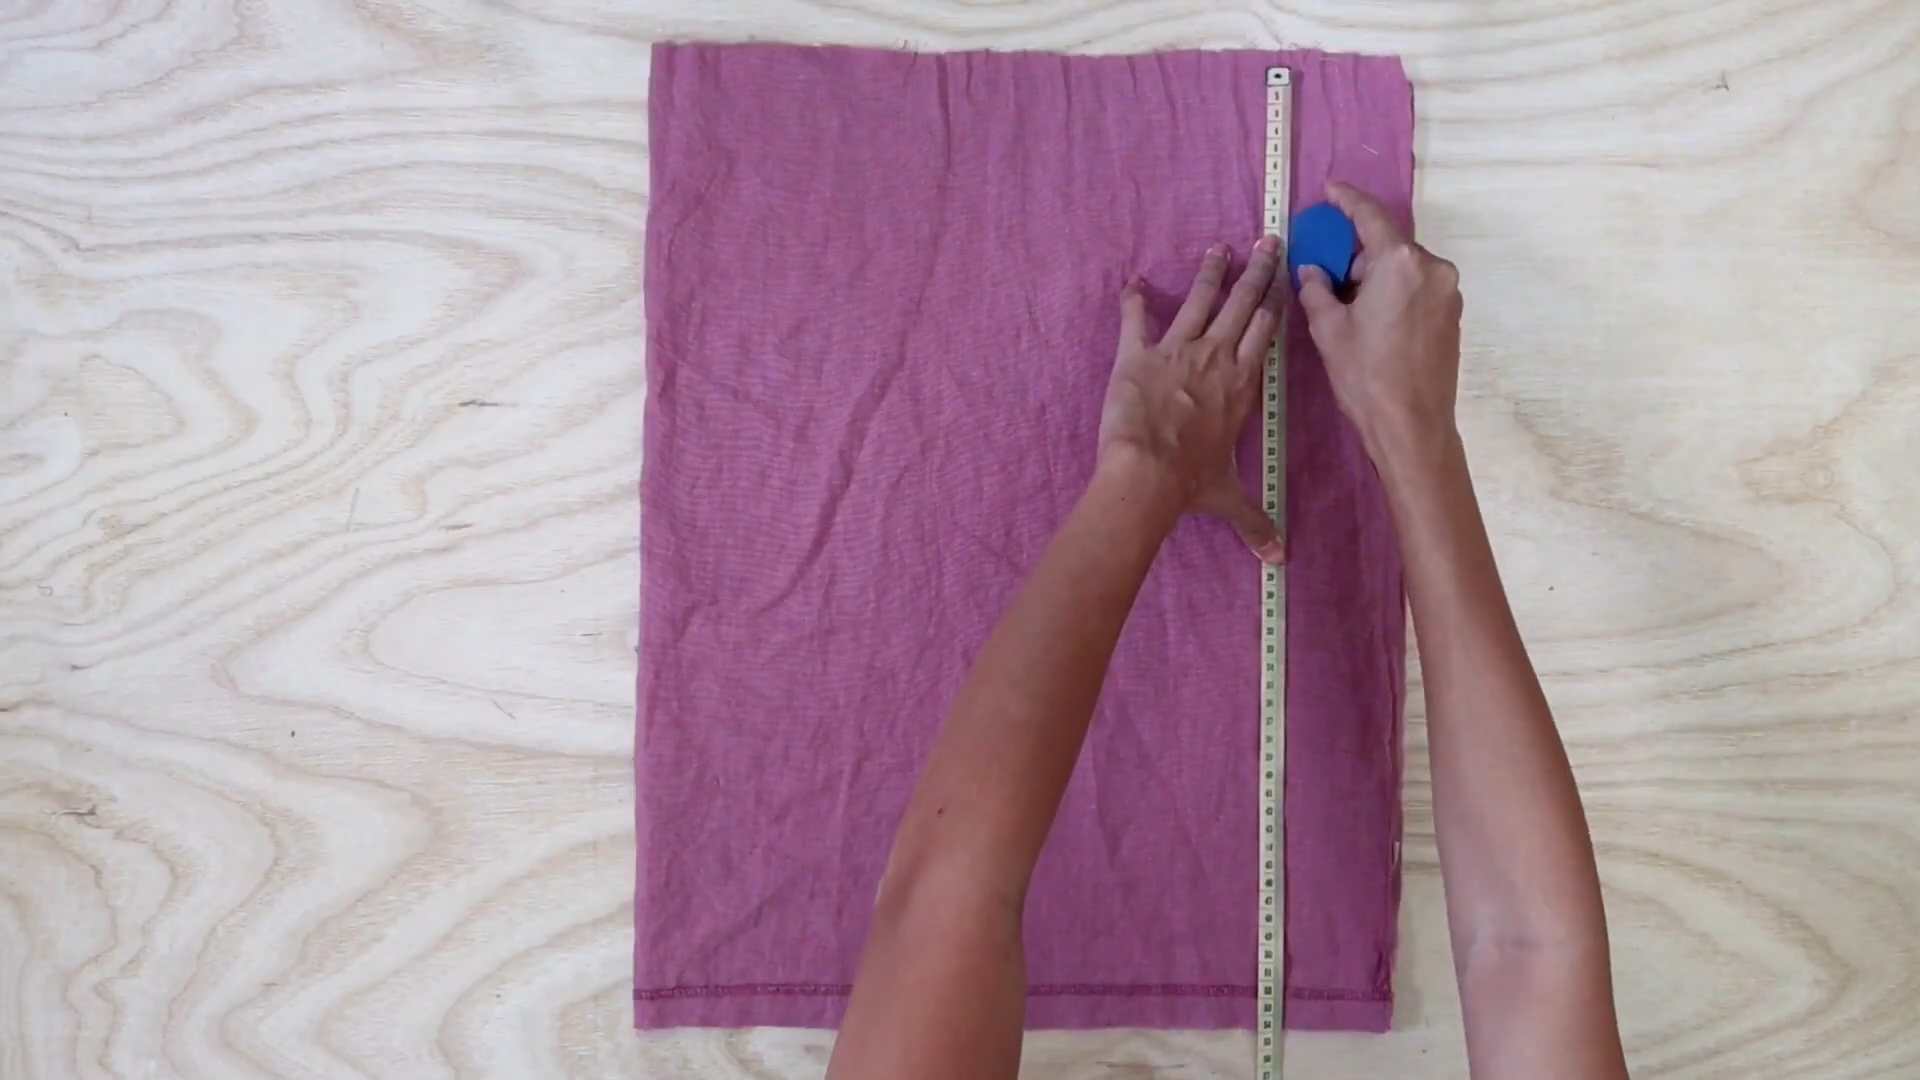
Then, draw a line to connect two marks together.
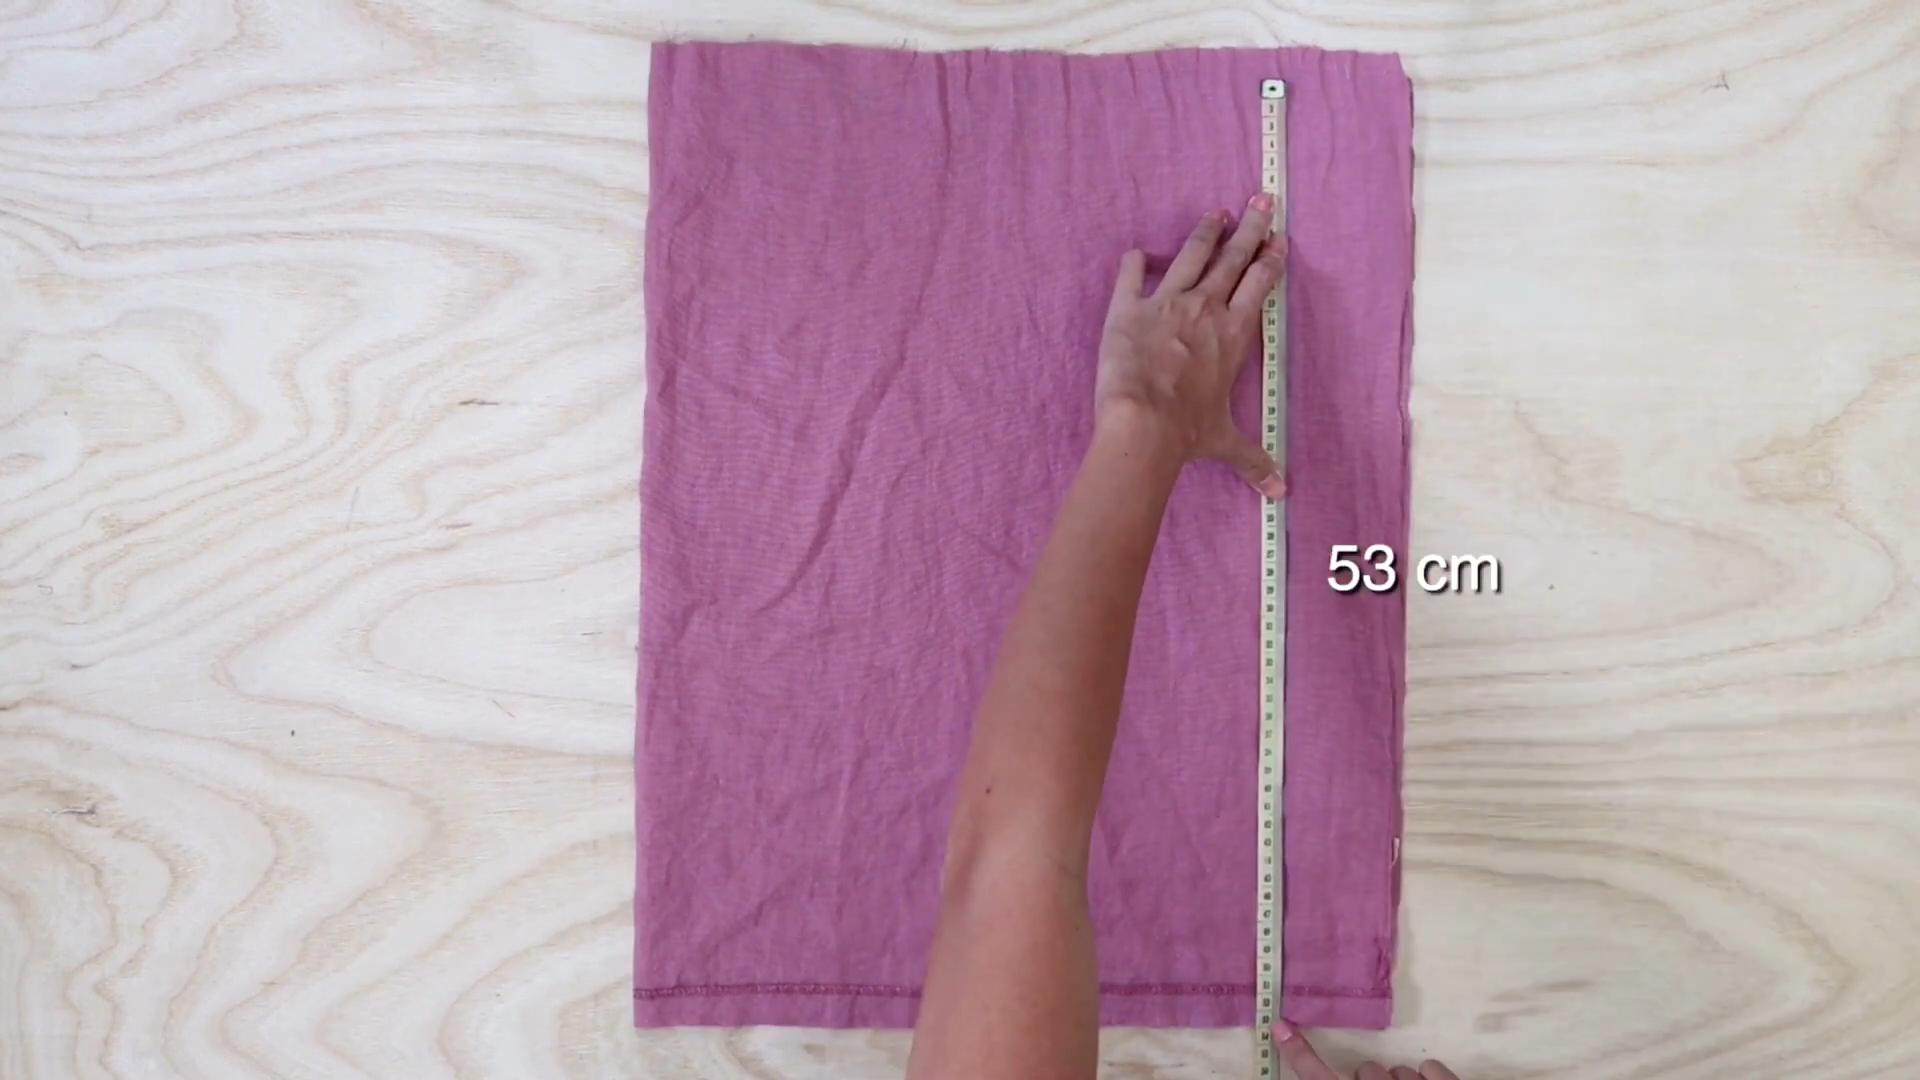
From the end of the fabric, go up 53 cm to make a rectangle. So, the rectangle will have the size of 36 cm wide and 53 cm height.
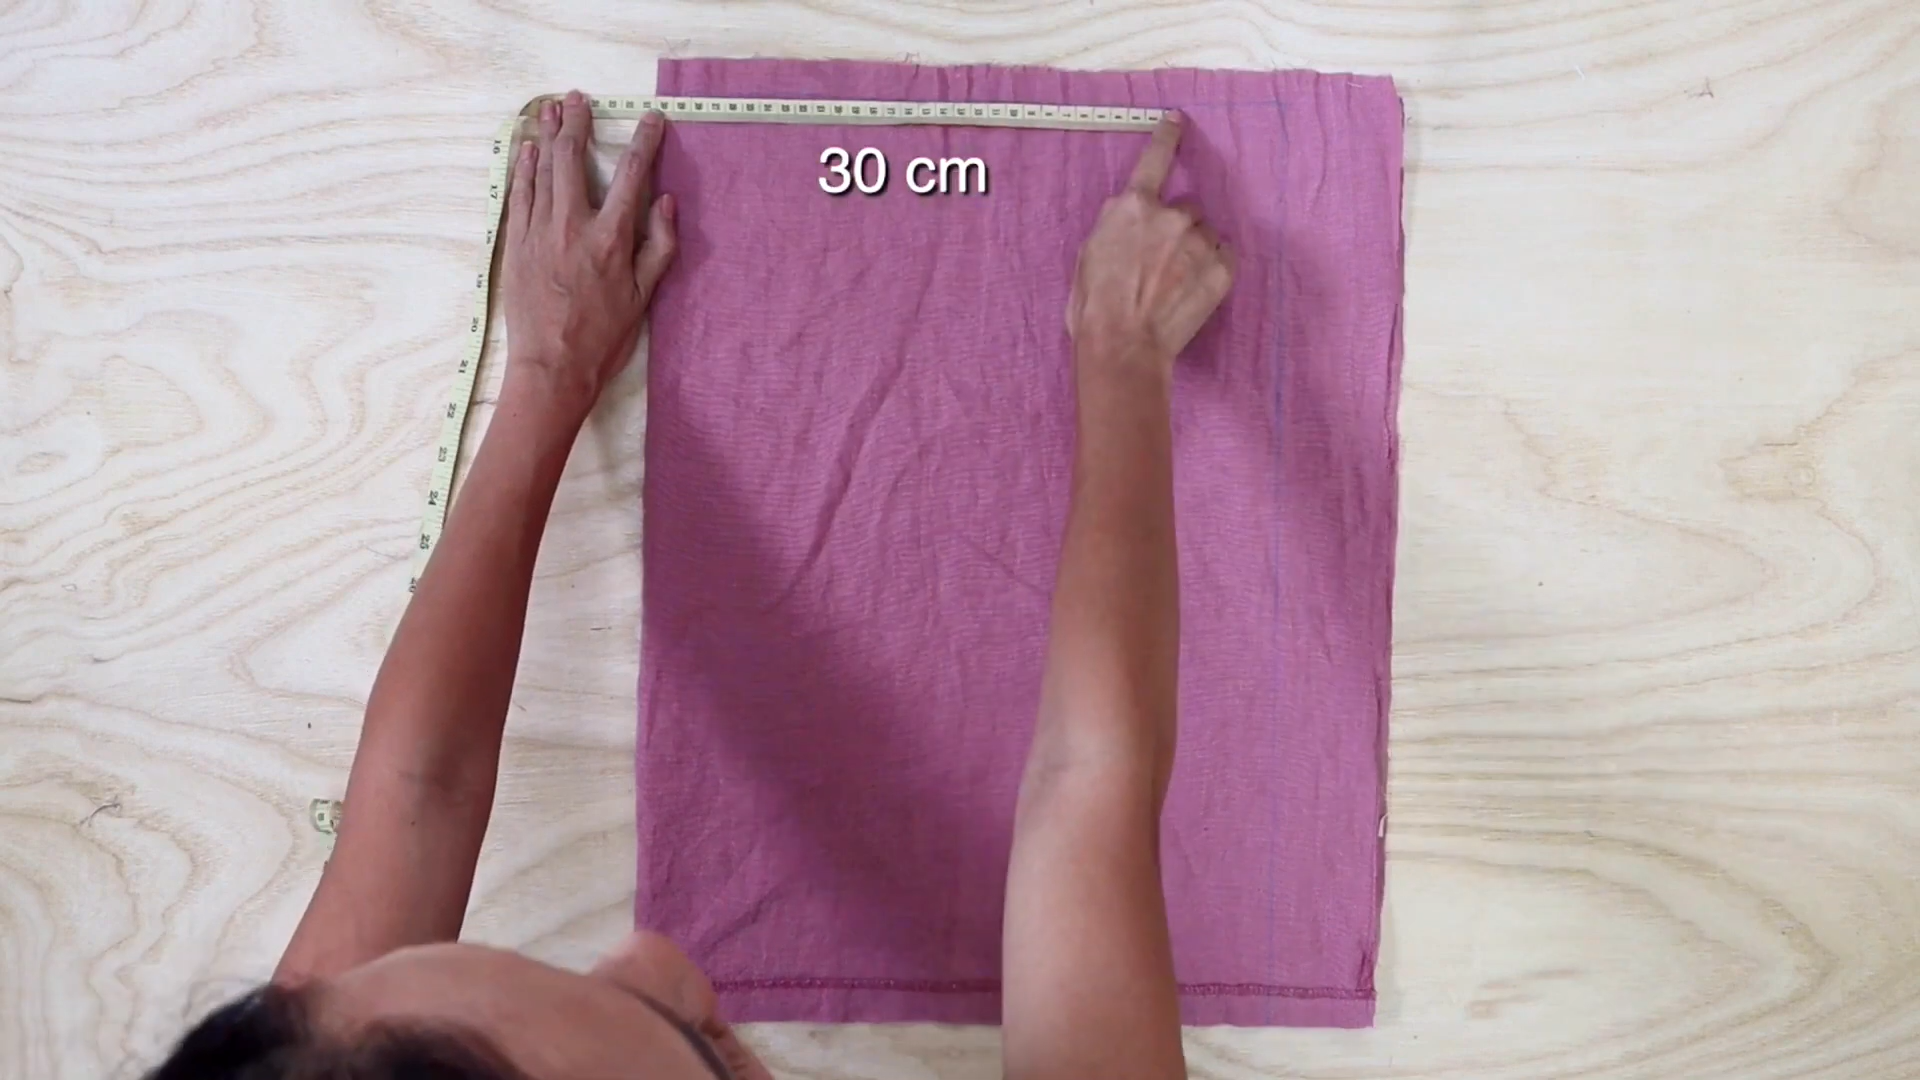
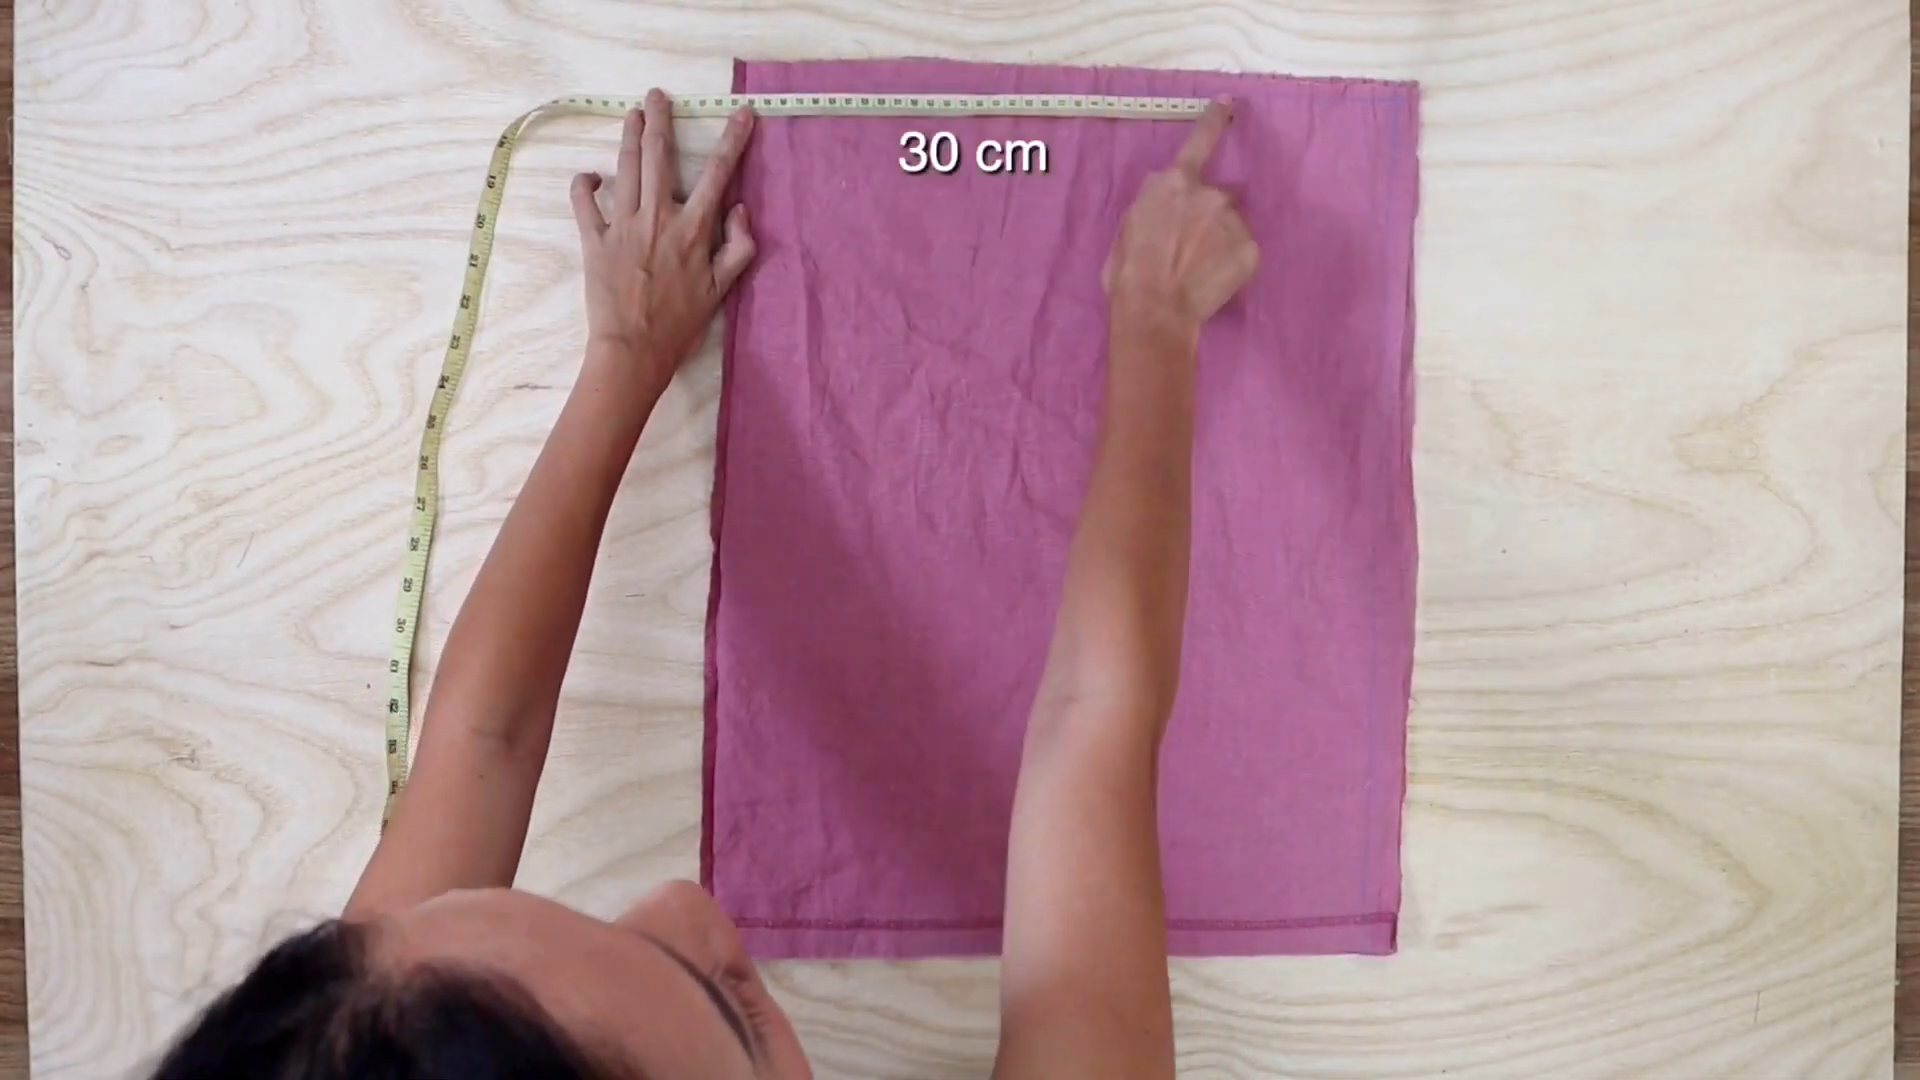
Then, make a smaller rectangle with the width of 30 cm and the same height as the previous rectangle which is 33 cm.
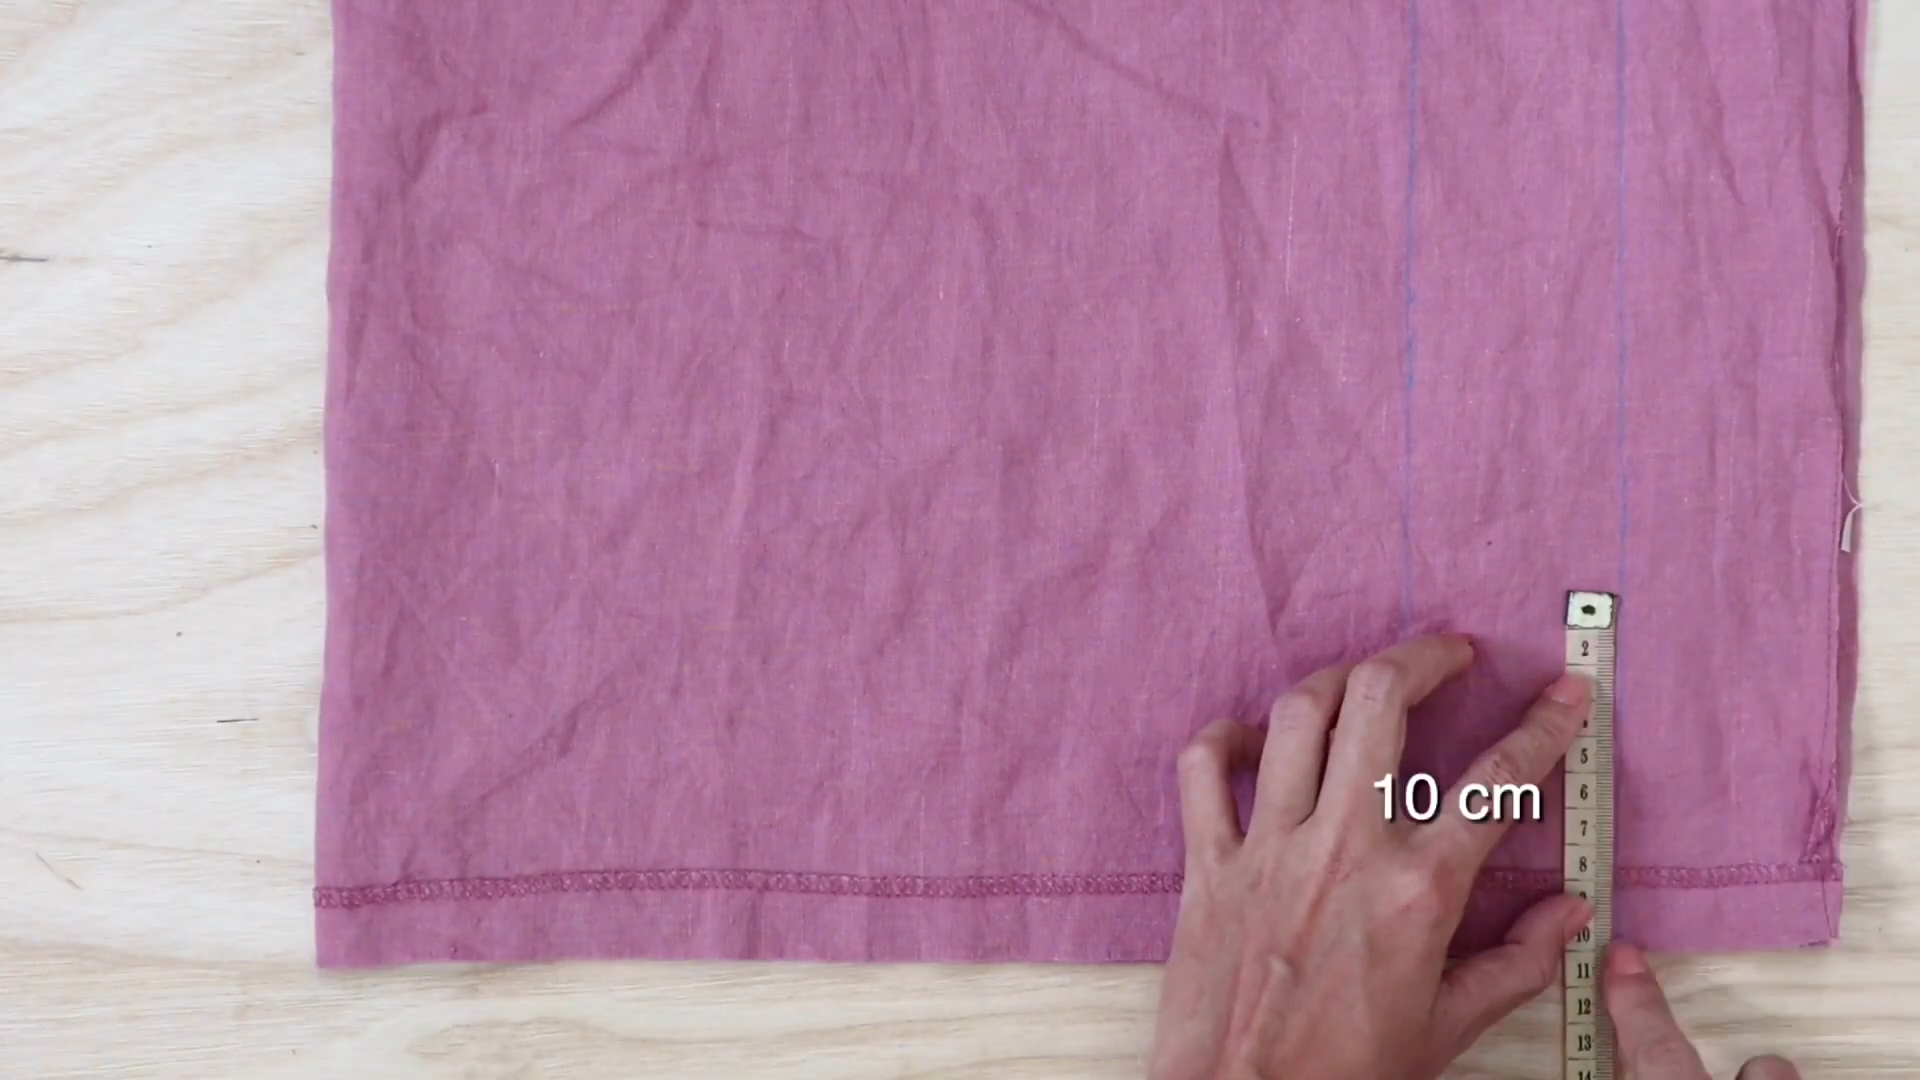
At the corner of the big rectangle, go up 10 cm and make a mark.
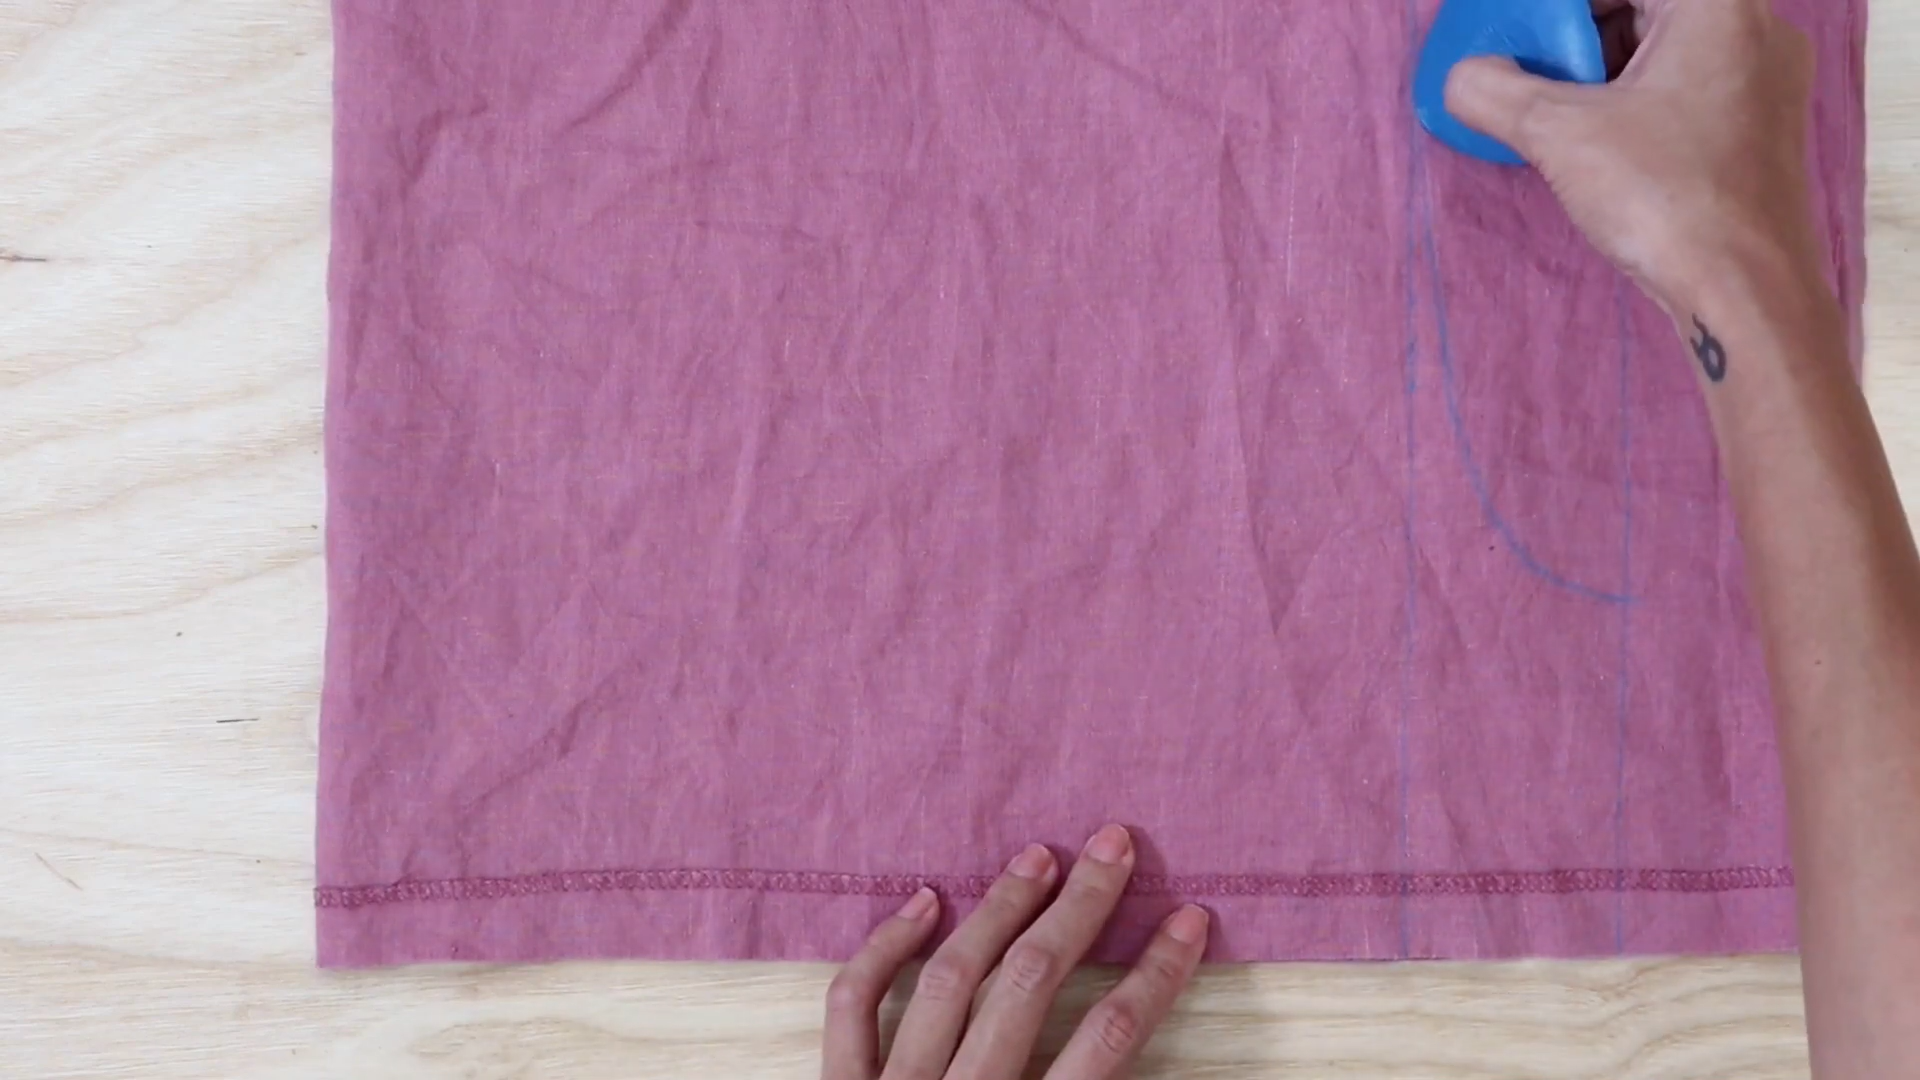
Then, draw an arch line from the small rectangle to that mark.
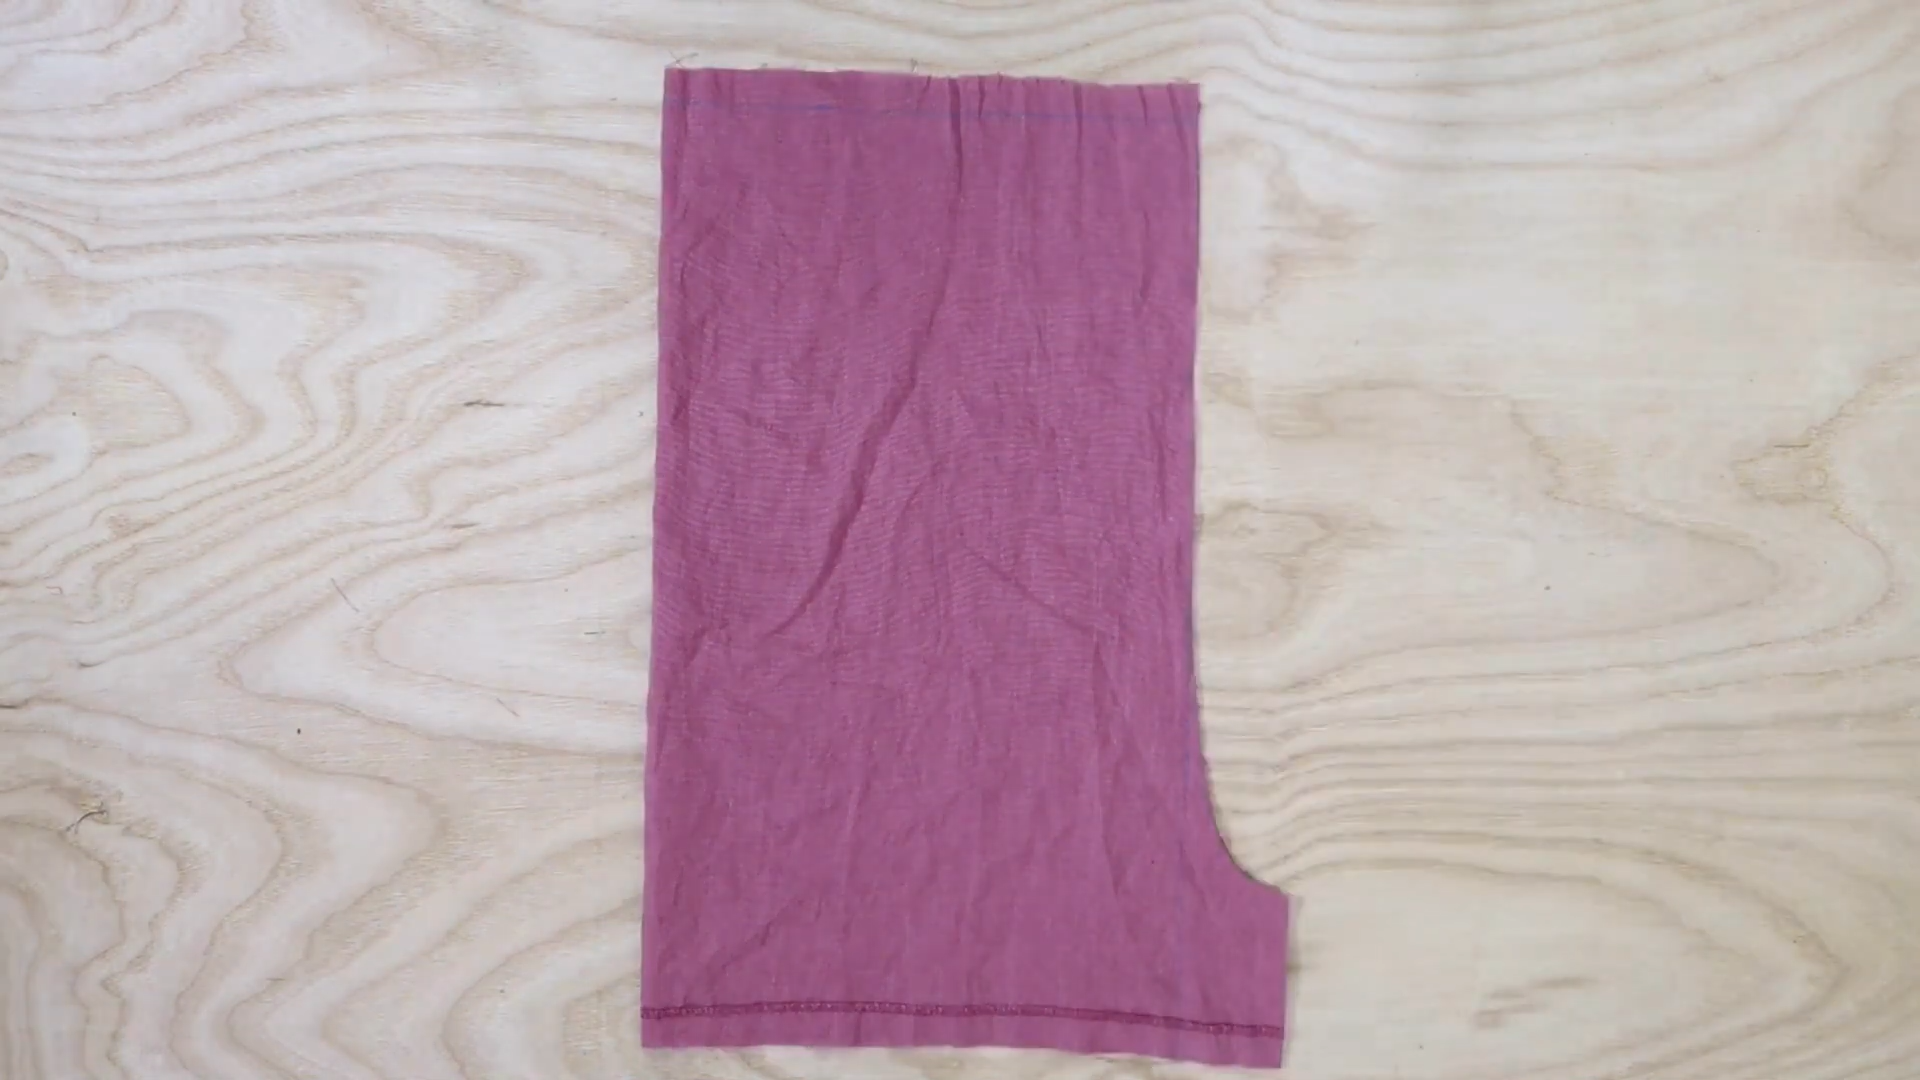
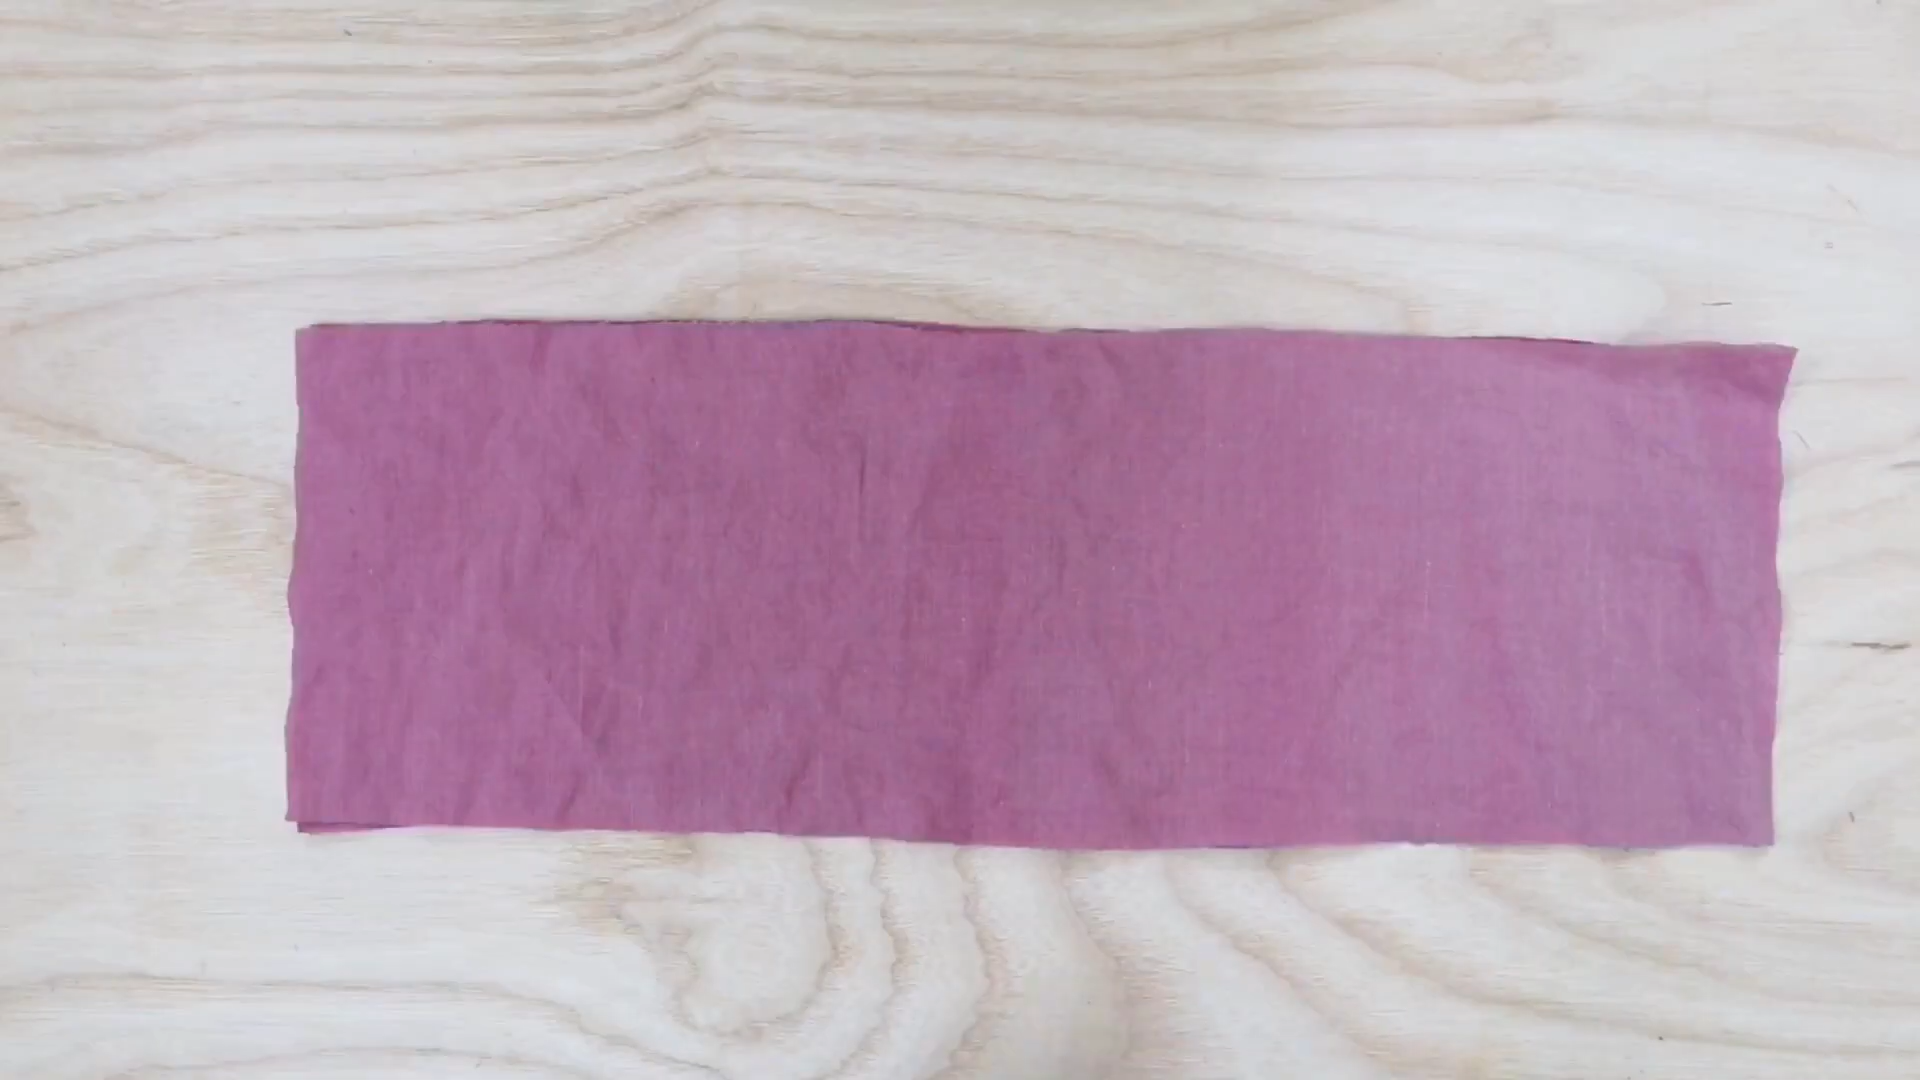
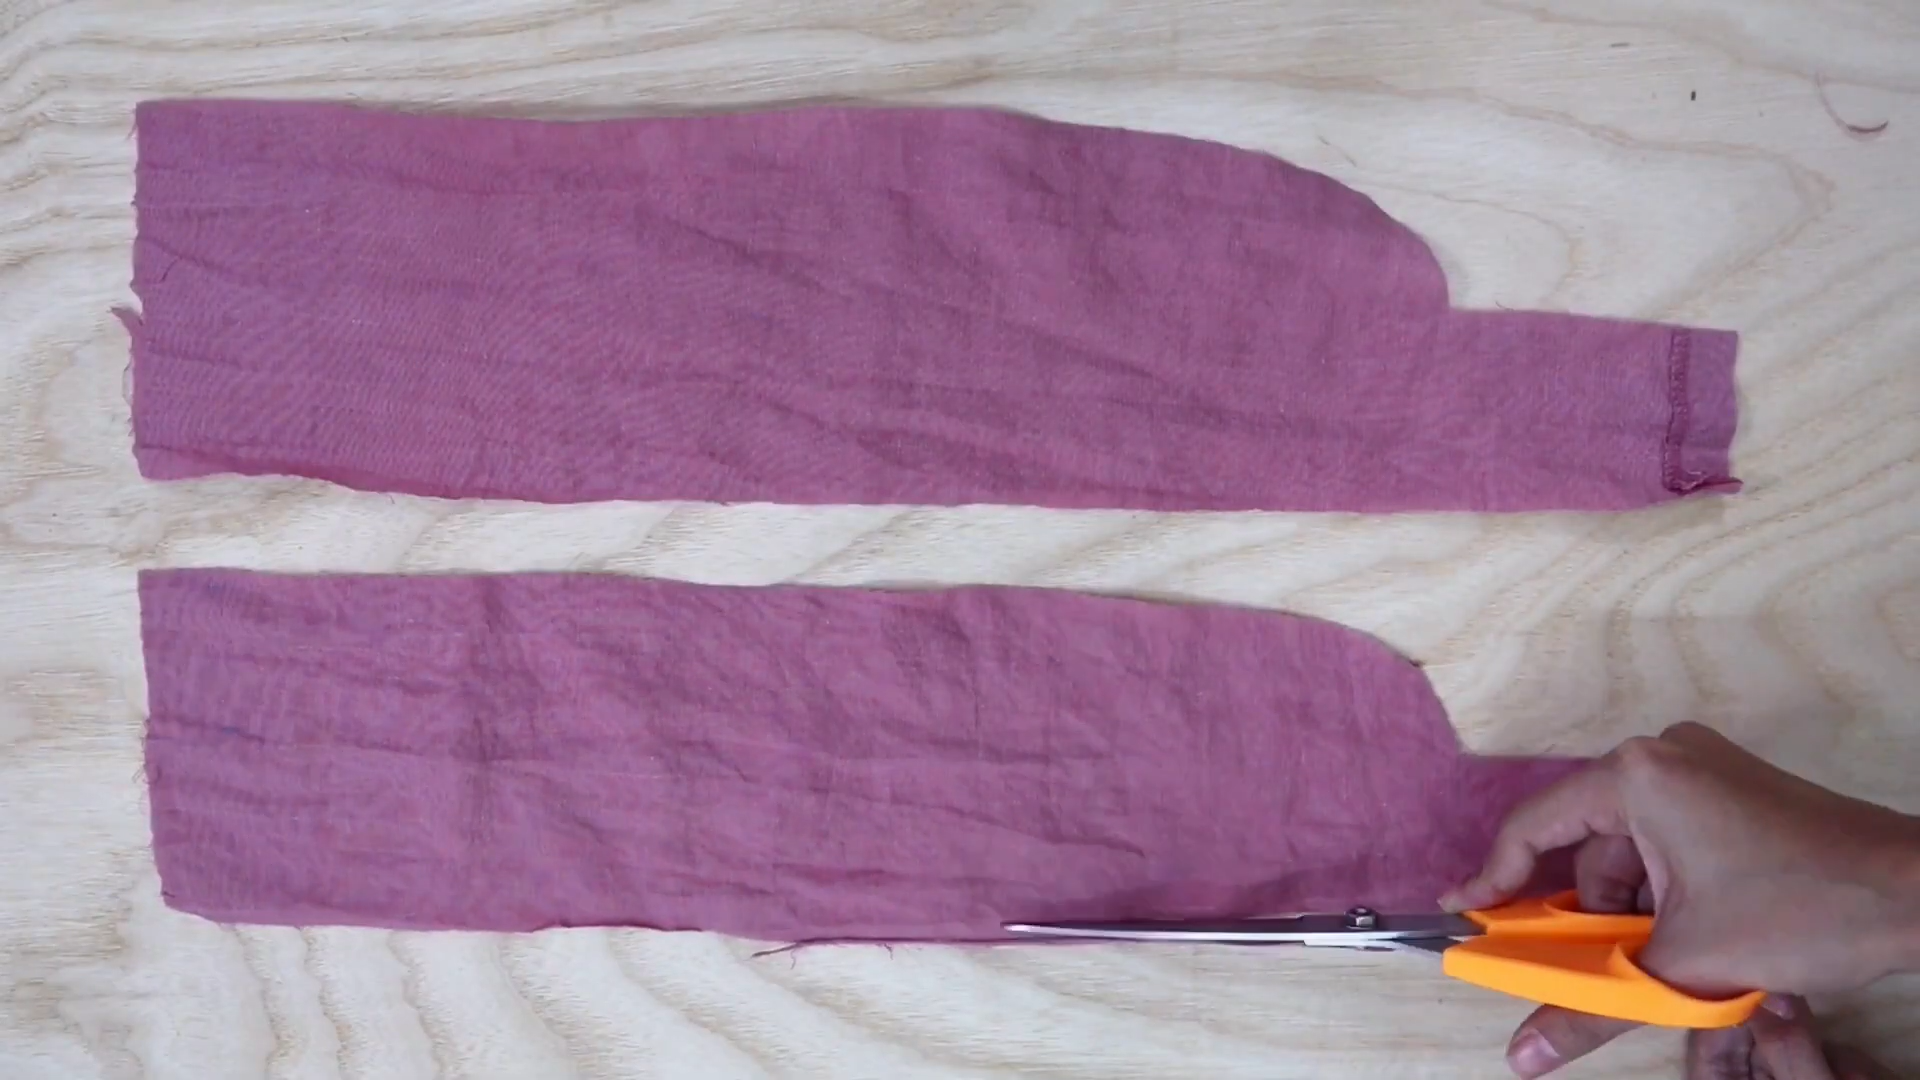
Now, just need to cut by the drawing line.
And we will have two pieces of the pants for the jumpsuit.
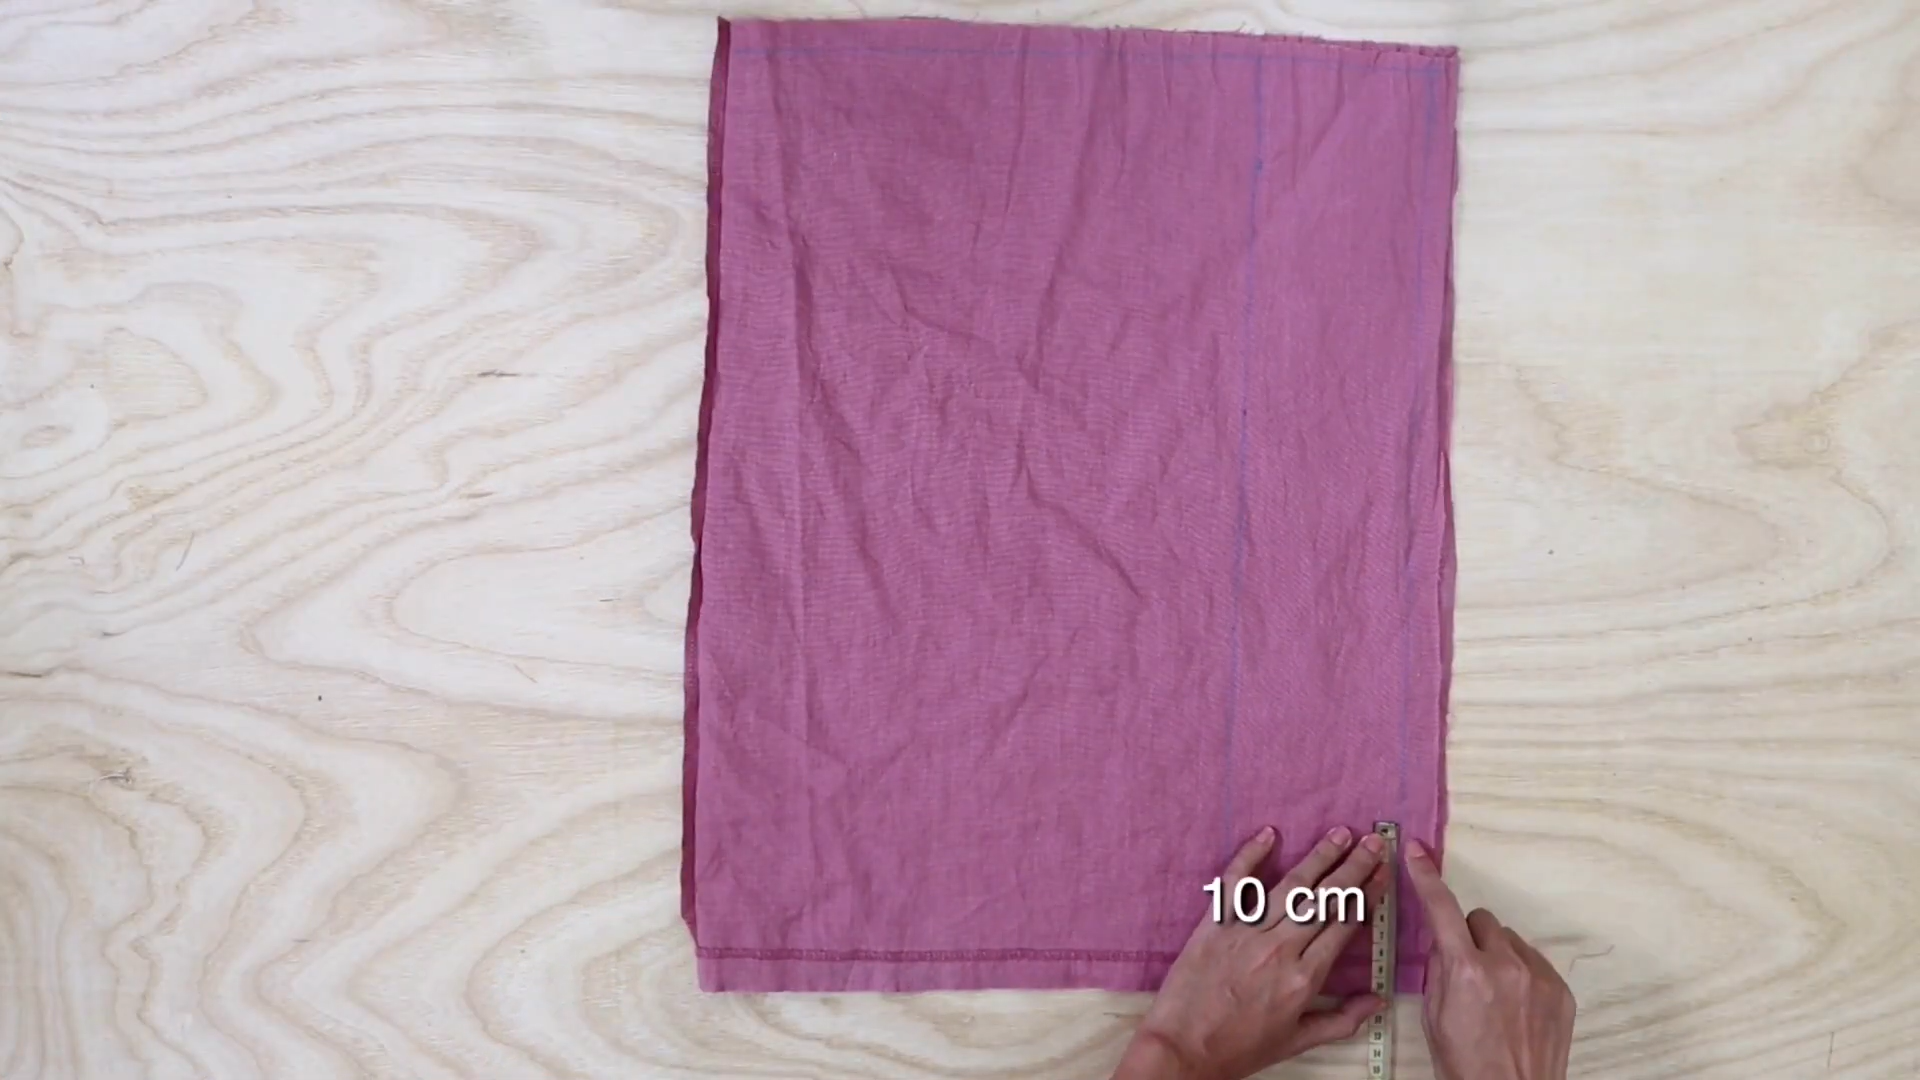
For the back of the pants, make two rectangles too.
The small rectangle is the same size as the small rectangle that was made for the front pants. That will be 30 cm wide and 53 cm height.
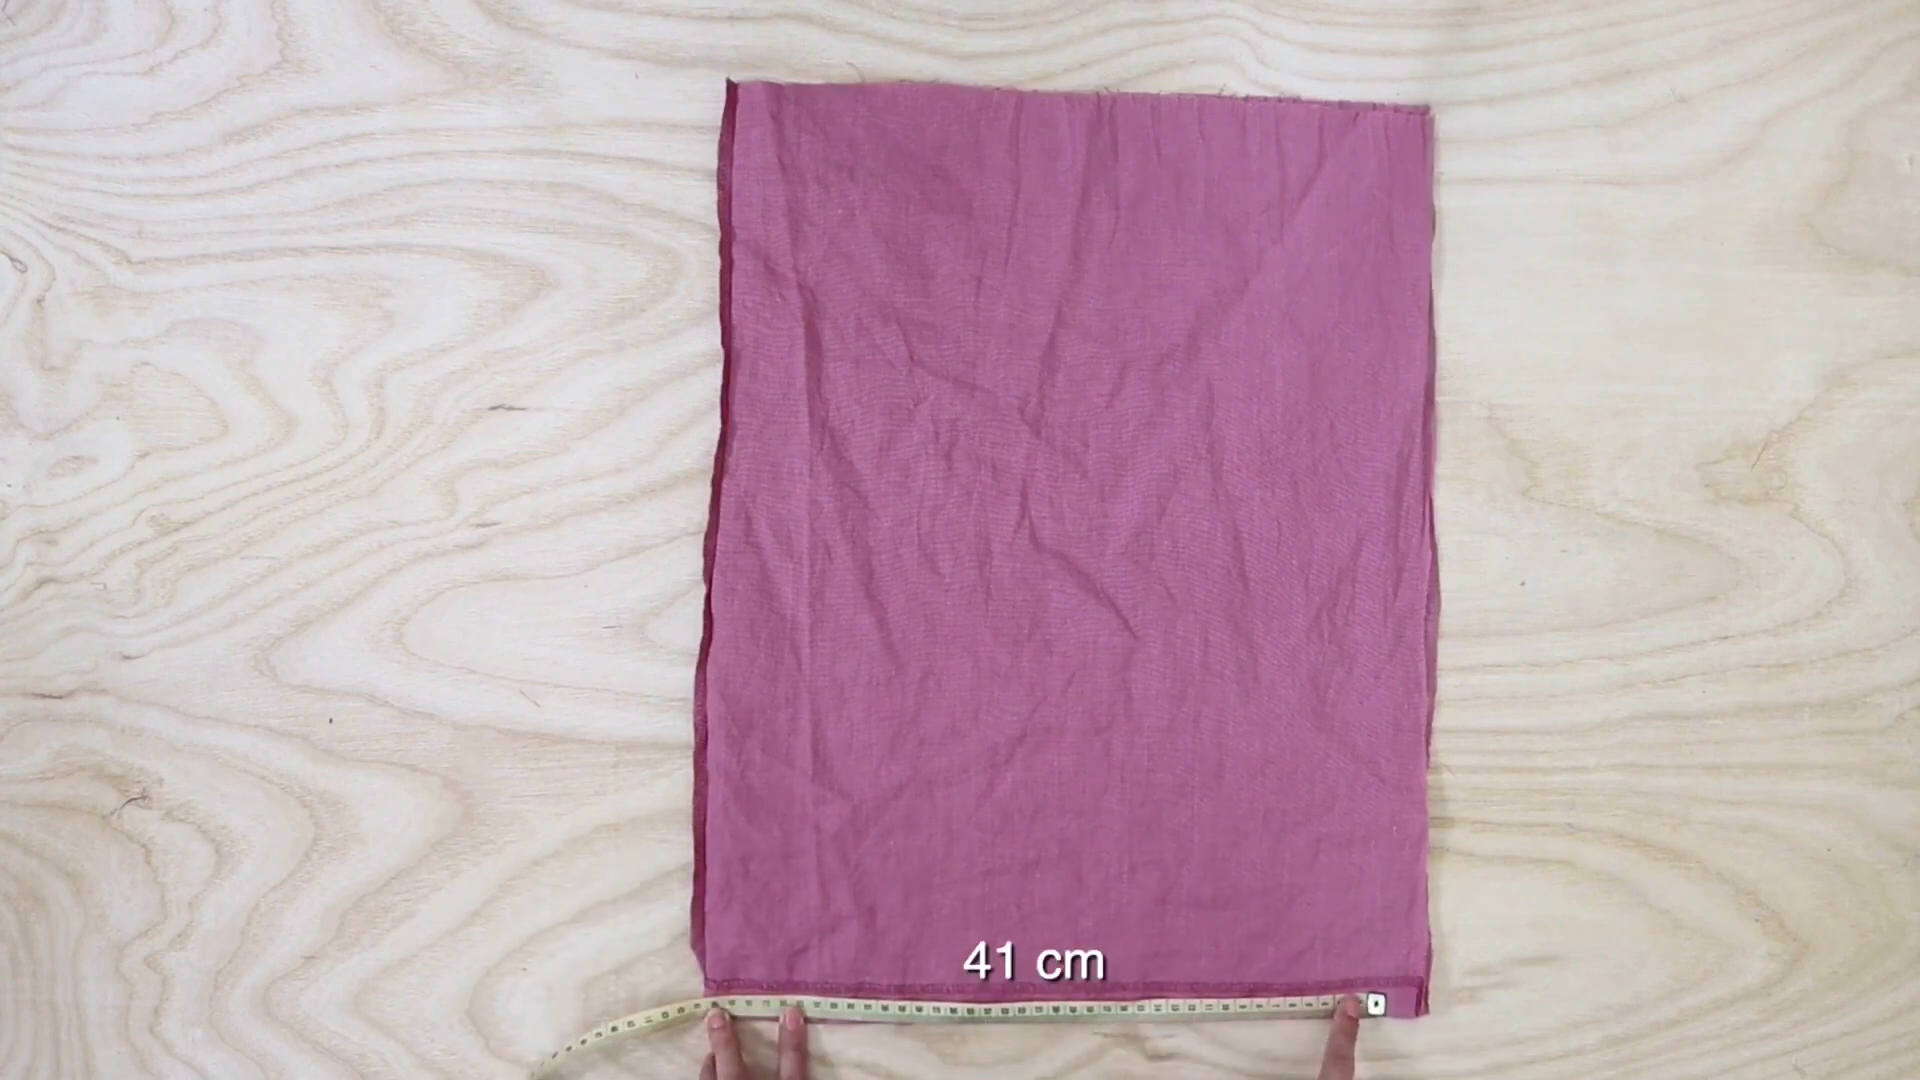
For the big rectangle, the height is kept the same which is 53 cm but the width will be 41 cm.
From the right corner of the big rectangle, go up 10 cm and make a mark.
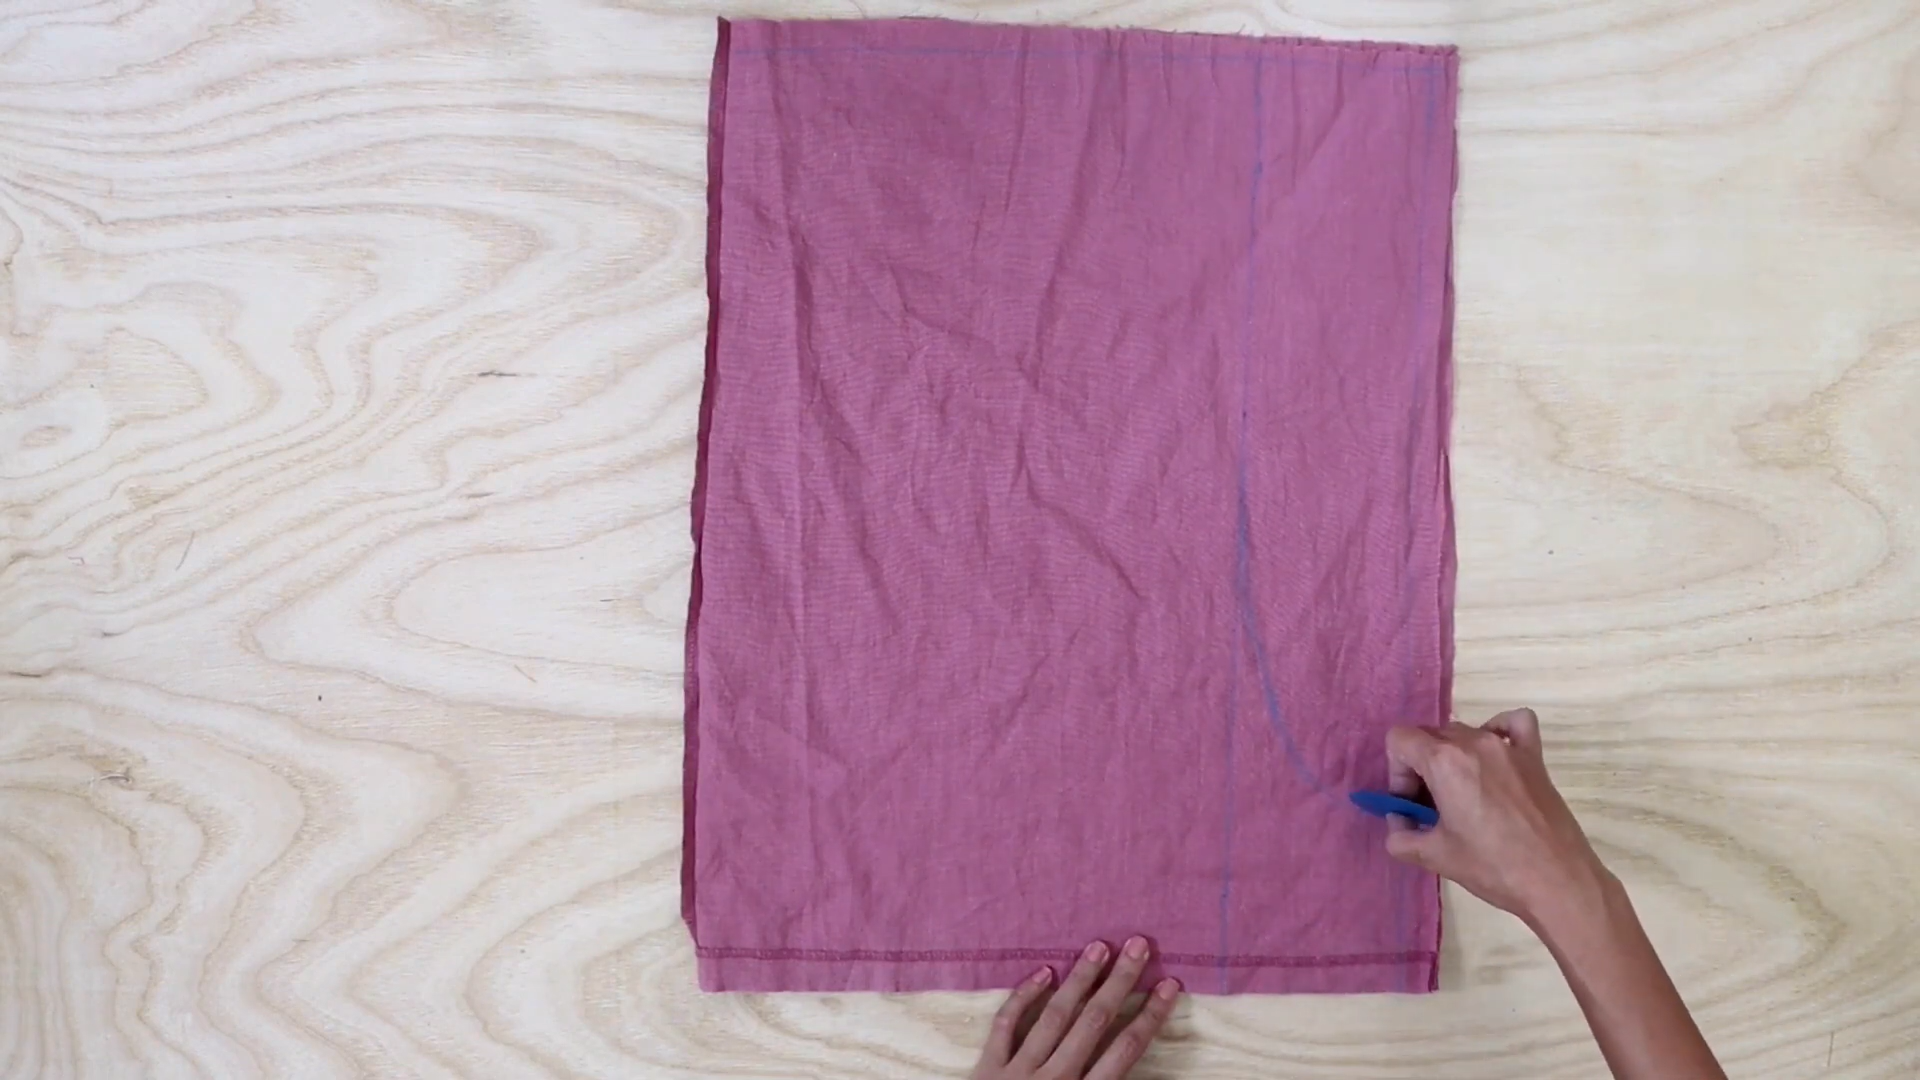
Then, draw an arch line from the mark to connect with the small rectangle.
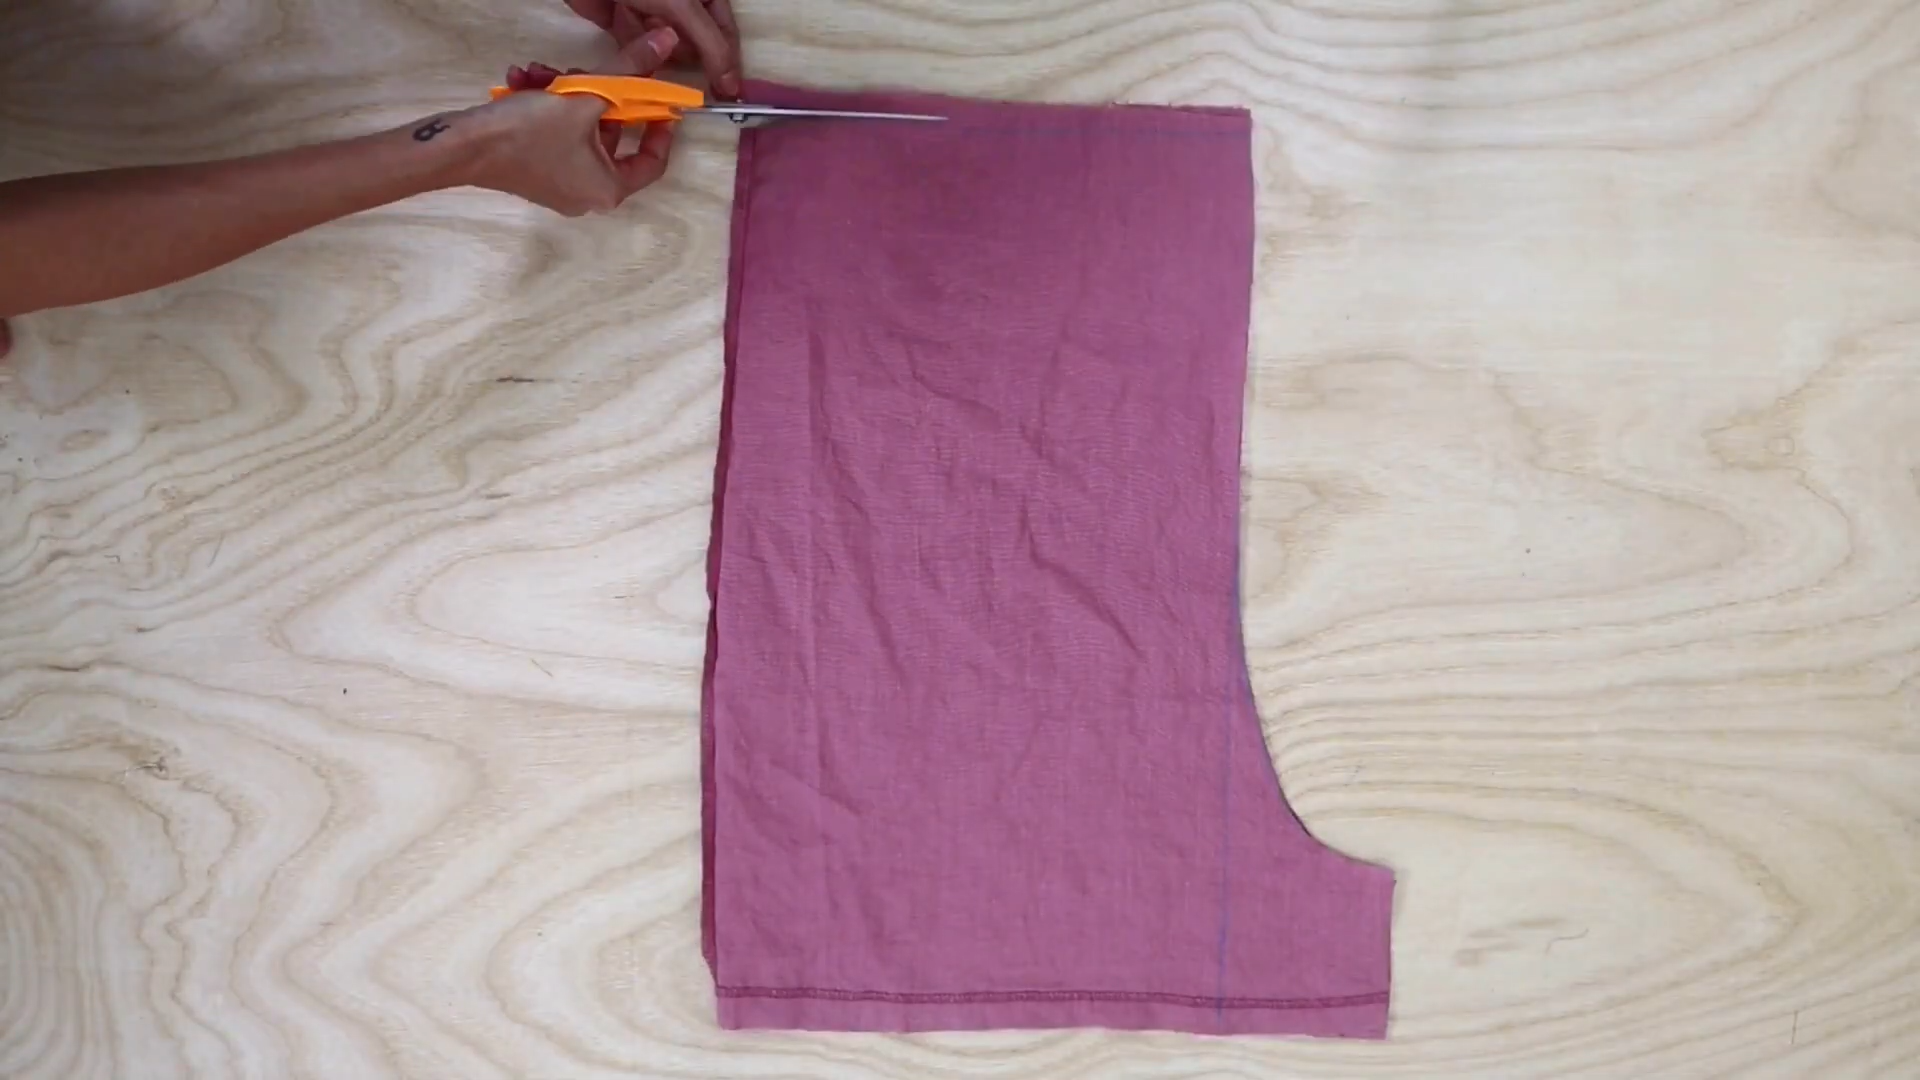
After cutting by the drawing line, we will have the back pants of the jumpsuit.
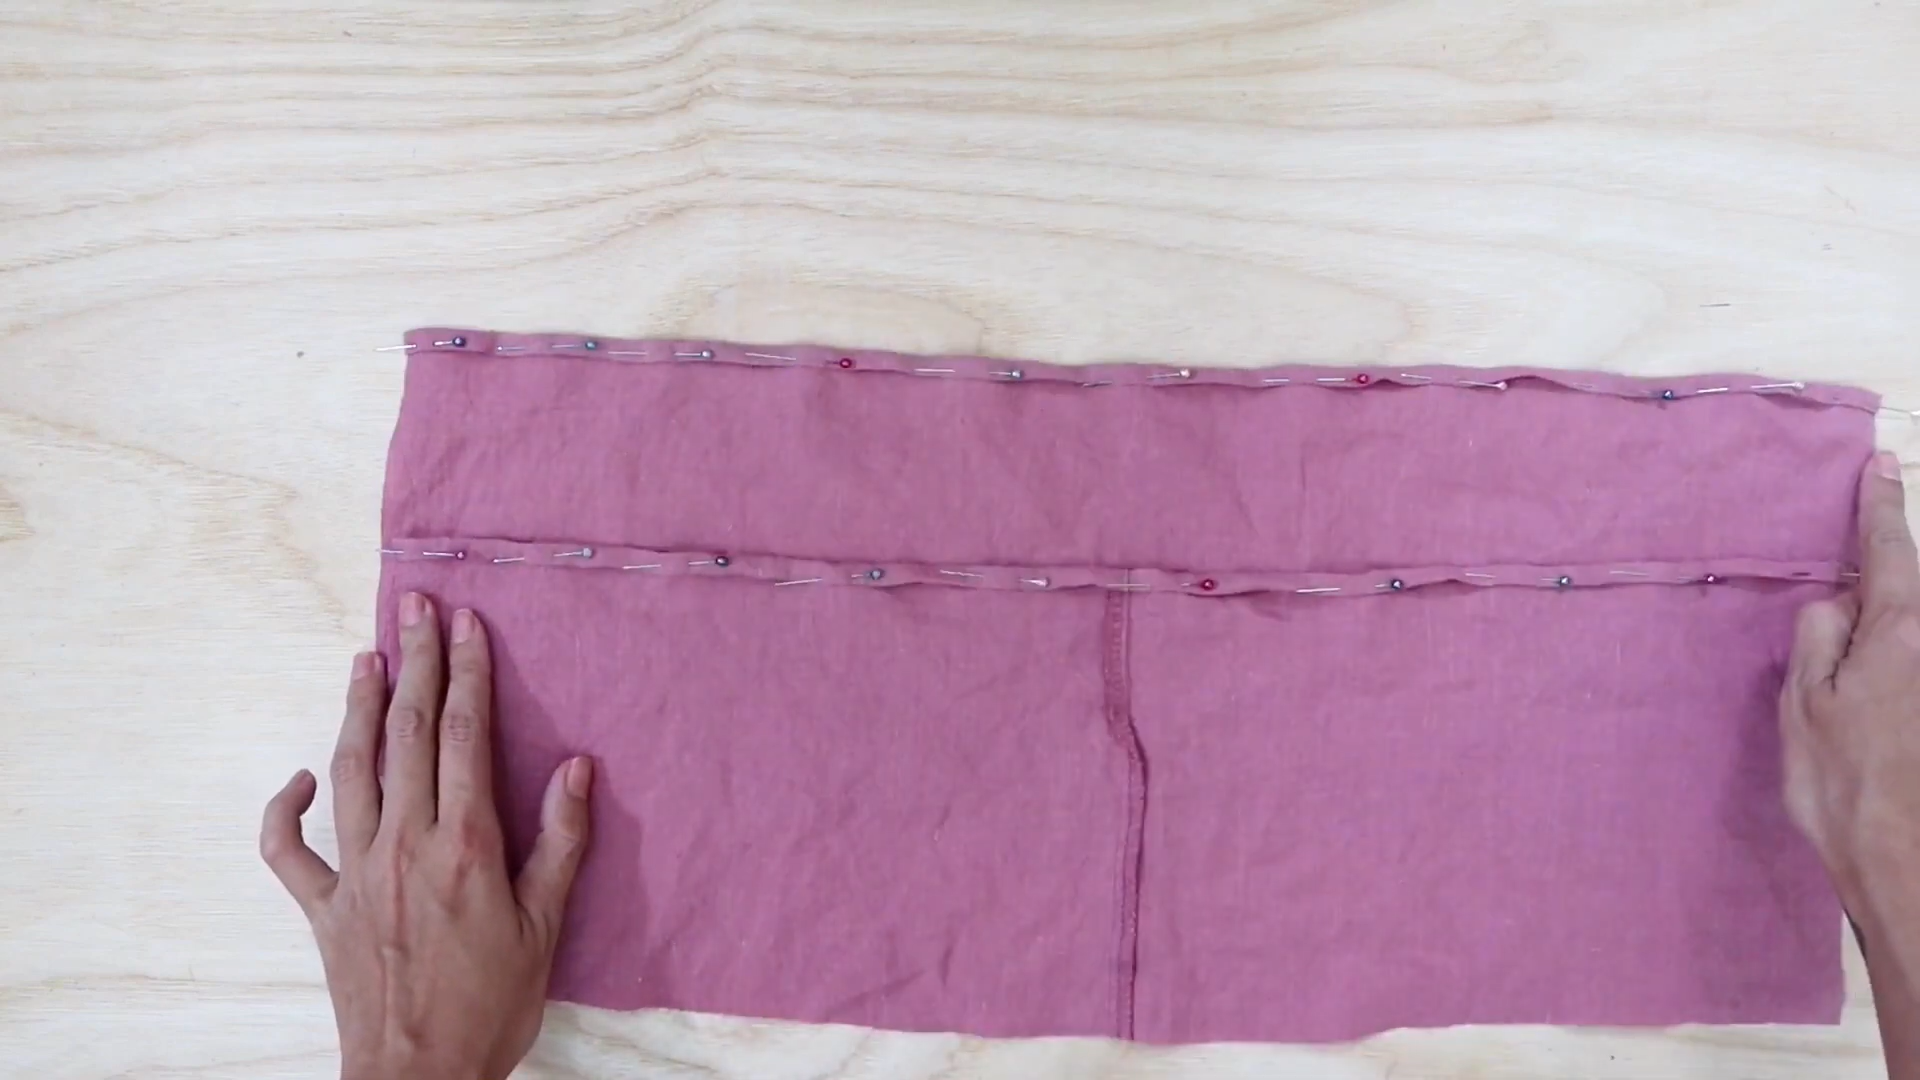
The next step is sewing two pieces of the front and the back of the pants together by the arch line.
To protect the seam, make the fake overlooking by using another stitching in the sewing machine.
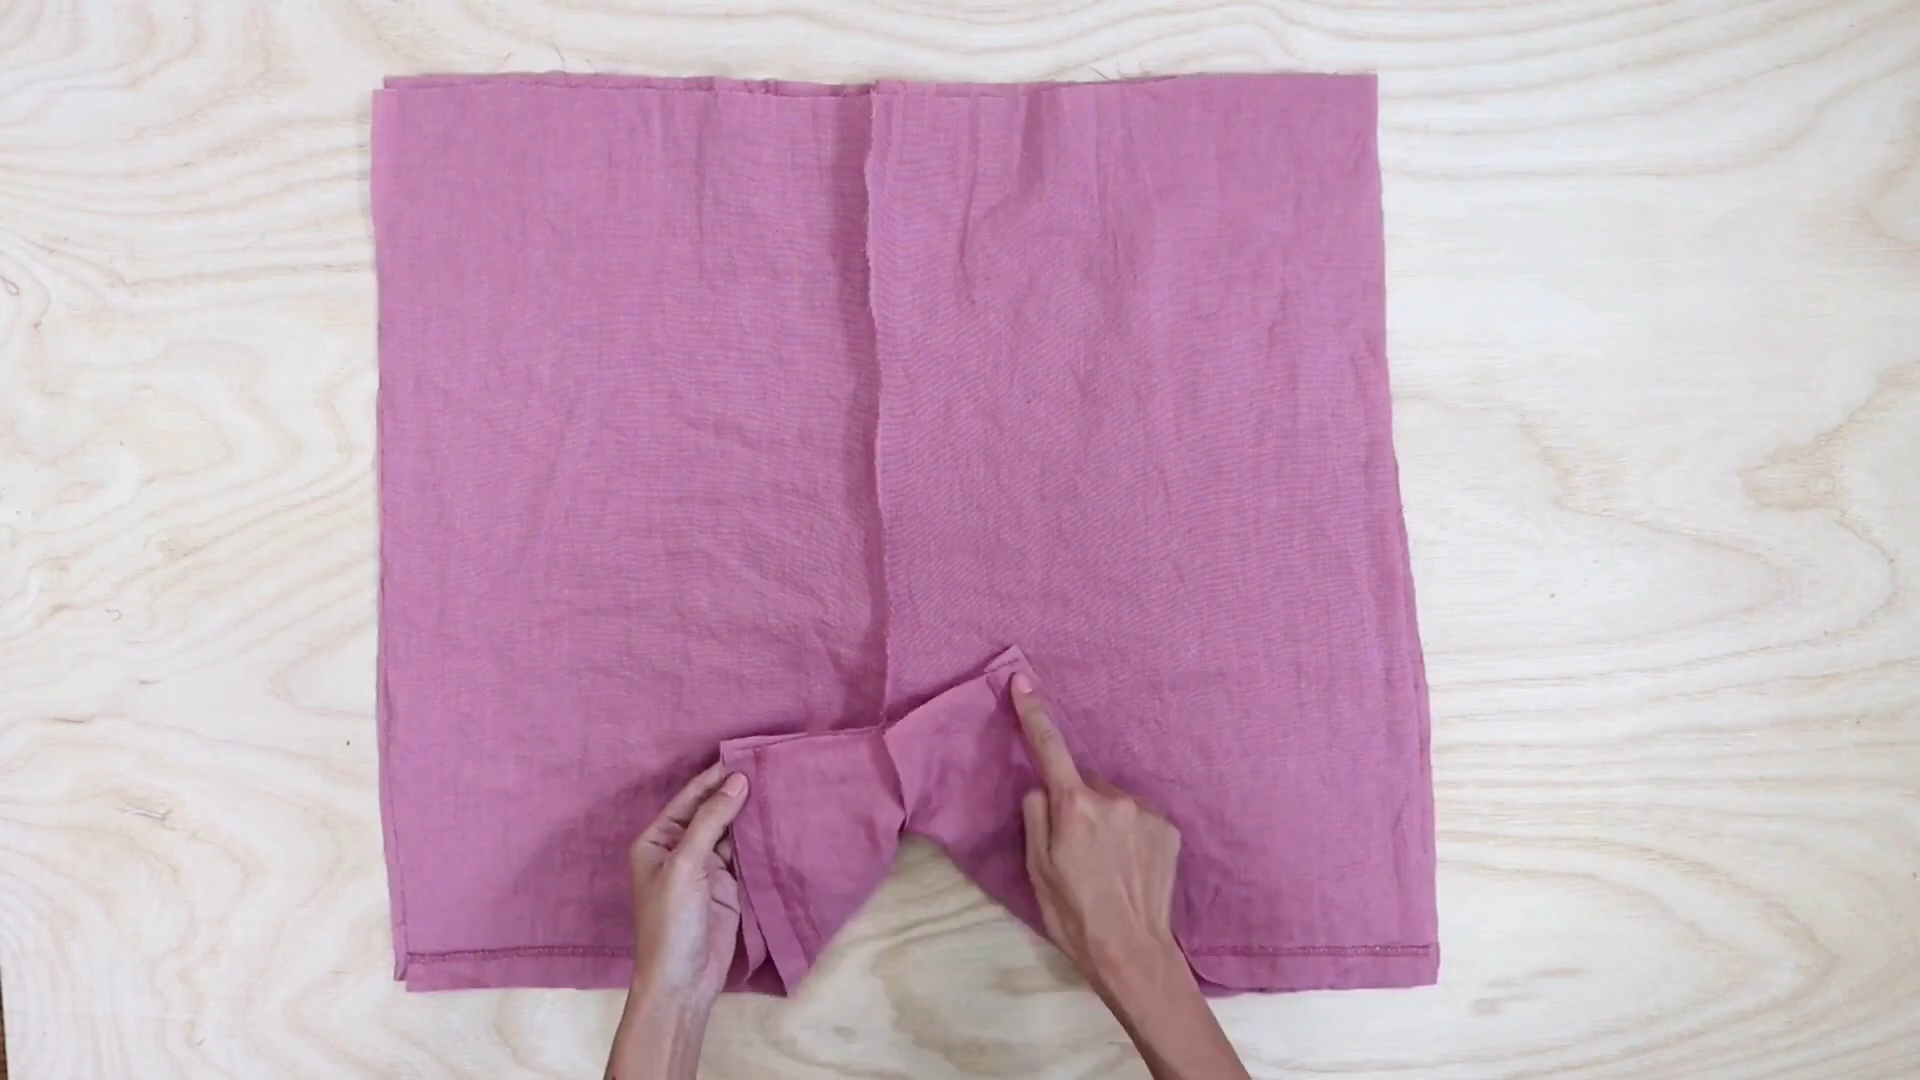
The next step is to connect the front and the back of the pants together.
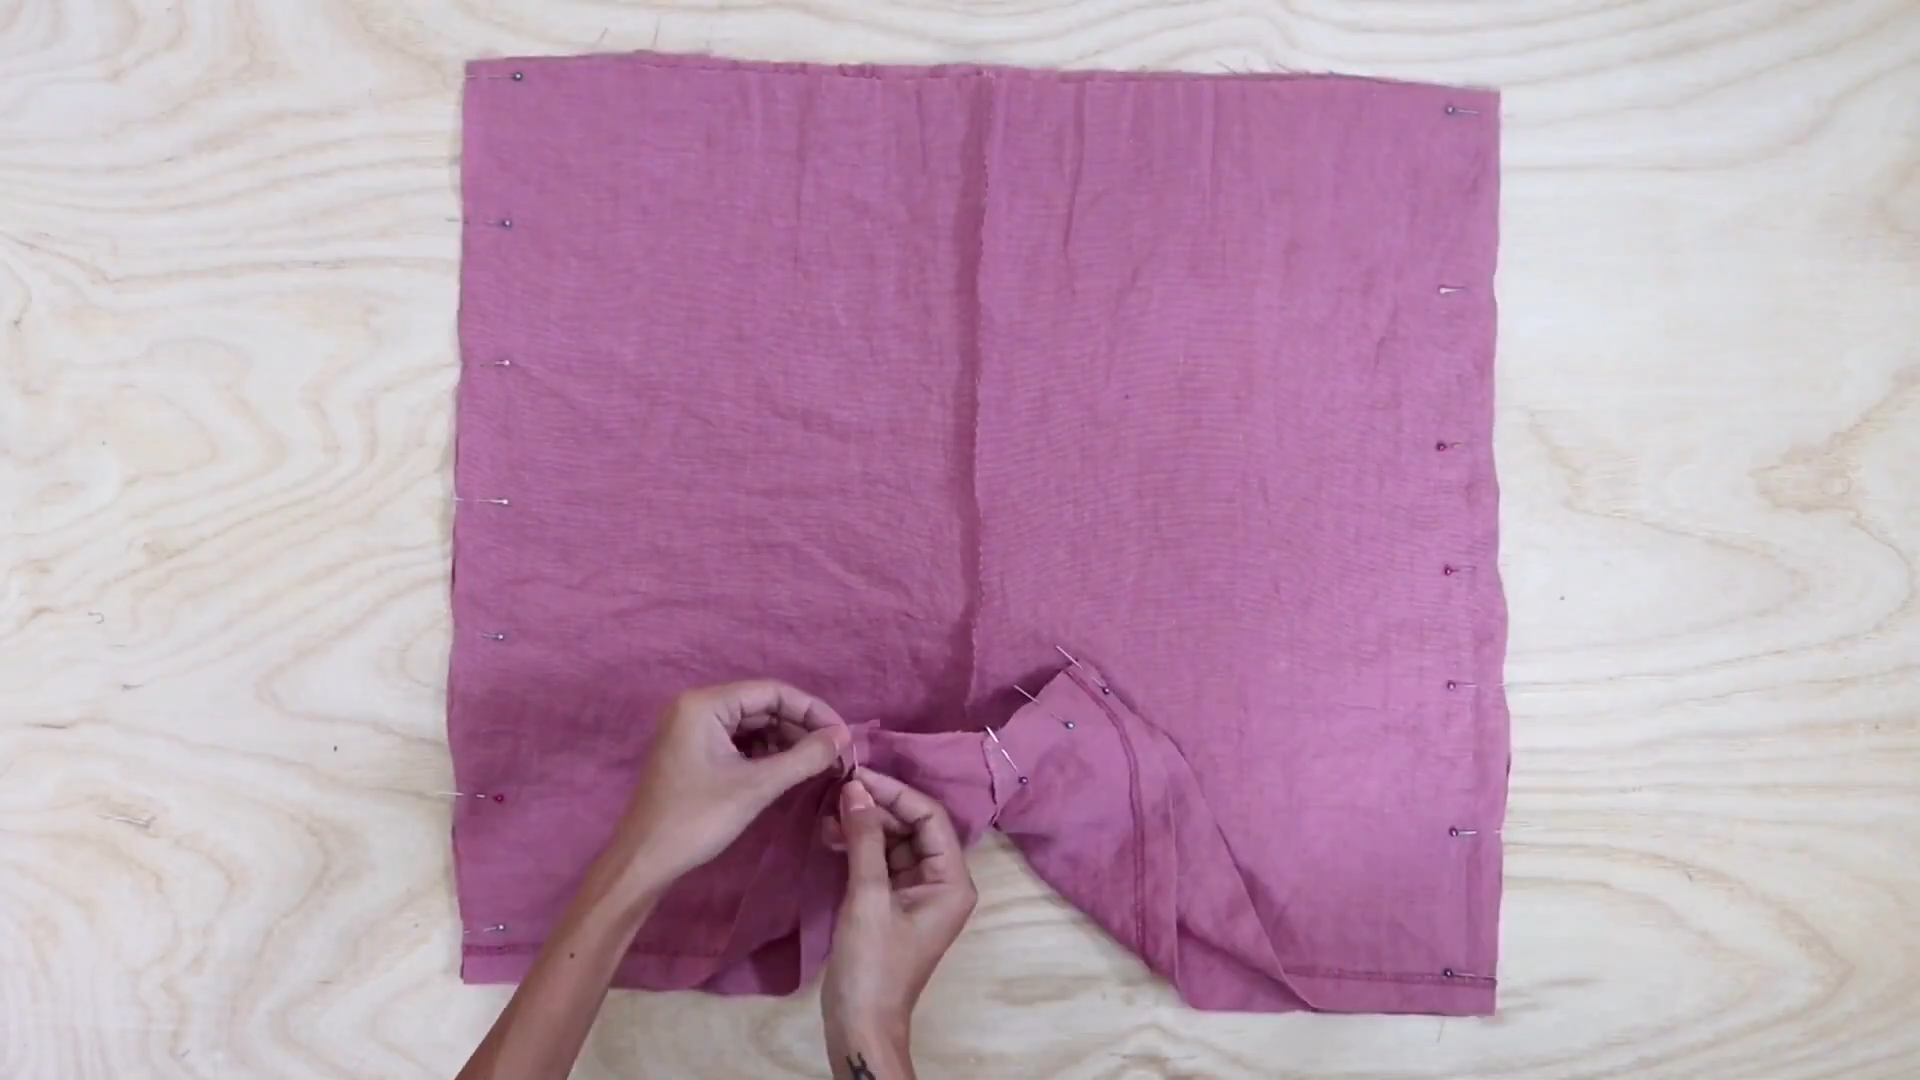
Use pins to hold them will make sewing easier. And the pants of the jumpsuit are finished.
THE TOP
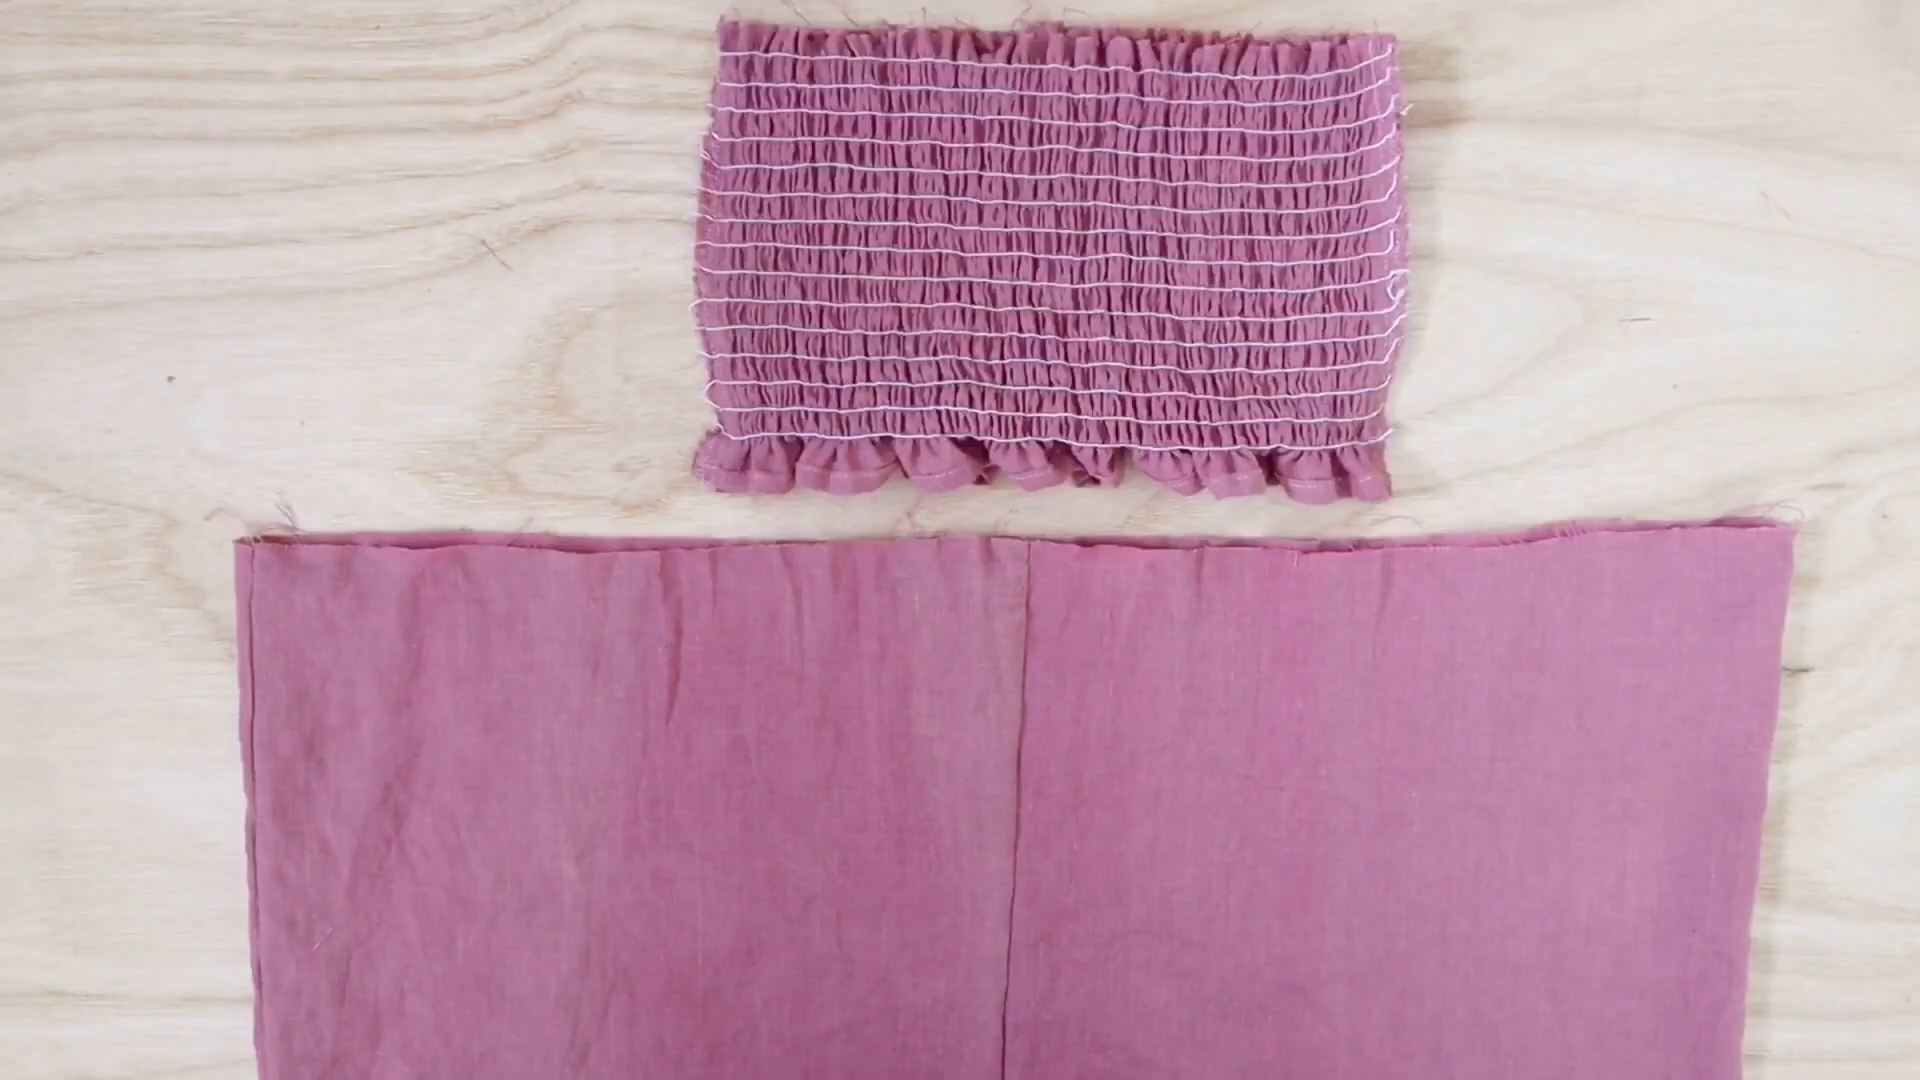
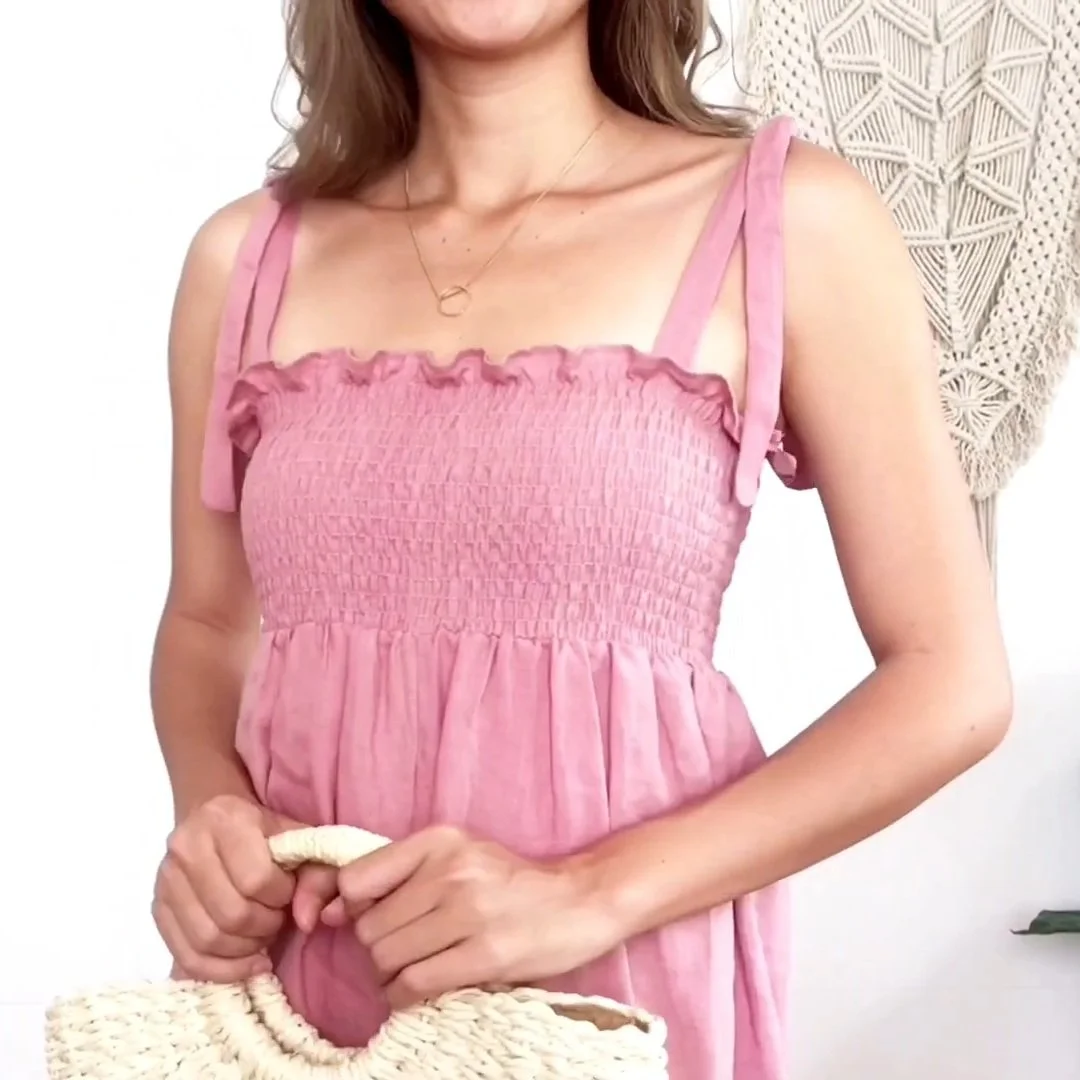
Moving forward to the top of the jumpsuit, I'm going to make shirred top.
So, cut the body of the top to make the body for the shirred top.
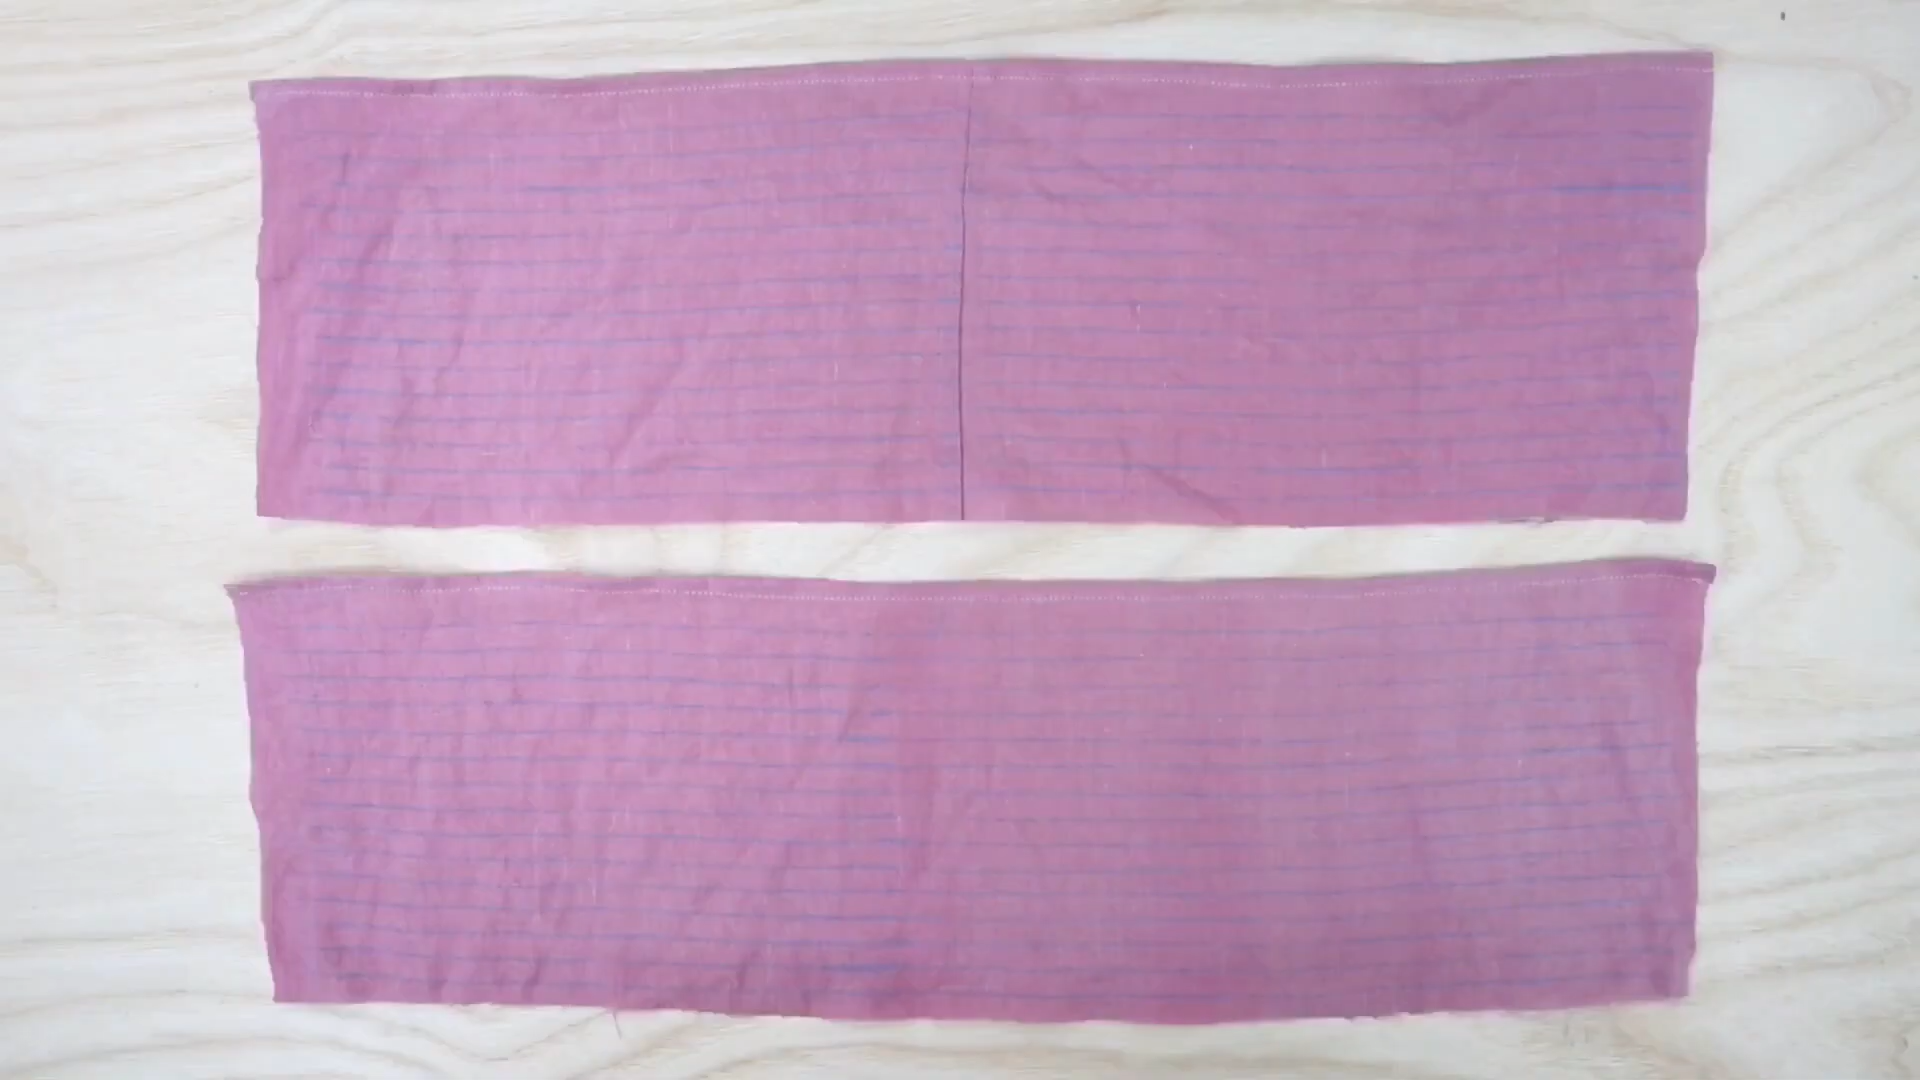
Two rectangles will be made which are 19 cm wide and 56 cm height.
They will be the front and the back of the top.
At the top of a shirred top, fold the fabric double times and sew it to hide the cutting.
And here is what we get after sewing.
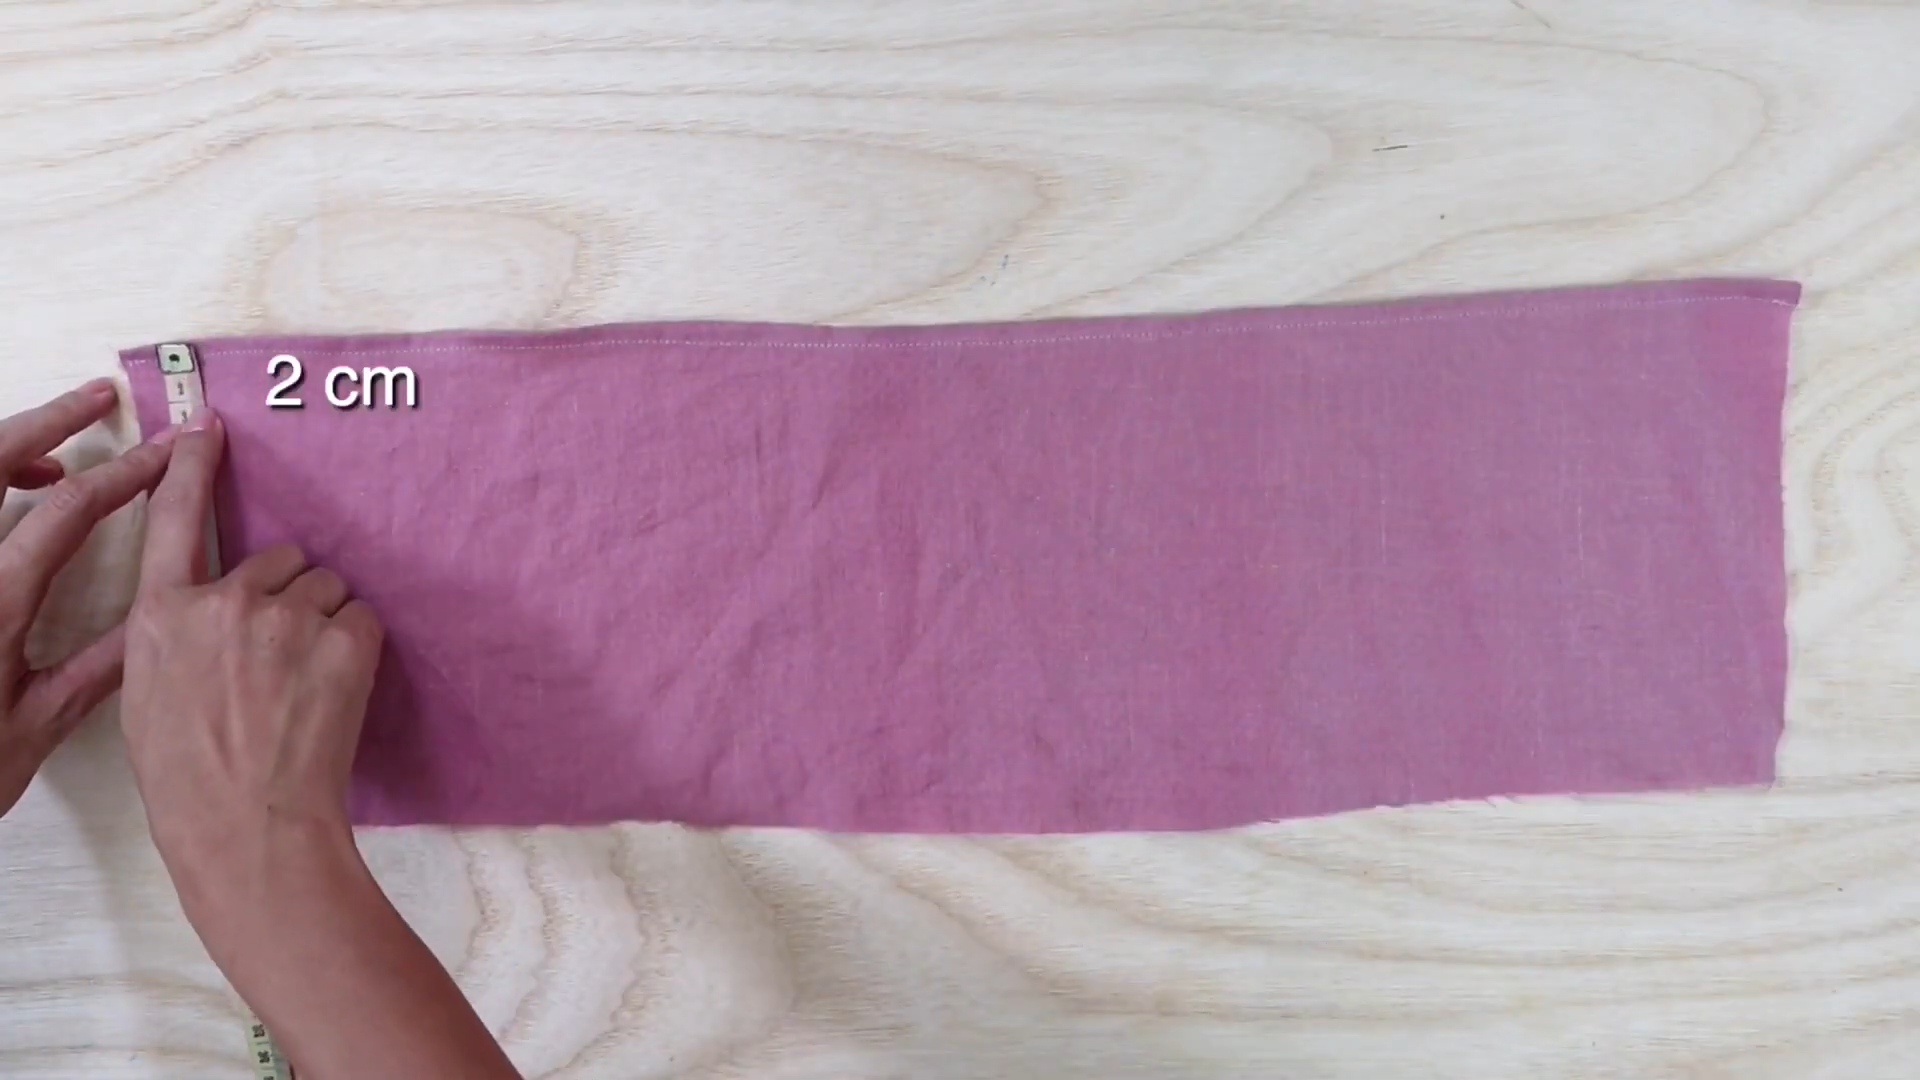
The next step is to draw the line for the shirring. From the top, go down 2 cm for the first shirring.
The next shirring will be 1 cm apart from each other.
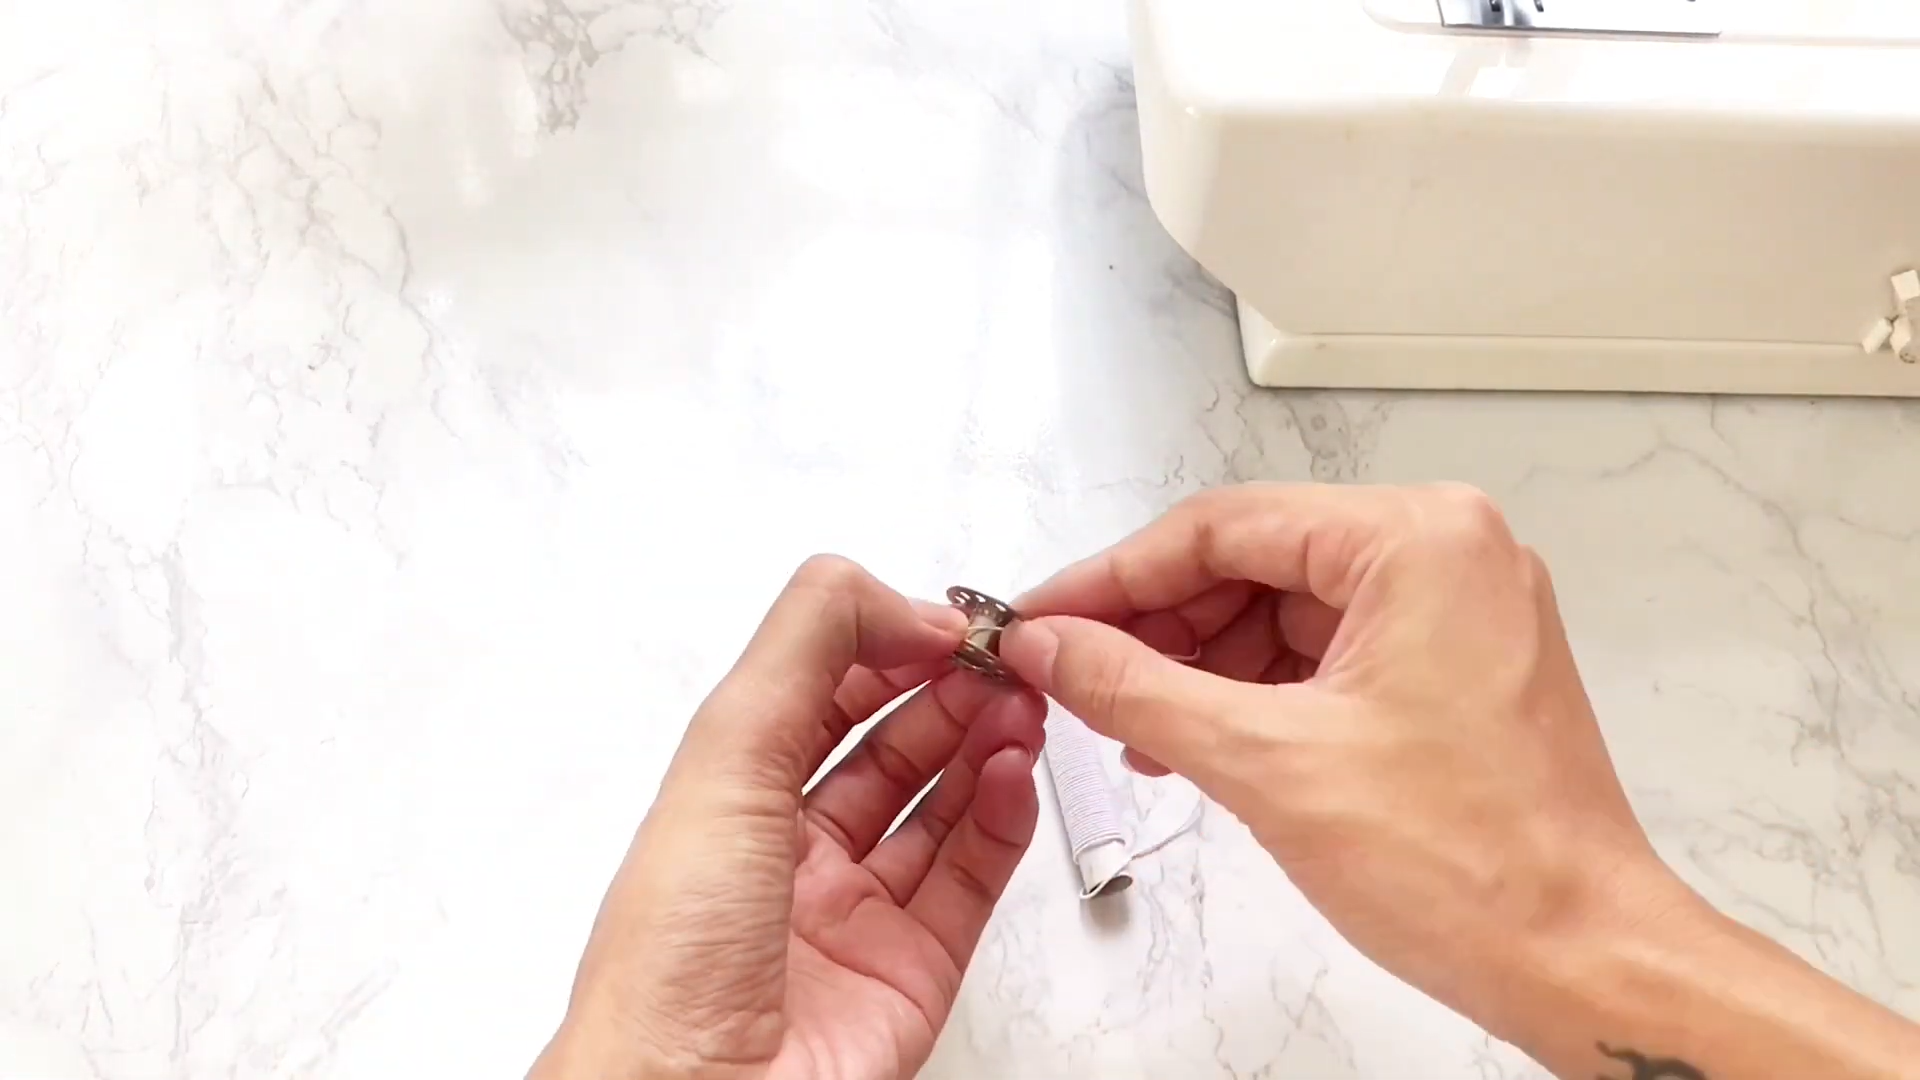
To make the shirring, use a small elastic band for the bottom bobbin. Then, just sew normally. It will auto stitch.

And here are two parts of the shirred top.
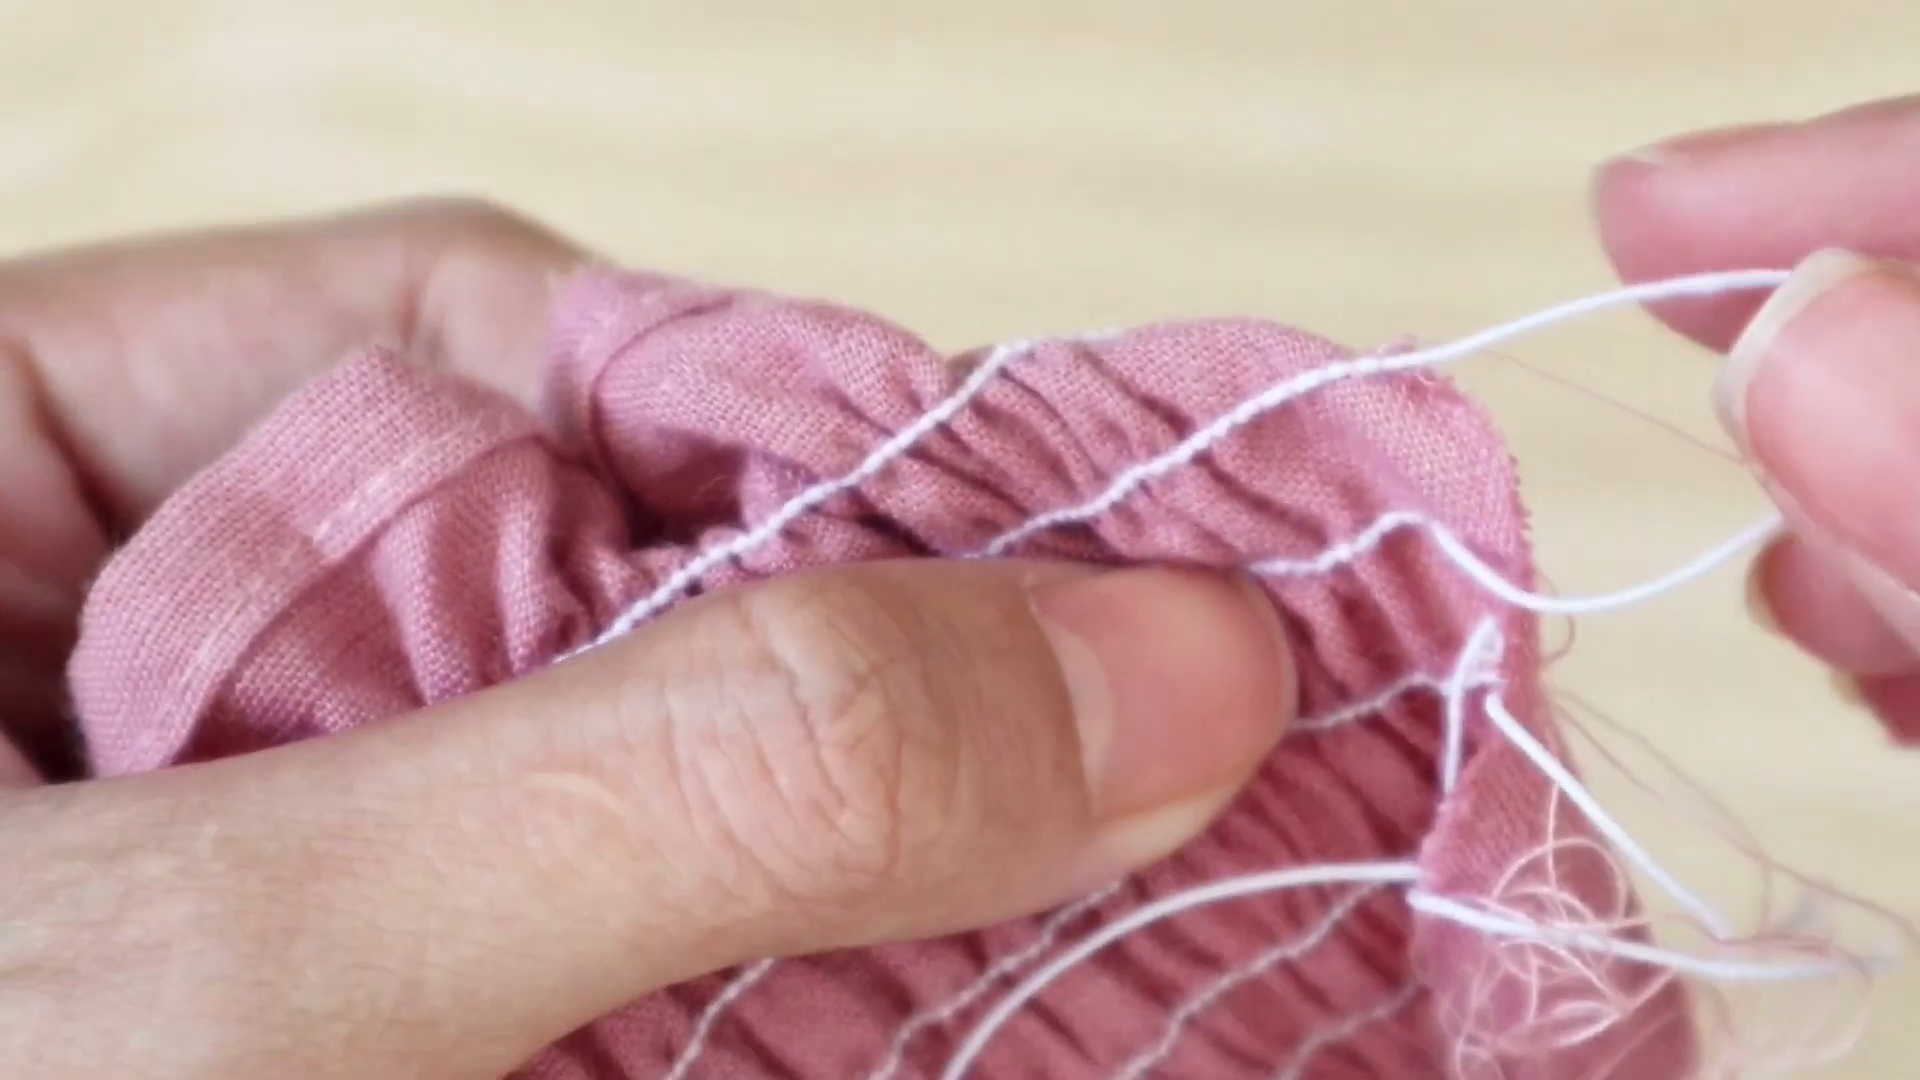
Before fixing them together, close the end of the sewing thread by hand so the end sewing won’t fall down later.
The next step is connecting the shirred top to the pants to have the jumpsuit.

Connect two sides of the top to two sides of the pants first by the pins then sew them together.
THE TIE
The last step is making the tie for the jumpsuit. Use the leftover fabrics when cutting the pants before.
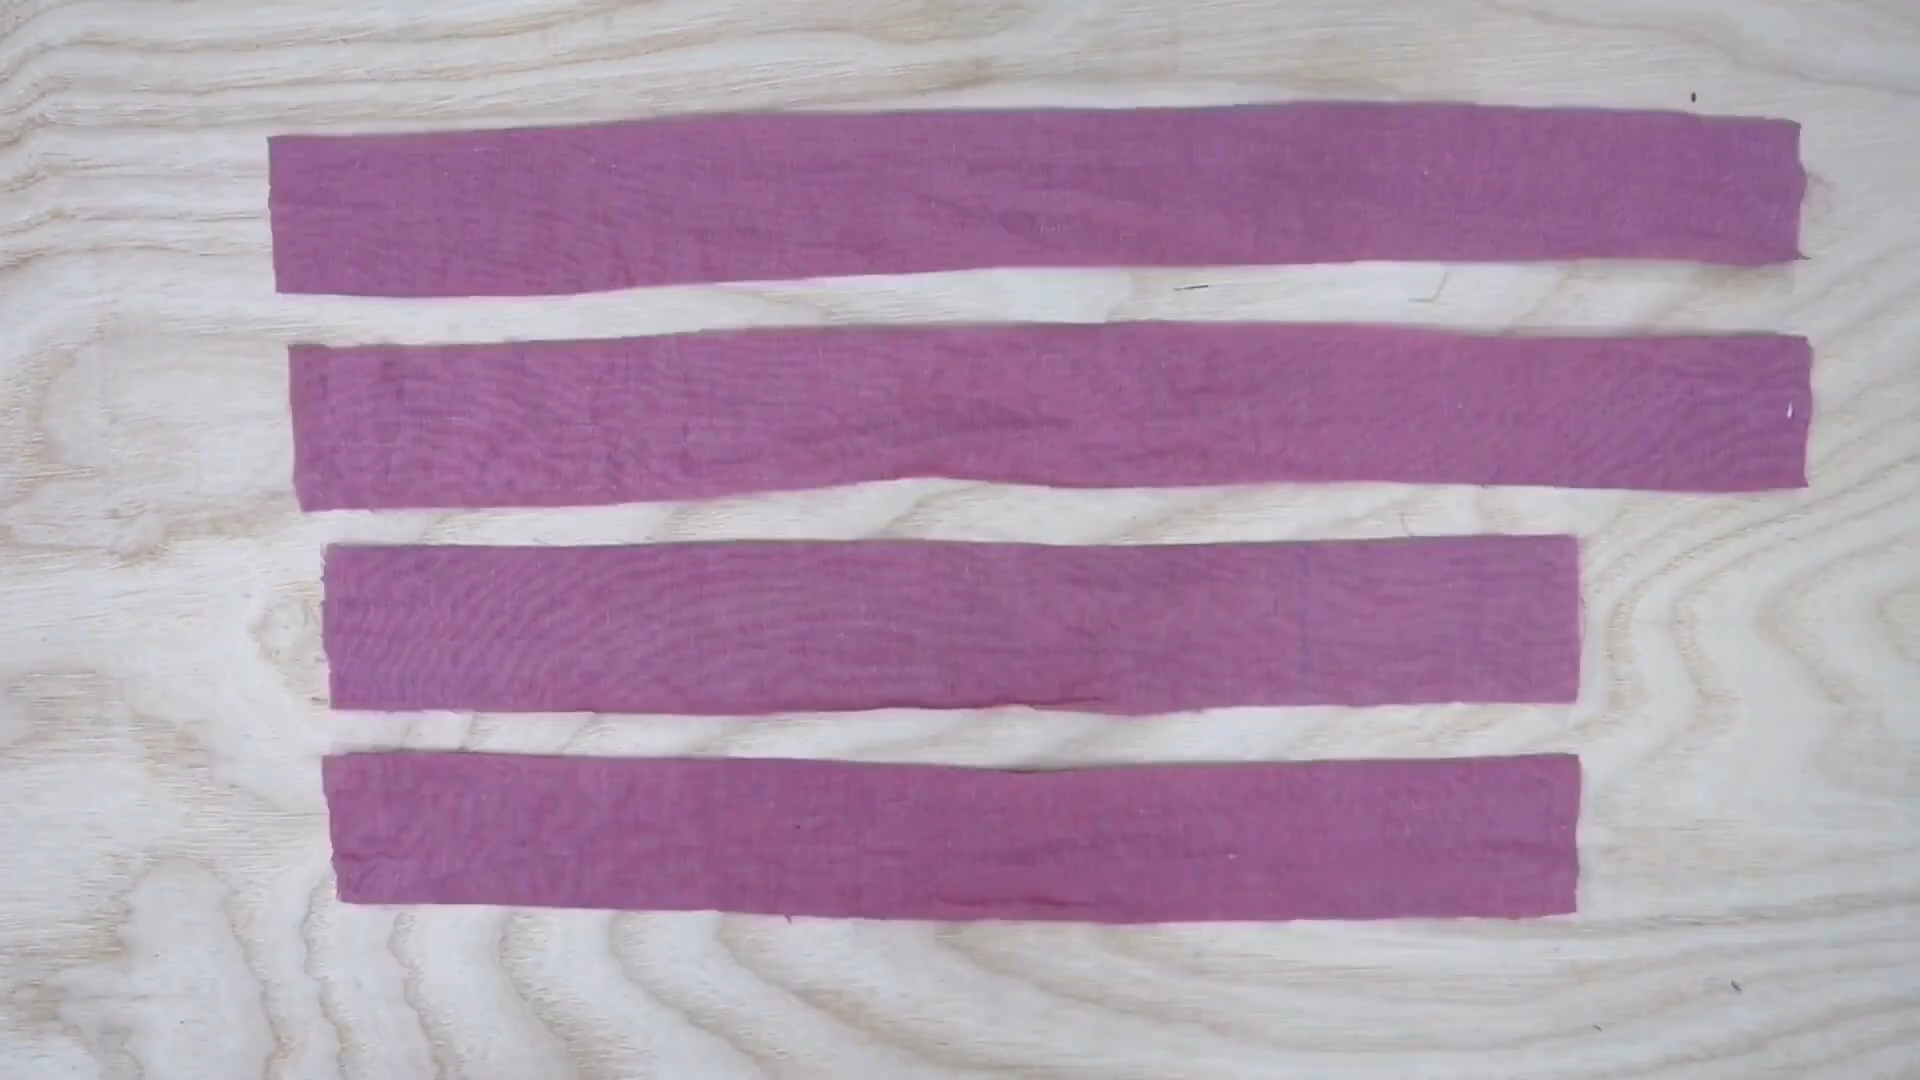
Four pieces of fabric will be needed with 5 cm height and 45 cm wide or longer if you like.
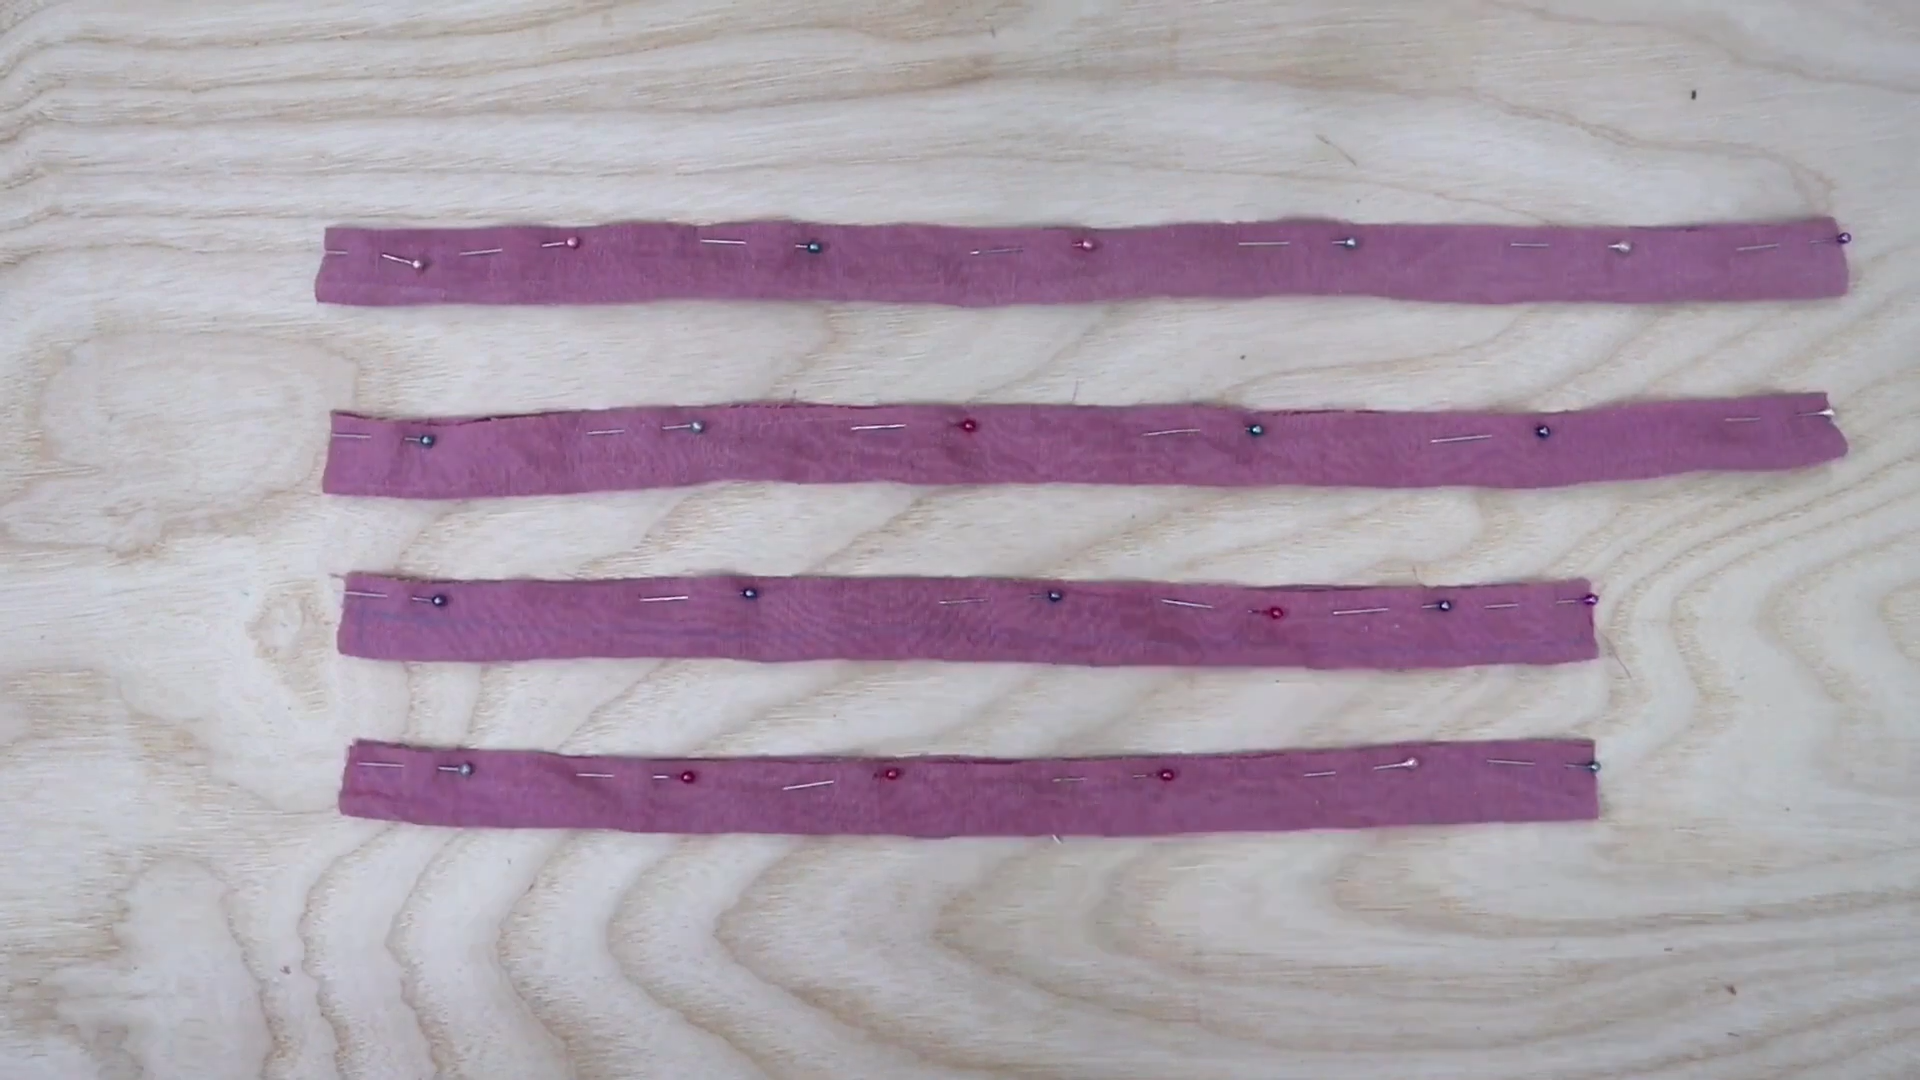
Fold them by the pins then sew. Remember to sew one end of the tie only.
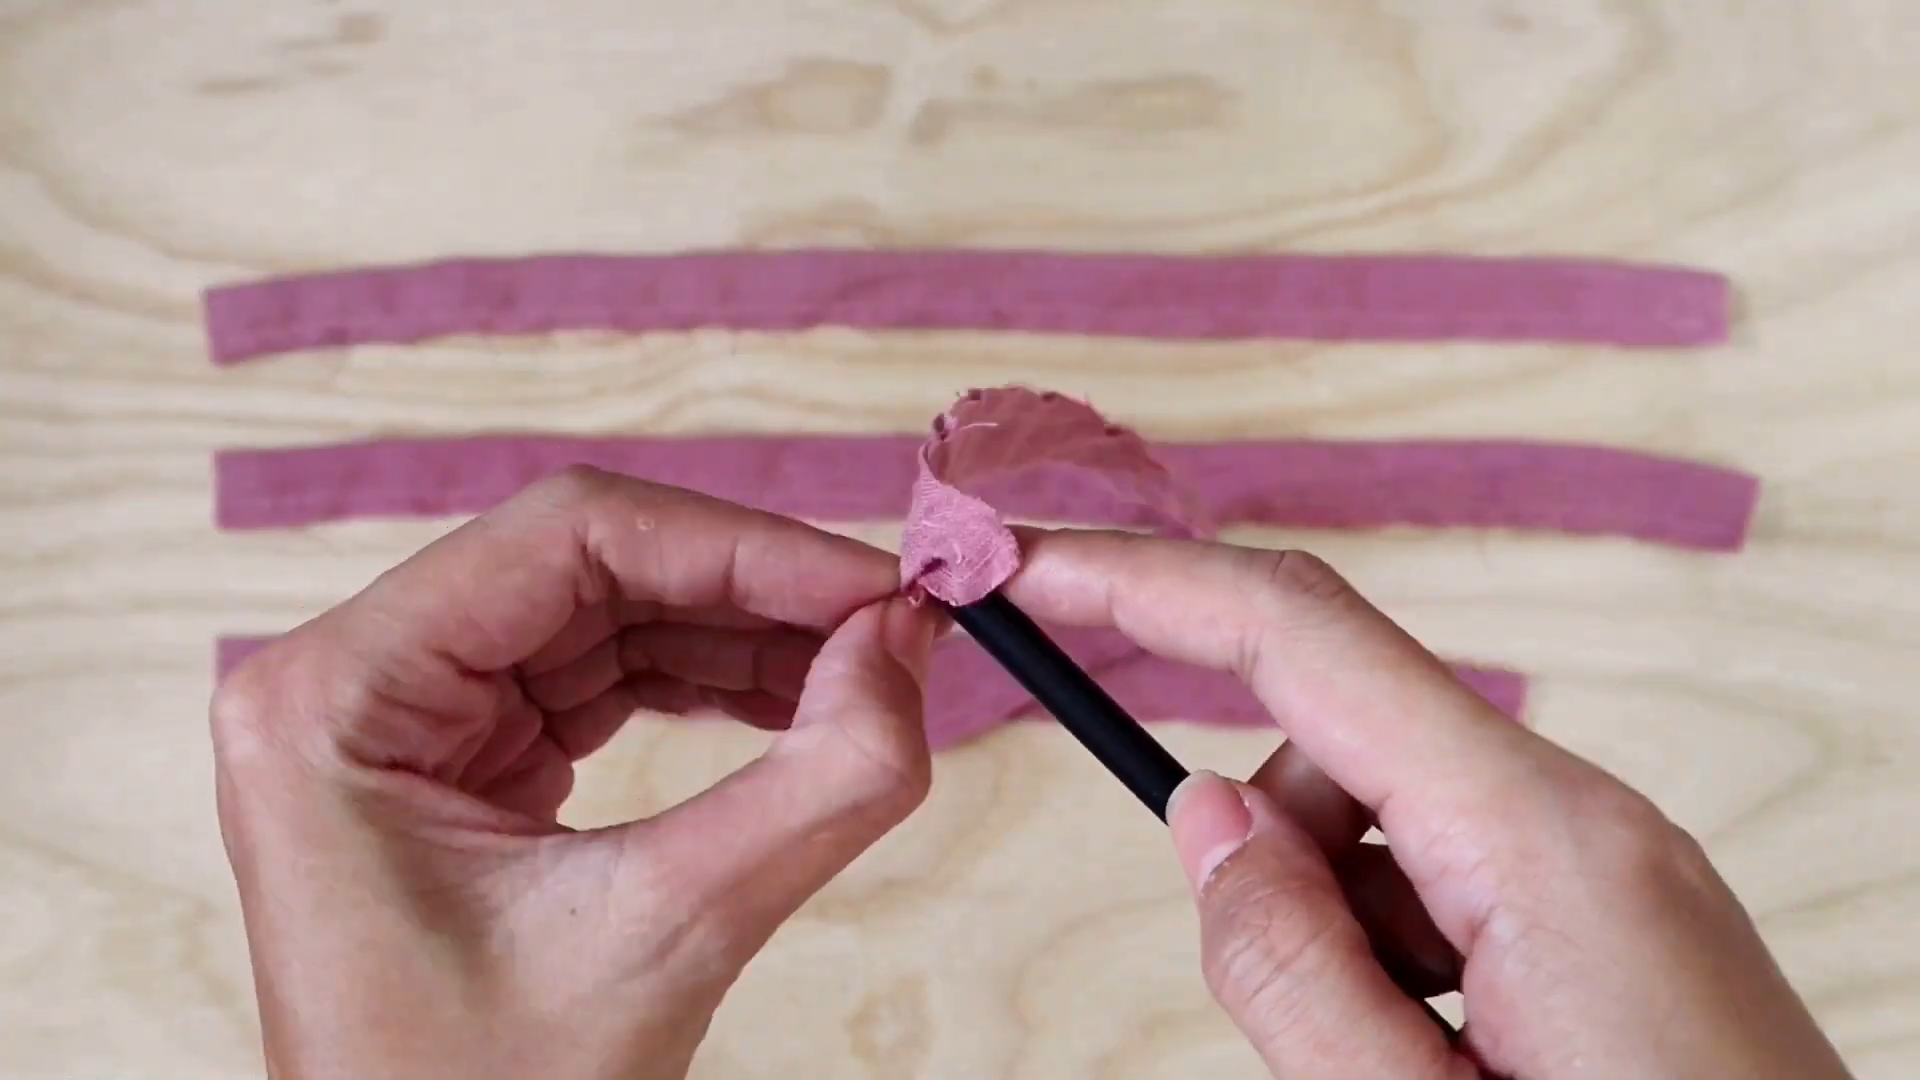
A pencil or other stick can be used to turn the tie right side out.
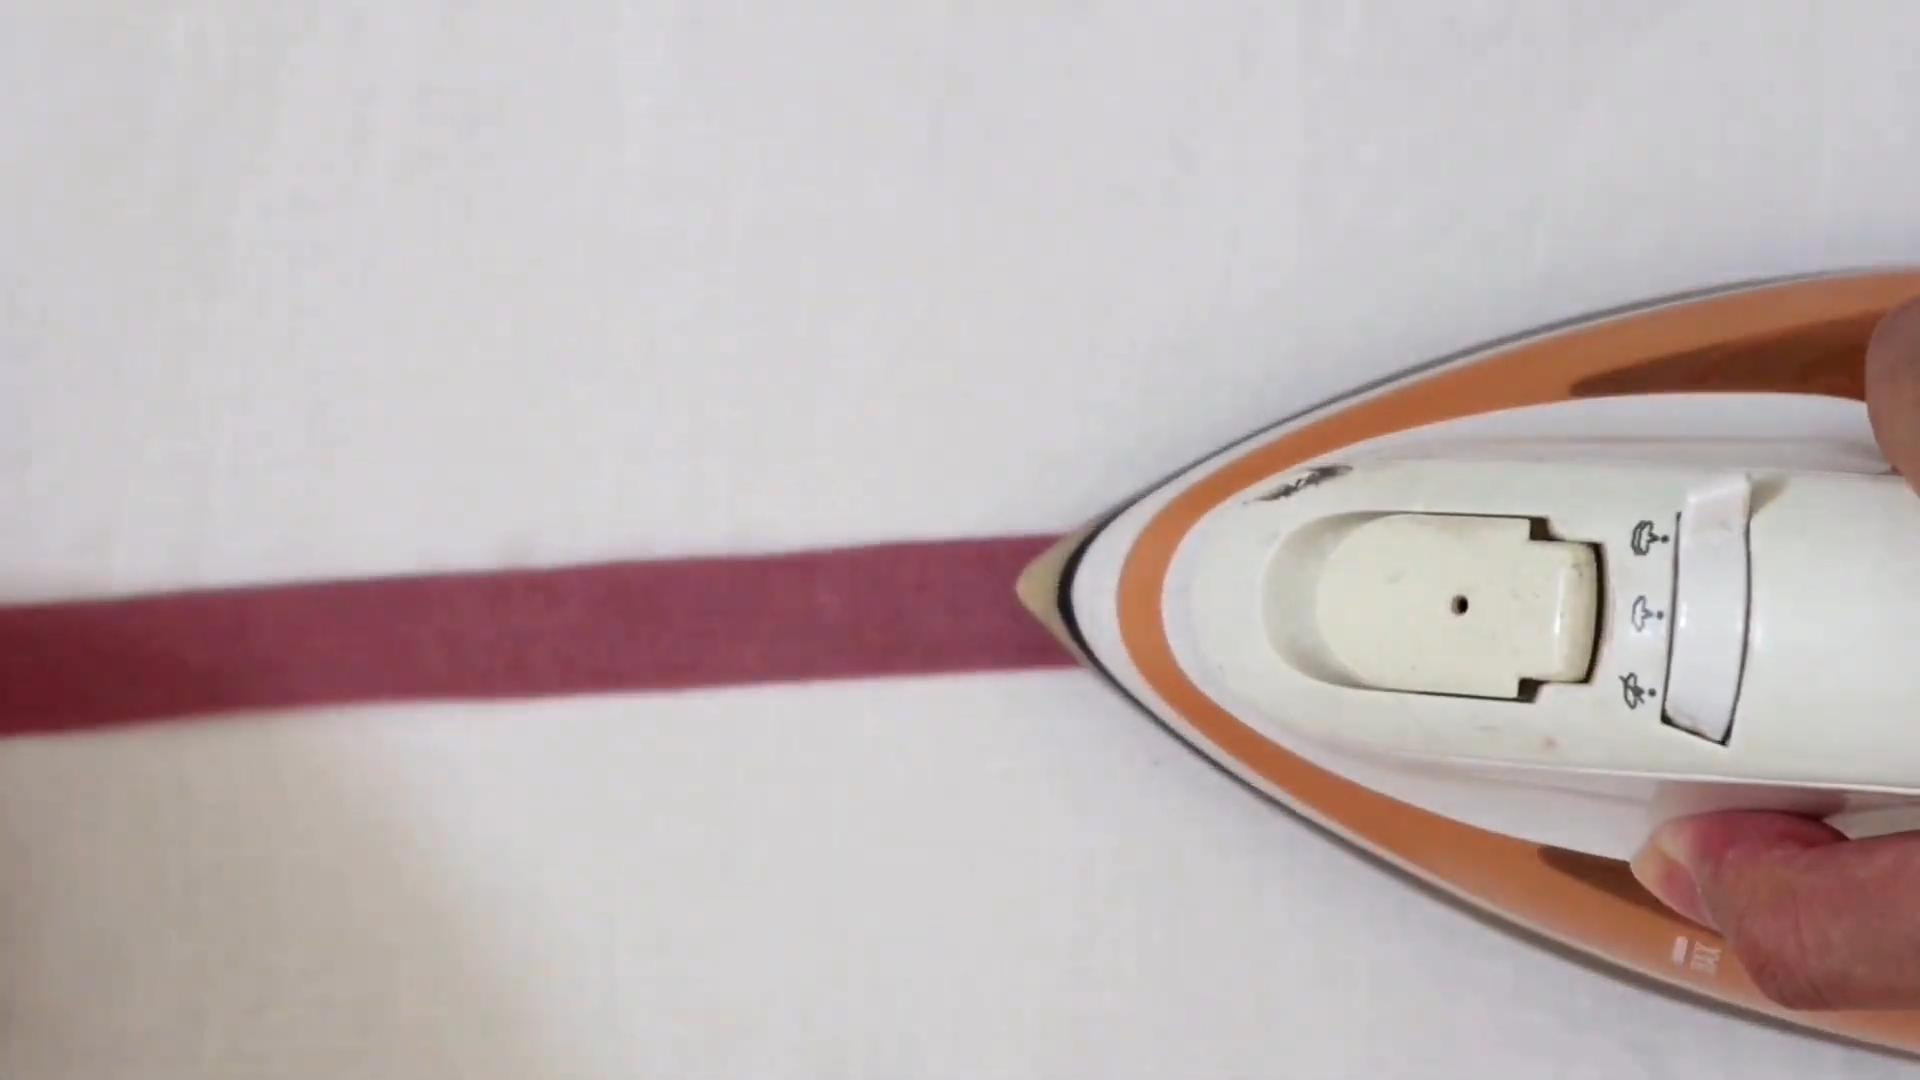
Then, use an iron to make them straight.
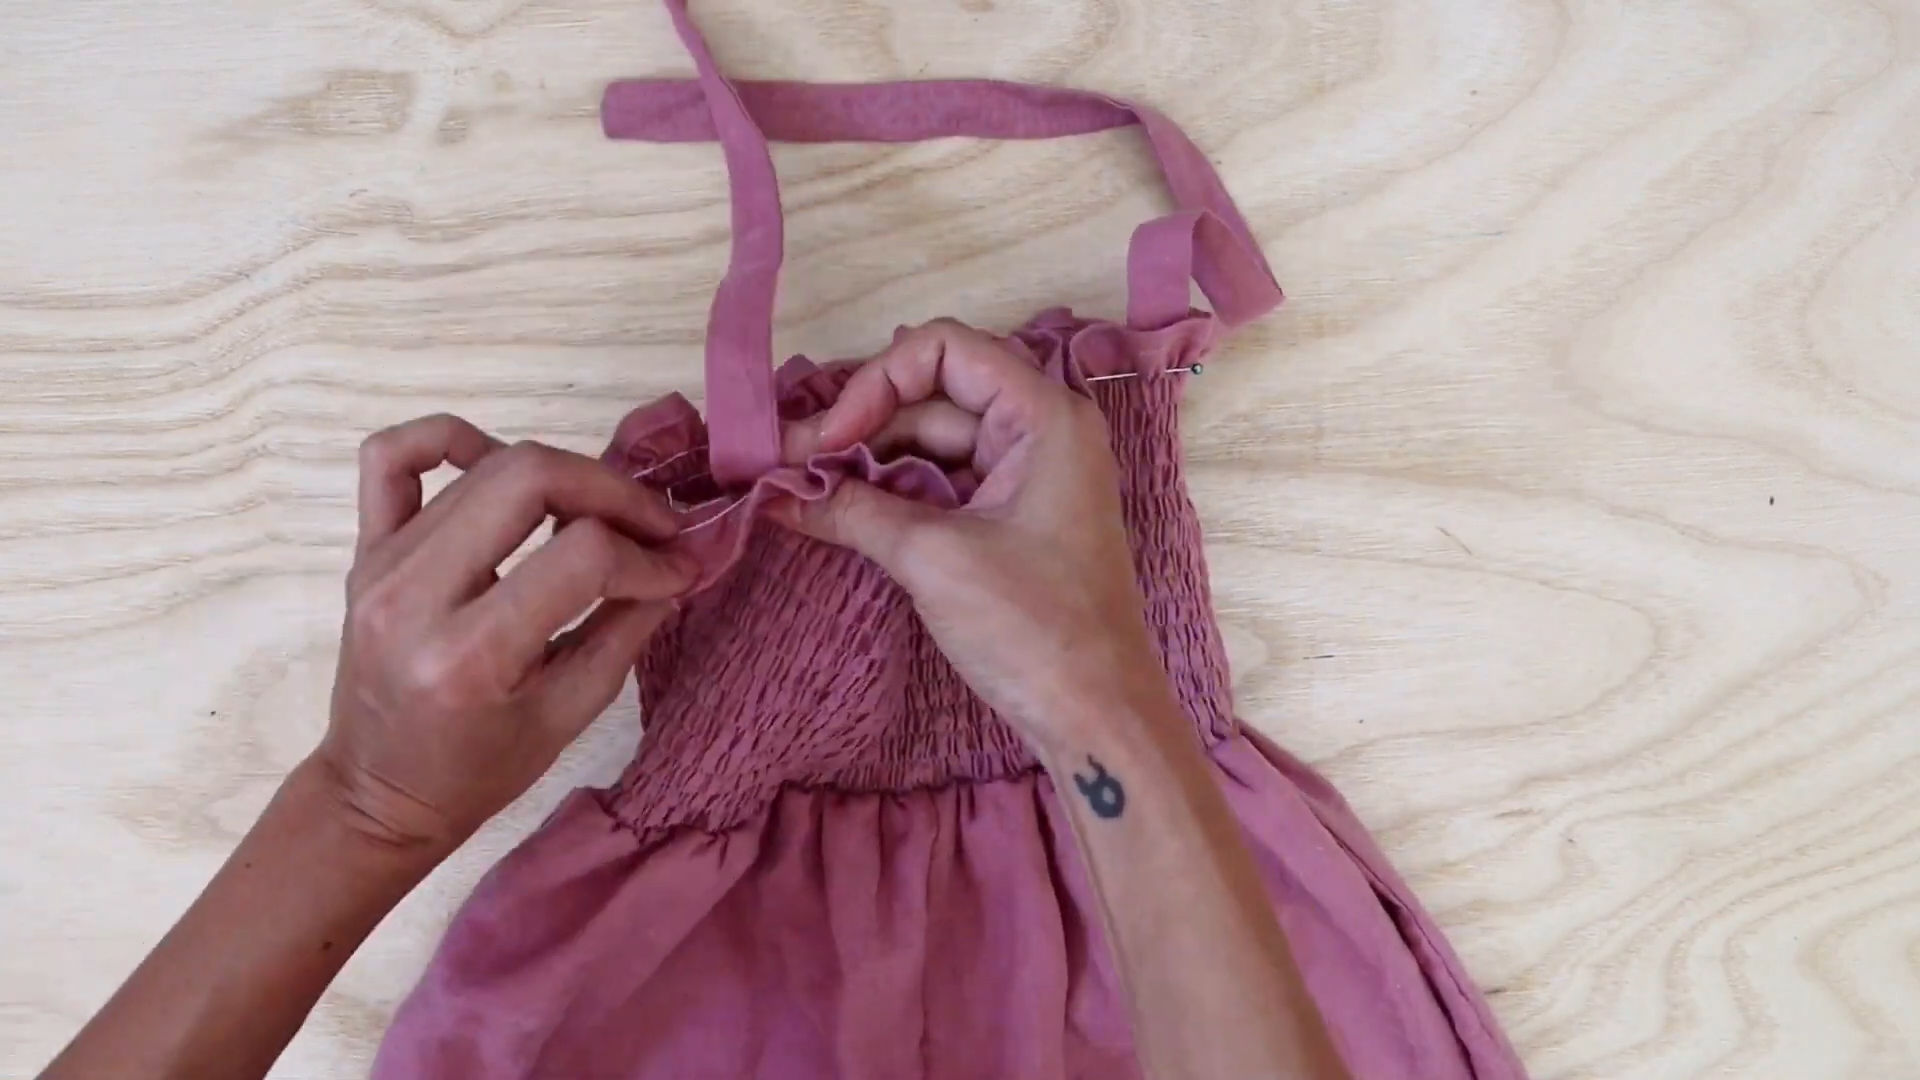
Now, fix the tie to the top of the jumpsuit and hold them together by the pins before sewing.
DIY Smock Jumpsuit - Refashion old dress into smock jumpsuit
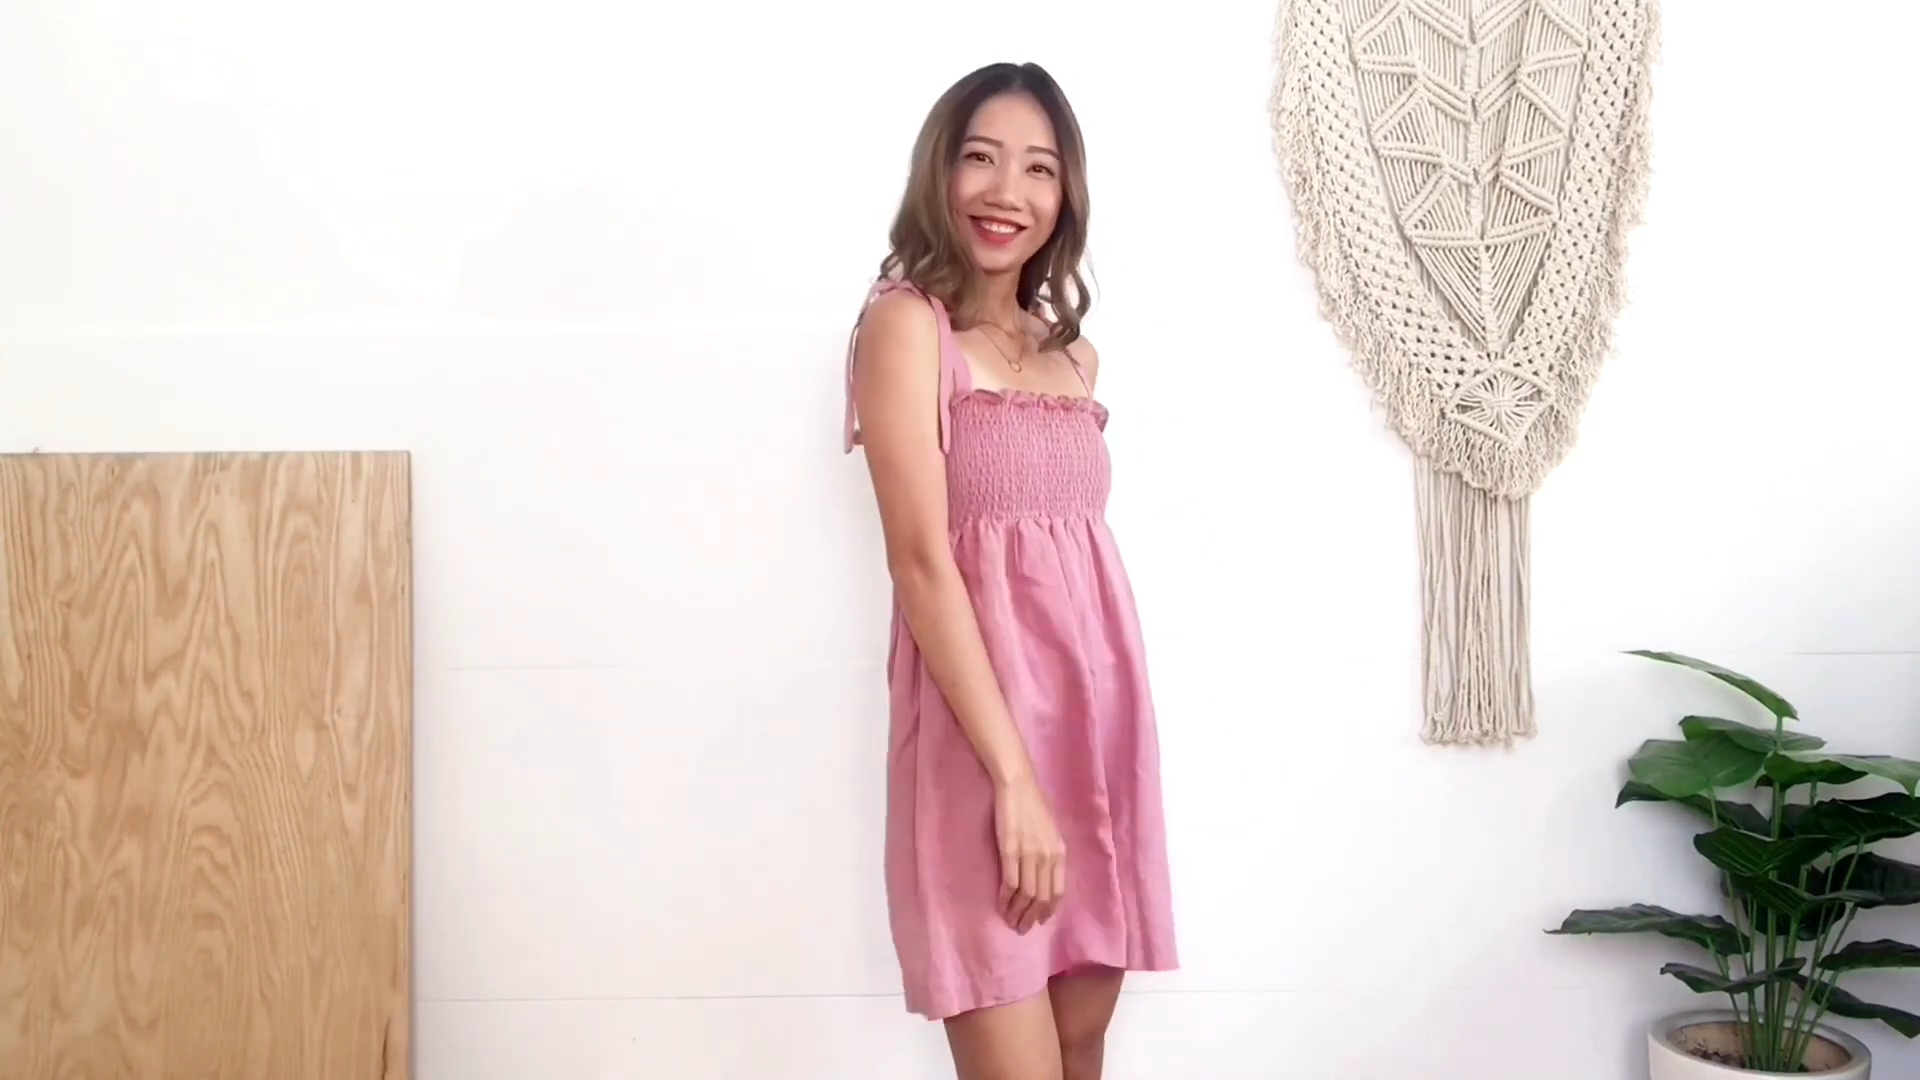
And I've finished this DIY. Here's my final transformation!
I’m really love this jumpsuit. Not only is so cute but also is so comfortable to wear.

And it won't be too difficult to make. So I hope you will give it a try.
If you liked this project, please share it and subscribe to my channel so you won’t miss any of my upcoming DIYs.
Until next week, happy sewing!