DIY MIDI SKIRT without zipper in 2 styles | Tiered skirt & Ruffle hem with leg slit skirt

DIY MIDI SKIRT without zipper in 2 styles | Tiered skirt & Ruffle hem with leg slit skirt
Welcome or welcome back to my sewing blog!
In today's tutorial, we're going to make some Vintage skirts with 2 styles. They're super easy to make and you don't have to worry about installing the zipper. Because we will just need to cut some basic rectangles and use the elastic band for this DIYs.
So let's get started!
WHAT YOU’LL NEED

2m of soft cotton fabric for each DIY
Sewing machine
Pins
Scissors
Ruler
Long stick
Elastic band
RUFFLE TIERED SKIRT
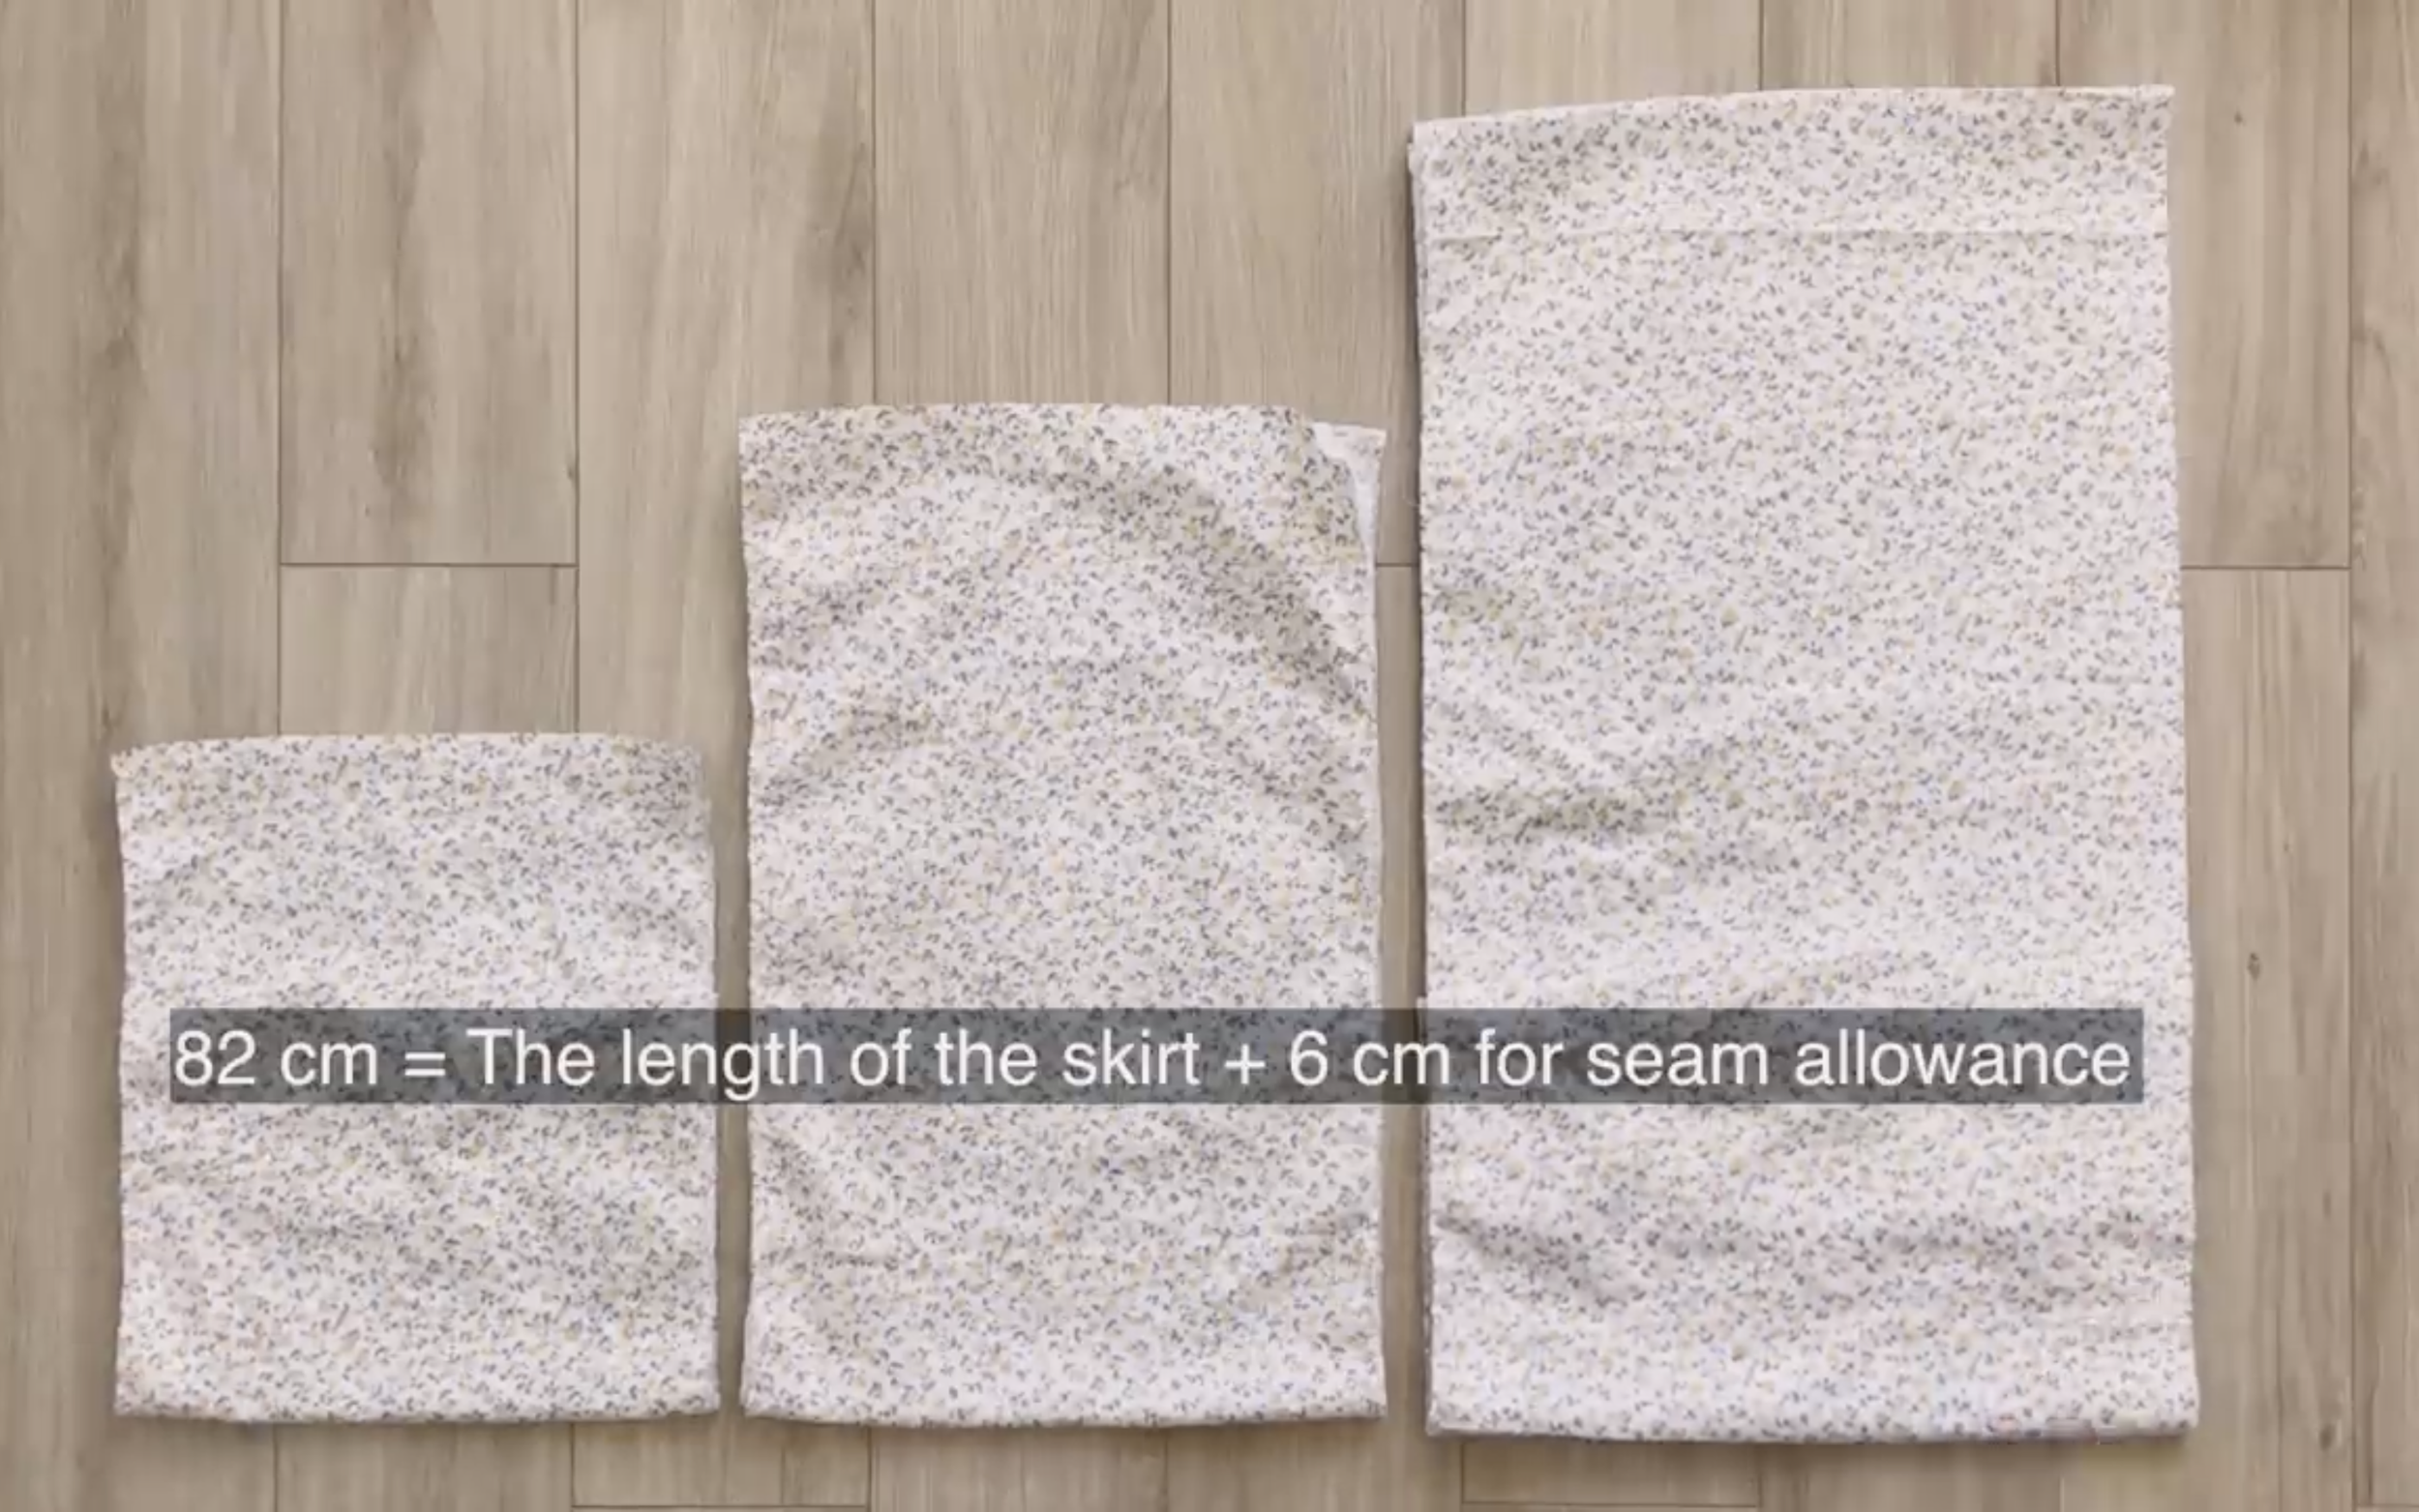
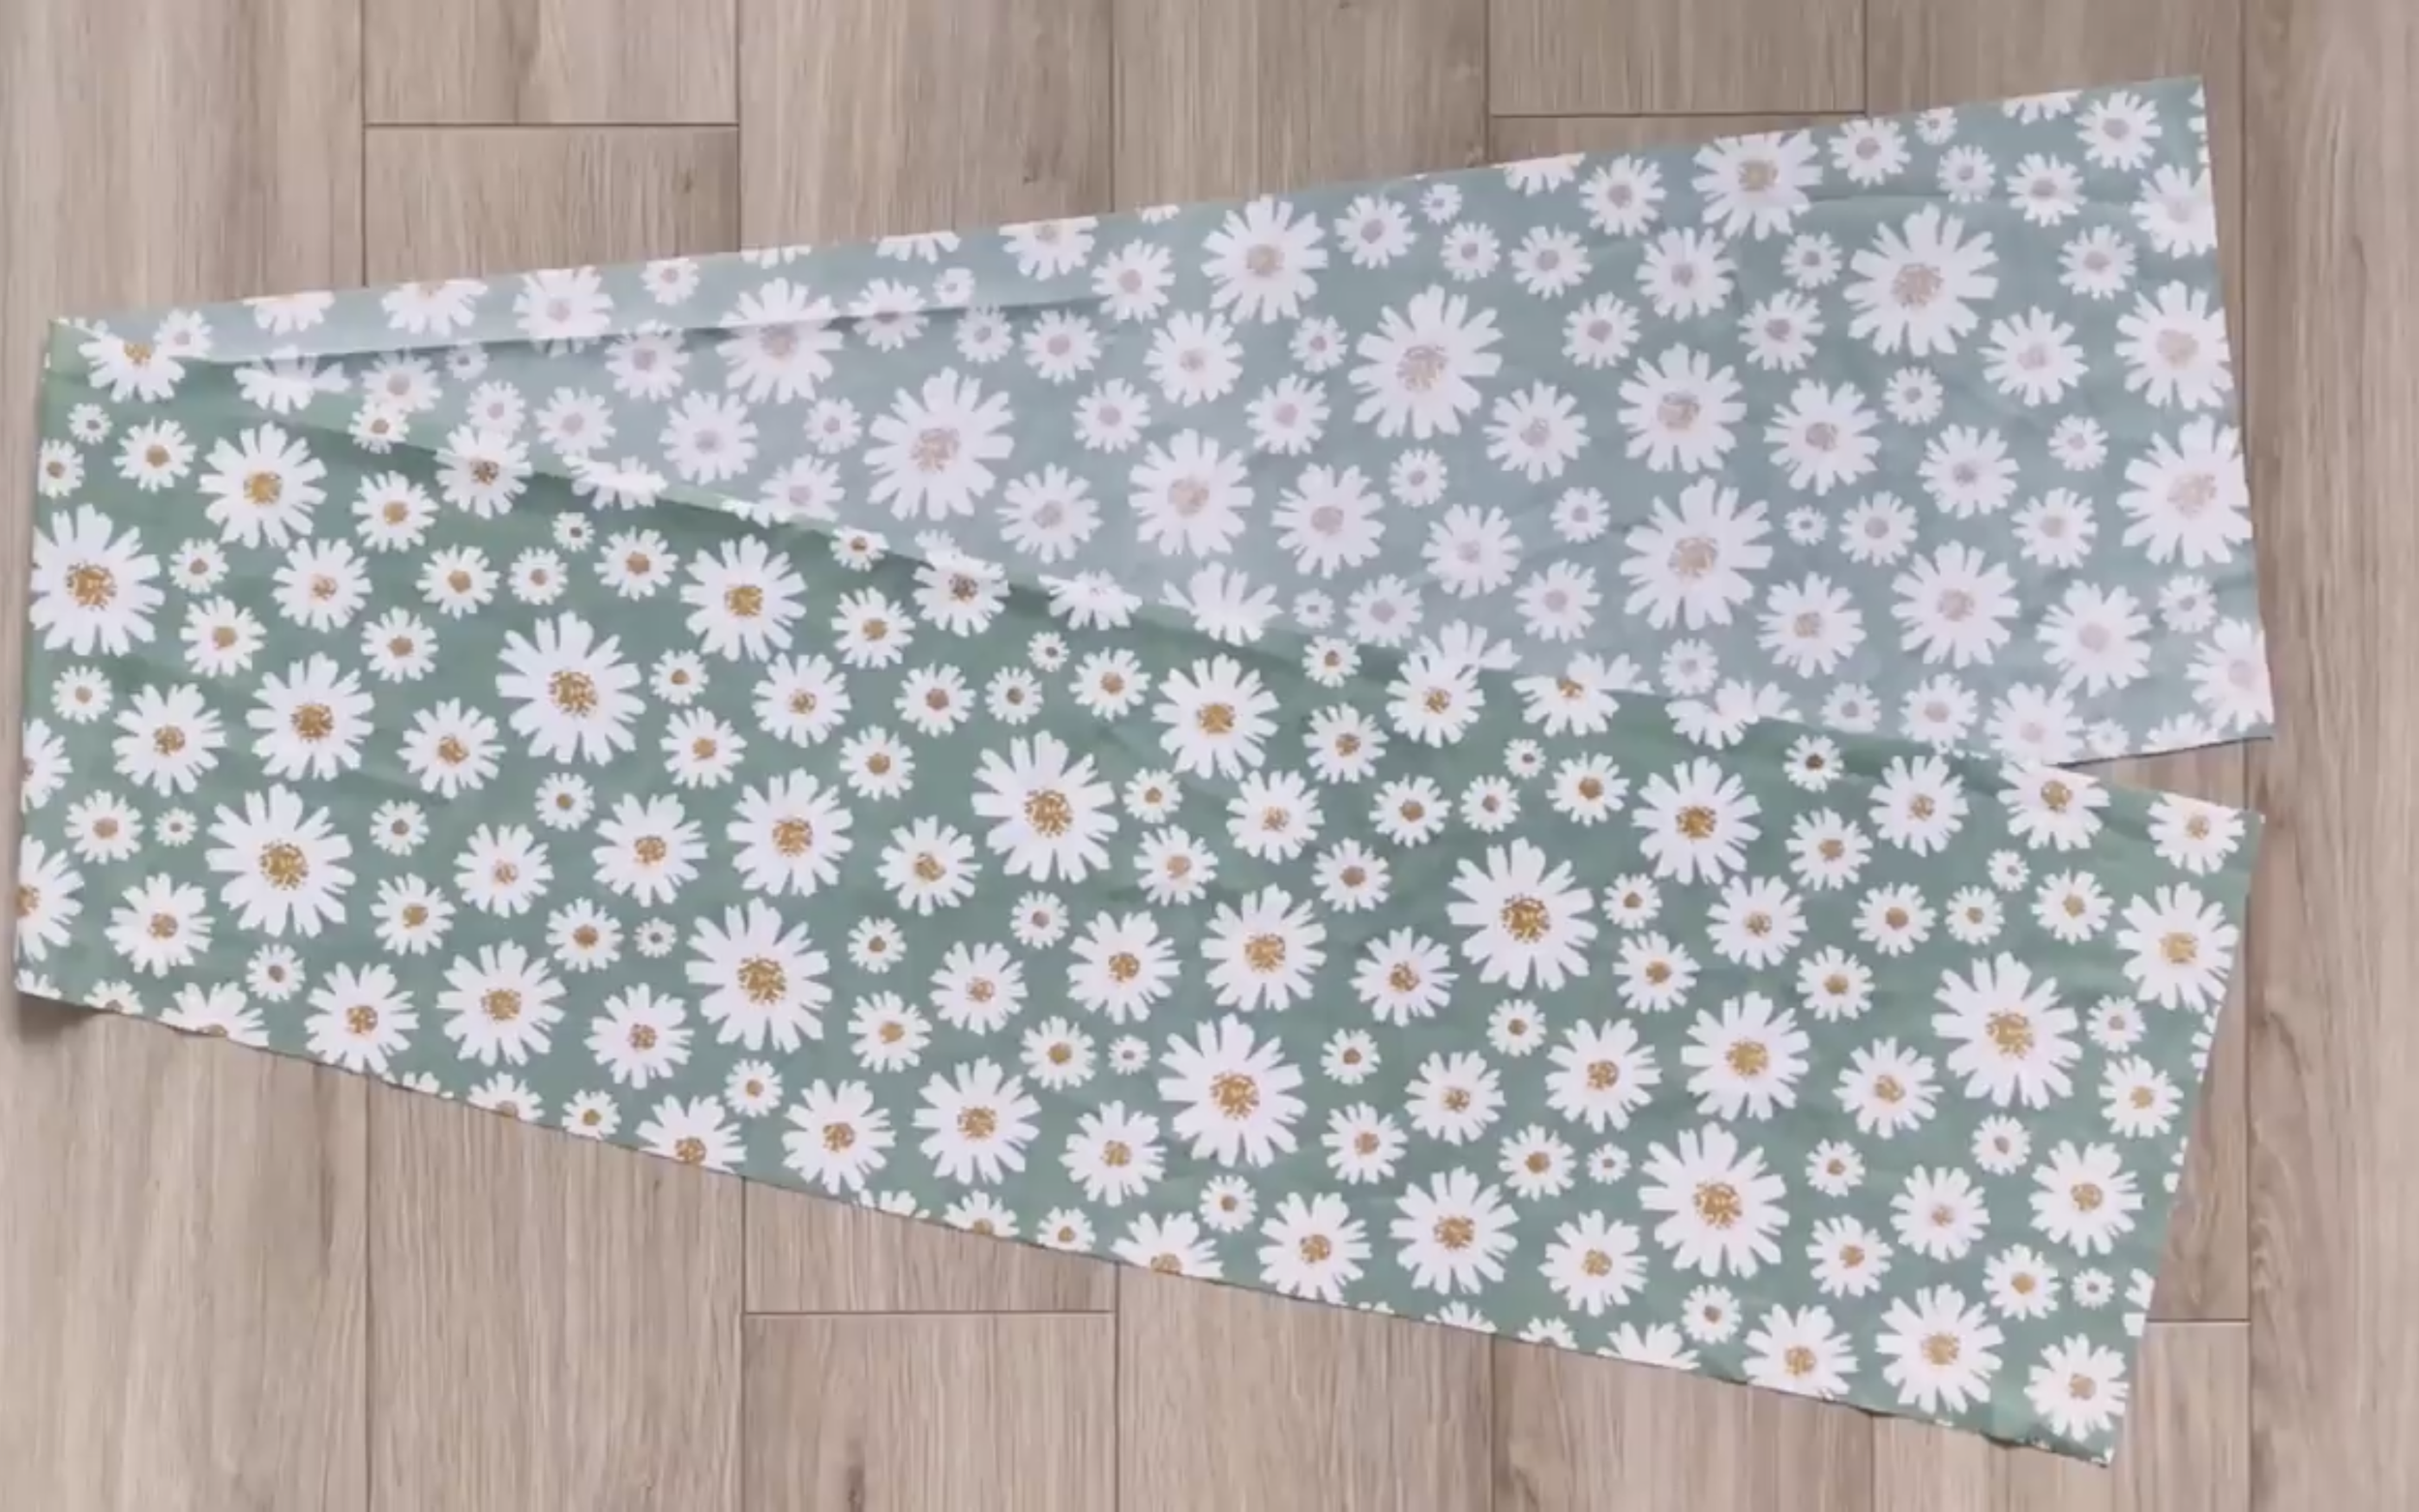
Cut three rectangles to create three tiers for the skirt.
The total length of three tiers will be 82 cm which is the length of the skirt from the belly button to over the knee plus 6 cm for seam allowance.
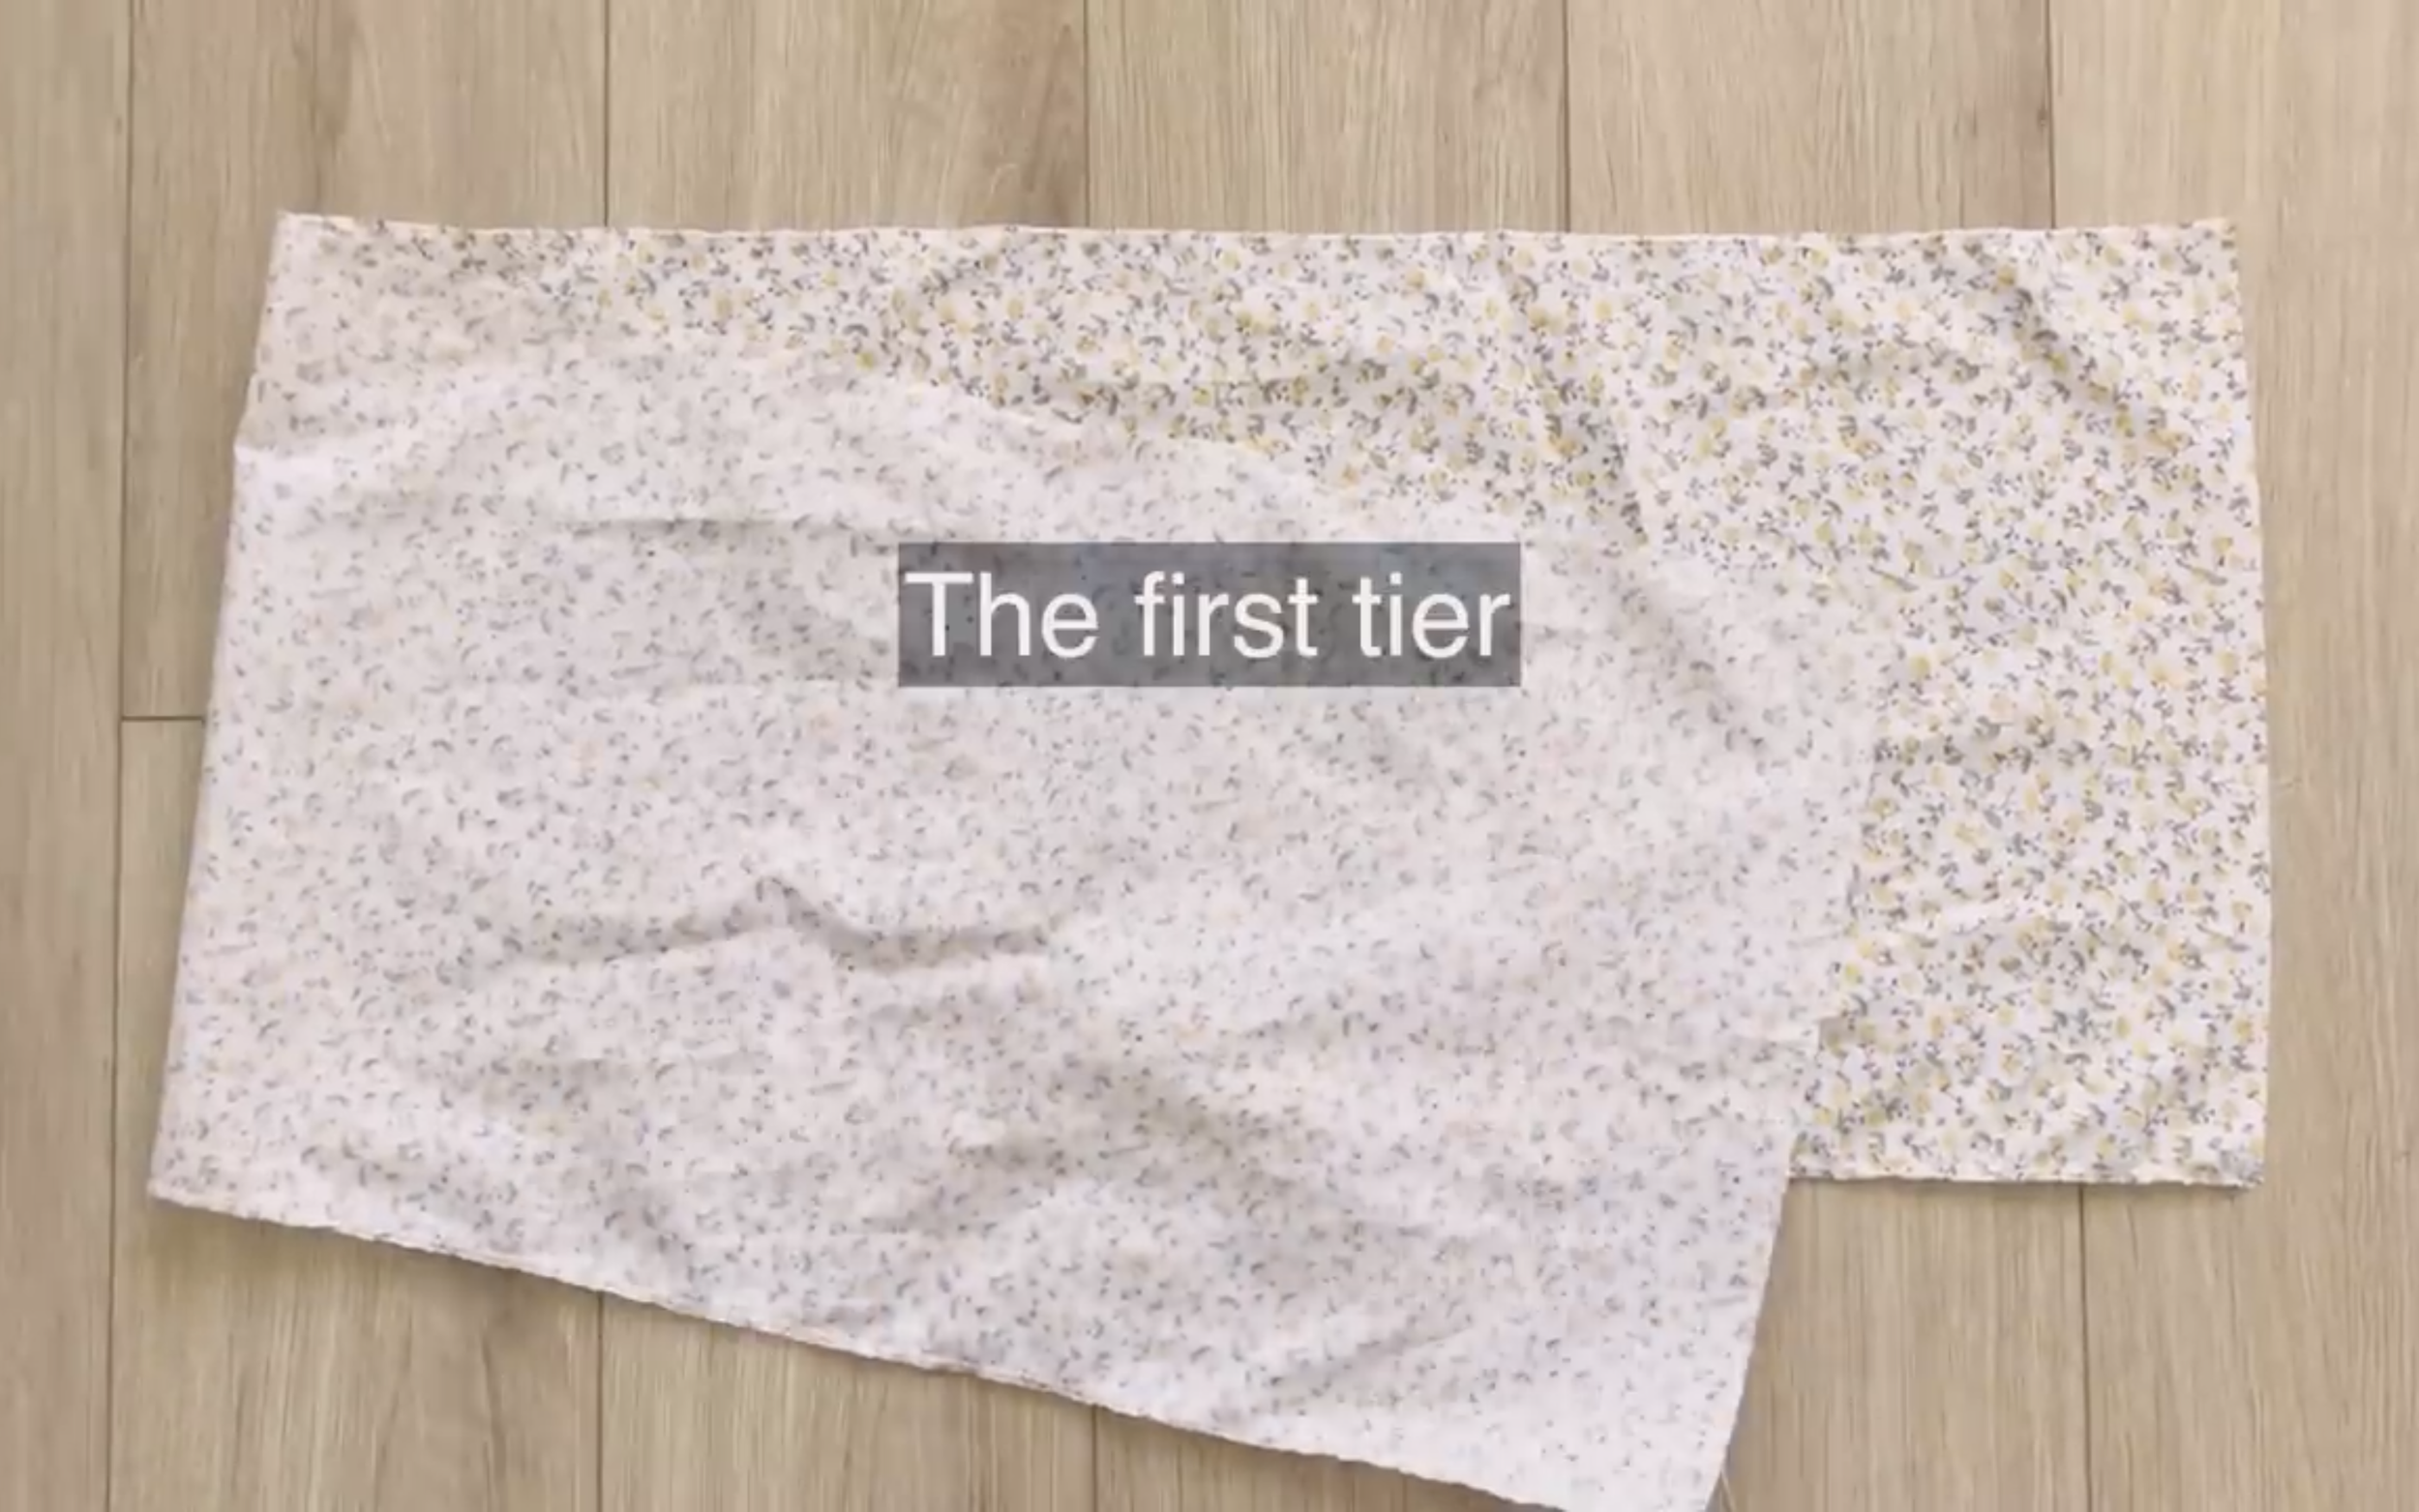
The first tier is 24 cm length and 100 cm width which is the hip size plus 8 cm.
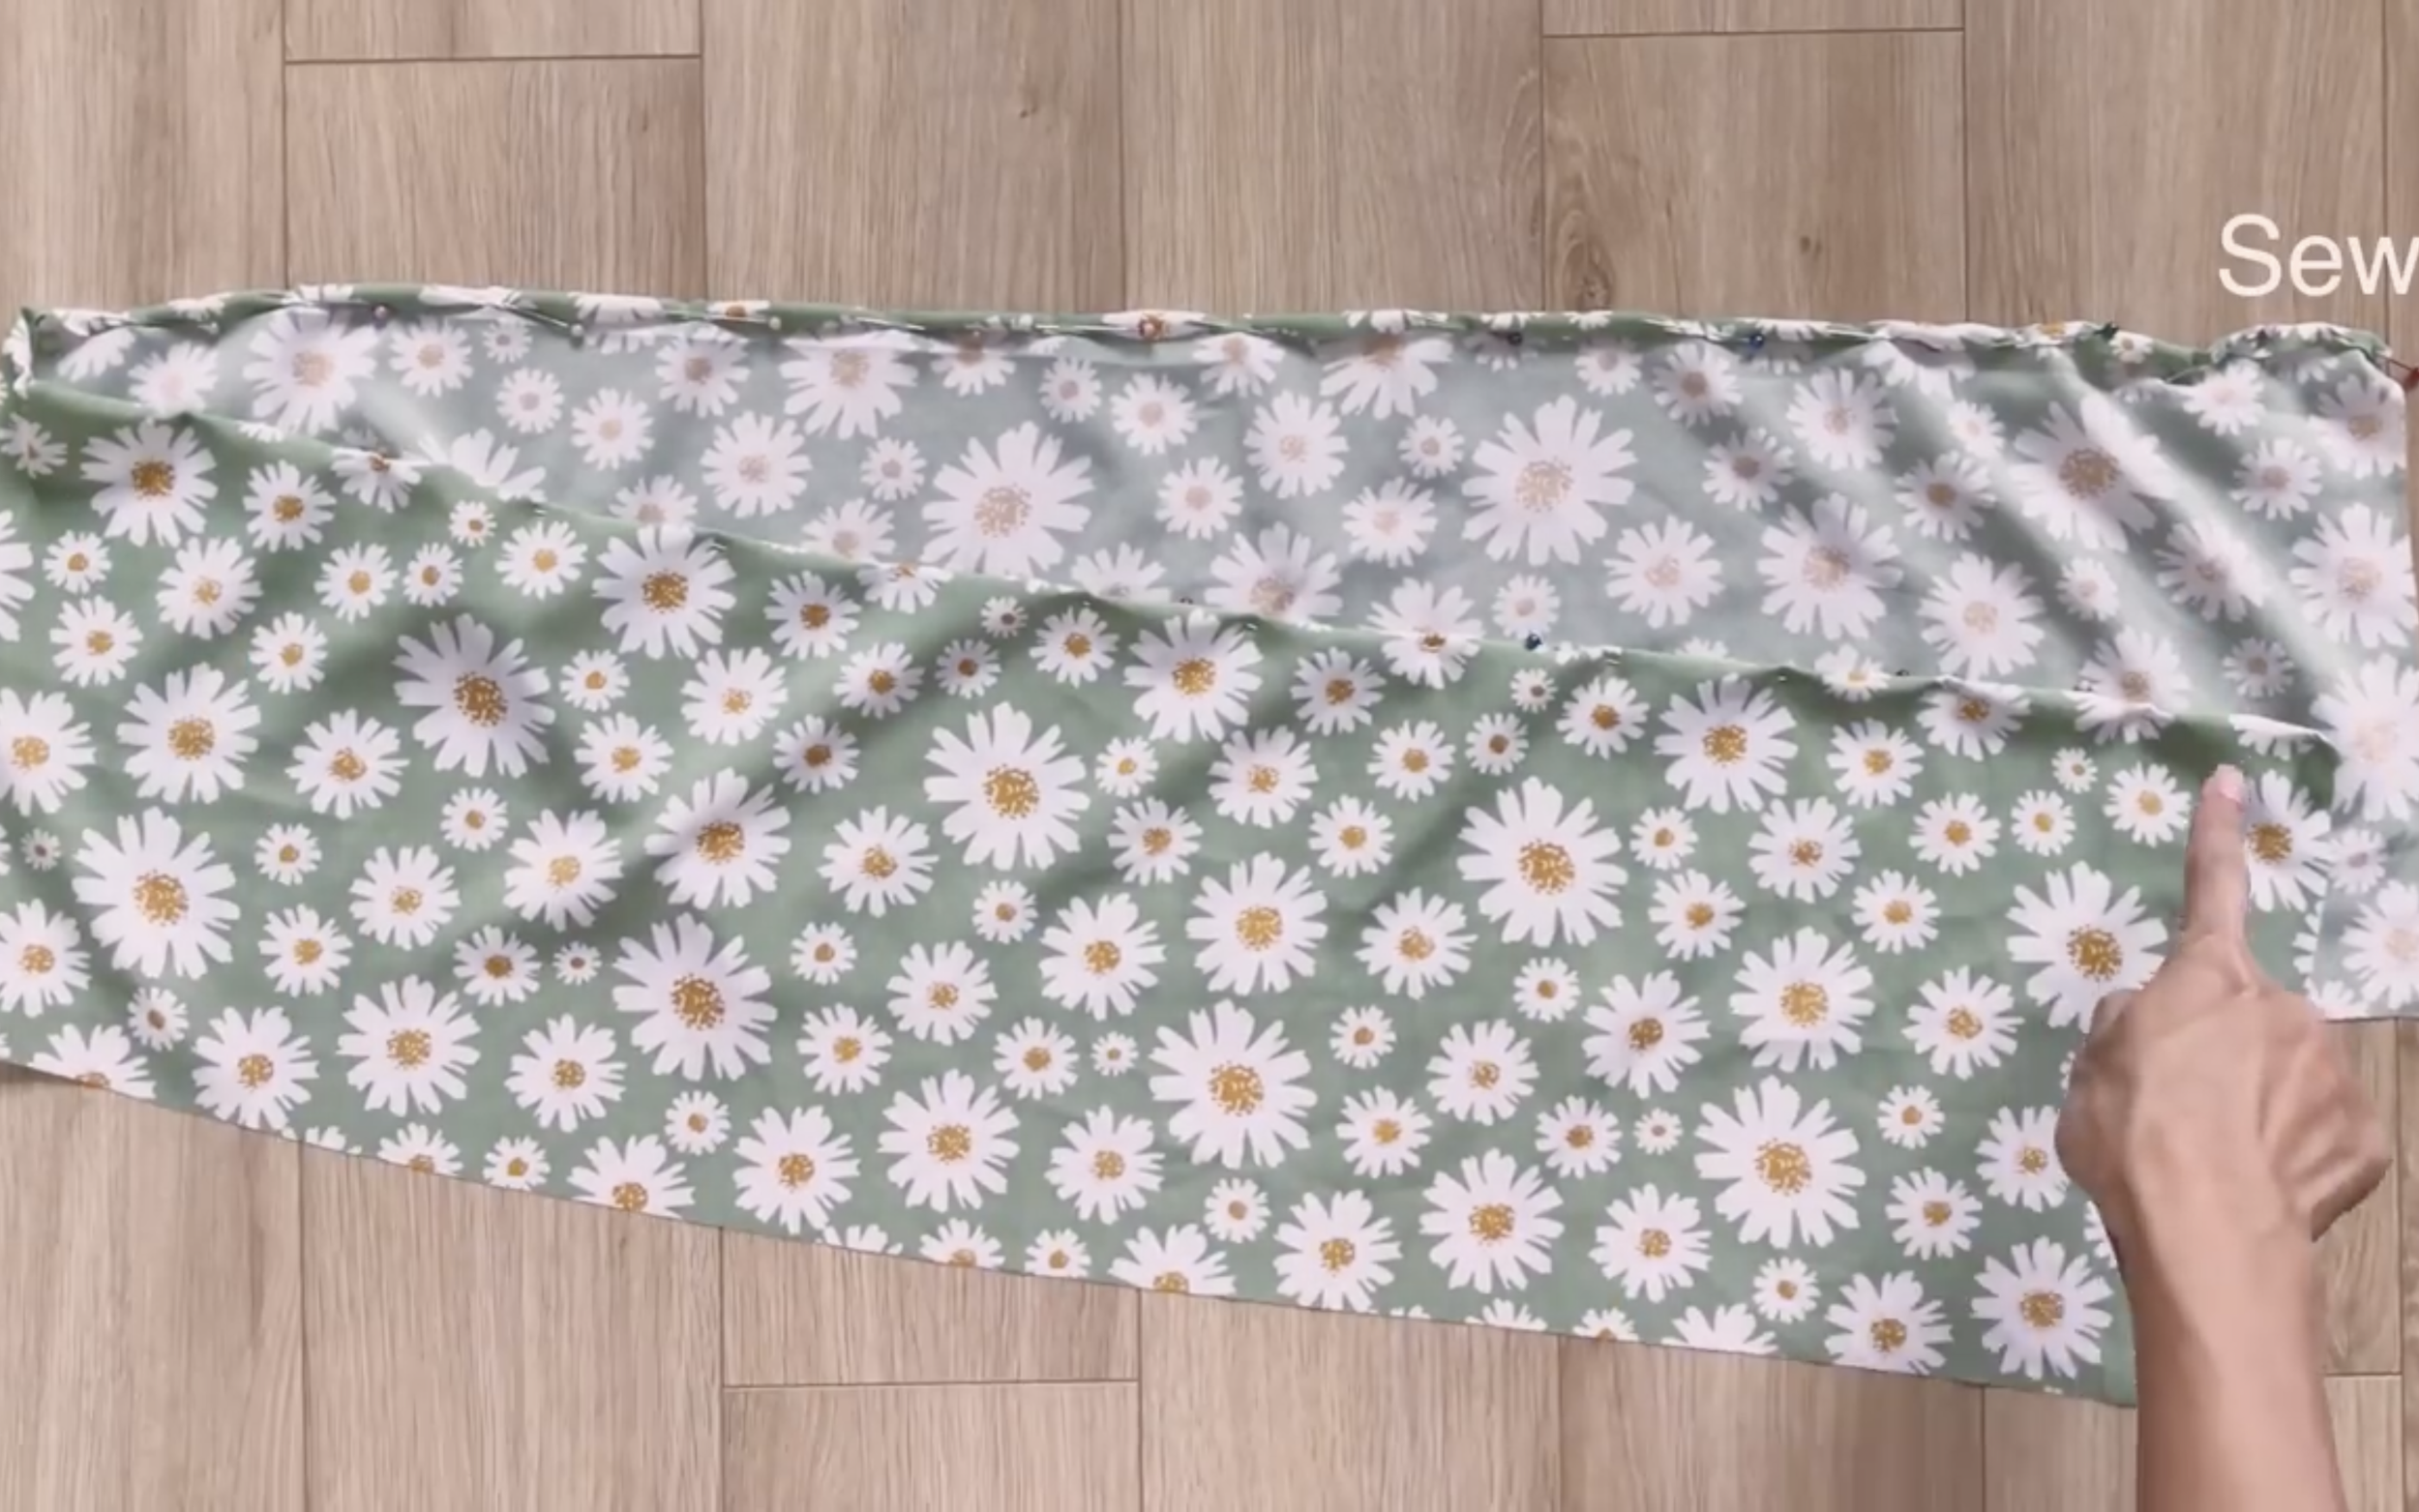
Connect two length lines together to create a circle fabric first.
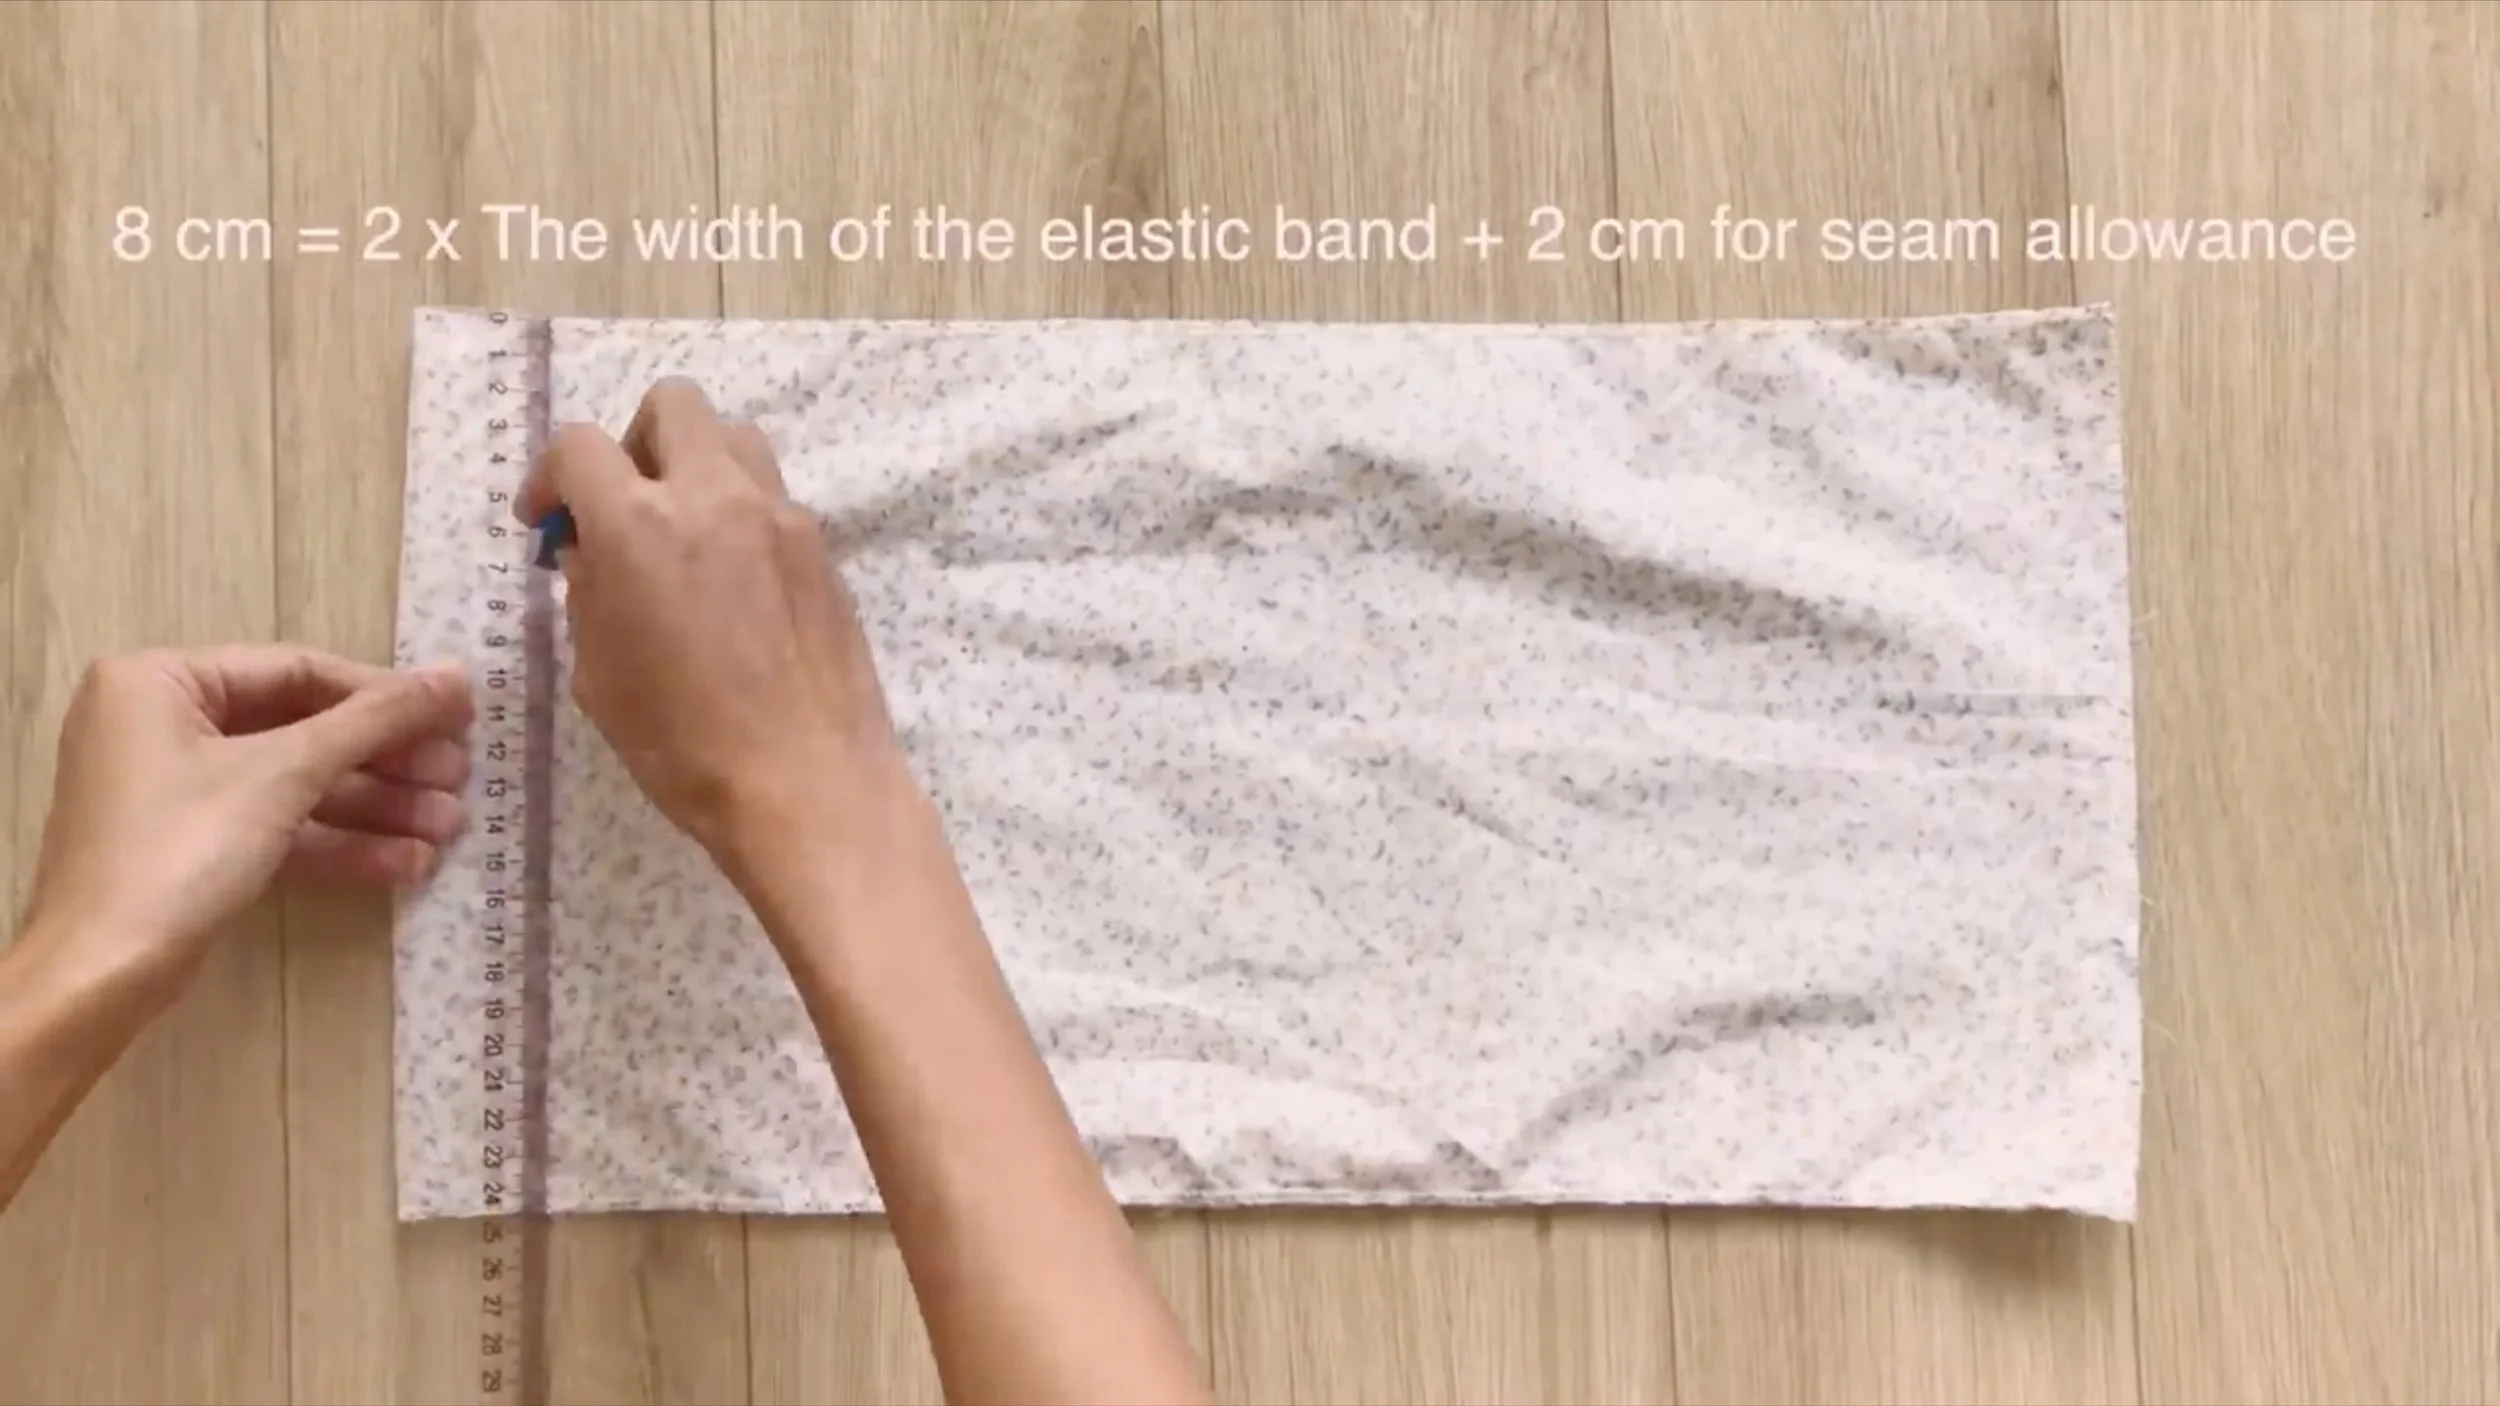
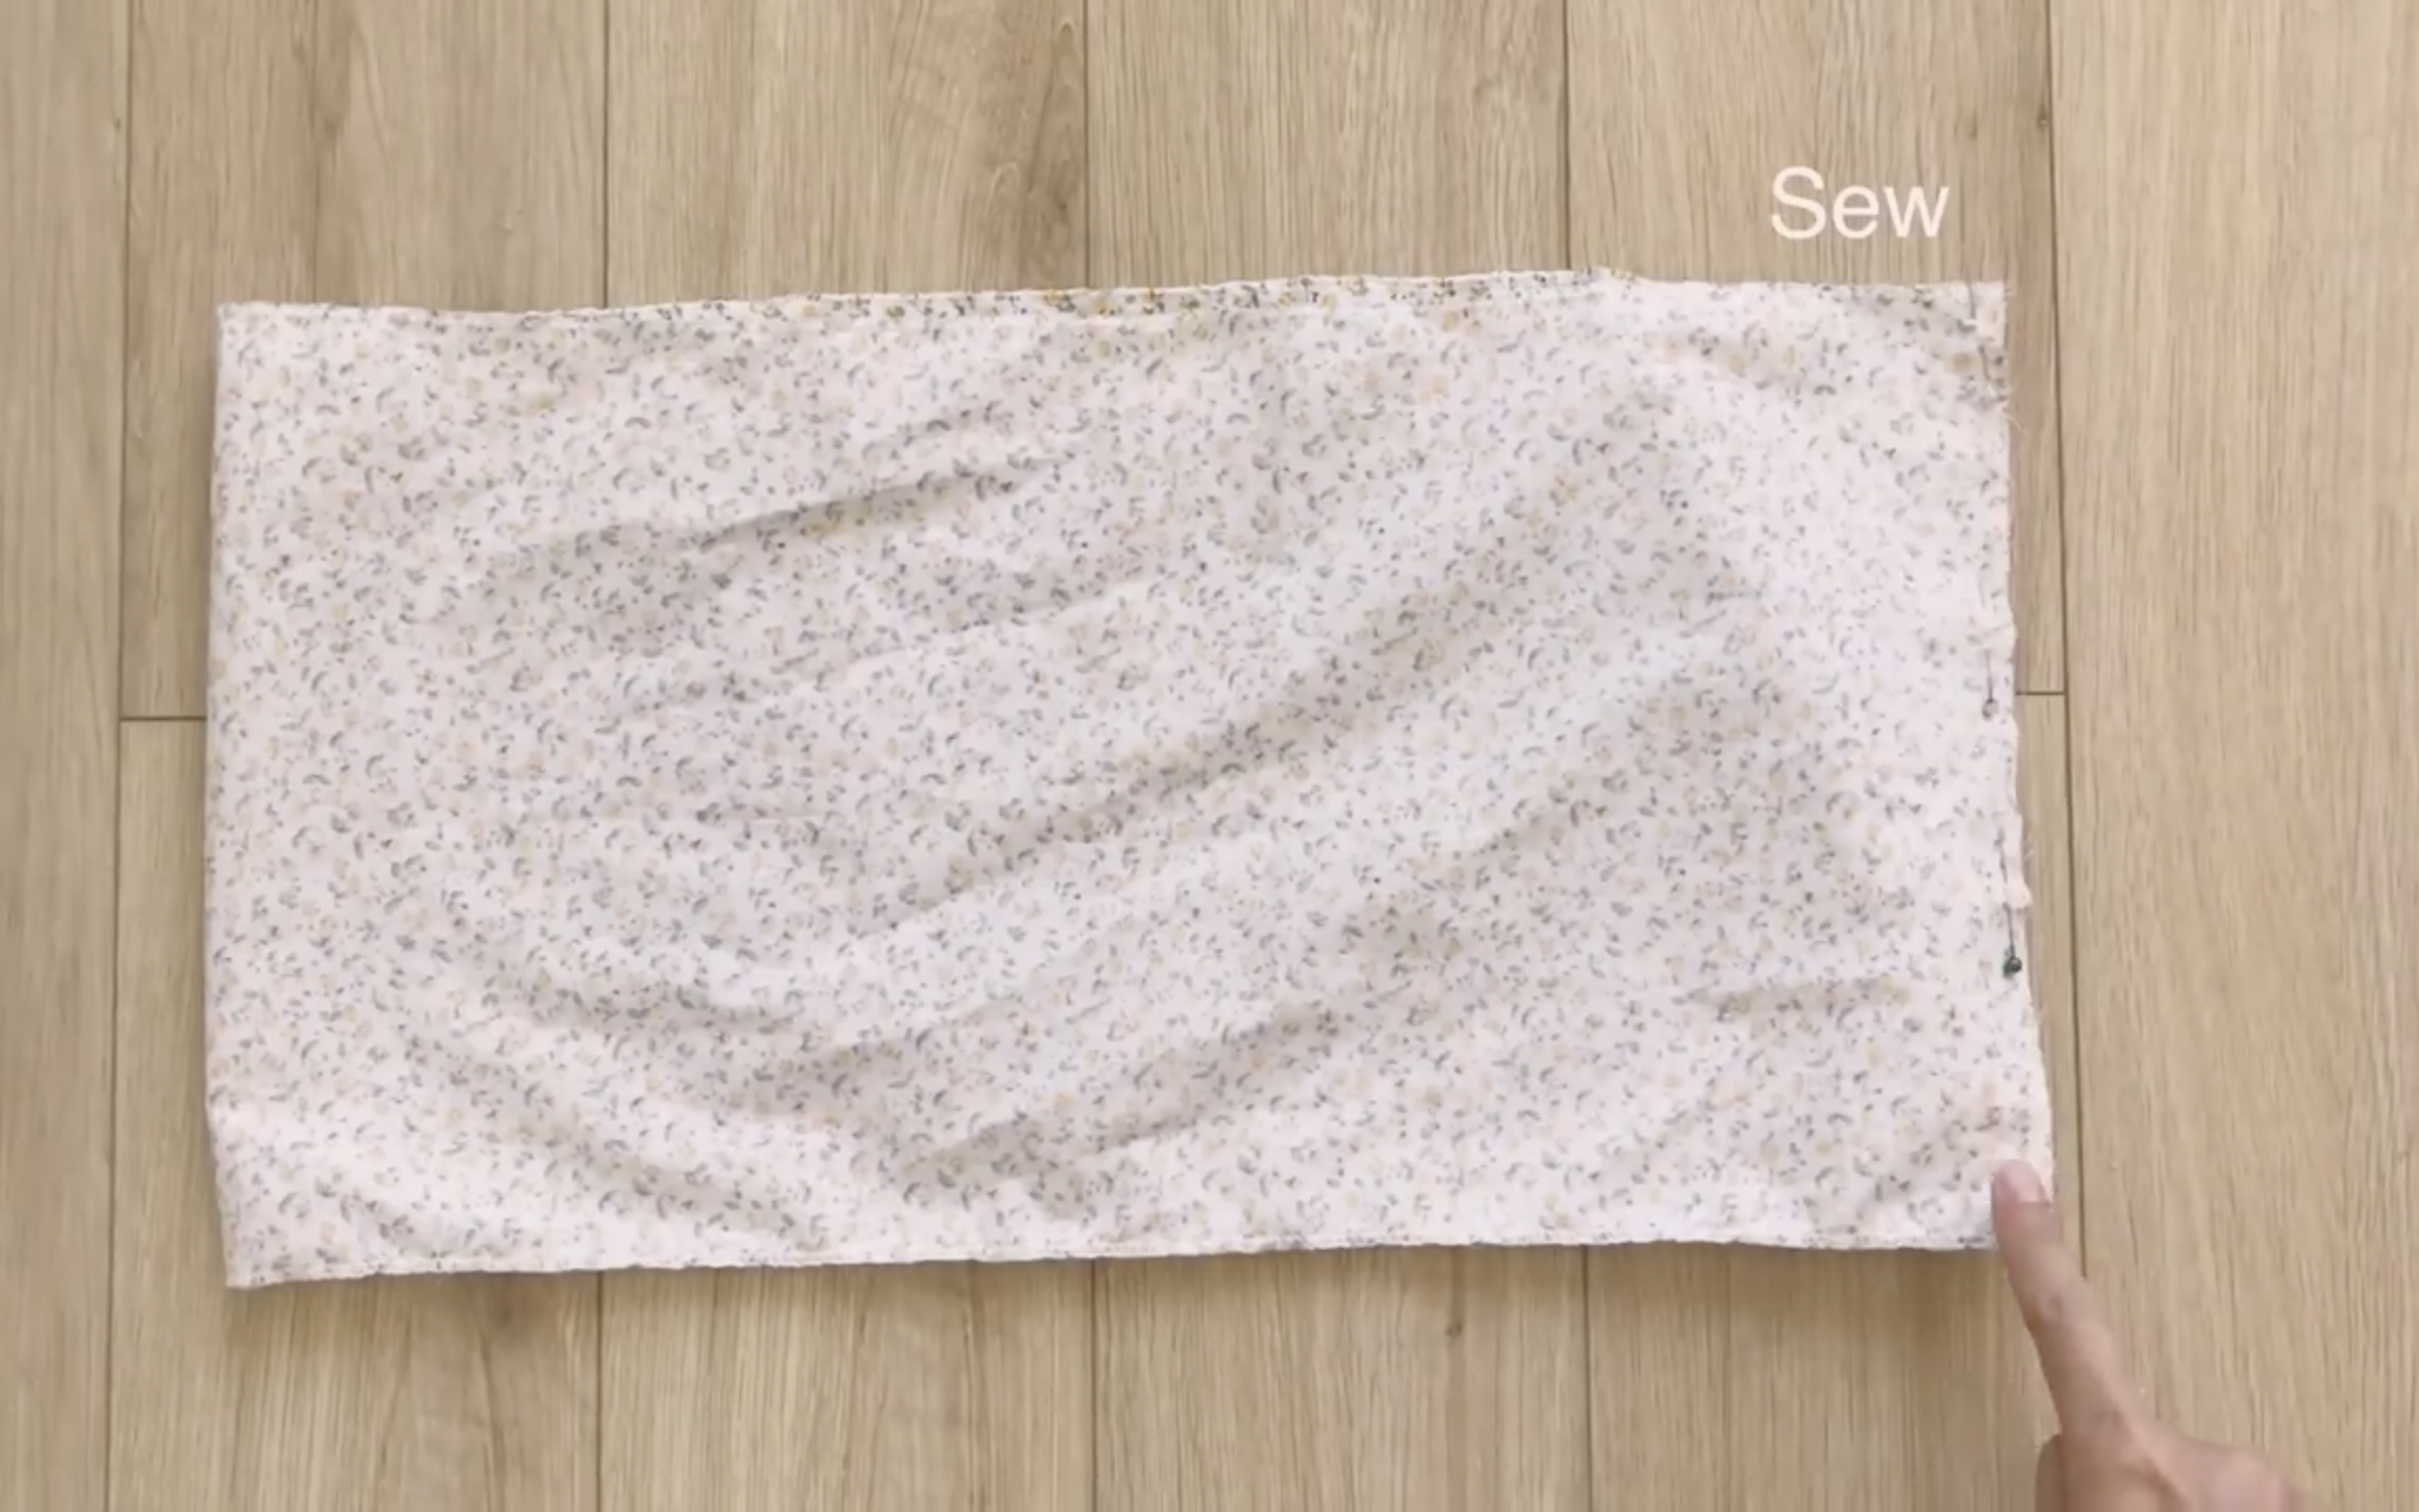
Then draw a horizontal line at 8 cm under the top of one width line. It is two times the width of the elastic band that will be used plus 2 cm for seam allowance.
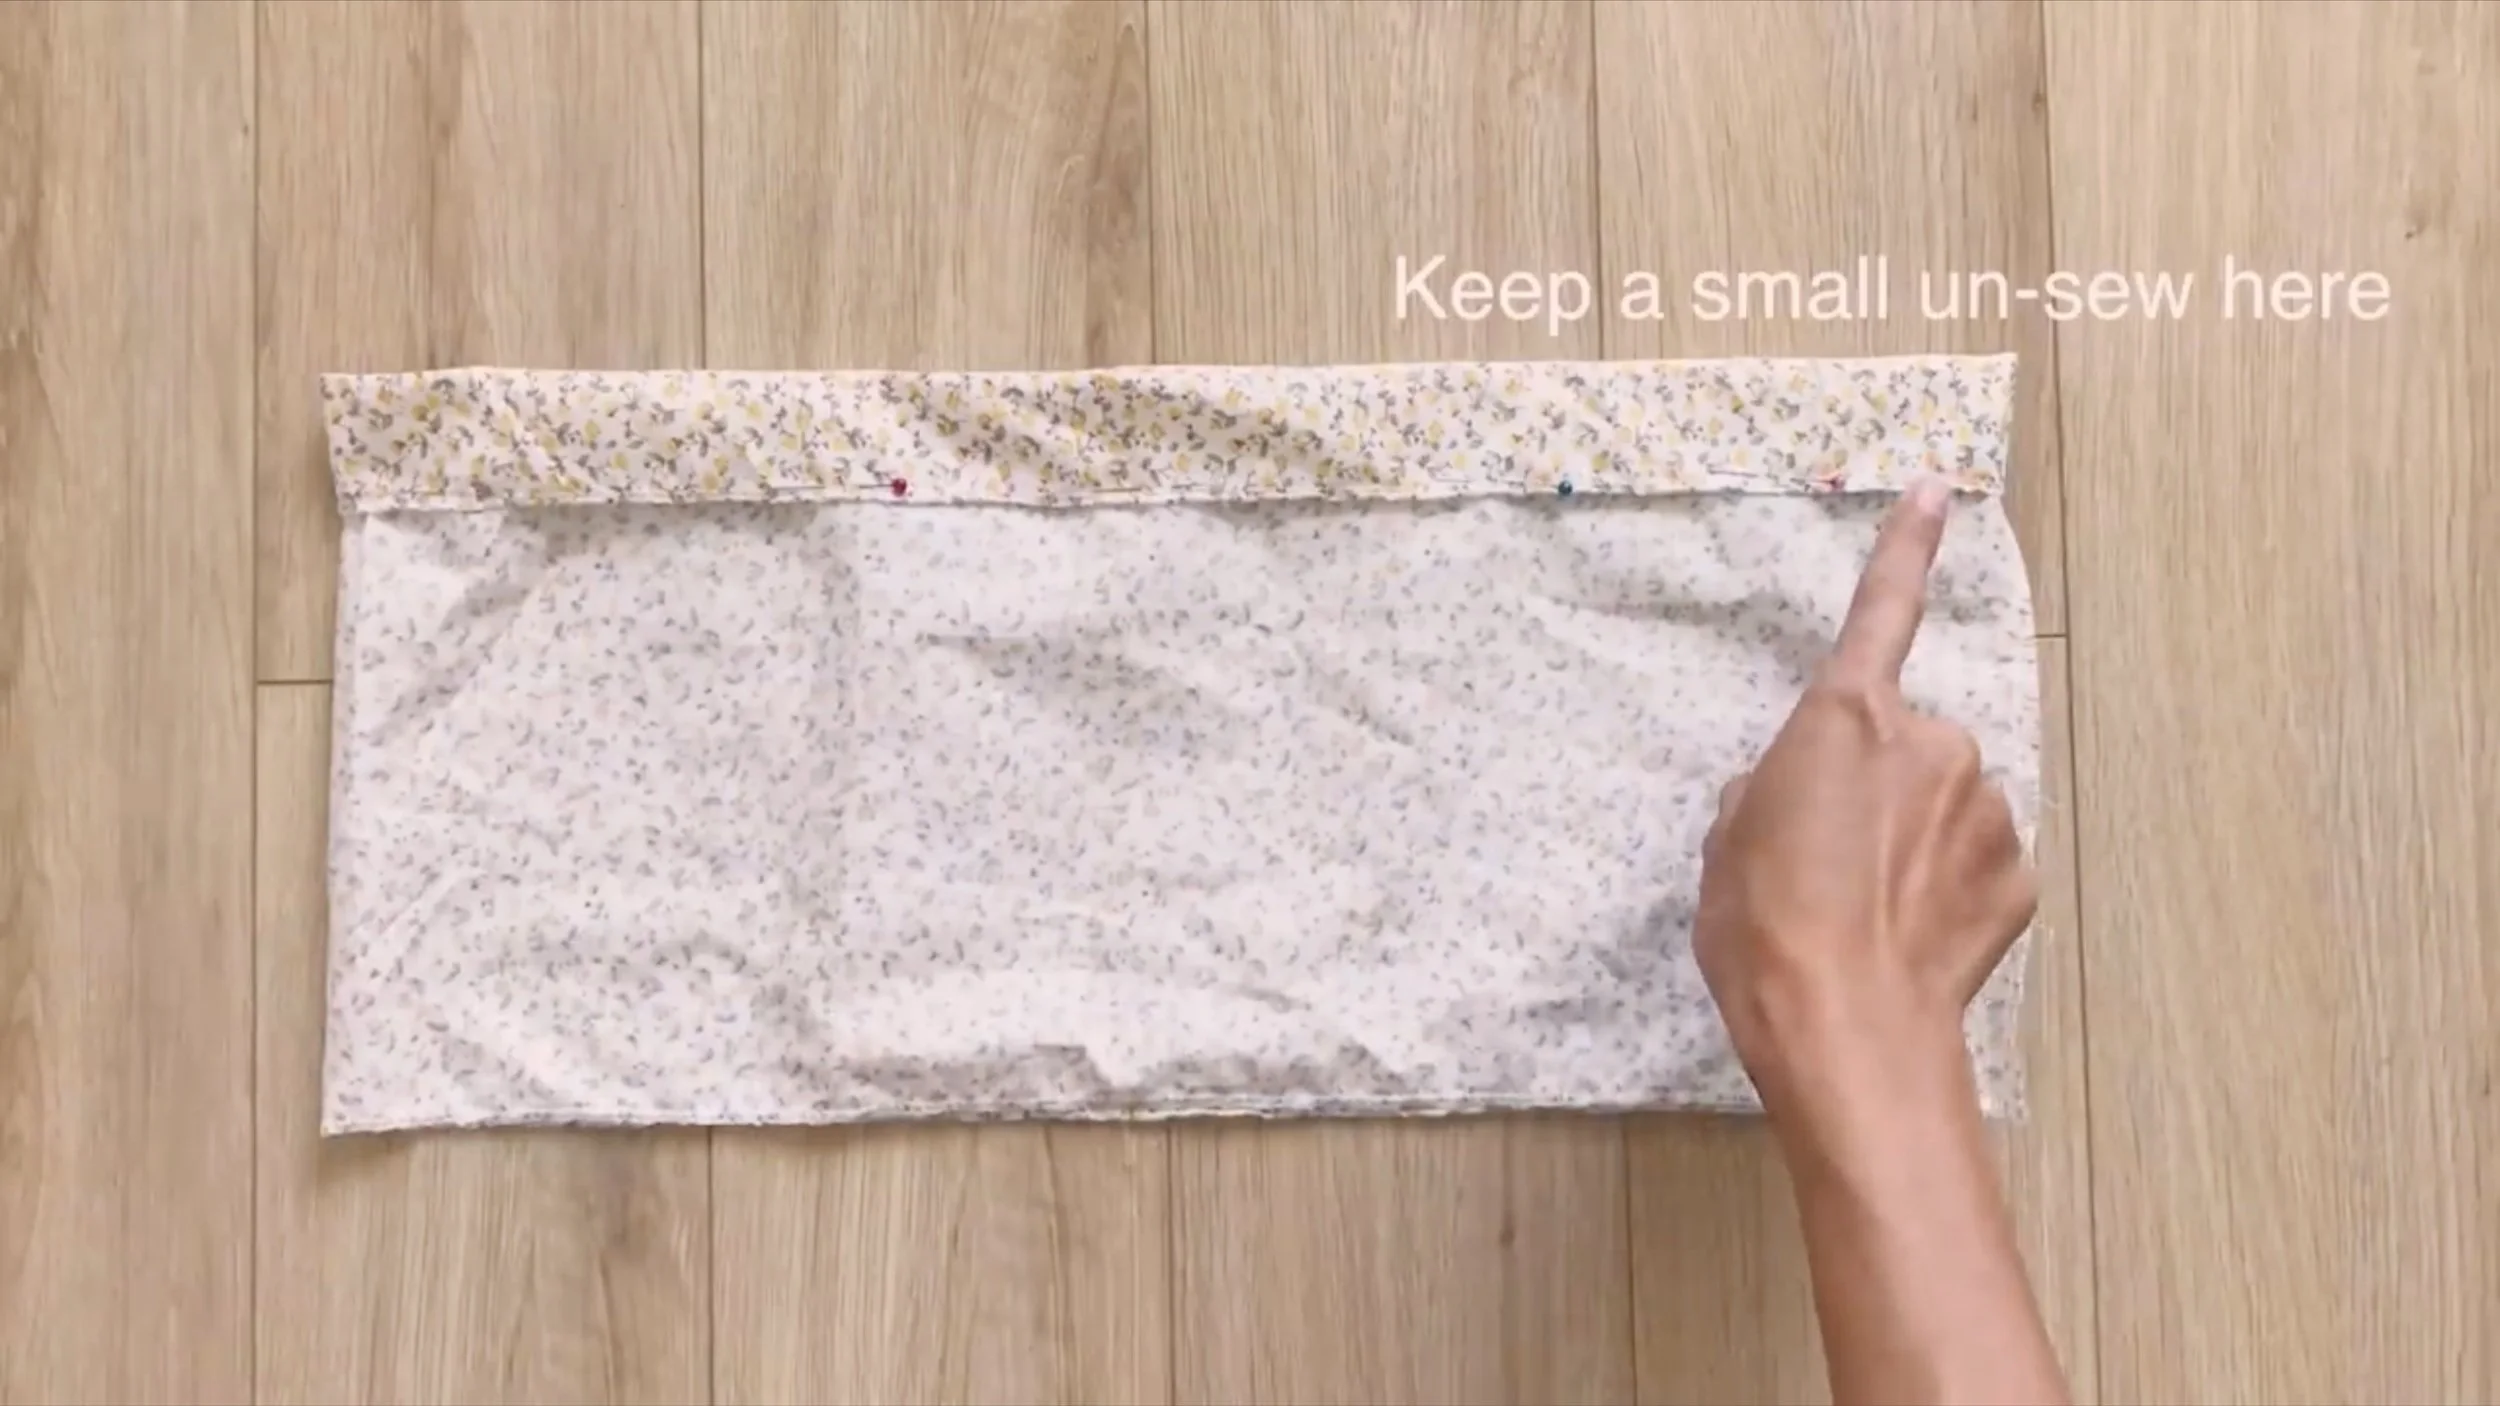
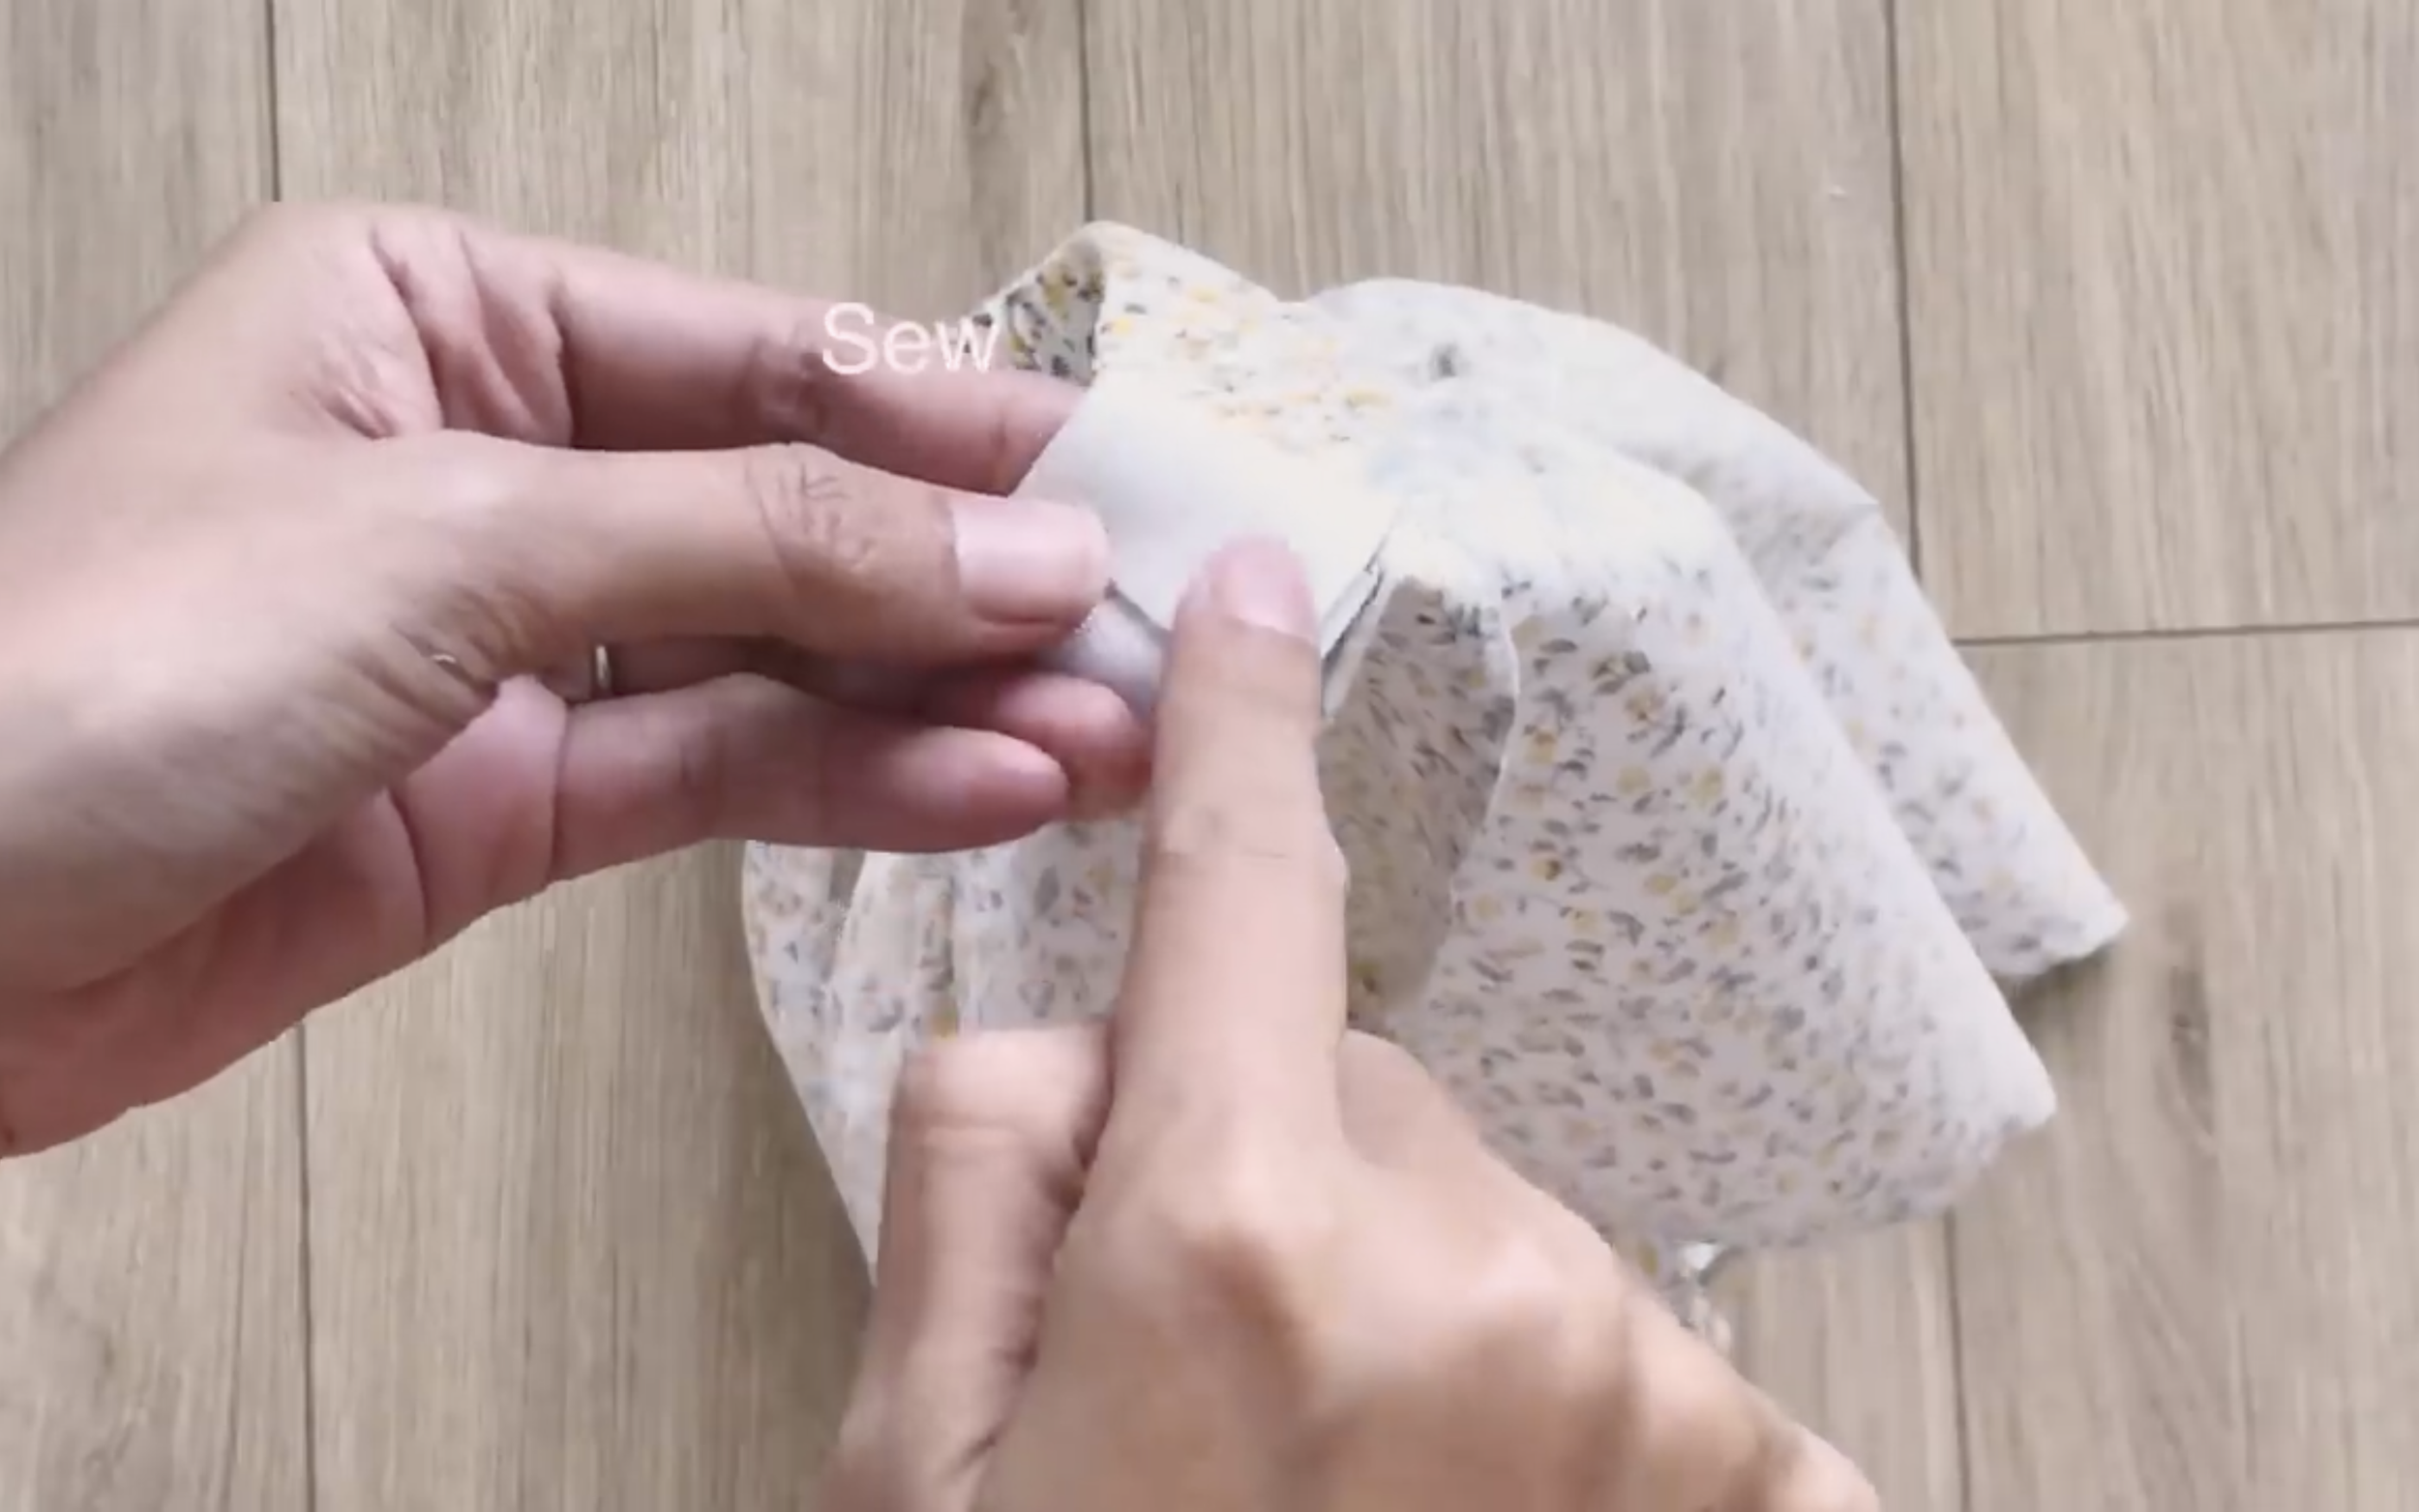
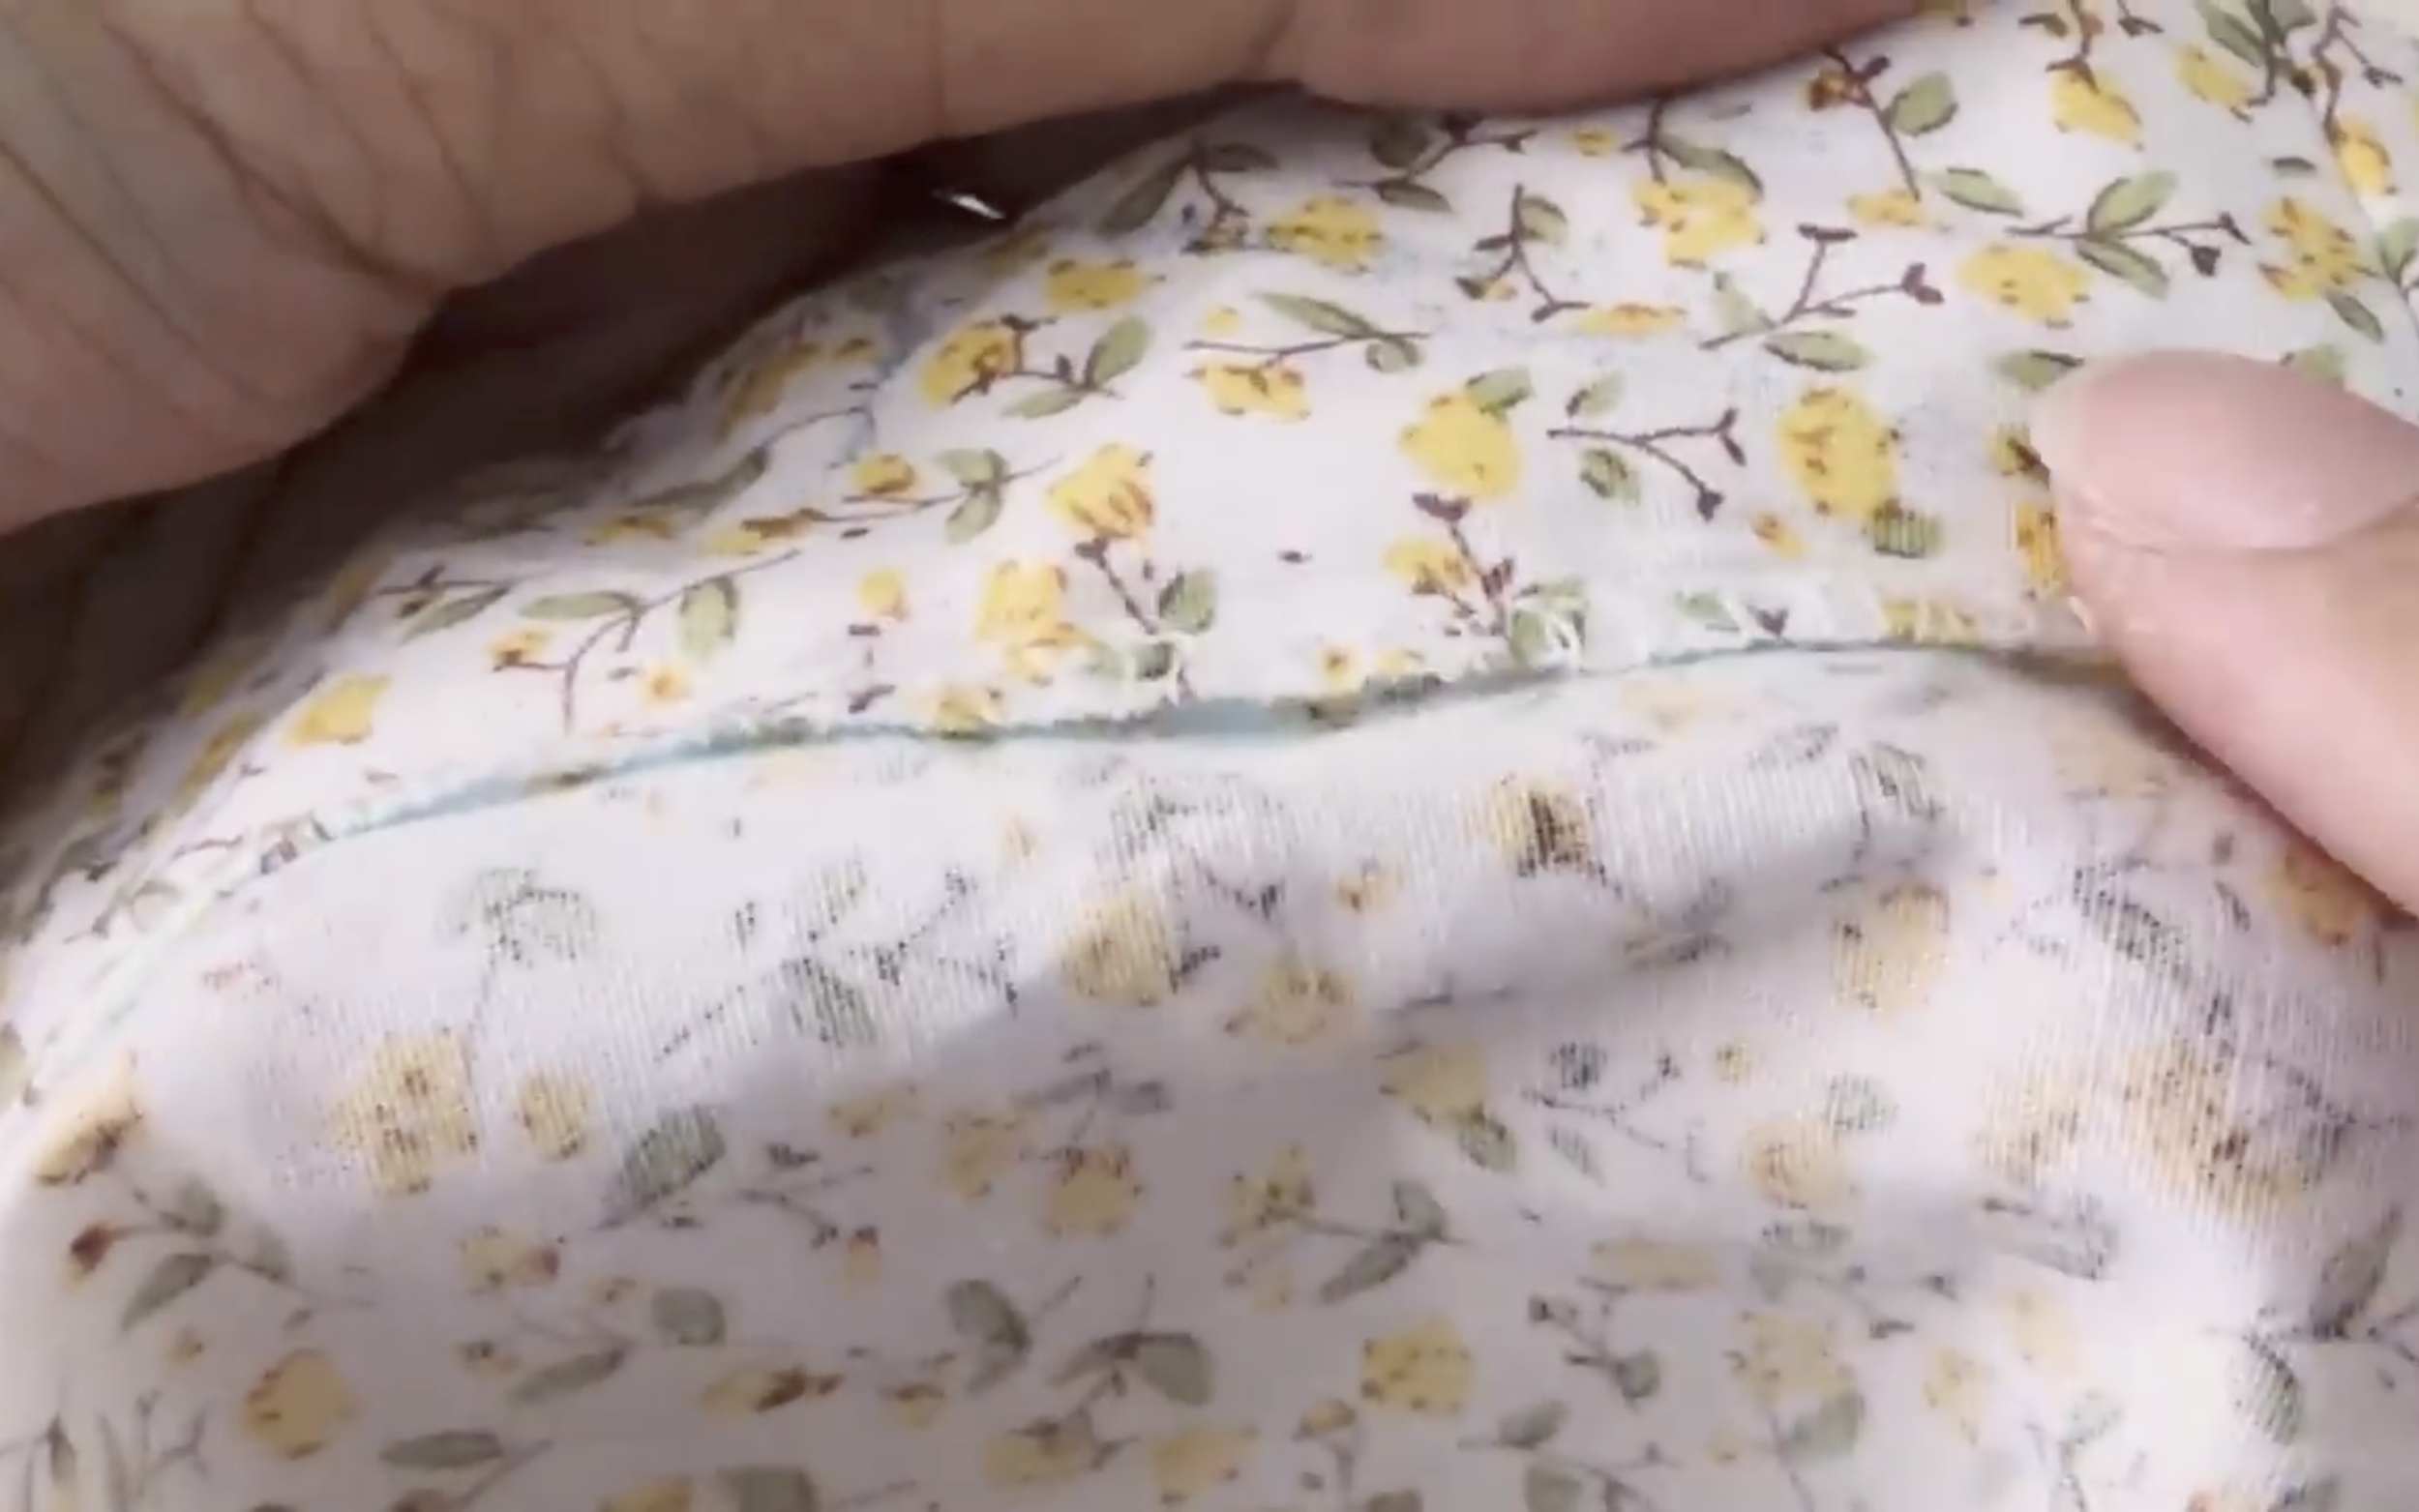
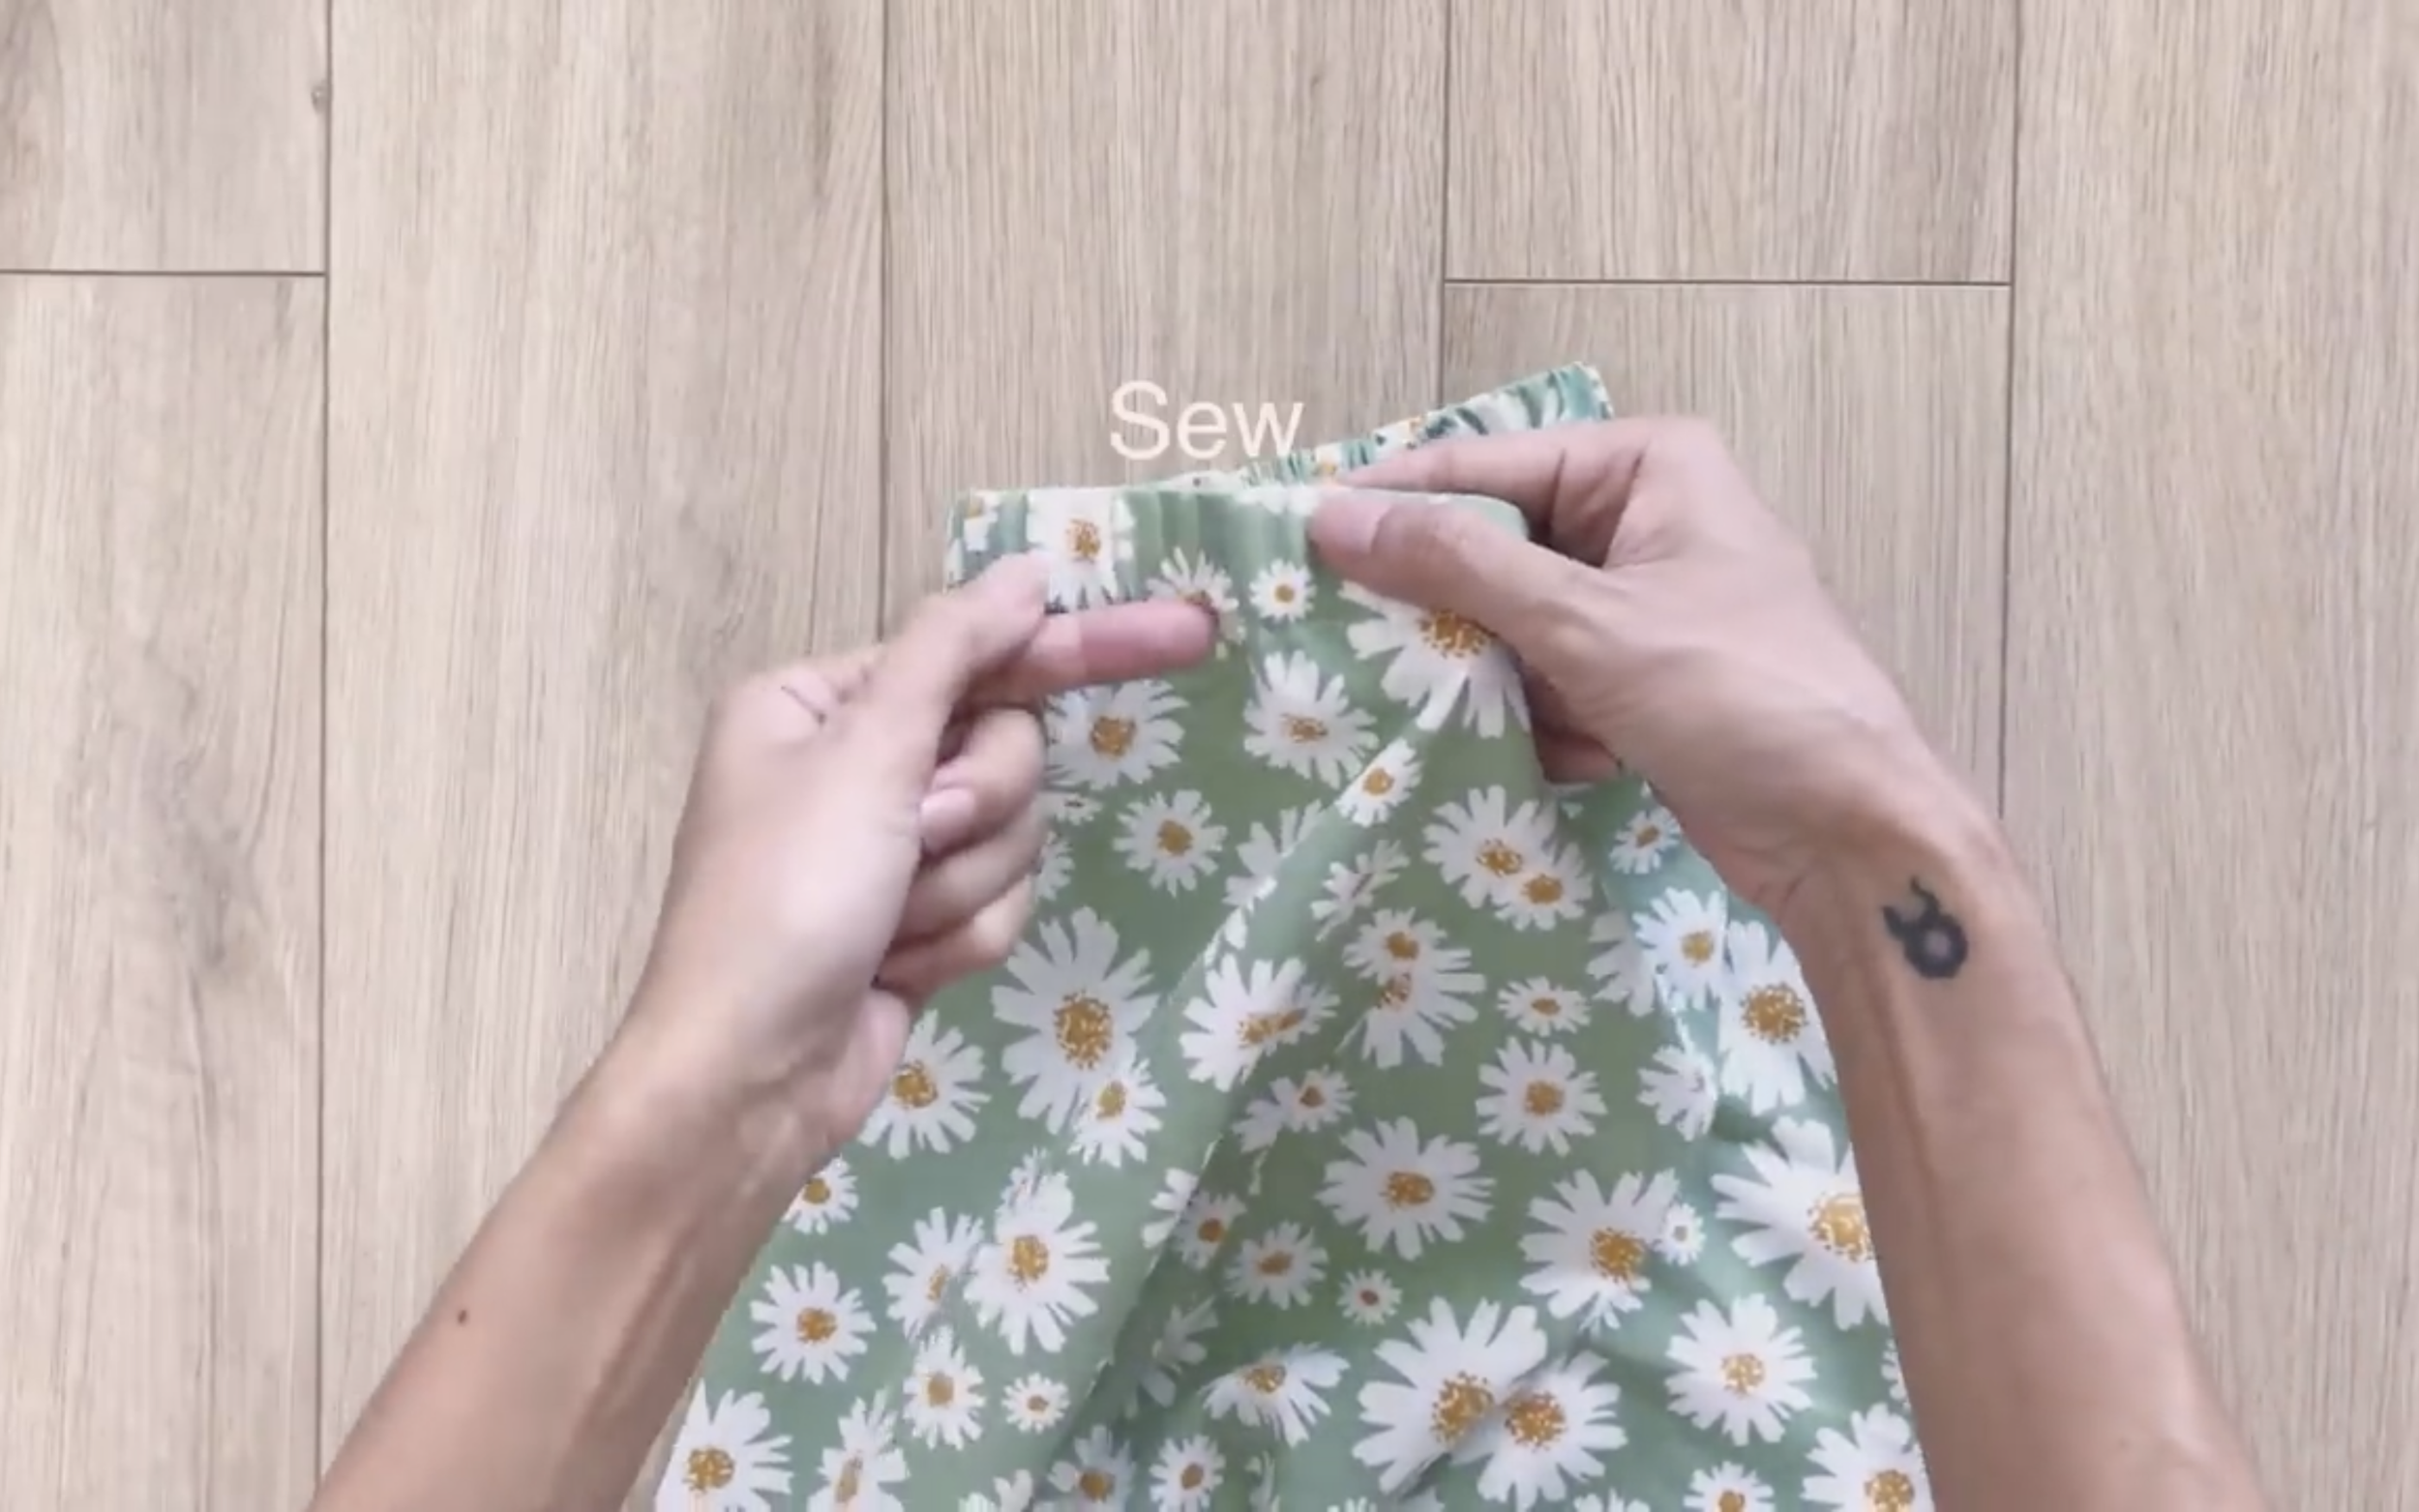
Then fold the edge of the fabric to this line and sew to create a fabric hole to put the elastic band through later.
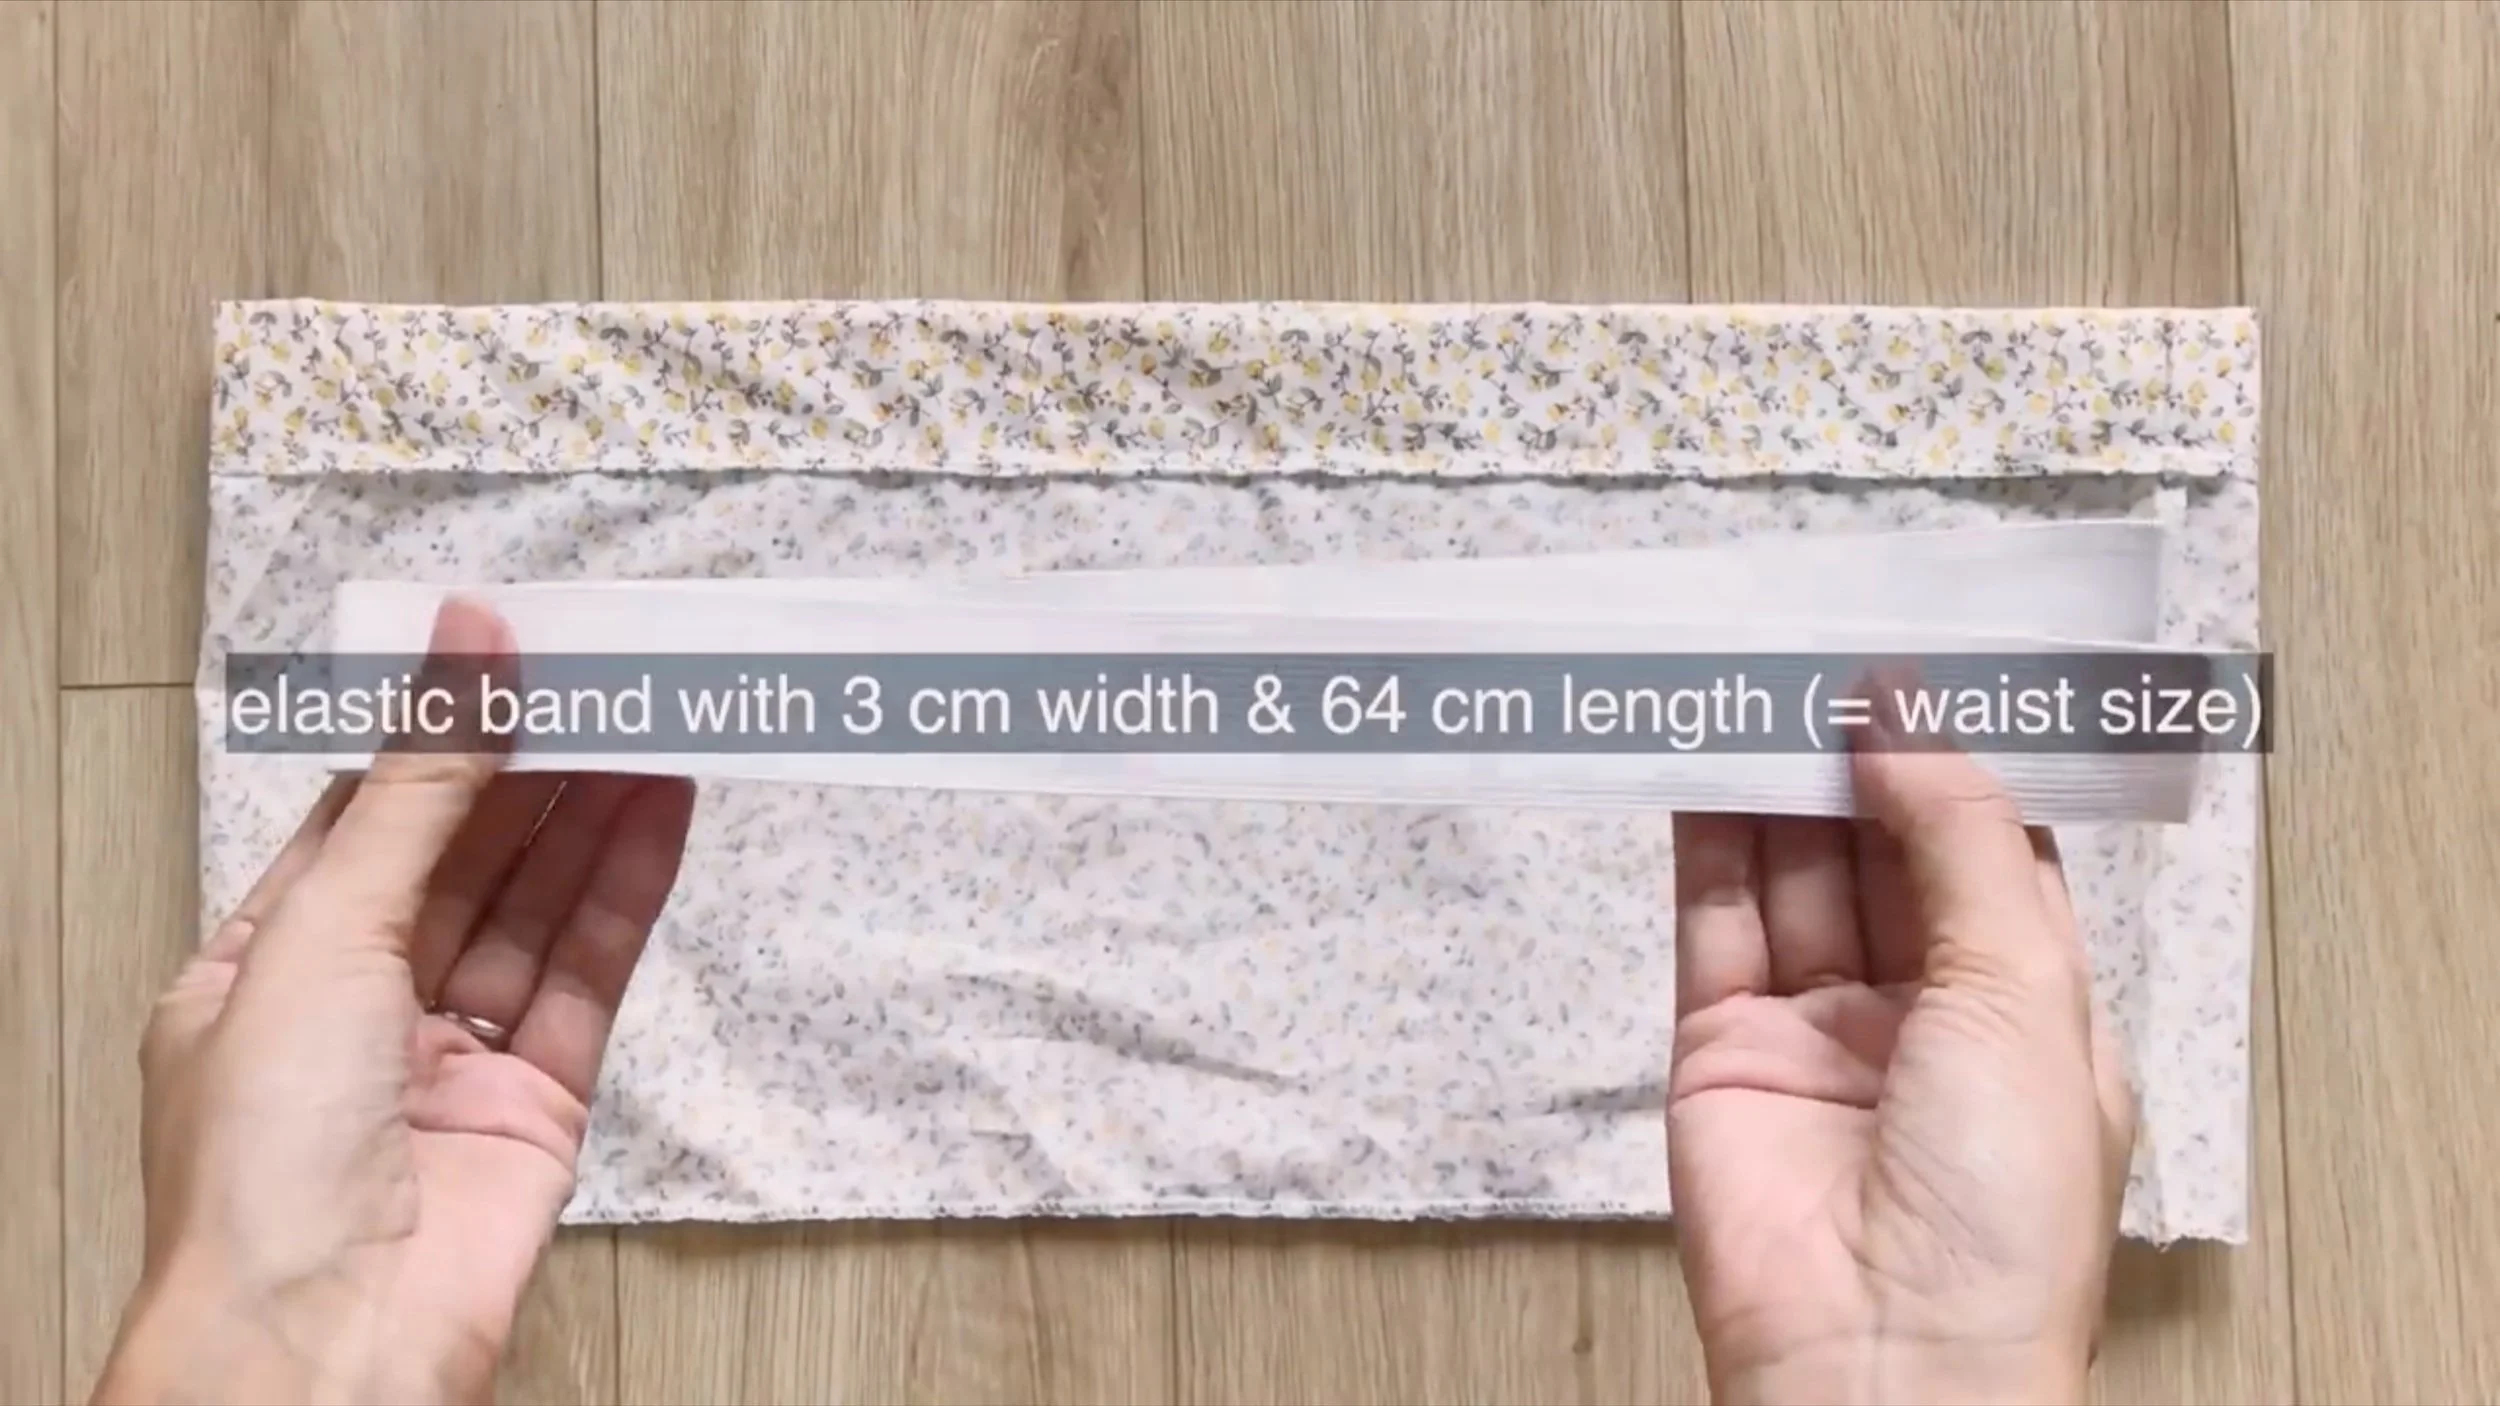
Use the elastic band with 3 cm width and 64 cm length which is the waist size.
After putting the elastic band to the fabric hole, sew two ends of the elastic band together.
Don't forget to close the fabric hole to finish the waist of the skirt.
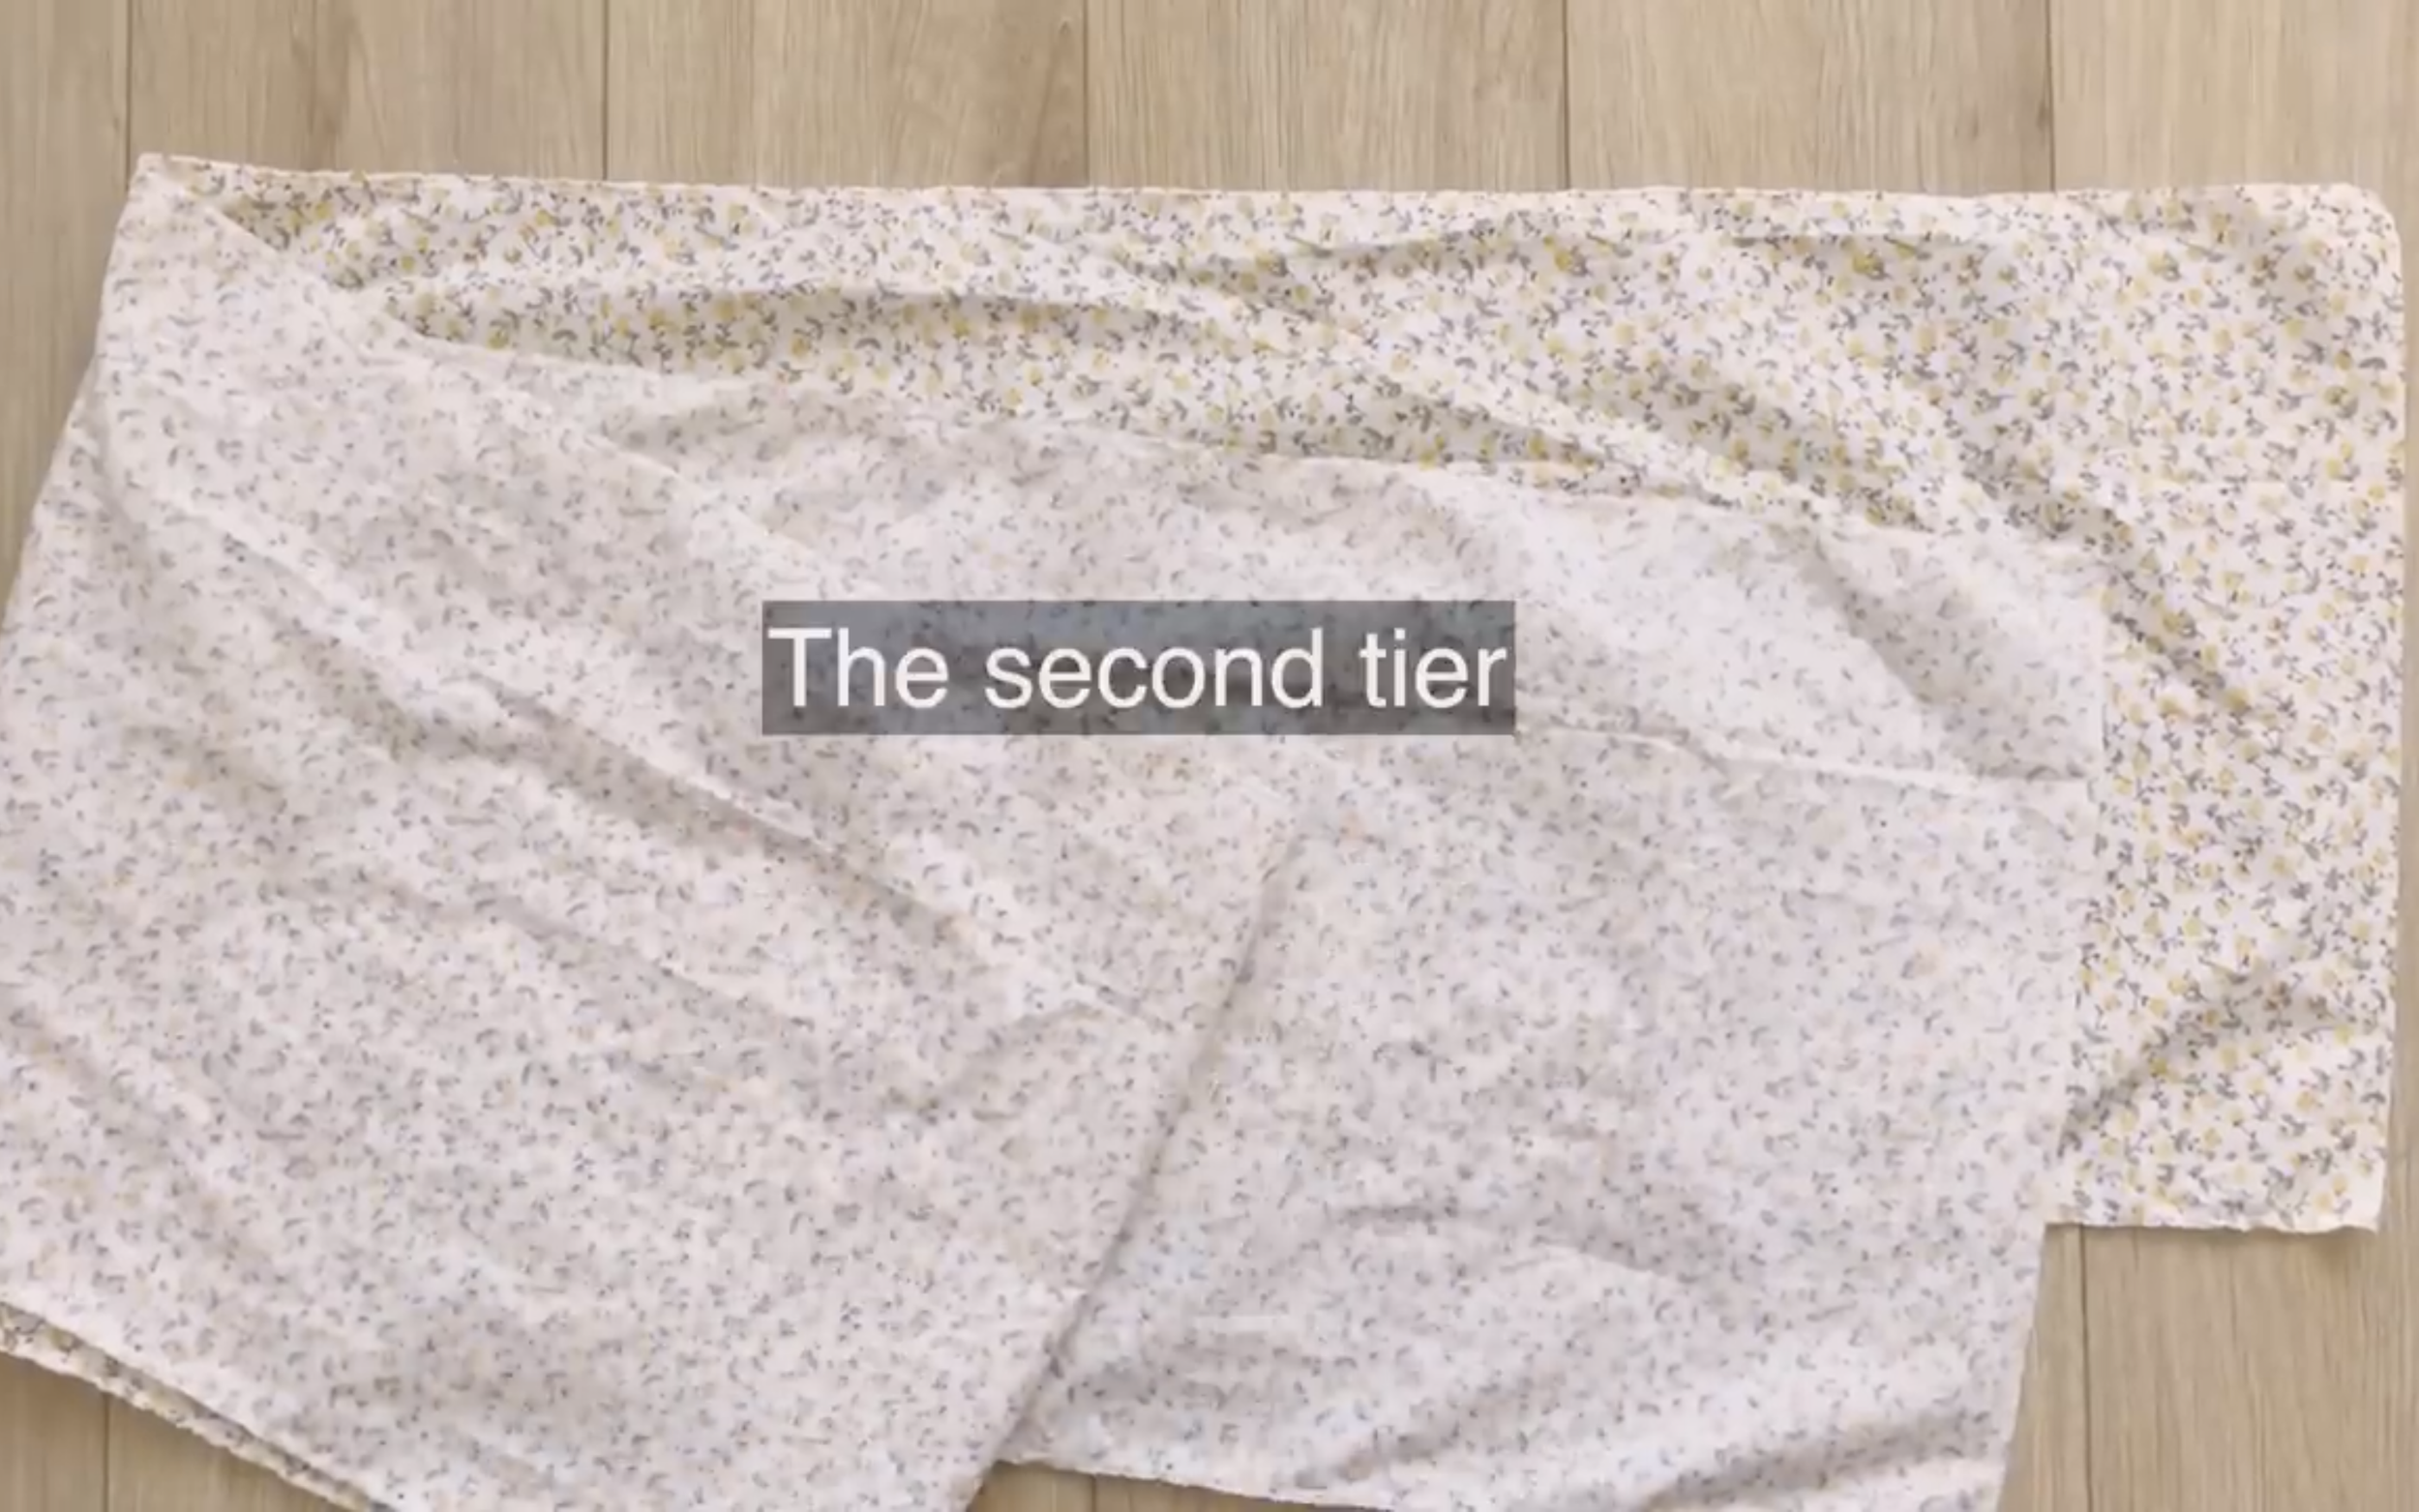
Moving to the second tier, cut a rectangle with 26 cm length and 160 cm width which is 1.6 times the width of the first tier.
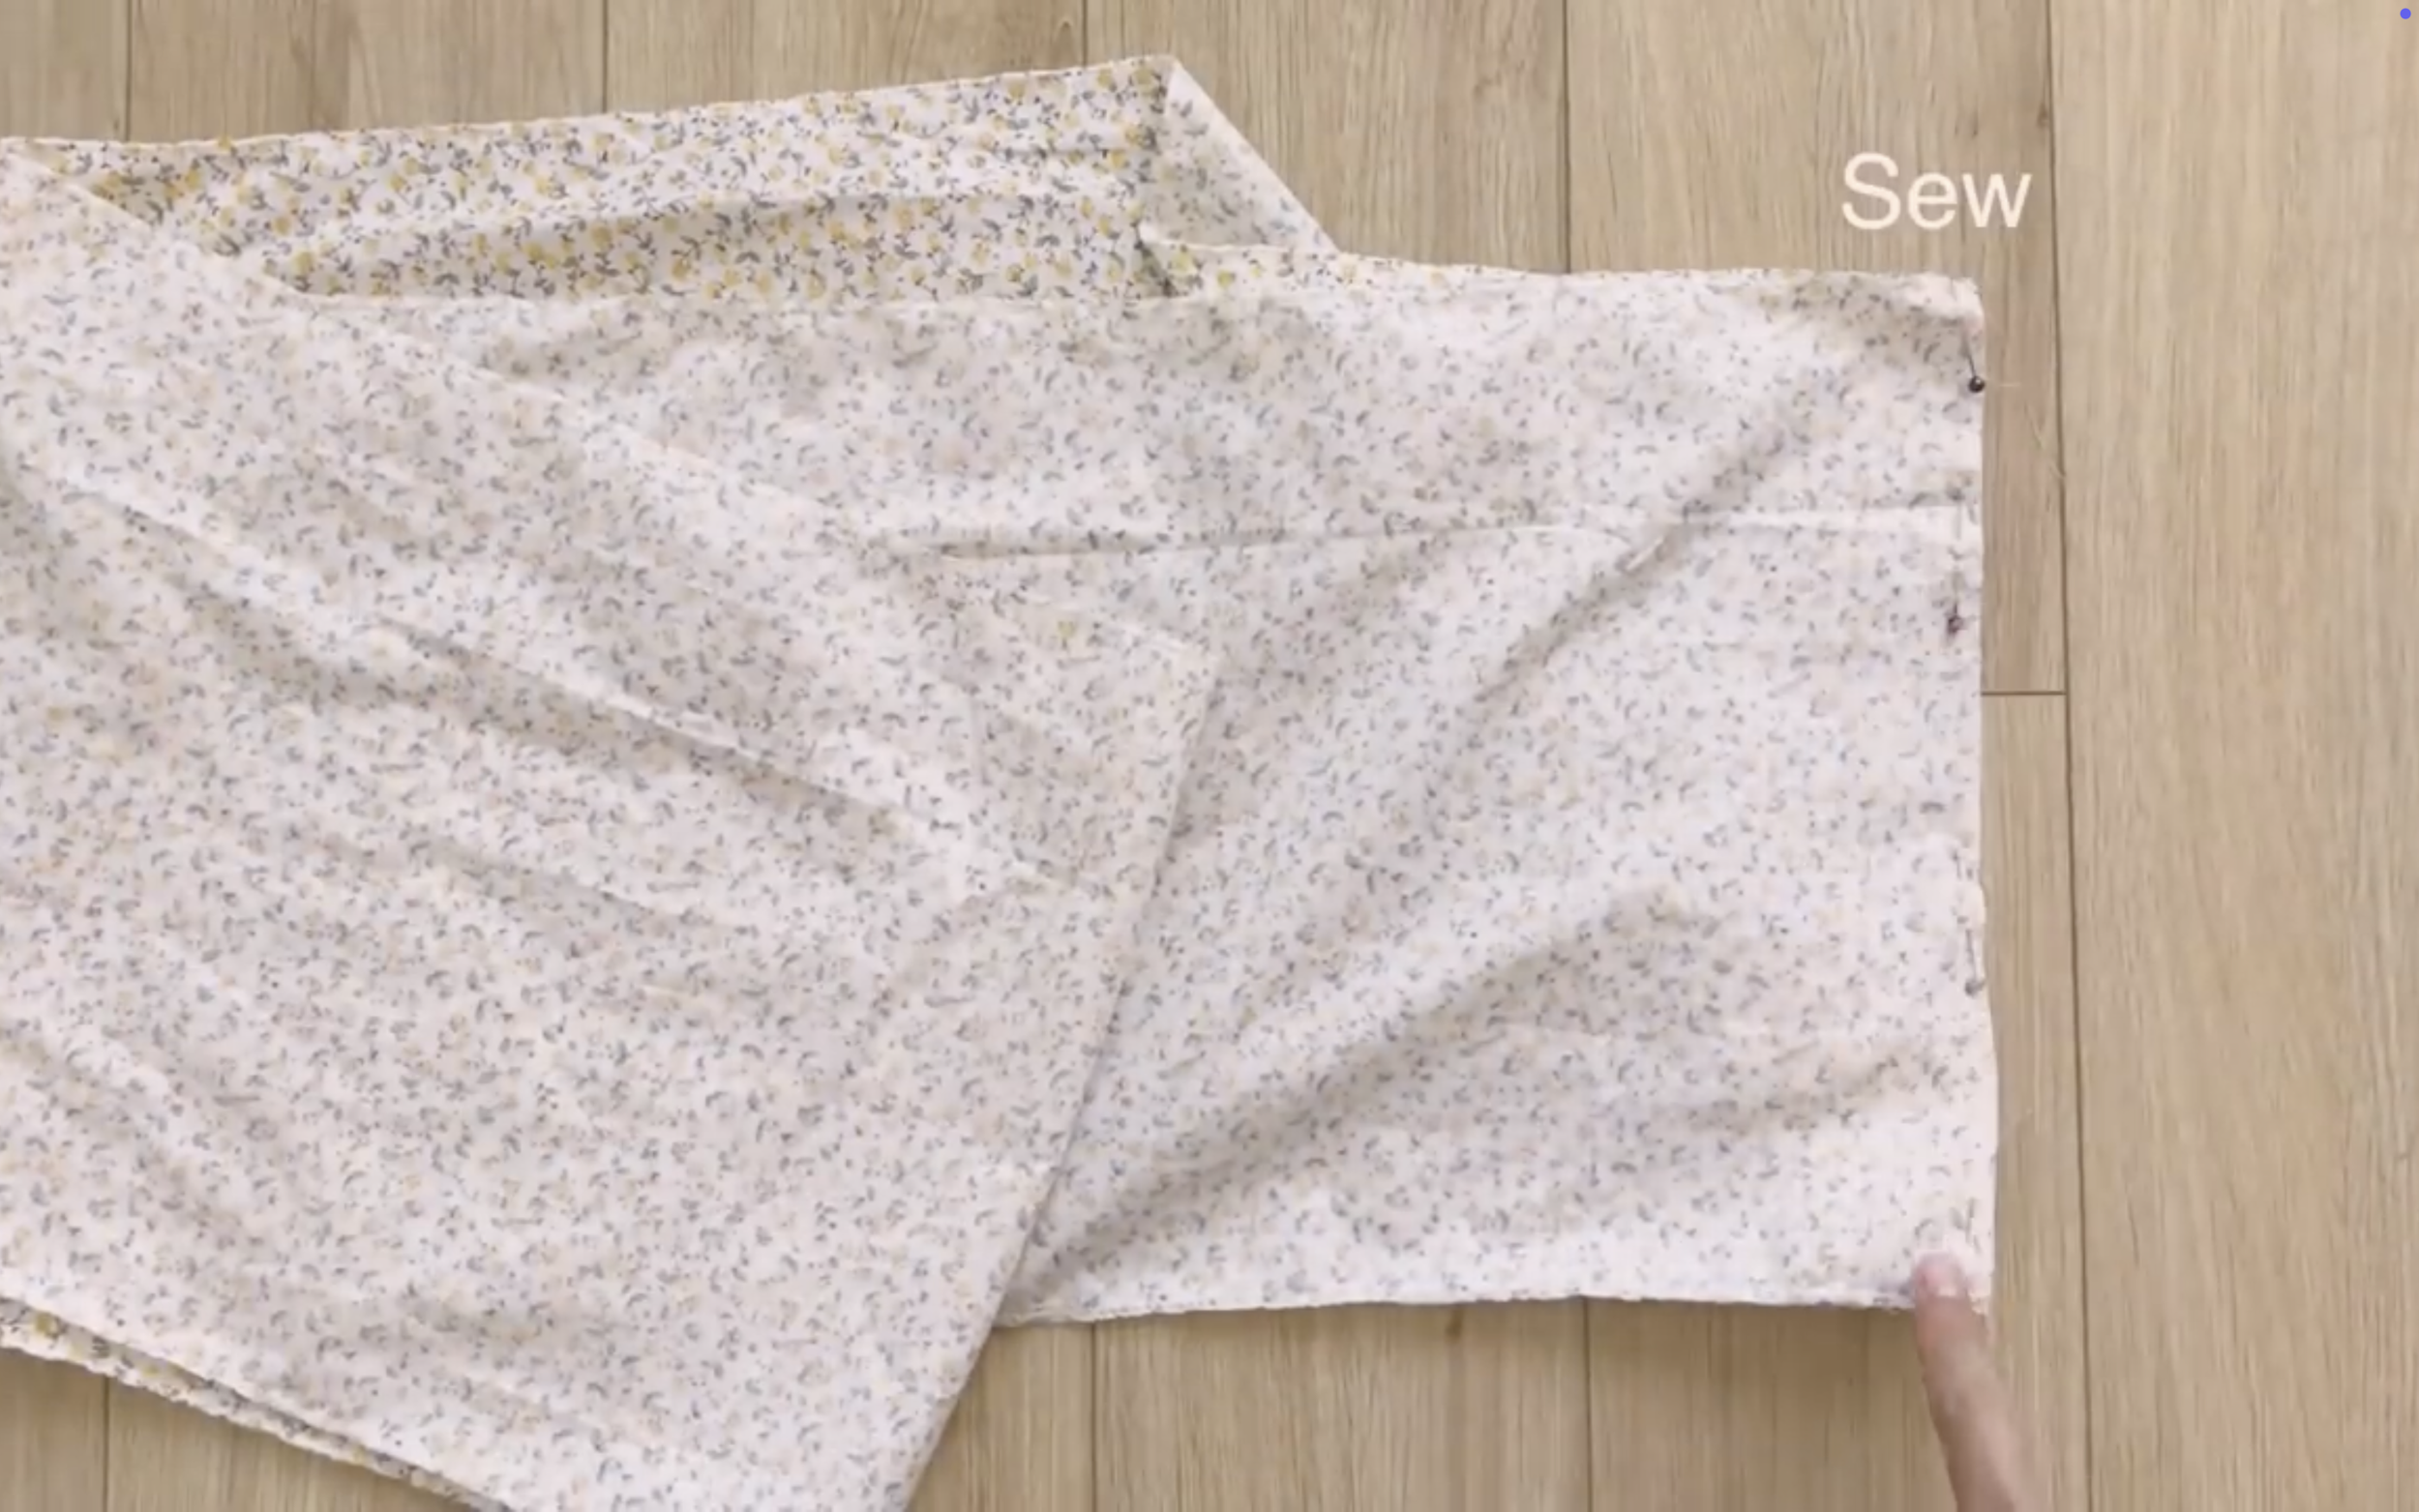
Connect two length lines together to create a circle fabric first.
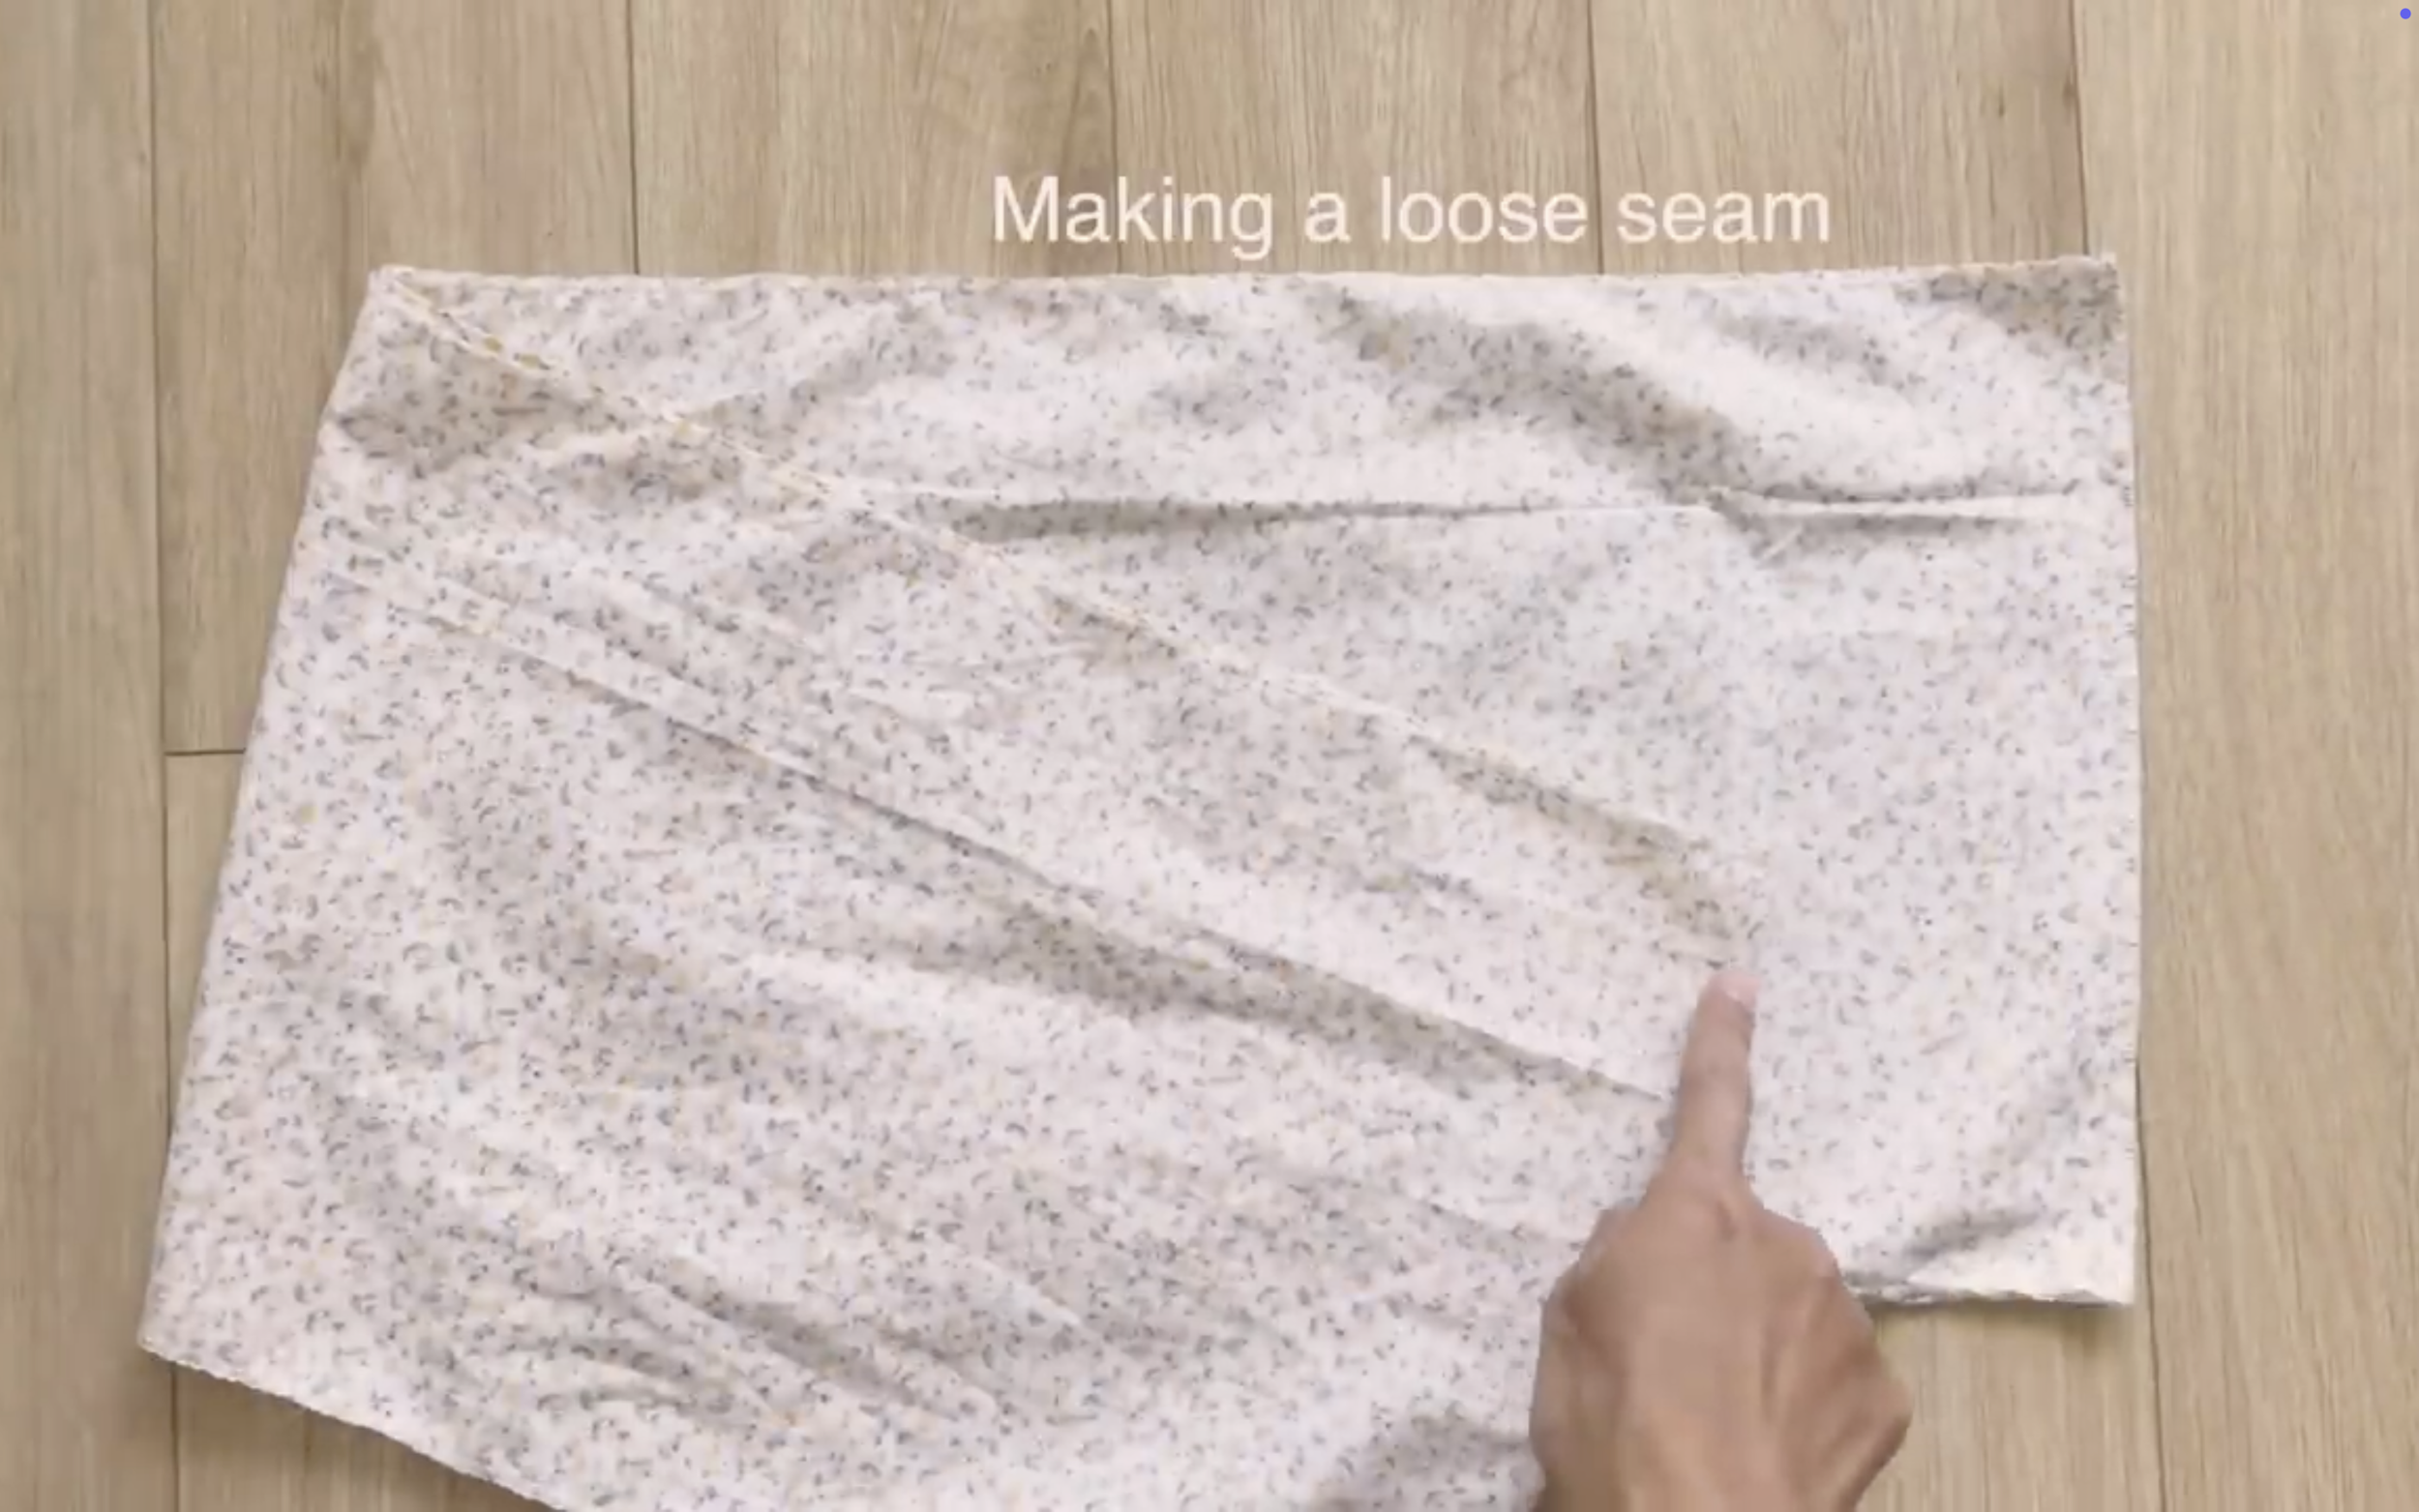
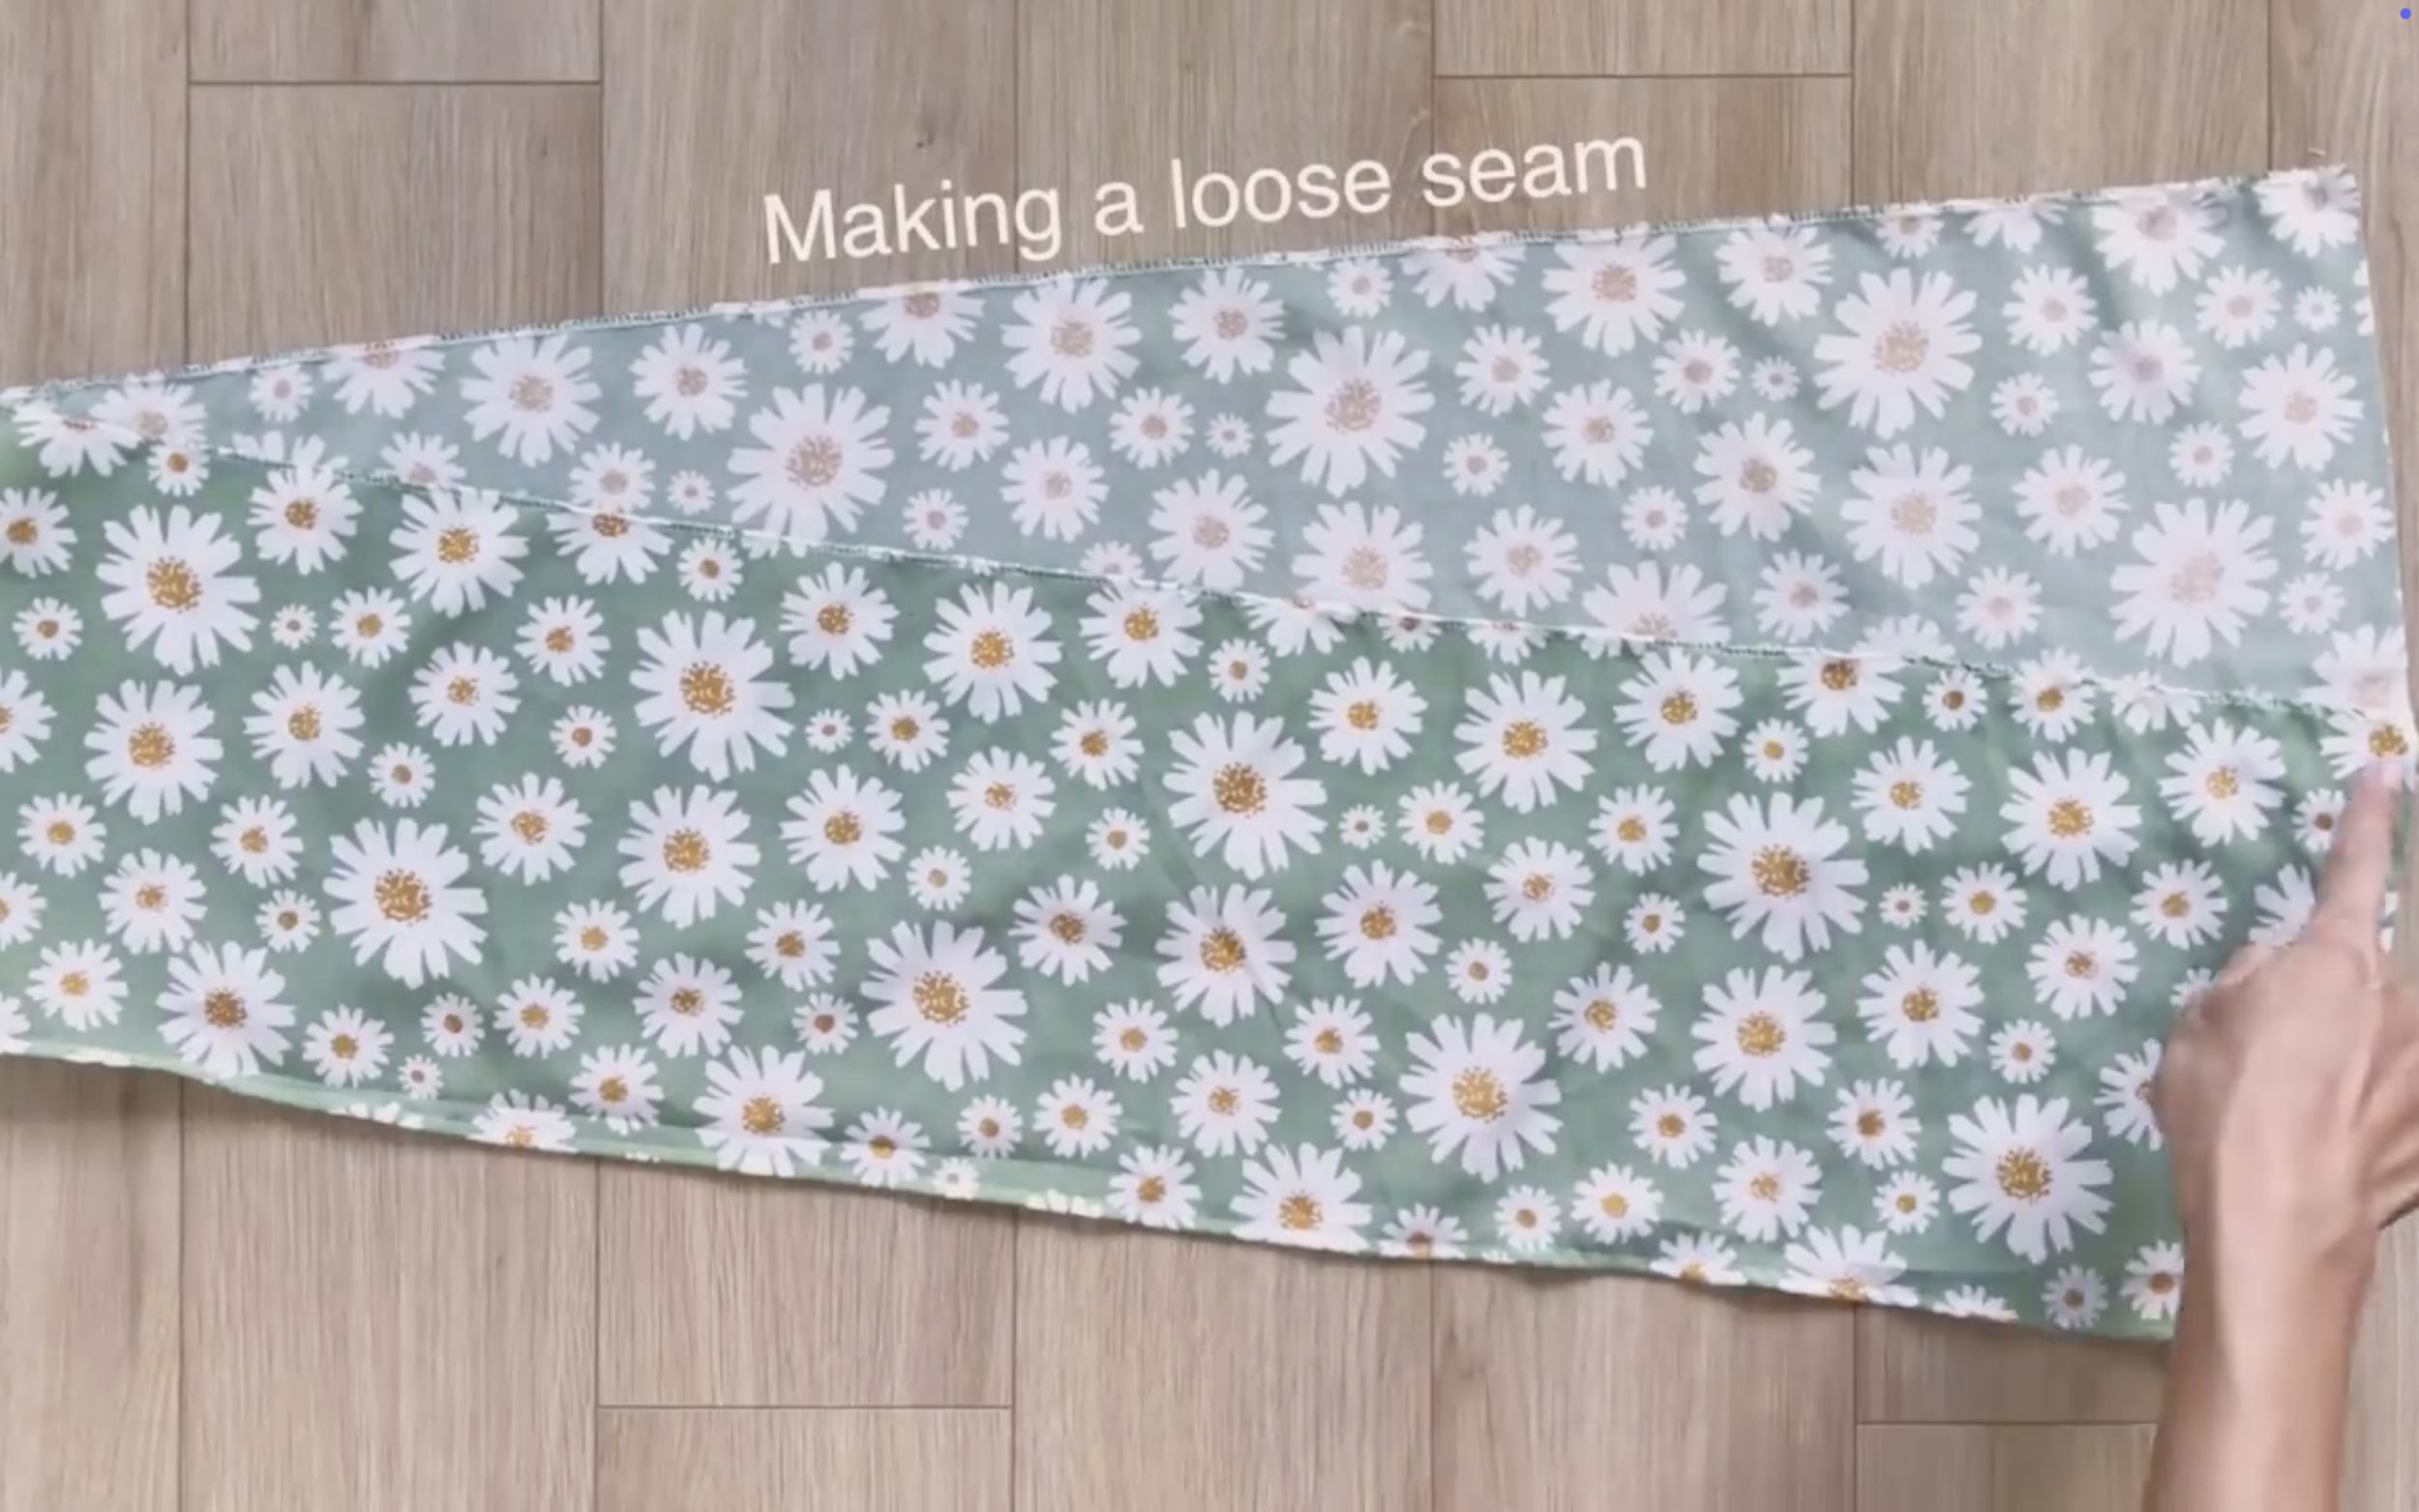
Then make a loose seam at one width line to create a gathering fabric there later.
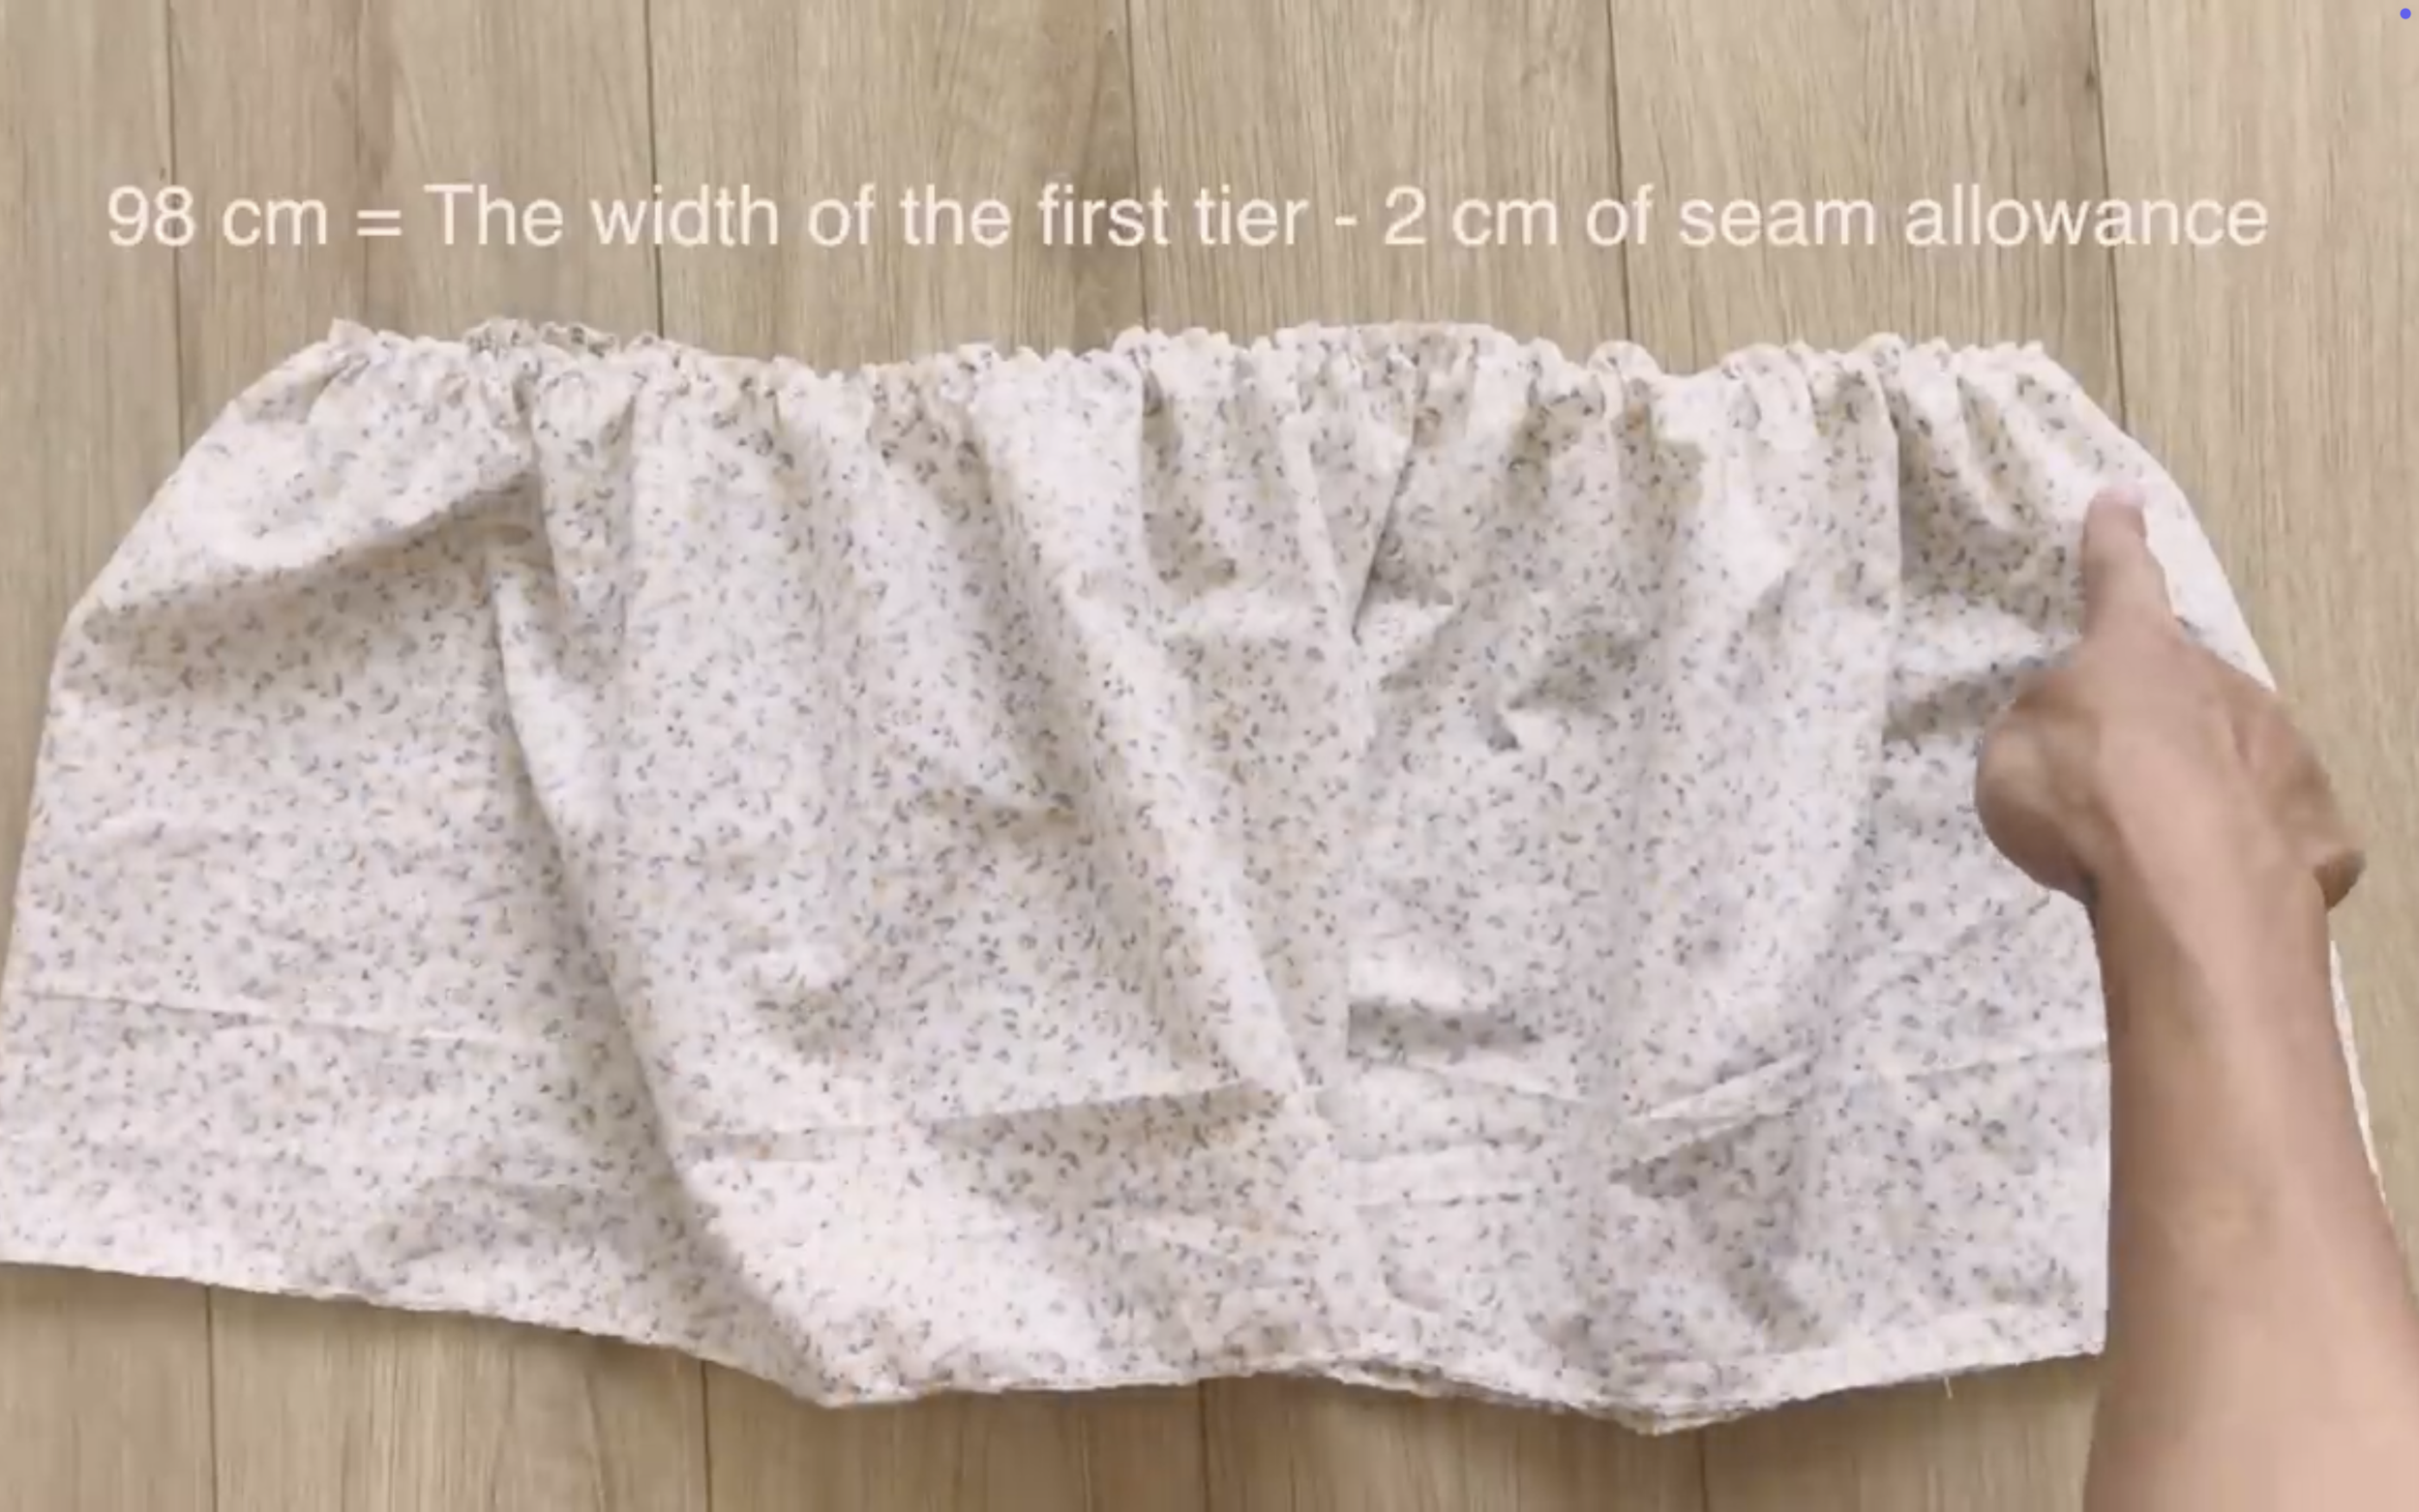
The final width of this part will be 98 cm which is the width of the first tier minus 2 cm of seam allowance.
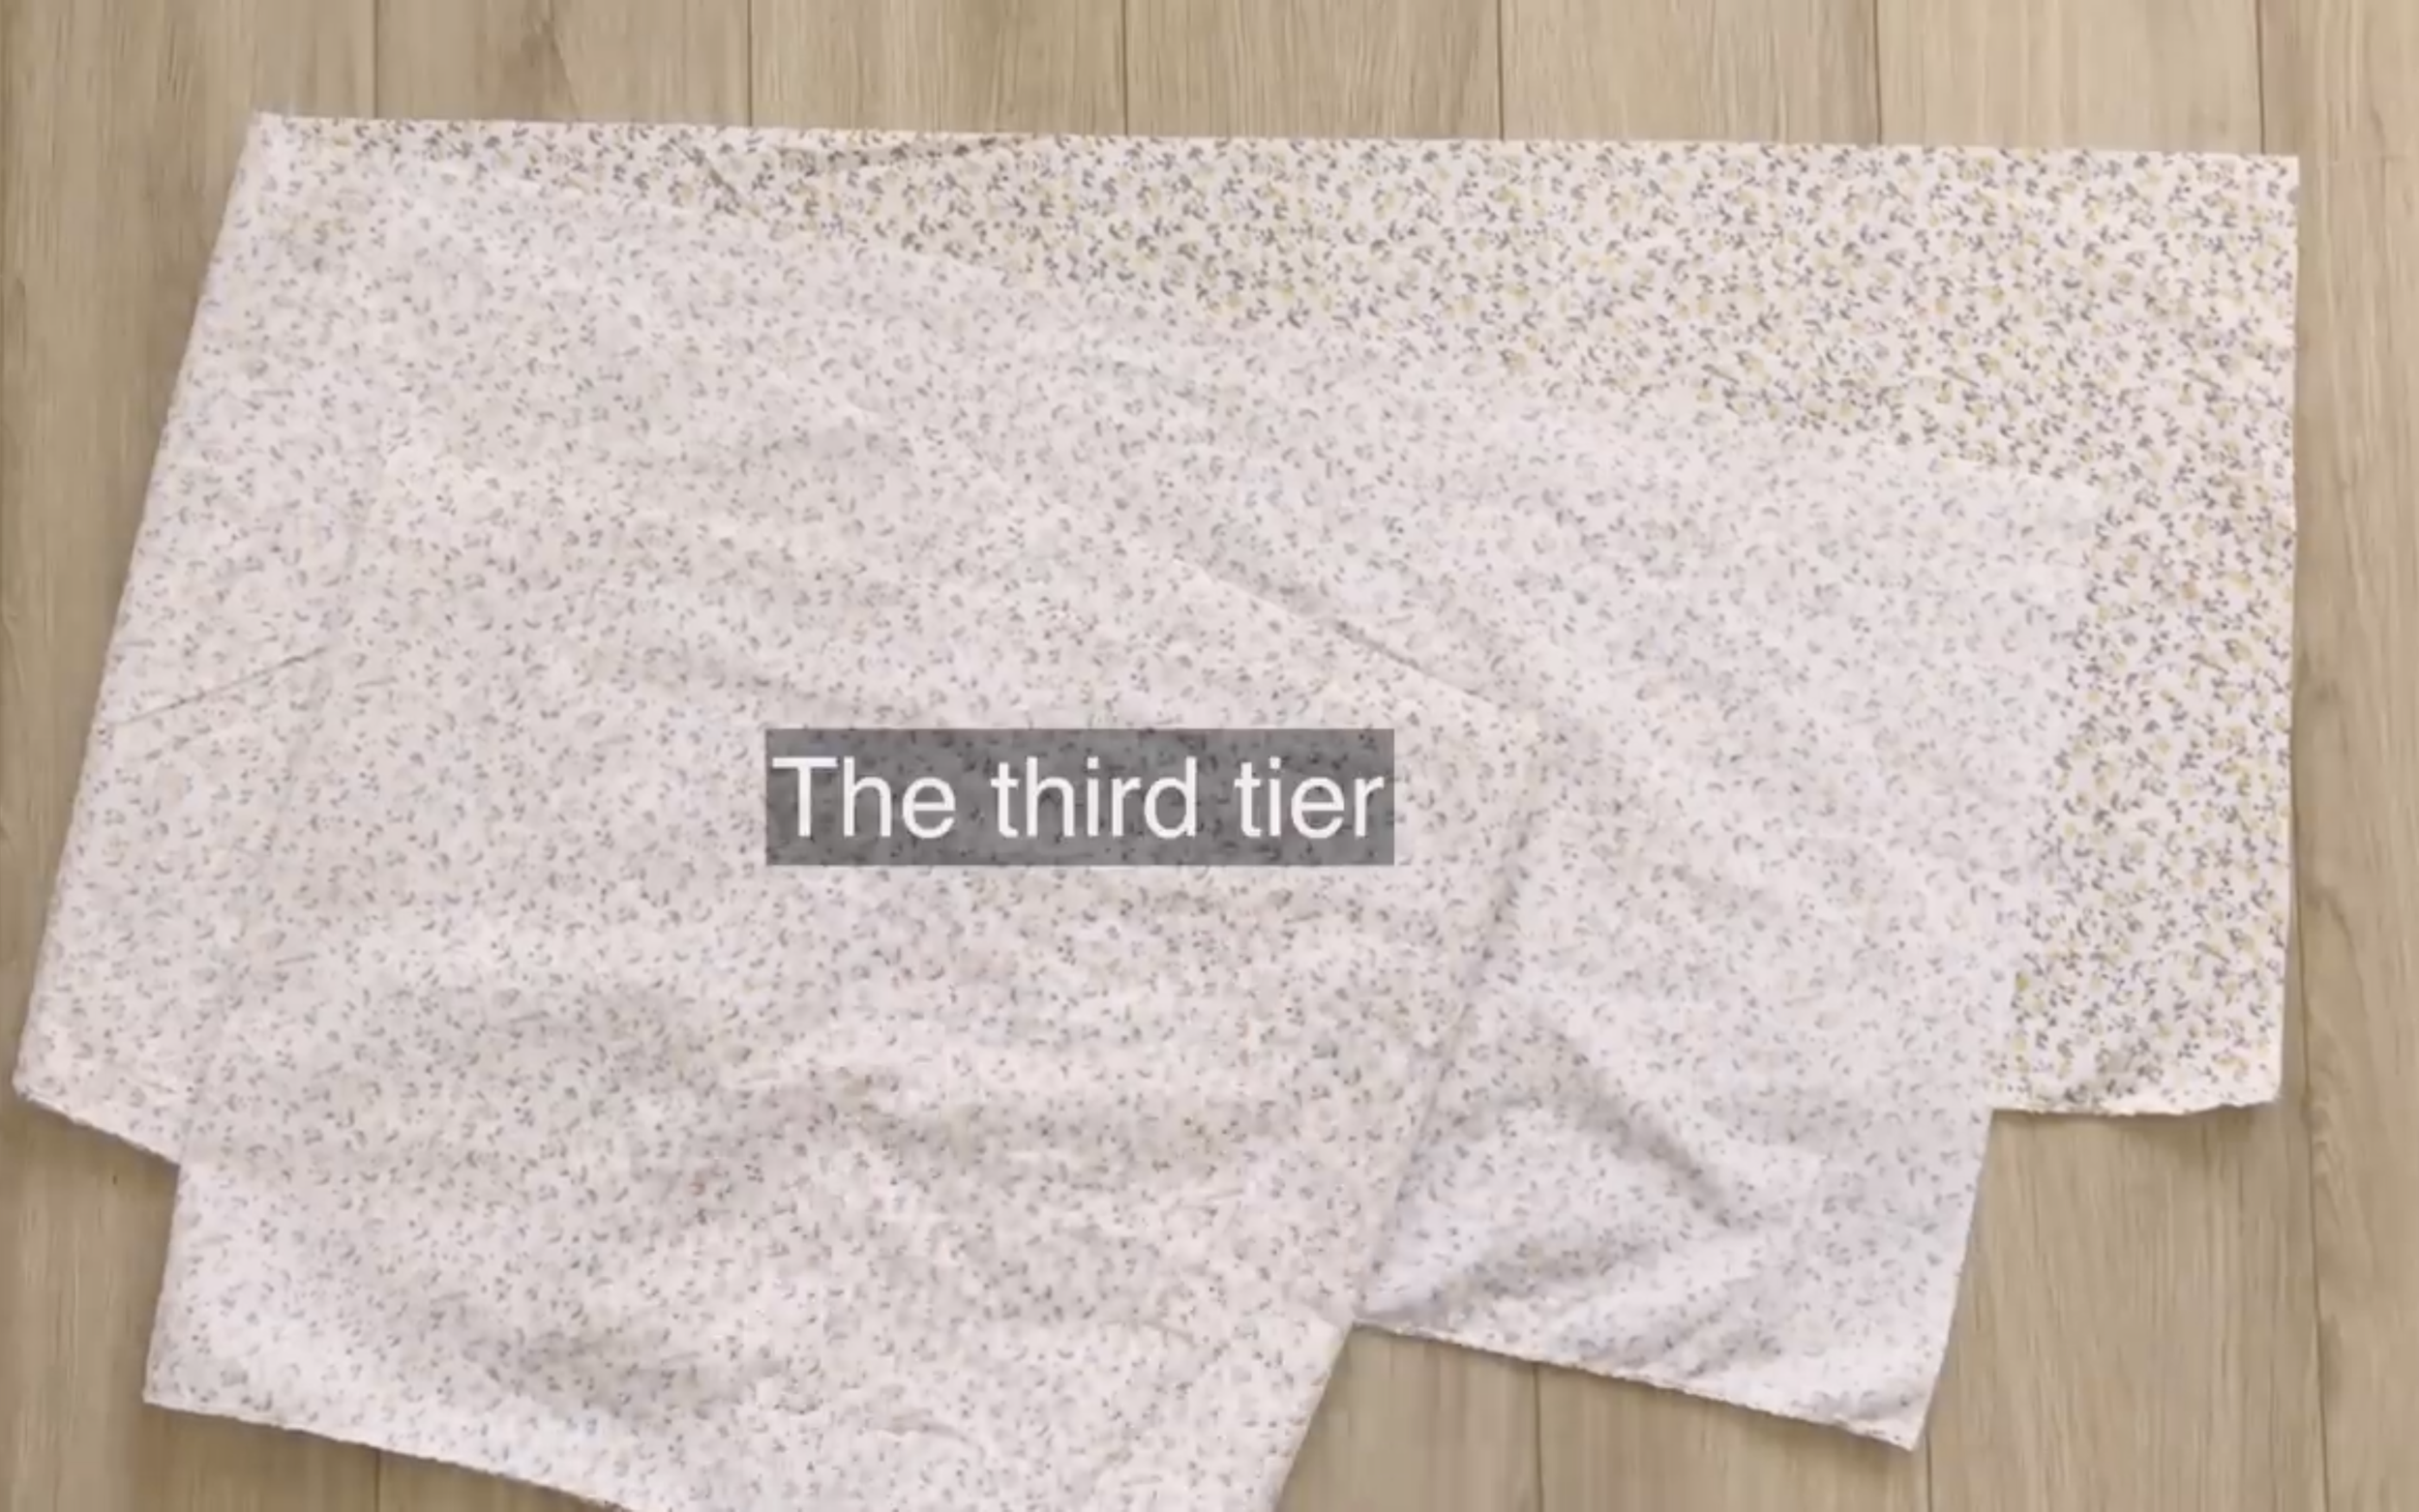
Moving to the third tier, make a rectangle with 32 cm length and 256 cm width which is 1.6 times the width of the second tier.
Connect two length lines together first.
Then at one width line, fold the end fabric inside two times and sew to finish the end of the skirt.
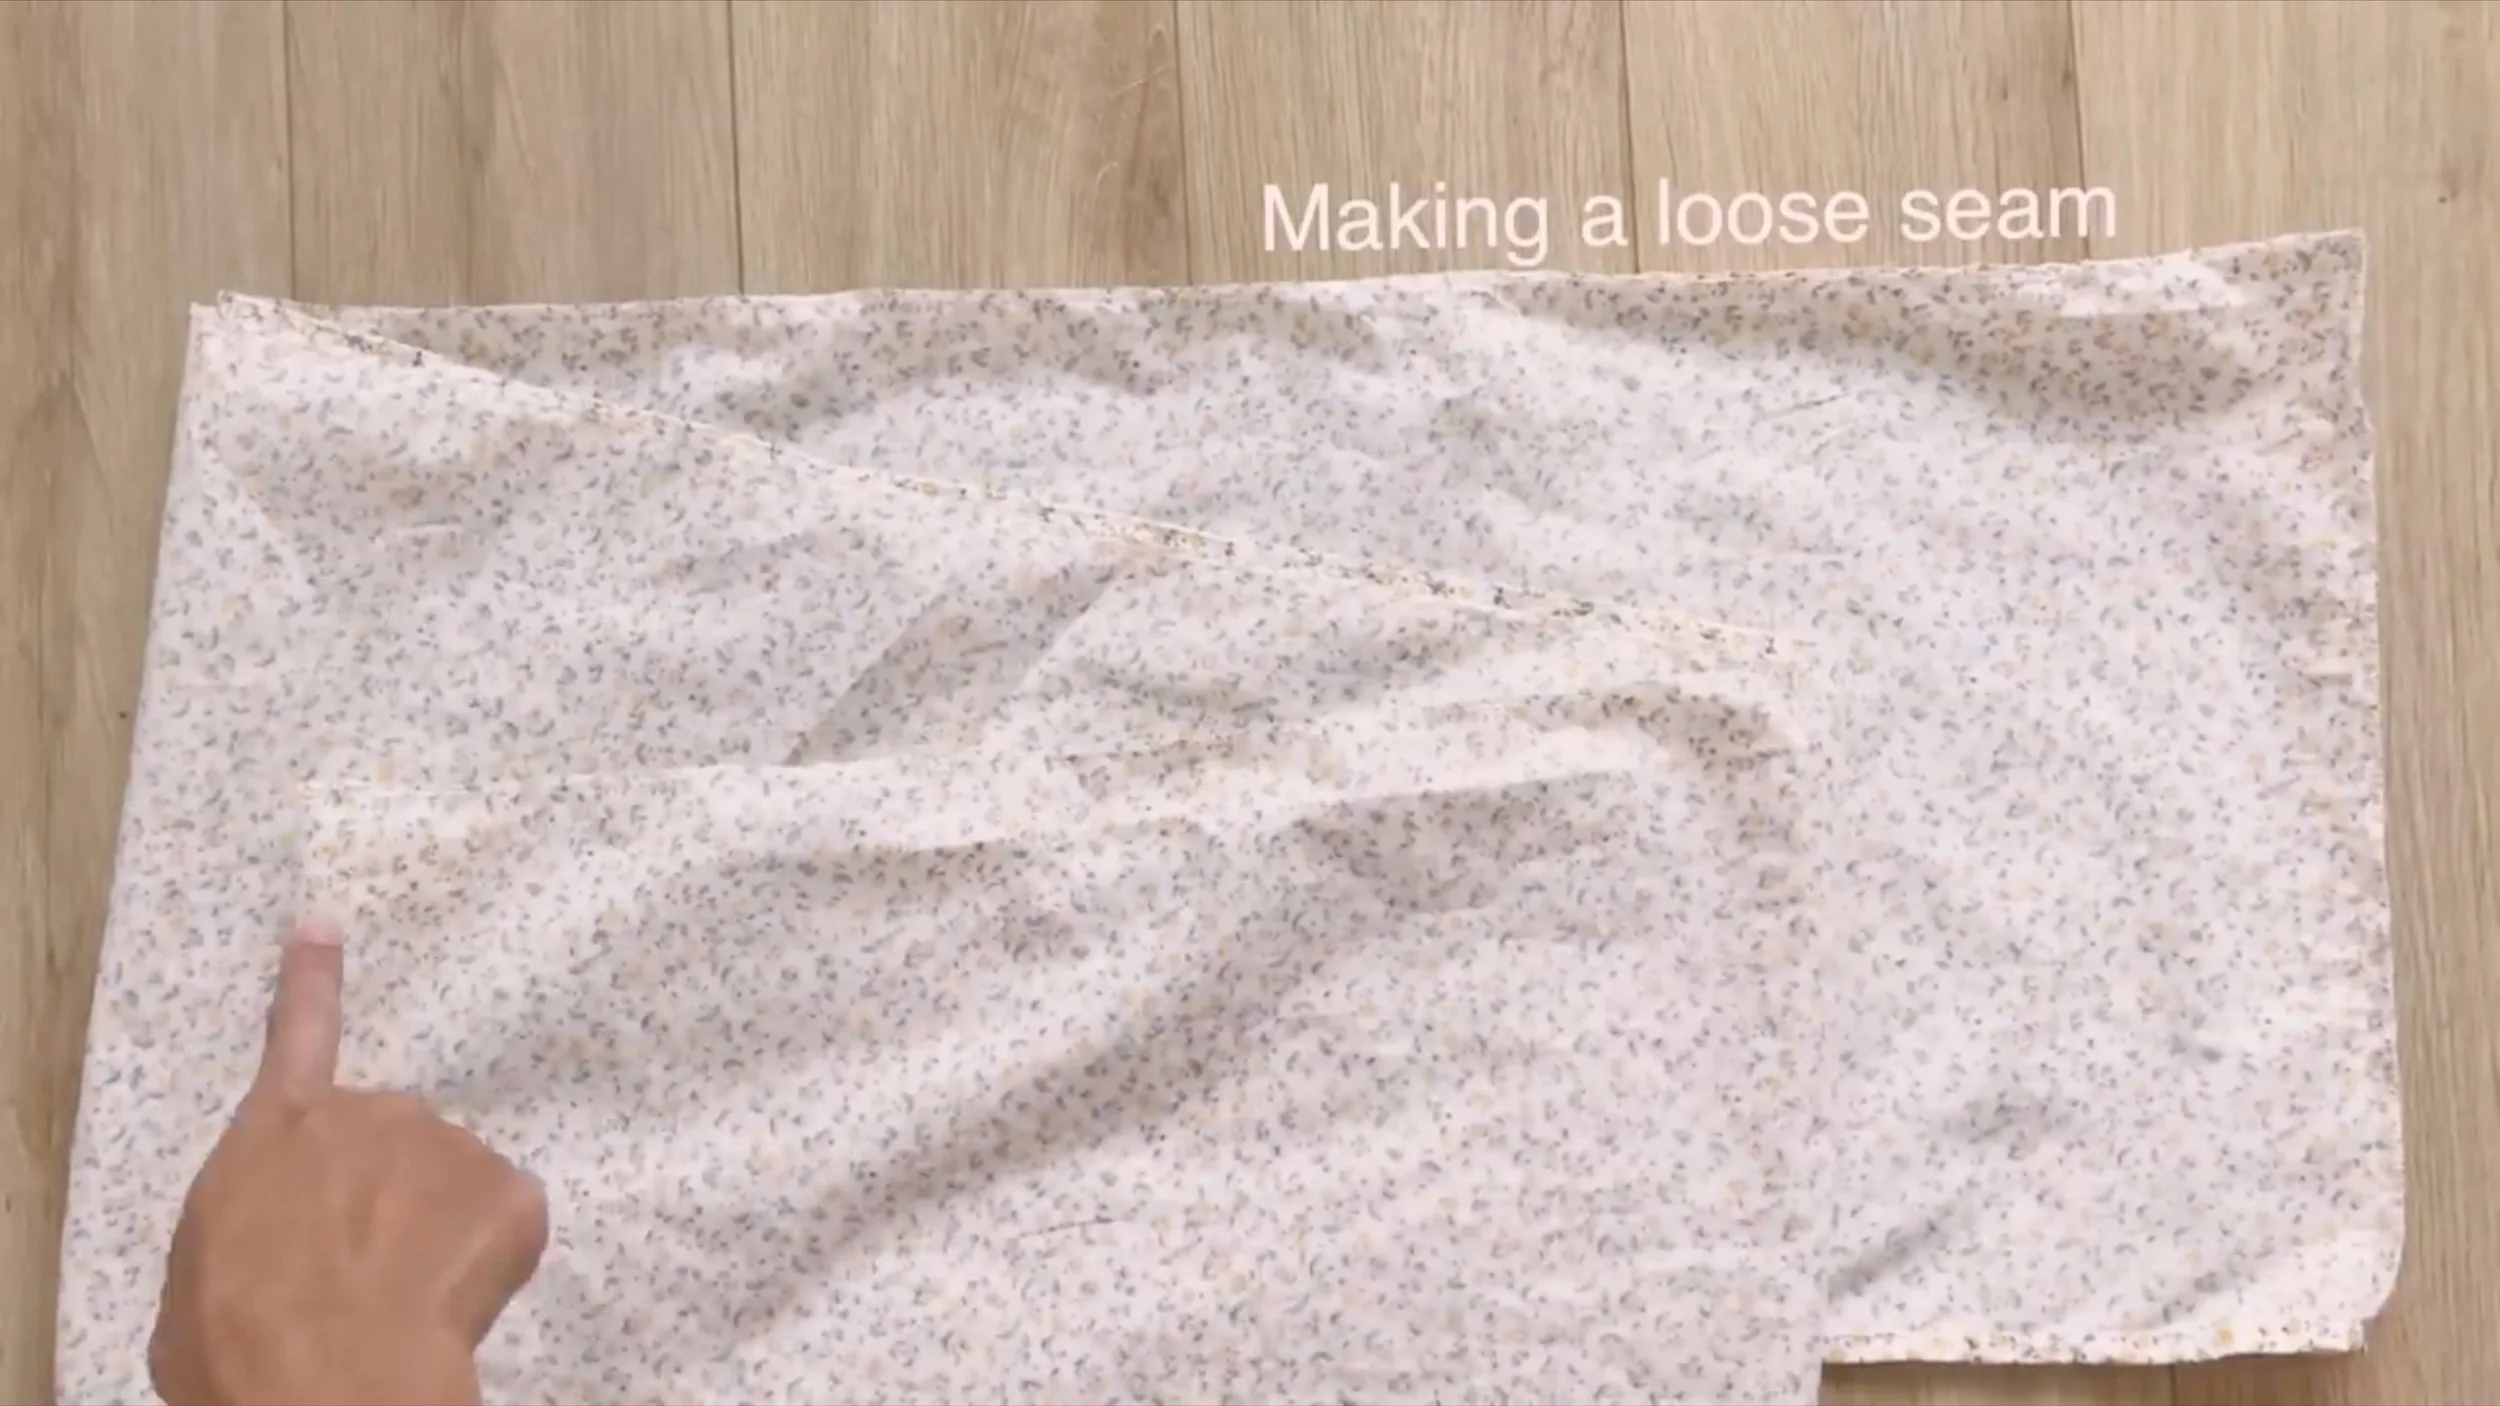
After that, make a loose seam at the other width line to create a gathering fabric there.
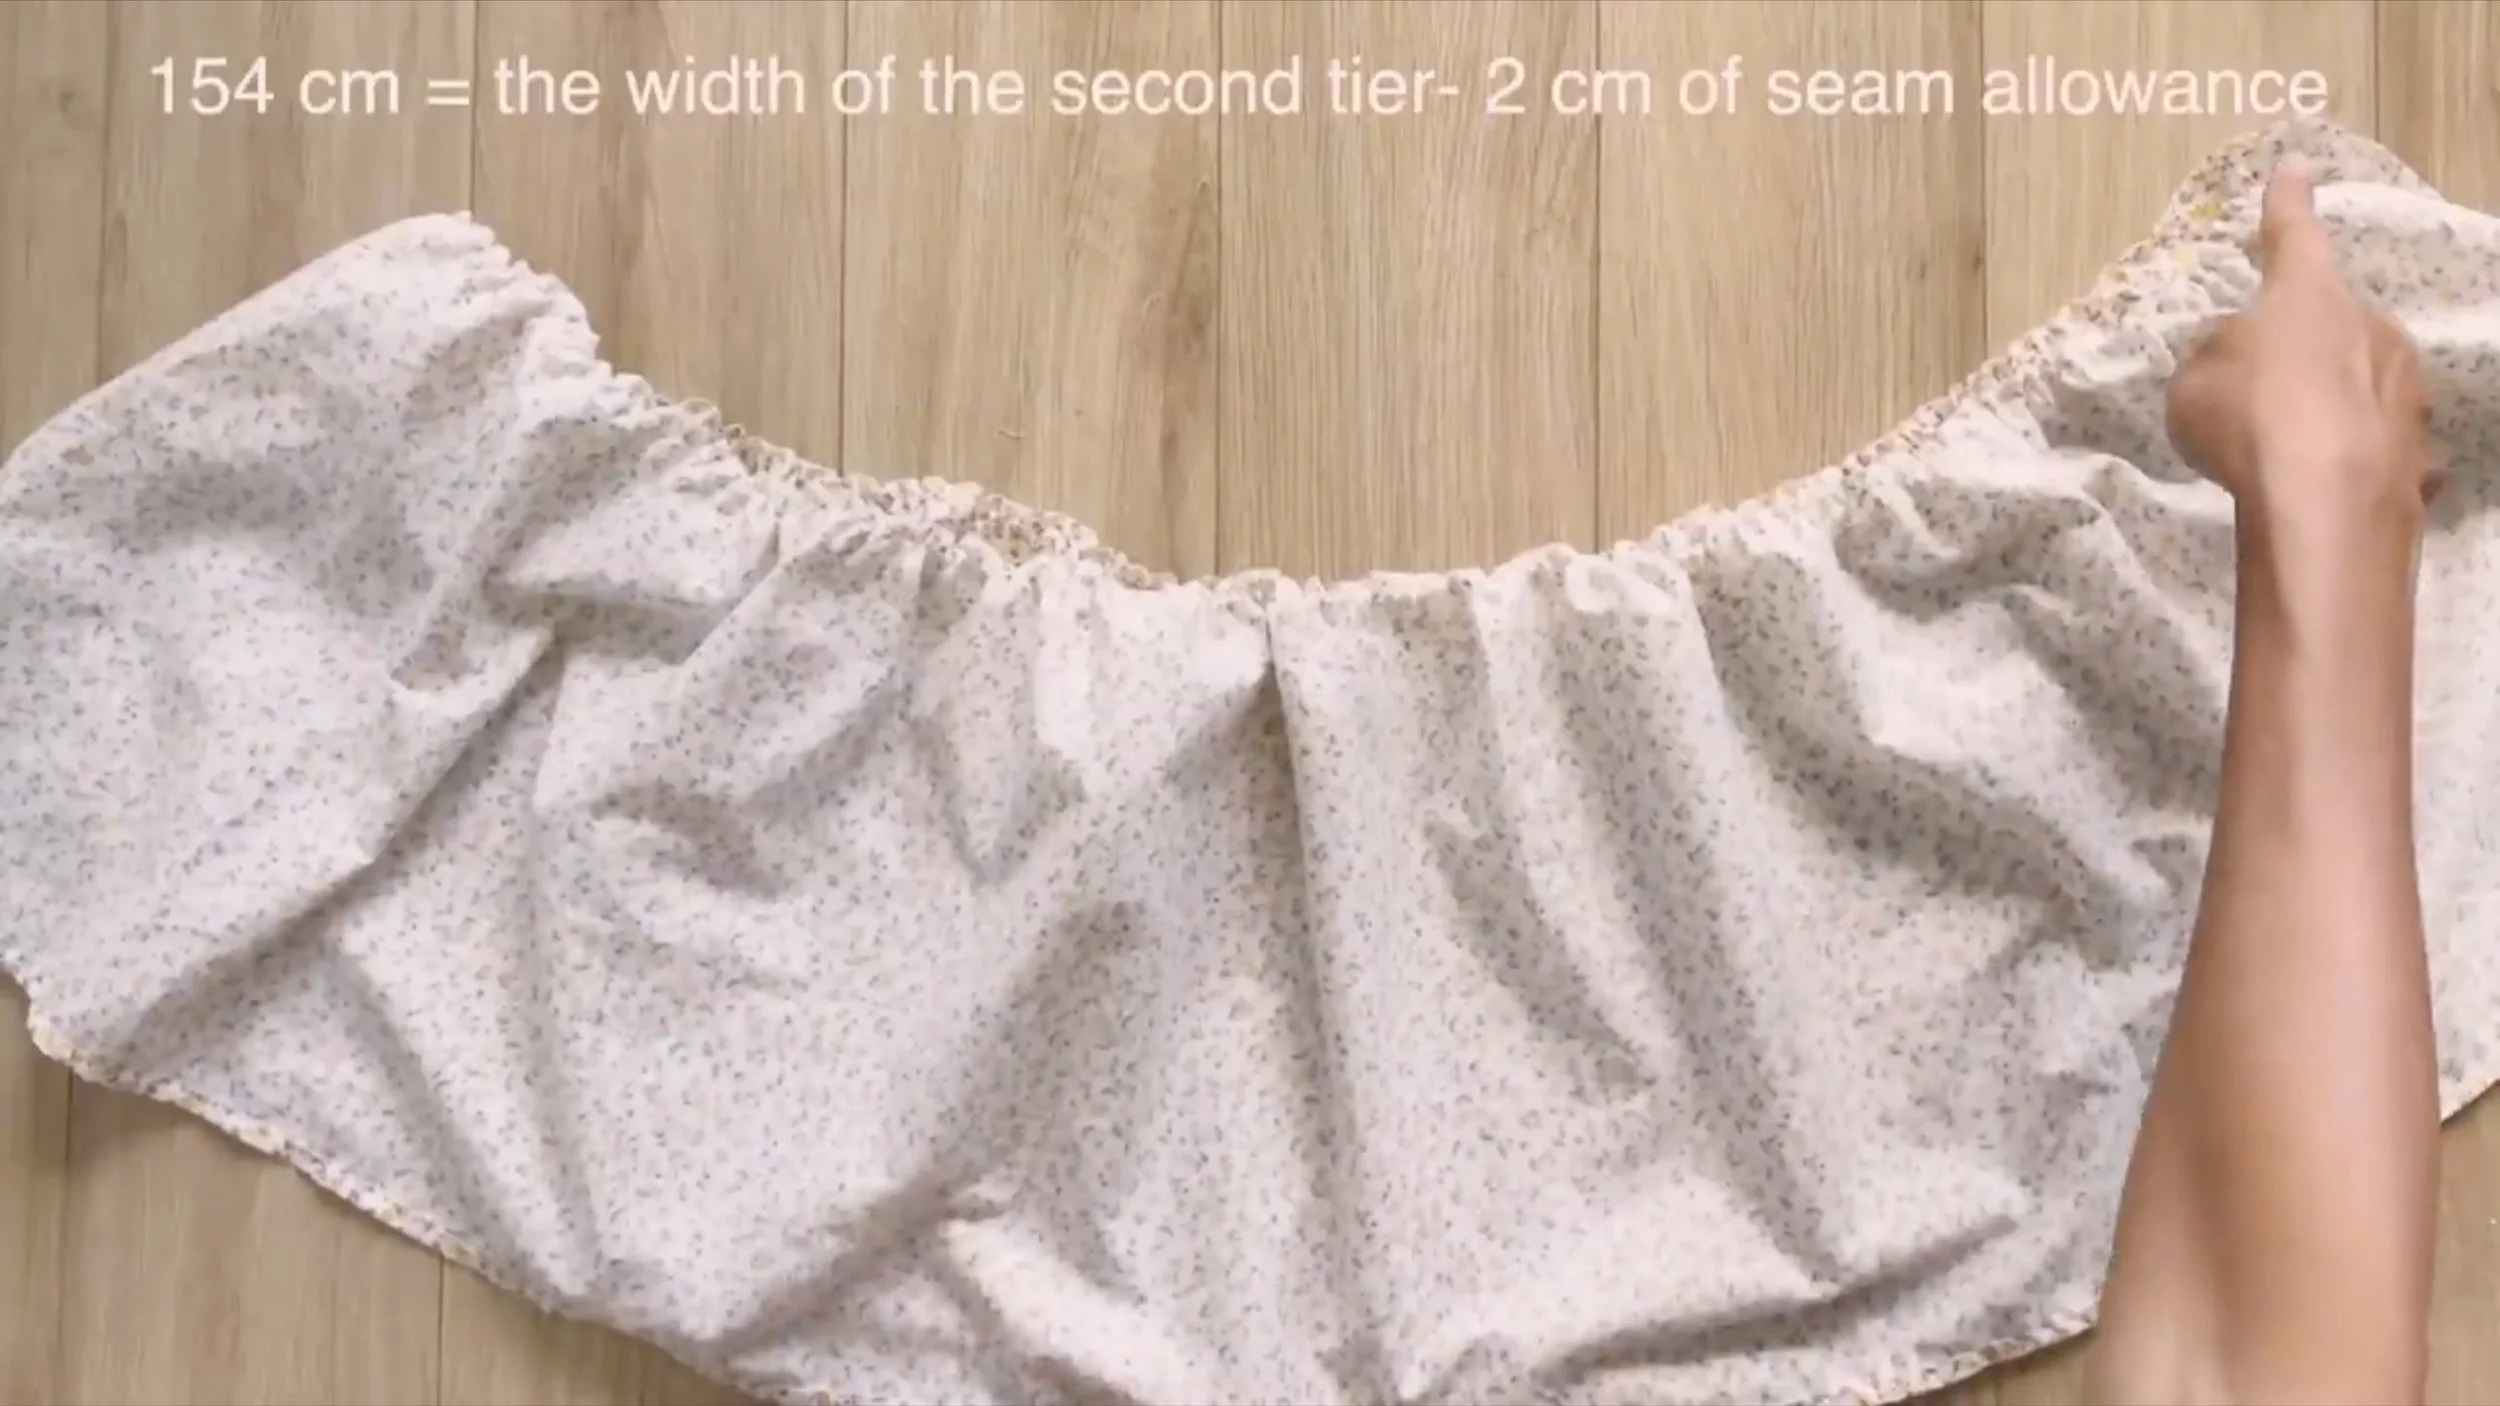
The final width of this part will be 158 cm which is the width of the second tier minus 2 cm of seam allowance.
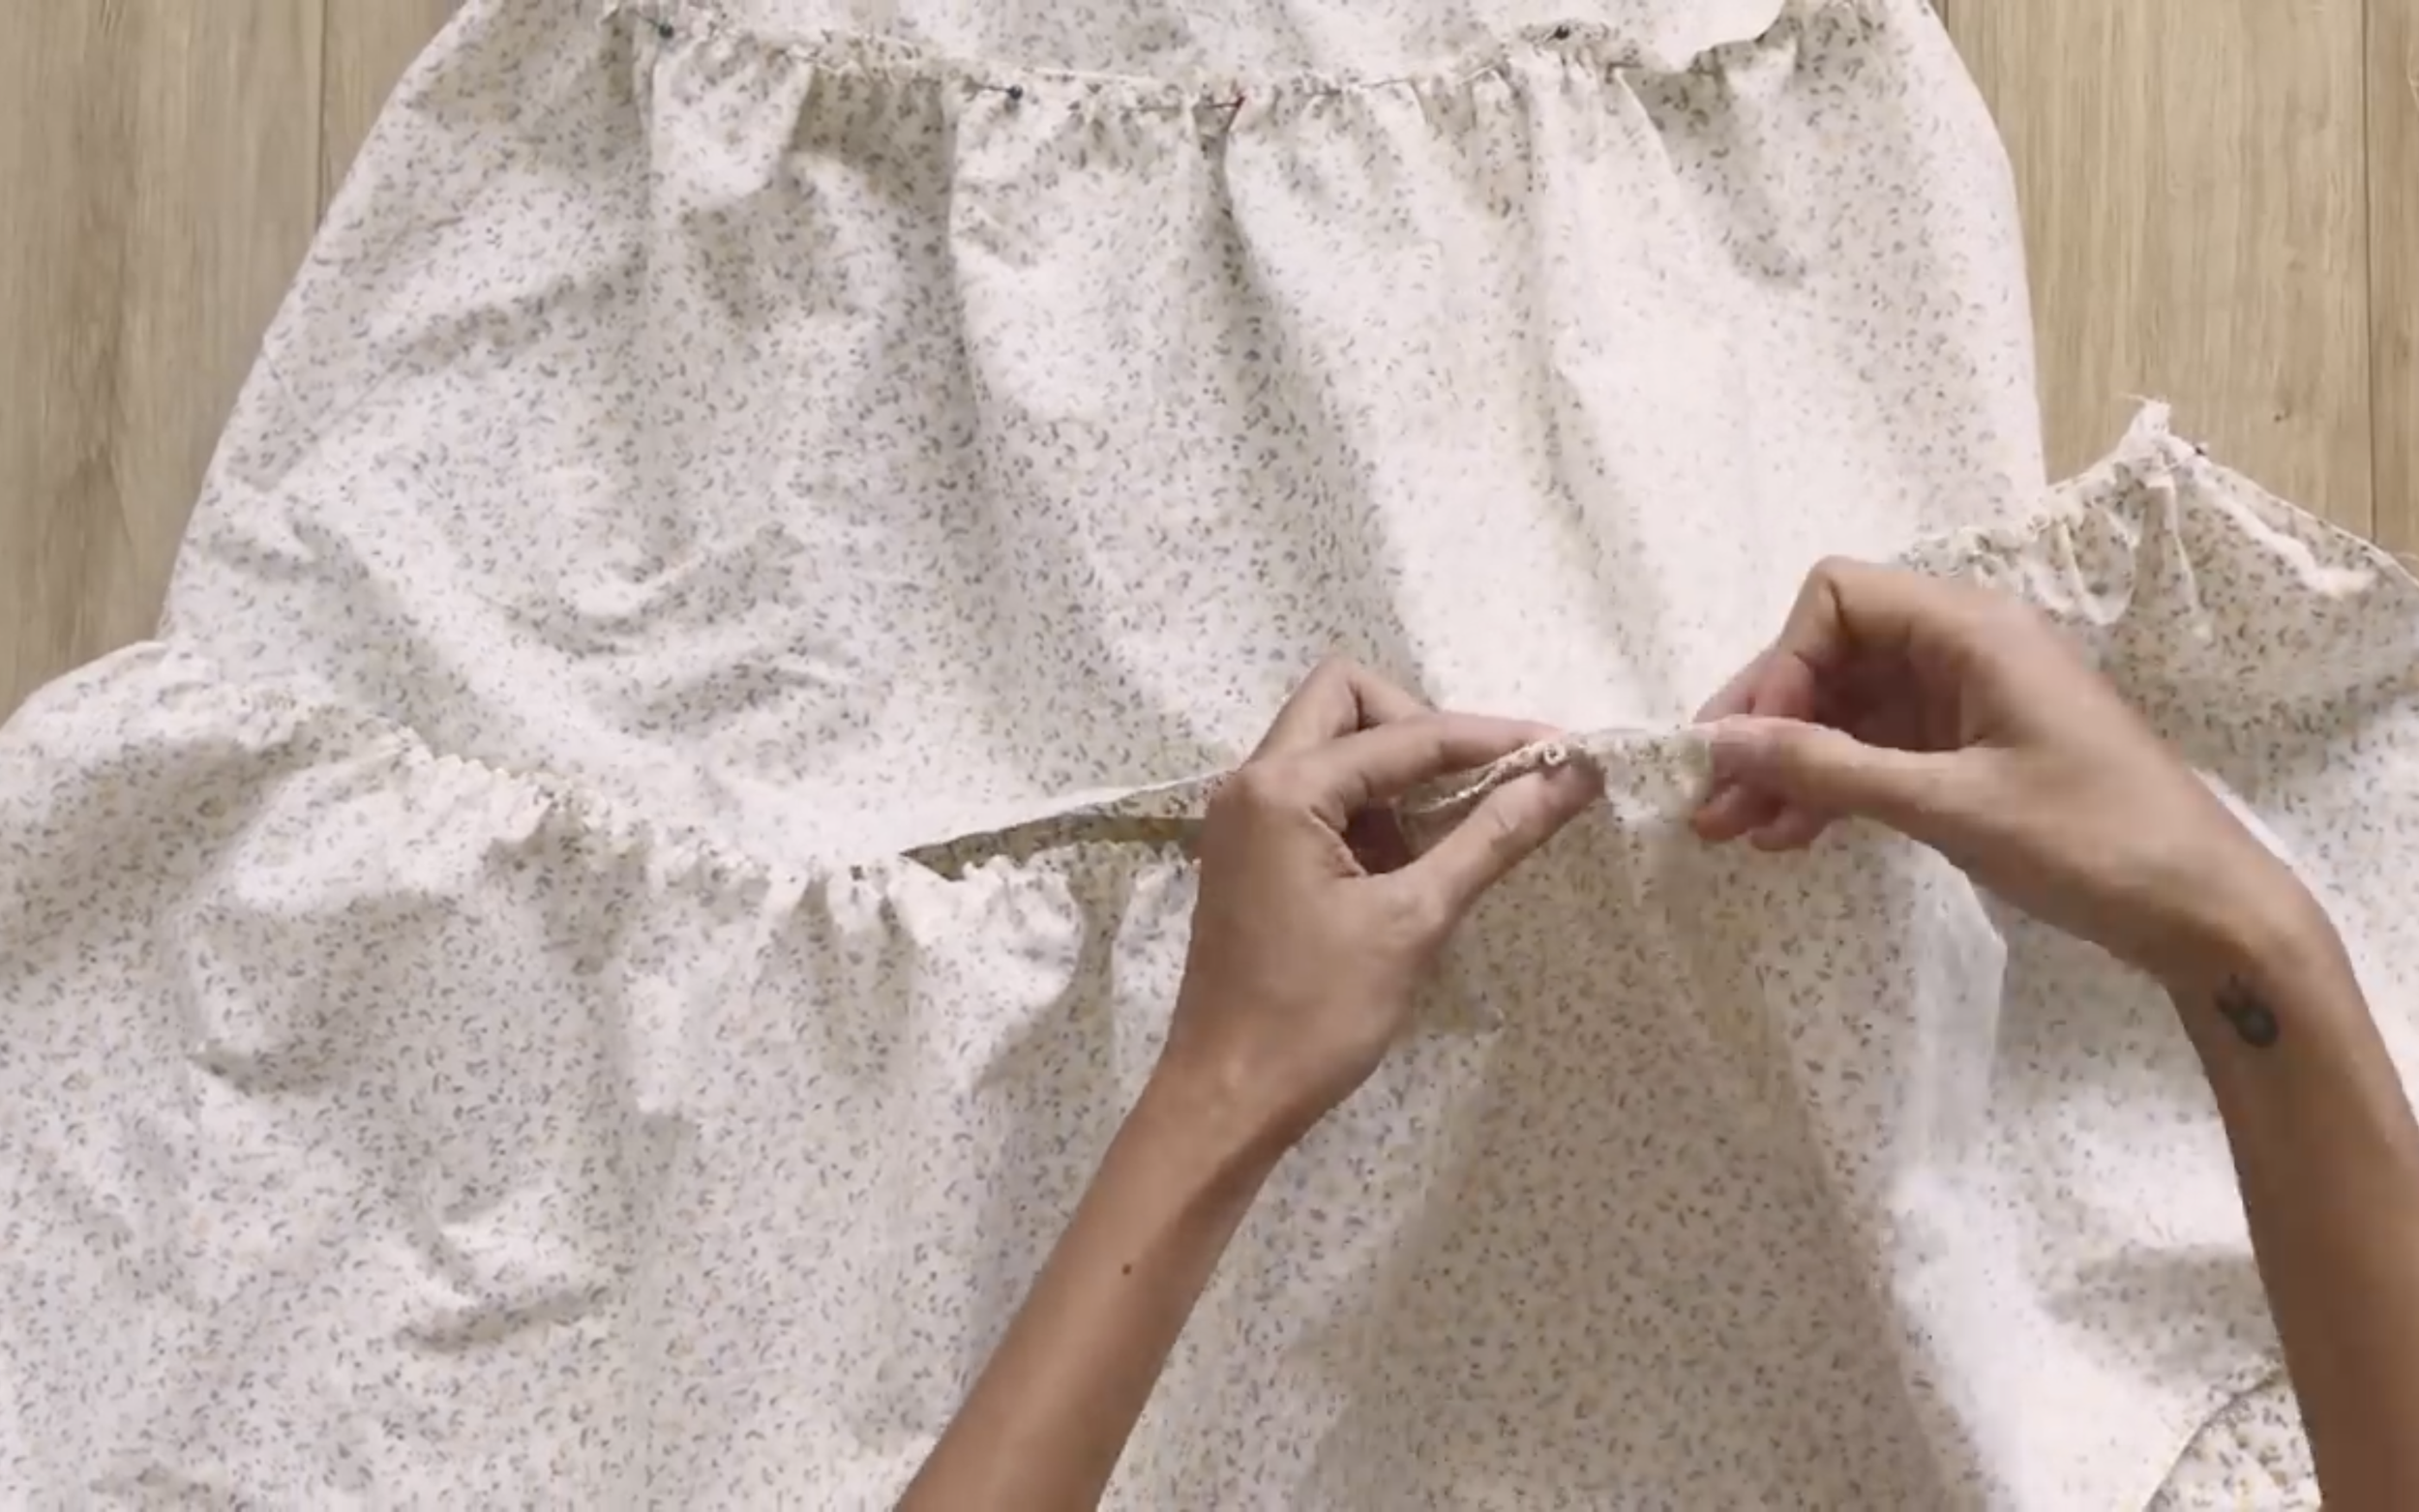
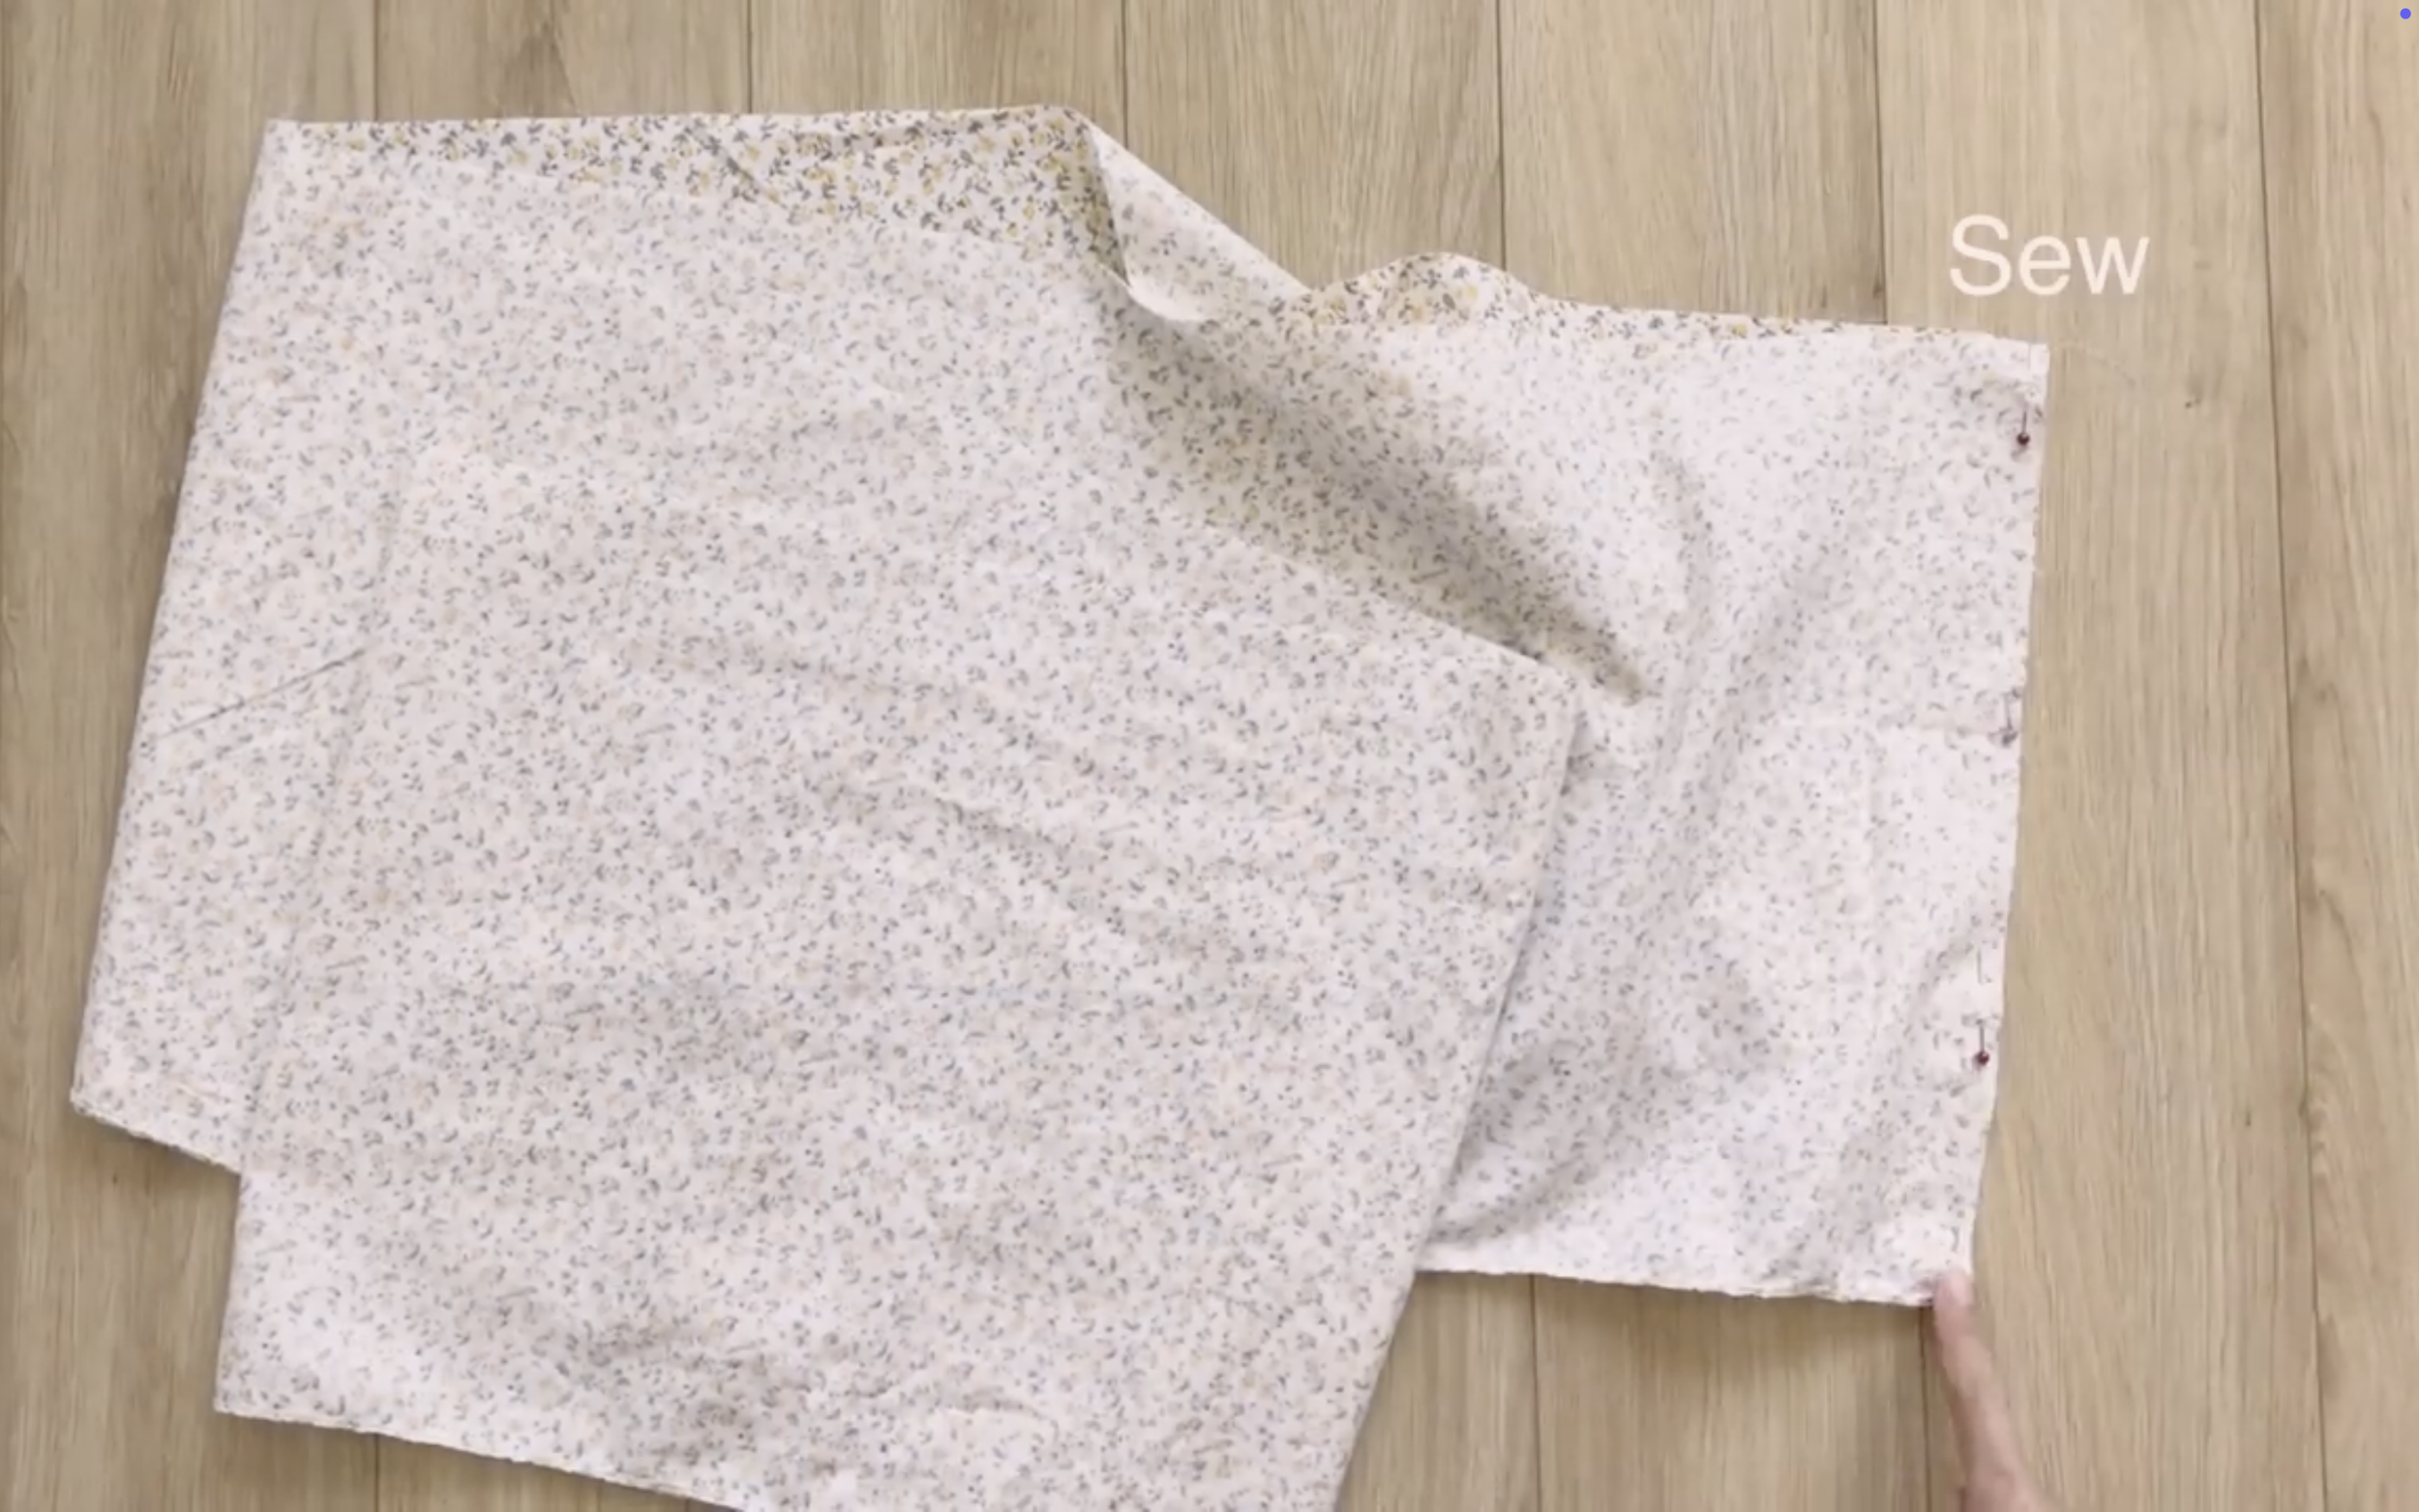
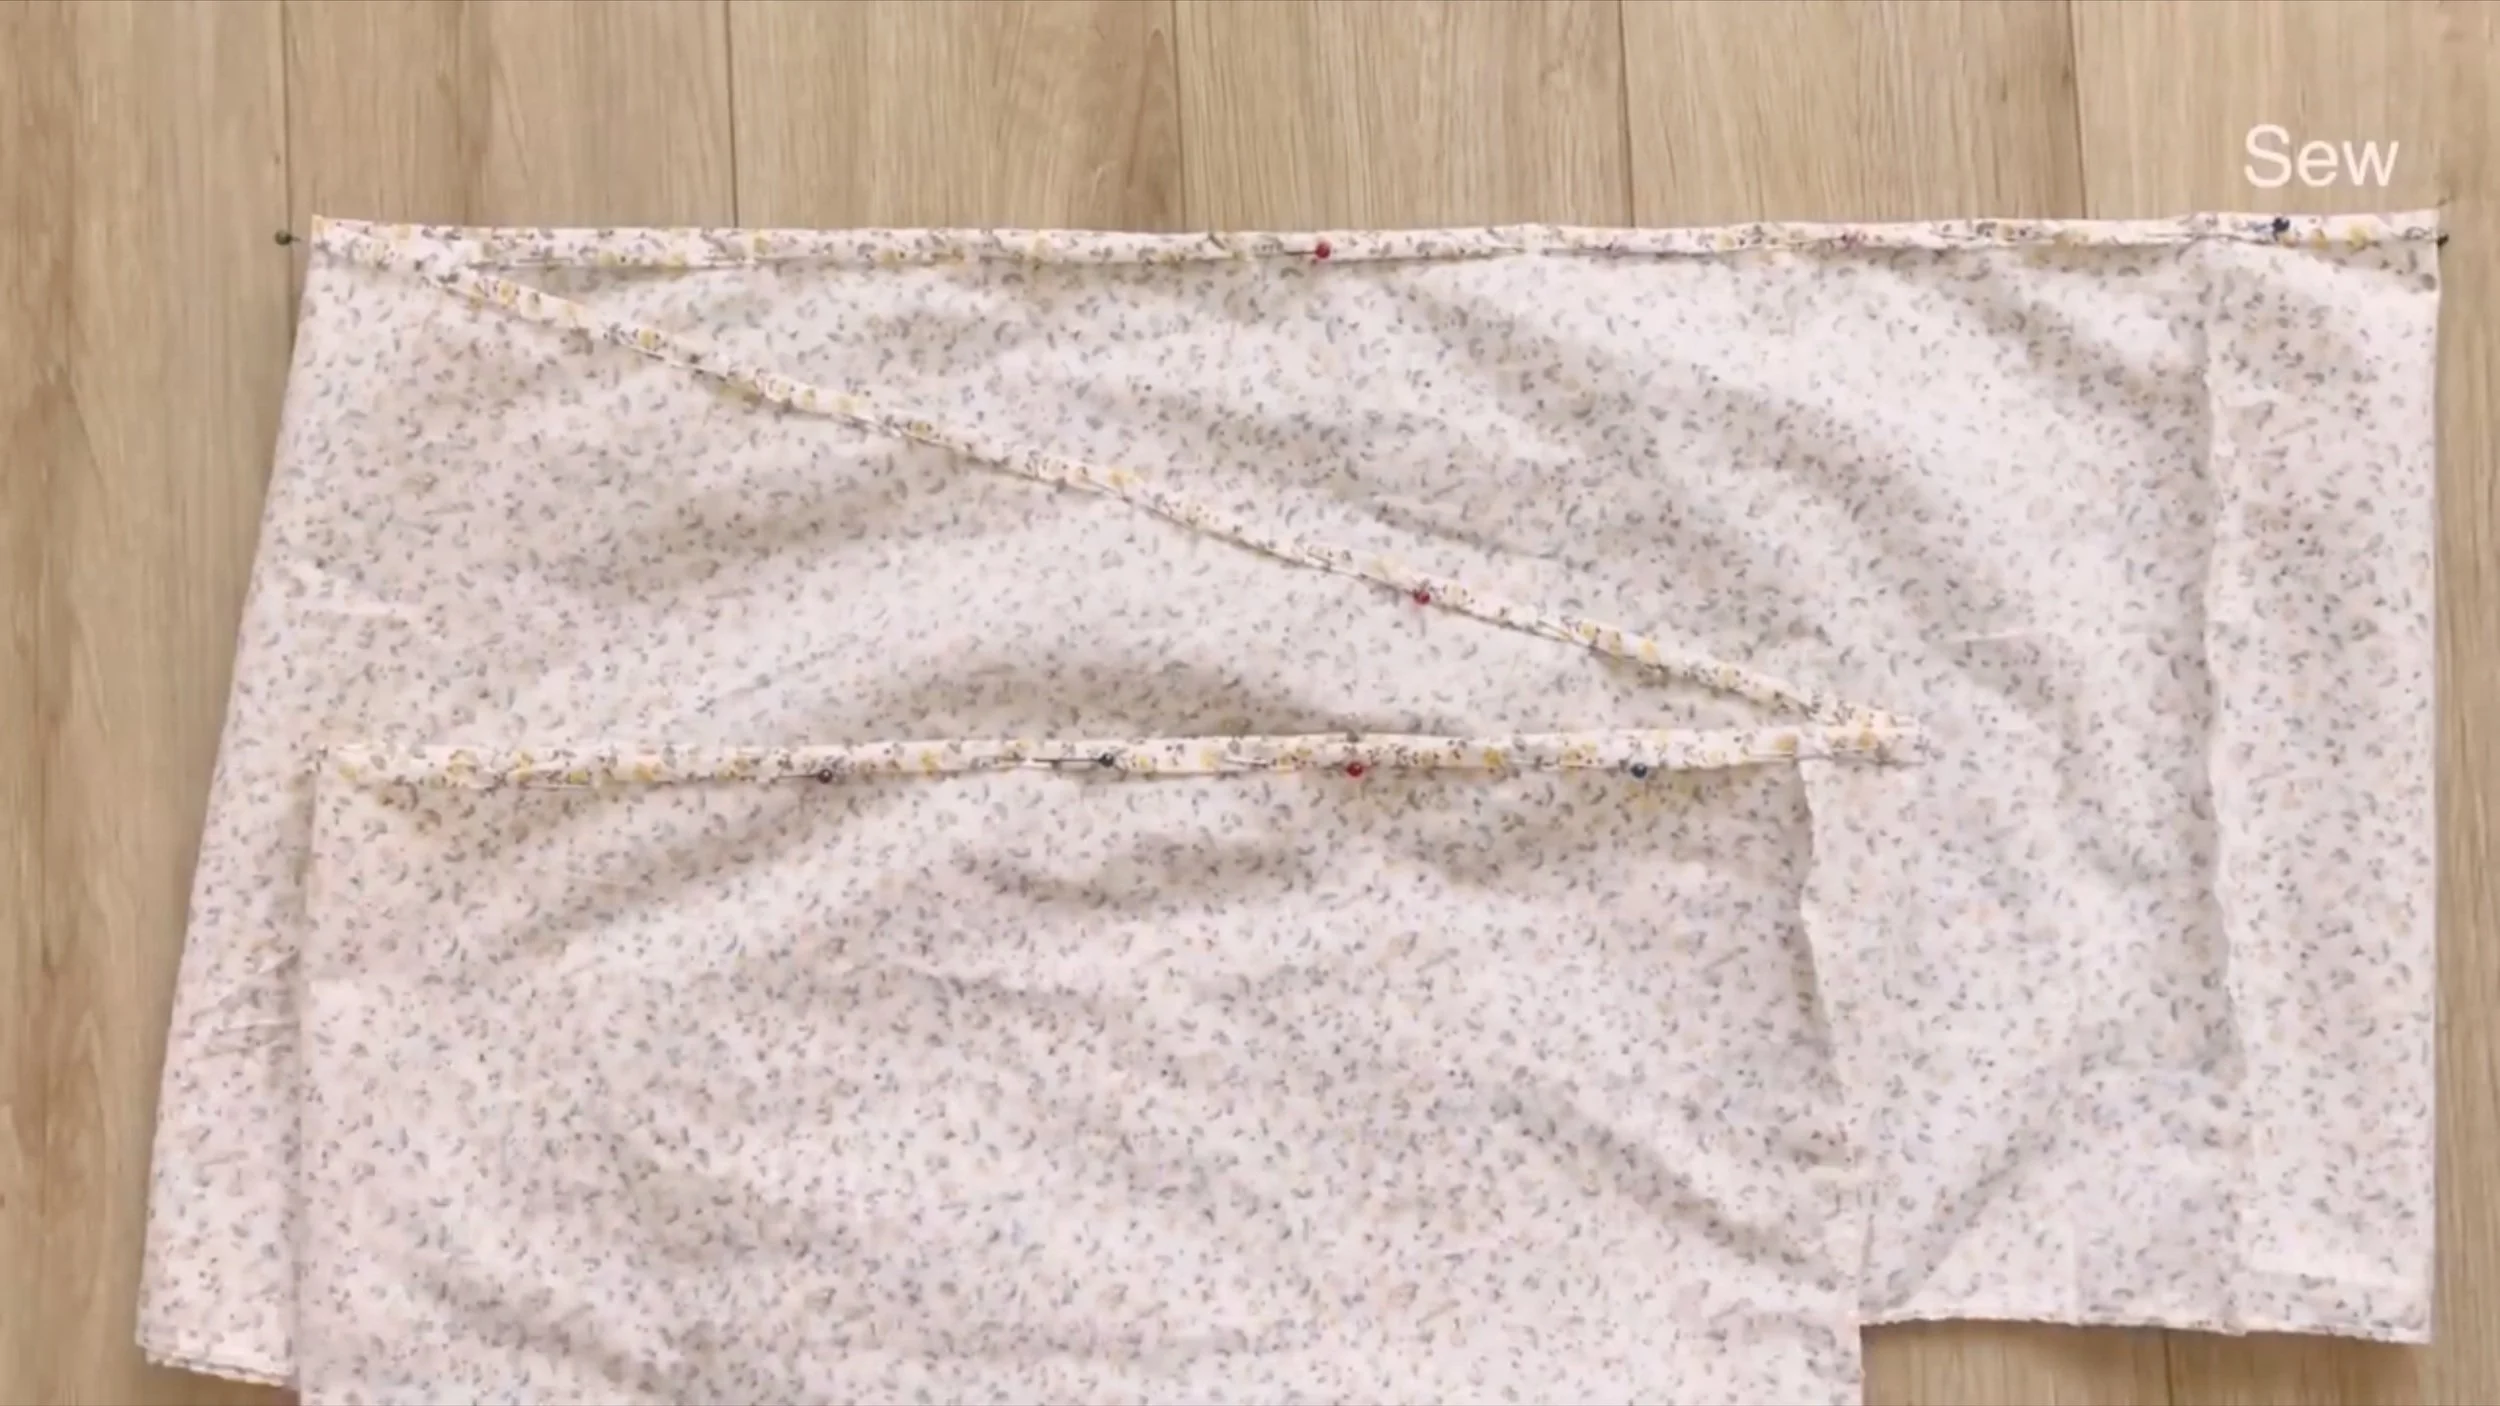
Now connecting all the tiers of the skirt together then sewing.
DIY MIDI SKIRT without zipper in 2 styles | Tiered skirt & Ruffle hem with leg slit skirt
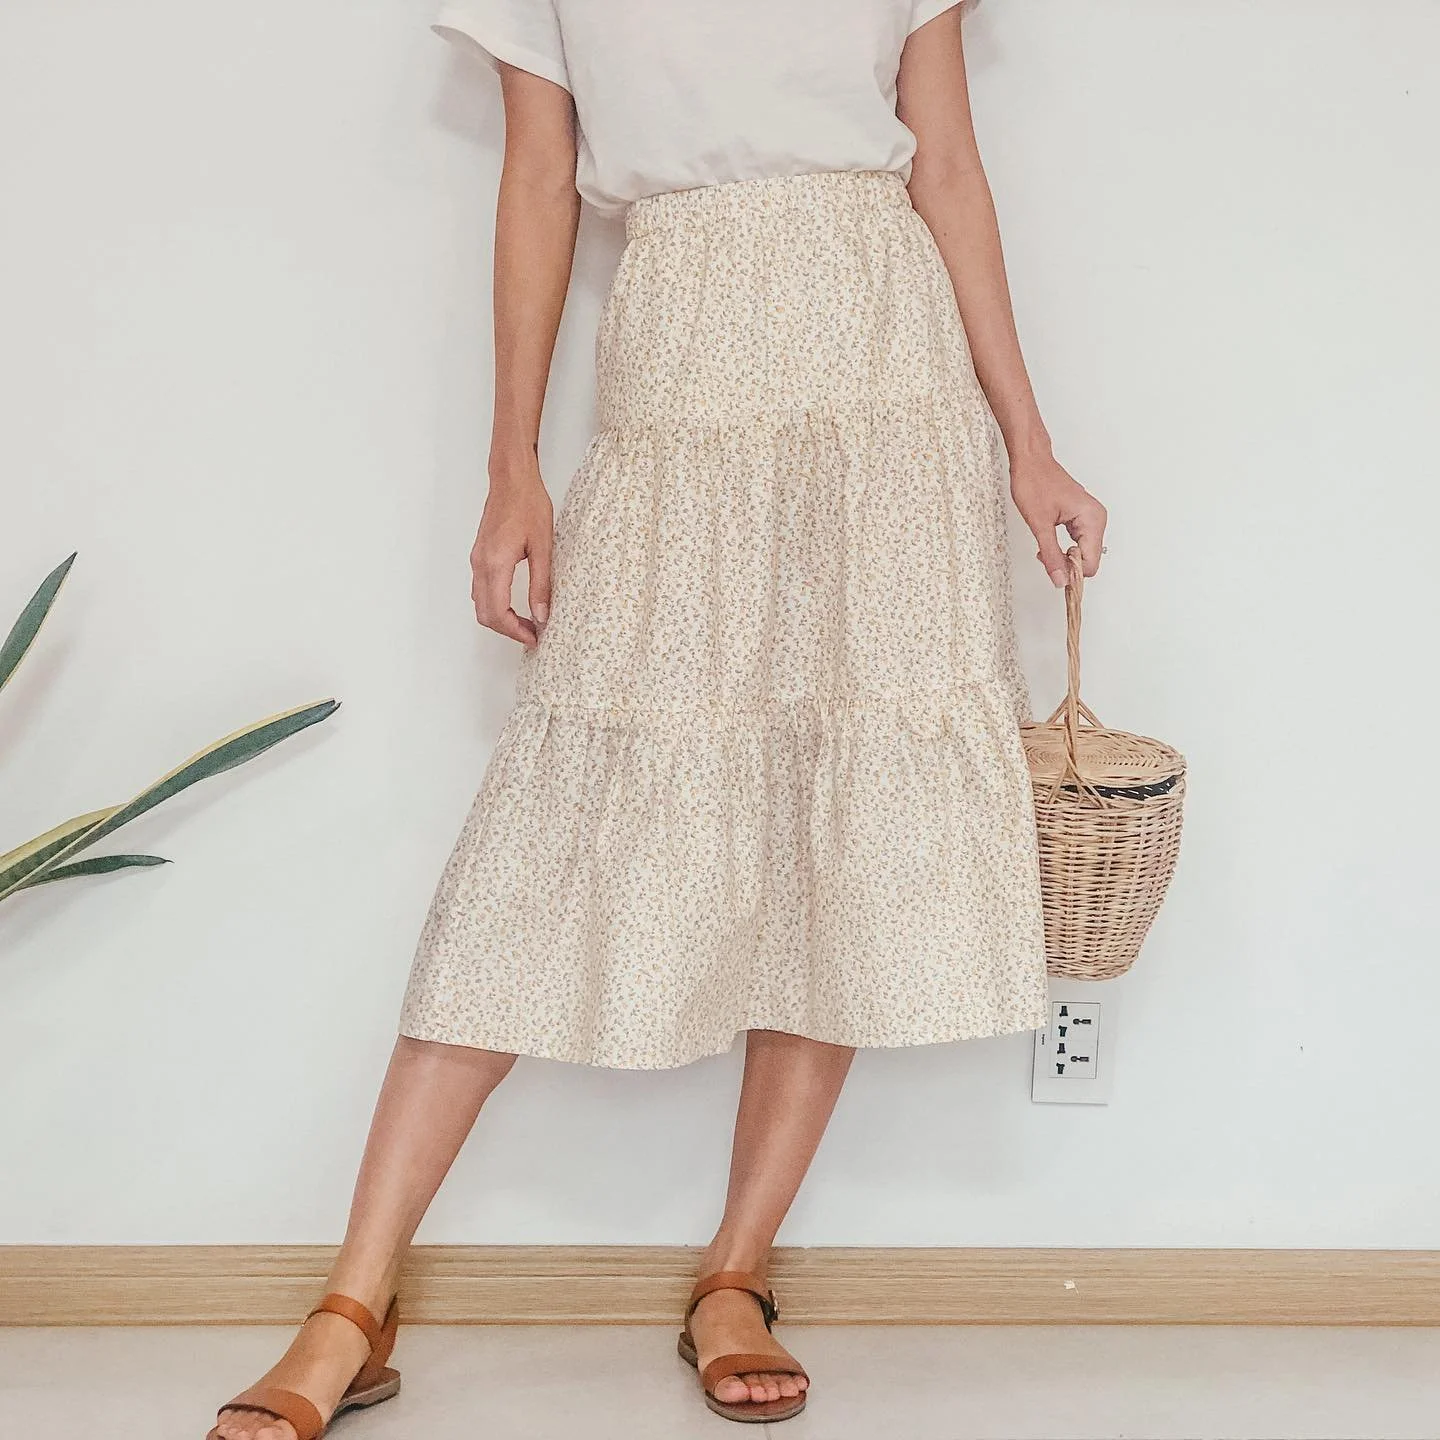
And here’s my final result! This skirt turned out super cute and incredibly comfortable — just right for your everyday summer outfit.
Hope you’ll give it a try and enjoy making it too.
2. RUFFLE HEM SKIRT WITH LEG SLIT
The first step is making the main part of the skirt.
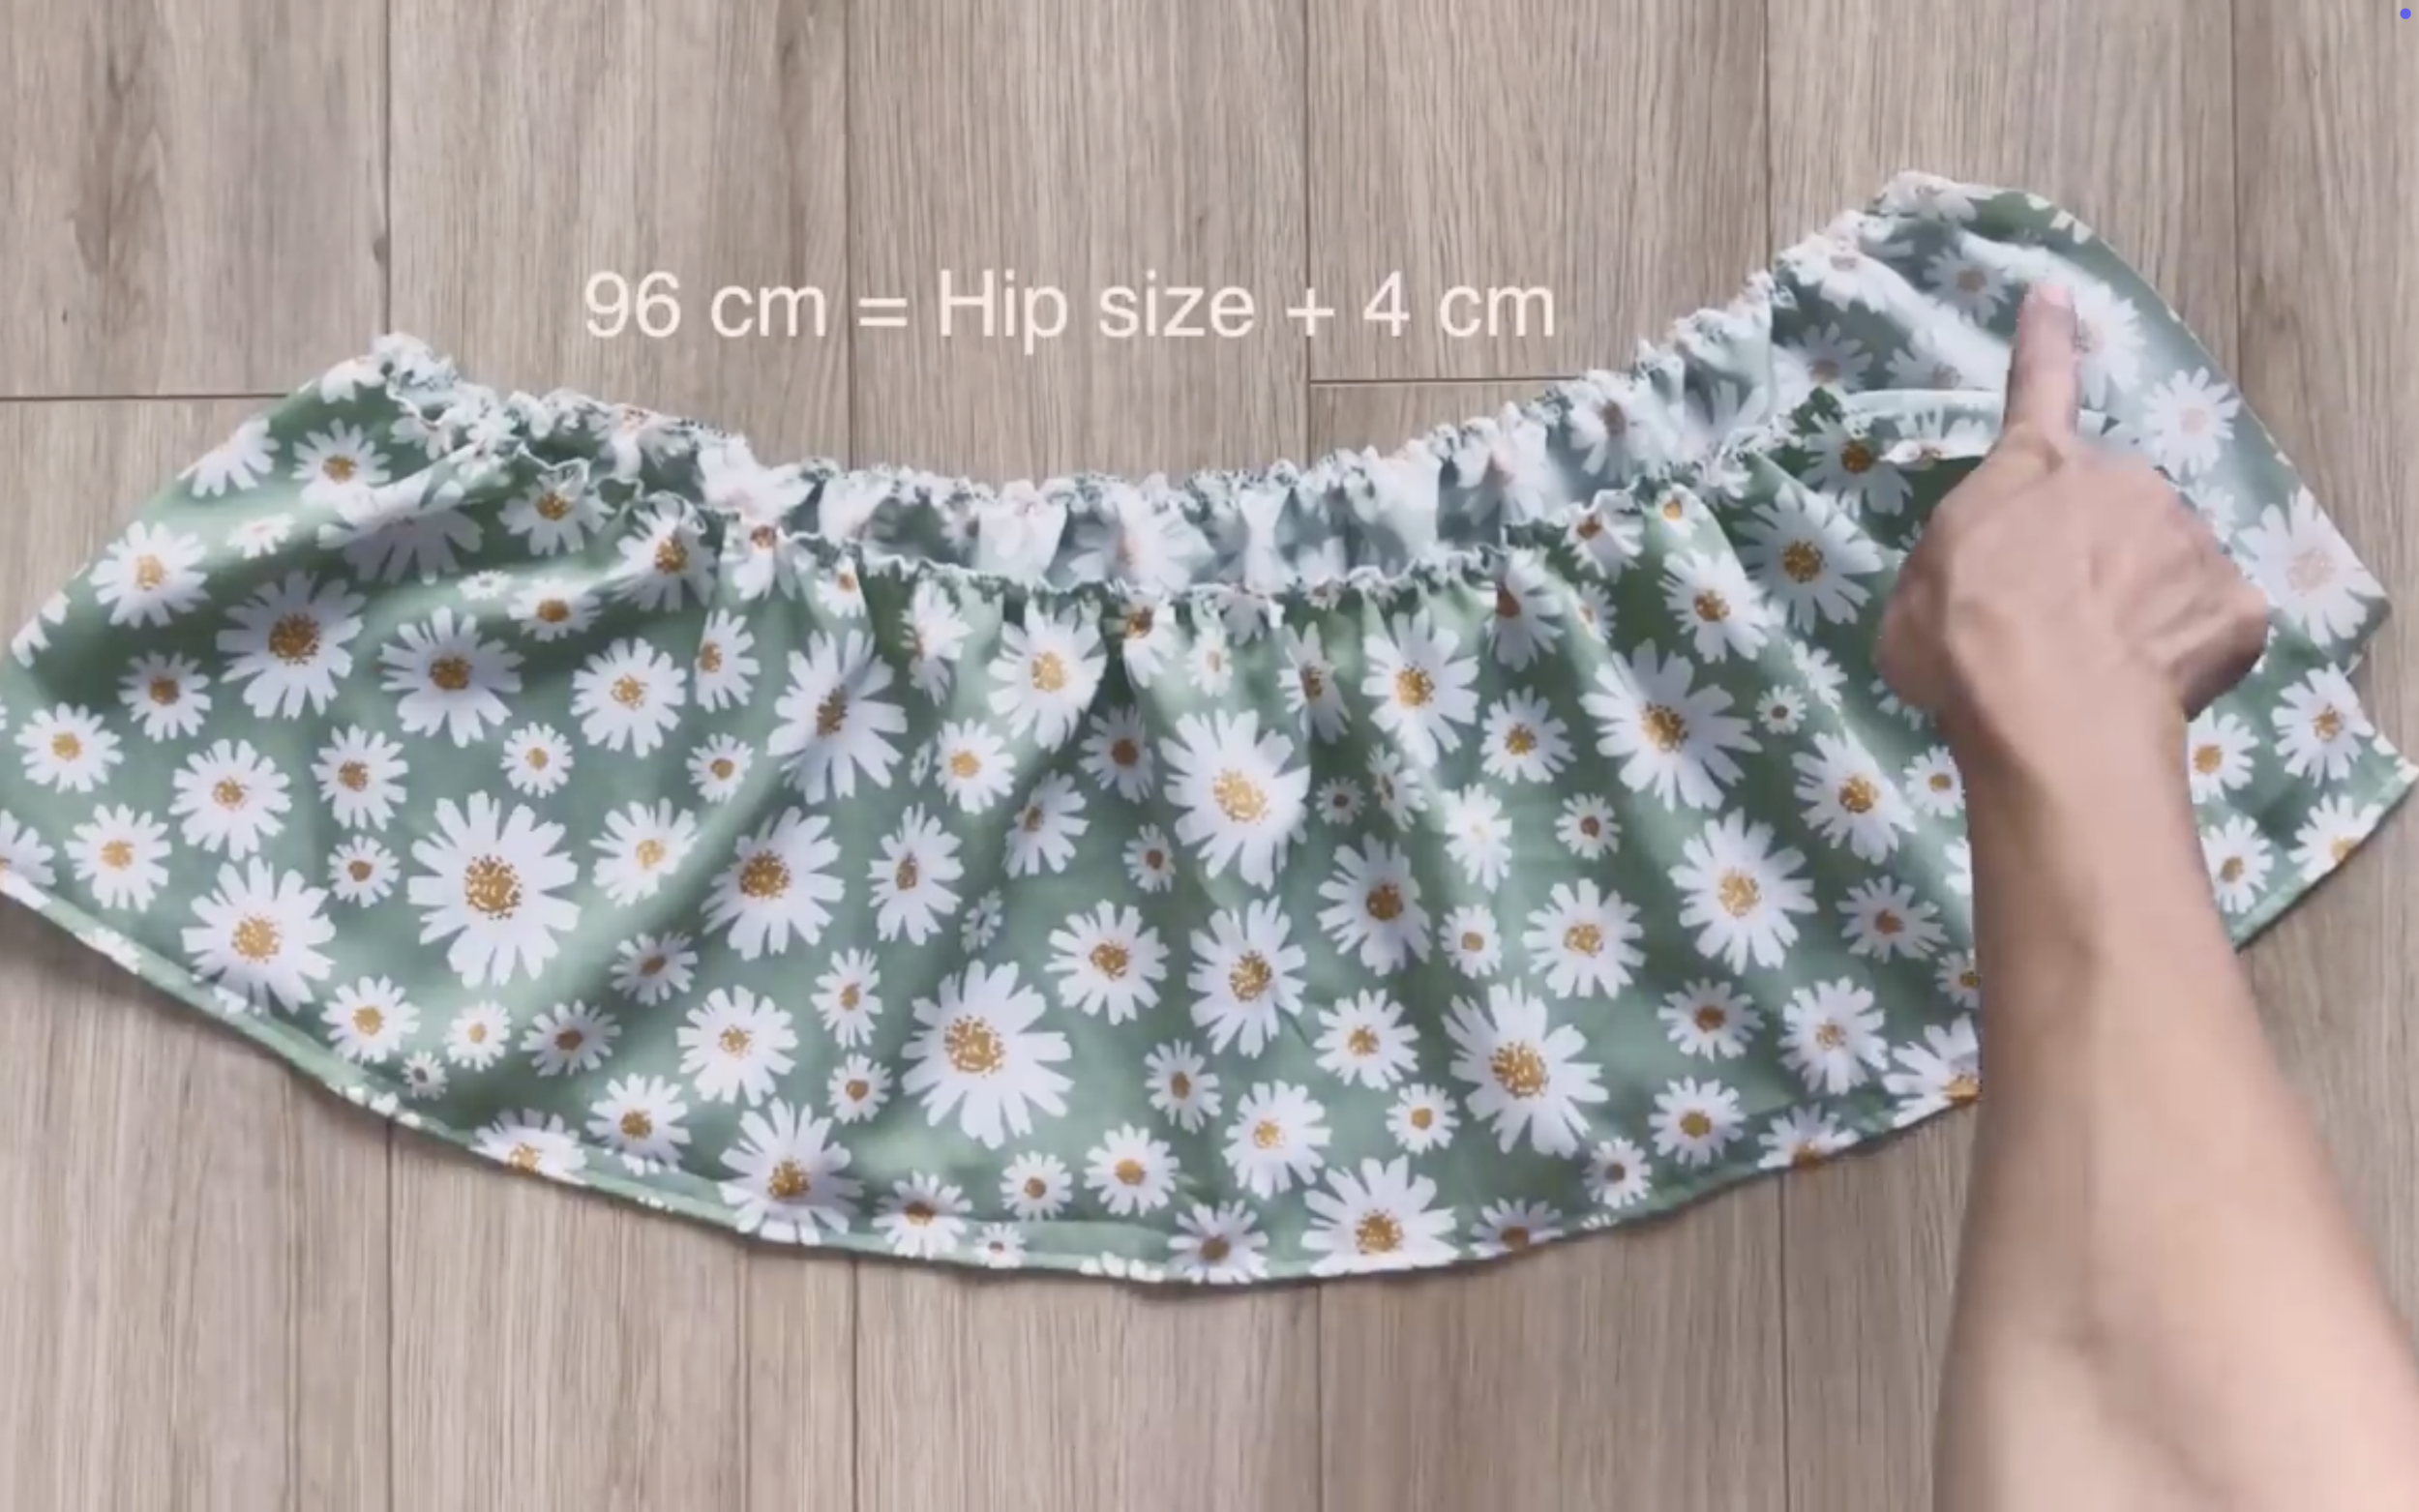
Cut a rectangle with 60 cm length which is the length from the belly button to the knee plus 2 cm for seam allowance and 96 cm width which is the hip size plus 4 cm.
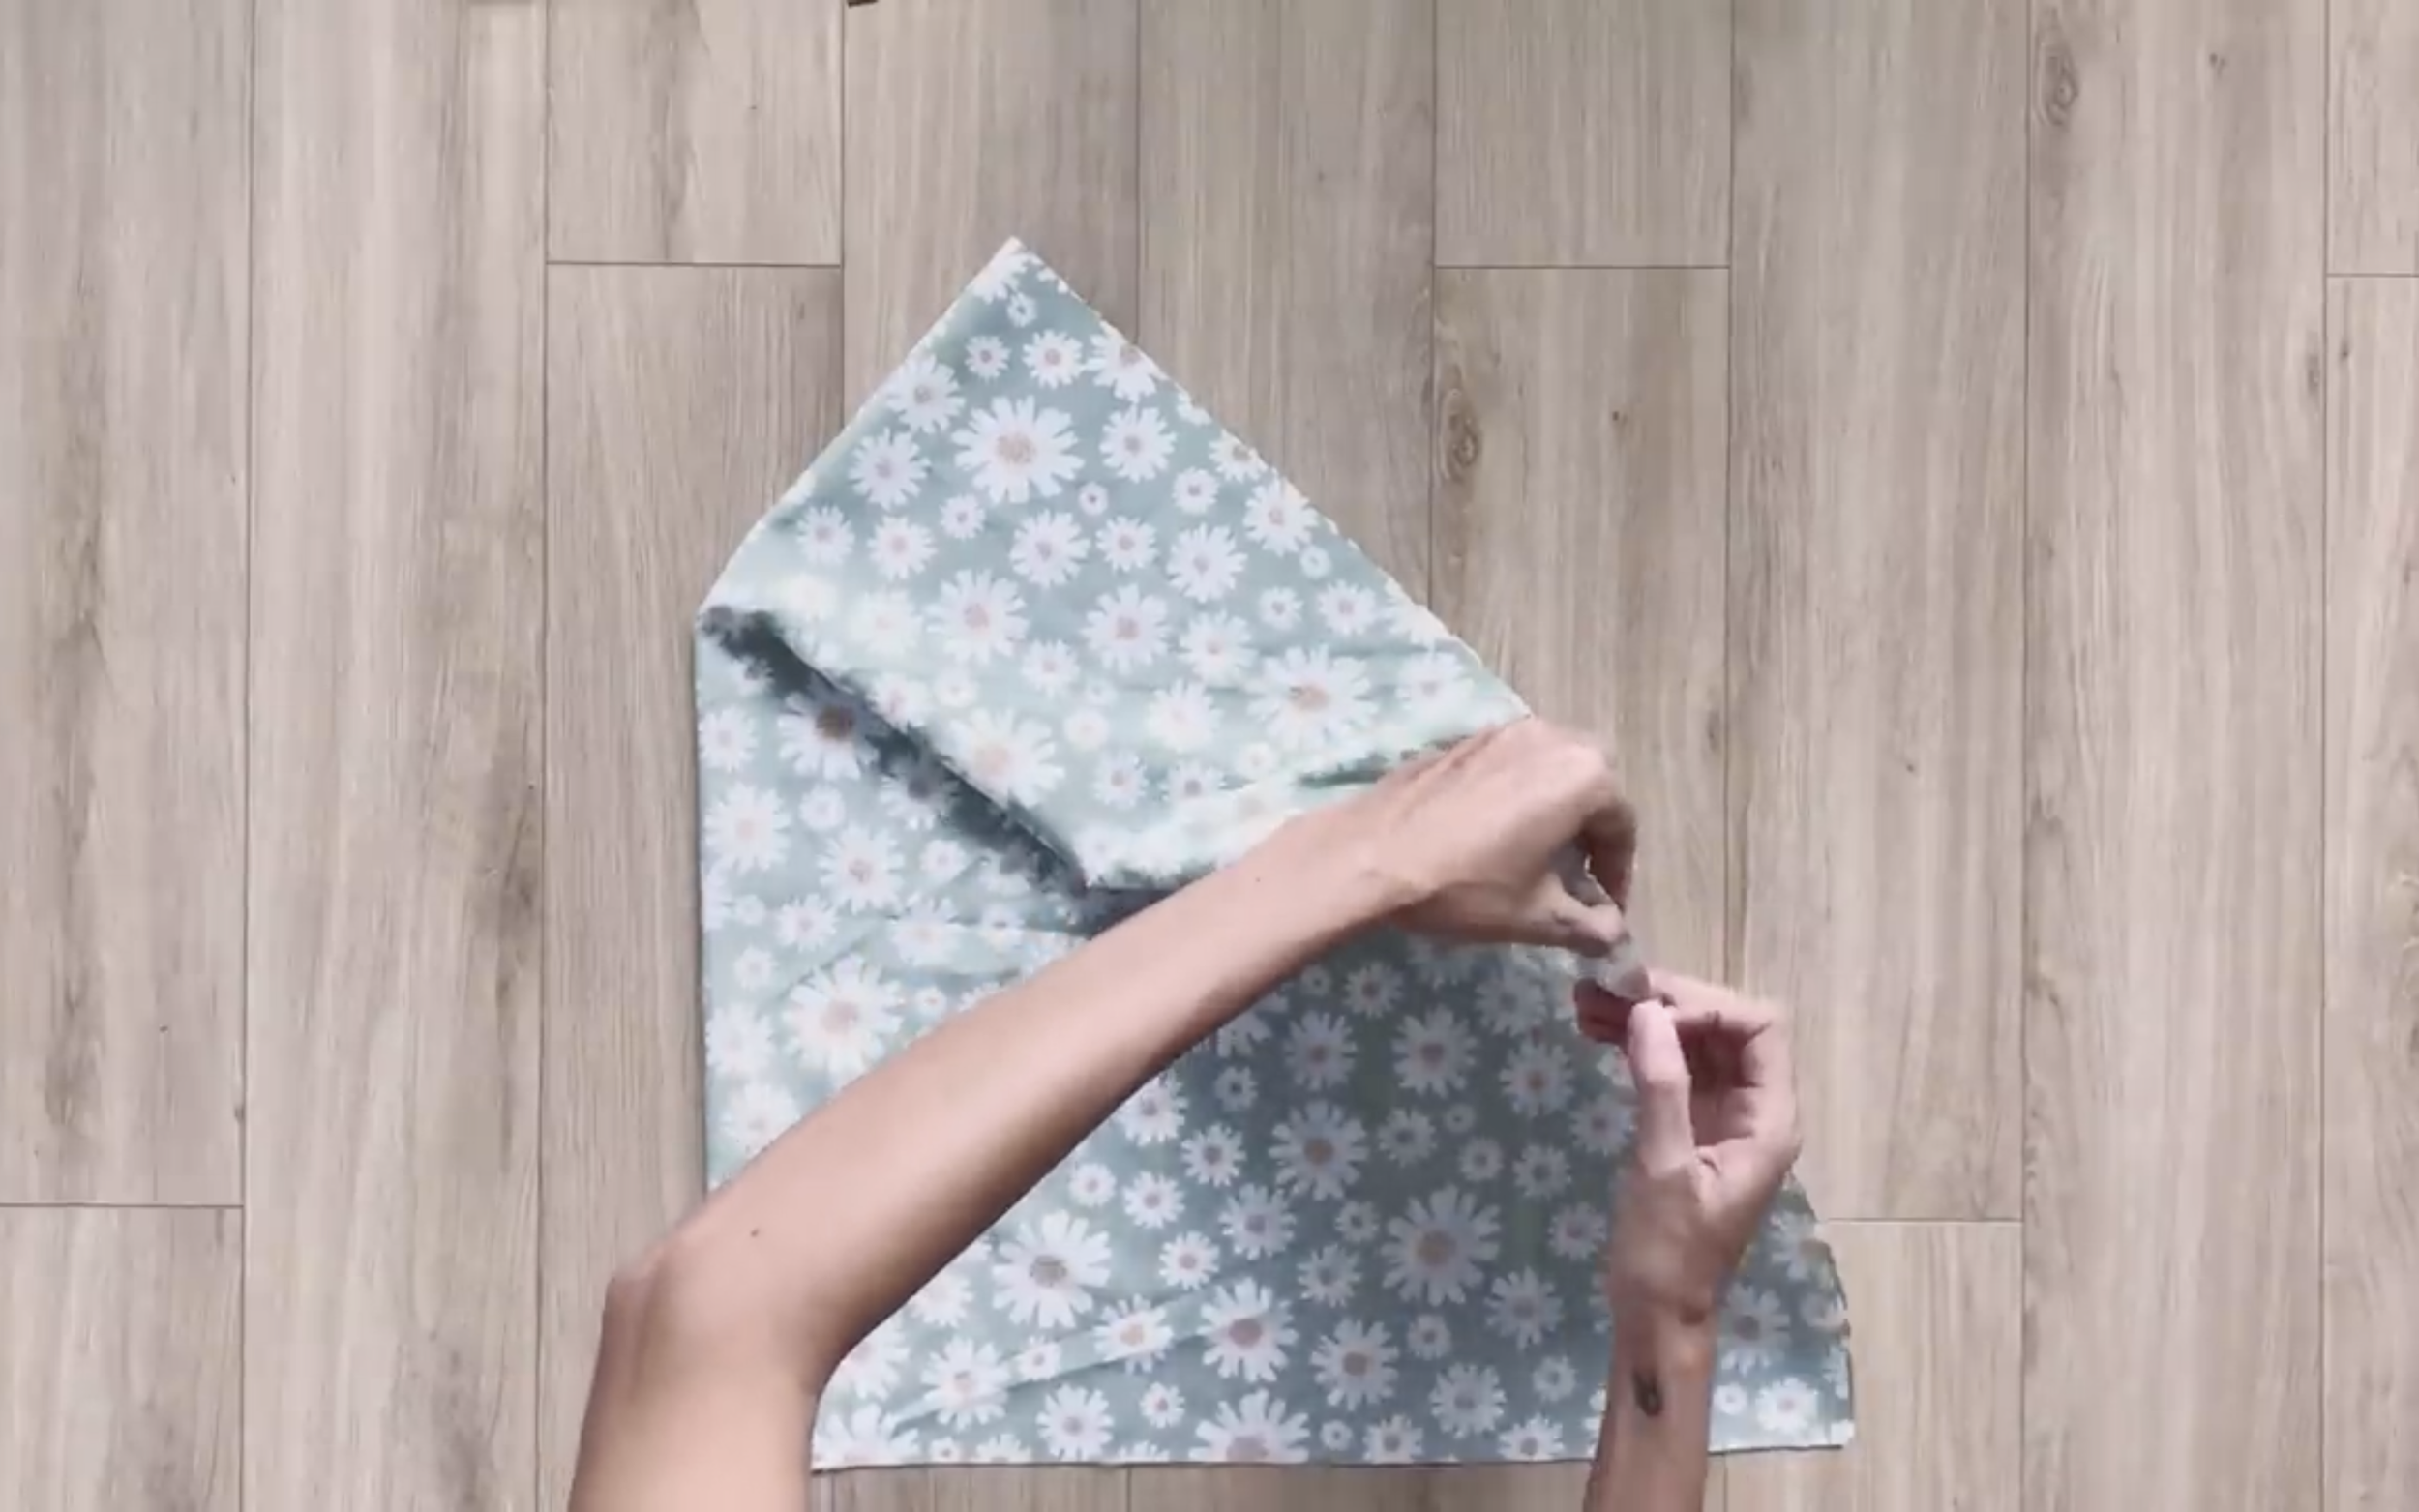
Connect two length lines together first by the pins.
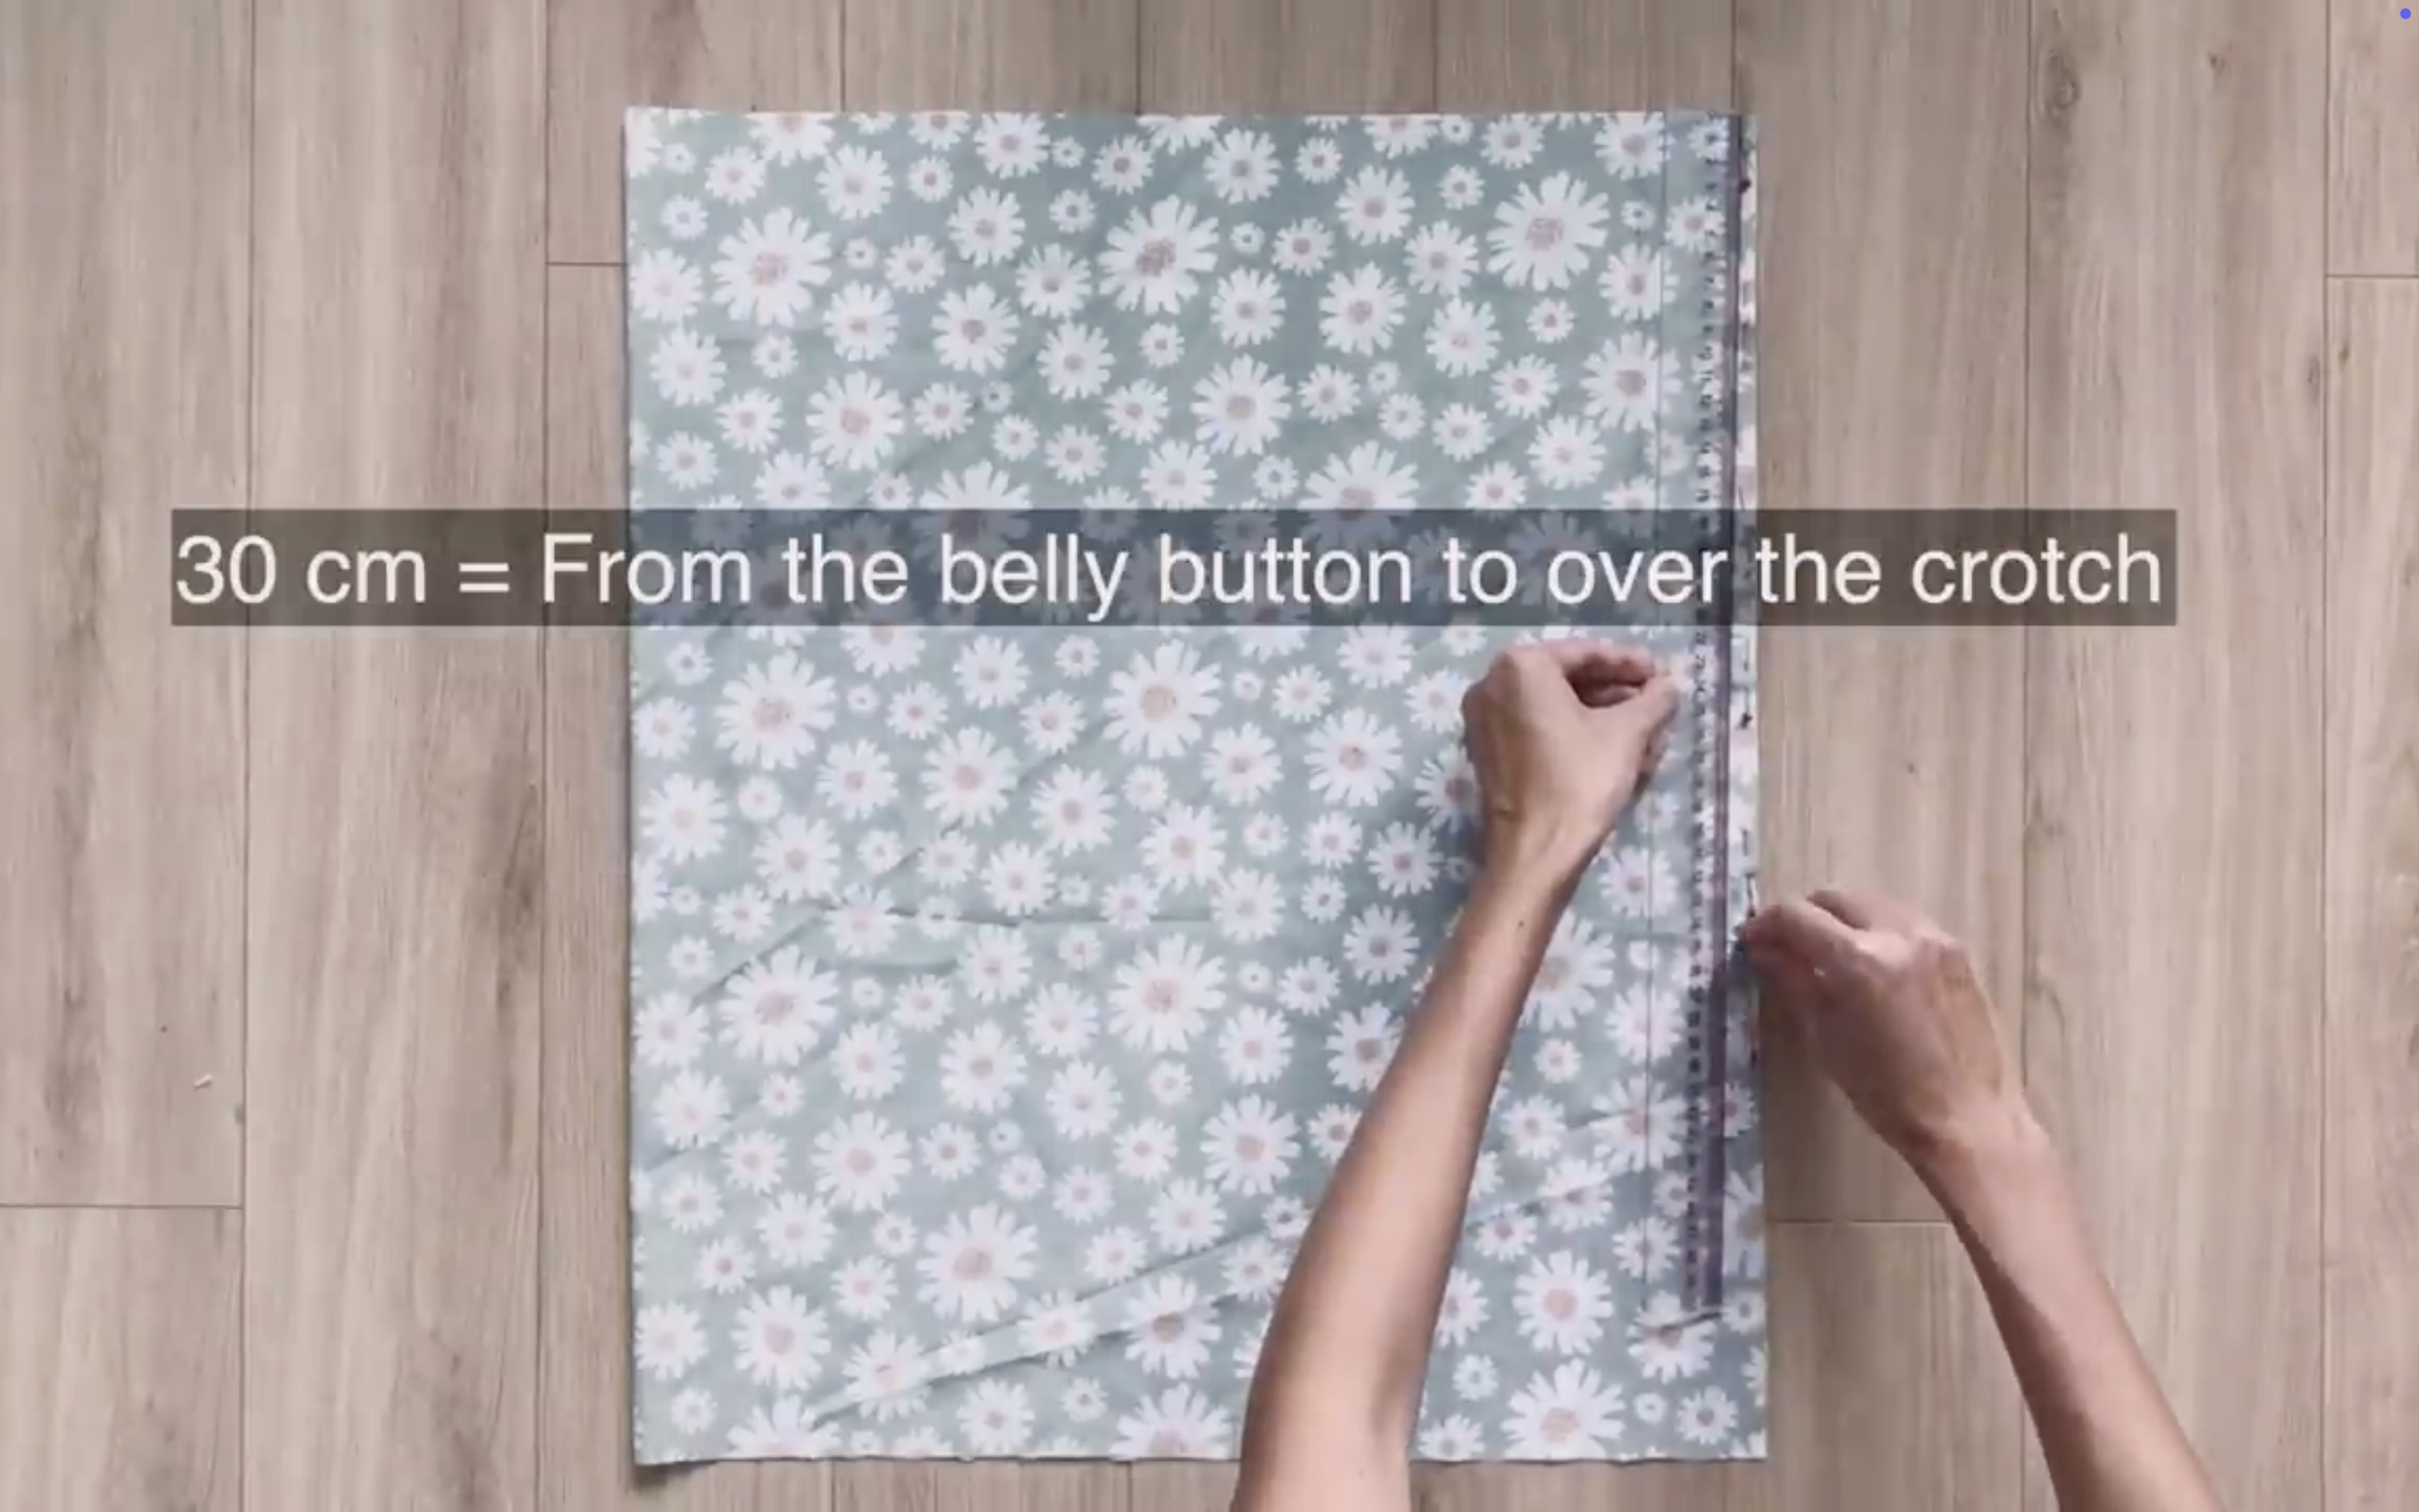
From the top, mark down at 30 cm which is the width from the belly button to over the crotch.

Then sewing from the top to this mark. So the rest will be the slitted part.
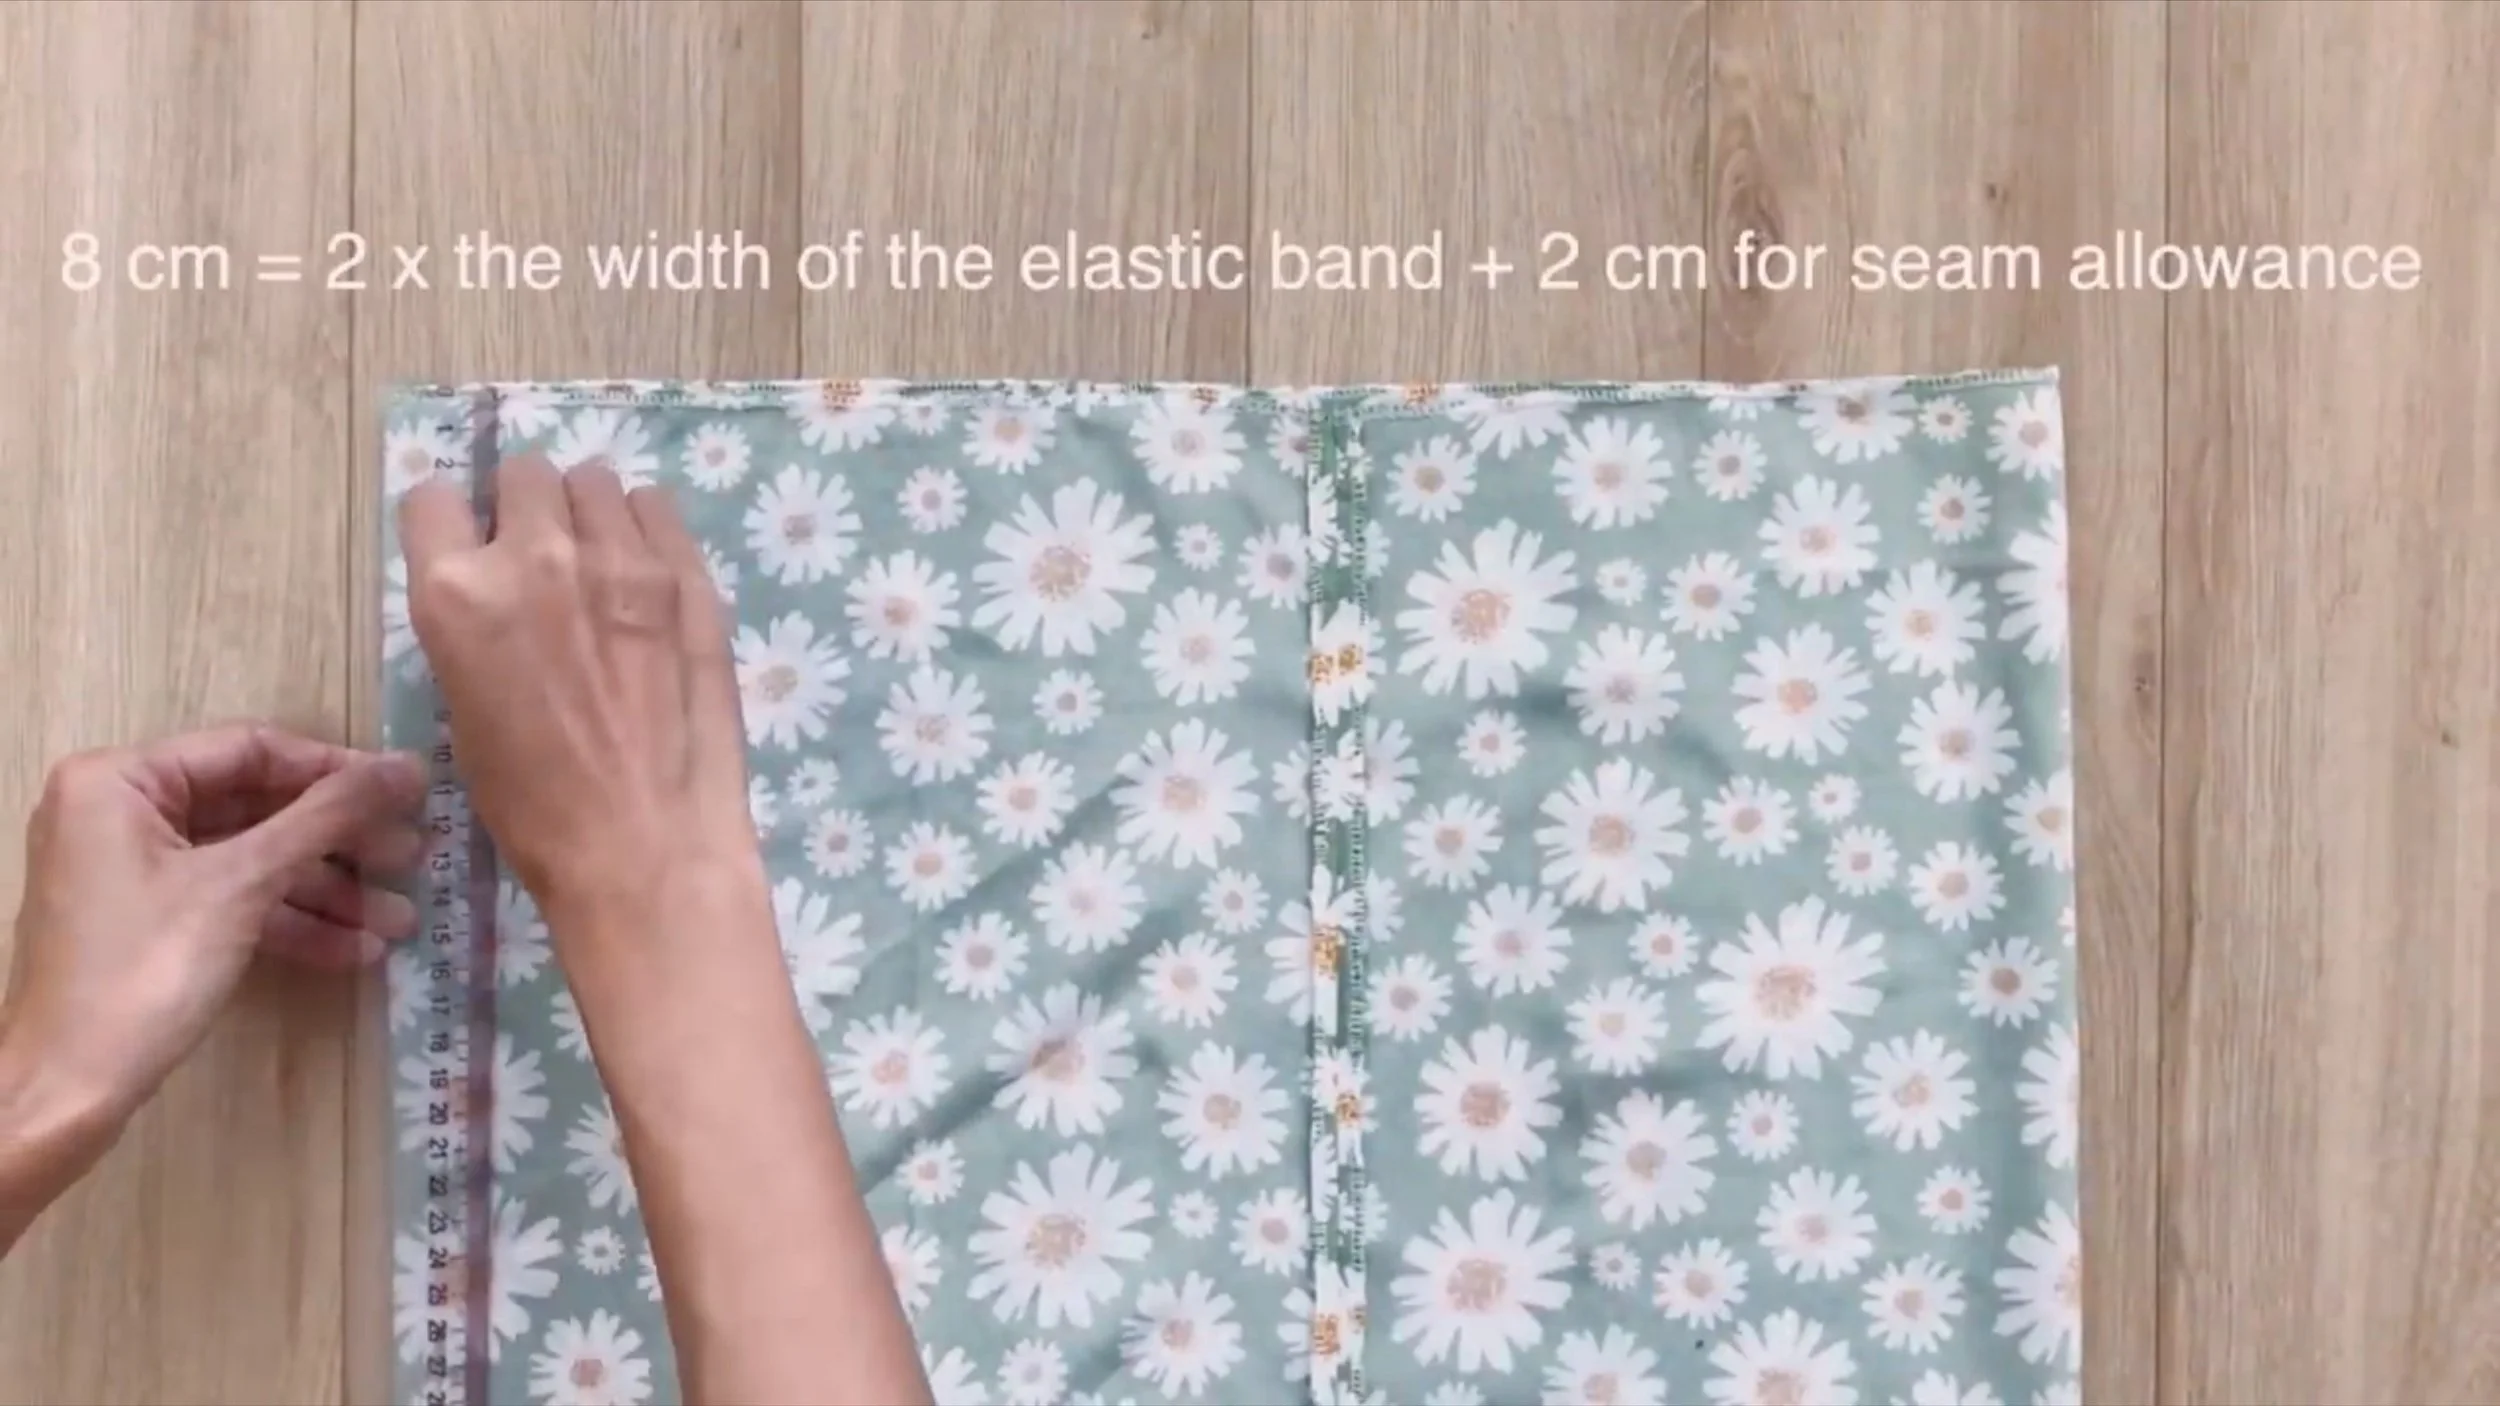
From the top, draw a horizontal line at 8 cm under it. It's two times the width of the elastic band that will be used plus 2 cm for seam allowance.
Then fold the edge of the fabric to this line.
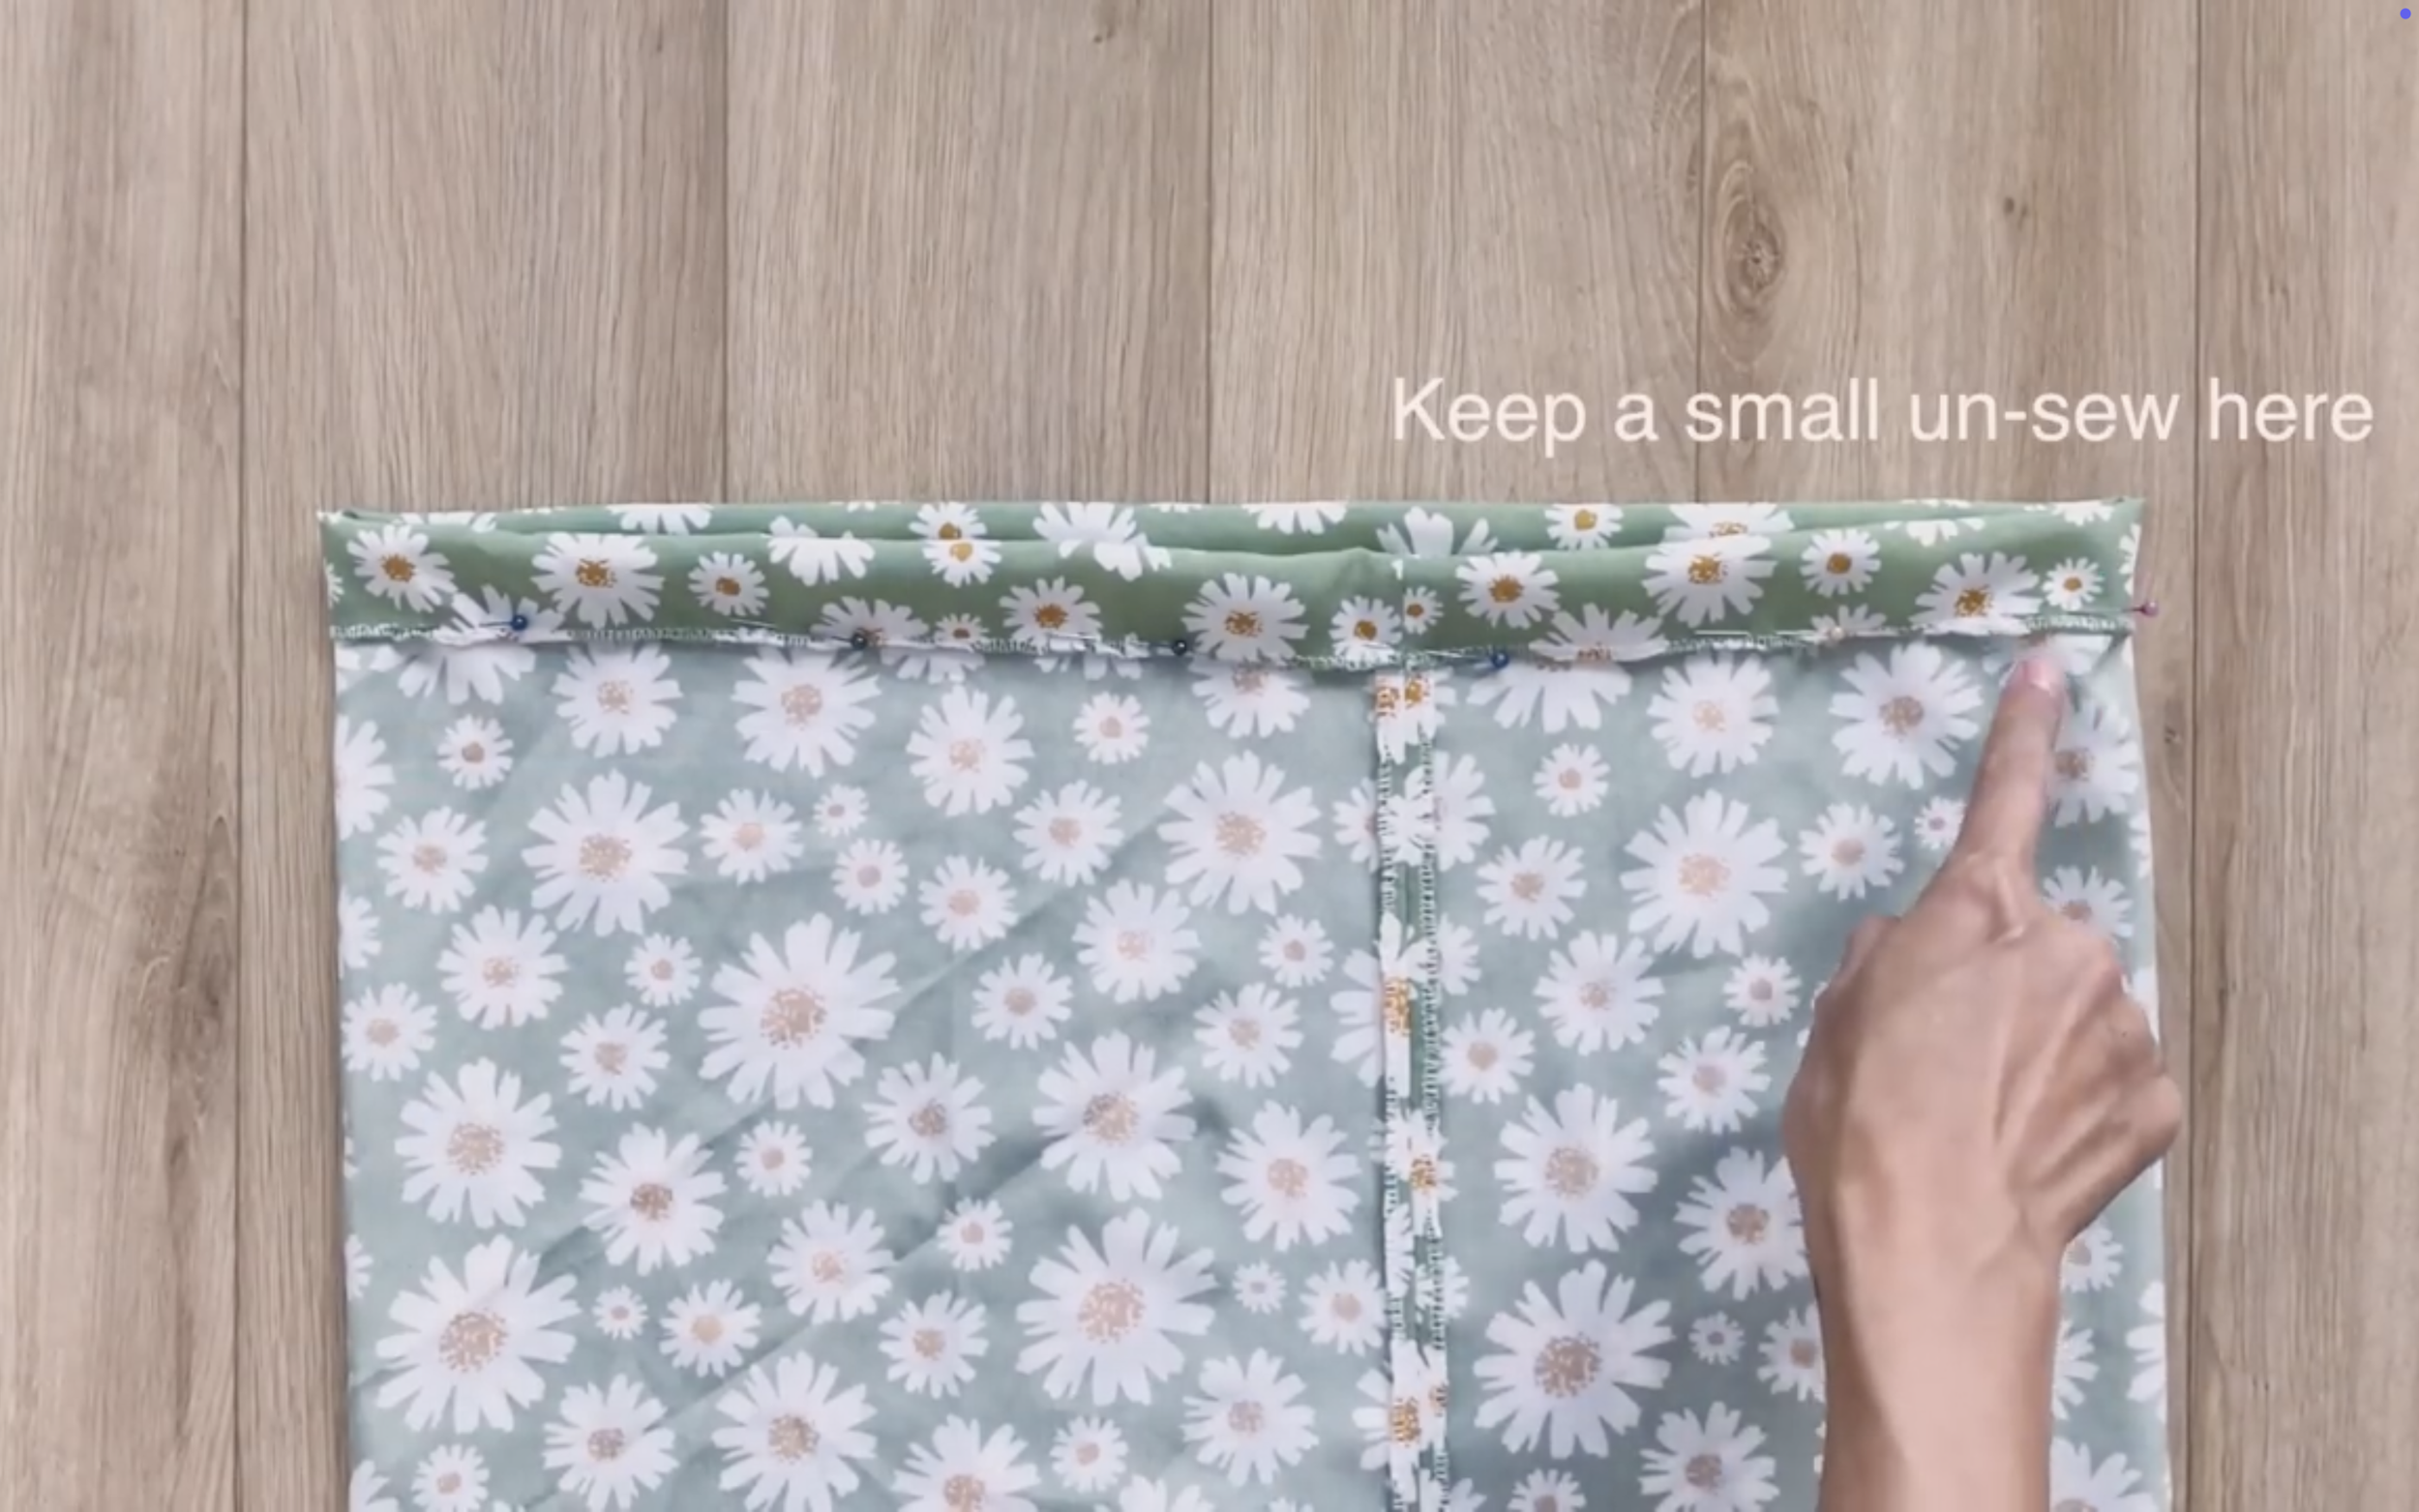
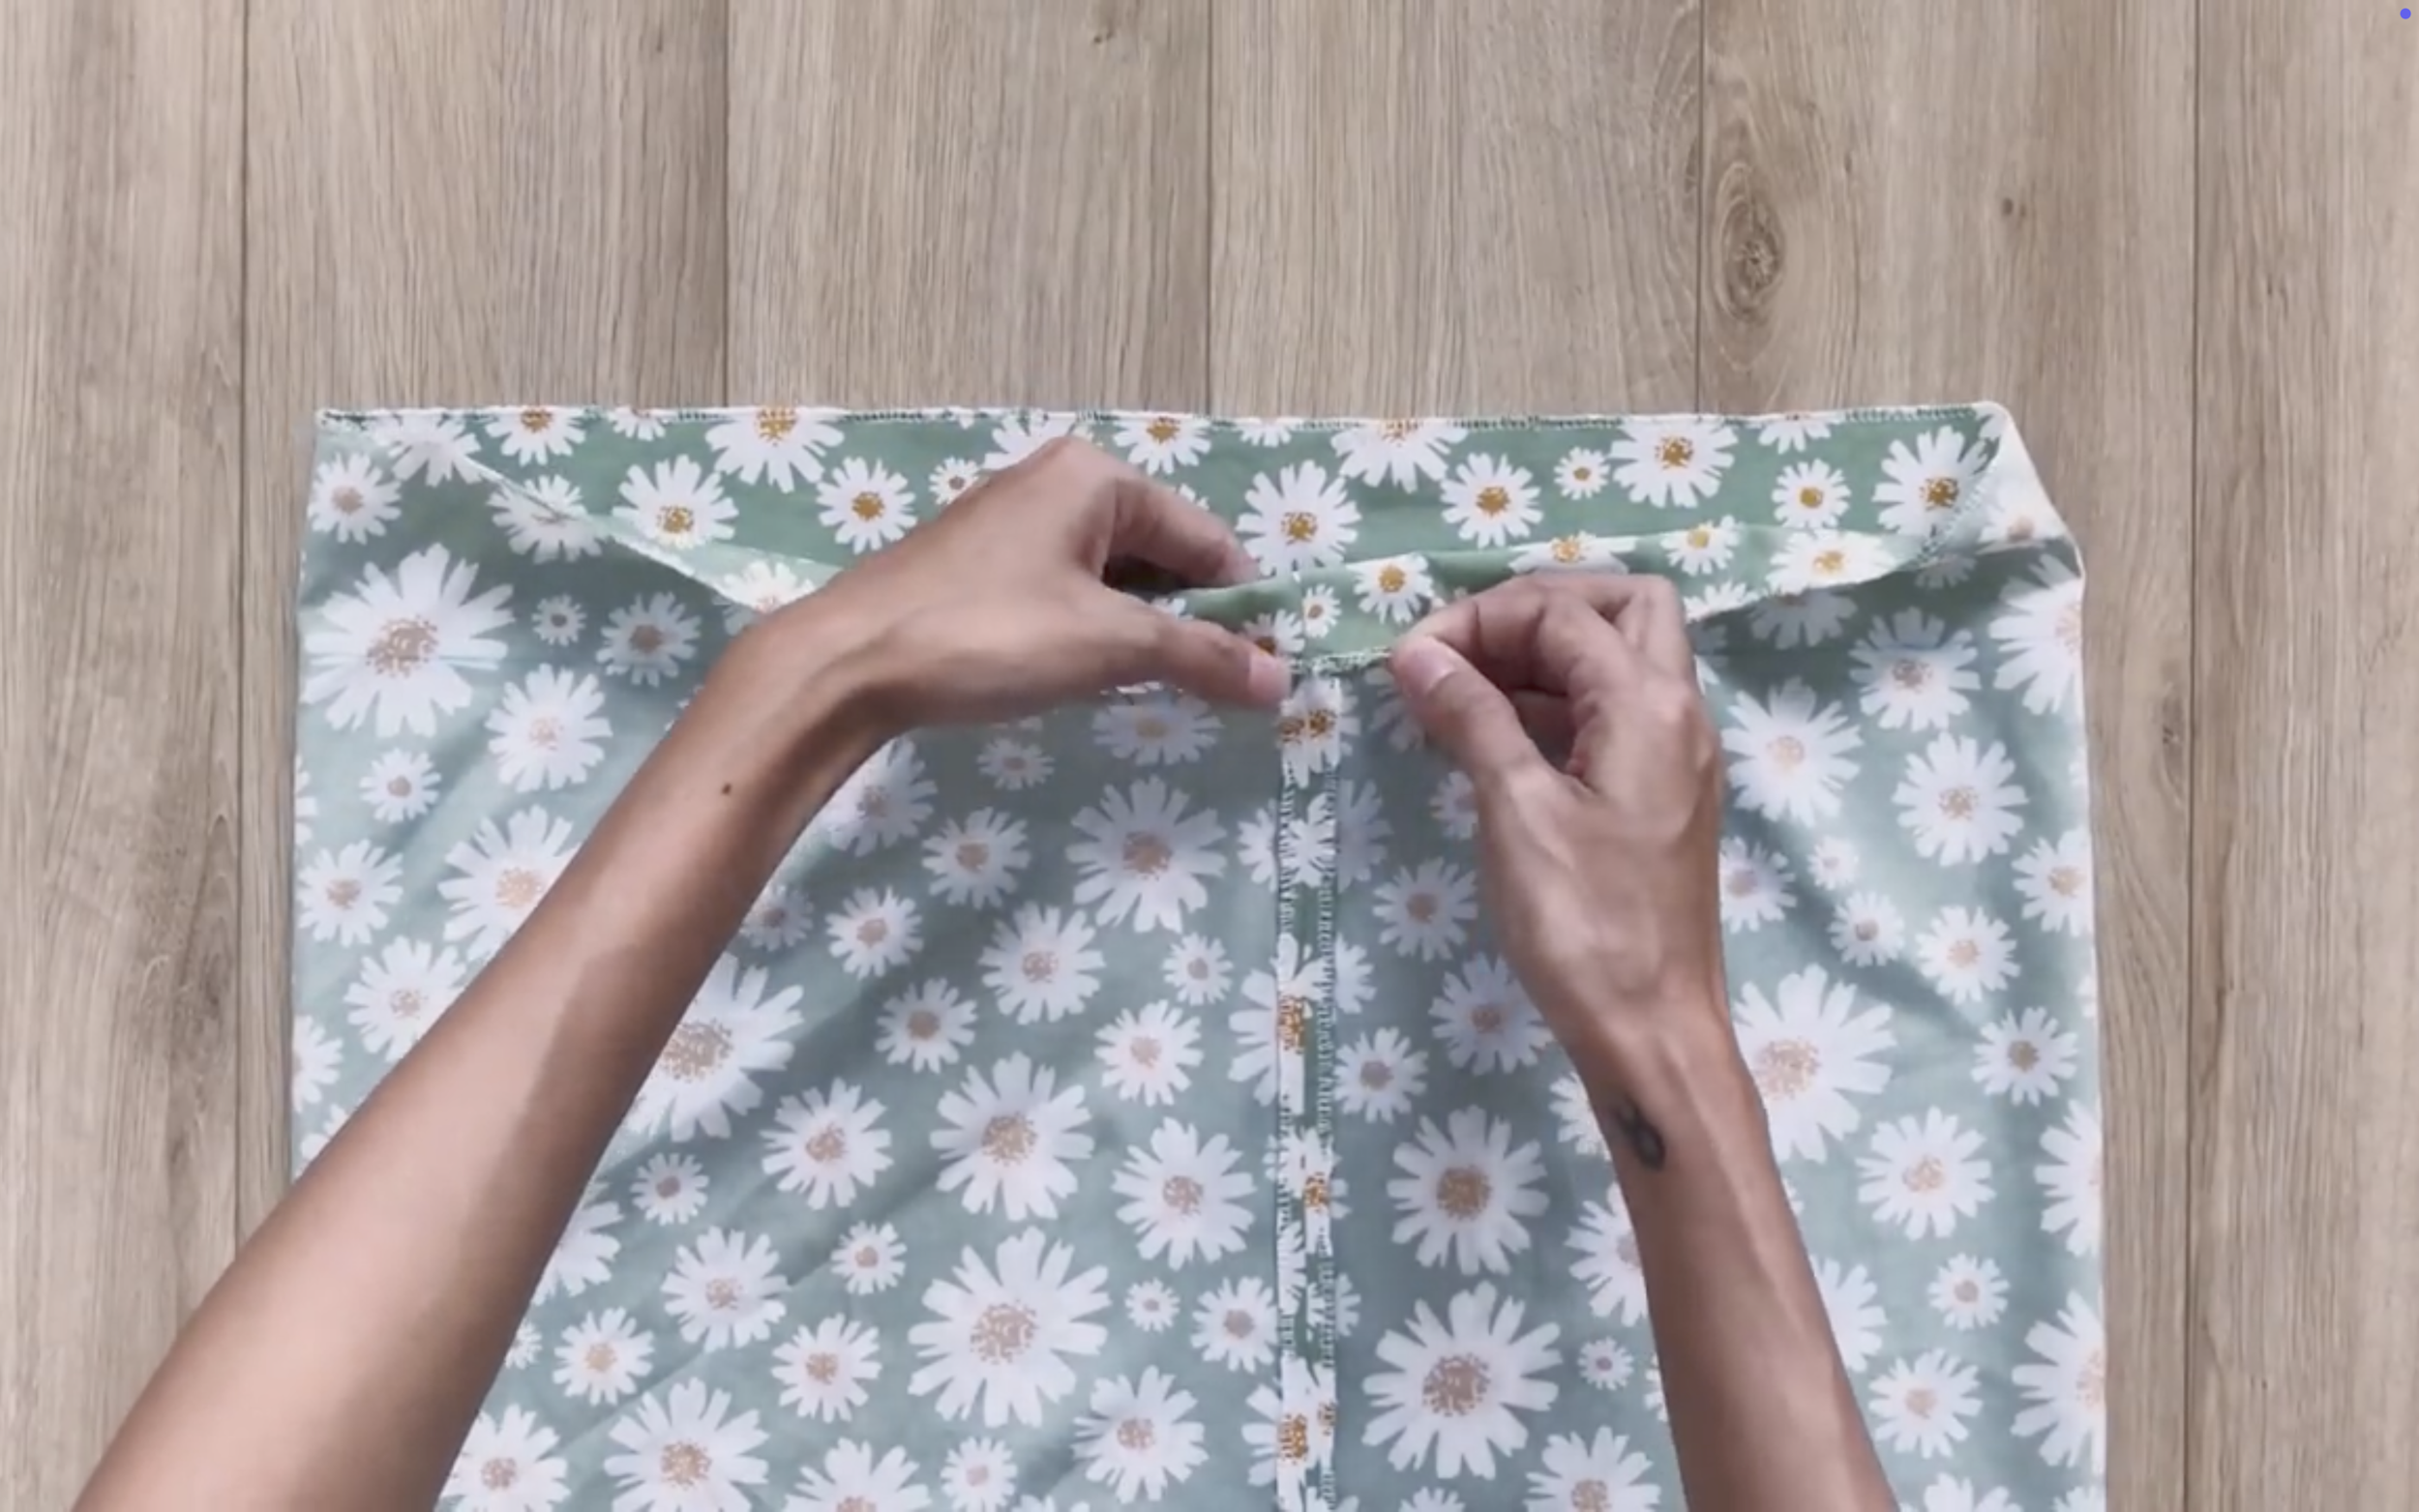
Then sew to create a fabric hole there for the elastic band to go through later.
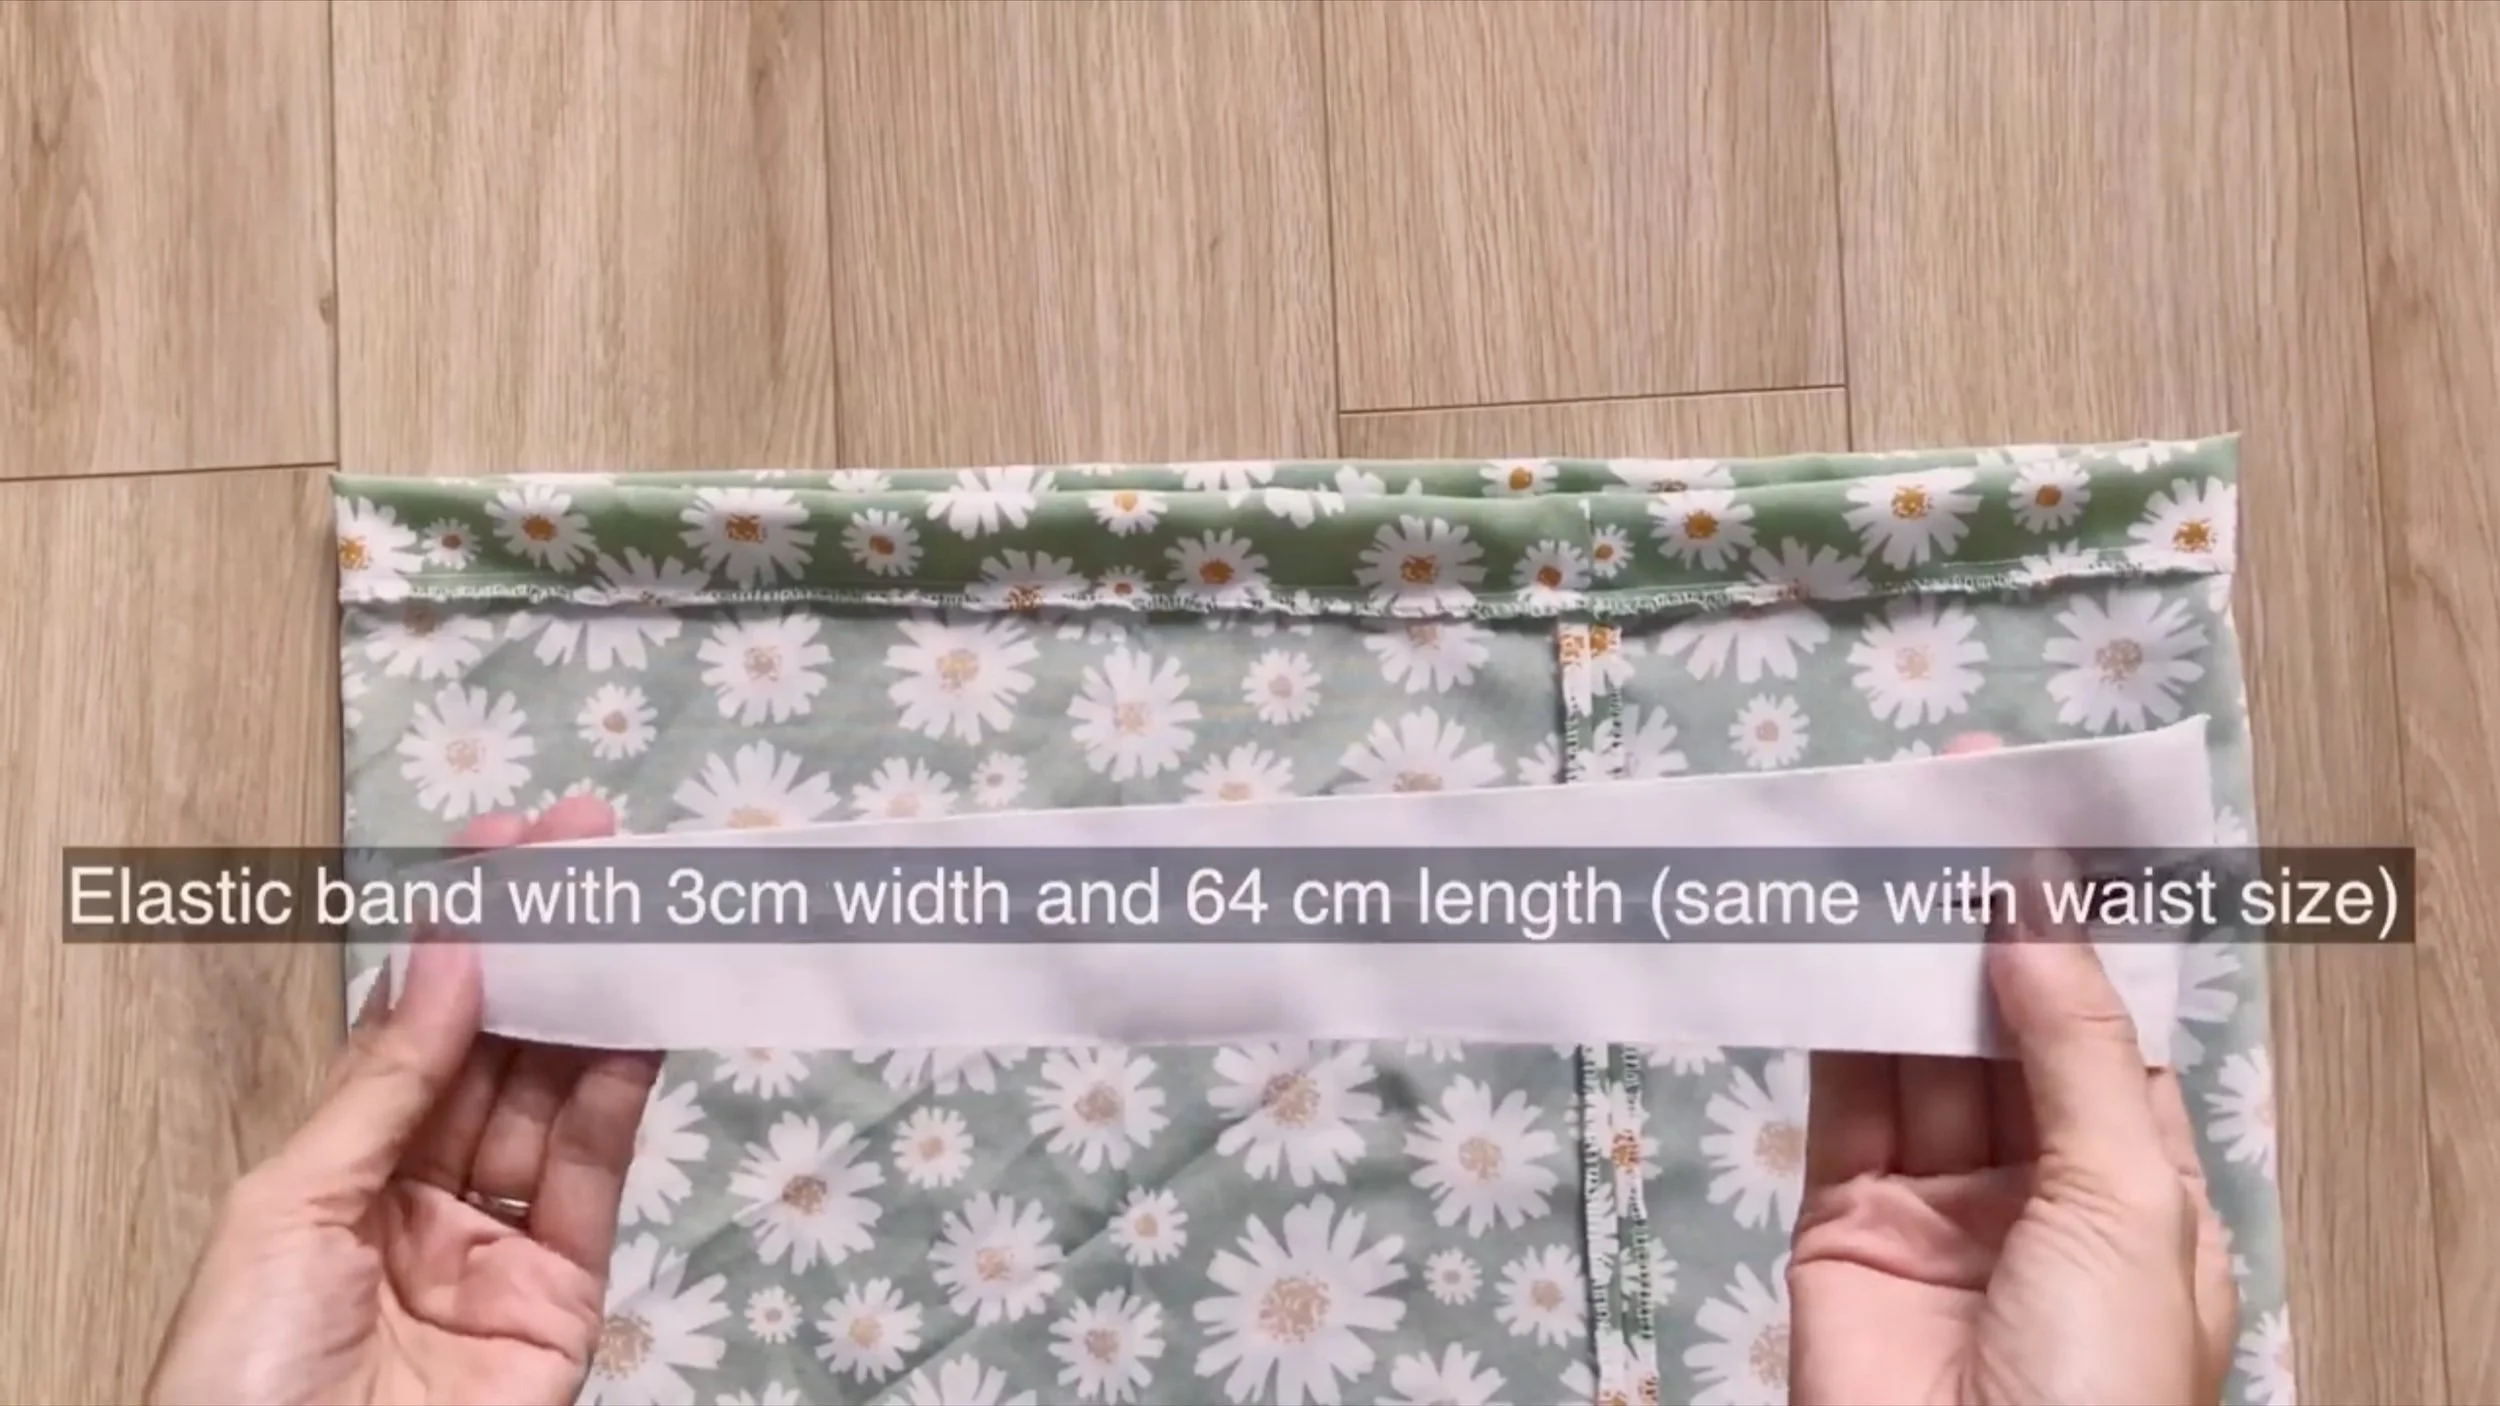
Use an elastic band with 3 cm width and 64 cm length which is the waist size.
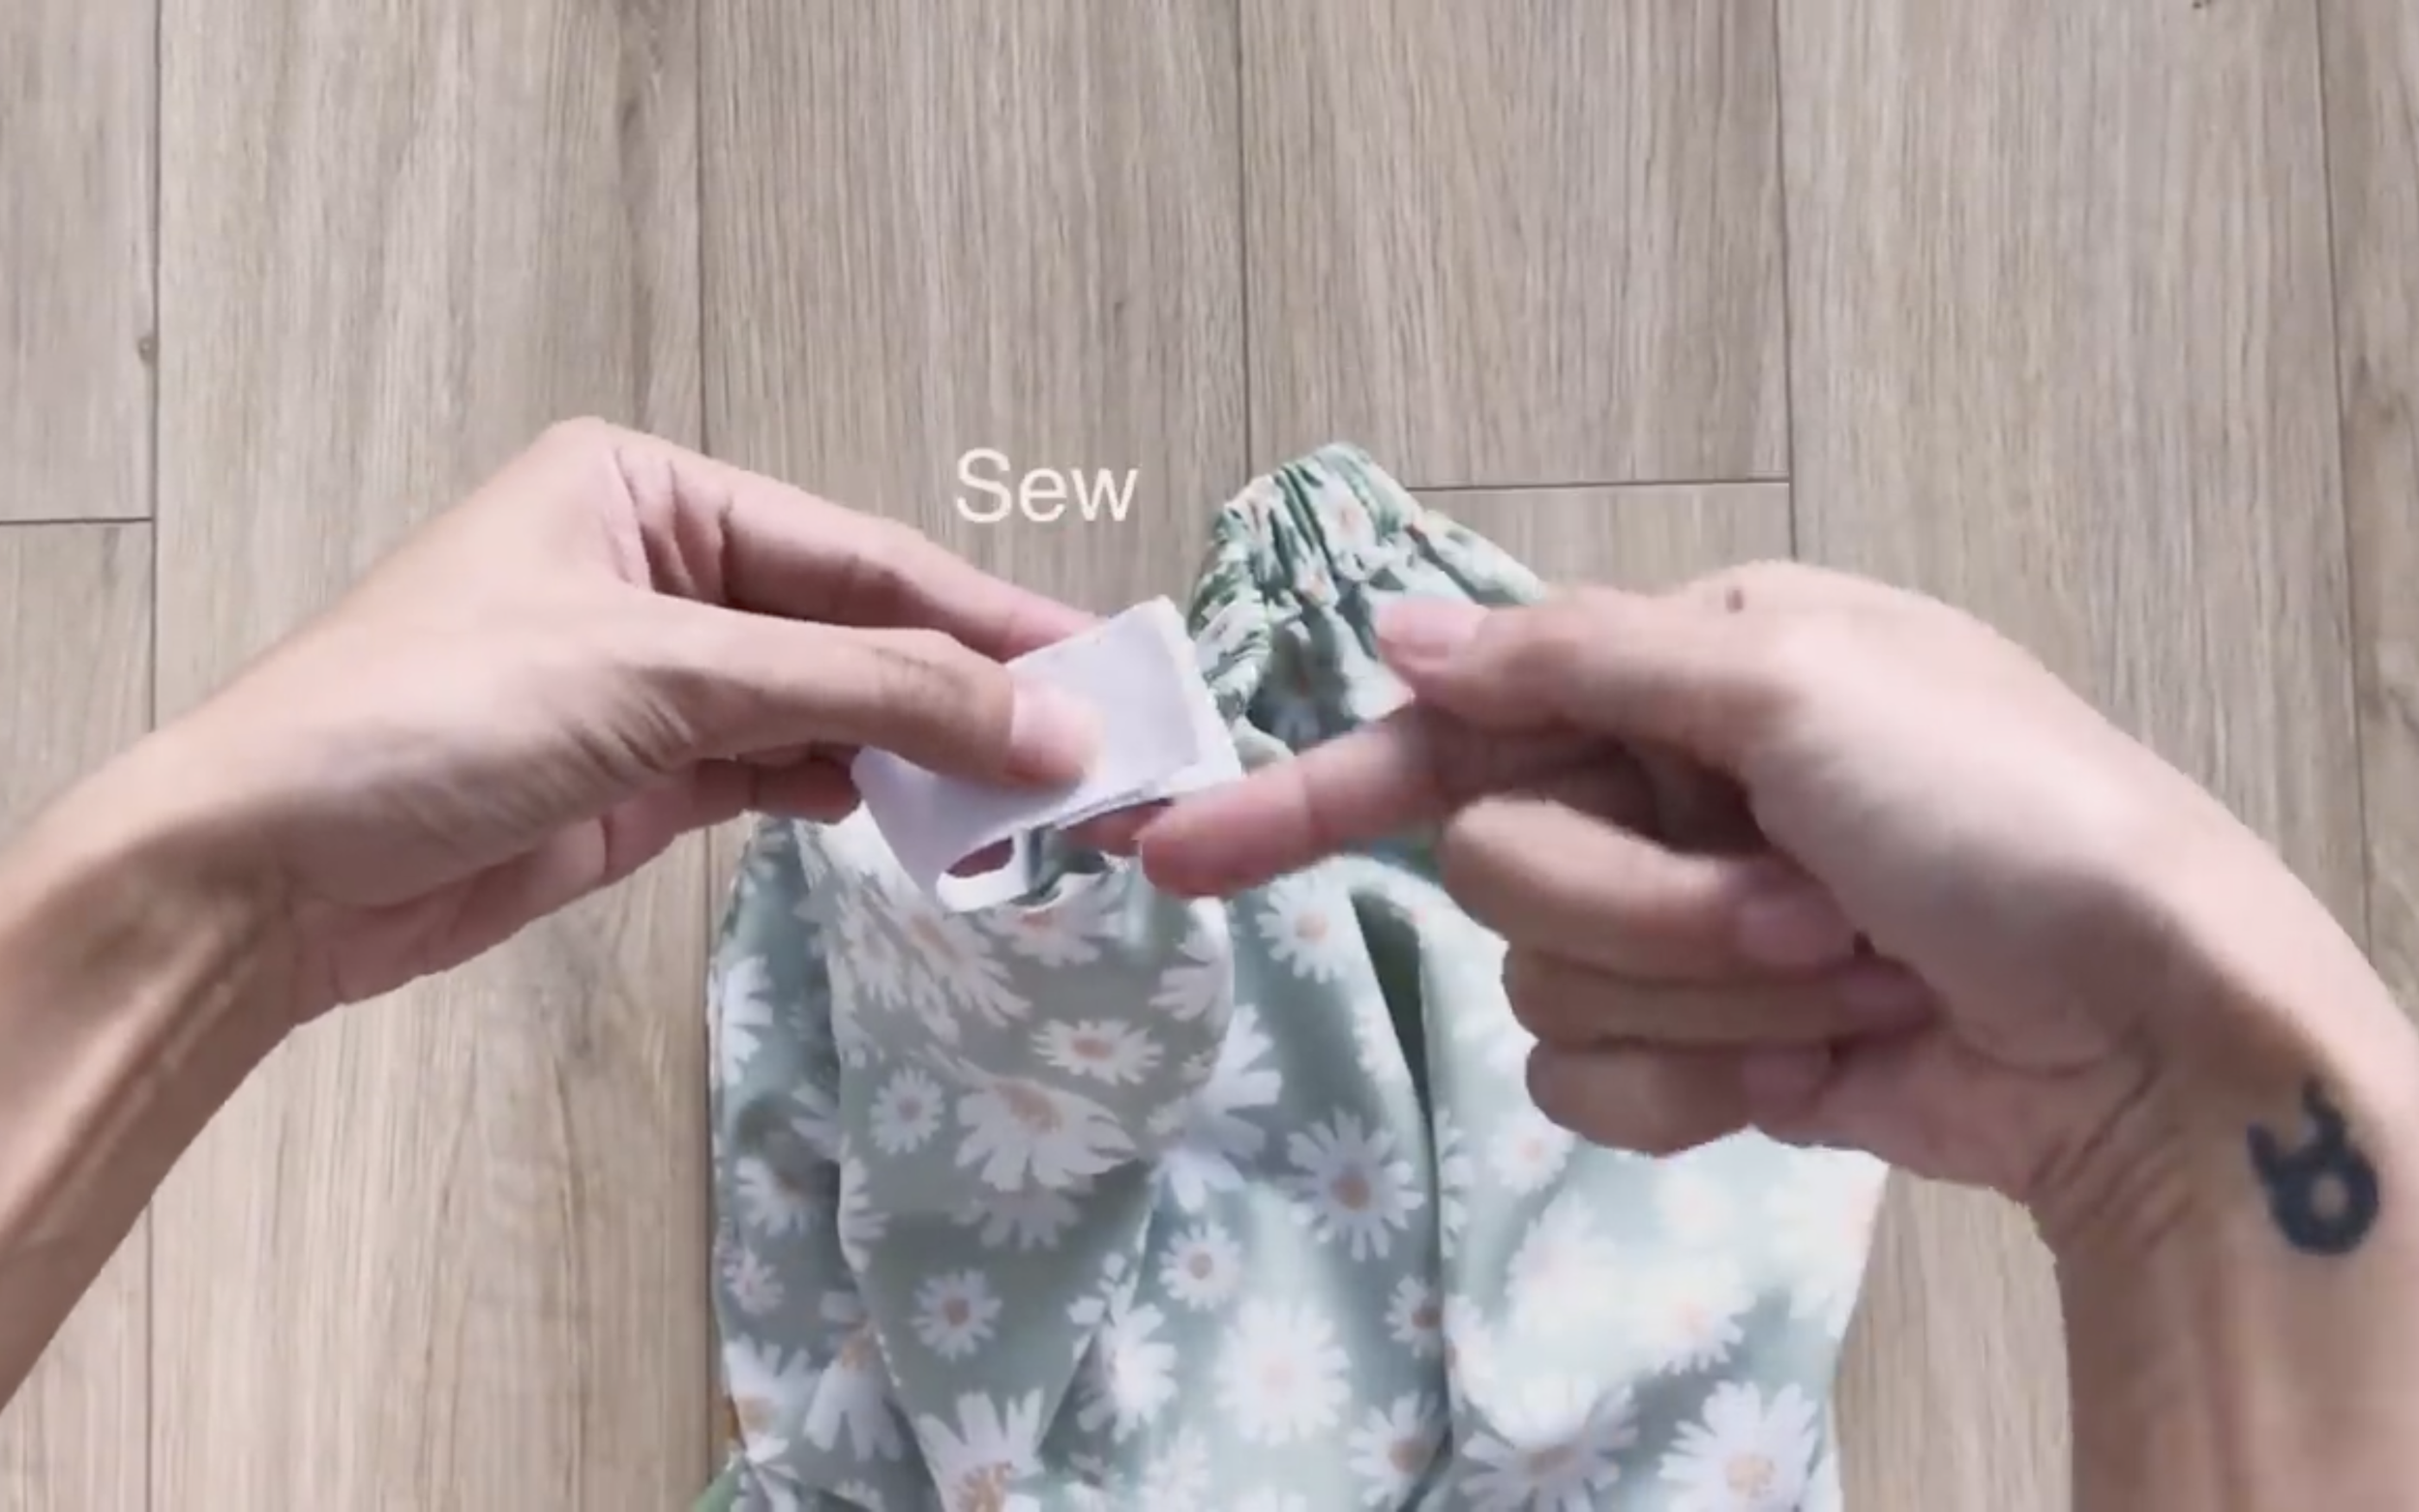
After putting the elastic band to the fabric hole, sew two ends of the elastic band together.
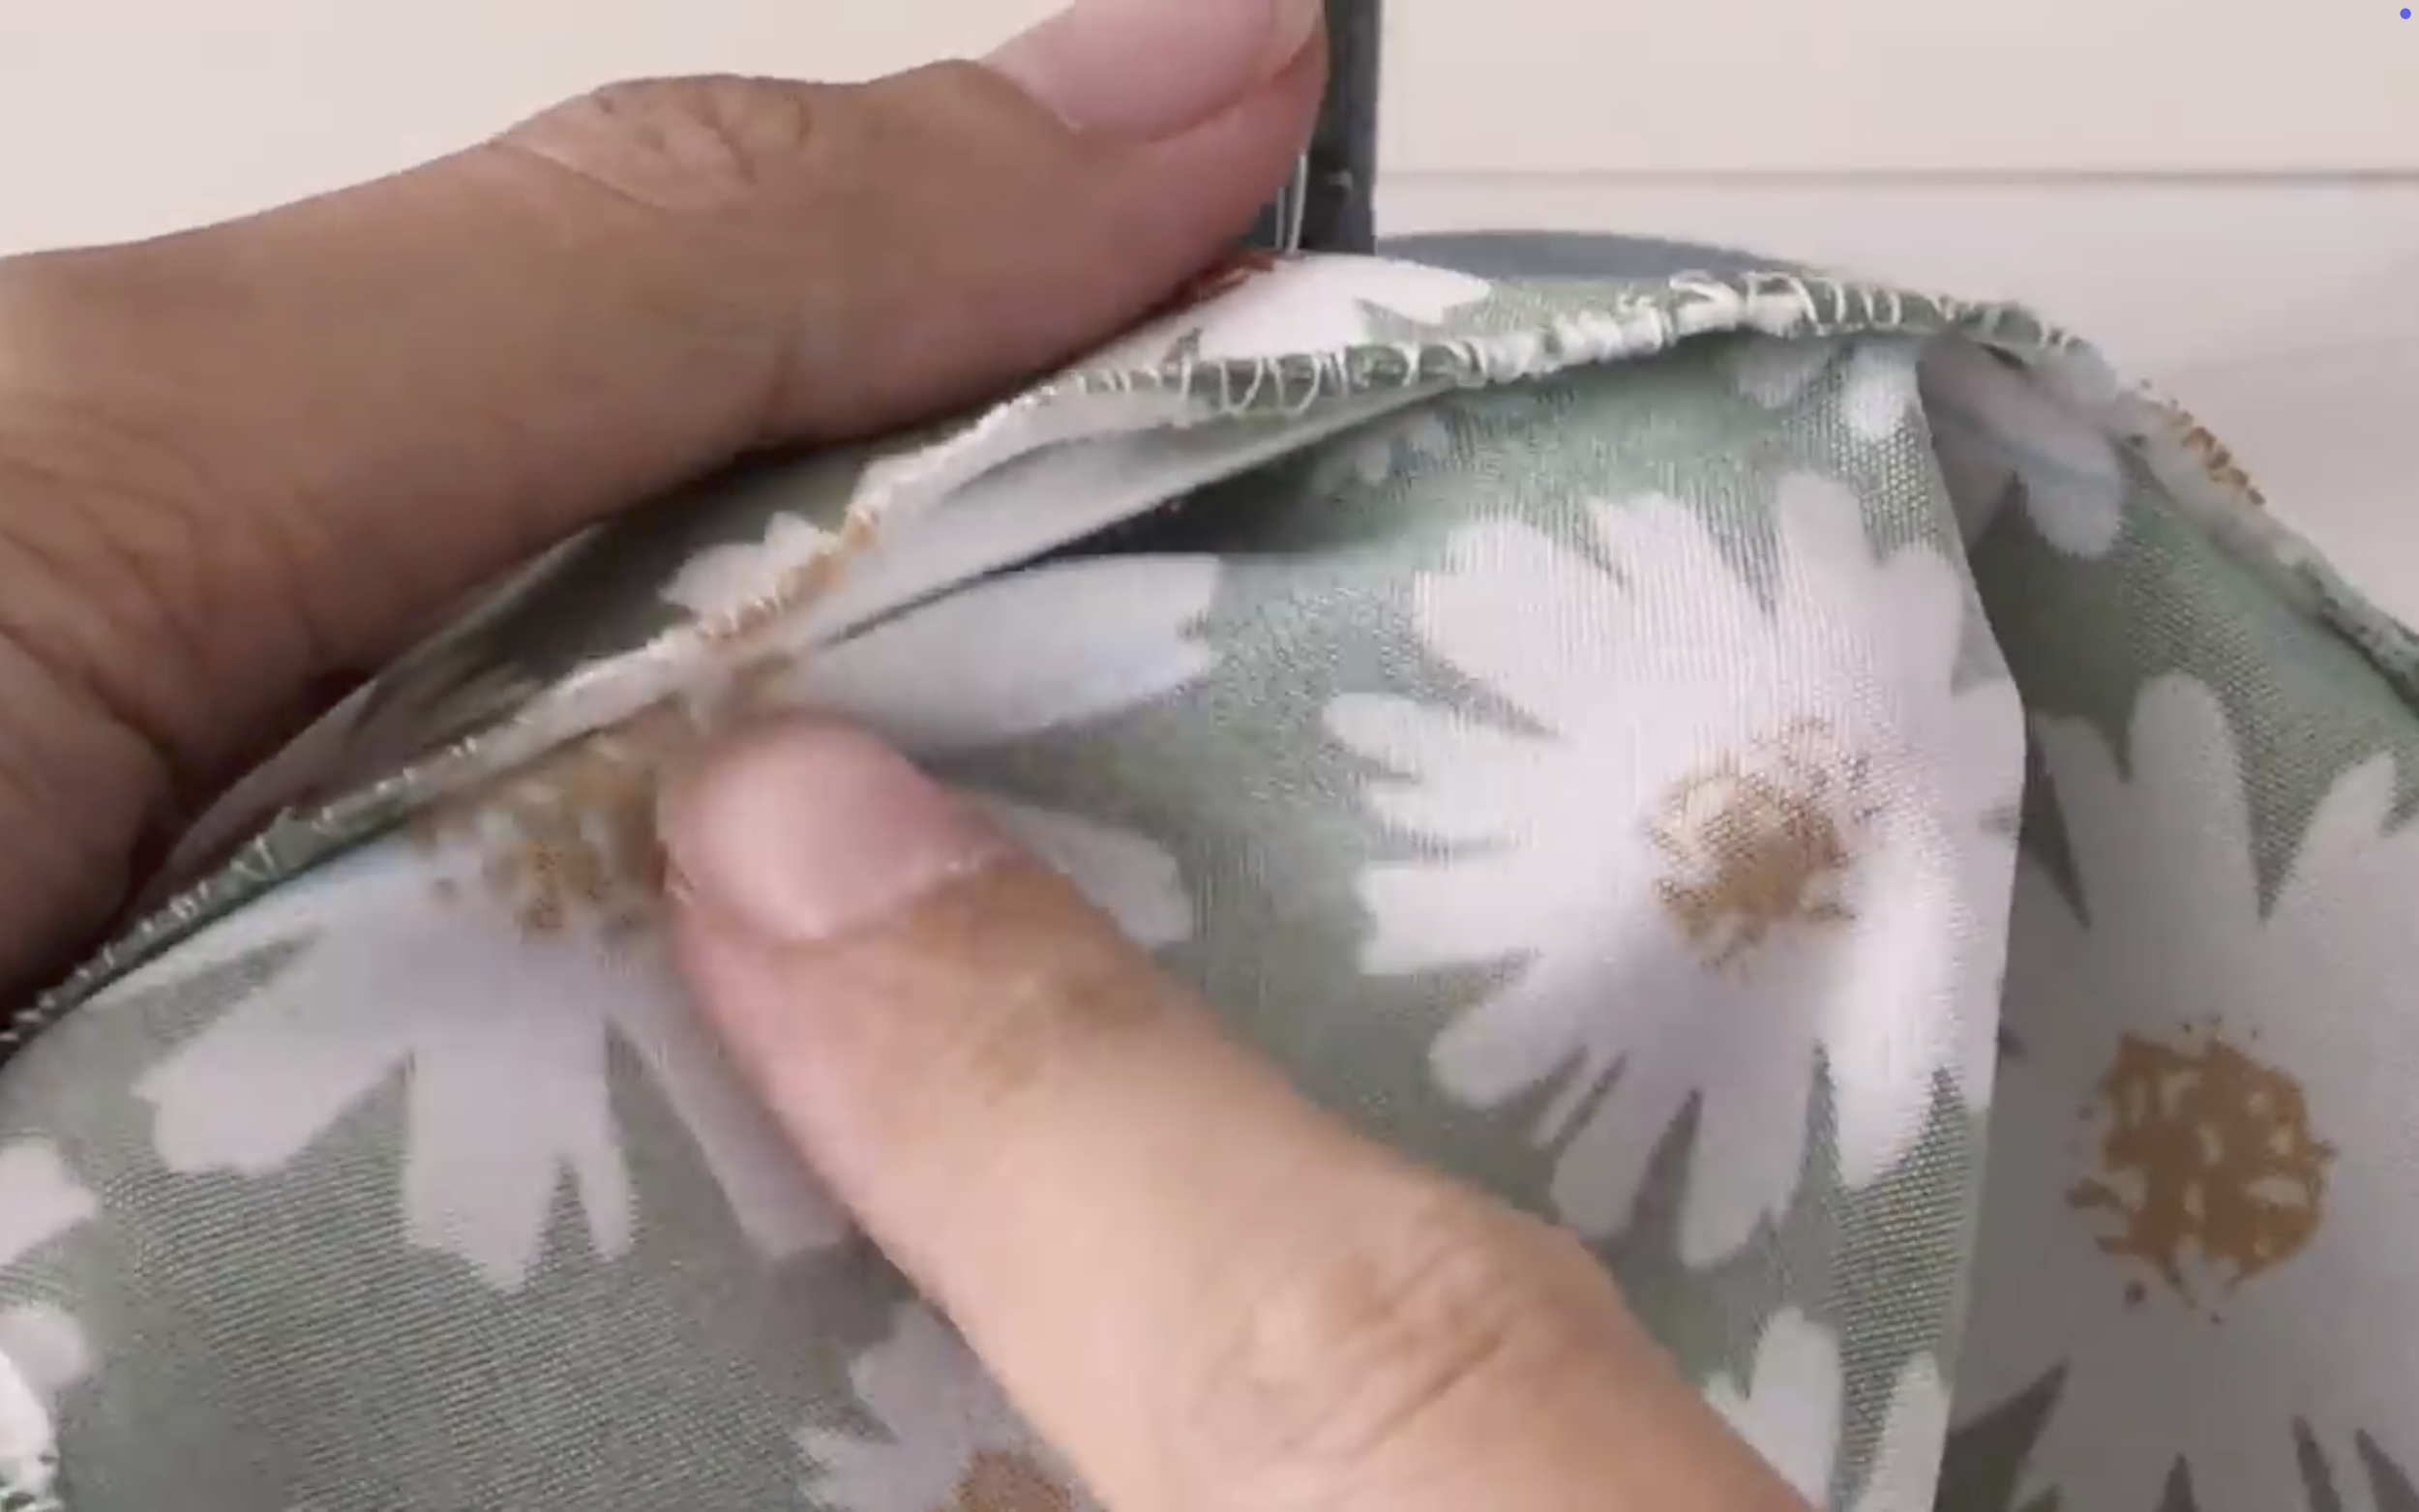
Don't forget to close the fabric hole.
Moving to the ruffle hem part, cut a rectangle with 20 cm length which is the length of the skirt wanted minus the length of the main part of the skirt and 144 cm width which is 1.5 times the width of the main part.
At one width line, fold the end fabric inside two times and sew to finish it.
At the other width line, make a loose seam first then create a gathering fabric there later.
The final width of the gathering fabric will be 96 cm which is the same with the main part.
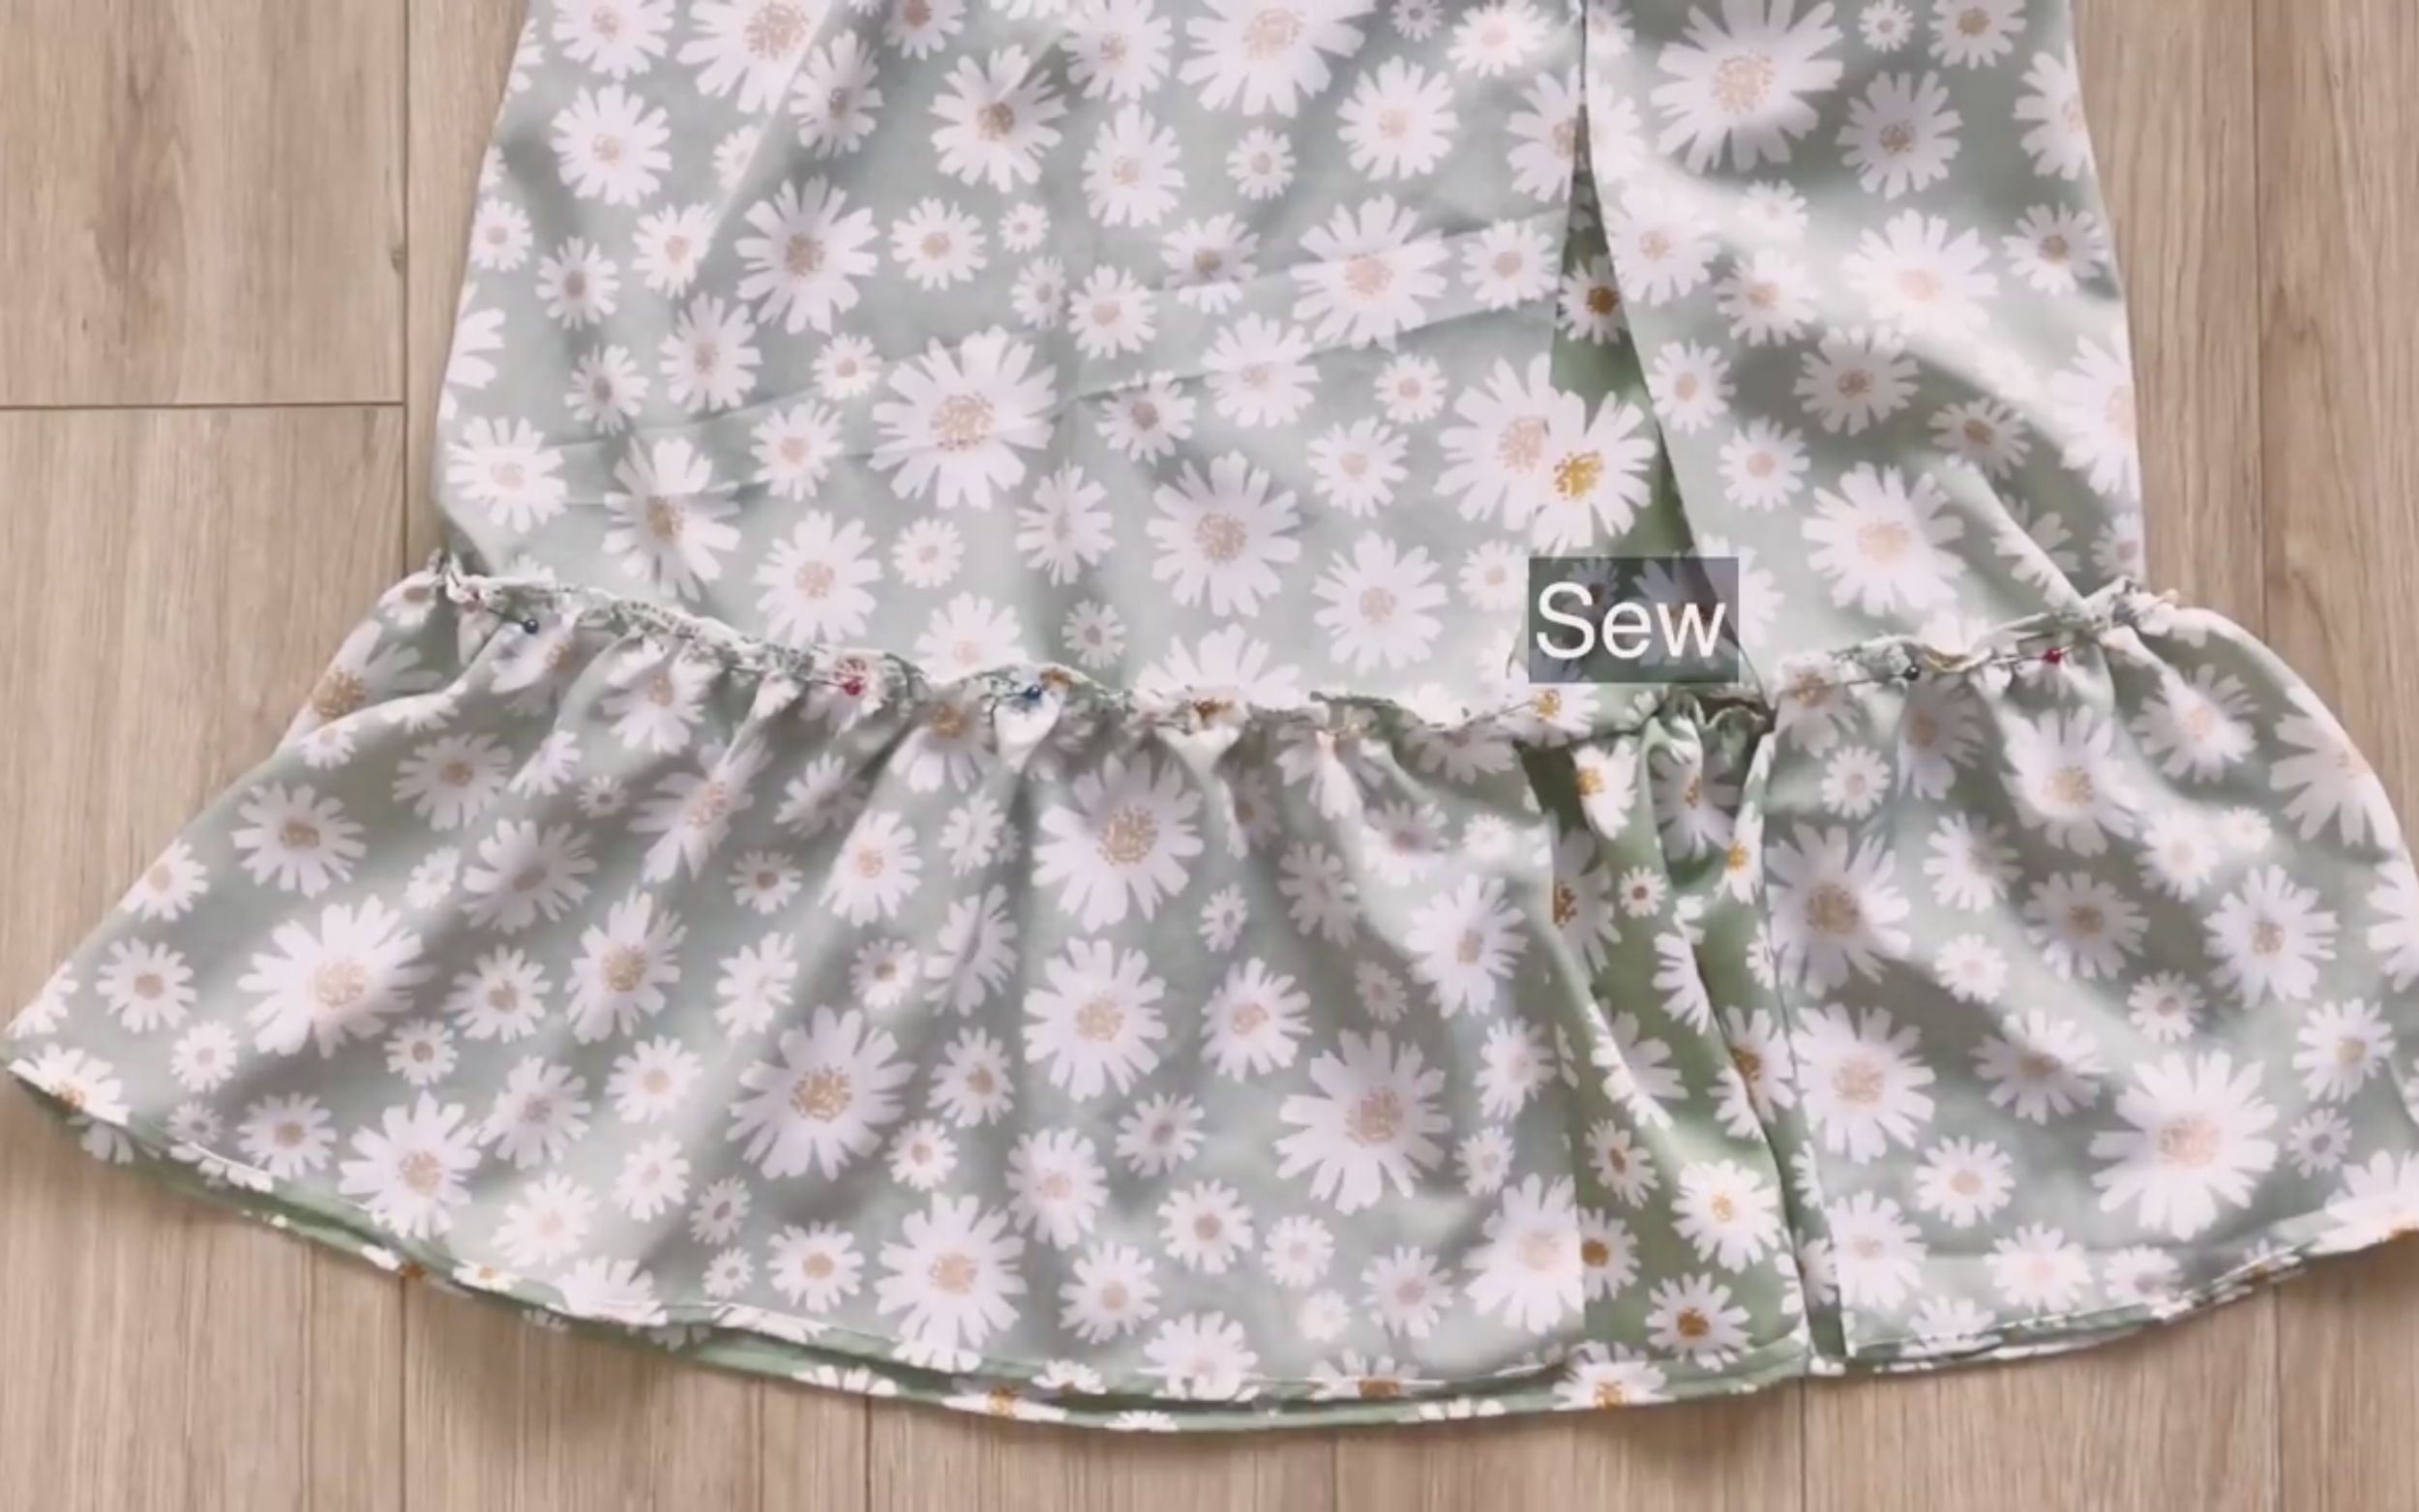
Then connect the ruffle hem part and the main part of the skirt together.
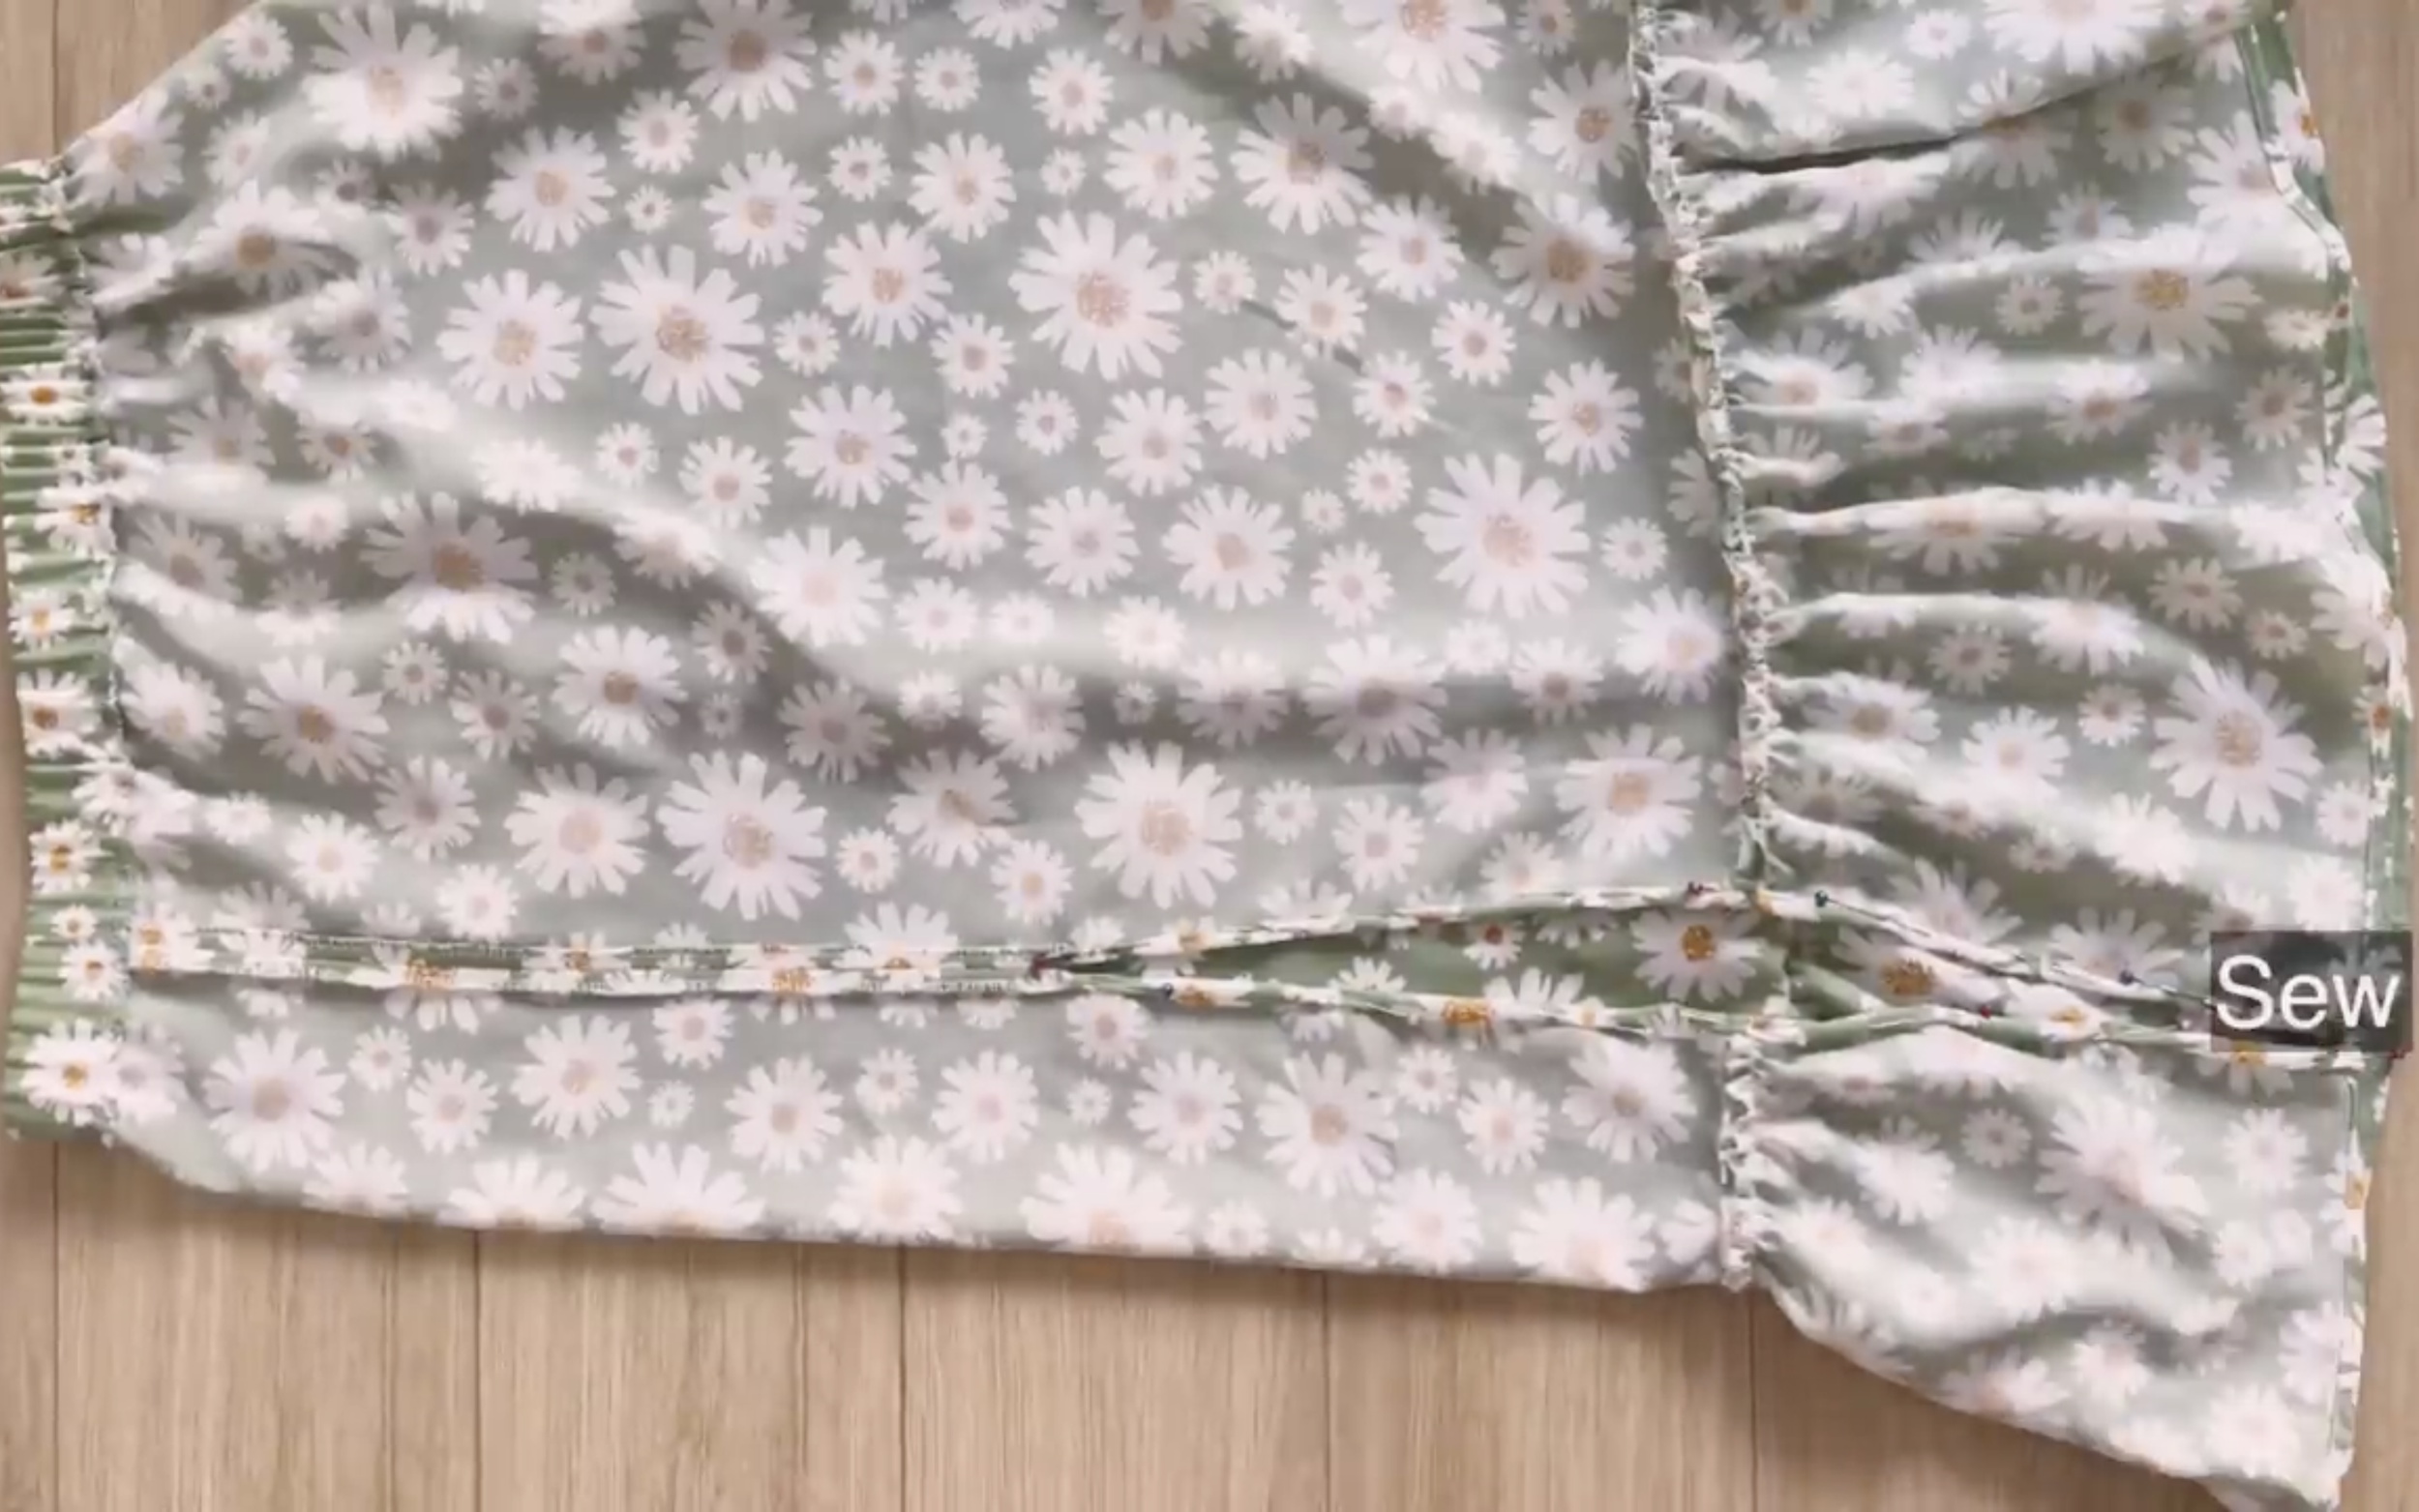
After that, fold the end of the fabric at the slitted part inside two times and sew to finish it.
To make the skirt look better, put the elastic band at the front to make it blank then sew it at two sides to keep it there.
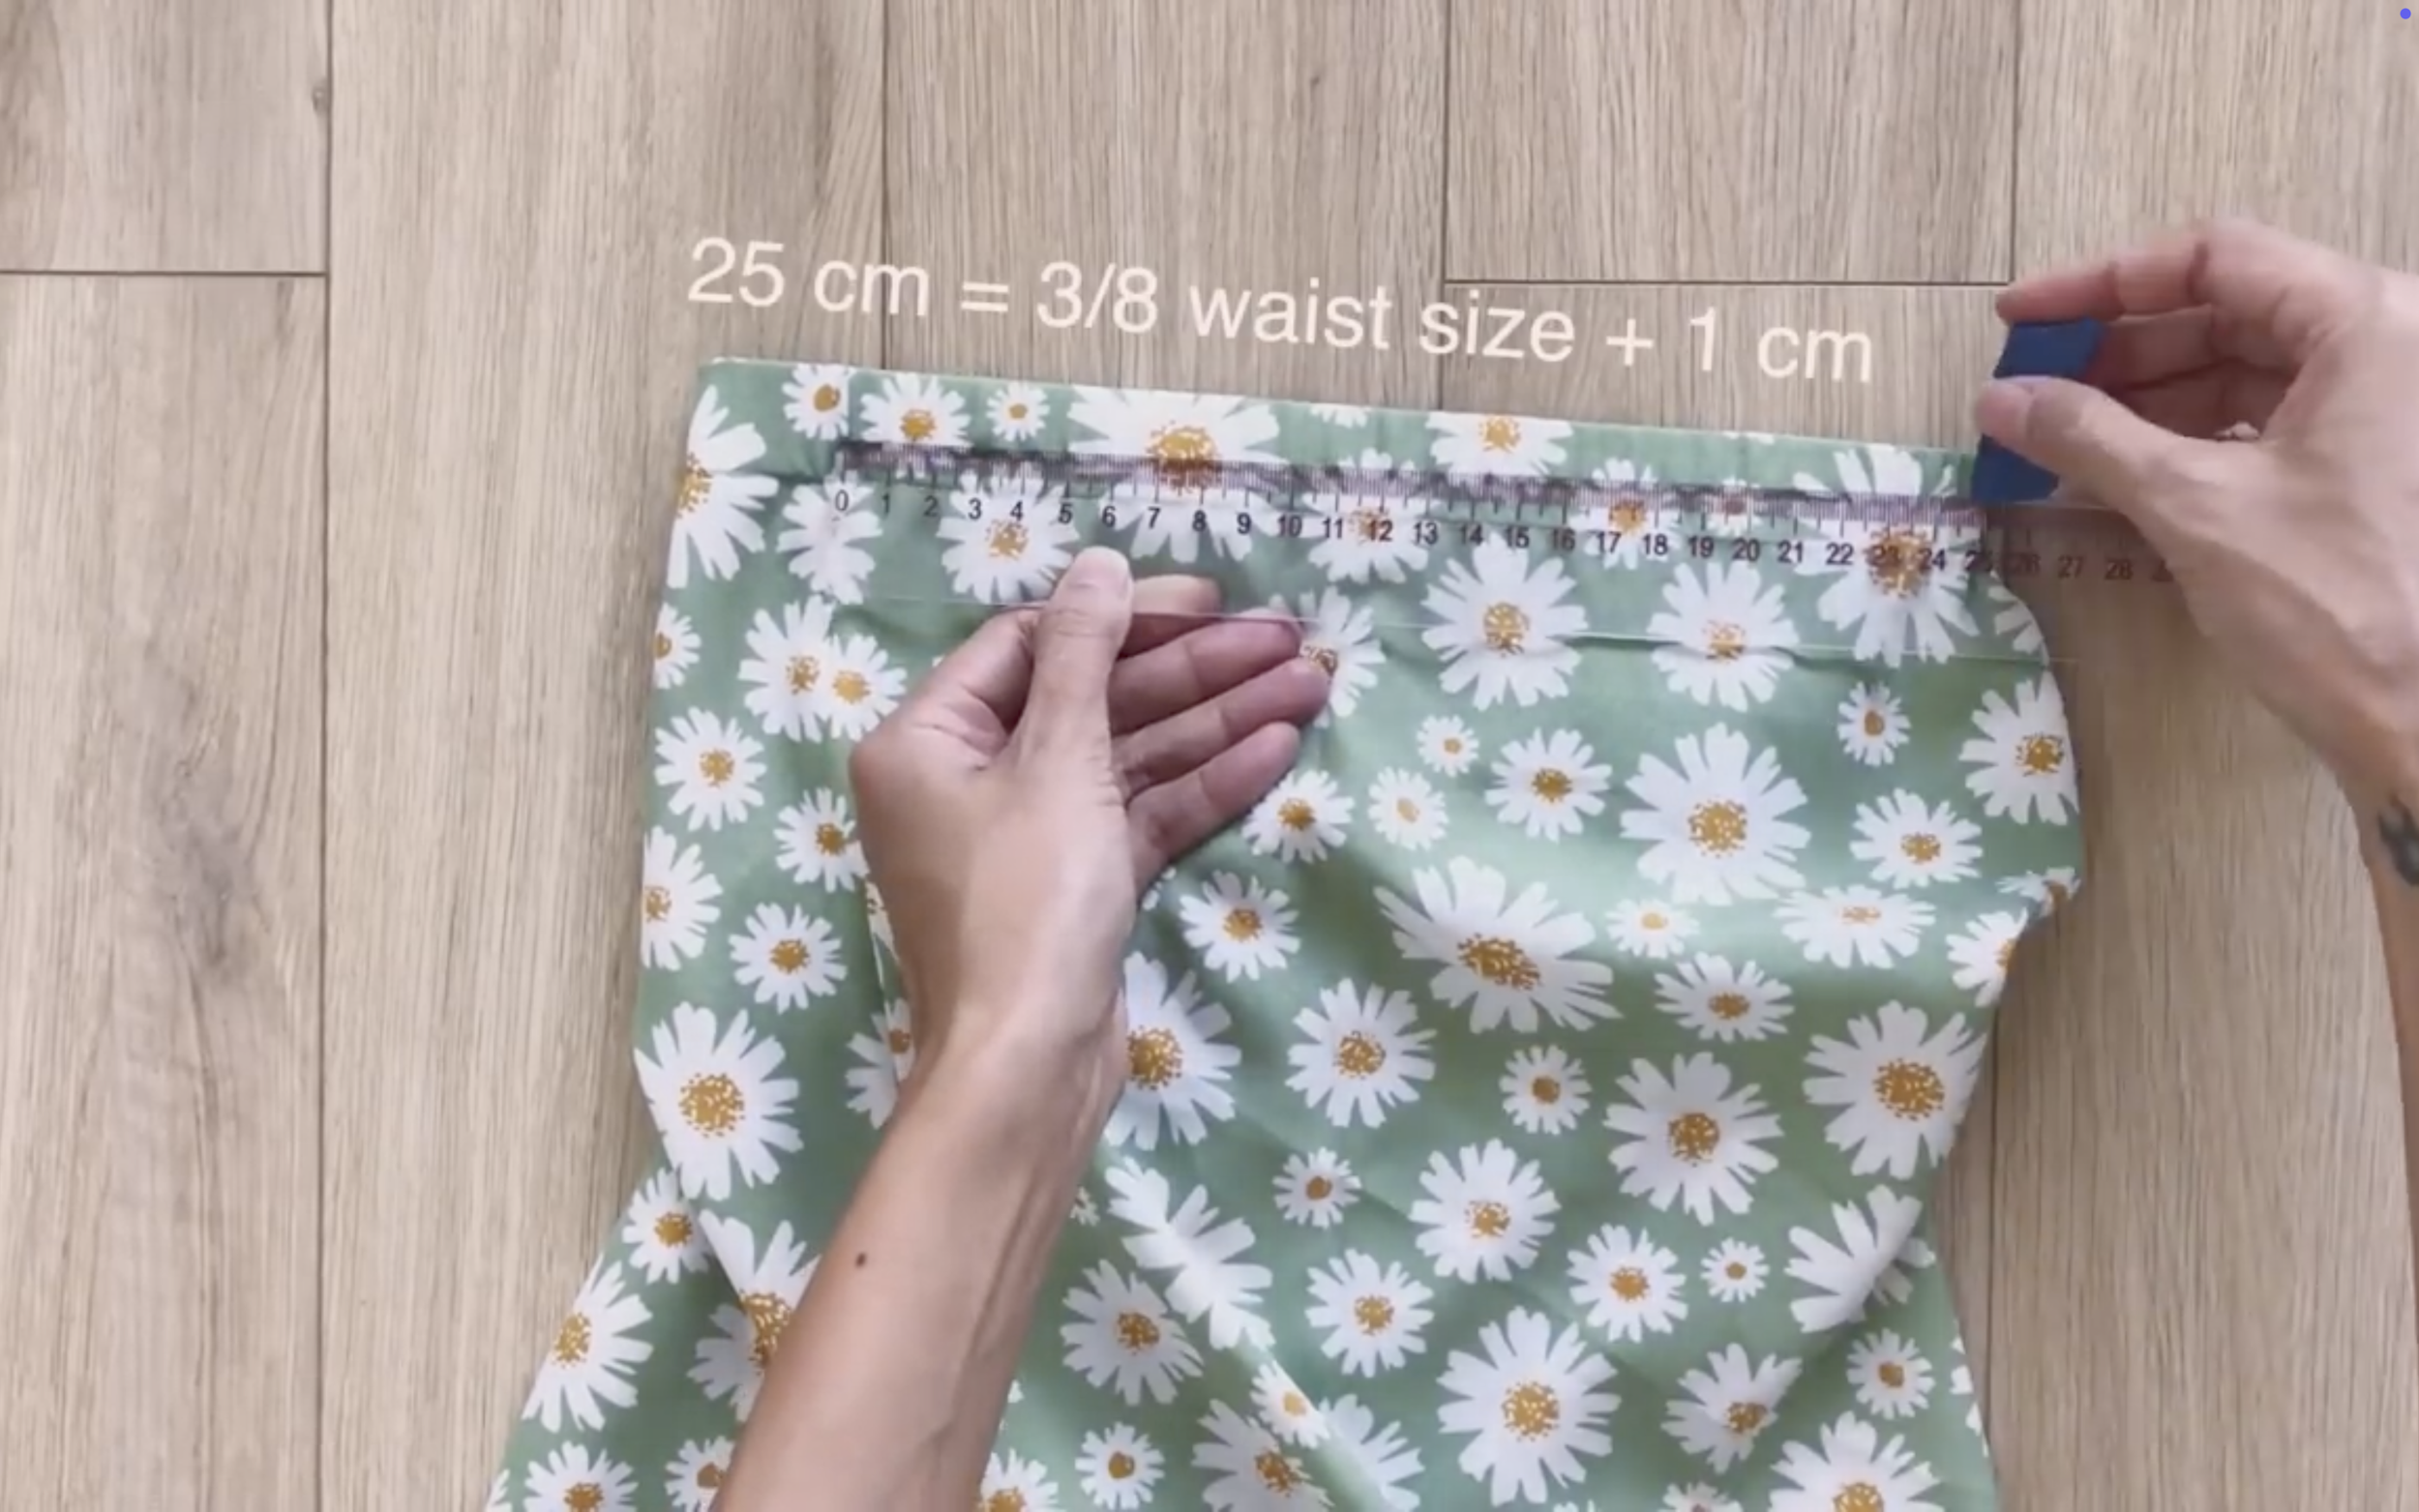
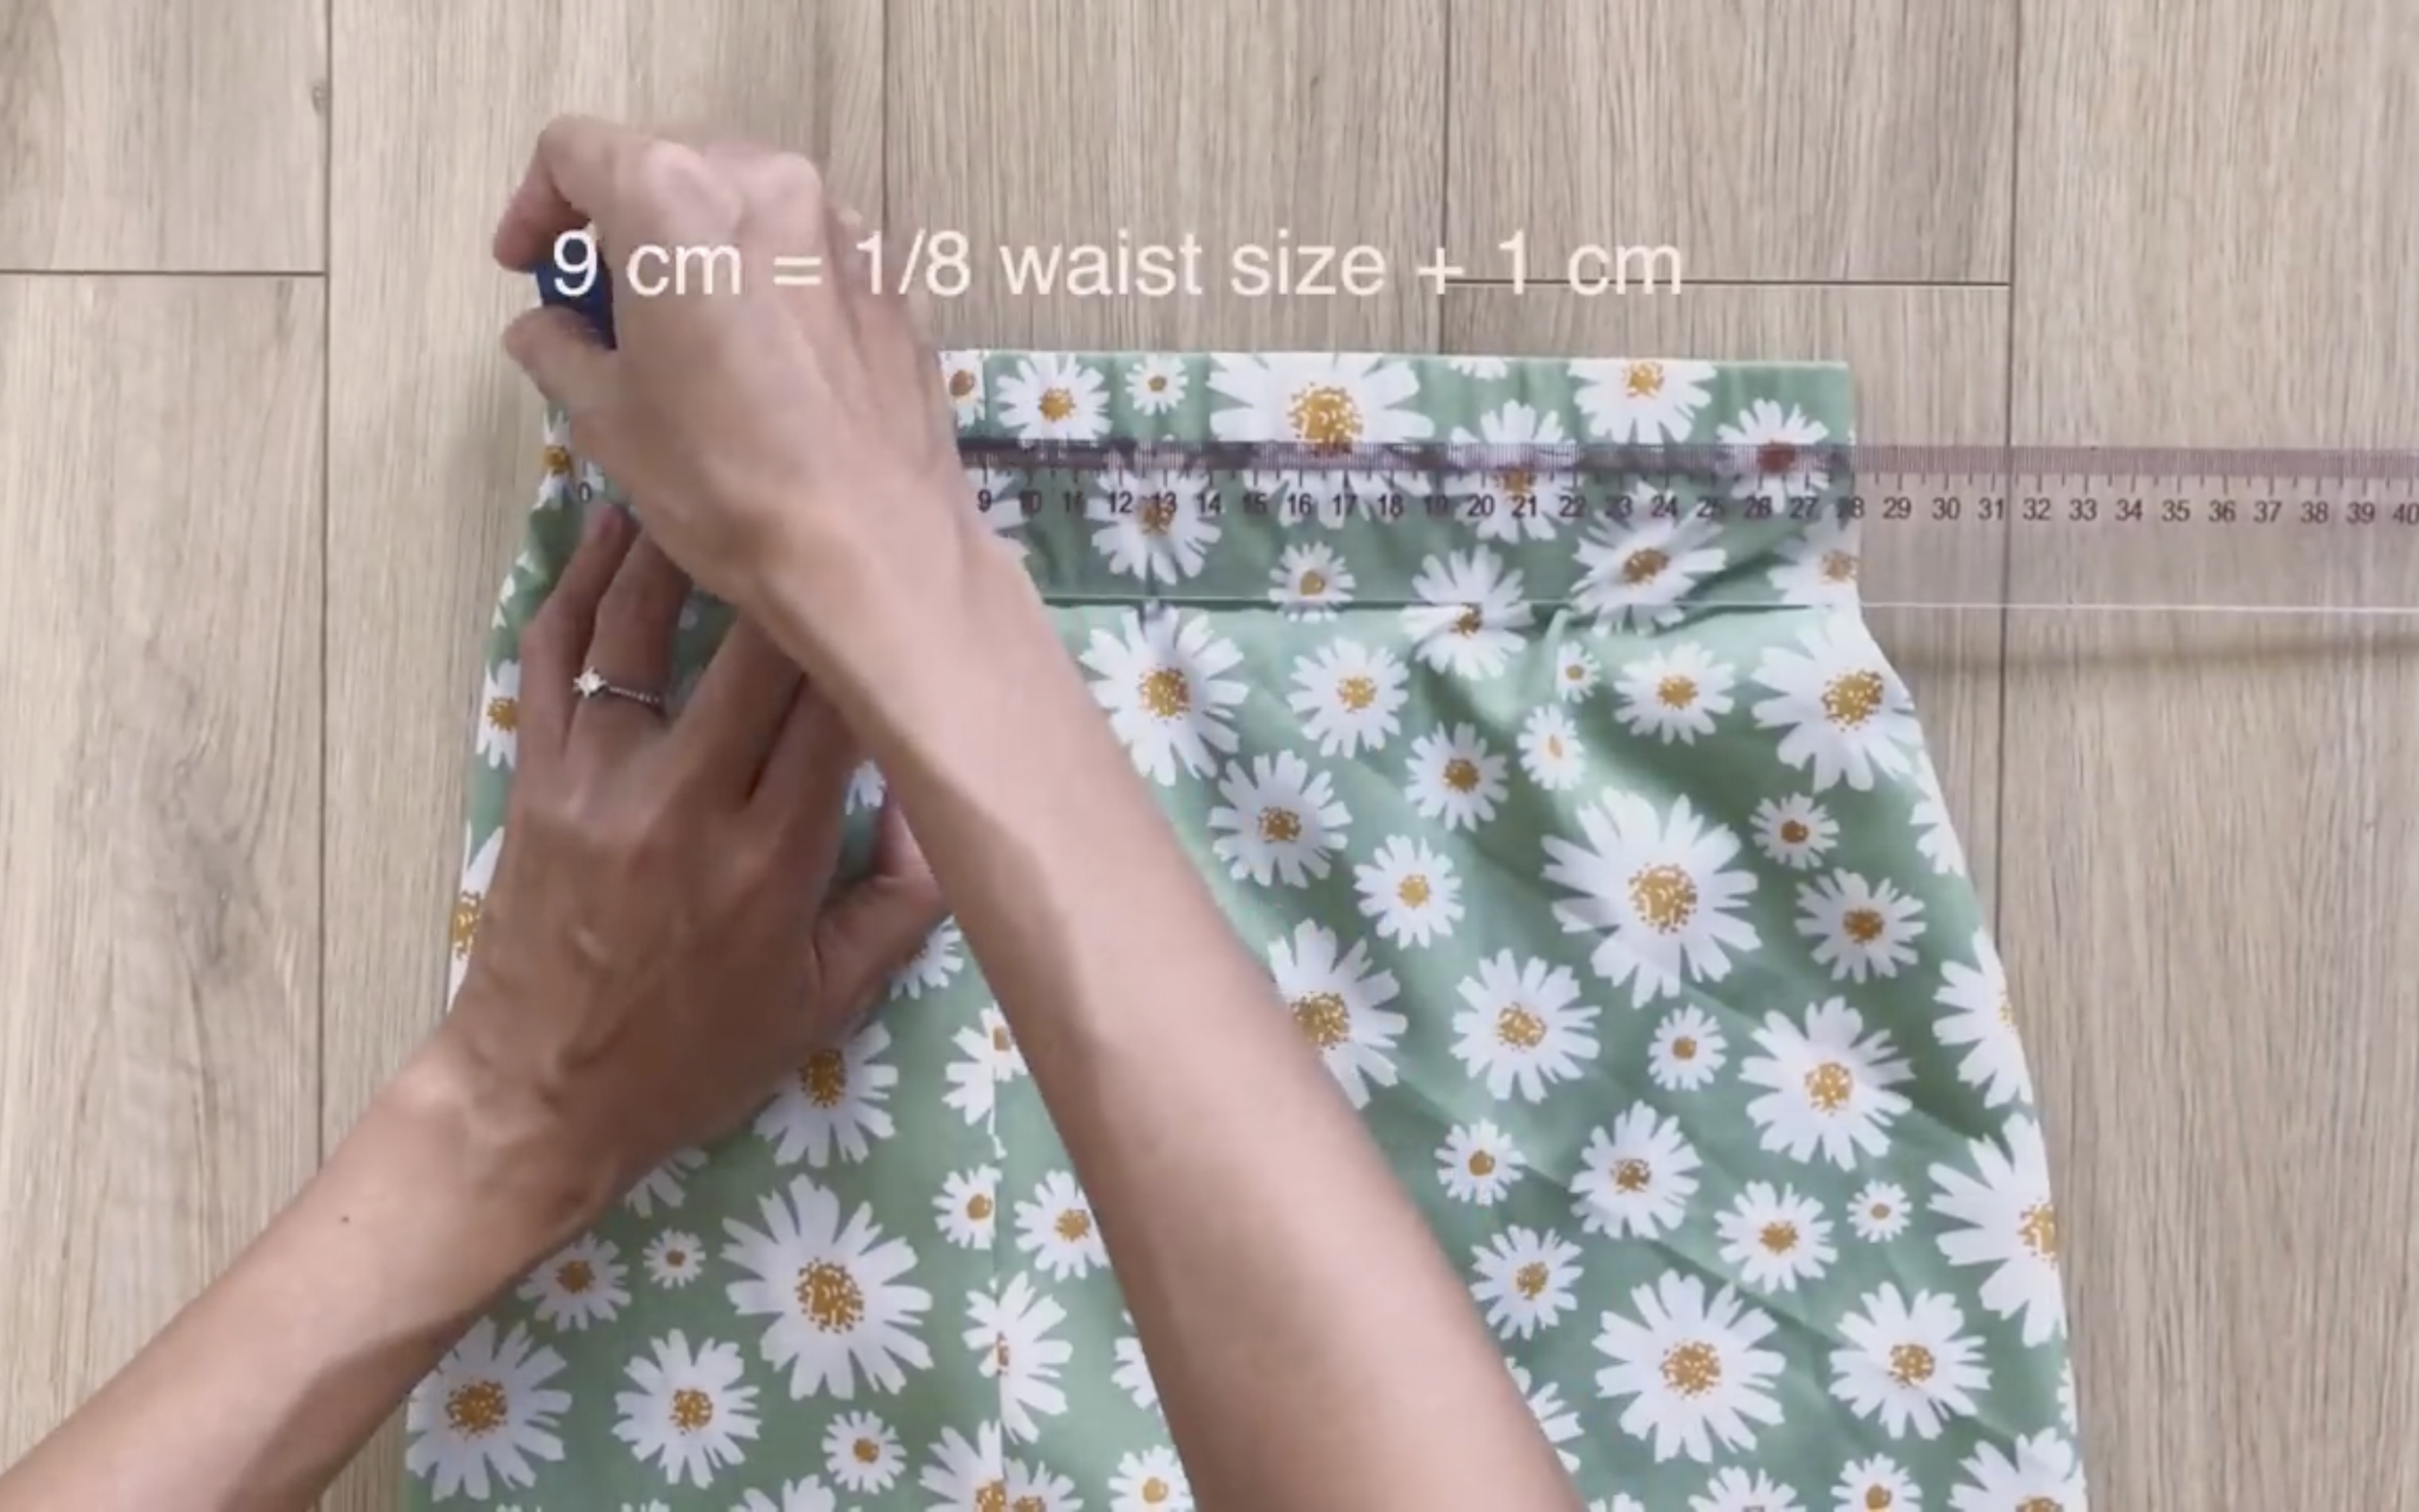
The width between two seams will be 34 cm which is half of the waist size plus 2 cm.
Make sure the slitted part has to be a quarter of this part so it could be at one side of the leg when wearing.

DIY MIDI SKIRT without zipper in 2 styles | Tiered skirt & Ruffle hem with leg slit skirt
And I finished this DIY — here’s the final result! This skirt is super comfy yet still elegant, making it a perfect choice for your summer outfits.
It’s a great beginner-friendly project with a trendy result. Hope you’ll give both of these tops a try!
See you next time!