DIY MILKMAID DRESS (Sleeveless midi version & Puff sleeve version) - Step by step sewing tutorial (Copy)

DIY MILKMAID DRESS (Sleeveless midi version & Puff sleeve version) - Step by step sewing tutorial
Welcome or welcome back to my sewing blog!
In today's tutorial, I'm going to share with you how I made the Milkmaid dress in 2 designs (Sleeveless midi version & Puff sleeve version) without using the zipper. This's one of the most requested DIY from you. So I hope you will like and try them out.
Let's get started!
WHAT YOU’LL NEED
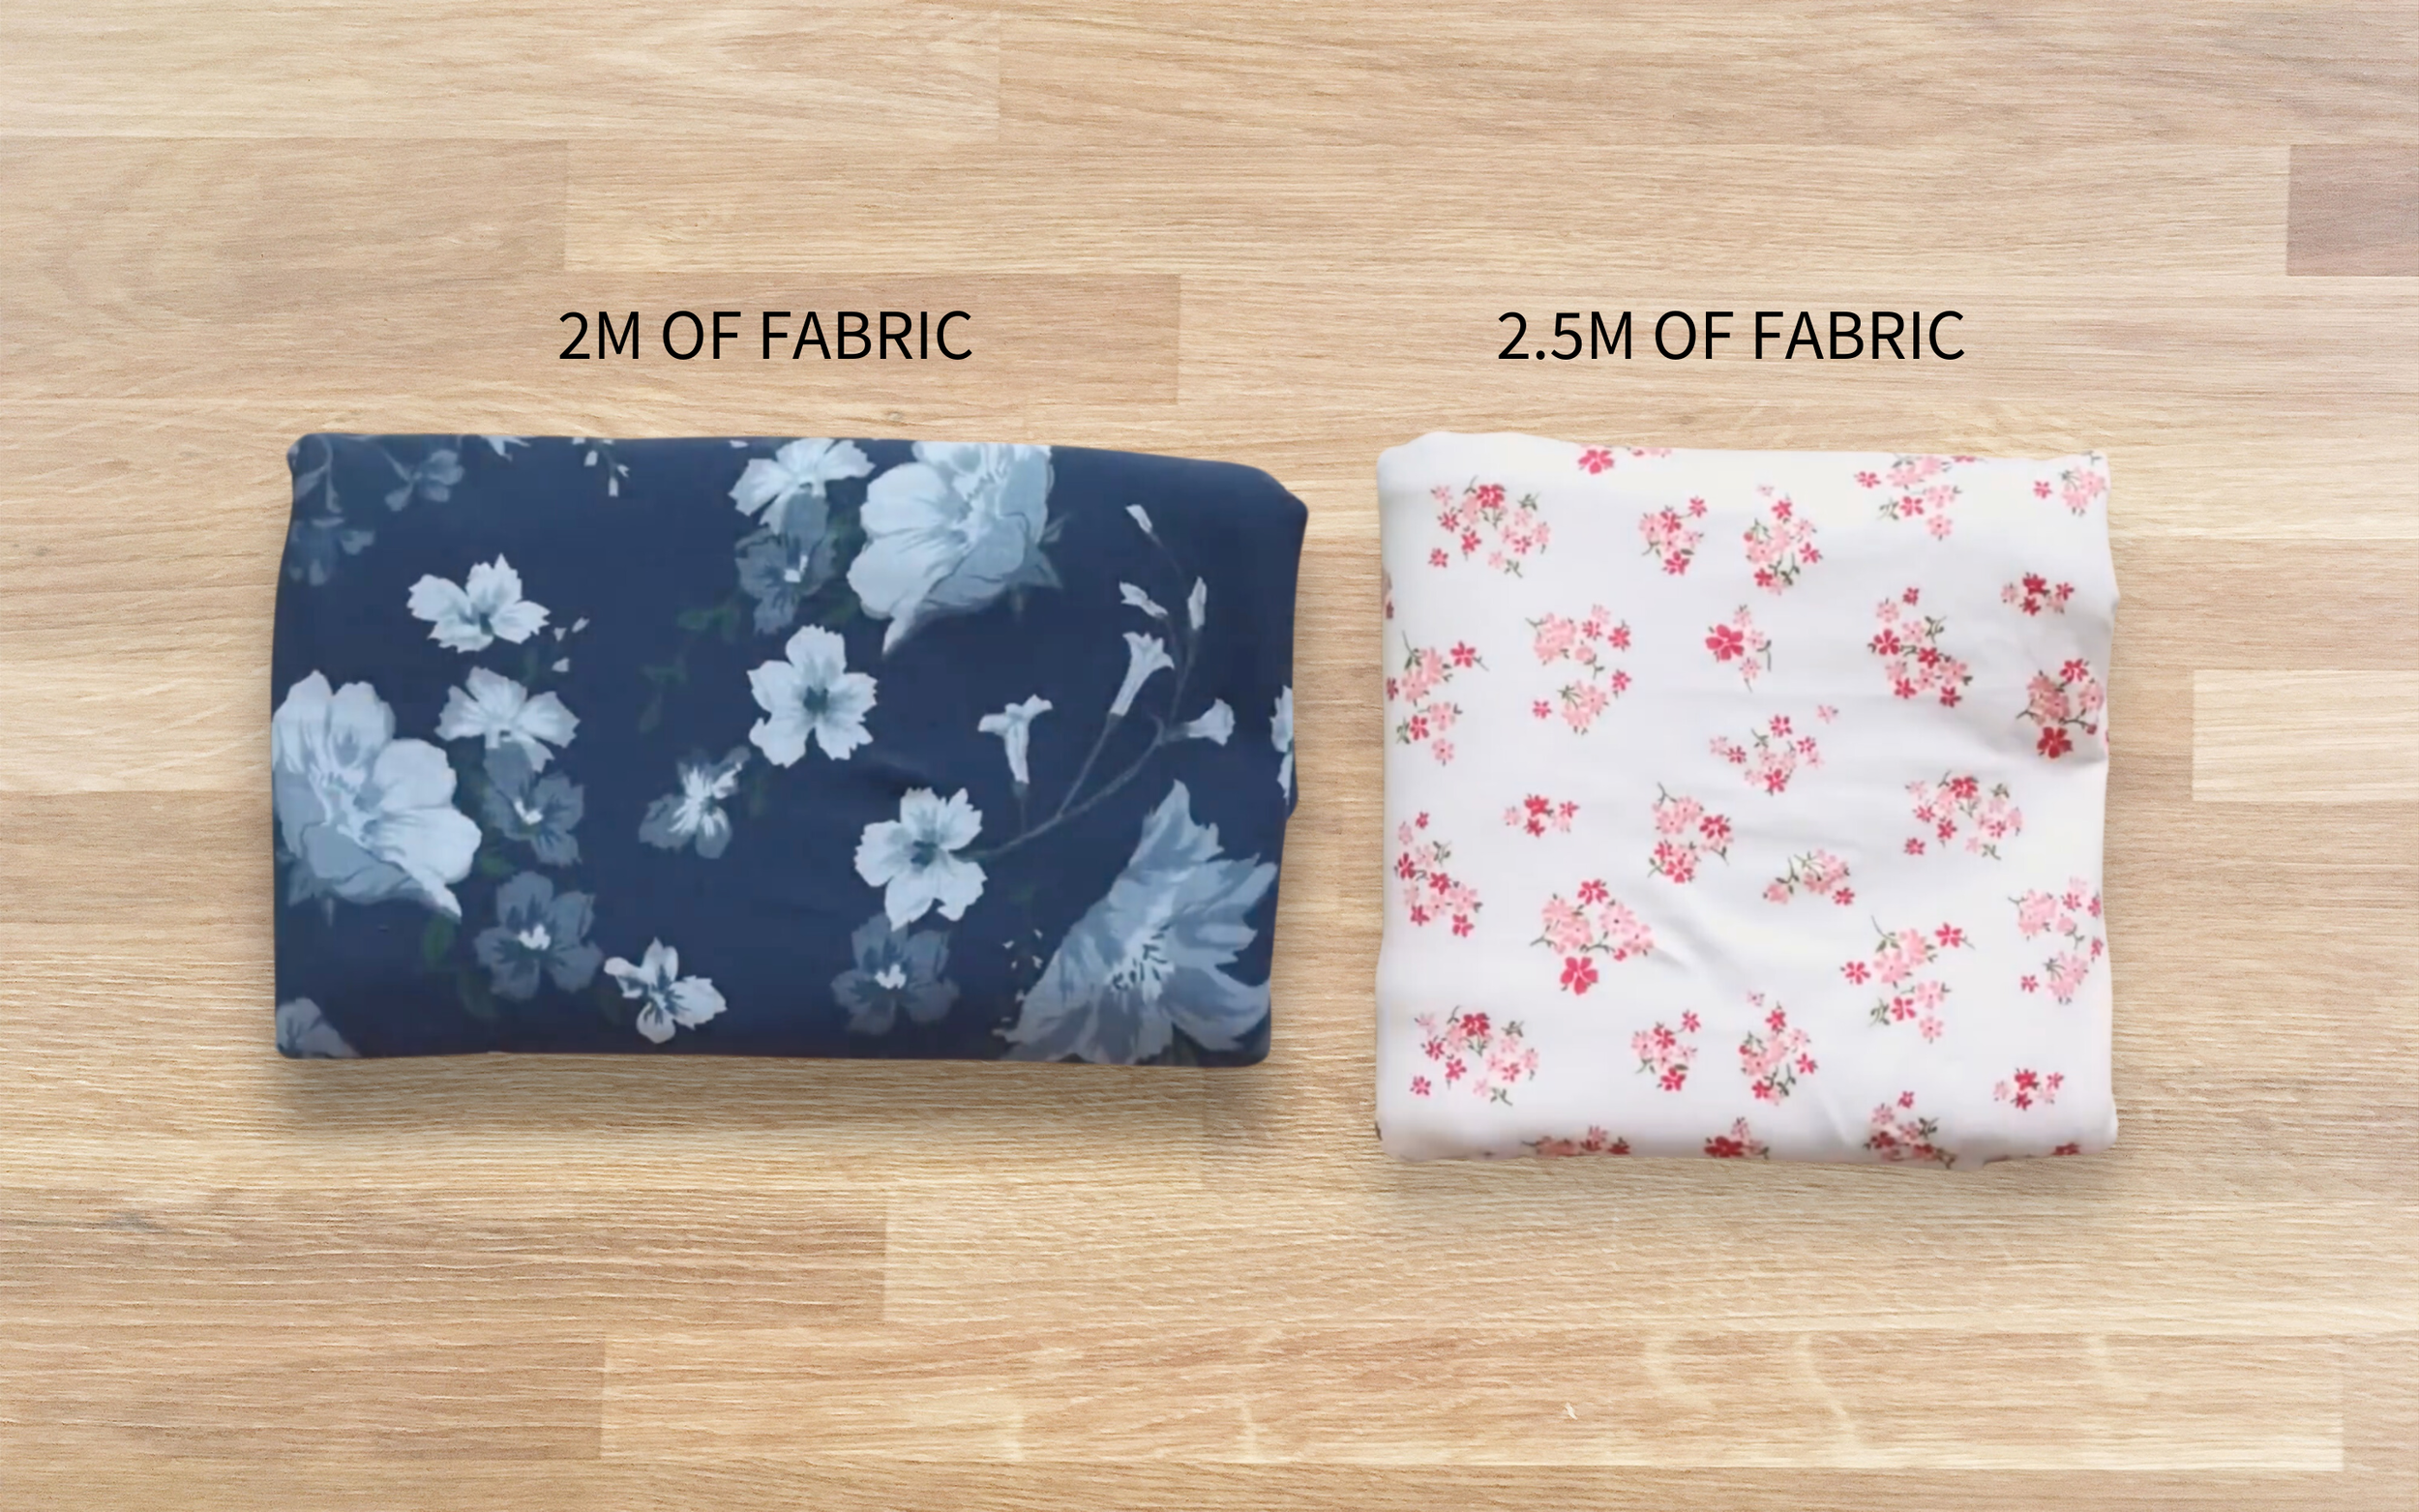
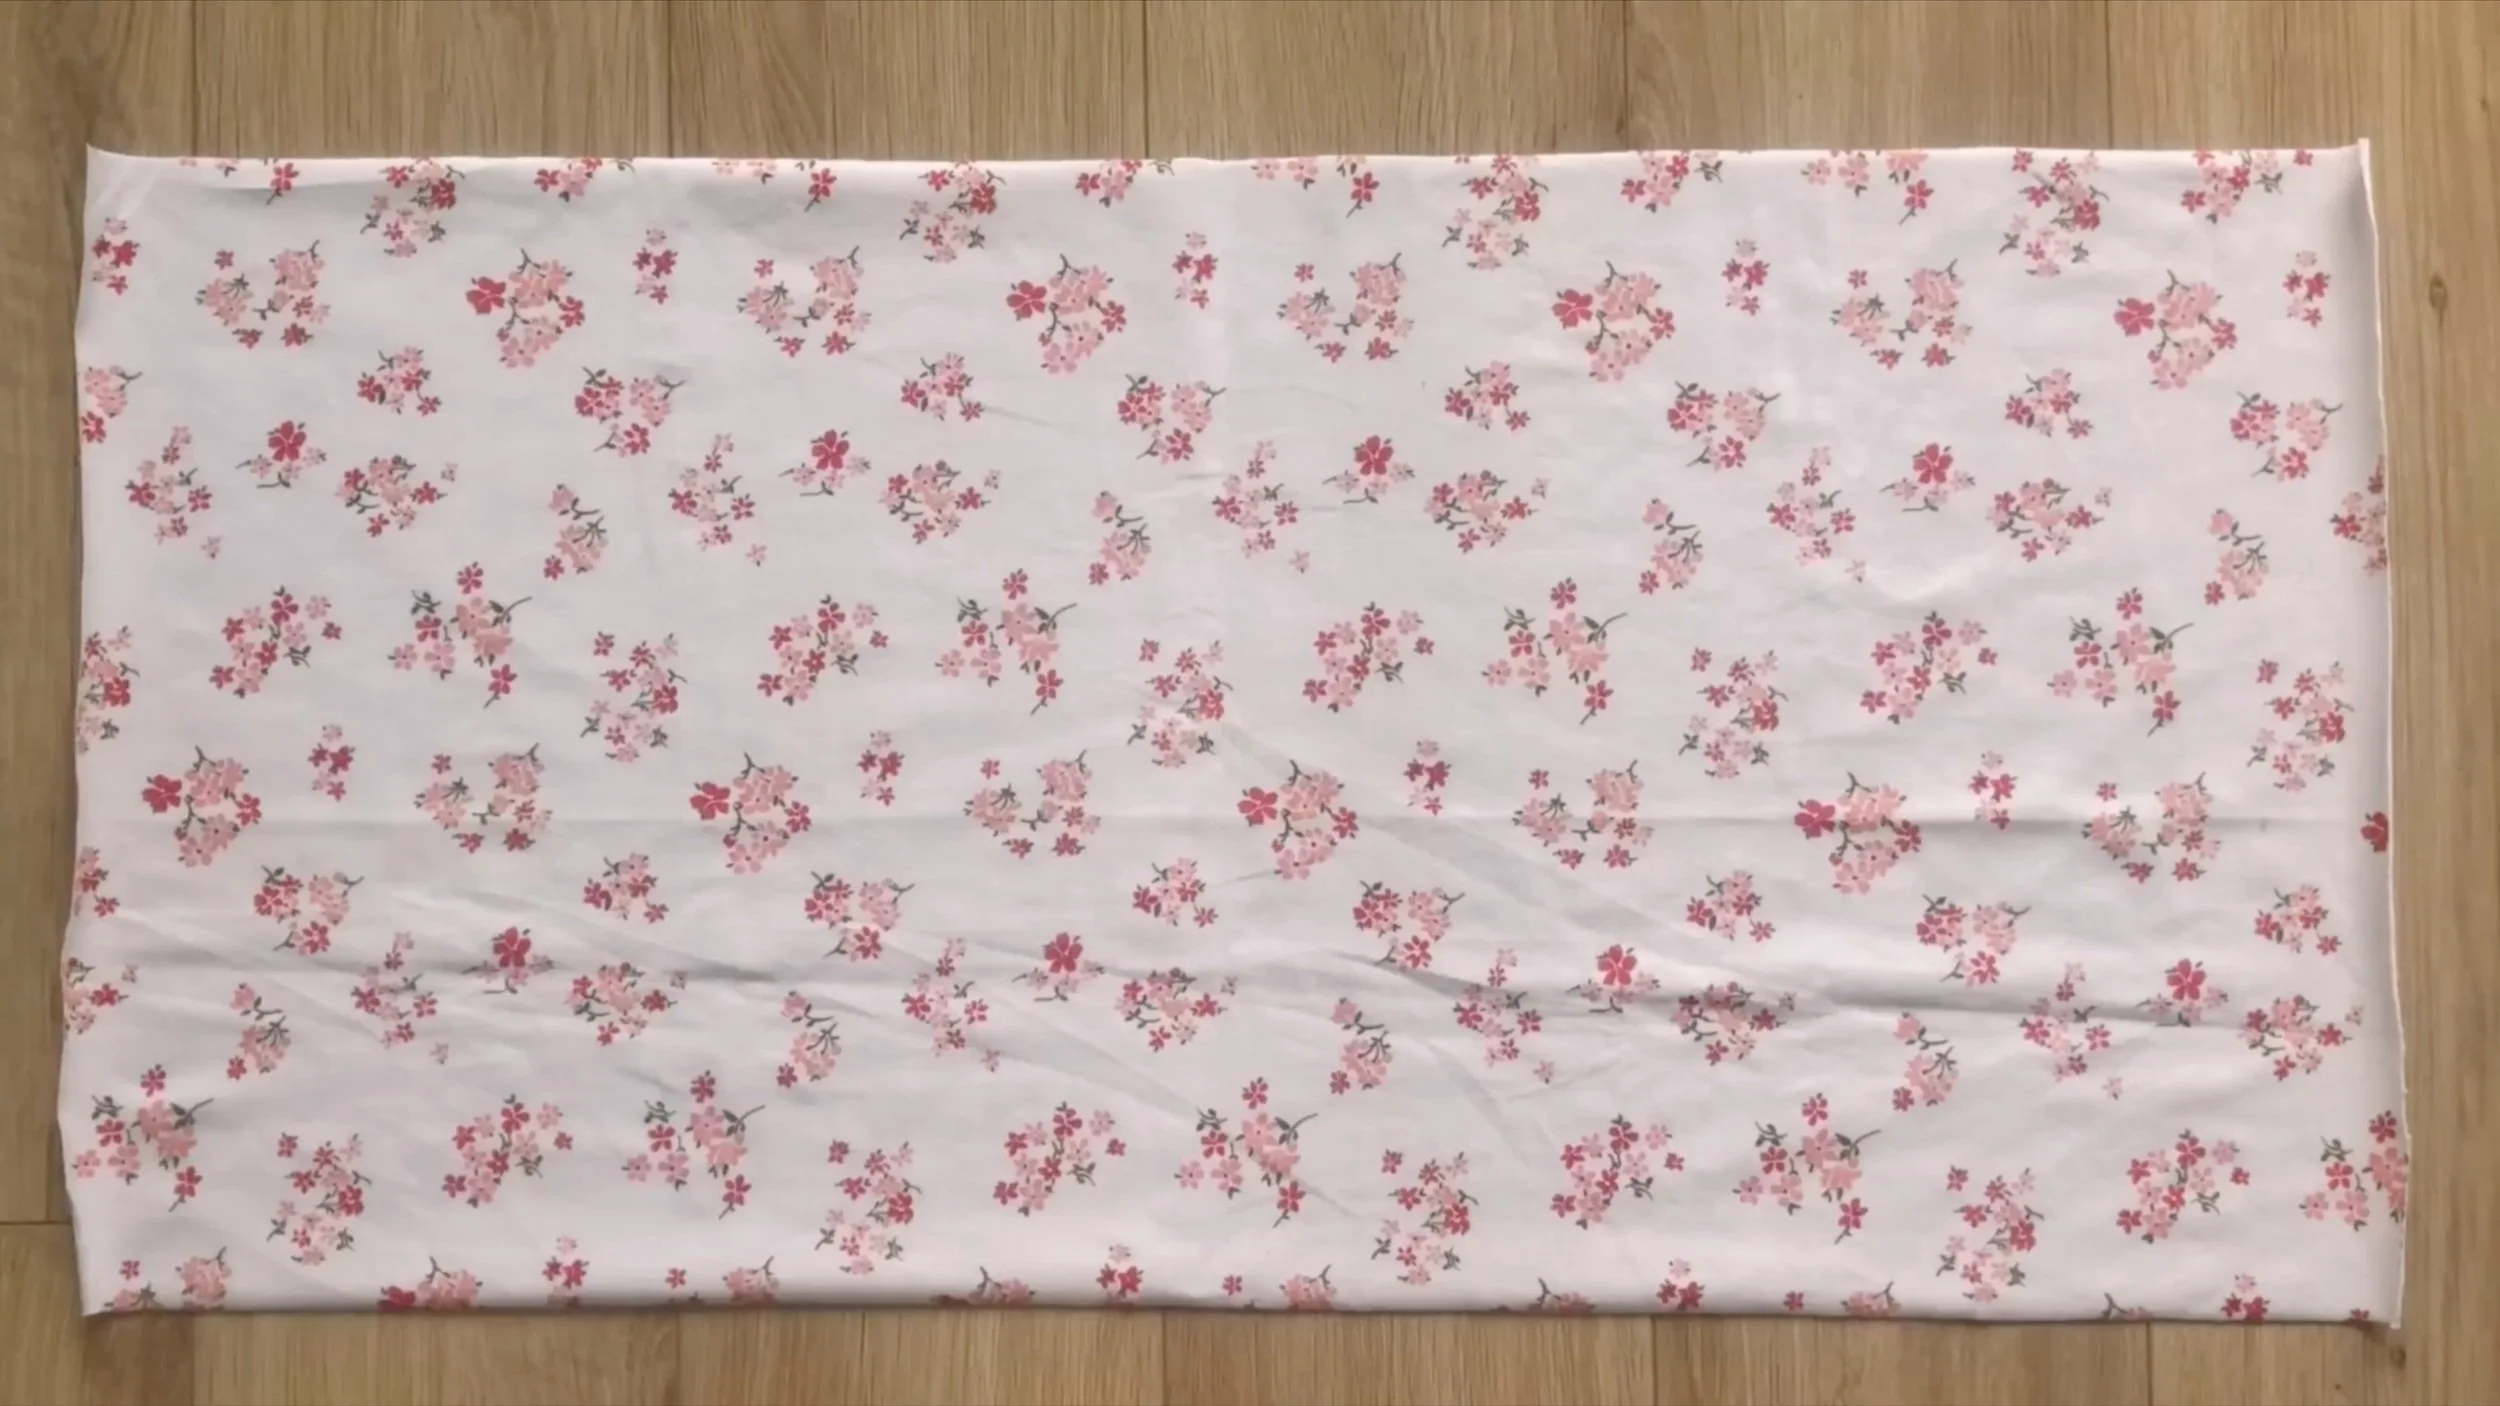
Stretchy fabrics
Pattern paper
Sewing machine
Pins
Scissors
Ruler
Long stick
SLEEVELESS MILKMAID MIDI DRESS
THE PATTERN
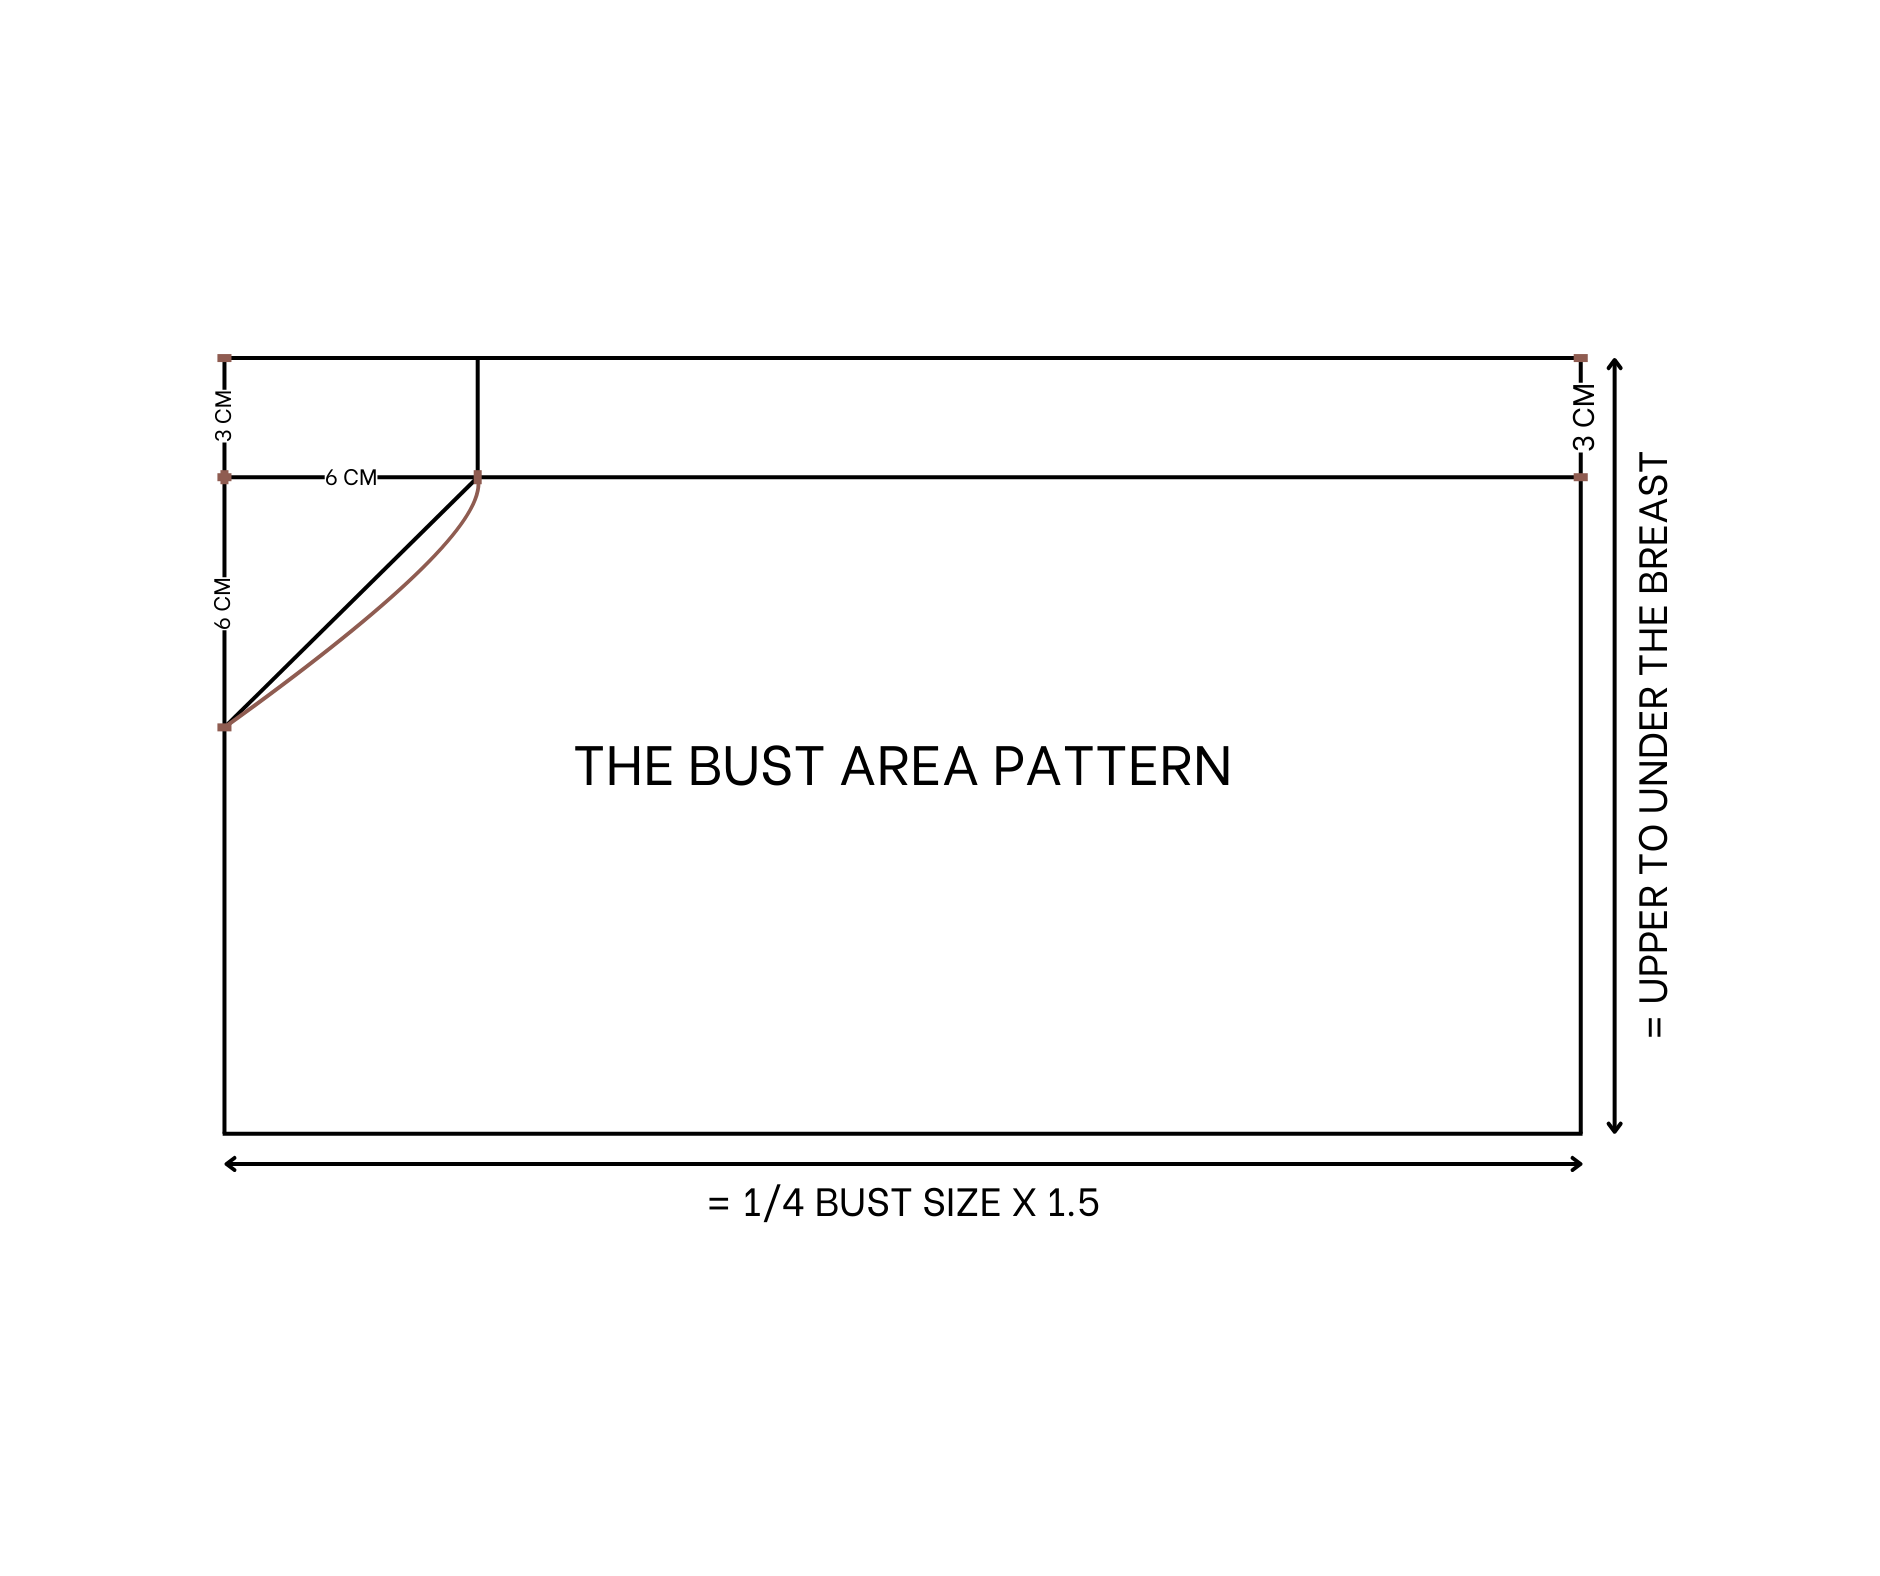
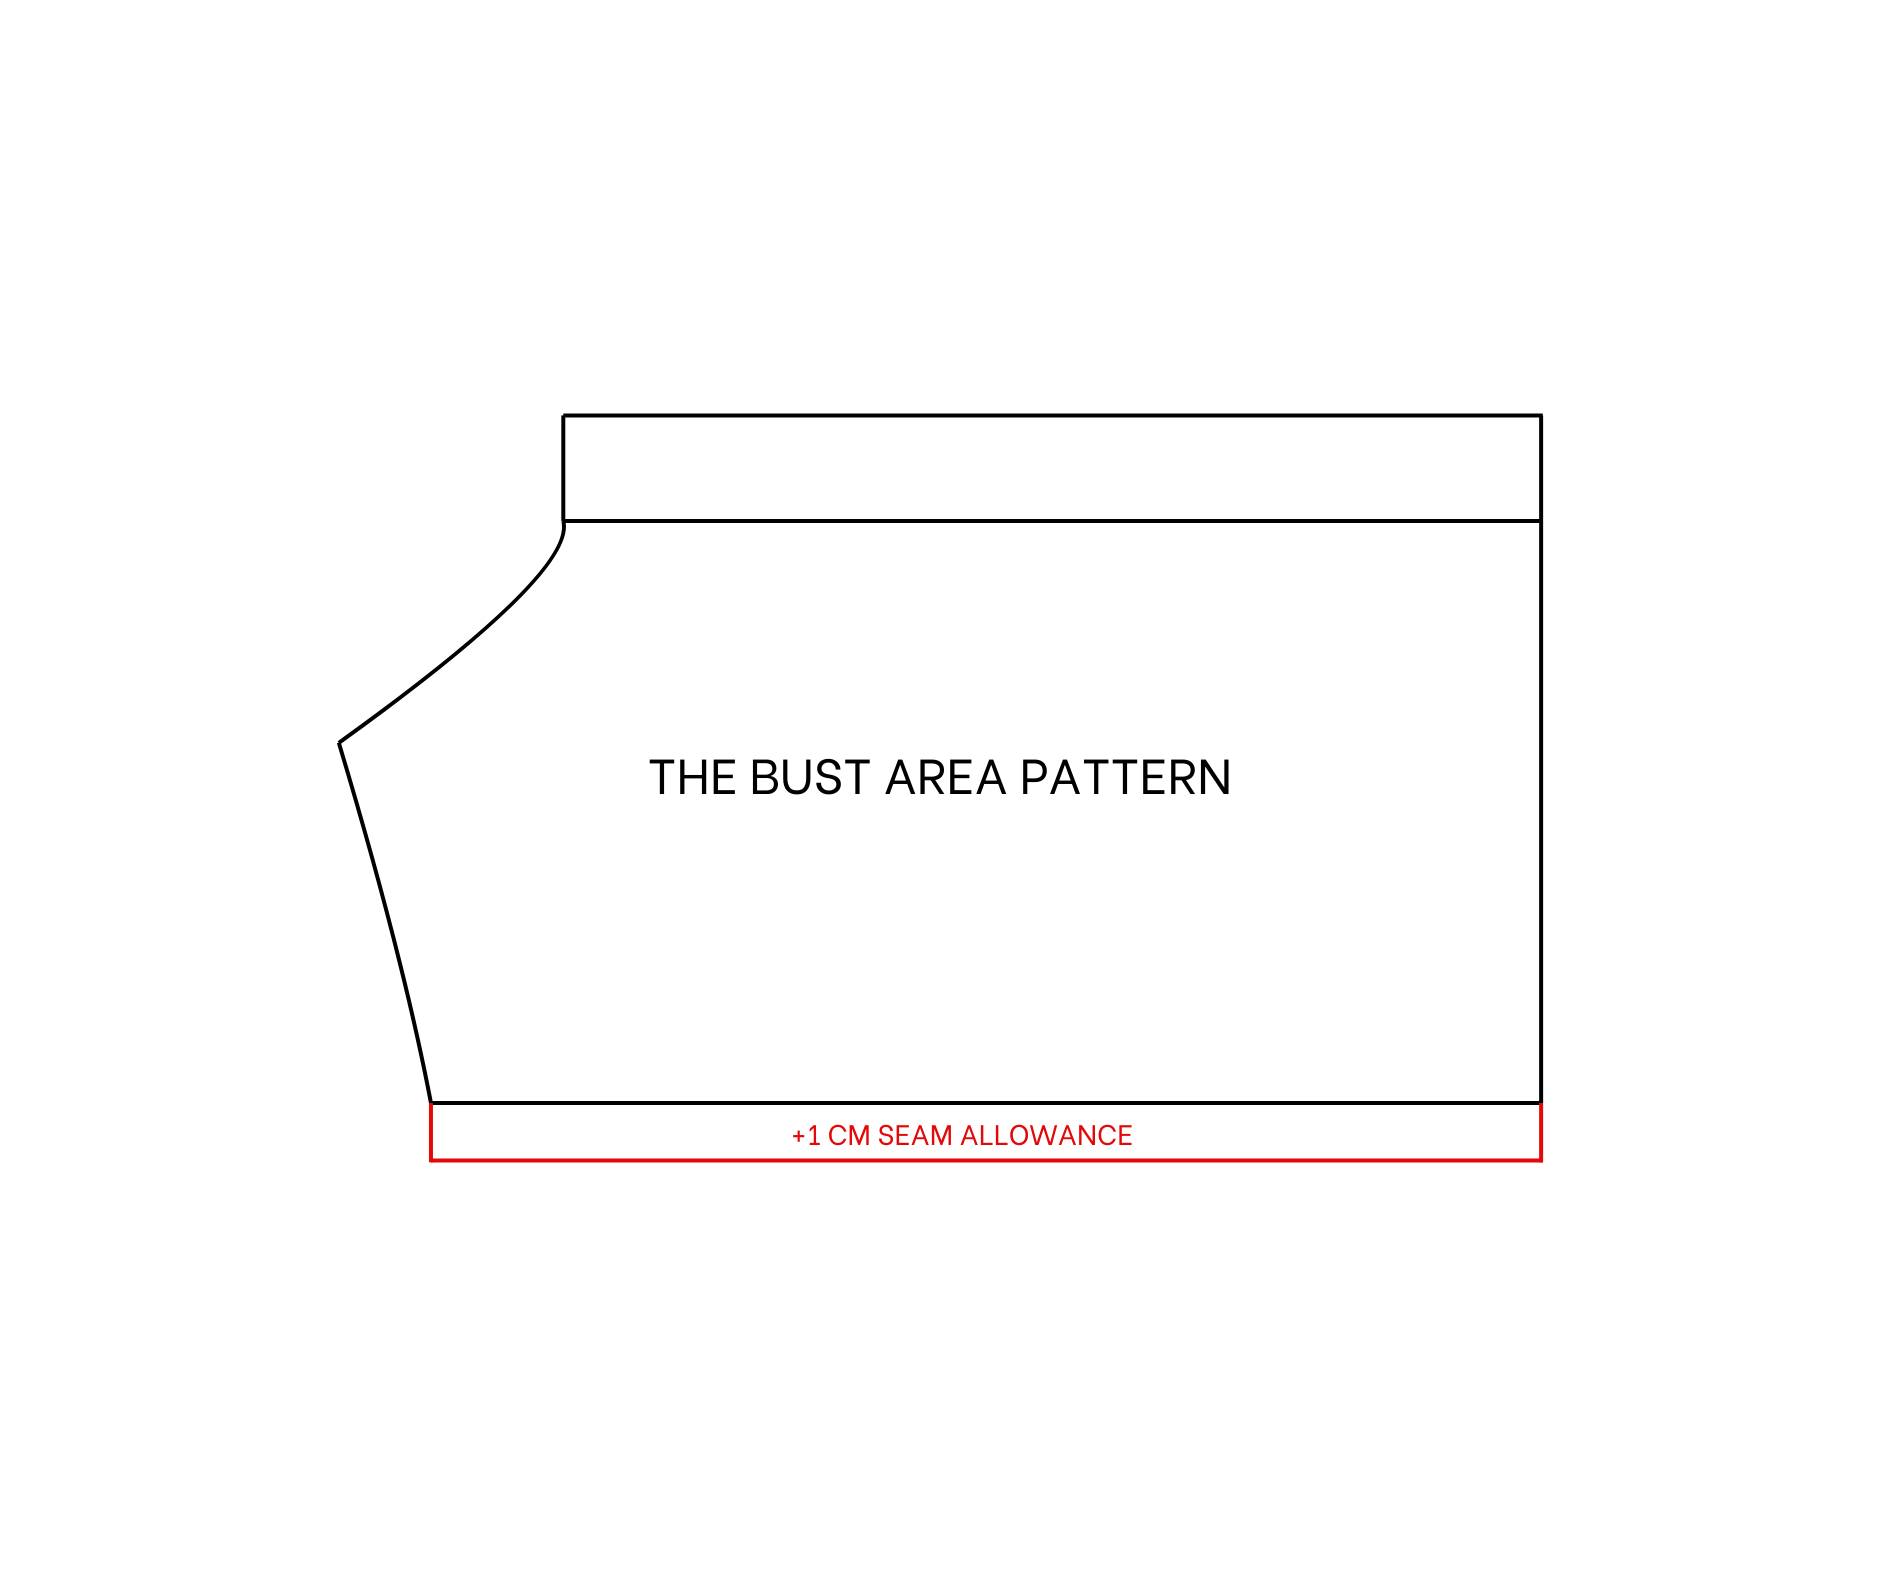
THE BUST AREA PATTERN
Draw a rectangle with a length of 19 cm (to cover the bust) and a width of 33 cm (1.5 times one-quarter of the bust measurement).
Draw another width line 3 cm below the top line. From this line, mark down 6 cm on the width line and also 6 cm on the horizontal line.
Connect these two marks to form the underarm line of the dress.
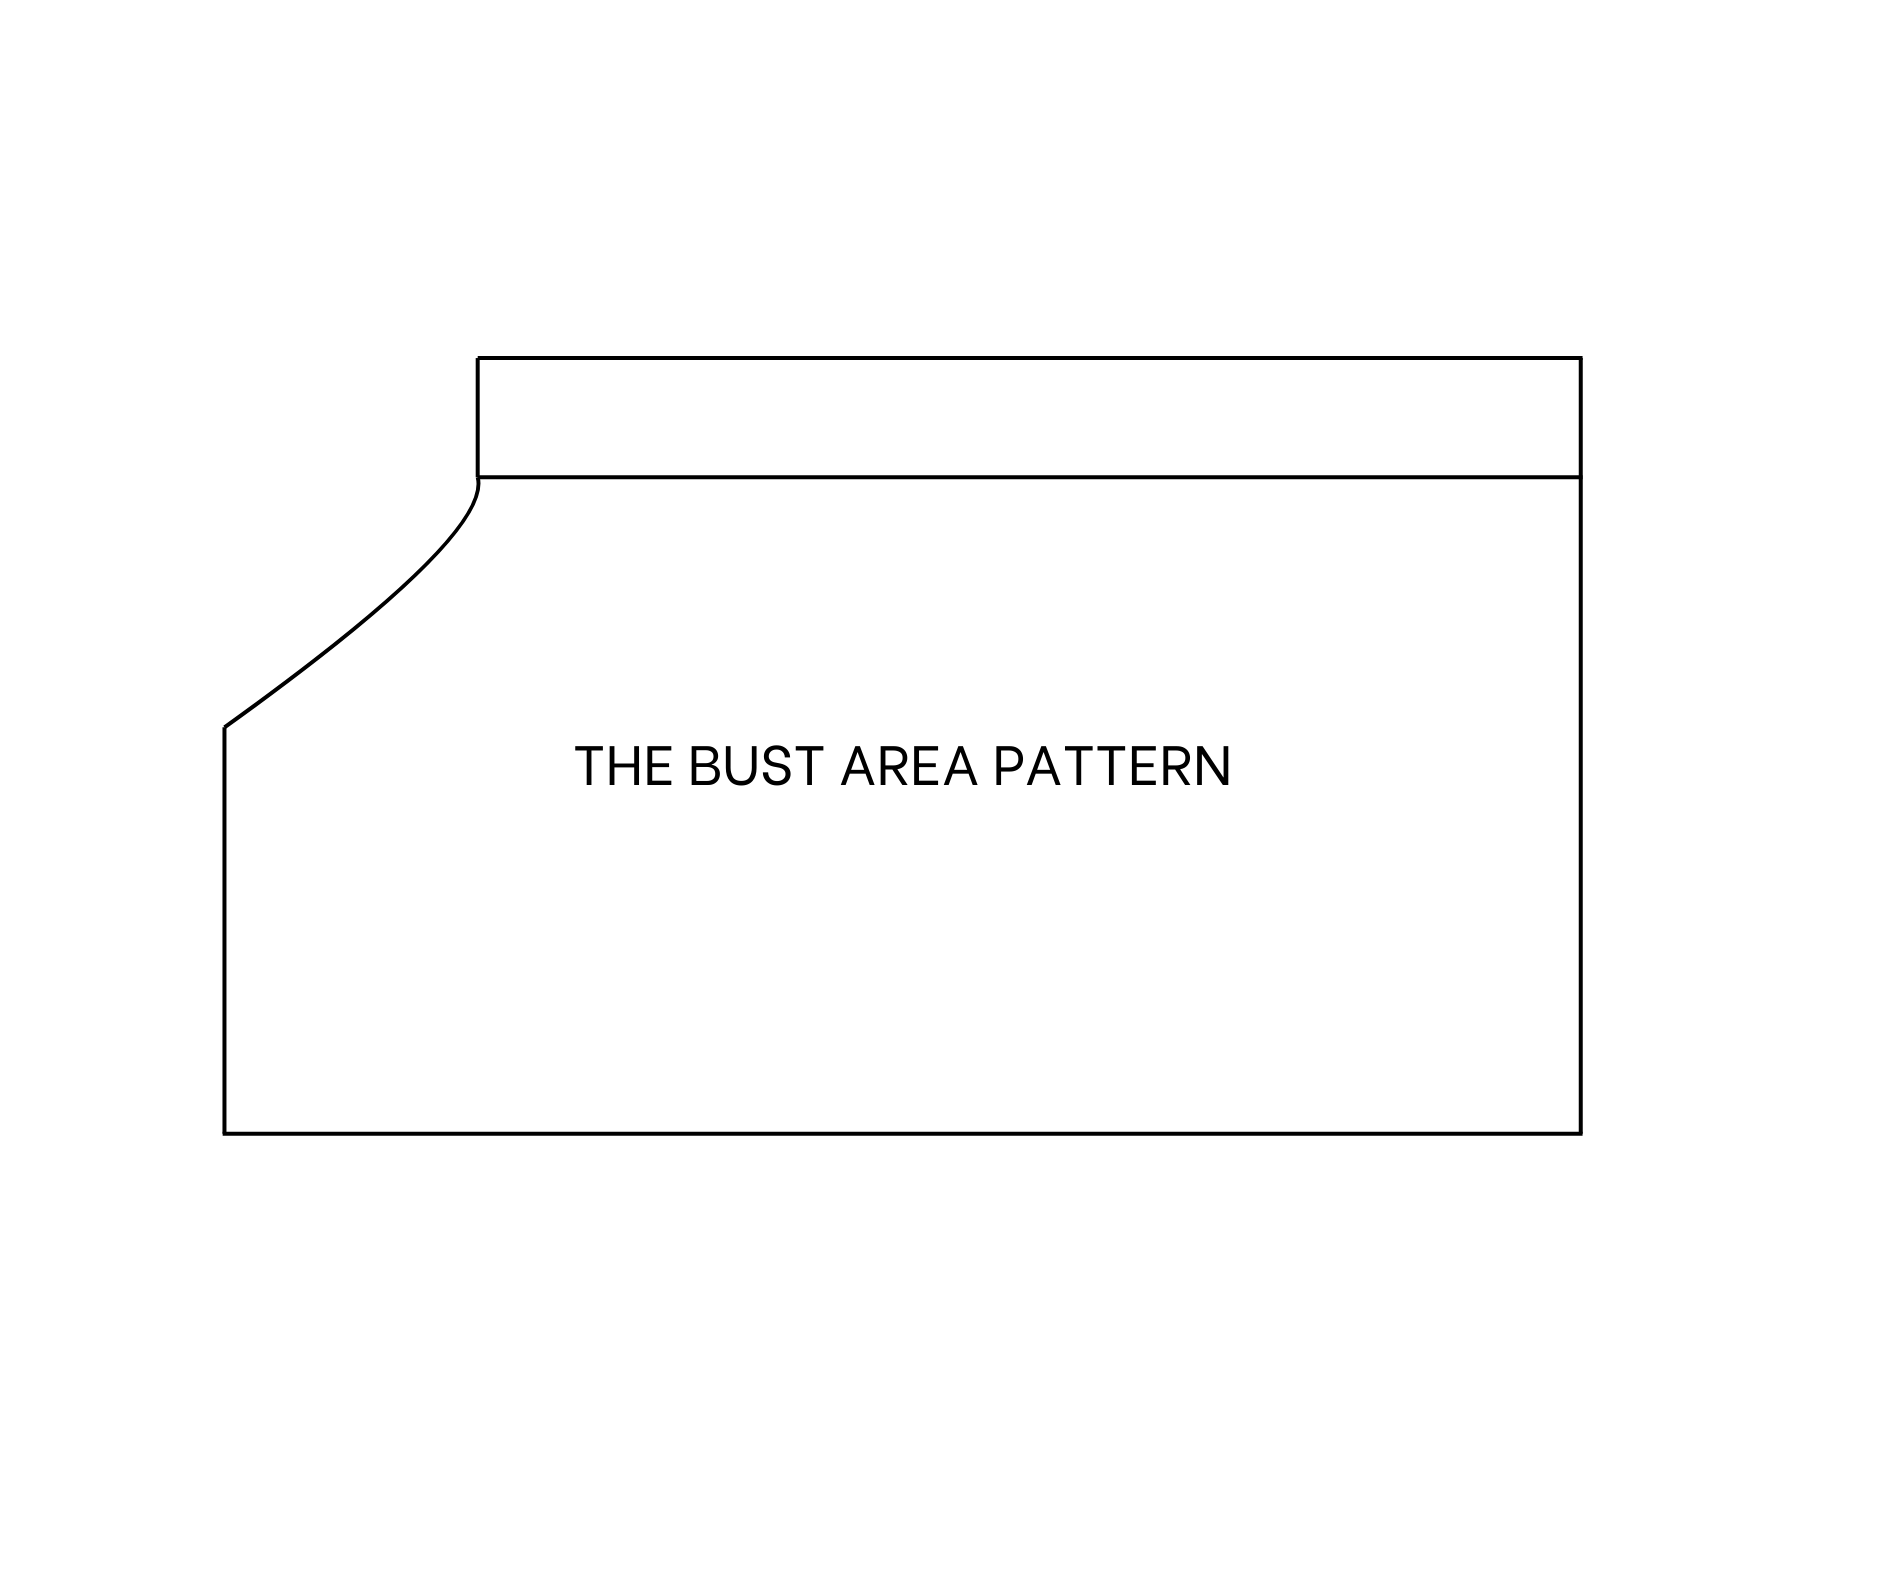
This completes the bust area pattern after cutting.
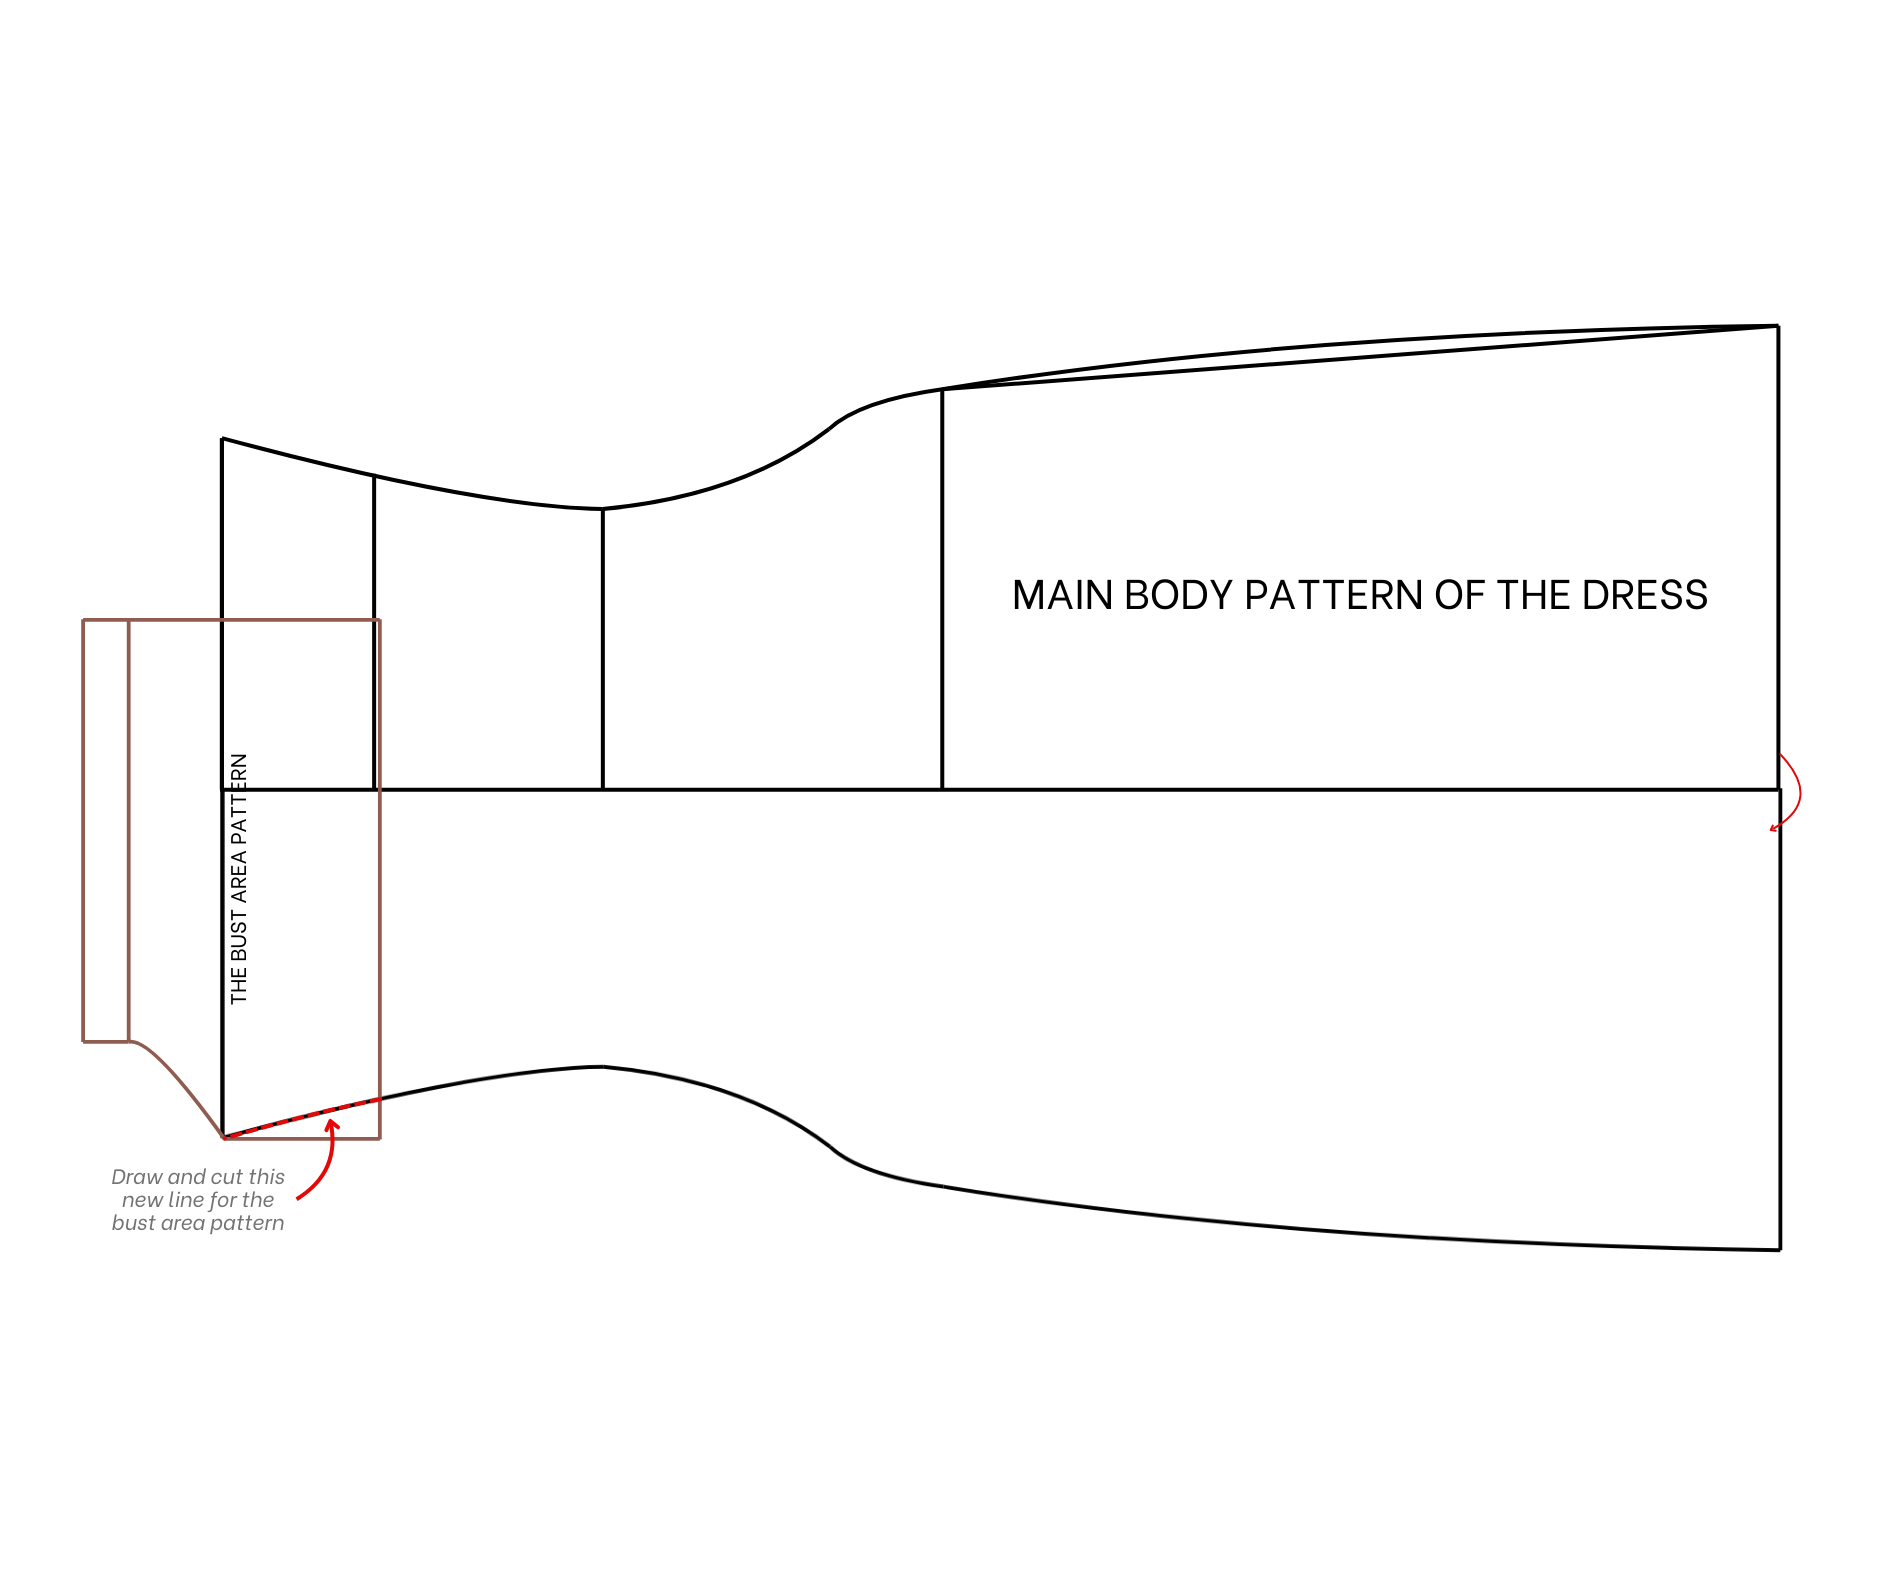
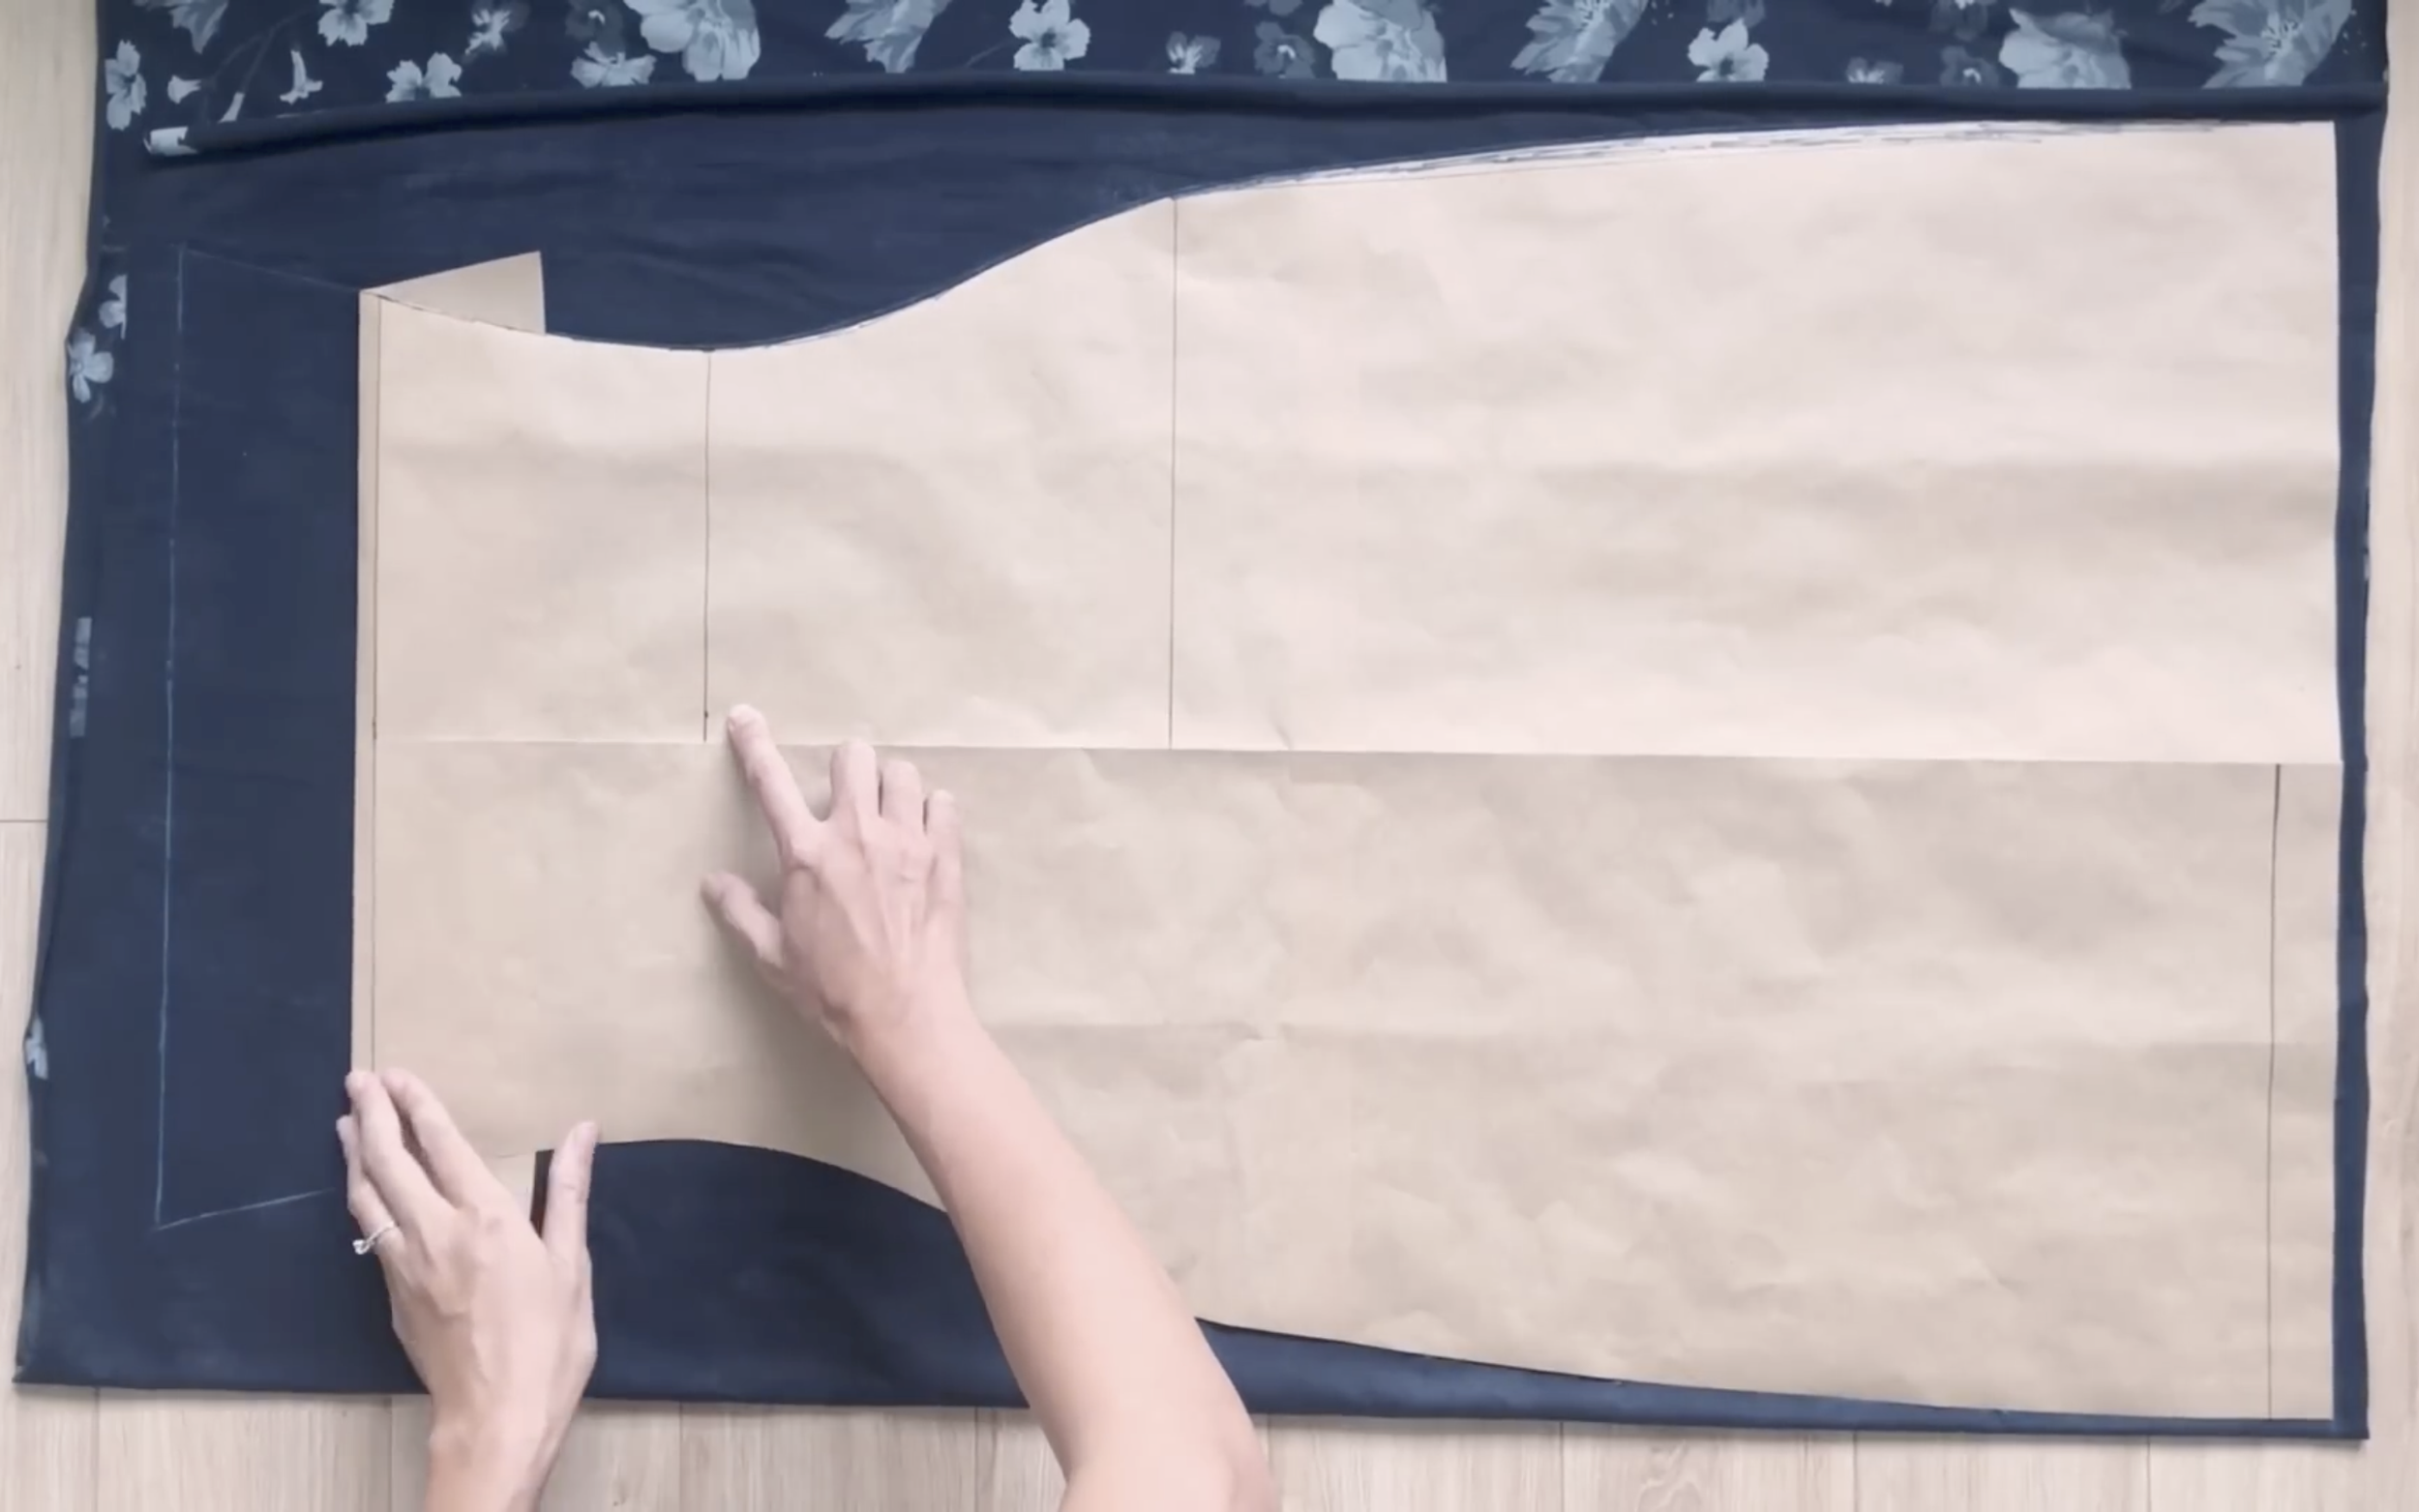
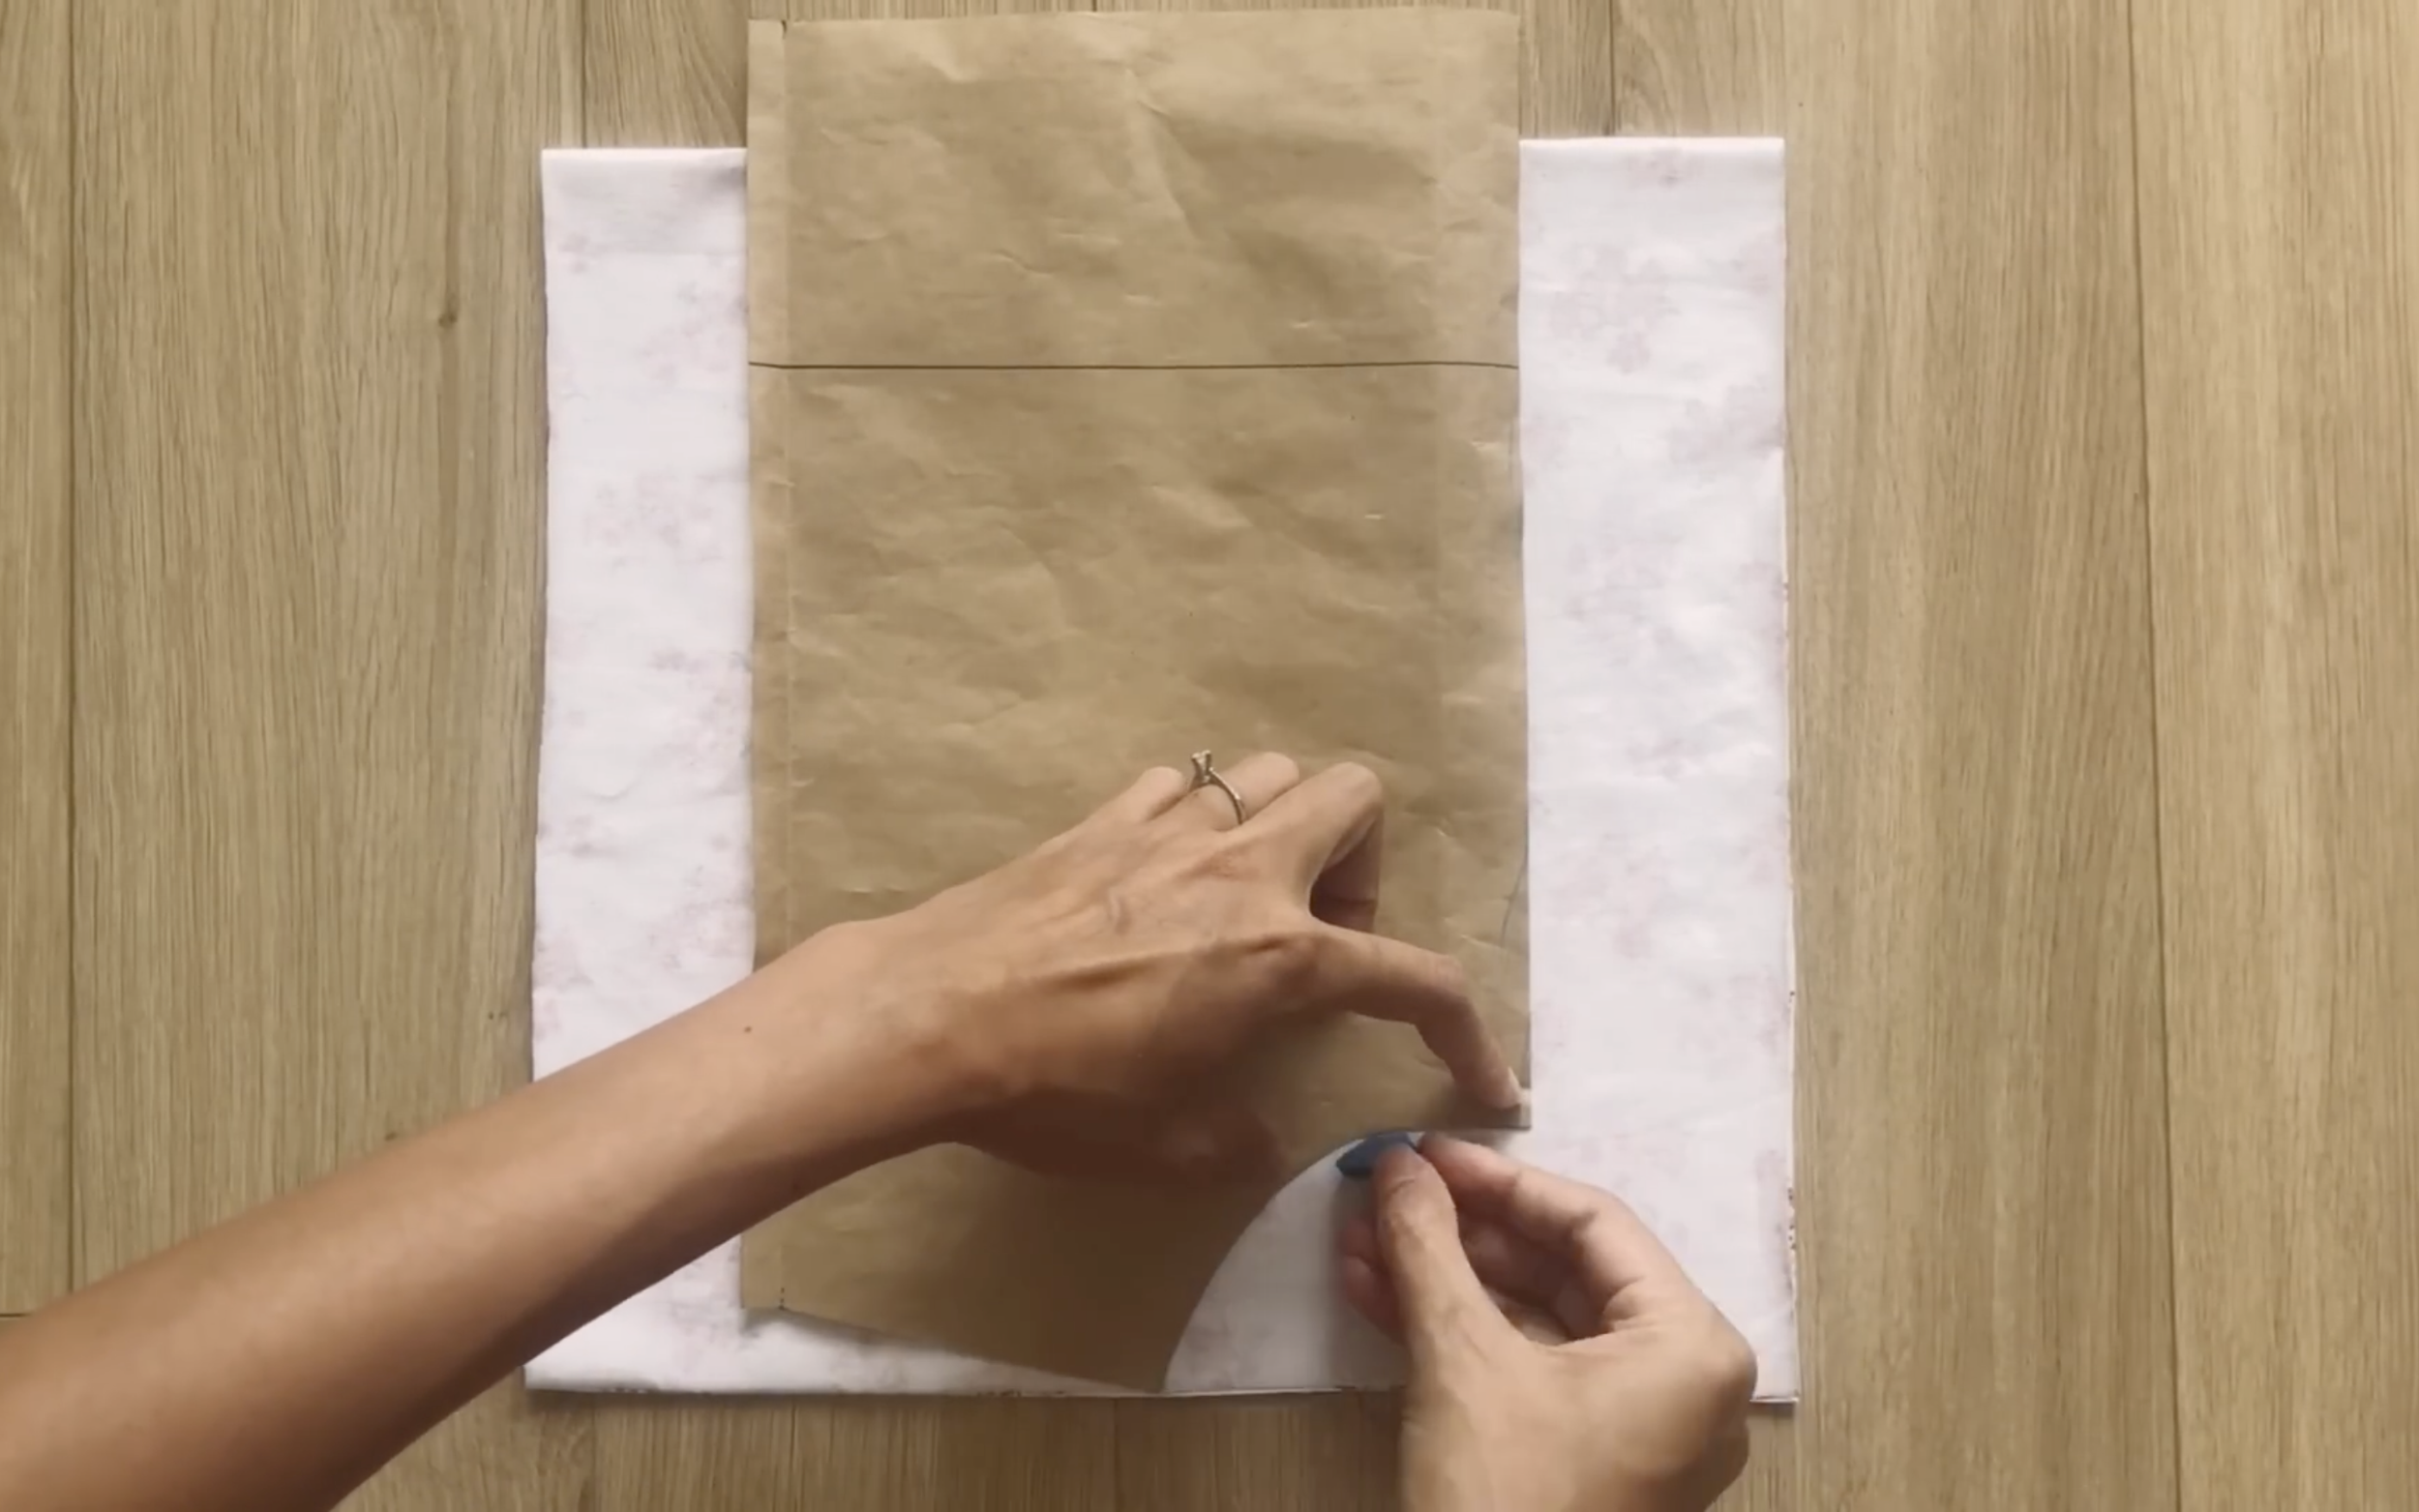
THE MAIN BODY PATTERN

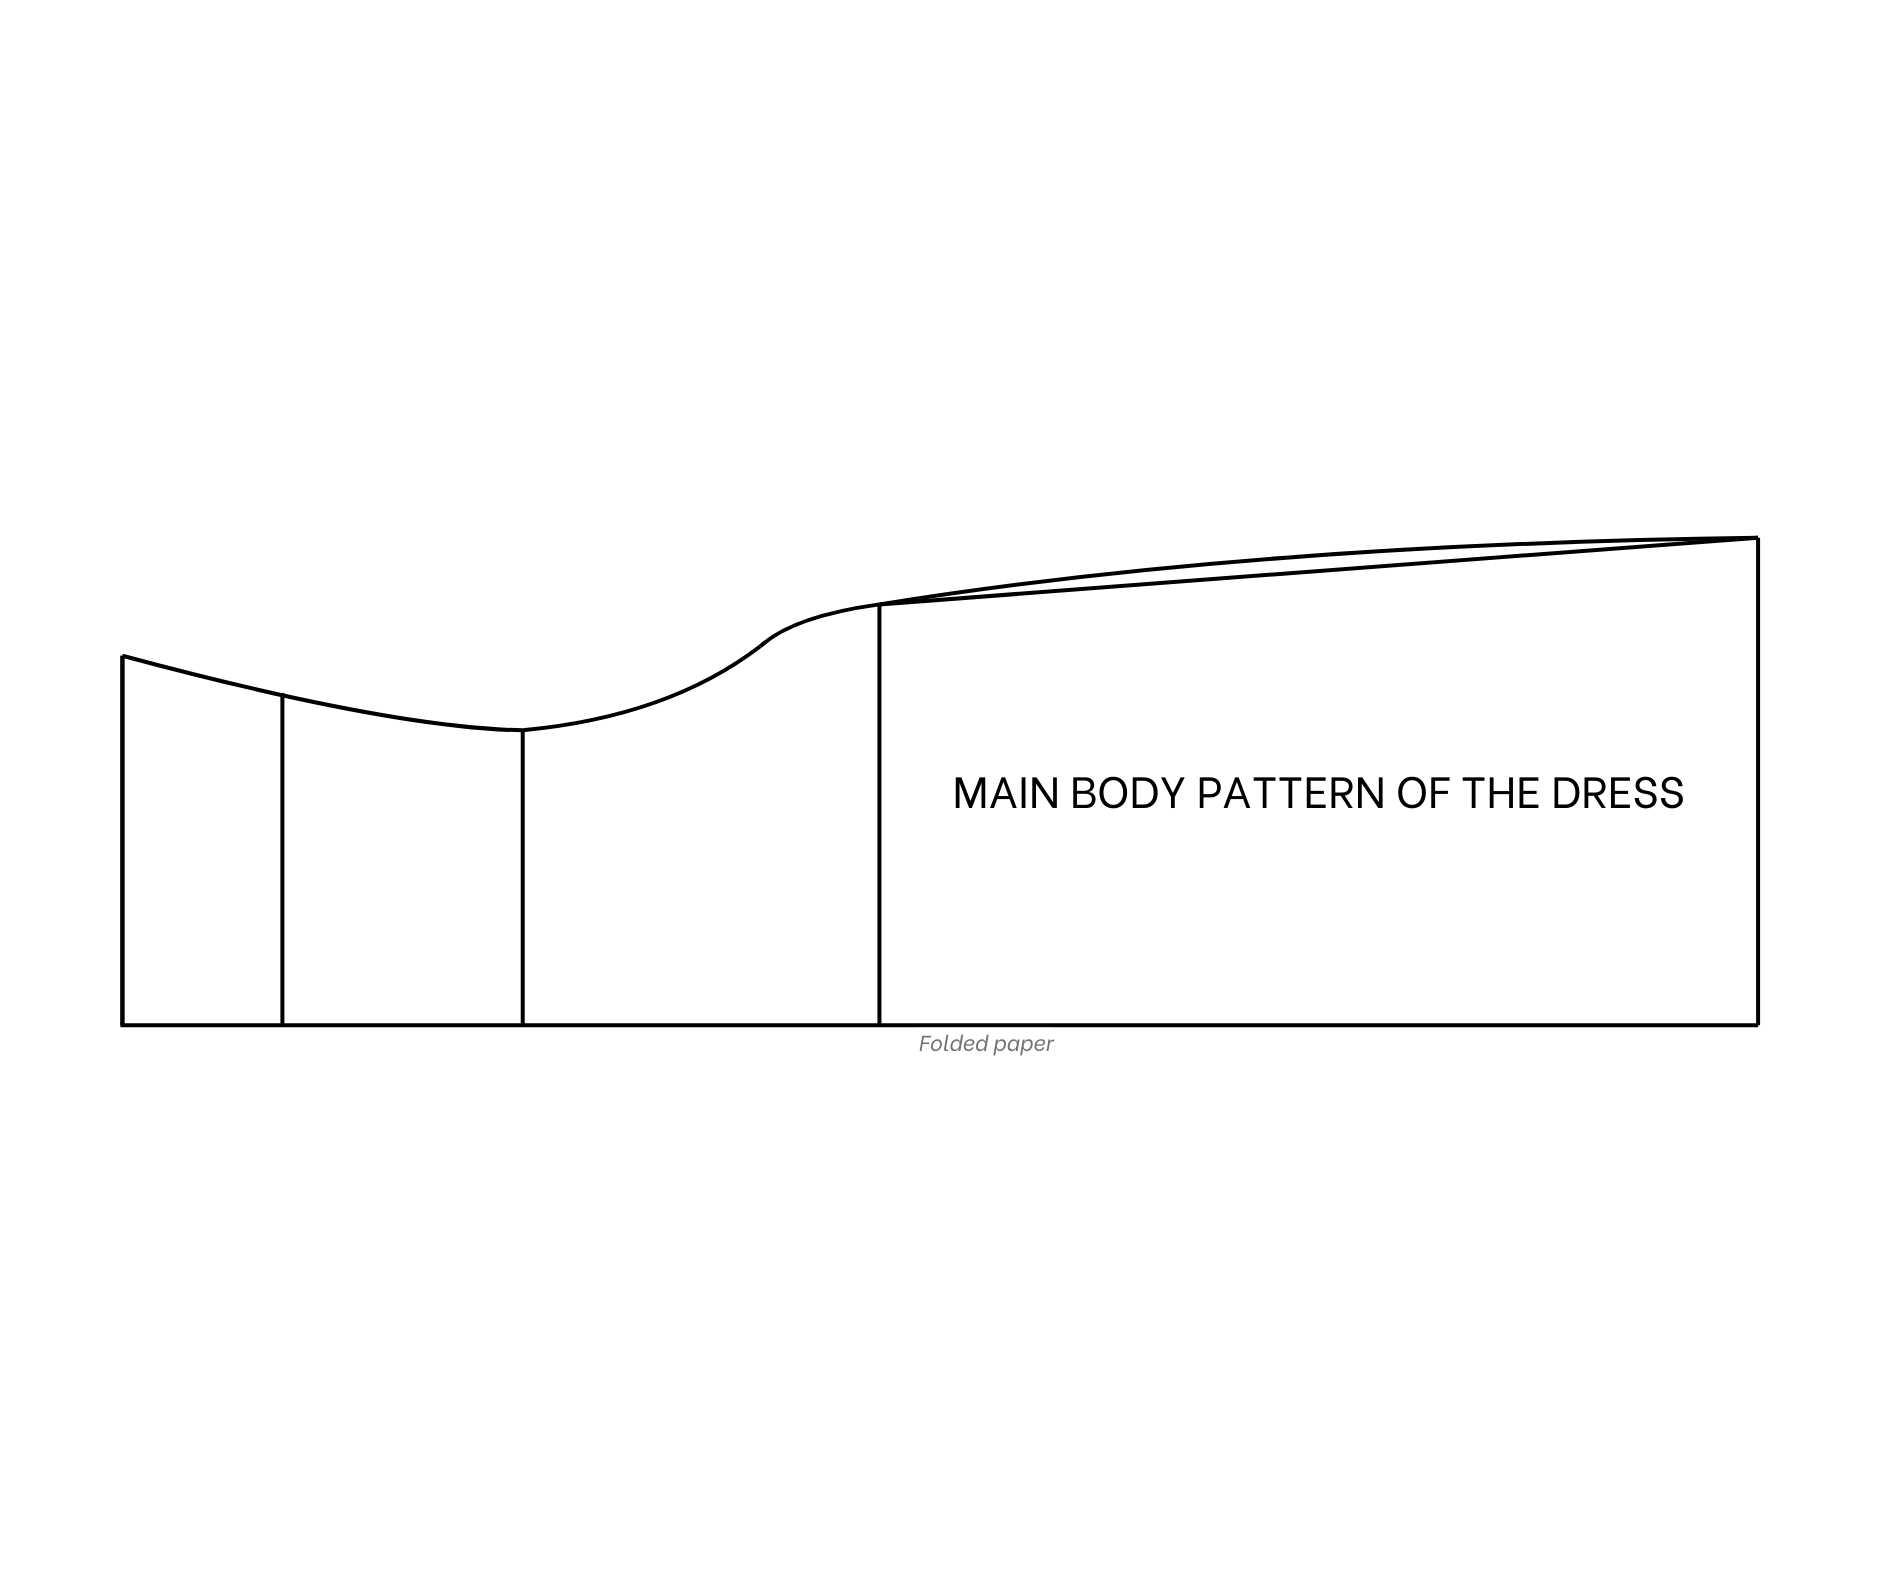
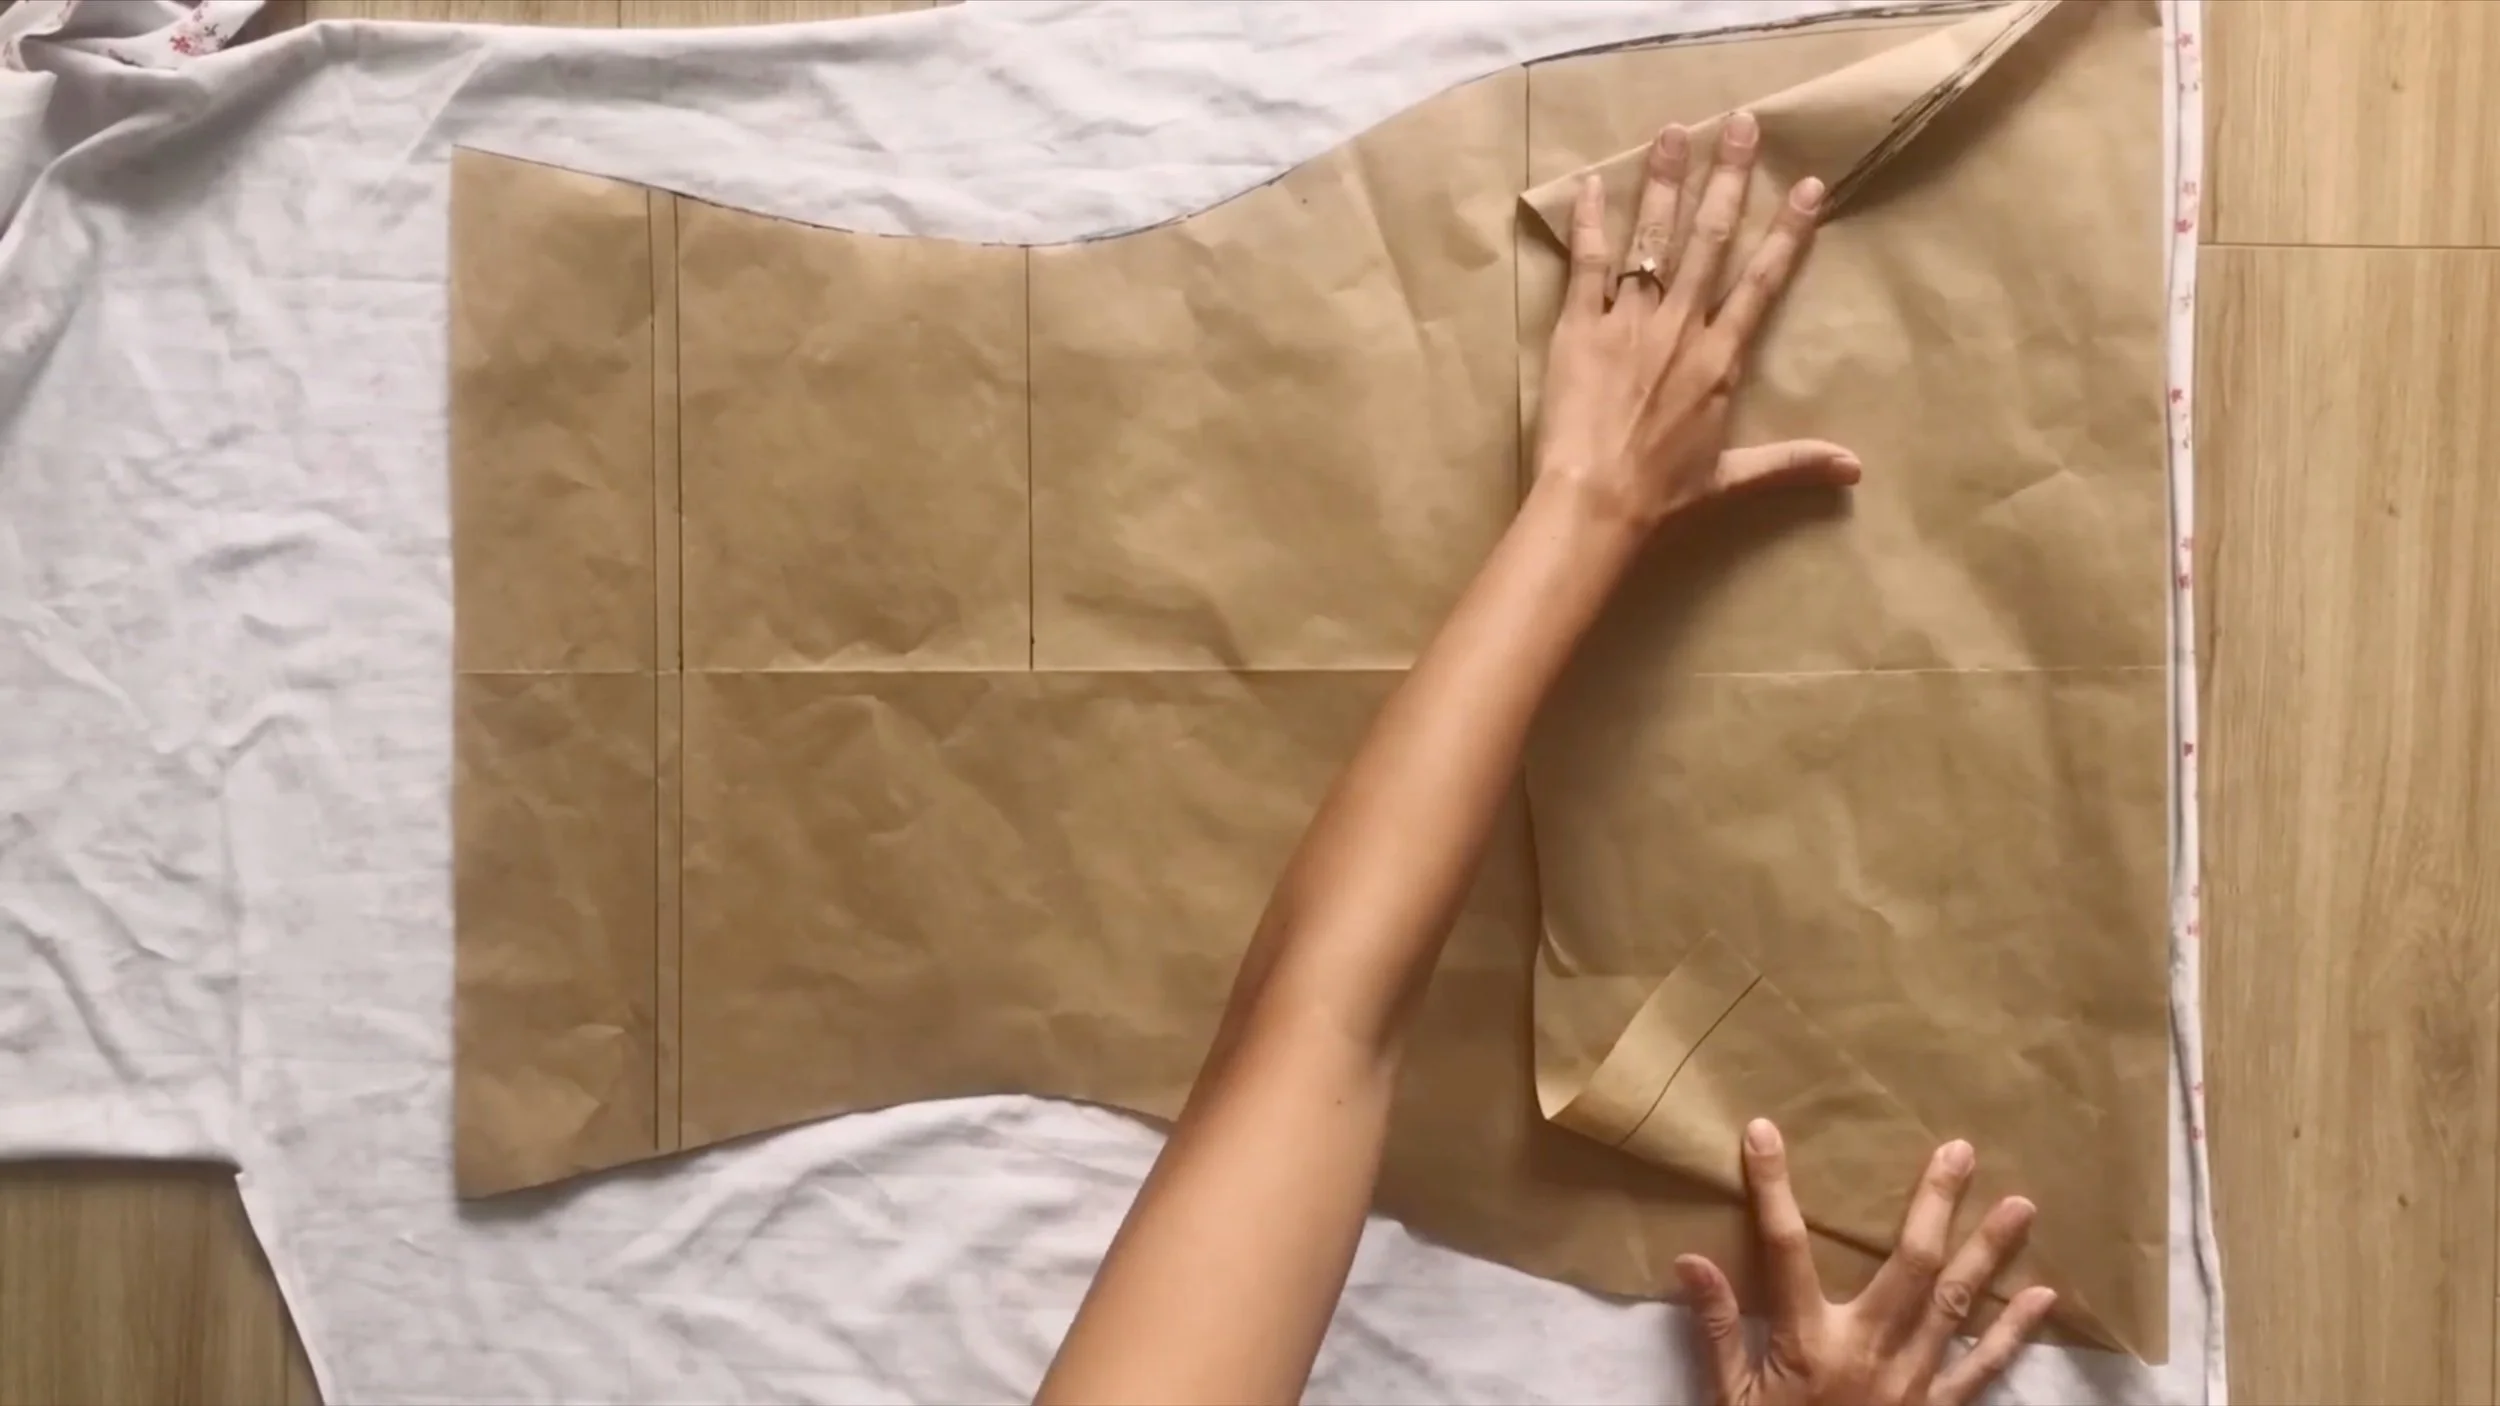
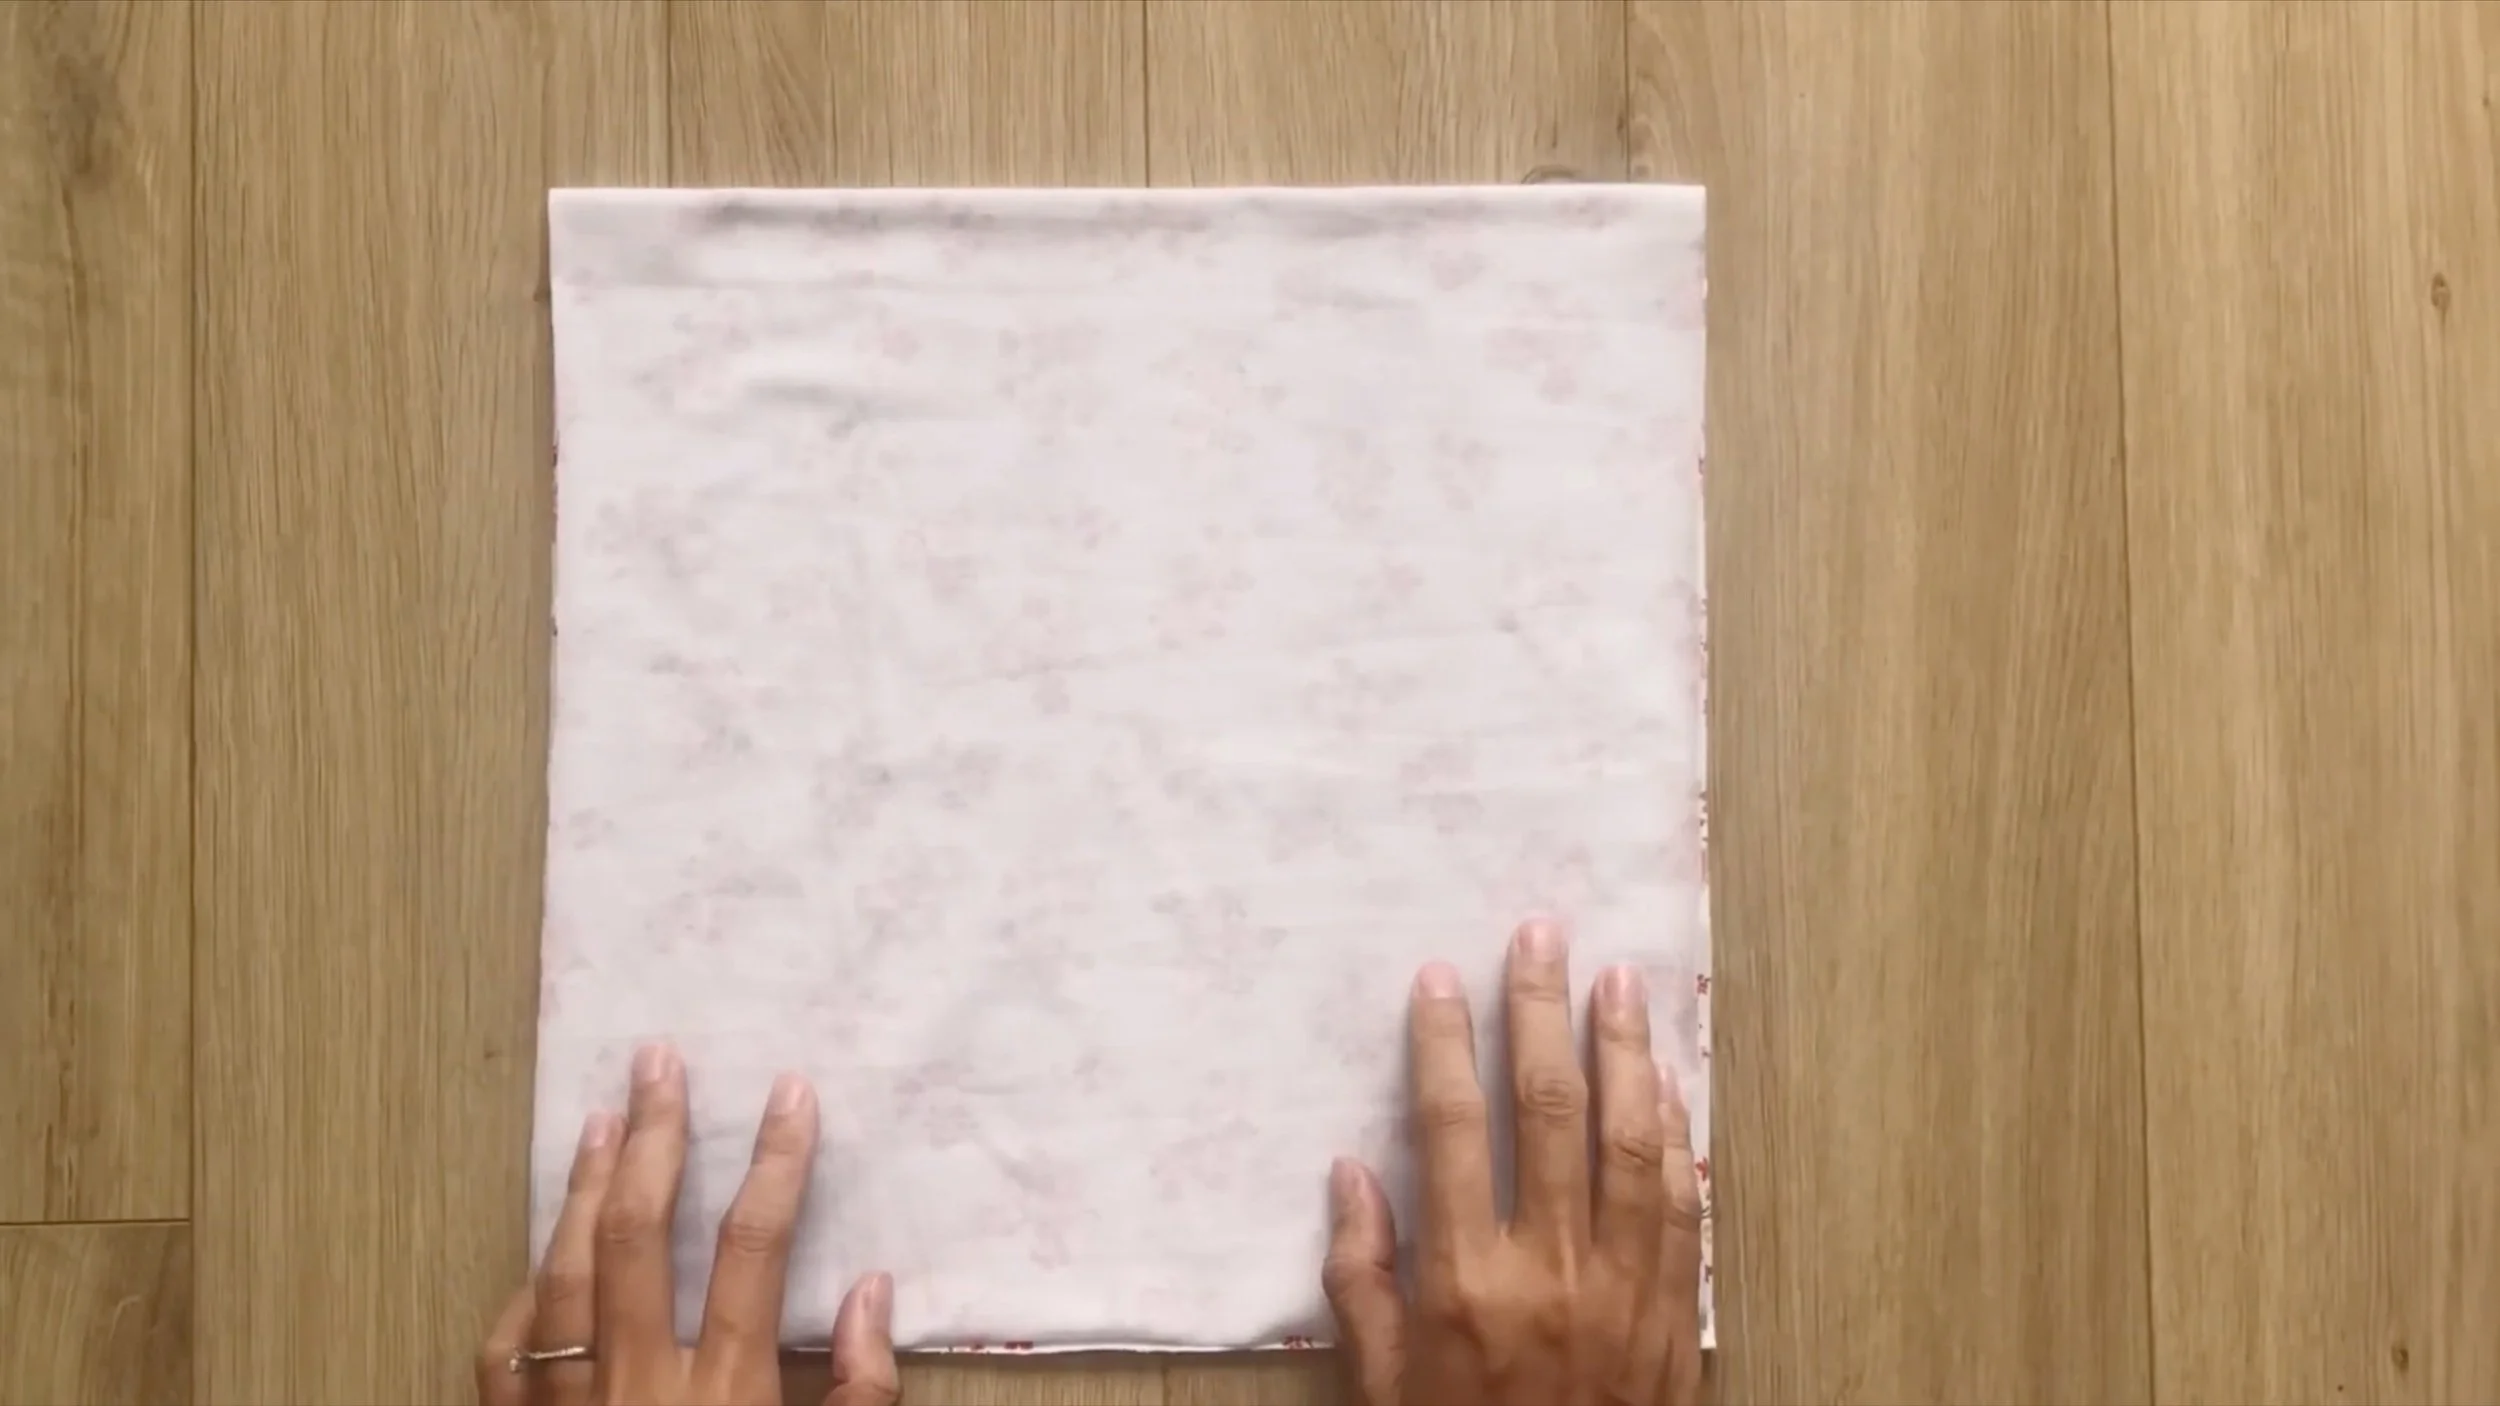
Start by folding the paper in half. Use the bust area pattern to align it with the end of the folded line.
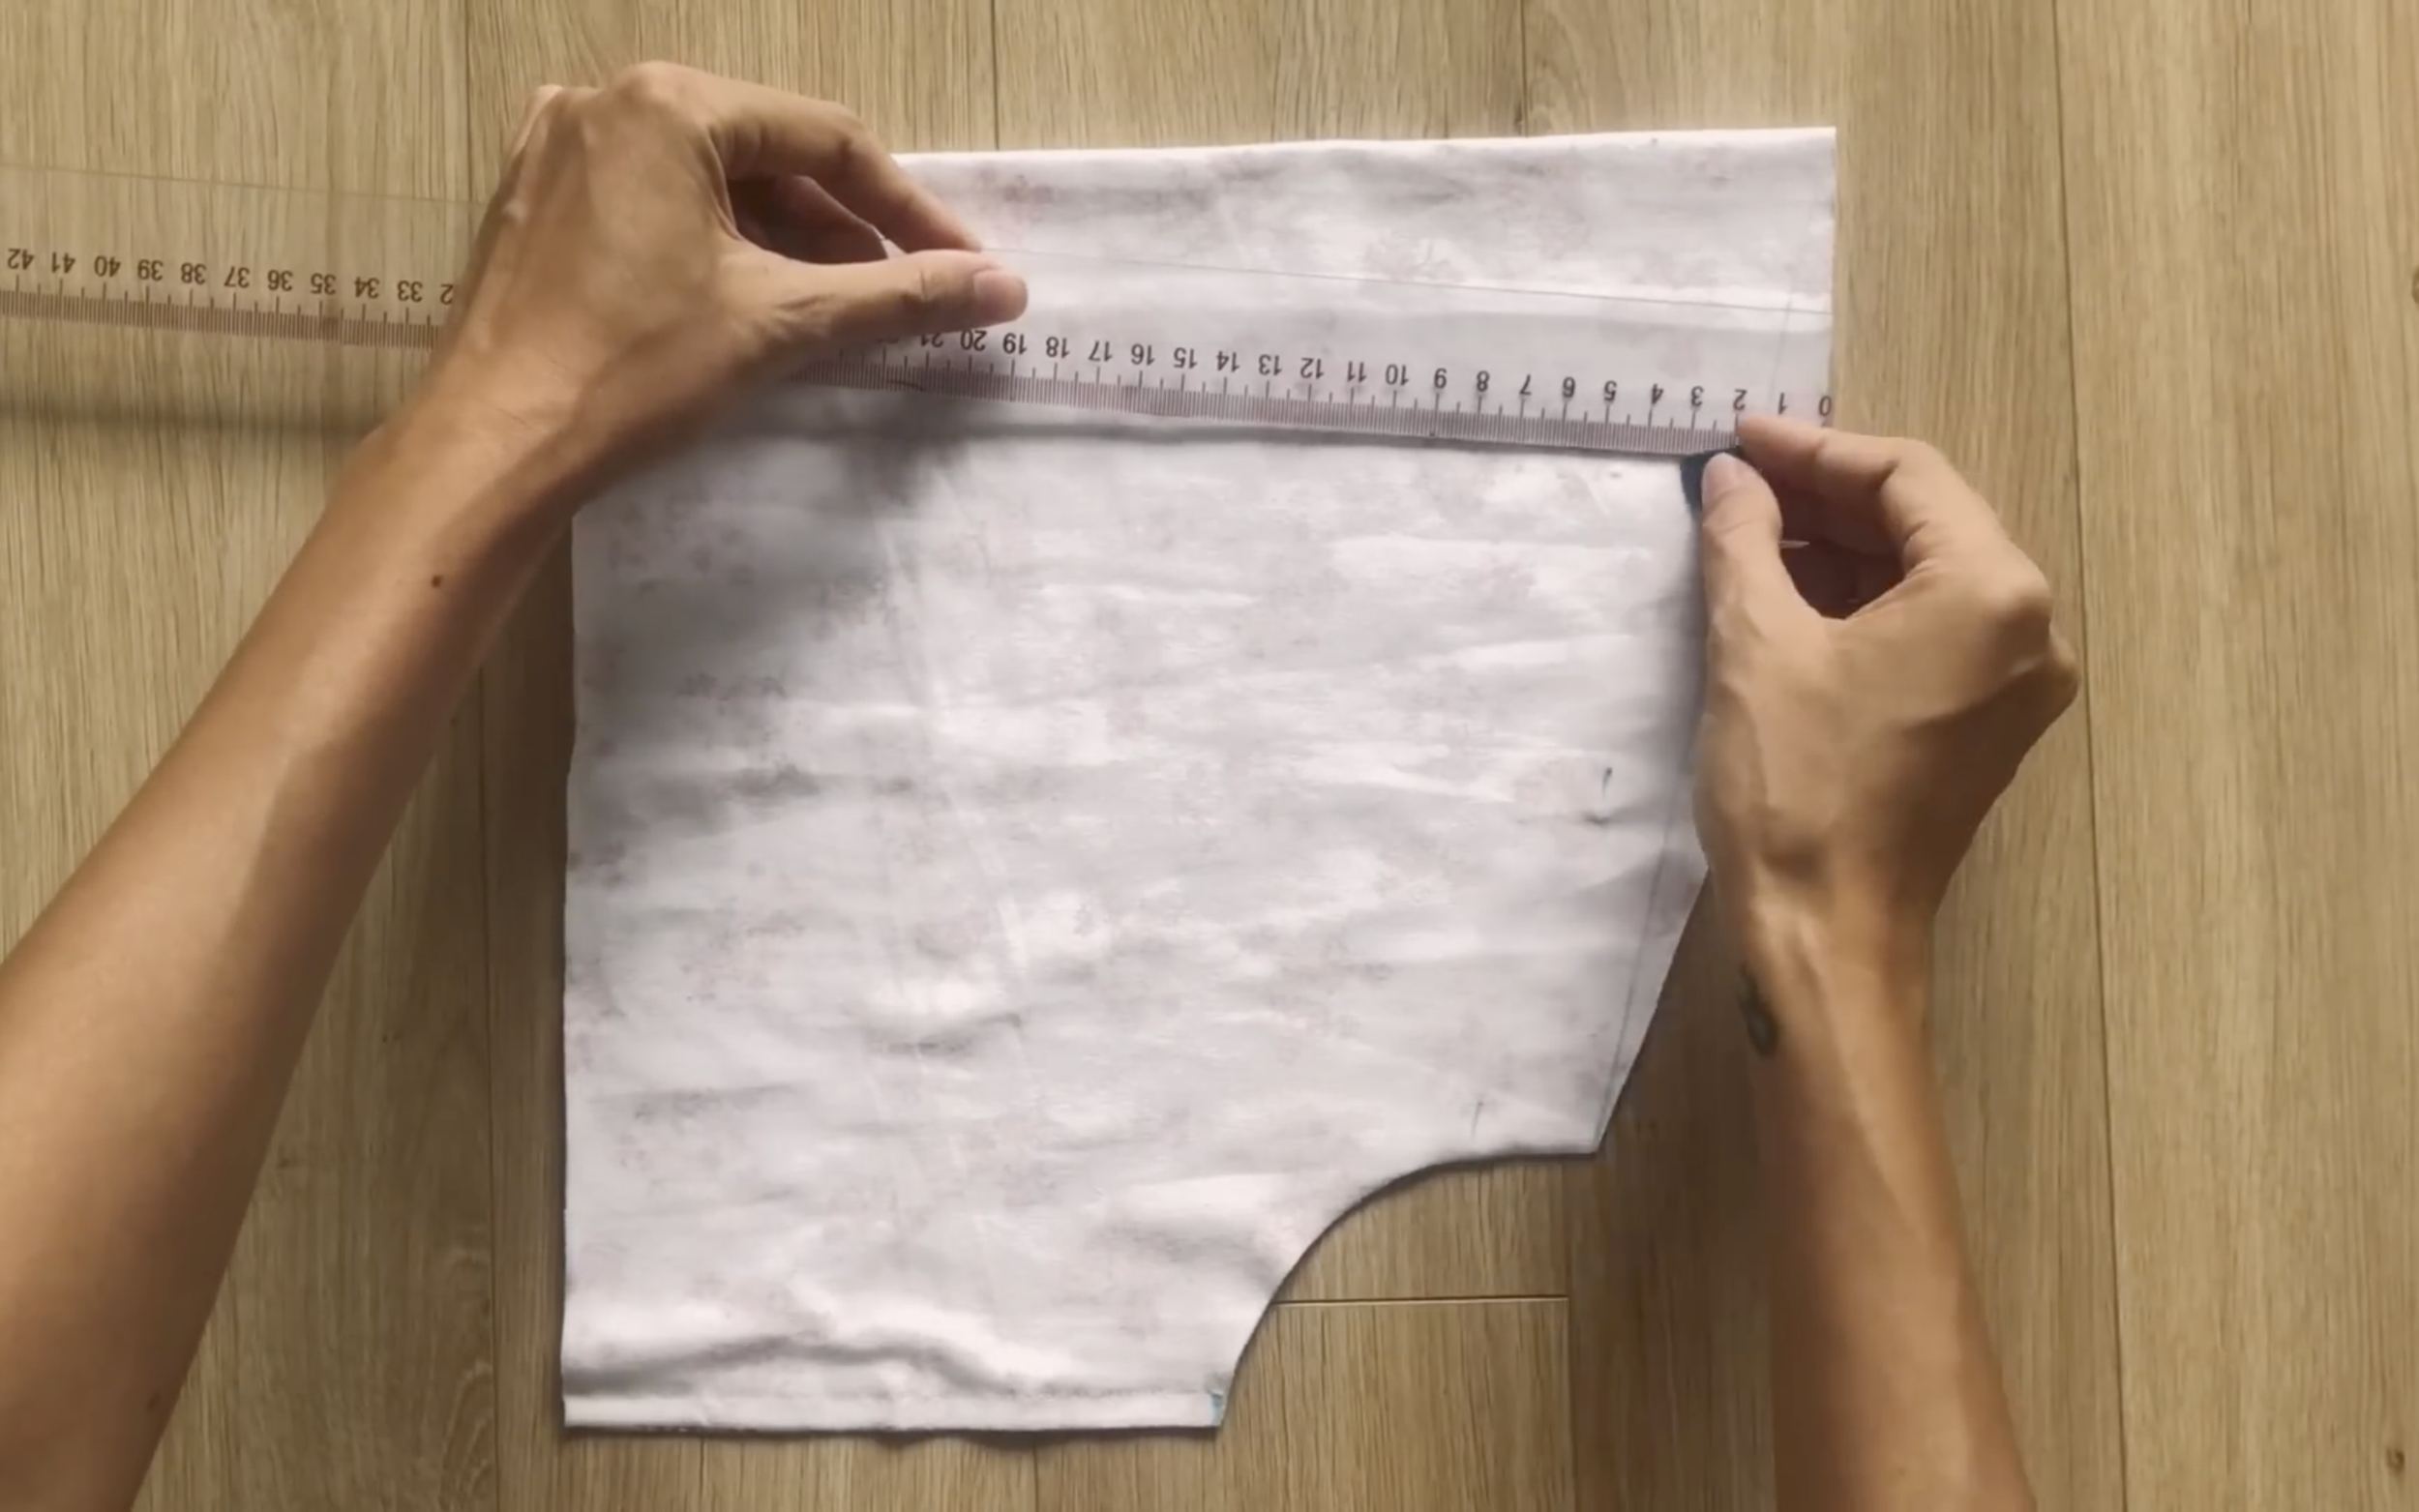
From the end of the fold, mark up 20.5 cm, which is one-quarter of the bust measurement. On the straight line, mark up 17.5 cm, which is one-quarter of the underbust measurement, then connect these two marks.
From this line, draw another line 14 cm below, marking the distance from the underbust to the belly button. On this line, mark up 16 cm, which is one-quarter of the waist measurement. Connect this mark to the previous one on the first line.
Next, from this second line, draw a third line 20 cm below, representing the distance from the belly button to the fullest part of the hip. On this line, mark up 23 cm, which is one-quarter of the hip measurement, and connect this mark to the one on the previous line.
Then, from the third line, draw another line 50 cm below, marking the distance from the hip to just above the knee. The total length from the top to this line will be the desired dress length. On this line, mark up 28 cm, which is one-quarter of the hip measurement plus 5 cm, and connect this mark to the previous one on the third line.
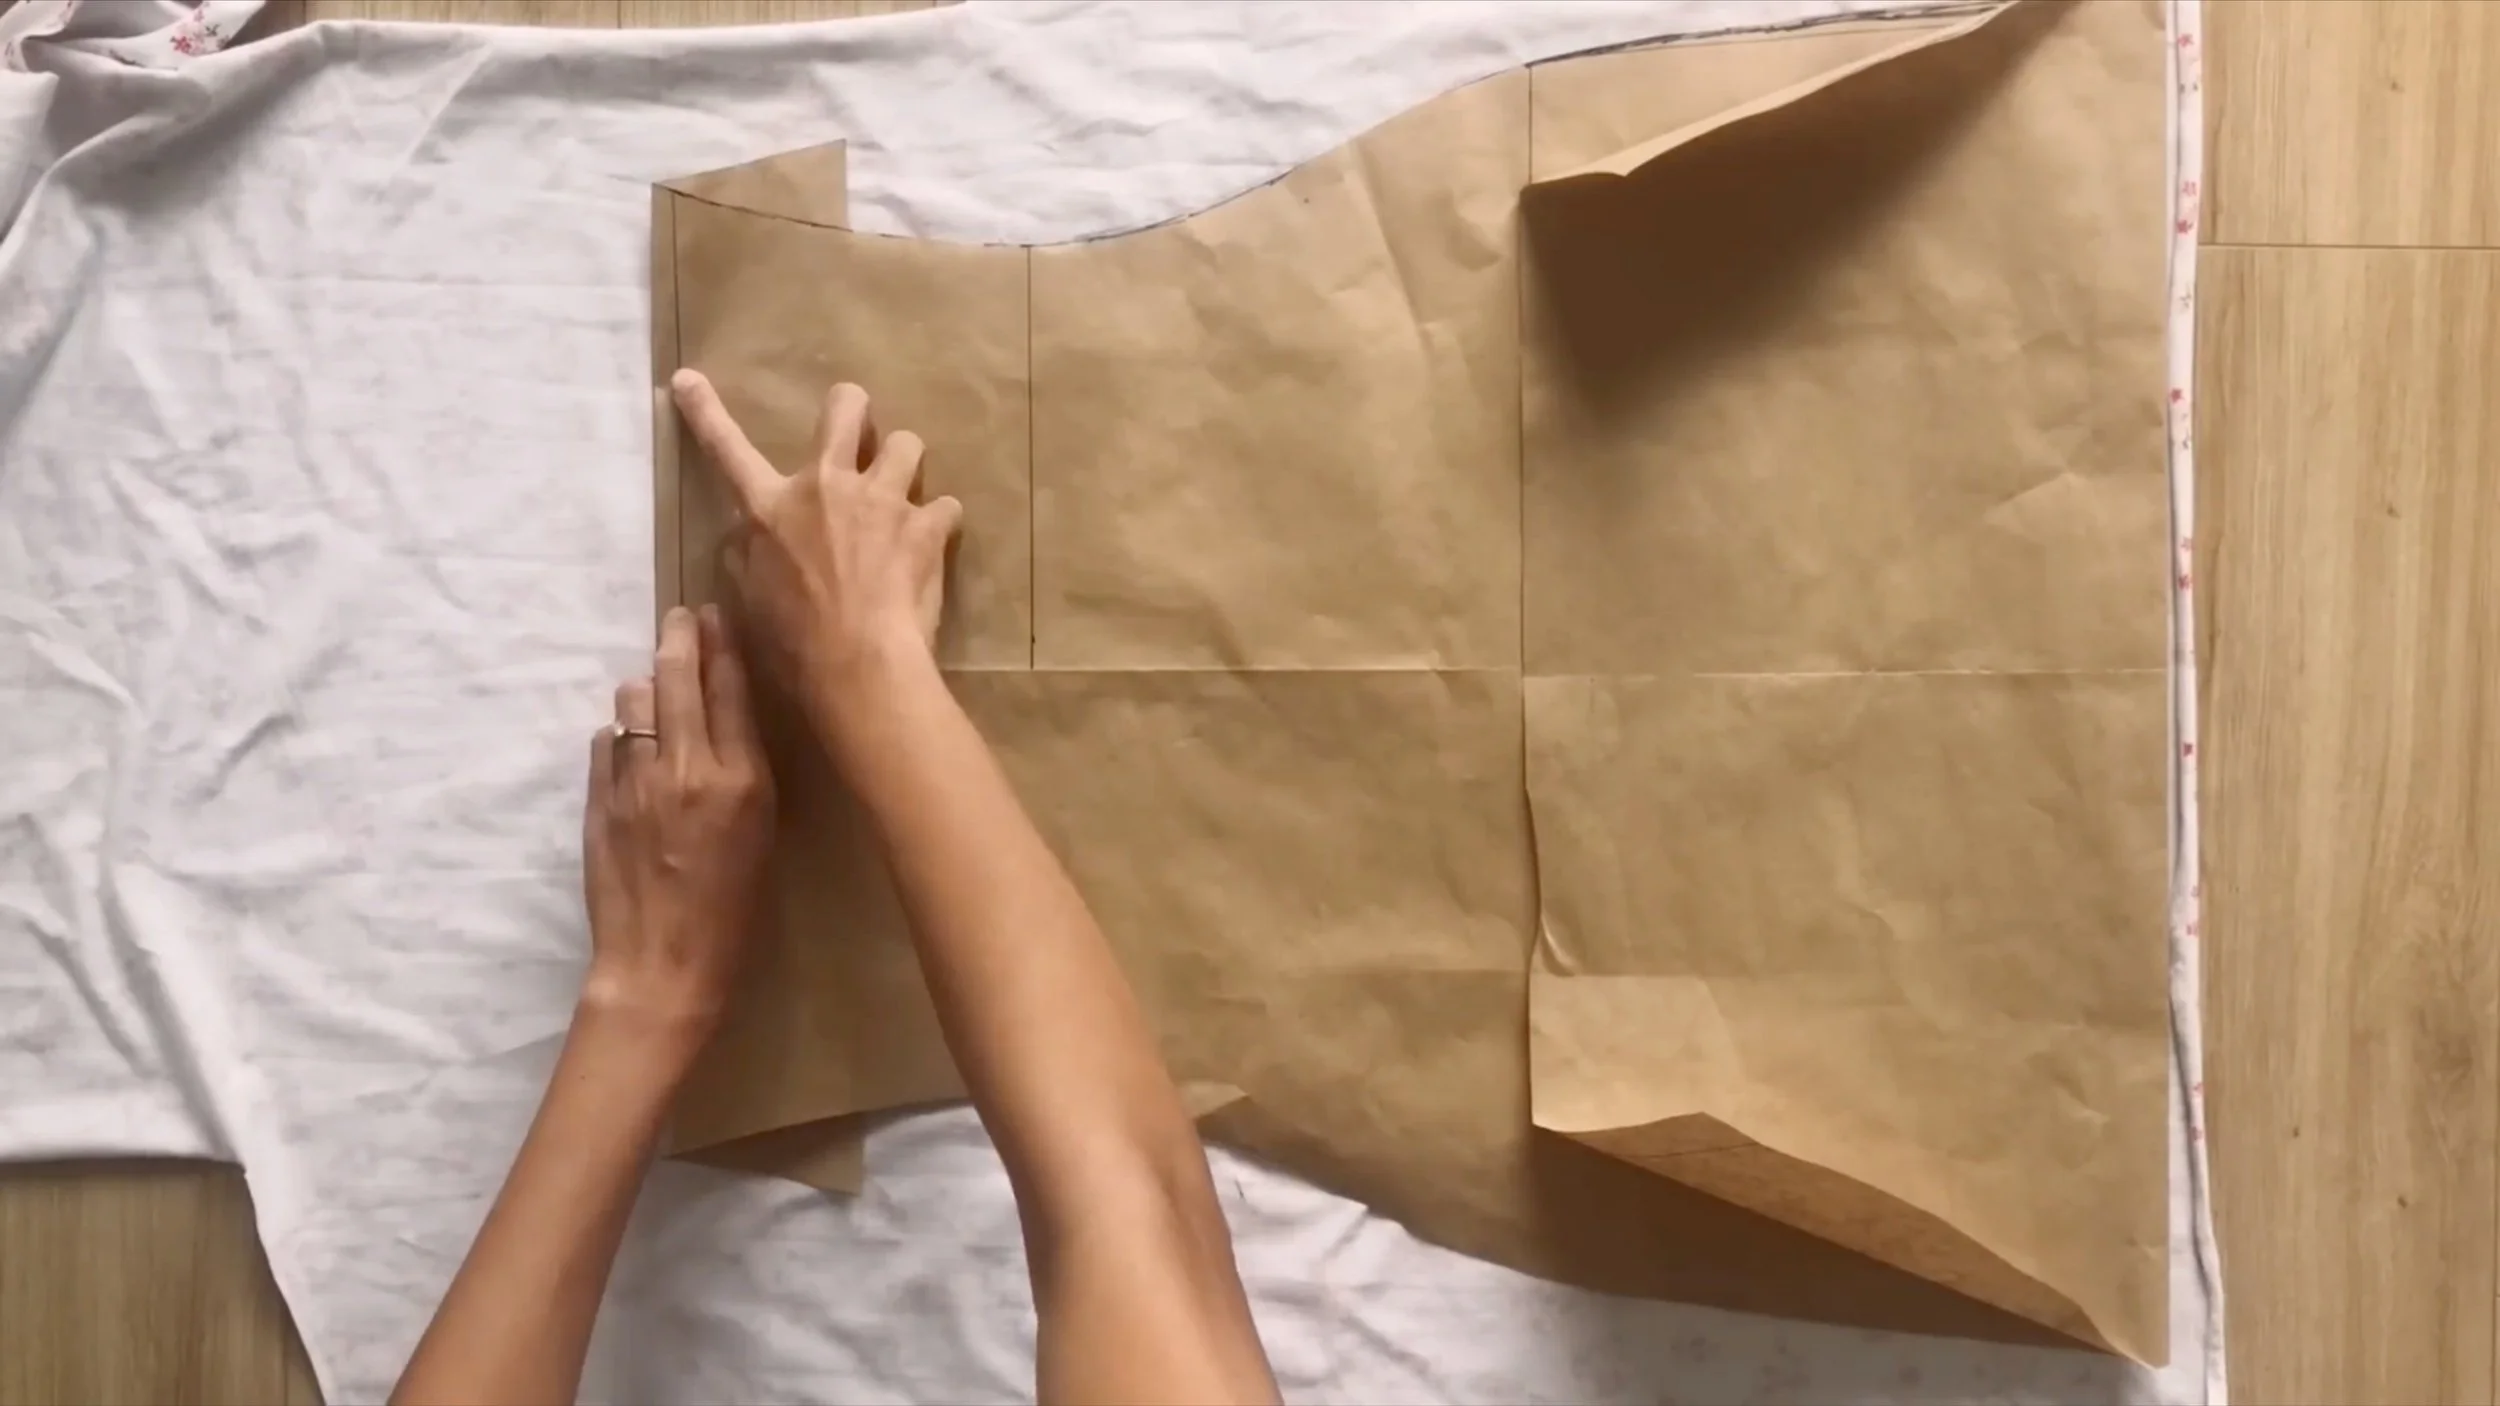
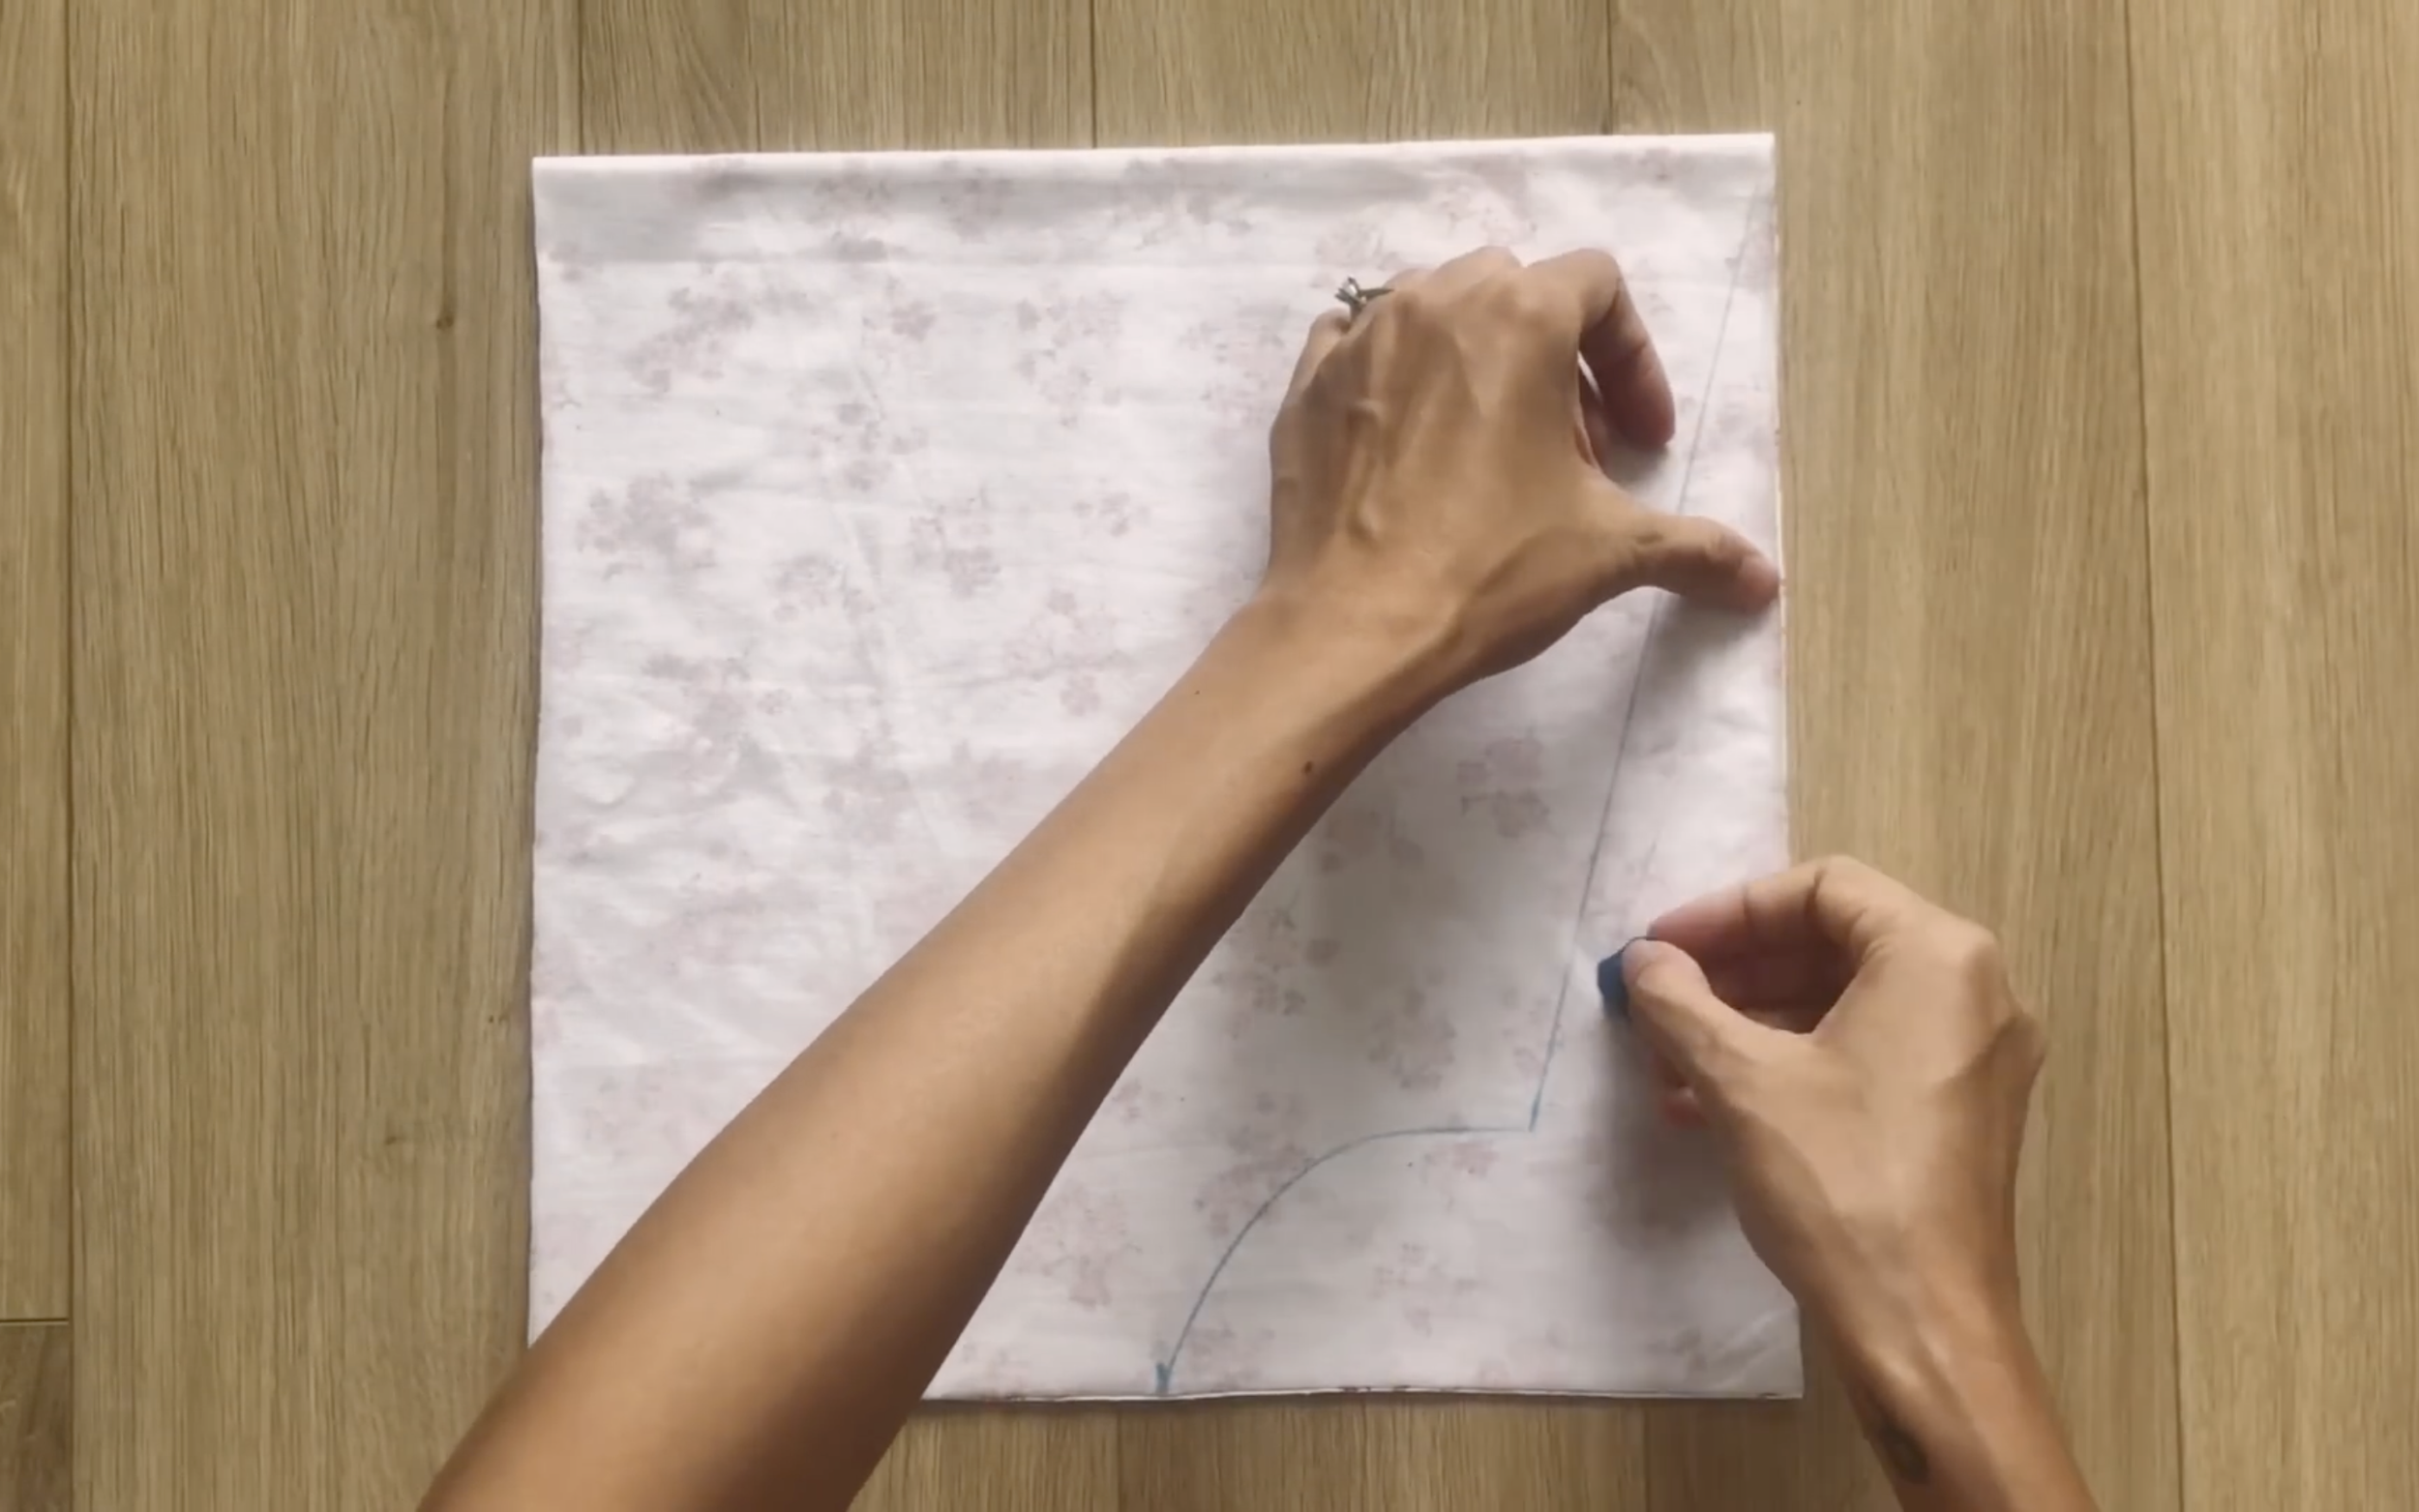
Draw a curved line based on the connected points to form the side line of the dress. After cutting, this completes the body pattern of the dress.
Apply the bust area pattern to the top of the body pattern to draw a new line along the side of the bust area.
Add an extra 1 cm at the end of the bust area pattern for seam allowance, as this will be connected to the top of the body pattern later.
THE BODICE
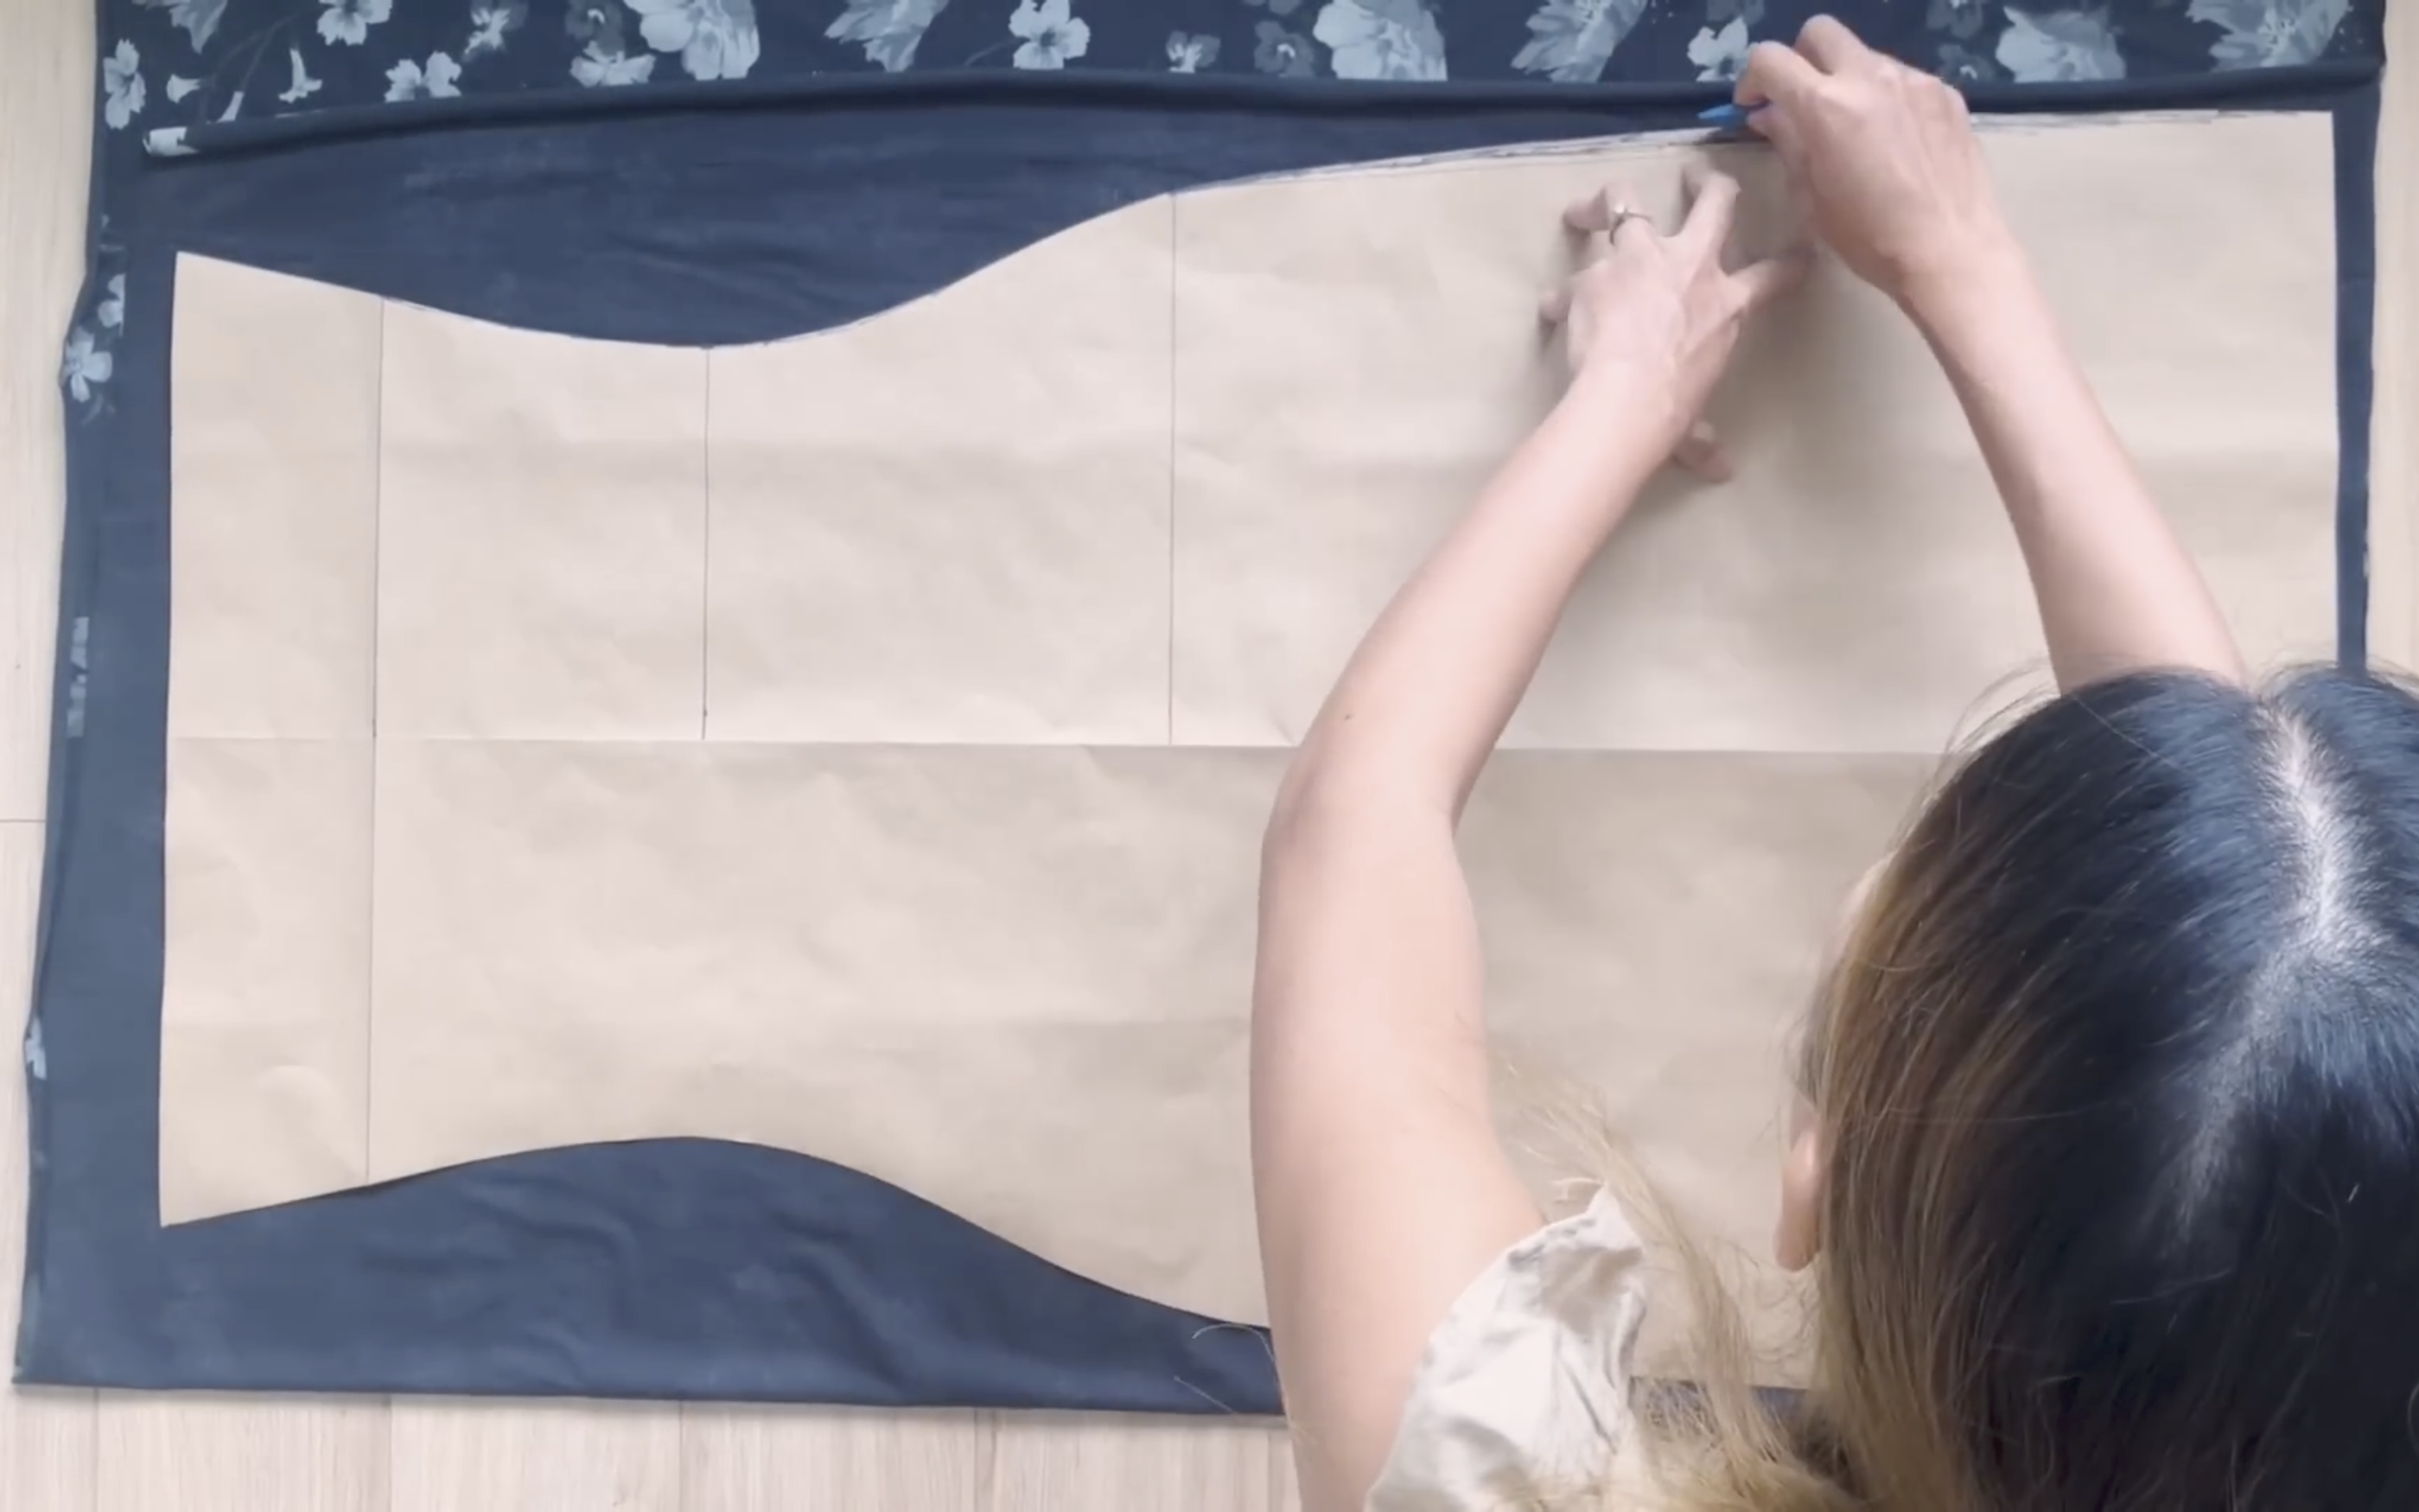
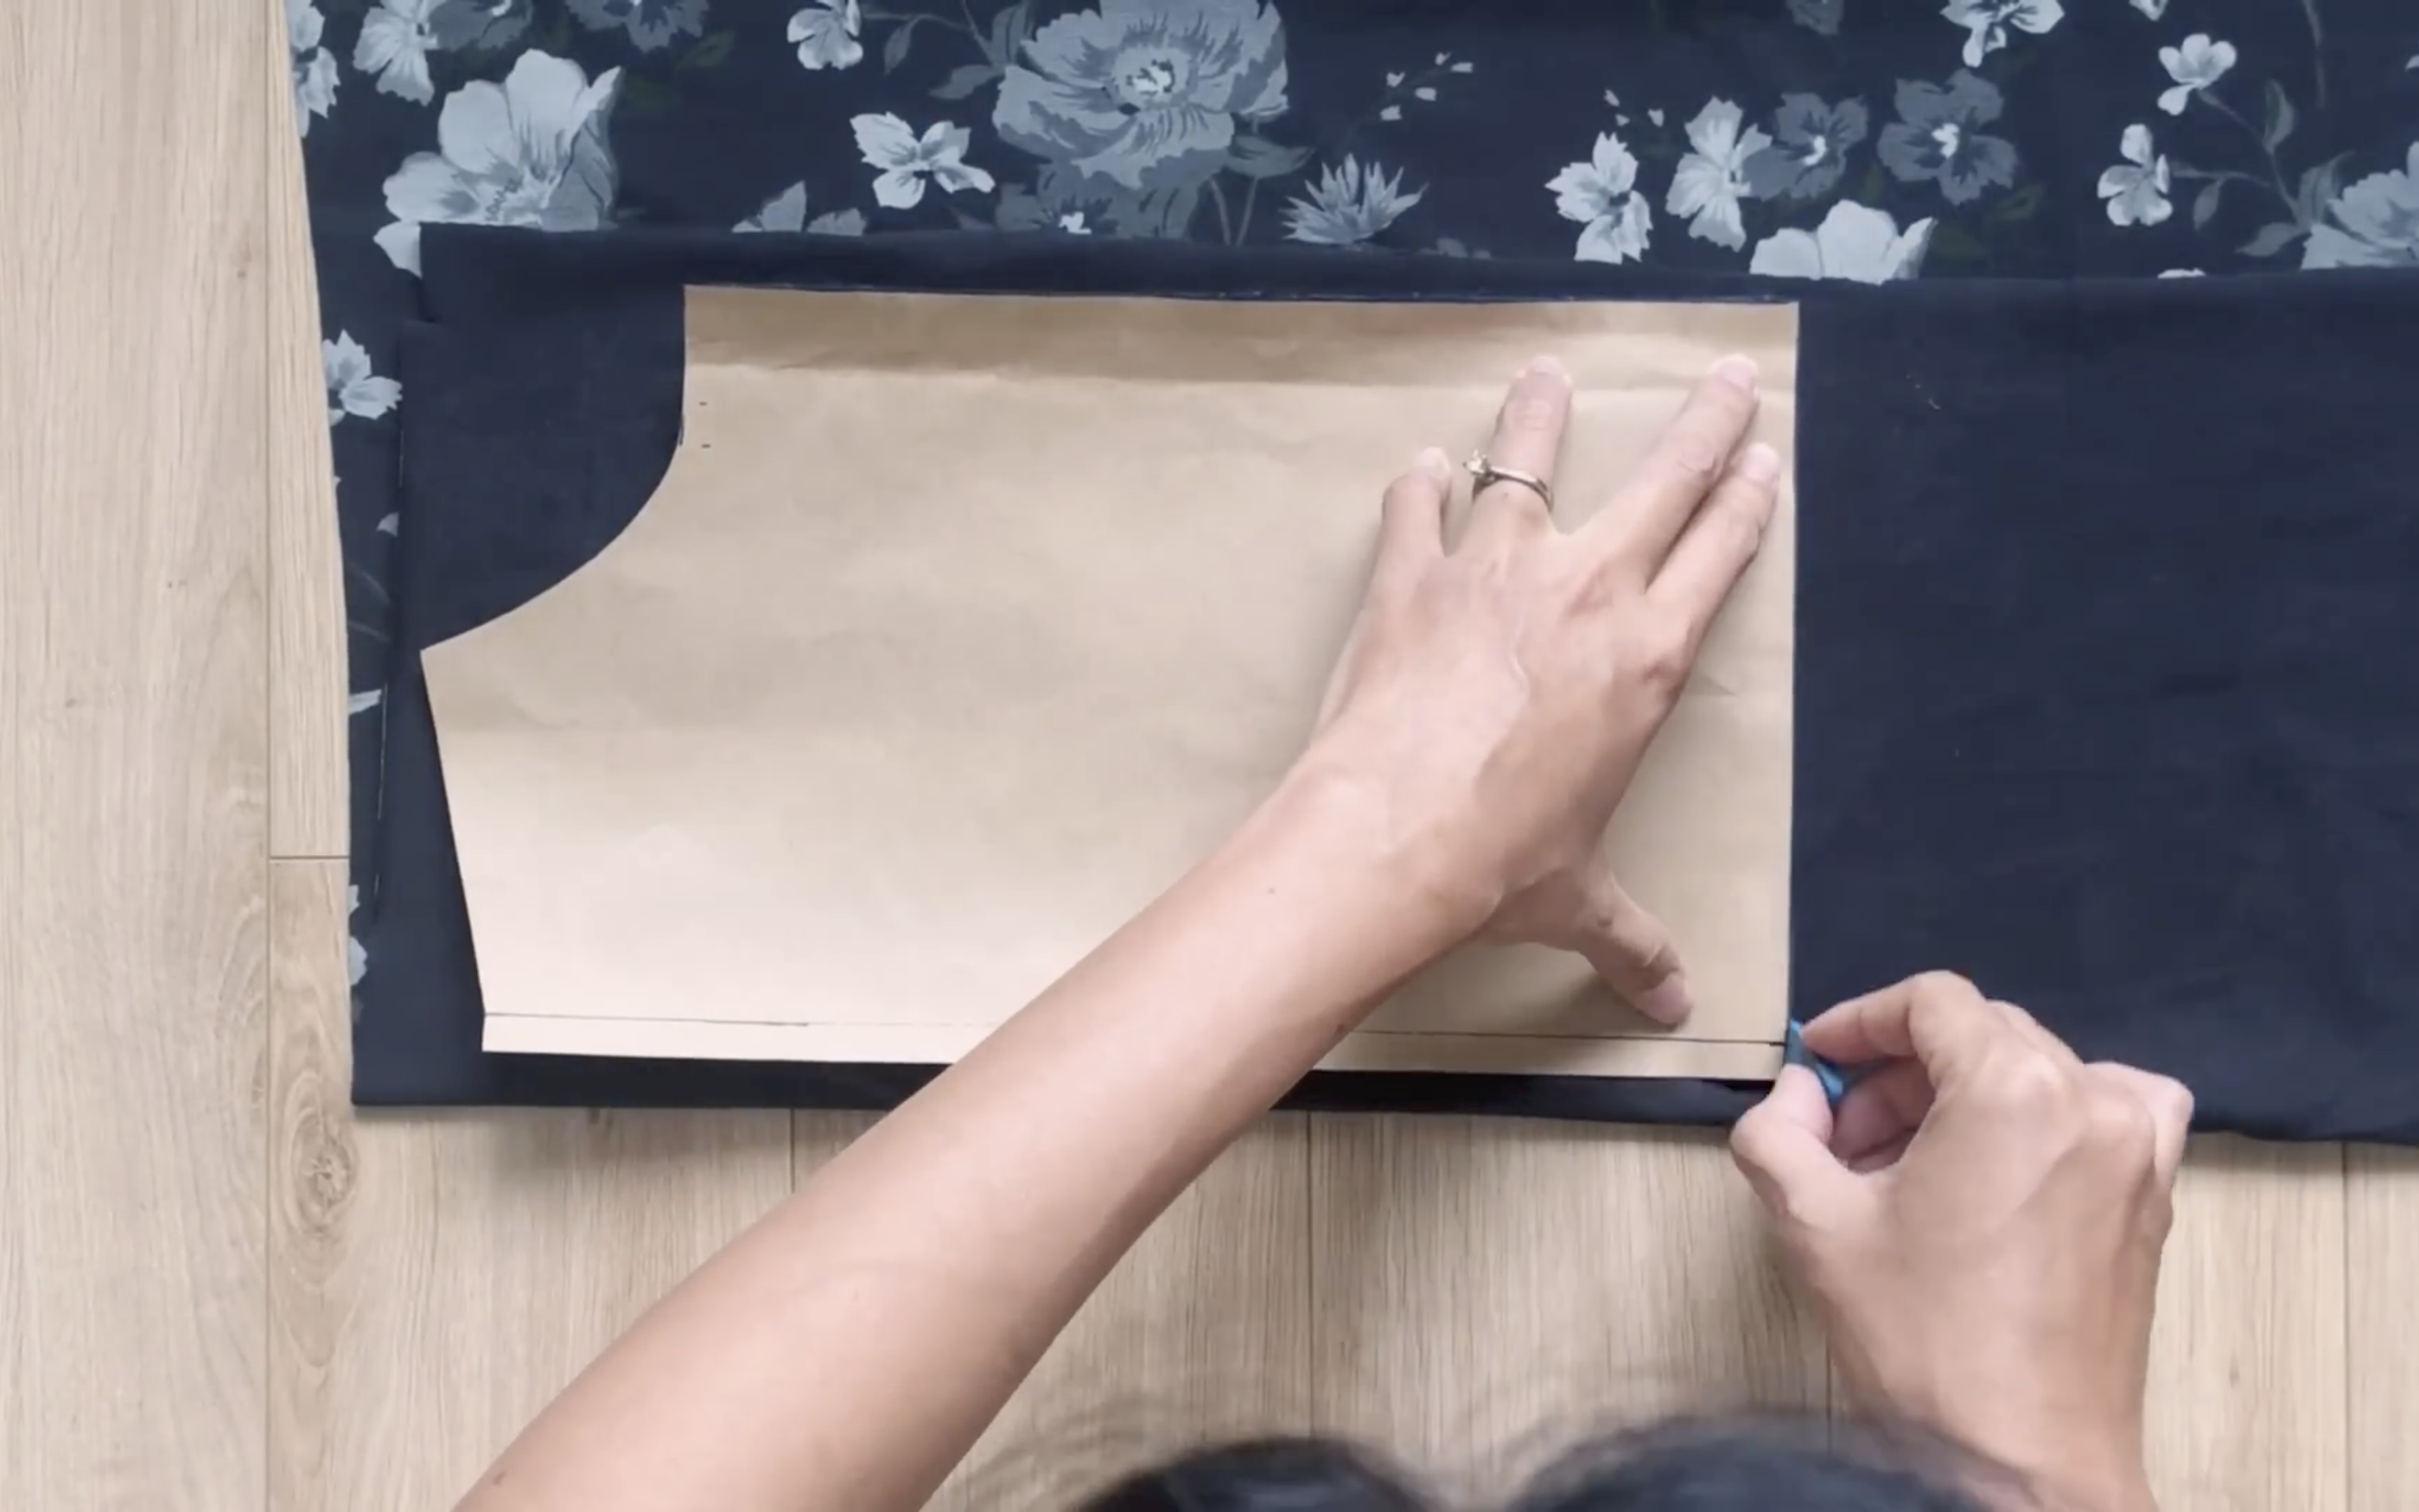
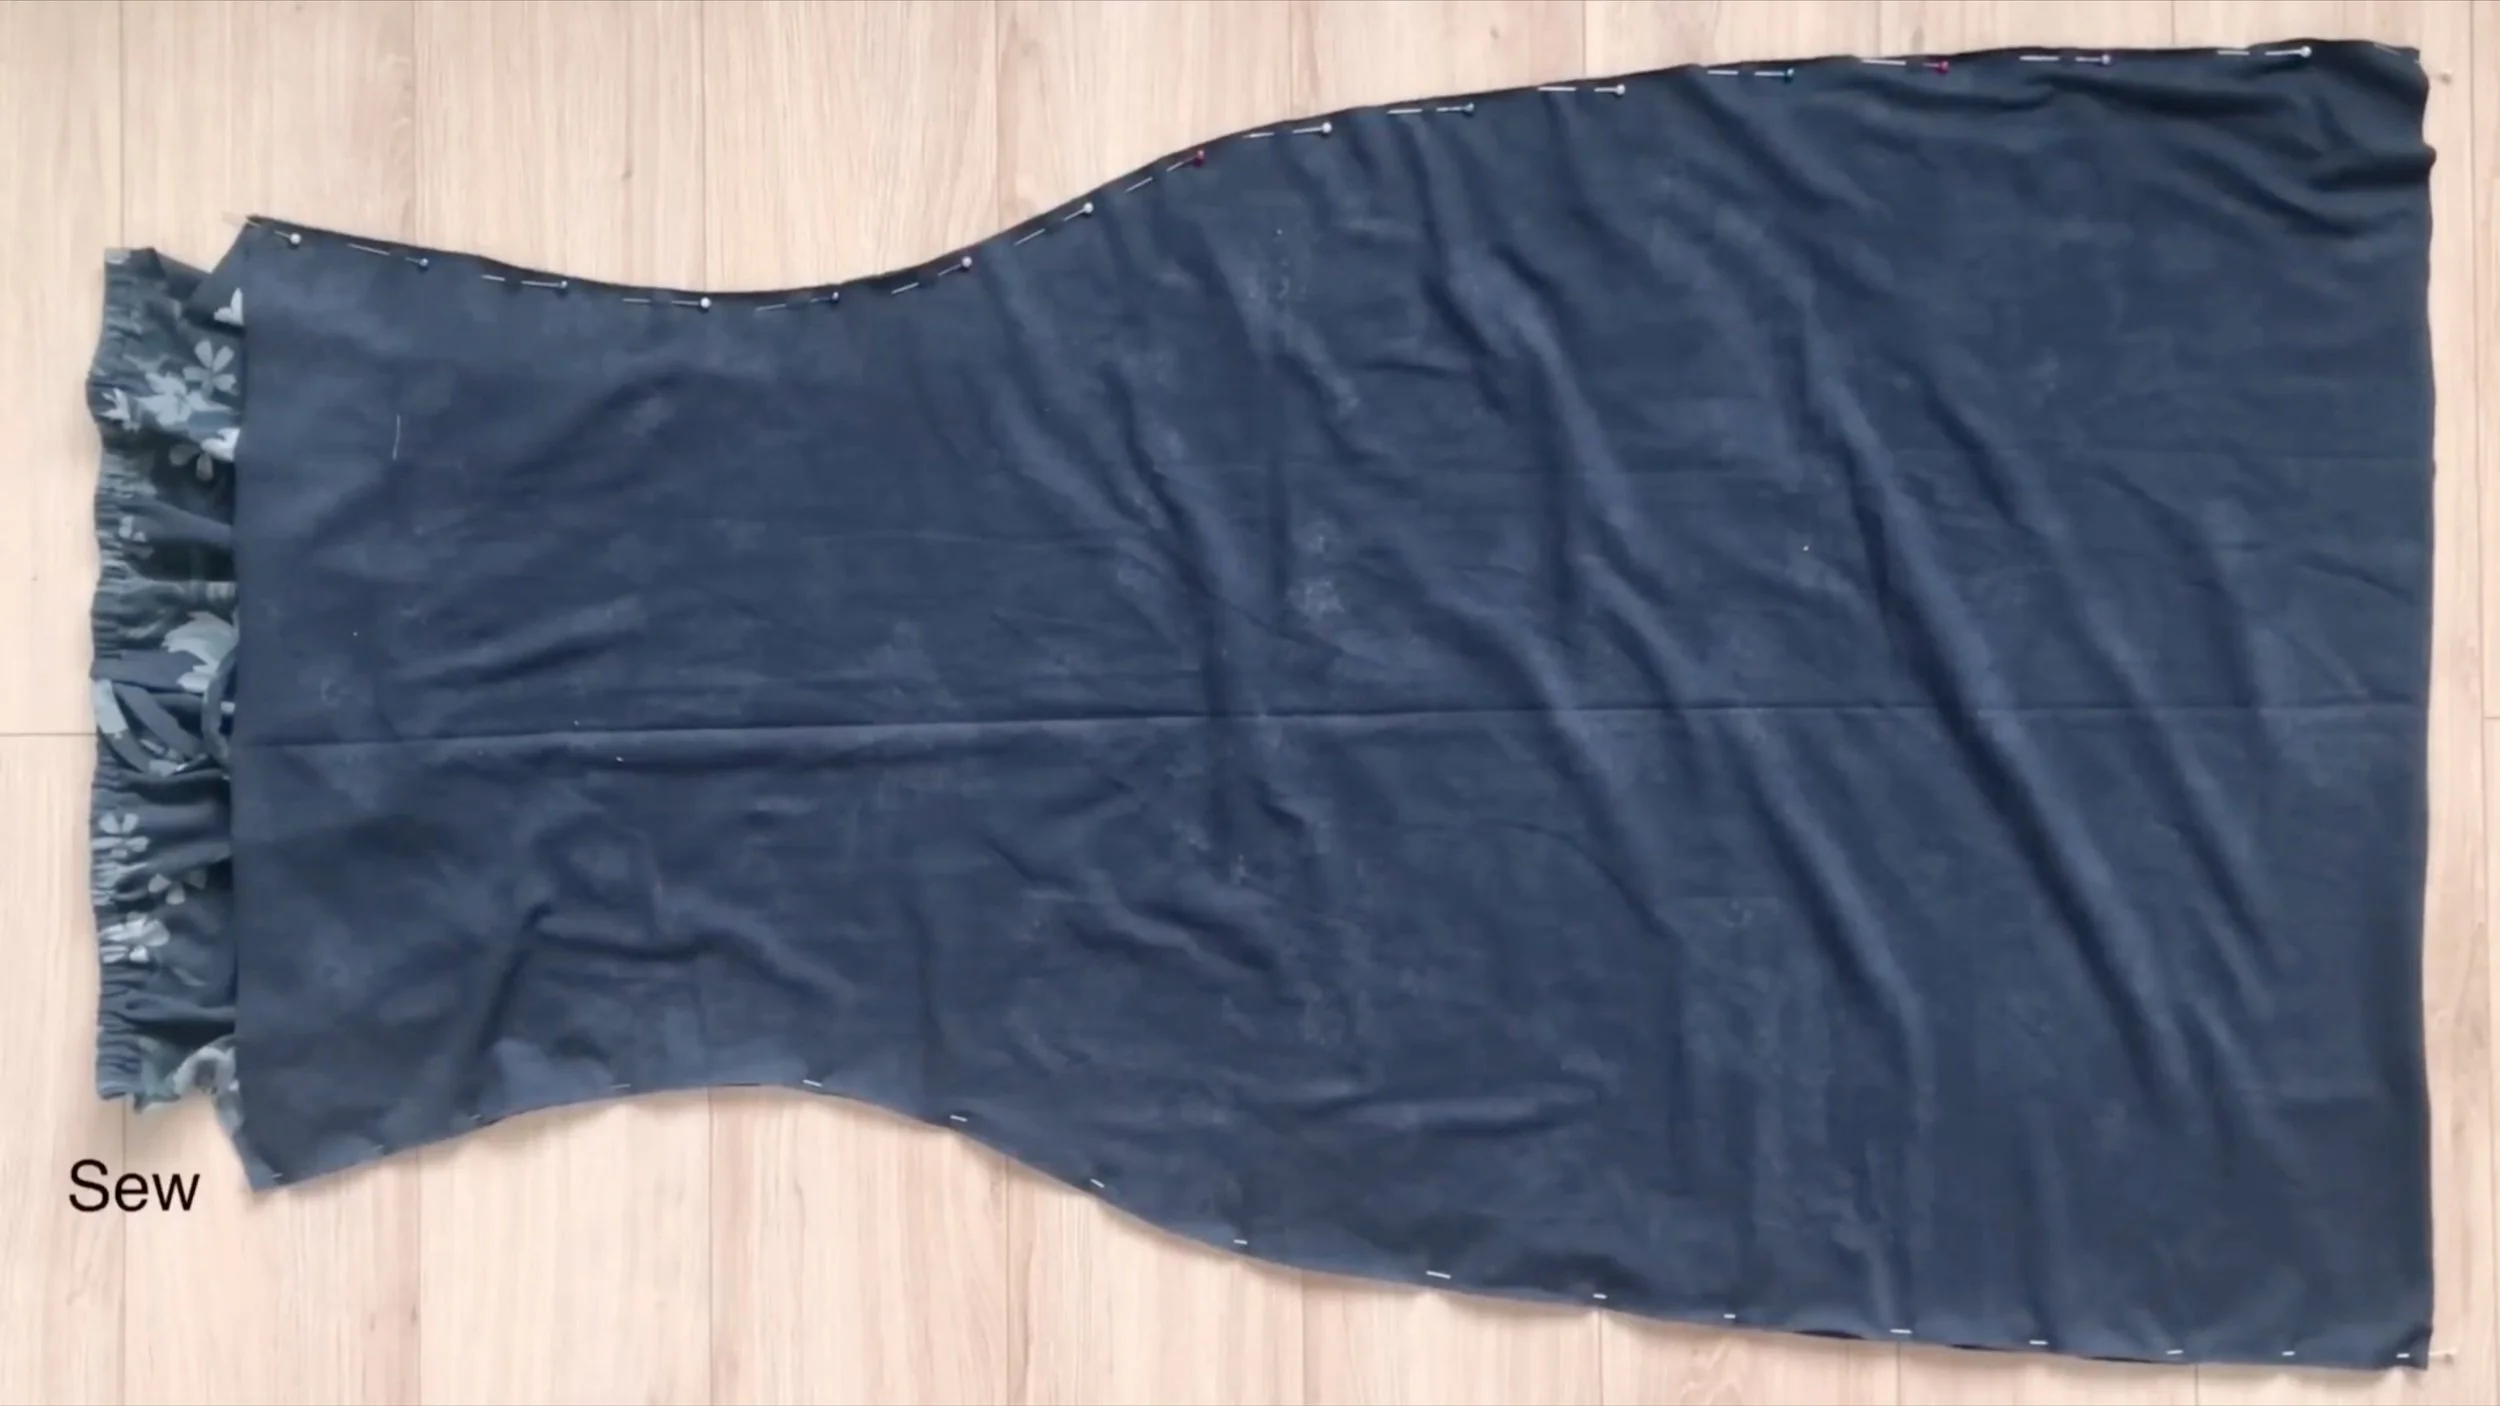
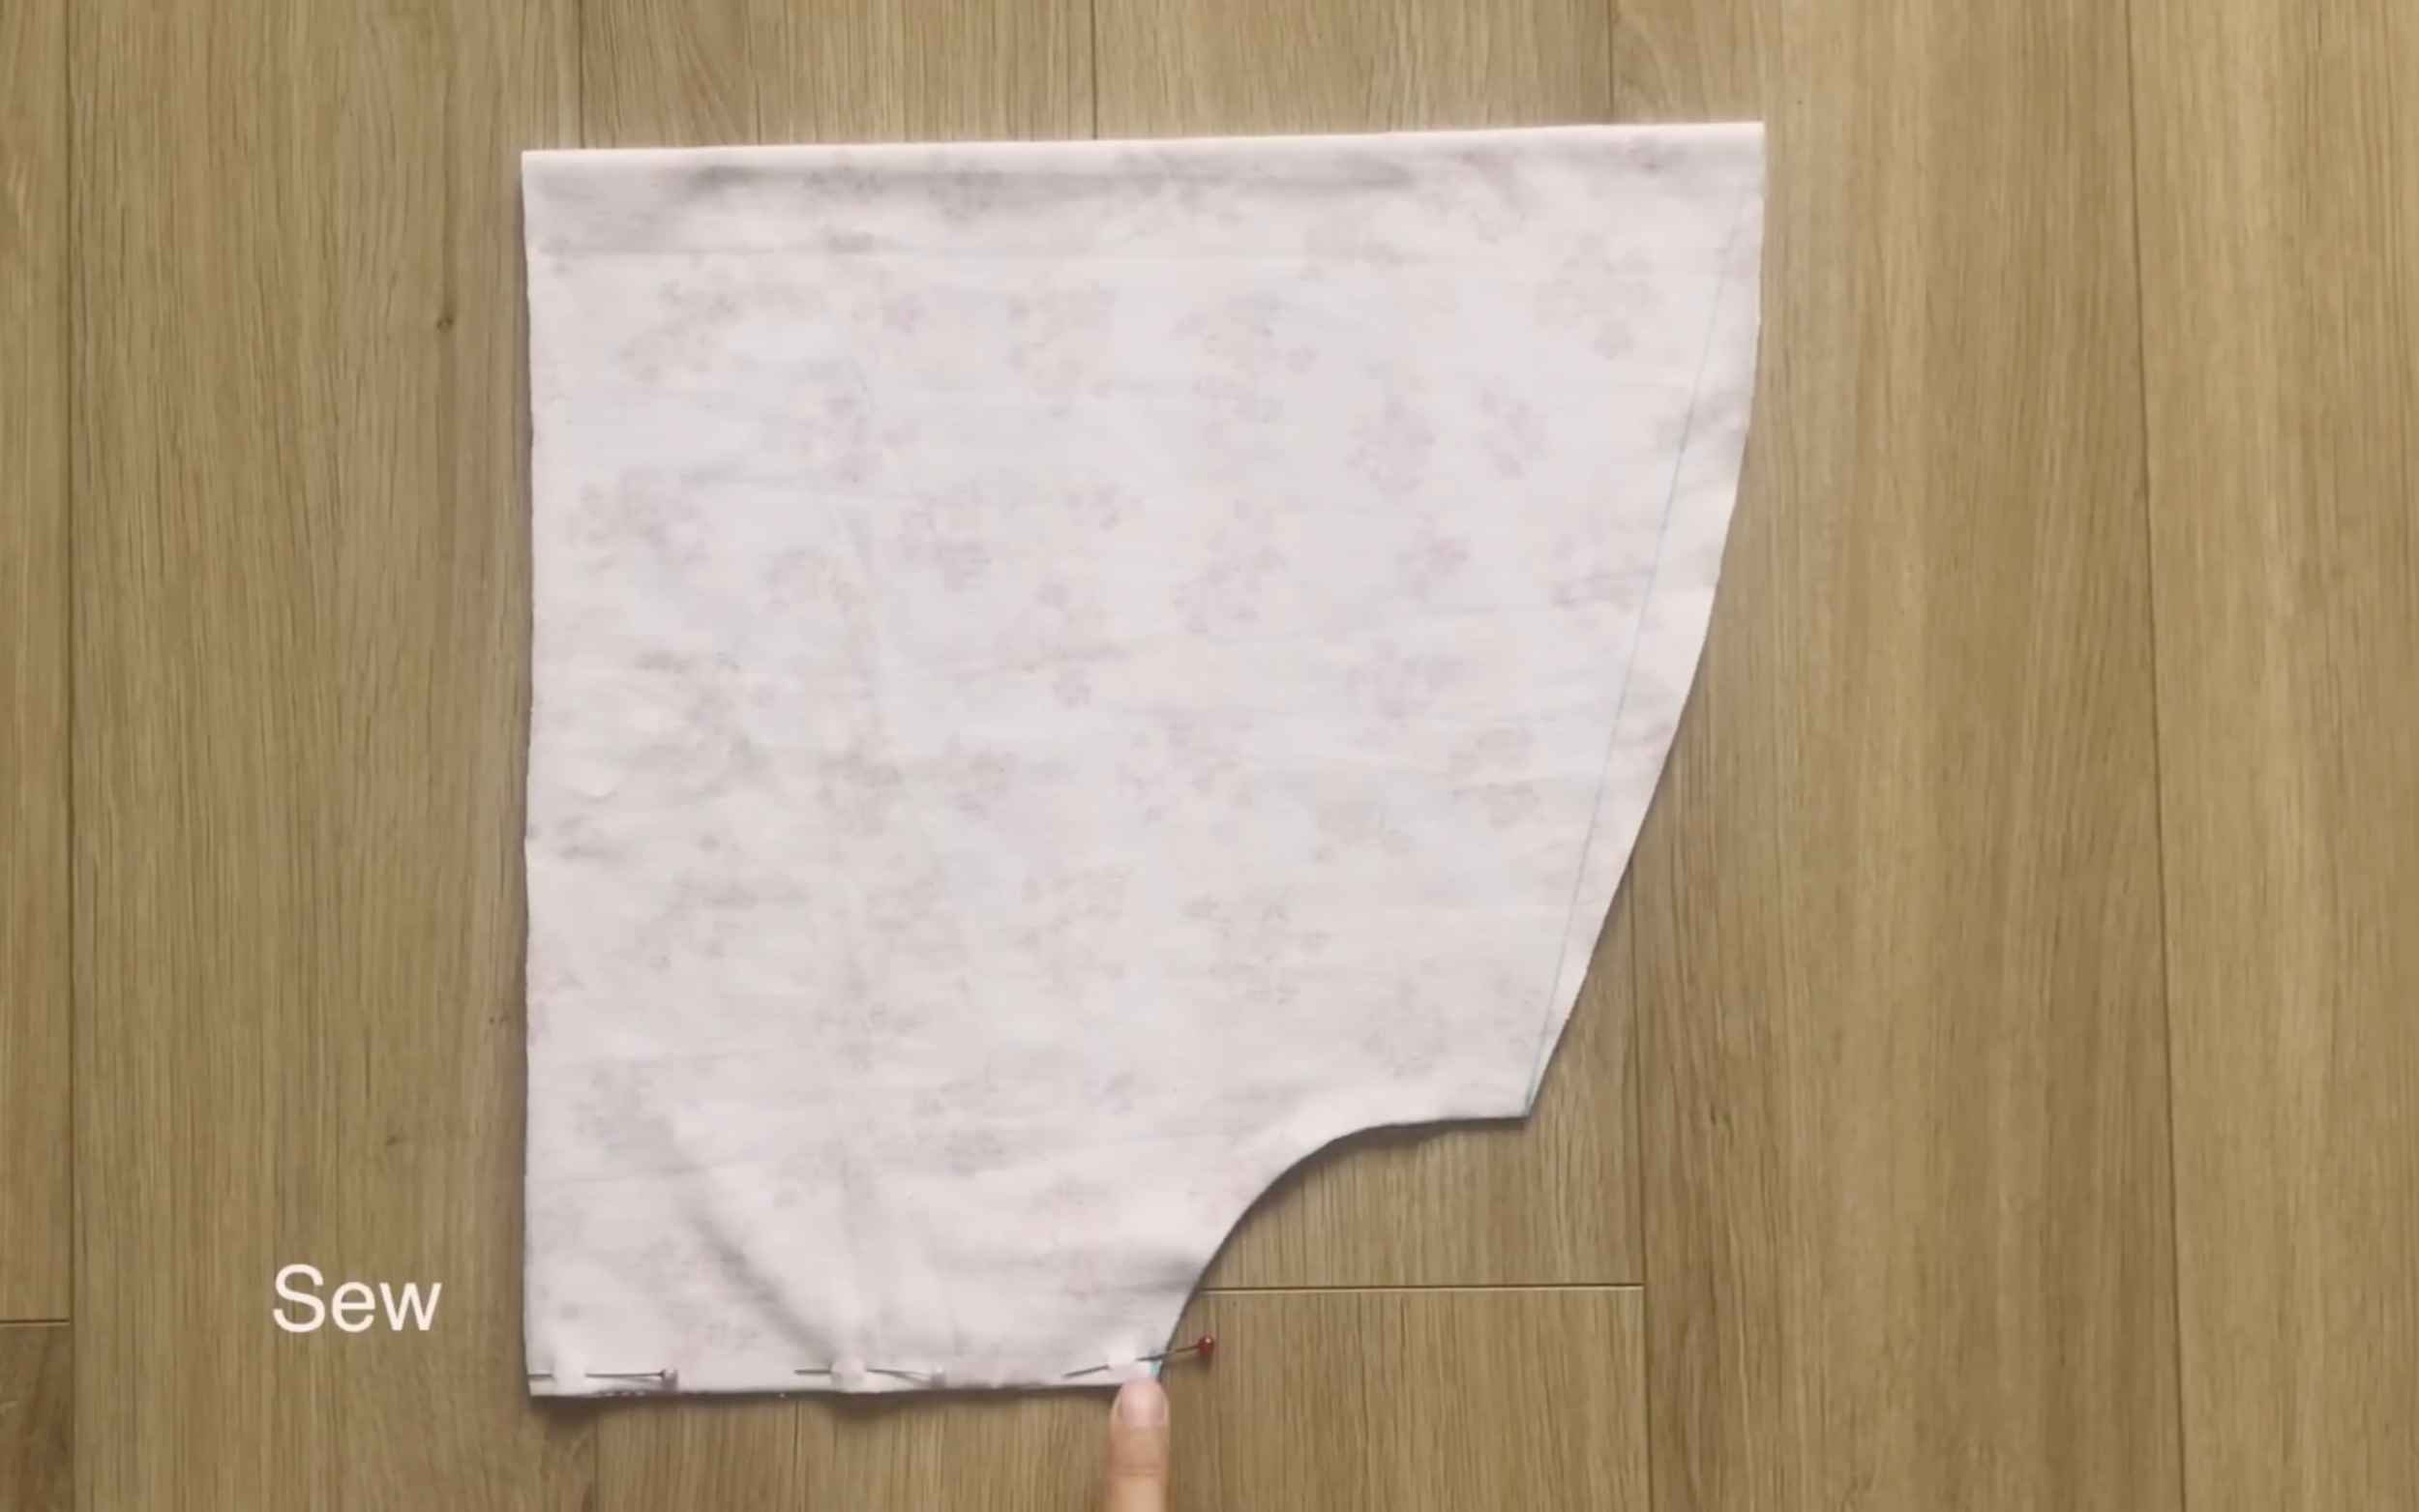
Apply the body pattern to the fabric and trace along.
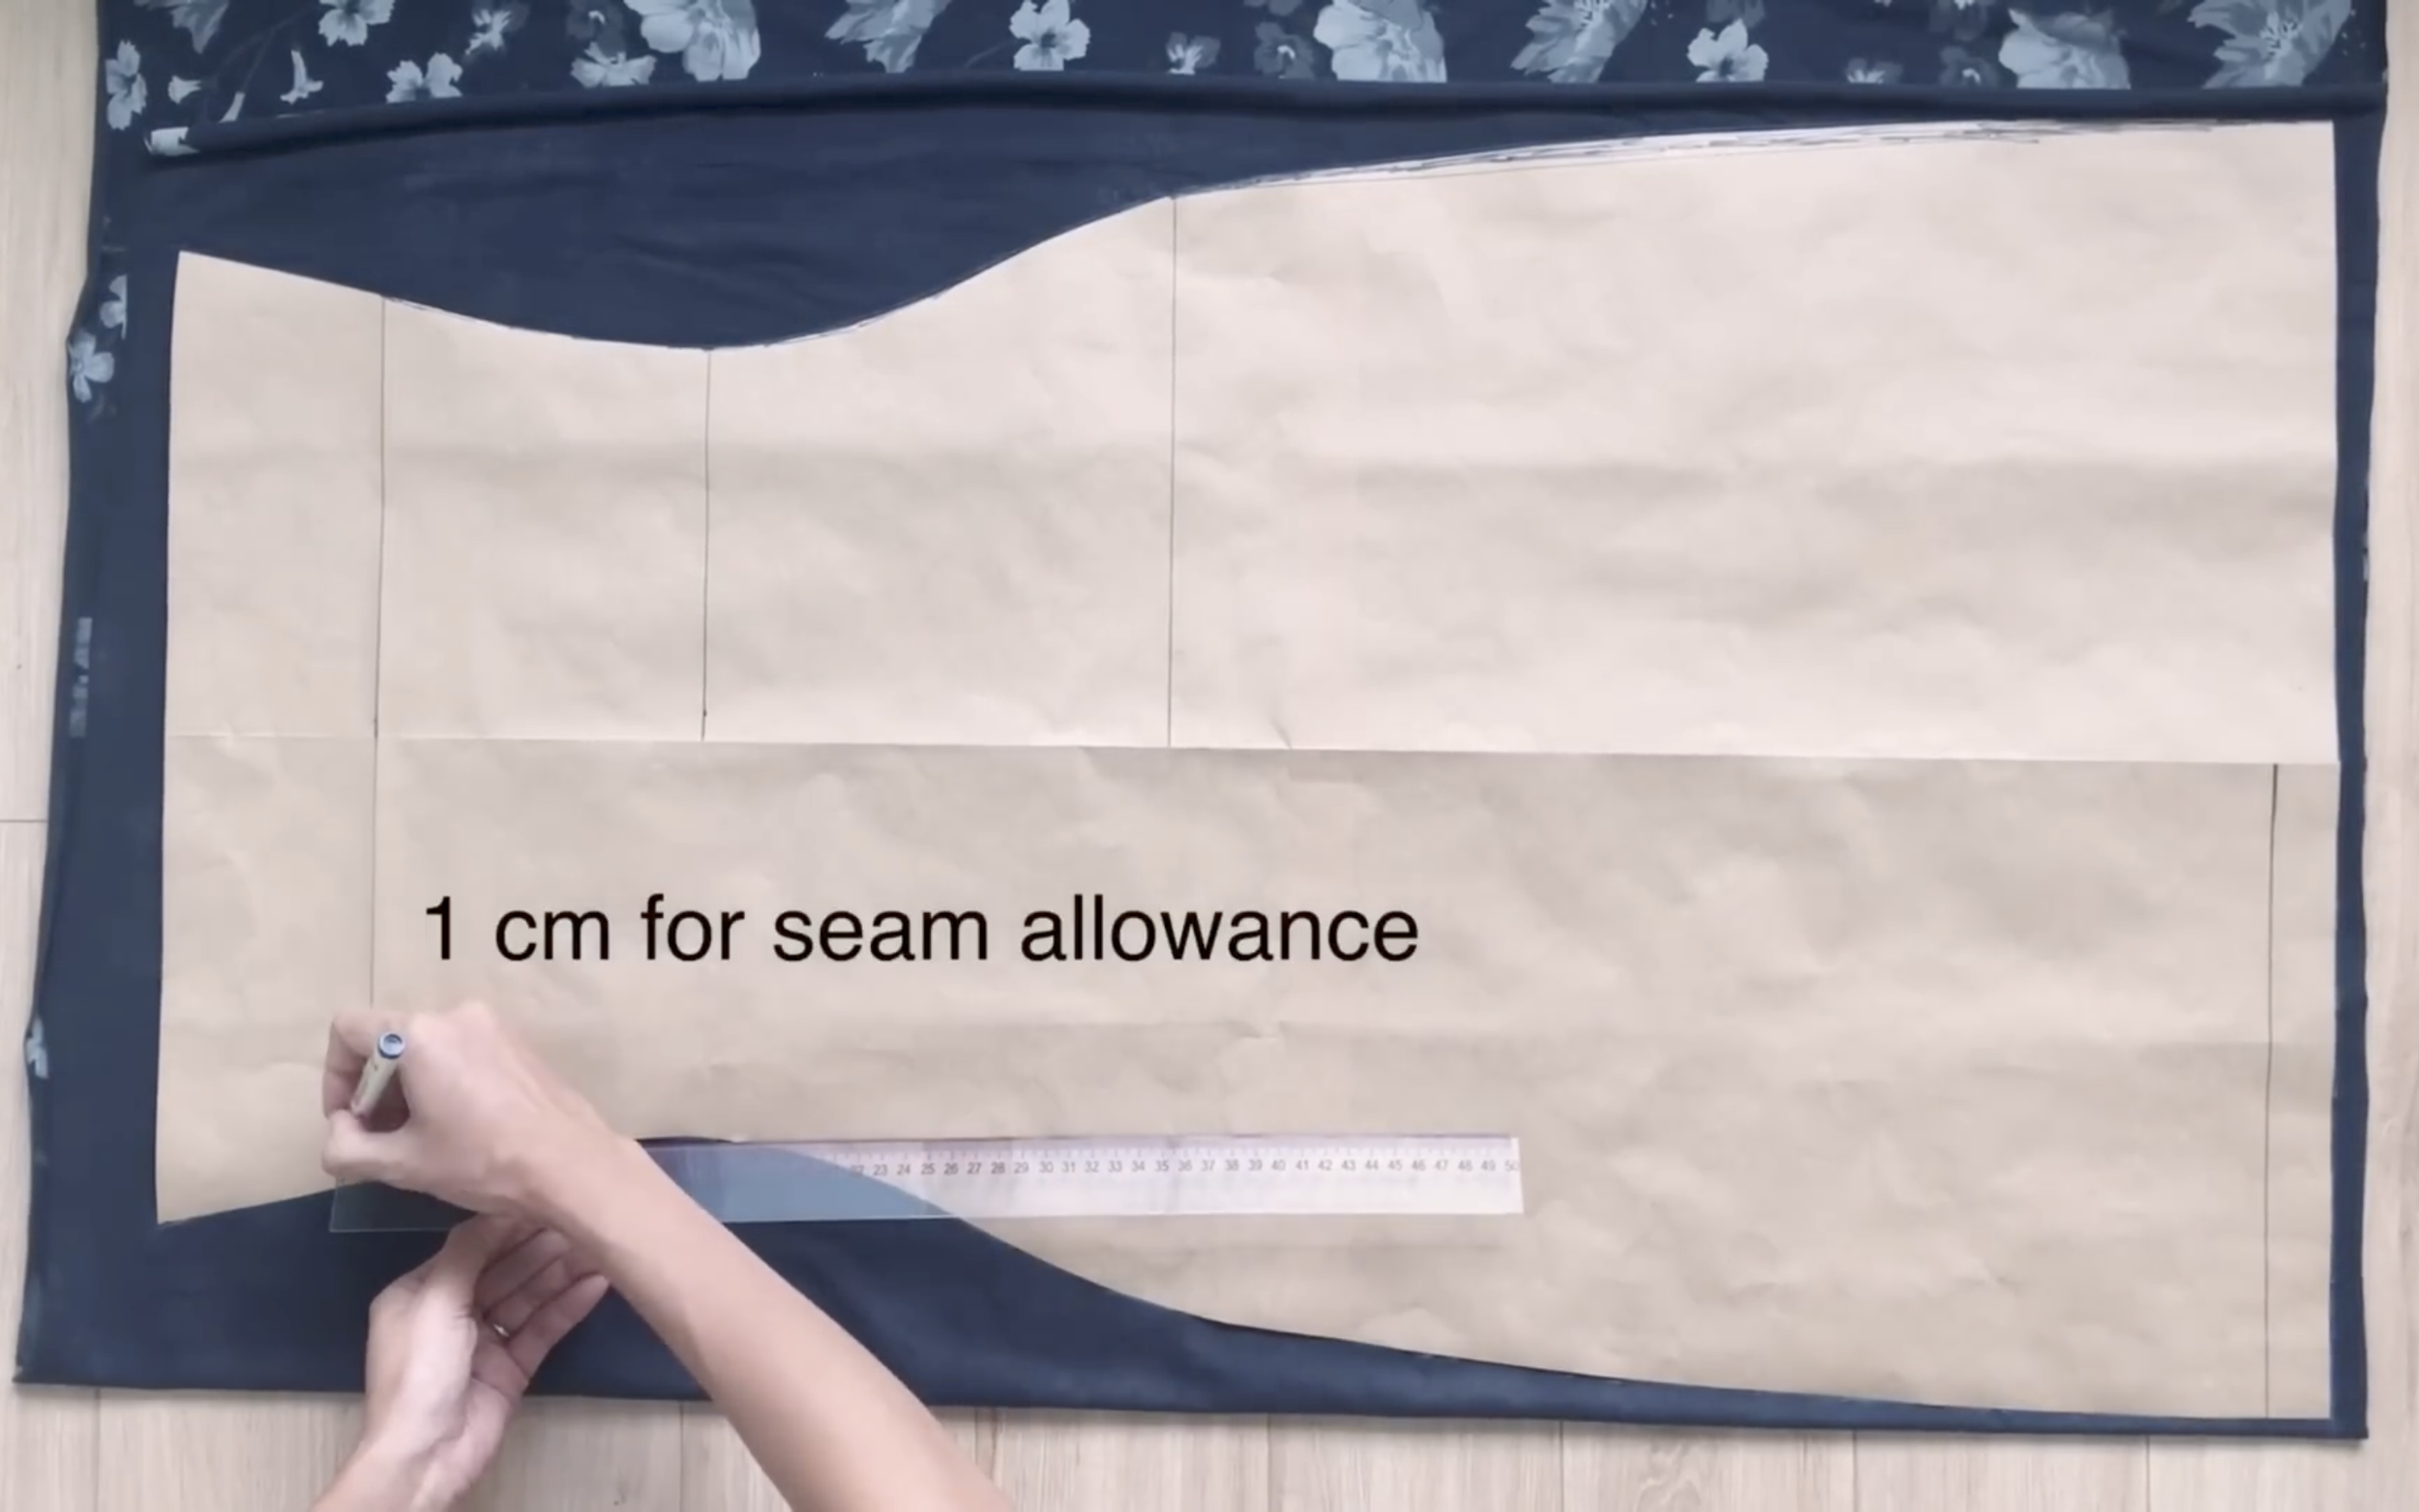
On the first straight line, which is the underbust line, draw a line 1 cm below it for seam allowance.
Fold the pattern at that line to create the front pattern of the dress.
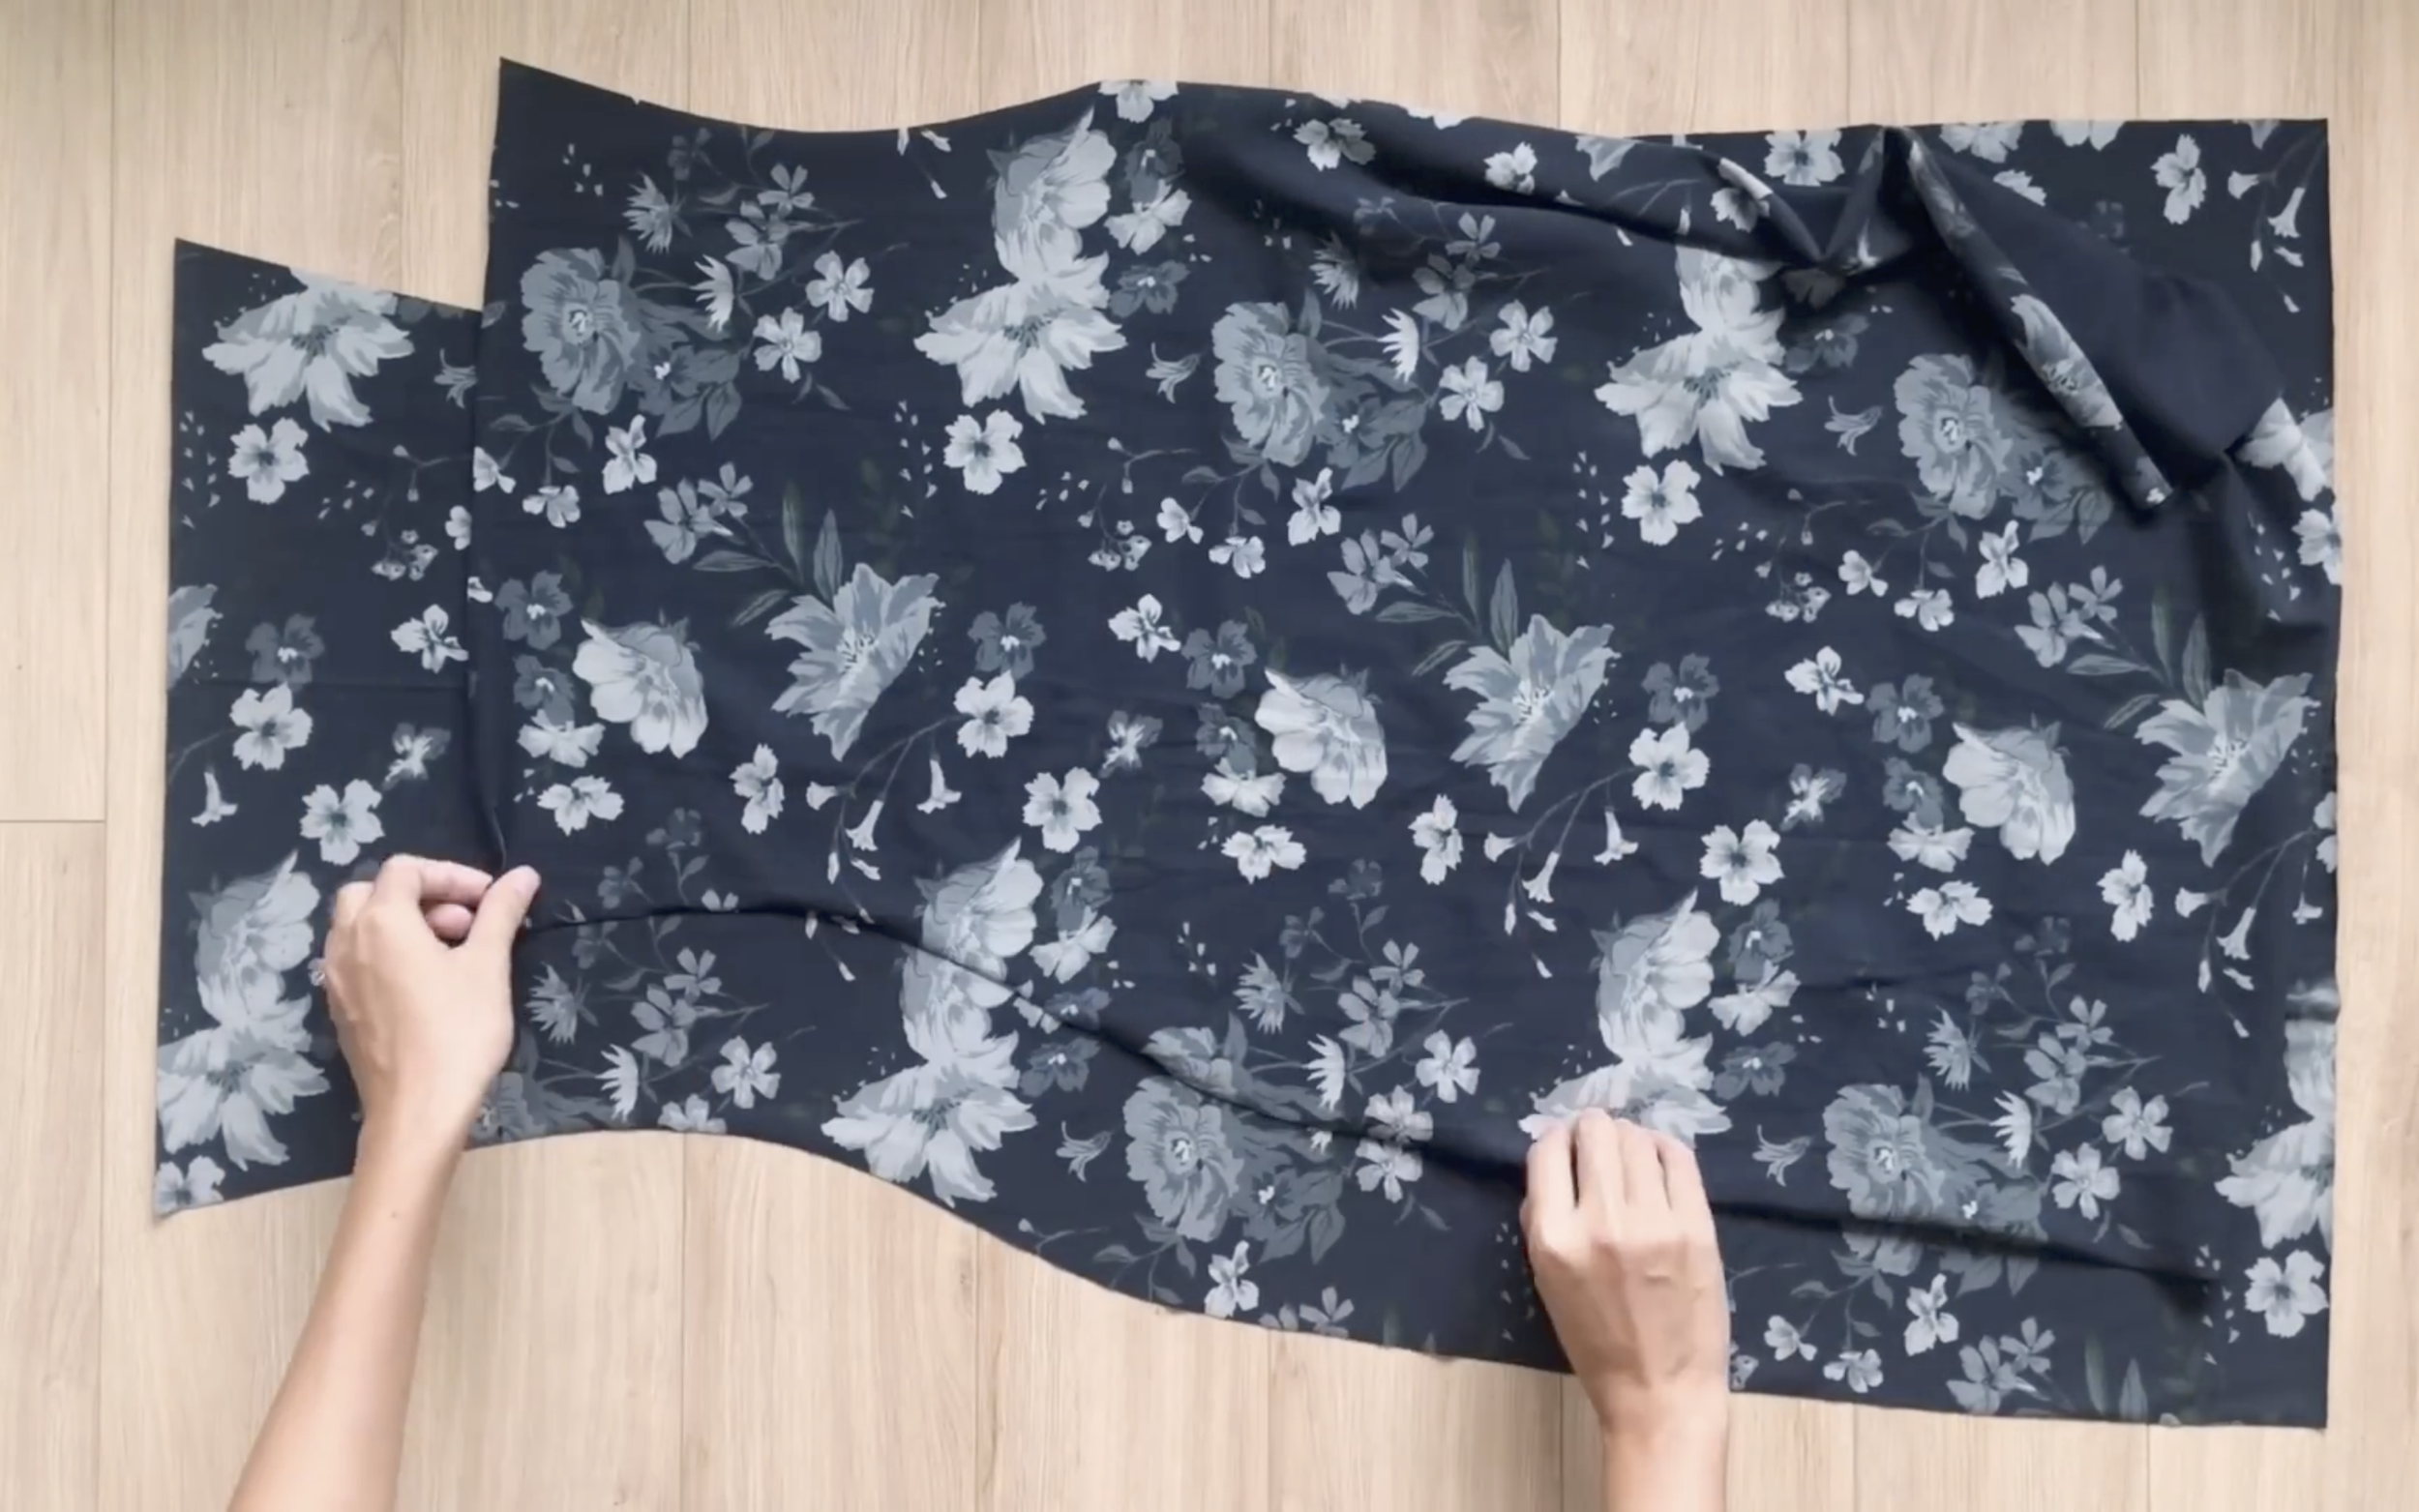
After cutting, there will be both the front and back parts of the dress.
THE TOP
Use the same way with the body pattern to make the bust area pattern

After preparing two pieces for the bust area pattern, connect them together on one side, around 10 cm.
Leave the rest as the open area of the bust.
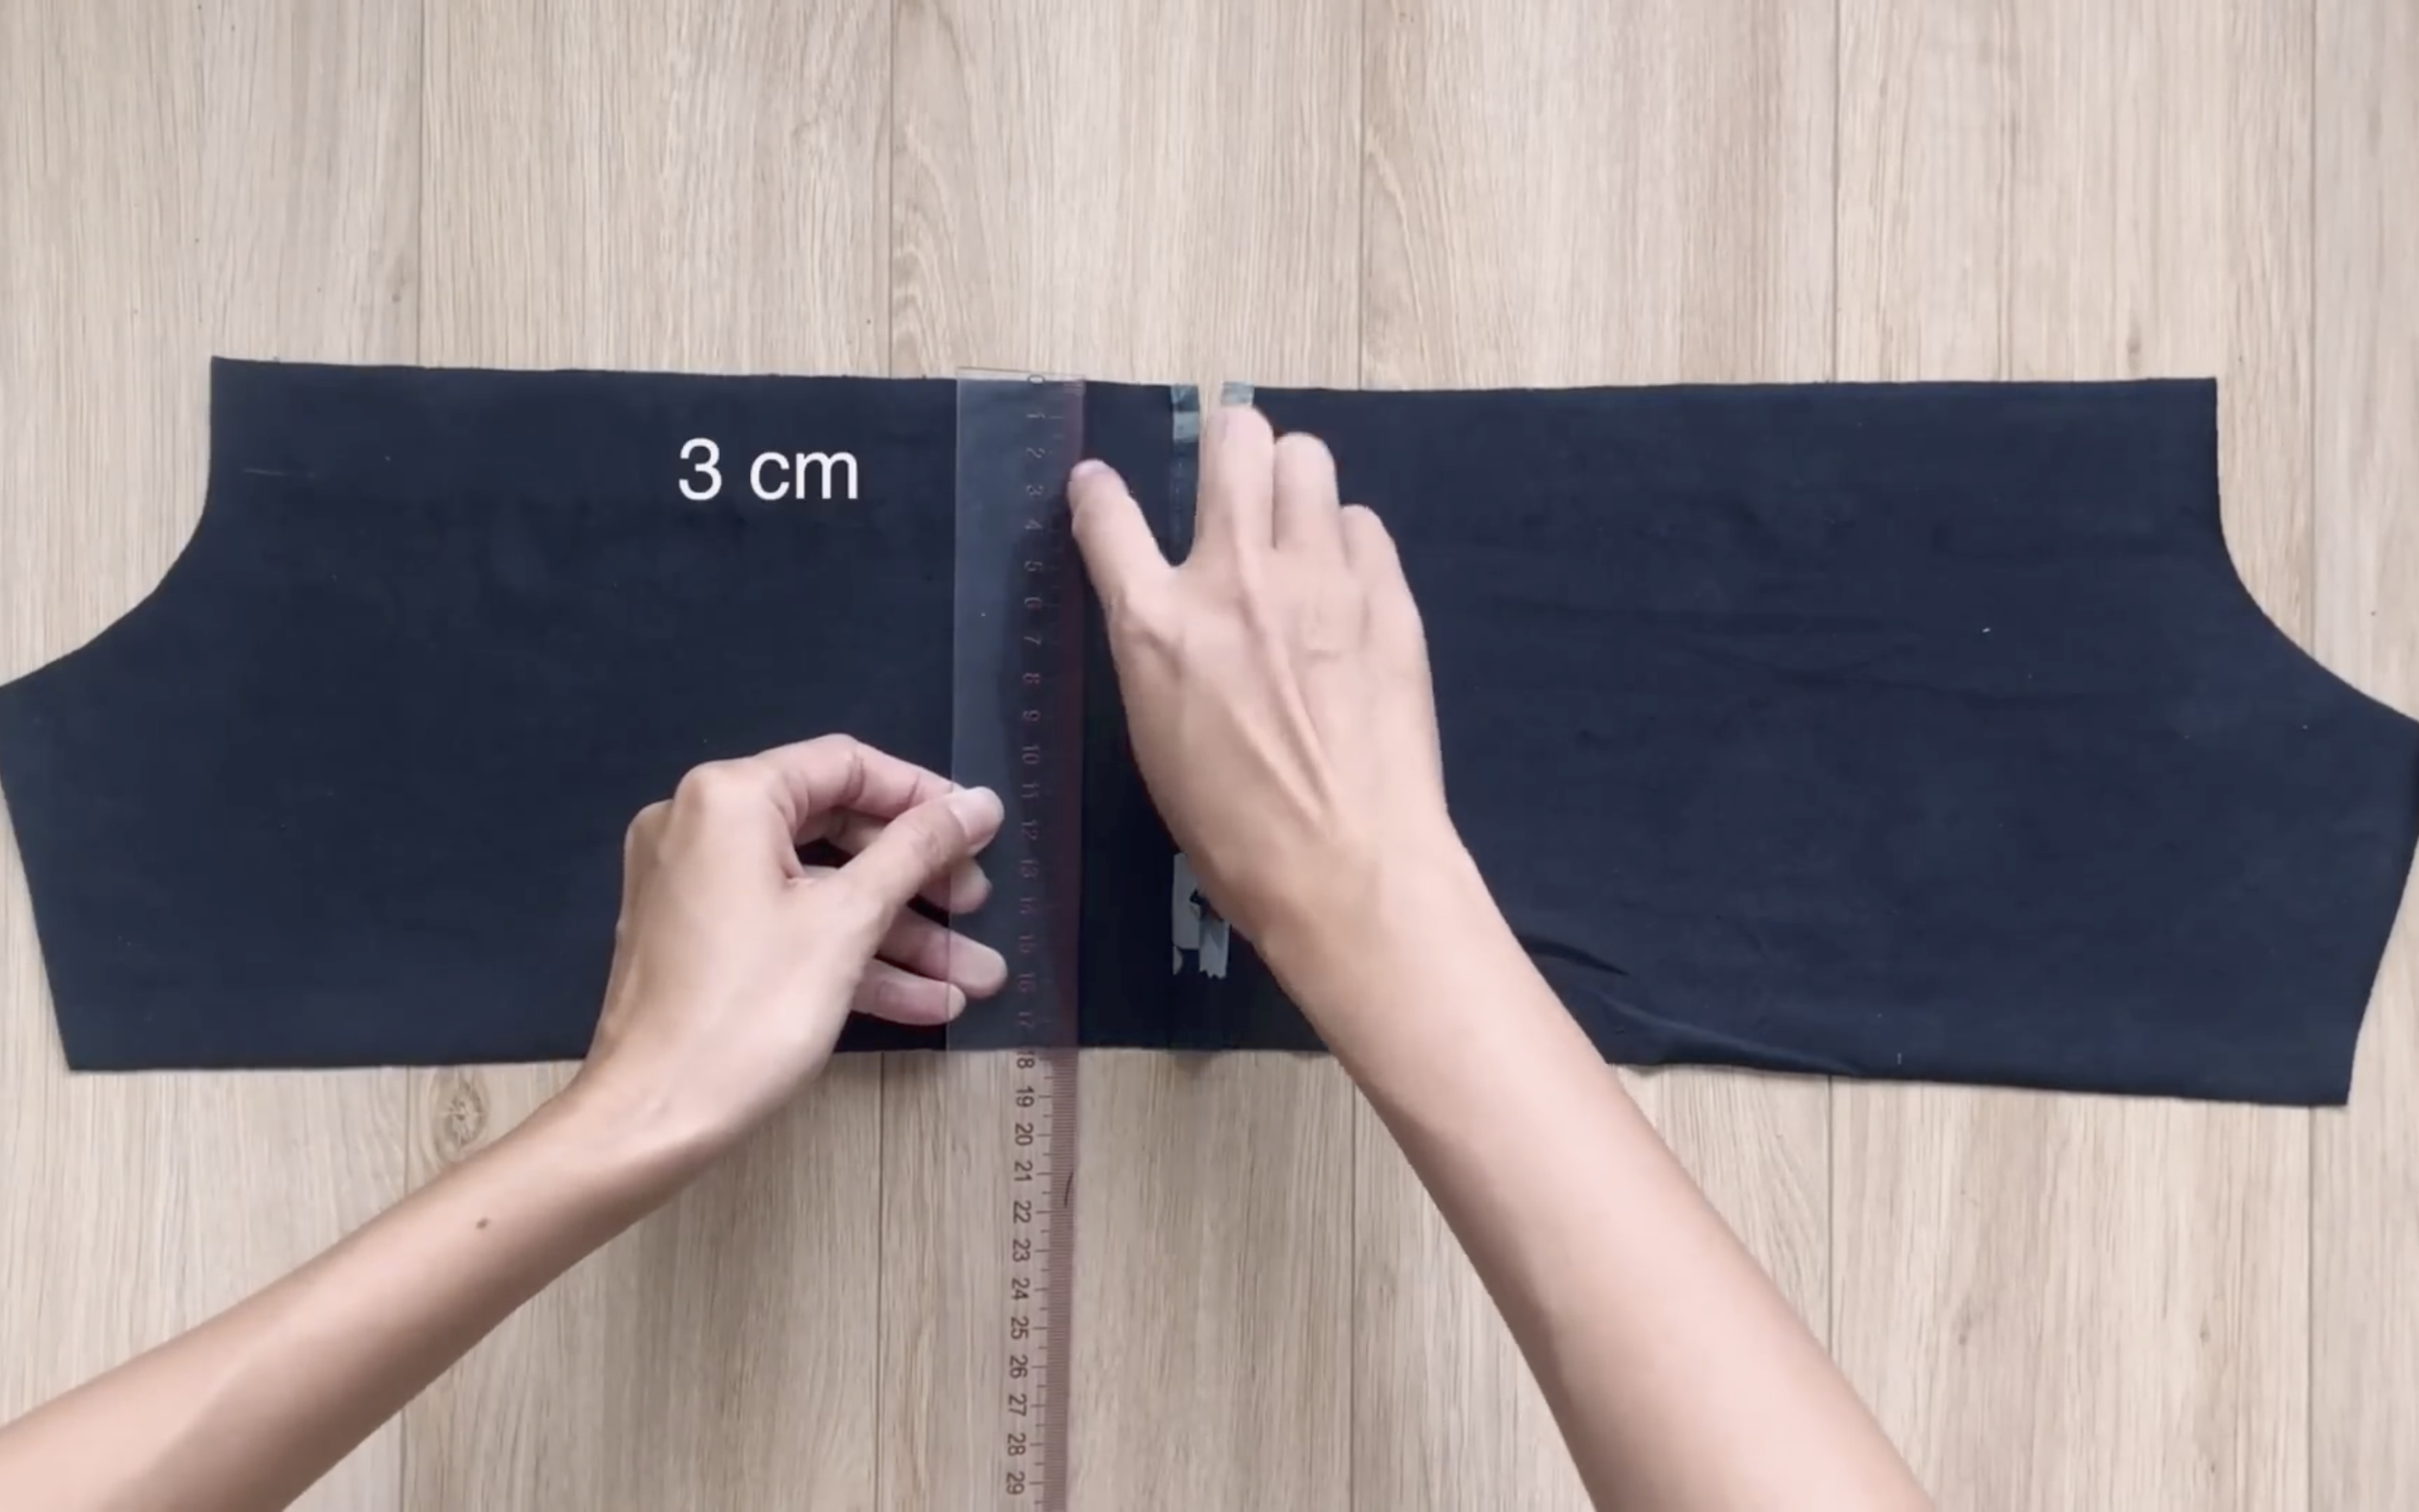
At the top of the bust area, draw a horizontal line 3 cm below the edge.
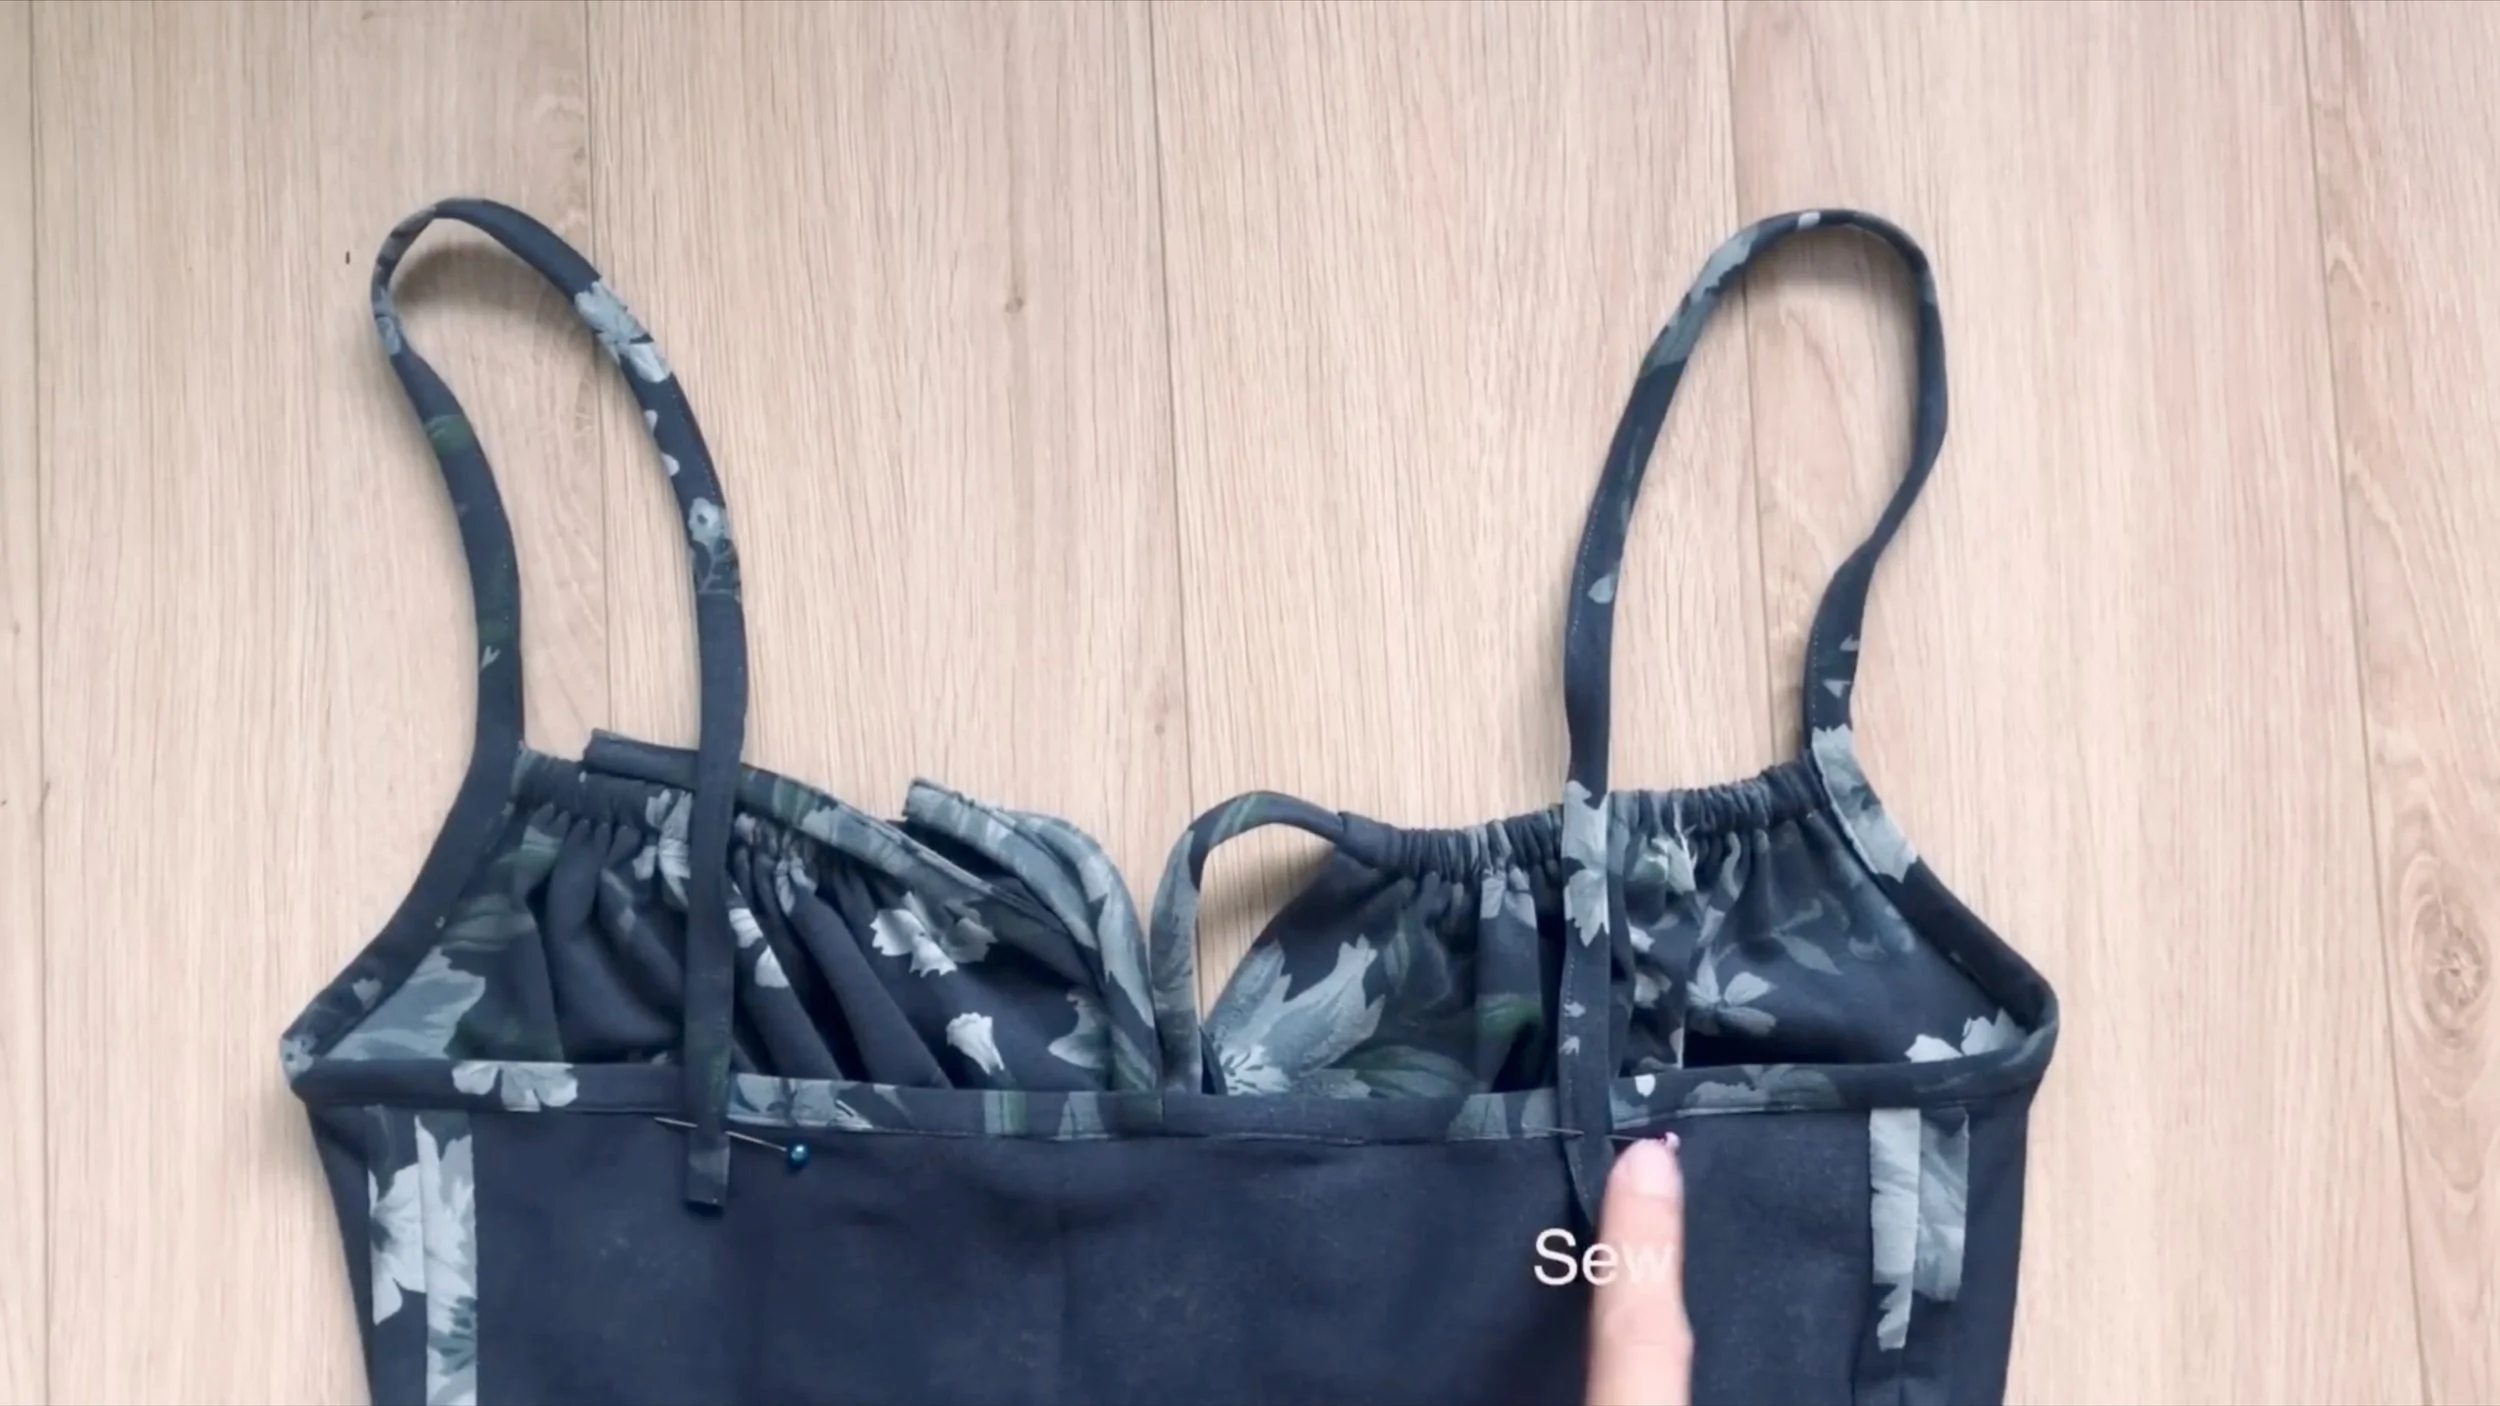
Fold the top of the fabric down to this line and sew to create a fabric hole.
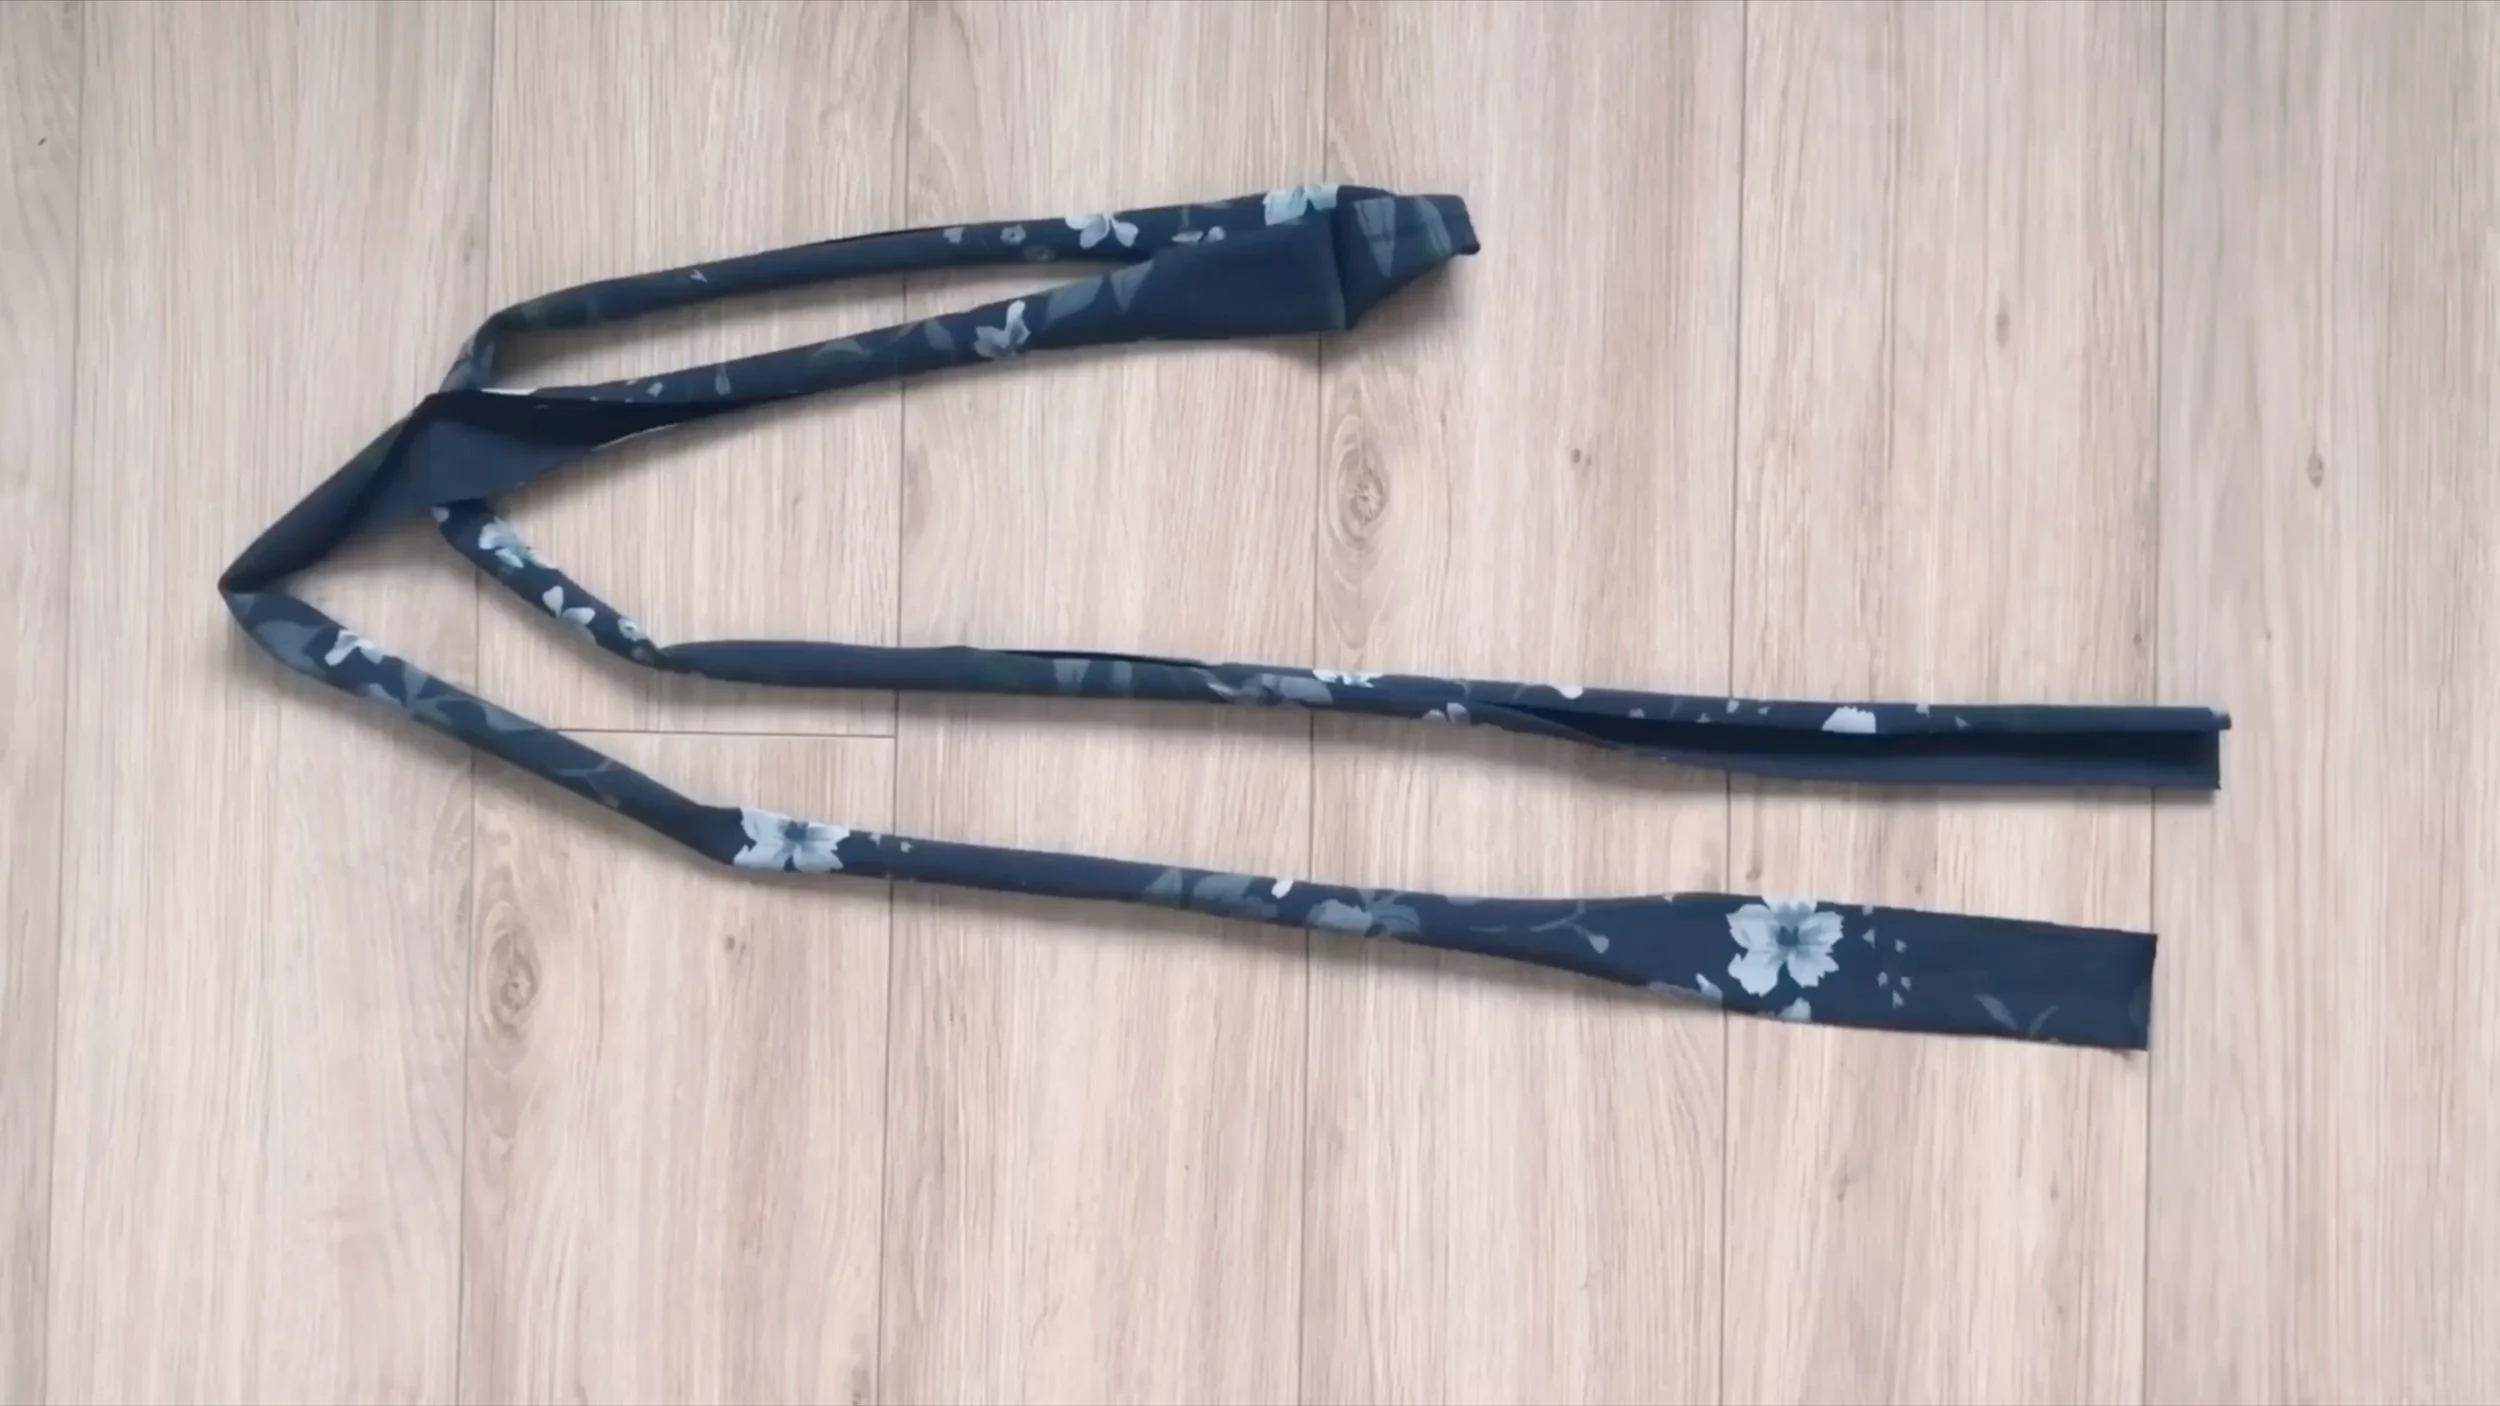
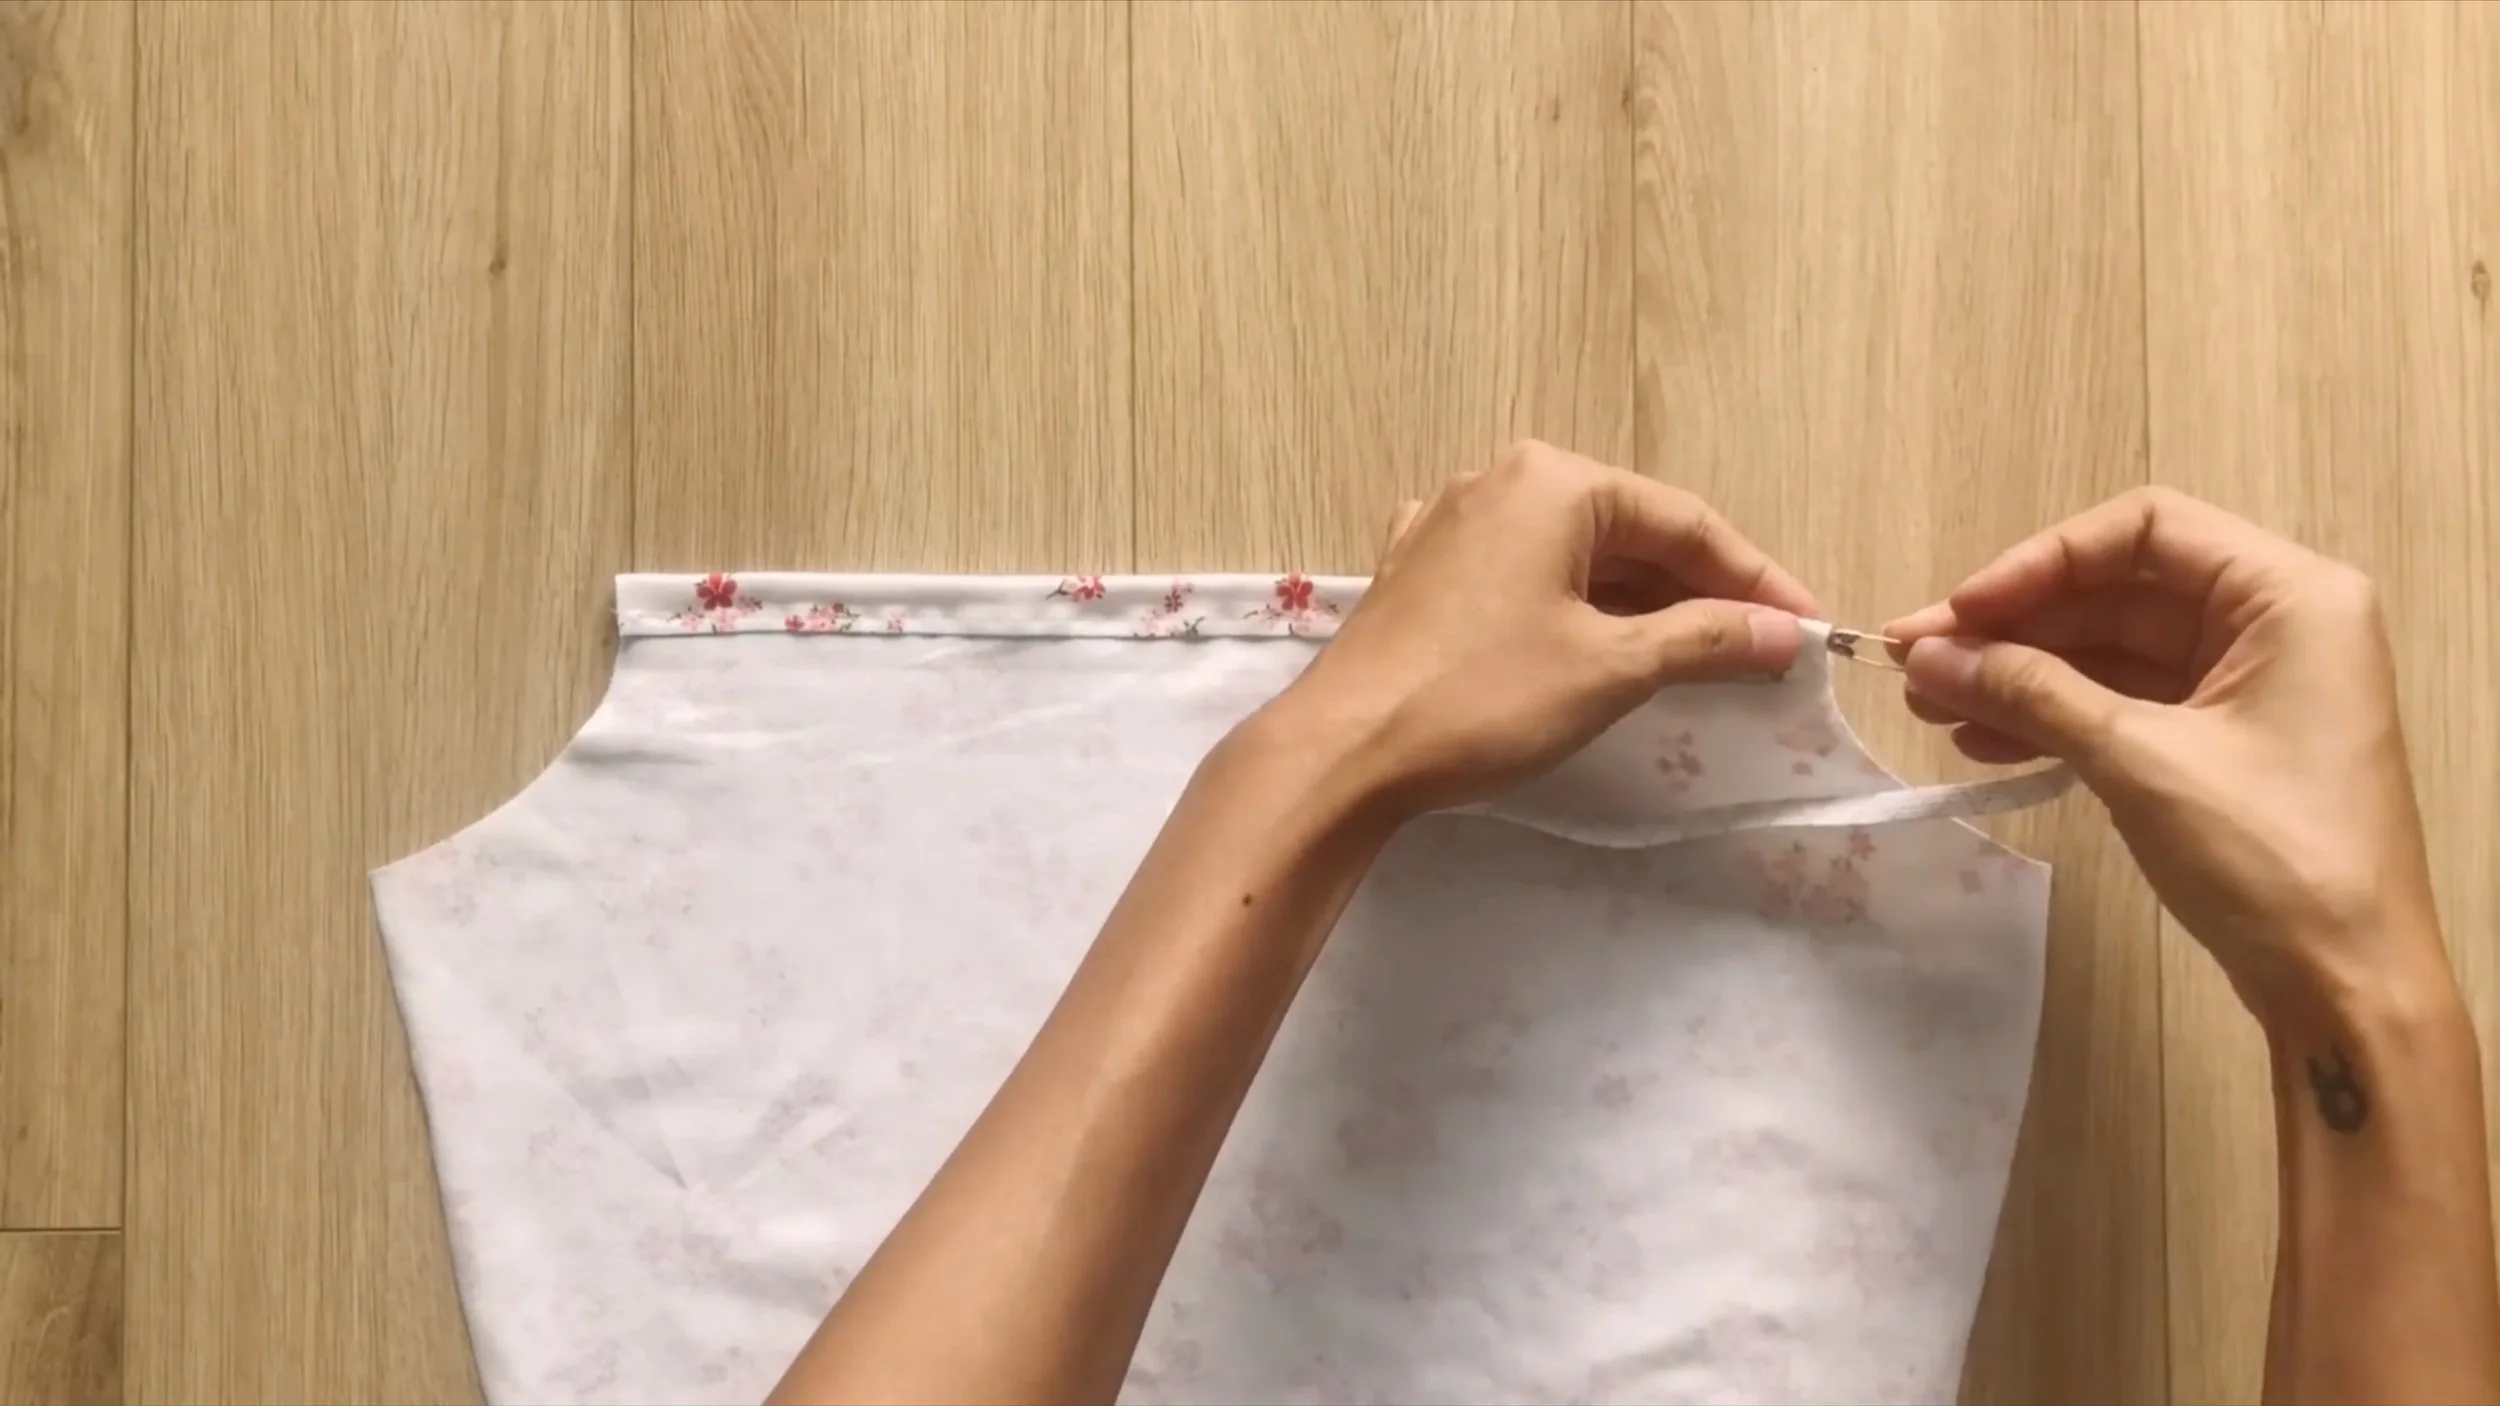
Cut a long rectangle with a width of 3.5 cm and a length of around 50 cm.
Fold in the edges first, then fold again and sew to secure, creating a tie.
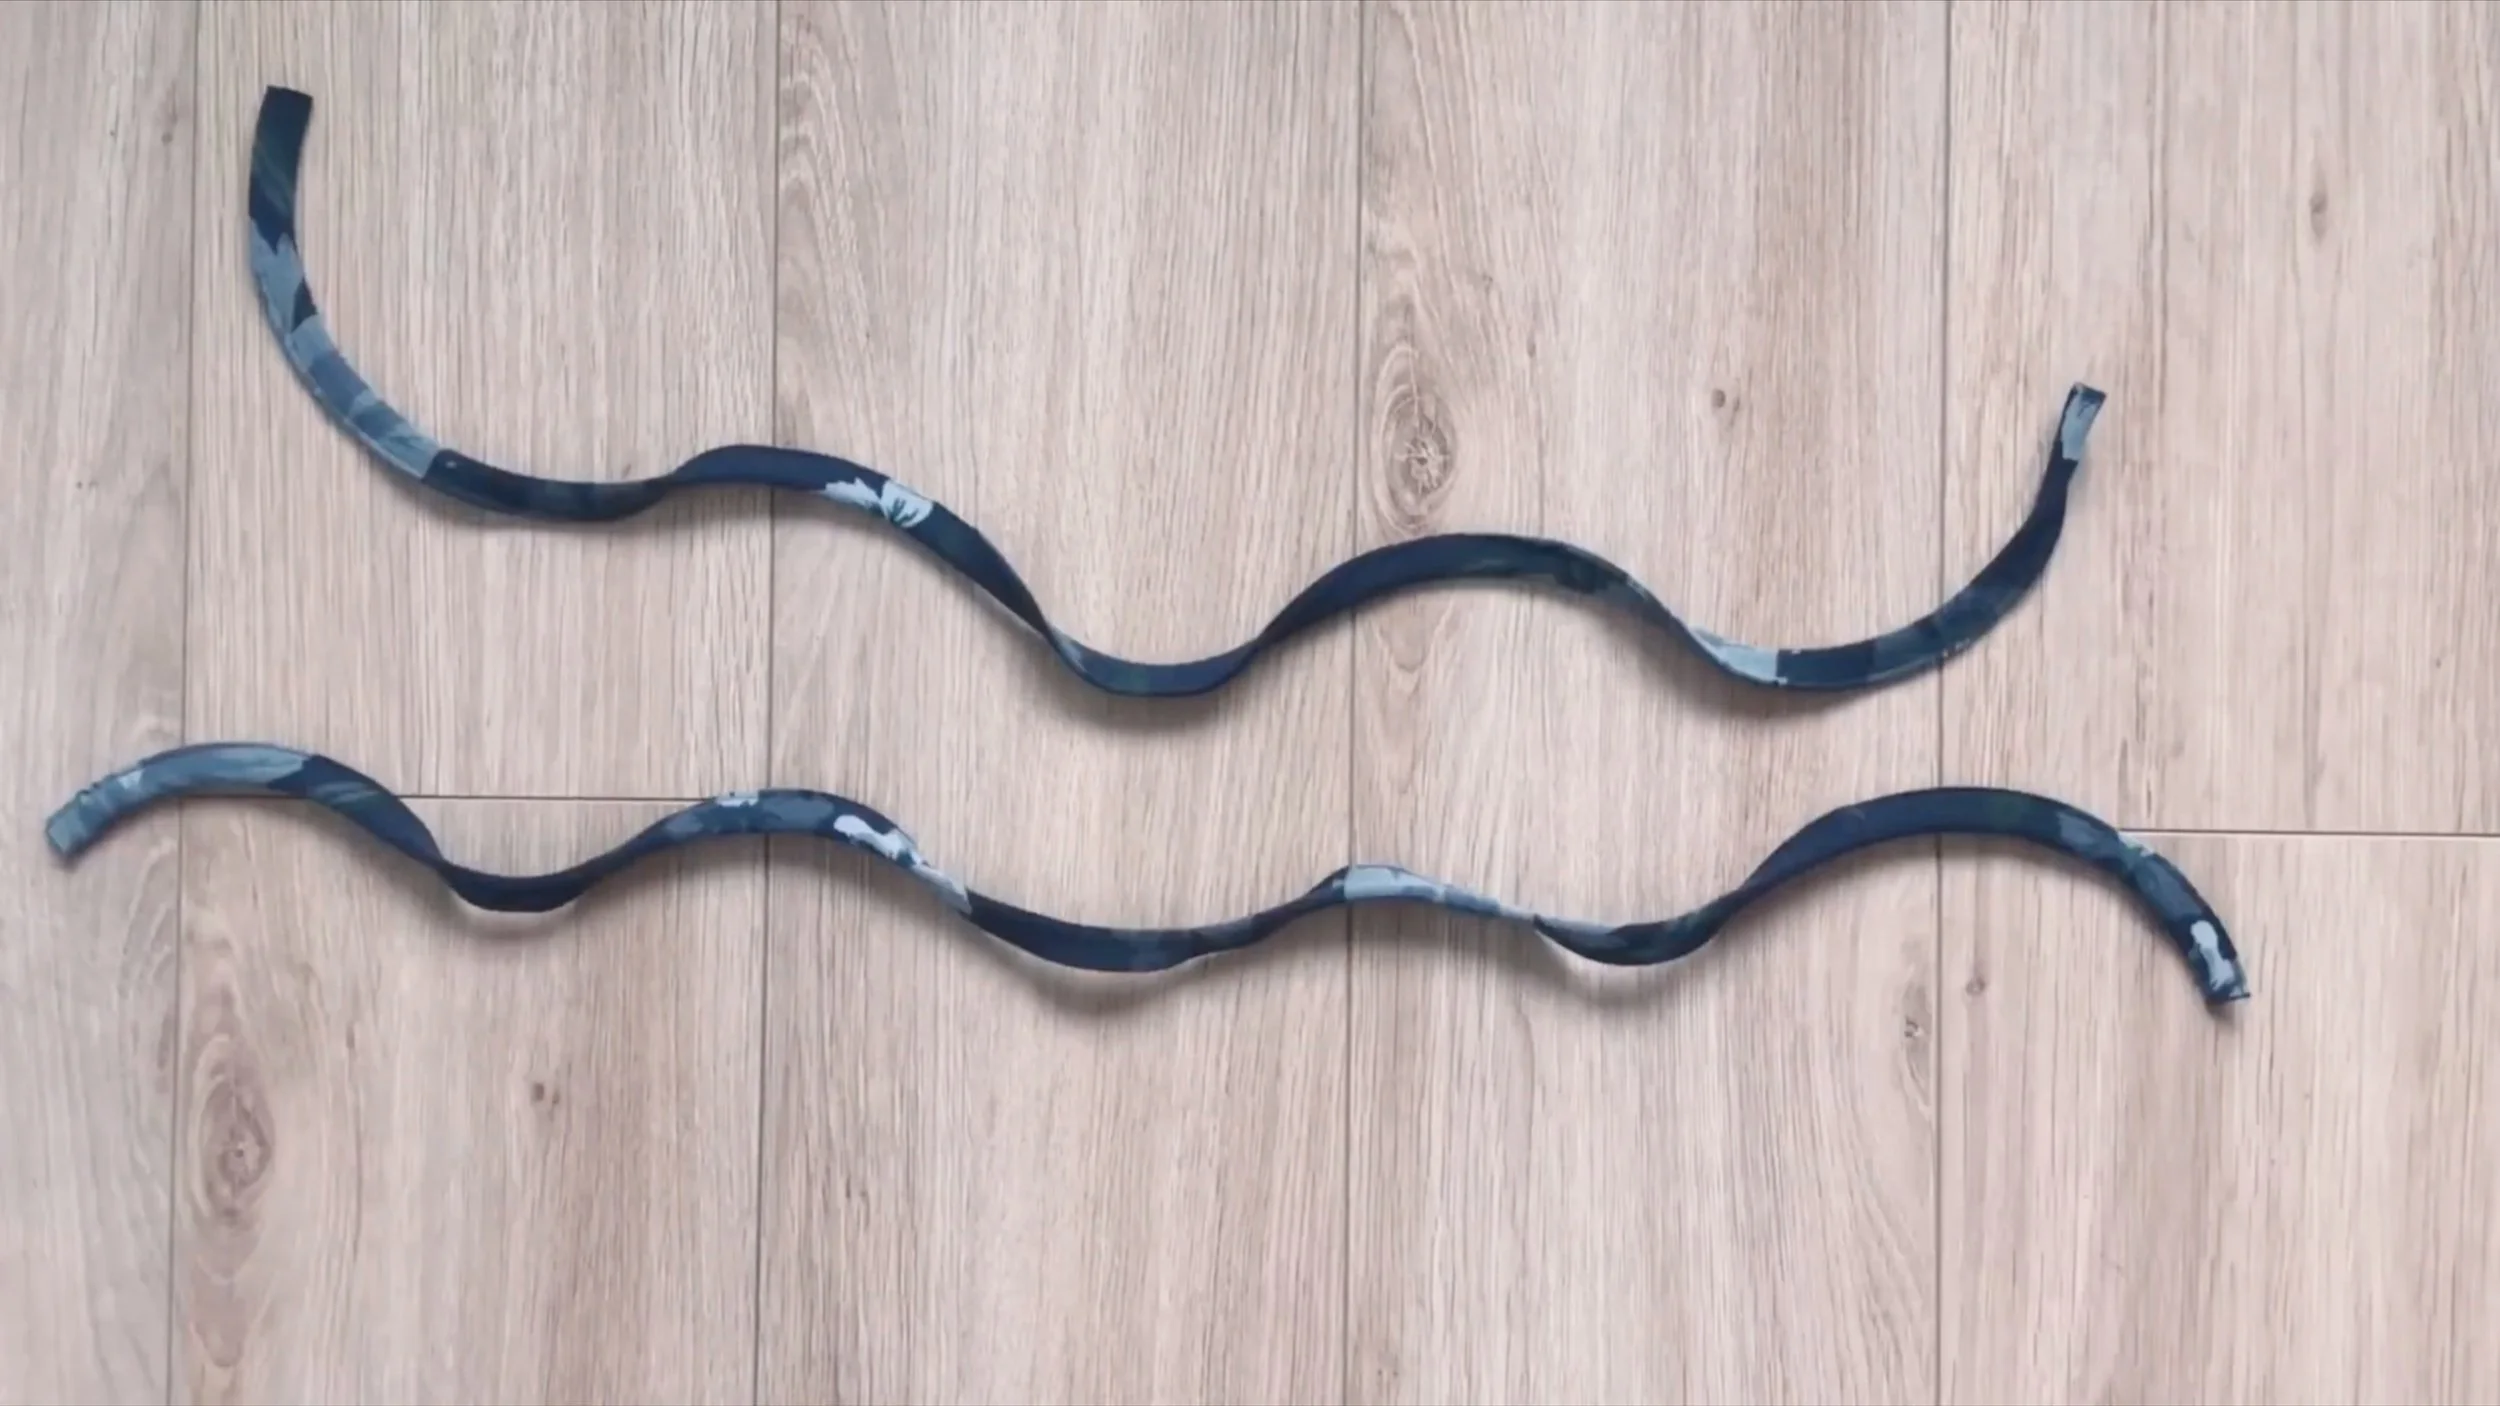
After sewing, cut the tie in half to create two separate ties.
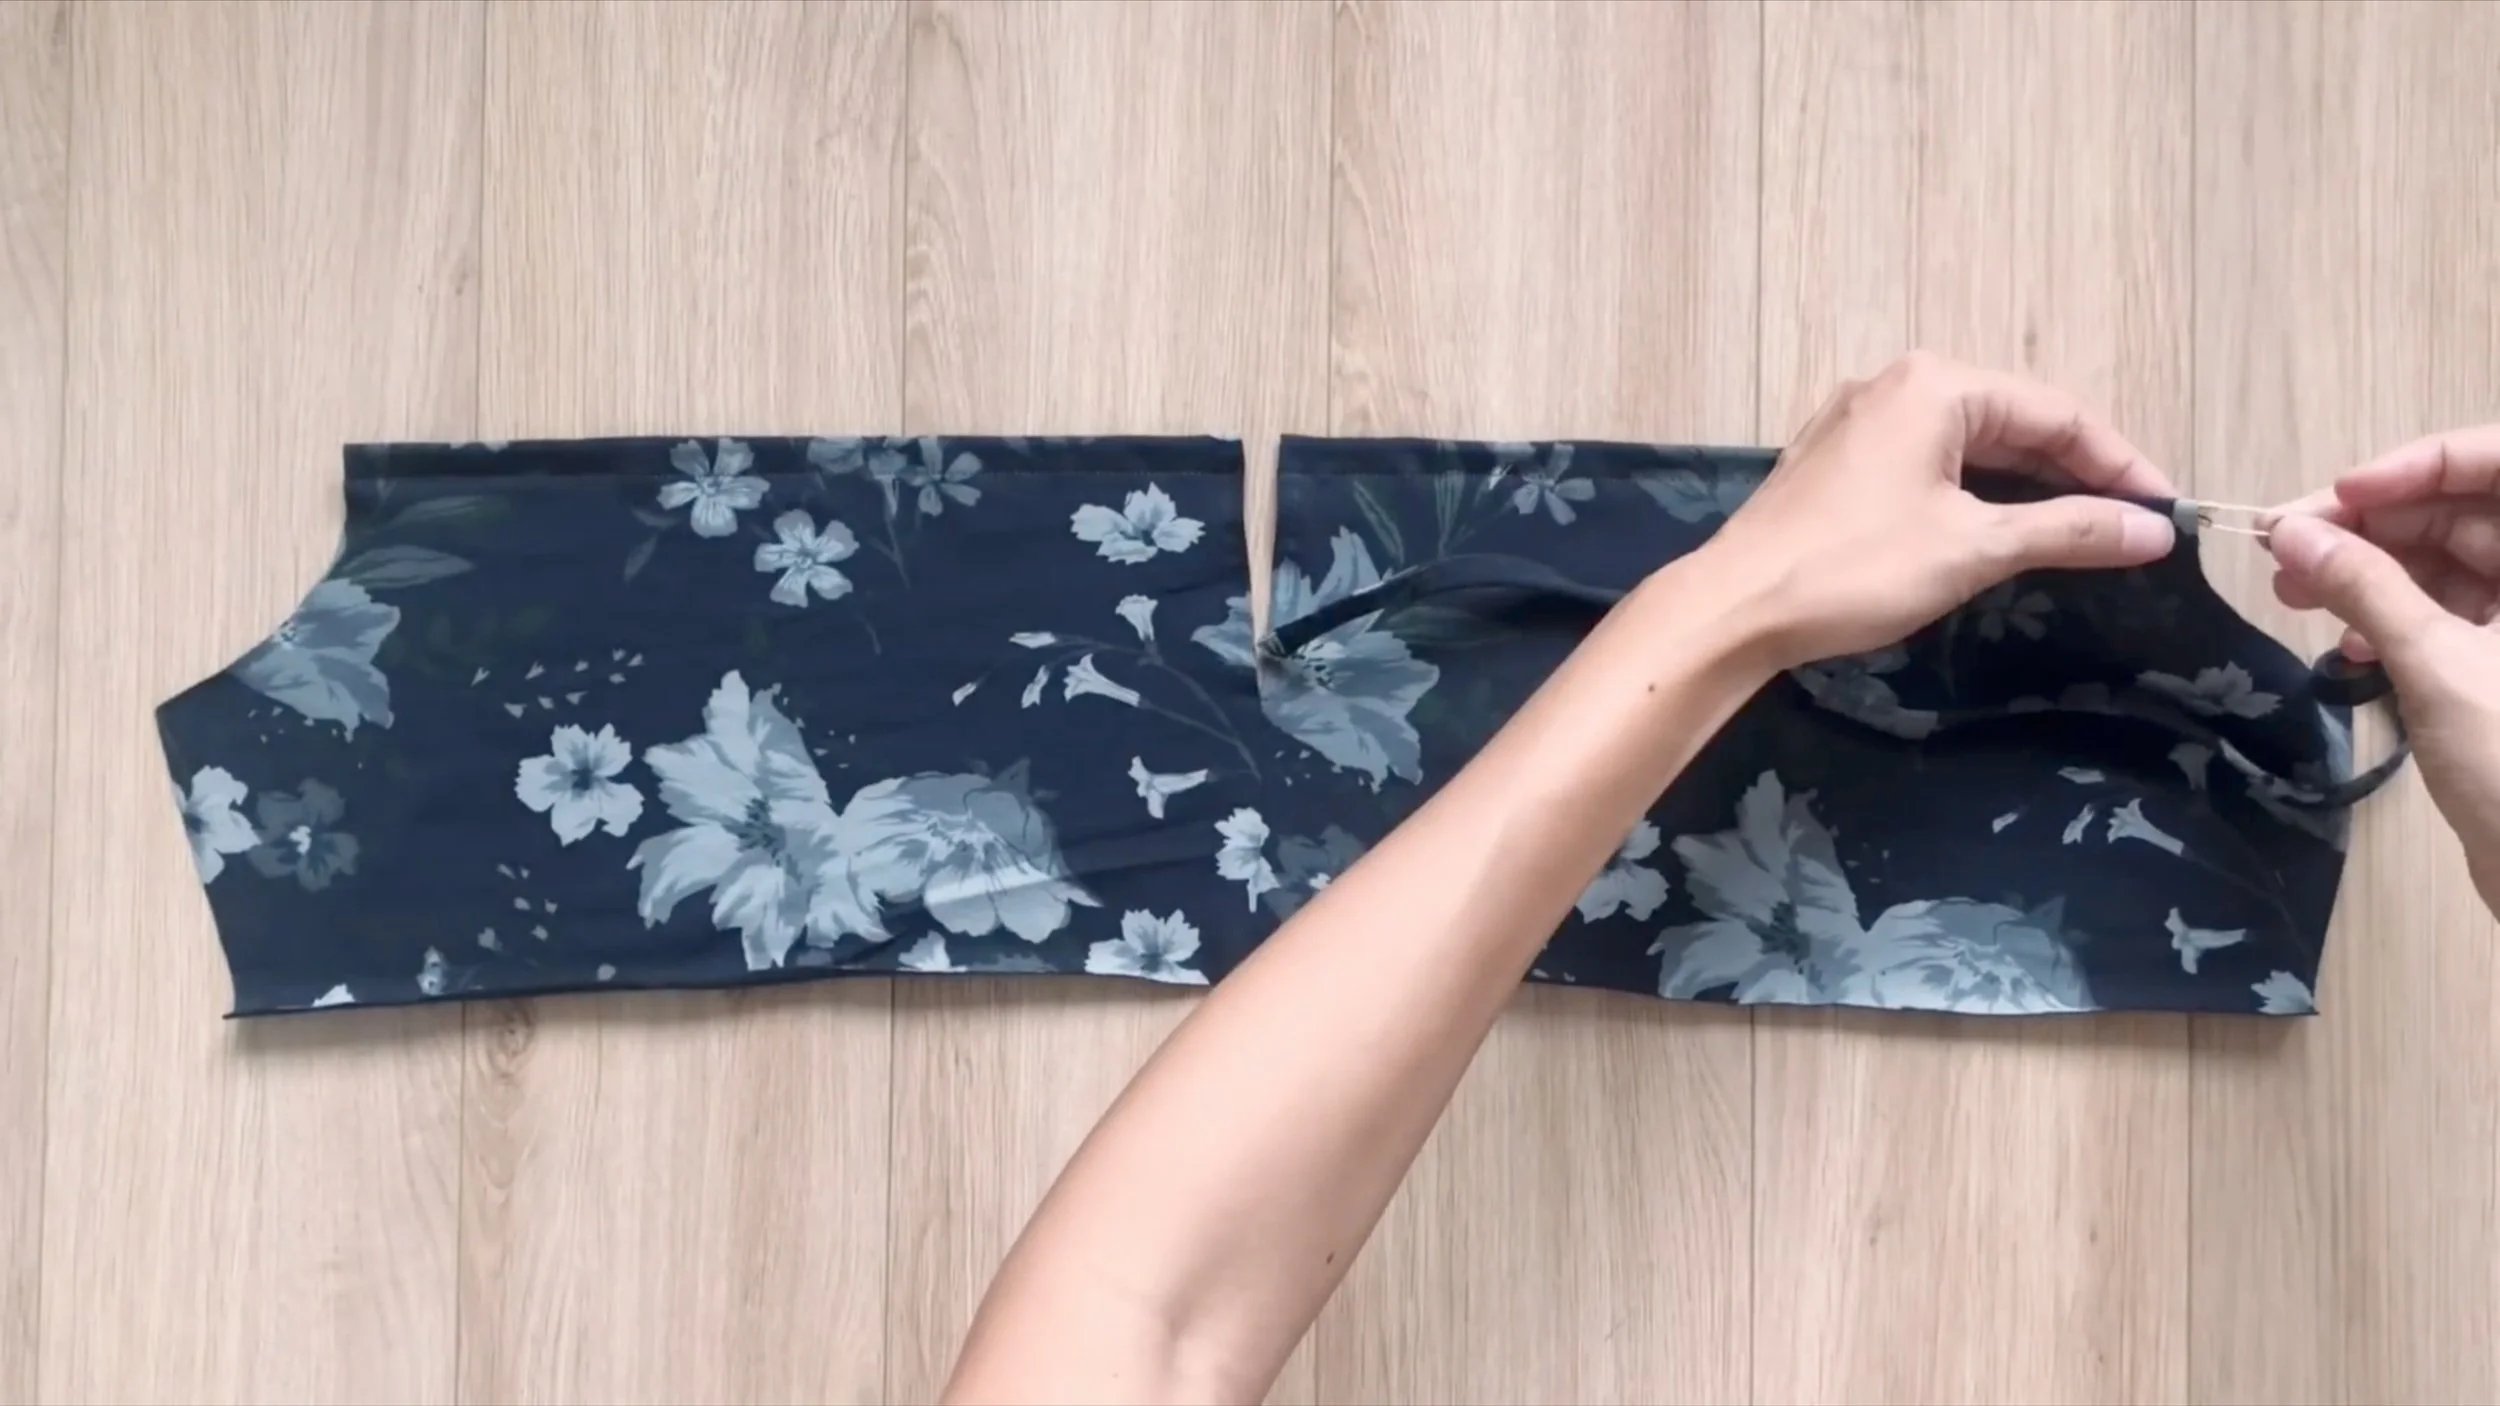
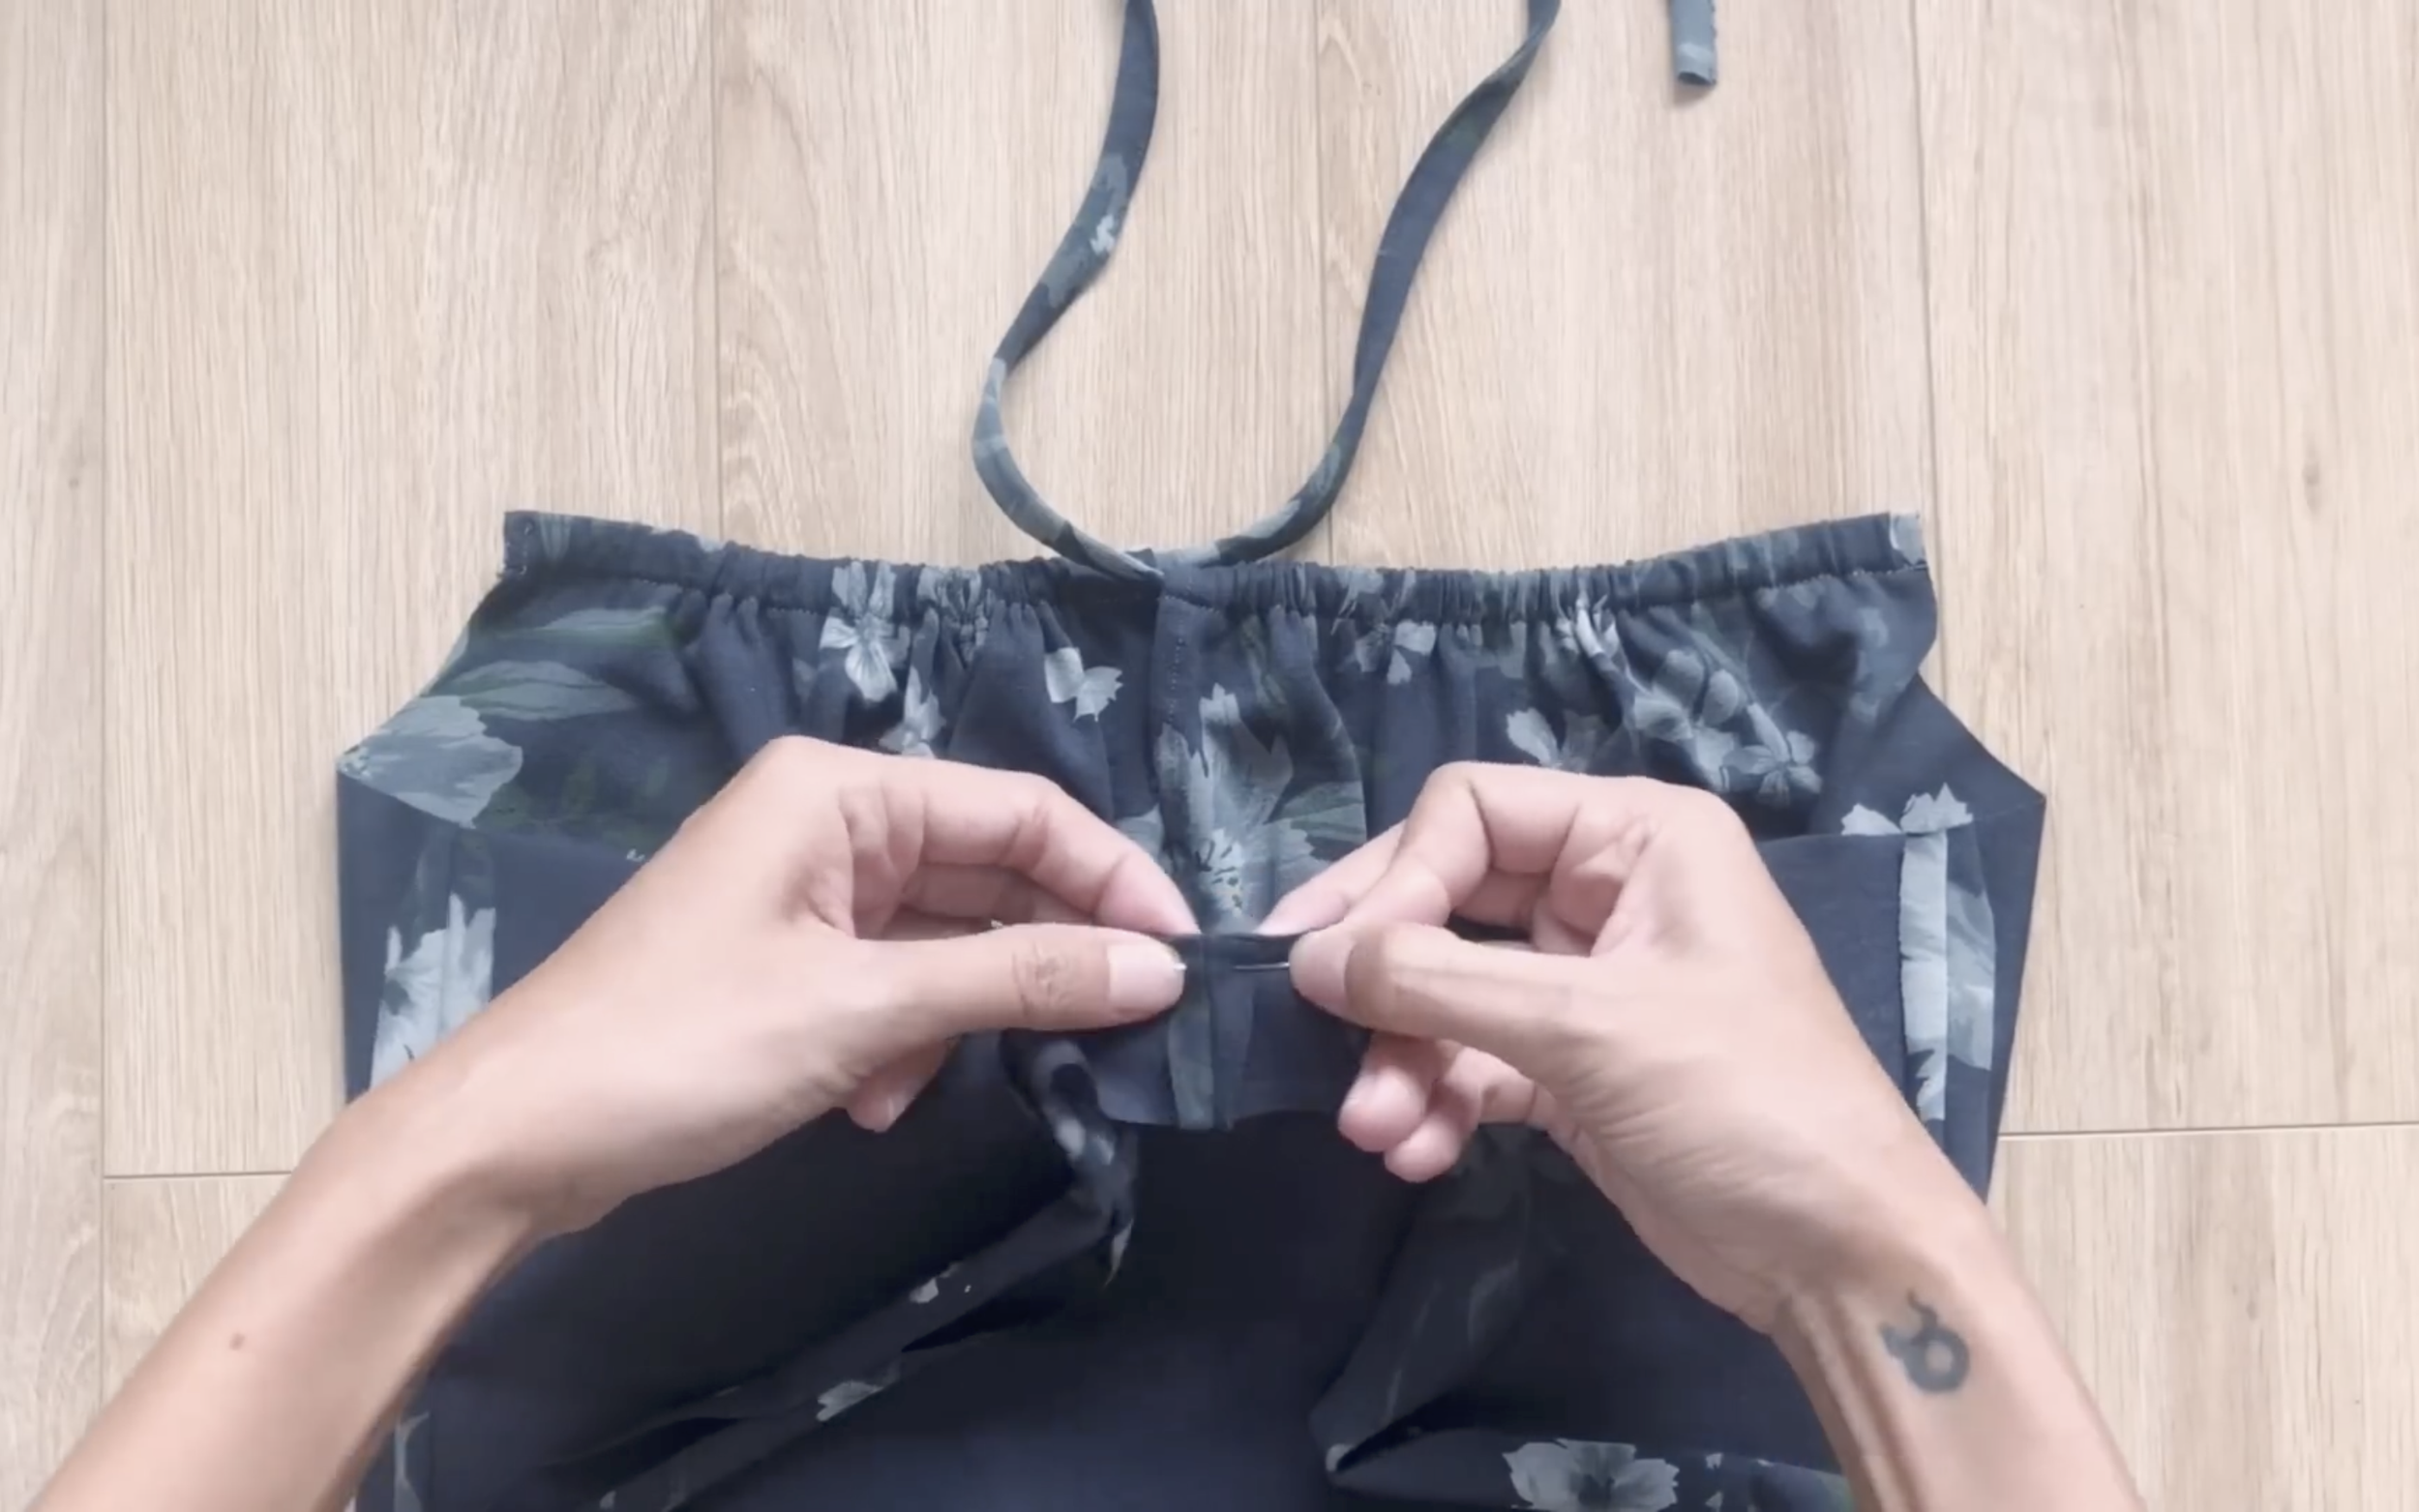
Then put them into two fabric holes at the top of the bust area part.
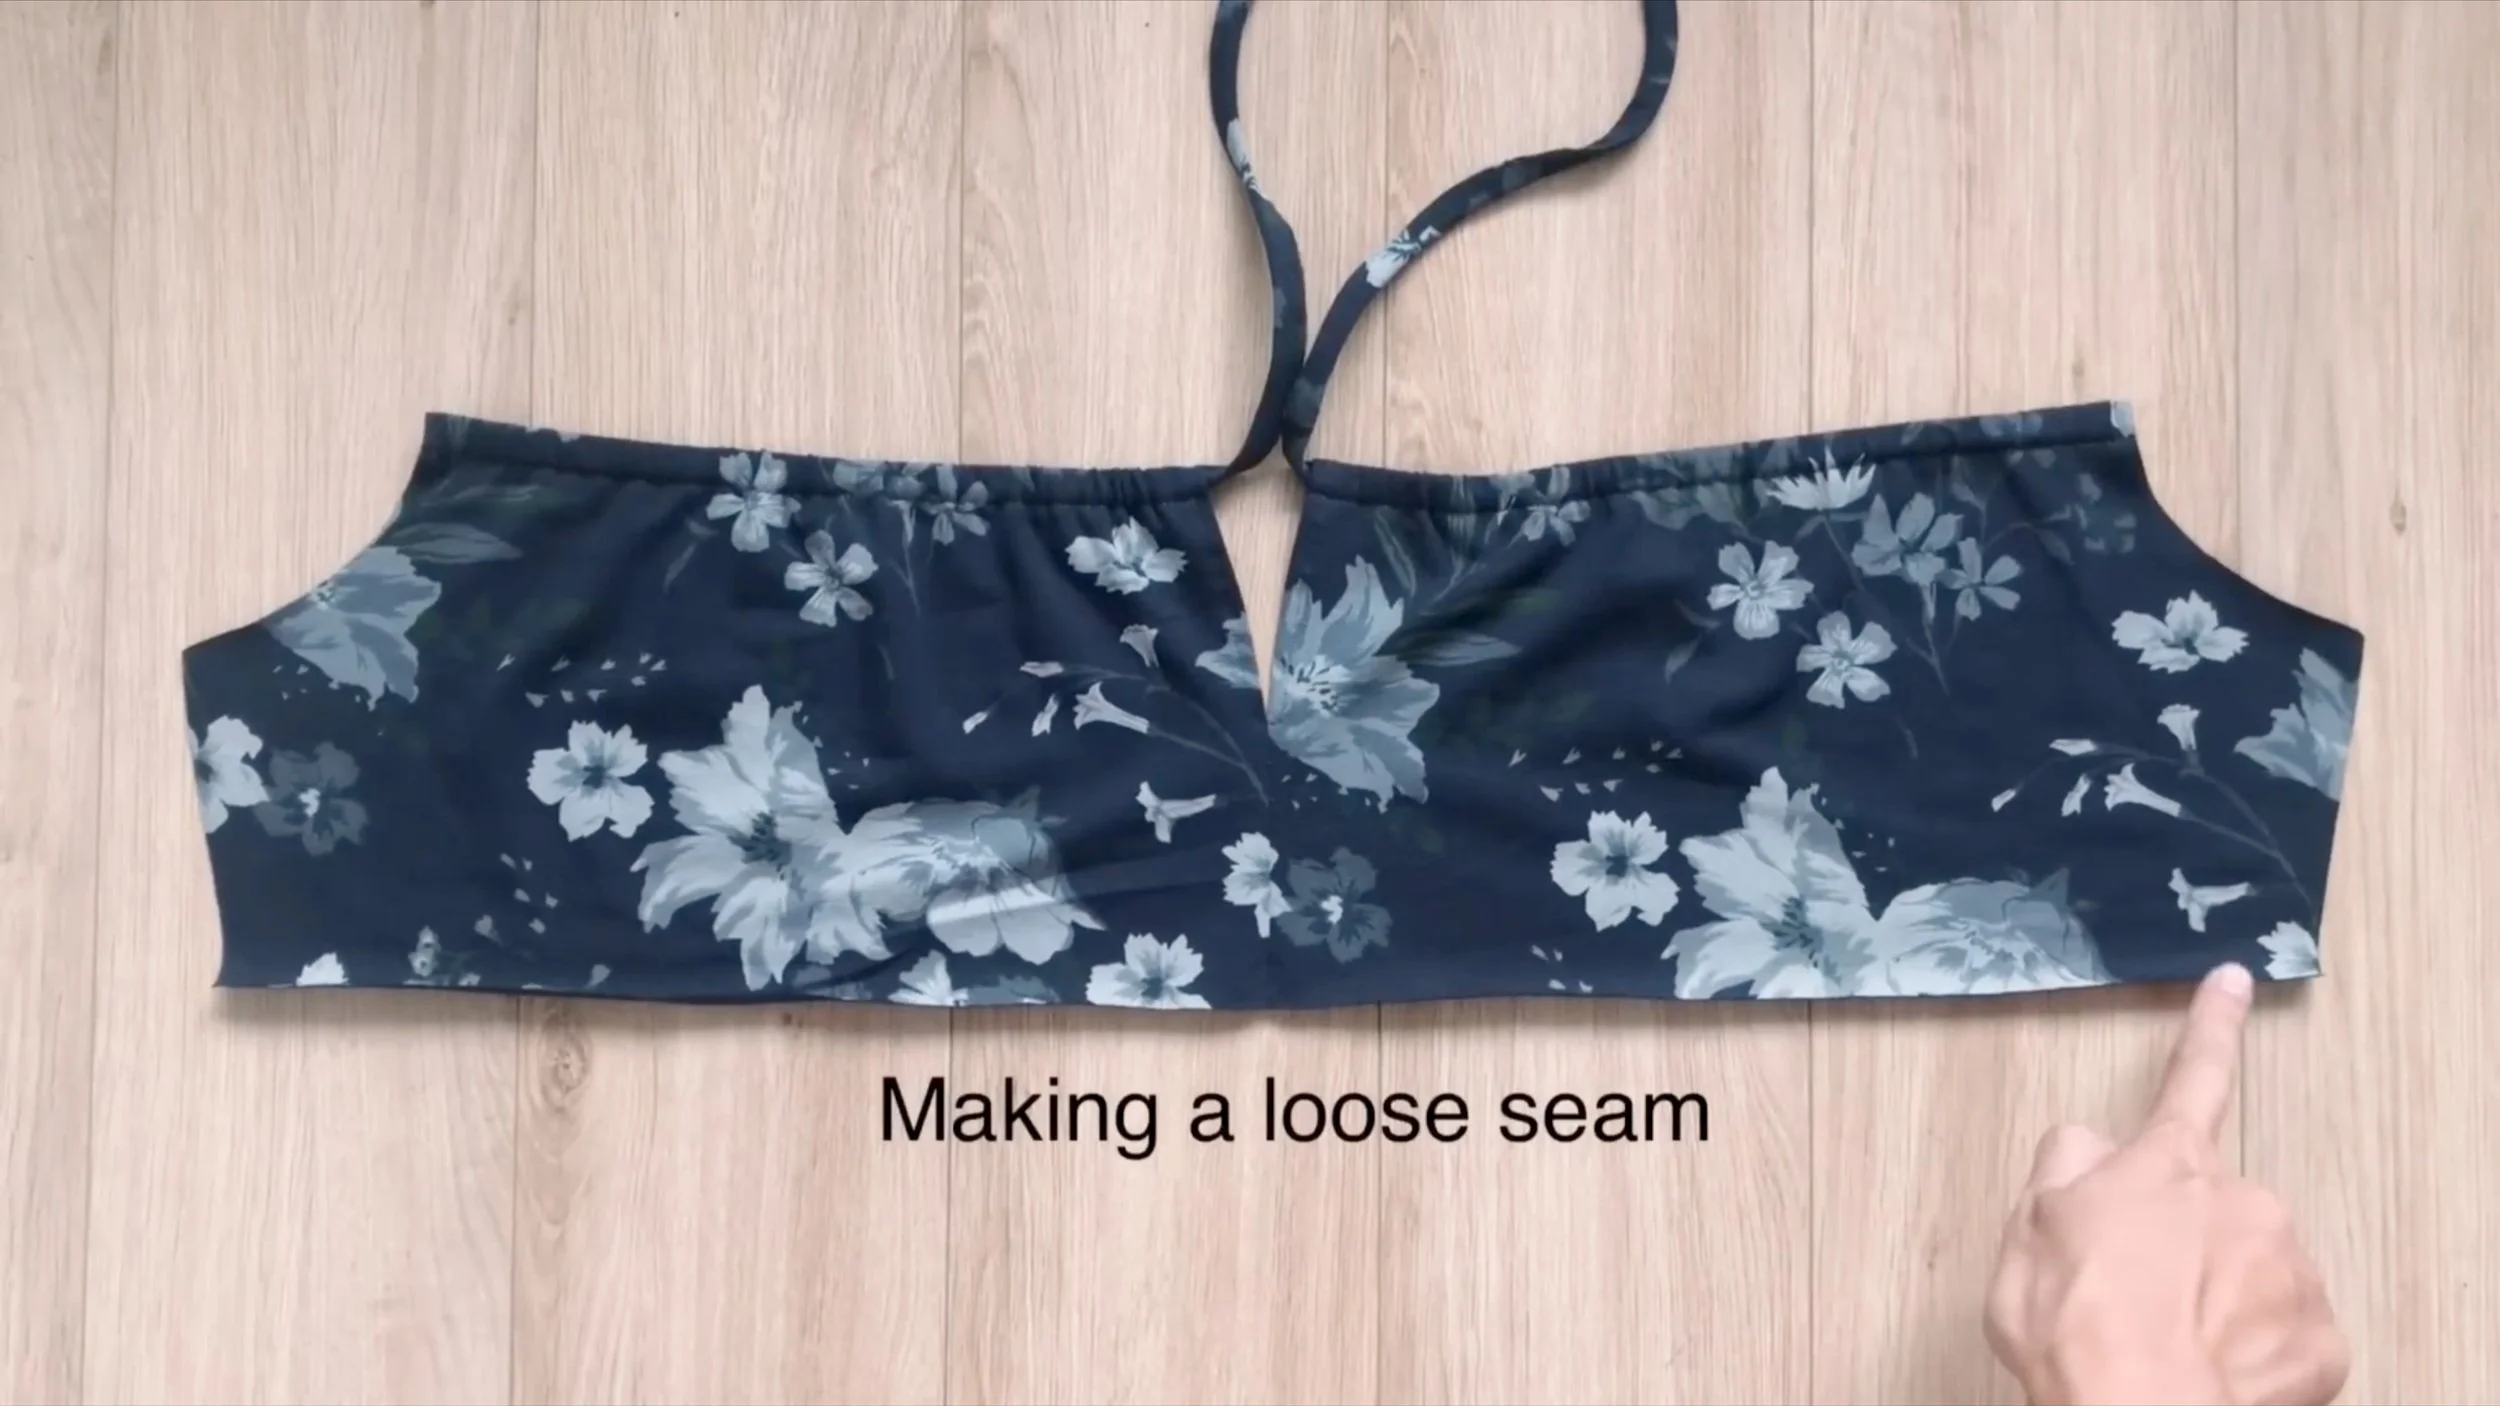
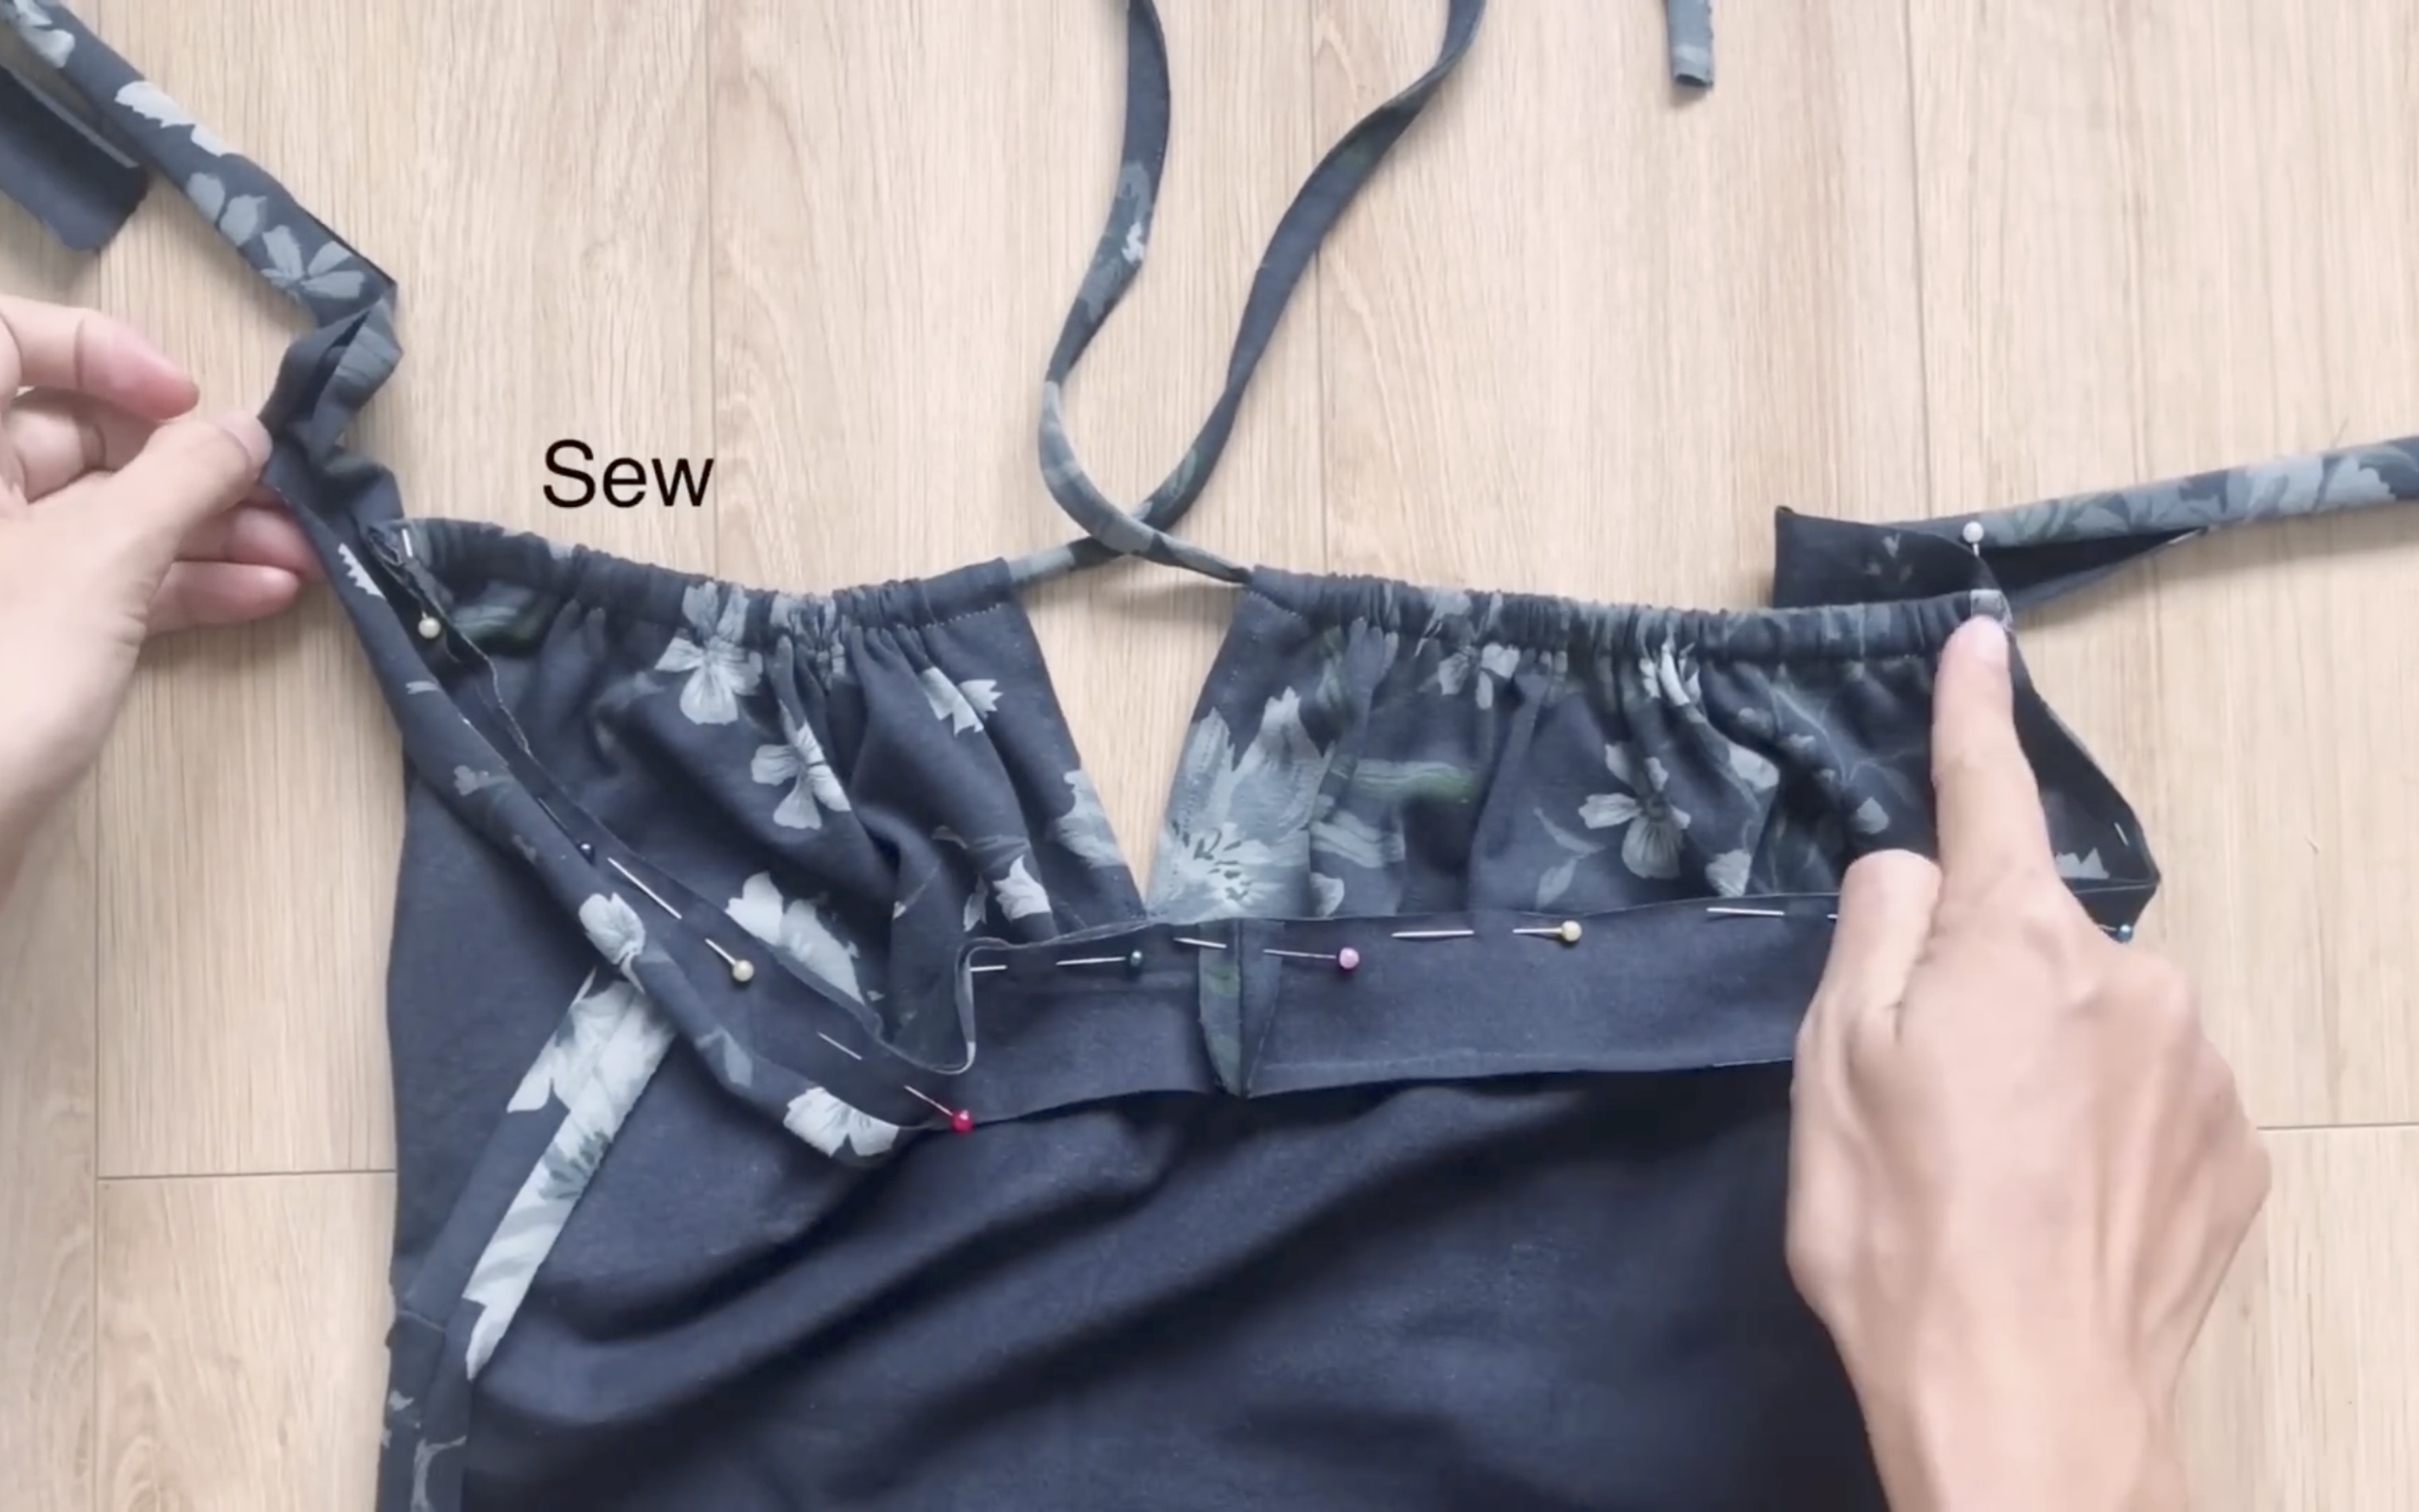
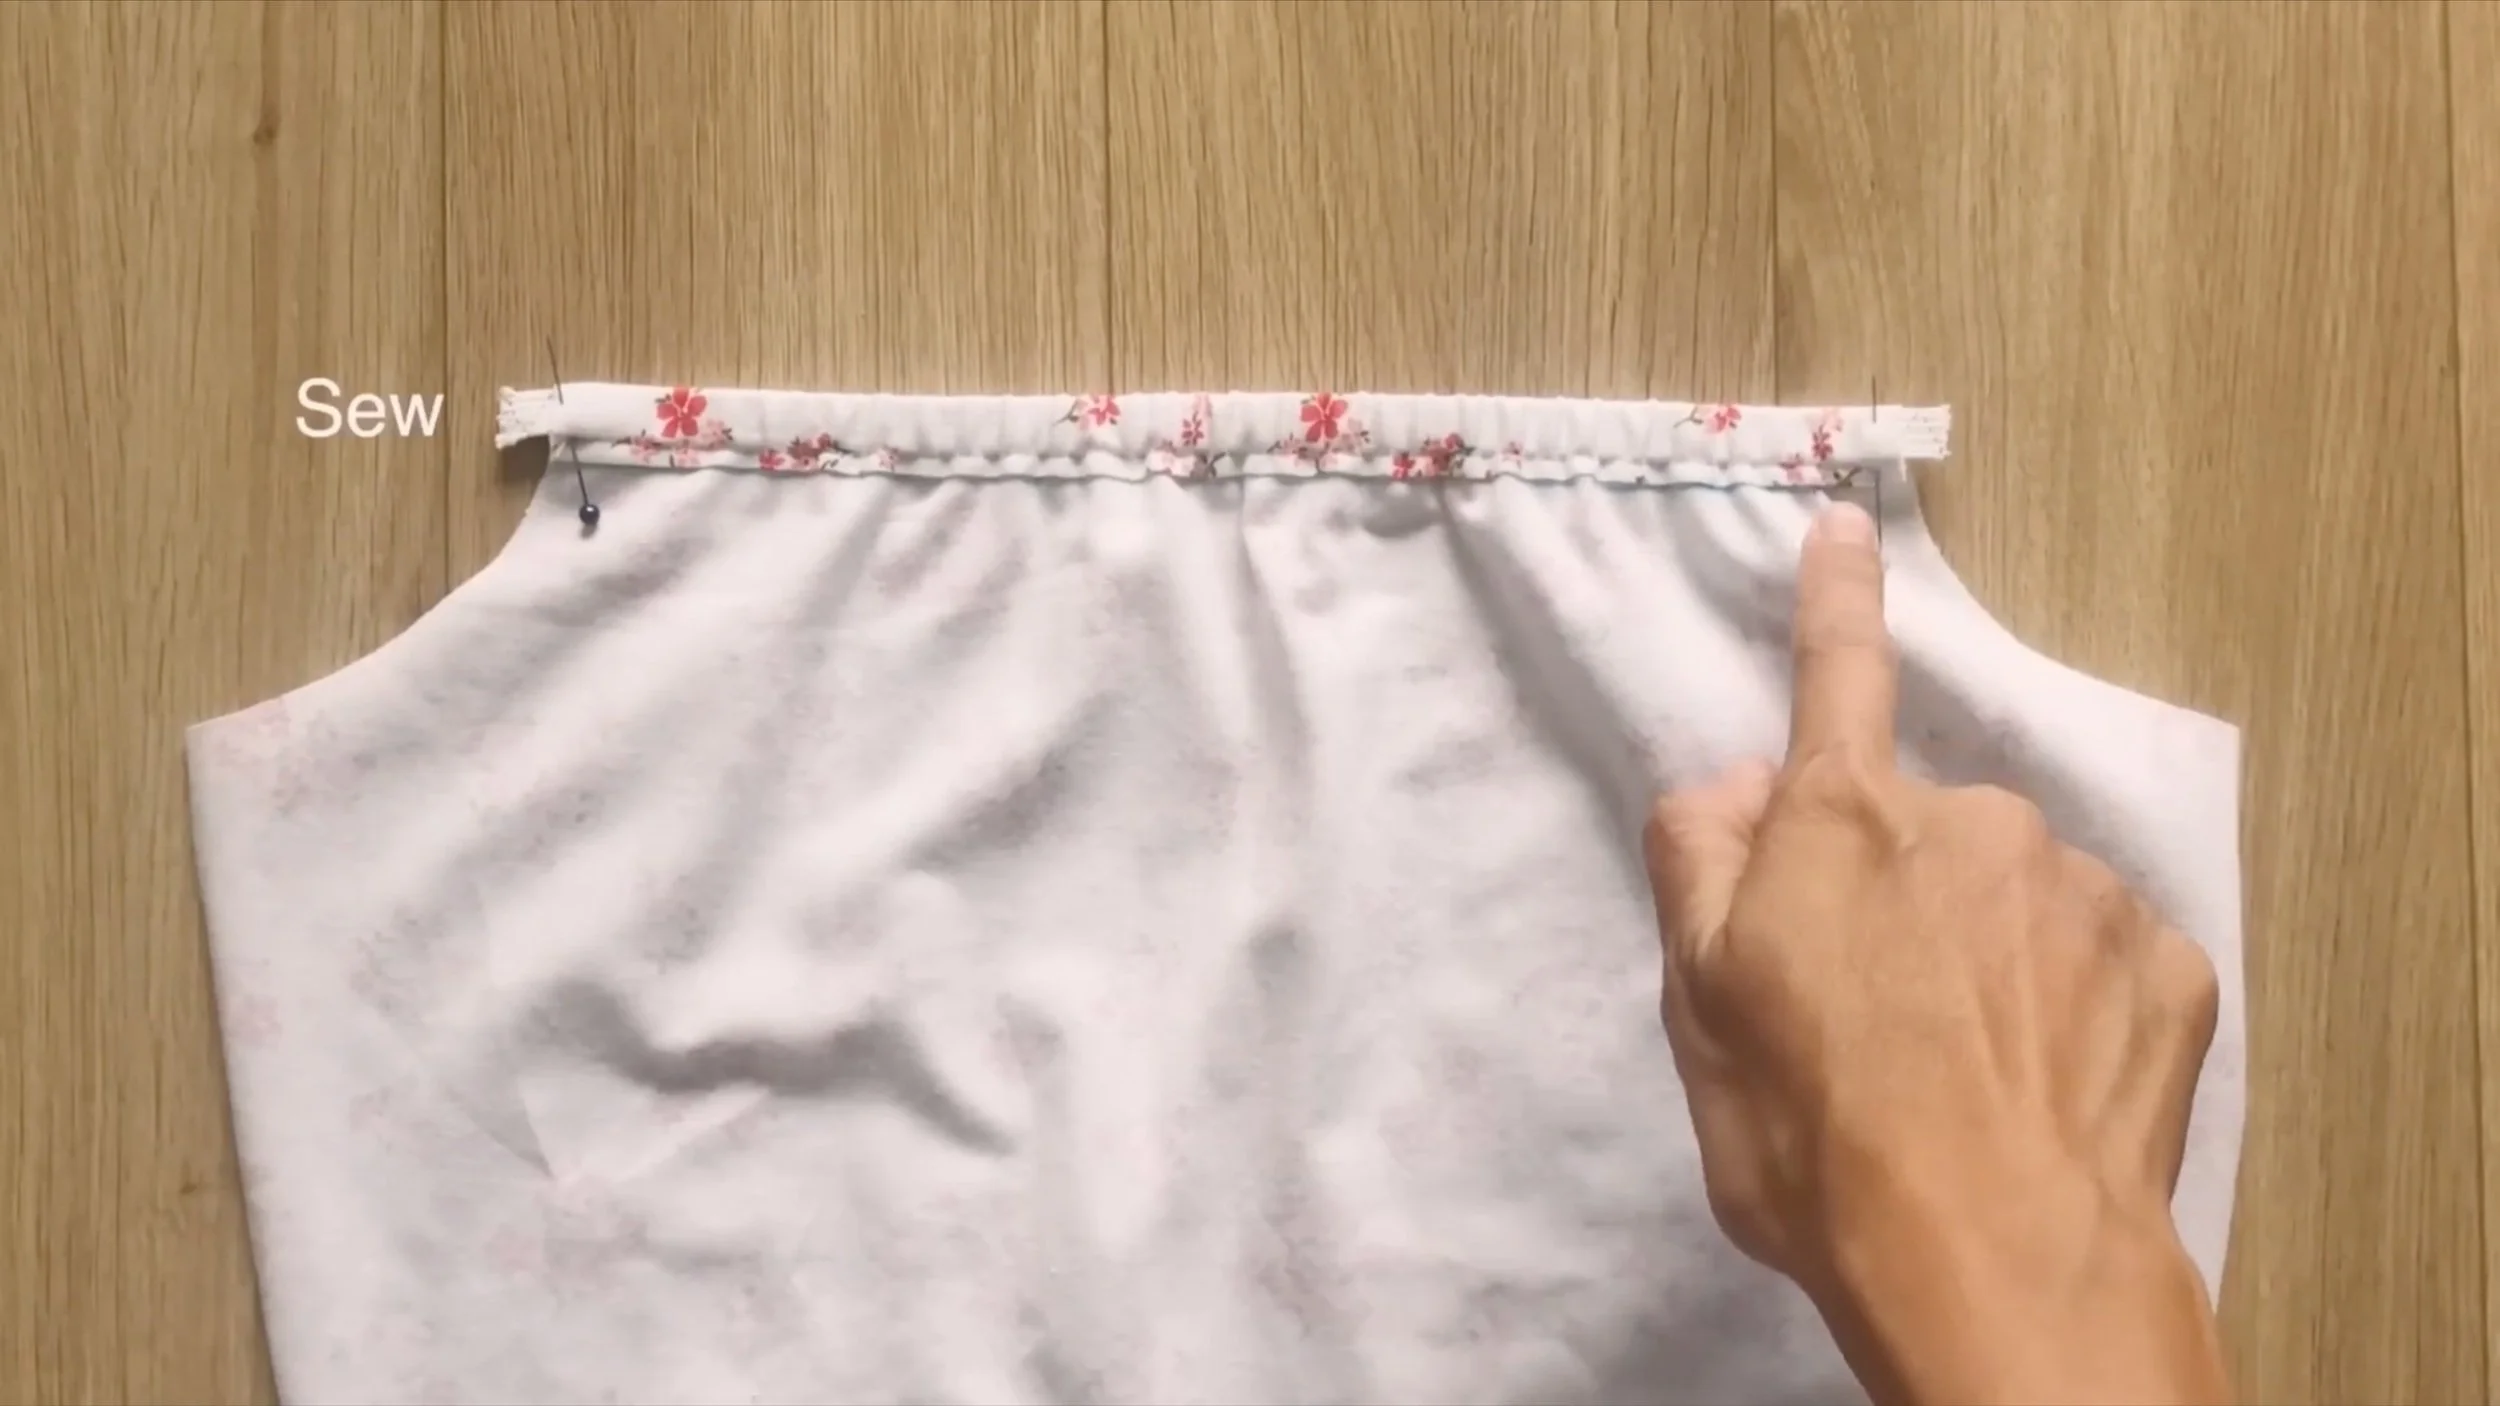
At the bottom of the bust area, make a loose seam to create gathering.

Make sure the final width of this part is 35 cm (half the underbust measurement)
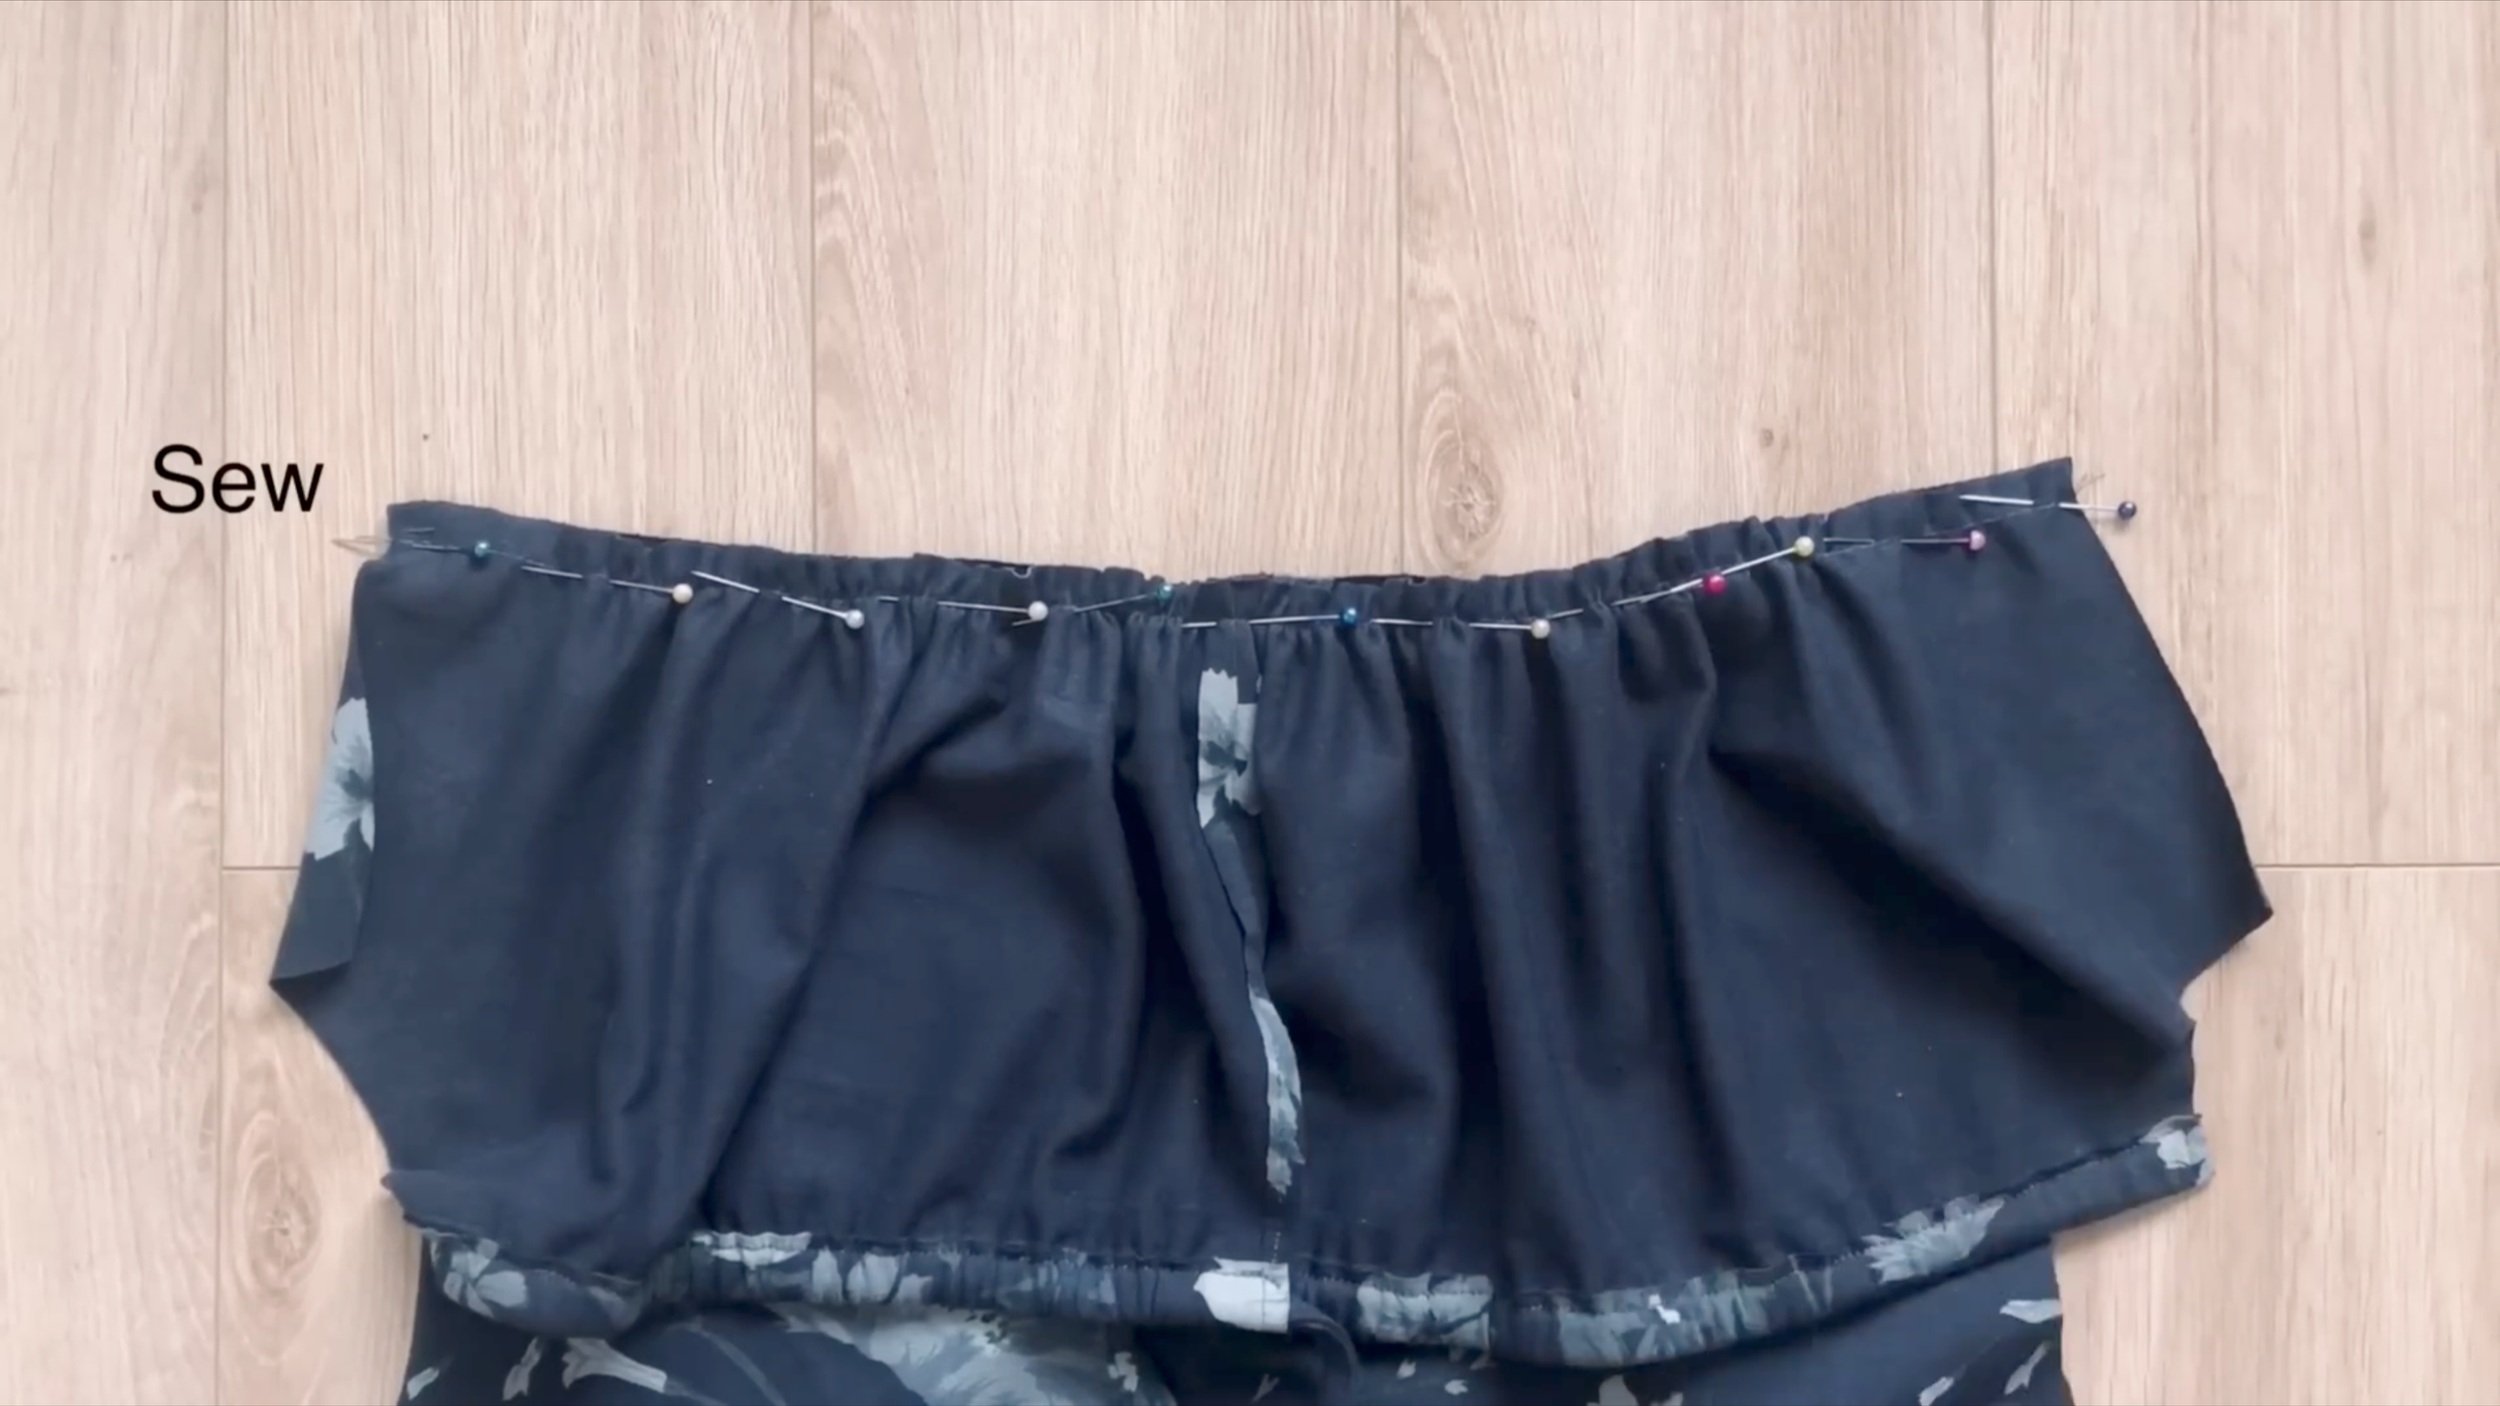
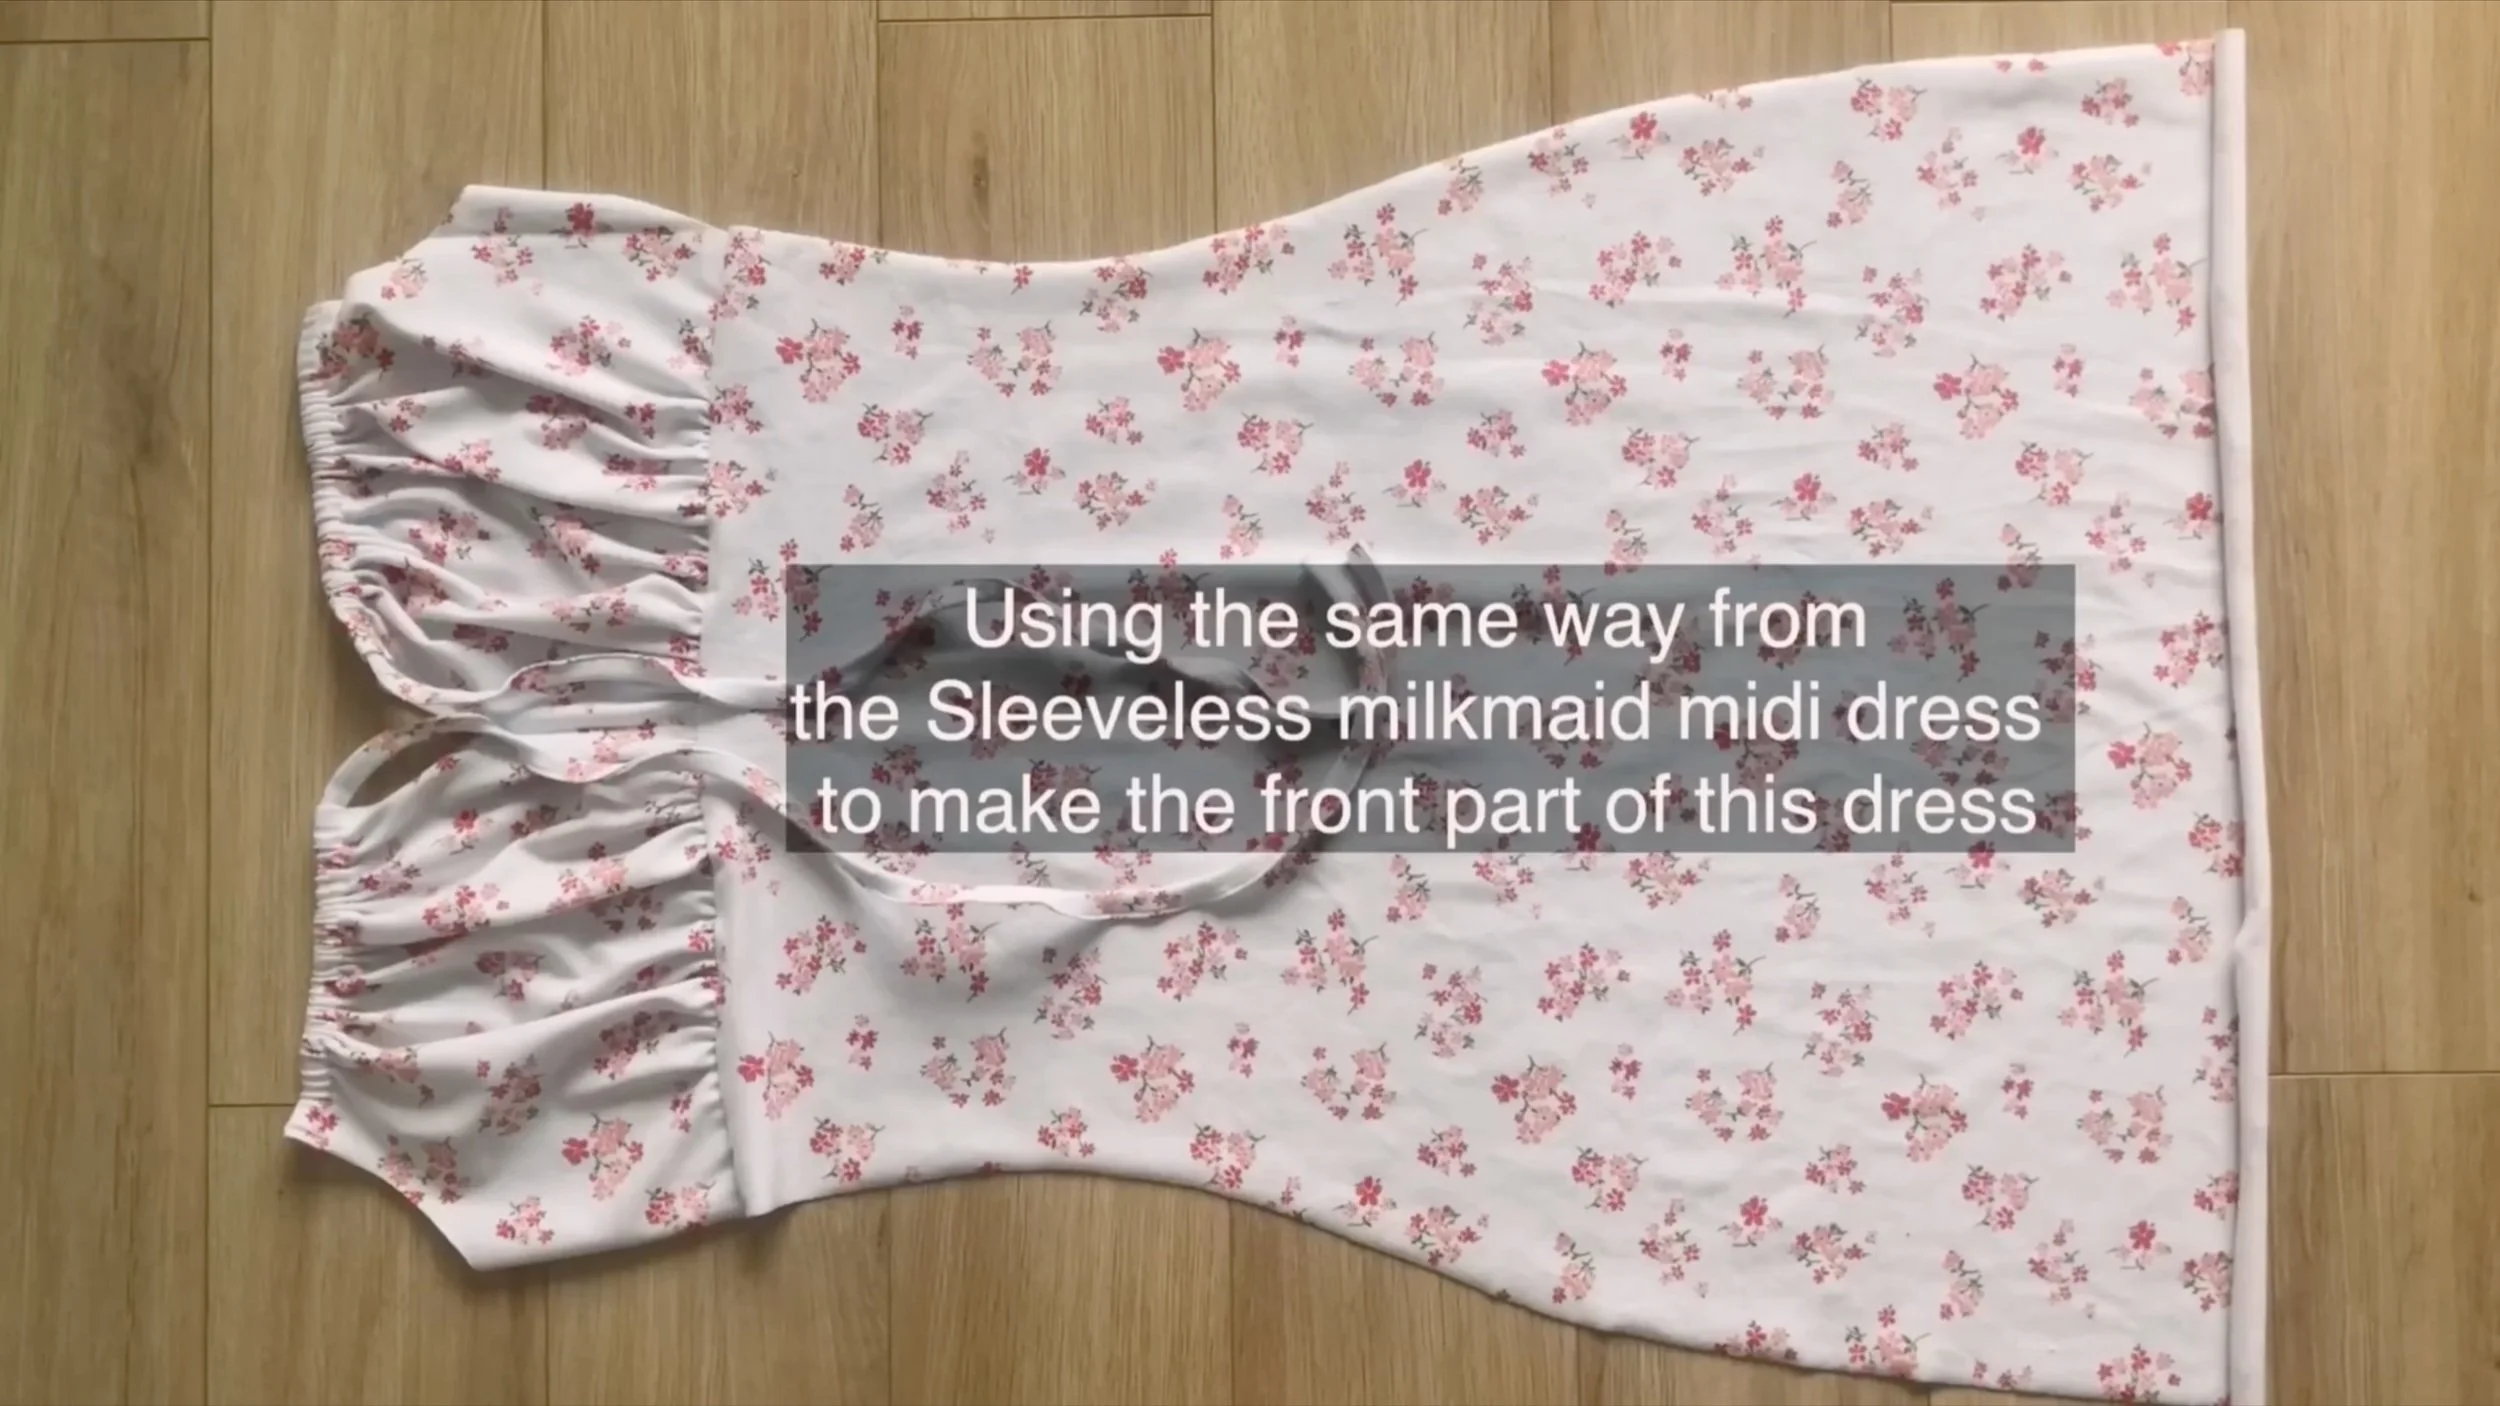
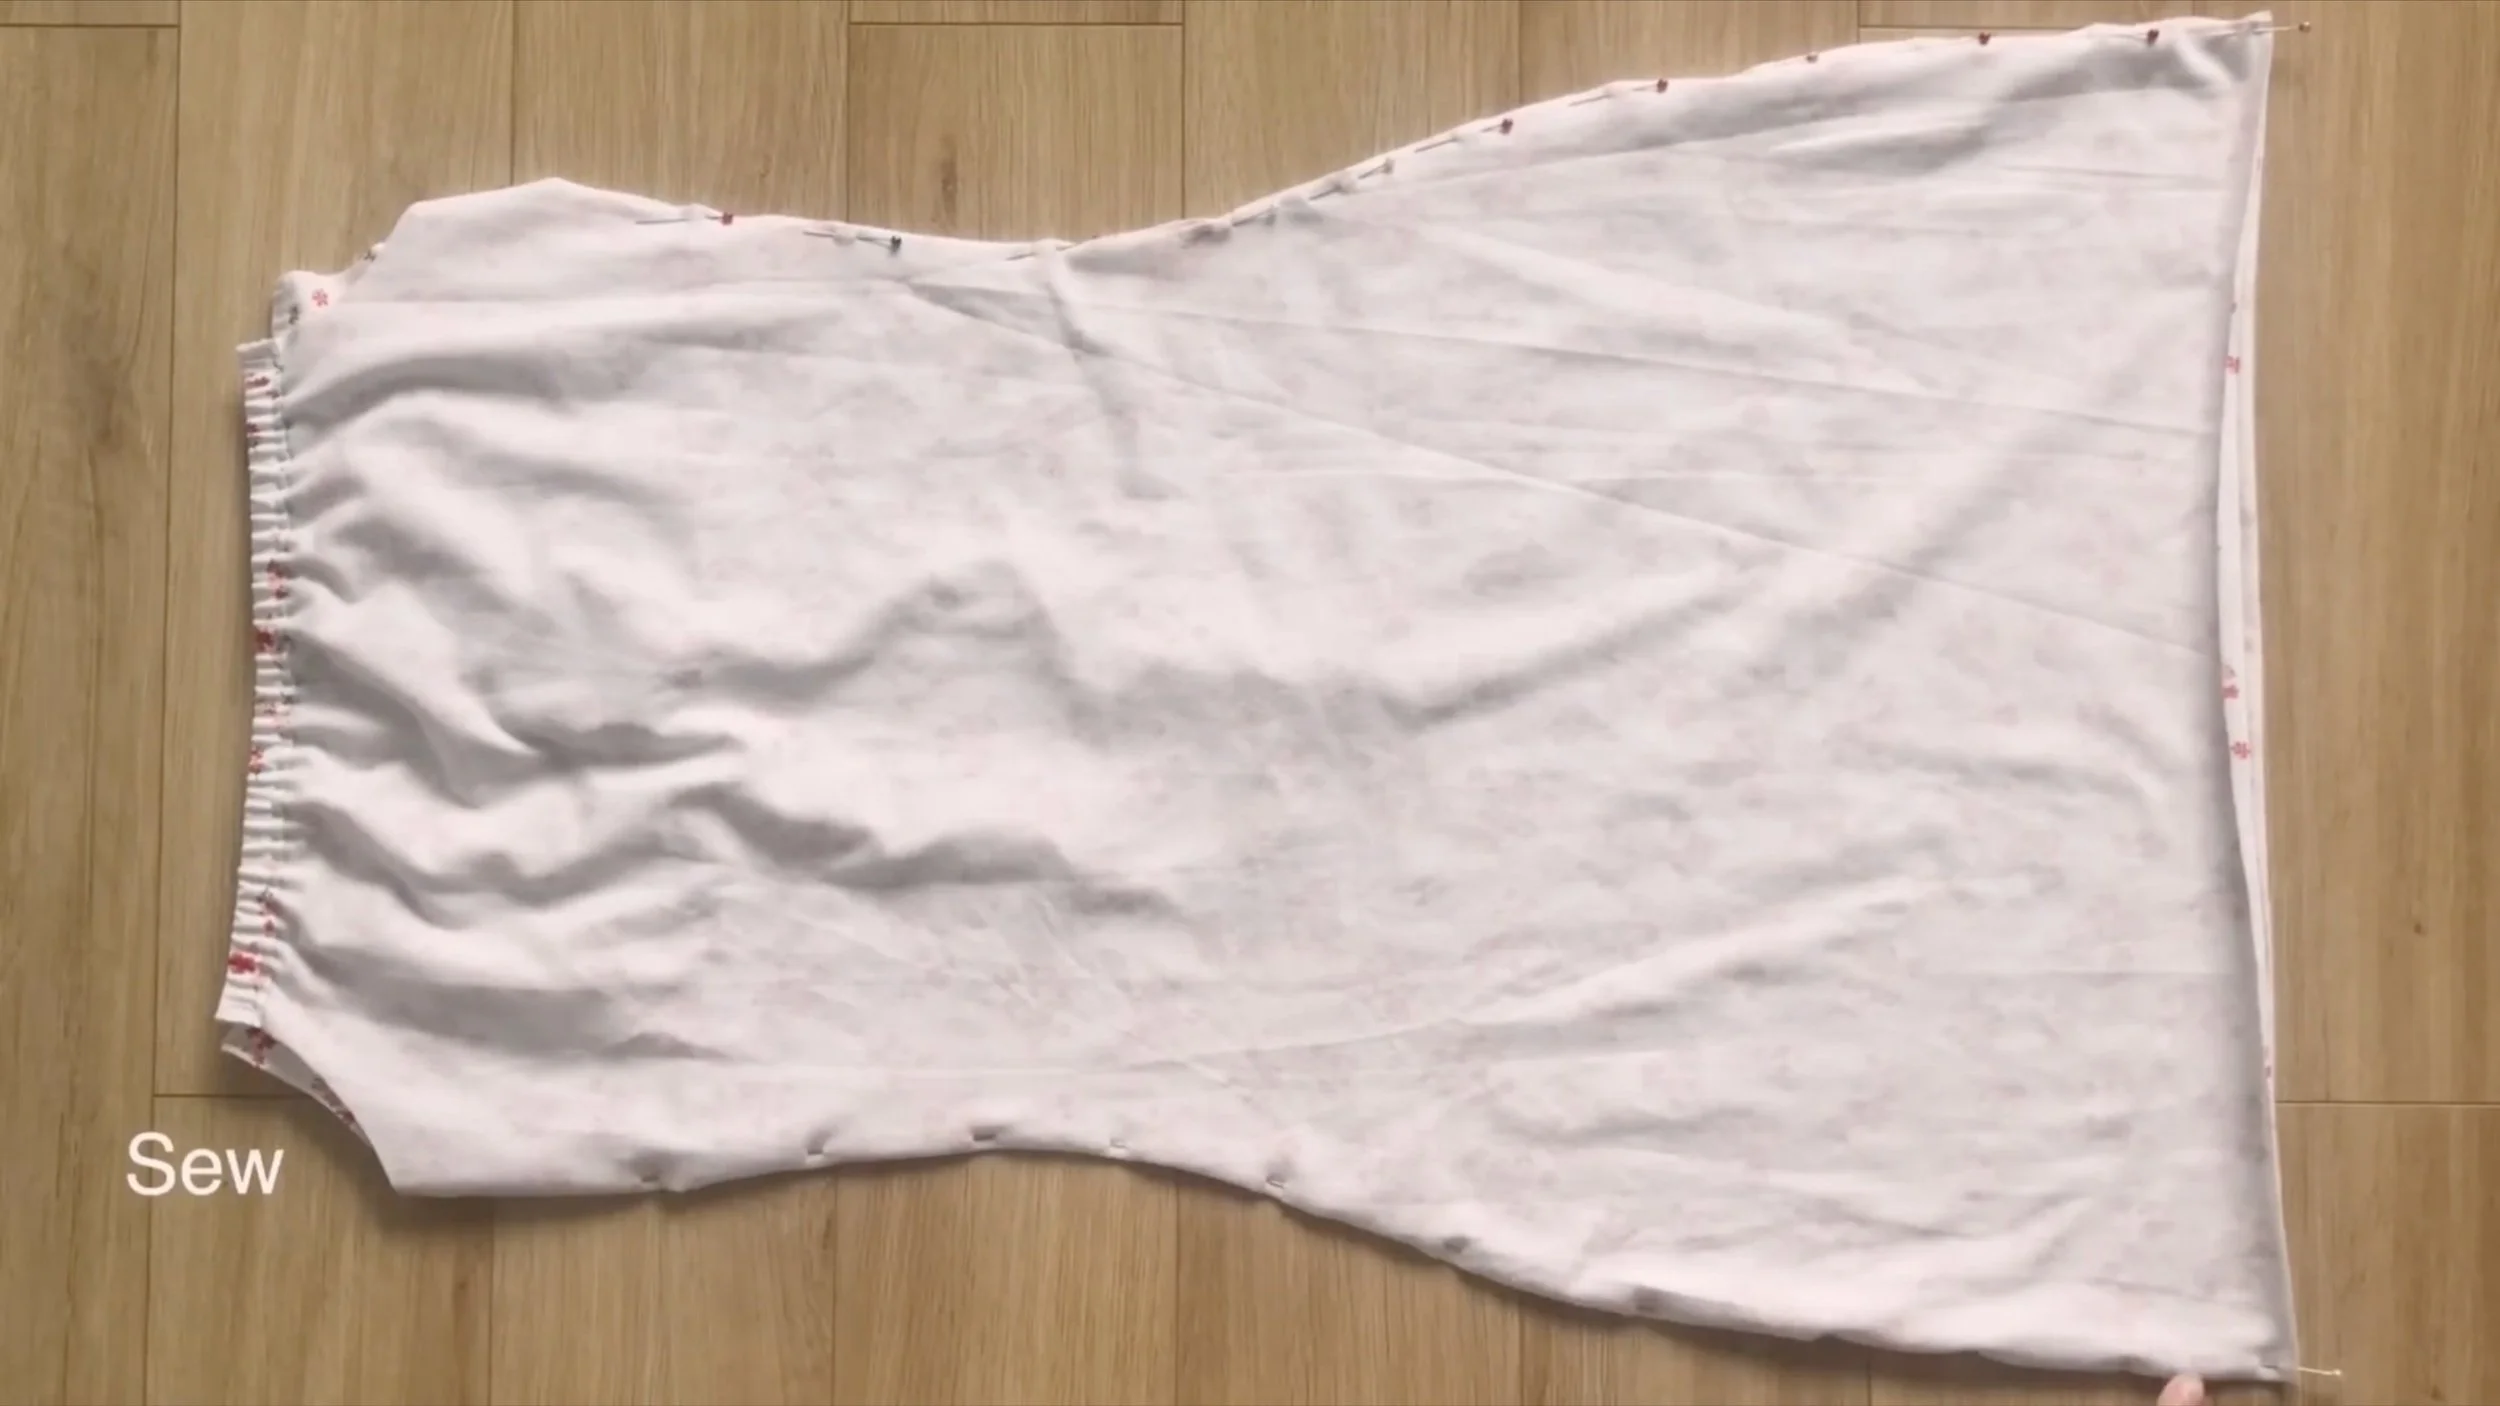
Then connect it to the top of the front body part, aligning it evenly on both sides. This completes the front part of the dress after sewing.
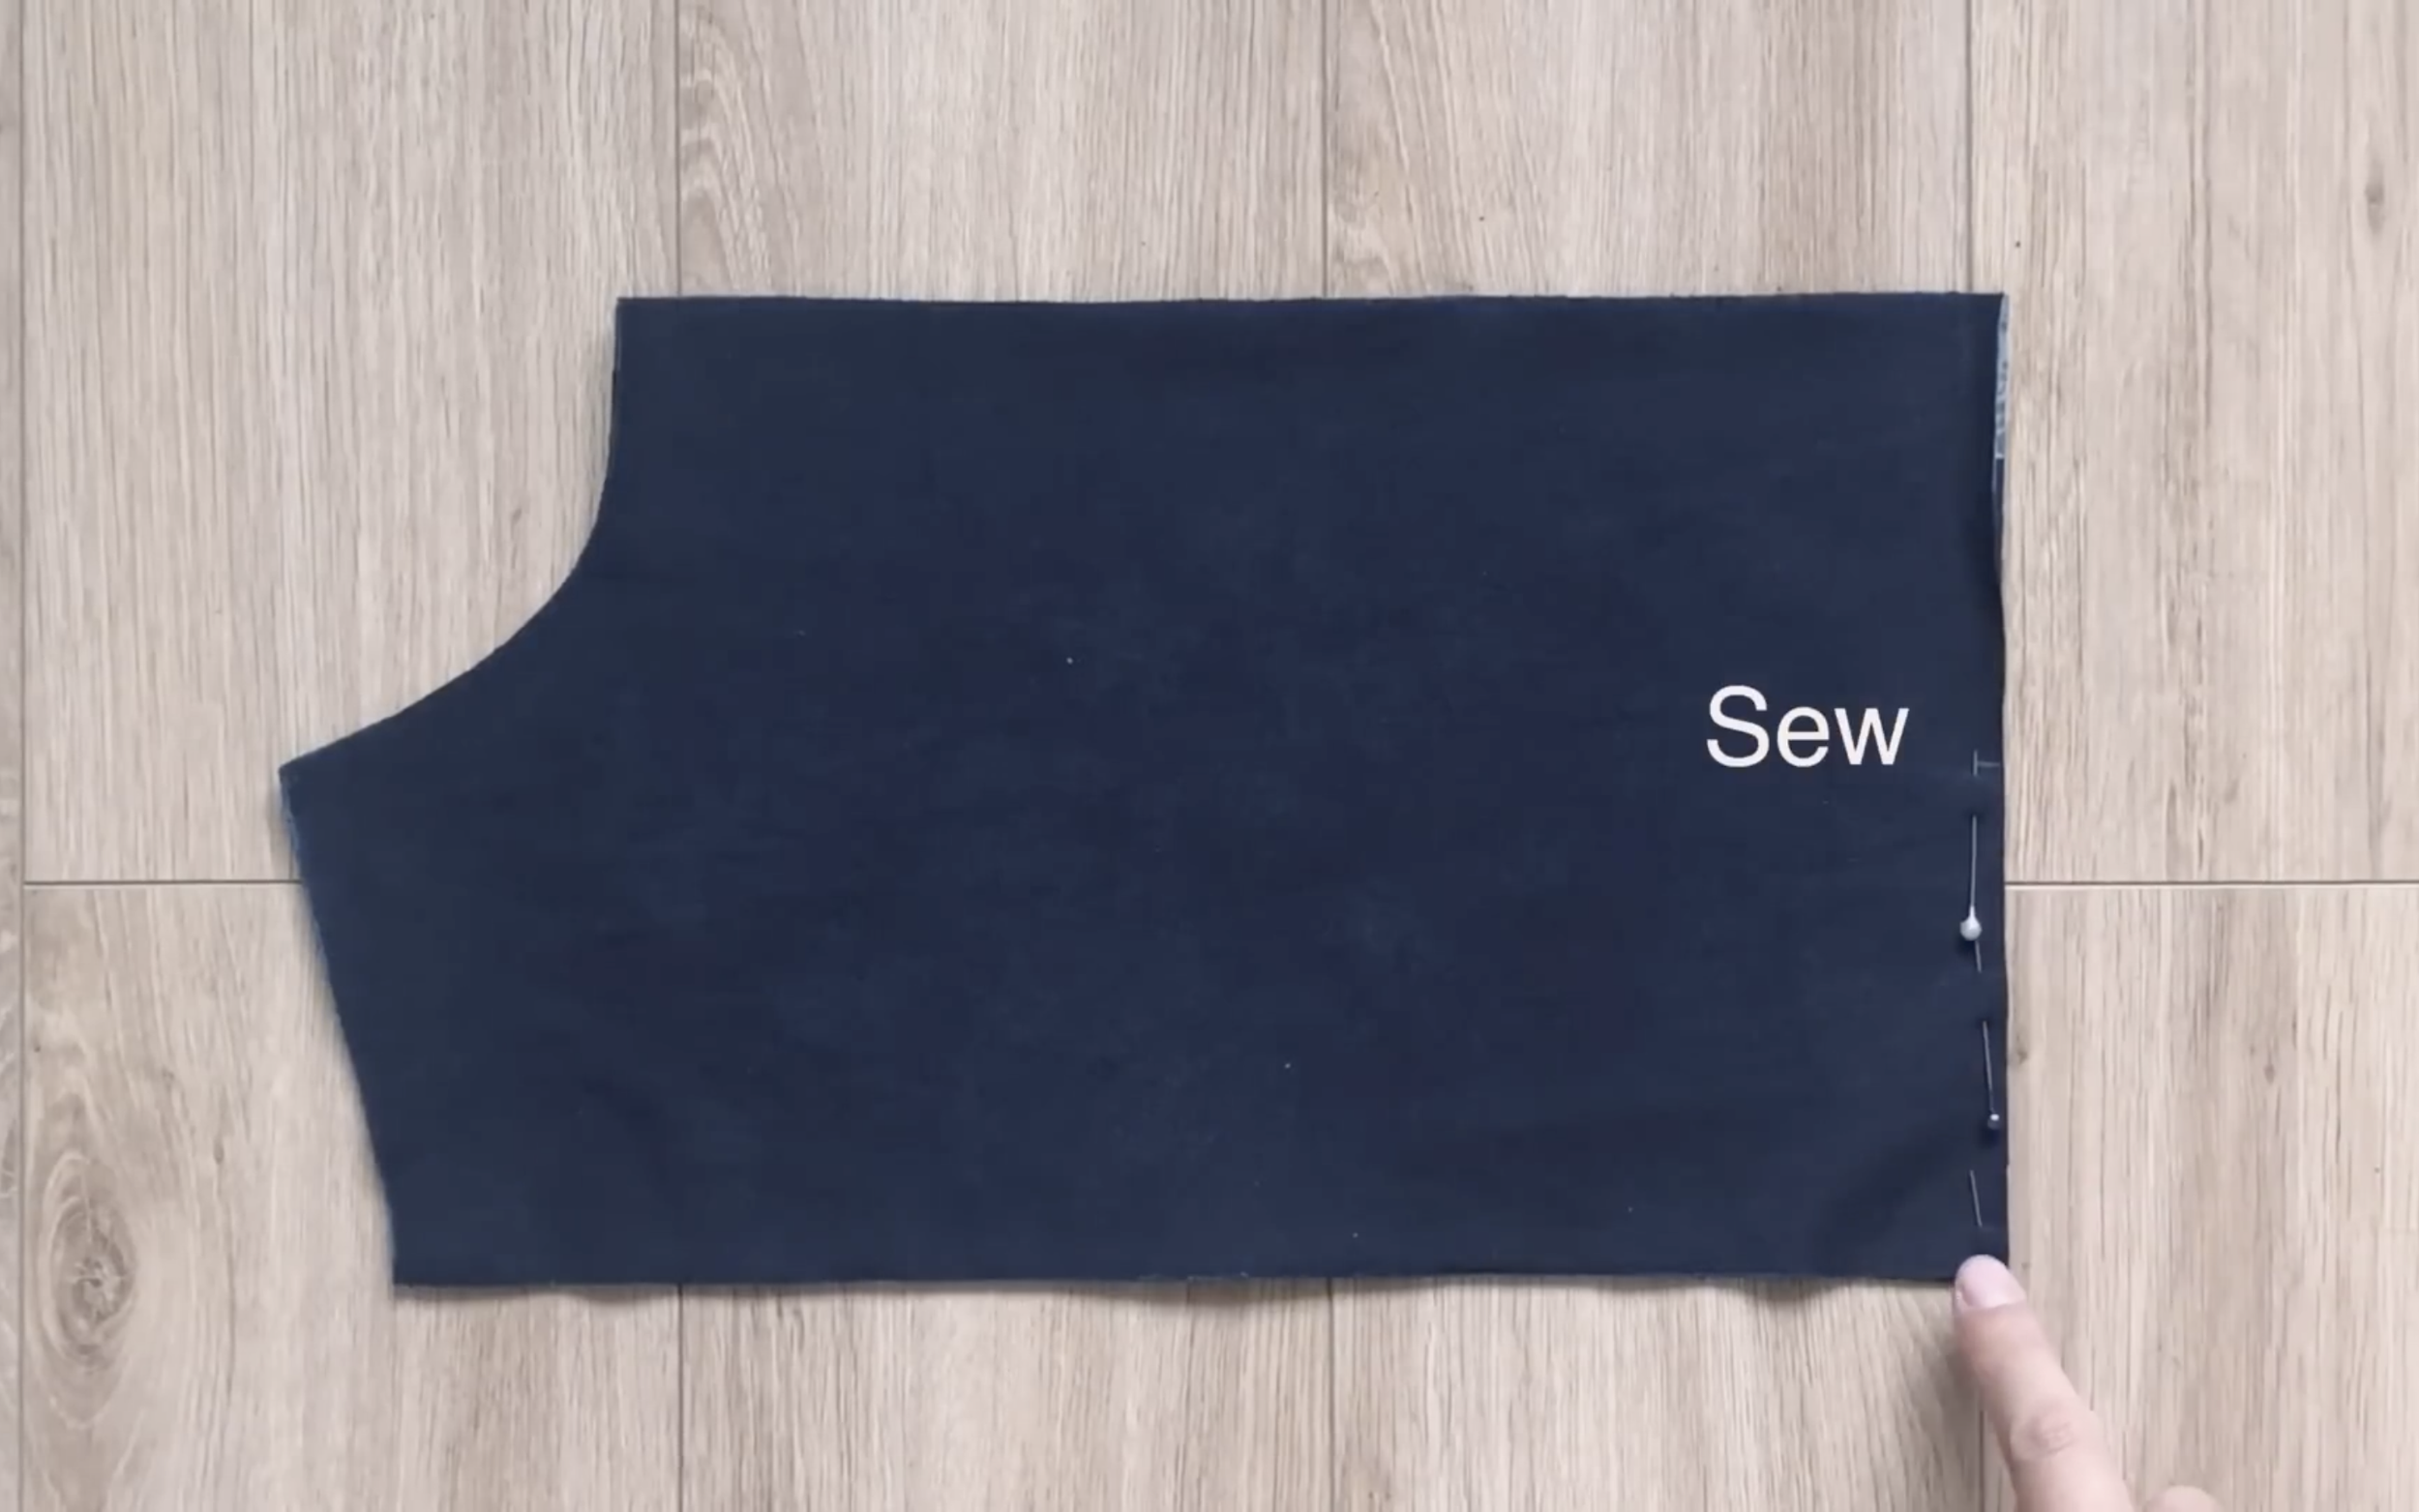
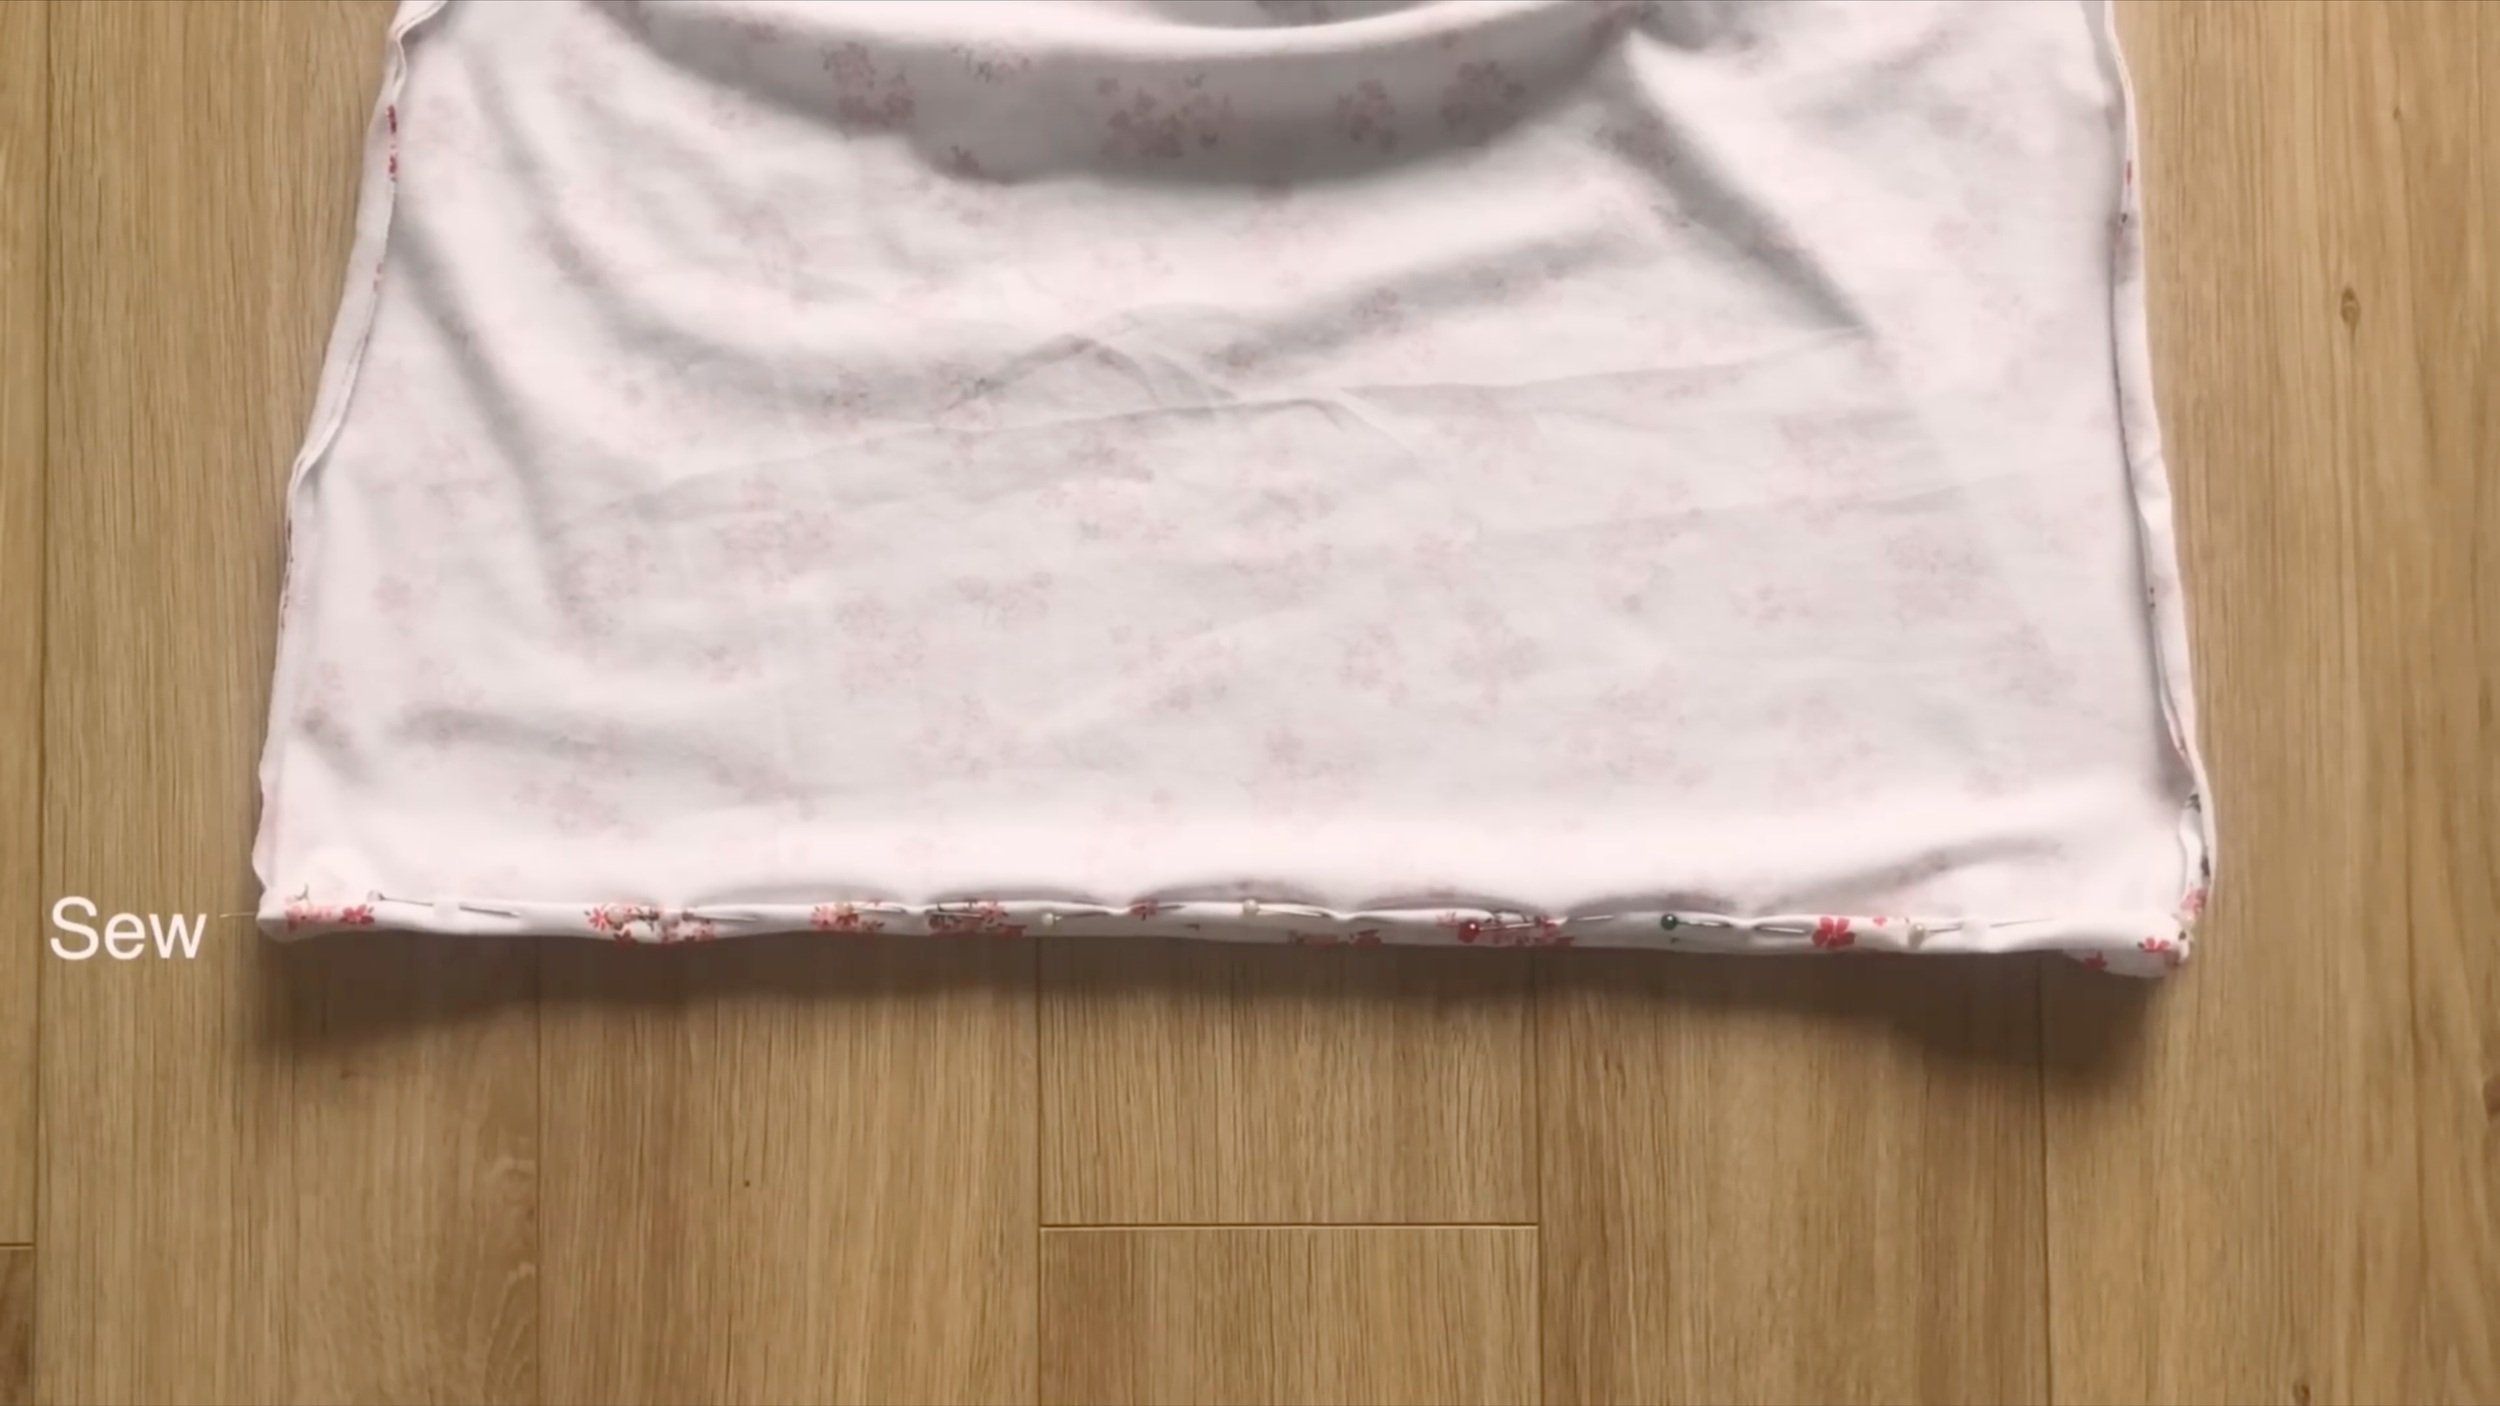
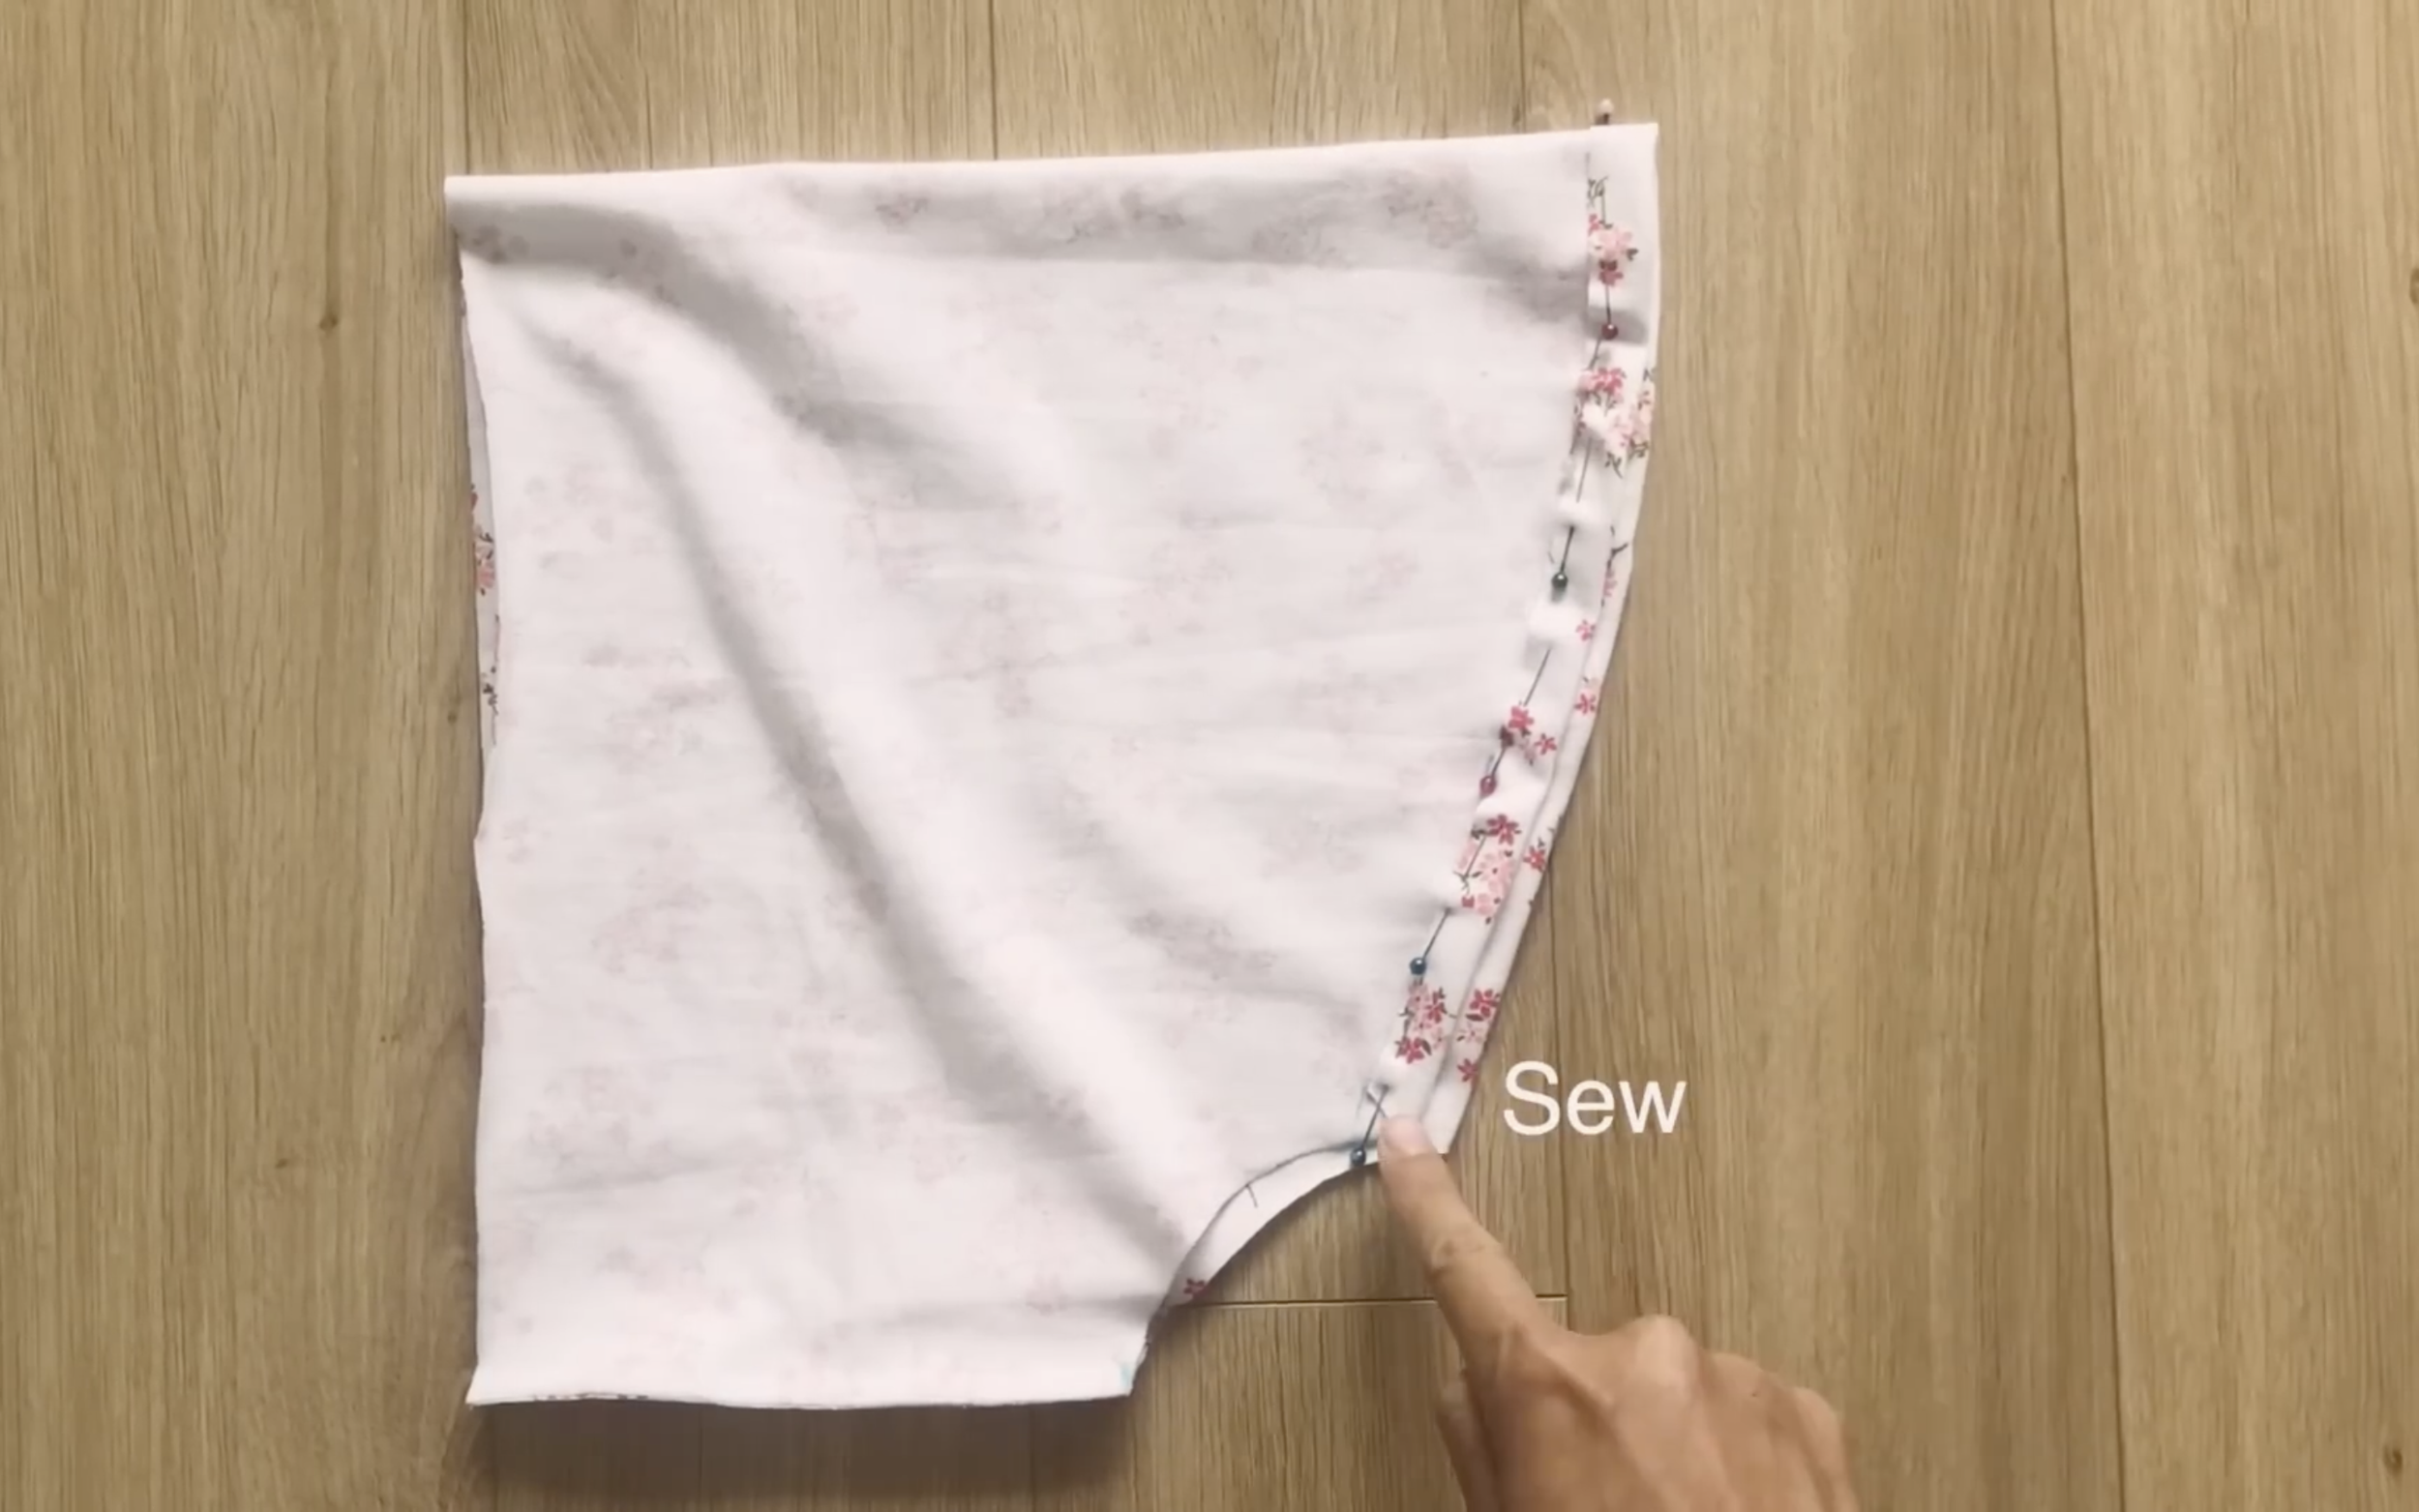
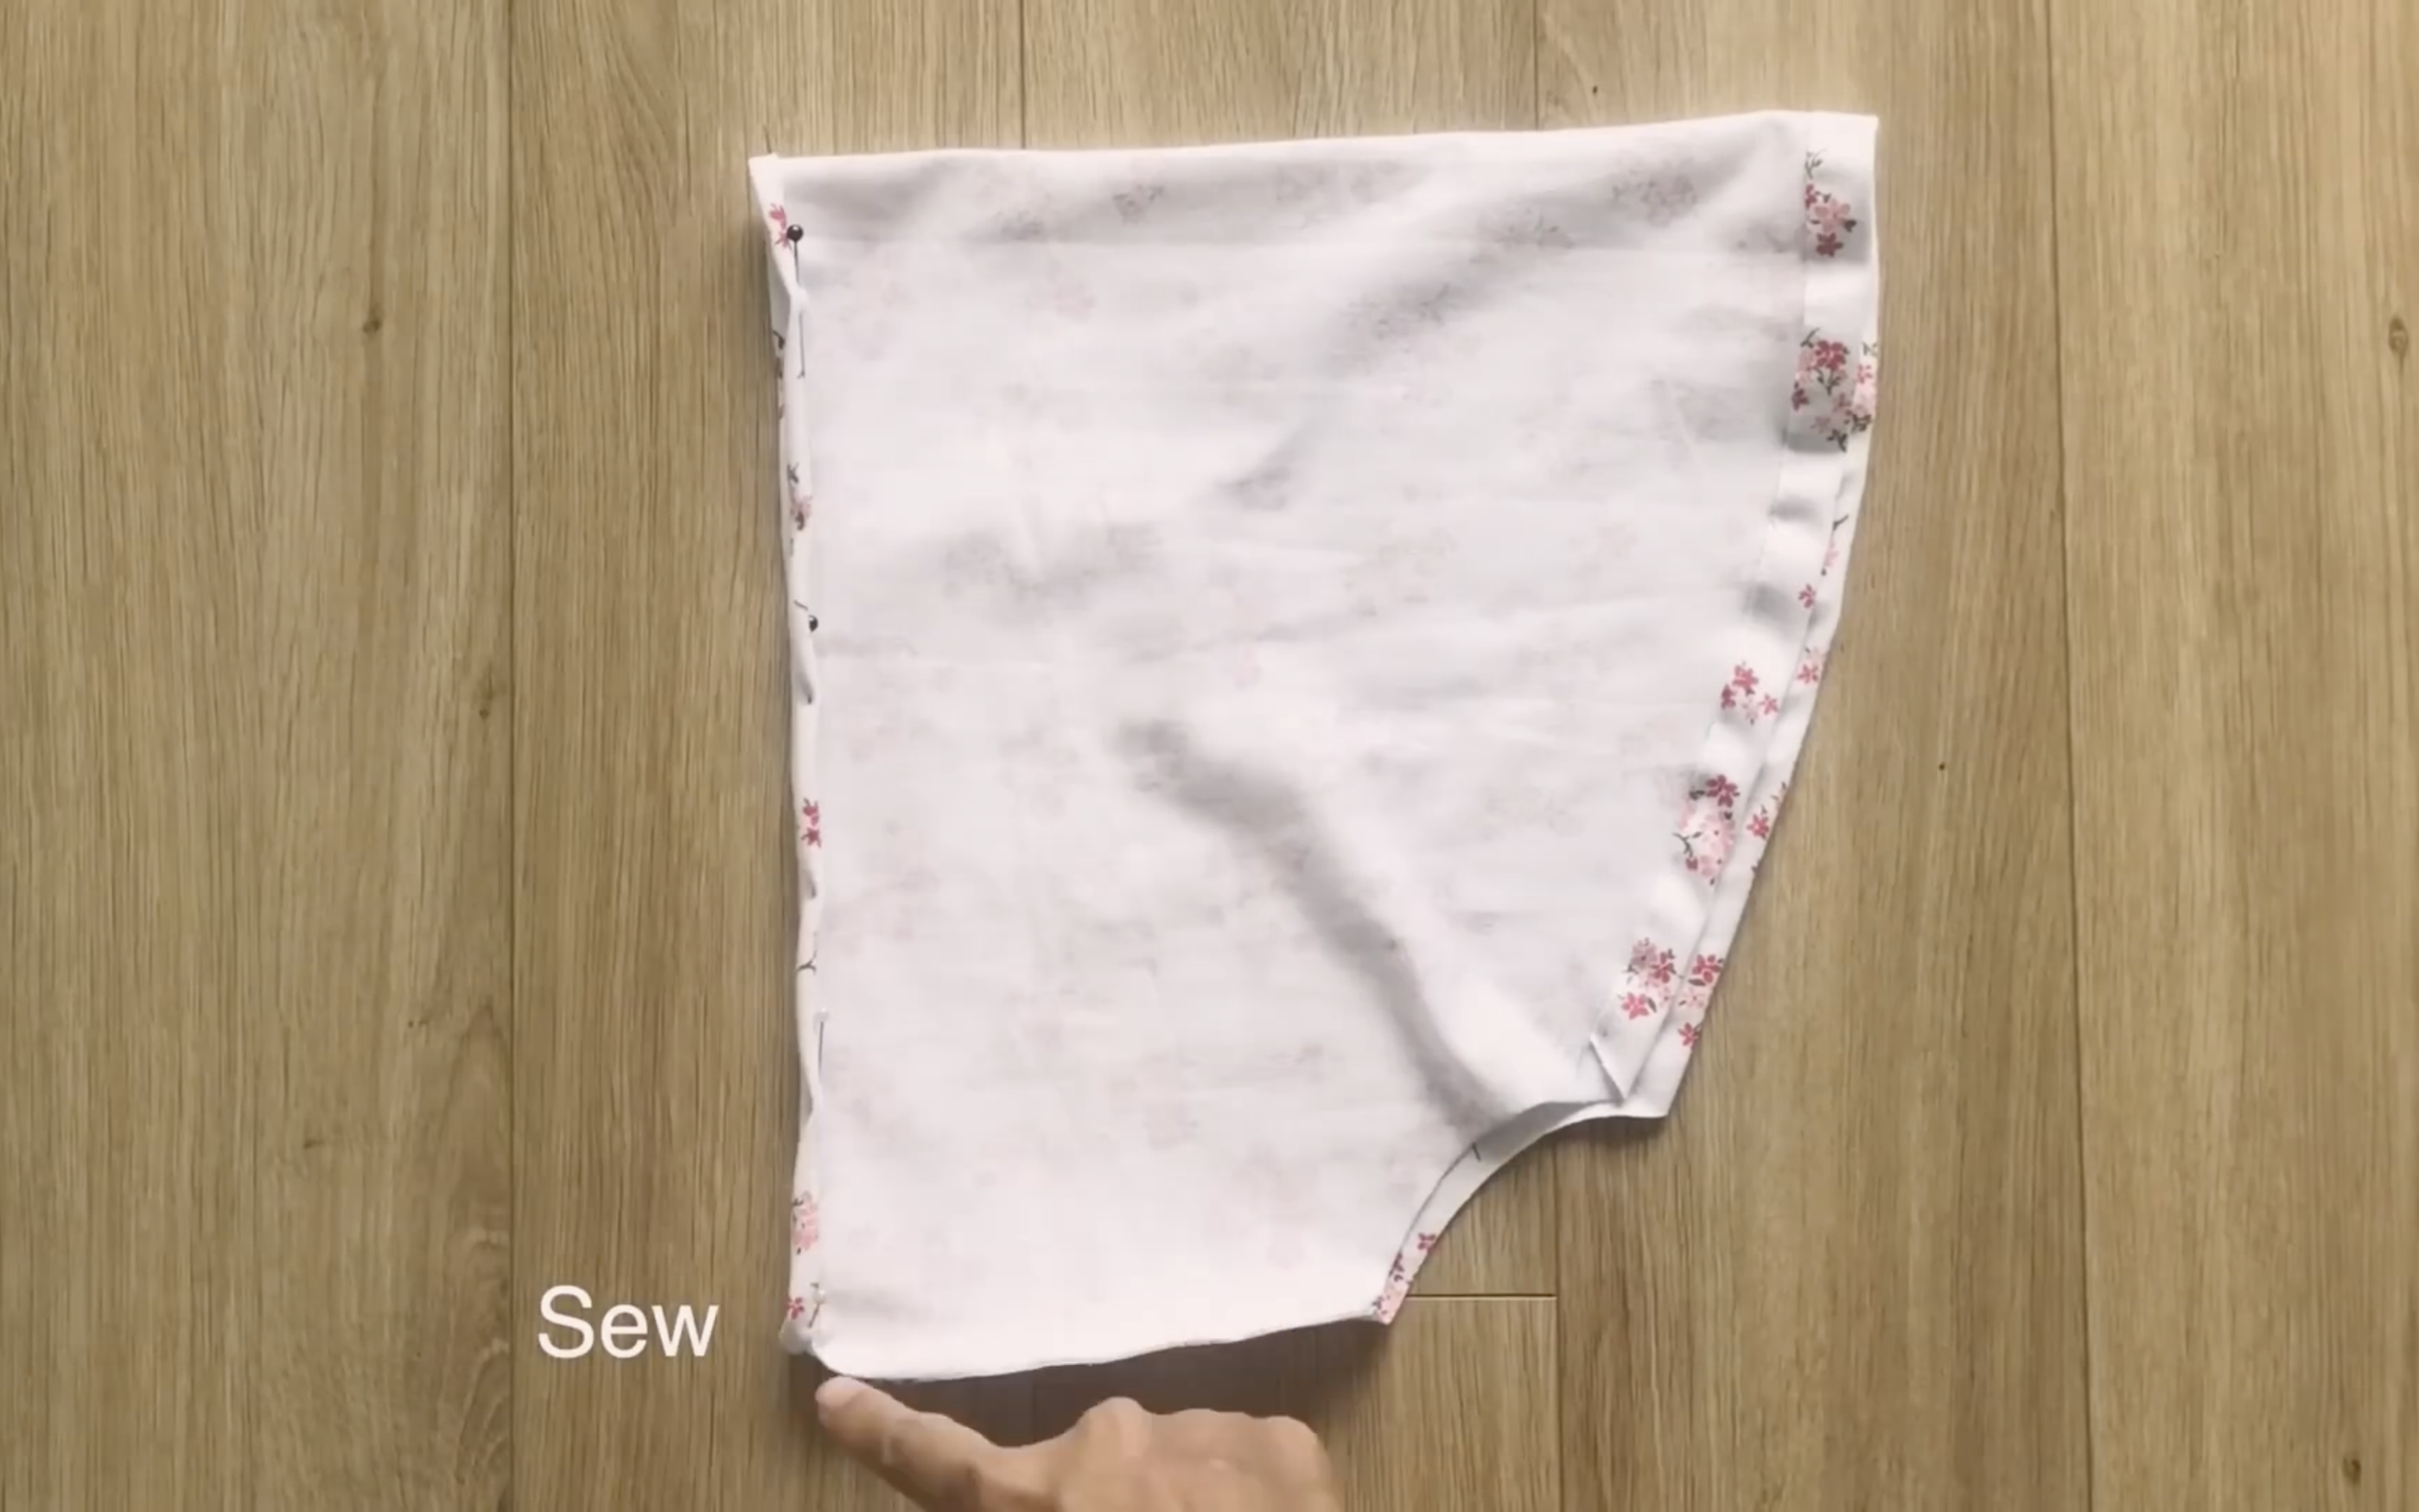
Next, connect the front and back of the dress together at the sideline, then sew.
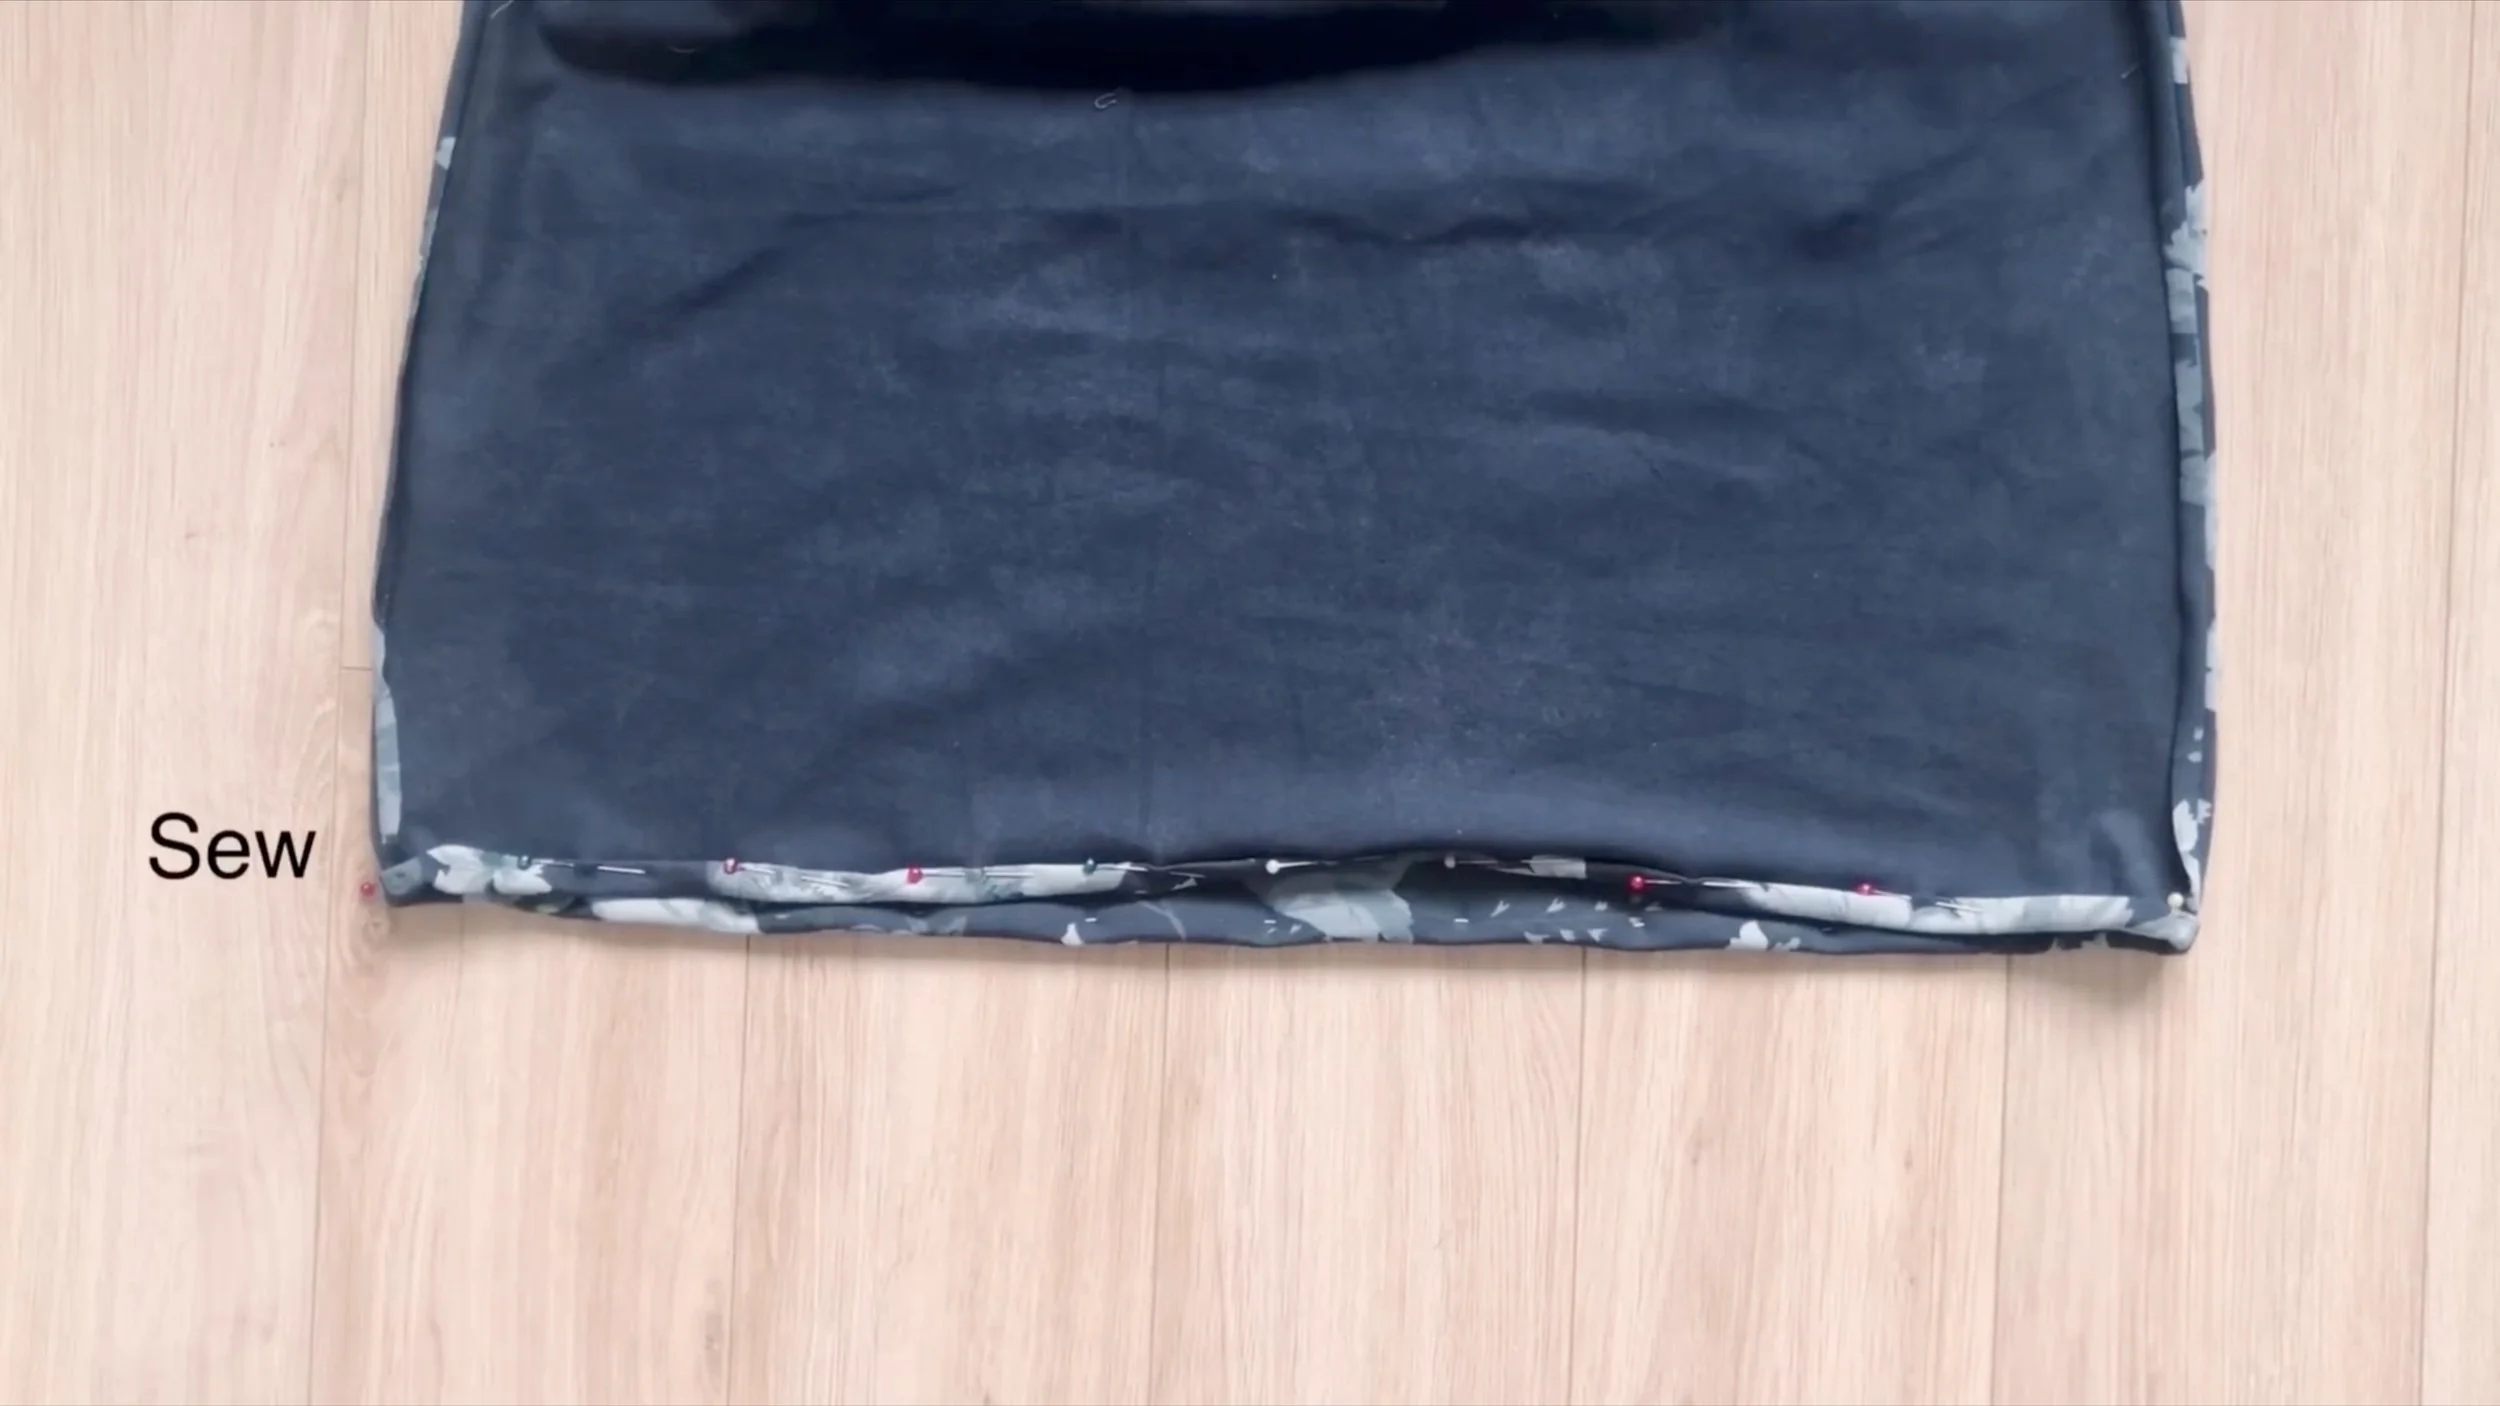
To finish the hem of the dress, fold the edge inward twice and sew.
THE TIES
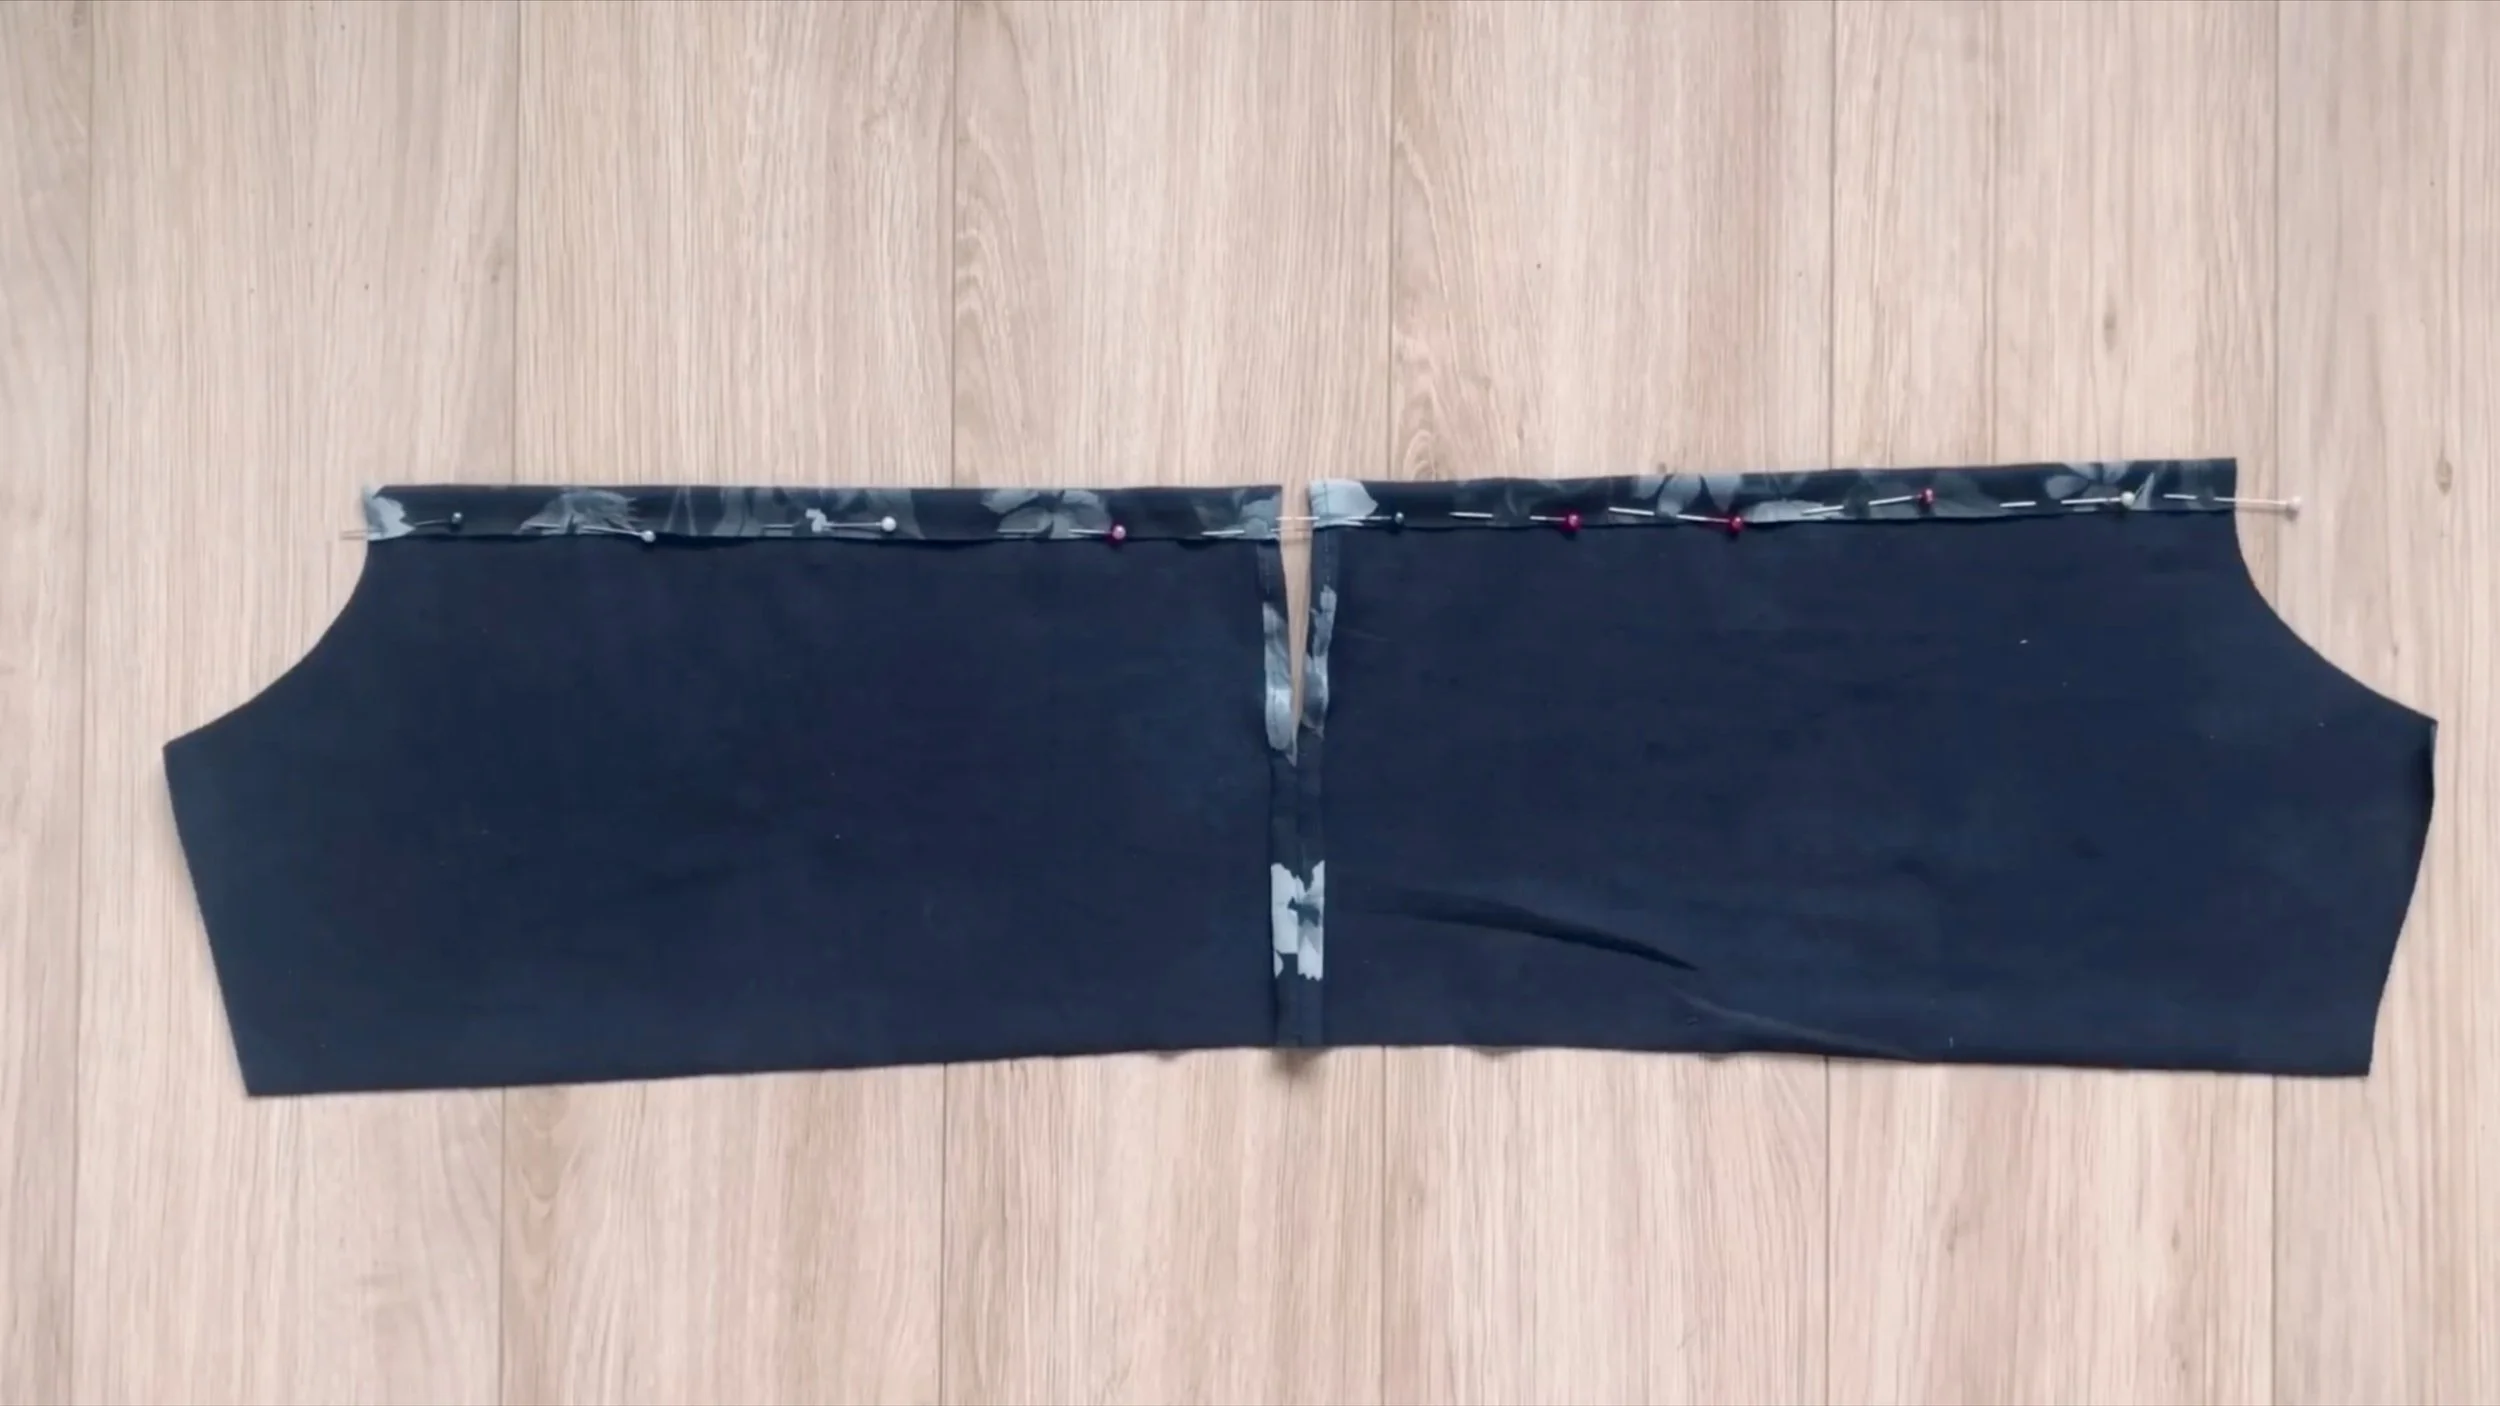
Cut a long rectangle with a width of 4 cm and a length of around 100 cm.
Attach the center of this rectangle to the center back of the dress.
Then sew the rest together.

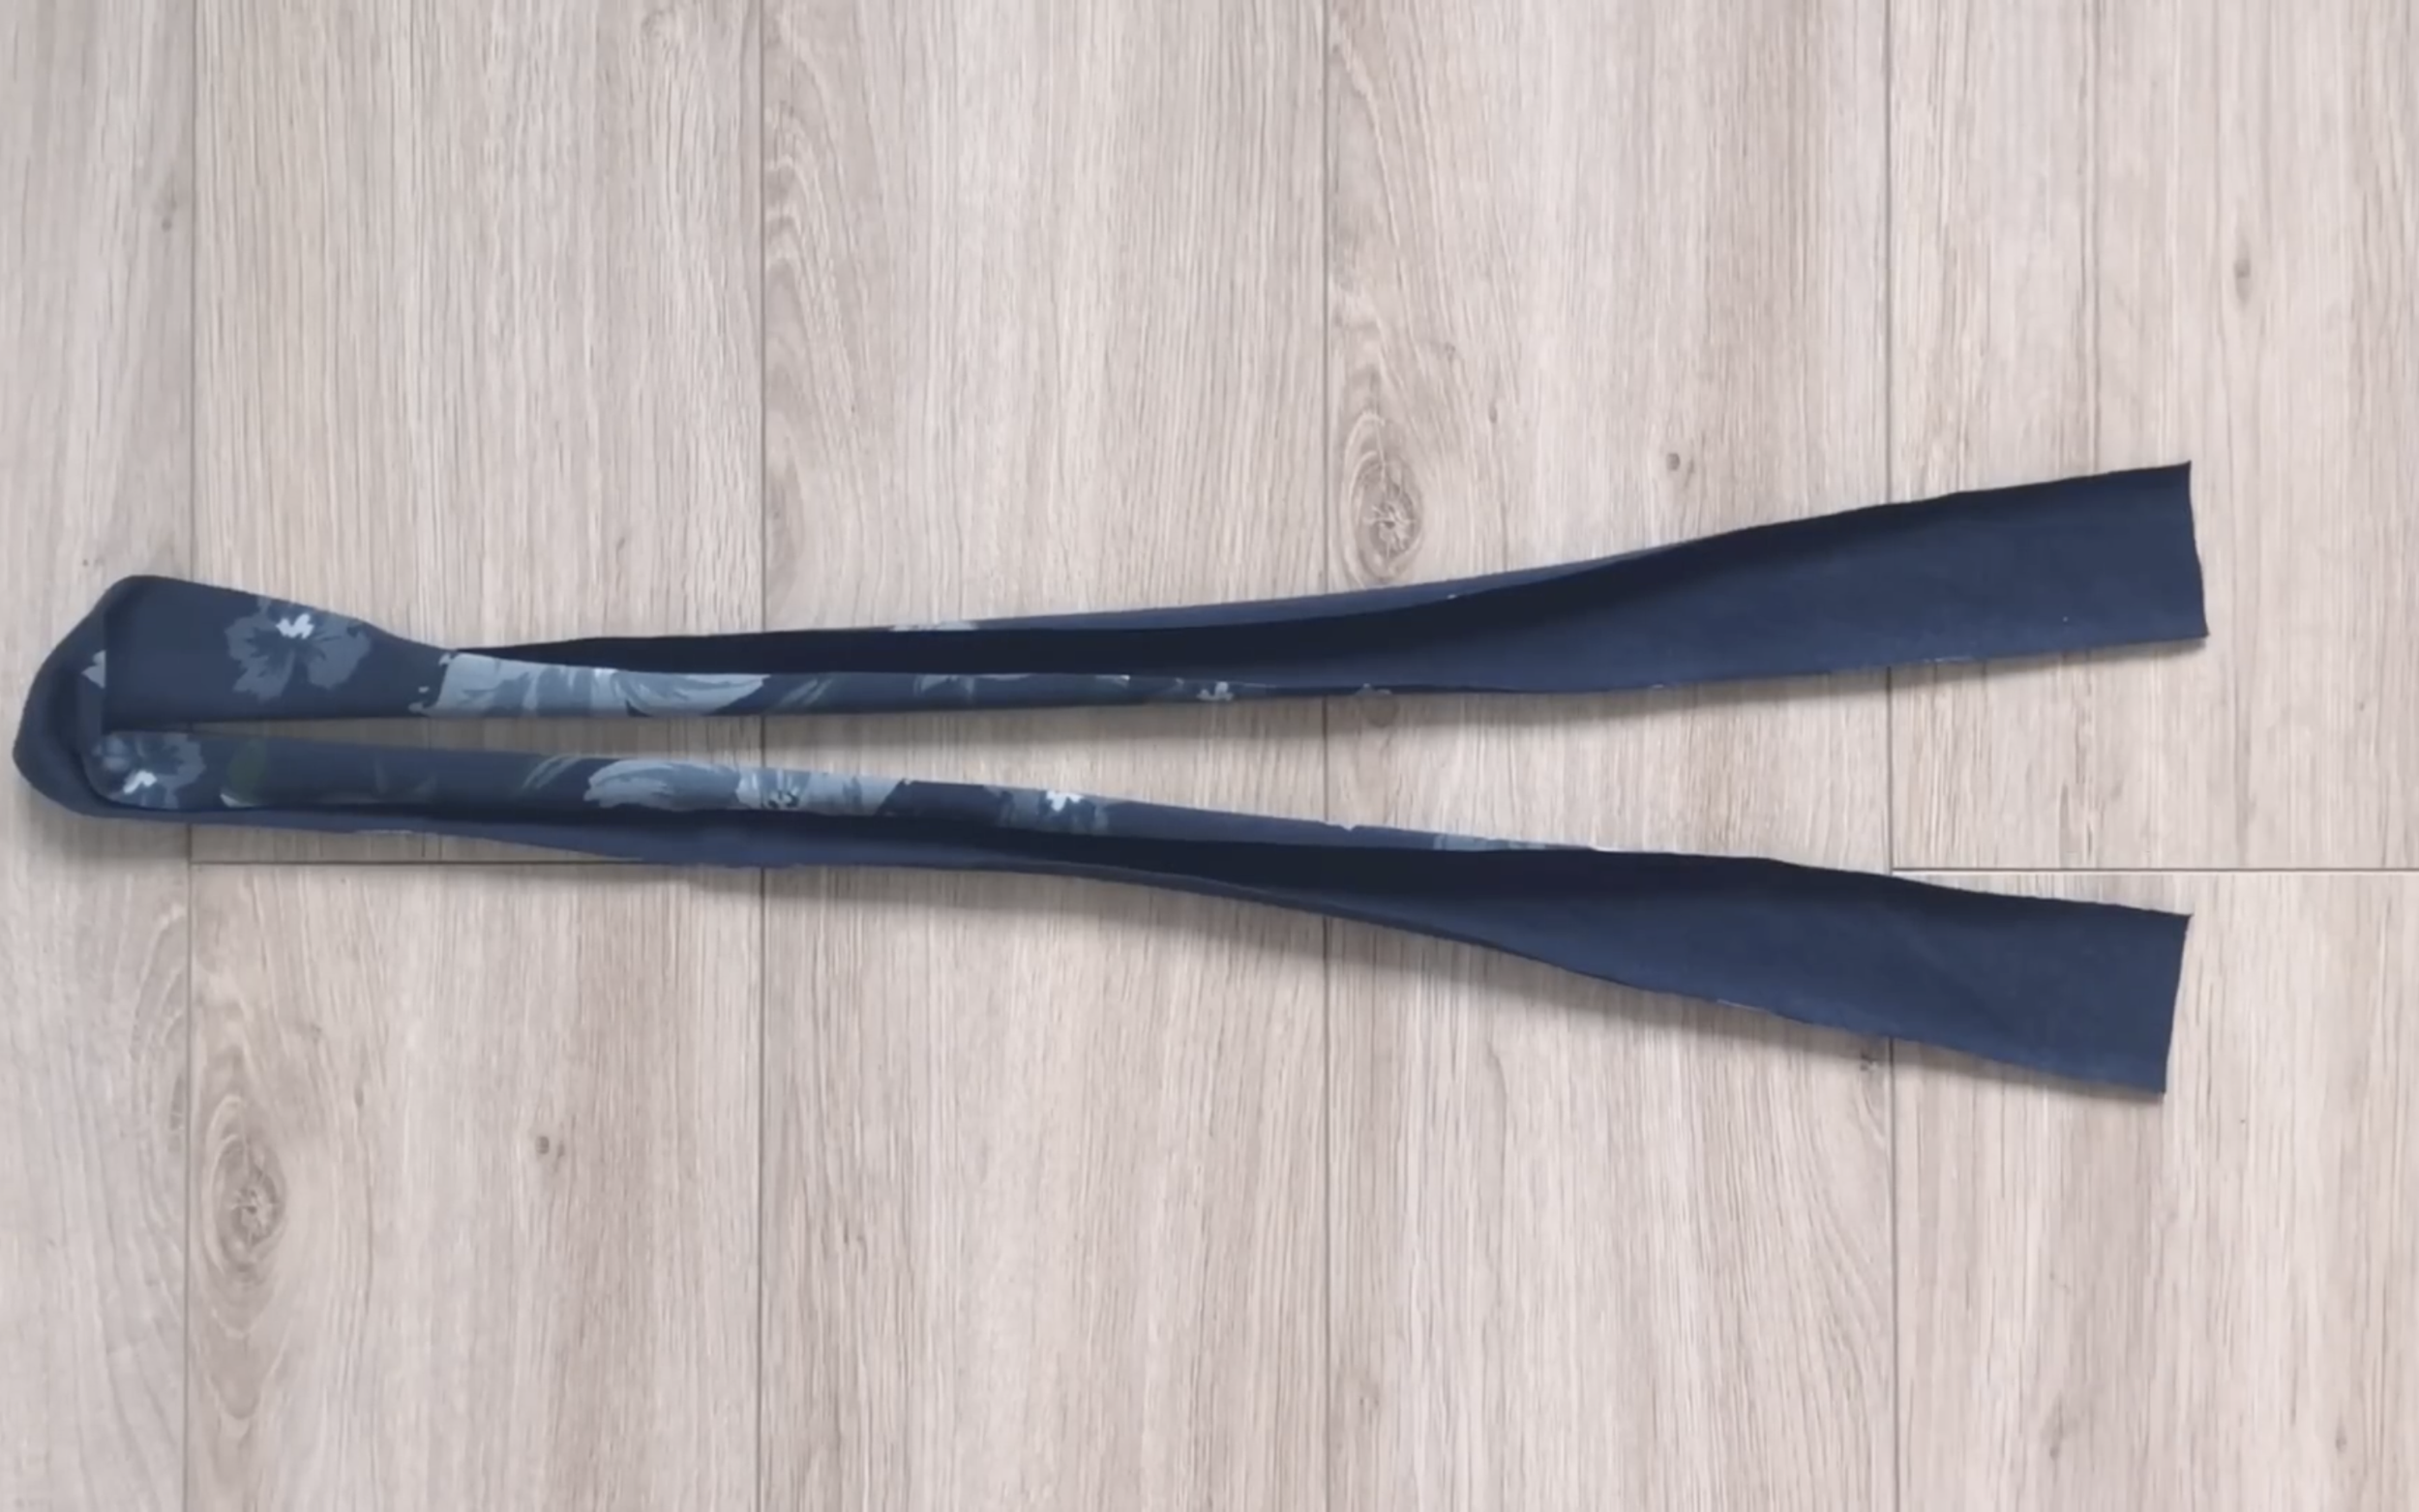
Fold the fabric inward twice with 0.5 cm each time and sew.

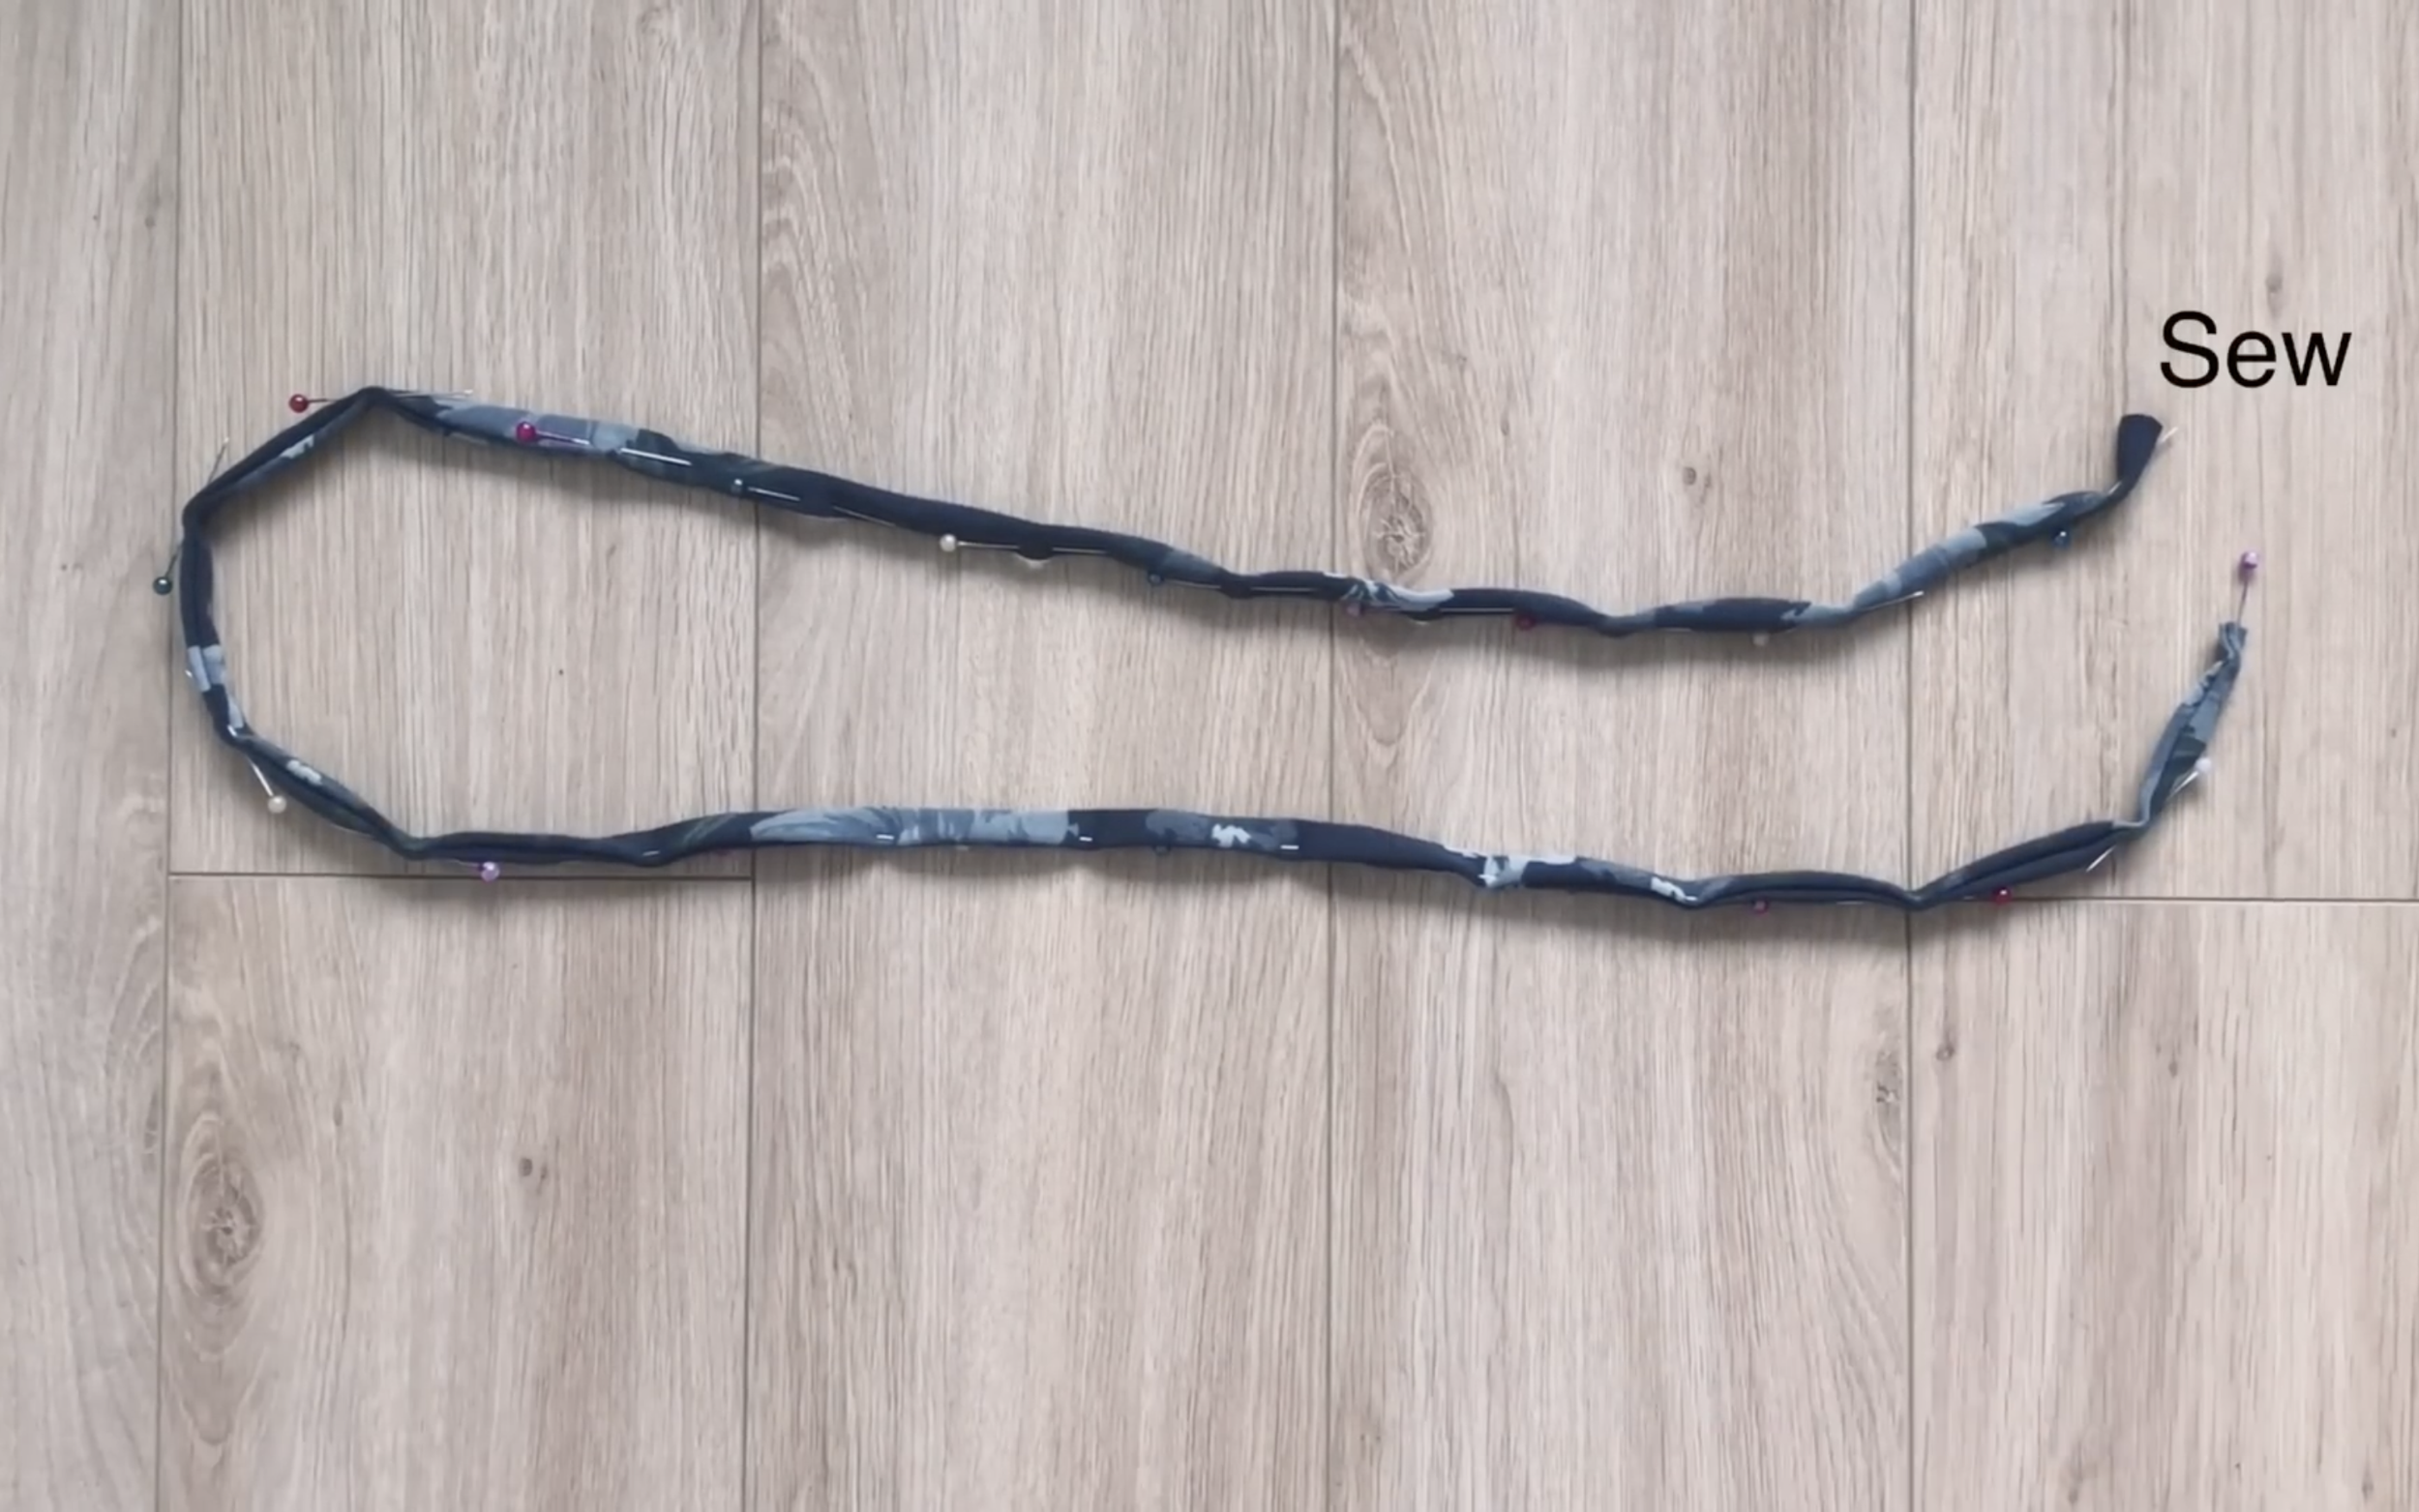
At the top of the back, mark 7 cm in from both ends; these marks will be the tie positions from the front.
Make sure the length of the tie from the front to these marks is sufficient to hold the dress when worn.

DIY MILKMAID DRESS (Sleeveless midi version)
And here’s the final look at my sleeveless milkmaid midi dress!
The final look is soft, elegant, and just perfect for a sunny day out.
2. PUFF SLEEVE MILKMAID DRESS
THE BODICE
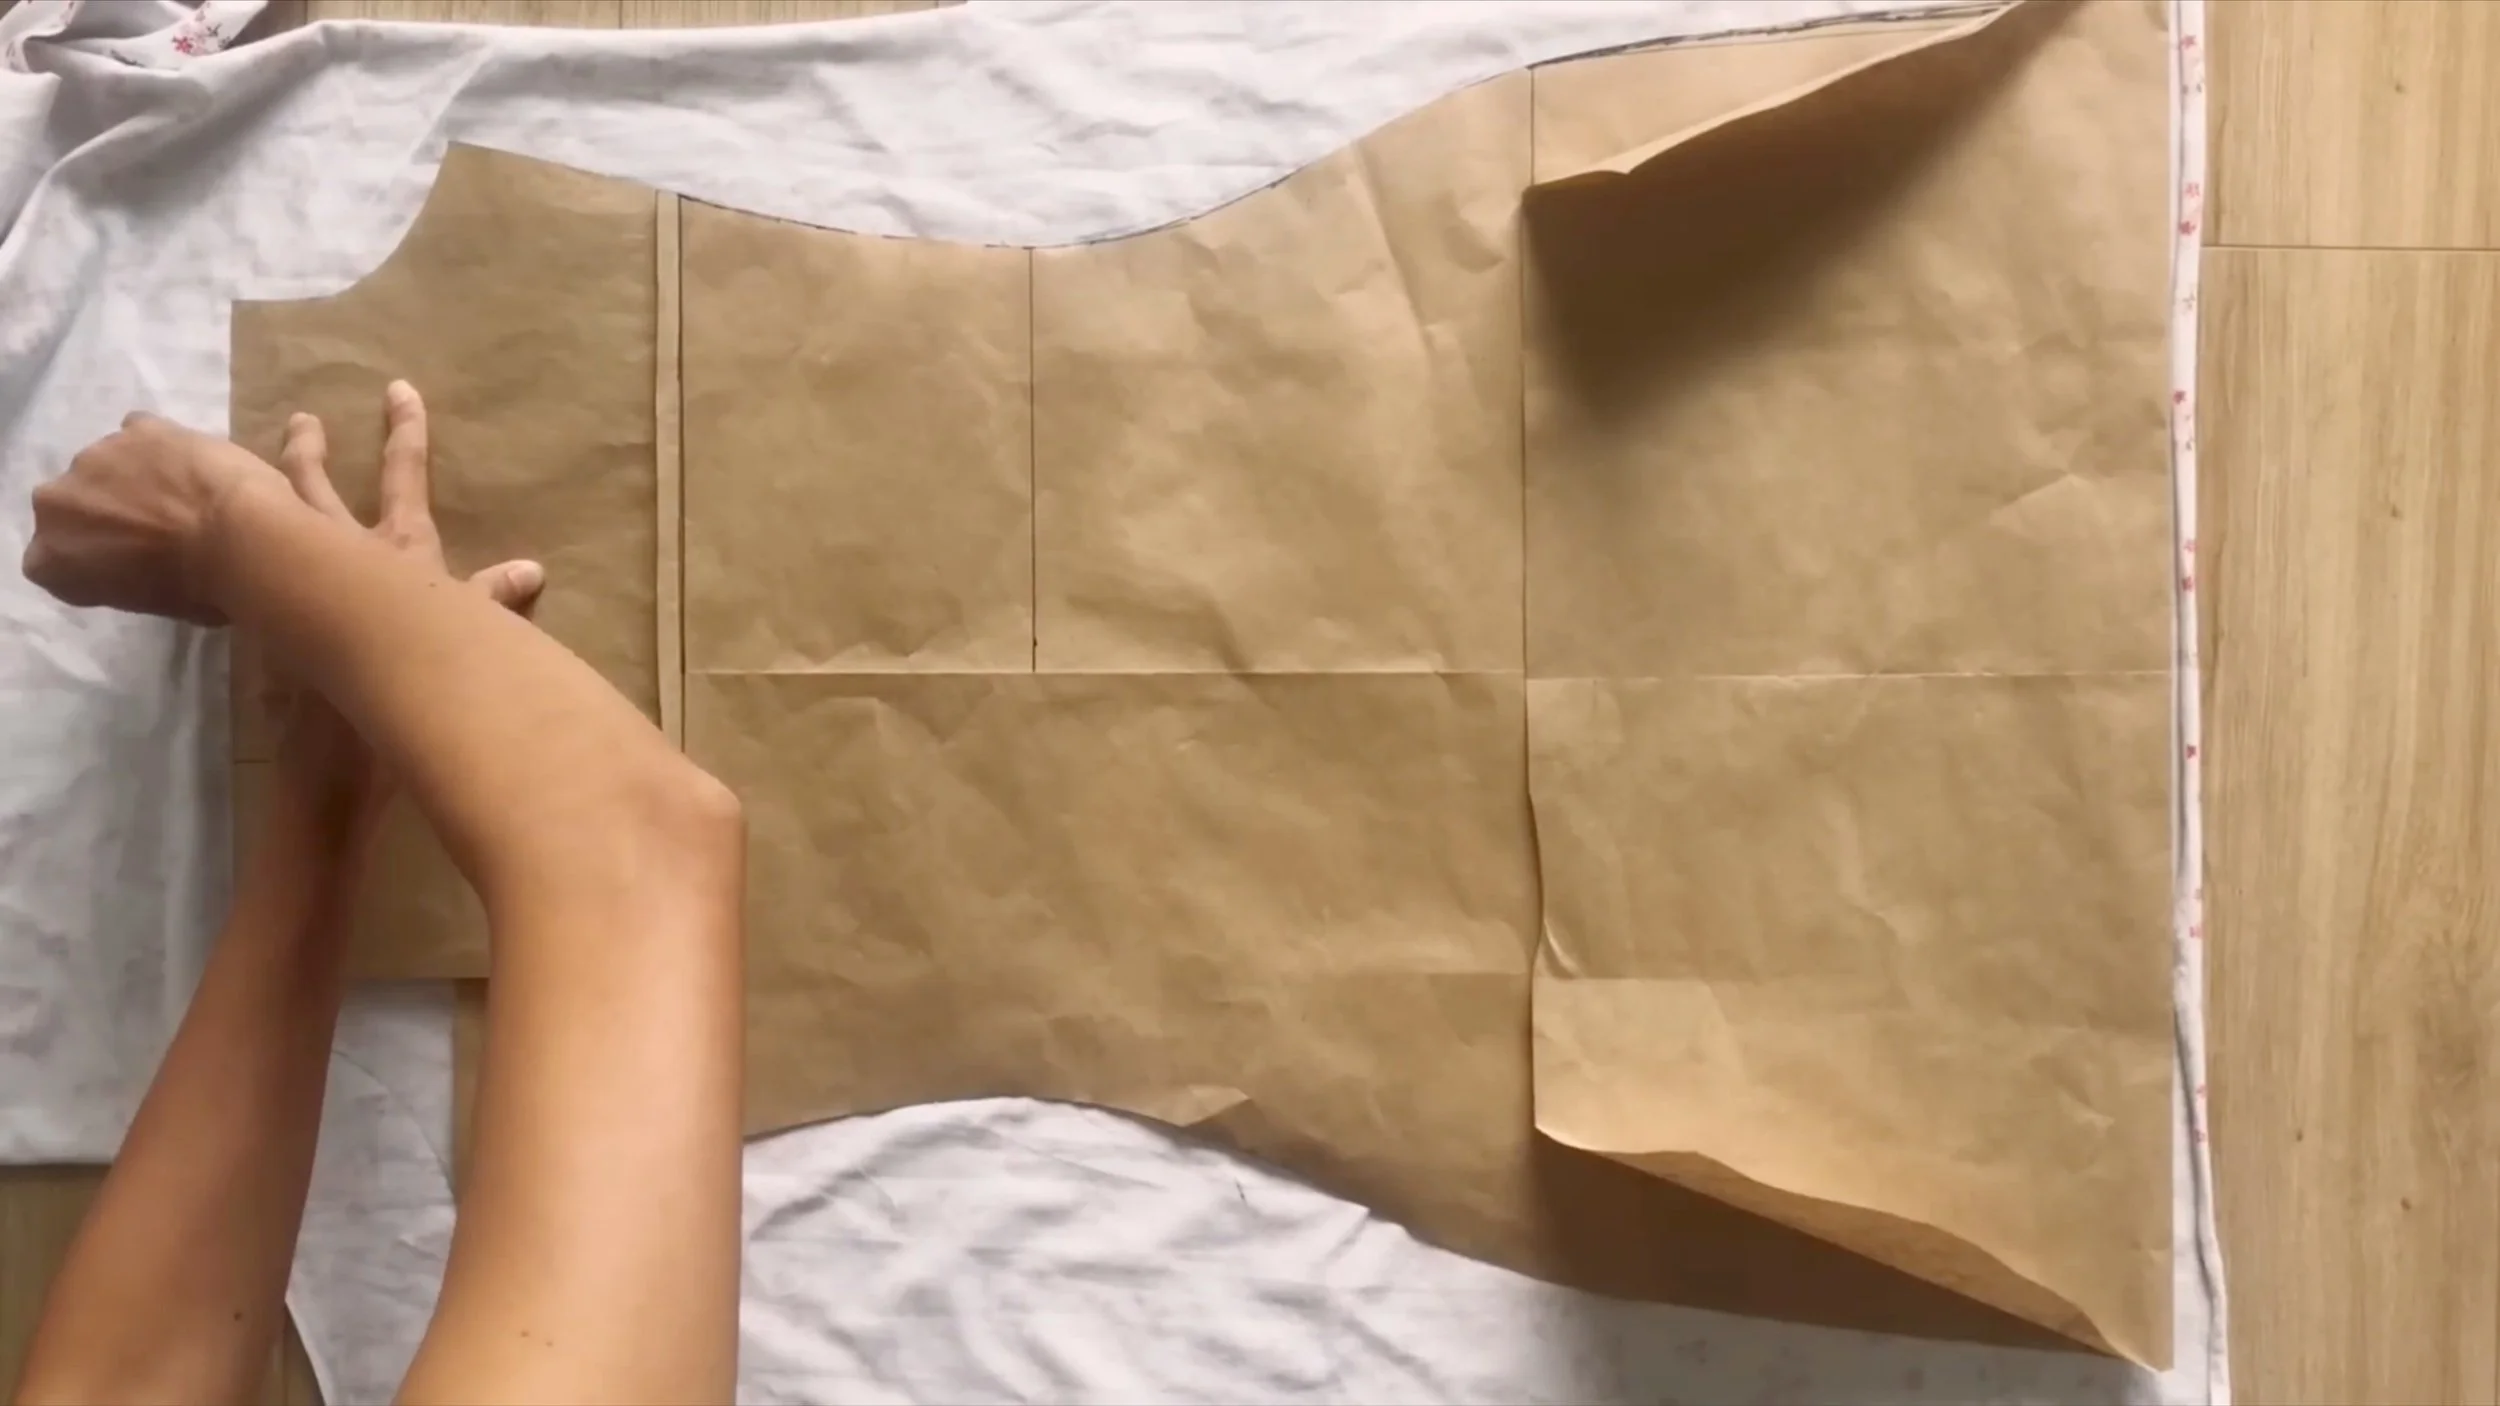
To make the front body part of the dress, use the current body pattern, folding the end of the pattern to make it shorter for a length above the knee.
Fold the top of the body pattern at the underbust line.
After tracing along, this completes the front body part of the dress. Follow the same method as for the sleeveless midi dress to make the front part.
THE BACK
For the back part, use the bust area pattern, applying it to the top of the body pattern at the underbust line.
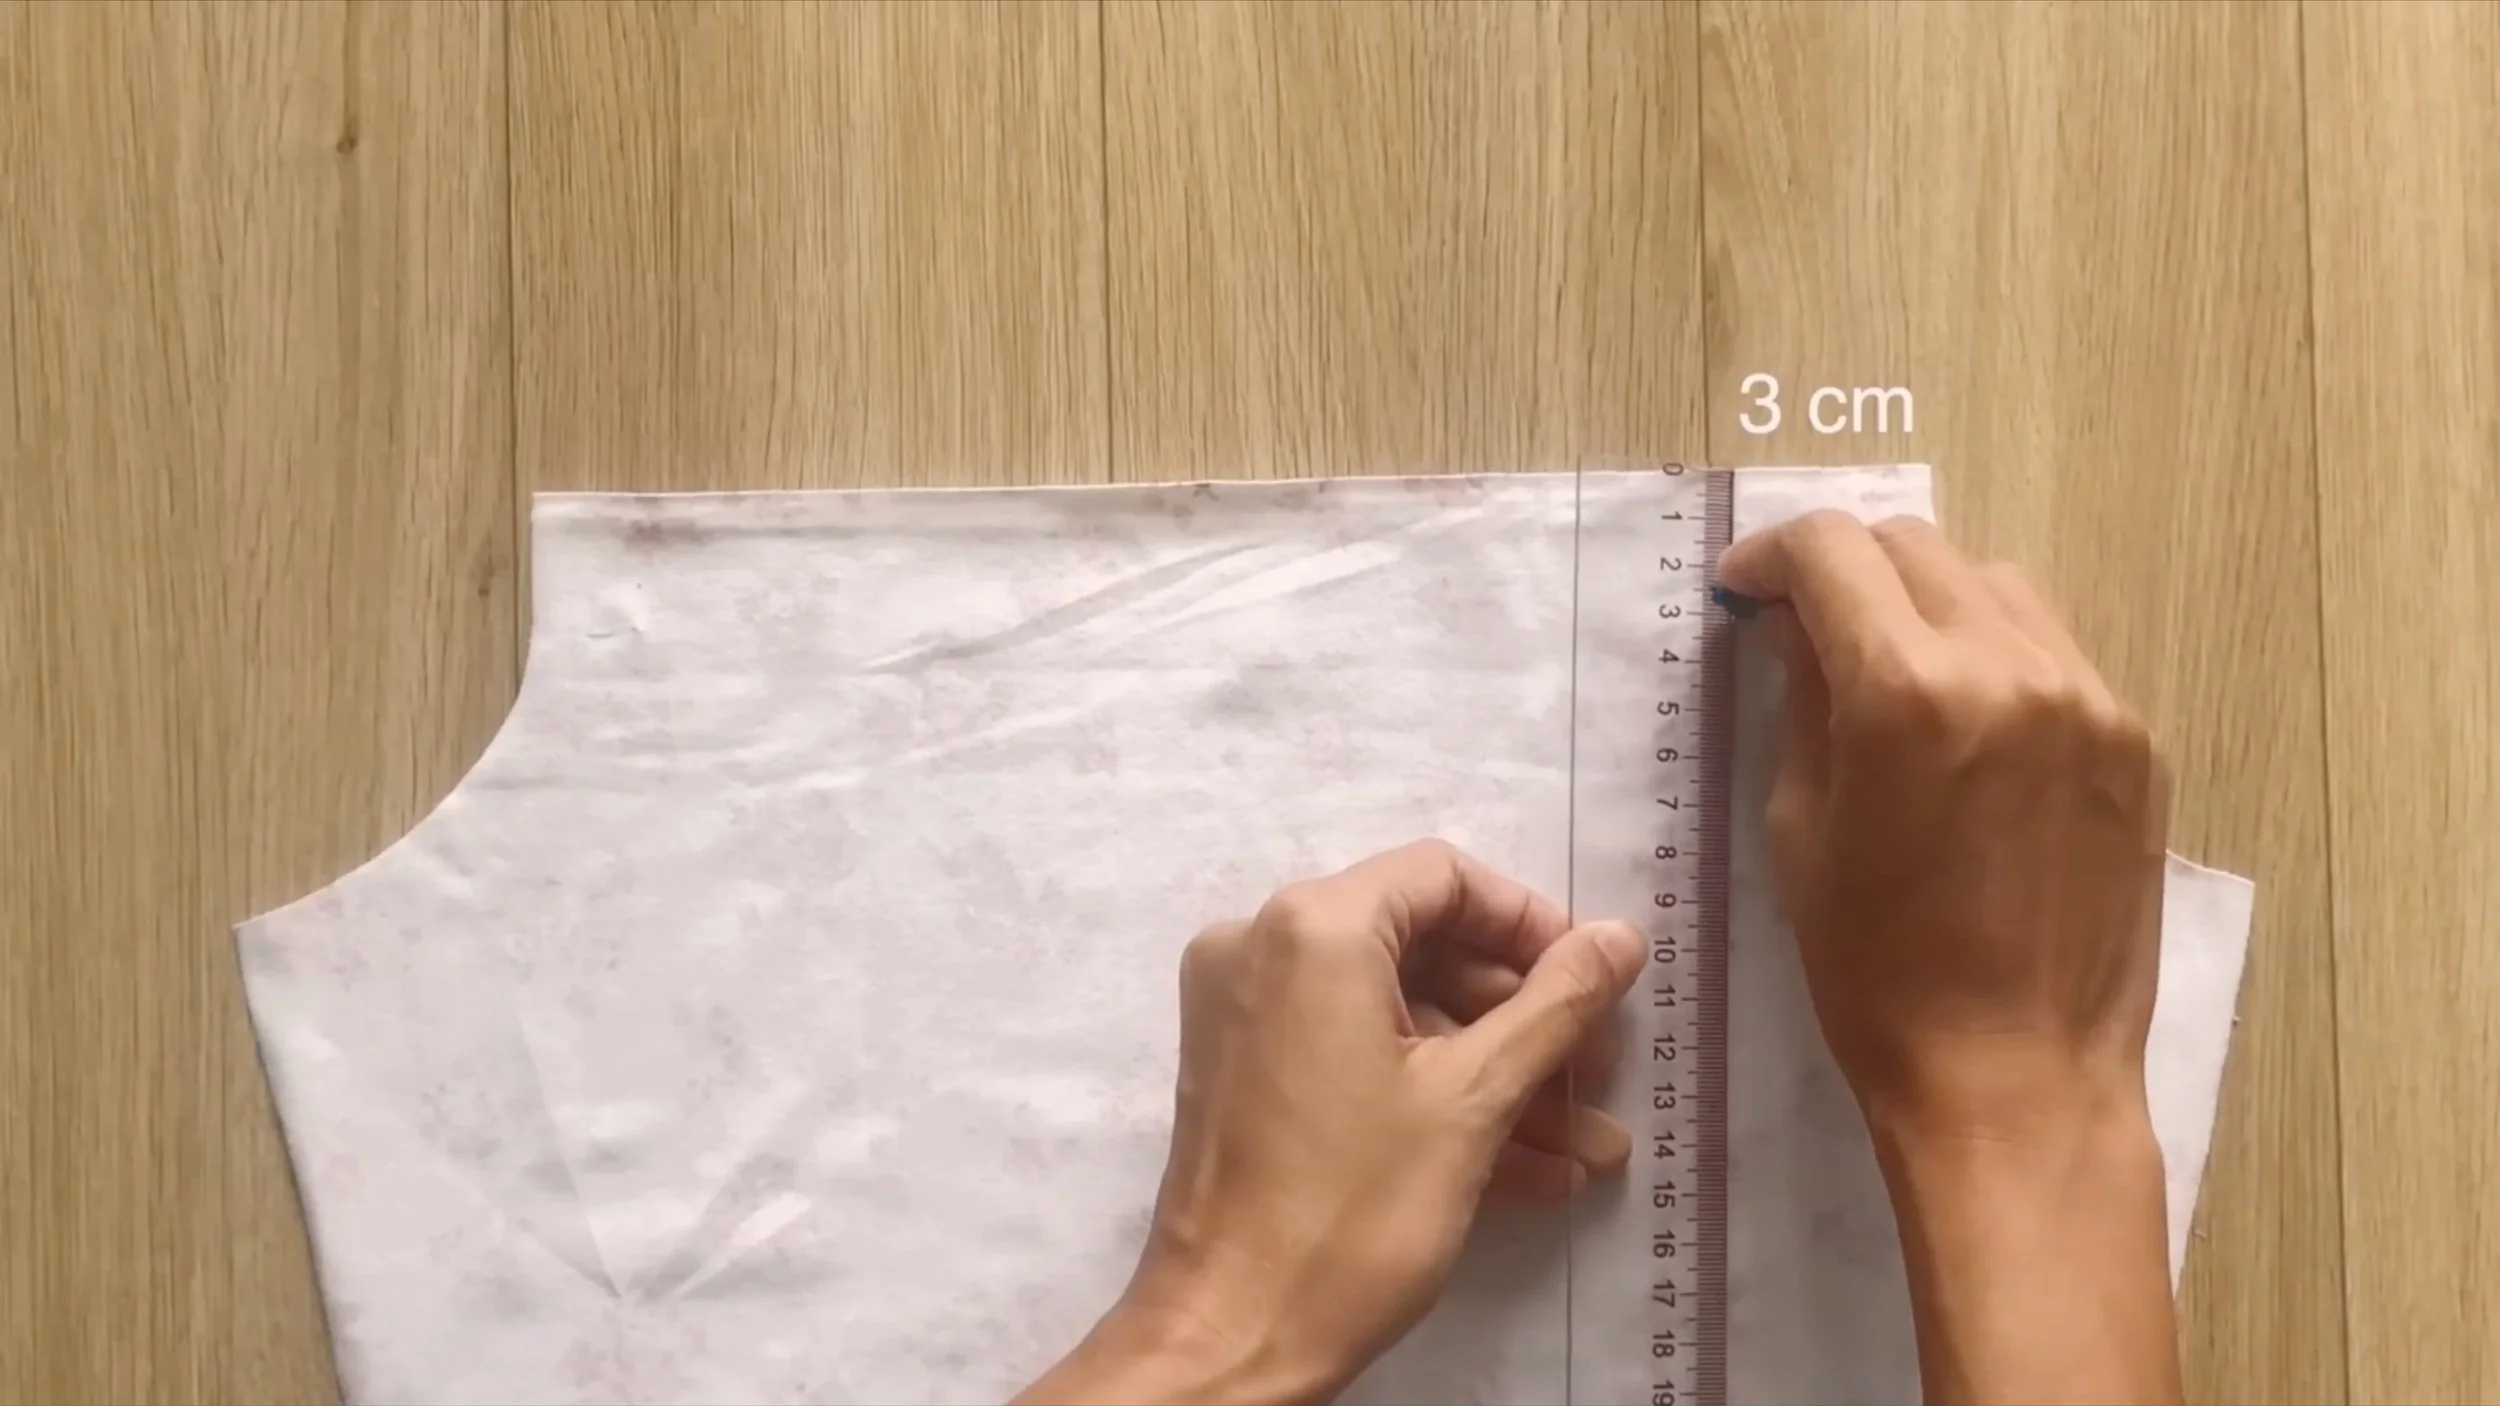
After cutting, draw a horizontal line 3 cm below the top of the back body part.

Fold the fabric edge to this line and sew to create a fabric hole.
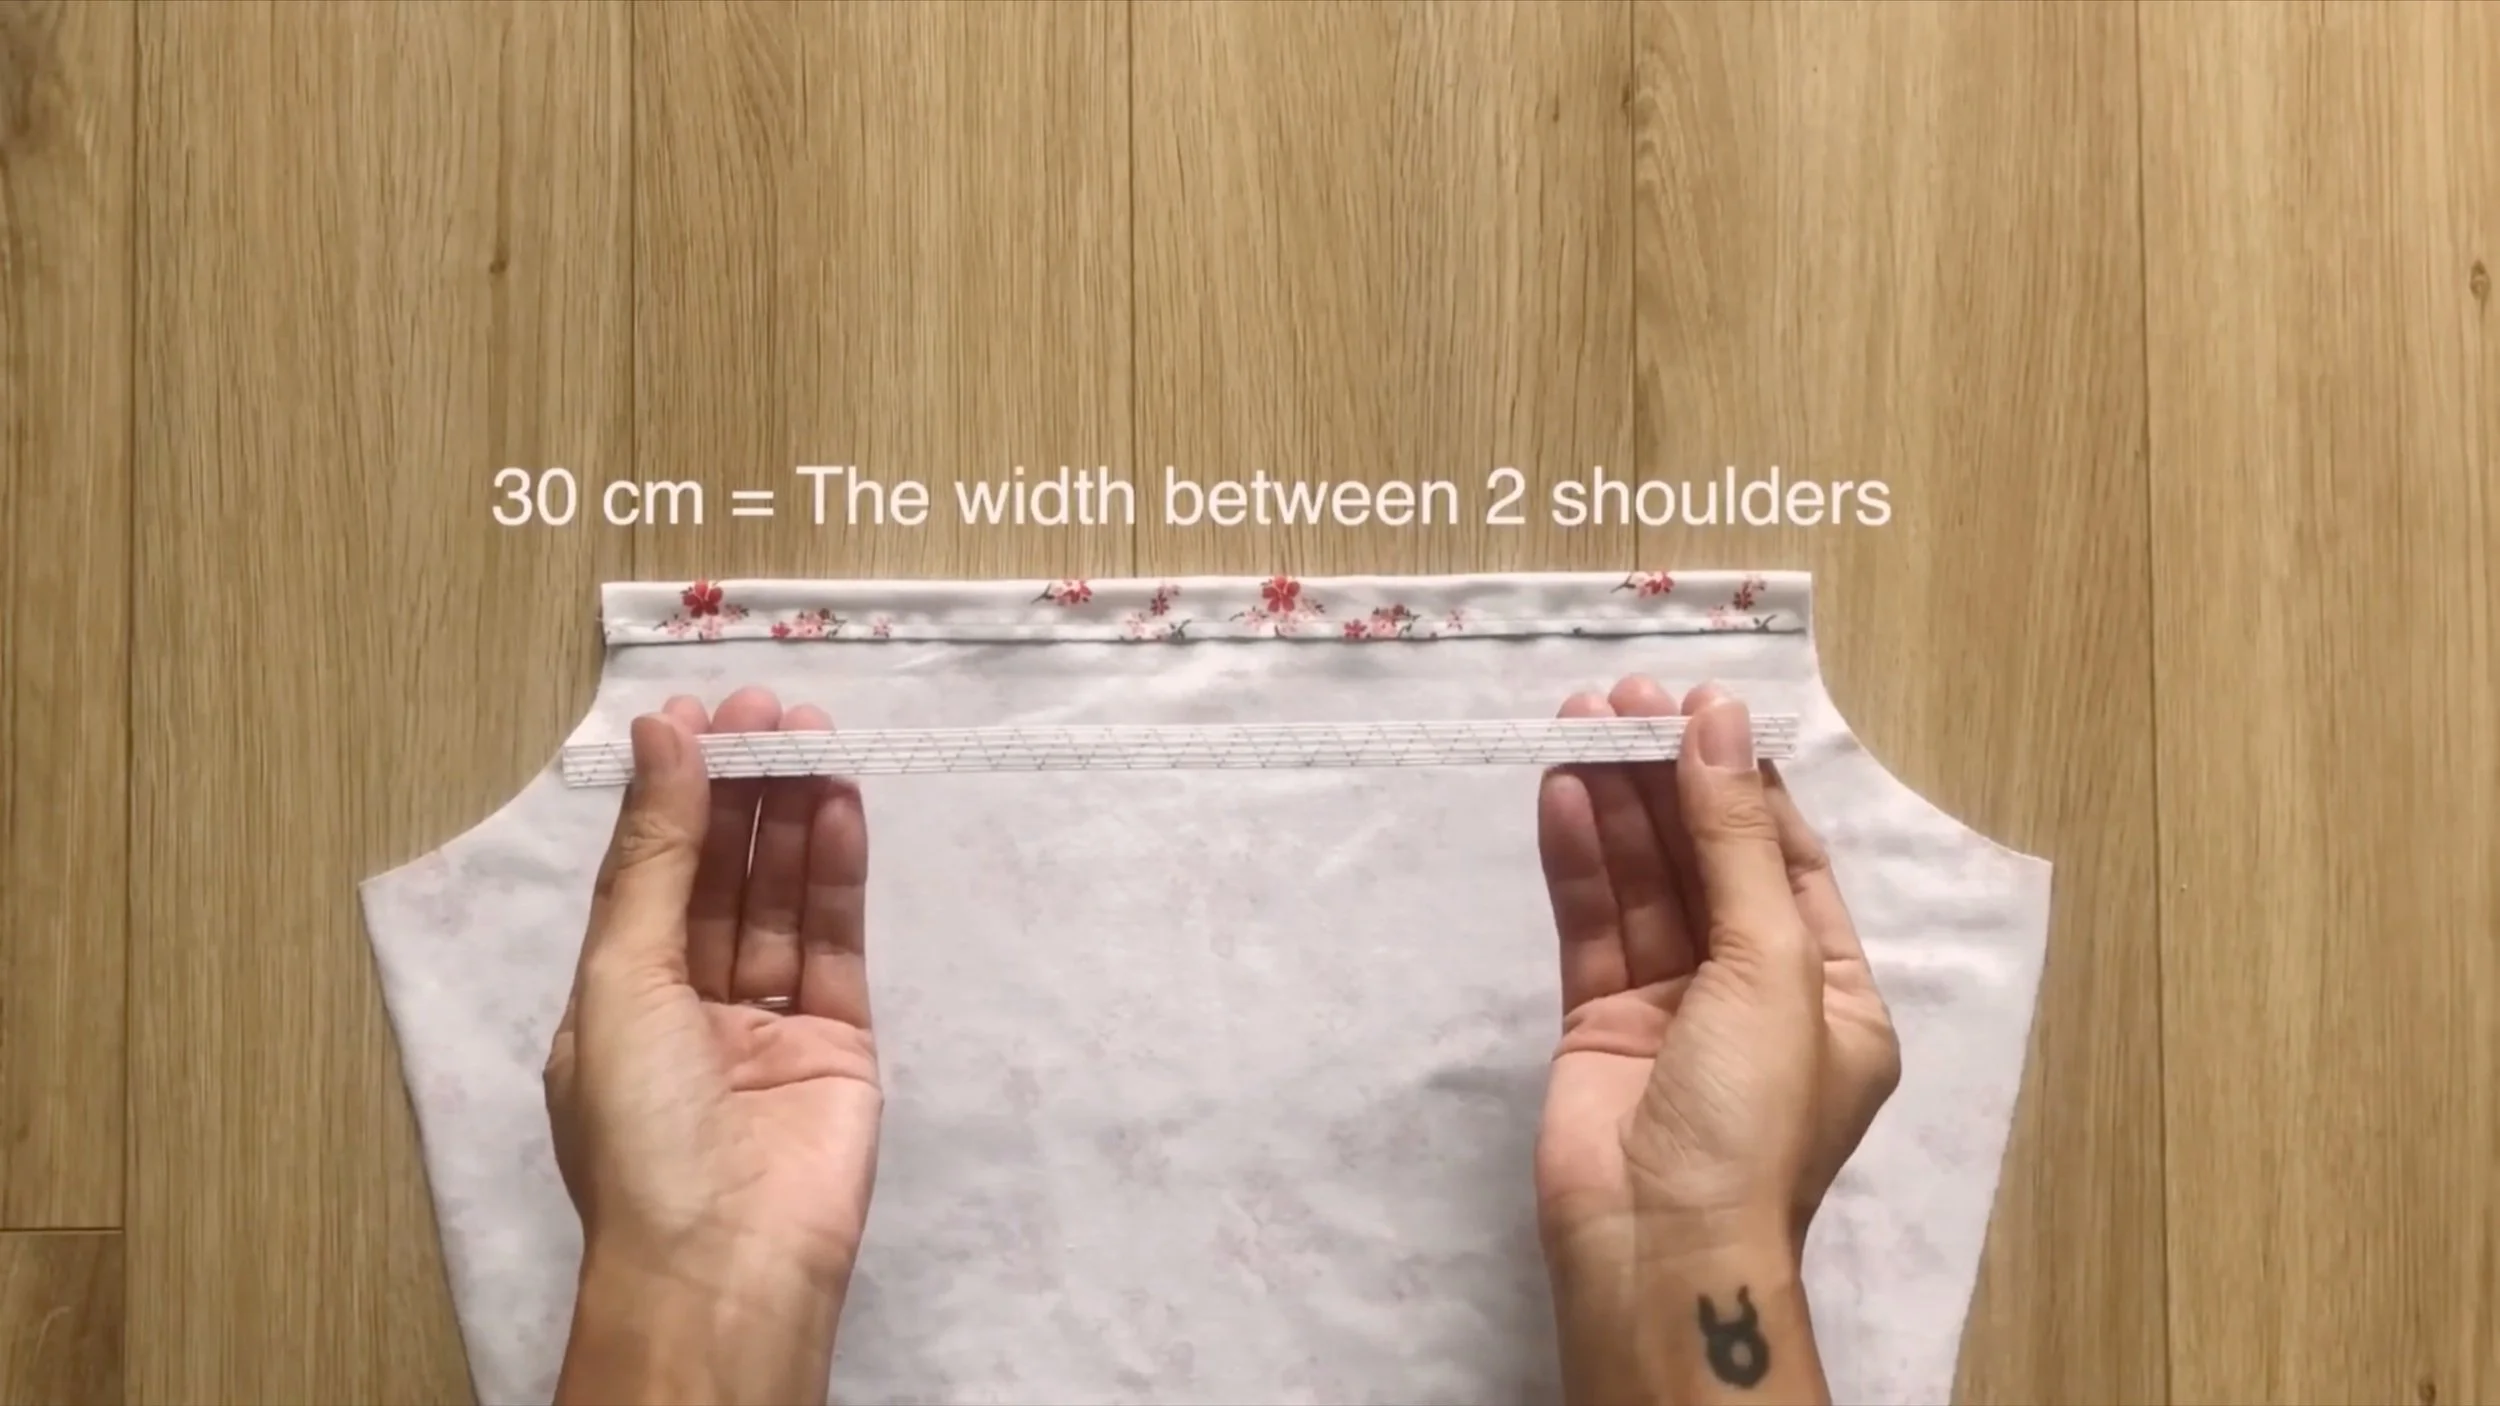
Use a 1 cm wide elastic band, around 30 cm long
And insert it through the hole.
Sew the elastic ends to the channel's ends to secure it.
Connect the front and back of the dress at the sides, then sew.
Finish the dress hem by folding the edge twice and sewing.
THE SLEEVE
To make puff sleeves, cut a rectangle measuring 30 cm in length (sleeve length) and 60 cm in width (twice the sleeve width).
Fold the rectangle in half along the width.
At the center of the fold, use the bust area pattern to trace the underarm line for the sleeve.
Draw a curve from the underarm line to the top of the sleeve, creating the shoulder line.
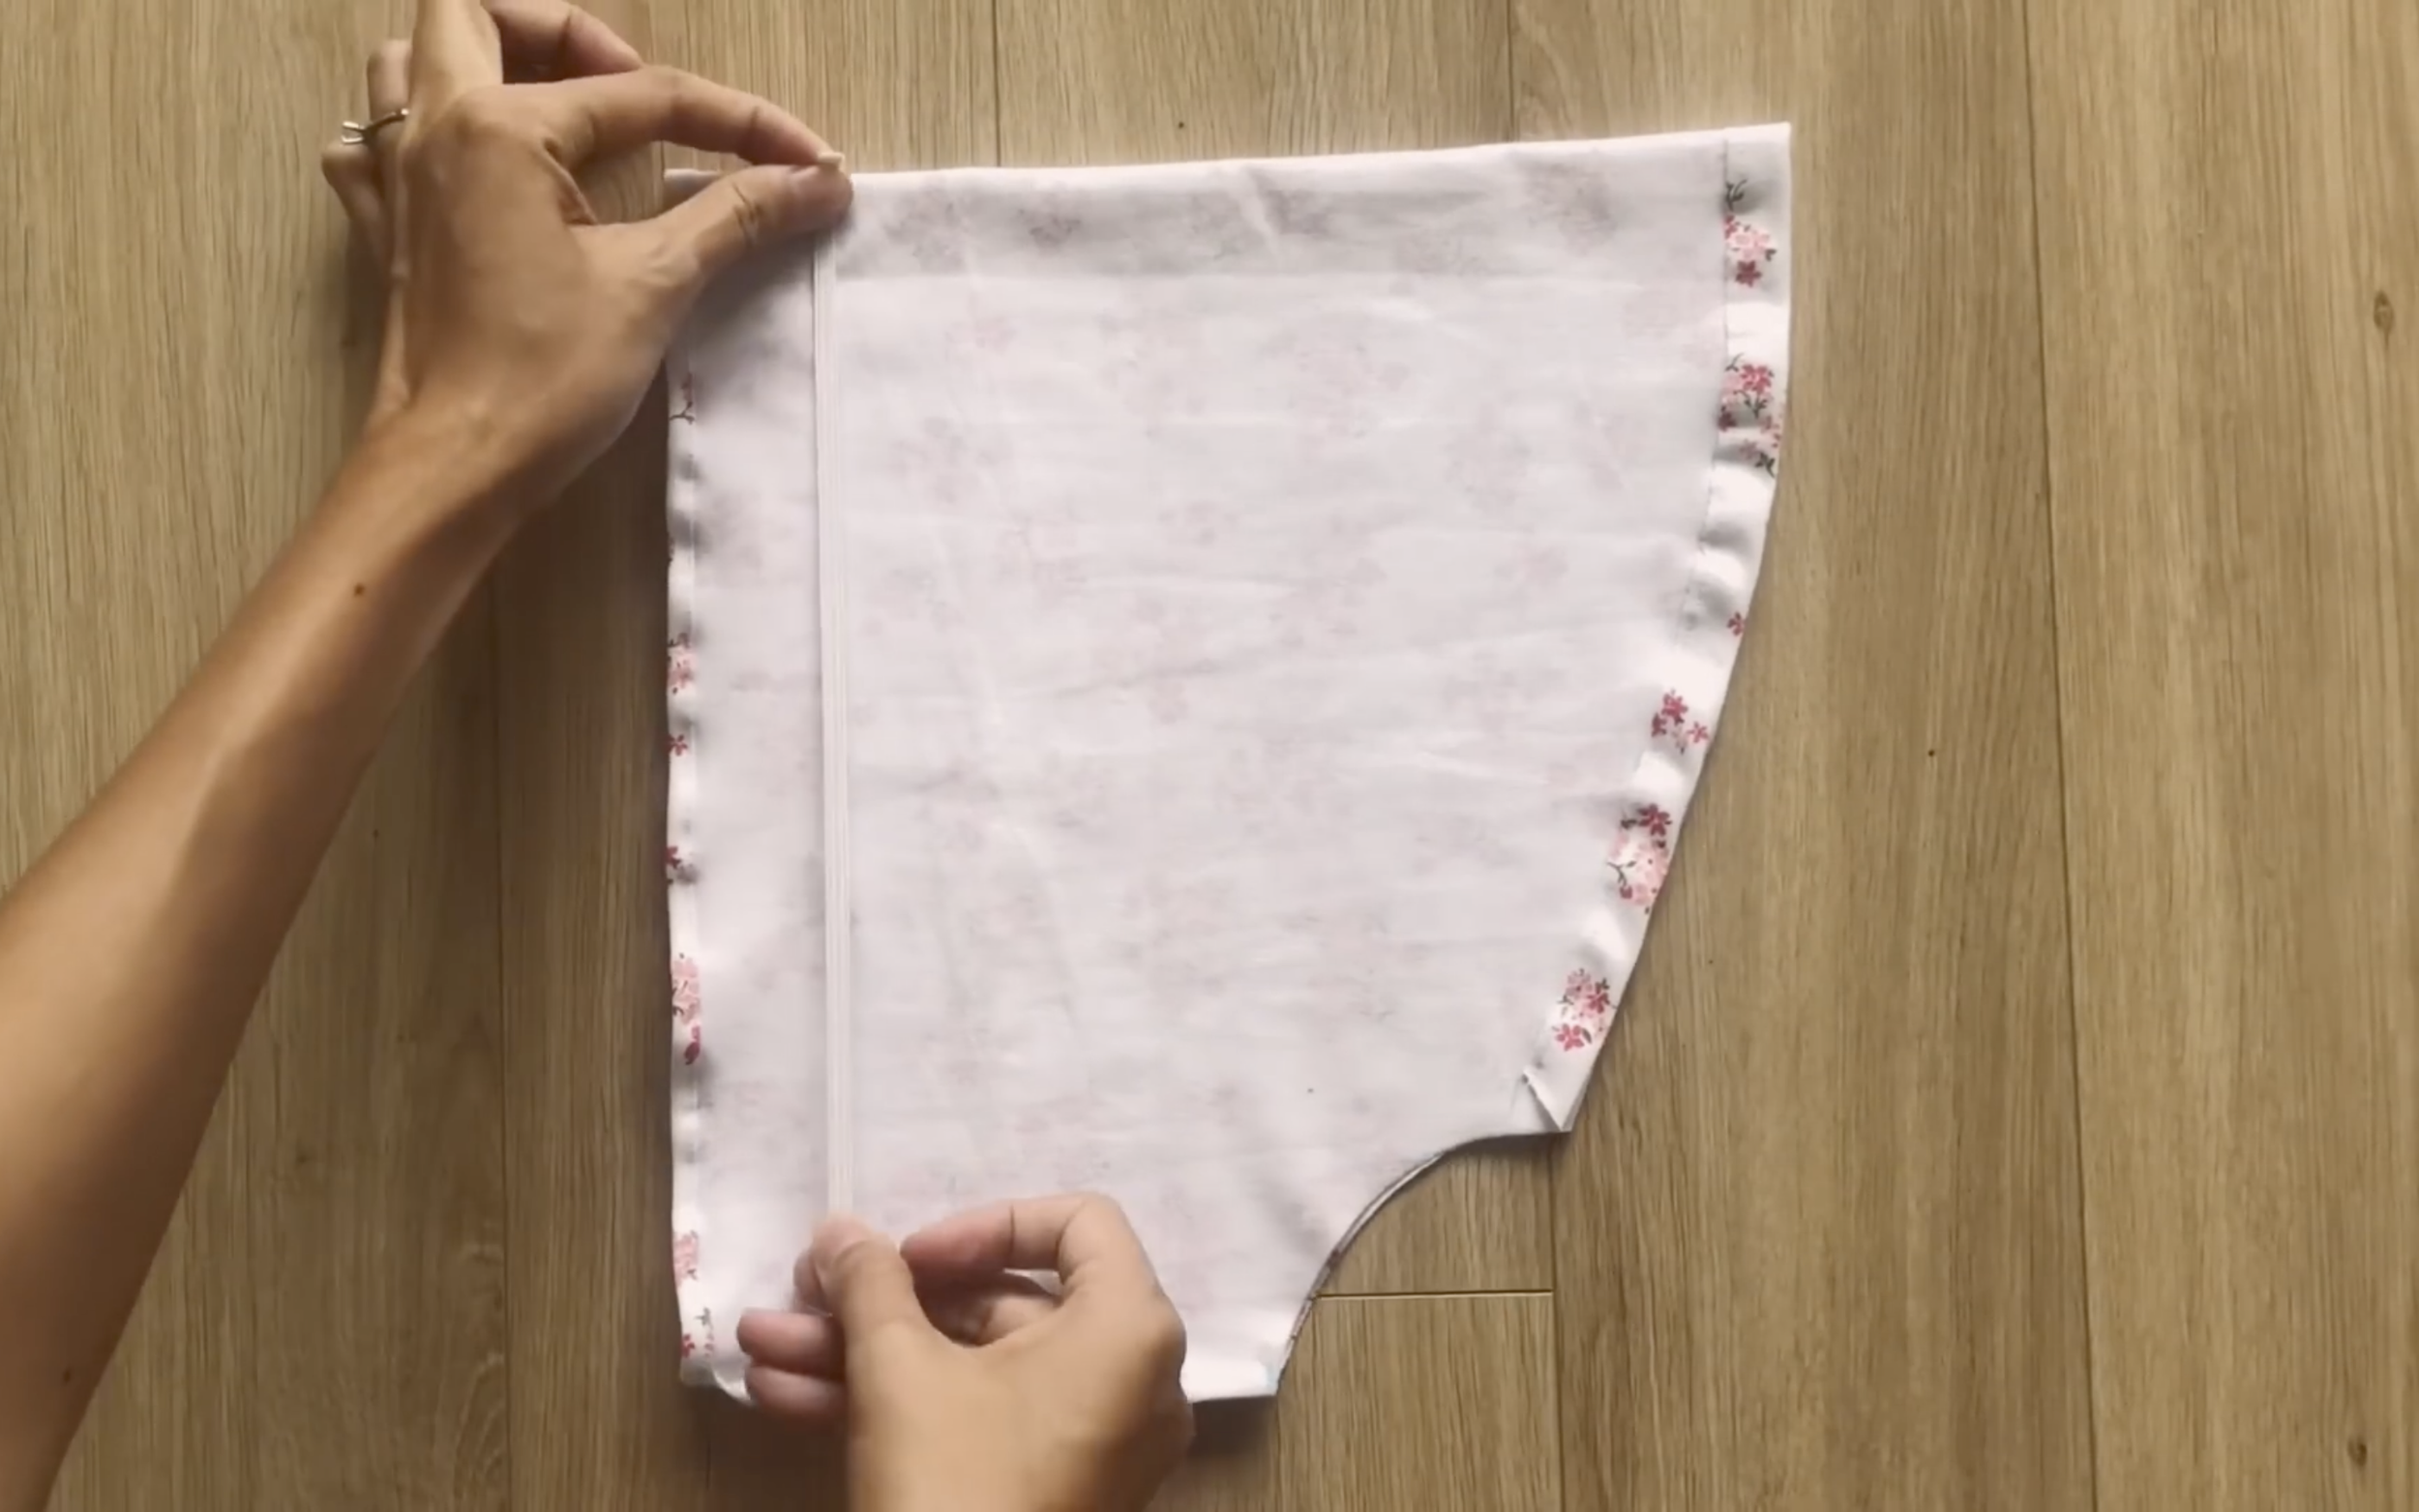
After cutting, connect the two under-sleeve edges.
On the shoulder line, draw a line 3 cm inside.
Then fold the fabric edge to this line, creating a hole. Fold the fabric edge twice at 0.5 cm each and sew.
Fold the fabric edge twice at 0.5 cm each and sew.
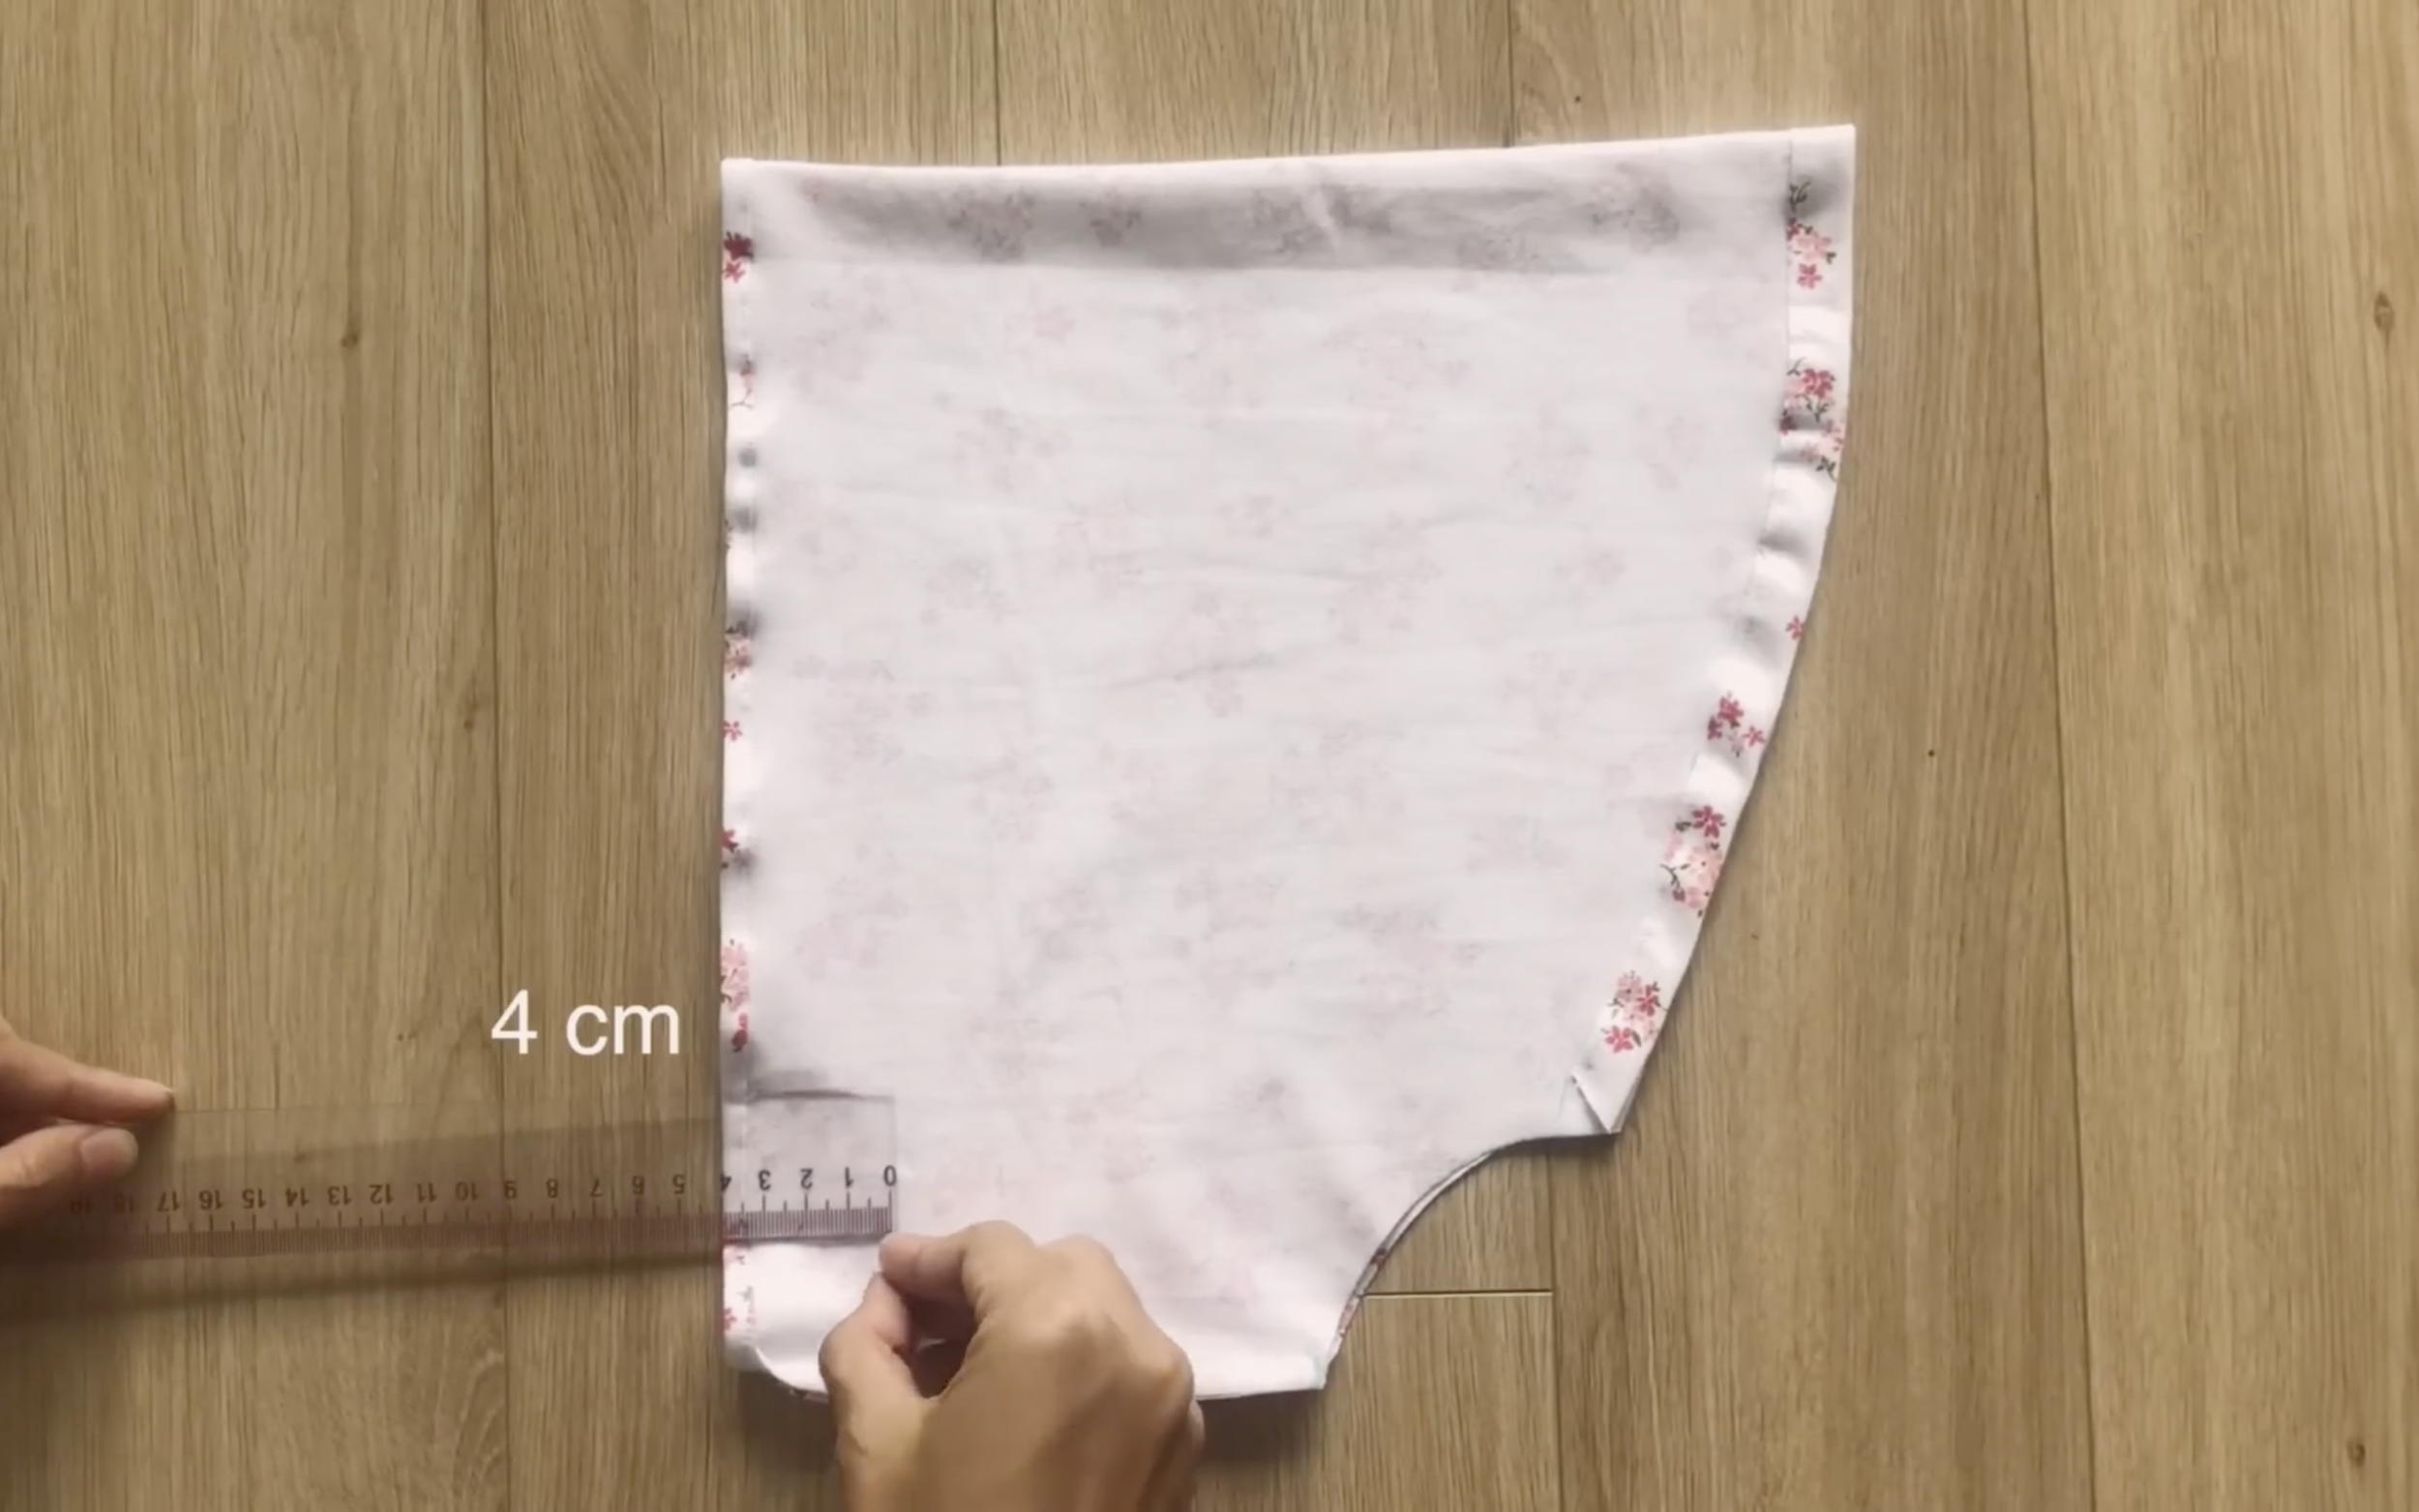
Next, draw a horizontal line 4 cm from the sleeve's edge.
Sew a 24 cm elastic band along this line.
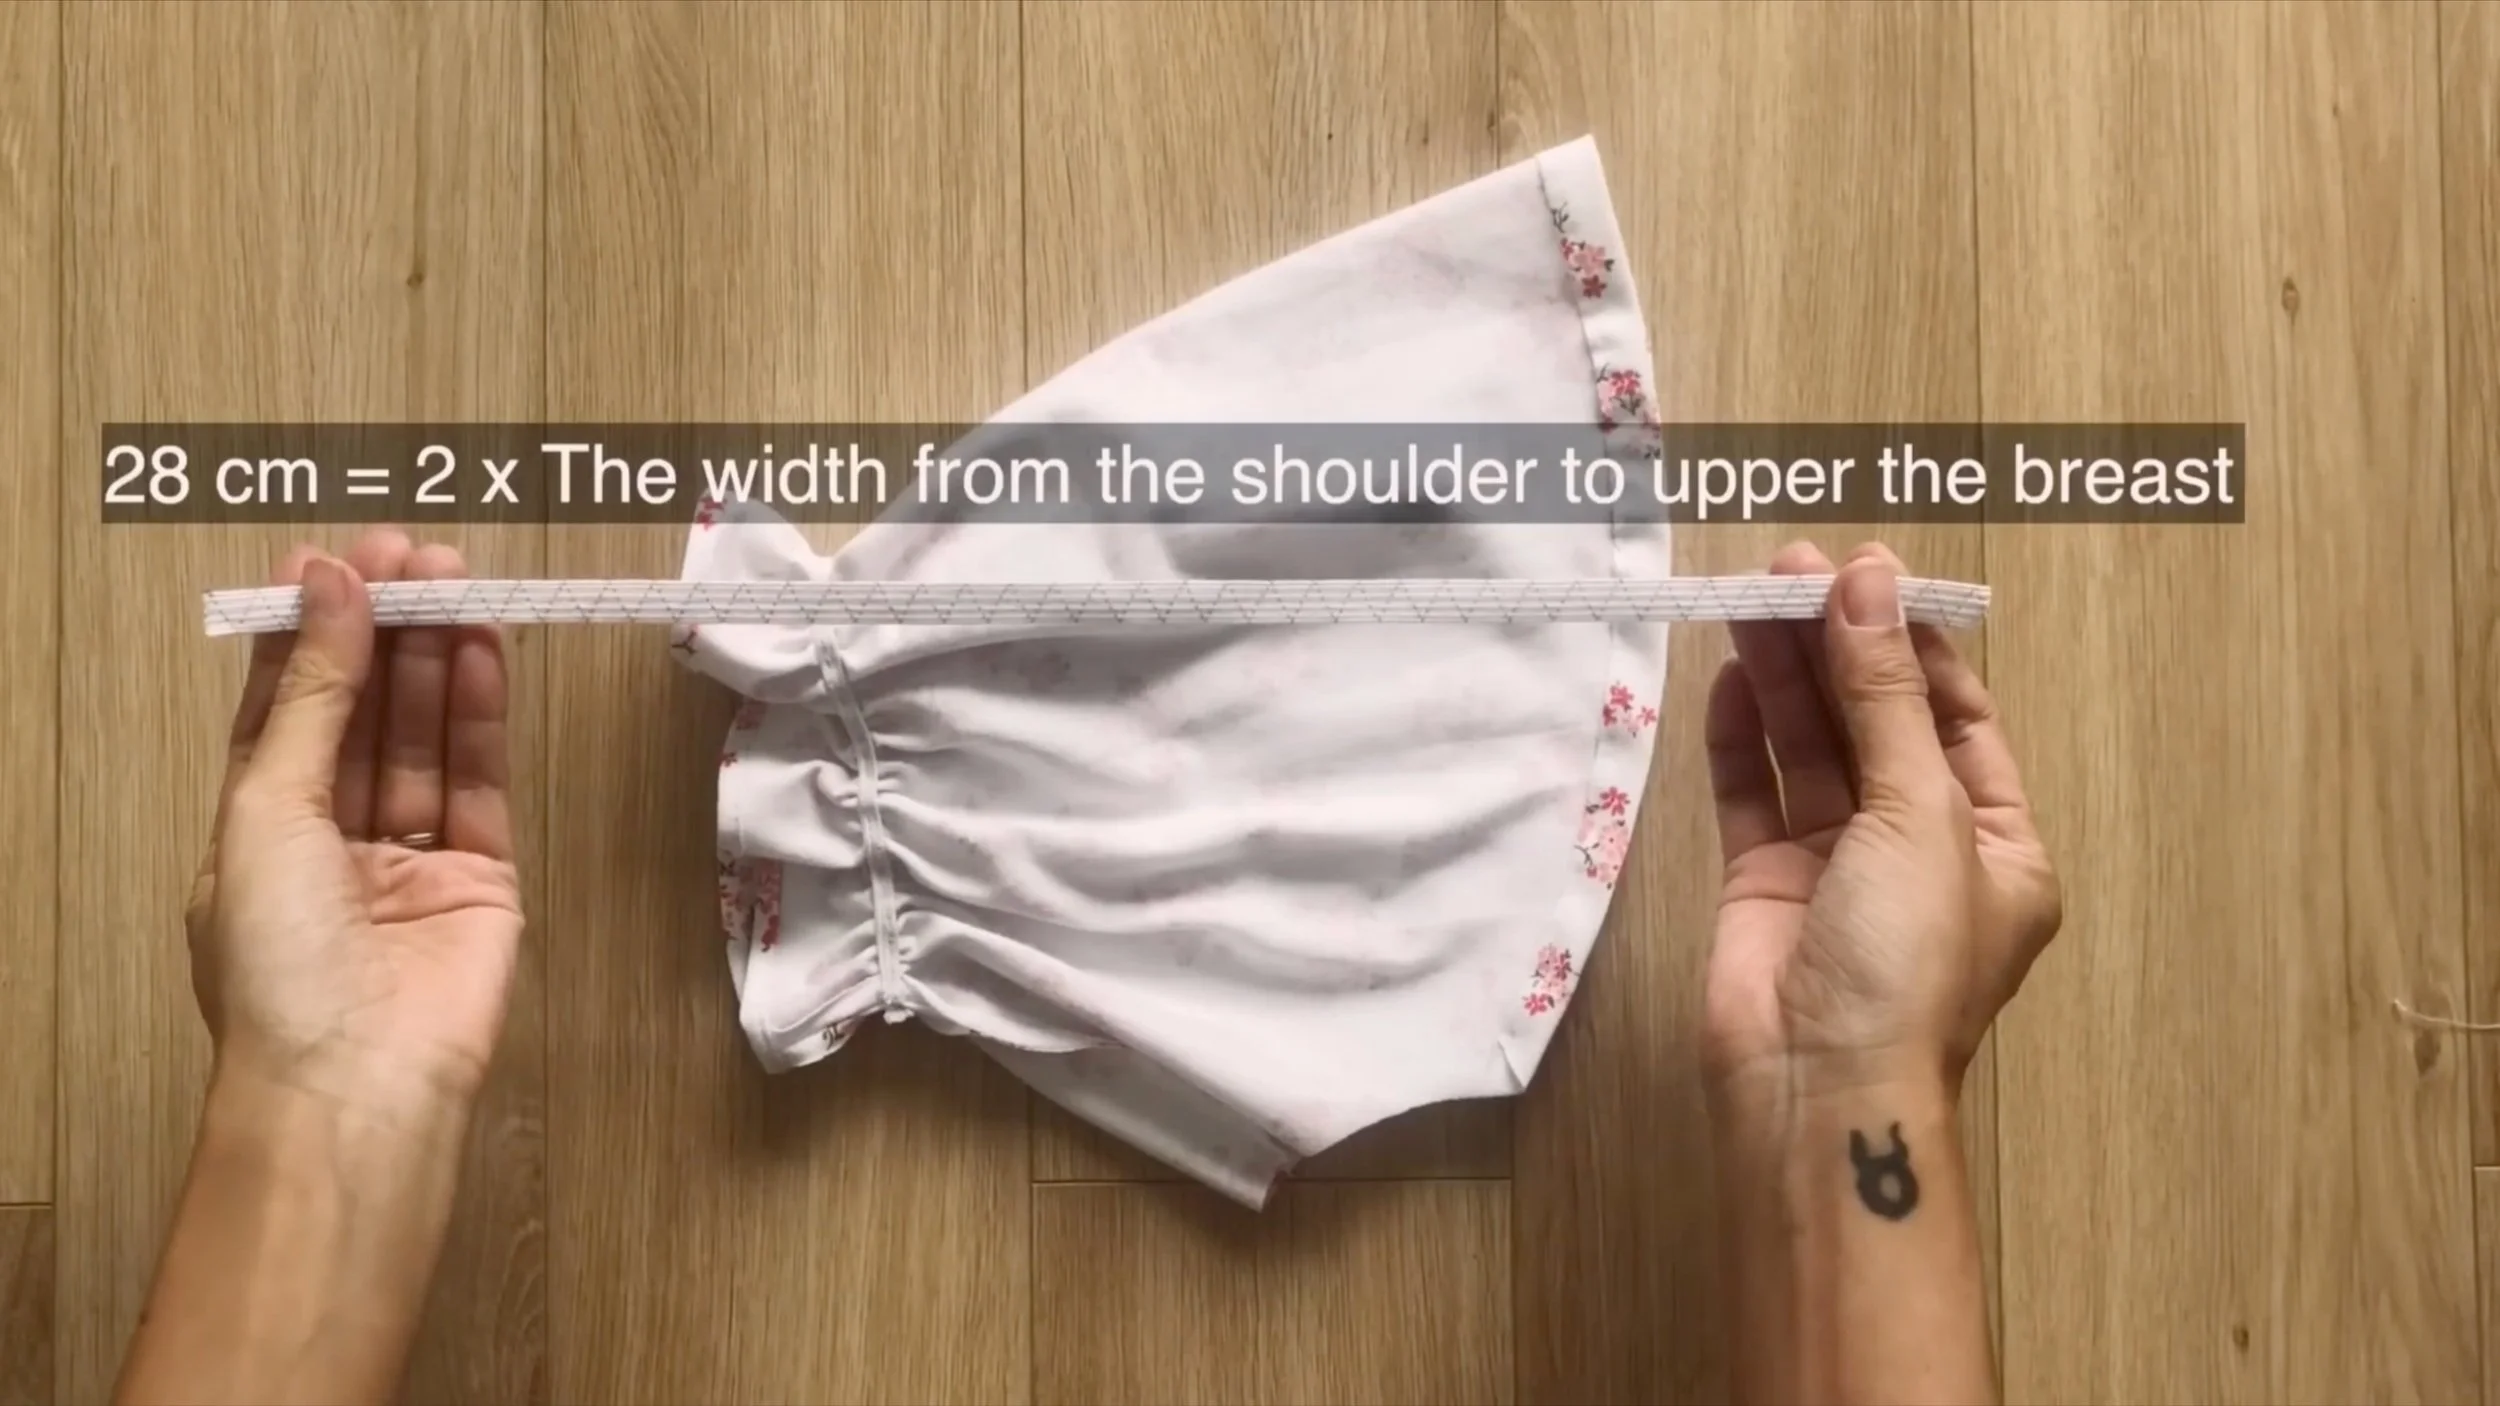
At the top of the sleeve's shoulder area, use a 1 cm wide elastic band, about 28 cm in length.
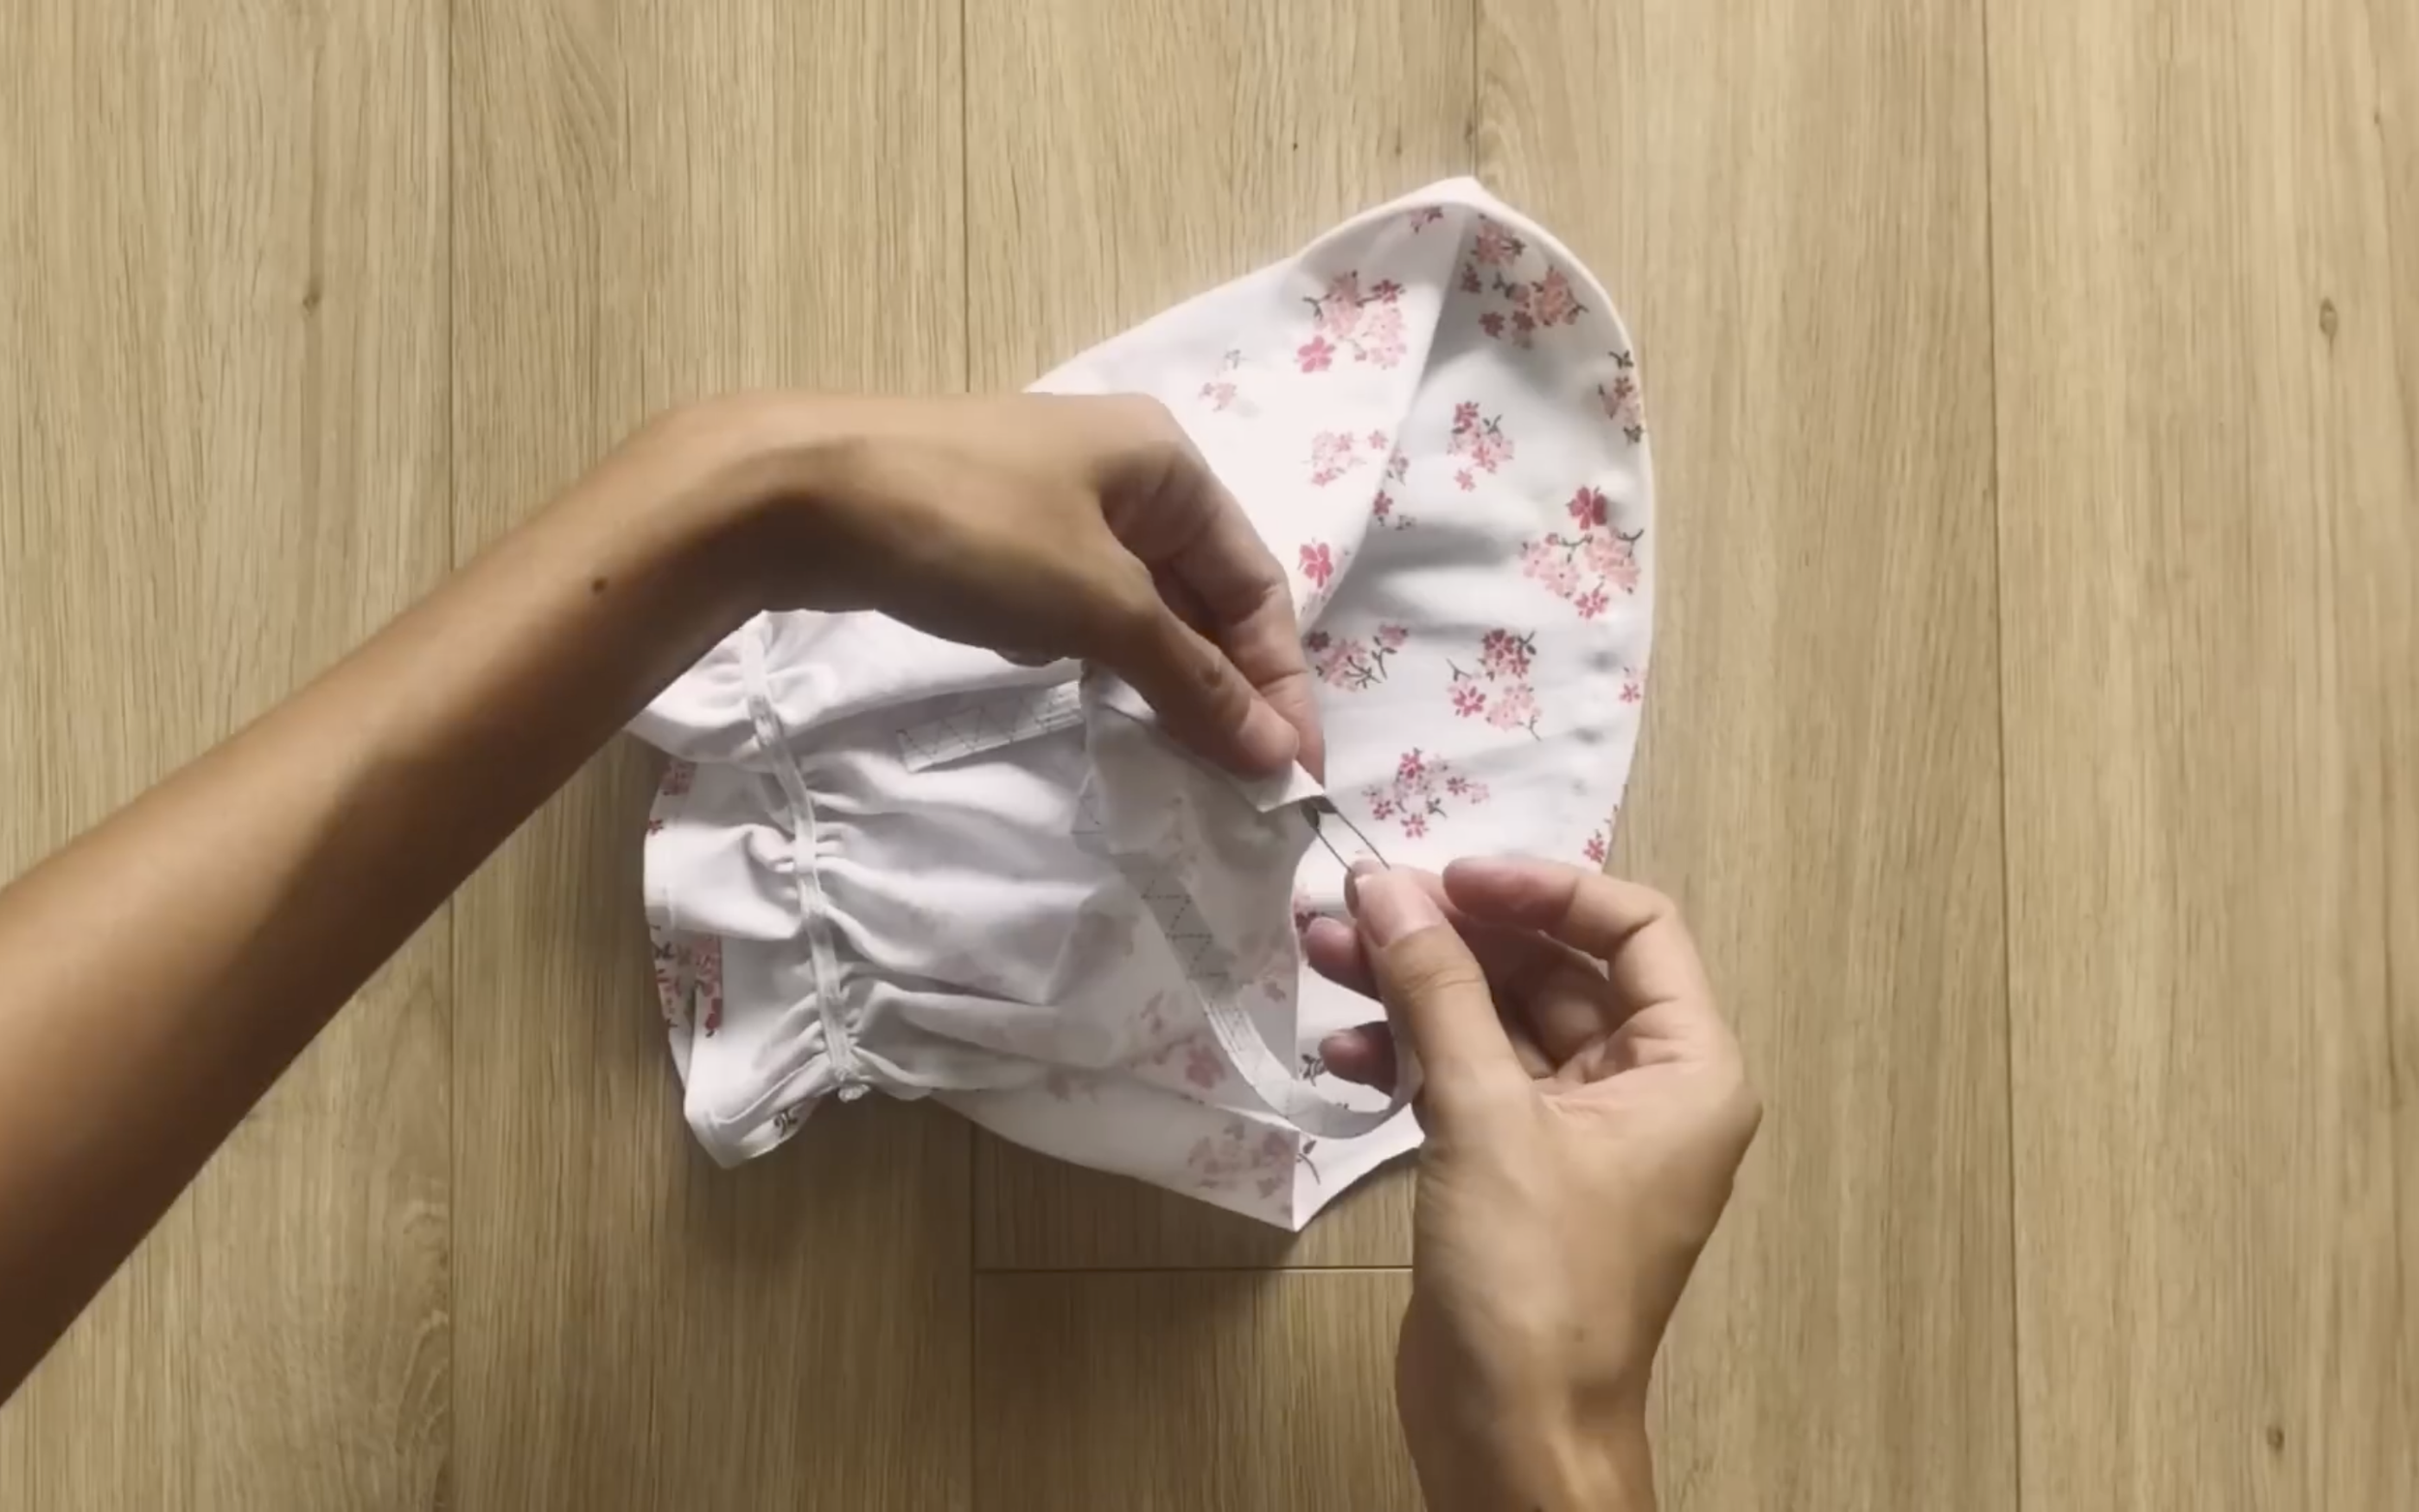
Then insert it through the hole and secure the ends to the hole.
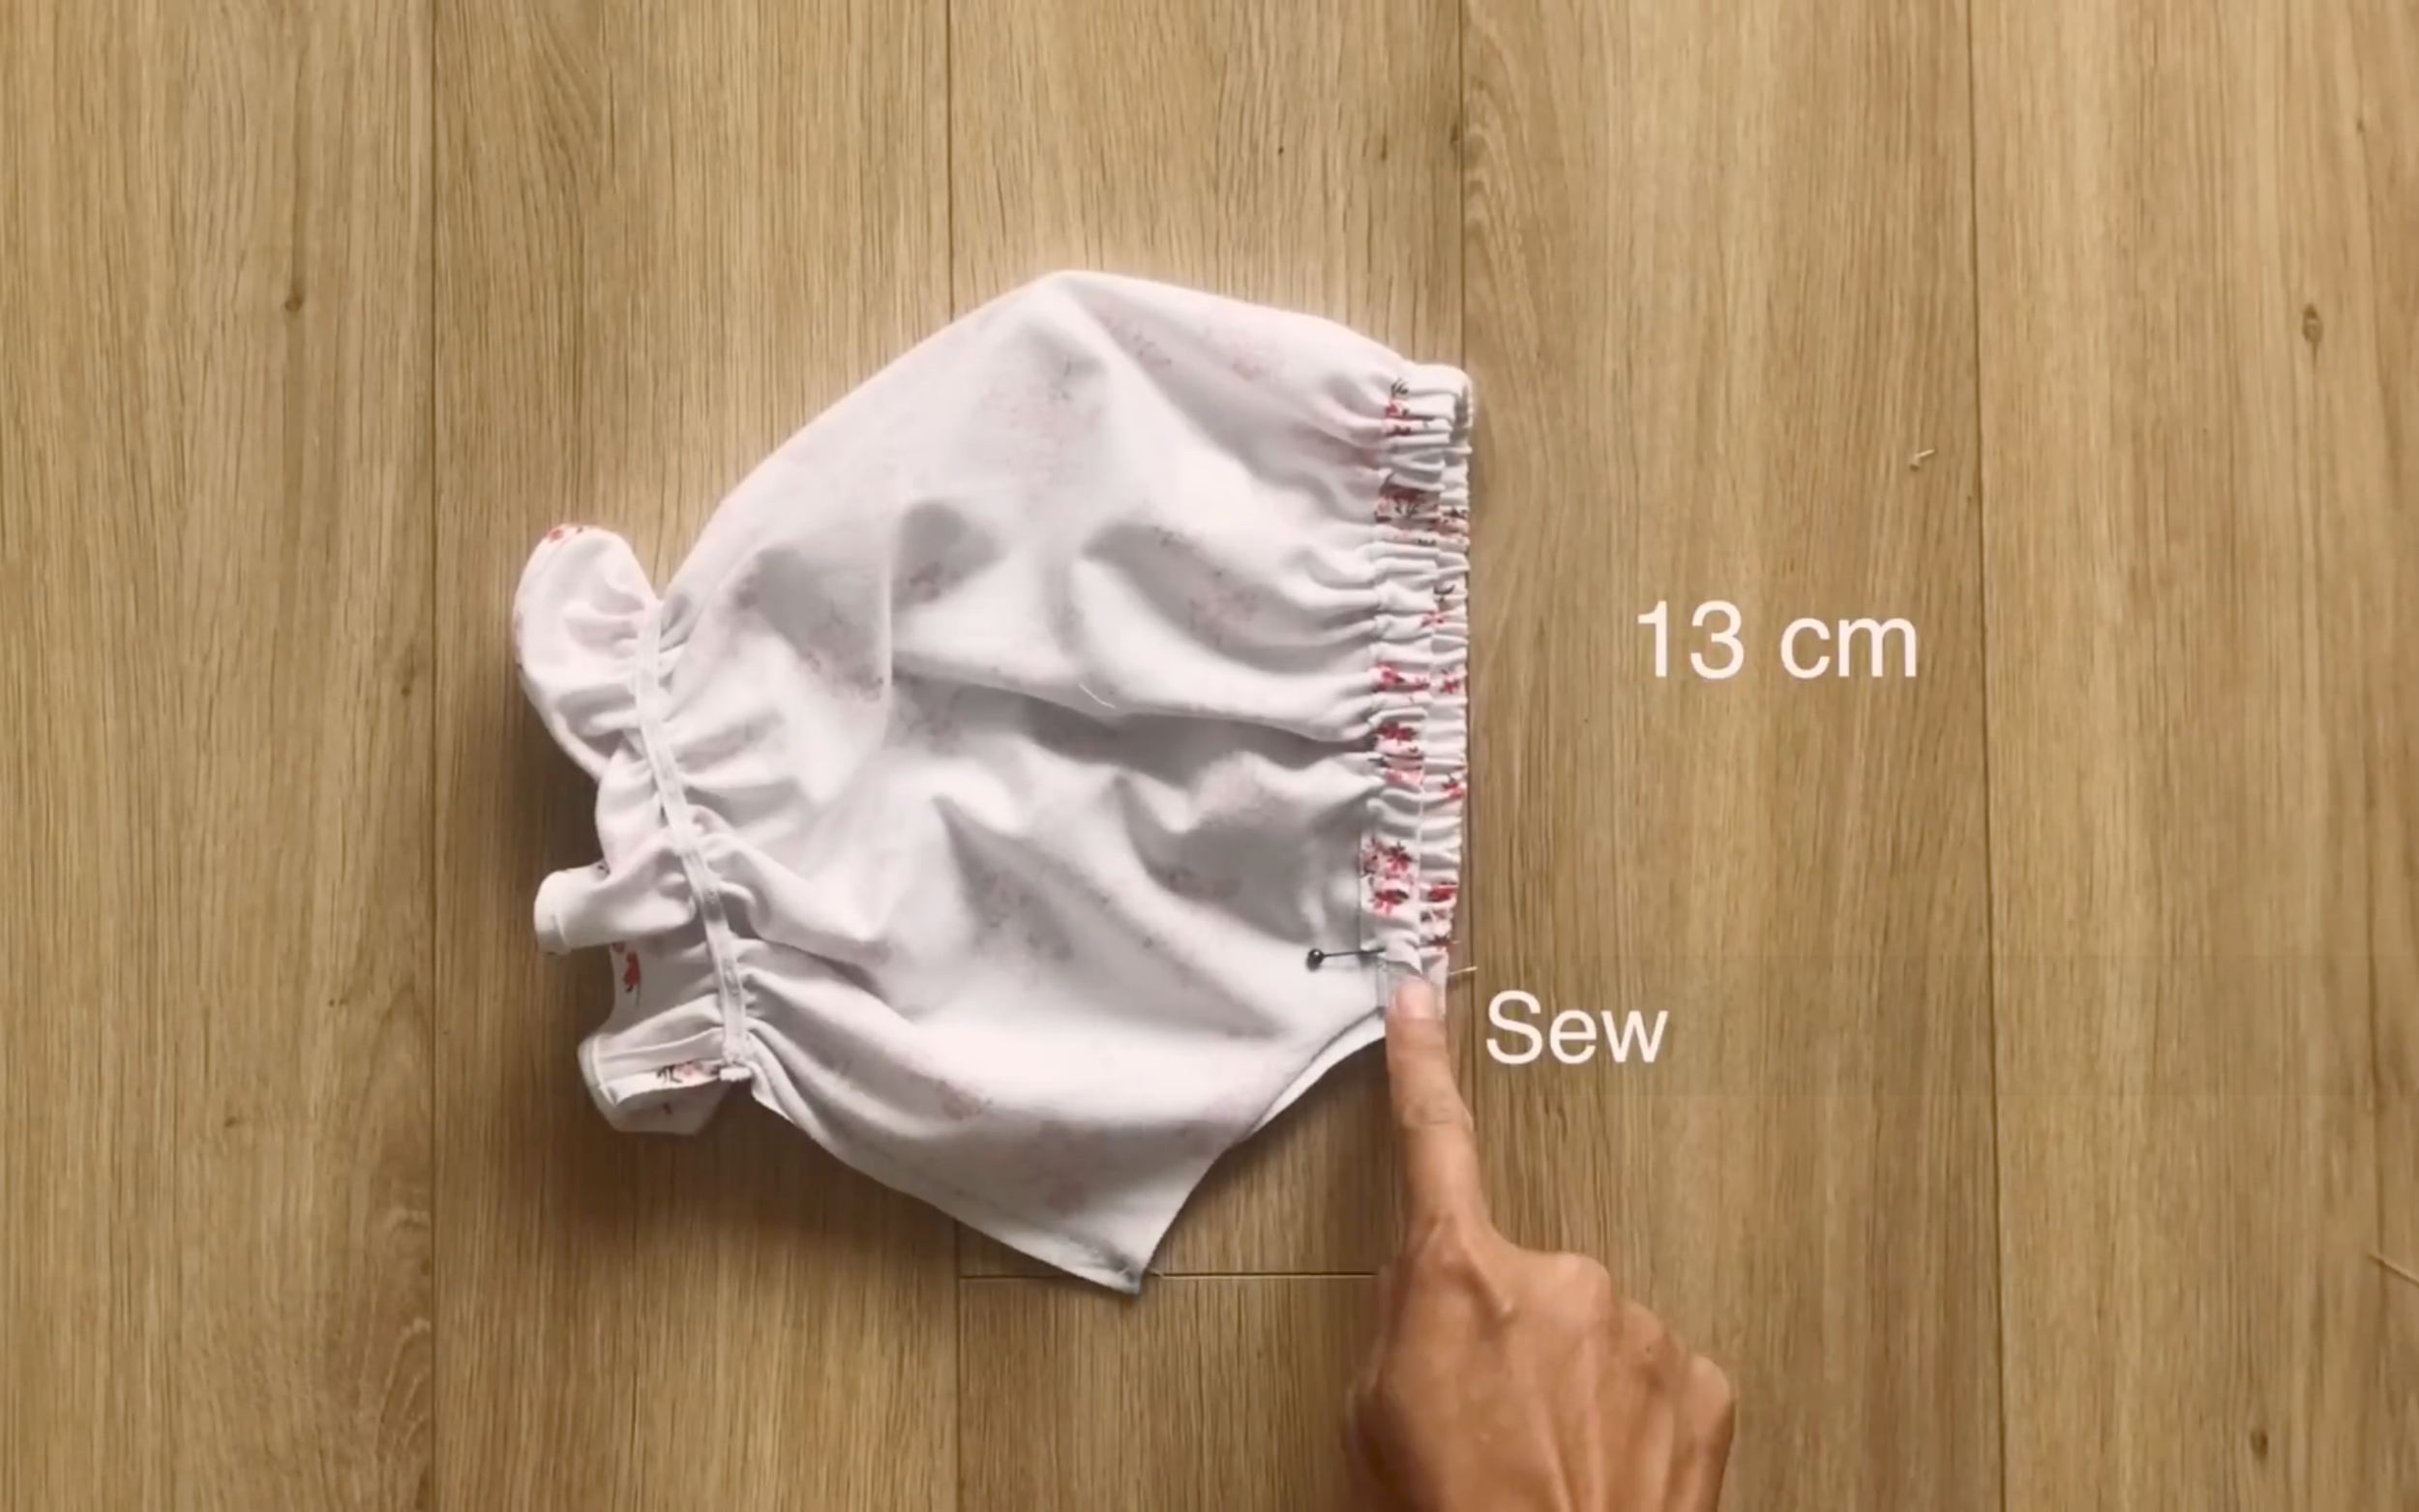
Make sure the final width of this section is 13 cm, which measures from shoulder to upper bust.
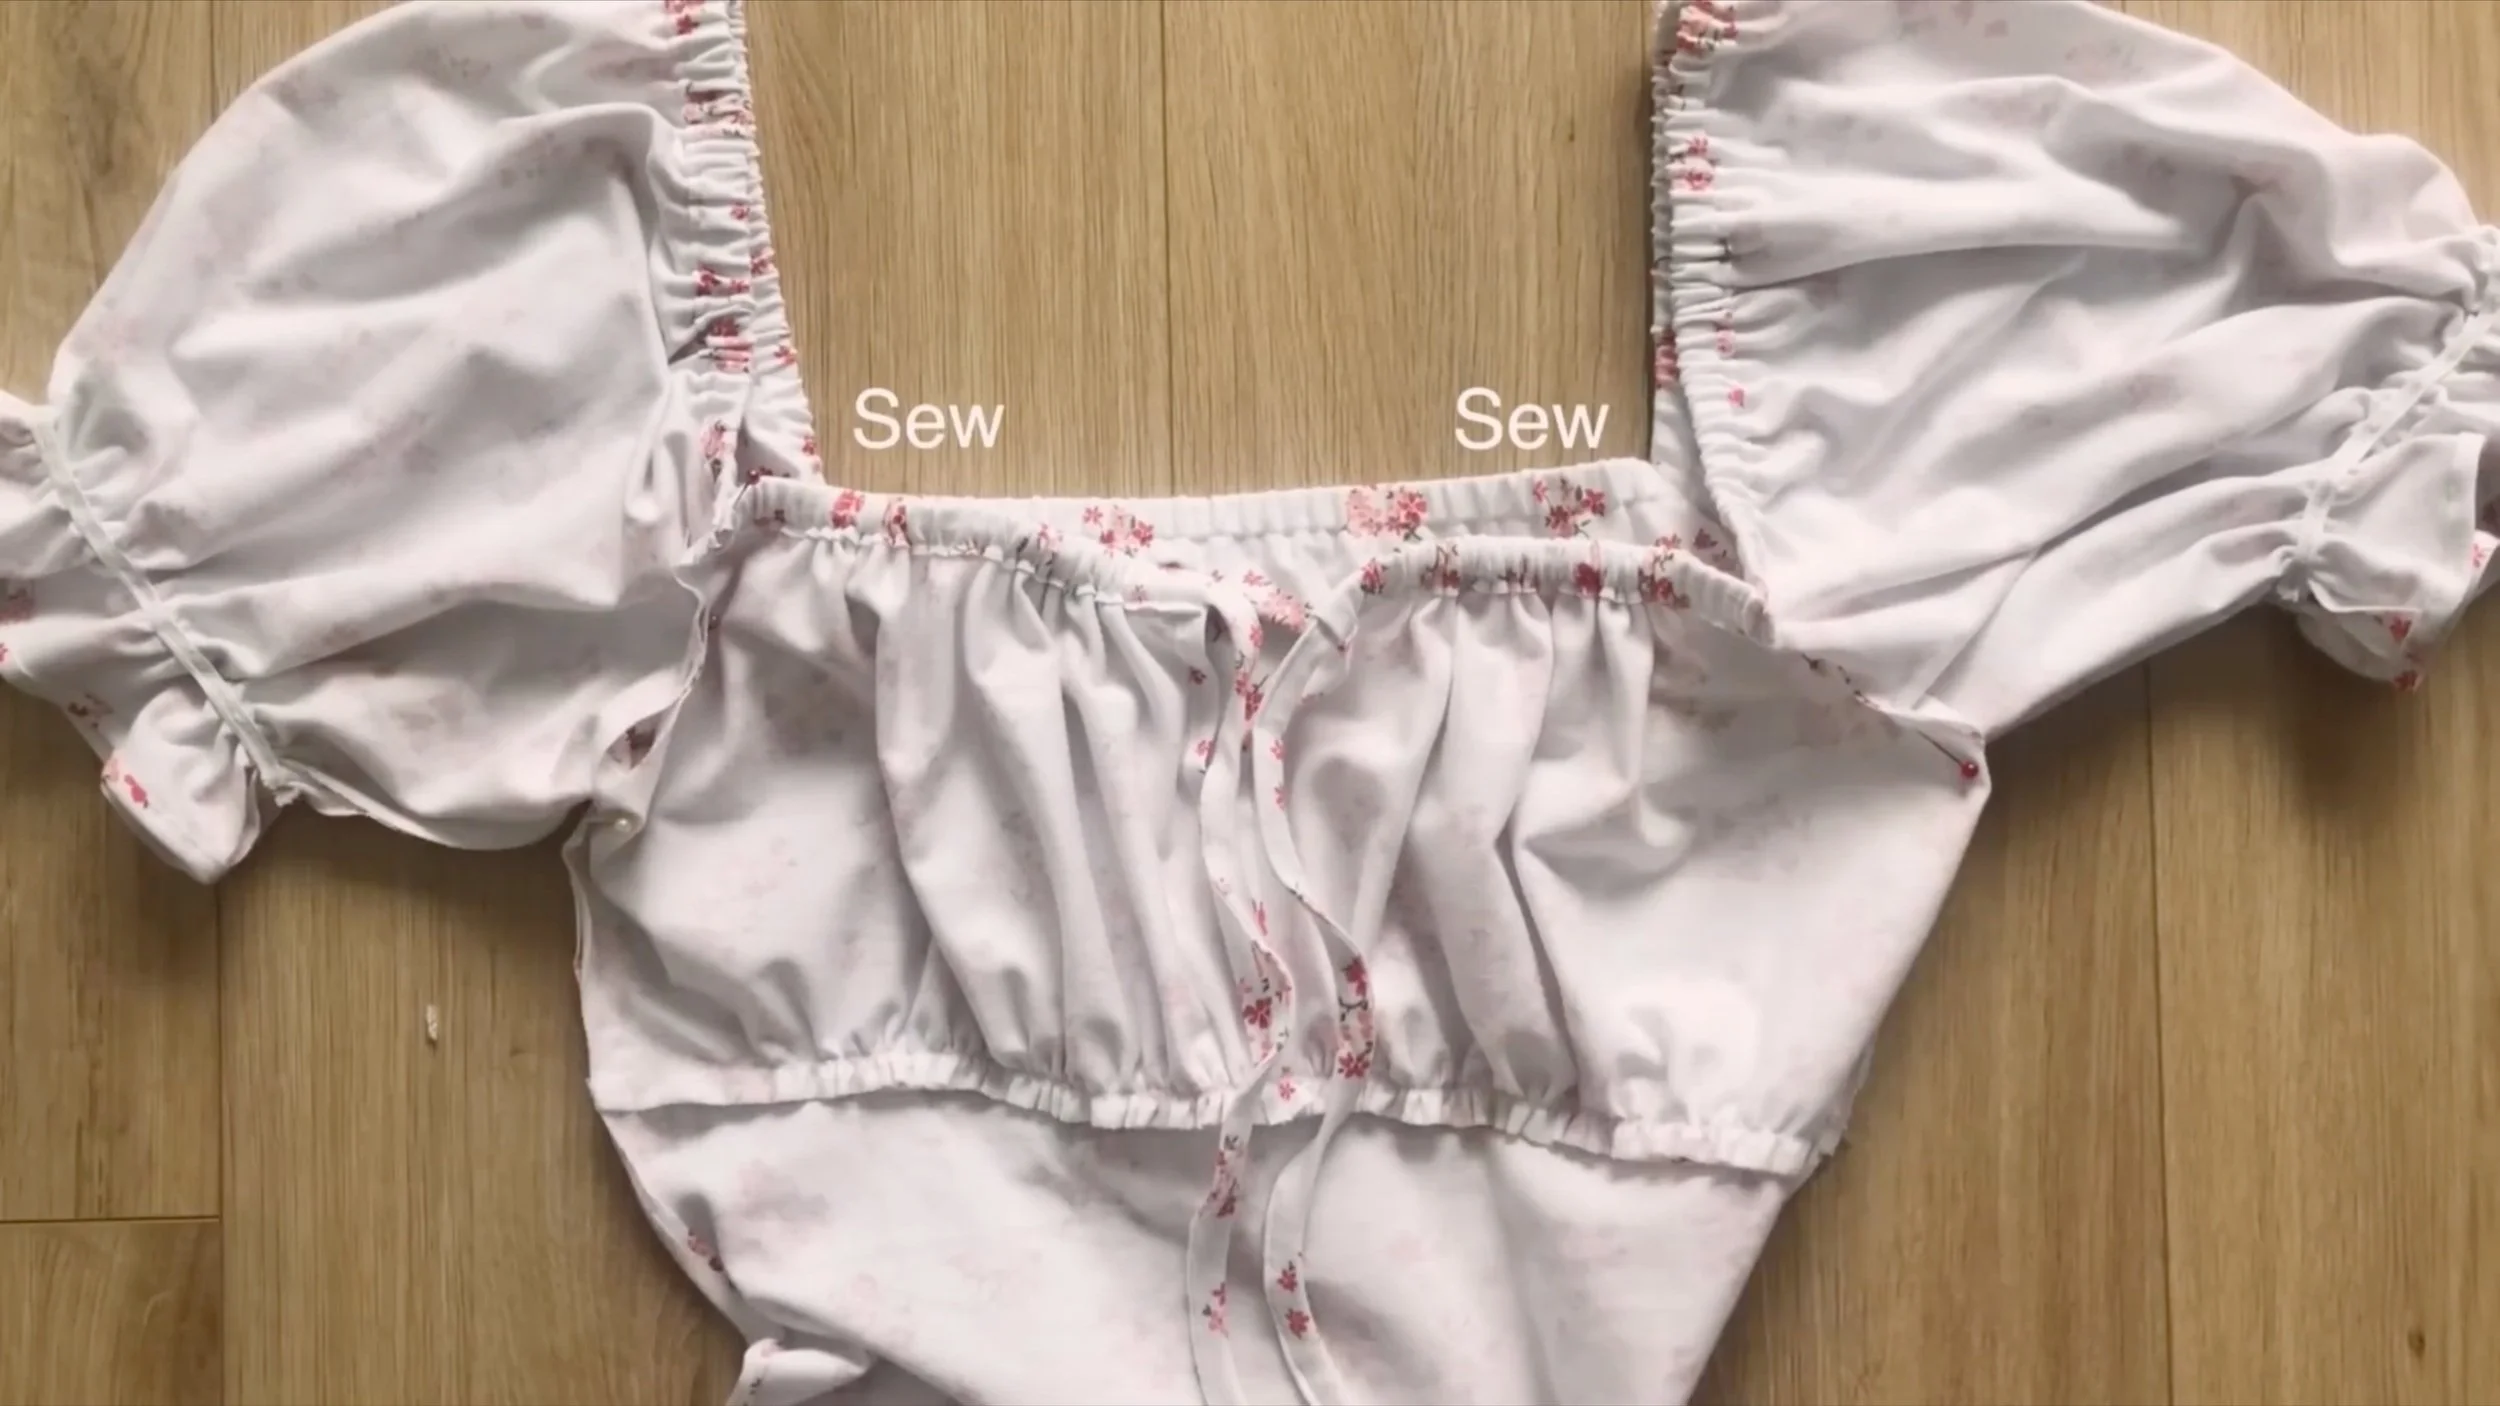
The final step is attaching the sleeves to the dress.

DIY MILKMAID DRESS (Puff sleeve version)
And that’s a wrap on this DIY! Here’s the final result—this dress gives a unique look that’s both pretty and a little sexy.
I hope you’ll give both of these dresses a try!
See you next time!