DIY Mini skirt from scratch - How to make High waist skirt

DIY High Mini Skirt from scratch
Hello, it’s Jess here!

Today, I’m excited to bring you a fresh and unique DIY project. We’re stepping away from our usual upcycling and creating a mini skirt from scratch. I’ve made sure to detail the measurement process, so you can easily follow along and create your own.
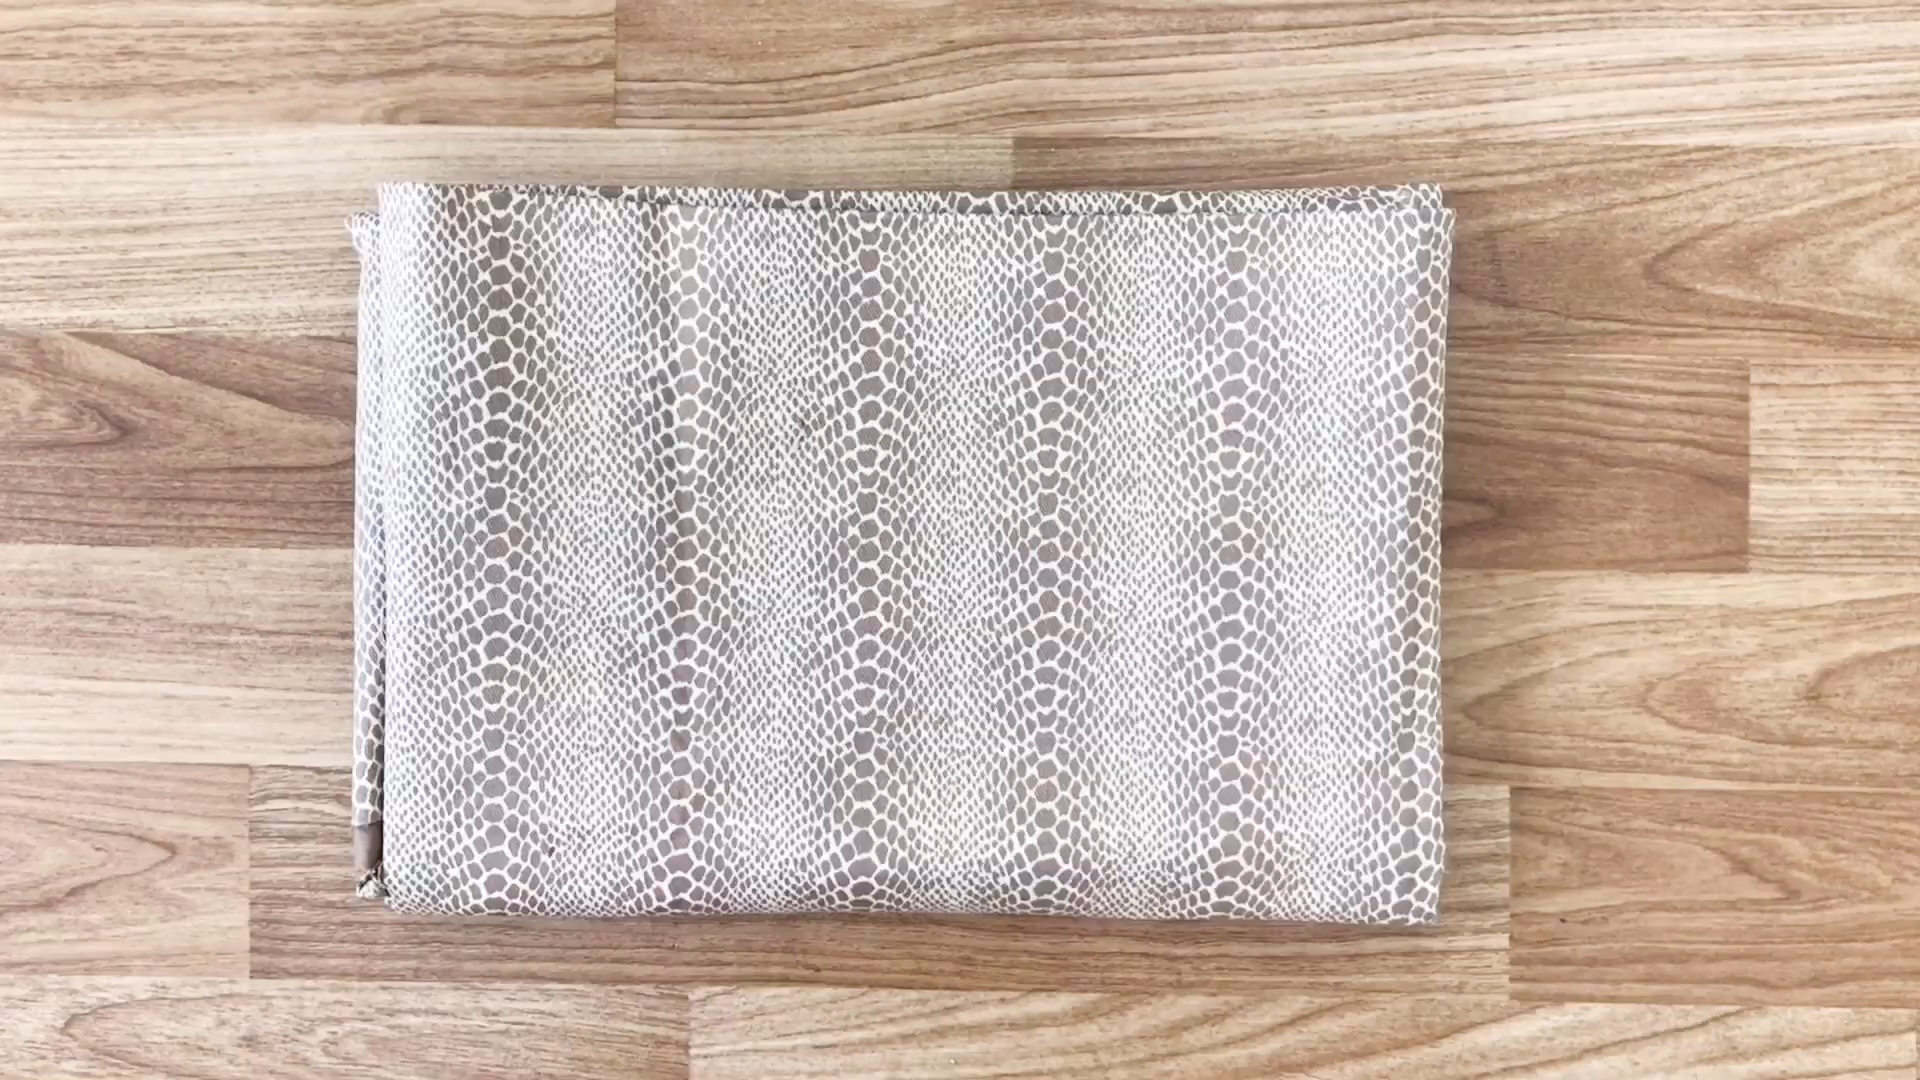
This high-waisted mini skirt features a trendy snake pattern, making it a versatile piece that can be mixed and matched for various looks. Despite its chic appearance, it’s not difficult to make.
So, Let’s get sewing!
WHAT YOU’LL NEED
Scratch
Pattern paper
Sewing machine
Pins
Scissors
Ruler
Long stick
SEWING THE SKIRT
THE MAIN BODY
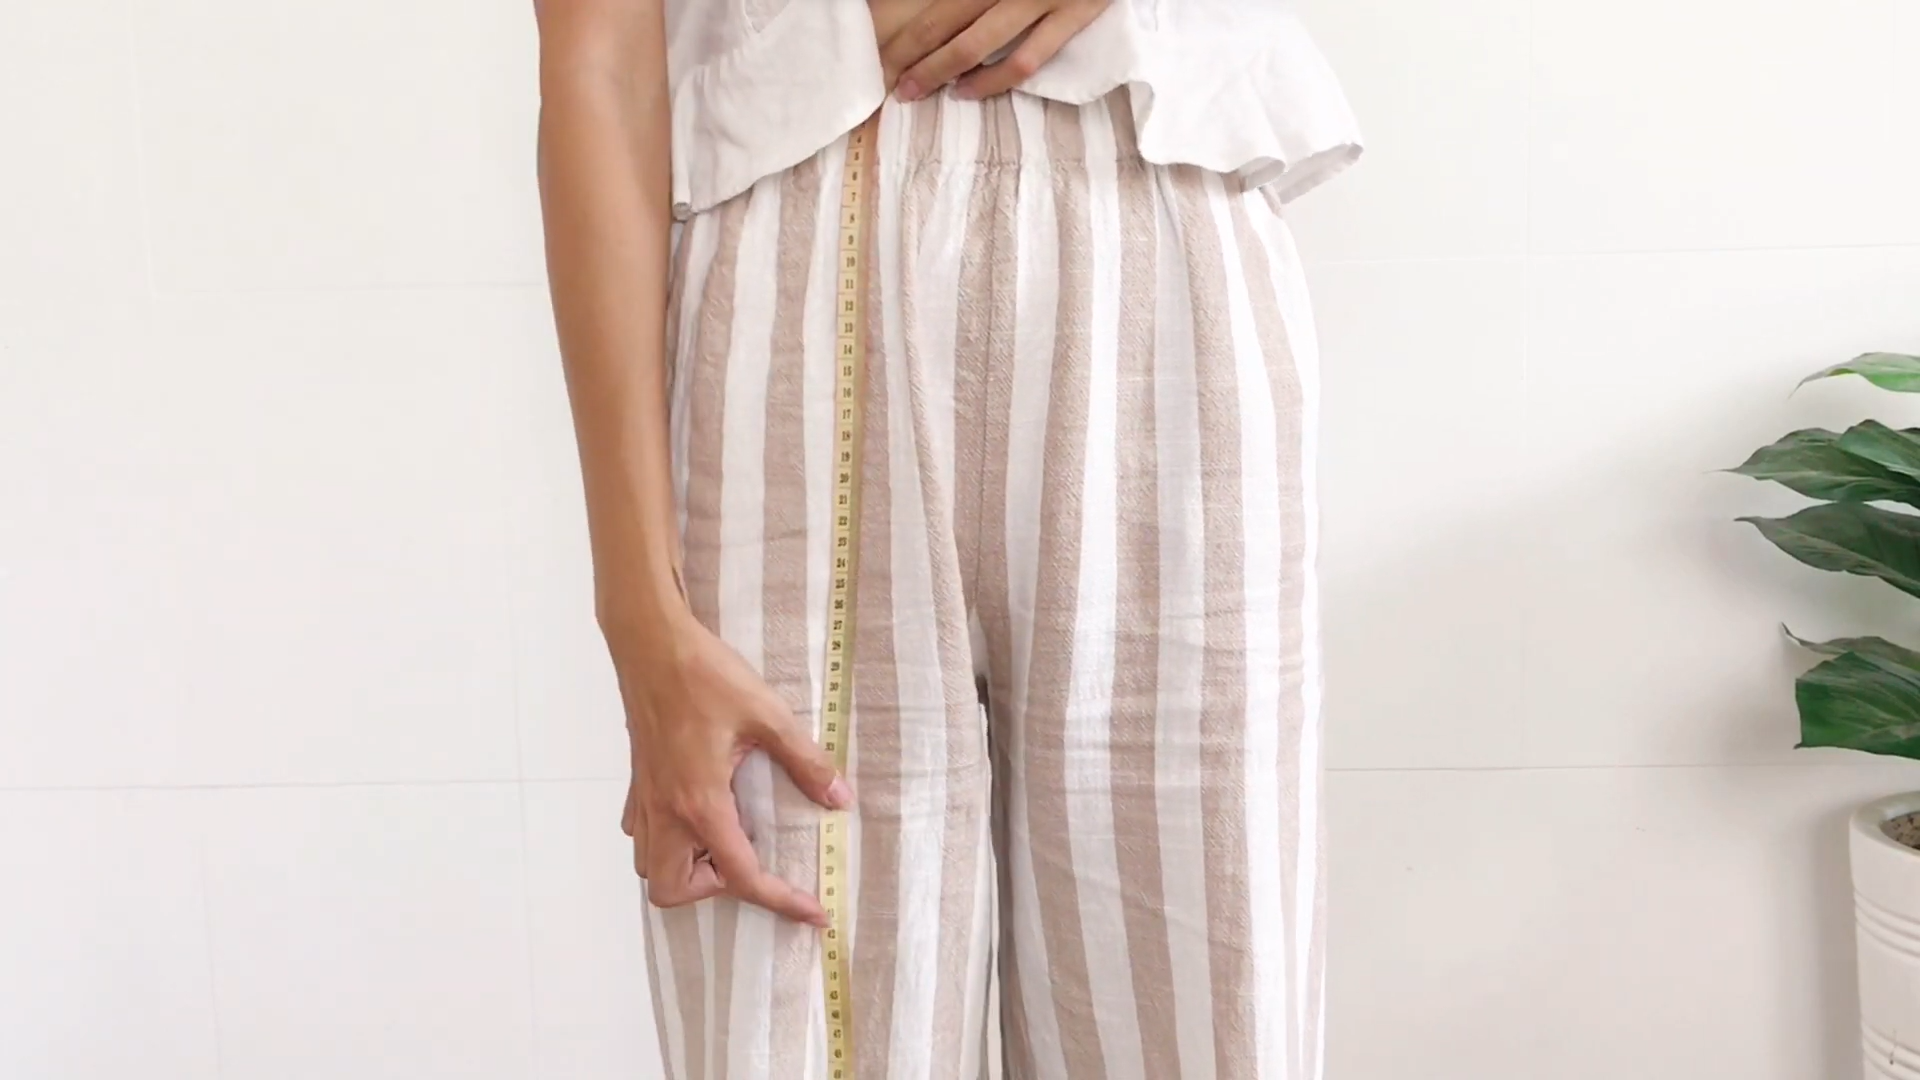
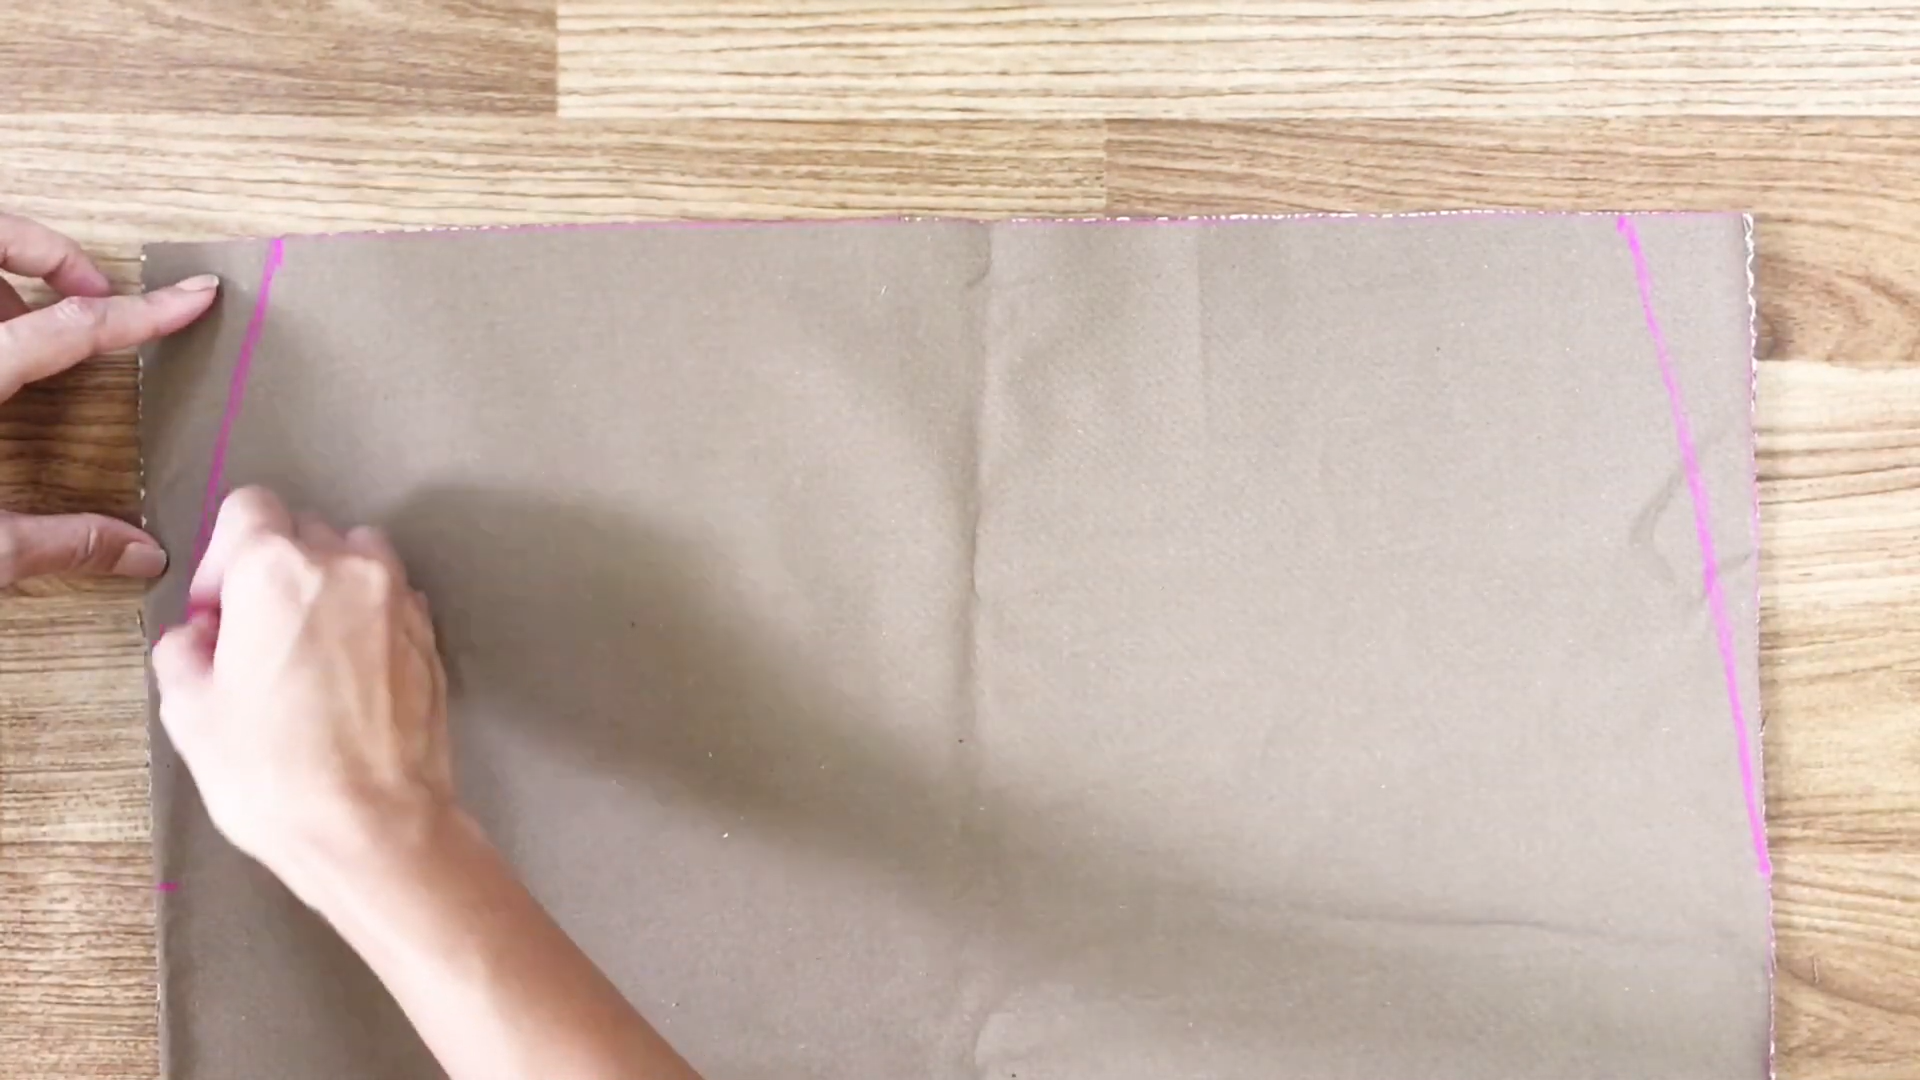
The first step is to measure your hip size, waist size, and the desired length of the skirt.
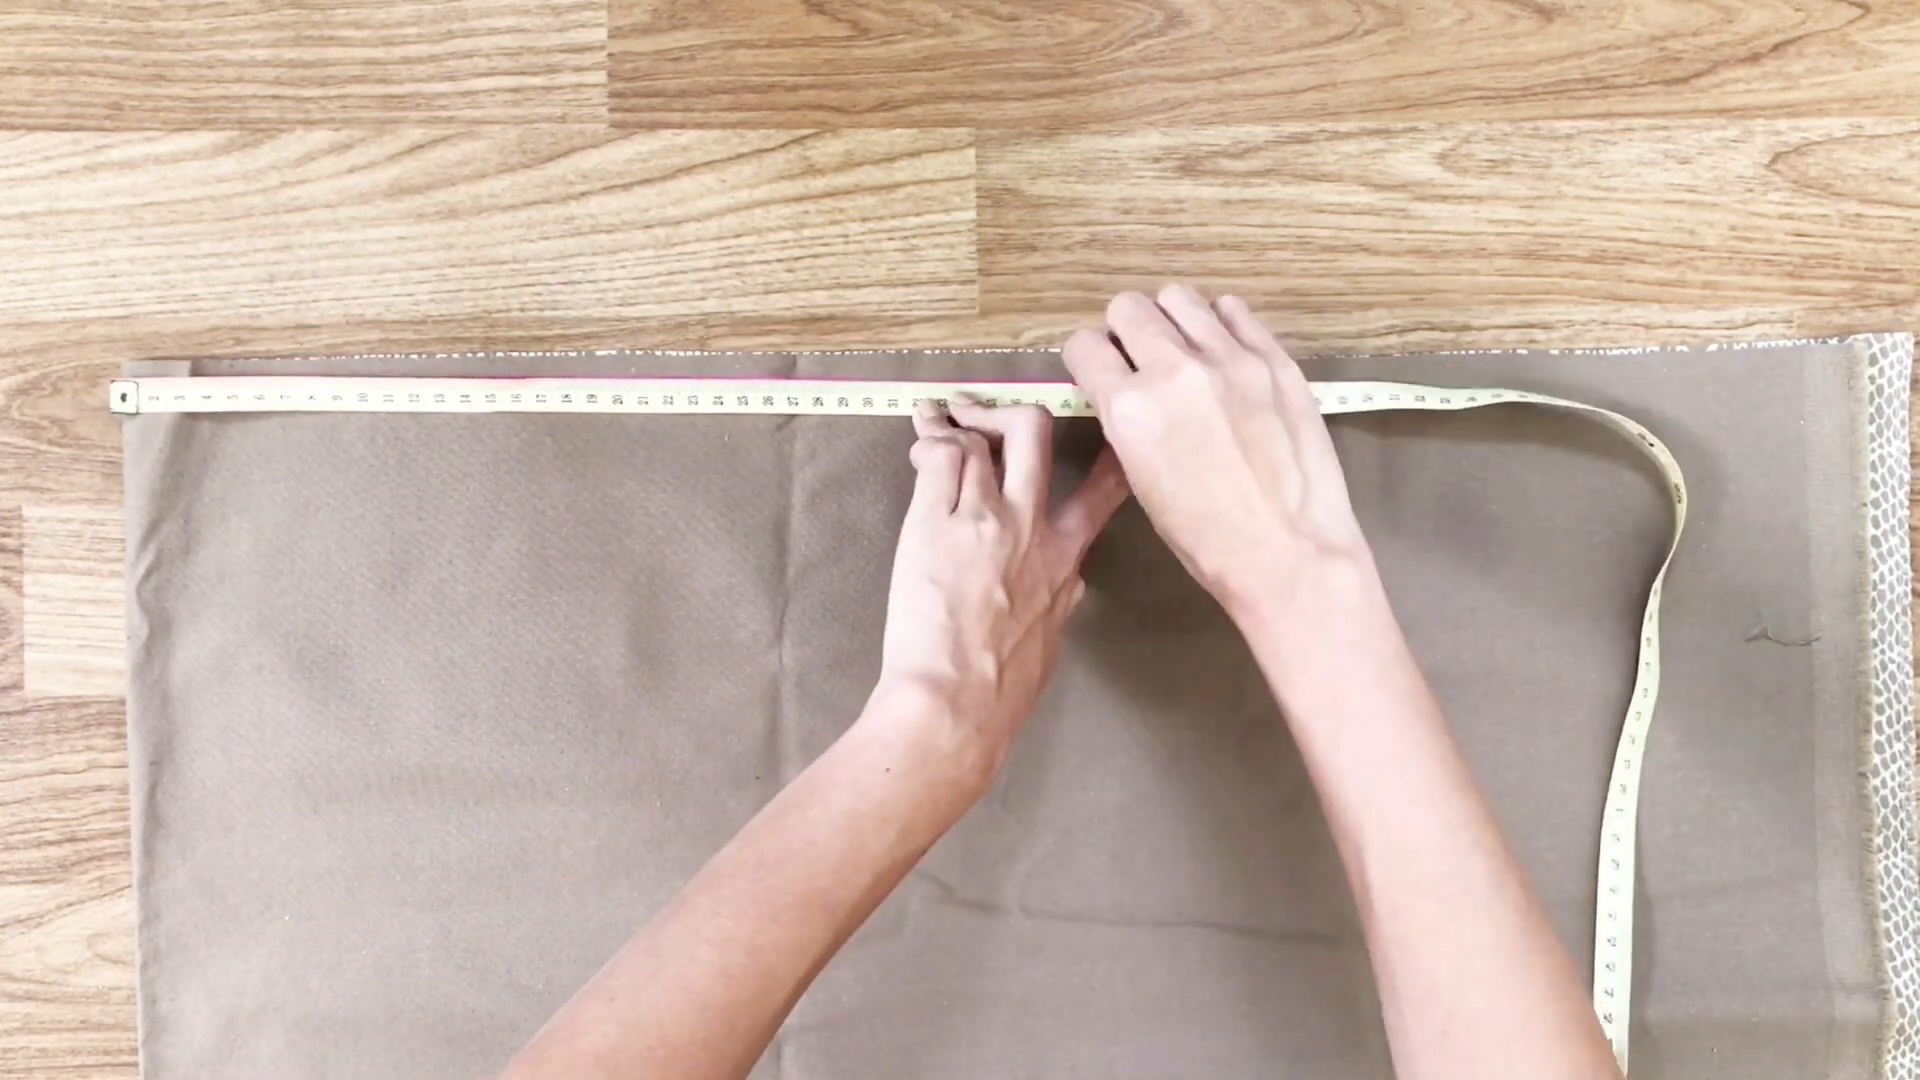
After measuring, draw on the fabric.
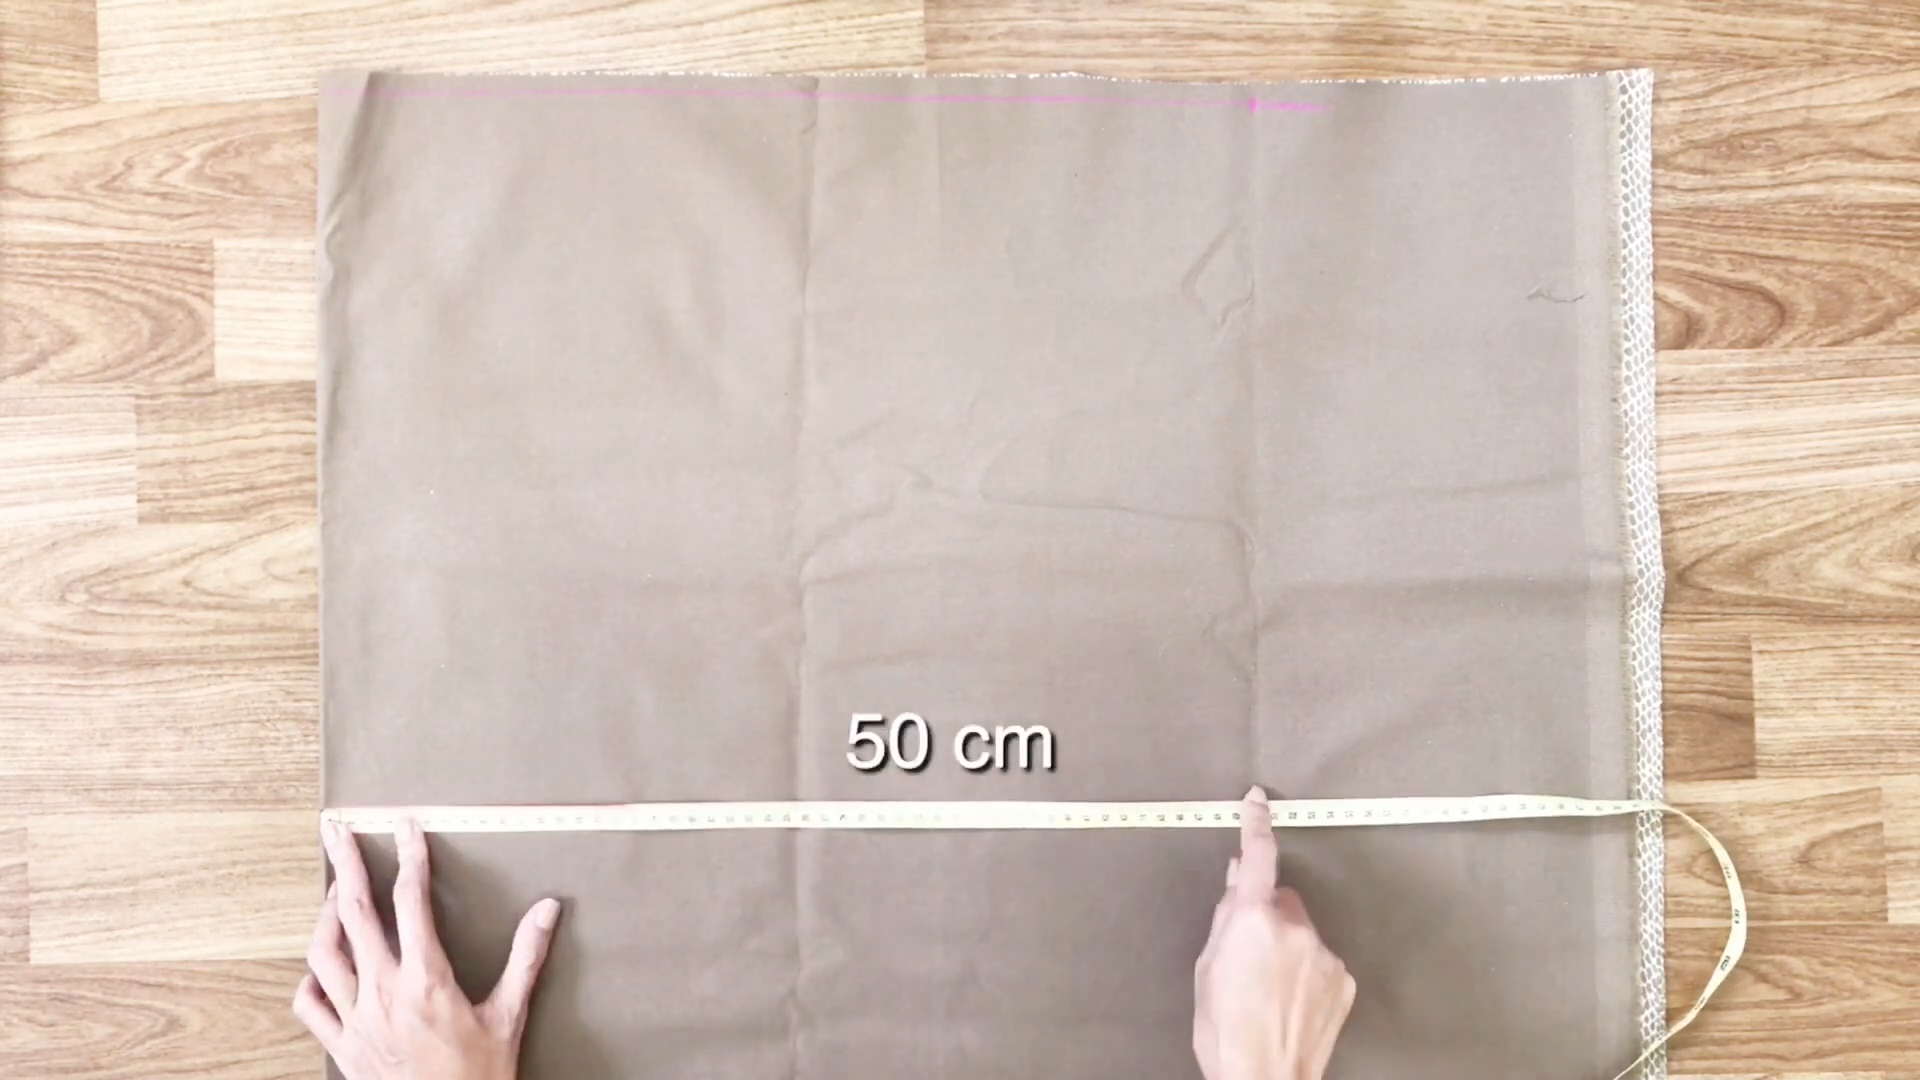
The width of the skirt will be half of your hip size plus 4 cm, which is 50 cm.
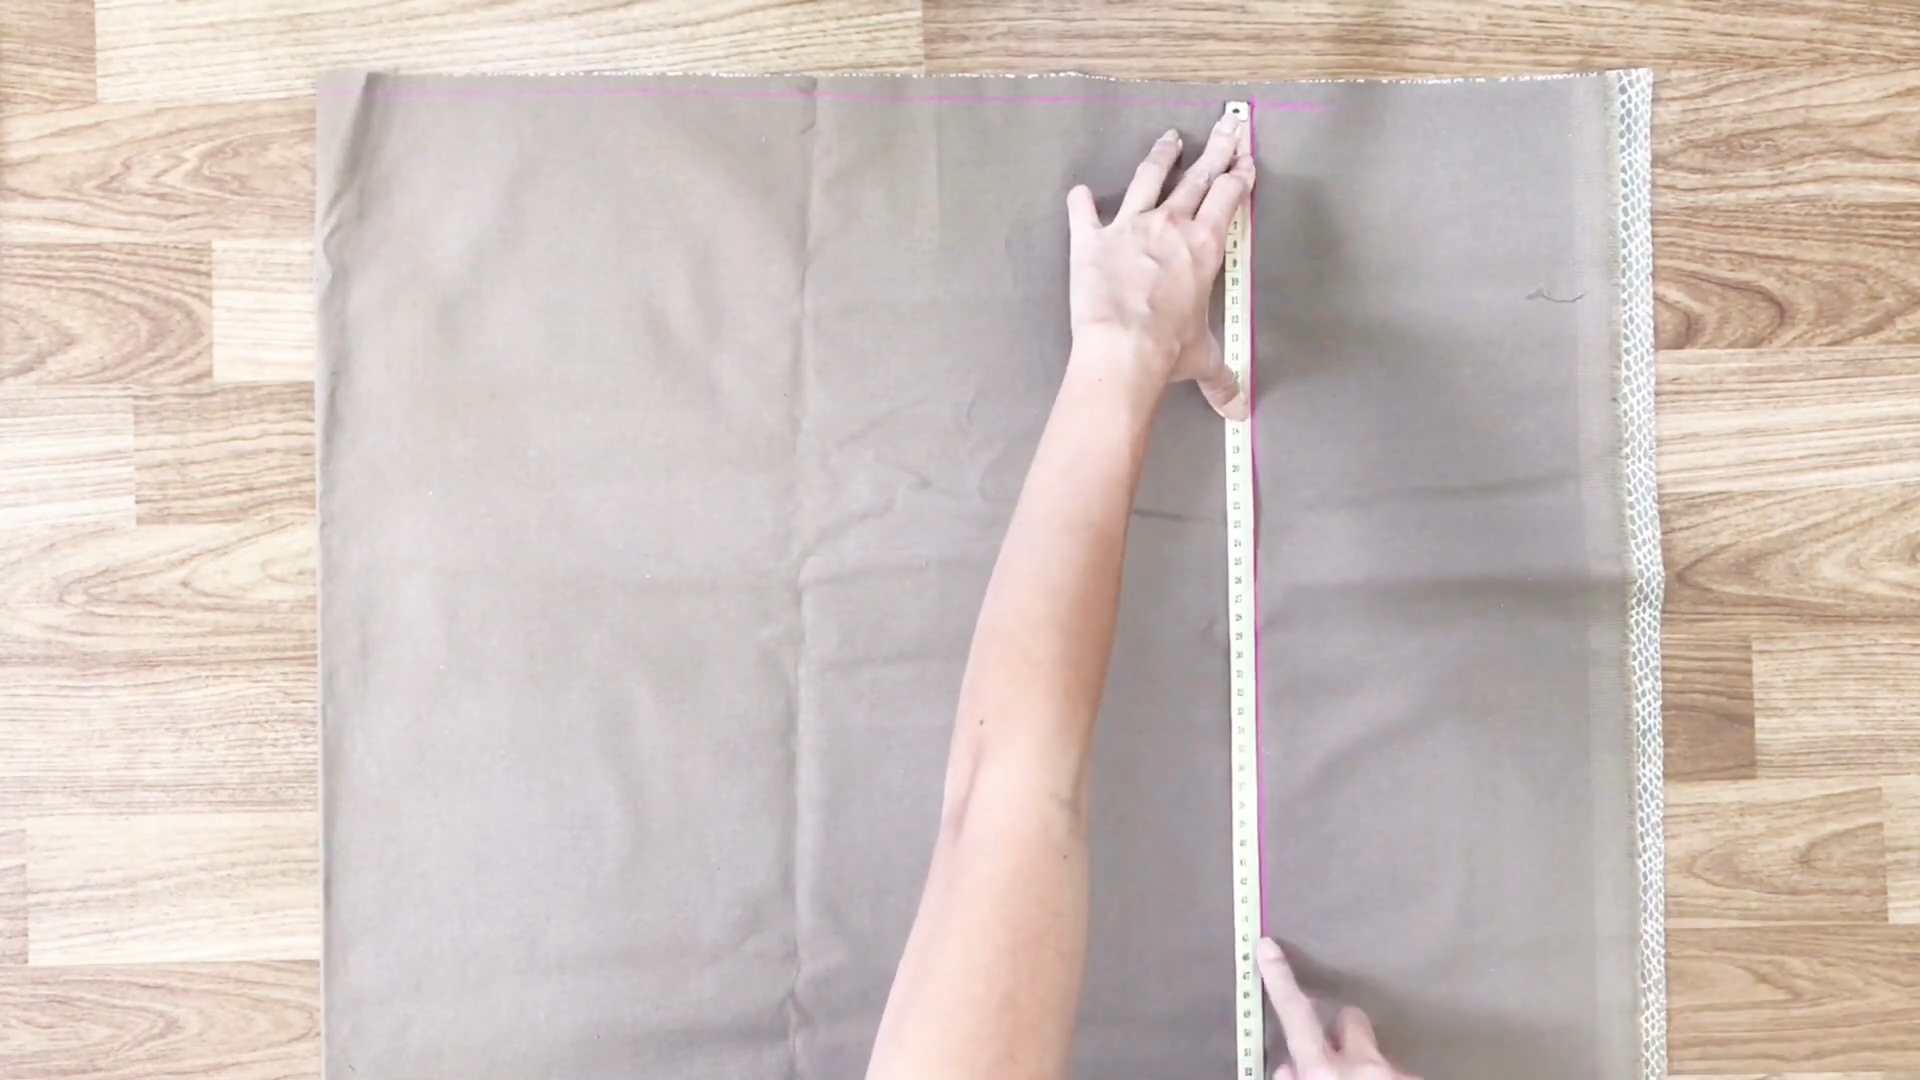
For the length of this skirt, if you want around 41 cm, so draw on the fabric 45 cm, which is 4 cm longer than your expected length.
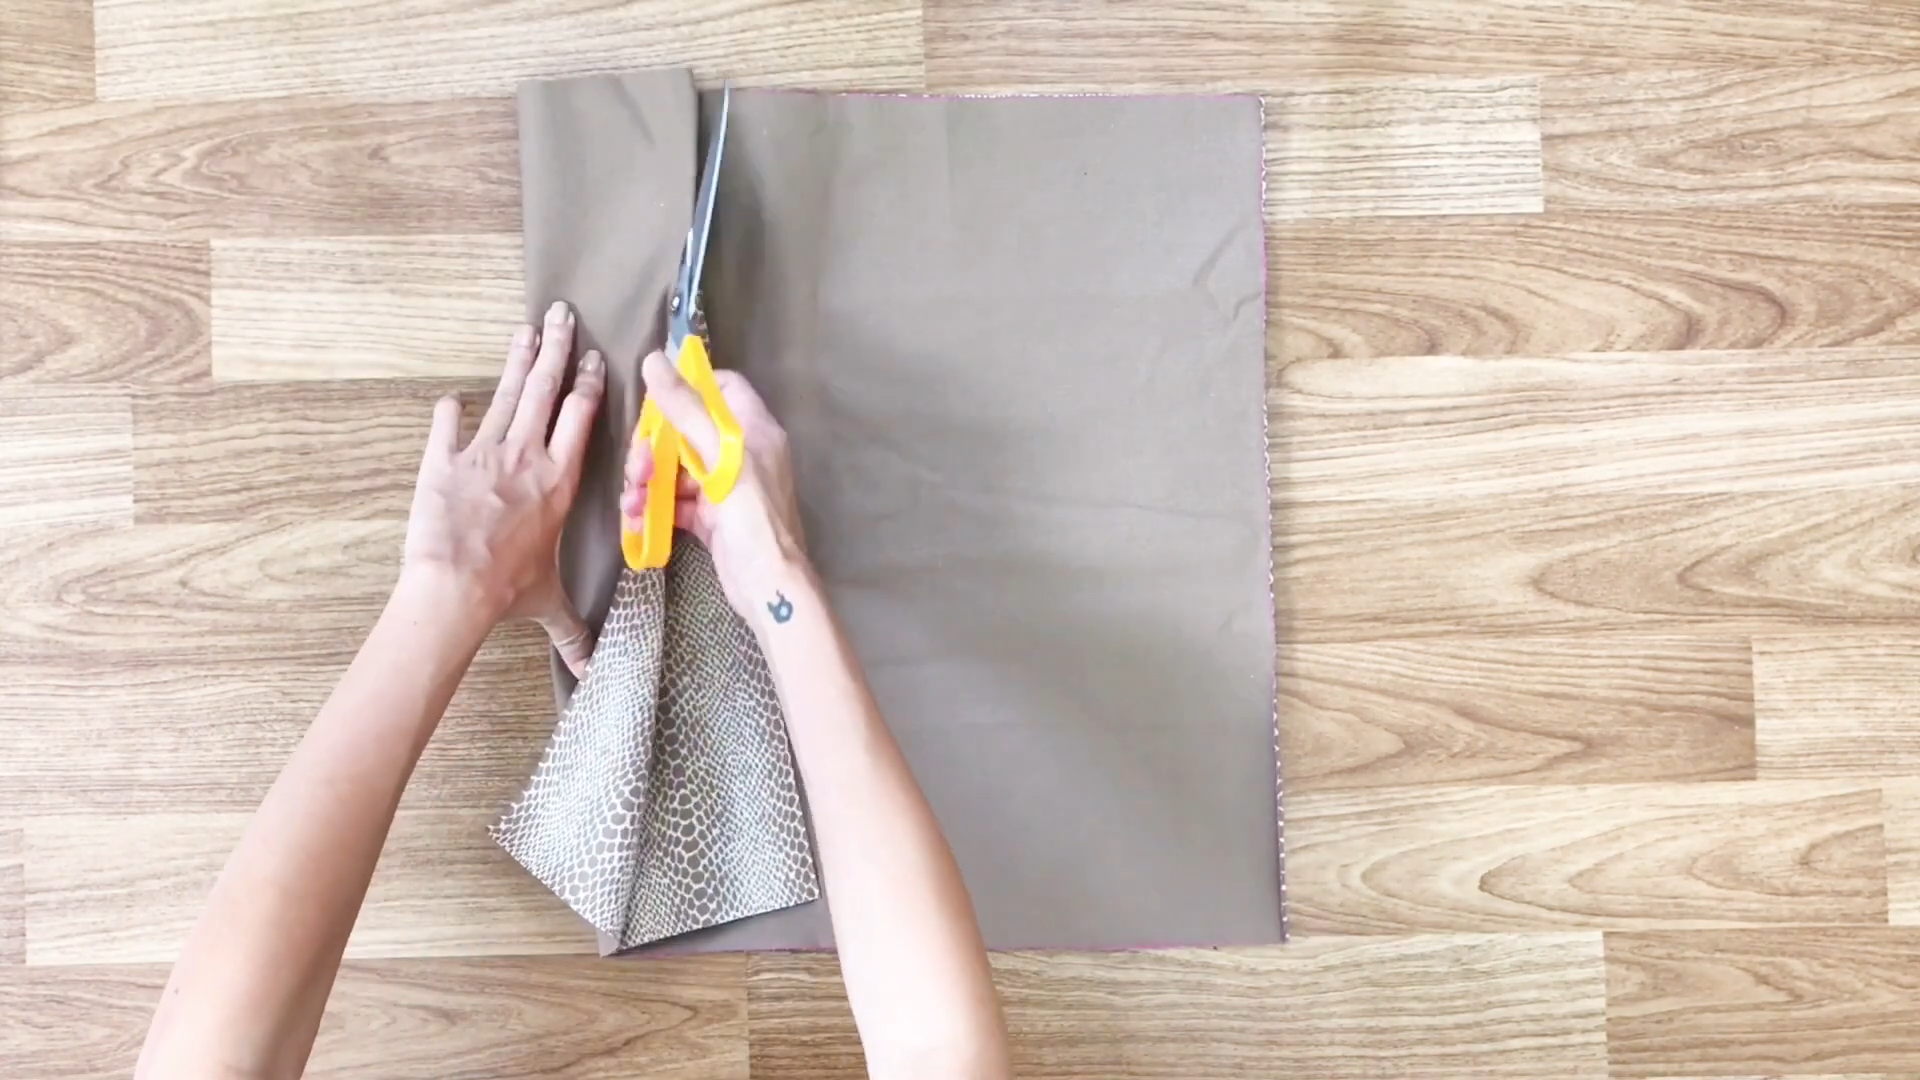
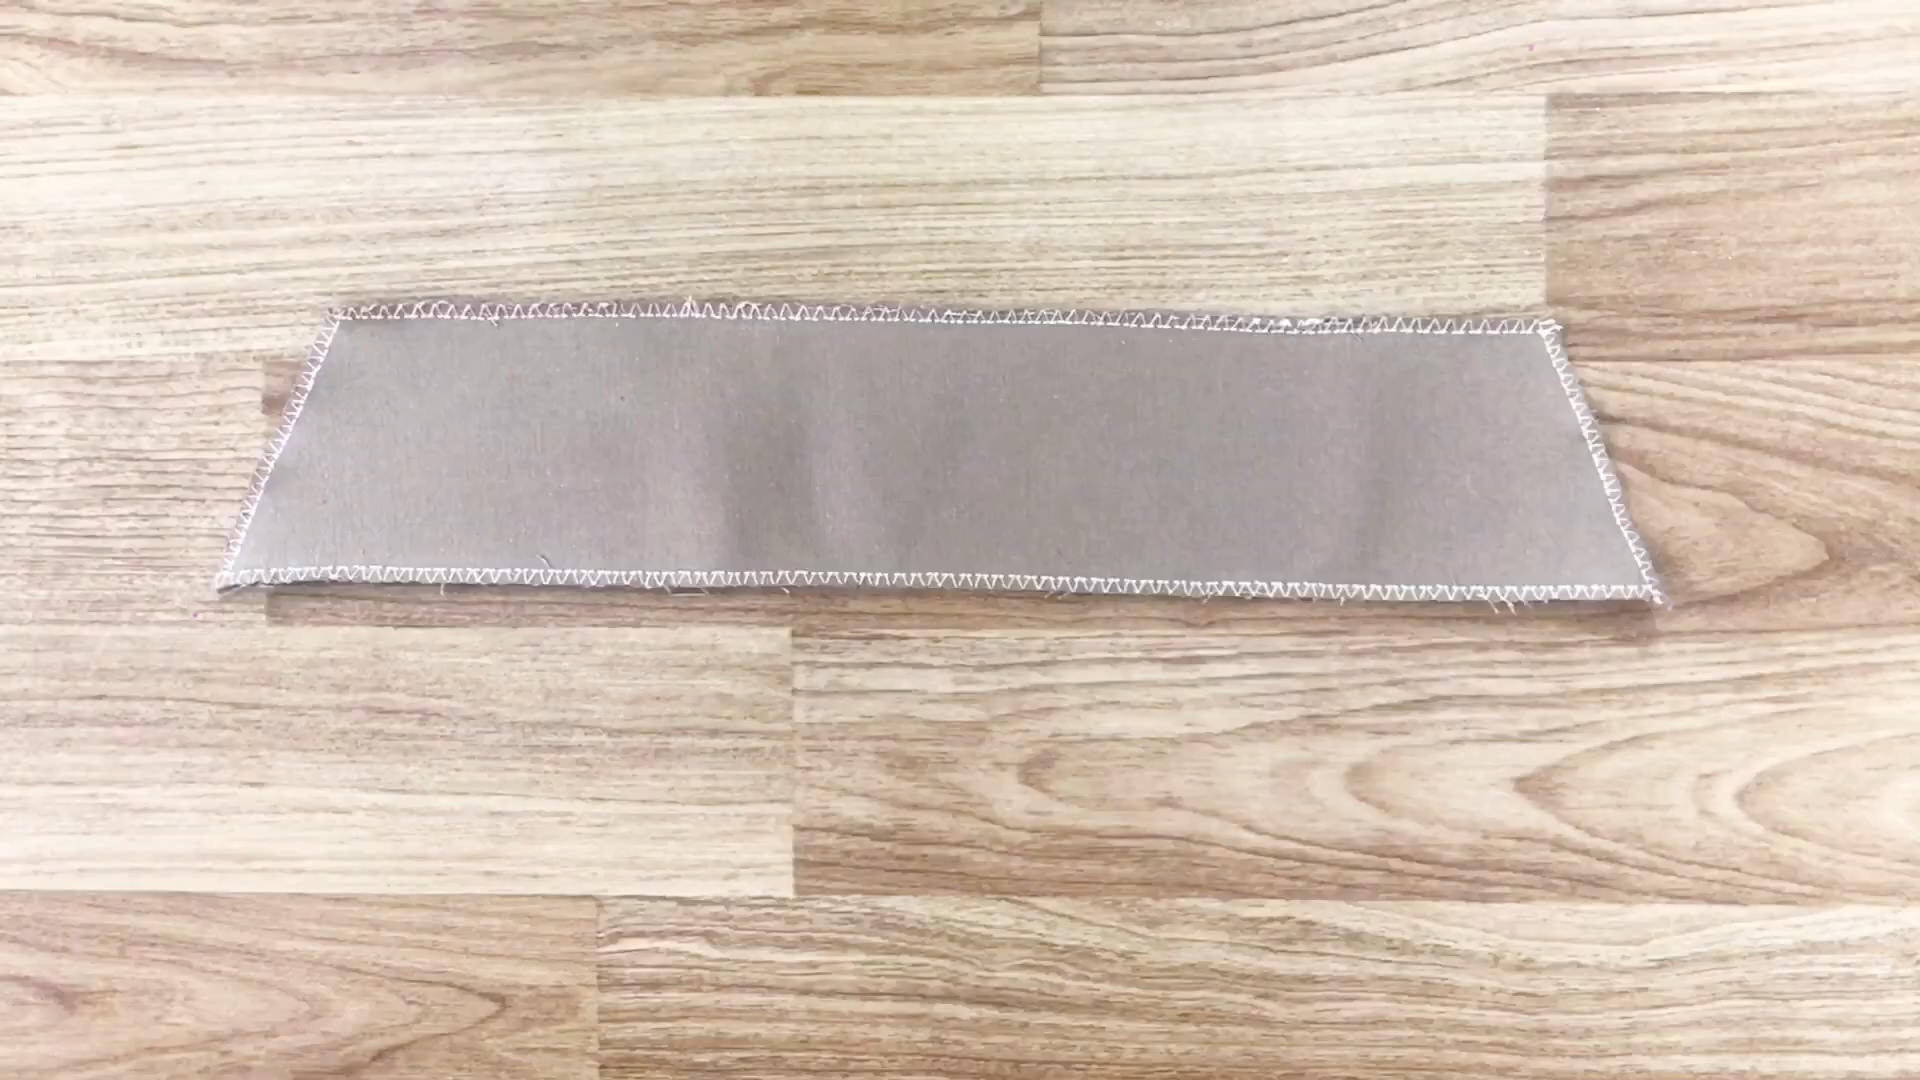
After drawing your measurements, you will have two rectangles with a size of 50 cm width and 45 cm height.
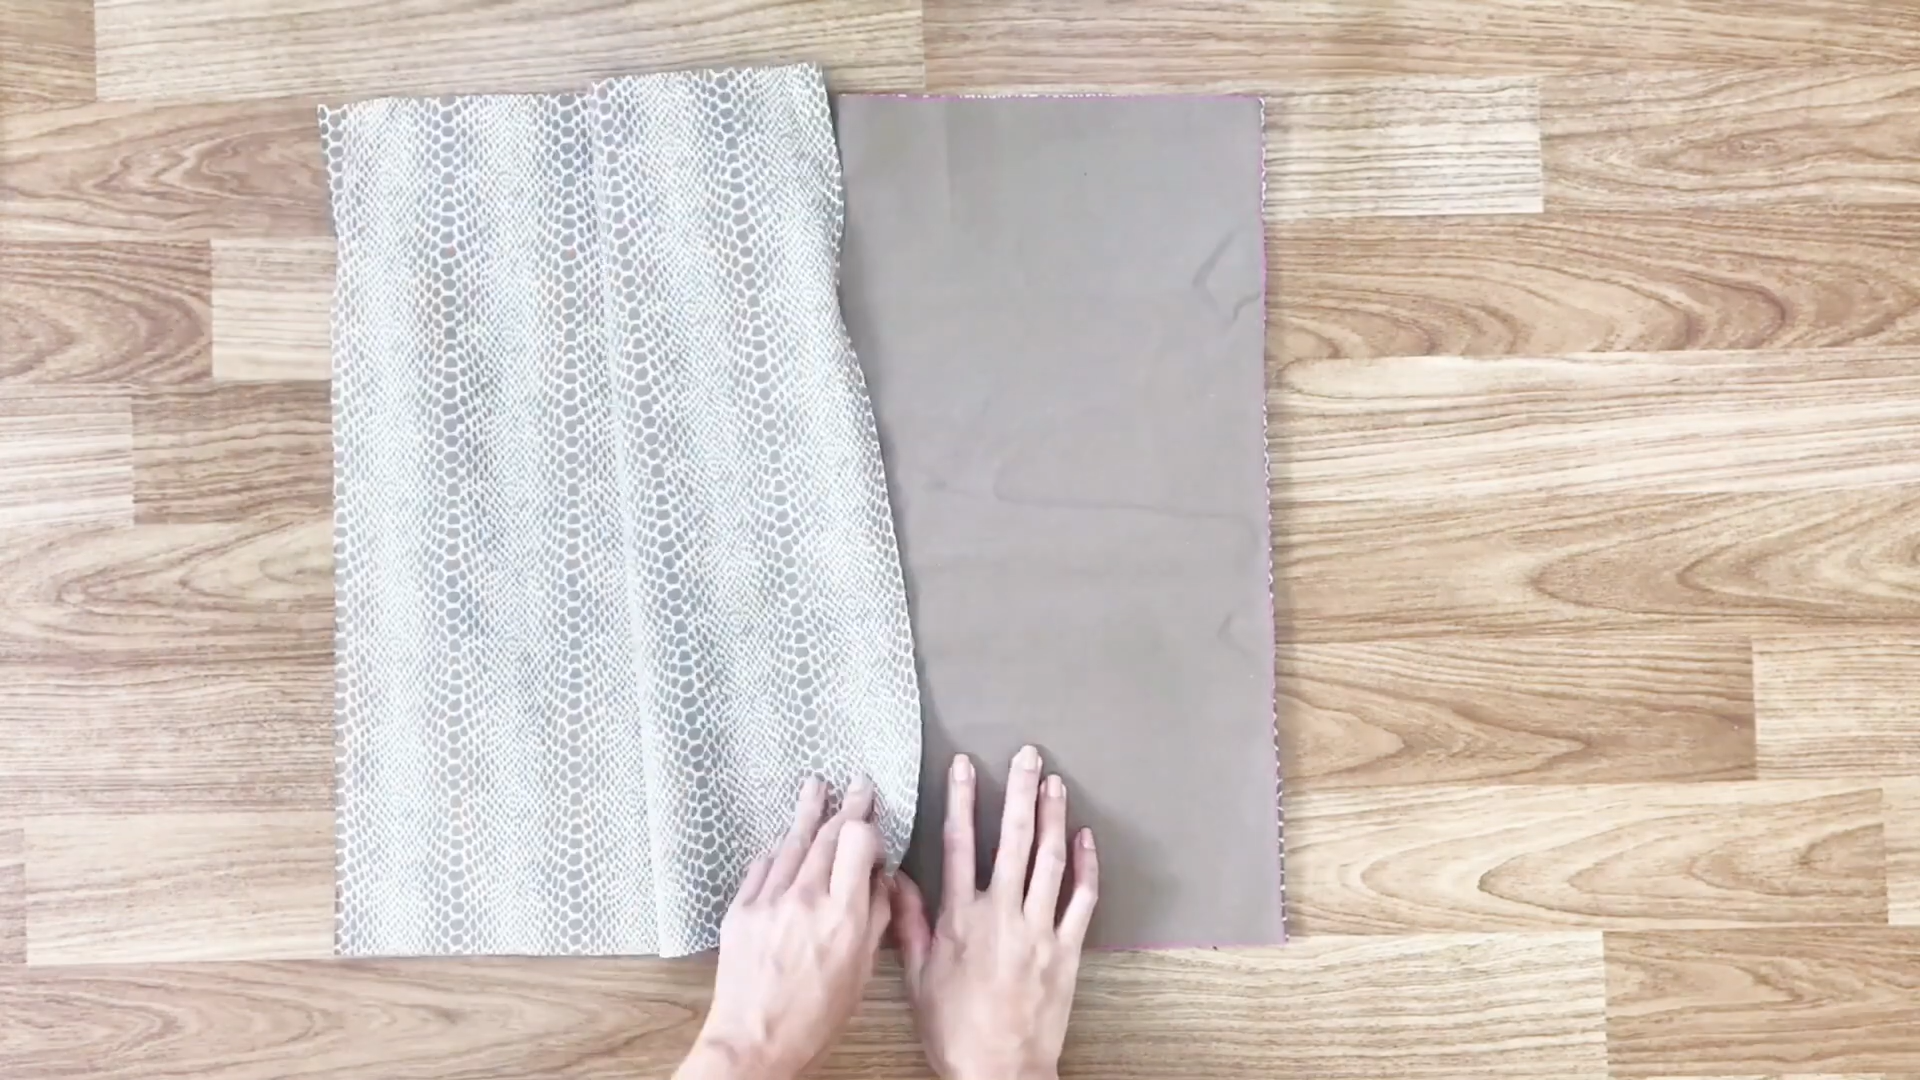
They will be the front and the back of the skirt after cutting along the drawing line.
THE WAIST
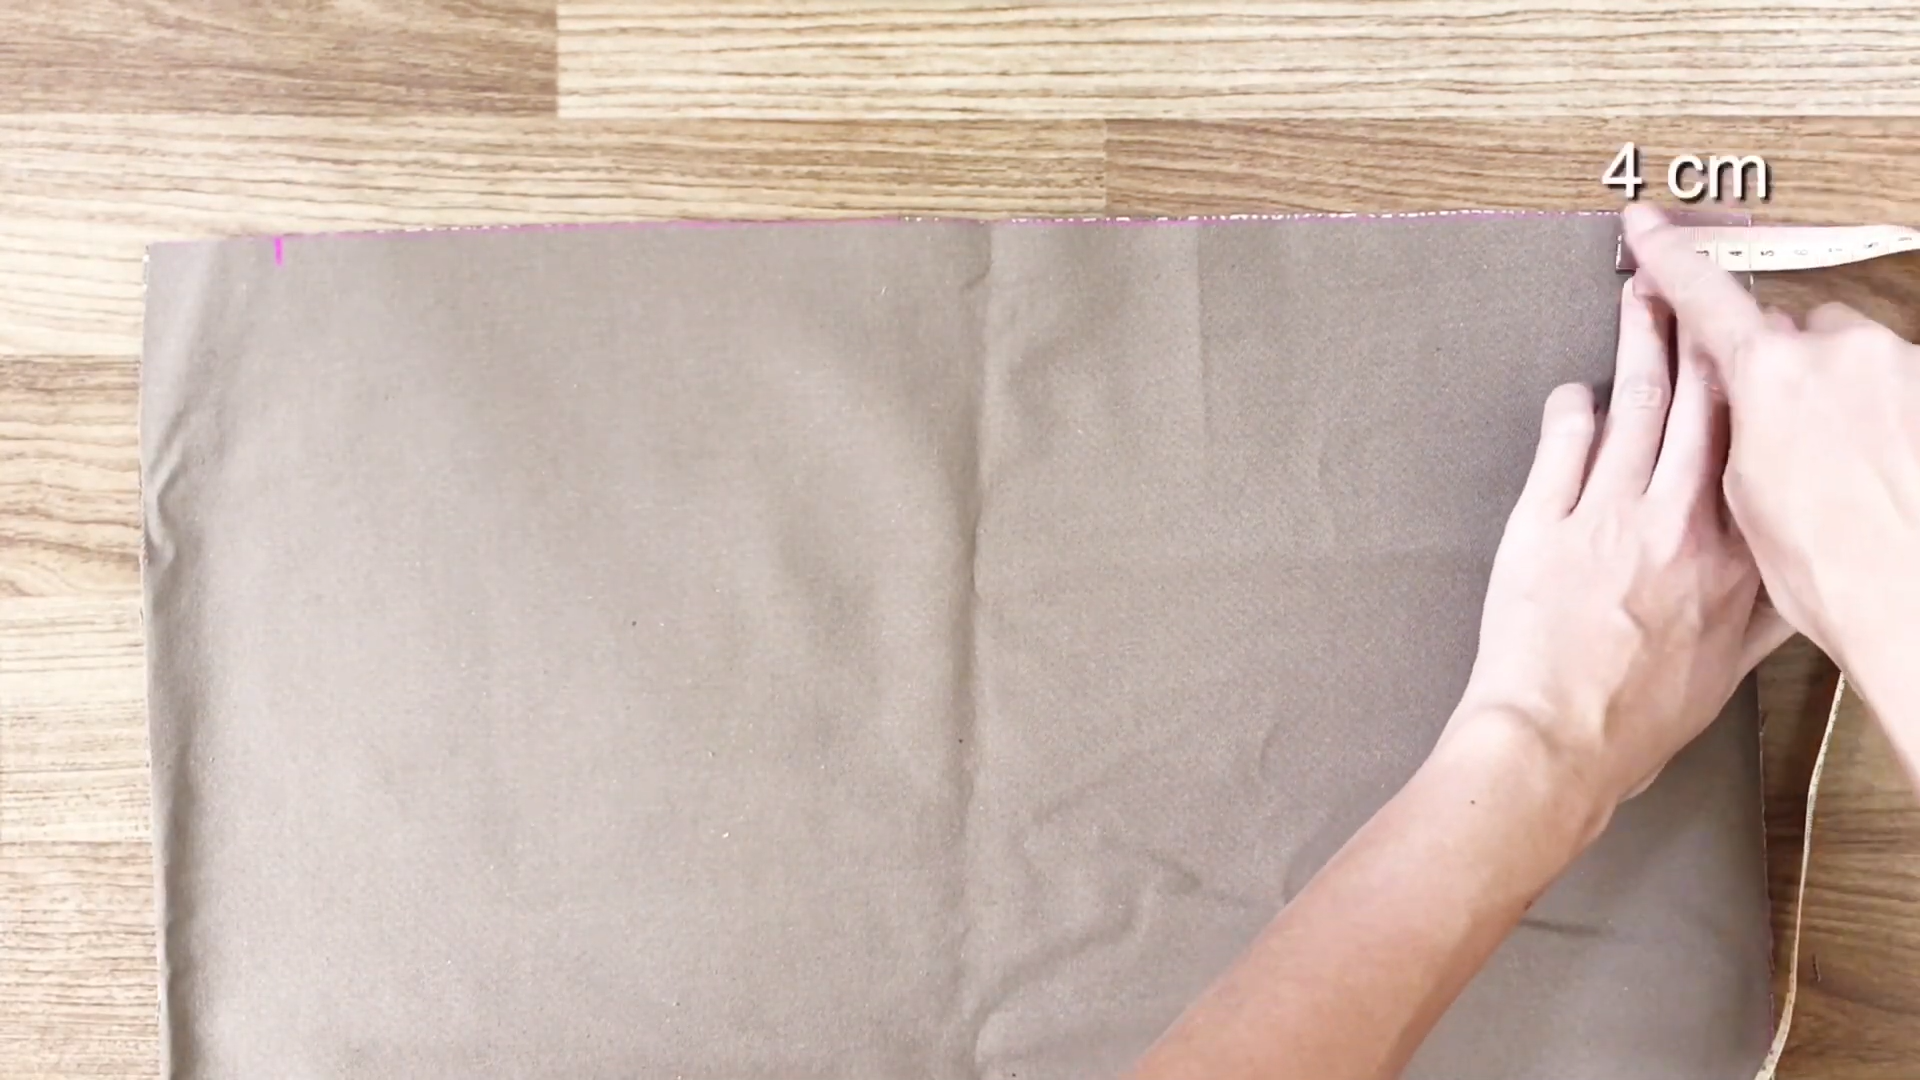
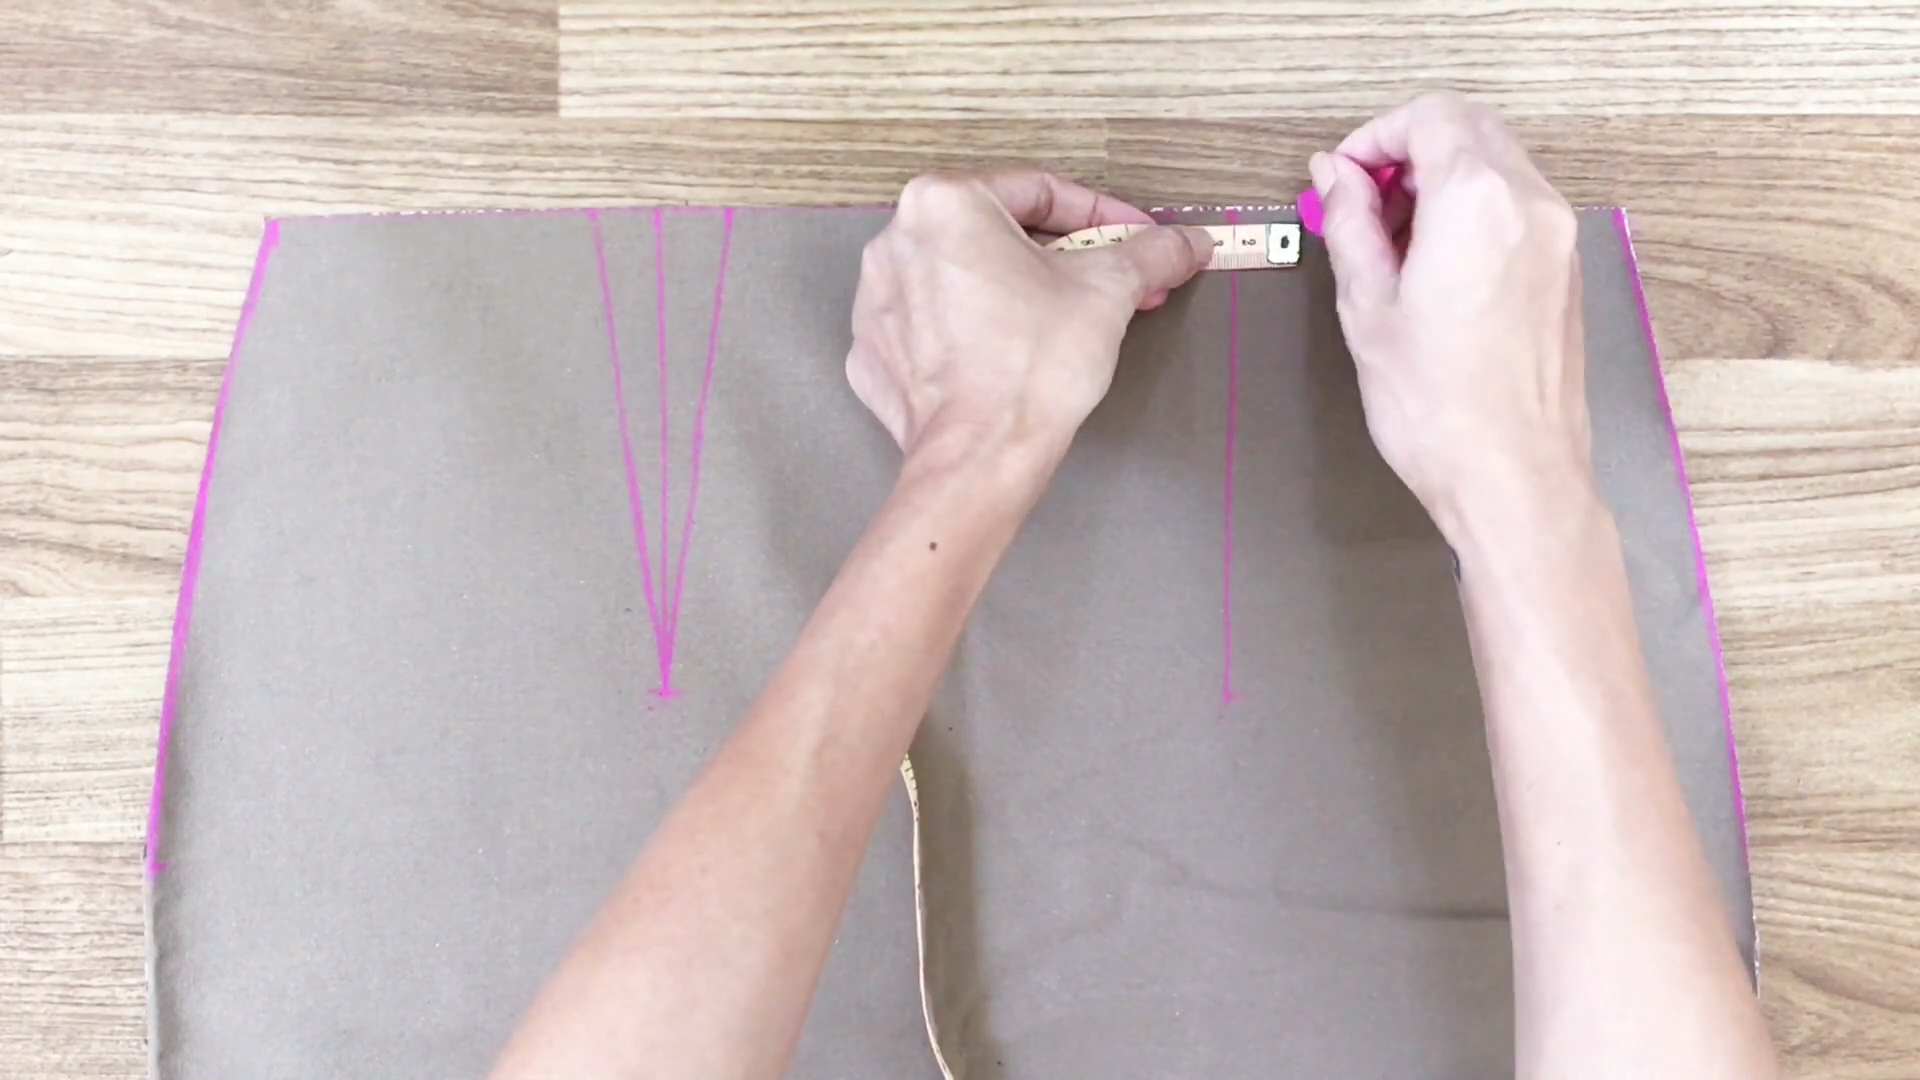
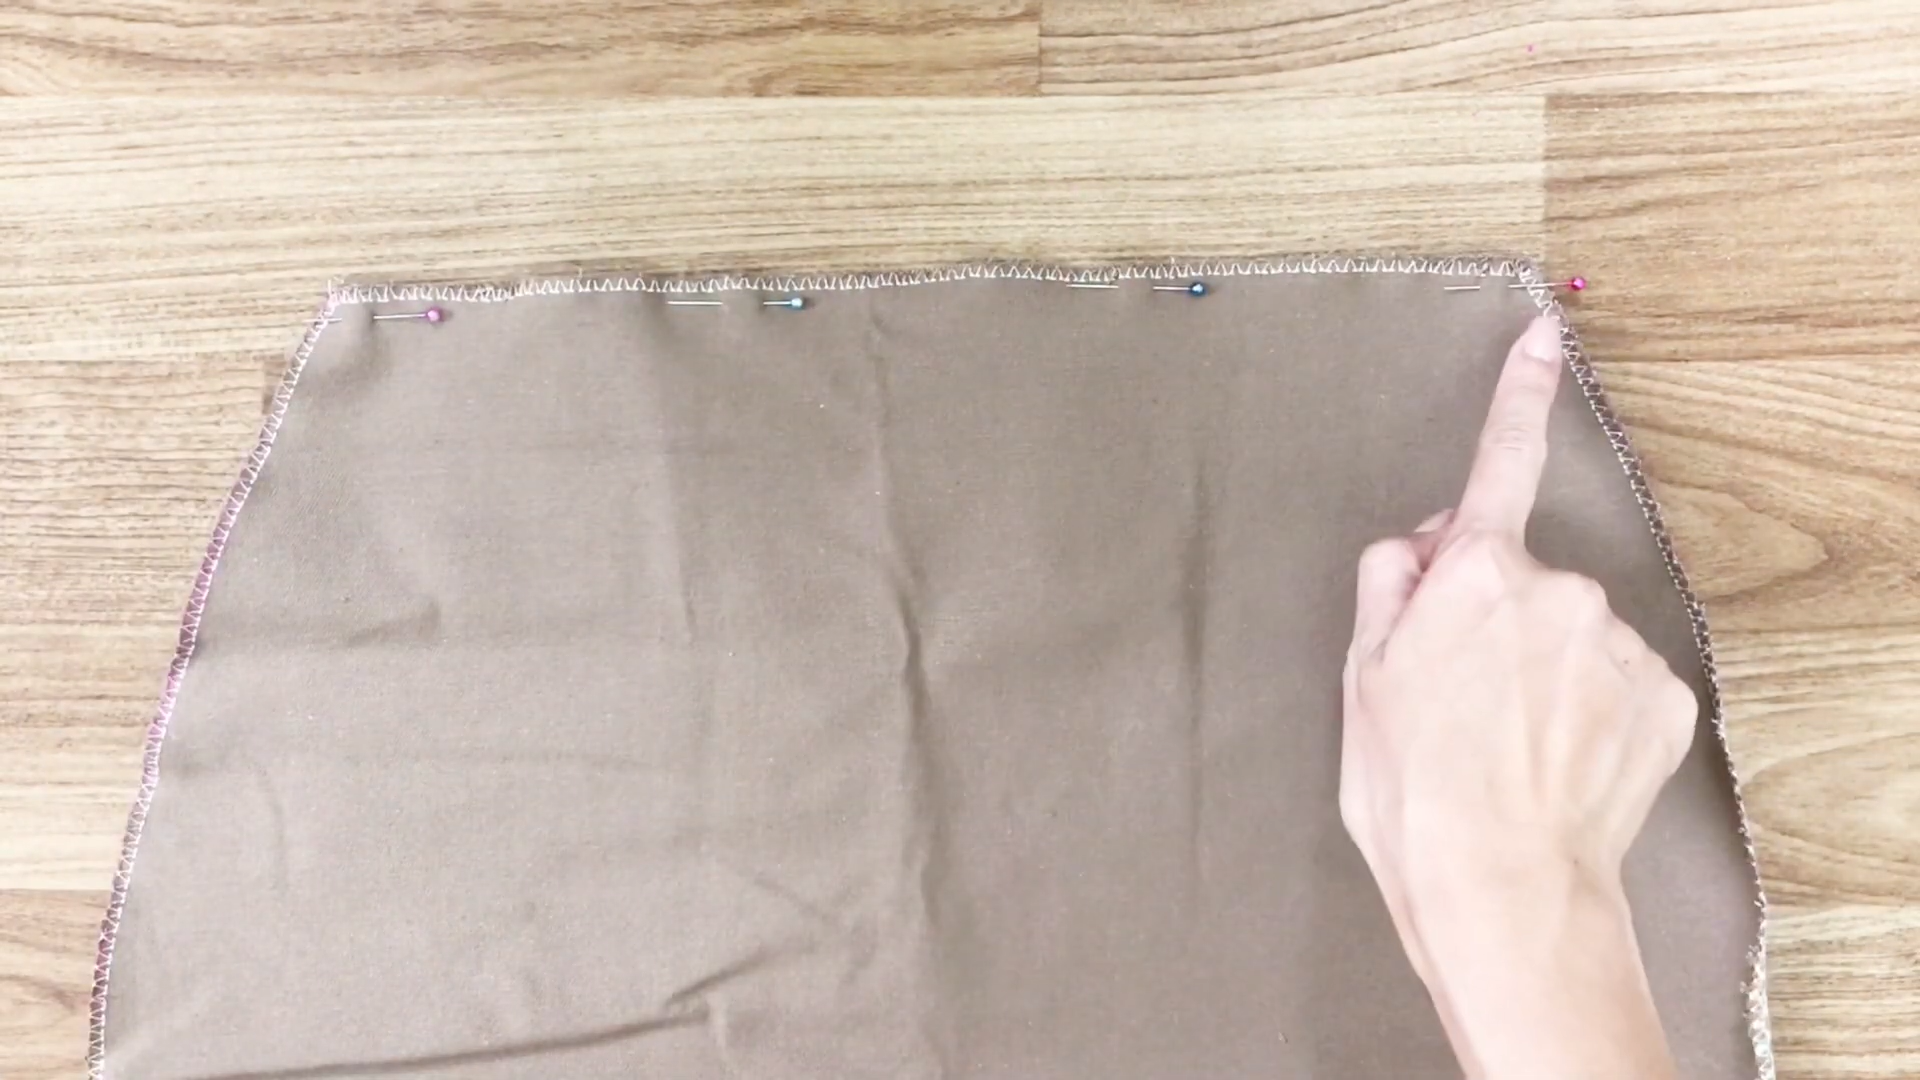
At two sides of the top, go inside 4 cm each side and mark there.
Then draw an arch line from that mark down to 20 cm at each side.
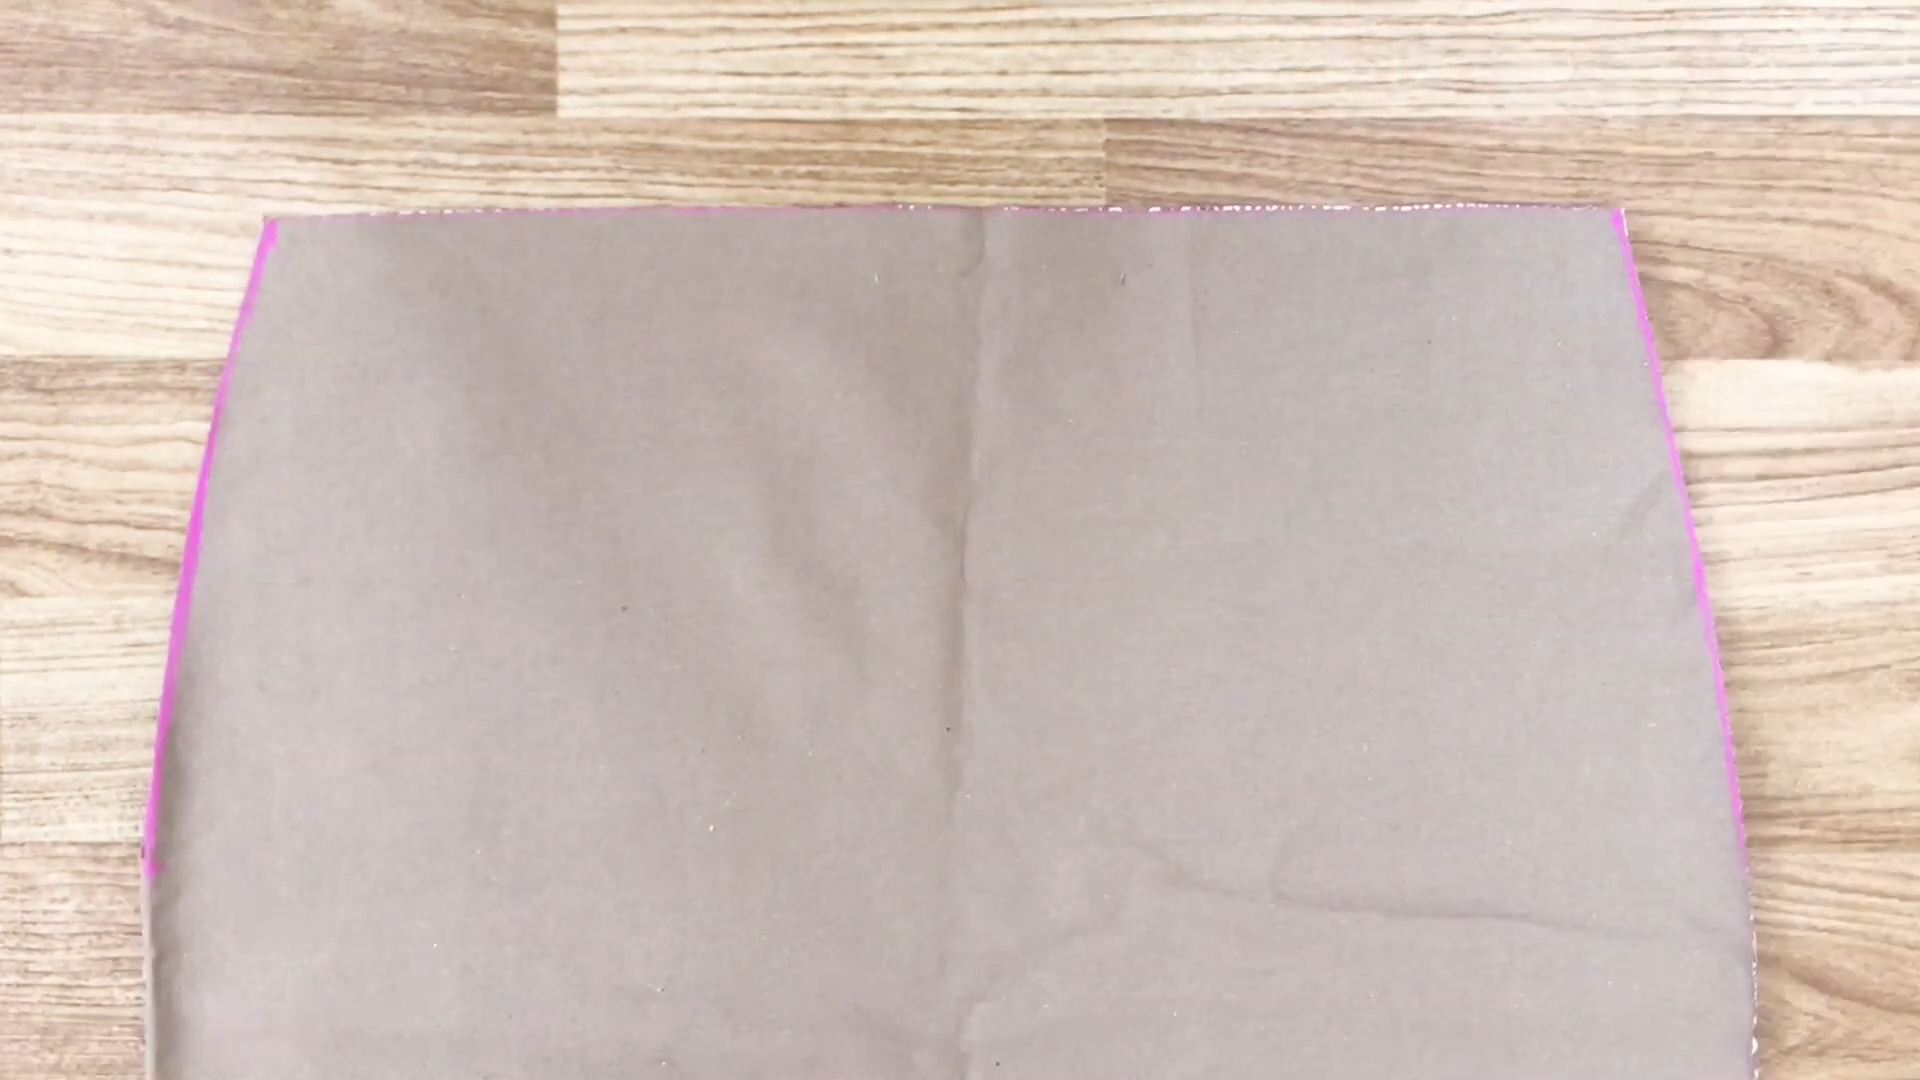
This will give you the line curve from the waist to the hip of the skirt.
THE BACK
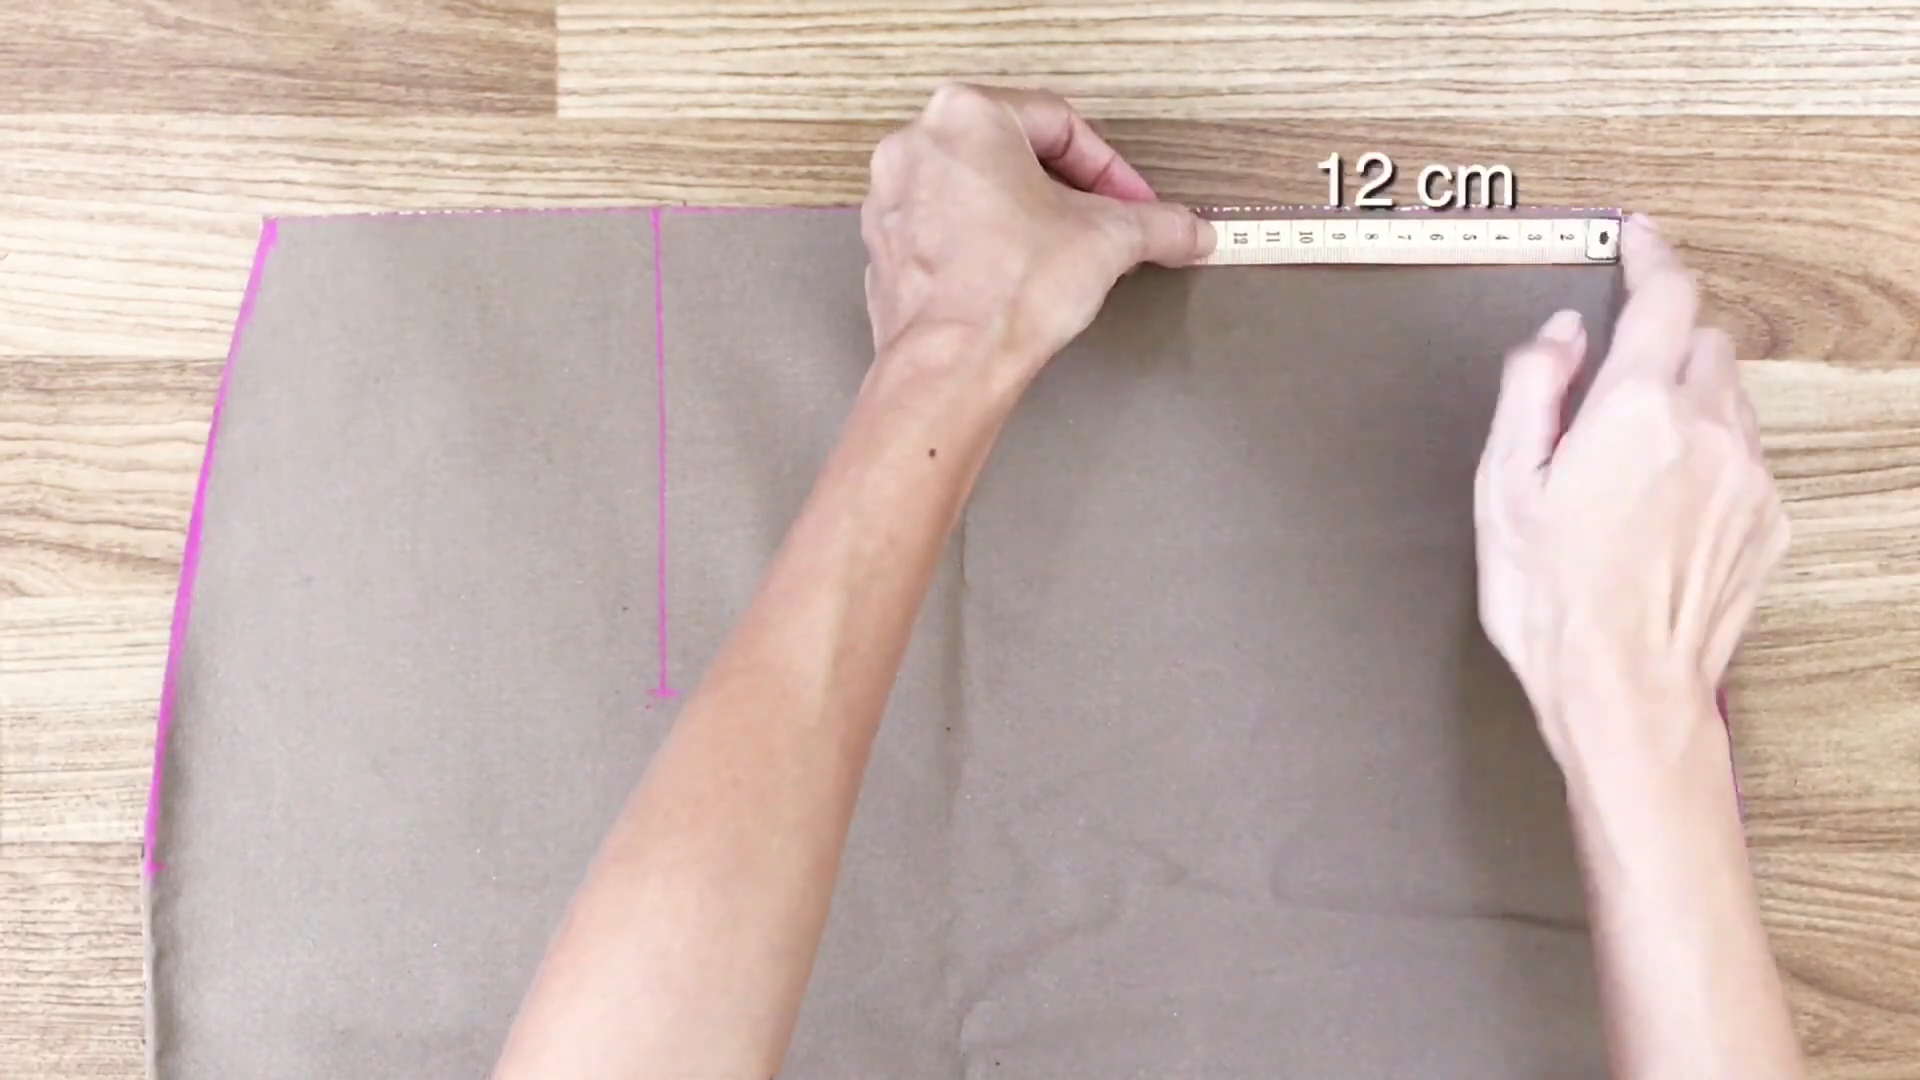
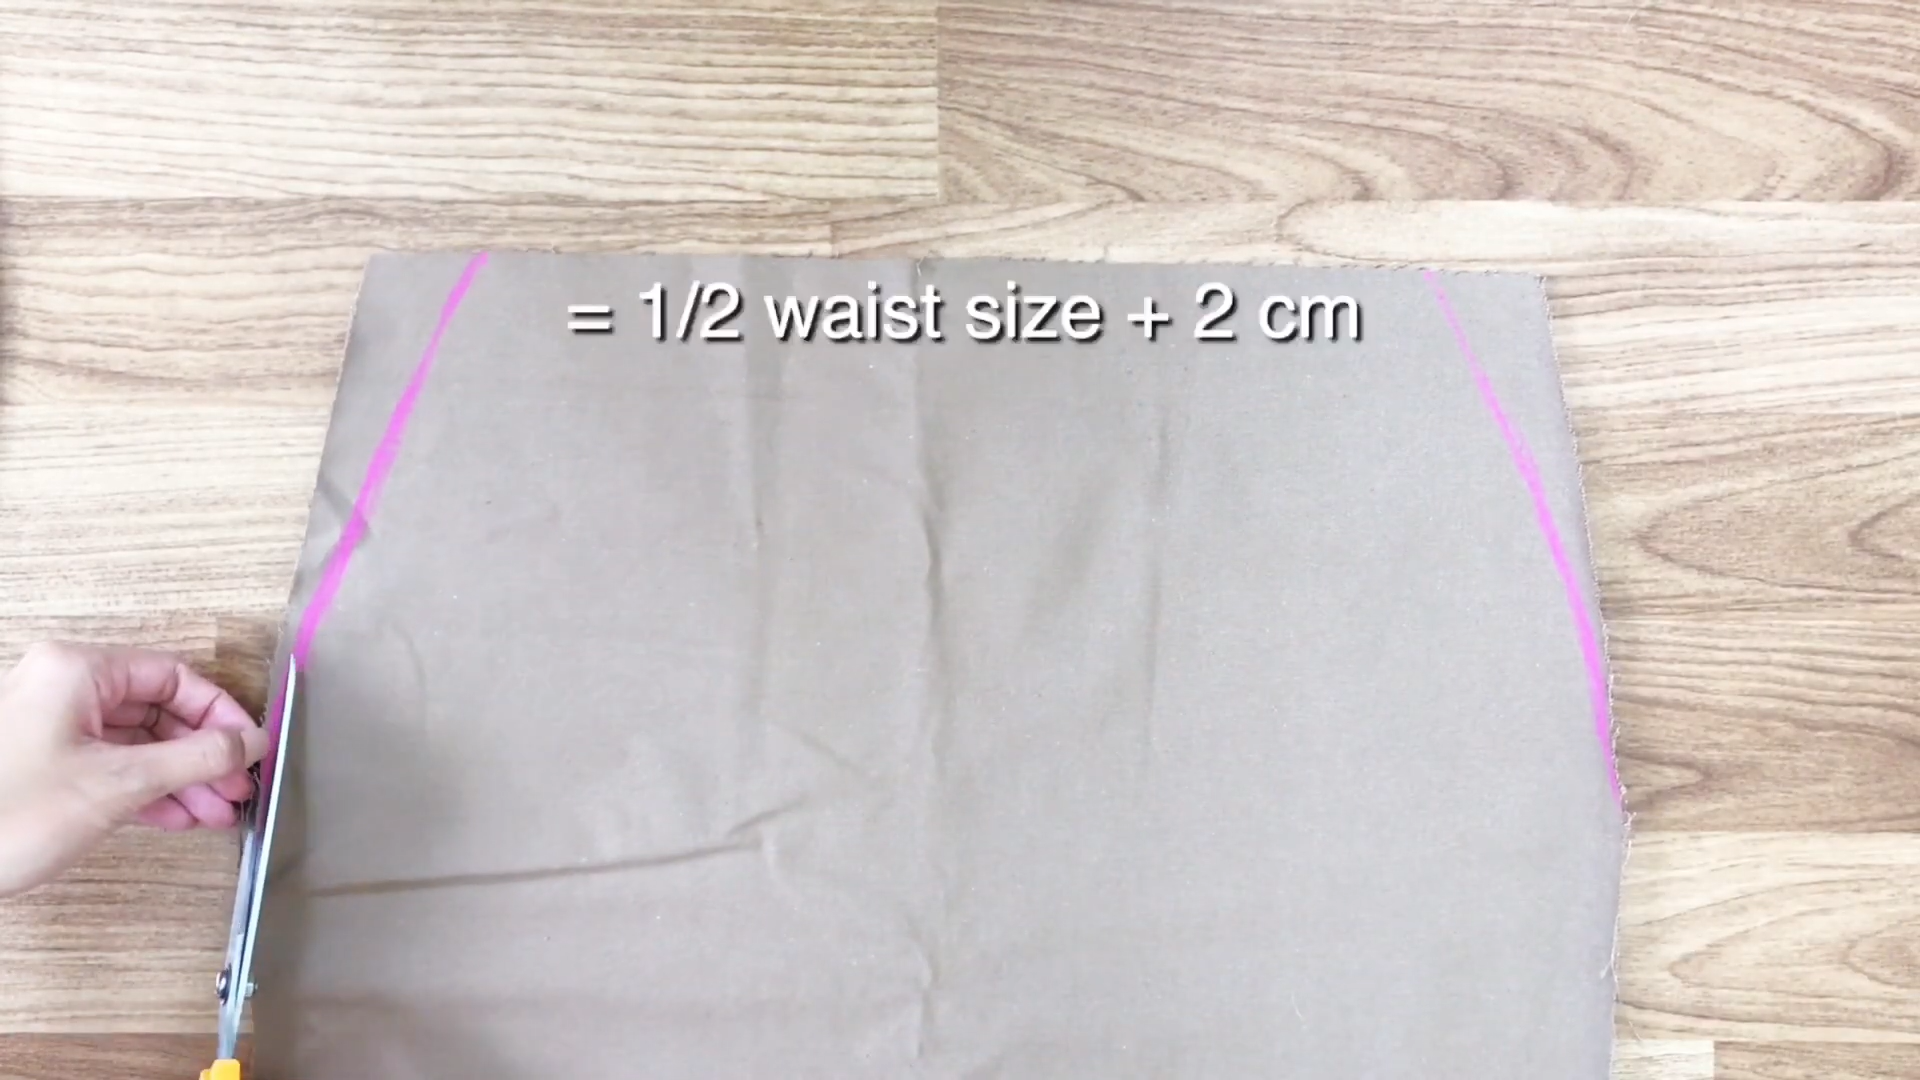
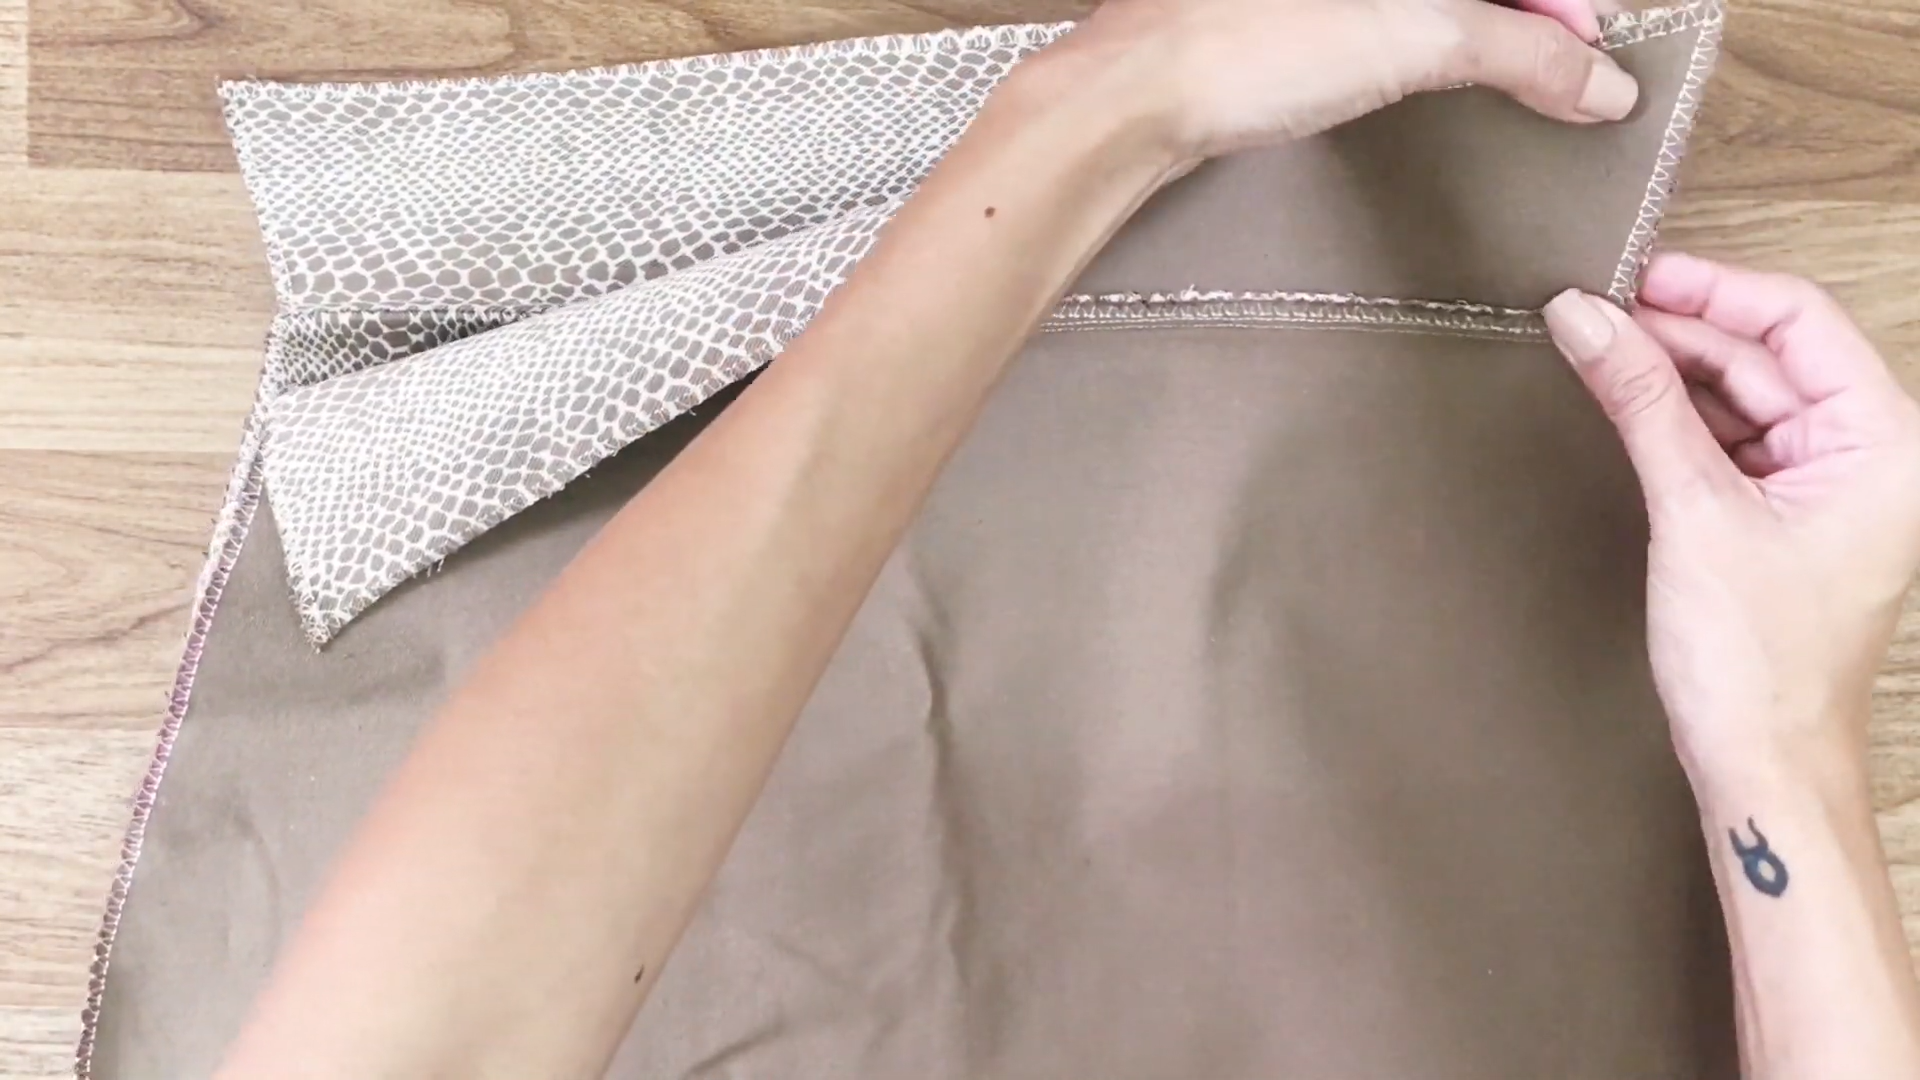
At the back of the skirt, go inside 12 cm each side and mark there.
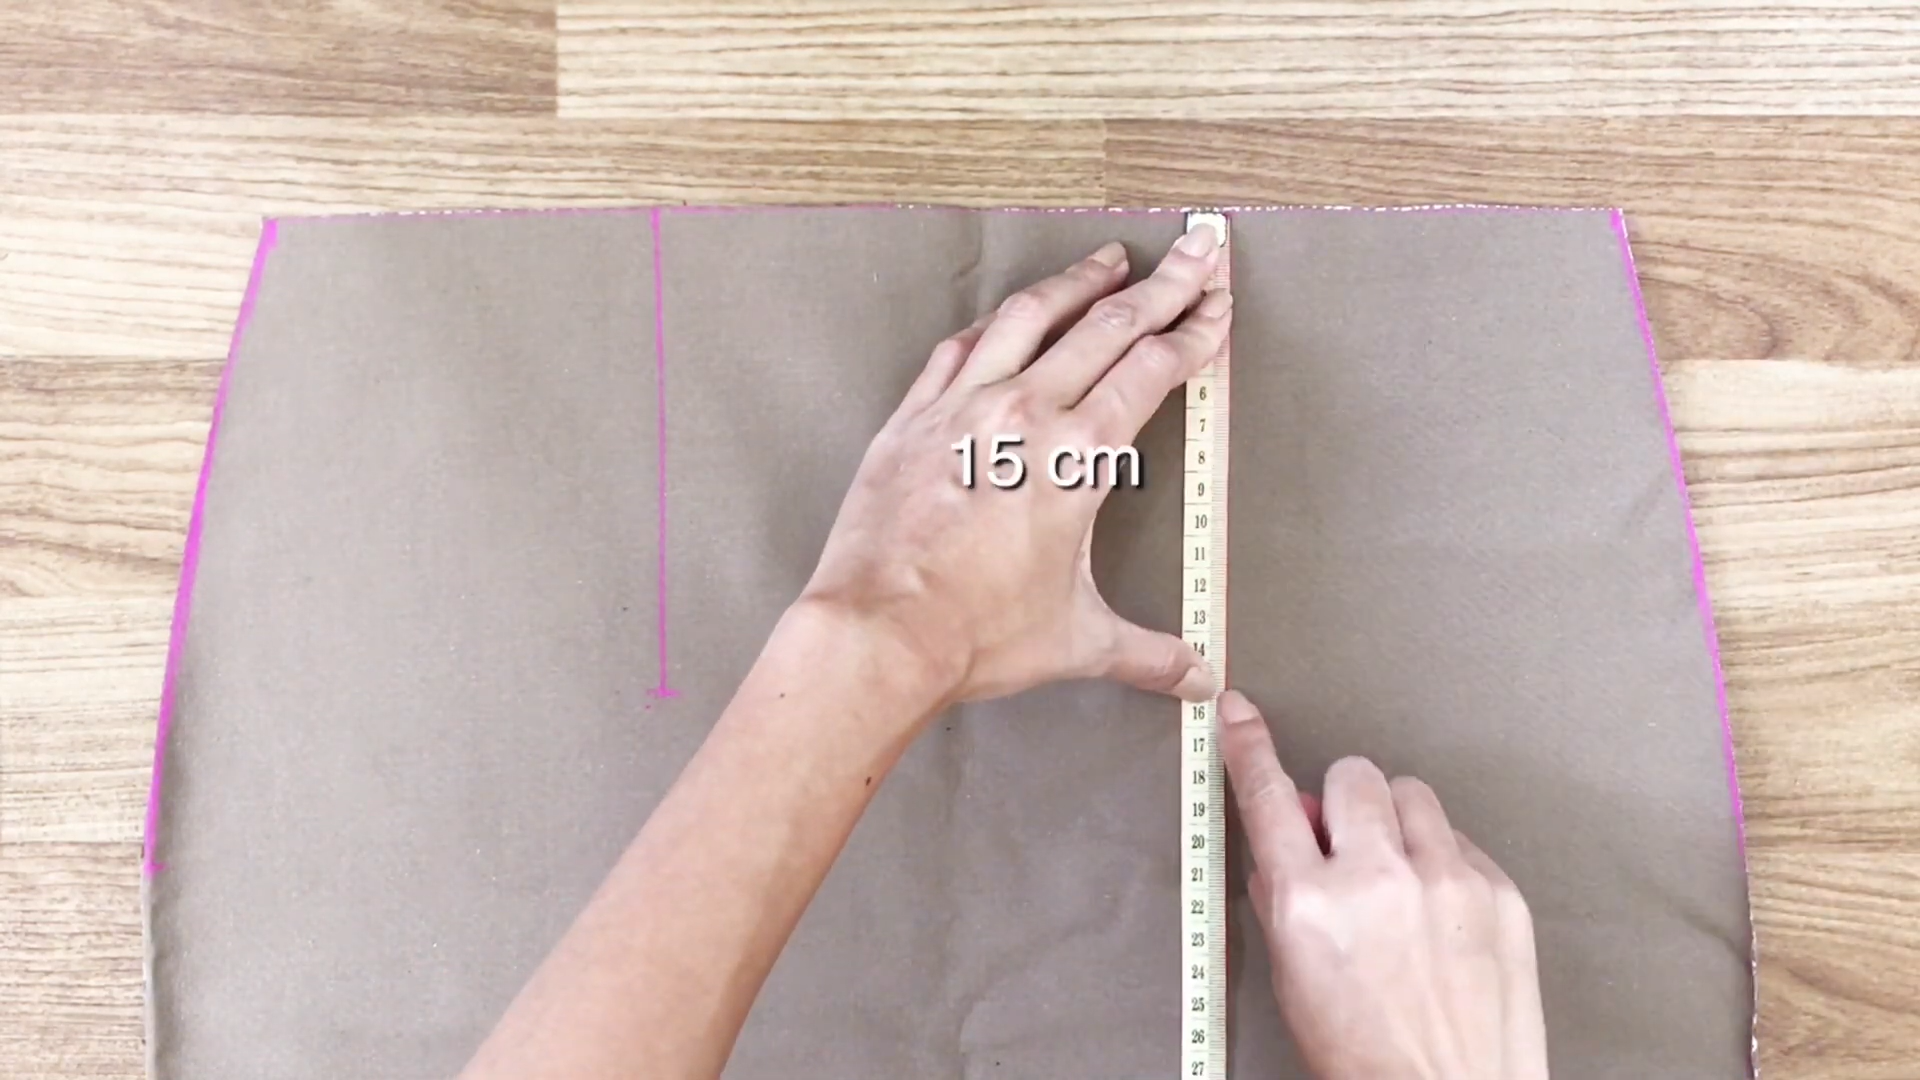
From the mark, draw straight down 15 cm.
Then draw a triangle with a 2 cm height from that line so you have the width of the waist as 34 cm. It is half of your waist size plus 2 cm.
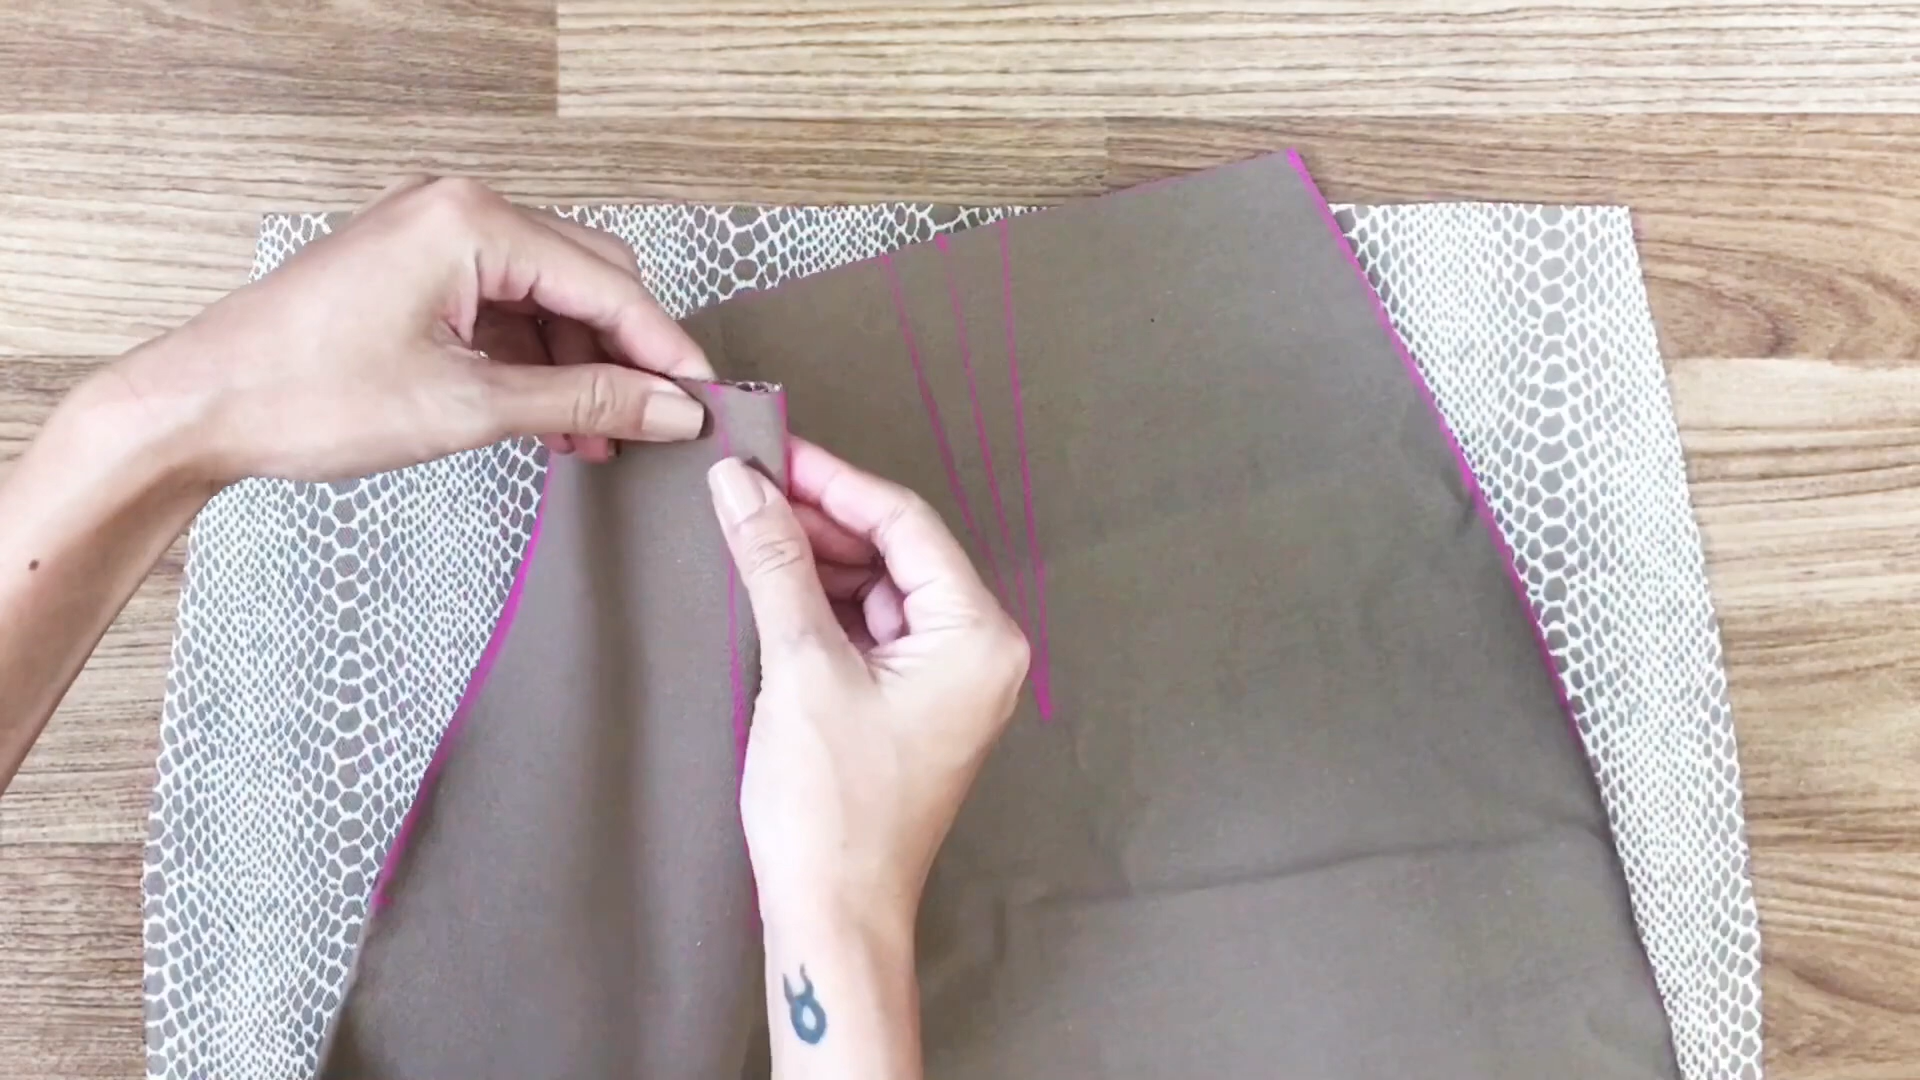
Fold the two triangles facing each other and use pins to hold it.
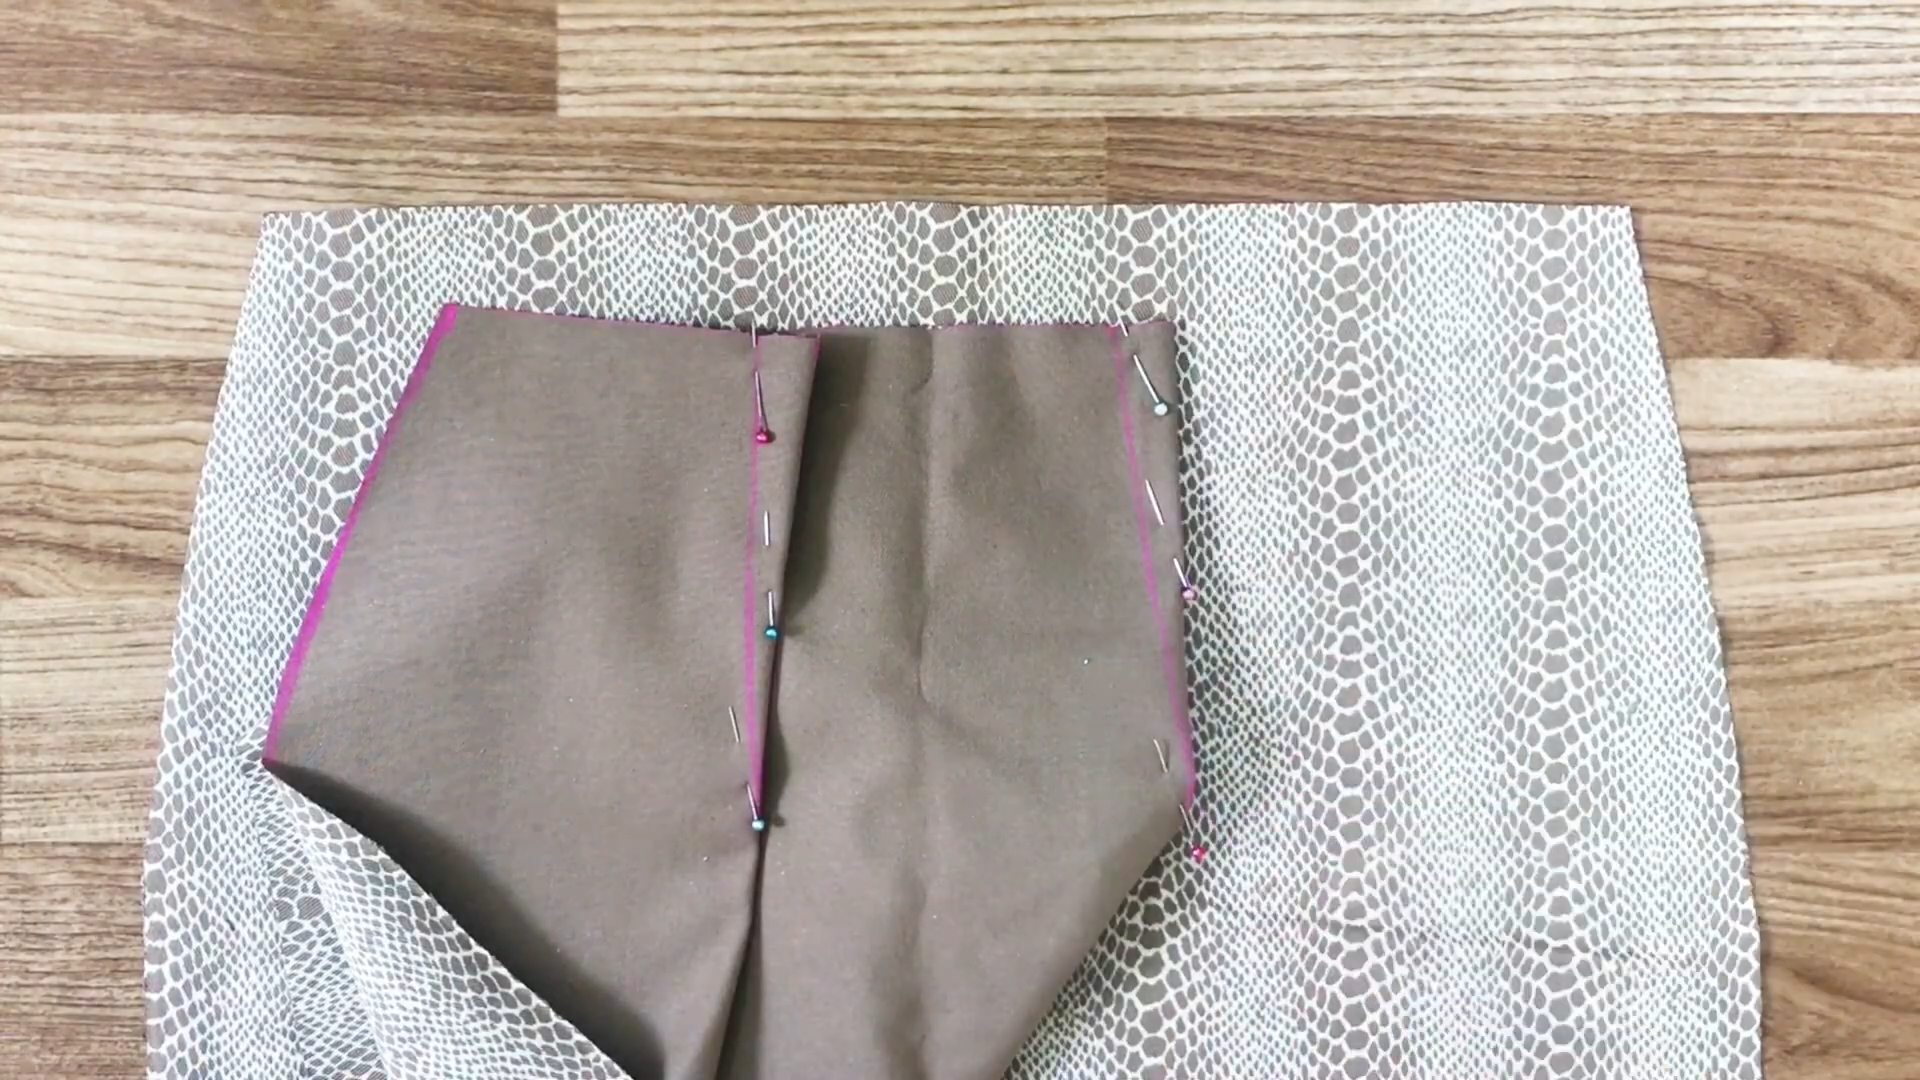
Then, sew along the drawing line.
THE FRONT
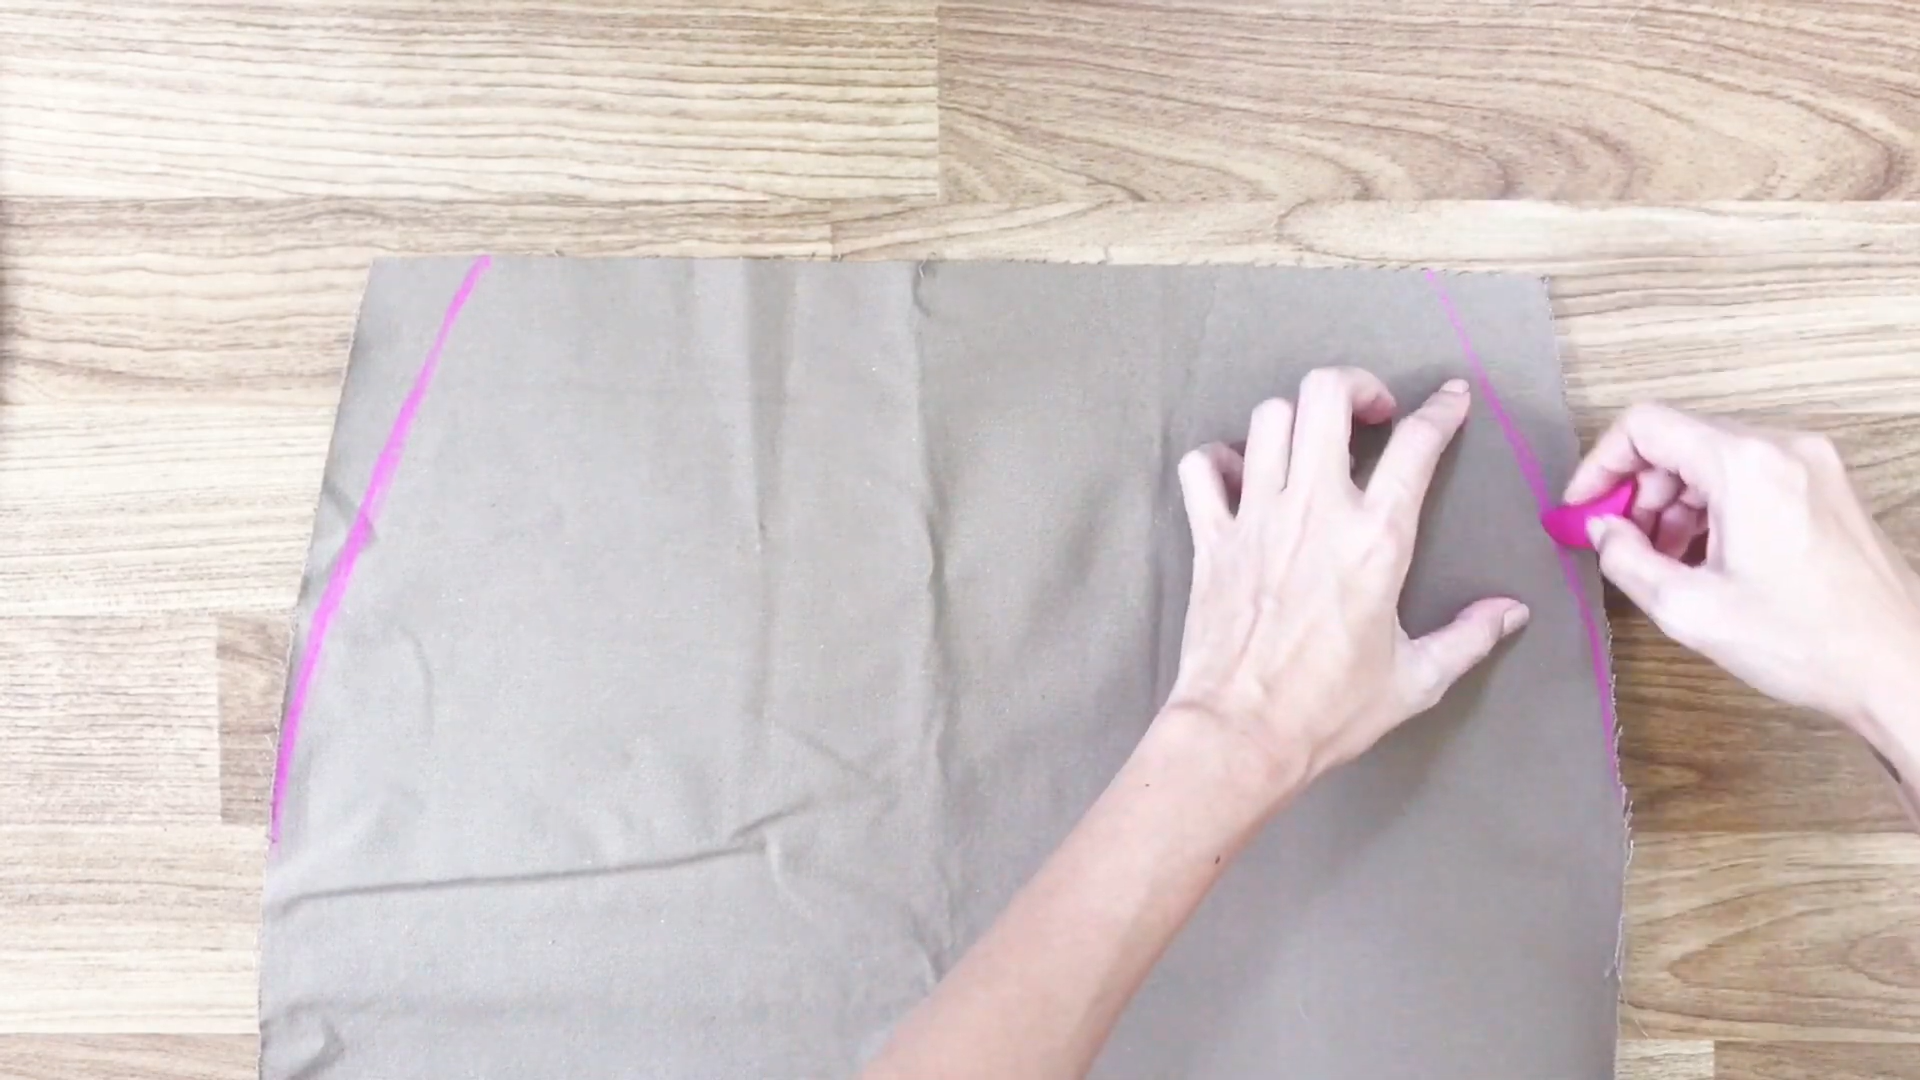
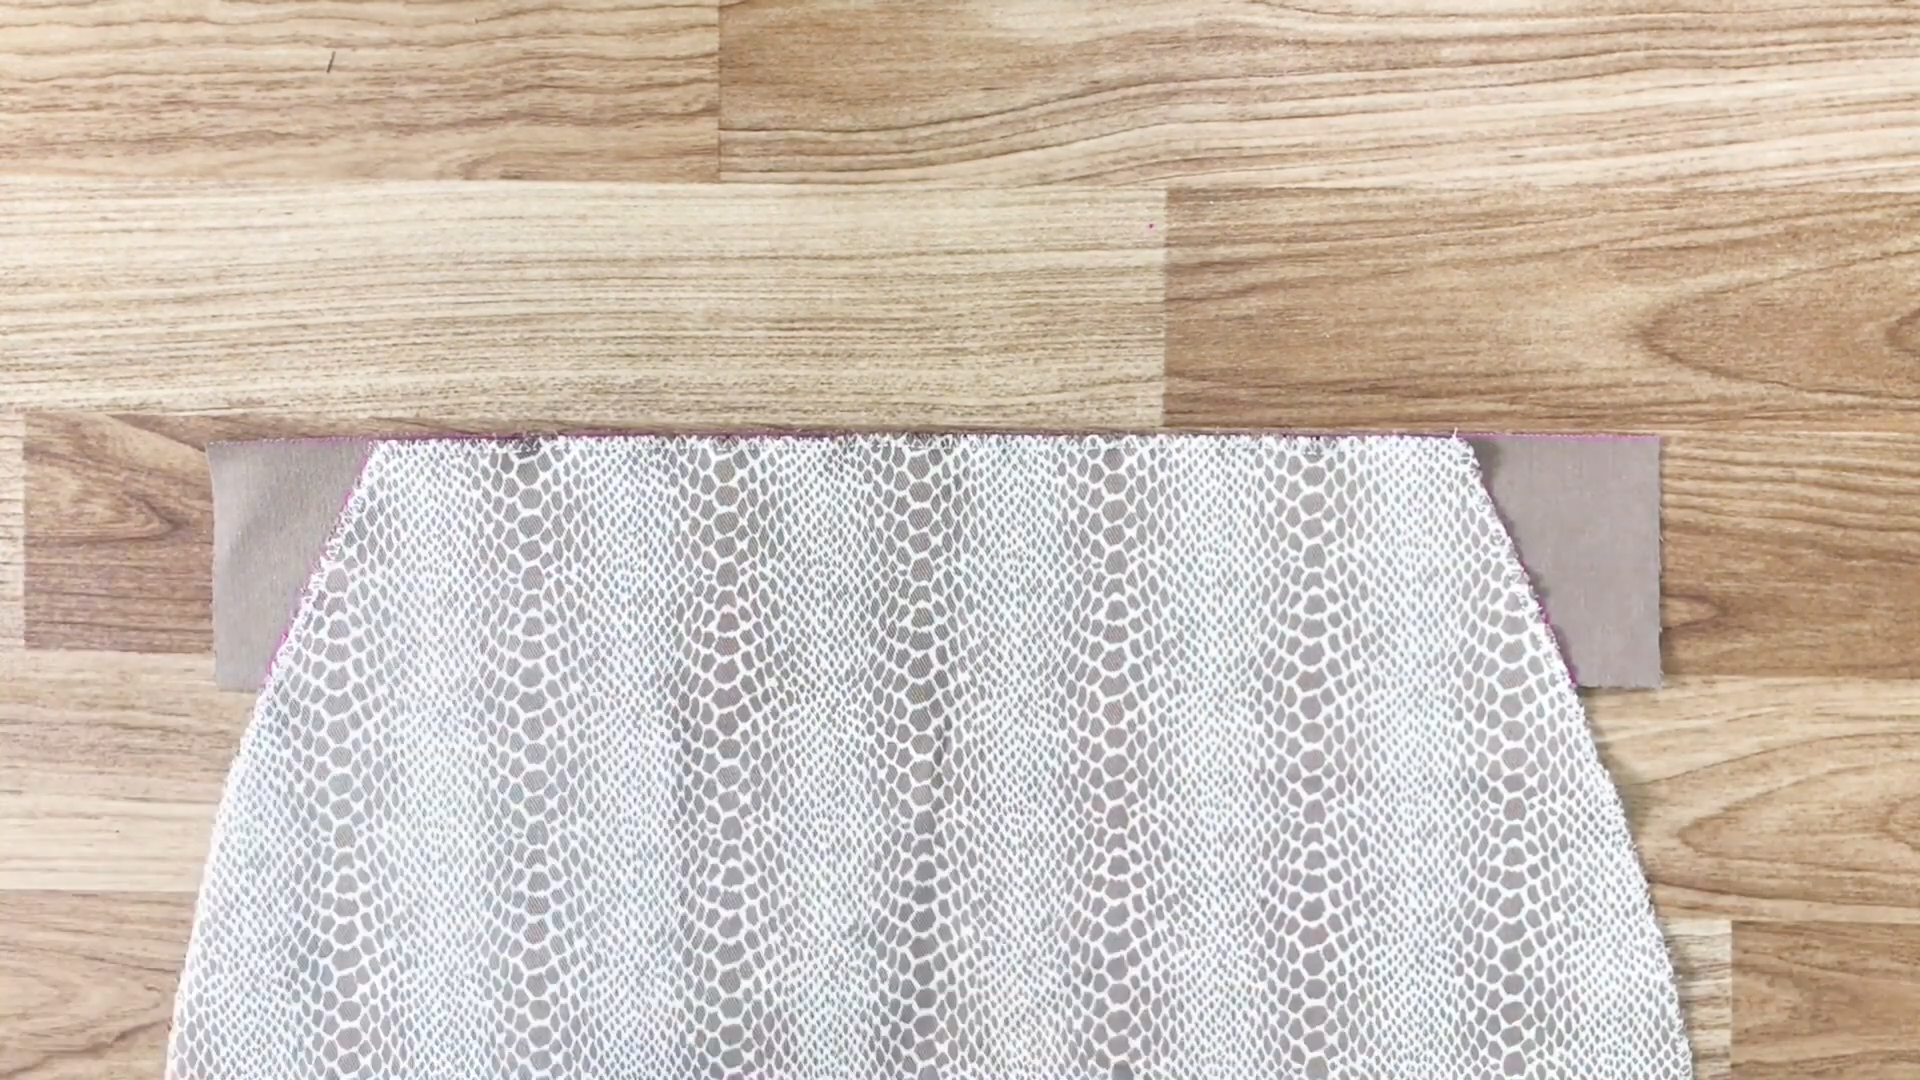
If you don’t want to have the sewing line in the front like the back, instead of making the triangle like the back, at each side of the top move inside 4 cm and draw an arch line to the end of the front.
After cutting, you will have the front of the skirt with the back of the waist as 34 cm, the same size as the back of the skirt.
Overcast the fabric to protect it.
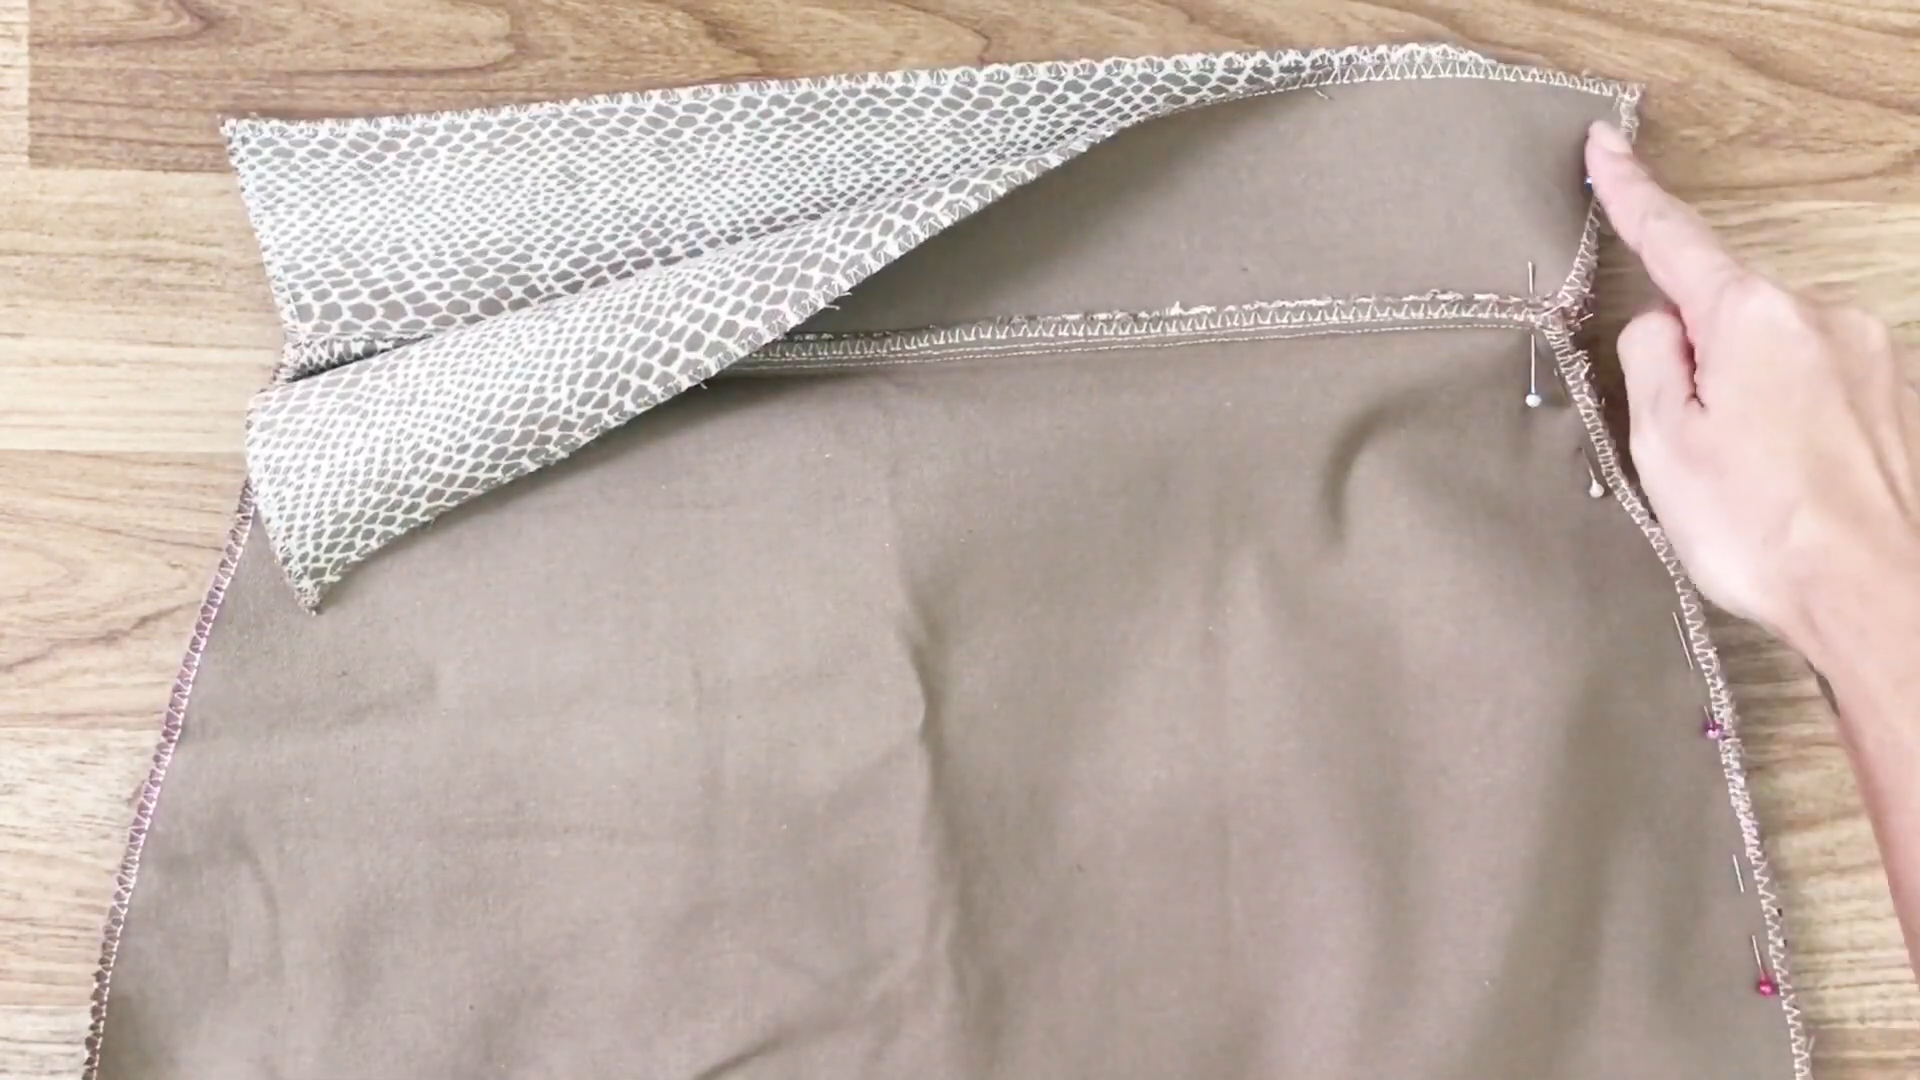
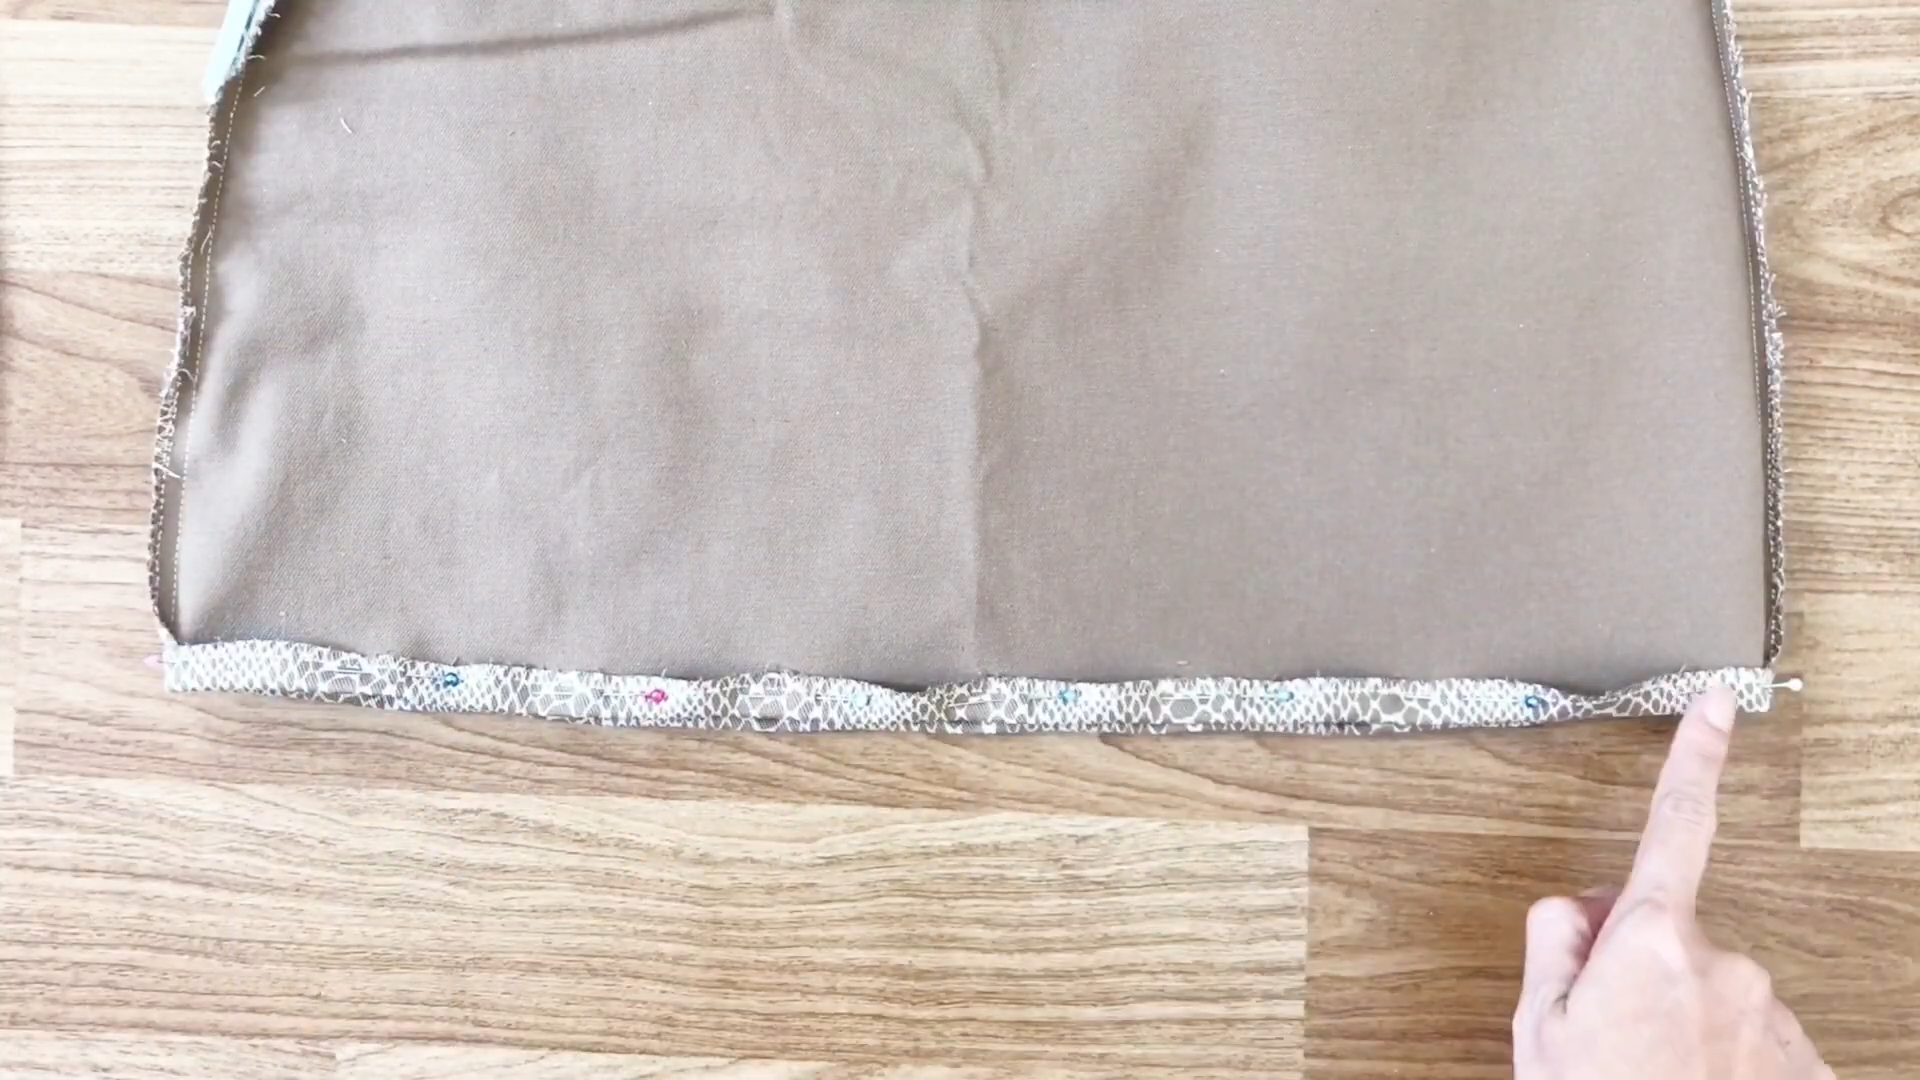
THE WAISTBAND
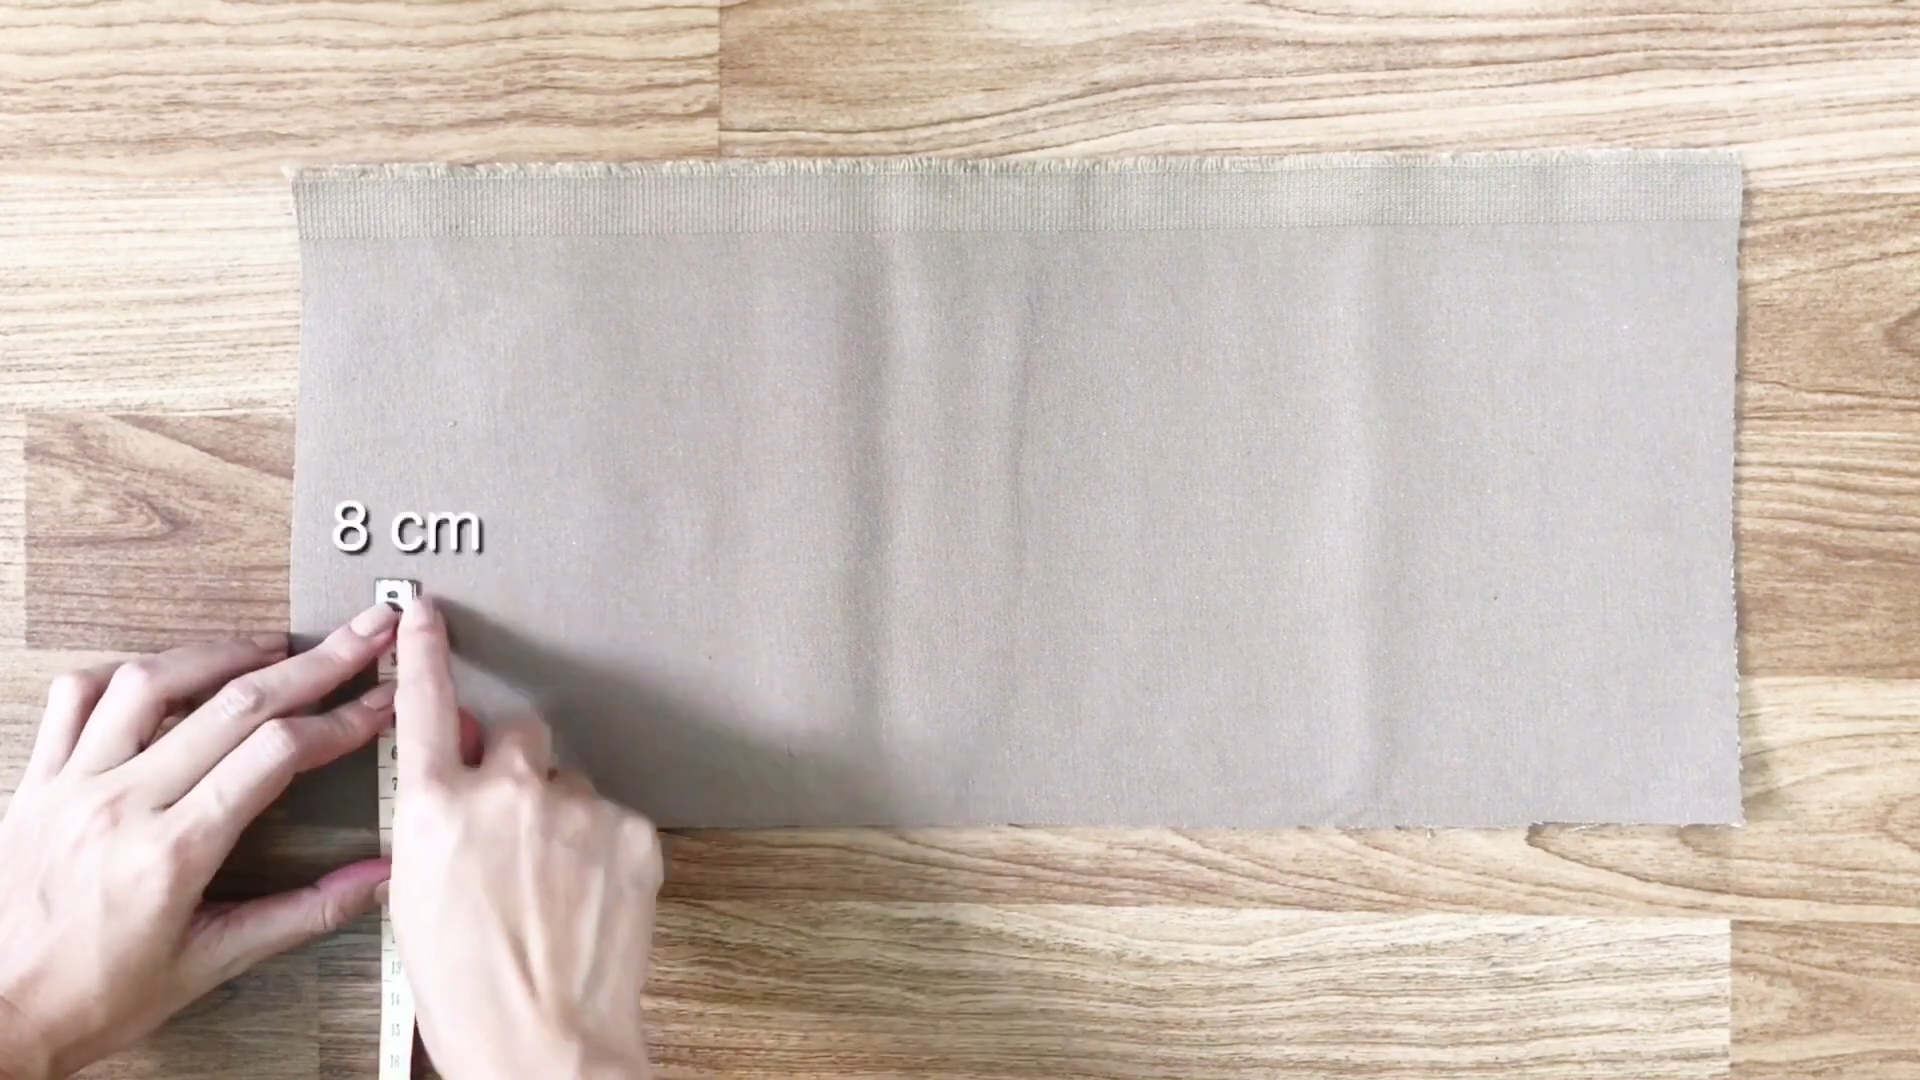
Cut two rectangles with a height of 8 cm.
Then, apply them to the front and the back of the skirt and draw the arch line of two sides of the connection.
Overcast the waistband to protect the fabric.
Then connect the waistband to the front and the back of the skirt using pins to hold them before sewing.

After sewing, to hide the seam inside the skirt, sew another seam at the top of the waistband next to the previous seam.
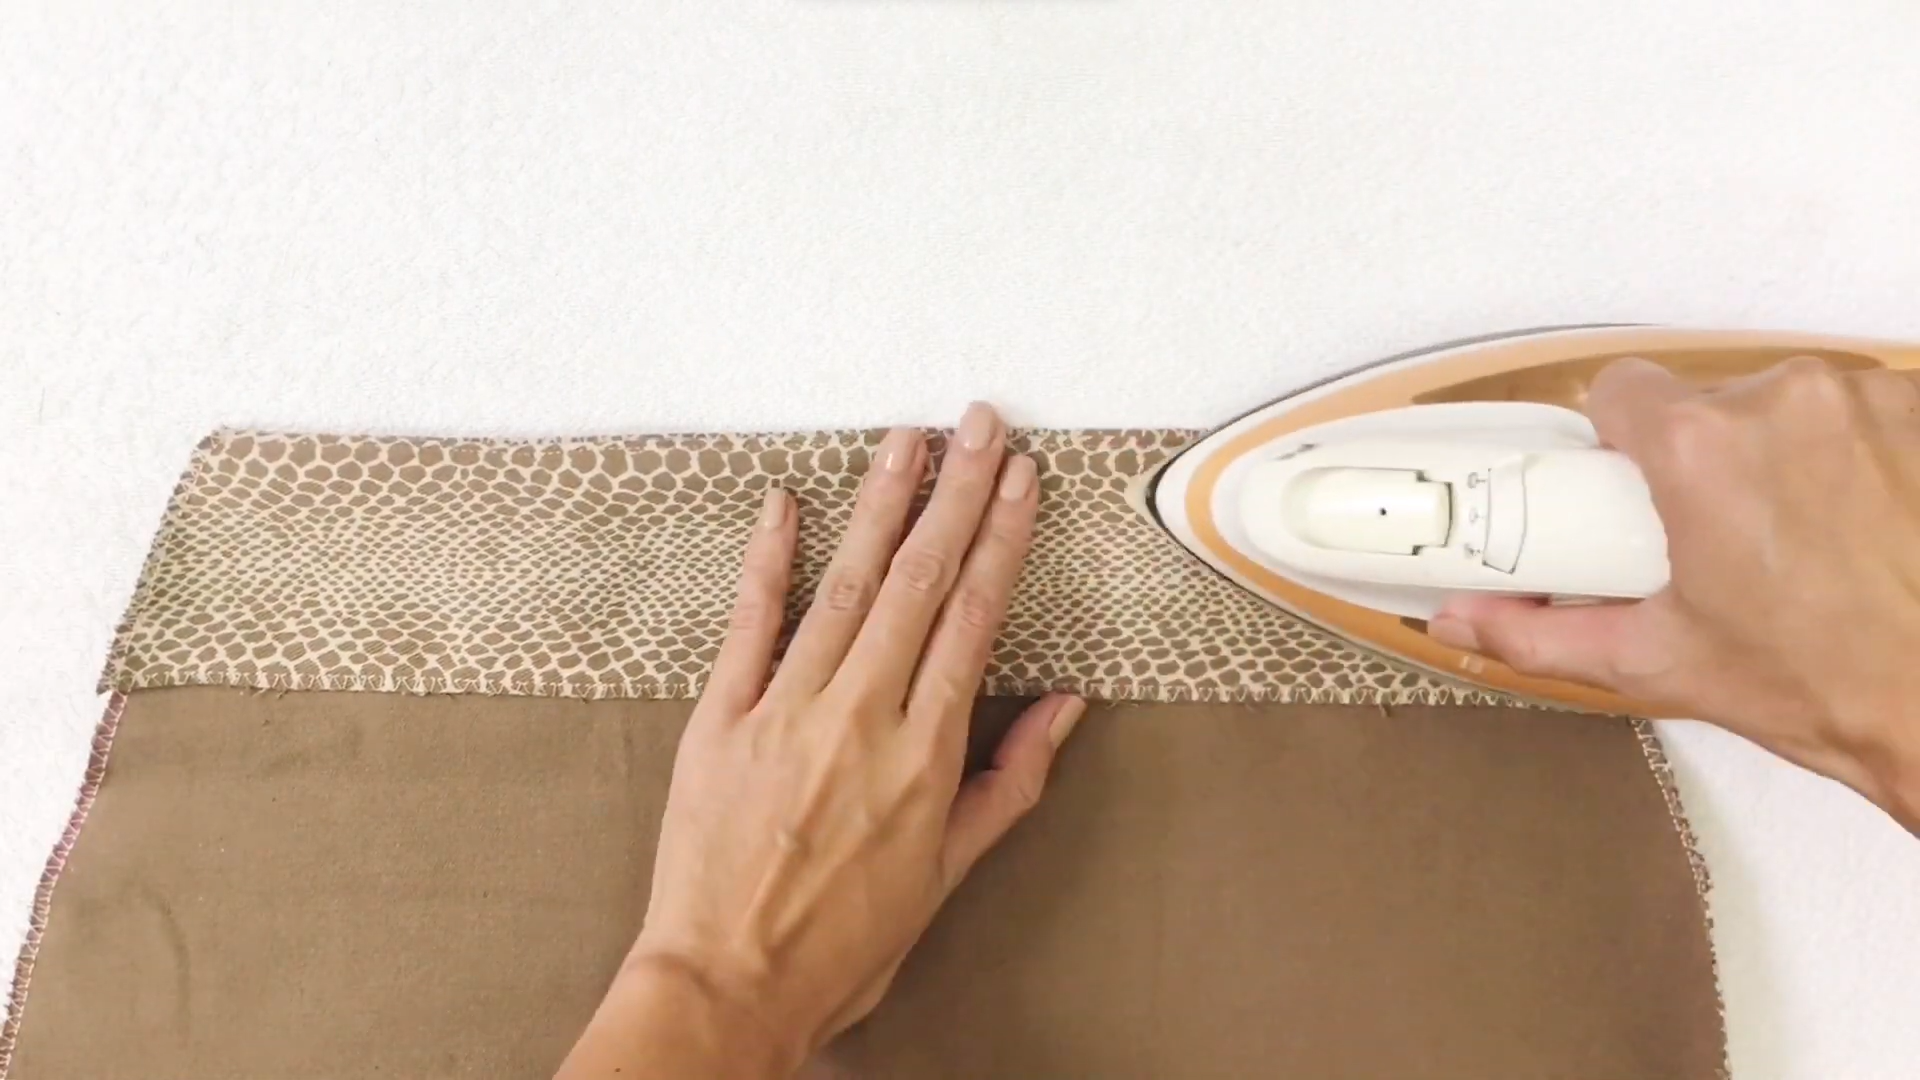
Then, use an iron to keep them in place.
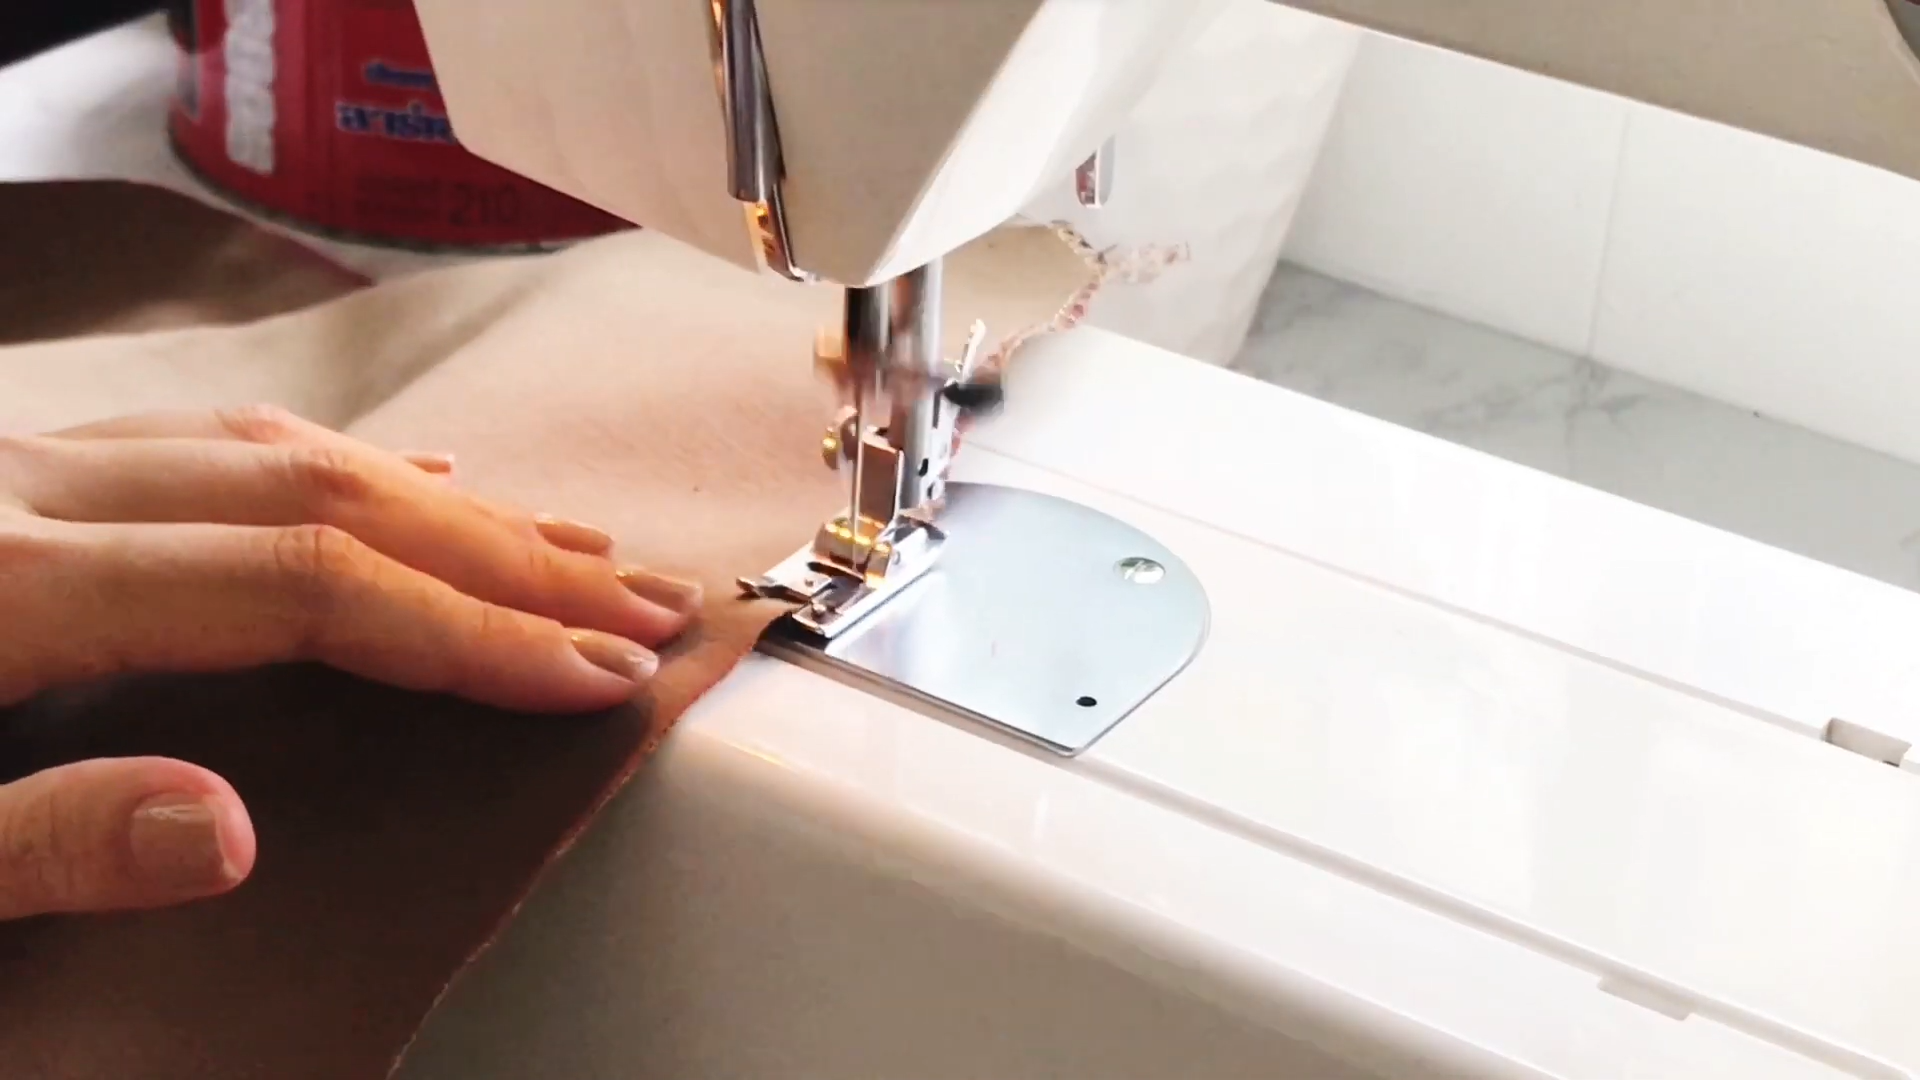
The next step is to connect one side of the front and the back together.
Remember to connect them at the waistband first, then do another area later, then sew along the line.
THE ZIPPER

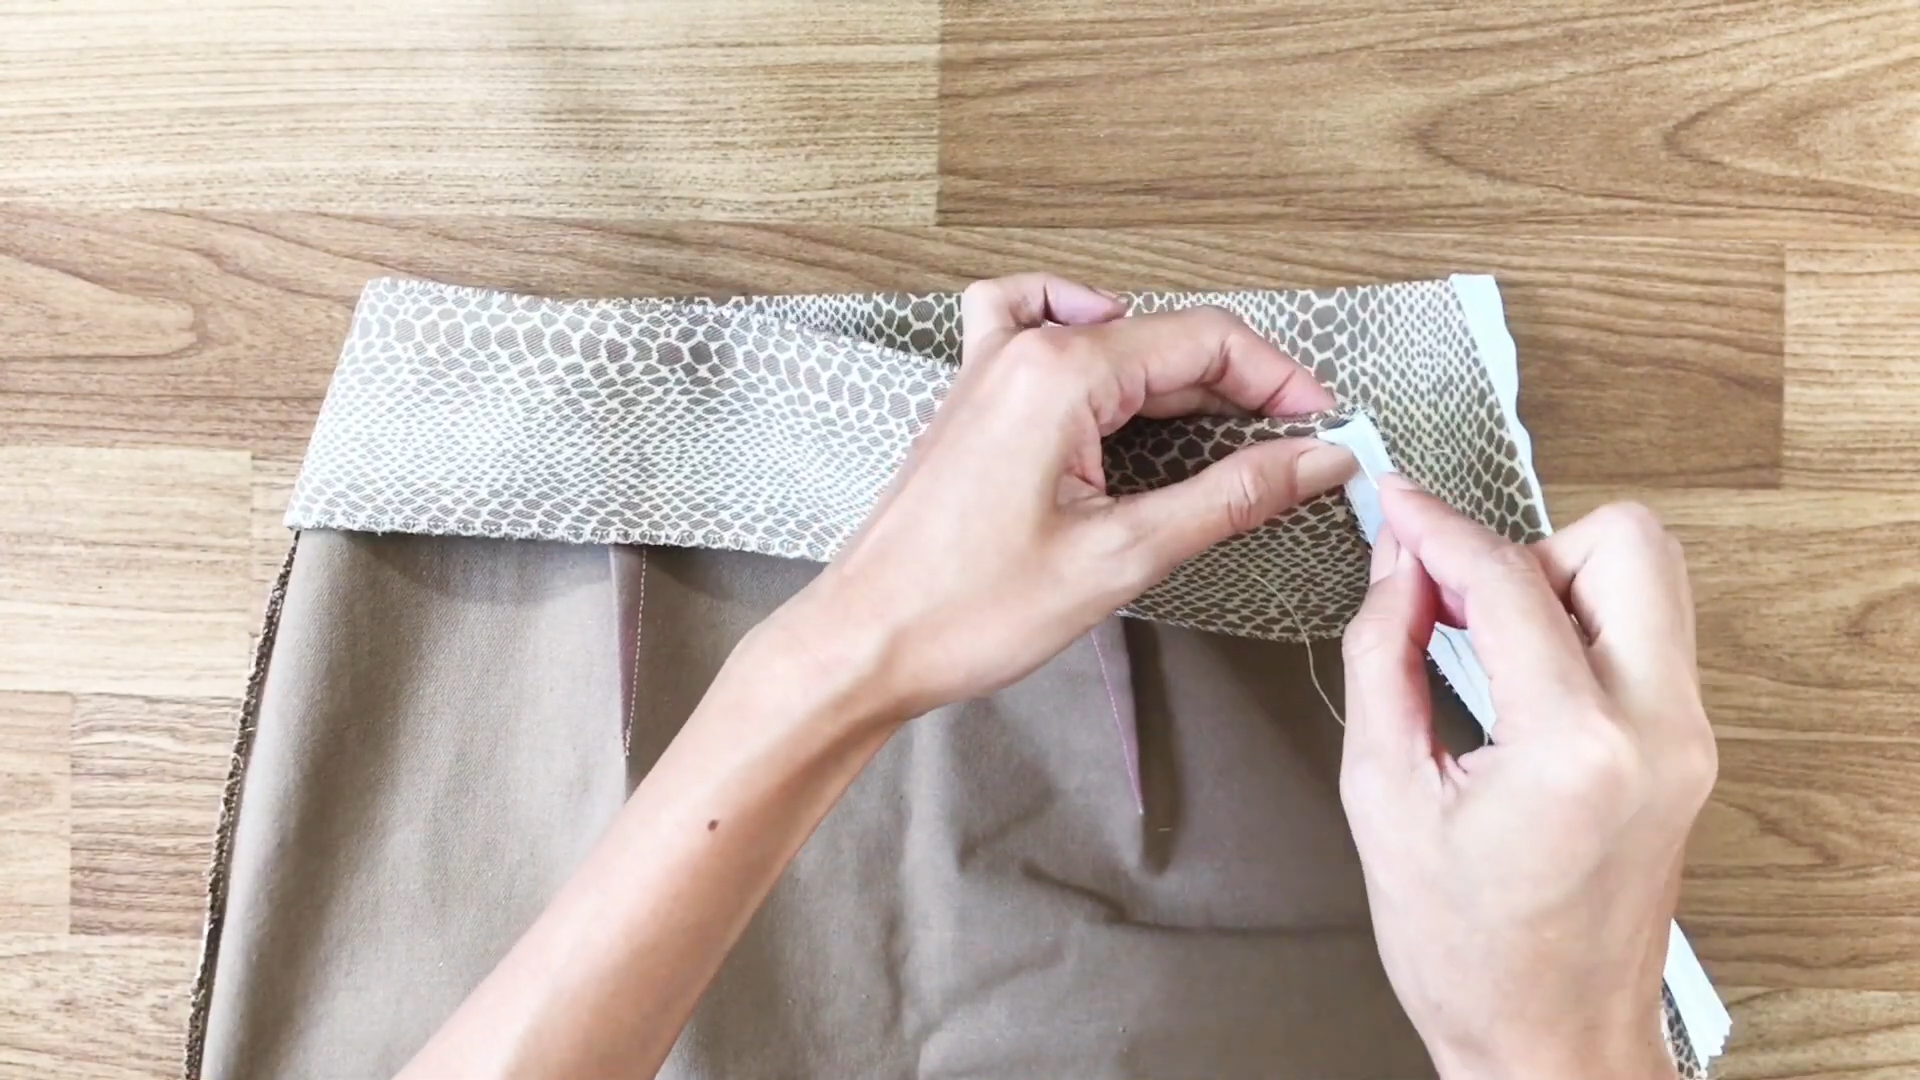
Moving to the other side of the skirt, use a zipper to create the open area for the skirt.
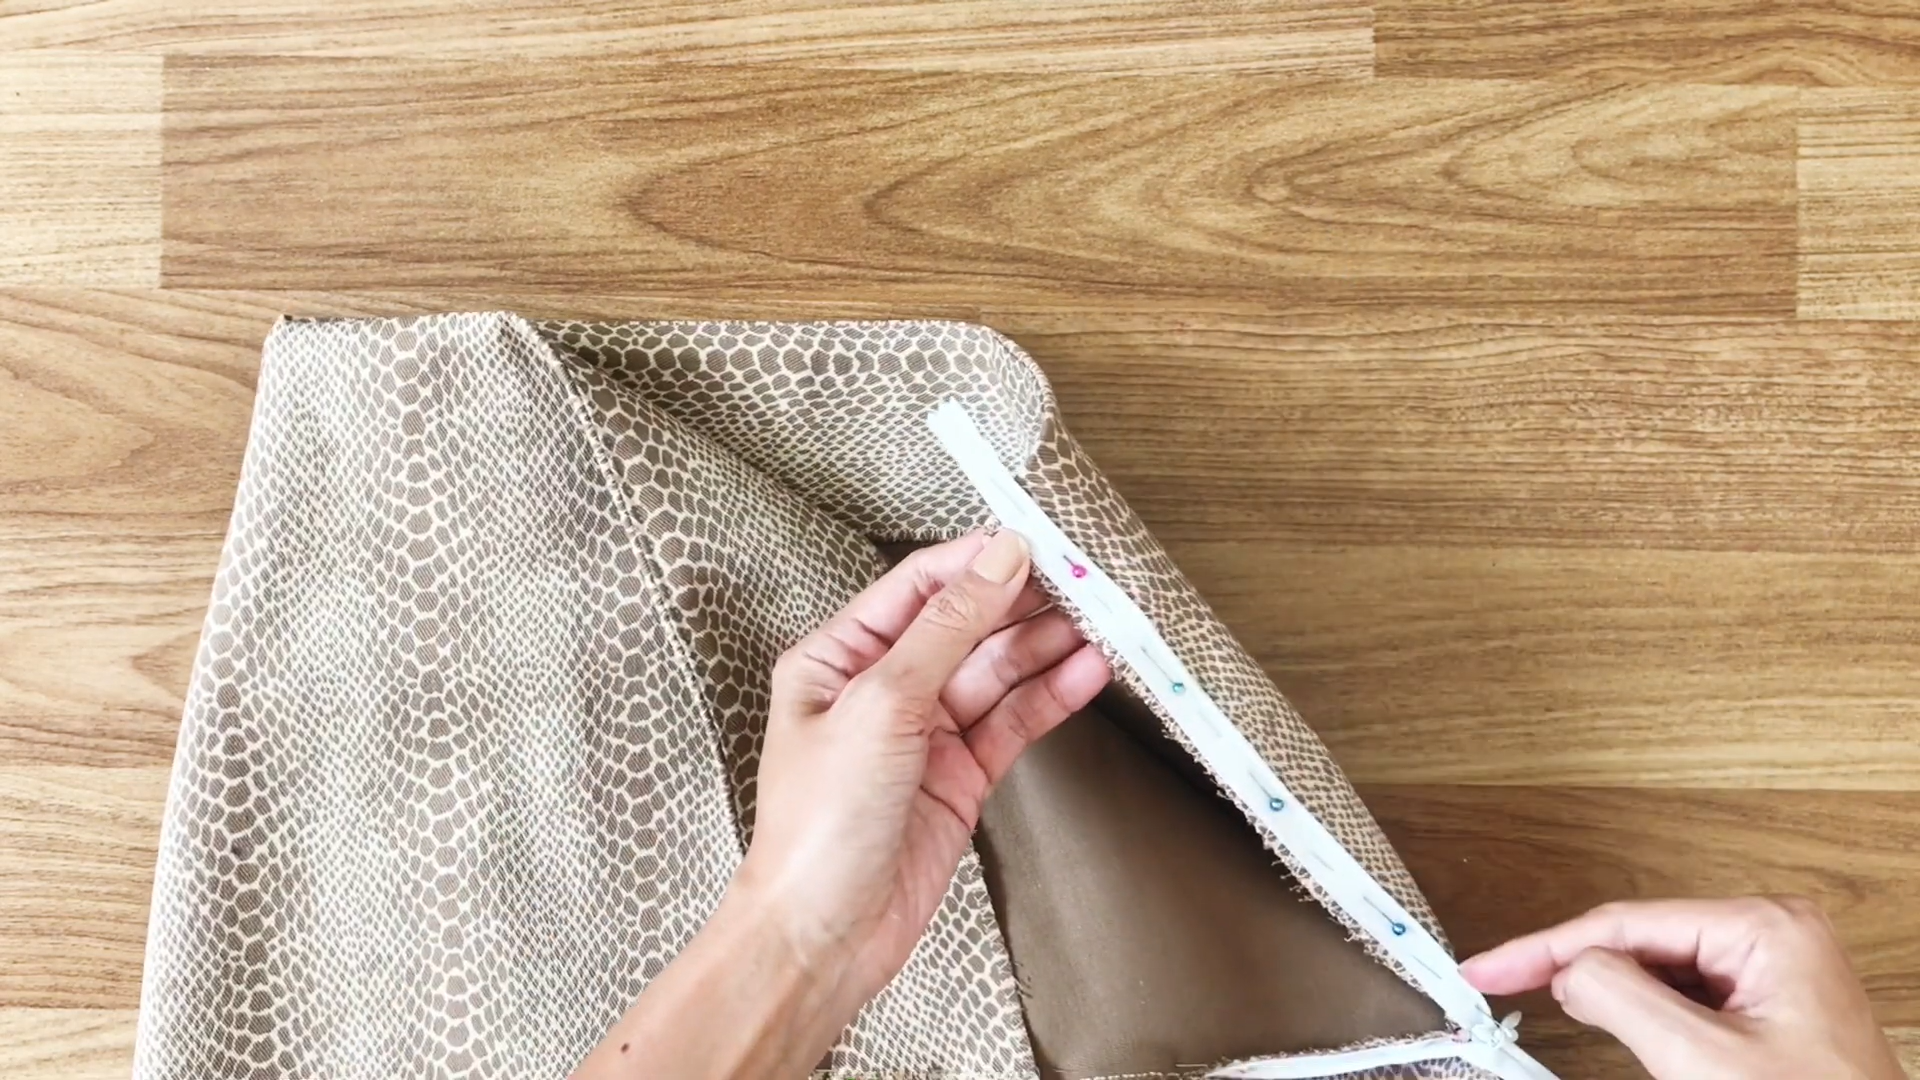
Use pins to fix the zipper to the skirt.
Remember that you need to fix the two tops of the zipper first so they will be balanced when you close the zipper.
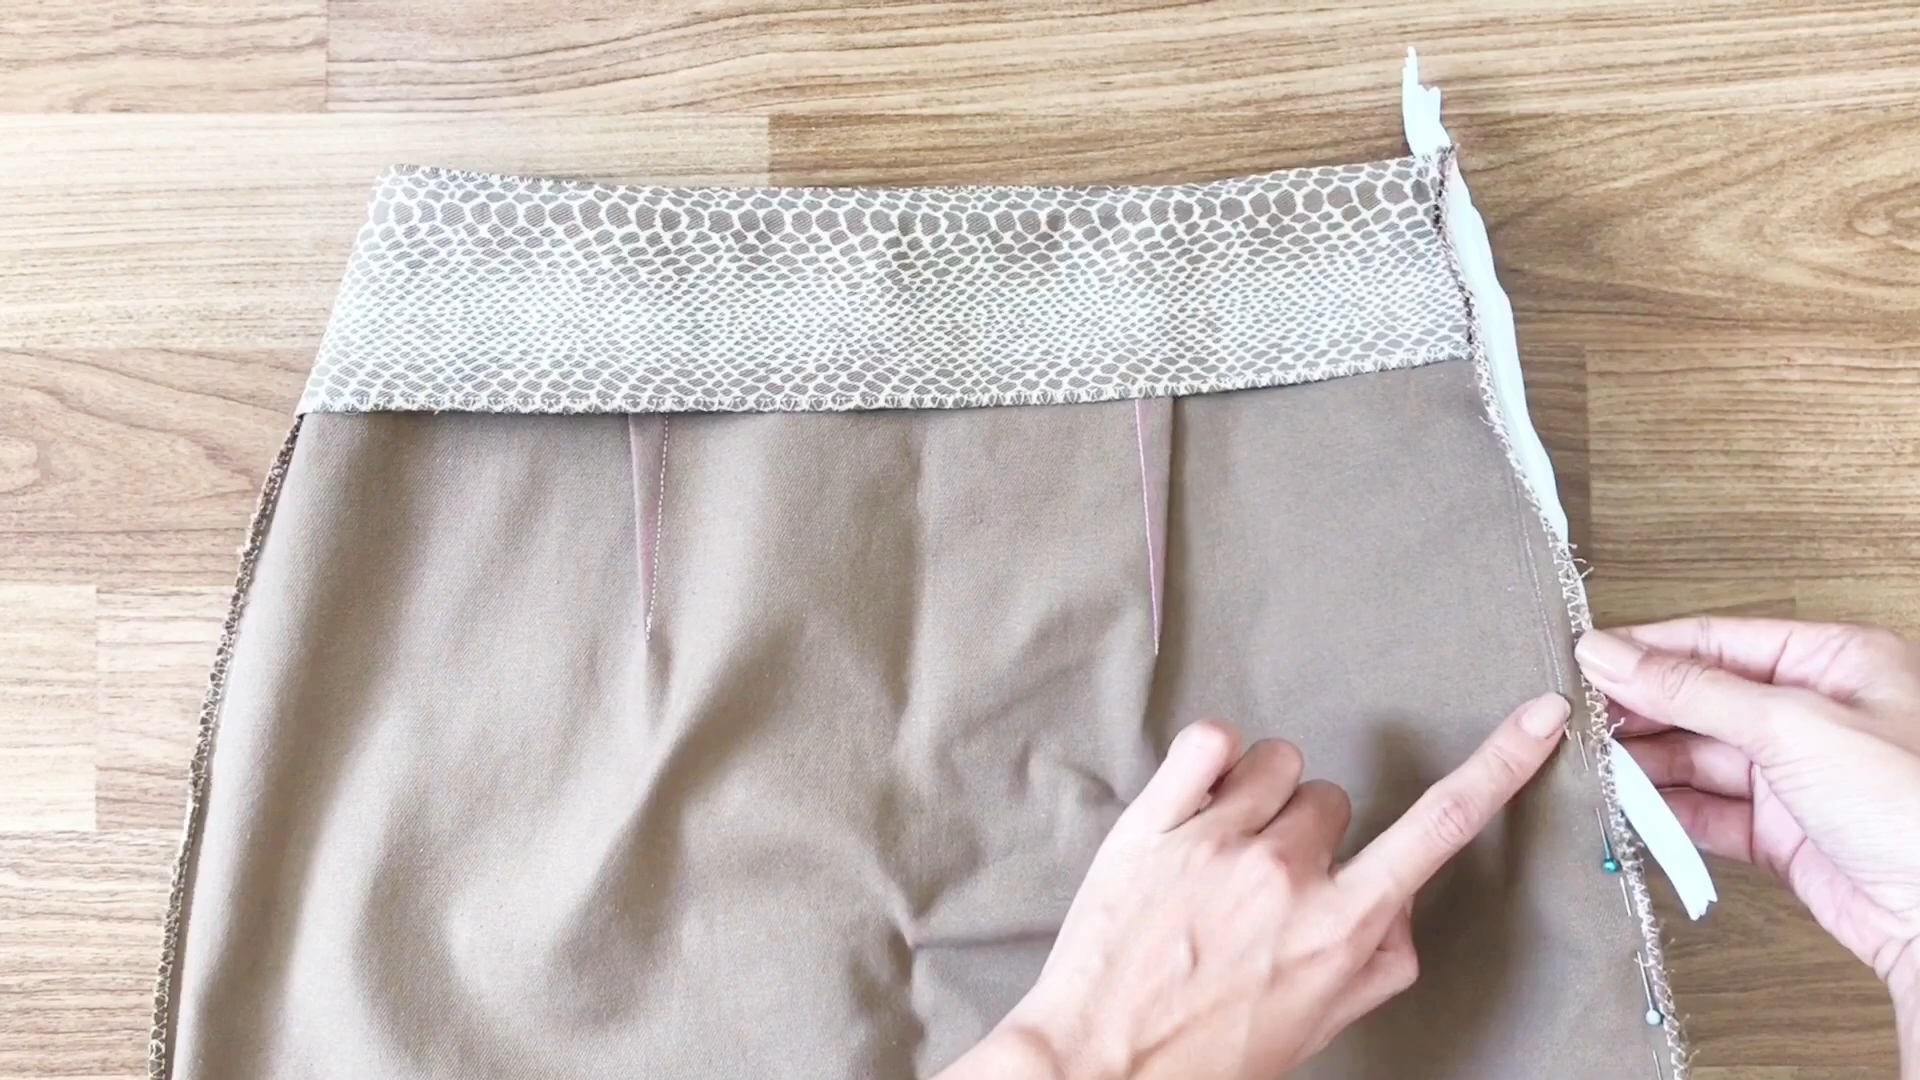
Now, connect the front and the back of the skirt under the zipper by sewing them together.
For the extra zipper at the back of the skirt, fold them inside and hand sew them.
Fold the fabric inside using pins to hold your folding, then sew along the edge.

DIY High Mini Skirt from scratch
And there we have it - A high-waist skirt!
This versatile piece is perfect for both work and casual outings, and the best part is, it’s not difficult to make on your own.
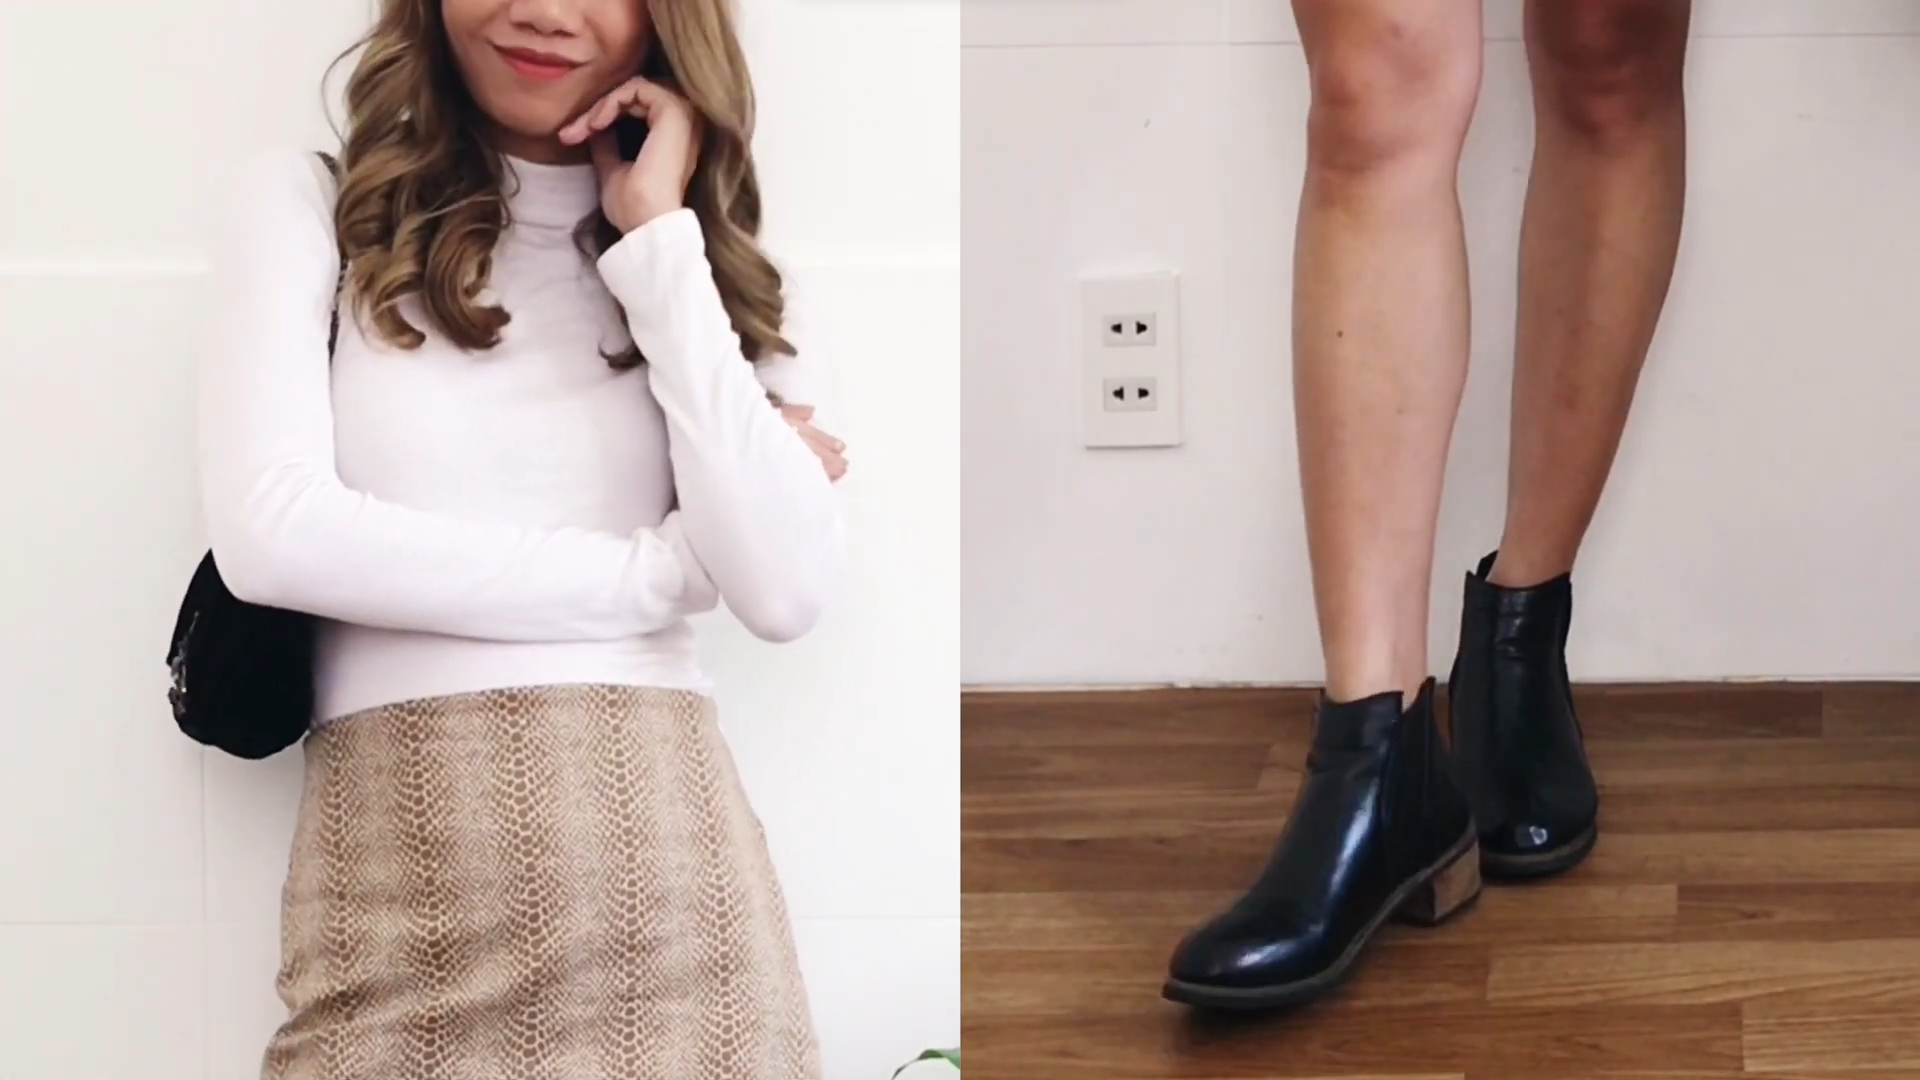
I personally love pairing it with a crisp white shirt, a small bag, and ankle boots for a chic and polished look. But the beauty of DIY is that you can tailor it to your own style. How would you style this skirt? I’d love to hear your ideas!
If you liked this project, please share it and subscribe to my channel so you won’t miss any of my upcoming DIYs.
Until next week, happy sewing!