DIY OVERALL JUMPSUIT from Denim skirt - thrift flip for an active & handy working day

DIY OVERALL JUMPSUIT from Denim skirt

Welcome and welcome back to my sewing blog!
In today blog, I'm going to share with you the way I transformed my old denim skirt into this cuties overall jumpsuit. If you know me, you'll note that I'm addicted to jumpsuit. Therefore, I have so many thrift flip old clothes into jumpsuit. And this video is one of them. I have this denim skirt years ago. And I didn't wear it in a very long time. But it's still in a good condition. So I decided to give it a makeover.
So let’s get started!
WHAT YOU’LL NEED
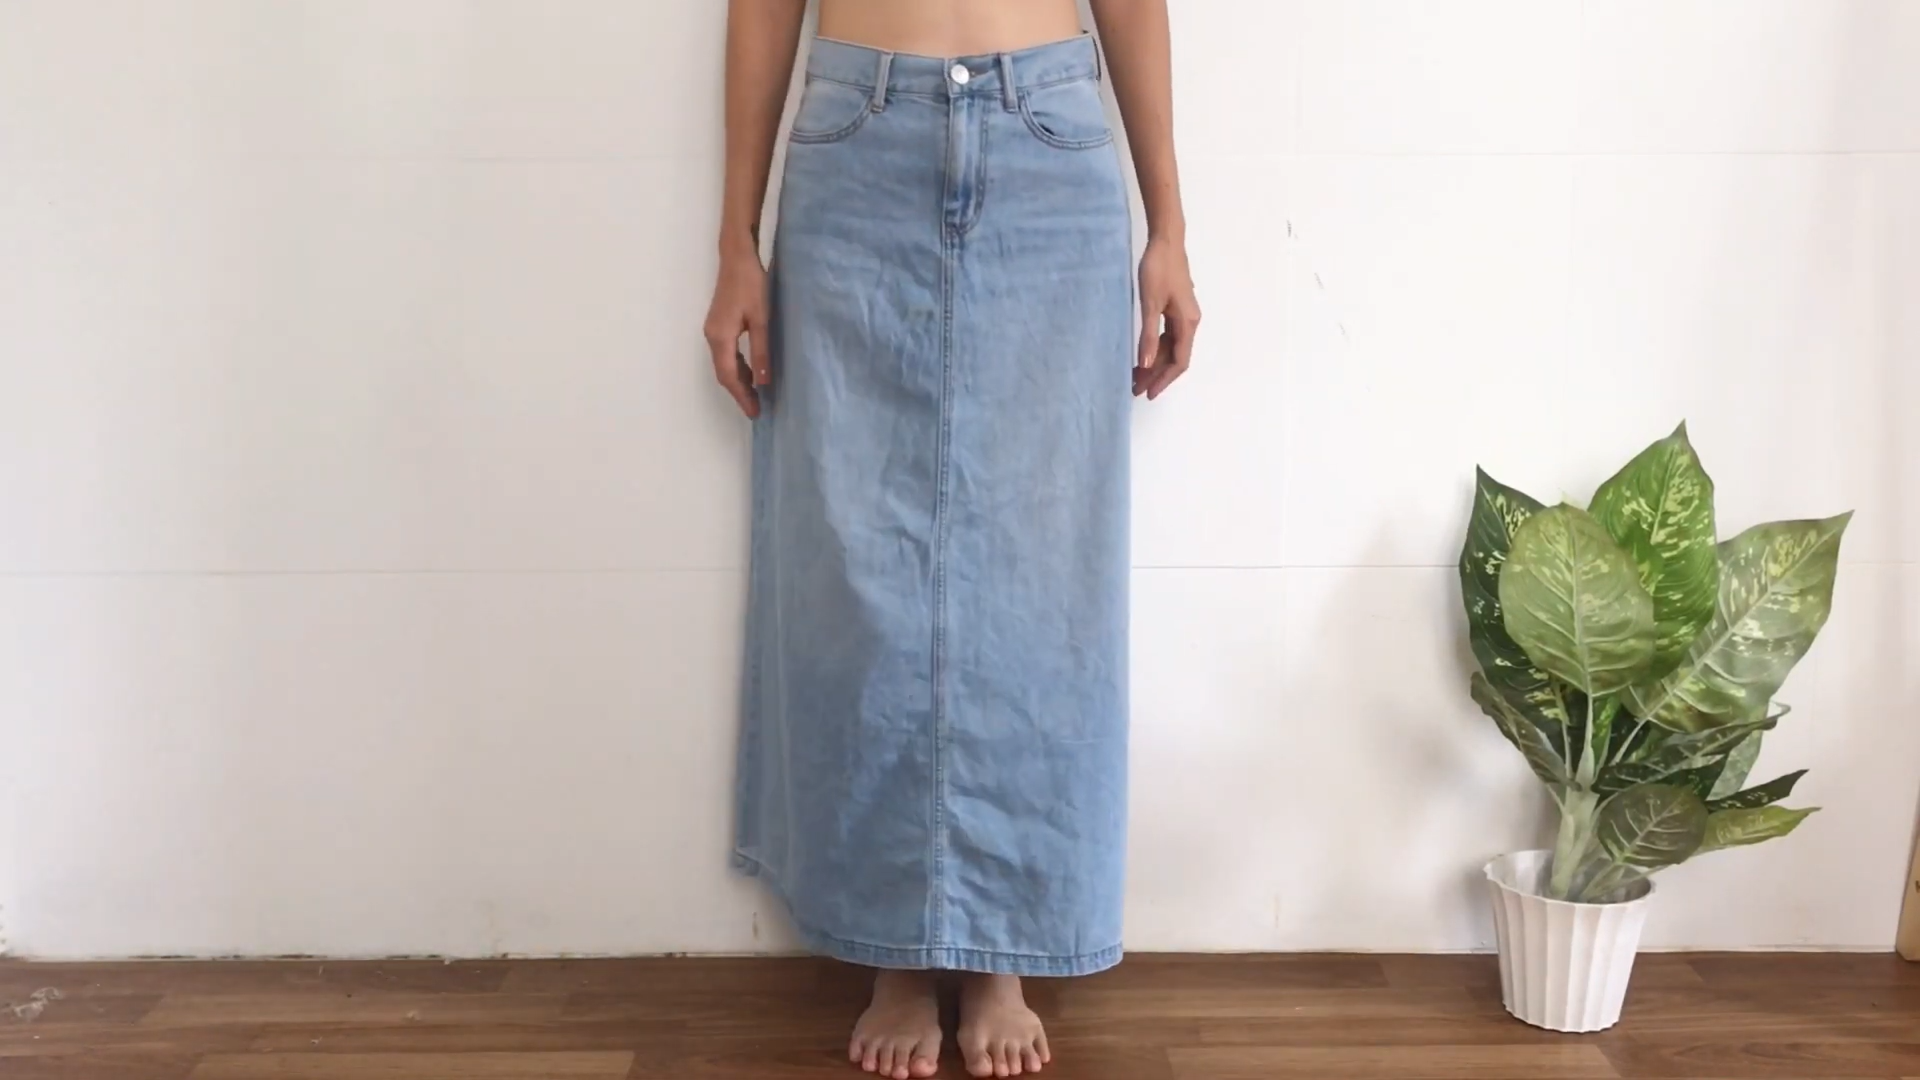
Denim skirt in Small size. This fabric is quite soft compare to the real denim or jeans.
Sewing machine
Pins
Scissors
Ruler
SEWING THE JUMPSUIT
THE BODY
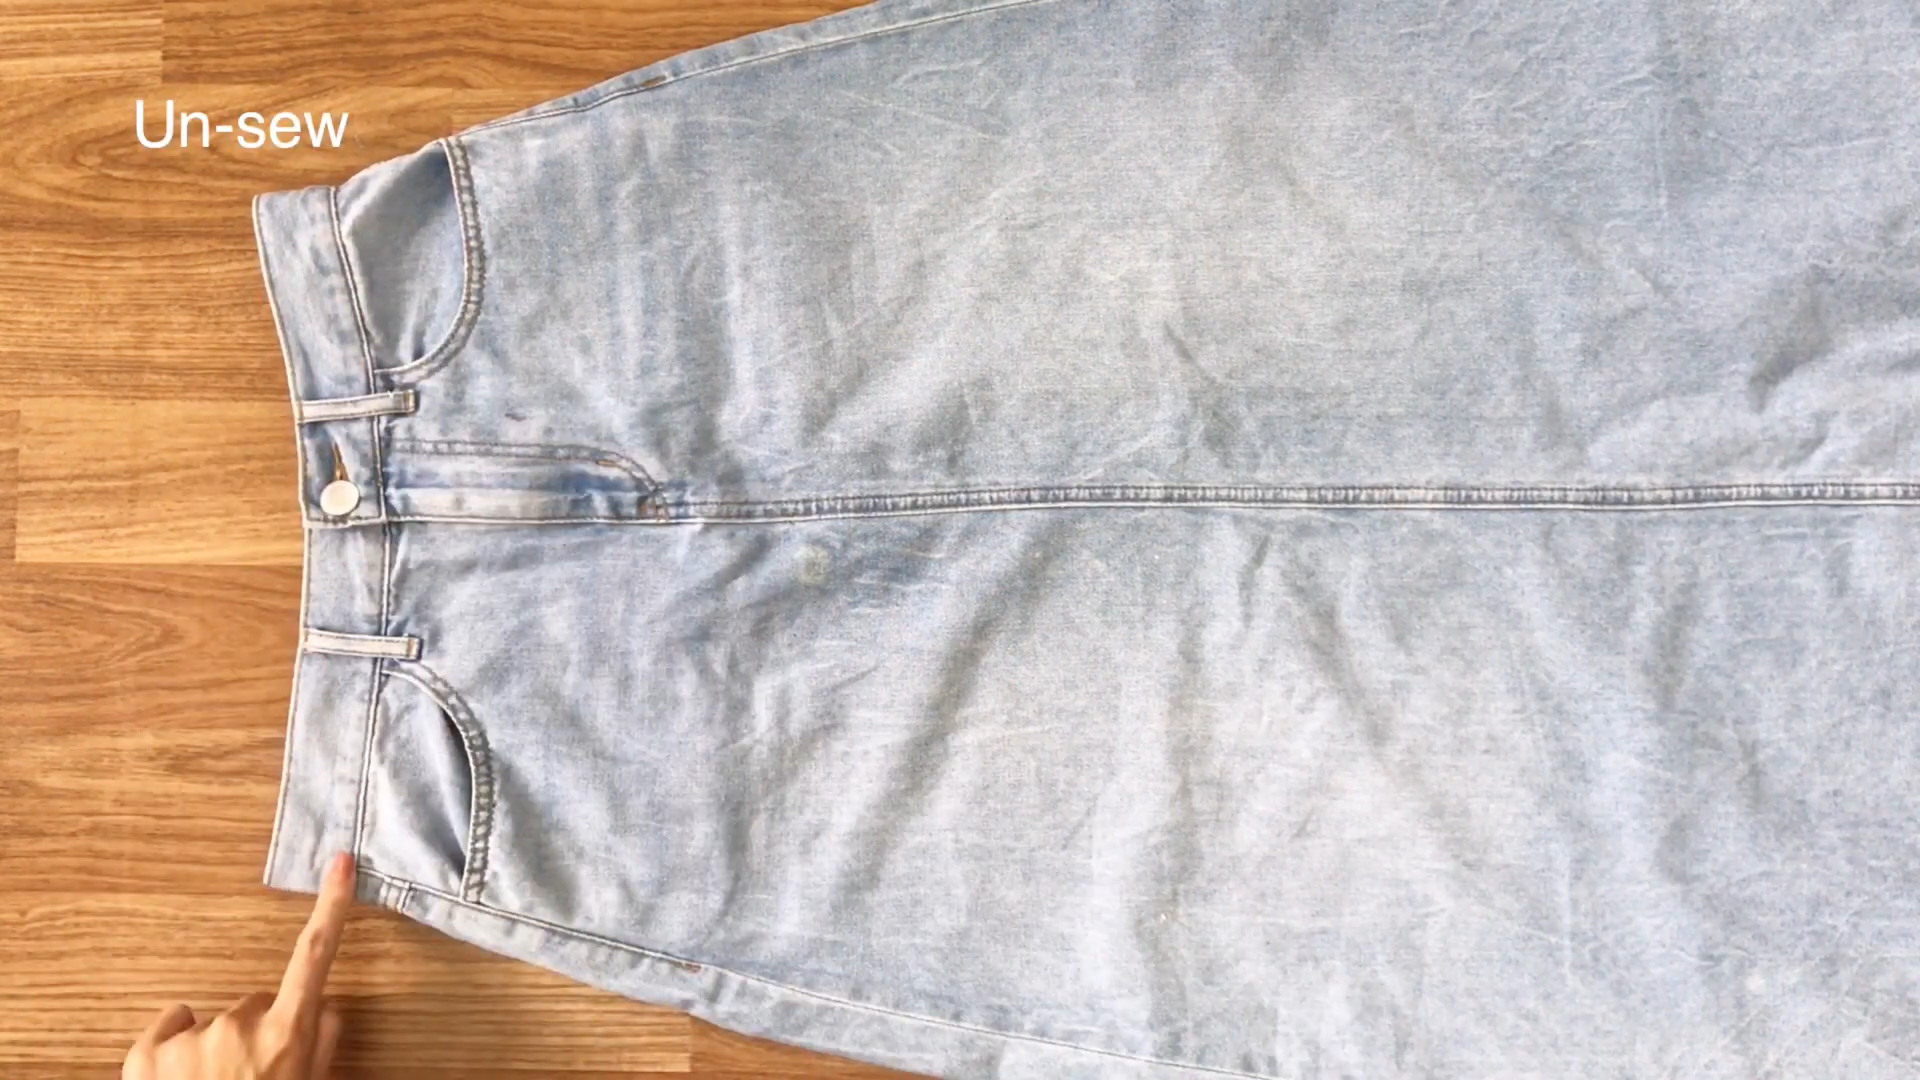
The first step is to remove the waistband of the skirt.
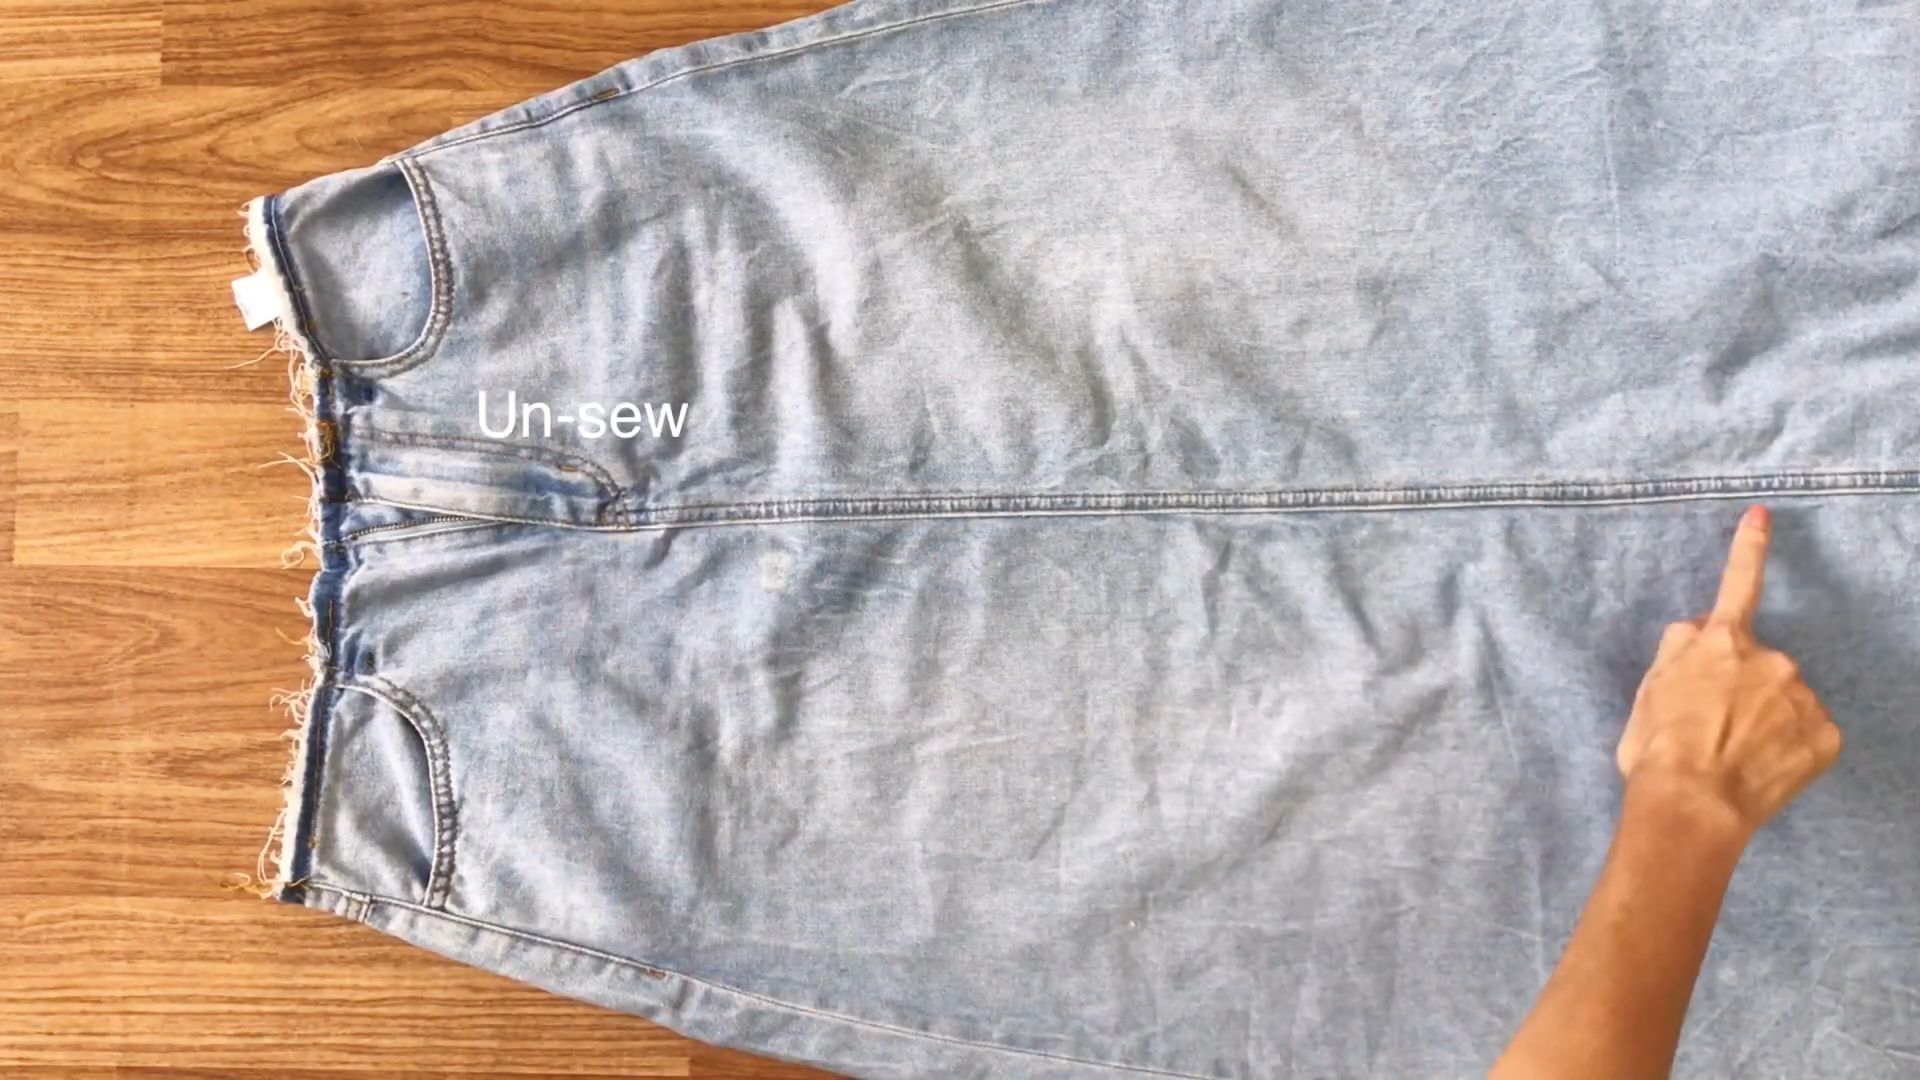
After that, remove the front seam in the middle.
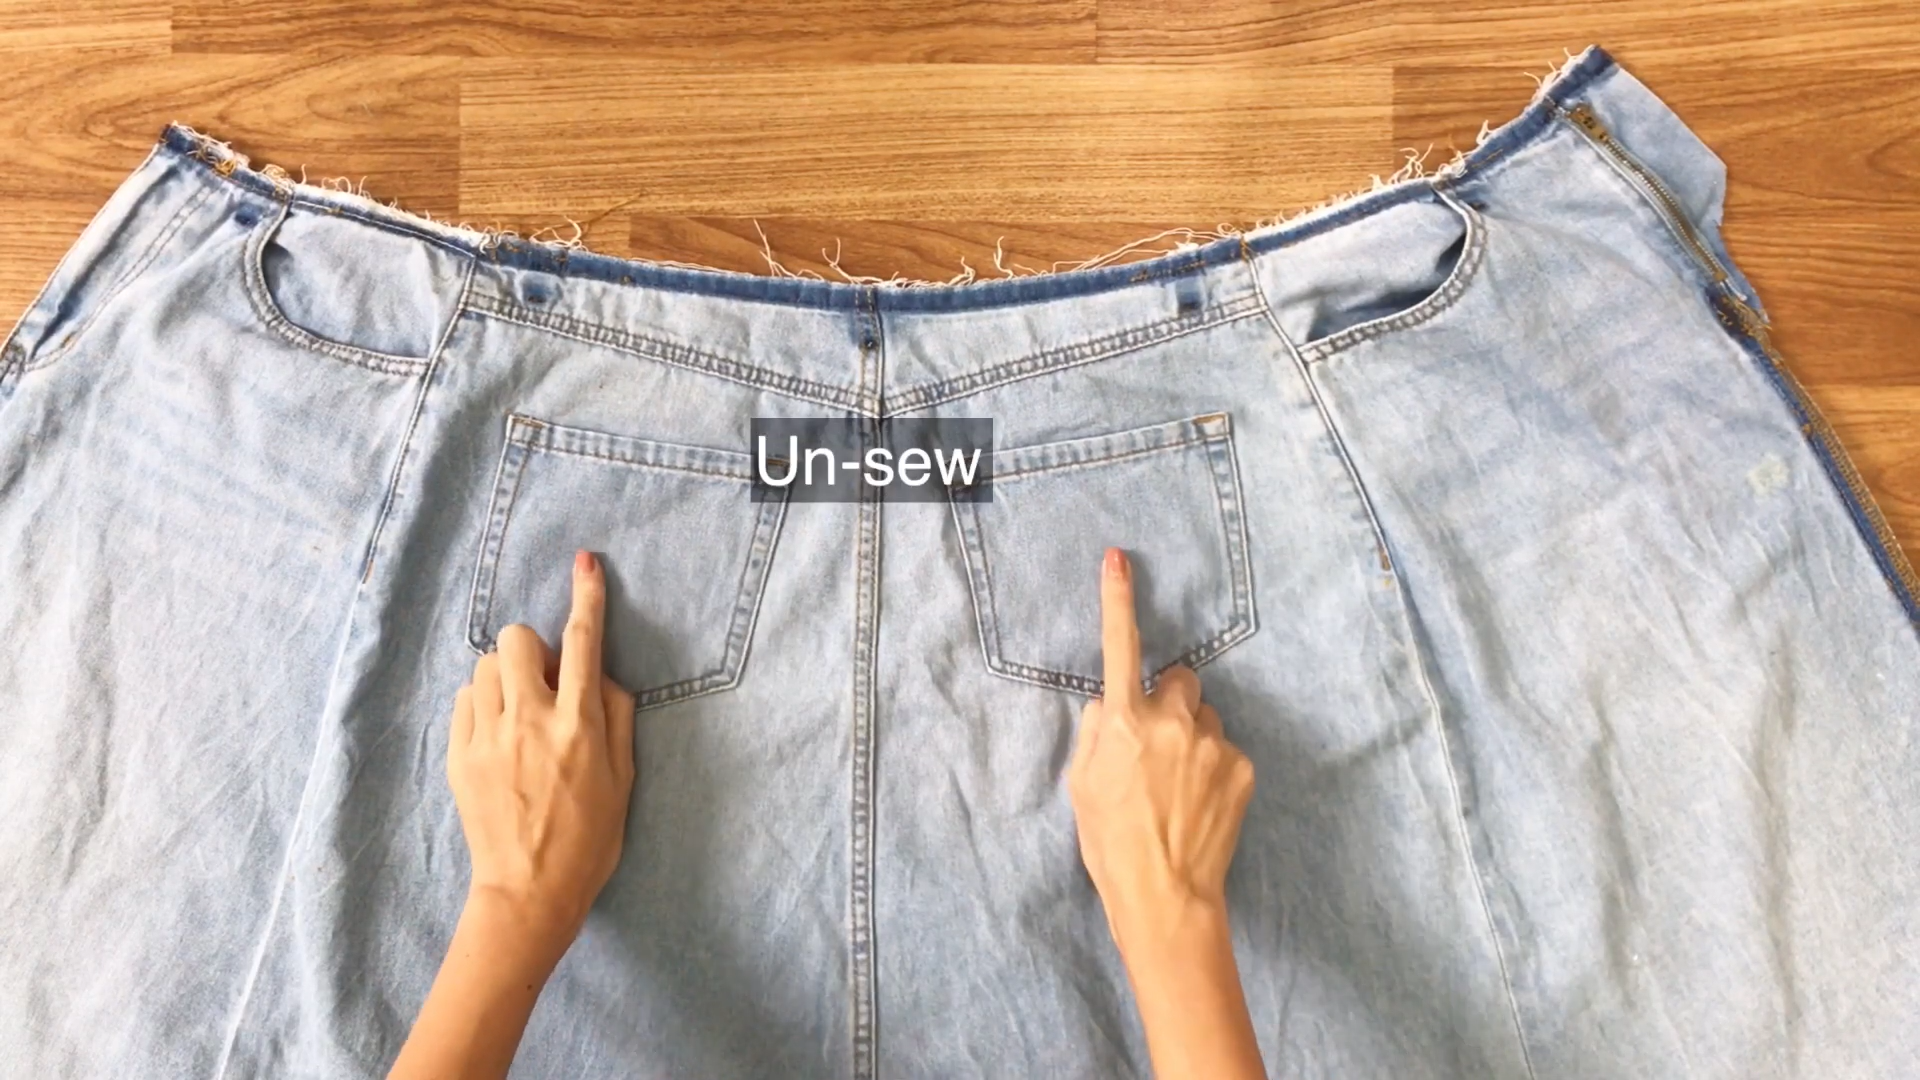
Then, remove the pockets and the back seam.
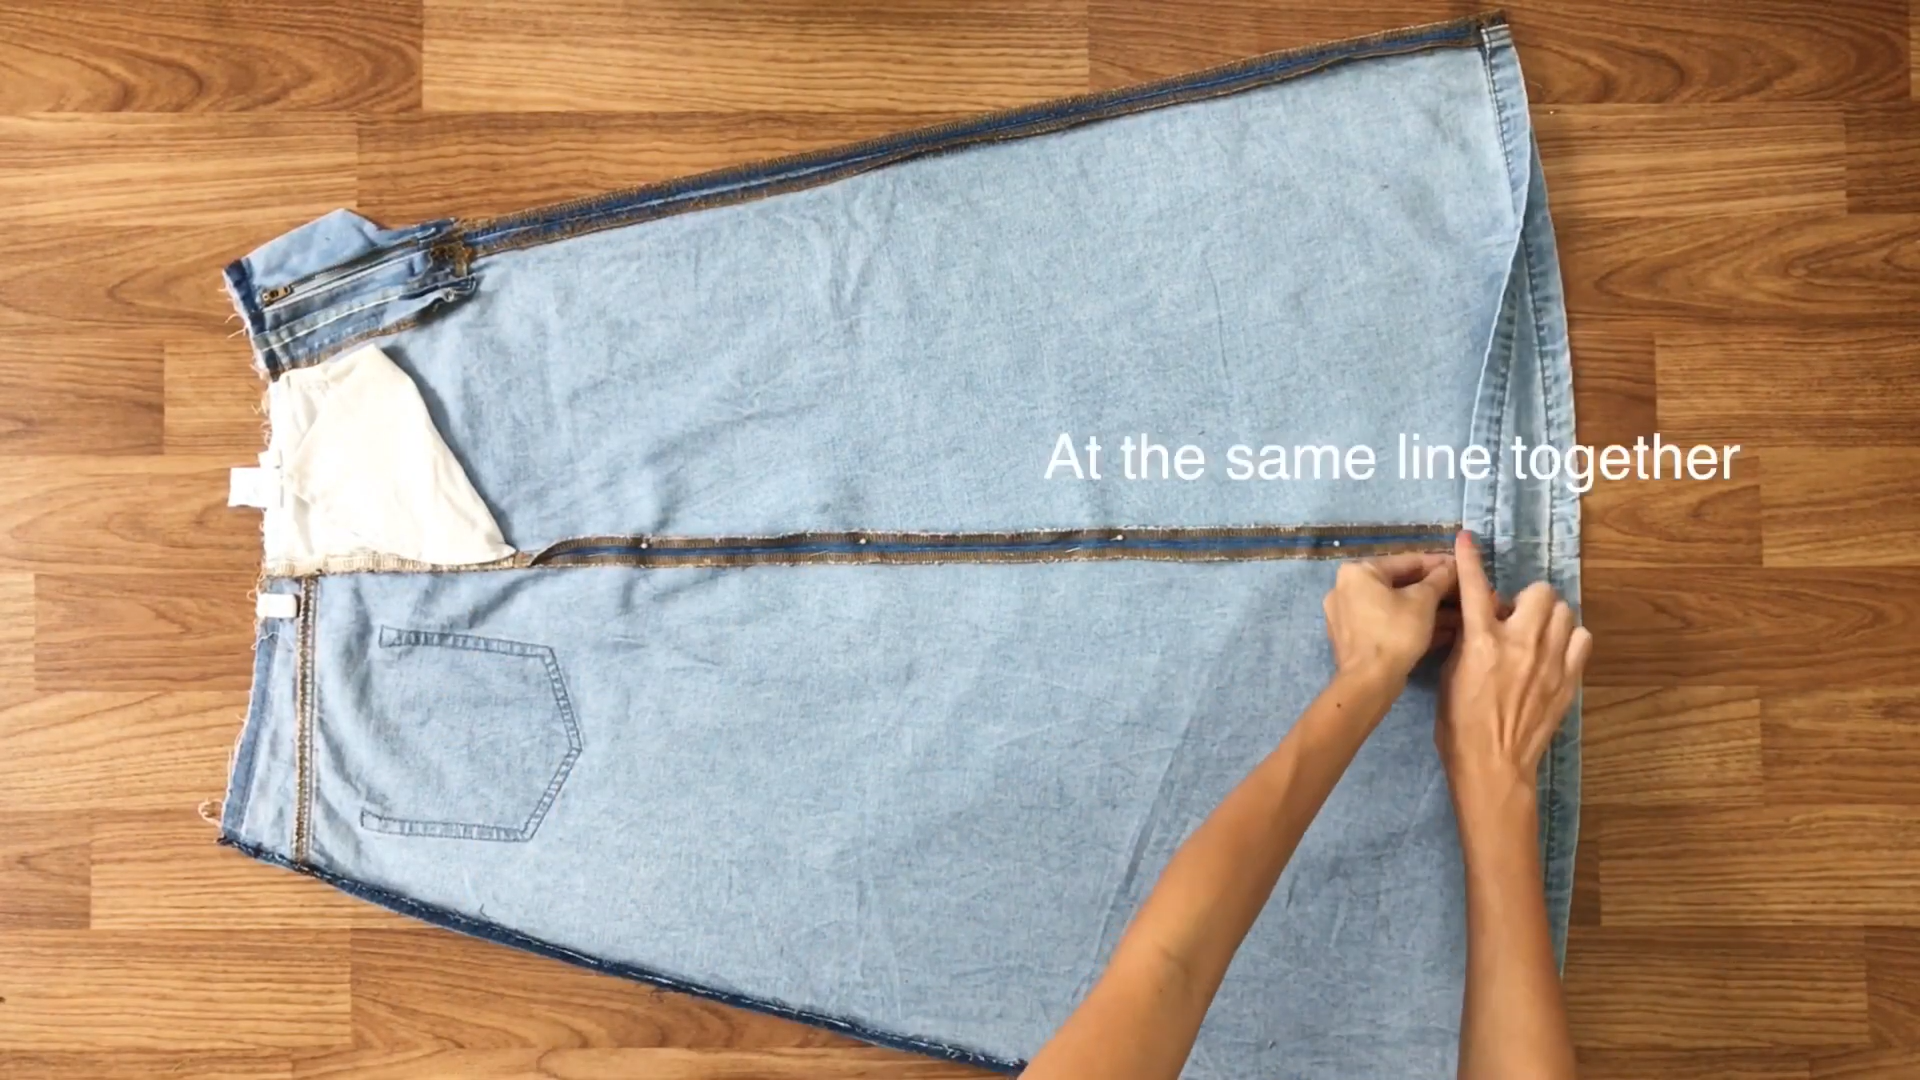
Fold two pieces of the skirt after removing them at the side seams. Make sure they’re at the same line.
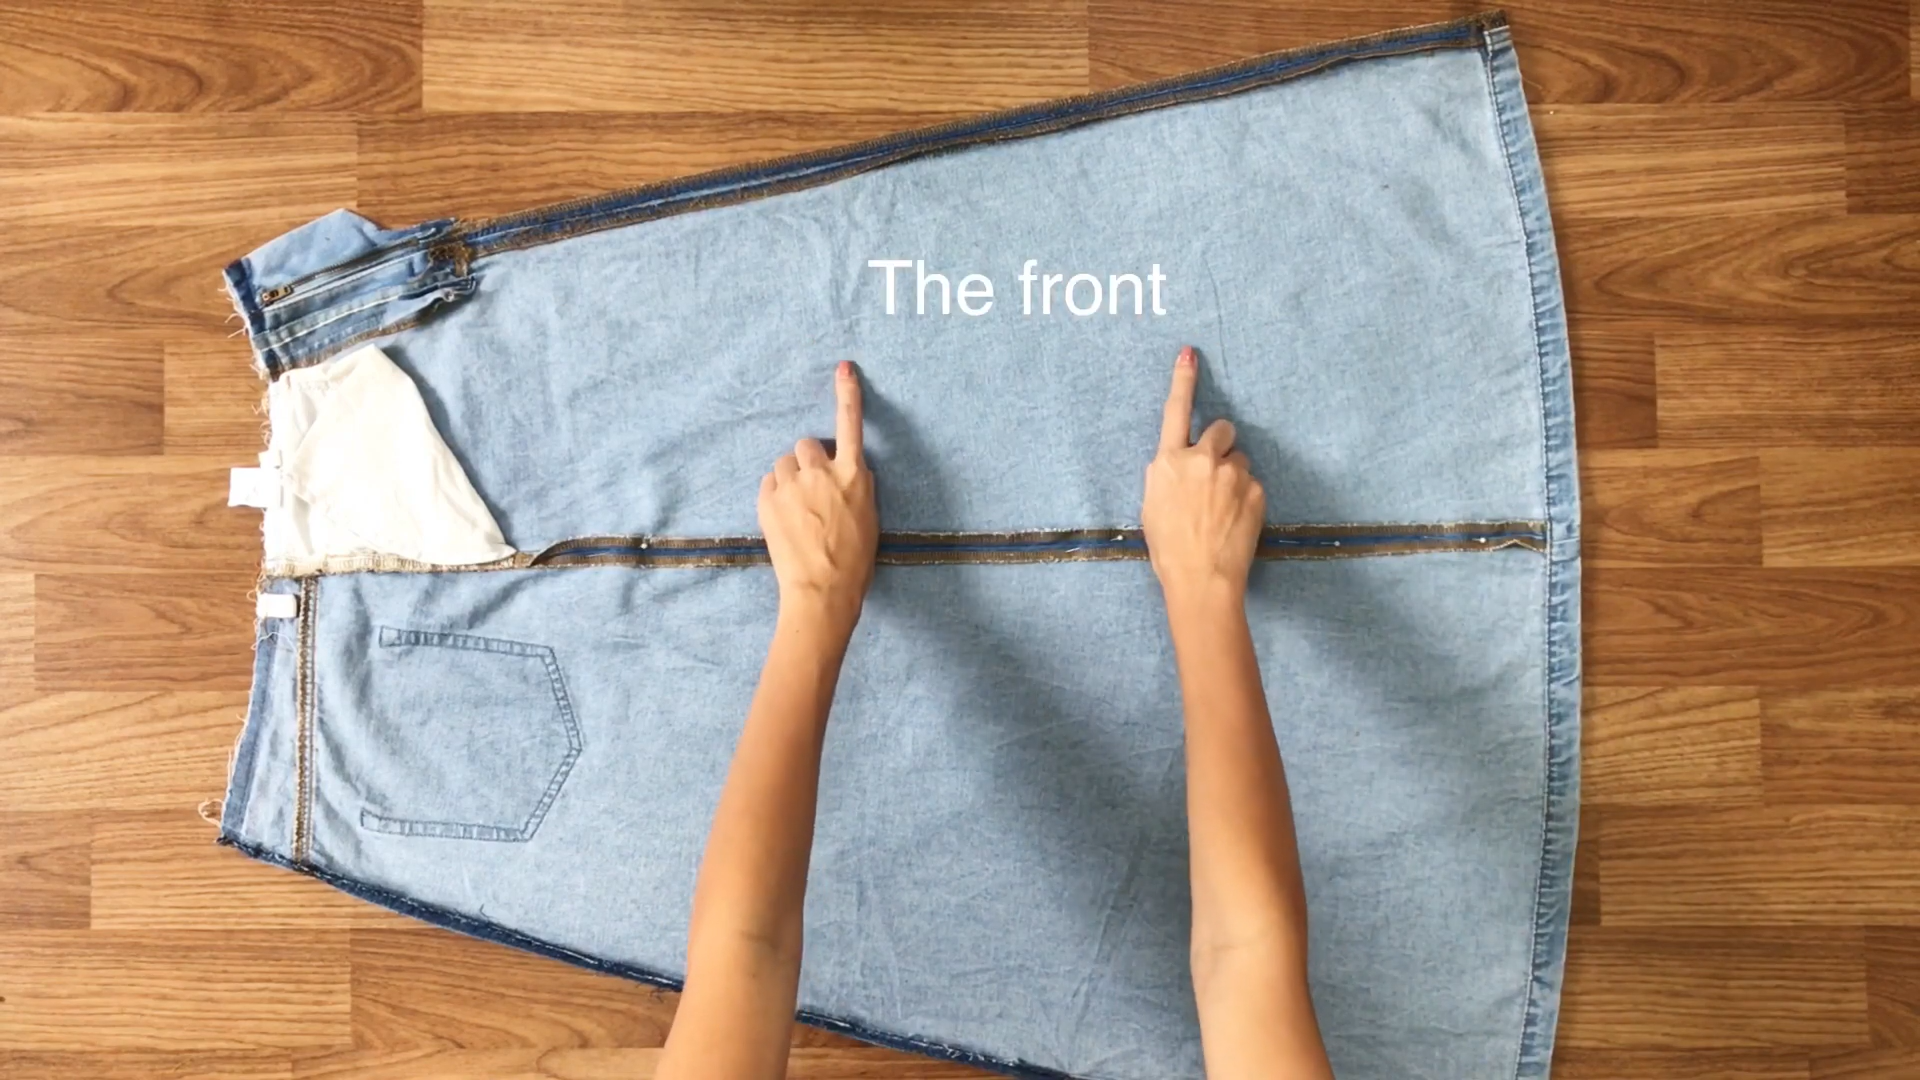
So, the front skirt will be the front part of the overall.
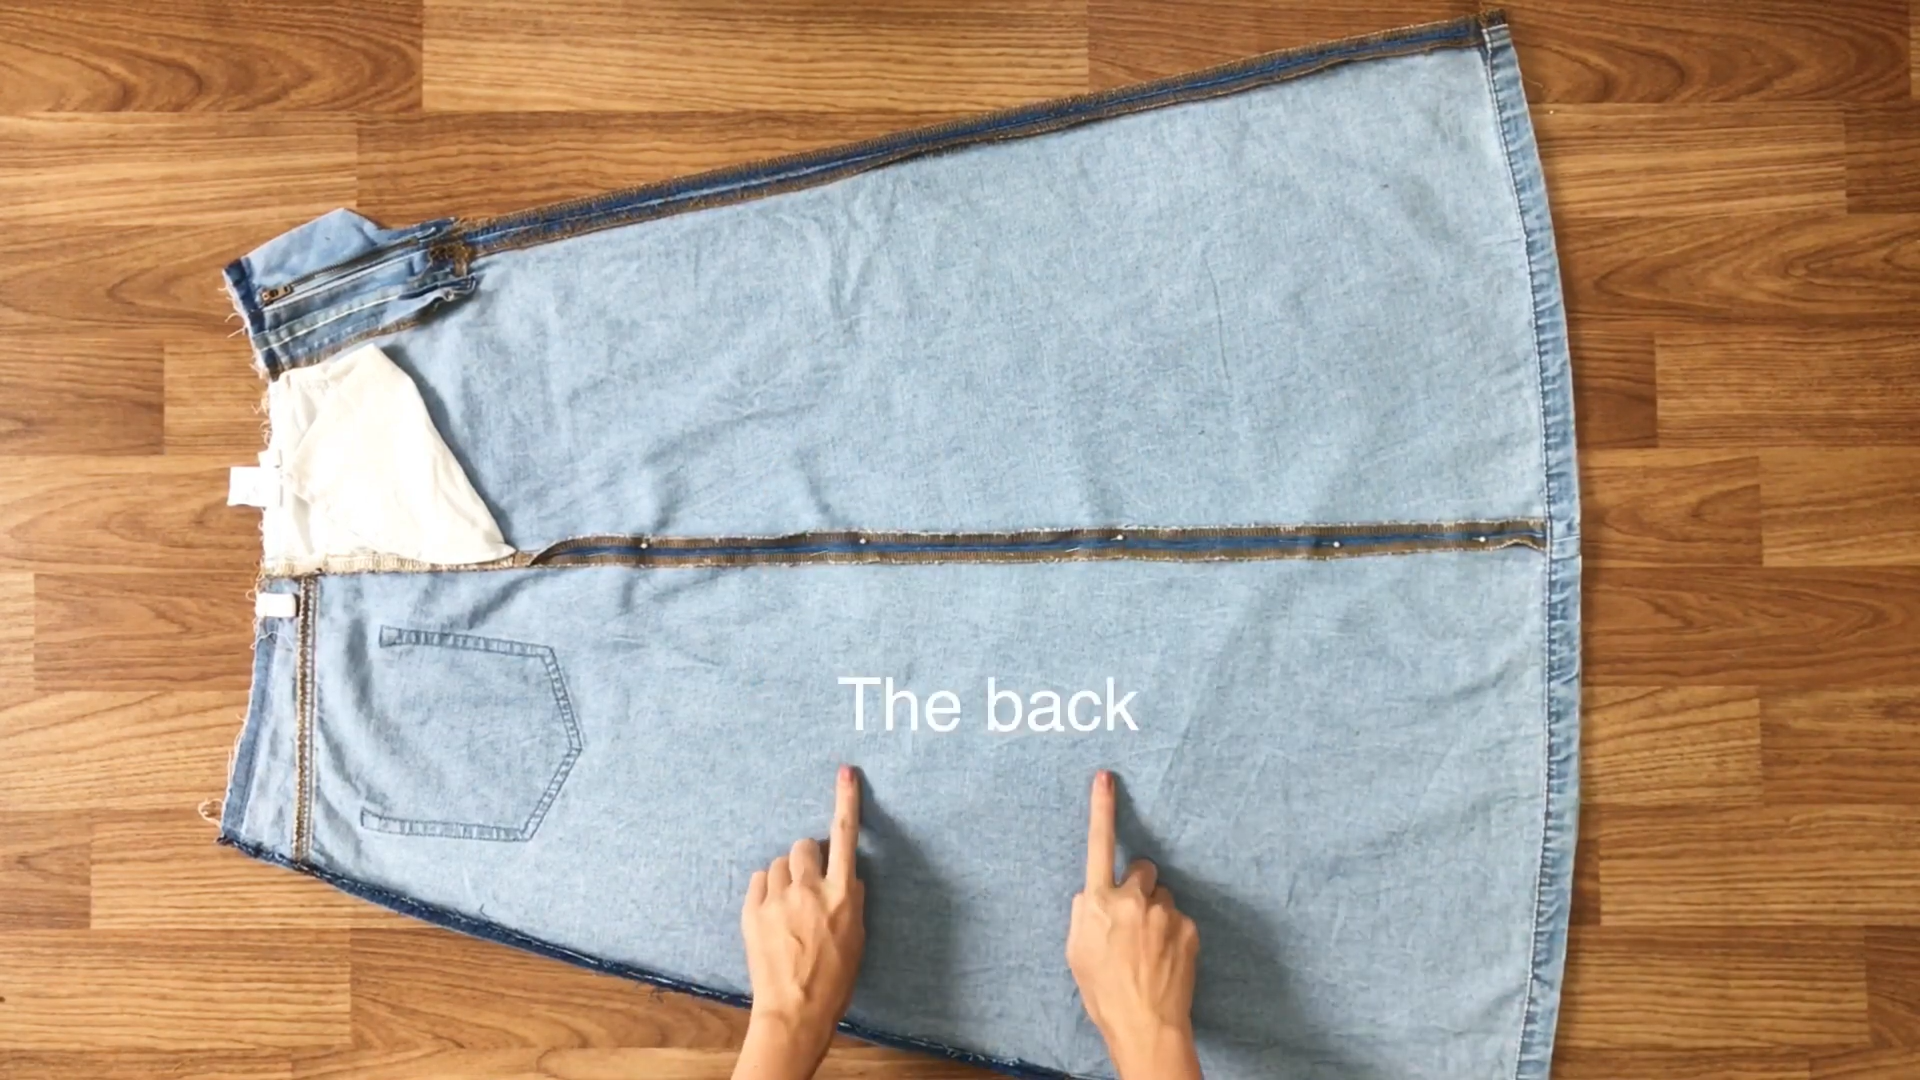
And the back skirt will be the back part of the overall.
THE FRONT
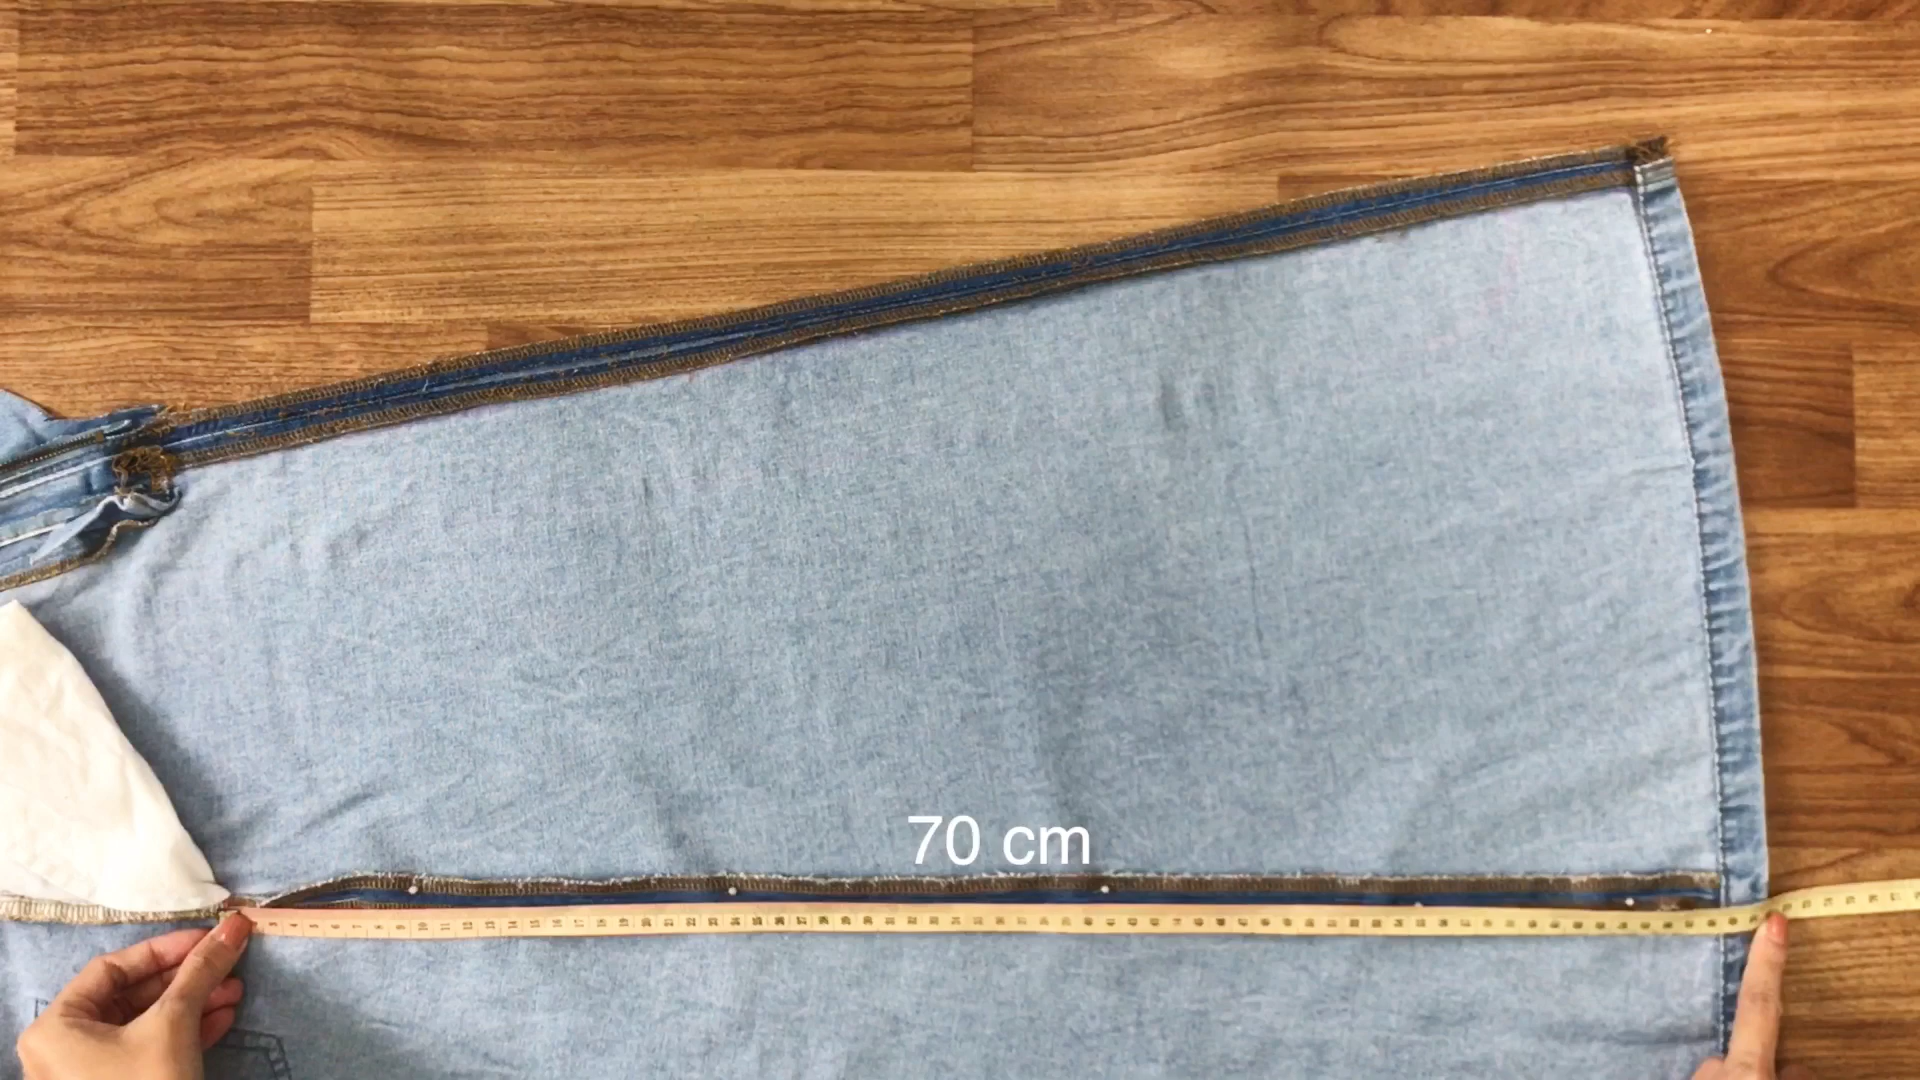
At the side seam, mark at 70cm from the end.
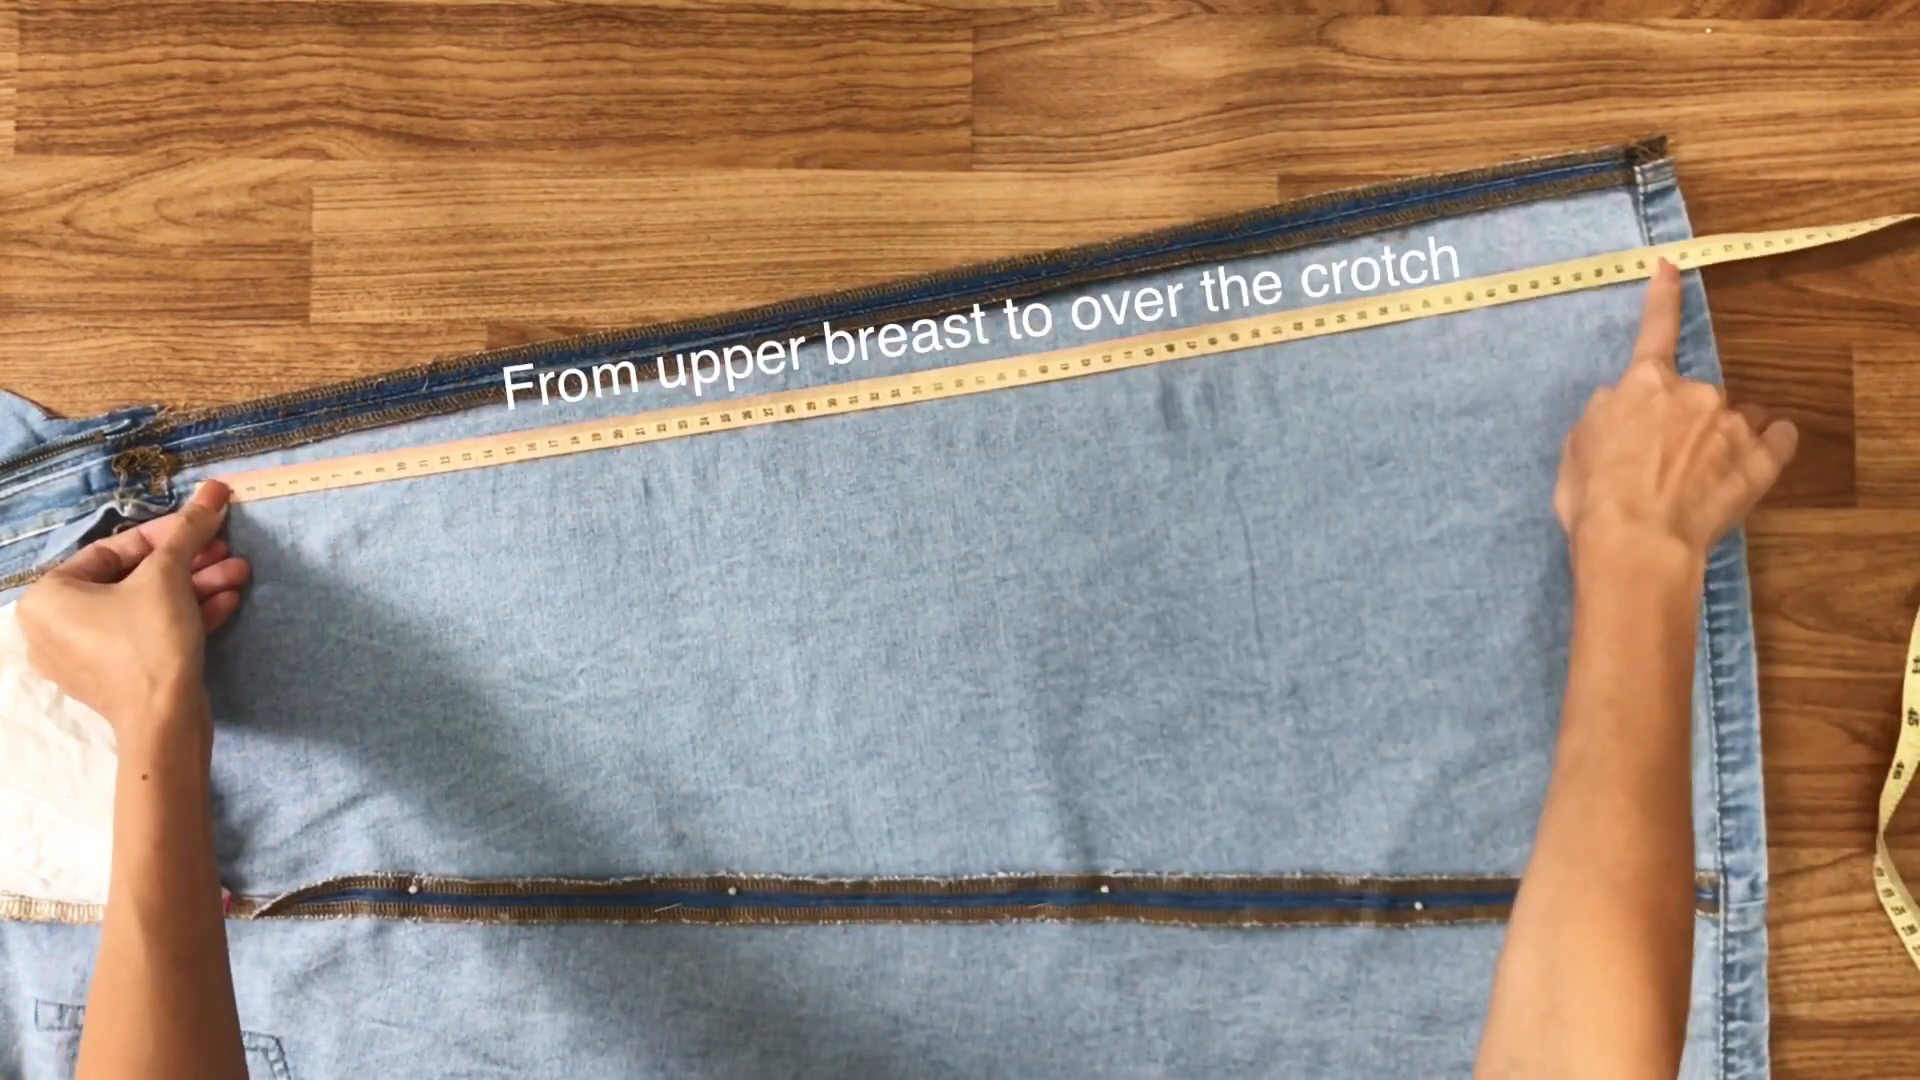
This is the length from the upper breast to over the crotch.
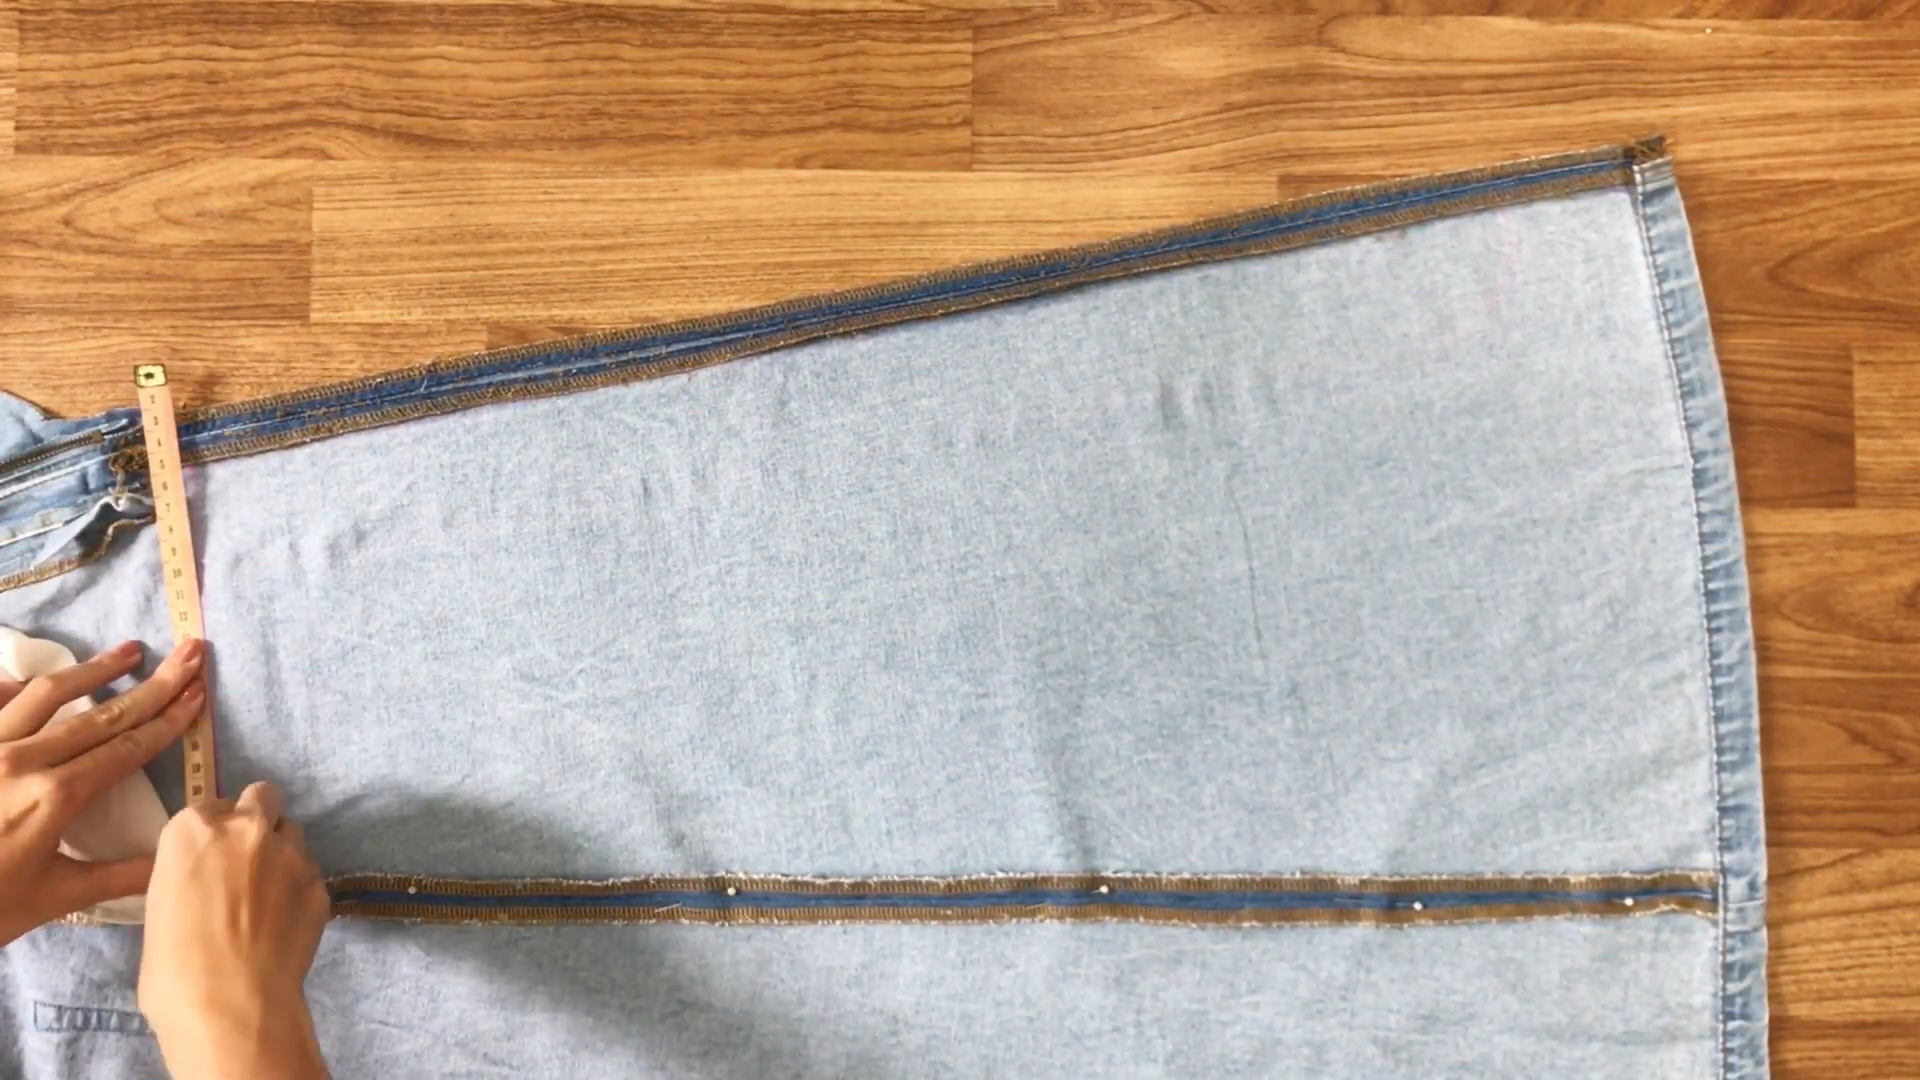
Then, draw a line there.
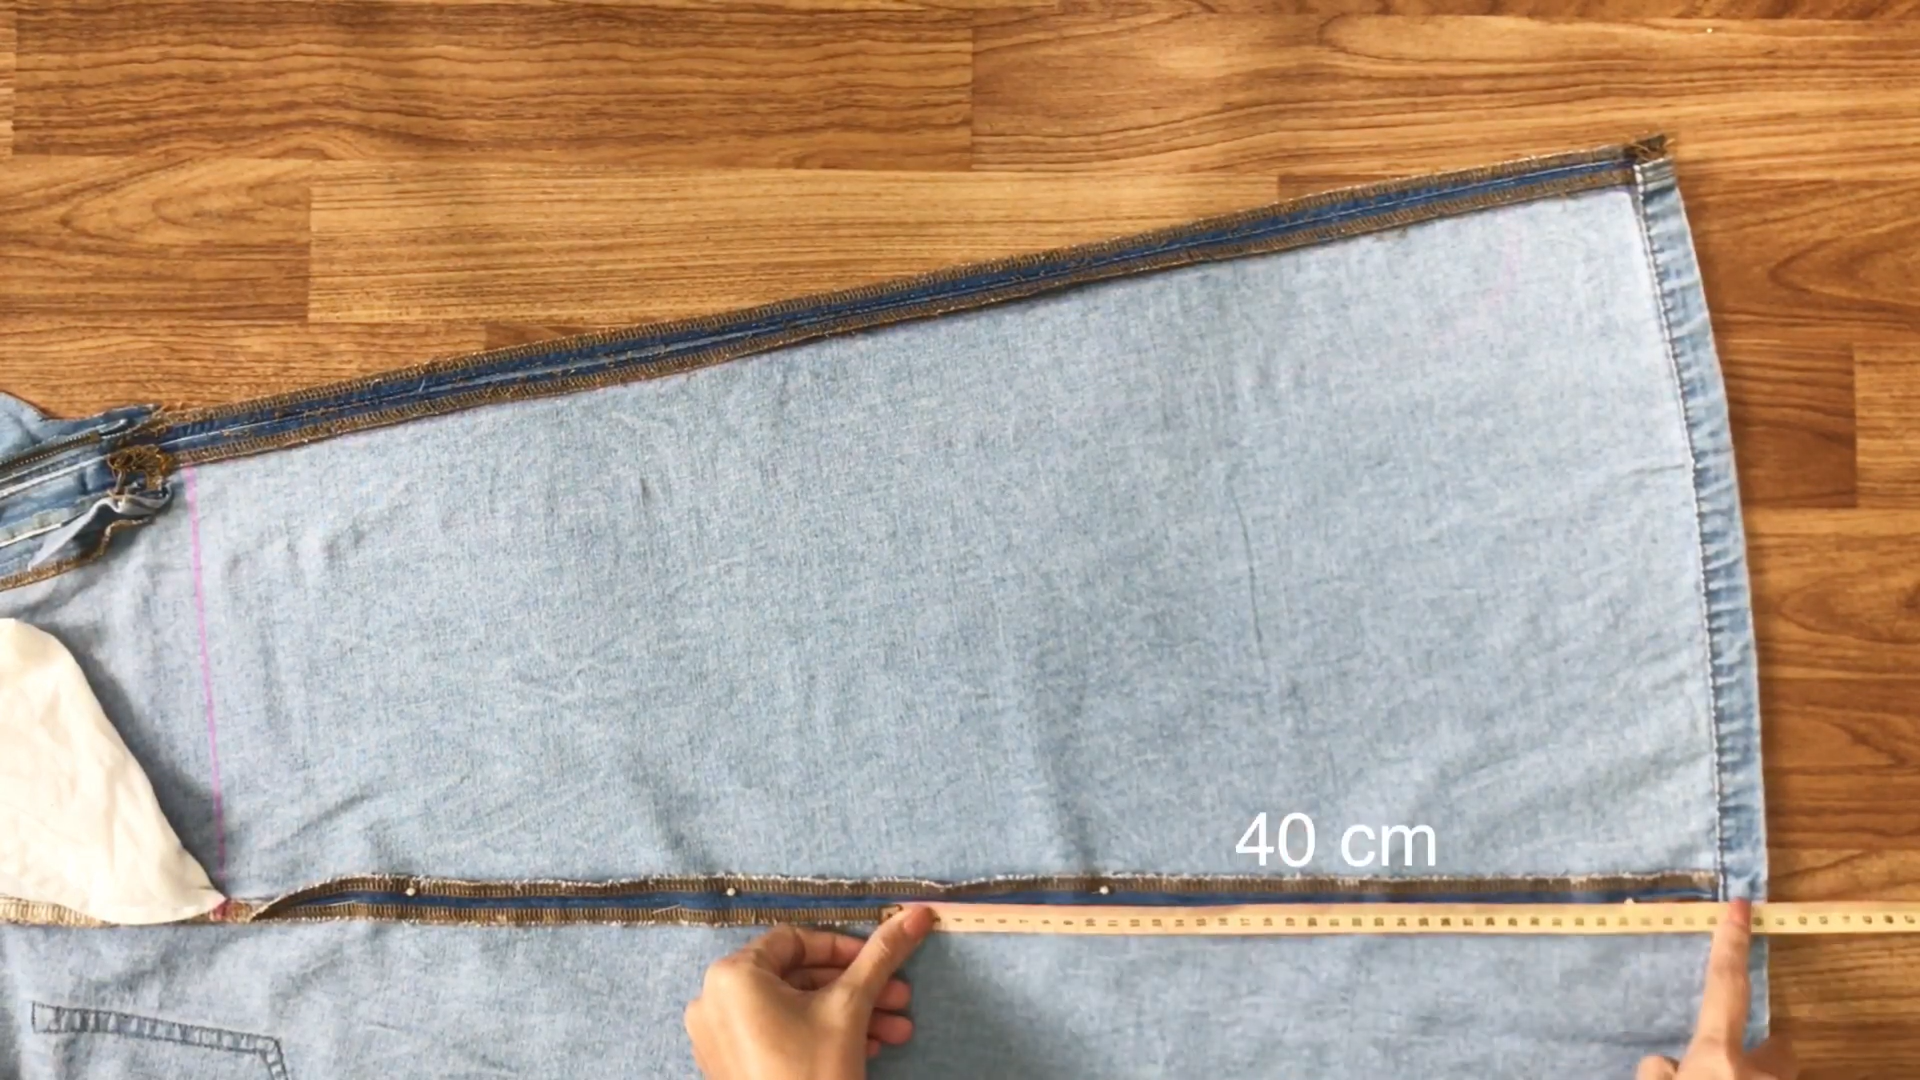
After that, draw another line at 40cm from the end of the skirt.
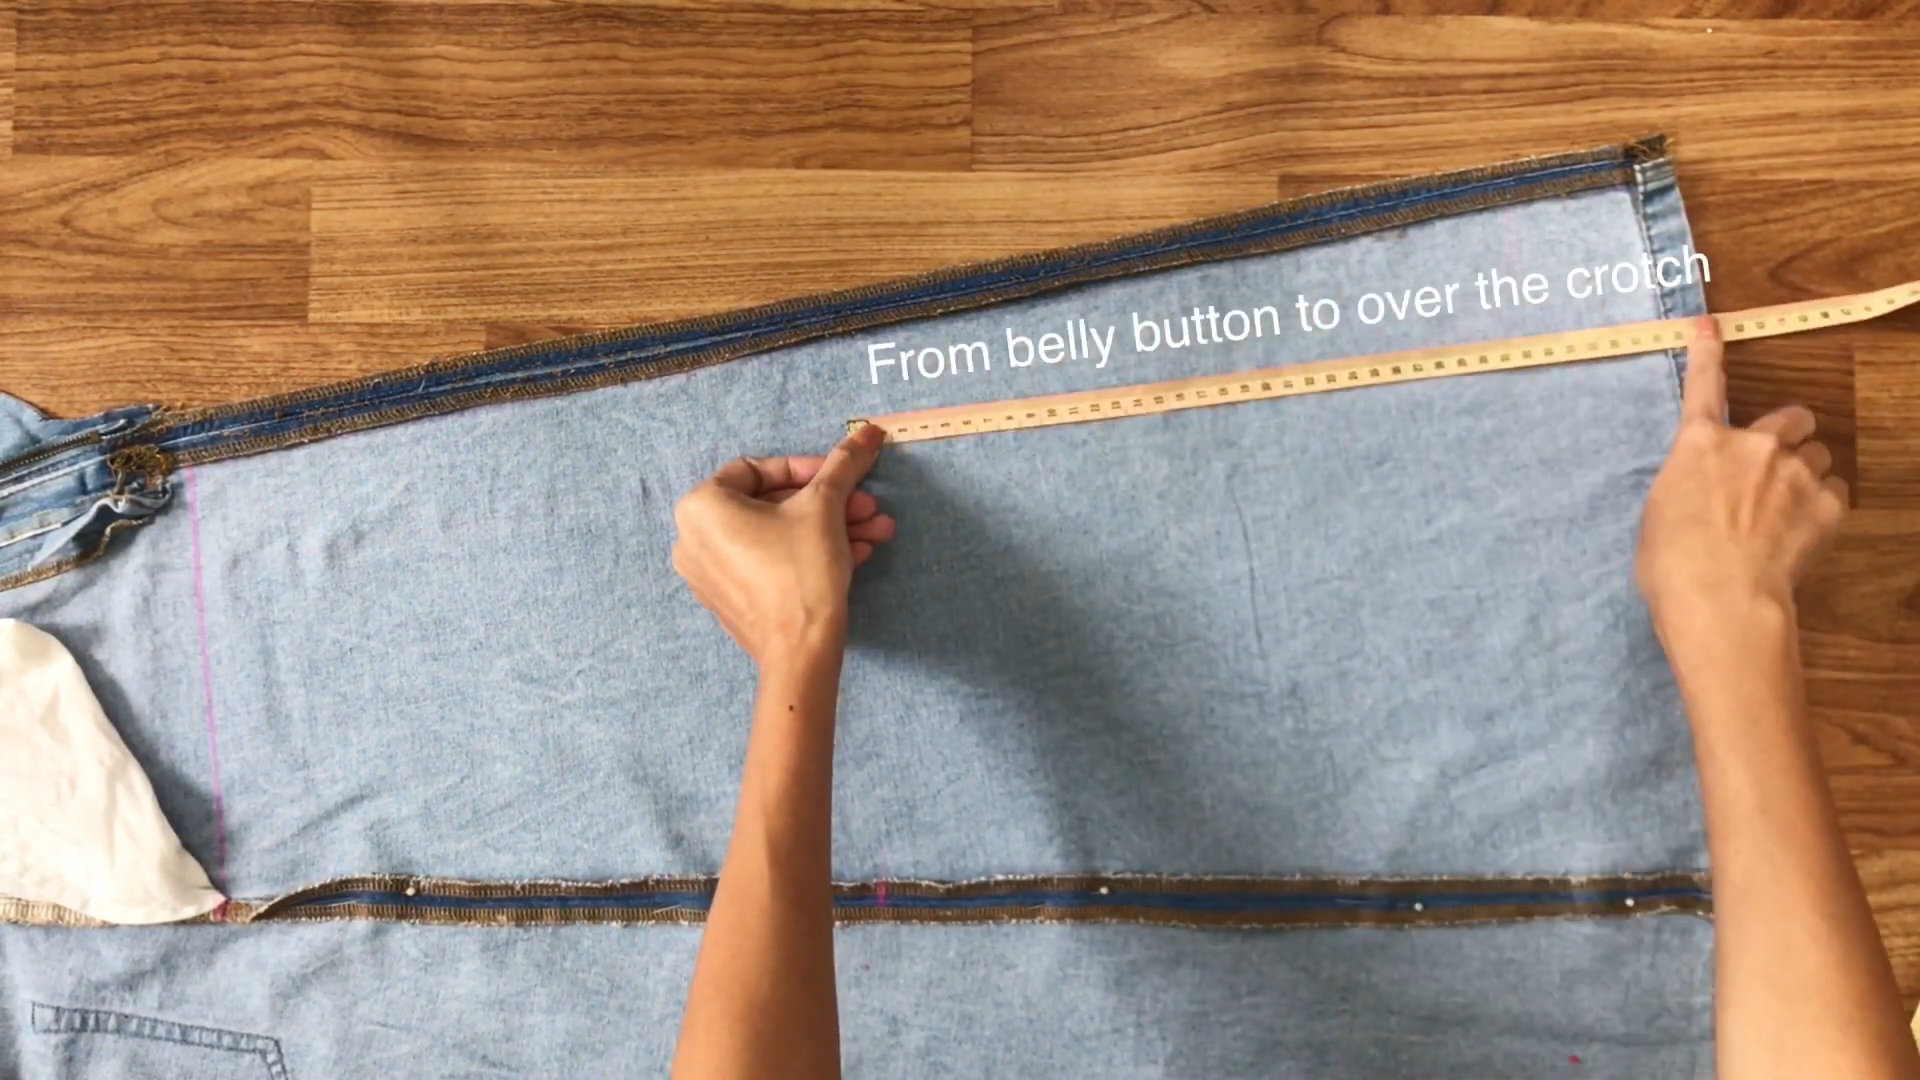
This is the length from the belly button to over the crotch.
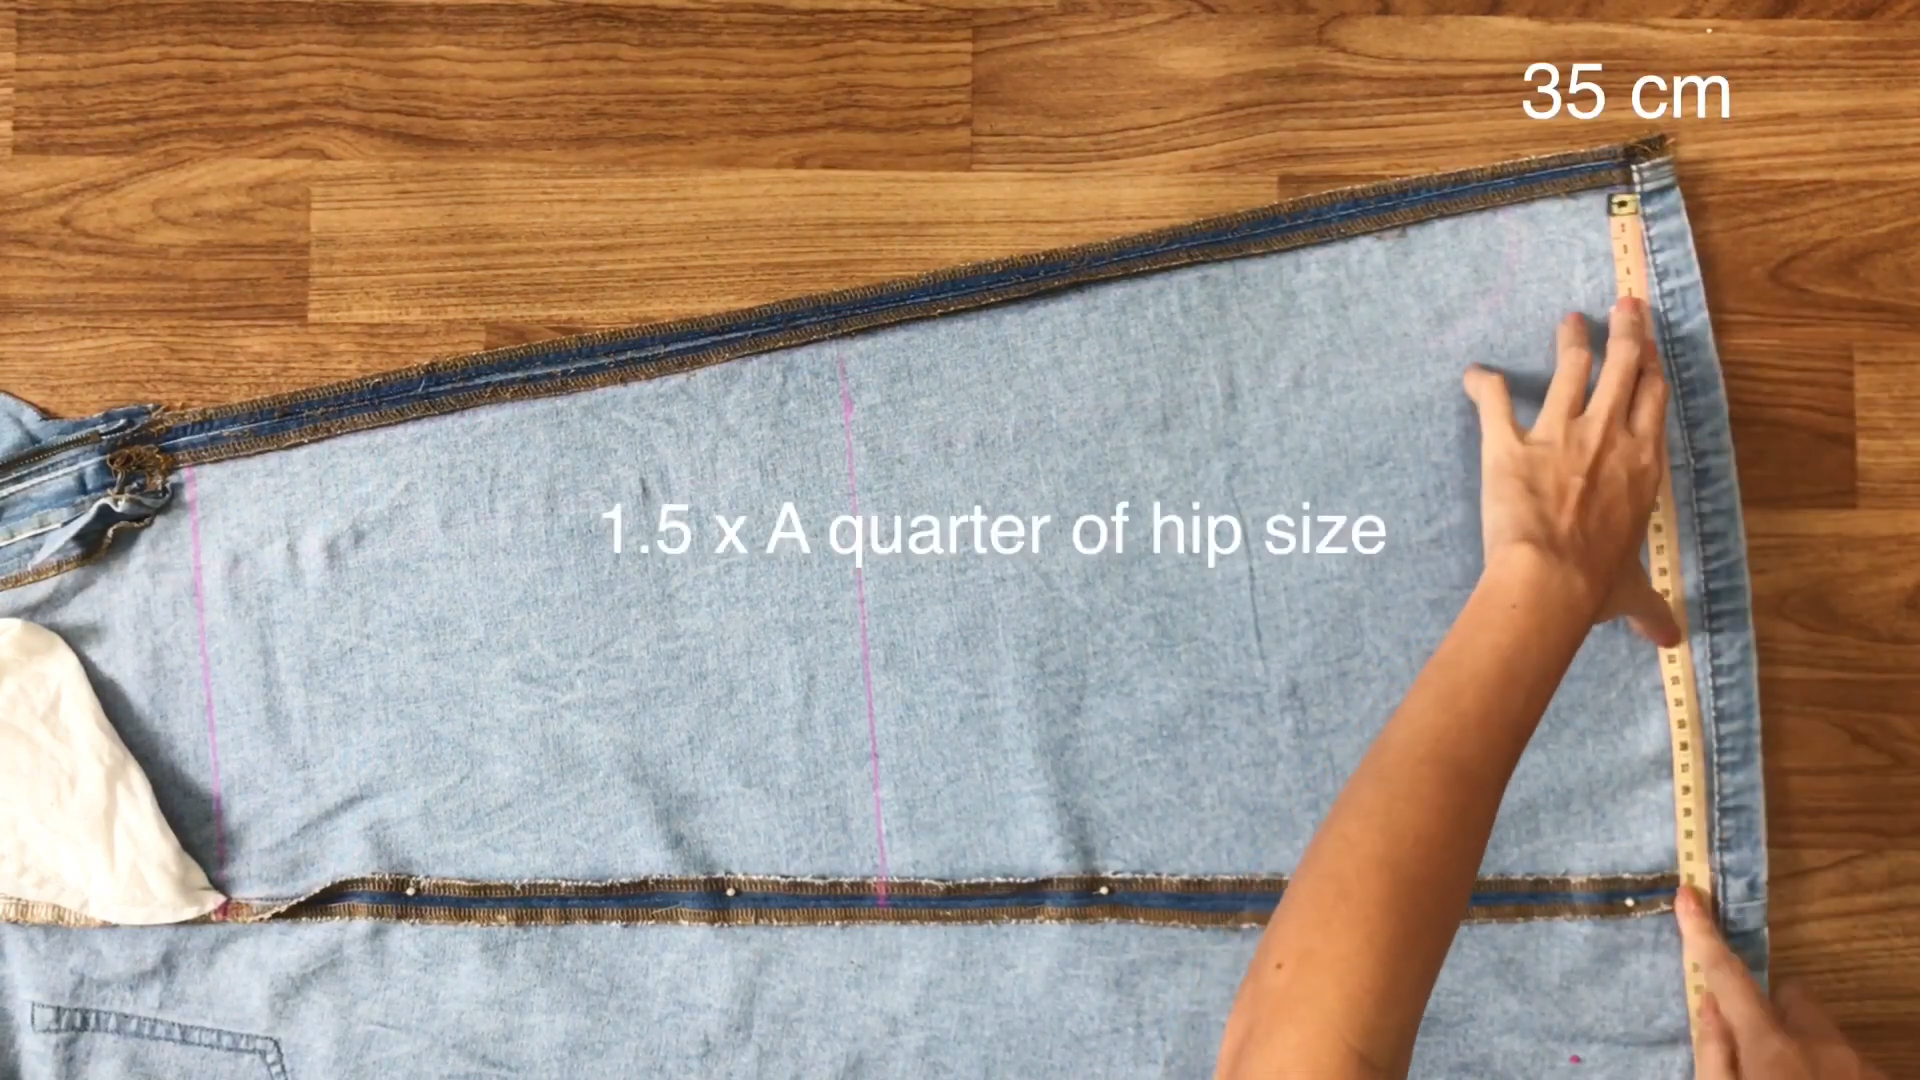
At the end of the side seam, mark at 35cm which is 1.5 times a quarter of the hip size.
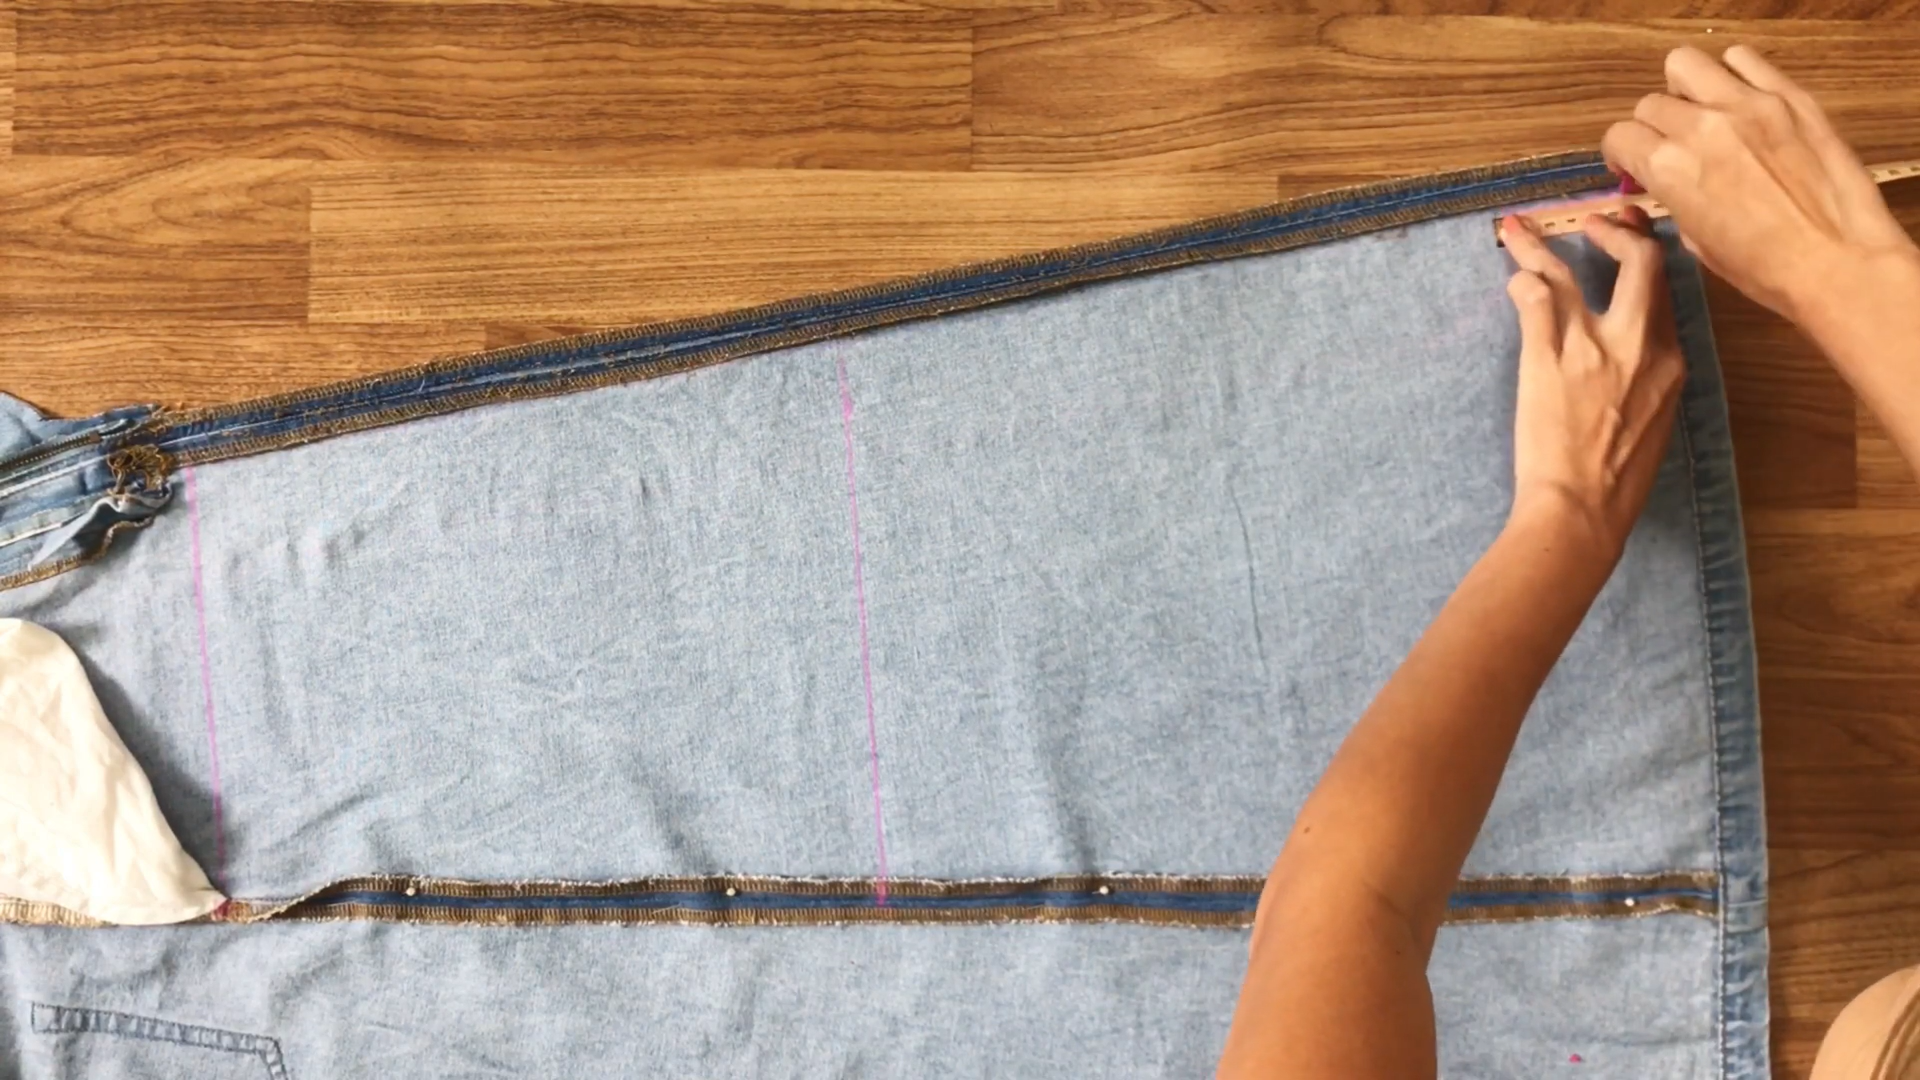
Then, draw a short line there.
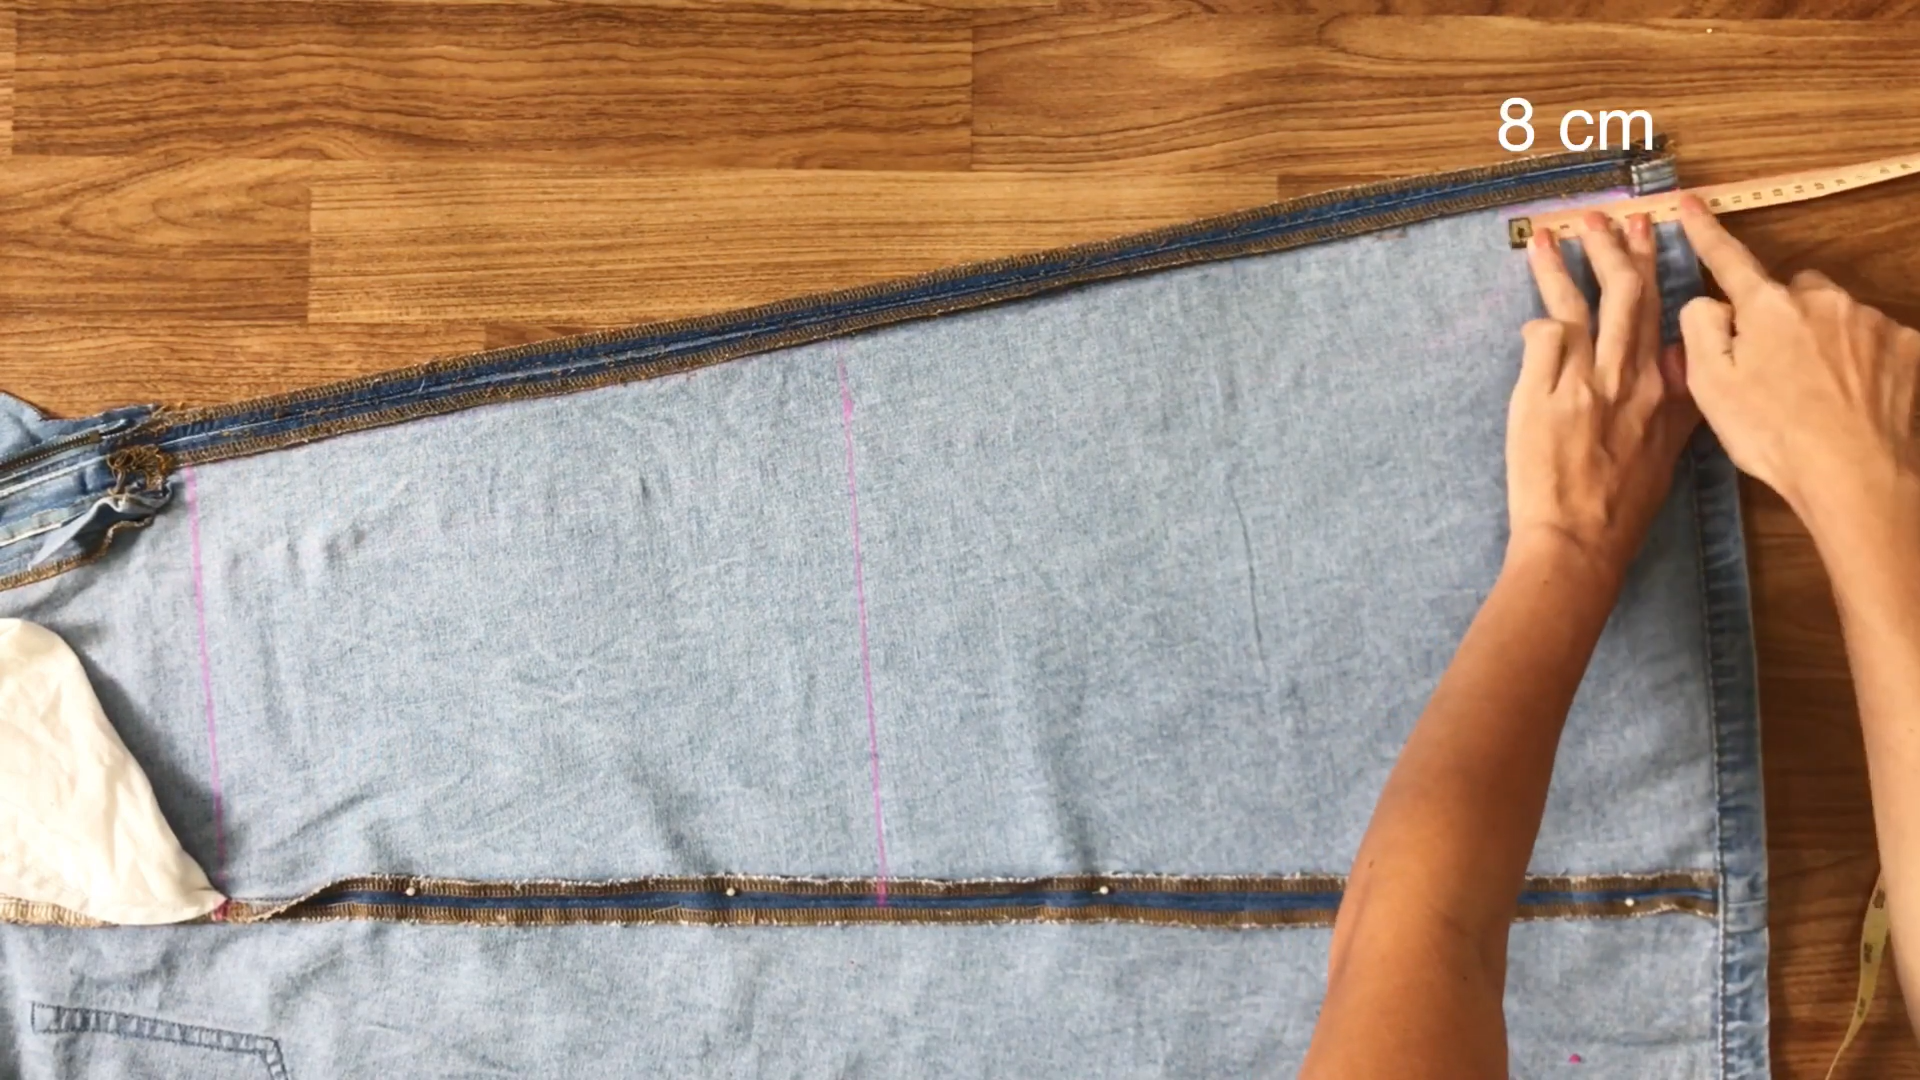
From the end of that line, go up and mark at 8 cm.
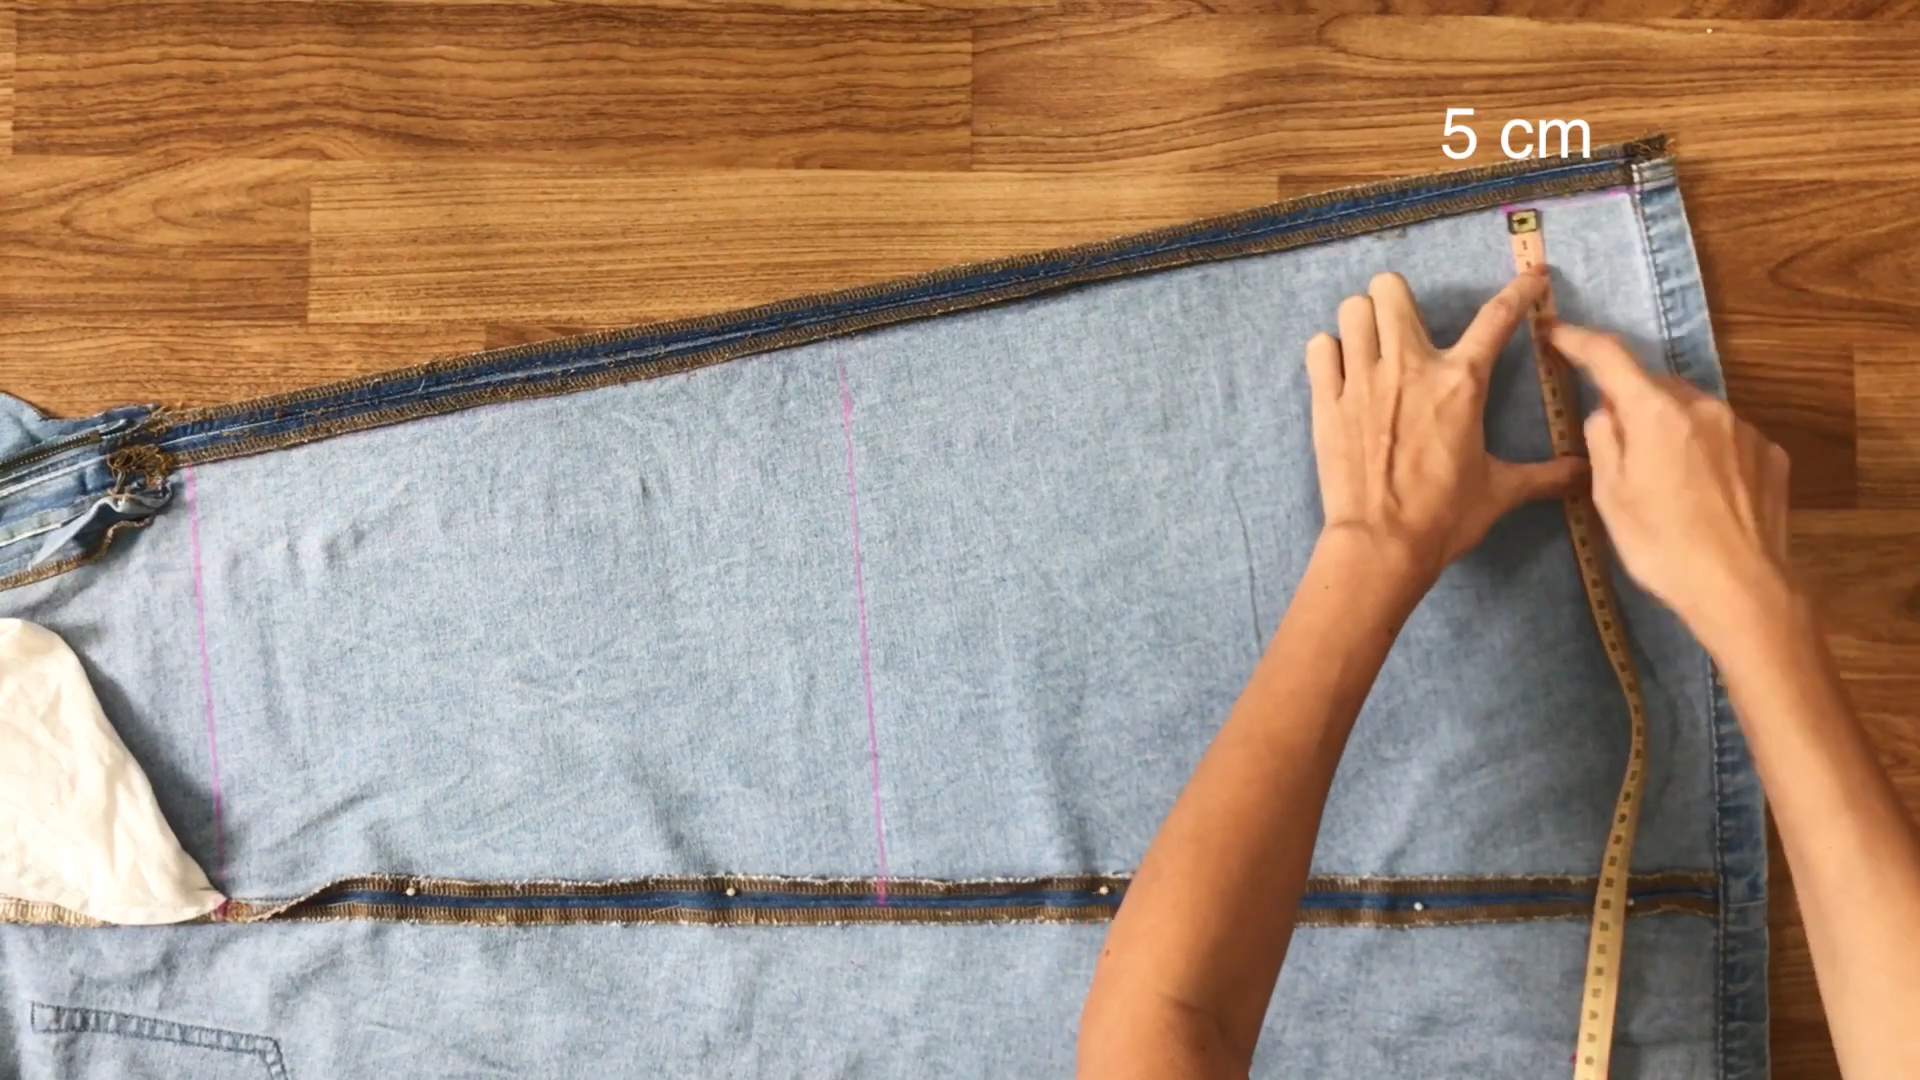
Then, draw a 5 cm line inside.
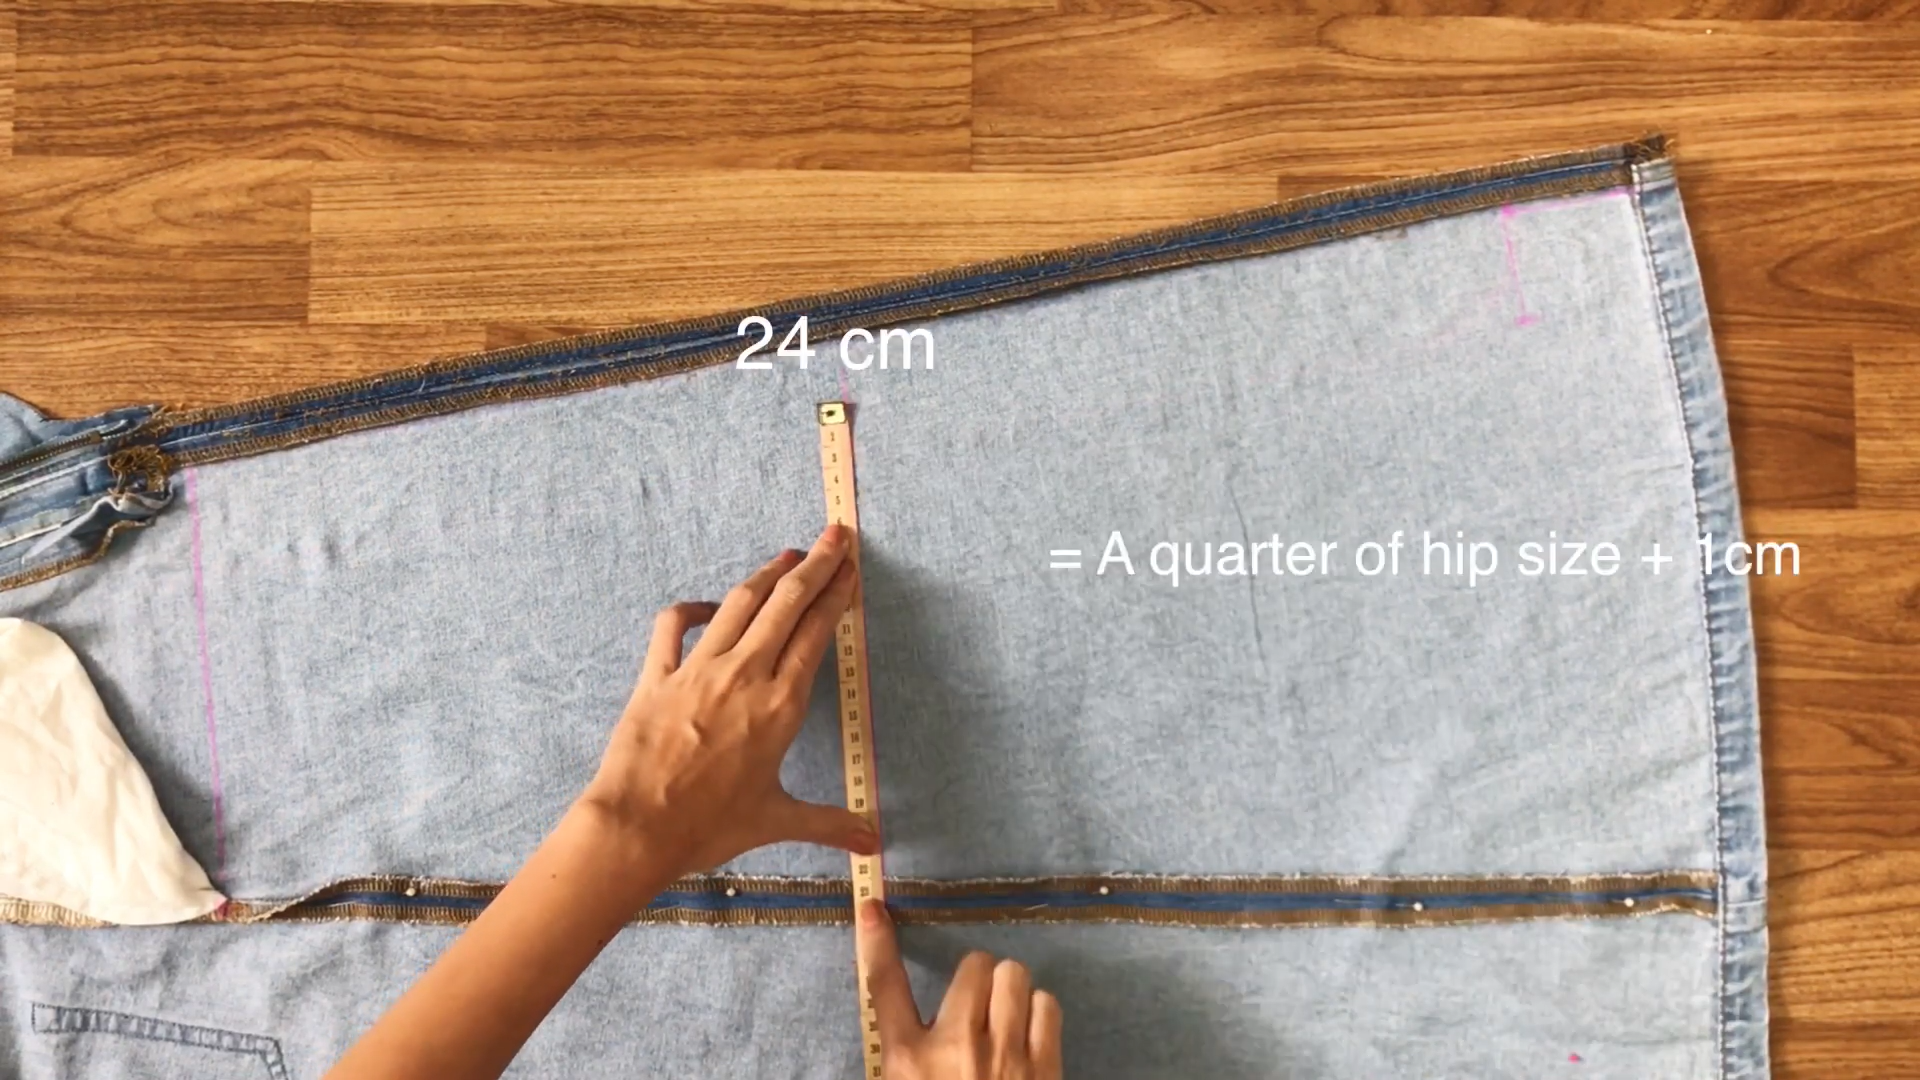
At the middle line, mark at 24 cm which is a quarter of the hip size plus 1 cm.
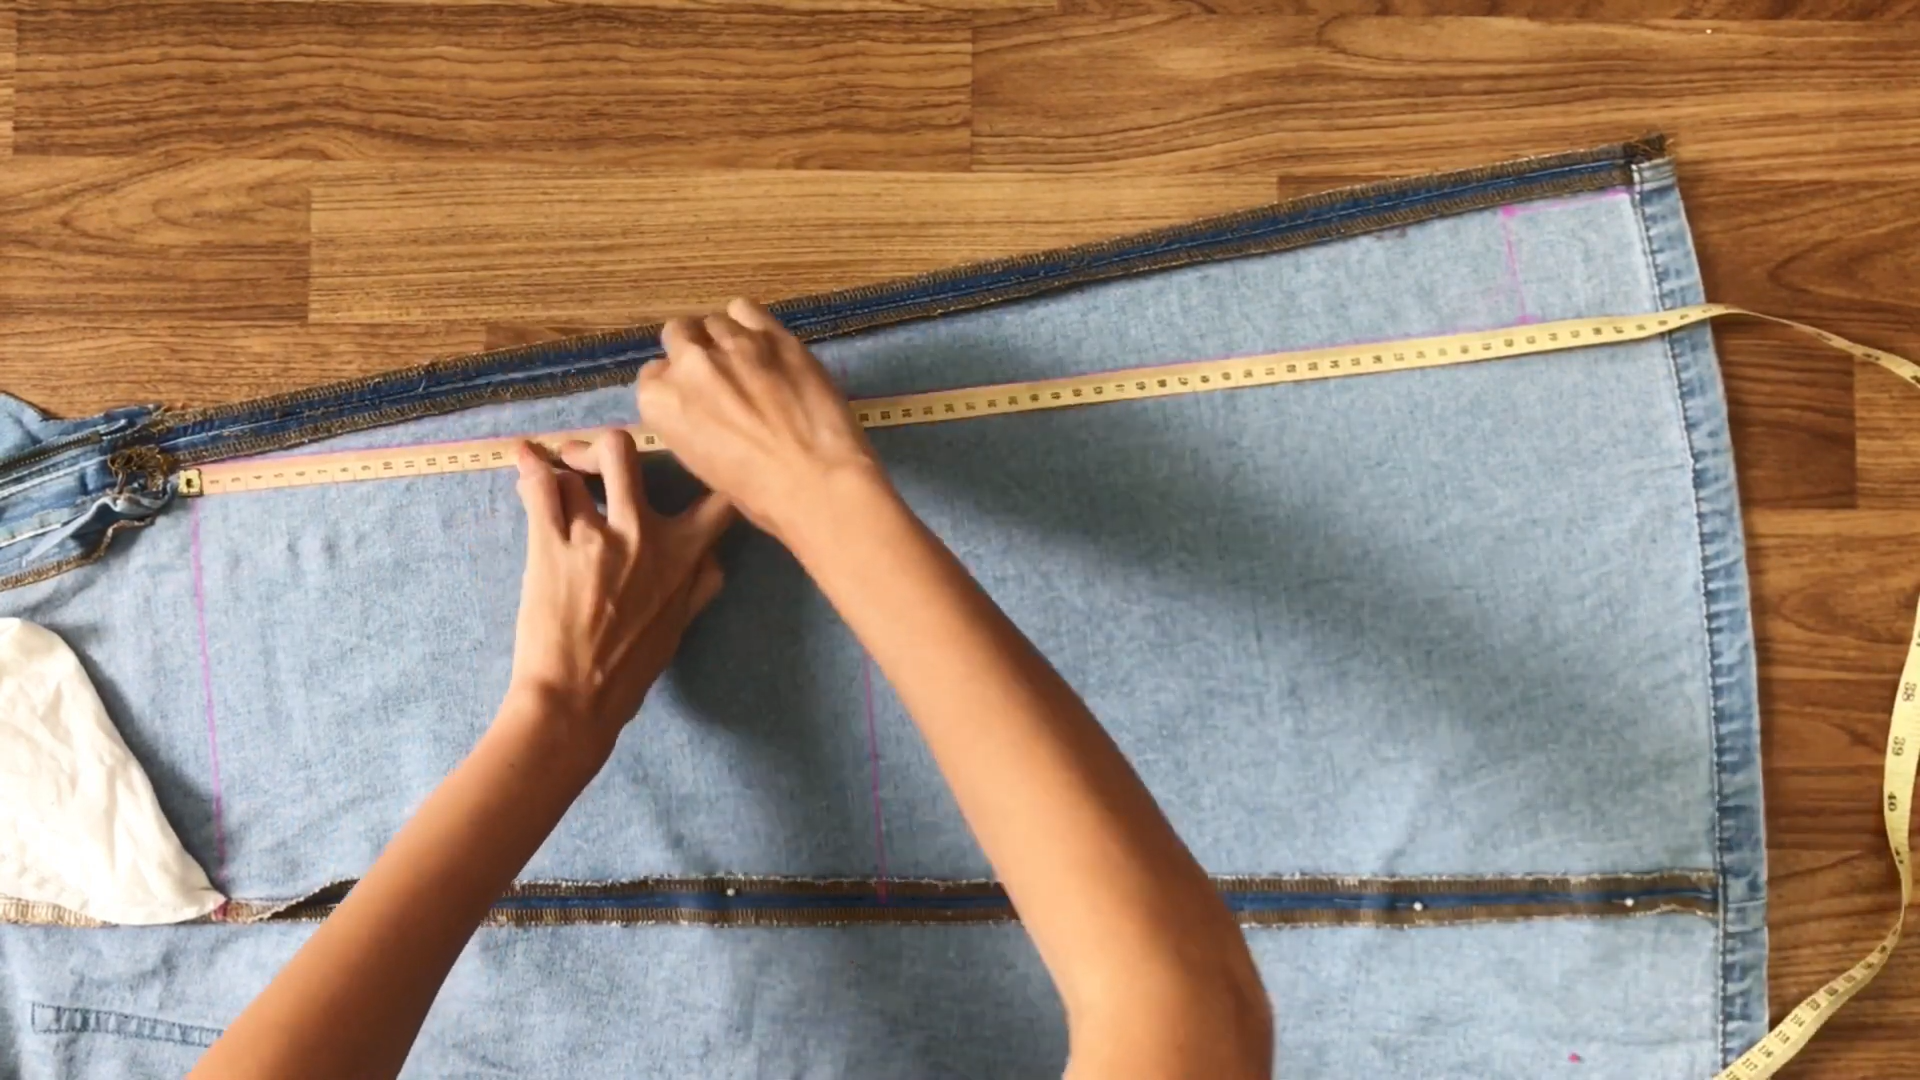
Then, draw a line through this mark and the one just made before that.
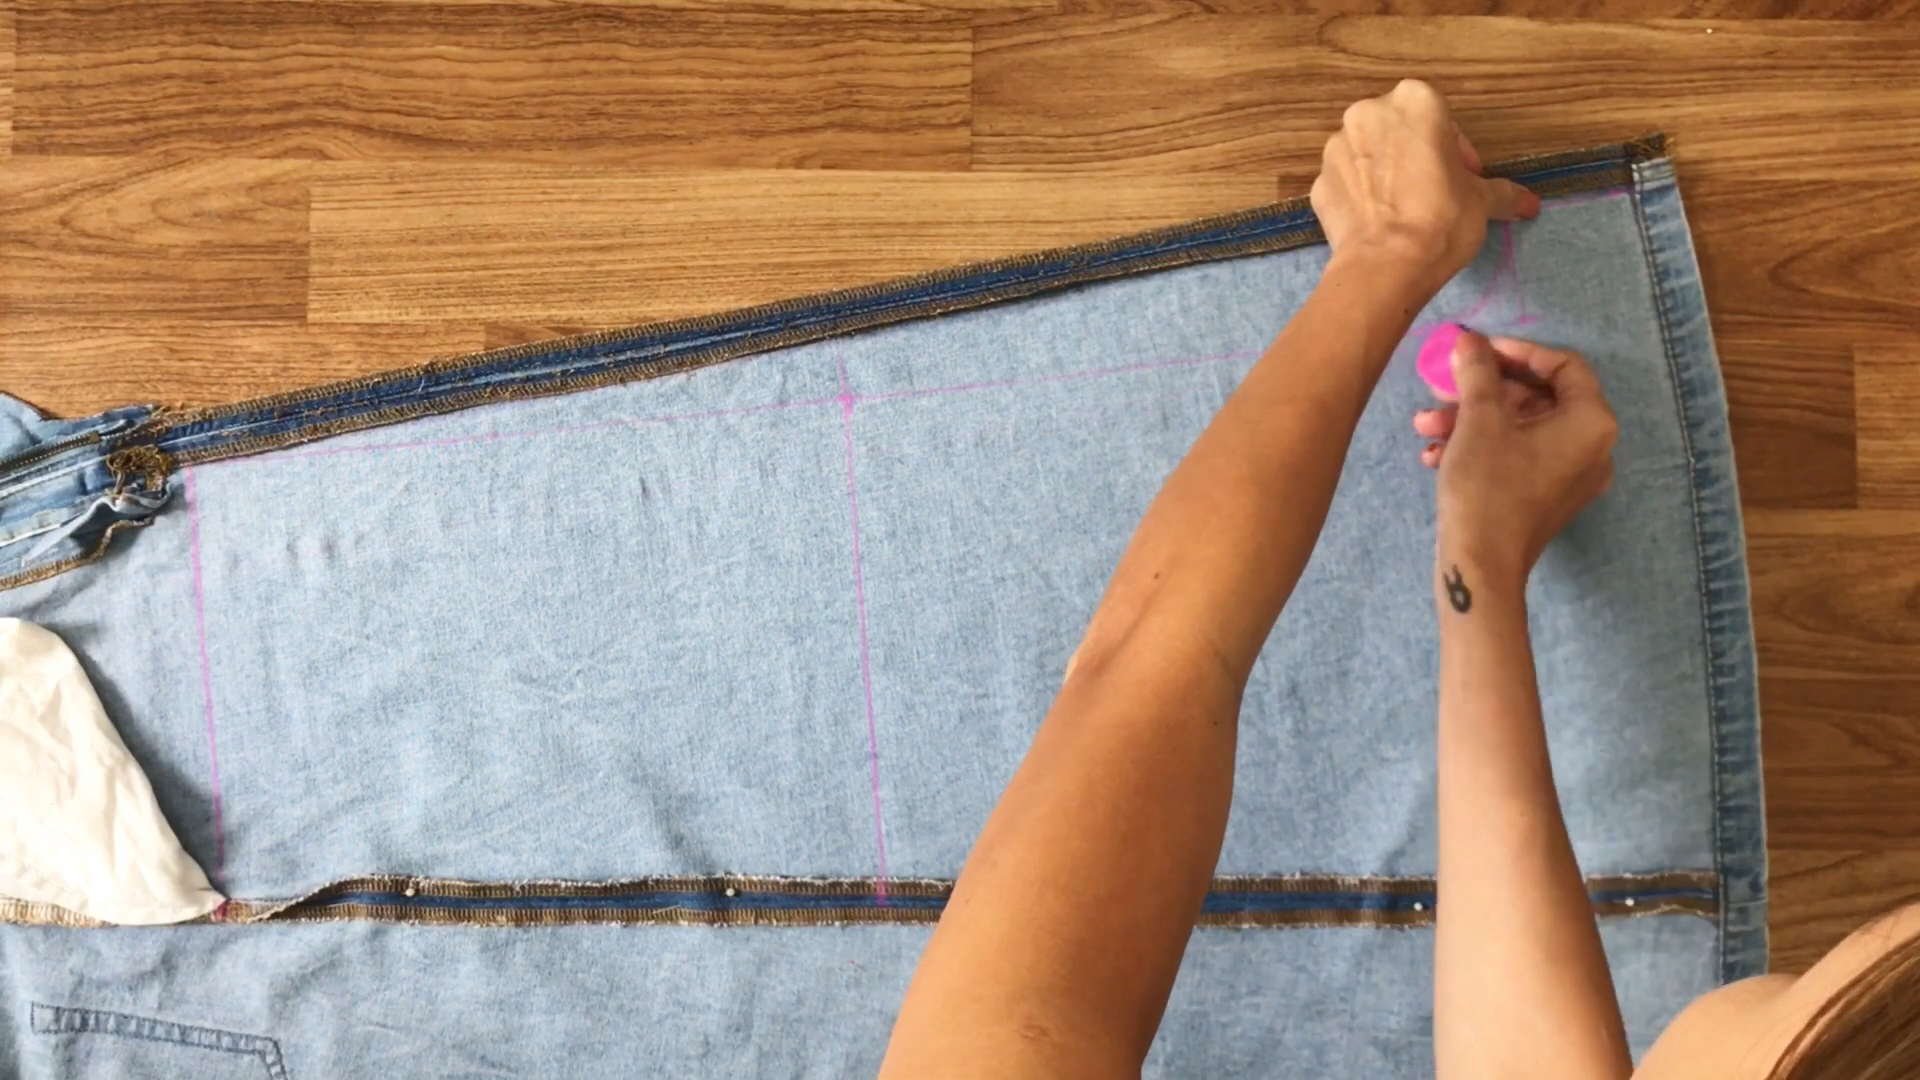
At the end of the skirt, draw a curved line there to create the crotch line for the front pants of the overall.
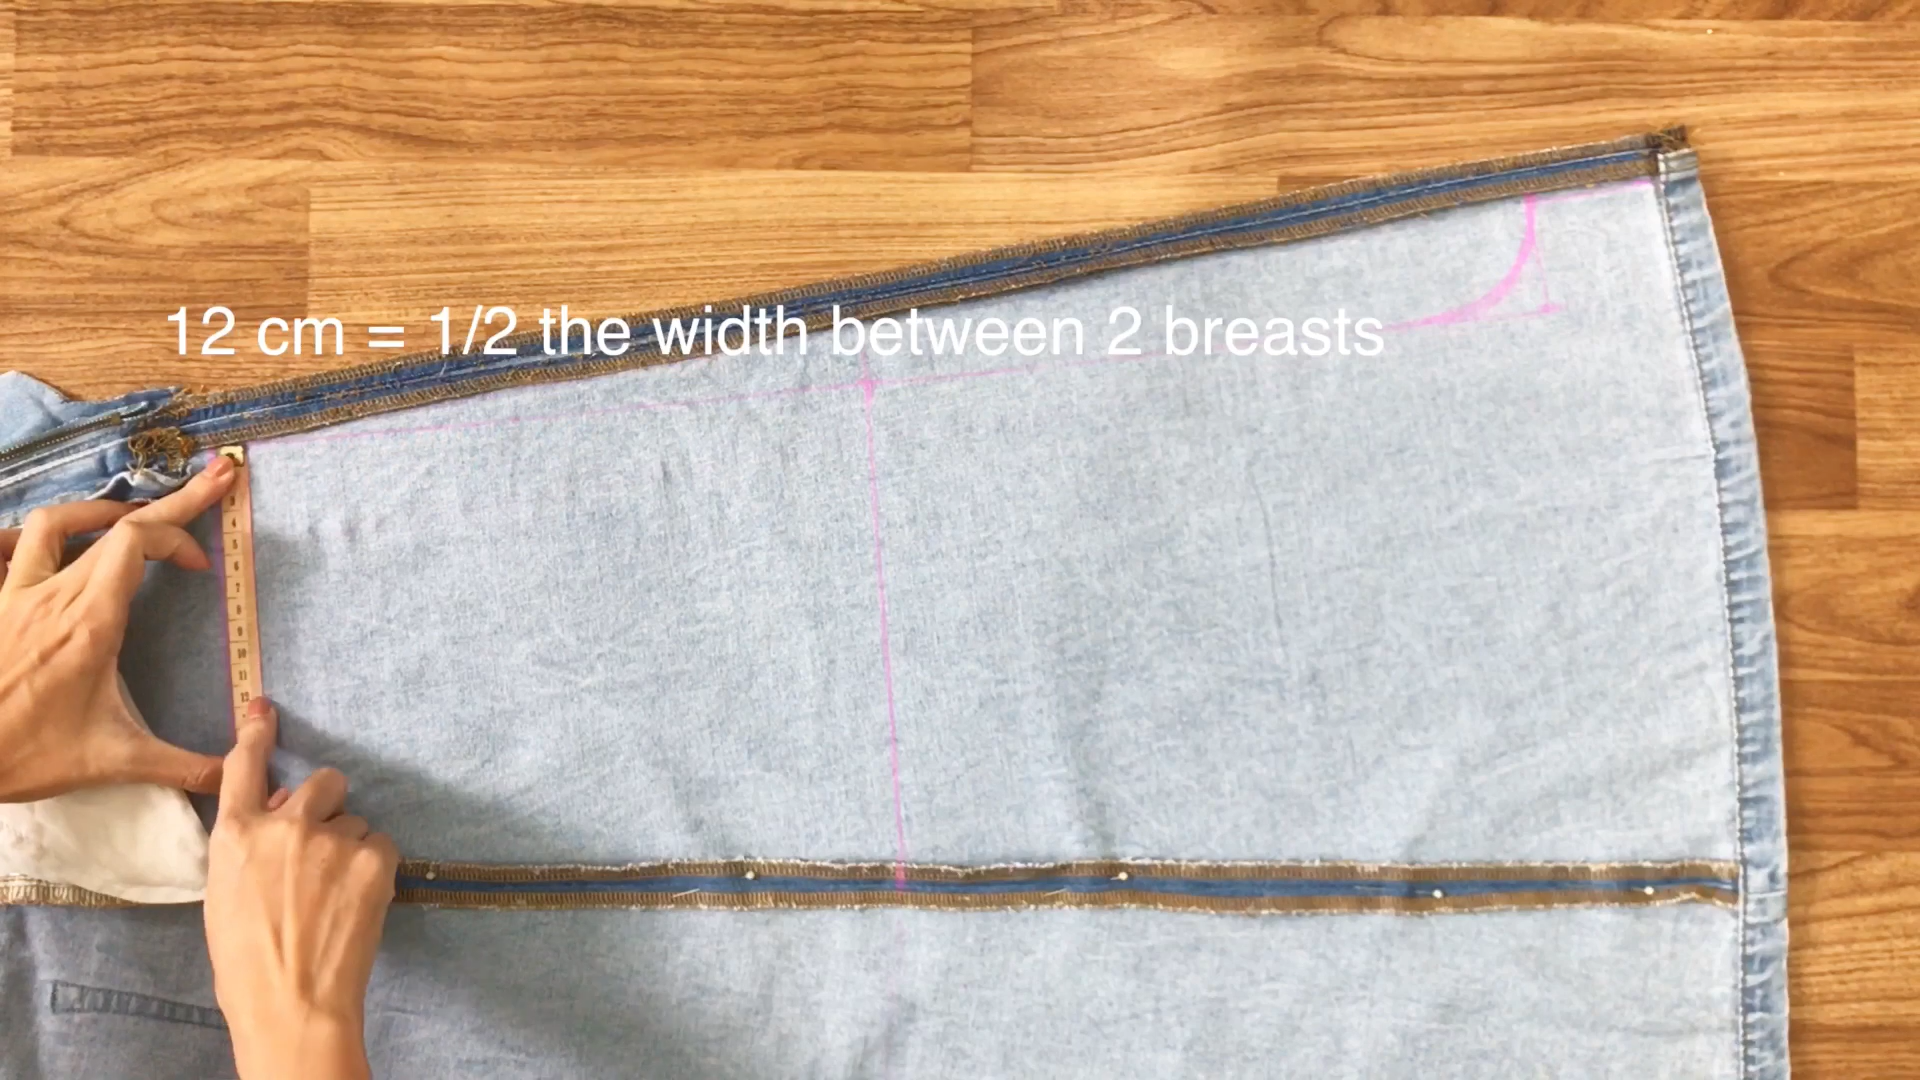
At the top of the front overall, mark at 12 cm inside which is half of the width between two breasts.
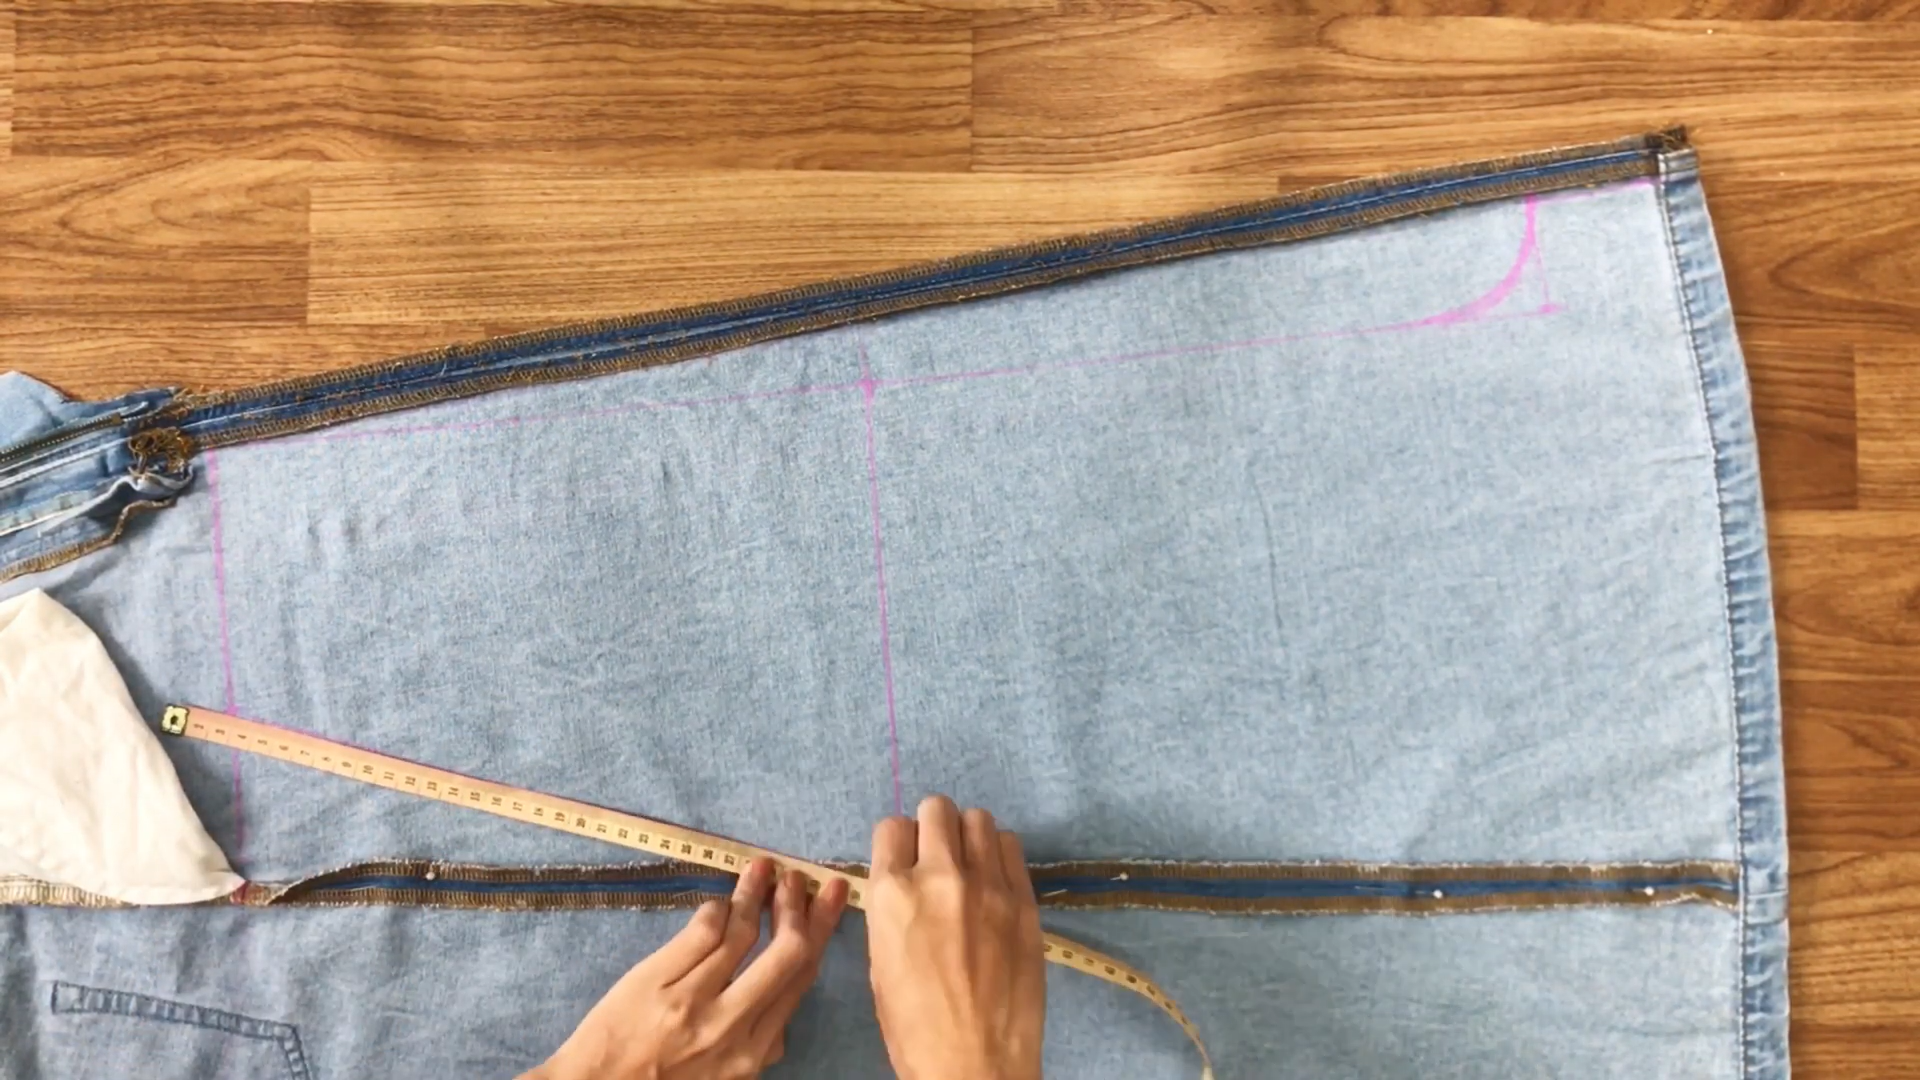
Then, connect it to the end of the middle line.
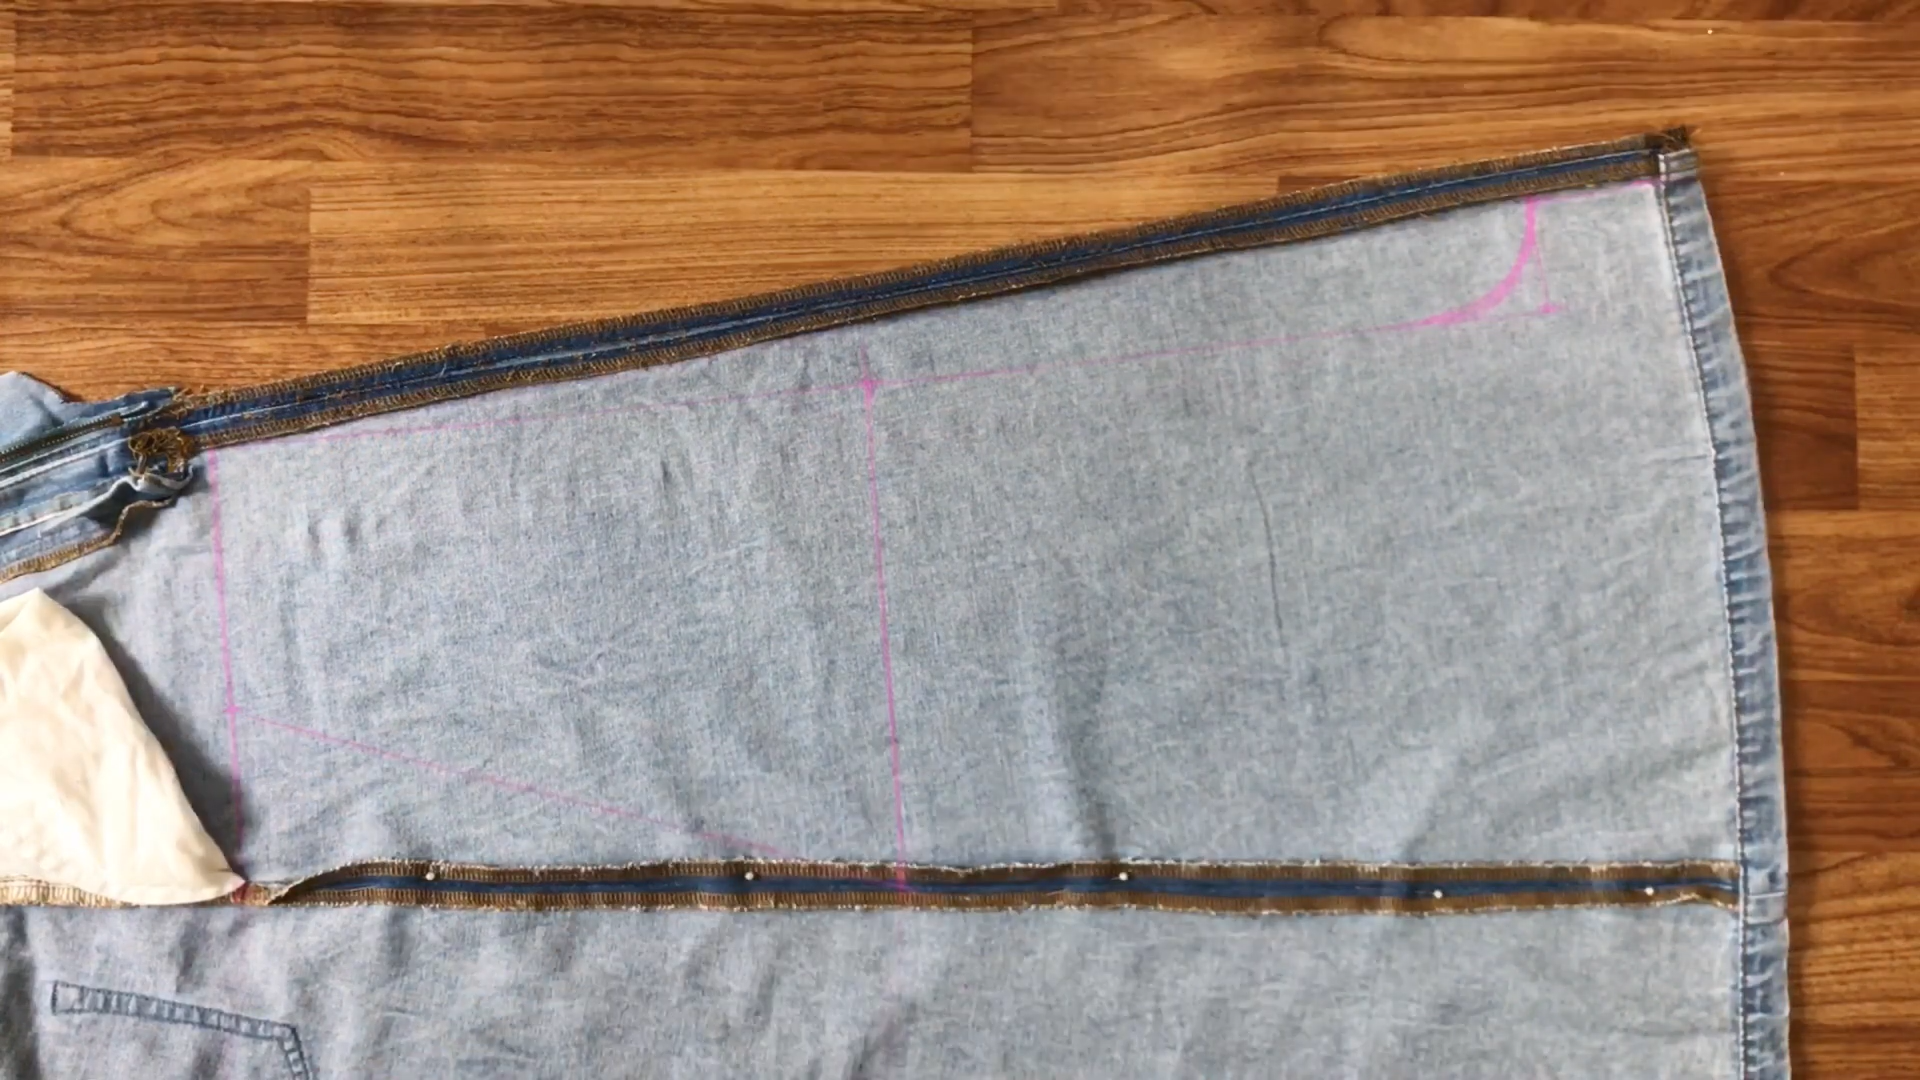
And the front part of the overall is finished.
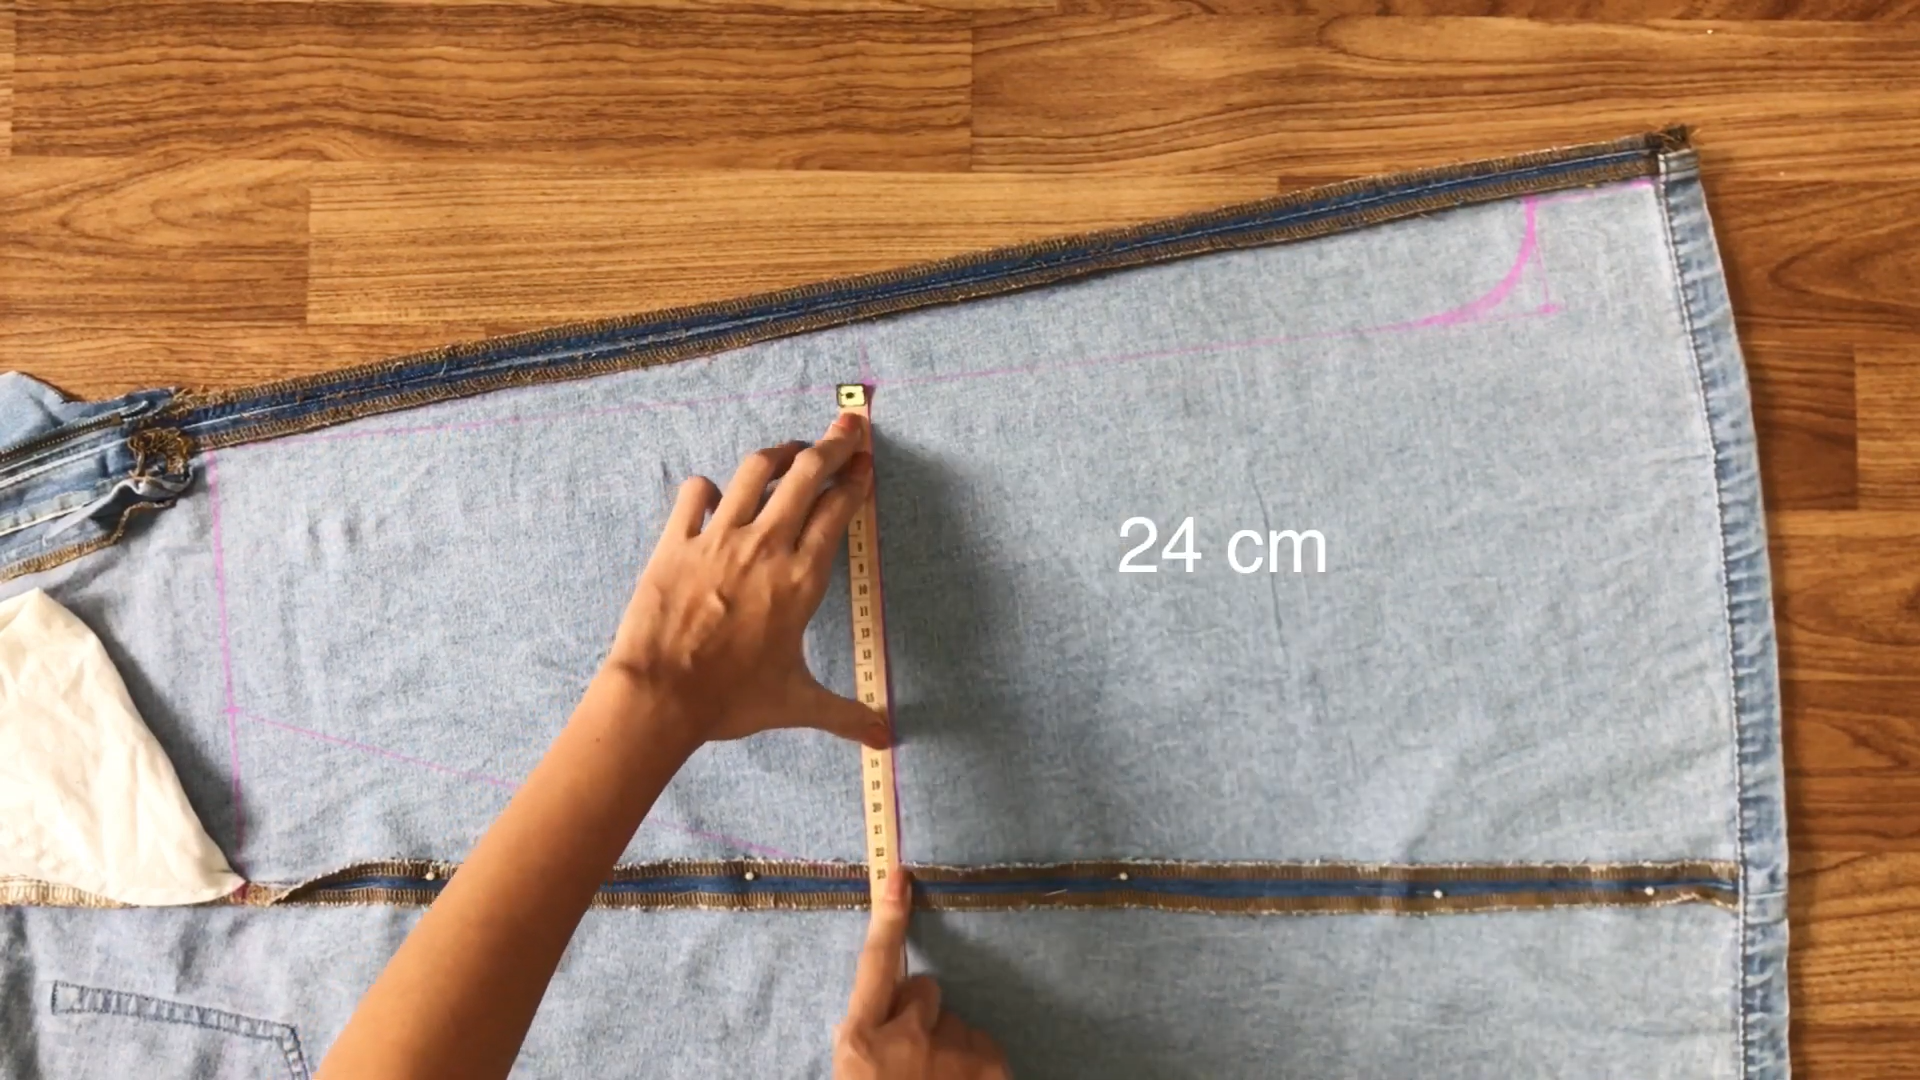
Before moving to the back part of the overall, check the width of the top line and the middle line first. Because they will be the same for the back part.
THE BACK
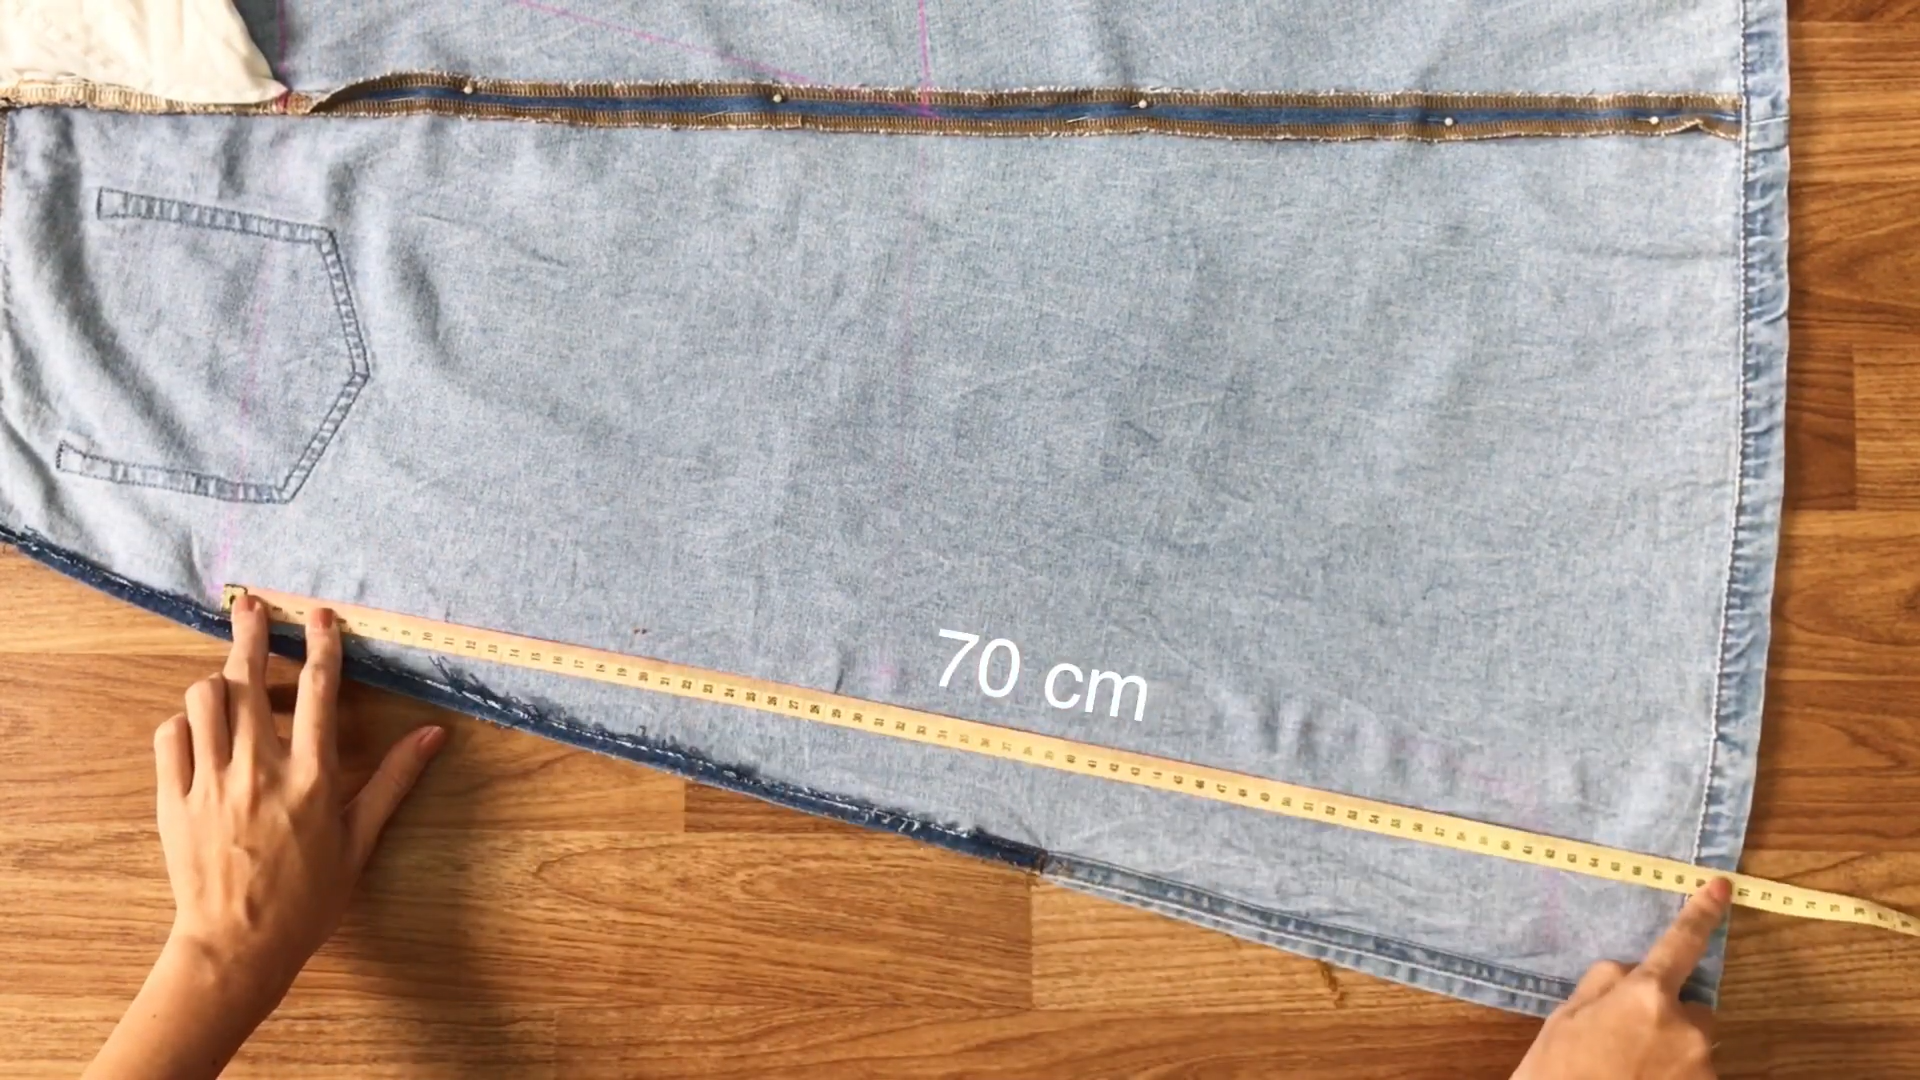
At the back part, draw the top line first by measuring the length of the overall from the upper breast to over the crotch which is 70 cm.
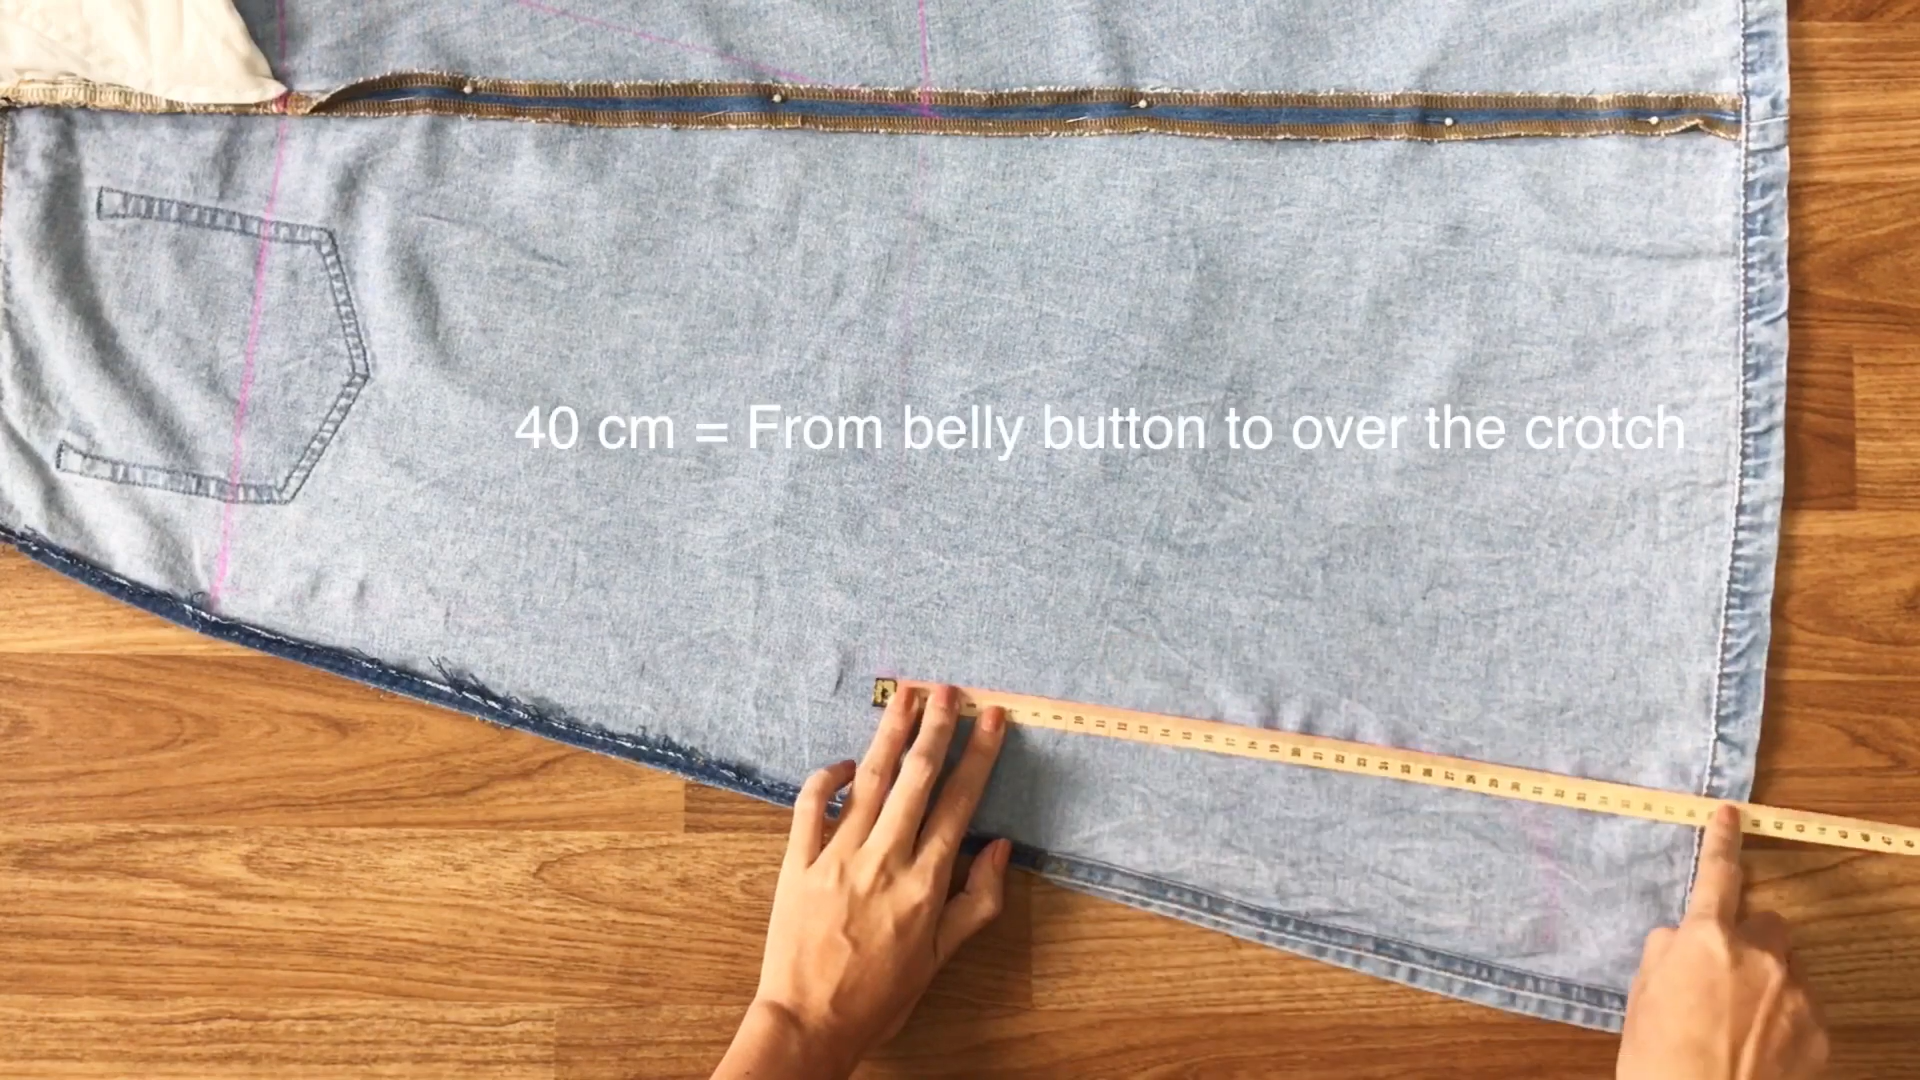
After that, draw the middle line which is the length from the belly button to over the crotch.
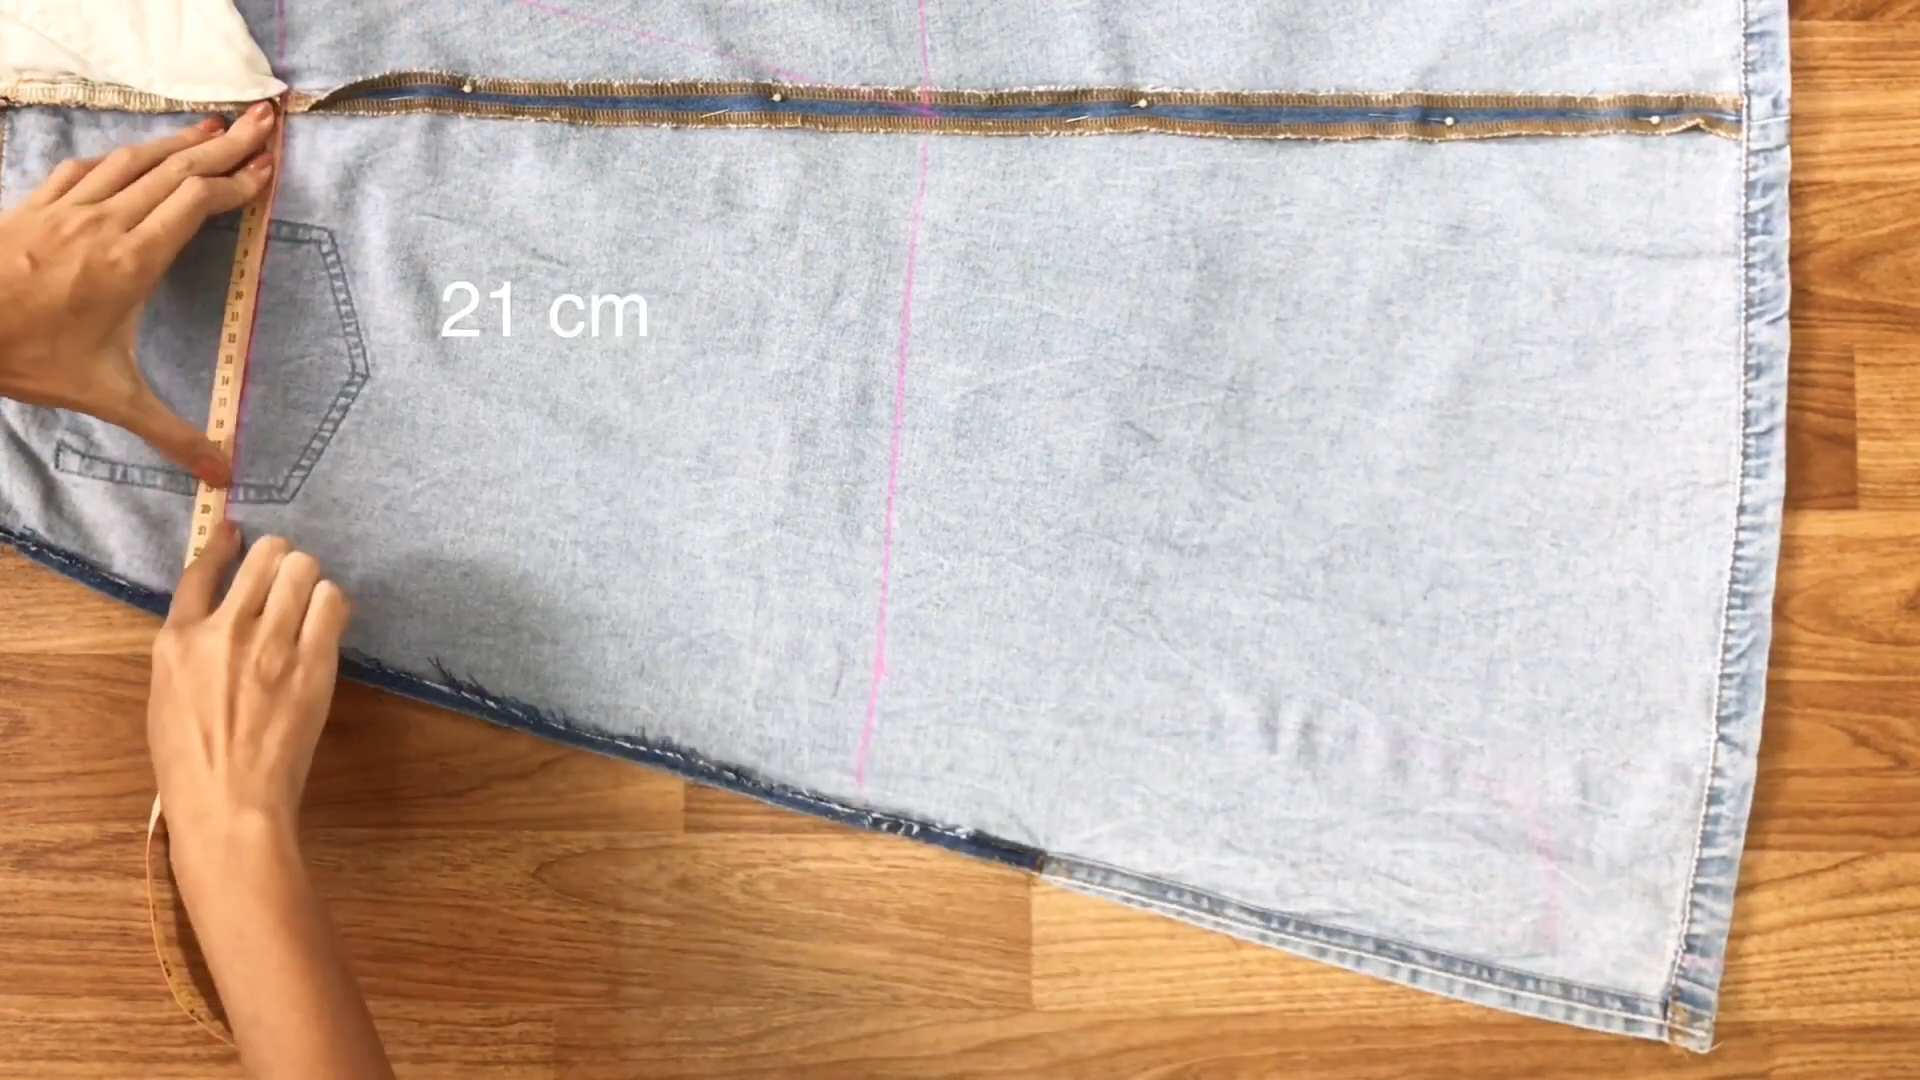
From the side seam of the skirt, go out 21 cm at the top line…
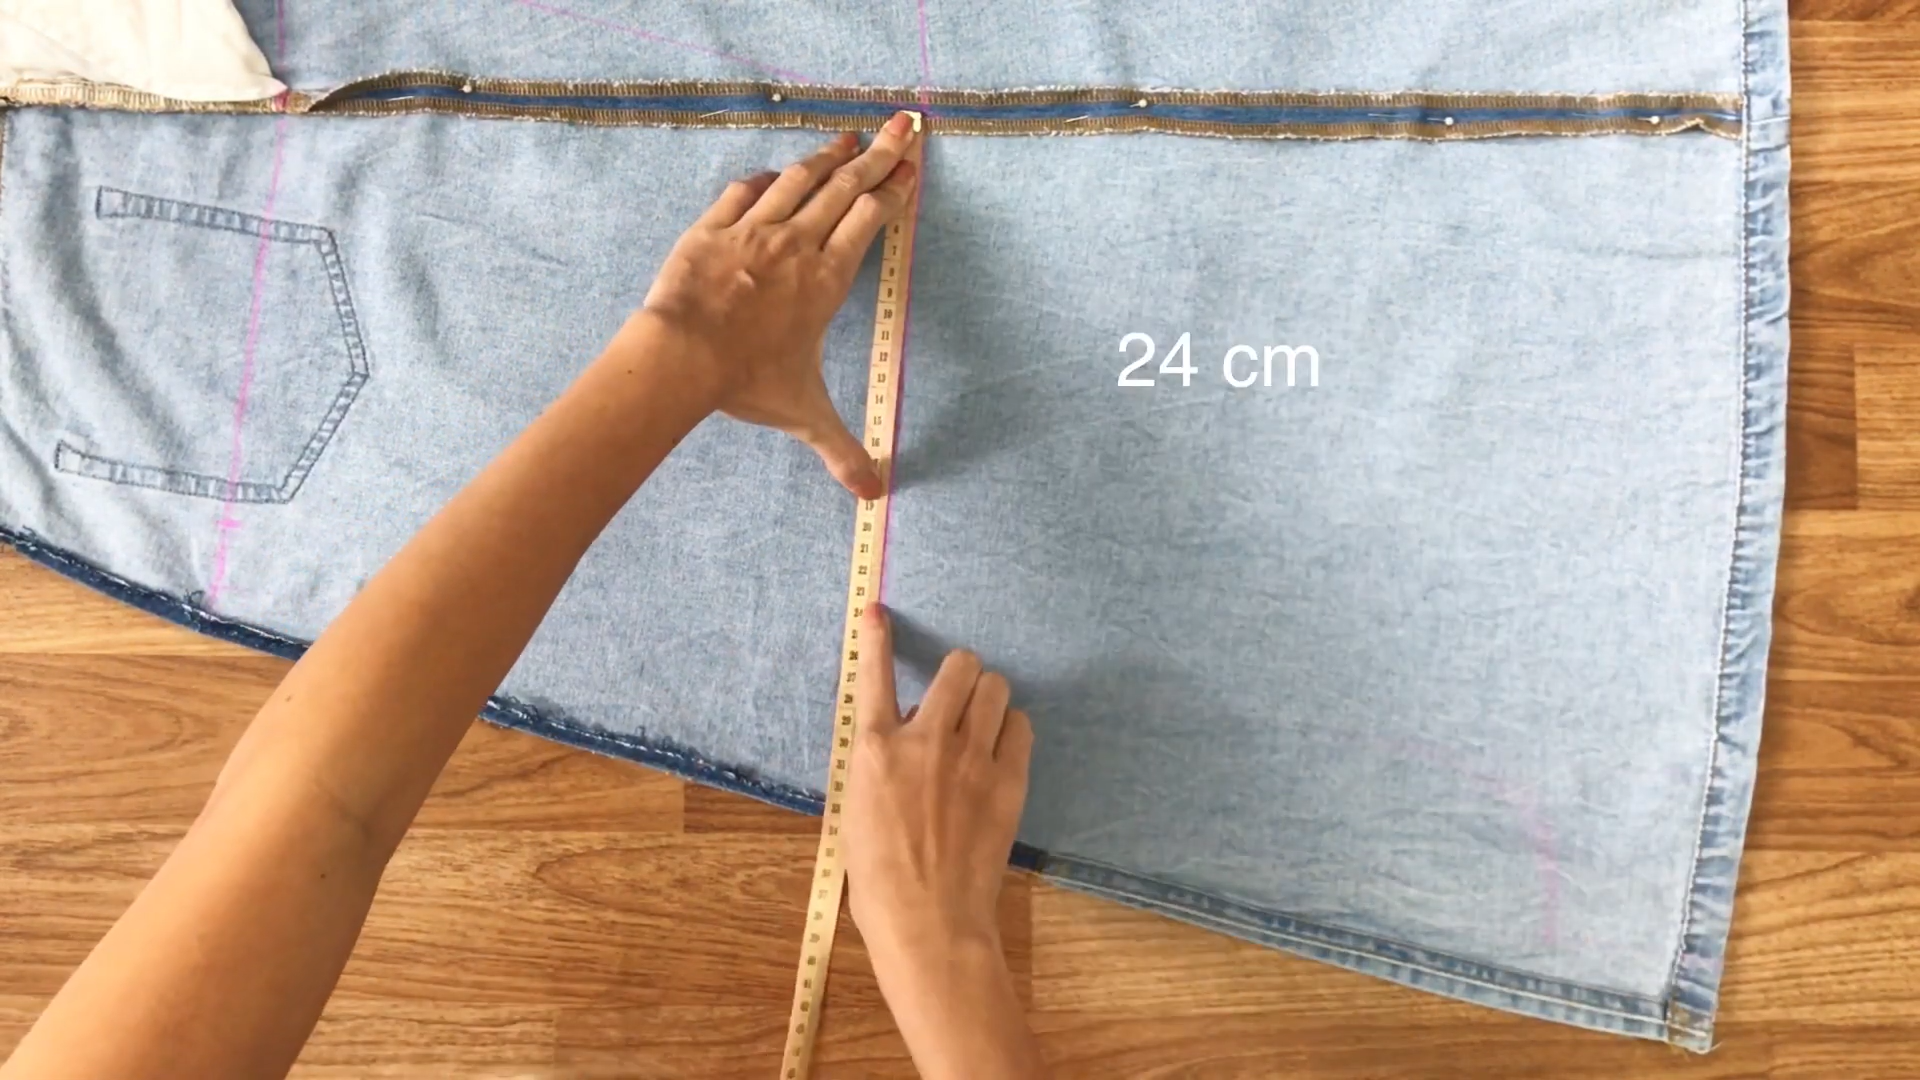
…and 24 cm at the middle line.
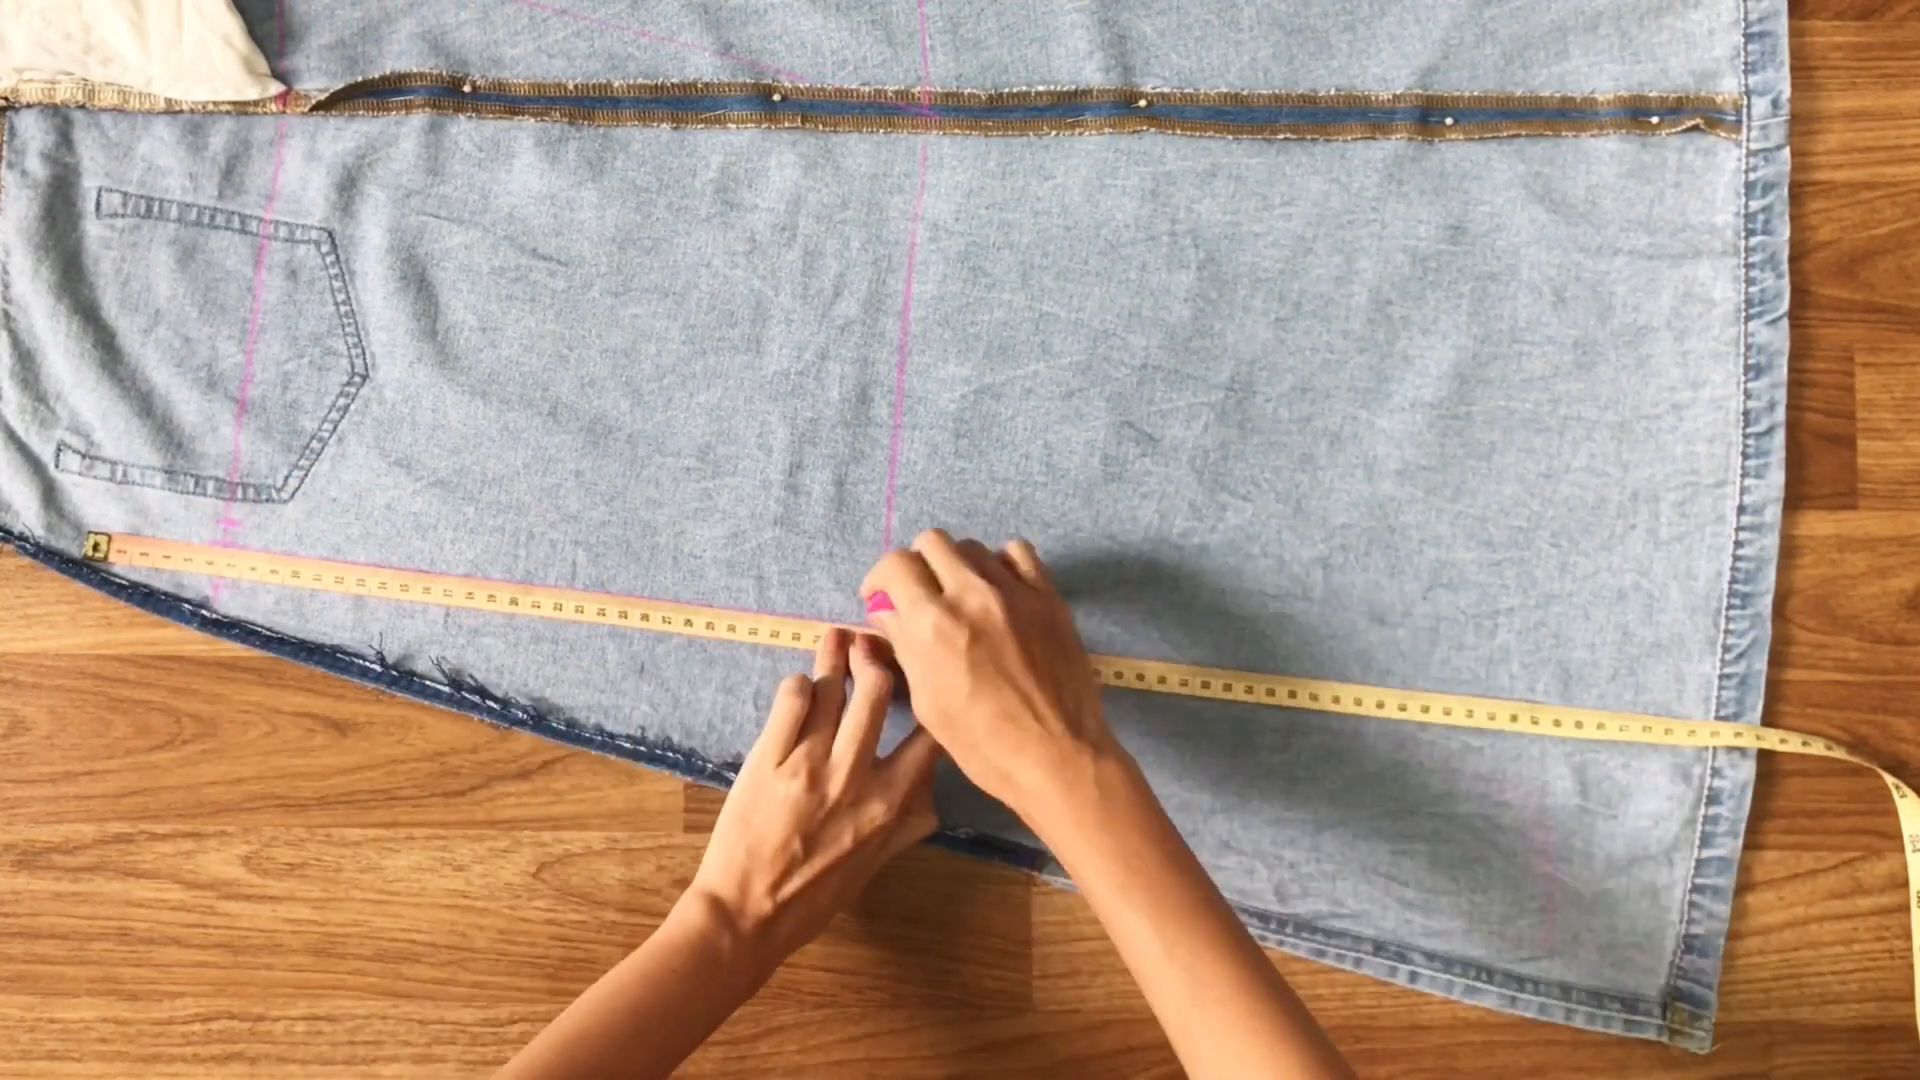
Then, draw a line through these two marks to the end of the skirt.
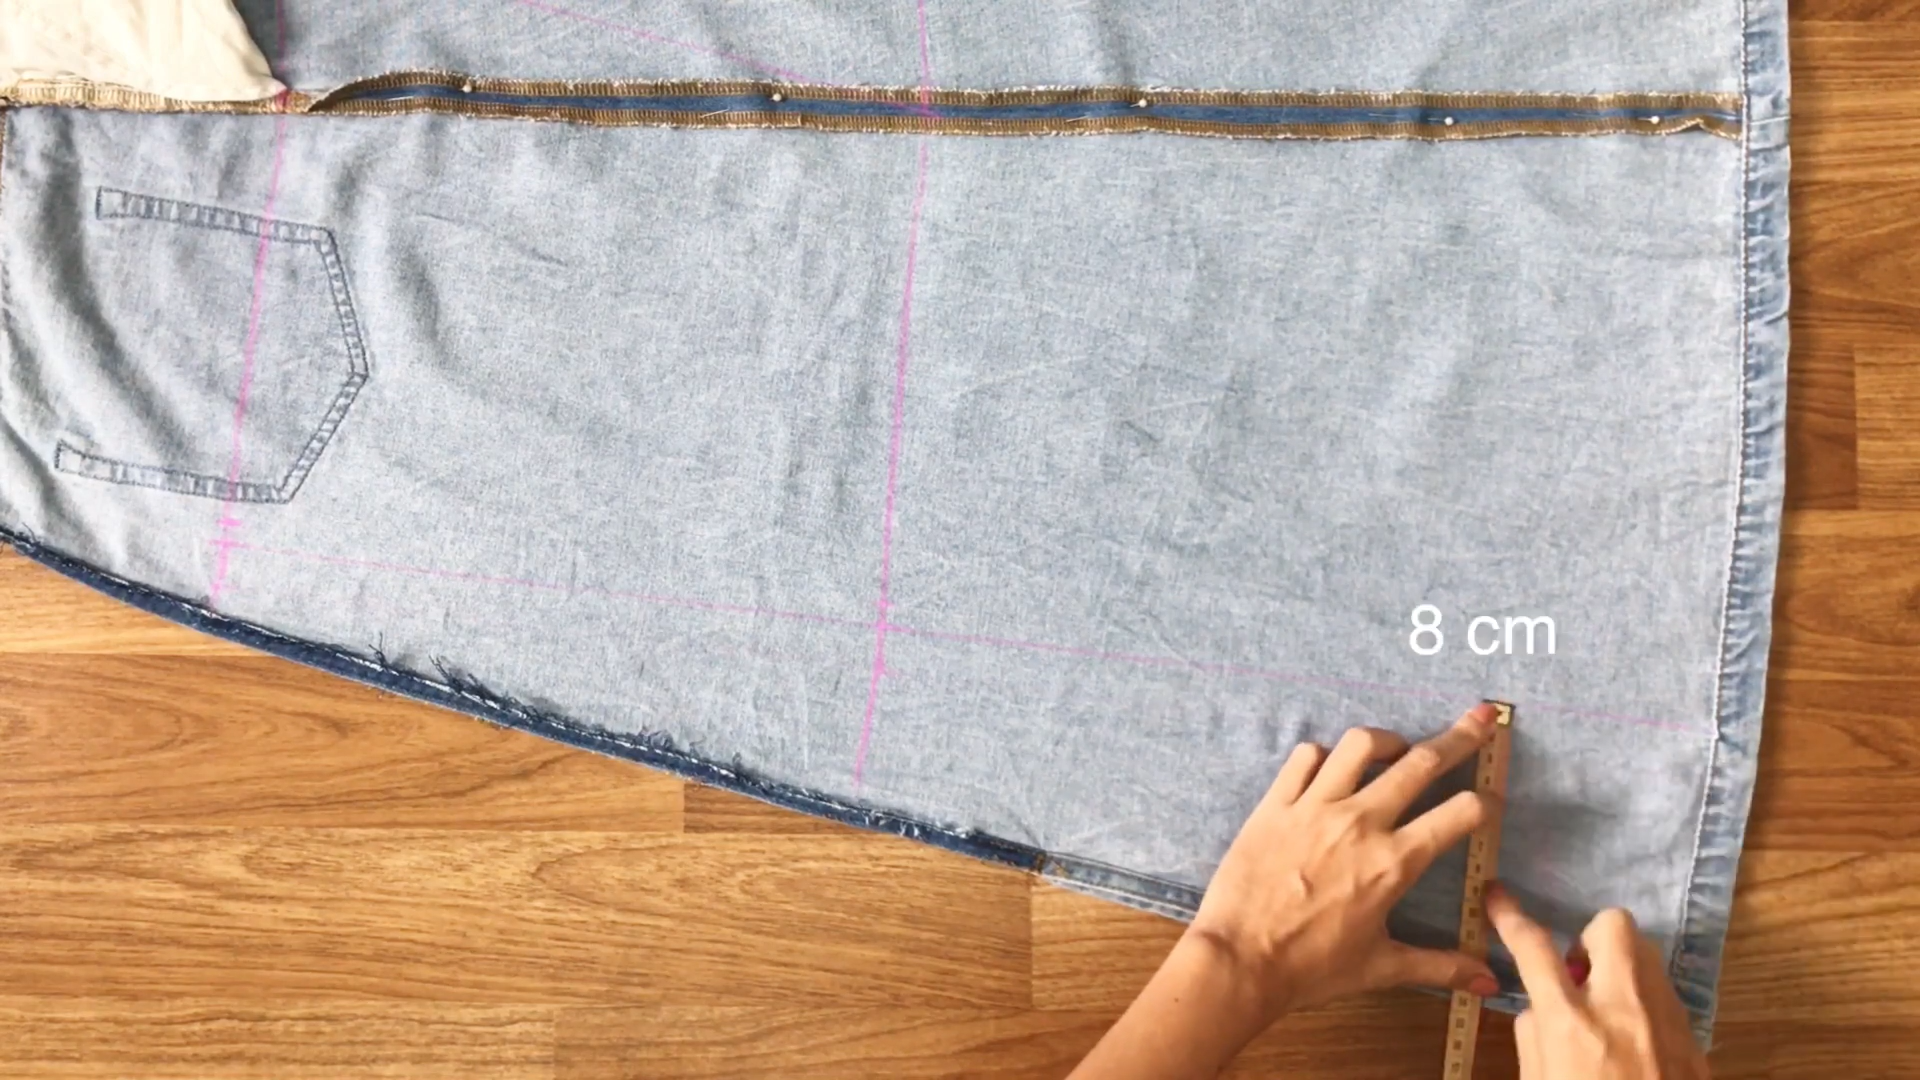
At the end of the skirt, draw a short line at 8 cm outside the line just drawn before that.
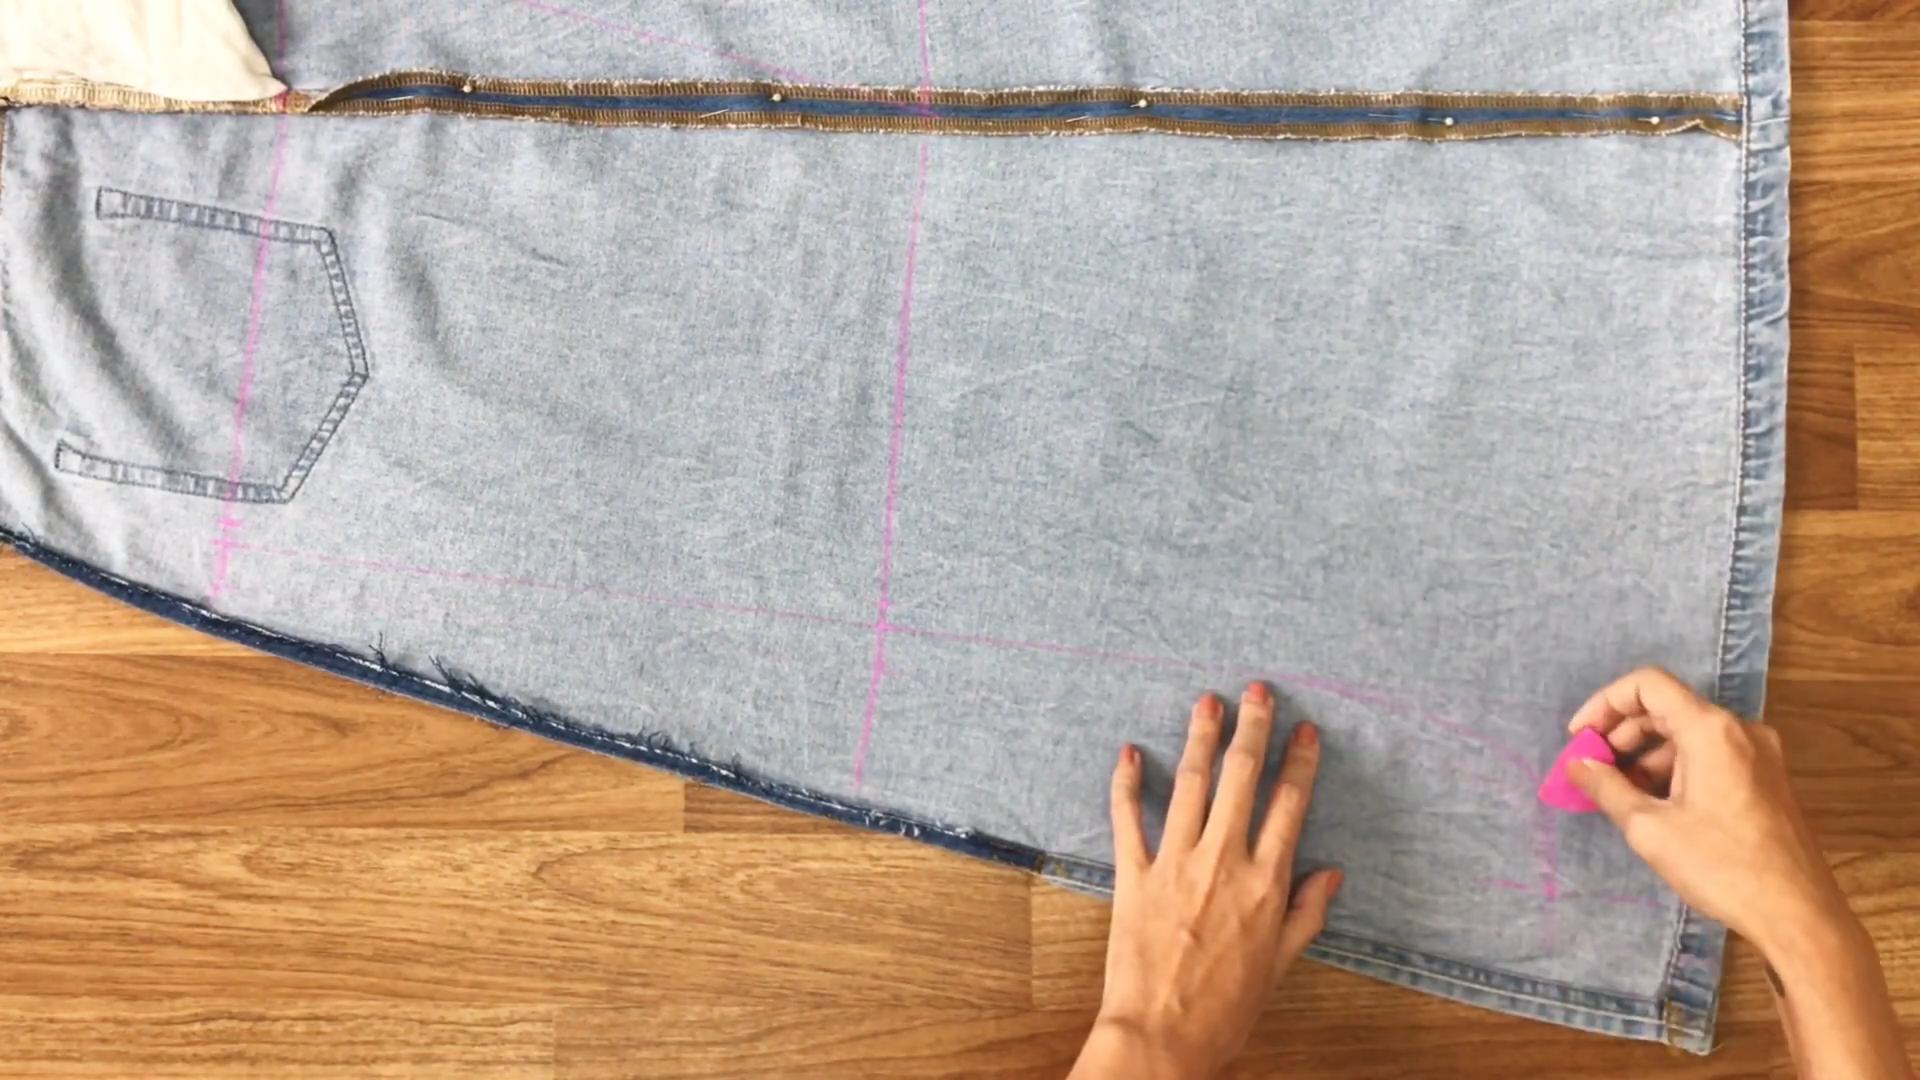
Then, draw a curved line at 8 cm from that short line to the long line to create the crotch line for the back pants of the overall.
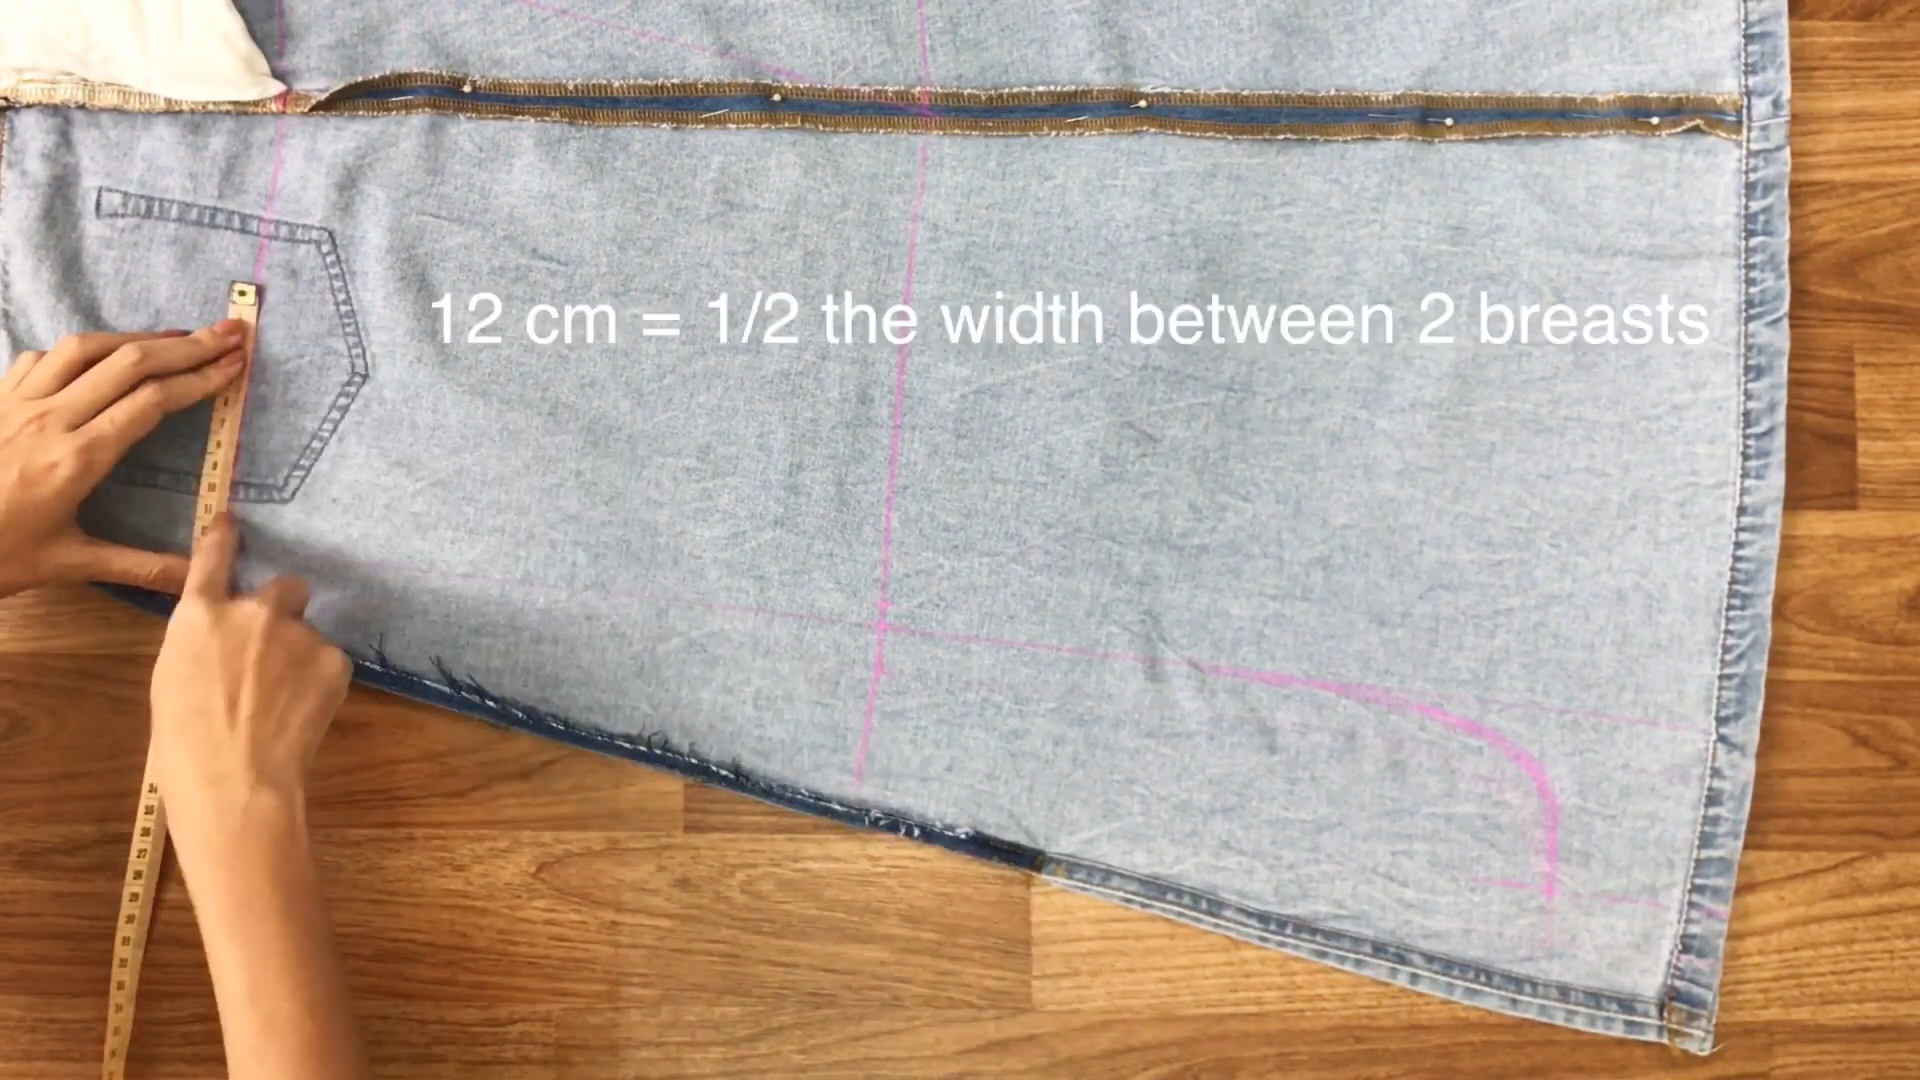
At the top line, go up 12 cm which is half the width between two breasts.
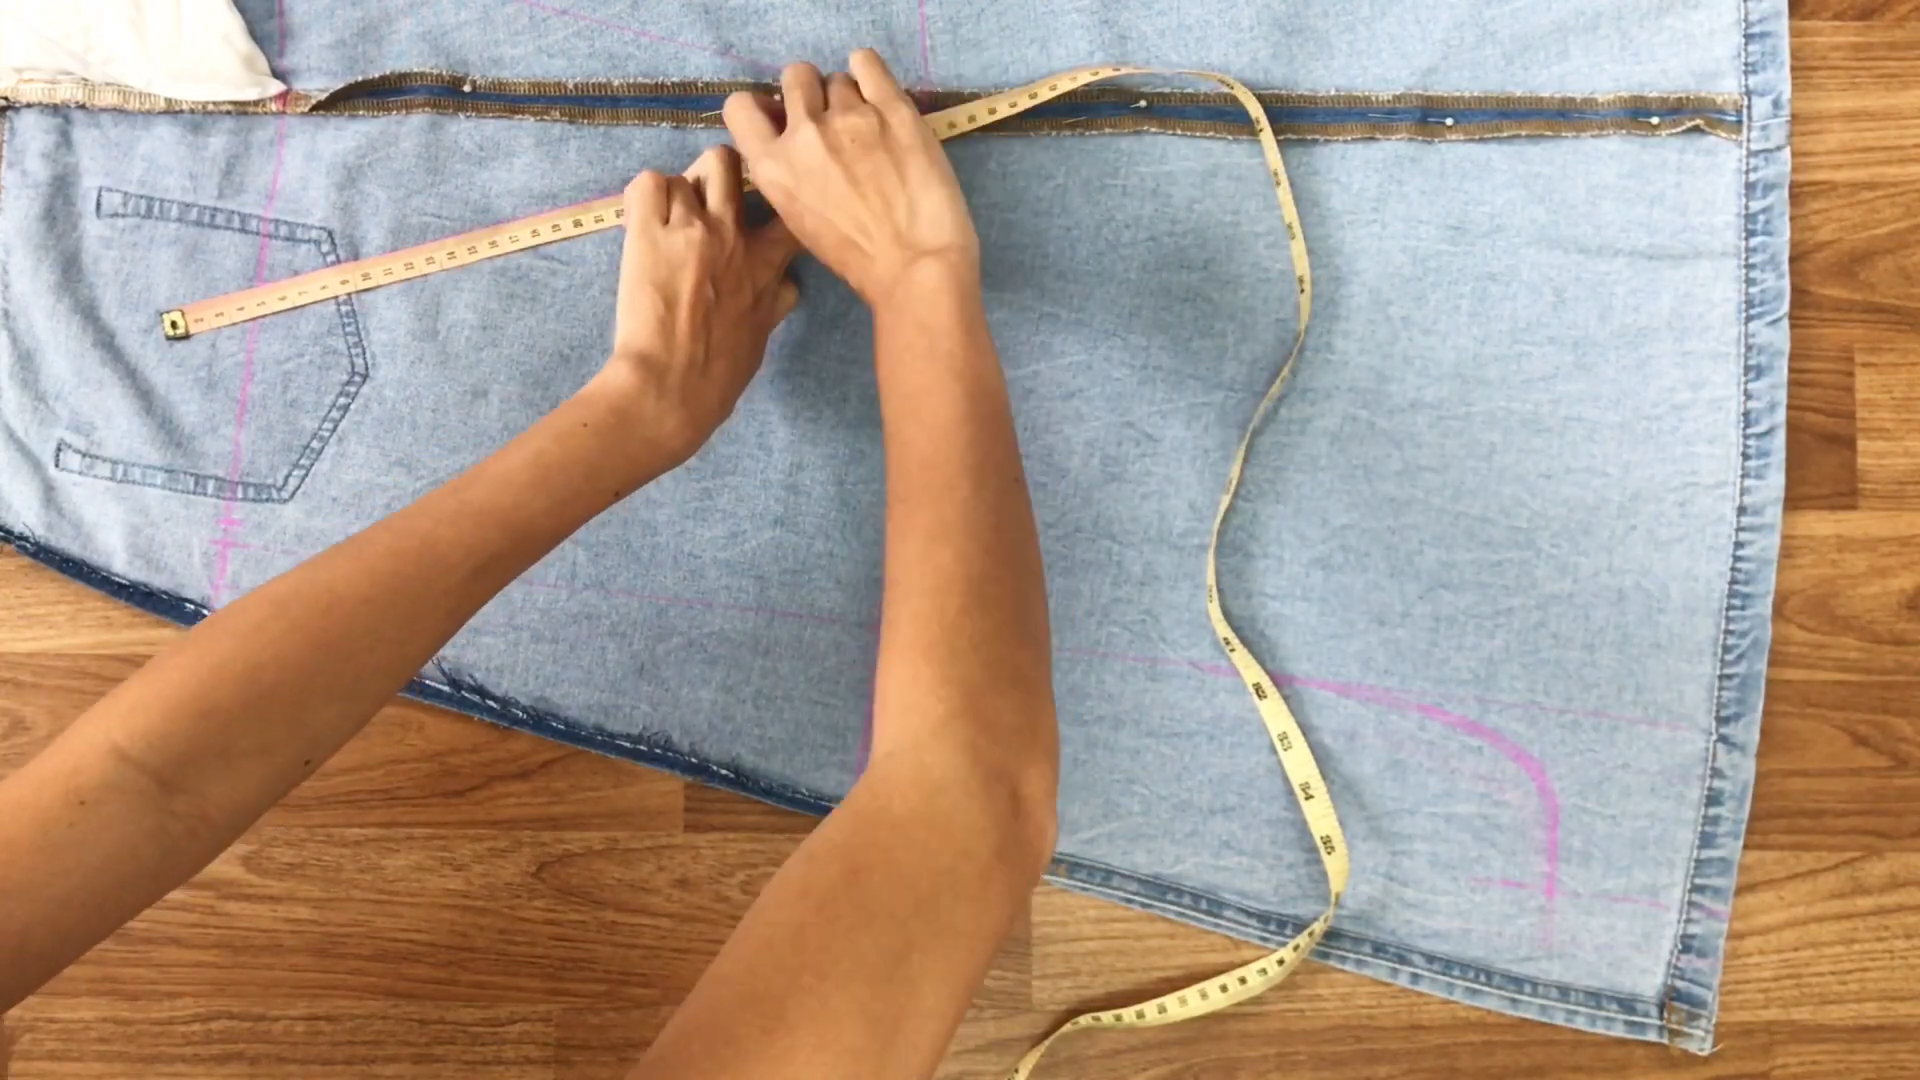
Then, connect it to the end of the middle line.
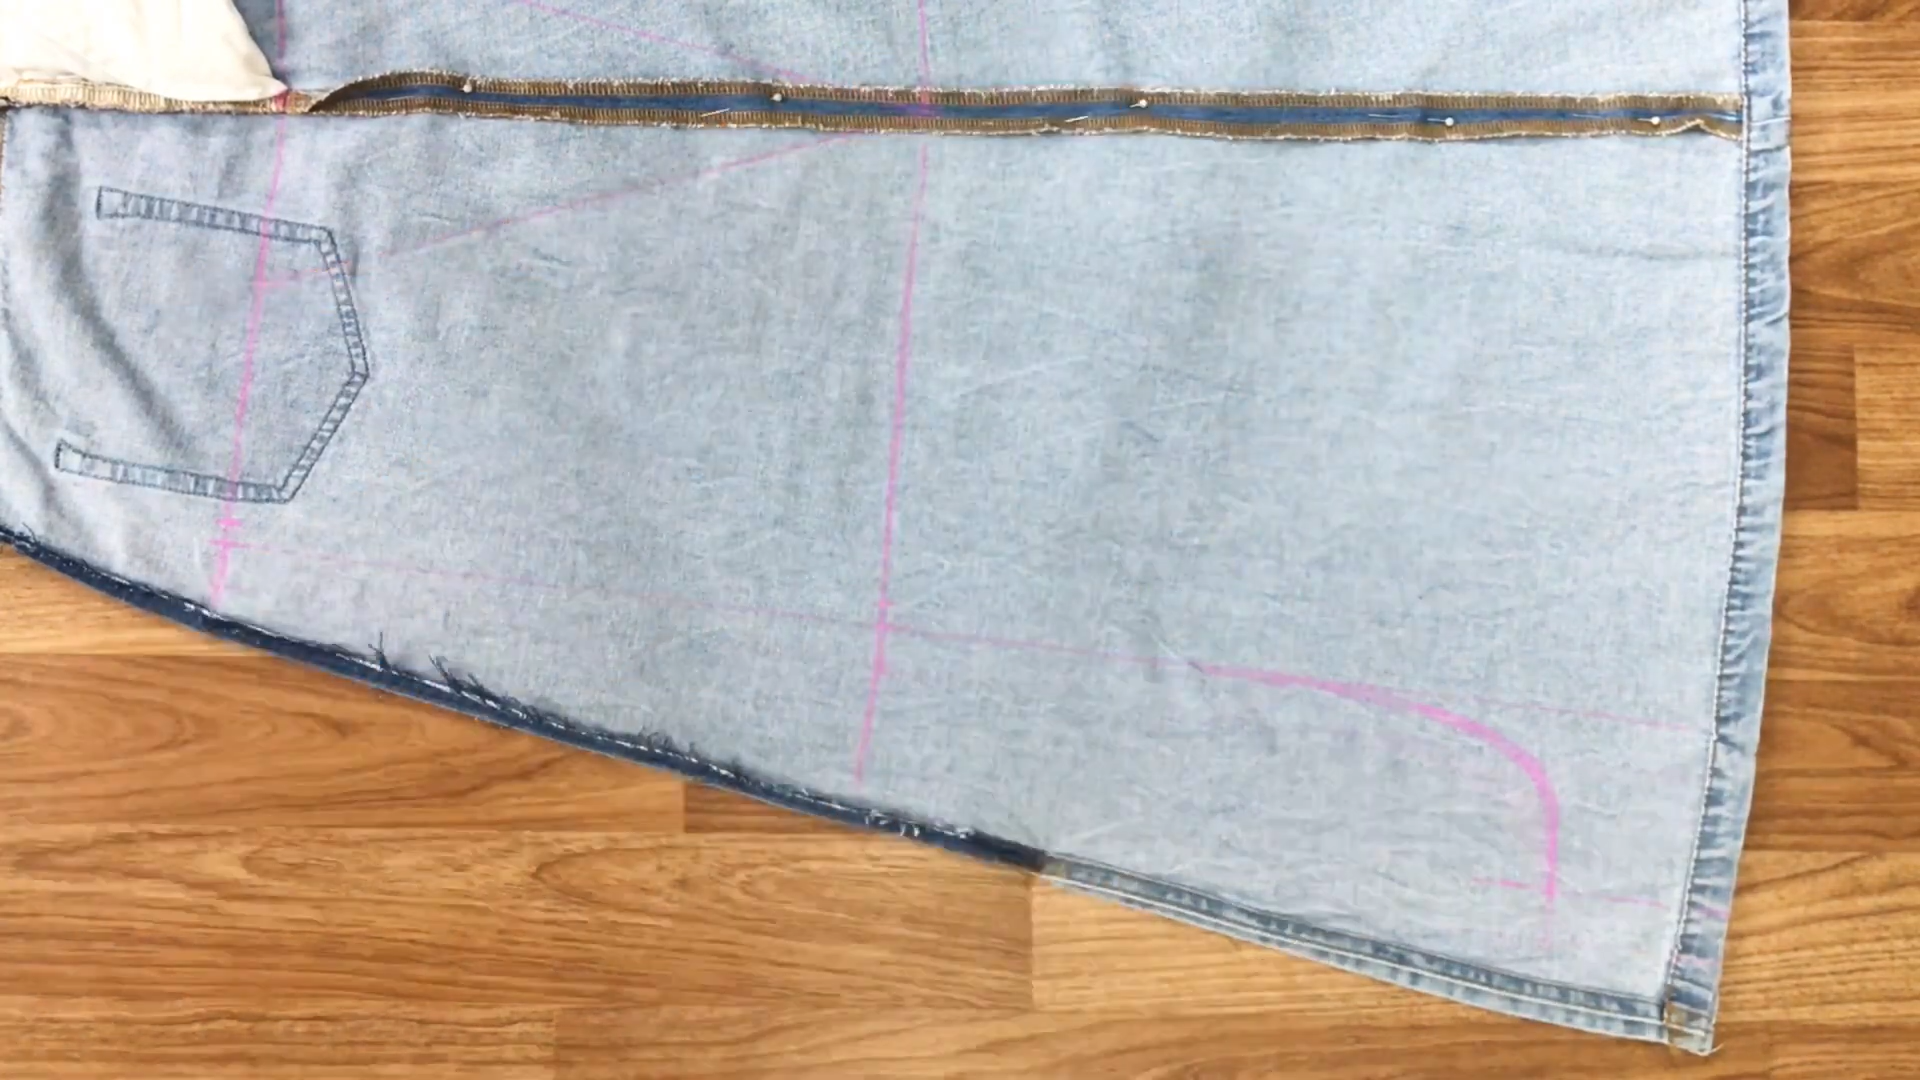
And the back part of the overall is finished.
CONNECTING THE FRONT AND THE BOTTOM
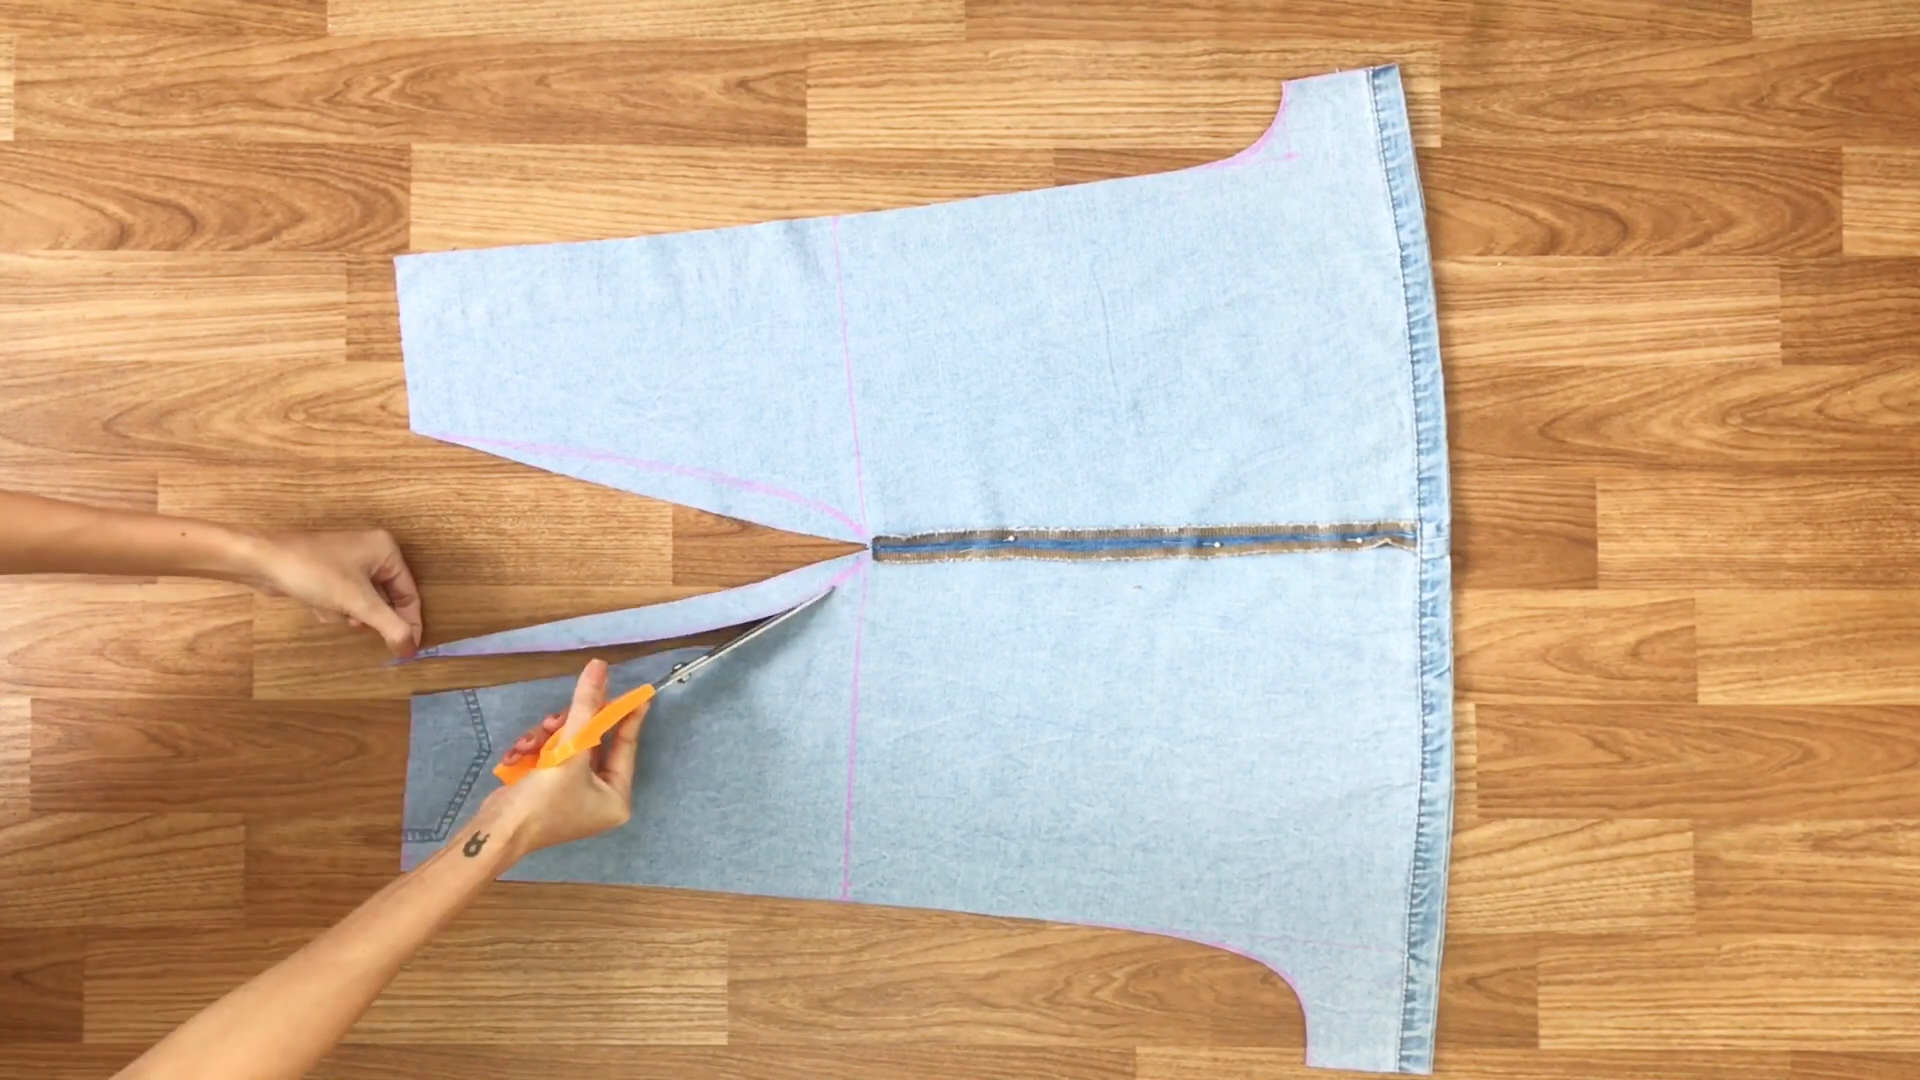
After cutting, fix the connected lines between the top line and the middle line a bit by drawing a curved line there.
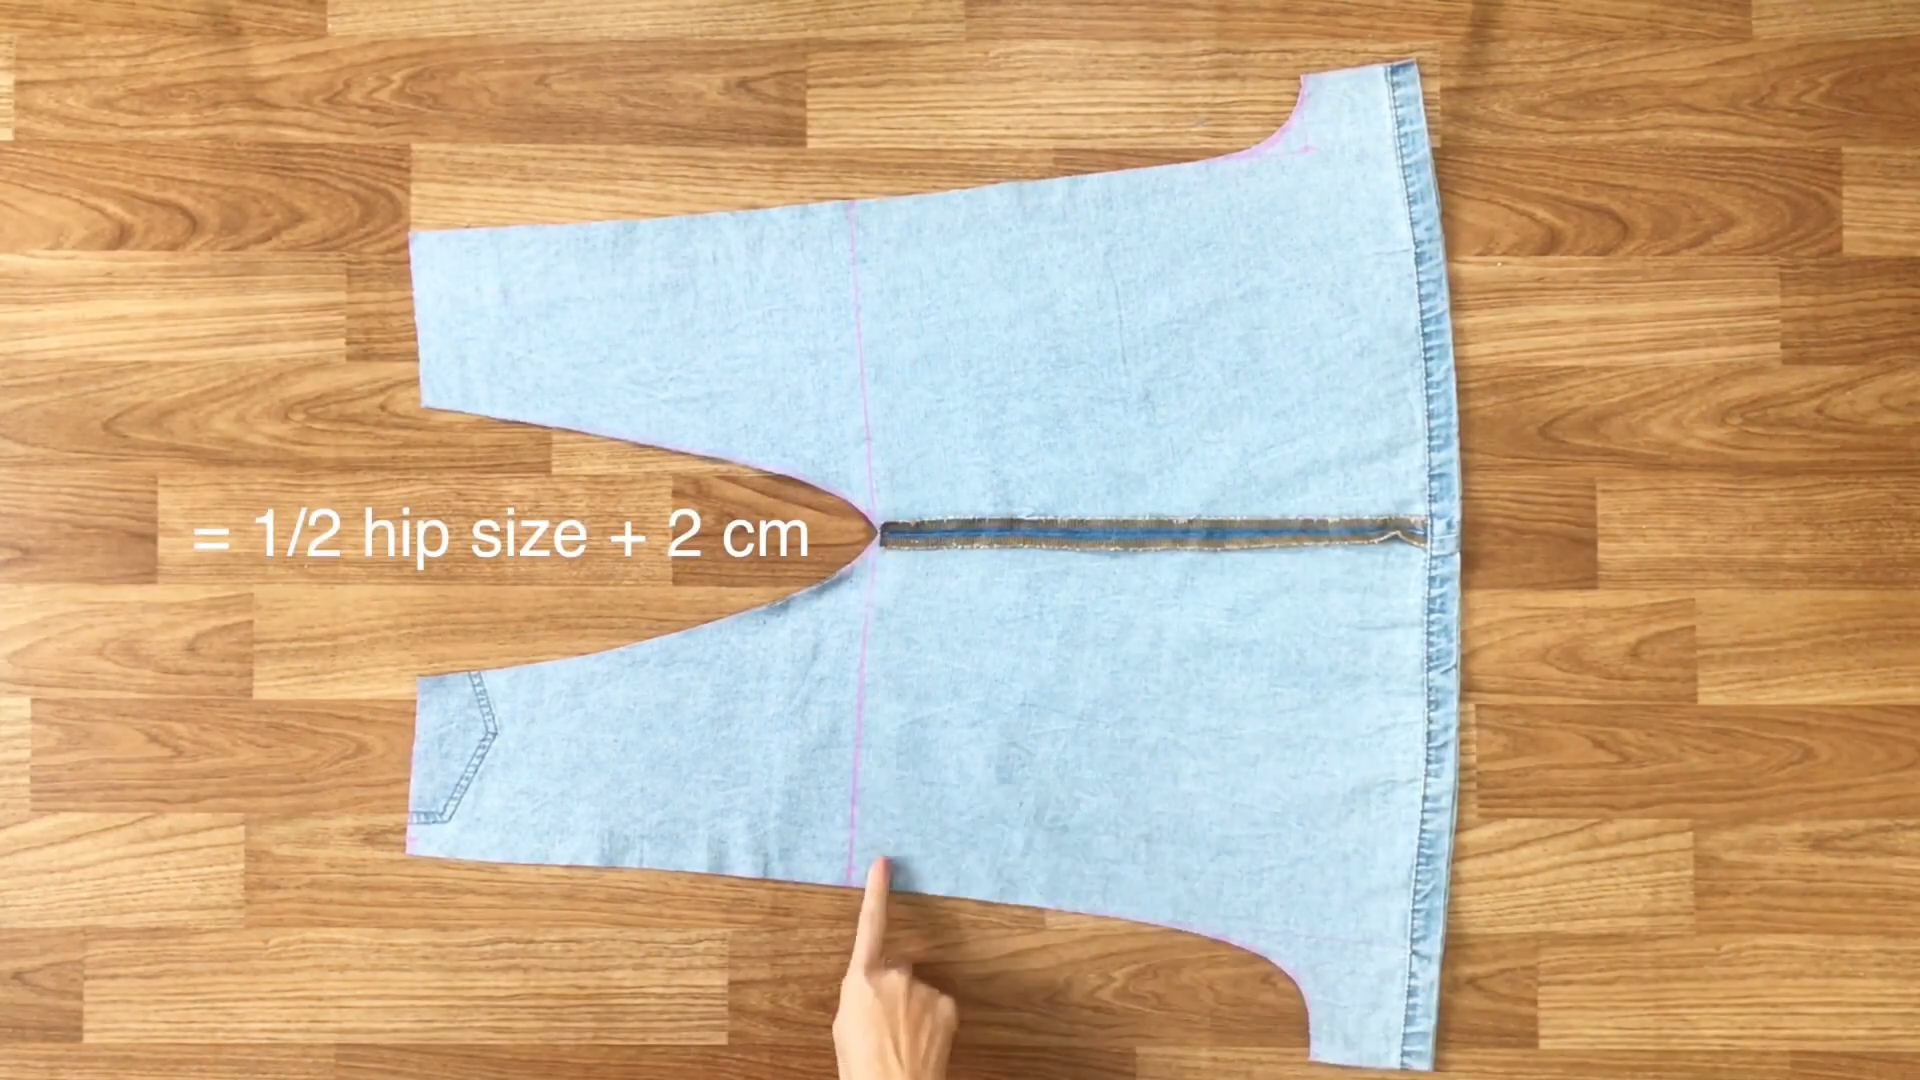
Make sure the total width of the middle line has to be half of the hip size plus 2 cm or bigger. So, it will be possible to wear the overall in the end.
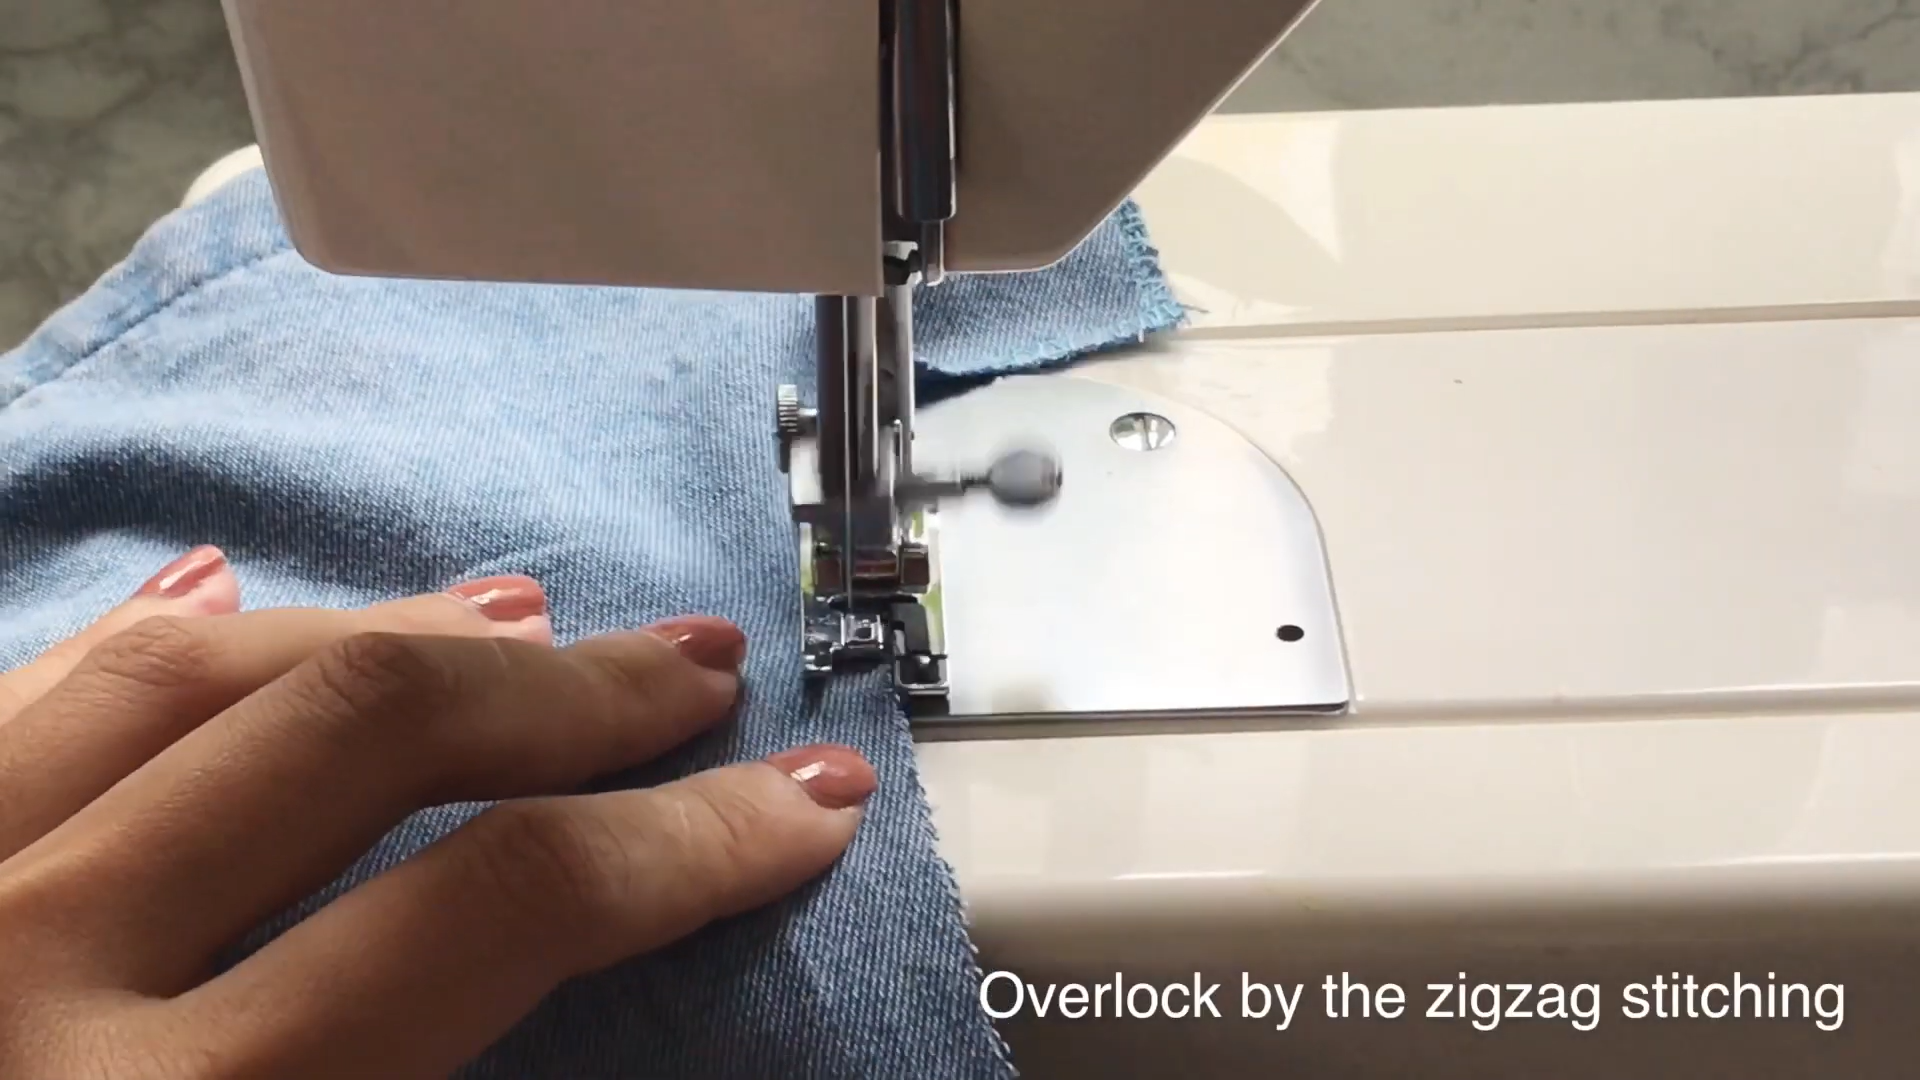
Use the zigzag stitching on the sewing machine to overlock the patterns.
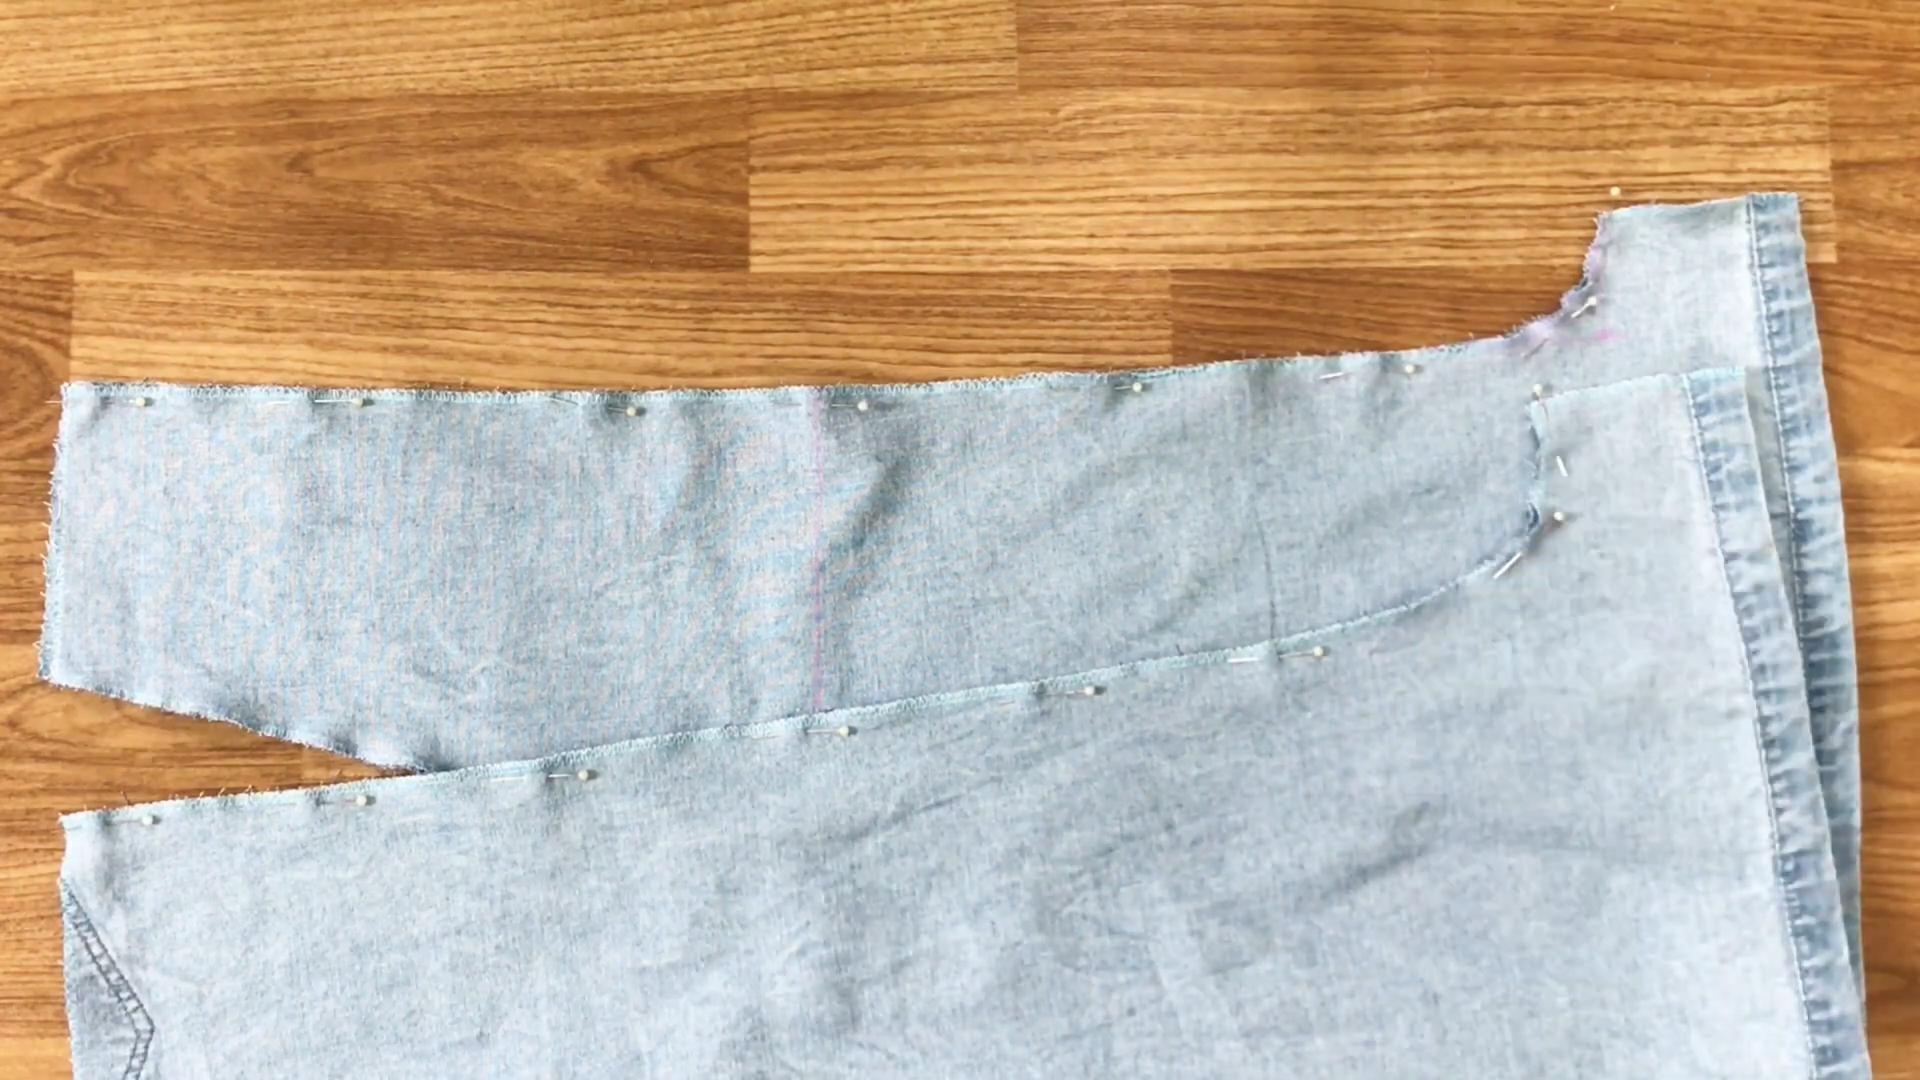
After that, connect two crotch lines of the front and two crotch lines of the back together using pins. Then, sew along the pinned line.
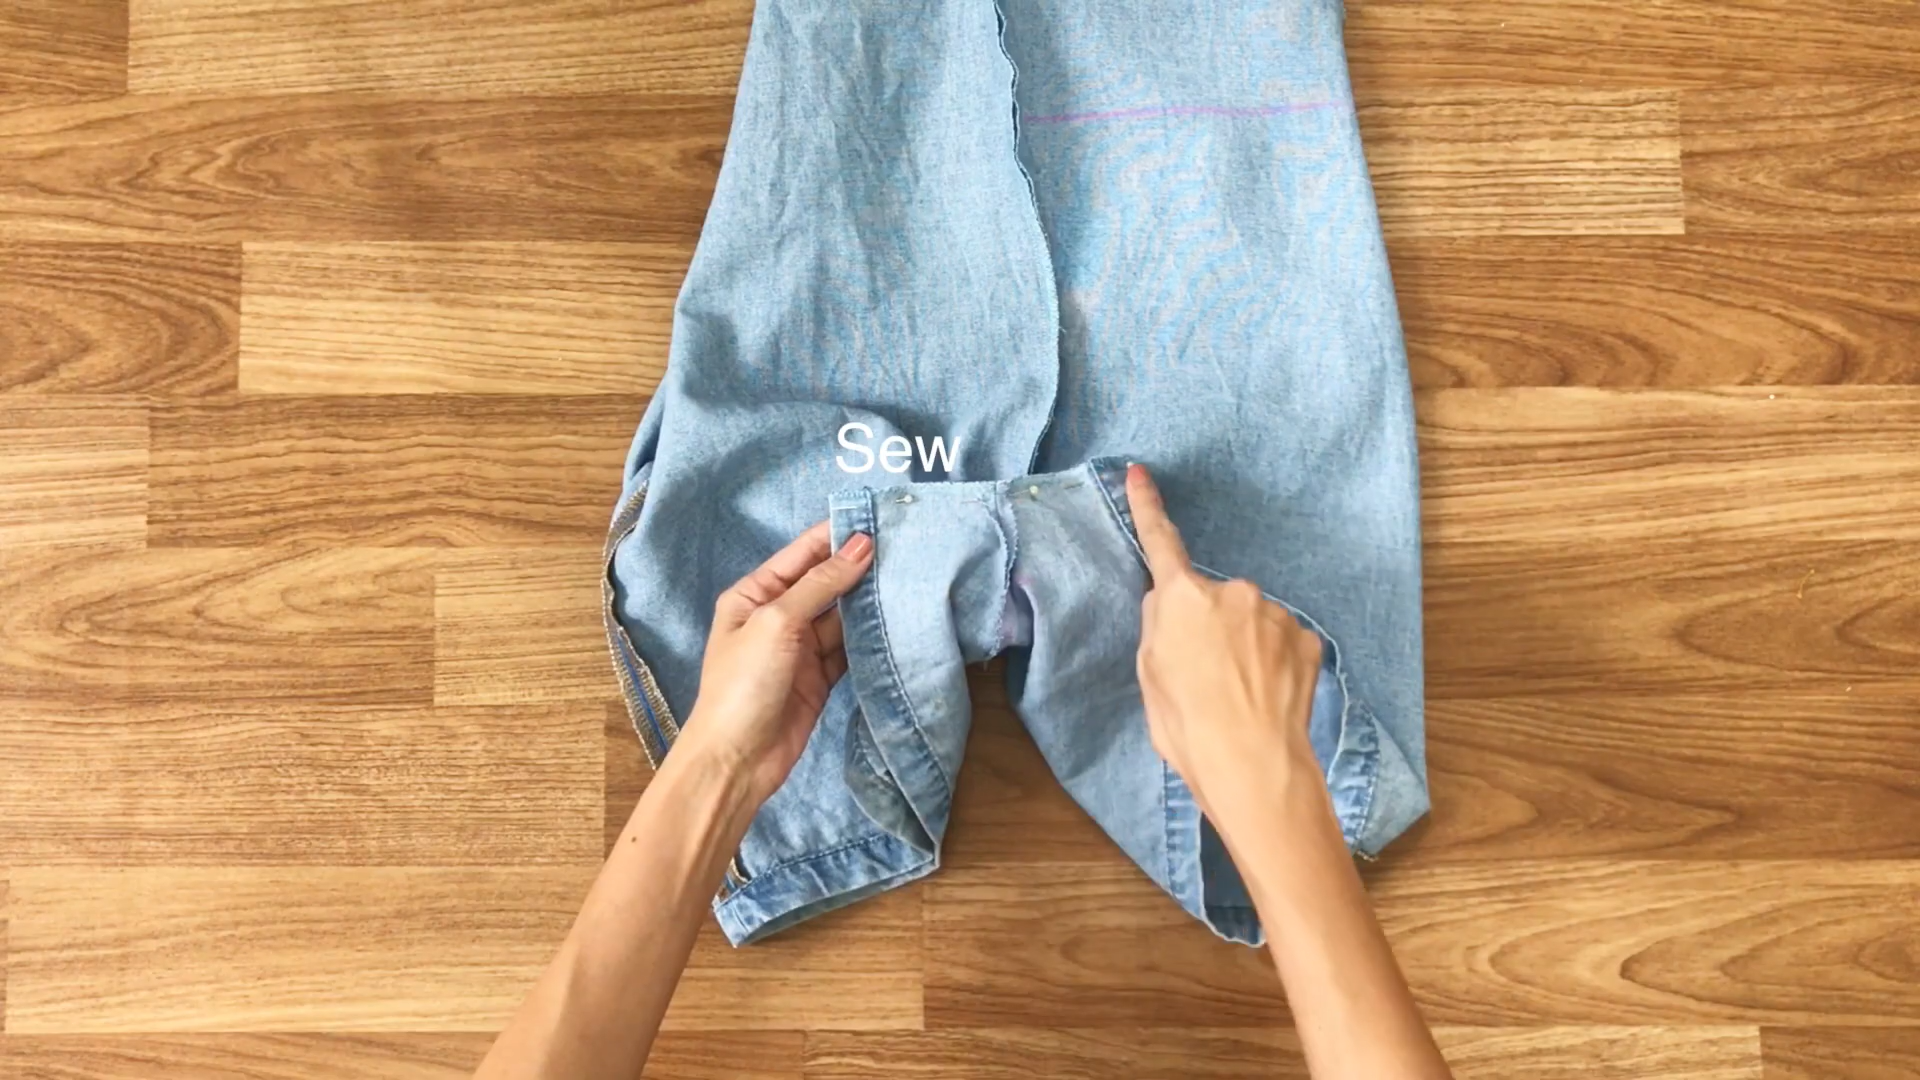
Now, connect the end of the crotch line together.
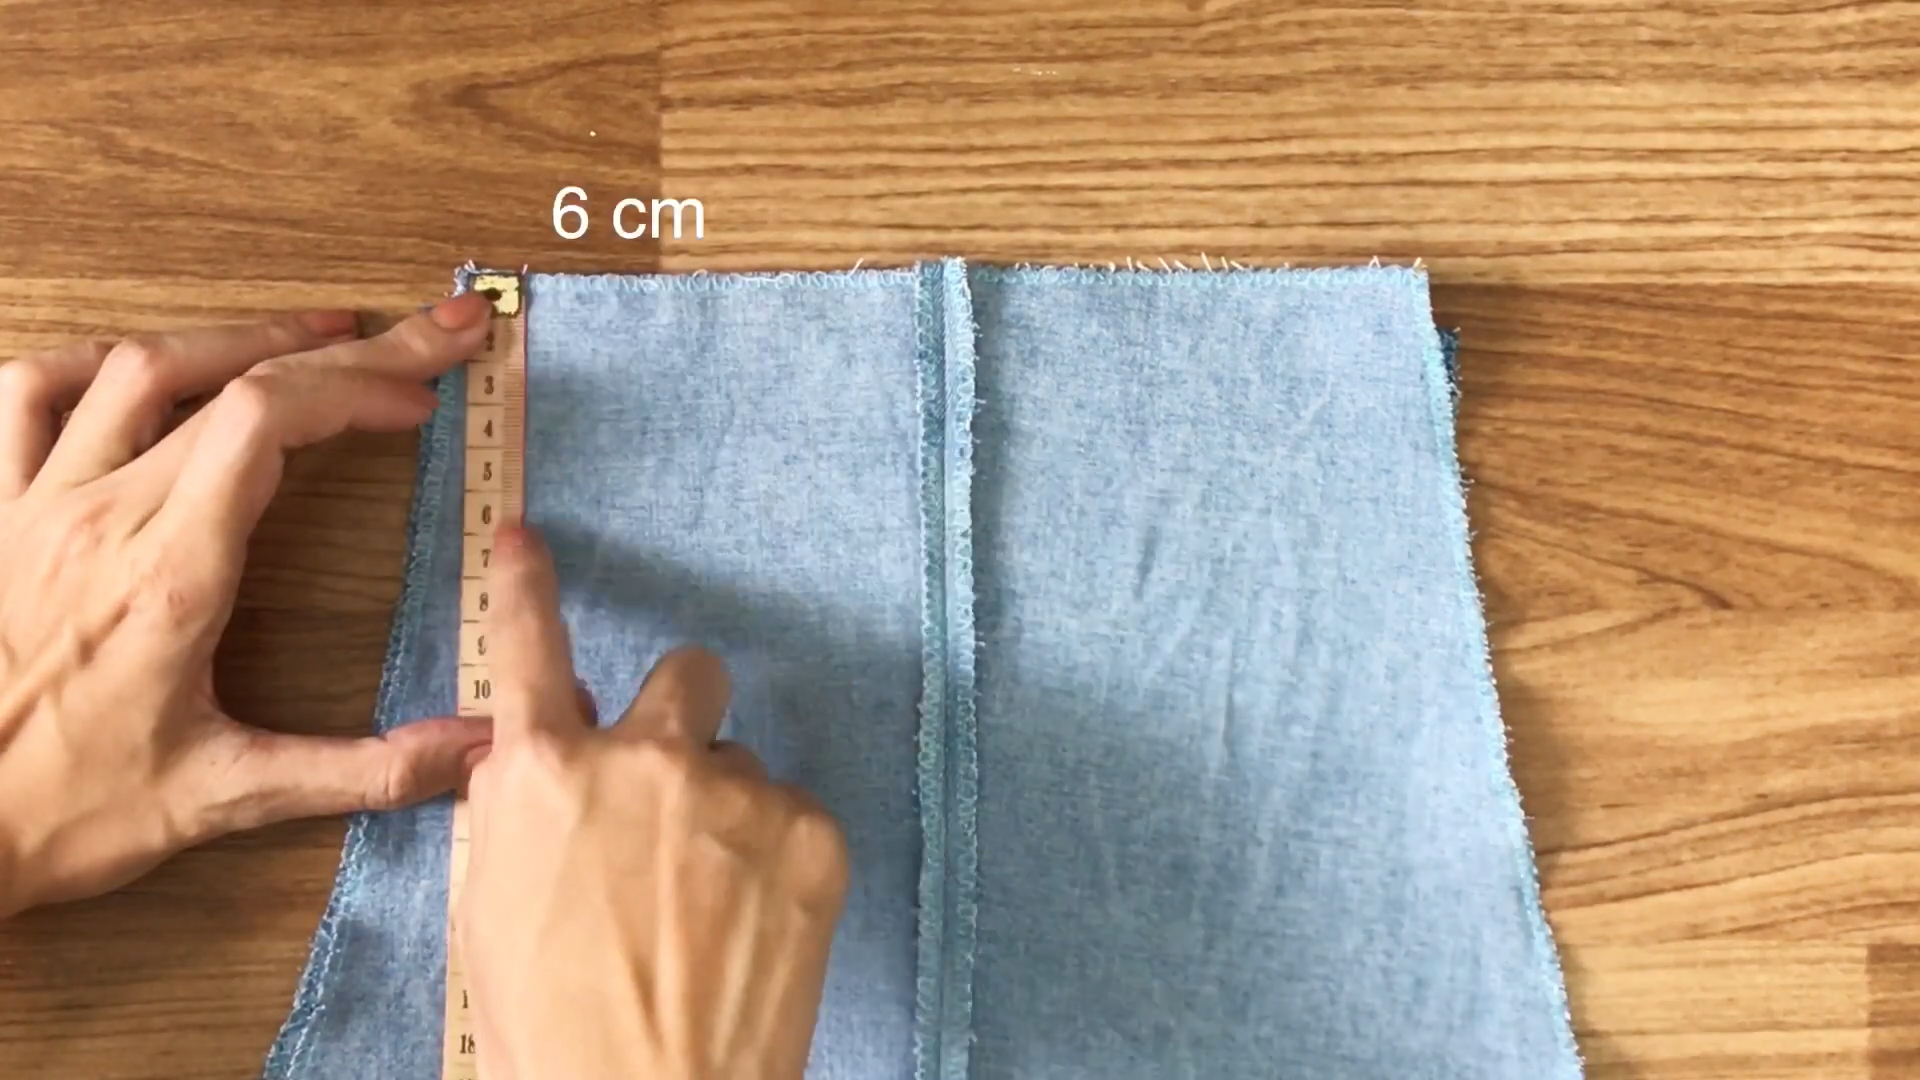
At the top of the overall, draw a horizontal line at 6 cm down from the top line.
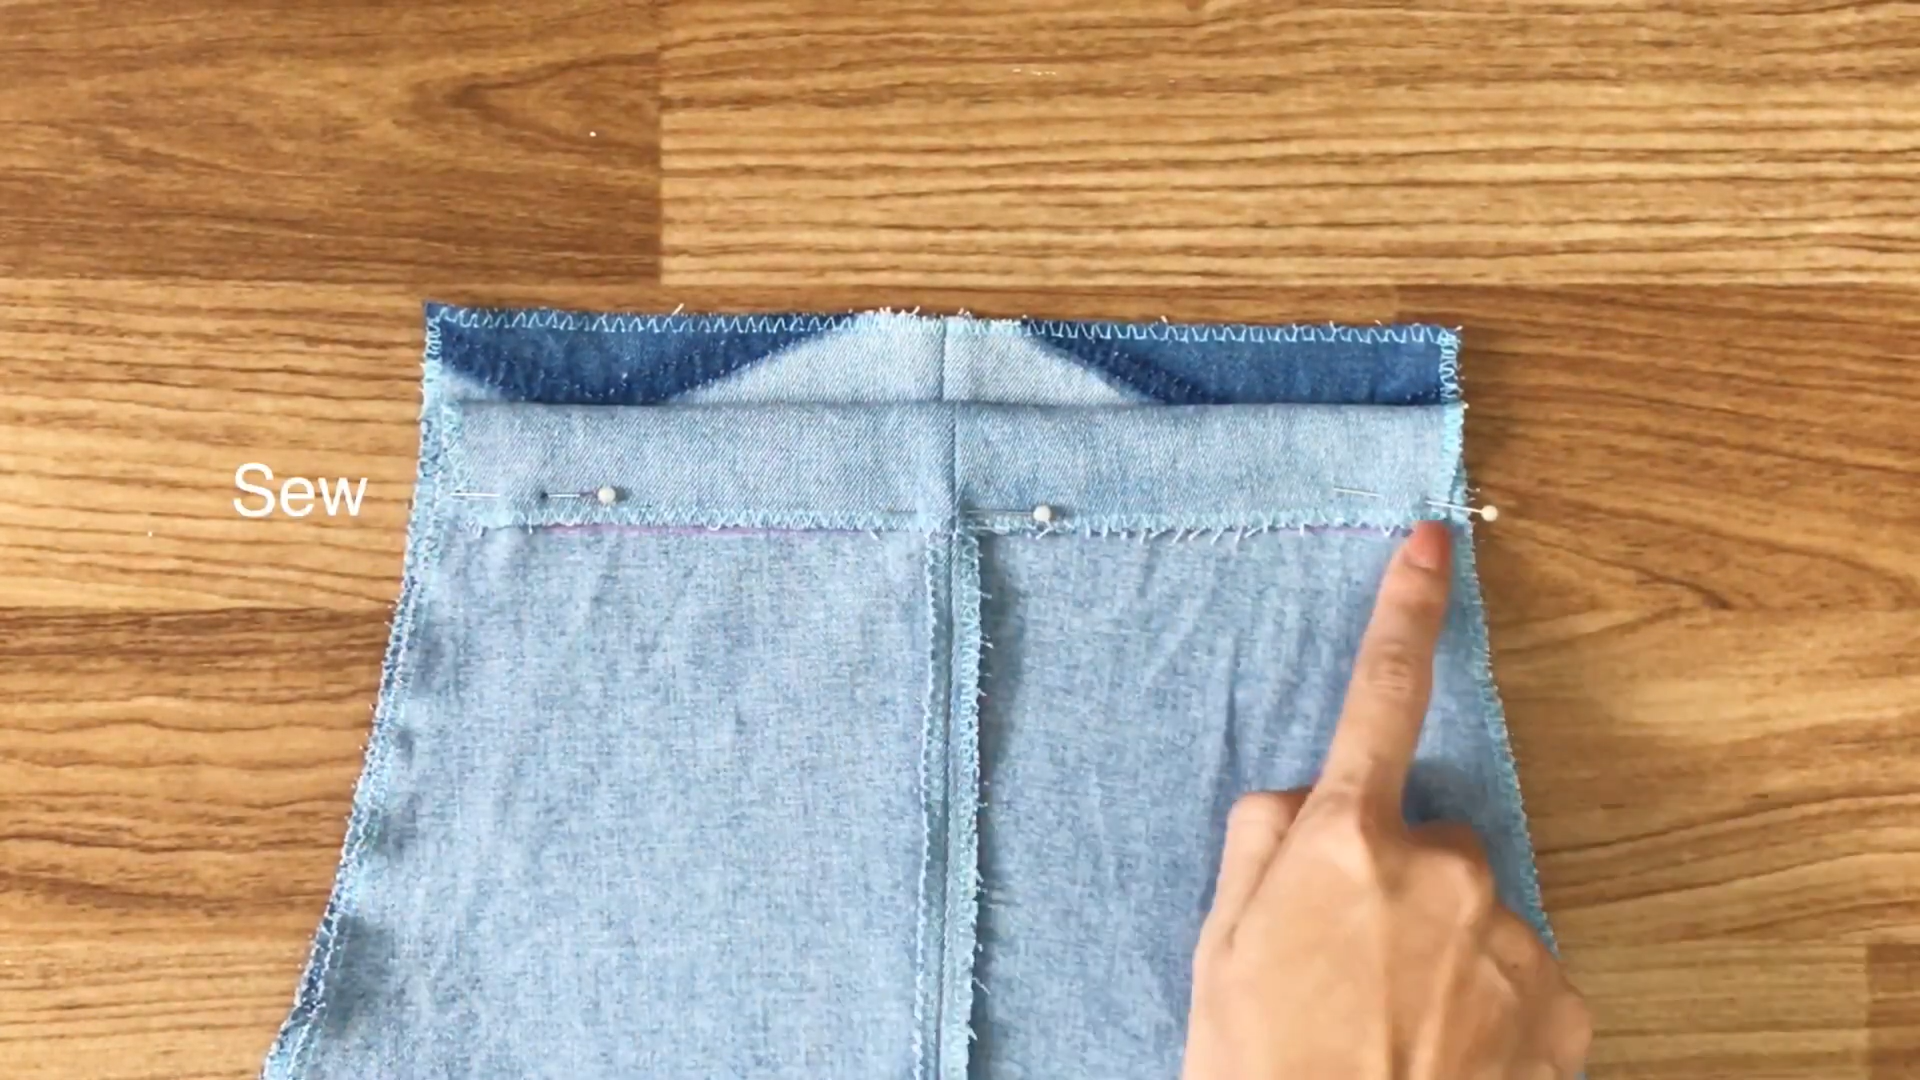
Then, fold the fabric to that line. And sew along the folded line.
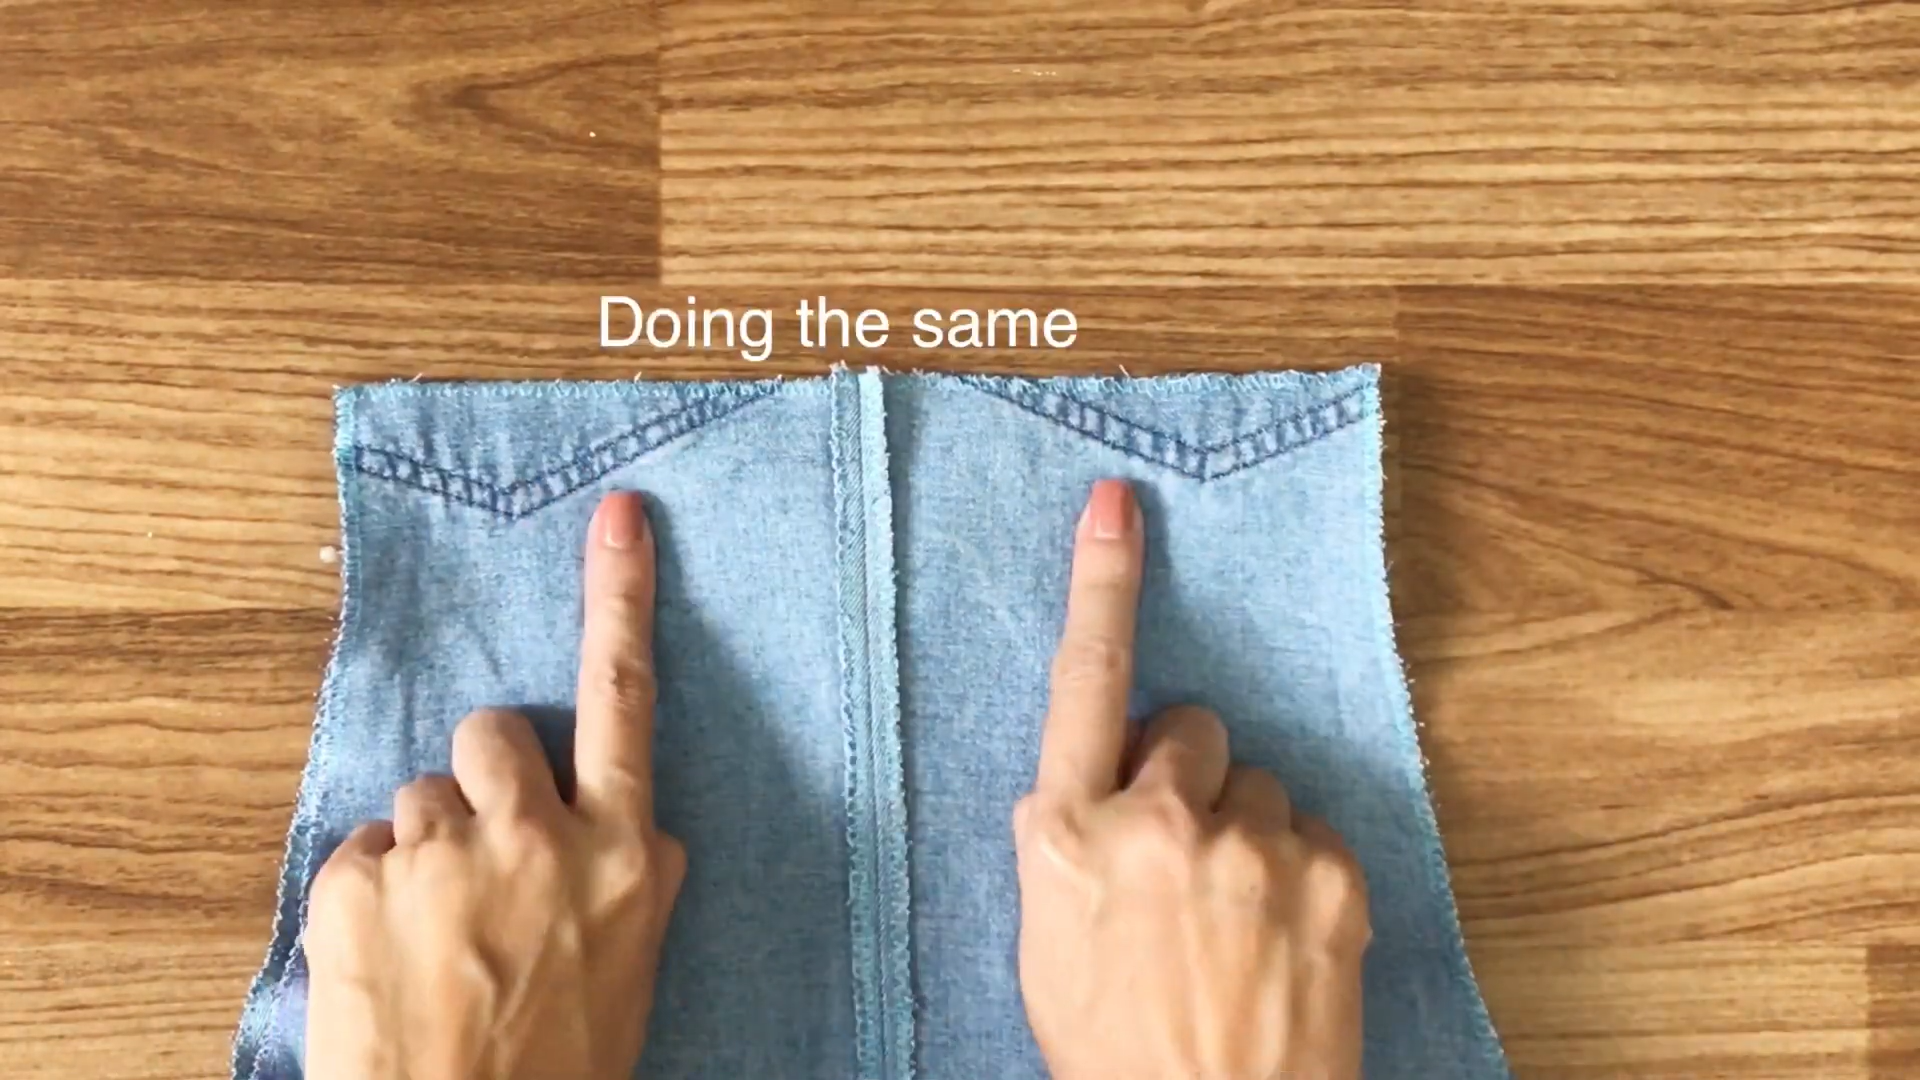
Do the same for the back as well.
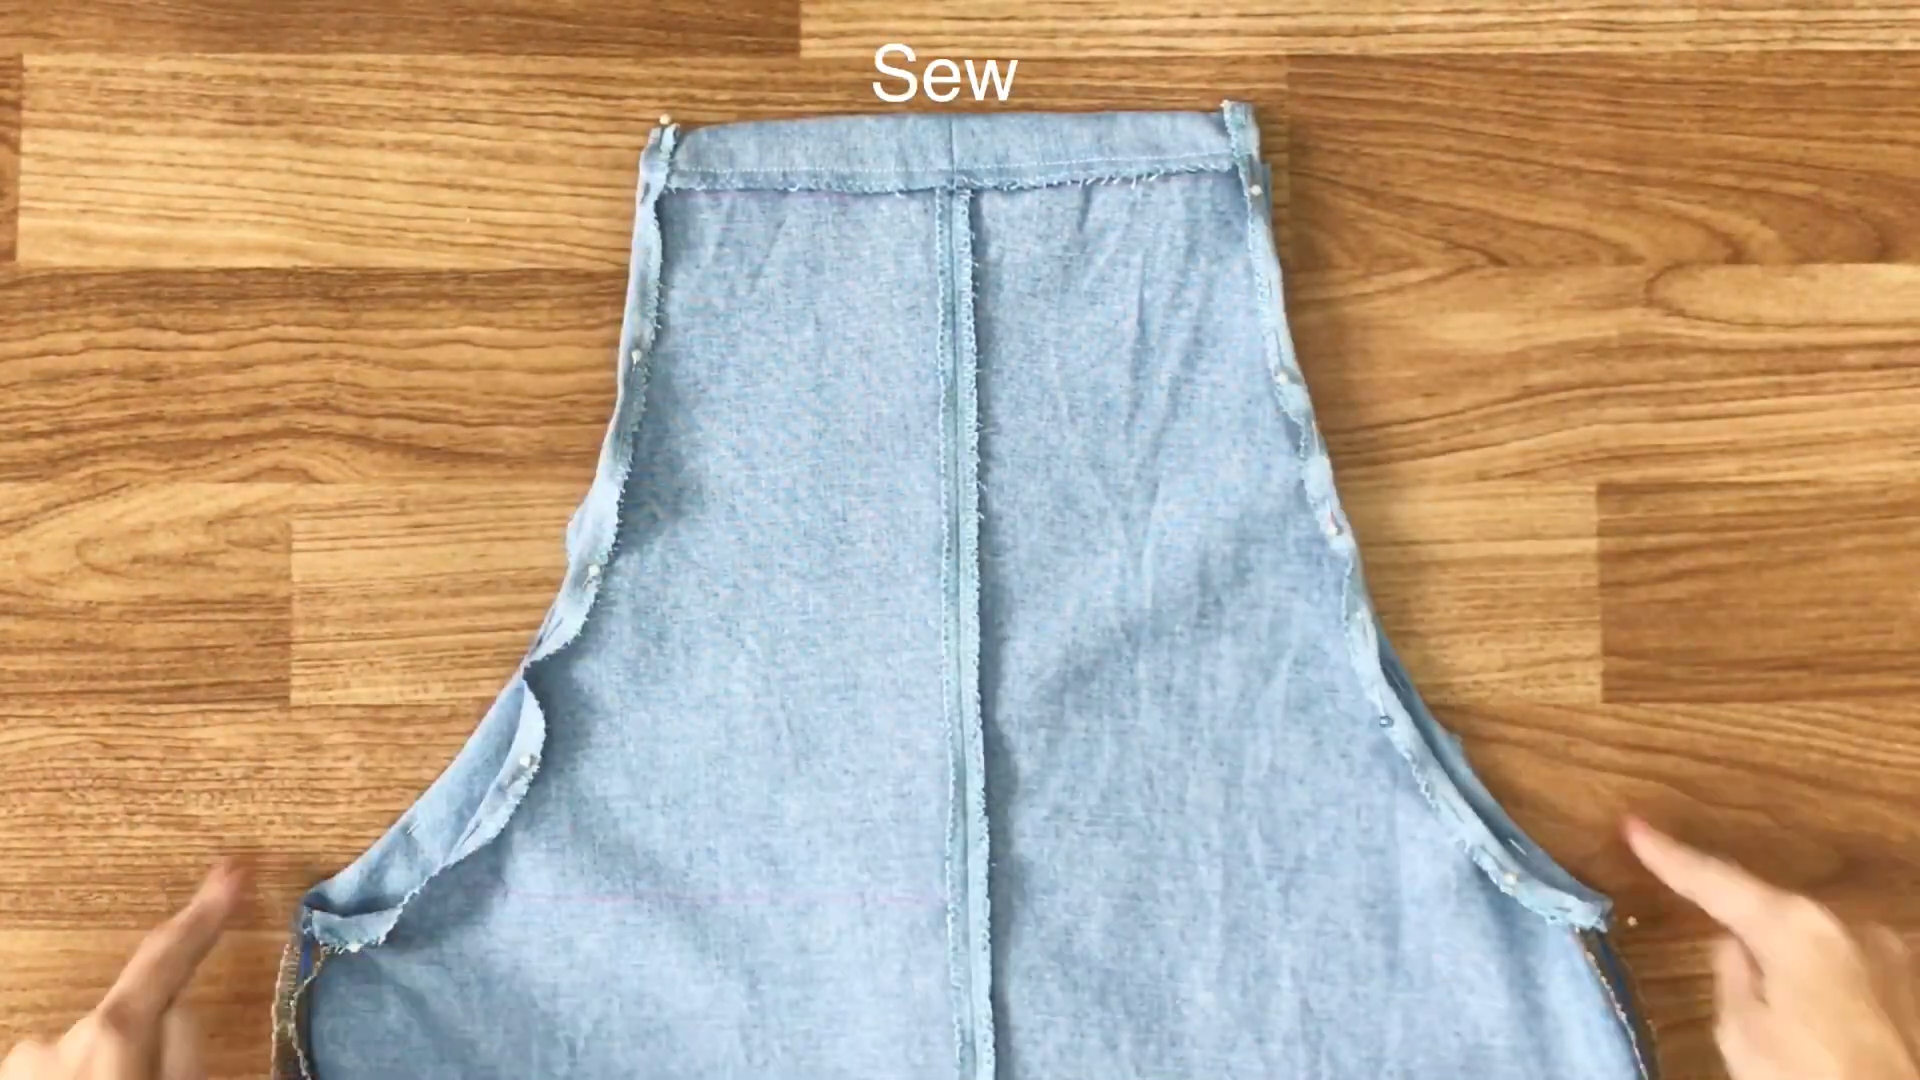
After that, fold the side line inside around 1 cm from the front to the back part of the overall. Then, sew along the folded line.
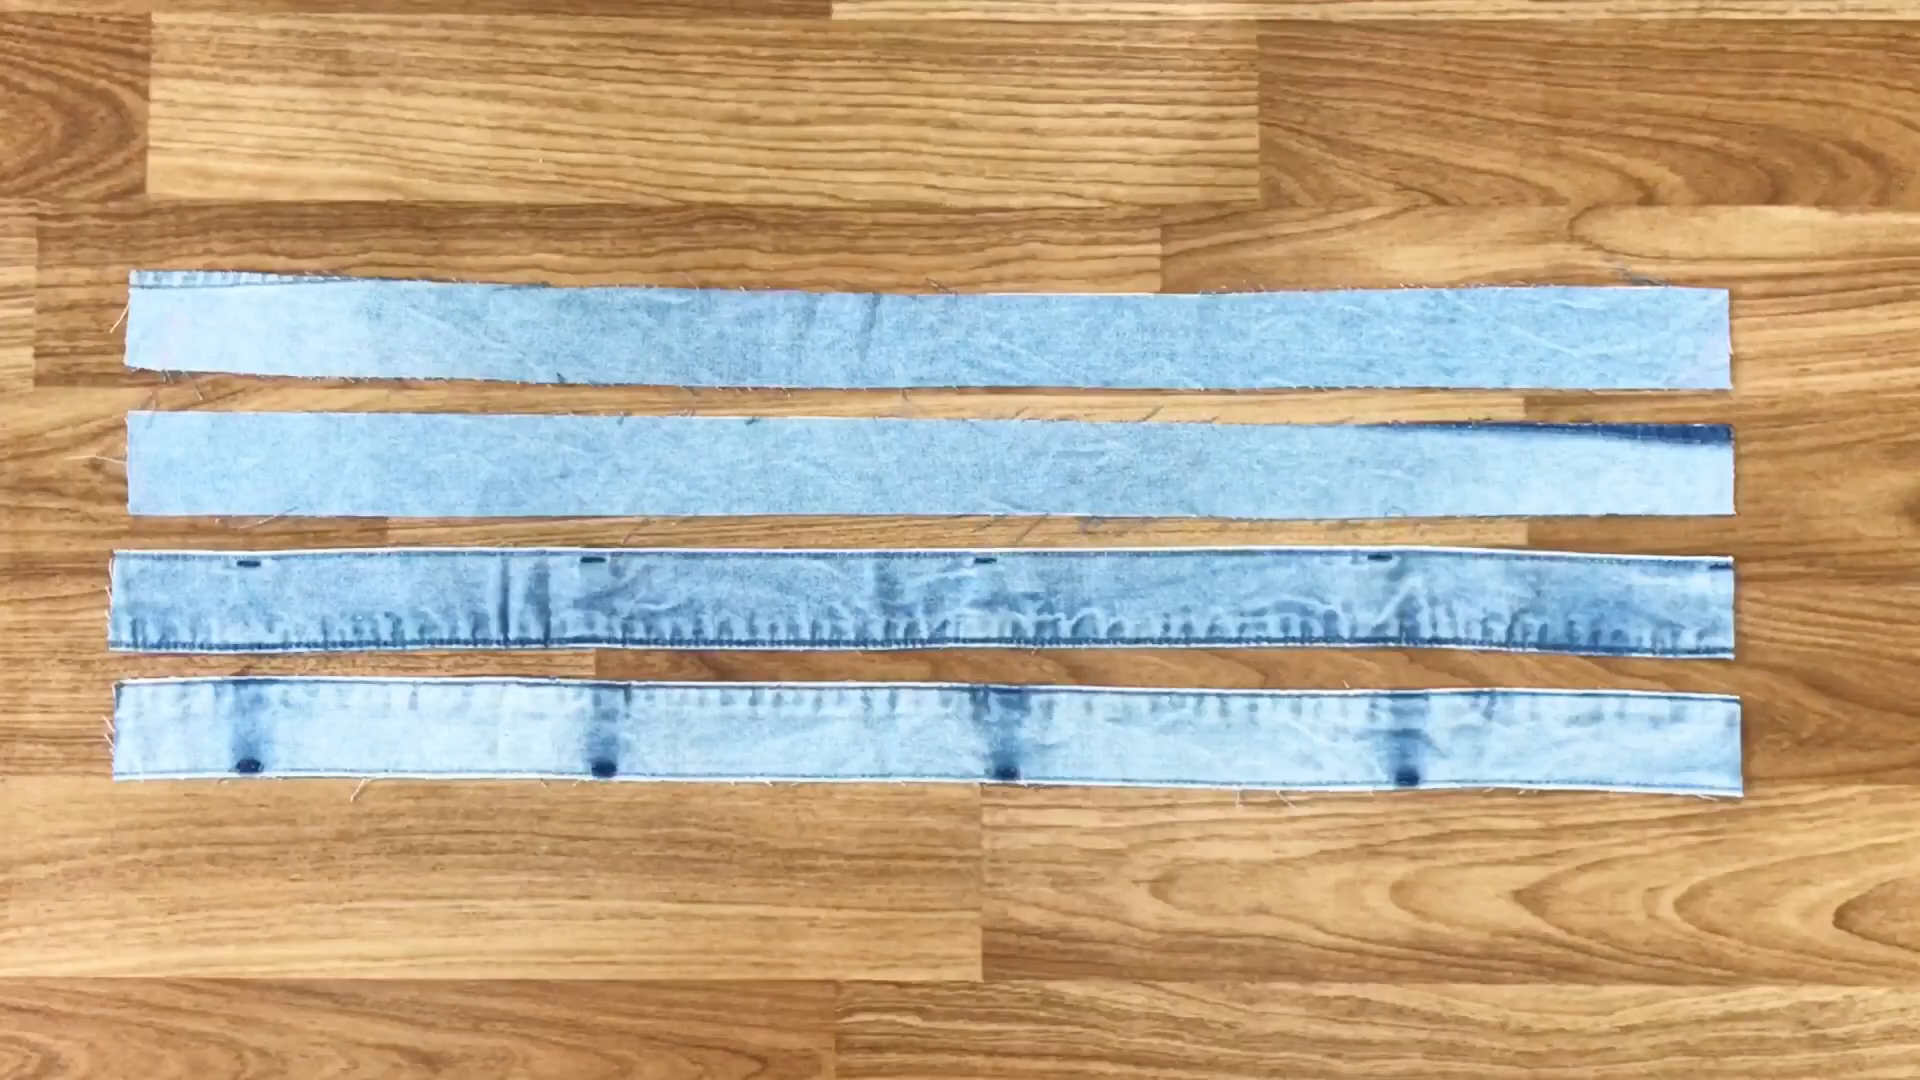
Next step, cut 4 long fabric lines with 40 cm length and 4 cm width from the leftover fabric of the denim skirt to make the ties for the overall.
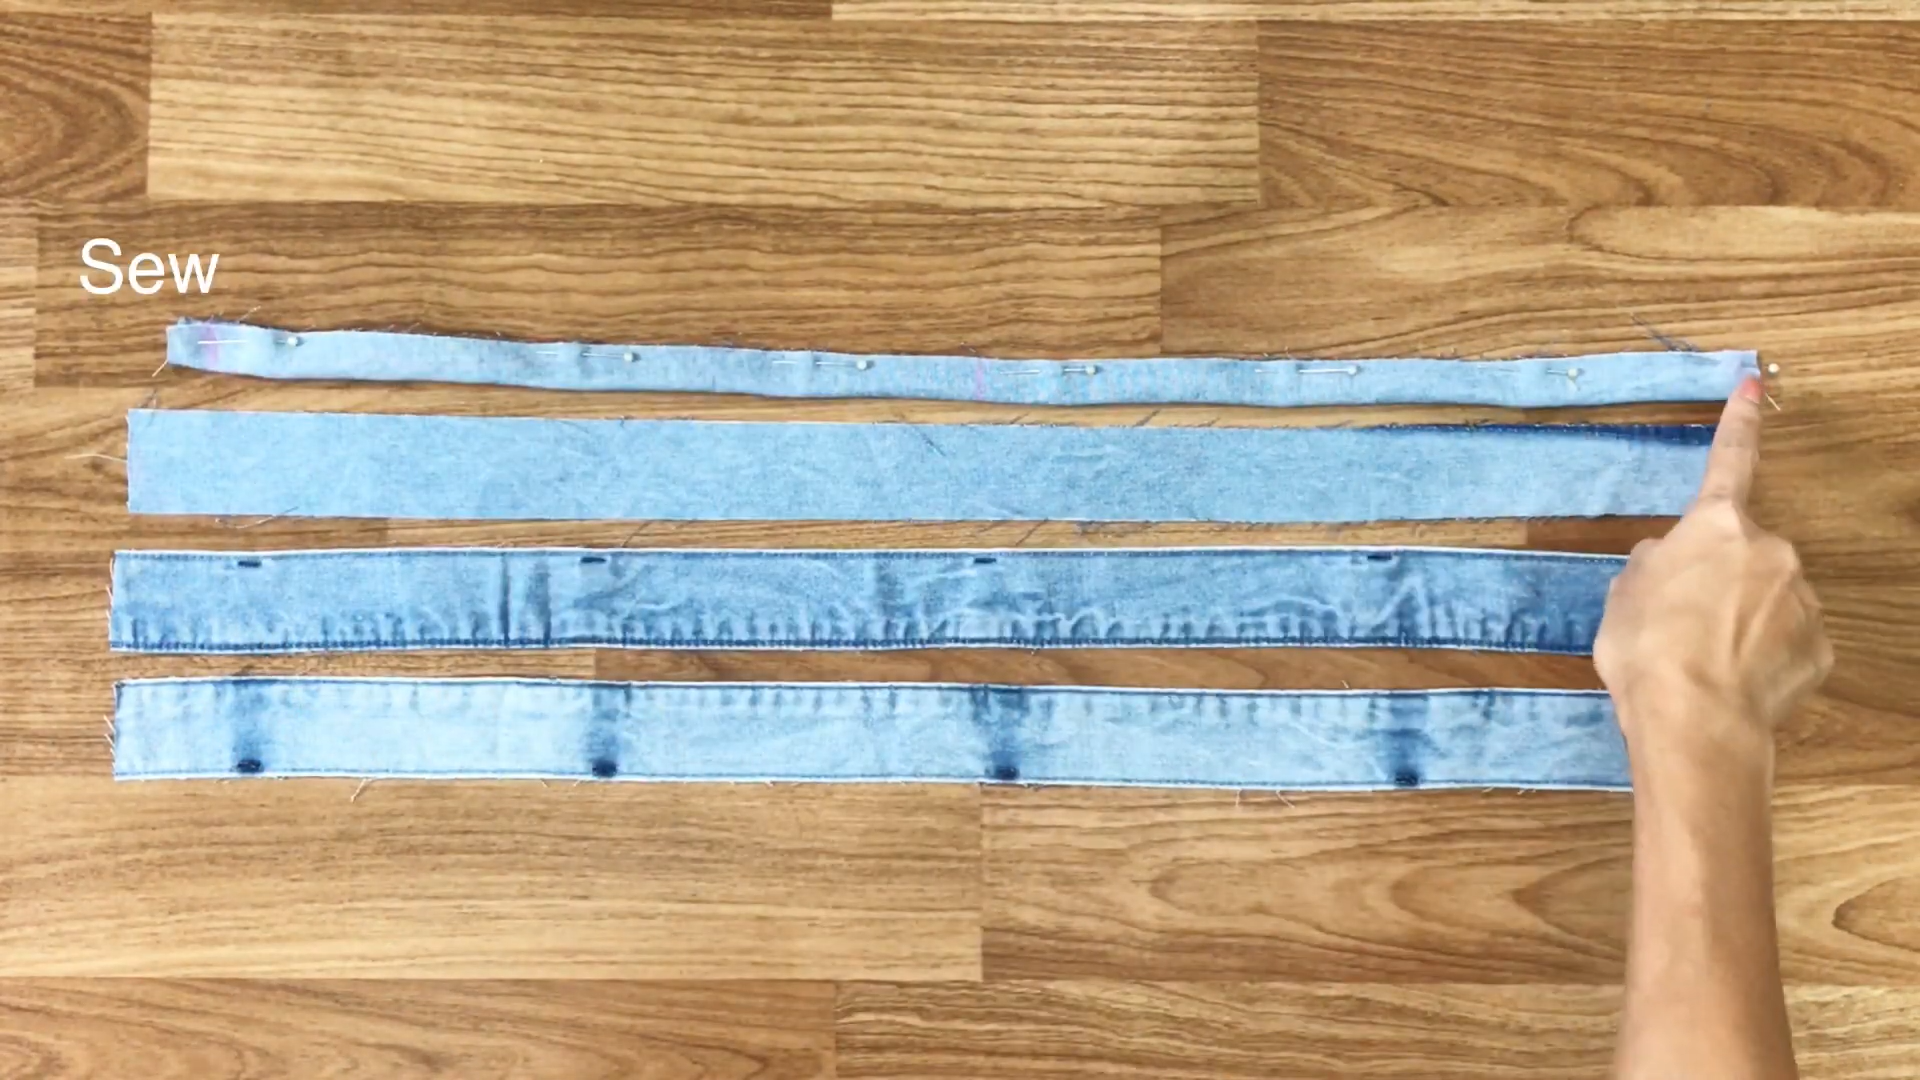
Fold two sides of the long fabric together. And sew along the folded line.
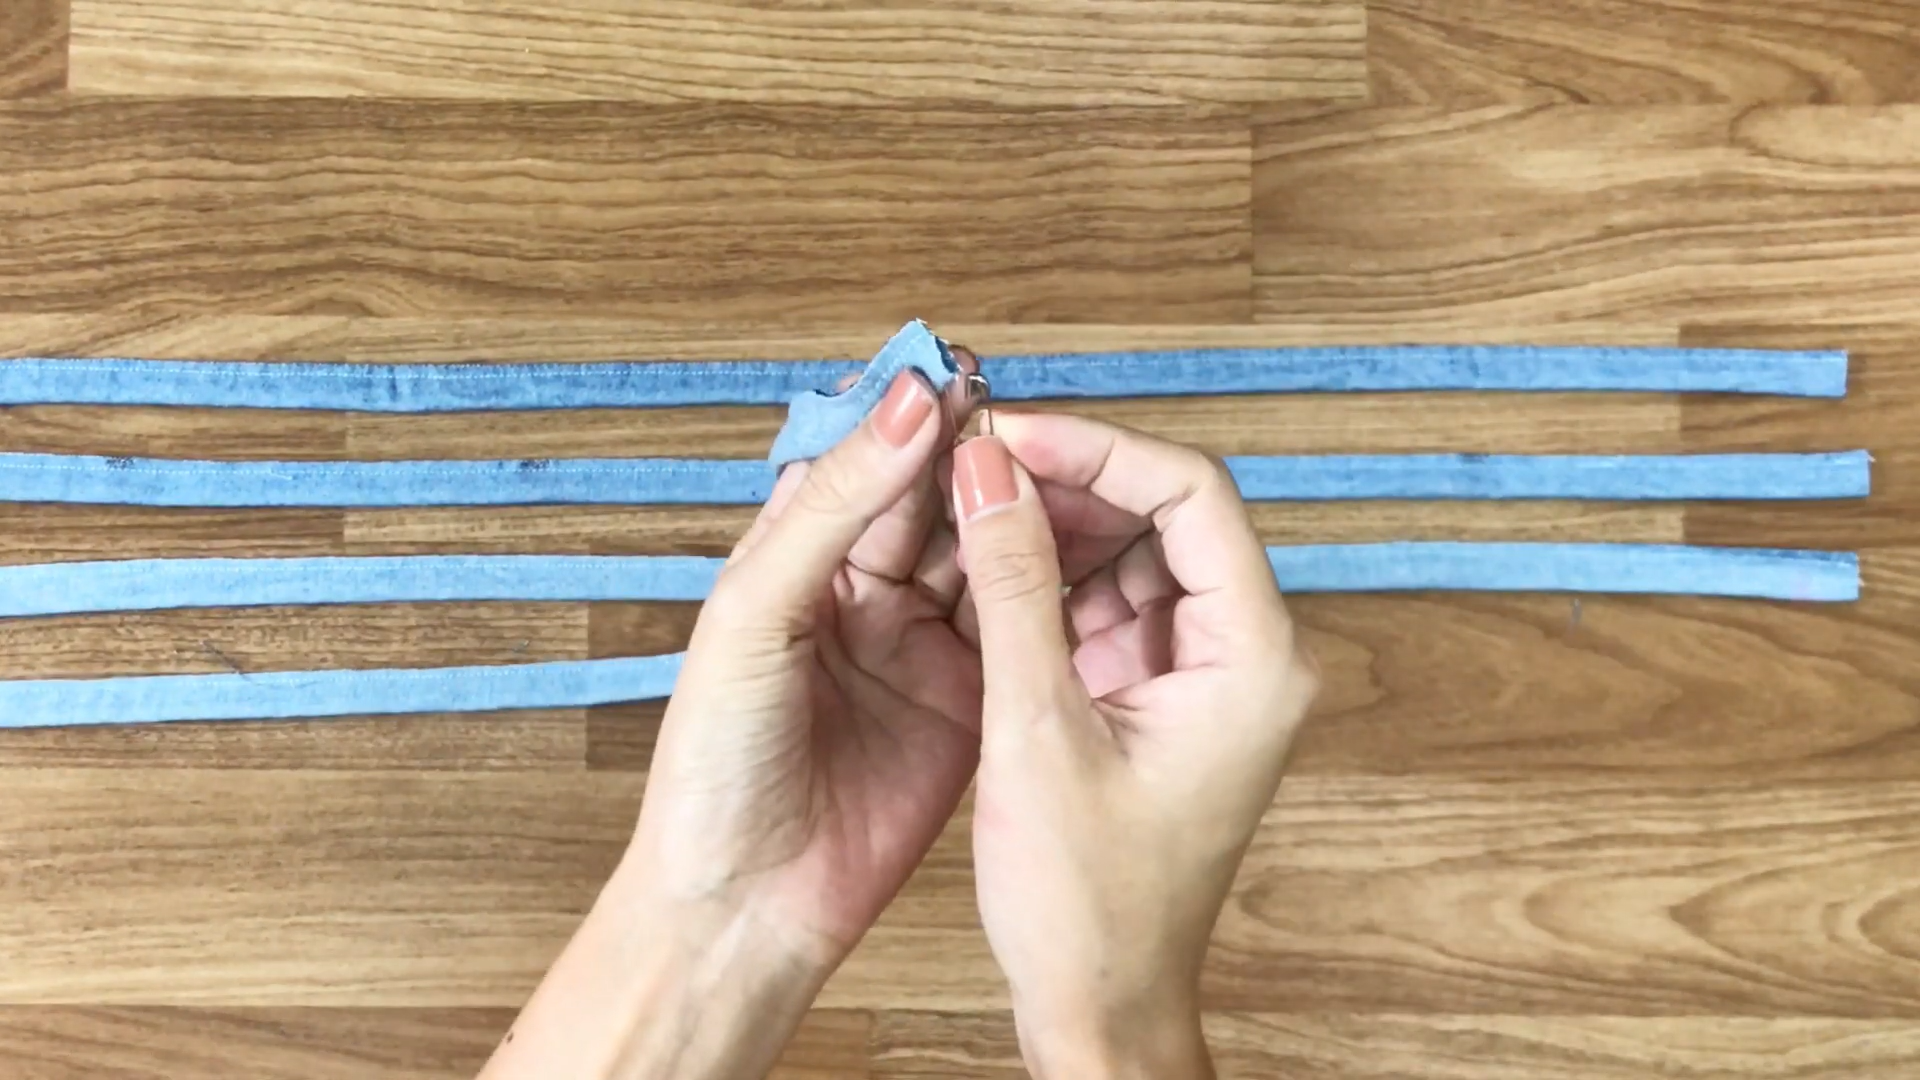
Use a small safety pin to upside it after that.
Remember it’s a denim fabric. So, it’s quite difficult to invert if the hole is too small.
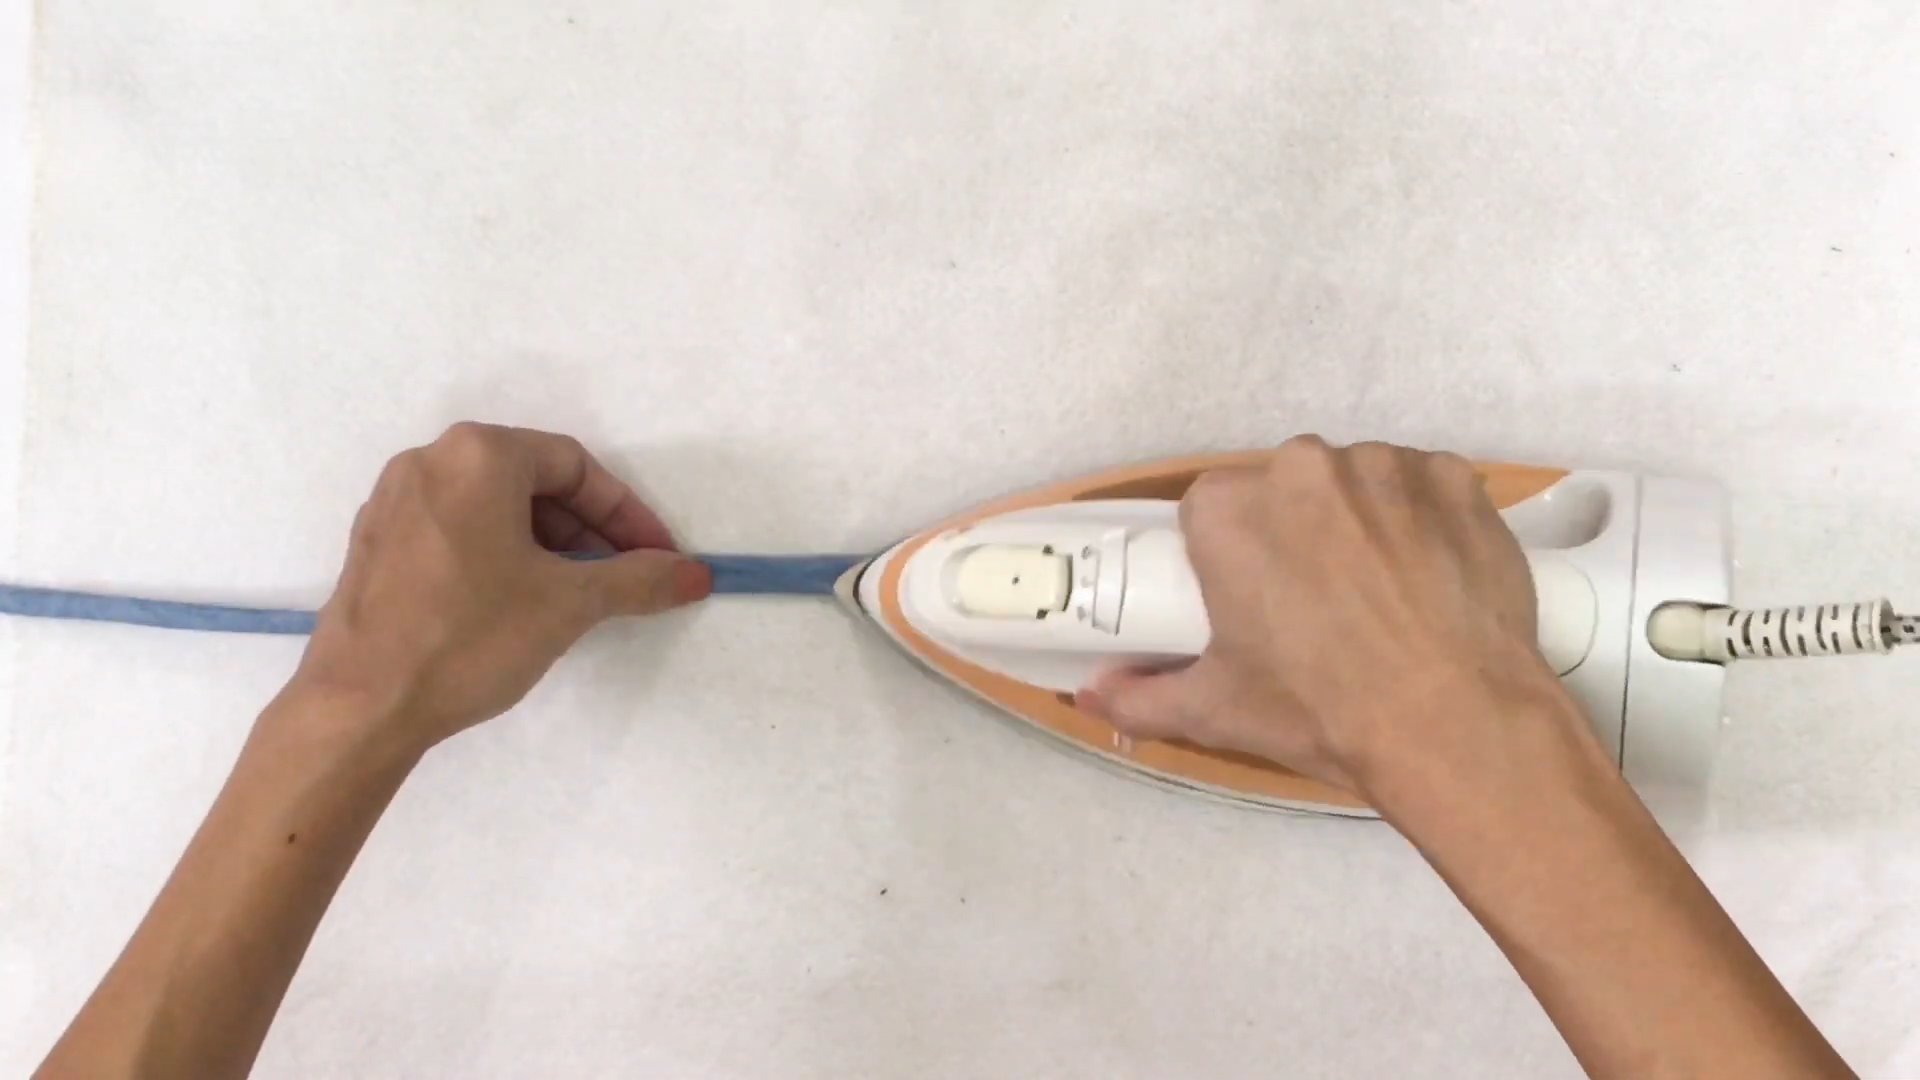
Also, use the iron to make the nice seam for the ties.
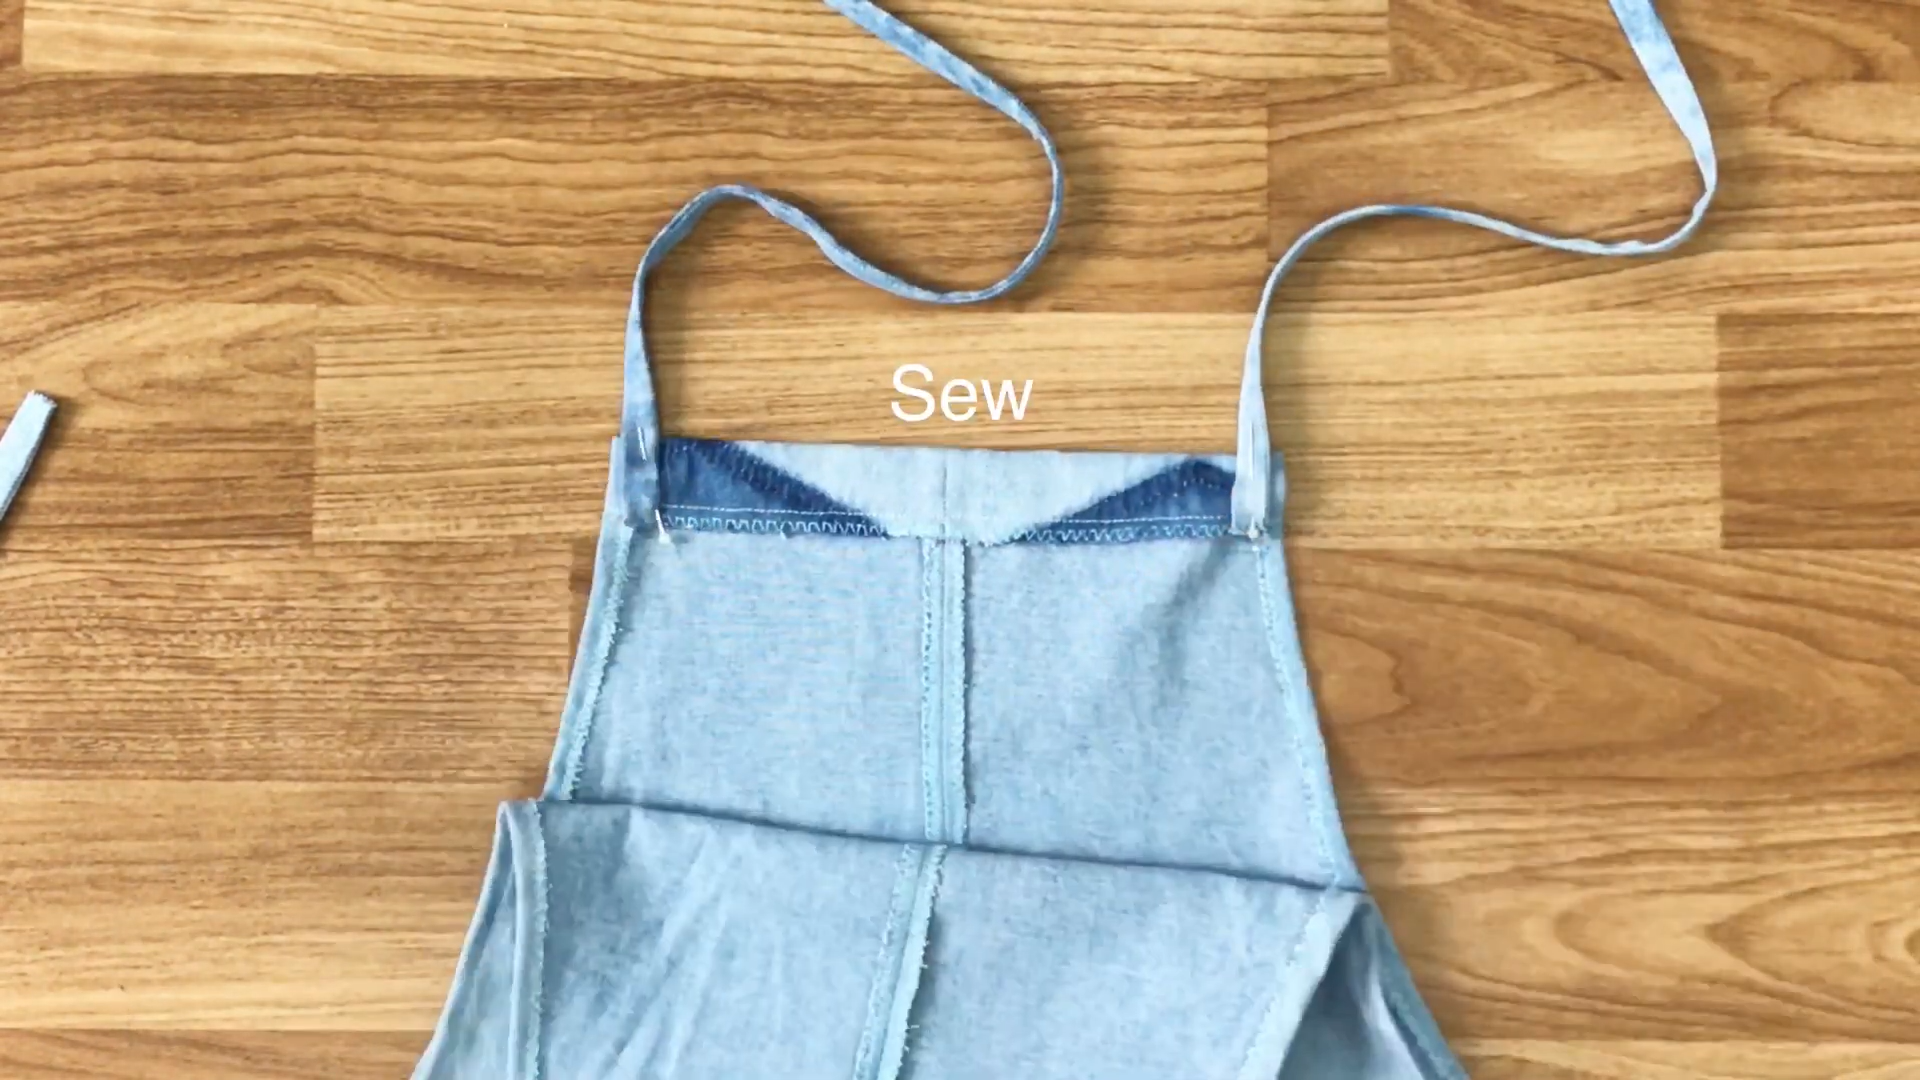
Then, install the ties to 4 top corners of the overall. And sew along the pinned line.
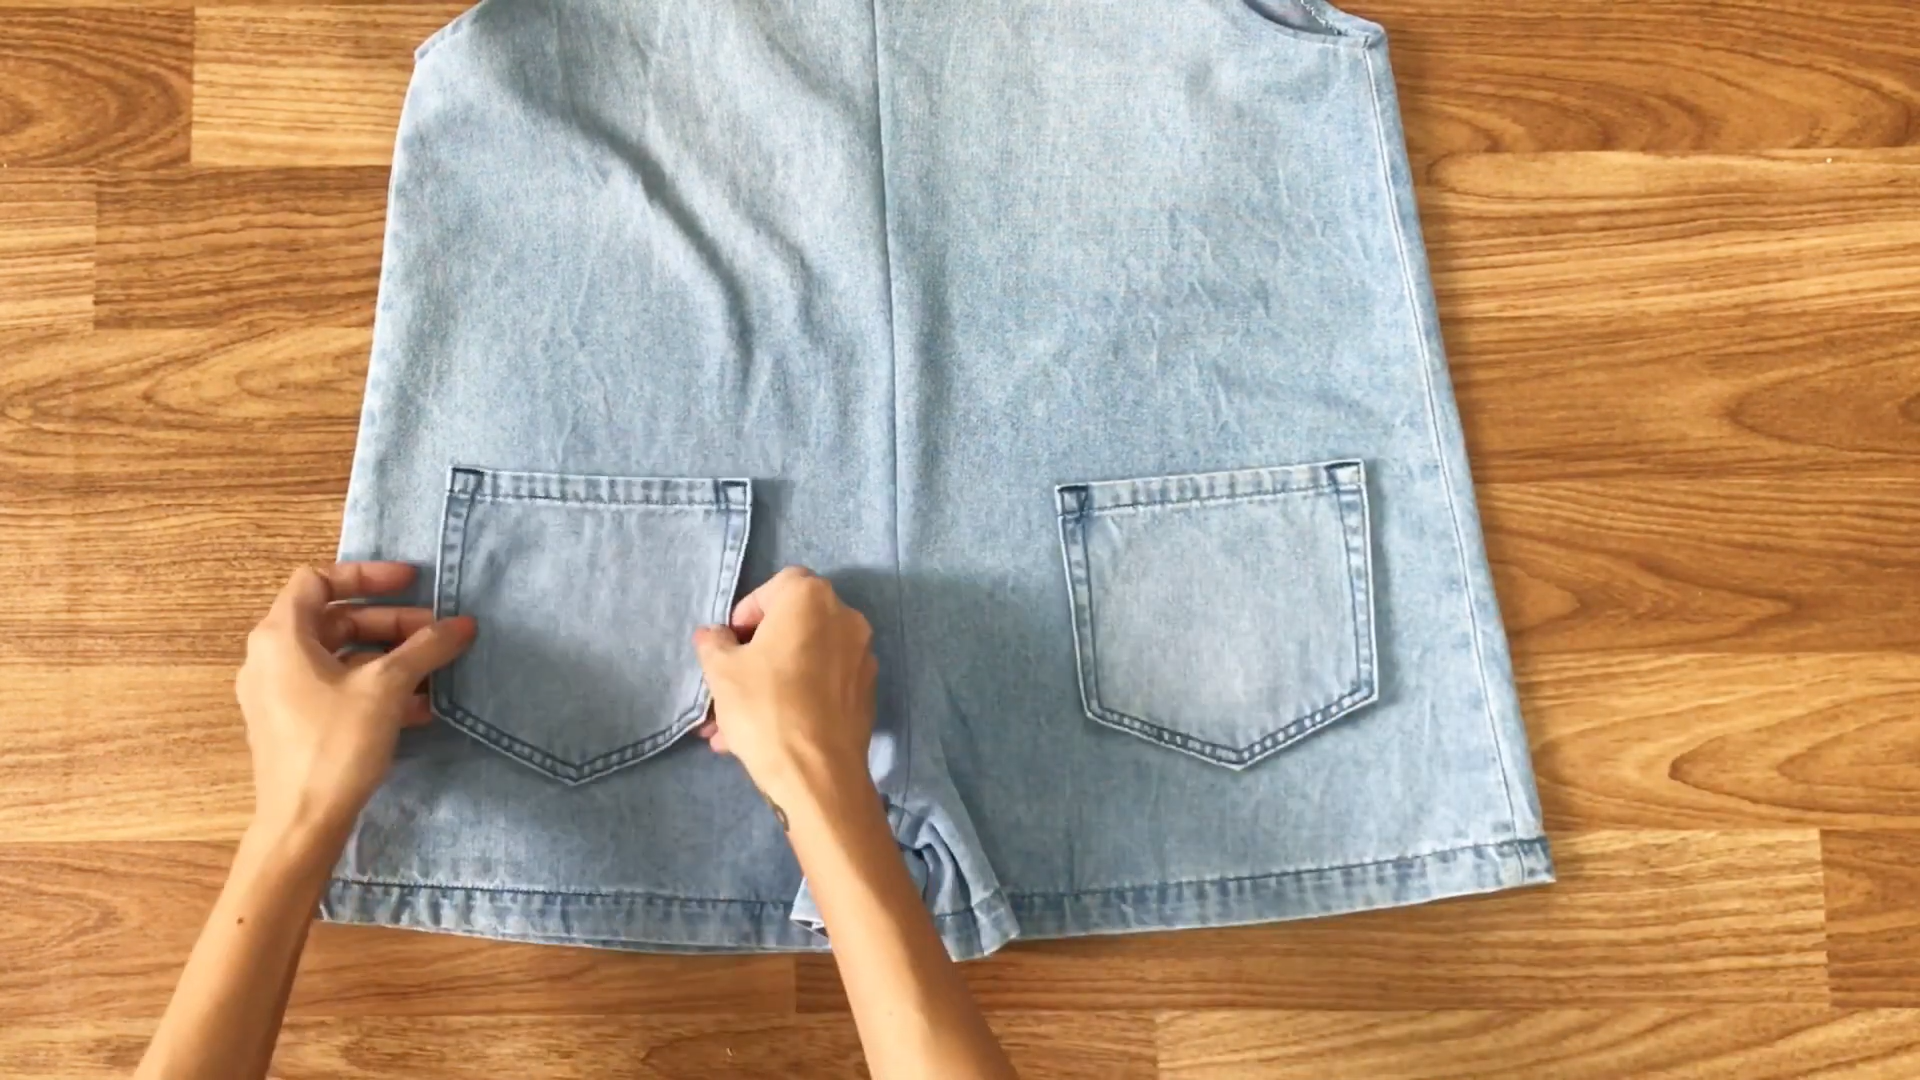
To add a little cute feeling for the overall, reuse the pockets from the denim skirt to make the bottom pocket at the front of the overall.
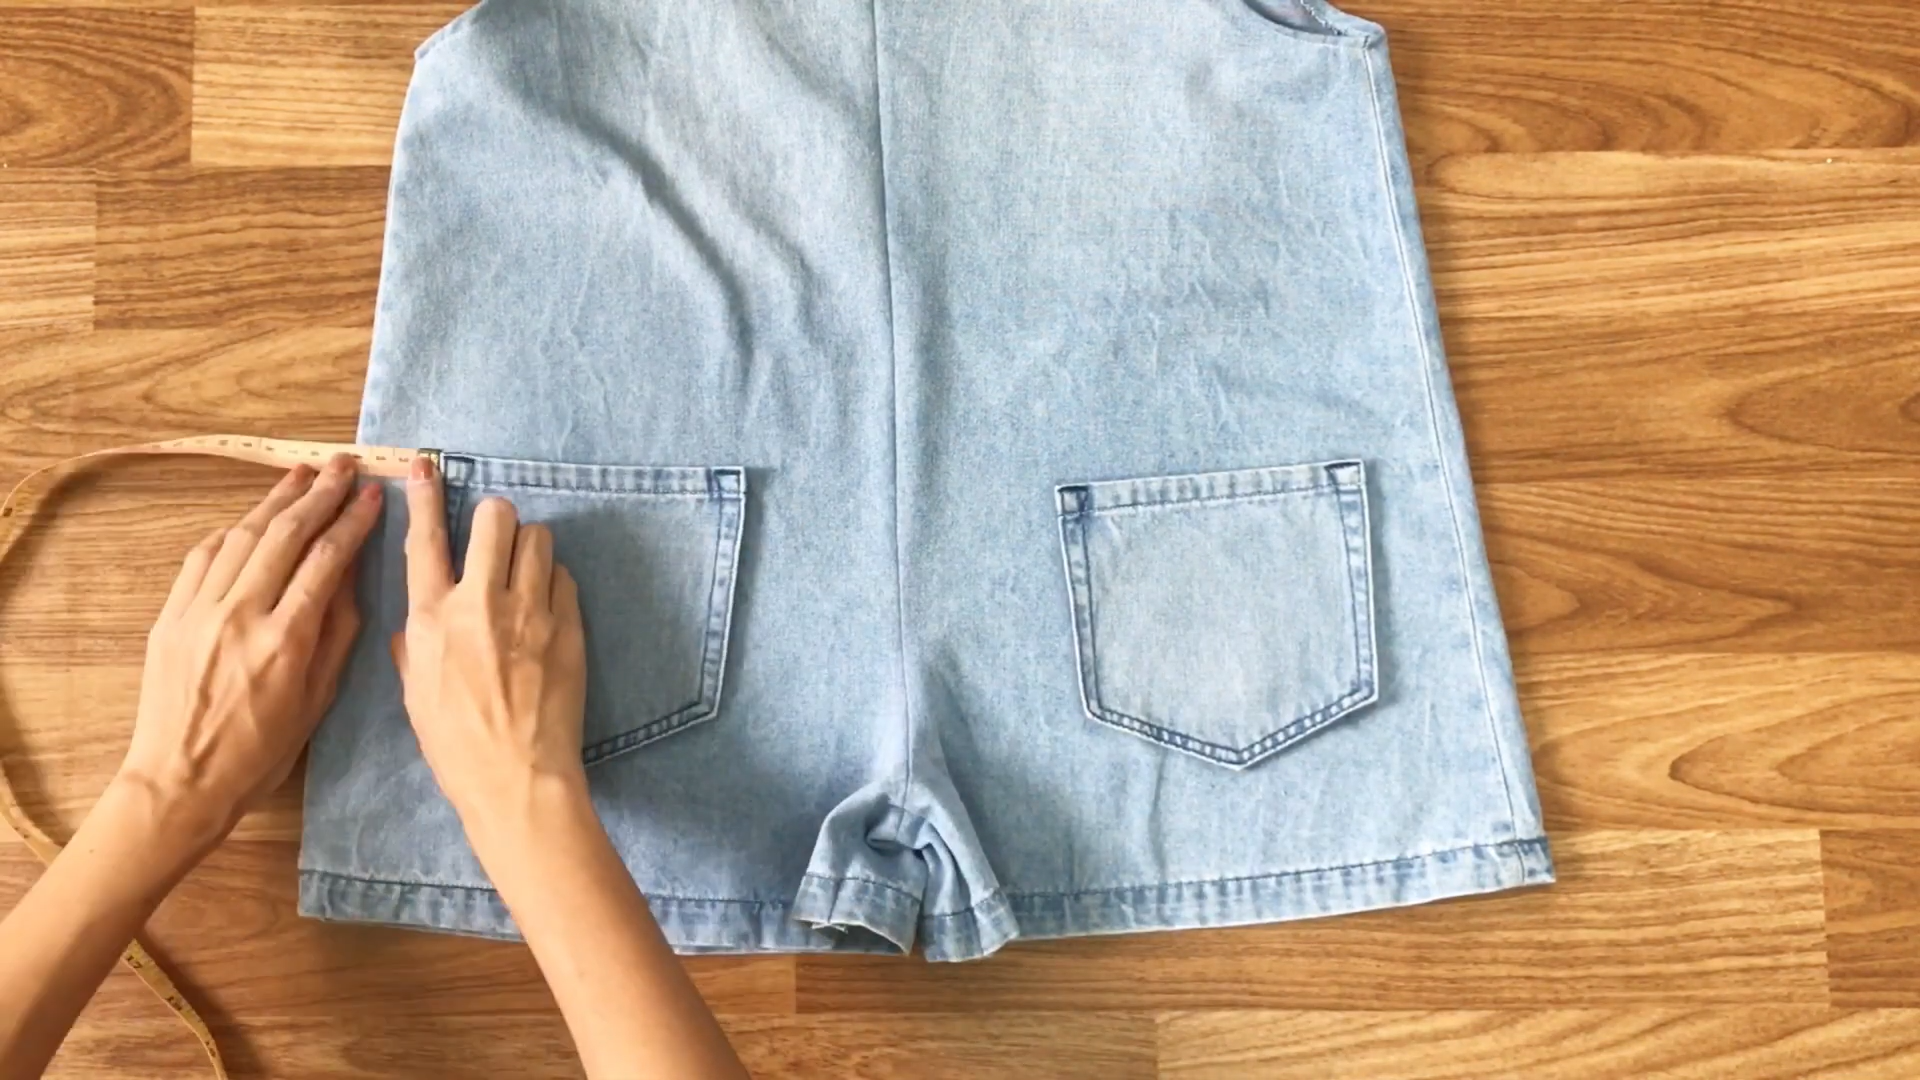
Measure the position for the pockets at 7cm up from the end of the leg and 4cm inside from the side seam.
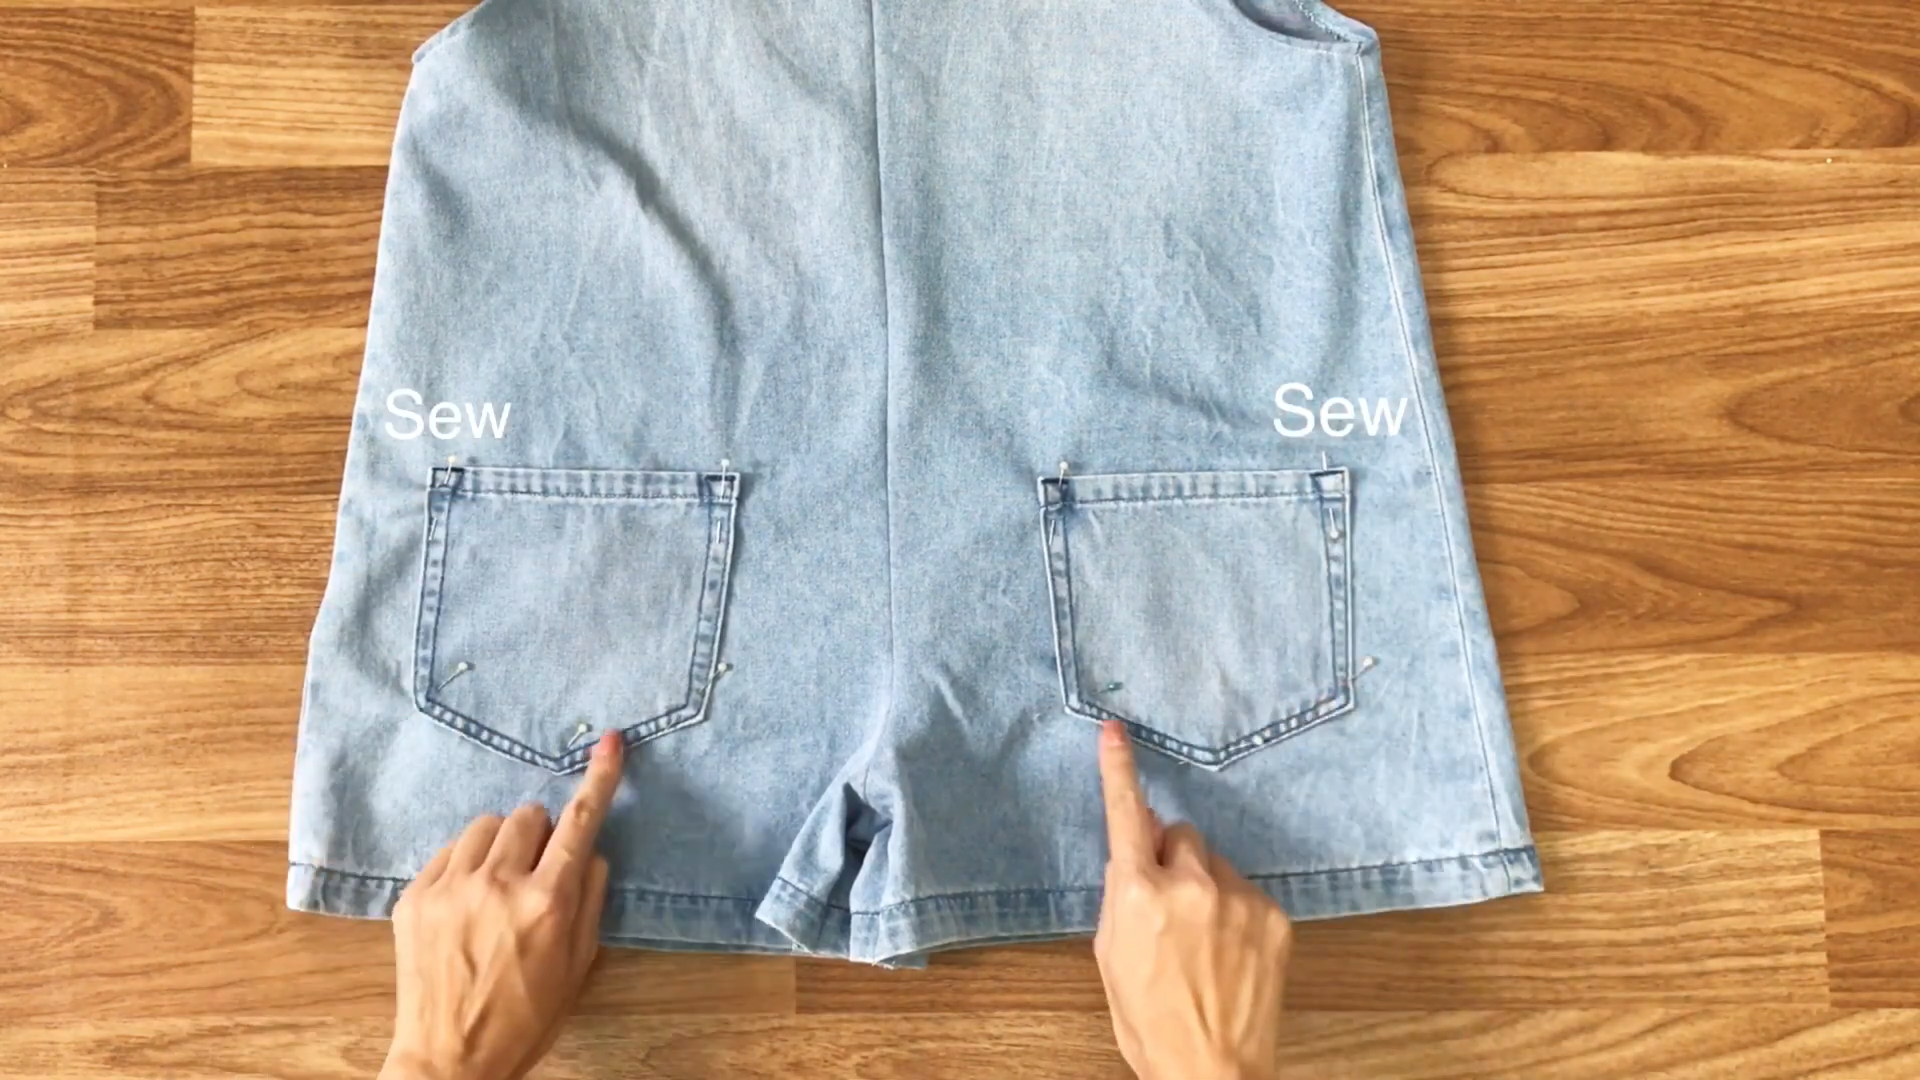
Then, use the pins to fix it to the front before sewing. Remember to override the old seam to make it nicer.

DIY OVERALL JUMPSUIT from Denim skirt
And I finish this DIY. Here's my final transformation!
This is an adorable crop top. It'll be suitable for your vacation or weekend outfit.
And it won't be too difficult to make. So I hope you will give it a try.
If you liked this project, please share it and subscribe to my channel so you won’t miss any of my upcoming DIYs.
Until next week, happy sewing!