DIY RUFFLE SHOULDER STRAP TOP from Men's shirt - Me-made summer challenge - Ep 3

DIY RUFFLE SHOULDER STRAP TOP from Men's shirt

Welcome and welcome back to my sewing blog!
In today blog, I'm going to share with you a very cute DIY refashion Men's shirt into this Ruffle shoulder strap top. It's such a little cutie outfit for my summer day. And it's also the third DIY in my "Me-made summer collection".
So let’s get started!
WHAT YOU’LL NEED
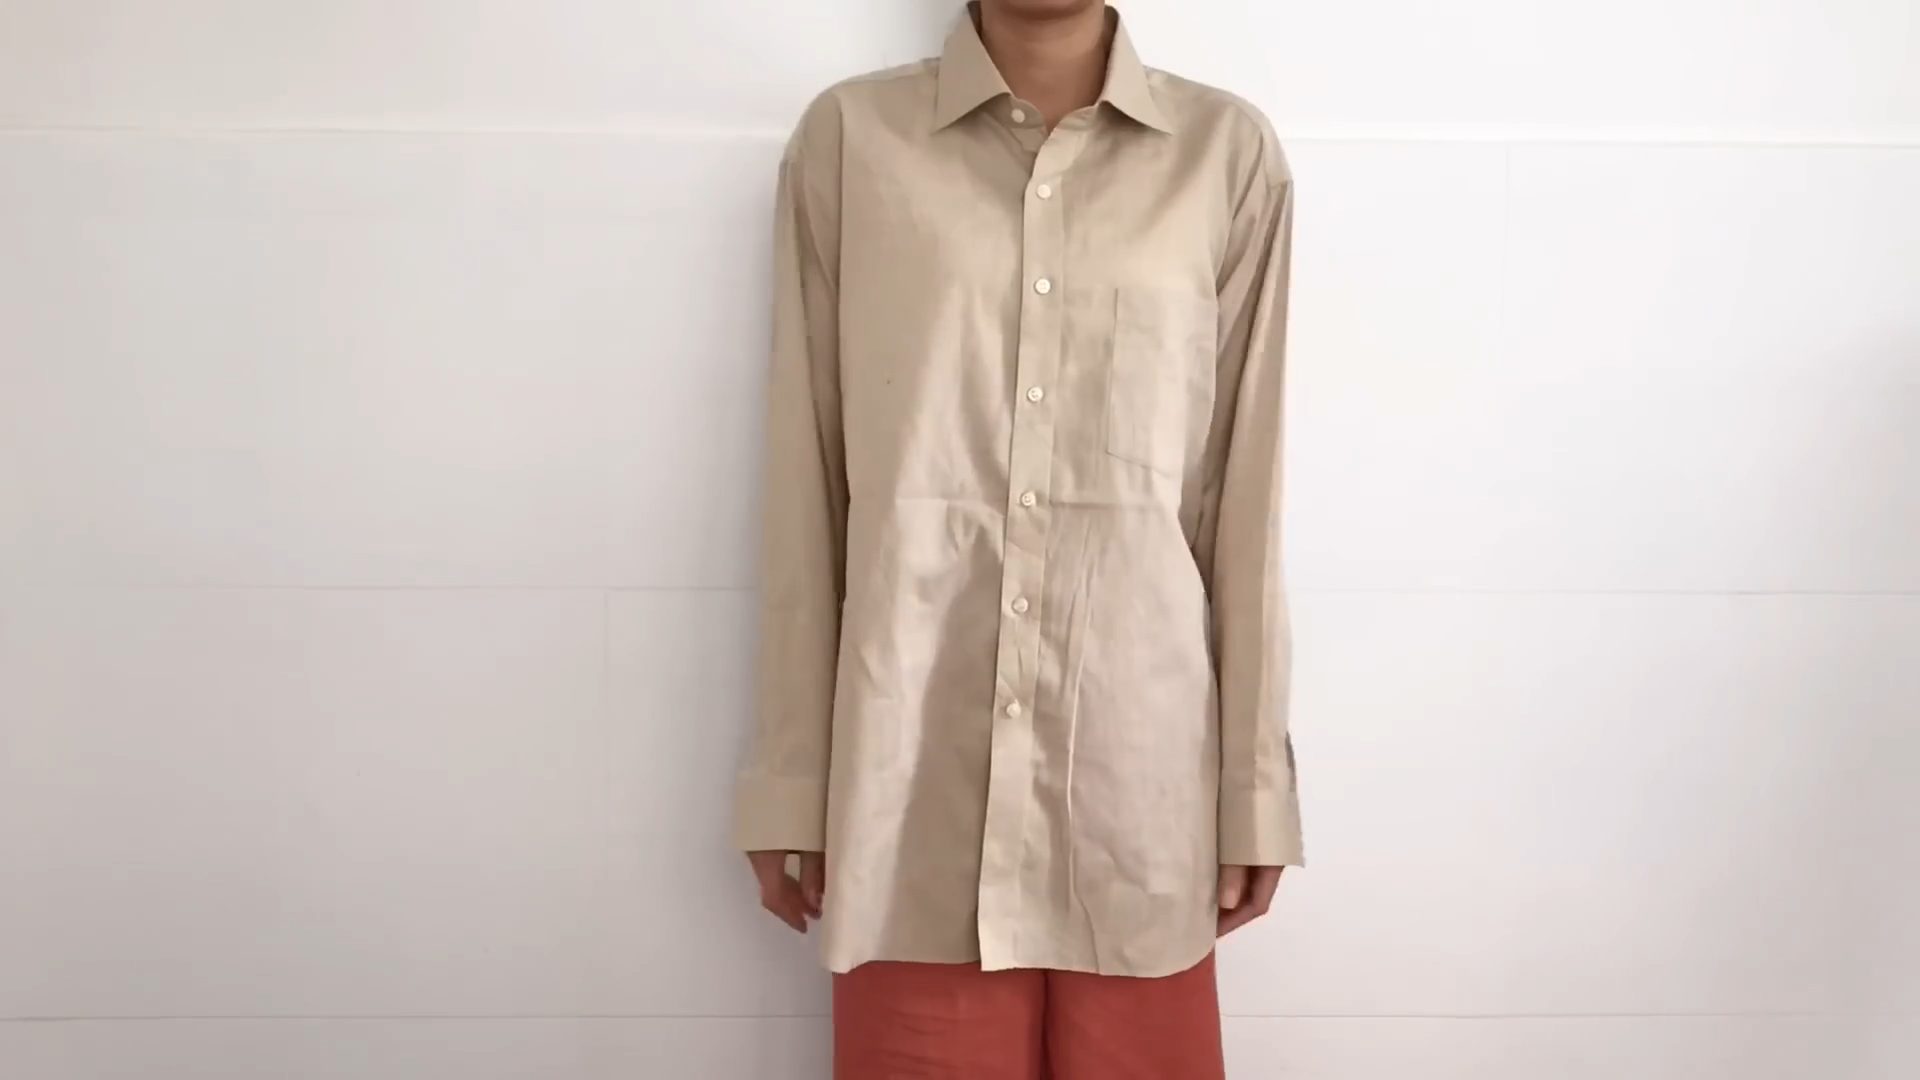
Men's shirt in XL size
Sewing machine
Pins
Scissors
Ruler
SEWING THE TOP
THE BODY
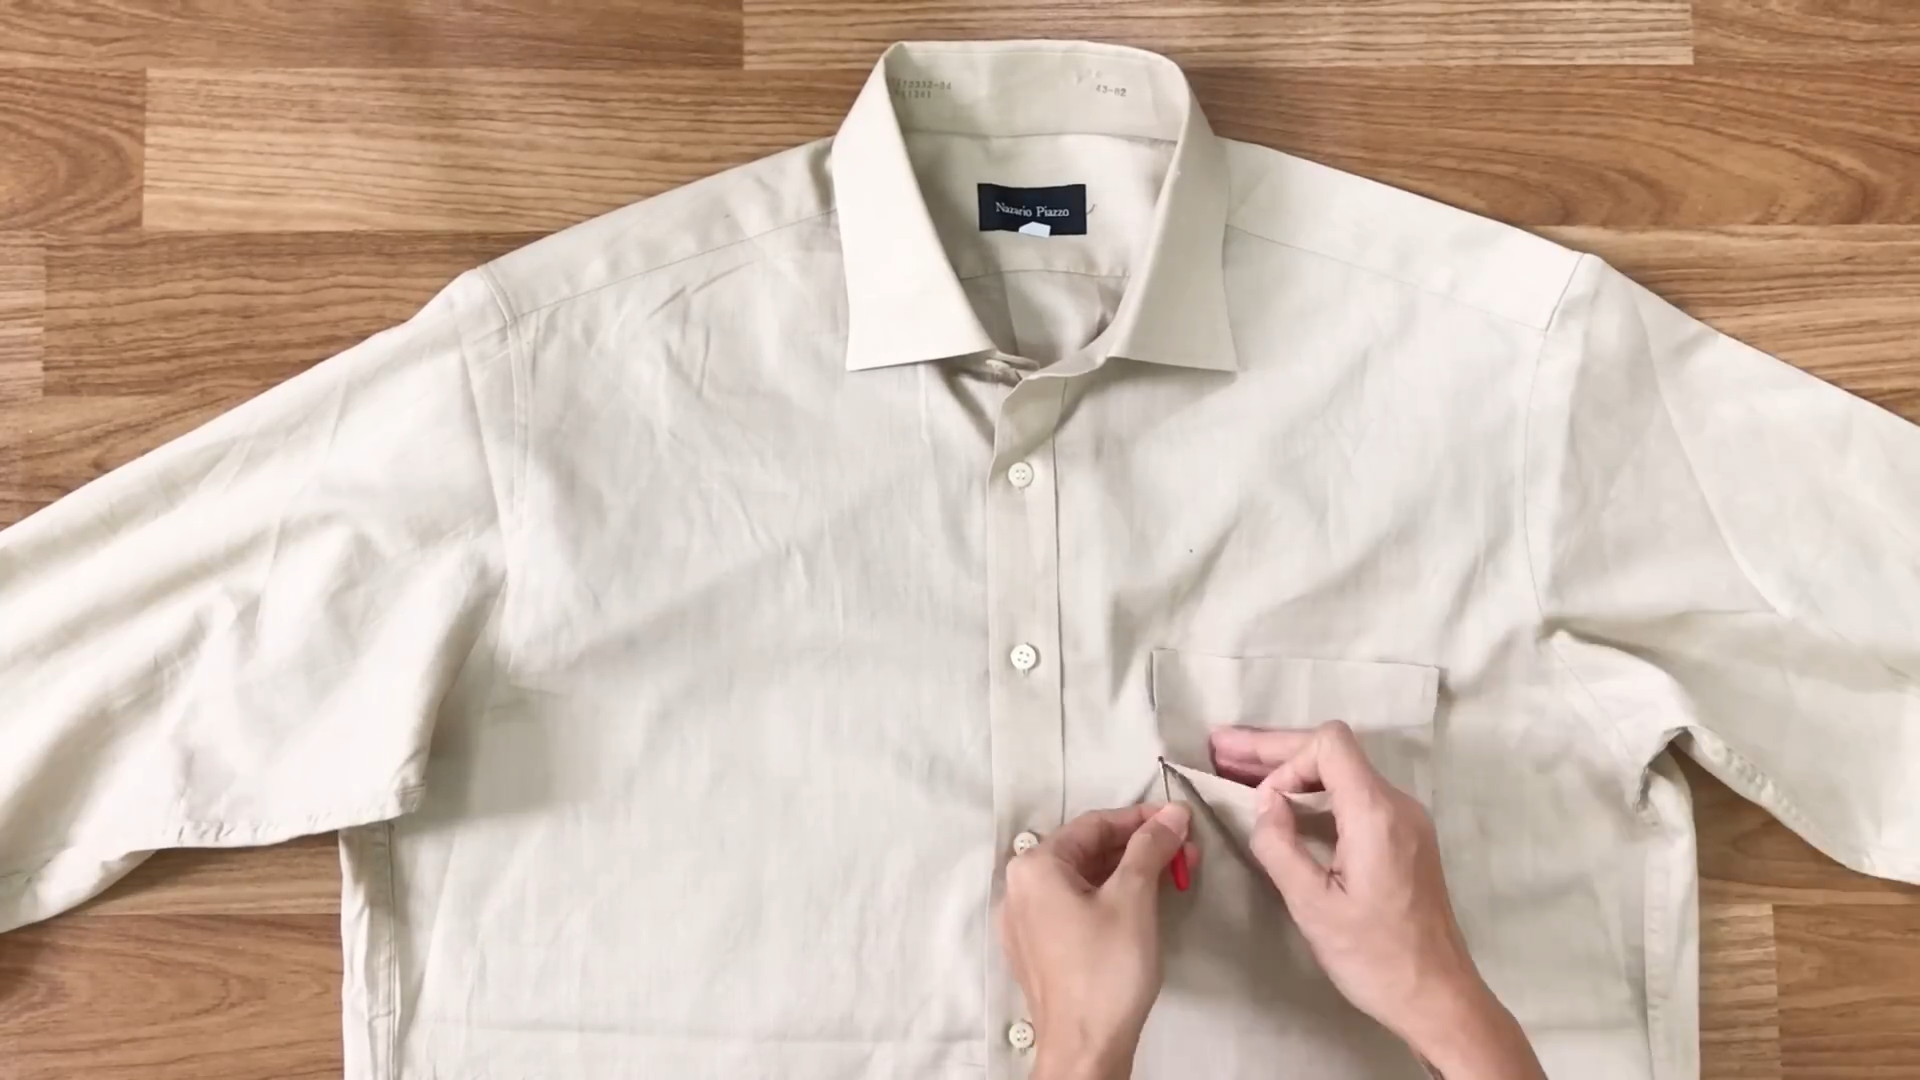
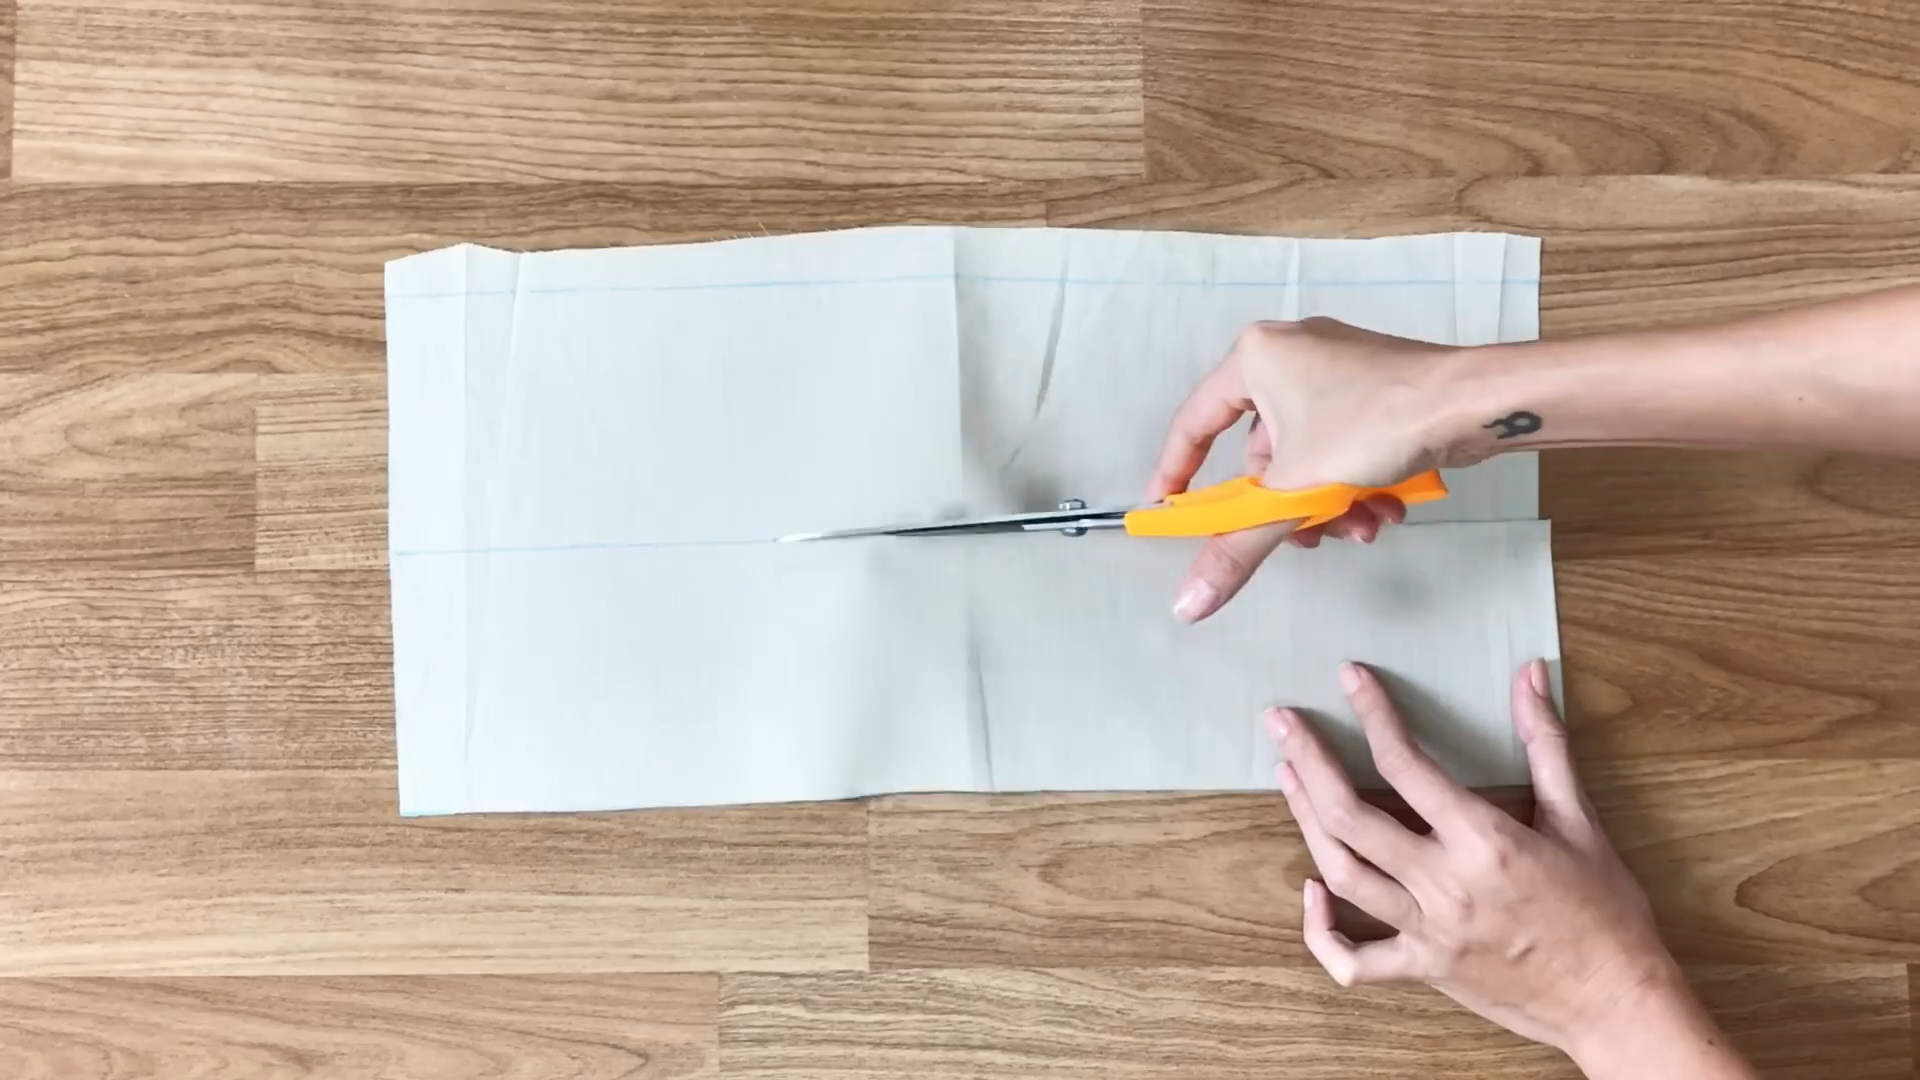
The first step is to remove the front pocket of the shirt.
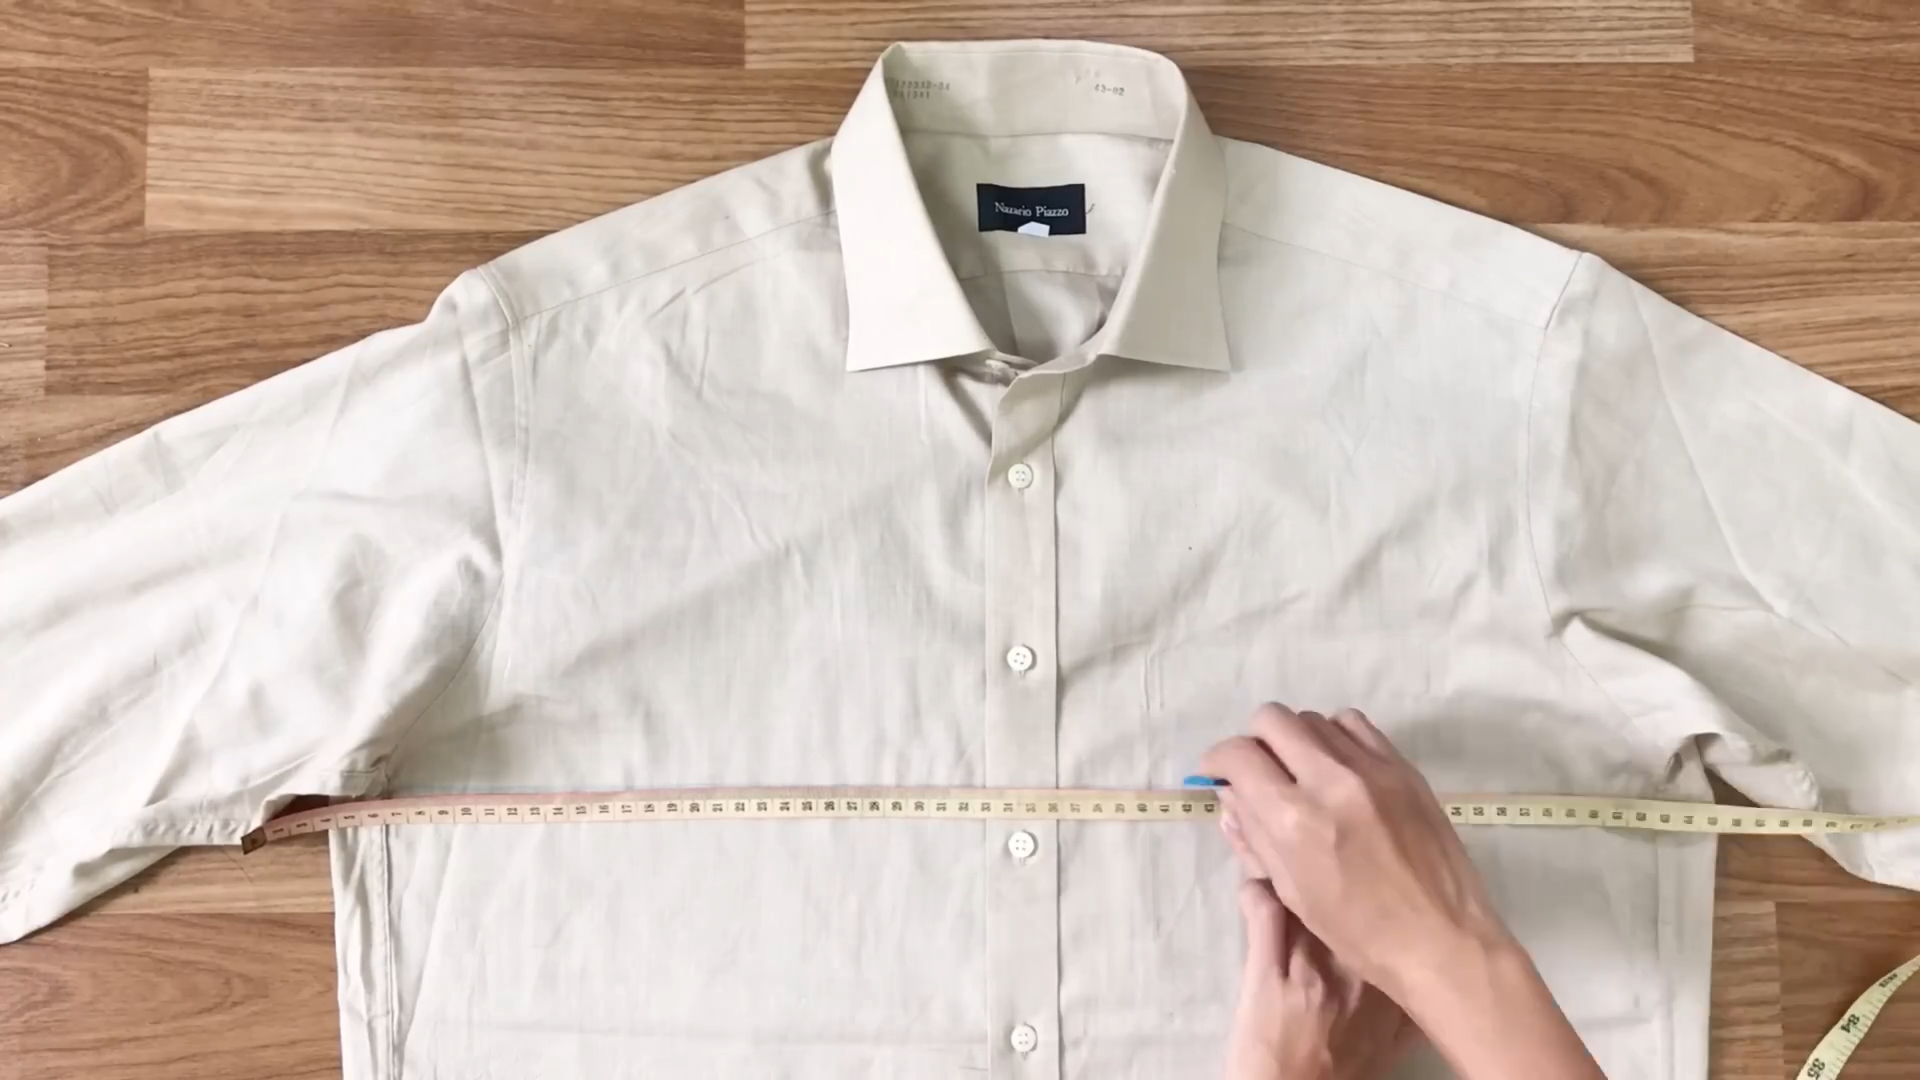
After that, draw a horizontal line right under the hands.
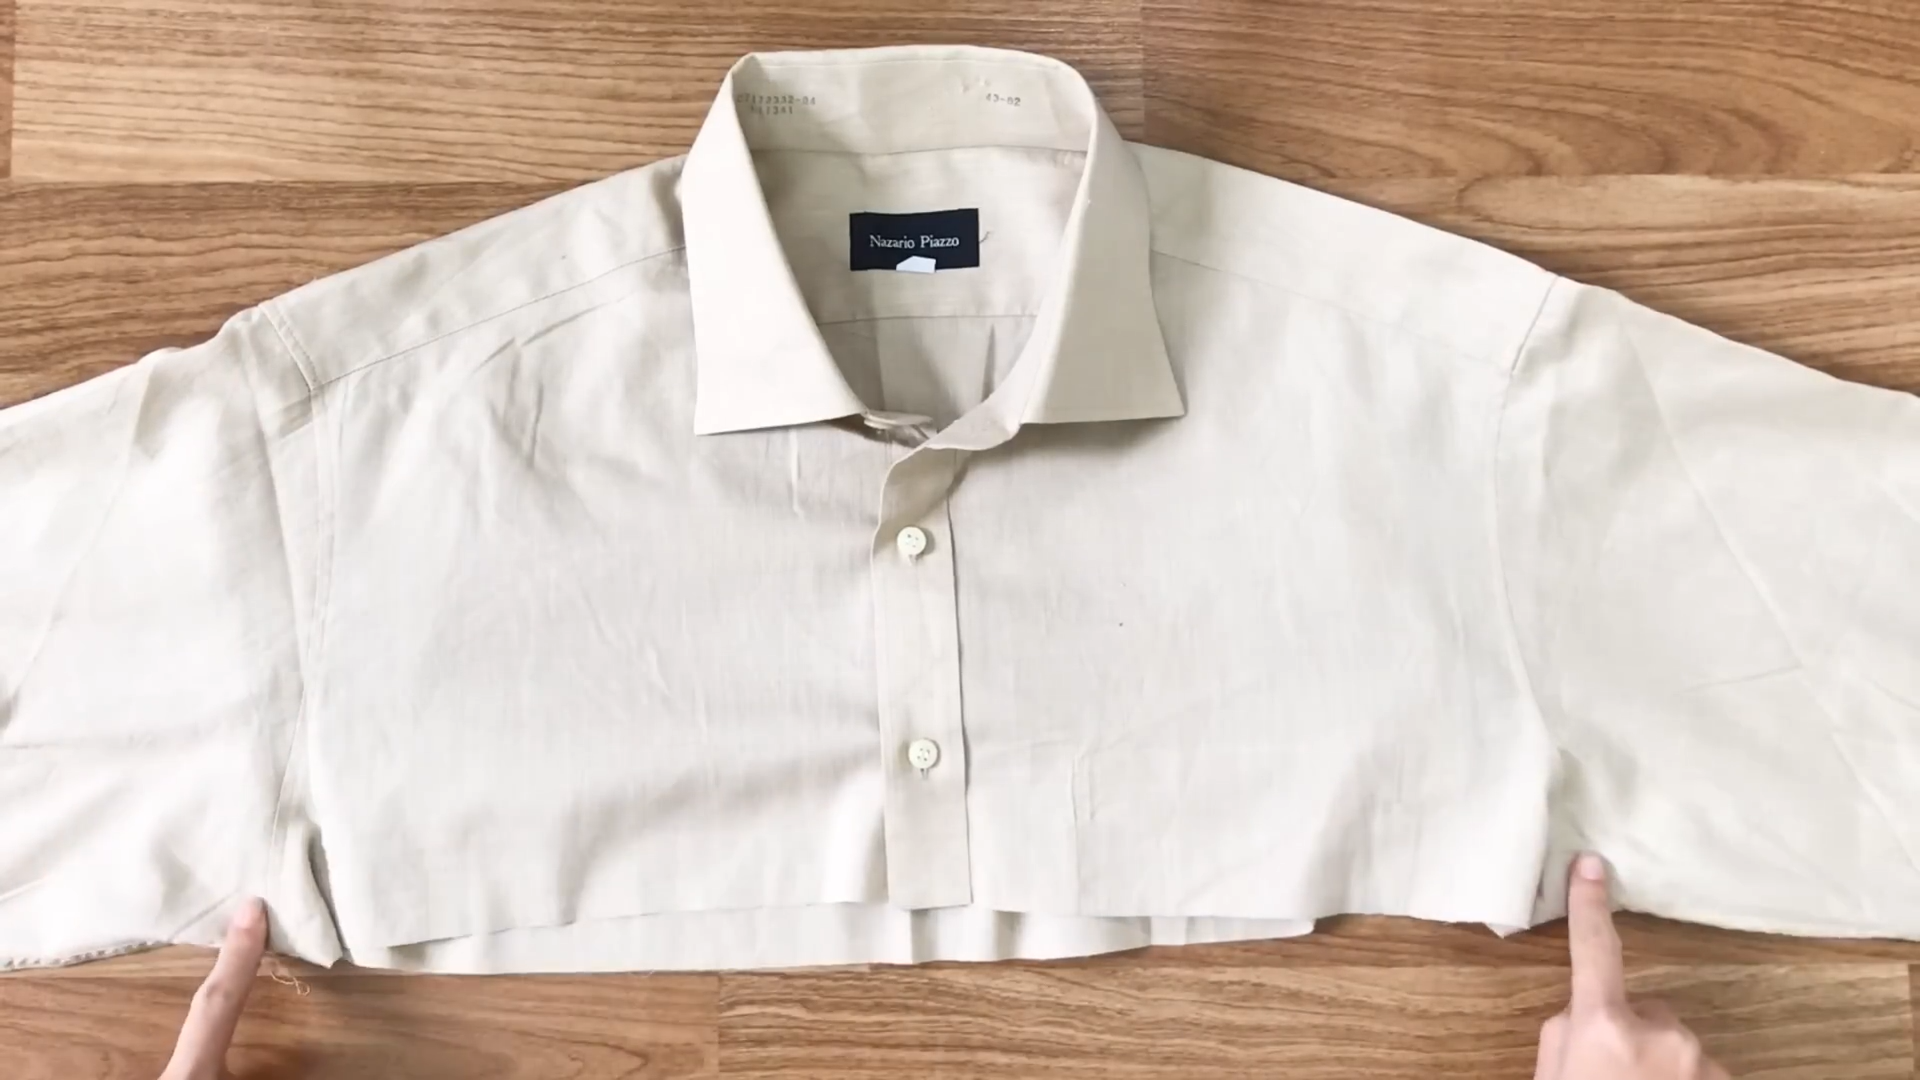
The fabric from the top of the men’s shirt is used to create the straps for the top.
THE STRAP & THE RUFFLE
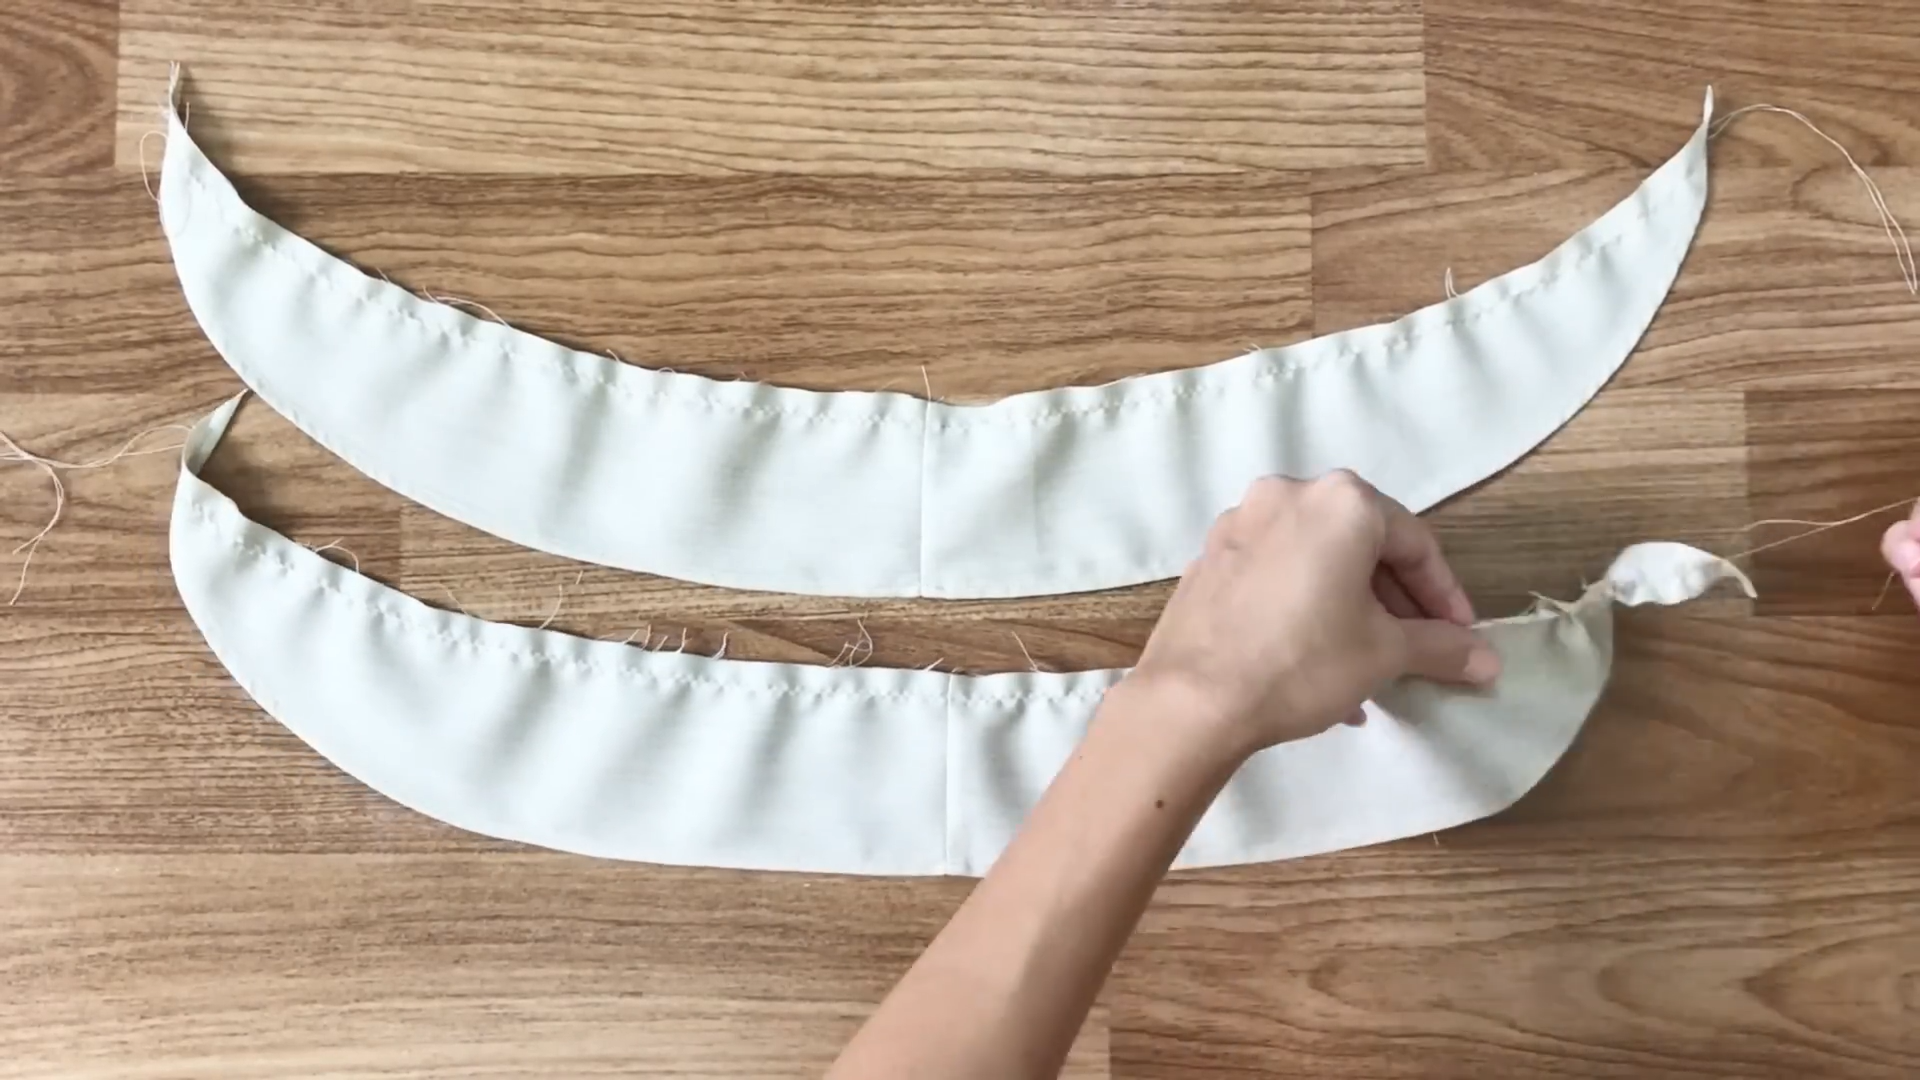
Firstly, the main body of the strap is made by cutting 2 rectangles with 10cm width and 45cm length.
Secondly, the ruffle for the straps is made by cutting the rectangles at 2 hands of the men’s shirt.
One hand will give two rectangles which is the ruffle for one strap. The size of the rectangle is 8 cm width and 34 cm length which is 1.5 times a half of the shoulder strap.
Connect 2 rectangles to have one long rectangle for each strap.
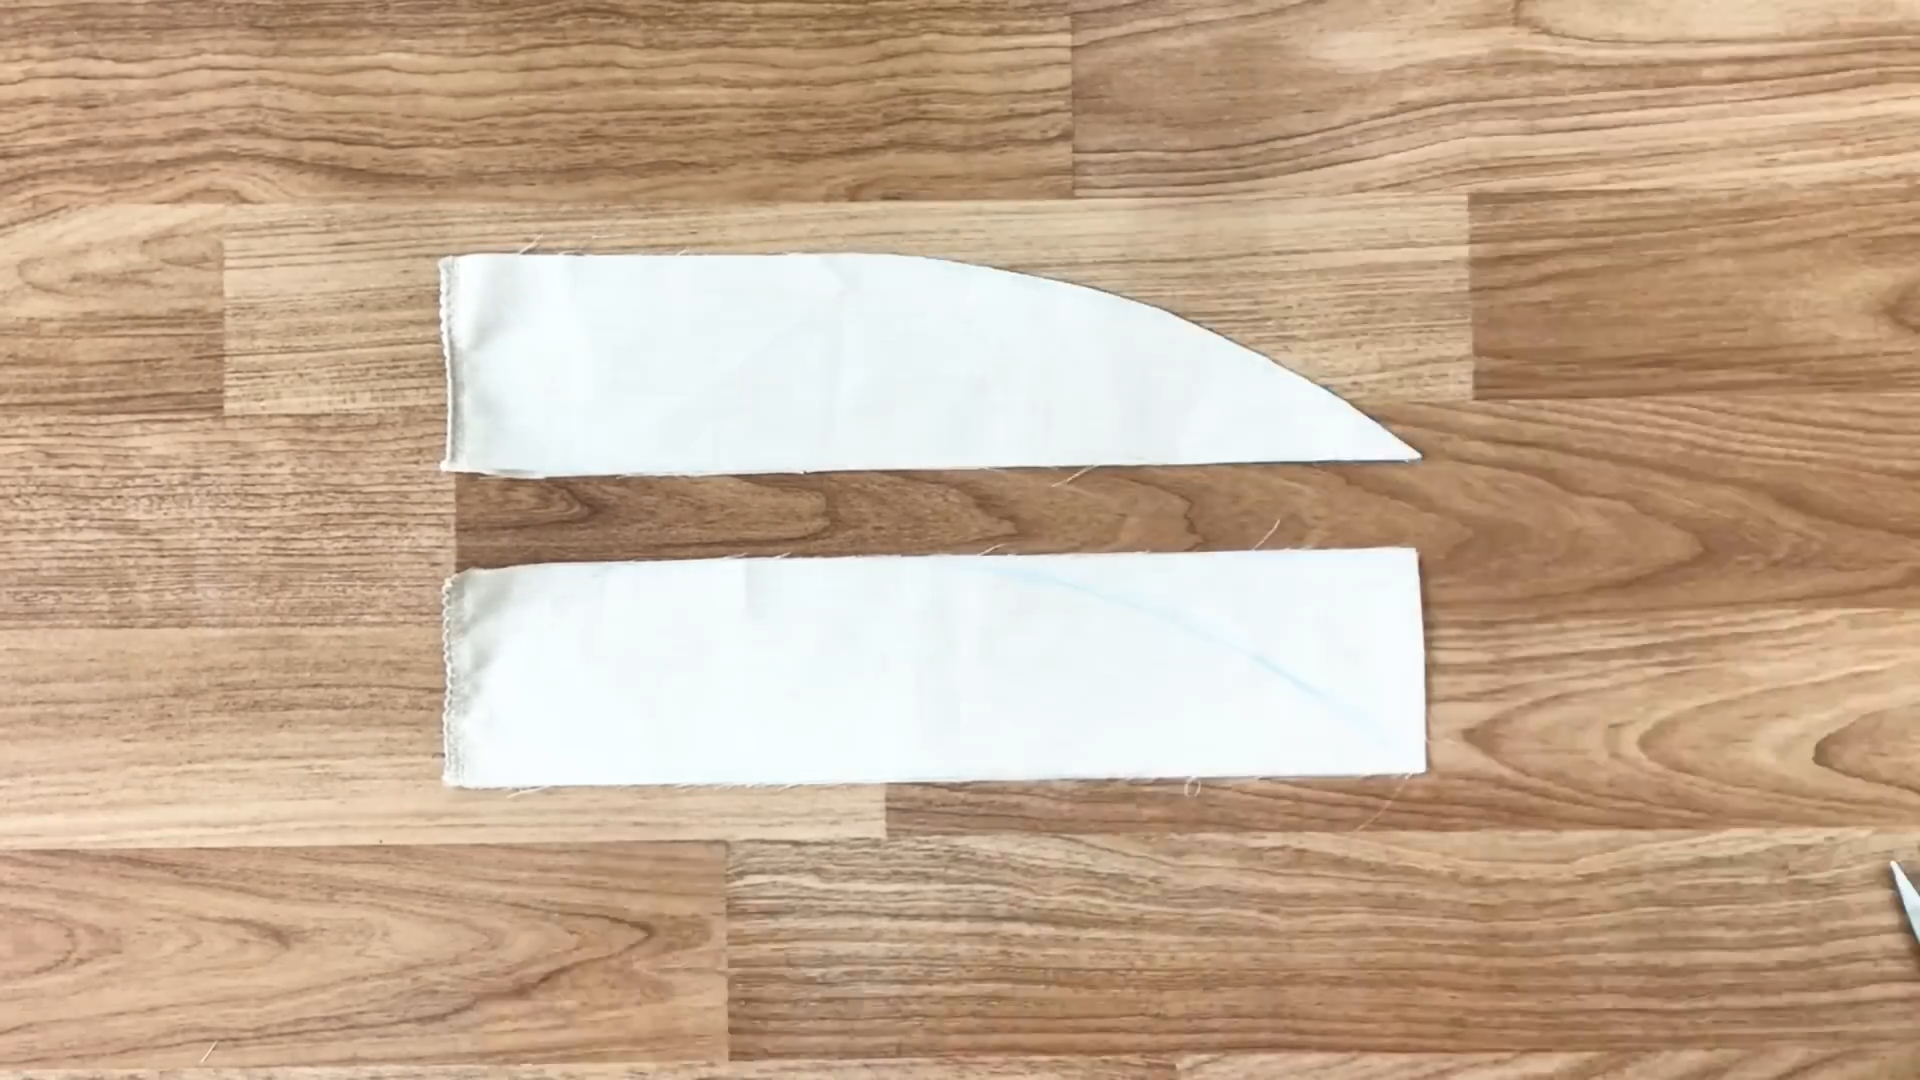
At one end of the rectangle, draw a curved line to the inside.
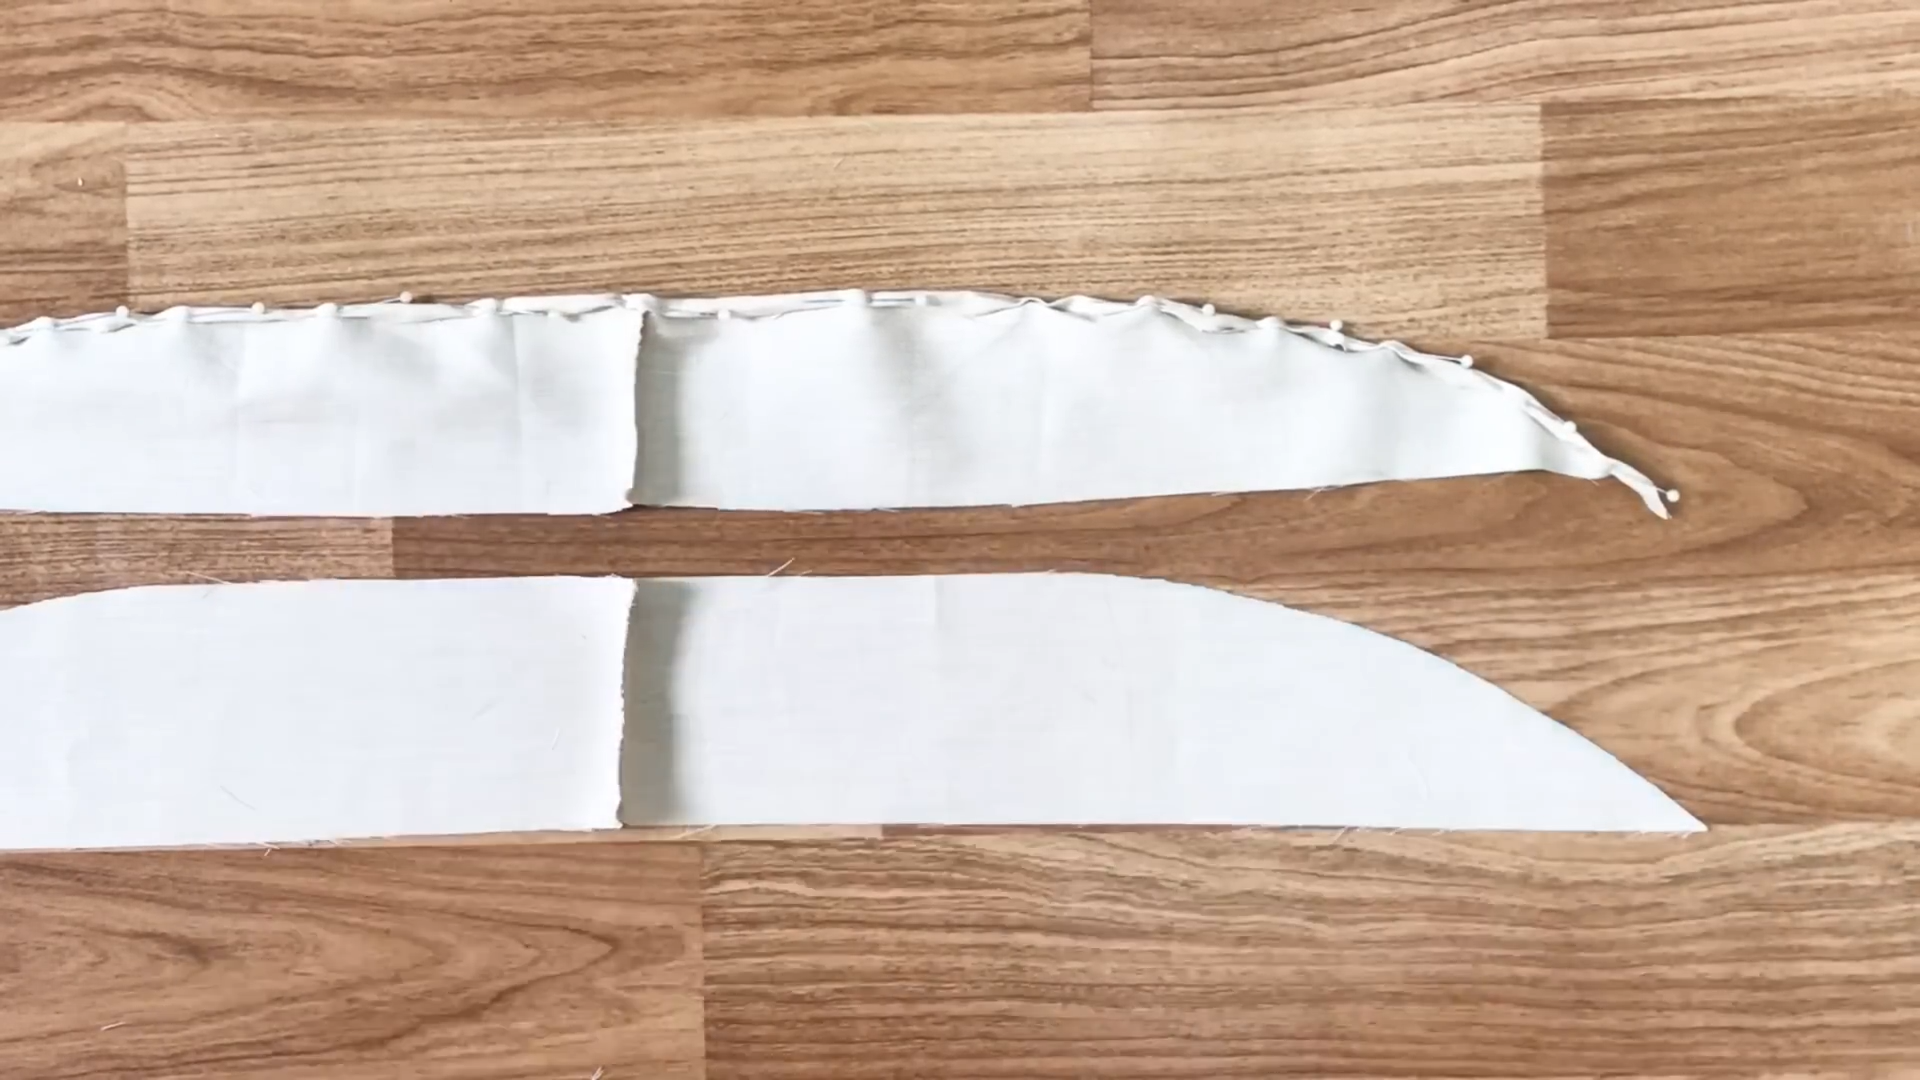
Then, fold the curved line twice and sew to have a nice finish for the ruffle strap.
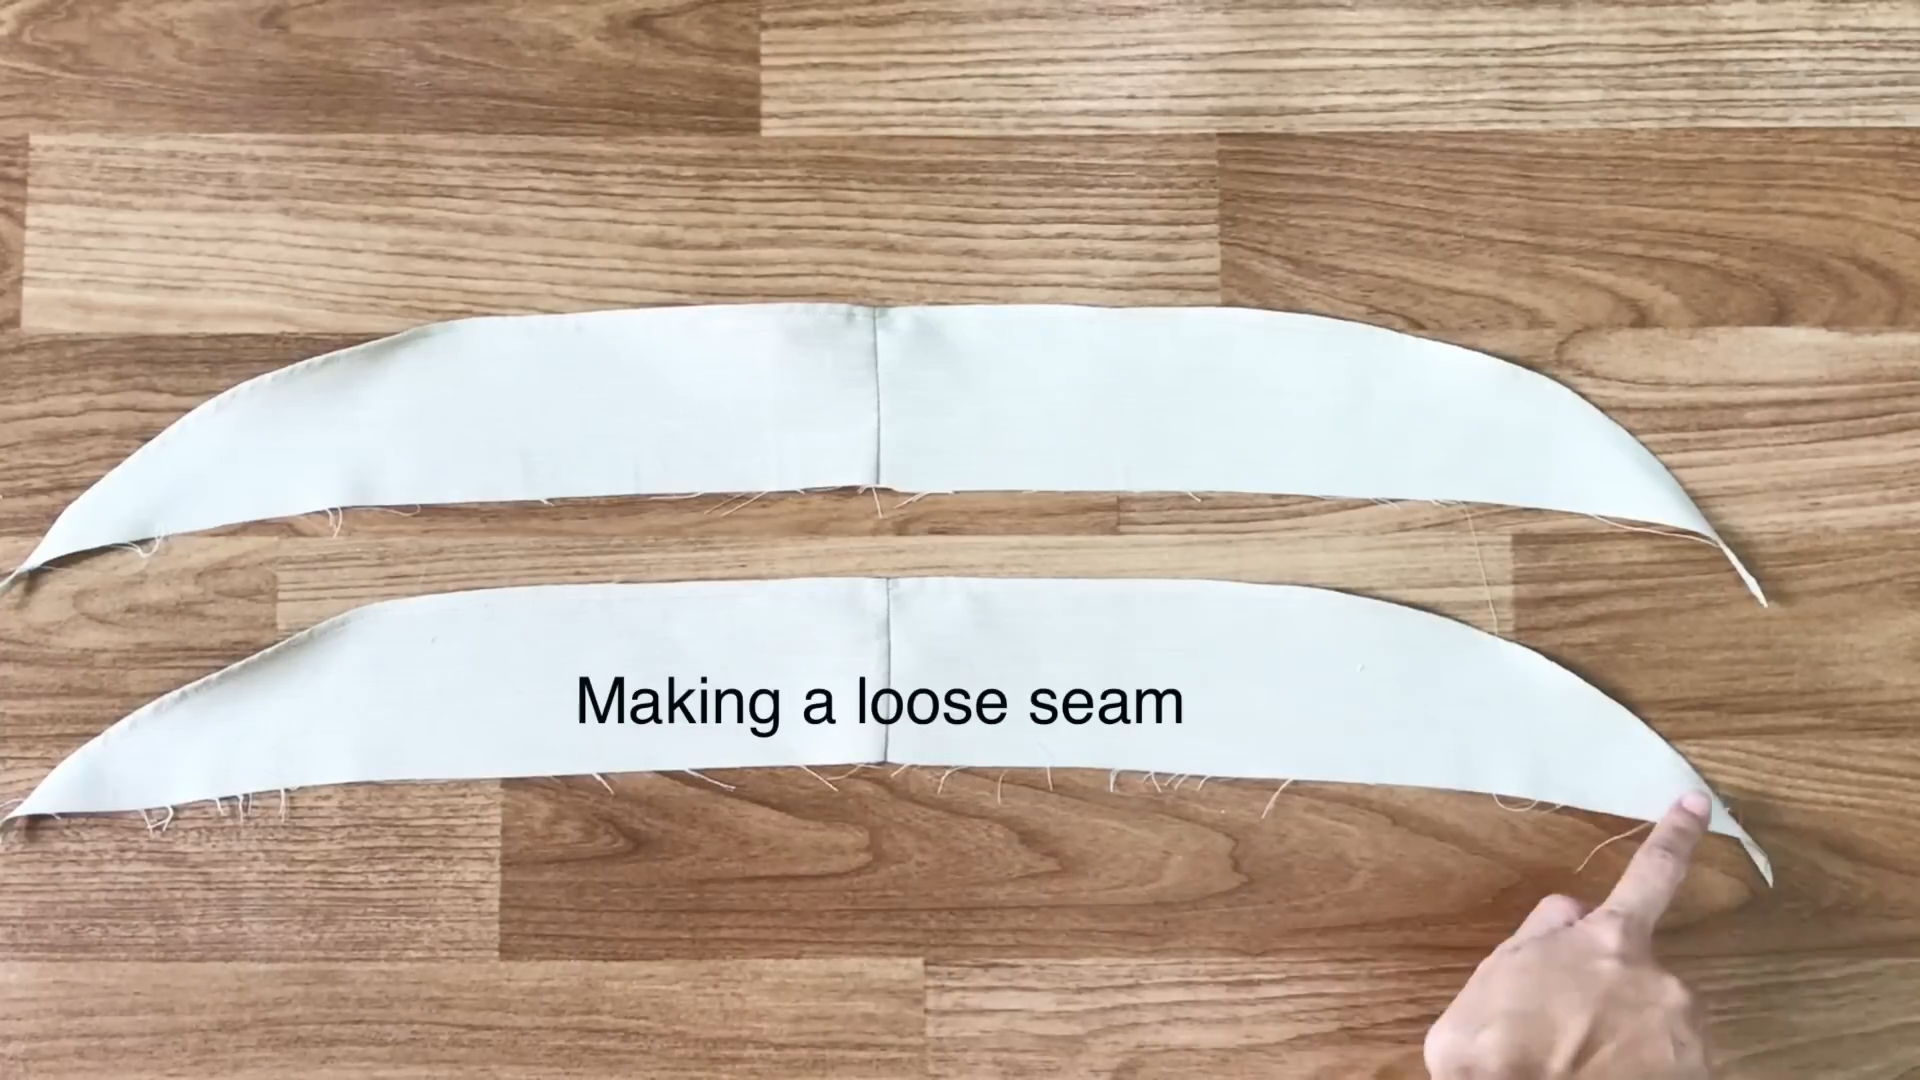
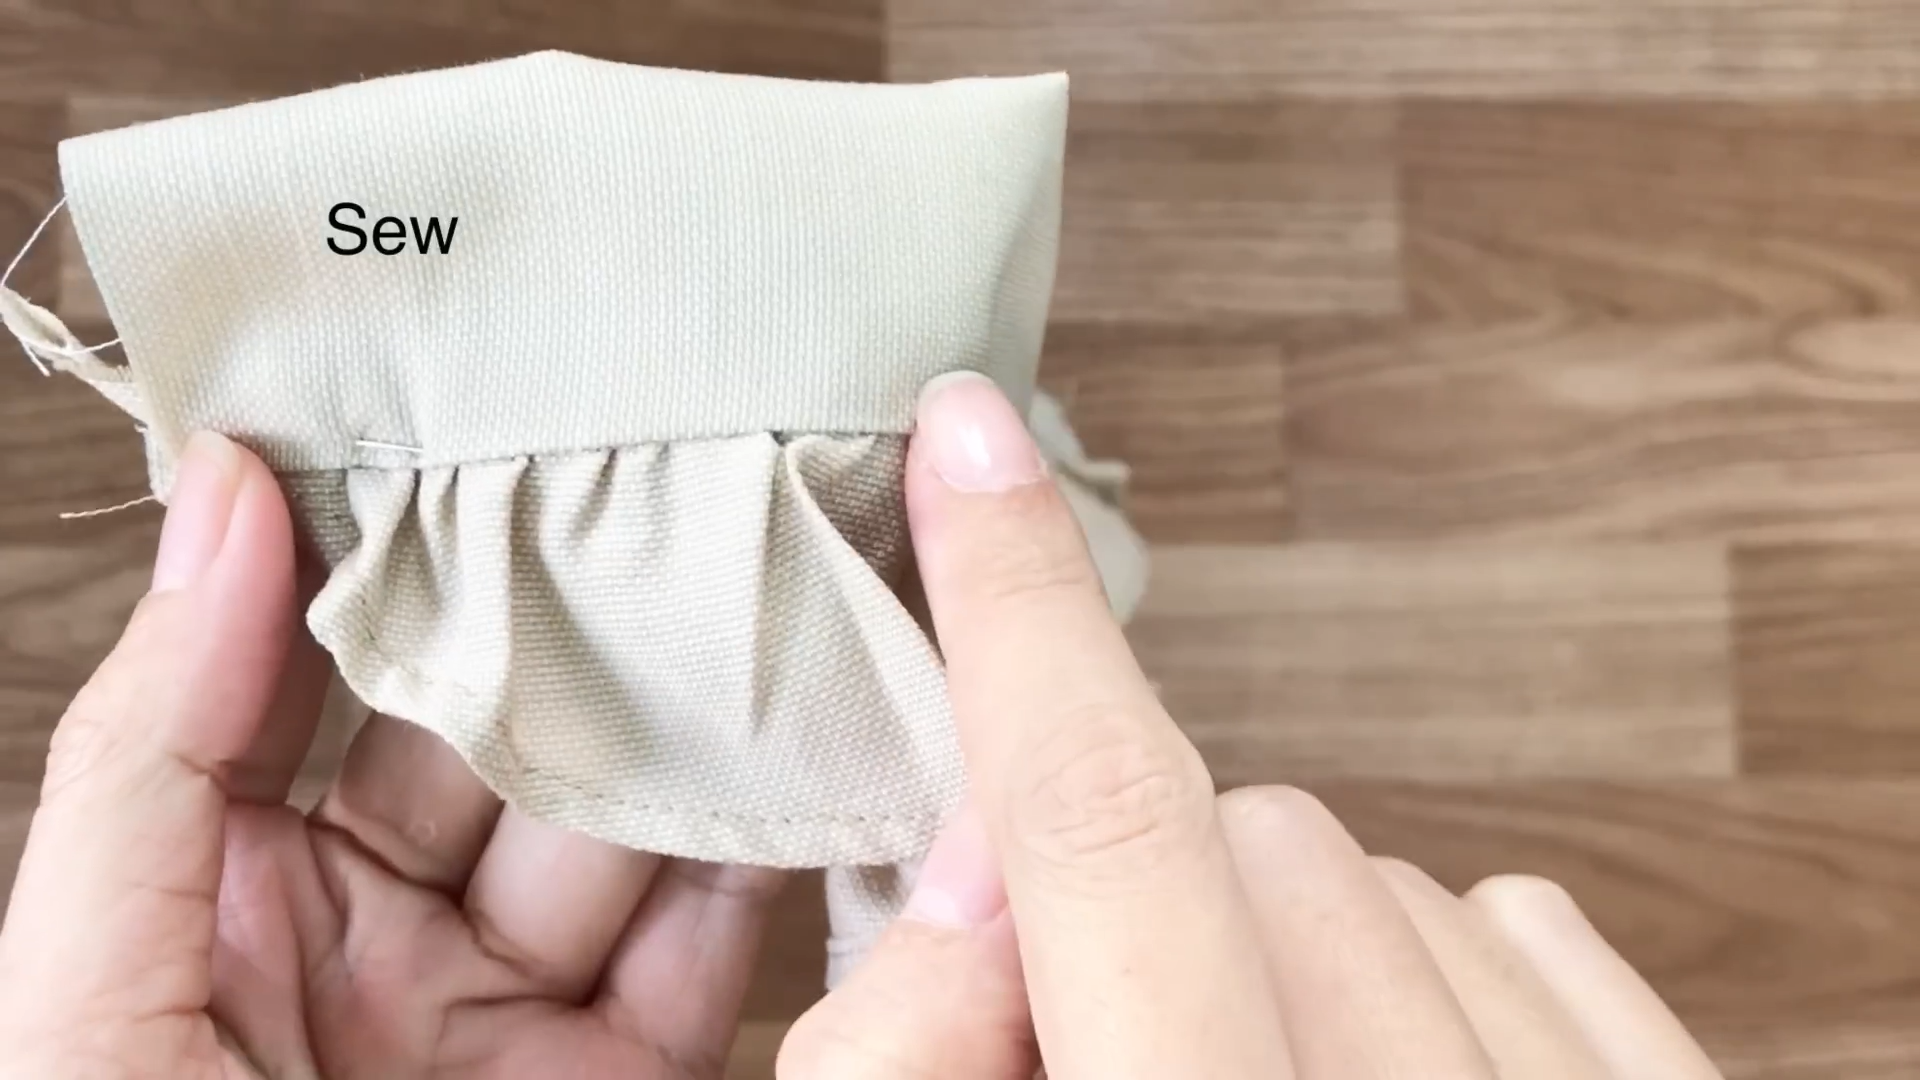
After that, make a loose seam to create the ruffle.
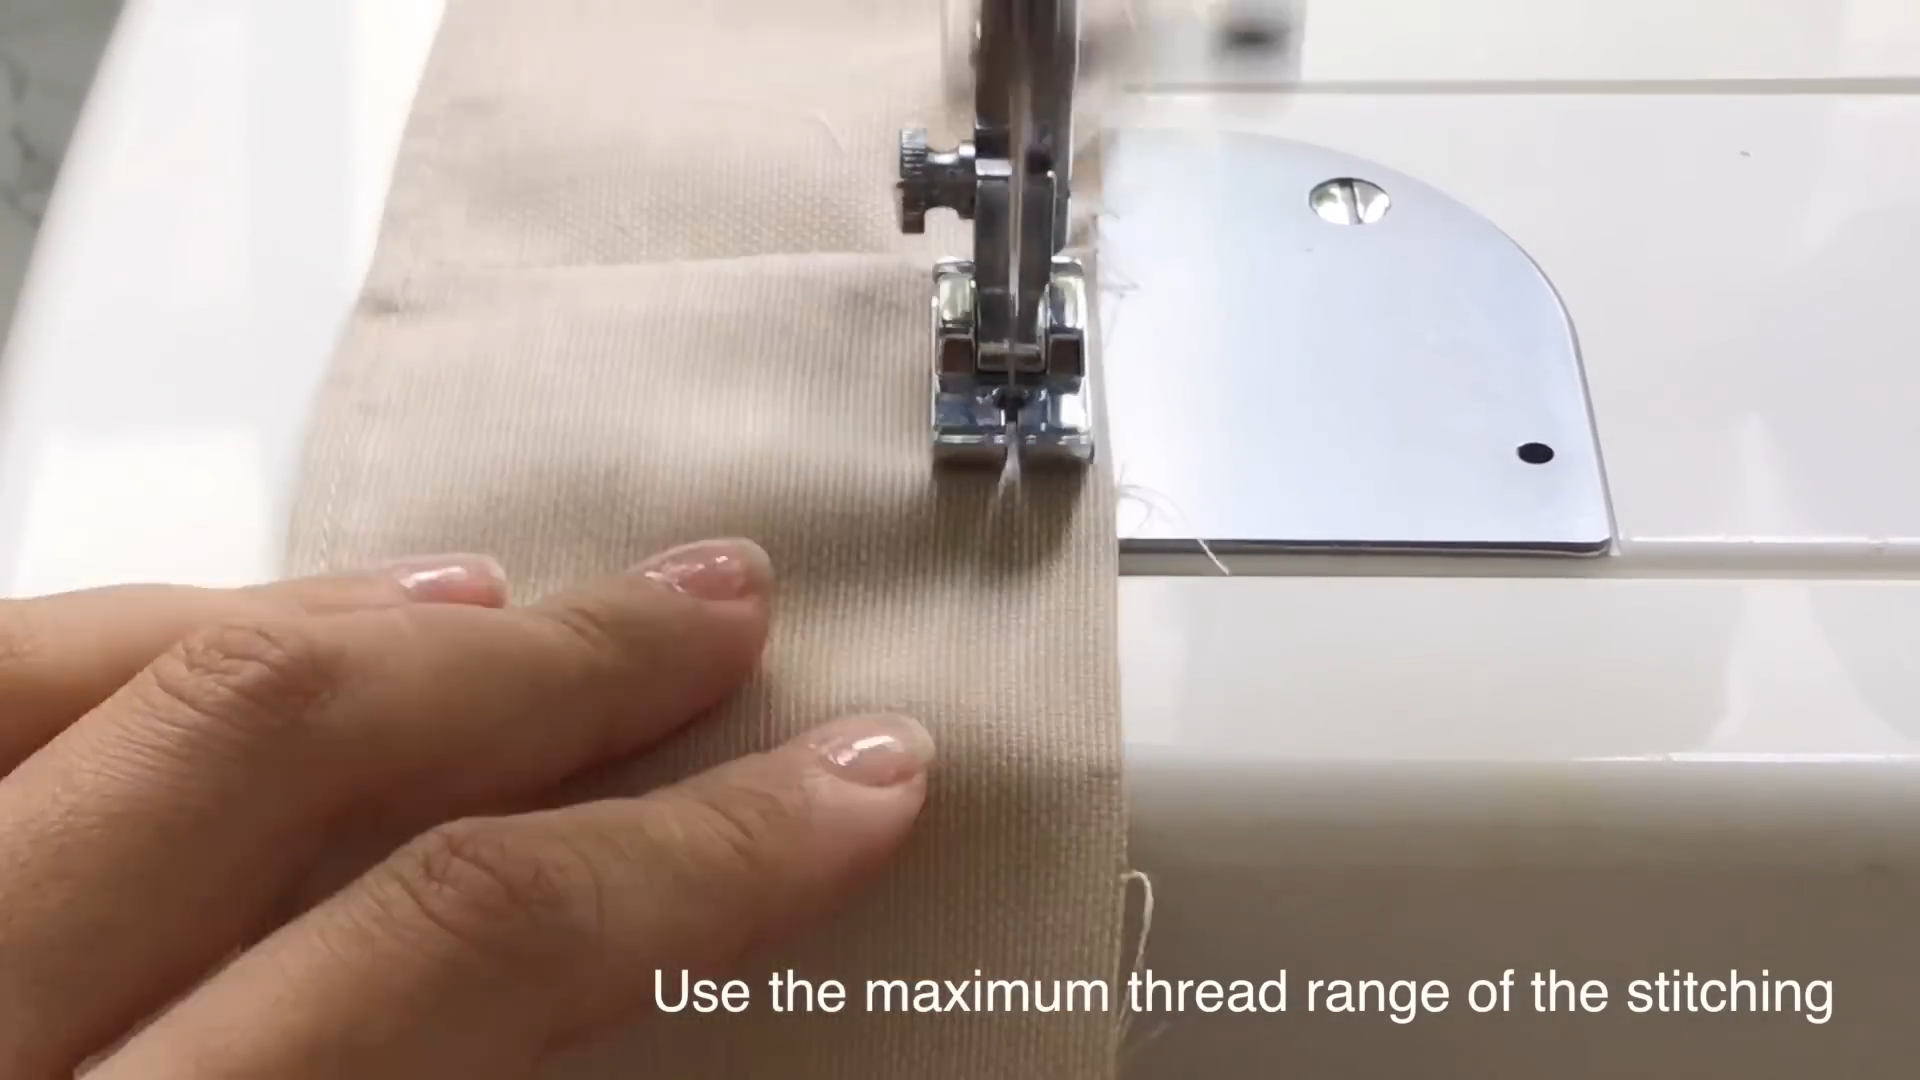
Use the maximum thread range of the stitching to do it.
Then, keep one thread and pull another one to create the ruffle.
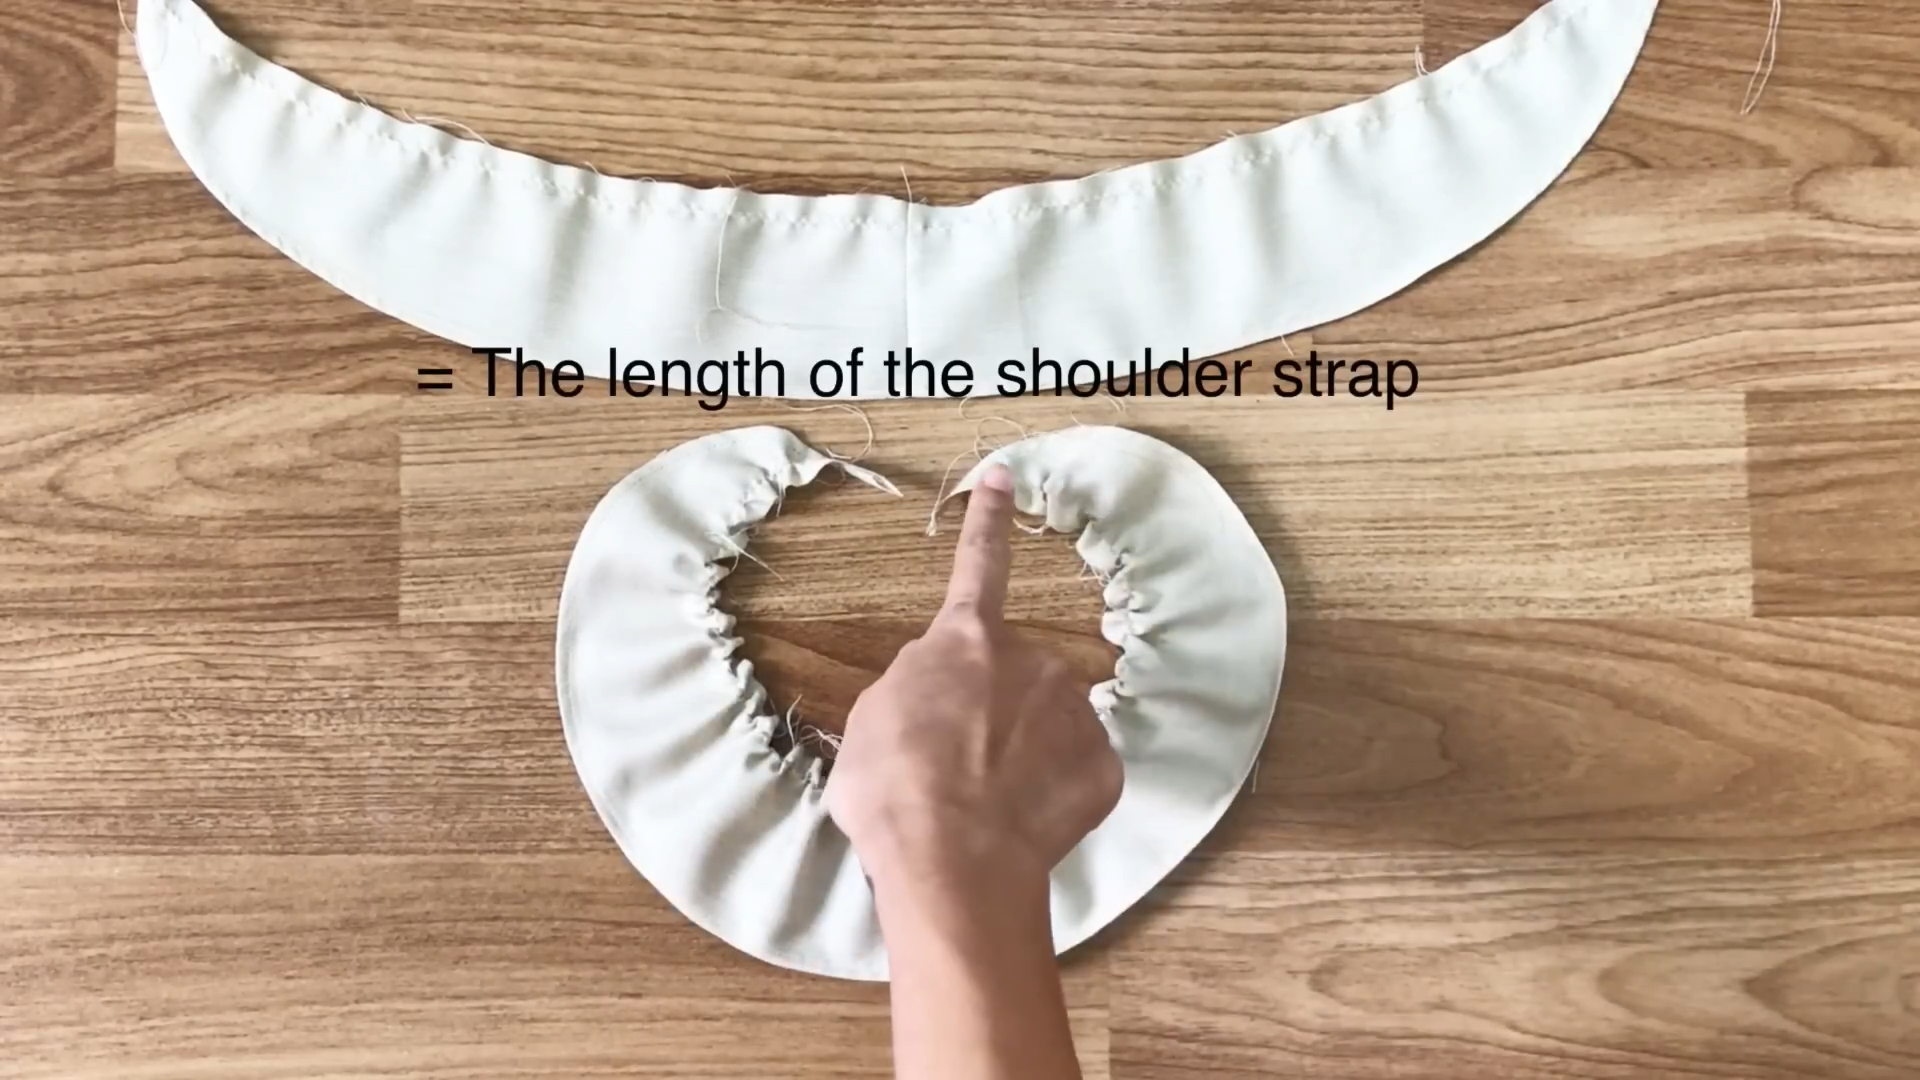
Make sure the length of the ruffle has to be the same with the length of the shoulder strap which is 45 cm.
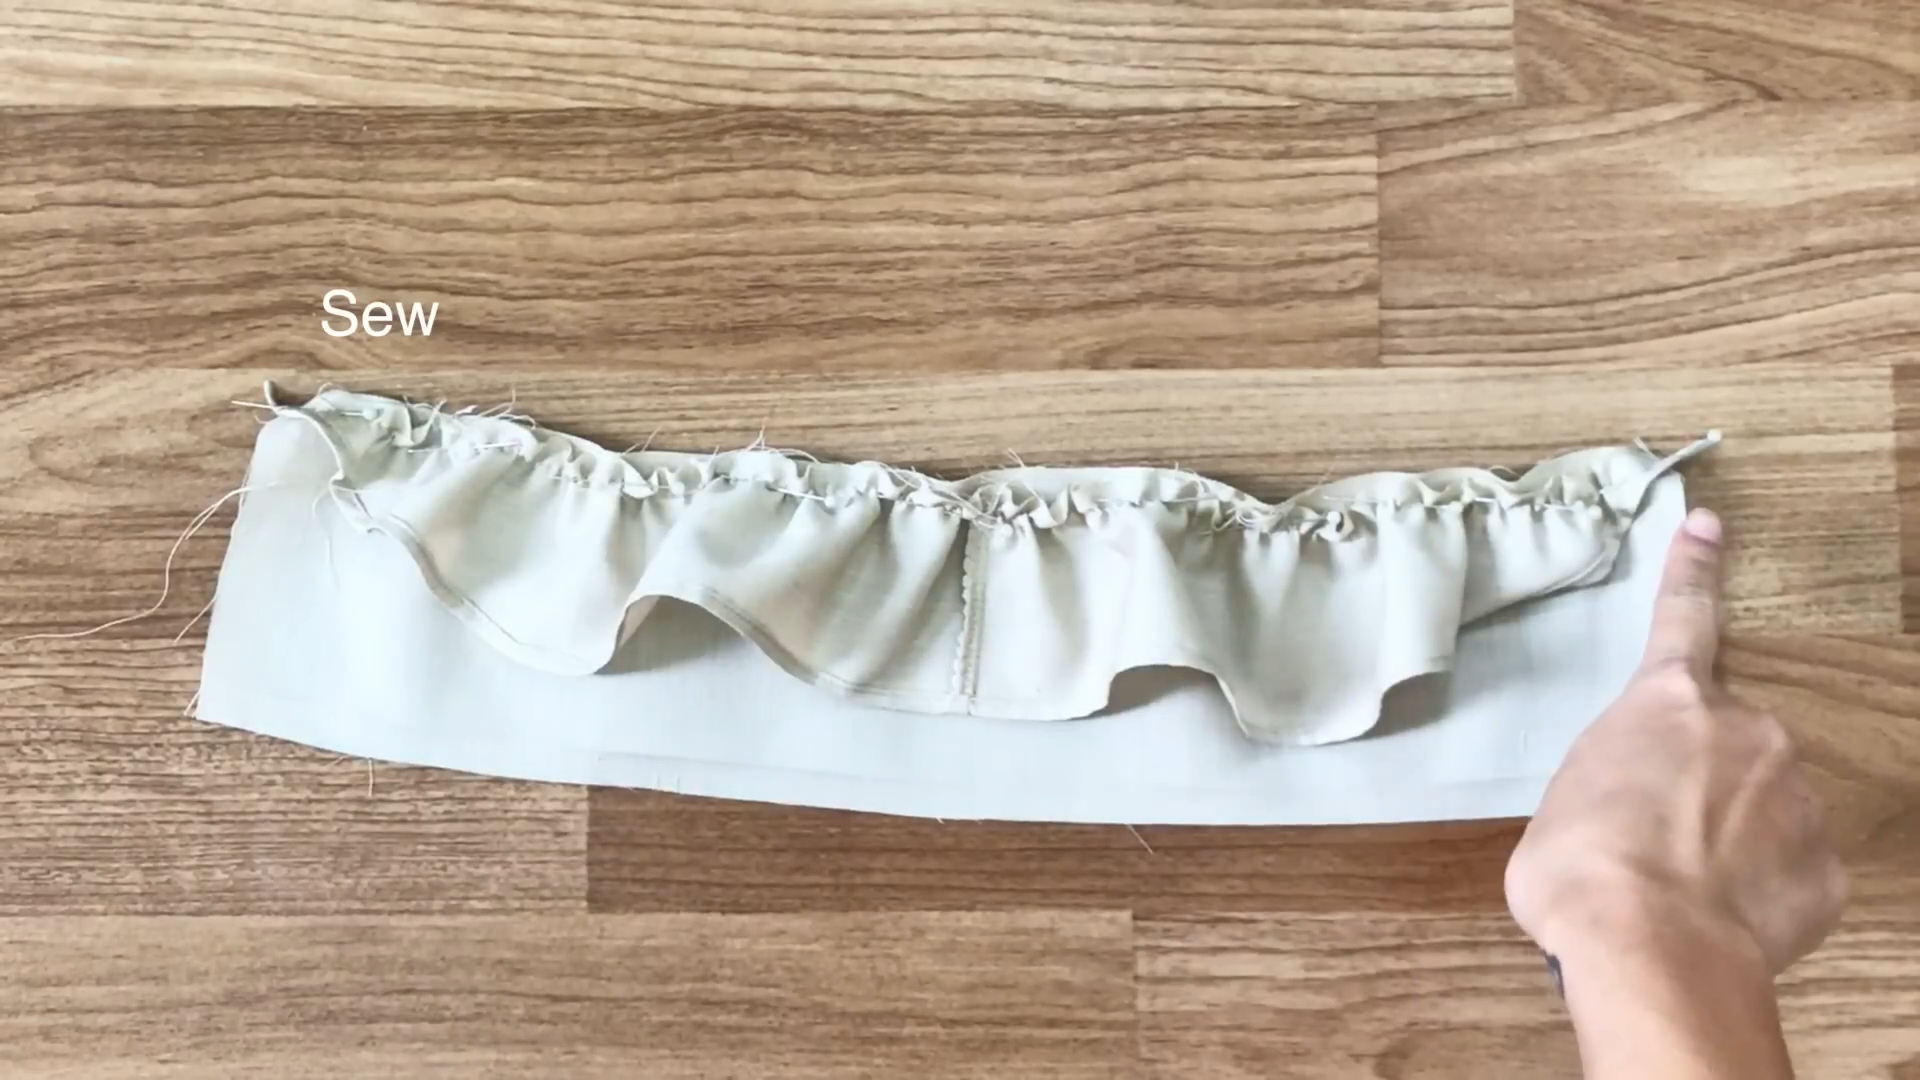
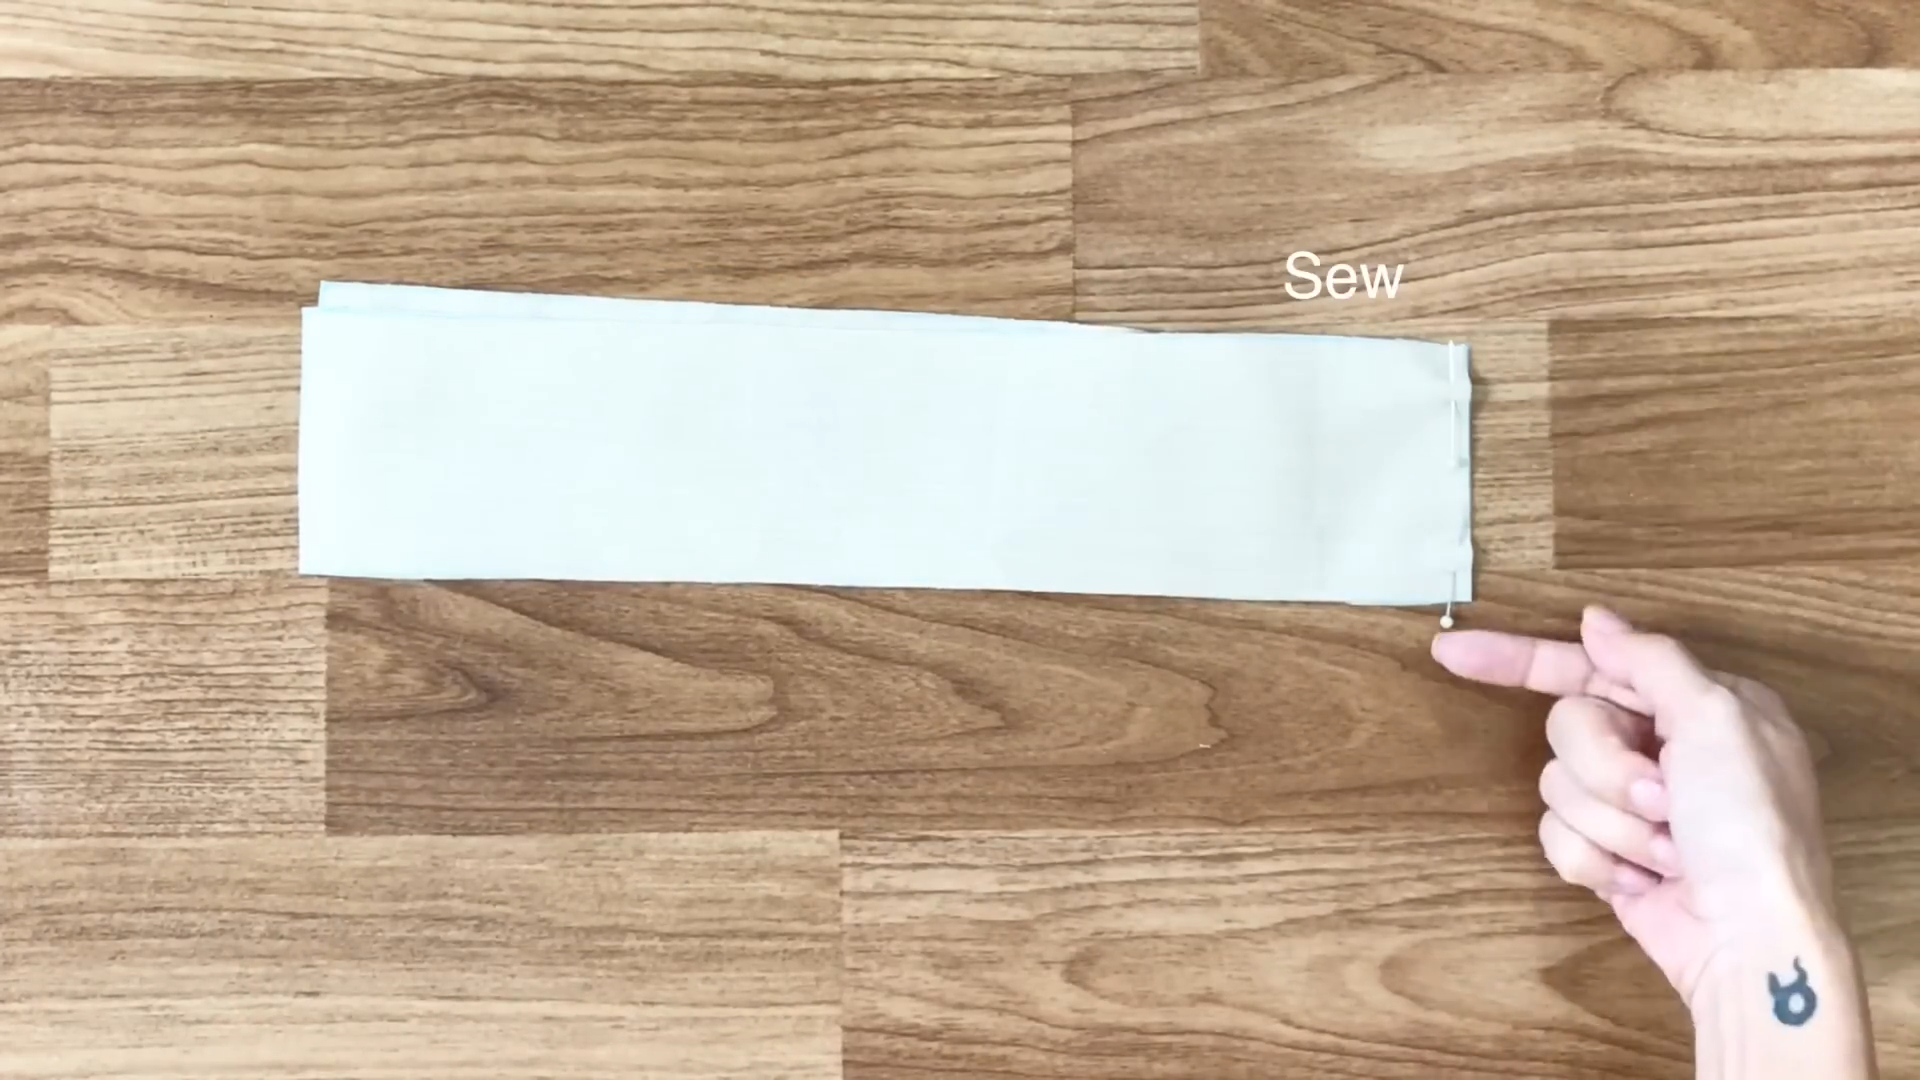
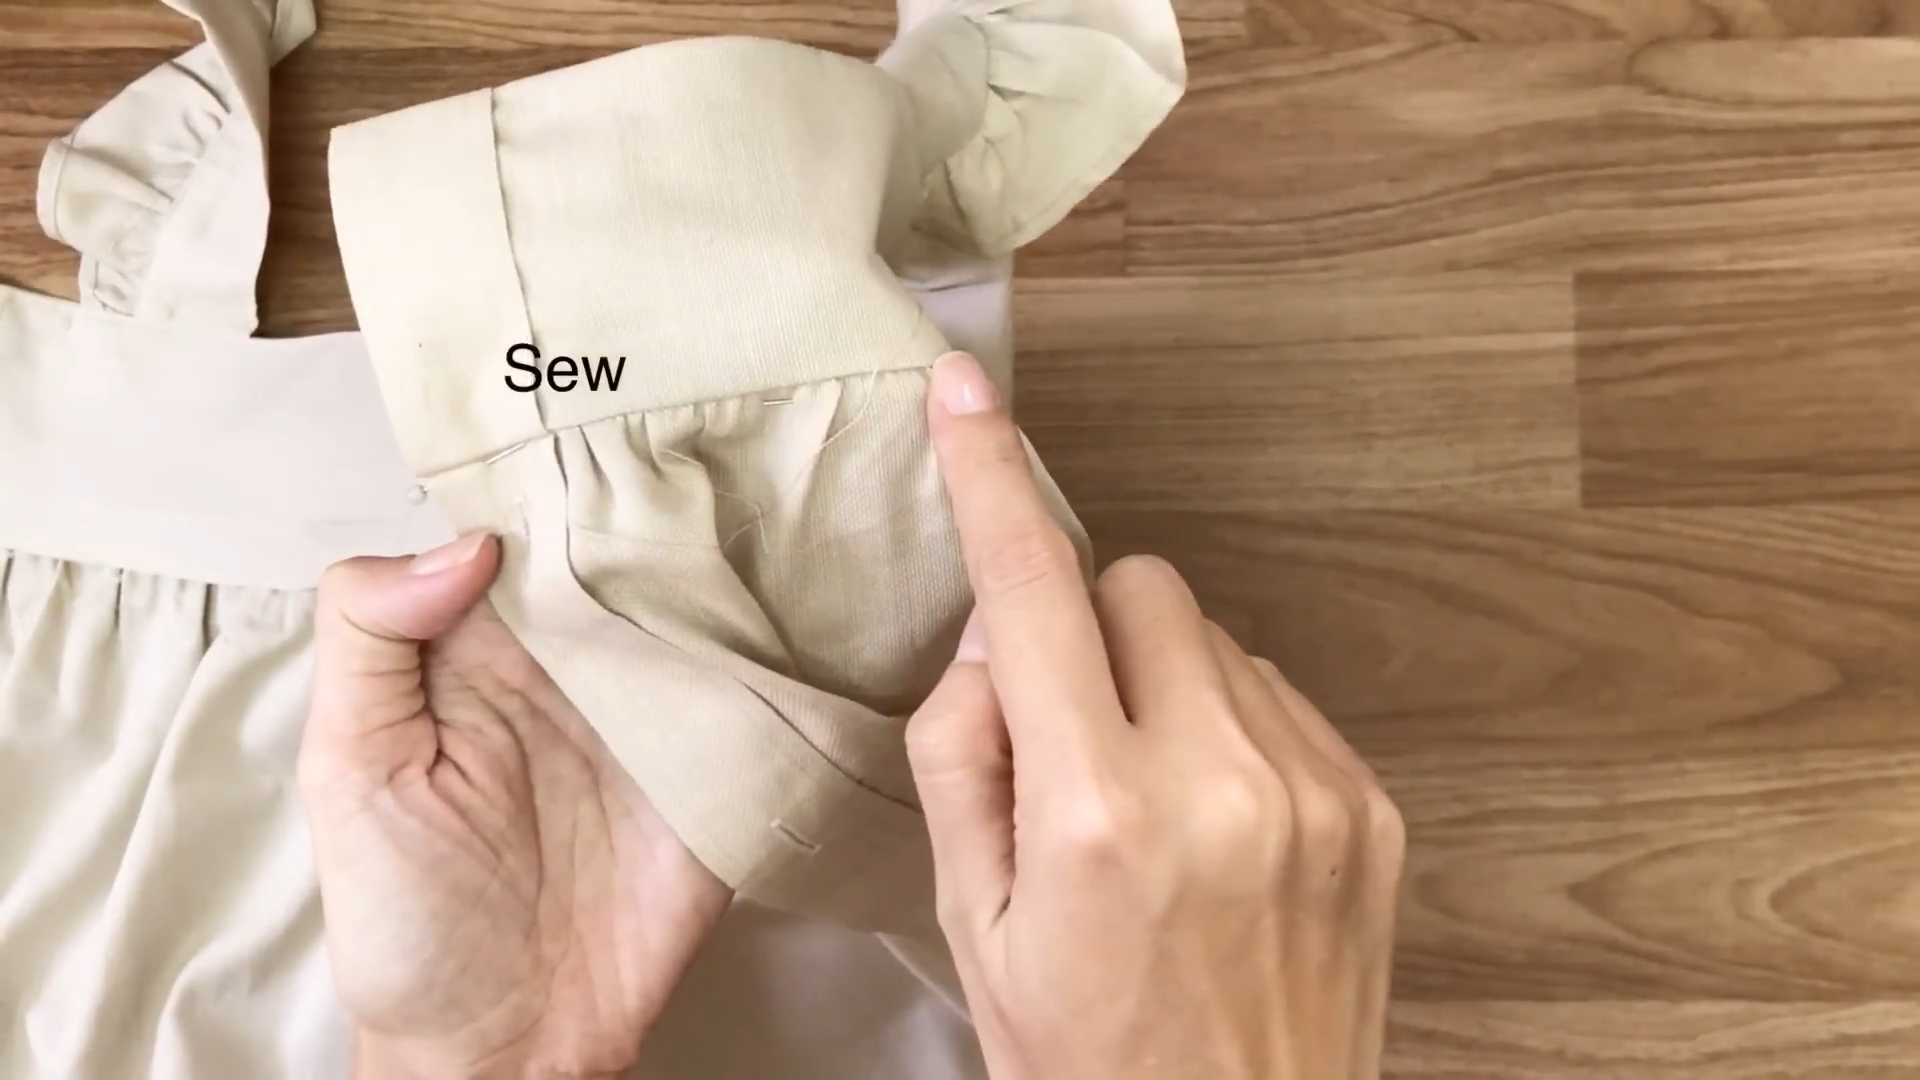
Now, connect the ruffle into the shoulder strap. Use the pins to hold them together. Then, sew along the pinned line.
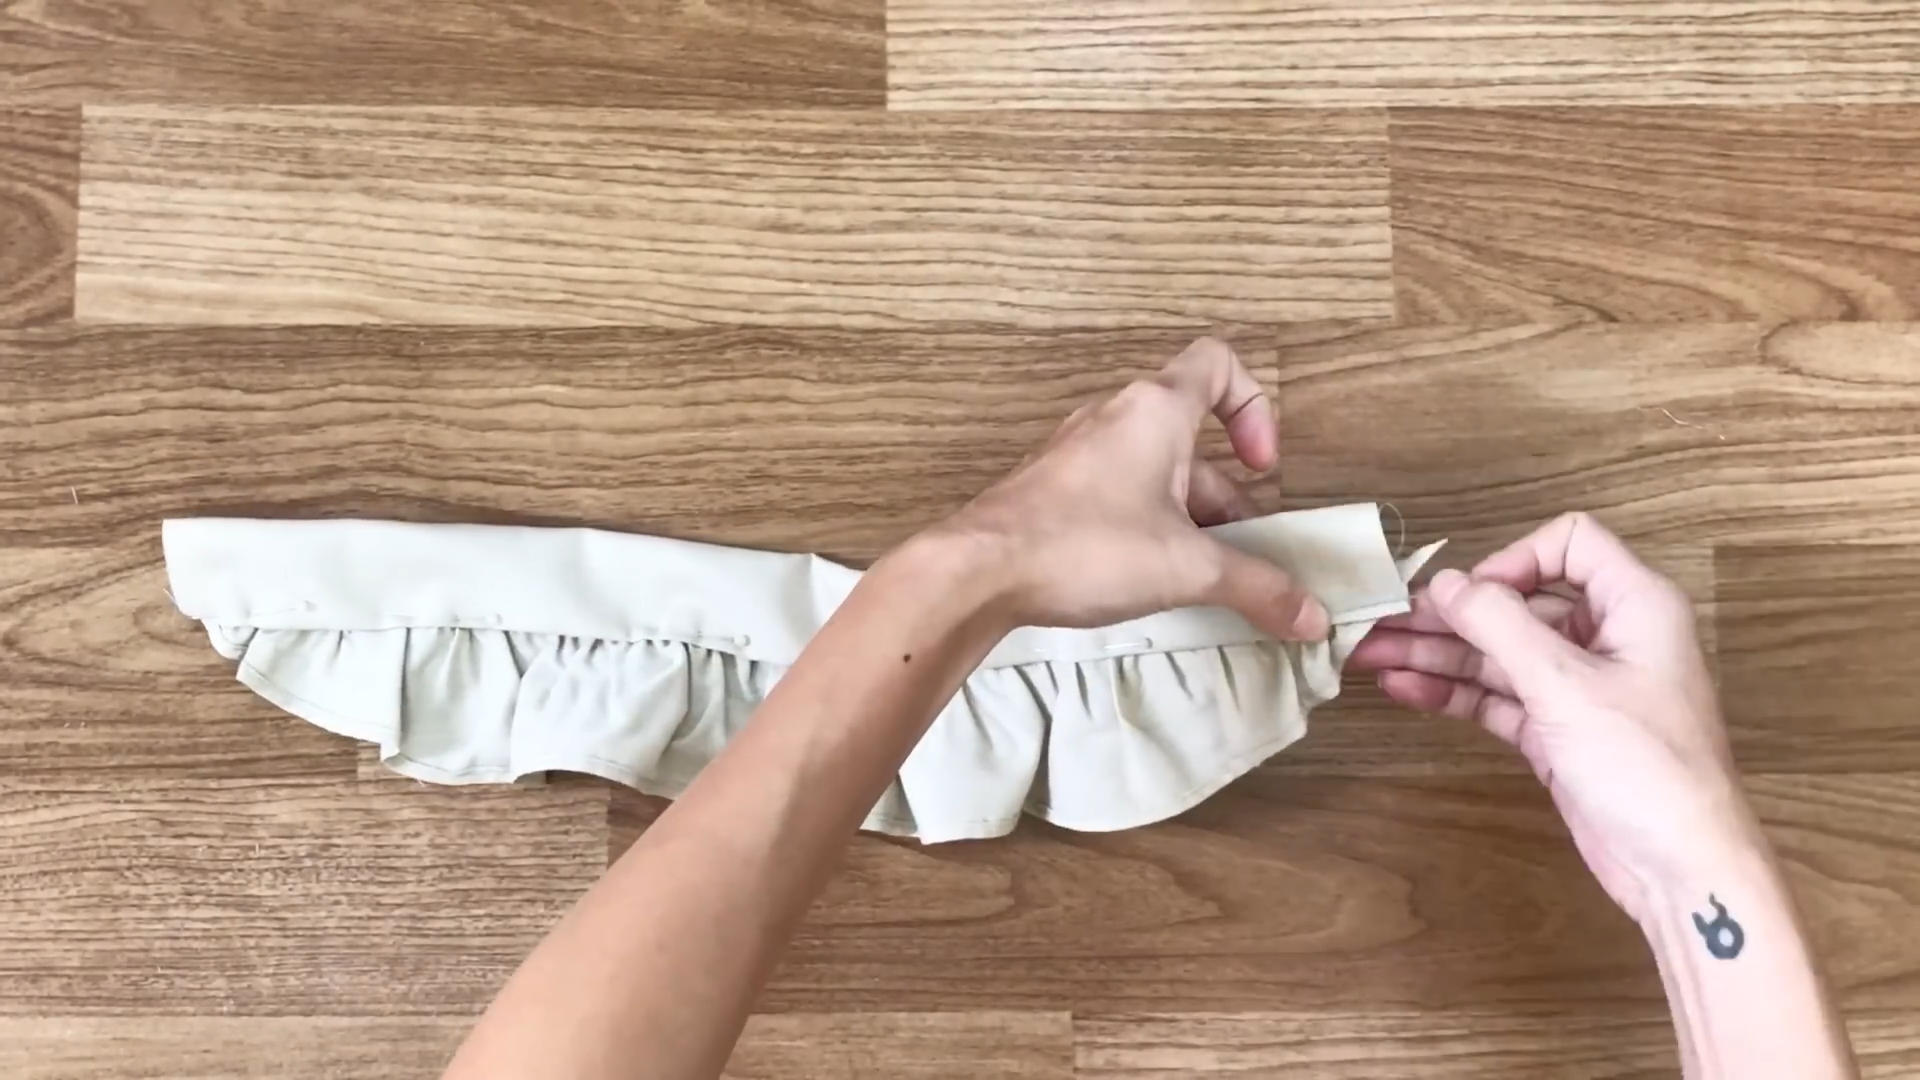
After sewing, at the other side of the shoulder strap, fold the end inside around 1 cm first.
Then, fold it over the seam with the ruffle to hide all the end fabric inside.
When sewing, sew the second seam override the first seam. So, it’ll look like one seam in the end.
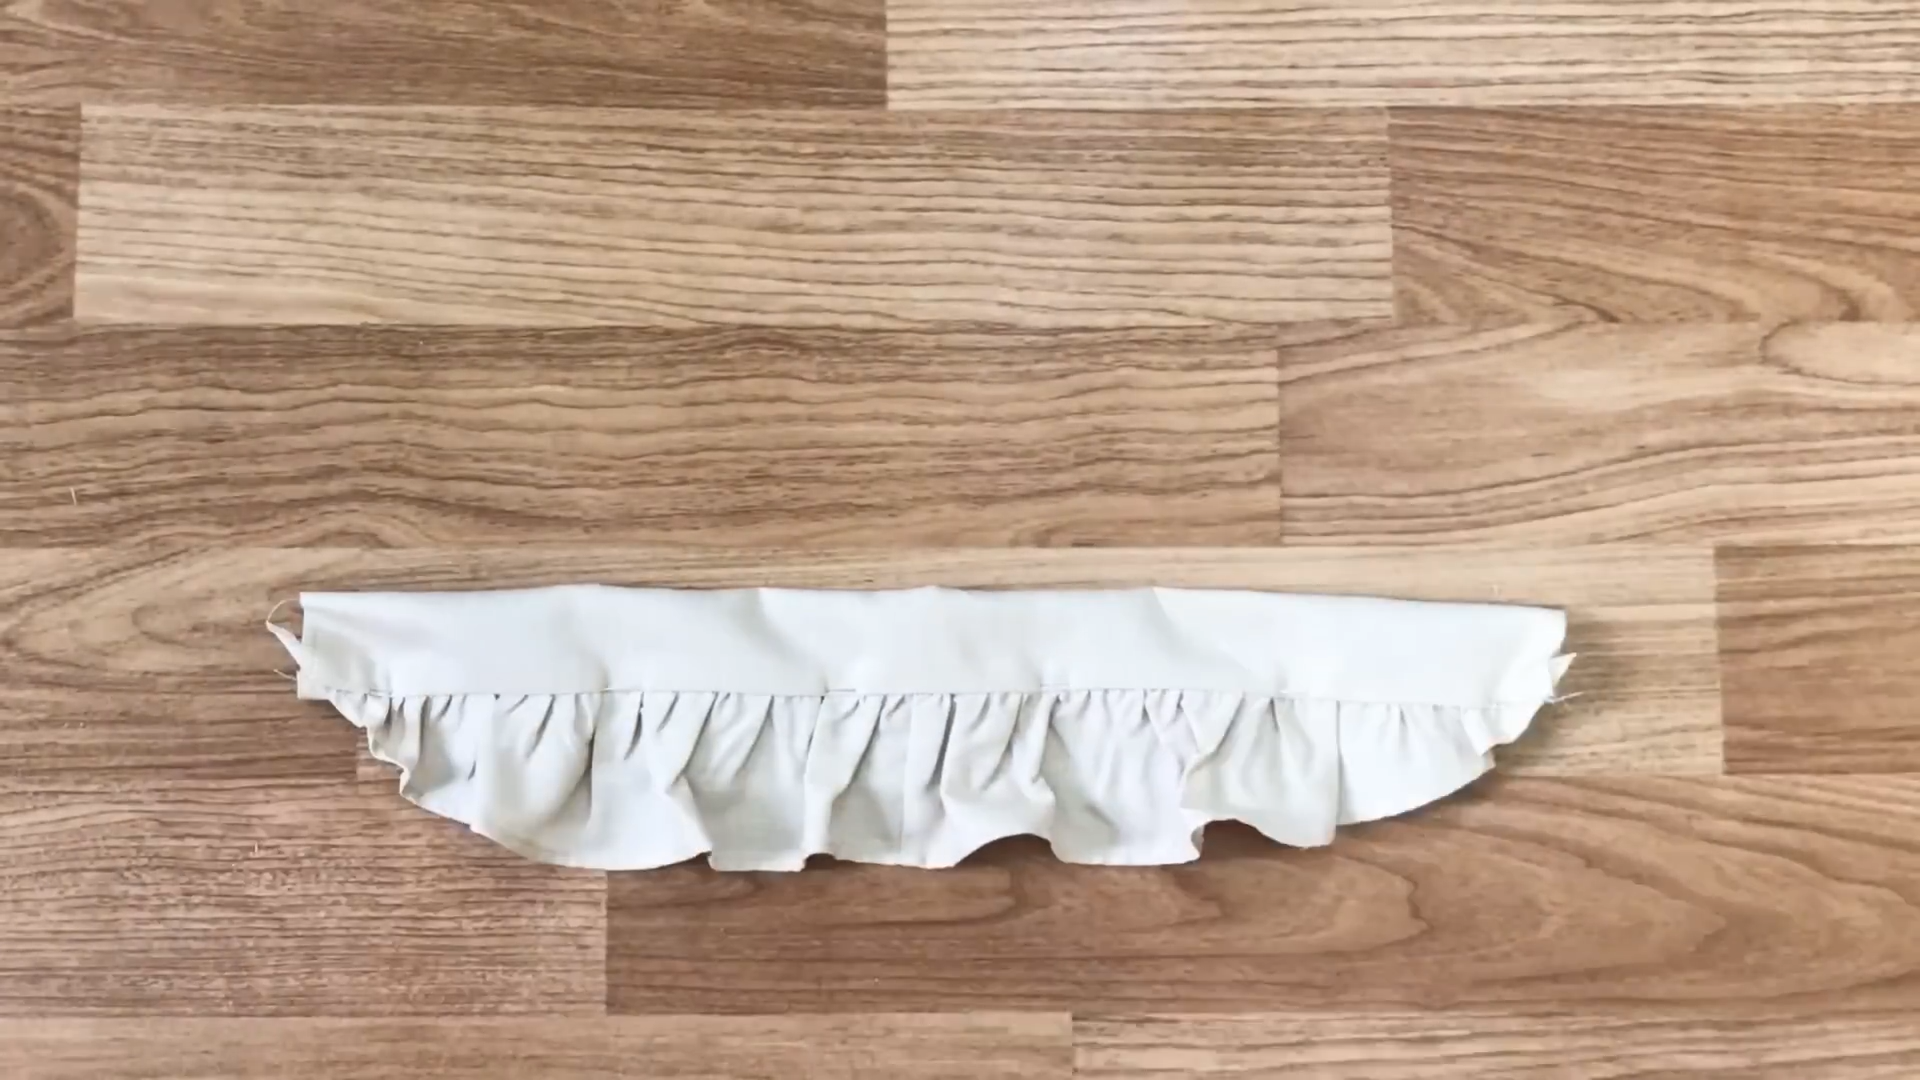
And the ruffle strap for the top is finished.
THE TOP
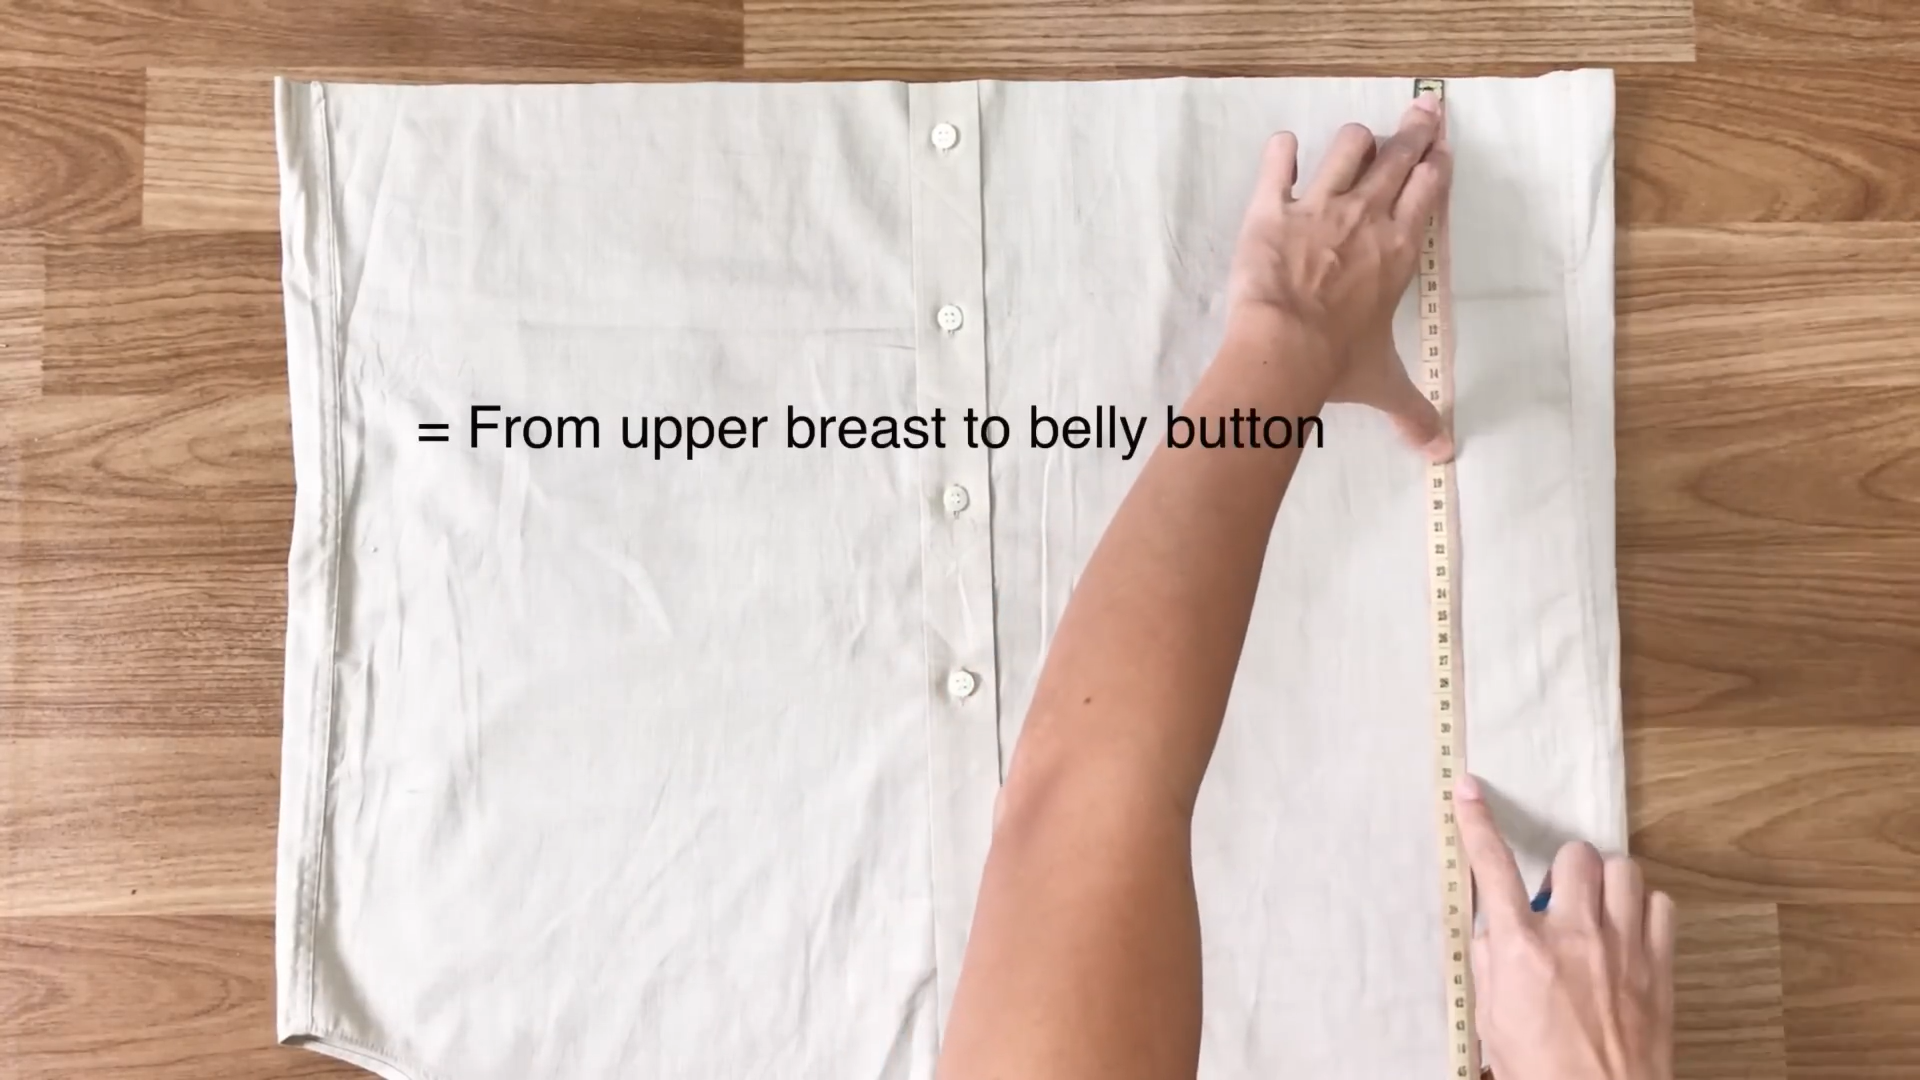
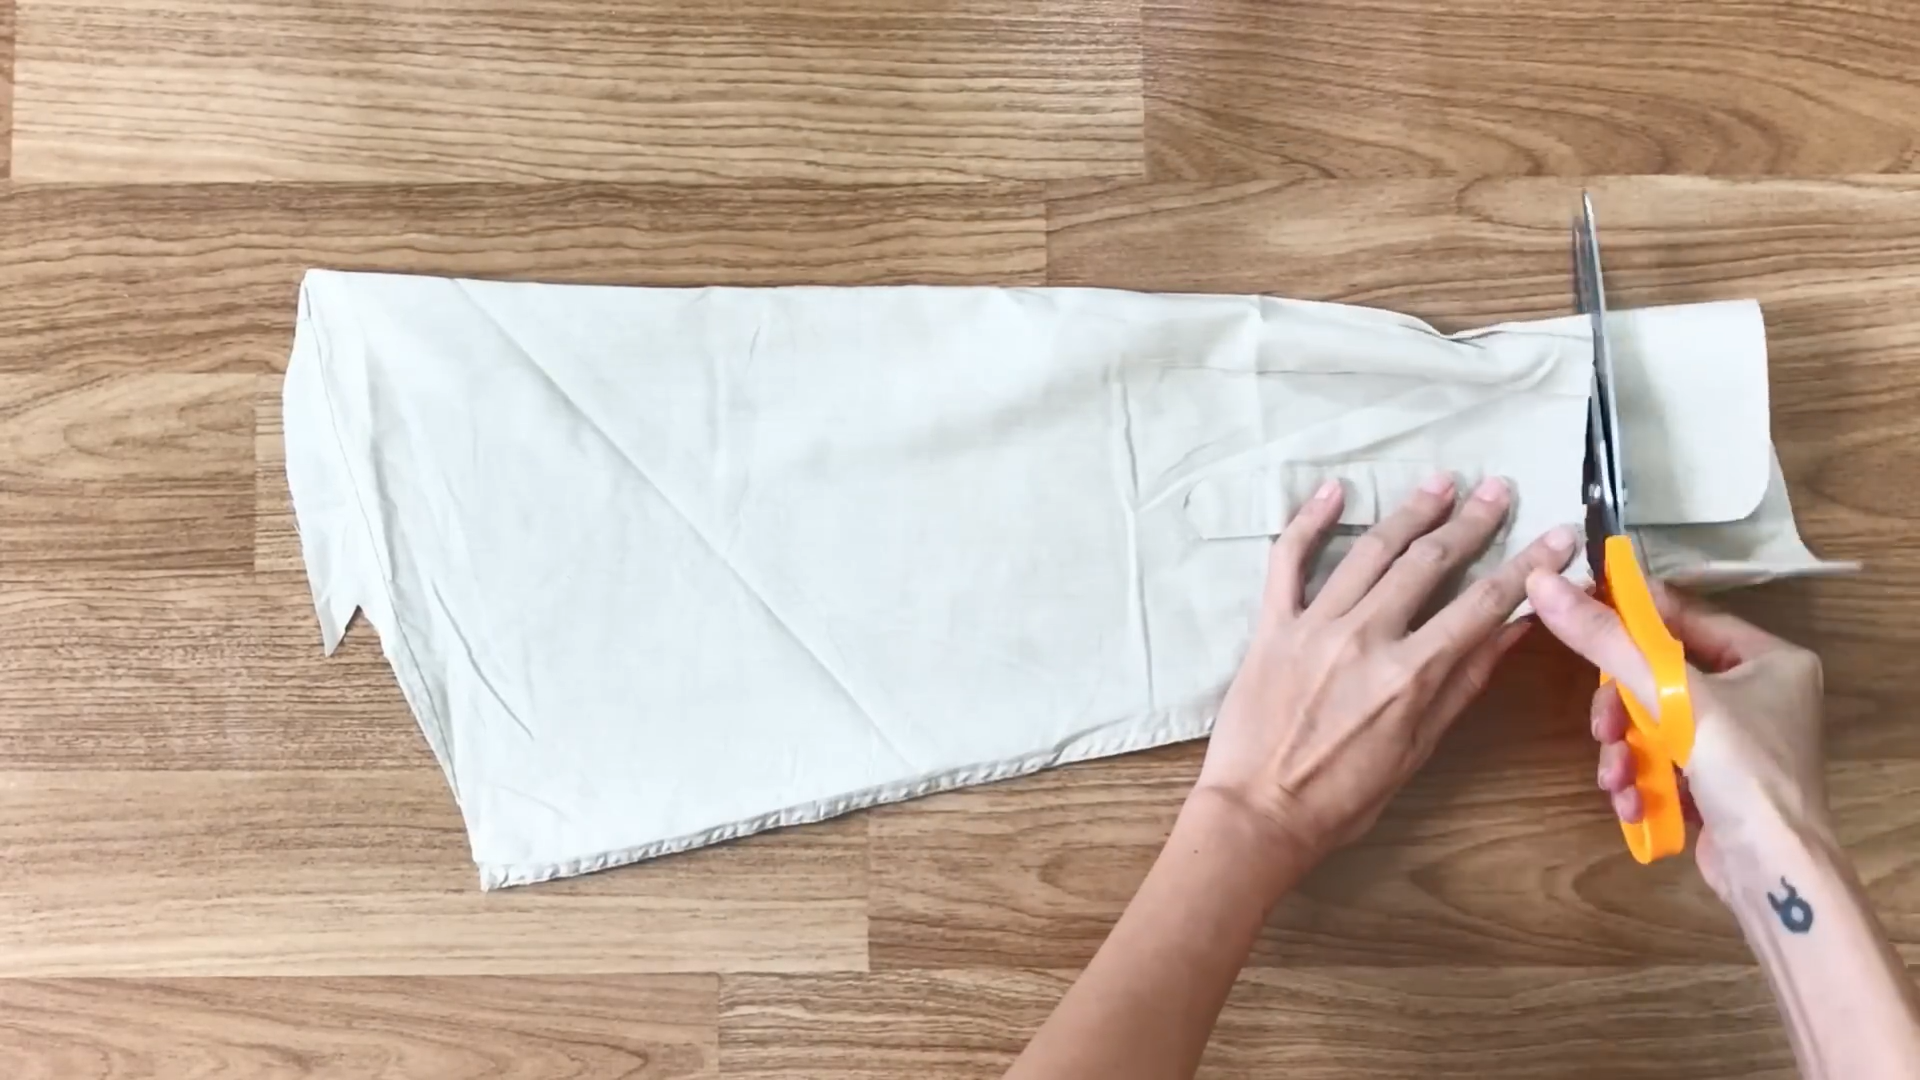
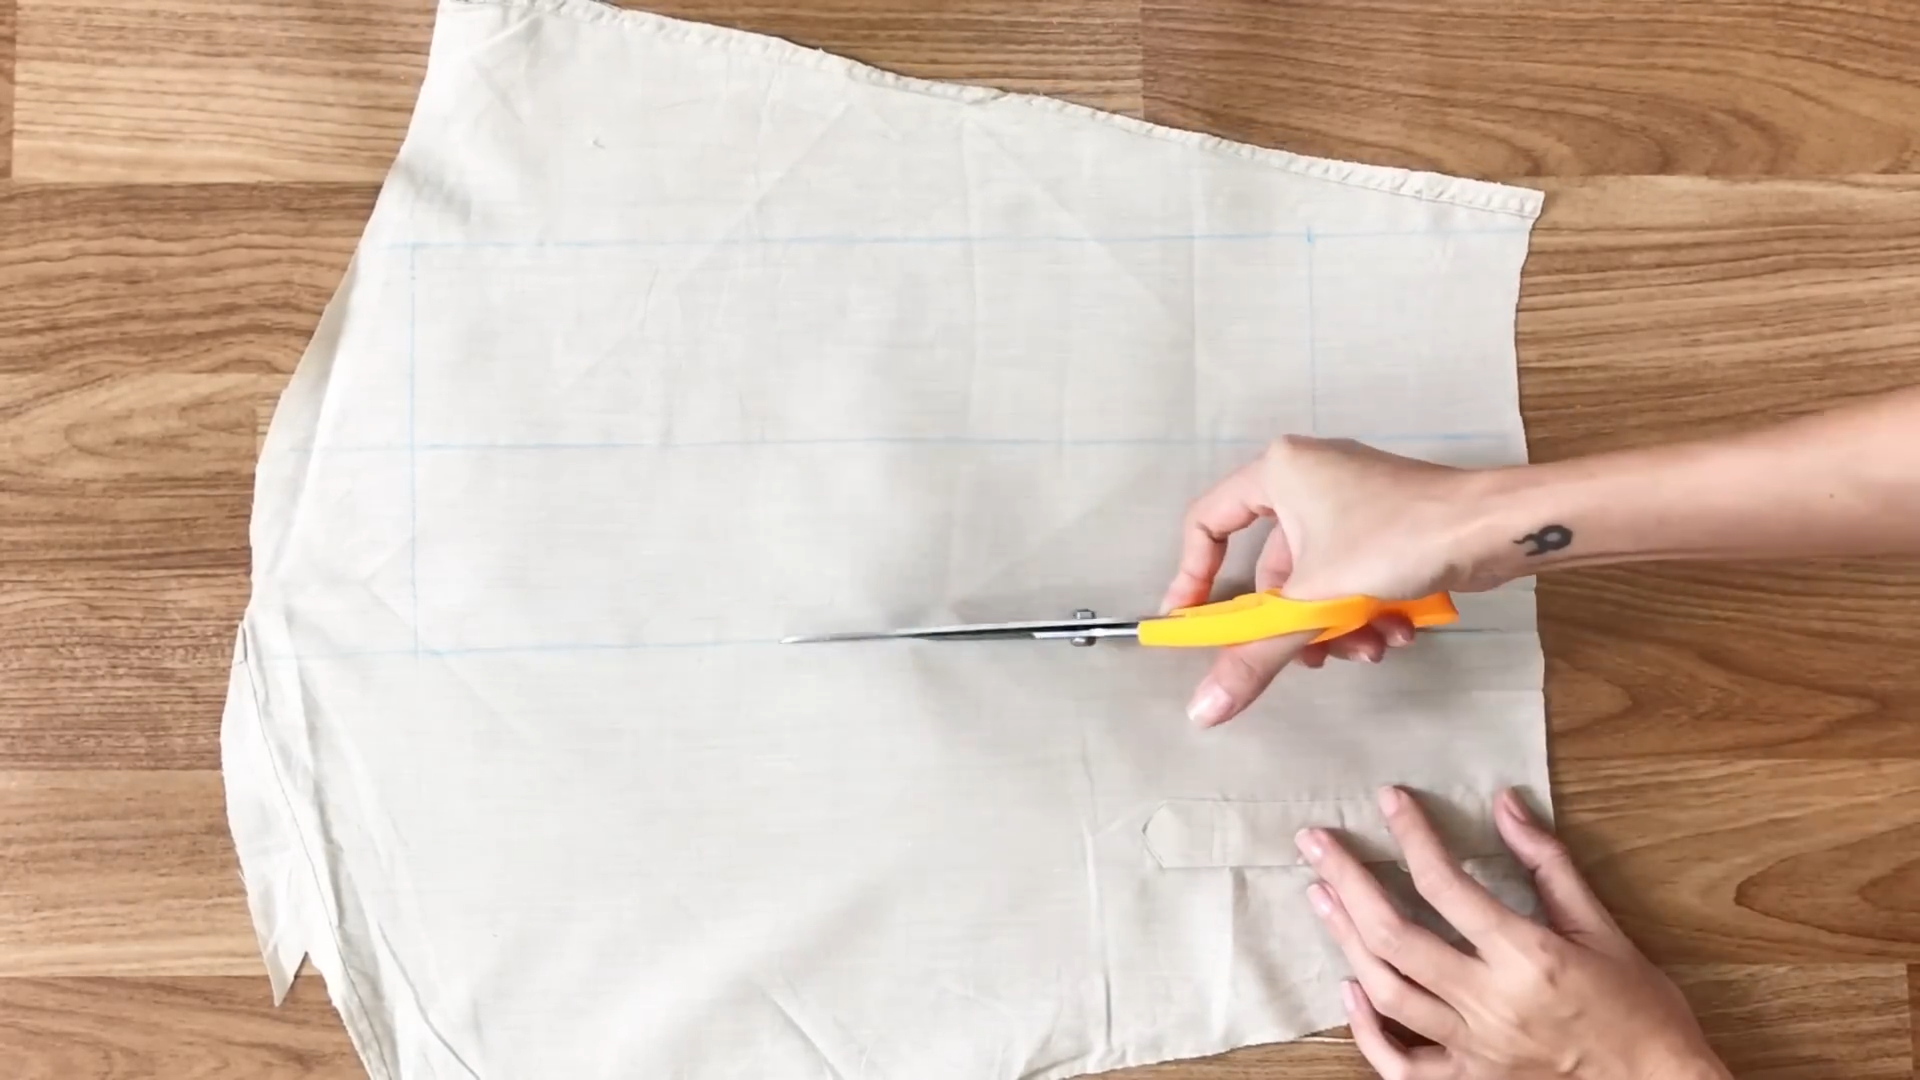
At the bottom of the men’s shirt, cut the rectangle at 32cm width which is the width from upper breast to belly button to create the main body for the top.
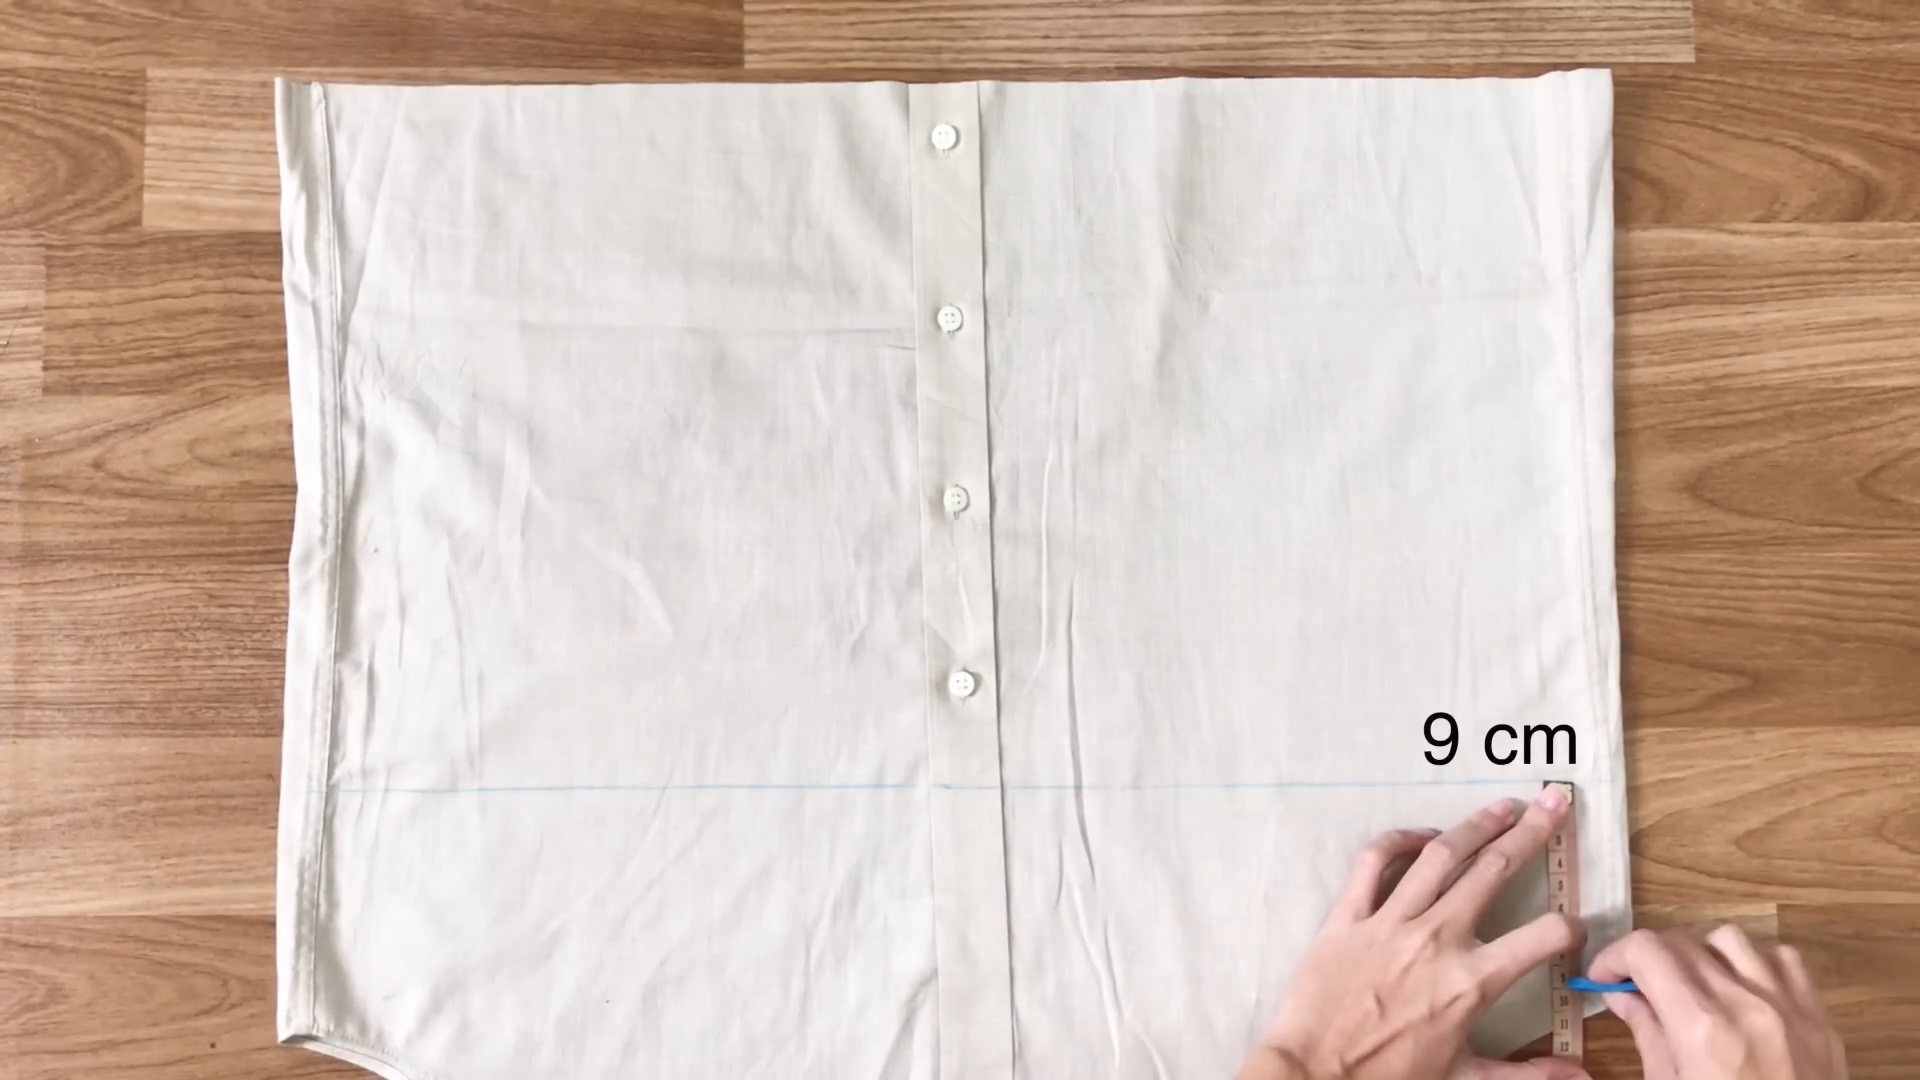
The rest of the fabric is used to cut another rectangle with 9cm width to create the bust strap for the top.
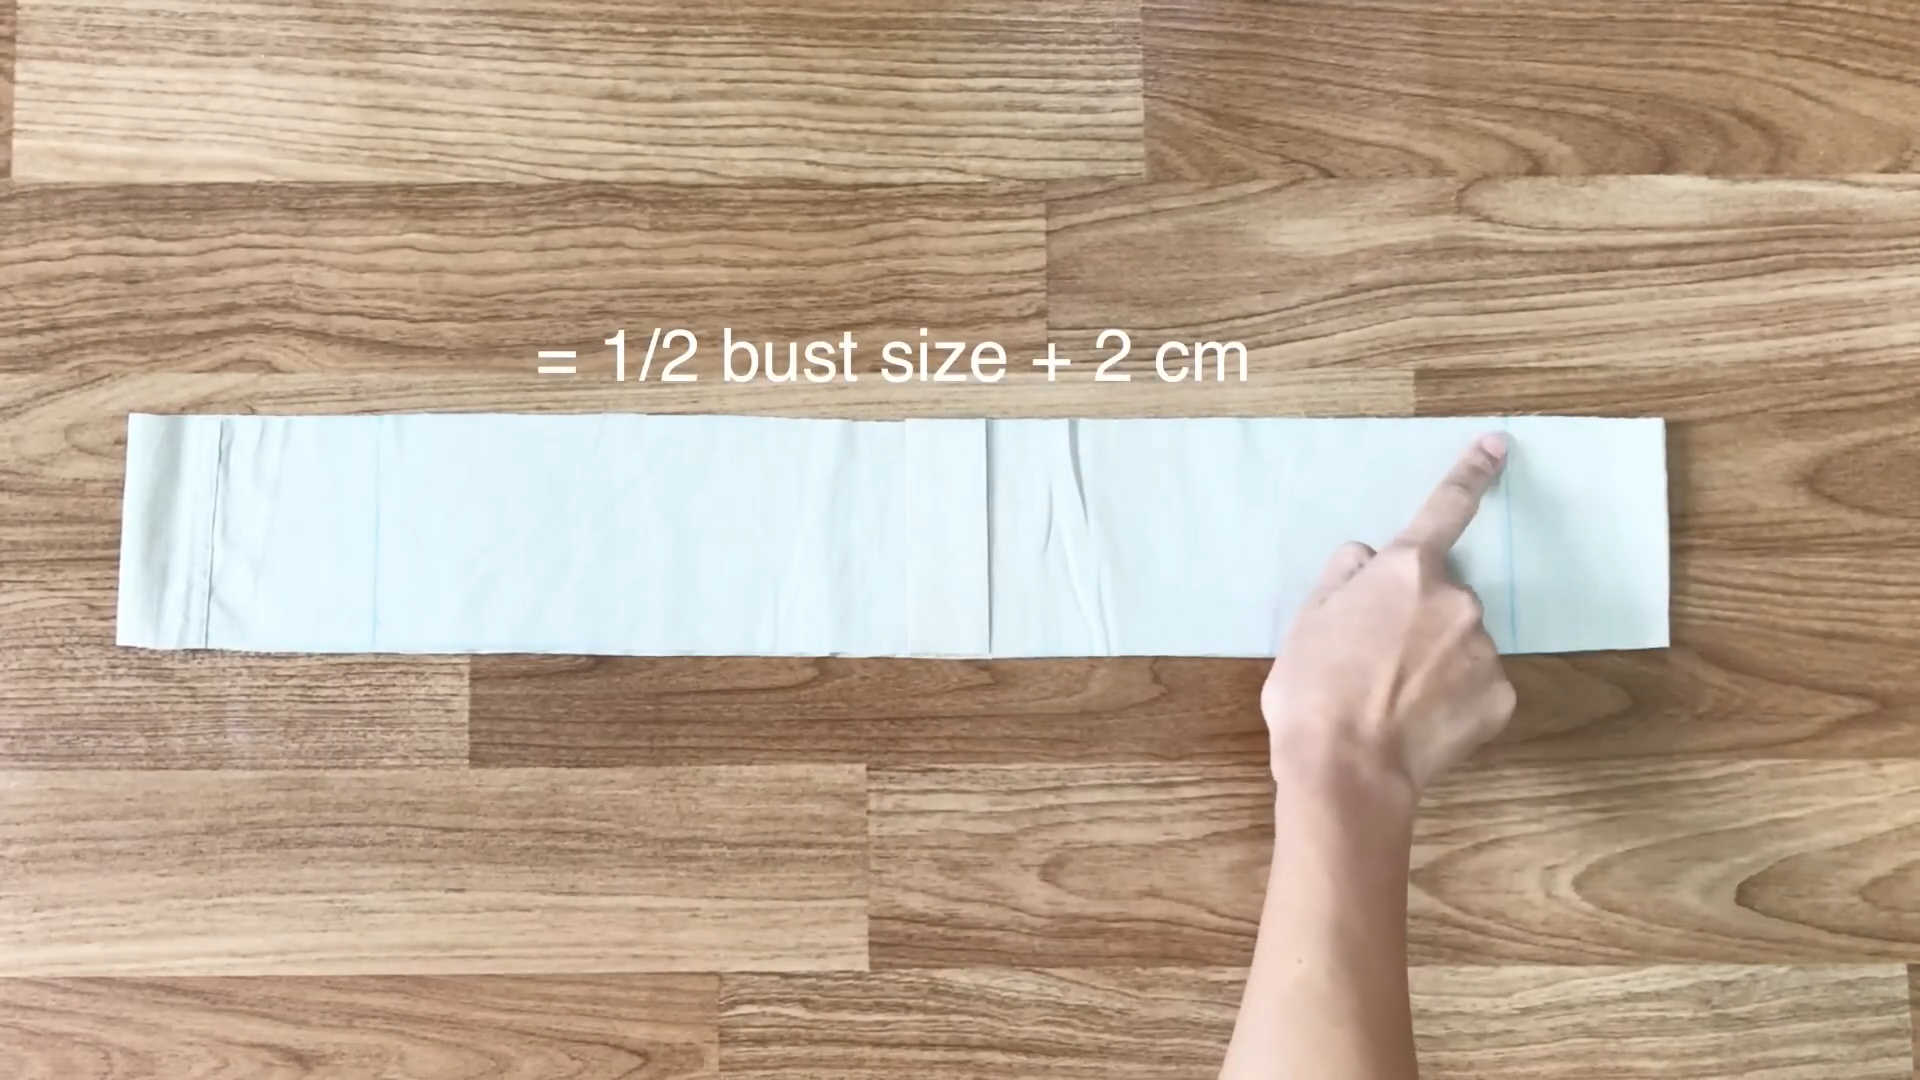
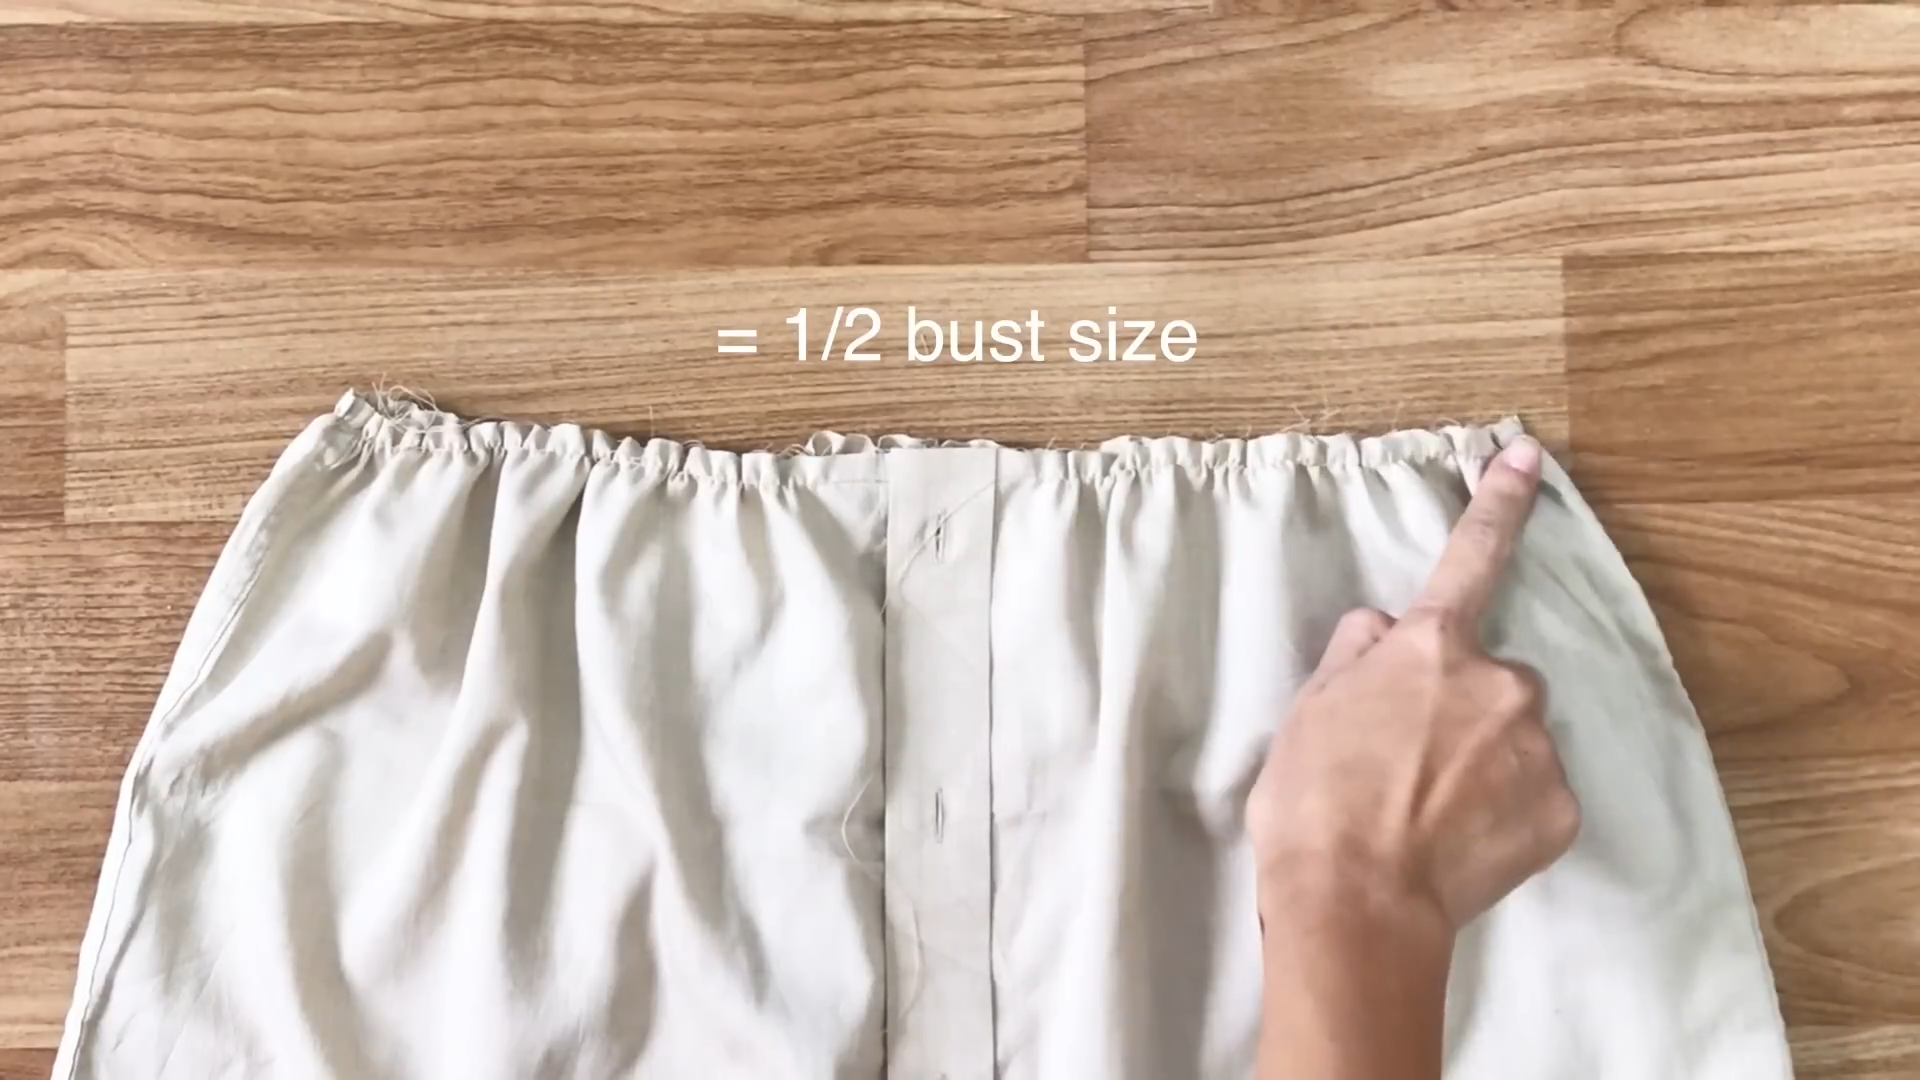
Resize the bust strap to fit the body by cutting it shorter. Make sure the length of the bust strap has to be half of the bust size plus 2cm.
Use the extra fabric to make the second bust strap to use later as well.
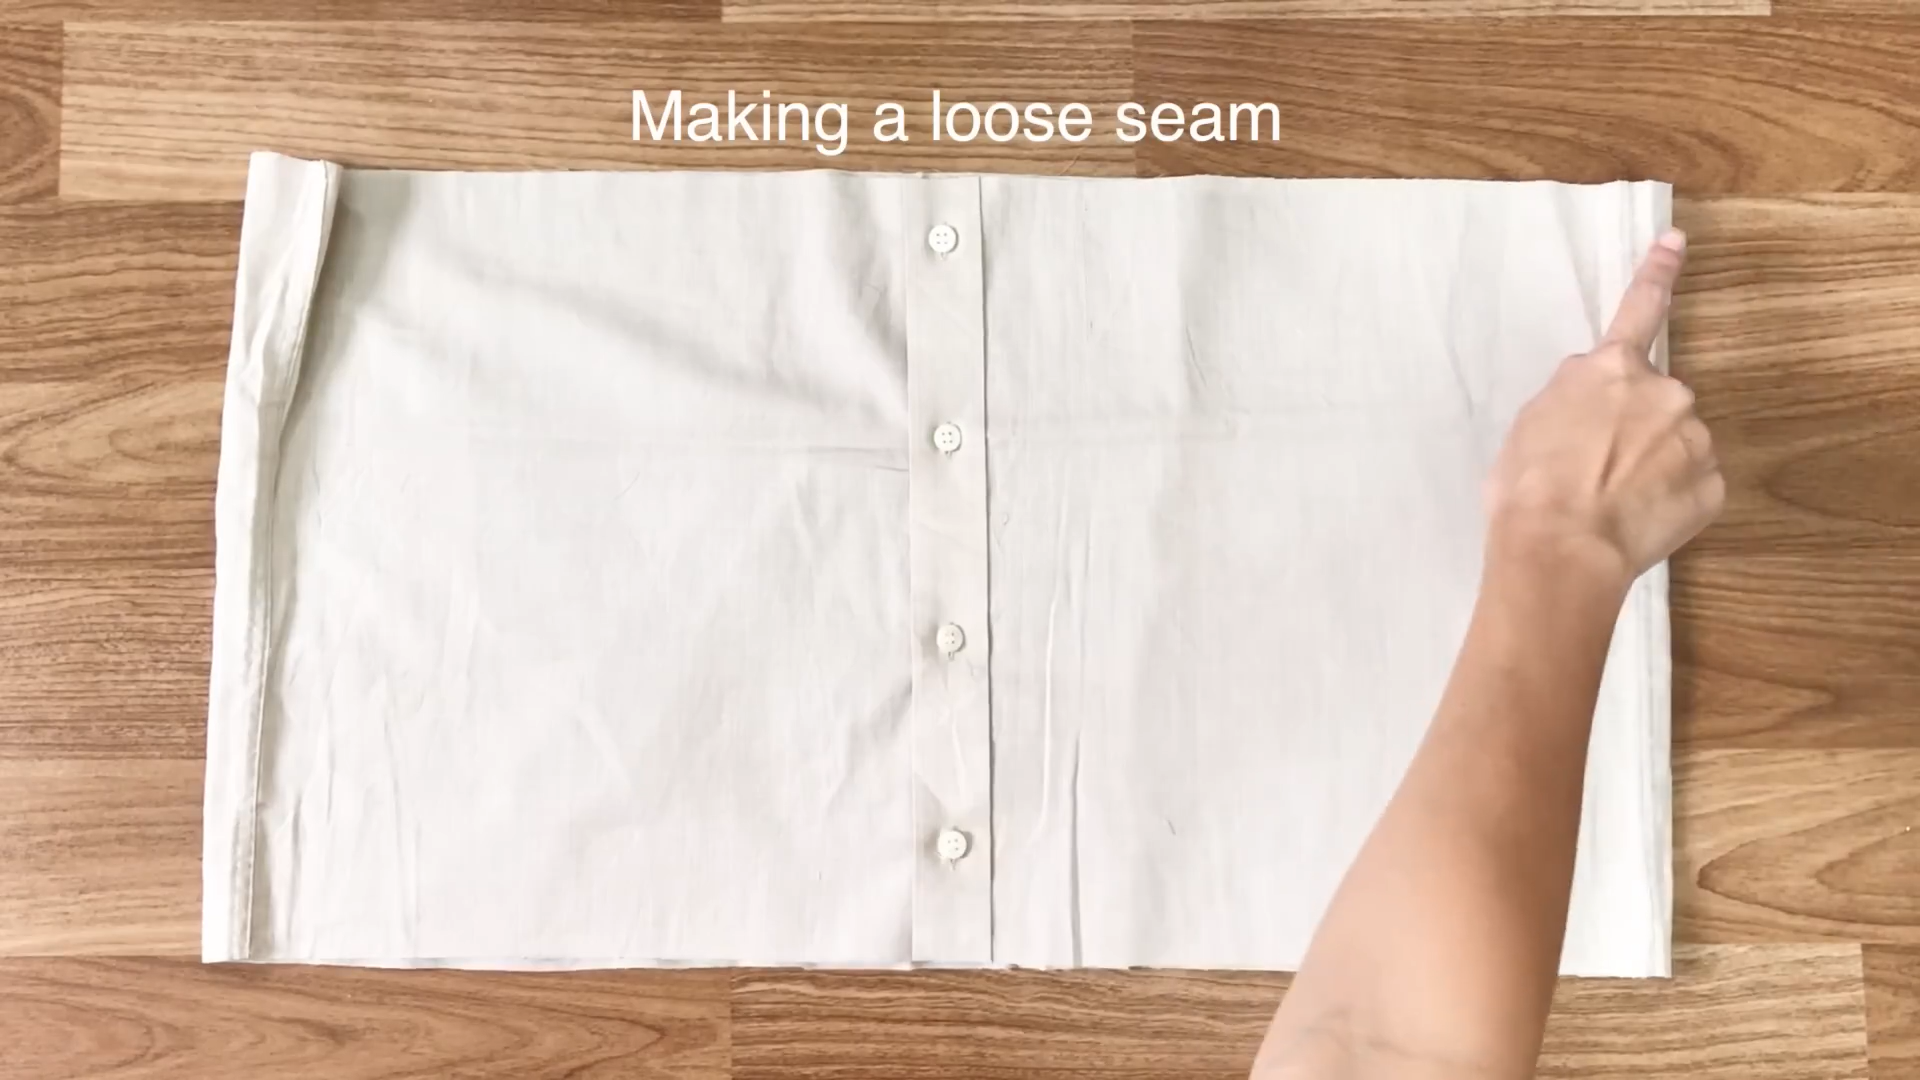
At the top of the main body, make a loose seam to create the ruffle too.
Make sure the width of the main body in the end will be the same with the bust strap.
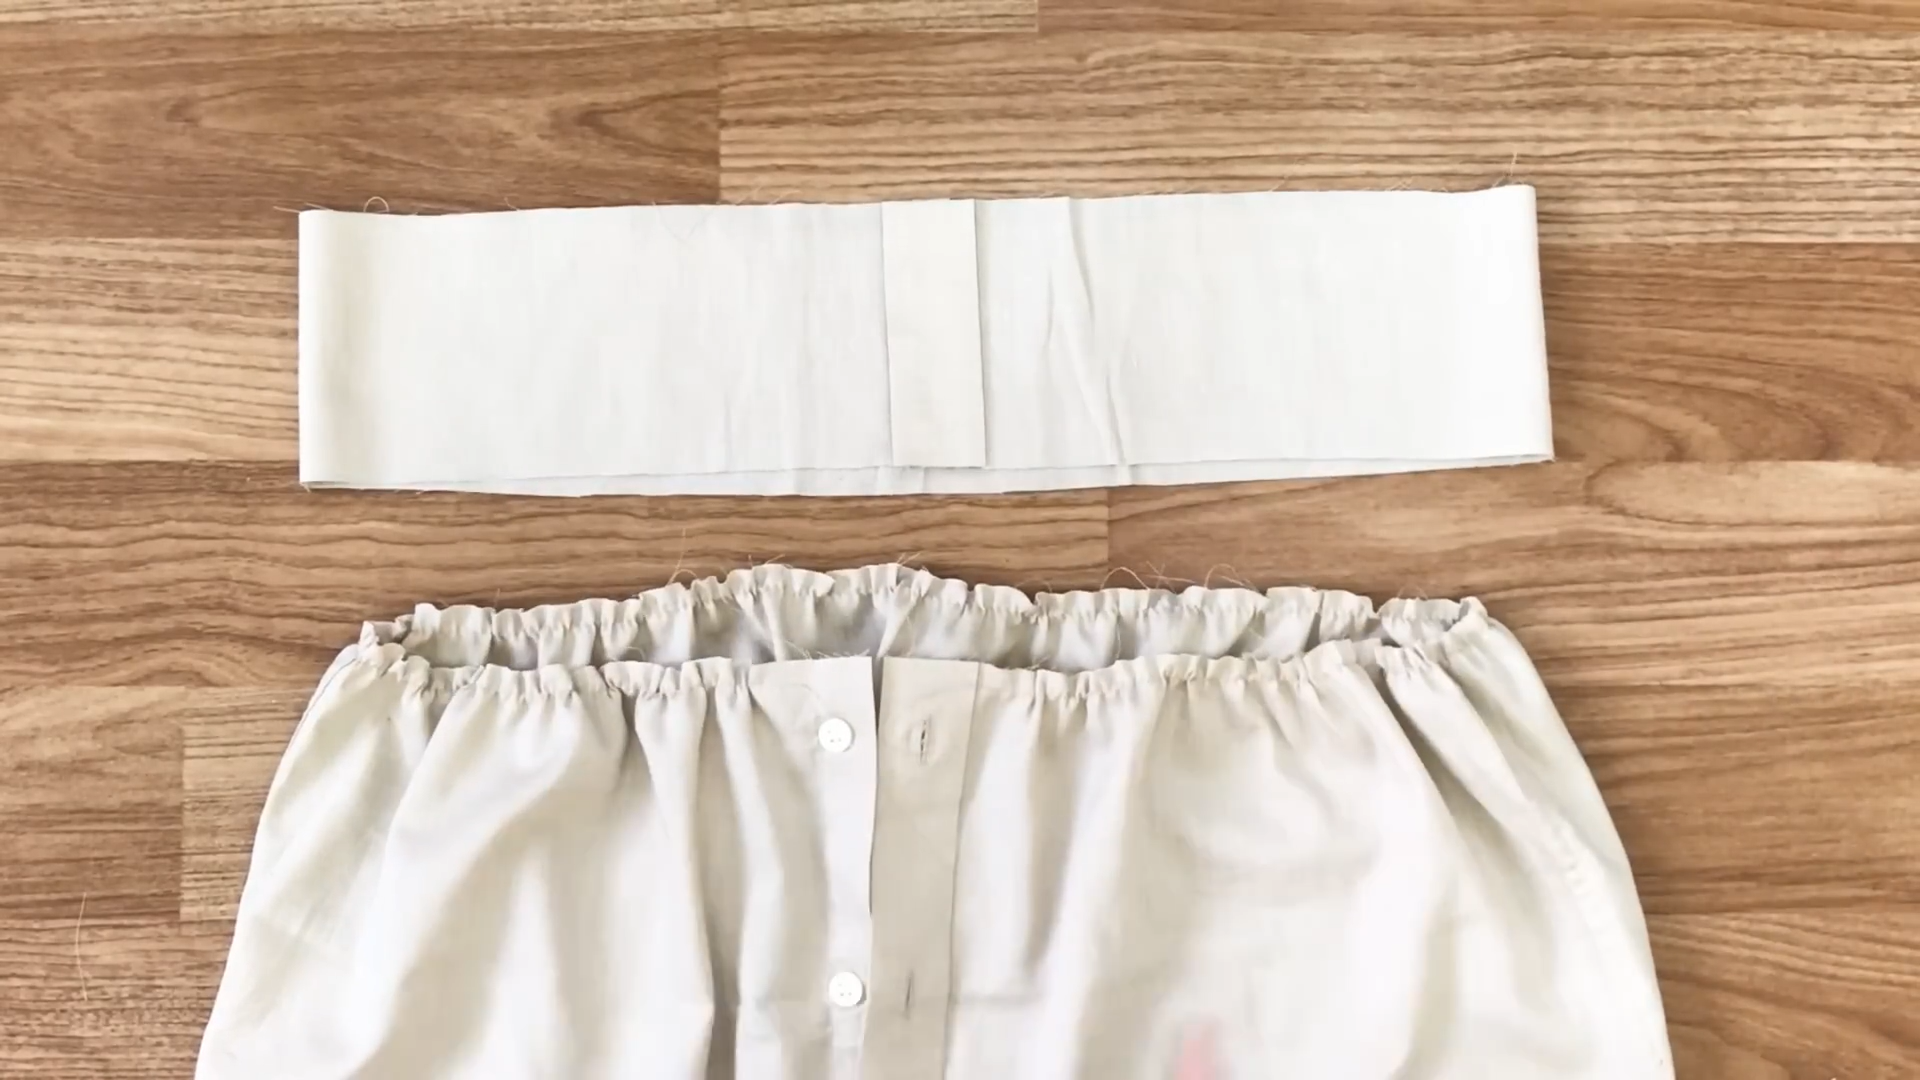
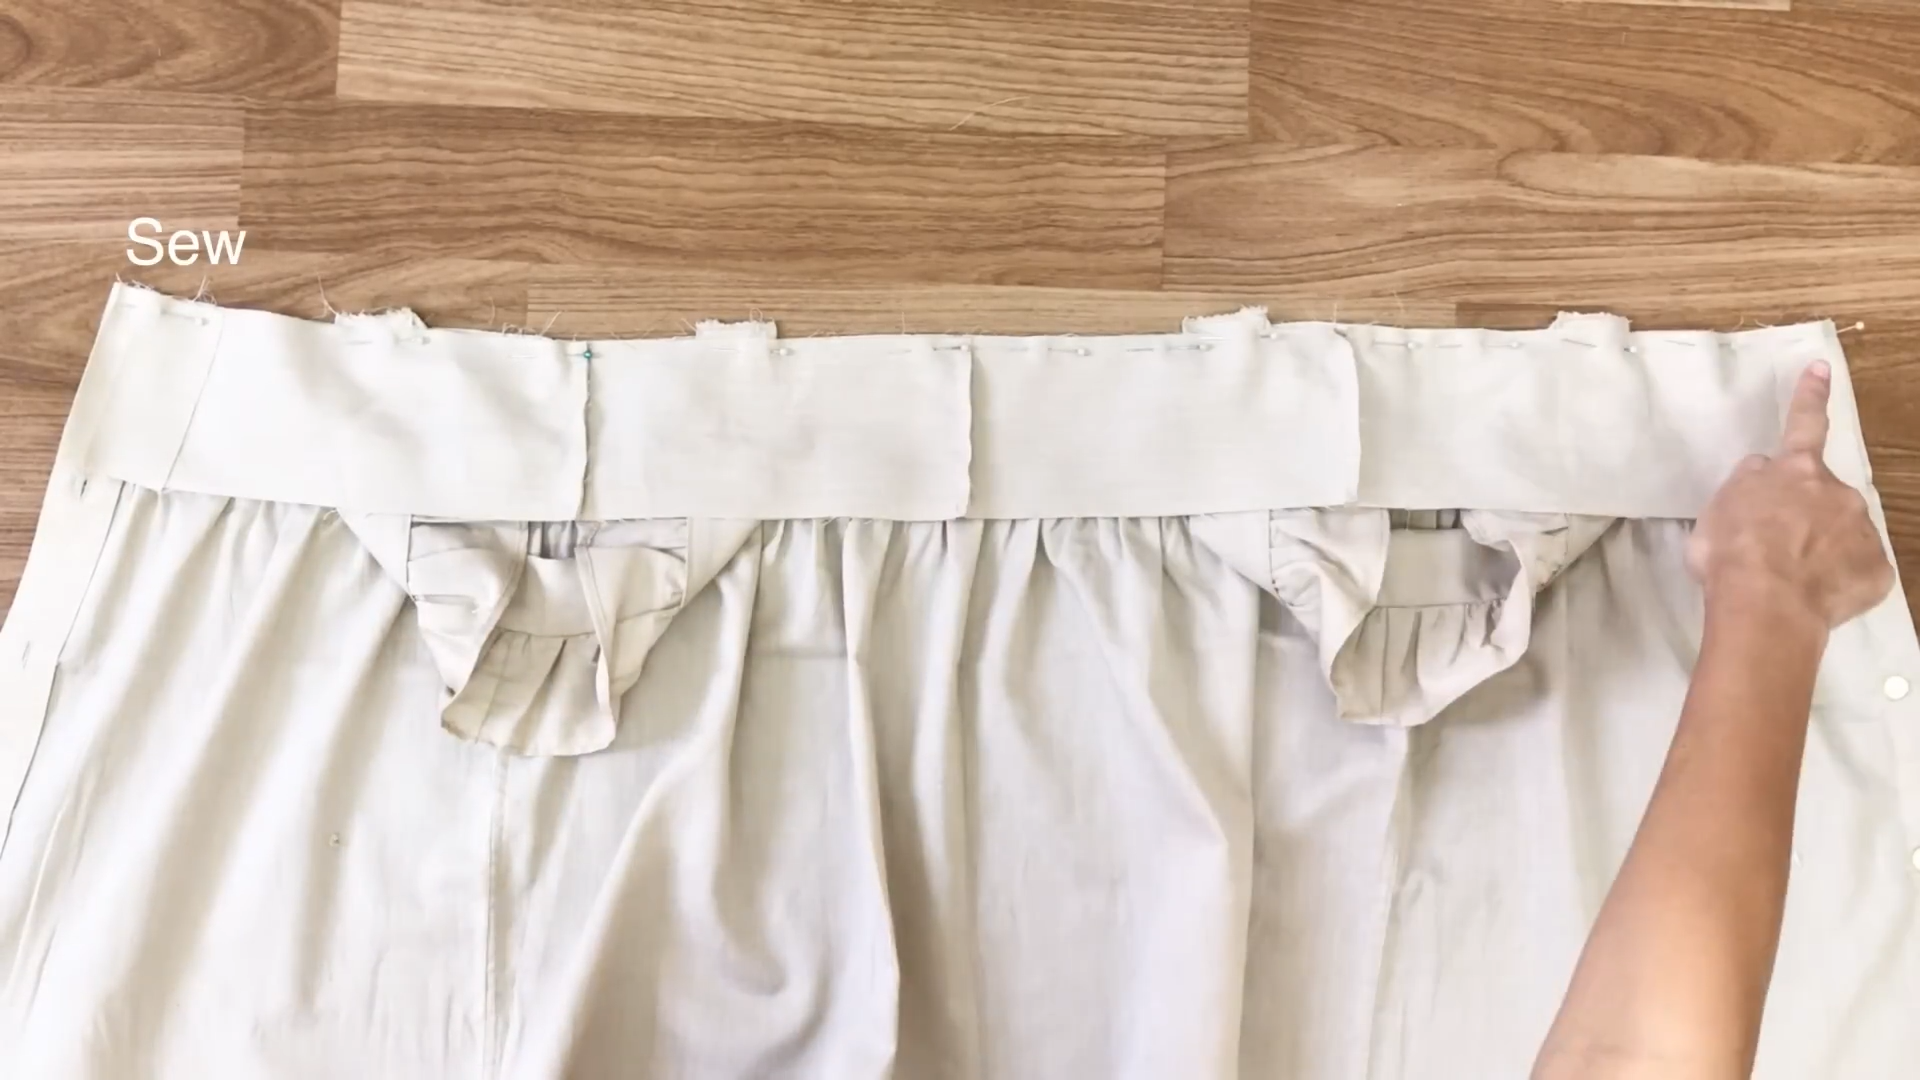
Now, connect the main body to the bust strap.
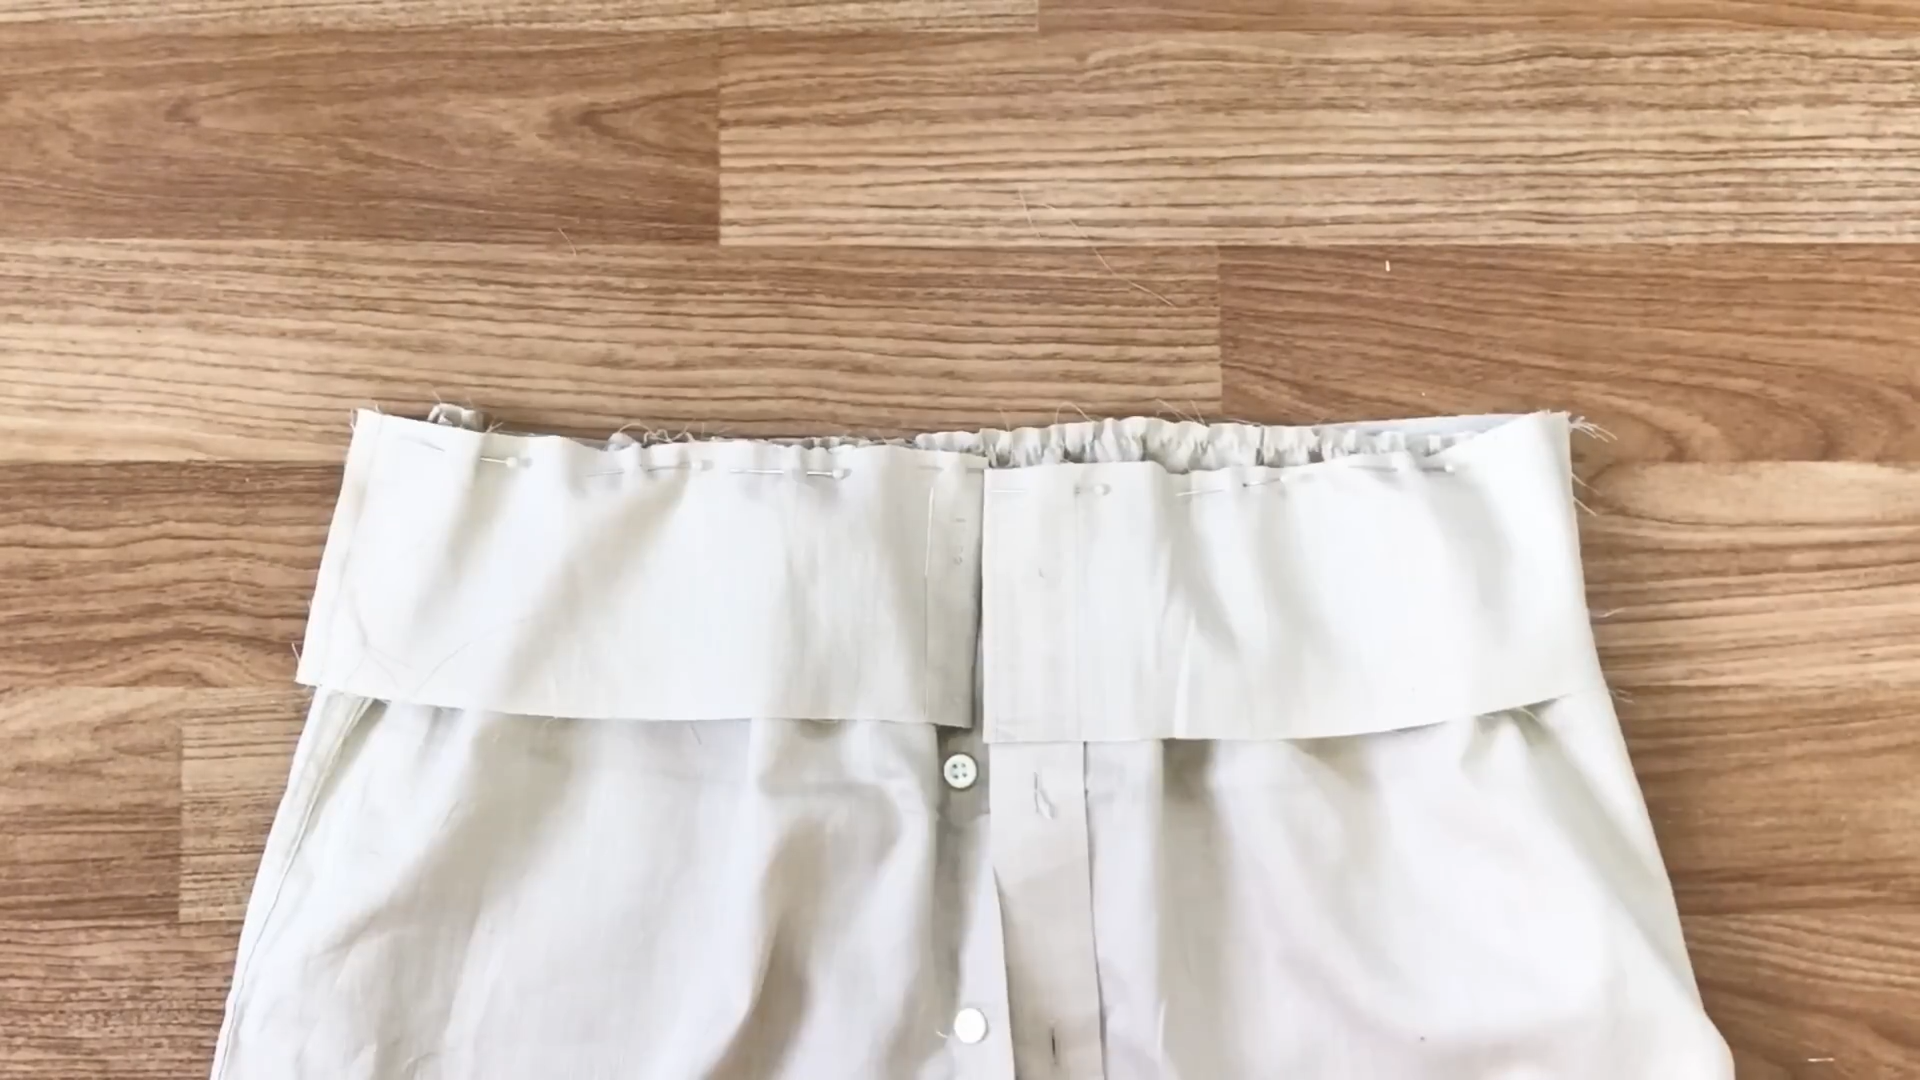
Make sure the button area at the main body and the bust strap match each other.
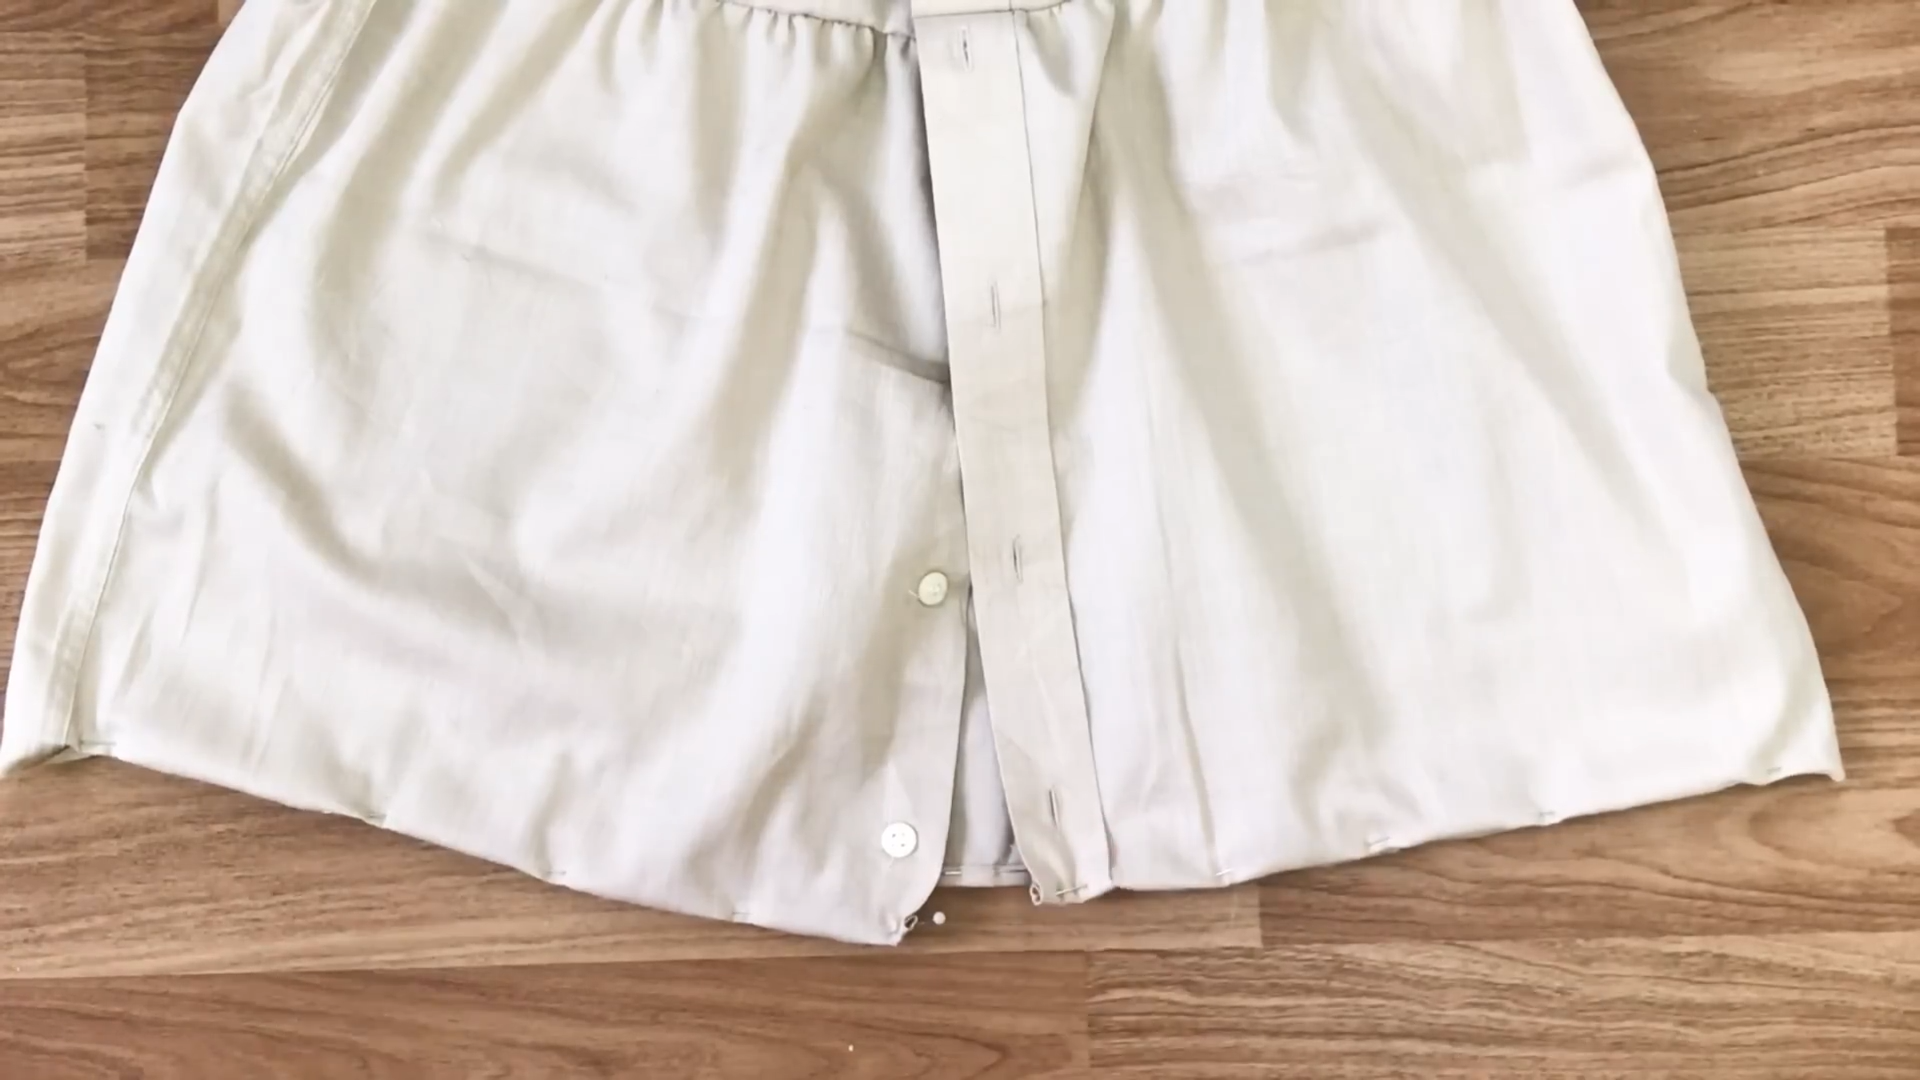
After that, finish the end of the main body by folding it twice. Then, sew along the folded line.
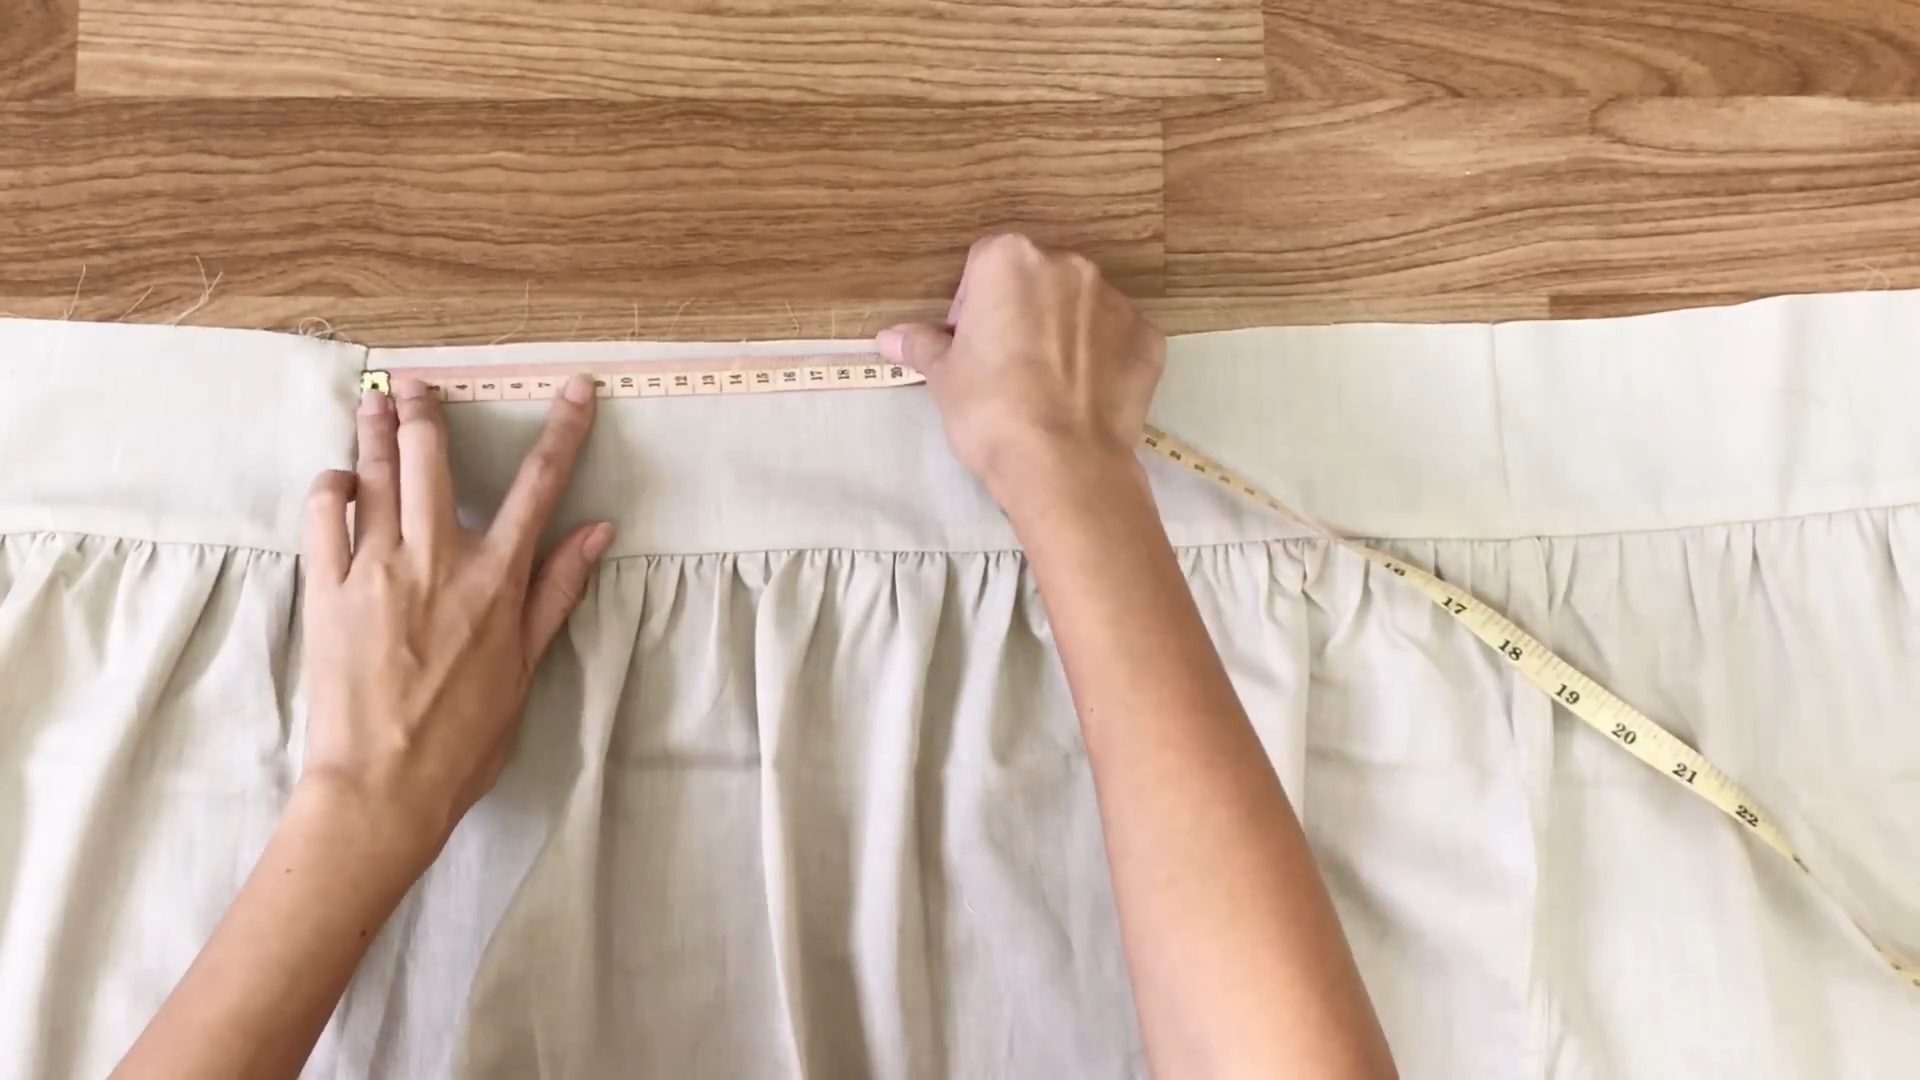
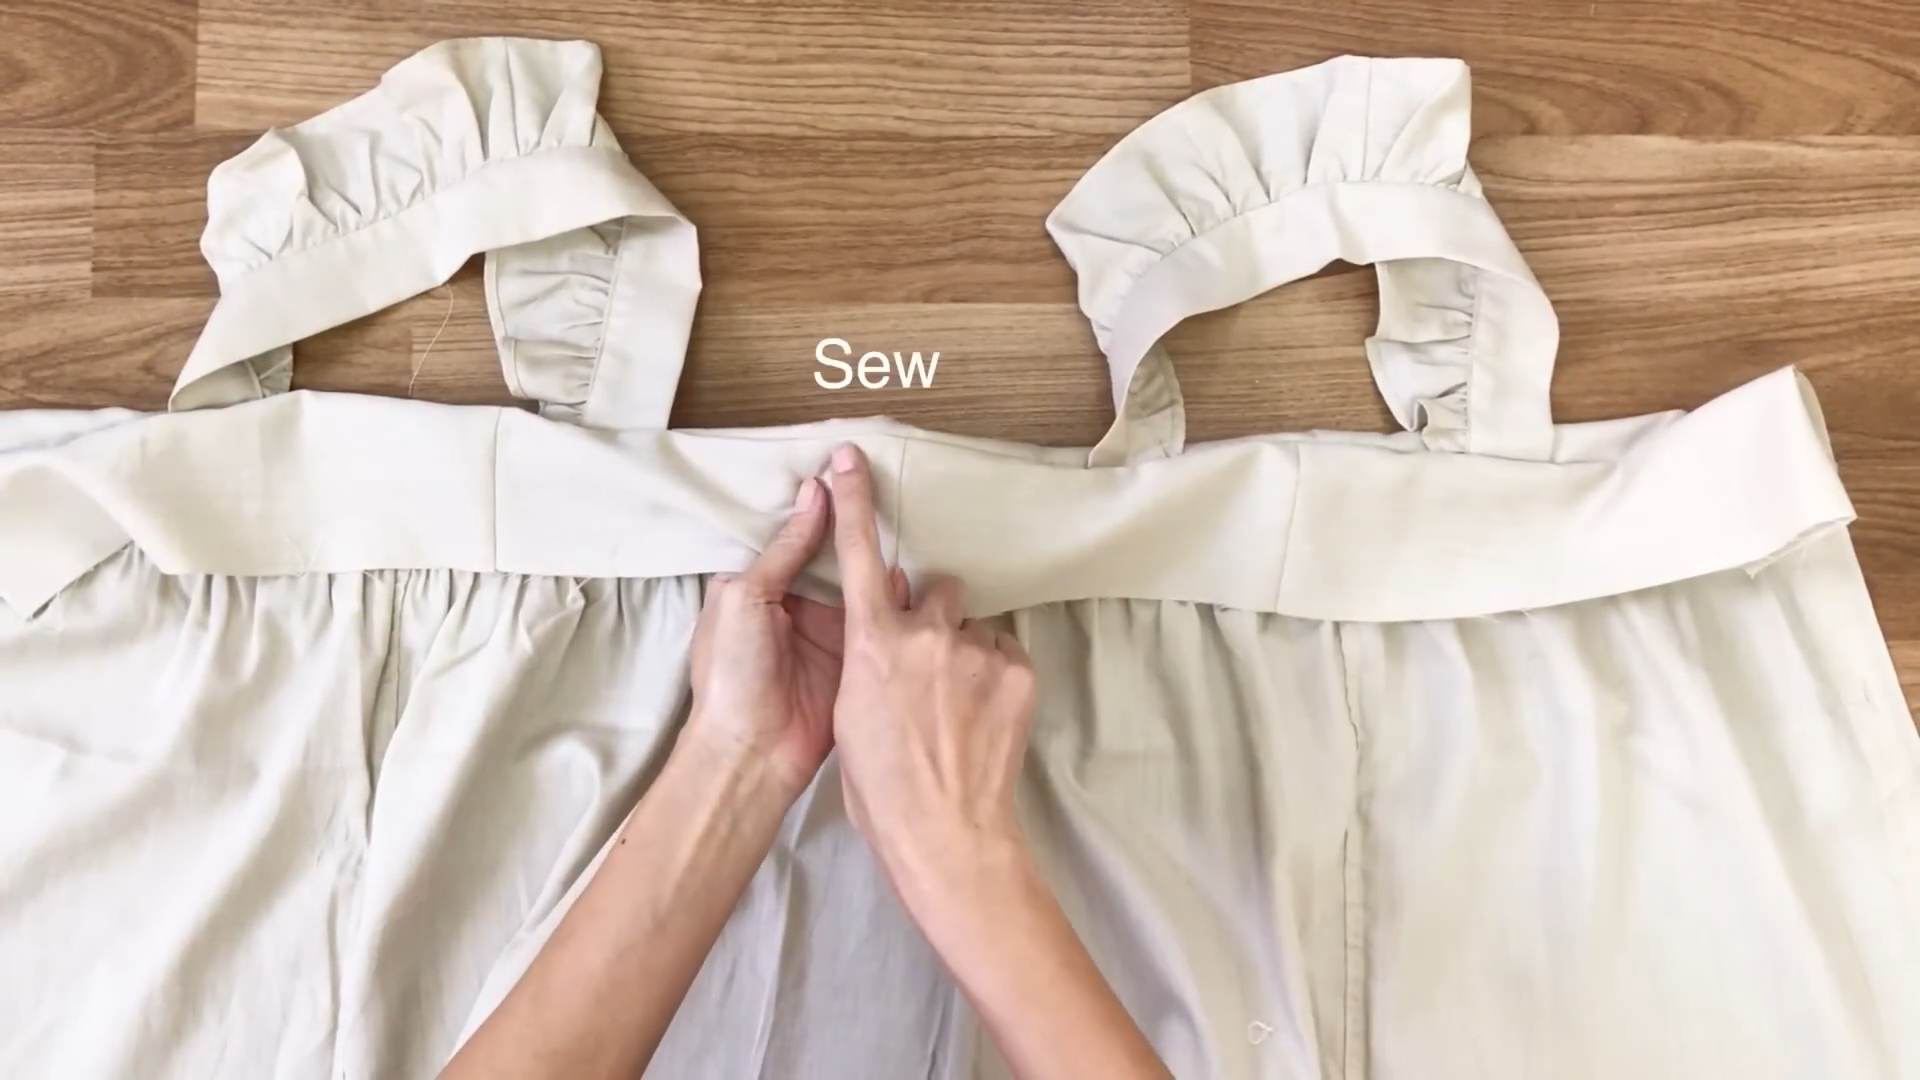
At the bust strap, measure the position for the shoulder strap to connect them together.
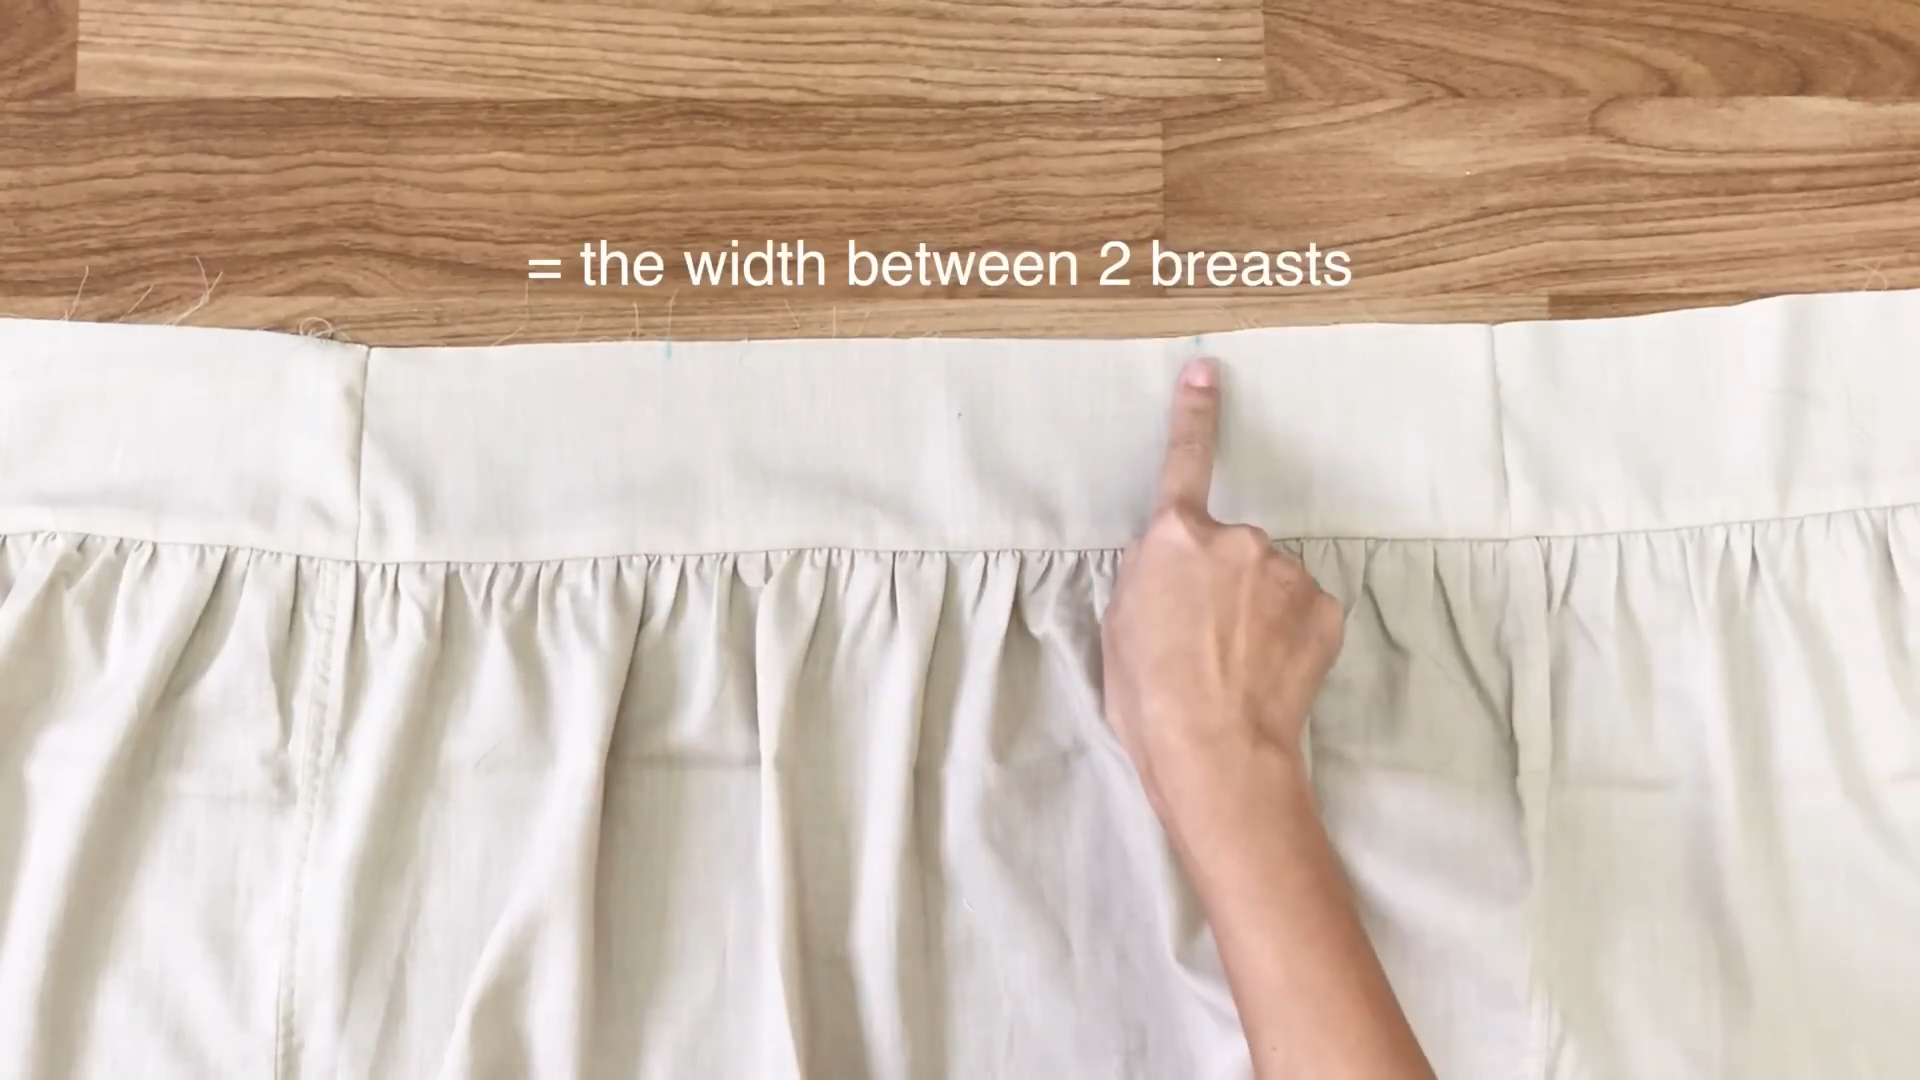
From two sides of the front, mark at 11 cm inside. So, the width between two marks will be the width between two breasts.
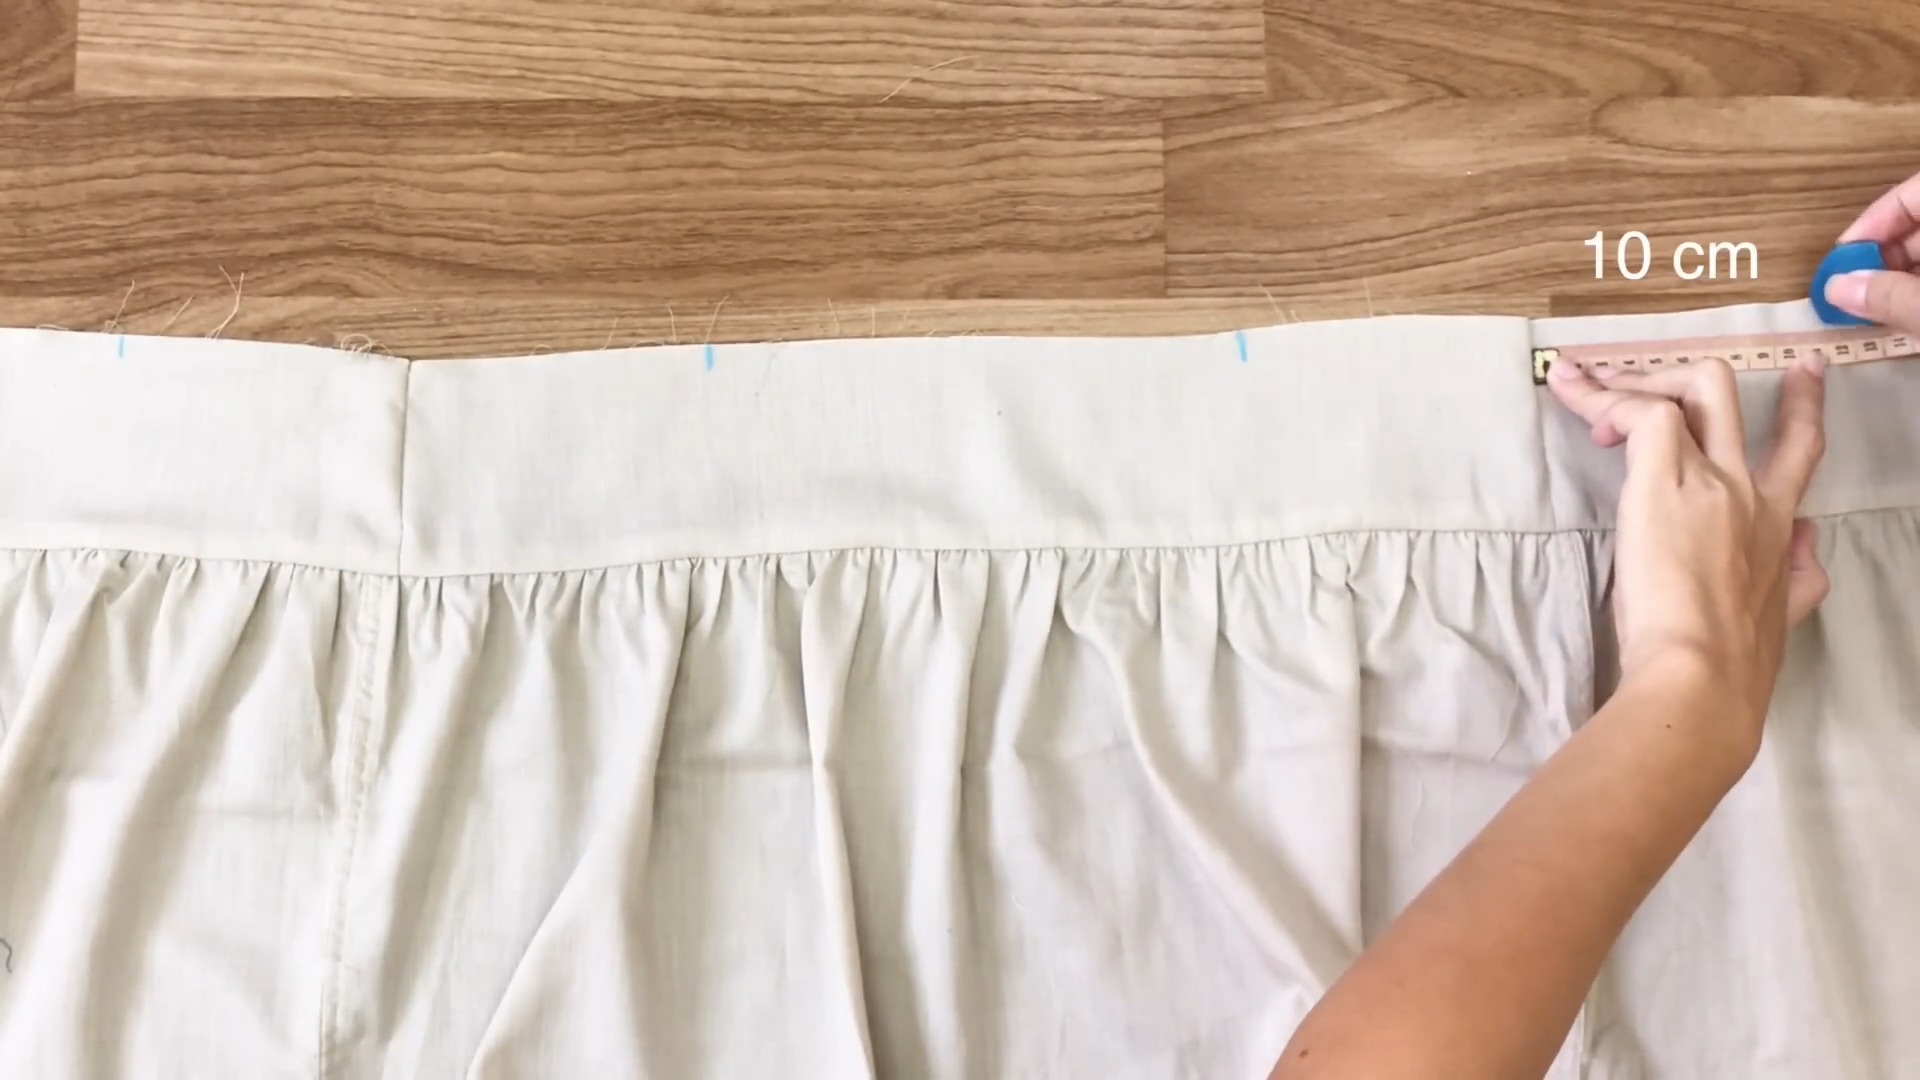
For the back of the top, mark at 10 cm instead of 11 cm to make it close to the arm.

Then, fix the shoulder straps to the marks just made.
Apply the second bust strap on it after that and sew them all together.
After that first seam, make the second seam next to it to gather all the end of the pattern together.
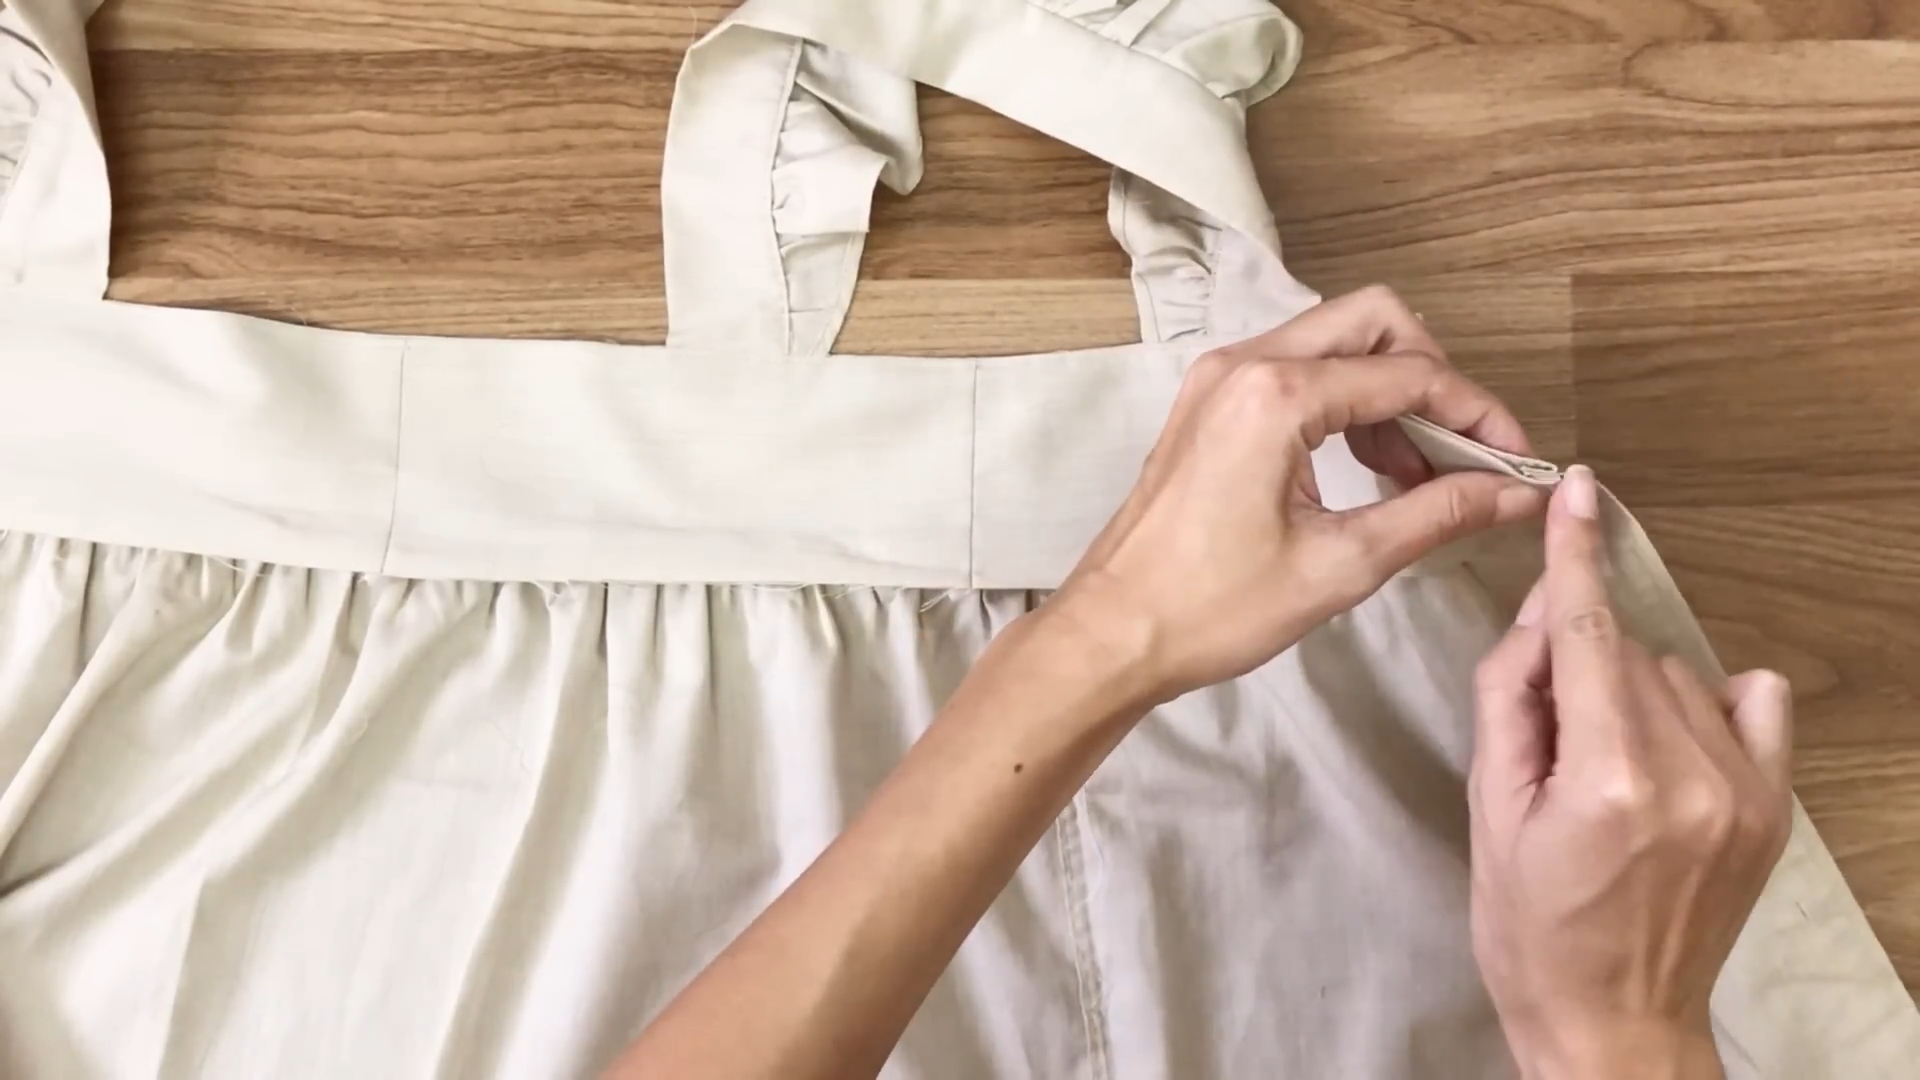
Fold the end of the second bust strap inside around 1 cm first. Then, fold it over the first seam to hide all the seams inside.
And sew along the folded line.
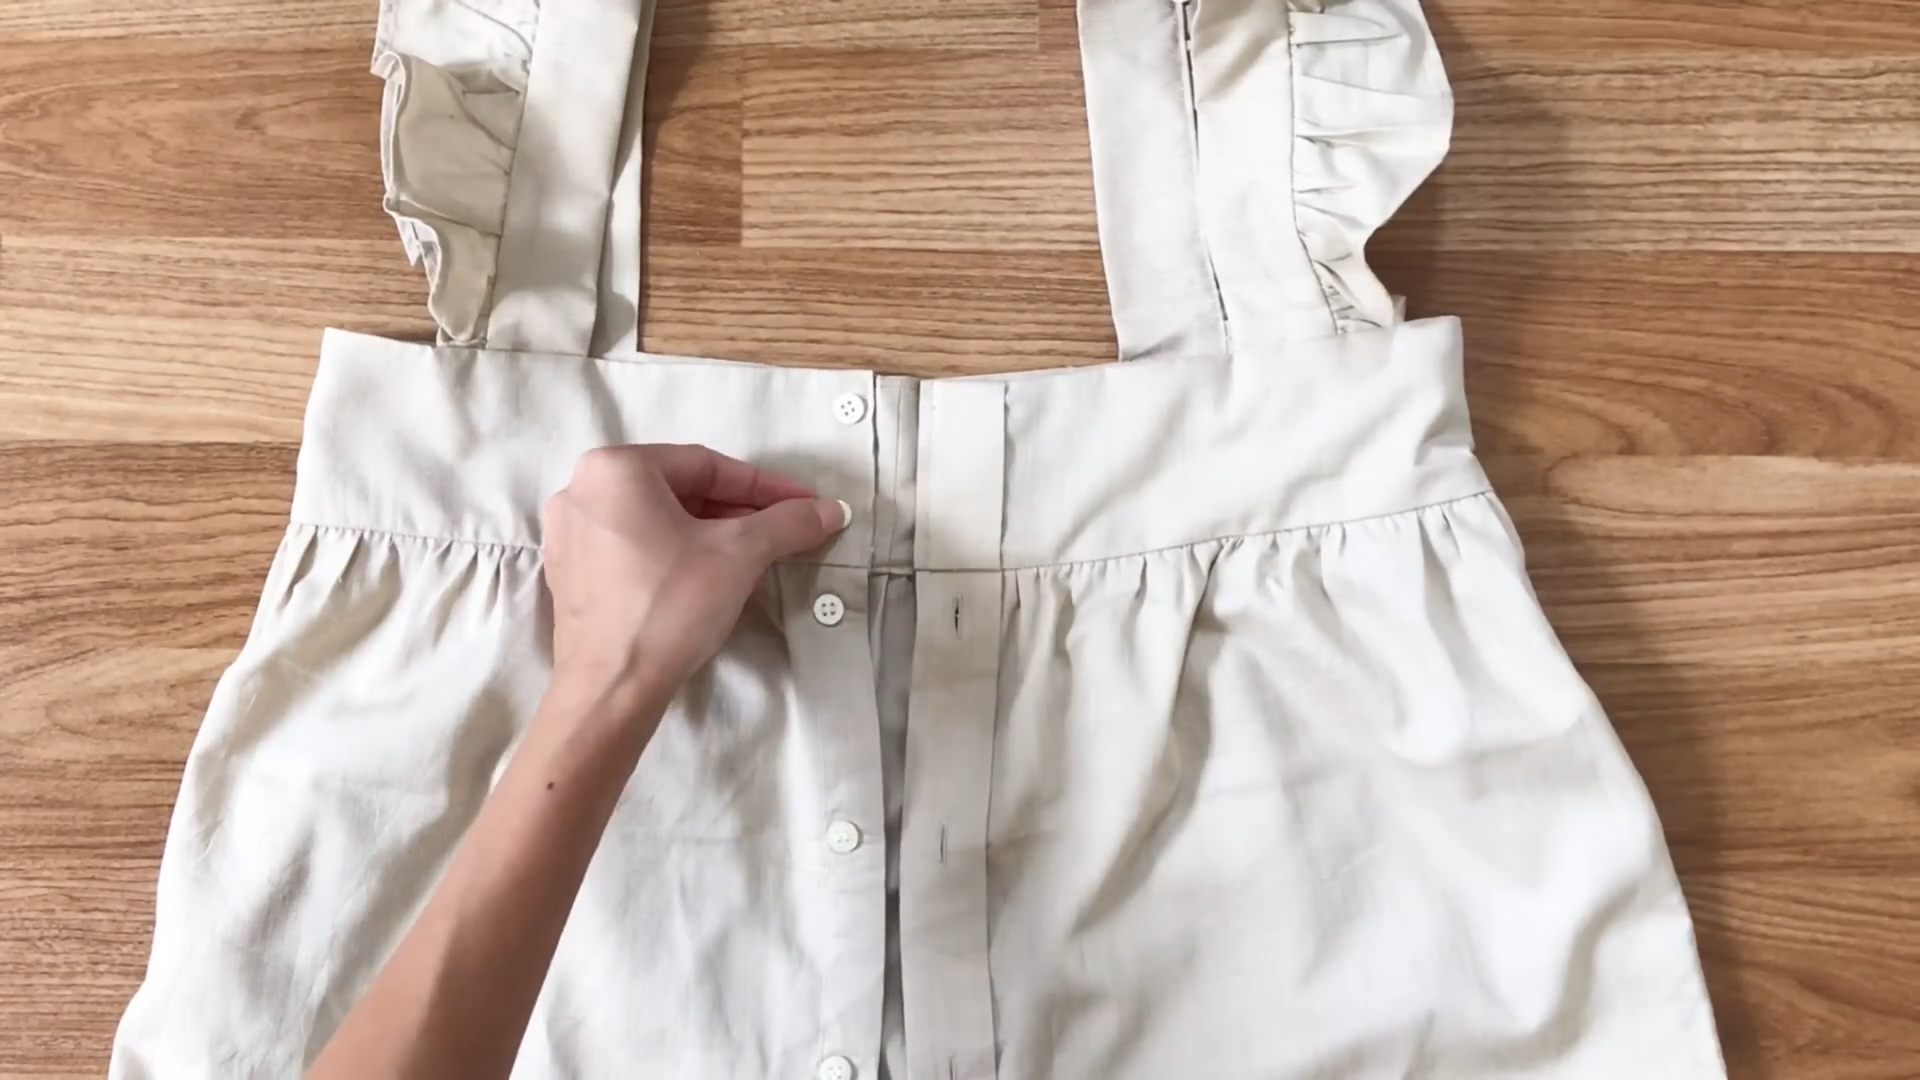
The last step is installing the button and making the button hole at the top of the bust strap to finish the back.

DIY RUFFLE SHOULDER STRAP TOP from Men's shirt
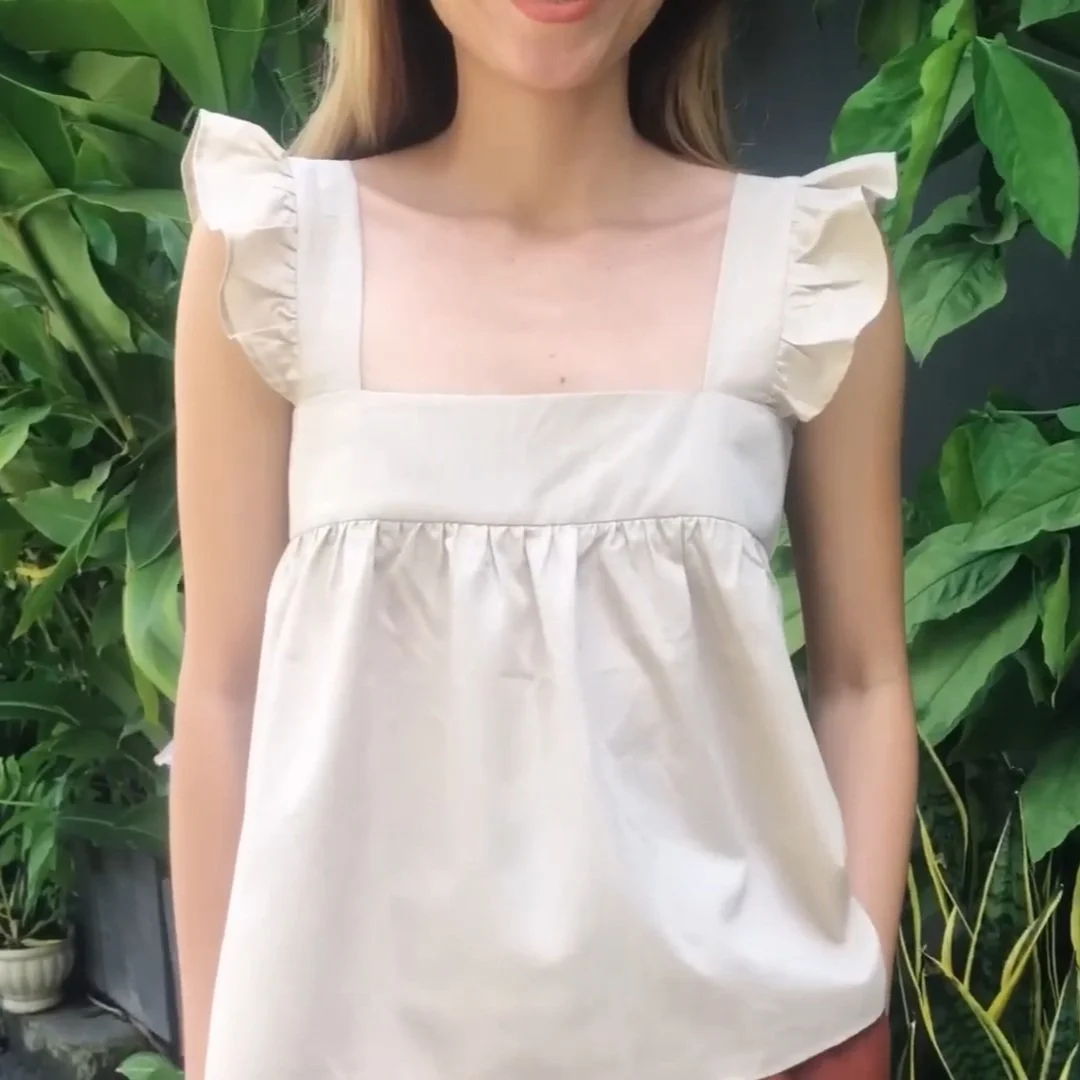
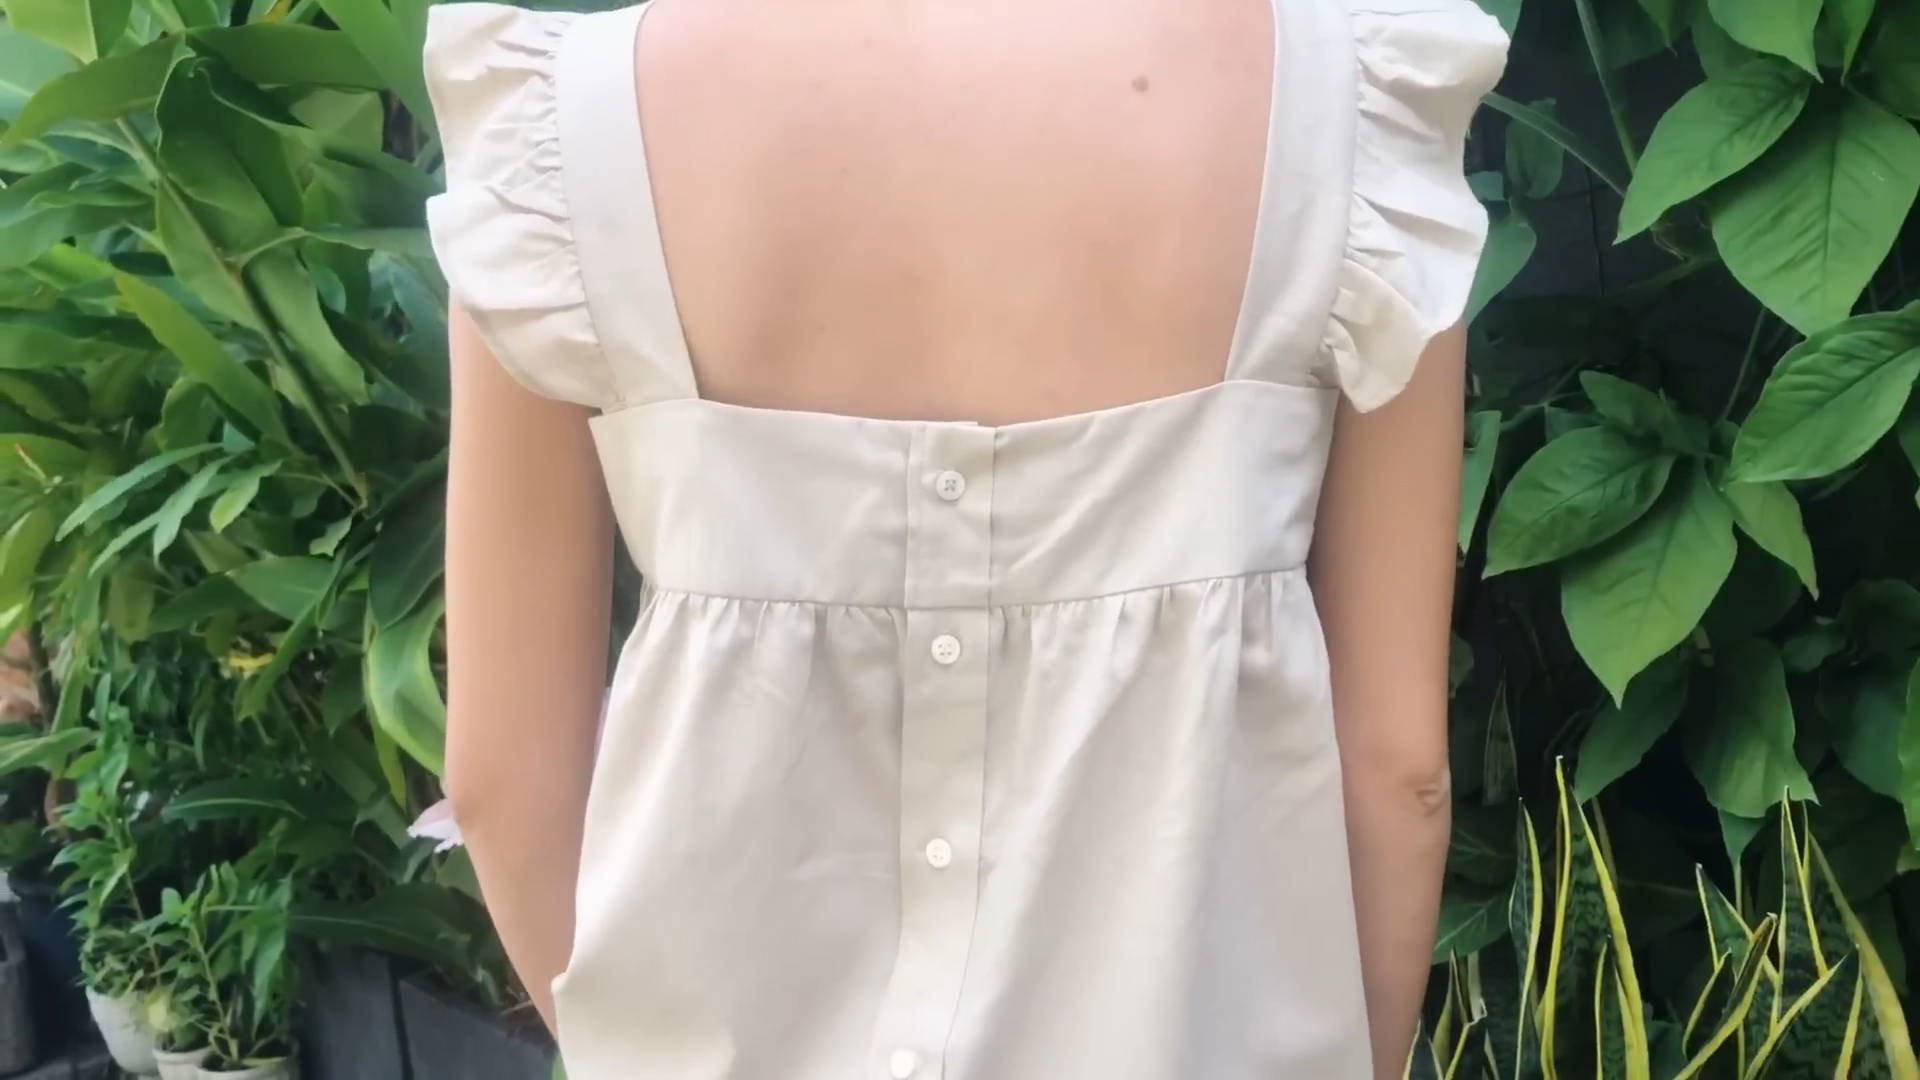
And I finish this DIY. Here's my final transformation!
This top is just so cute and suitable for anyone with a small or big breast.
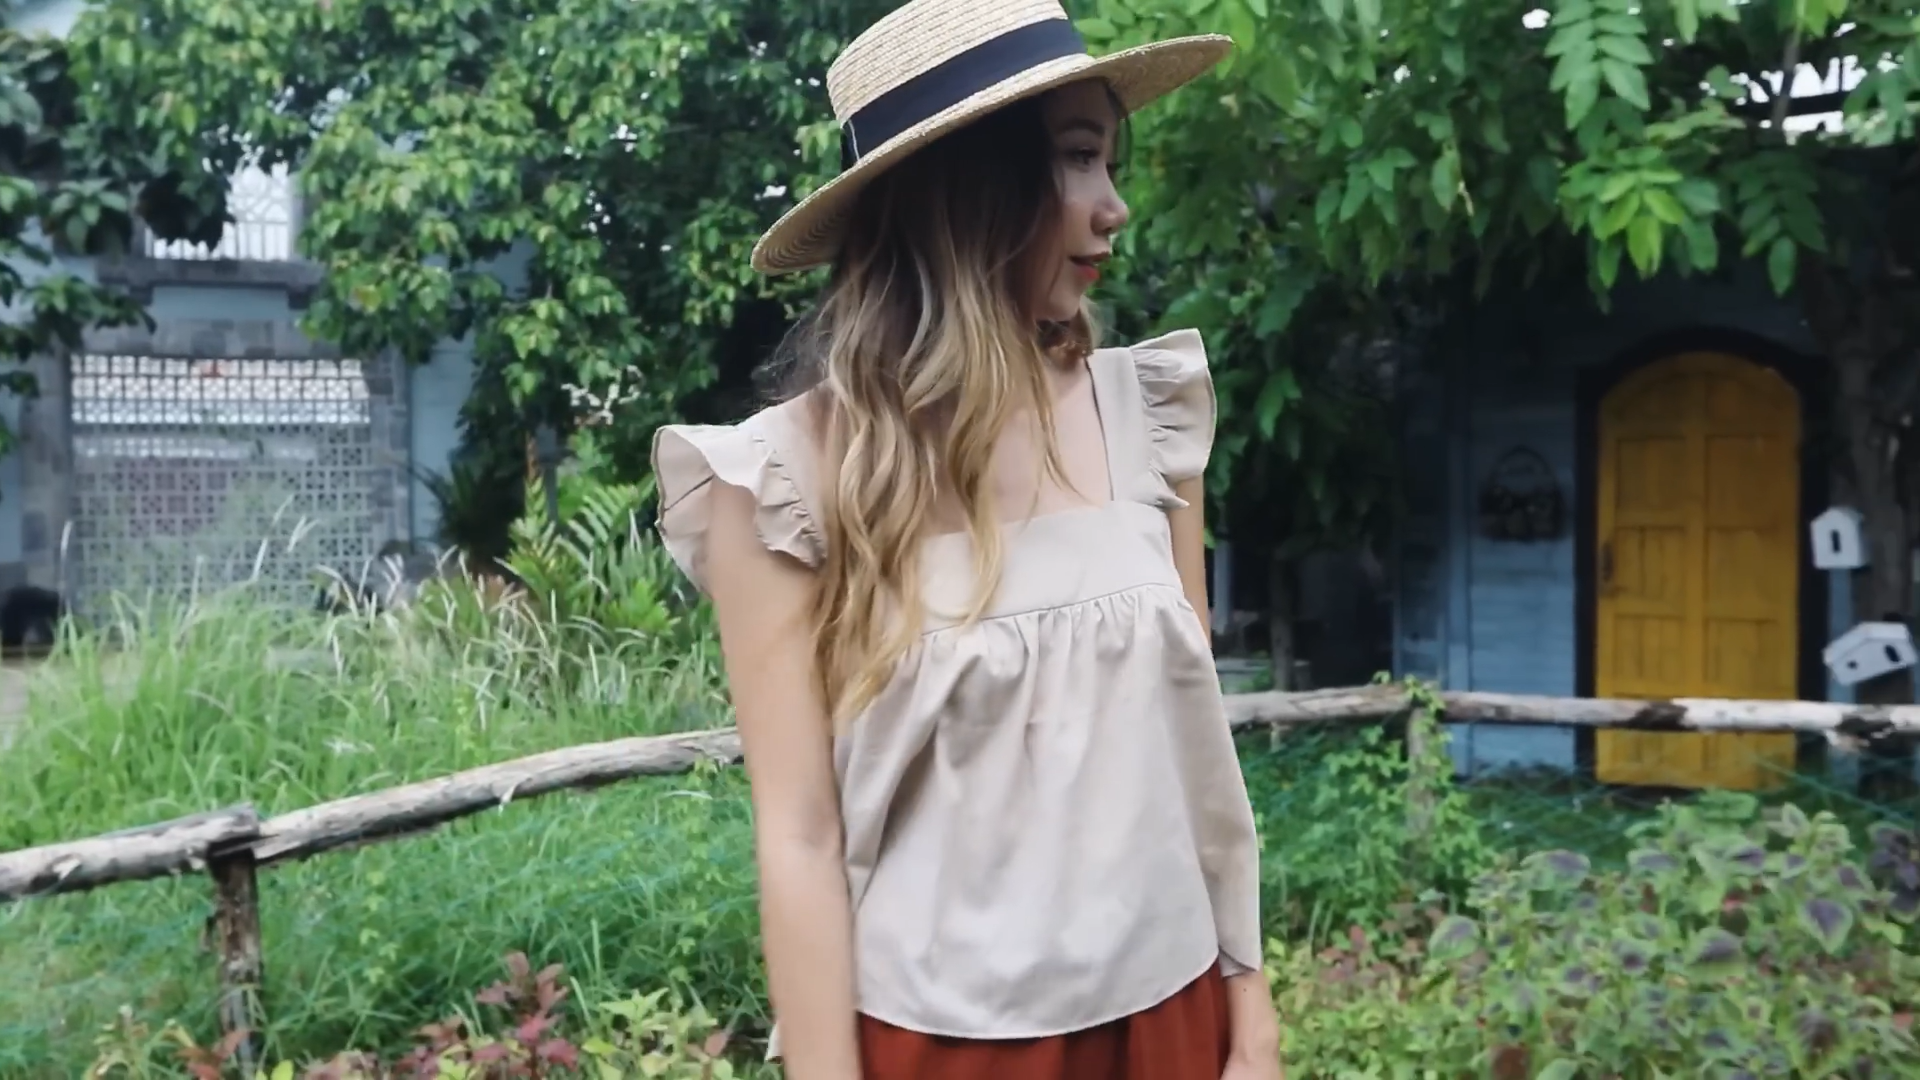
And it won't be too difficult to make. So I hope you will give it a try.
If you liked this project, please share it and subscribe to my channel so you won’t miss any of my upcoming DIYs.
Until next week, happy sewing!