DIY Overall Jumpsuit from Scratch - Step by step tutorial [+ Free Pattern]

DIY Overall Jumpsuit from Scratch

Hi everyone! I’m Jess, and I have a bit of a jumpsuit obsession. I find them perfect for any occasion, and today, I’m excited to share with you how I created one of my favorite pieces - an overall jumpsuit.
The best part? You don’t need to be a professional sewer to make it! I’ve made sure to include detailed steps in my video, making it easy for you to follow along and create your own.
This jumpsuit is not only super comfortable and adorable, but it’s also versatile enough for a day in the garden or a casual hangout. So, if you’re ready to dive into the world of DIY jumpsuits, you’re in the right place.
Let’s get started!
WHAT YOU’LL NEED
Yellow linen fabric
Pattern paper
Sewing machine
Pins
Scissors
Ruler
Long stick
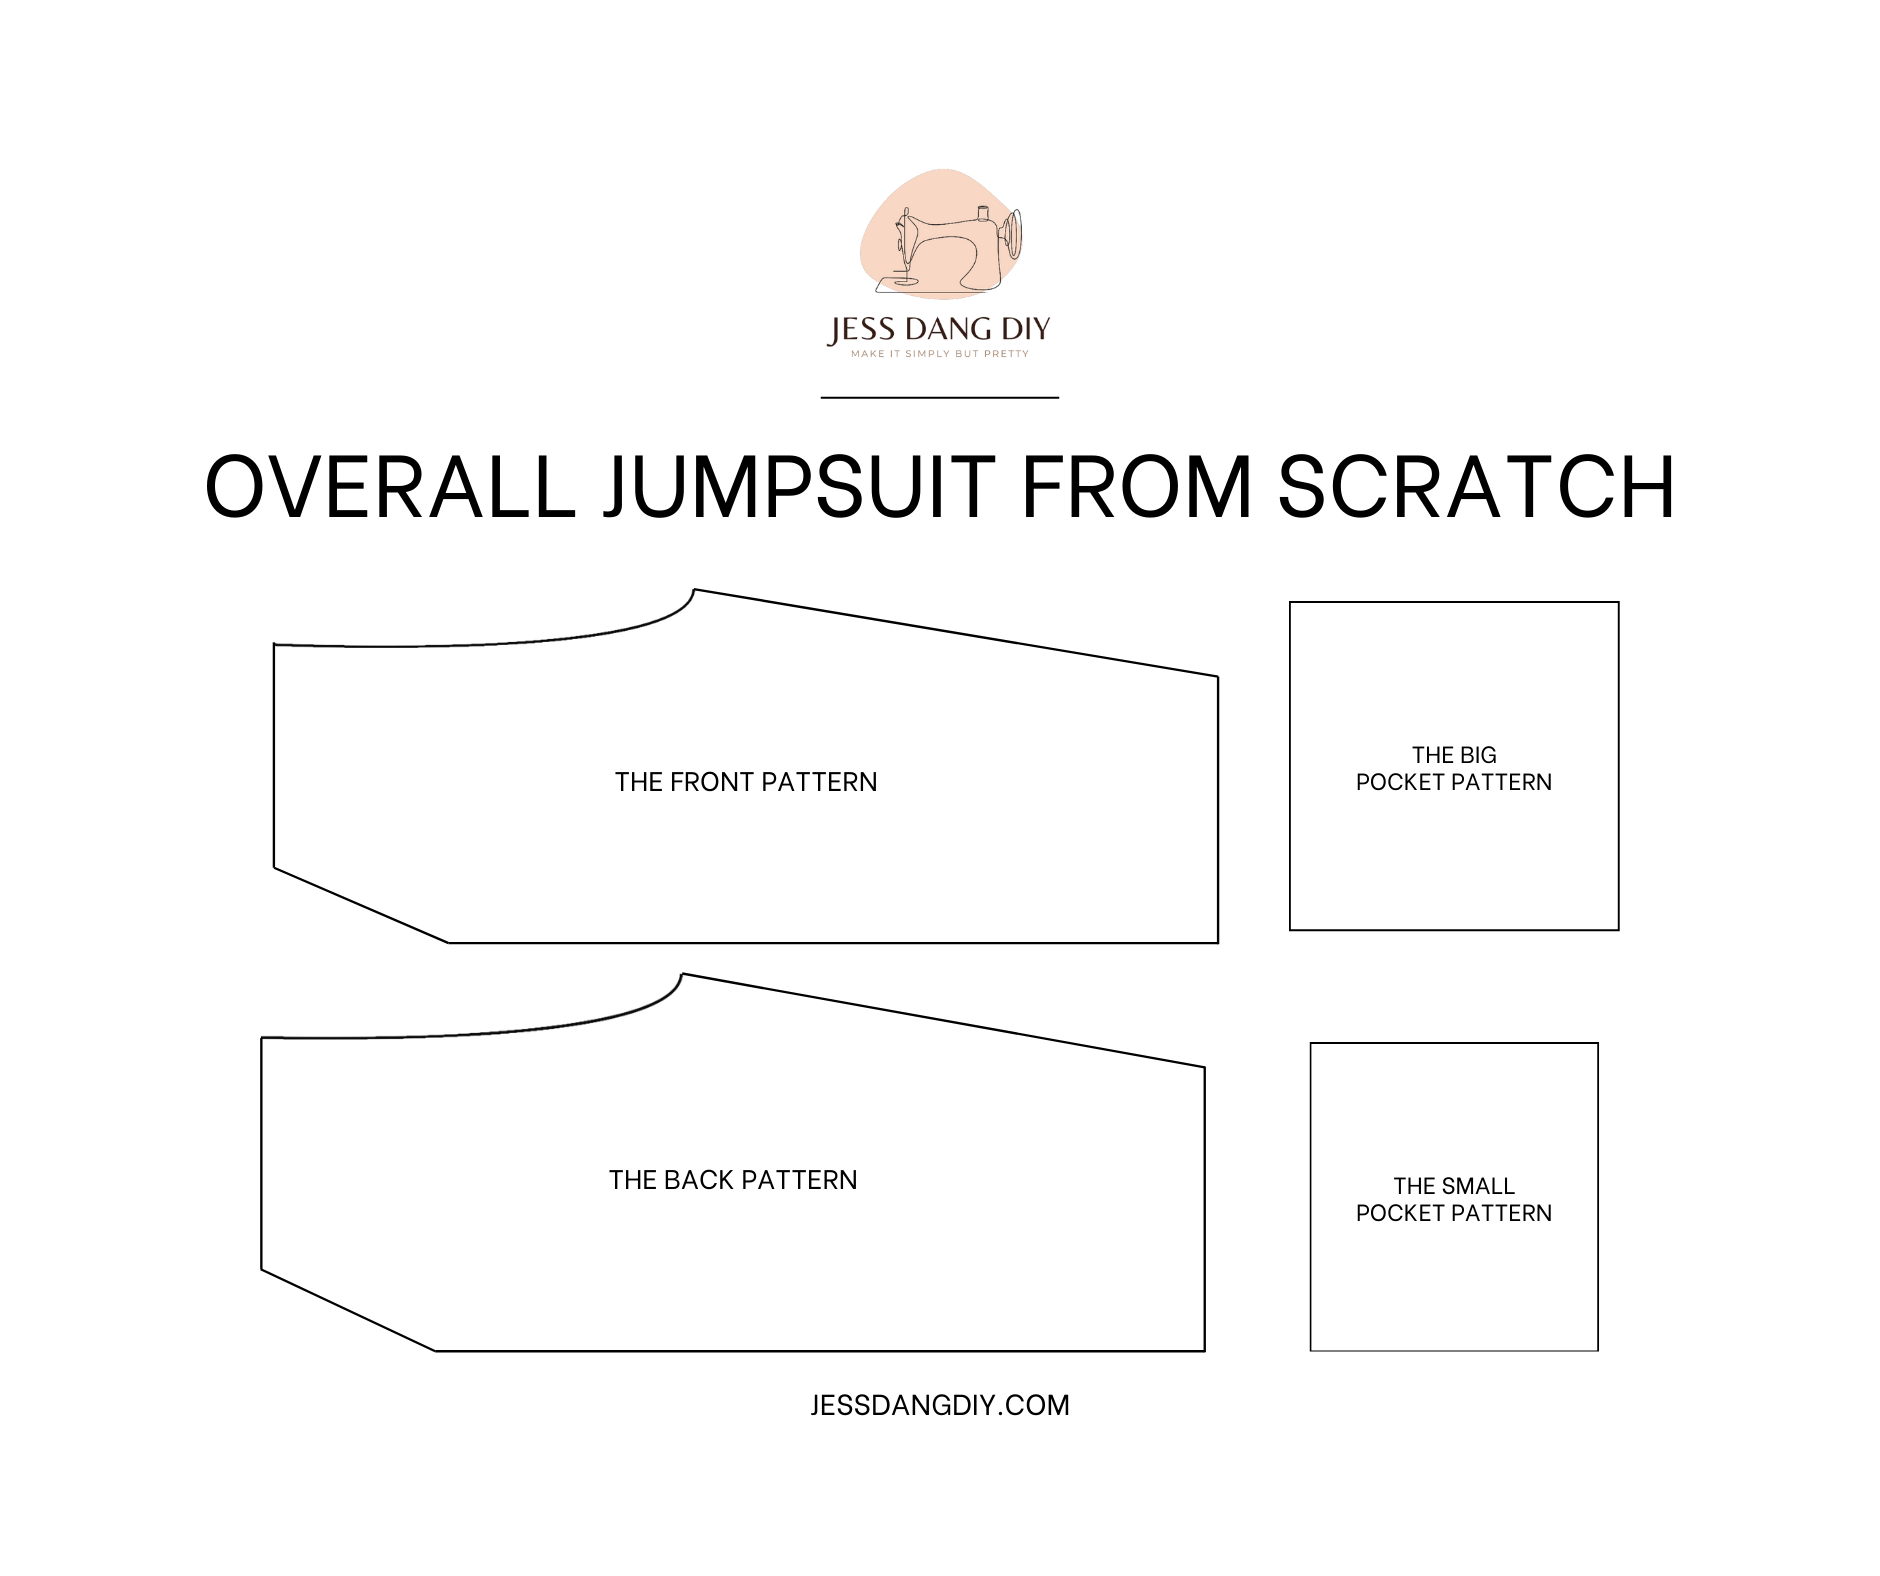
MAKING THE PATTERNS
Here’s the pattern for the project. To get a clear understanding of all the measurements needed for the pattern, watch the video from 0:26.
Remember, you can adjust these measurements to fit your own dimensions!
THE FRONT PATTERN
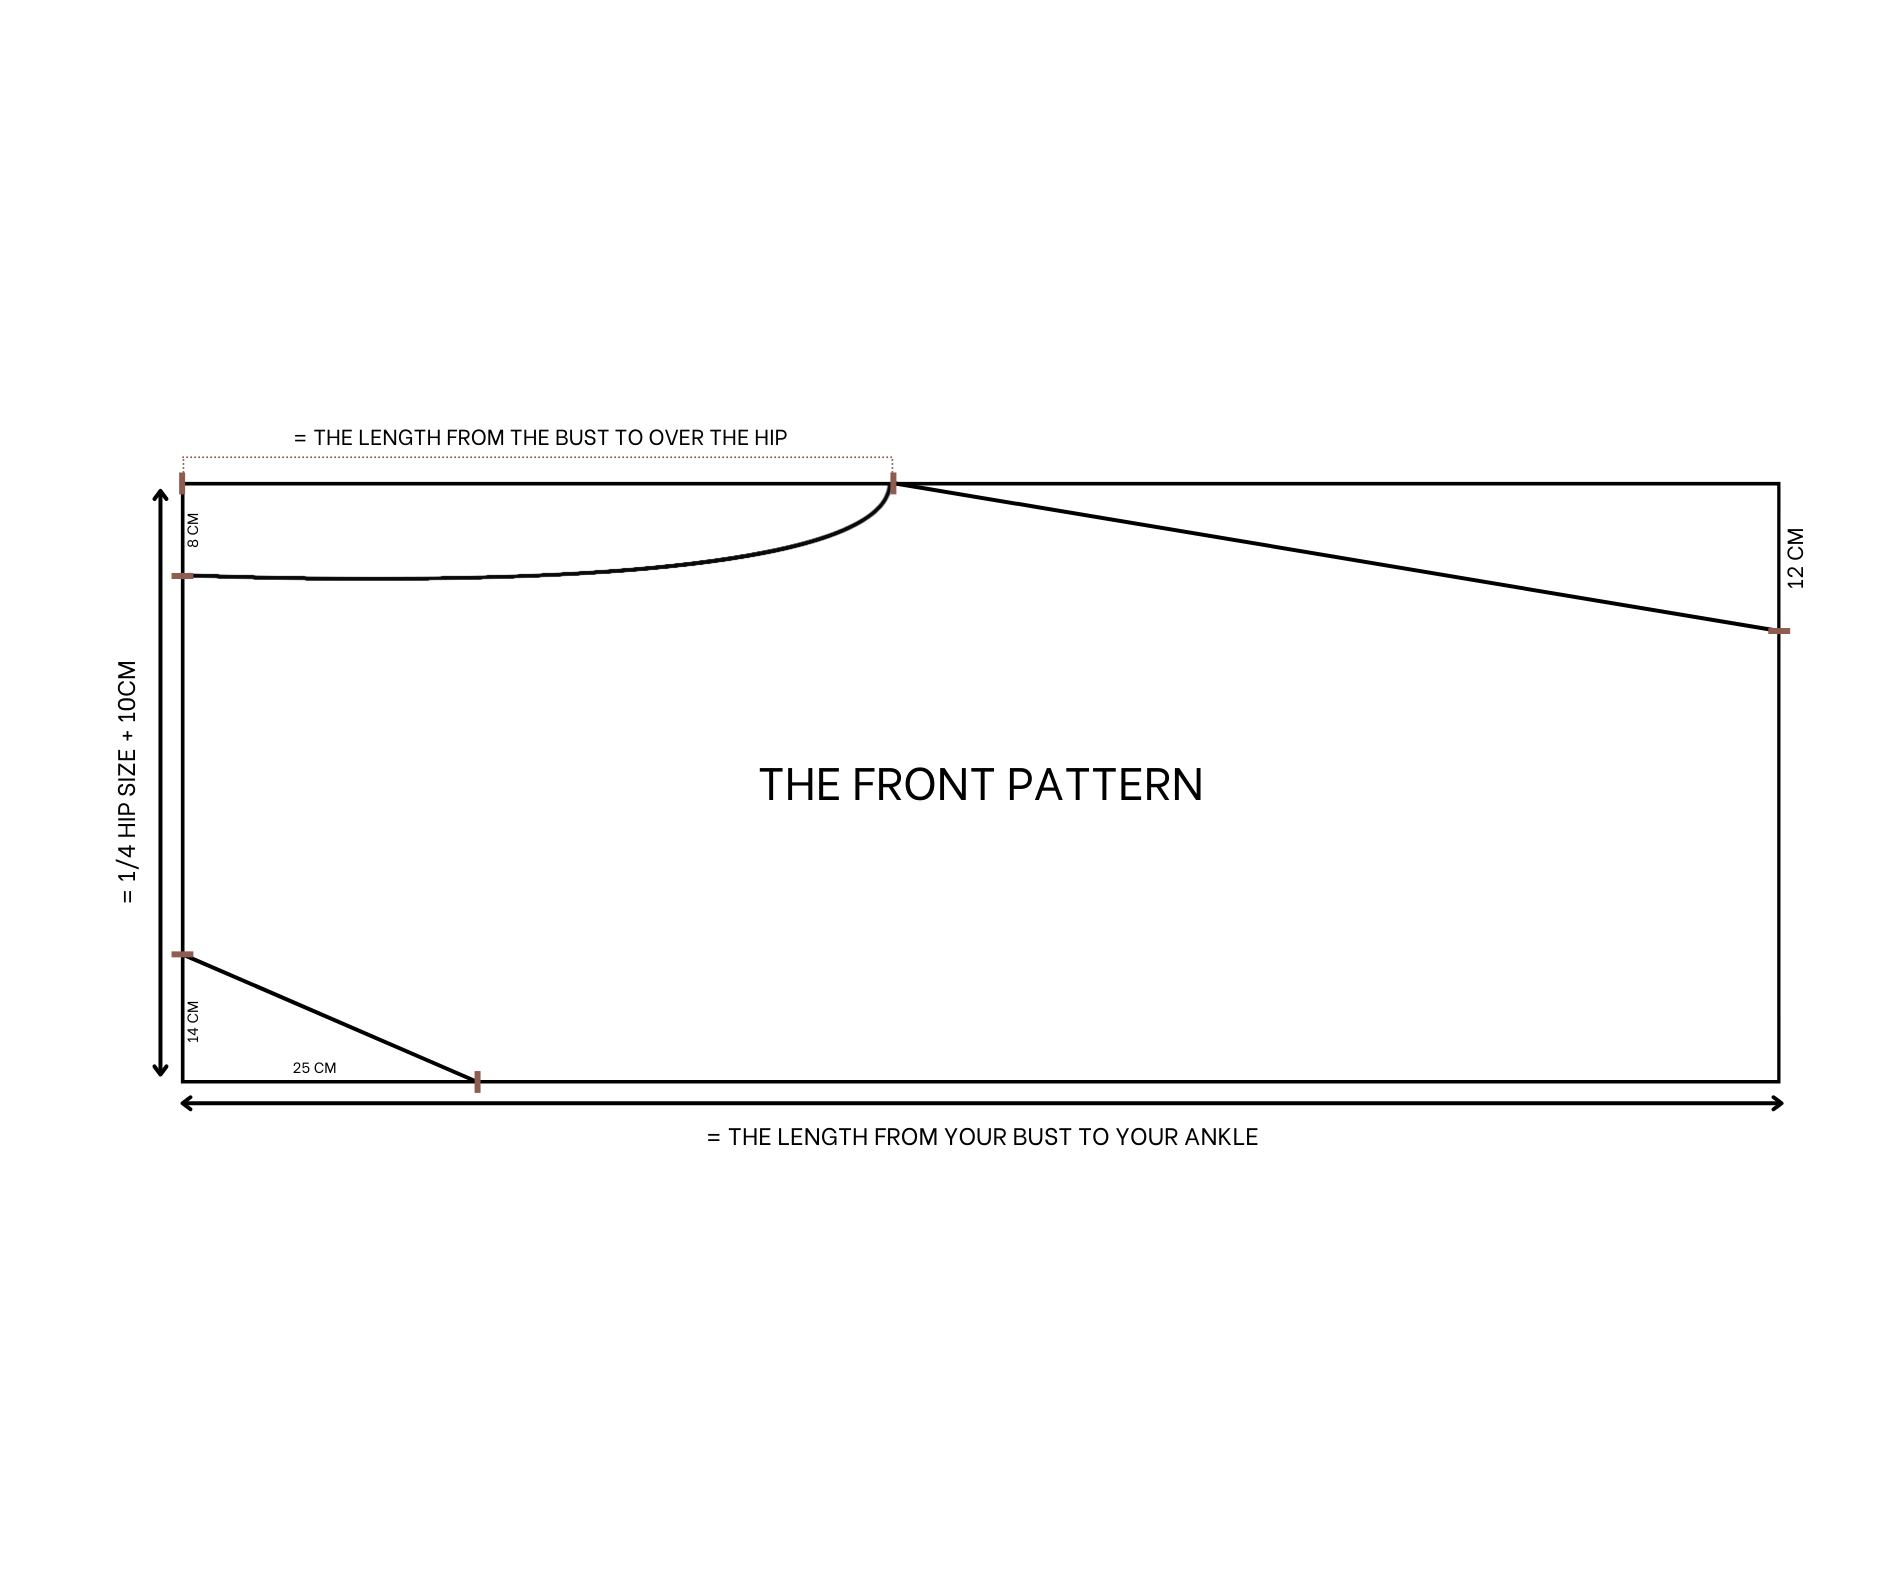
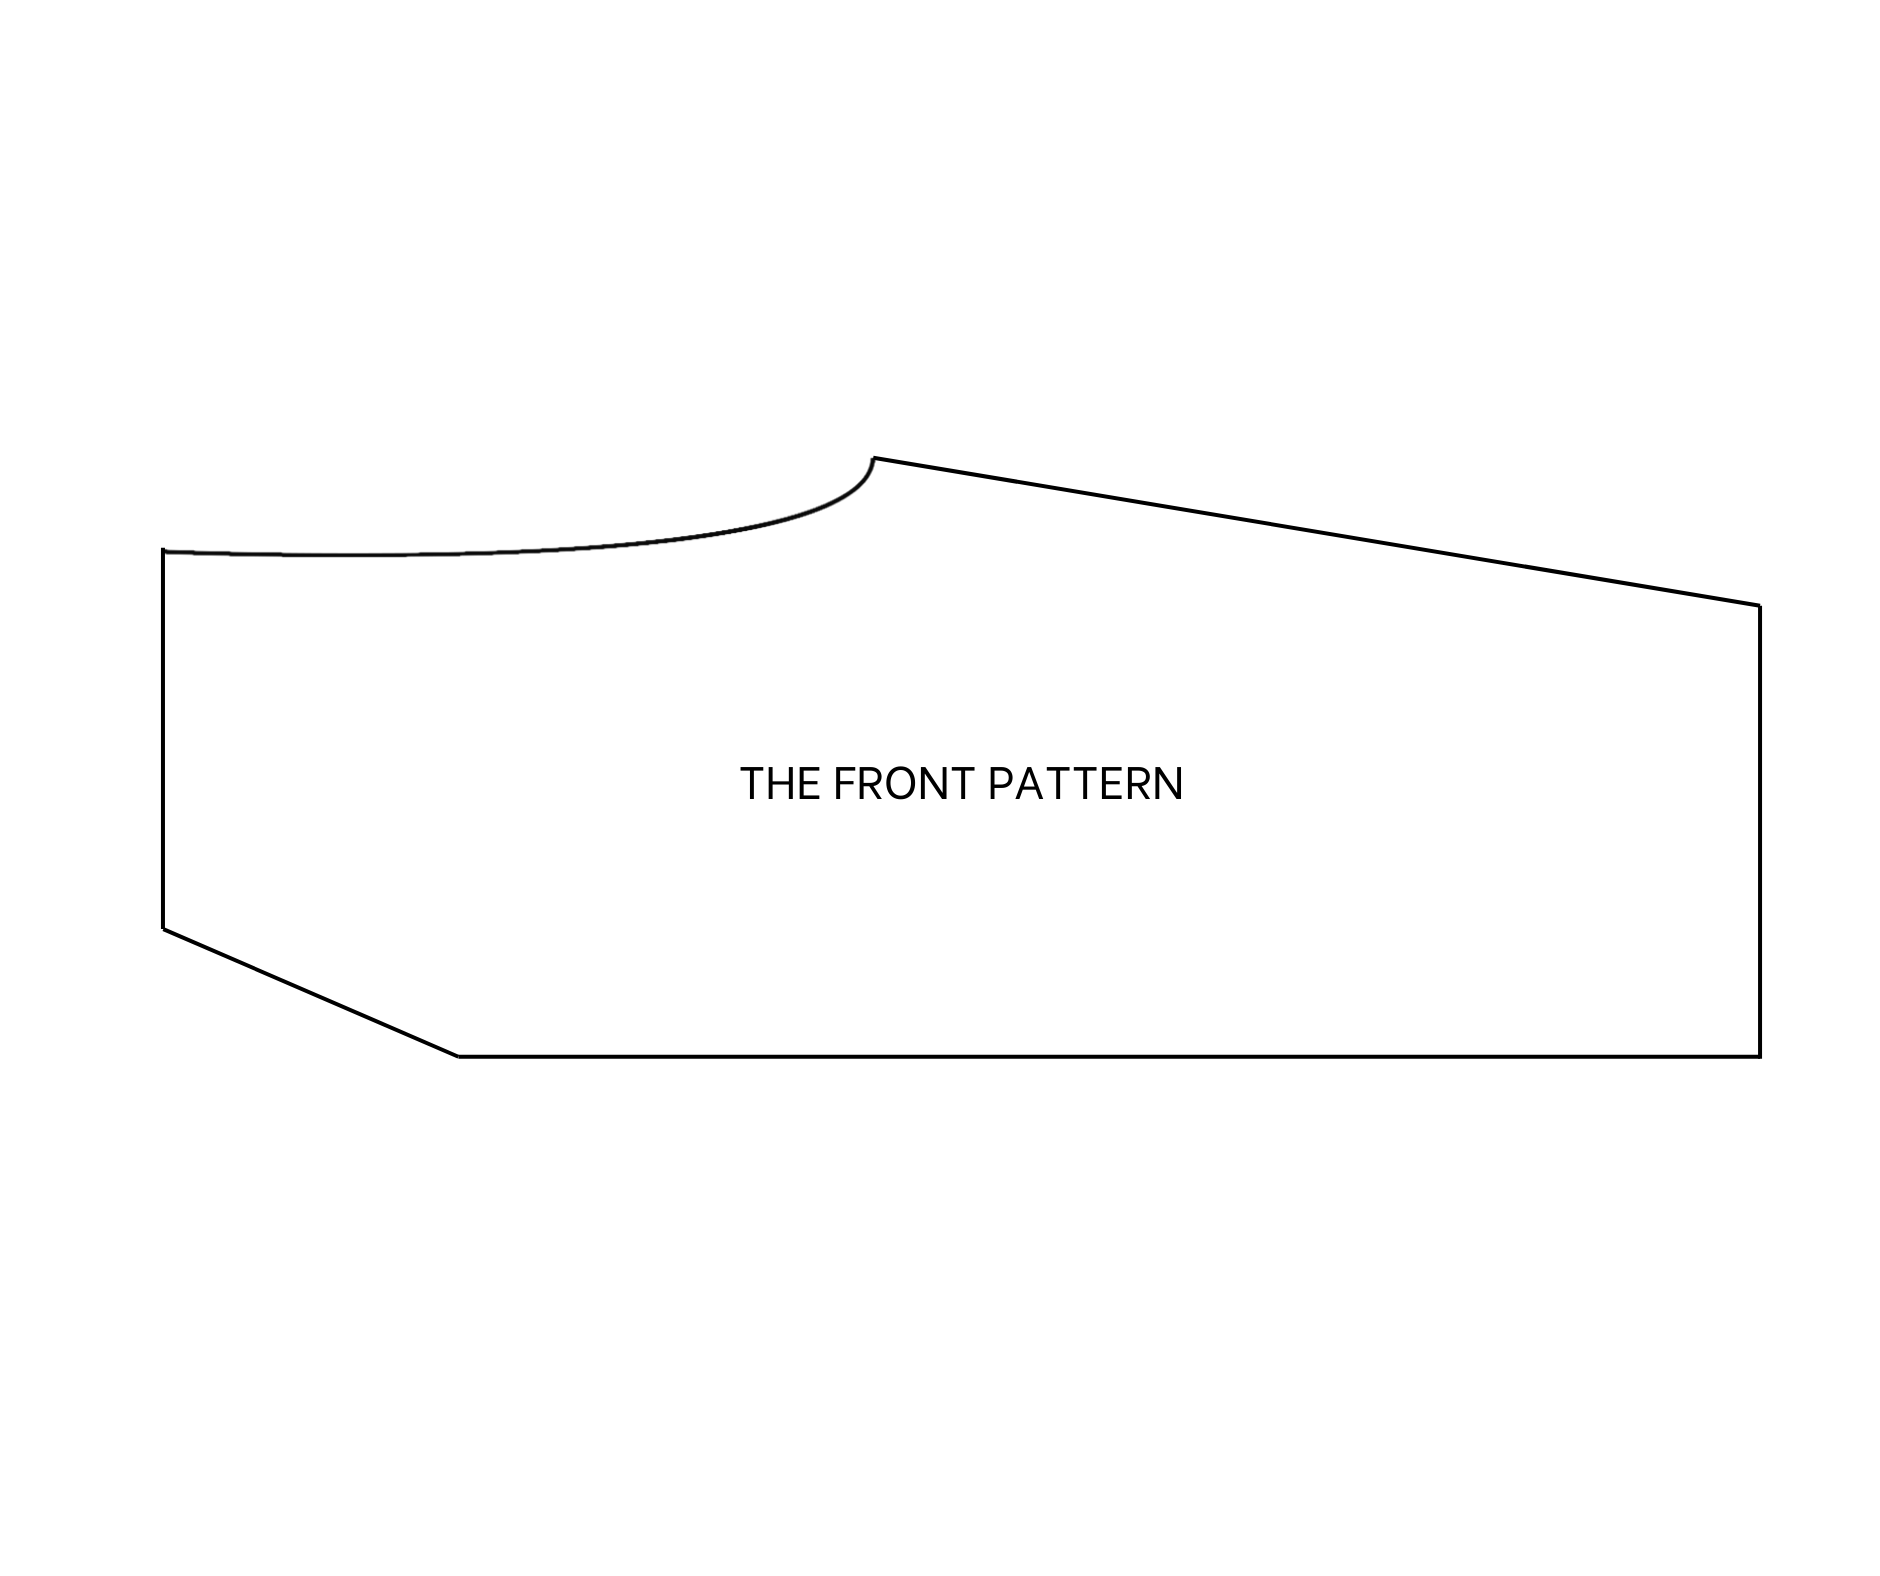
The front pattern
Draw two rectangles with a width of 34 cm and a length of 130 cm. The width of the rectangle is a quarter of your hip size plus 10 cm (or smaller if you want a tight jumpsuit). The length of the rectangle is the length from your bust to your ankle.
After drawing the rectangle, it’s time to make the crotch curves of the jumpsuit. From one side of the width of the rectangle, go inside 8 cm and mark there.
Then from the length of the rectangle next to it, mark at 60 cm, which is the length from your bust to over your hip. Draw an arc line to connect these two marks together.
From another side of the width, go inside 14 cm and mark there. Then connect it to the other mark that is 25 cm from the length next to it. So the rest of the width will be 12 cm.
Move to the end of the front body where will be the bottom of the jumpsuit. Go inside 12 cm and mark there. Then connect that mark to the end of the curve line.
THE BACK PATTERN
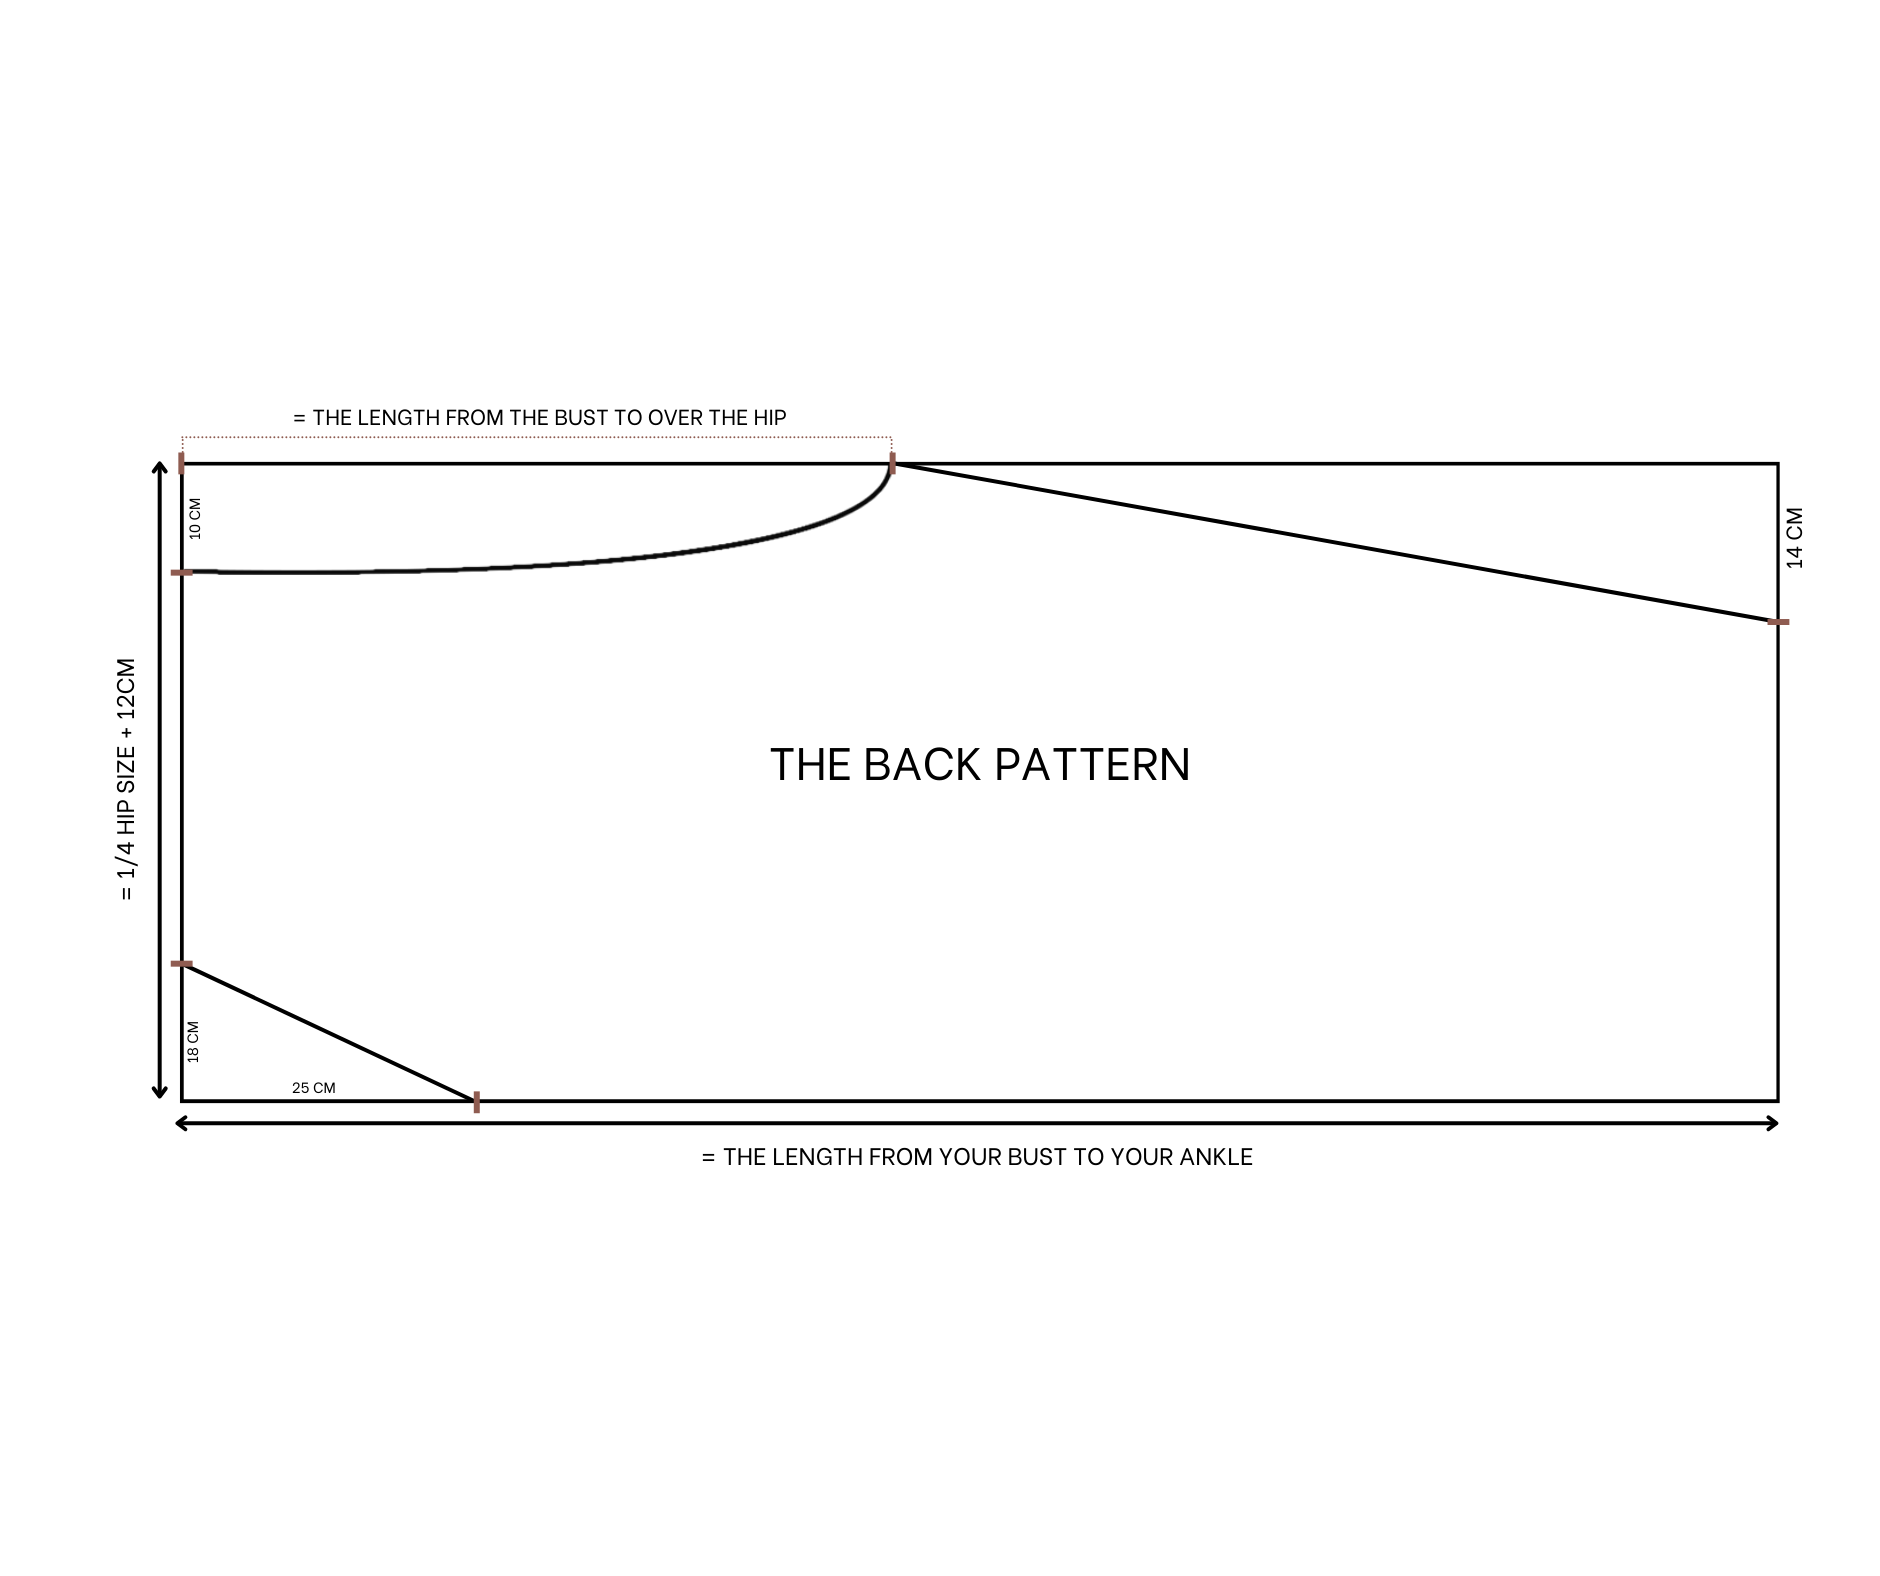
The back pattern
Similar to the front body, start by drawing a rectangle. However, this time, the width of the rectangle will be 36 cm, which is 2 cm larger than the front. The length of the rectangle remains the same at 130 cm.
For the crotch curve of the back body, go inside a bit longer than the front body, which is 10 cm. Then, draw an arc line to connect to the mark at 60 cm from one side of the length.
From another end of the width, go inside 18 cm and mark there. Then, connect that mark to another mark at 25 cm from the length next to it.
Move to the bottom of the jumpsuit. Go inside 14 cm from one end of the width and connect it to the end of the curve line.
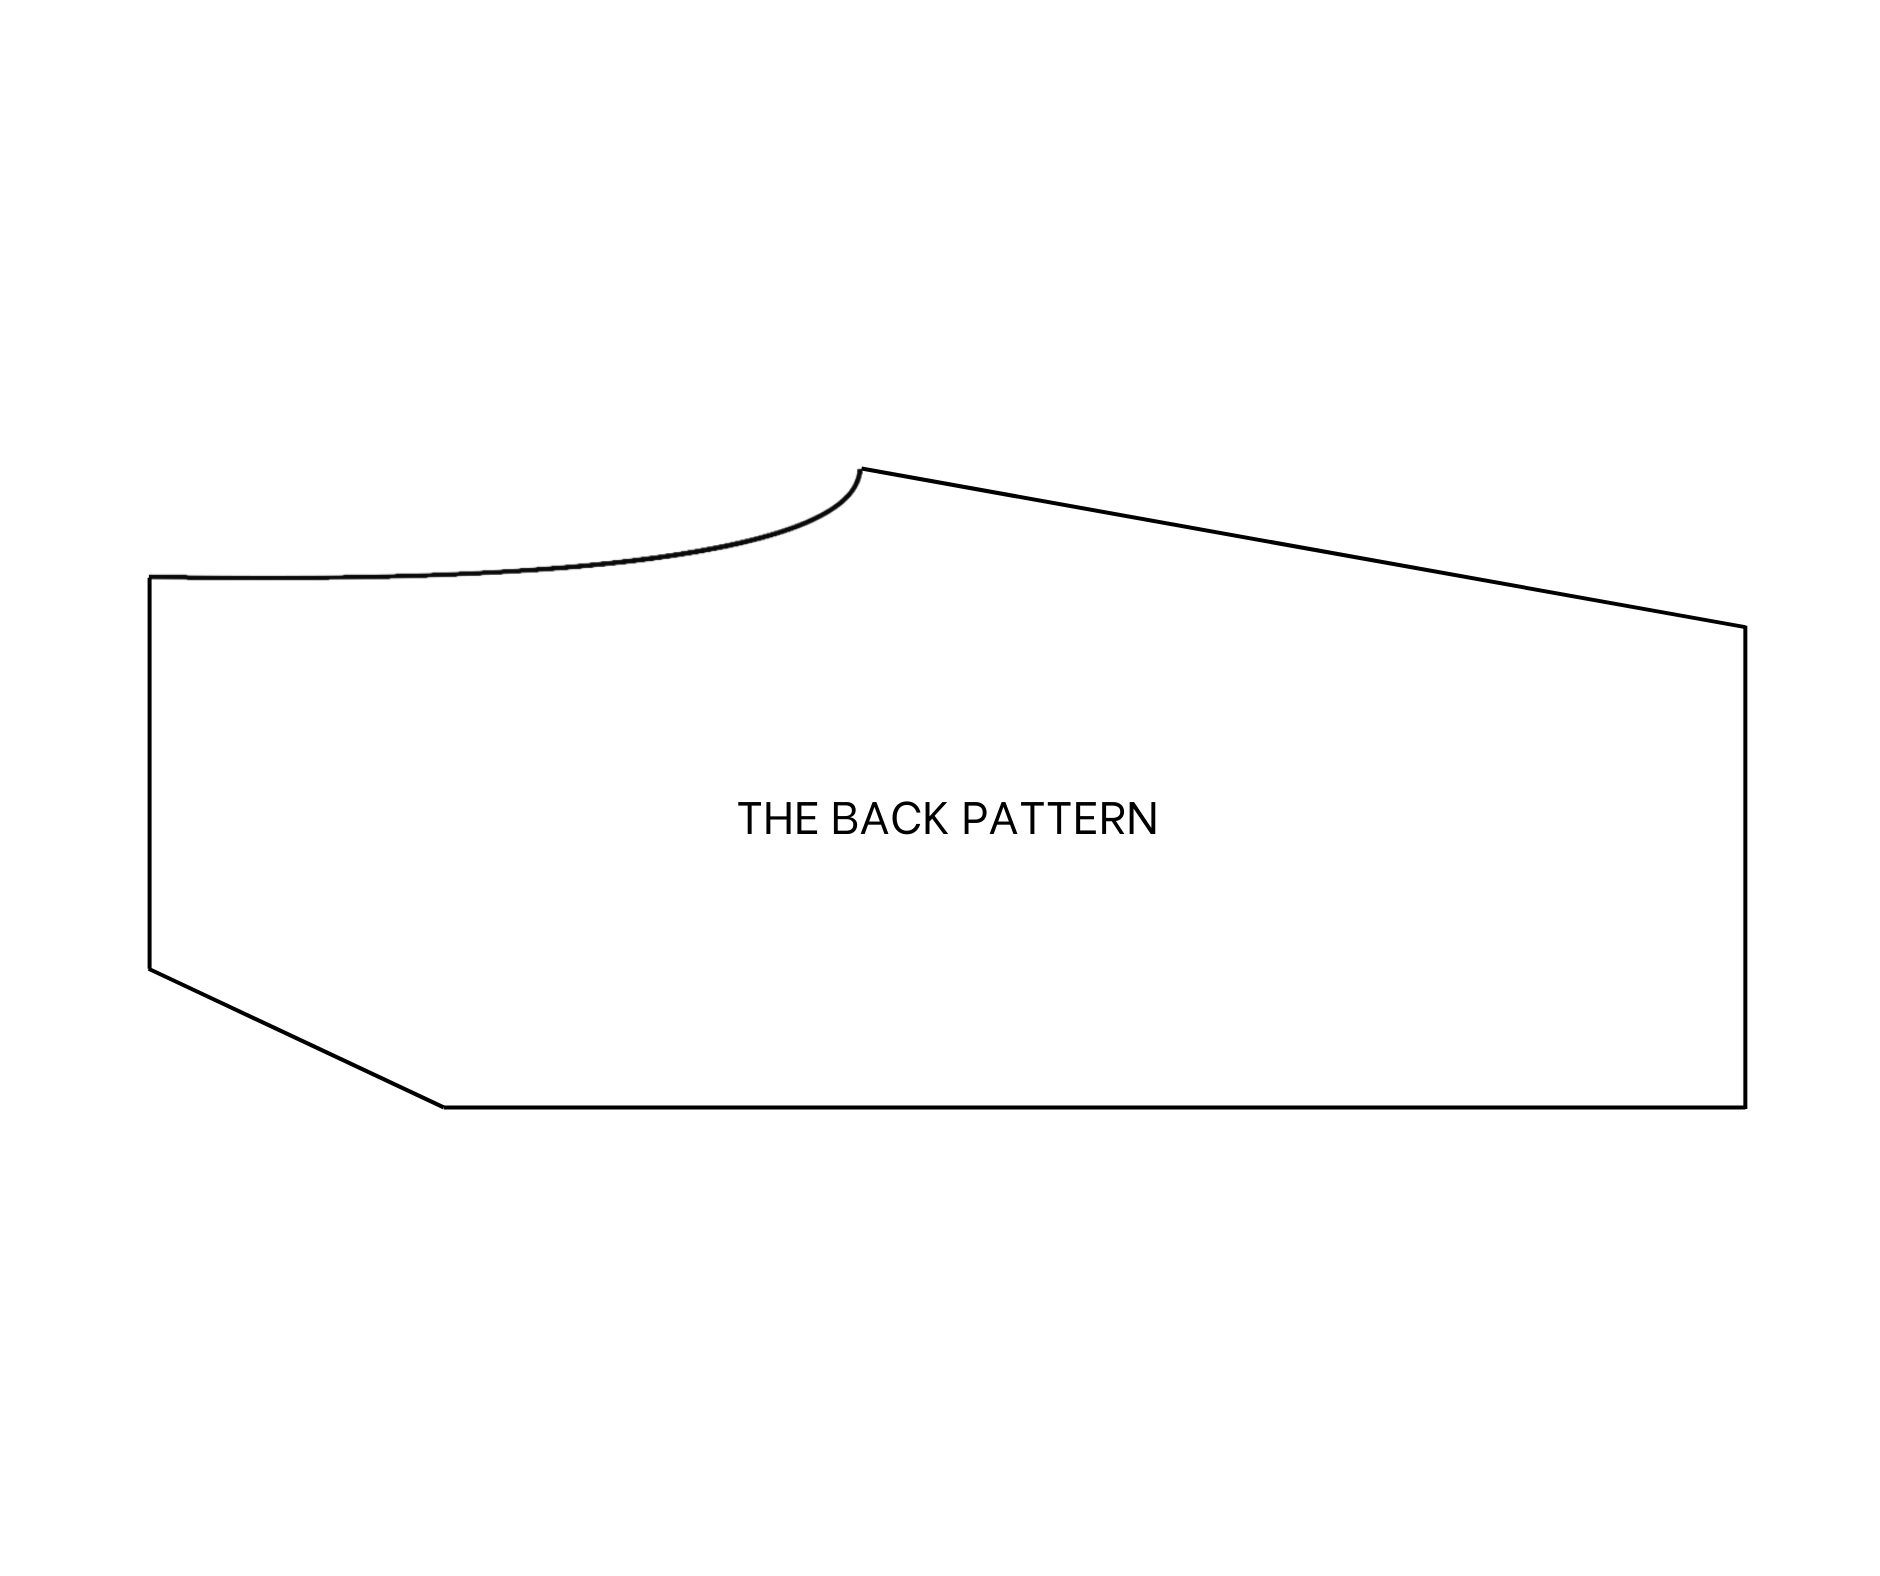
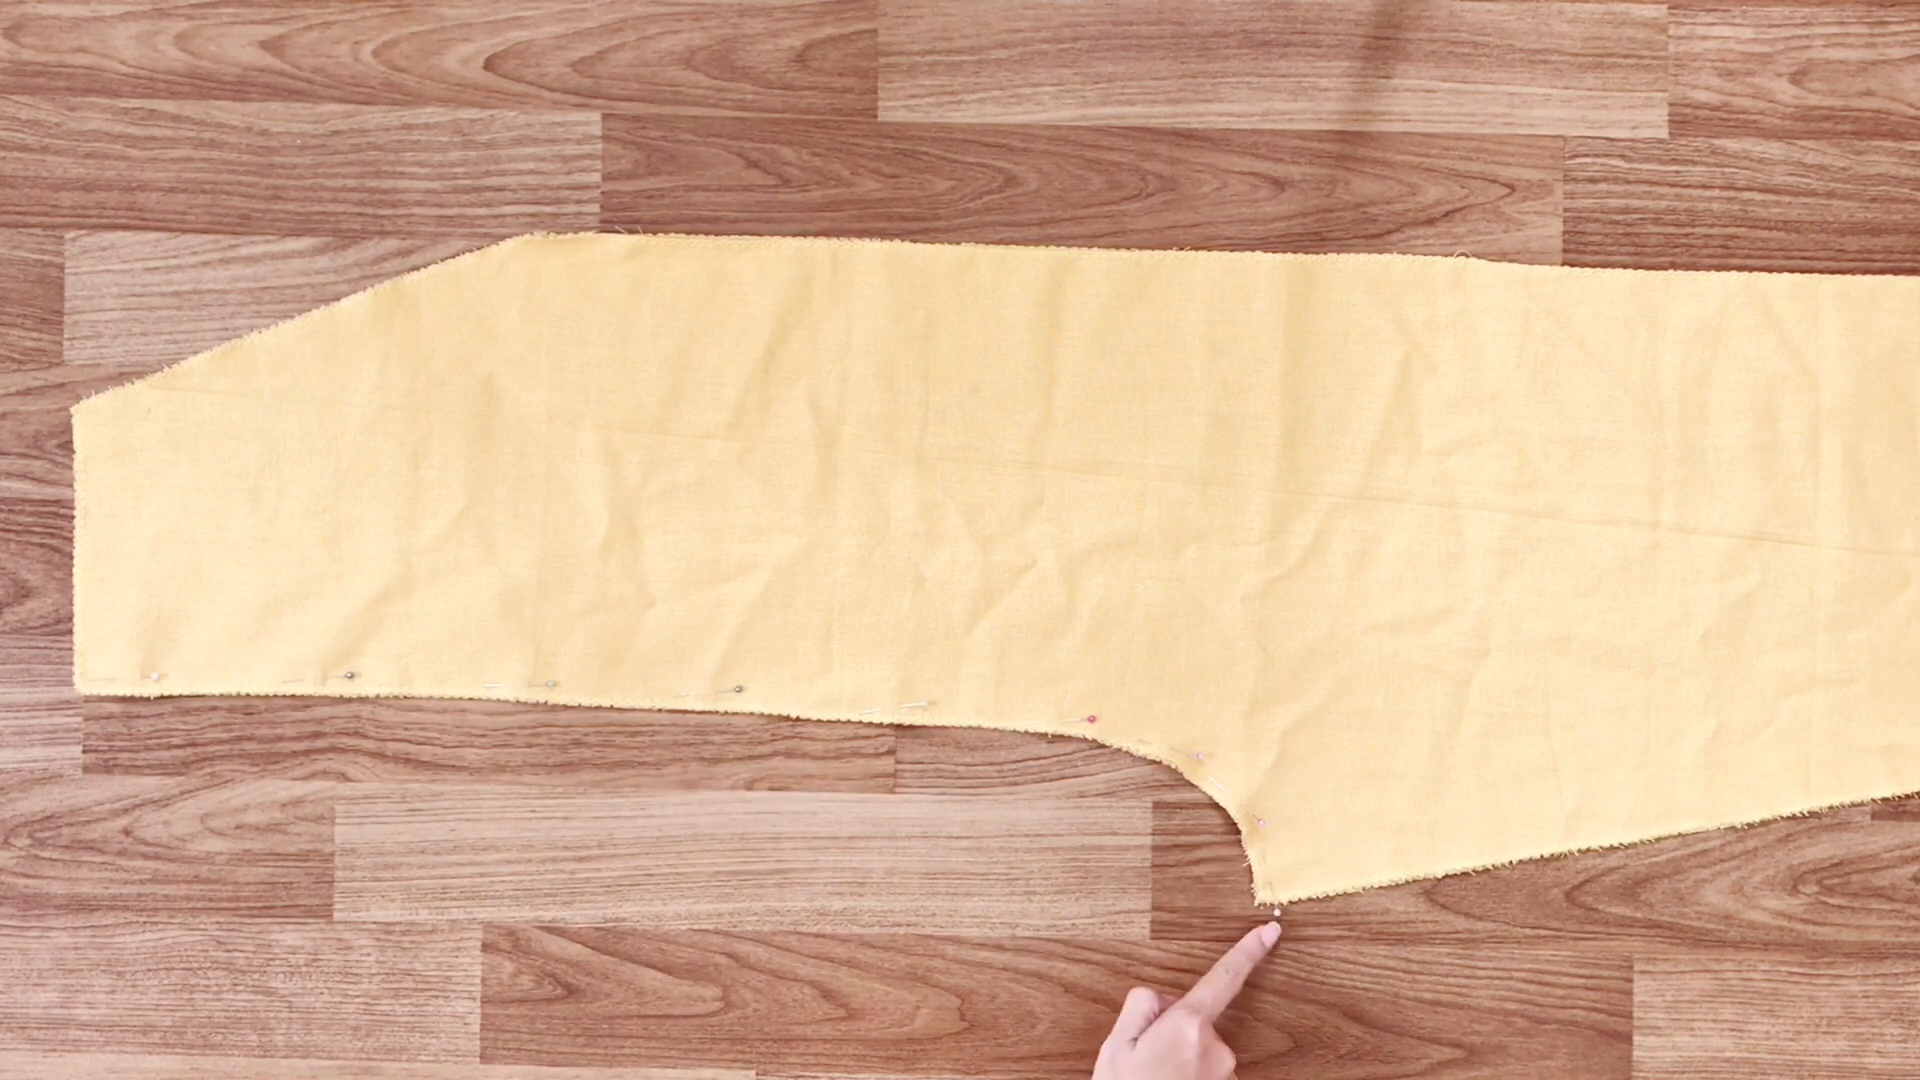
After cutting, you will have the back body of the jumpsuit. Don’t forget to overlock to protect the fabric.
THE POCKET PATTERN
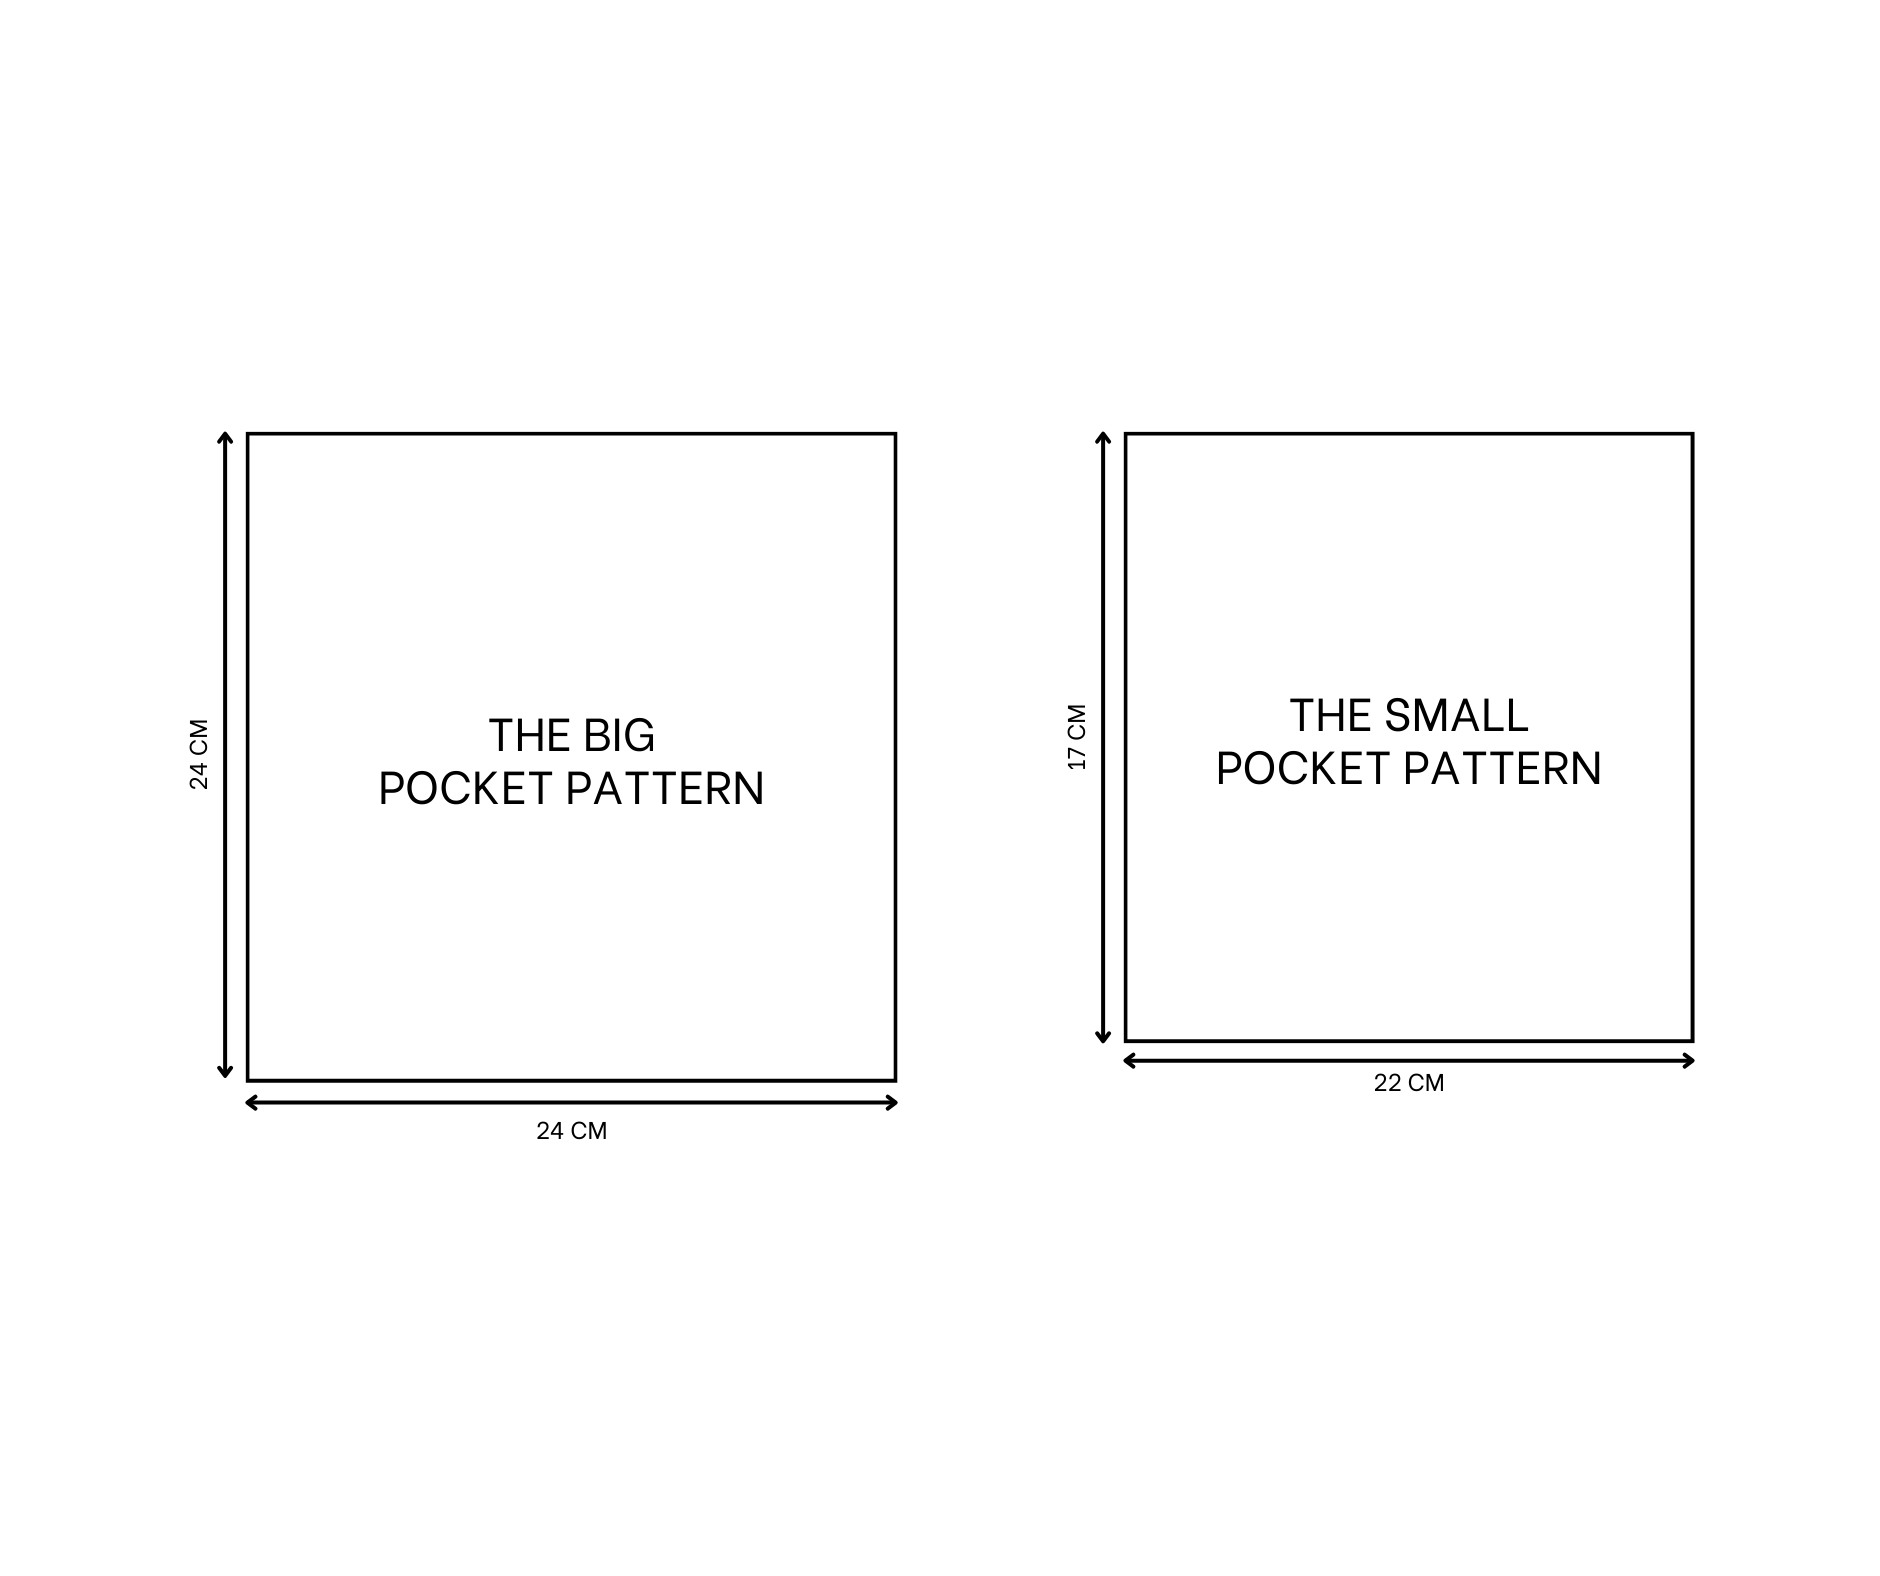
The pocket pattern
Big pocket: Draw a square with a width of 24 cm.
Small pocket: Draw two rectangles with a width of 17 cm and a height of 22 cm.
SEWING THE JUMPSUIT
CONNECT THE FRONT AND THE BACK
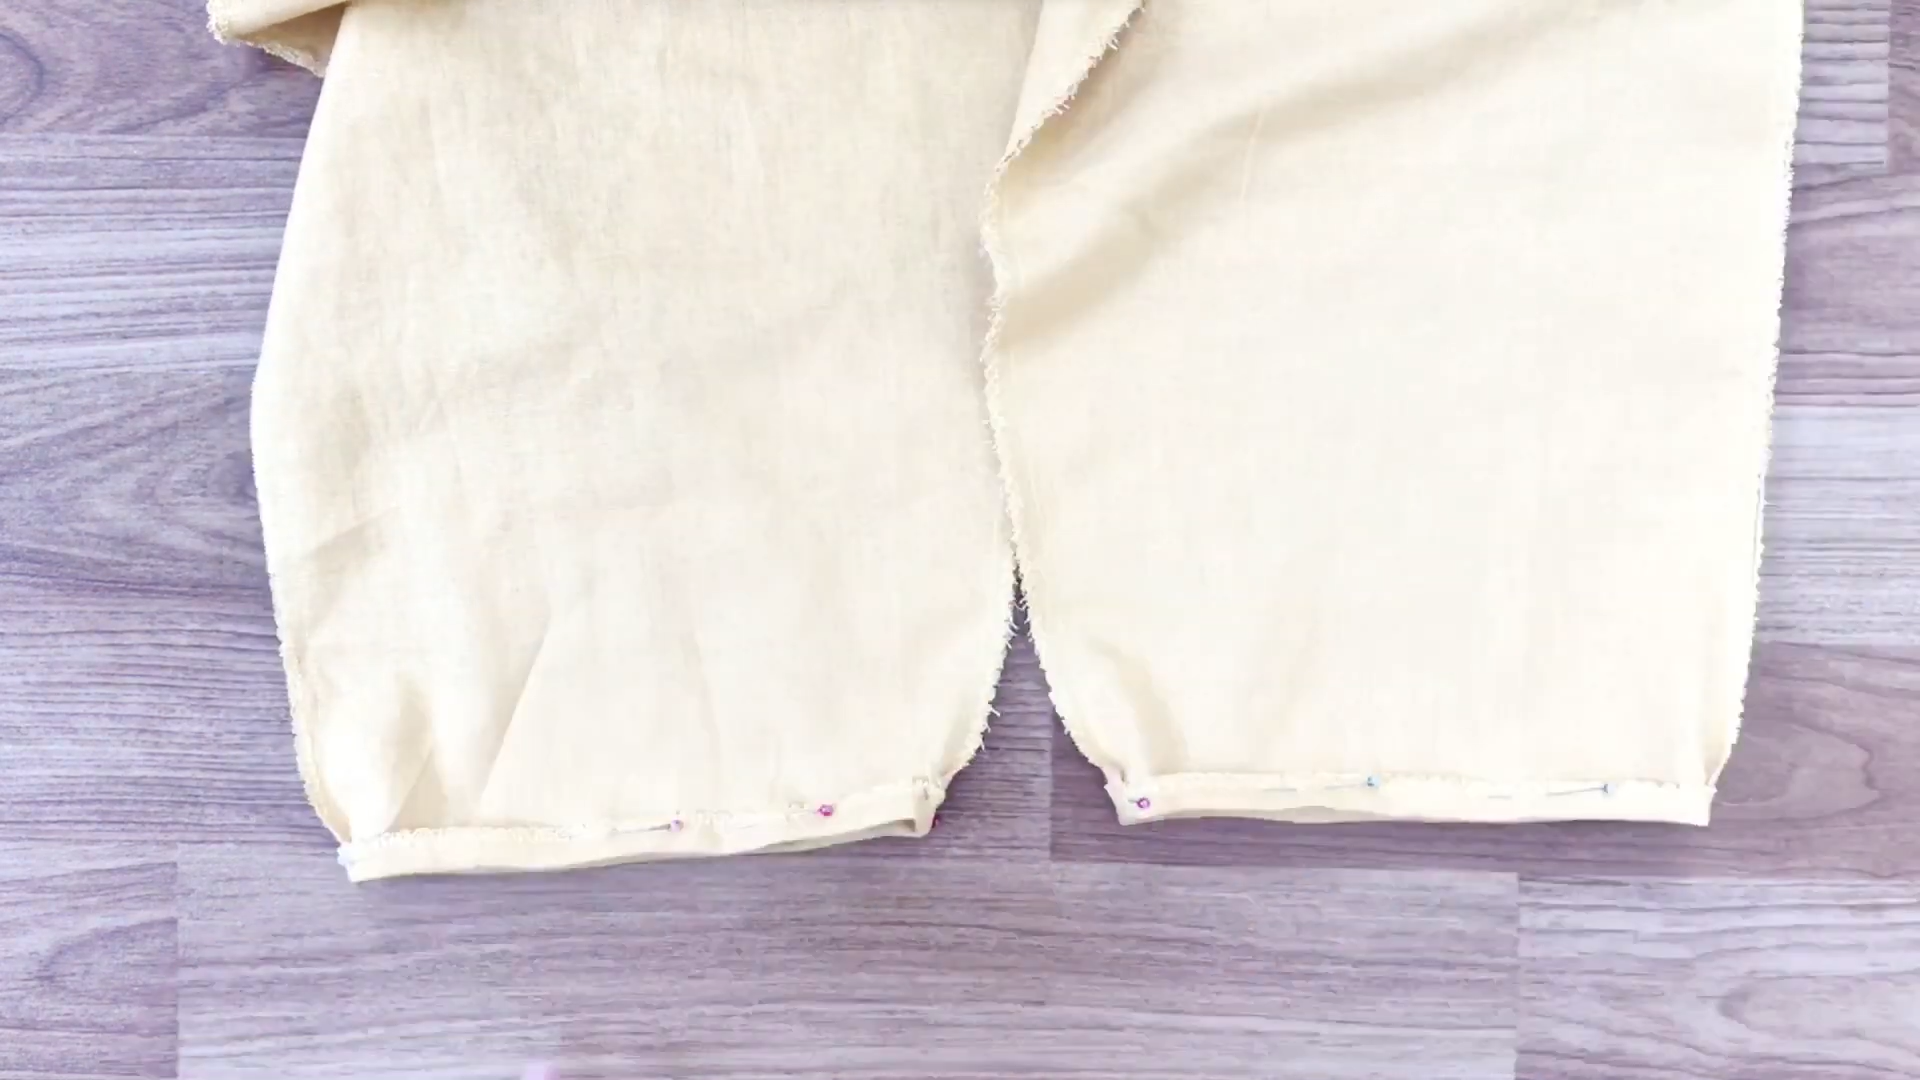
Connect two pieces of the front body together using pins, then sew.
Do the same for the back body.
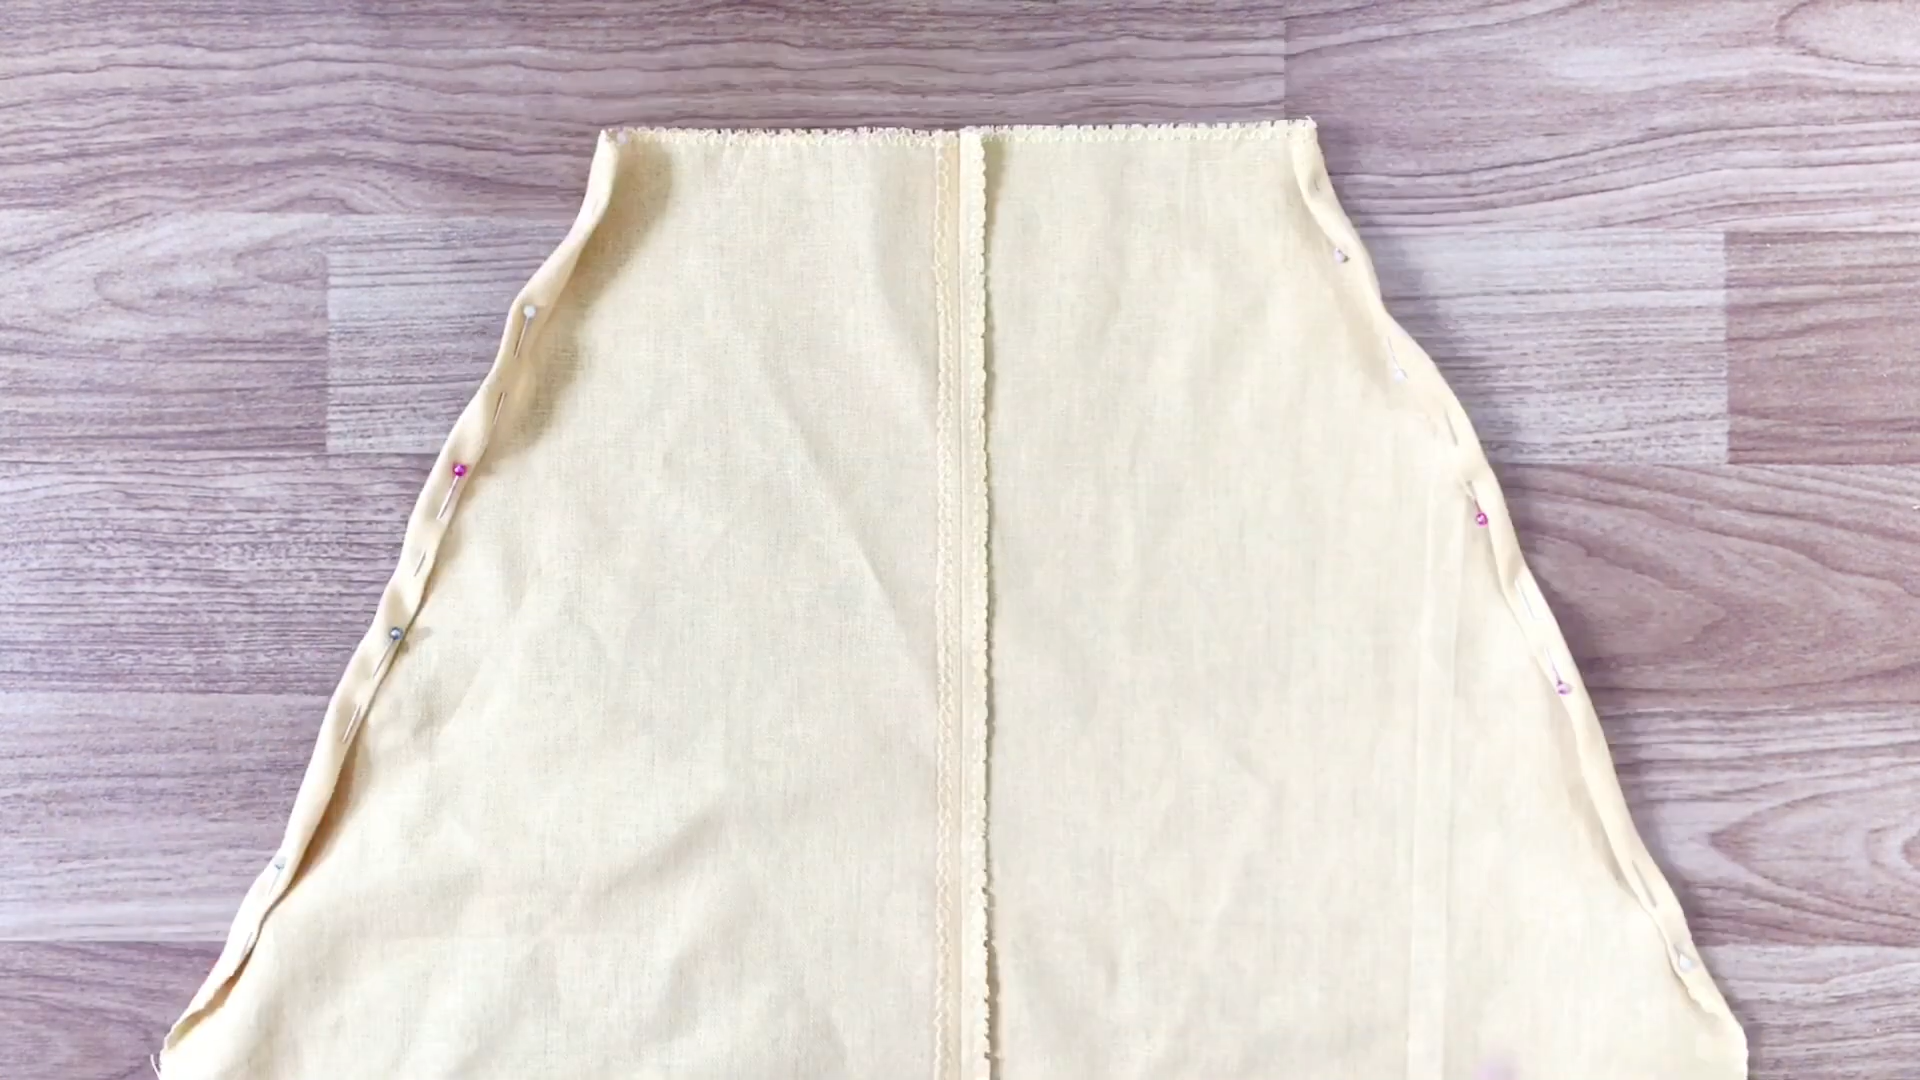
After sewing, double fold the fabric at two sides of the front body and use pins to hold it before sewing.
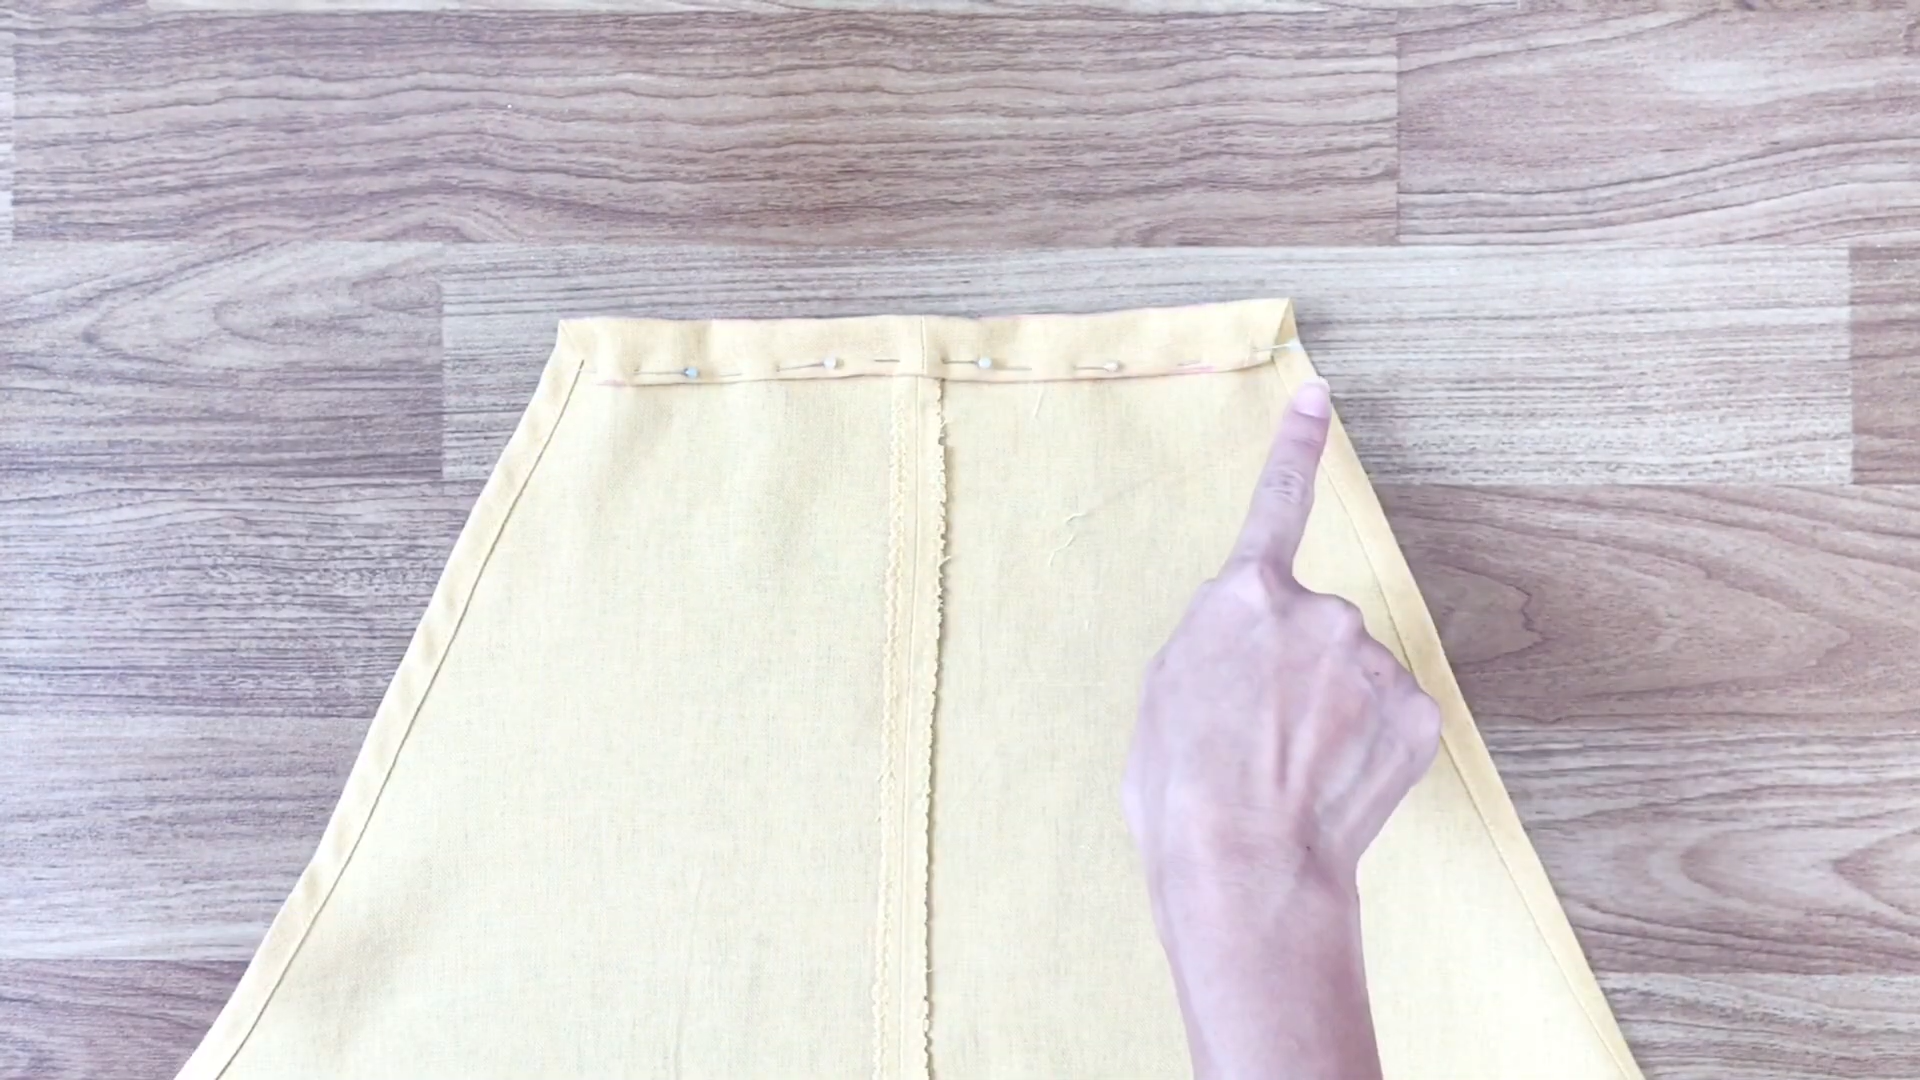
Then, double fold the top of the front body by folding 1 cm inside for the first fold and 2 cm inside for the second fold, then sew.
Remember to do the same for the back body.
THE POCKET
The big pocket
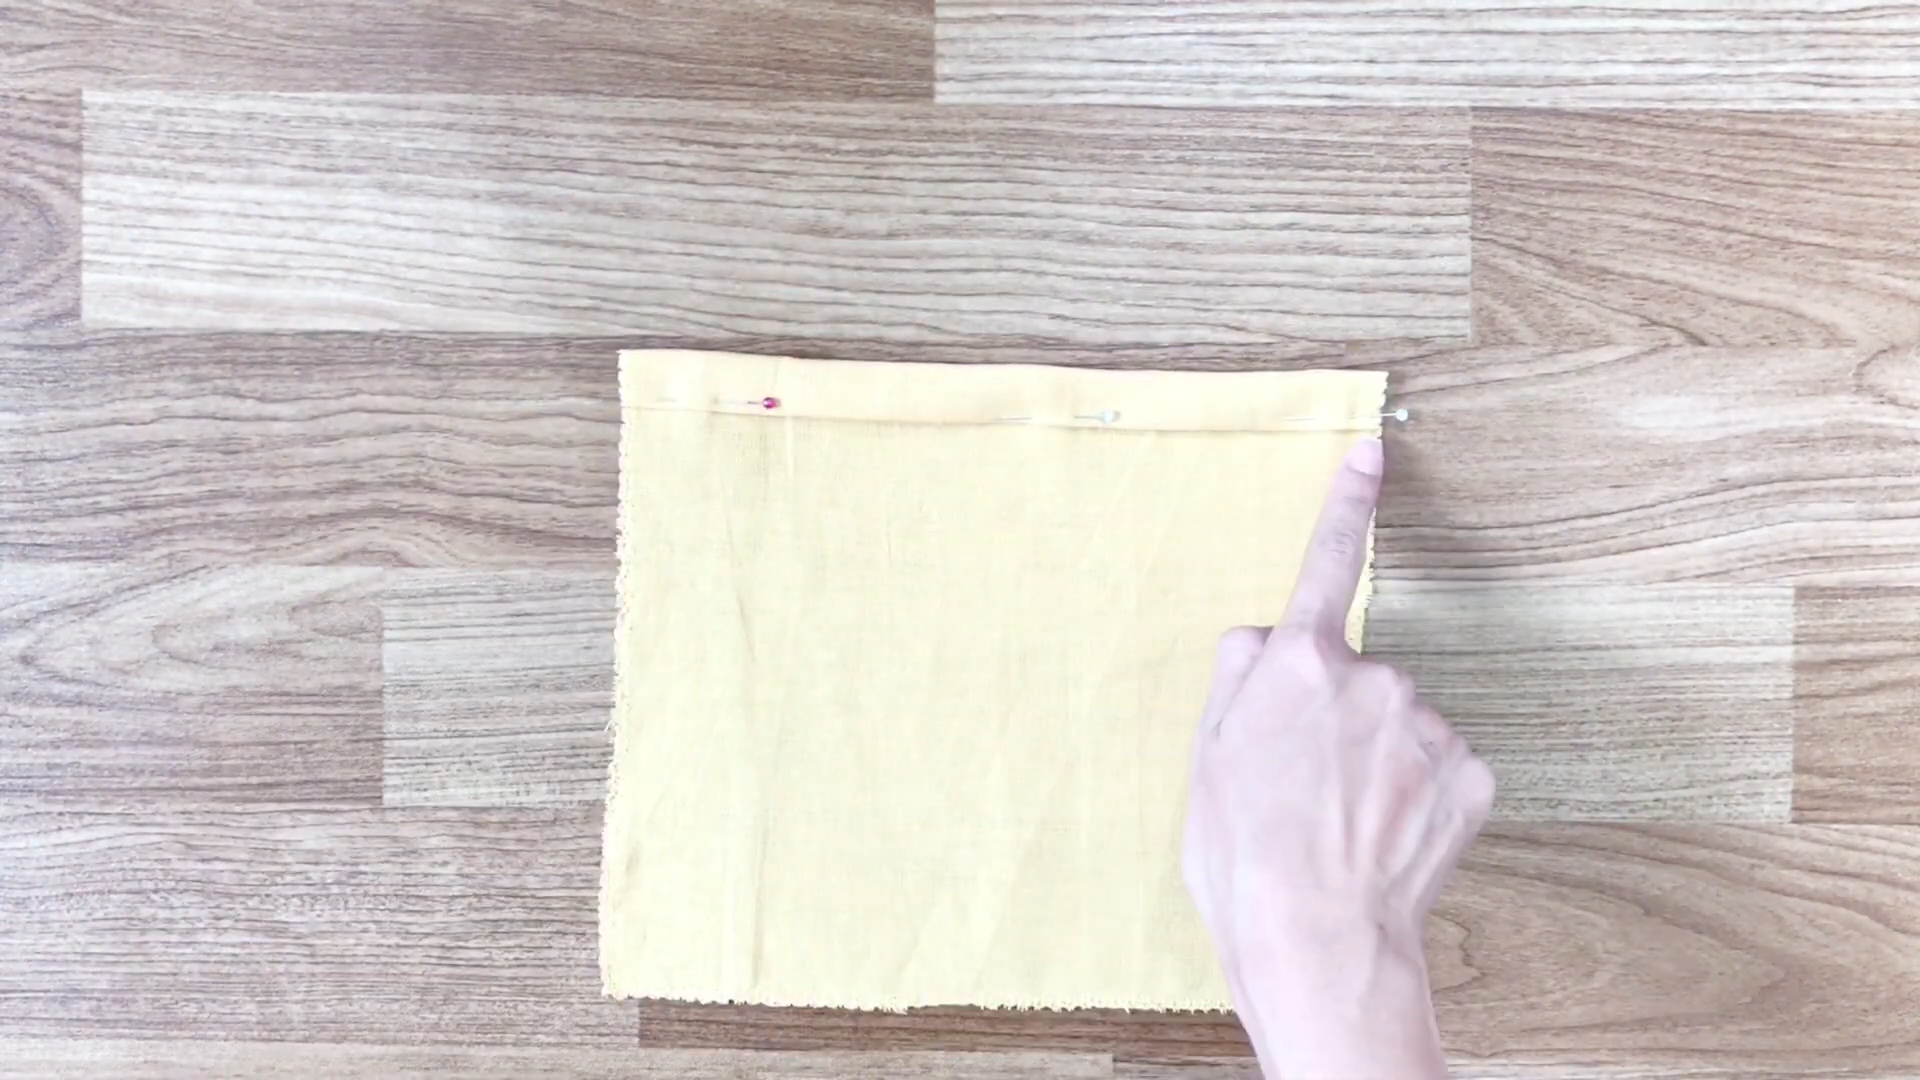
After cutting and overlocking, double fold one side of the square just like what you did to the top of the front. That is, fold 1 cm inside for the first fold and 2 cm inside for the second fold, then sew.
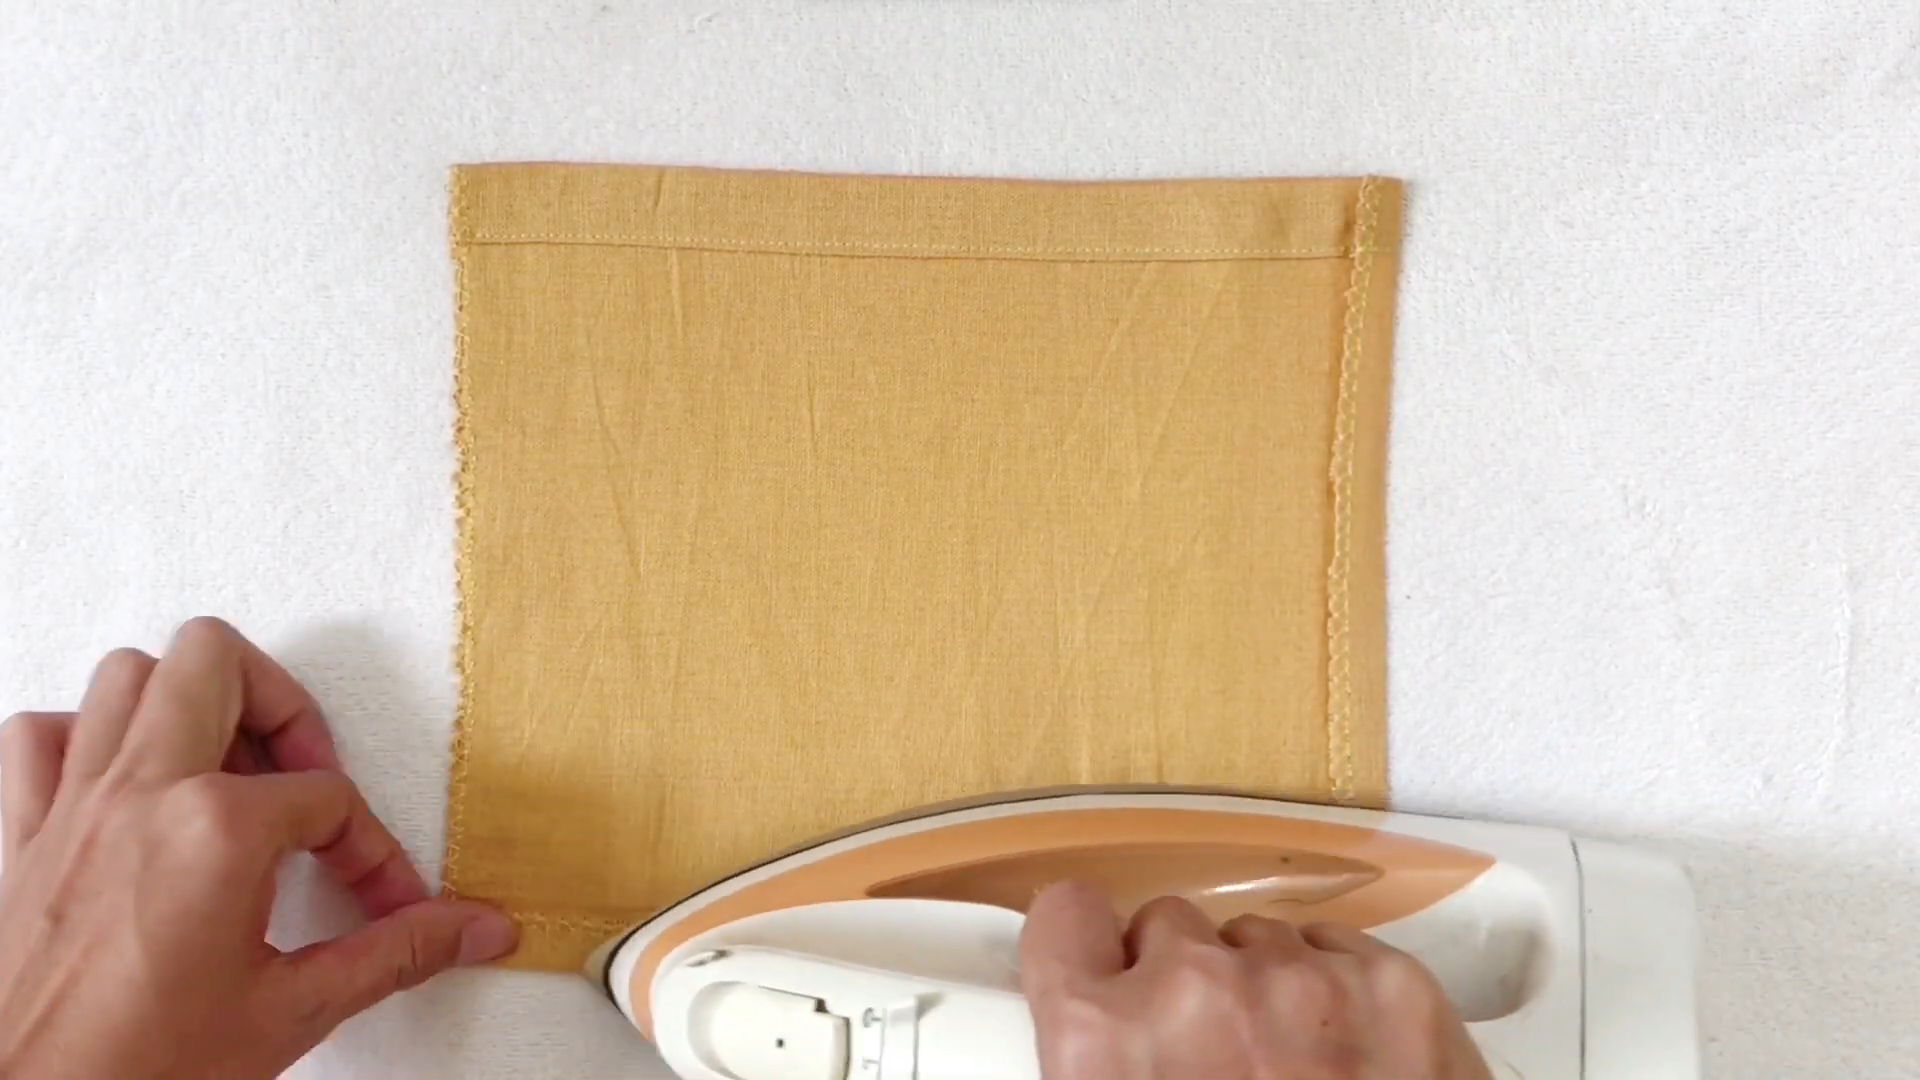
Use an iron to make the folding for the pocket before installing it to the front body.
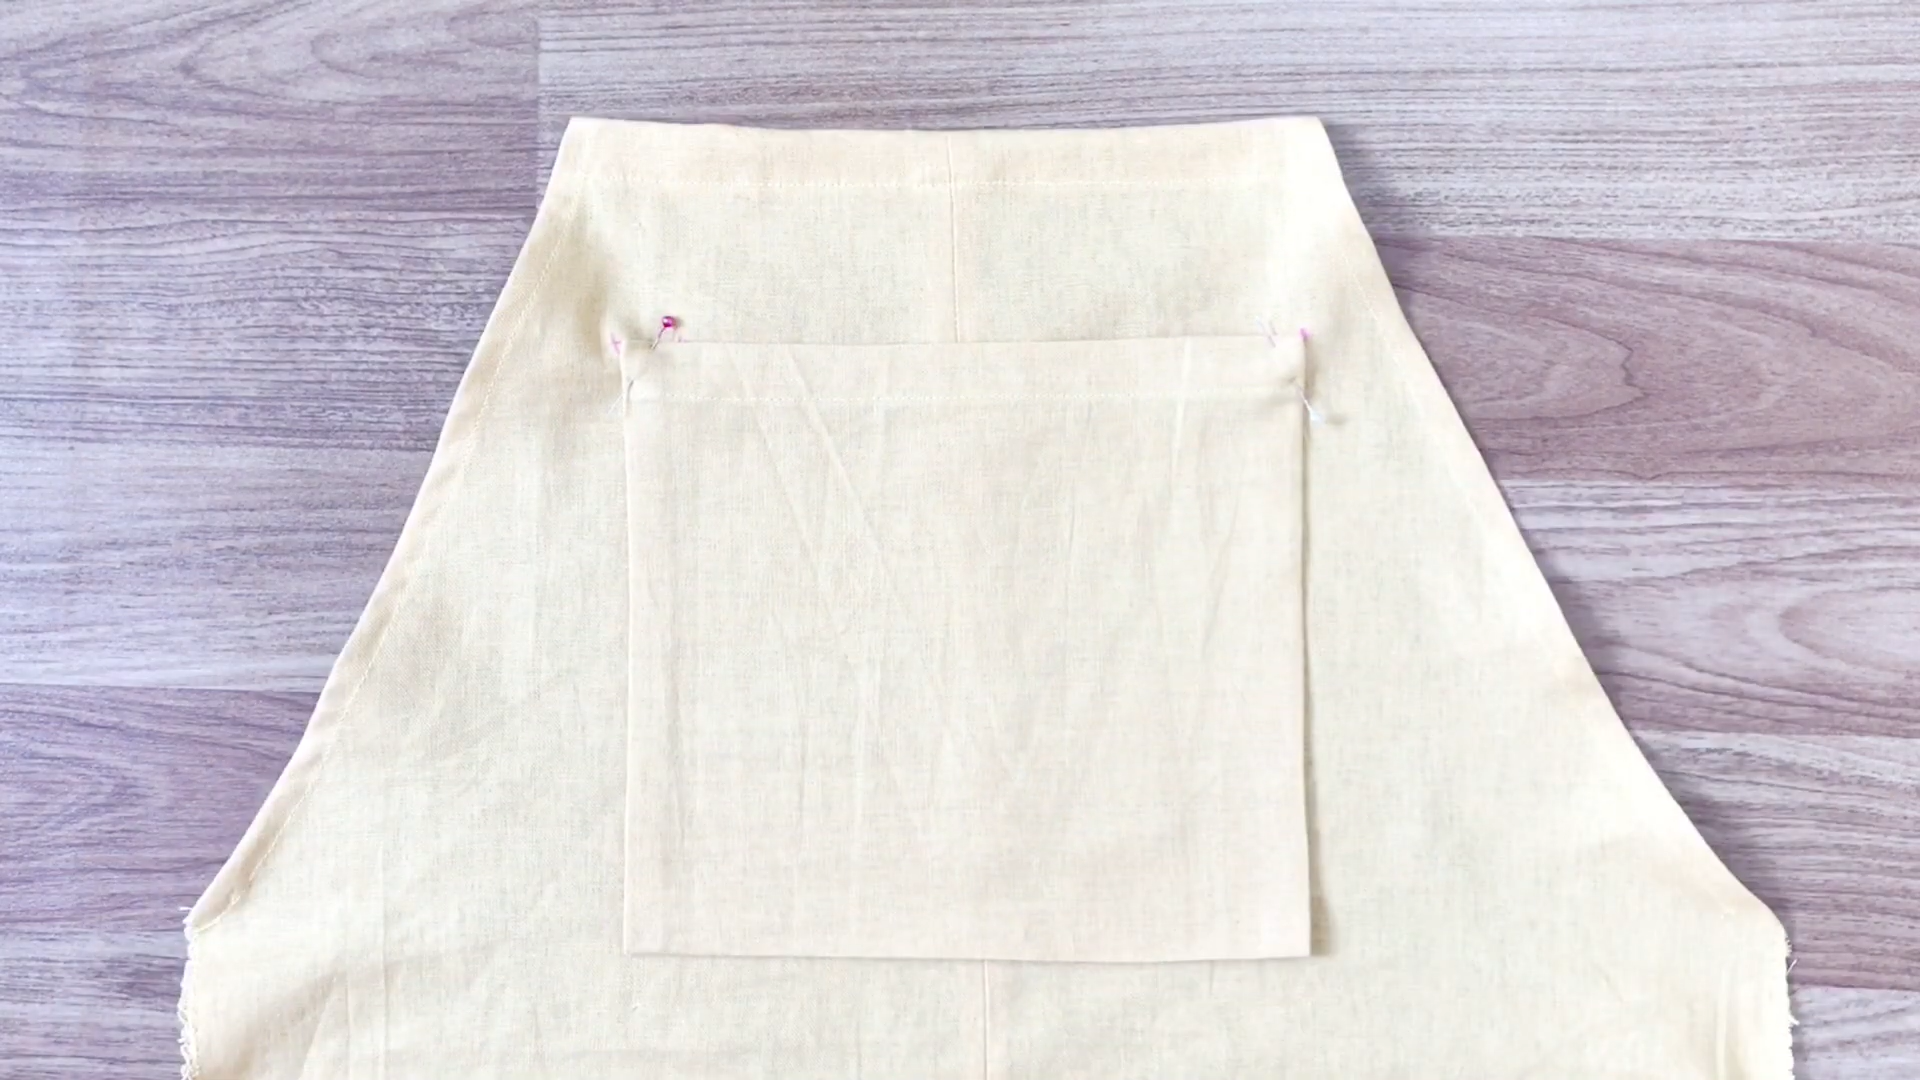
The position of the big pocket will be 7 cm down from the top and 11 cm away from the center of the front body. Use pins to fix the pockets to the front body to make it easier for sewing.
The small pocket
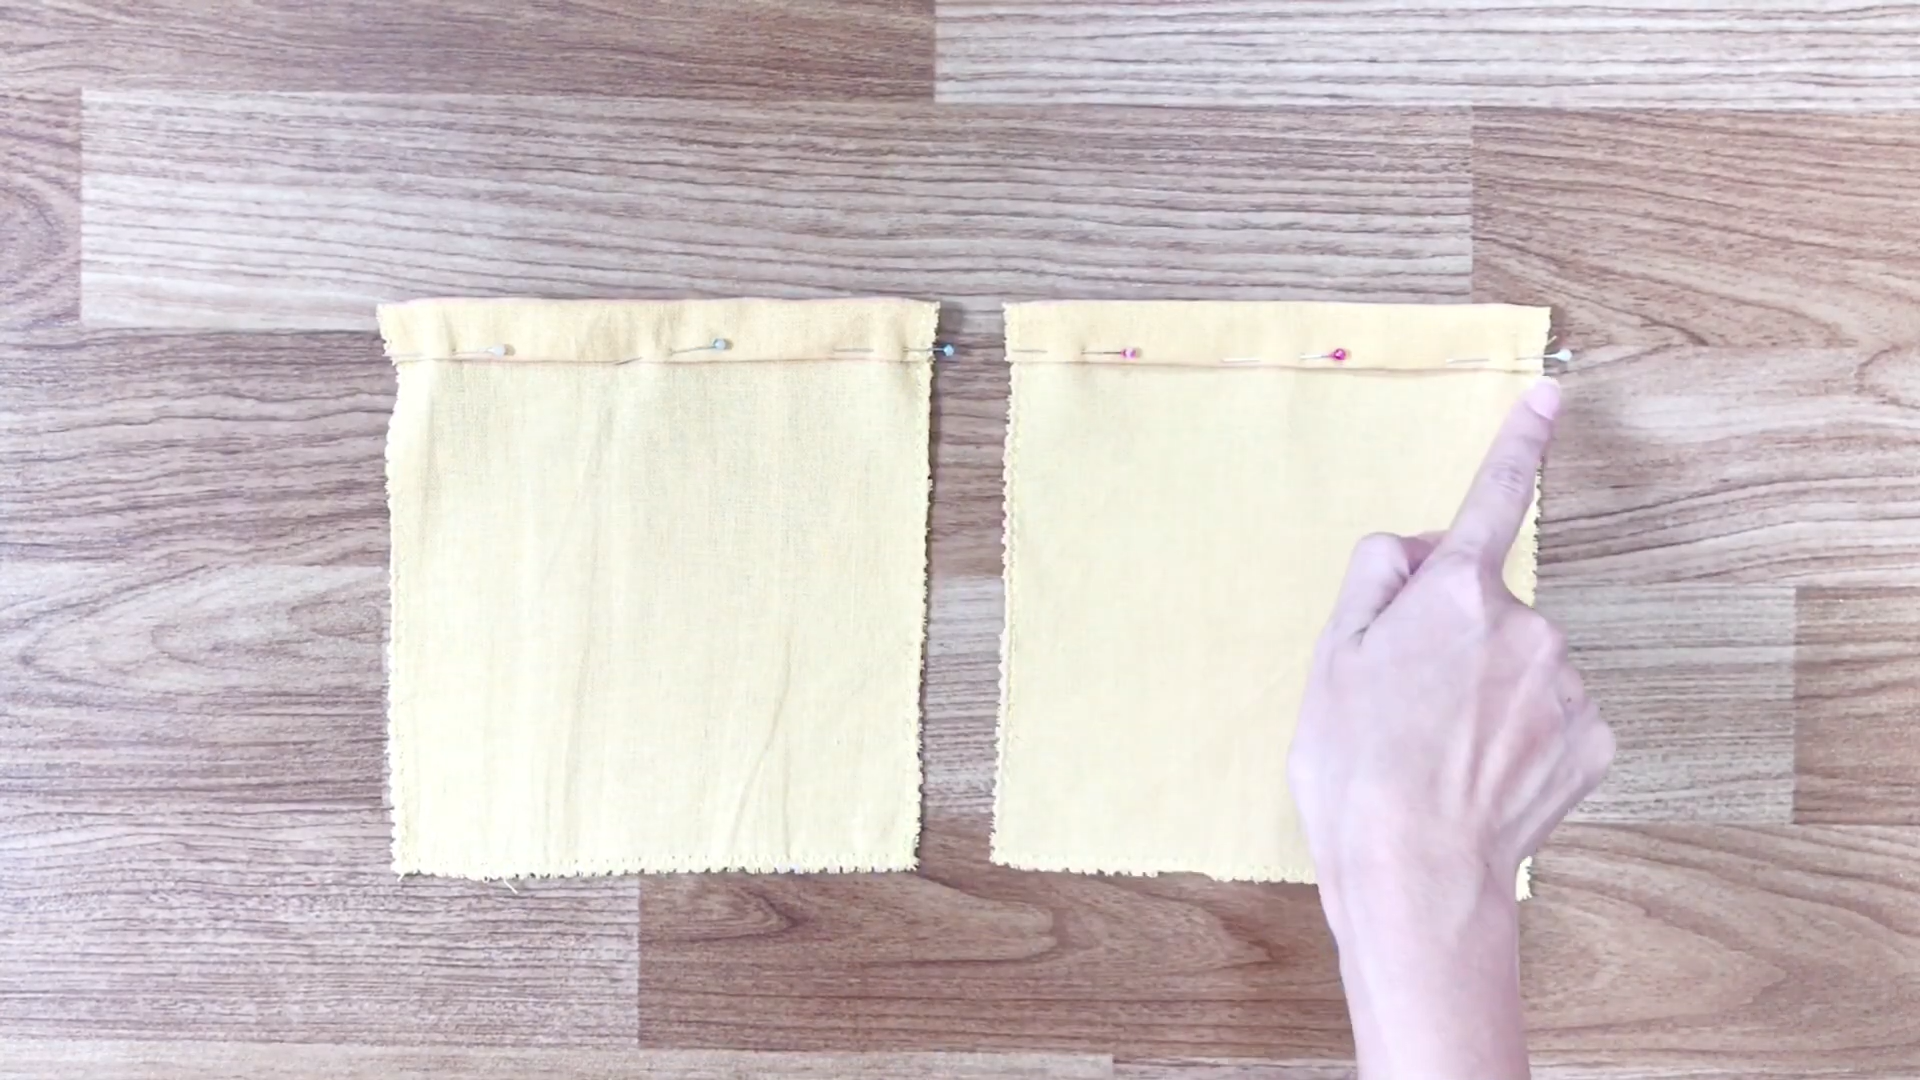
Double fold one side of the rectangle like what you did to the big pockets before.
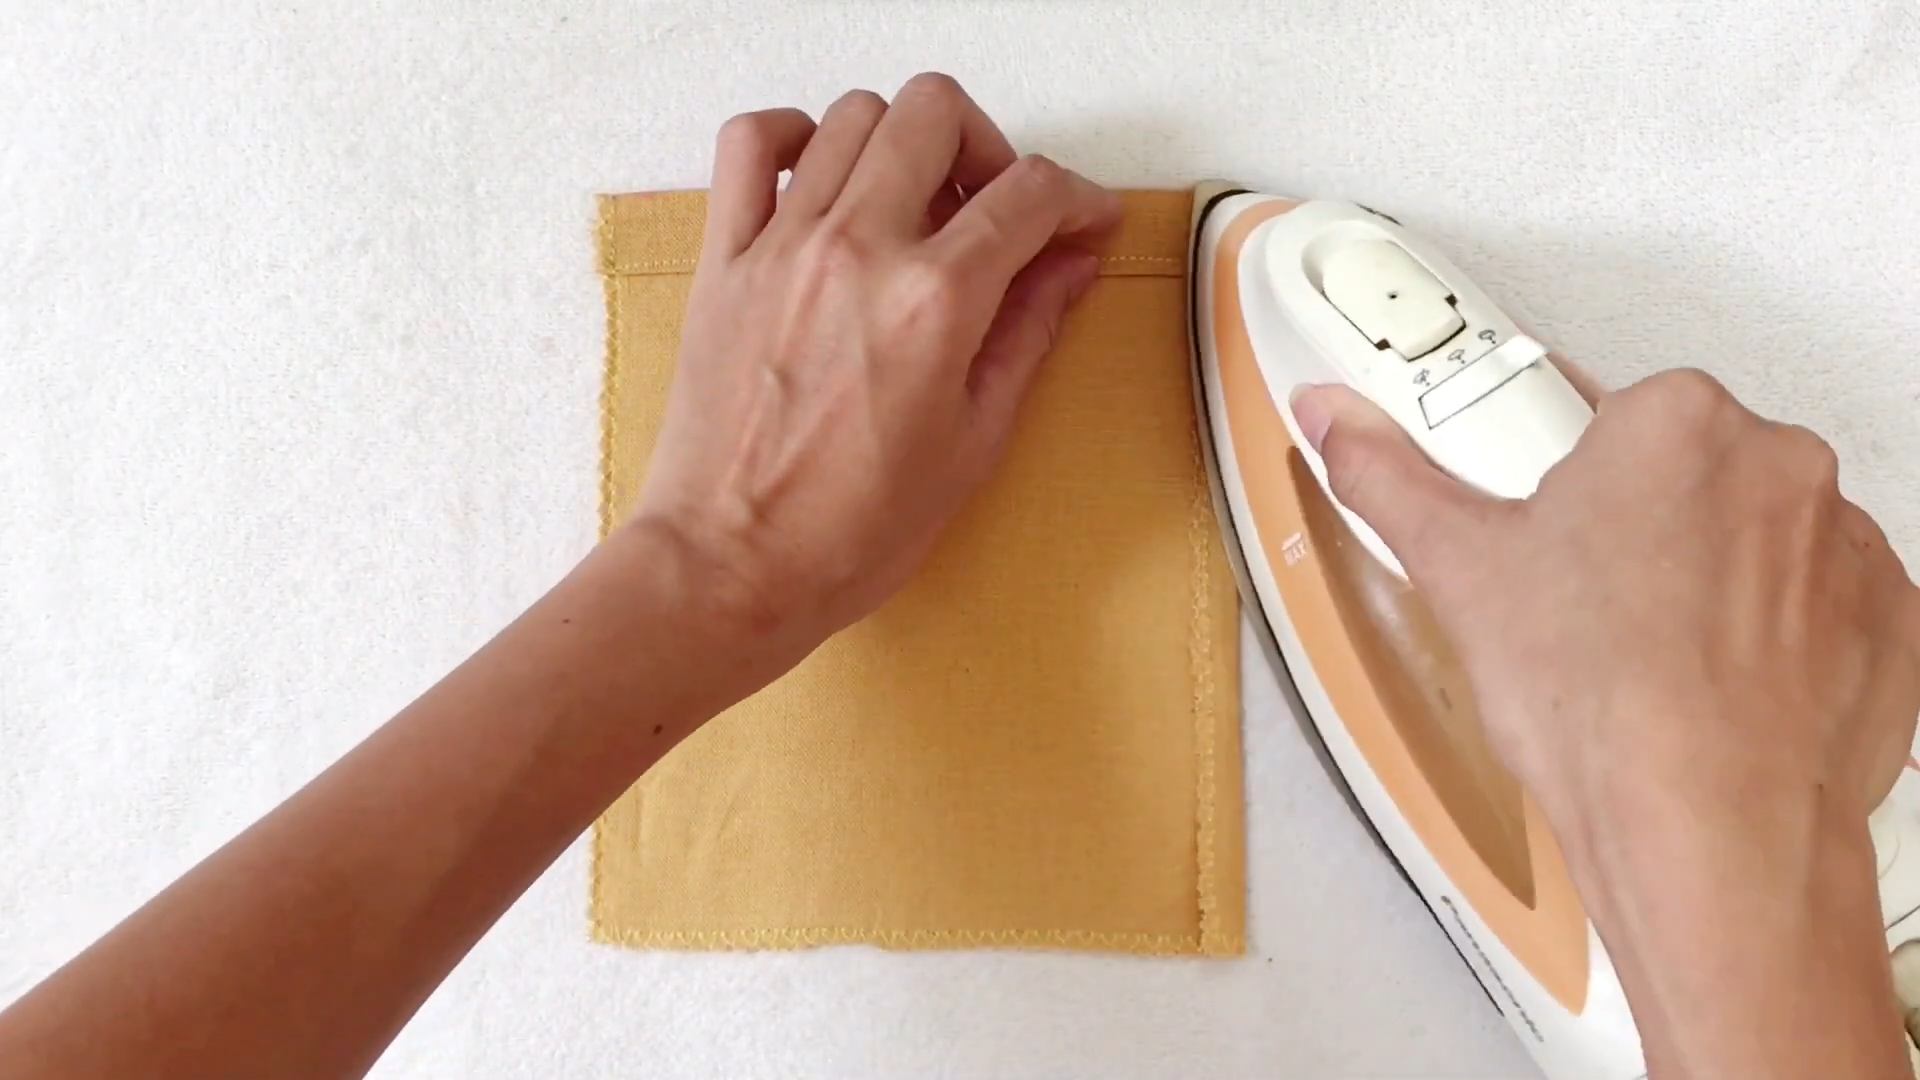
Use an iron to make the folding before installing the pockets to the jumpsuit.

The position for two small pockets is 12 cm down from the end of the big pockets and 6 cm from two sides of the front body. Use pins to fix the pockets to the front body and sew.
CONNECT THE FRONT AND THE BACK
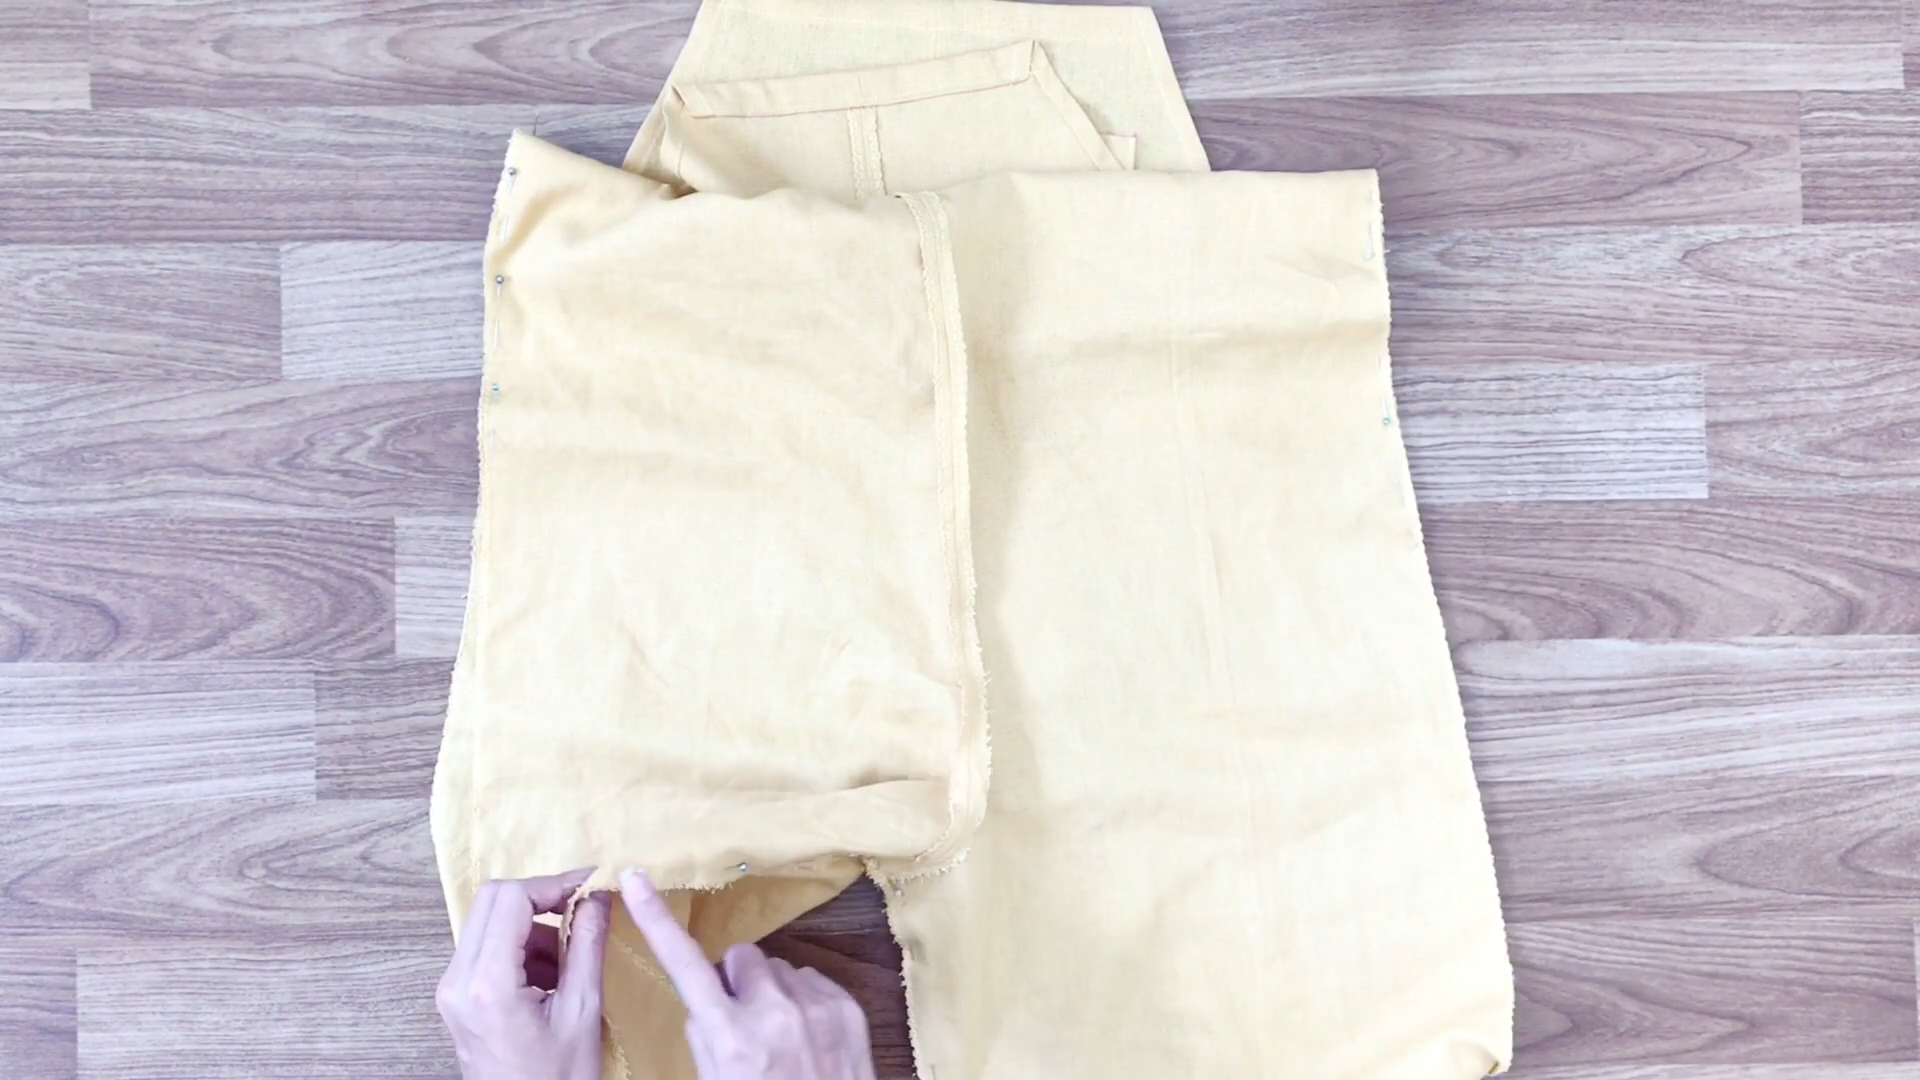
Connect the front and back body together at two sides.
After sewing, move to the end of the jumpsuit and fold the fabric inside to finish the bottom.
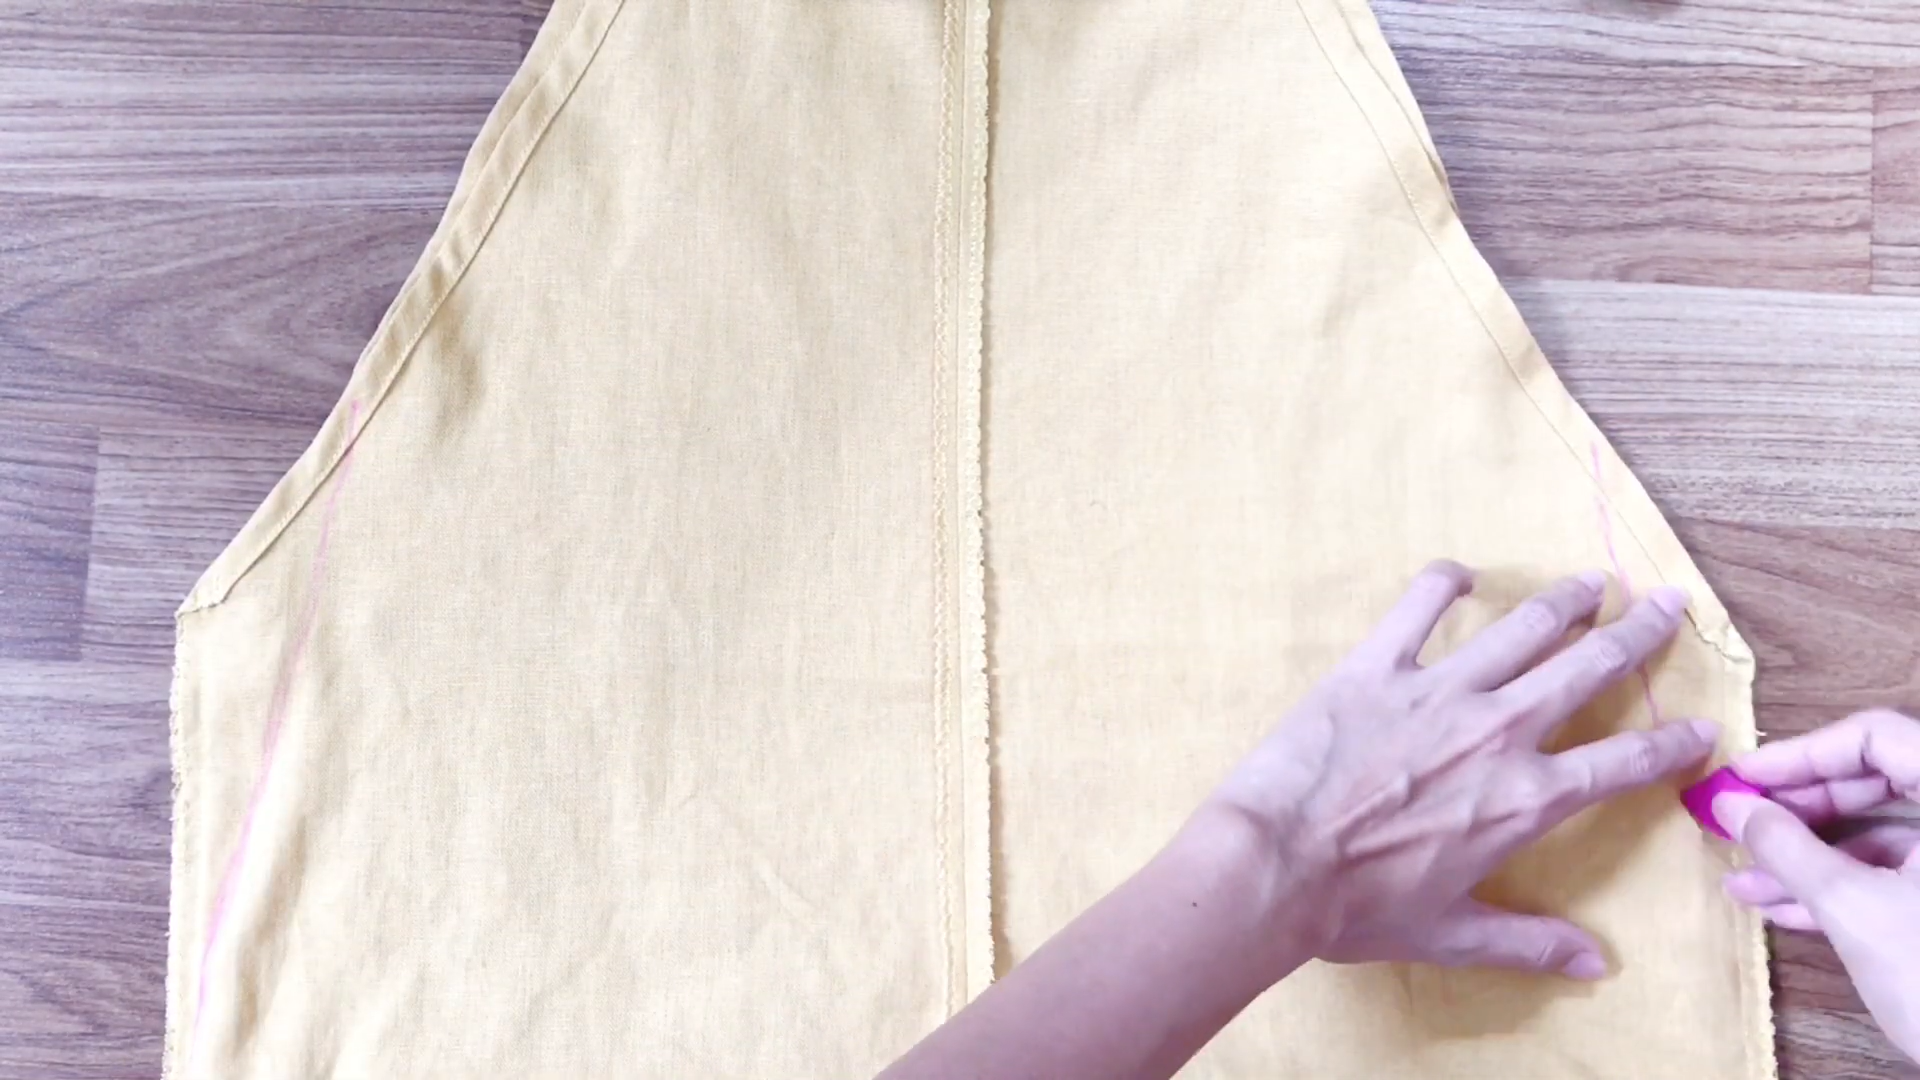
Now, it’s time to fix the belly of the jumpsuit. Try the jumpsuit on and mark where it’s fixed to your belly.
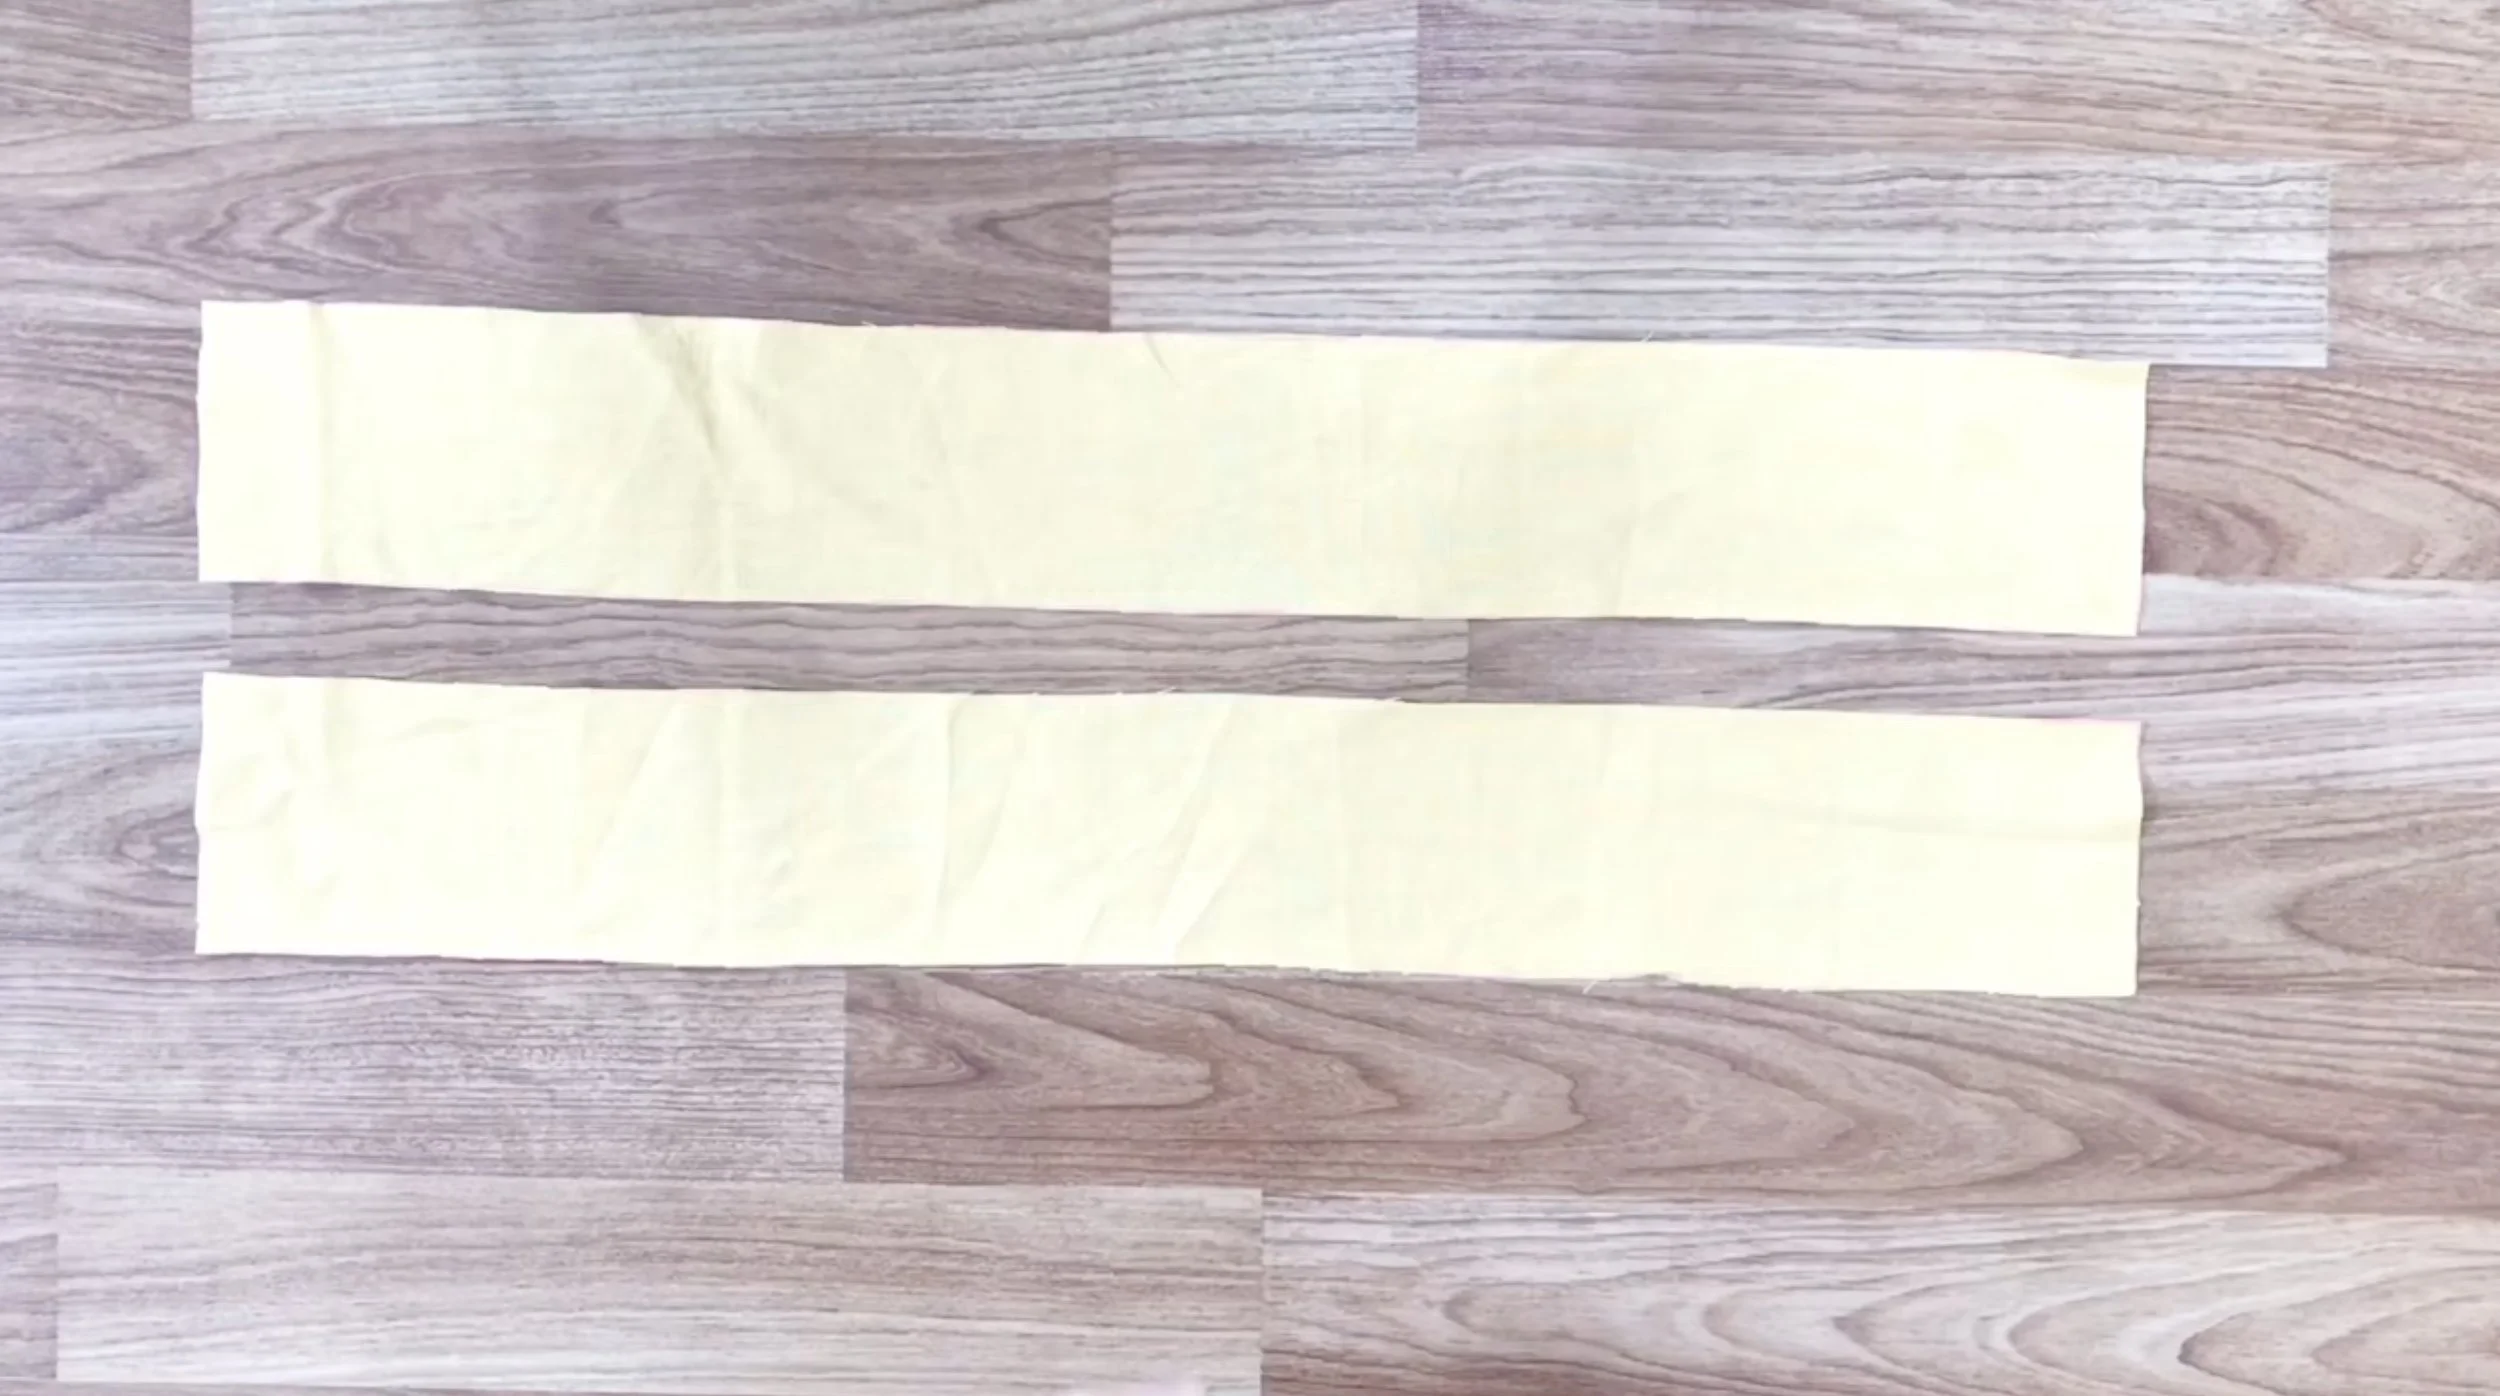
THE SHOULDER STRAP
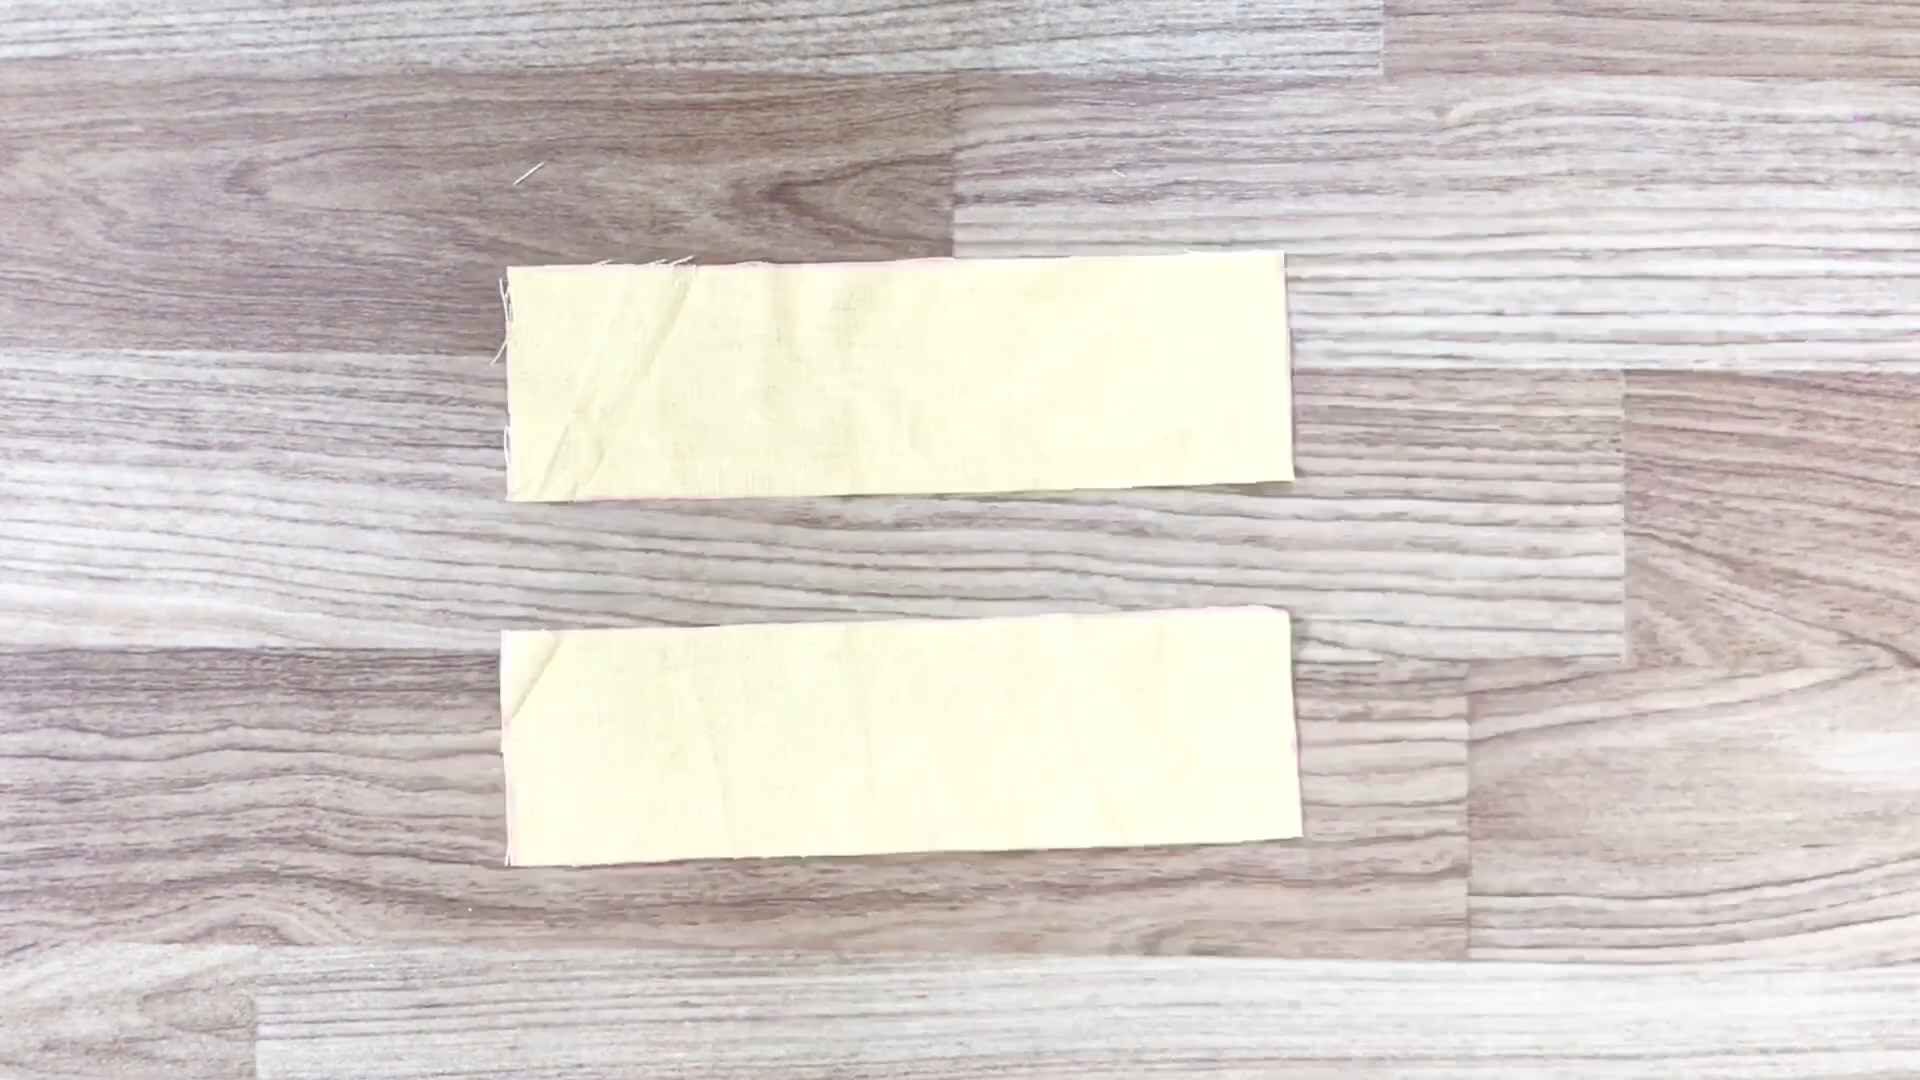
Draw two rectangles with a width of 6 cm and a length of about 20 cm.

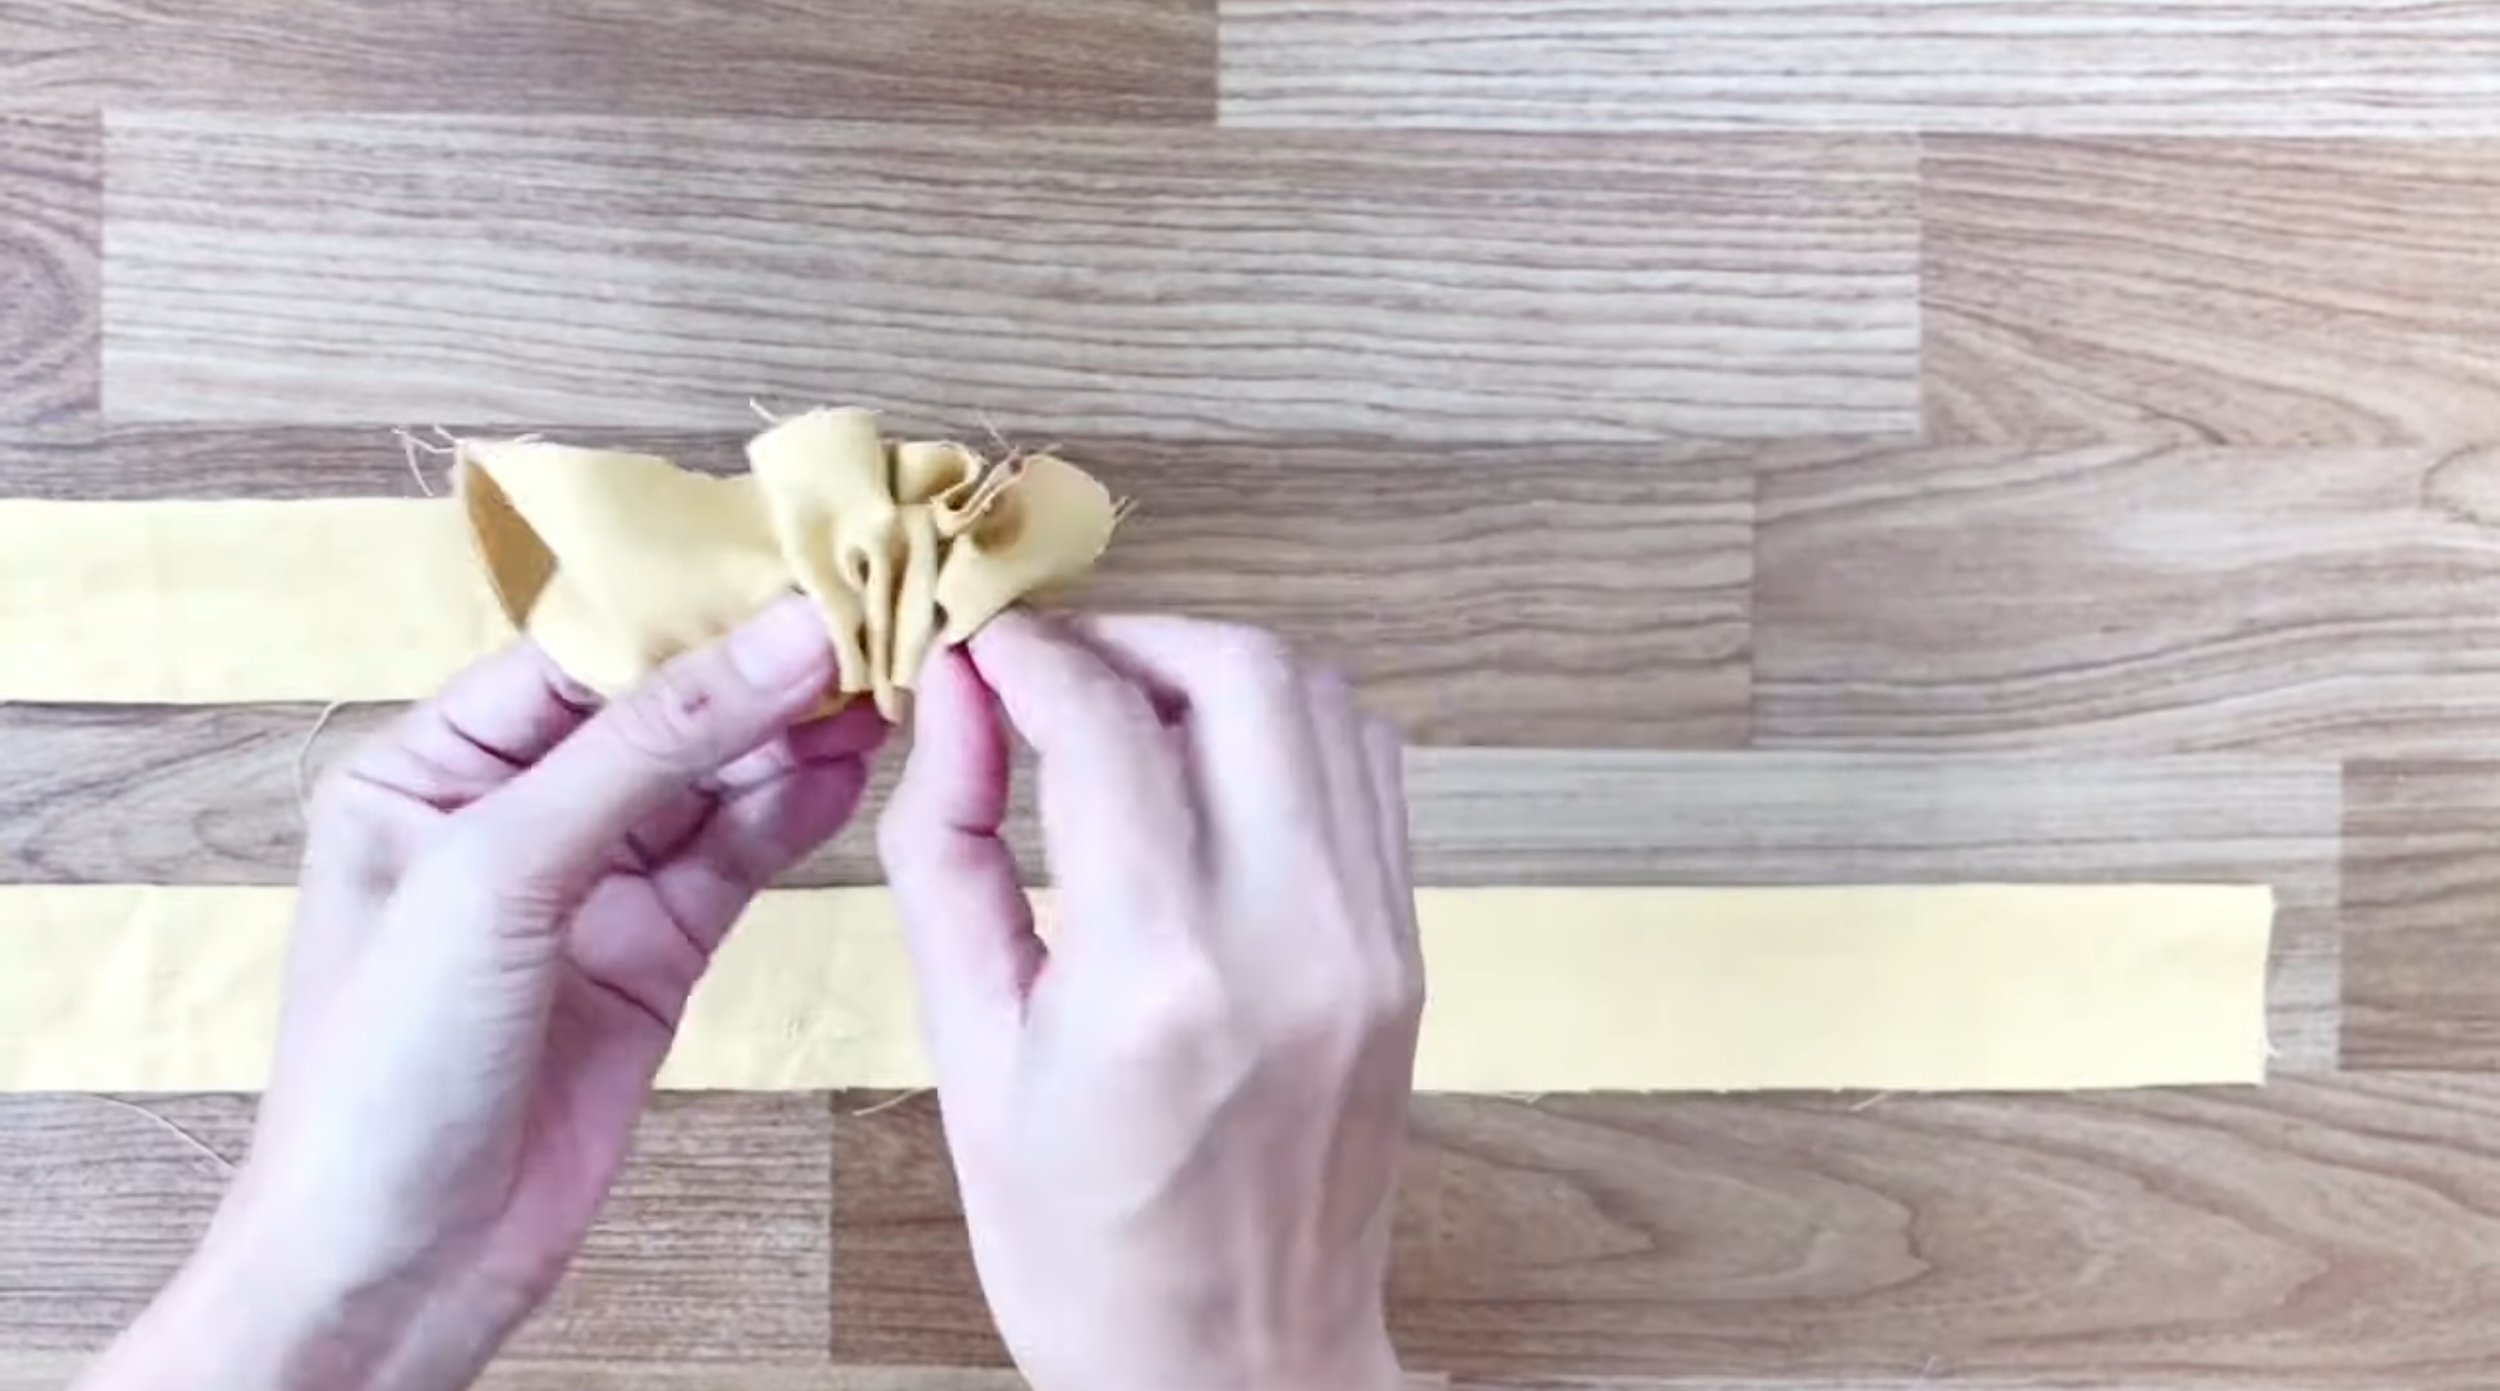
Sew two sides of the lane together then turn it right side out before ironing.
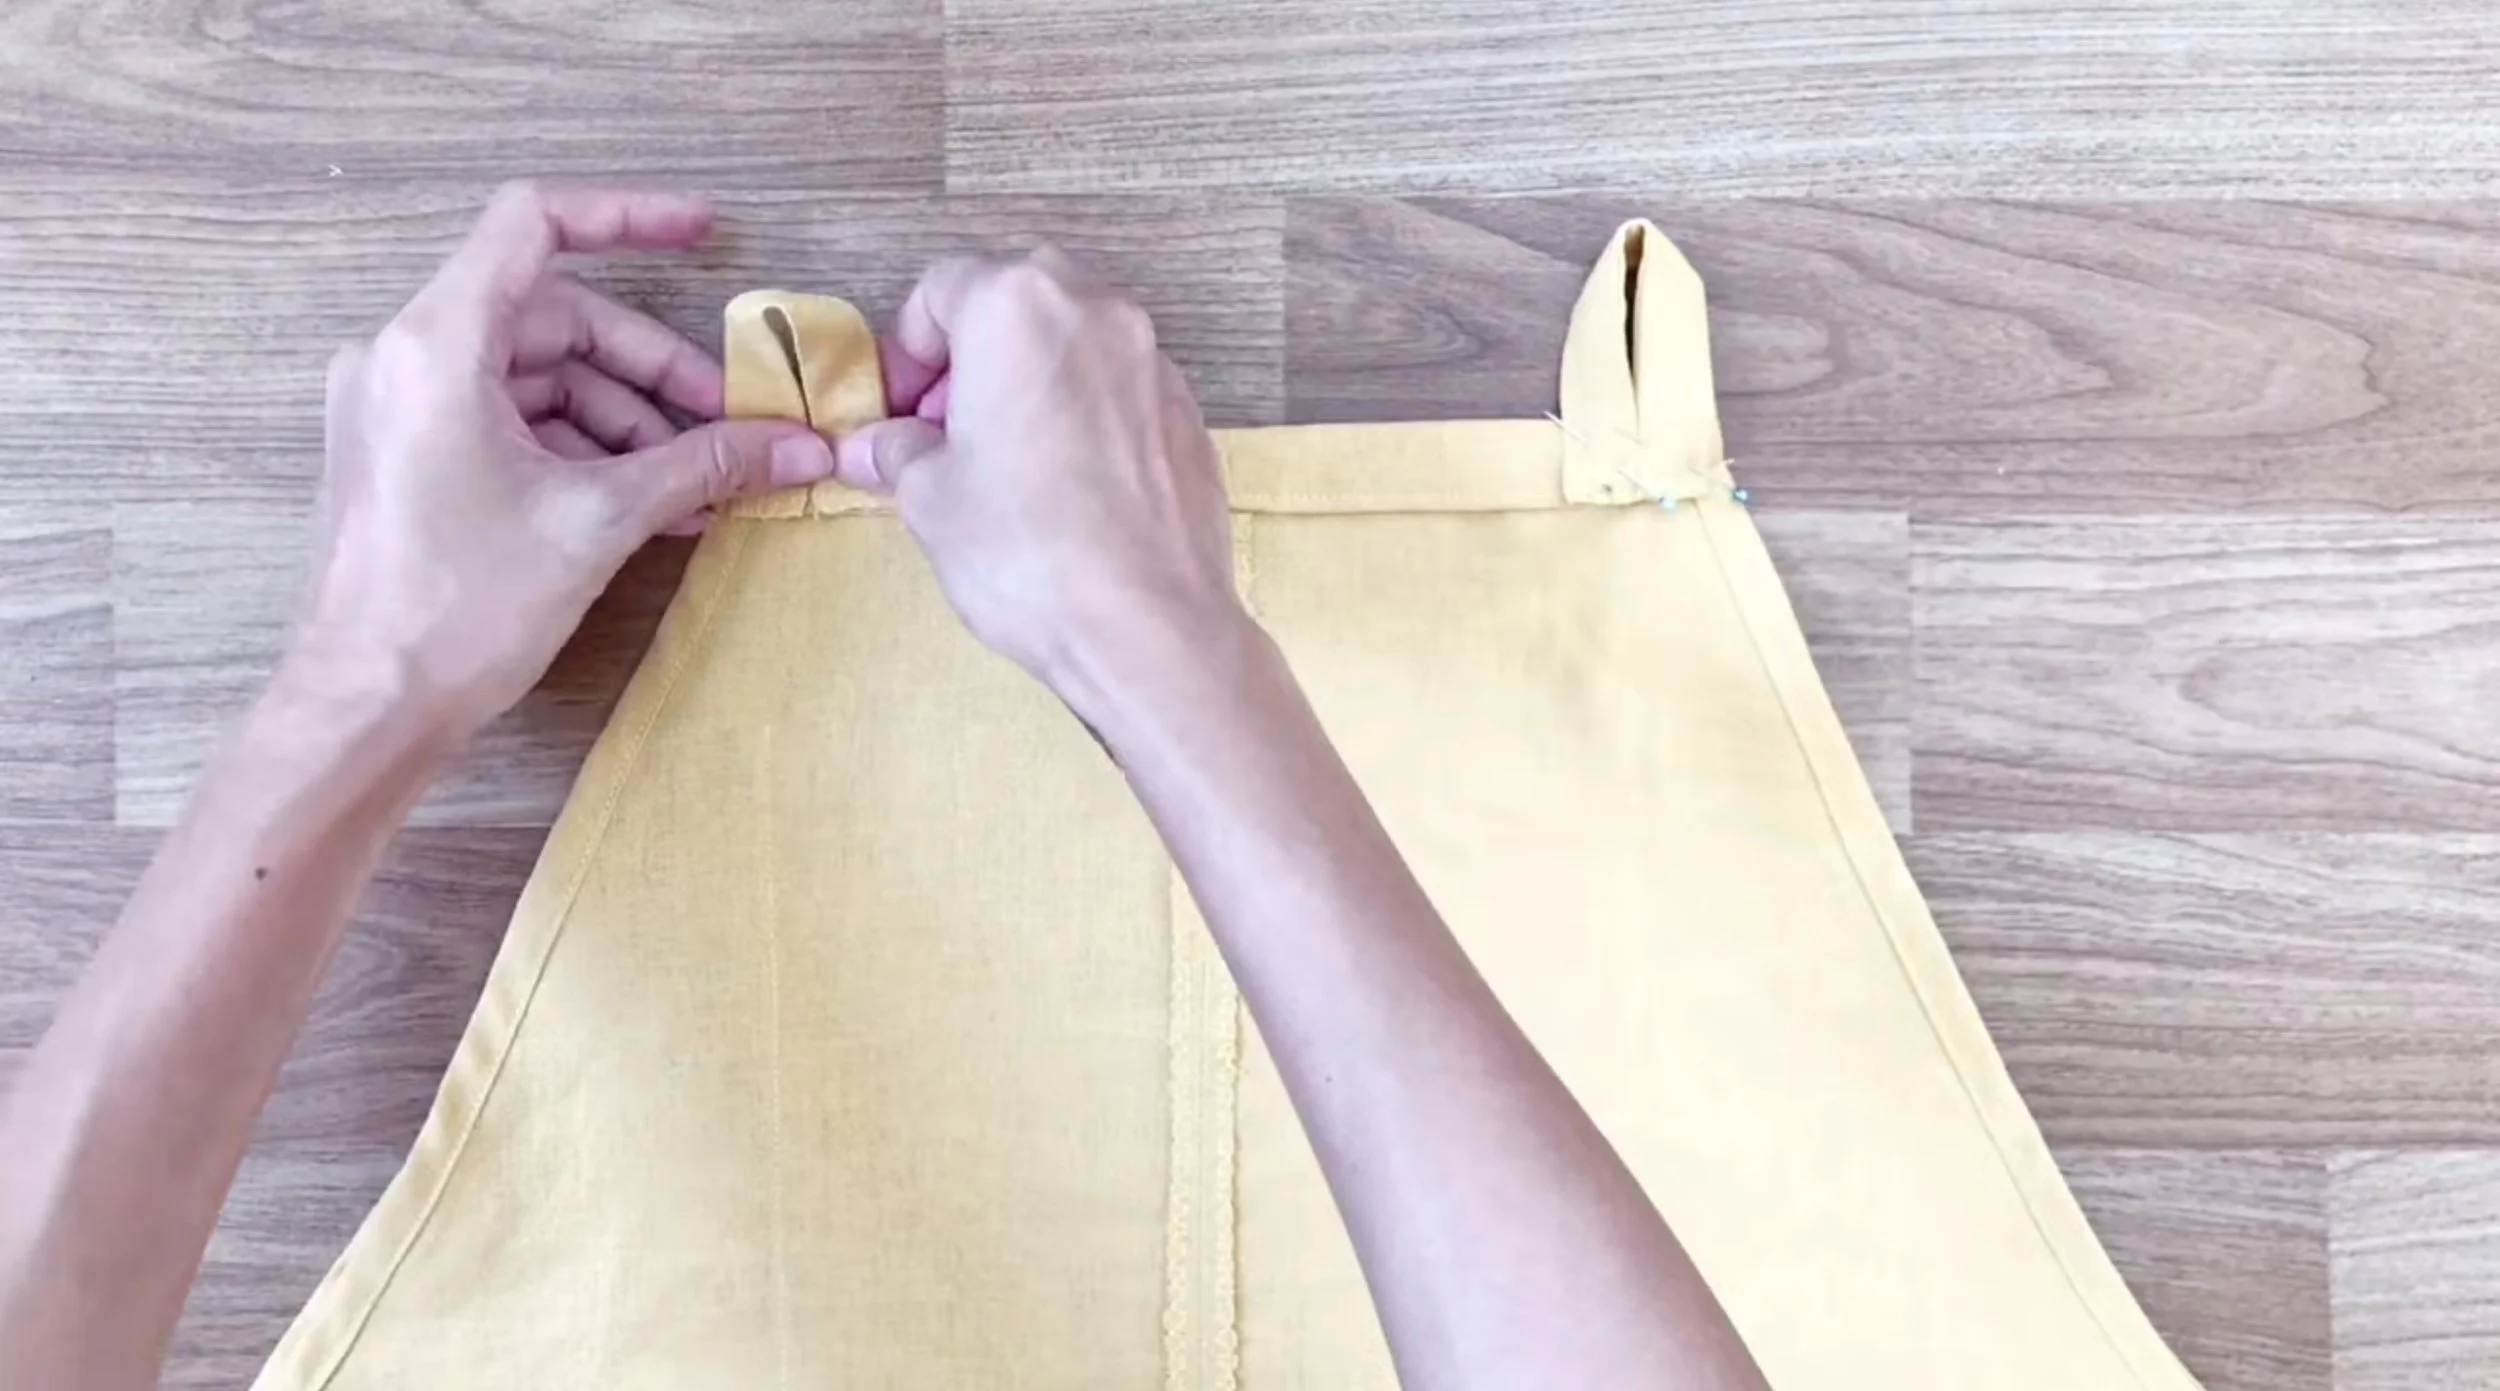
After that, fix them into two sides of the front body of the jumpsuit then sew.
Draw two rectangles with a width of 10 cm and a length of 17 cm. .
Do the same as you did for the fabric hole.
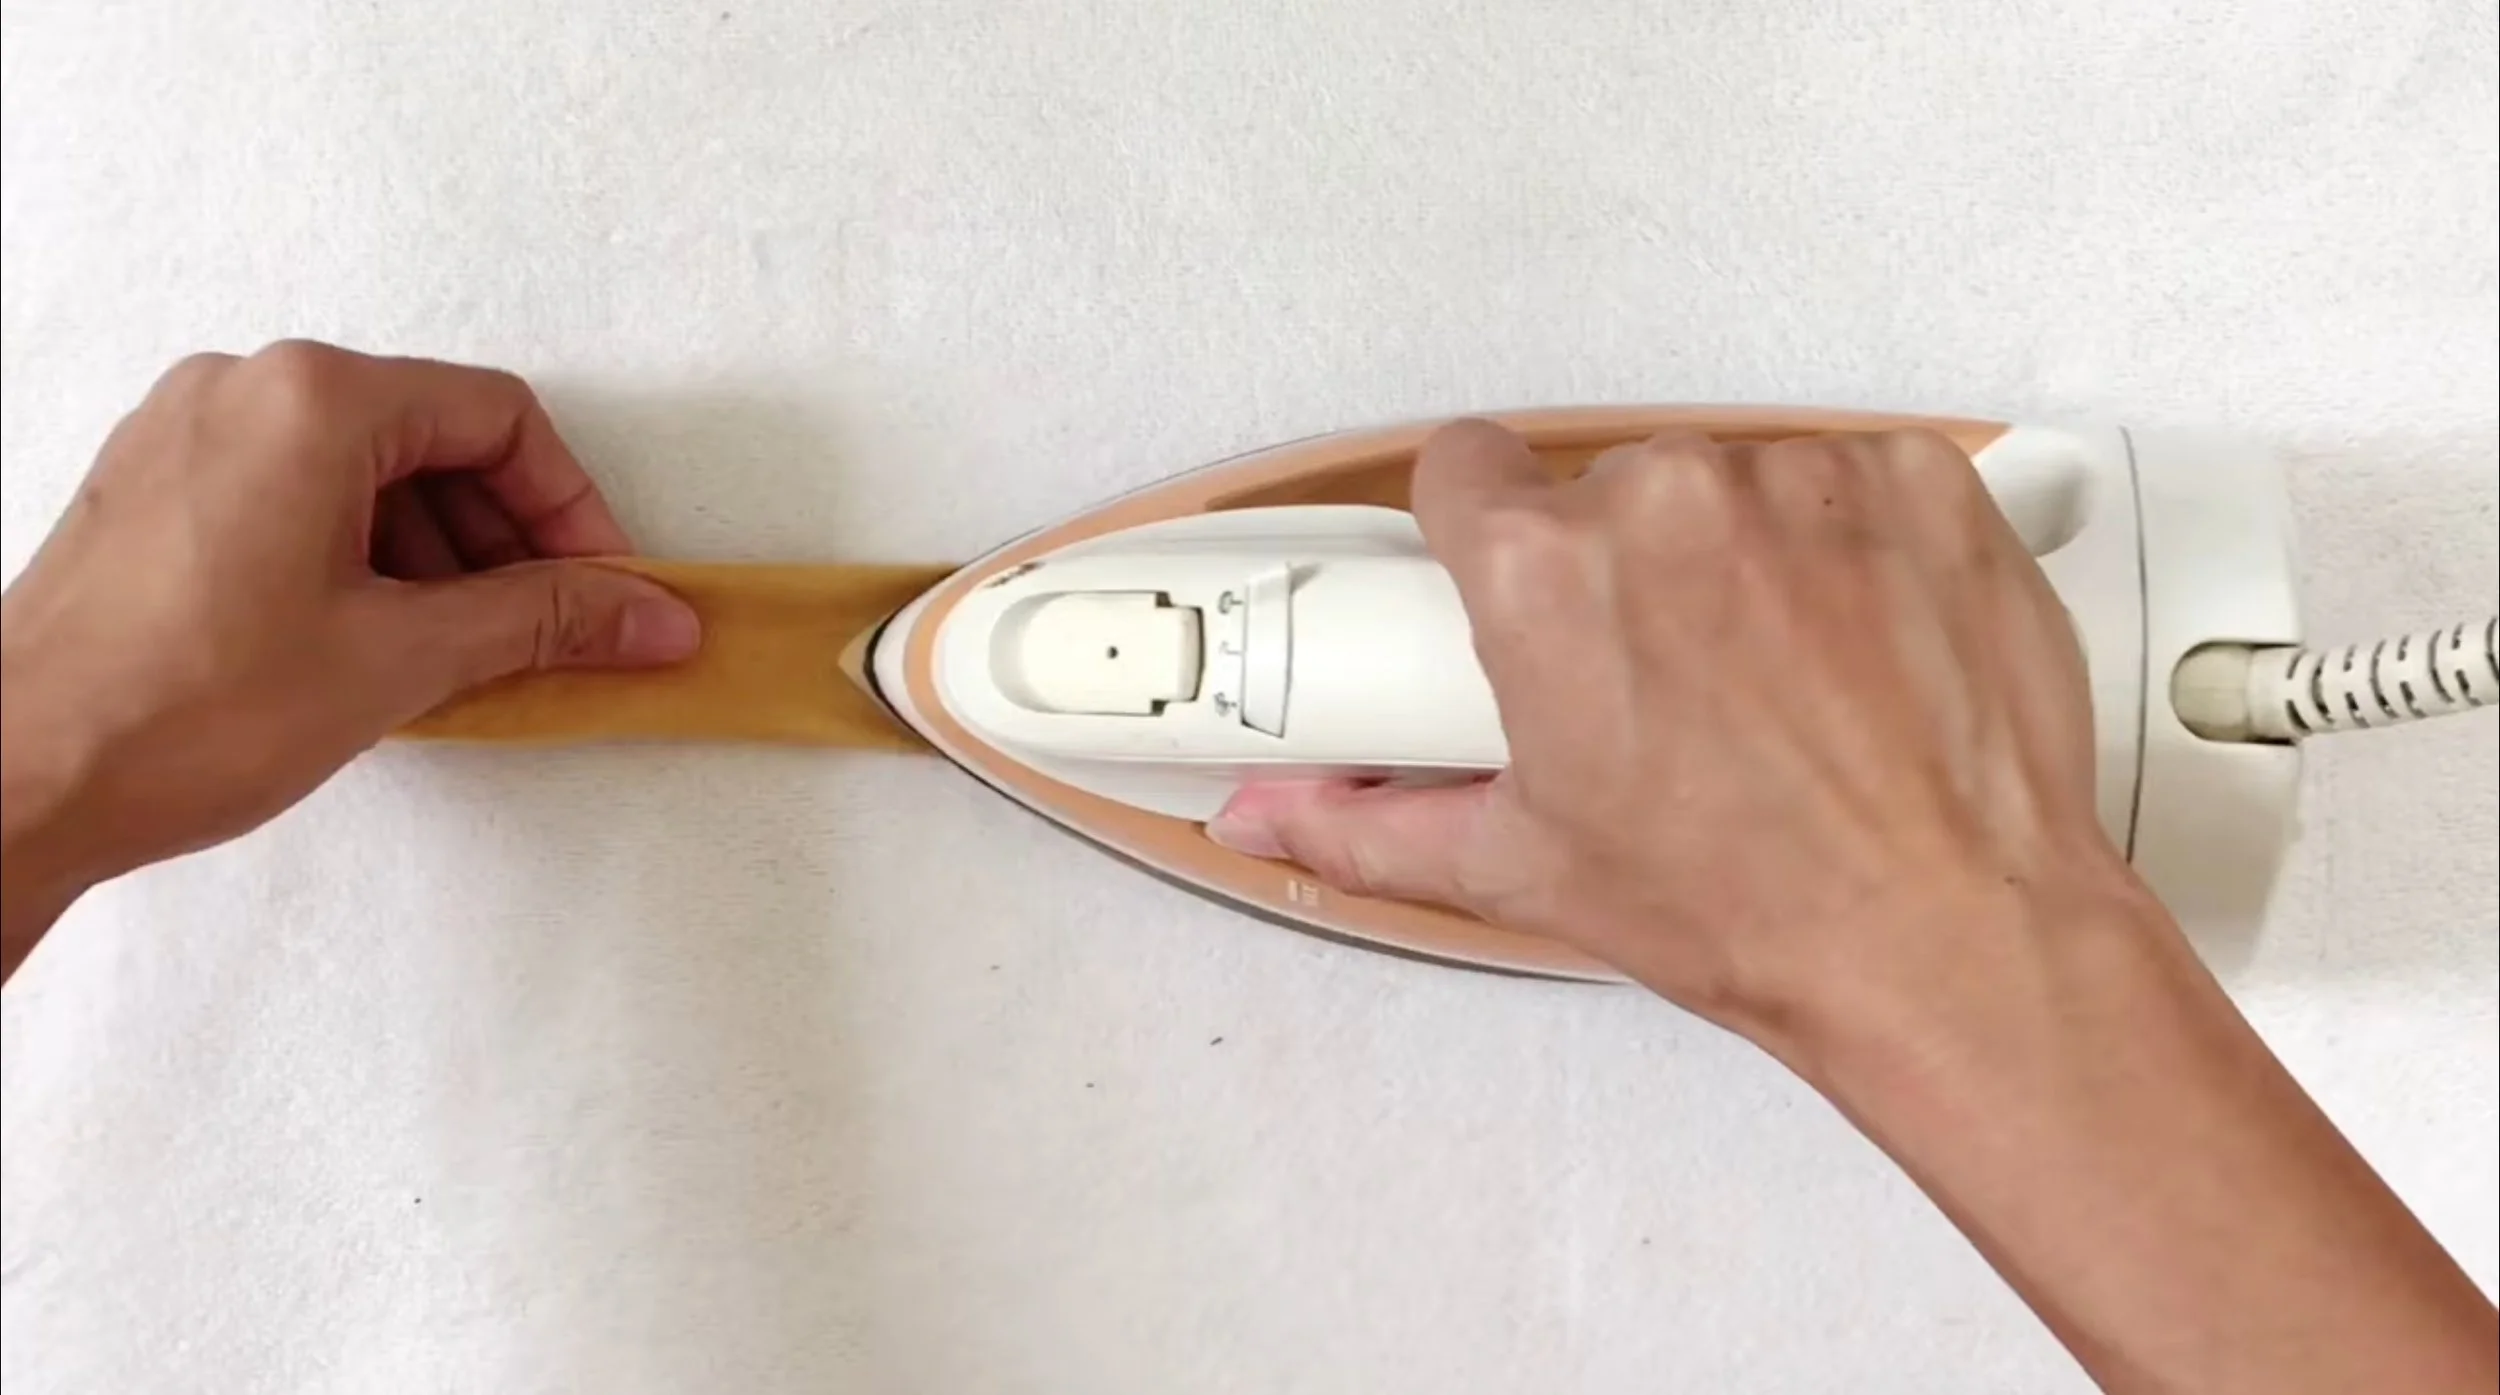
Sew two sides of the fabric and iron after turning them right side out.
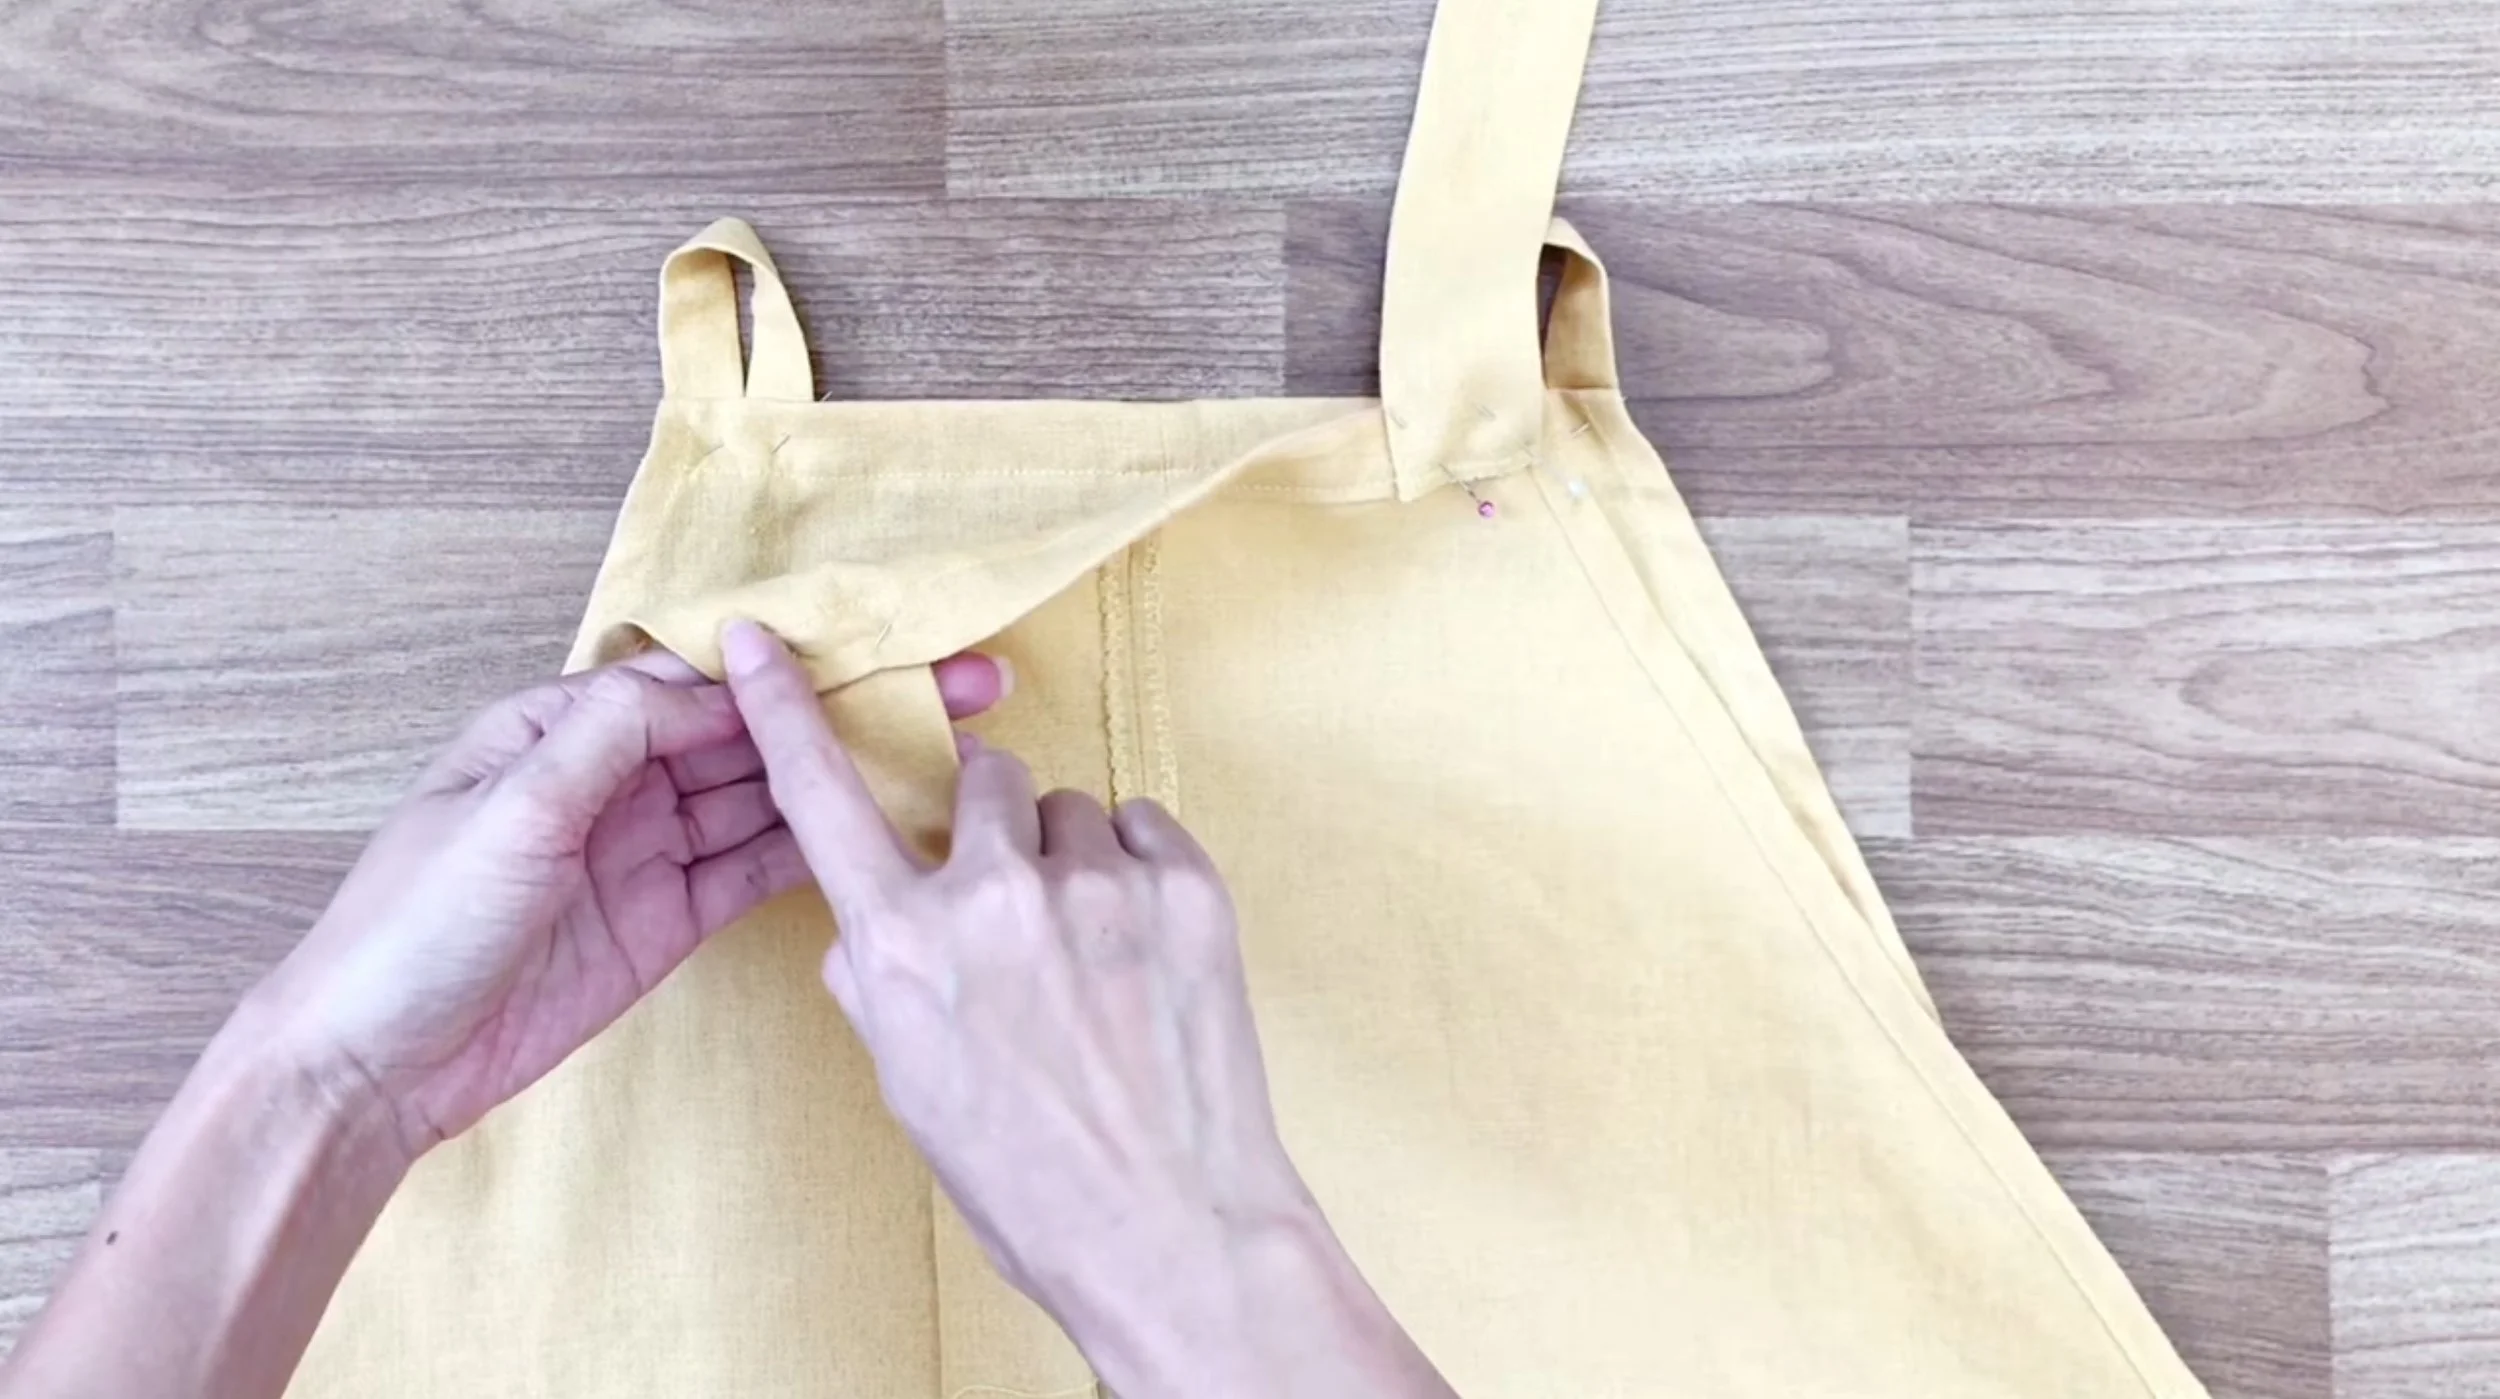
After that, fix them into the back body of the jumpsuit.

And there we have it!
Isn’t the result just adorable? I absolutely love wearing this jumpsuit. It’s not only stylish but also incredibly comfortable.


I hope you enjoyed this DIY project as much as I did.
If you liked this project, please give it a like and share it. Don’t forget to subscribe to my channel to stay updated on my jumpsuit adventures.
Until then, happy sewing!