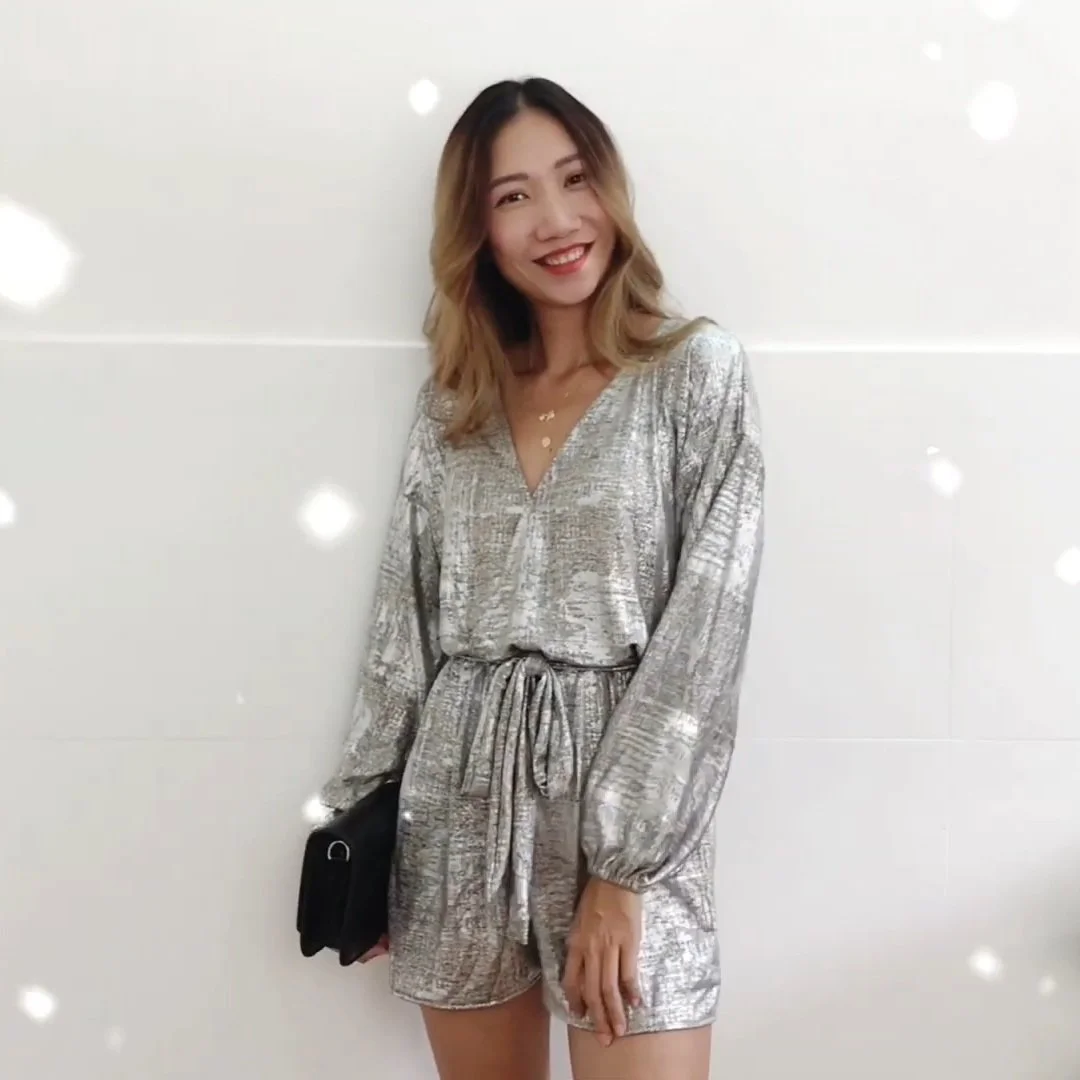
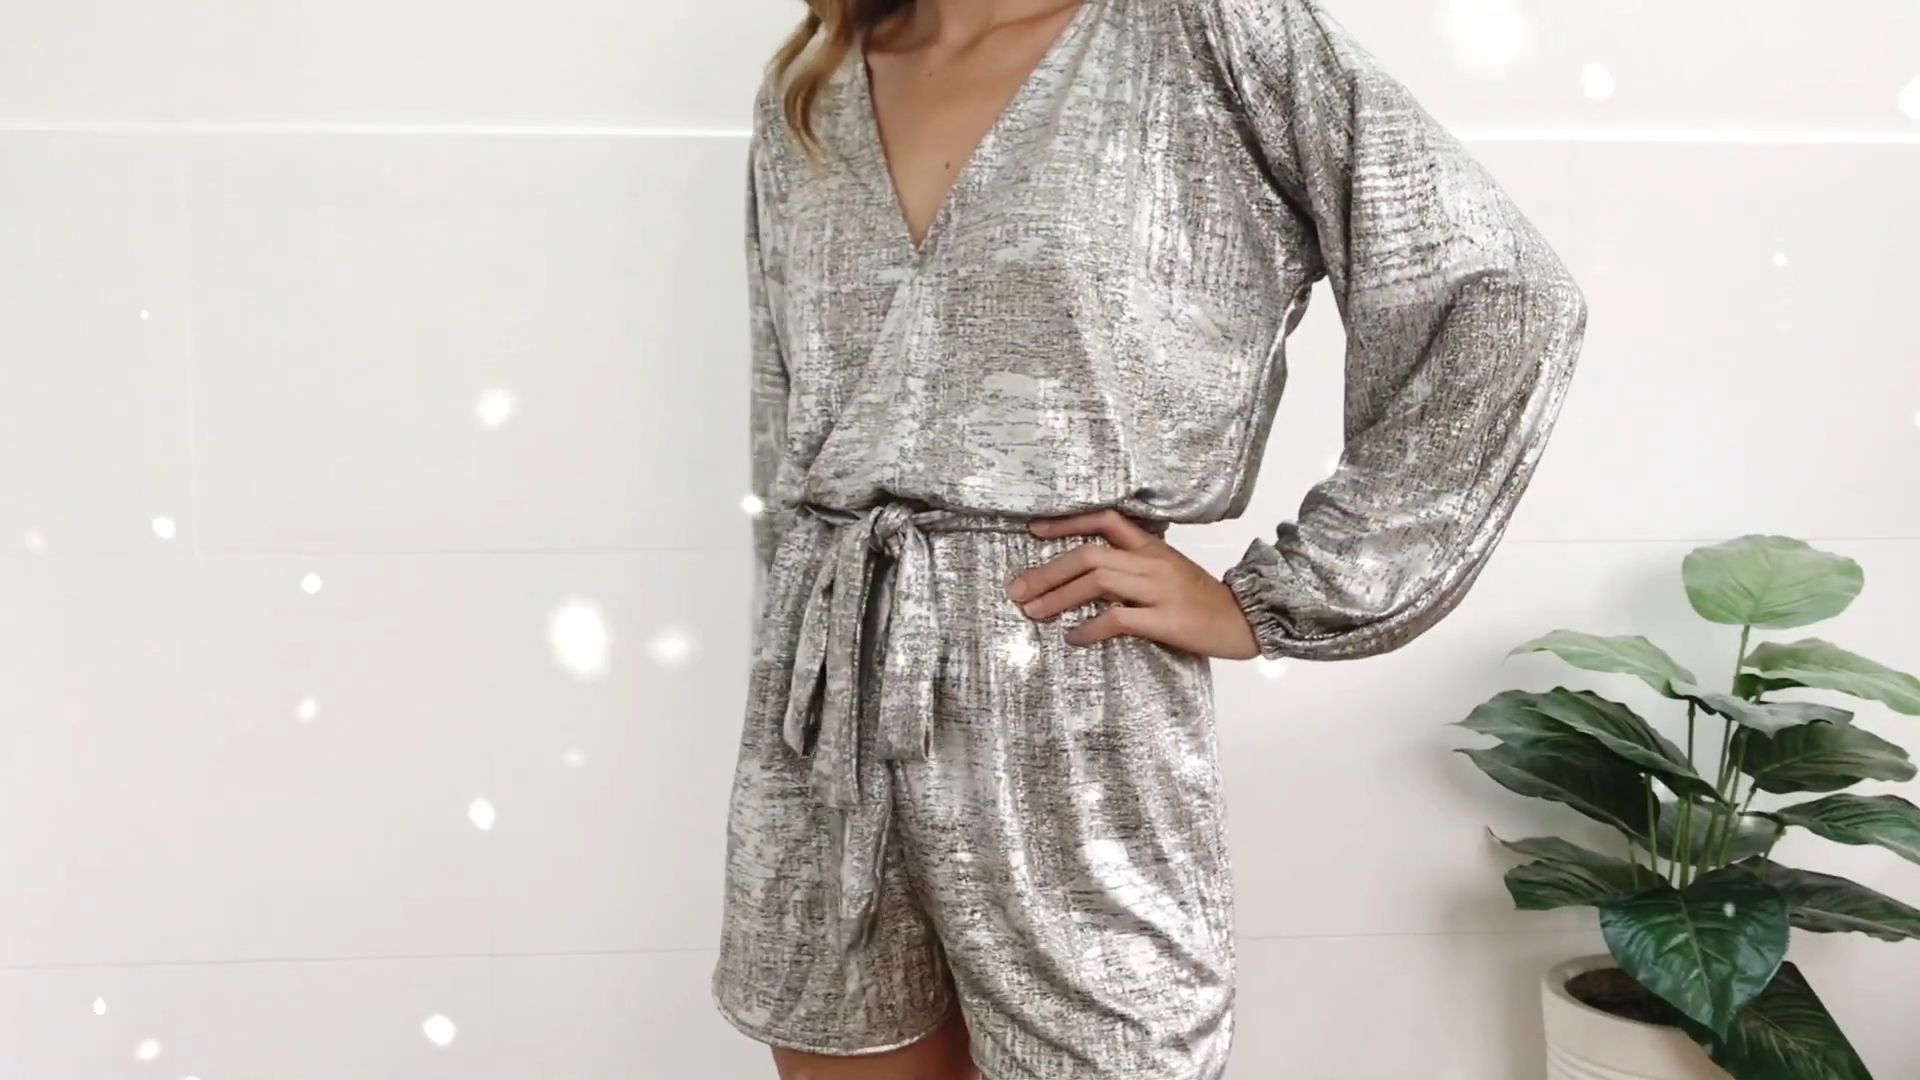
DIY Party dress - V-Neck Sequin jumpsuit/romper - Party outfit idea

DIY Party dress - V-Neck Sequin jumpsuit/romper
Welcome or welcome back to my channel!
Christmas is so close. Have you known what to wear for your Christmas party yet? I love dancing in the party. So the jumpsuit is perfect for me. Therefore I made myself a V-Neck Sequin jumpsuit. And I'm so excited to share with you the way I did it. I tried to show the way I did the measurement. So I hope you can apply to make your own jumpsuit.
So, let’s get started!
WHAT YOU’LL NEED
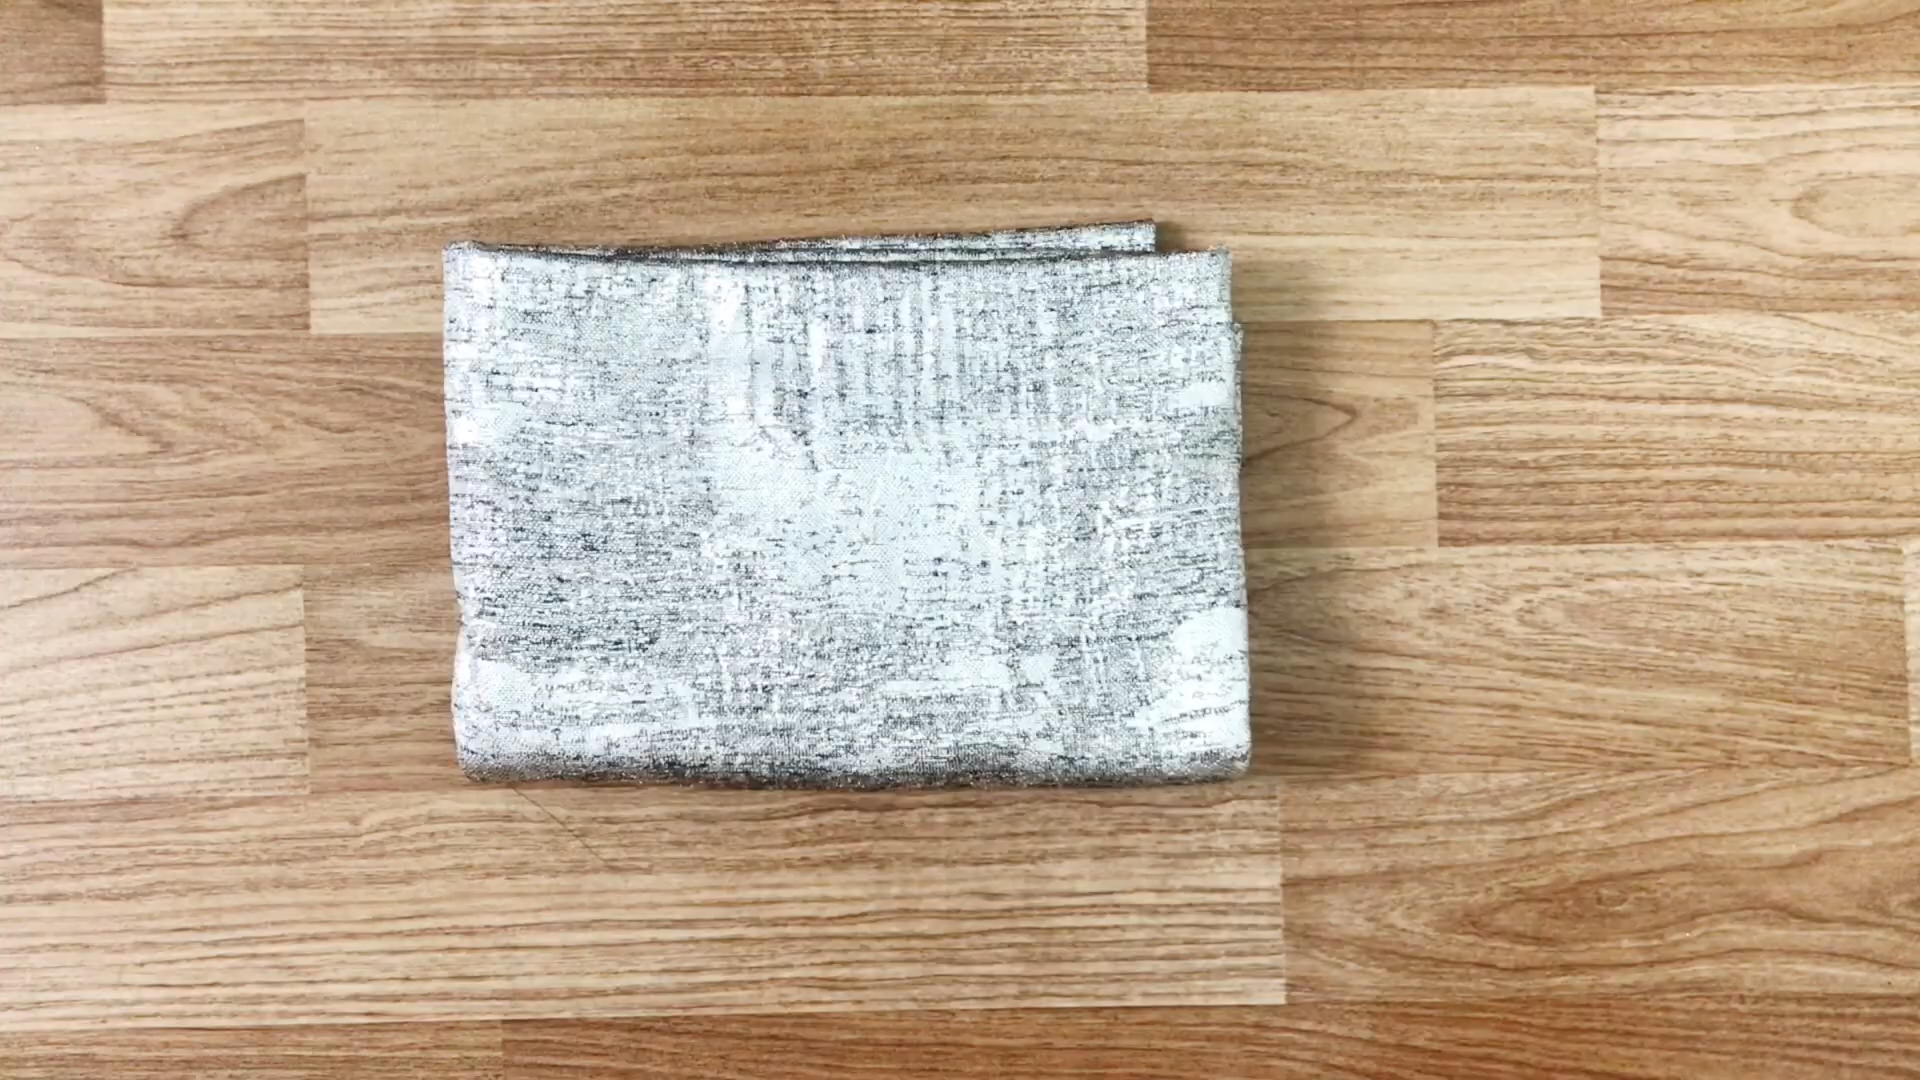
Spandex fabric with a twinkle at one face
Pattern paper
Sewing machine
Pins
Scissors
Ruler
Long stick
SEWING THE DRESS
THE PANTS PATTERN
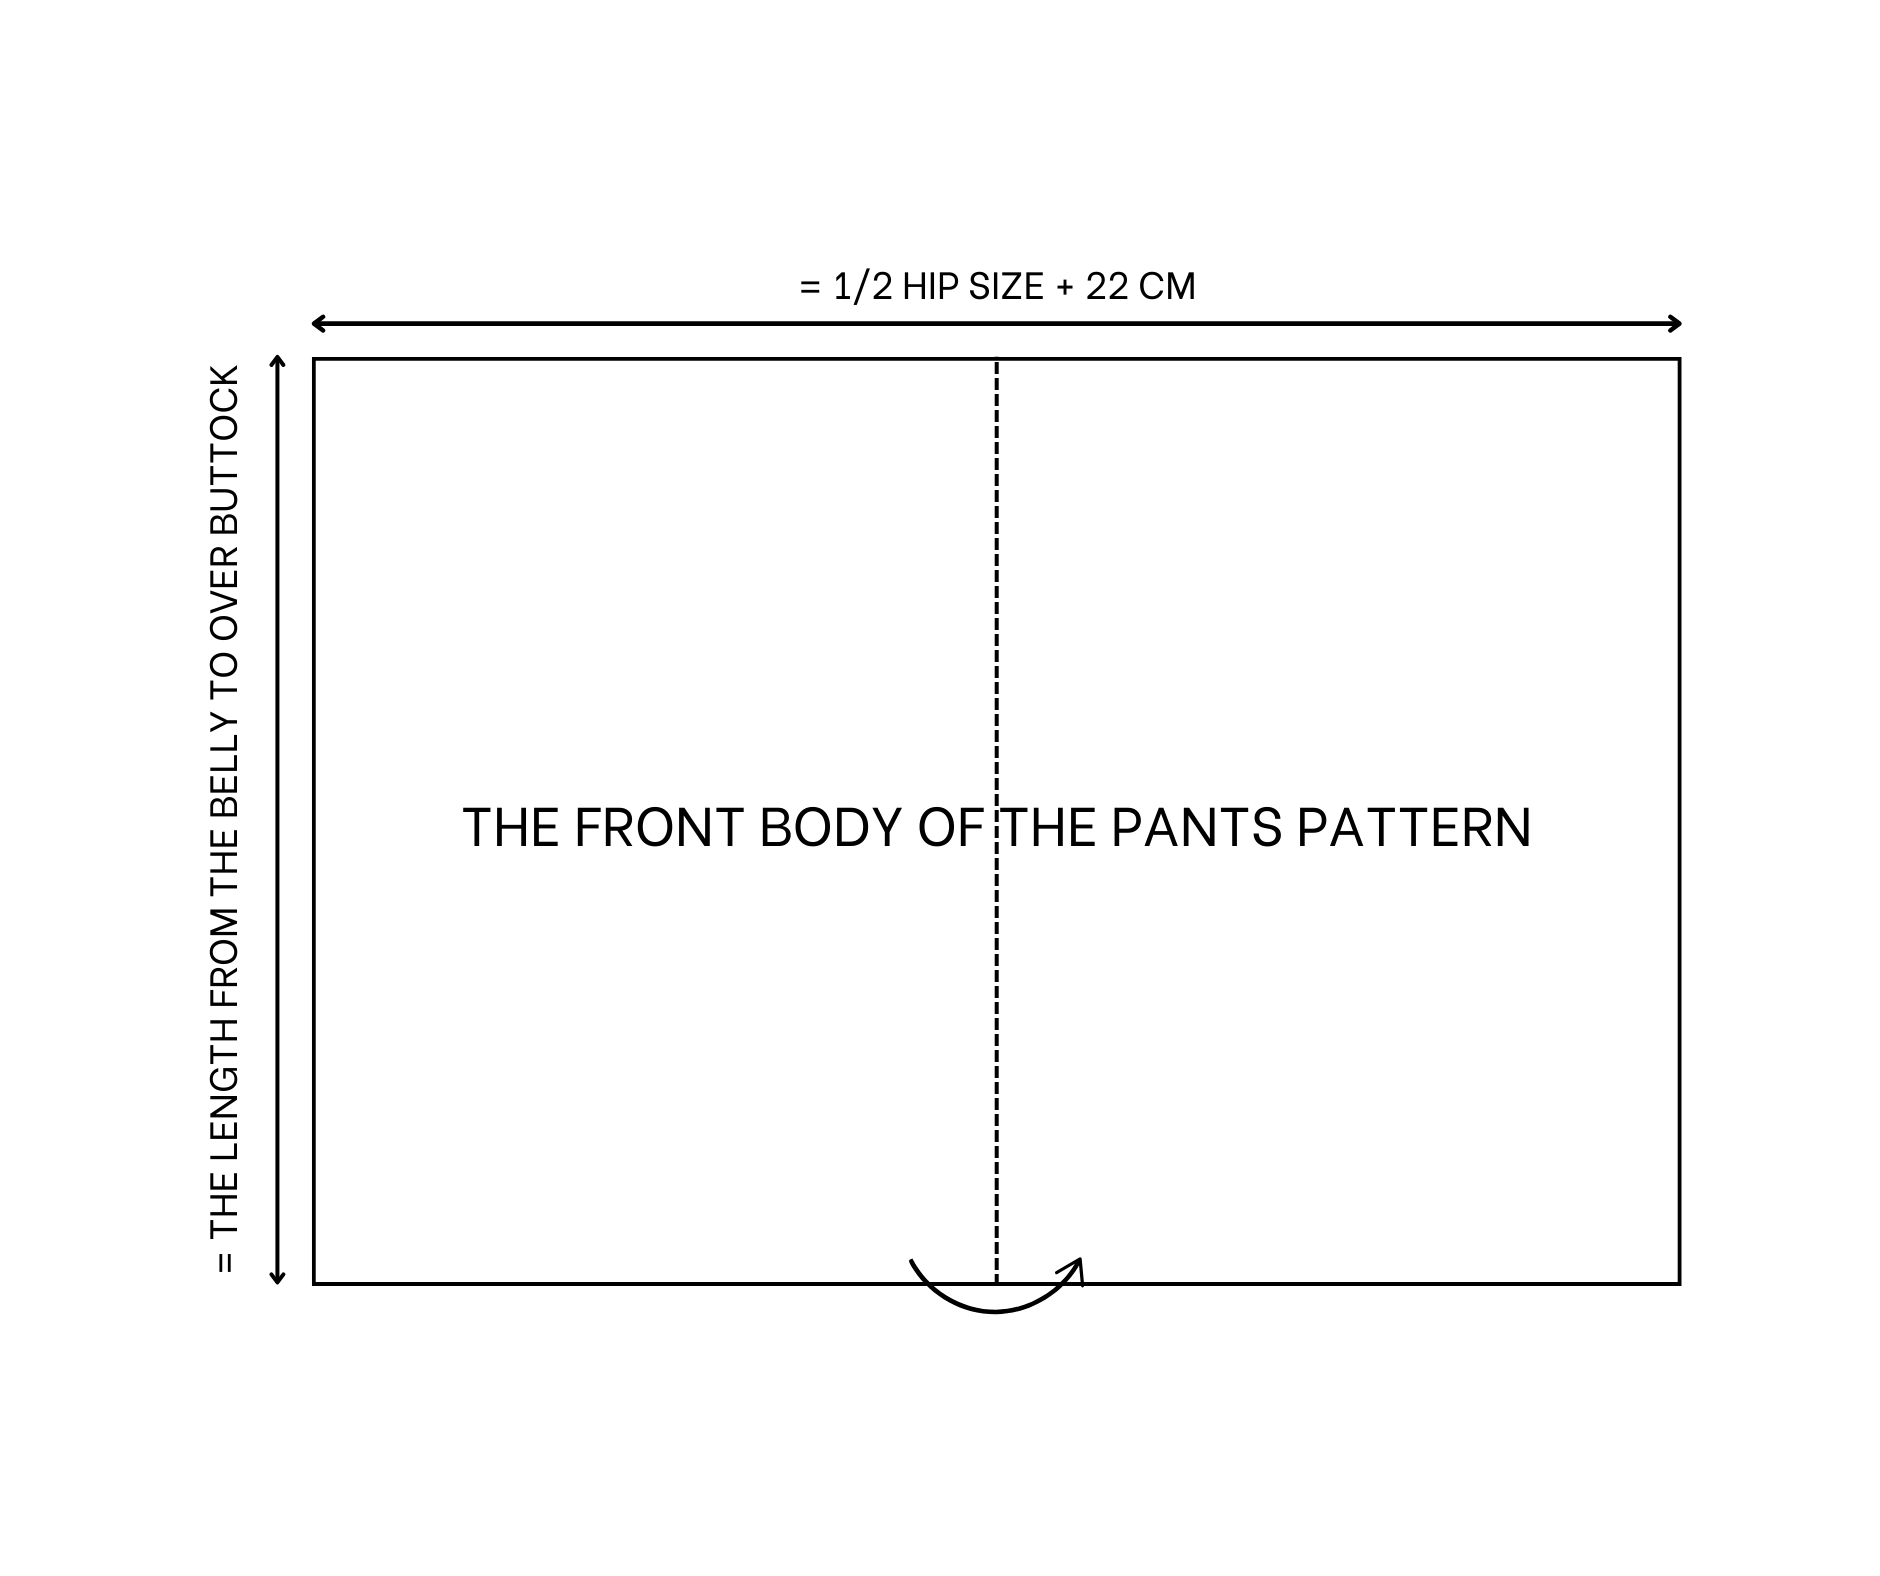
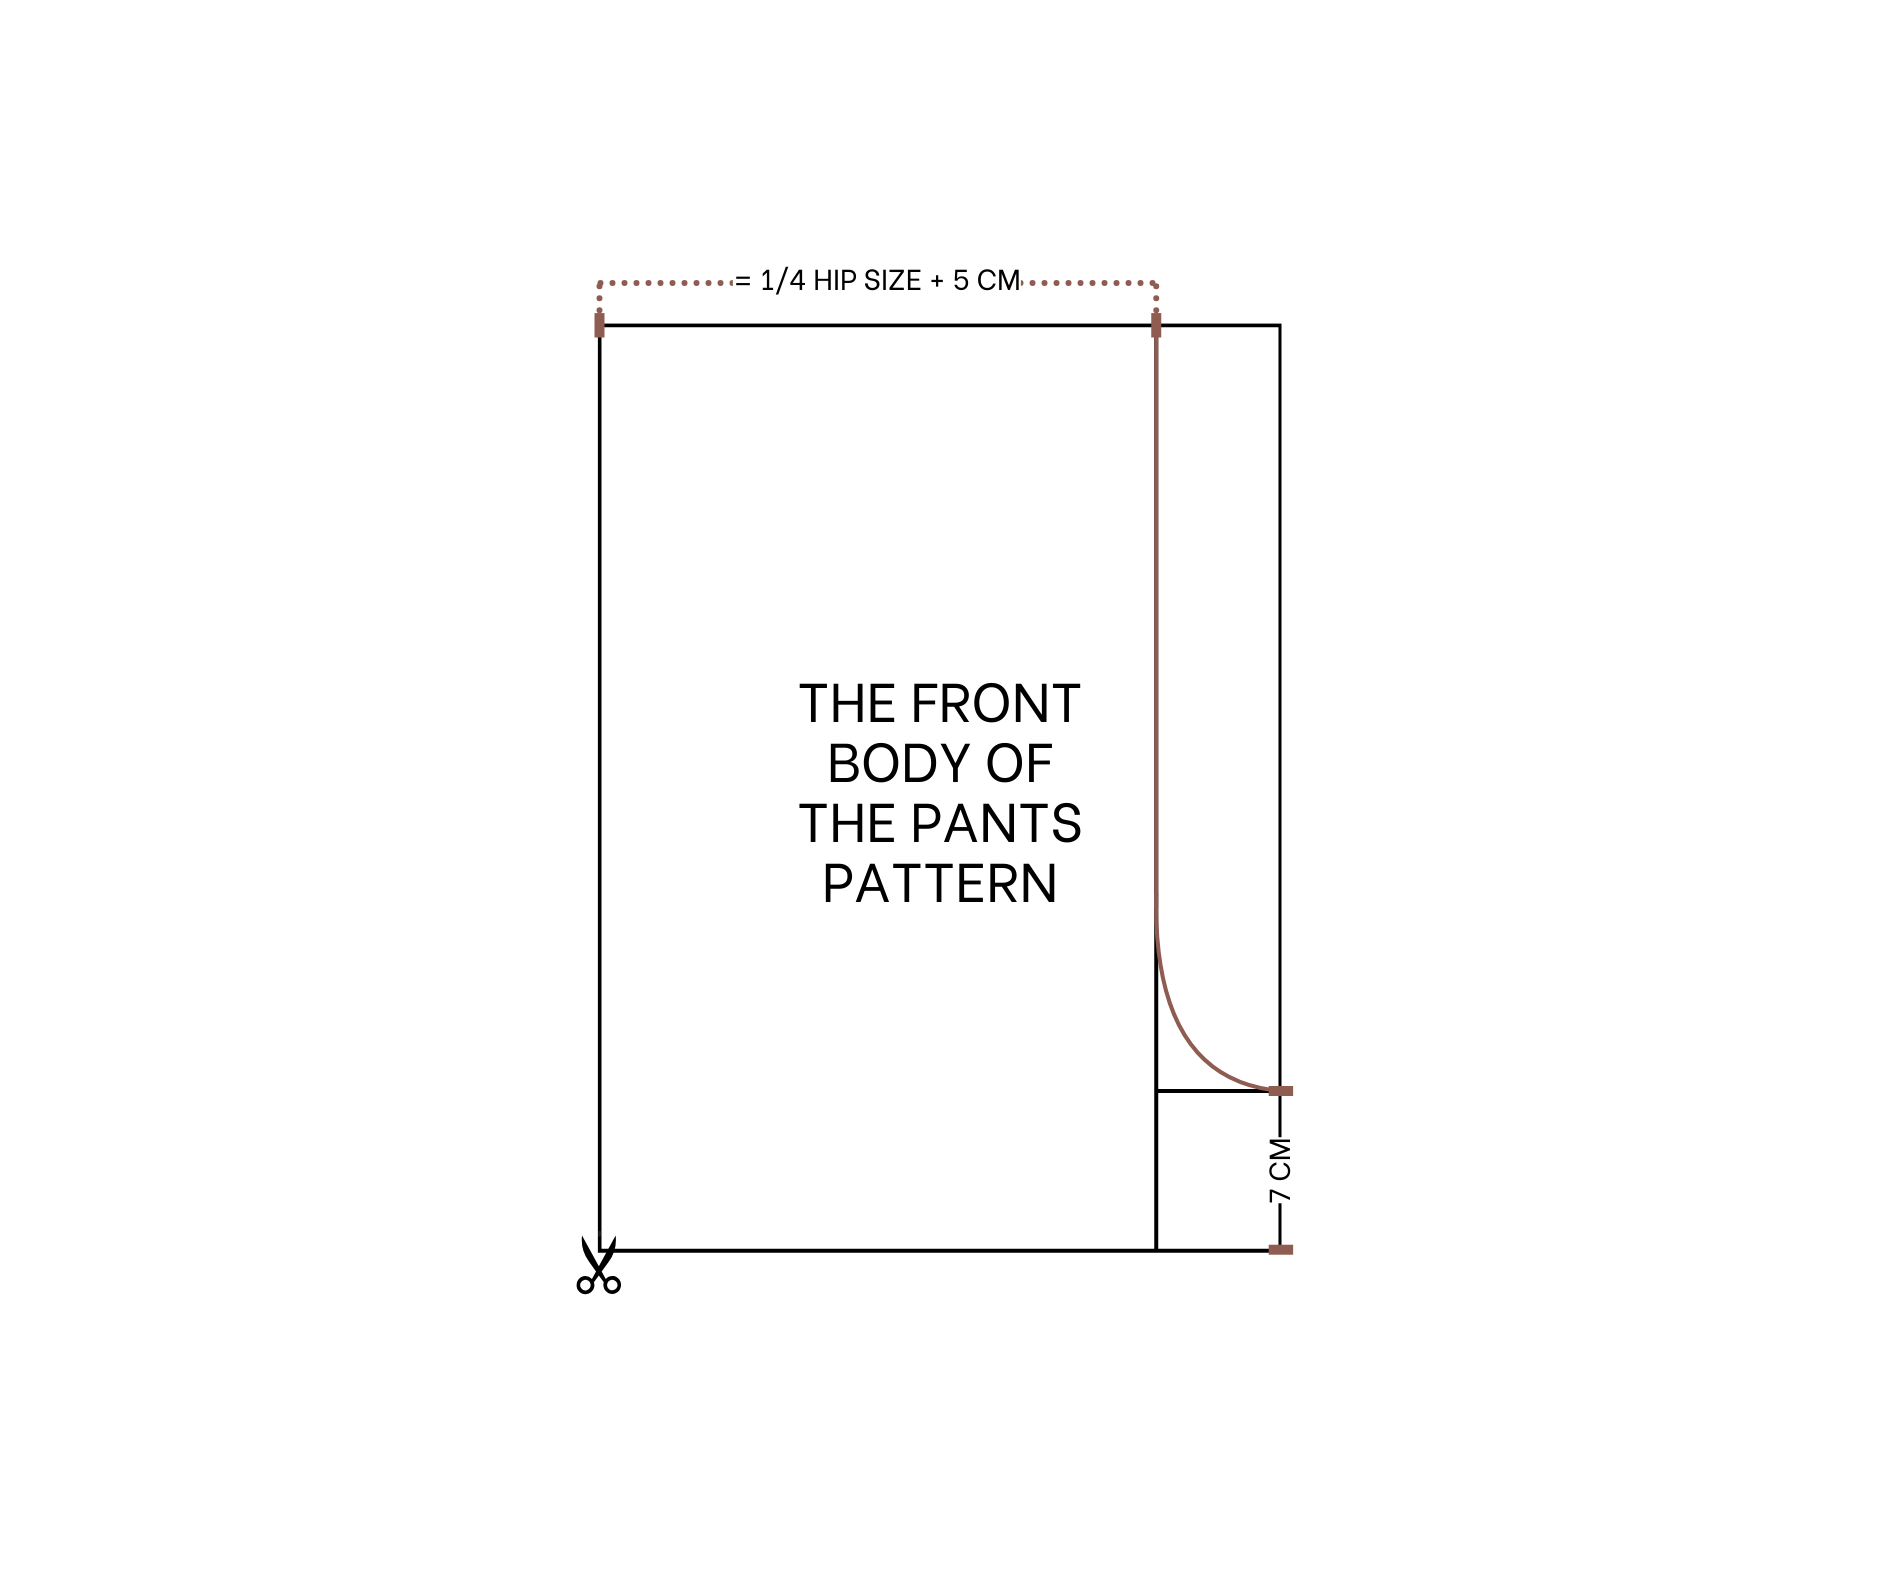
The front body of the pants pattern
THE FRONT BODY OF THE PANTS
Measure the length from the belly to over the buttock, or longer if desired.
For the front pants, draw a rectangle with a width of 68 cm, which is half the hip size plus 22 cm.
Fold the rectangle in half before drawing the pattern for the front pants.
From the outside edge, move 28 cm inward (a quarter of the hip size plus 5 cm) and make a mark.
Draw a straight line down from this mark.
At the bottom, go up 7 cm and draw an arc to create the crotch curve for the pants.
Then, you will have the front body of the pants.
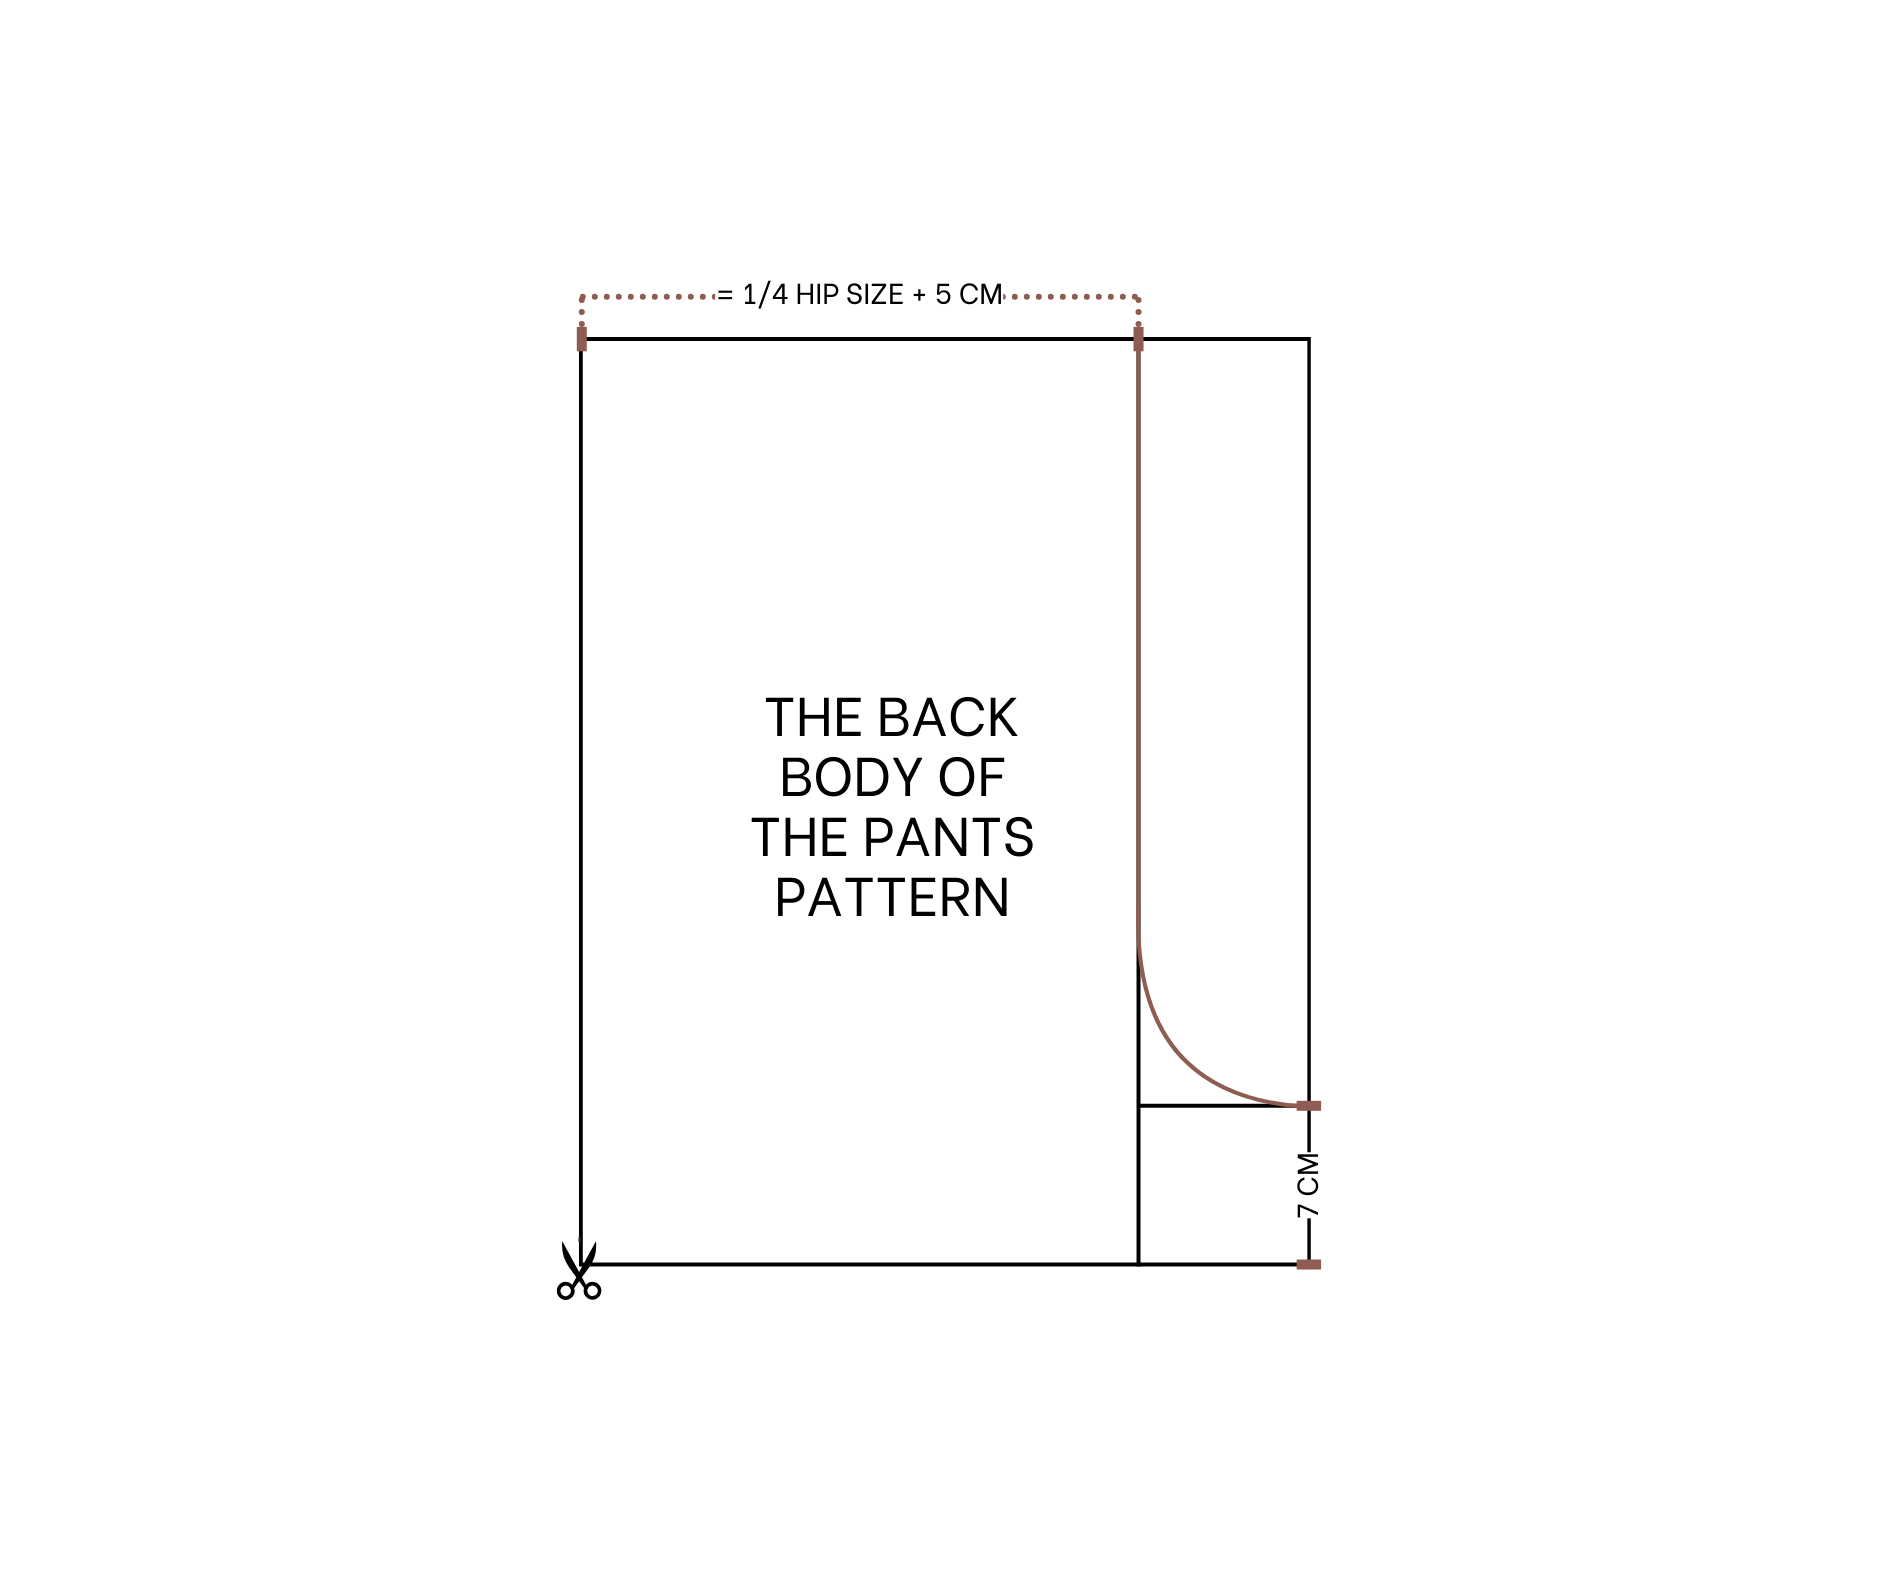
THE BACK BODY OF THE PANTS
Draw a rectangle with a width of 72 cm, which is half the hip size plus 24 cm, making it 2 cm wider than the front rectangle.
Fold this rectangle in half and repeat the same steps as for the front.
Then, you will have the back body of the pants.
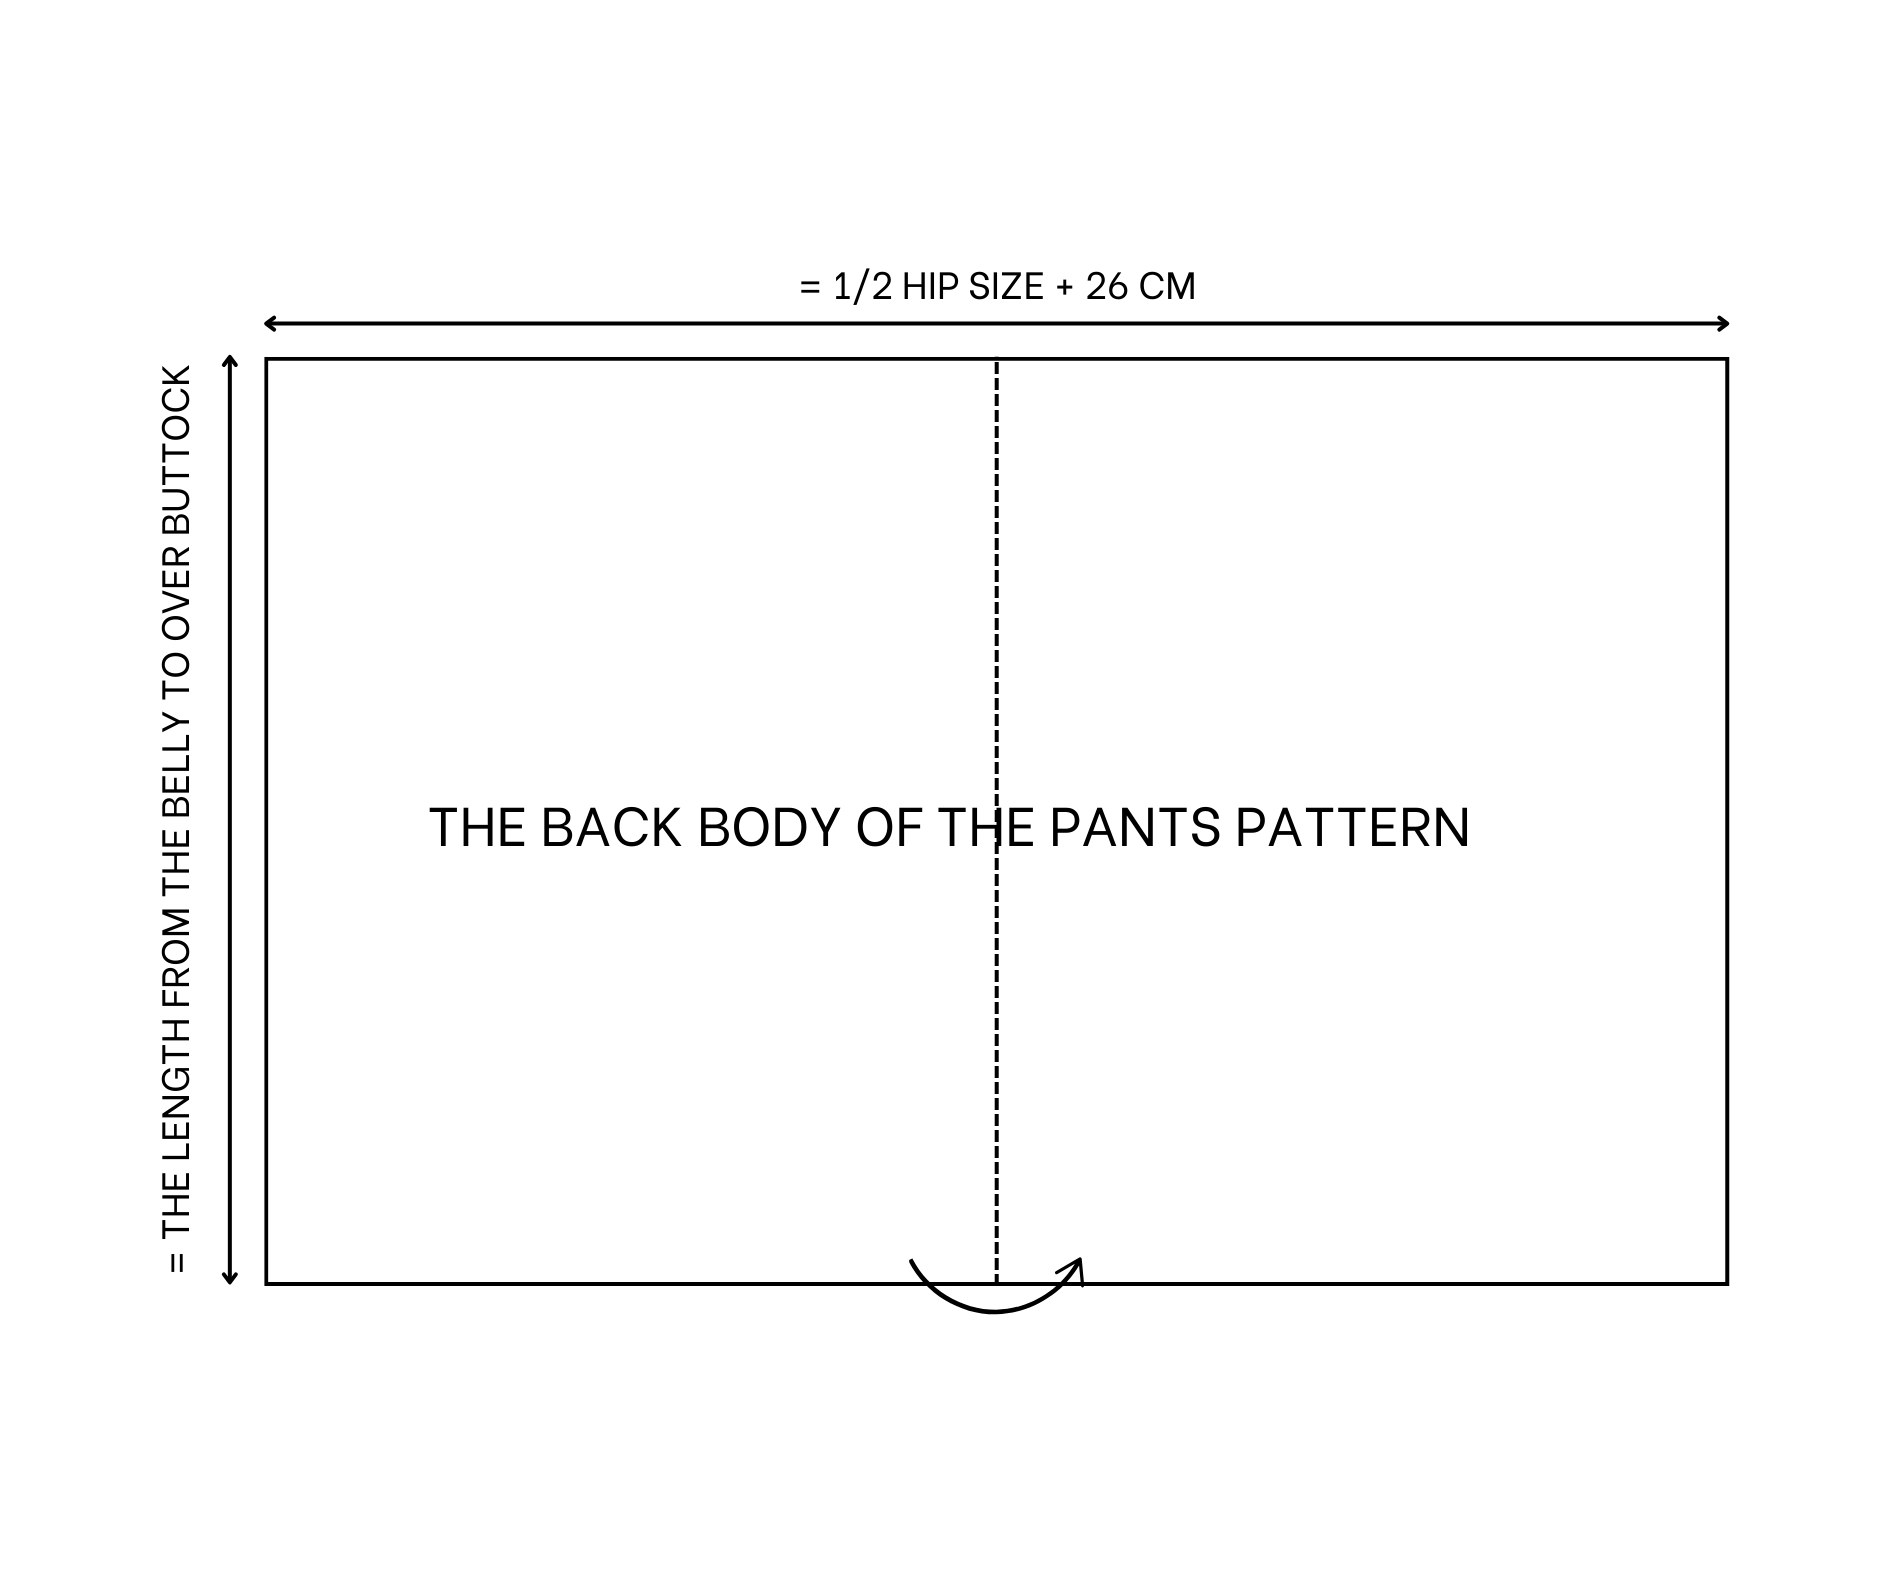
The back body of the pants pattern
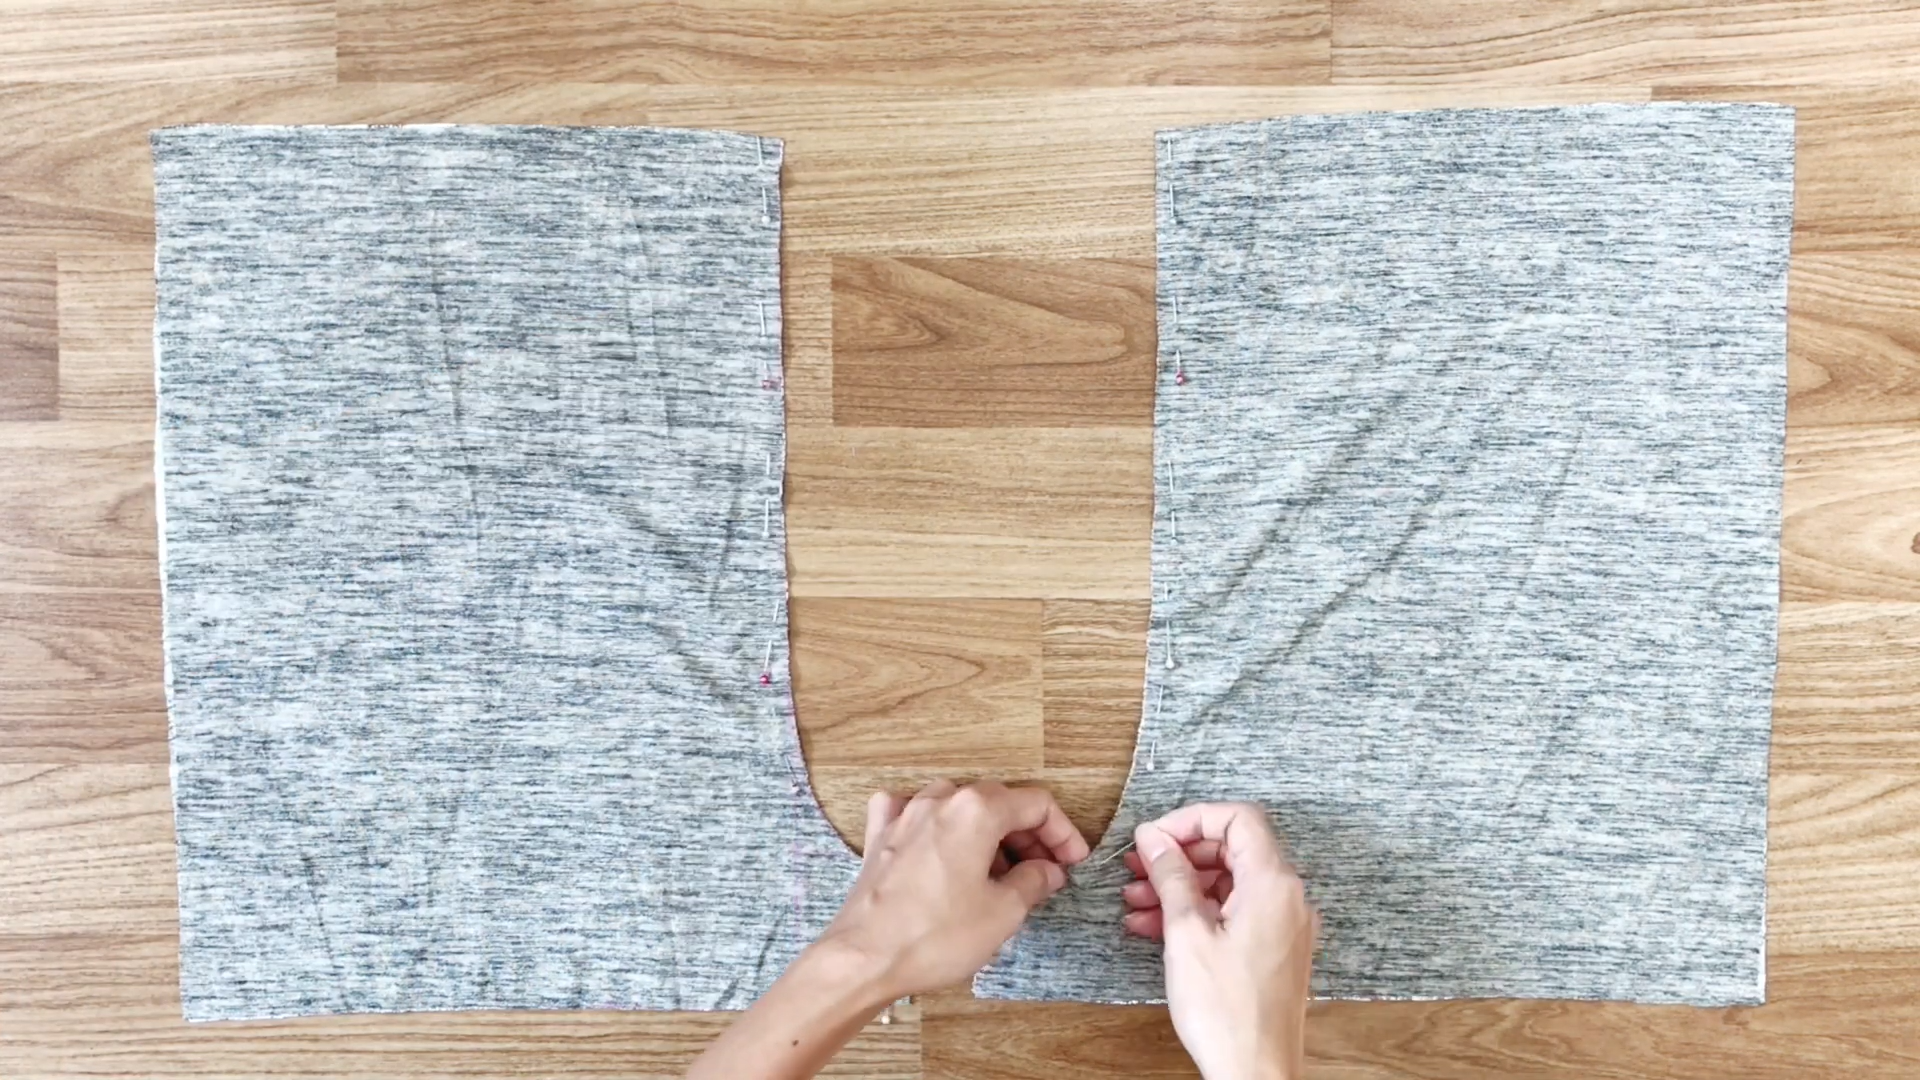
Now, connect the two front pieces to the two back pieces at the crotch curve using pins to hold them in place before sewing.
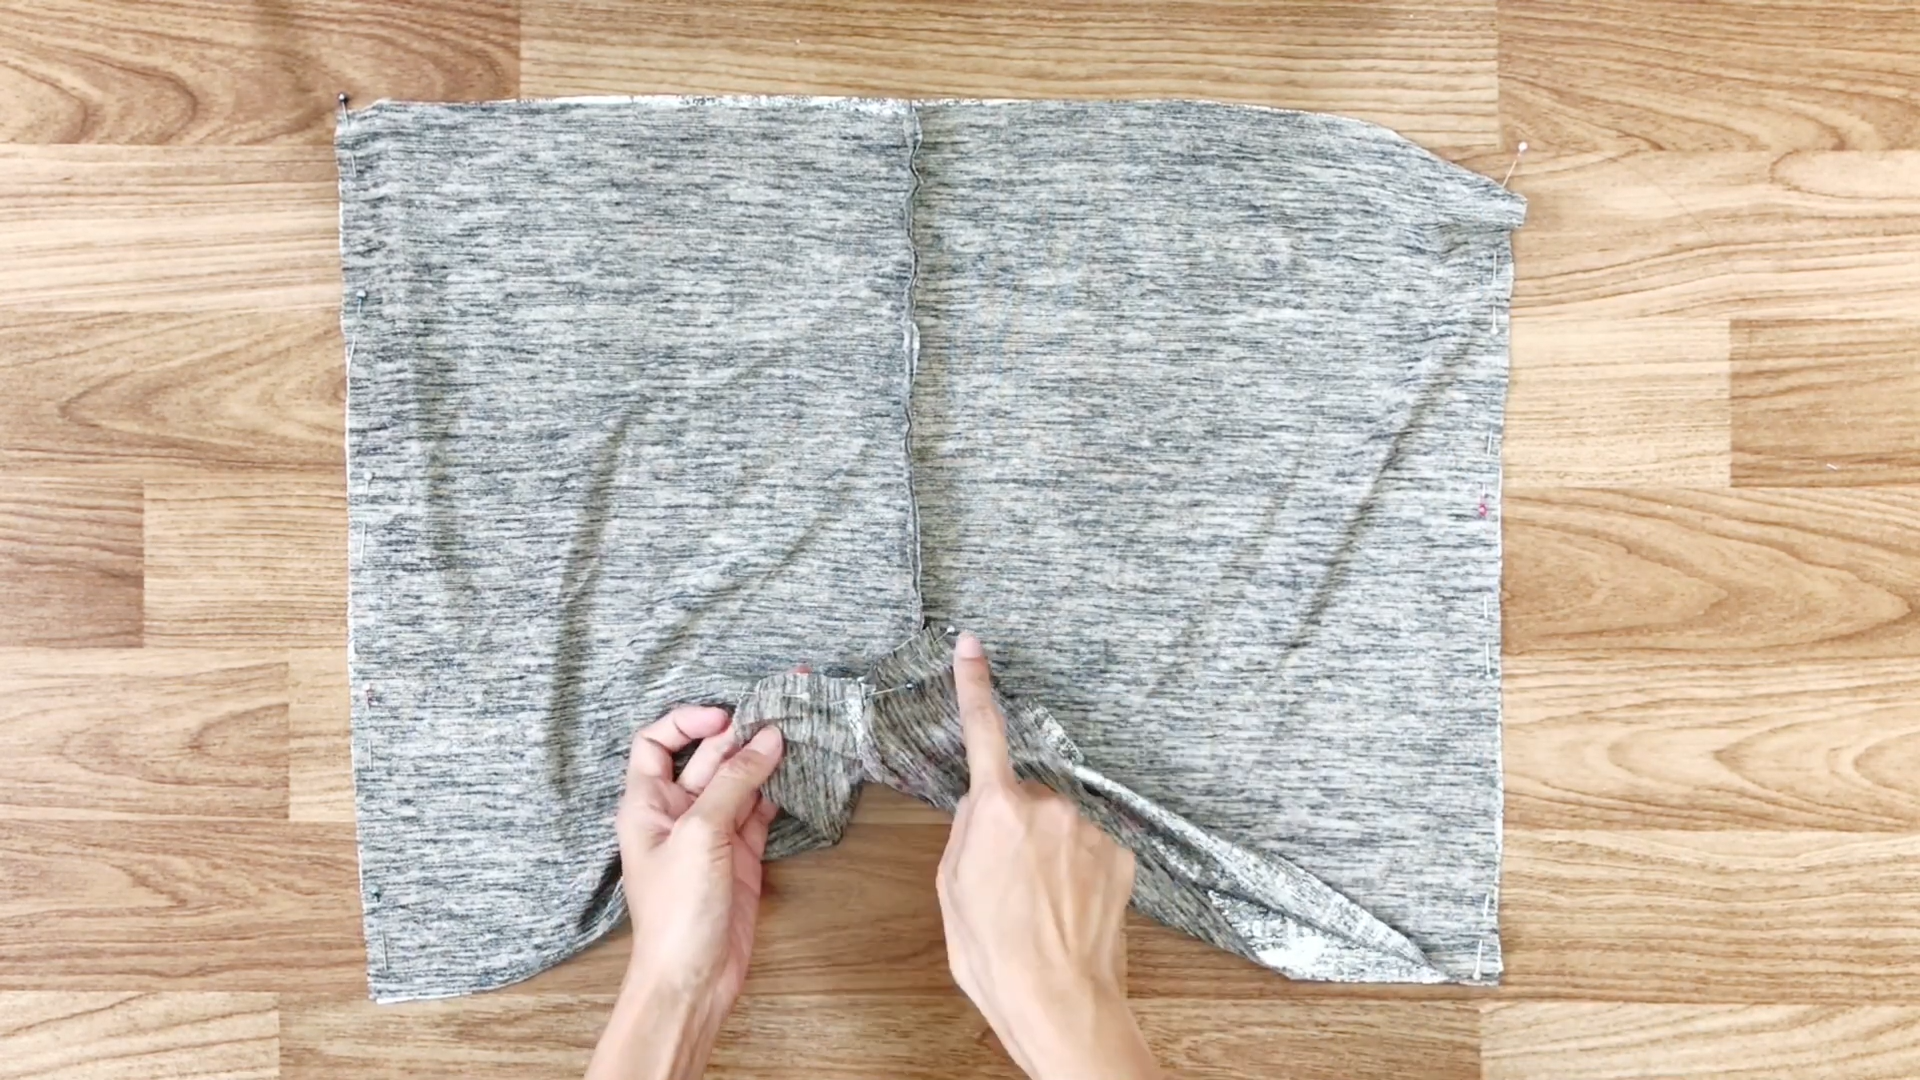
Sew the front and back pieces together at the sides and crotch.
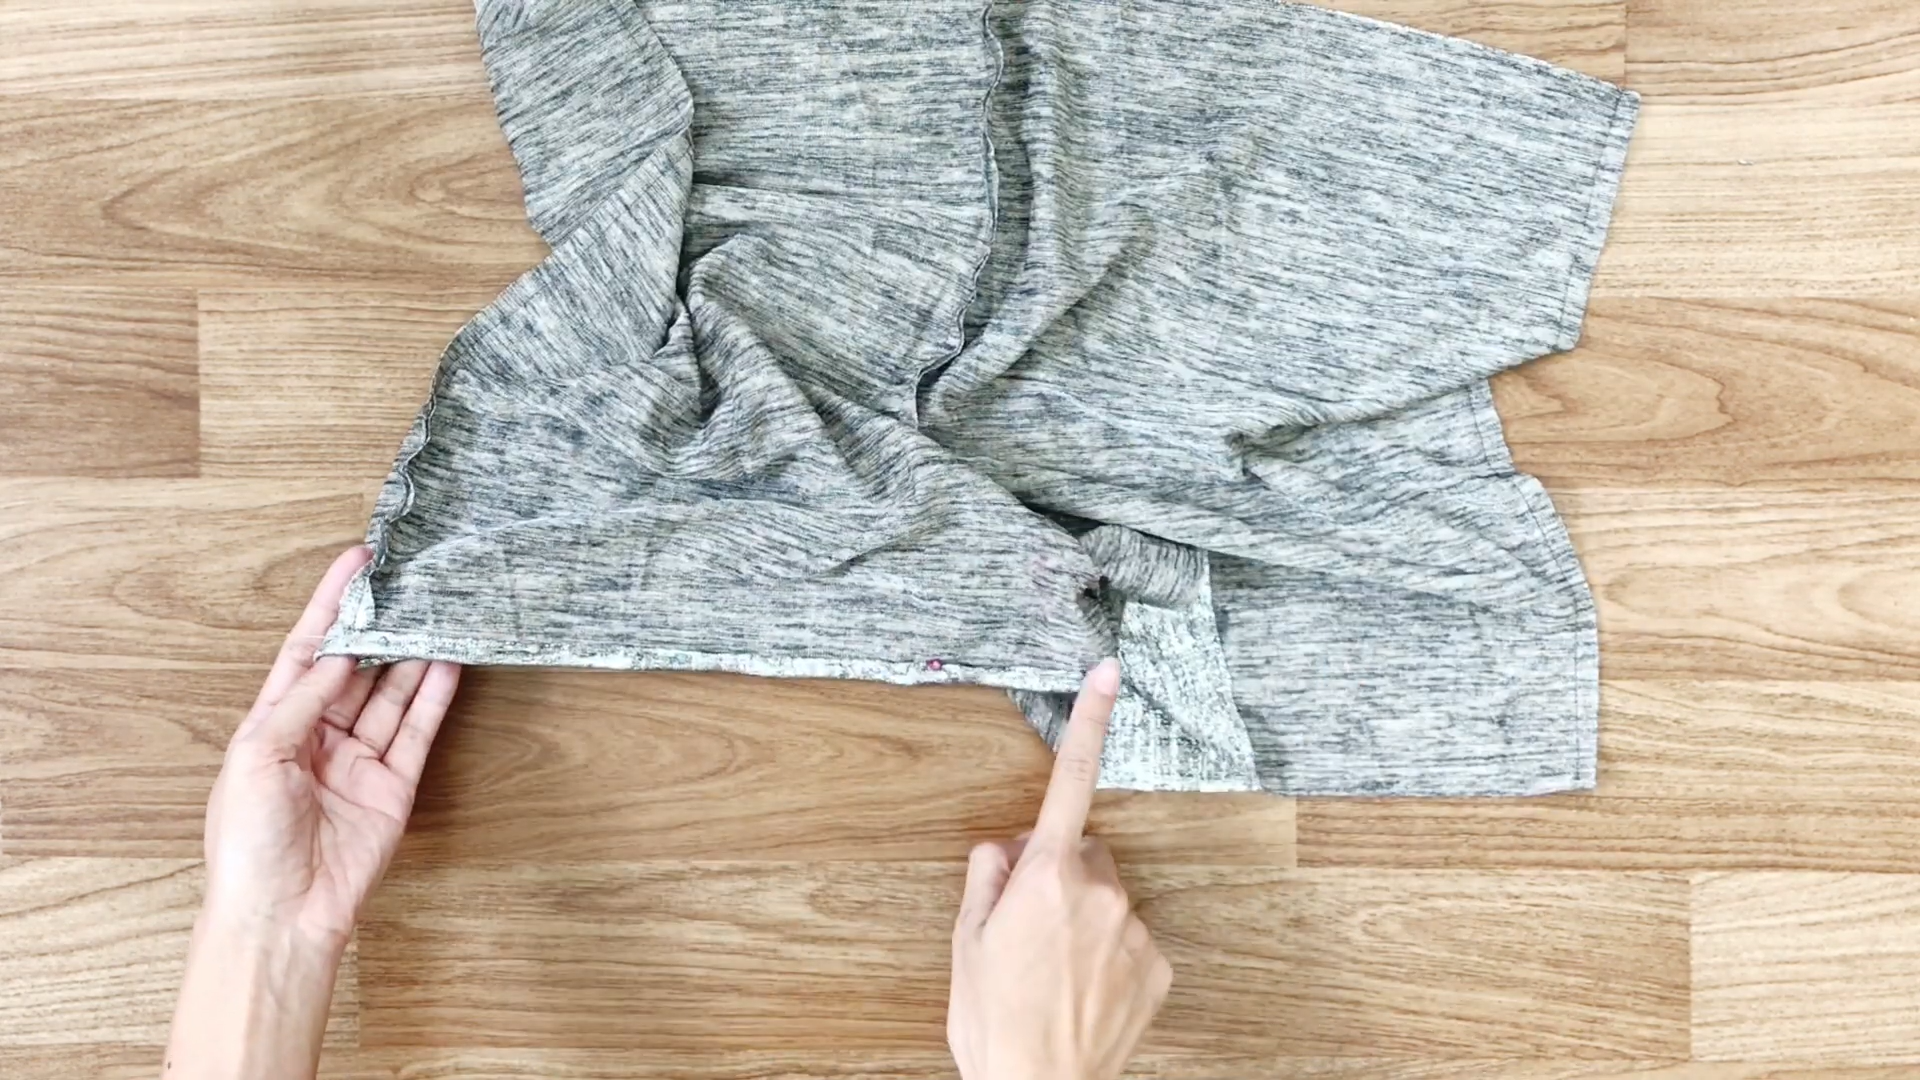
To finish the ends of the legs, fold the fabric inside to hide the raw edges and sew.
THE TOP PATTERN
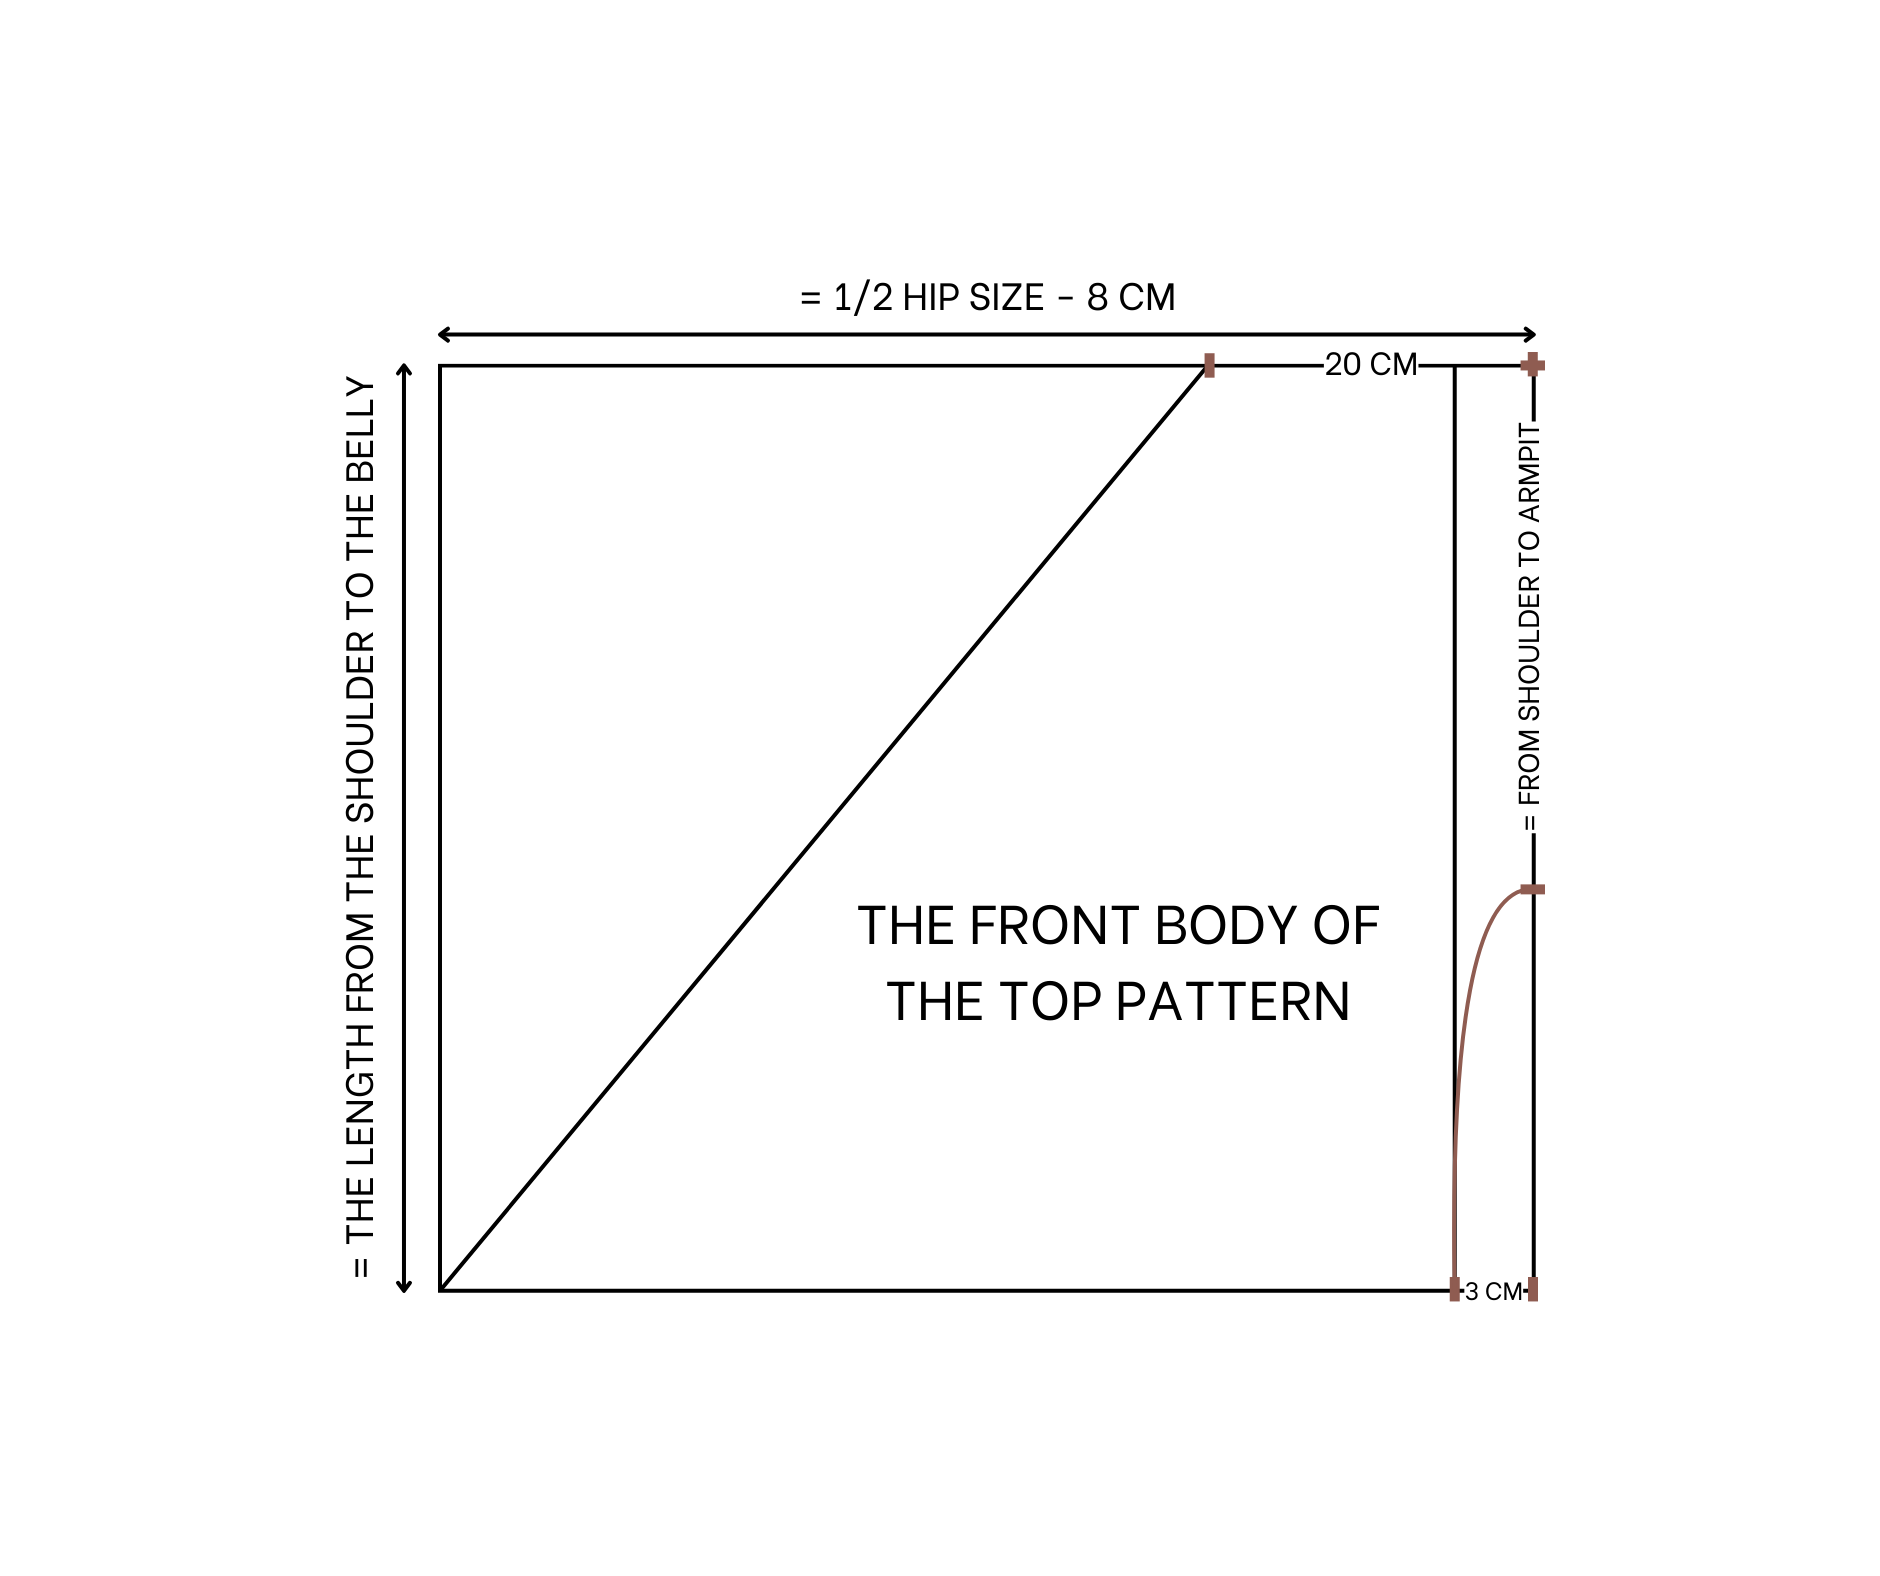
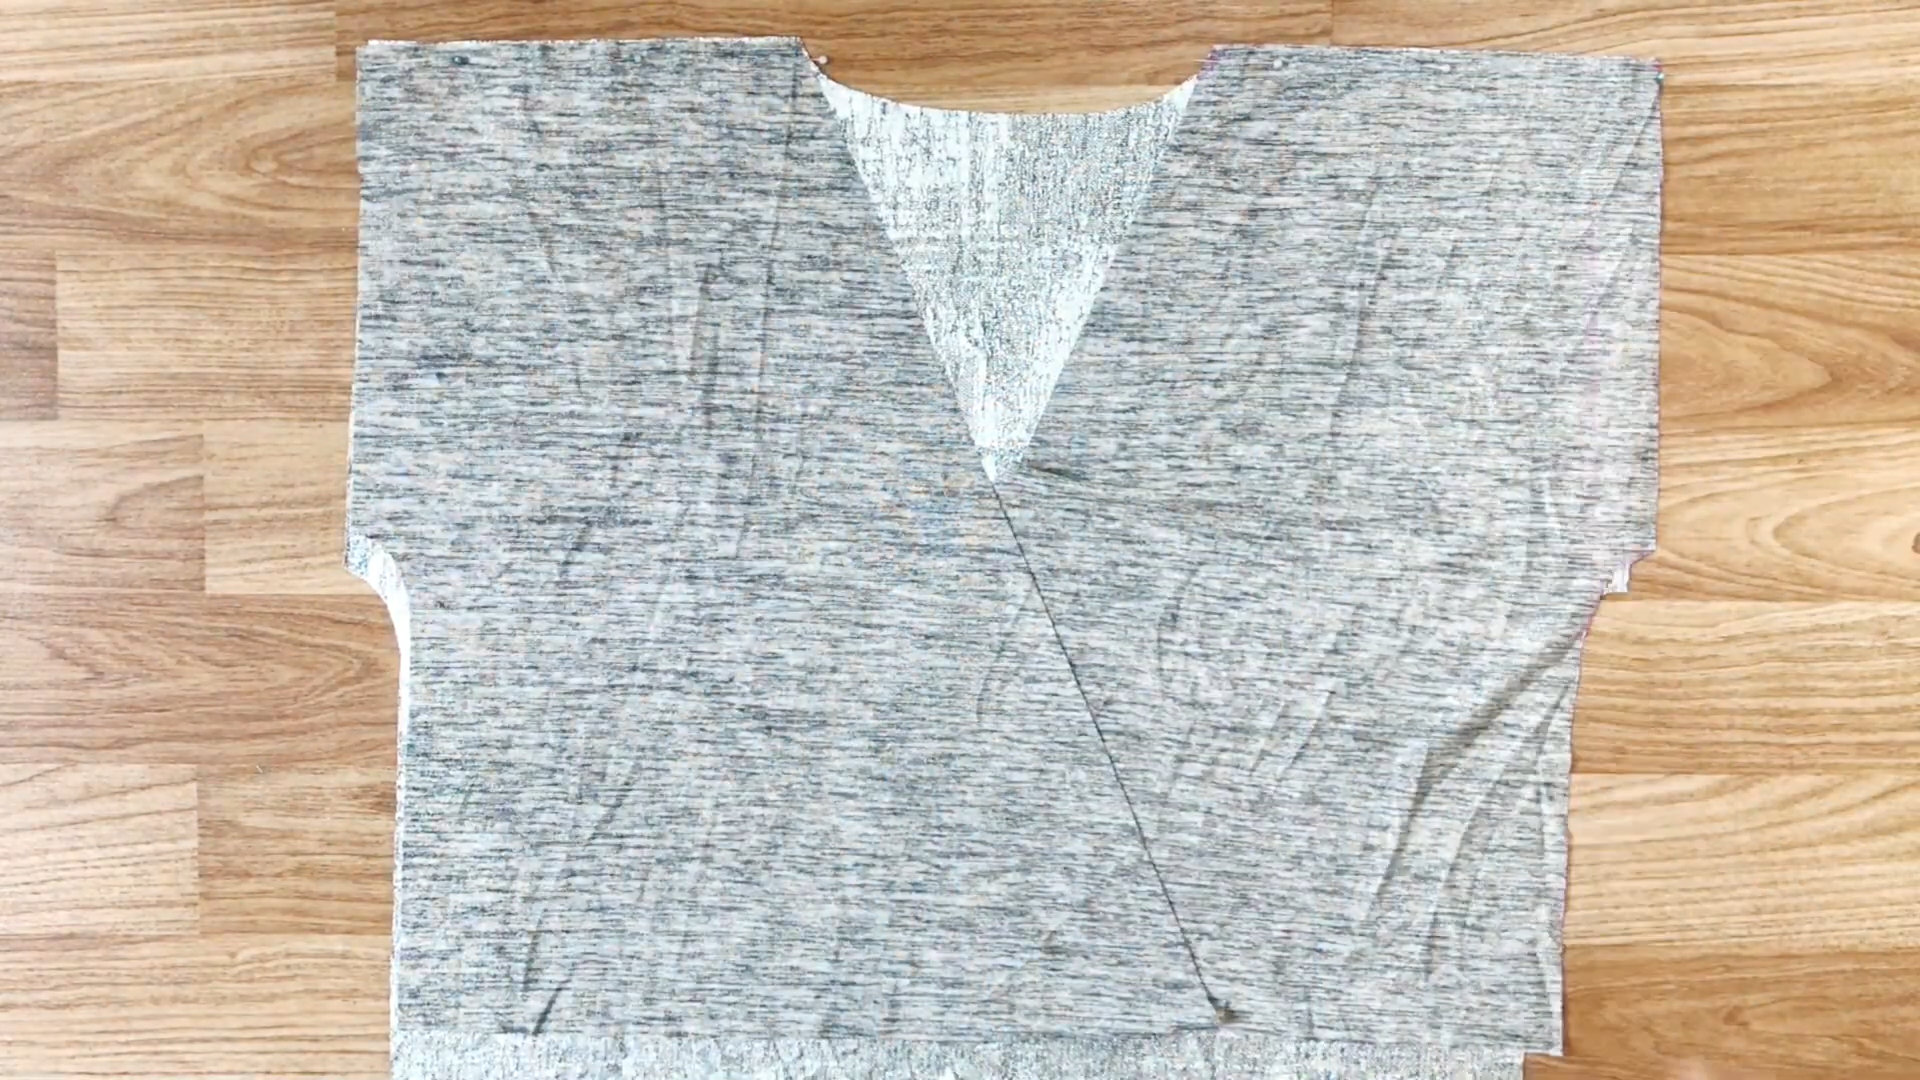
THE FRONT BODY OF THE TOP
Draw two rectangles, each 38 cm wide (half the hip size minus 8 cm) and 45 cm long (the length from the shoulder to the belly).
From the right side, go 20 cm inside and mark it.
Connect this mark to the bottom of the left side, then draw a straight line 3 cm from the right edge.
At the top right, go down 22 cm (the length from the shoulder to the armpit plus 10 cm) and draw an arc to connect to the straight line.
After cutting, you will have two front pieces.
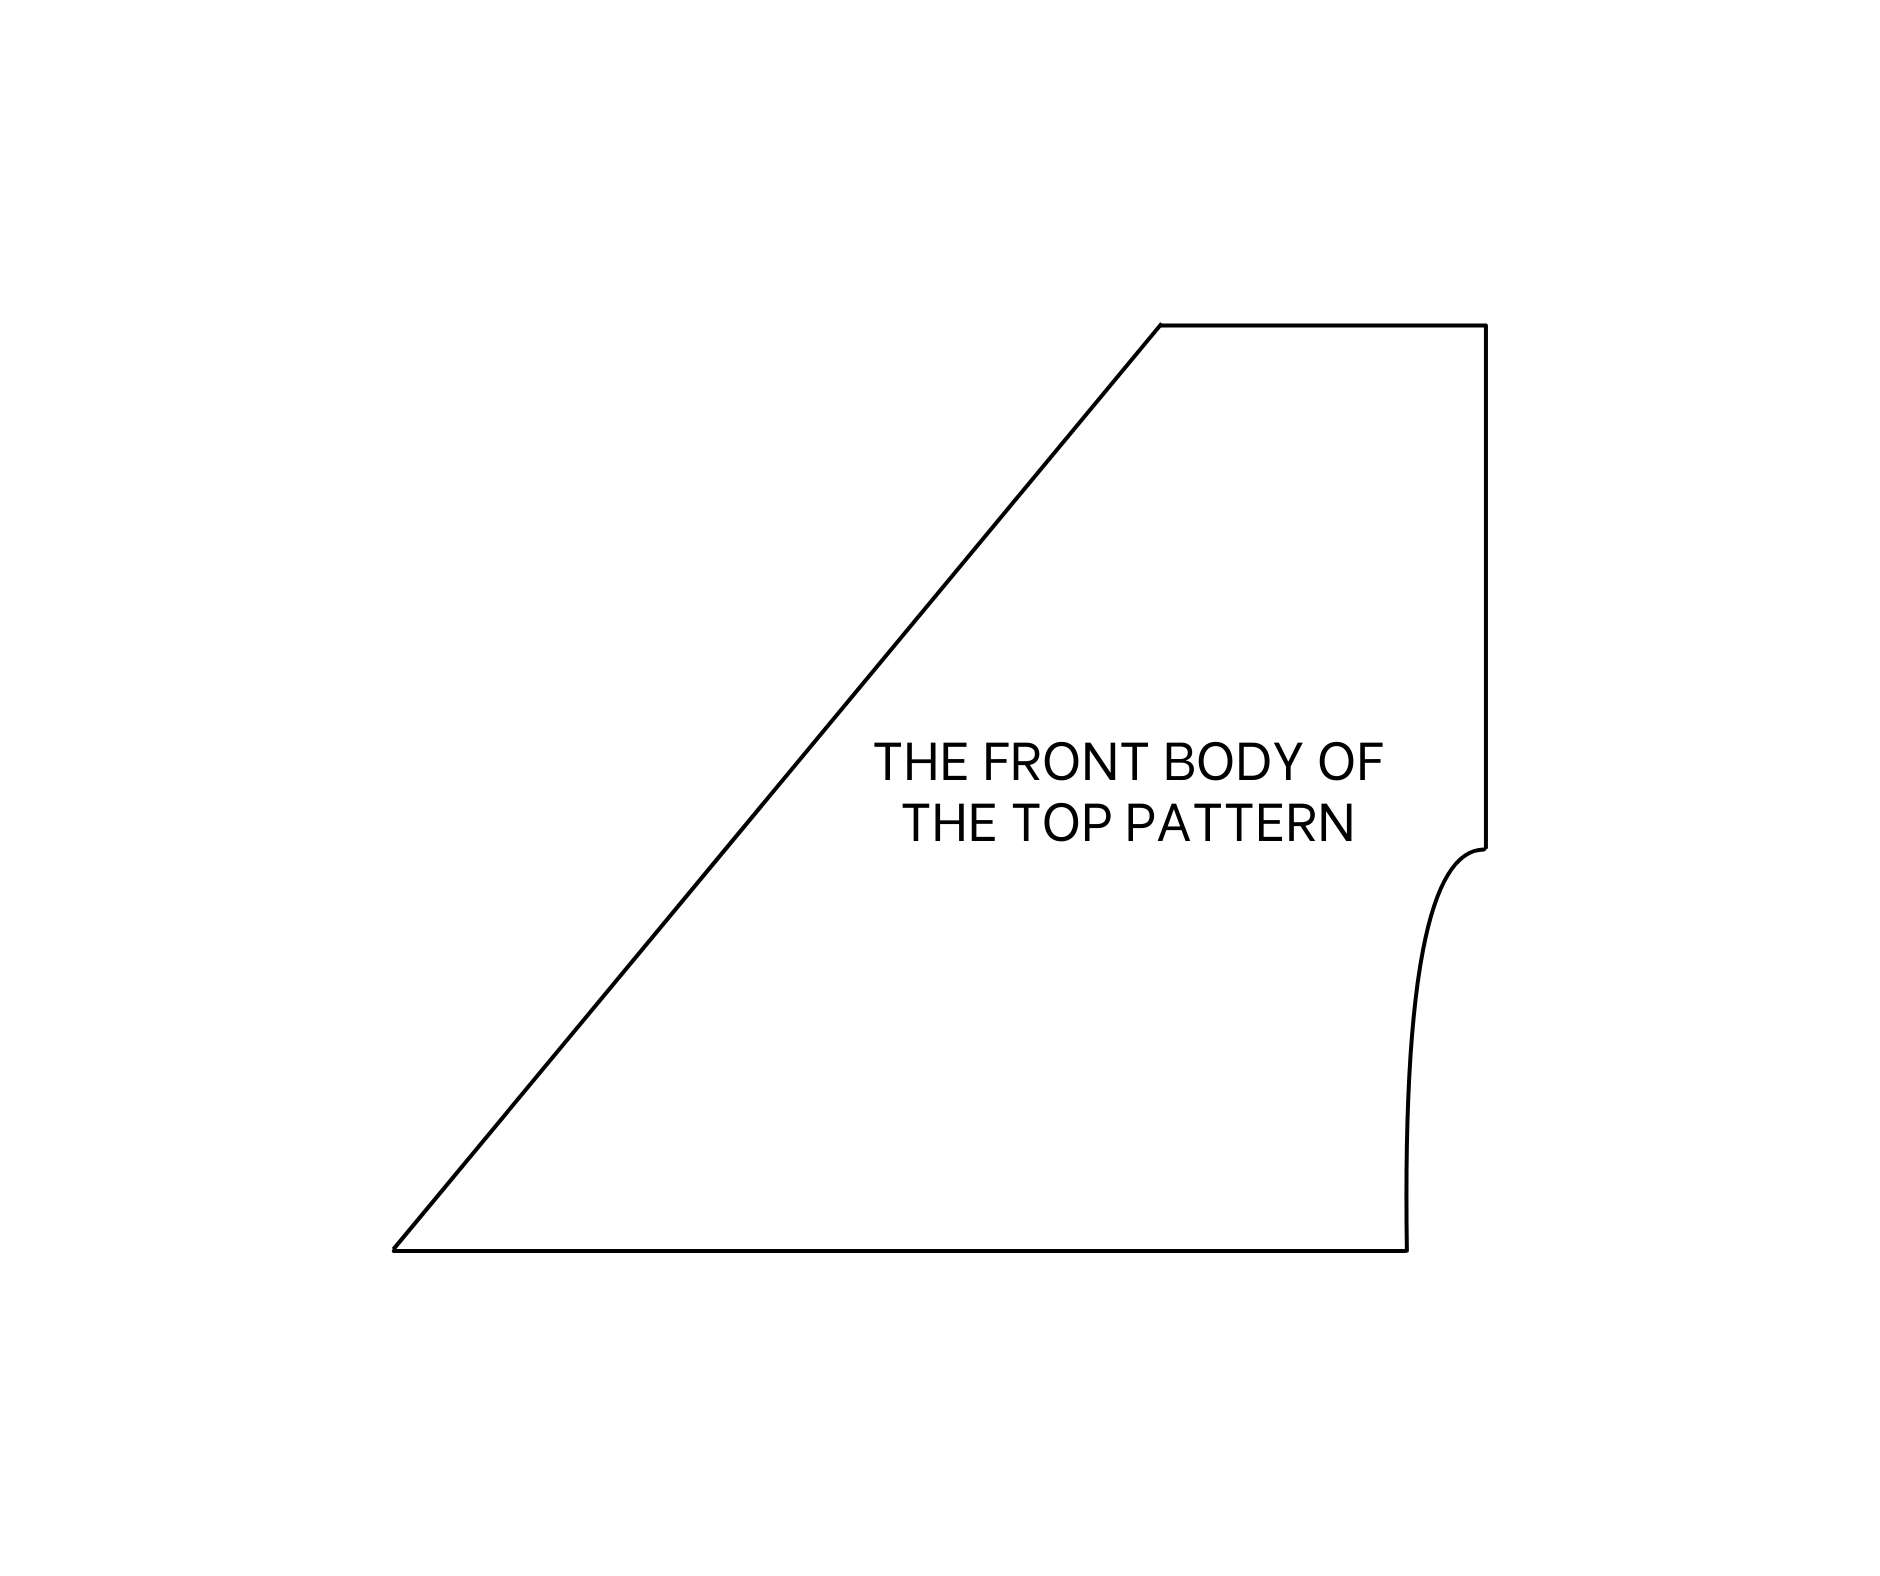
The front body of the top pattern
THE BACK BODY OF THE TOP
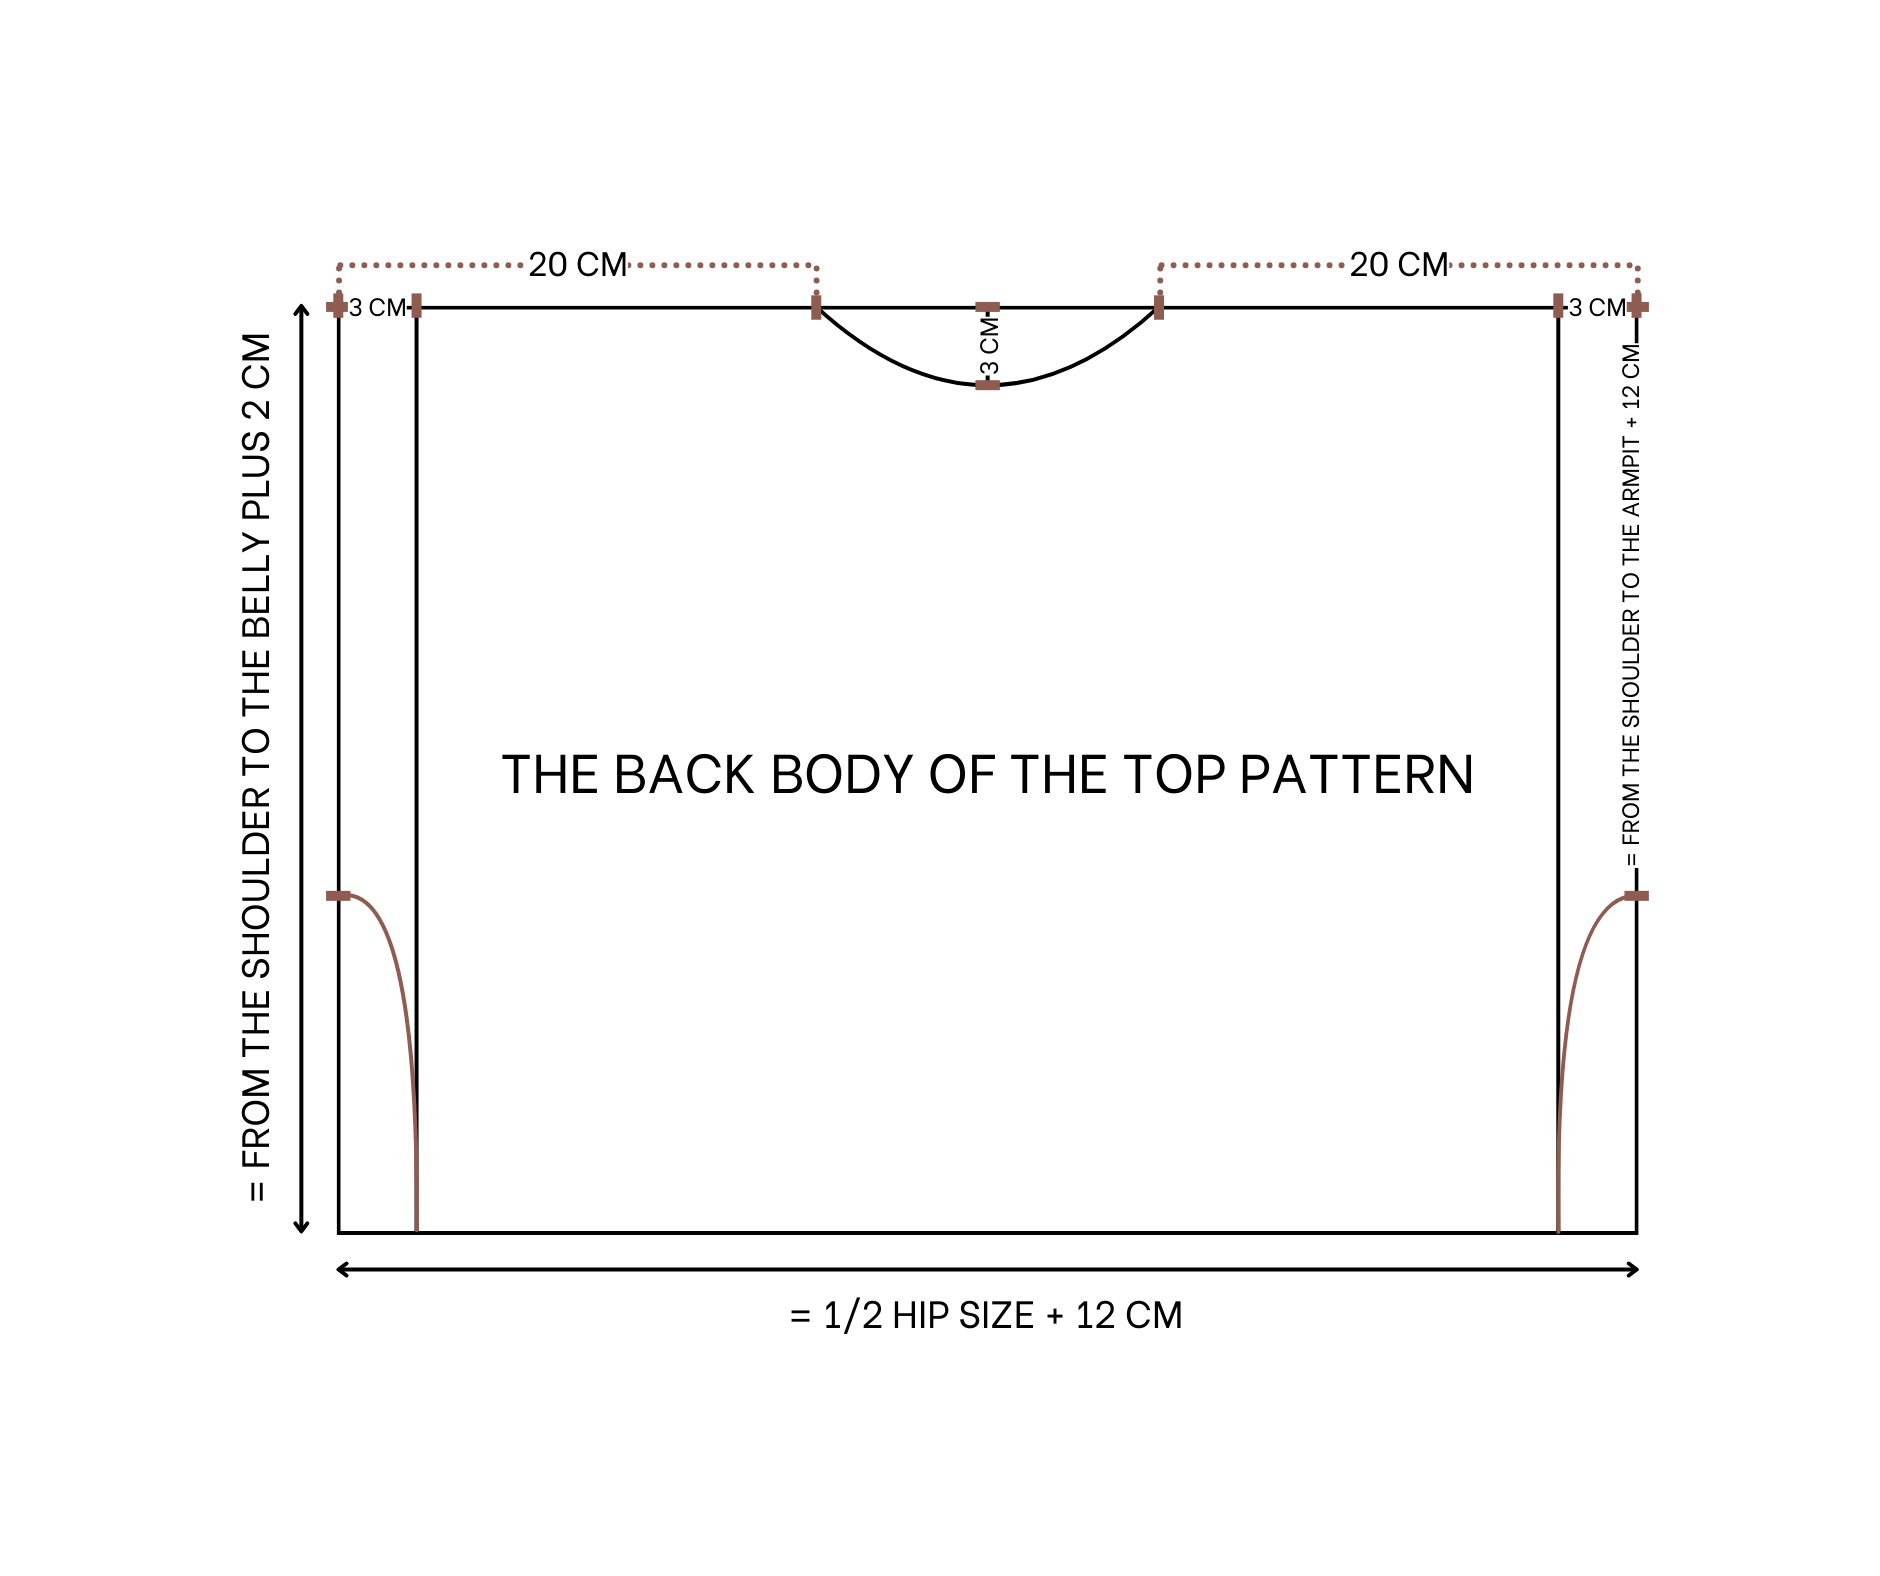
For the back of the top, draw a rectangle 58 cm wide (half the hip size plus 12 cm) and 47 cm long (the length from the shoulder to the belly plus 2 cm).
Draw two straight lines, each 3 cm from the edges.
From the top, go down 24 cm (the length from the shoulder to the armpit plus 12 cm).
Draw an arc to connect to the straight lines.
At the top, go 20 cm inside from both the left and right edges and mark them. Draw an arc to connect these marks.
After cutting, you will have the back piece.
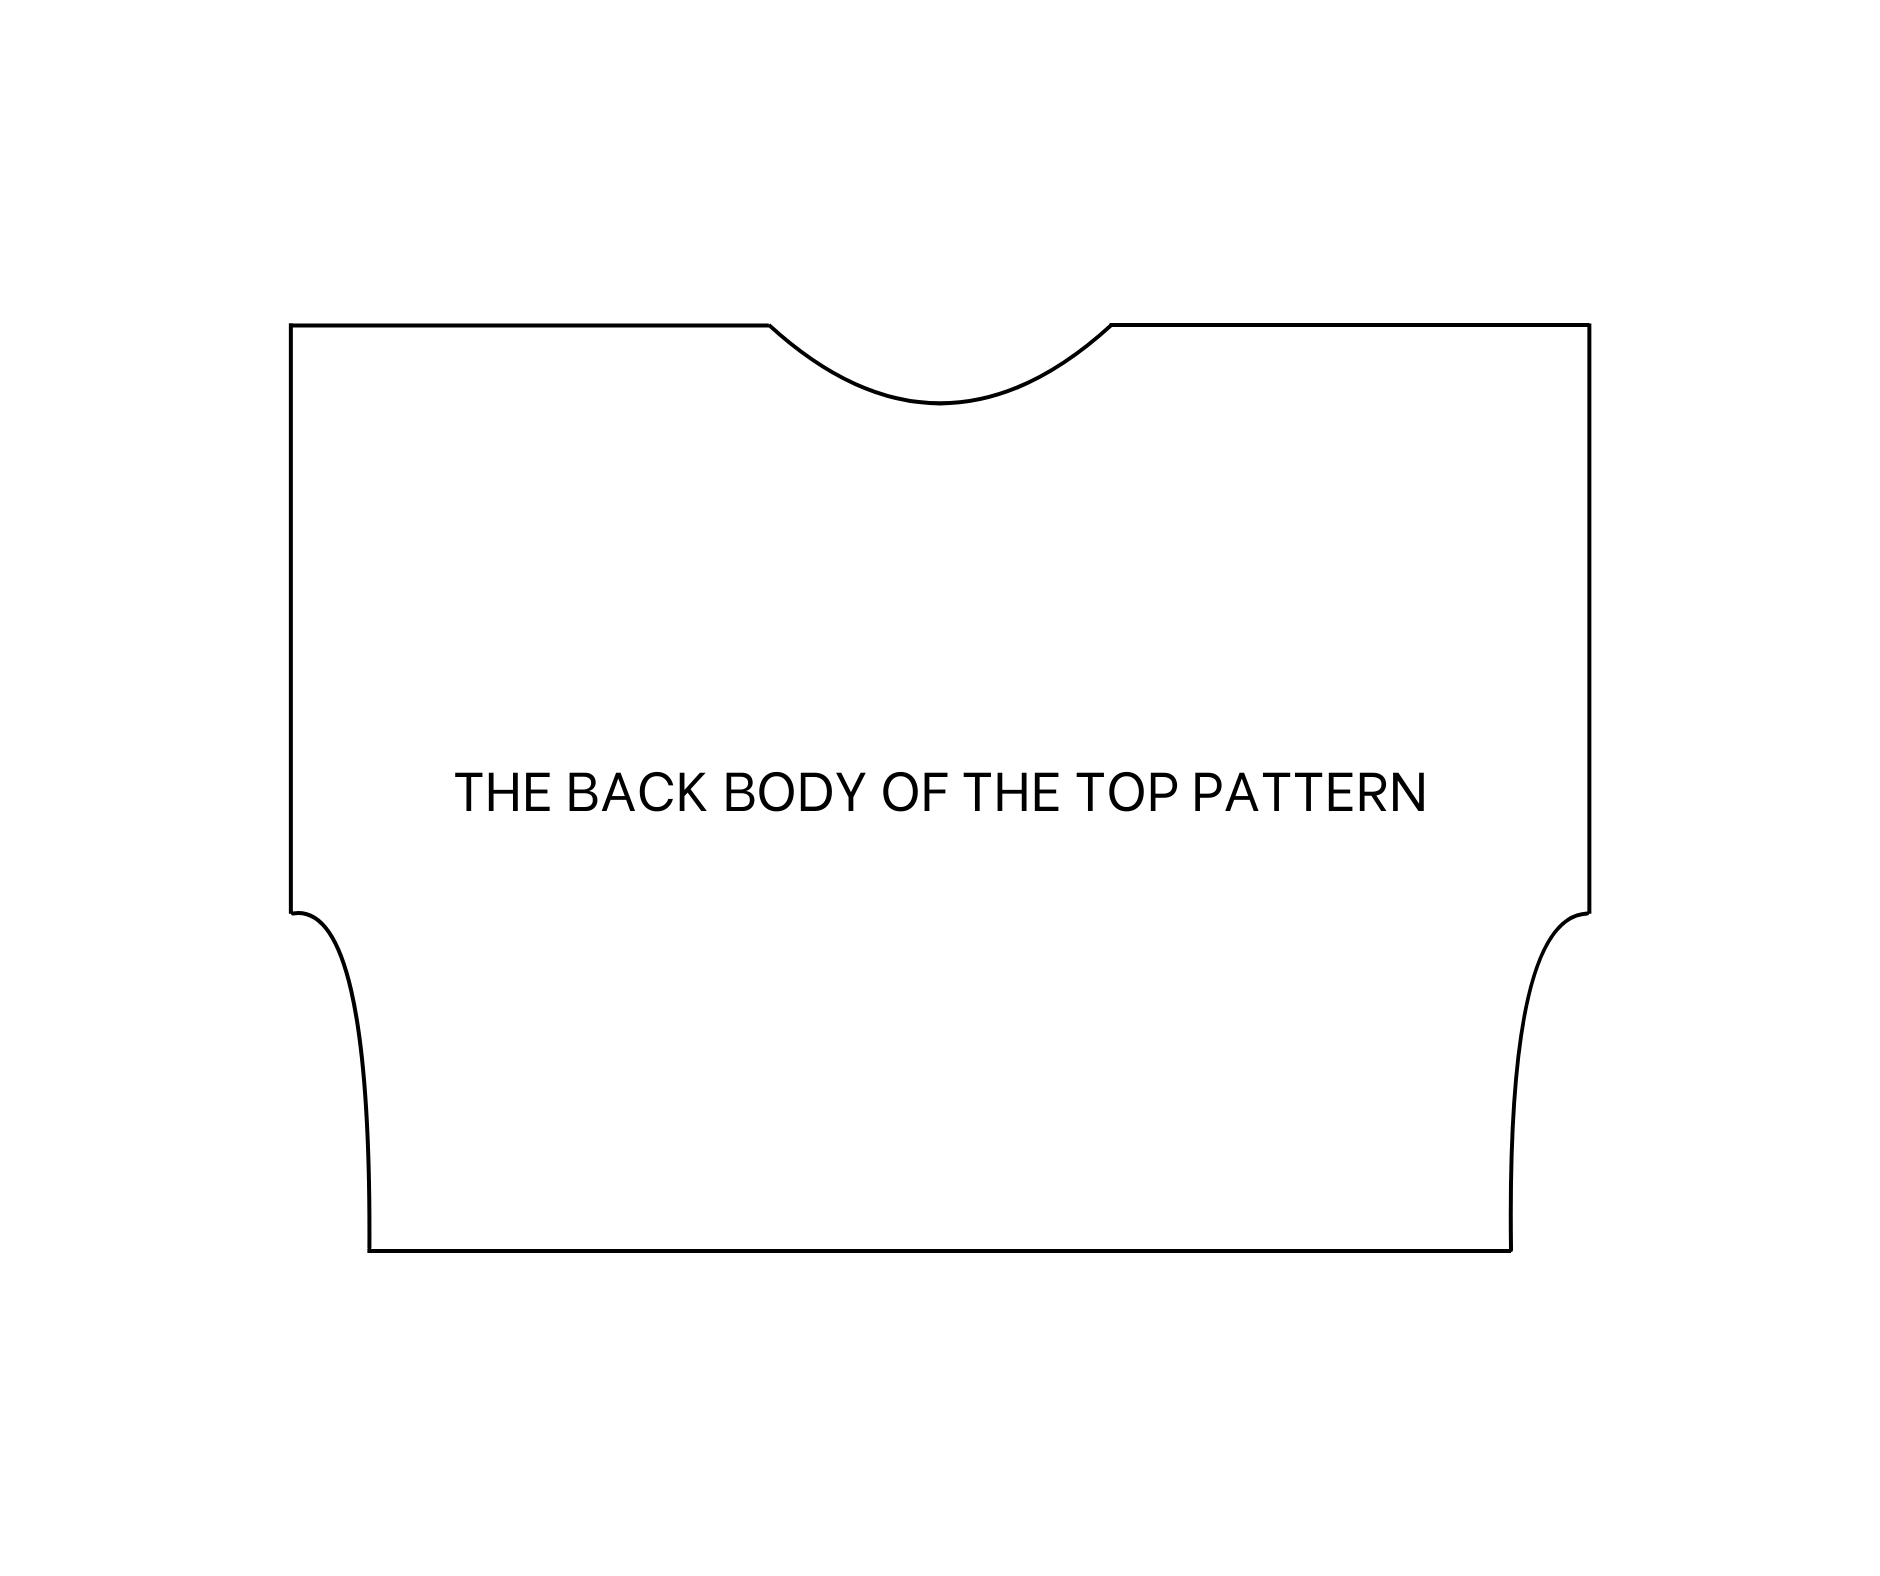
The back body of the top pattern
Connect the front and back pieces at the shoulders using pins and sew.
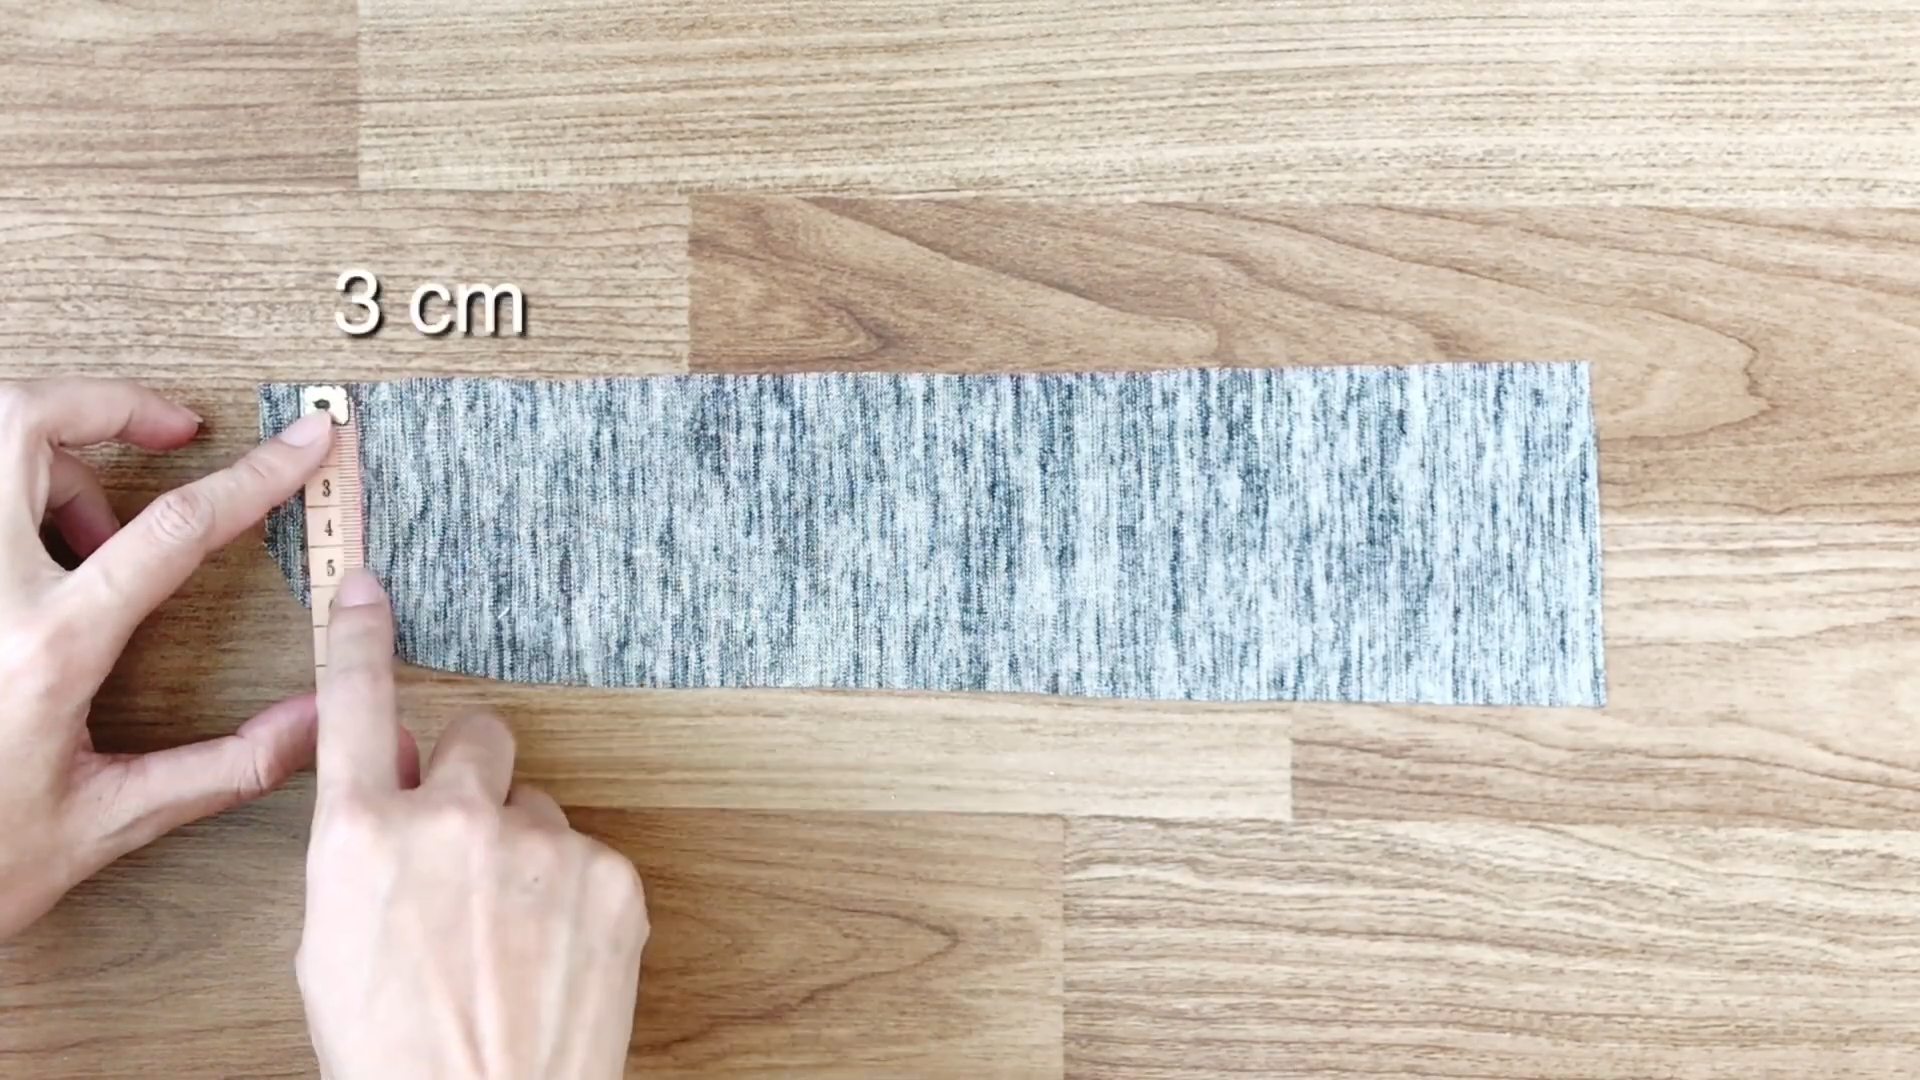
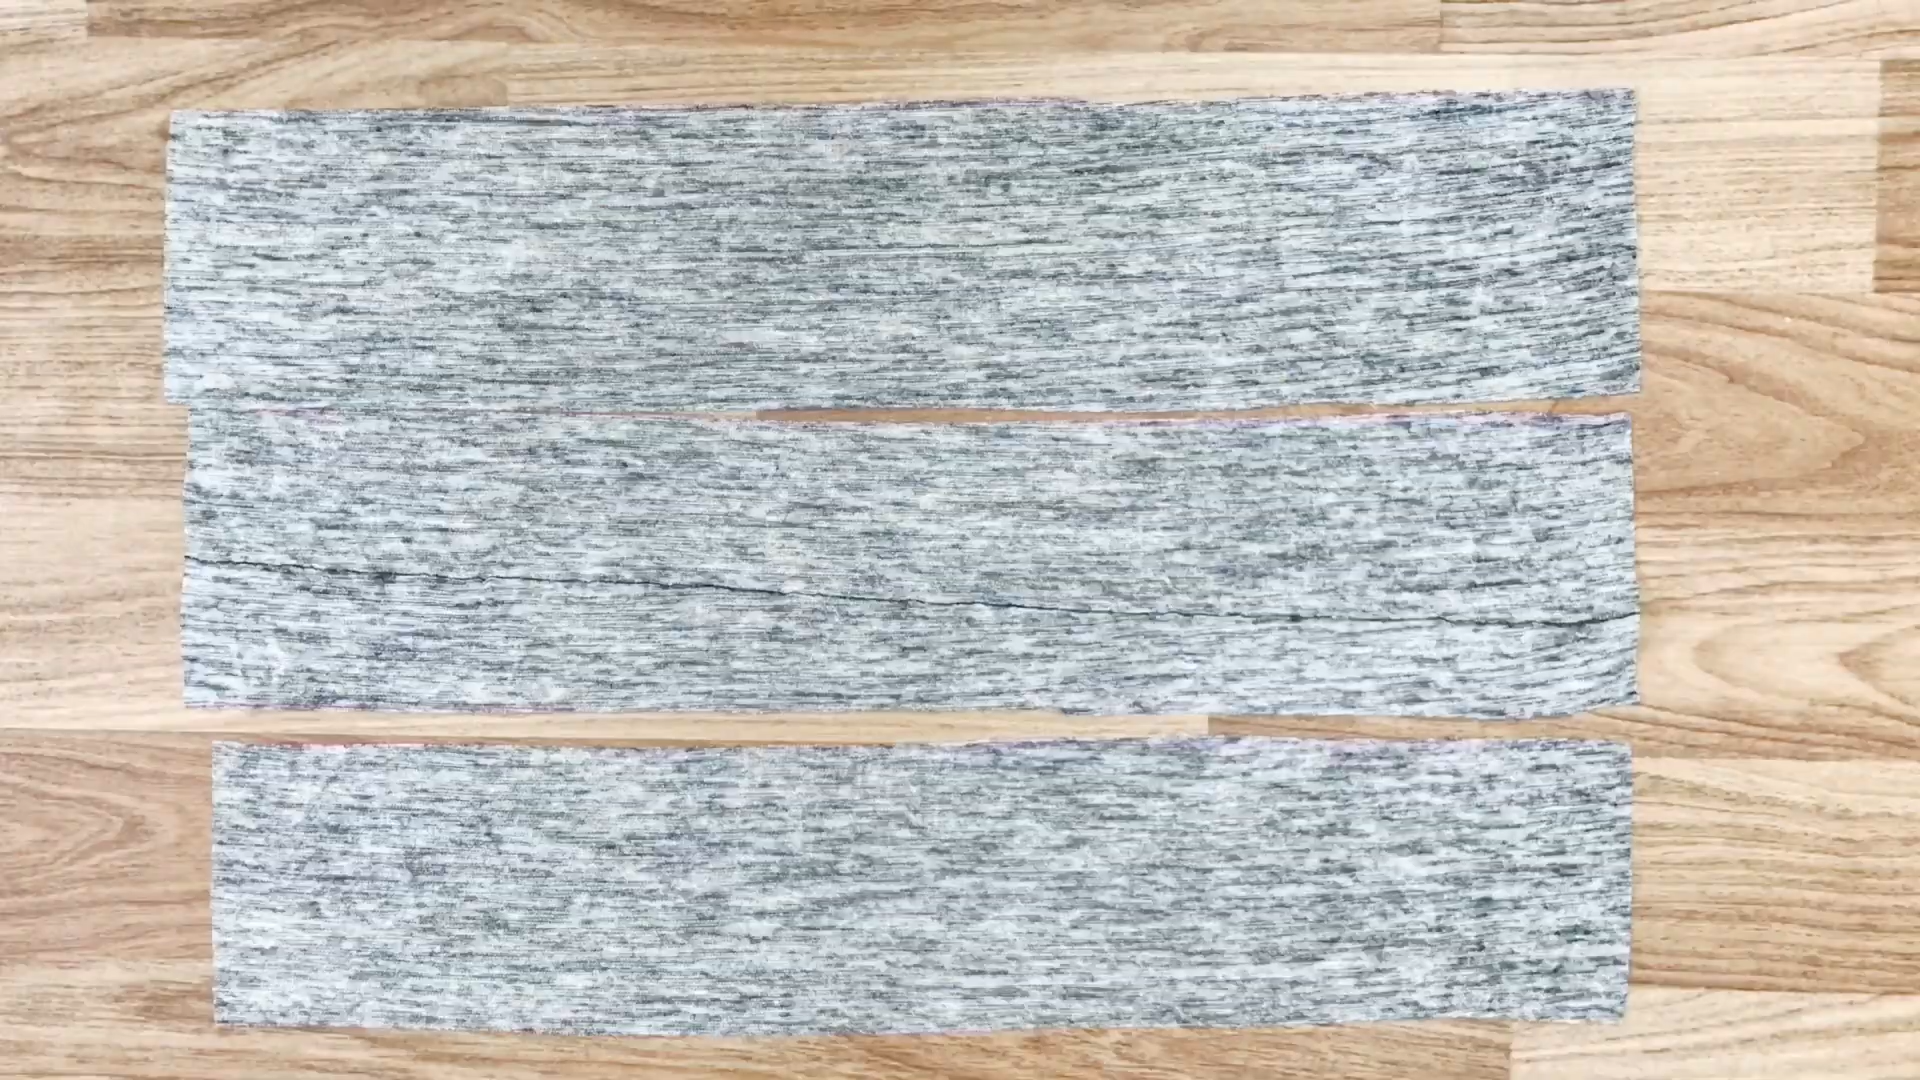
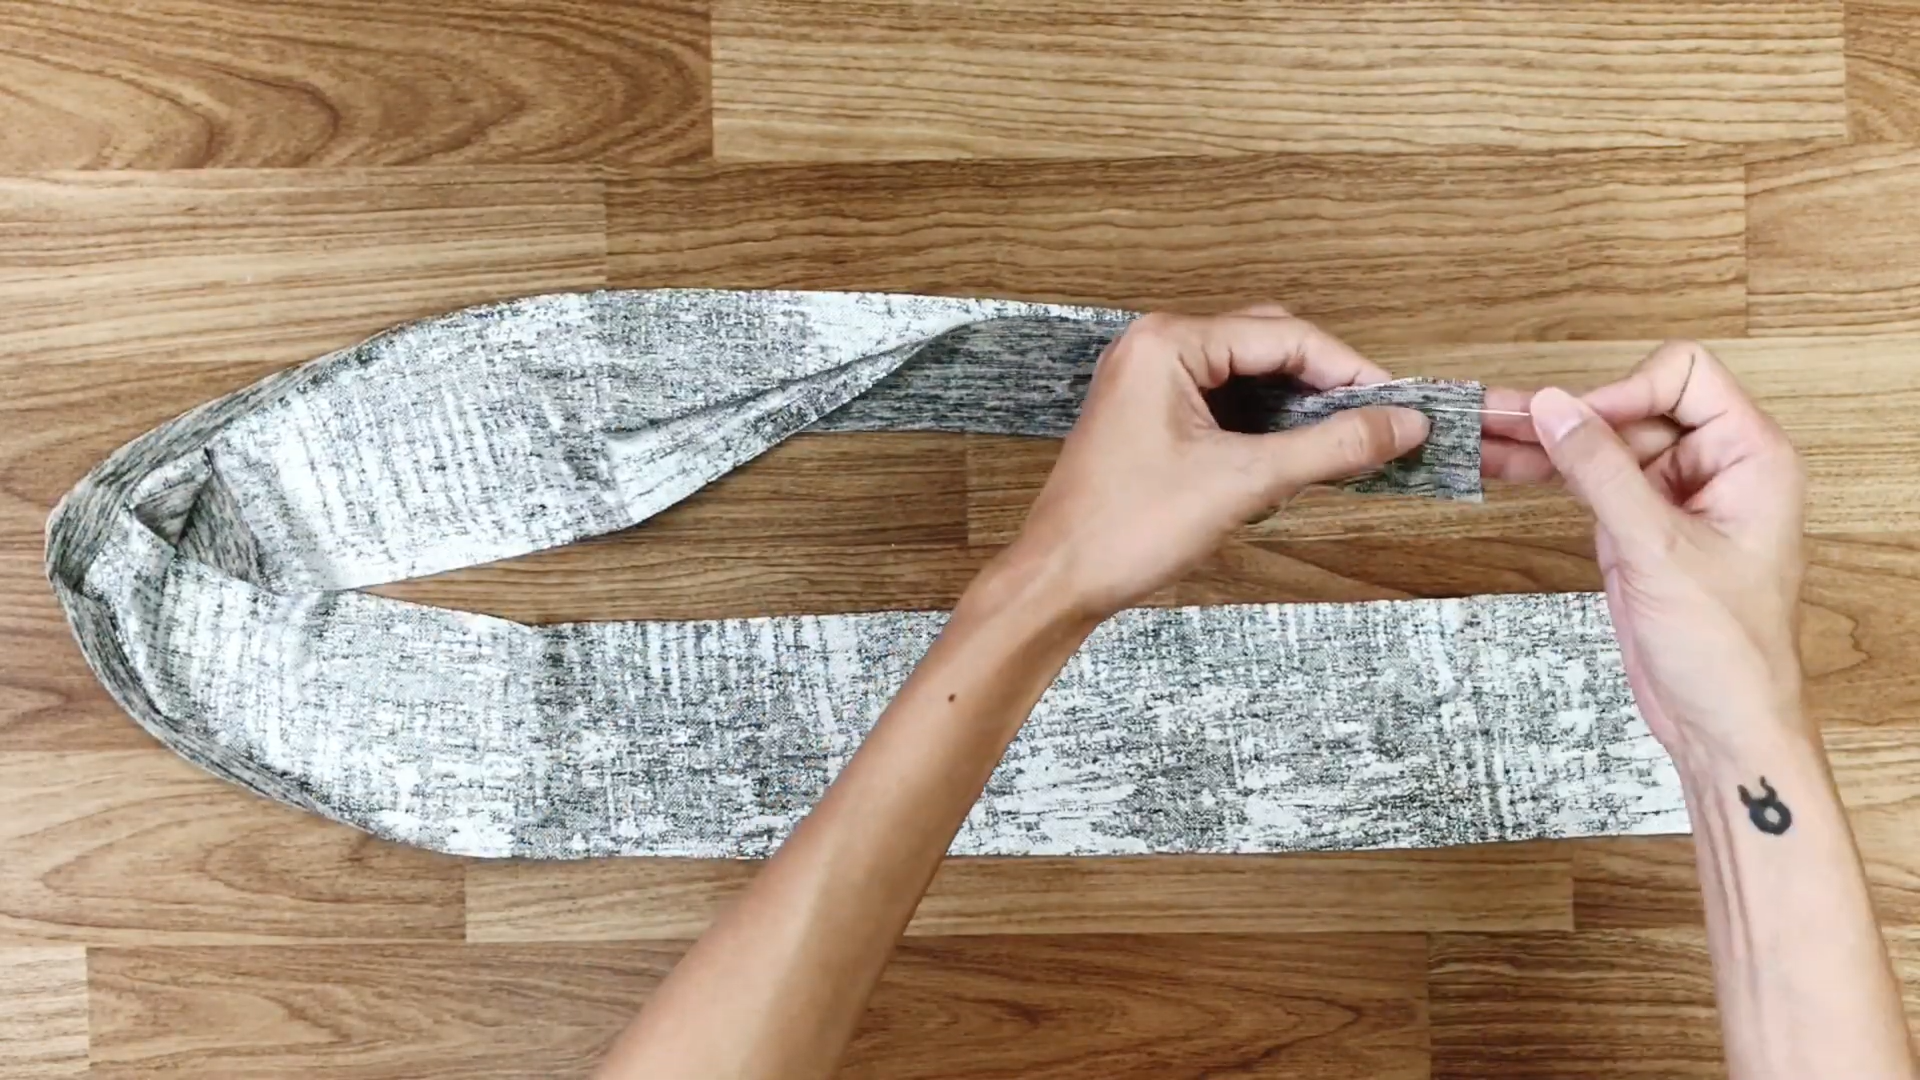
Create a tape by drawing a rectangle 3 cm wide.
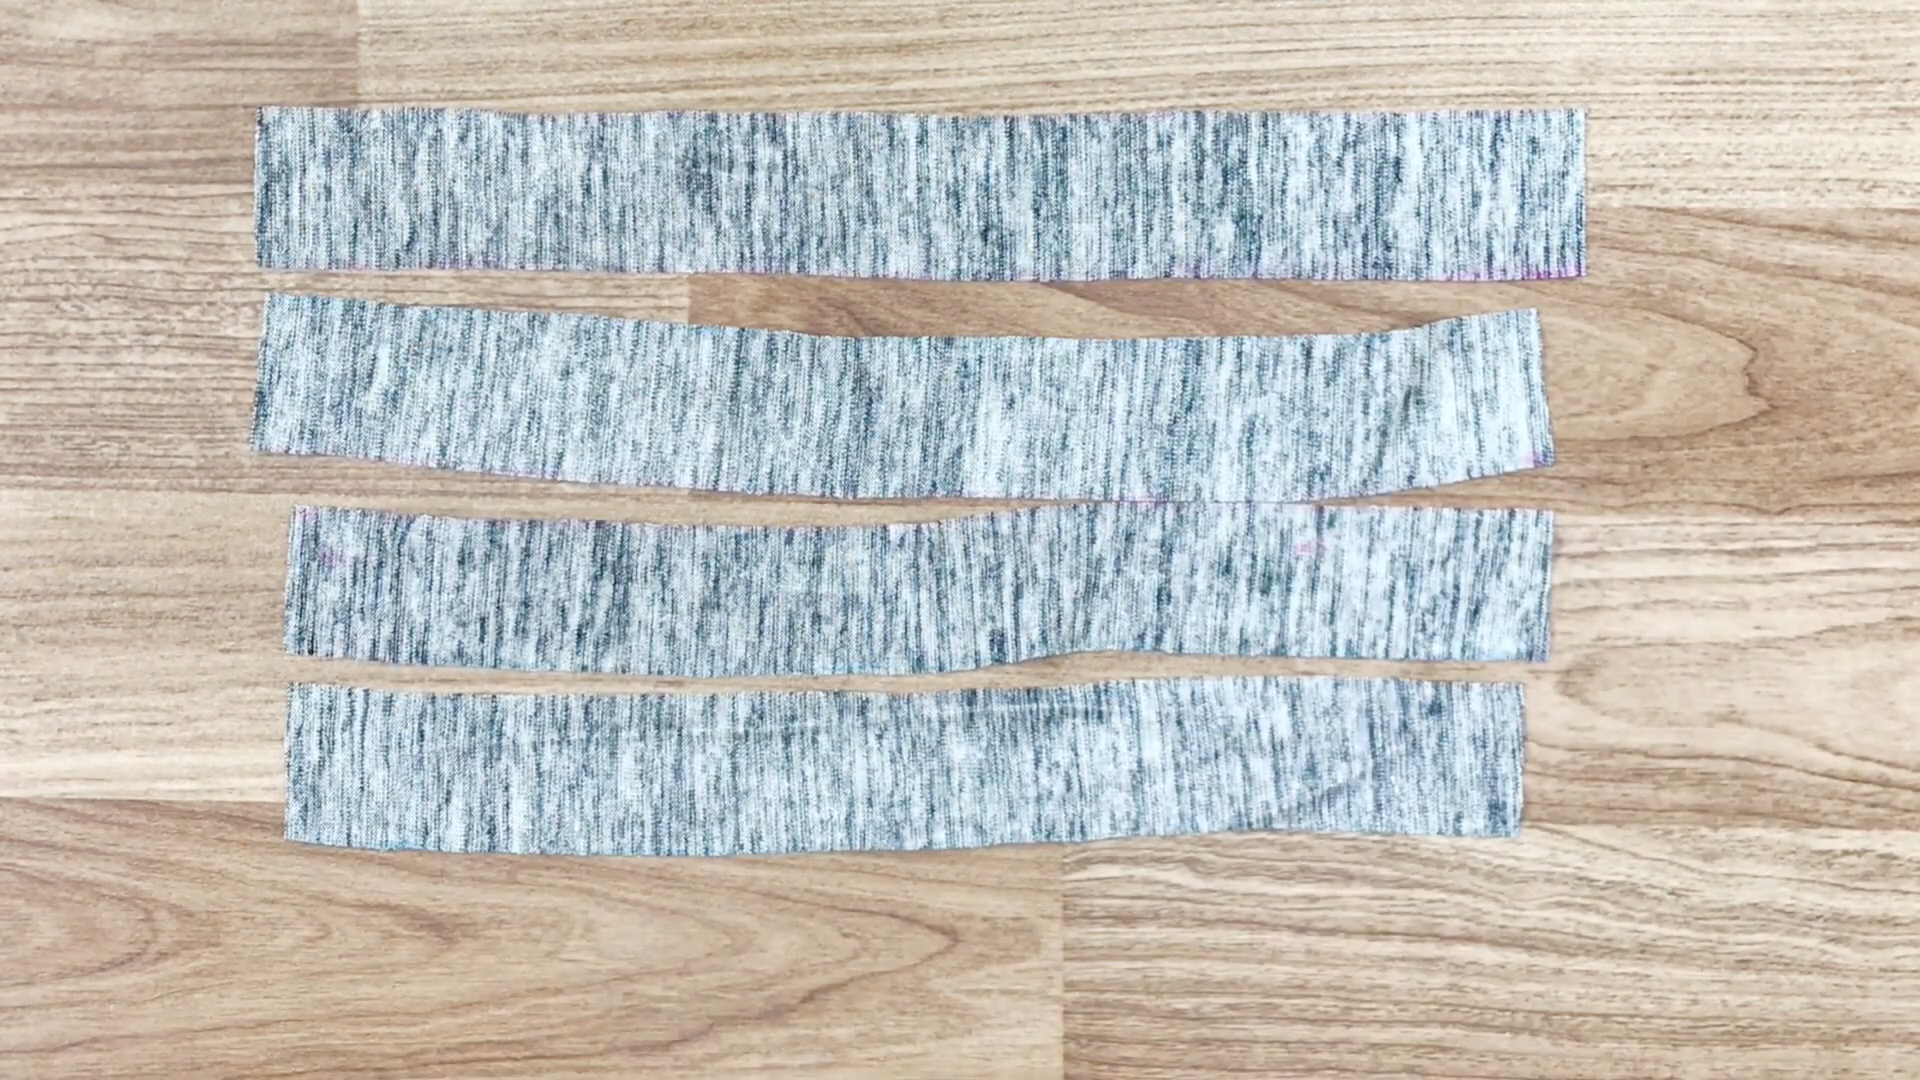
If you don't have enough leftover fabric, connect four shorter fabric bands together.
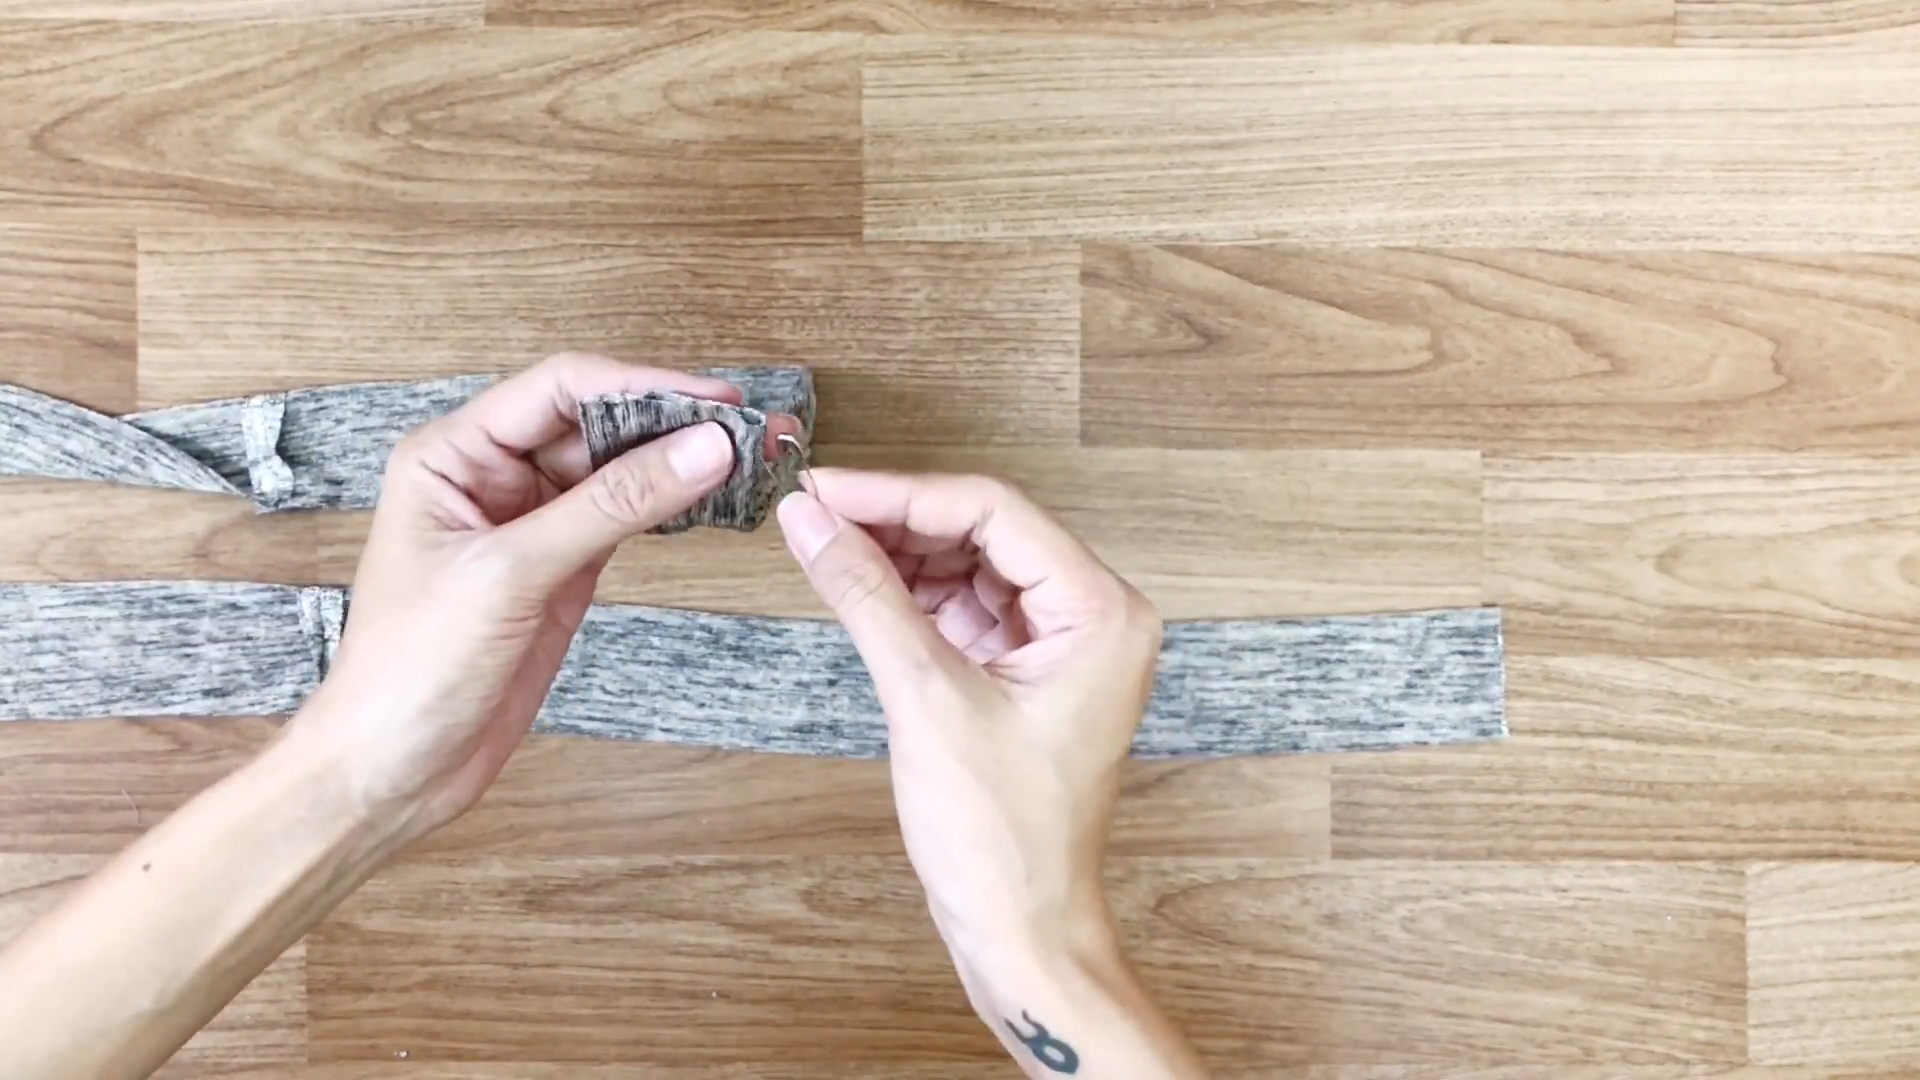
Attach one side of the tape to the front piece with pins and sew.

Then, make a second seam next to the first to keep the extra fabric to one side.
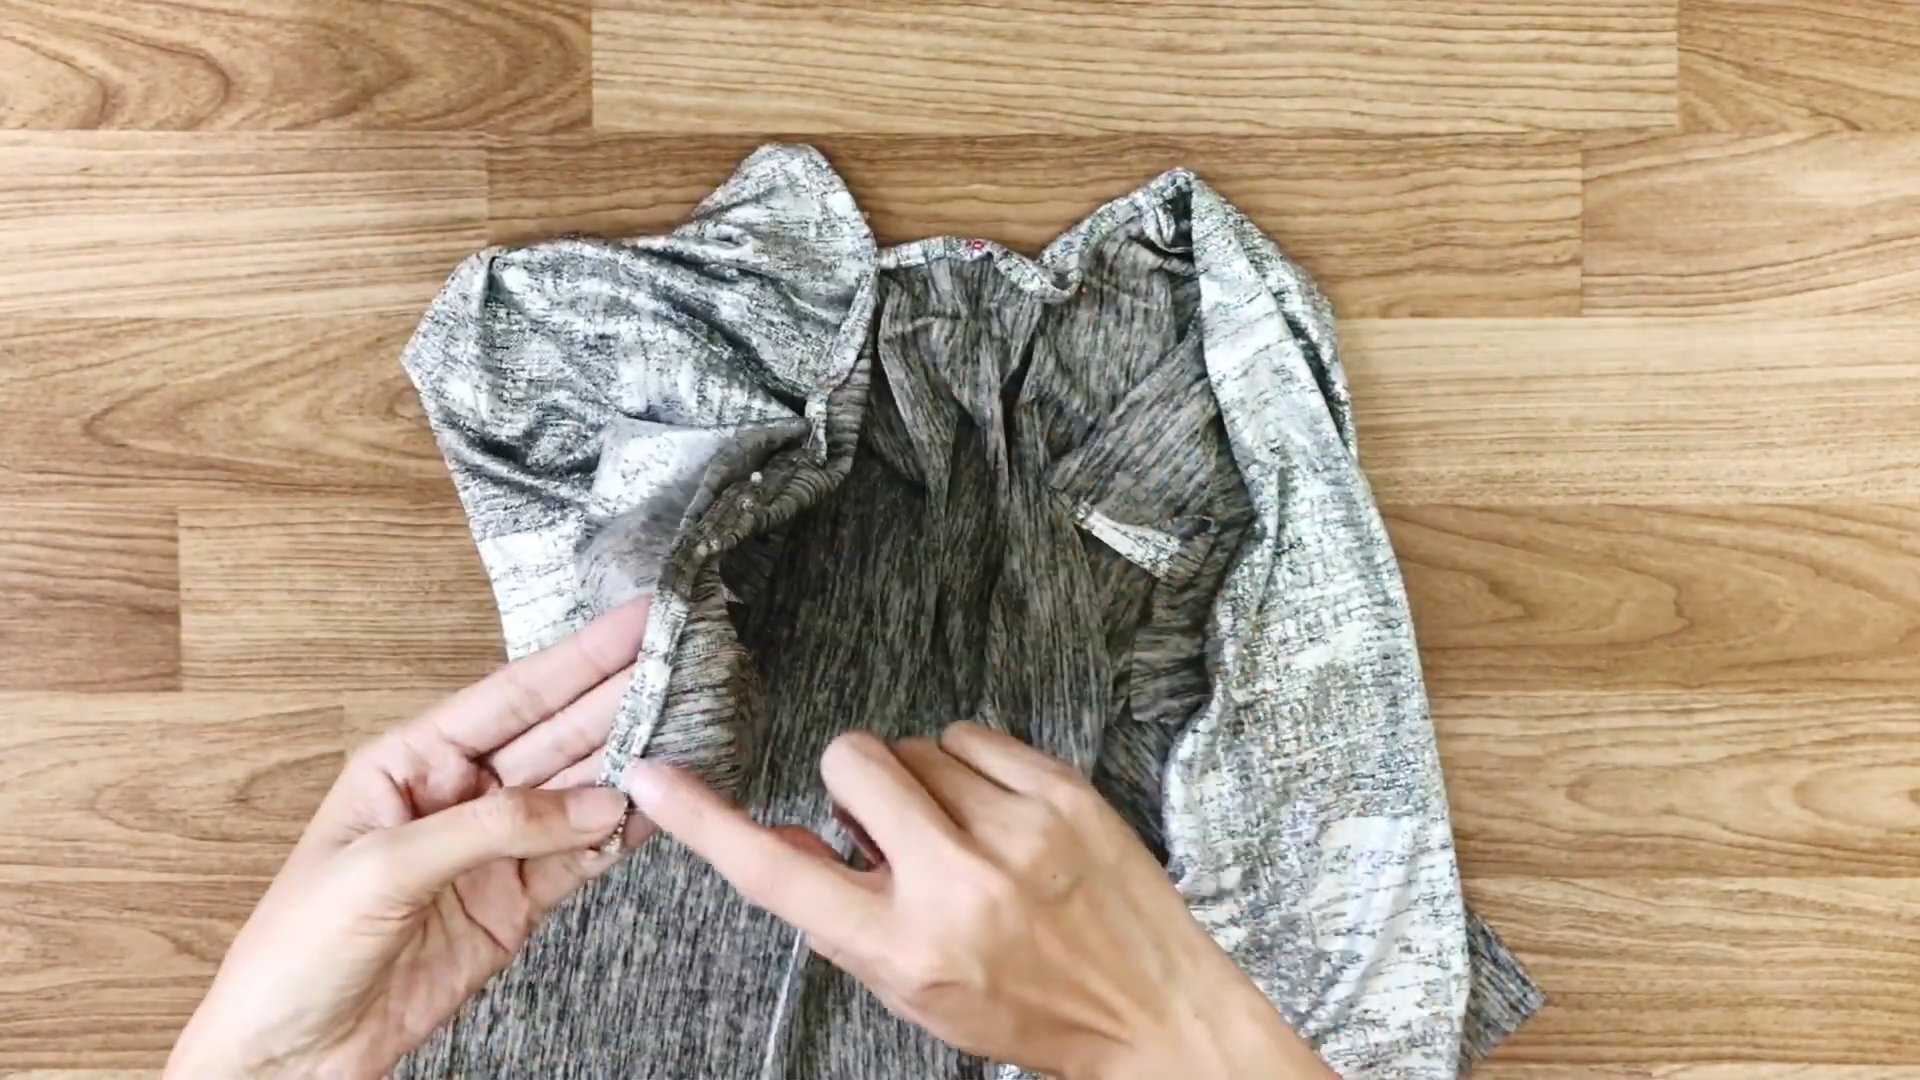
And, fold the tape twice inside to hide the extra fabric and sew.
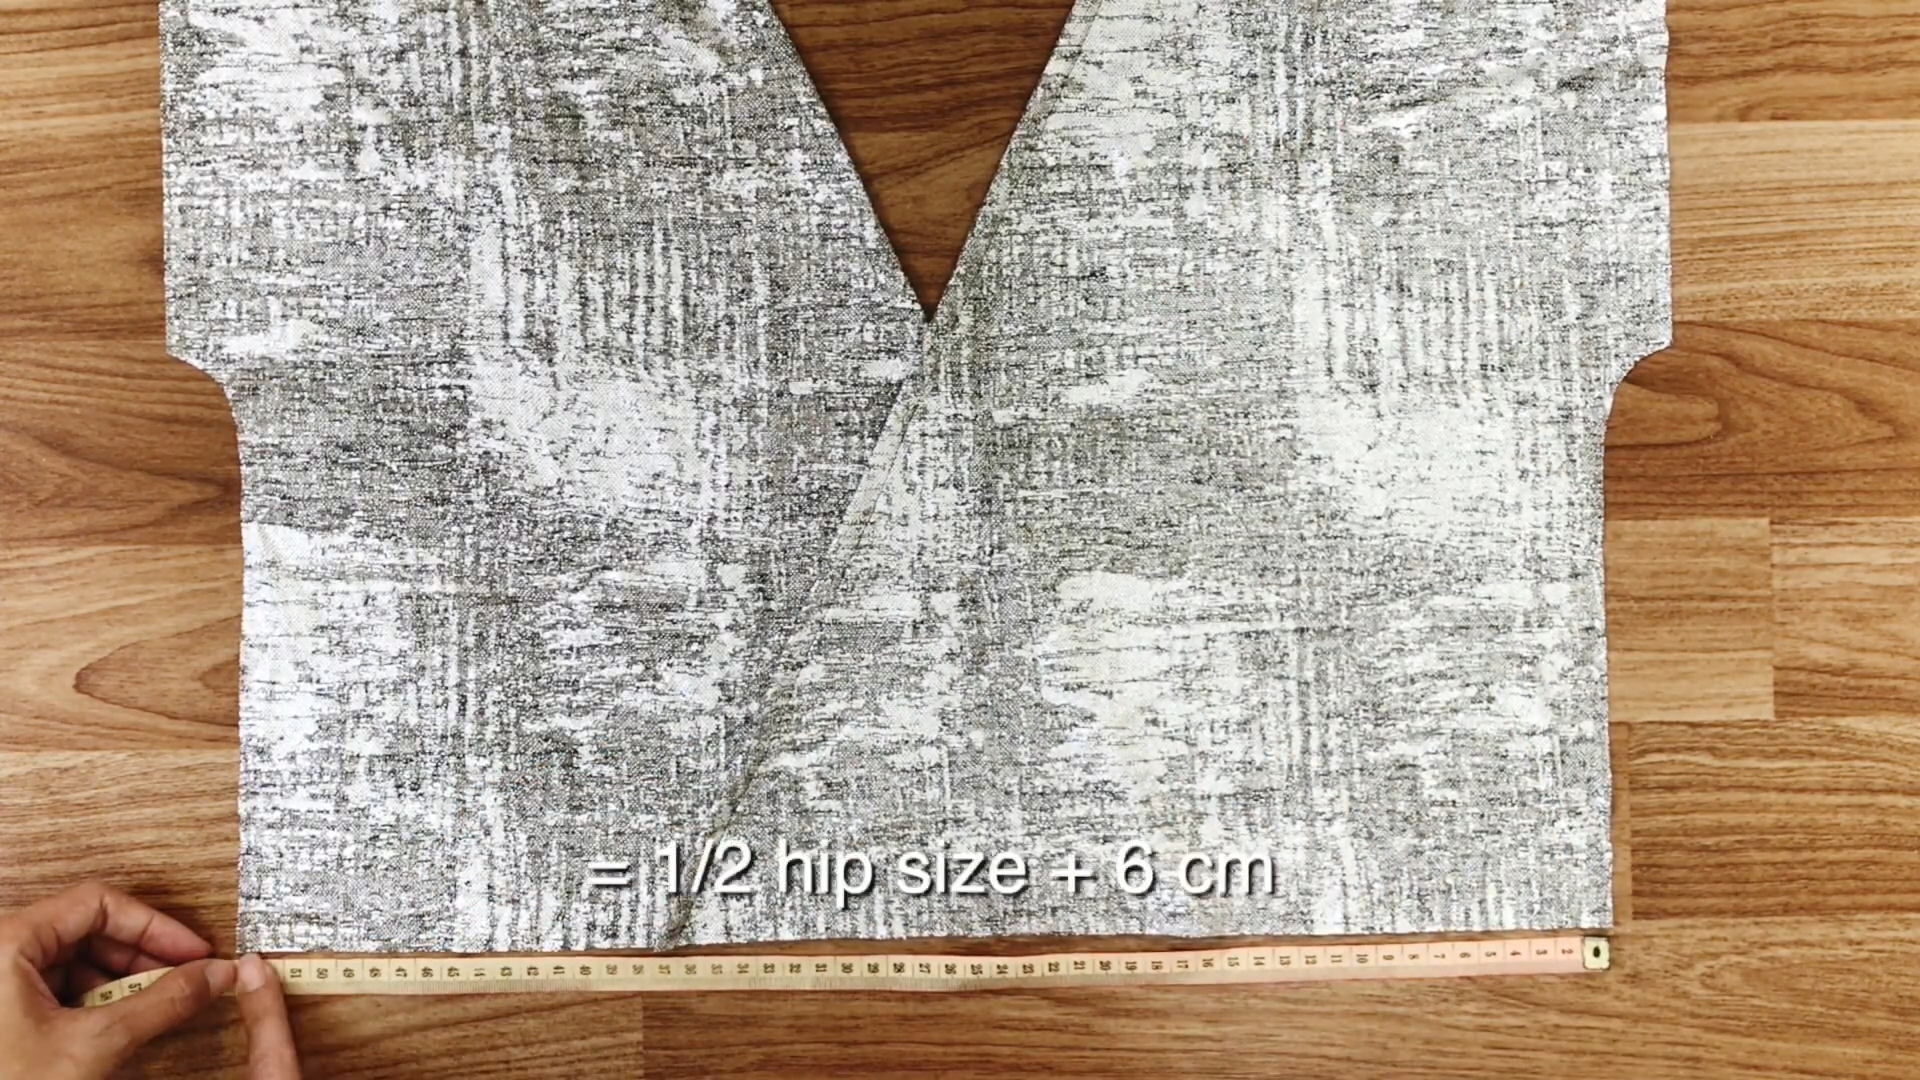
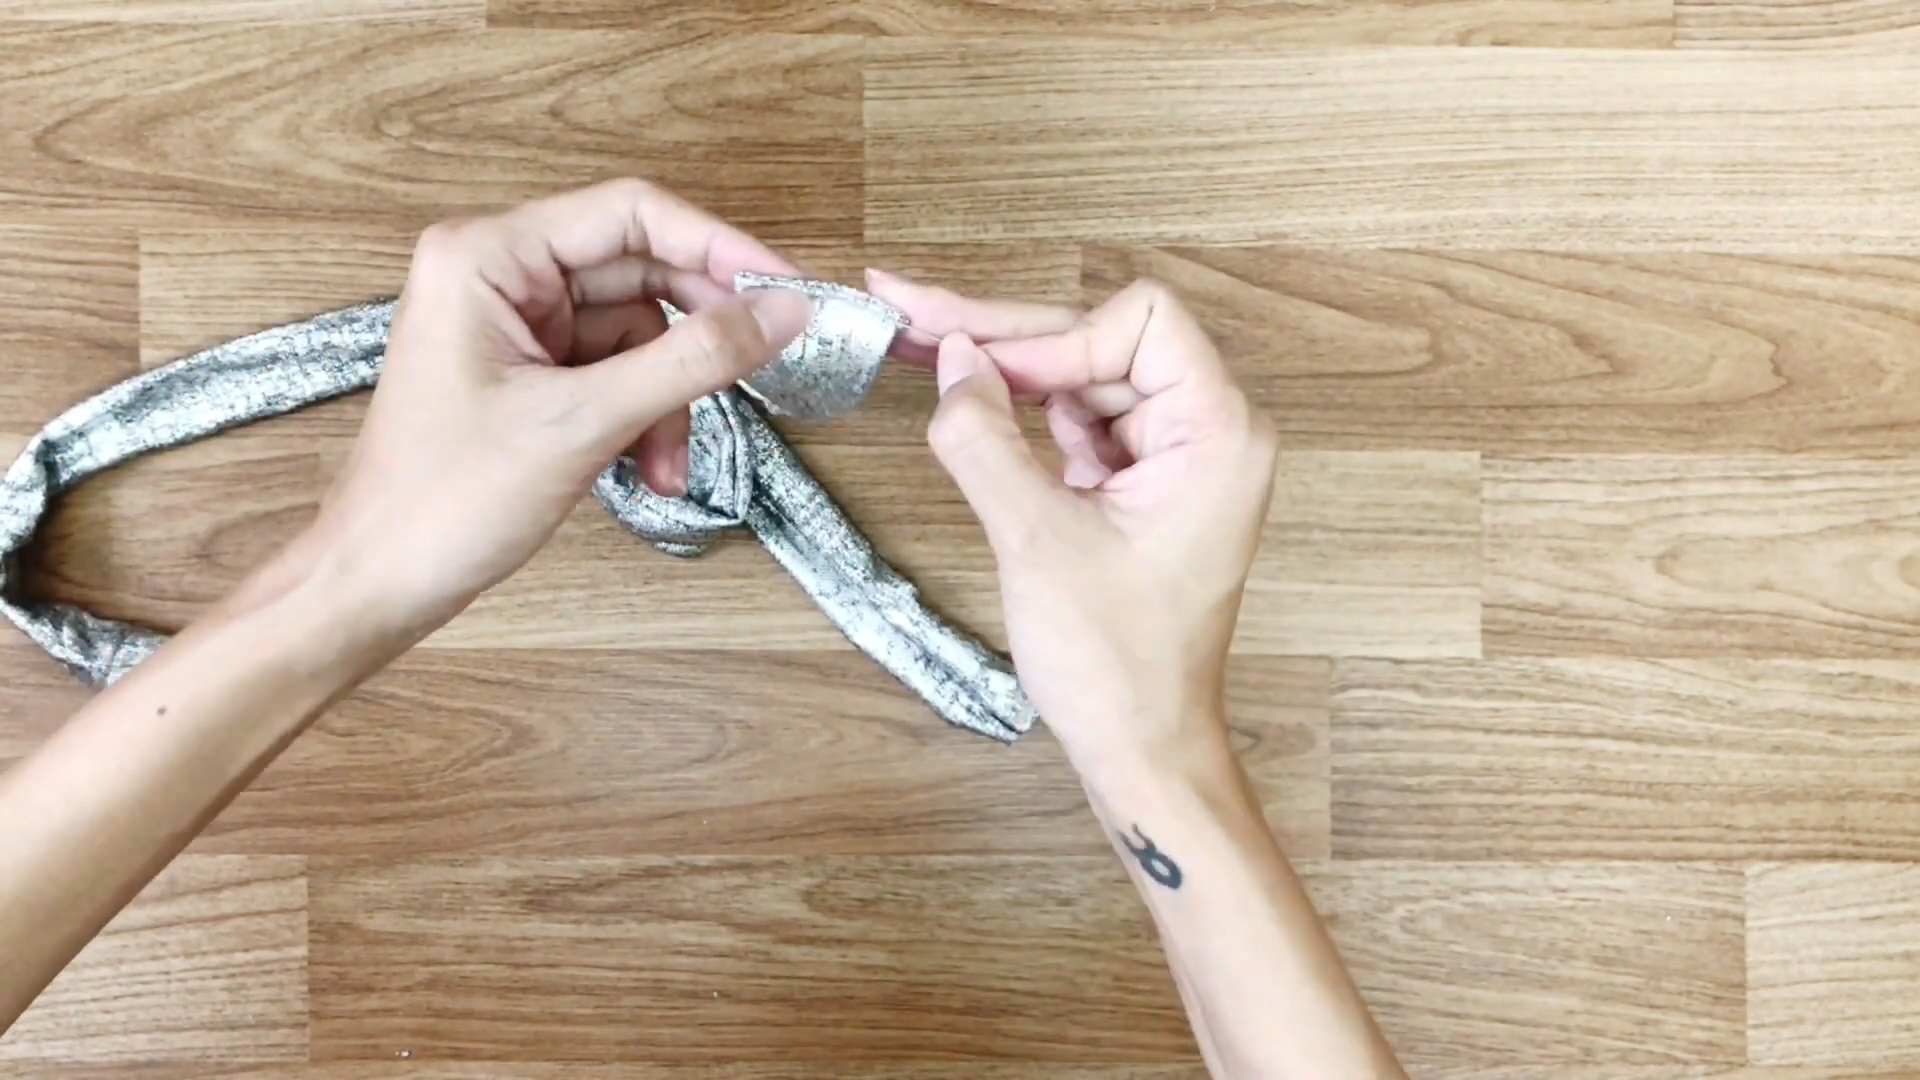
For the front of the top, gather the two pieces at the bottom, ensuring the width is 52 cm (half the hip size plus 6 cm), and sew.
THE SLEEVE
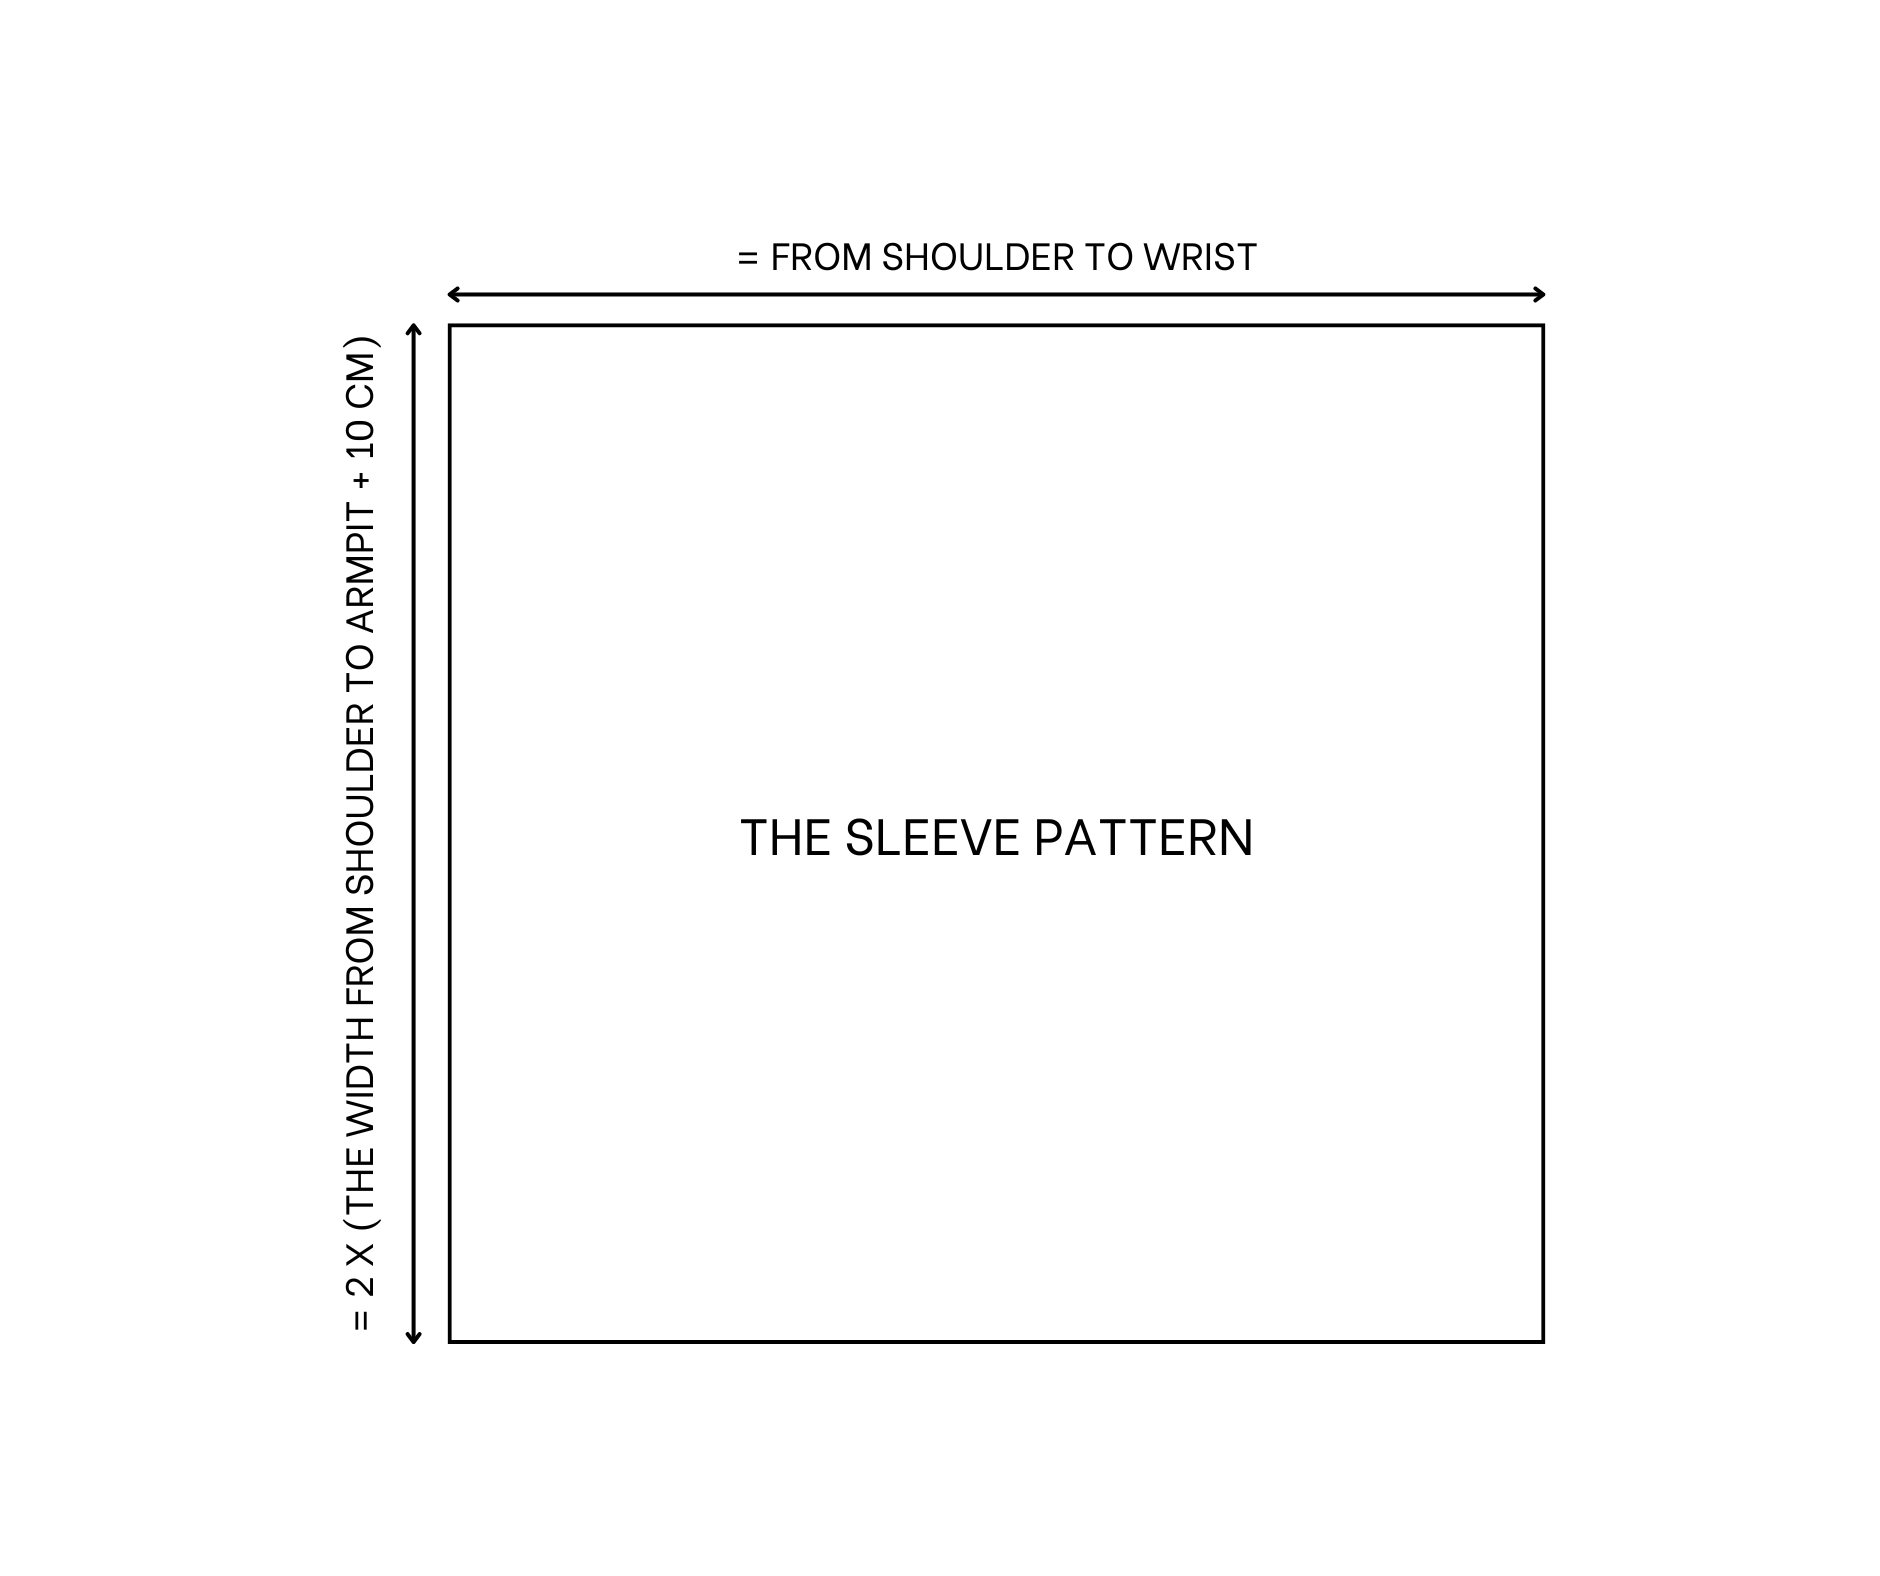
The sleeve pattern
Draw two rectangles 45 cm long (from shoulder to wrist) and 44 cm wide (double the width from shoulder to armpit plus 10 cm).
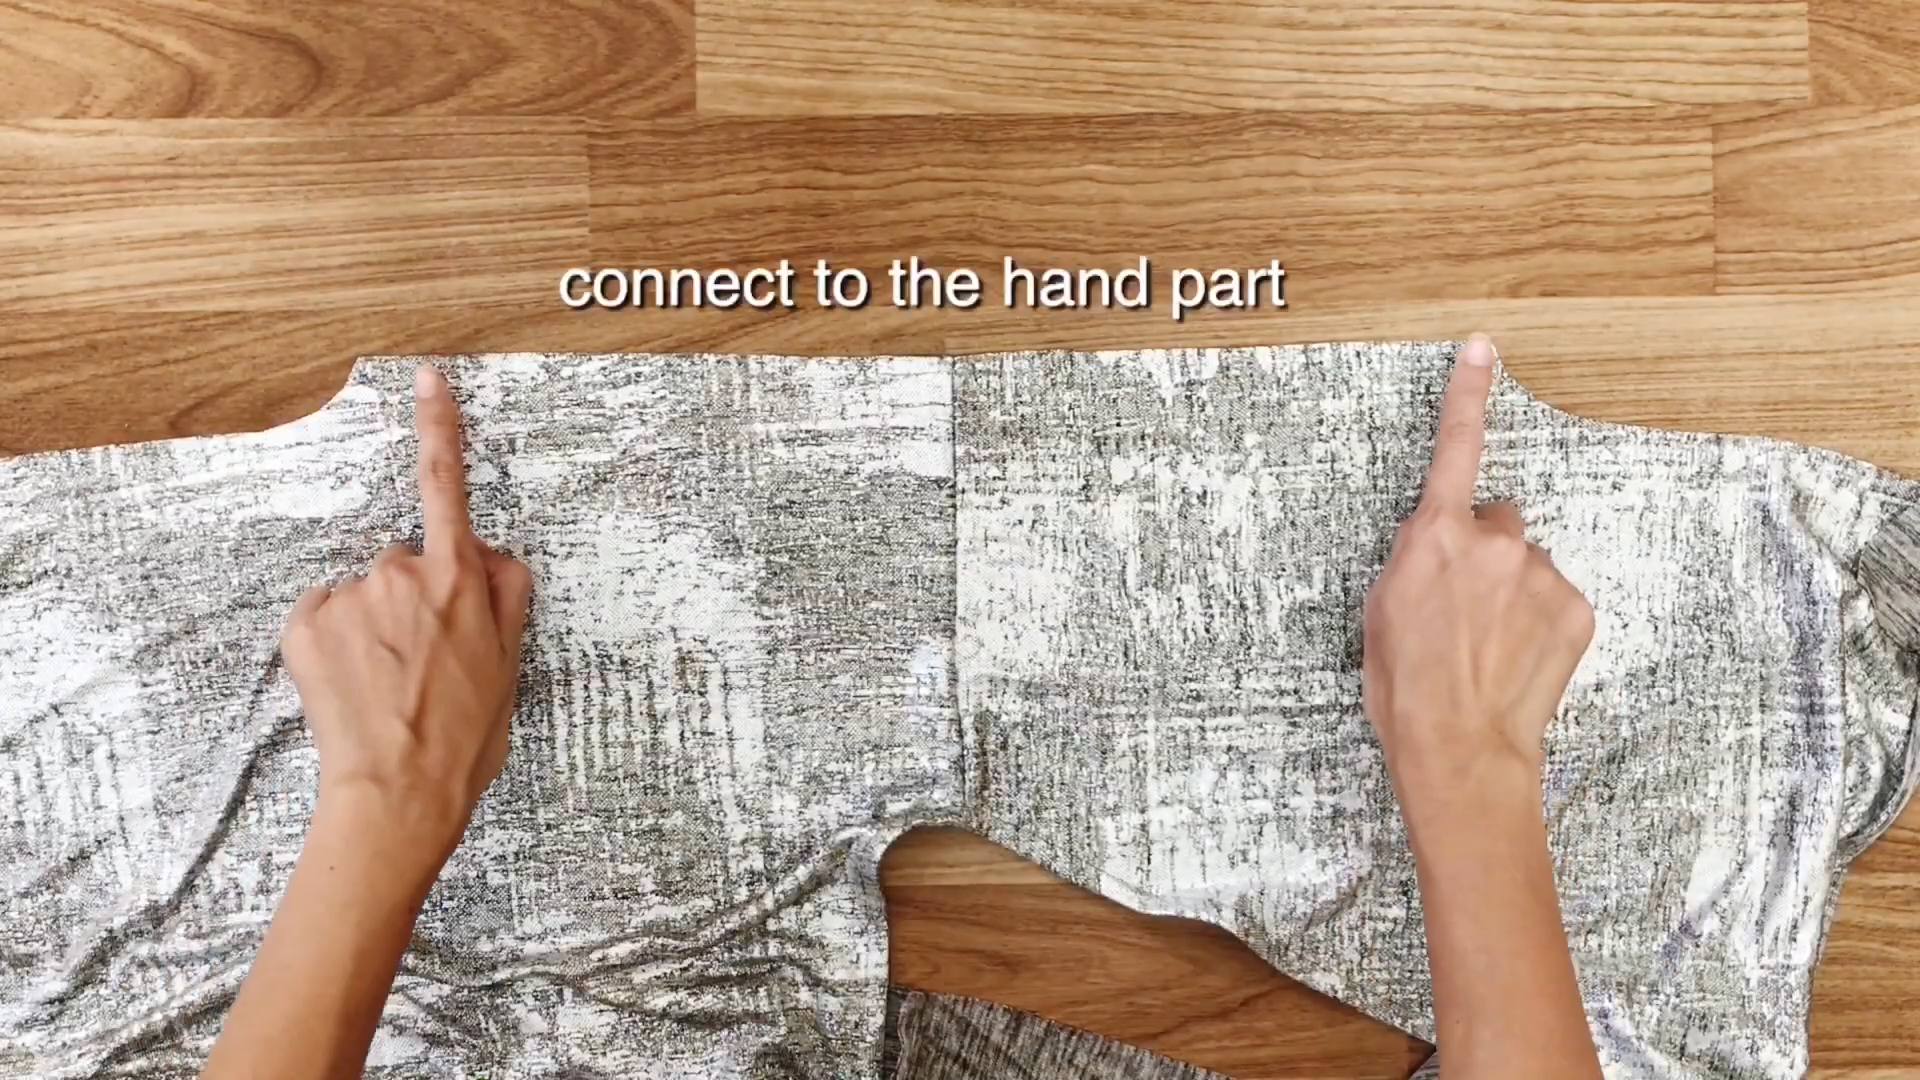
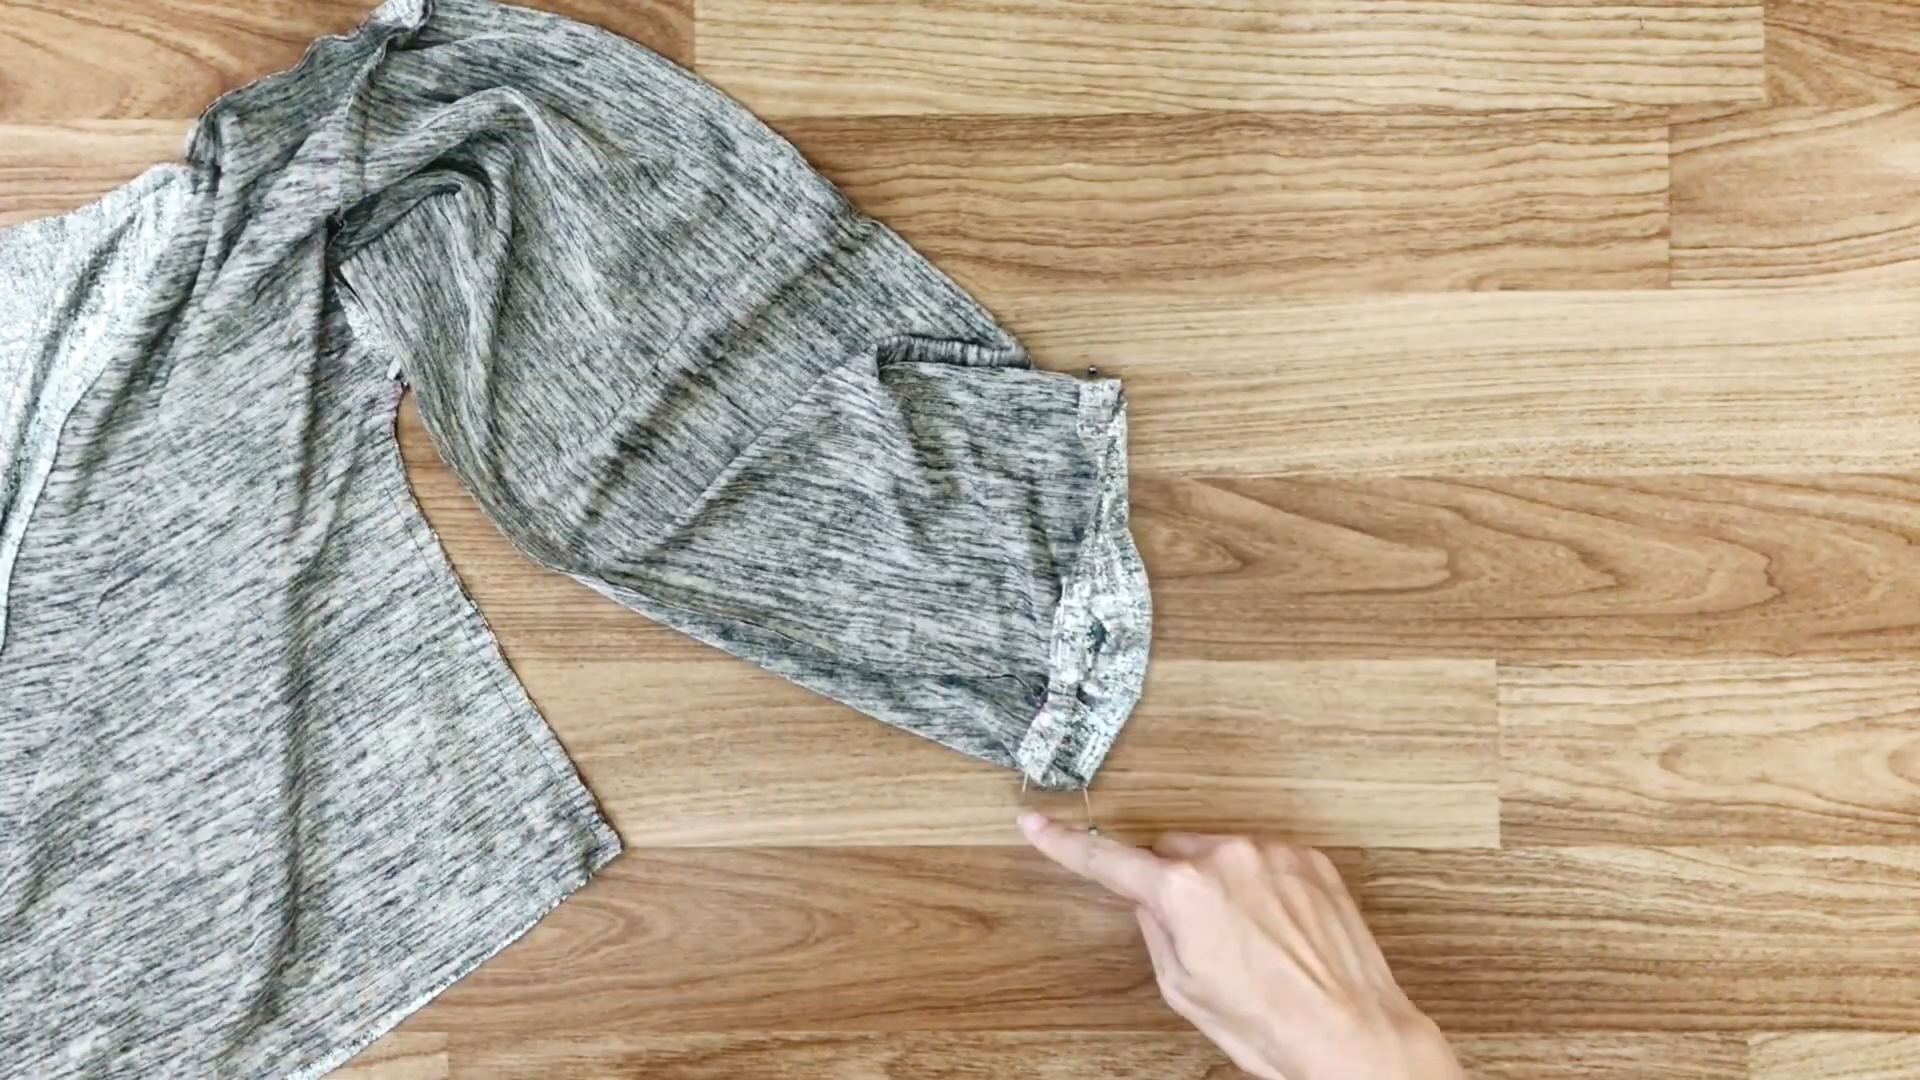
Attach the sleeves to the top at the armholes.

After that, connect the front and back of the top at the sides.
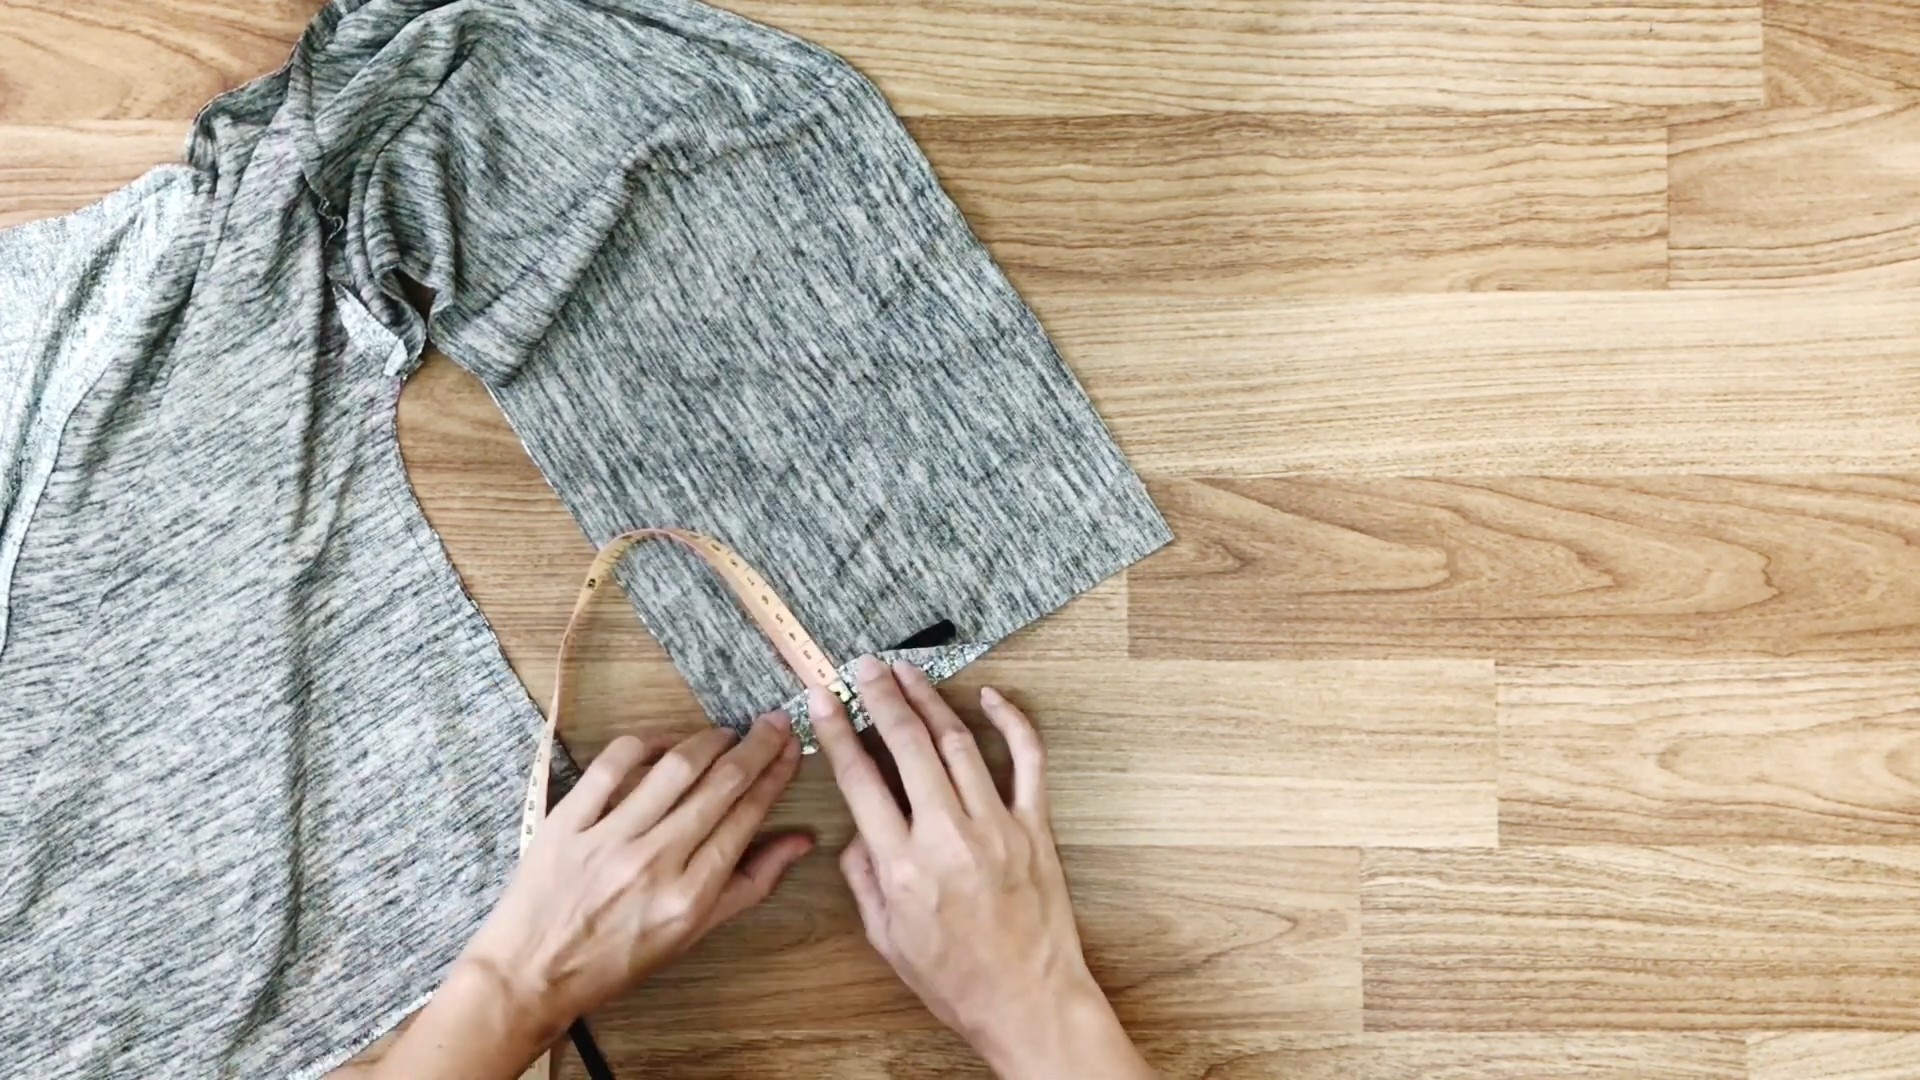
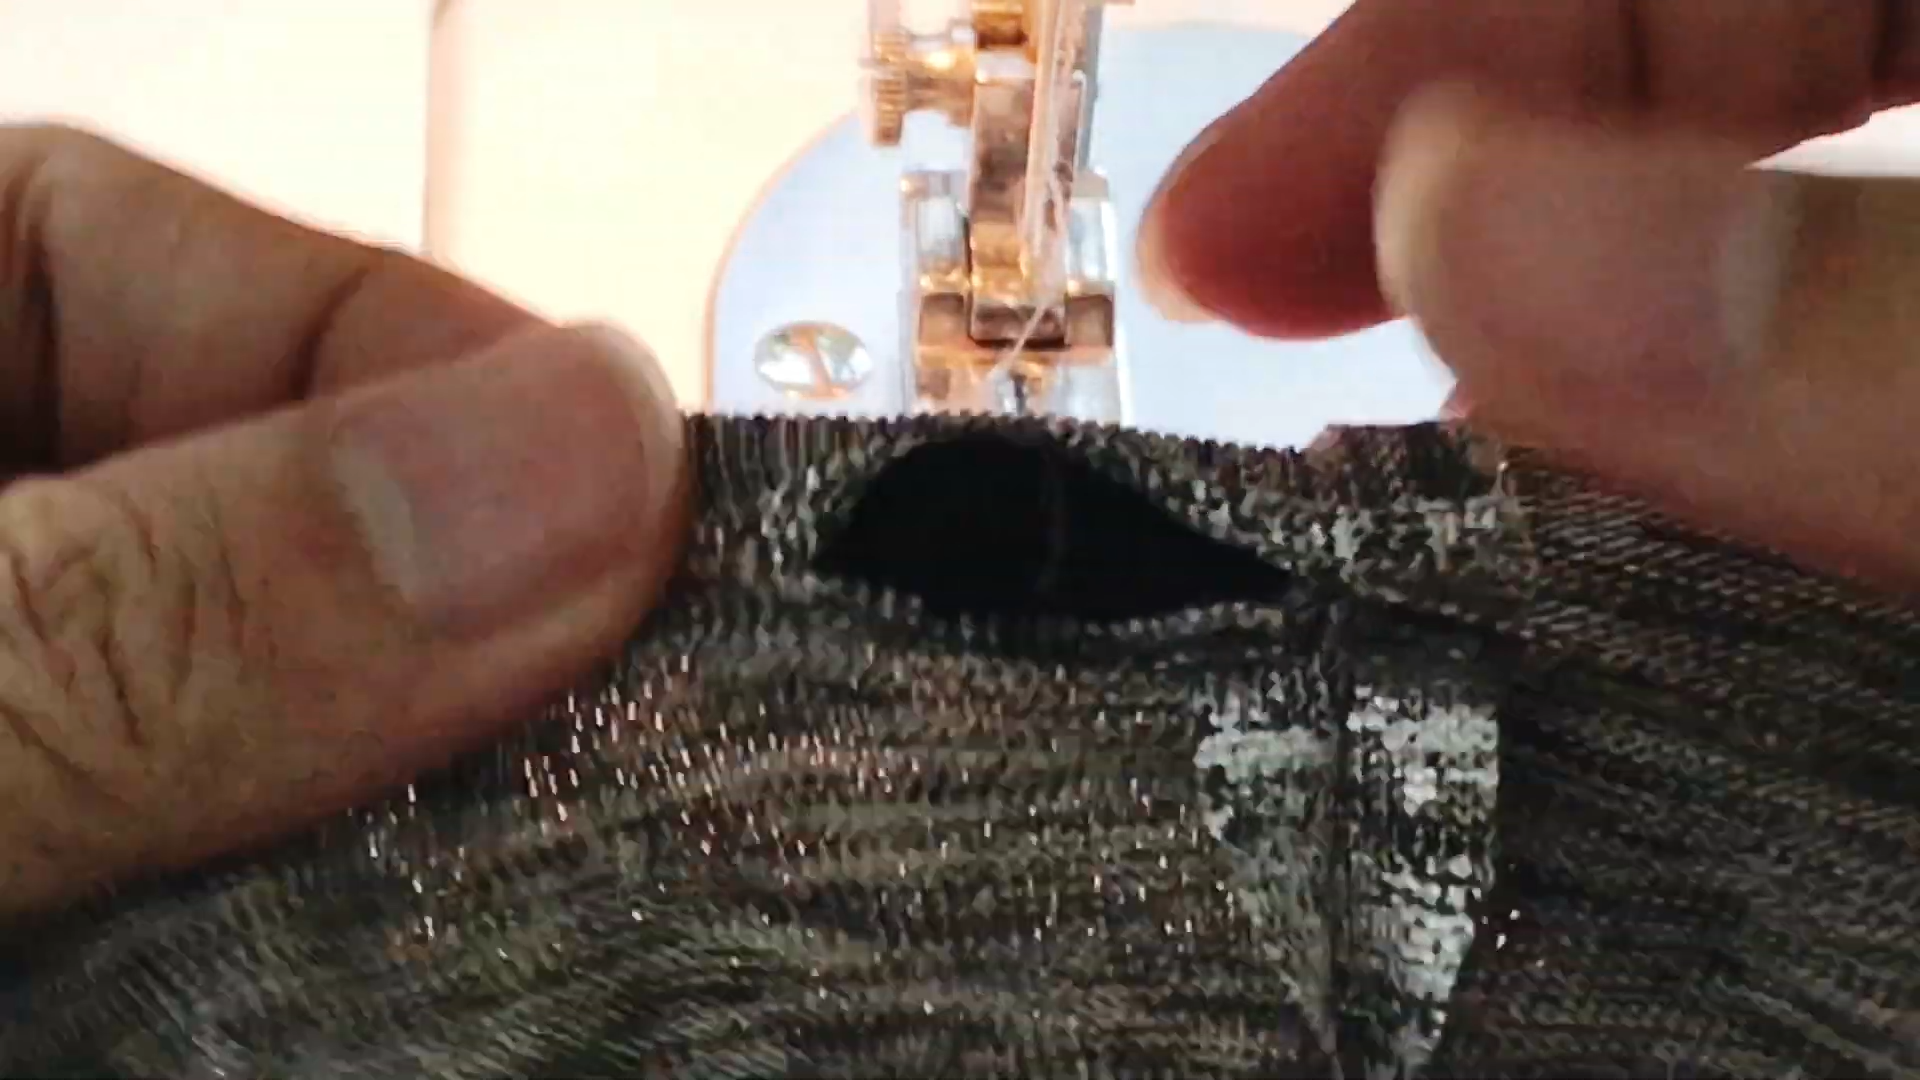
At the ends of the sleeves, use elastic bands to create puff sleeves. Measure the elastic band width first.
Then, make holes to insert the elastic, and use safety pins to help.
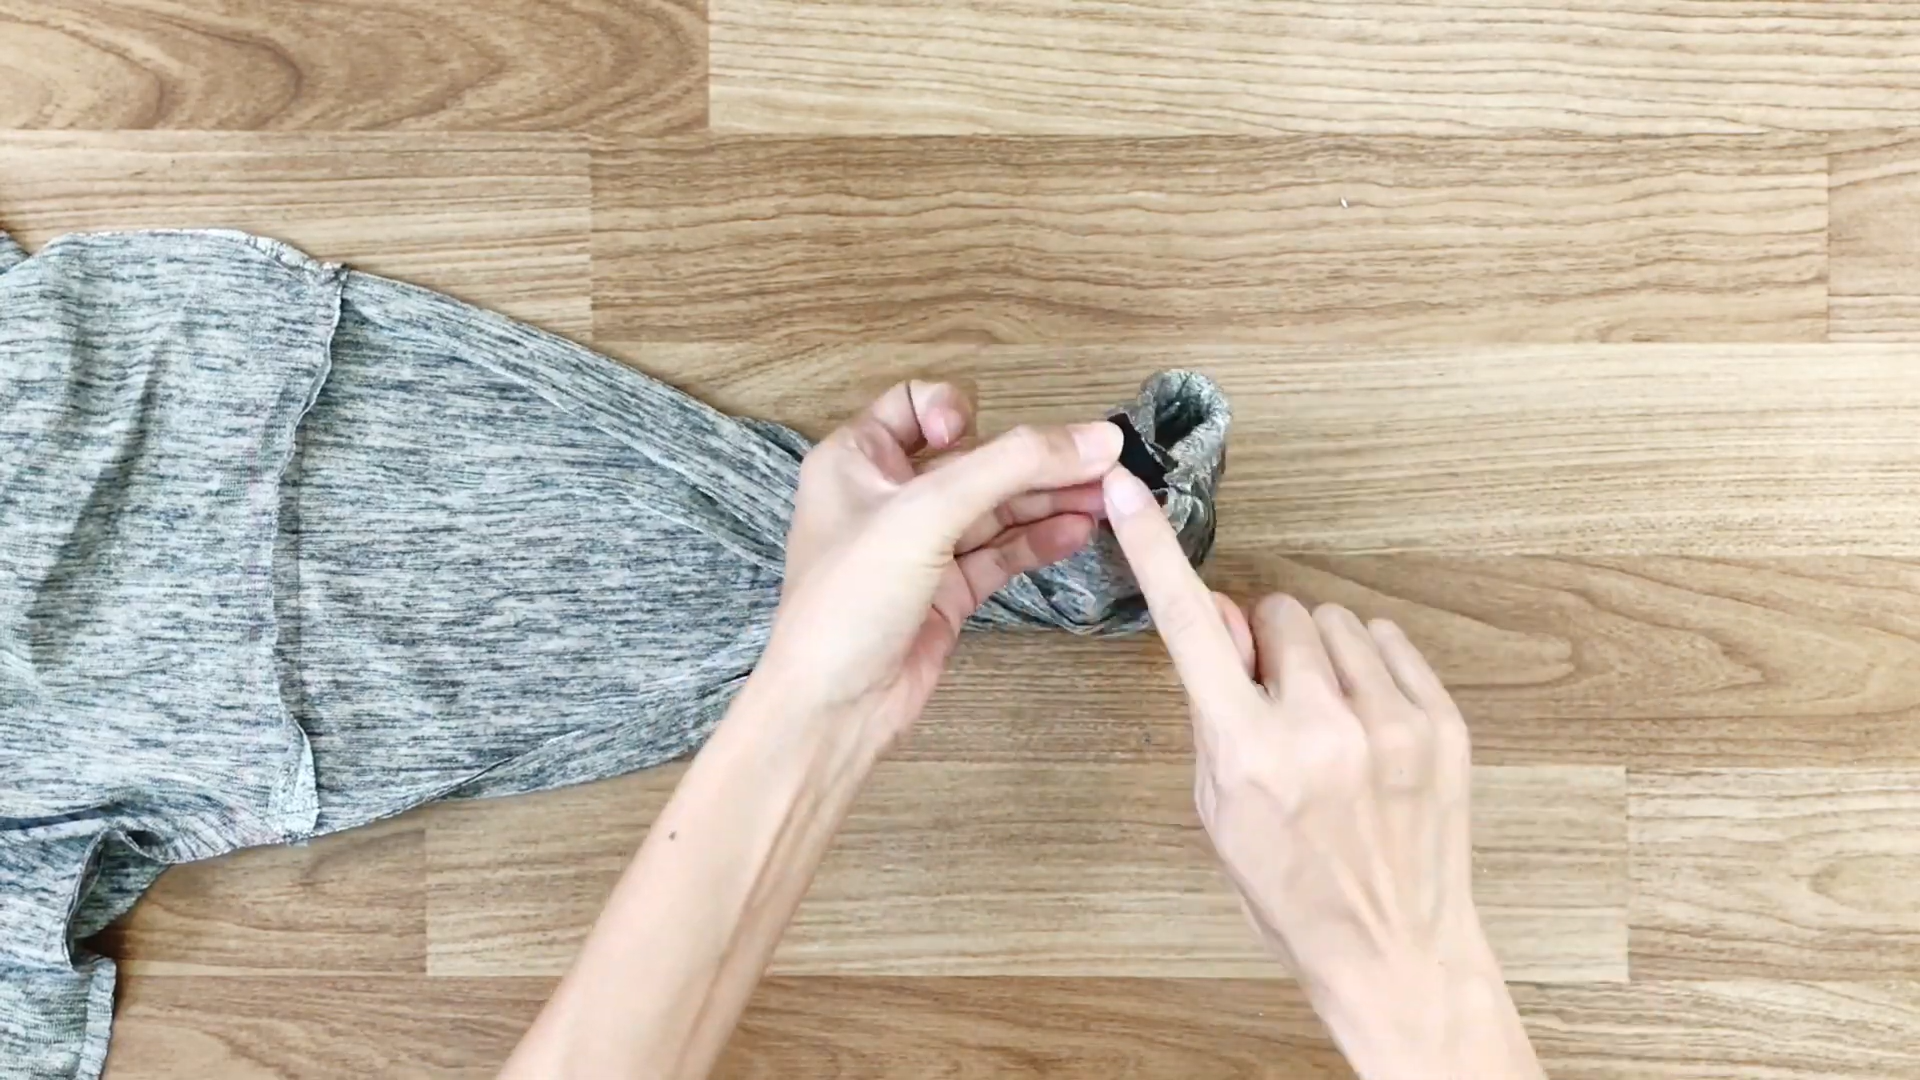
Close the holes after inserting the elastic.
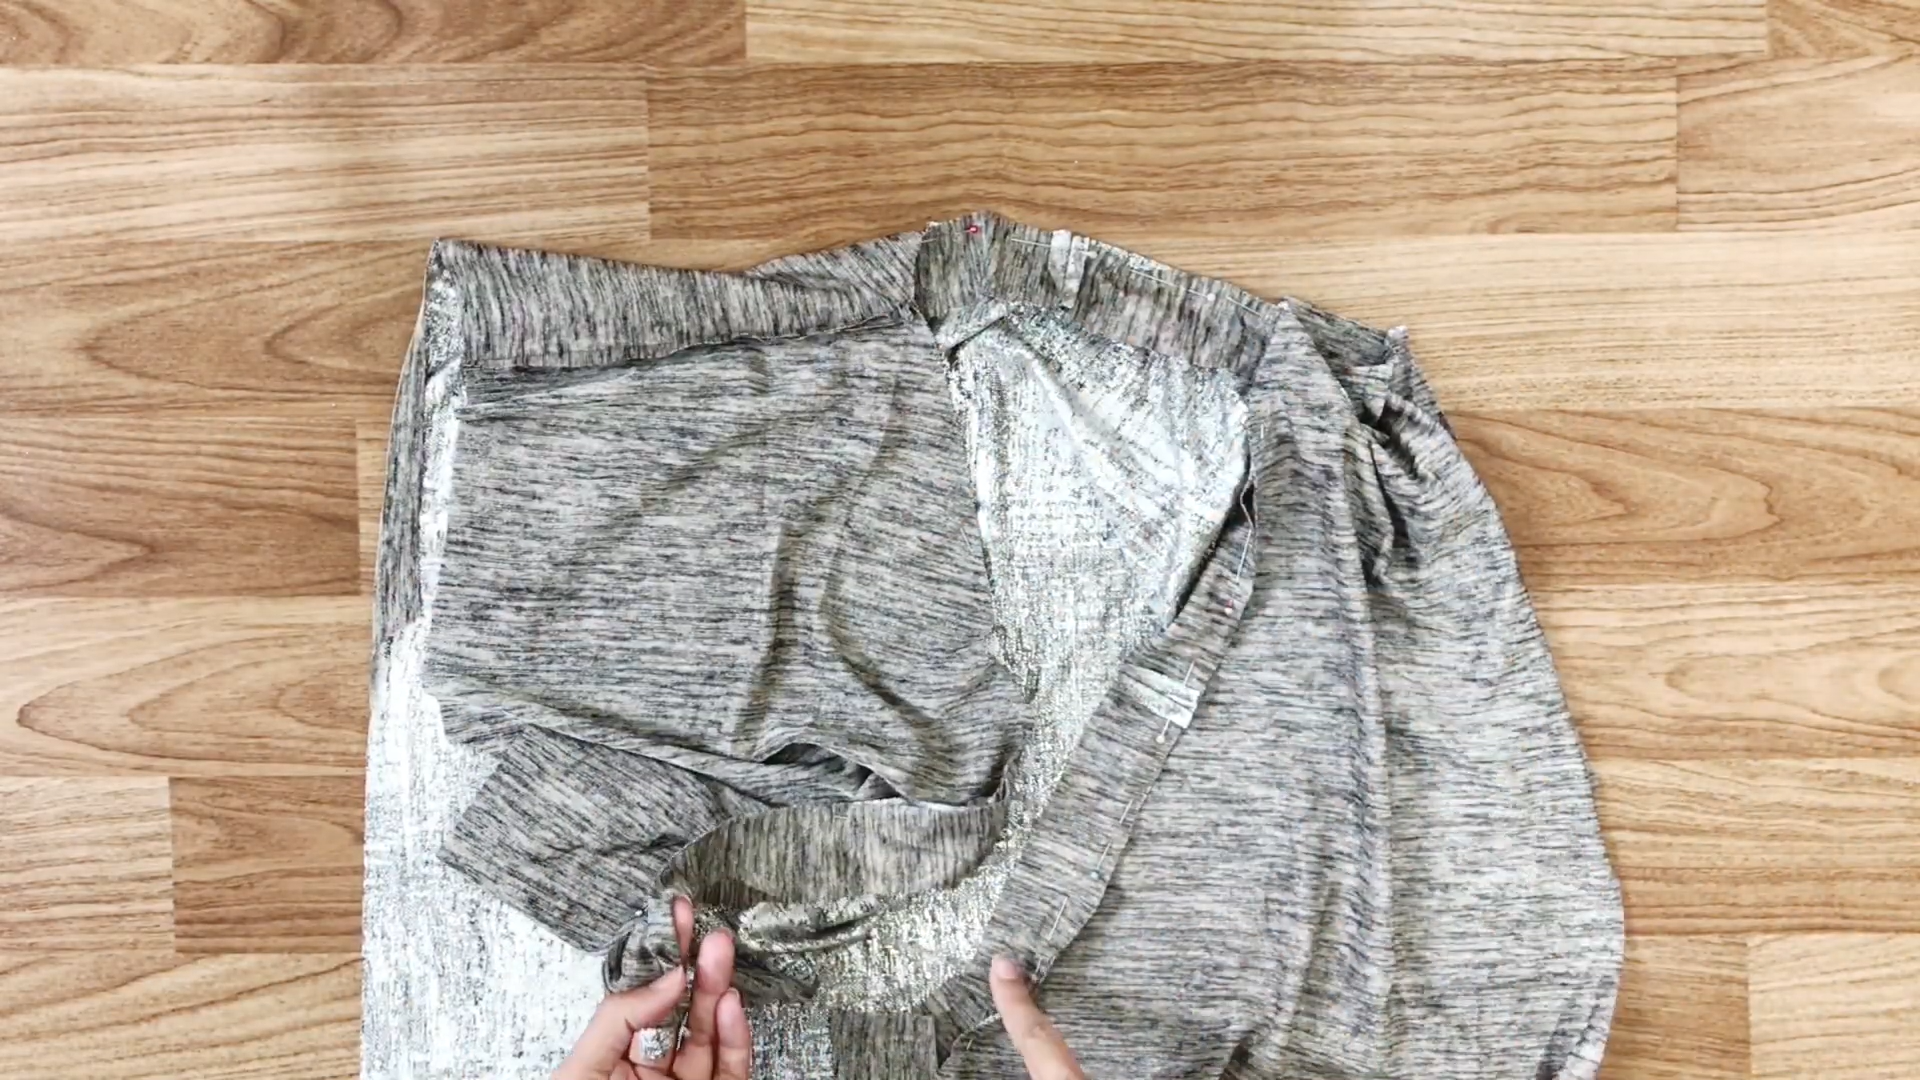
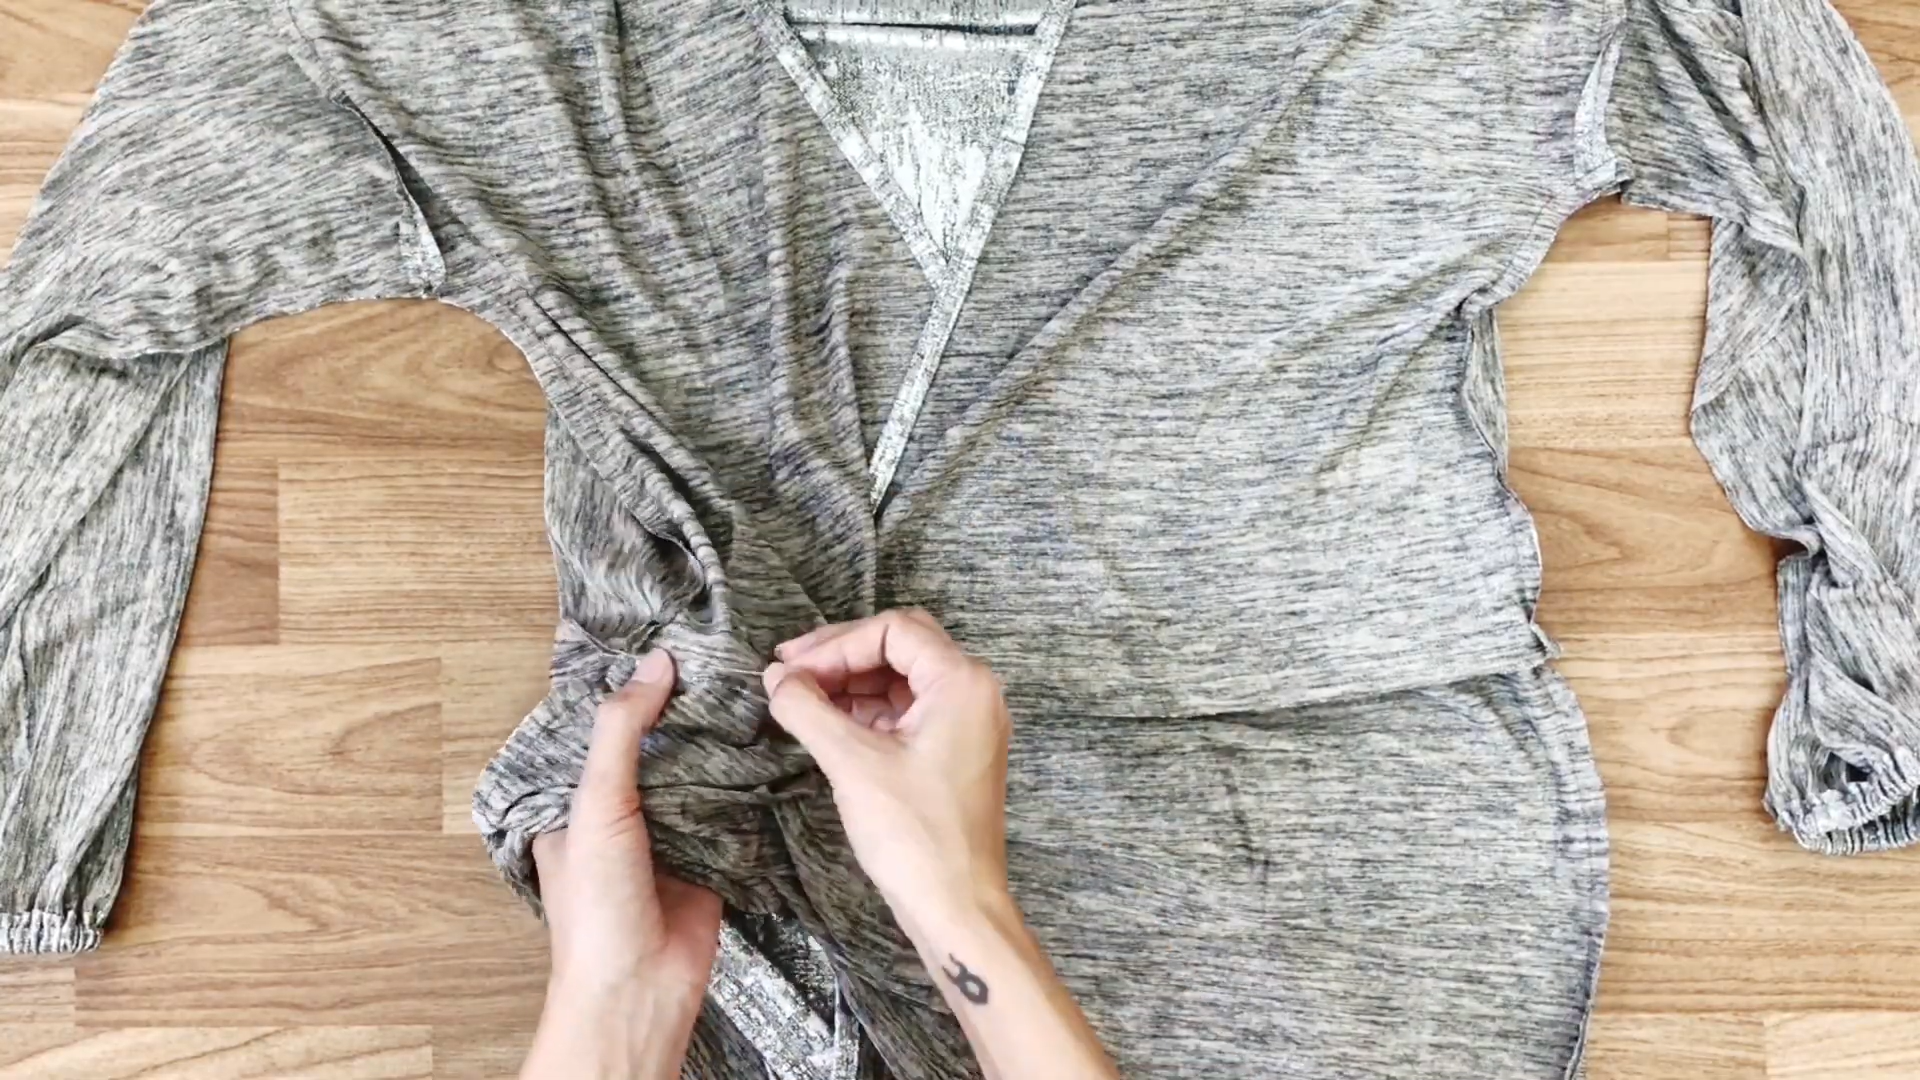
CONNECTING THE TOP AND THE PANTS
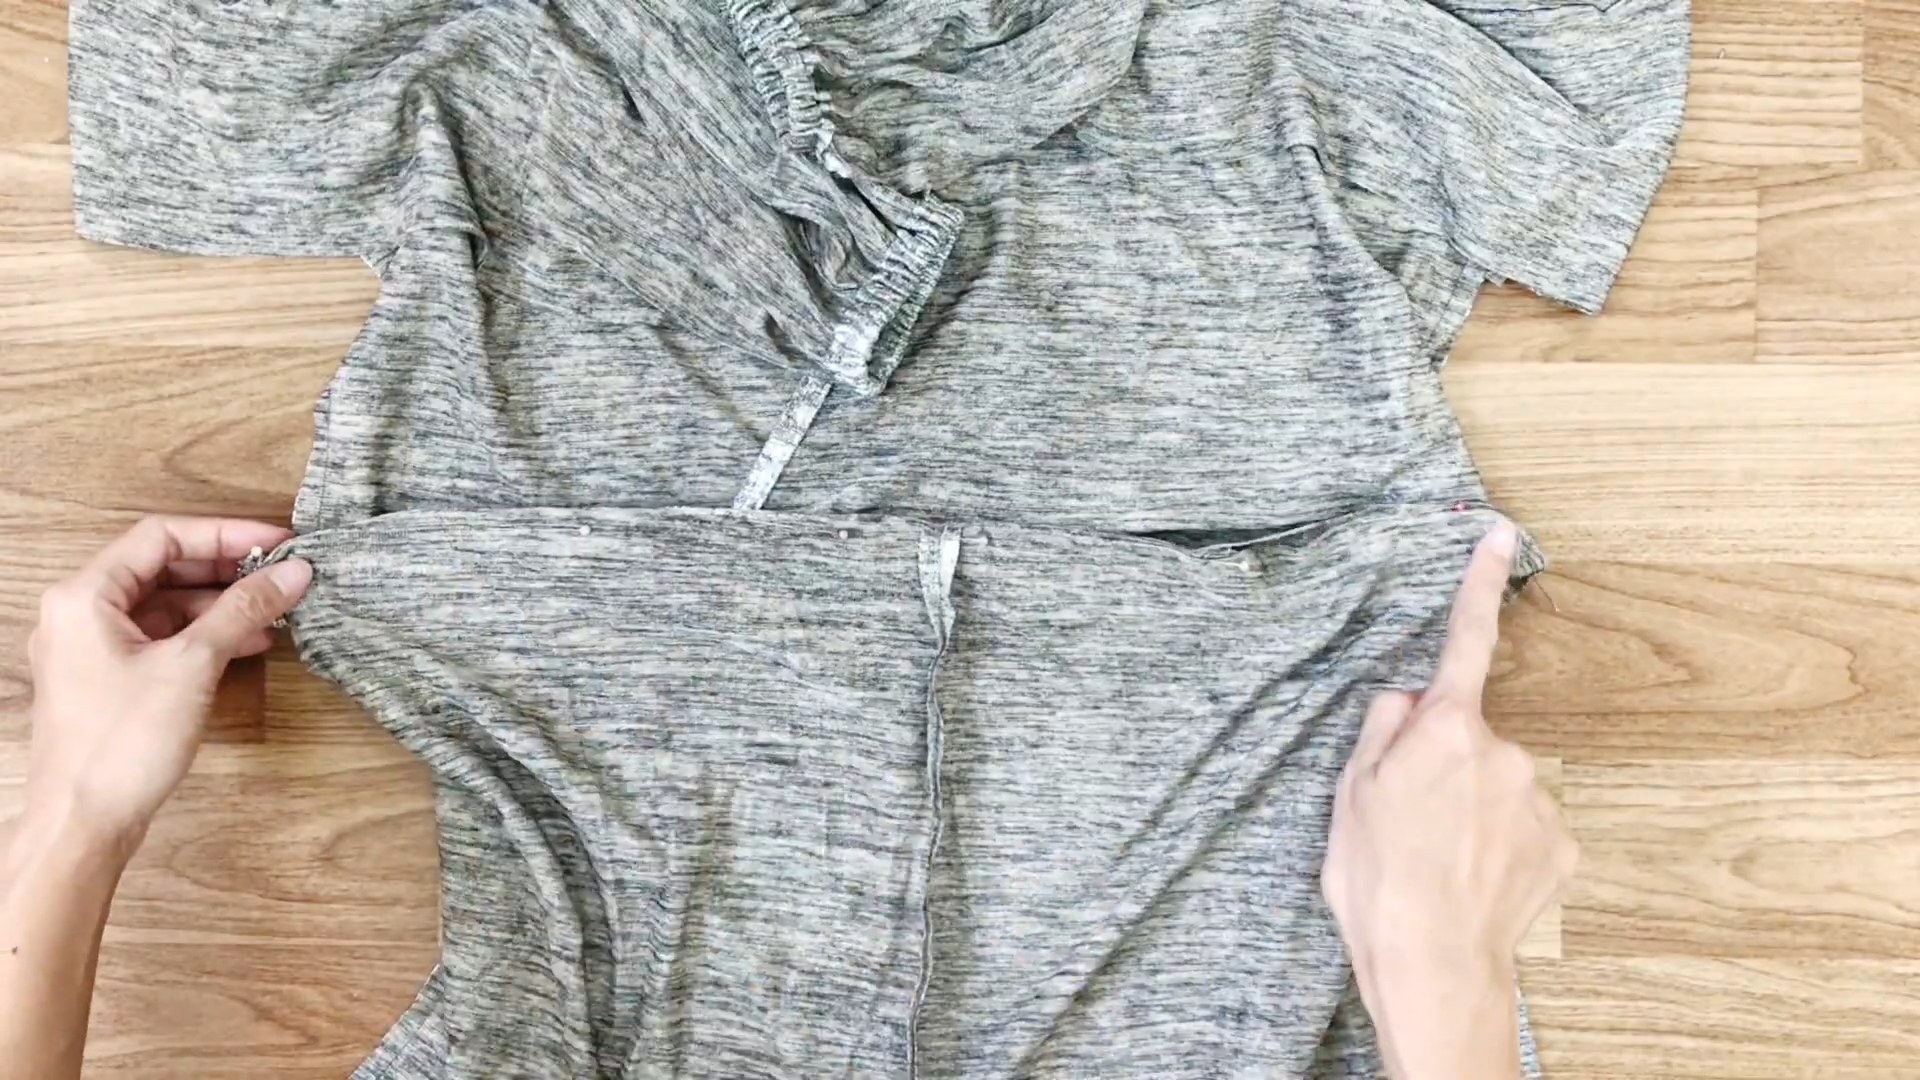
Finally, connect the top and pants at the sides first, then fix the rest.
Sew 2 cm from the border to create a hole for an elastic band, similar to the sleeves.
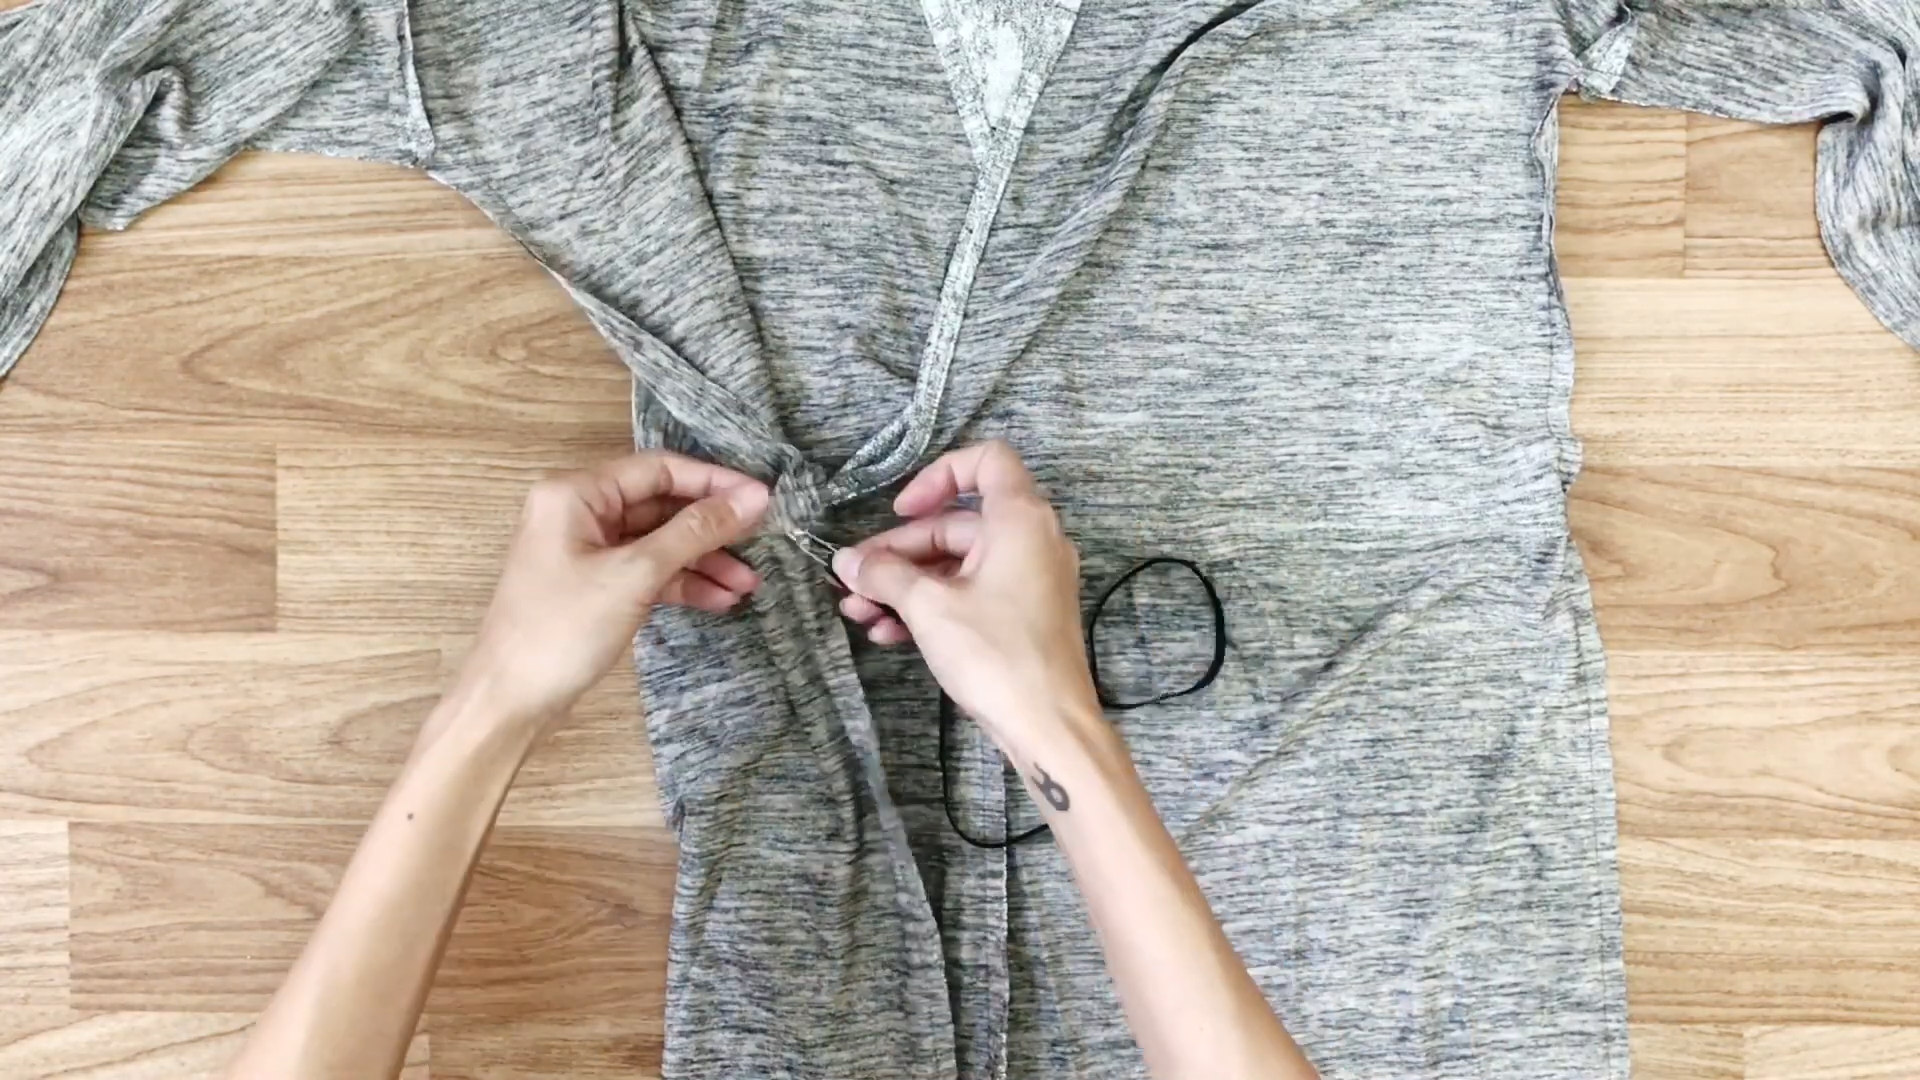
Doing similar to the hands, I use the safety pin to put the elastic band to inside the hole.
Then, sew to close that hole.
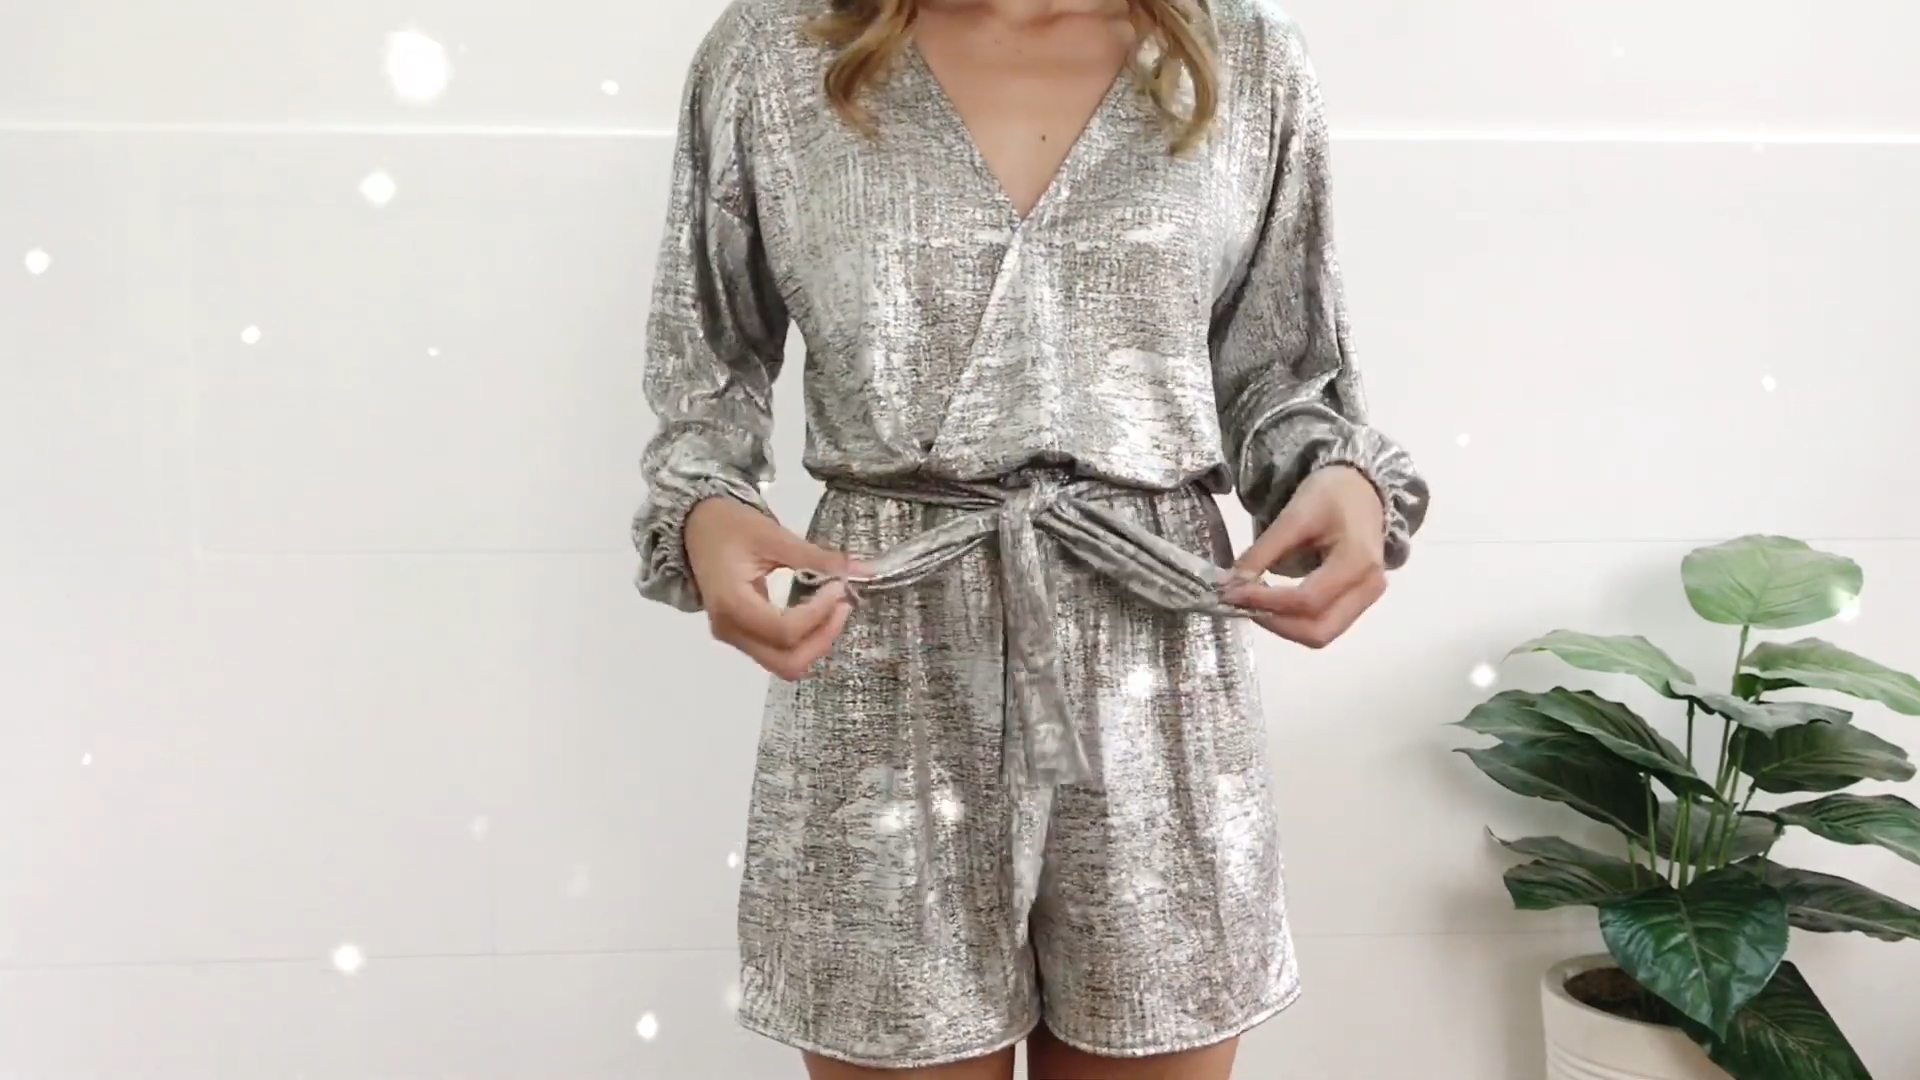
THE WAISTBAND
To make the waistband, draw rectangles 10 cm wide and connect them.
After that, fold it in half and sew.
Use a safety pin to turn the waistband right side out.
Then, put the fabric at the end of the waistband inside and sew to close the hole.
DIY Party dress - V-Neck Sequin jumpsuit/romper
And that’s a wrap!
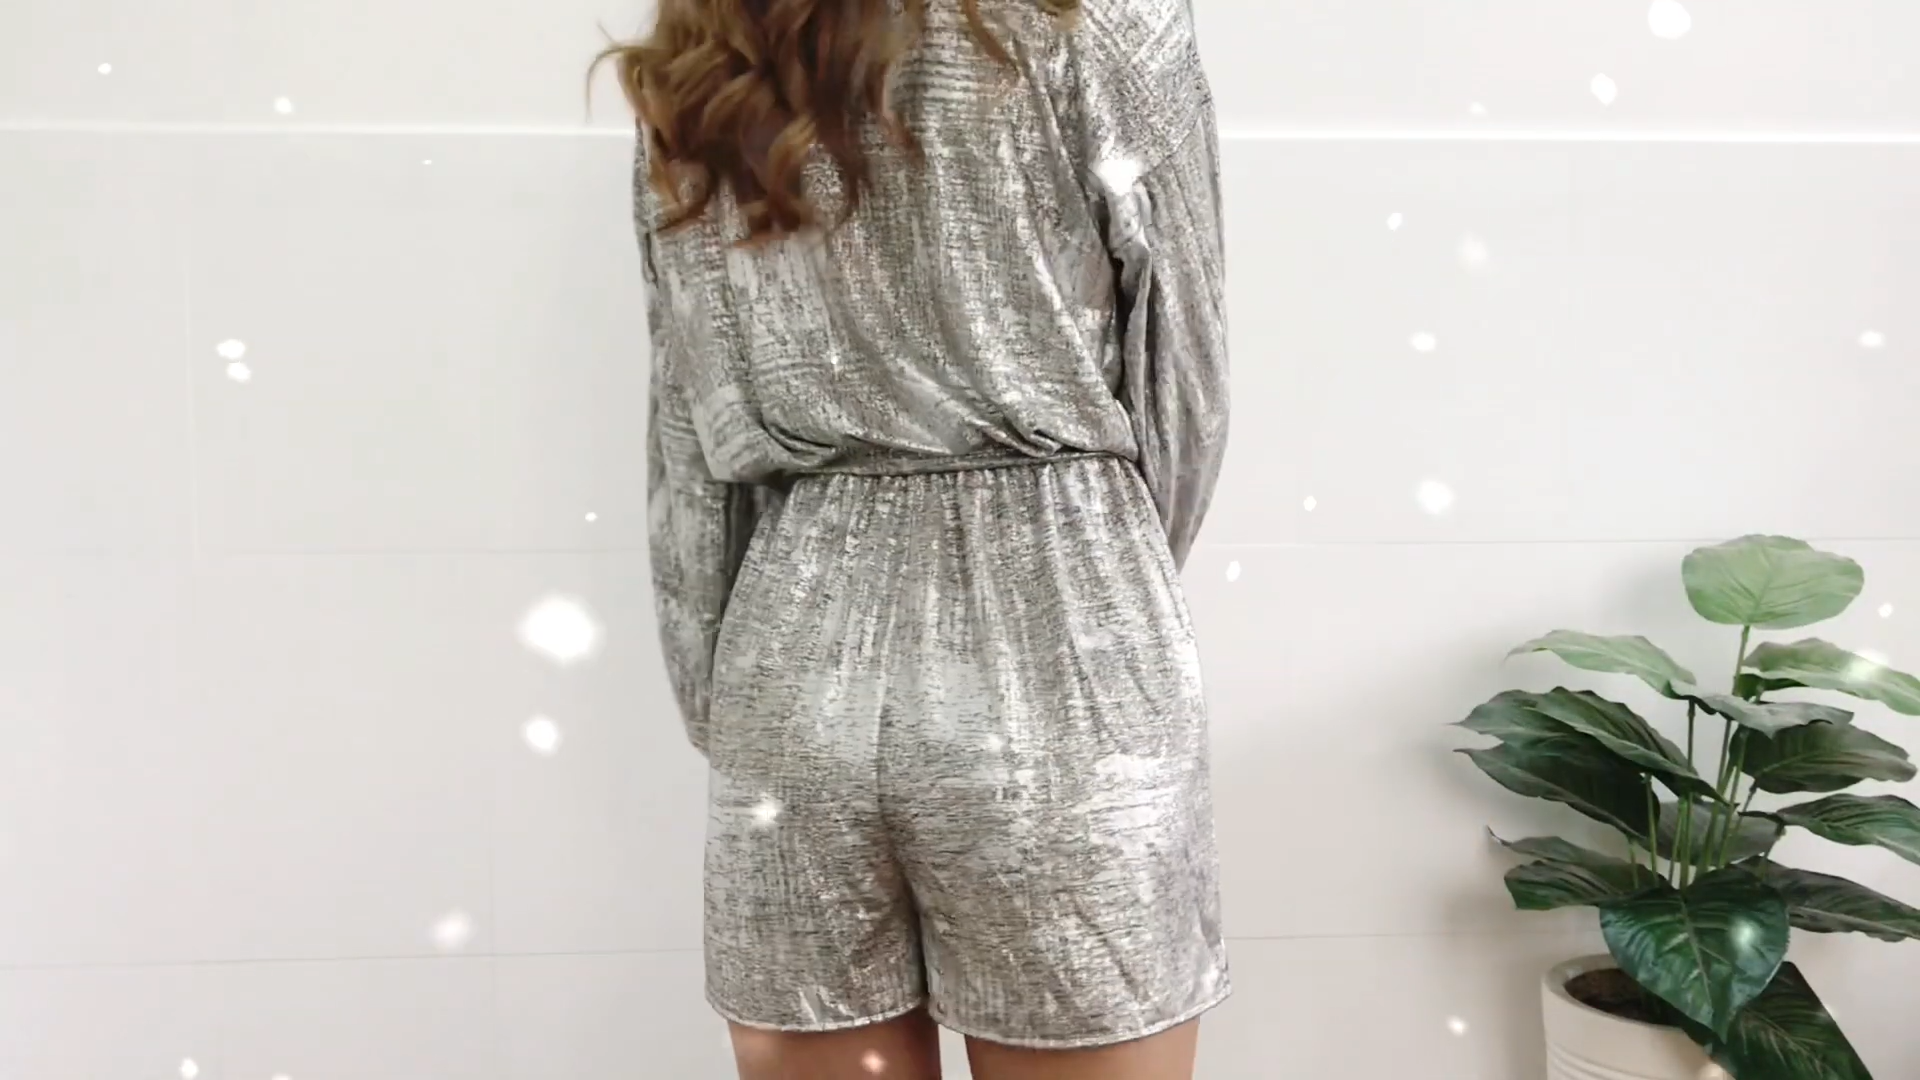
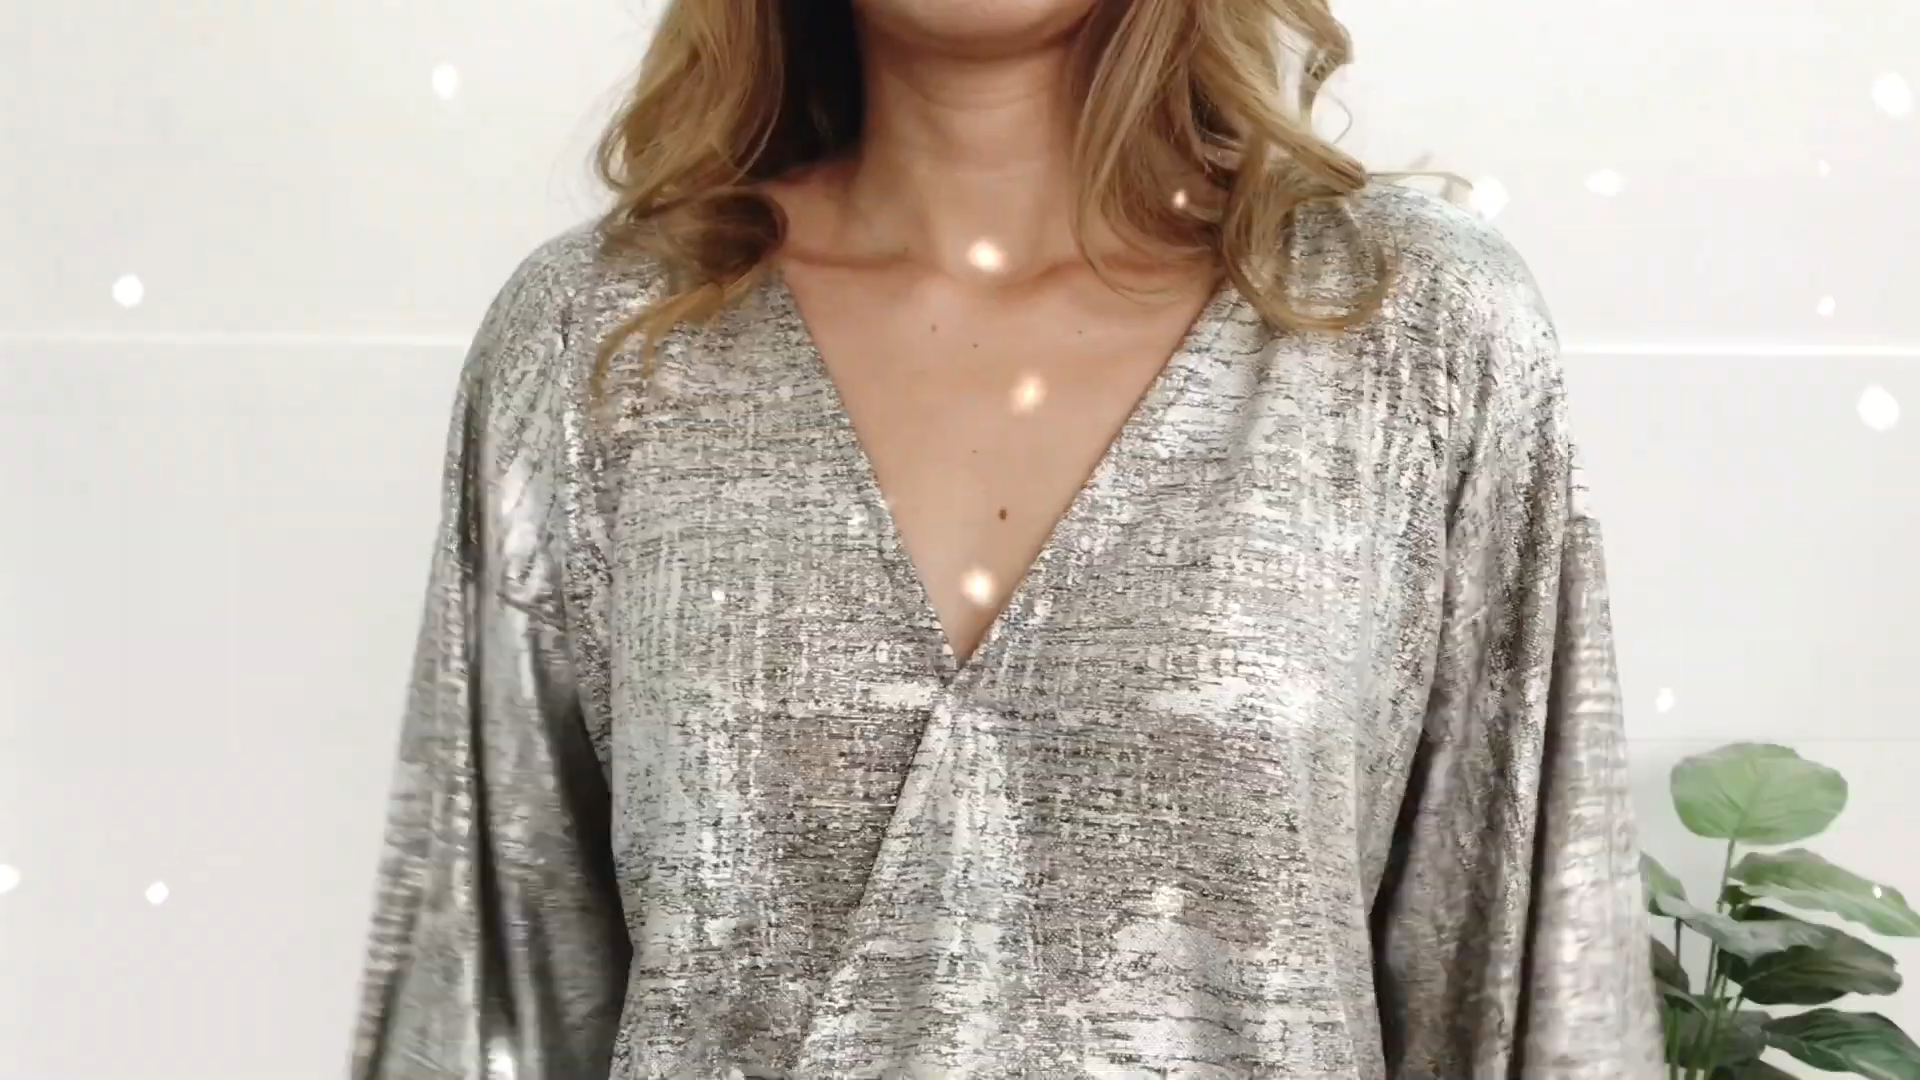
This sequin jumpsuit is the perfect idea for the party outfit. It's not too tight to show your body. But it's still sexy by showing your legs. And more important is that it makes your feel very comfortable and easy to move or dance.
I hope you’re inspired to create one for yourself. Happy sewing!
Please let me know your thoughts in the comments below. I would love to know more from you guys to improve my skills.