DIY Pleated skirt from old shirt - Rachel Green inspried [+ Free Pattern]

DIY Pleated skirt from old shirt

Hi everyone! In today’s tutorial, I’m thrilled to share how I transformed an old shirt into a pleated skirt. Inspired by the style of Rachel Green from the show “Friends”, this skirt embodies the charm of vintage fashion that I adore. The transformation process is simple and I’ve made sure to make it easy for you to follow along.
So, if you’re ready to breathe new life into your old clothes and create your own vintage masterpiece, you’re in the right place.
Let’s get started!
WHAT YOU’LL NEED
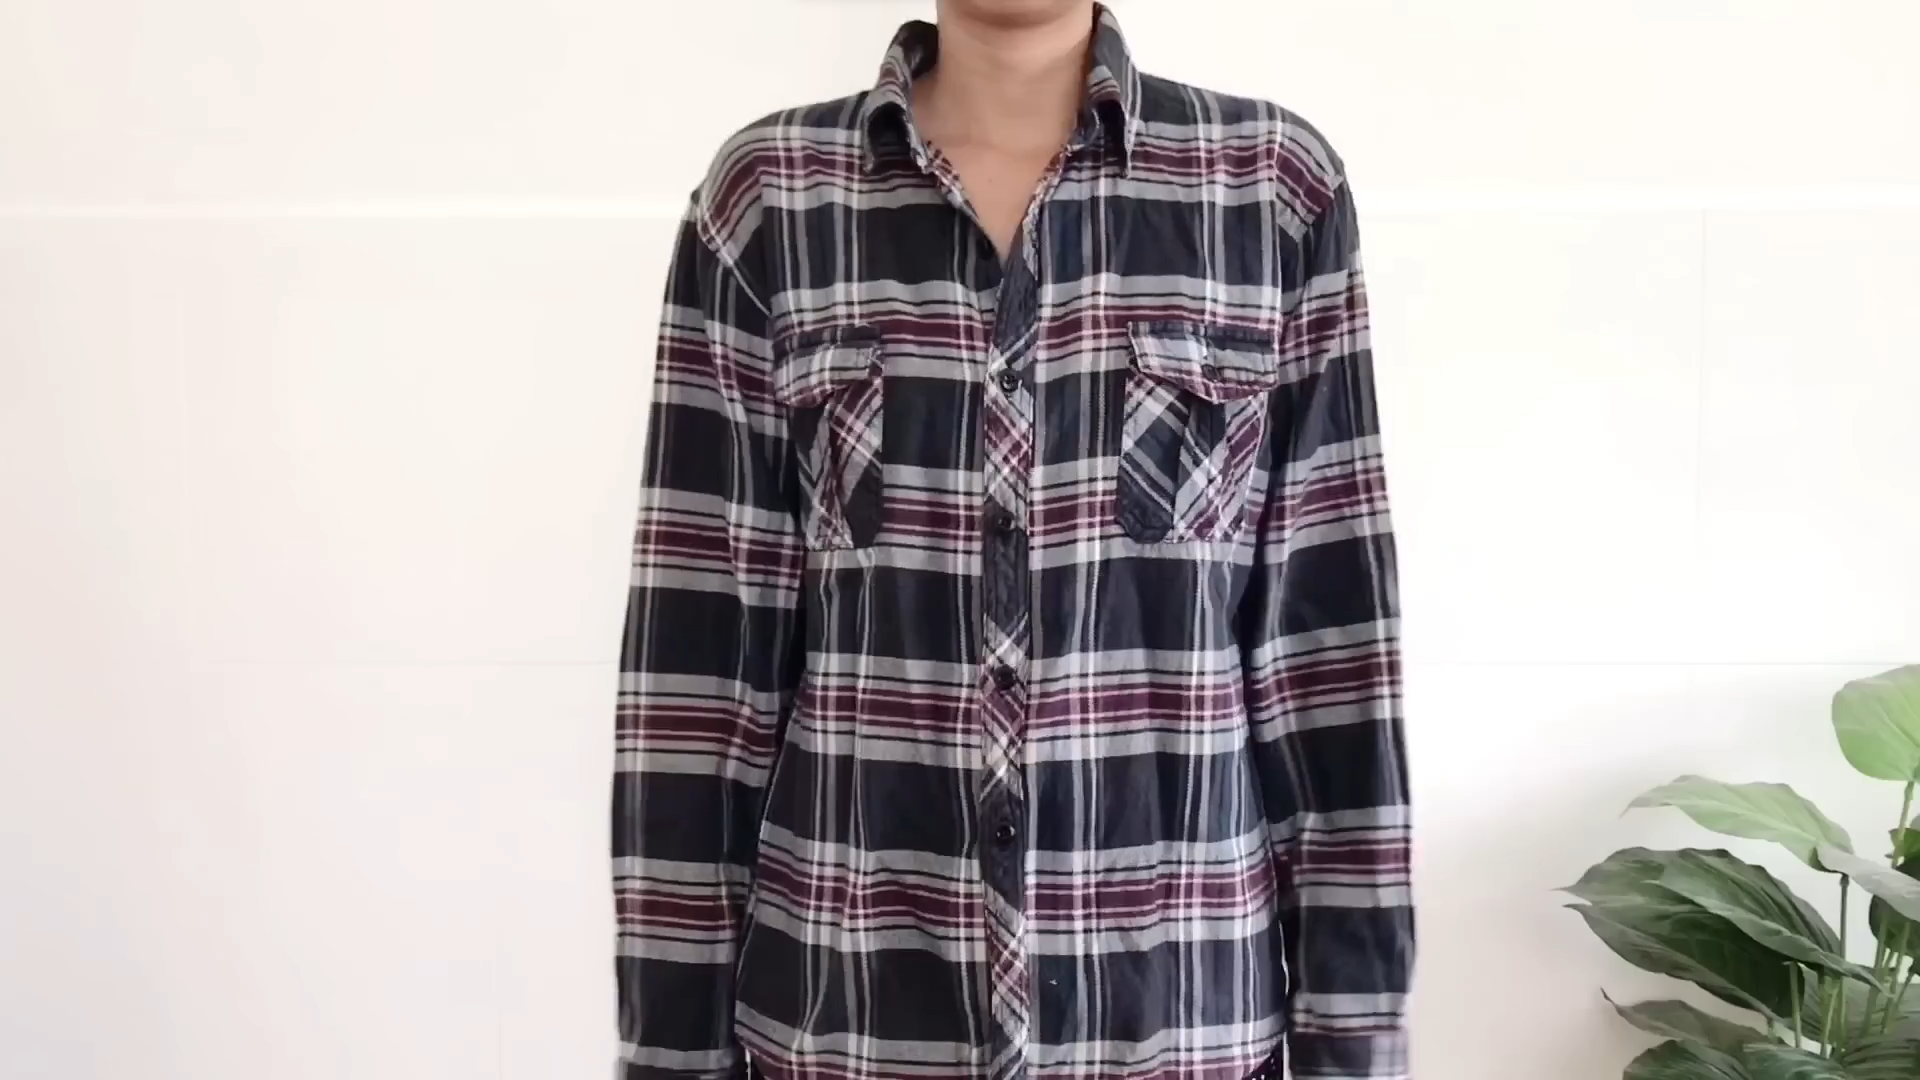
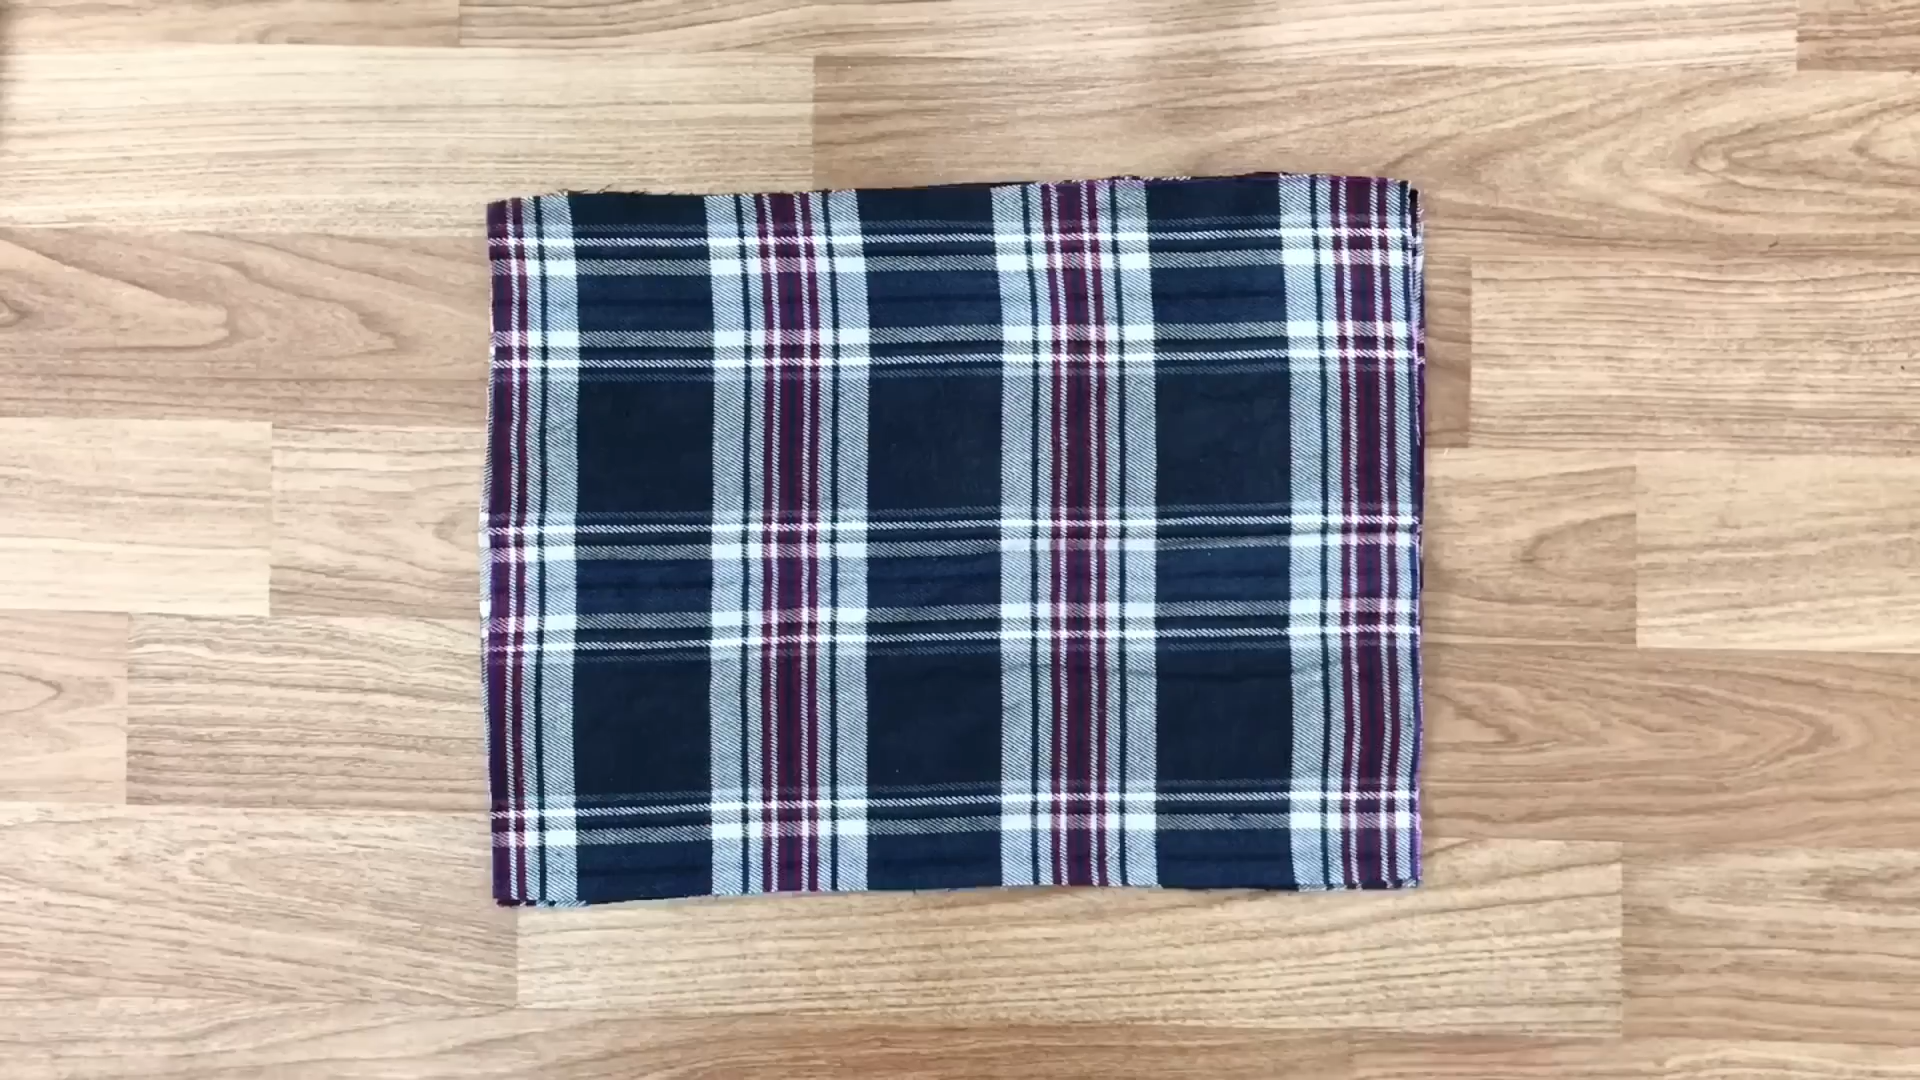
A plaid old shirt
Pattern paper
Sewing machine
Pins
Scissors
Ruler
Long stick
SEWING THE SKIRT
THE MAIN PART
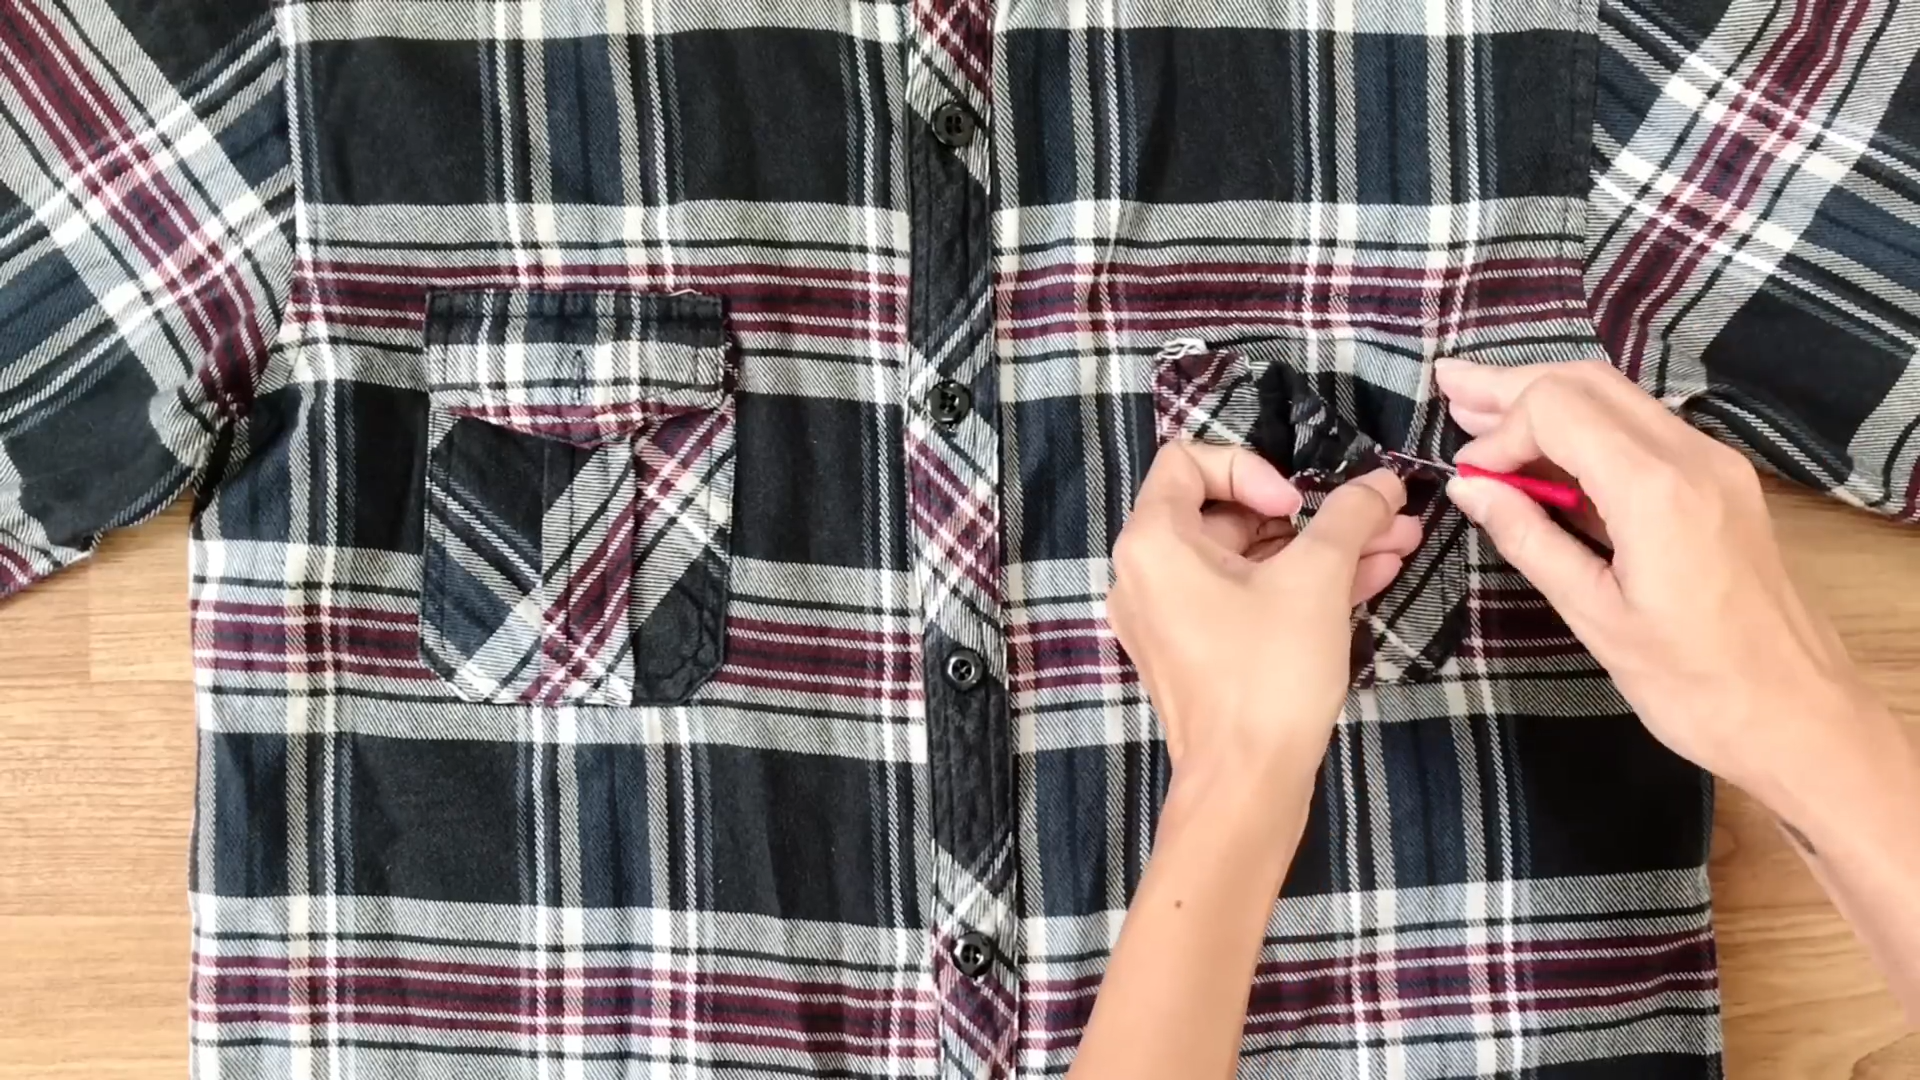
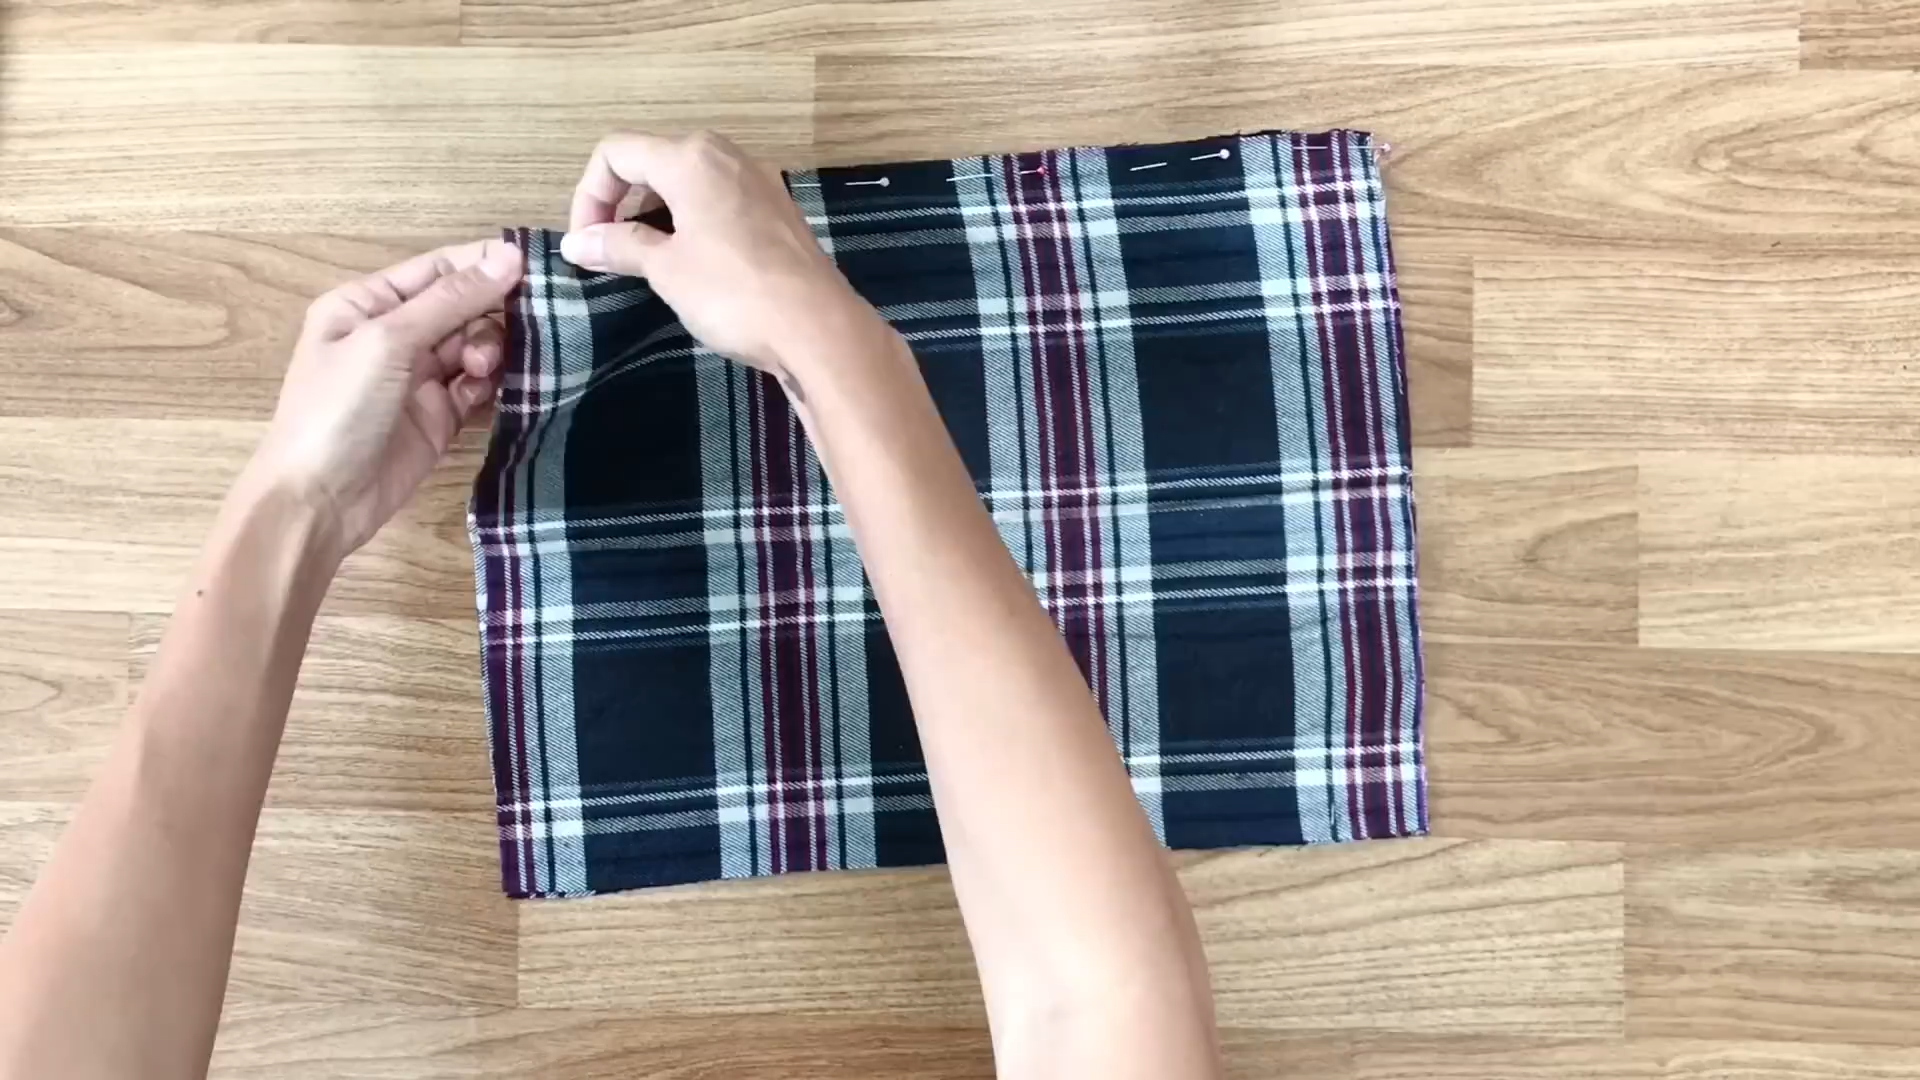
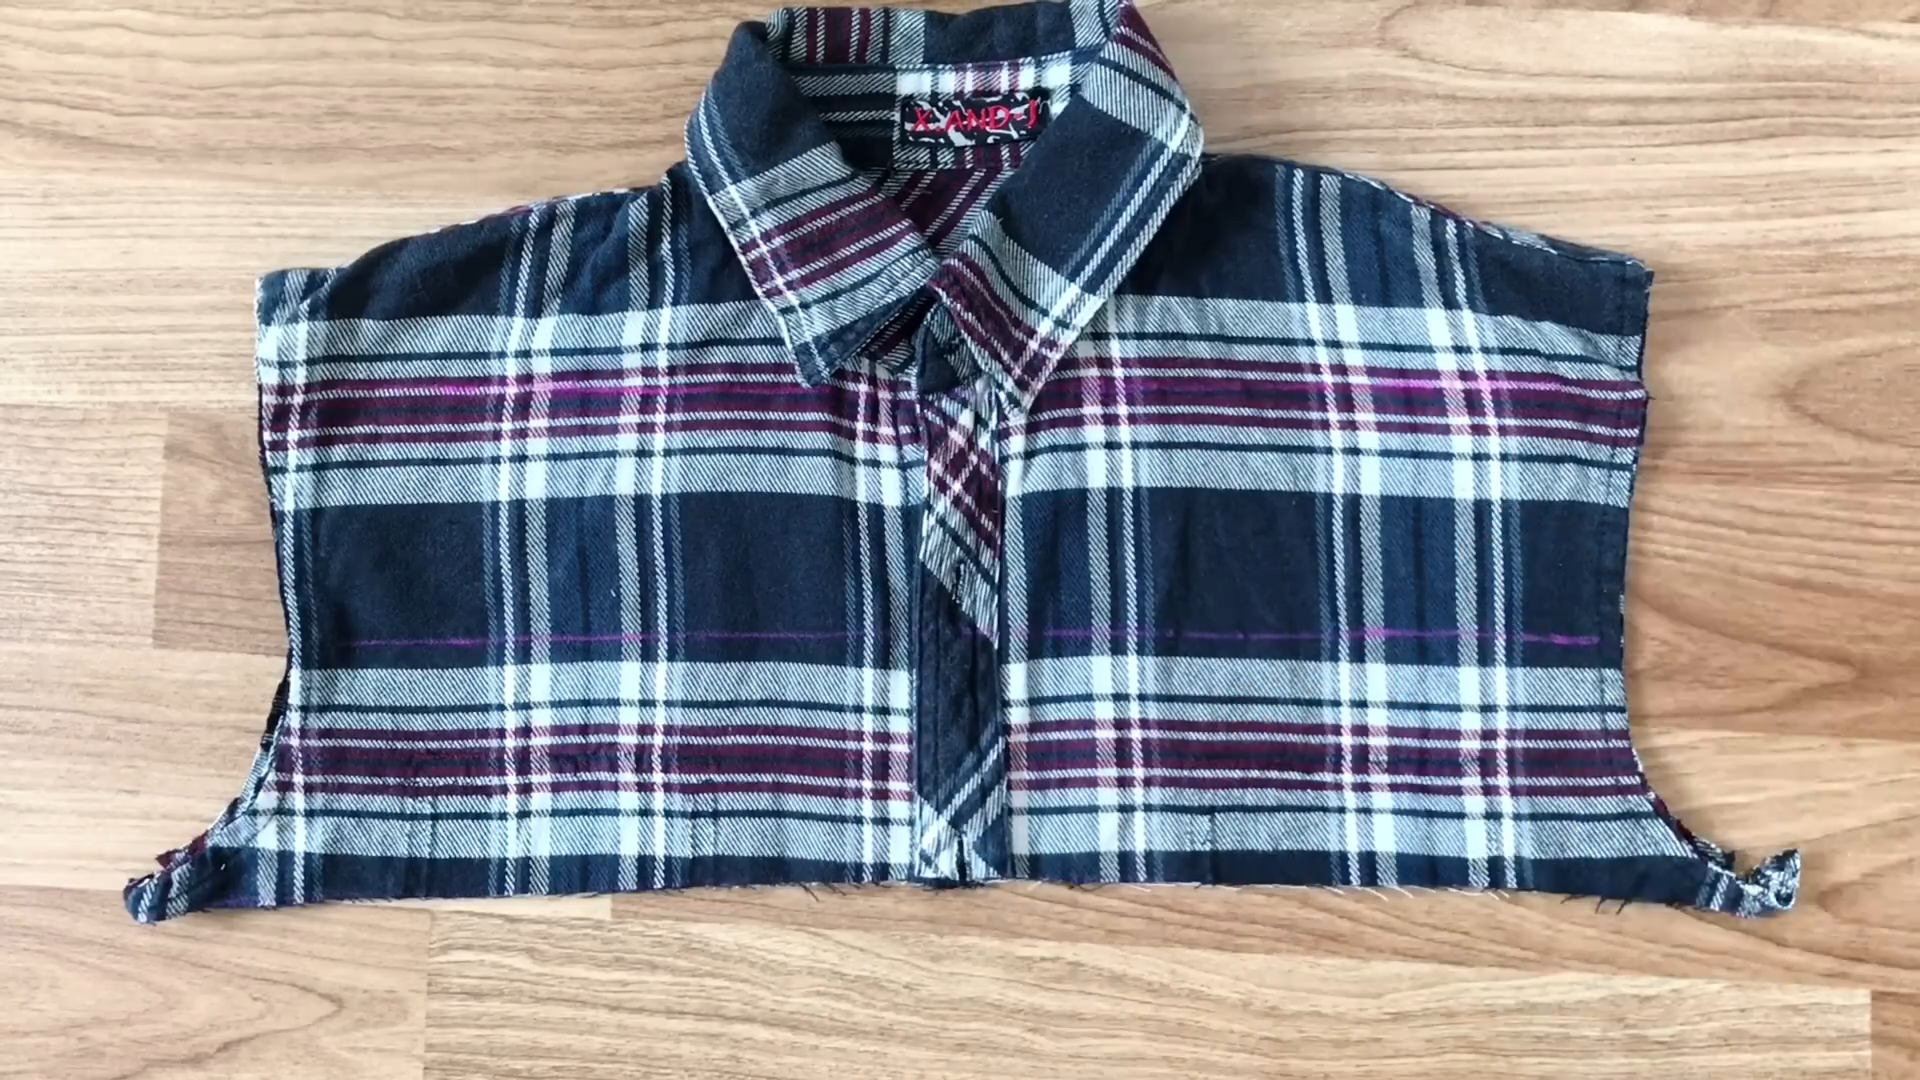
Remove the front pocket of the shirt.
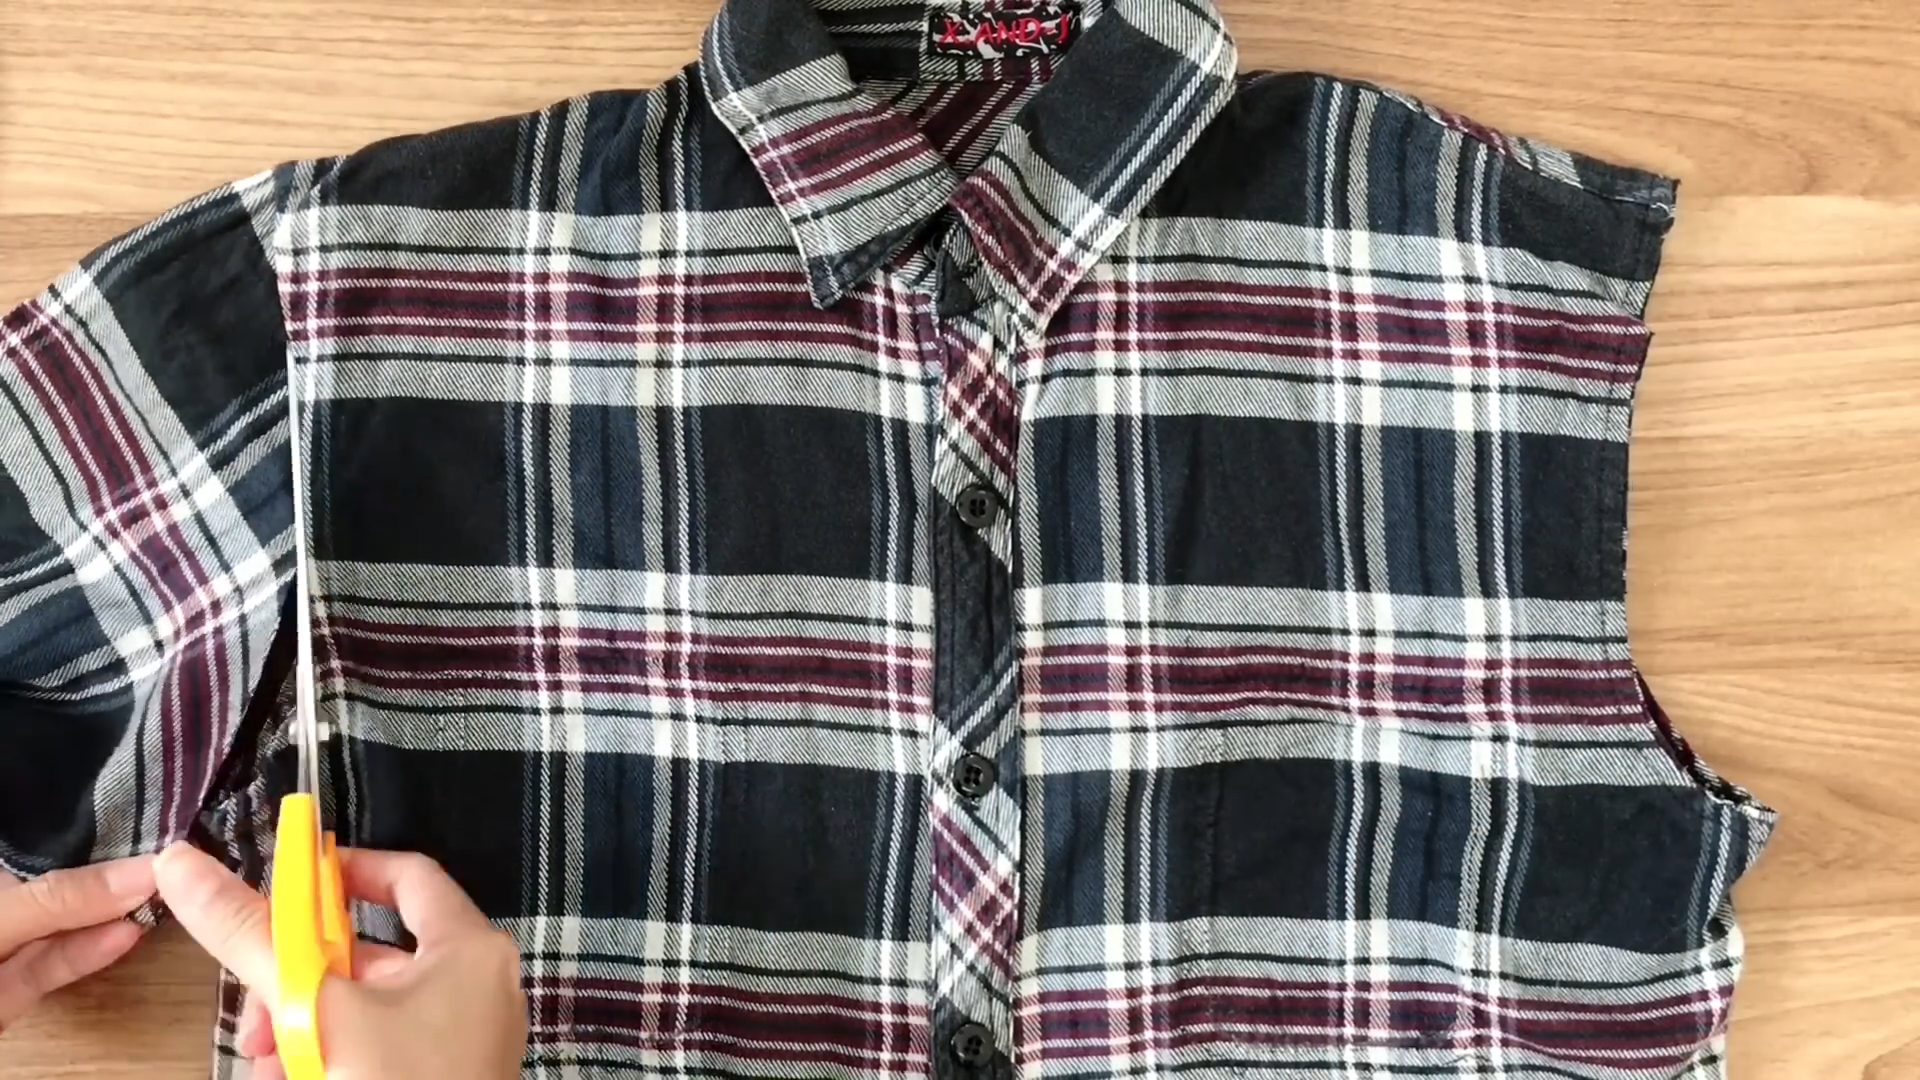
Then, cut the hands of the shirt.
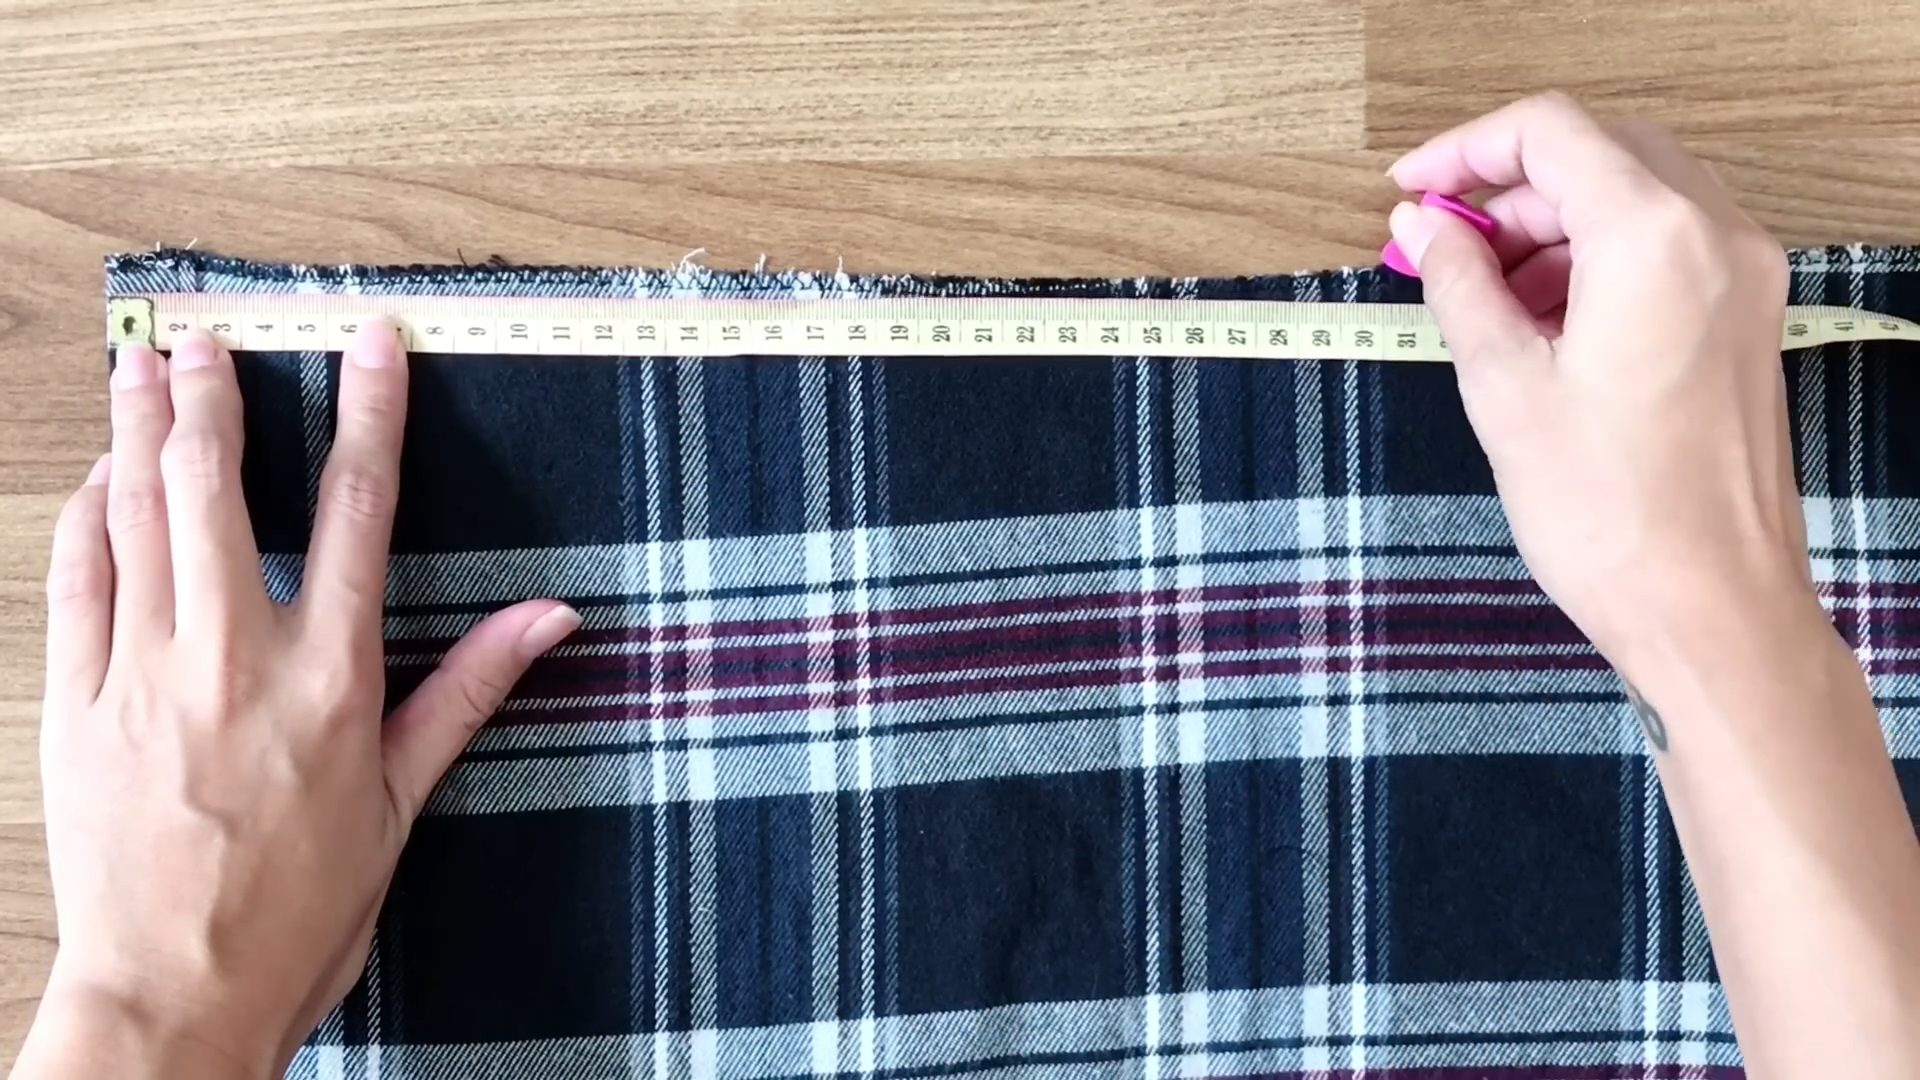
At the body of the shirt, draw a straight line right under the hands and cut along this line.
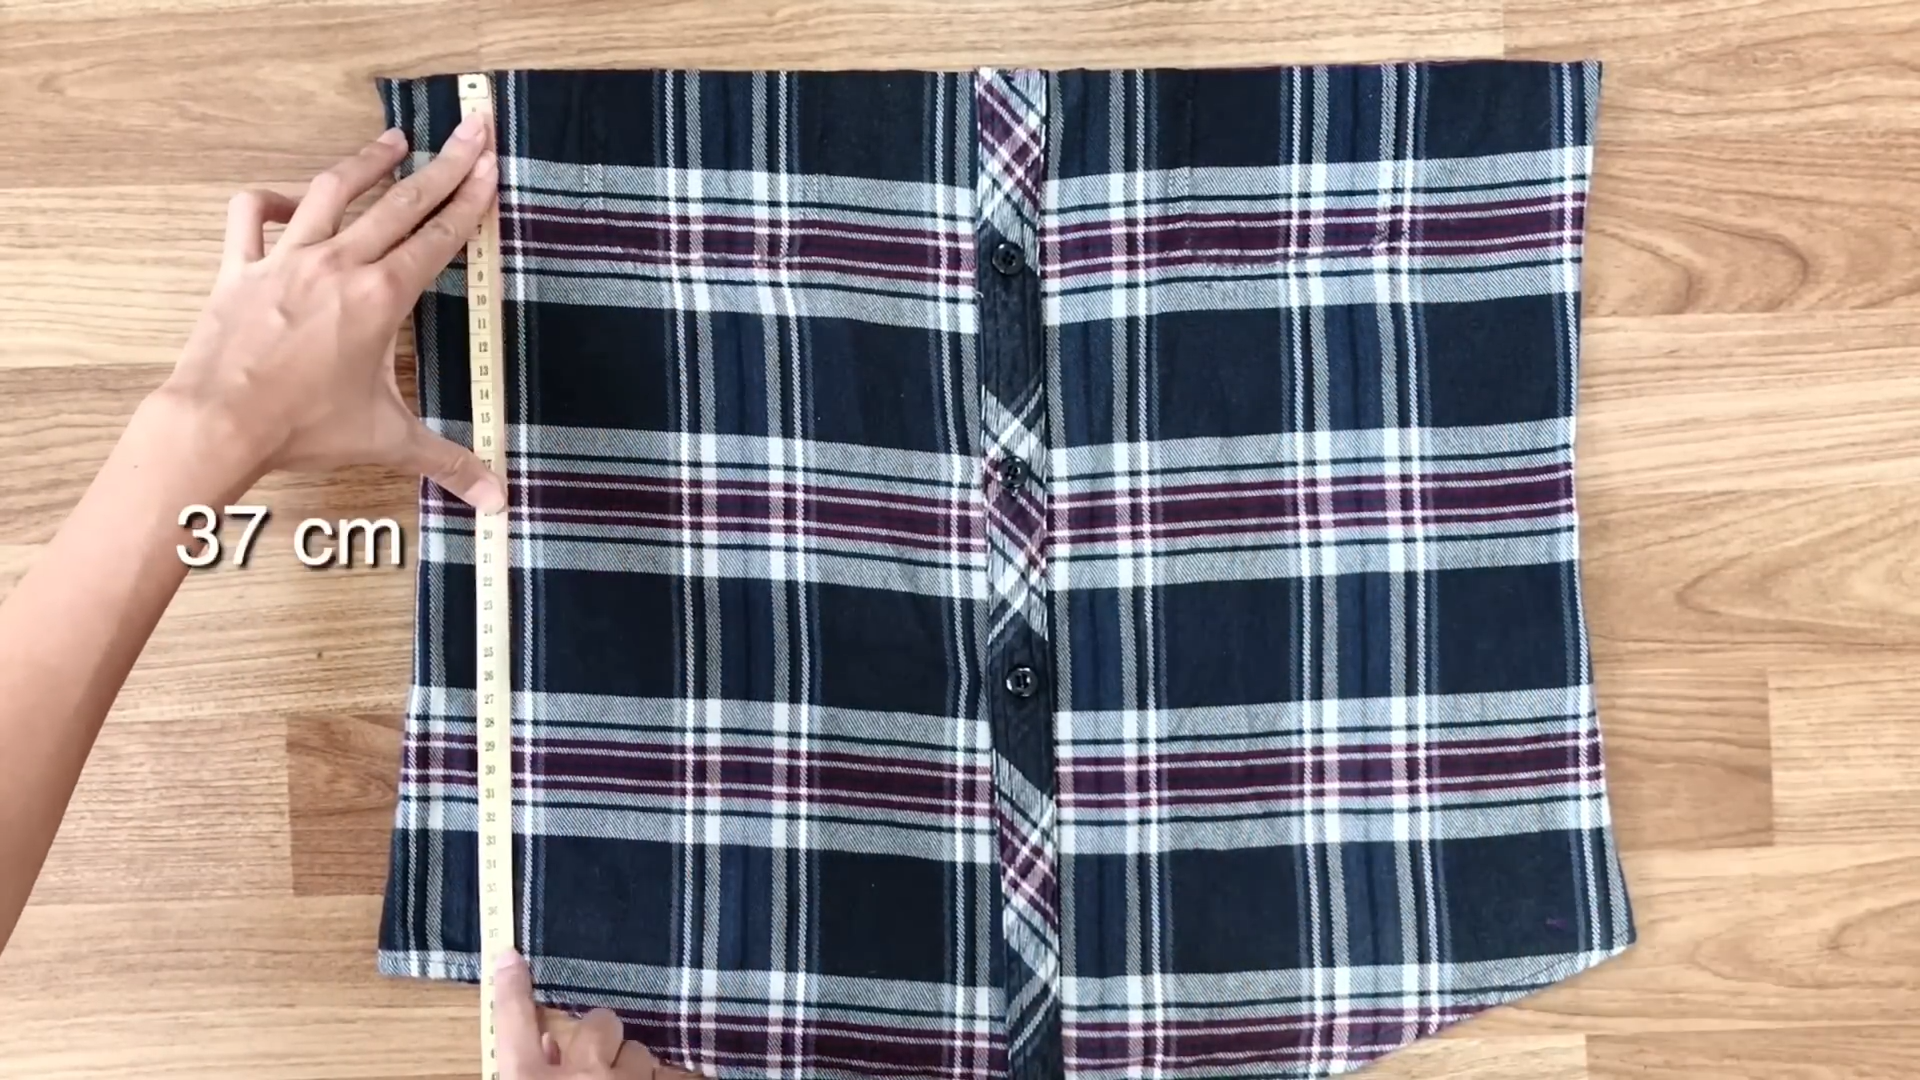
After cutting, measure the length of the skirt by checking the length of the shirt from the cutting line to the ends, which should be 37 cm.
Draw a line at the end of the shirt and cut.
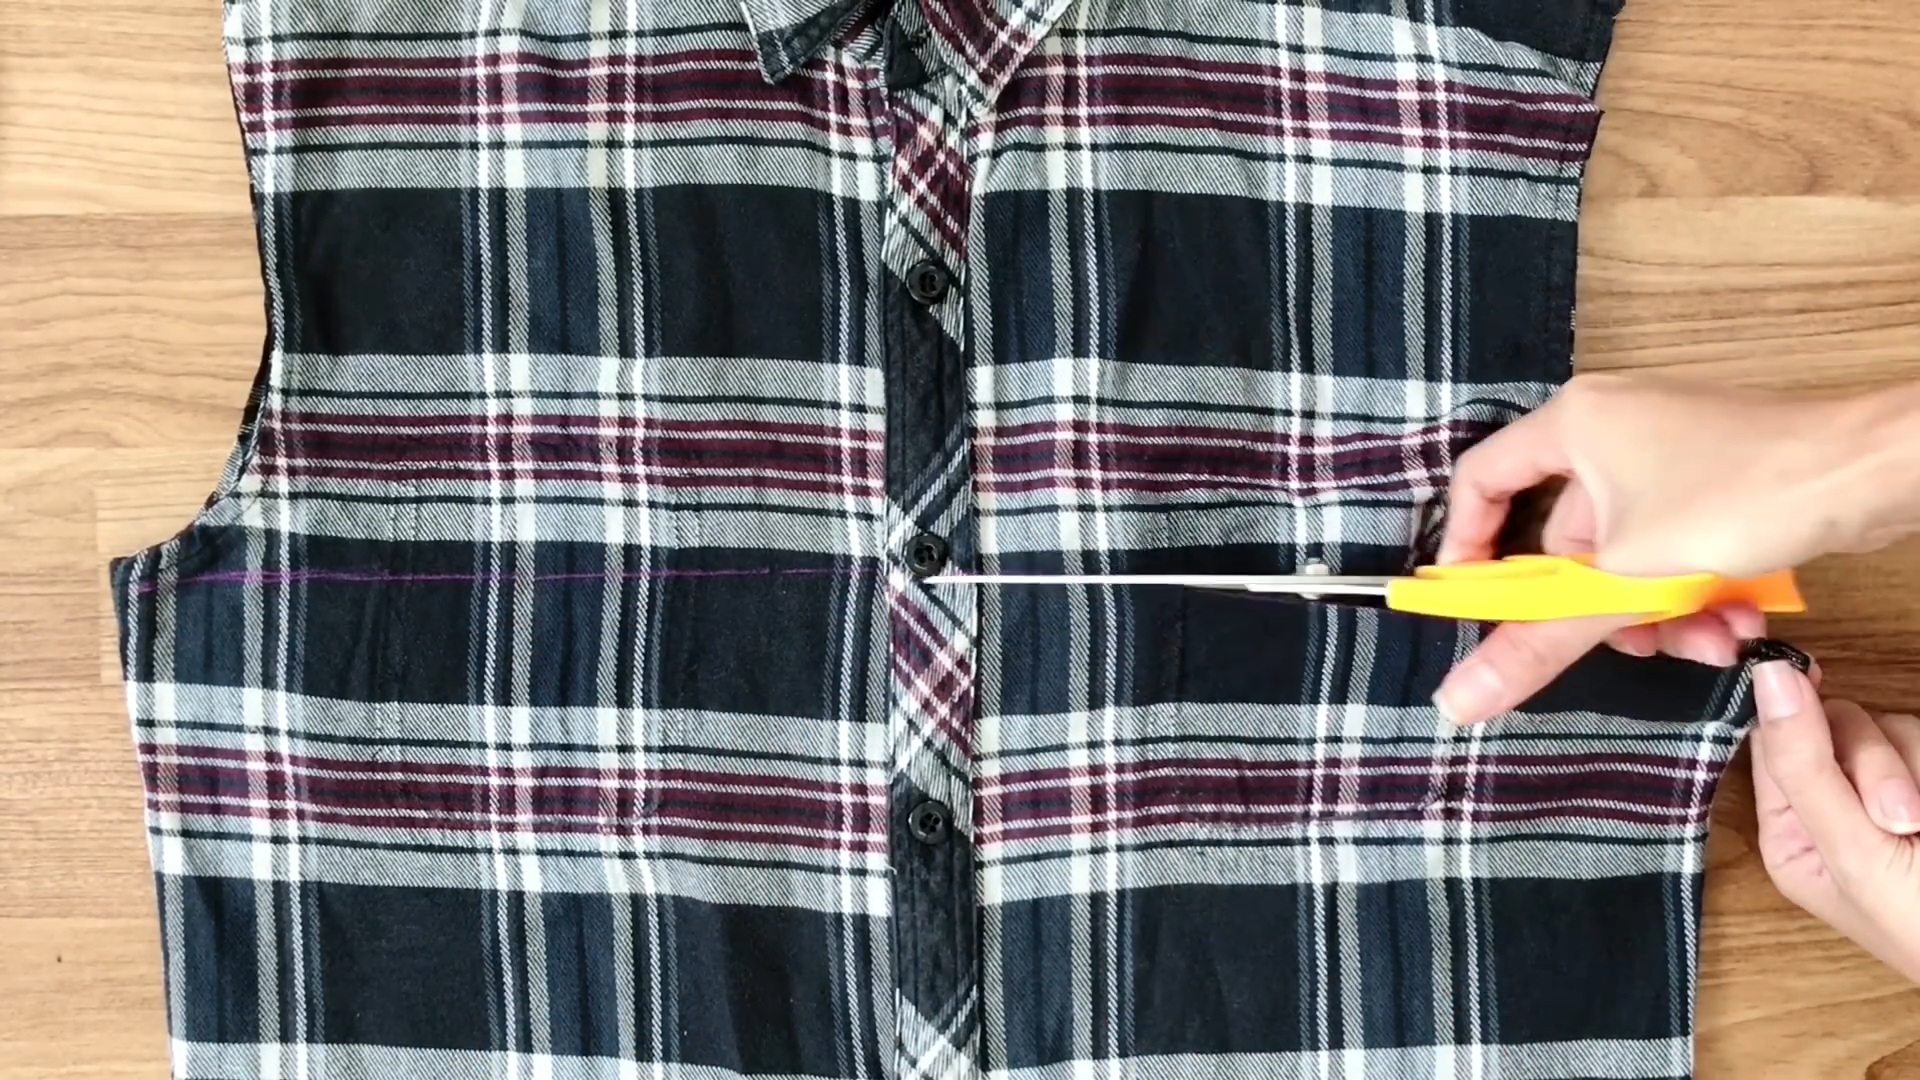
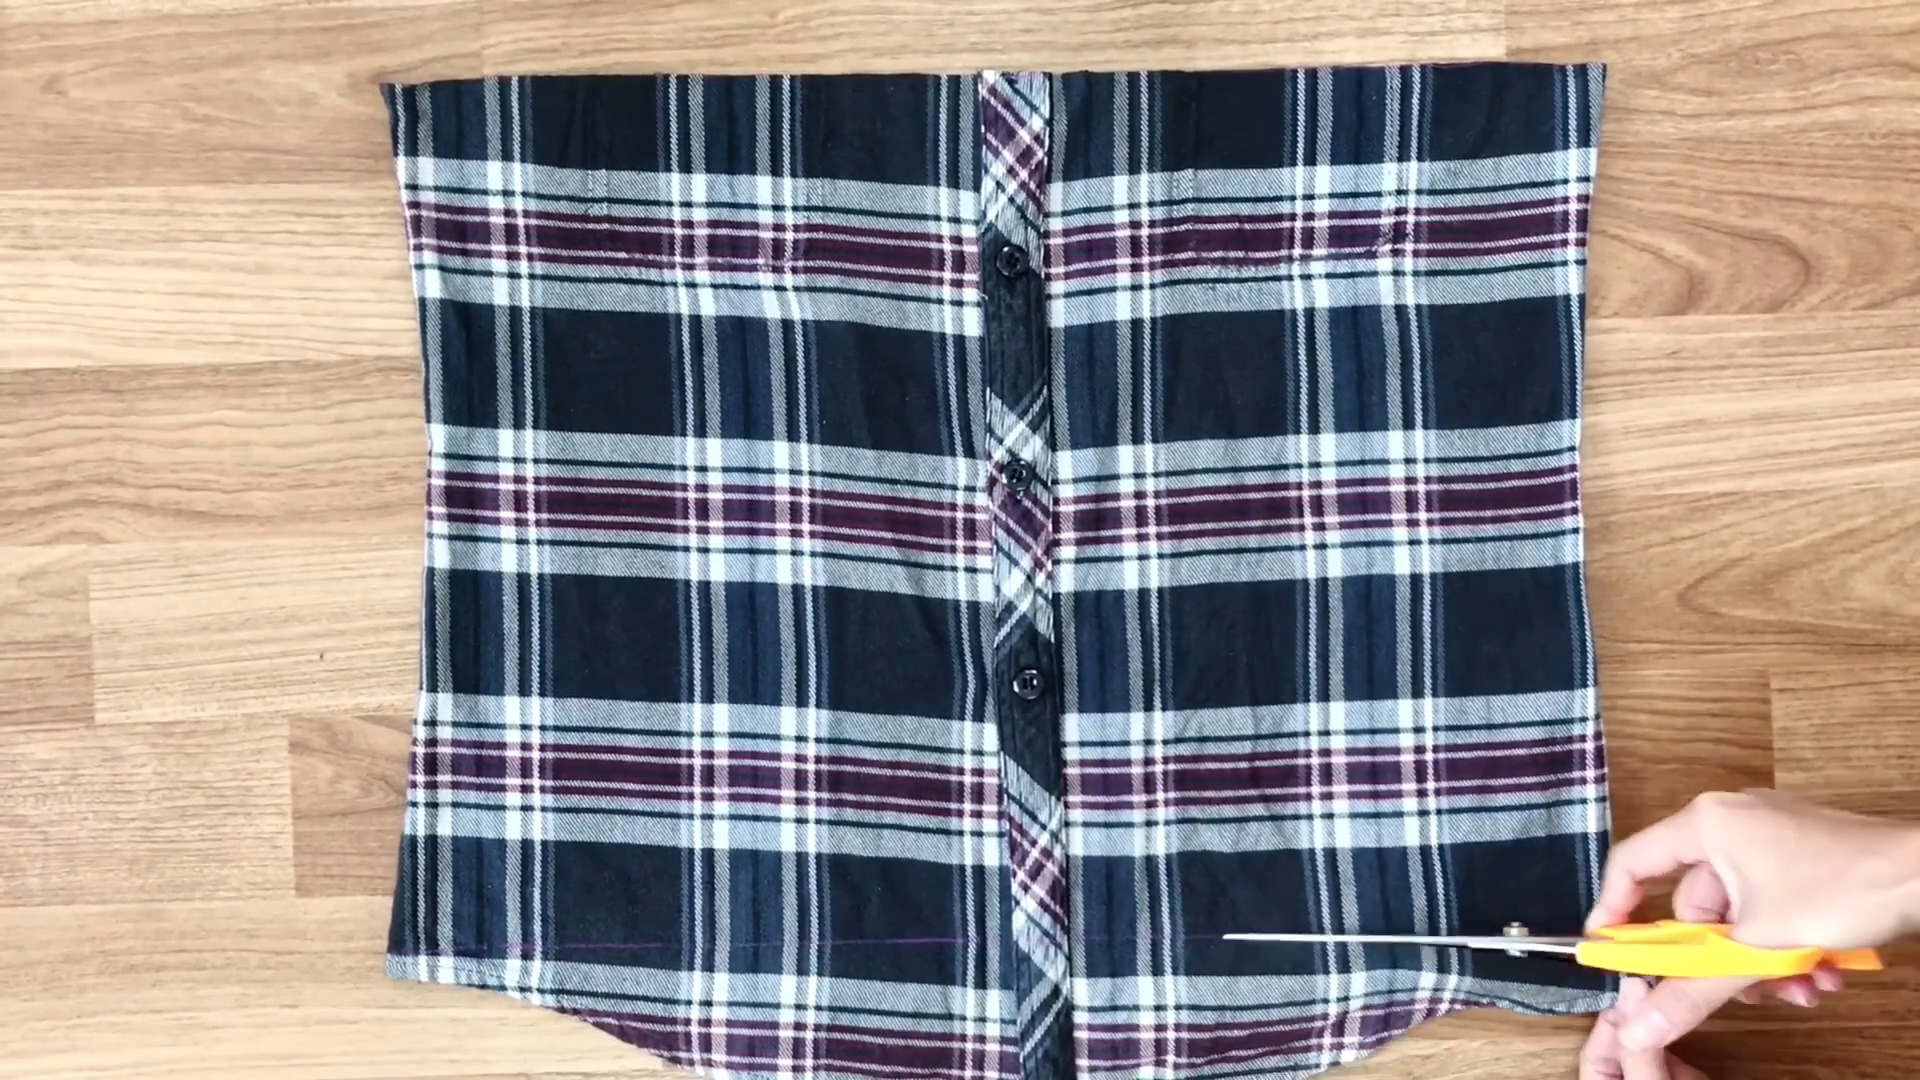
Cut the button area and remove the buttons.
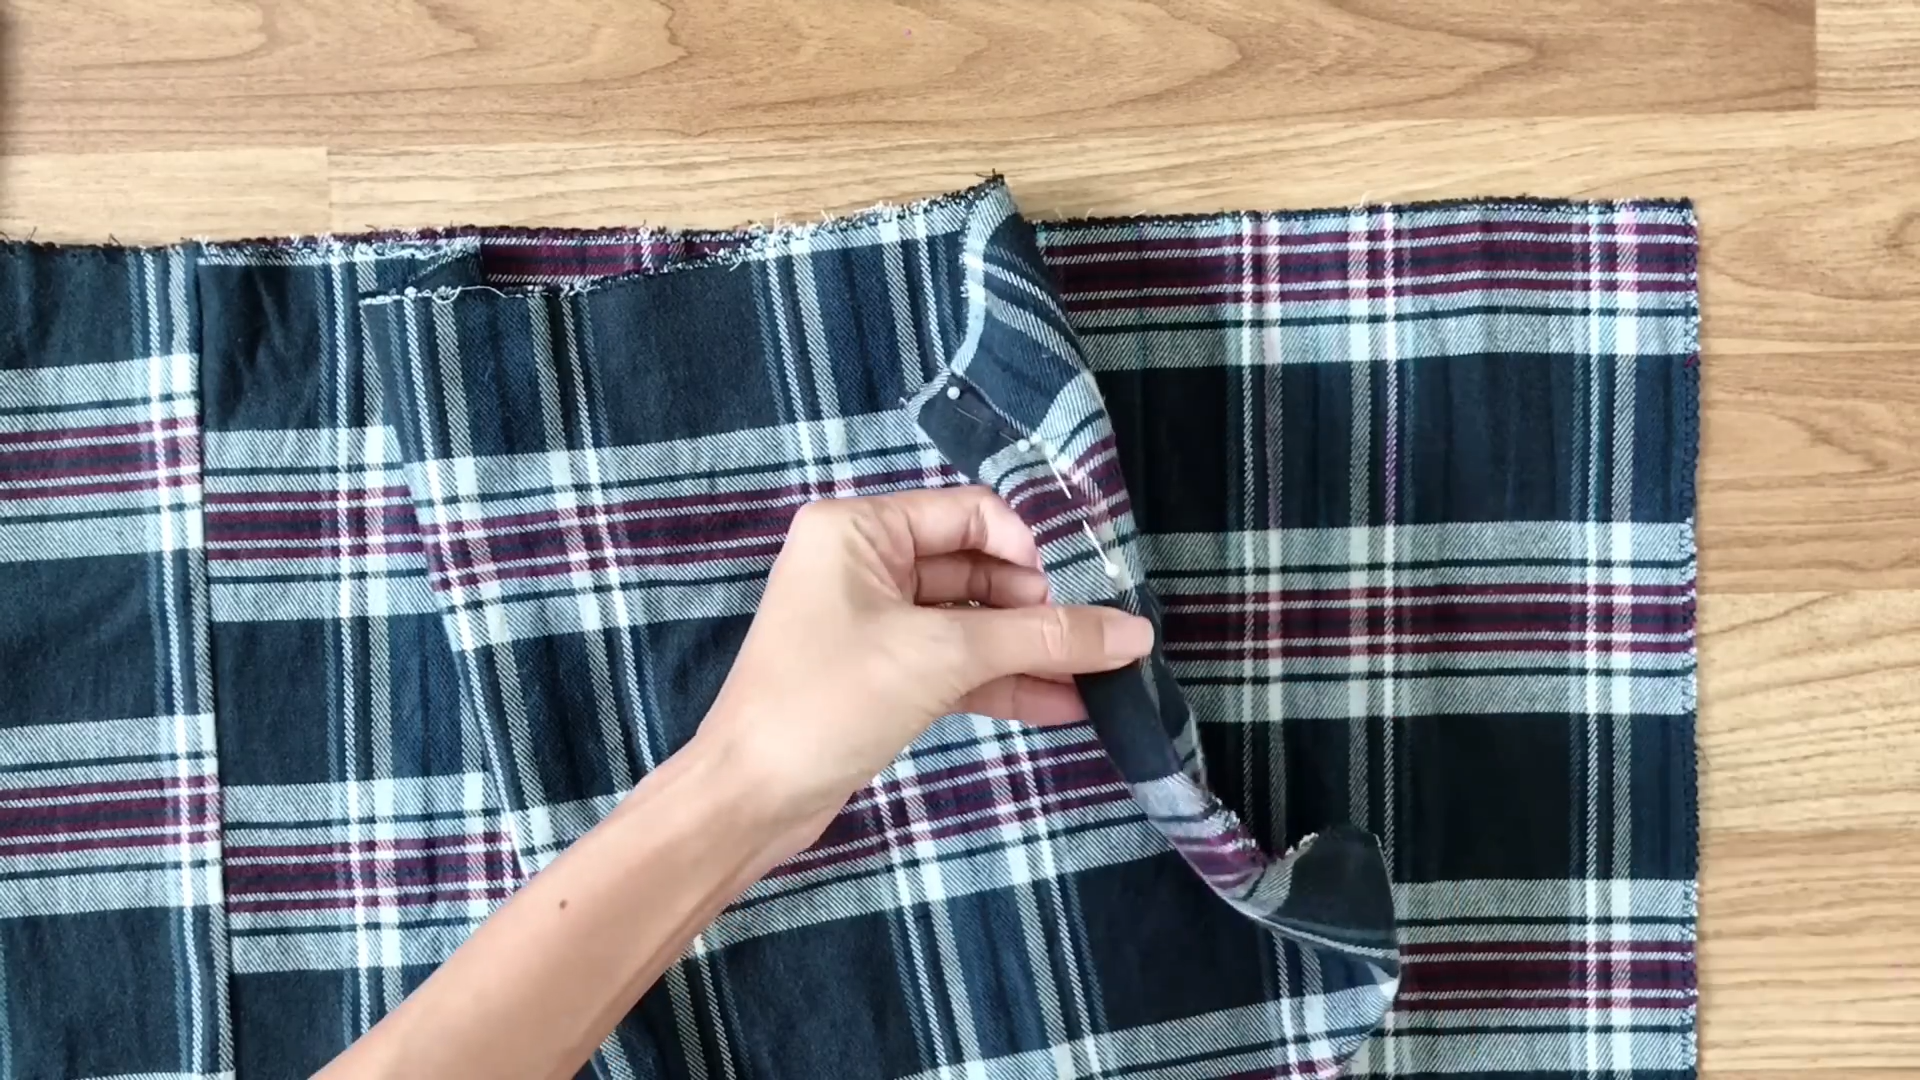
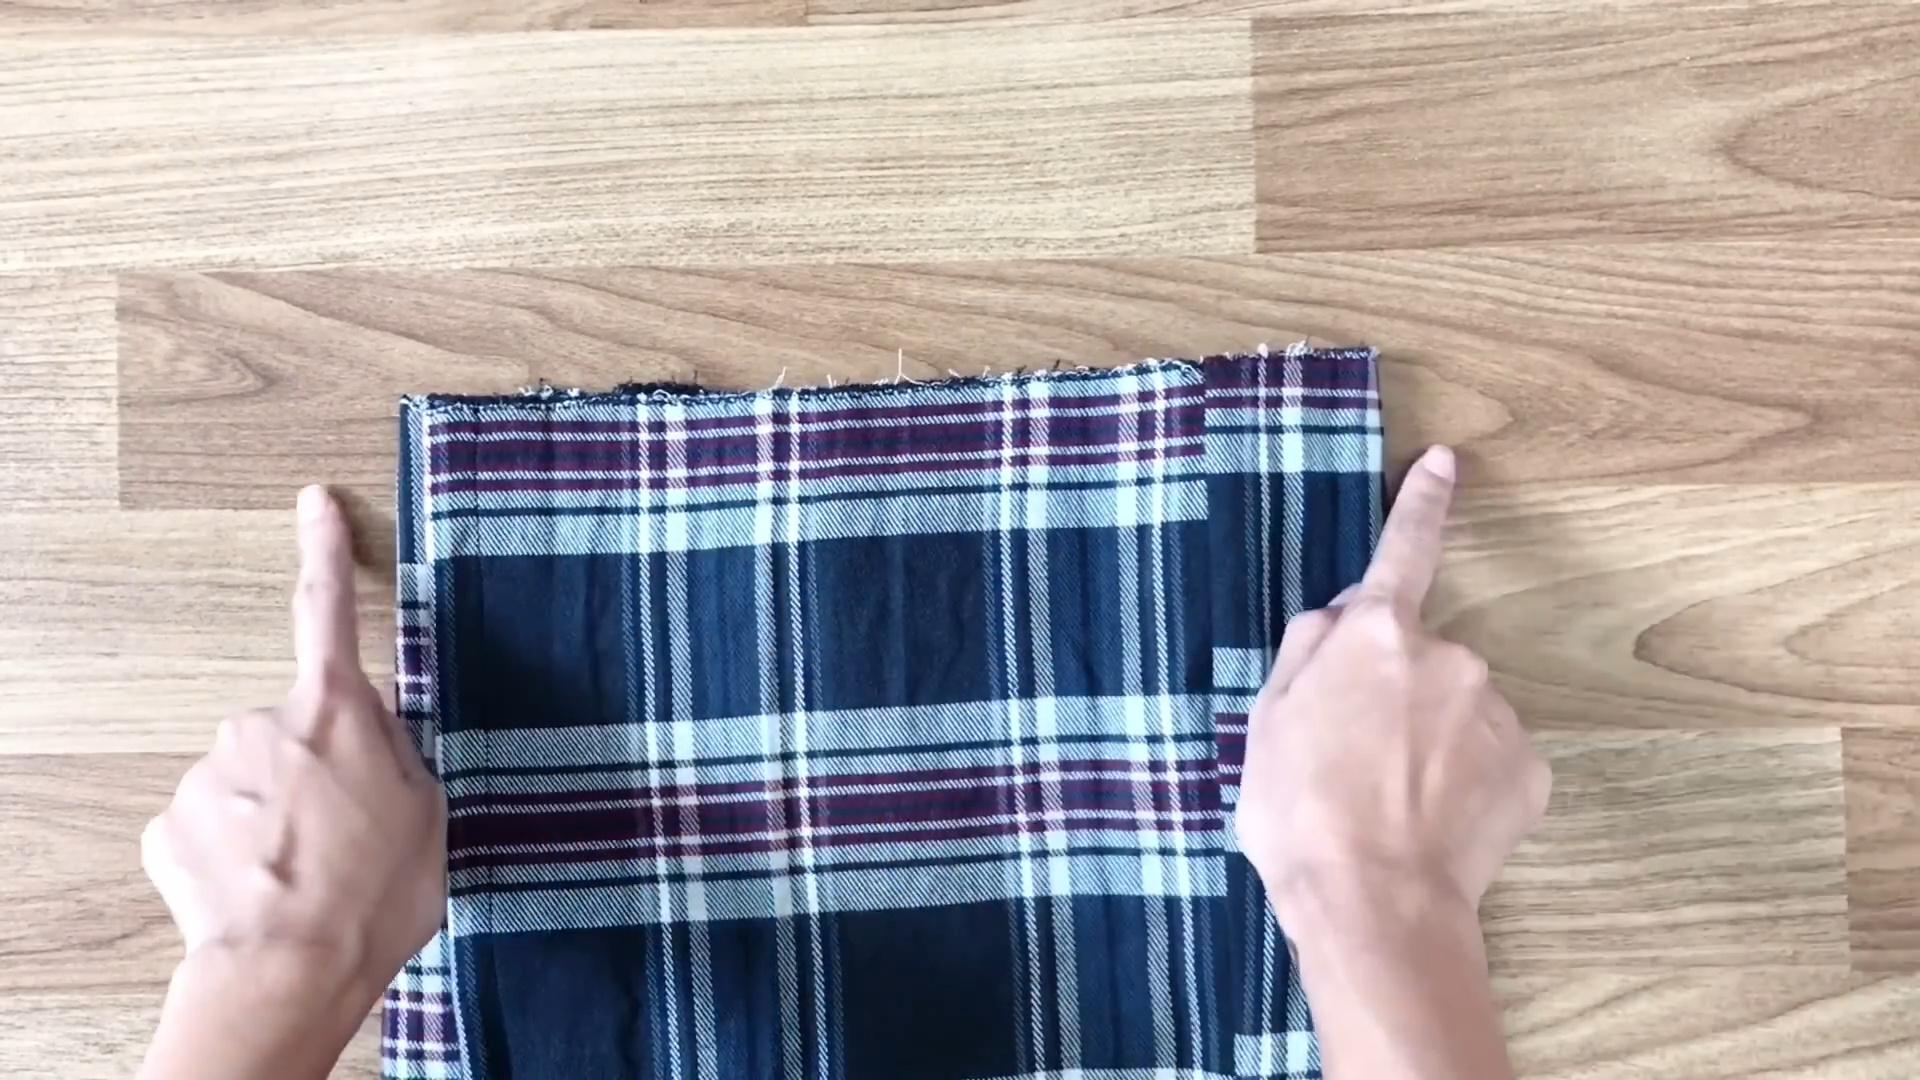
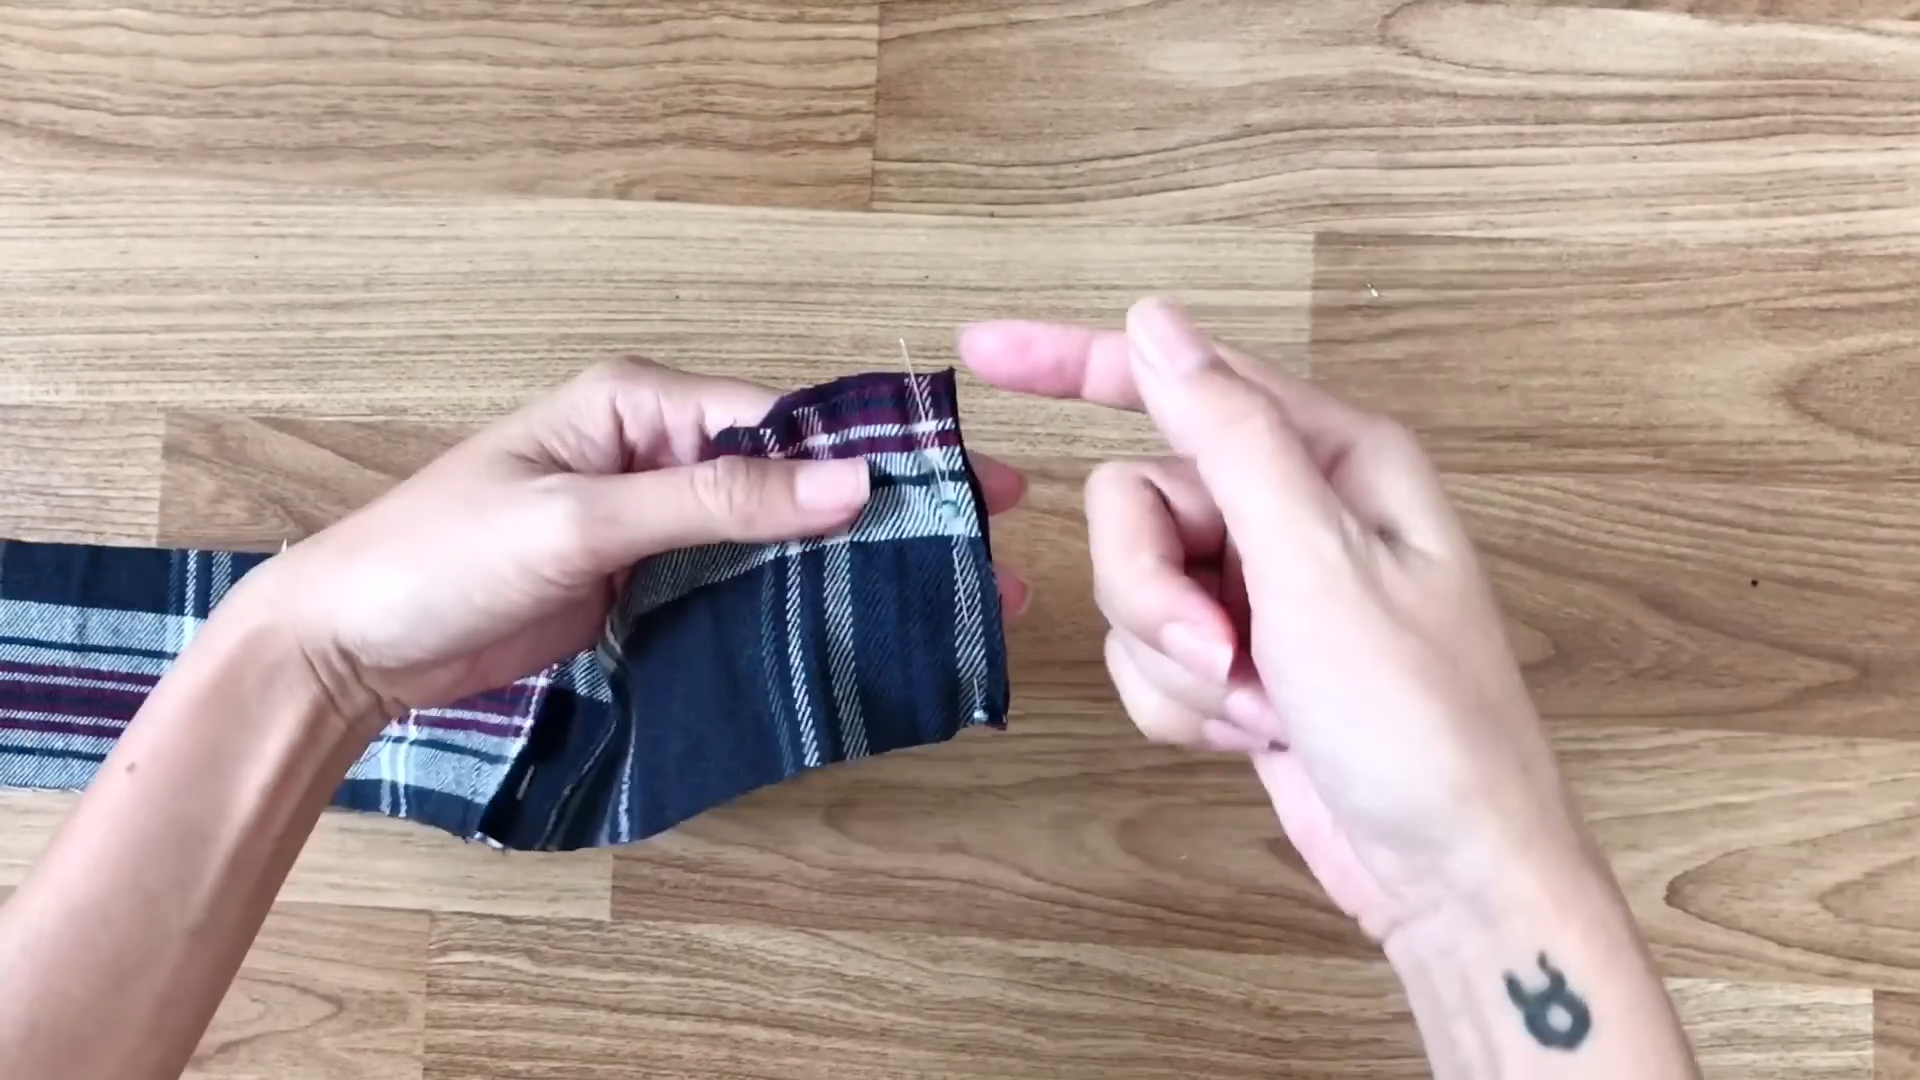
To create the pleated look, use the fabric from the hands. Cut the end of the hand and unsew before measuring.
Because the length of the skirt is 37 cm, measure the same length at the hands. Then, draw 2 rectangles with a length of 37 cm and a width that is the maximum fabric of the hands.
Use pins to connect 2 rectangles together.
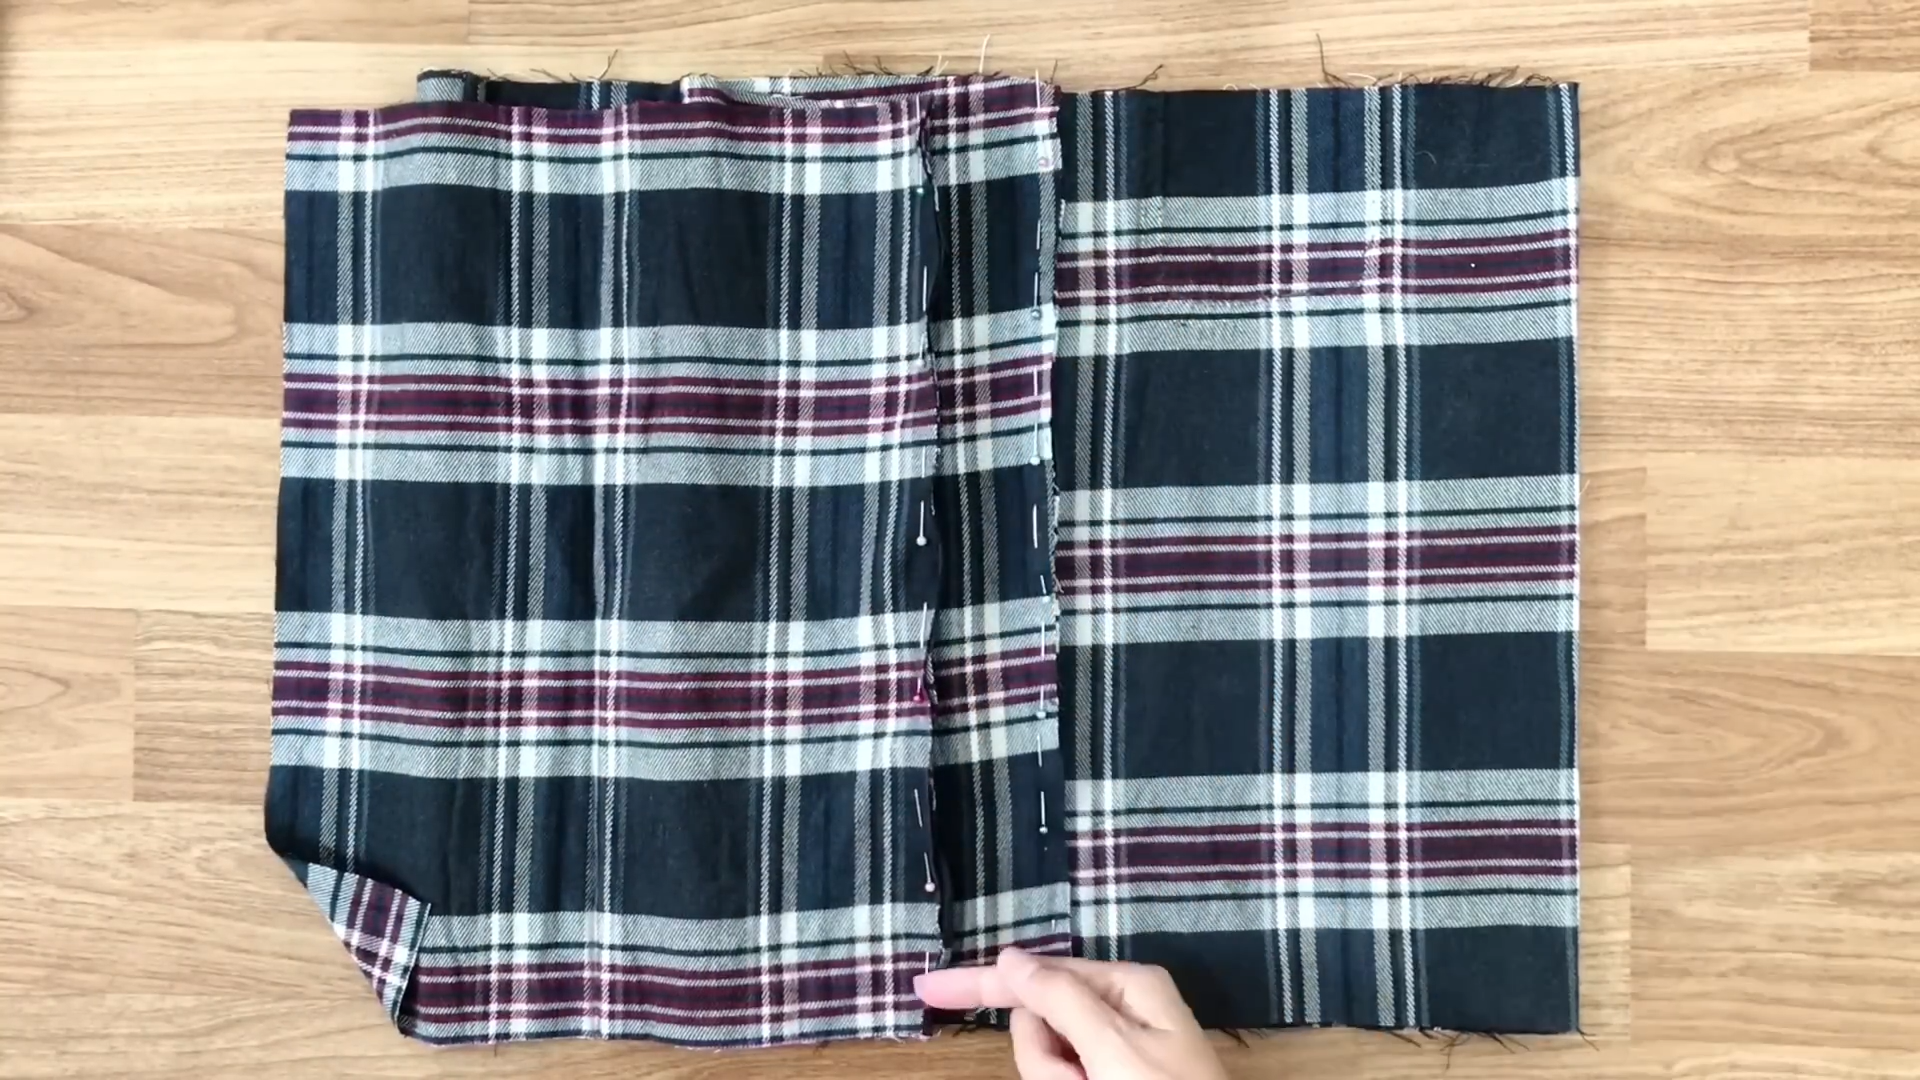
Then, connect them to the other part from the body shirt that you cut before and sew.
After sewing, overcast the fabric for long use.
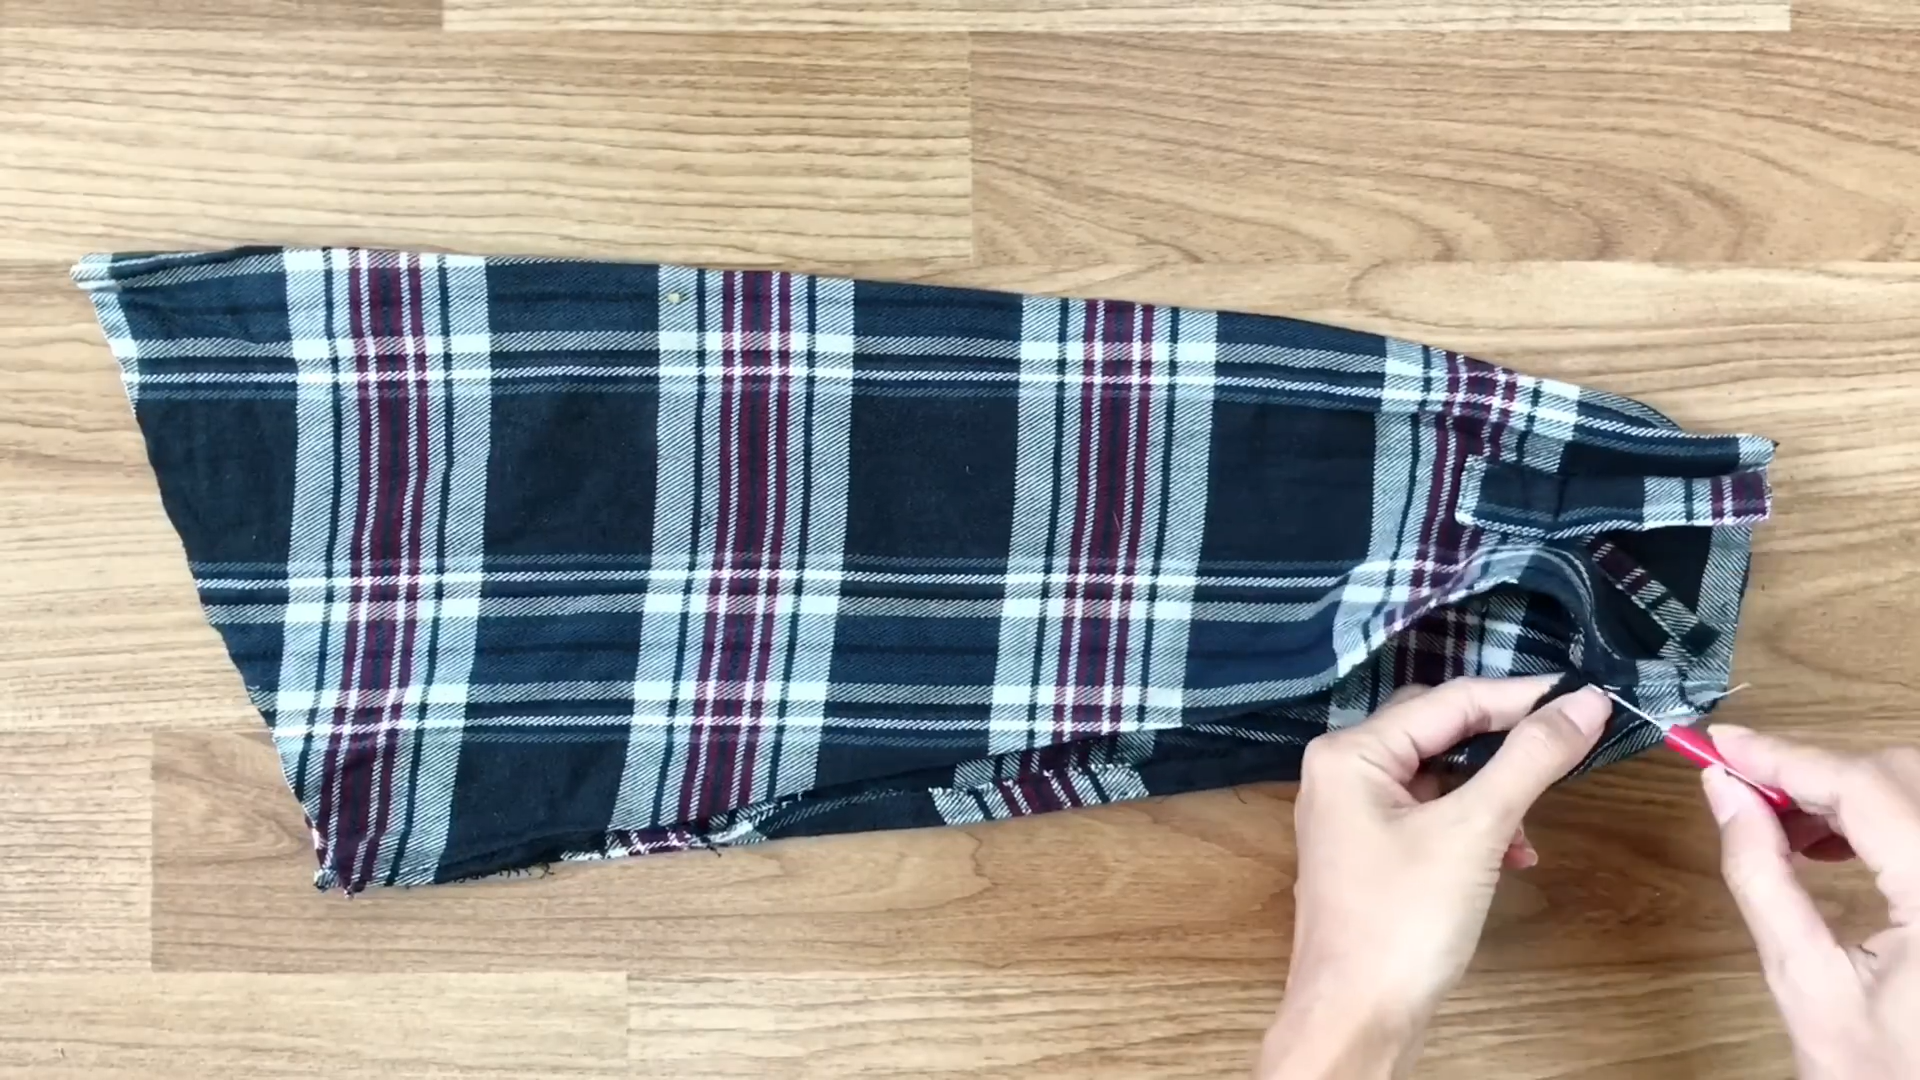
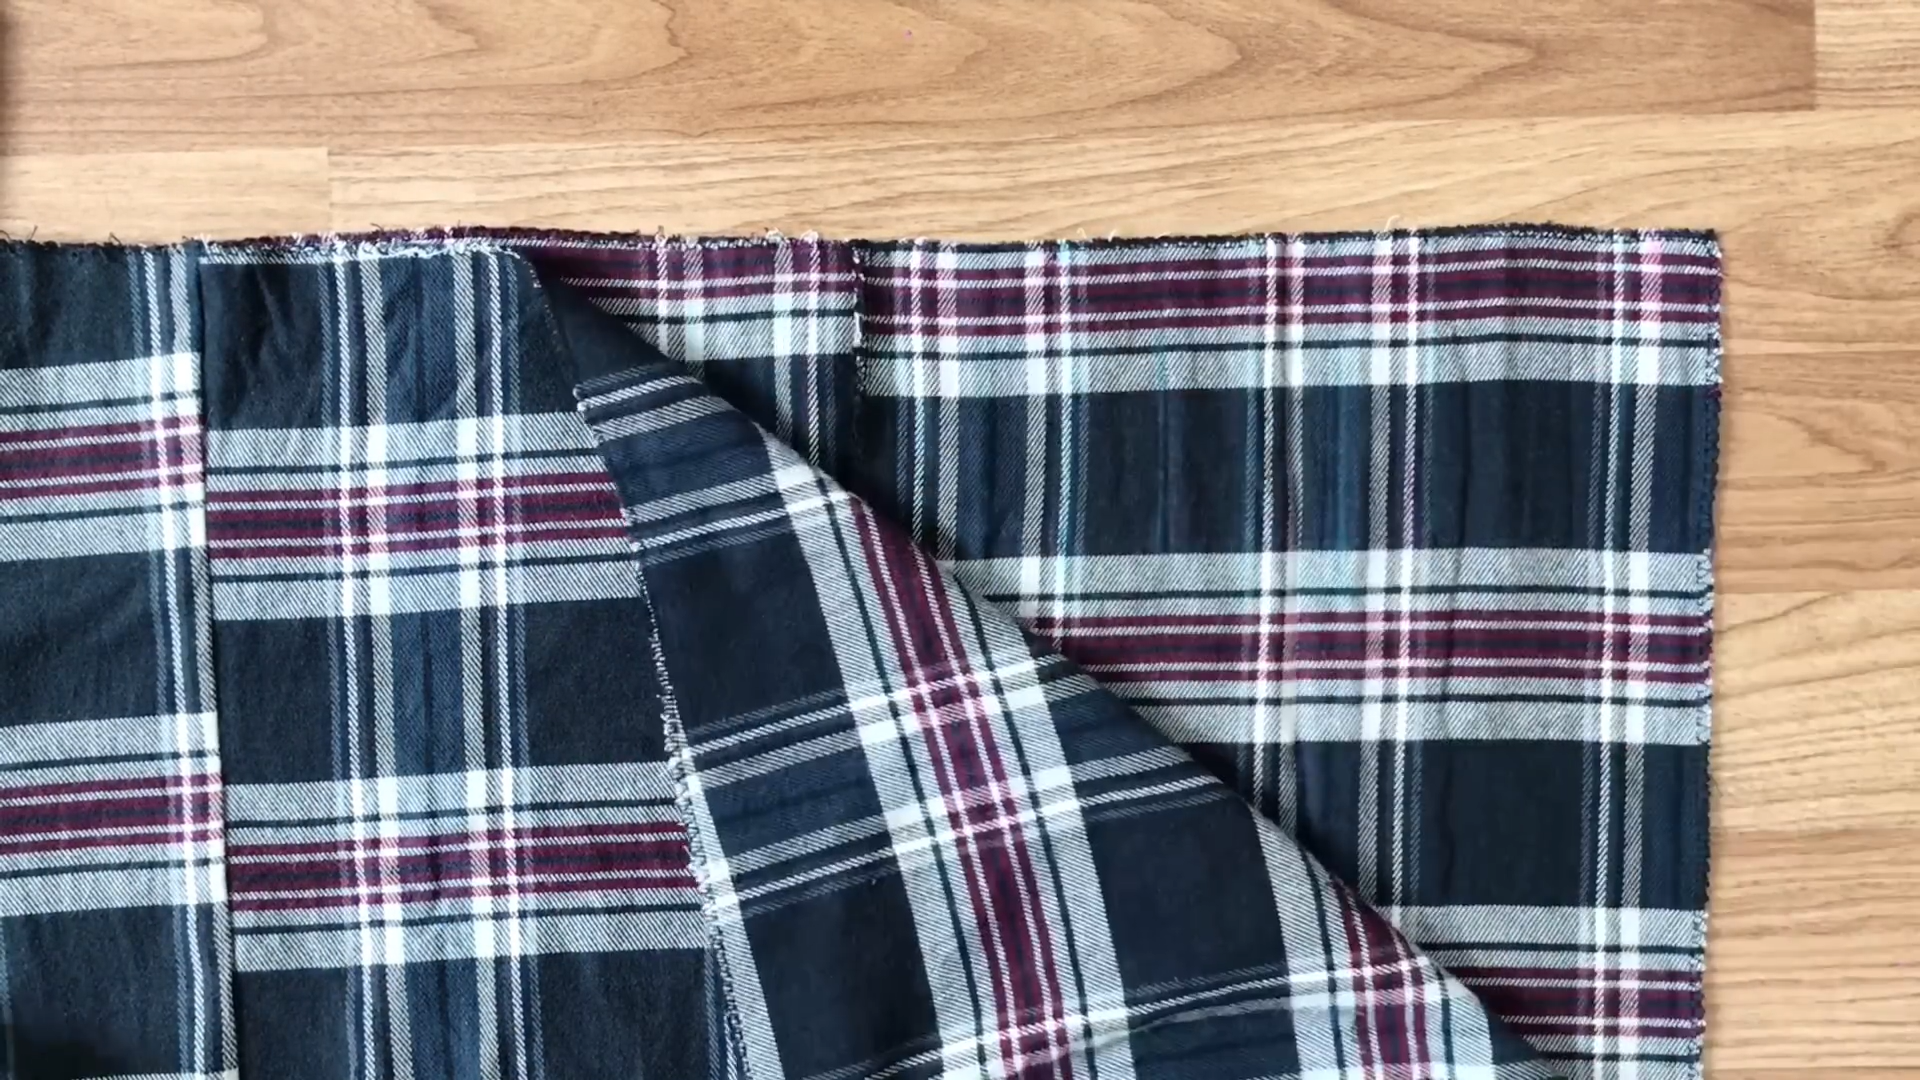
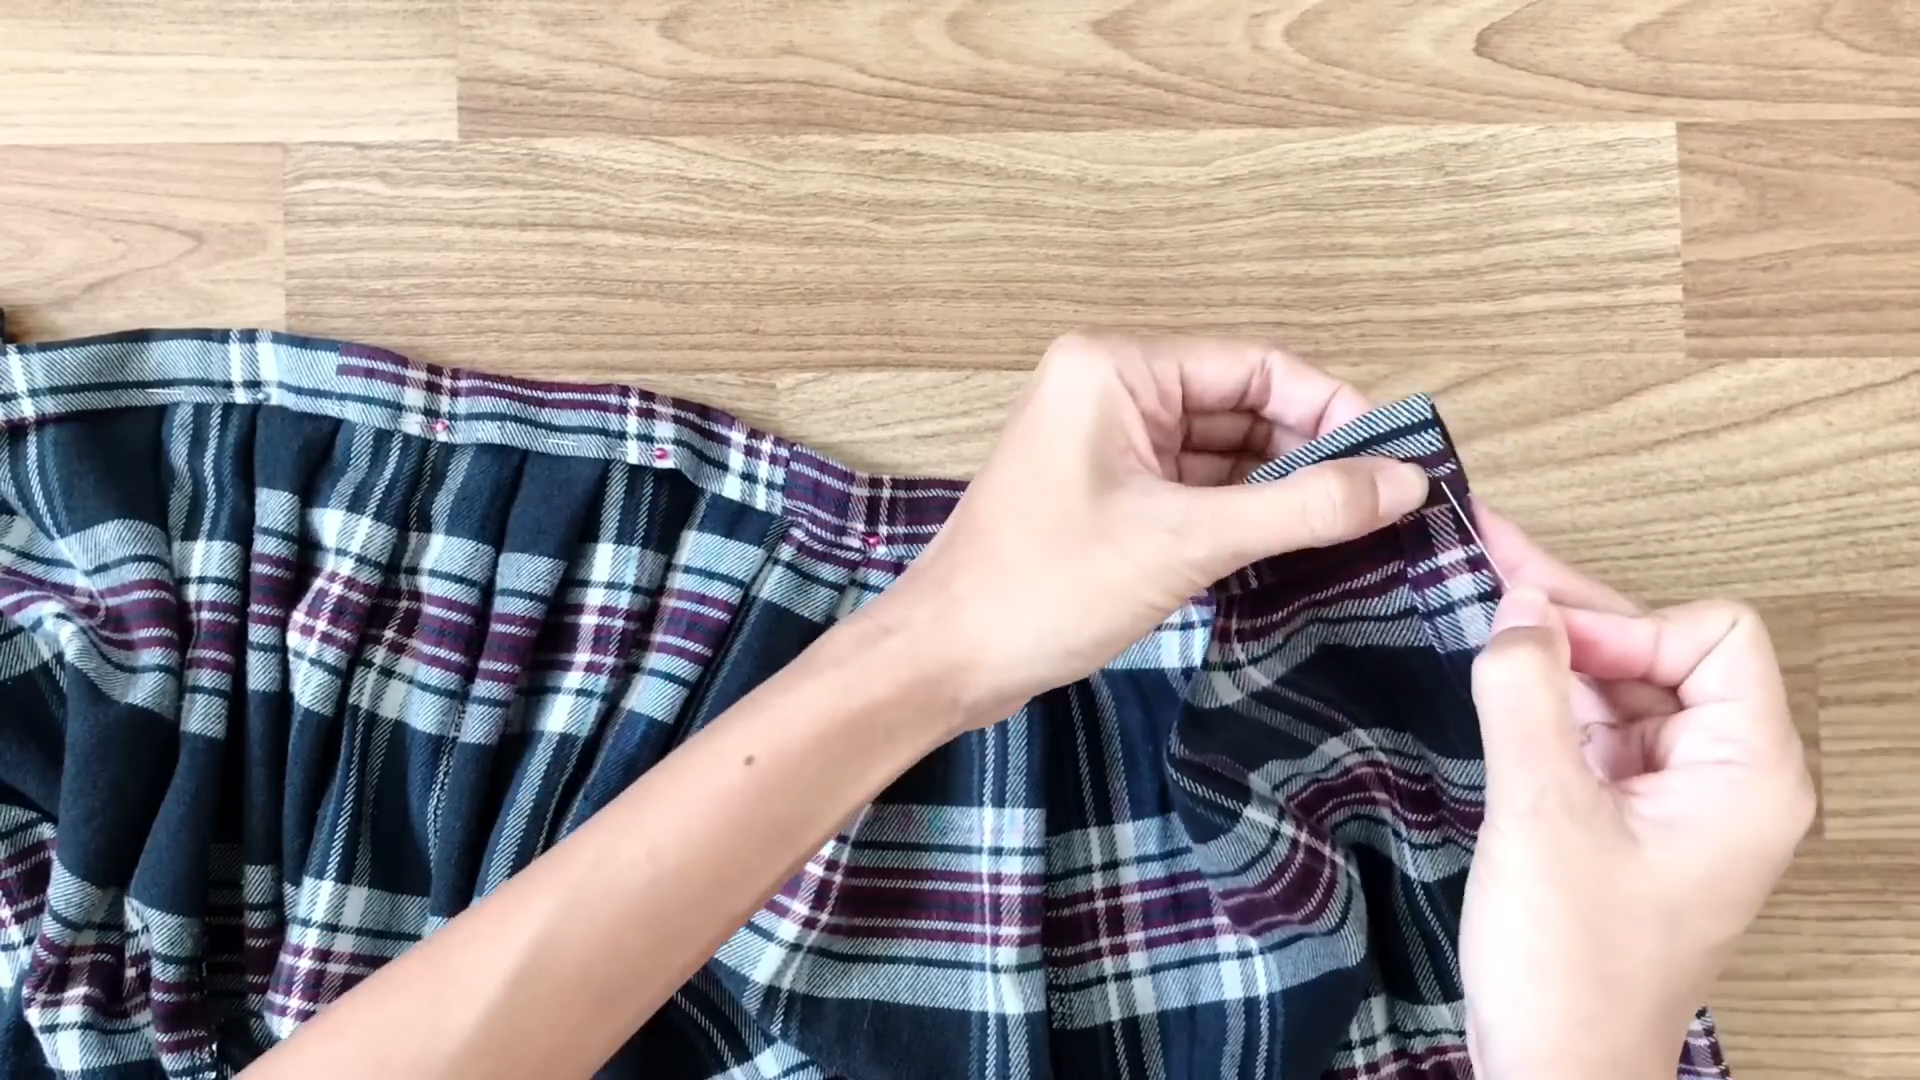
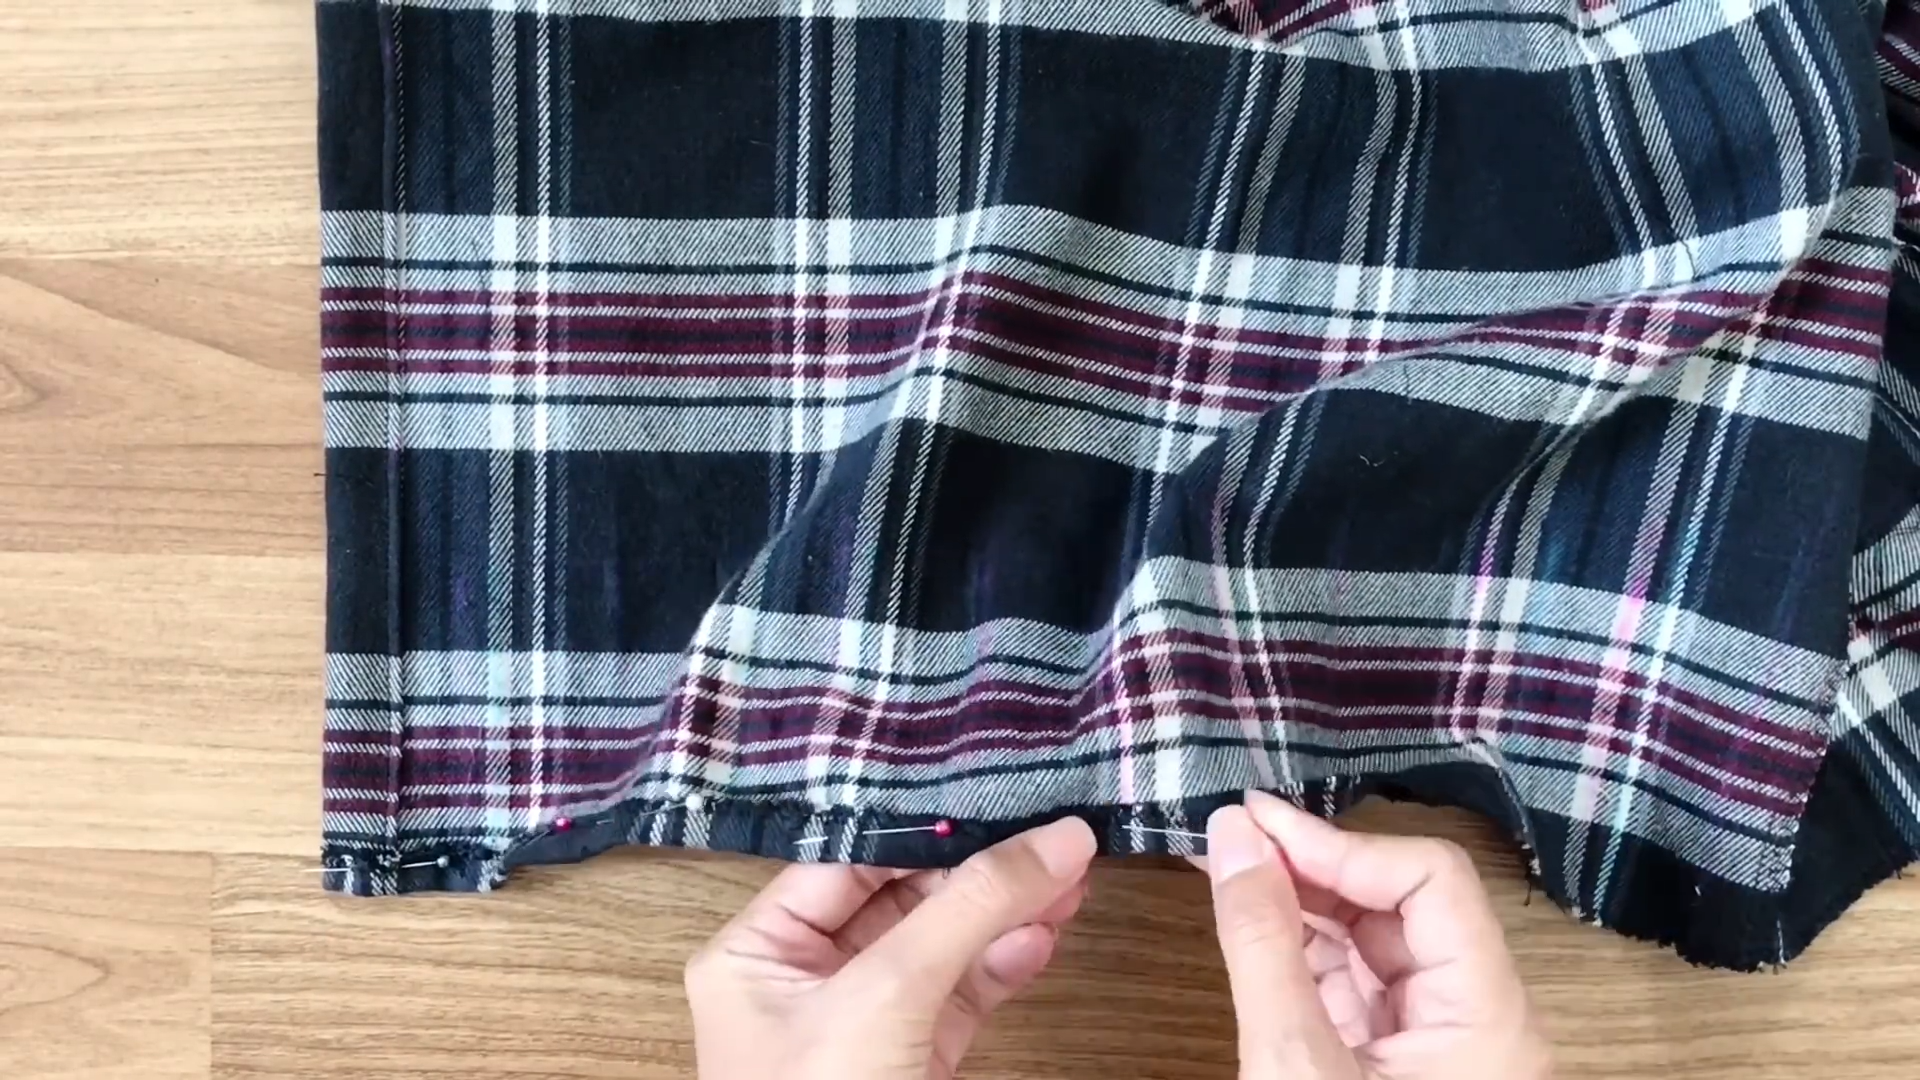
At two sides of the main part, hide the cutting by double folding. Use pins to hold it before sewing.
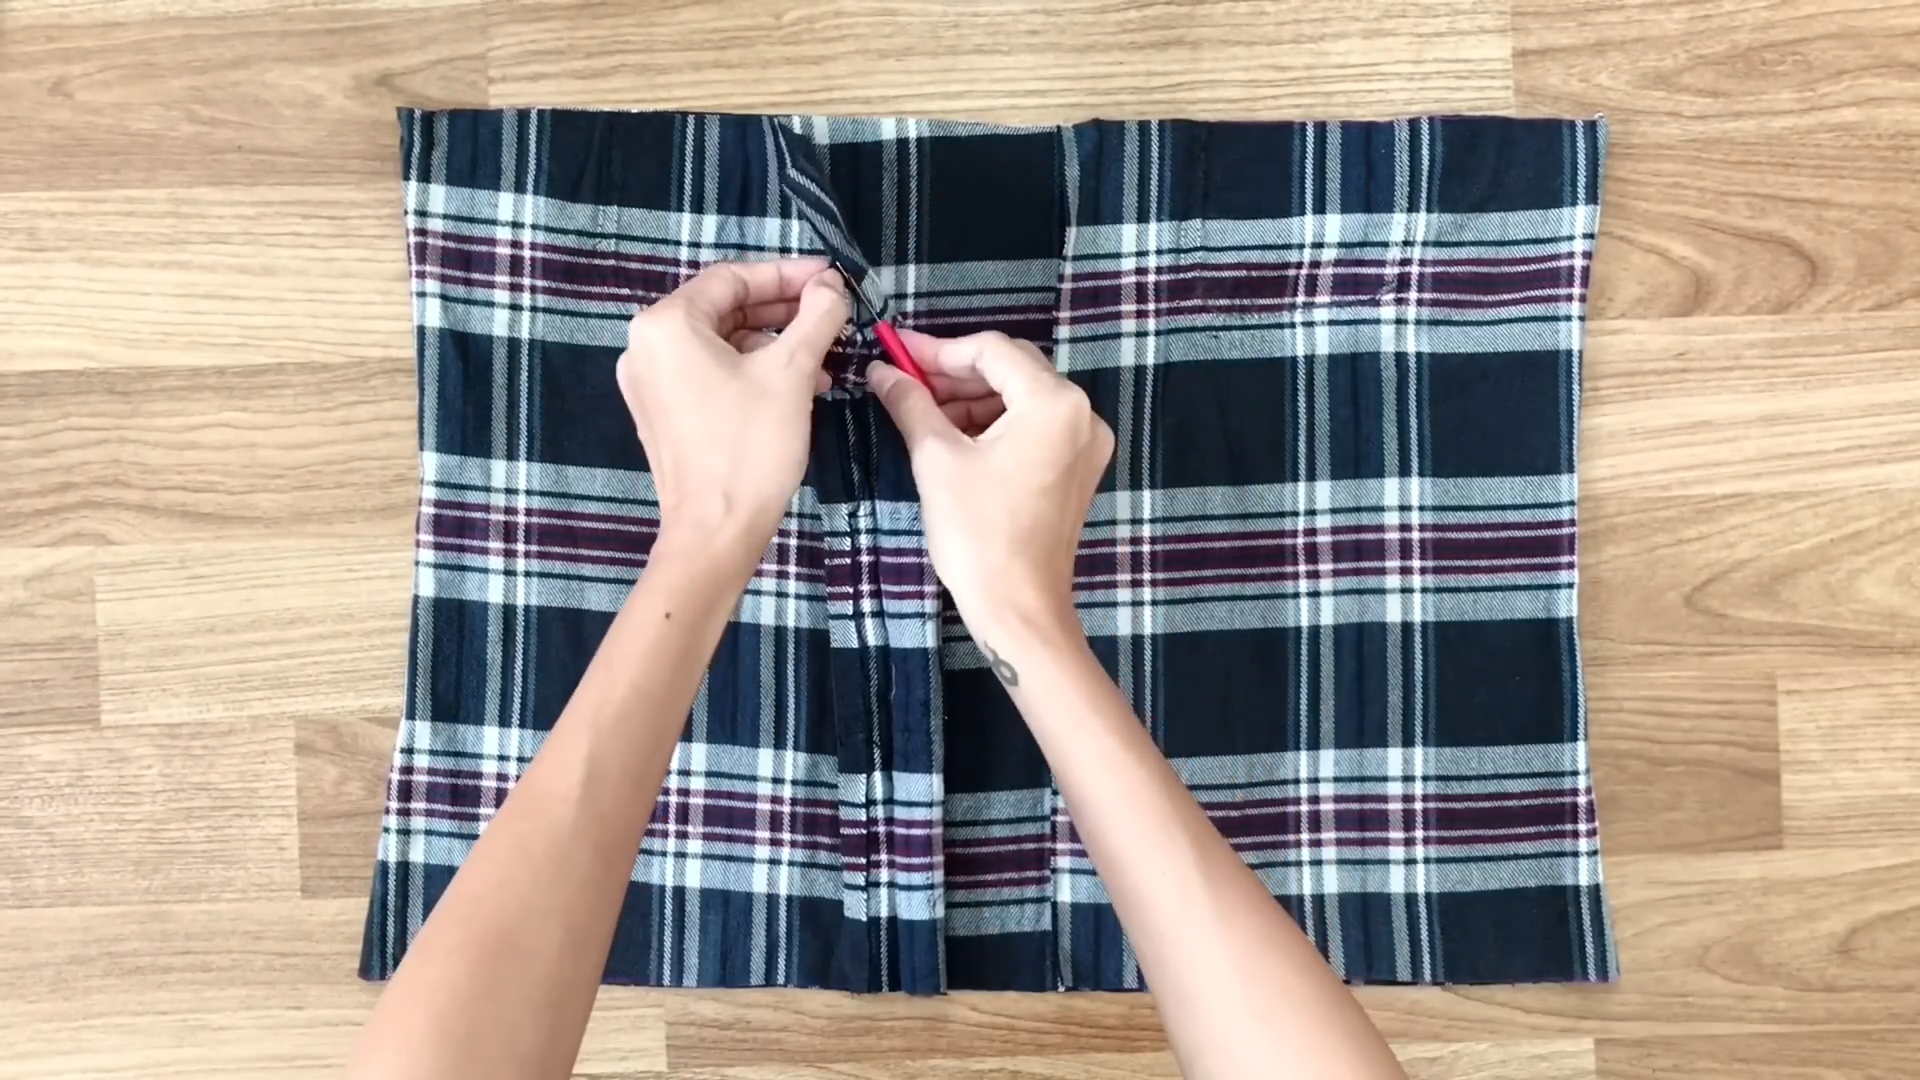
After sewing, from two sides of the fabric, go inside 30 cm and mark there.
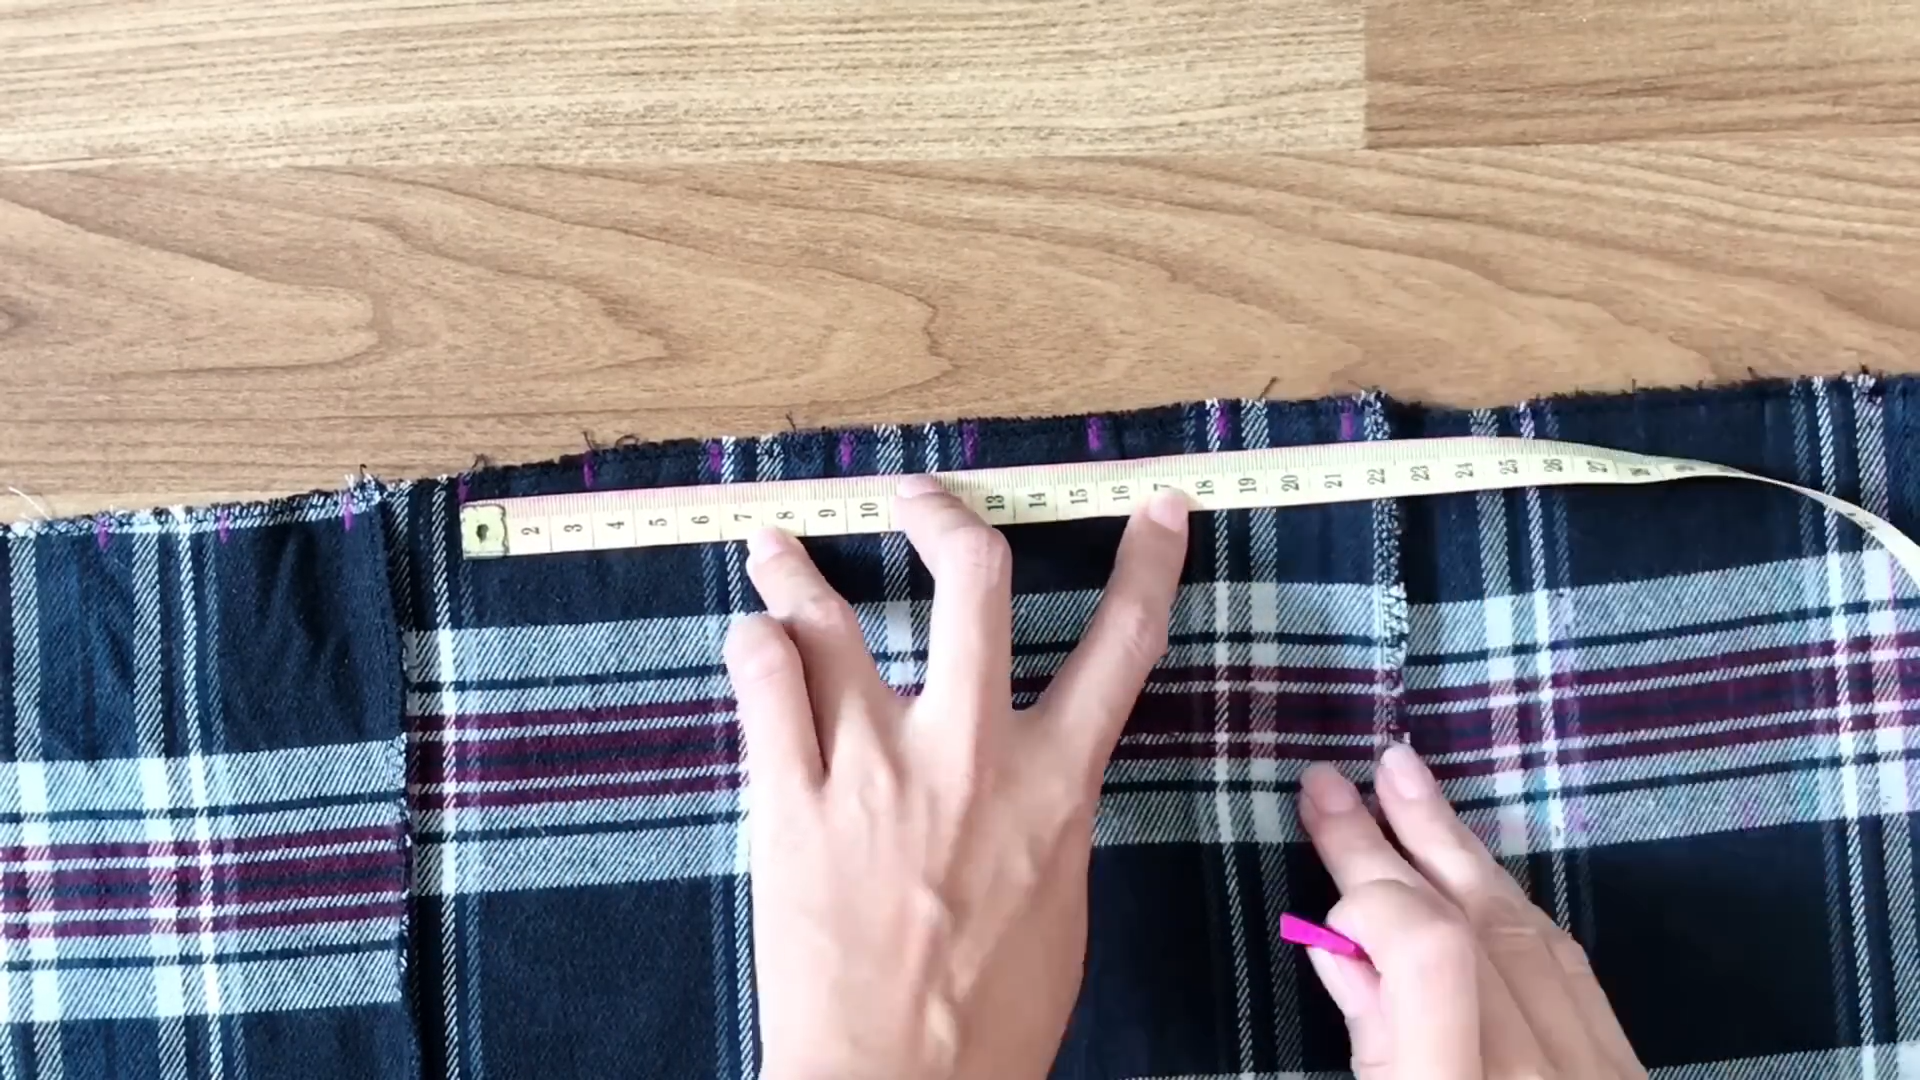
From that mark, make other marks with 3 cm away from each other. Count 3 marks as a group.
Then, fold the first mark to the third one and use a pin to hold that folding. Keep doing this to the last mark.
Remember that the width of your pleated folding will be half of your waist size and the extra fabric at two sides will have the same width.
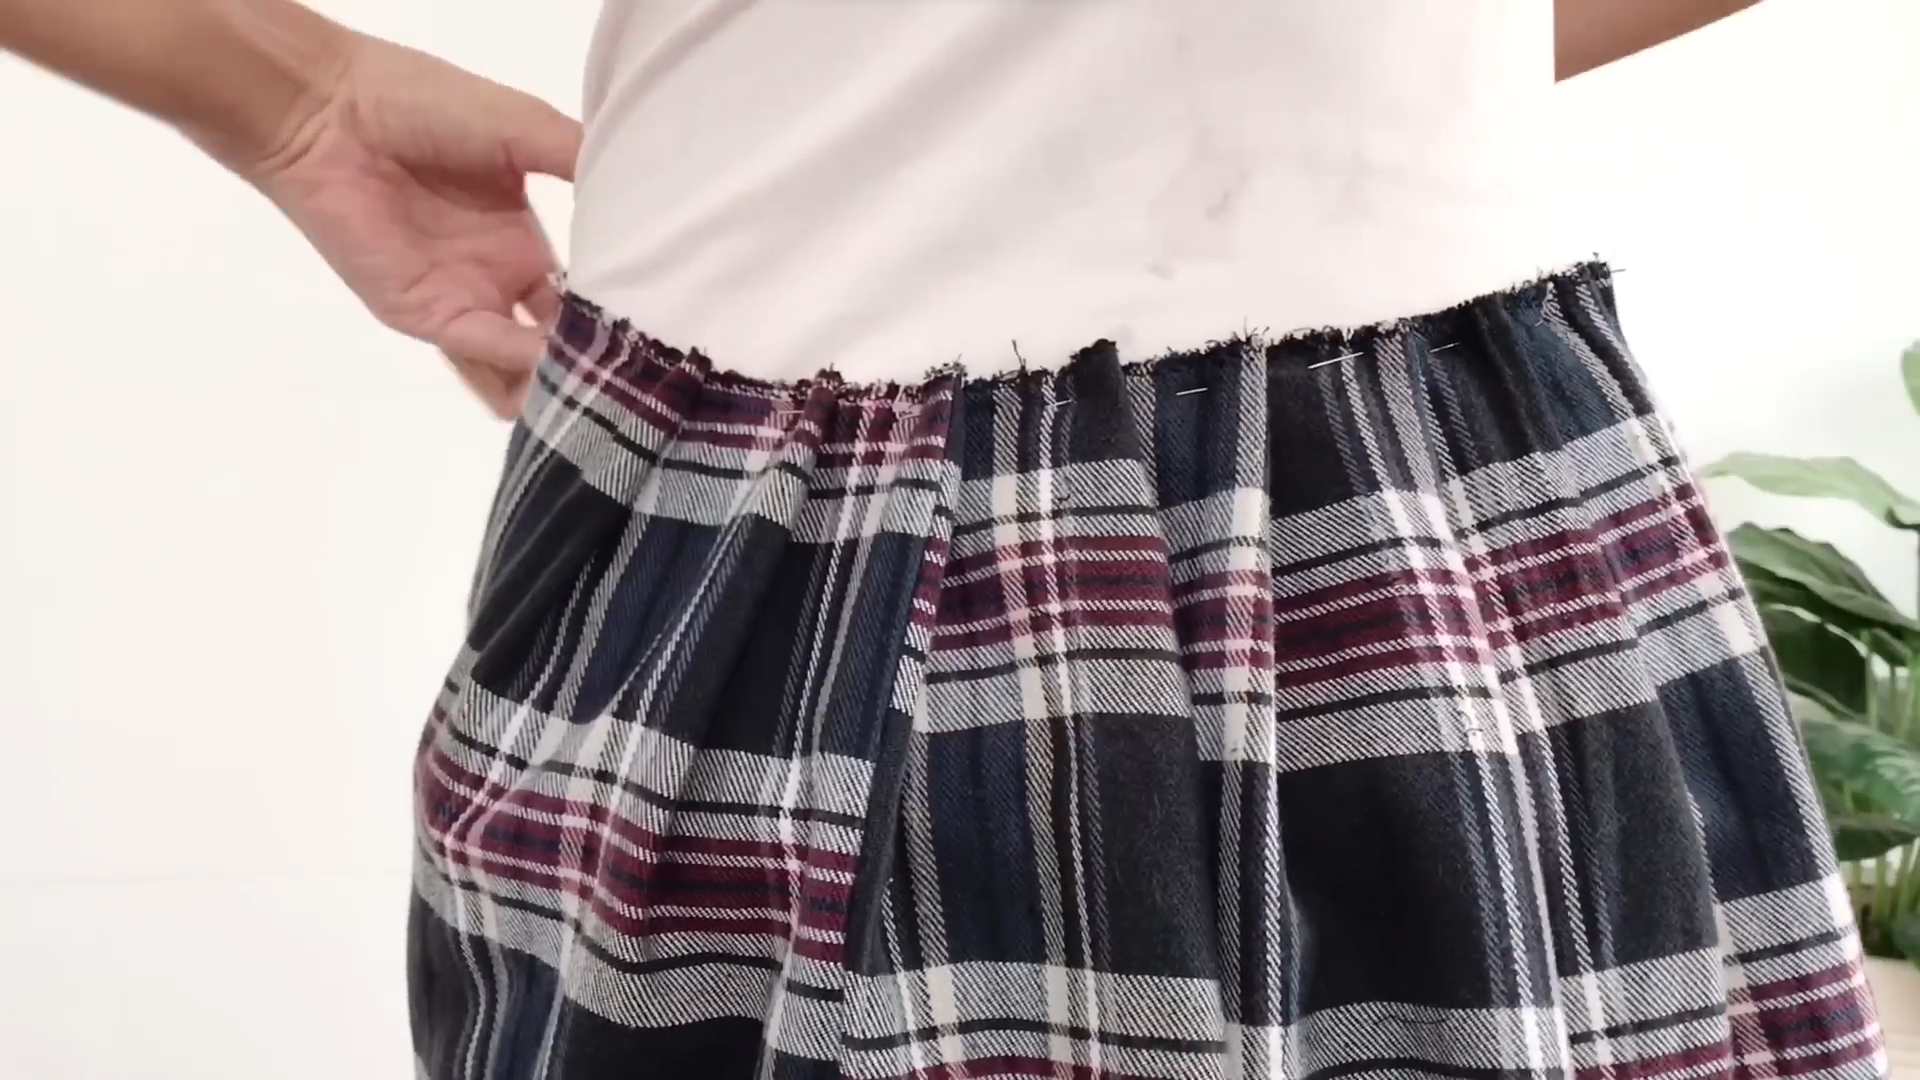
You can try it on to make sure it fits your size.
After that, sew the pleated part to keep your folding.
THE WAISTBAND
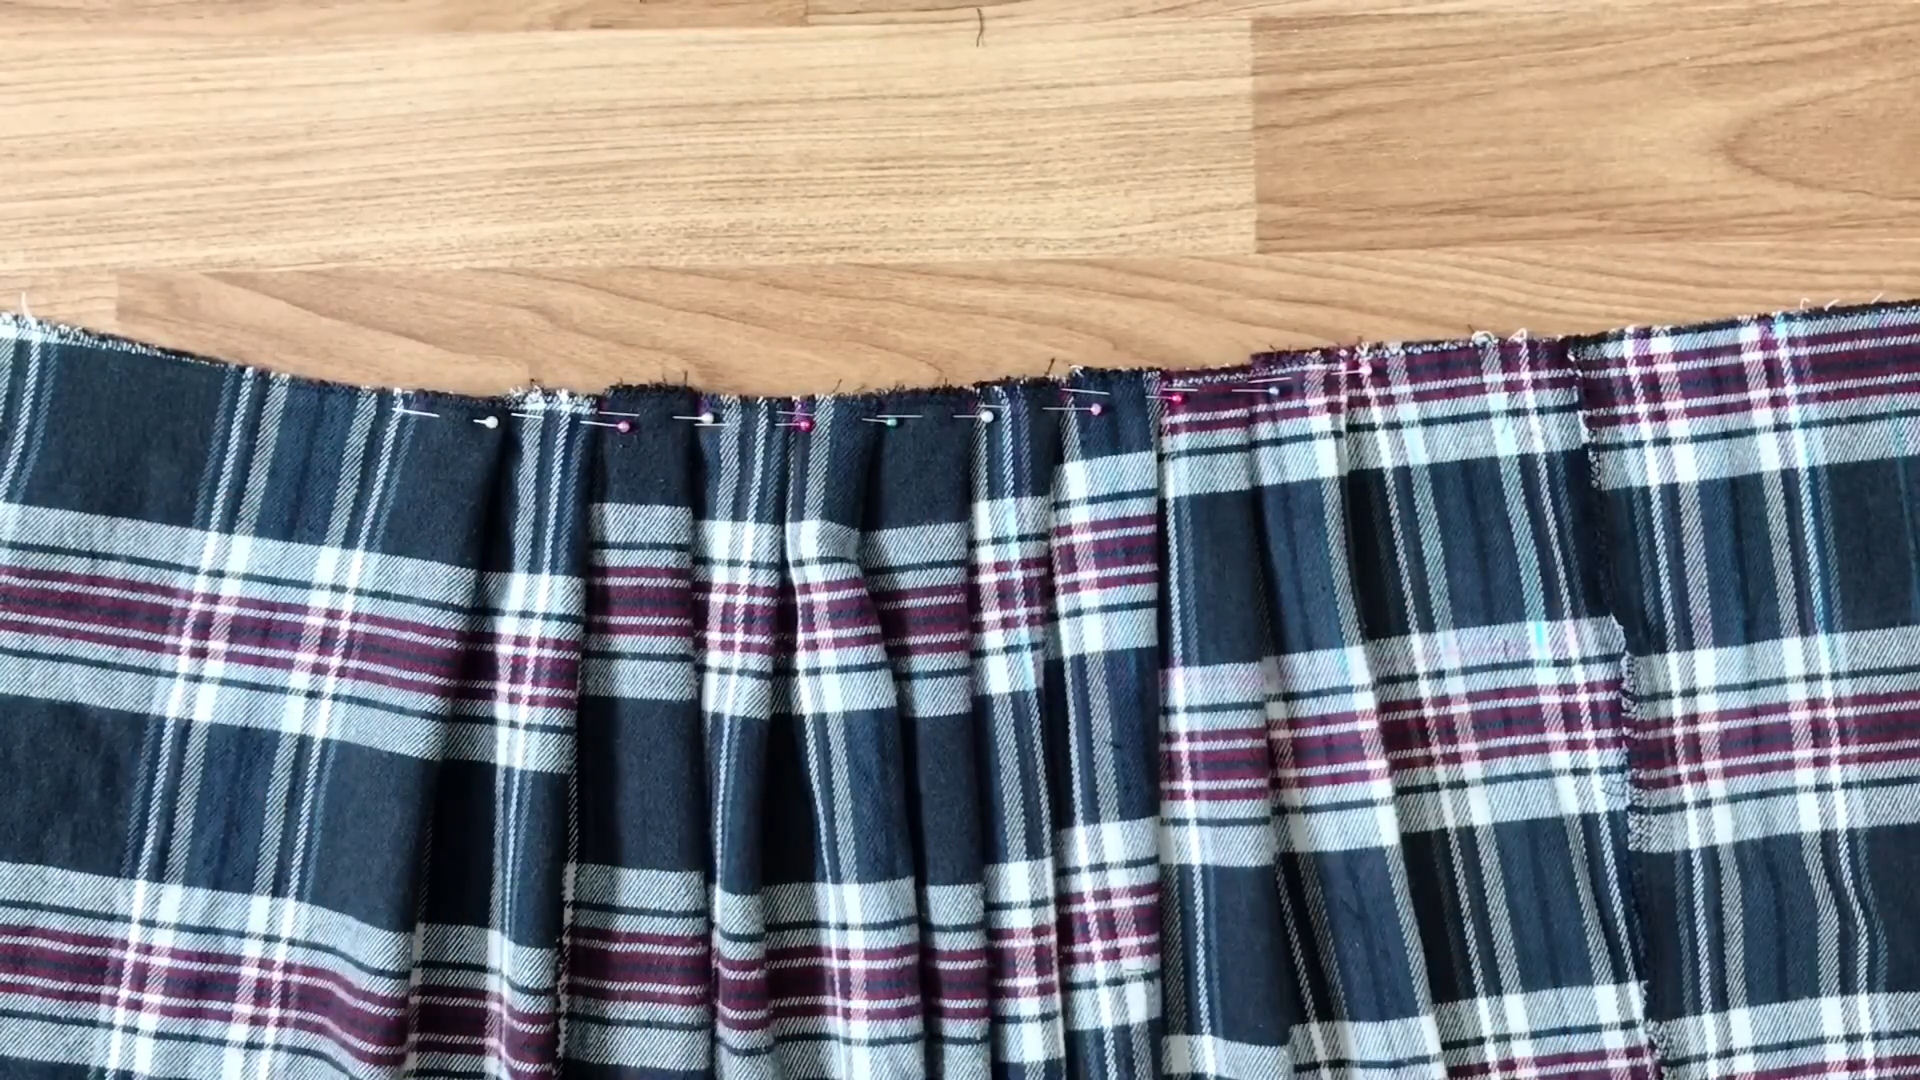
Create the waistband of the skirt by using the leftover fabric from the shirt. Draw 2 rectangles with 8 cm width.
After cutting, connect each piece of fabric together using pins then sew.
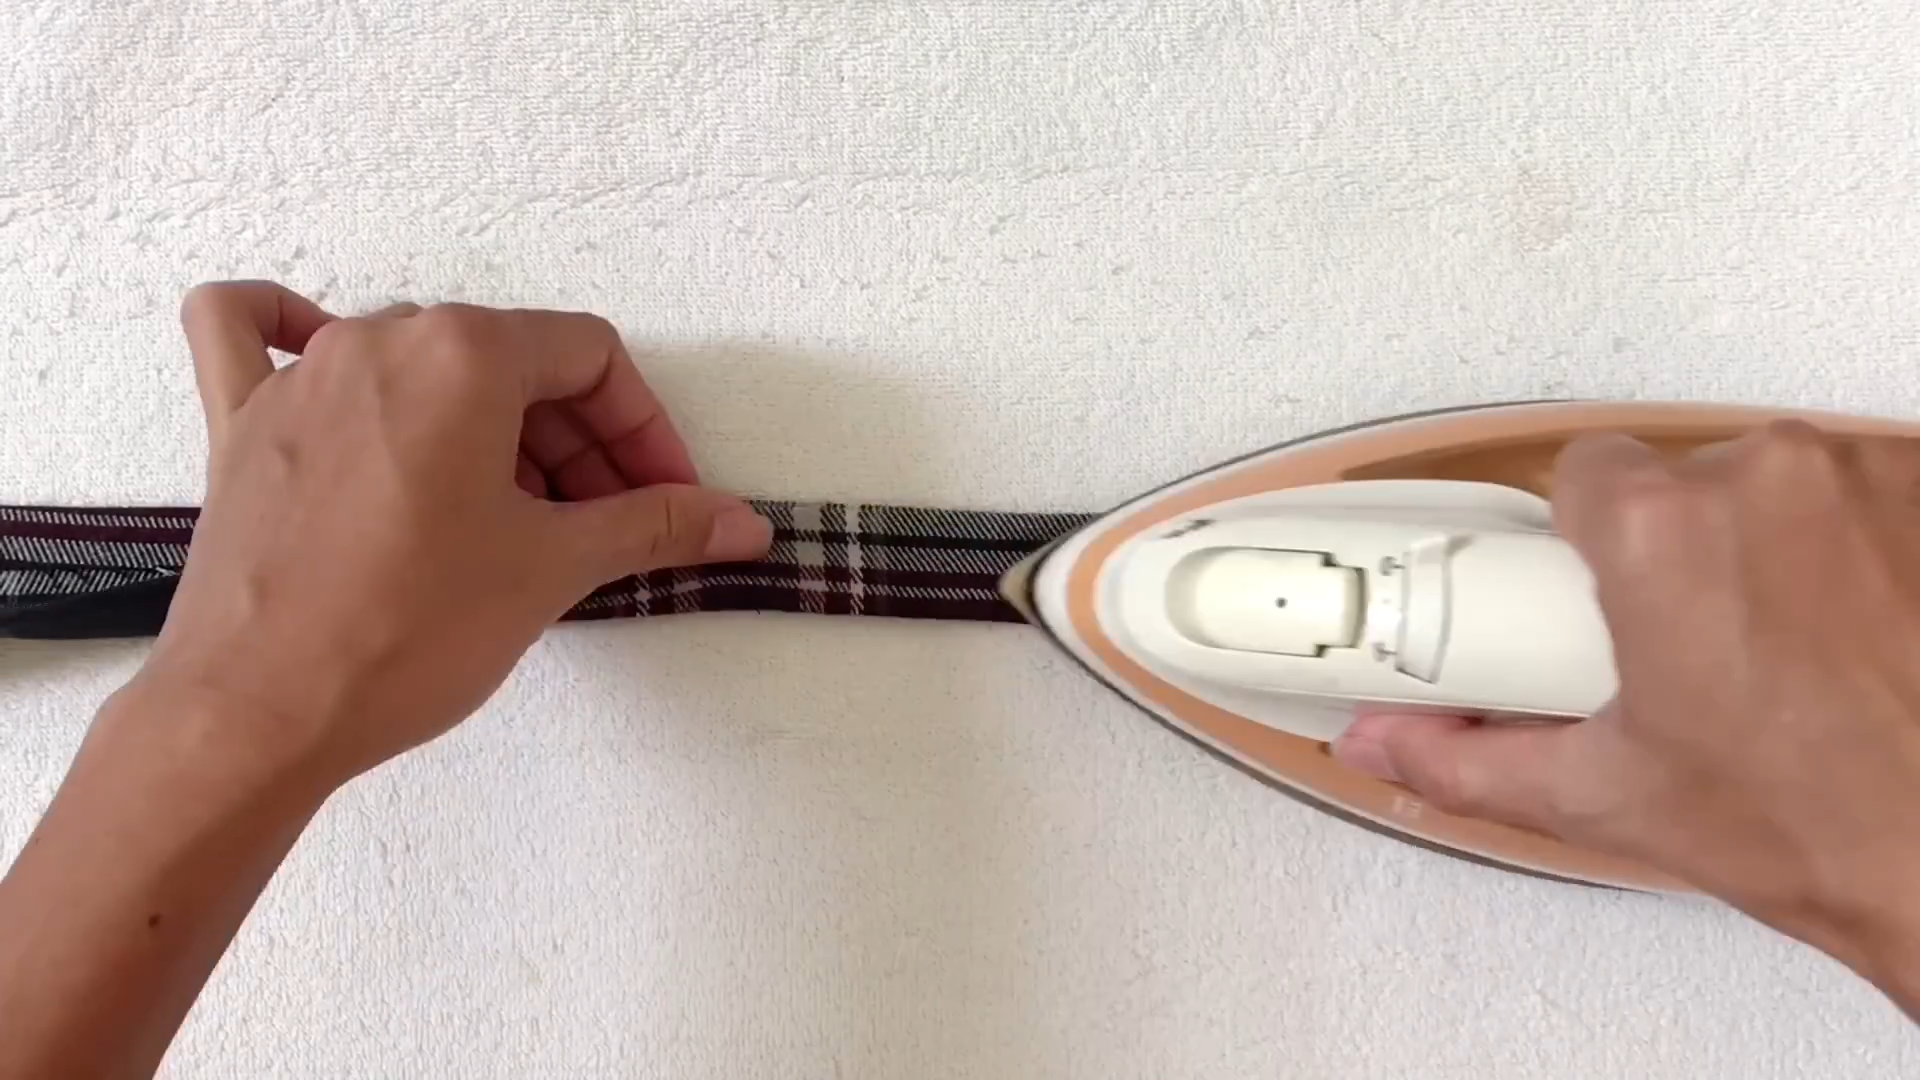
After sewing, use an iron to keep your folding to create the waistband. Fold 2 sides of the fabric inside 1 cm first. Then, fold them together after. So, you’ll have the waistband with 3 cm width.
Now, connect the waistband to the main part of the skirt. A tip here is to connect one end first. Then, put 1 cm fabric of the main part inside the waistband. That means it’ll be at the same height as the folding inside the waistband. Use pins to hold it together and keep moving to the other end of the waistband.
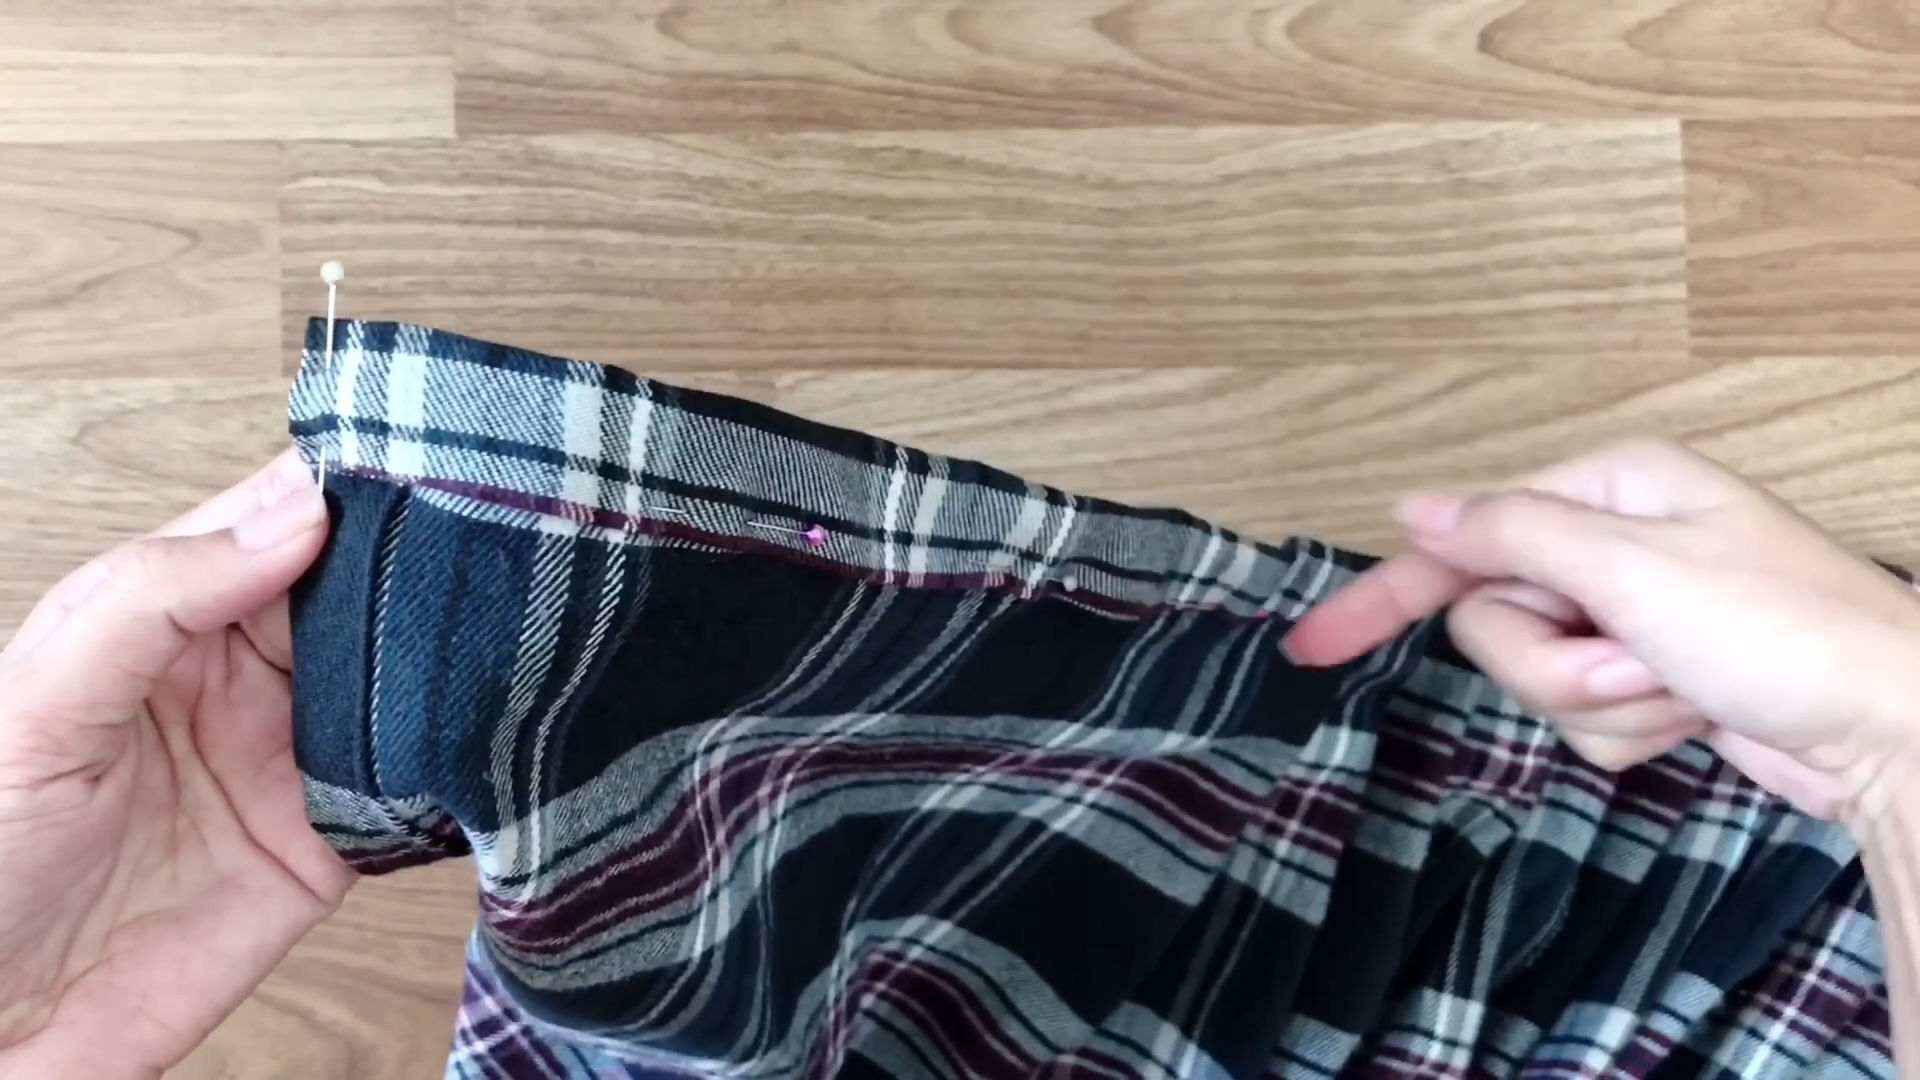
After that, all you need to do is sew slowly to make sure you have a nice seam.
Now, finish the end of the skirt by folding the end of the fabric inside and sewing.
THE BUTTONHOLES
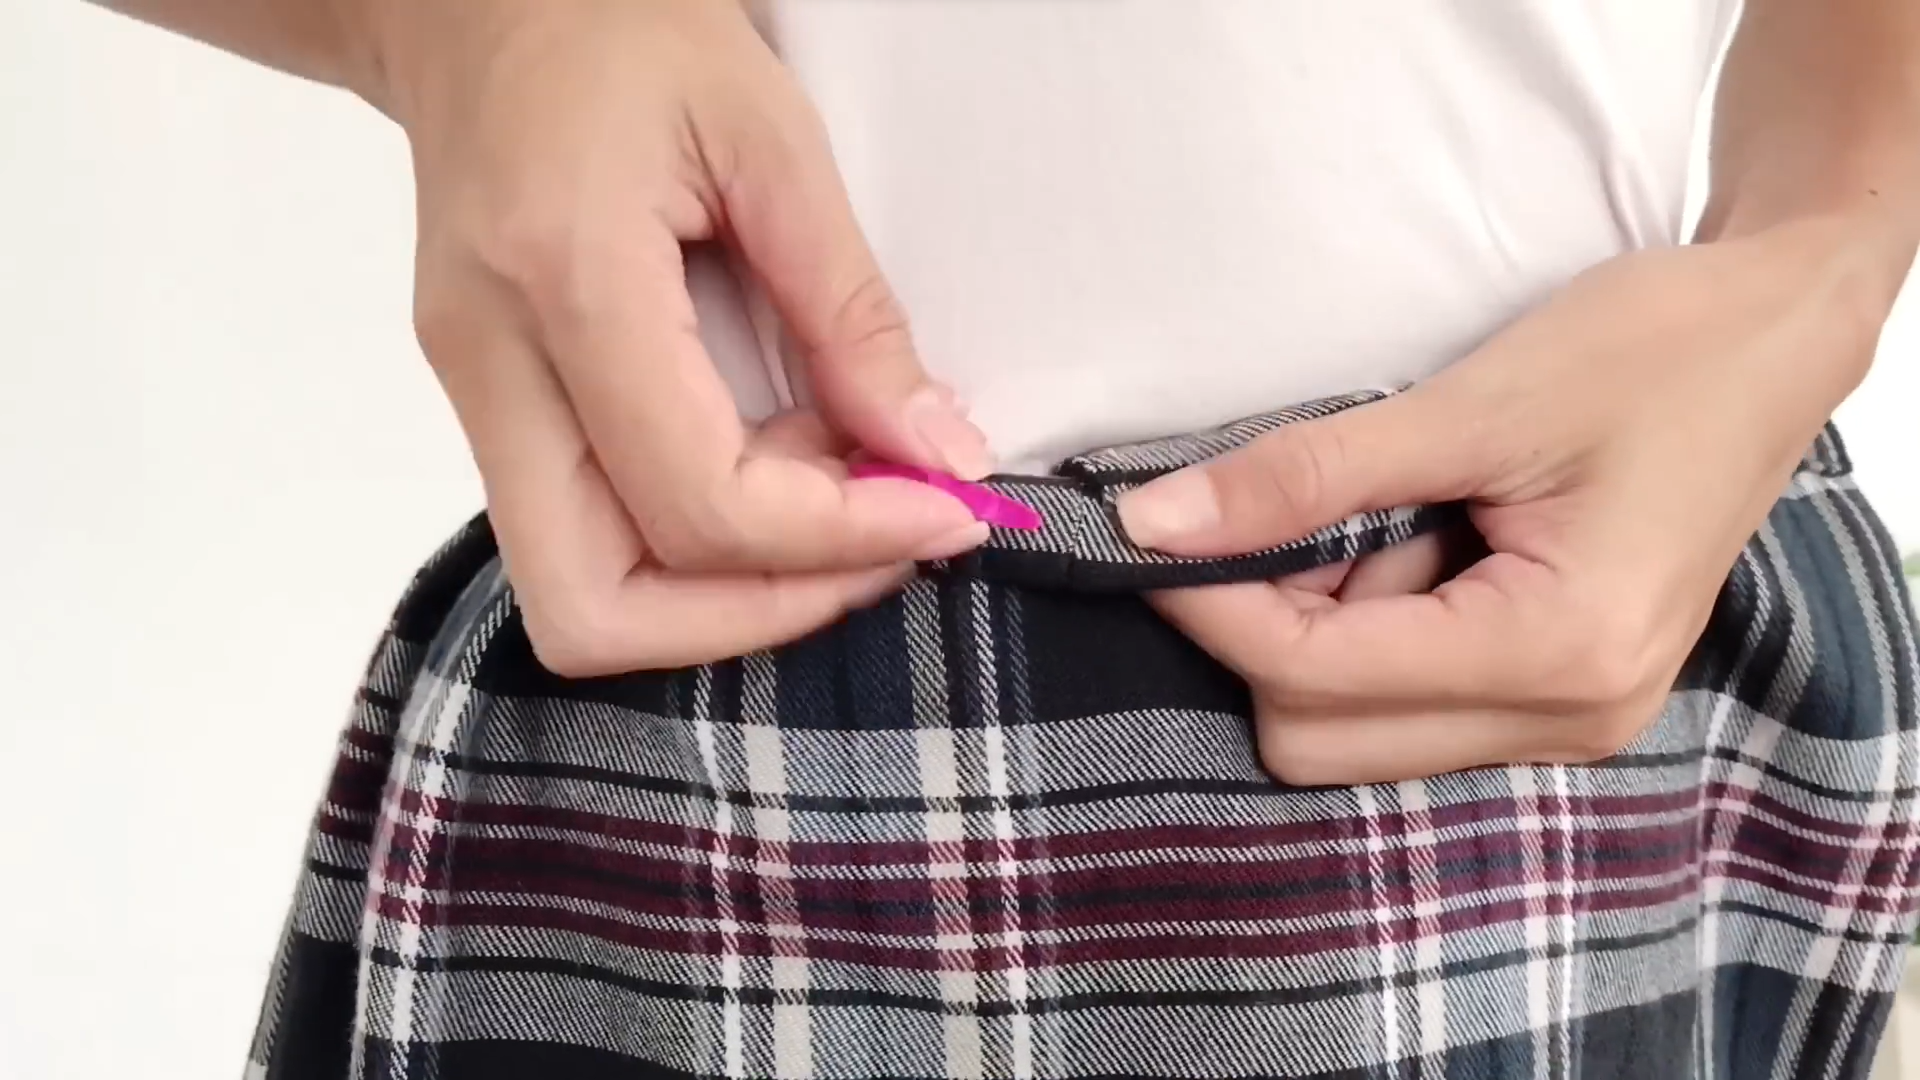
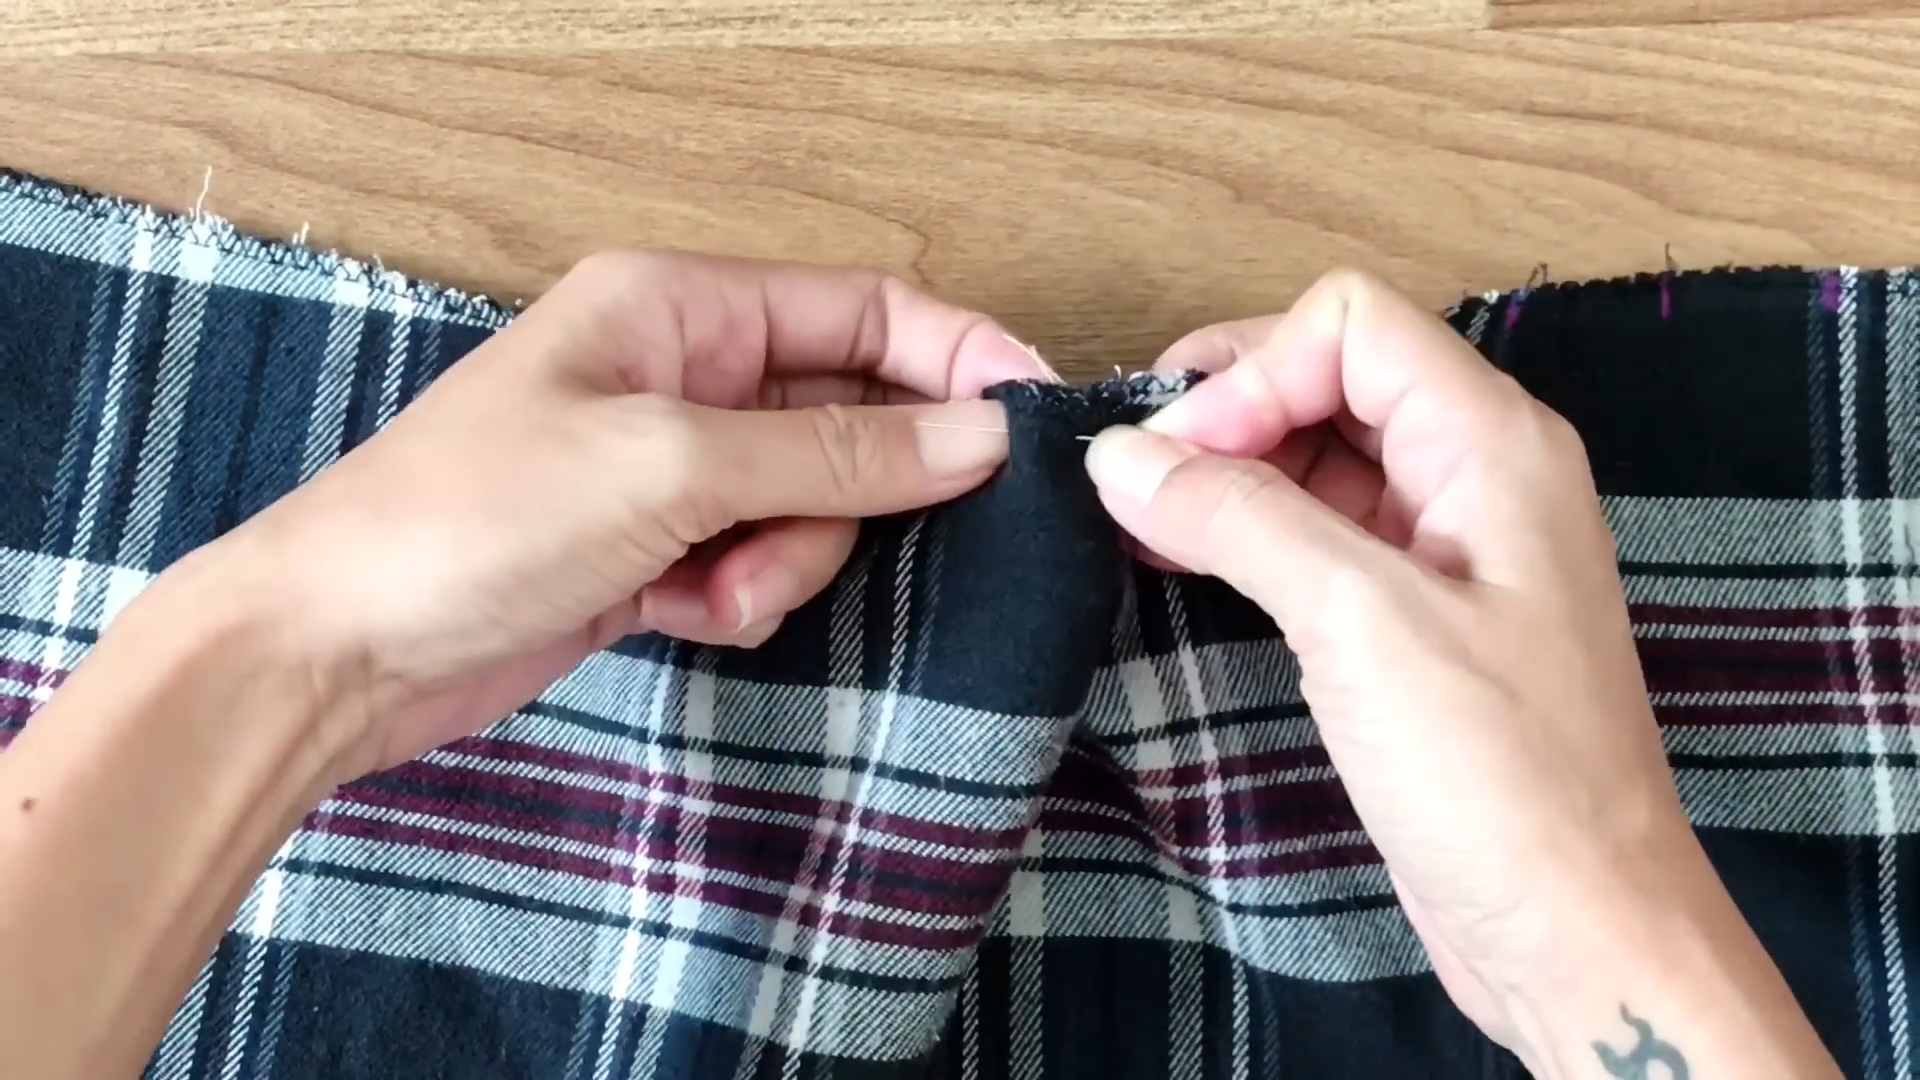
To determine the positions of the buttons, try the skirt on and mark the positions where you’ll install the buttons later.
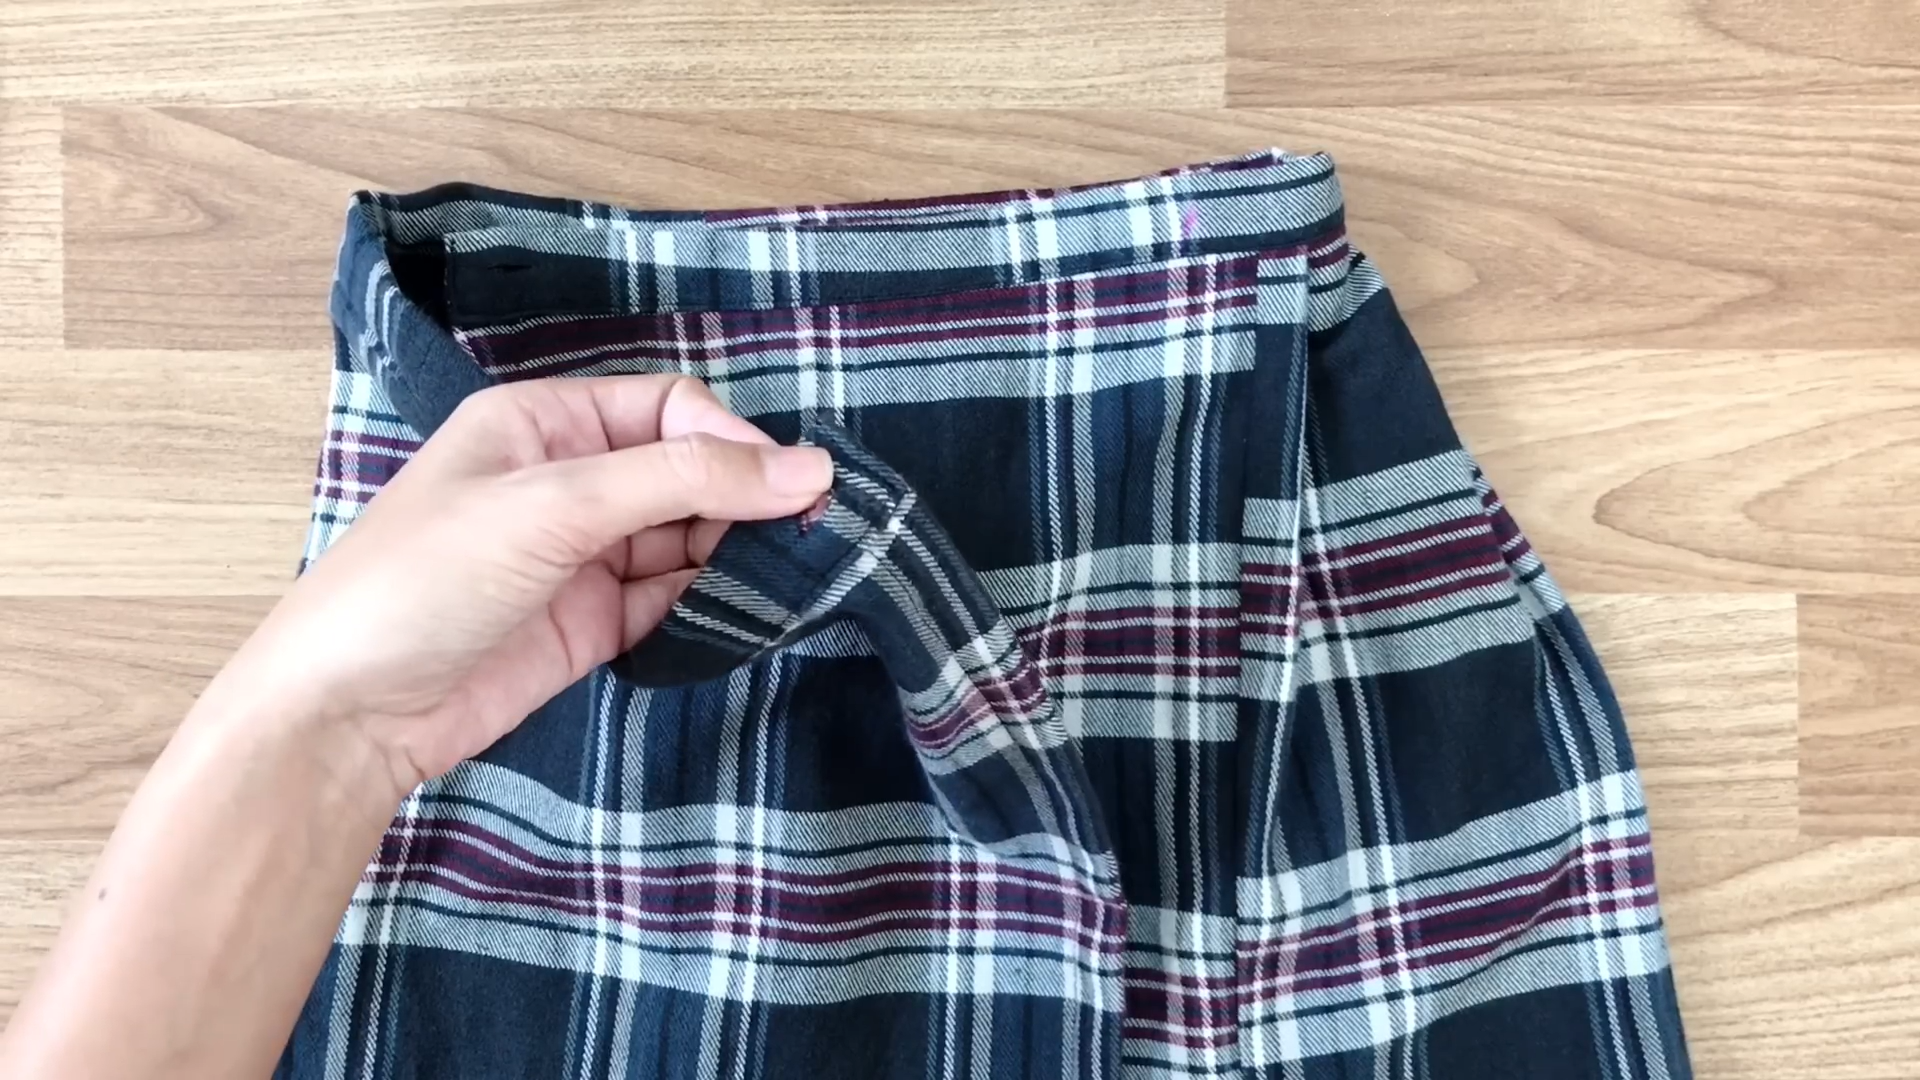
At two ends of the waistband, cut a small hole and hand-sew to make the buttonhole.
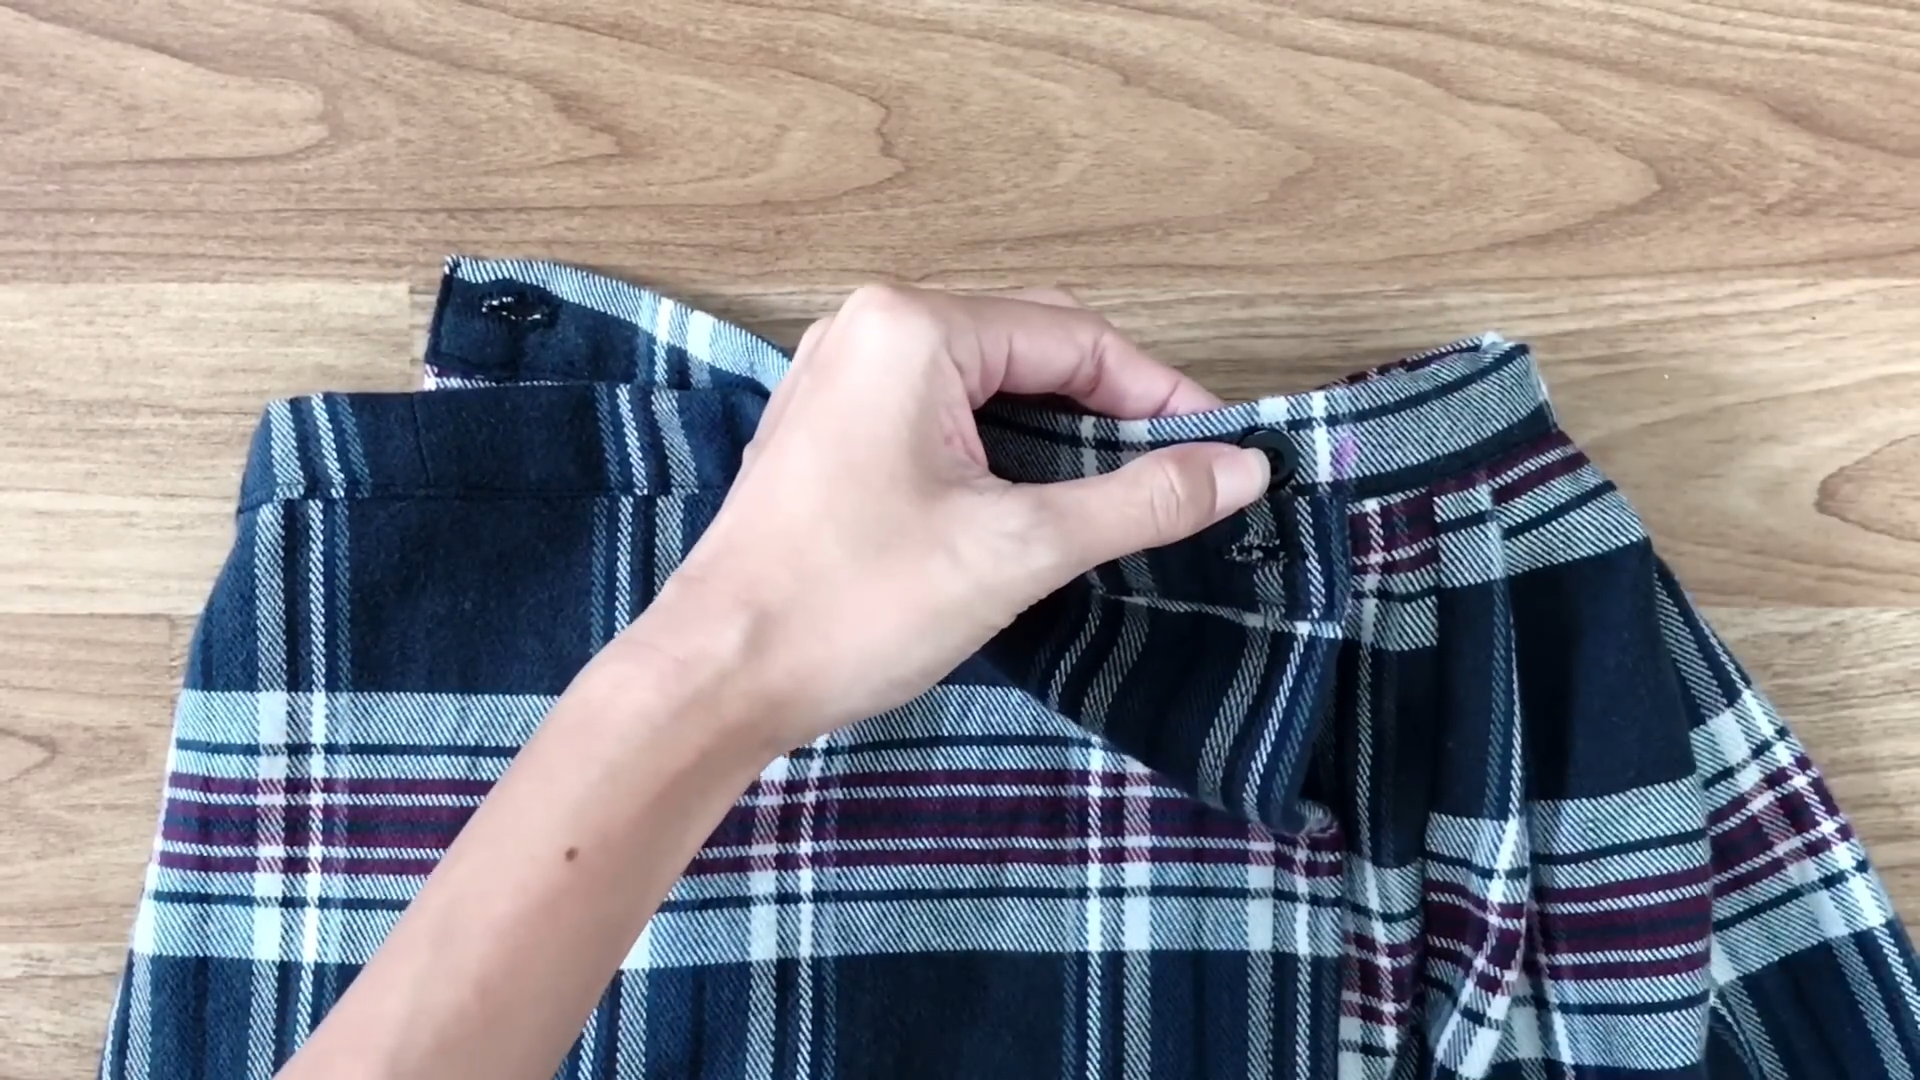
Then, install the buttons at the marks on the waistband that you made before.
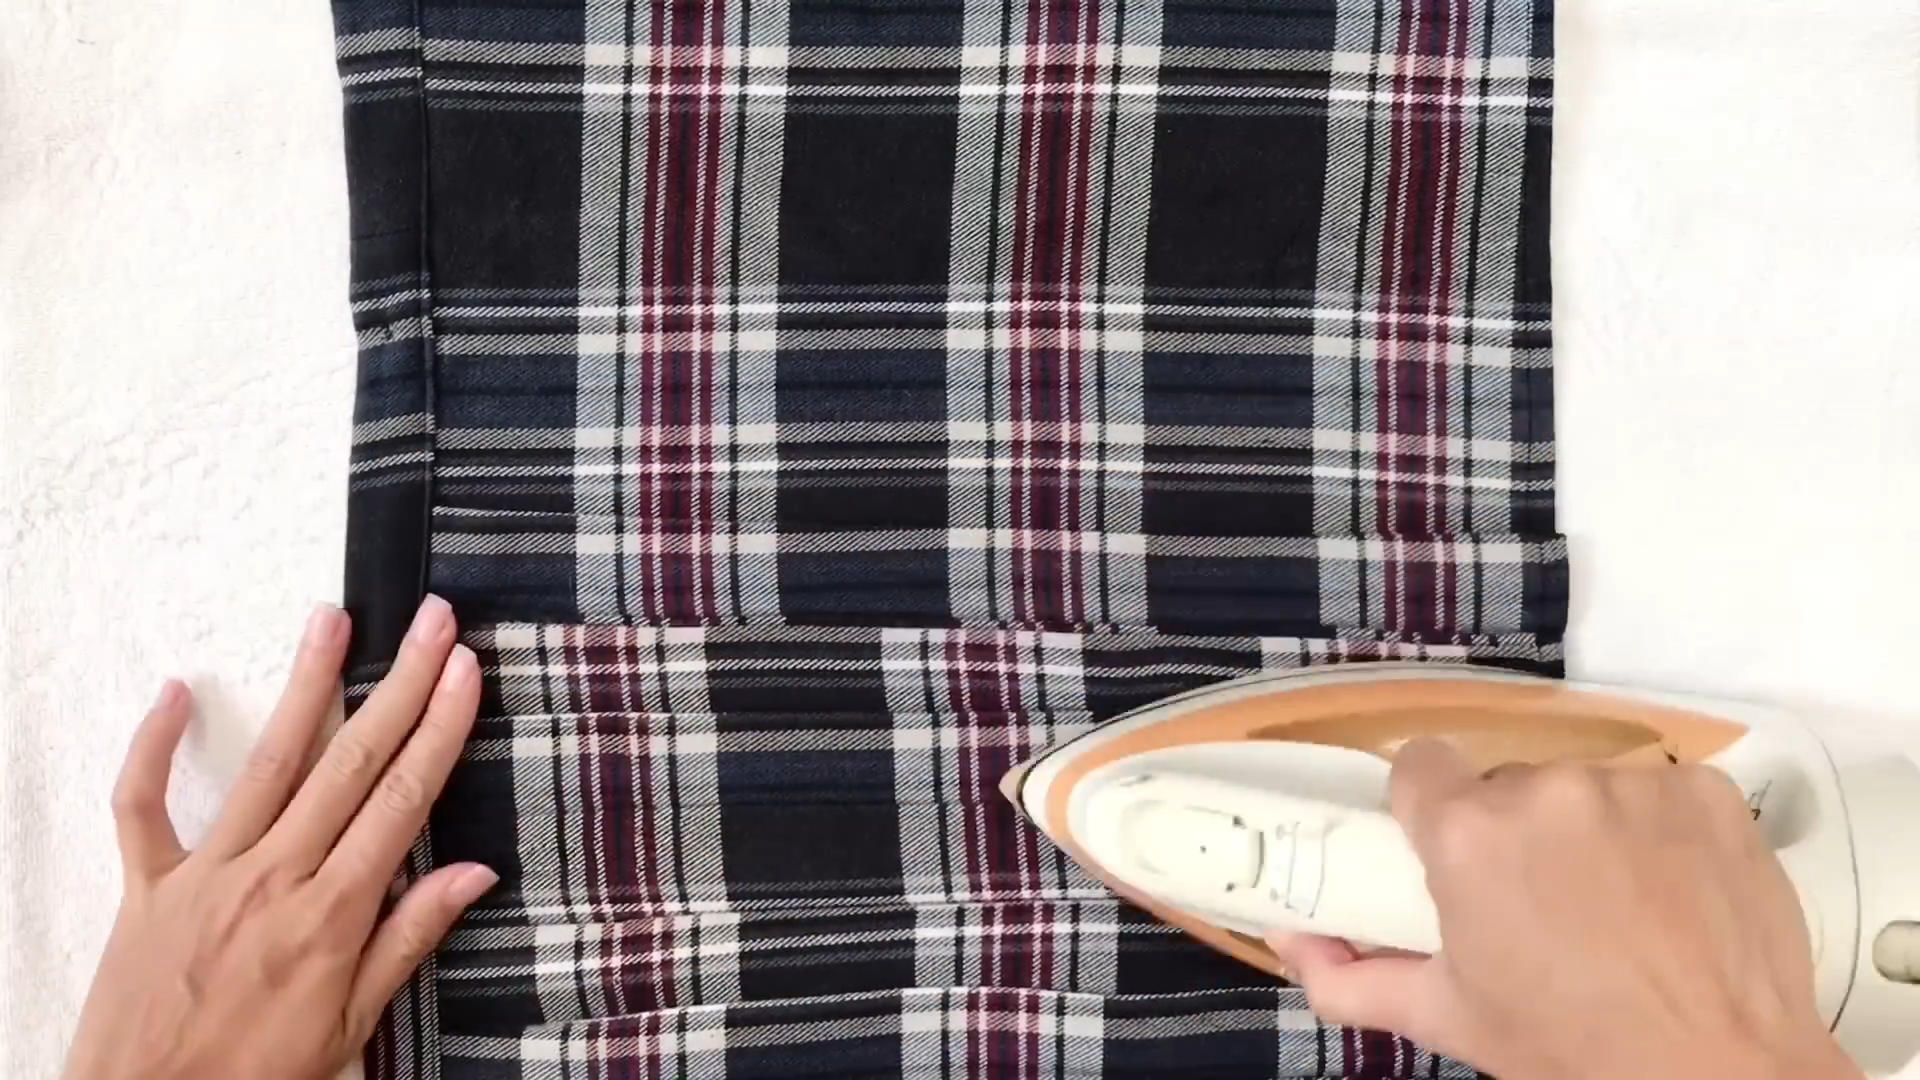
The last step to finish this DIY is ironing at the pleated area to keep them in place.
DIY Pleated skirt from old shirt
And that’s it!
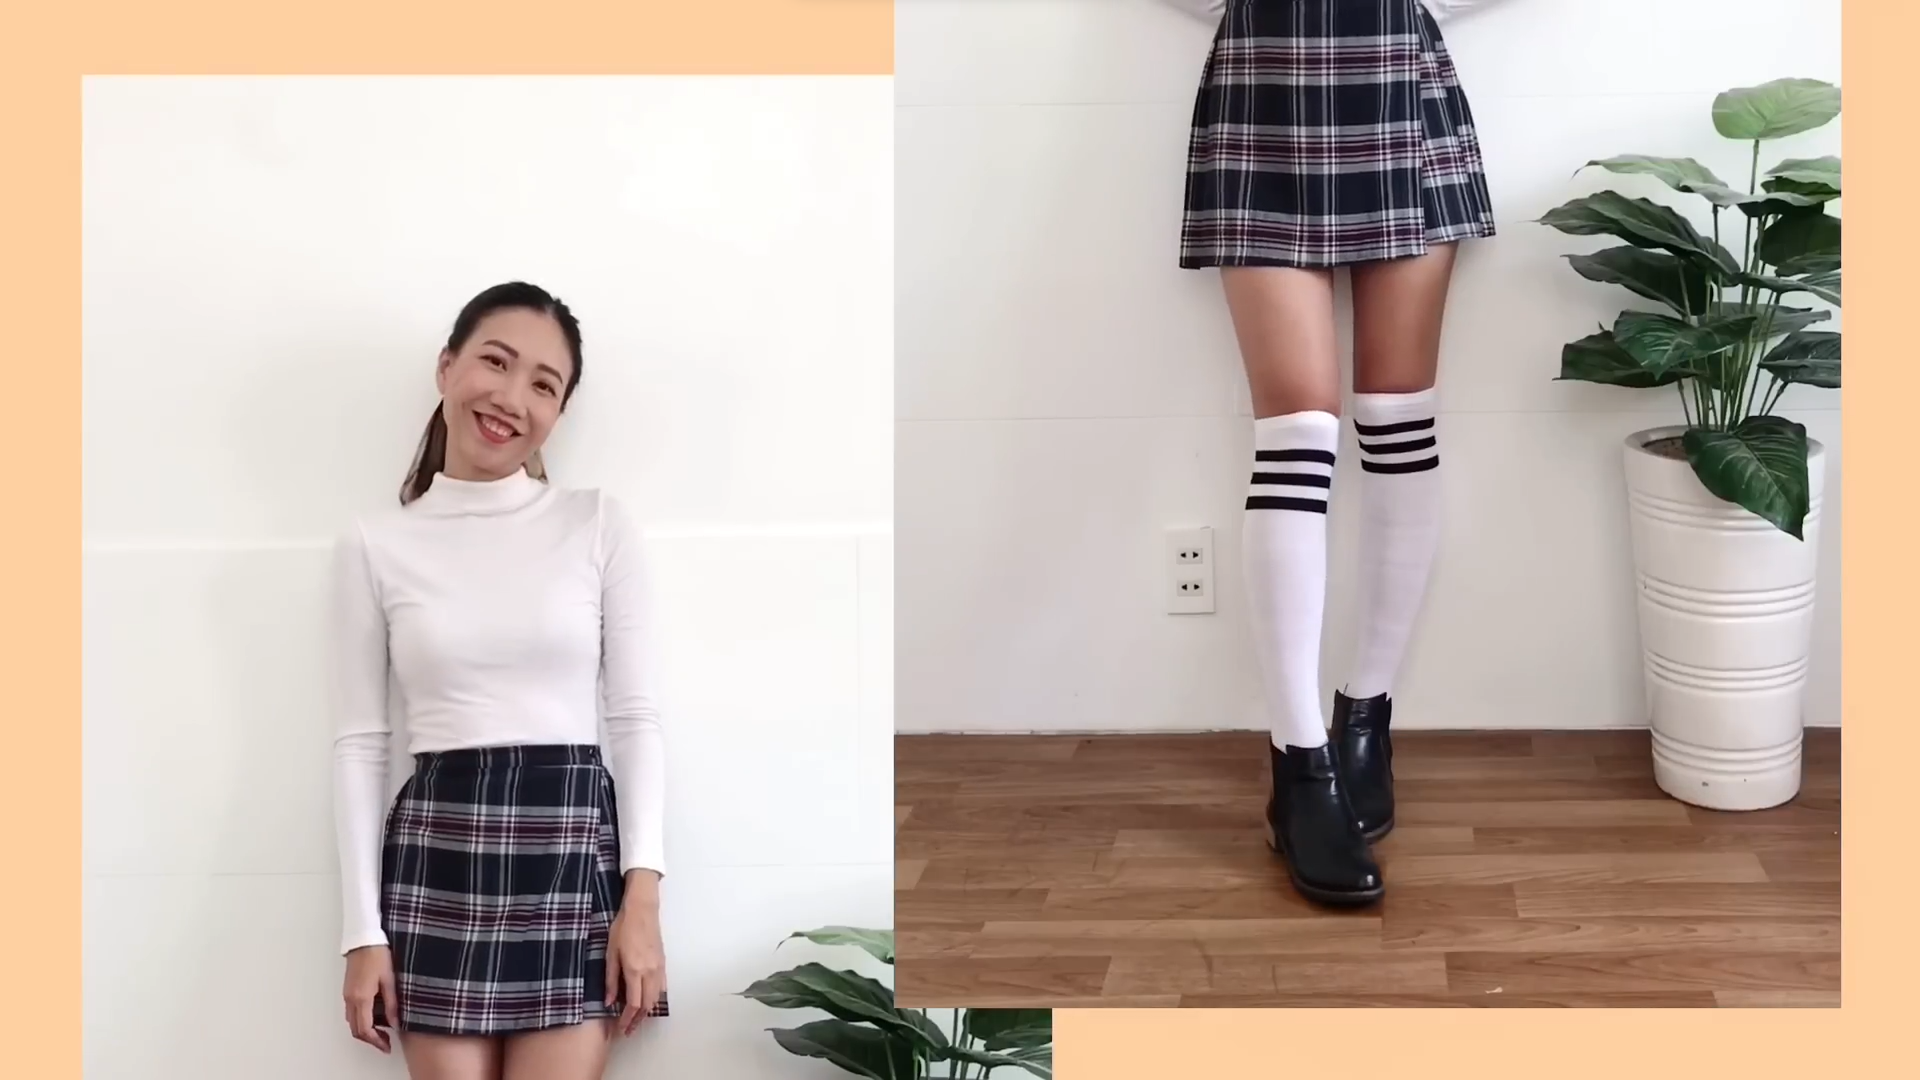
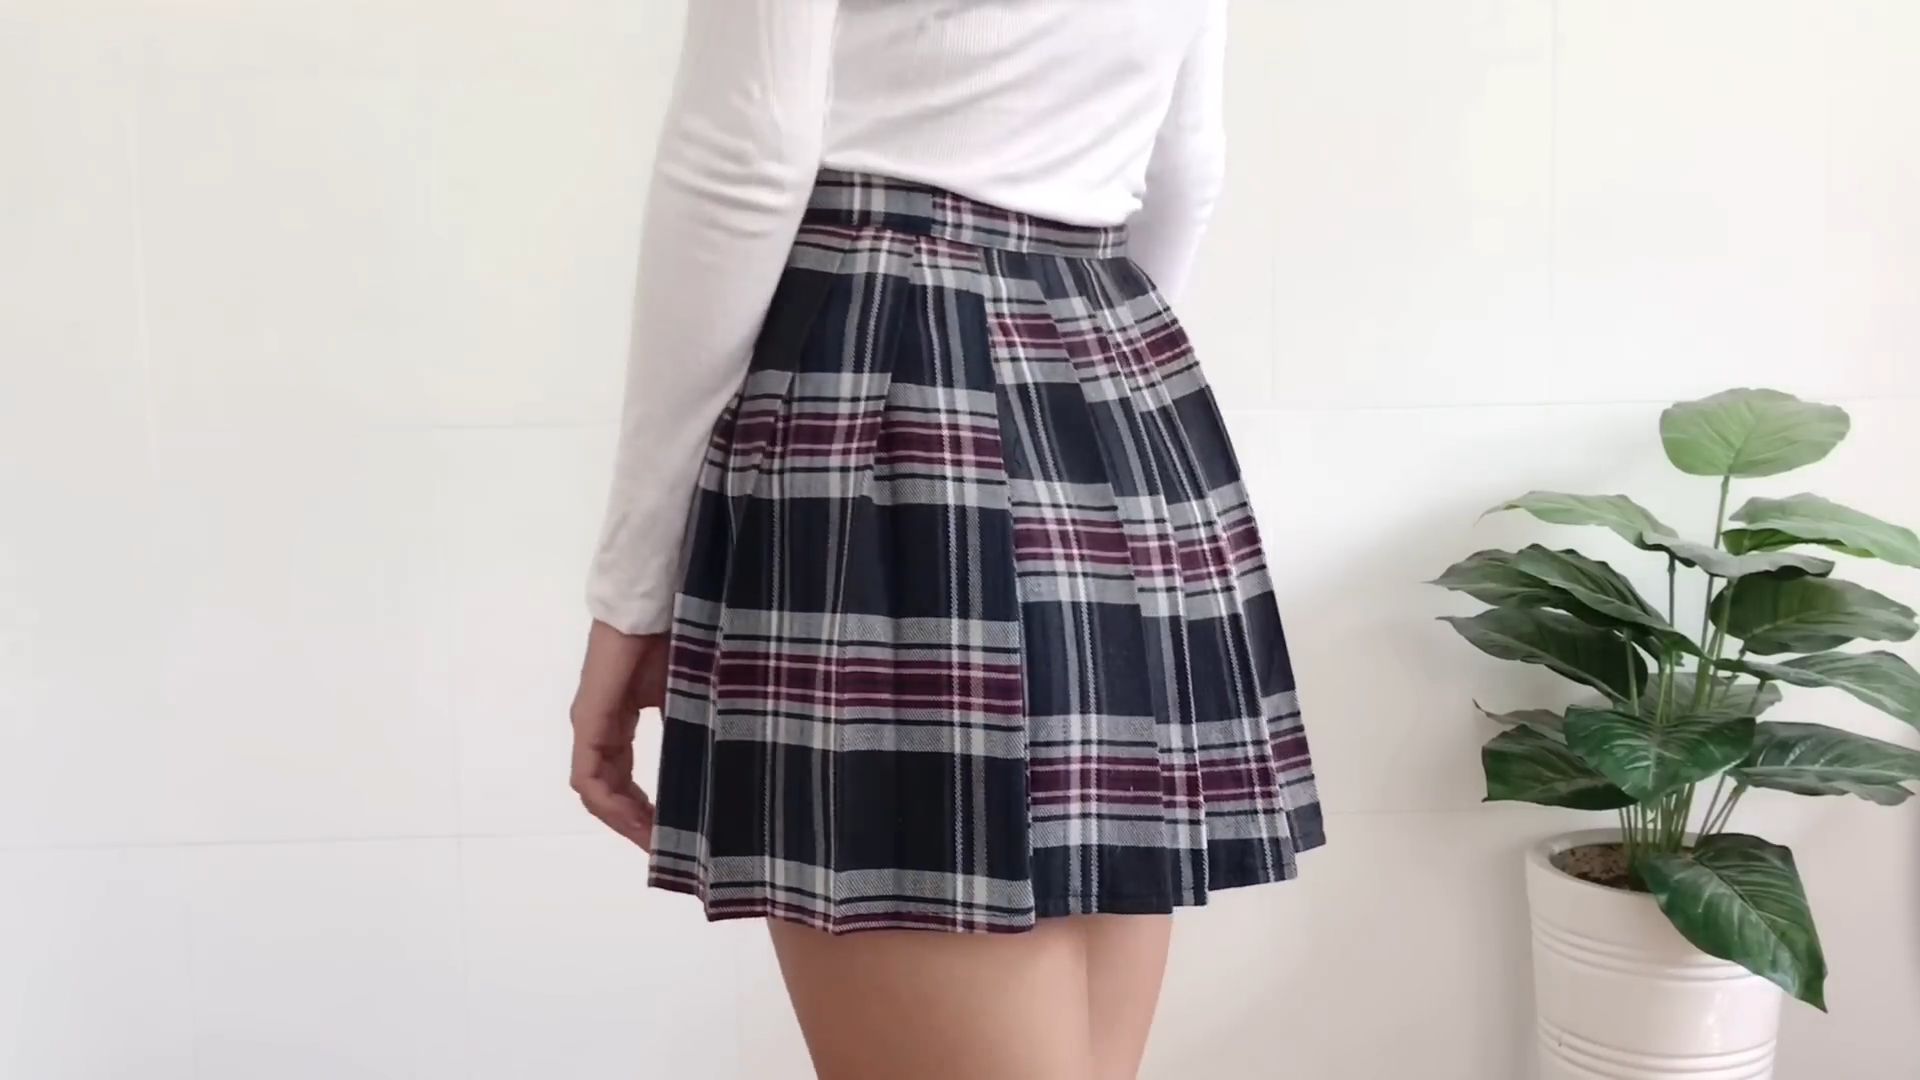
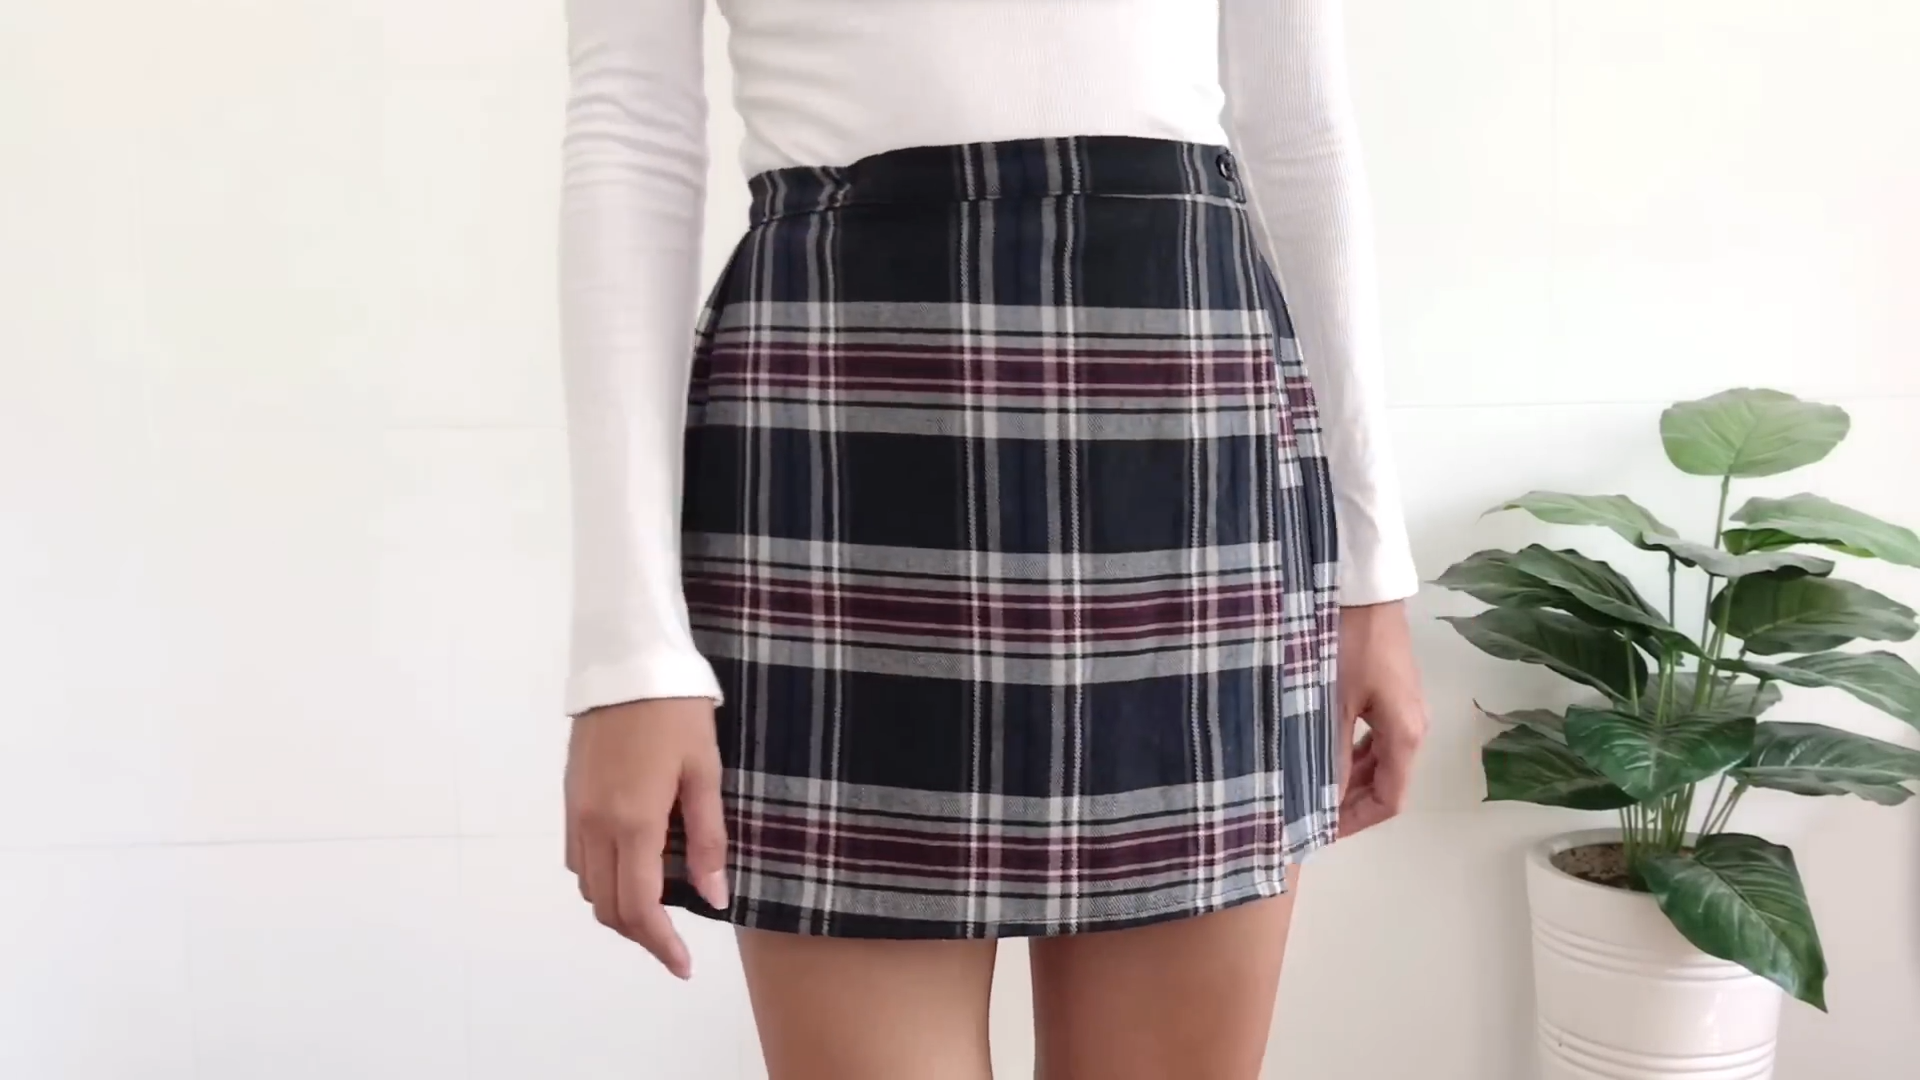
We’ve successfully transformed an old shirt into a vintage-style pleated skirt, inspired by Rachel Green from “Friends”. Paired with a white T-shirt, long socks, and black shoes, it’s a look that truly captures her style.
I’m really pleased with how it turned out and I hope you are too.
What are your thoughts on this DIY project? I’d love to hear from you in the comments. Don’t forget to subscribe to my channel for more DIY fashion transformations.
Happy sewing!