DIY Puff sleeve bustier dress | Finding my perfect Spring dress - Episode 3

DIY Puff sleeve bustier dress | Finding my perfect Spring dress - Episode 3
Welcome or welcome back to my channel. My name is Jess and I love doing DIY, making clothes in a "simply but pretty" way.
Today's tutorial is the third episode of the series "Finding my perfect Spring dress". I'm going to share with you how I made a puff sleeve bustier dress from scratch. This dress is quite complicated to make.
So I hope the way I share will help you out a bit in making your dress. I hope you like it and try it out. Let’s get started!
WHAT YOU’LL NEED
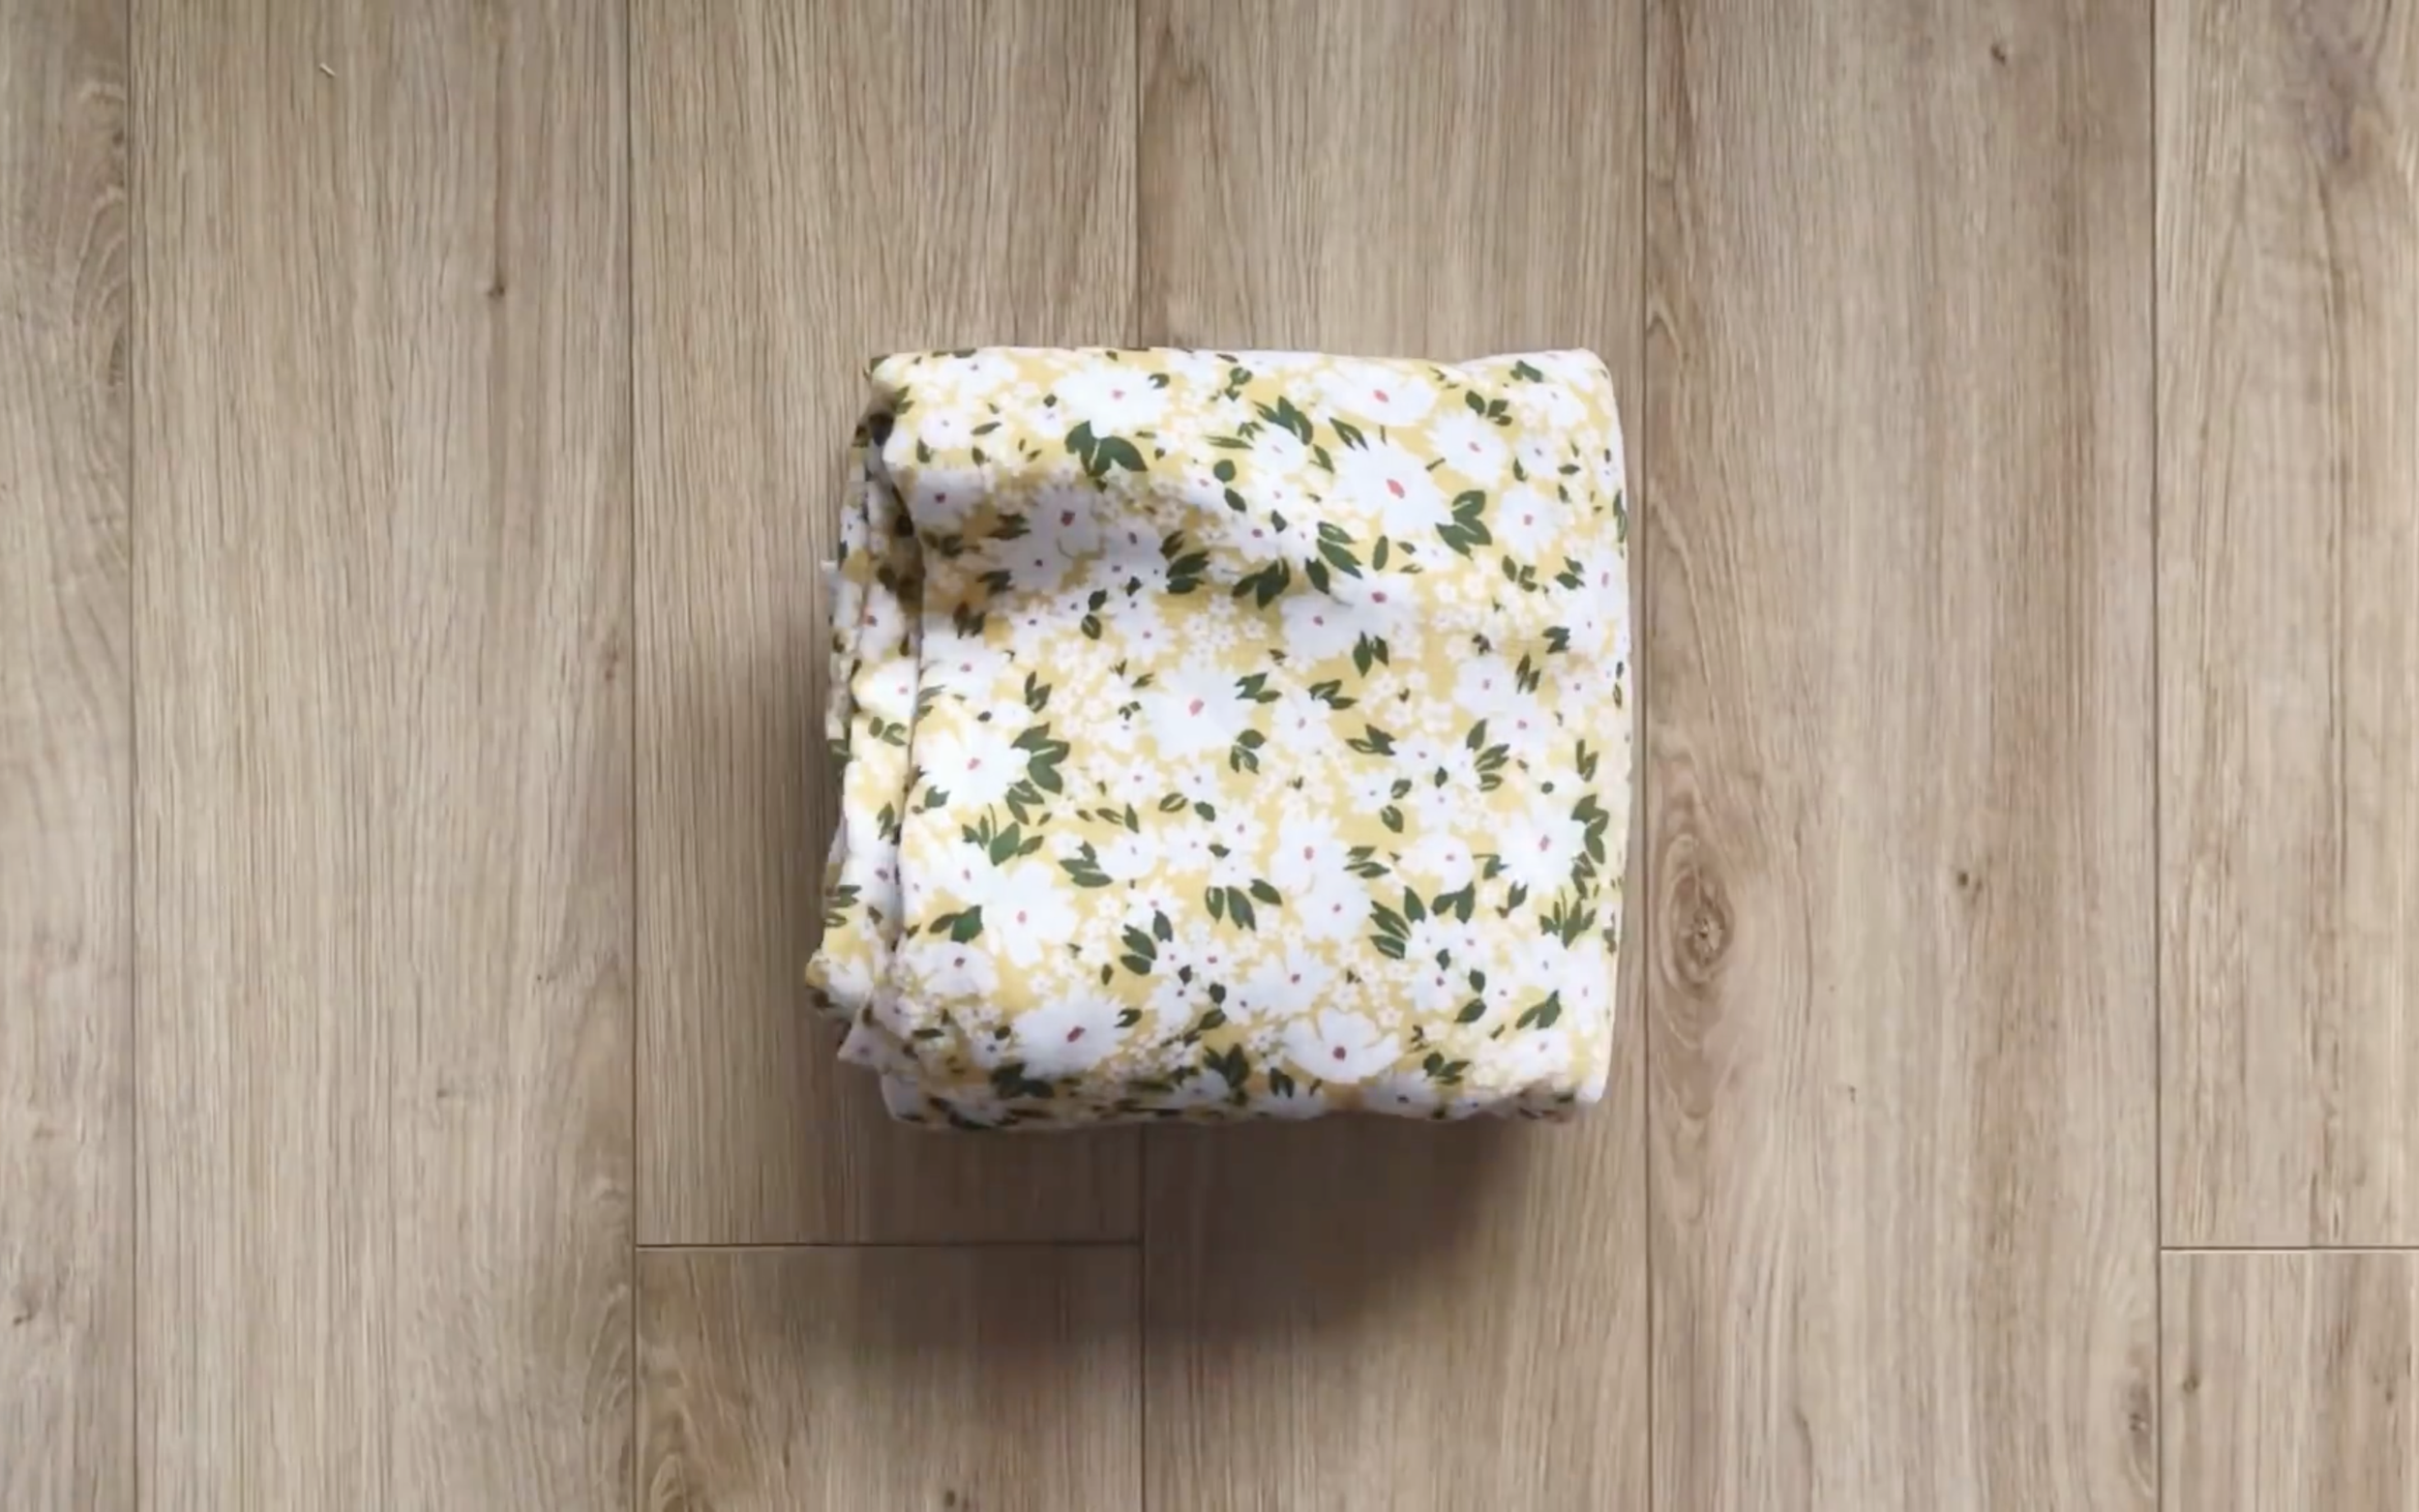
3m of mix cotton & chiffon
Pattern paper
Sewing machine
Pins
Scissors
Ruler
Long stick
Zipper
SEWING THE DRESS
THE TOP PART
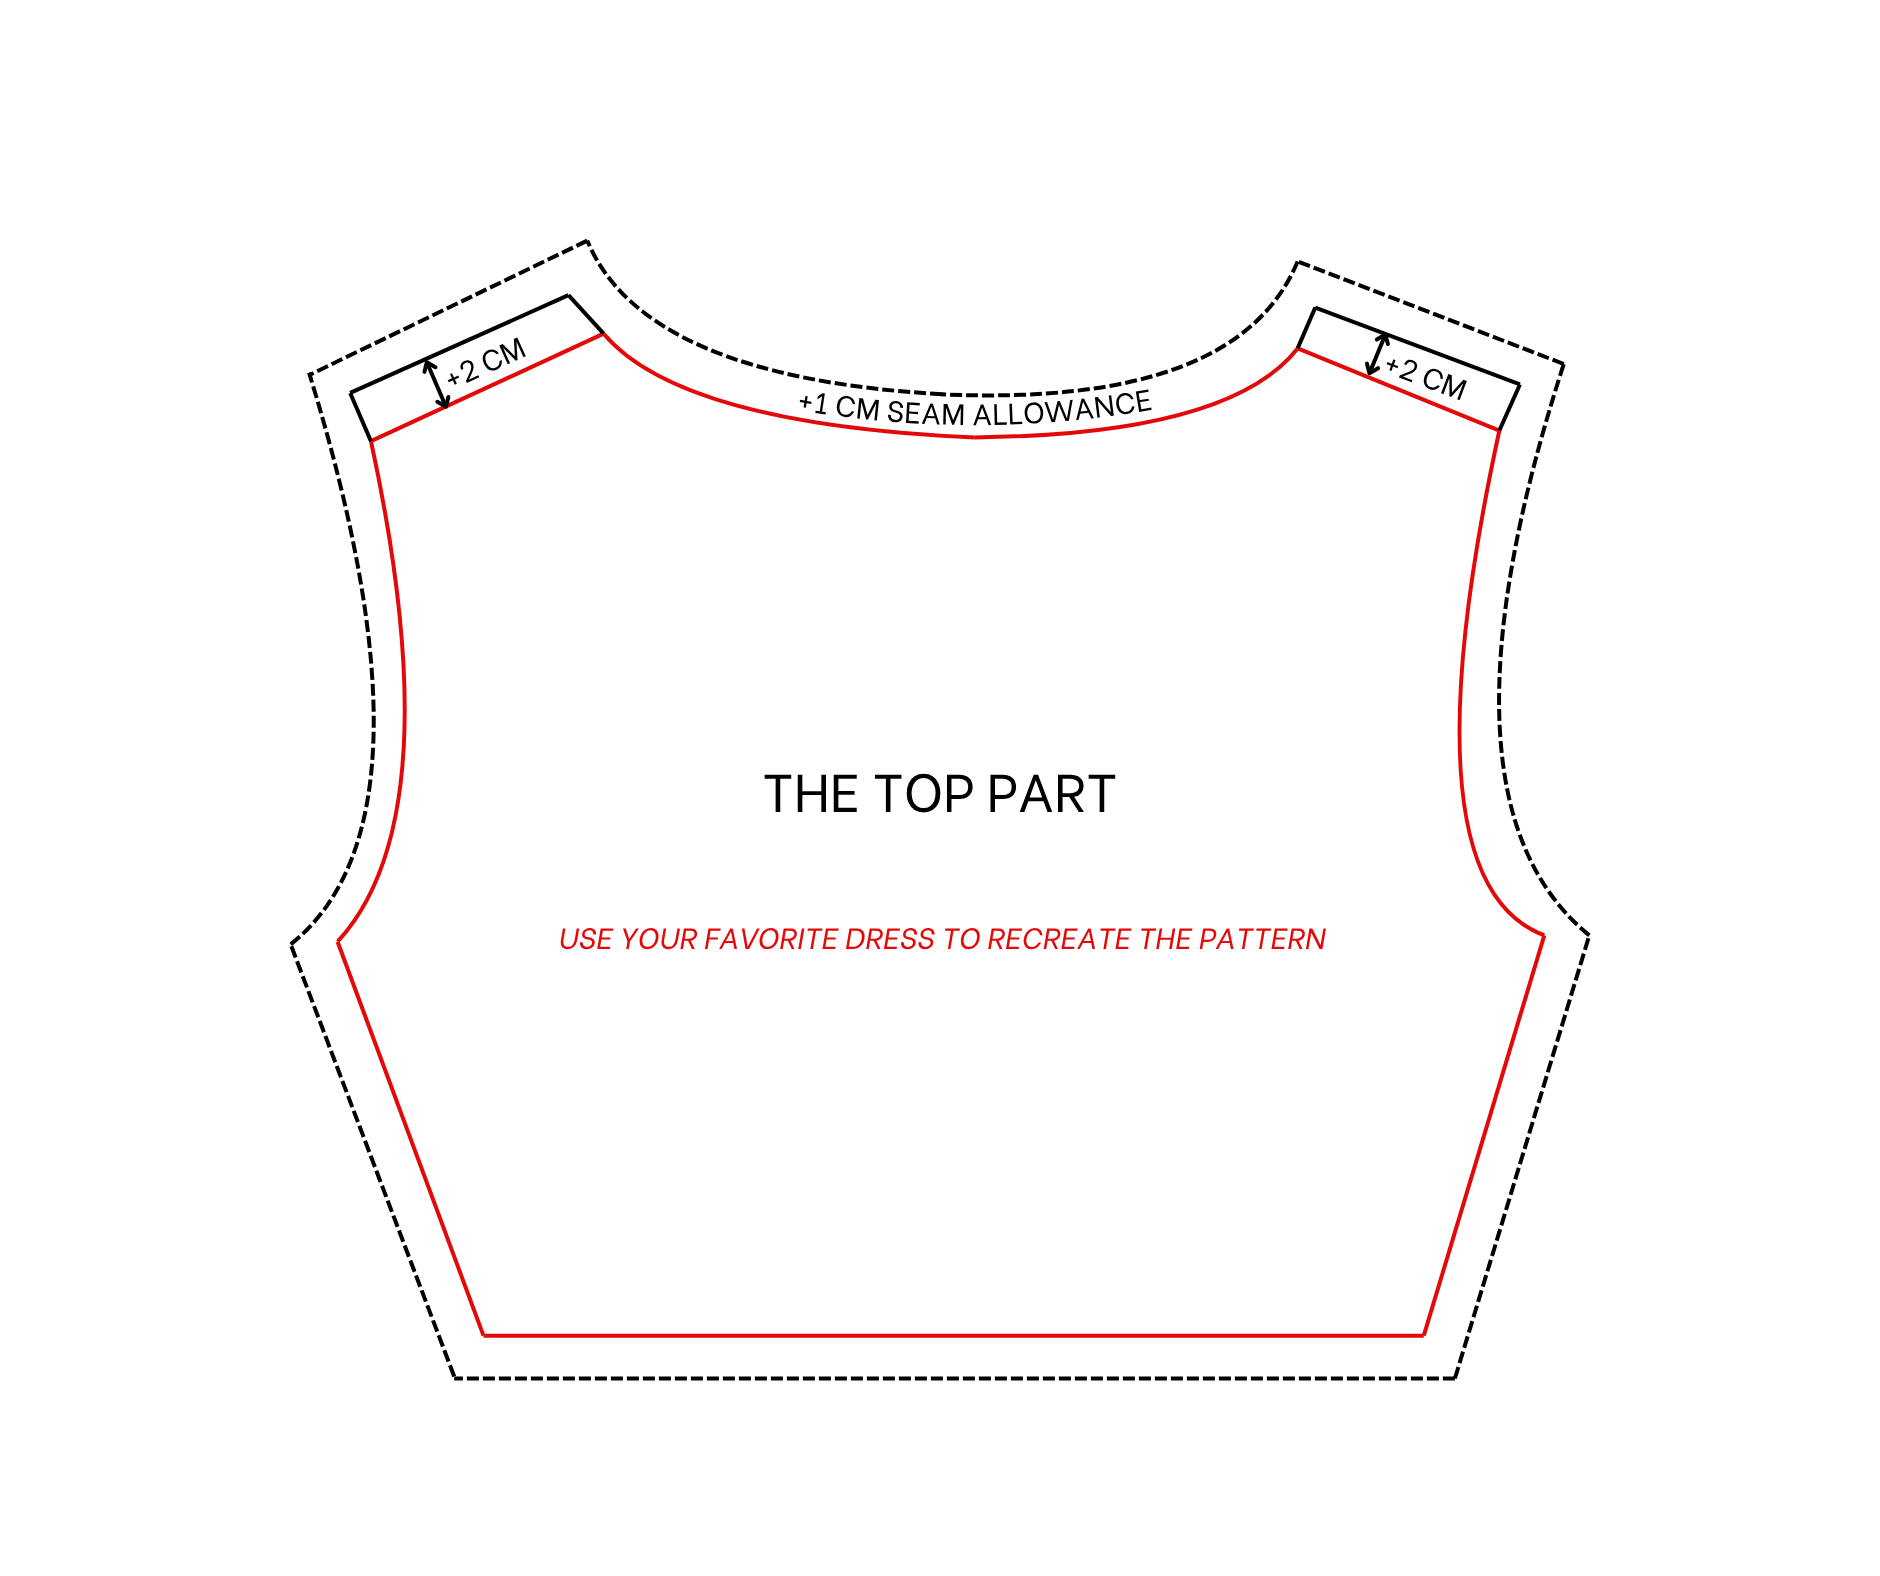
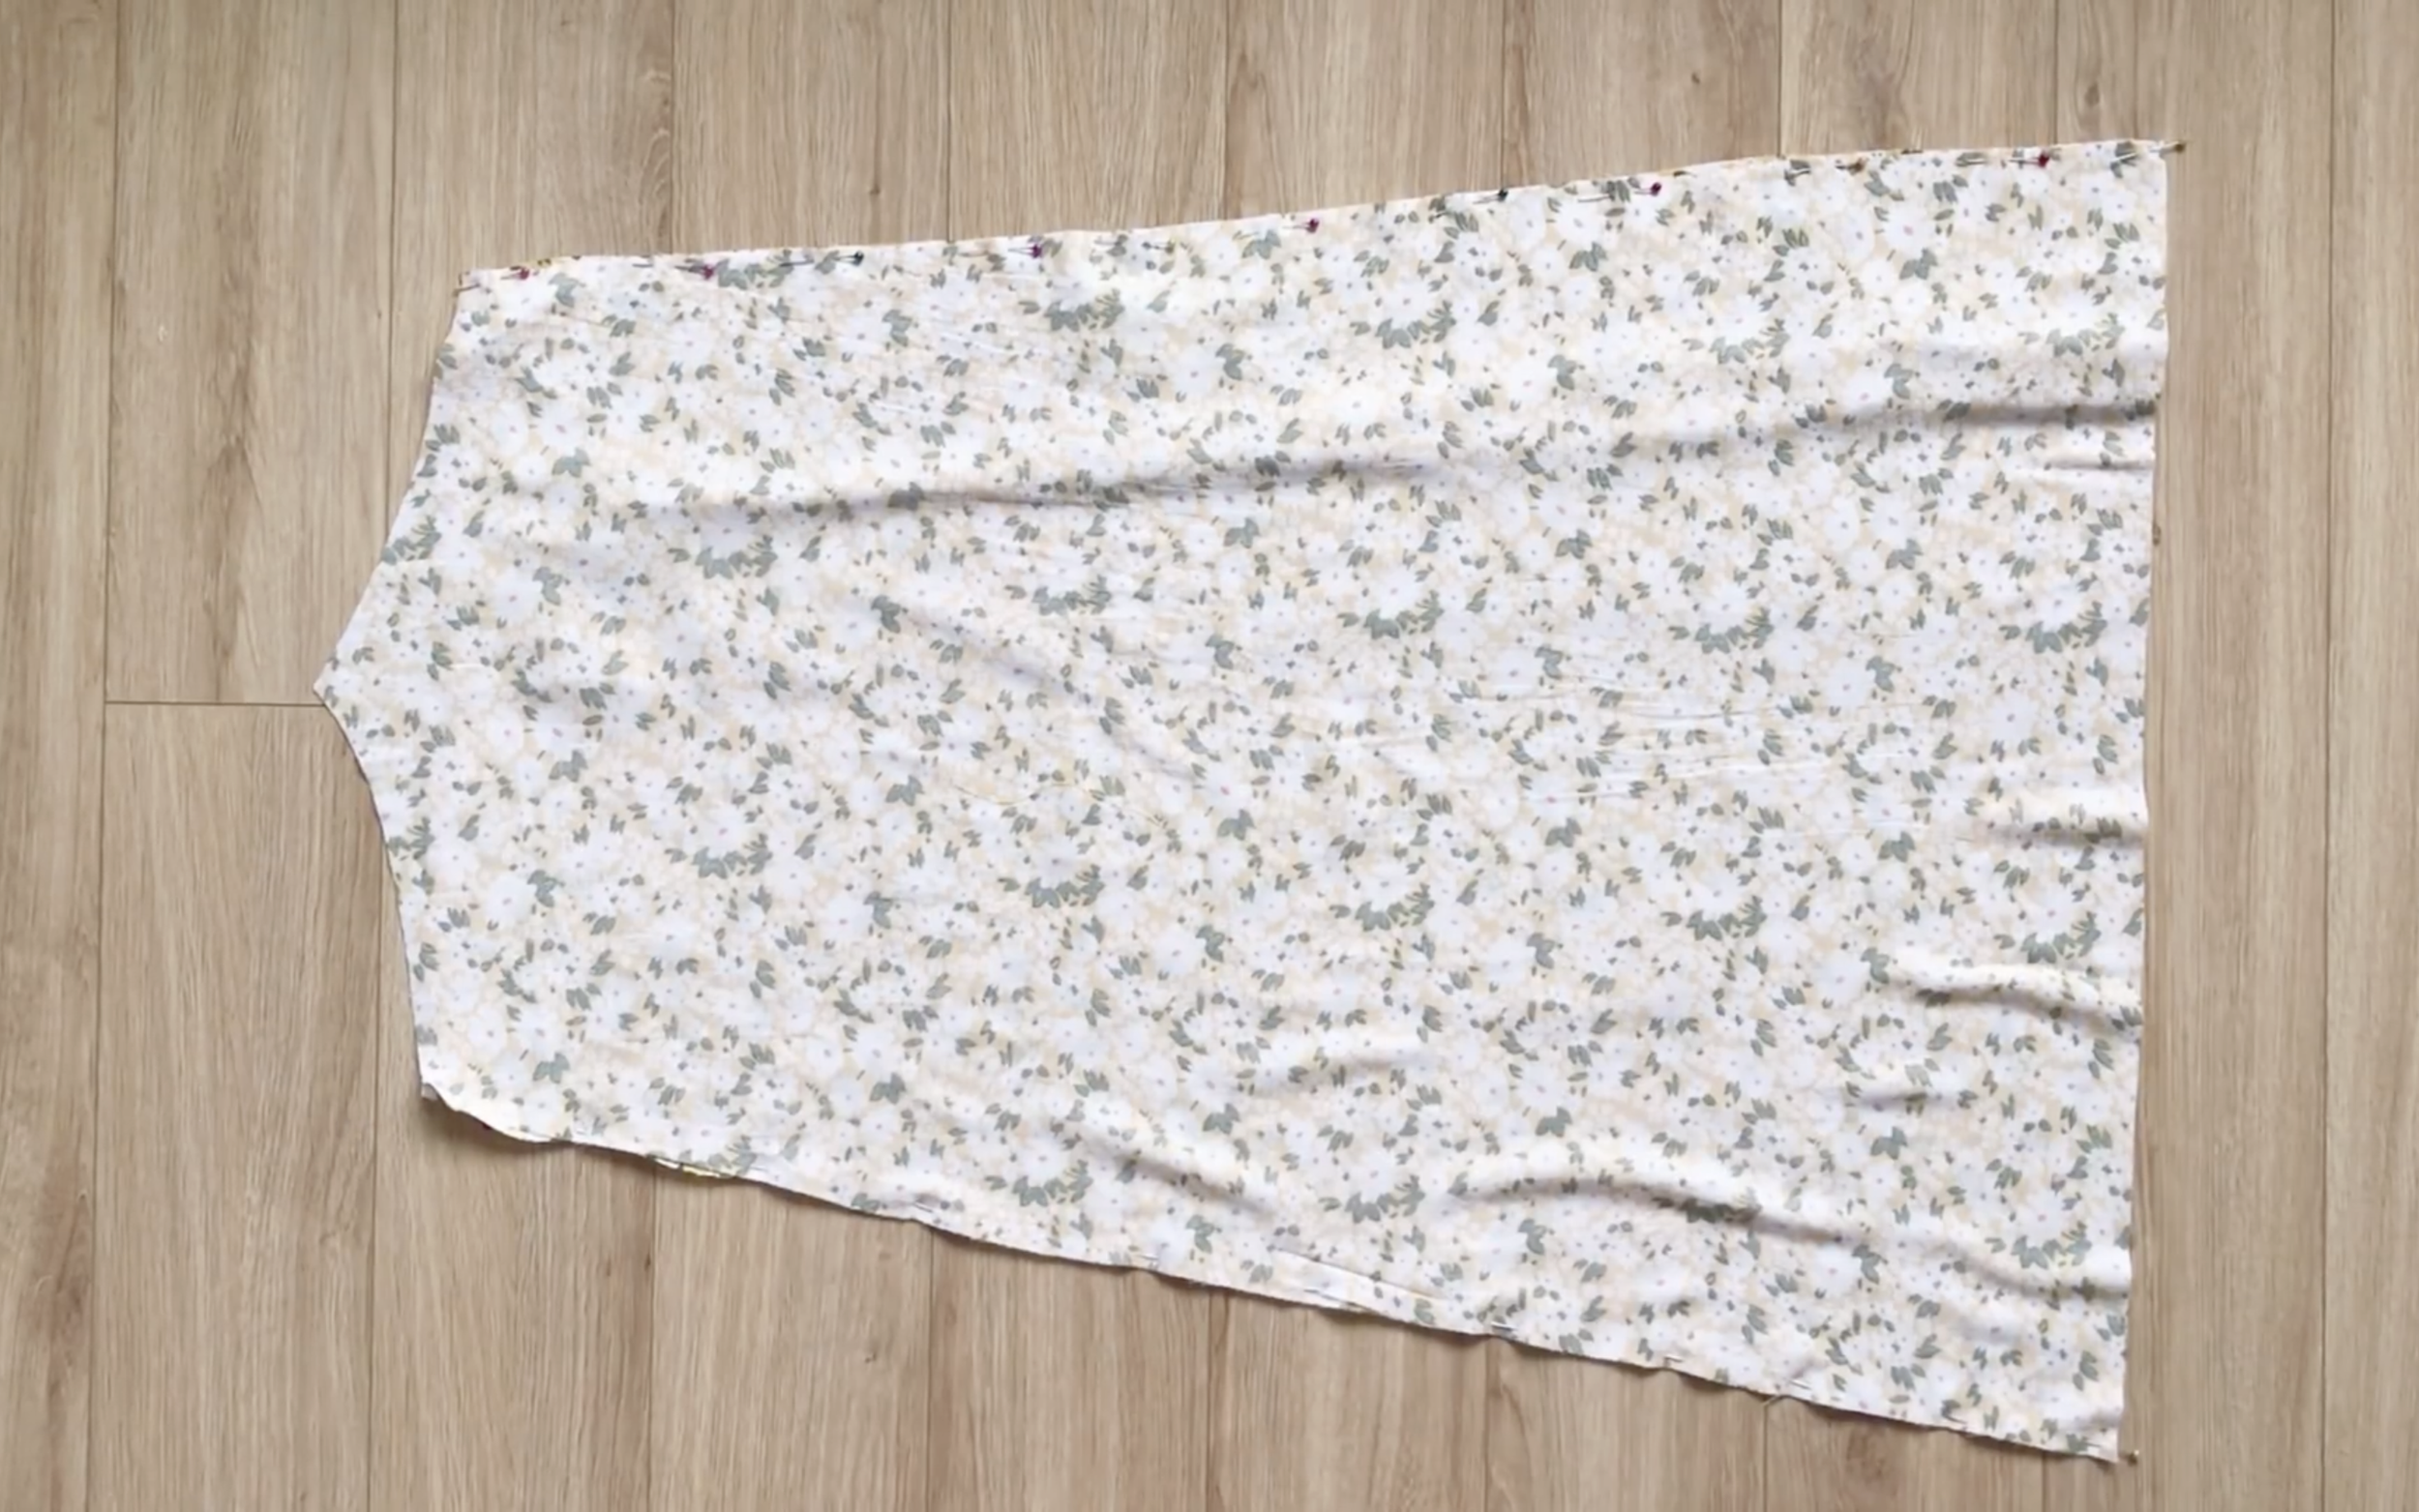
The first step is making the patterns of the dress. Use your favorite dress to recreate the pattern.
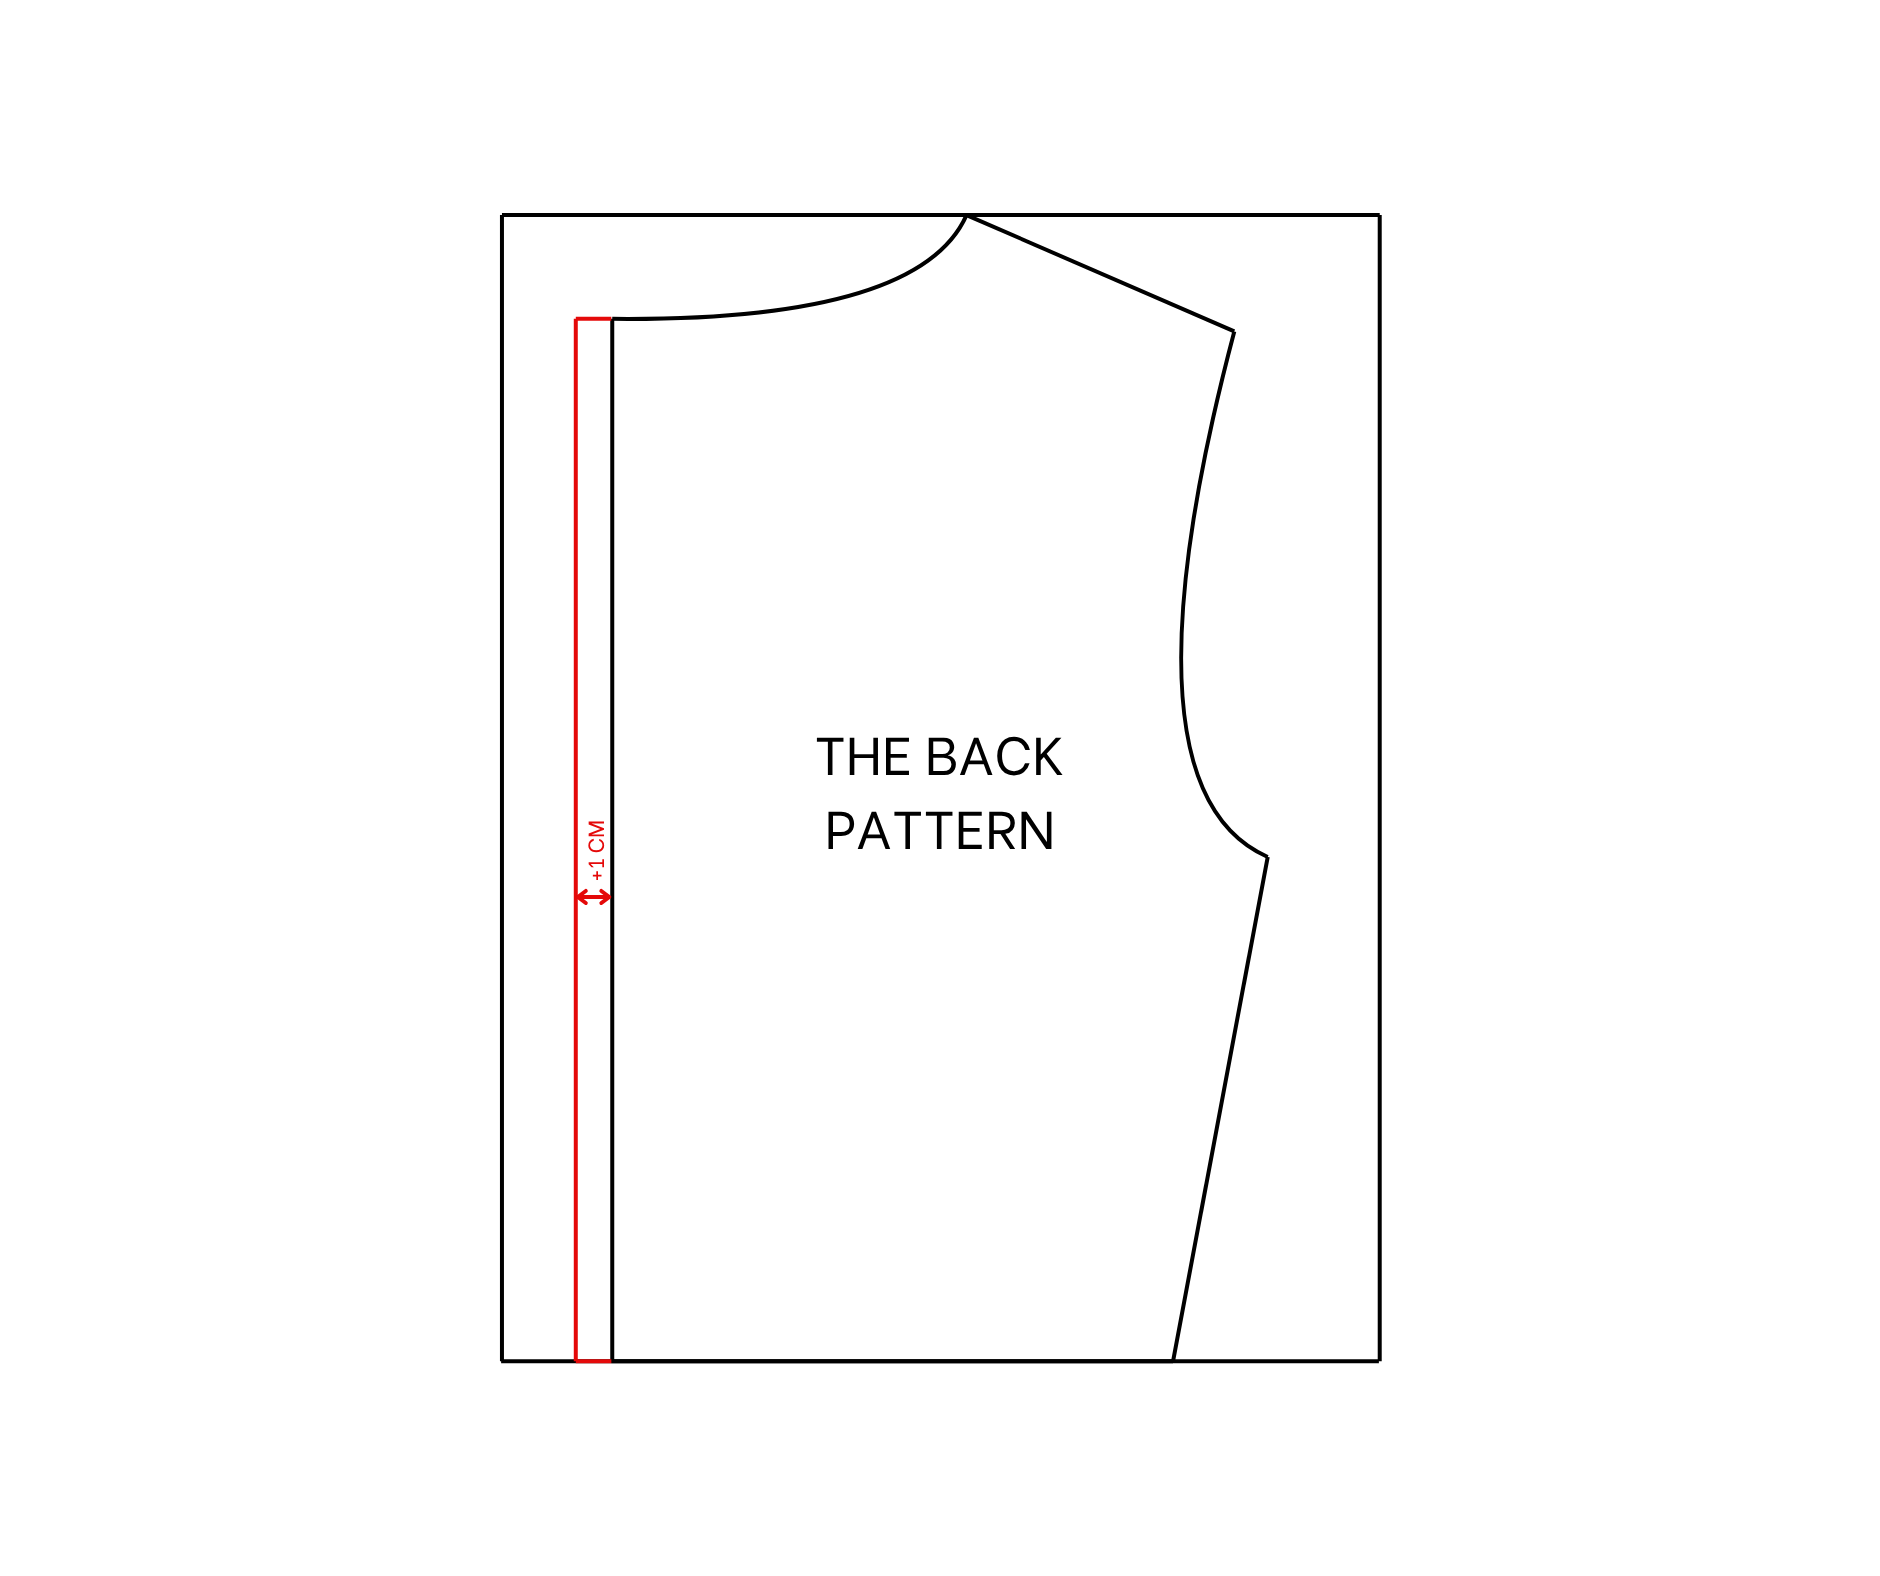
After drawing the back of the dress to the paper, fix the pattern a bit.
Make the shoulder line higher 2 cm for the back pattern.
After that, make the seam allowance at 1 cm outside the current line and cut along the seam allowance line later.
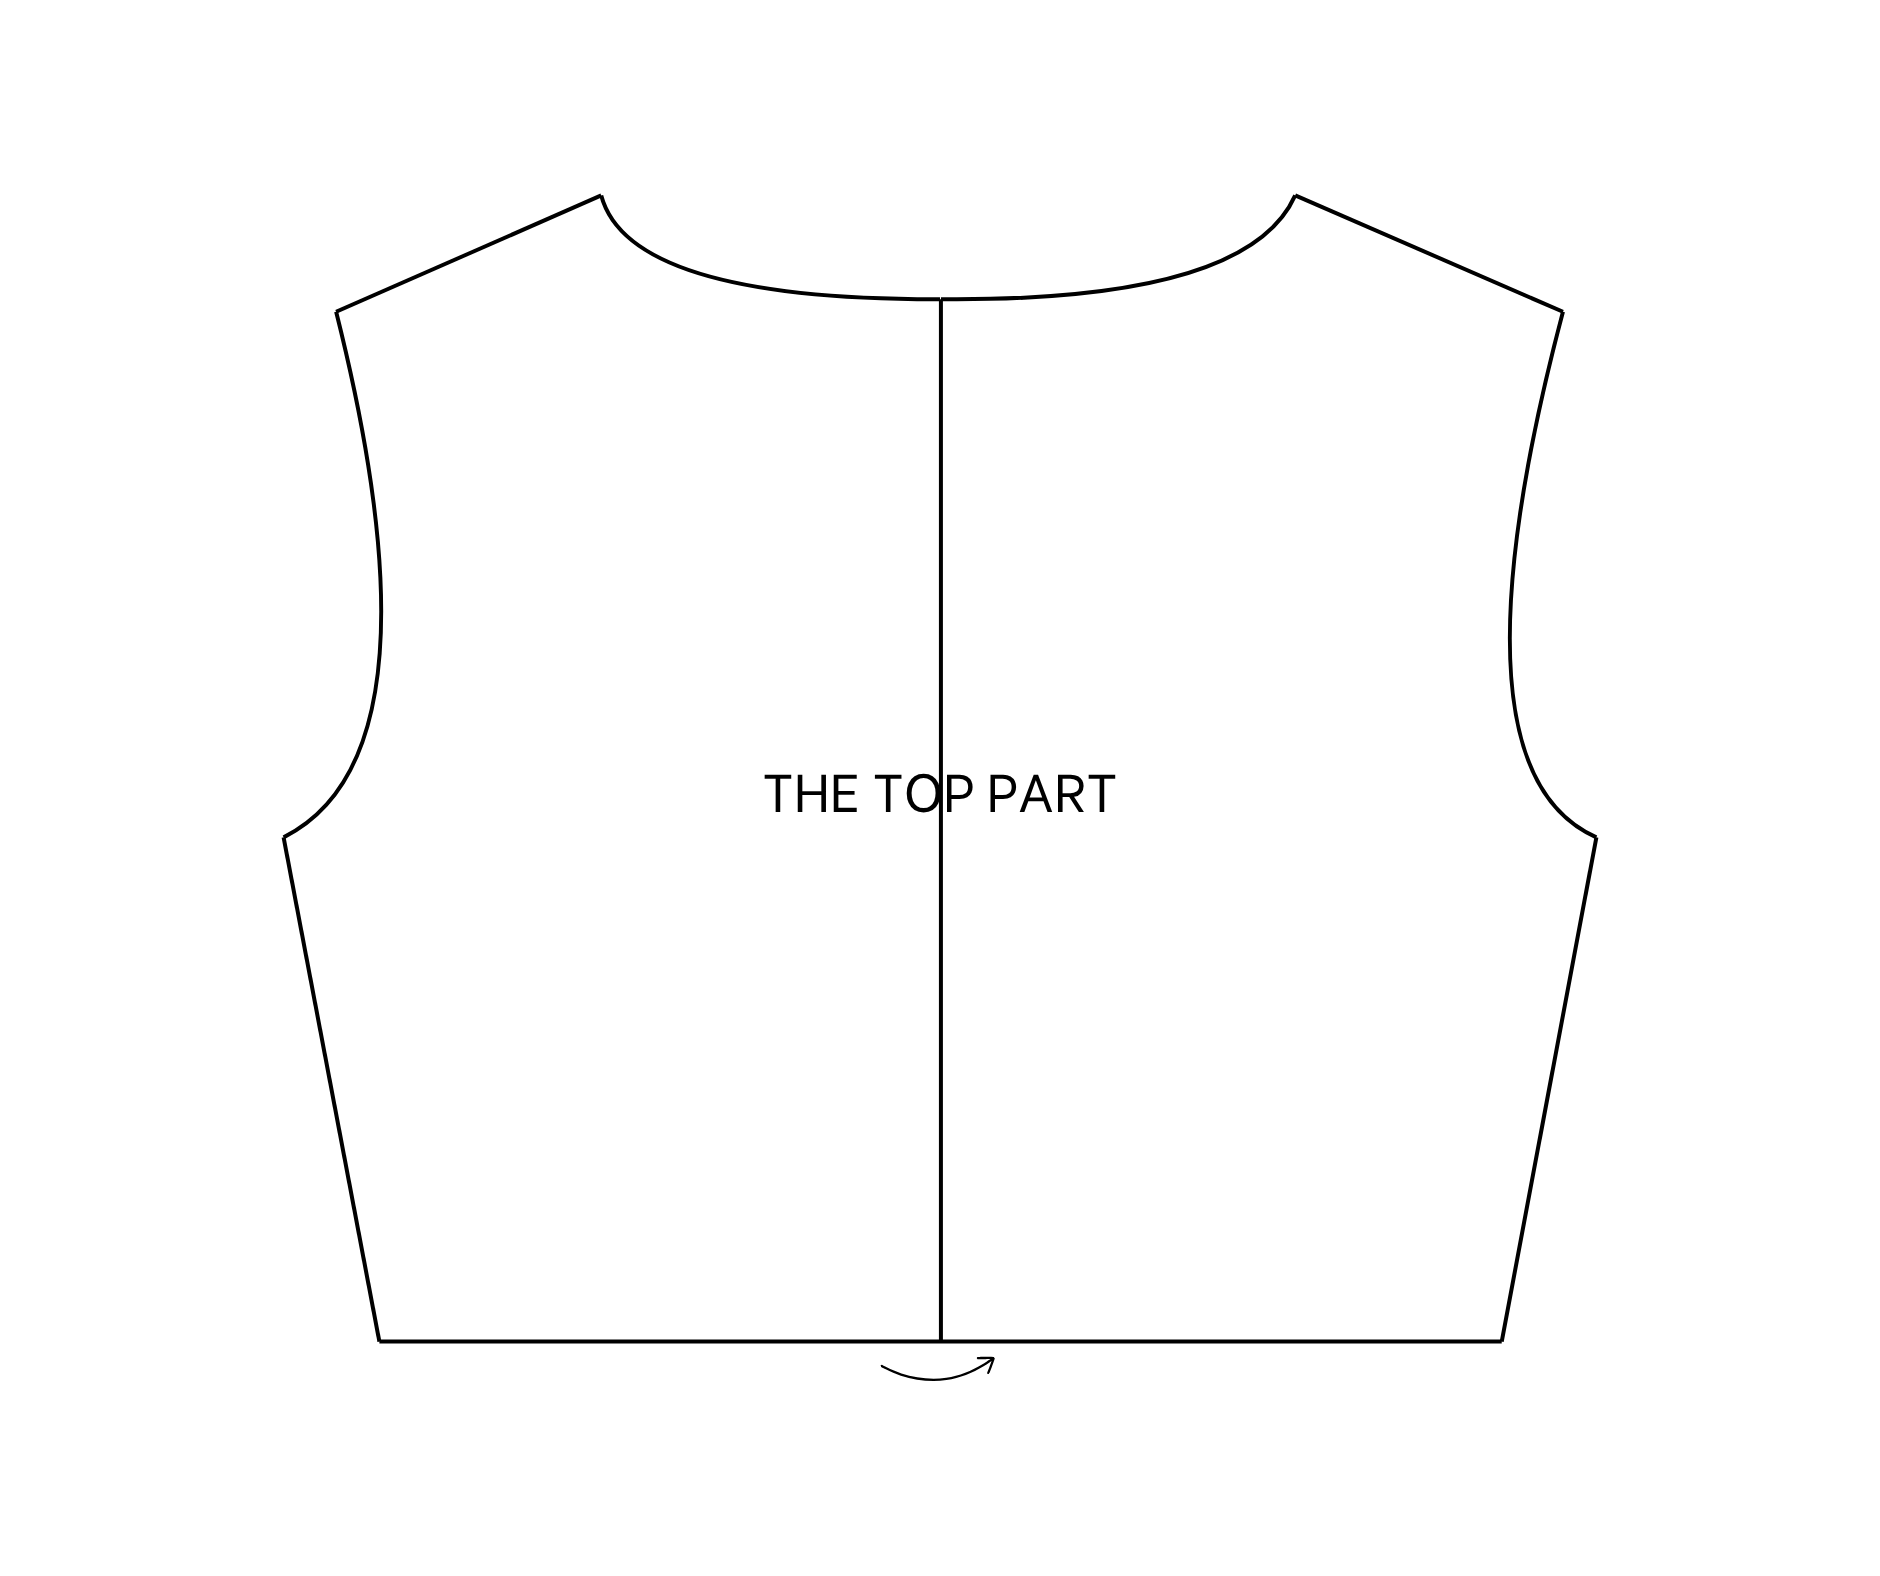
After having the pattern, fold it in half and draw the new one.
At the middle of the half pattern, make a new line at 1 cm outside it for seam allowance later. This will be the zipper area for the back of the dress.
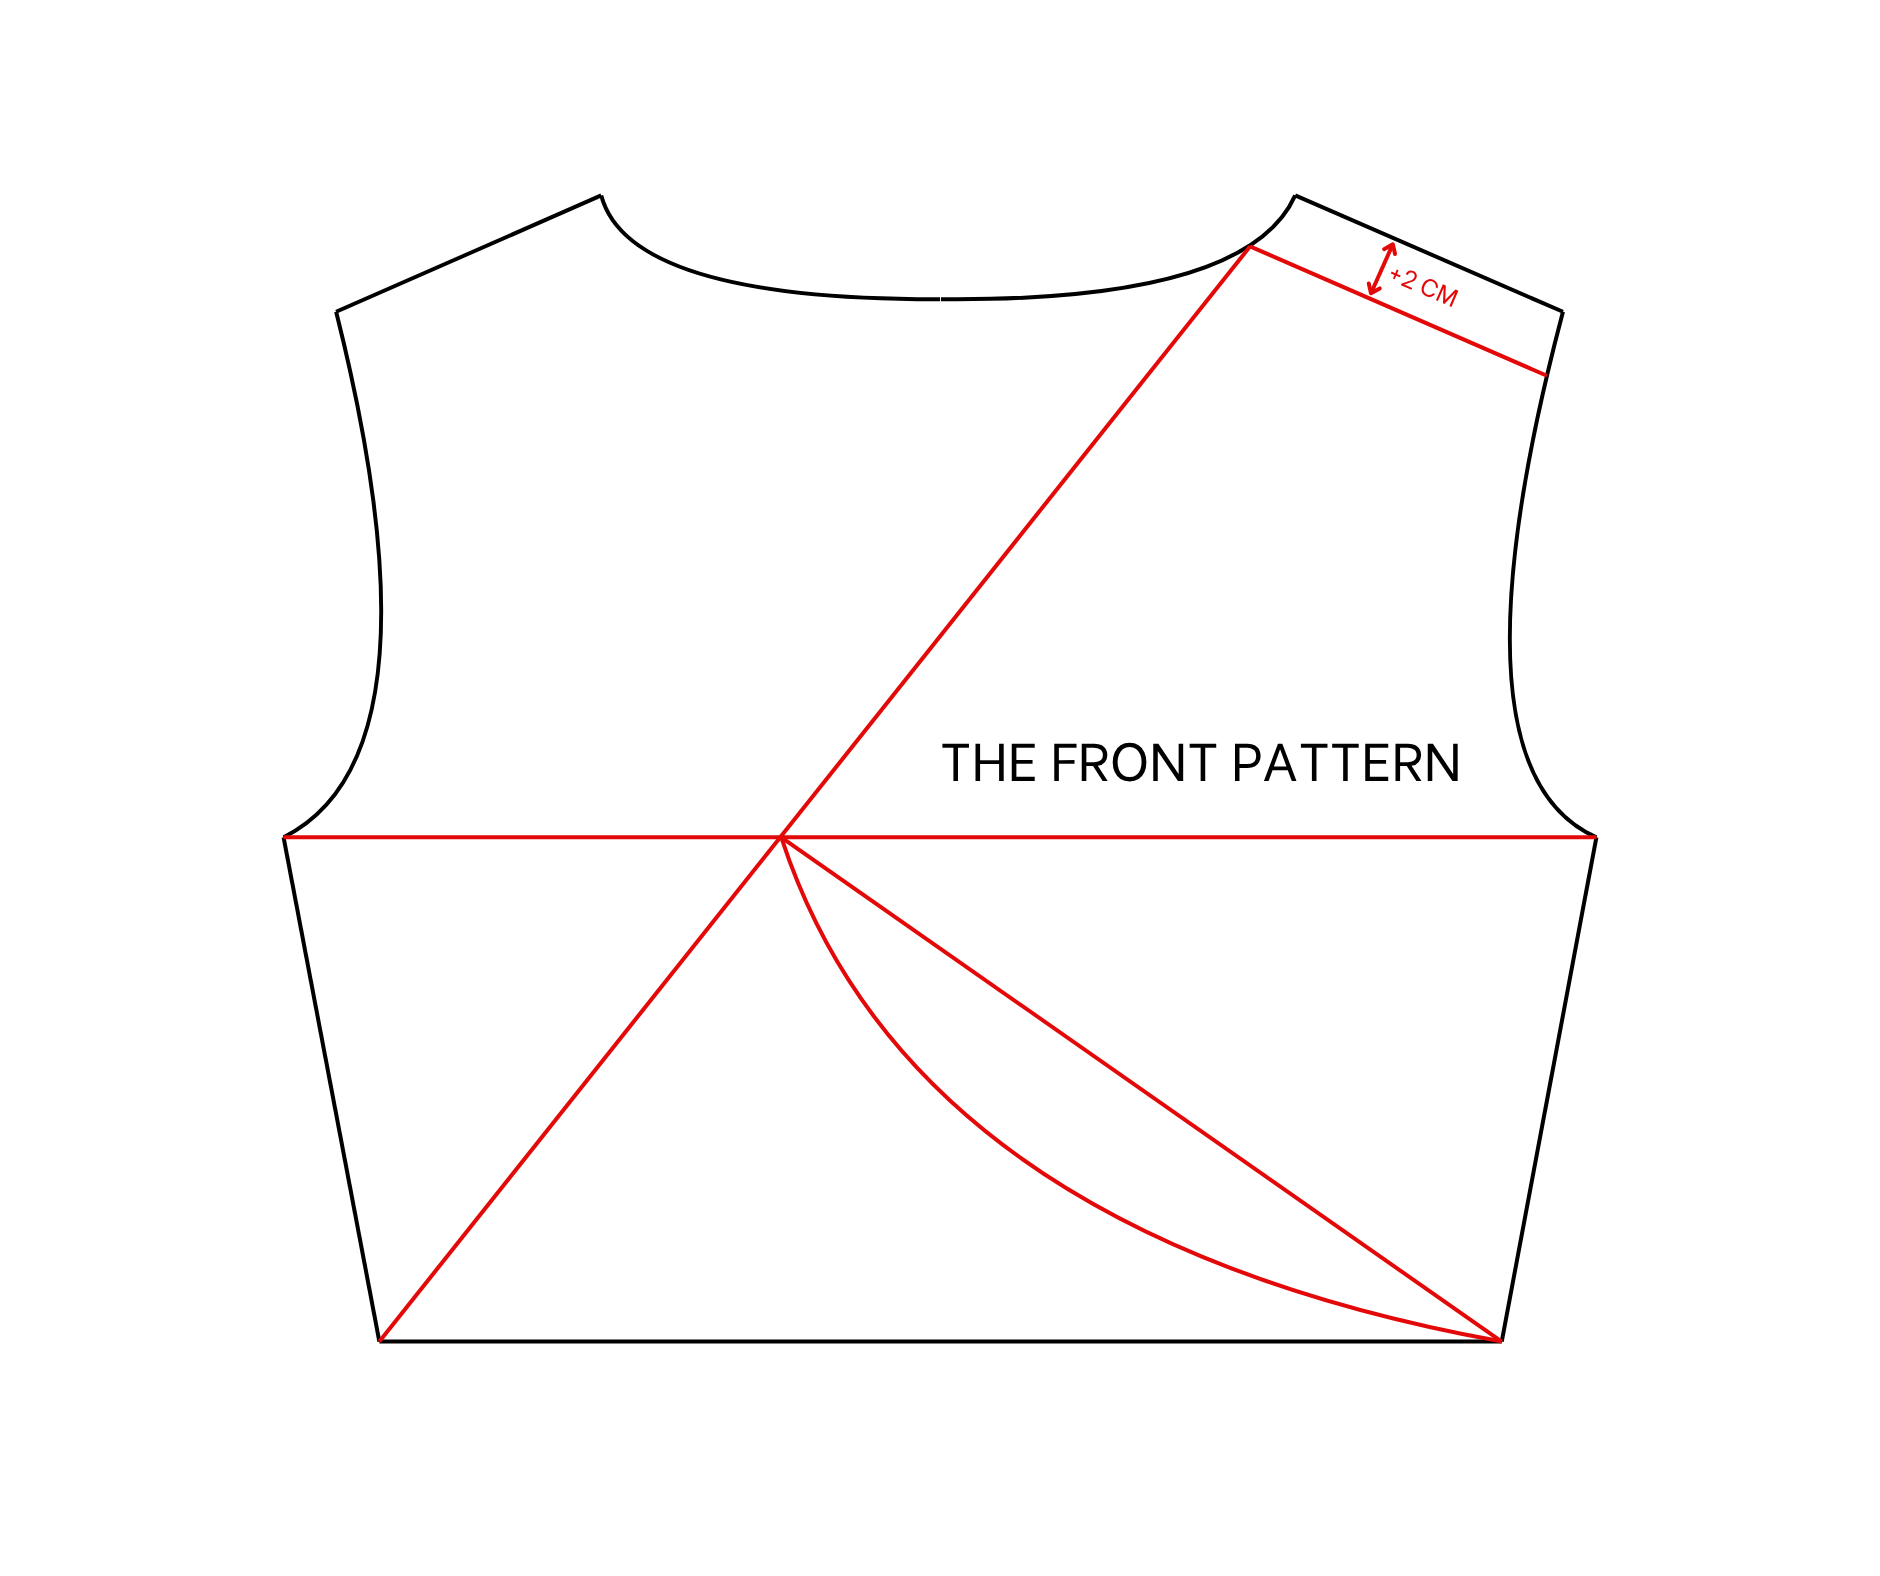
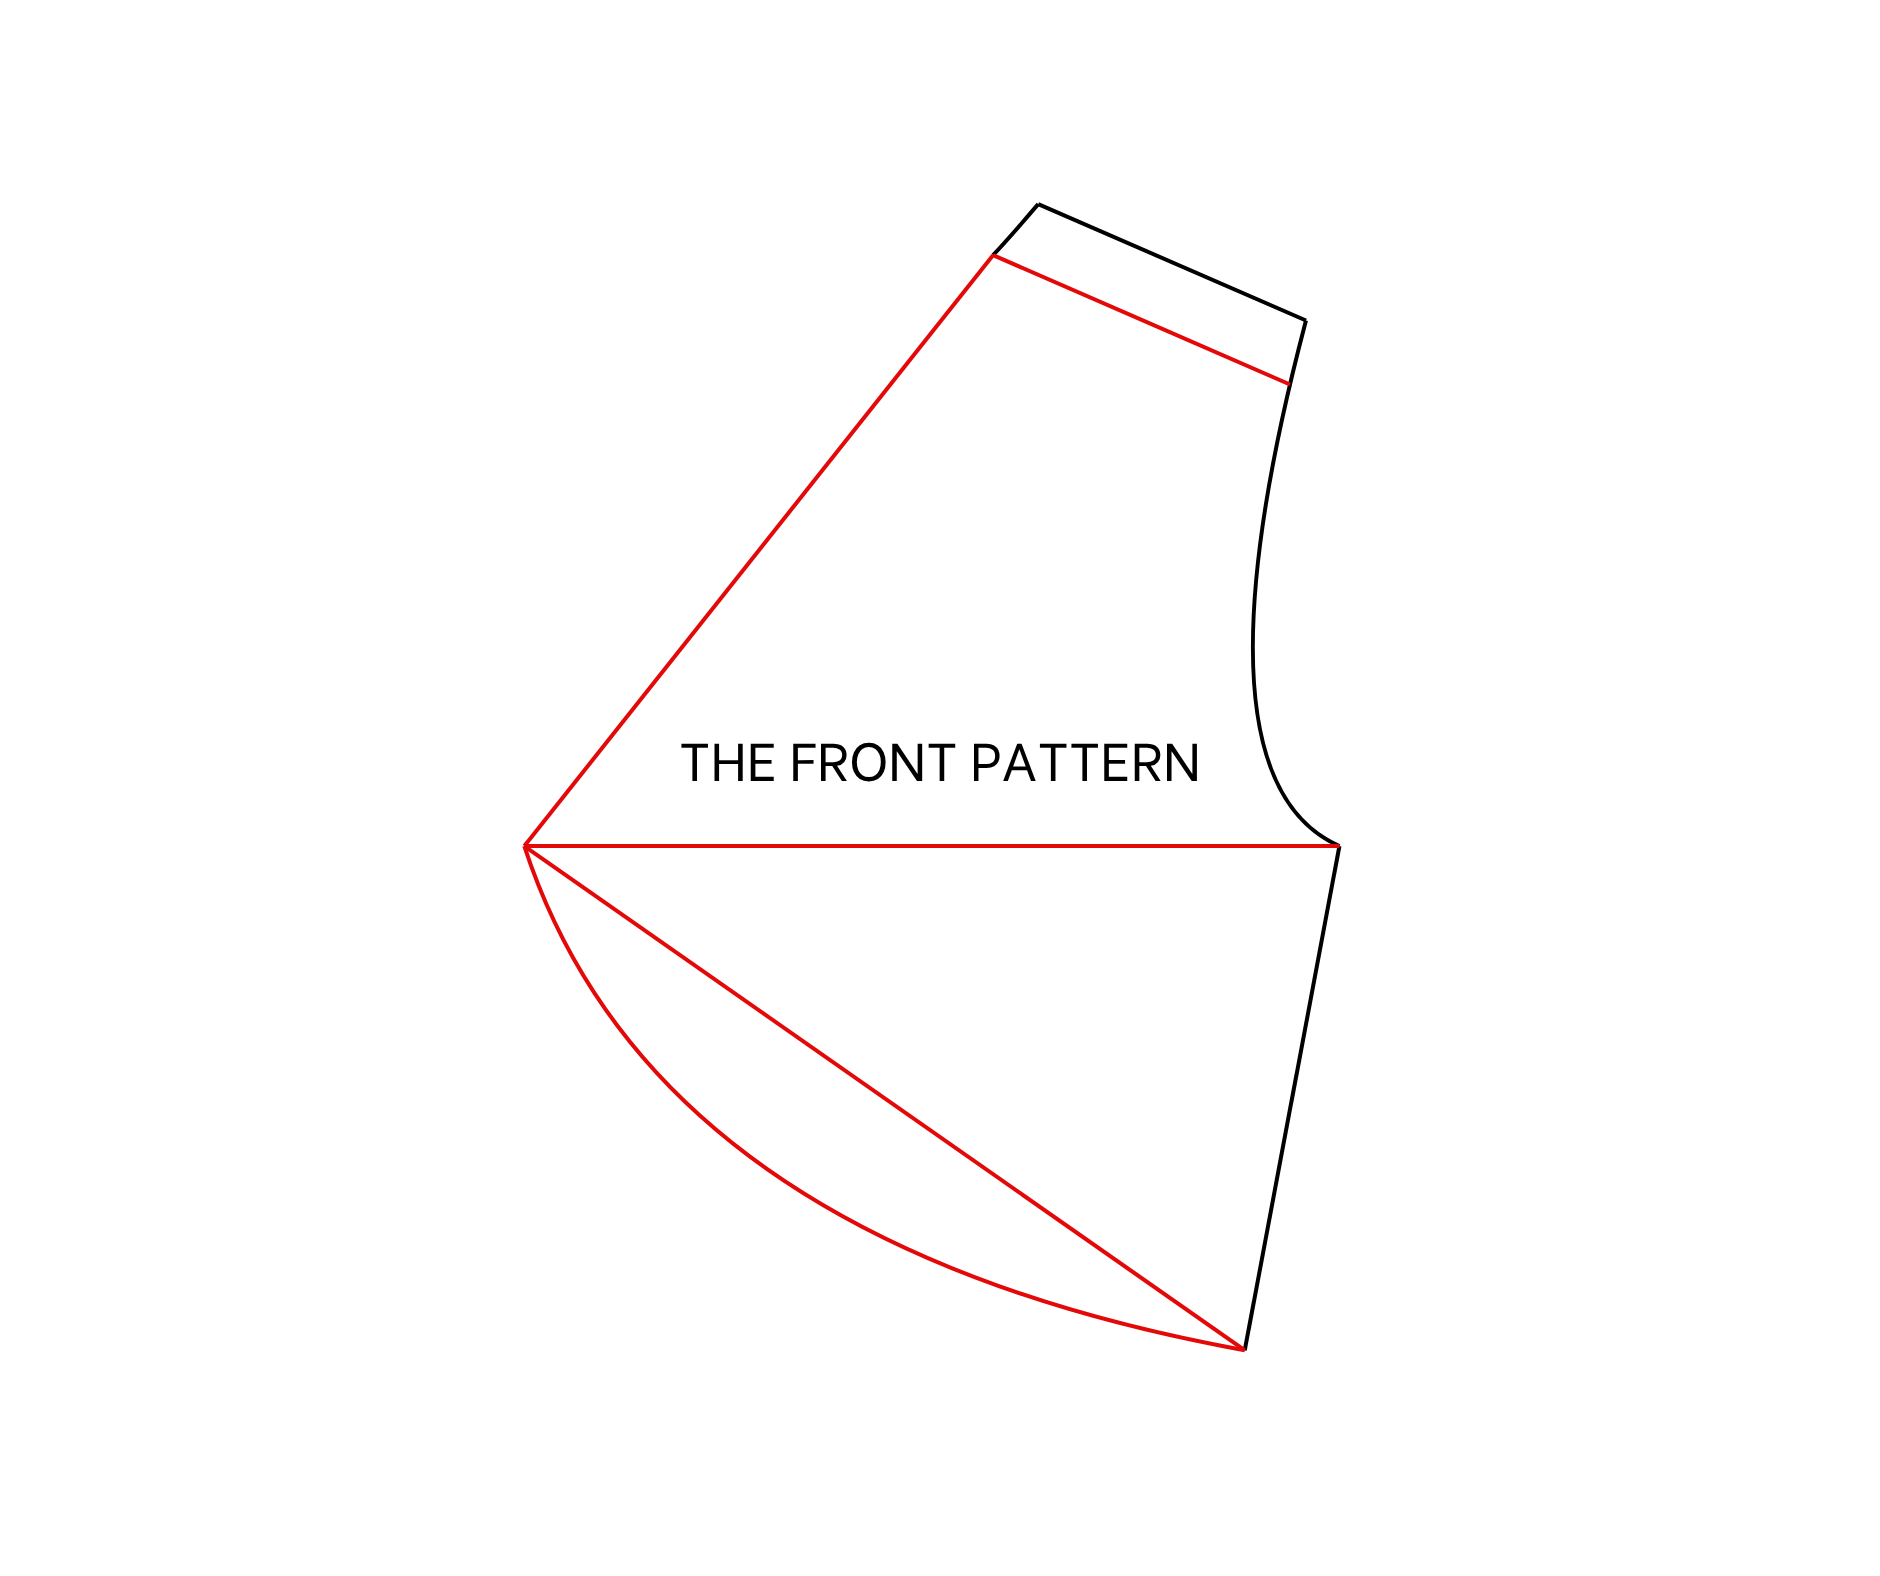
For the front of the dress, use the first pattern to make it.
Move down the shoulder line of the back pattern 2 cm for the front pattern.
Then, draw a straight line under two armpits later.
Draw another line from one end of the shoulder line to the end of the bodice at the other side, so this line will cut the straight line drawn before that.
From the meeting point between them, draw a curved line to connect to the other end of the pattern to create a bustier area.
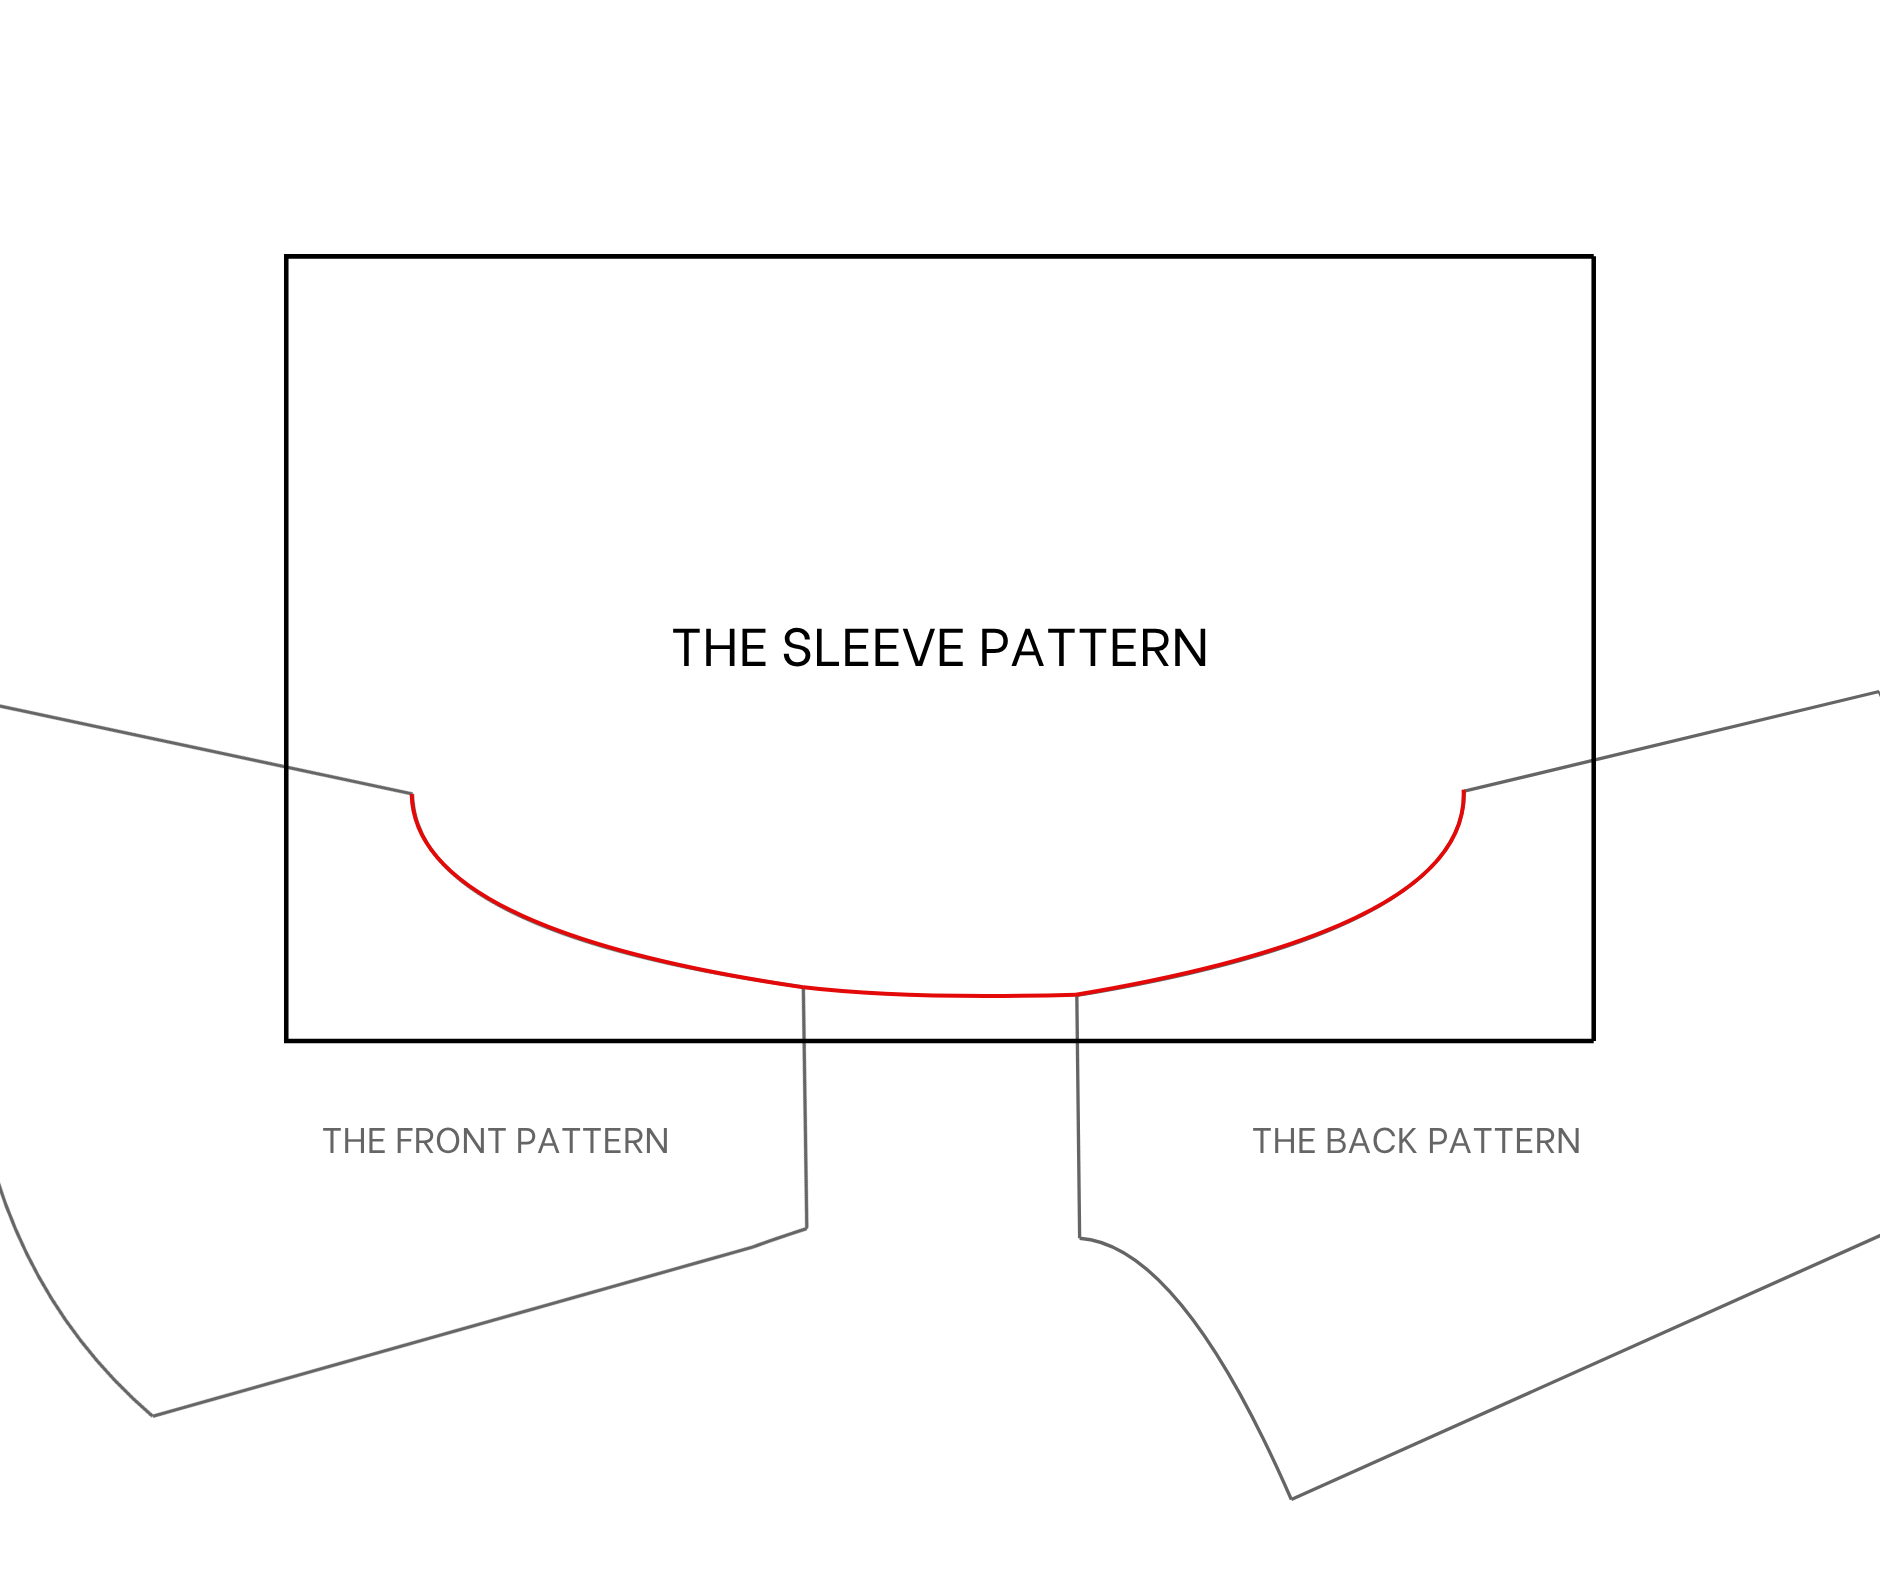
THE SLEEVE PART
To create puffiness at the top of the sleeve, move two parts of the dress far away from each other a bit. The further you move, the puffier you will have.
After that, draw a straight line at two ends of the curved line, then mark at 18 cm at each line. It is the length of the sleeve that is wanted.

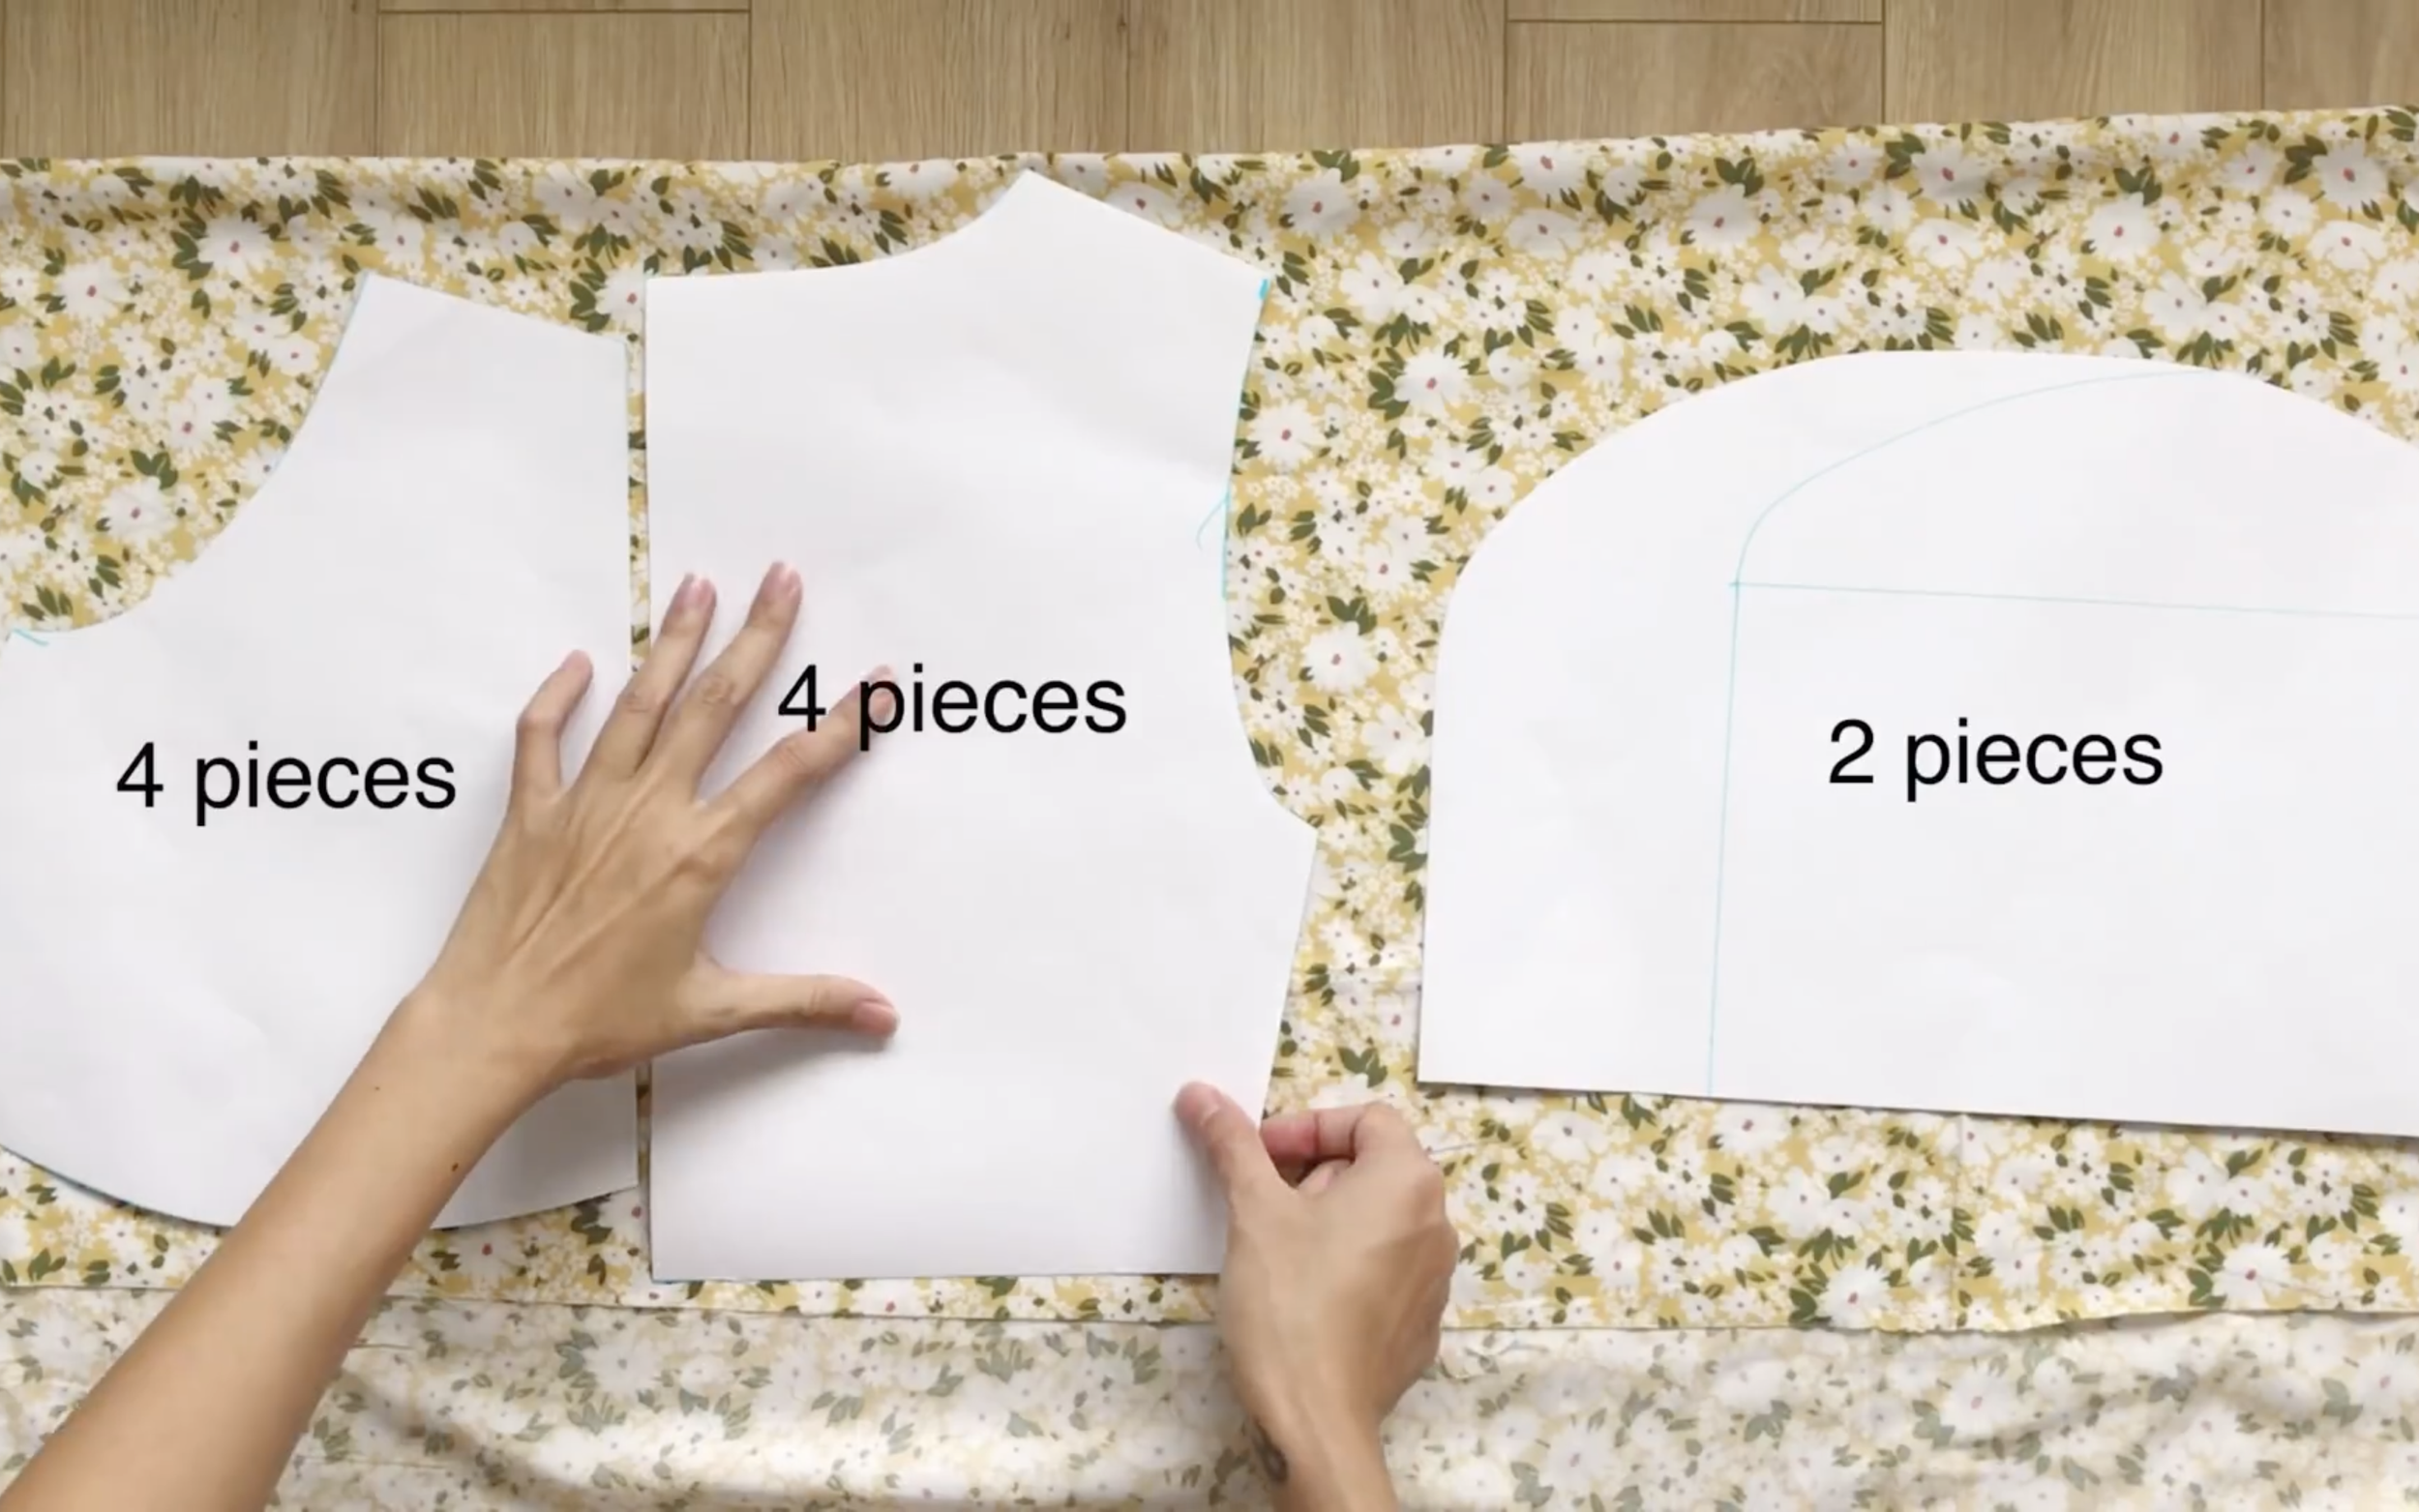
Now, apply the pattern to the fabric and draw. Remember to cut four pieces for the front patterns, four pieces for the back patterns, and two pieces for the sleeve pattern.
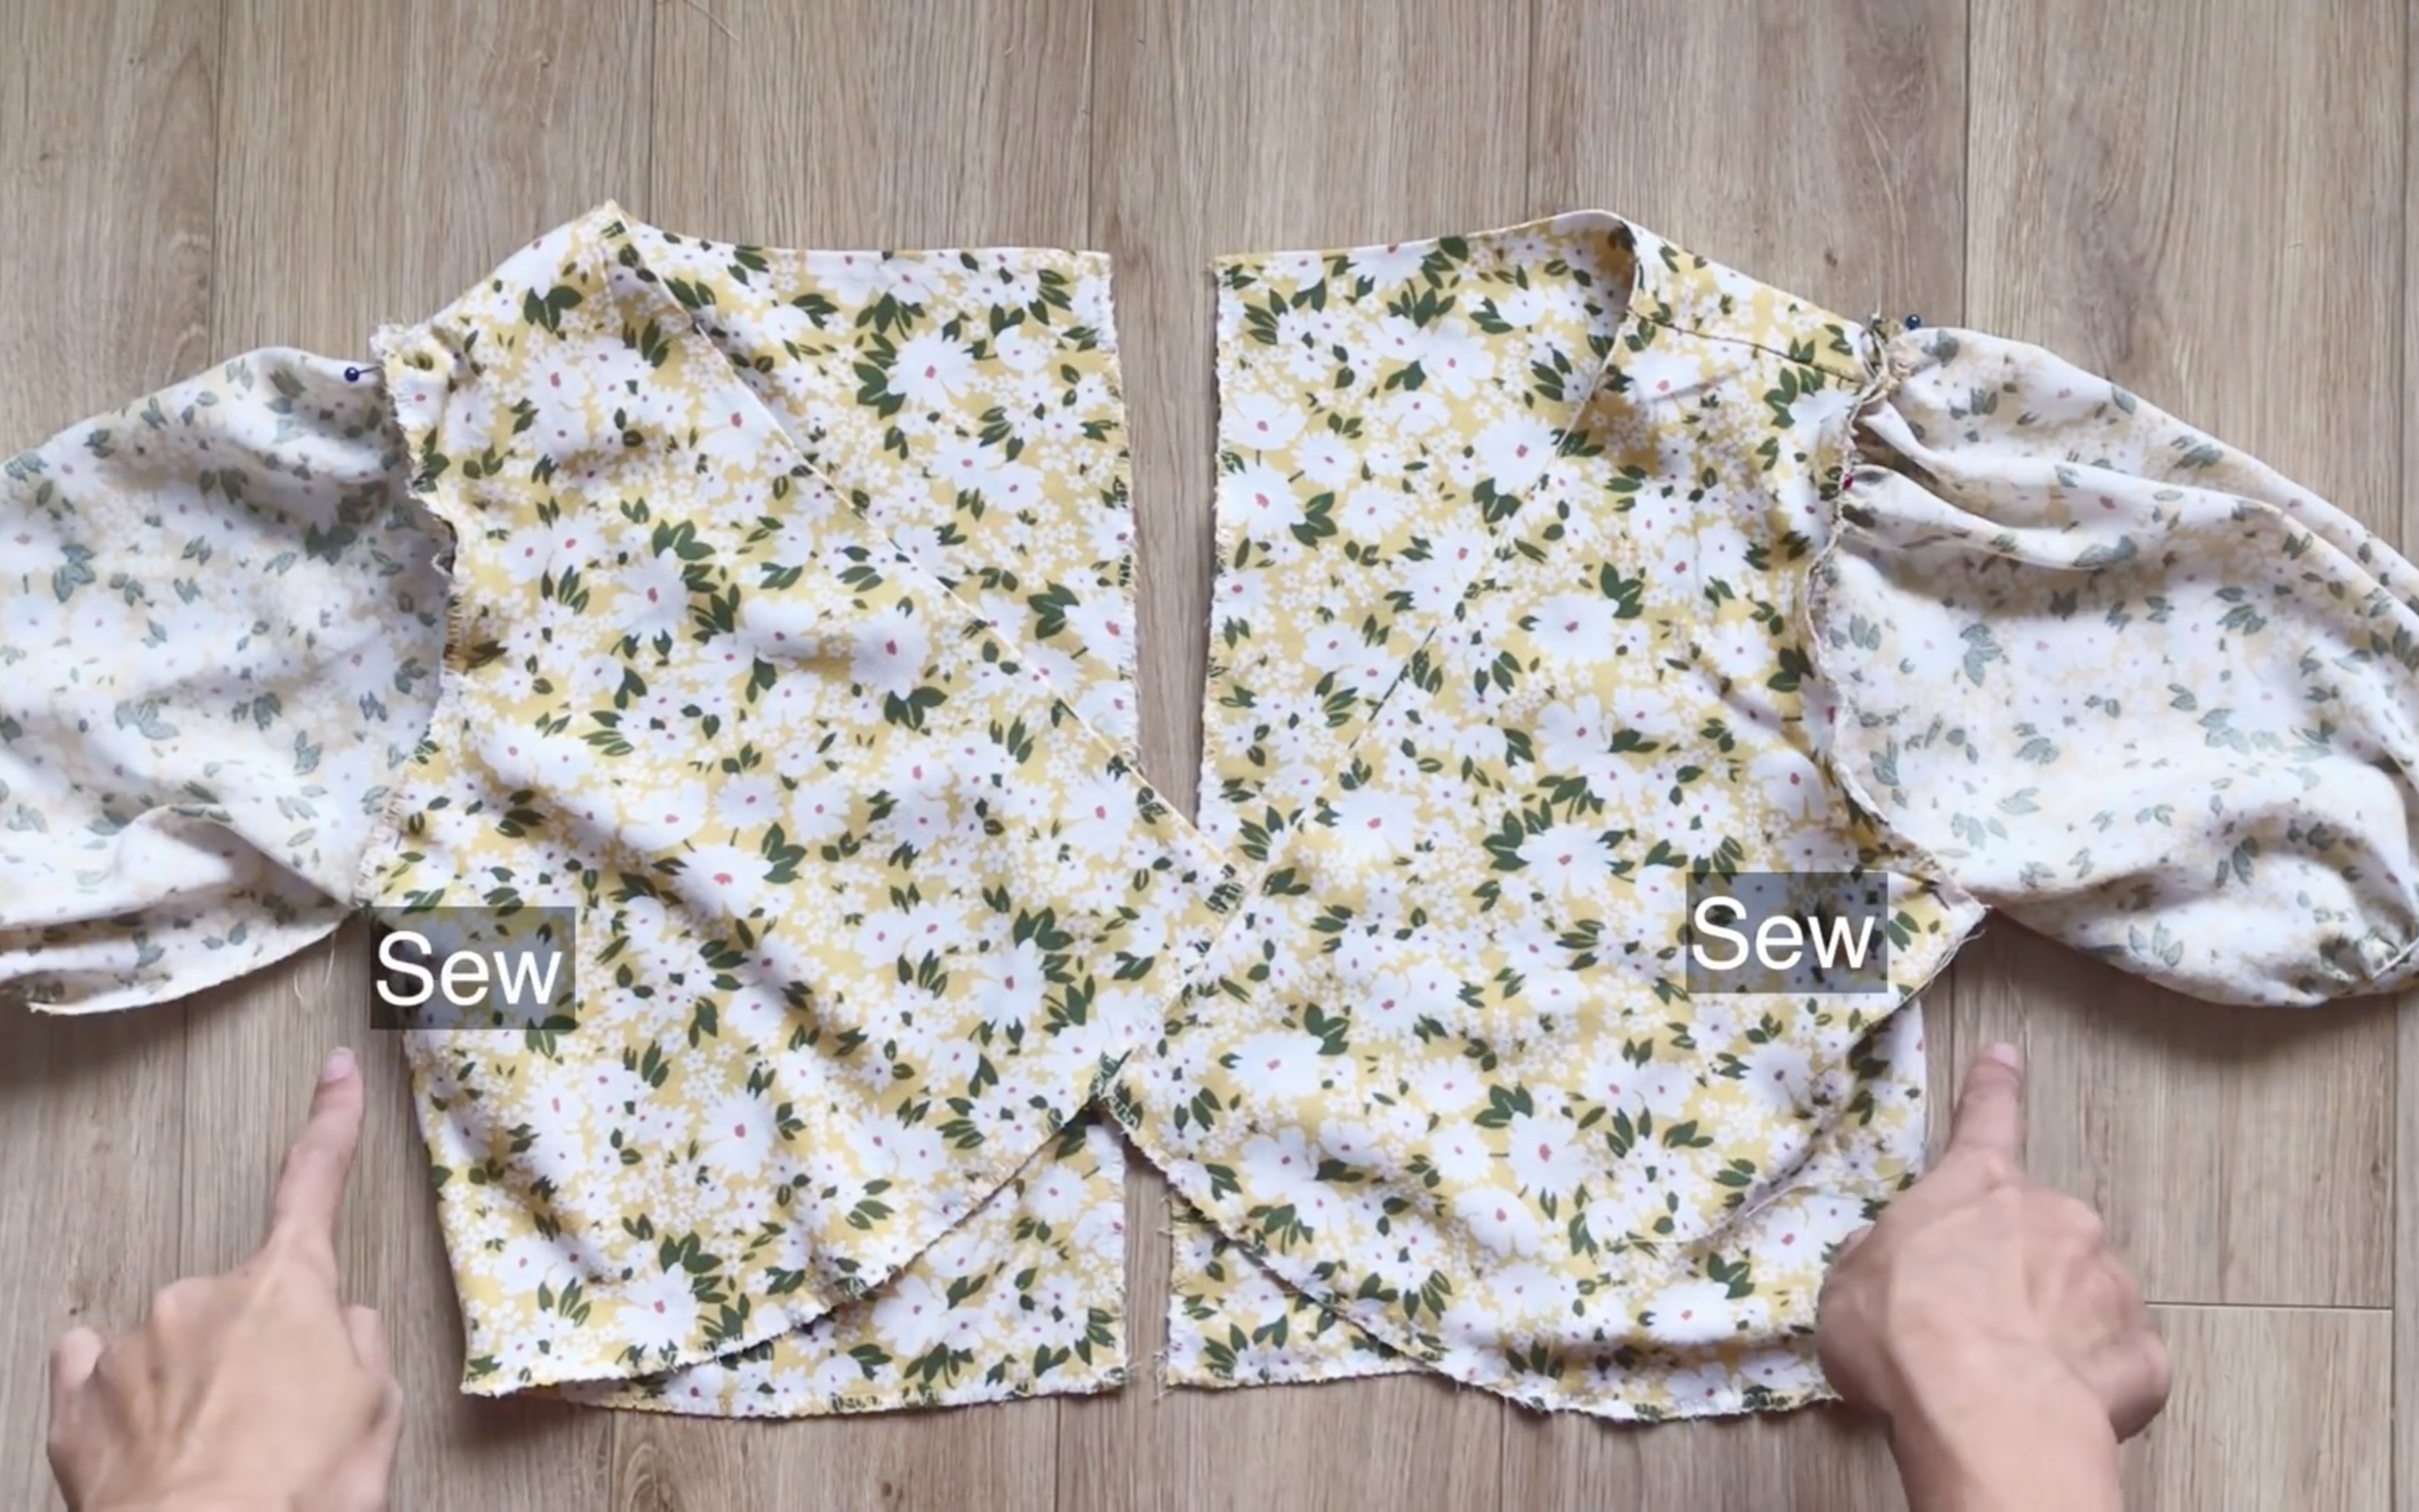
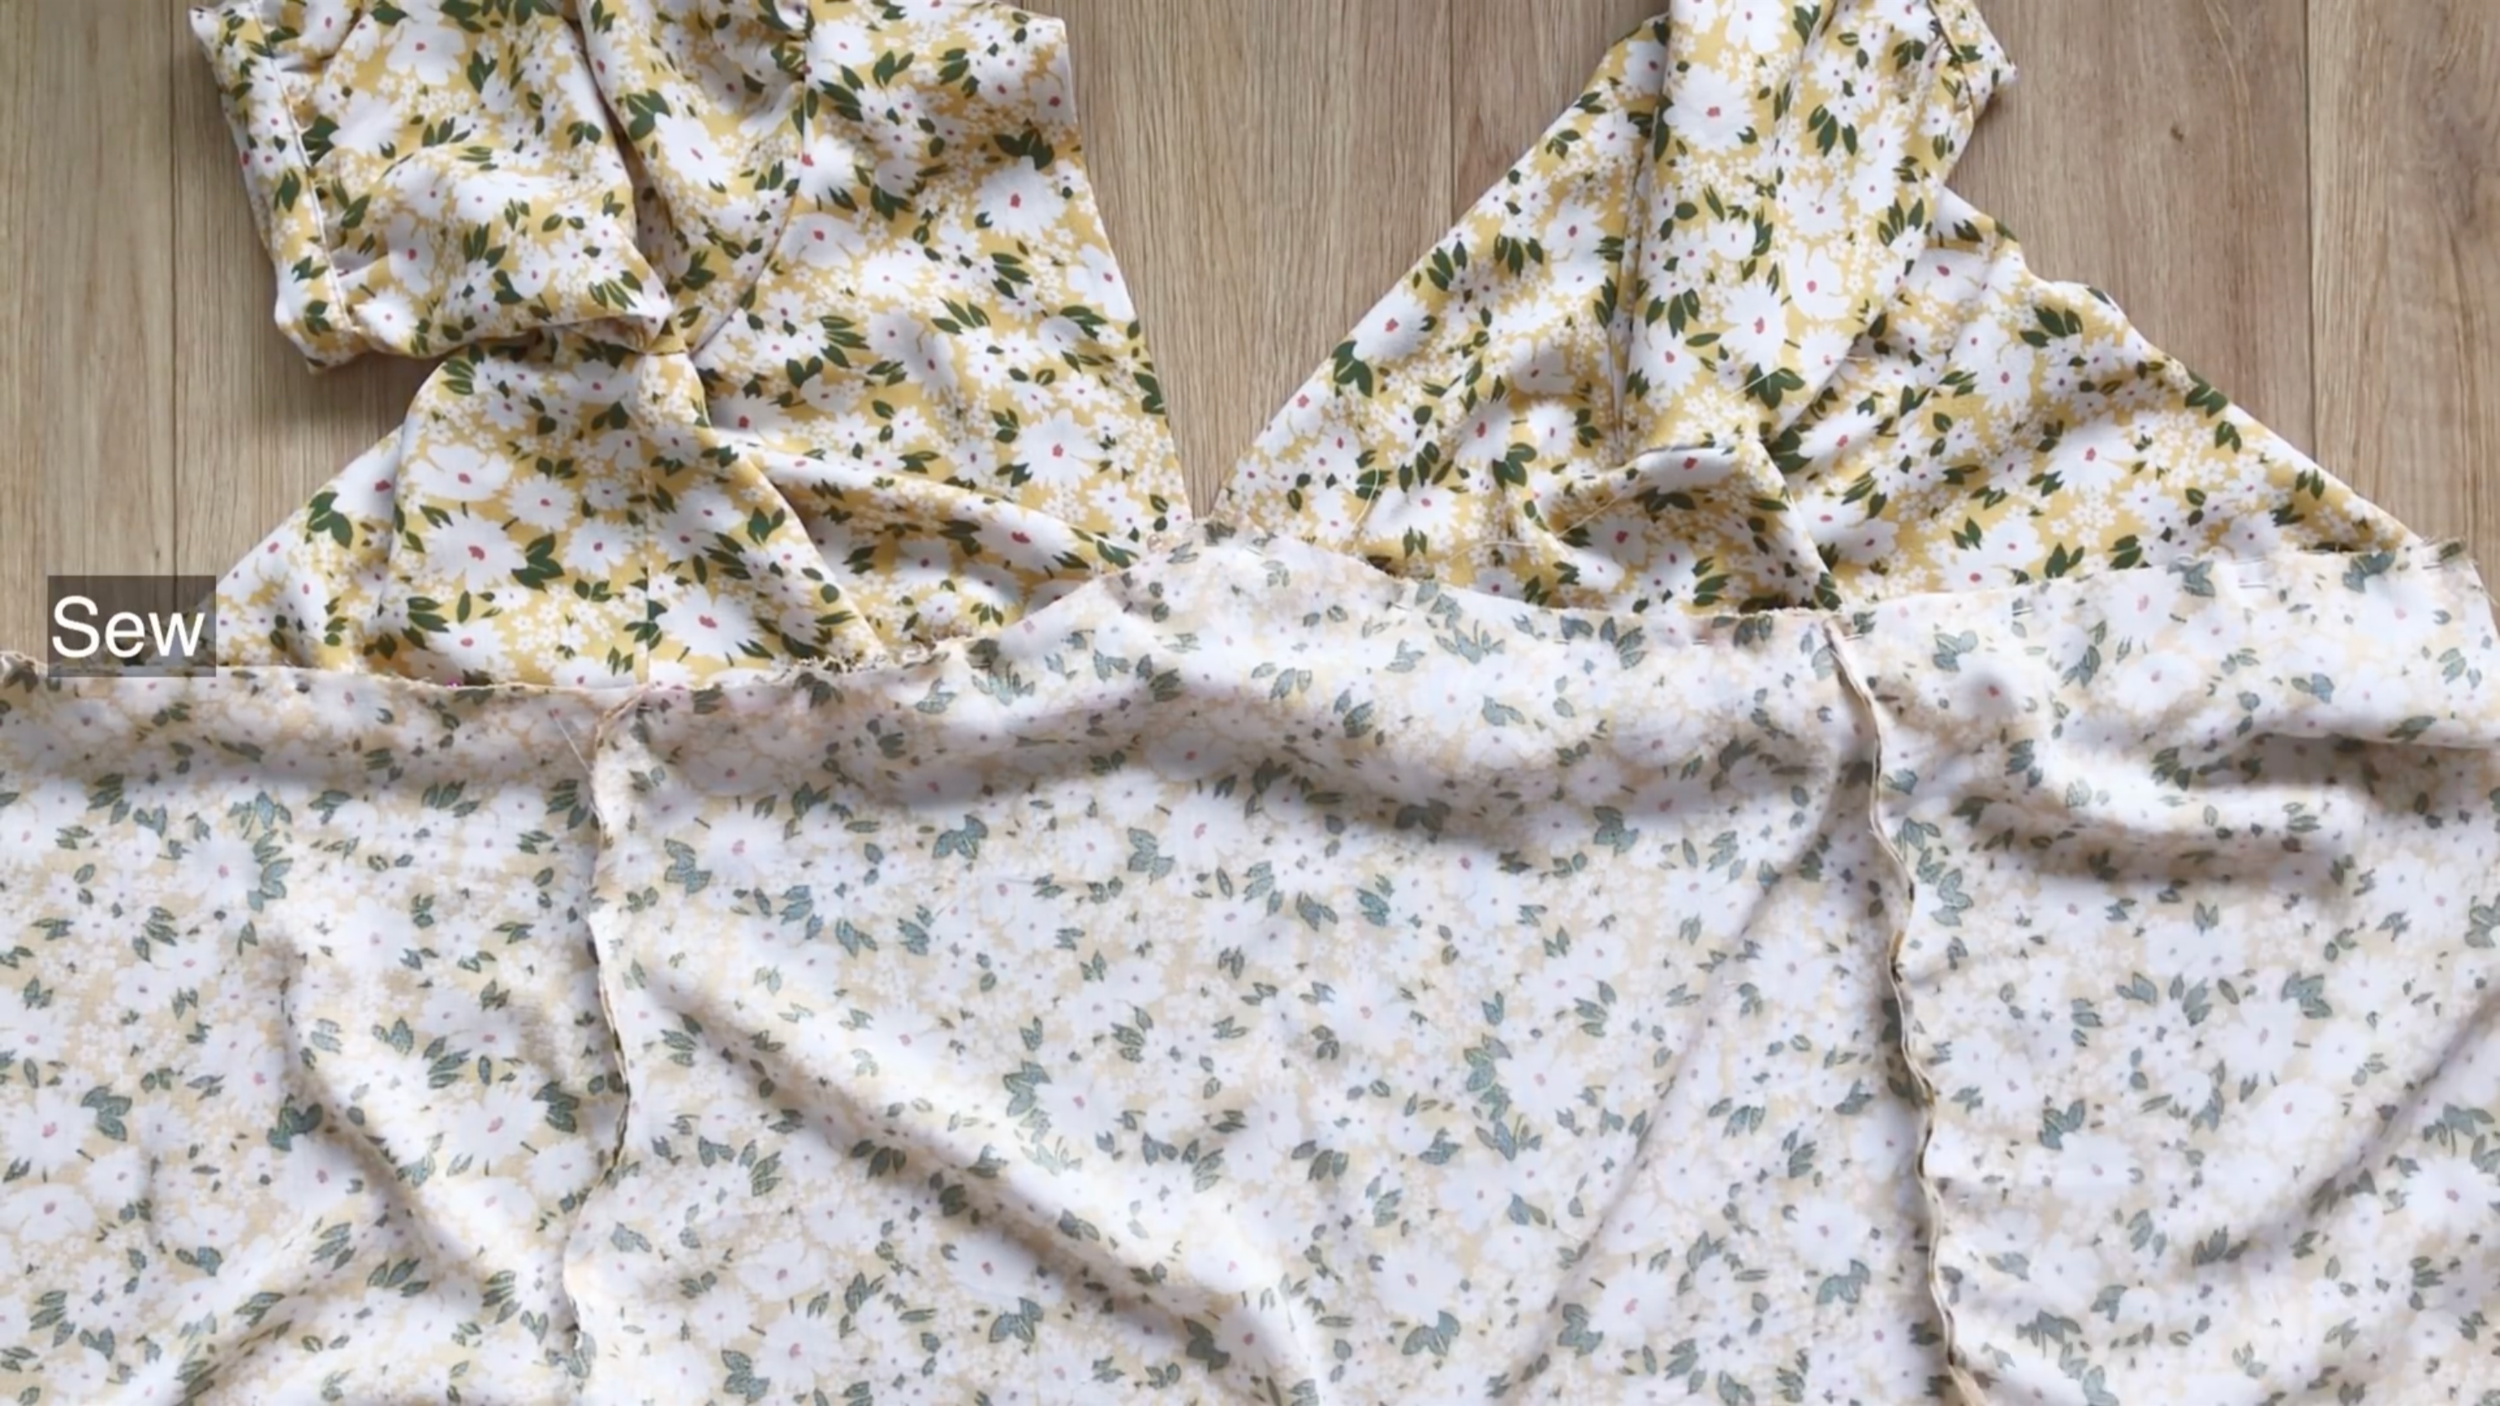
Connect the front and the back patterns at the shoulder line and the inside line.
Then, connect two pieces of them together at the neckline.
After the first seam, turn the fabric inside out and make the understitching seam.
And here is the main bodice of the dress.
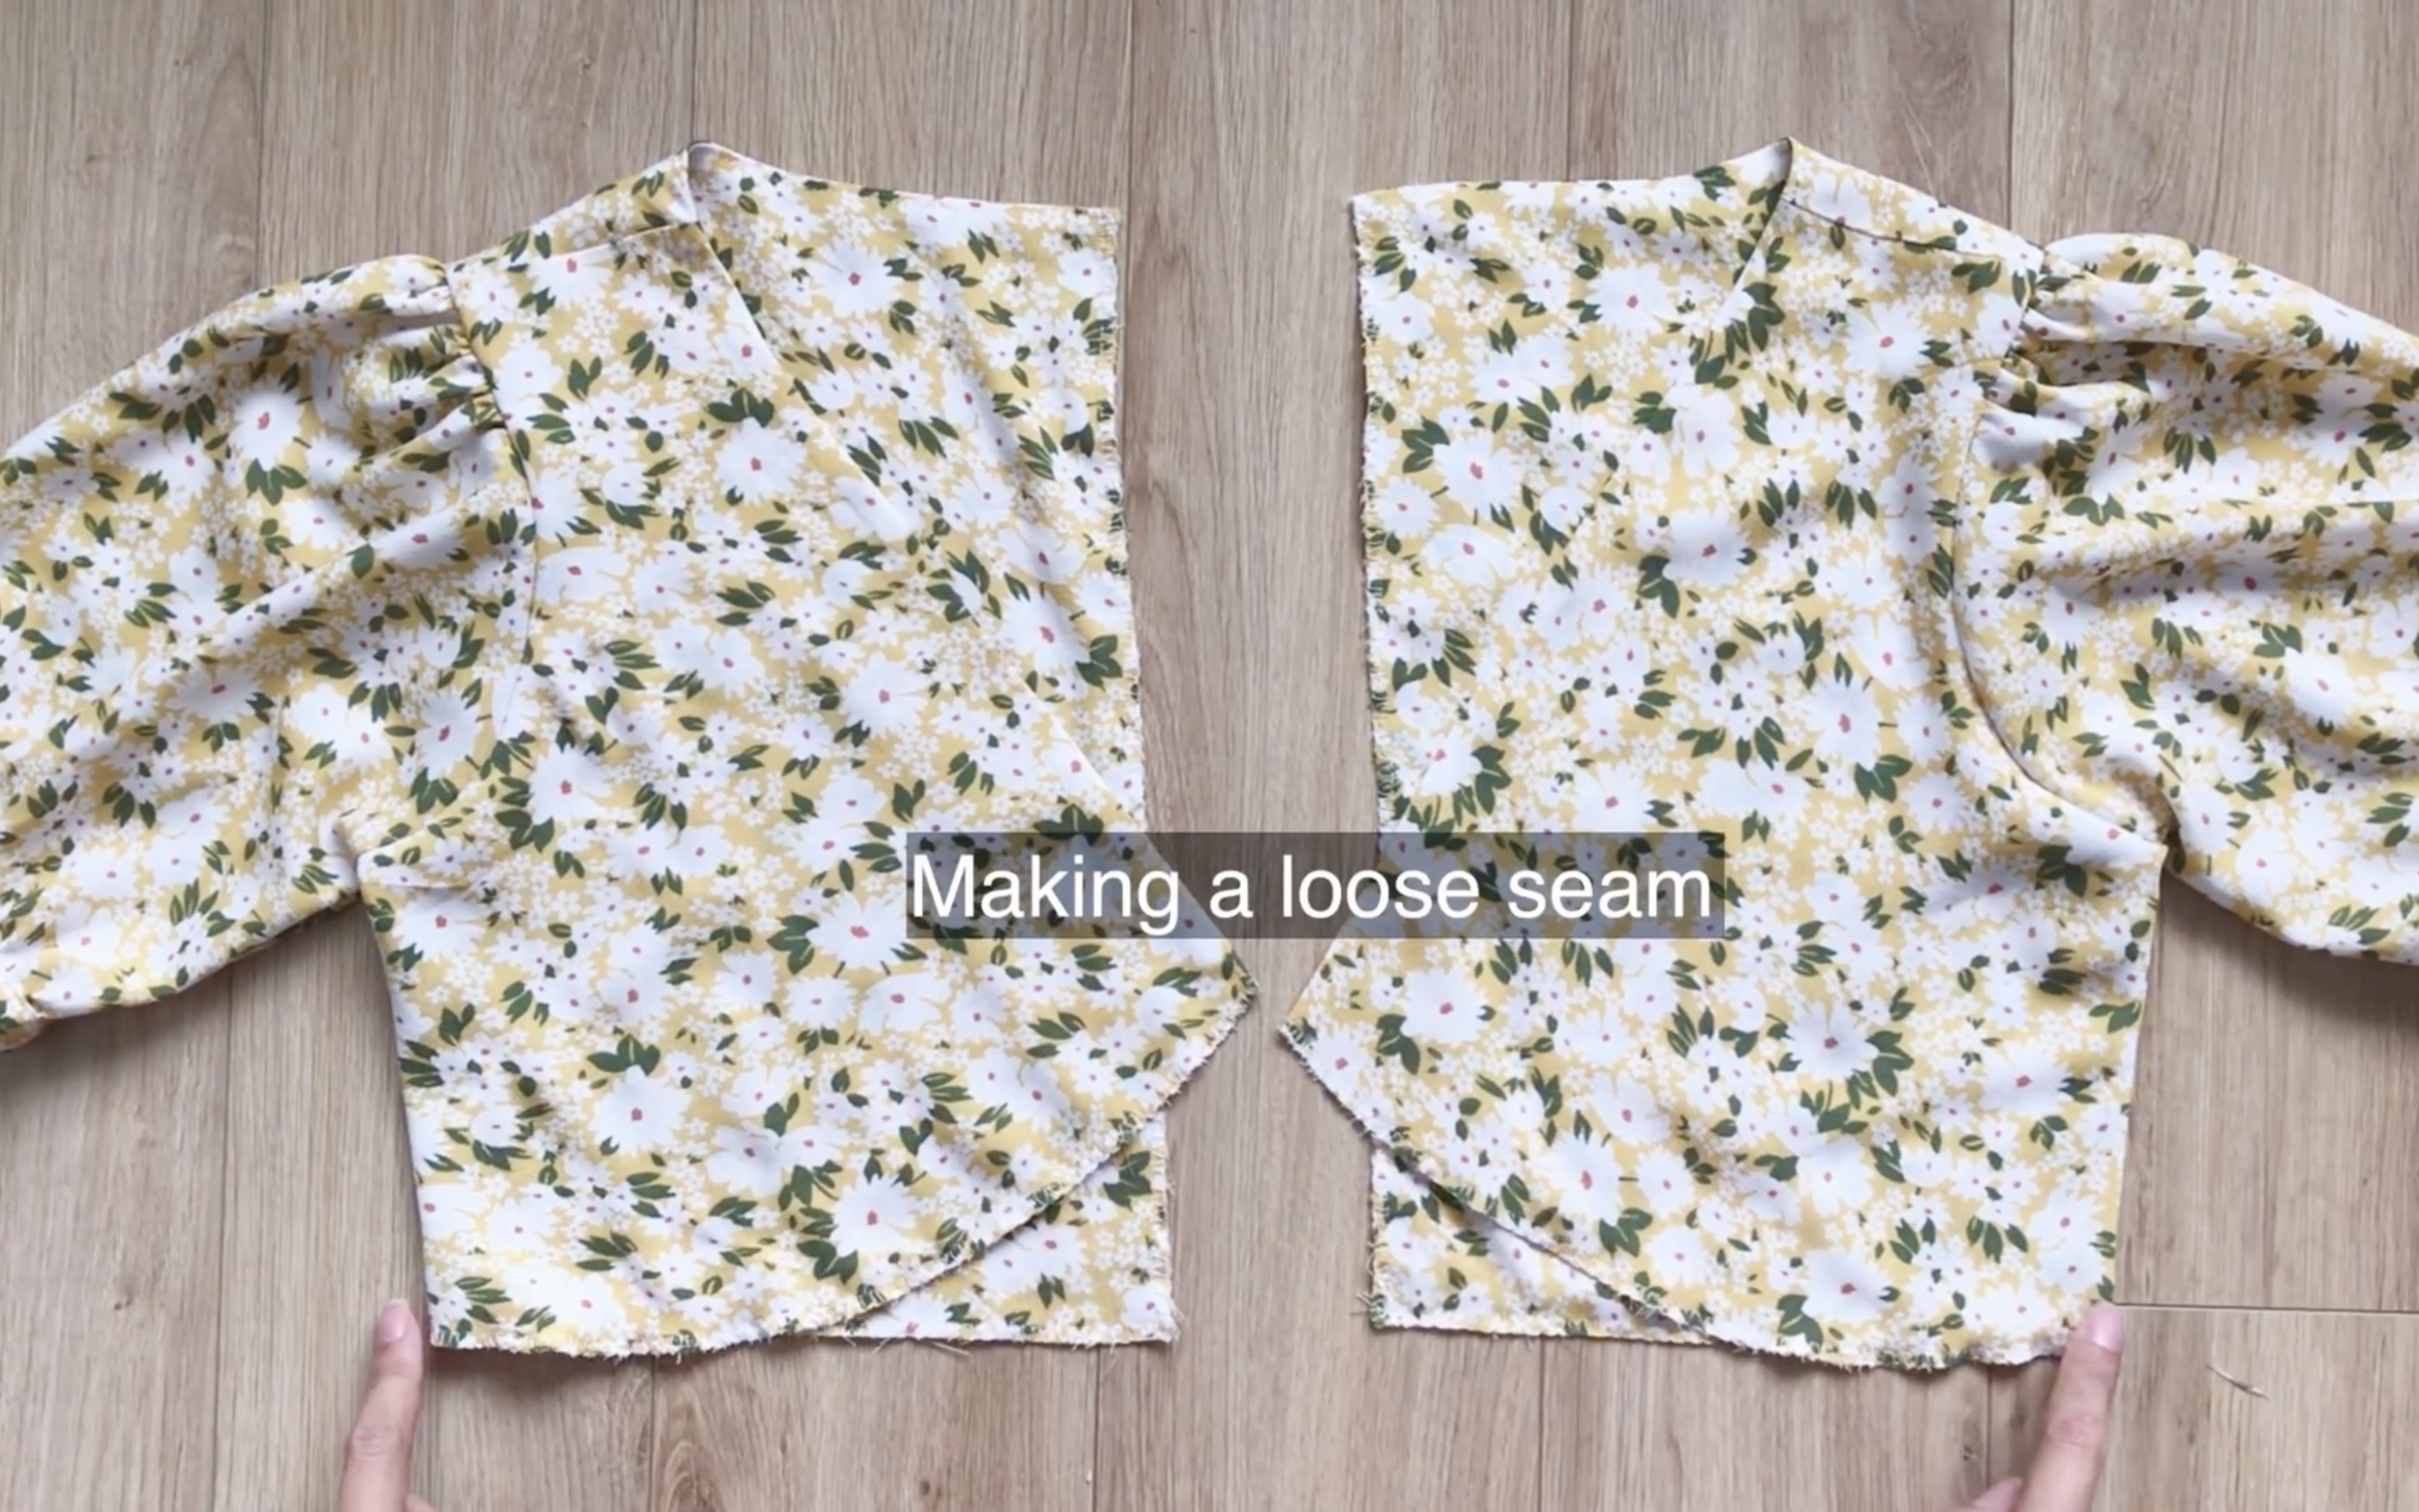
Moving to the sleeve of the dress, connect two underarmpit lines together first.
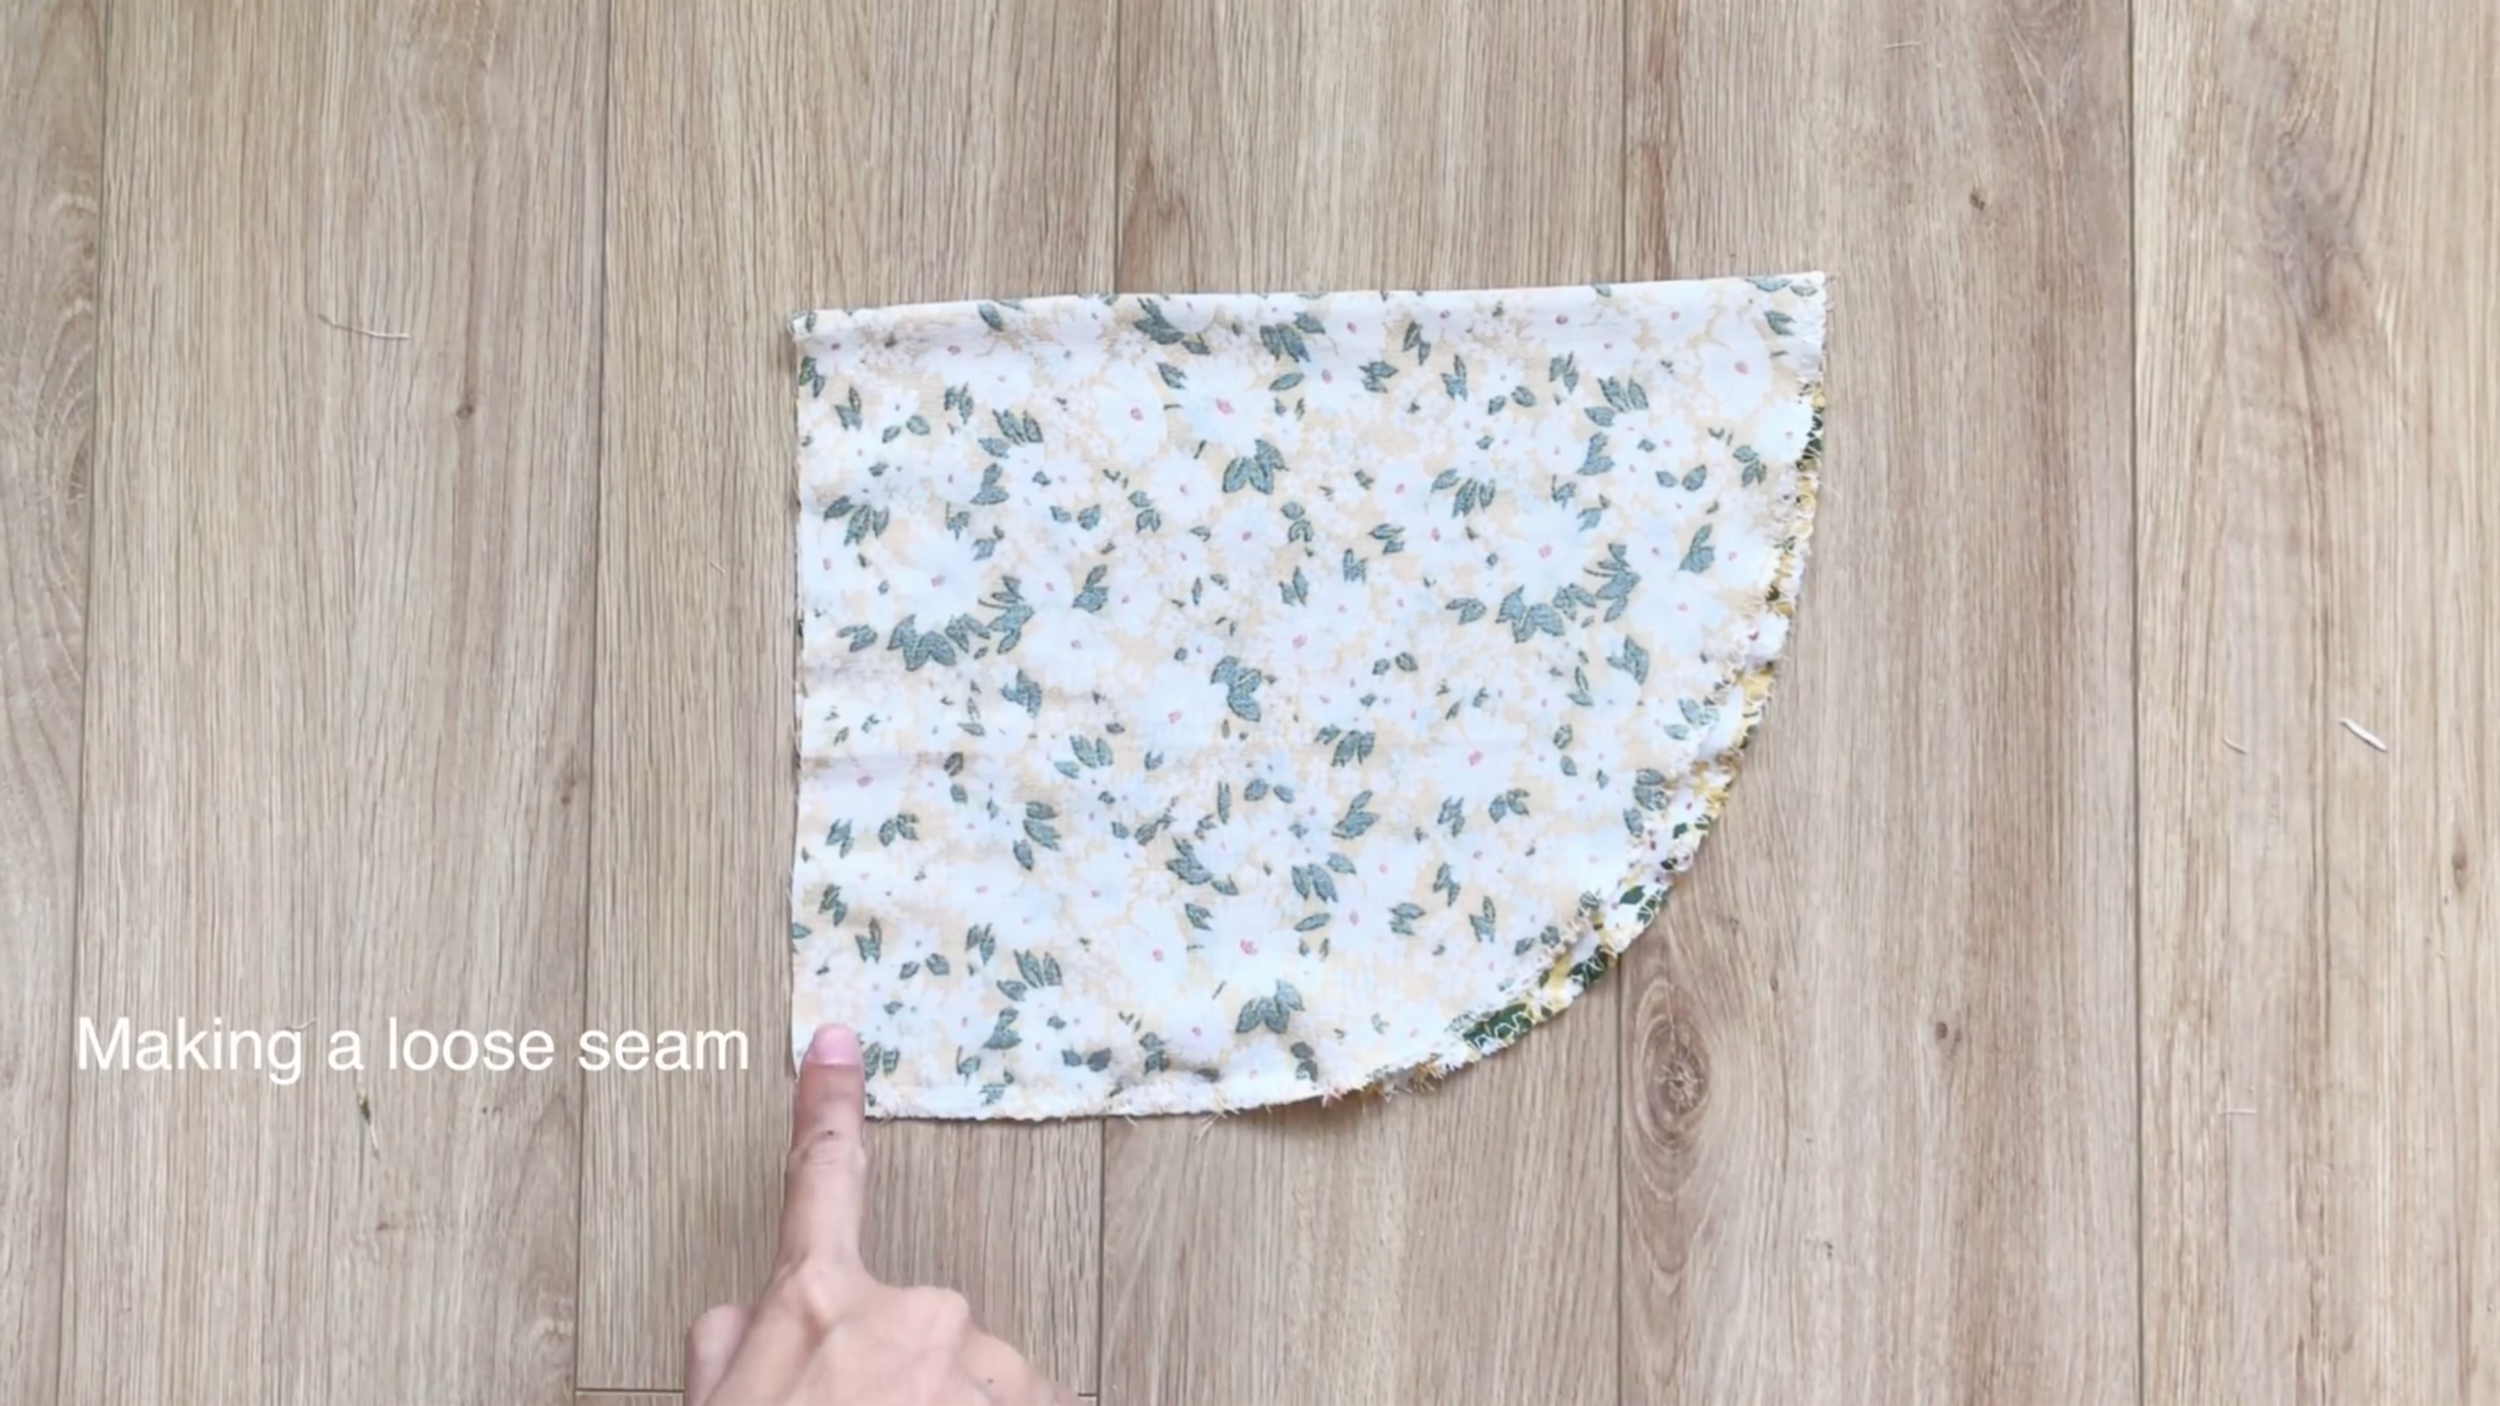
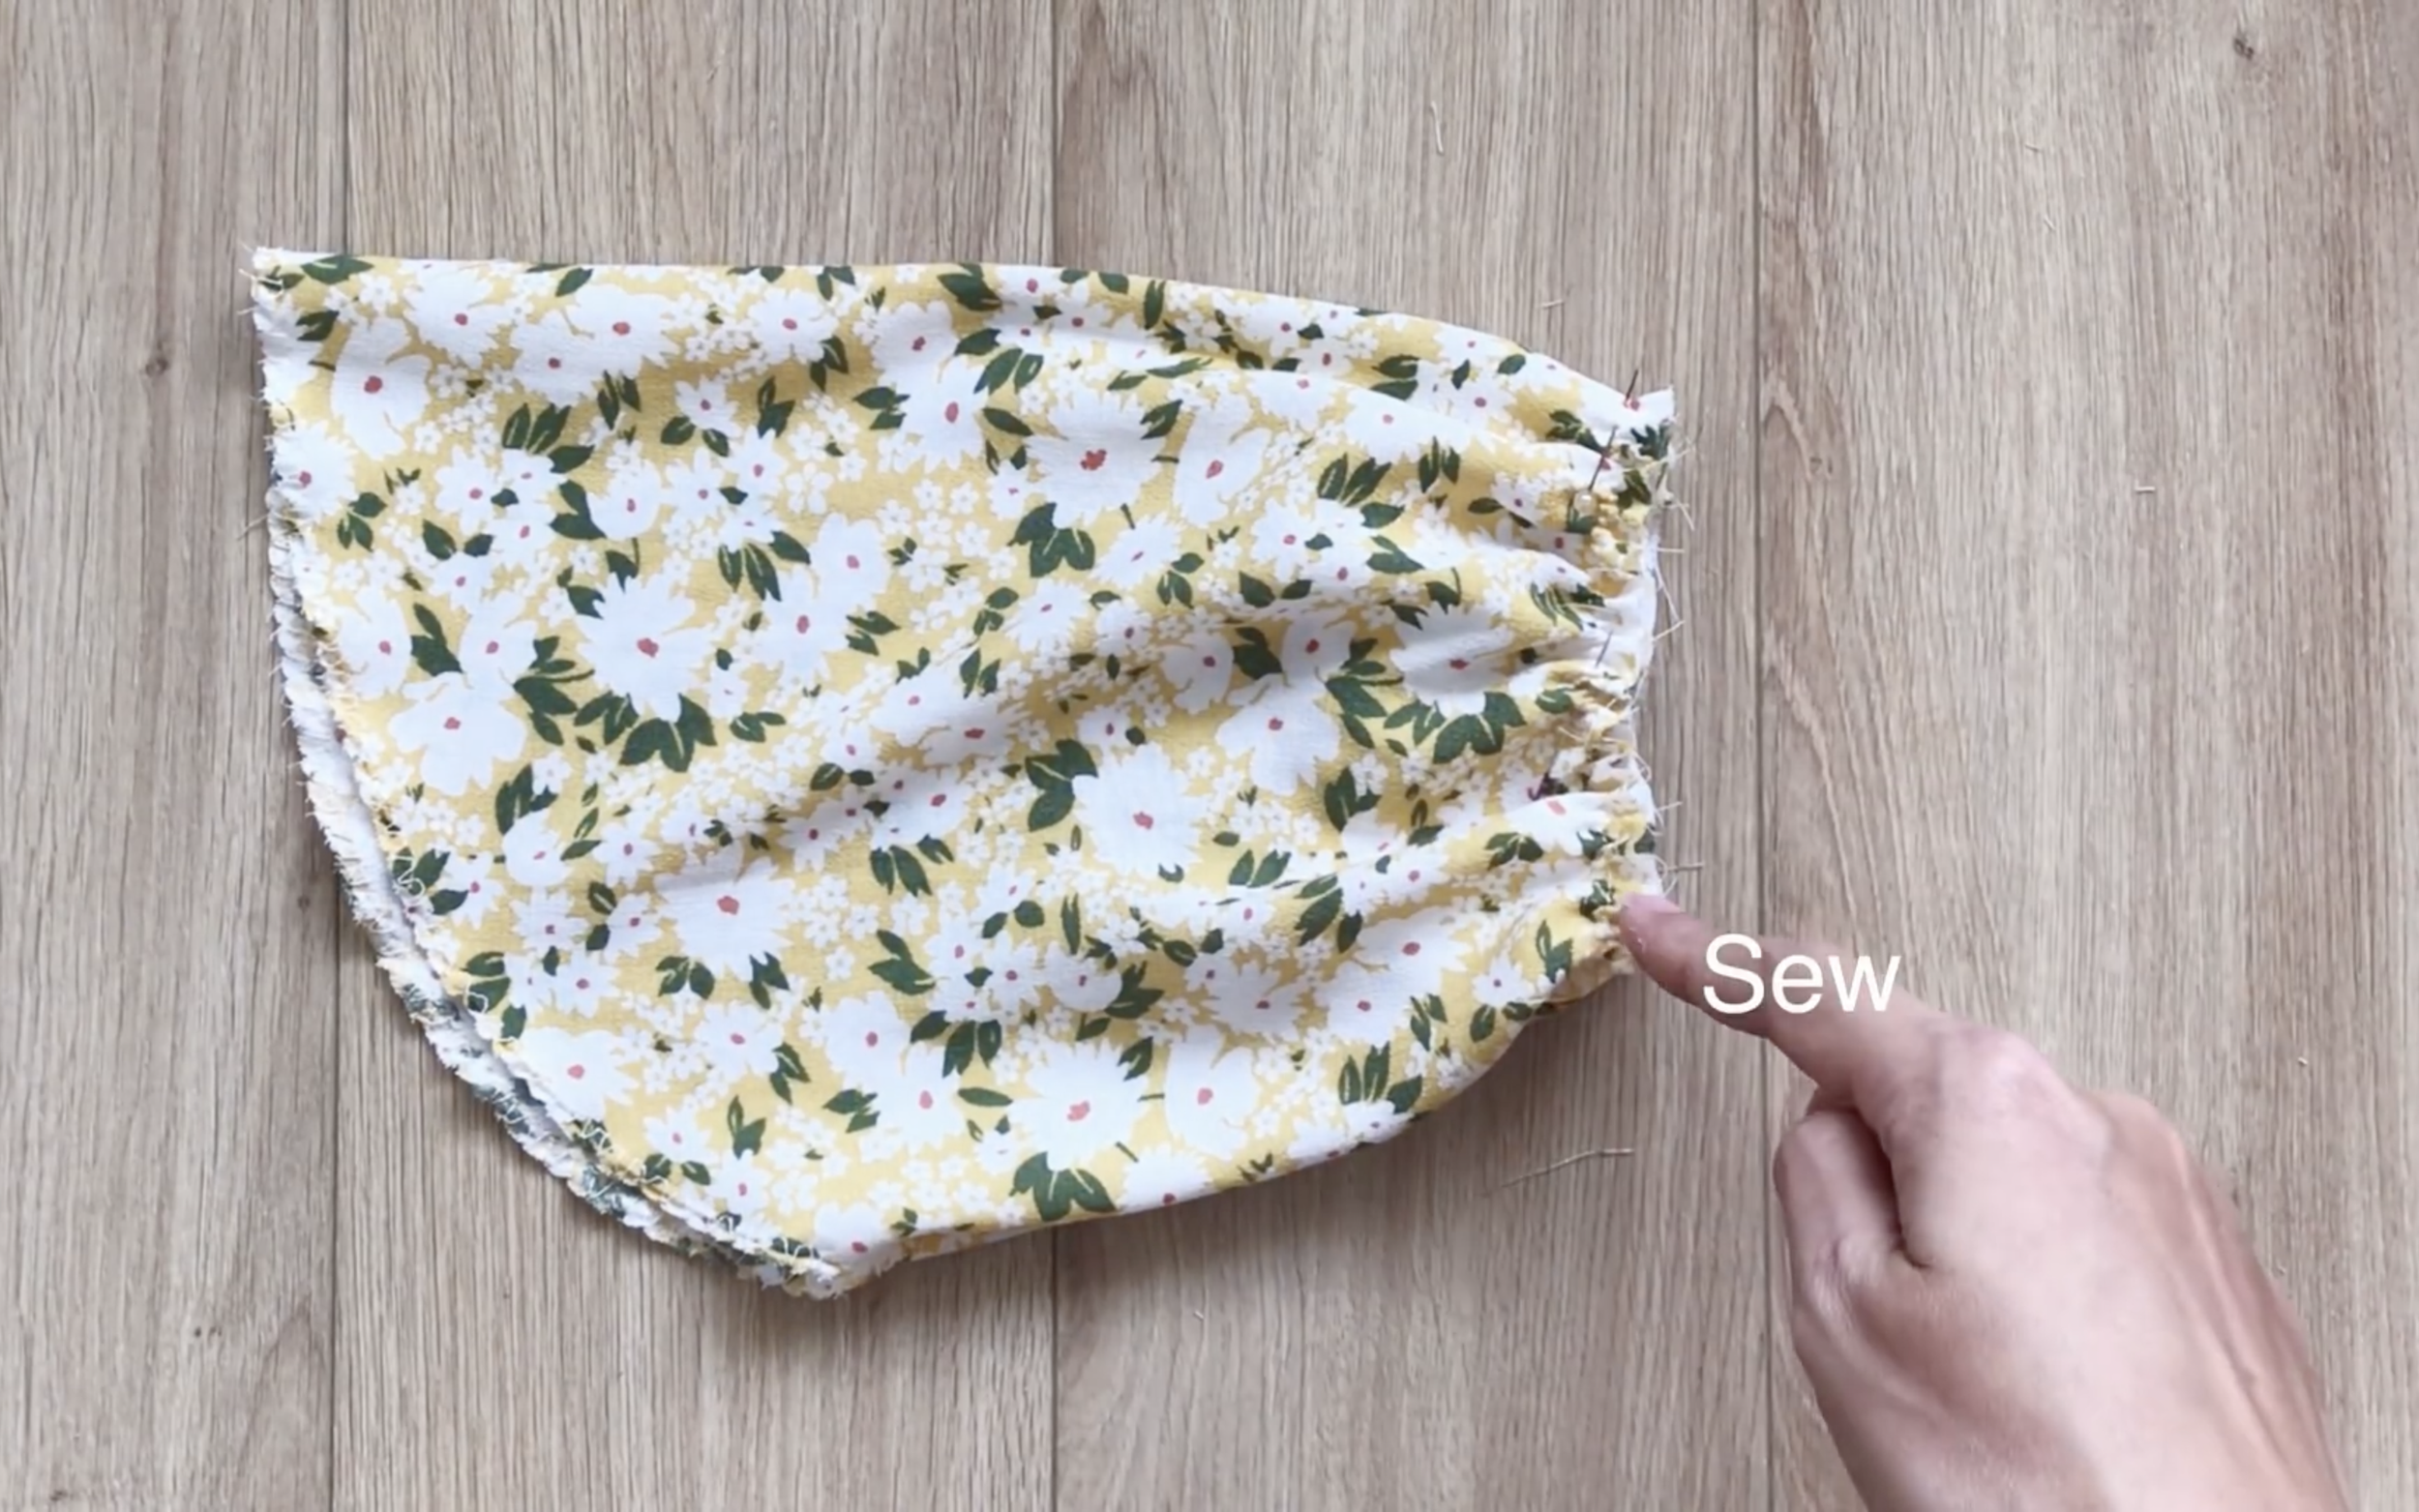
Then, make a loose seam at the end of the sleeve later to create a puffy look there.

Make sure the width of the end sleeve has to be around 26 cm, which is the width of the arm plus 2 cm.
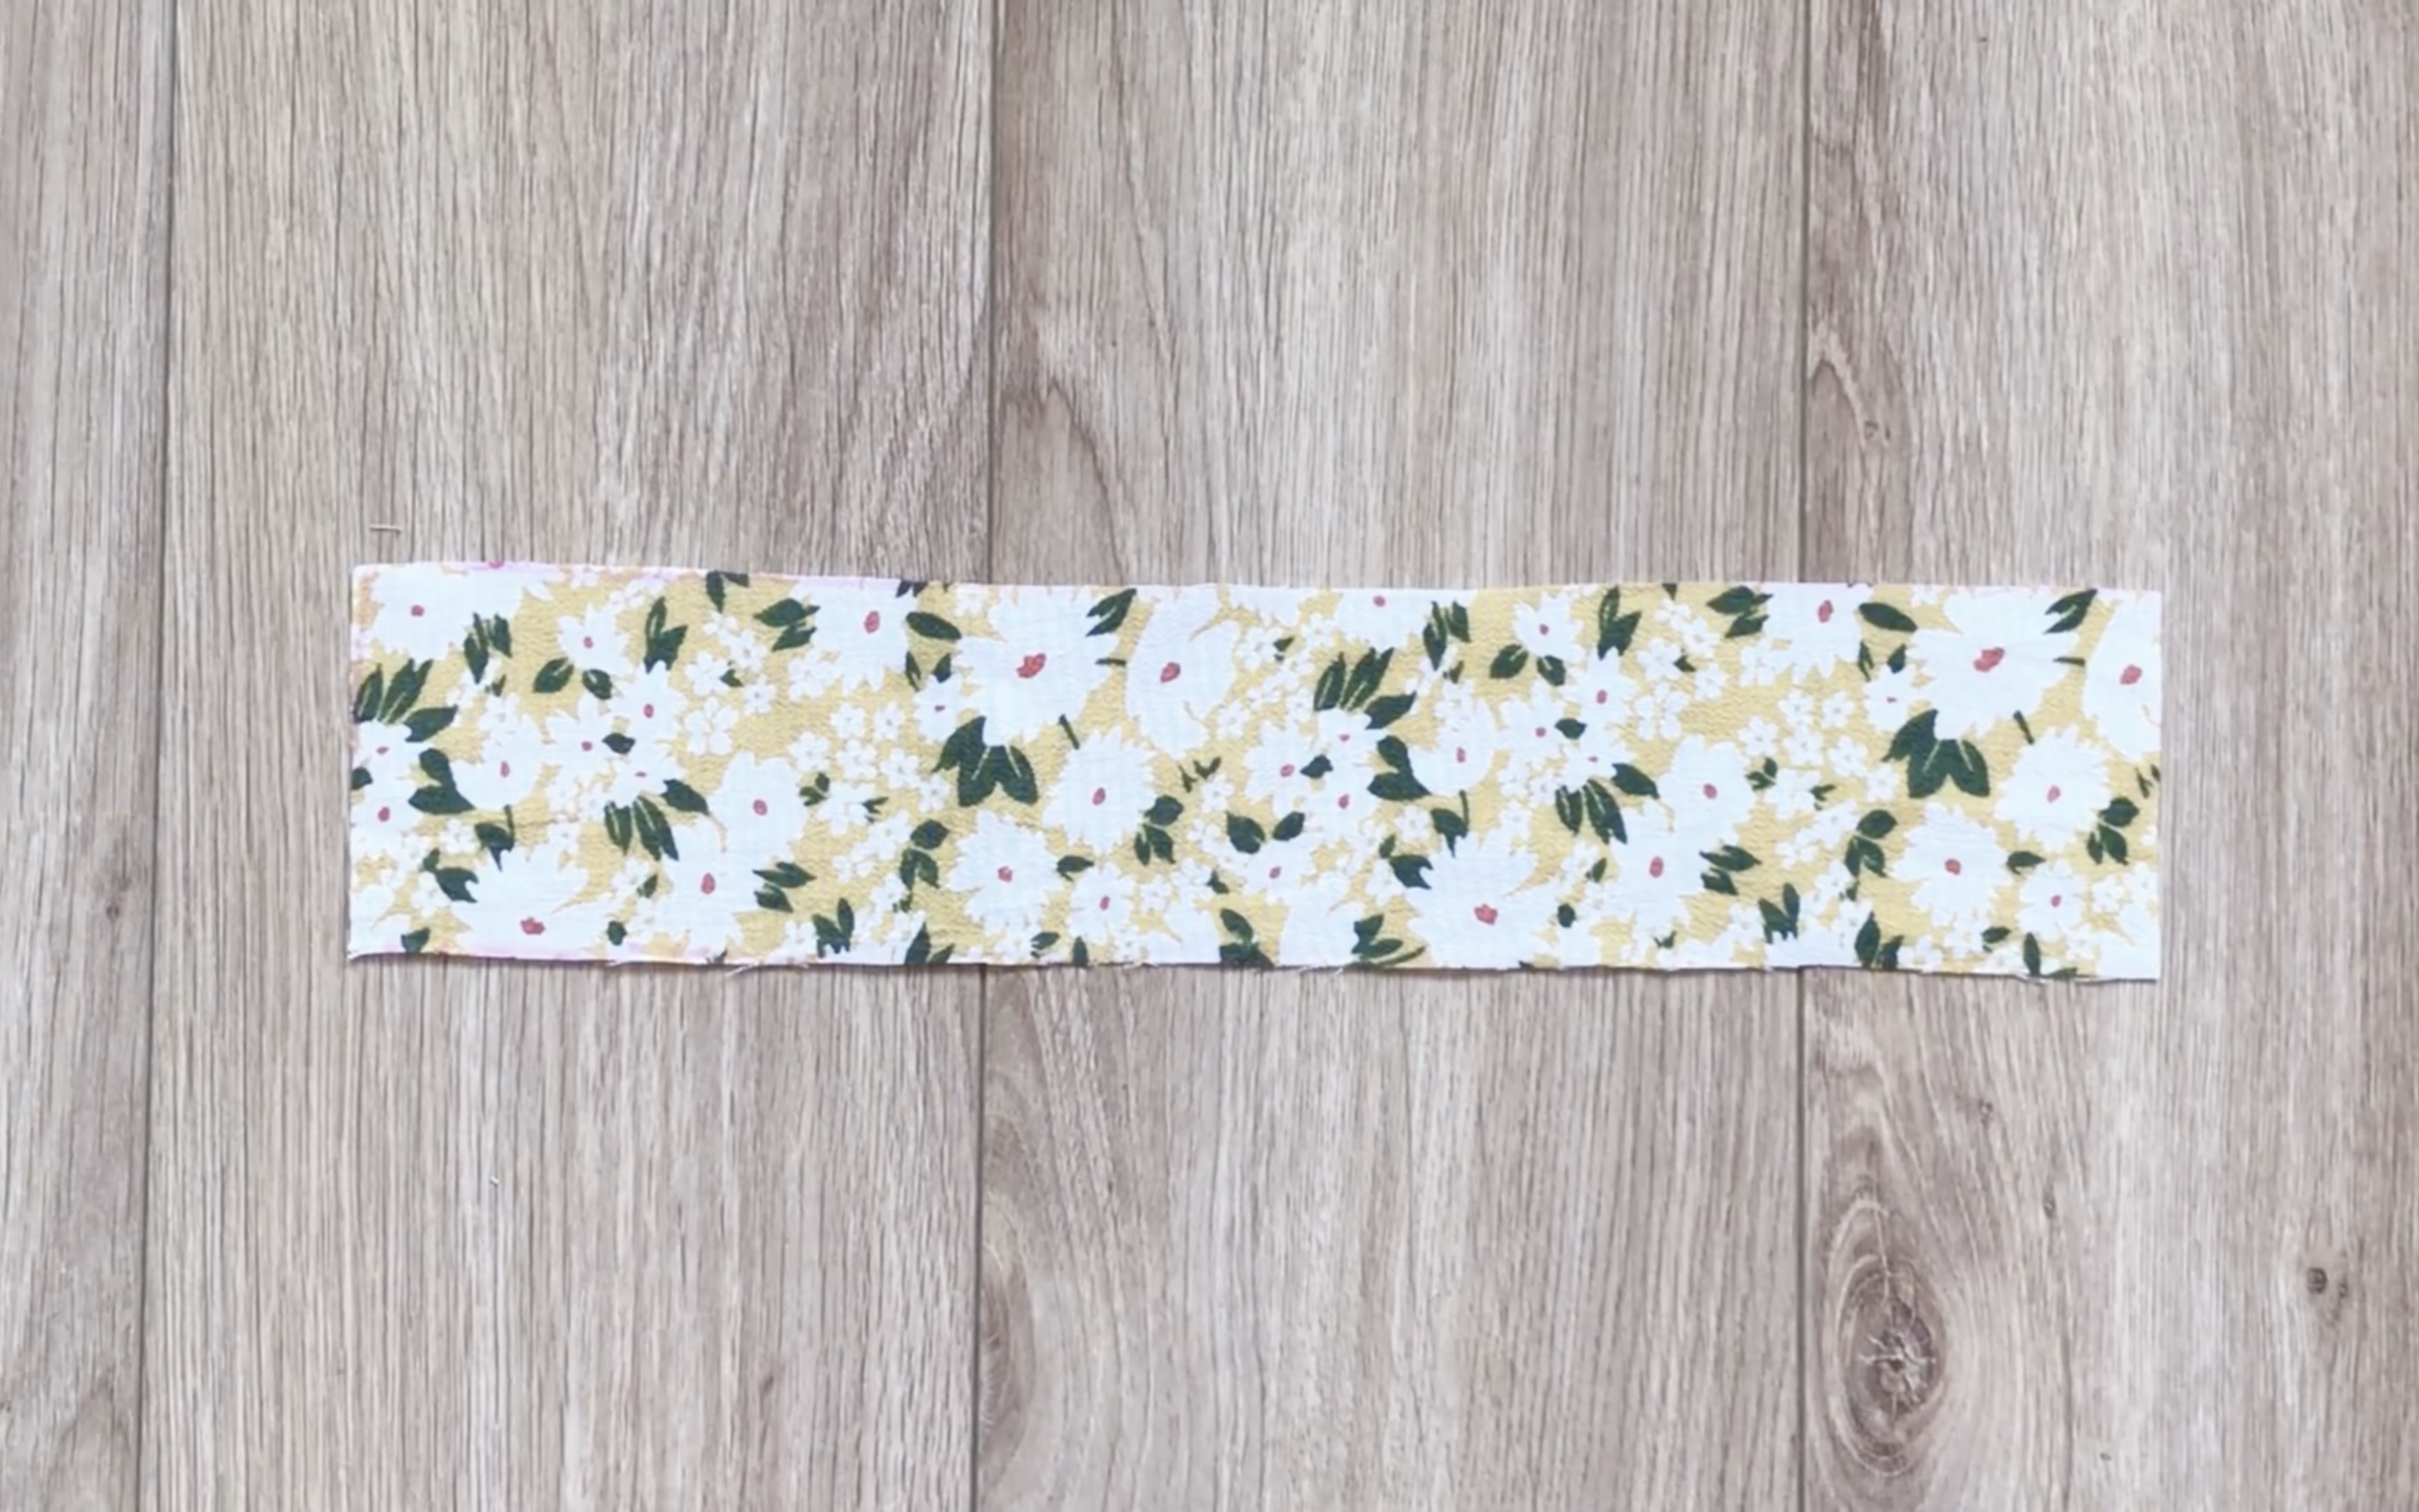
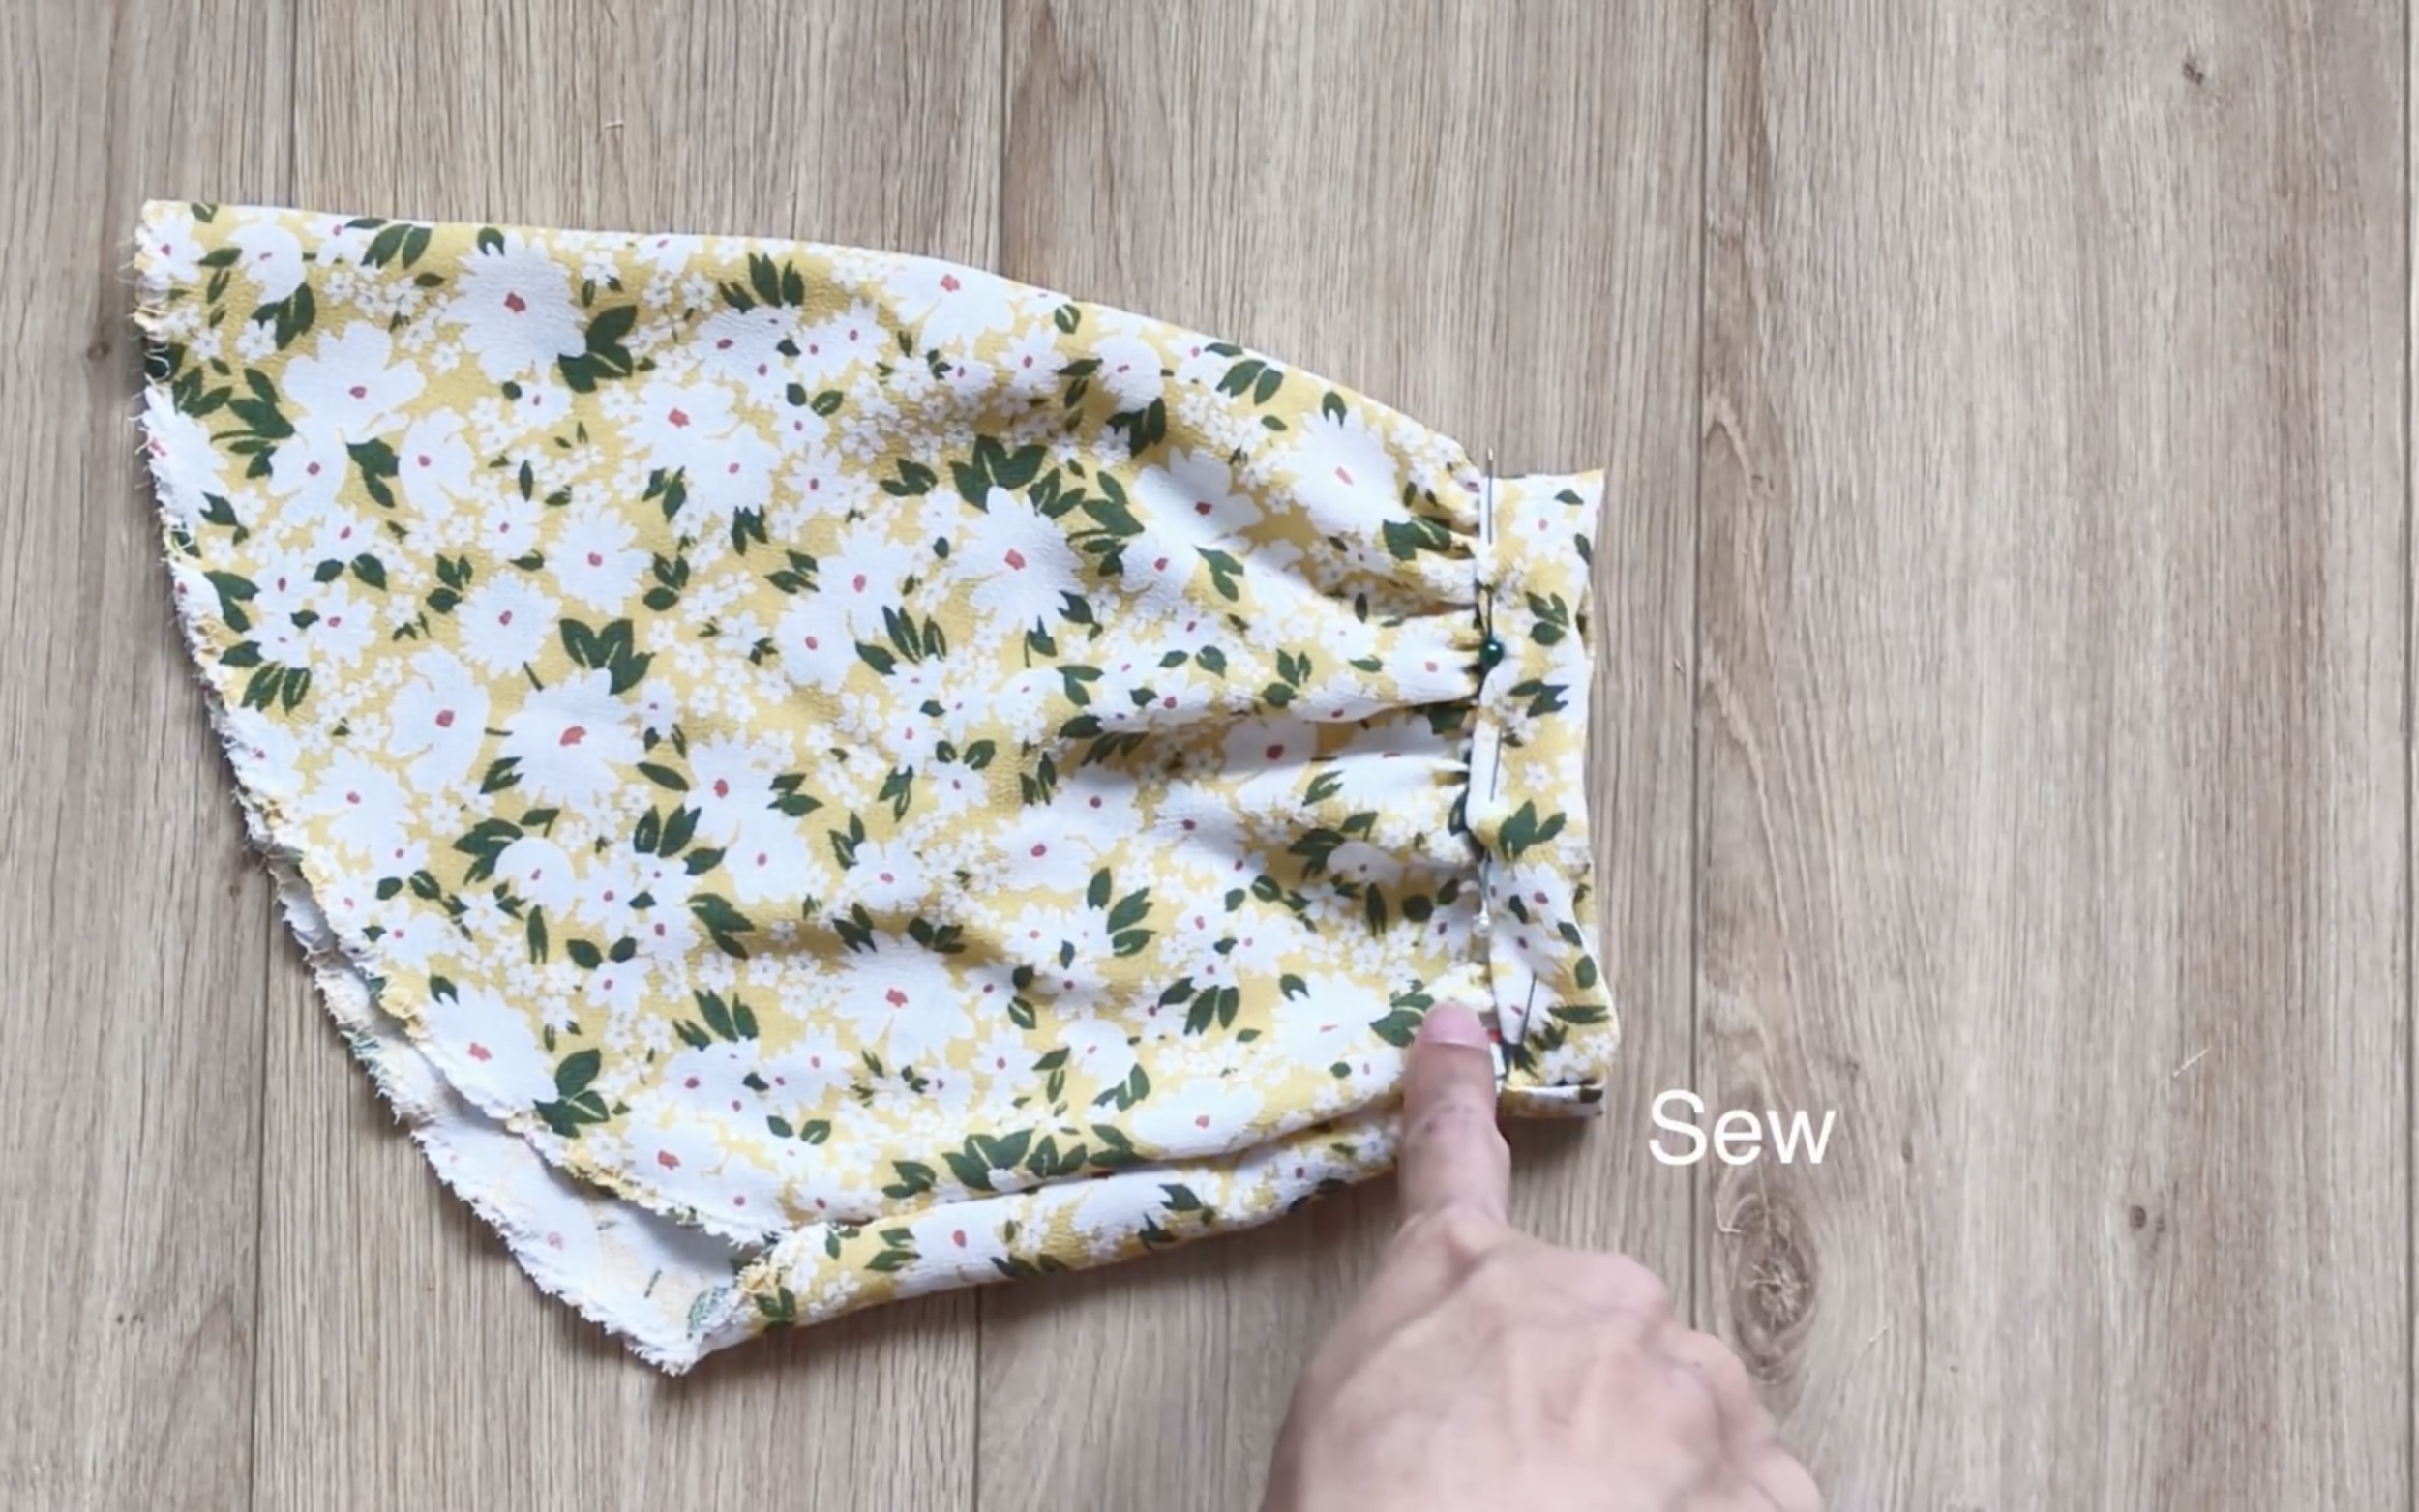
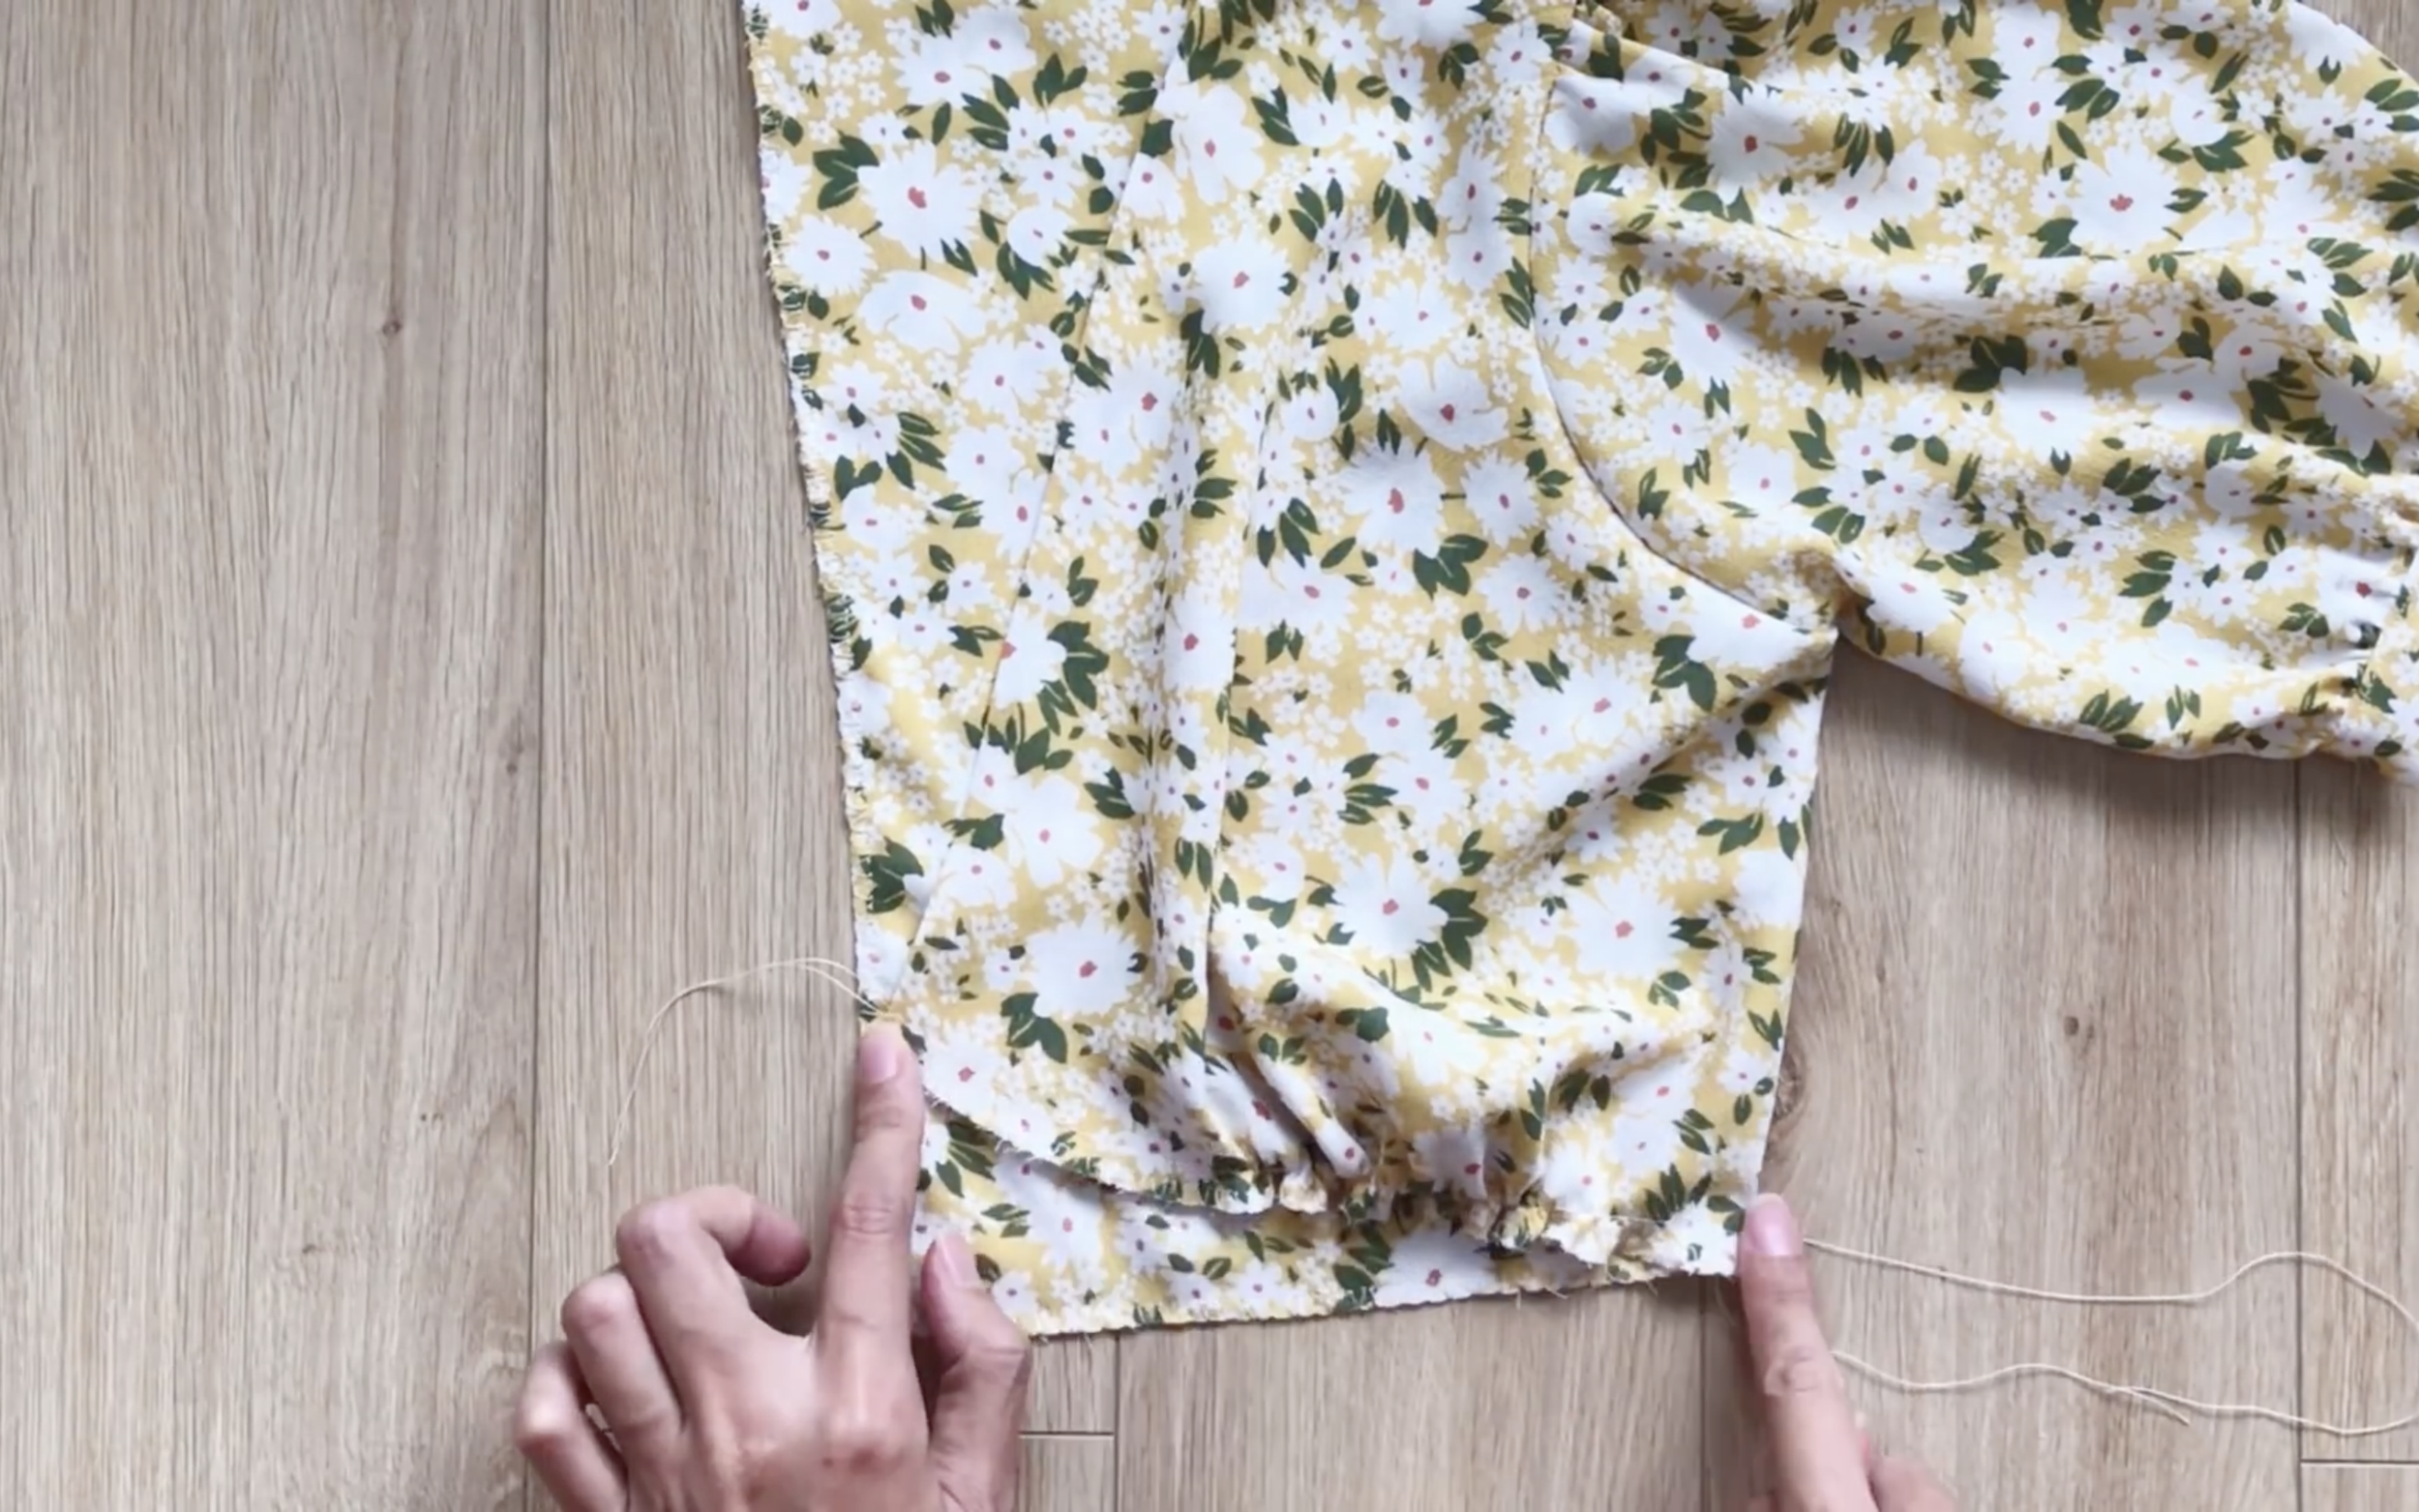
Cut a long rectangle with 28 cm width, which is 2 cm longer than the end of the sleeve, and around 6 cm length.
Connect two ends of the length lines together.
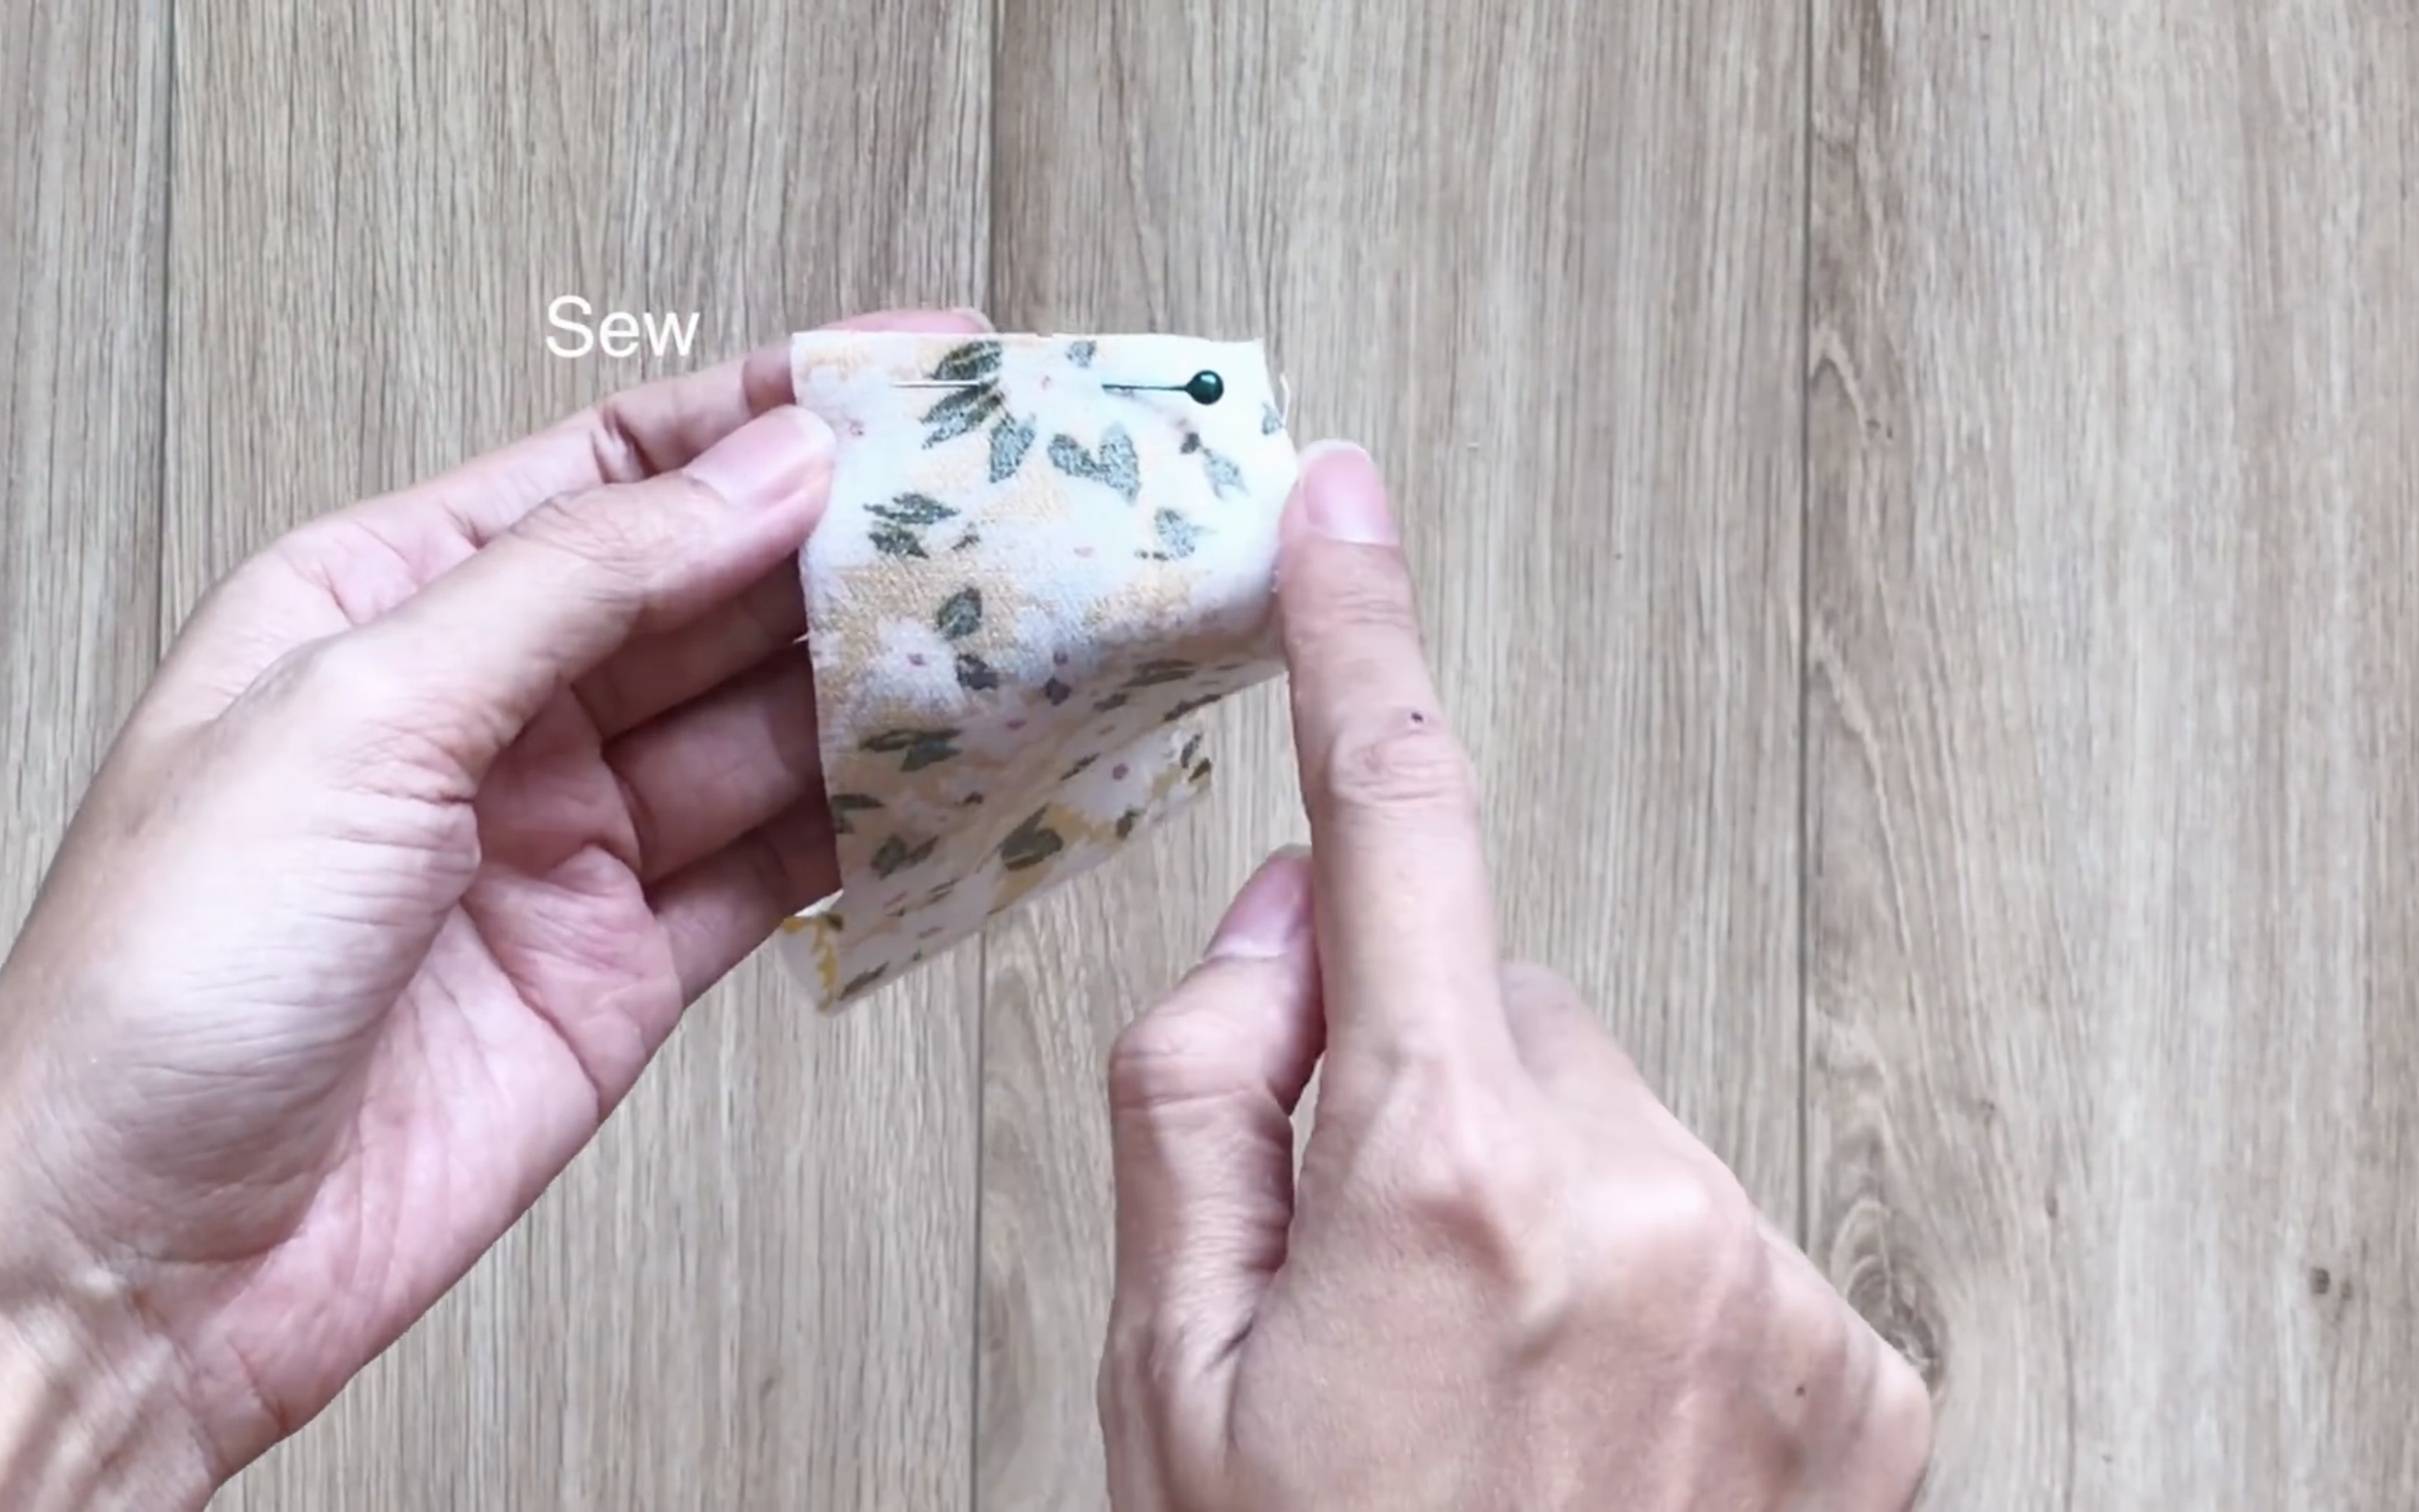
Then, connect it to the end of the sleeve later and sew.
After that, fold the end of the circle fabric inside two times to hide the end fabric, then make the second seam outside to finish it.
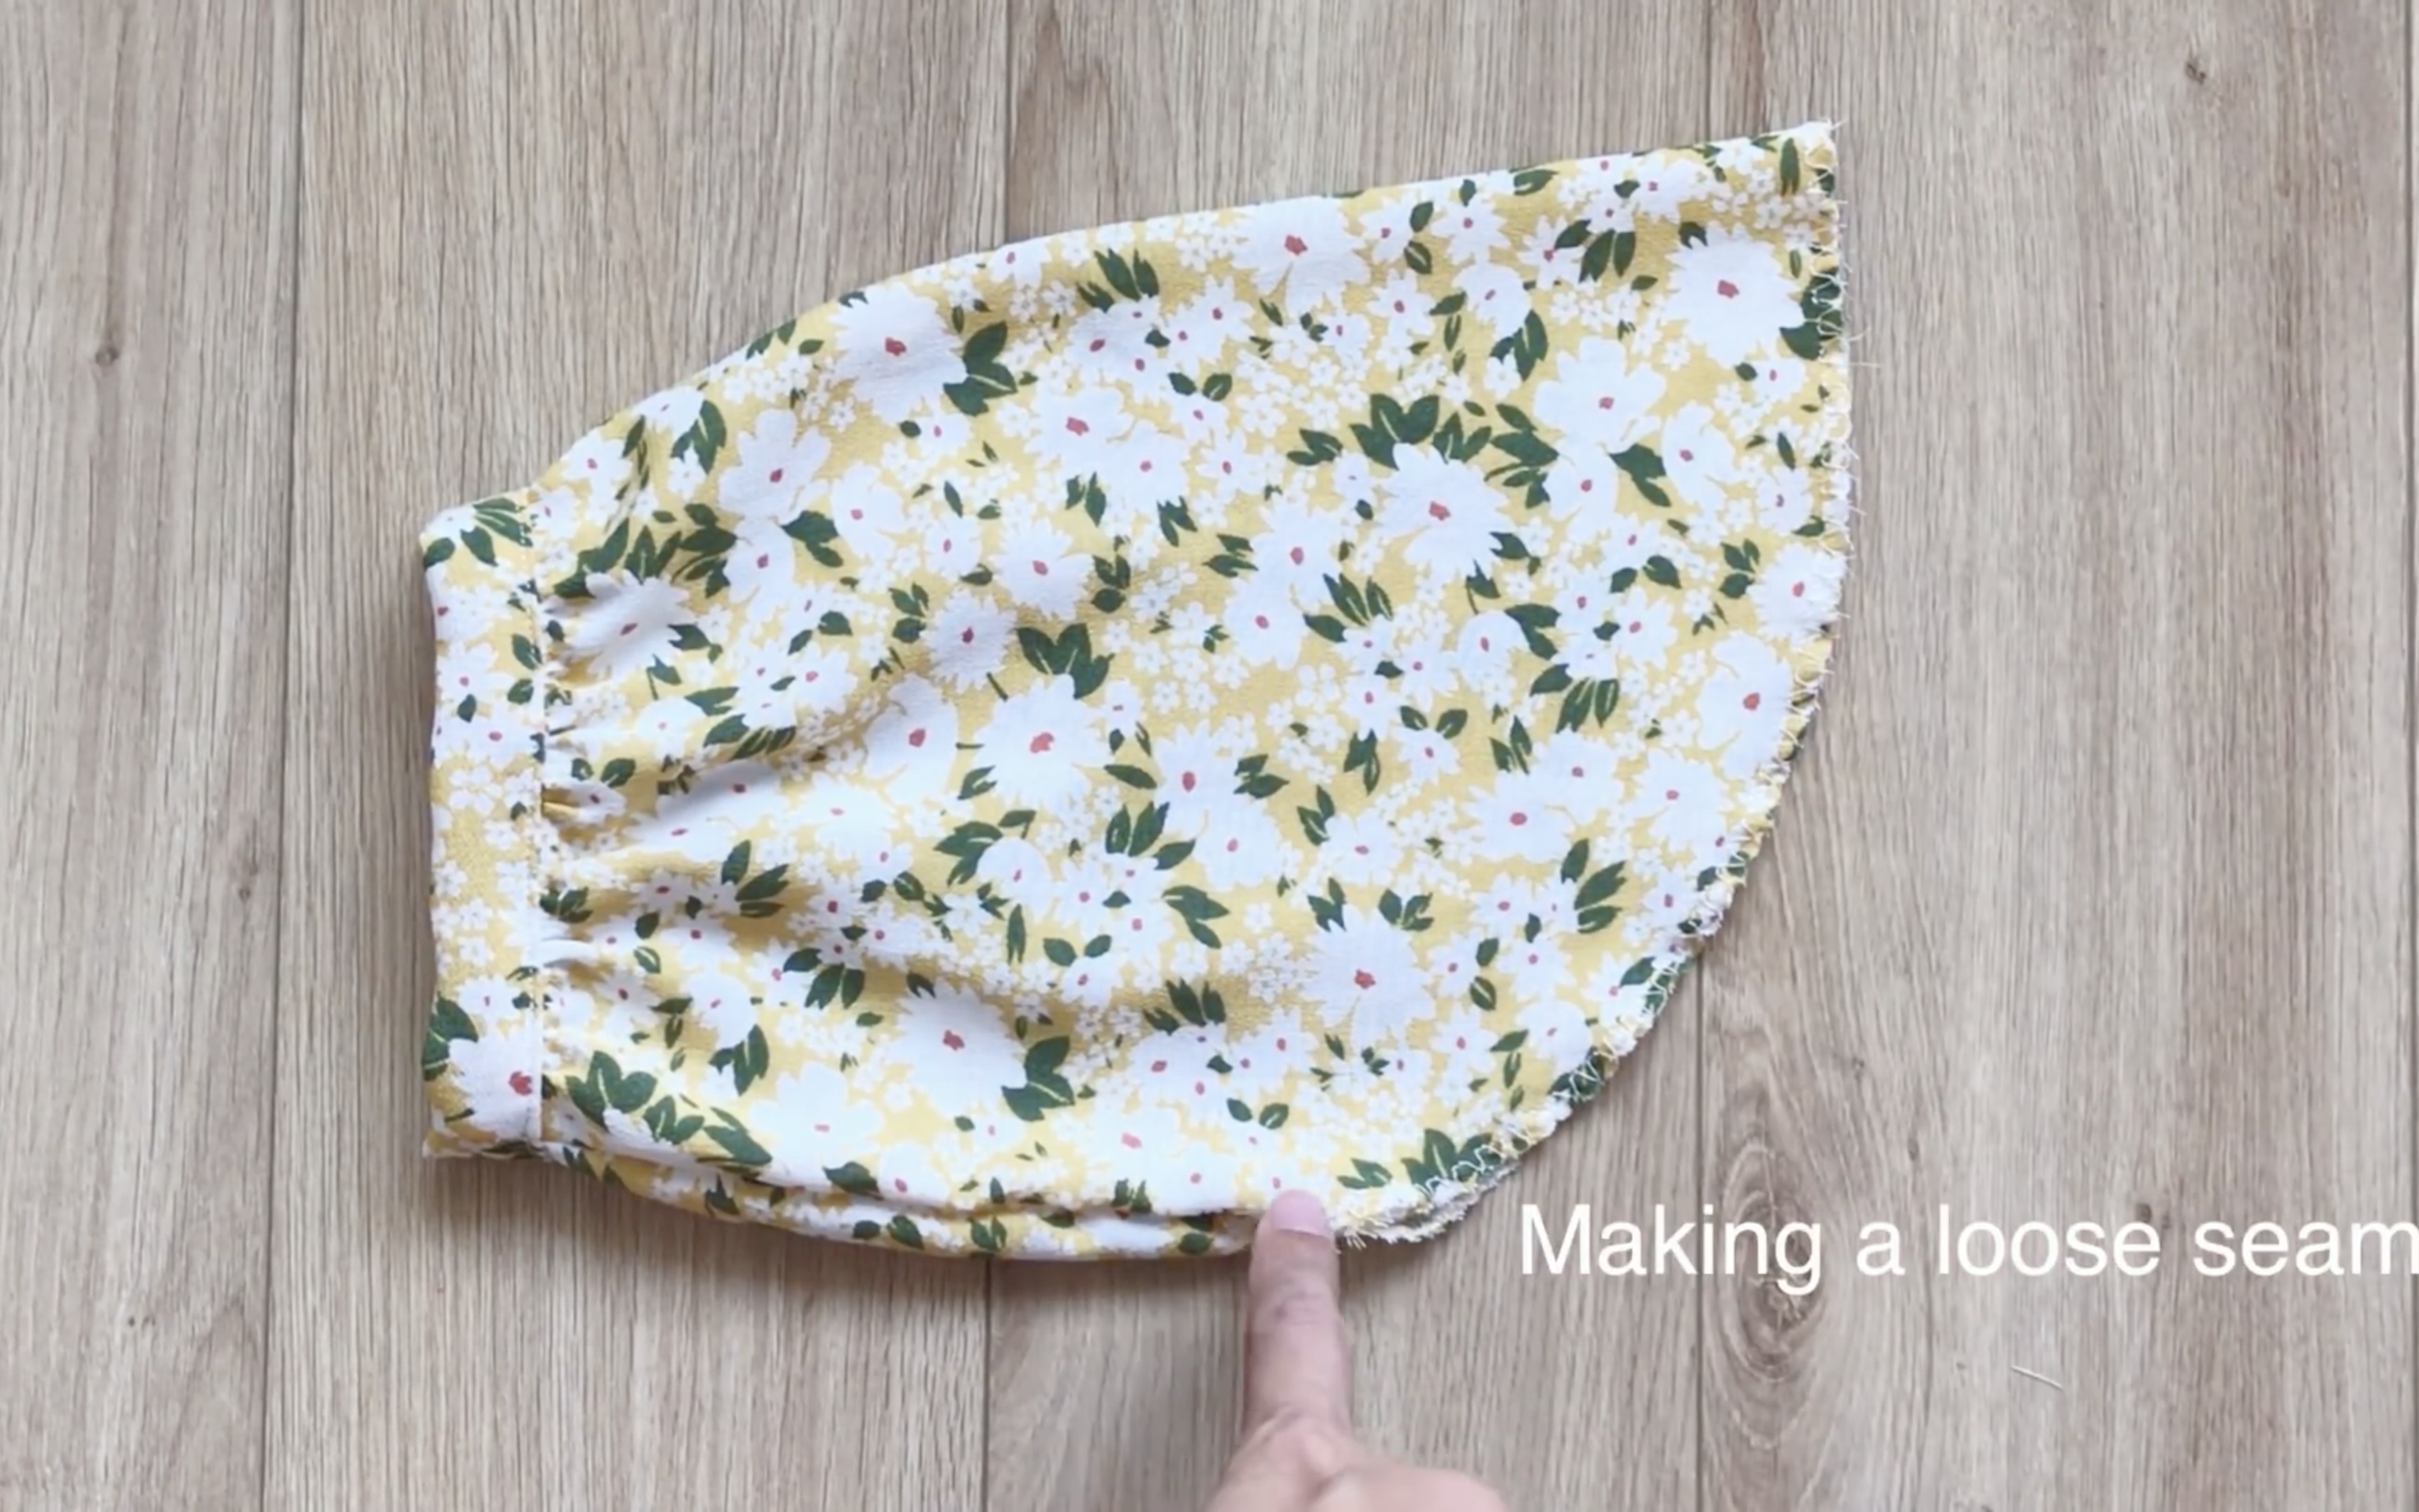
At the top of the sleeve, make a loose seam first.
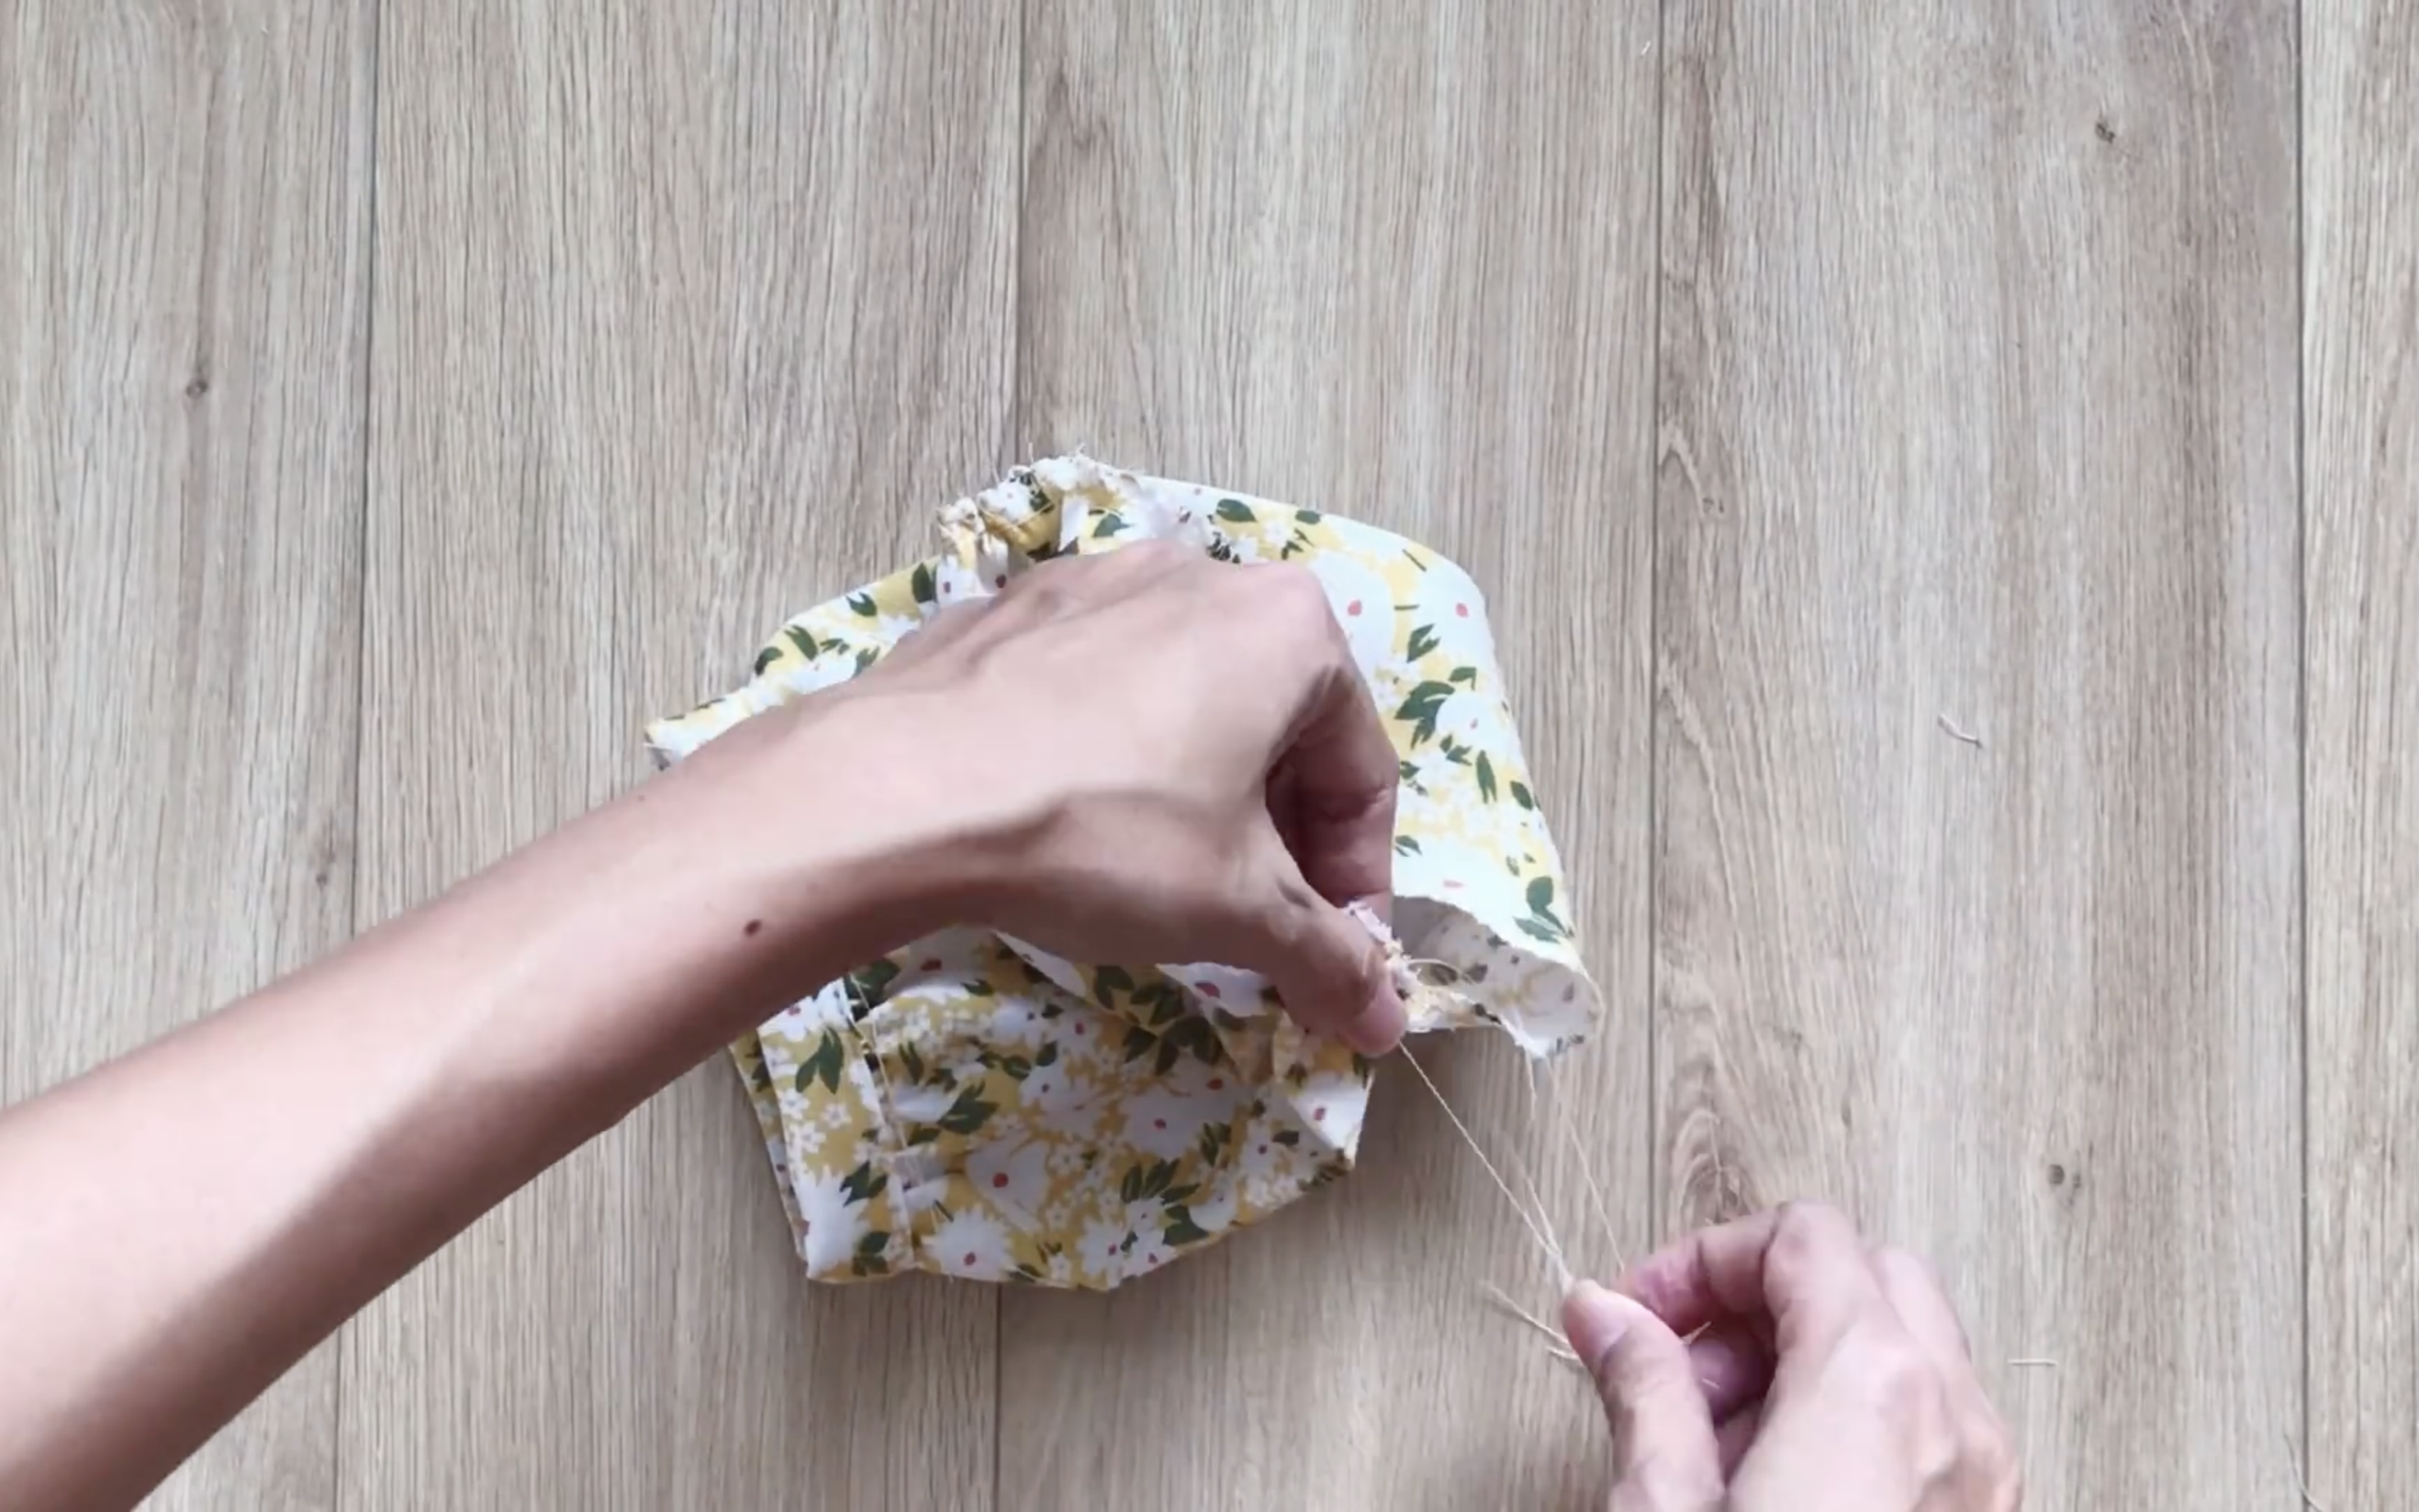
Then create a puffy look at the middle of the top.
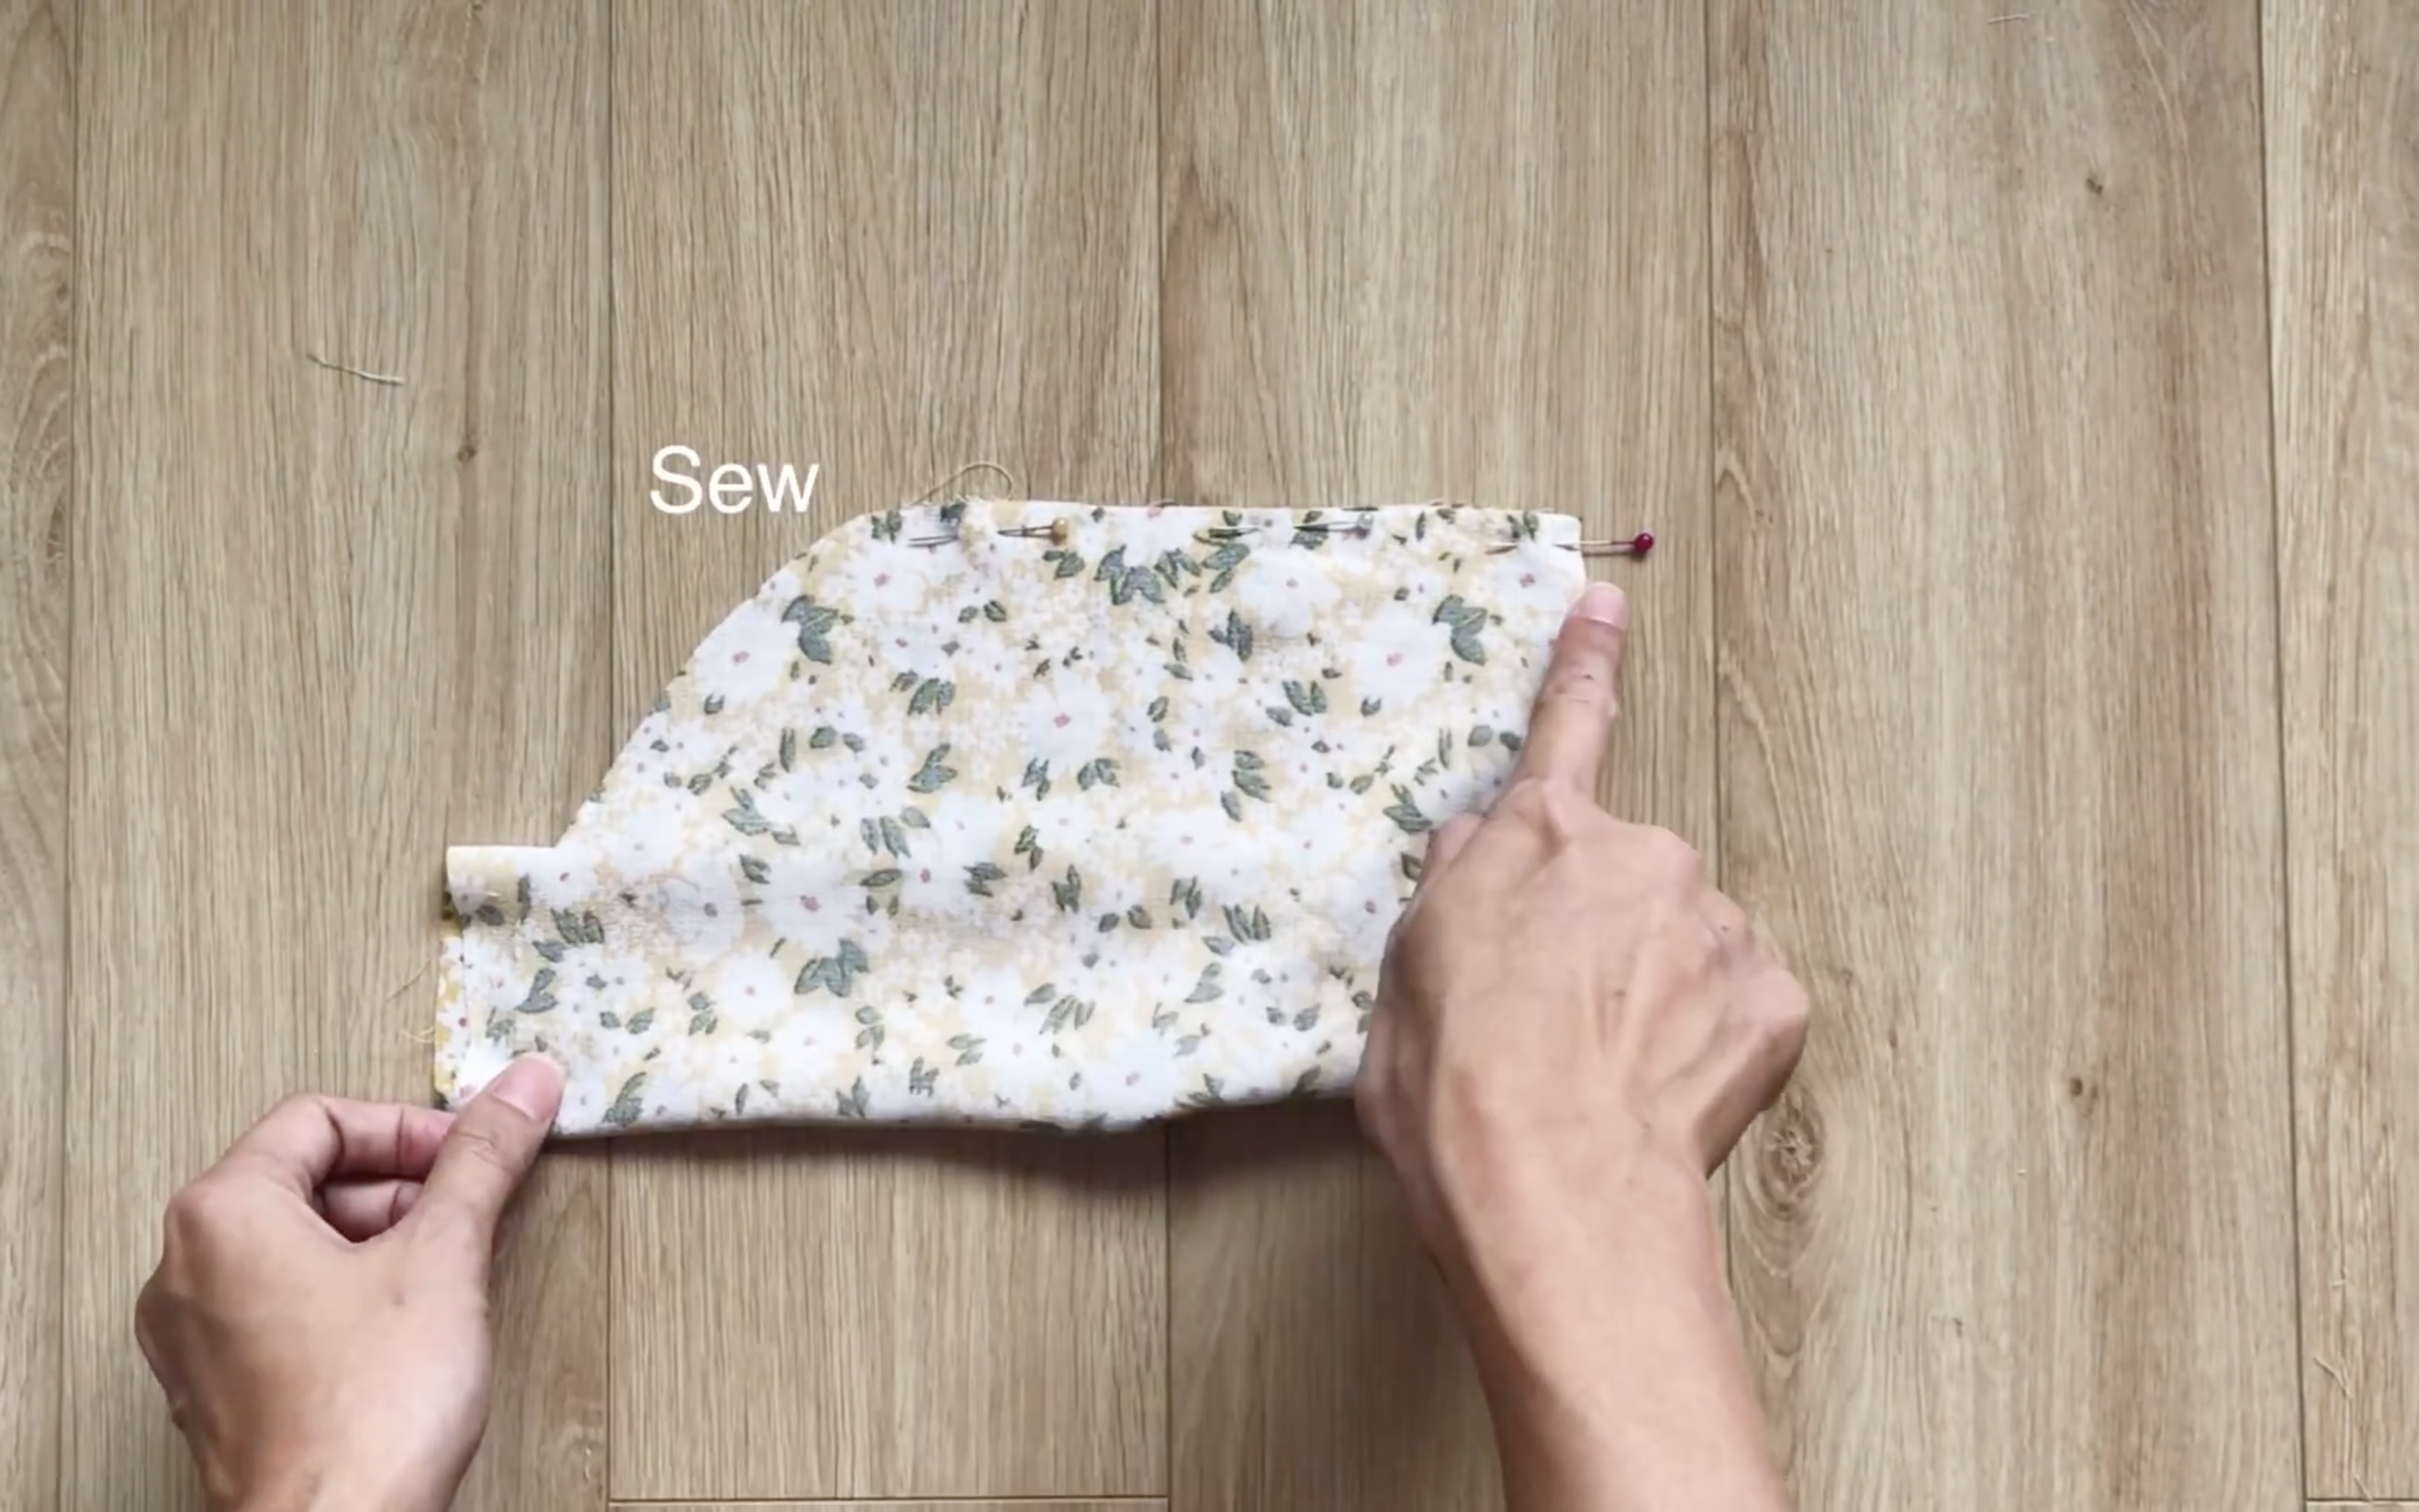
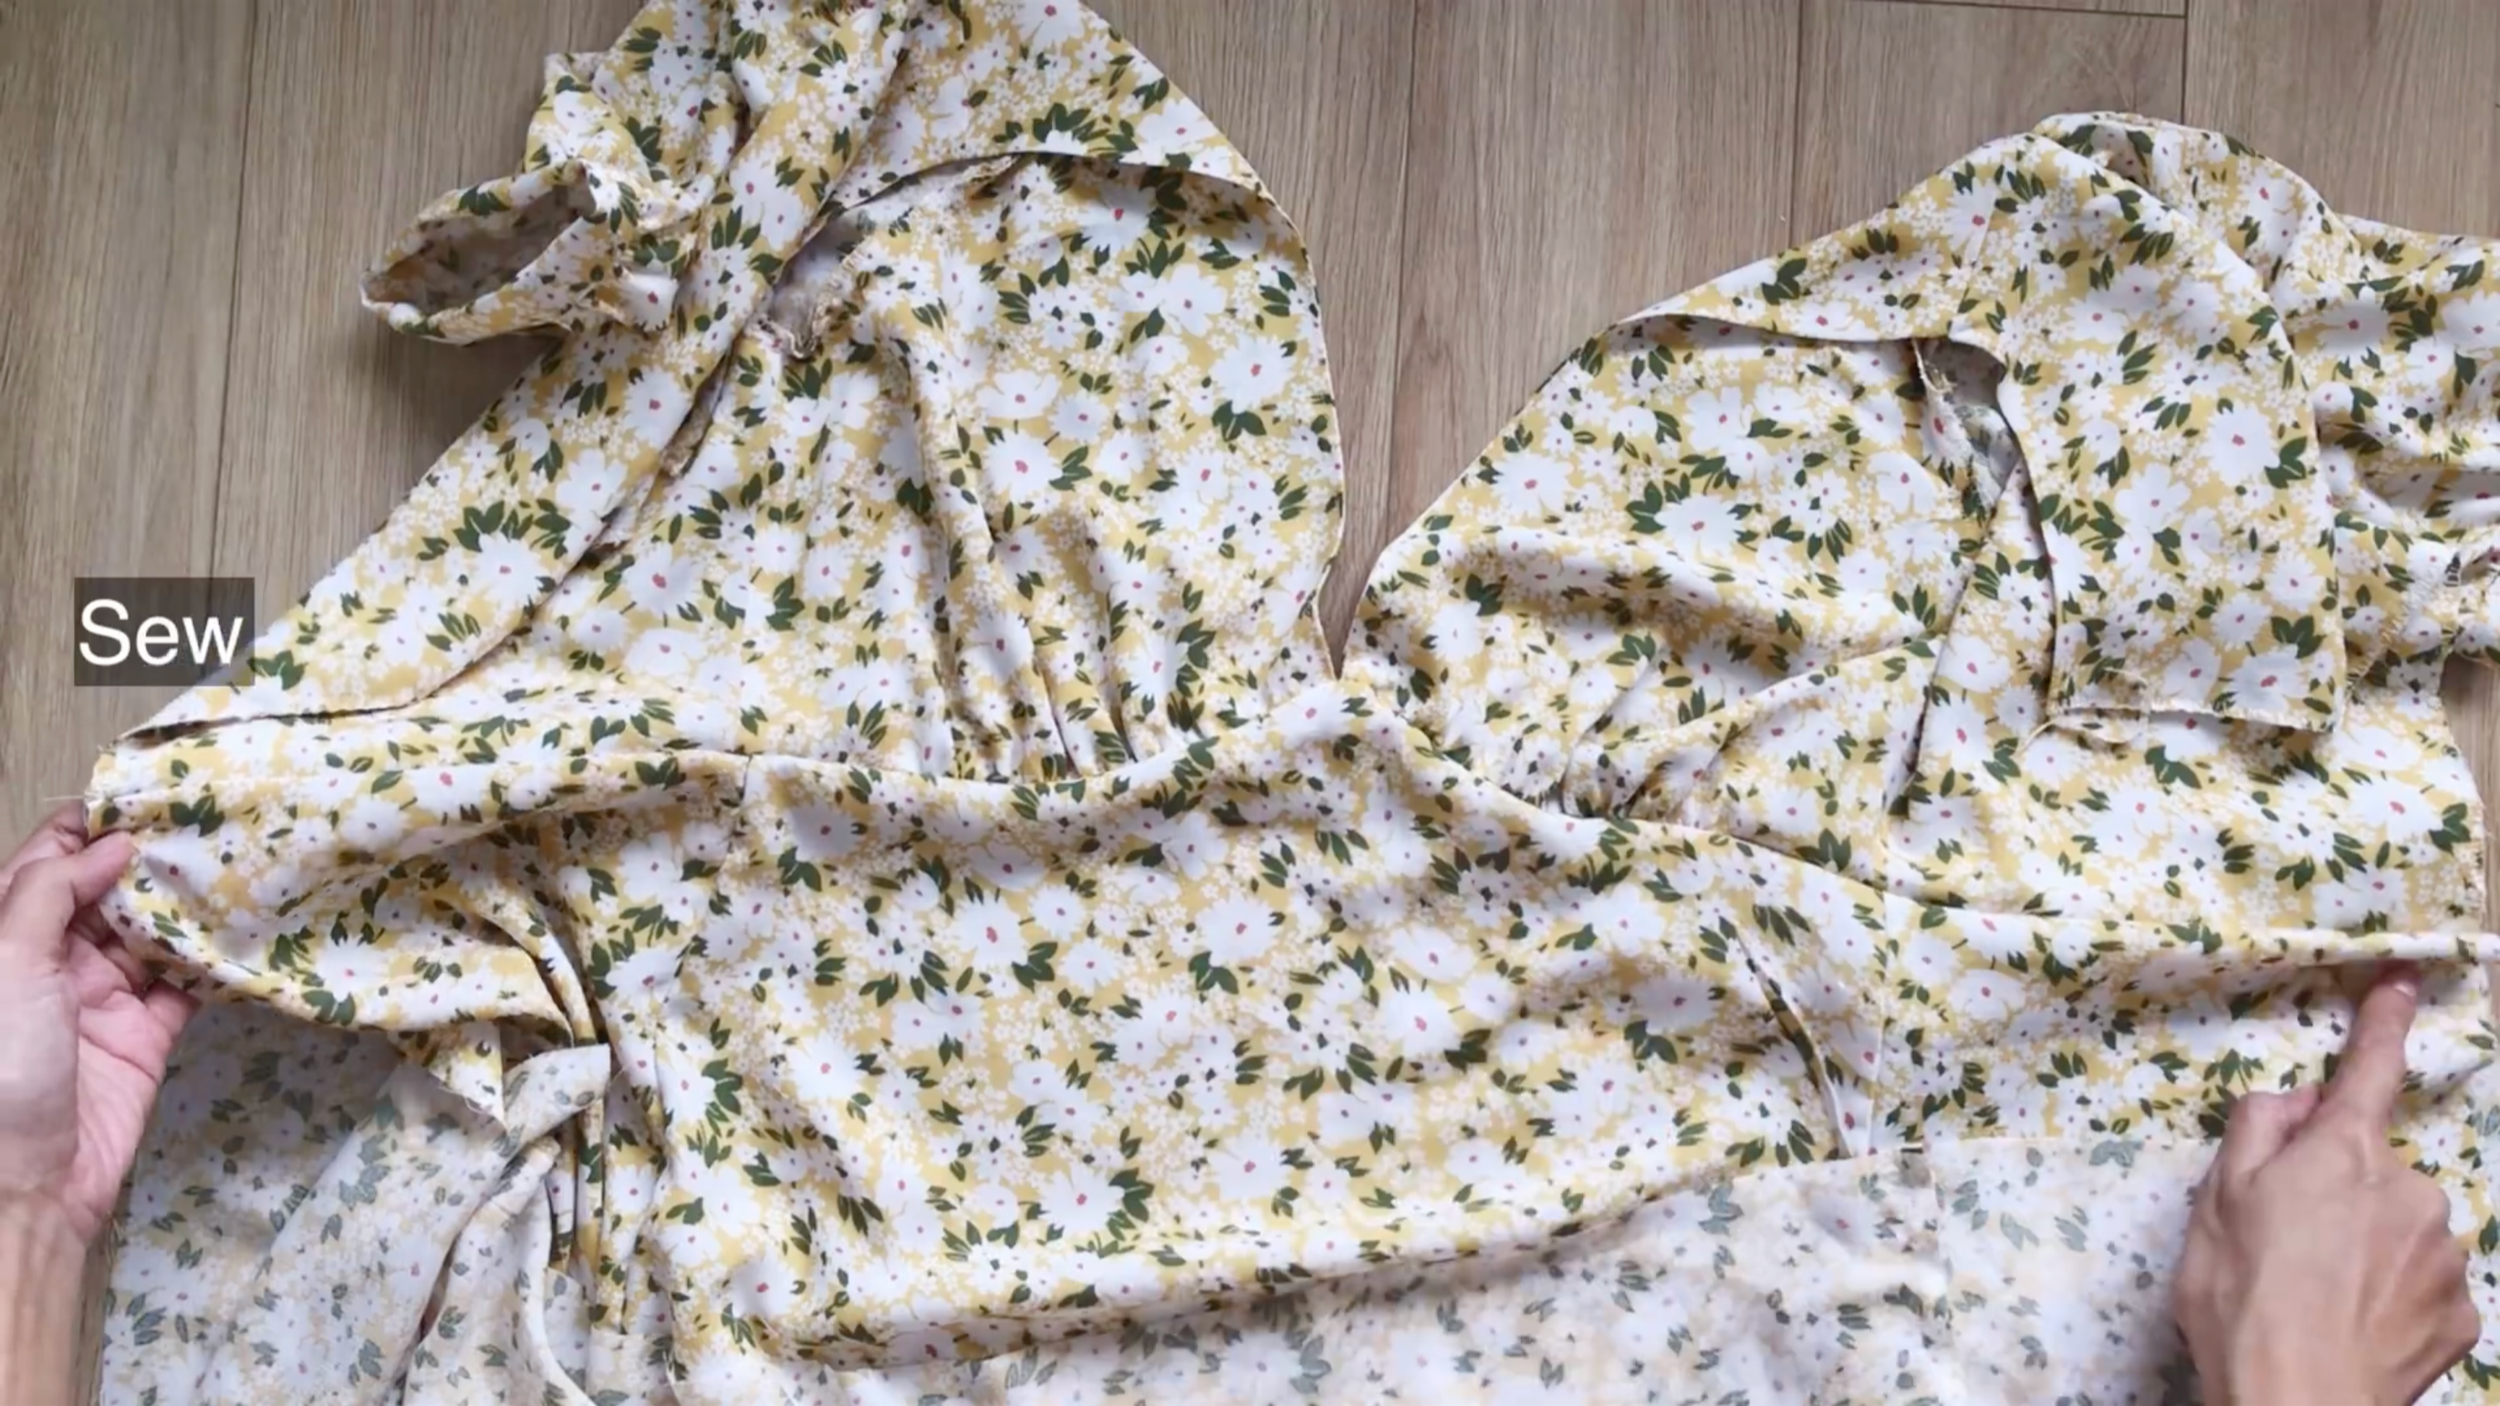
Now it's time to connect the sleeve to the main bodice of the dress.
After sewing, make a loose seam at the bustier area of the bodice to create a puffy look there.
Just to make sure the width of the bustier has to be the same with the back of the bodice.
THE BOTTOM PART
THE FRONT OF THE BOTTOM PART
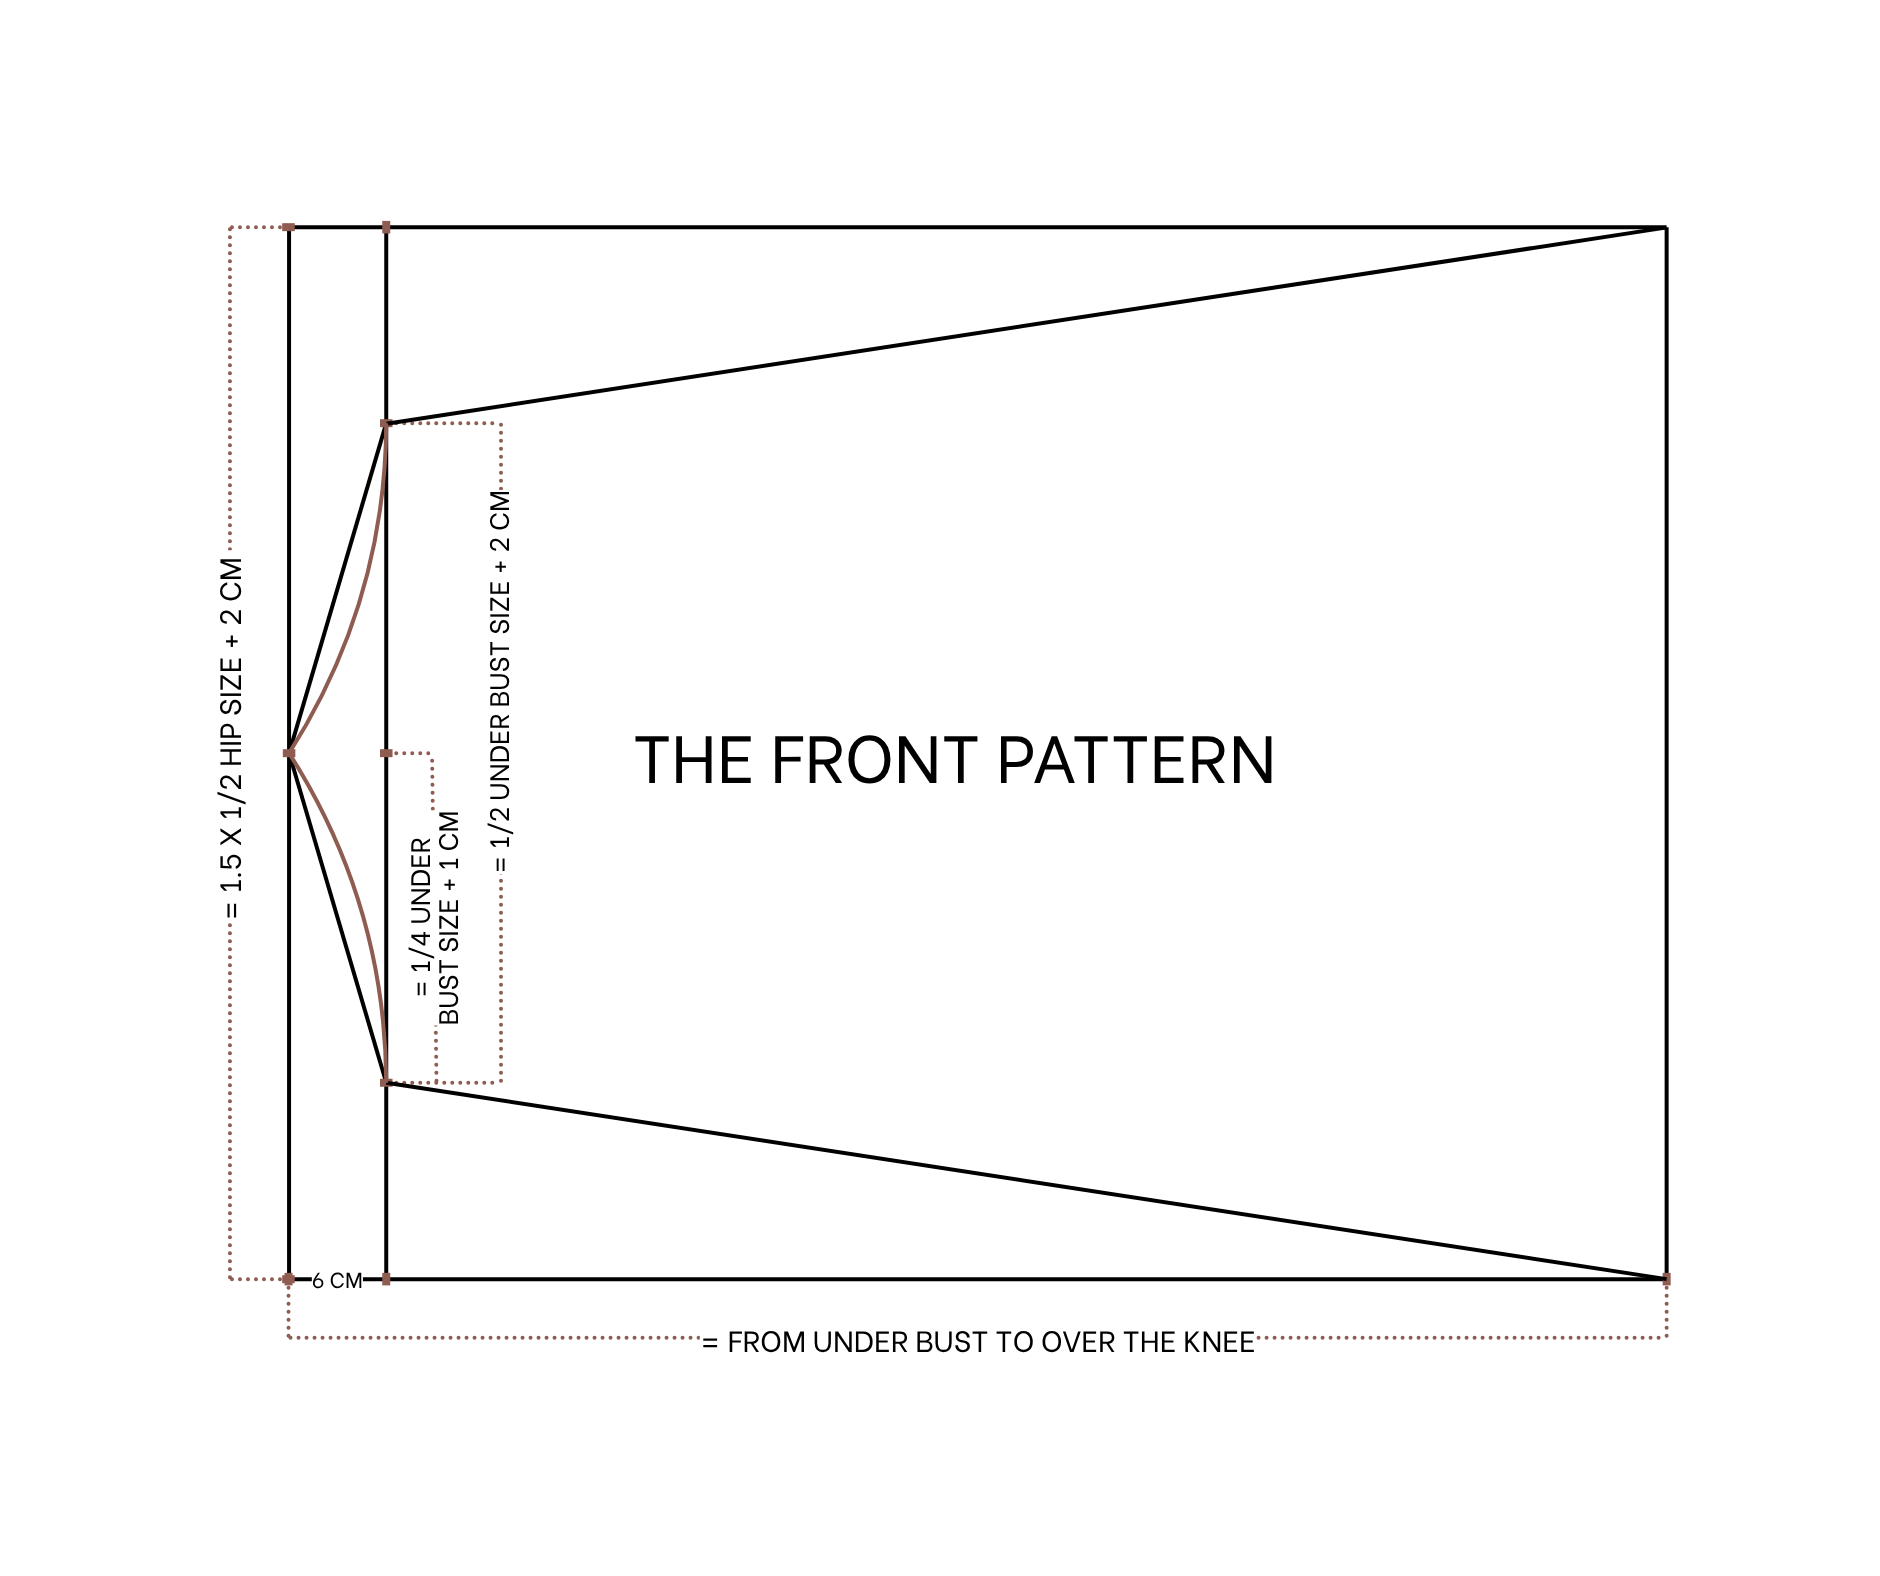
Moving to the bottom of the dress, cut two rectangles with 71 cm width (which is 1.5 times half of the hip size plus 2 cm) and 90 cm length (which is the length of the dress from the underbust to over the knee).
At one width line, draw a straight line at 6 cm inside it. Then, mark at the middle of that line.
From that mark, mark at two sides of it 18 cm, which is a quarter of the underbust size plus 1 cm.
Then, connect this mark to the end of the other width line.
From these two marks, connect them to the middle of the other width line too.
Then, a curved line can be drawn to create the bustier area there. This will be the front of the bottom part.
THE BACK OF THE BOTTOM PART
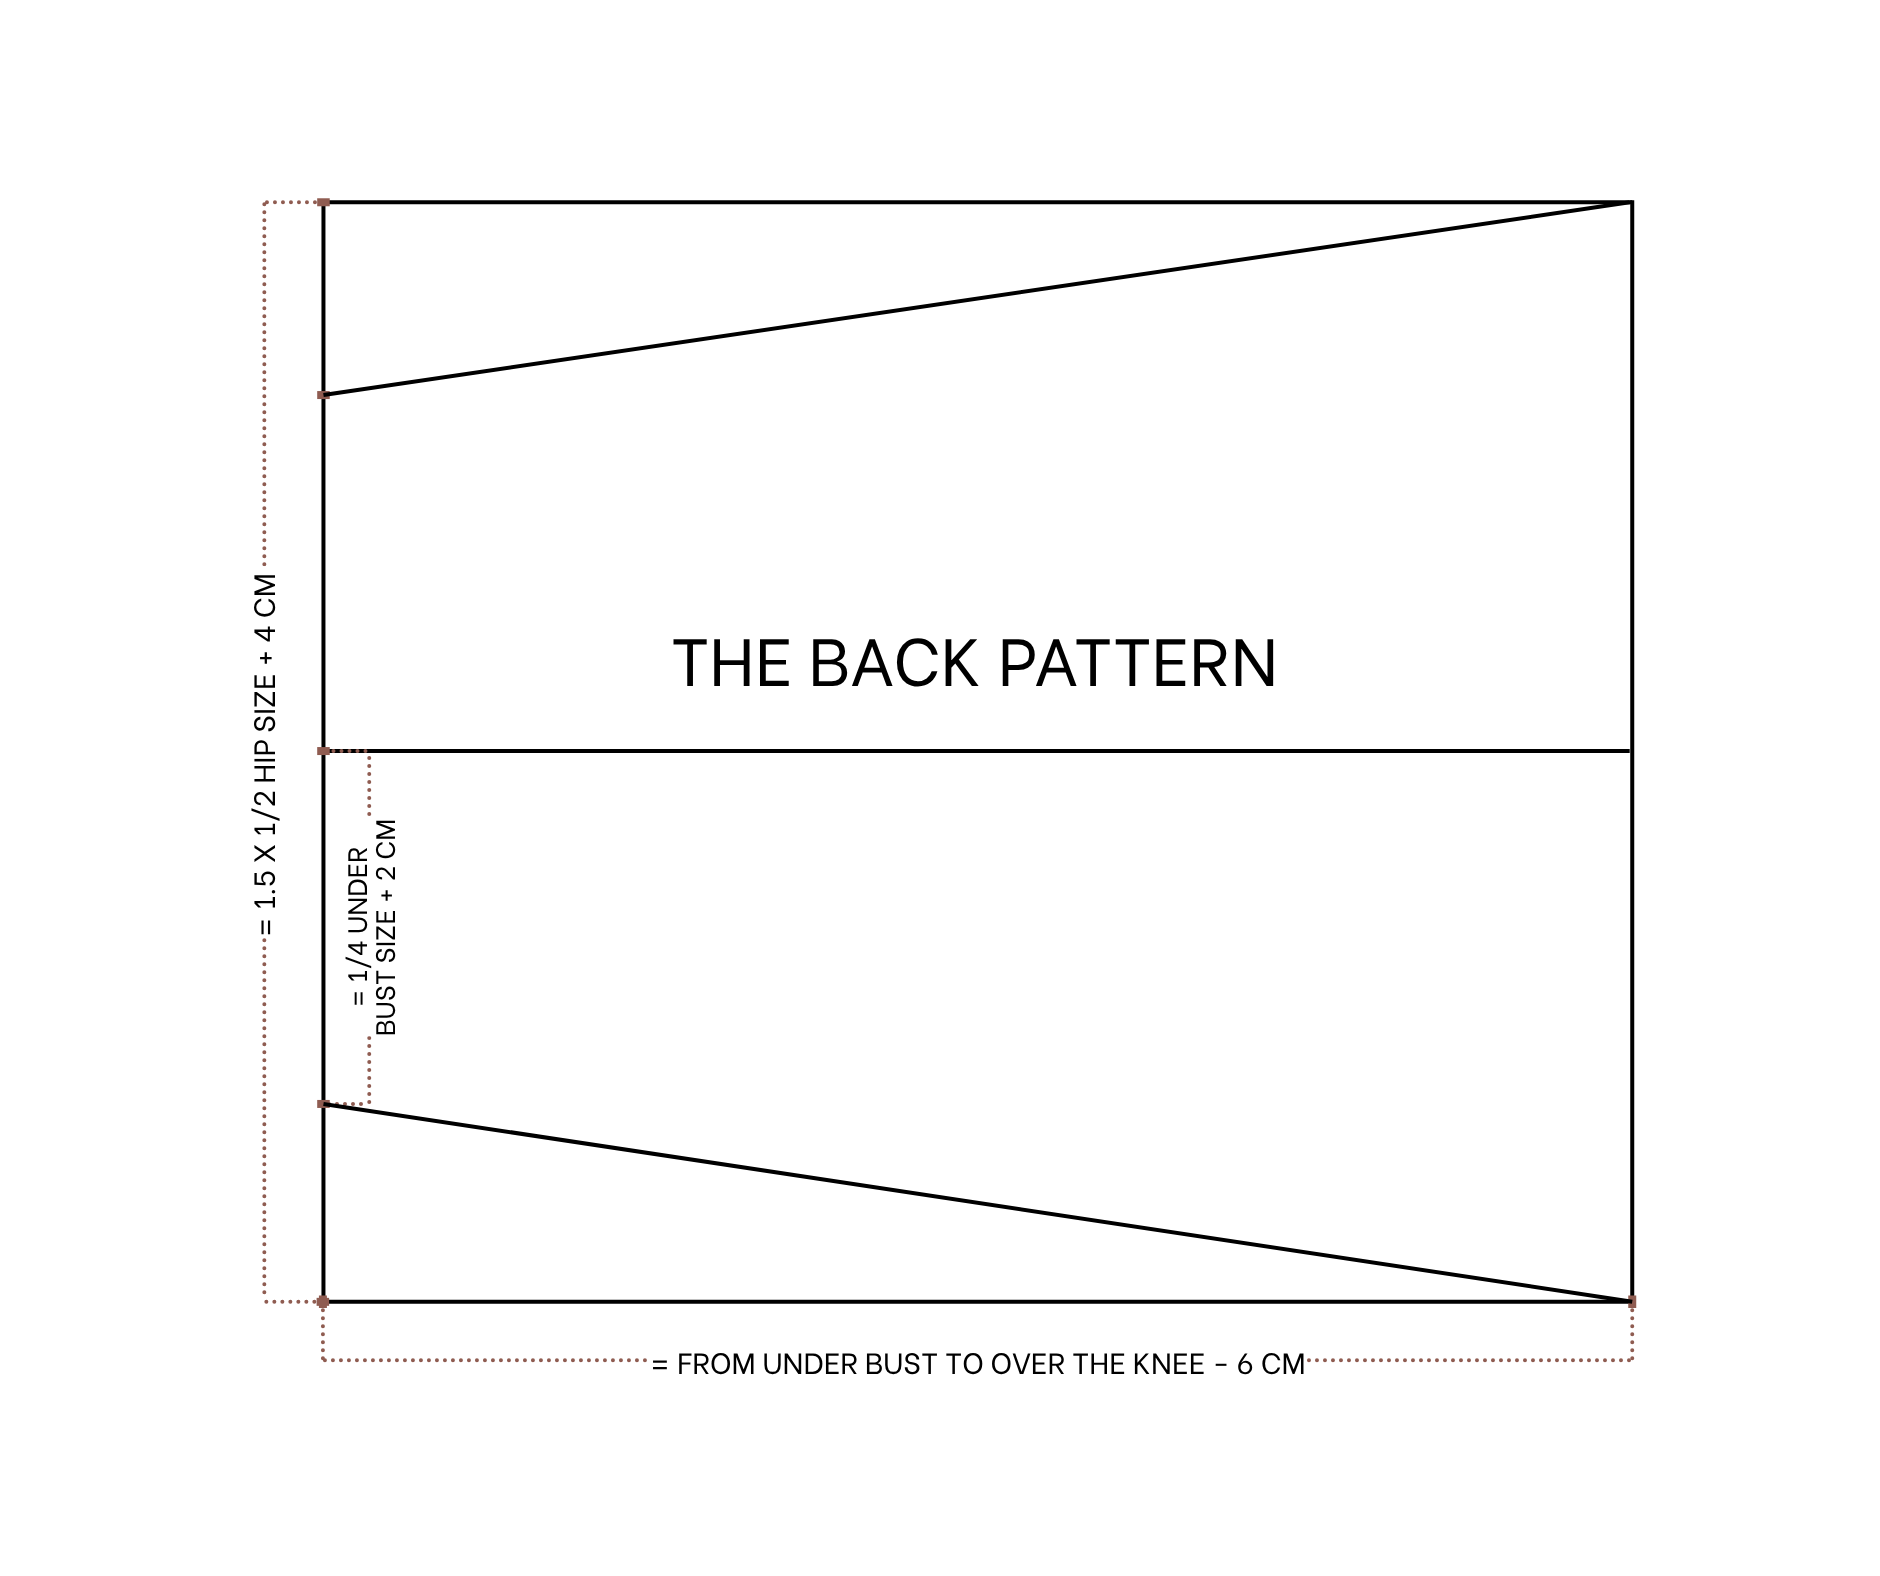
For the back of the bottom part, cut two rectangles with 73 cm width (which is 2 cm longer than the front bottom part) and 84 cm length (which is 6 cm shorter than the front bottom part).
Draw a horizontal line to divide the rectangle into two smaller rectangles on the width line.
From one end of the middle line, move two sides and mark at 19 cm each side, which is a quarter of the underbust size plus 2 cm.
Then, connect these marks to the end of the other width line.
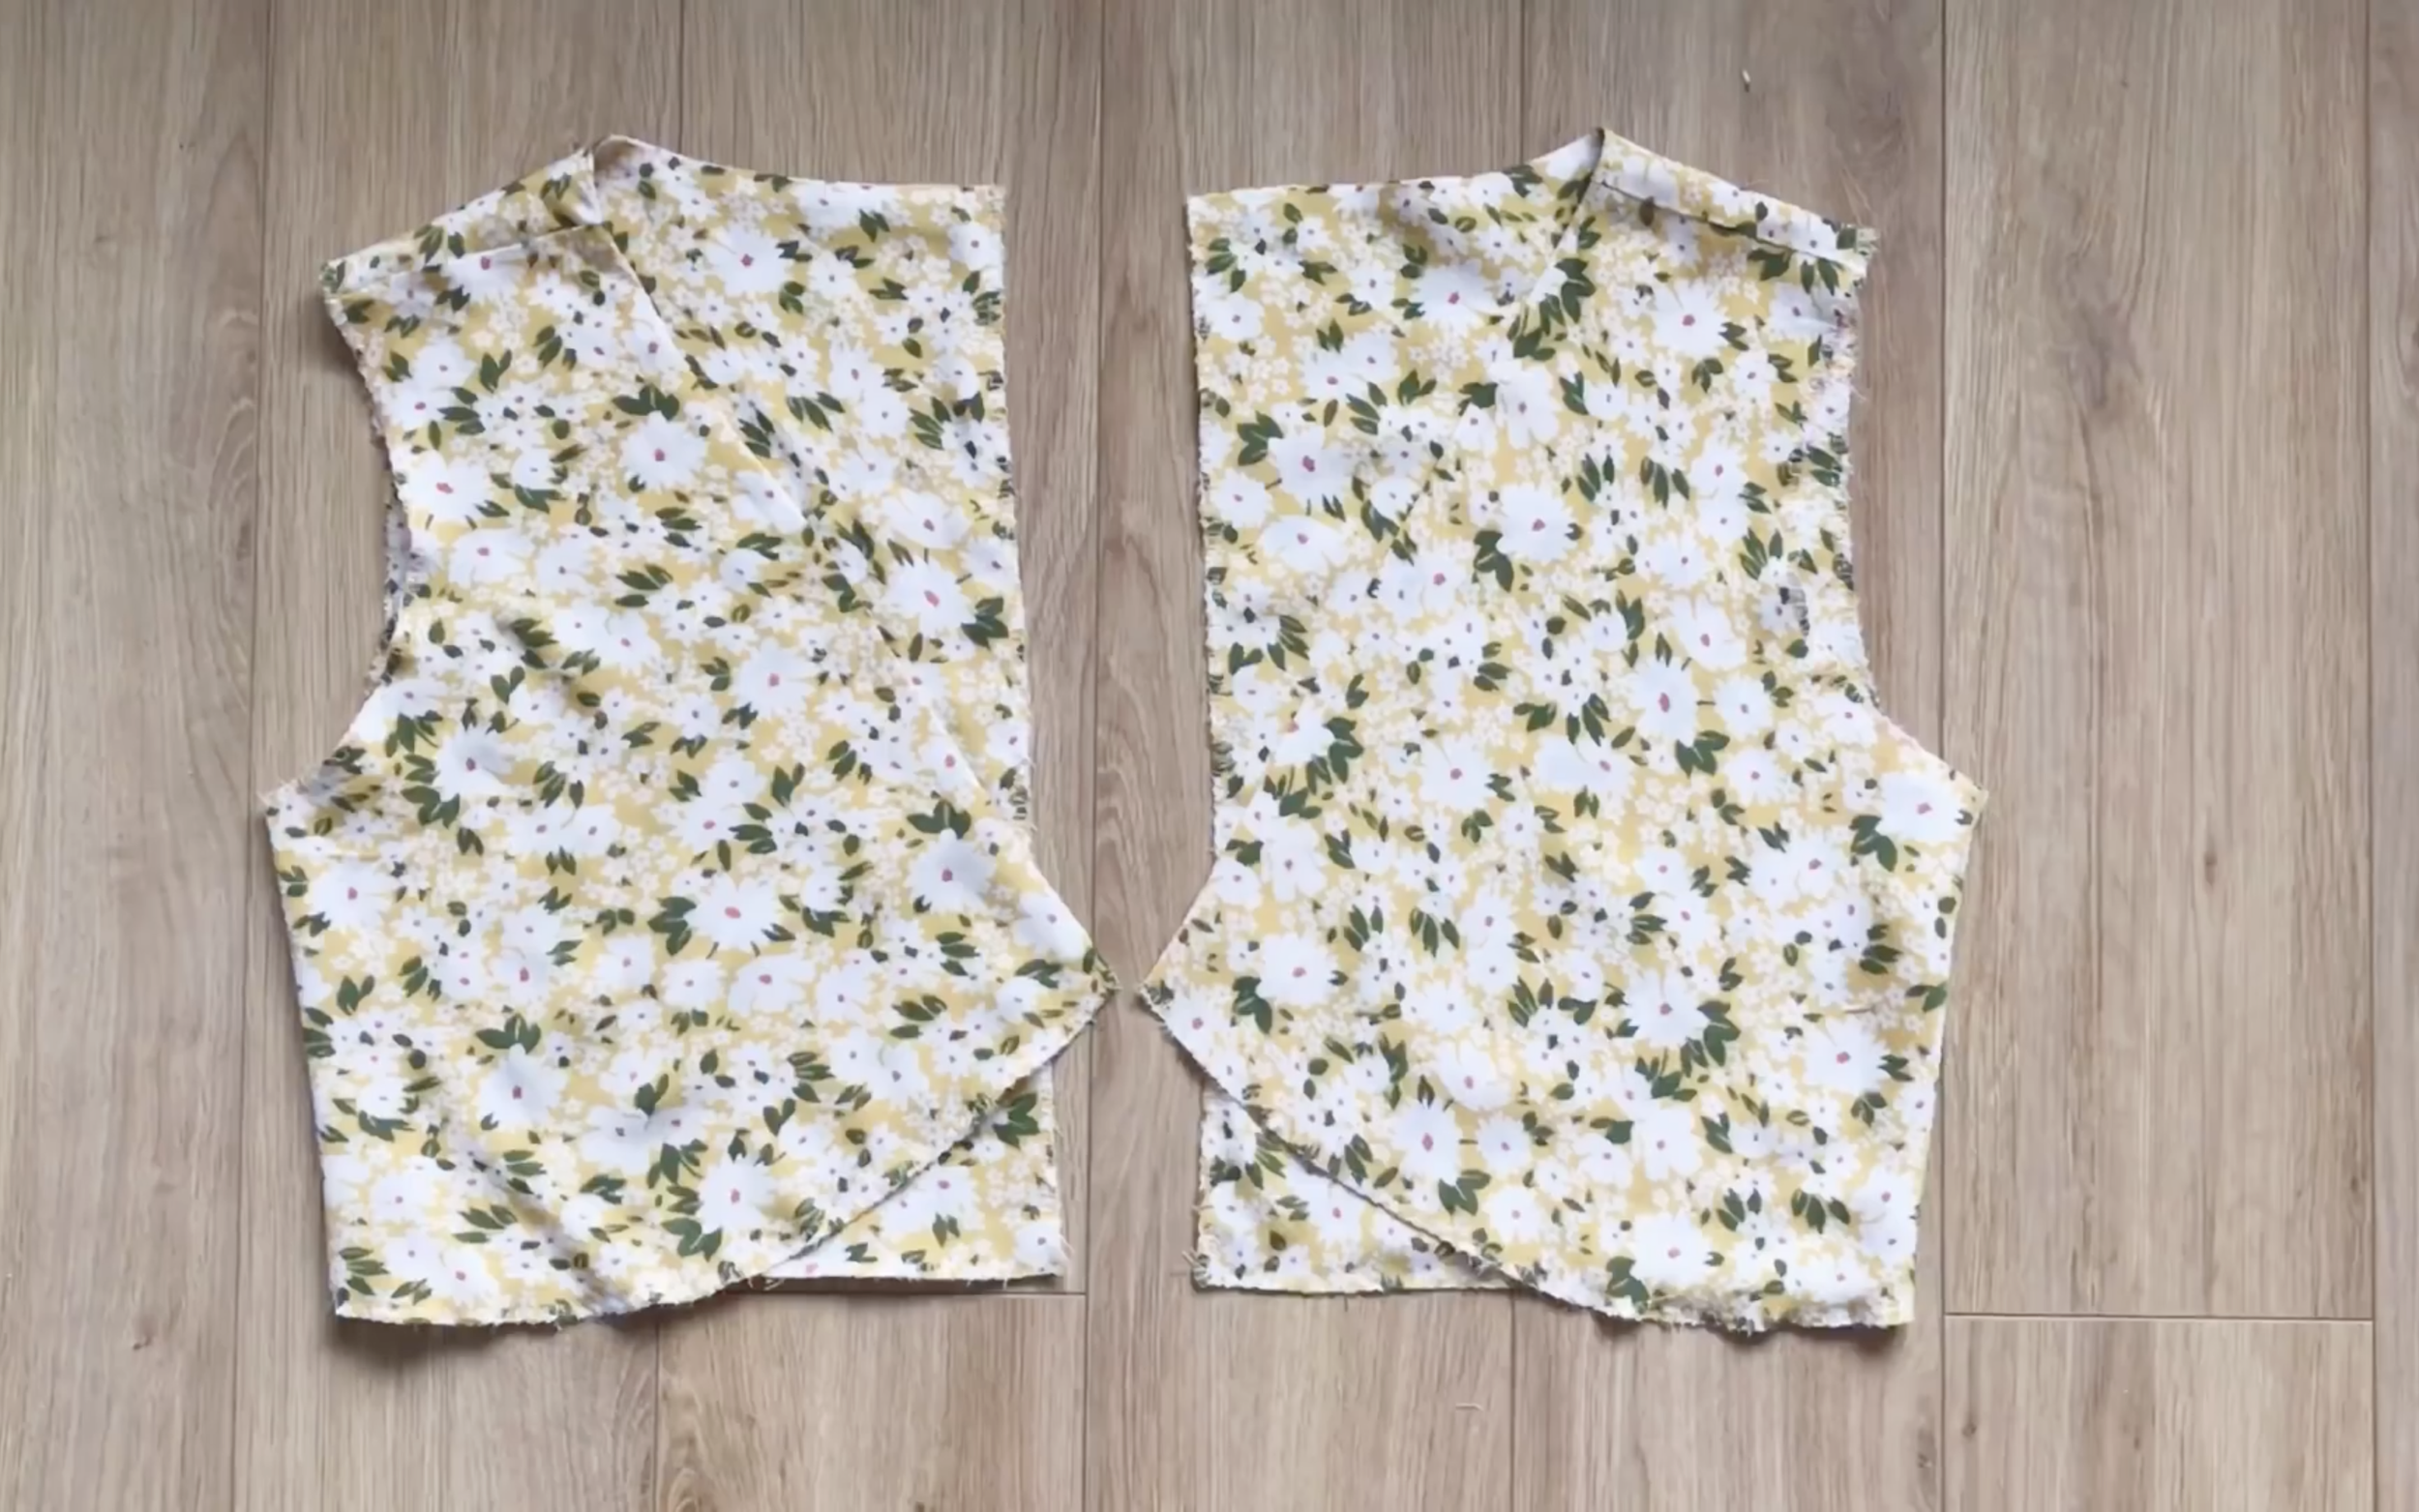
After cutting, you will have two pieces of the back bottom part.
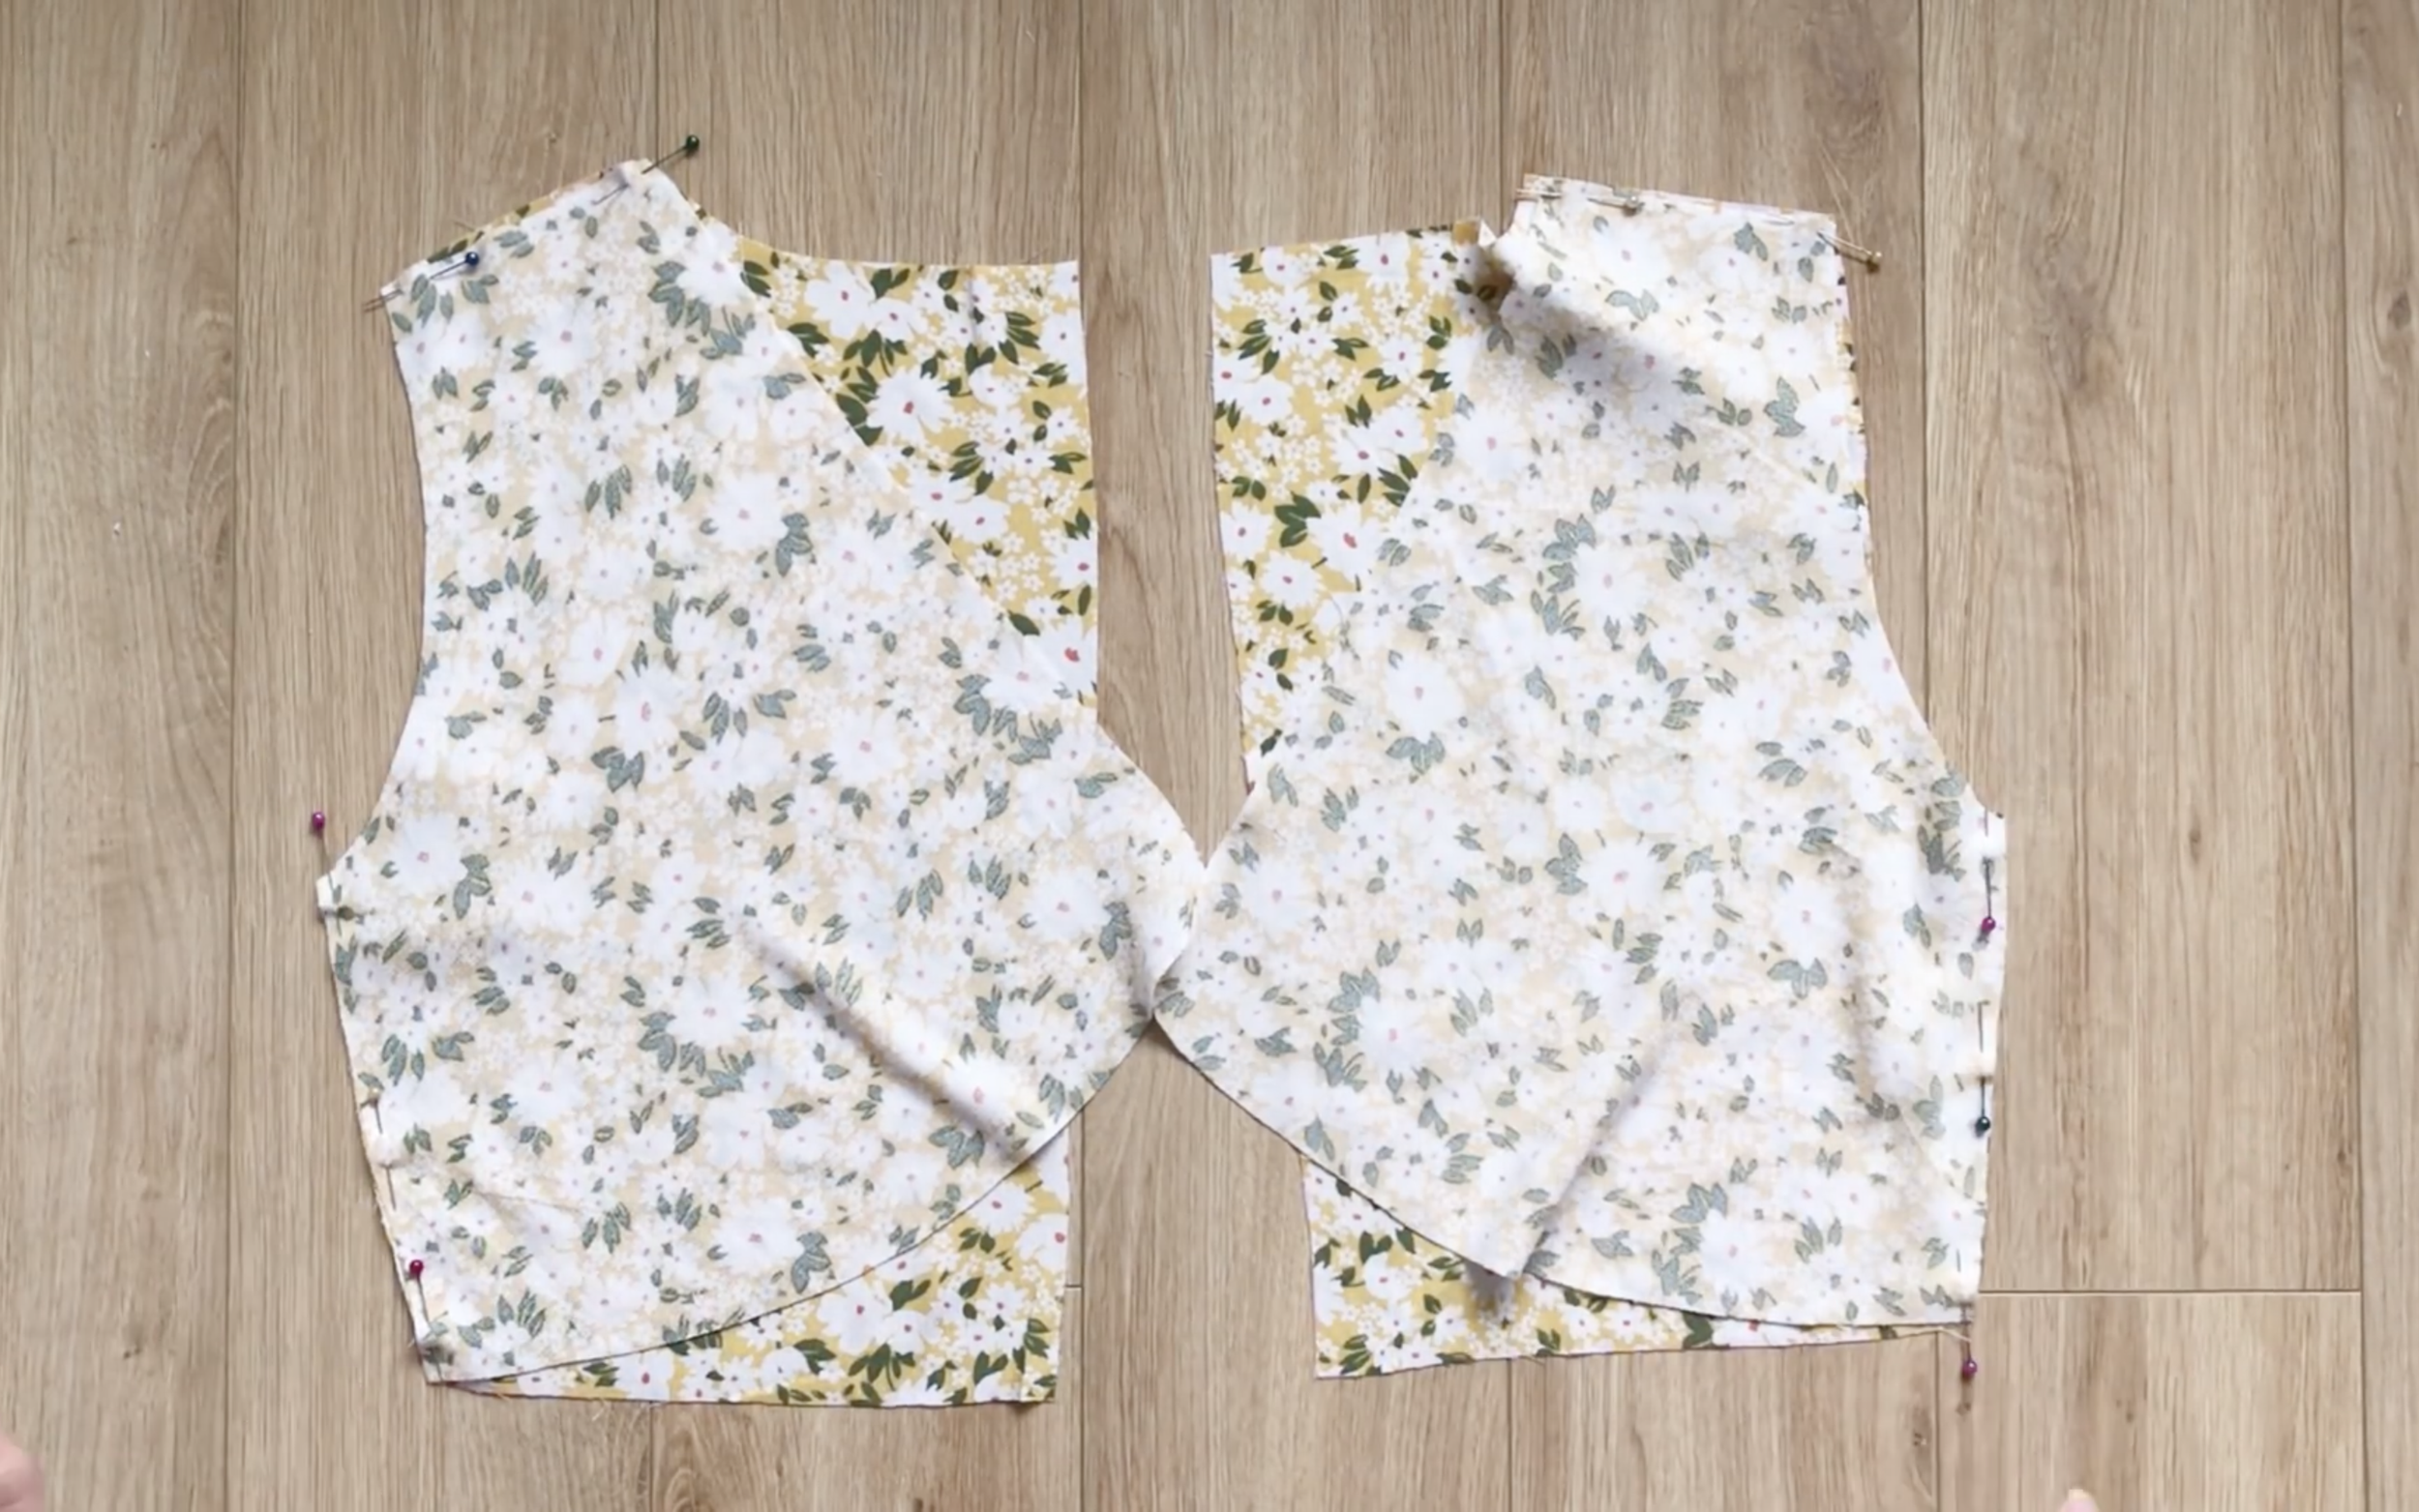
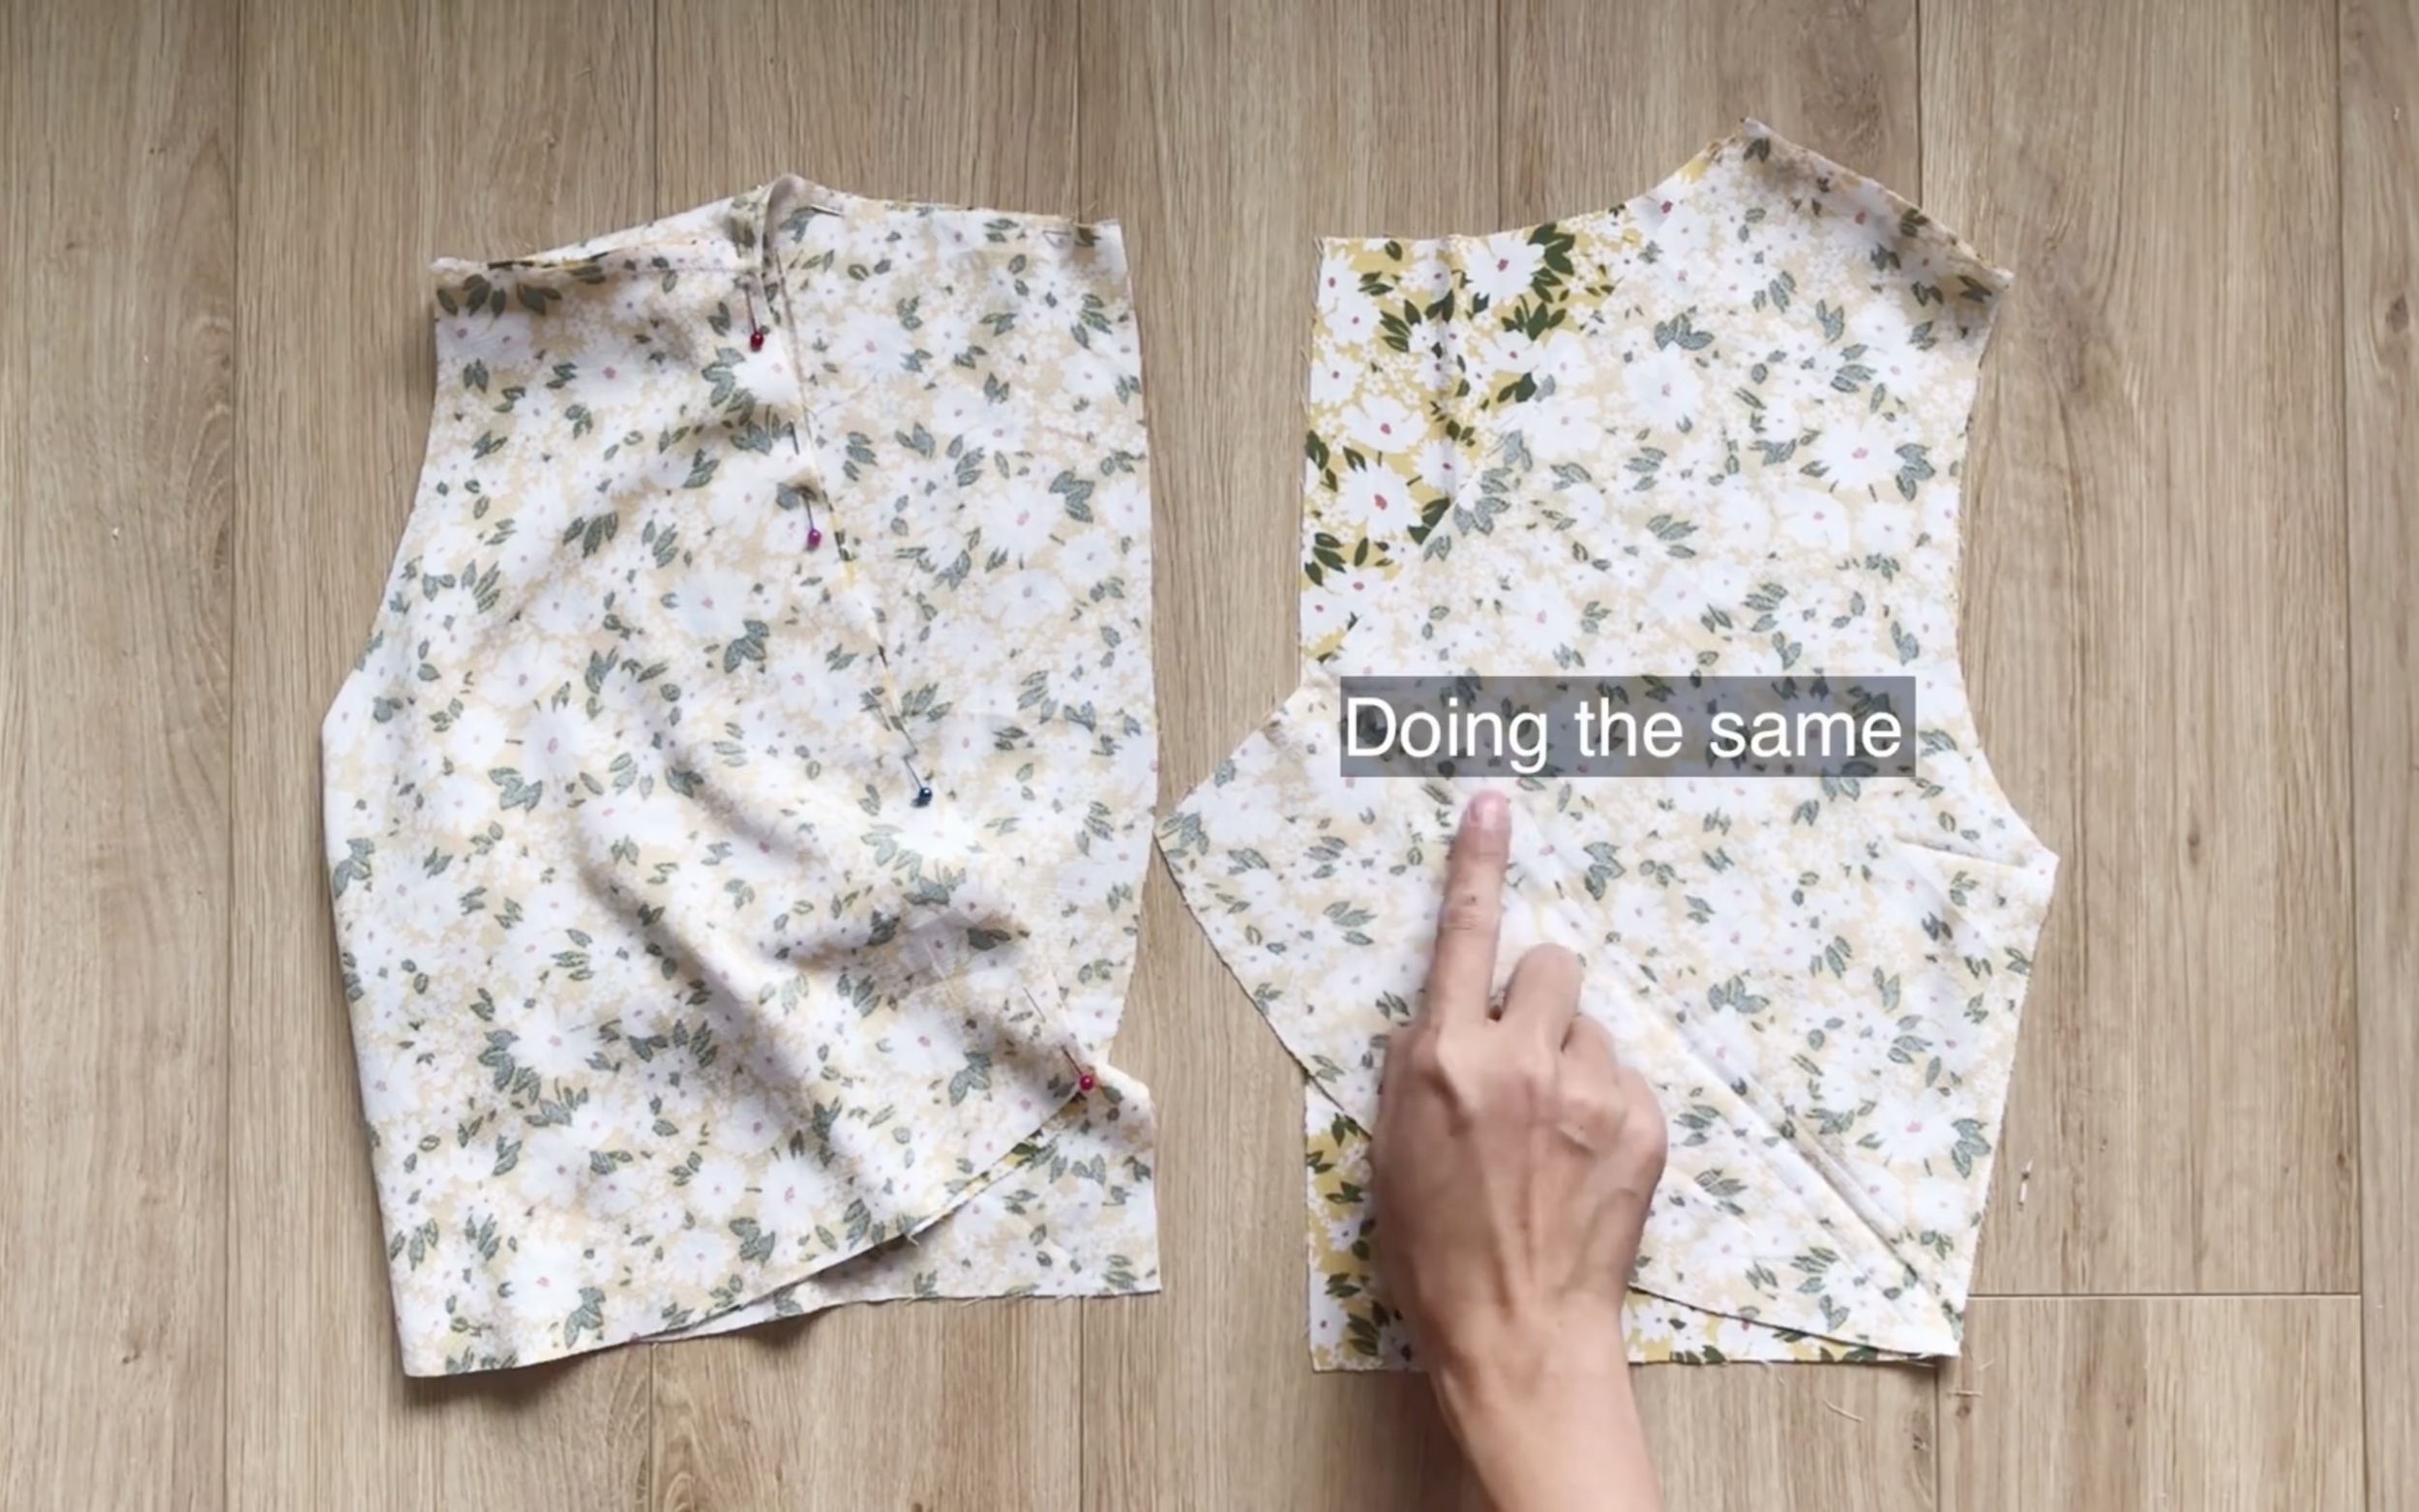
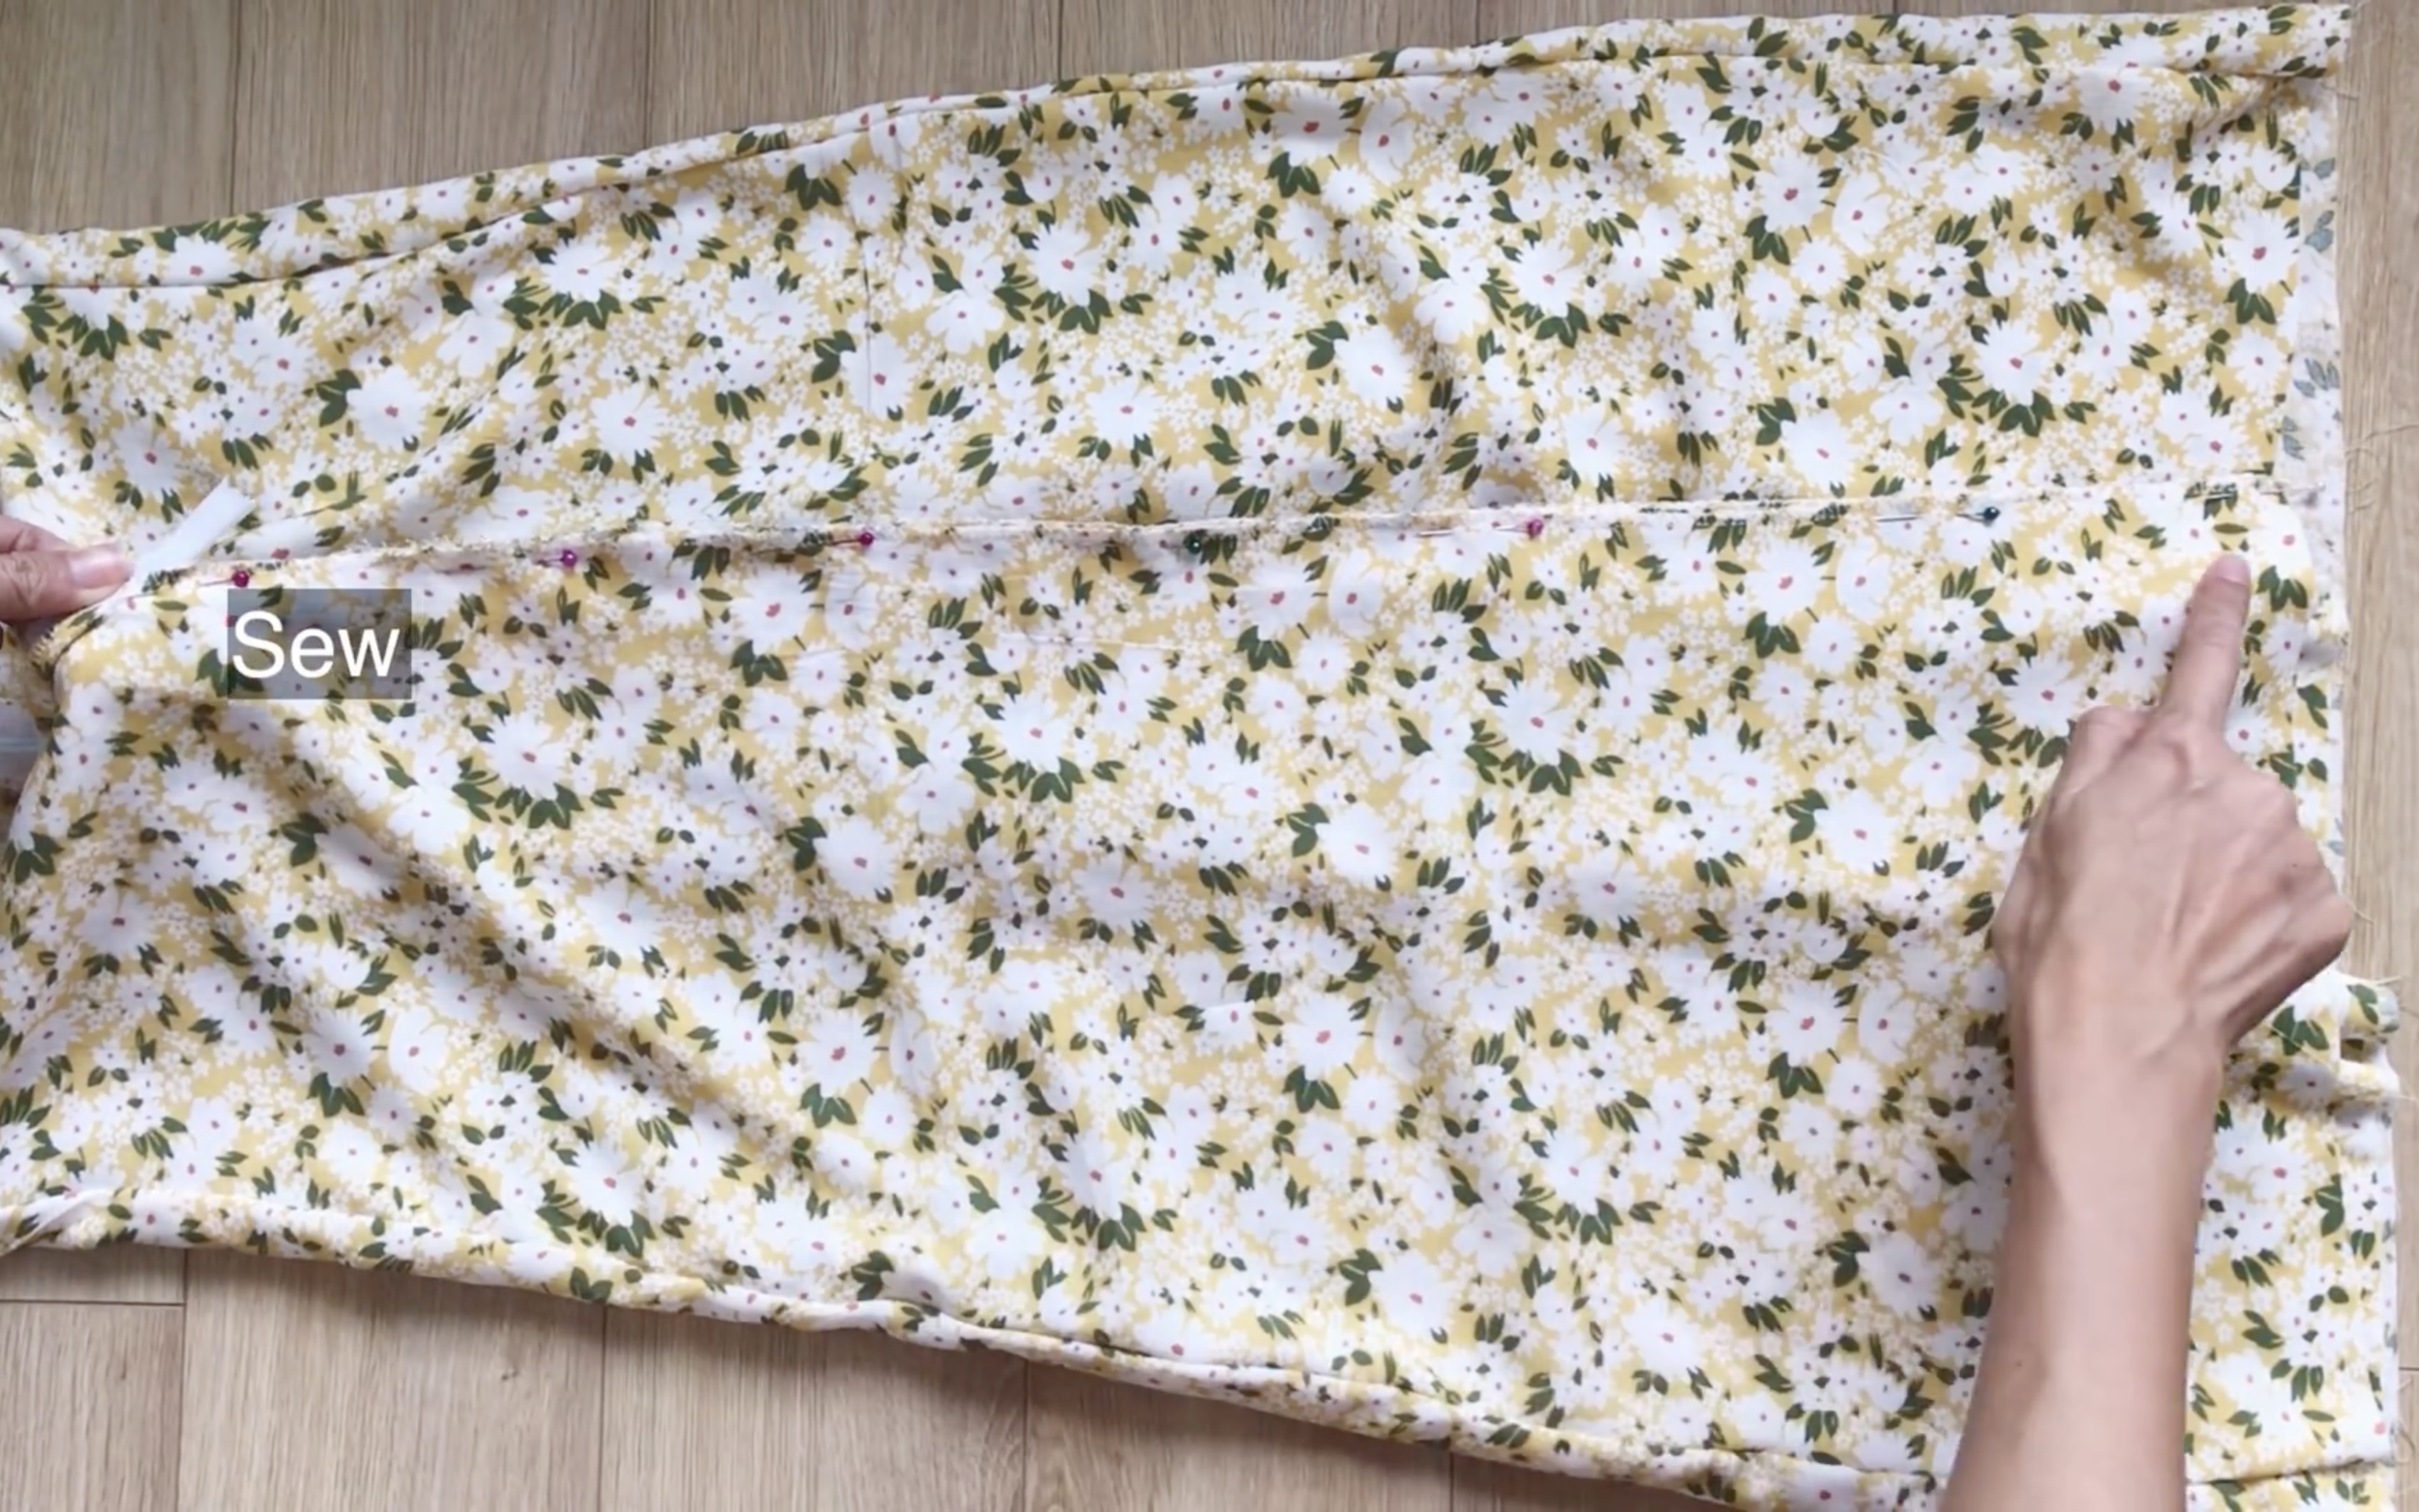
Now, connect the front and the back of the bottom part together at two sides first.
Then, connect one bottom part to the top part later.
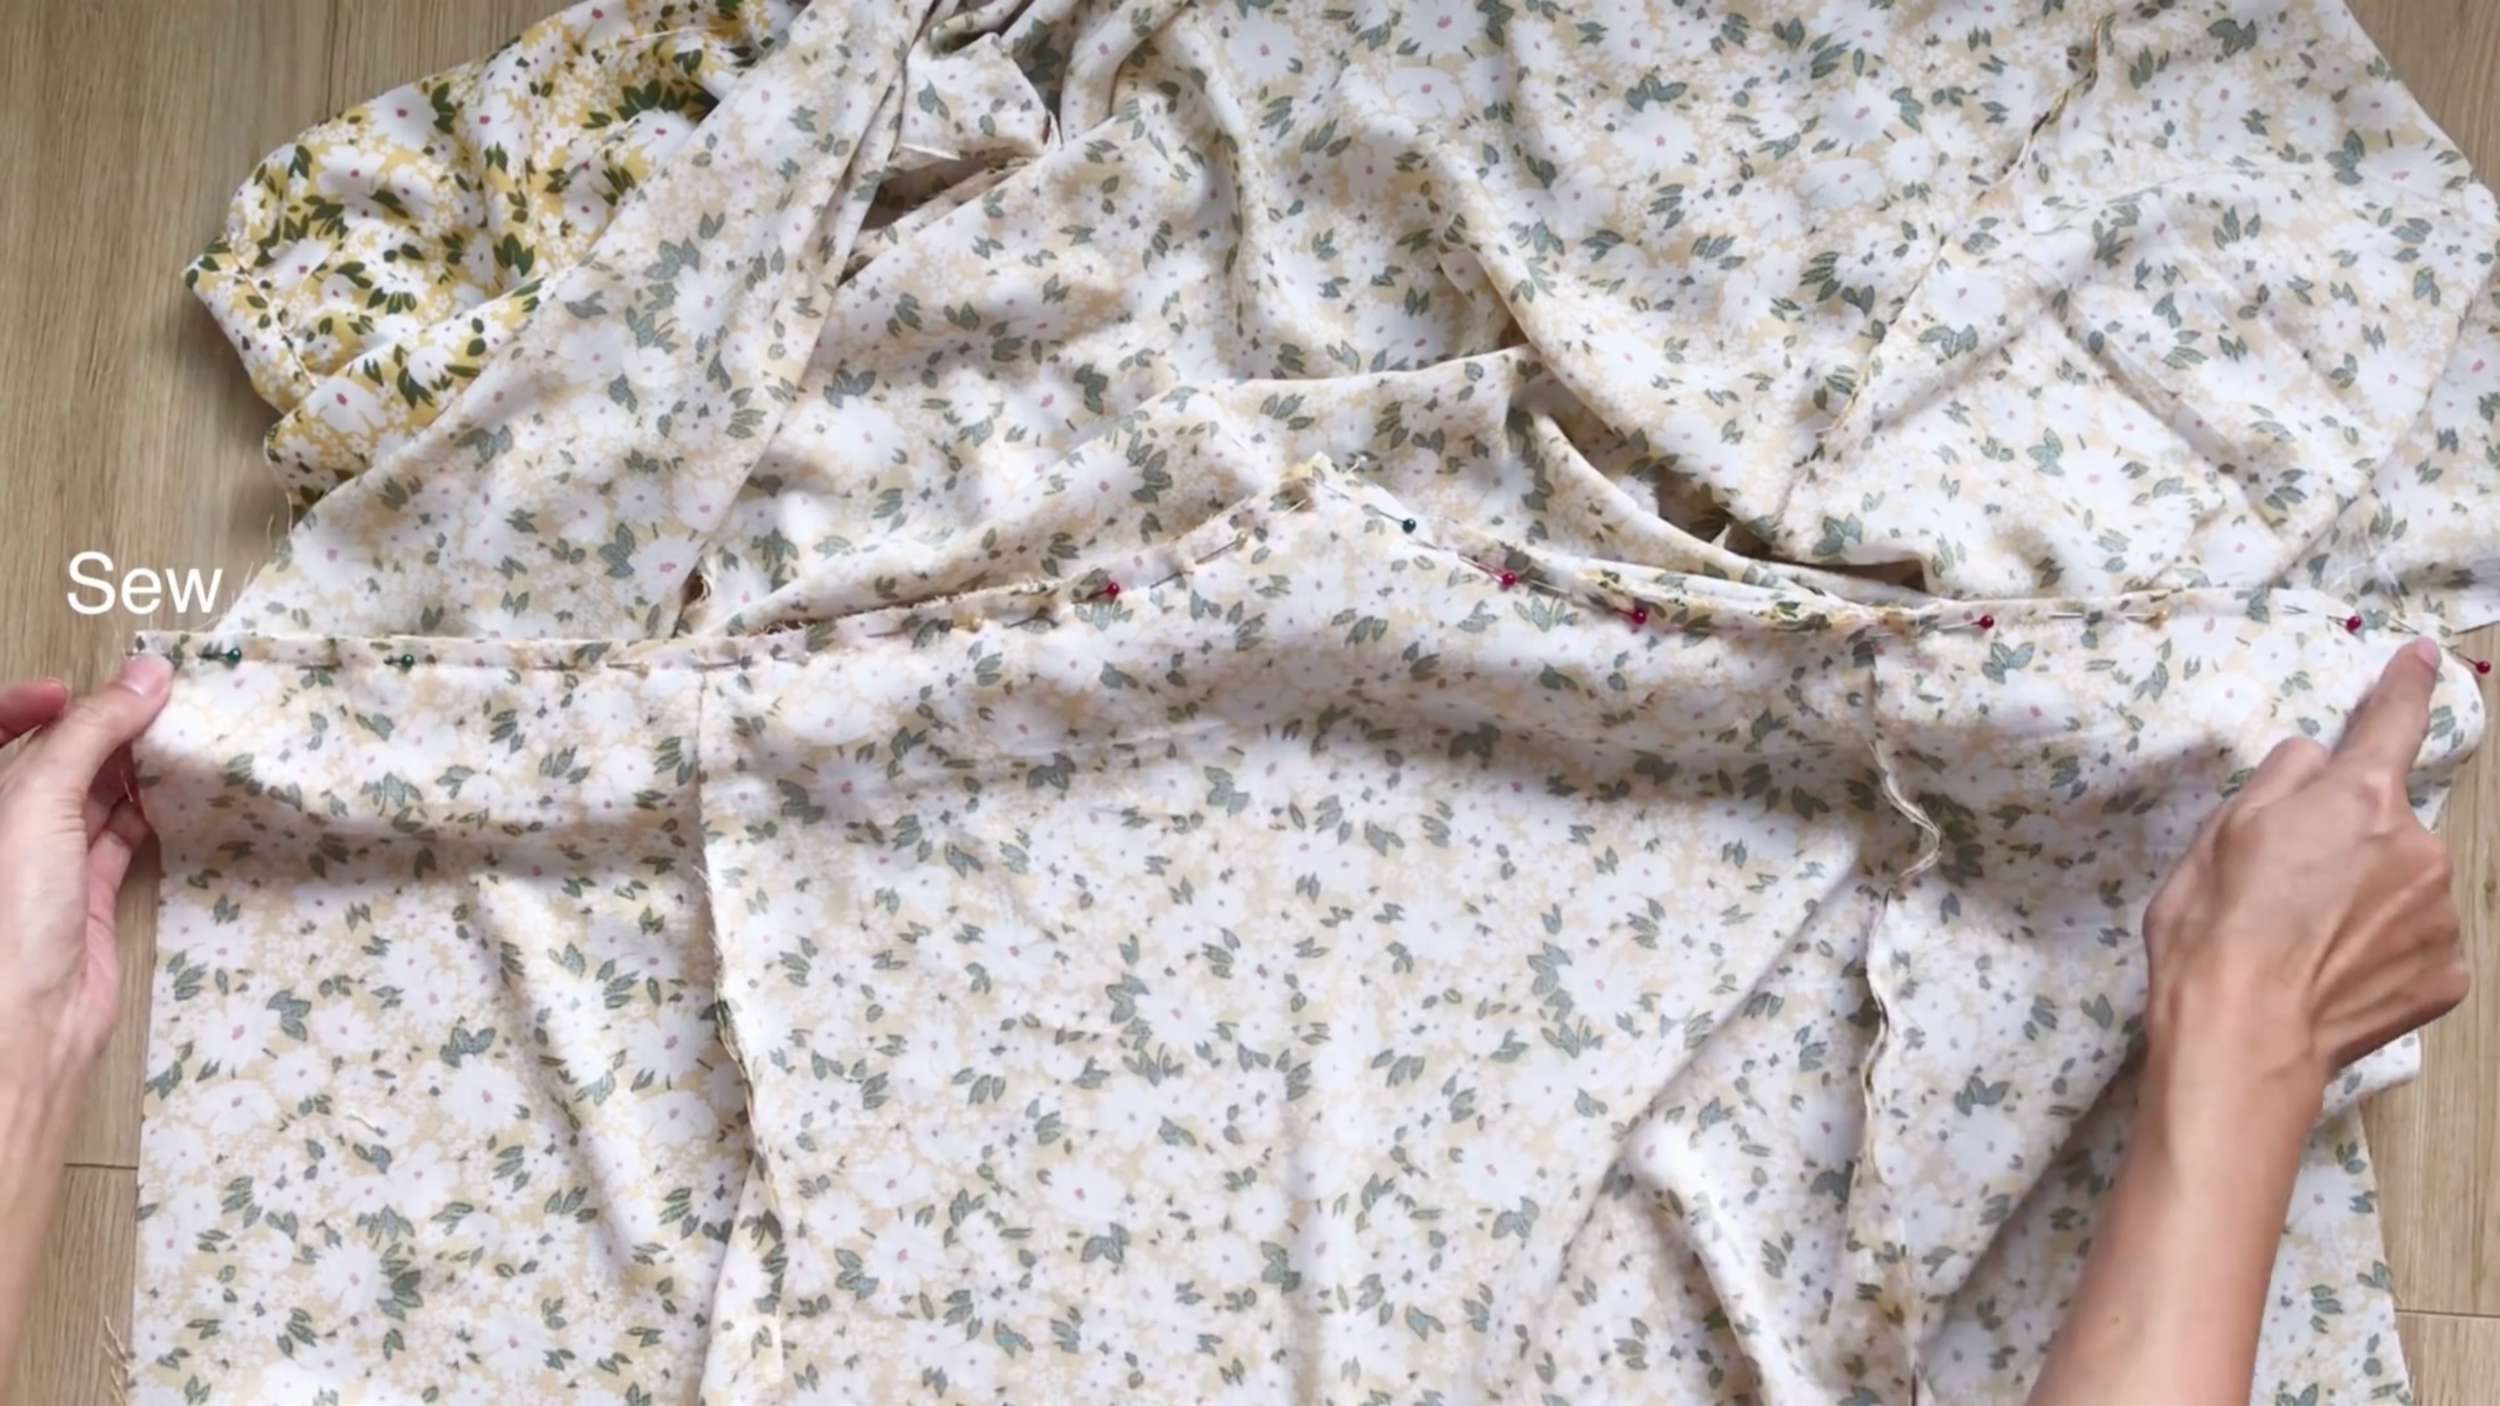
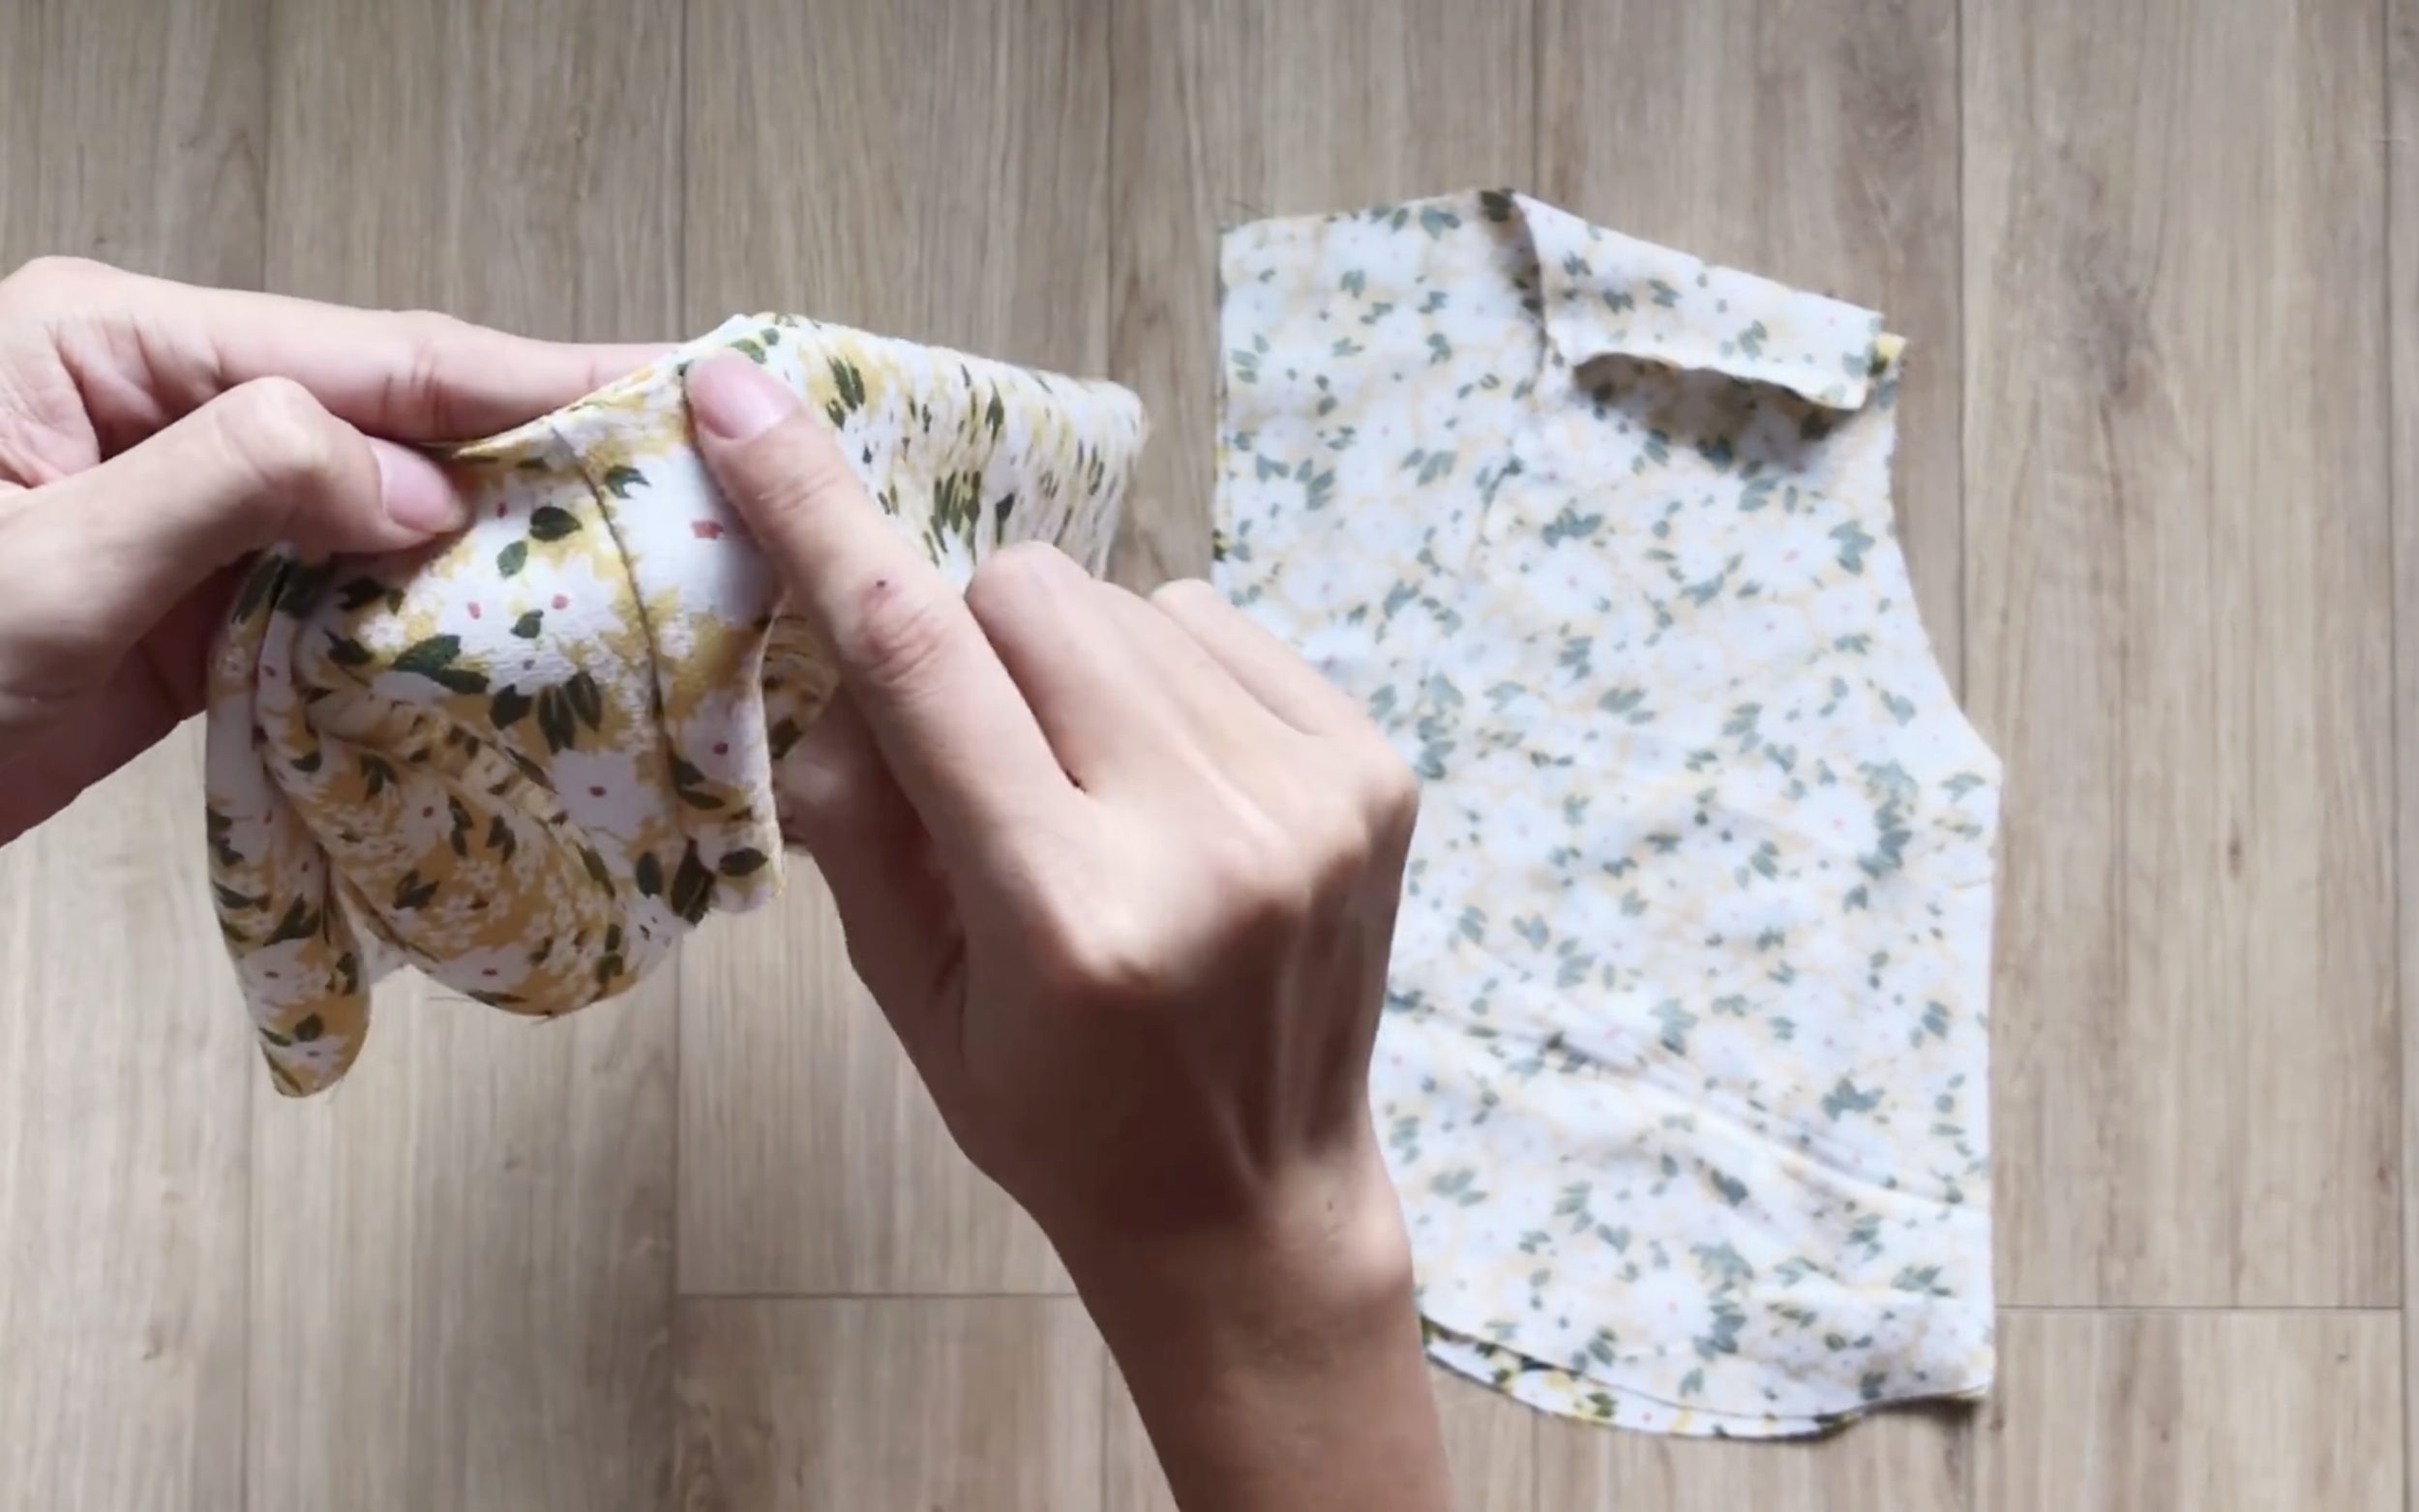
After sewing, connect the second bottom part to the top part to make it stay in the middle between two bottom parts so the end fabric can be hidden inside. It would make the dress look nicer.
After the first seam, make the understitching seam to keep the end fabric to stay at one side.
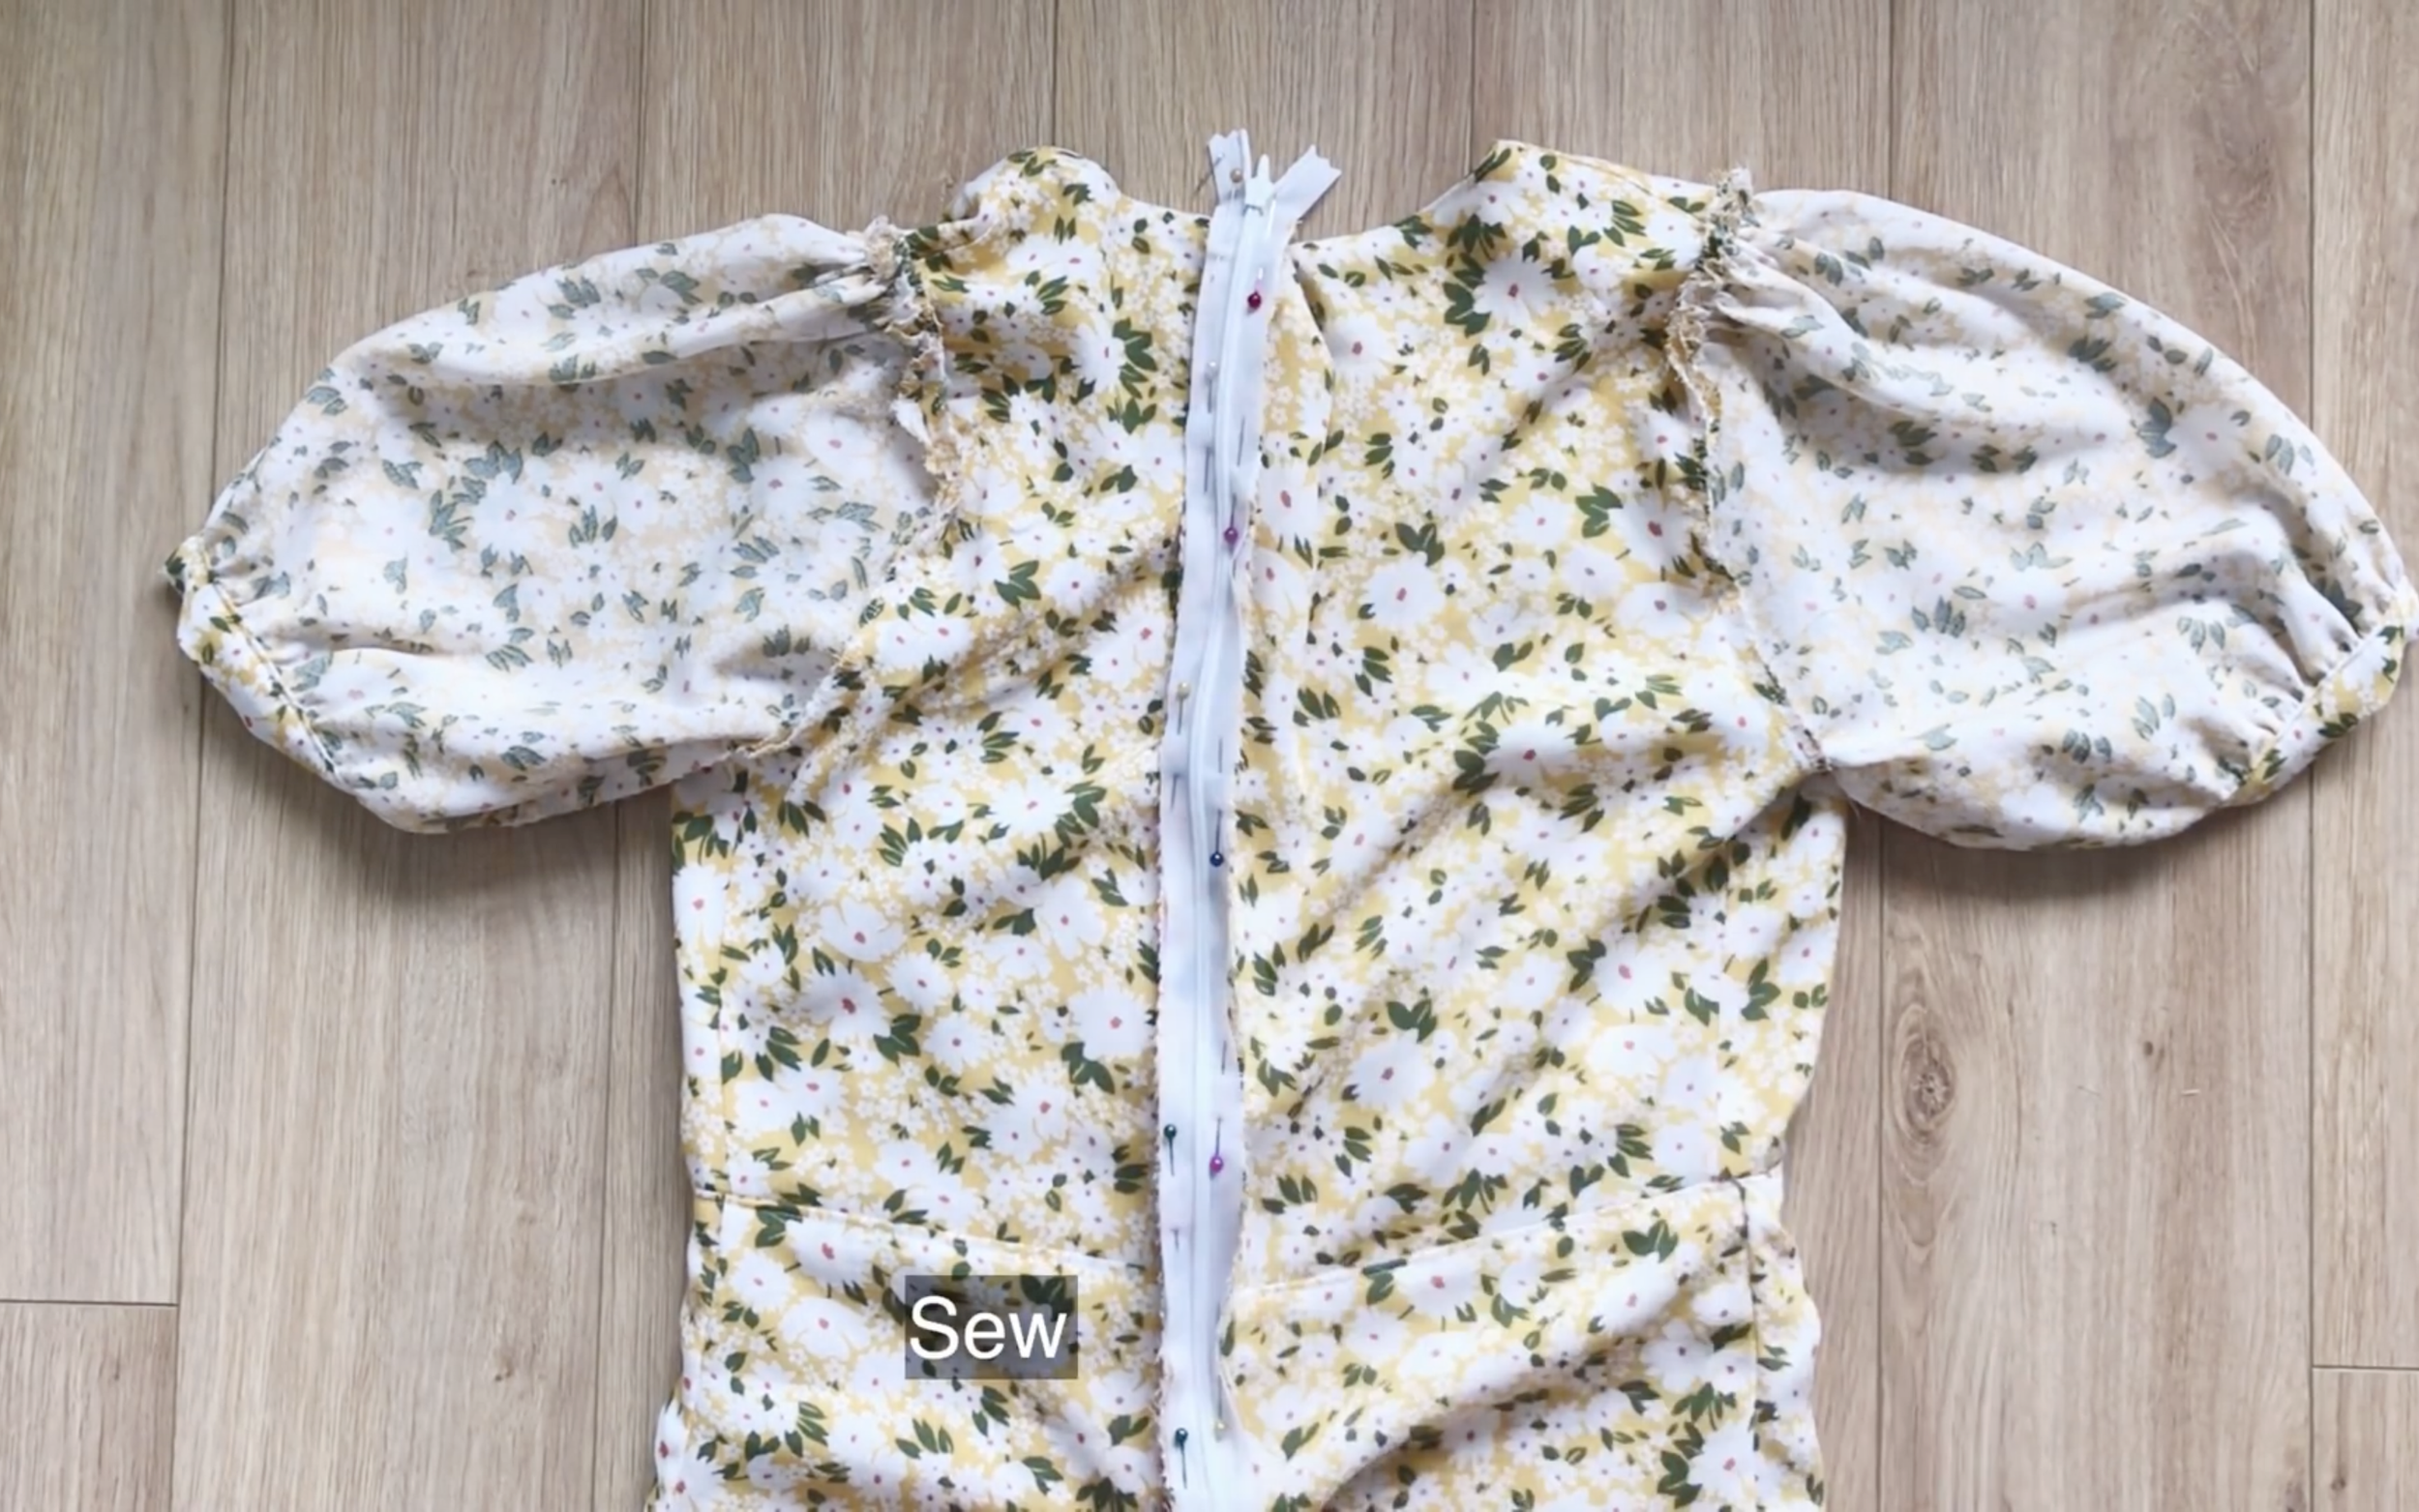
The next step is putting the invisible zipper to the back of the dress.
Then finishing the end of the dress under the zipper after that.
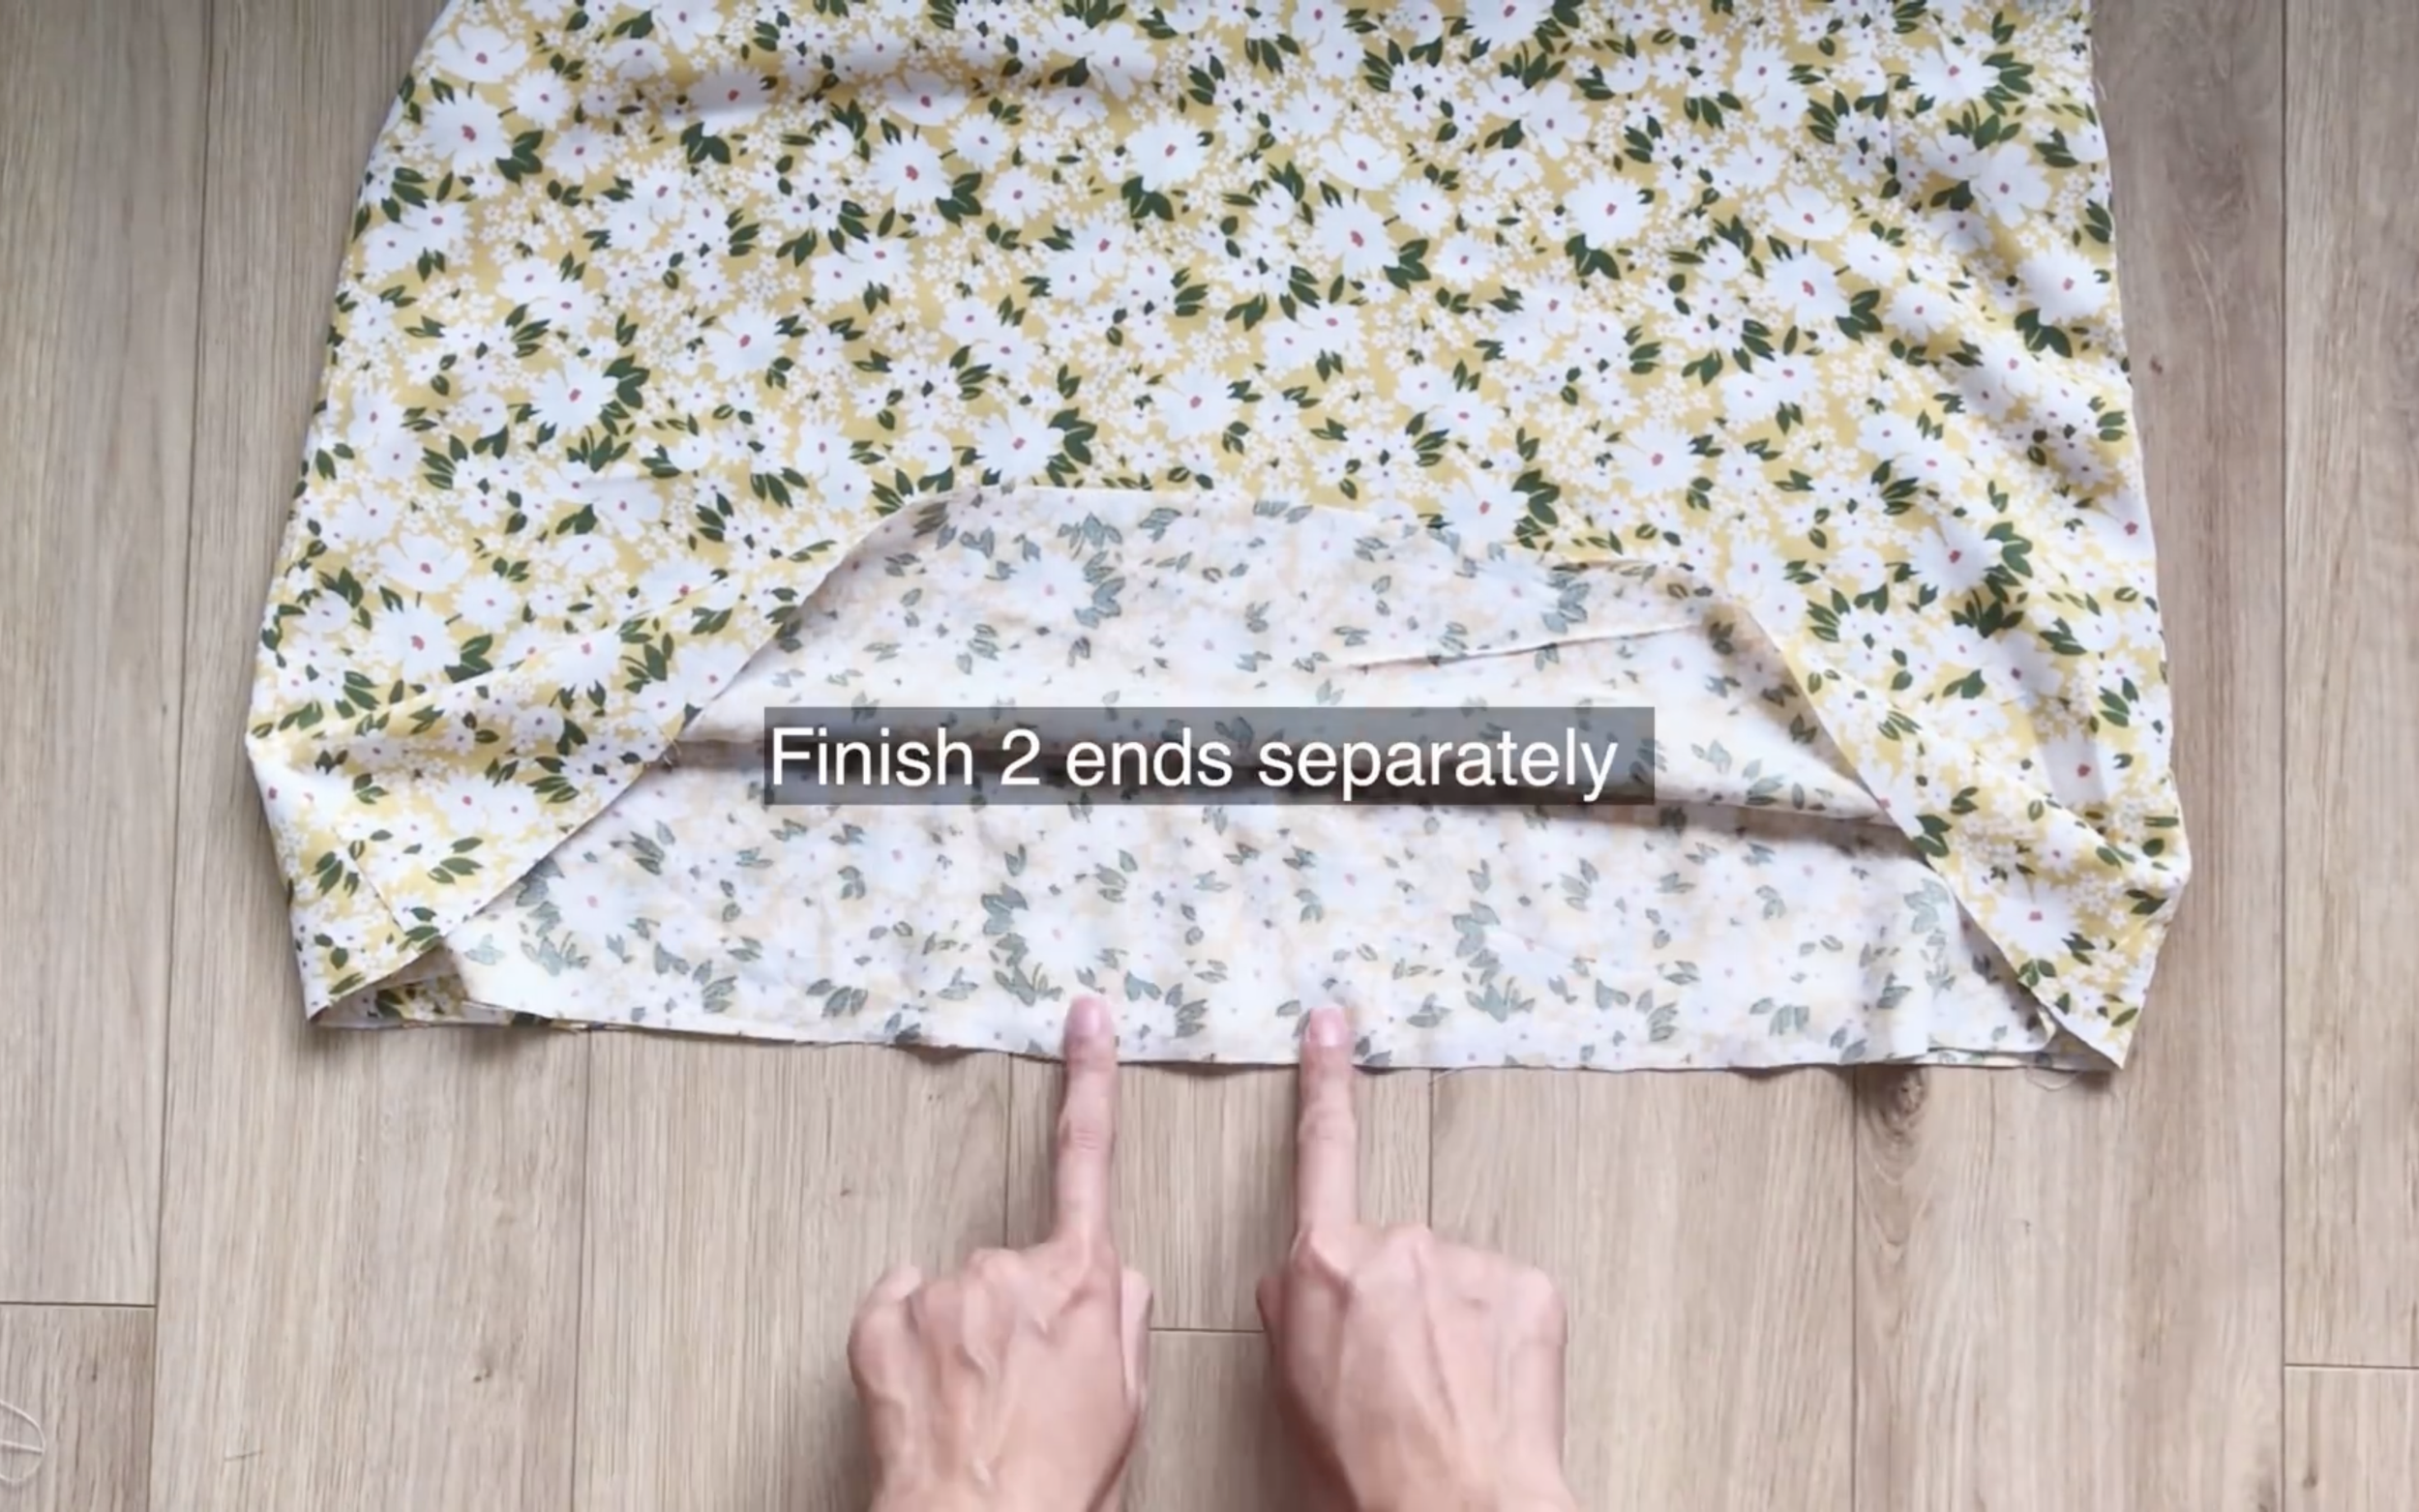
The last step is finishing the end of the dress. Remember to finish two endings separately.

DIY Vintage dress | Sleeveless button down midi dress | Step by step sewing tutorial
And I finished this DIY. Here’s my final result!
I'm so happy with how it turned out. This dress is perfect because you can wear it almost anywhere: it's fancy enough for a wedding, but also totally cute for a casual weekend date.

DIY Puff sleeve bustier dress | Finding my perfect Spring dress - Episode 3
I hope you found my step-by-step guide helpful and inspiring.
If you’re interested in making your own, give it a try and let me know how it goes!
Until then, happy sewing!