DIY Puff sleeve tiered dress from scratch + Exciting news

DIY Puff sleeve tiered dress from scratch + Exciting news
Welcome or welcome back to my channel. My name is Jess and I love doing DIY, making clothes in a "simply but pretty" way.
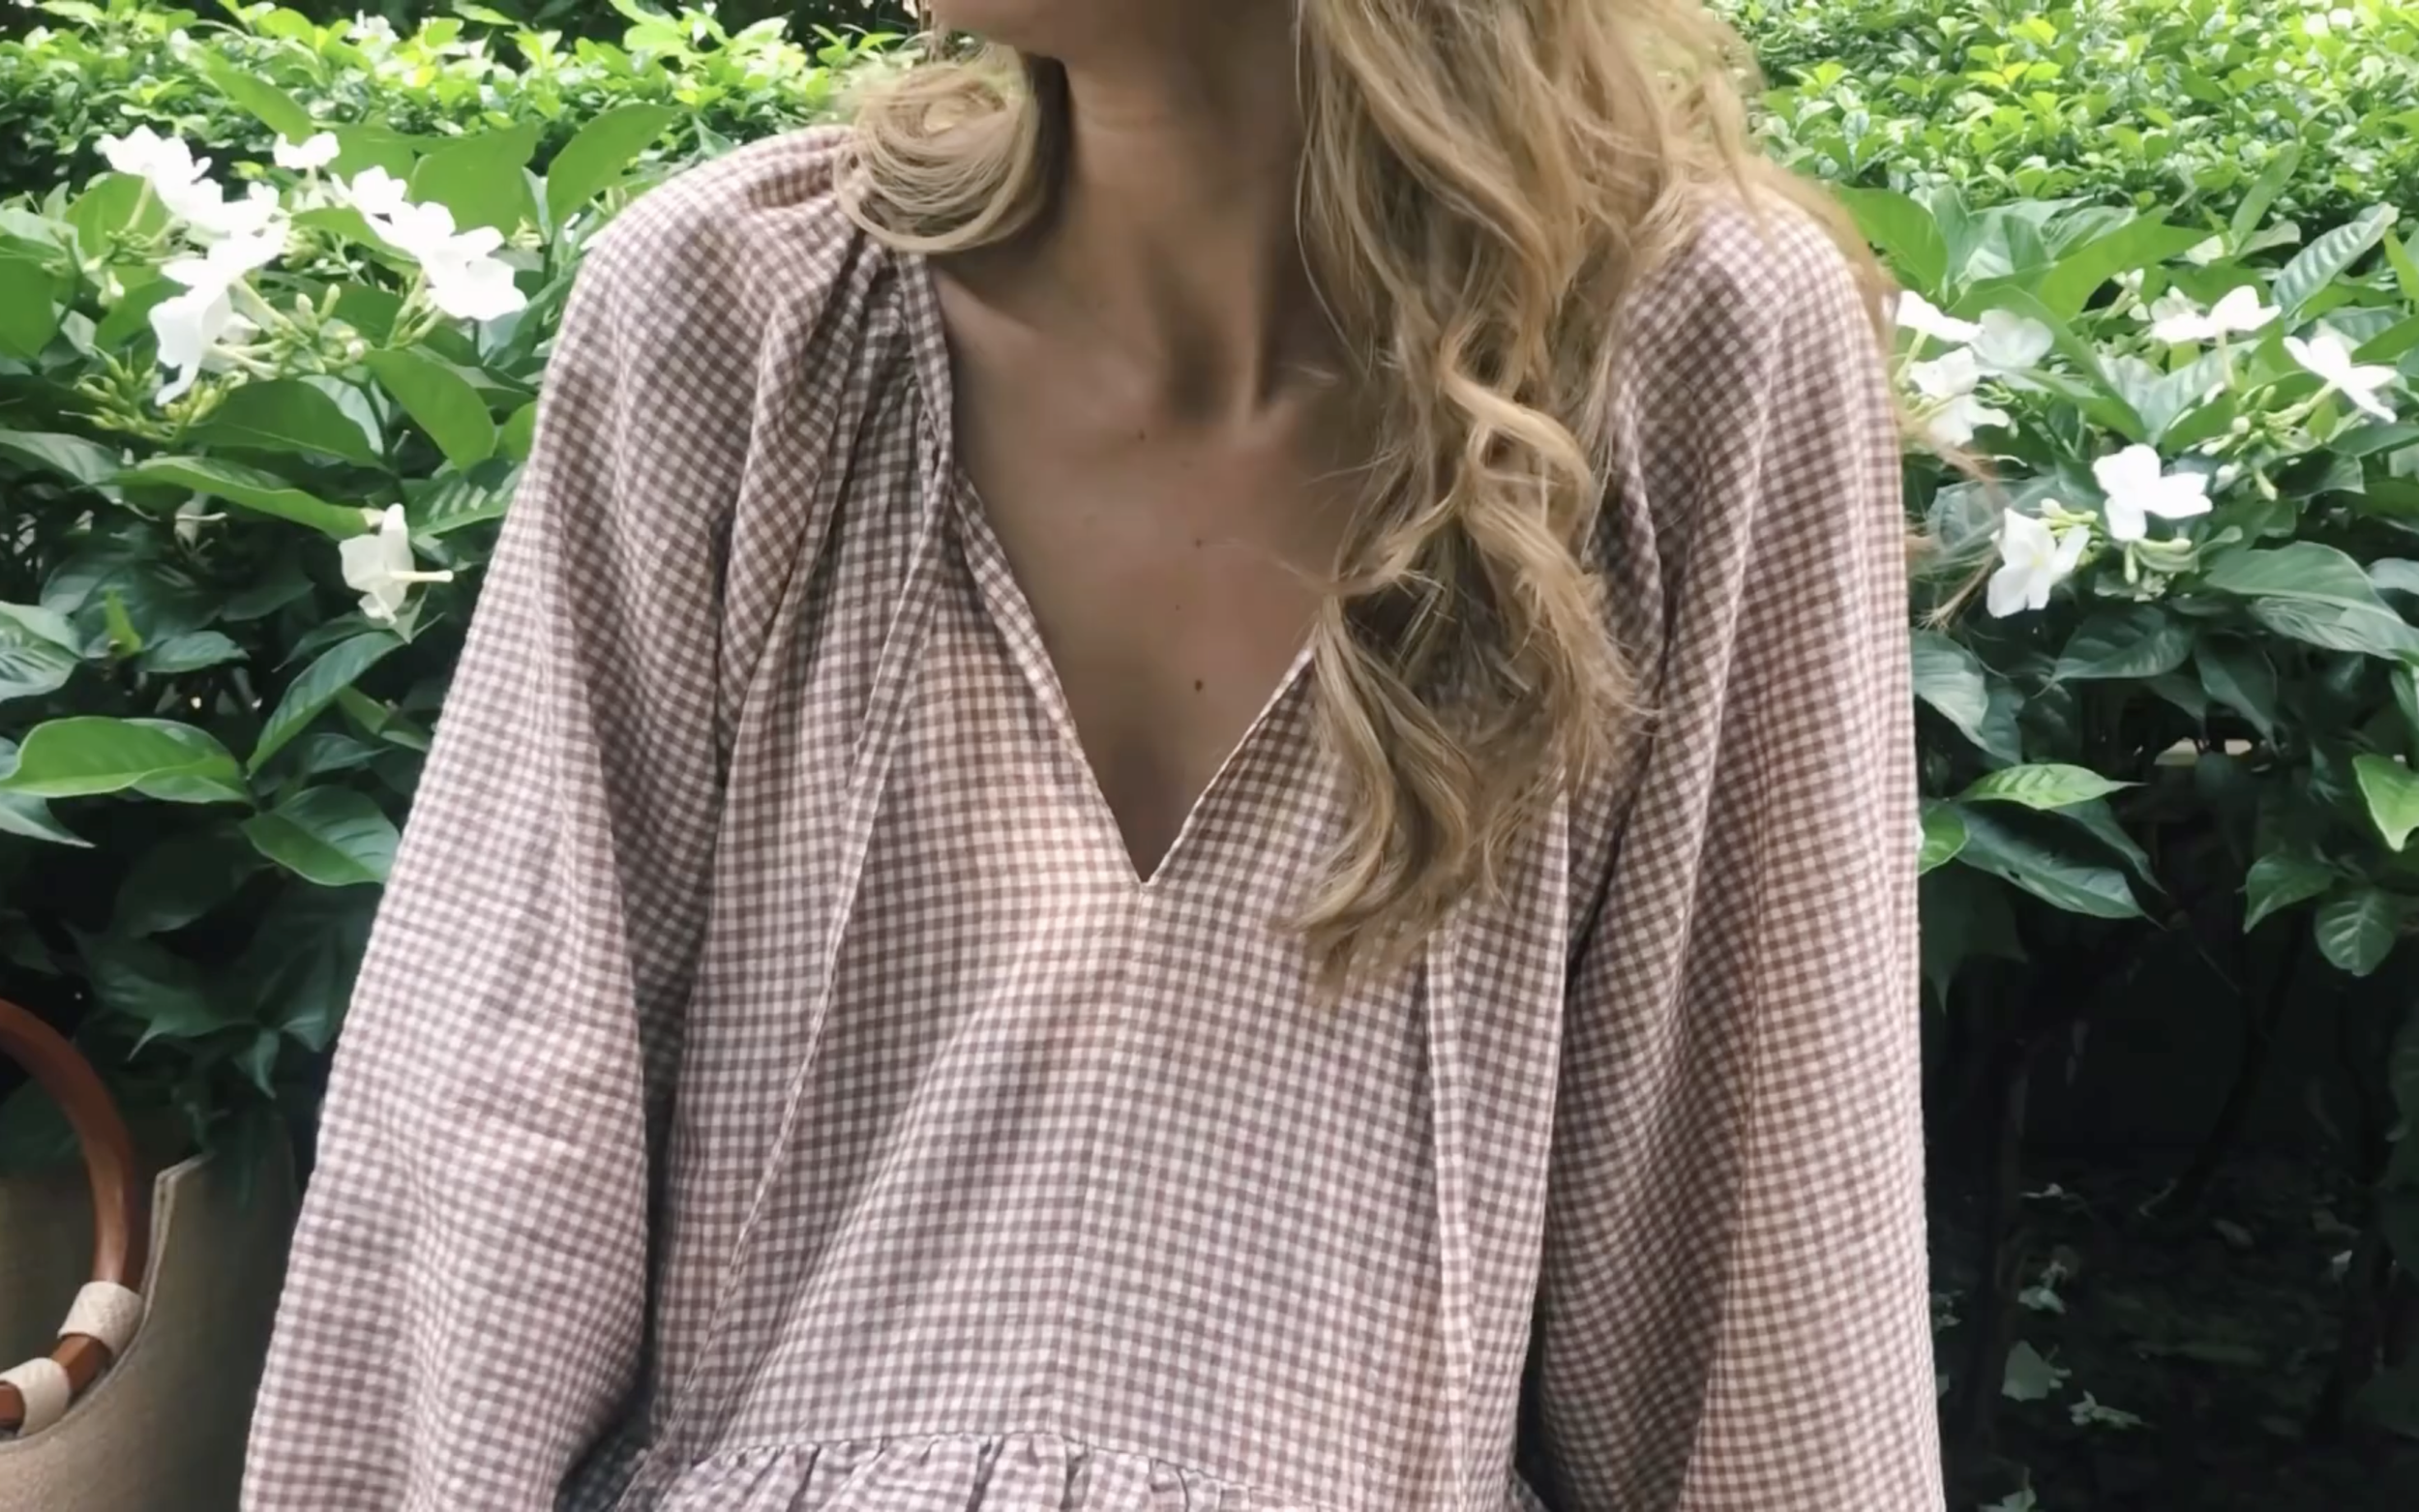
In today's tutorial, I'm going to share with you how to make a Puff sleeve tiered dress from scratch in s "simply but pretty" way. This dress is very pretty but truly comfy and is a perfect pick for your everyday outfit. It's also special to me as I wore it on the day my boyfriend proposed to me. Yes, I'm engaged. So maybe I'll have some tutorials about wedding things in the future.
So I hope you like it and try it out. Let’s get started!
WHAT YOU’LL NEED
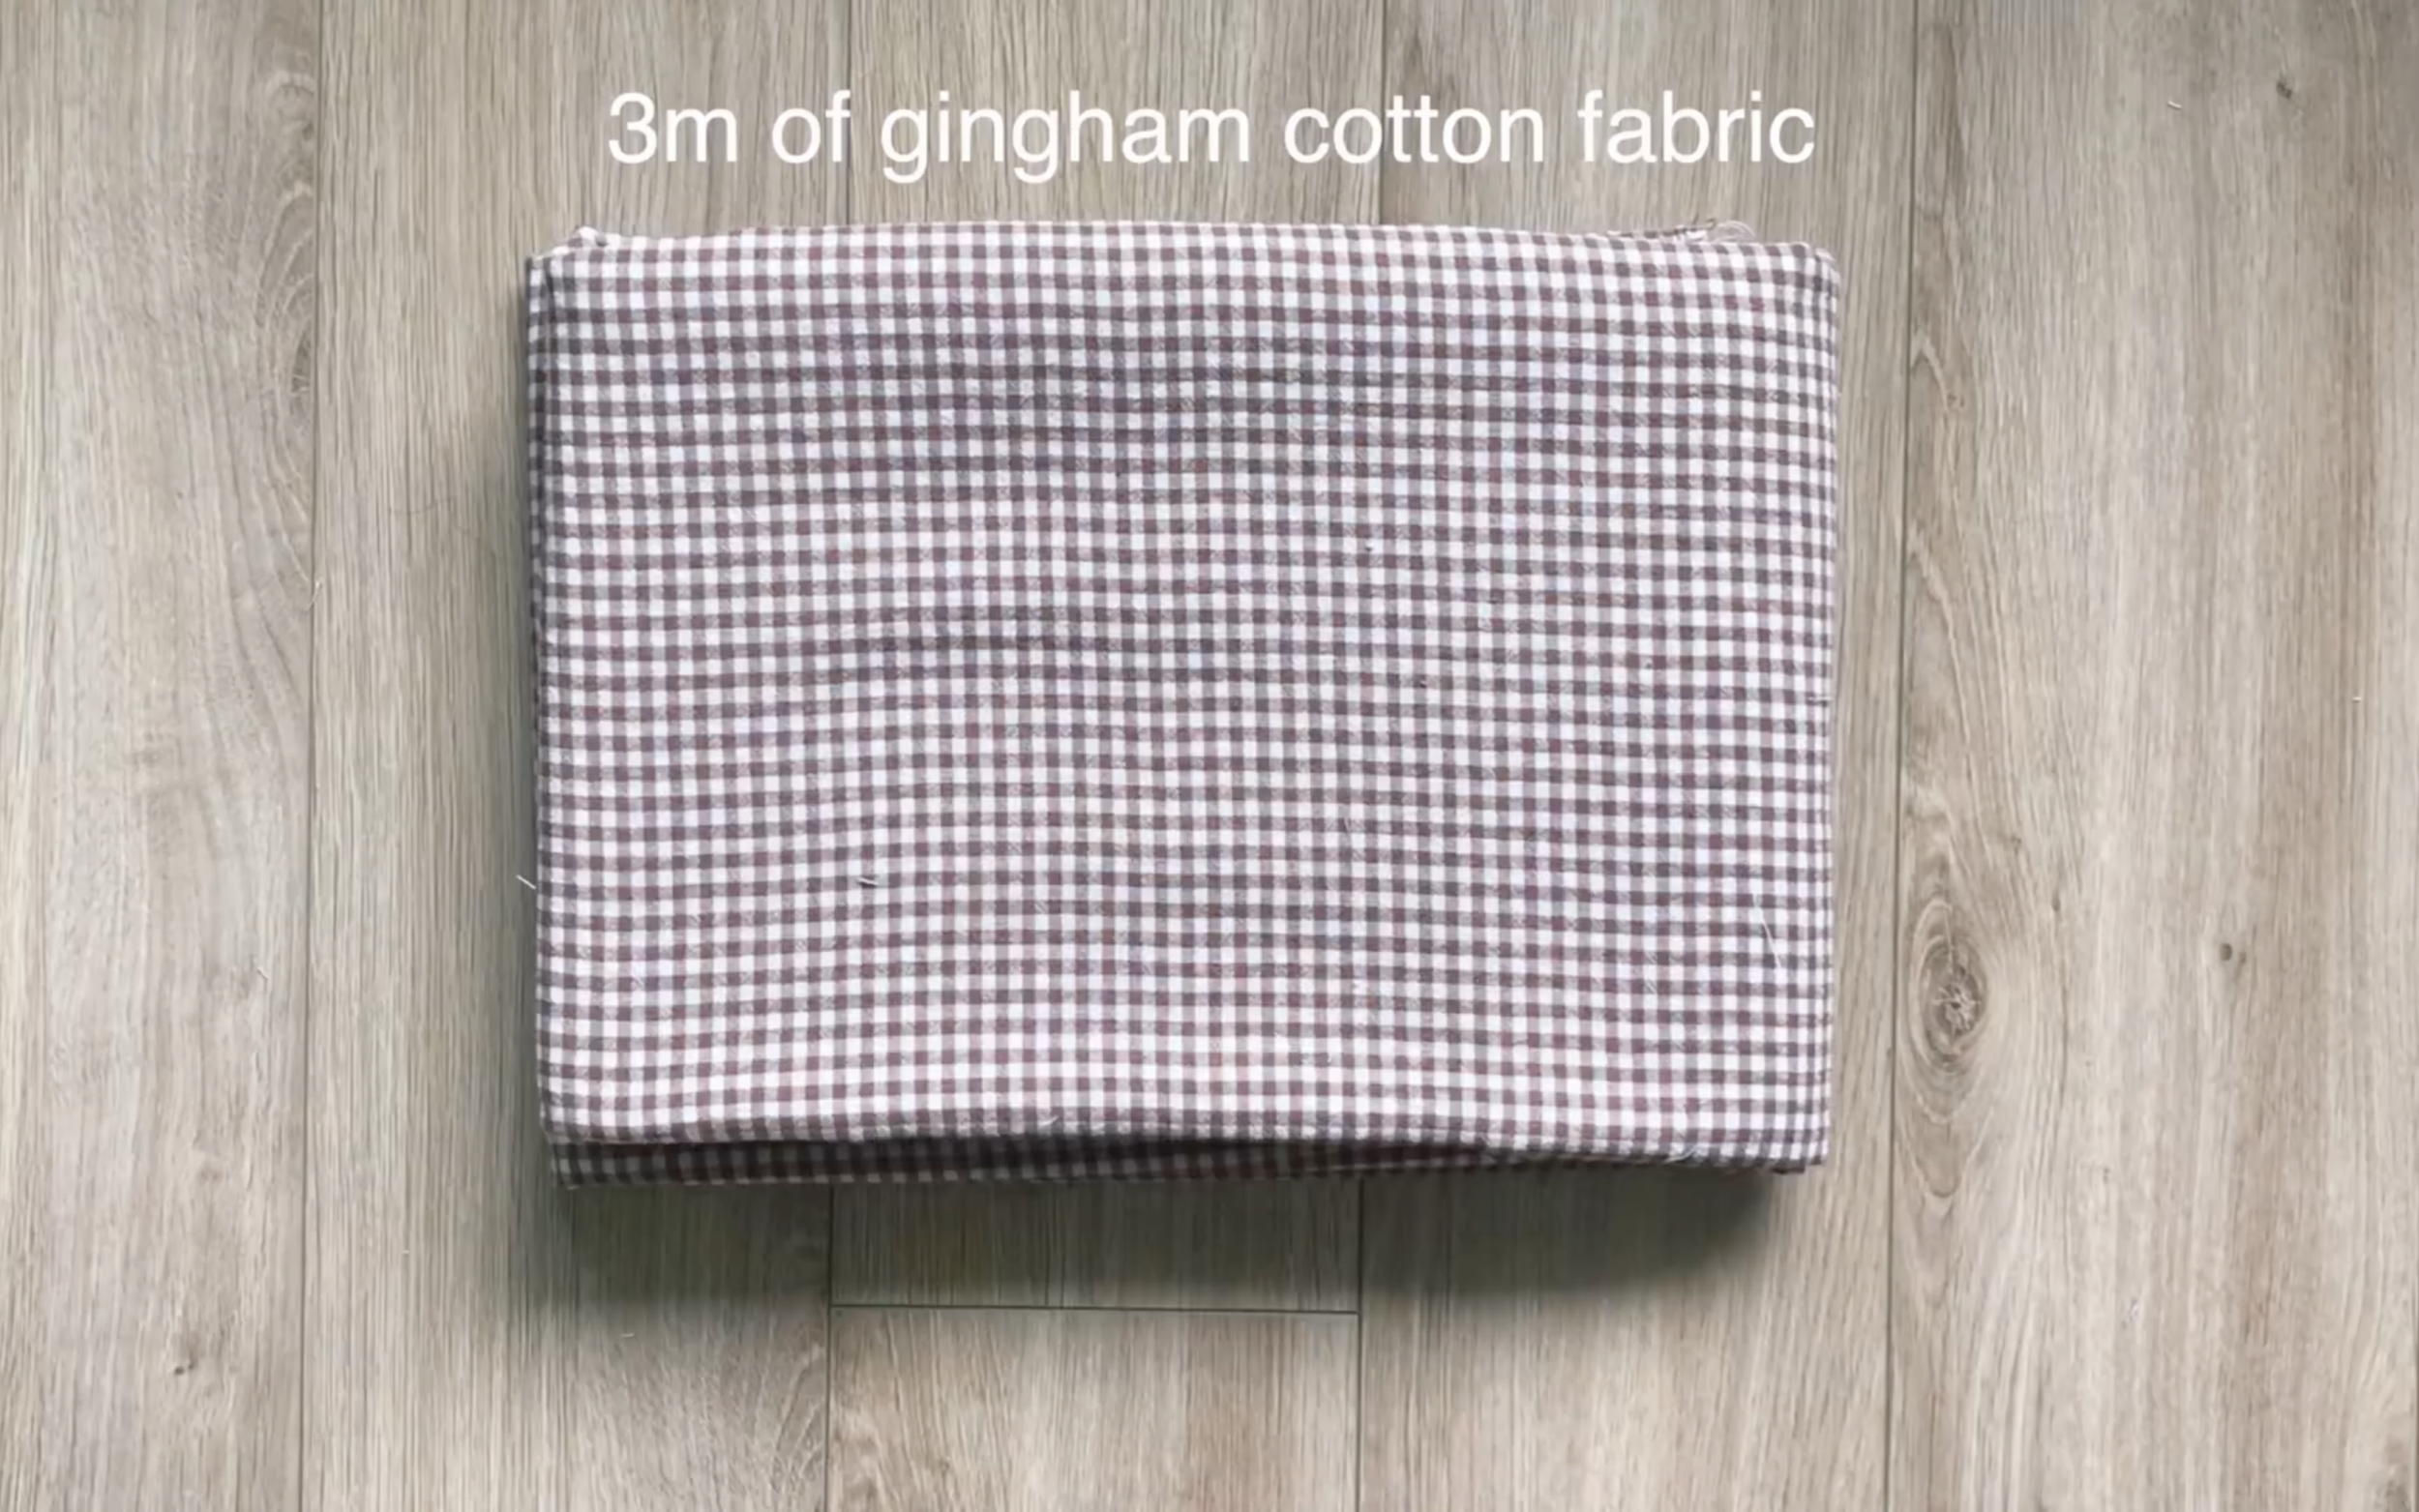
3m of gingham cotton fabric
Pattern paper
Sewing machine
Pins
Scissors
Ruler
Elastic band
SEWING THE DRESS
THE MAIN BODICE PART
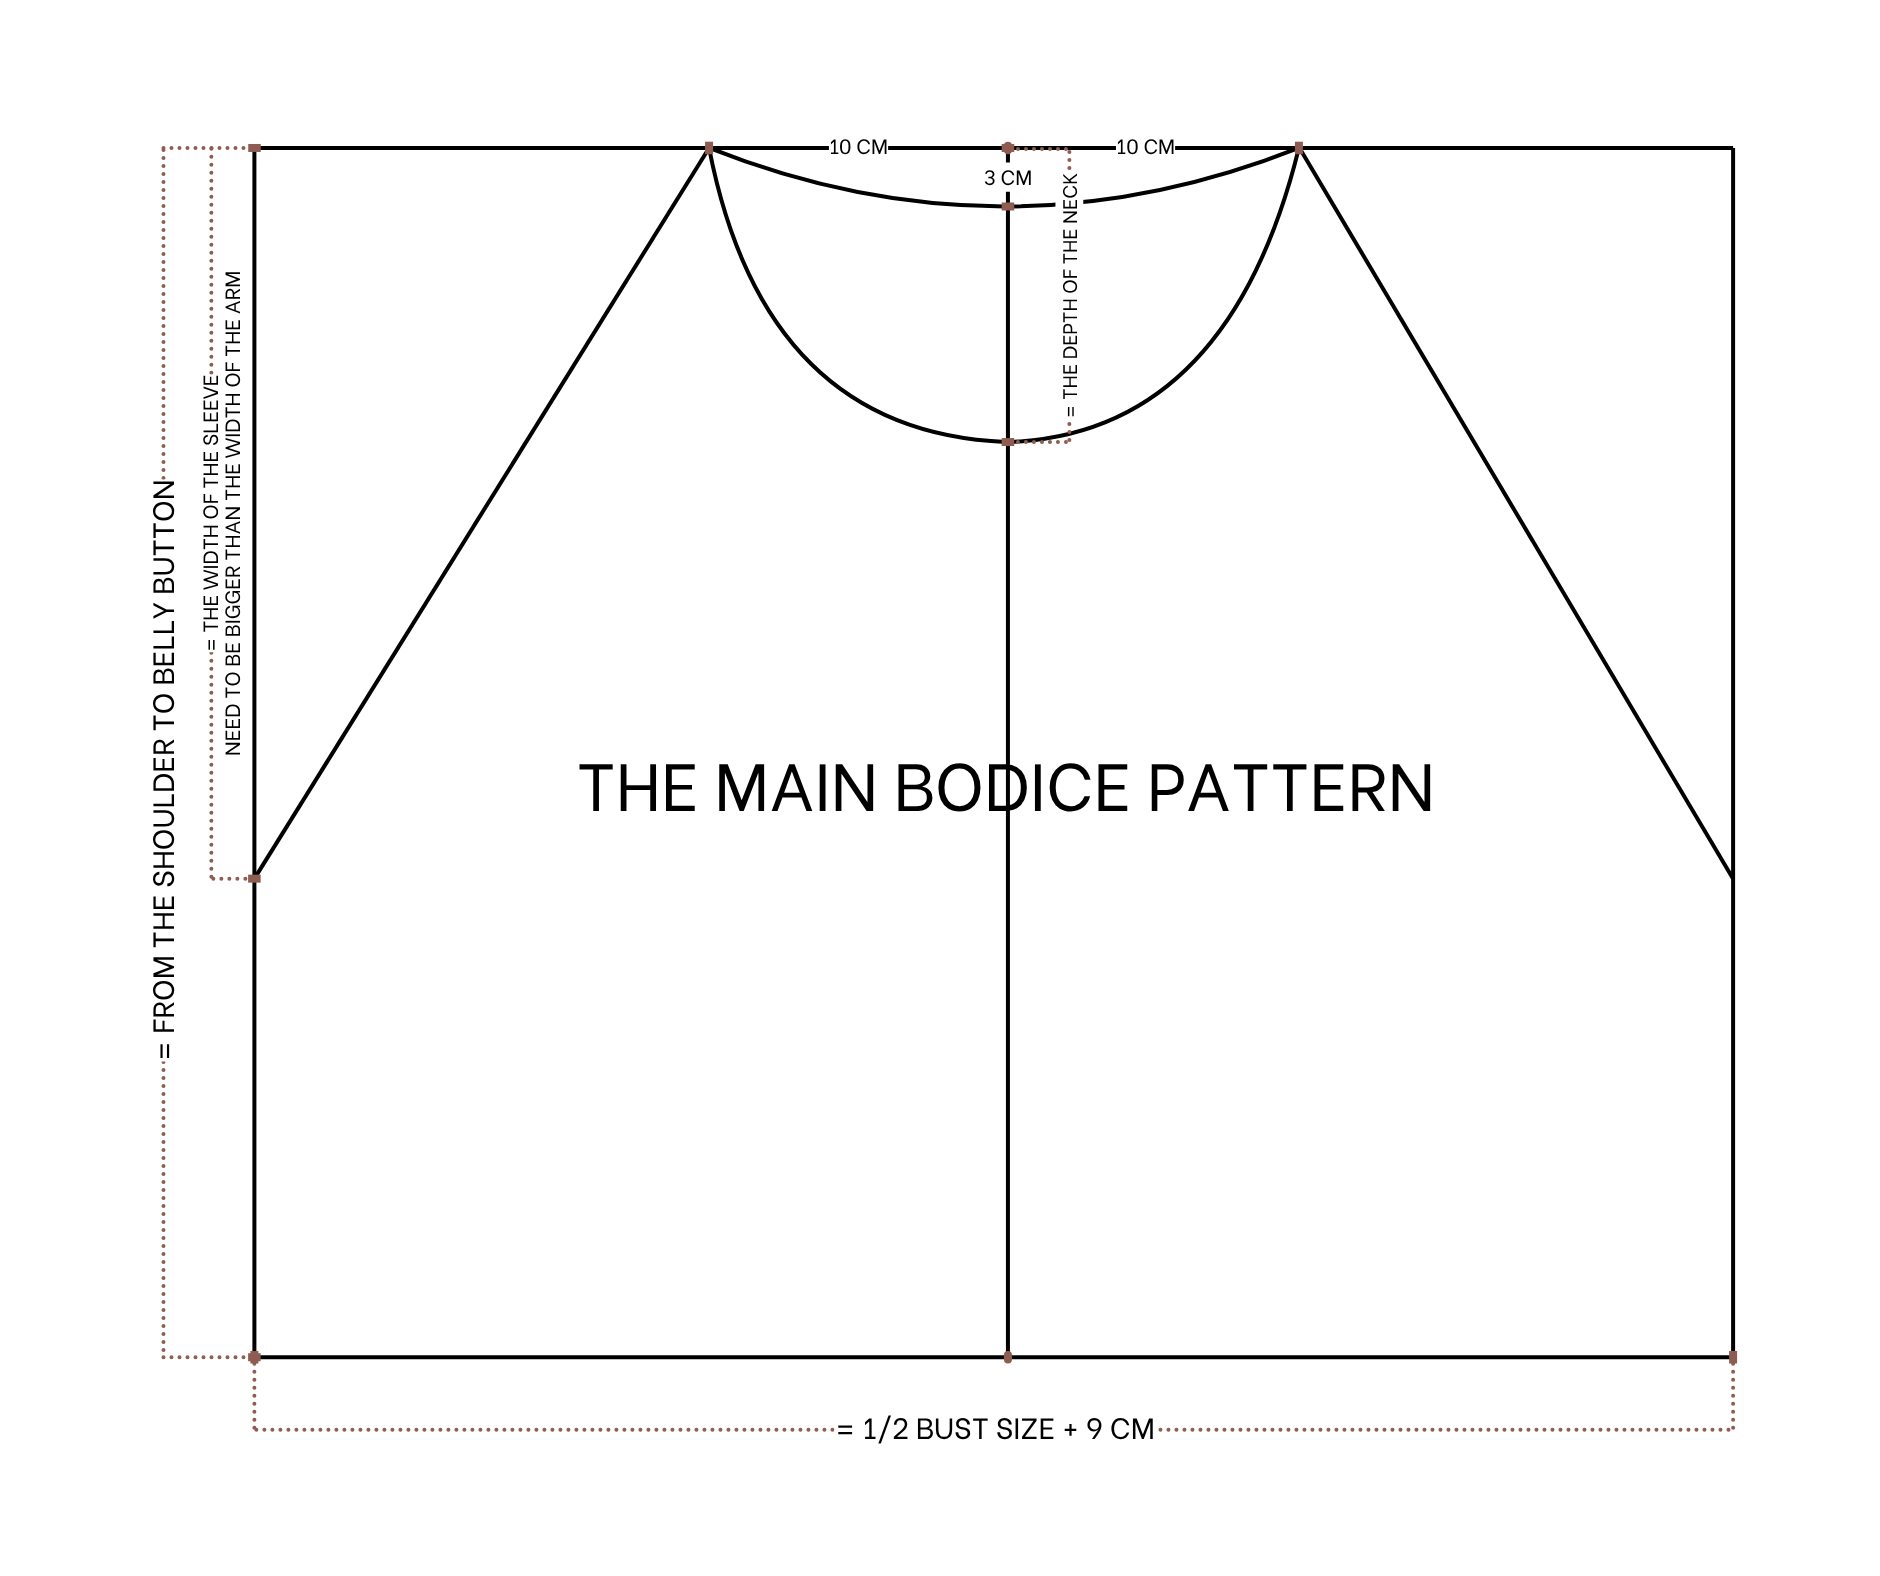
Cut two rectangles with 45 cm length (which is the width from the shoulder to the belly button) and 50 cm width (which is a half of your bust size plus 9 cm or bigger if you want a loose dress).
Draw a straight line at the middle of the rectangle to divide it into two smaller ones.
From the top of the straight line, move to two sides and mark at 10 cm each side. It's the width of the neck that is wanted for the dress.
After that, at two sides of the rectangles, move down and mark at 24 cm, which is the width of the sleeve that is wanted, and make sure it has to be bigger than the width of the arm.
To make the neck for the back of the main bodice, draw a curved line 3 cm depth from the top of the straight line.
For the neck of the front part, the depth will be 10 cm.
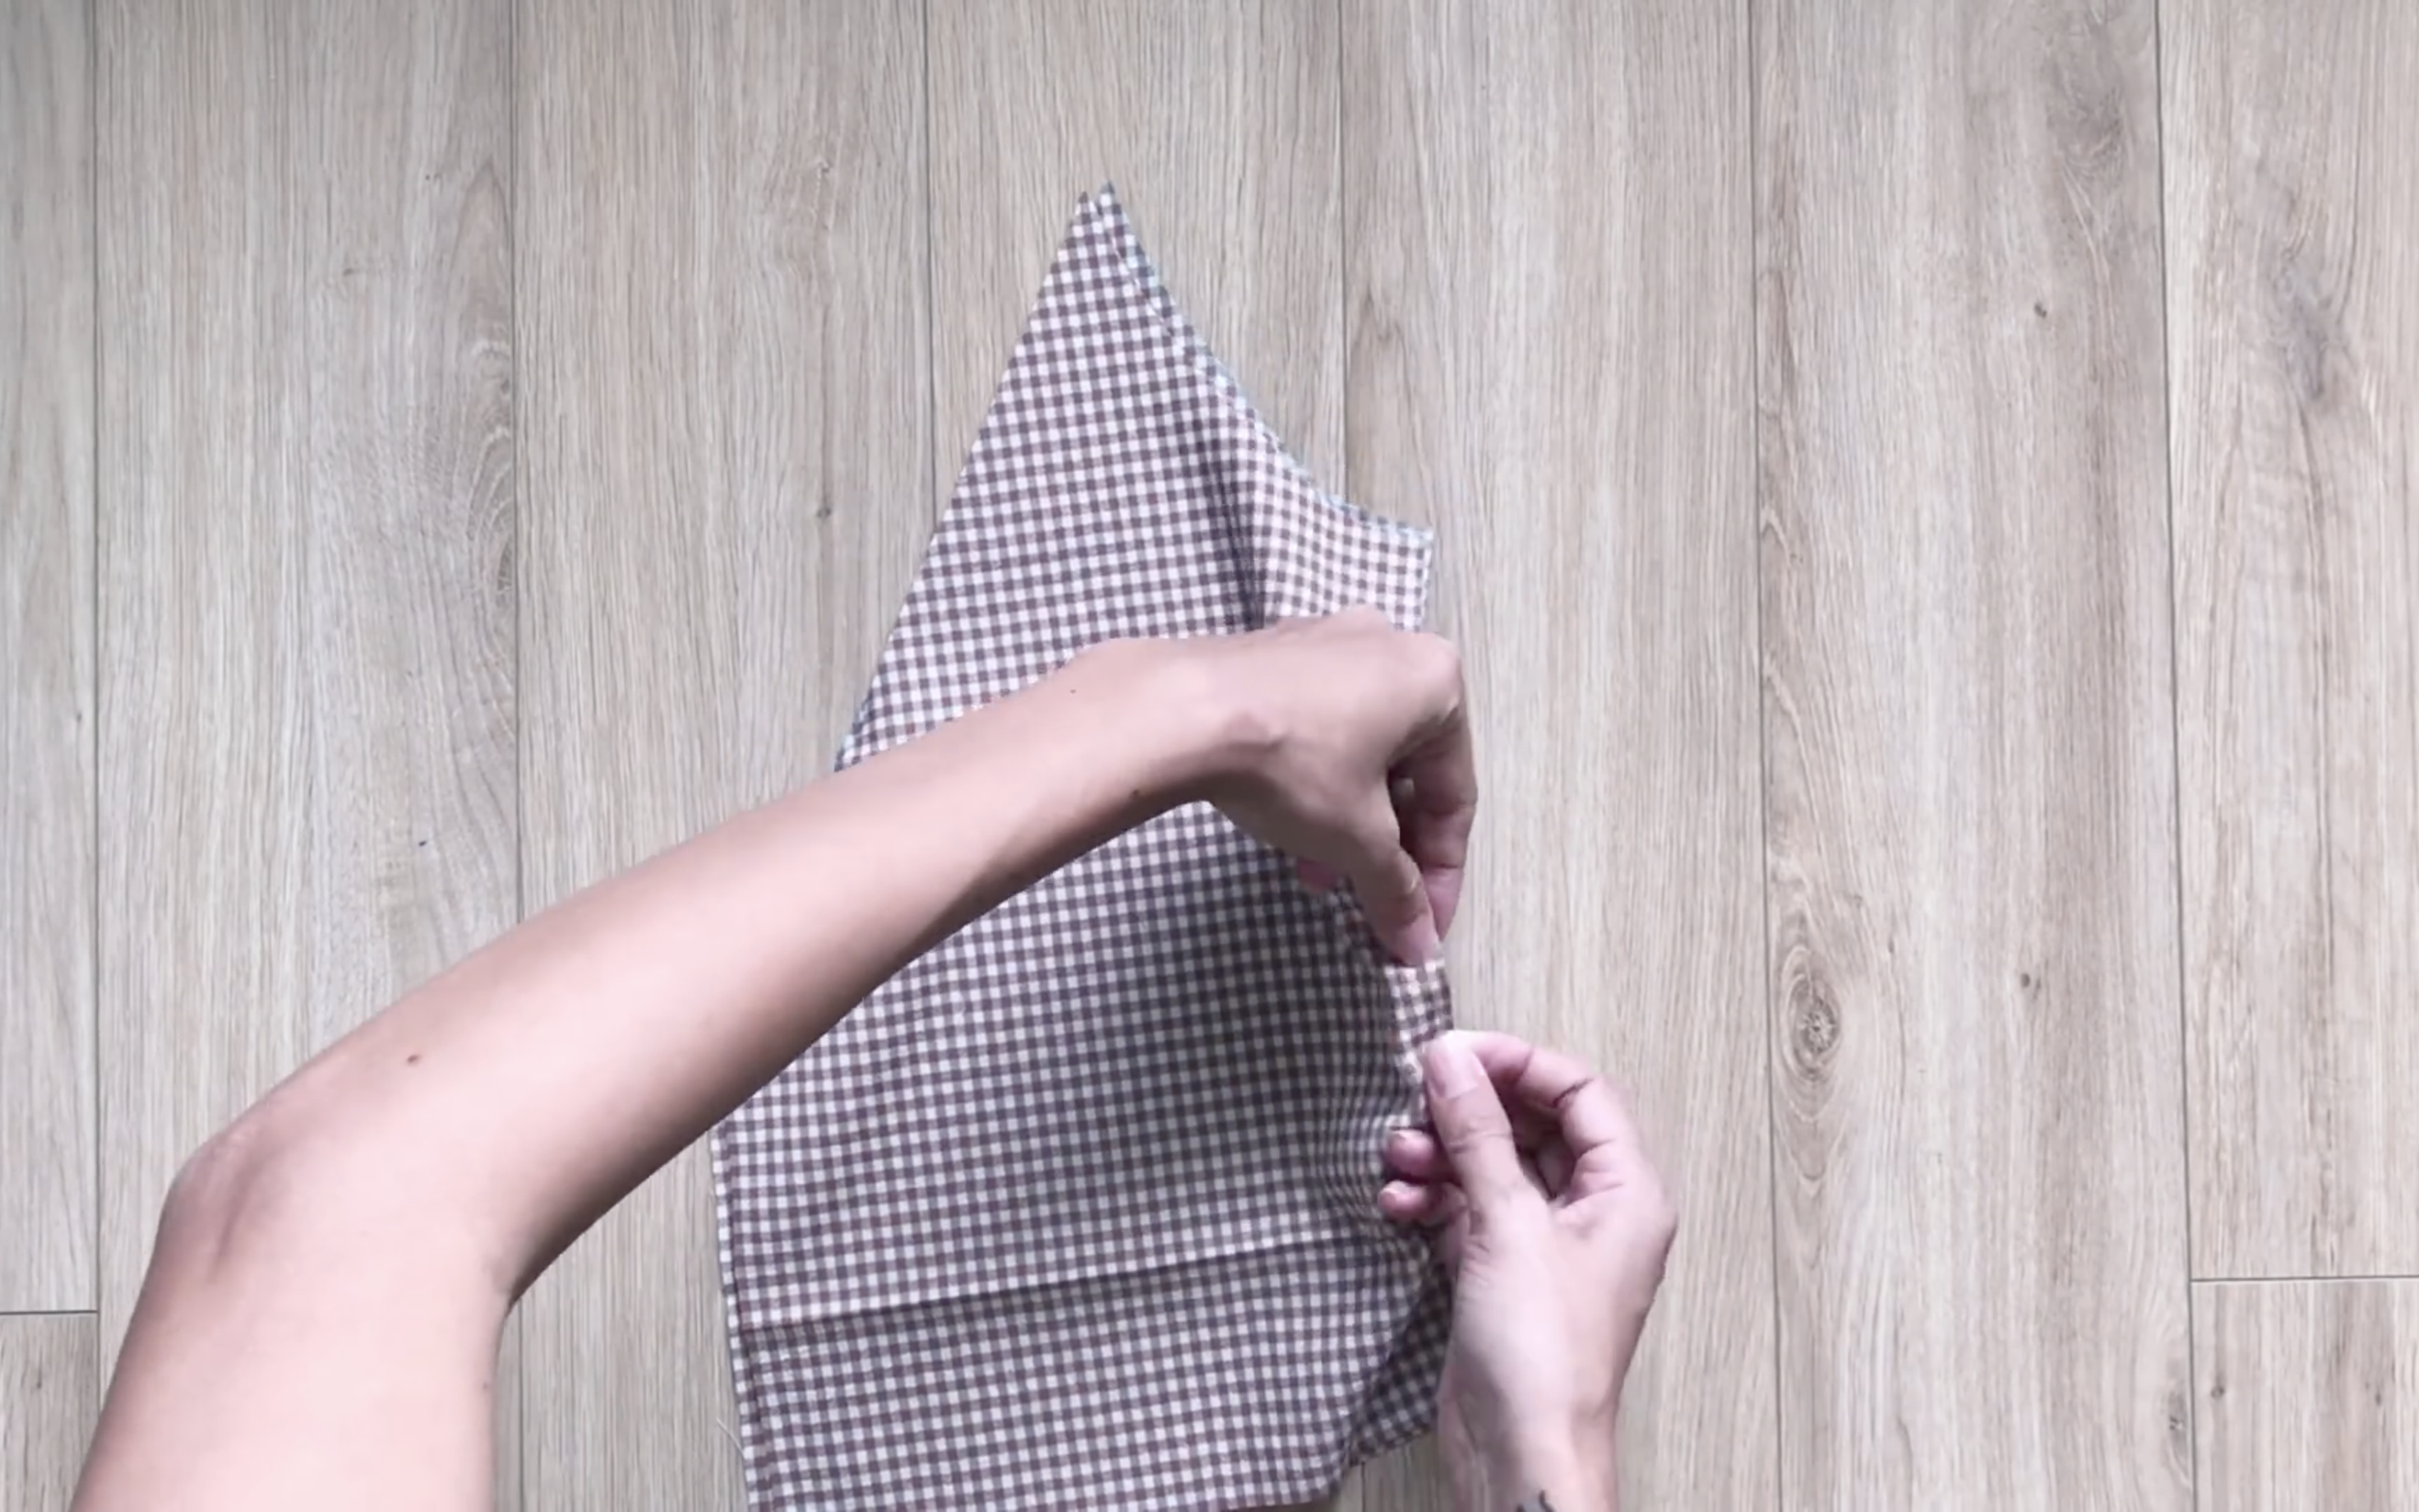
After cutting by the drawing lines, connect two parts of the front bodice together.
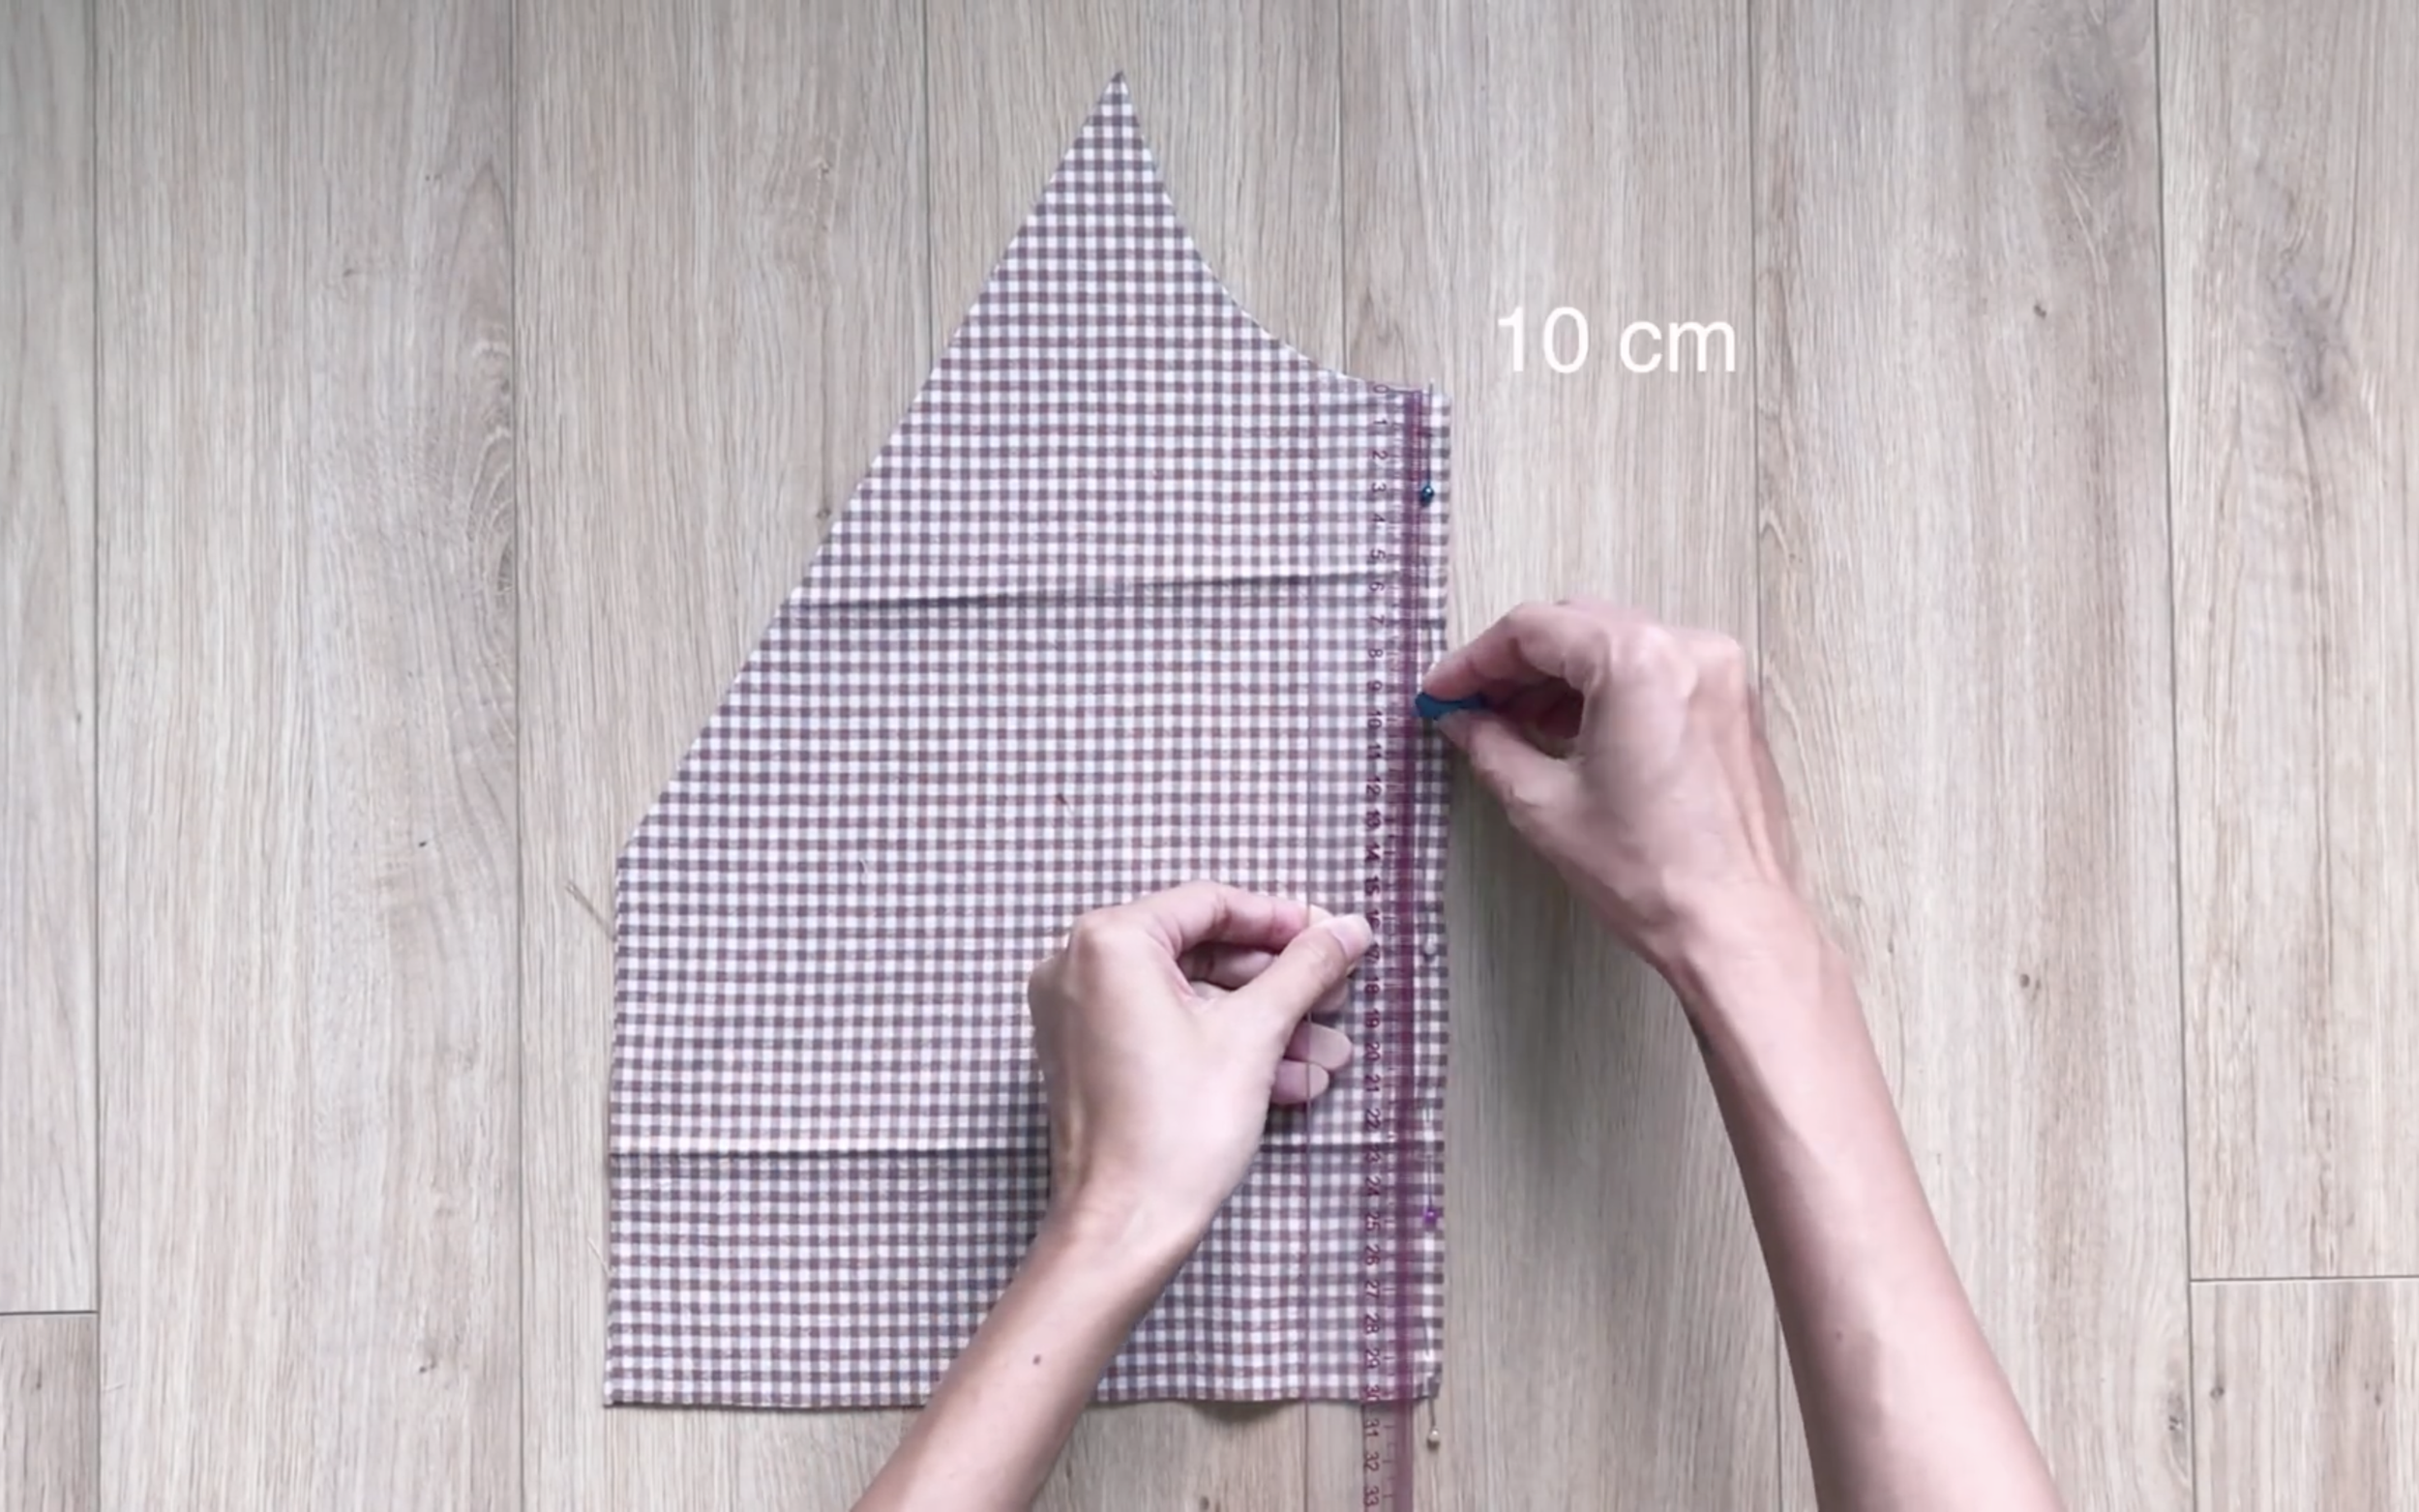
Then, mark at 10 cm from the top for the open area of the neck.
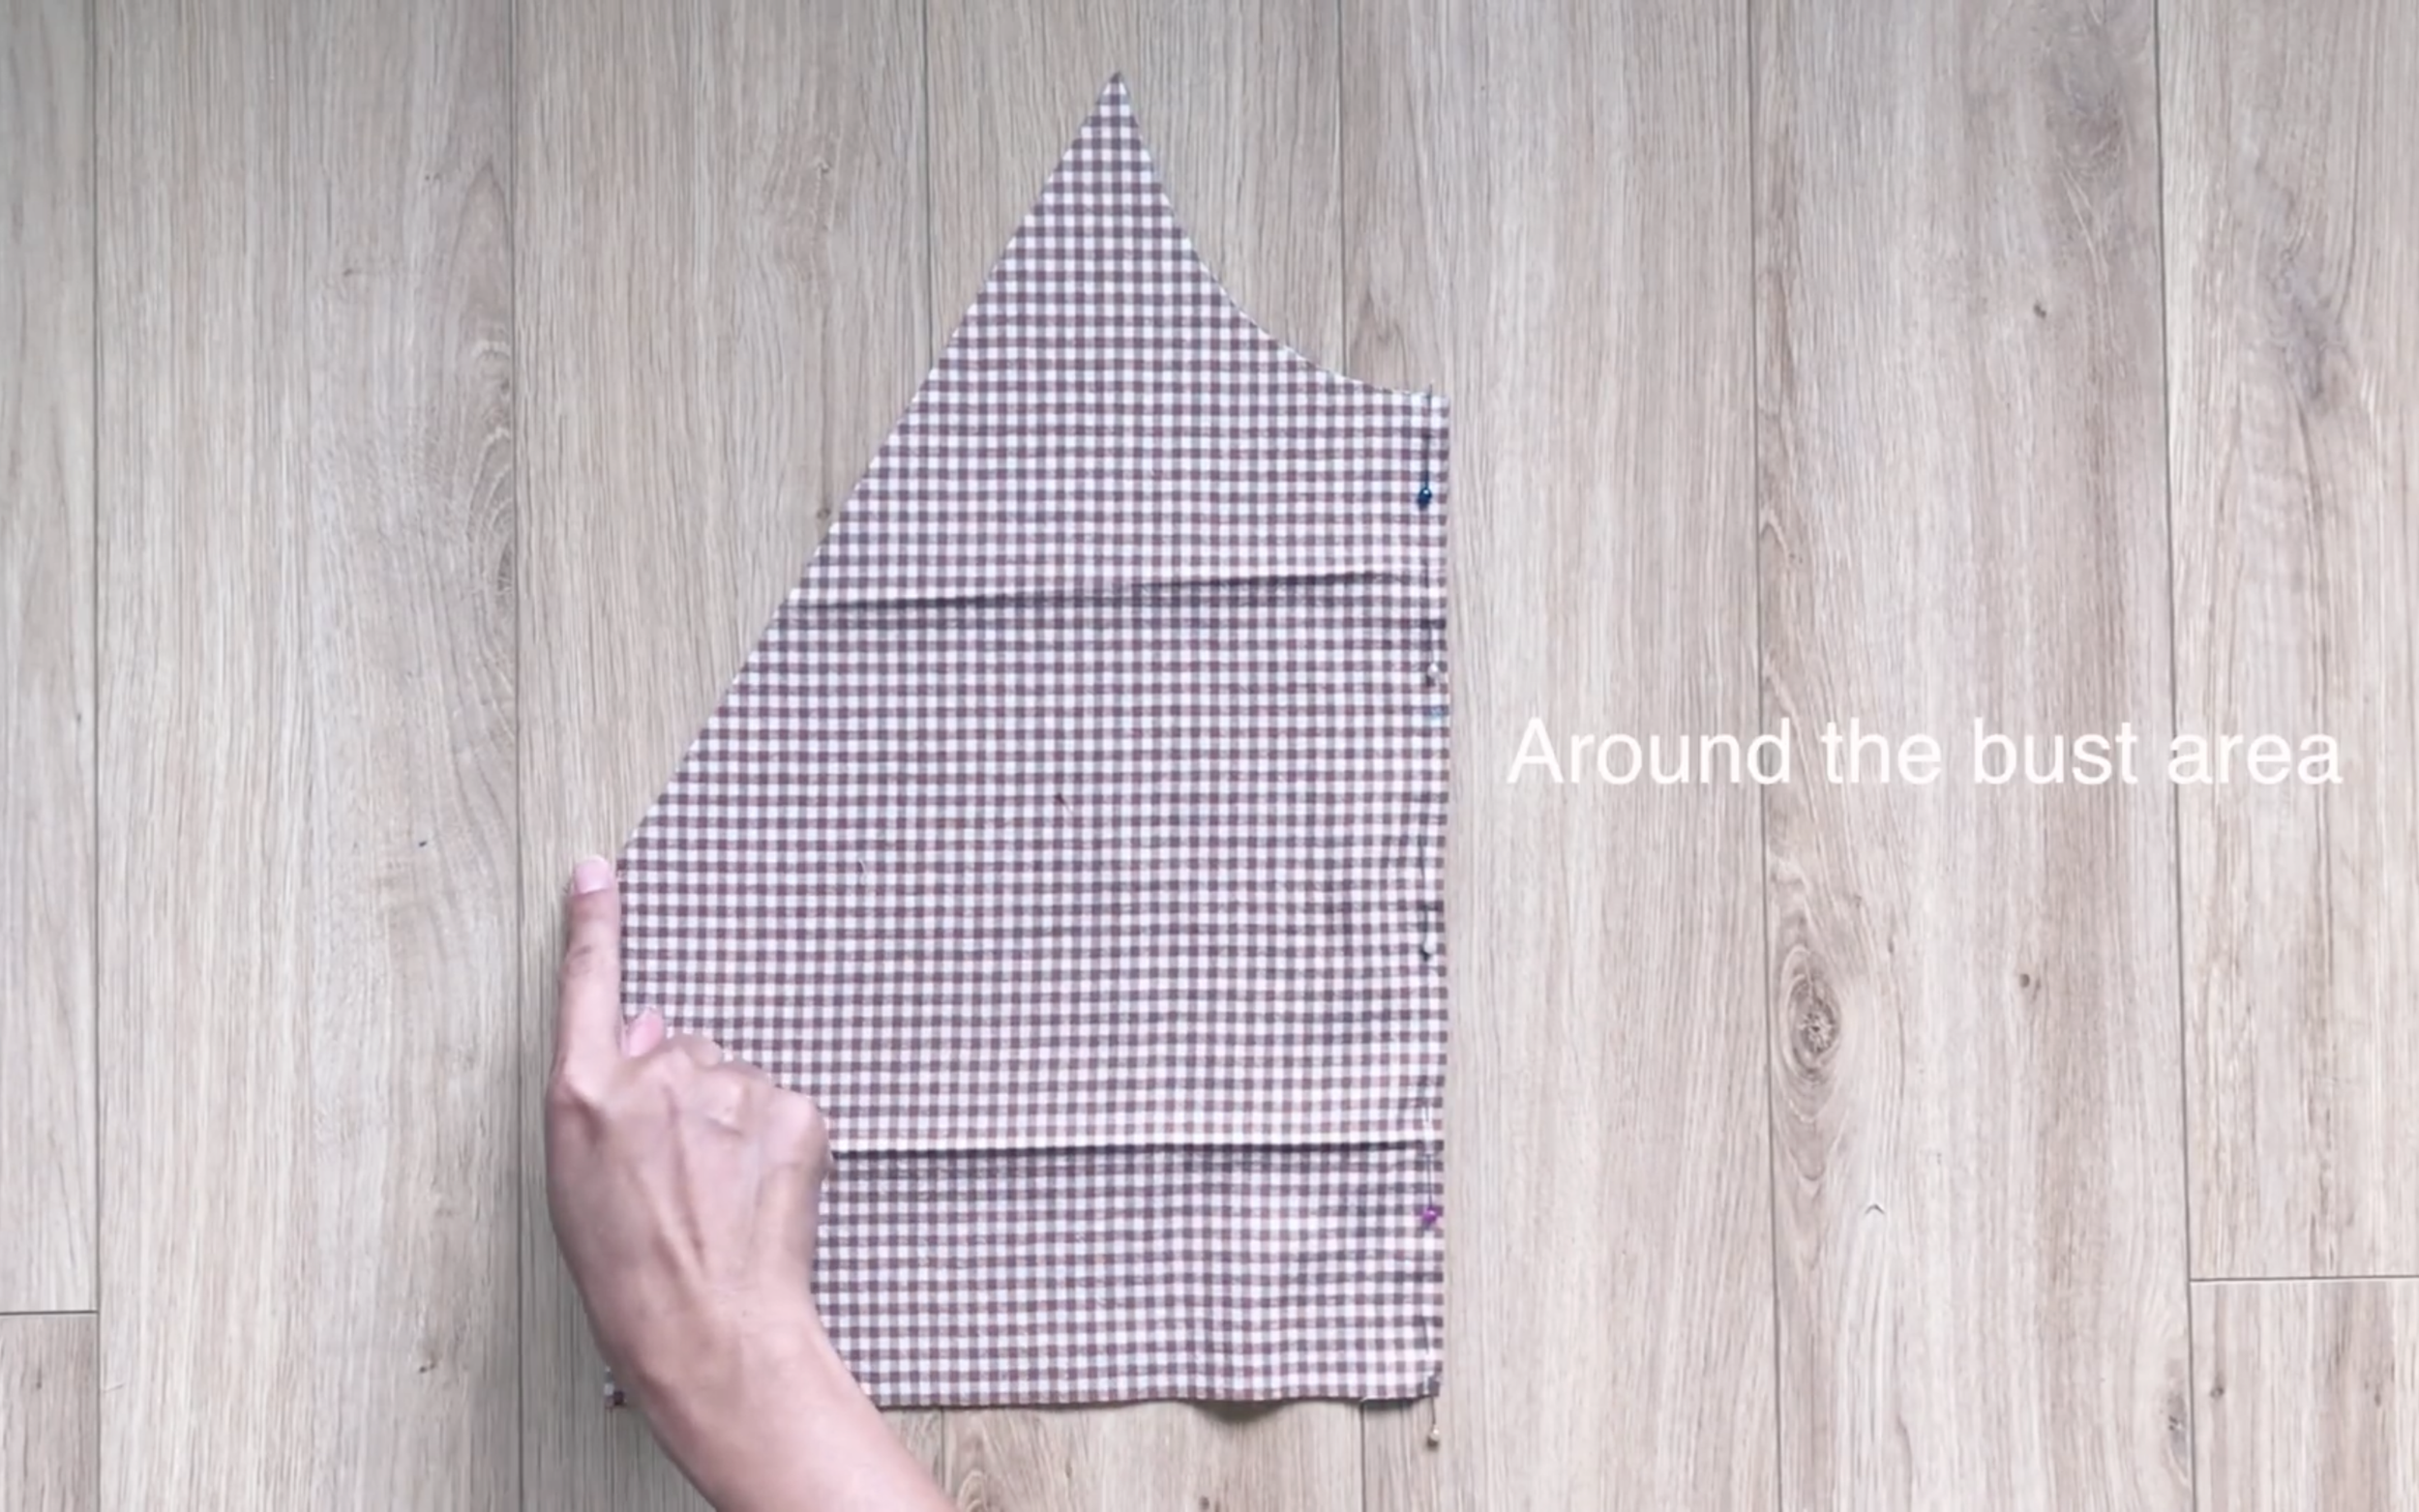
Make sure the depth of the open area won't be lower than the bust area.
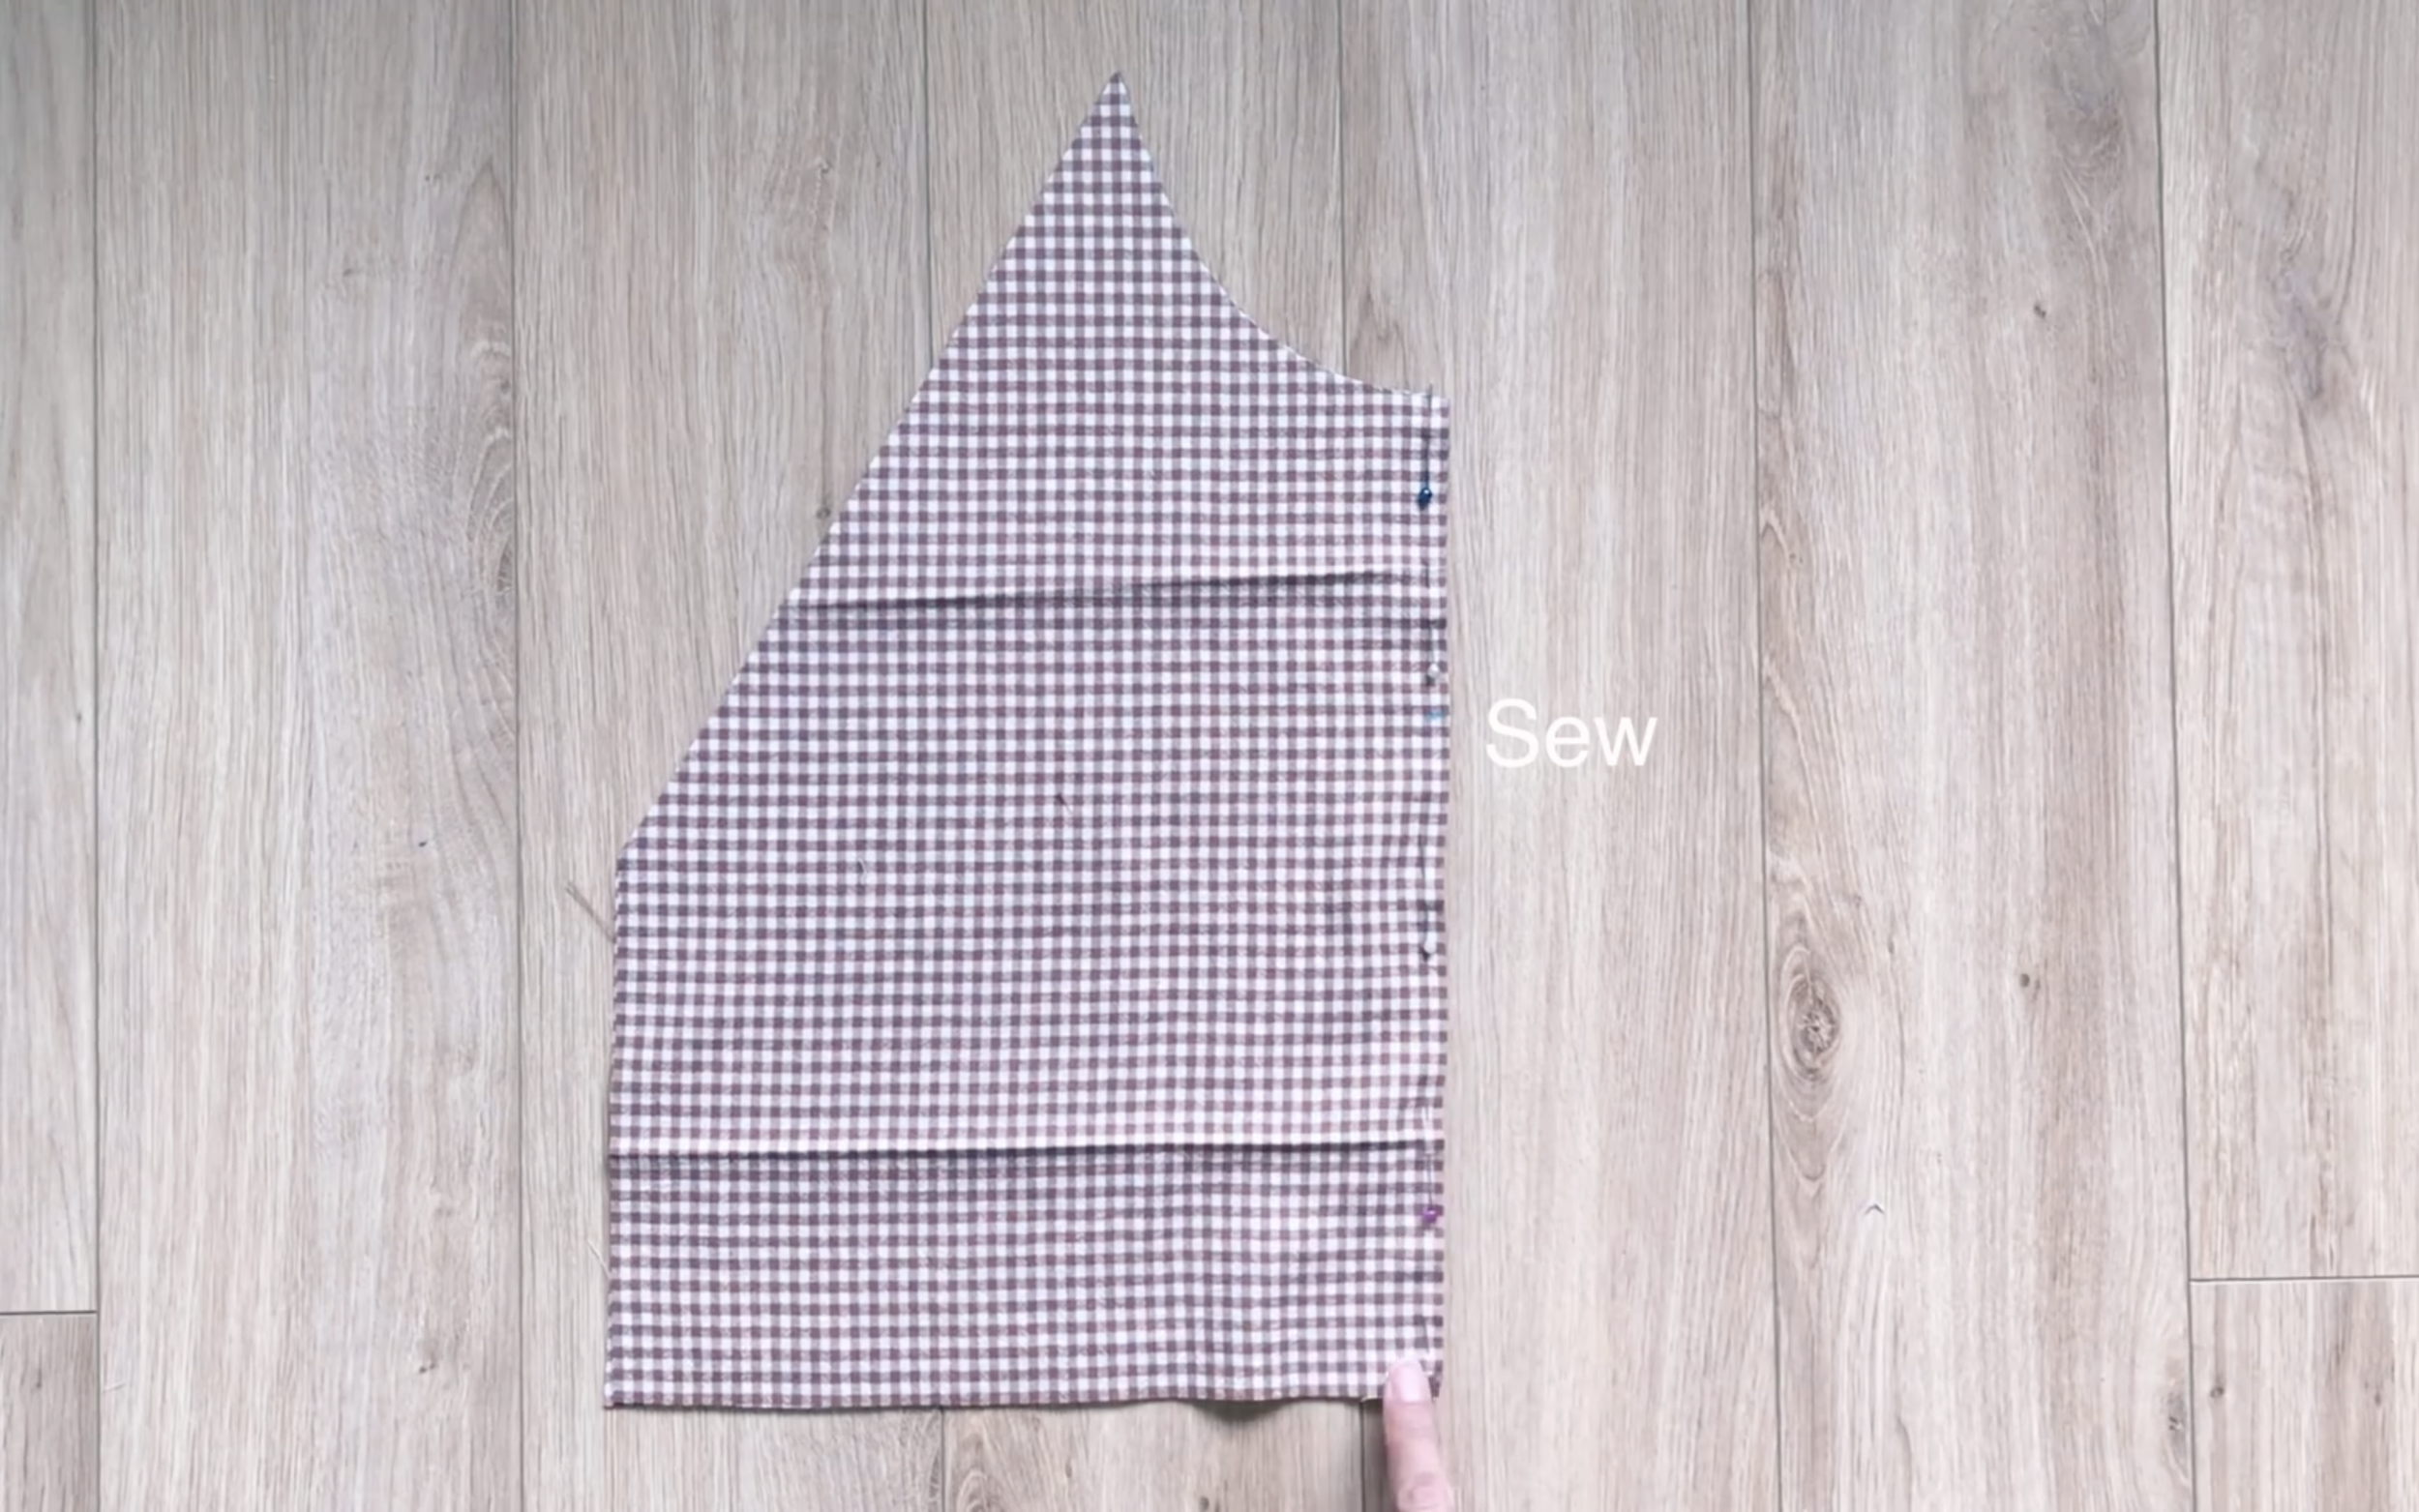
Then, sew from that mark down to the end.
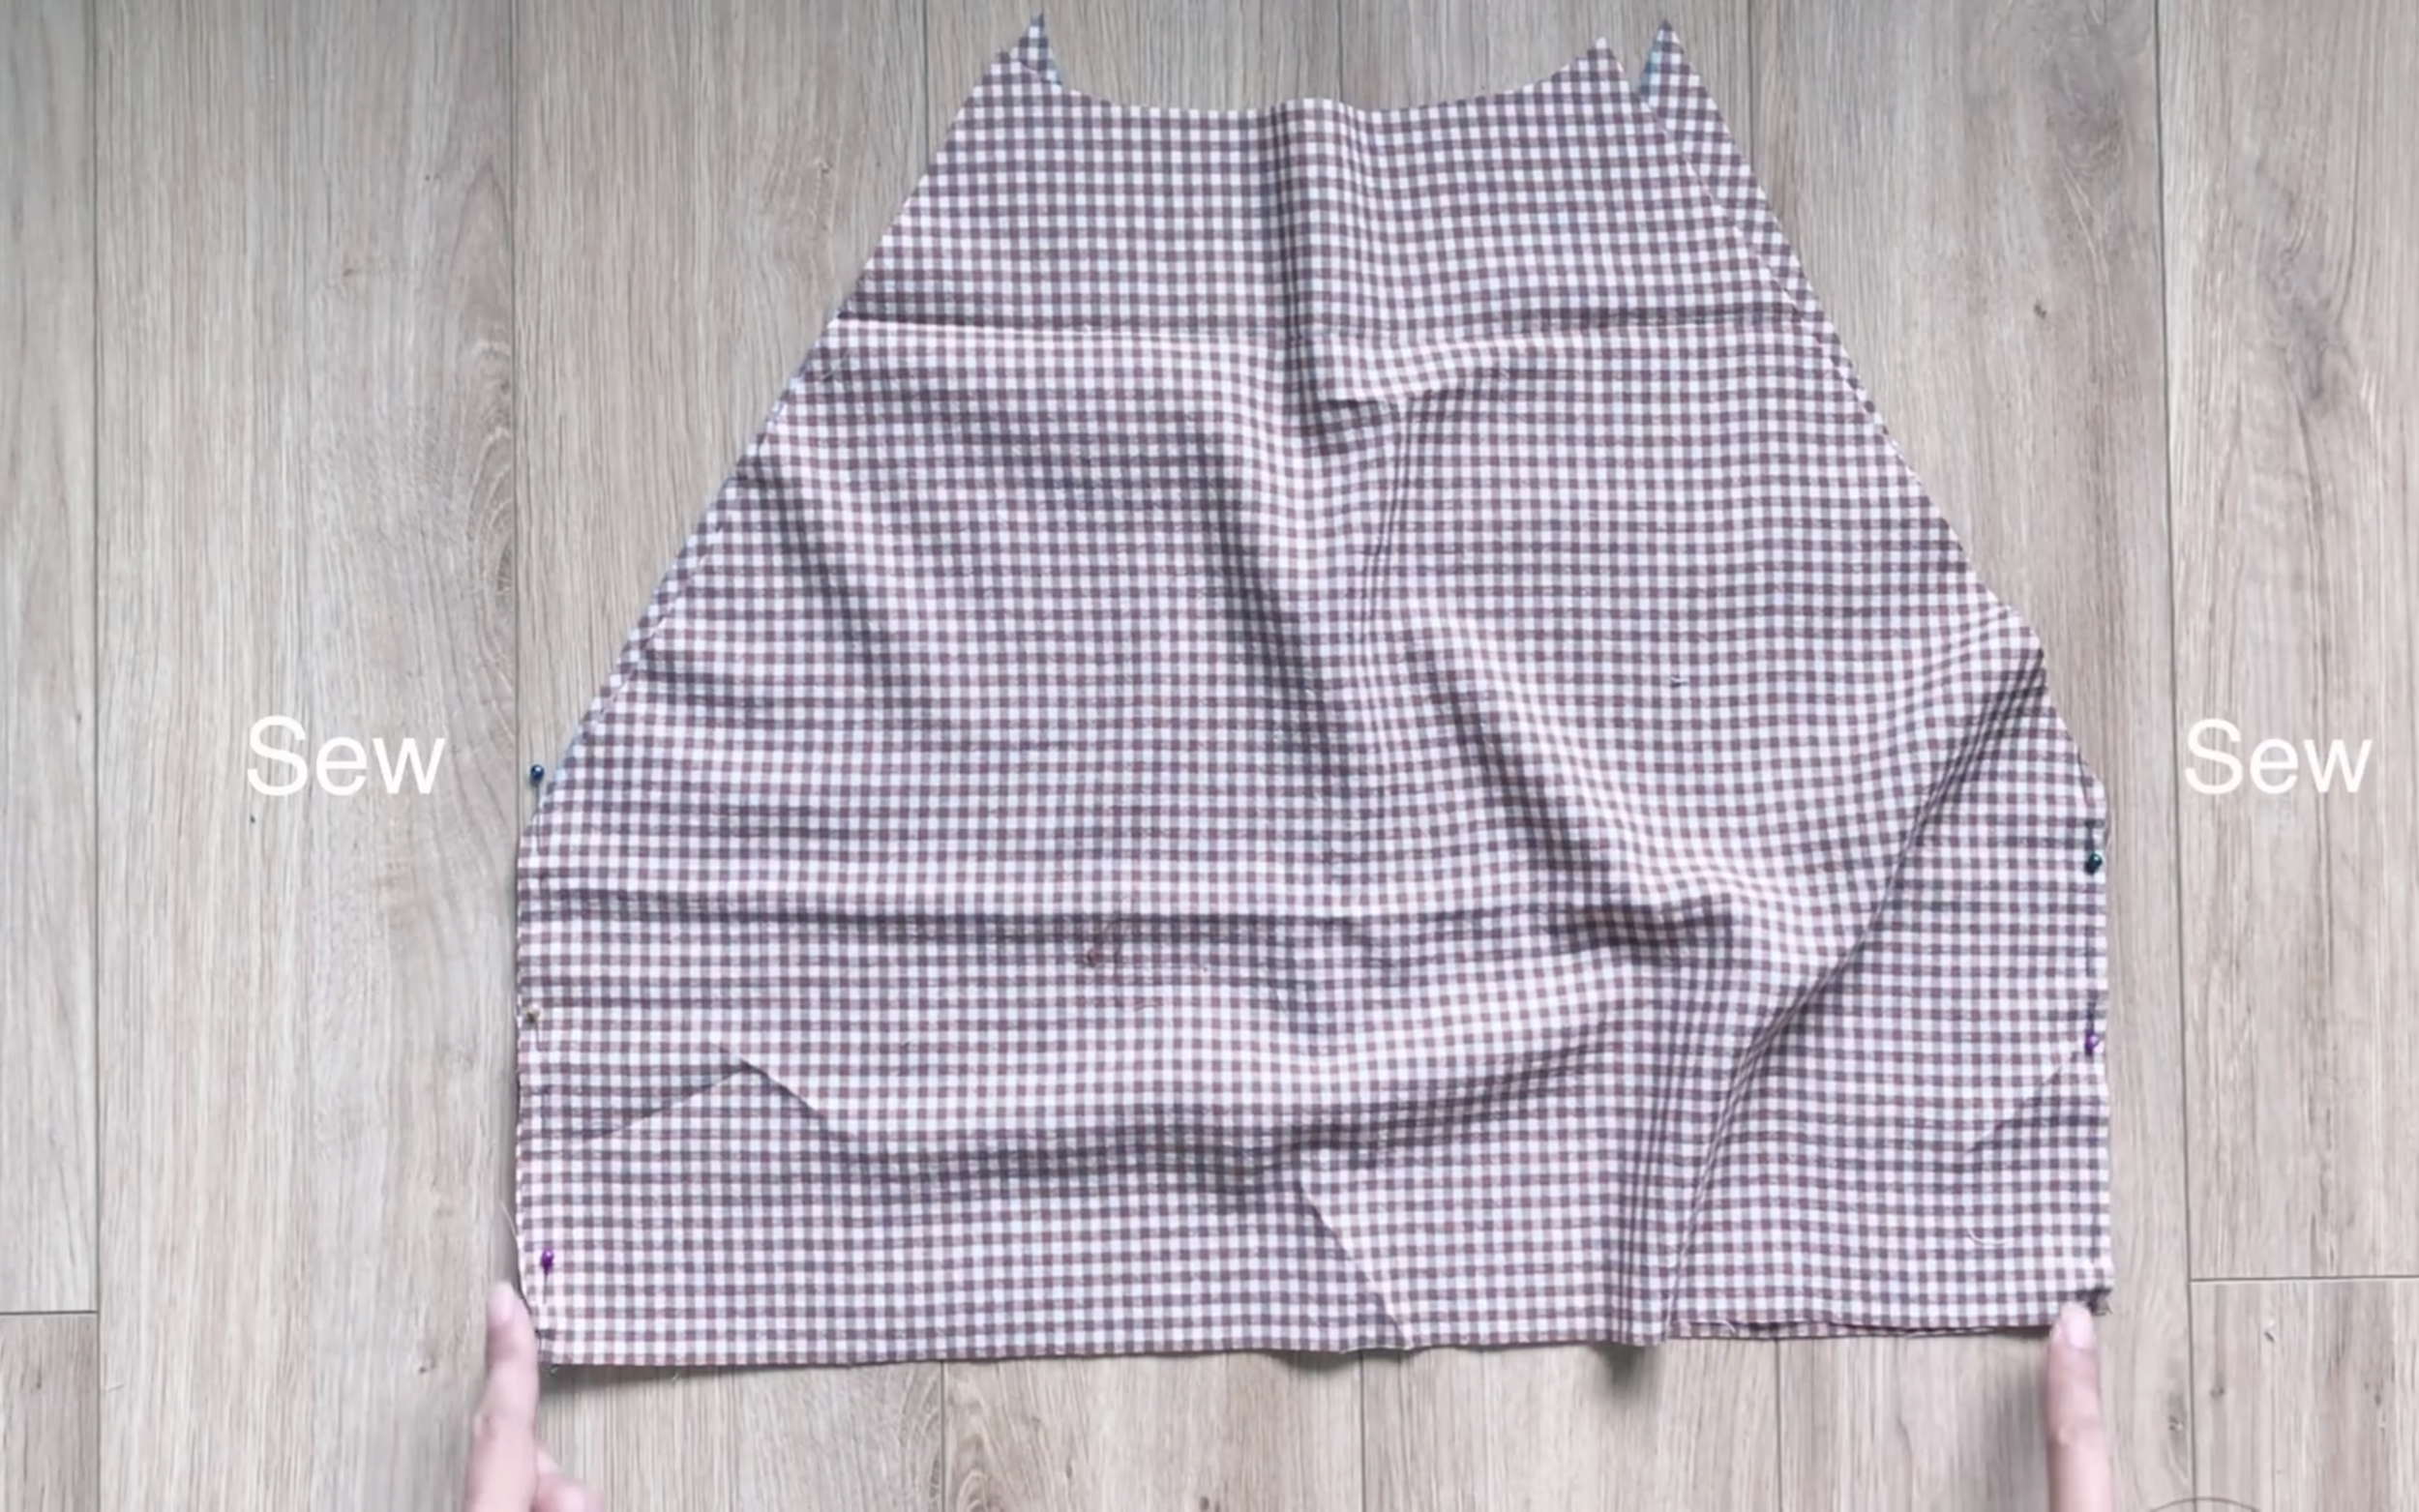
Now, connect the front and the back of the main bodice together at two sides, then sew.
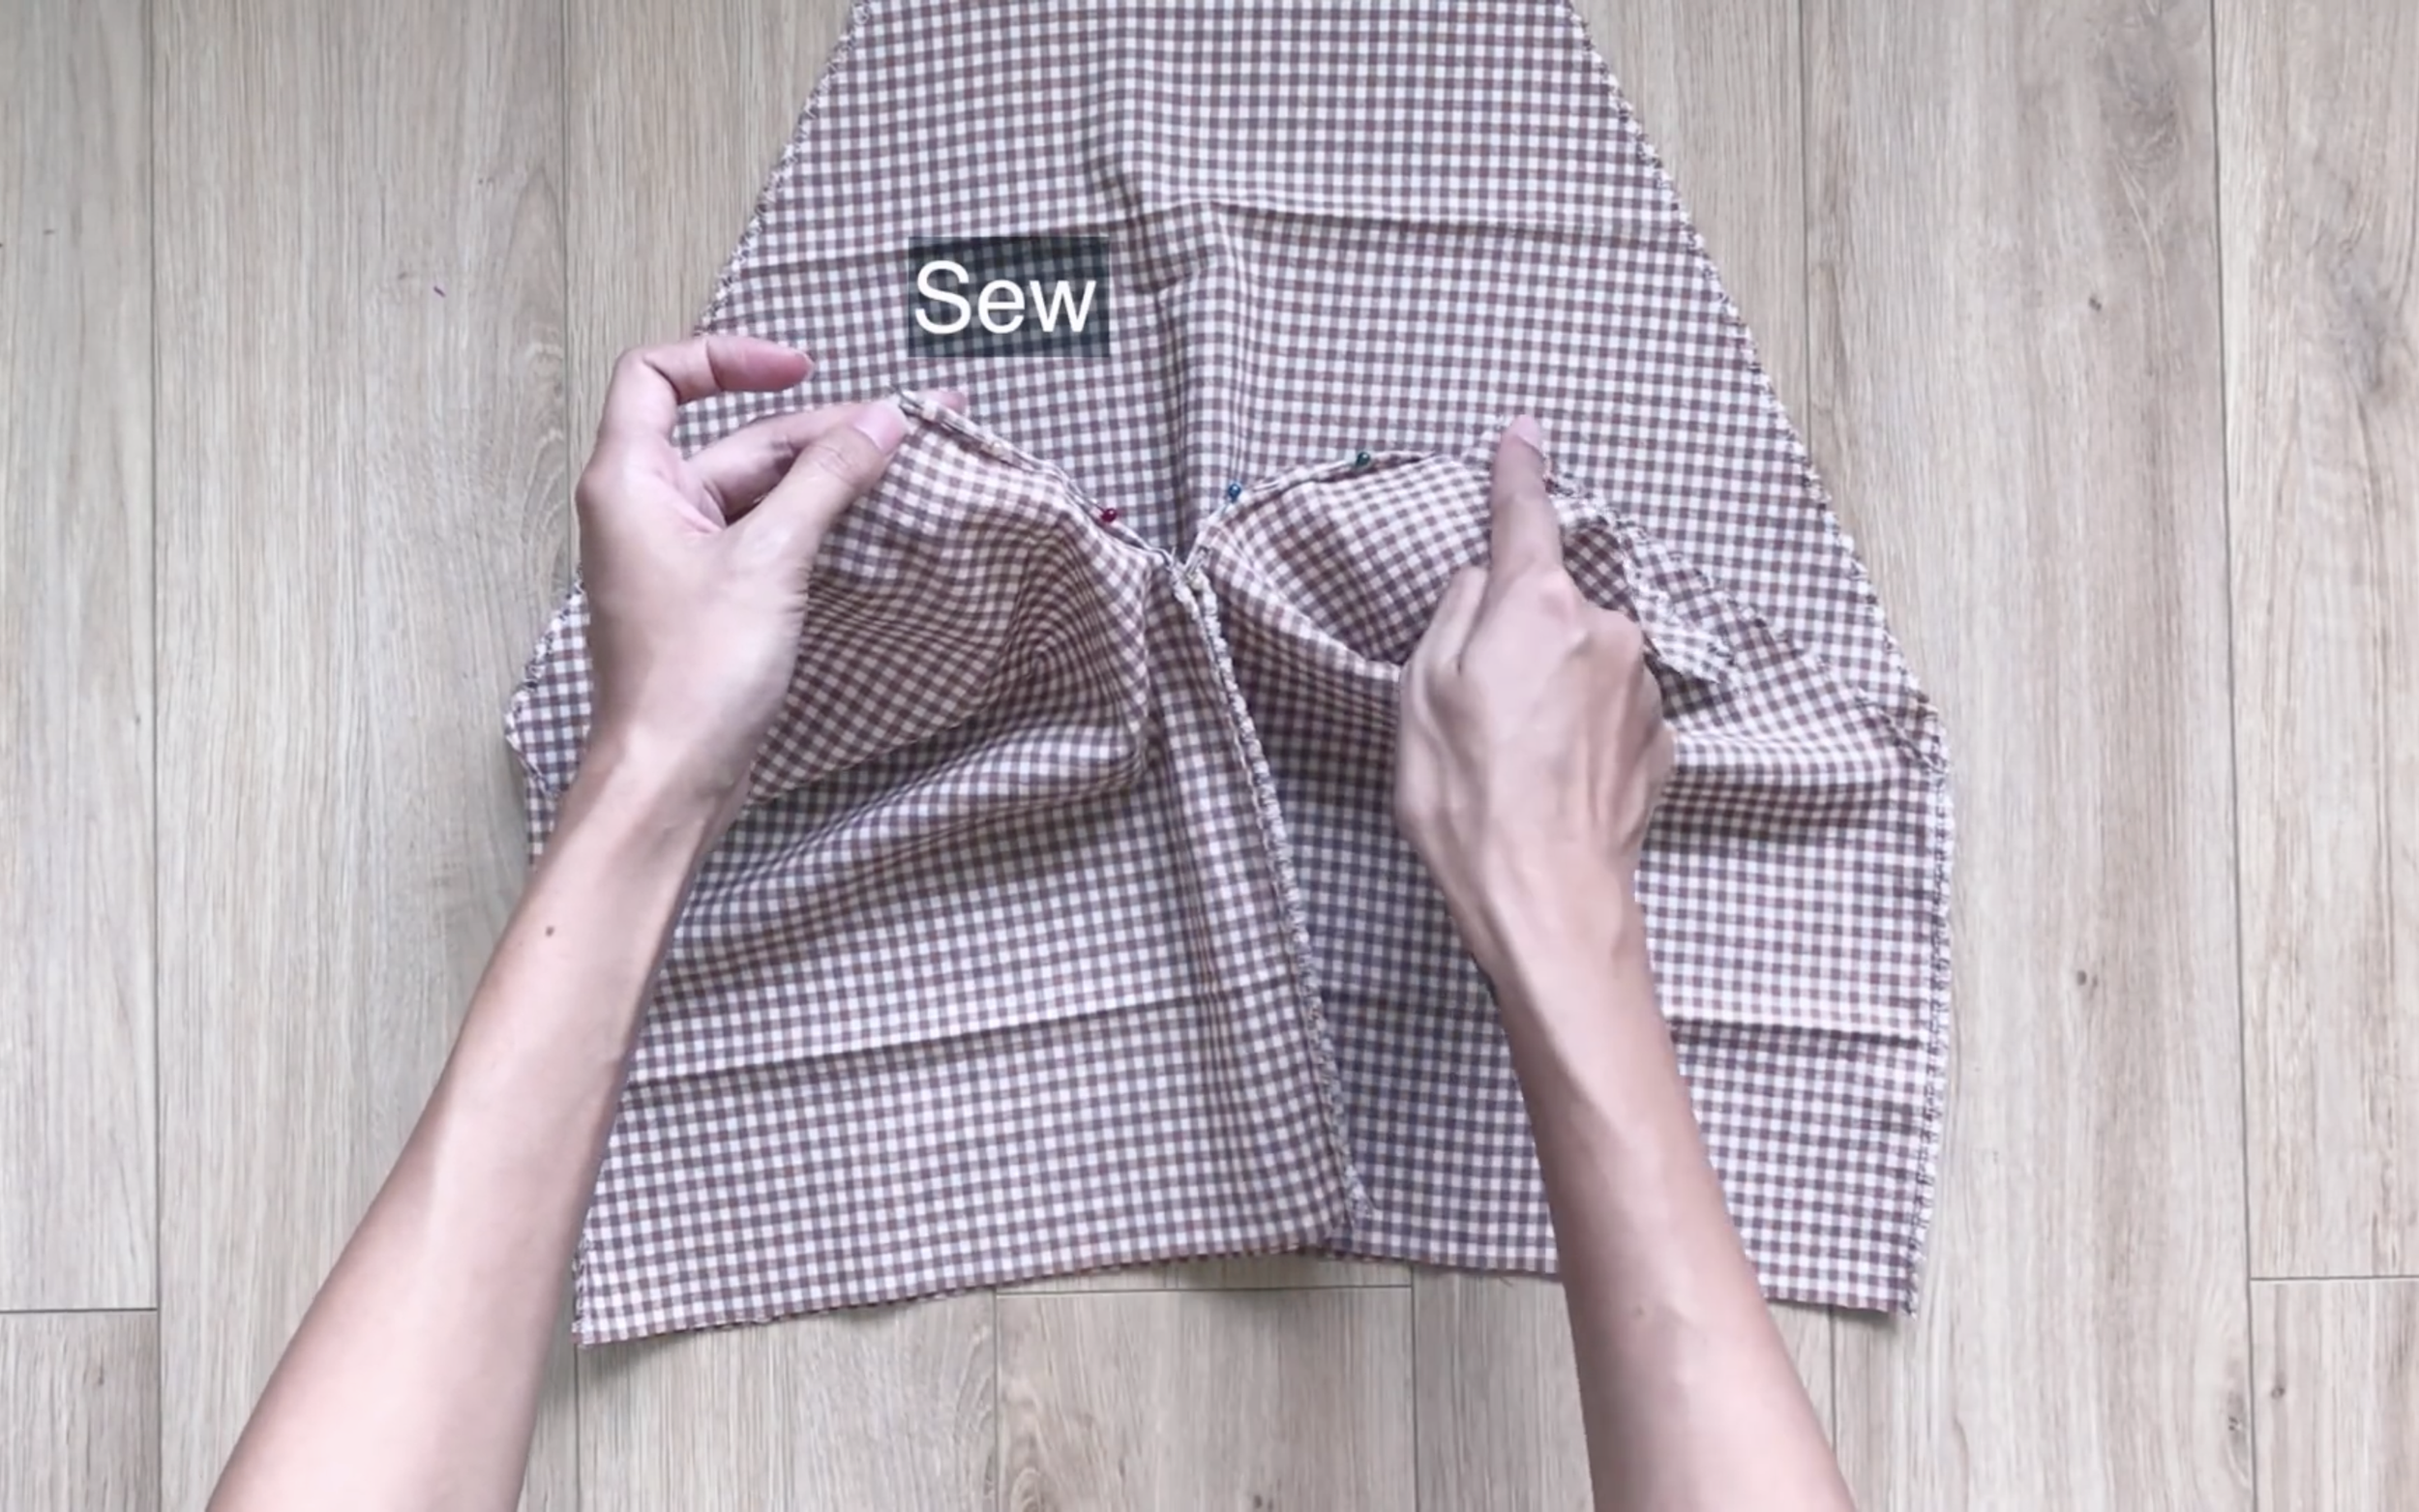
To finish the open area of the neck at the front, fold the end fabric inside two times and sew.
THE SLEEVE PART
To make the sleeve for the dress, cut two rectangles with 68 cm length (which is the length from the shoulder to over the wrist plus 4 cm) and 60 cm width (which is the width of the sleeve that you want for the puffy look).
Fold the rectangle in half on the width line first. Then, from one end of the length line, move inside and mark at 24 cm, which is the width of the sleeve made in the main bodice part. Also, from that end of the length line, move up and mark at 15 cm, which is the width of the leftover fabric two sides of the neck area. Then, draw a line to connect two marks together.
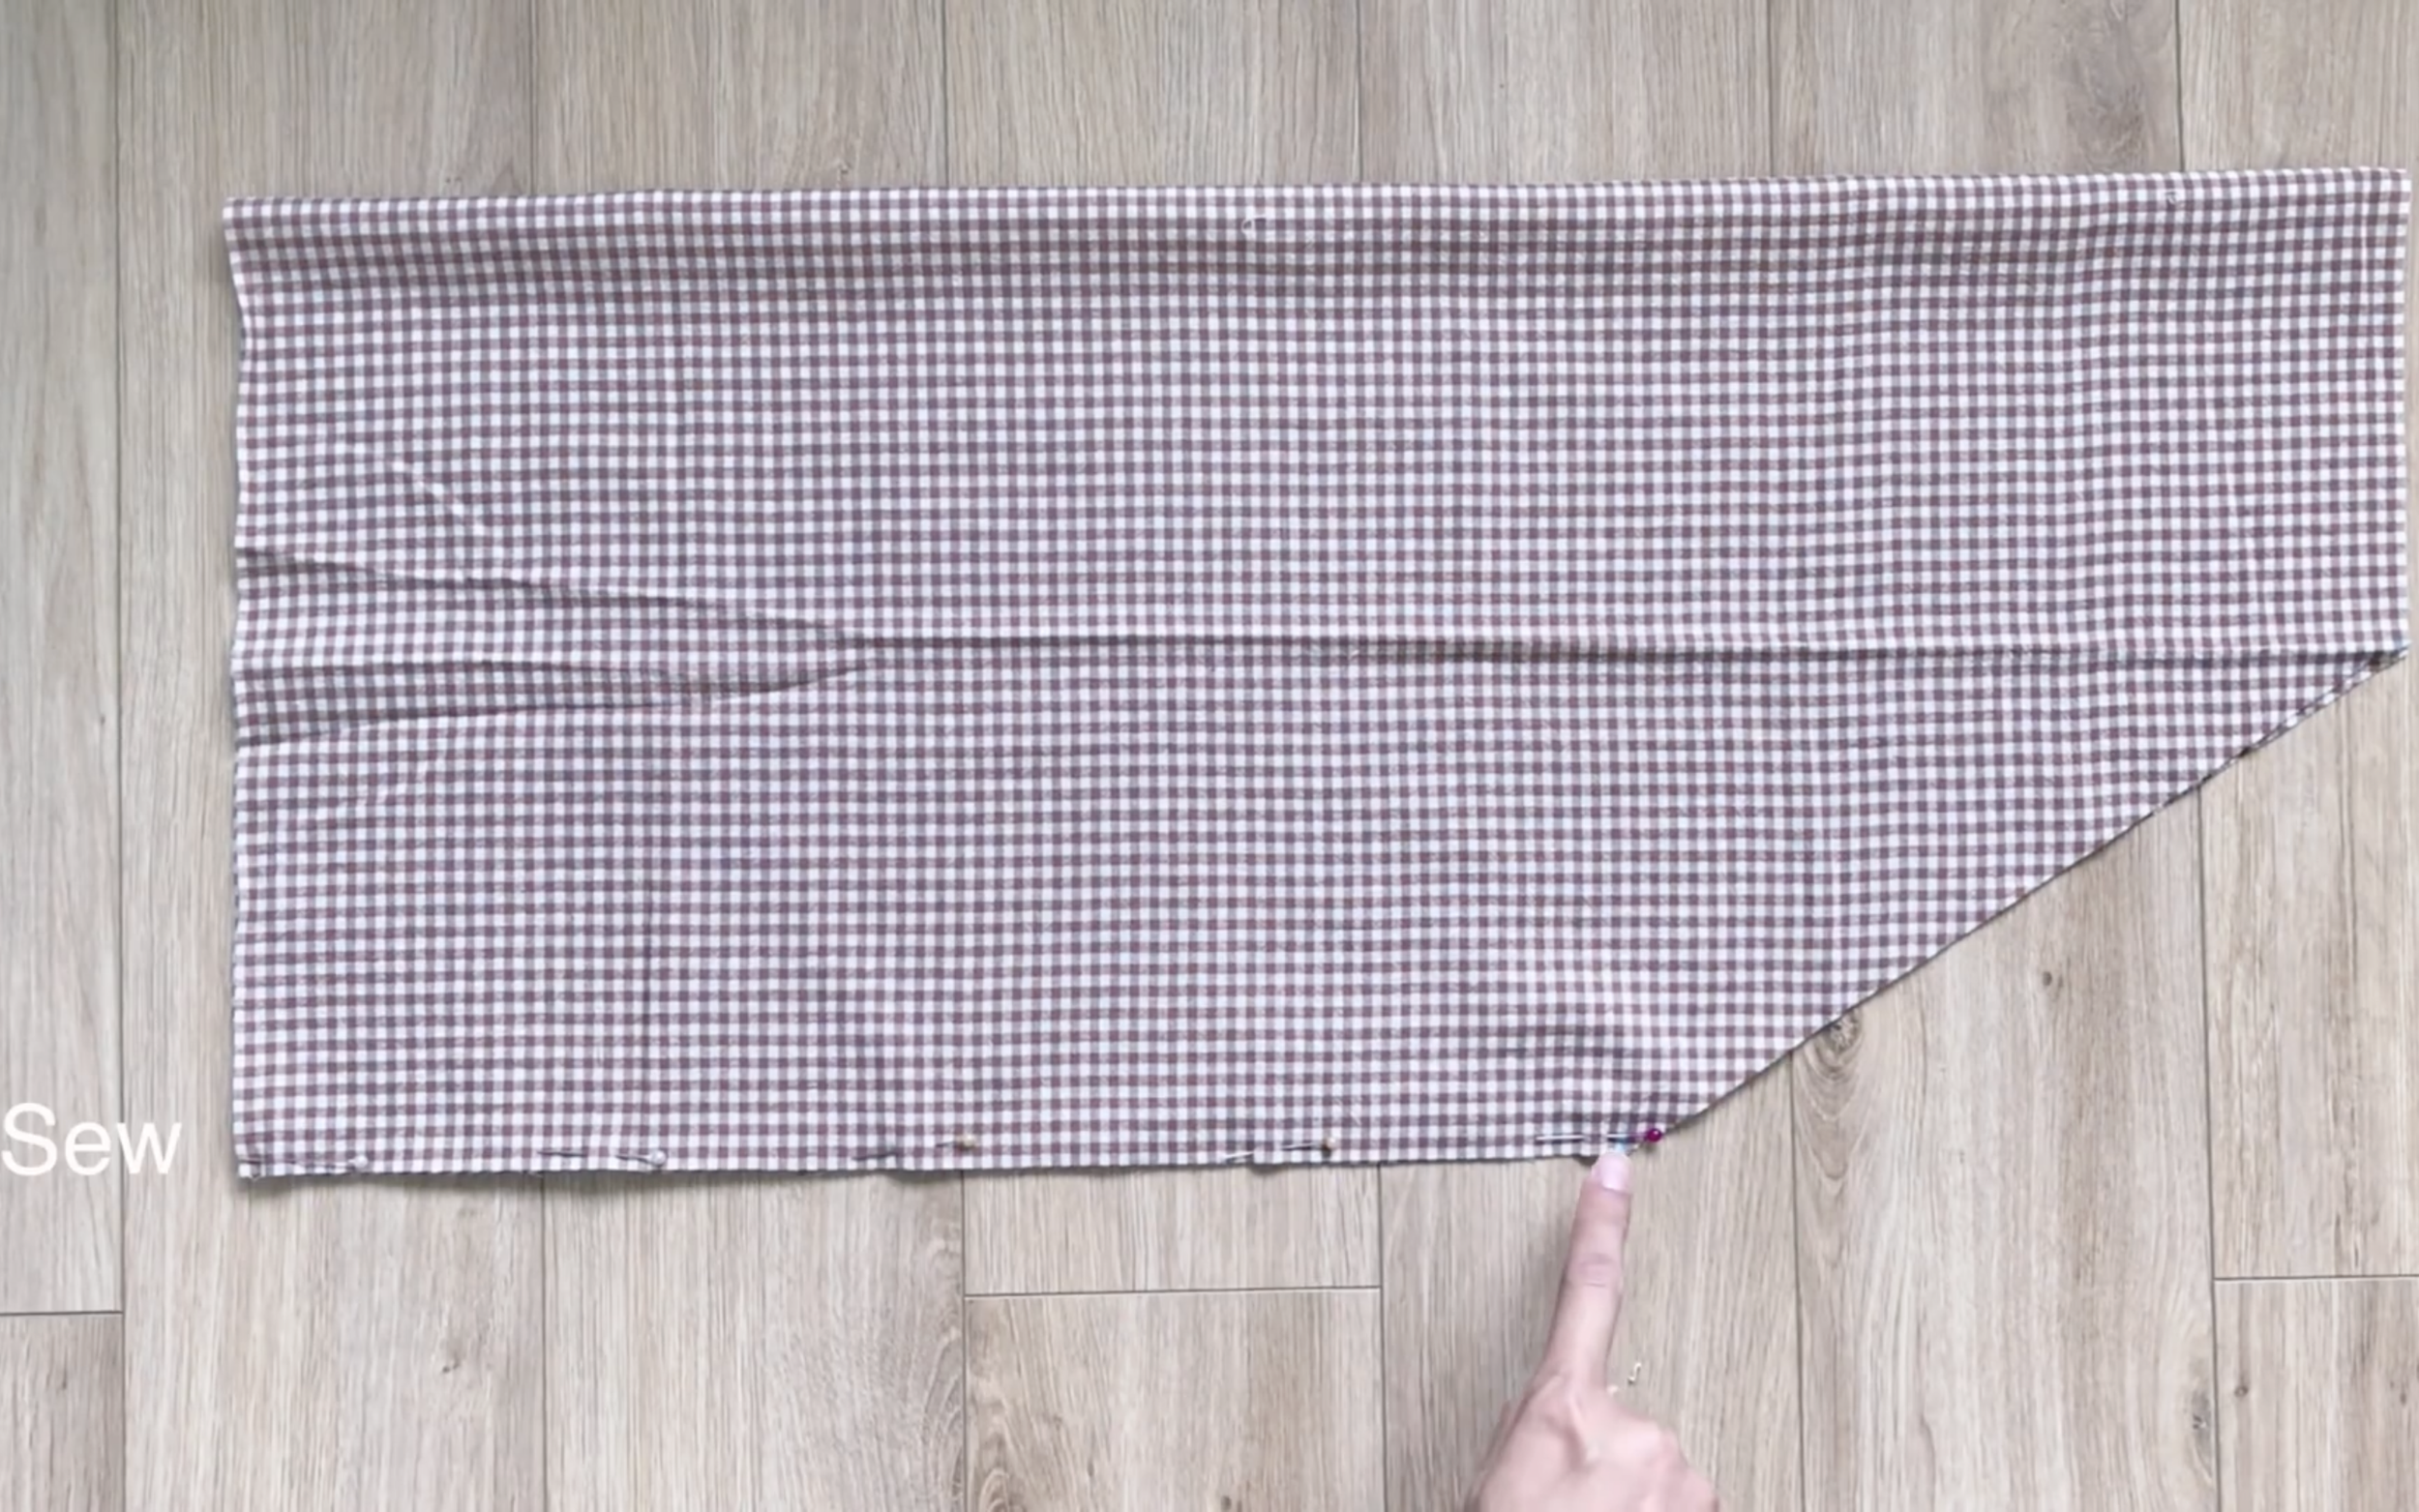
After cutting by the drawing line, sew under the armpit line of the sleeve first.
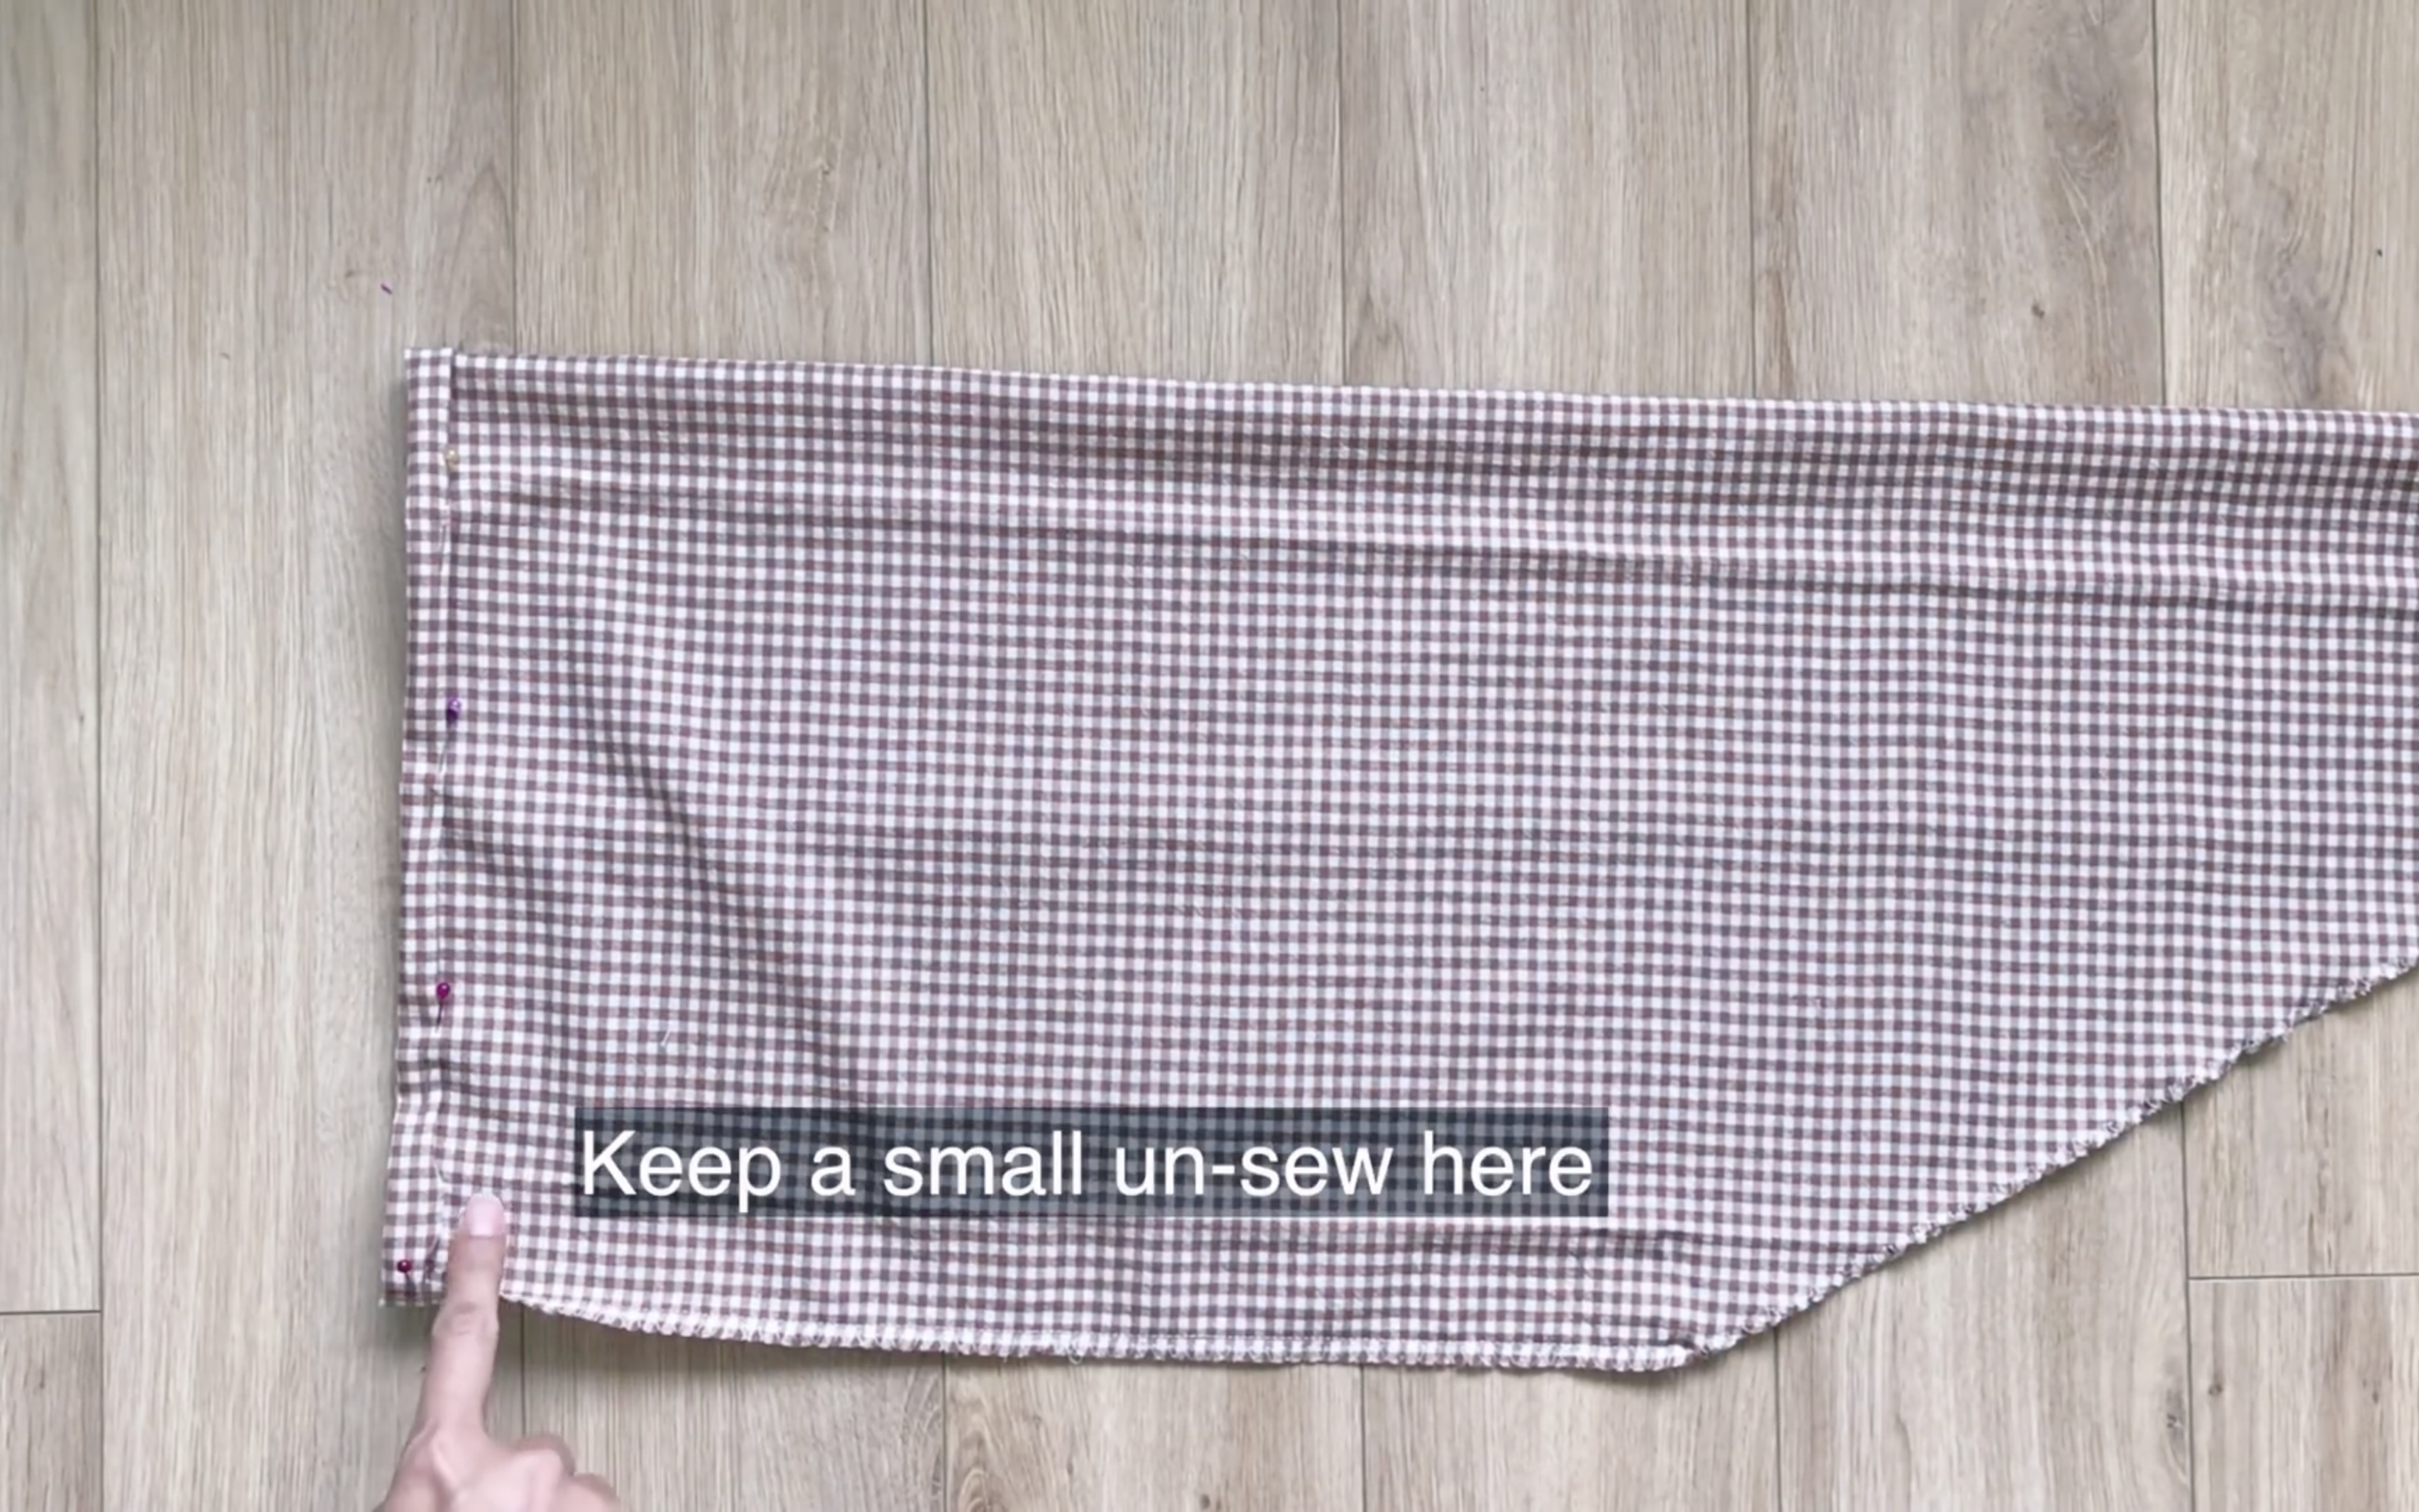
Then, make a fabric hole at the end of the sleeve to create a puffy look there later.
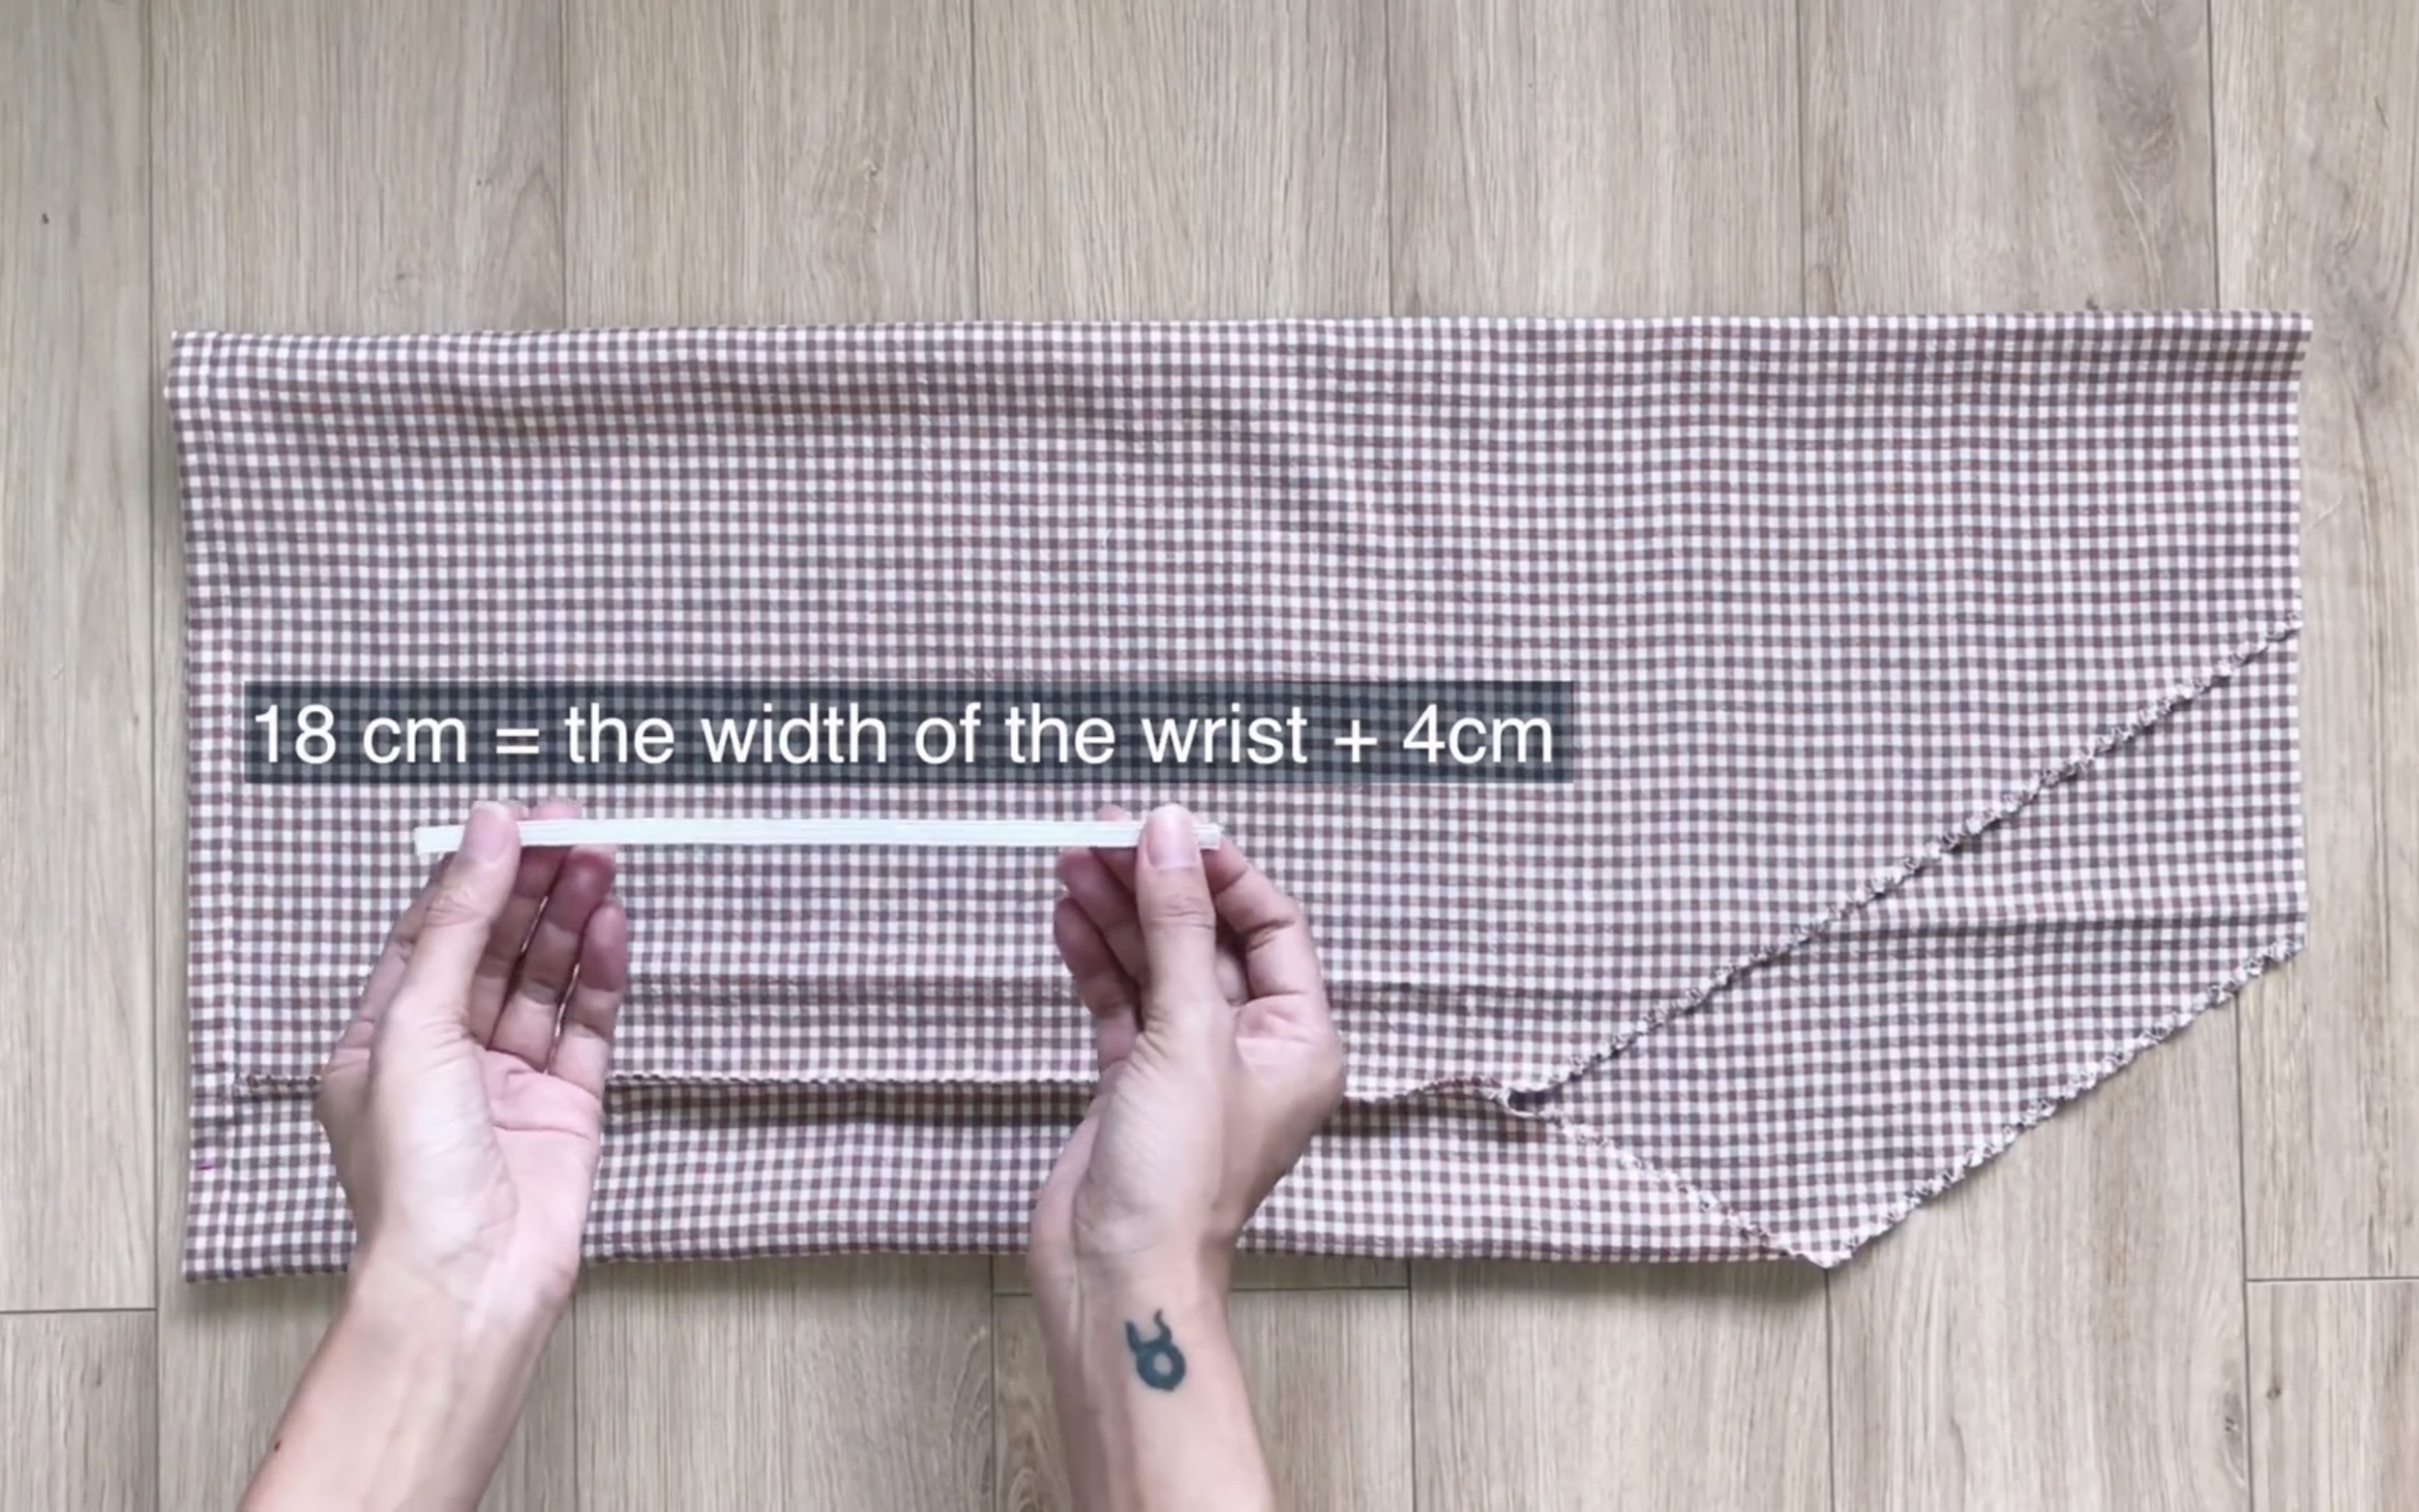
Cut an 18 cm elastic band with around 1 cm width to go through the fabric hole.
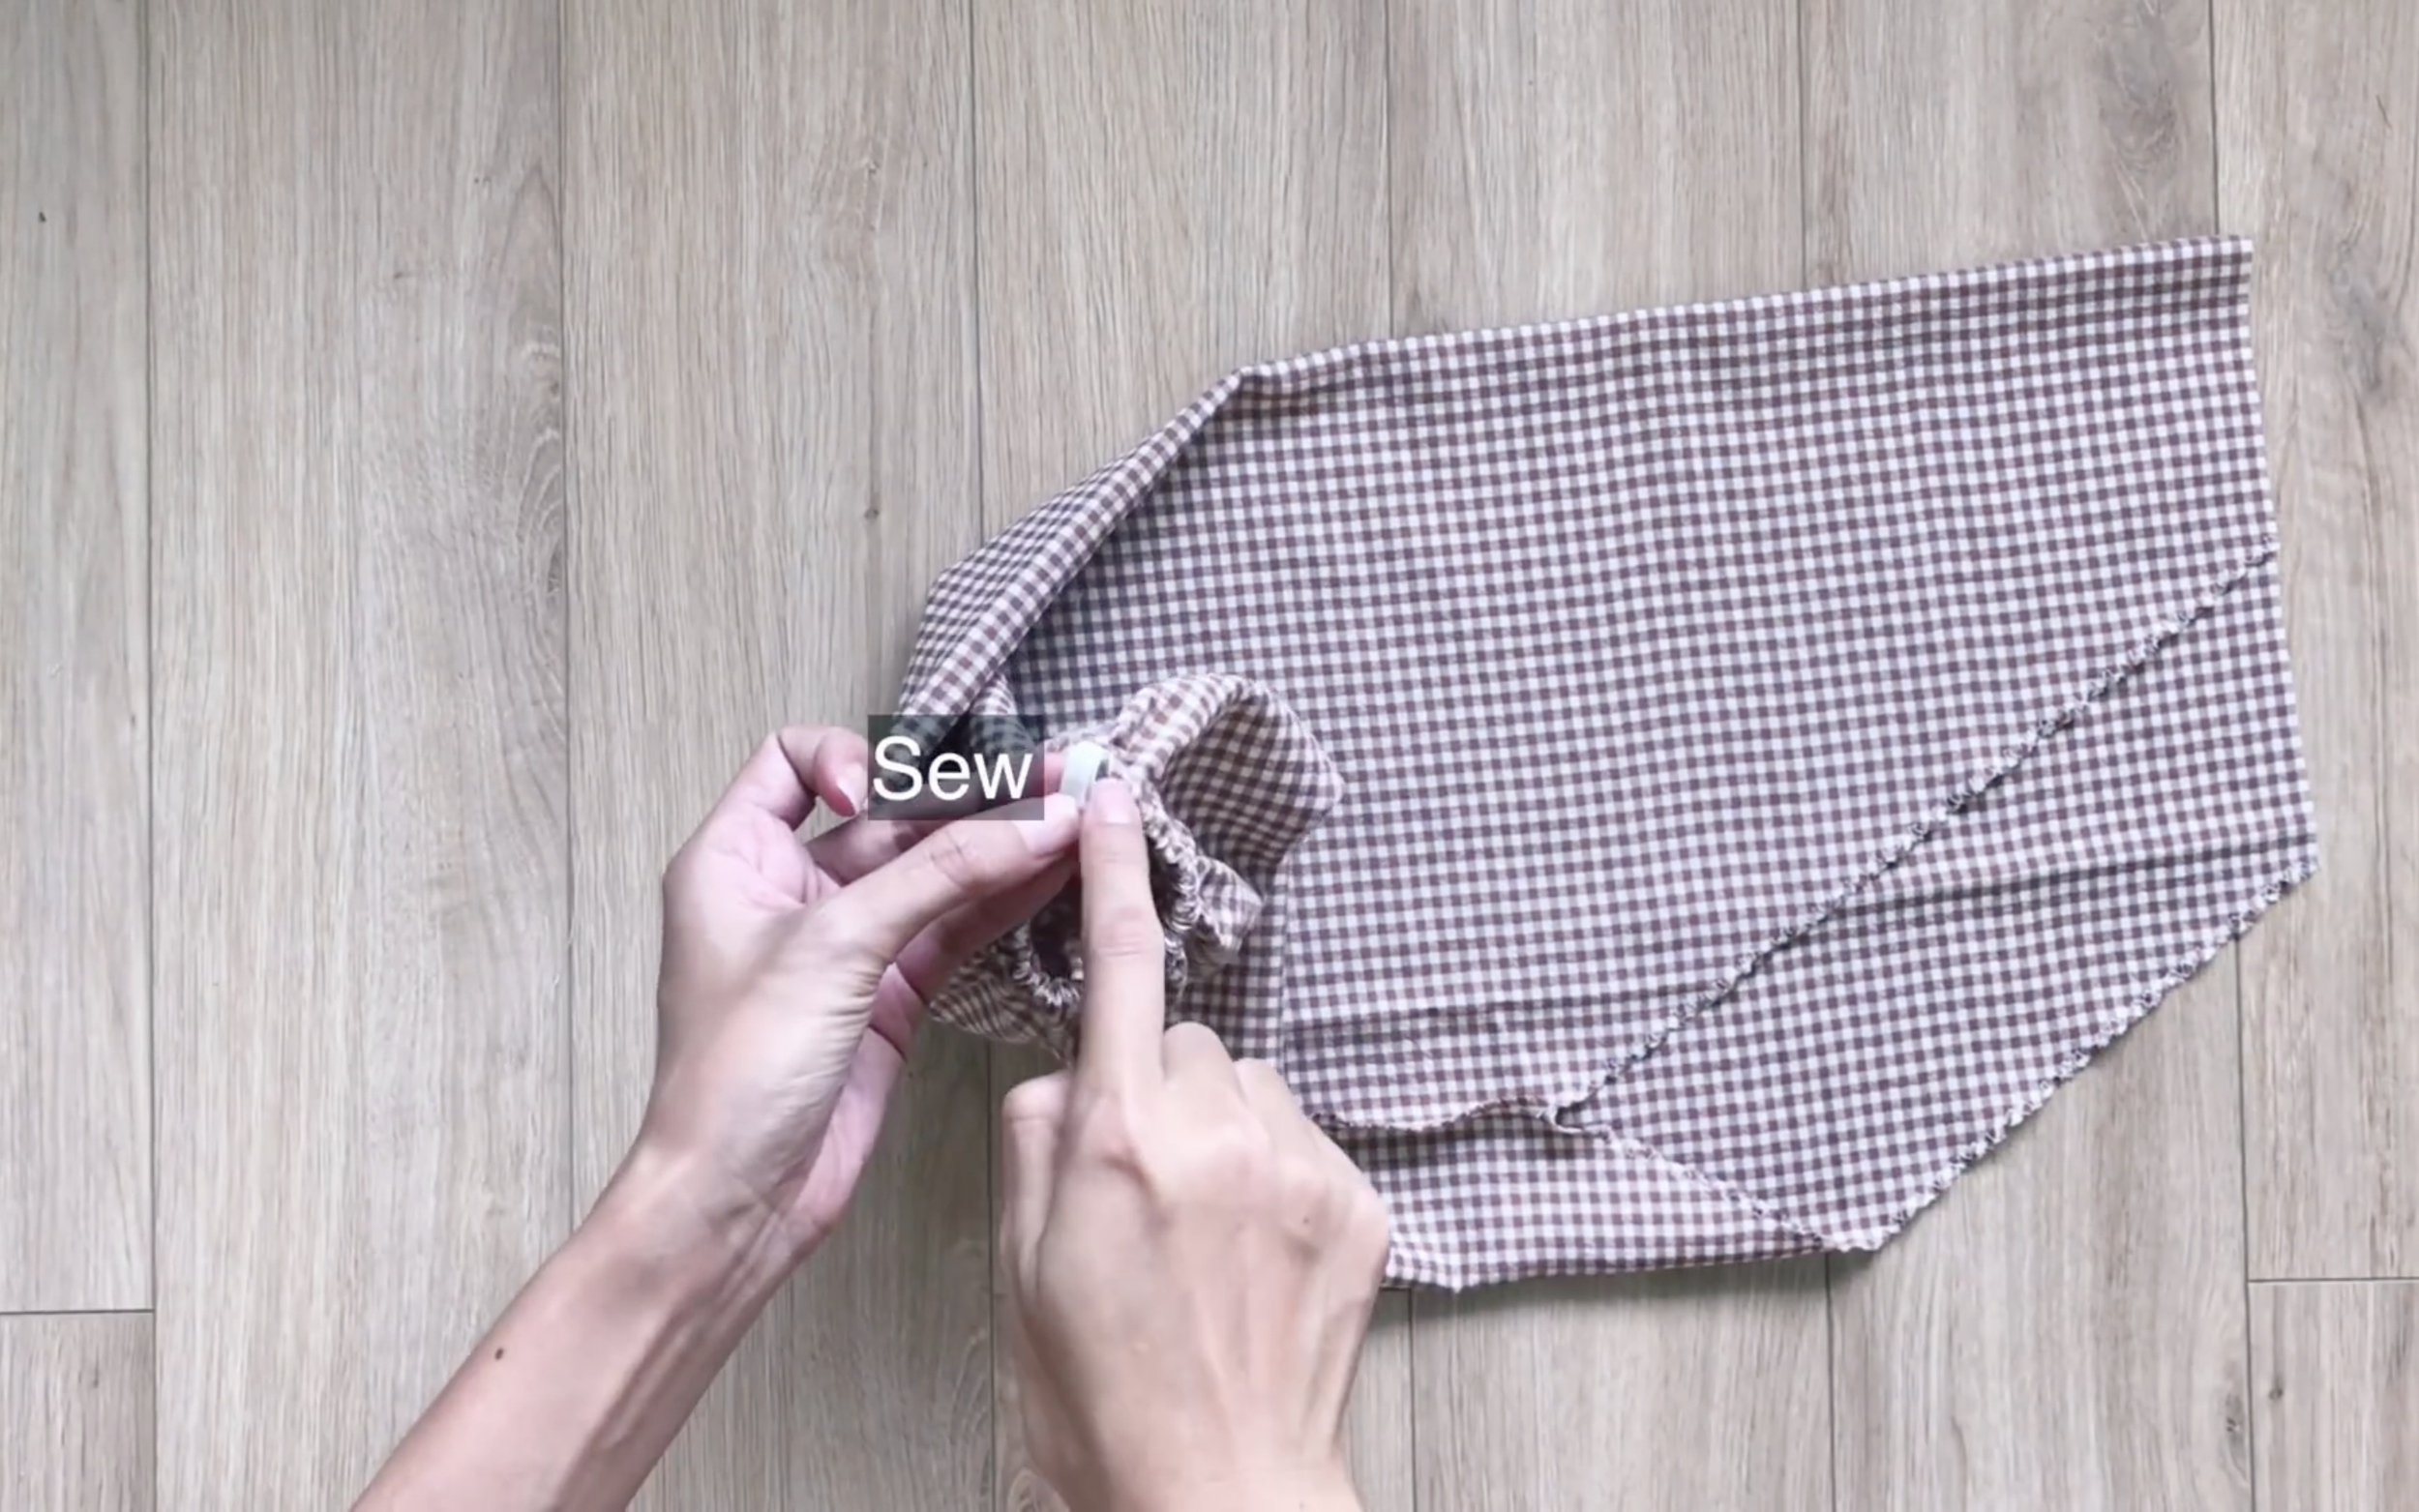
Then, sew two ends of the elastic band after that.
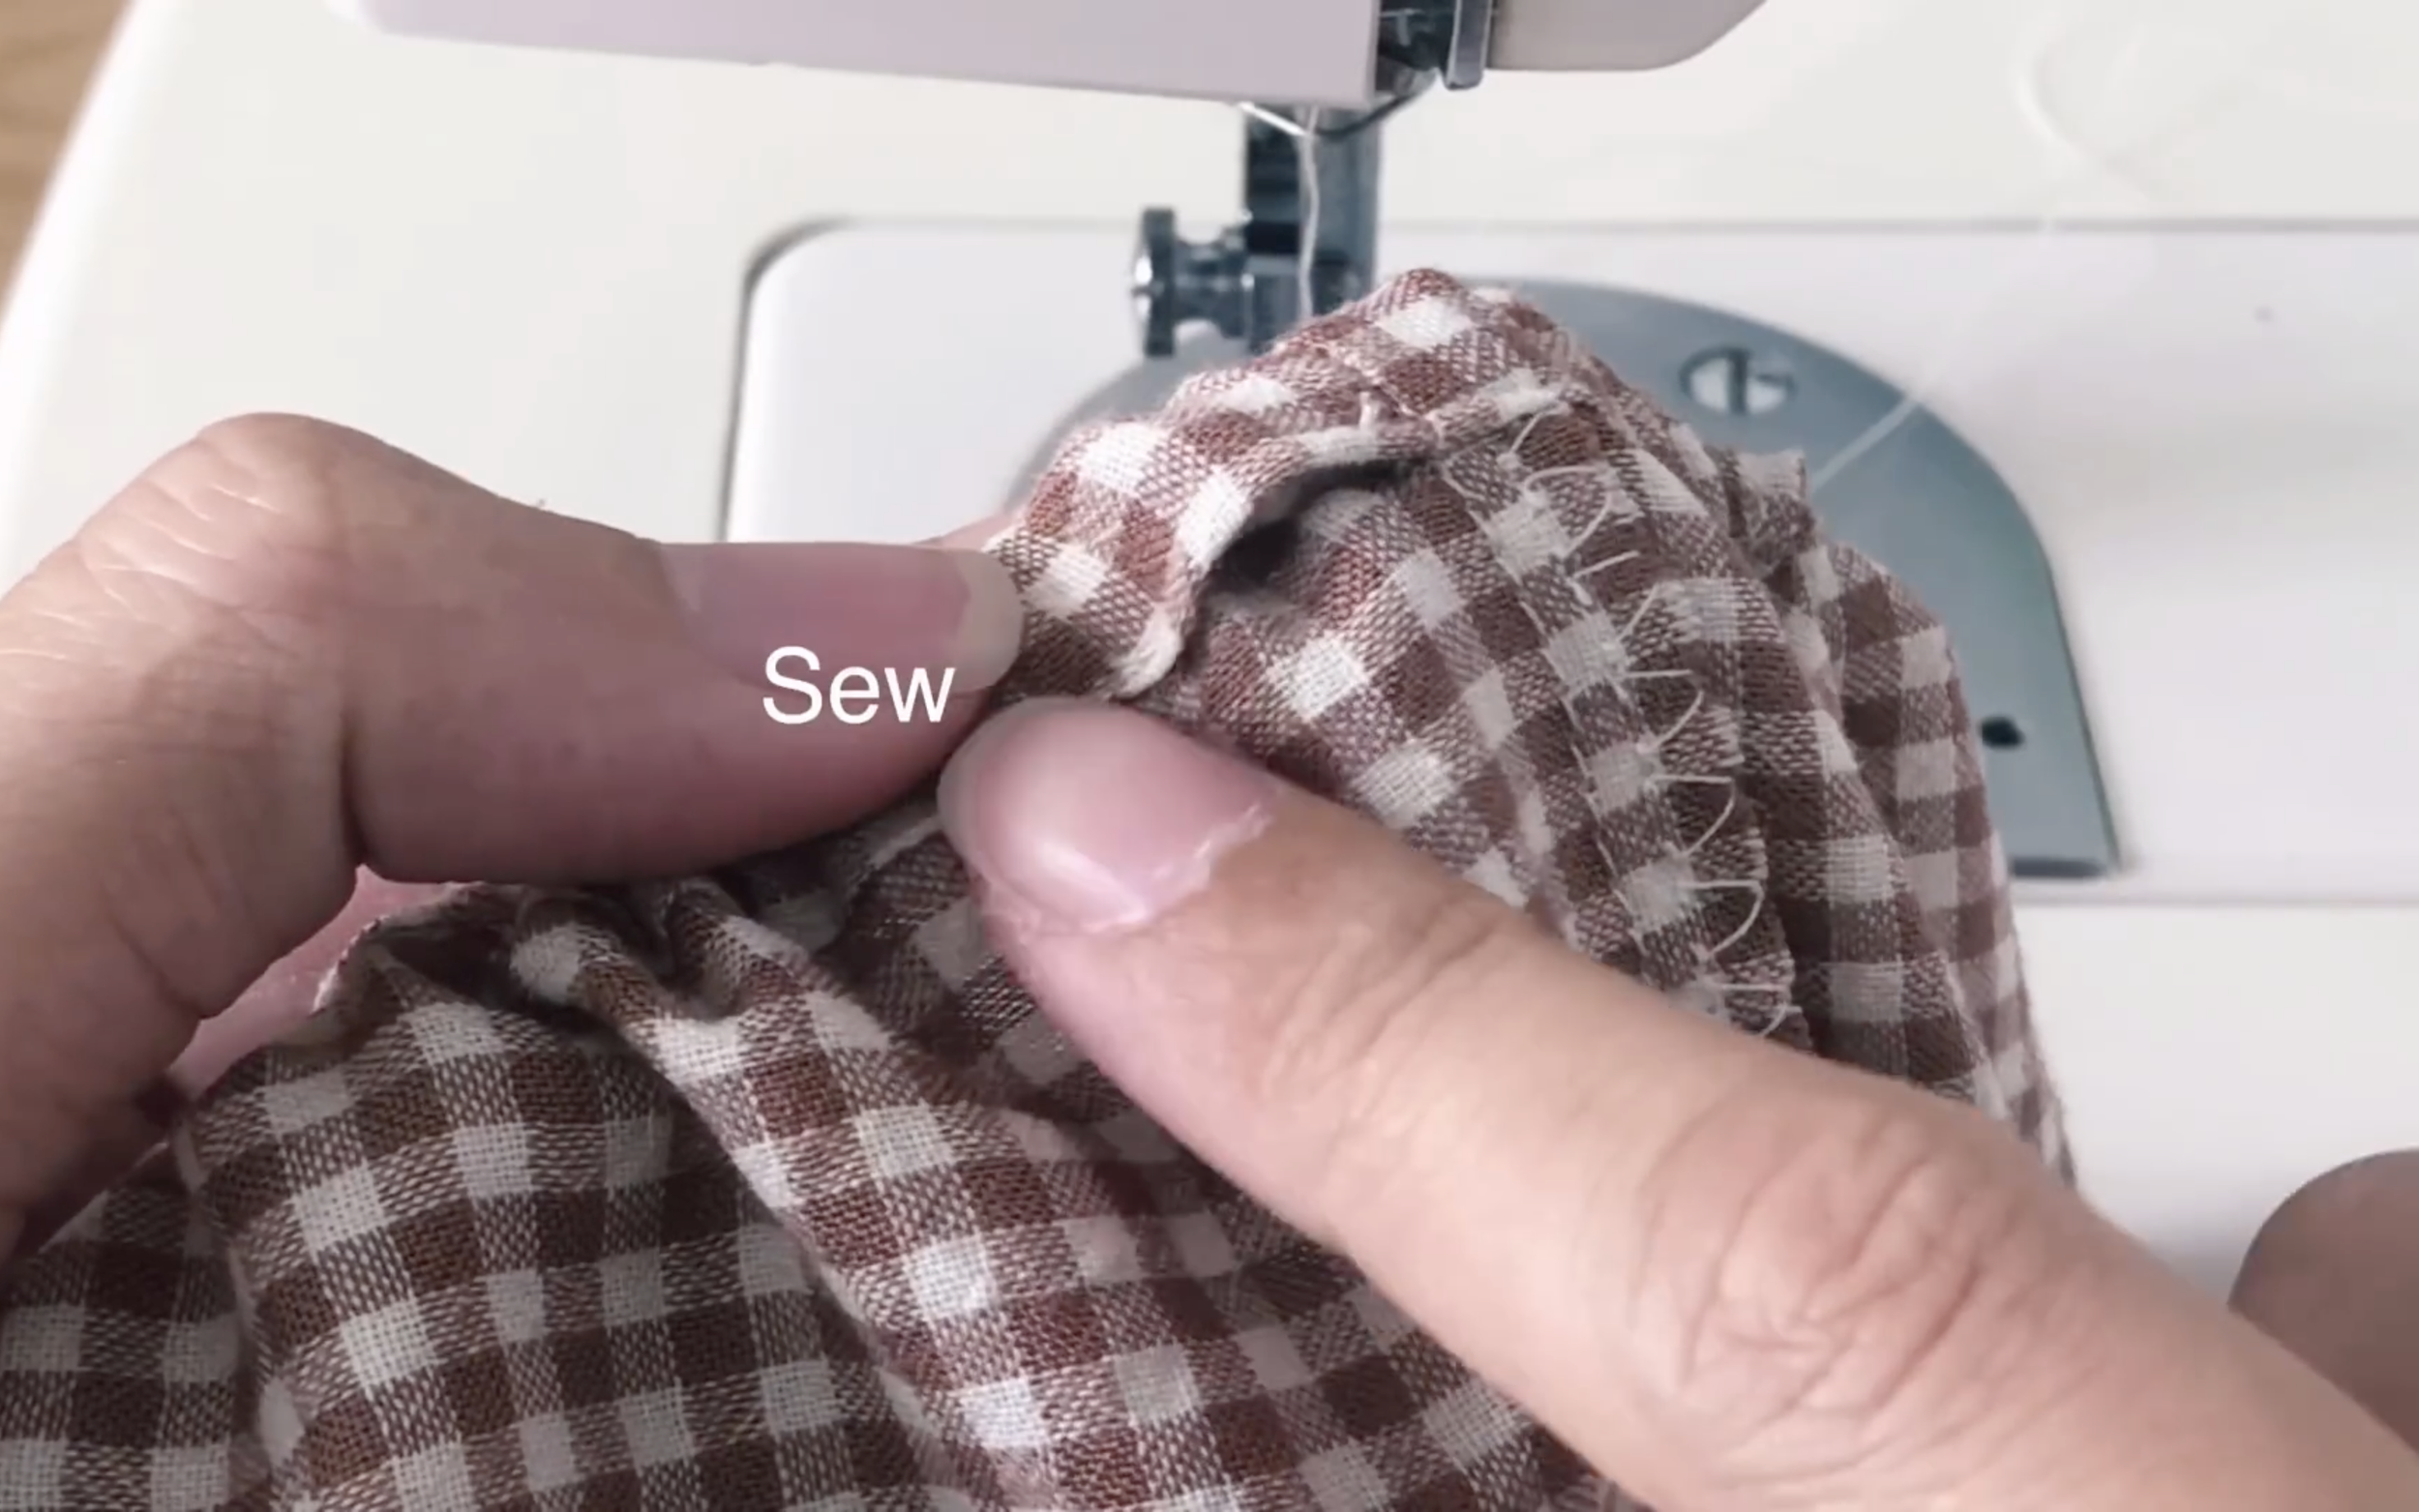
And also close the hole.
THE TOP PART
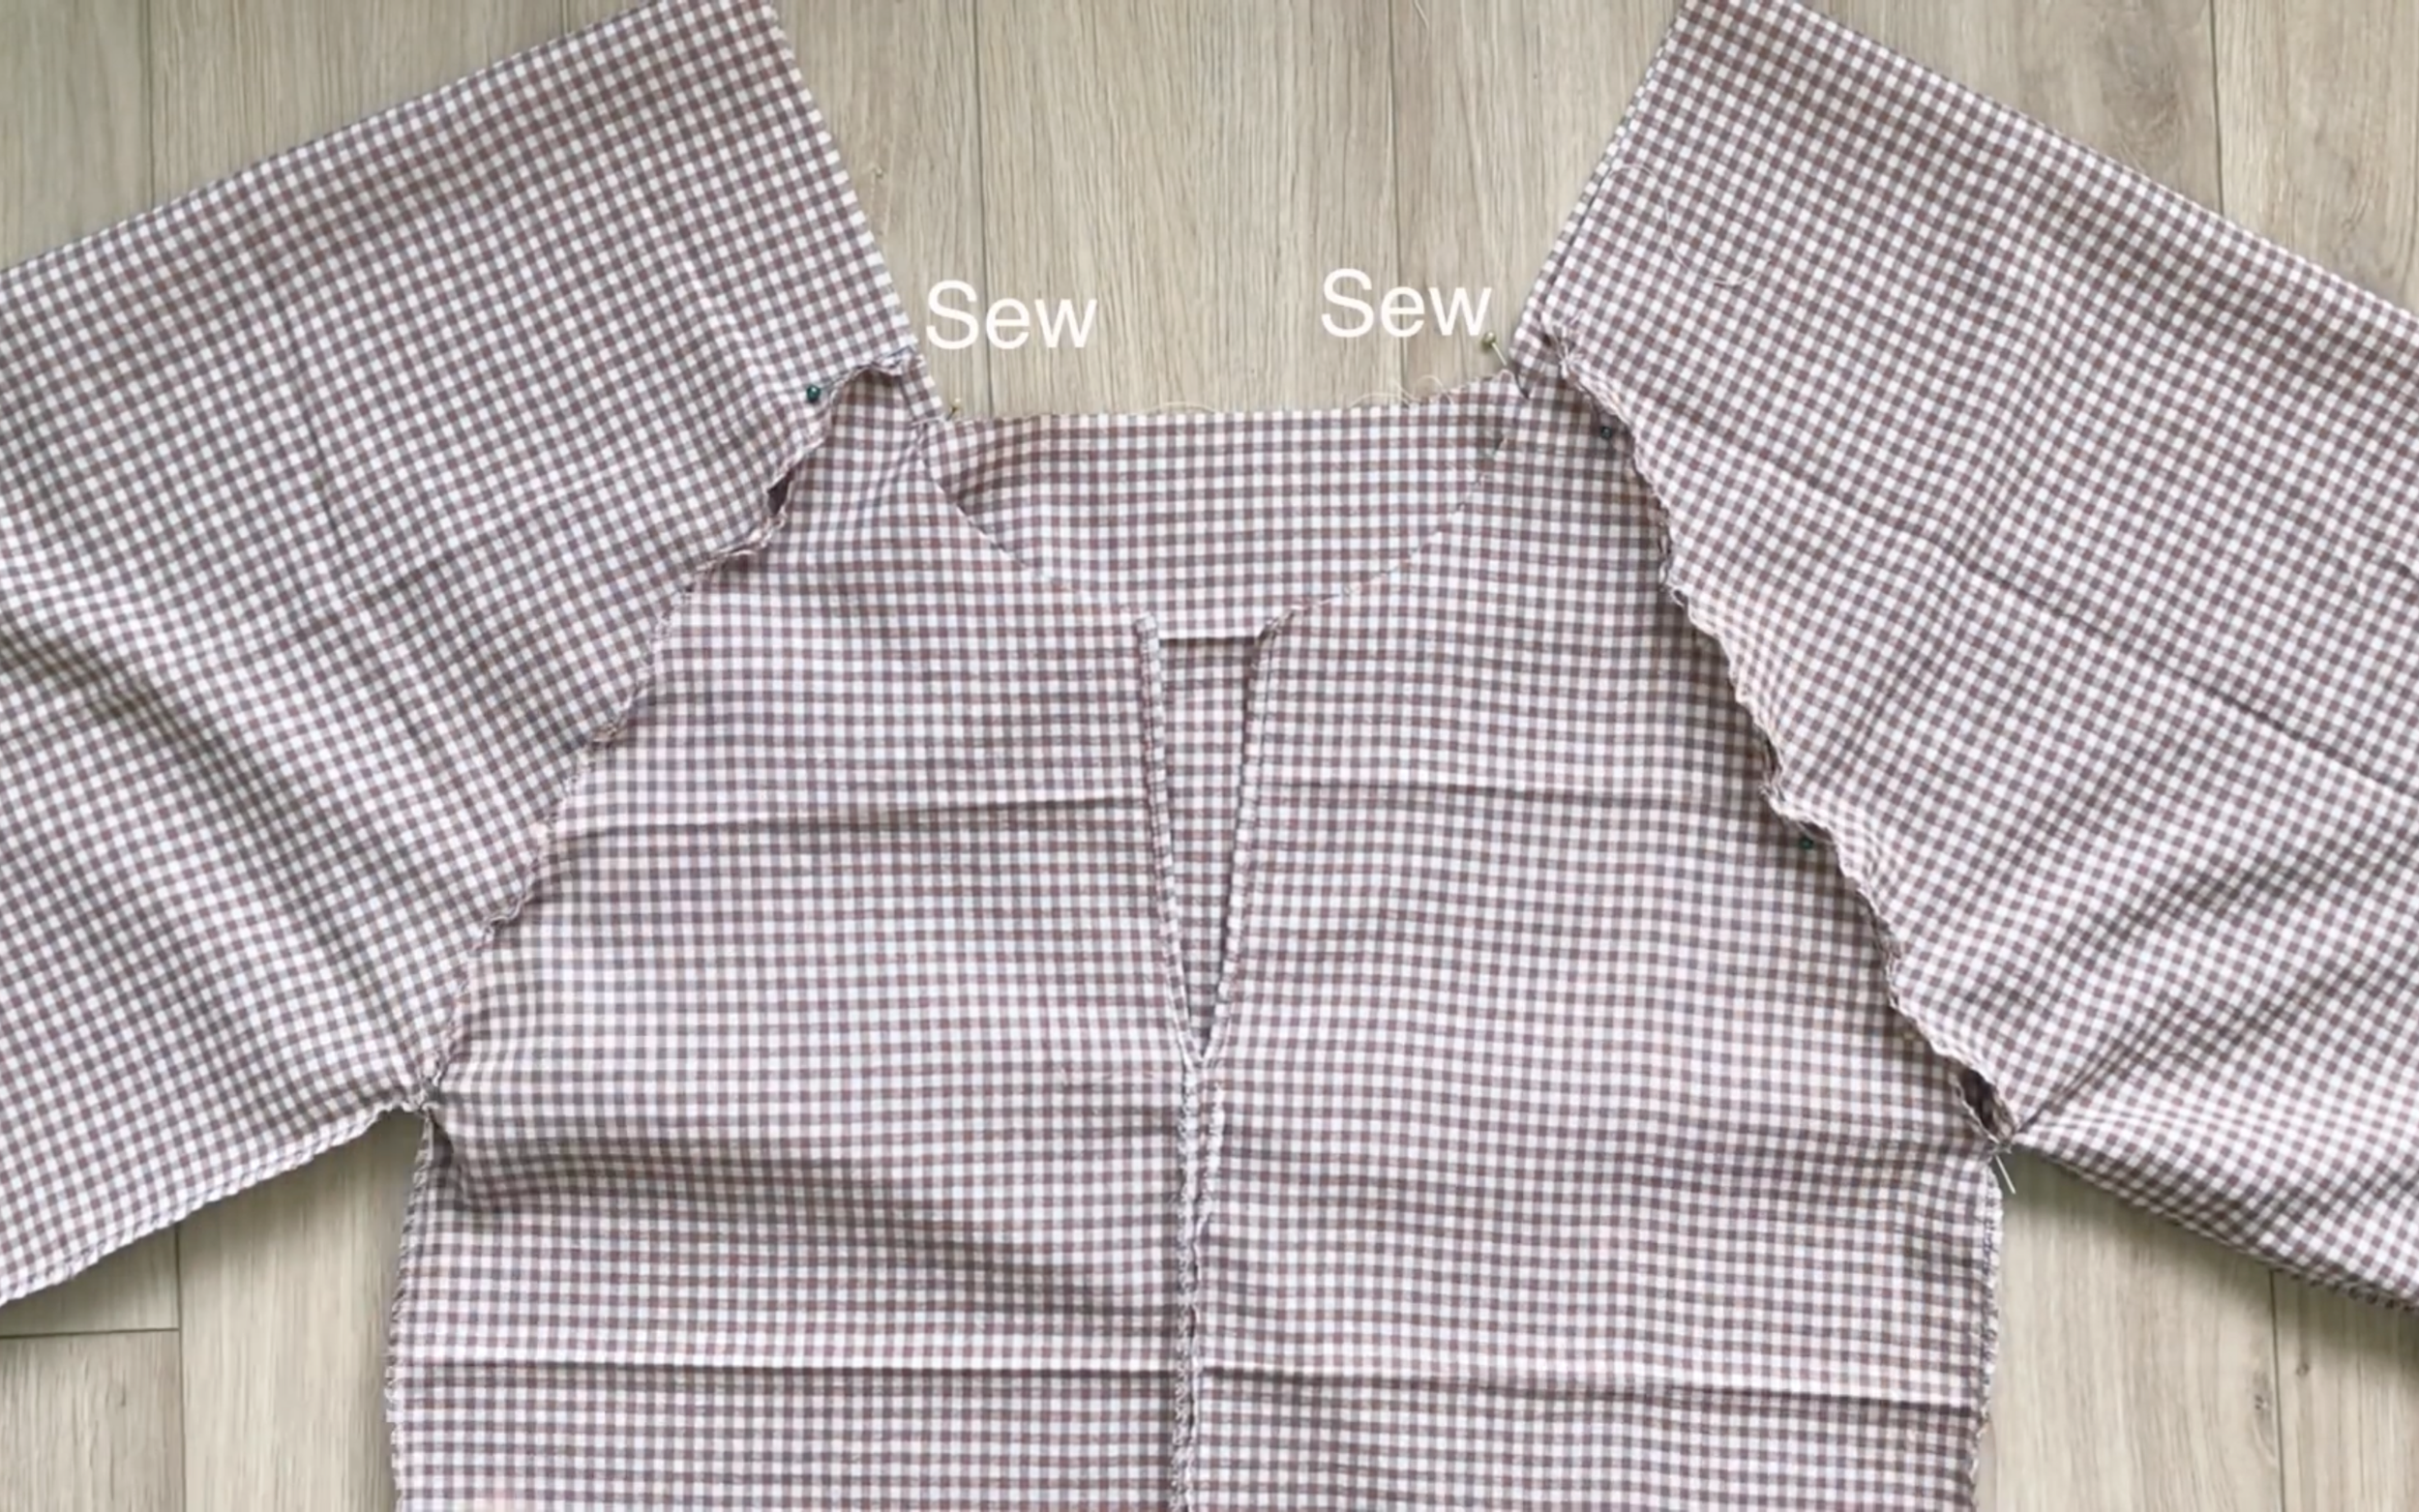
Now, connect the sleeve to the main bodice of the dress at the sleeve area, then sew.
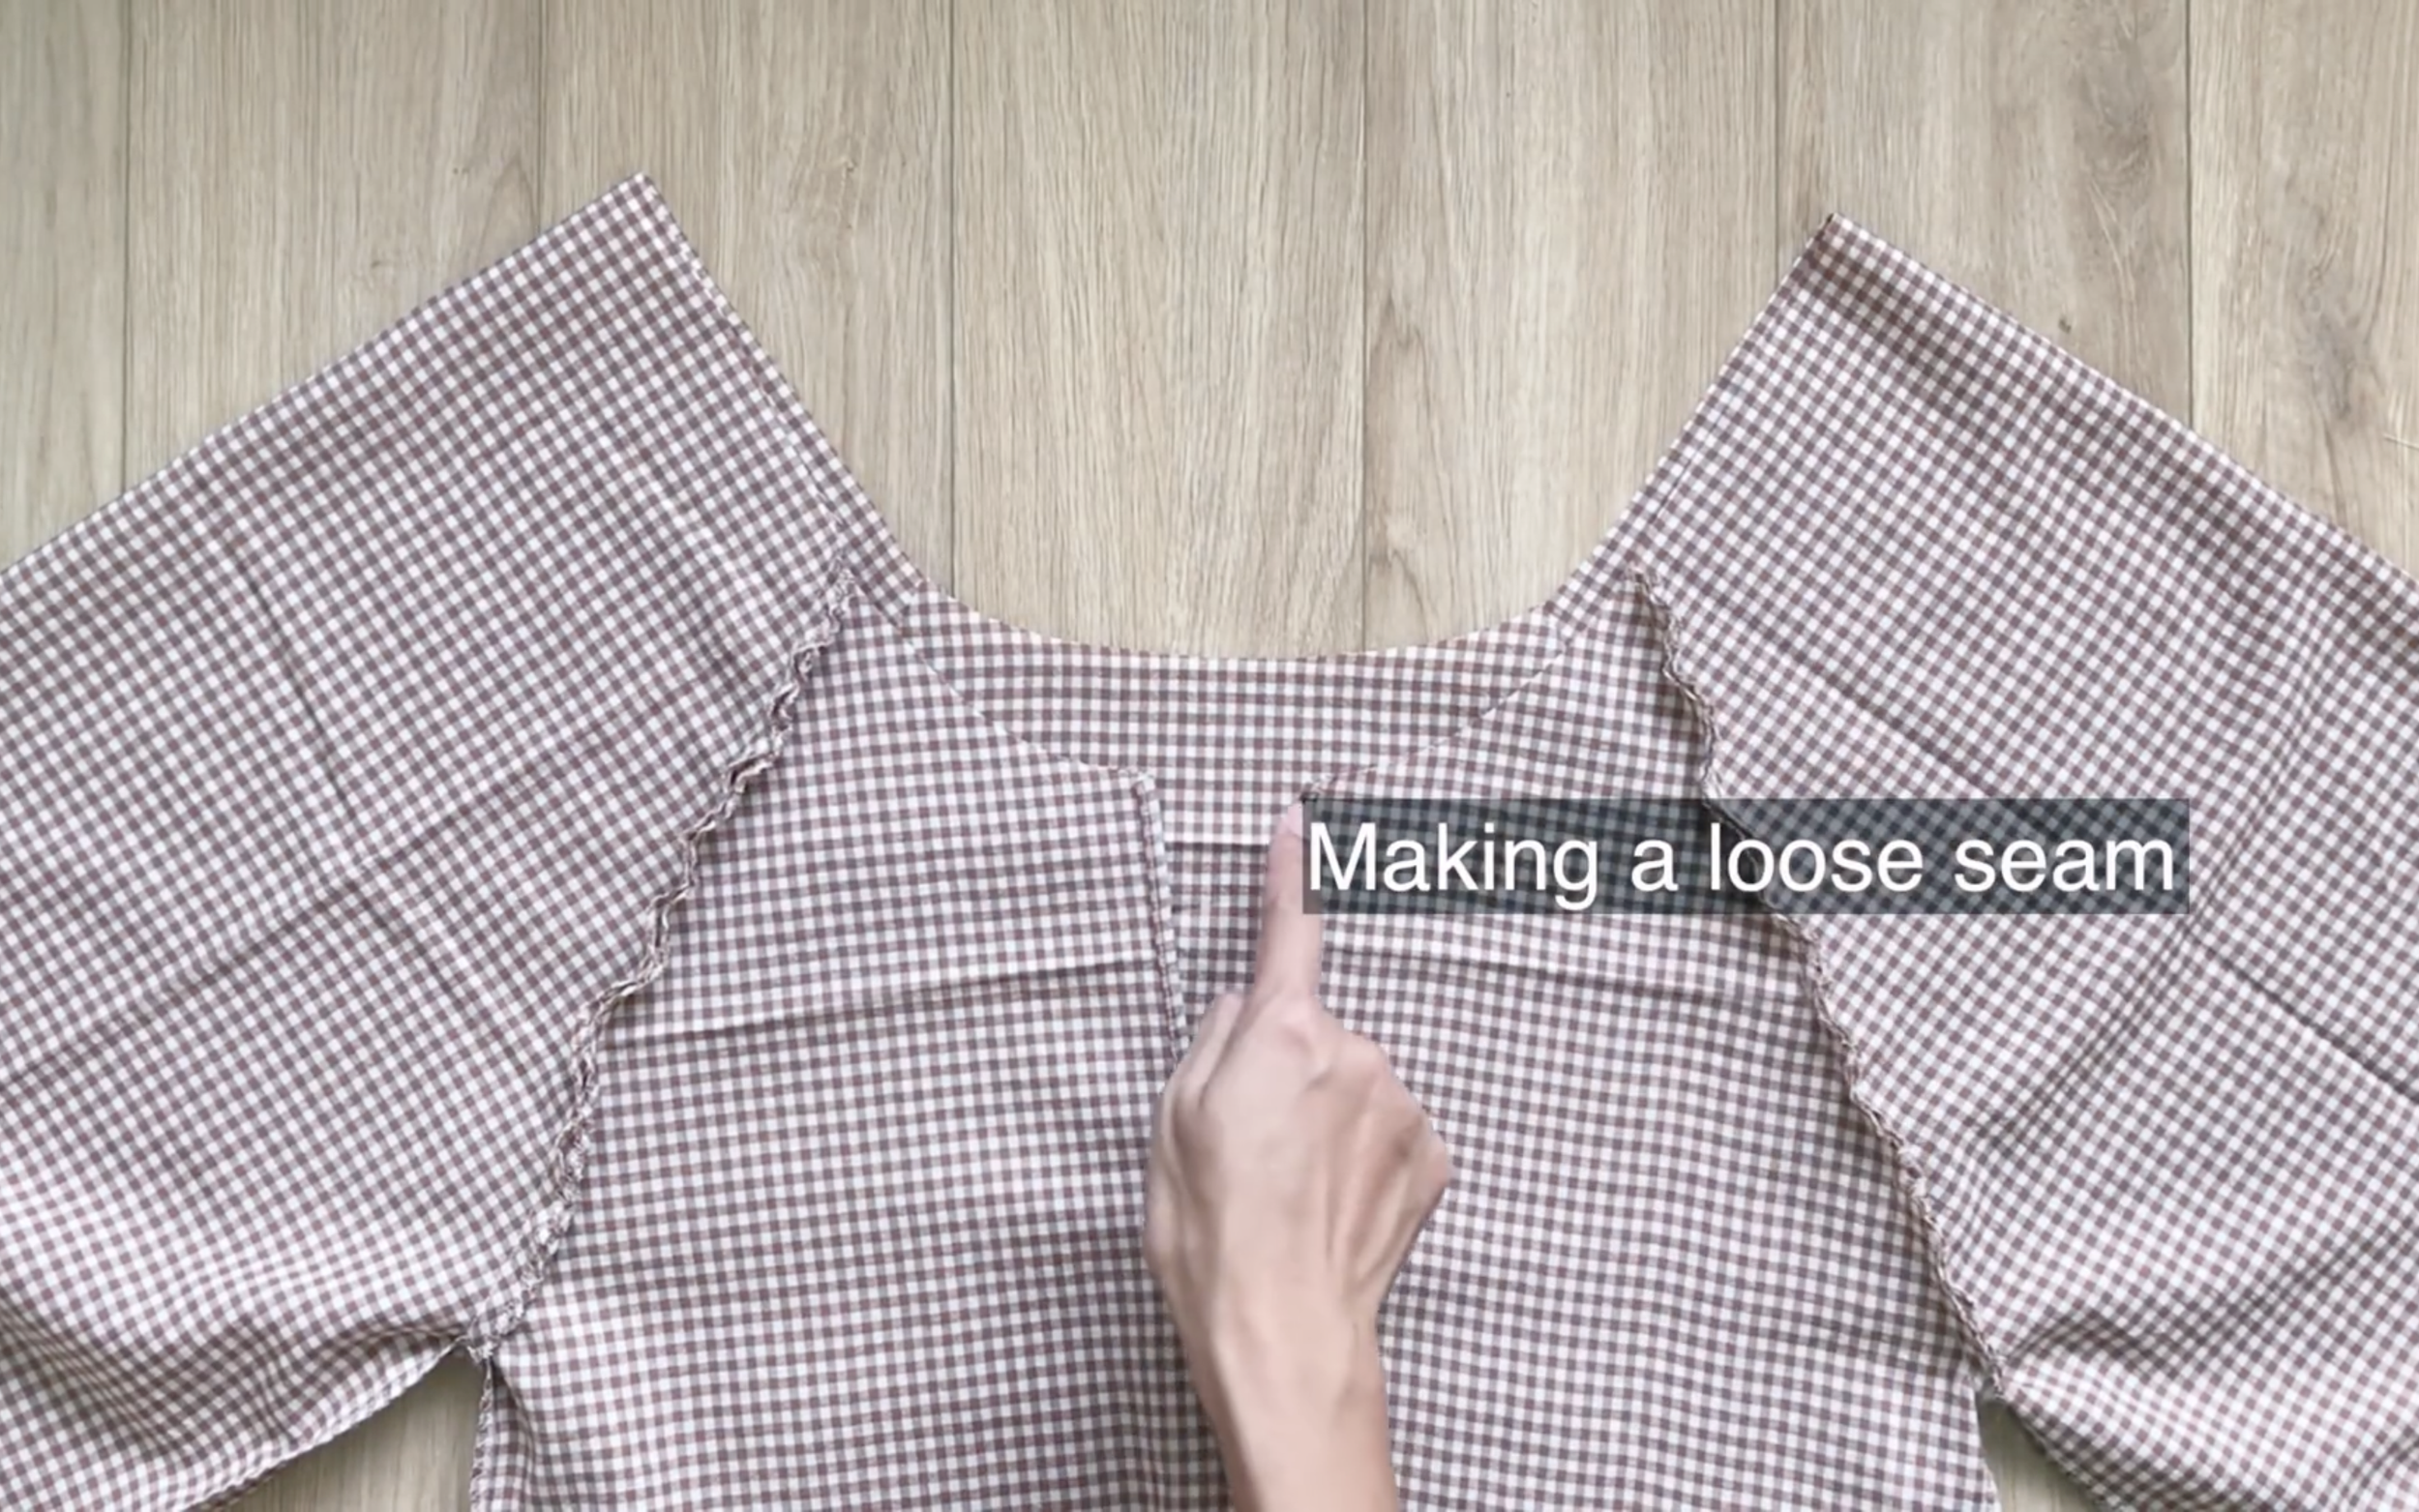
At the neck area, make a loose seam.
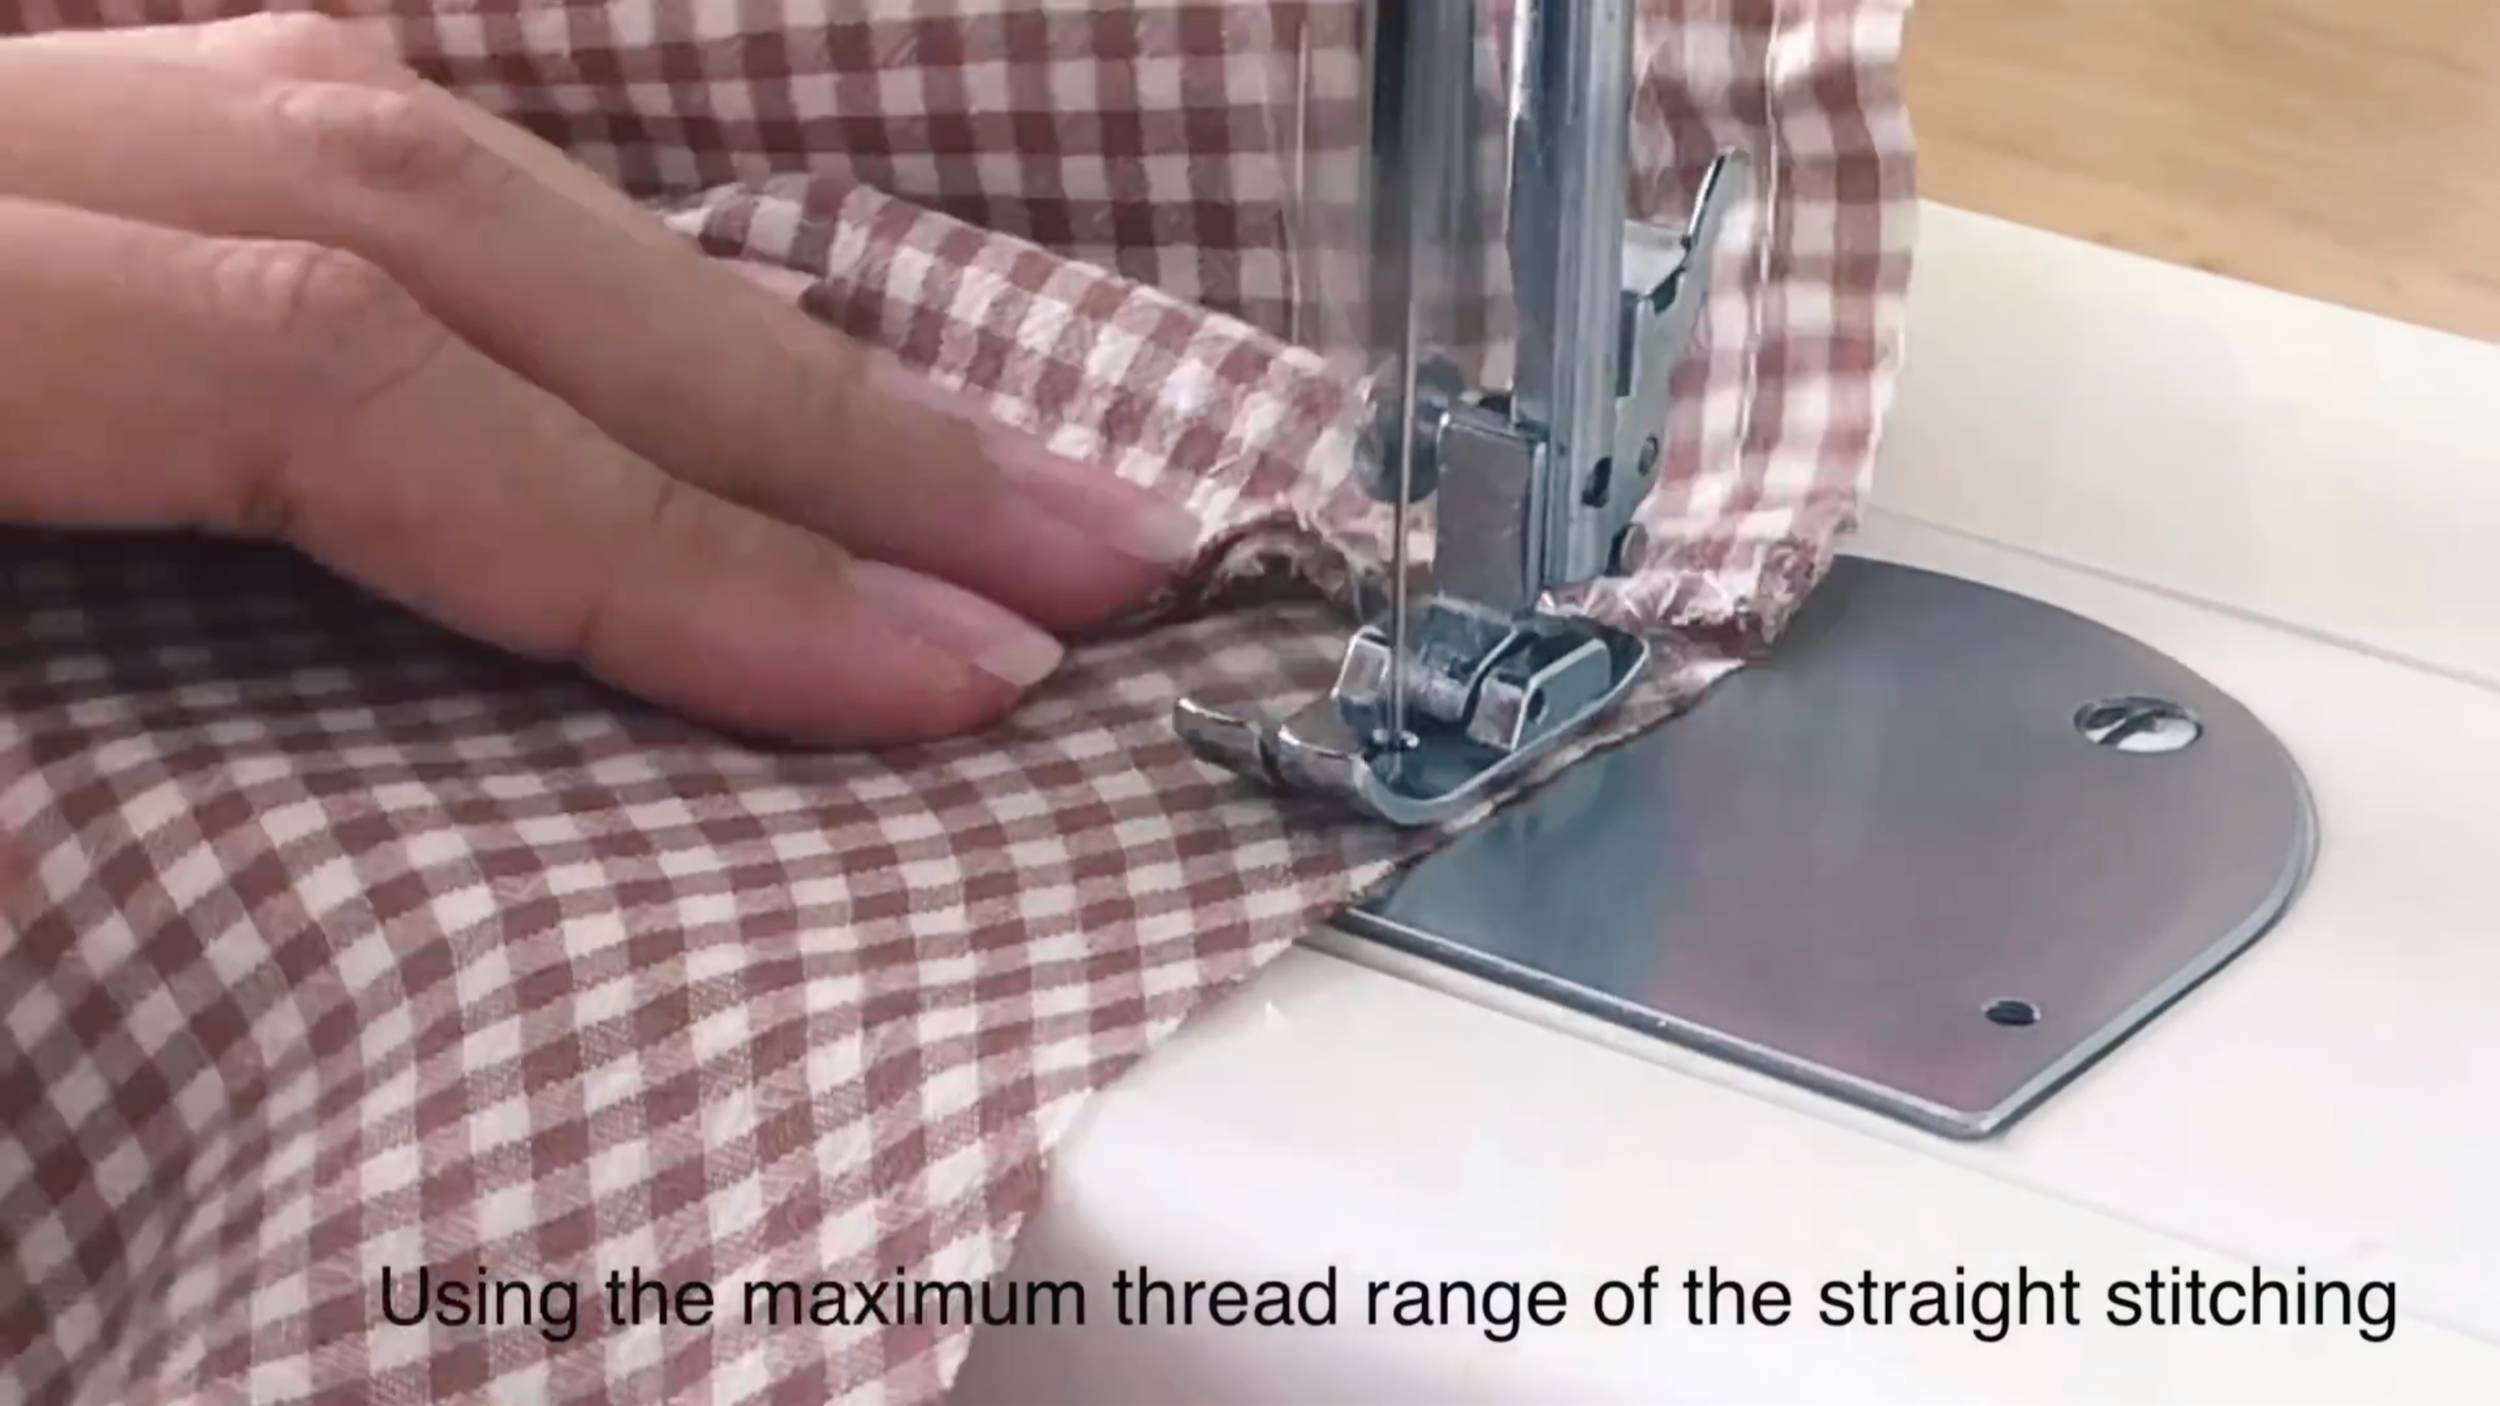
Then create a puffy look there later.
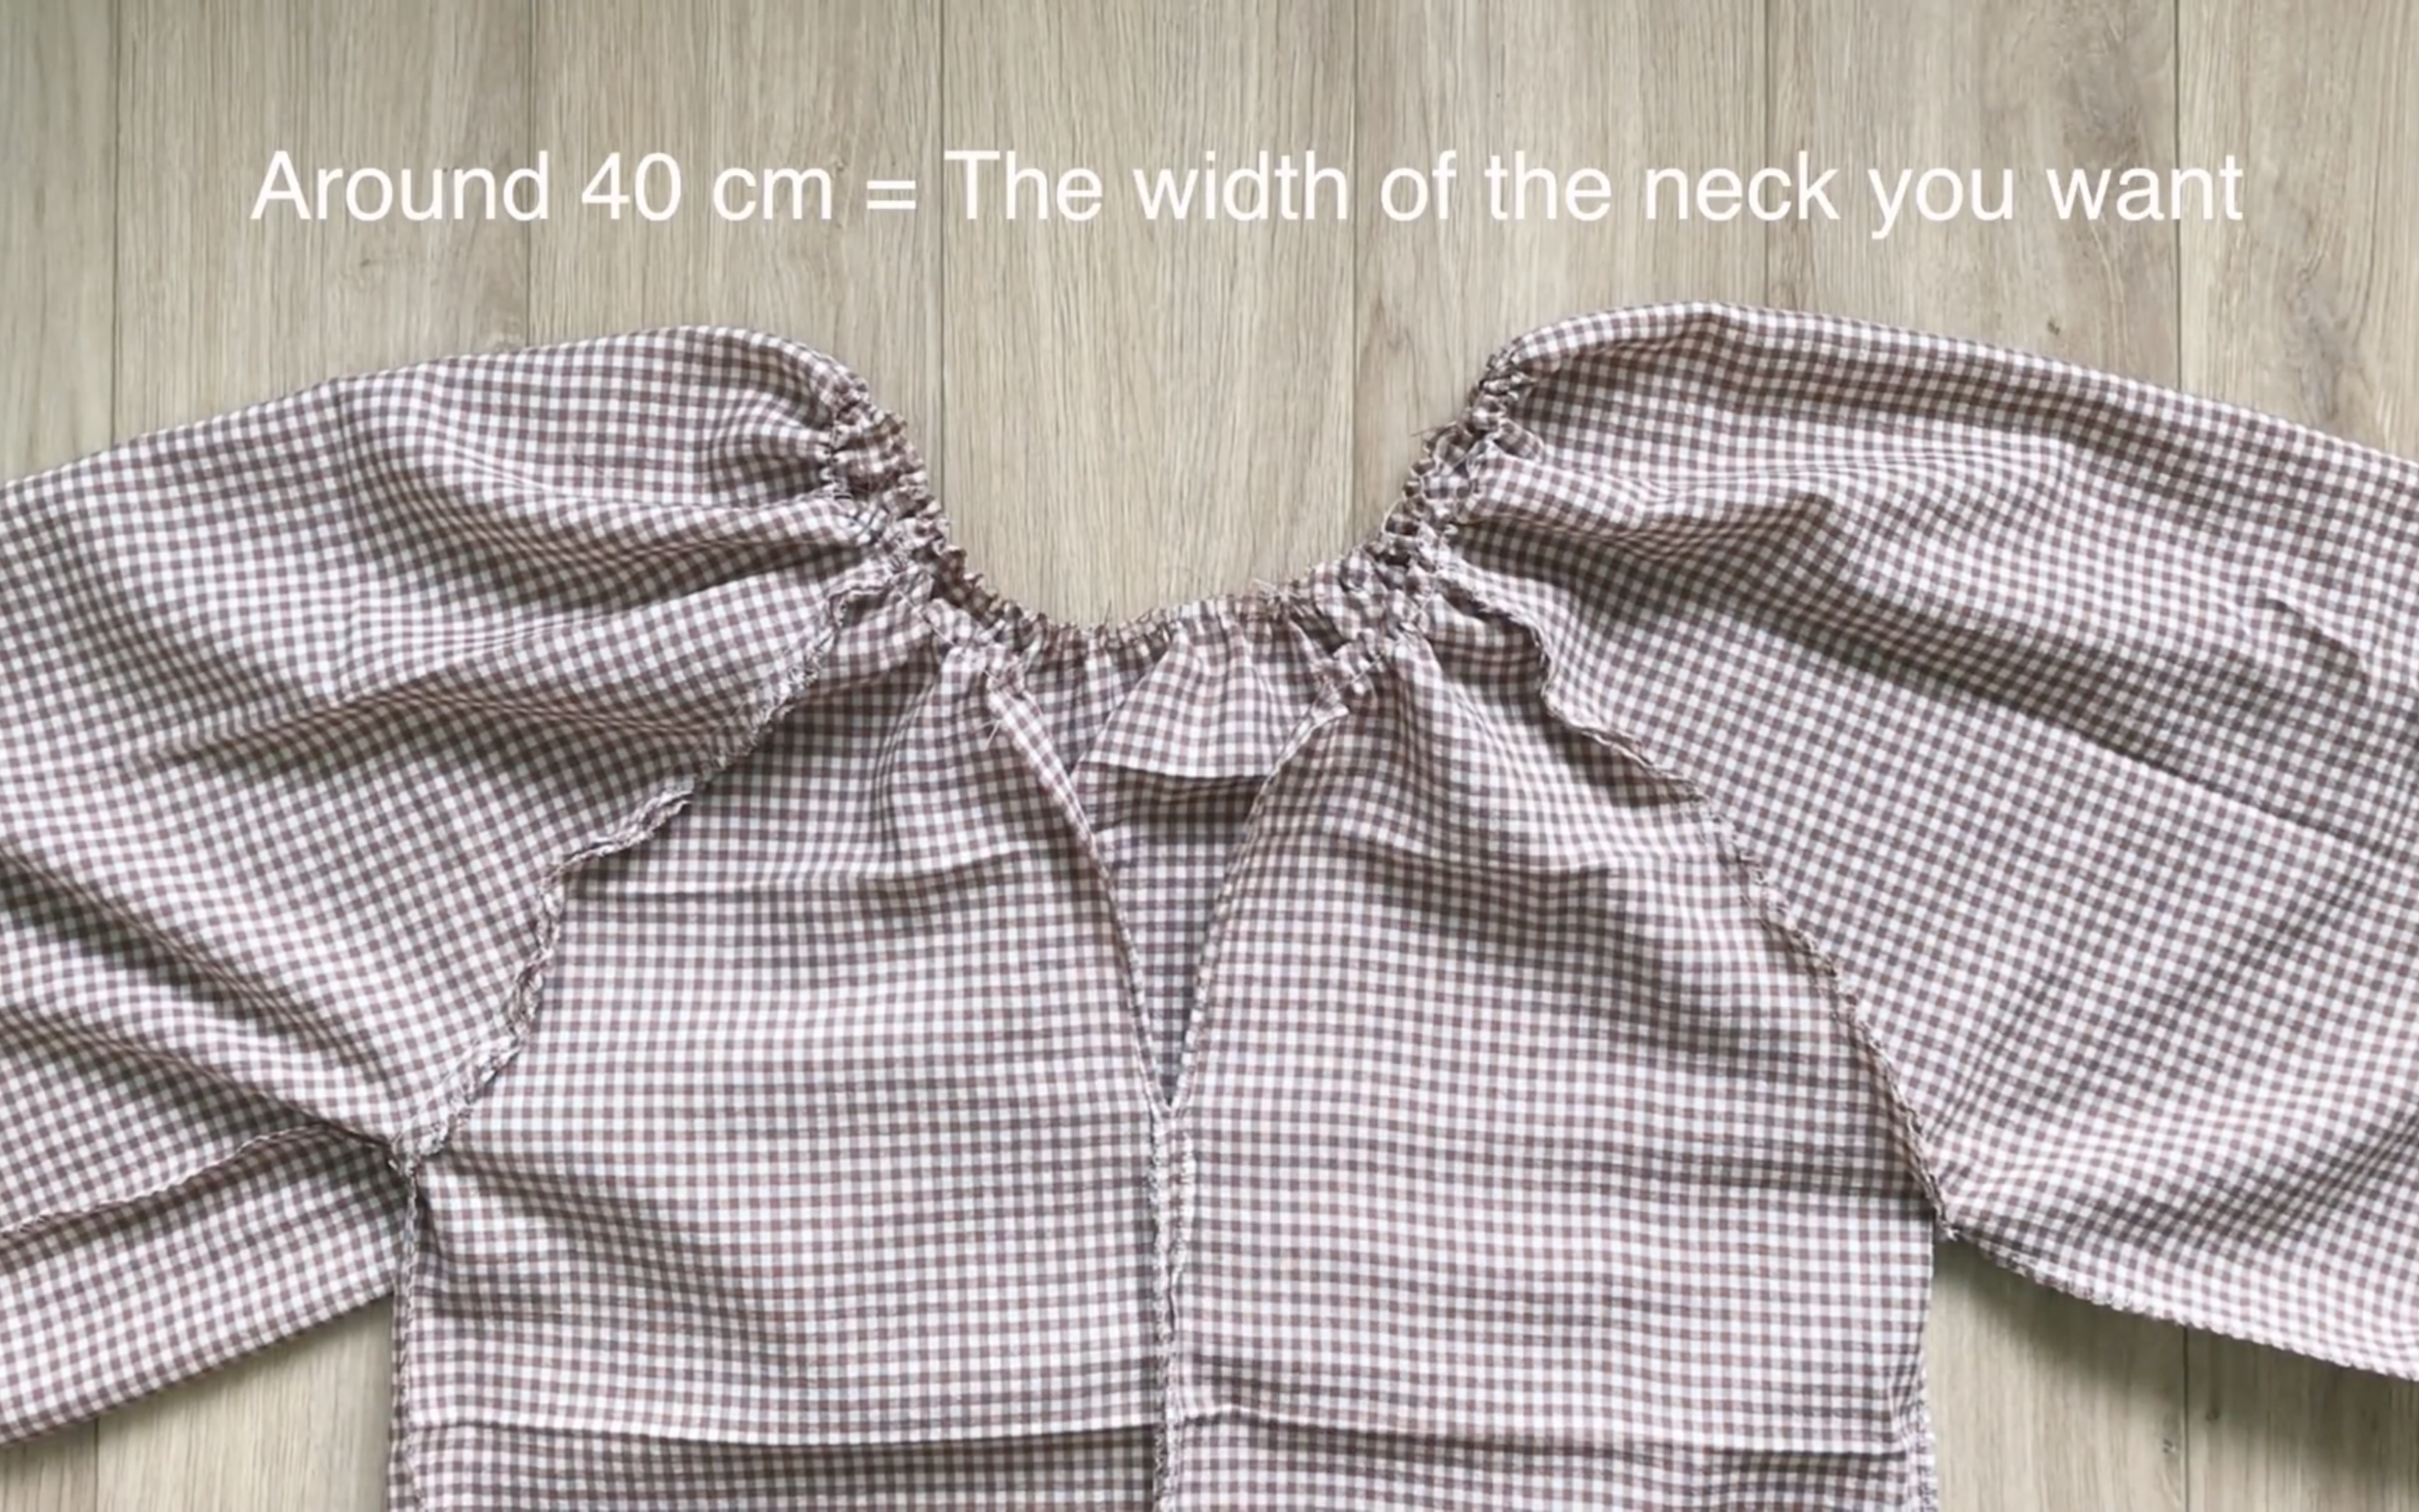
Make sure the final width of the neck should be big enough to wear the dress on.
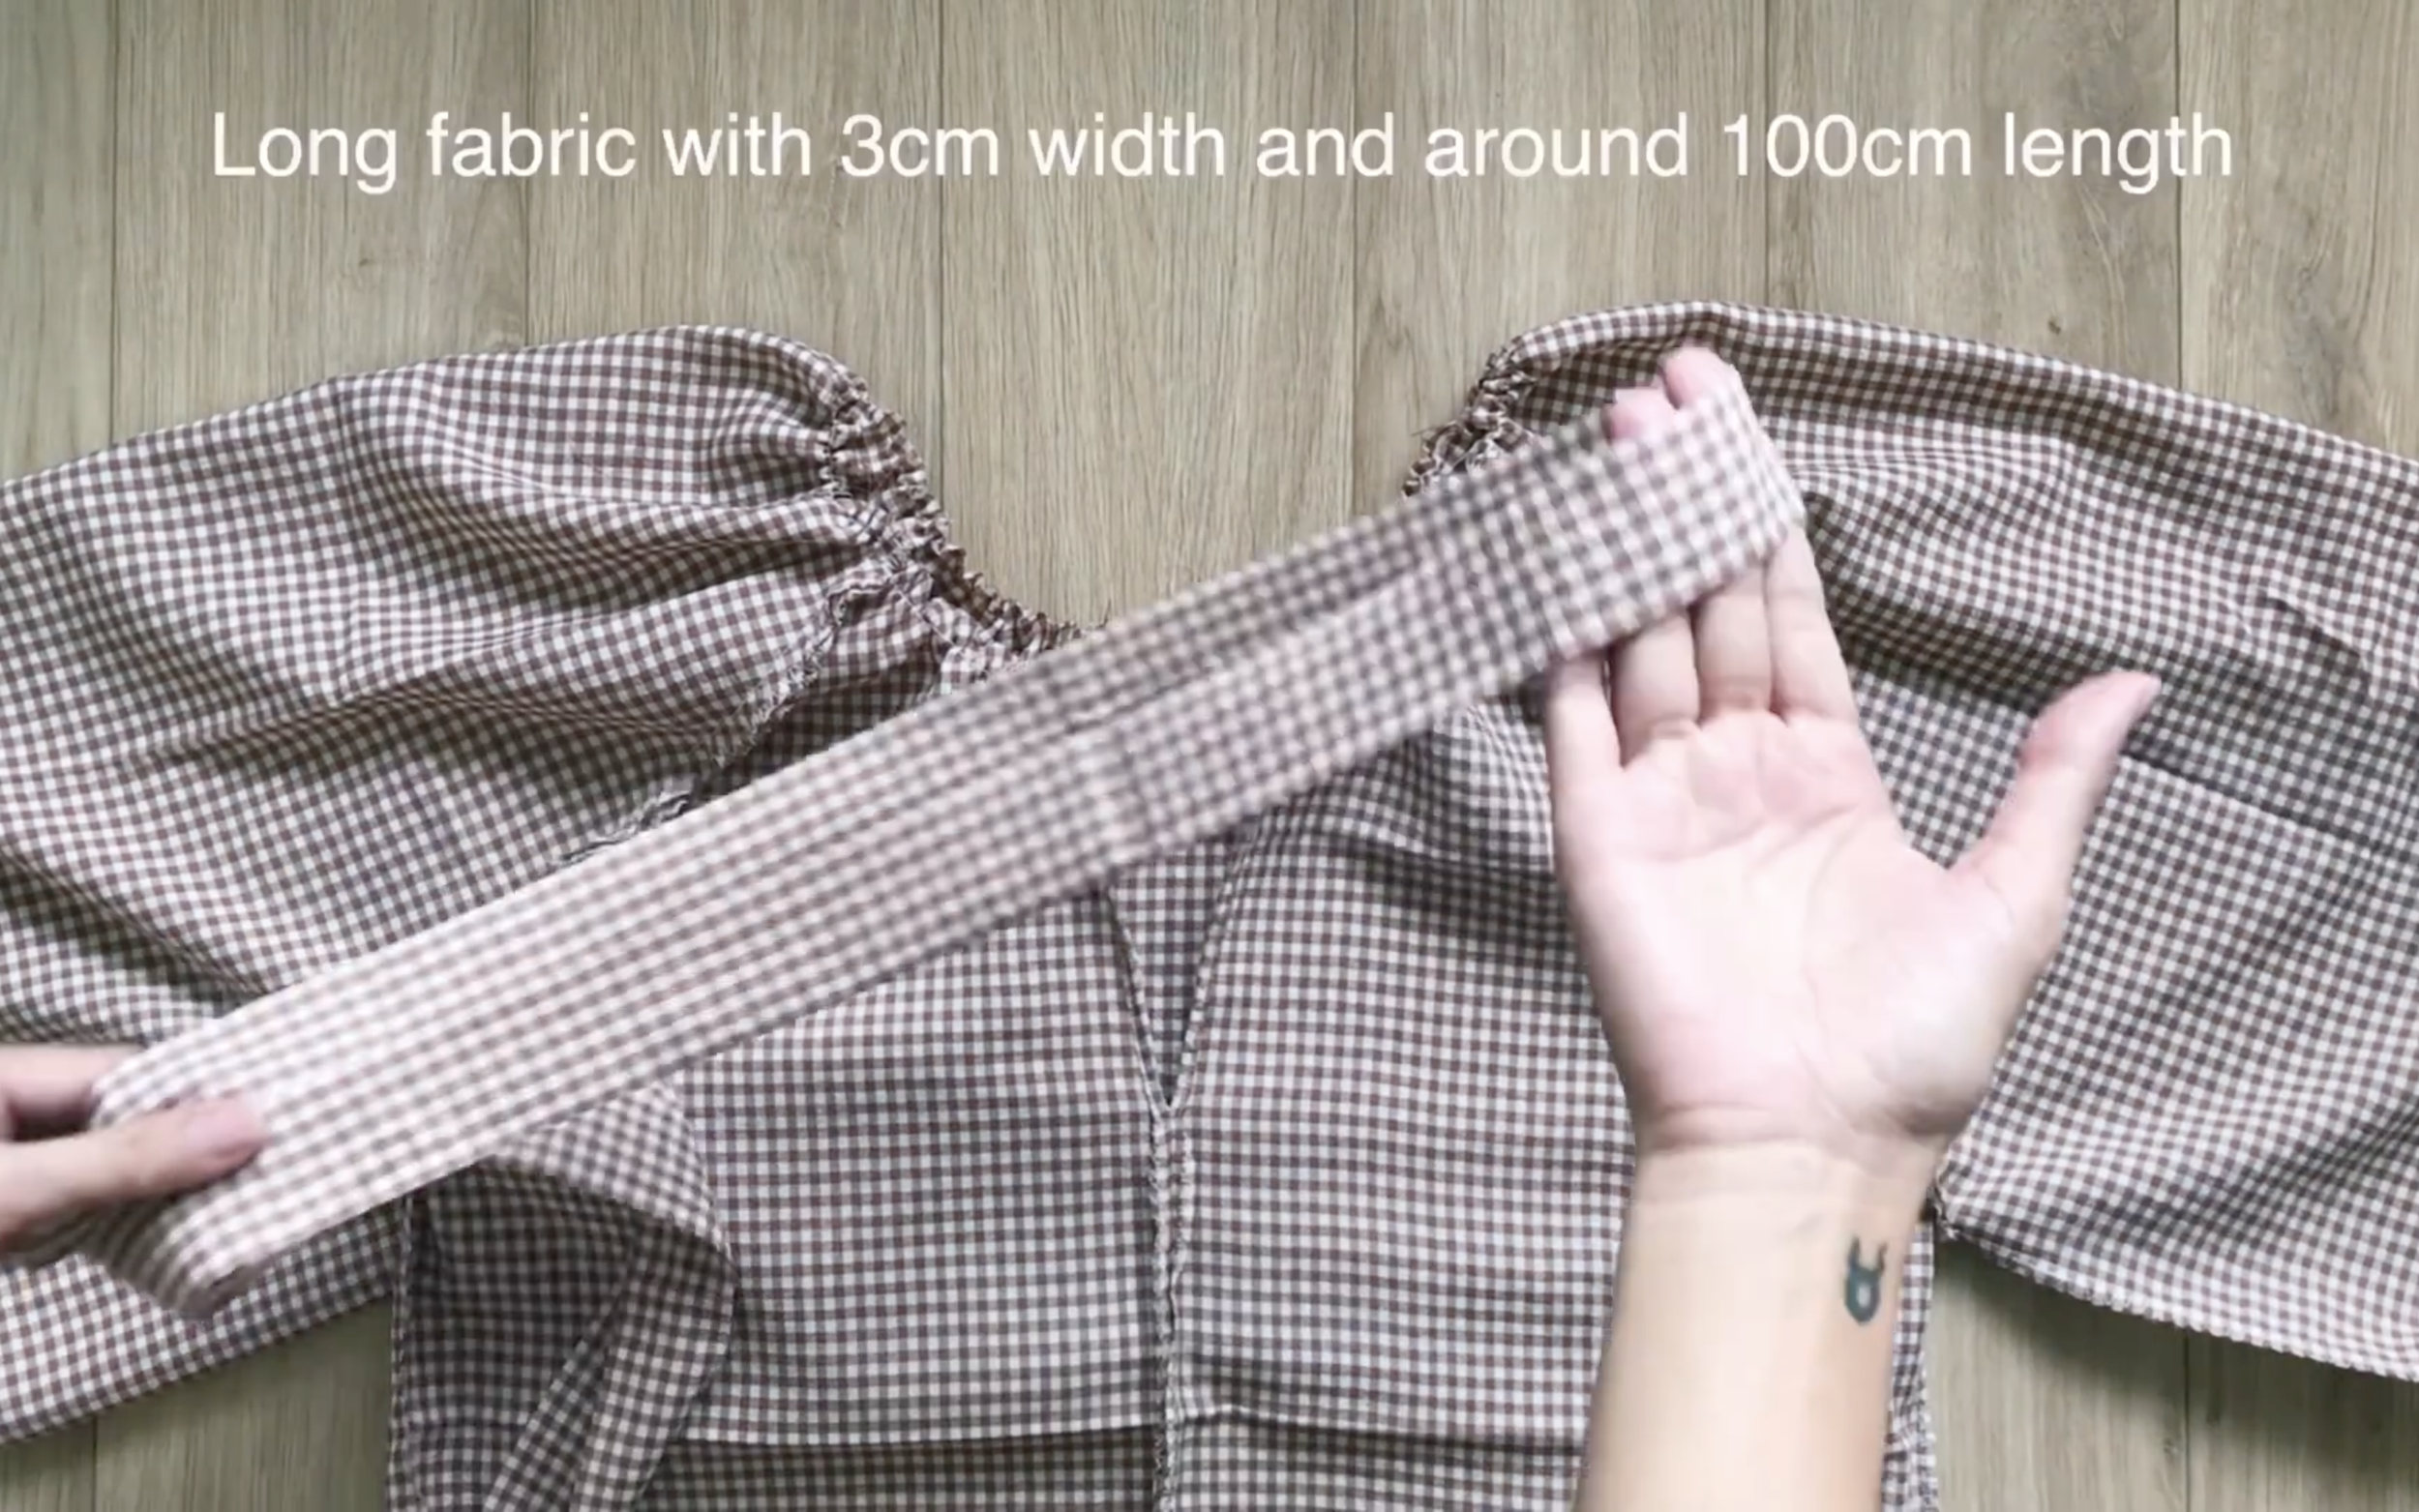
Cut a long fabric with 3 cm width and around 100 cm length to hem the neck and make the tie at two ends of the neck.
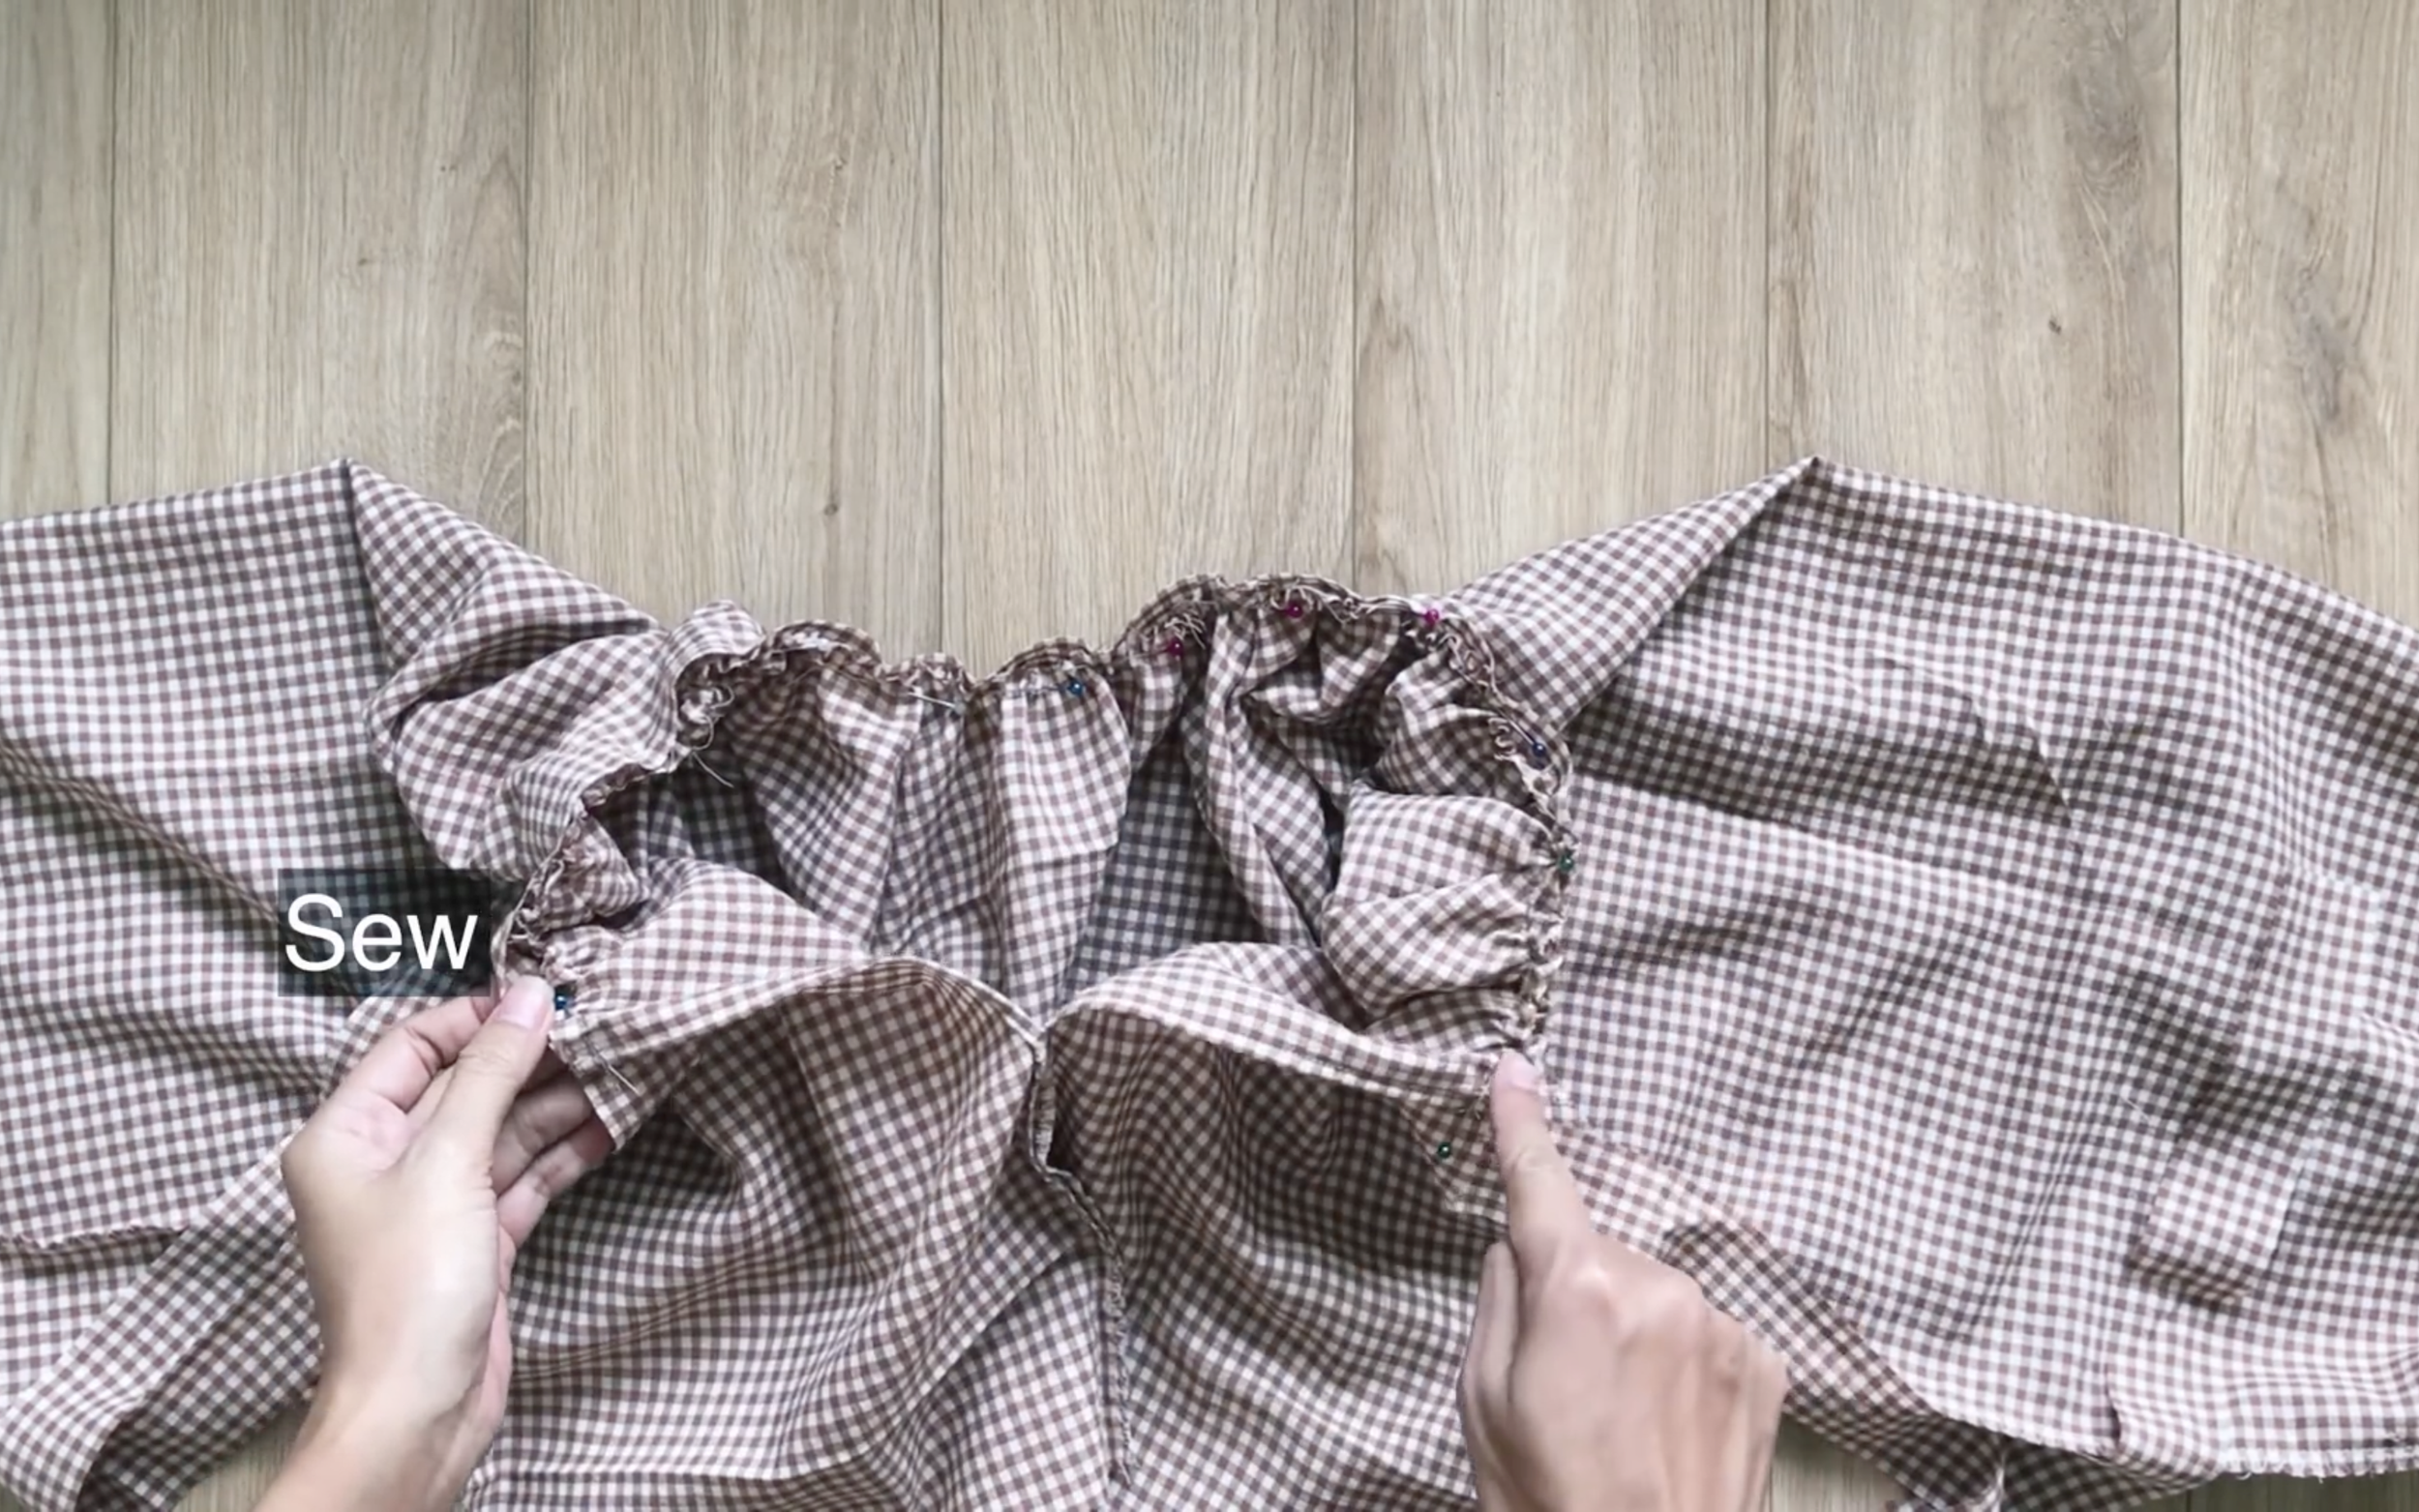
Connect the long fabric to the neck and make the first seam.
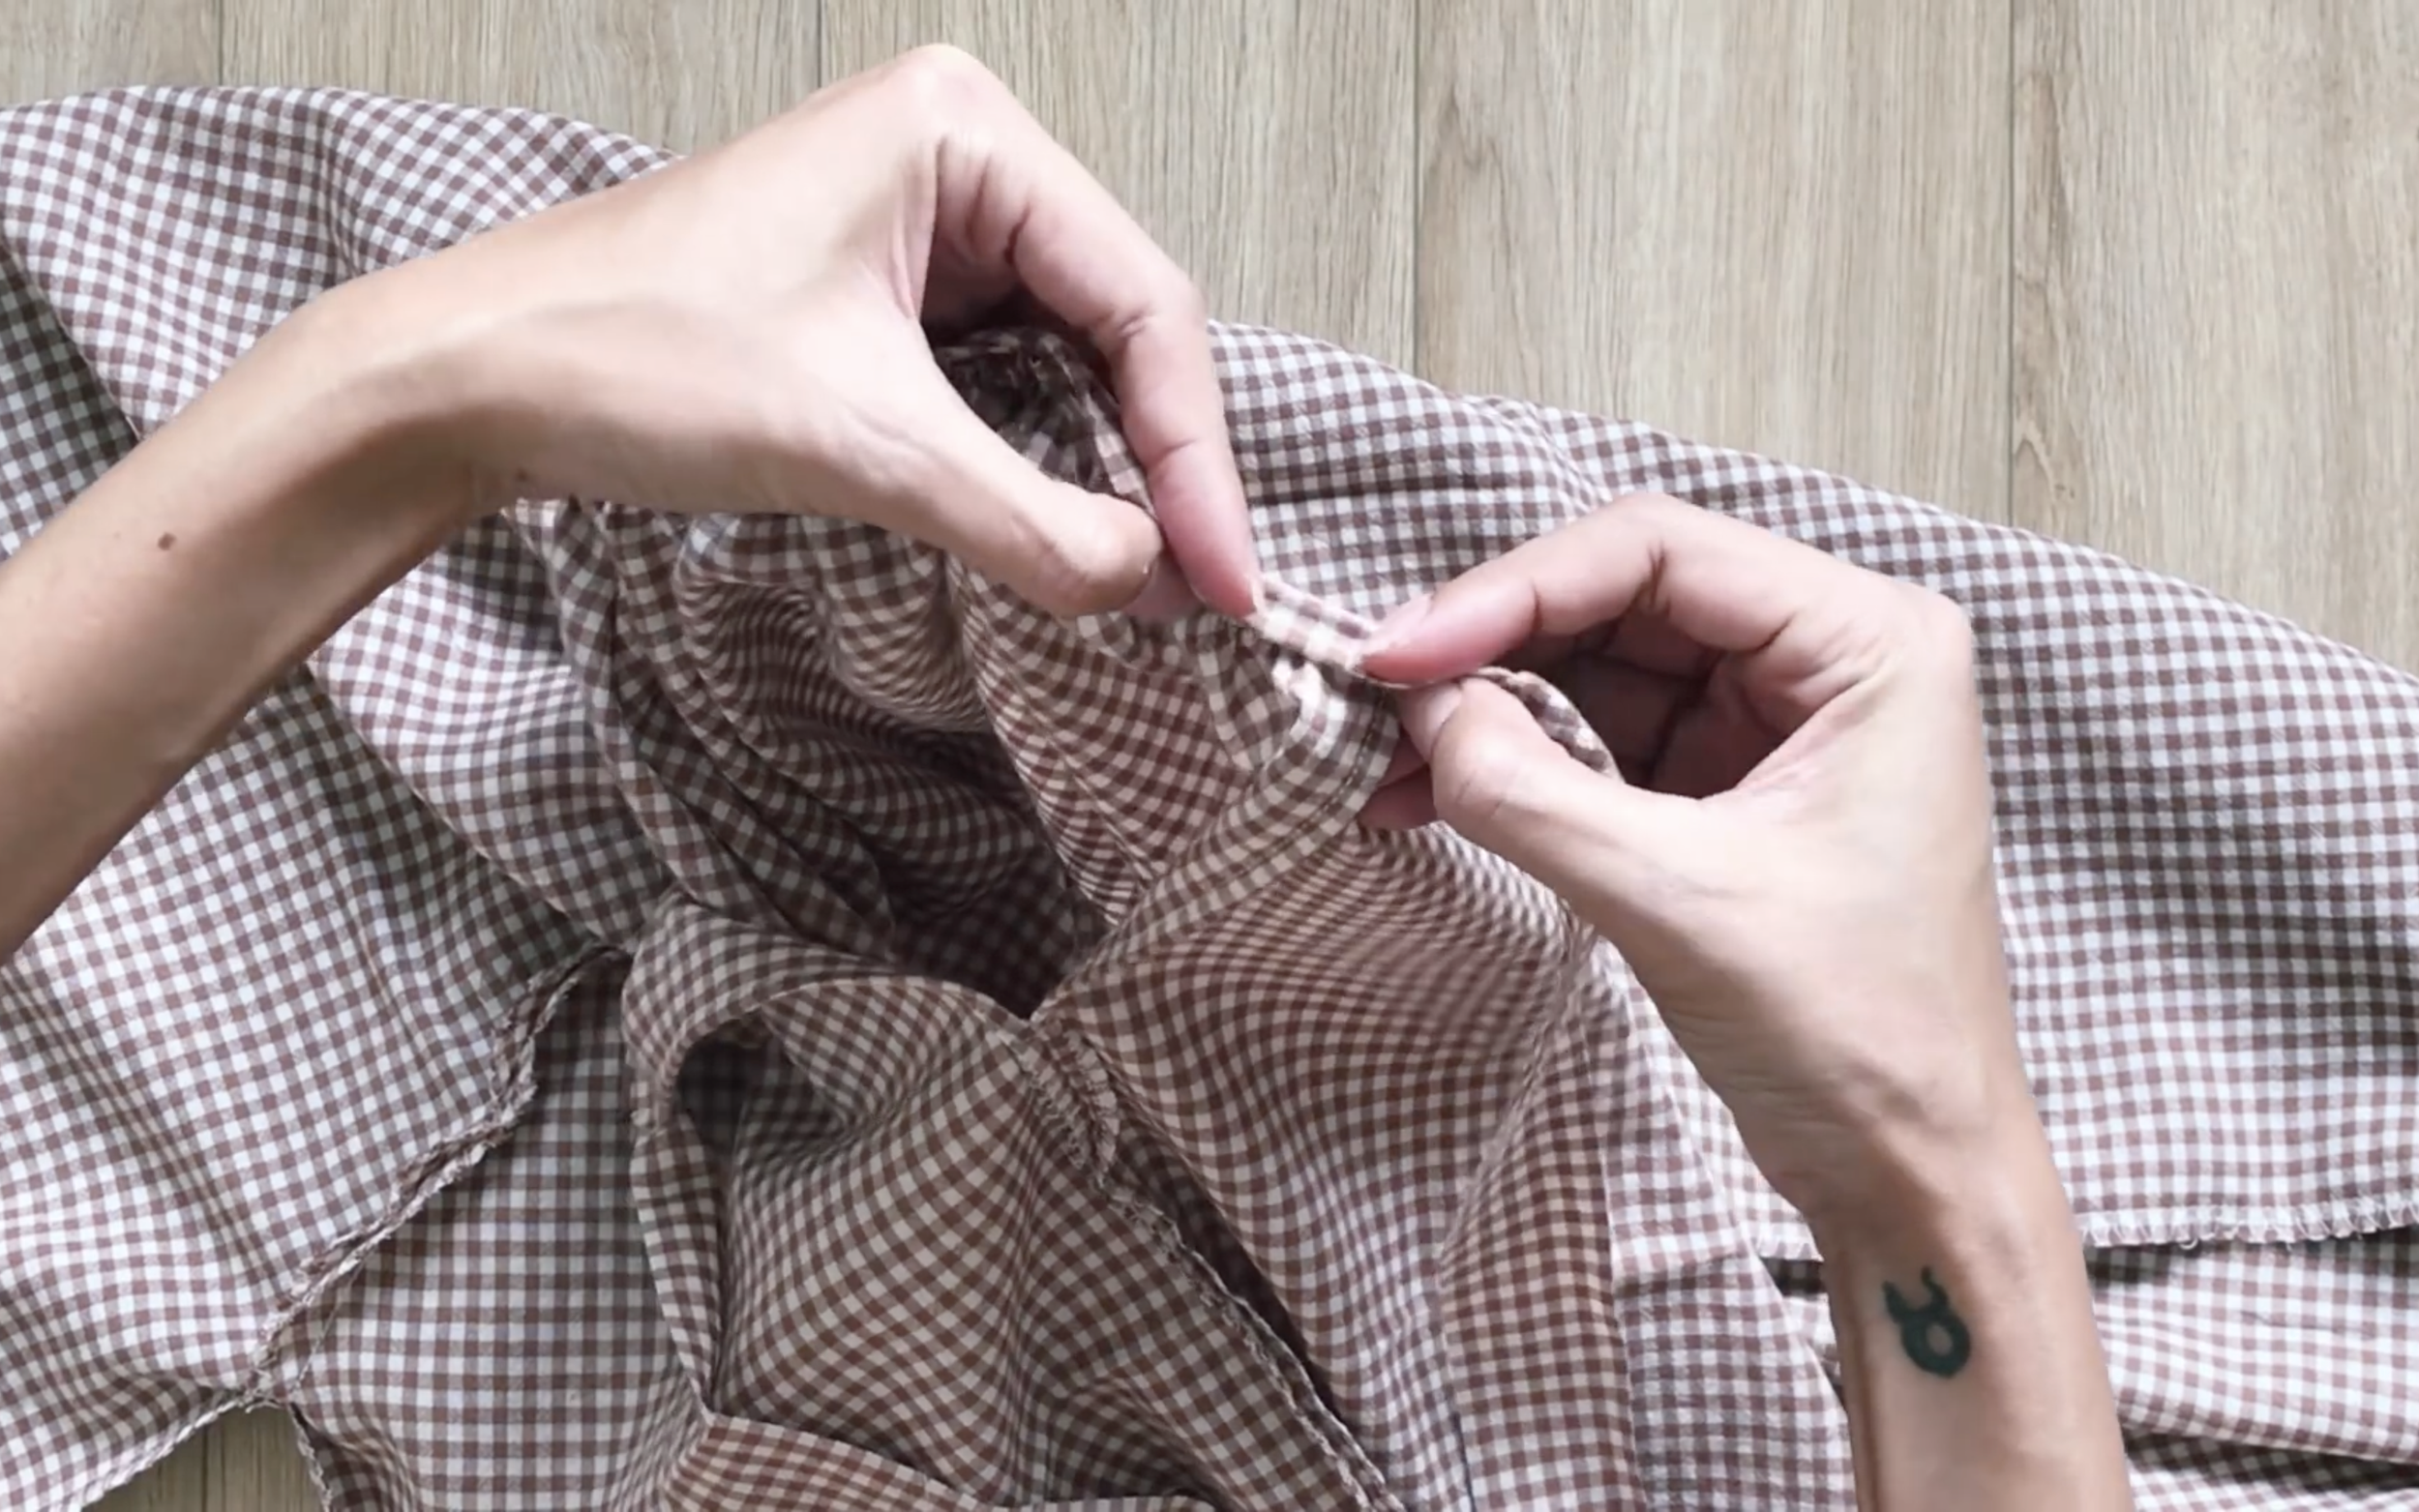
After that, fold the other end of the long fabric inside two times to hide the end fabric and make the second seam.
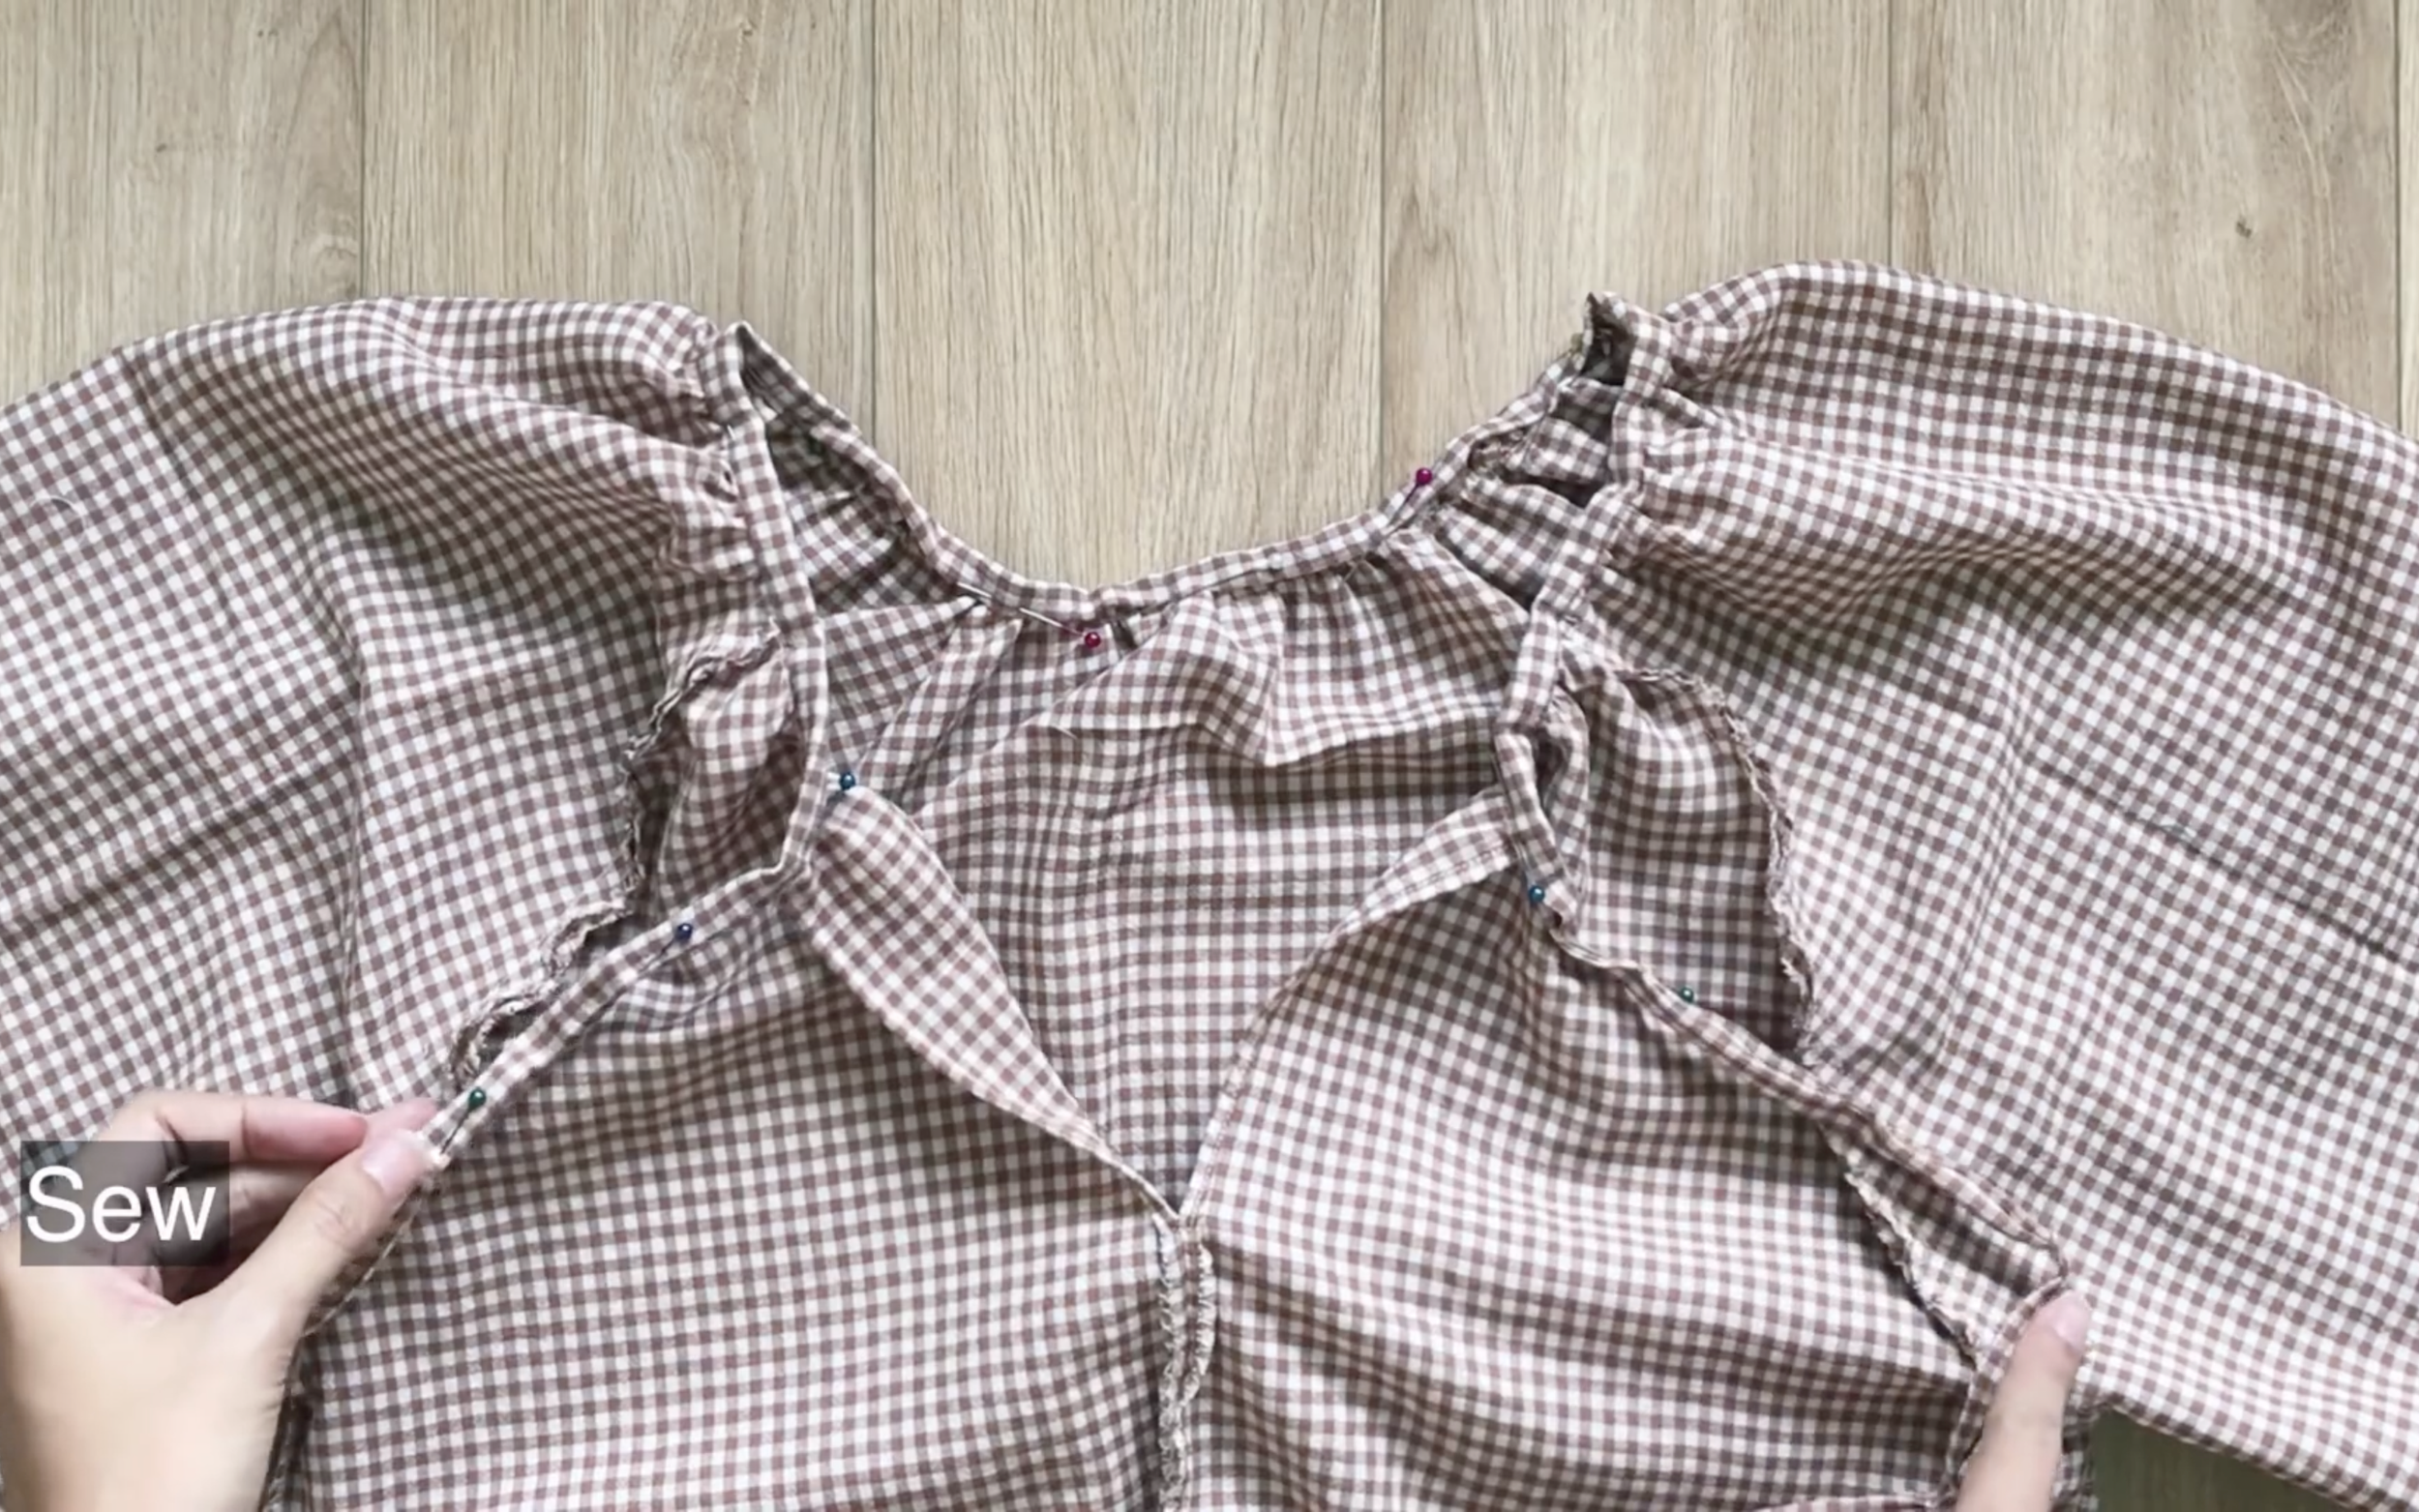
Don't forget to fold the extra of the long fabric at two ends of the neck to create a tie there. It's quite similar to making a bias tape.
THE BOTTOM PART
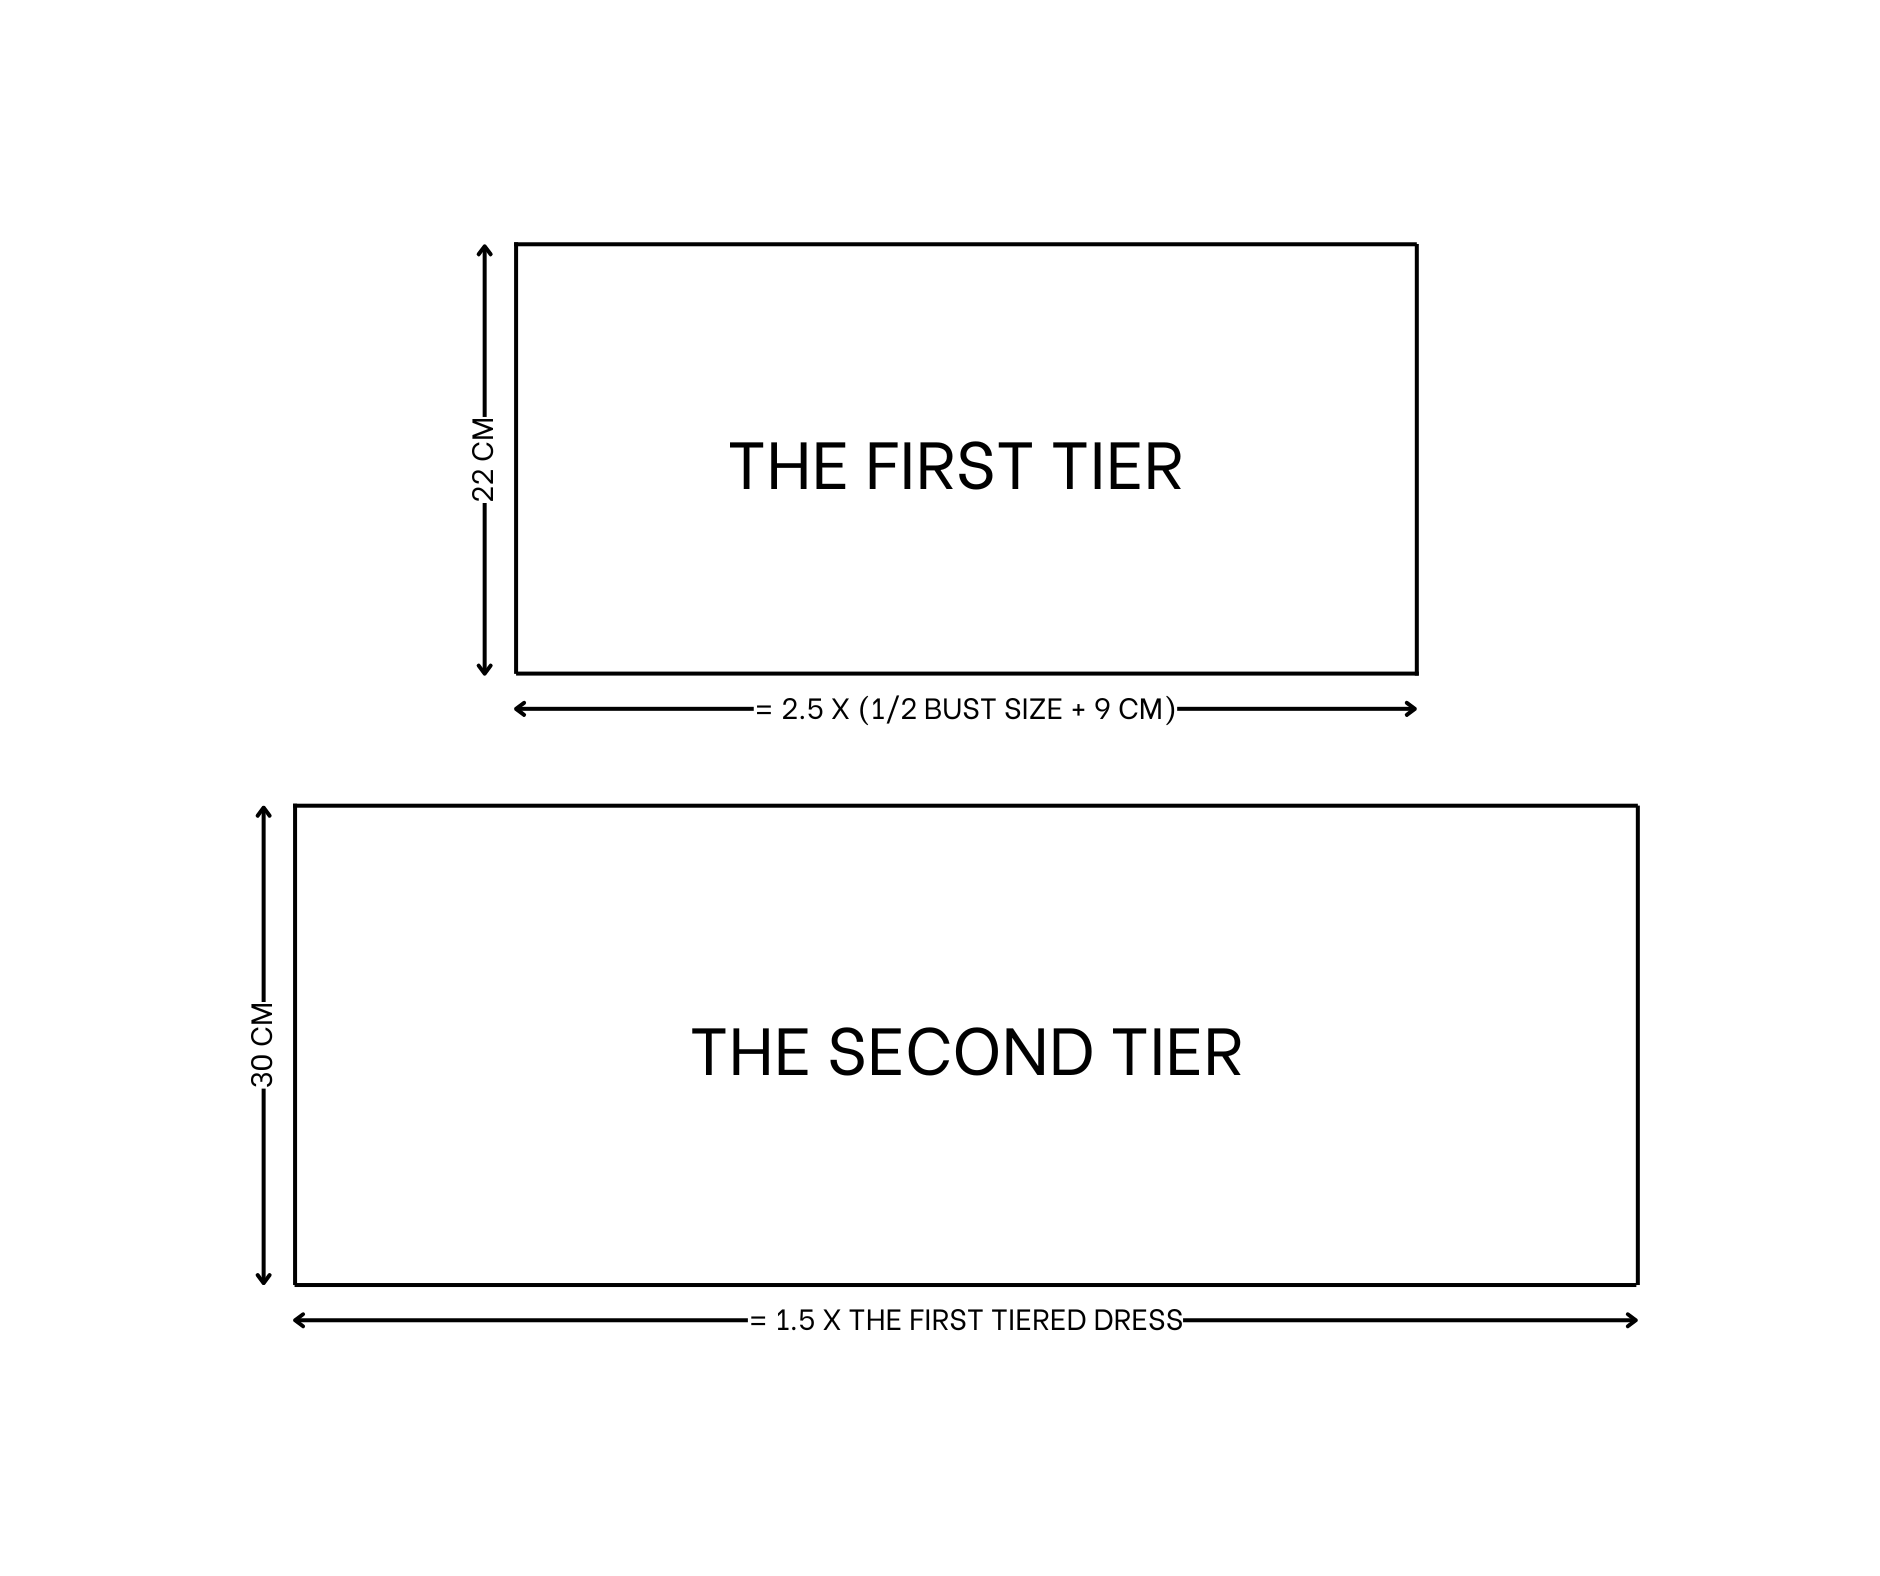
Moving to the bottom part, cut two long rectangles to make the tier for the dress.
The first tier is 22 cm length and 150 cm width, which is 2.5 times the width of the main bodice.
The second tier is 30 cm length and 225 cm width, which is 1.5 times the width of the first tier.
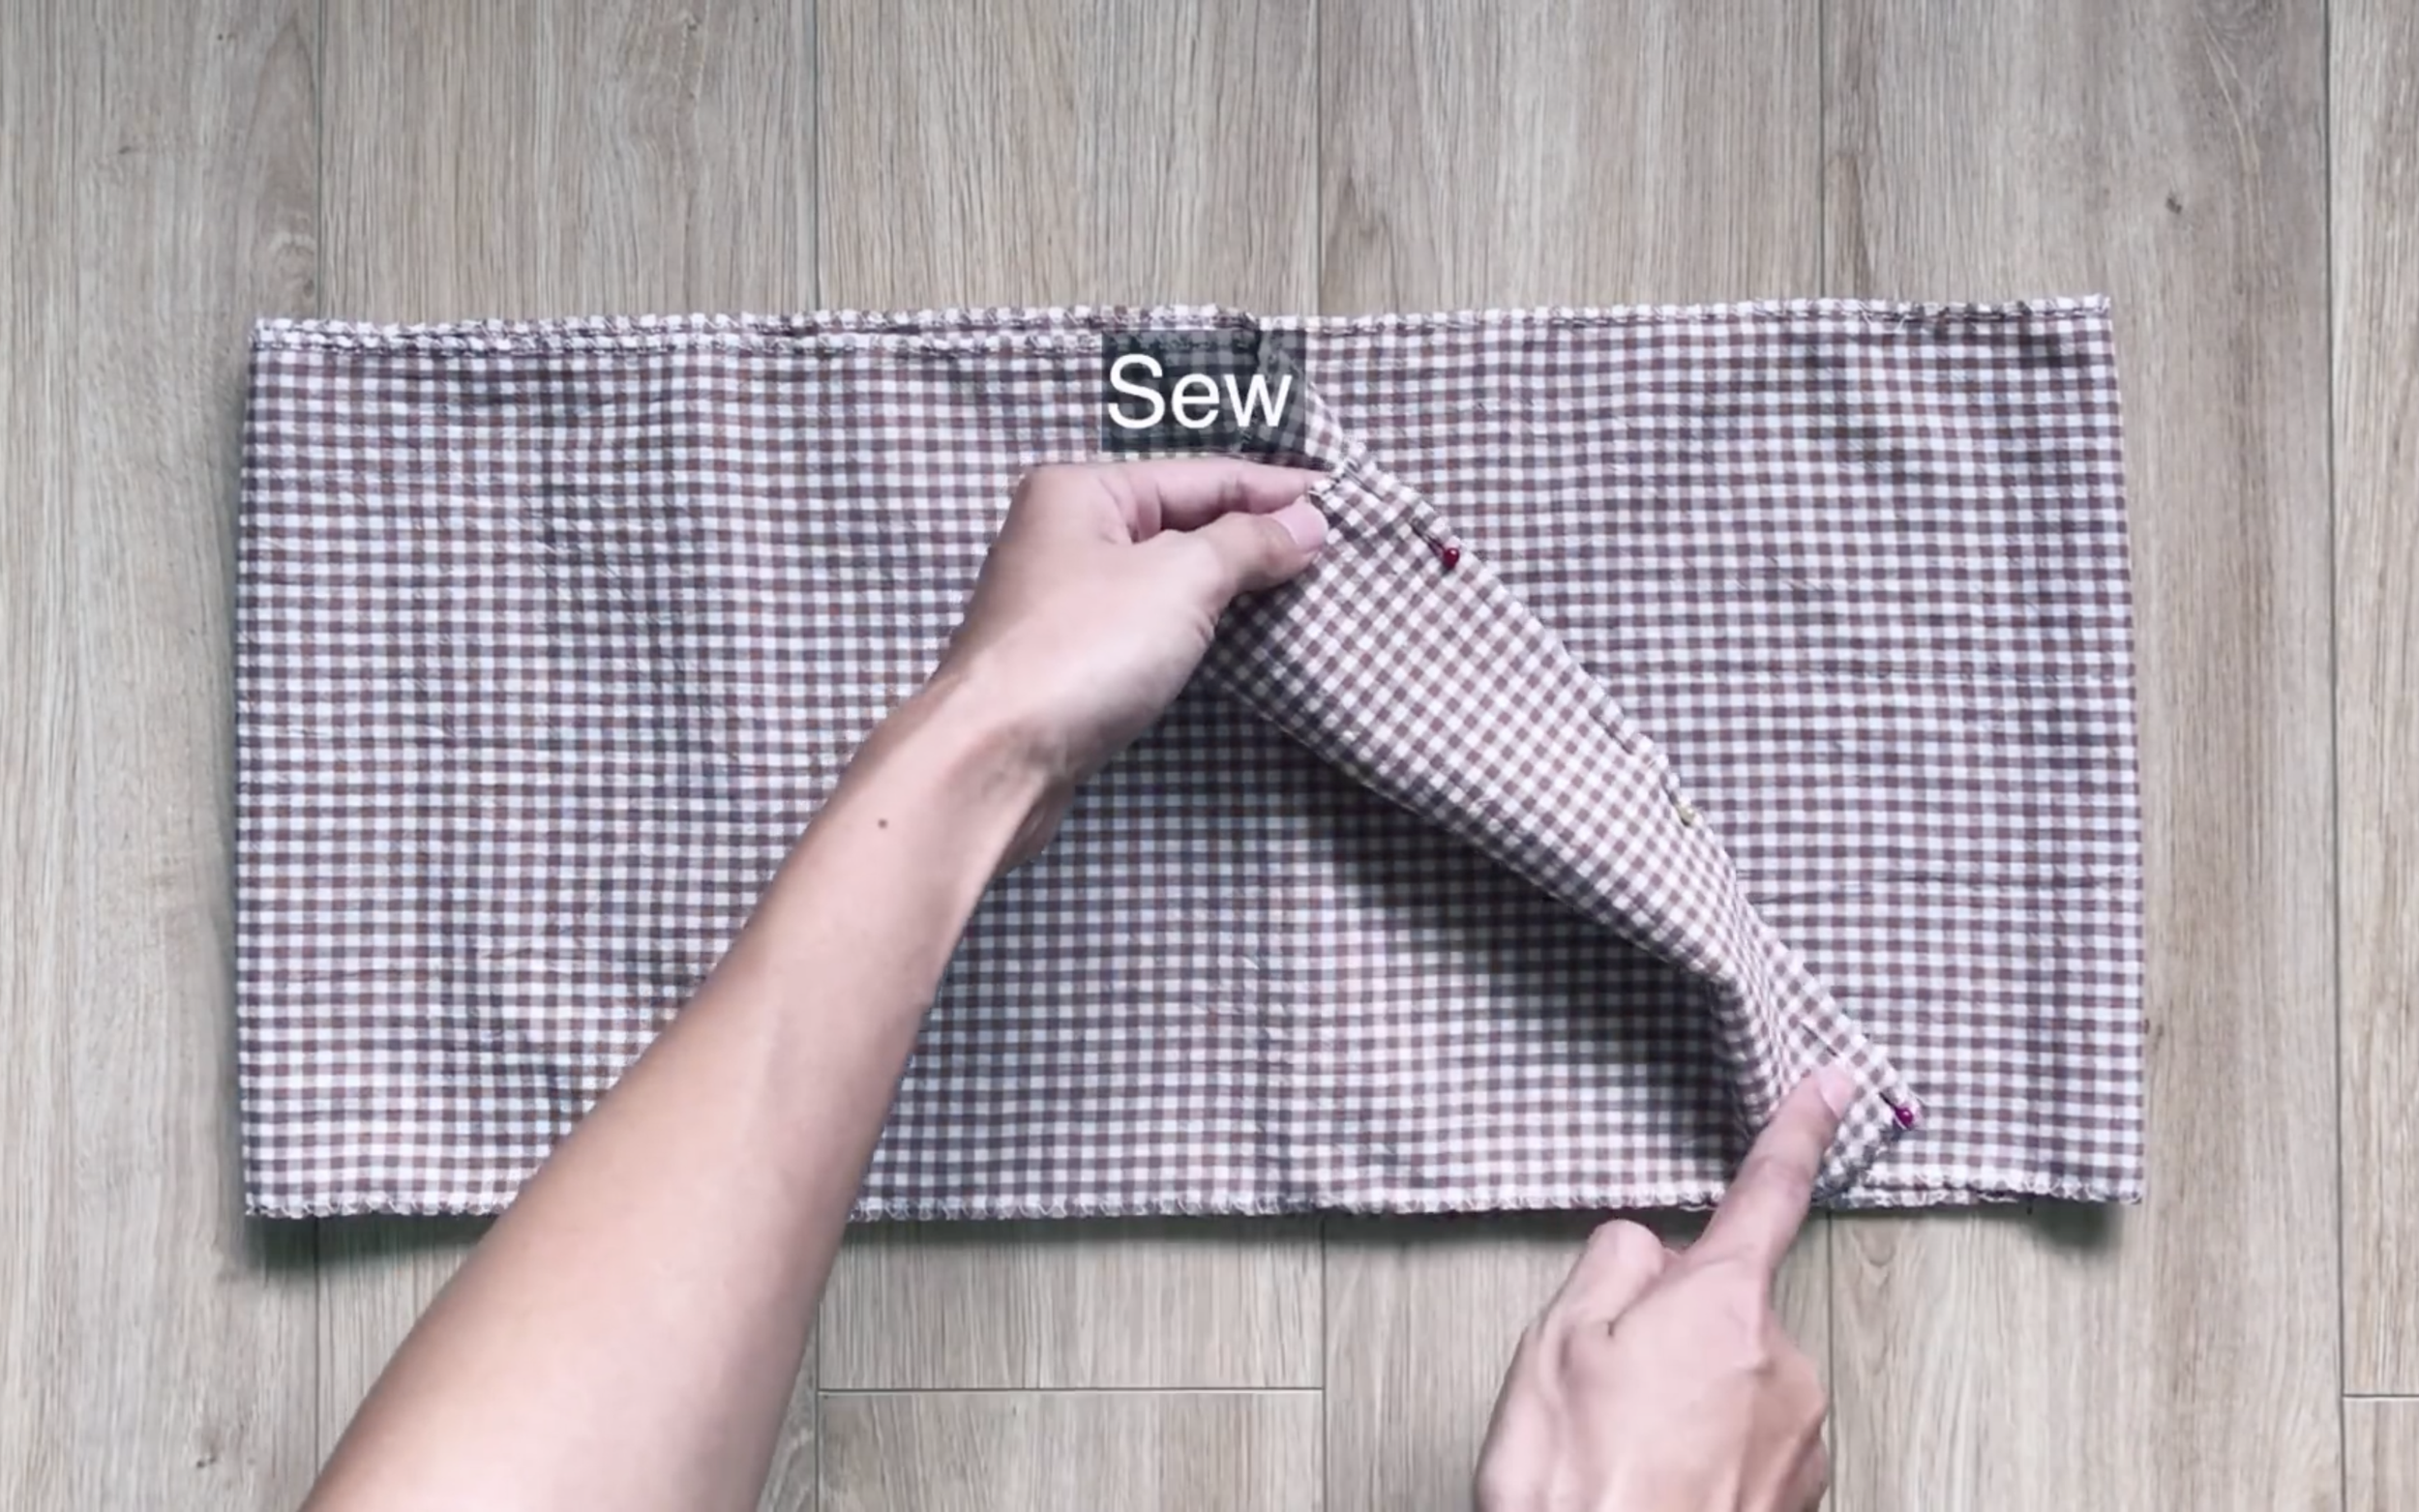
At the first tier, connect two length lines together first.
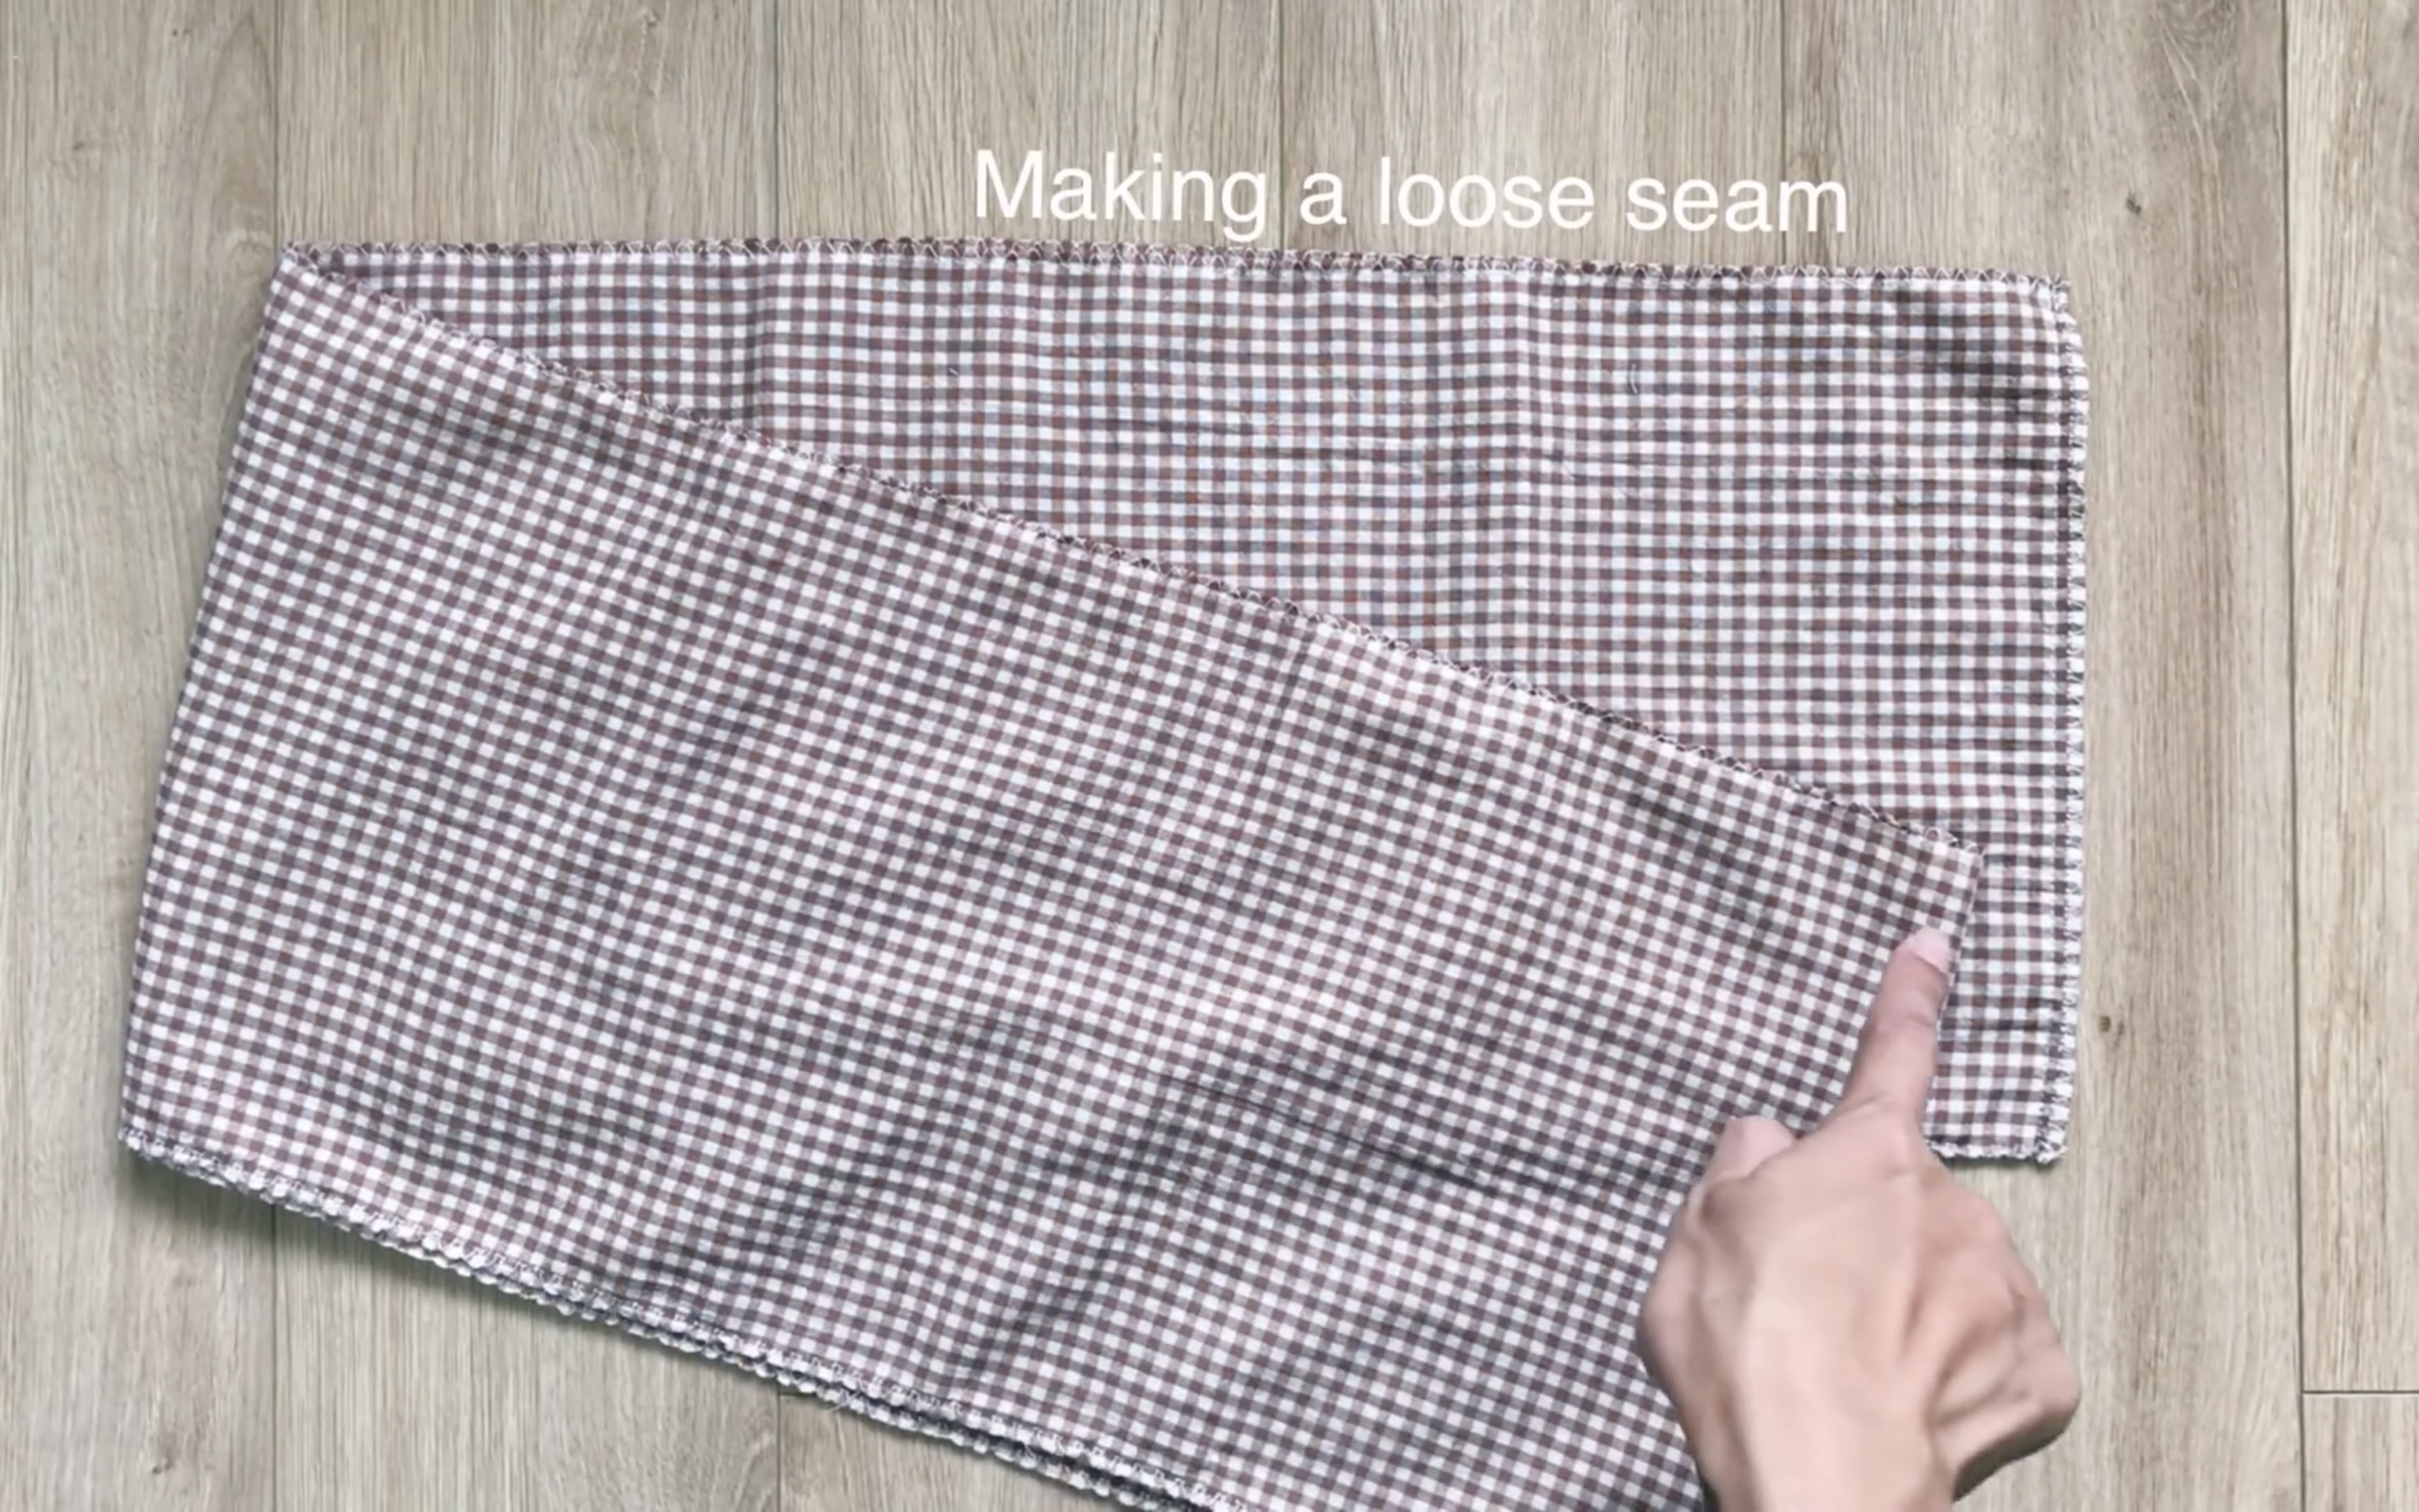
Then, make a loose seam at one width line to create a ruffle there.
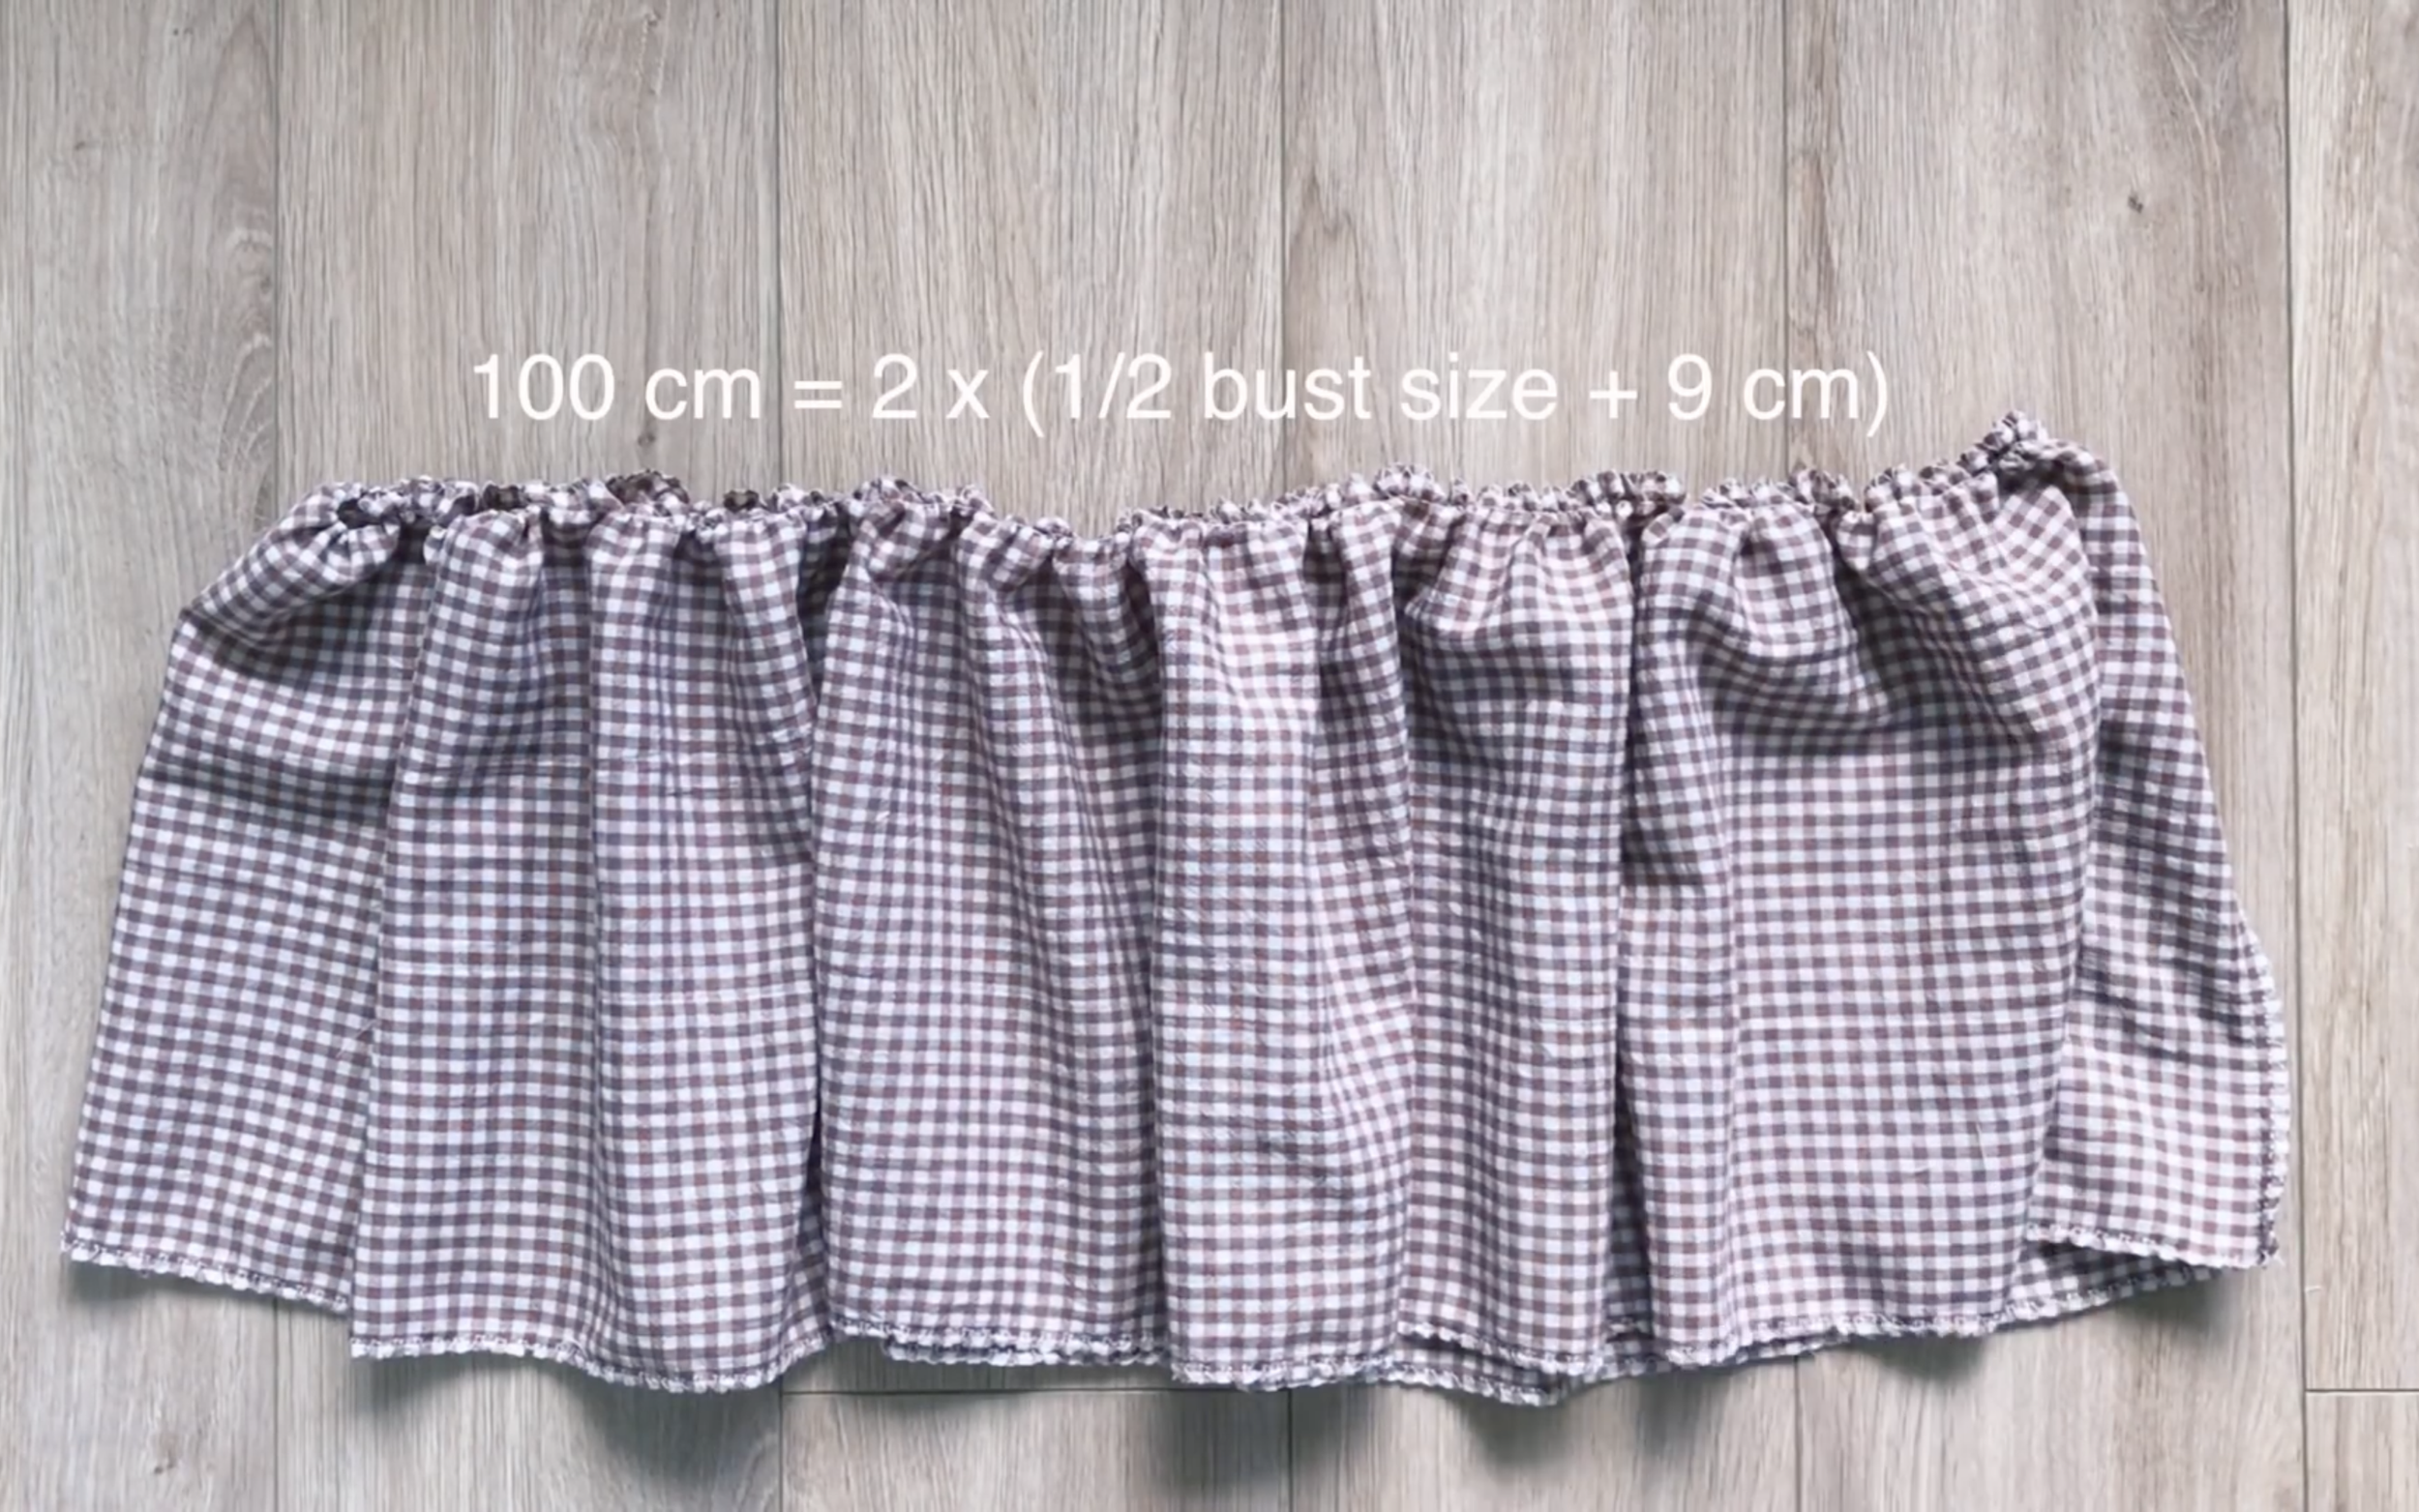
Make sure the width of the ruffle in the end has to be two times the width of the main bodice.
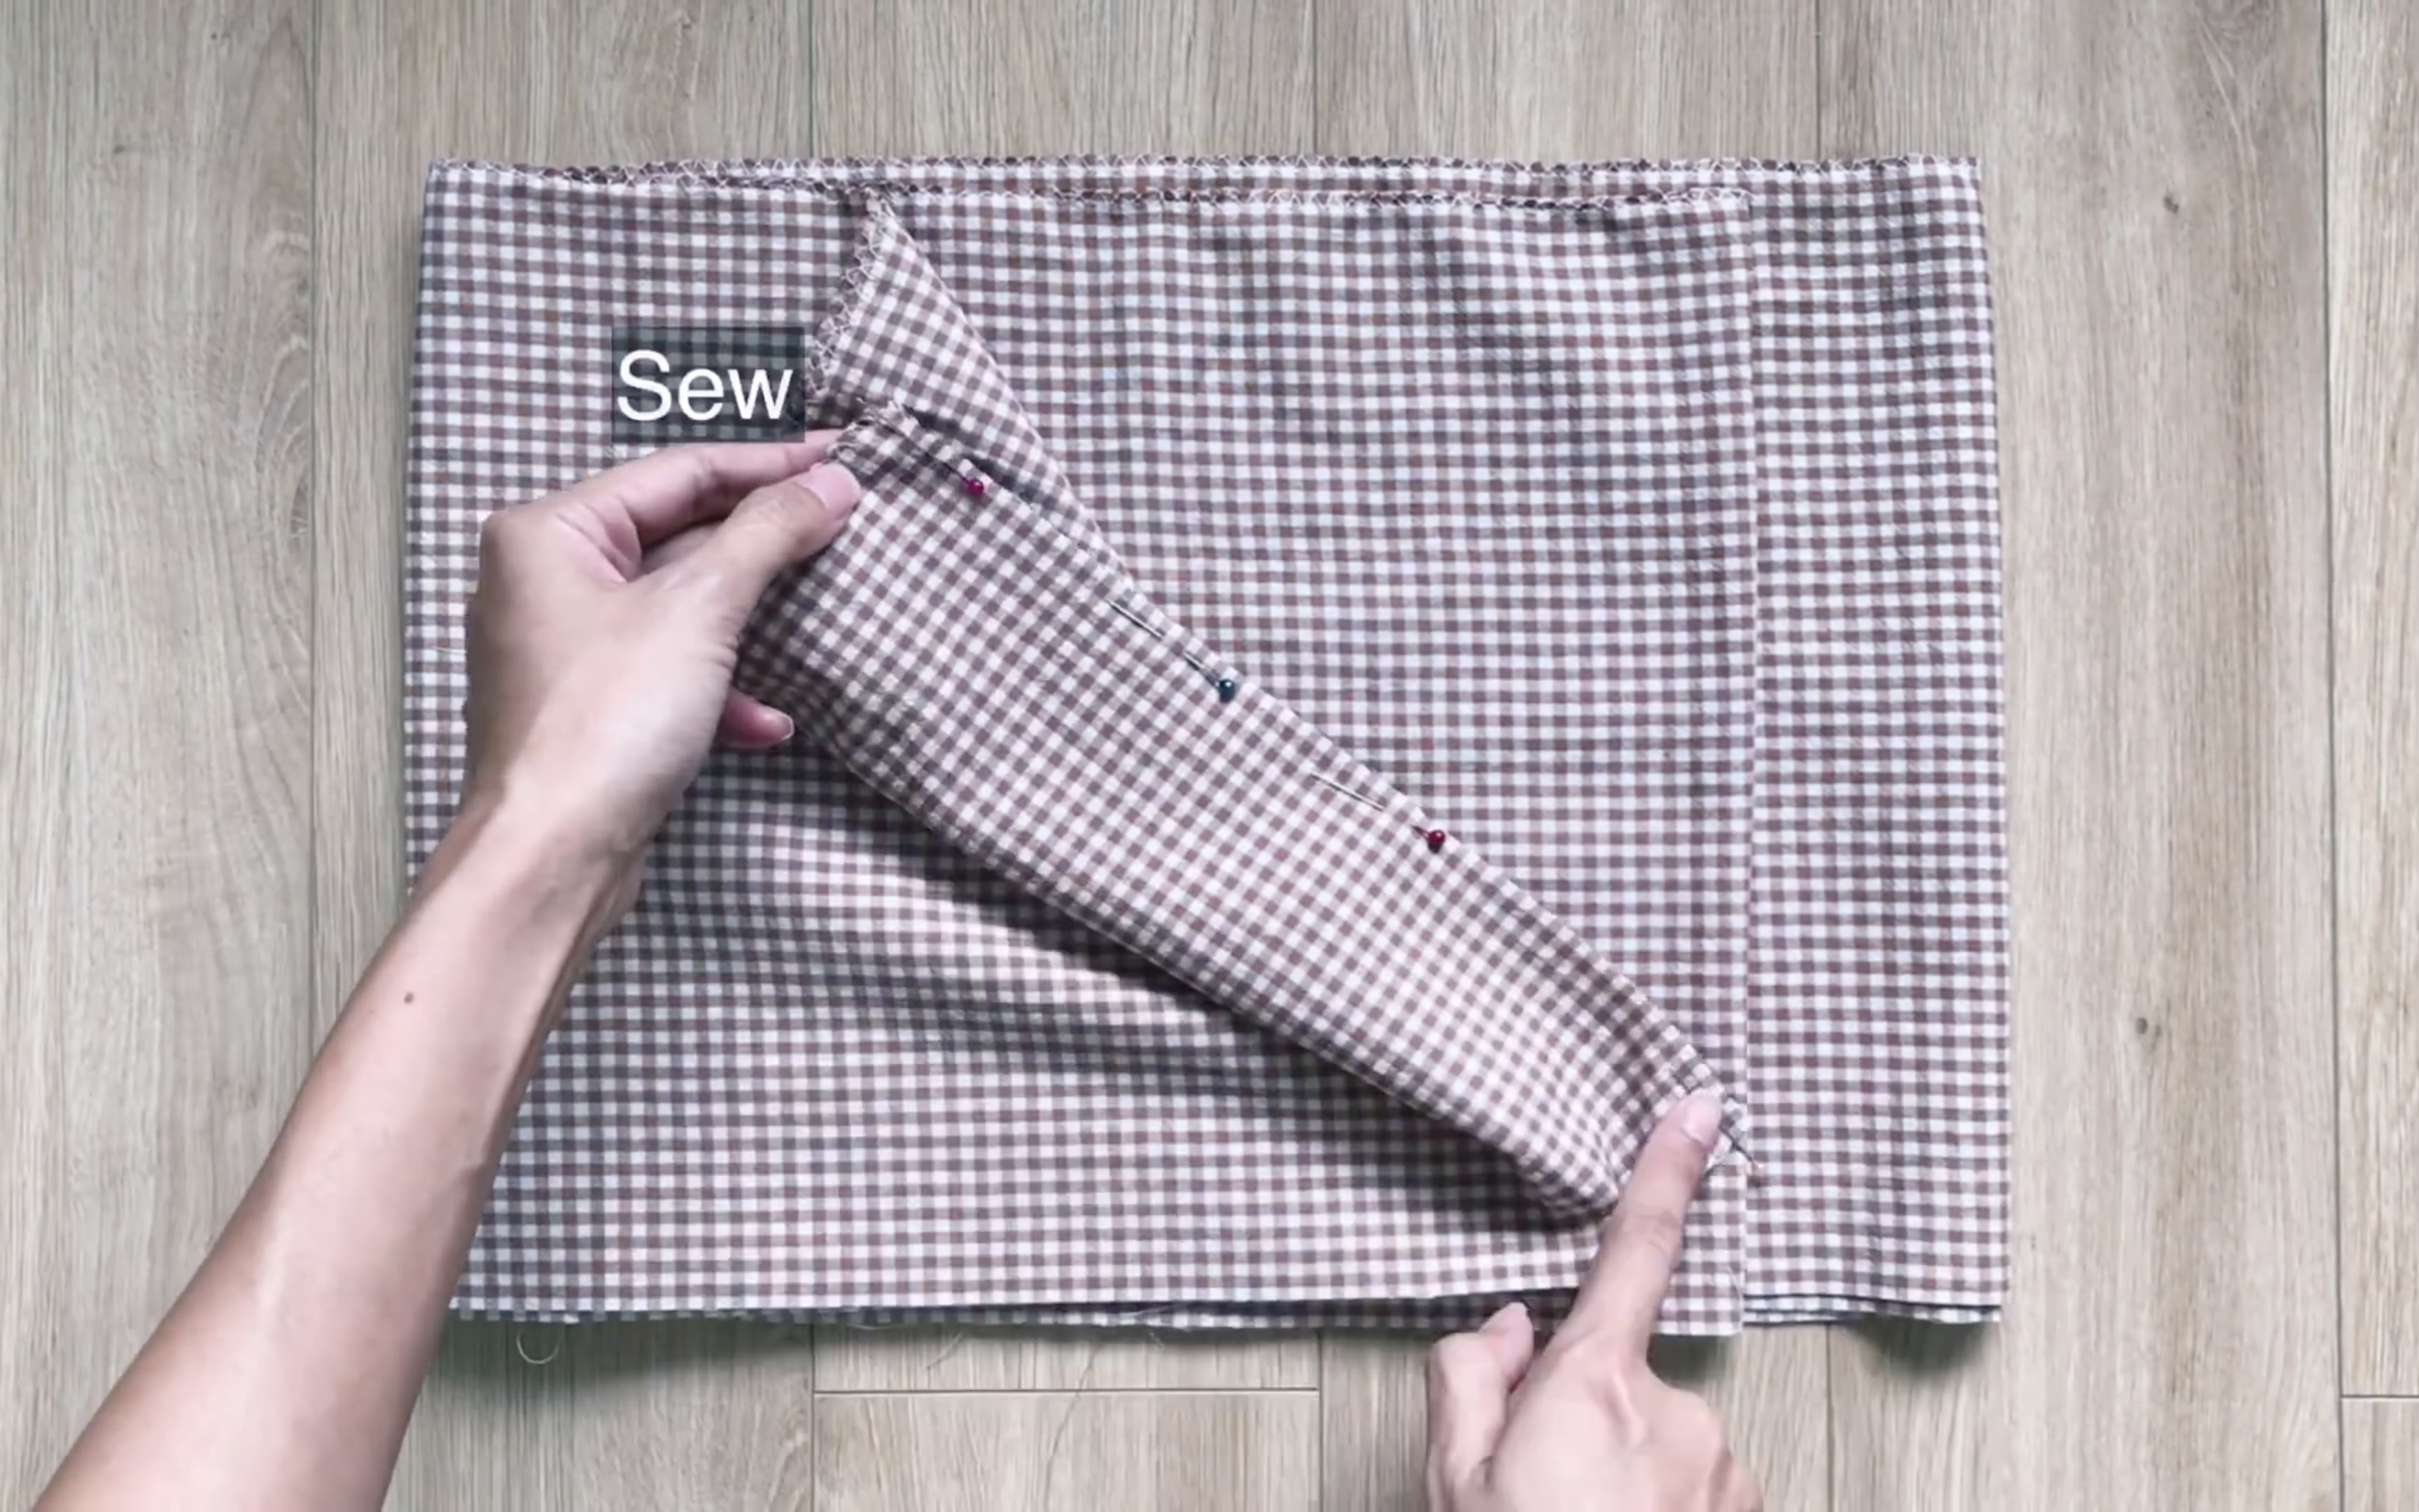
At the second tier, connect two length lines together first.
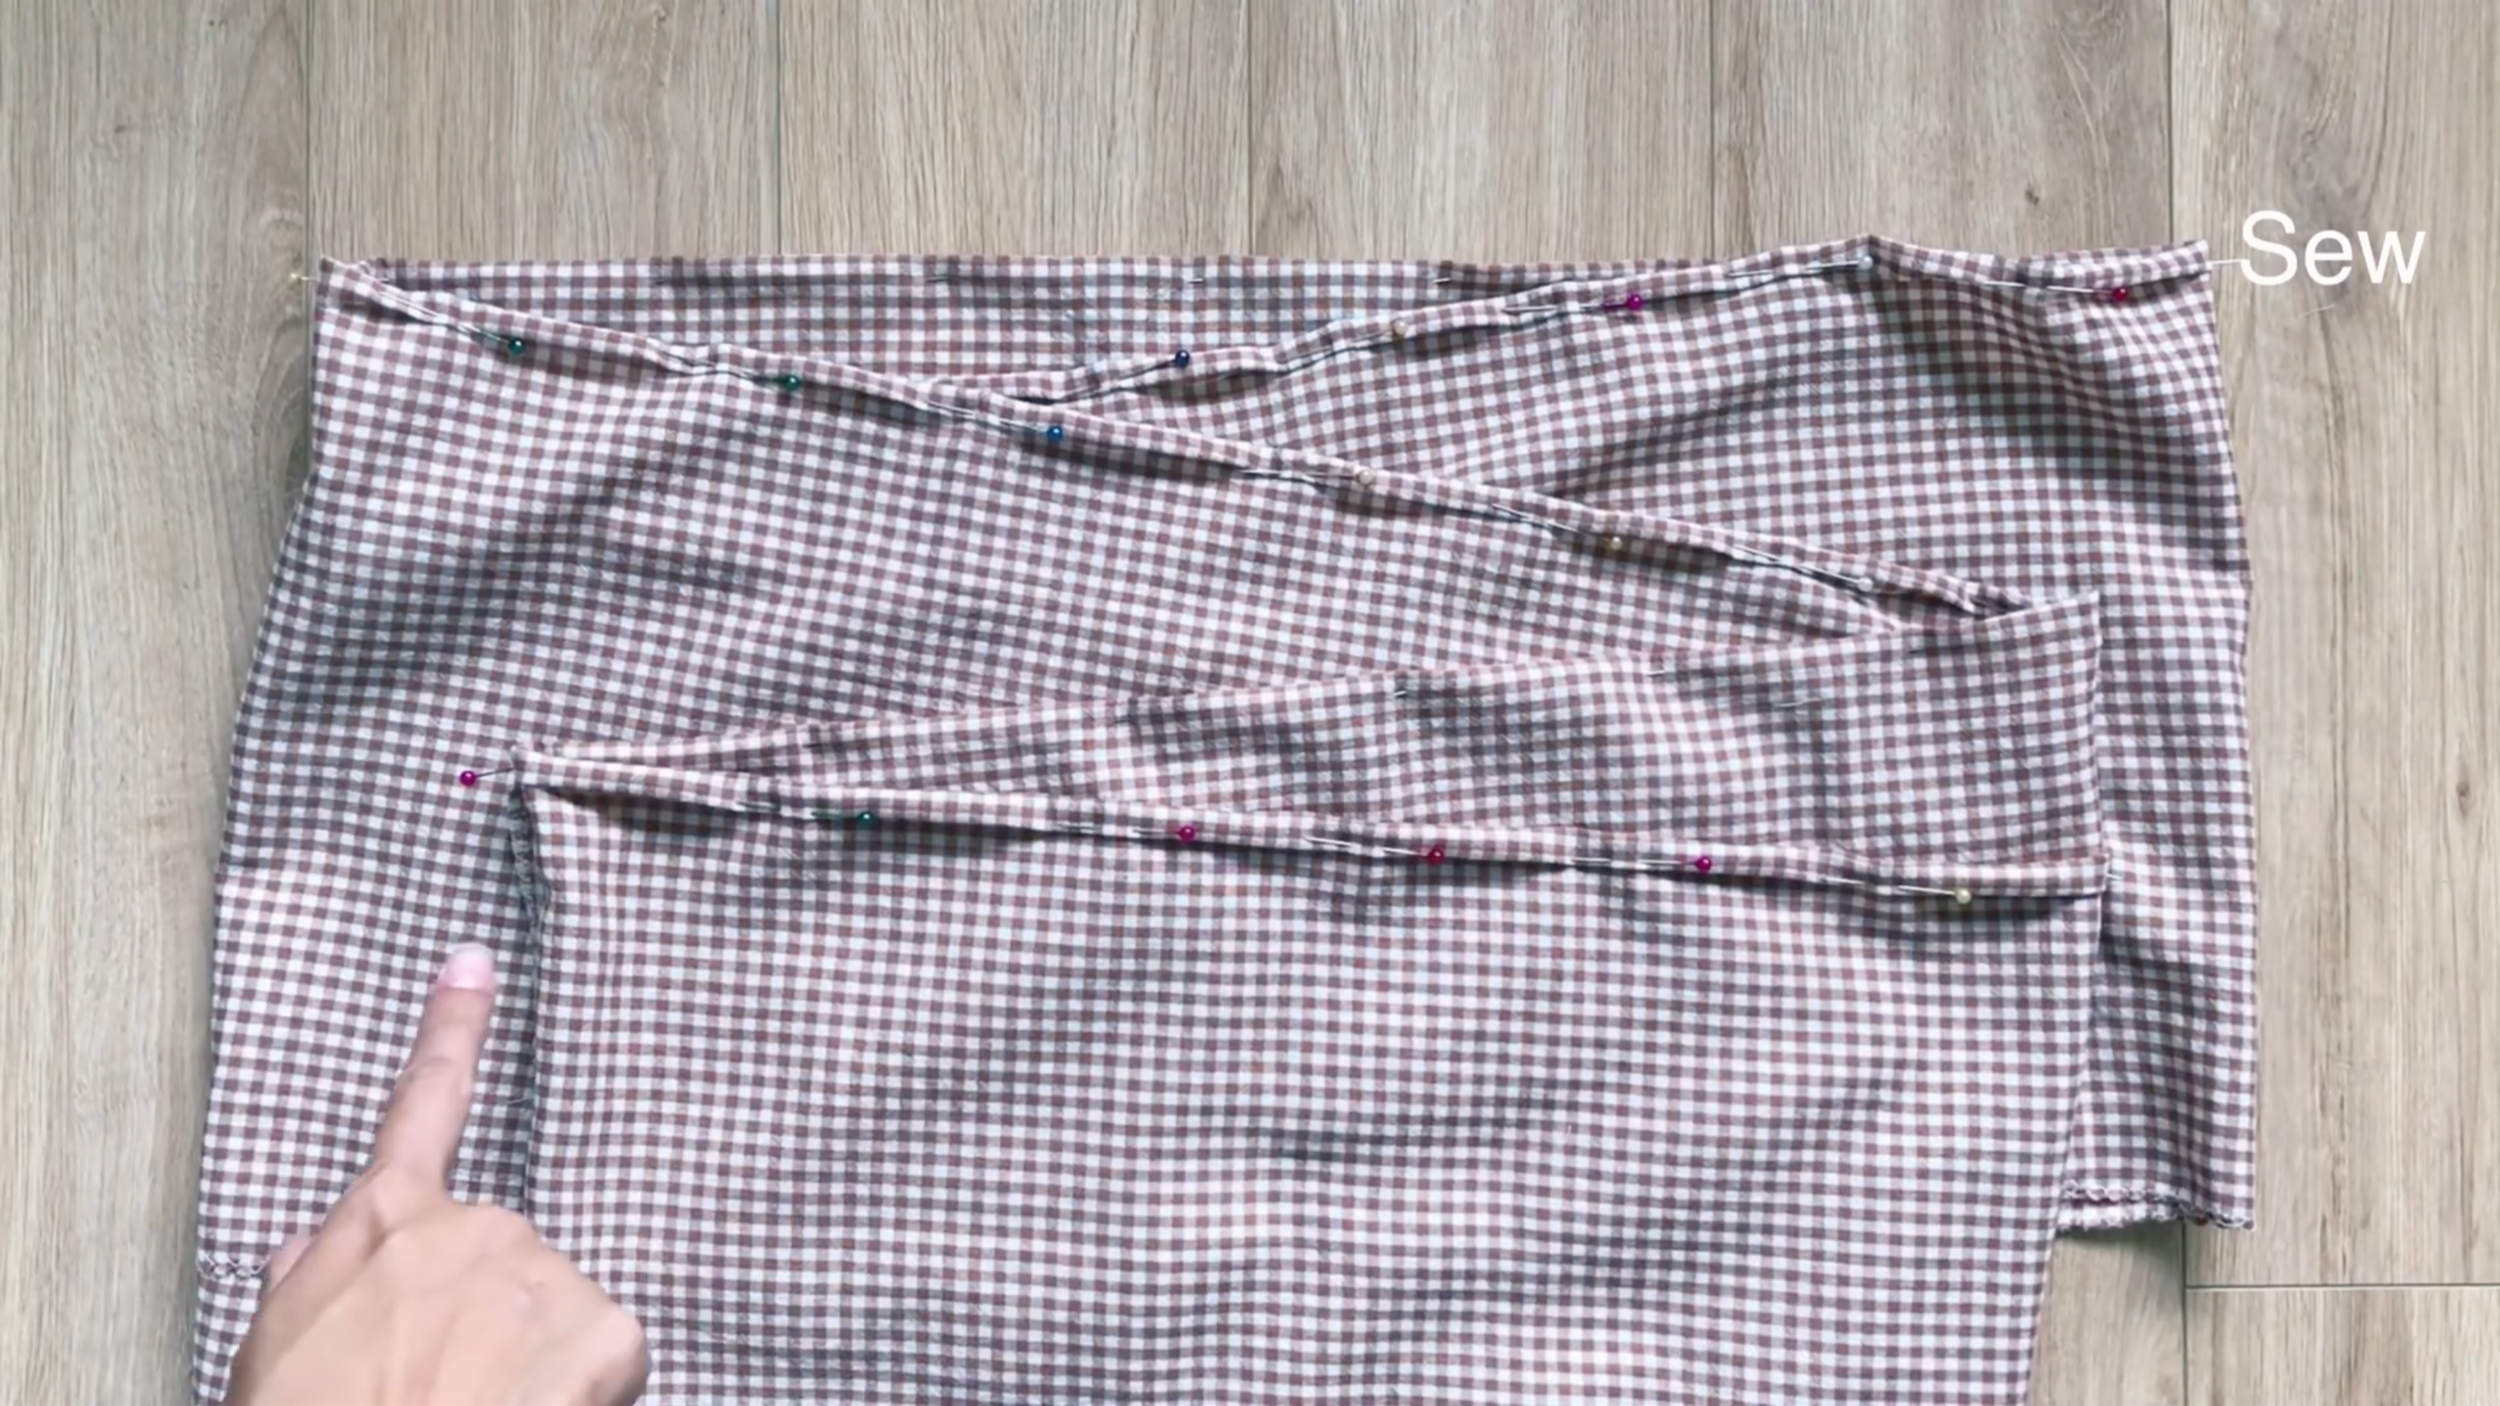
Then, at one width line, fold the end fabric inside two times and sew to finish it.
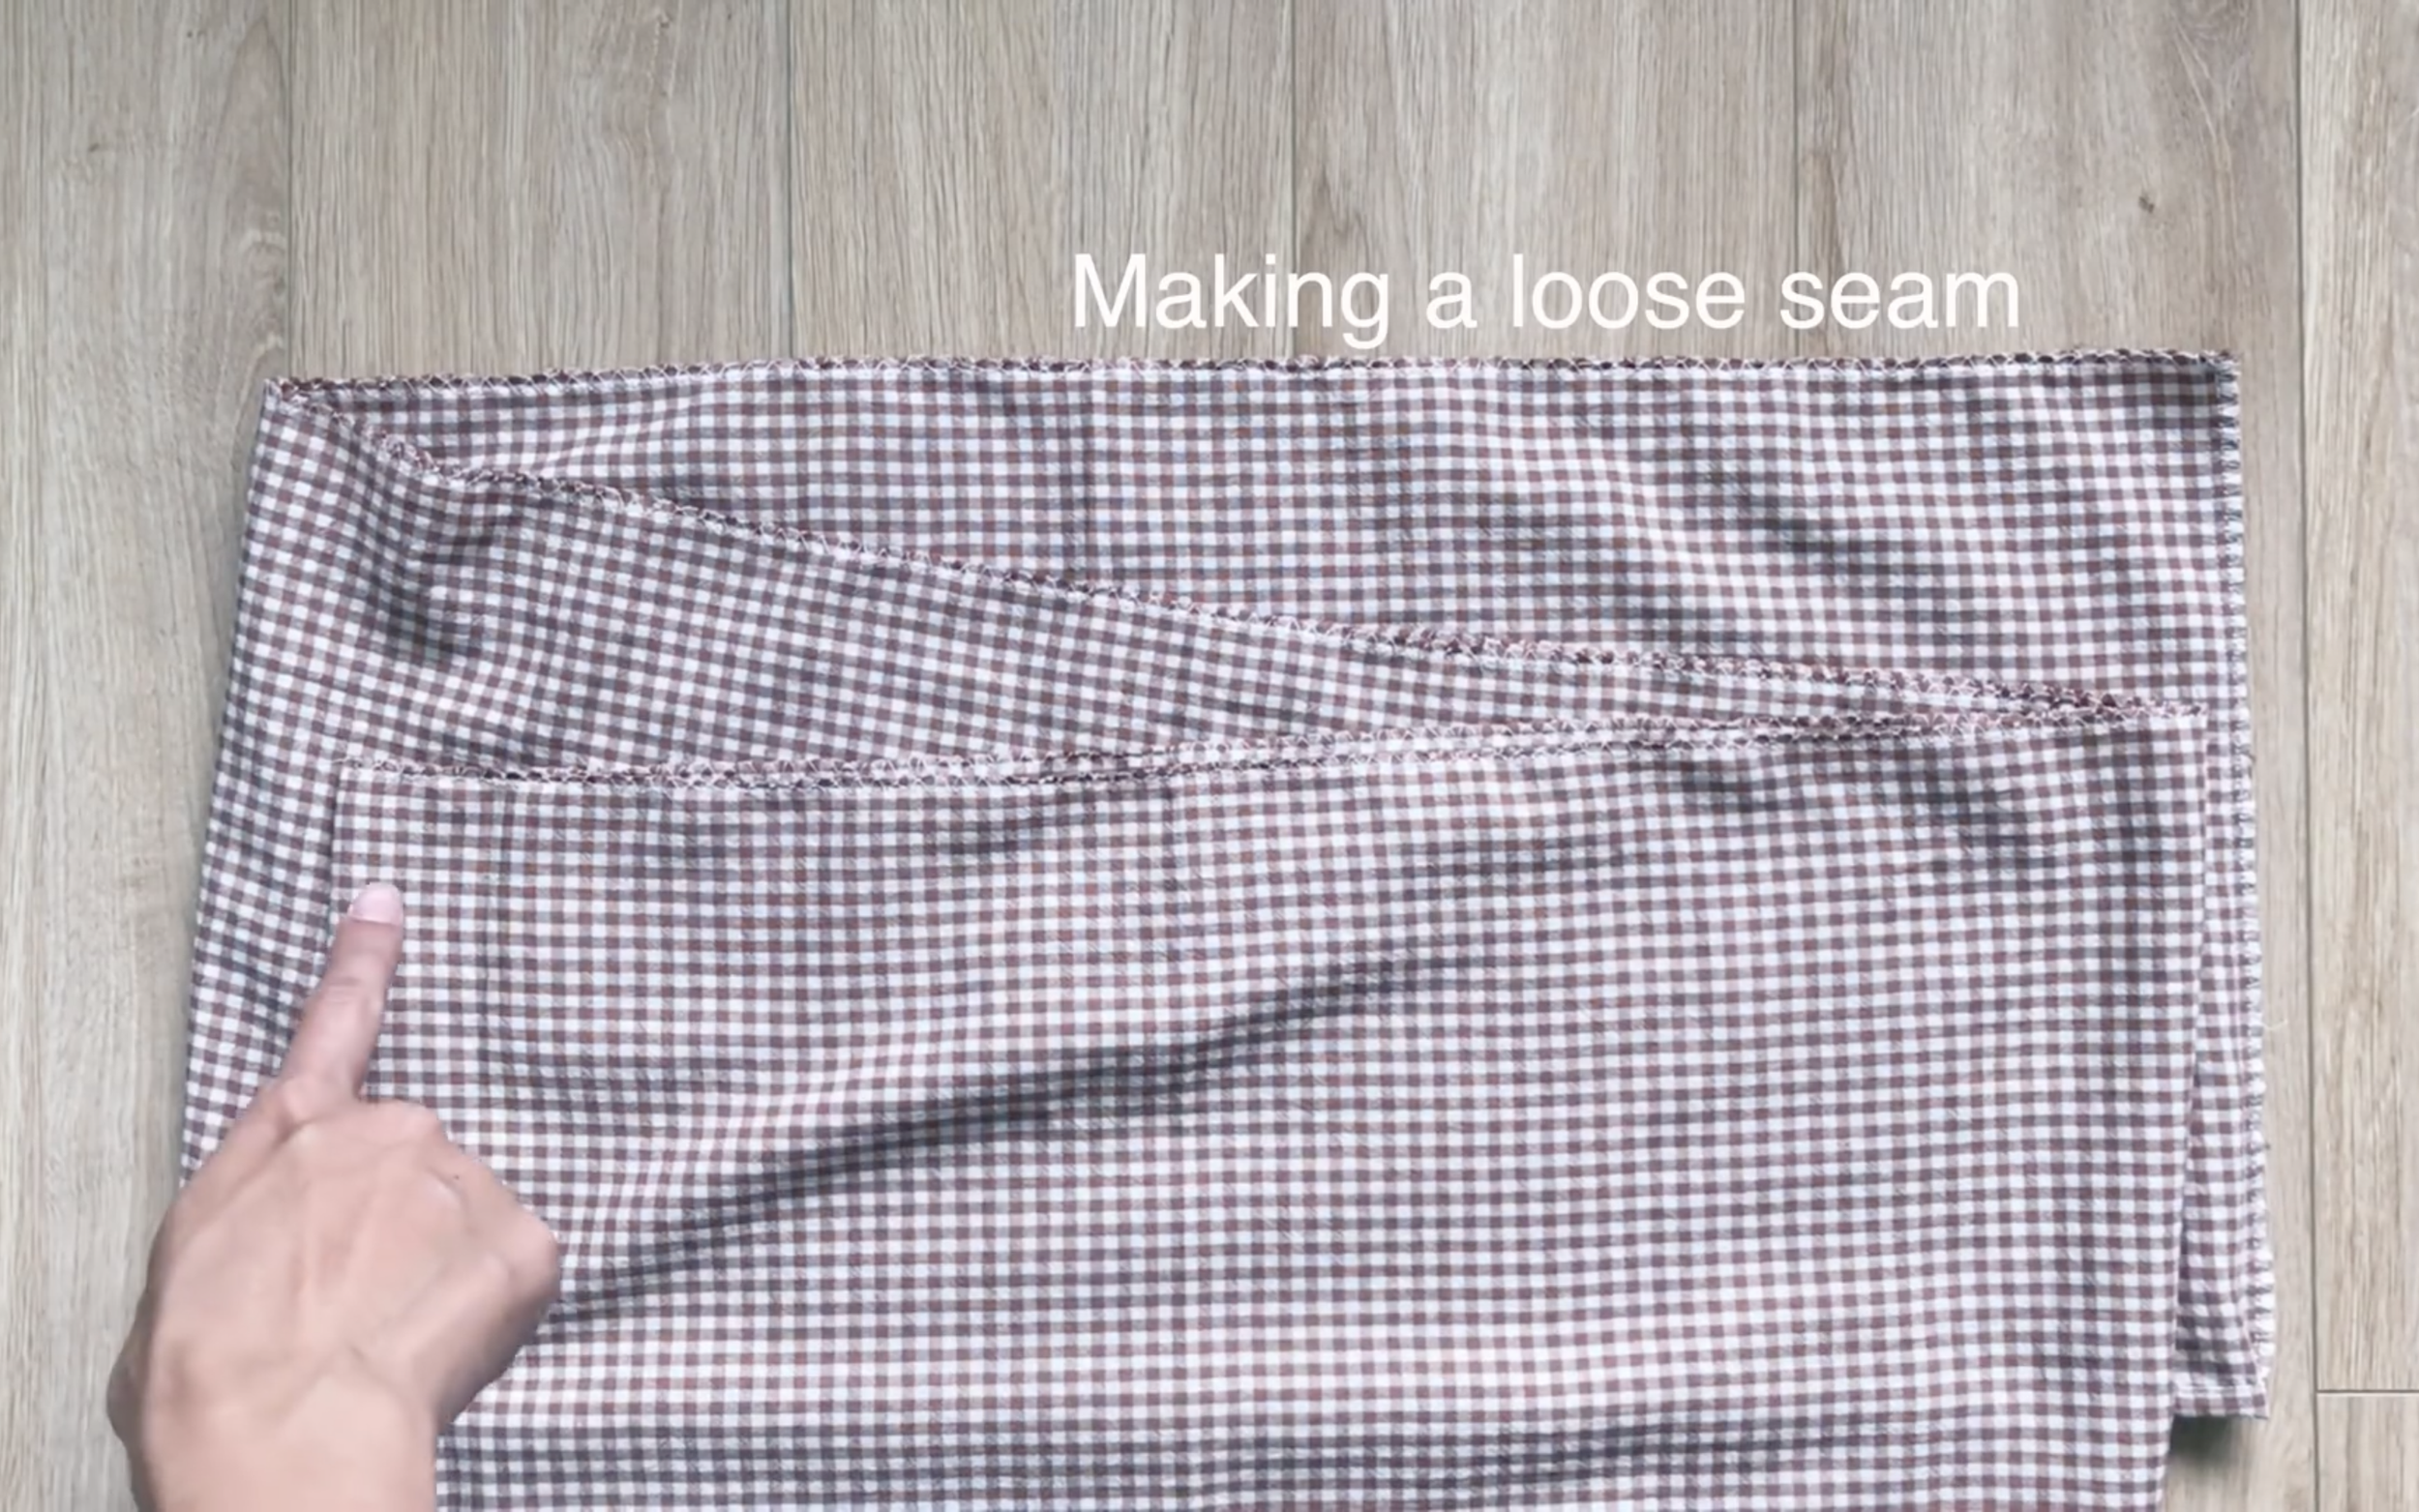
After that, make a loose seam at the other width line.
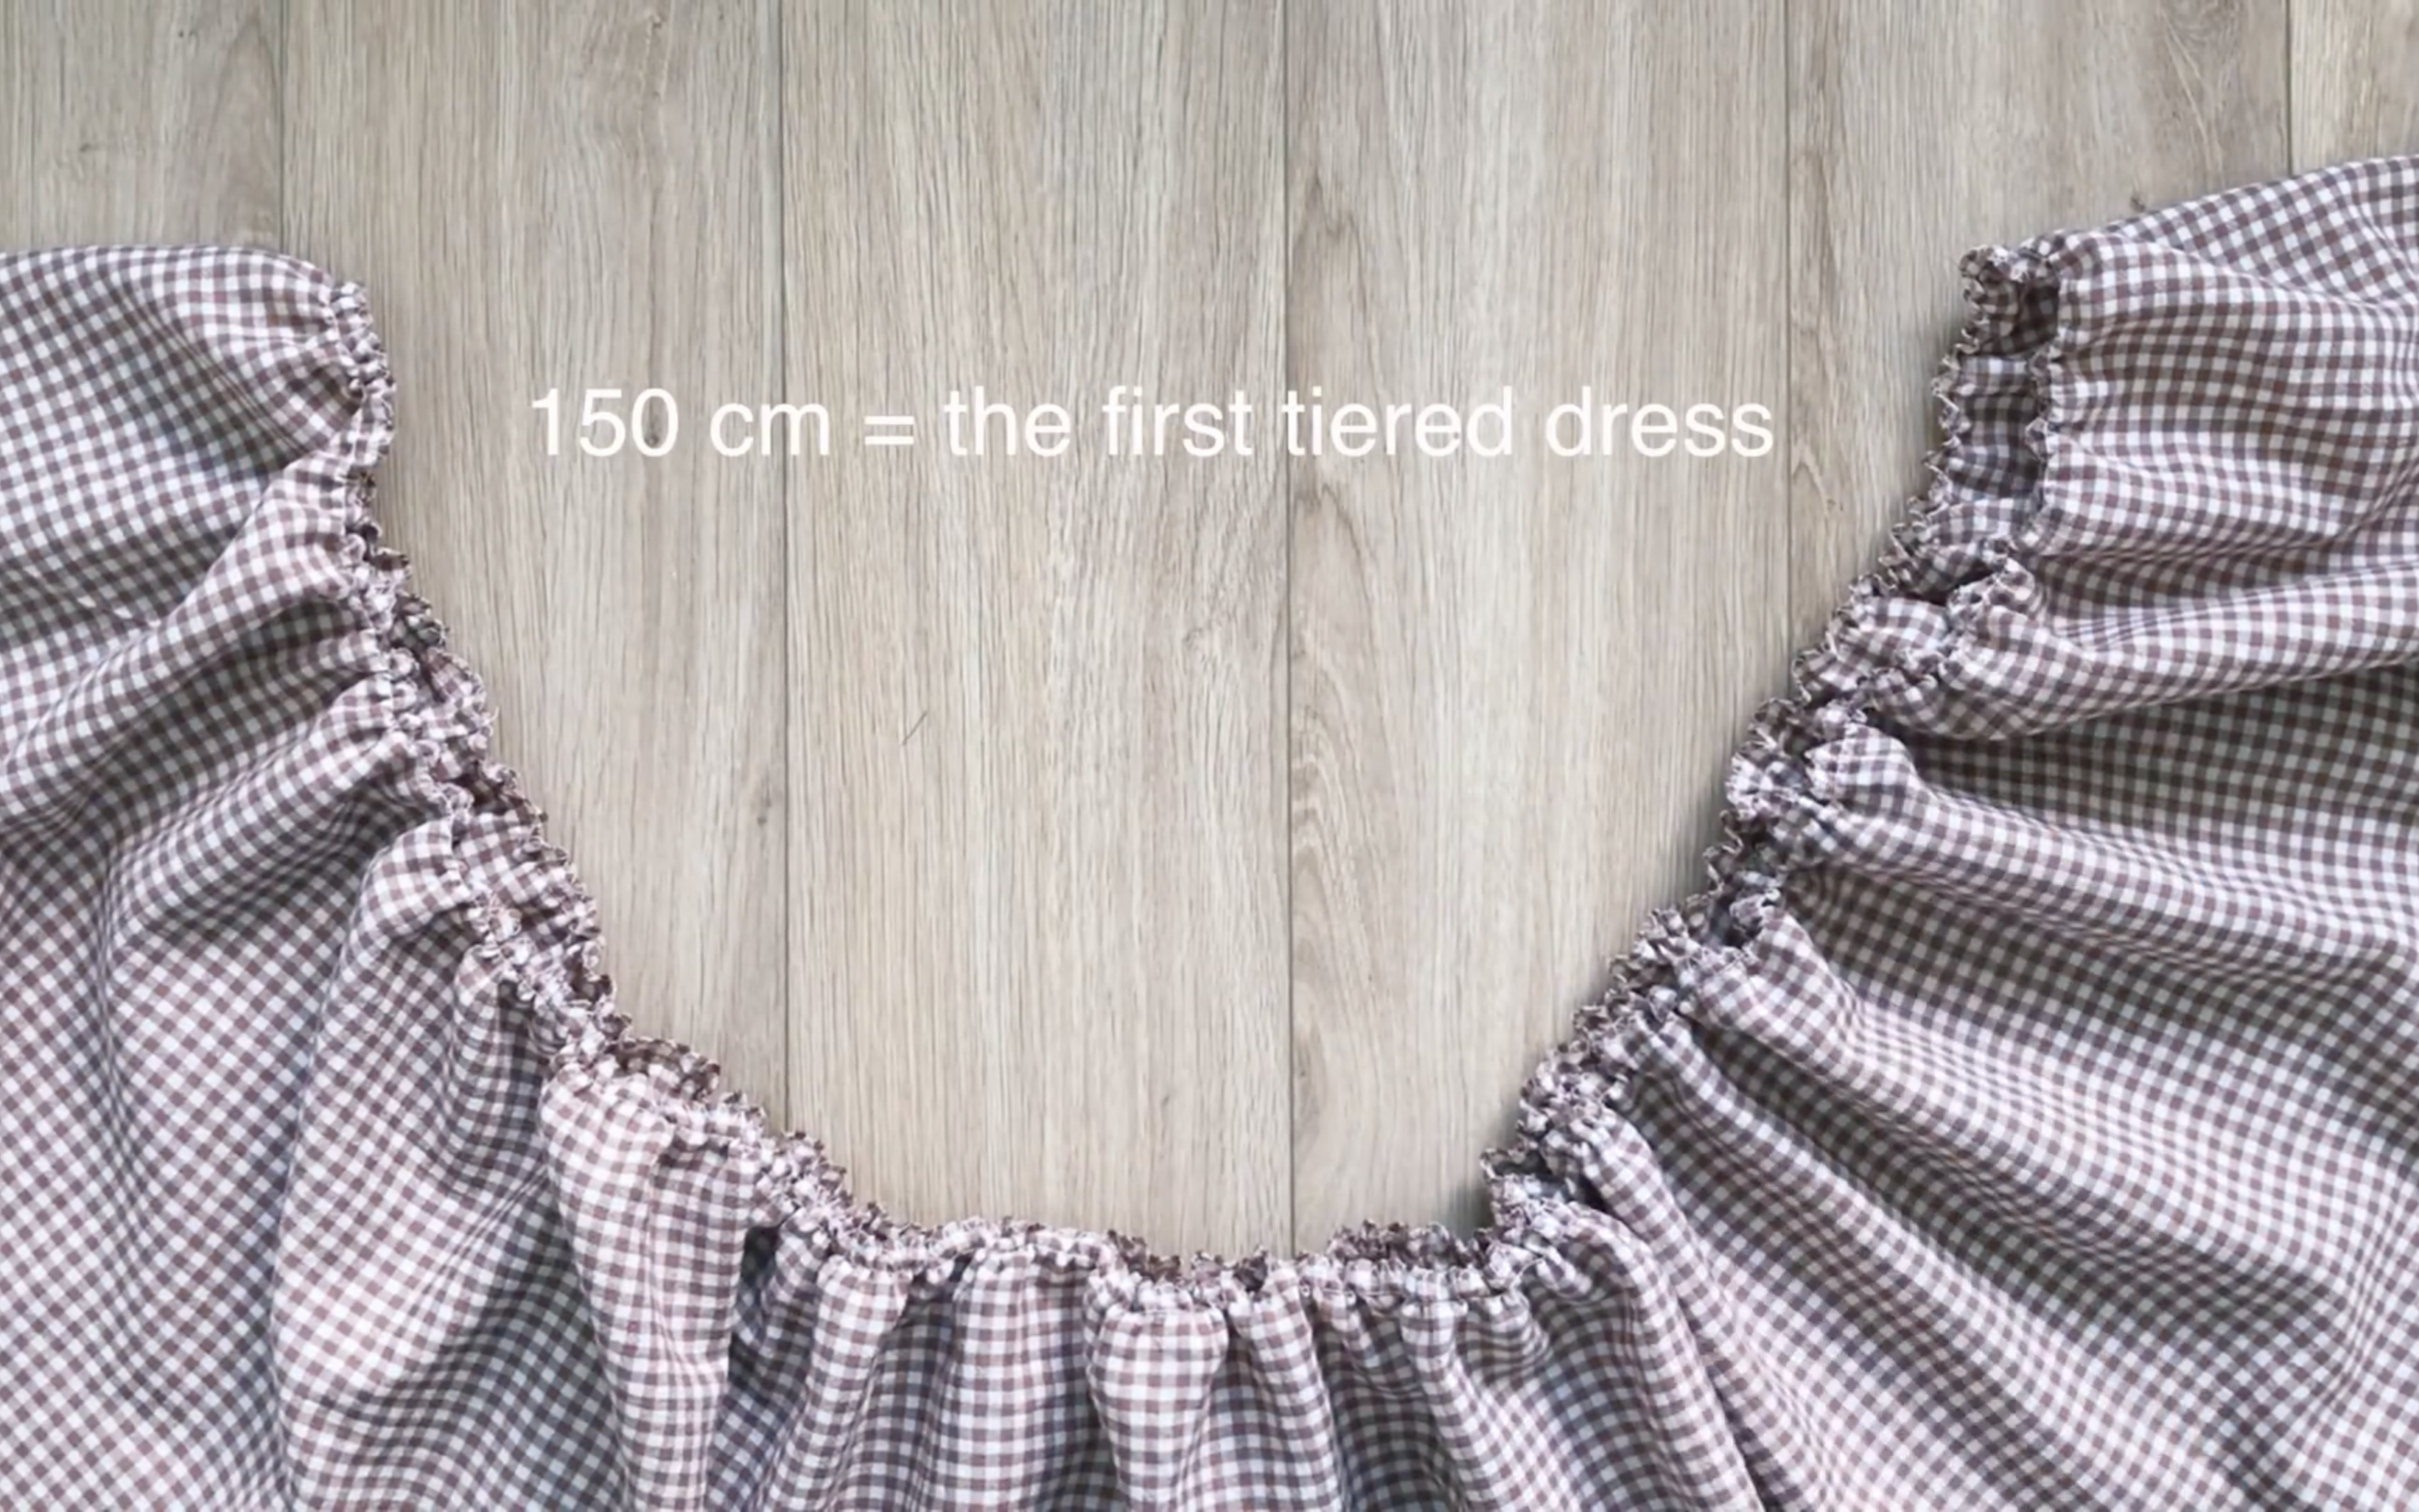
Then, create a ruffle there with the final width the same as the width of the first tier.
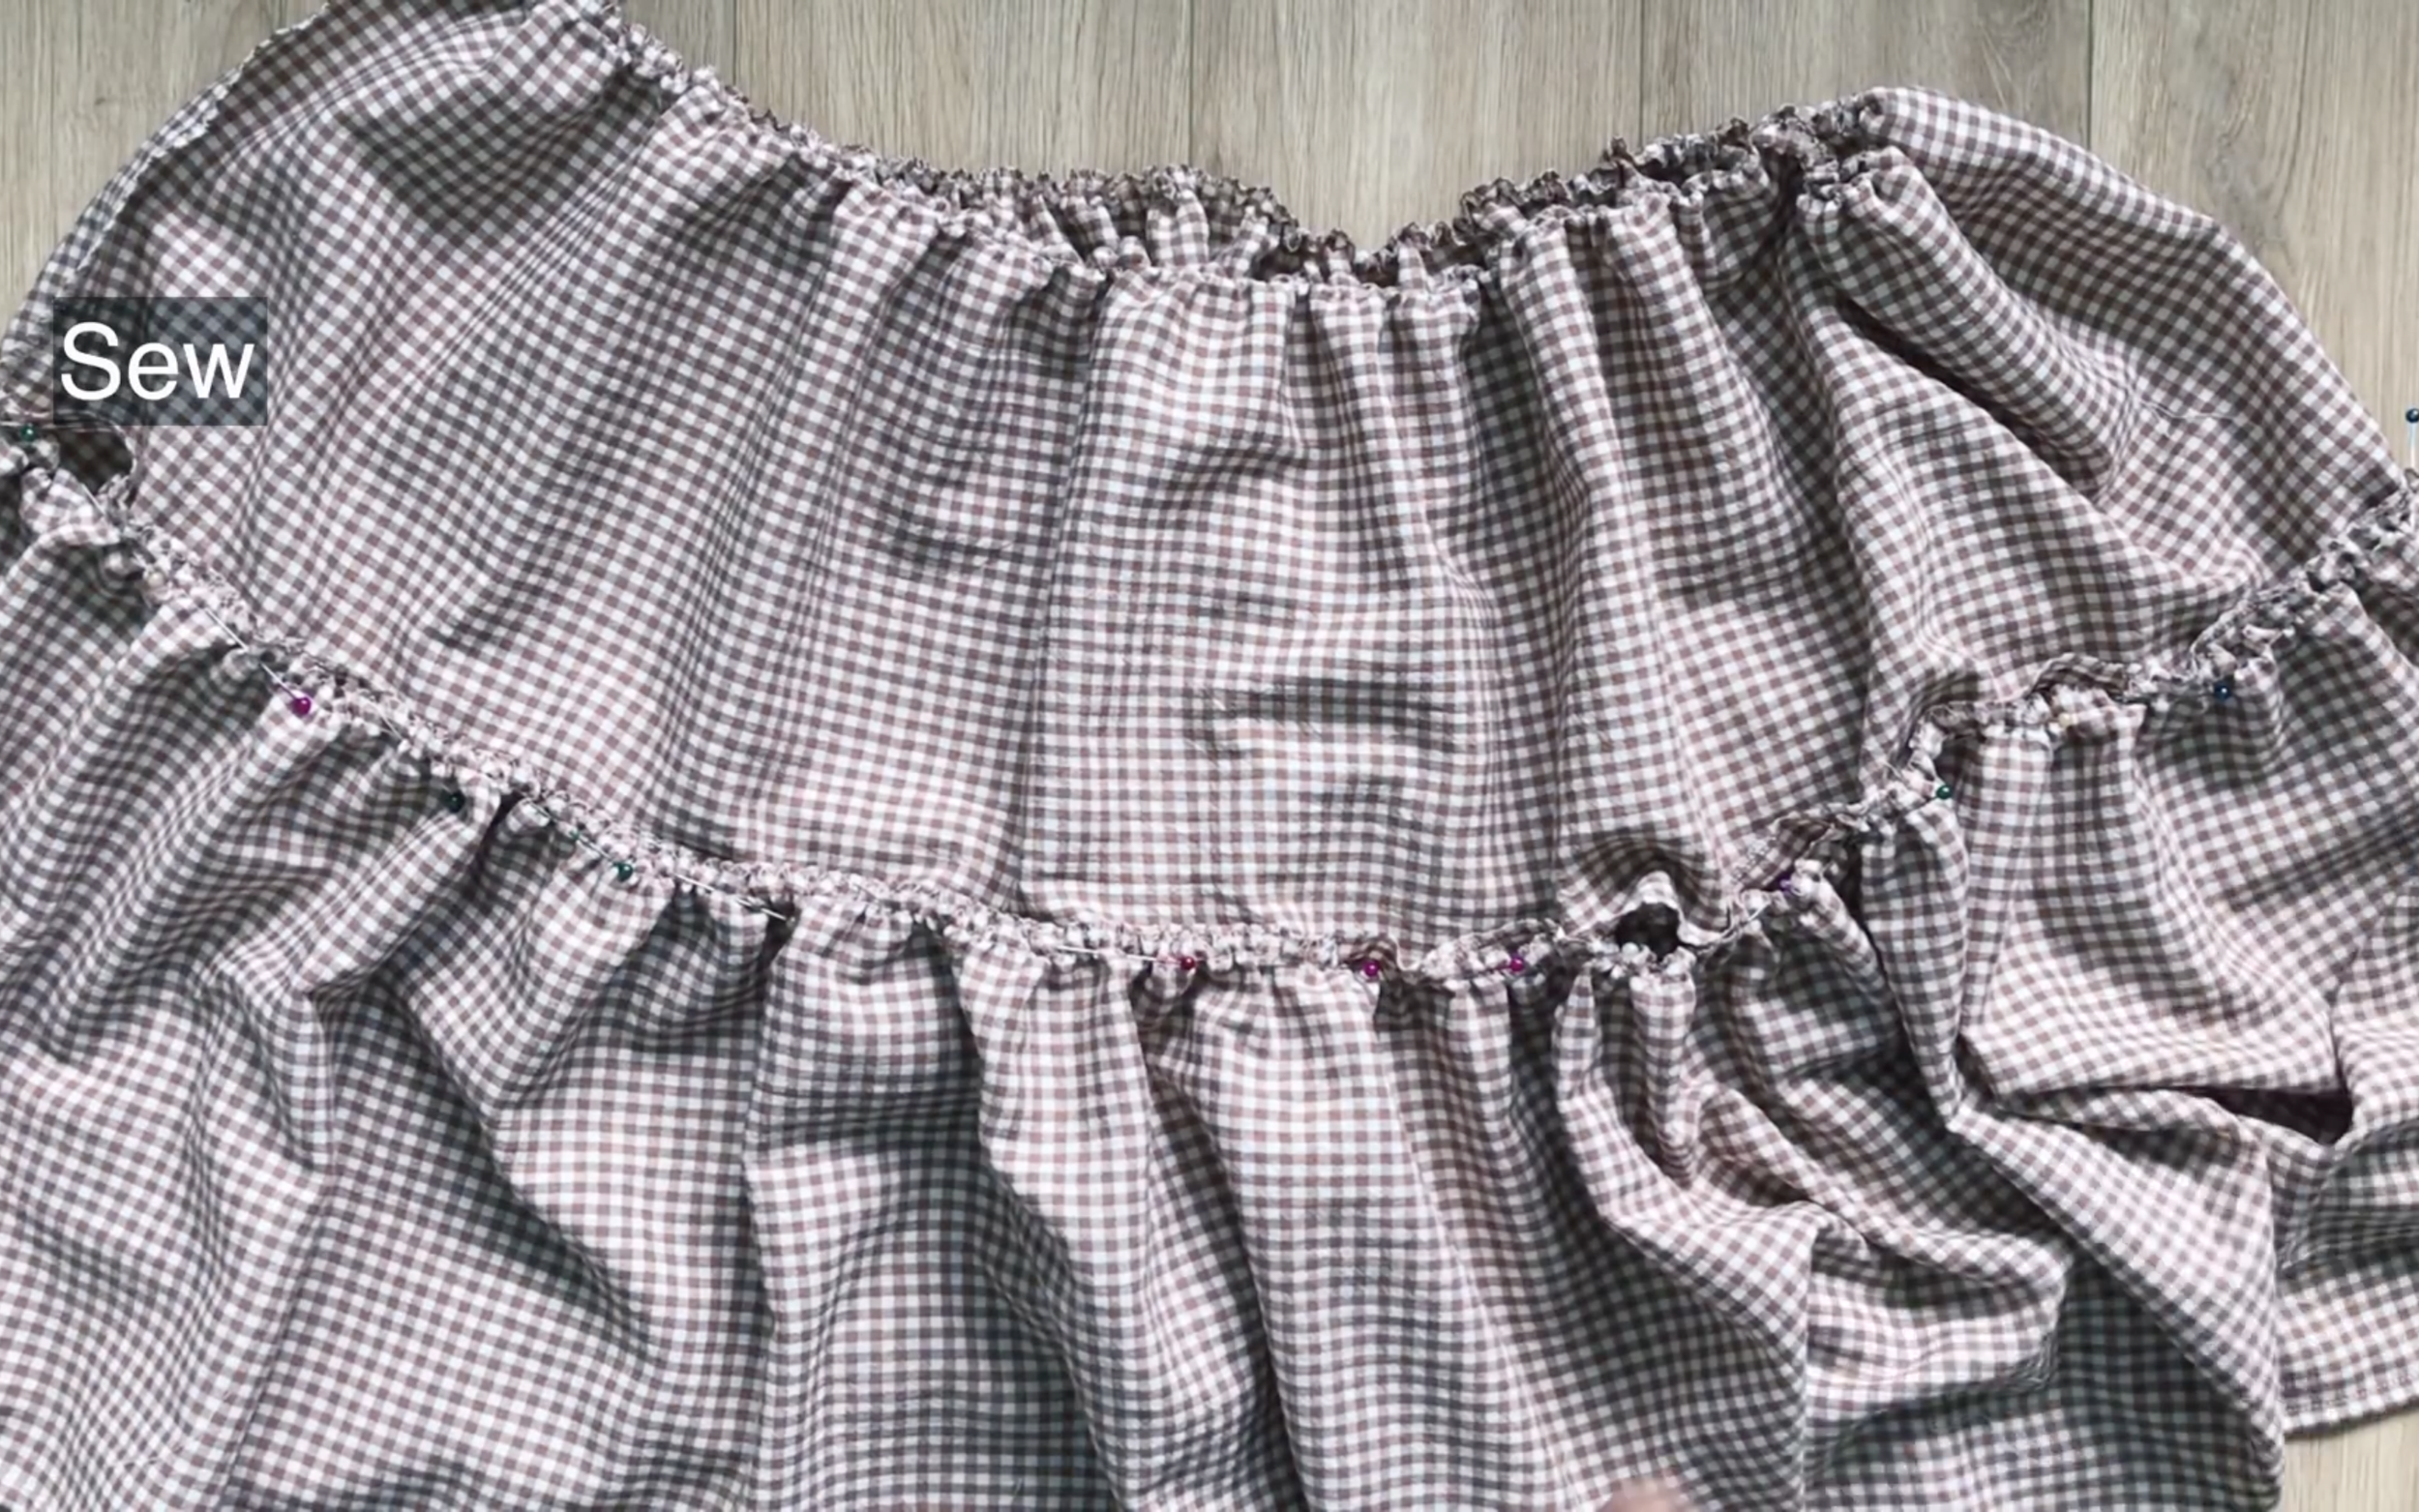
Then connect the first and the second tier together.
CONNECTING THE TOP PART AND THE BOTTOM PART TOGETHER
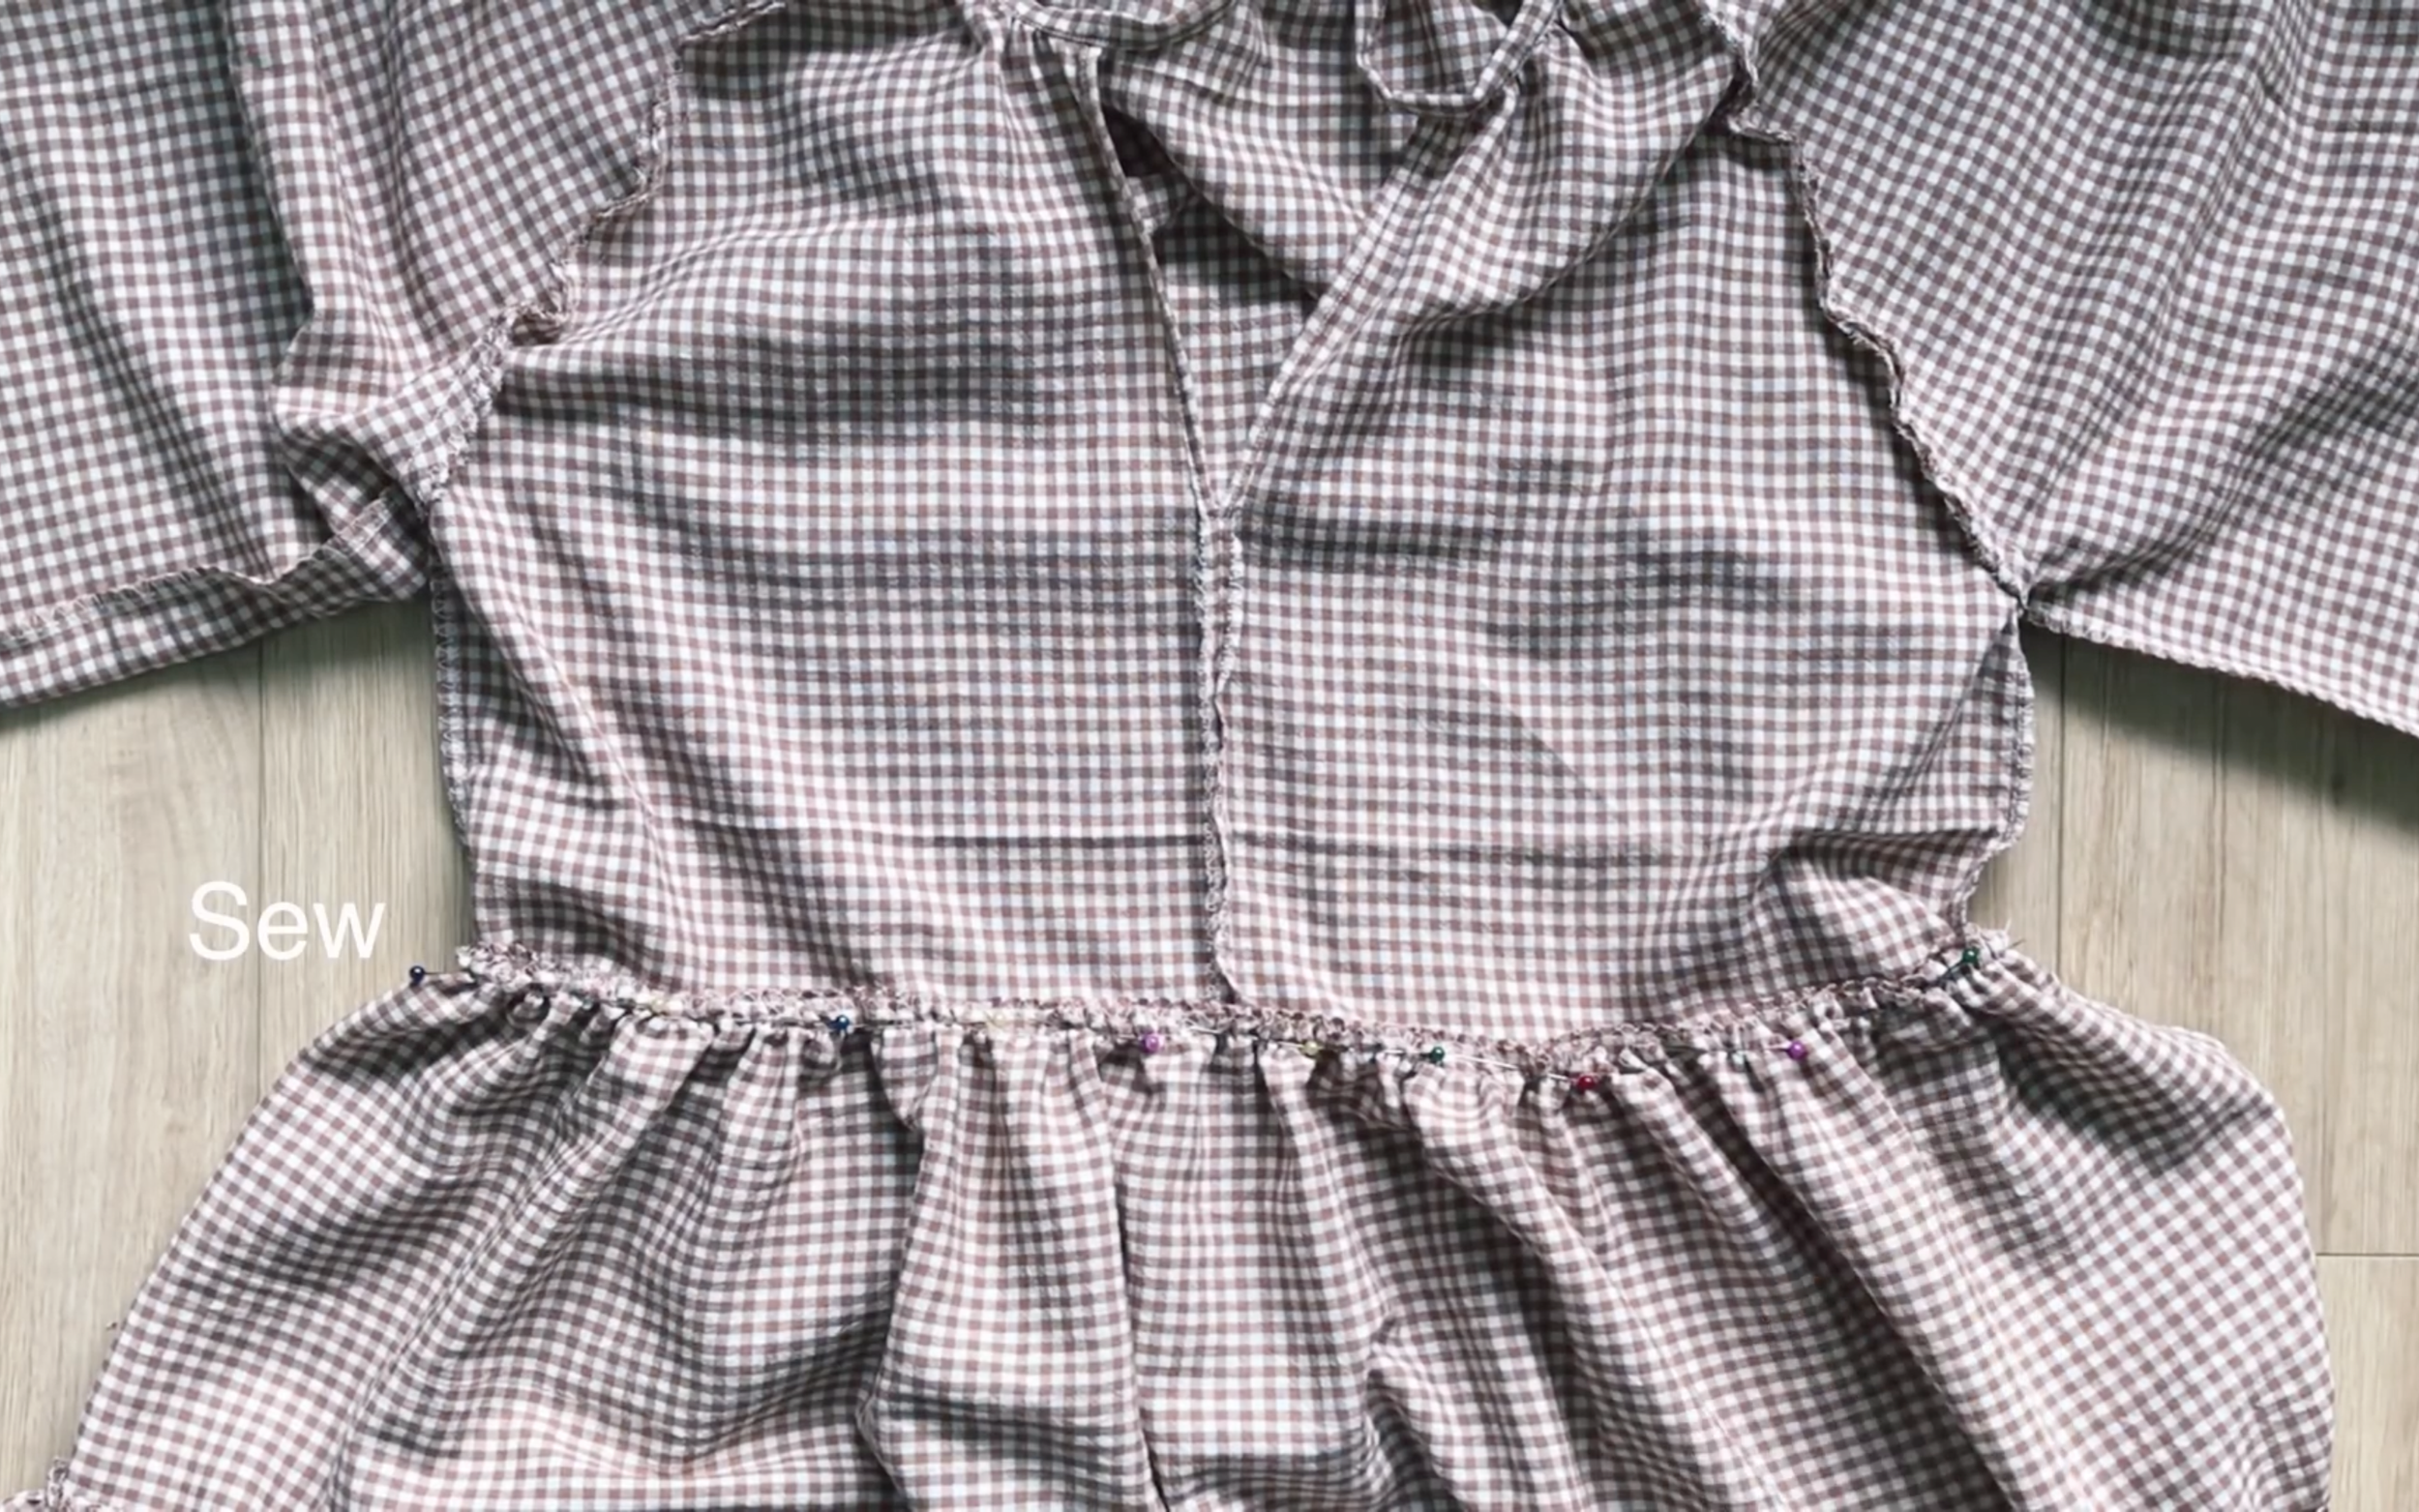
Now, connect the top part and the bottom part together, then sew.

DIY Puff sleeve tiered dress from scratch + Exciting news
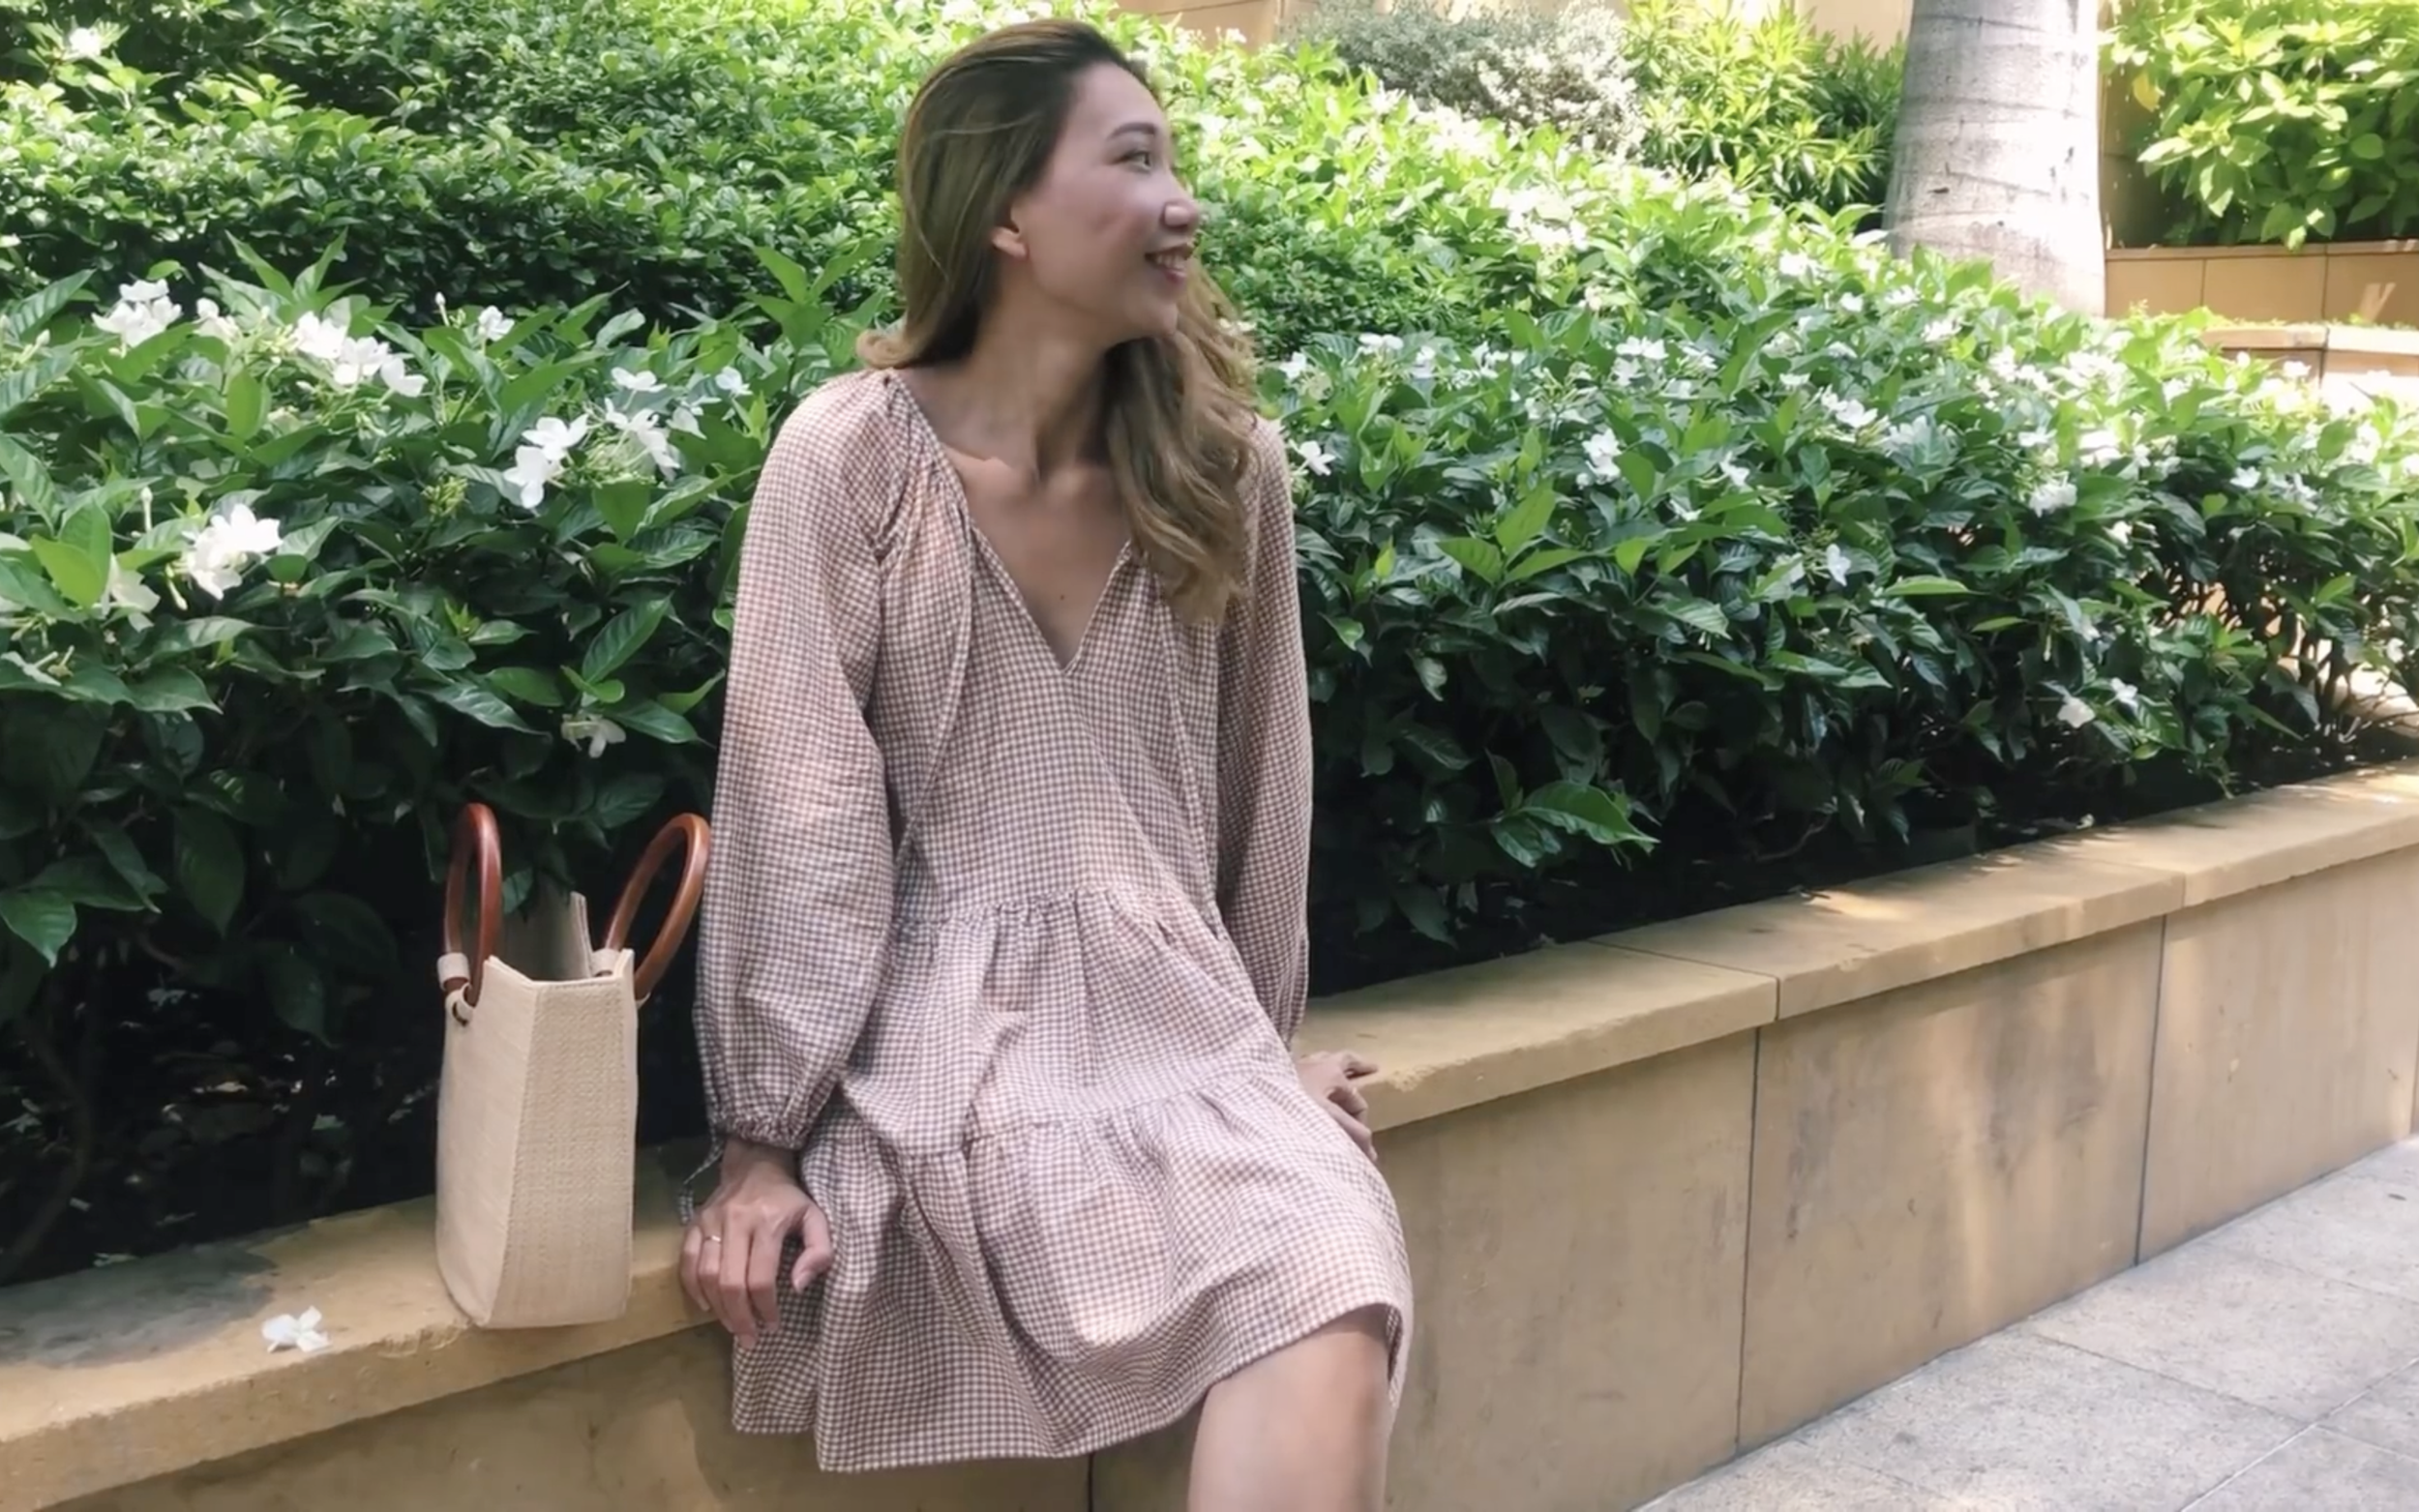
And that’s it — my DIY dress is complete!
I’m so happy with how it turned out — it’s not only super pretty but also incredibly comfy to wear. It’s the perfect go-to piece for an everyday outfit.
I hope you found my step-by-step guide helpful and inspiring.
If you’re interested in making your own, give it a try and let me know how it goes!
Until then, happy sewing!