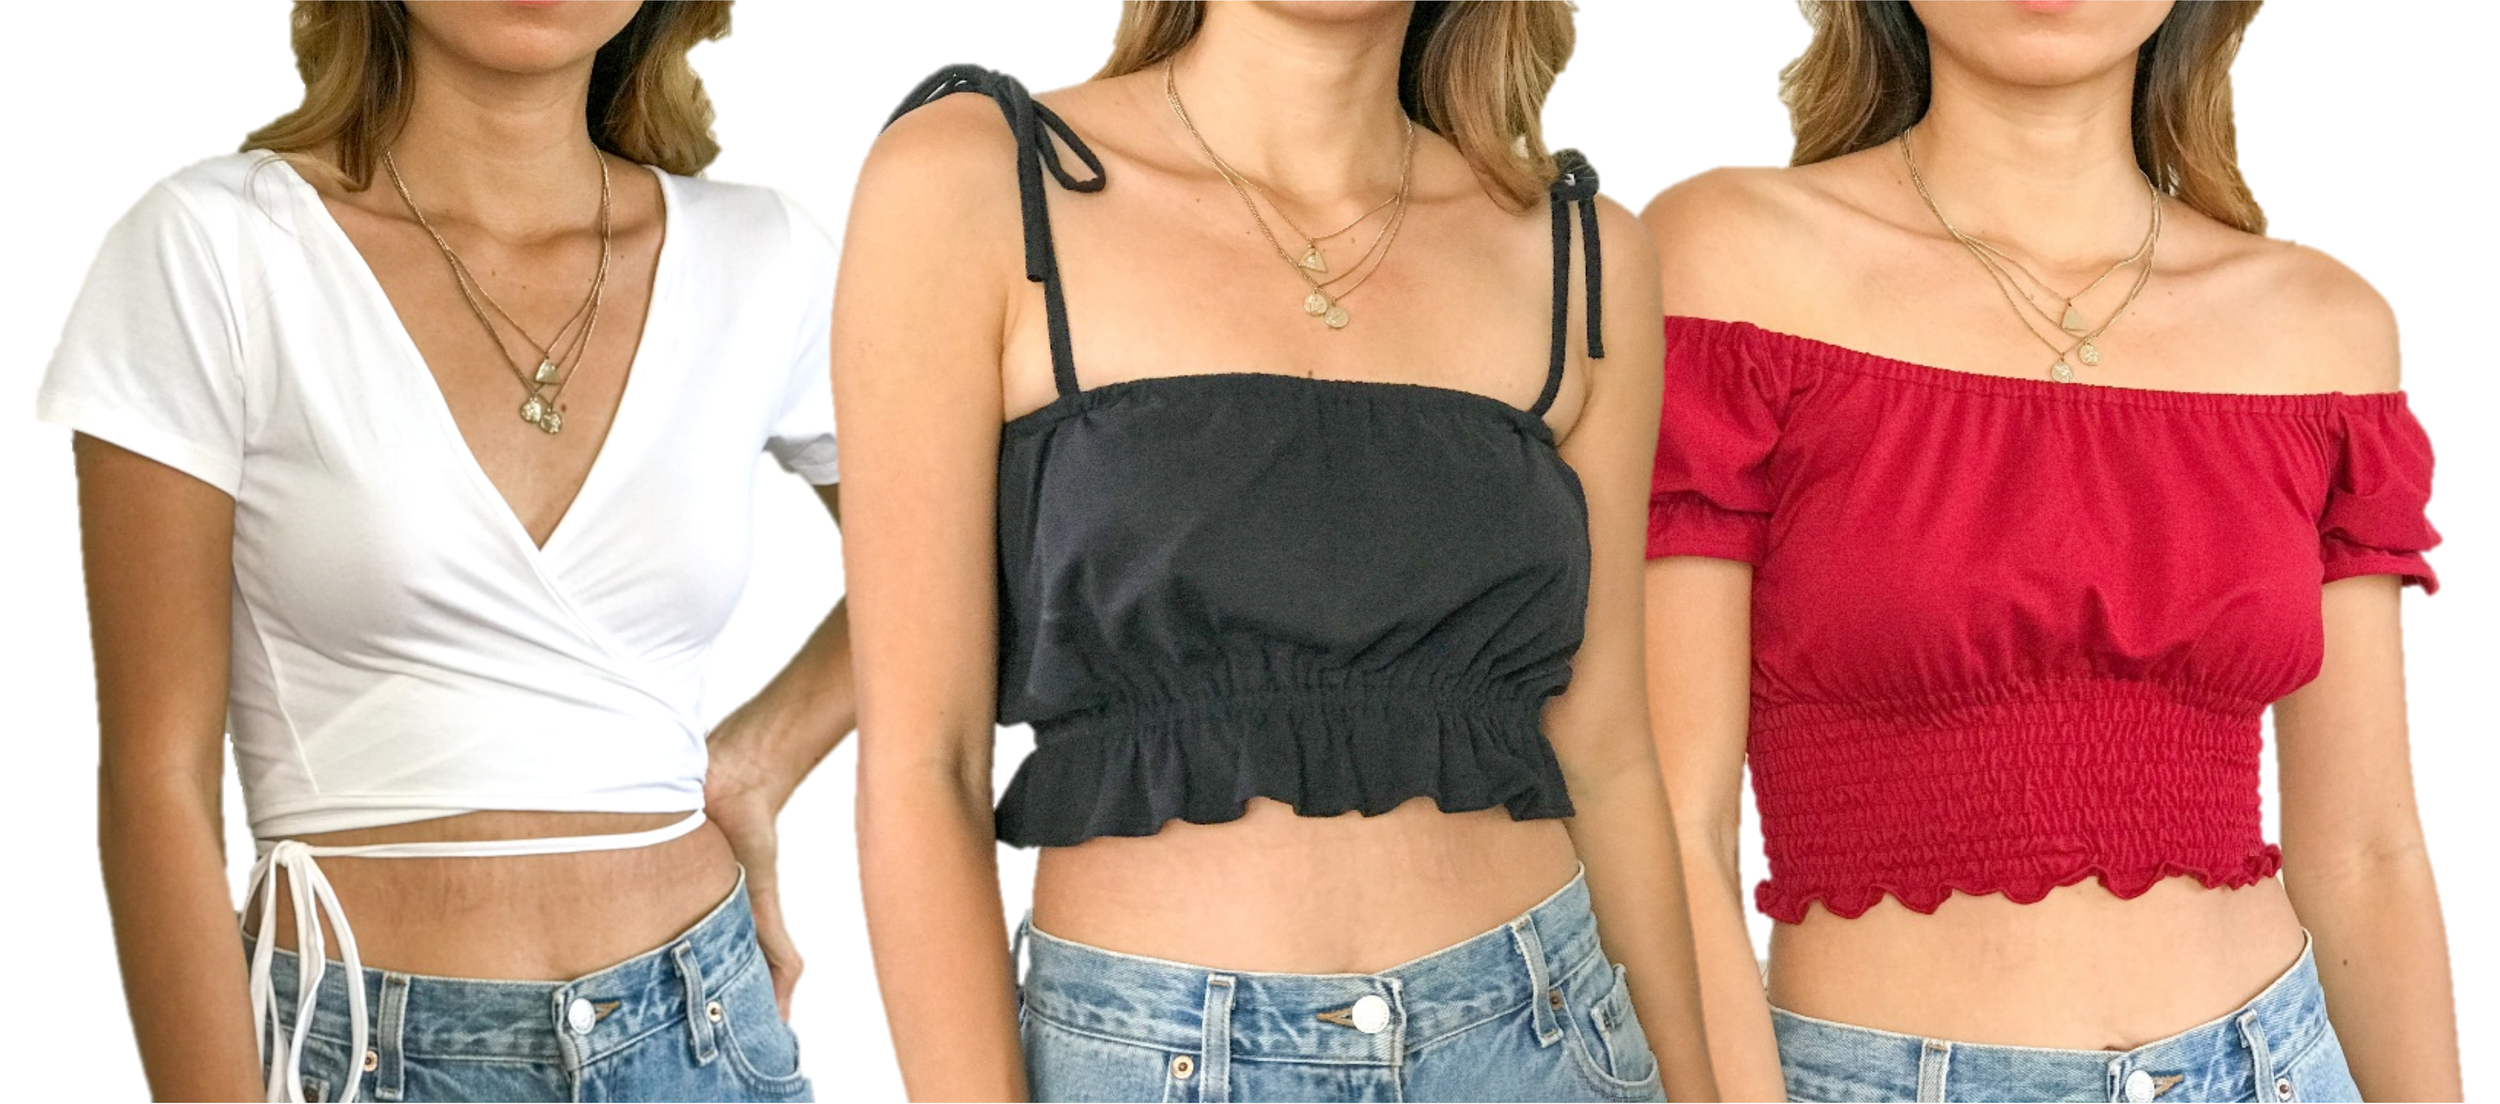
DIY SUMMER CROP TOP from old T shirt - Wrap top - Off the shoulder top - Ruffle hem top
DIY SUMMER CROP TOP from old T-shirt
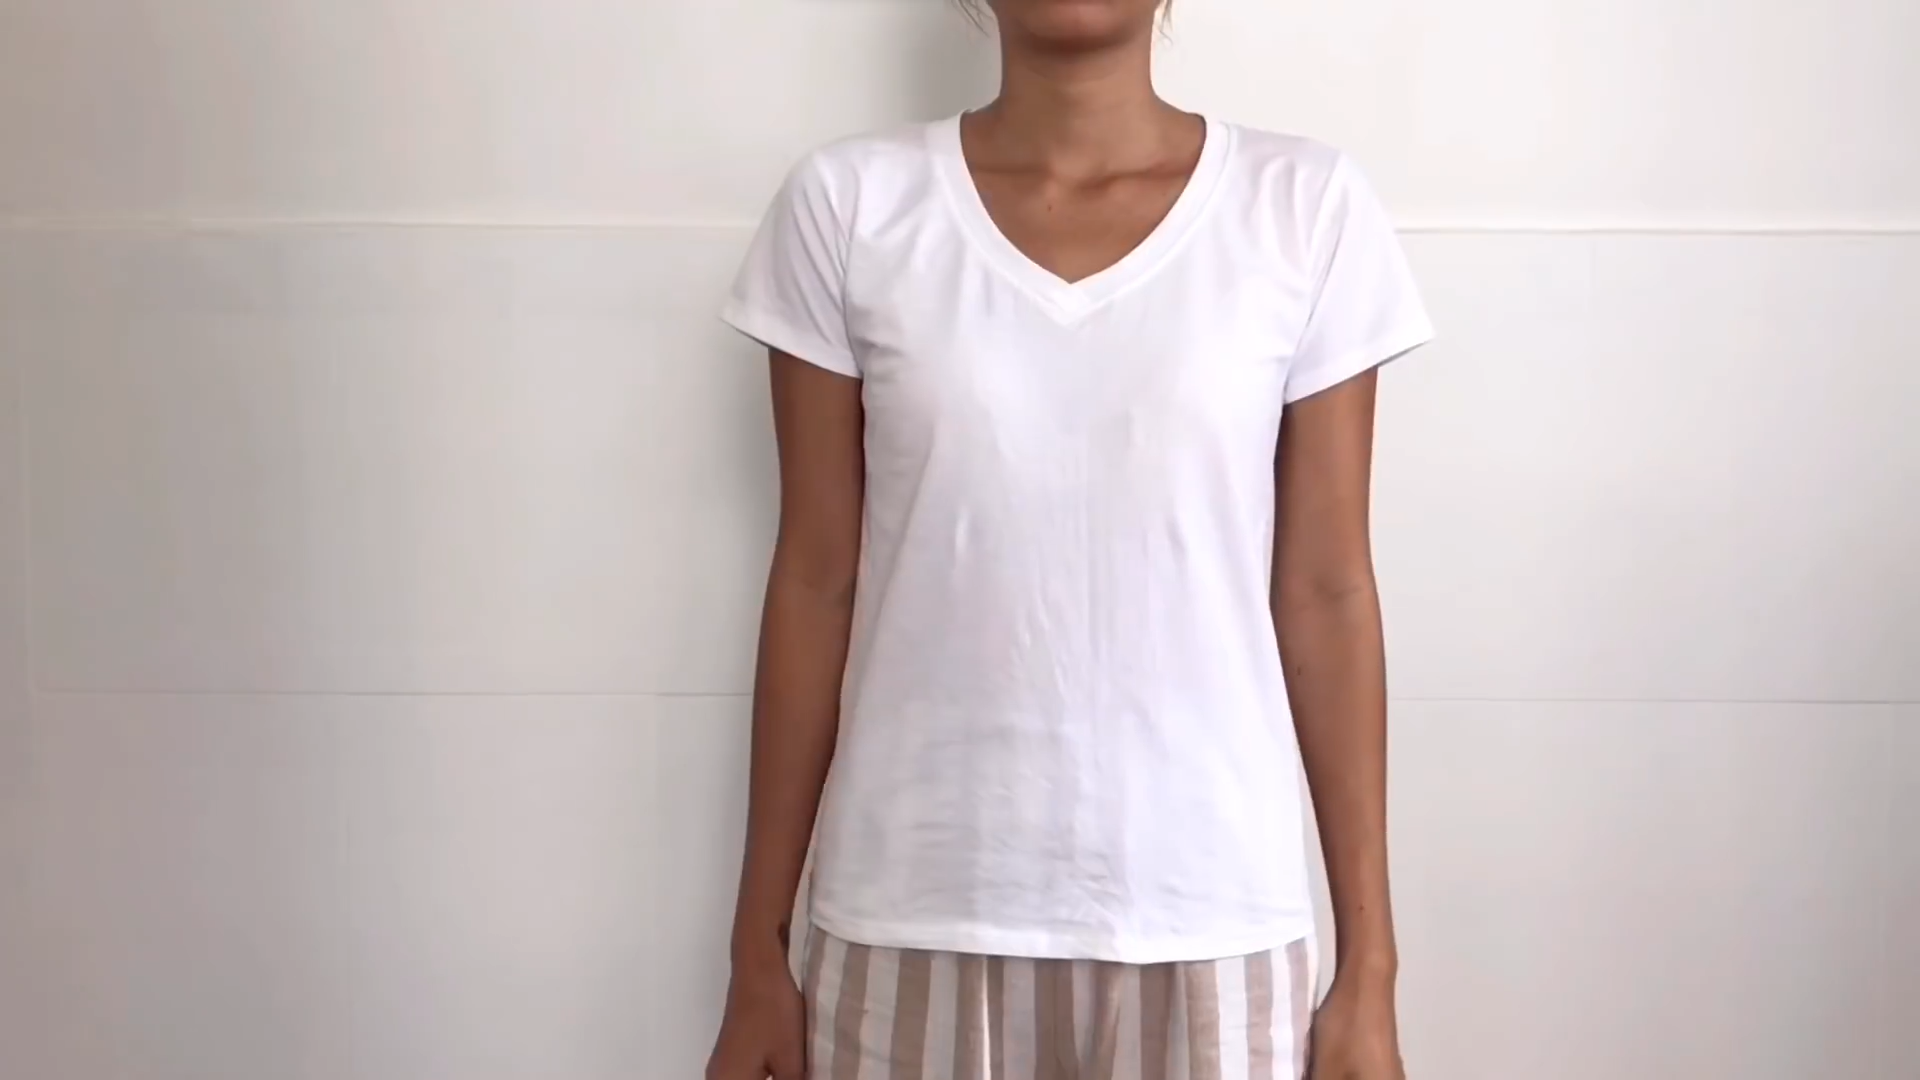
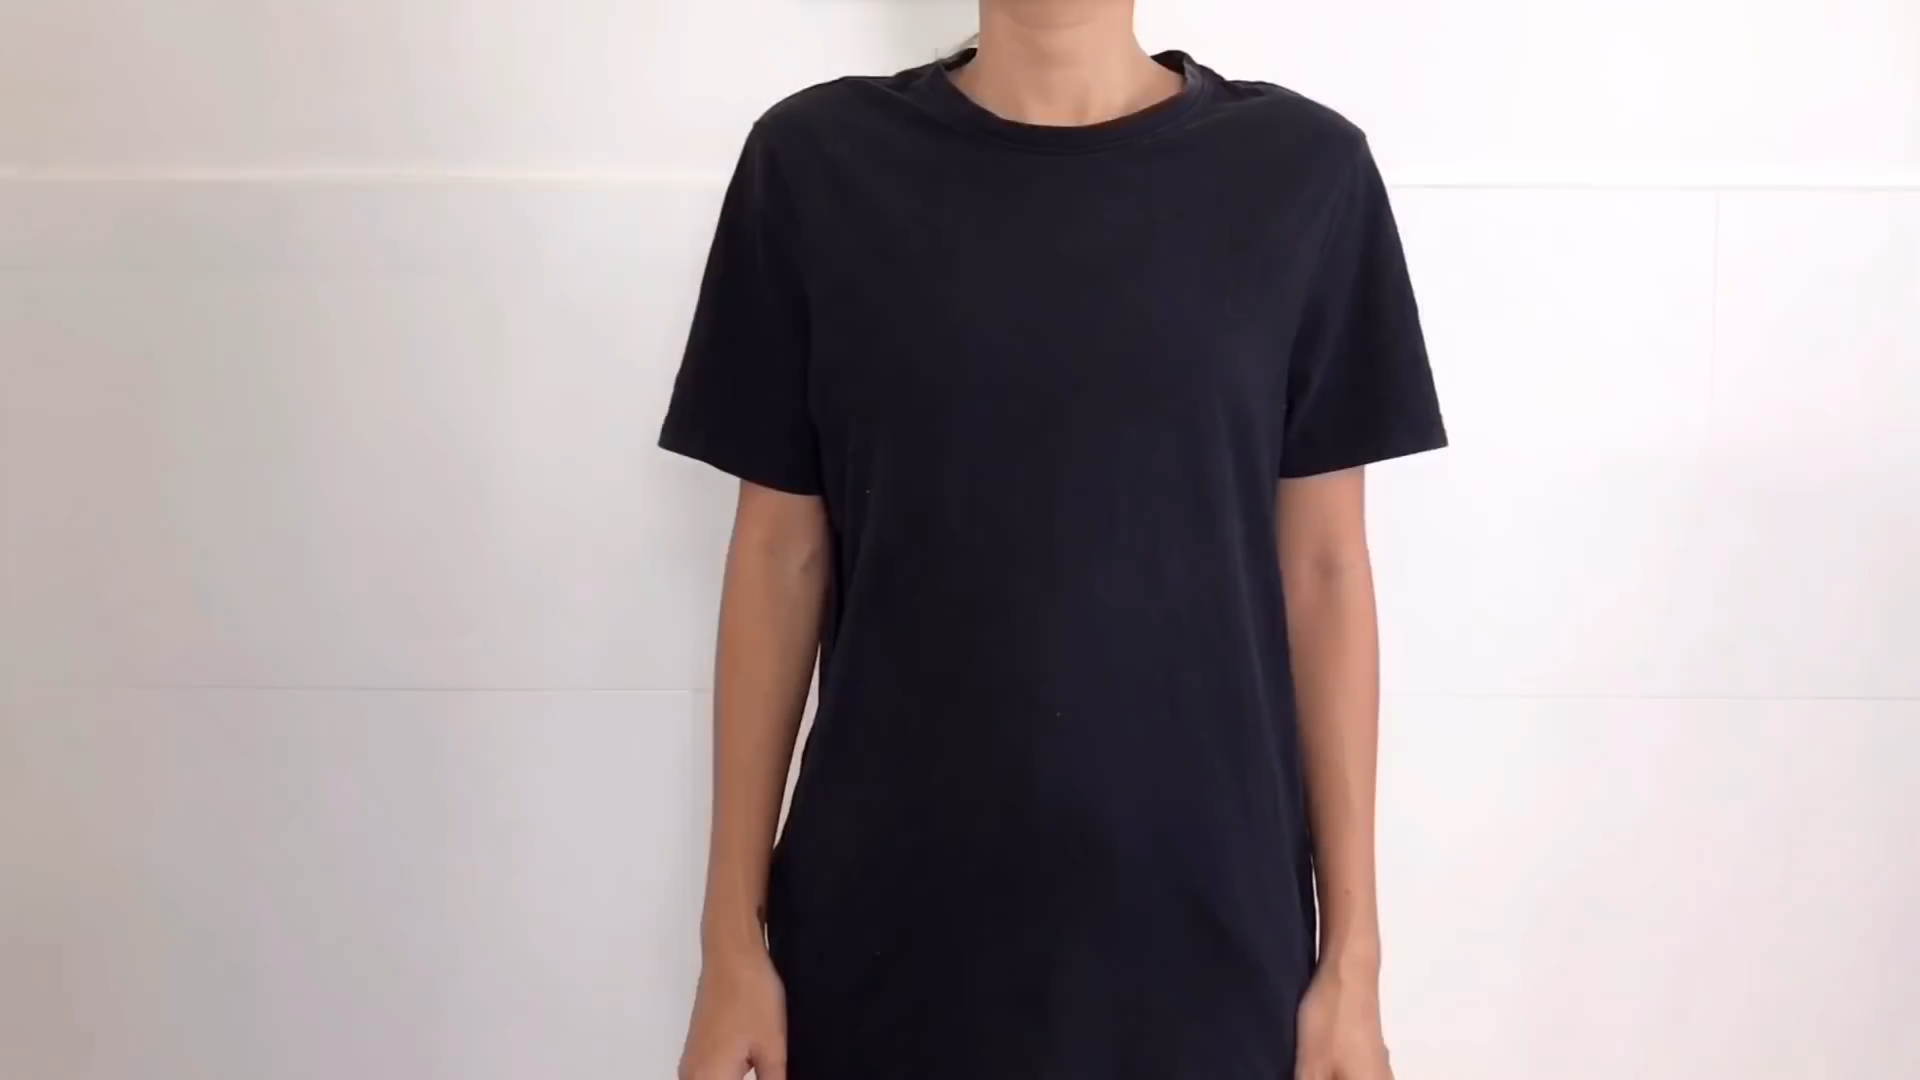
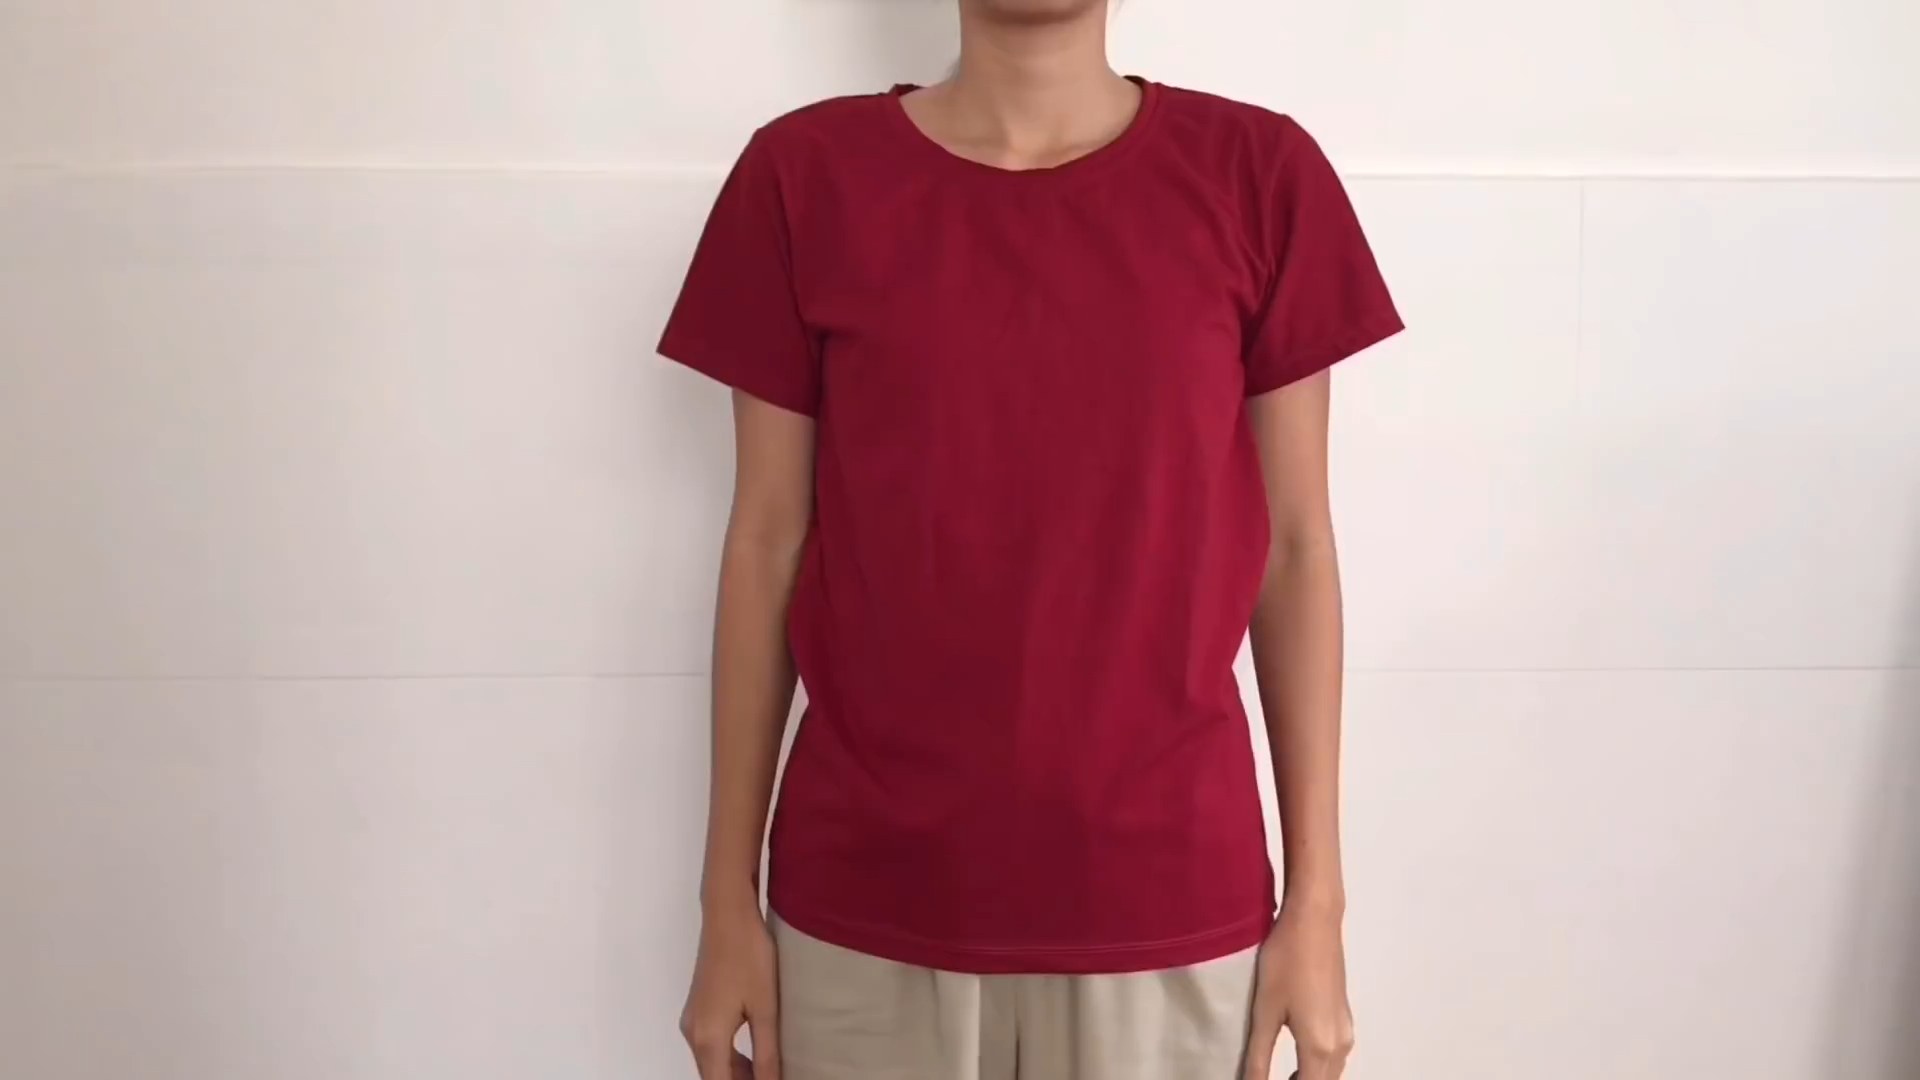
It's officially summer now. And it's a perfect time for summer crop tops. I know you have lot of ideas from so many brands. But why not give you a weekend project to refashion/recycle your old t-shirts into these summer tops. I promise it won't be difficult as you think. But the transformations will make your summer days way cuter.
So, let’s get started!
WHAT YOU’LL NEED

T-shirt
Measuring tape
Tailor’s chalk
Scissors
Pins
Sewing machine
WRAP CROP TOP
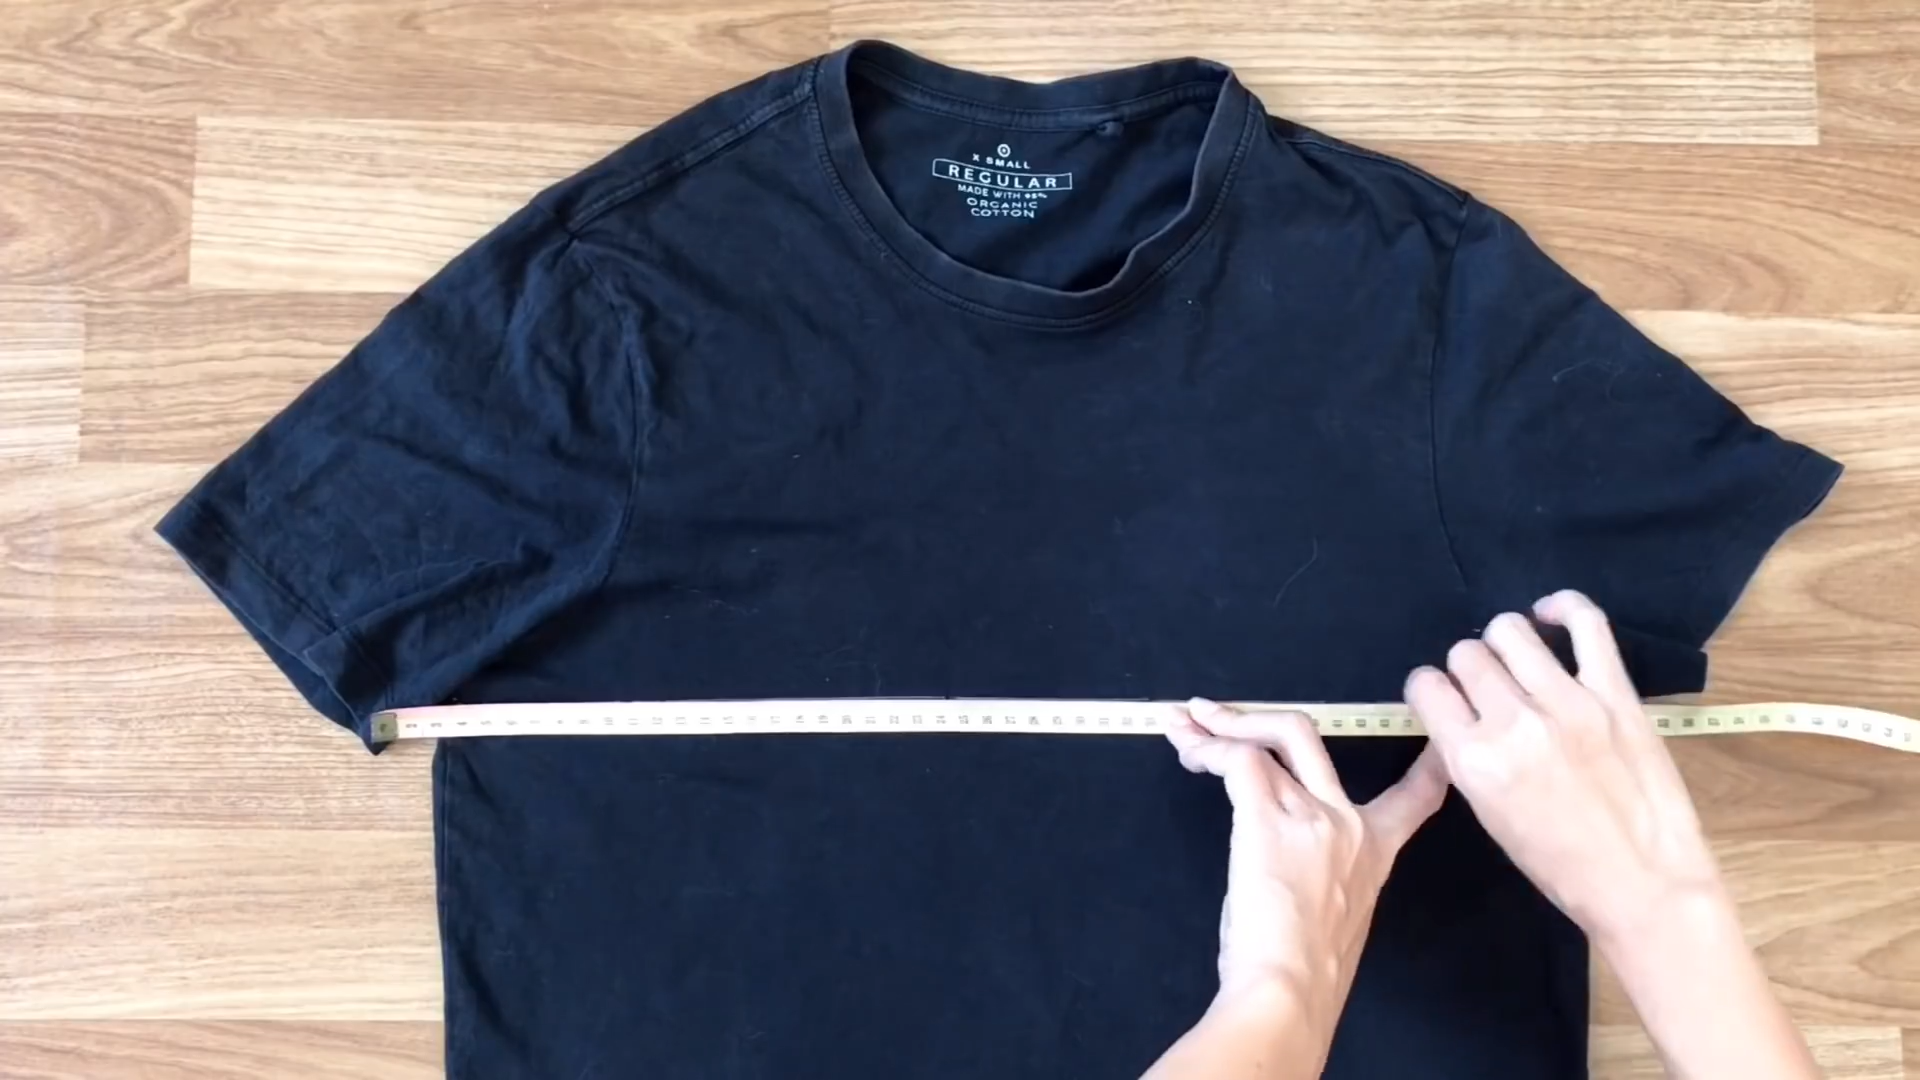
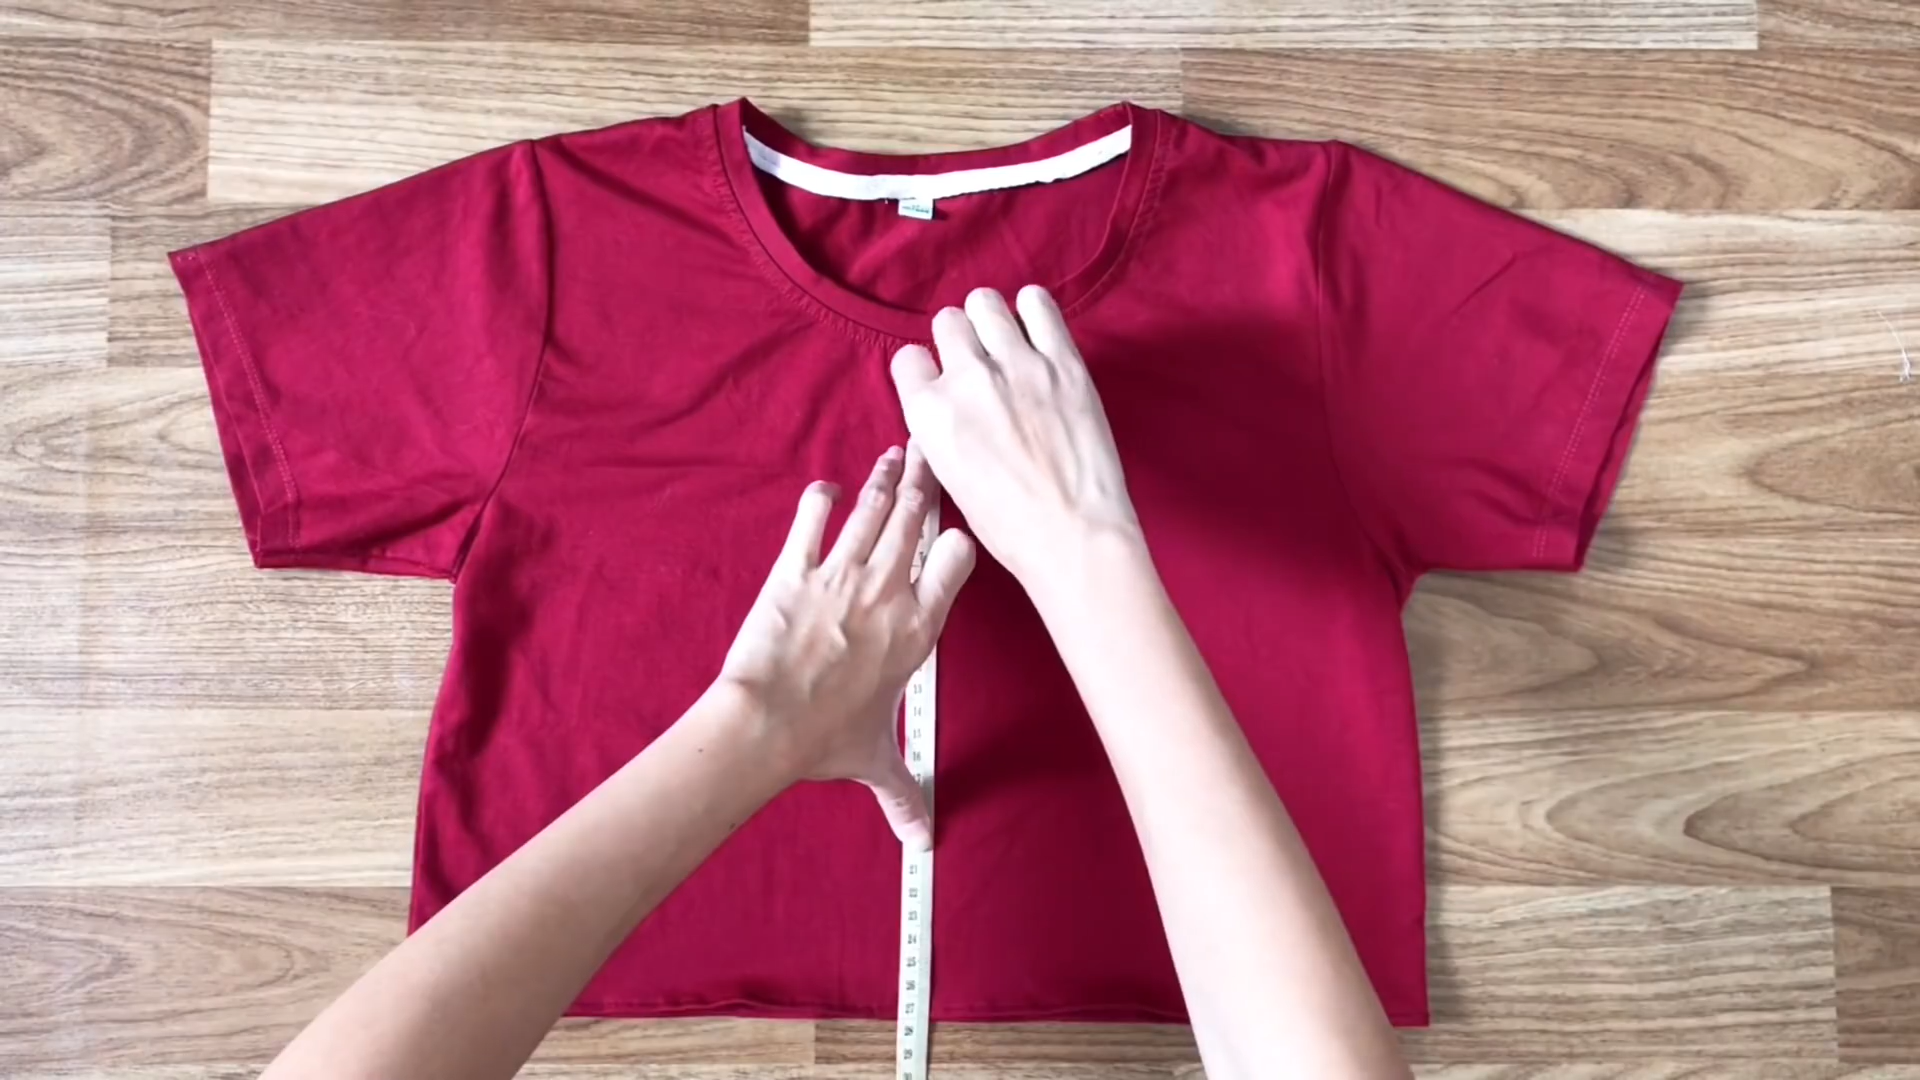
I used a medium size t-shirt to make this one.
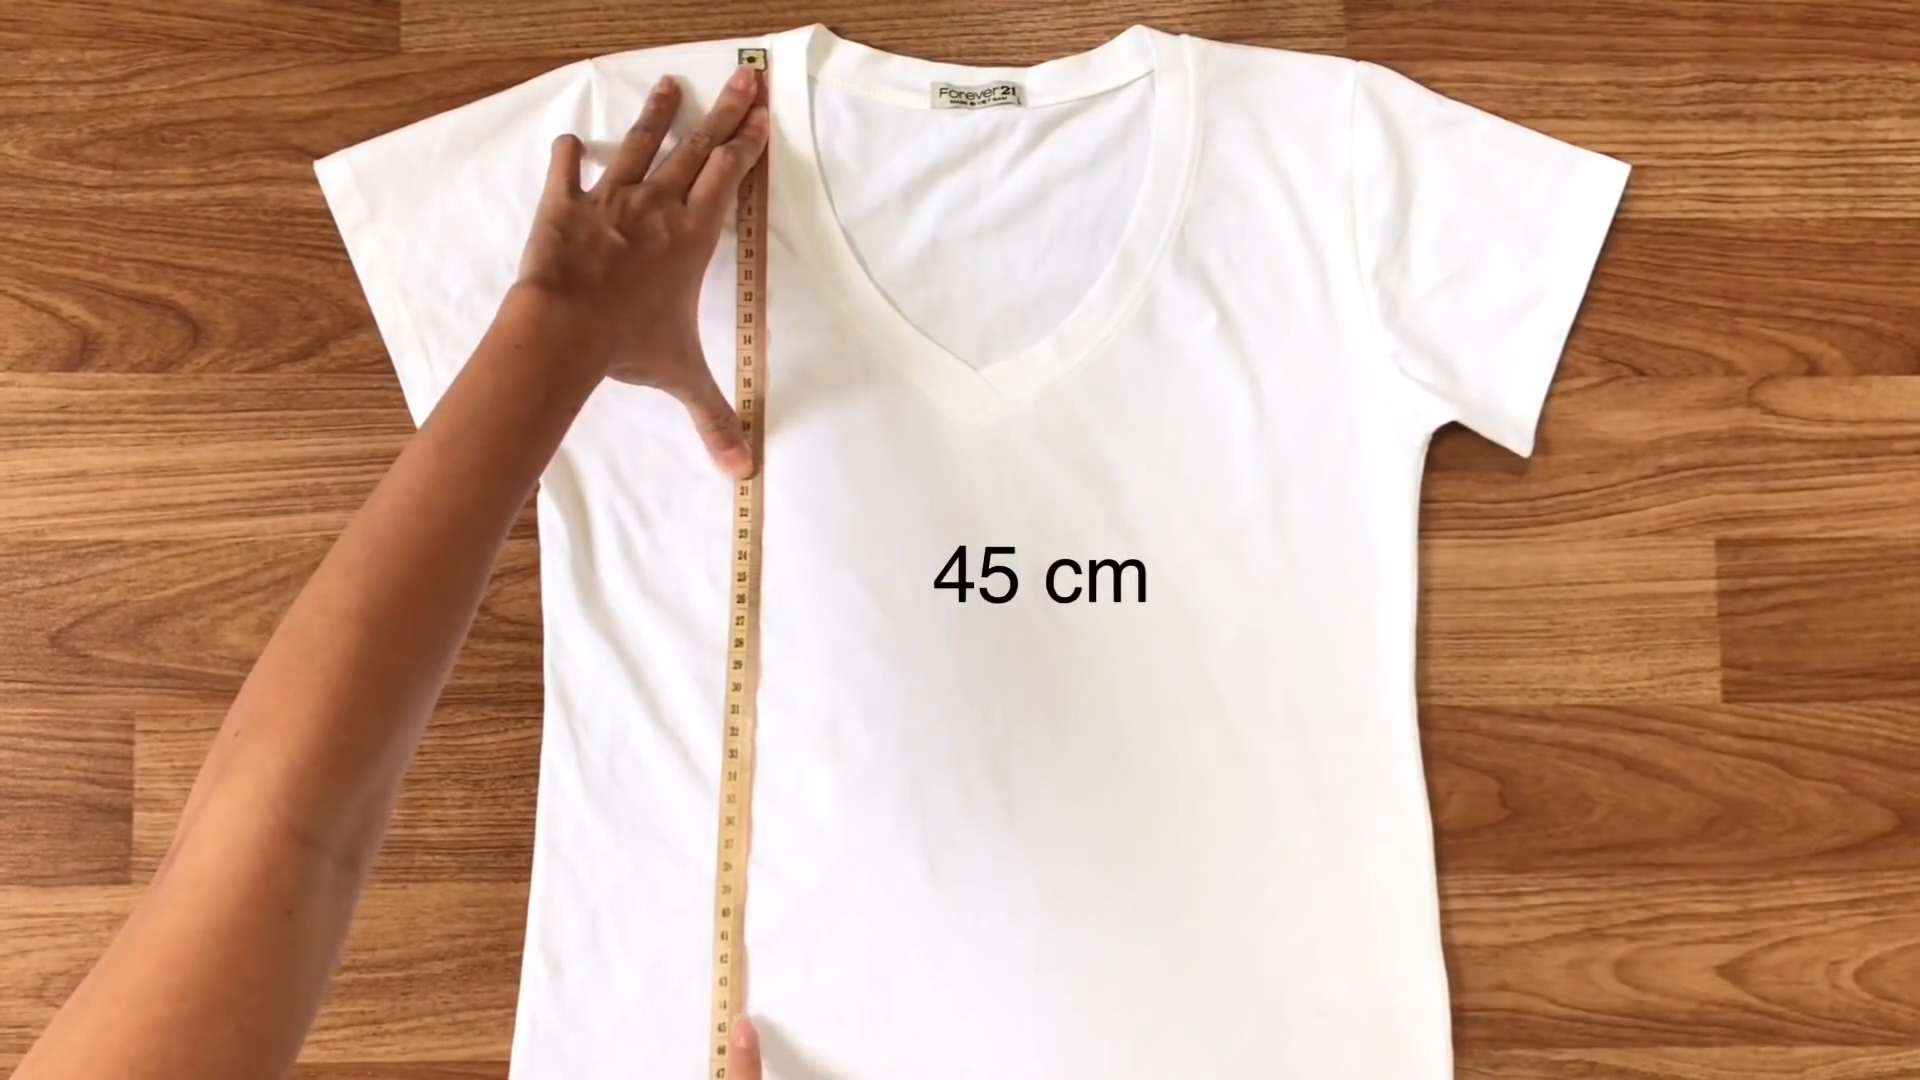
Mark a point 45 cm down from the shoulder of the t-shirt (this is the width from the shoulder to the belly button plus 5 cm).
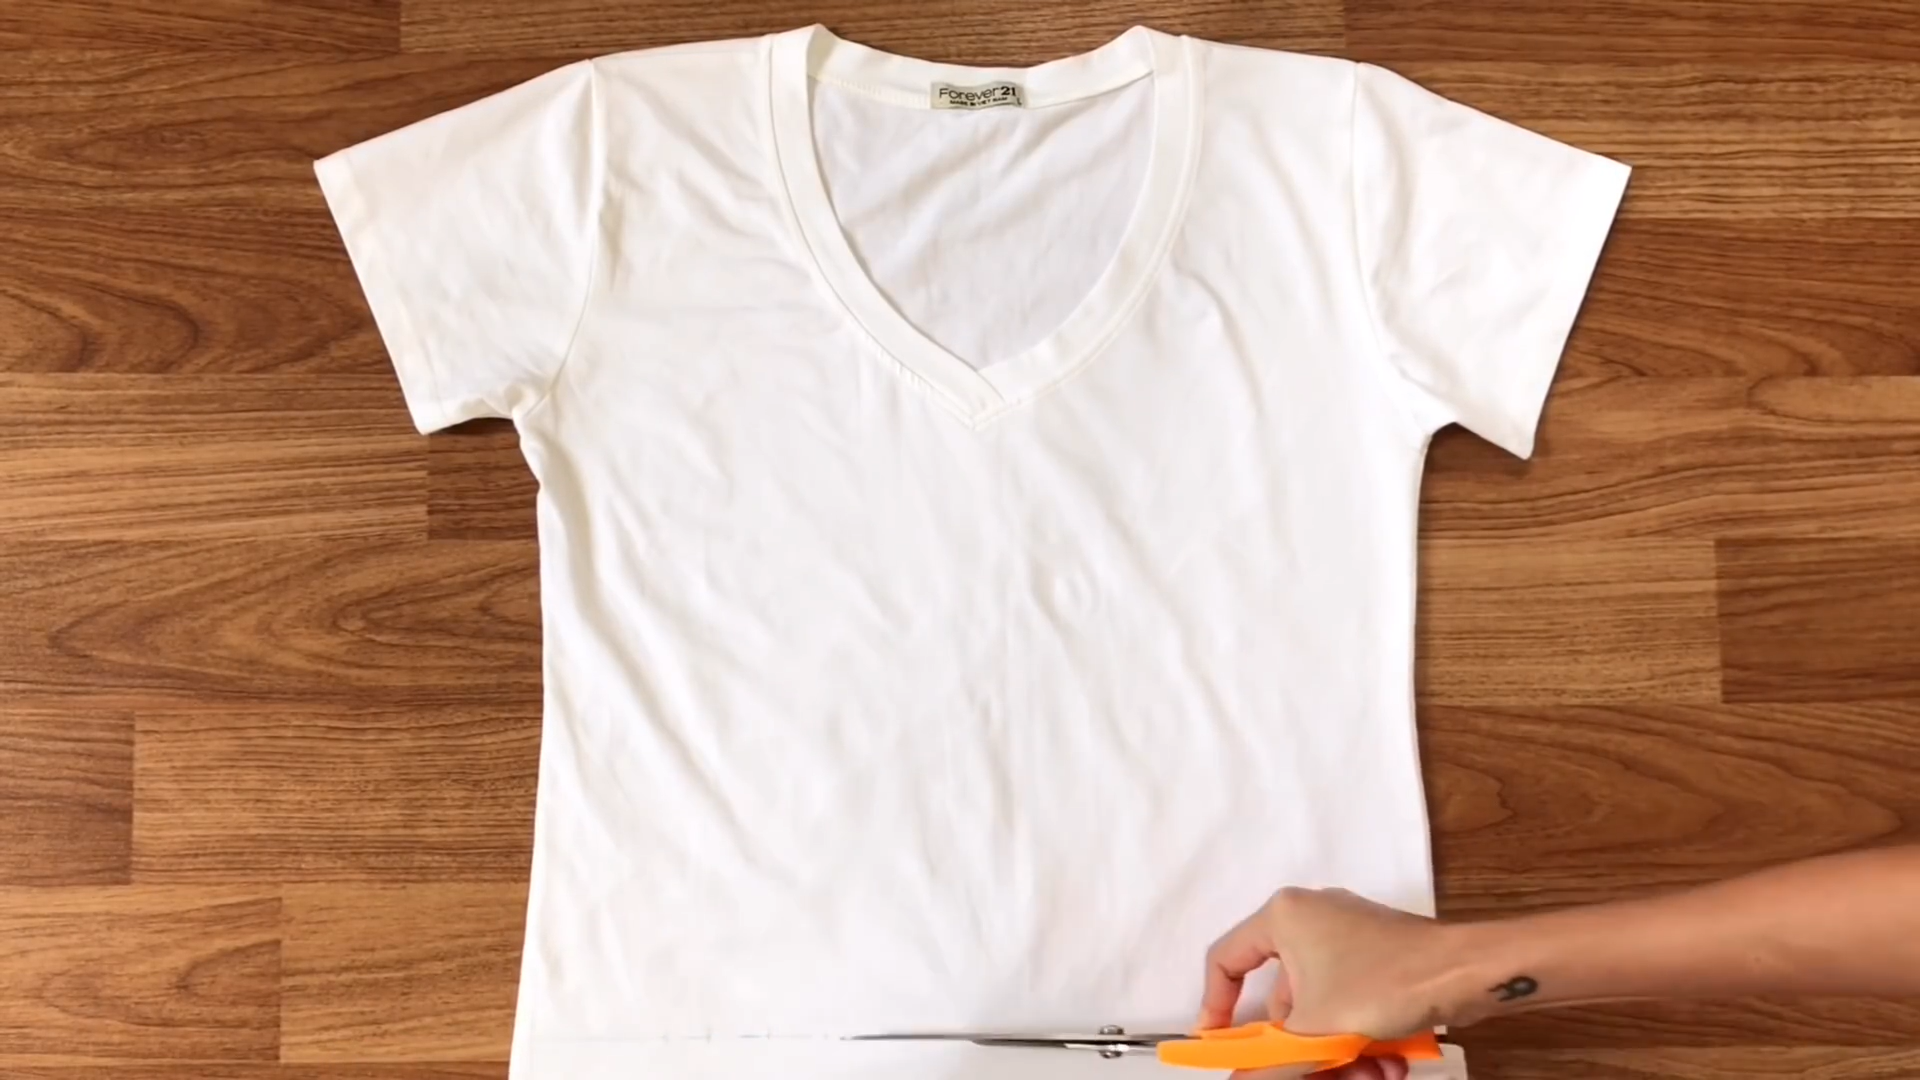
Draw a horizontal line across the shirt at this point and cut along this line.
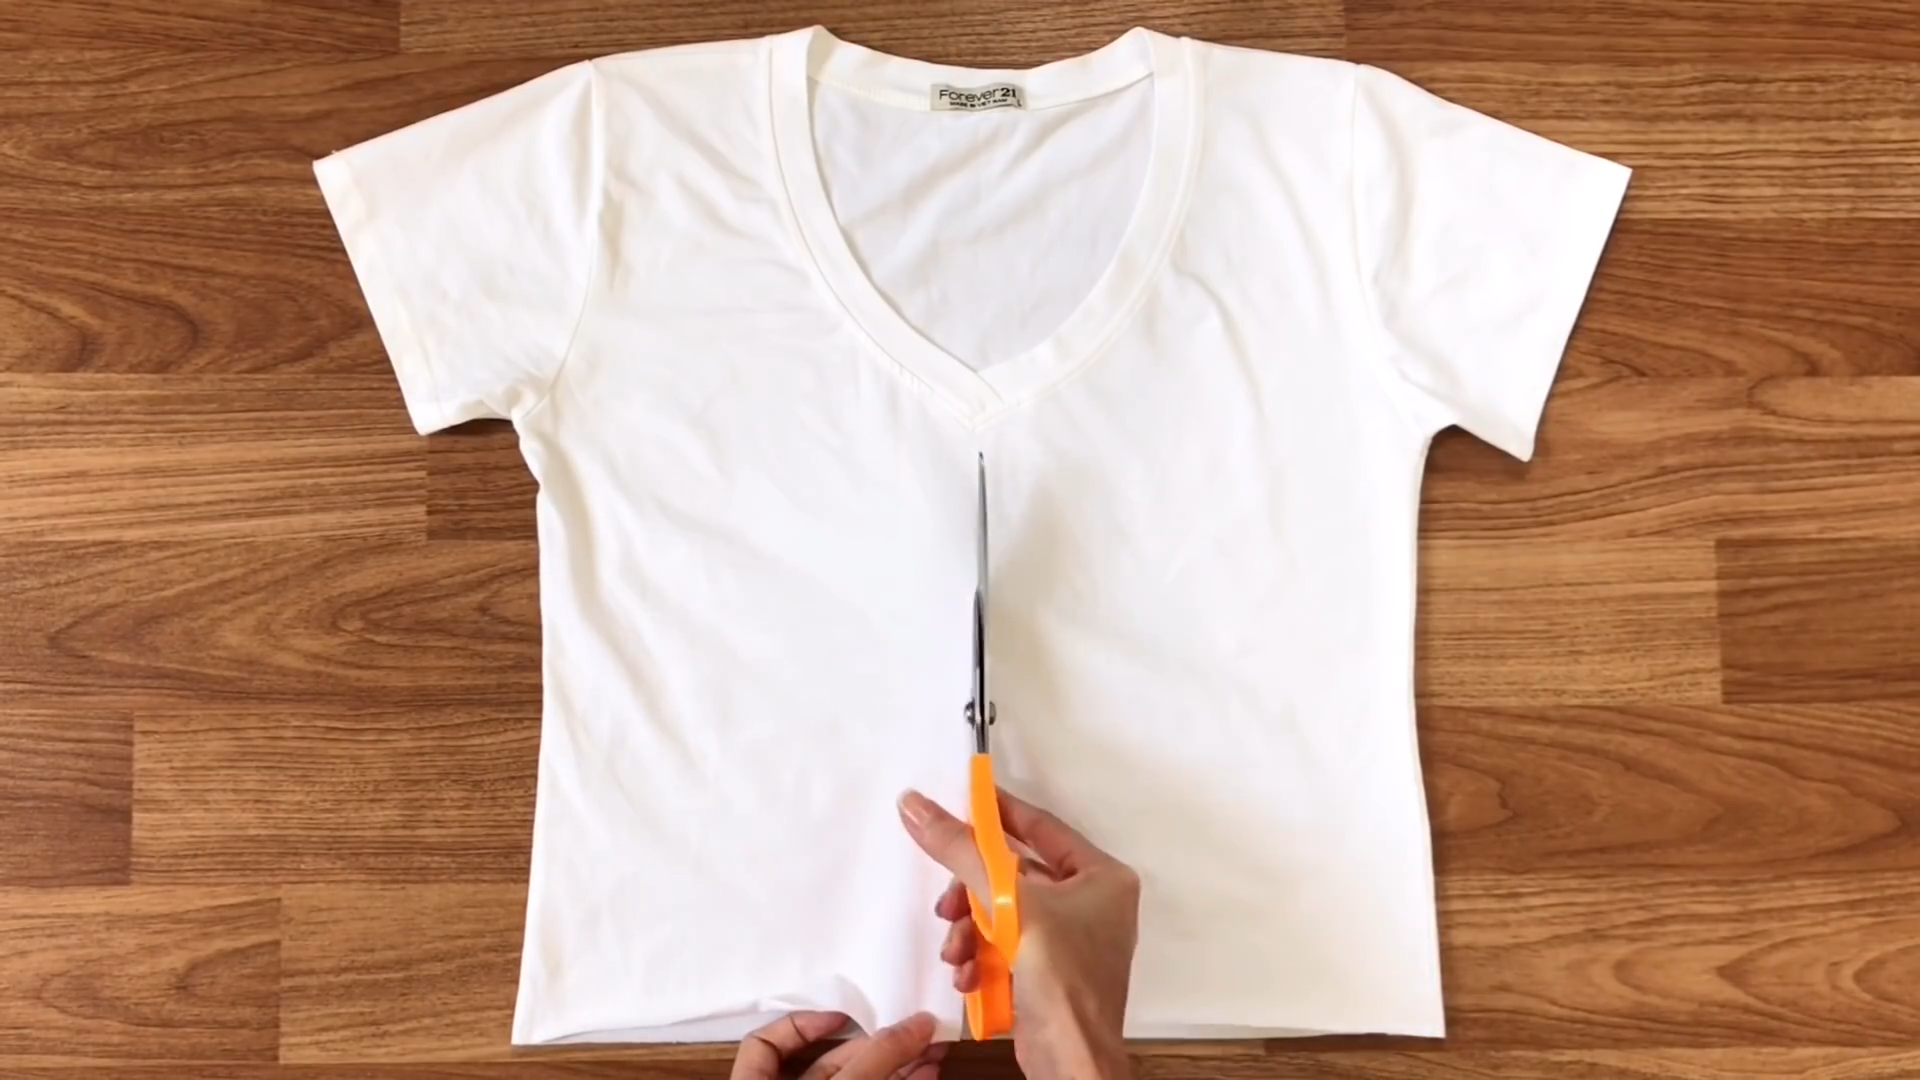
Next, cut a straight line in the middle of the front to open the t-shirt.
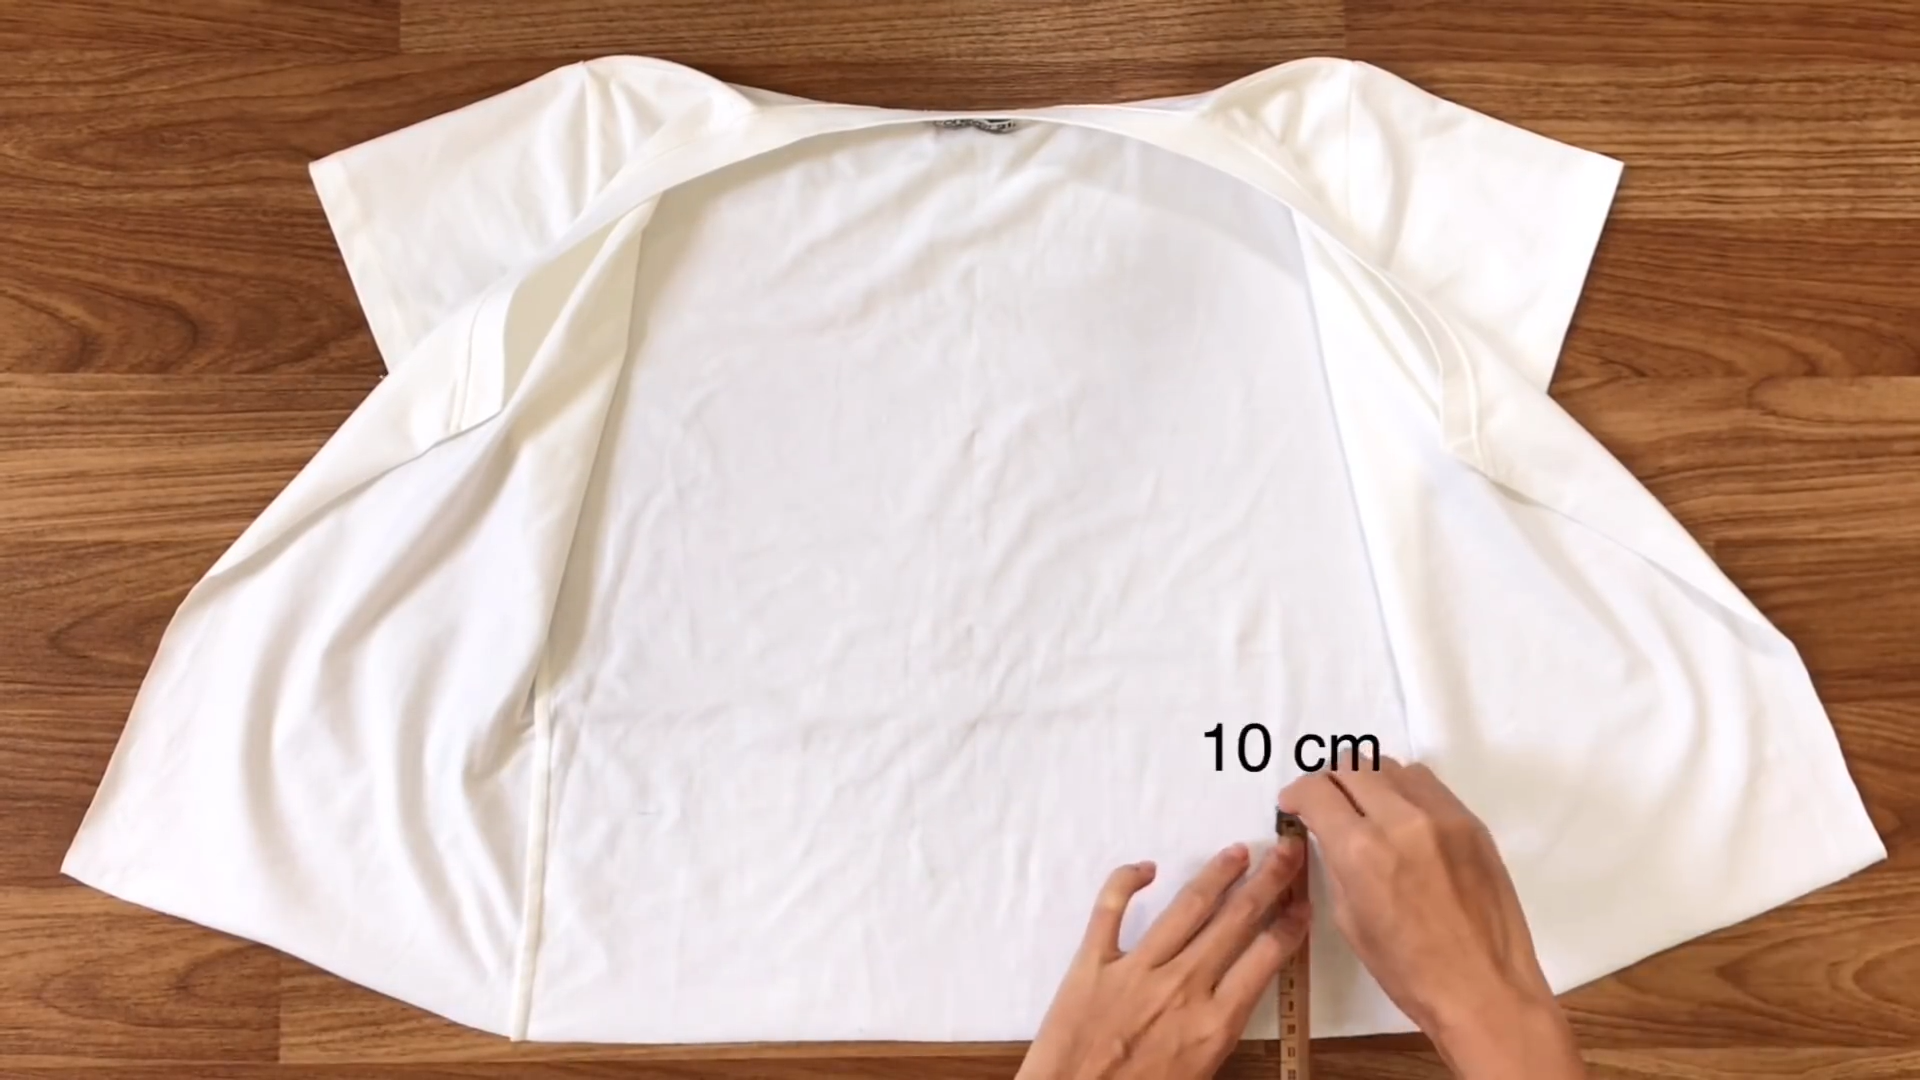
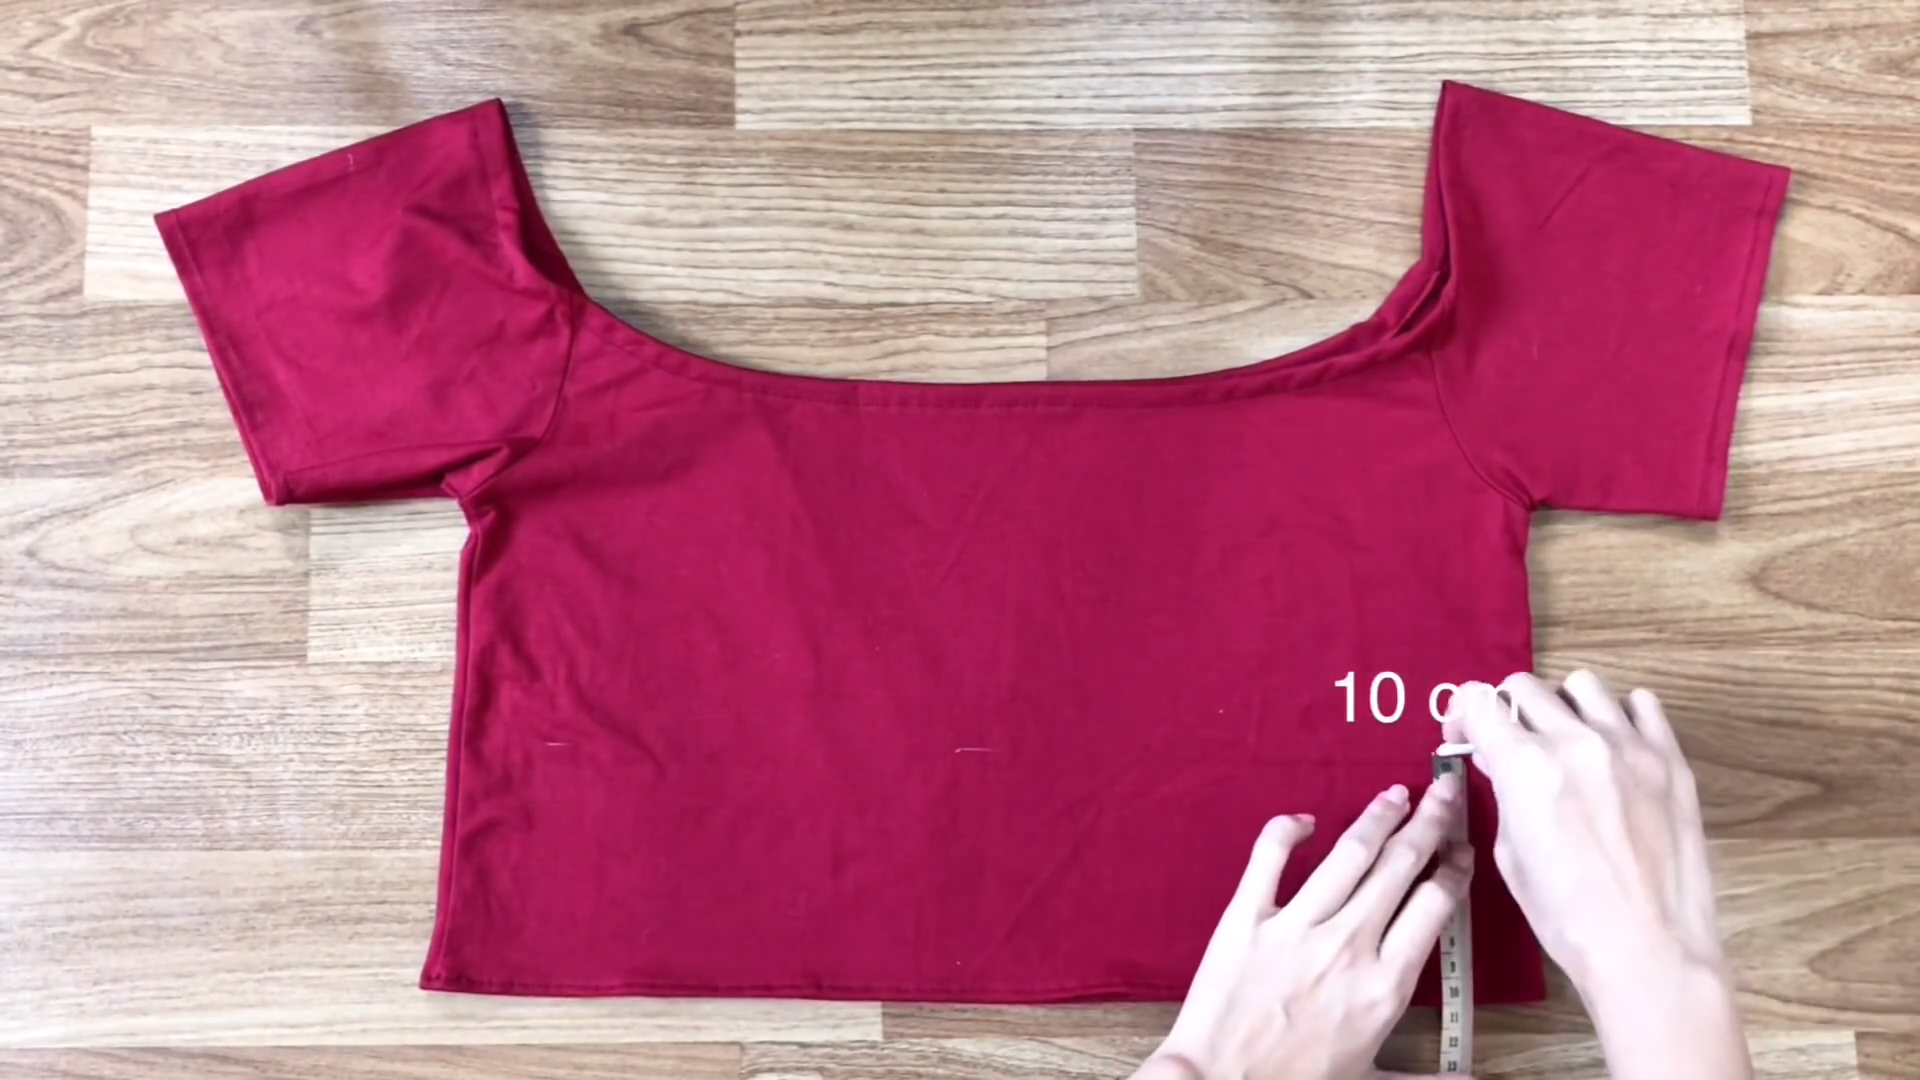
At the end of the back, go up 10 cm and draw a horizontal line there.
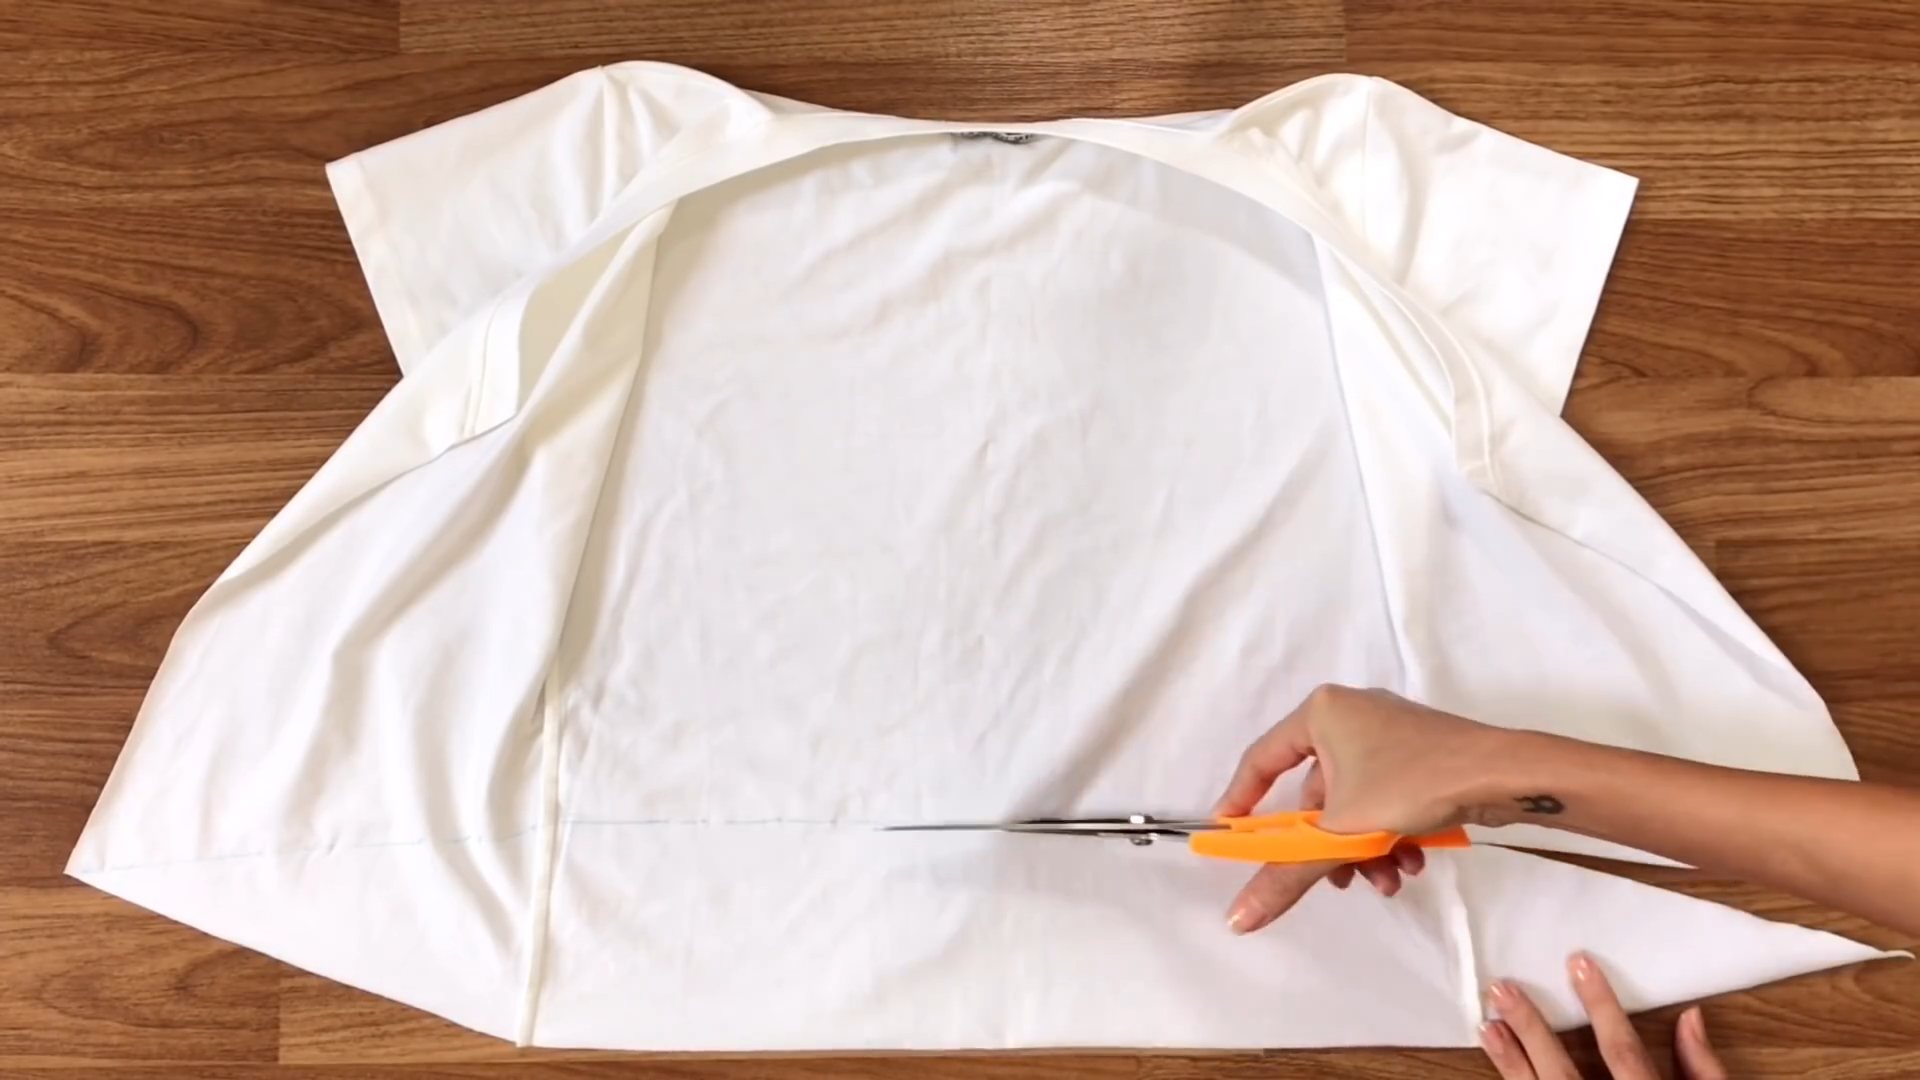
Then, connect the two ends of this line to the two ends of the front and cut.
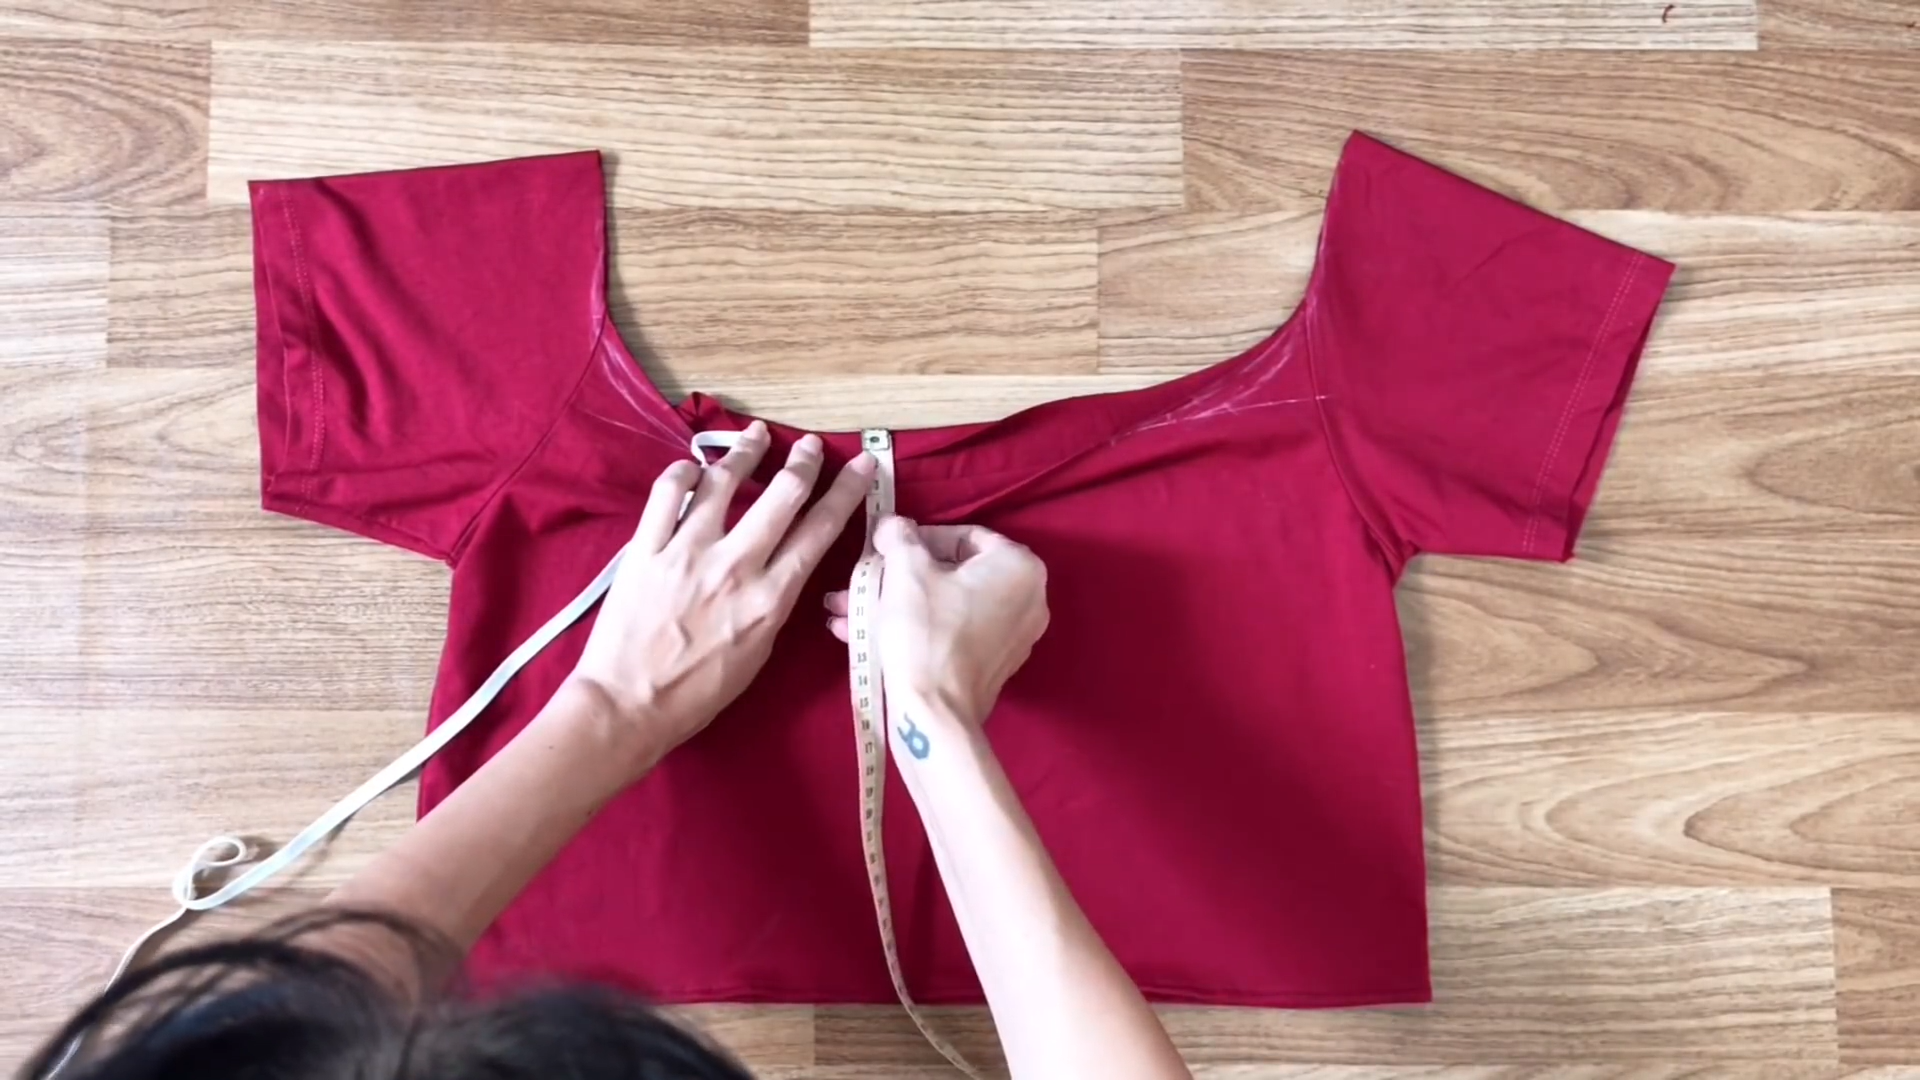
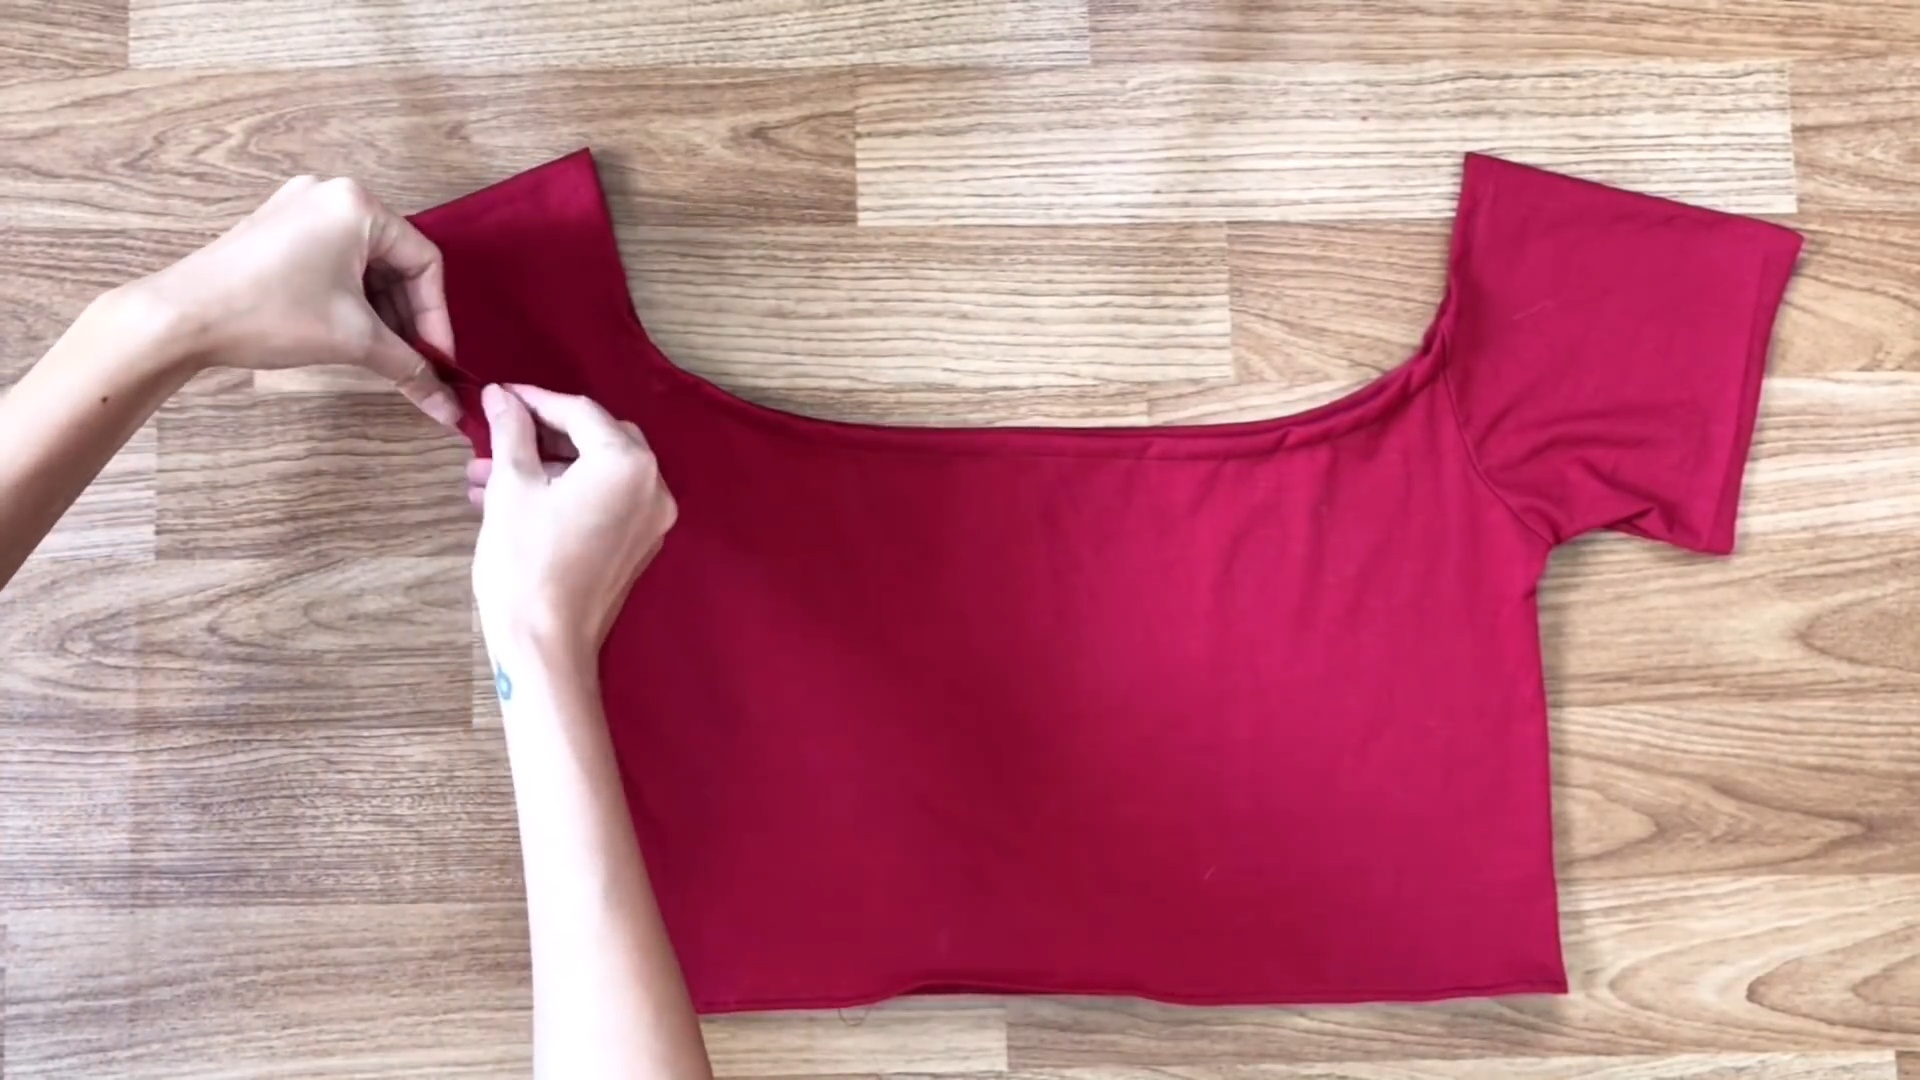
At the front, draw lines to connect the two sides of the neck to the end and cut.
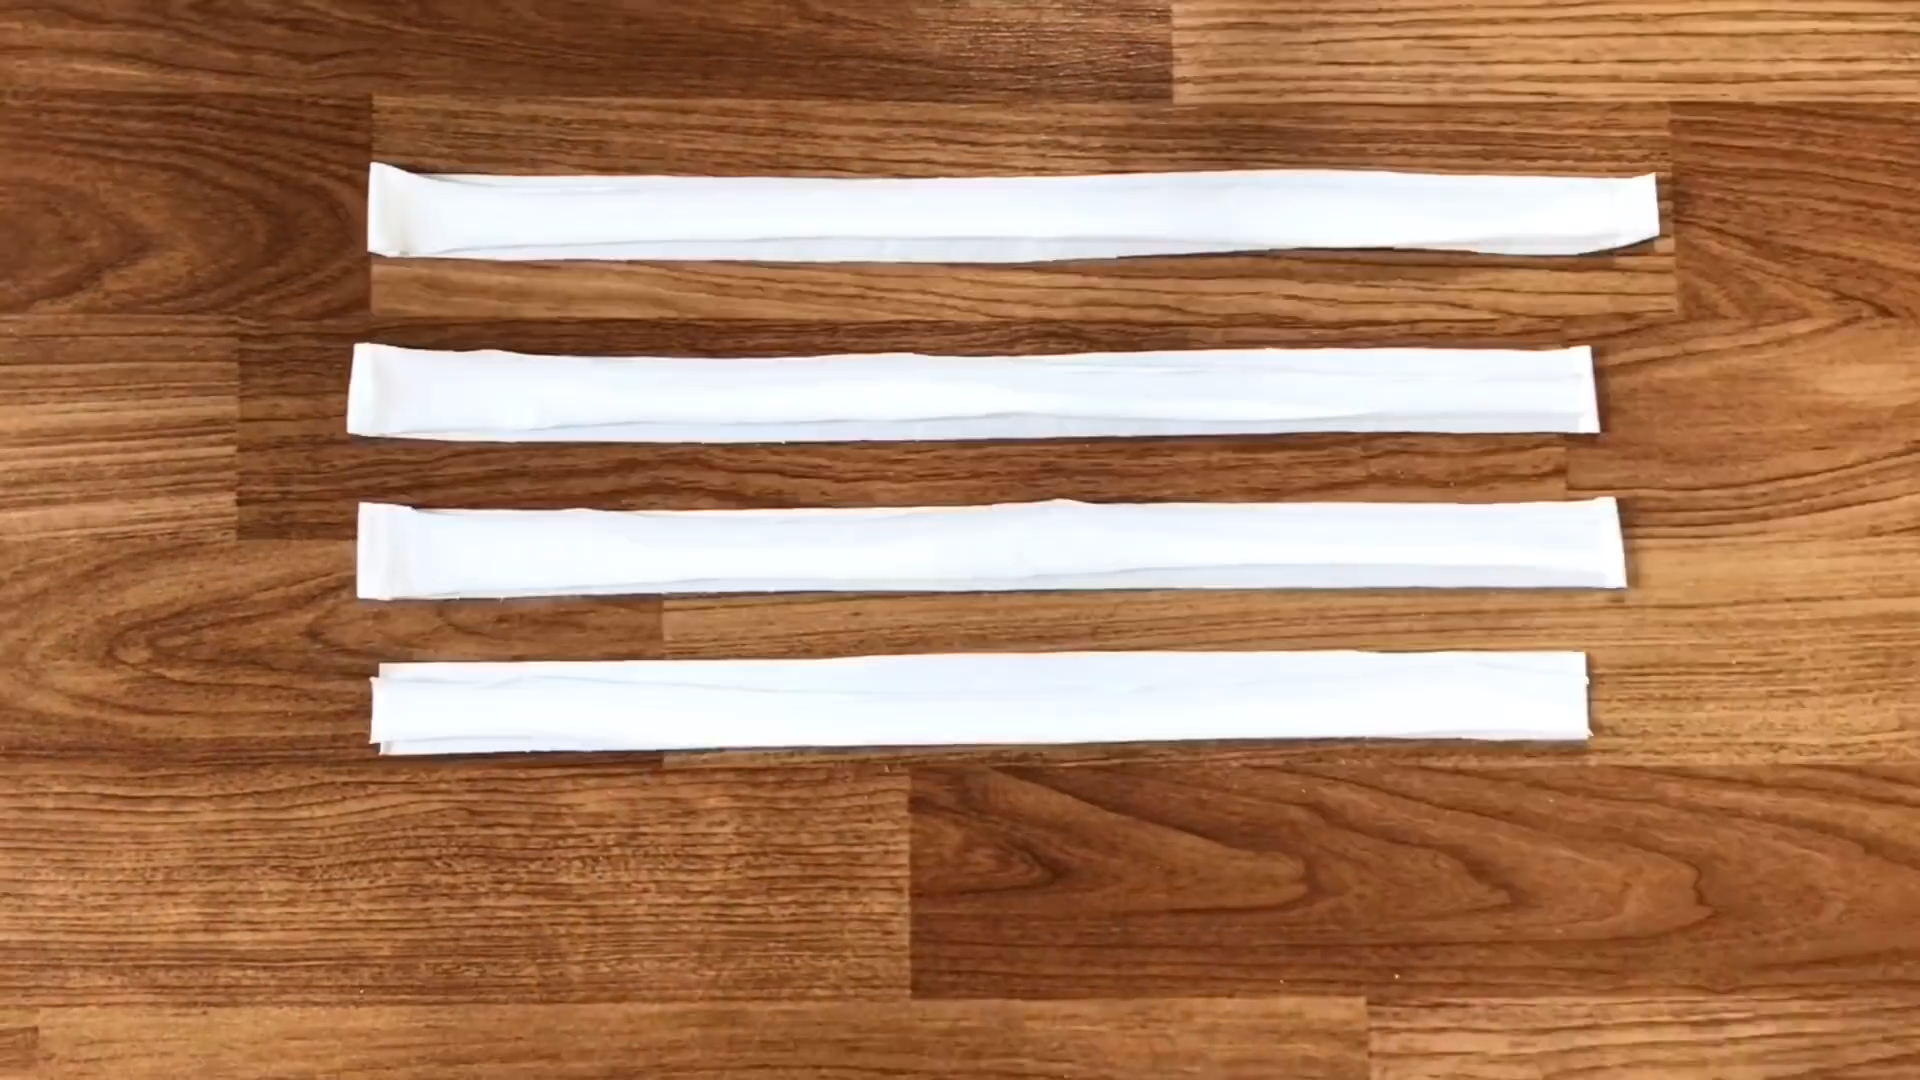
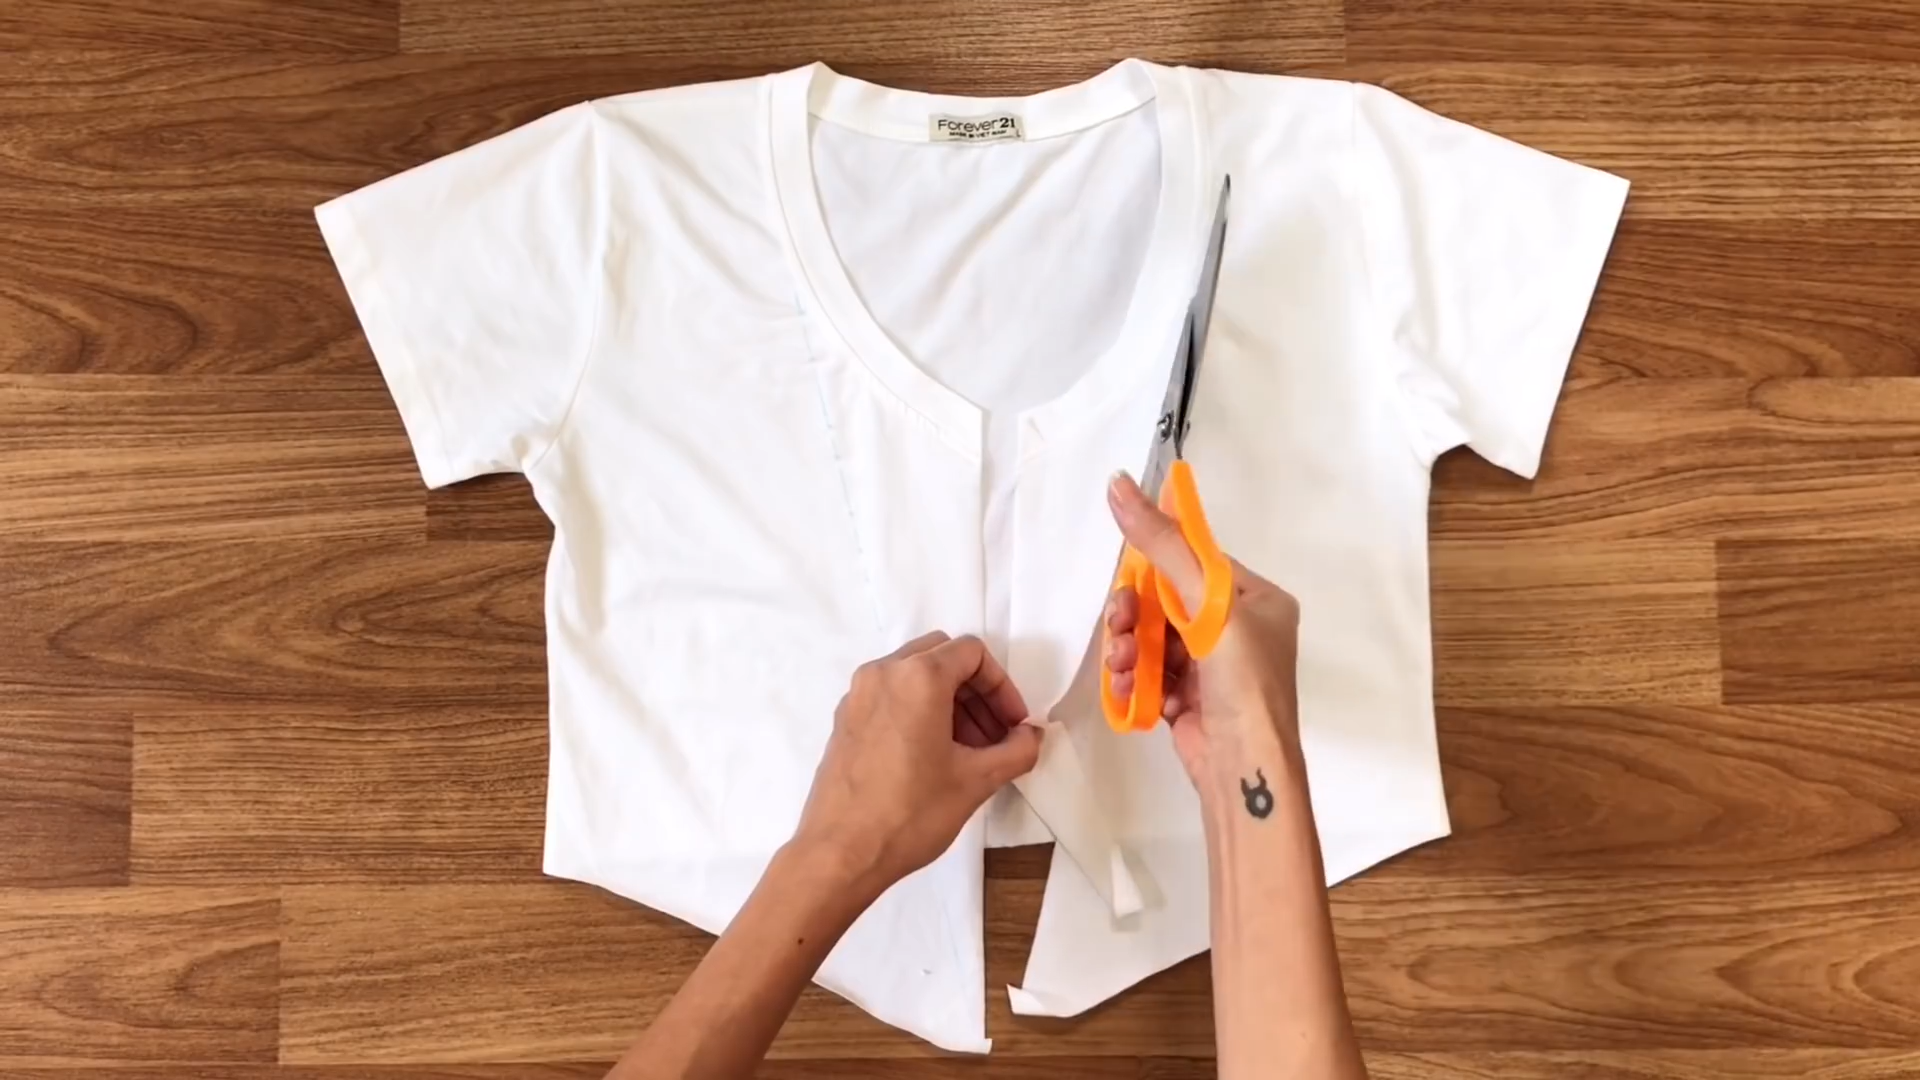
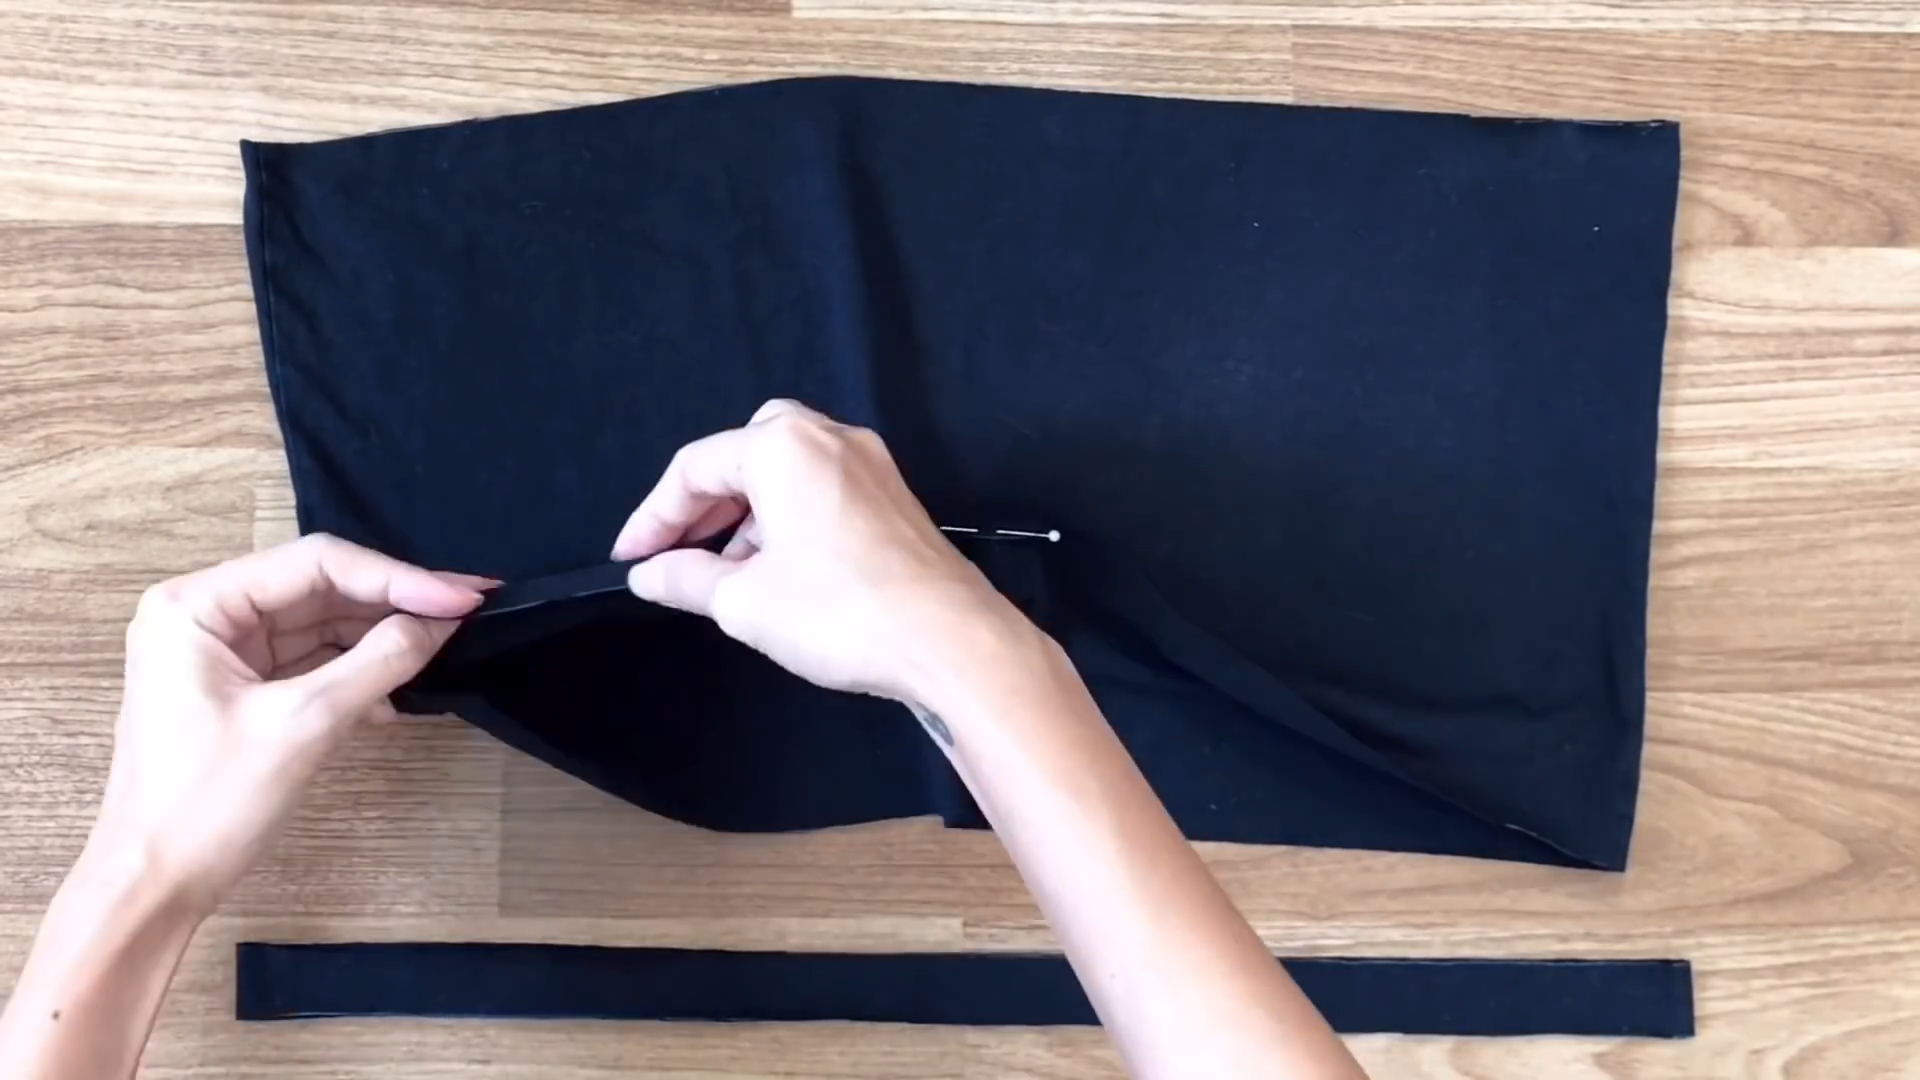
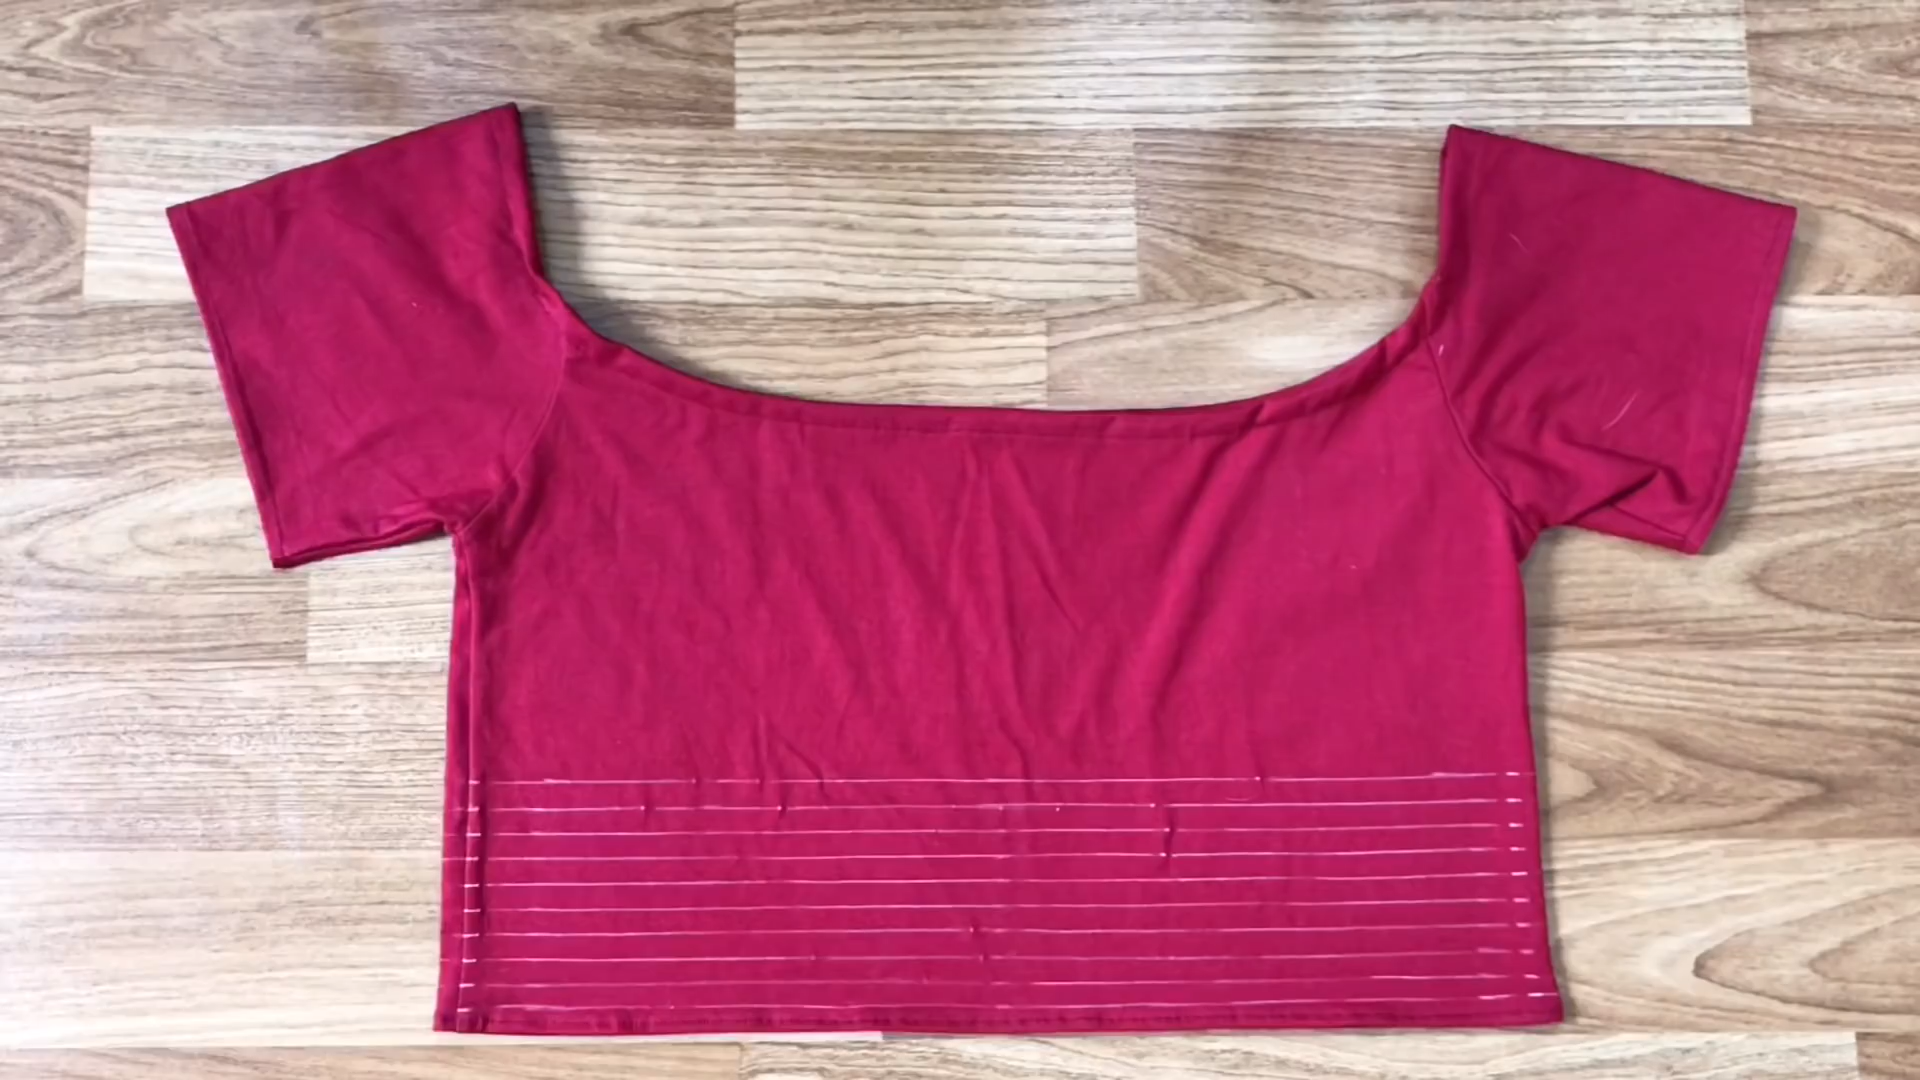
Use the leftover fabric from the t-shirt to cut four pieces each with a width of 3 cm. One piece will be used to hem the neck and the other three will be used to hem the end of the crop top.
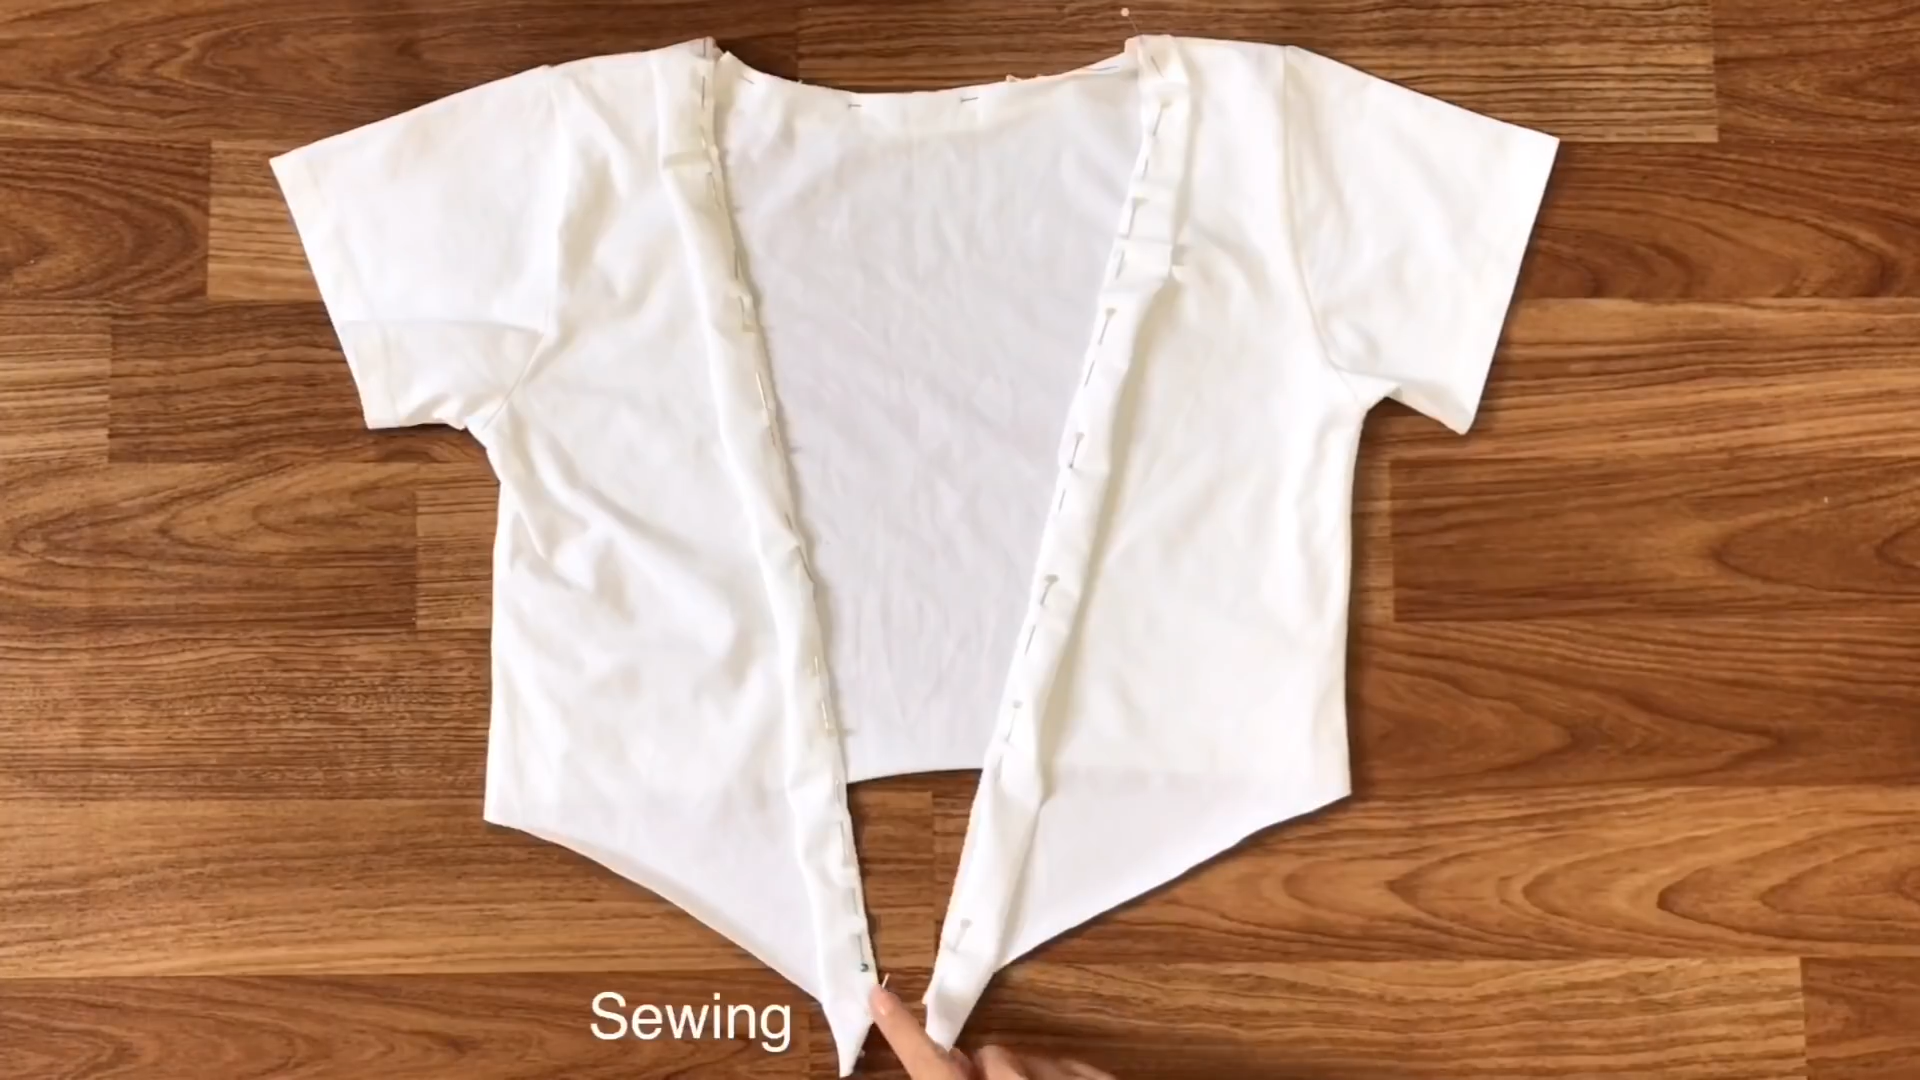
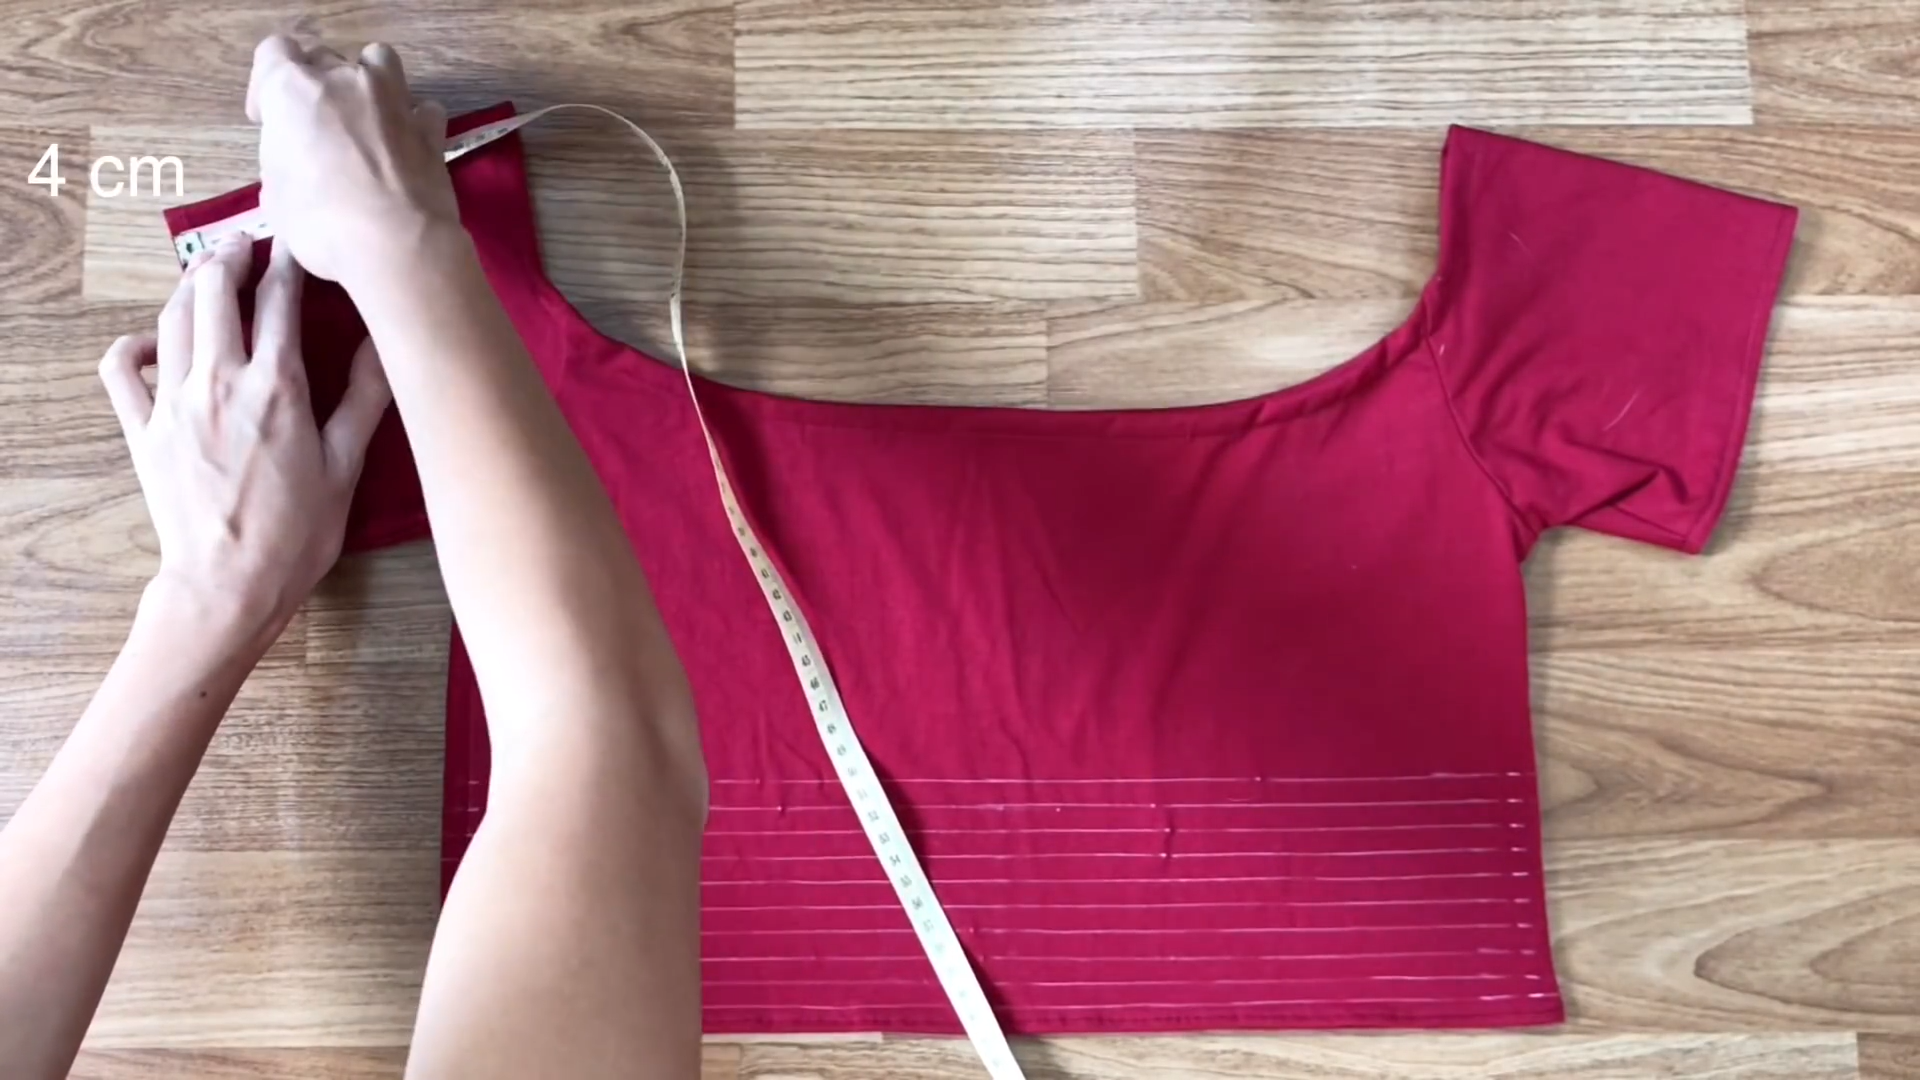
At the neck, sew one piece of fabric to the neck at one side first.
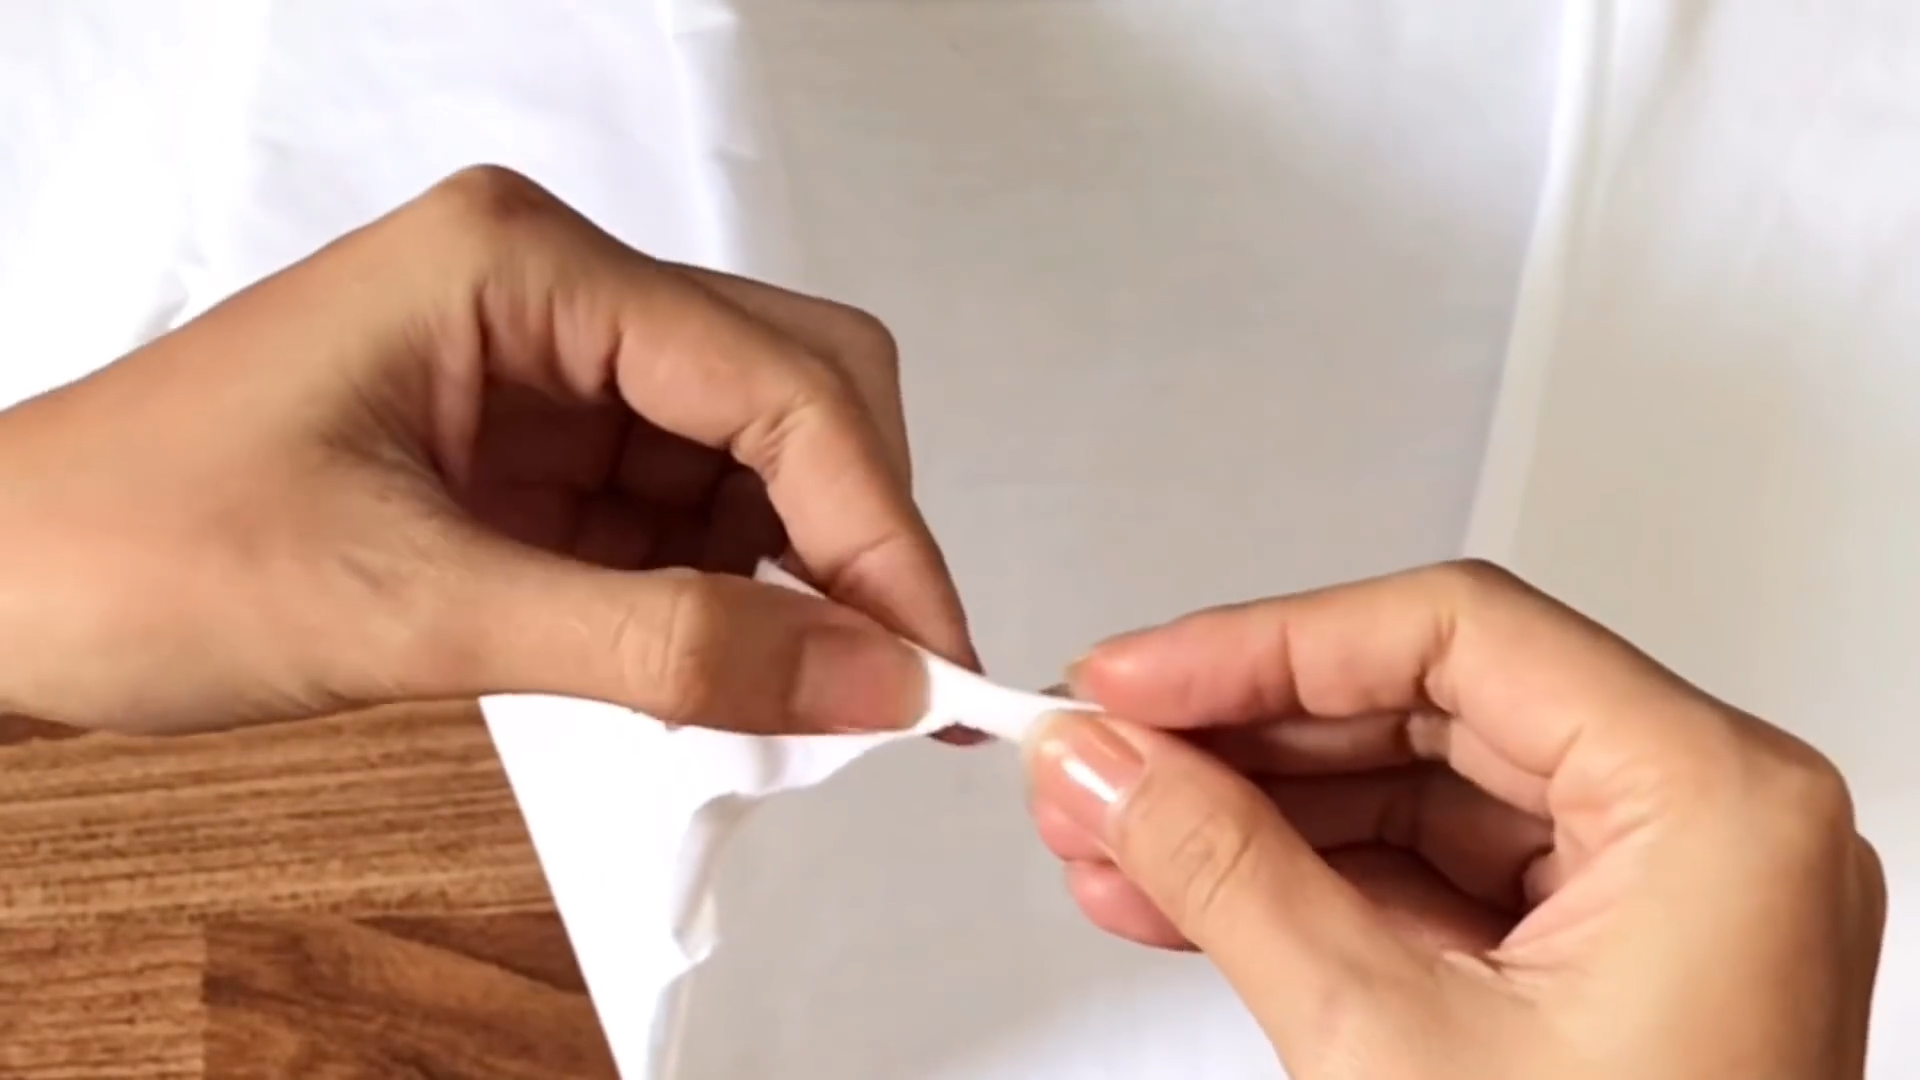
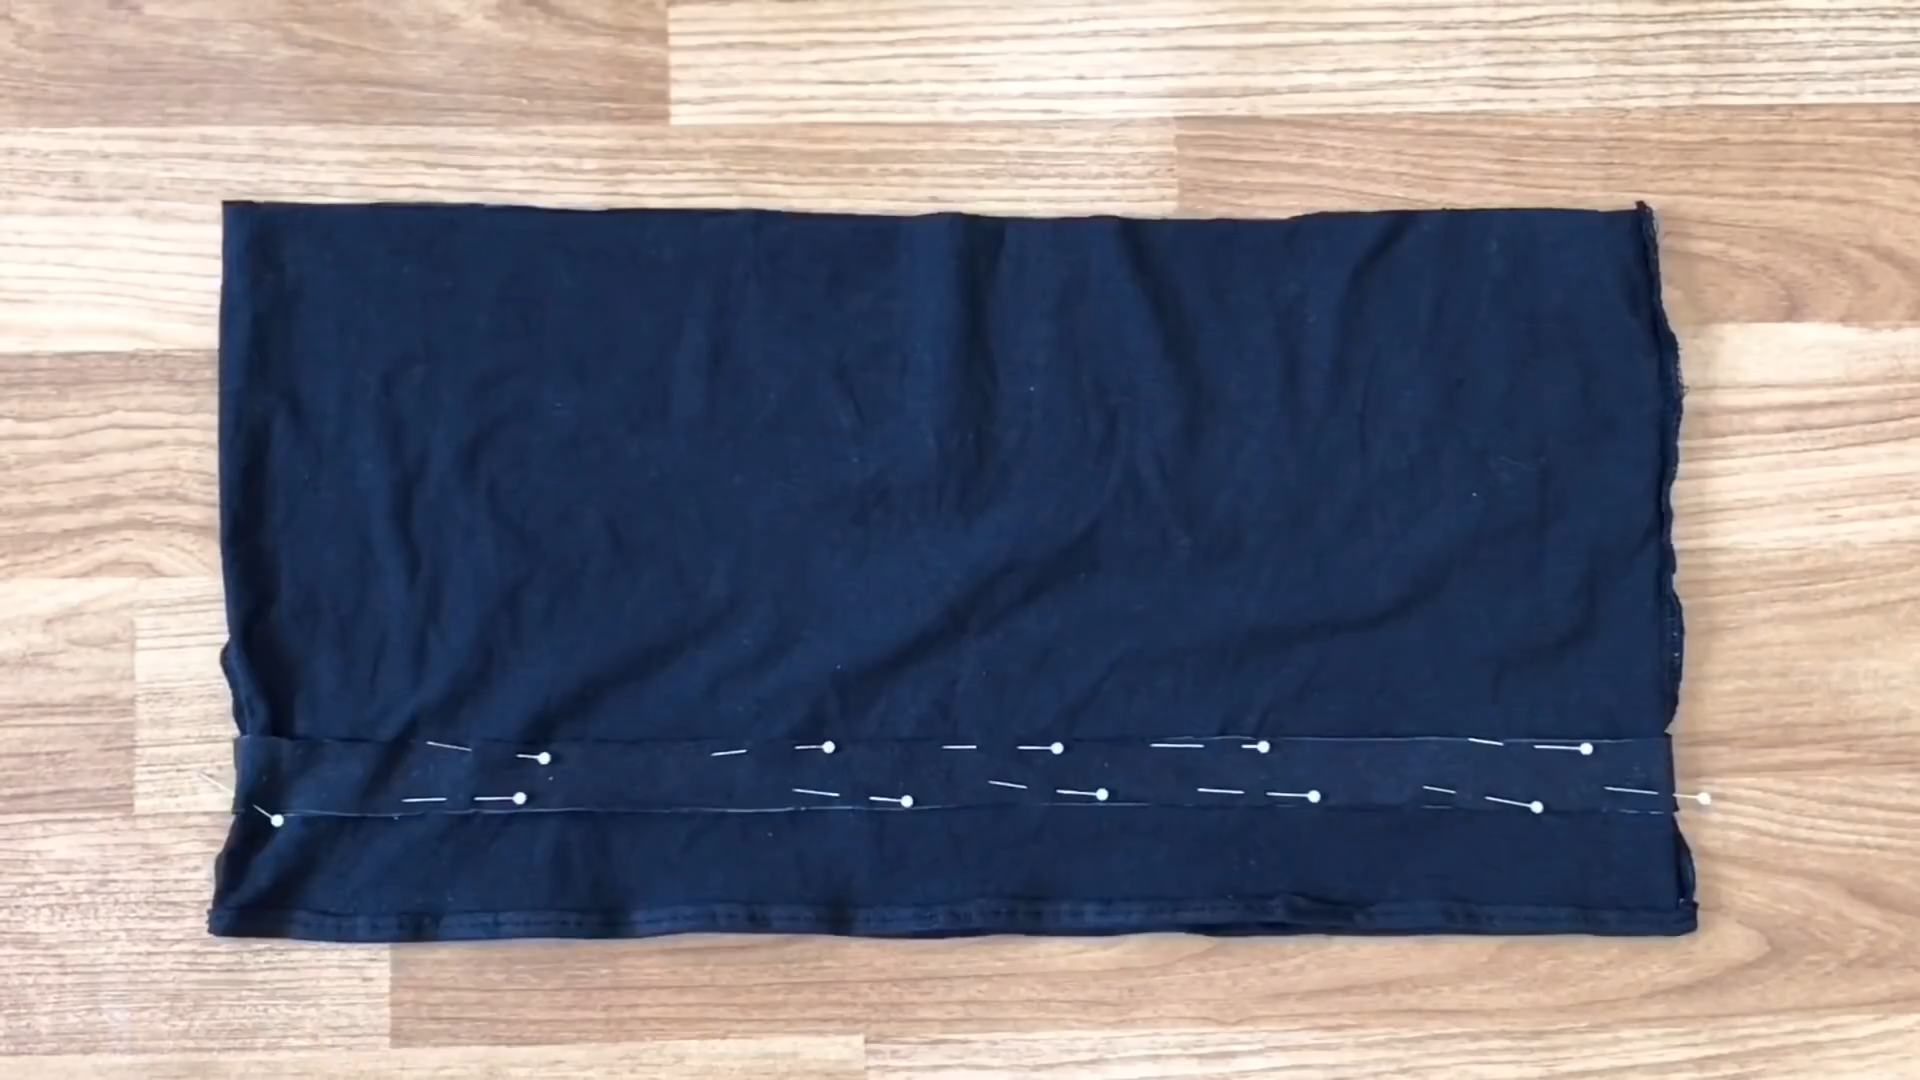
Then, fold the other side inside twice. The technique to do this is similar to making bias tape, then sew.
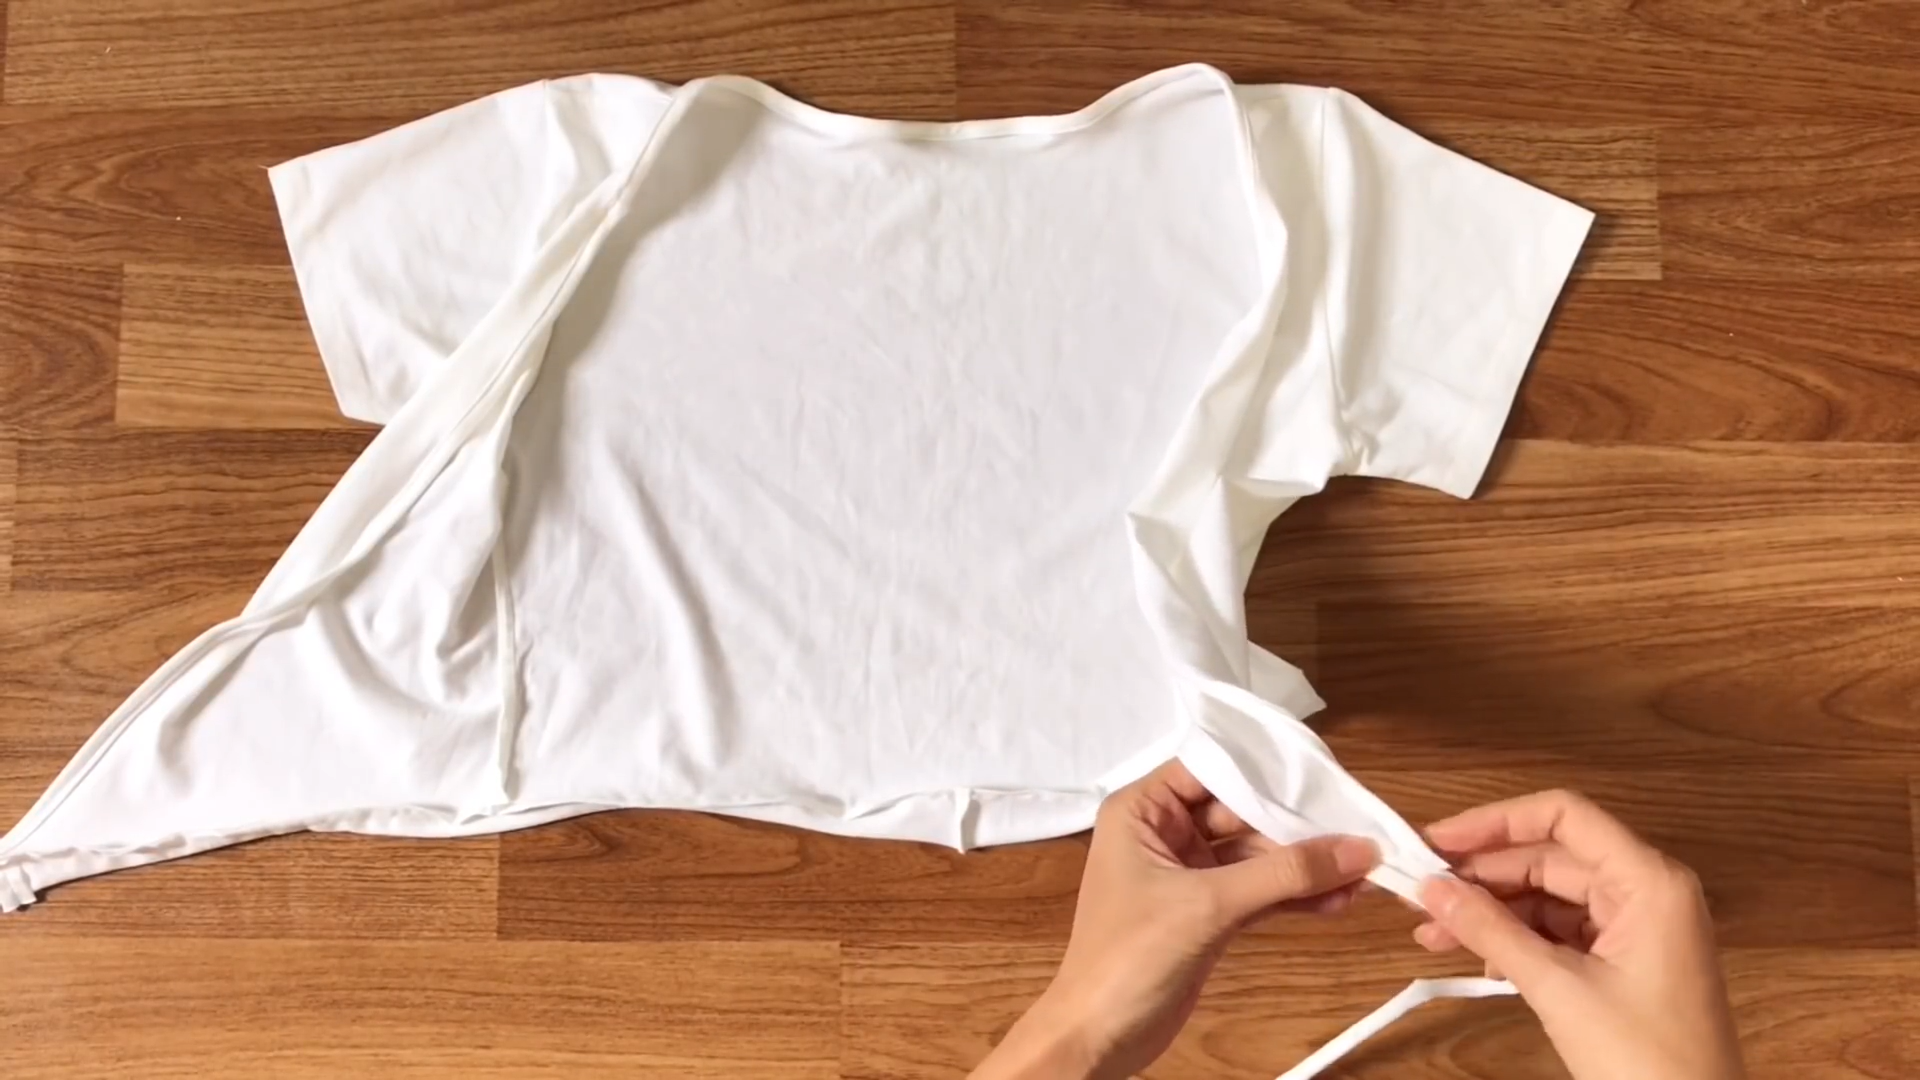
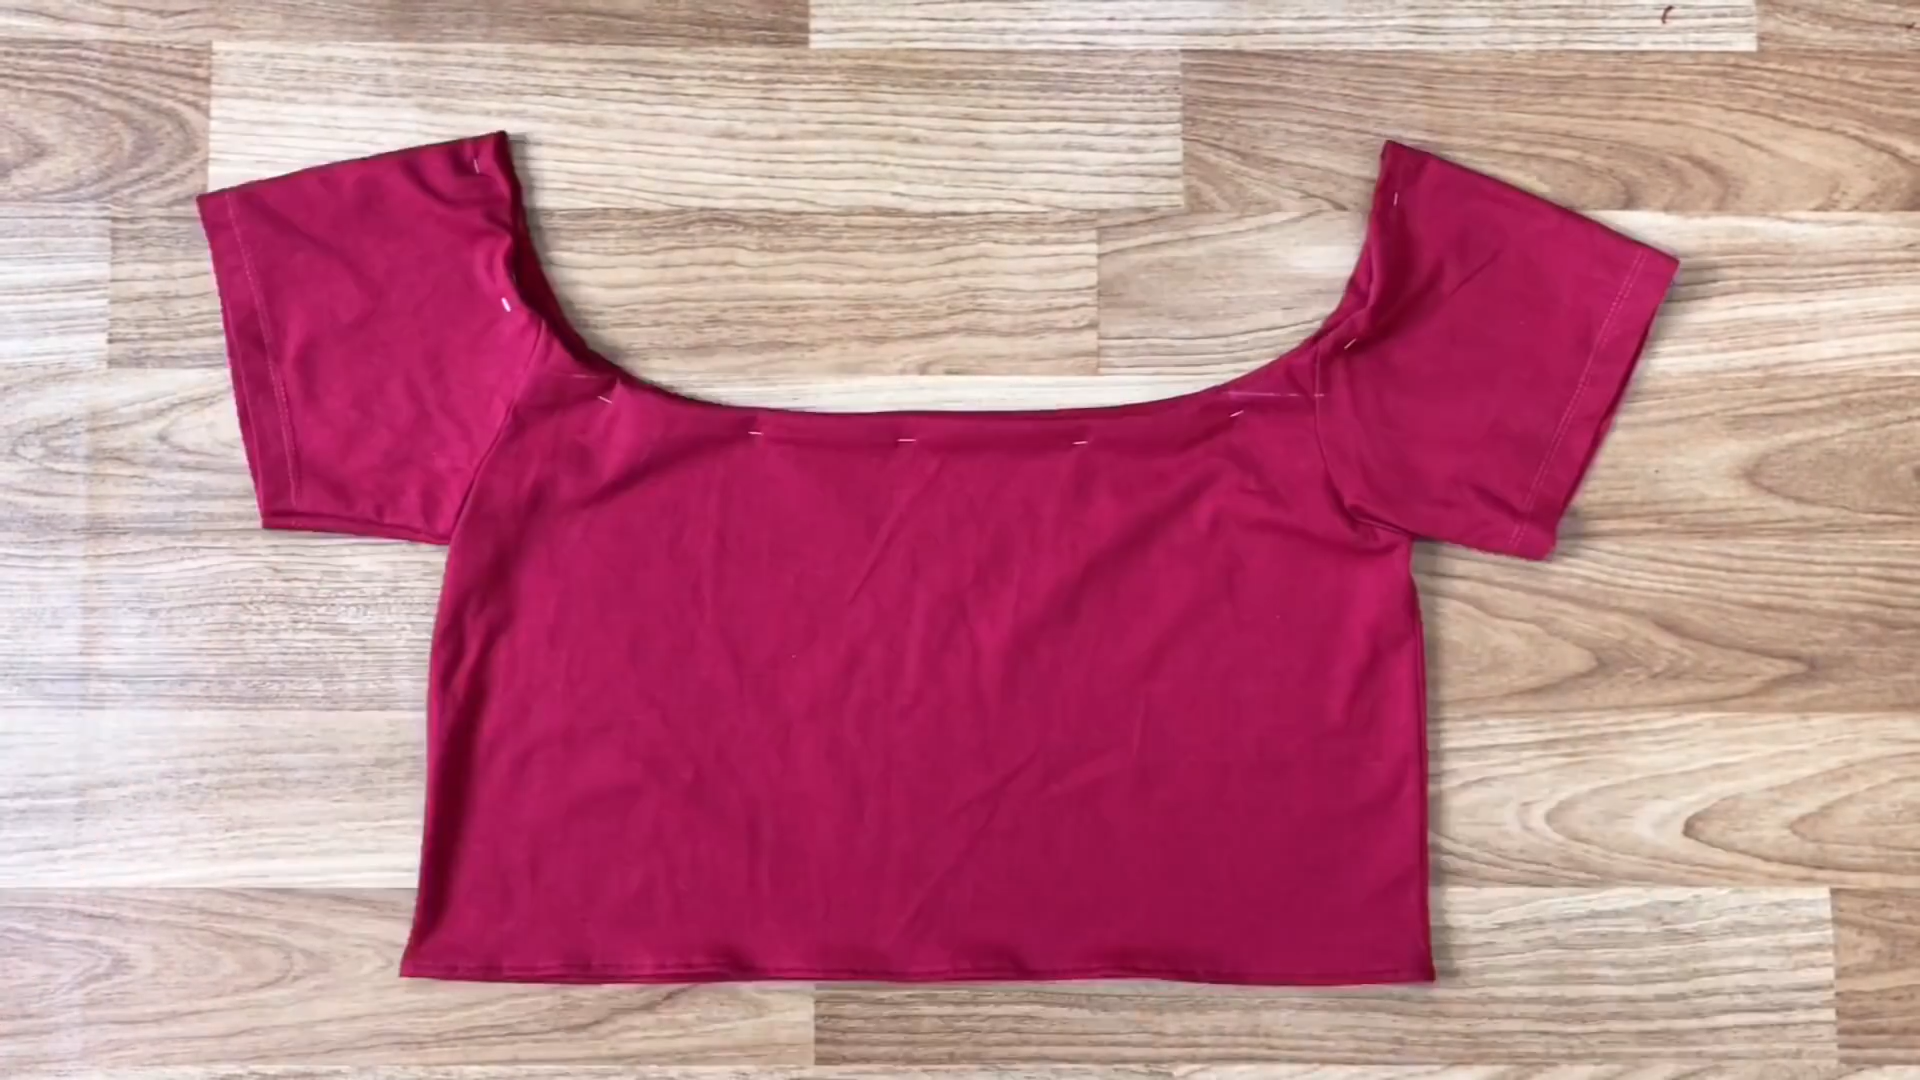
After finishing the neck, move to the end of the crop top and do the same. For the extra fabric at the end, fold it twice and sew.

And here you are! This DIY project is not only easy to make with a few steps but also easy to mix and match with different outfits.
2. RUFFLE HEM CROP TOP
Use a large size t-shirt to make this one.
Draw a horizontal line under the hands of the t-shirt.

From this line, go down 25 cm (which is the width of the breast plus 8 cm) and draw another horizontal line. This big piece of fabric will be the main body of the crop top.

After that, draw two pieces each with a width of 3 cm. These will be the ties for the crop top.
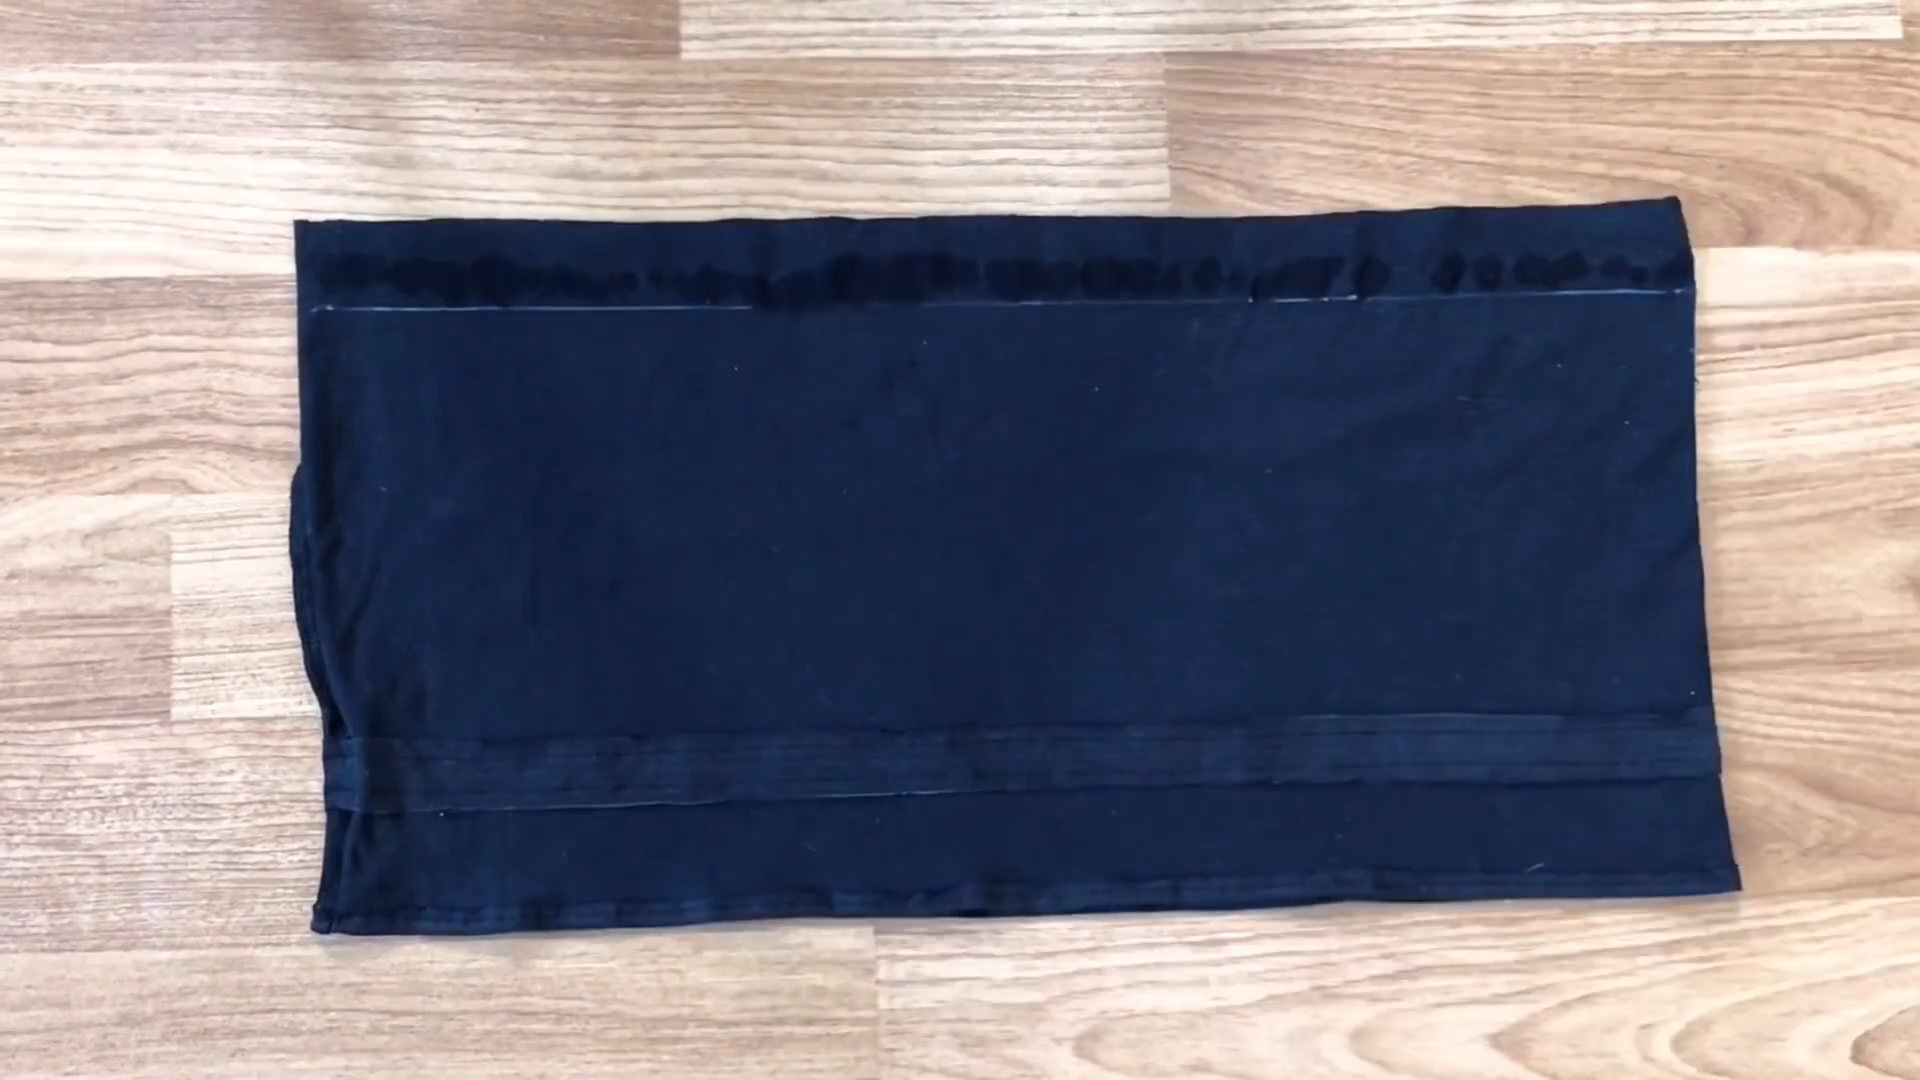
At the end of the big piece of fabric, fold the end inside and sew it to finish the end of the crop top.

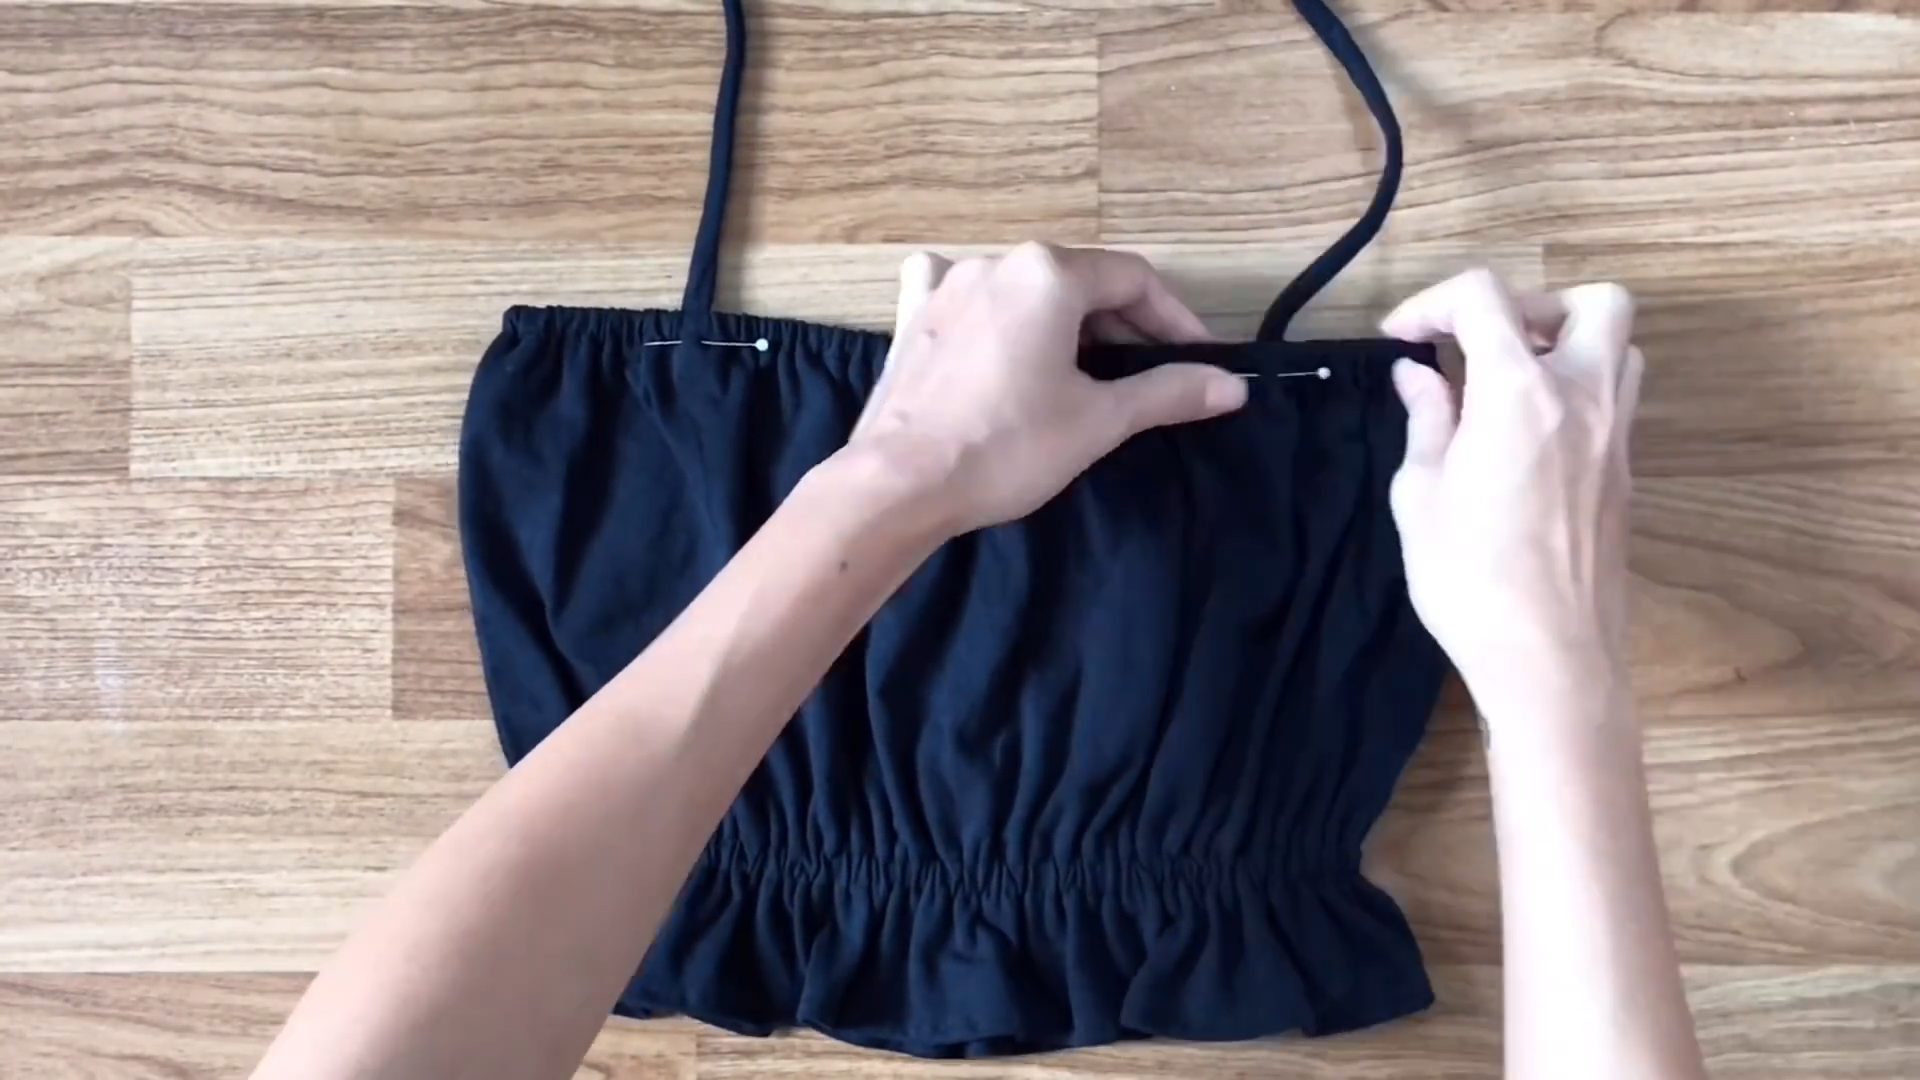
Draw a horizontal line at 4 cm from the end.
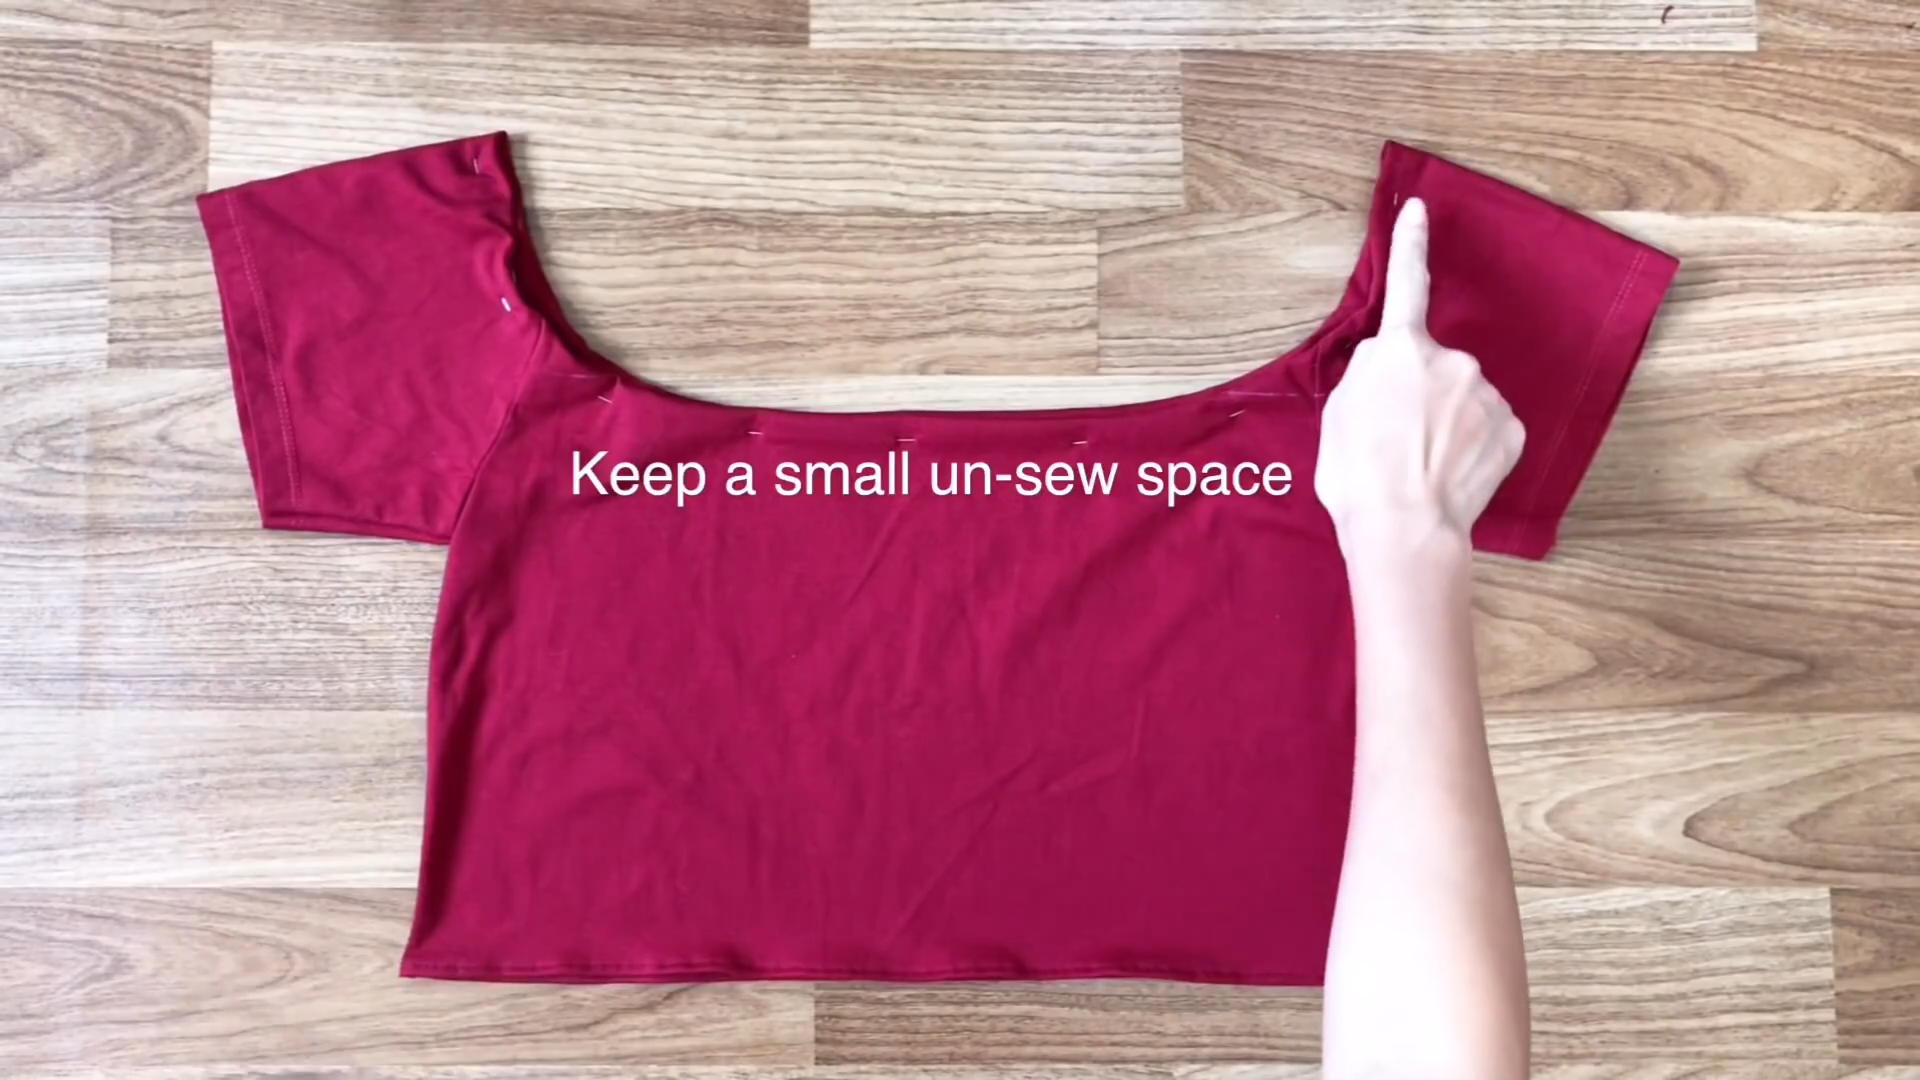
Then, fix the 2.5 cm fabric to the big piece of fabric at that line. Sew at two sides of the 2.5 cm fabric.
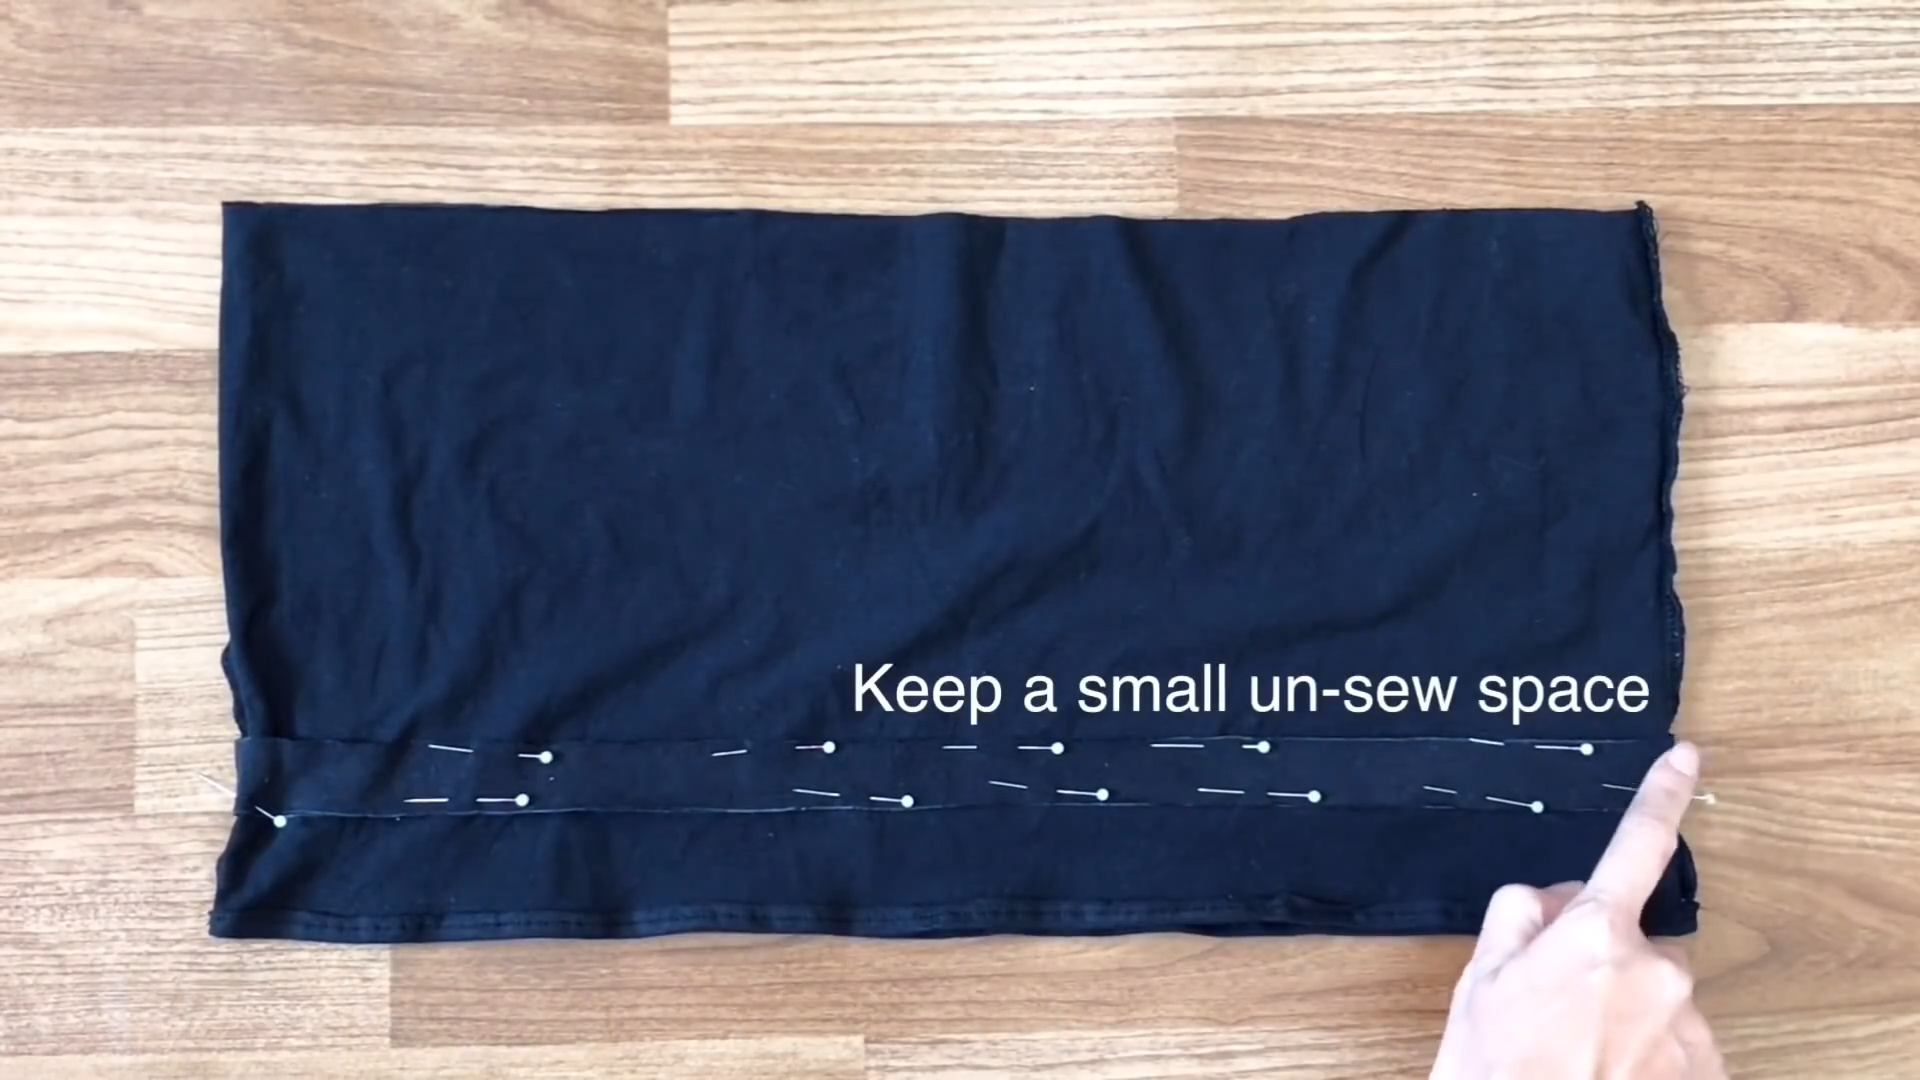
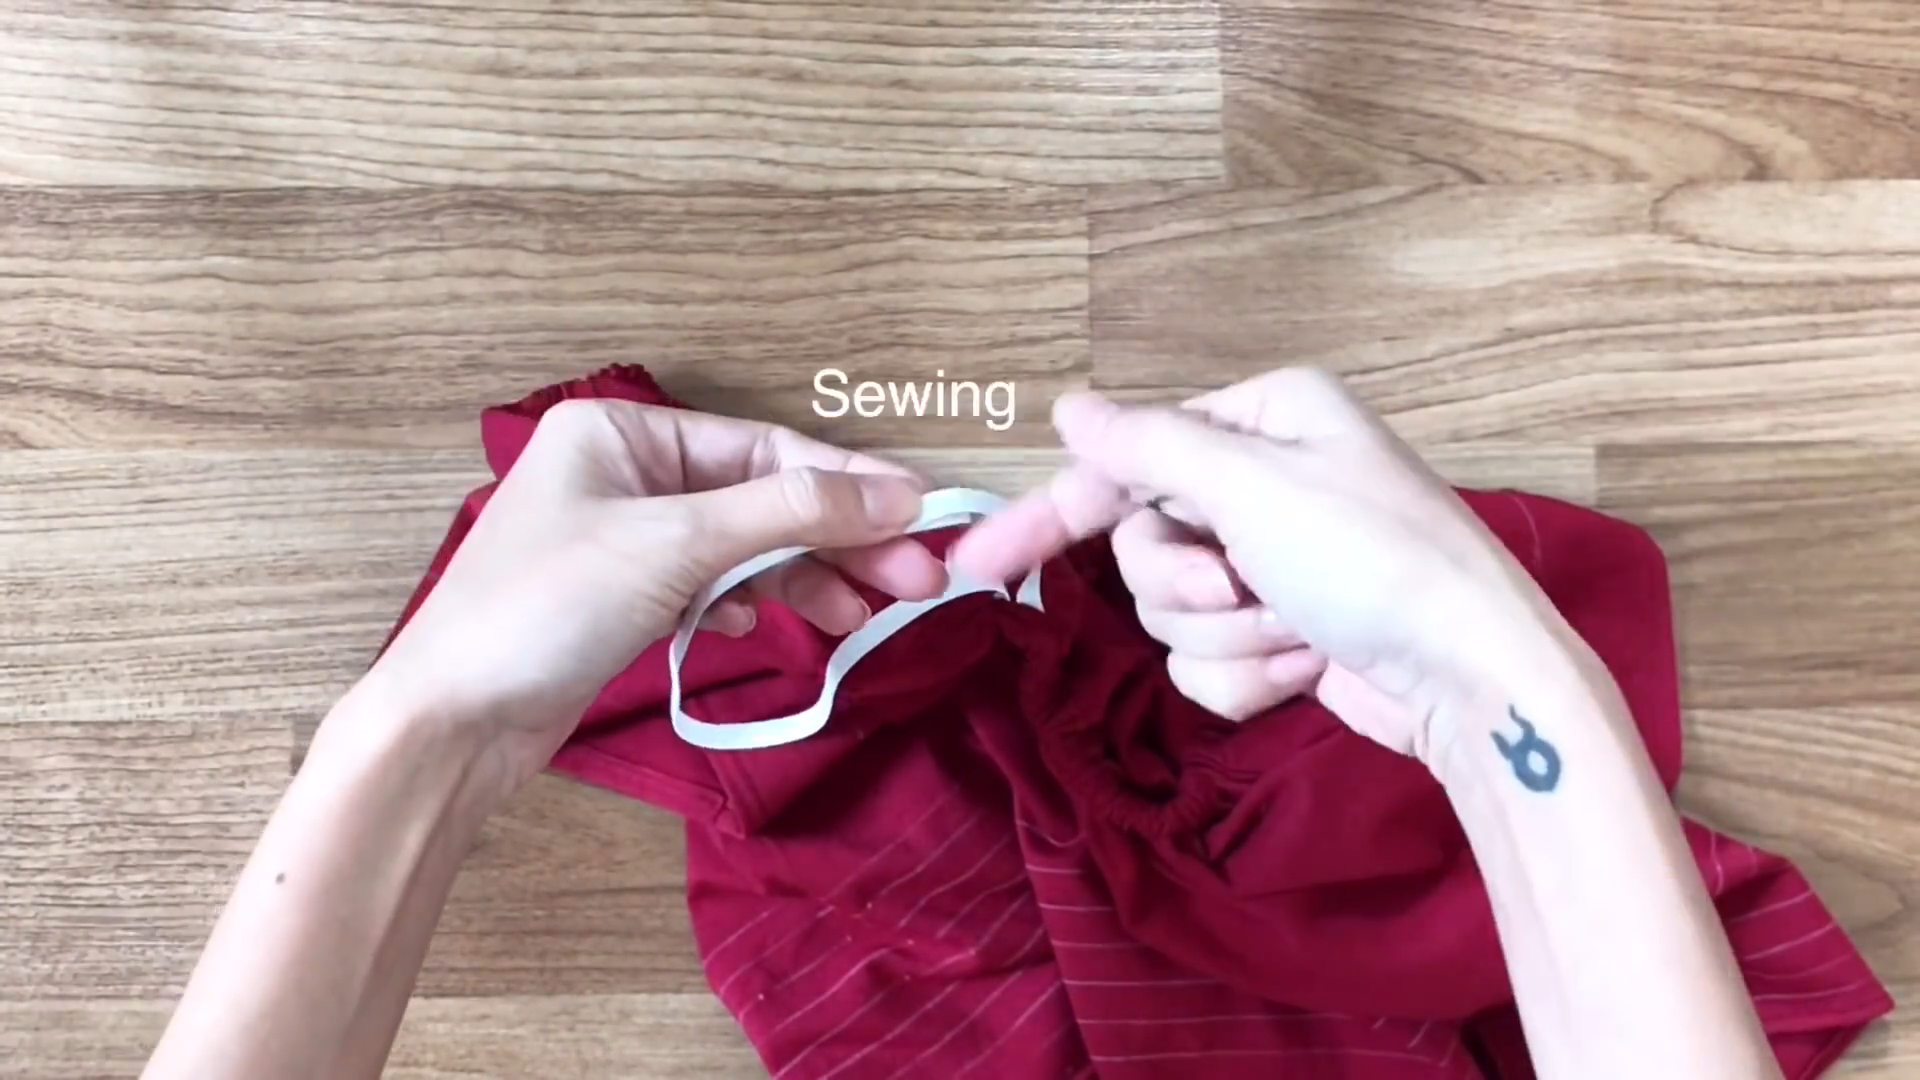
Remember to keep a small un-sewn space to put the elastic band inside later.
At the top, go down 3 cm and draw a horizontal line.
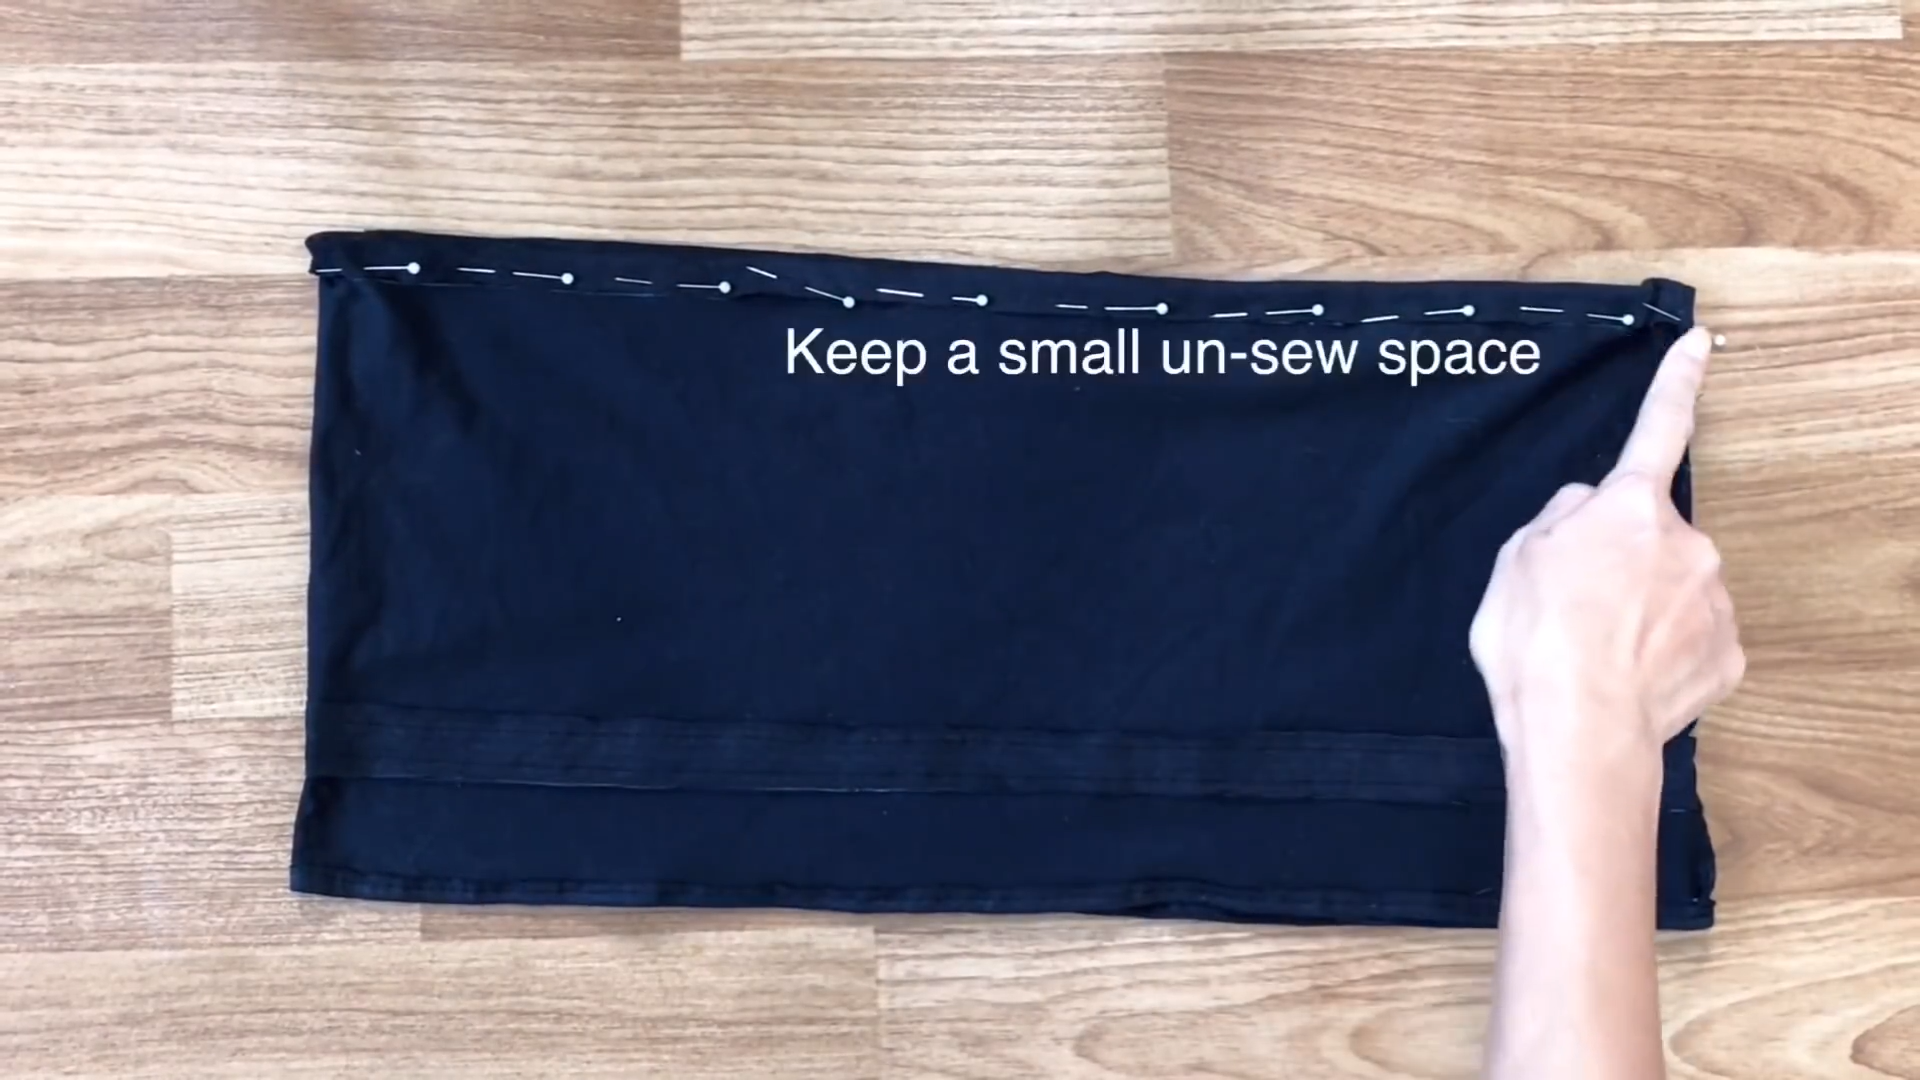
Then, fold the end of the fabric to that line and sew to create a fabric hole for the elastic band. Also, keep a small un-sewn space.
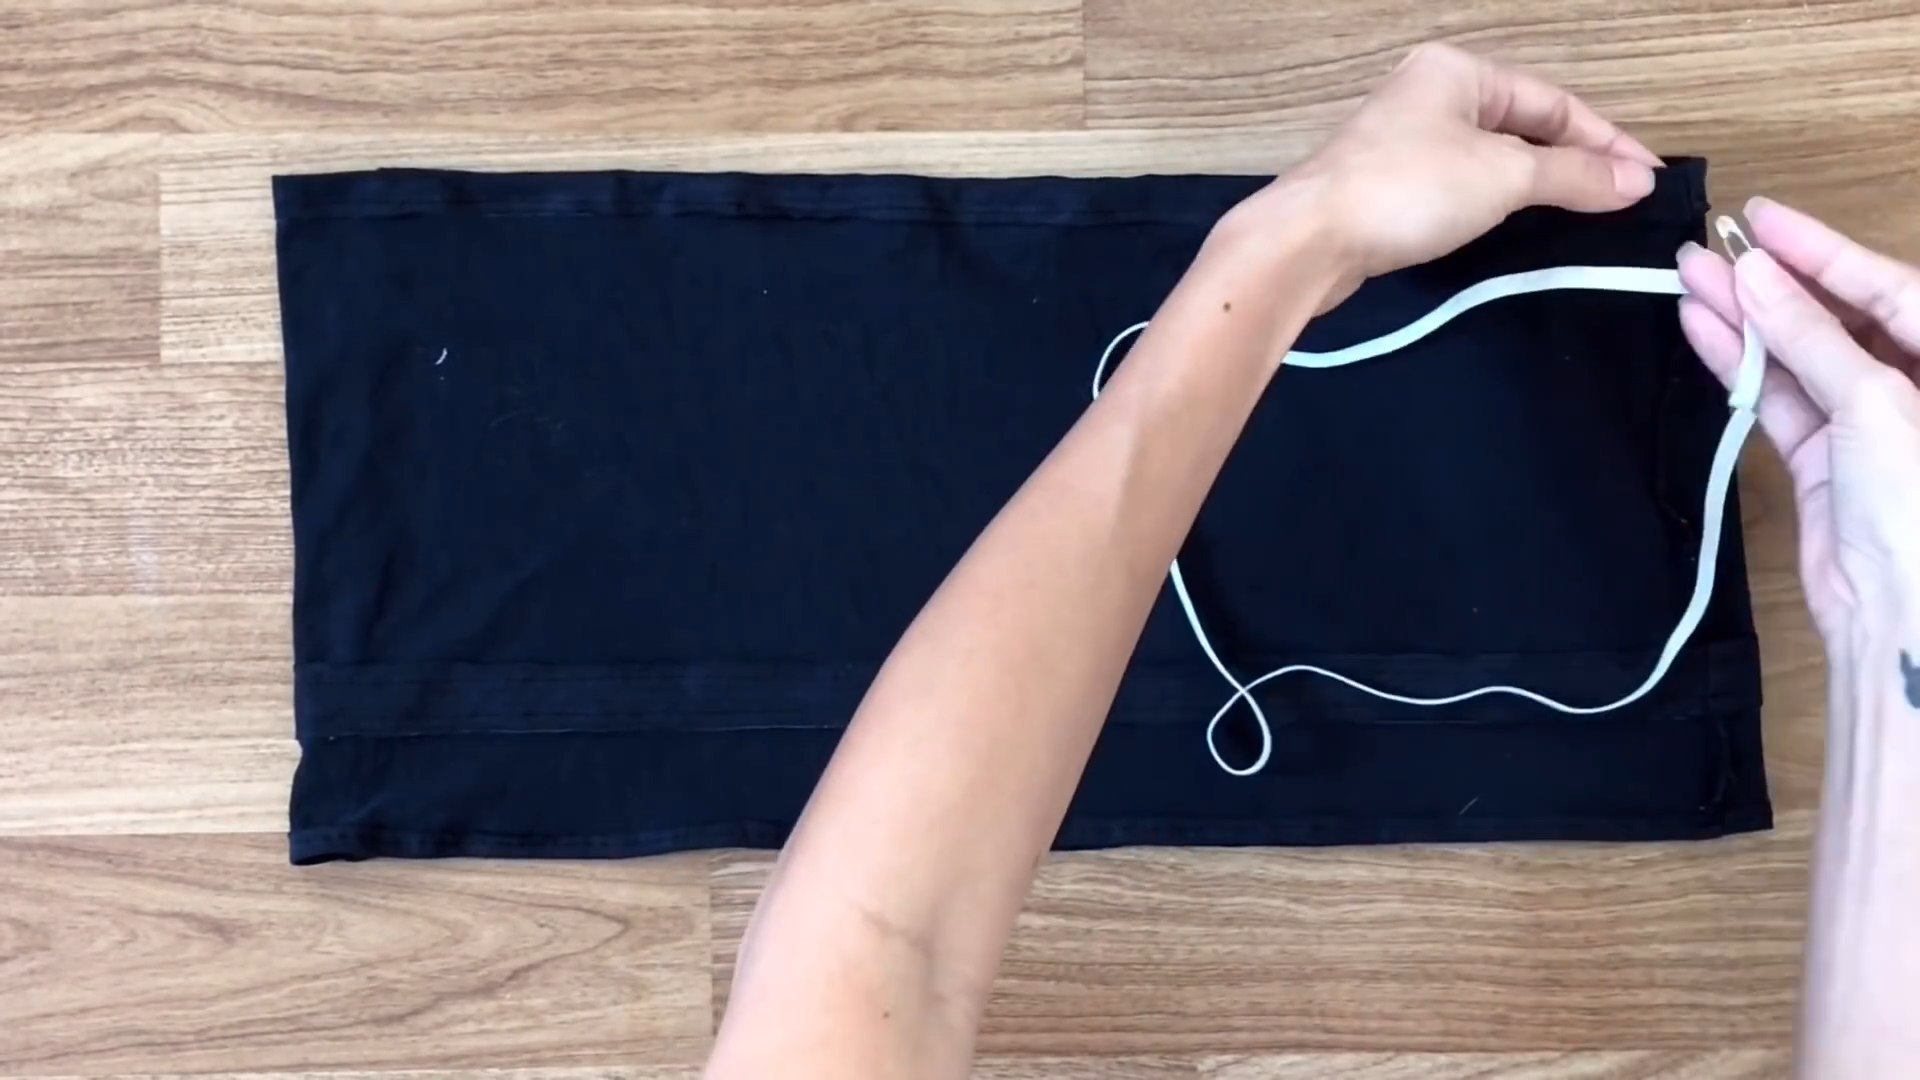
Use two safety pins to put the elastic bands through the fabric holes.
Sew the two ends of the elastic bands together after that and close the holes.
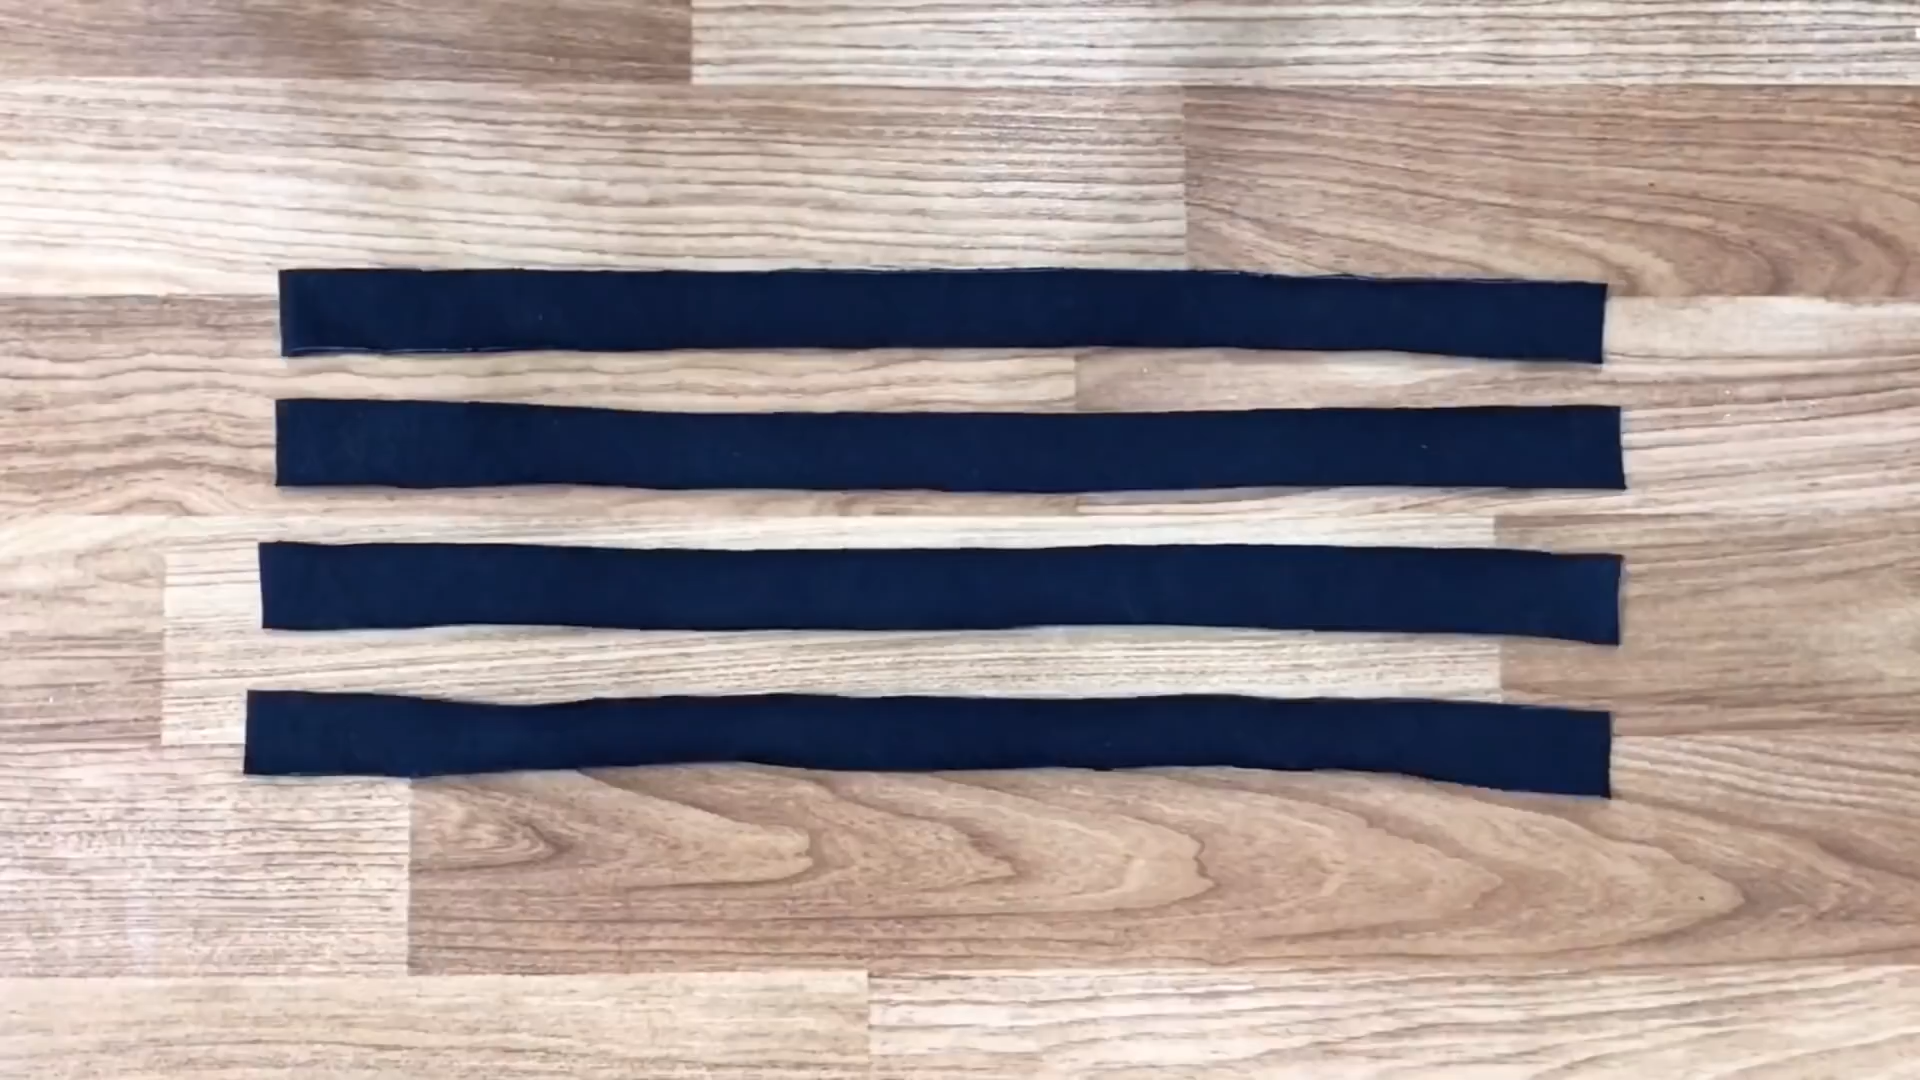
Cut two pieces of fabric with 3 cm into four pieces to make the ties for the crop top.
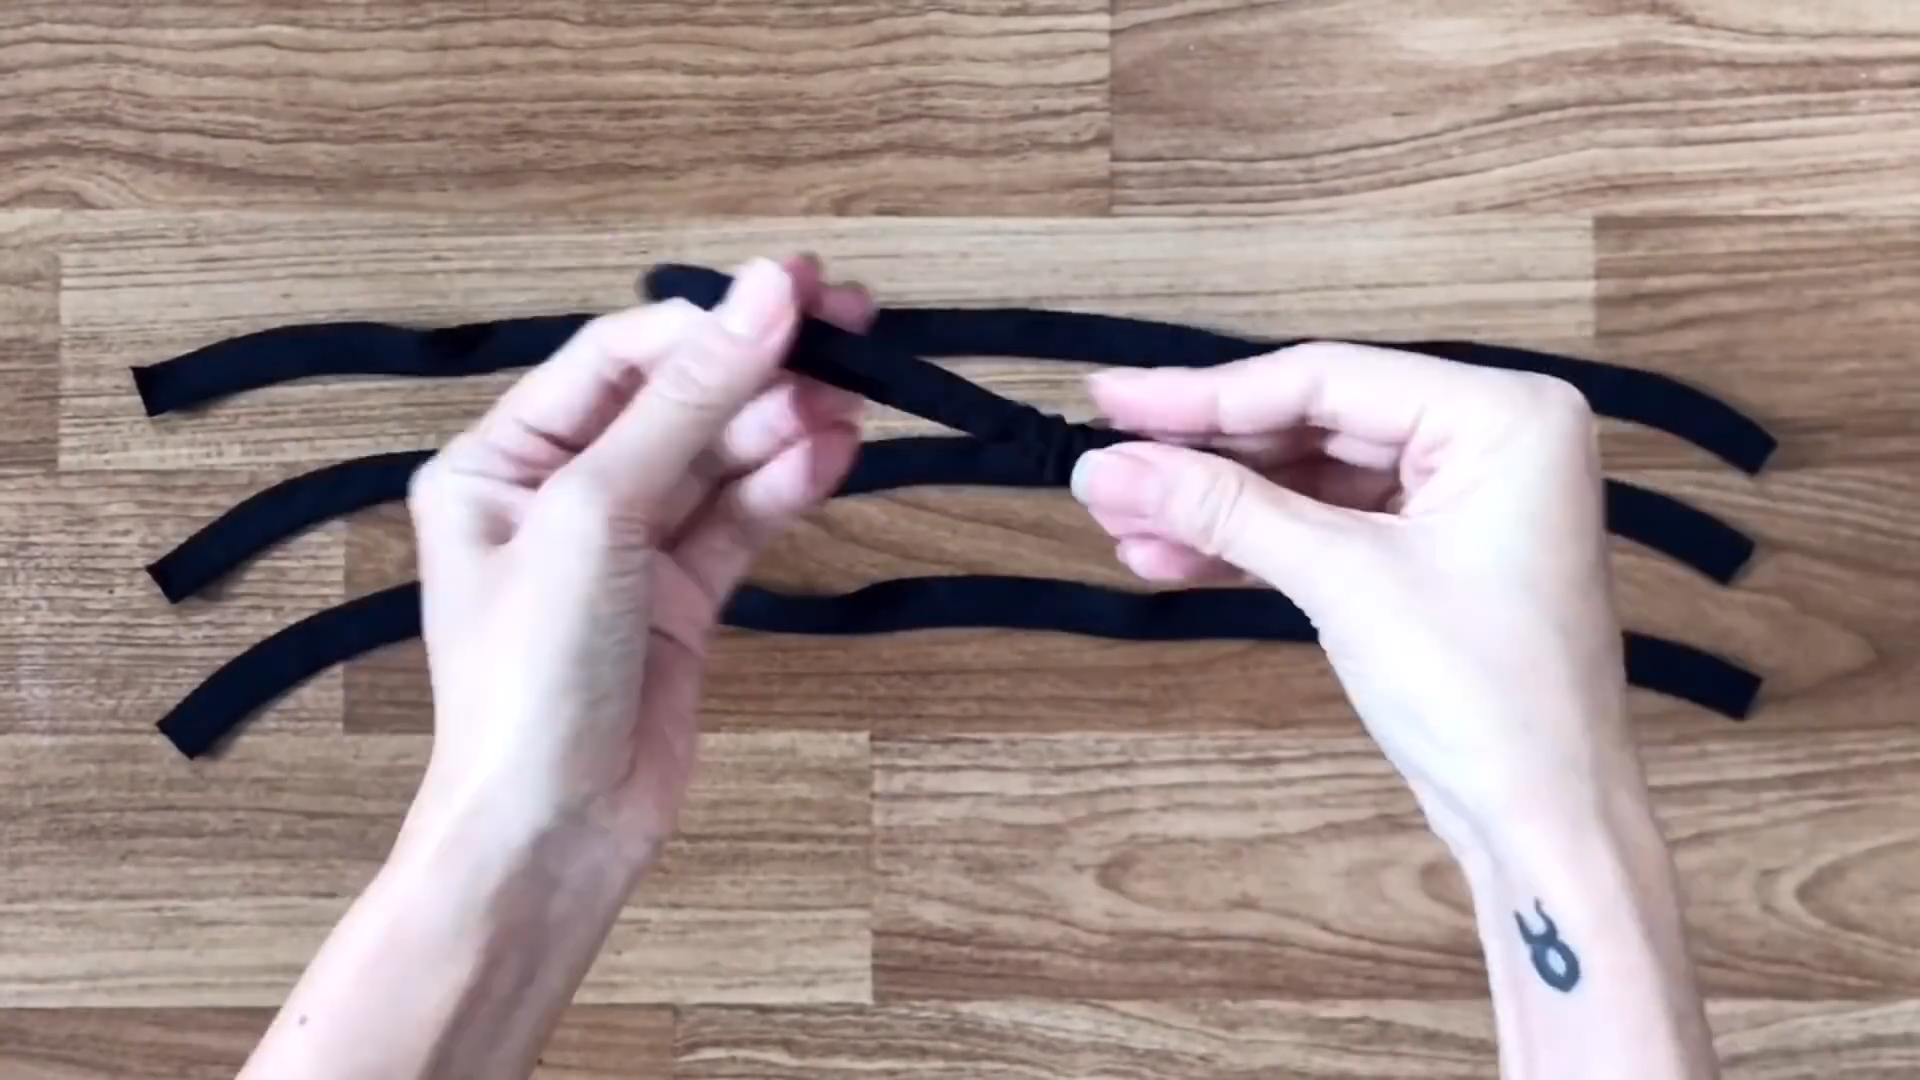
Fold them in half and sew. Then, turn them right side out using a small safety pin.
The last step is fixing the ties into the crop top. You can wear it to check the position for the ties first, then sew.

This DIY project is not only super easy but also results in a stylish piece for your wardrobe. It’s perfect for those with a smaller bust.
3. OFF THE SHOULDER SMOCKED CROP TOP
To make this one, I used a large size t-shirt.
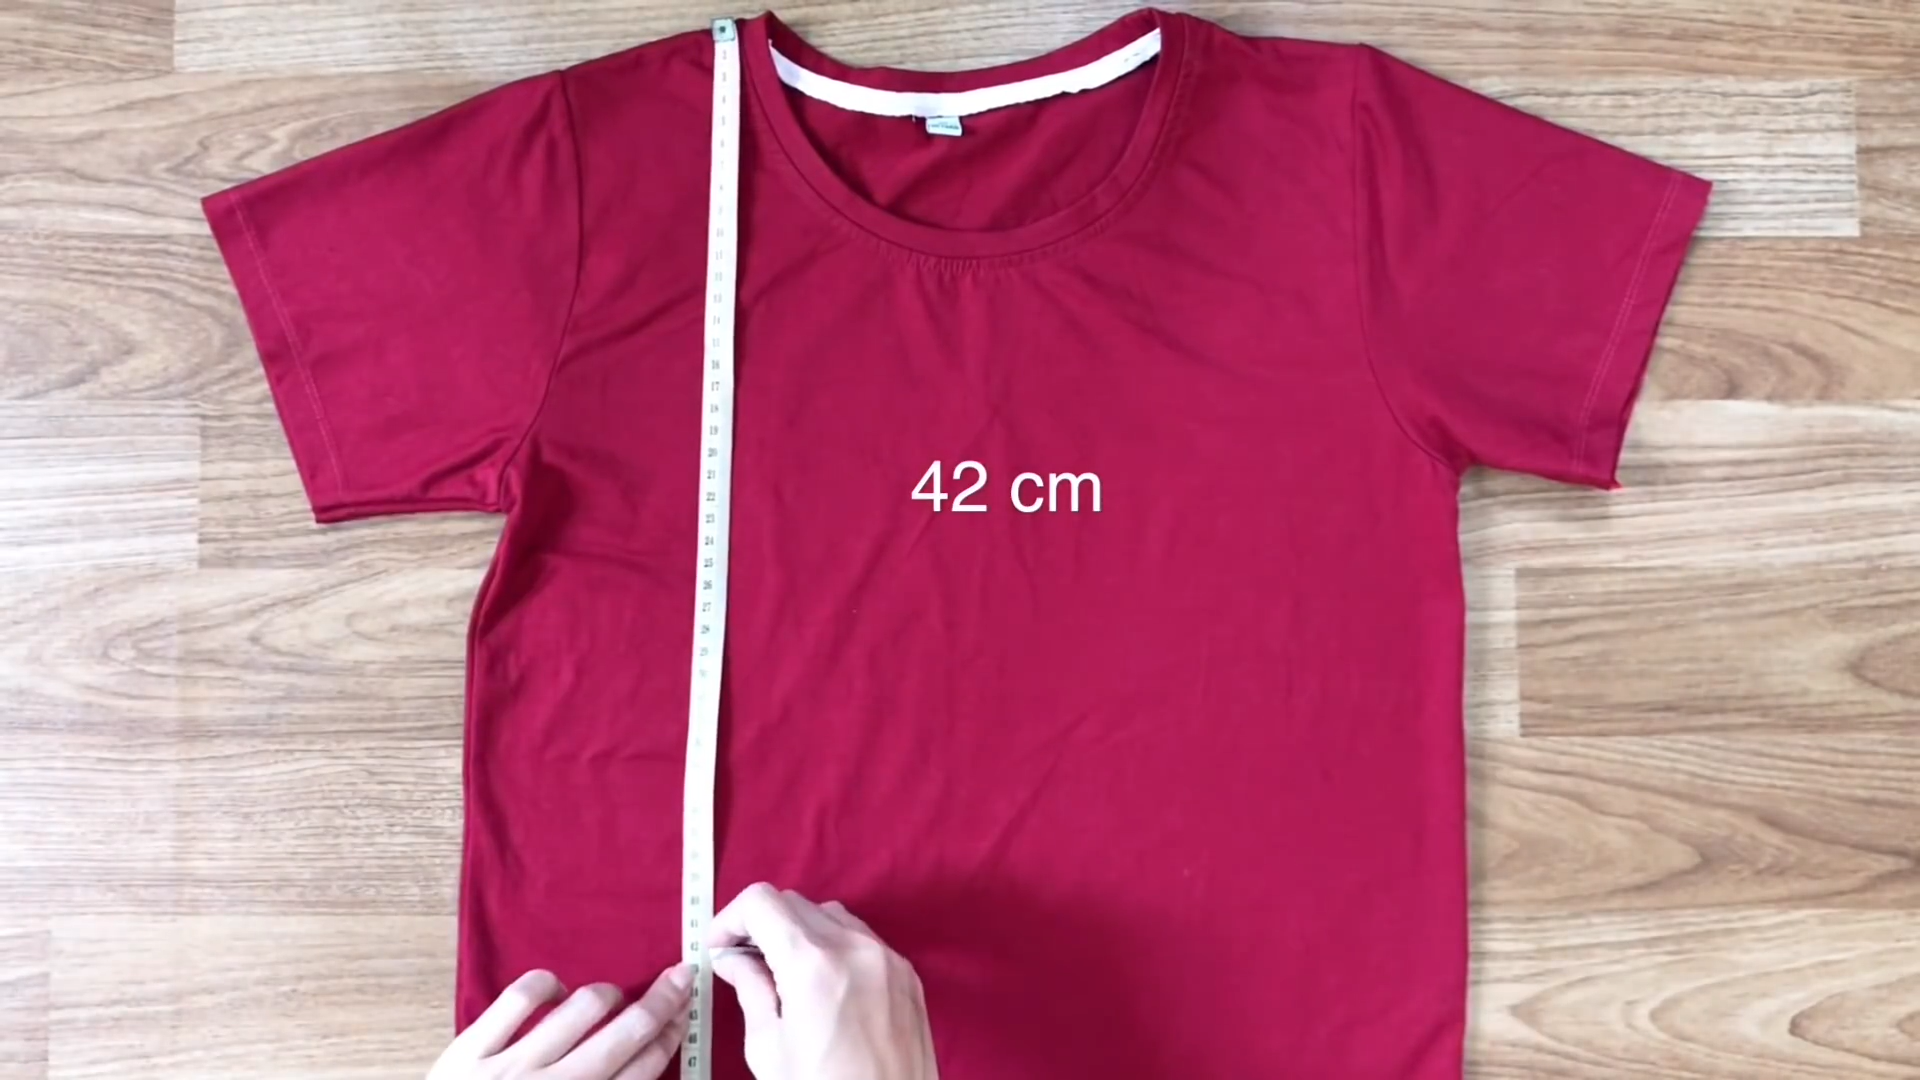
Mark a point 42 cm down from the shoulder of the t-shirt (this is the width from your shoulder to the belly button minus 5 cm).
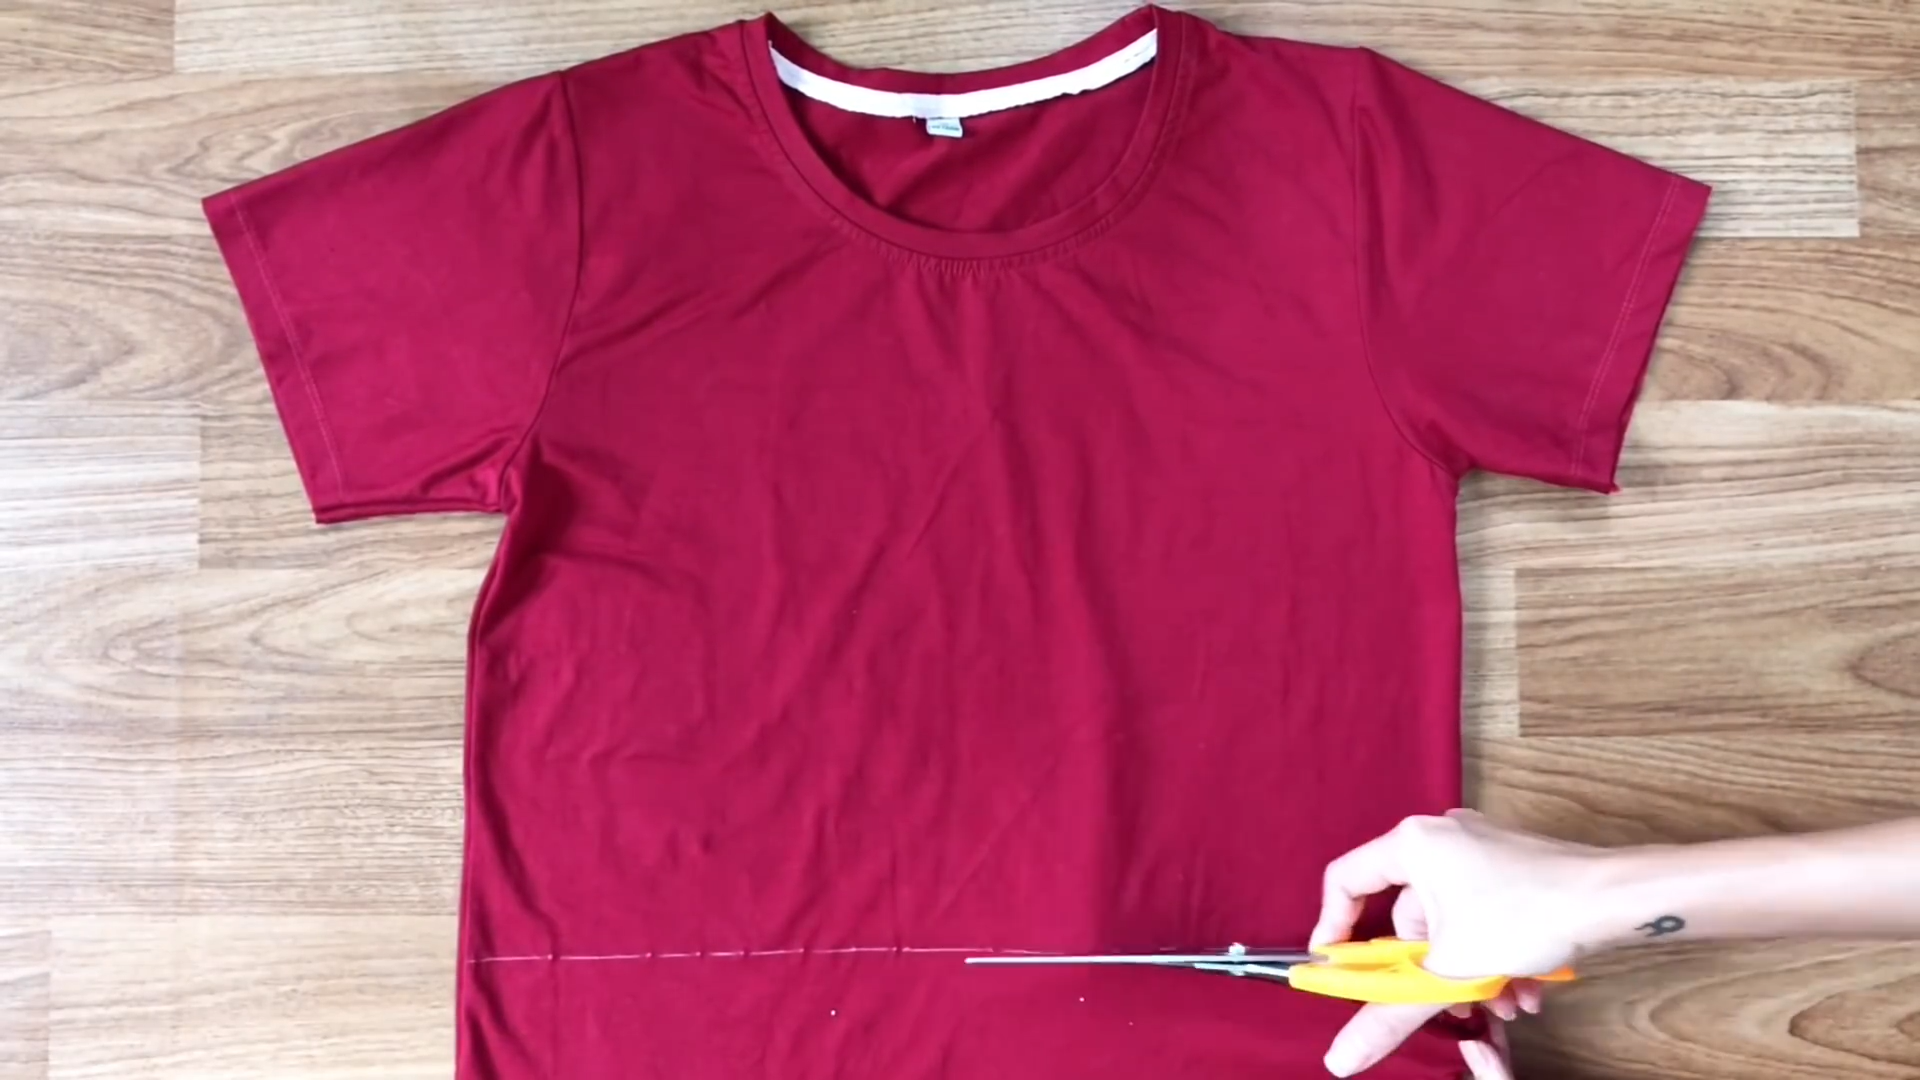
Draw a line across the shirt at this point and cut along this line.
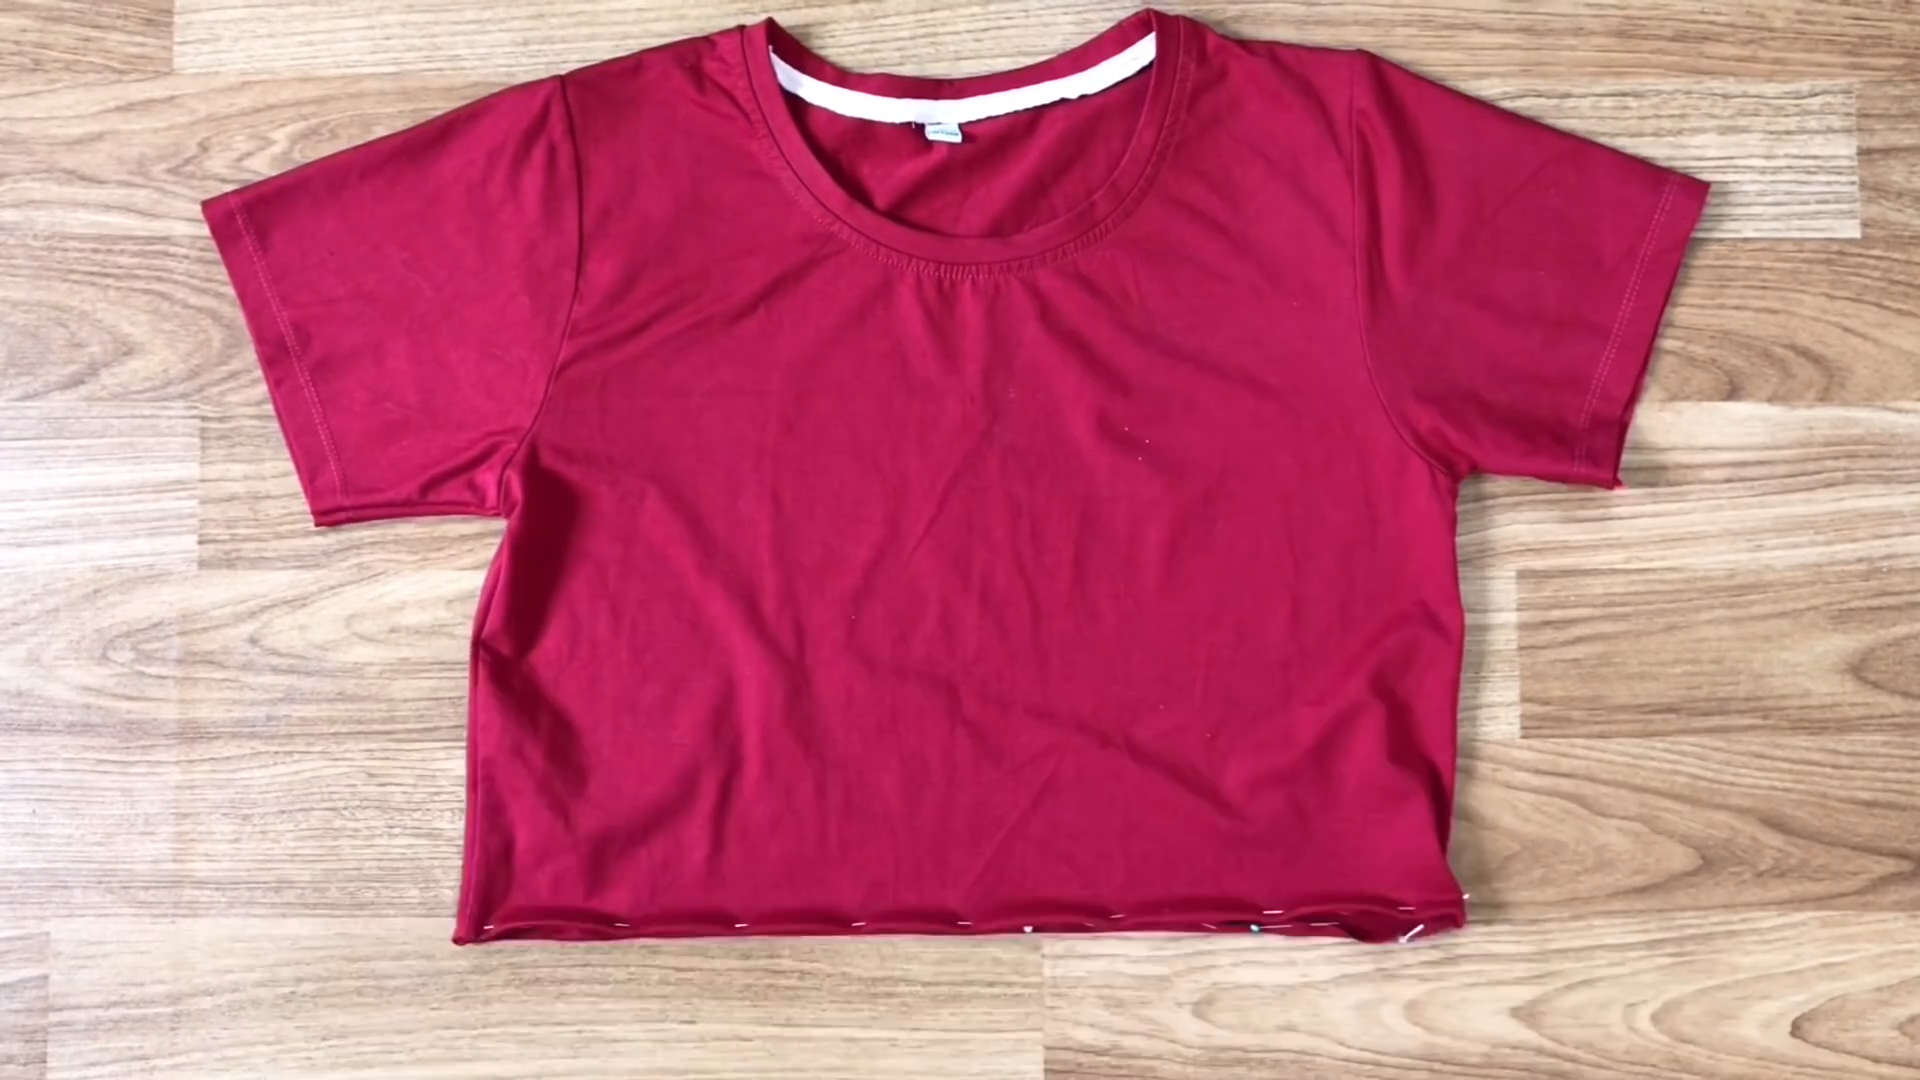
After cutting, finish the end of the crop top by folding the end inside and sewing.
From the end, go up 27 cm and draw a horizontal line there.

Then, draw a curved line from the hand to that line.
Use a small elastic band for the top, so measure the width of the fabric you need to fold in first.
Then, fold it for the entire neck of the crop top.
When sewing, remember to keep a small un-sewn space to put the elastic band inside later.
If you’re not a fan of the current seam at the hands of the t-shirt, you can un-sew them. Then, finish the end of the hand by folding it inside and sewing.
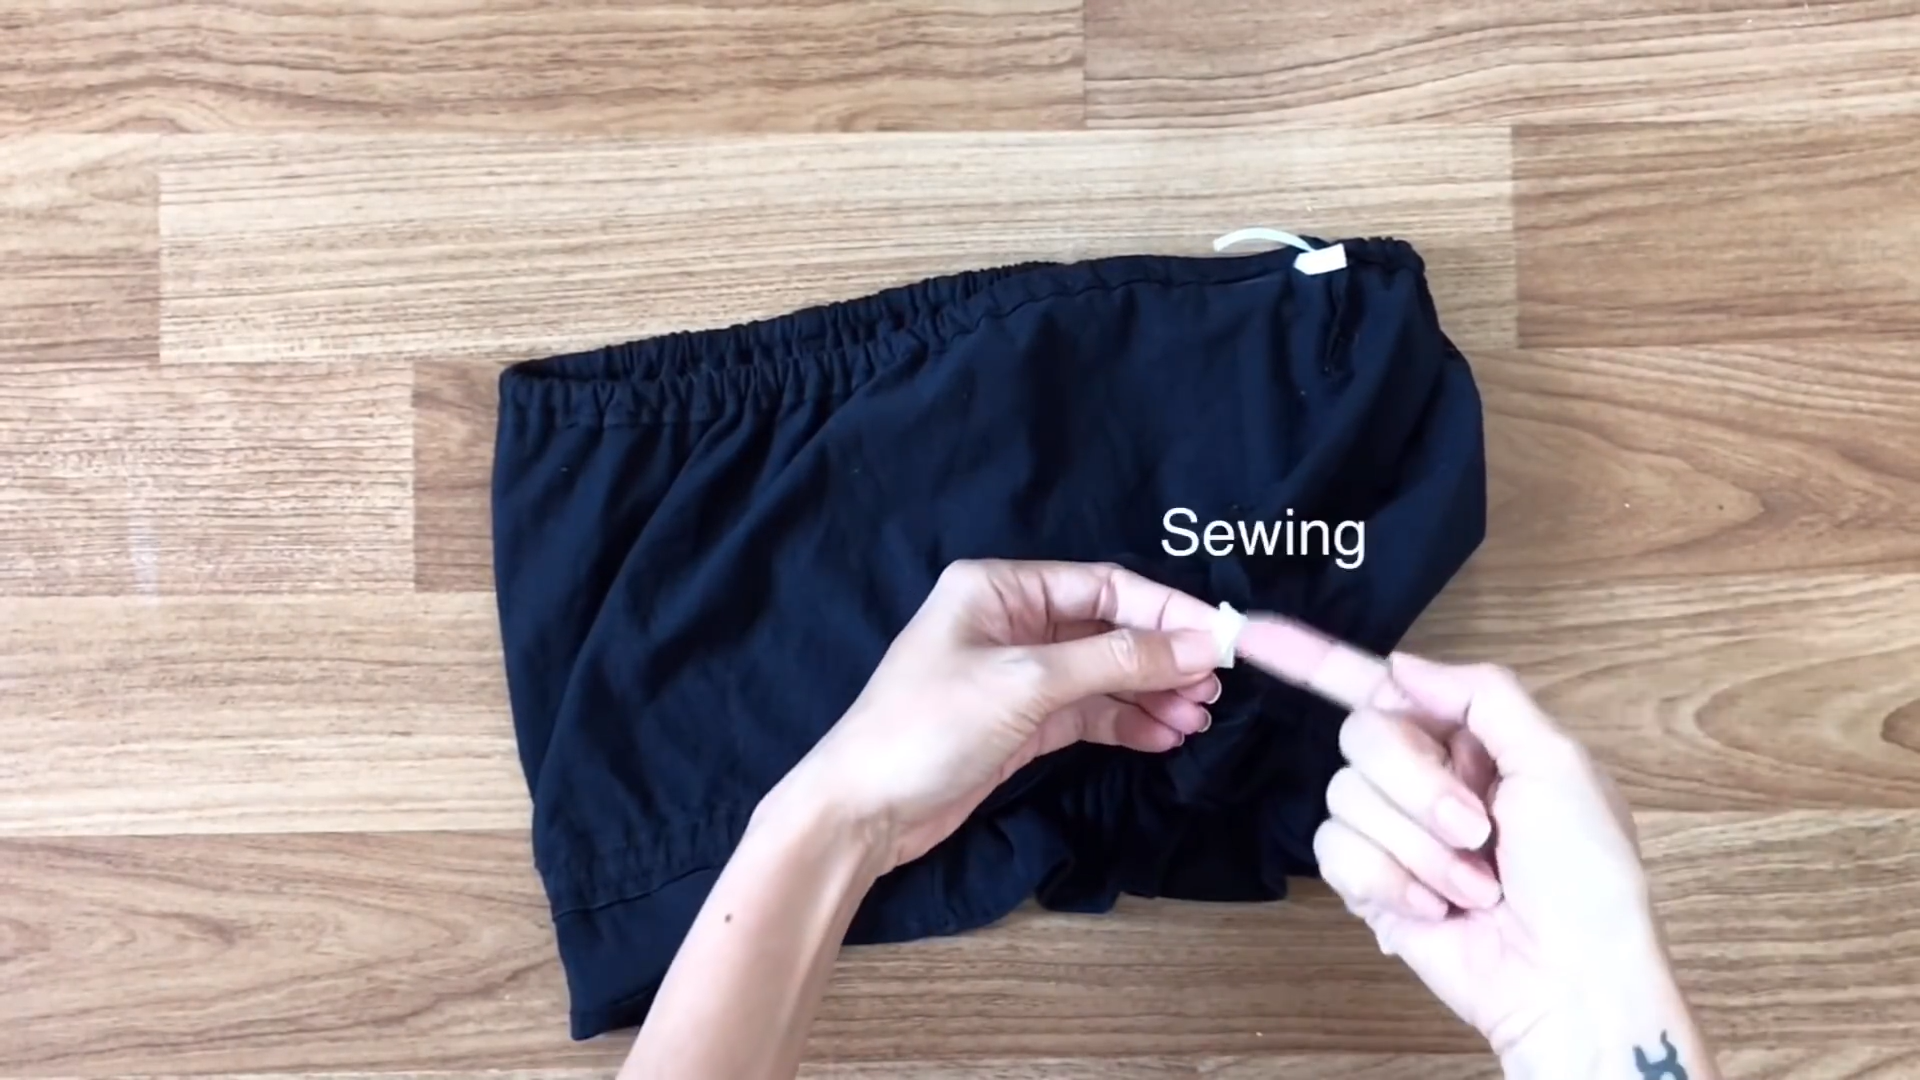
At the end of the crop top, go up 10 cm and mark there. This mark is at 10 cm because the width from the neck to that mark will be the width of your breast.
Then, draw horizontal lines 1 cm away from each other from that mark to the end.
At the hand of the crop top, draw a line at 4 cm from the end.

Now, put the elastic band through the fabric hole you created before.
Then, sew the two ends of the elastic band together after that and close the hole.

To create the lines at the end and at two hands, make the shirring by using the elastic thread as the under thread and normal straight stitching.

And voila! You’ve successfully transformed a large-sized t-shirt into a trendy off-the-shoulder smocked crop top. This DIY project is not only super easy but also results in a stylish piece for your summer wardrobe.
Which style is your favorite? Let me know in the comments below!