DIY Puff sleeve square neck blouse (Beginner friendly) | Step by step sewing tutorial
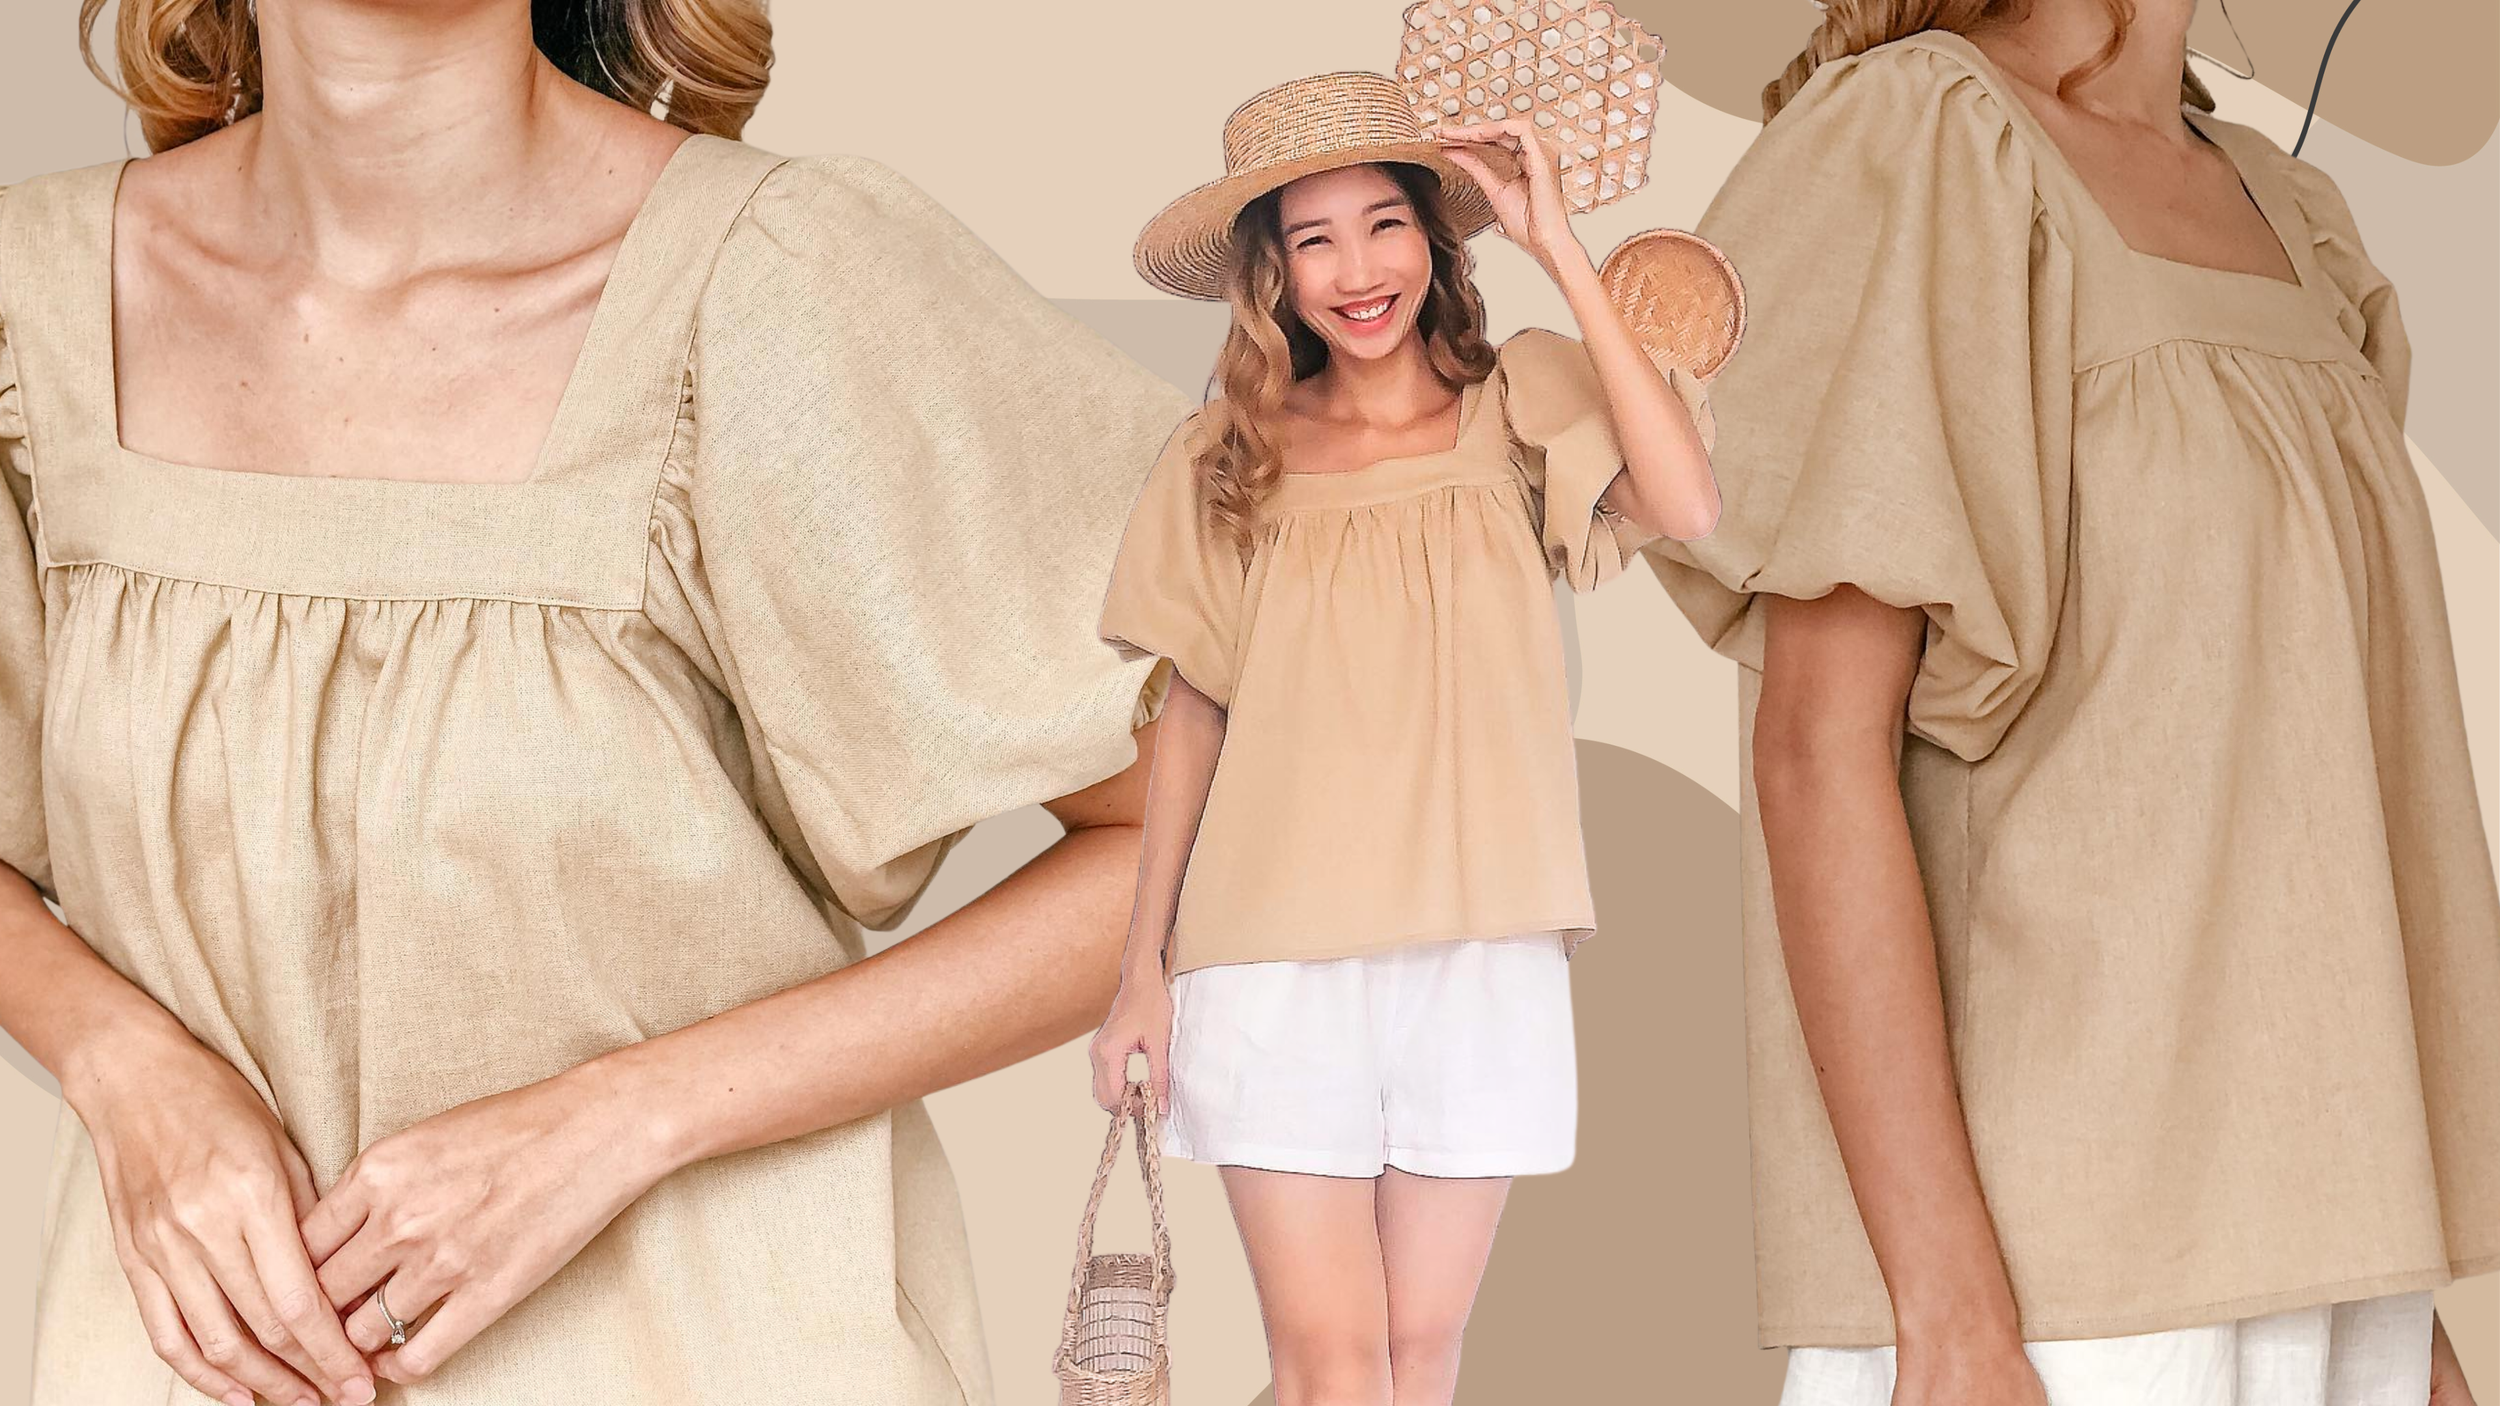
DIY Puff sleeve square neck blouse
Welcome or welcome back to my channel!
In today's video, I'm going to share with you how I made my Puff sleeve square neck blouse from scratch. It's a super cute blouse and I believe it will be a great peace for your everyday outfit wardrobe.
It's also a simple and beginner friendly DIY.
So, let’s get started!
WHAT YOU’LL NEED
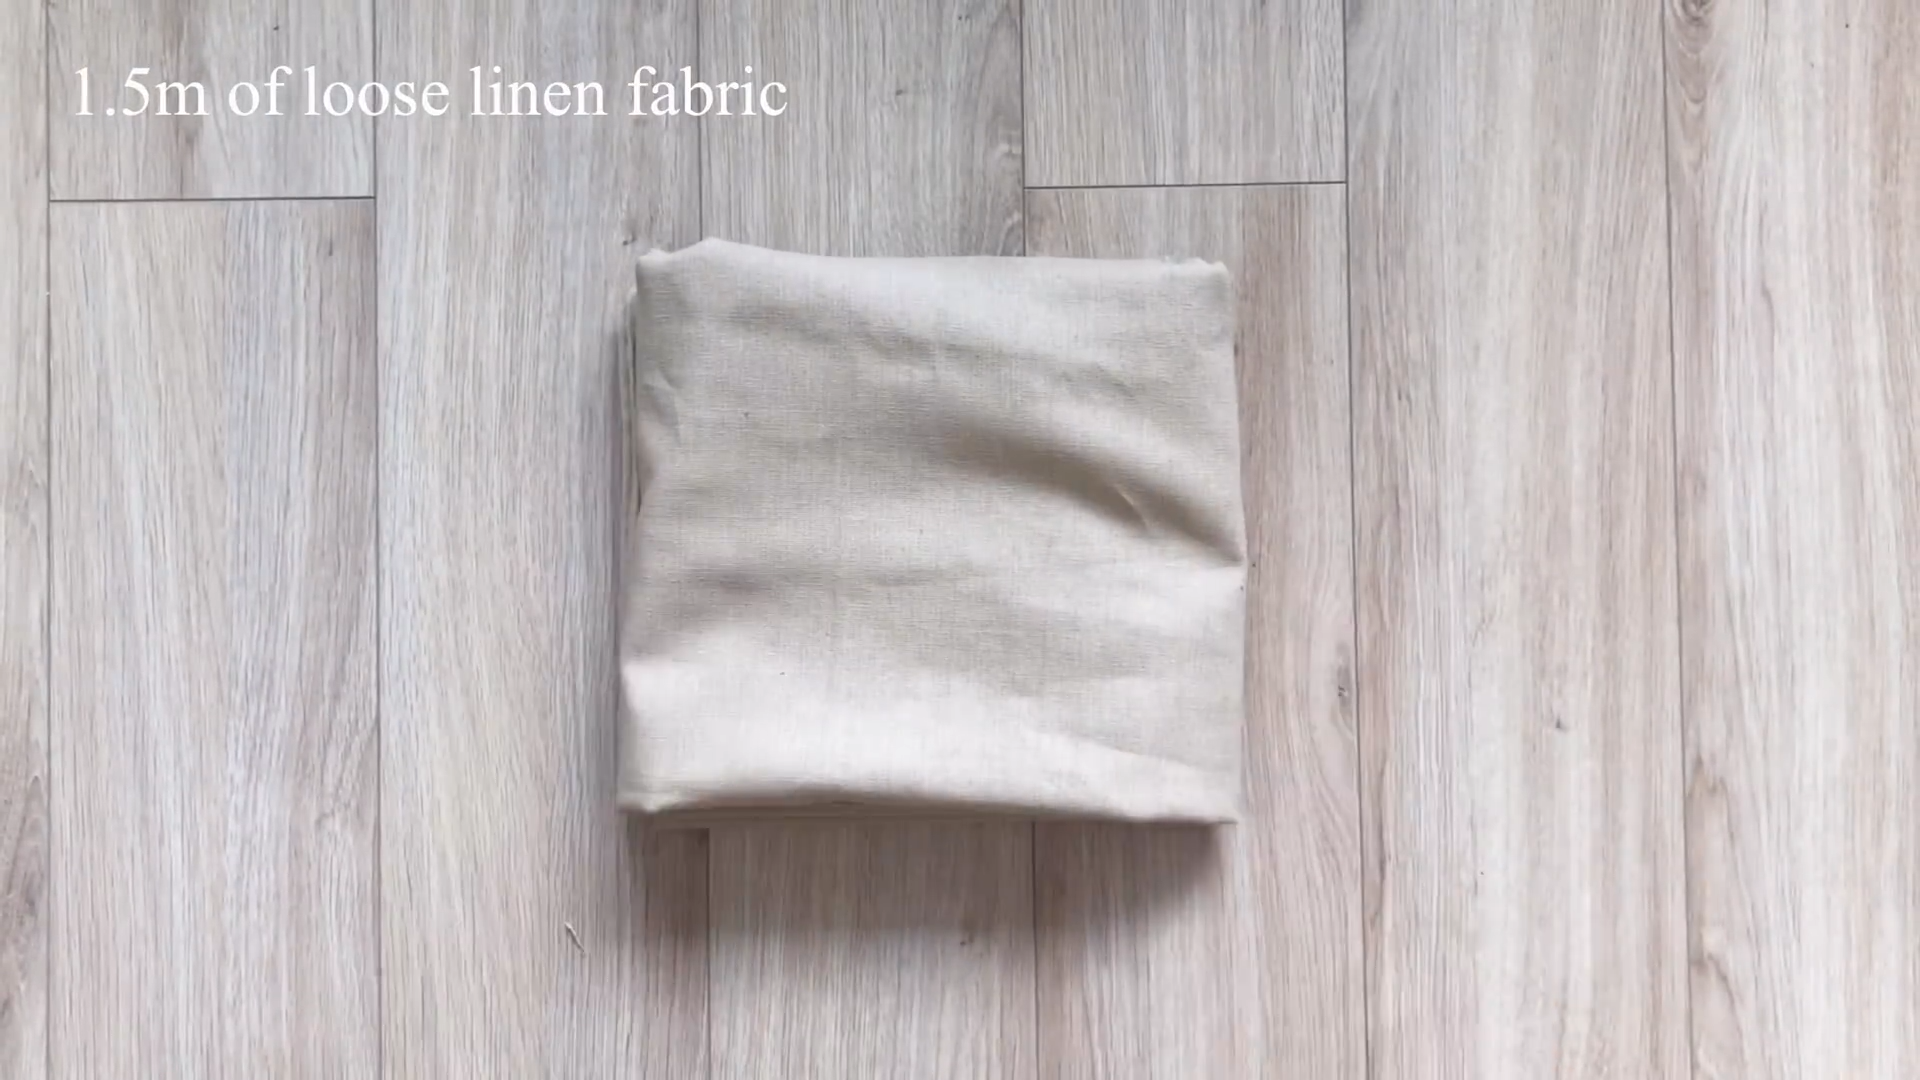
1.5m of loose line or cotton fabric
Sewing machine
Pins
Scissors
Ruler
Long stick
Elastic band
SEWING THE BLOUSE
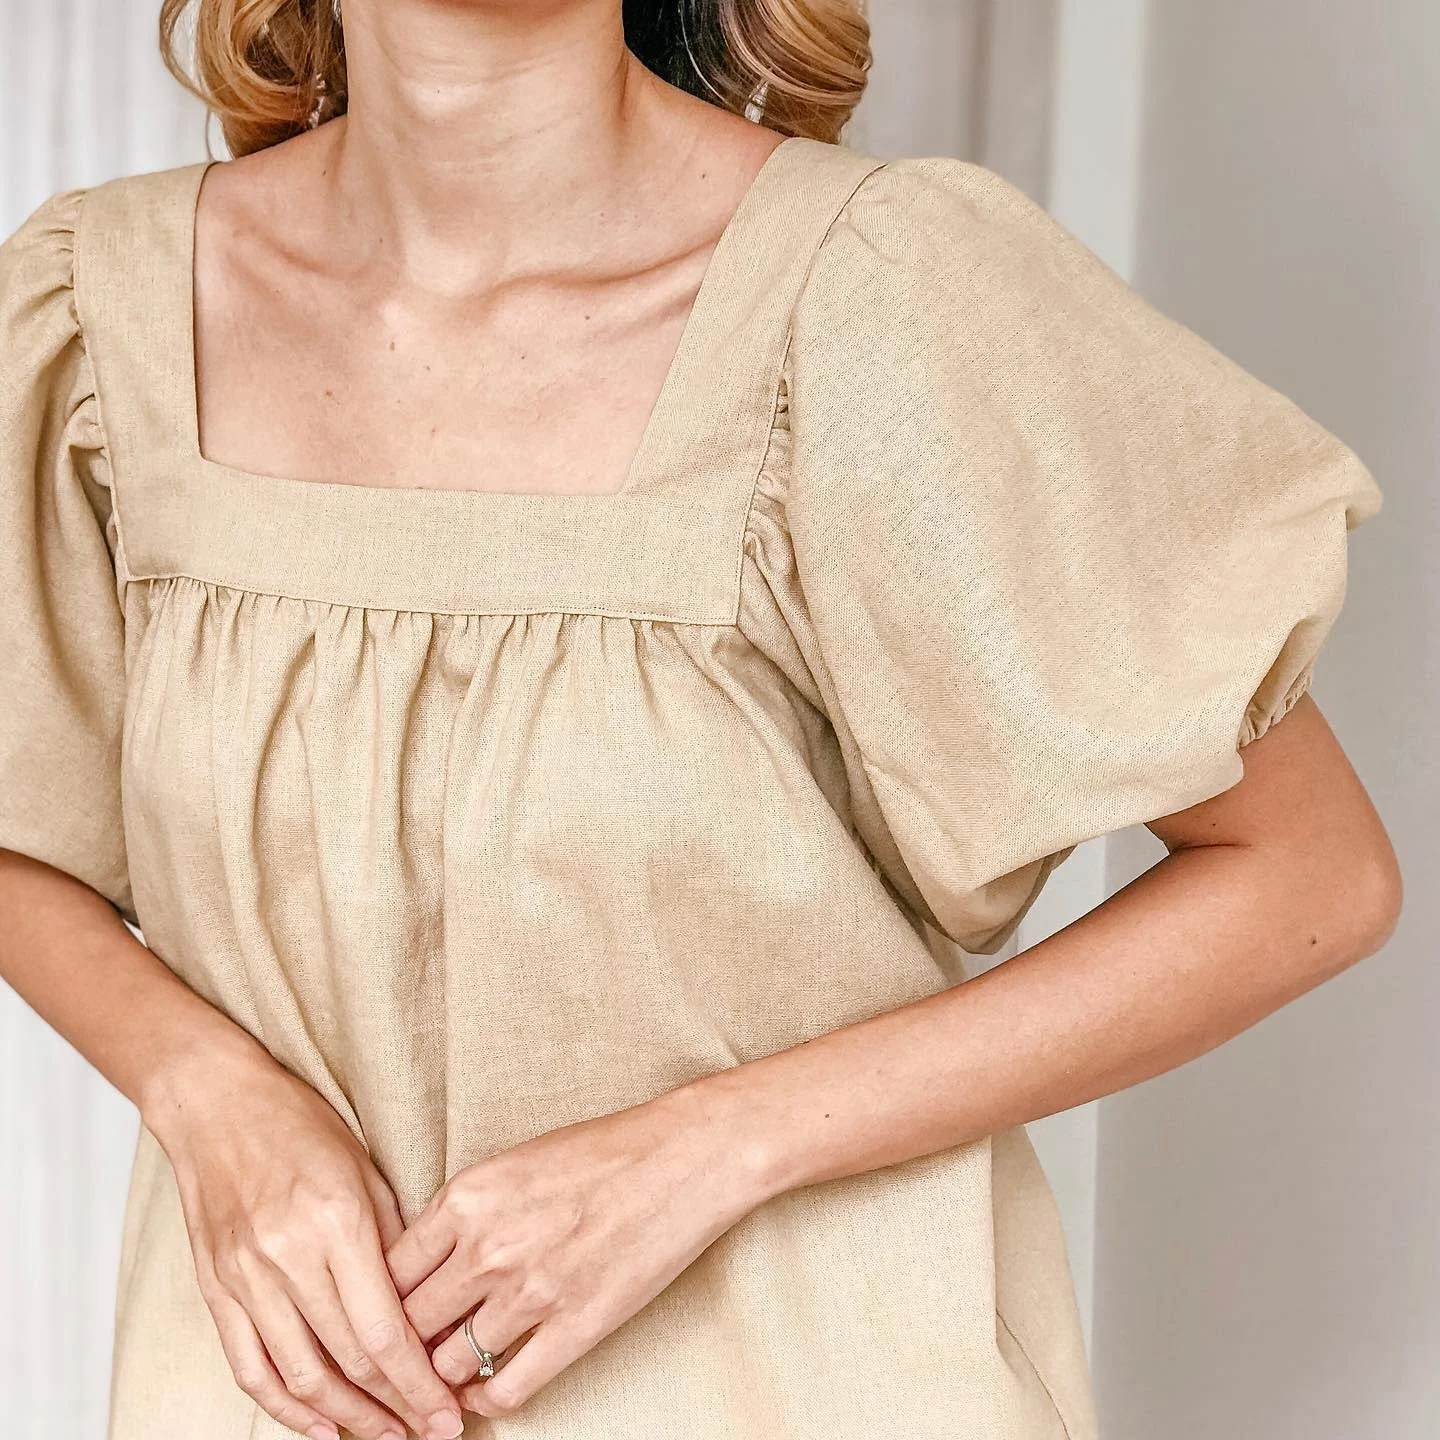
THE NECK
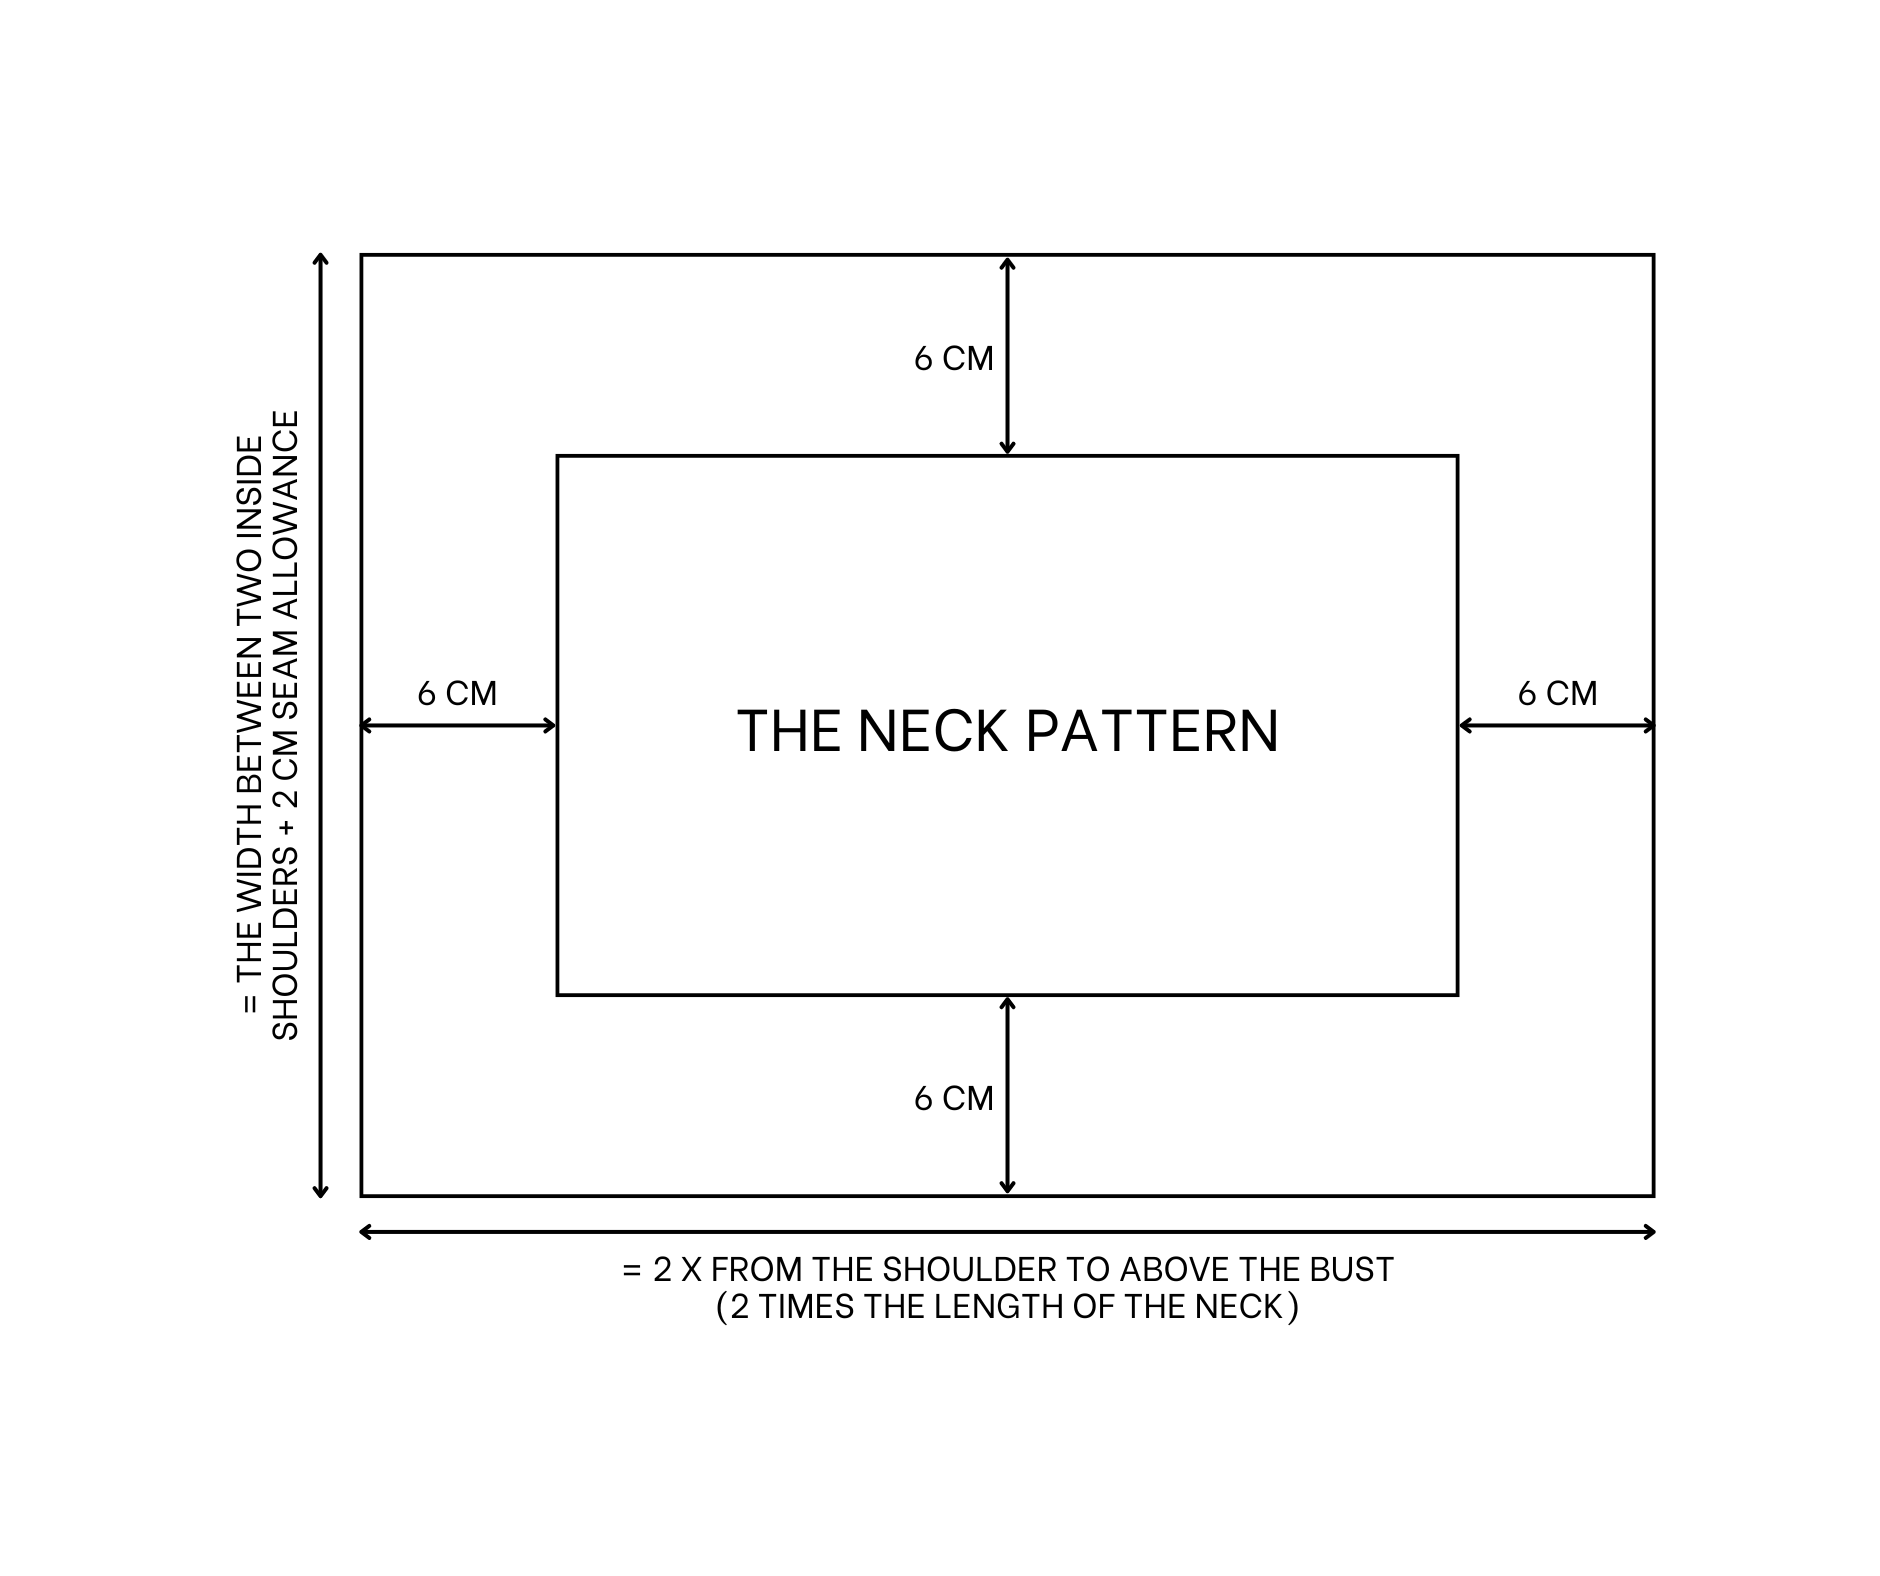
The neck pattern
THE NECK PATTERN
Cut a rectangle 28 cm long, which is the width between the two inside shoulders plus 2 cm for seam allowance.
And 40 cm wide, which is twice the length from the shoulder to just above the bust. This determines the depth of the neck.
Draw a new rectangle 6 cm inside the current one so that, after deducting 2 cm for seam allowance, the square neck will be 4 cm wide.
After cutting, you will have the neck of the blouse.
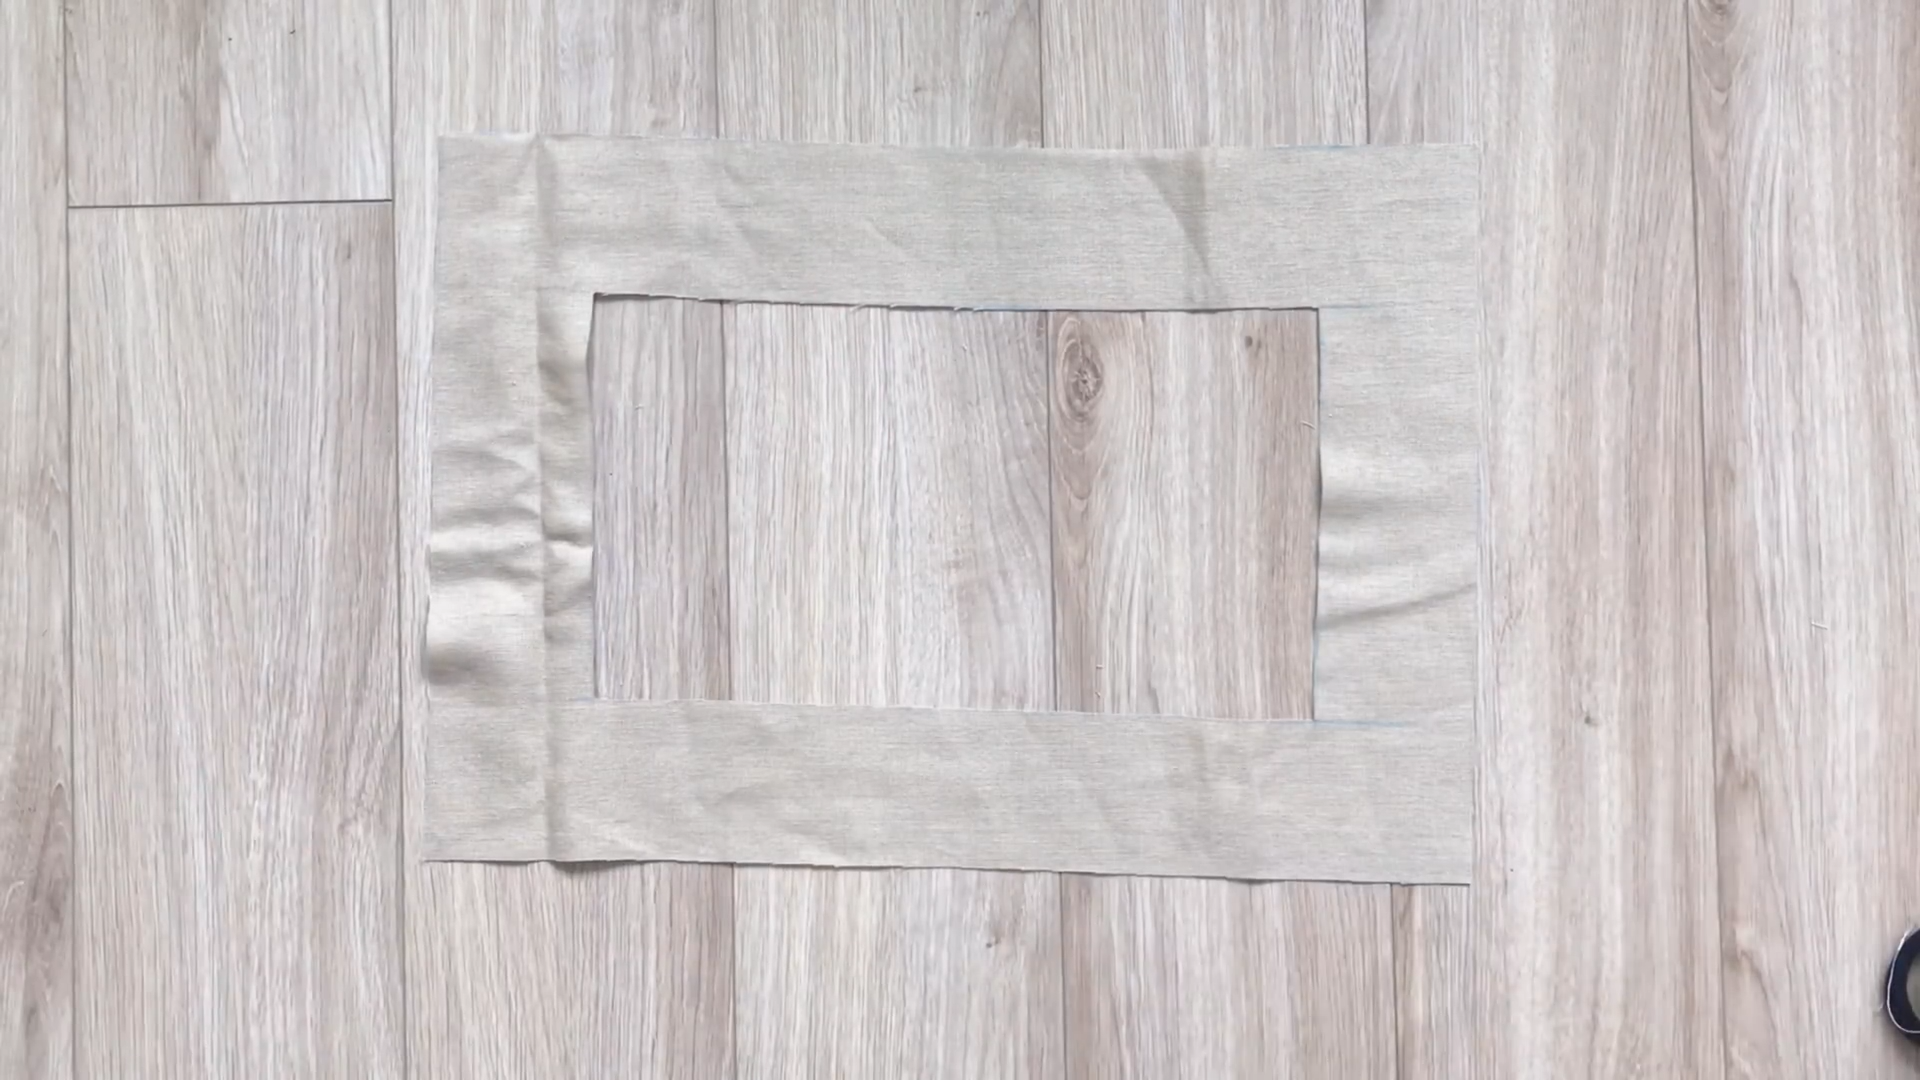
Cut another piece like this.
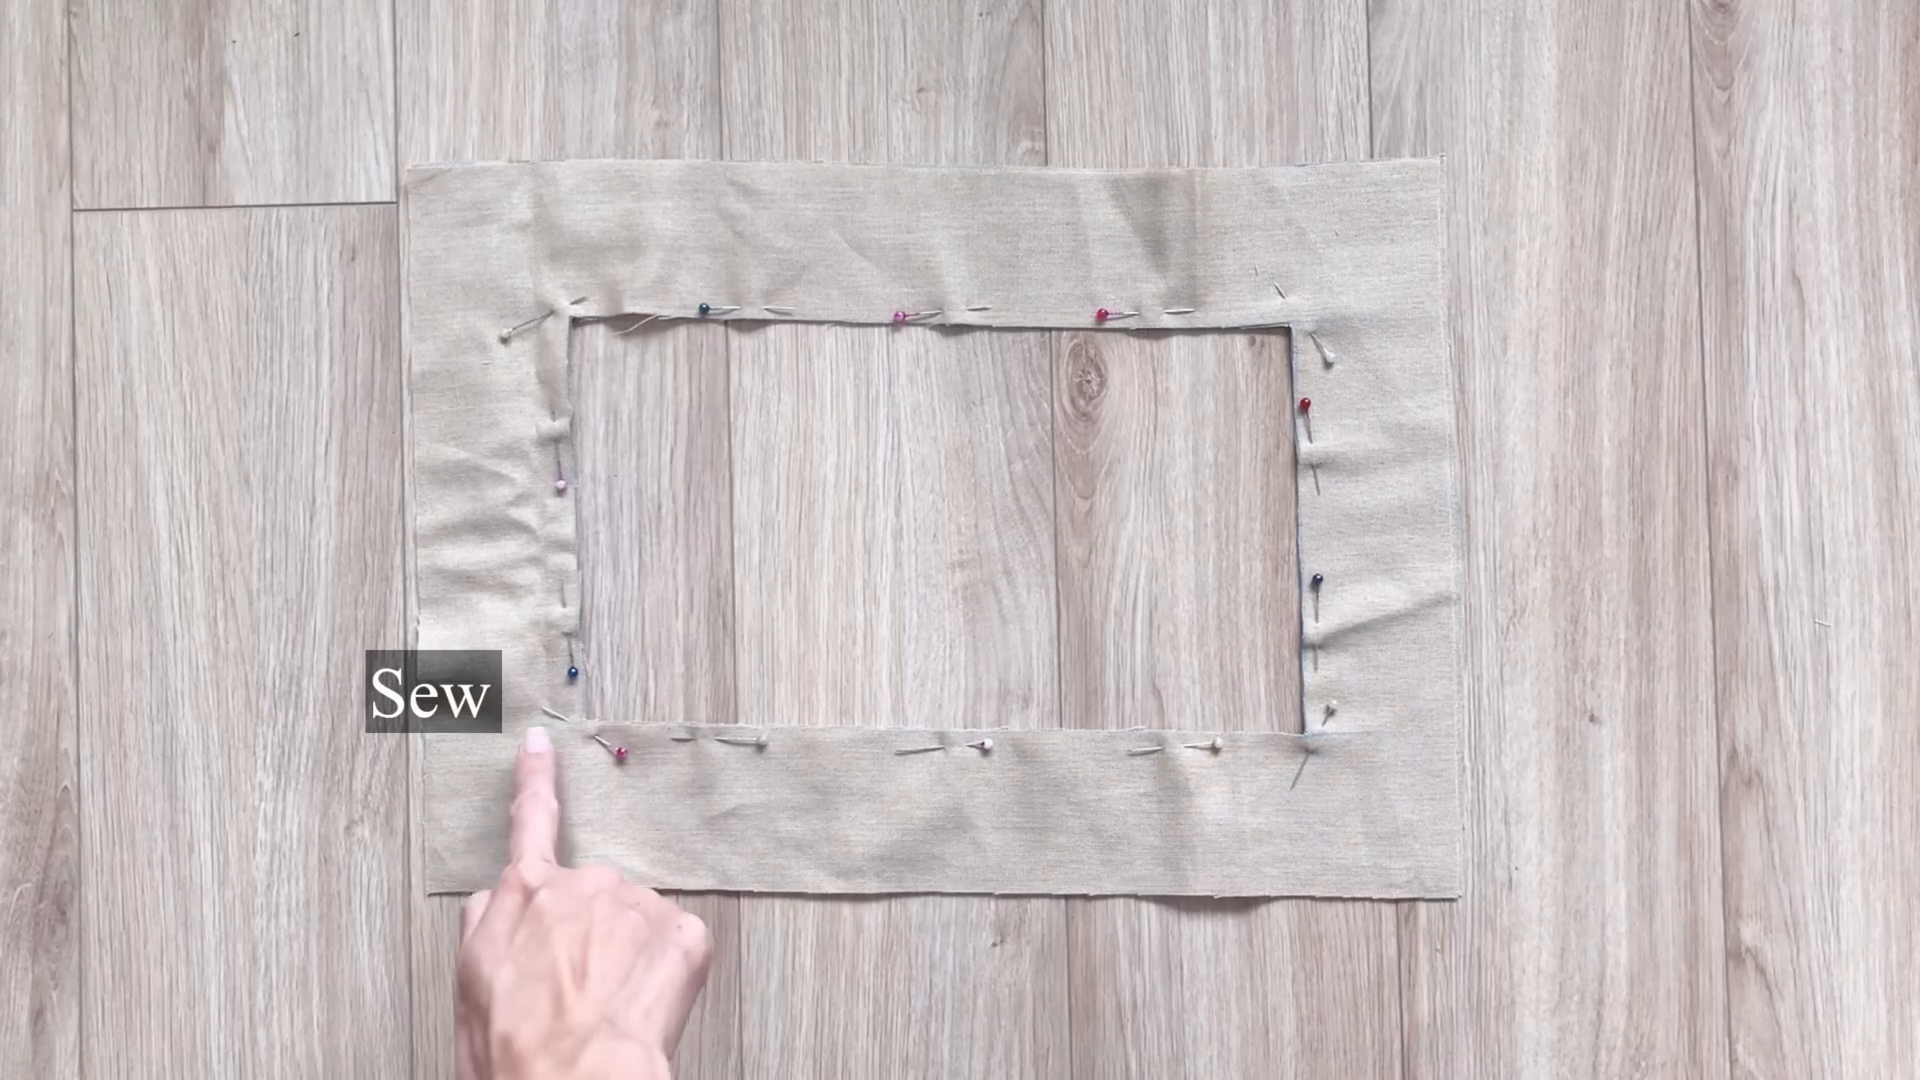
Next, connect the two neck pieces and sew along the inner rectangle.
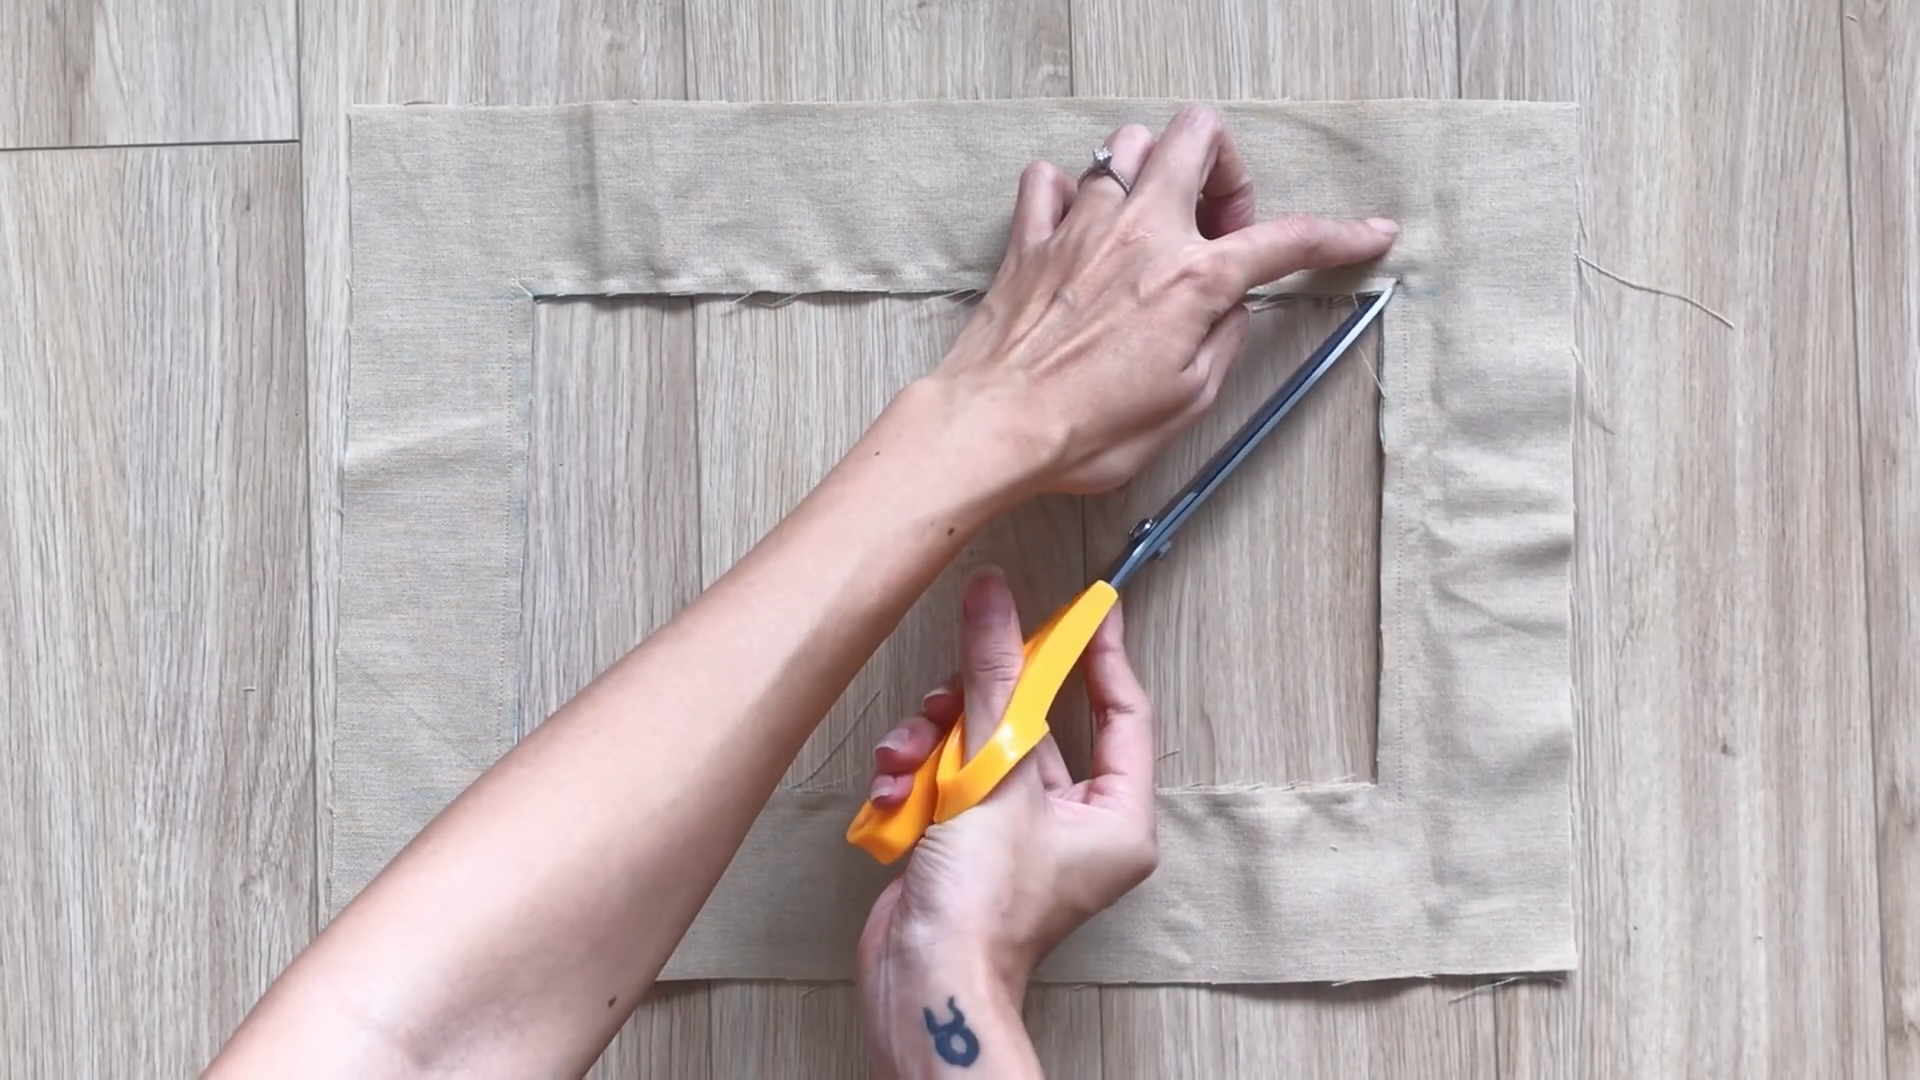
After sewing, make small cuts at the four edges of the rectangle to help the edges of the square neck look nicer when turned out.
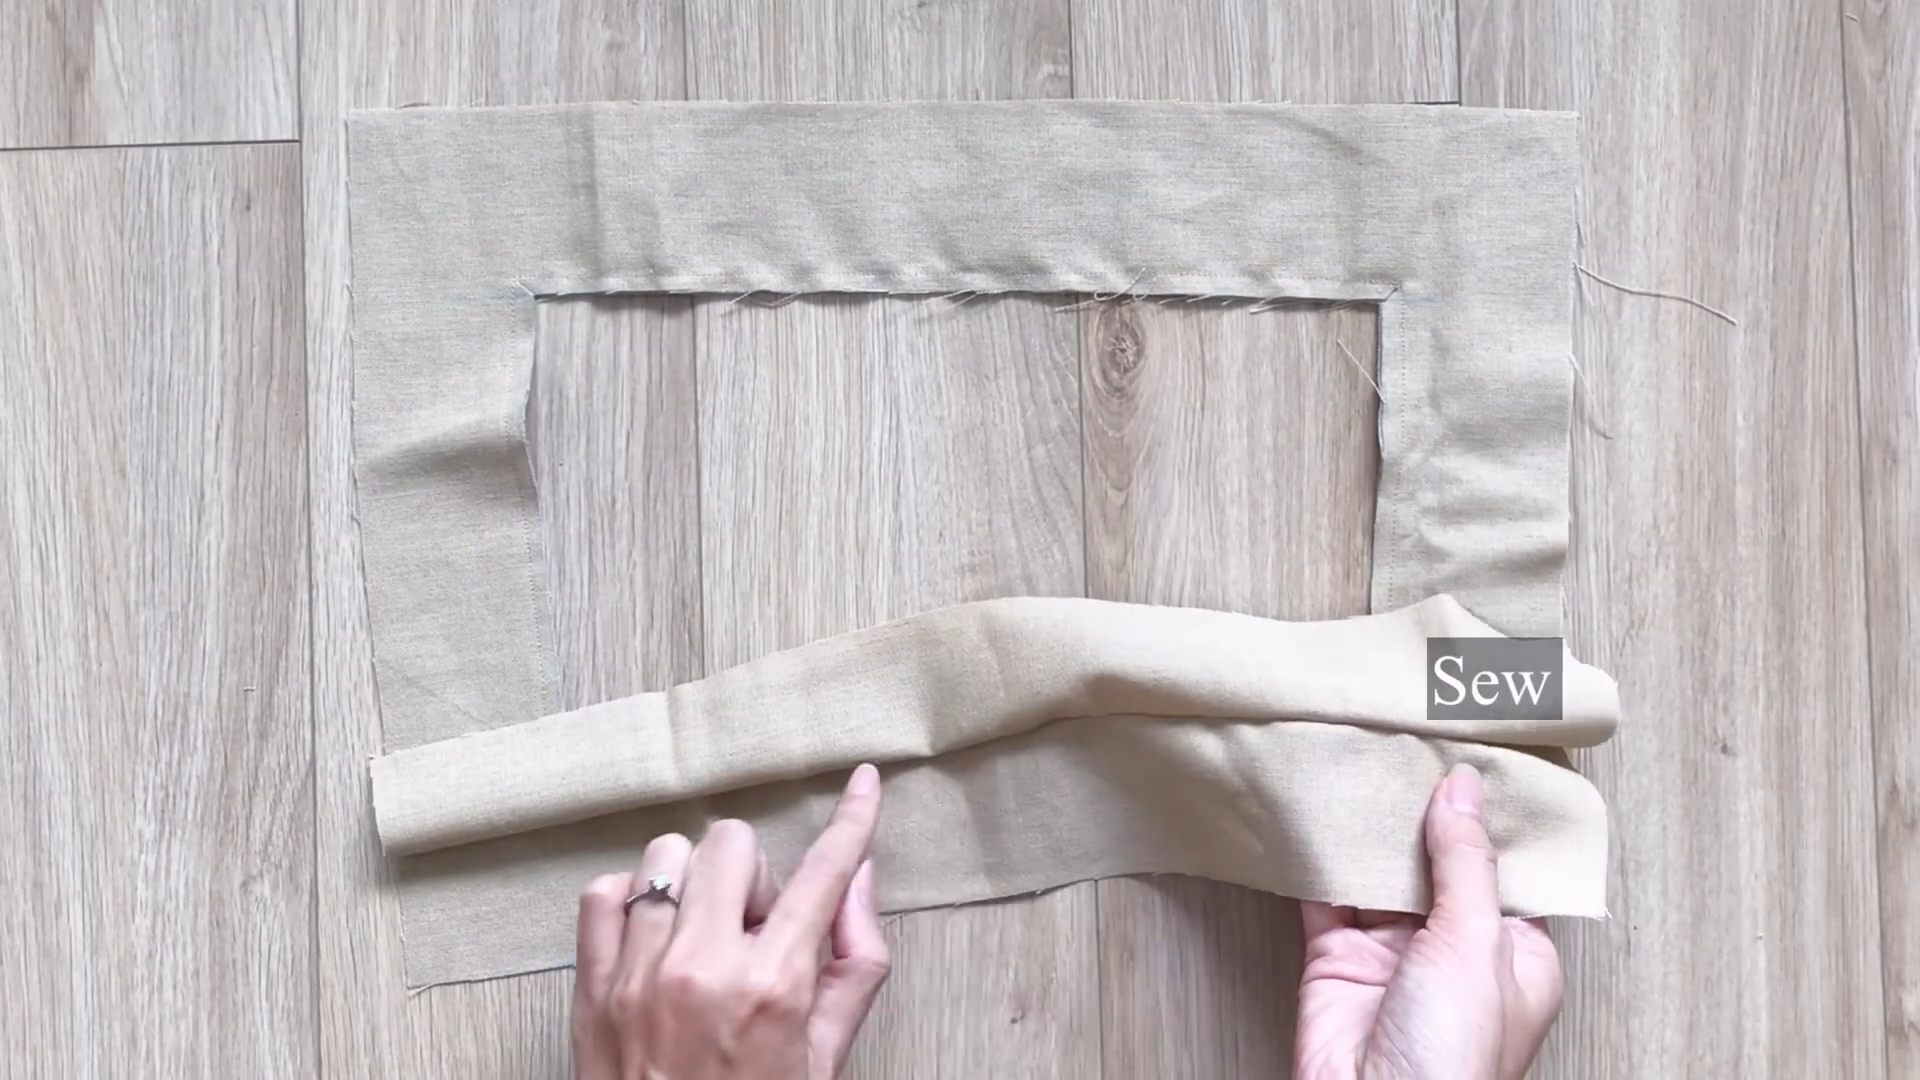
Sew a second seam along one neck piece to hold the fabric end to one side, which will be the inside part of the neck.
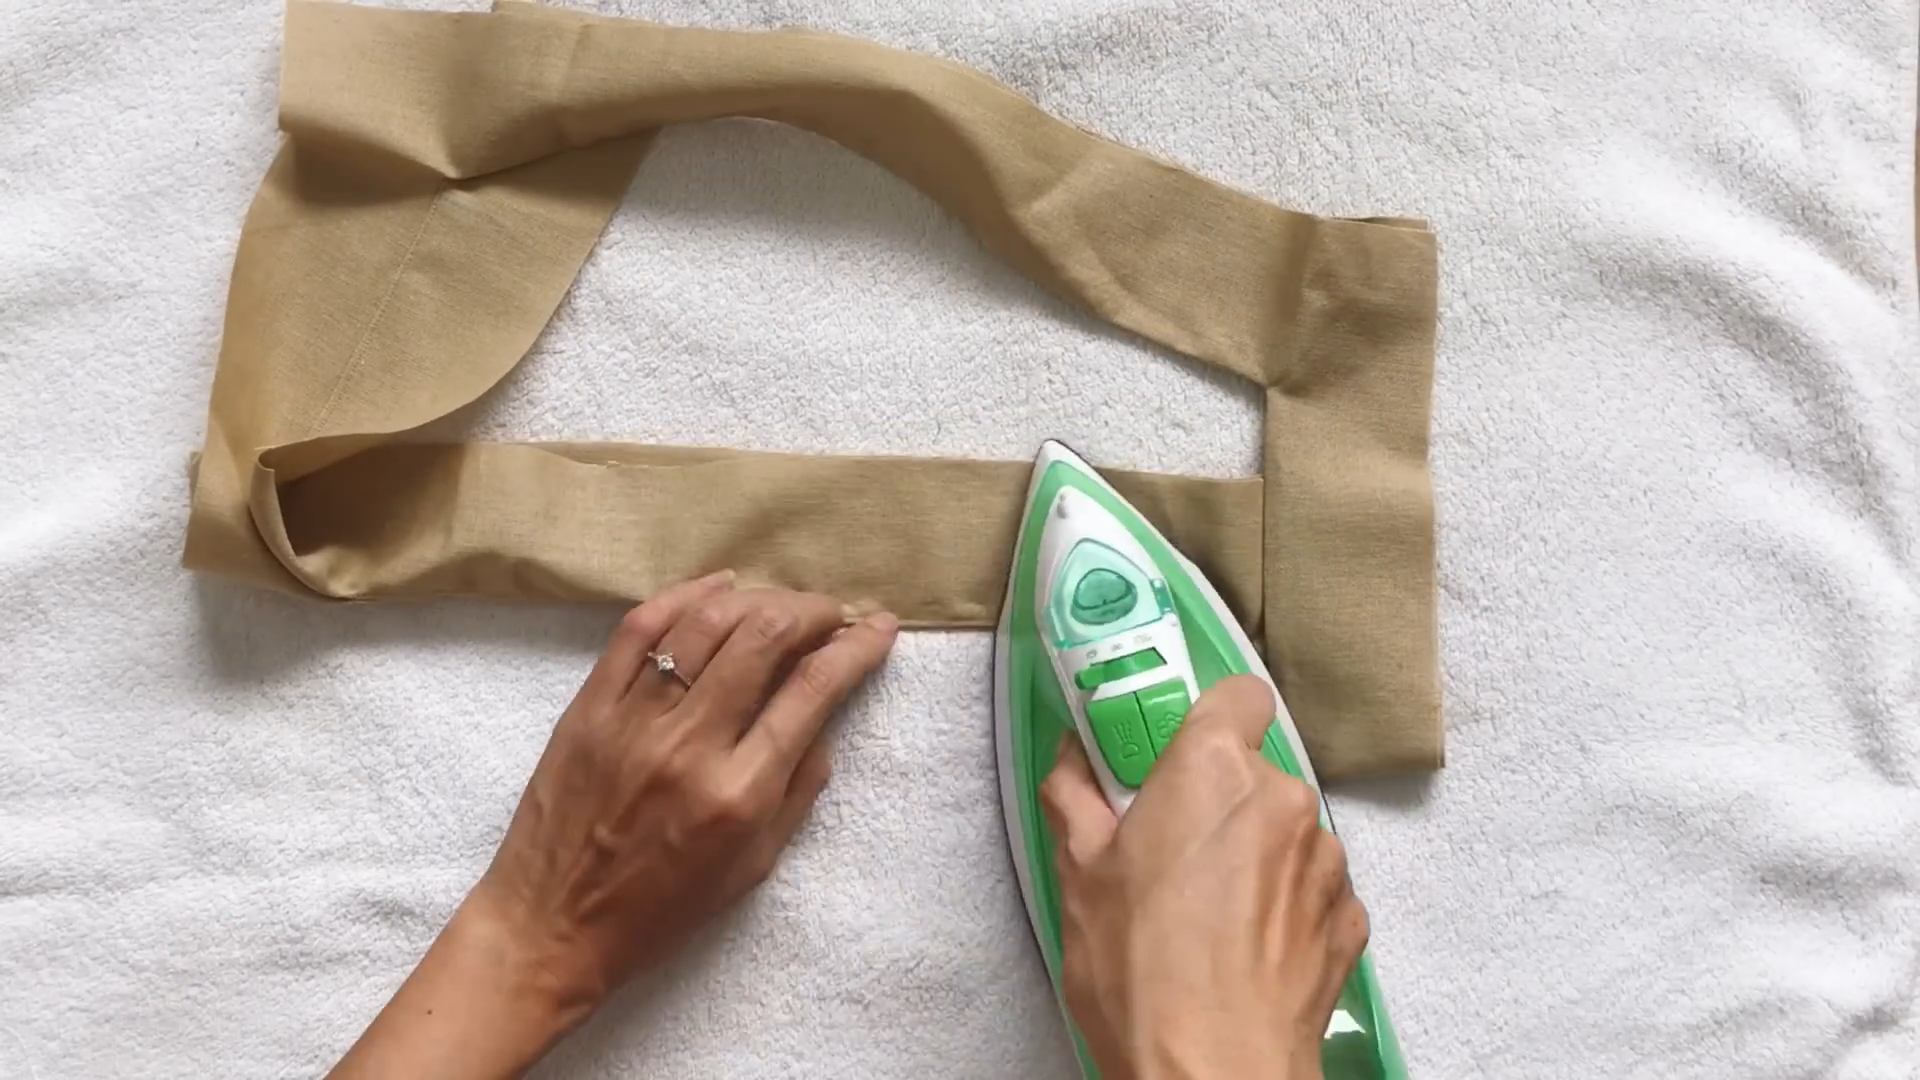
After sewing, use an iron to press the edges of the neck flat. This completes the neck.
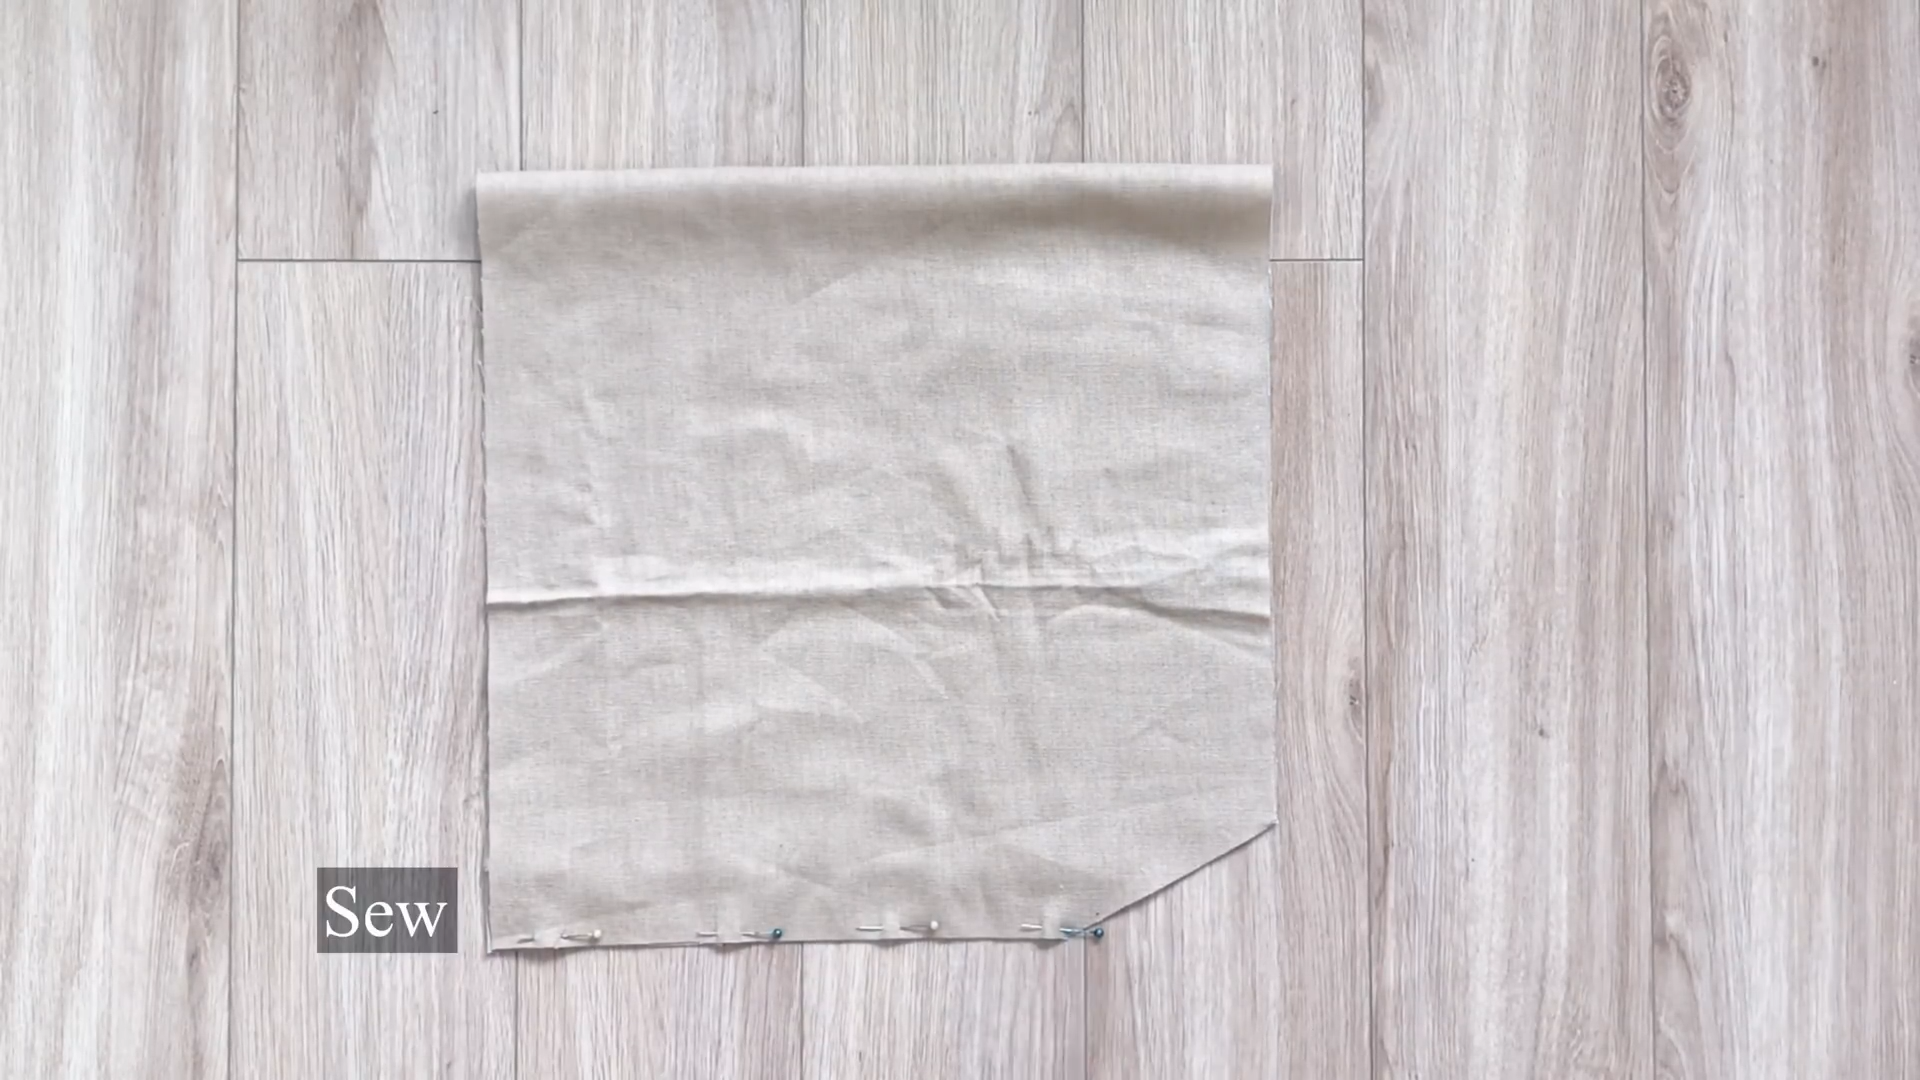
THE BODICE
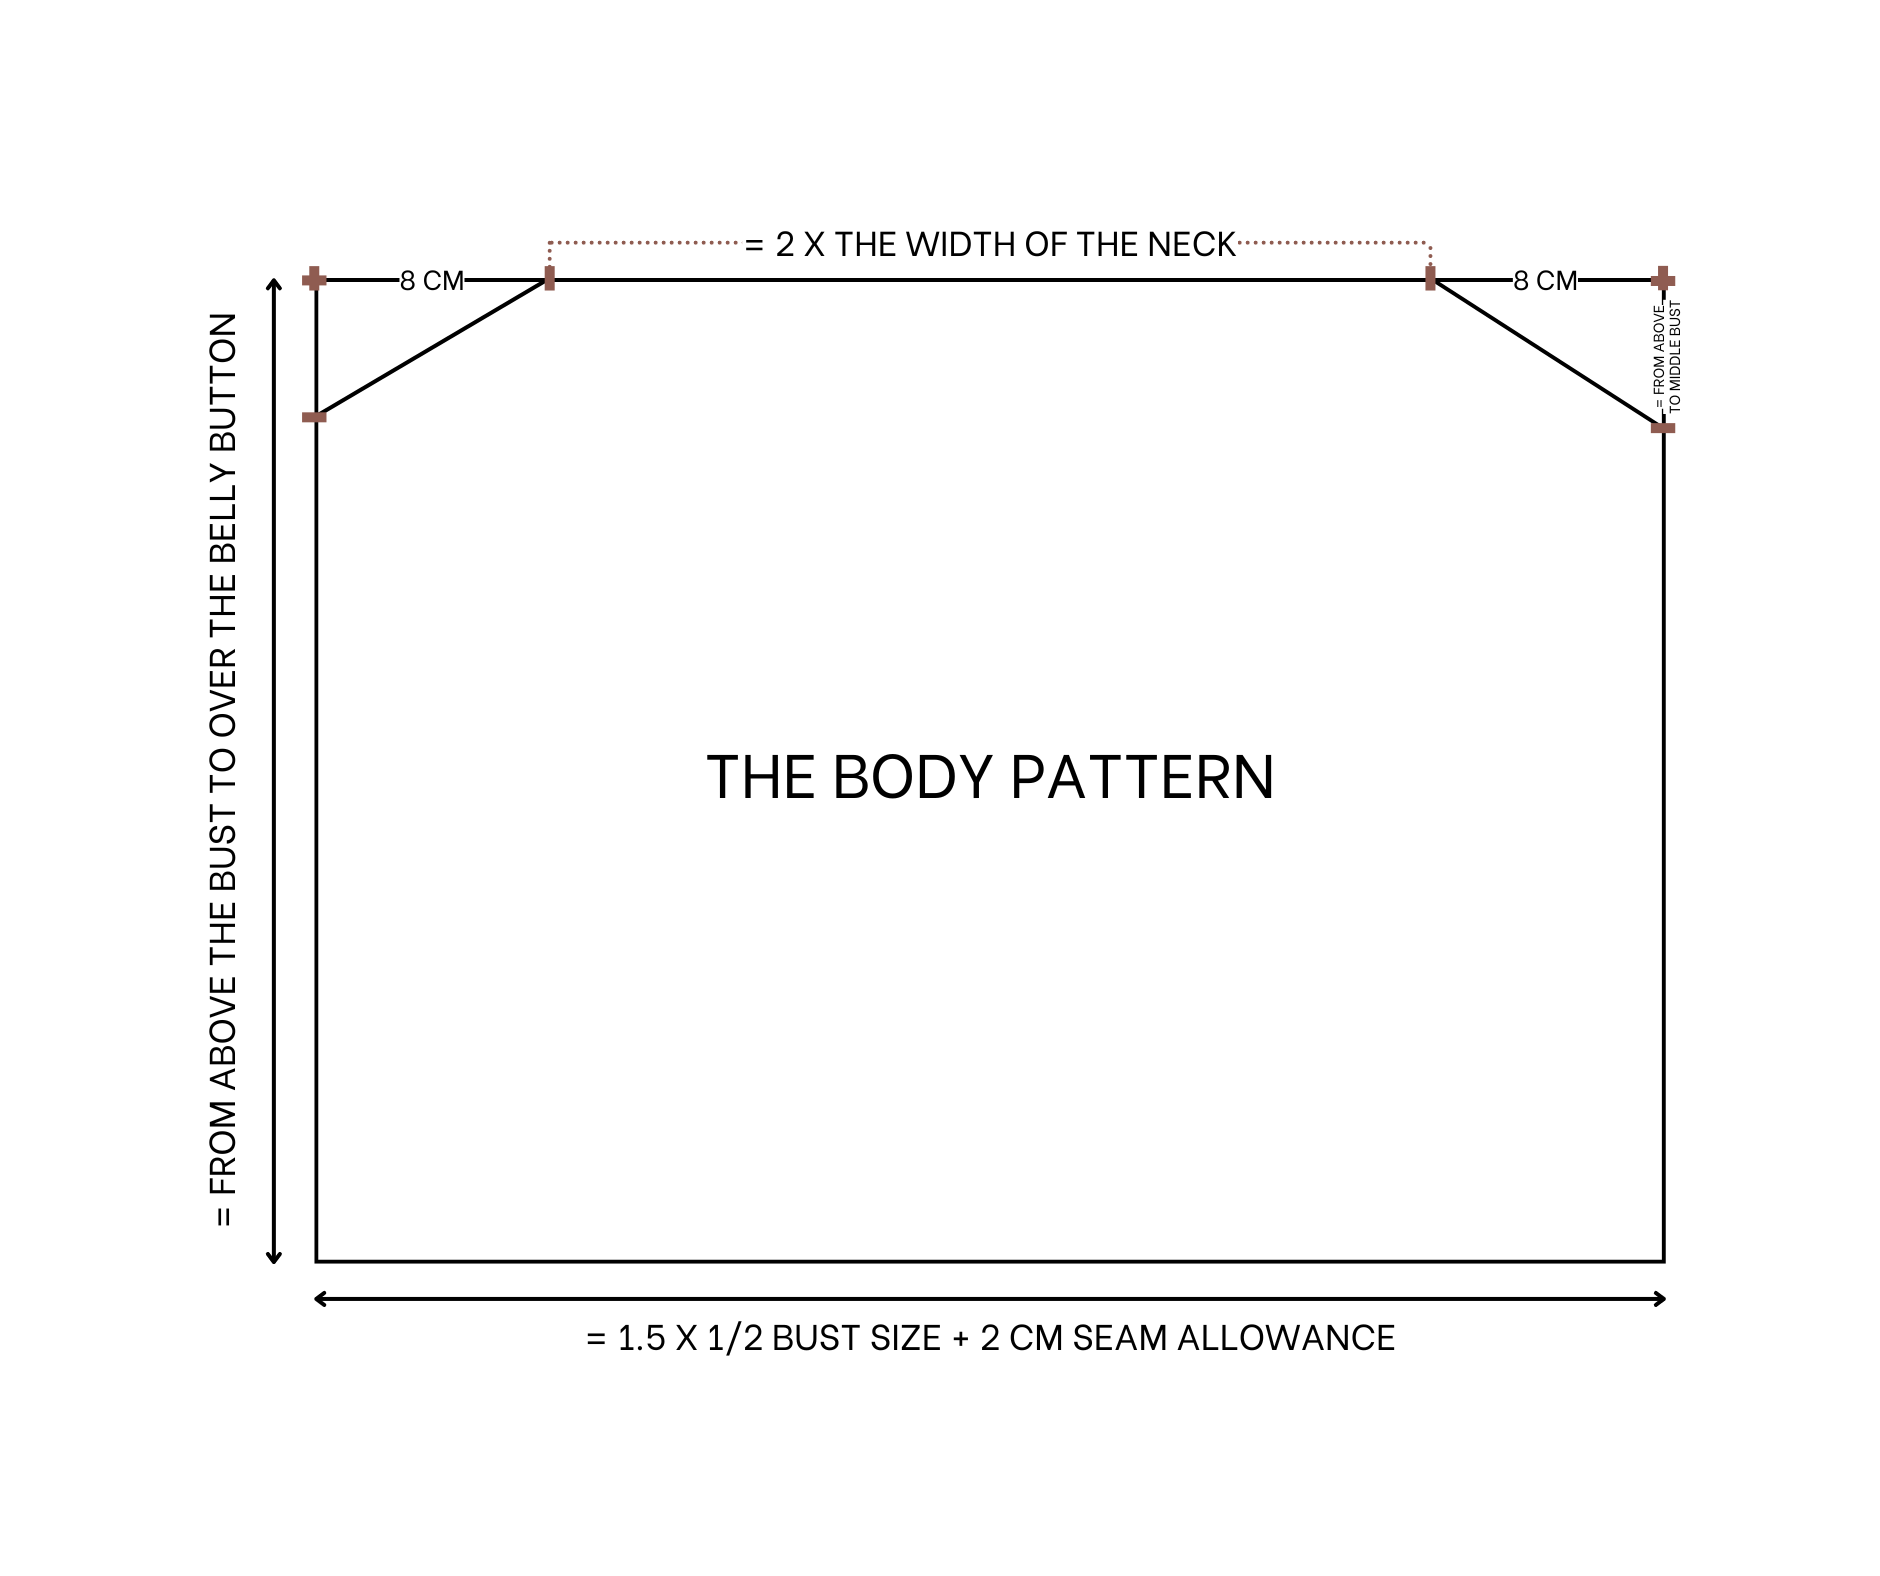
The bodice pattern
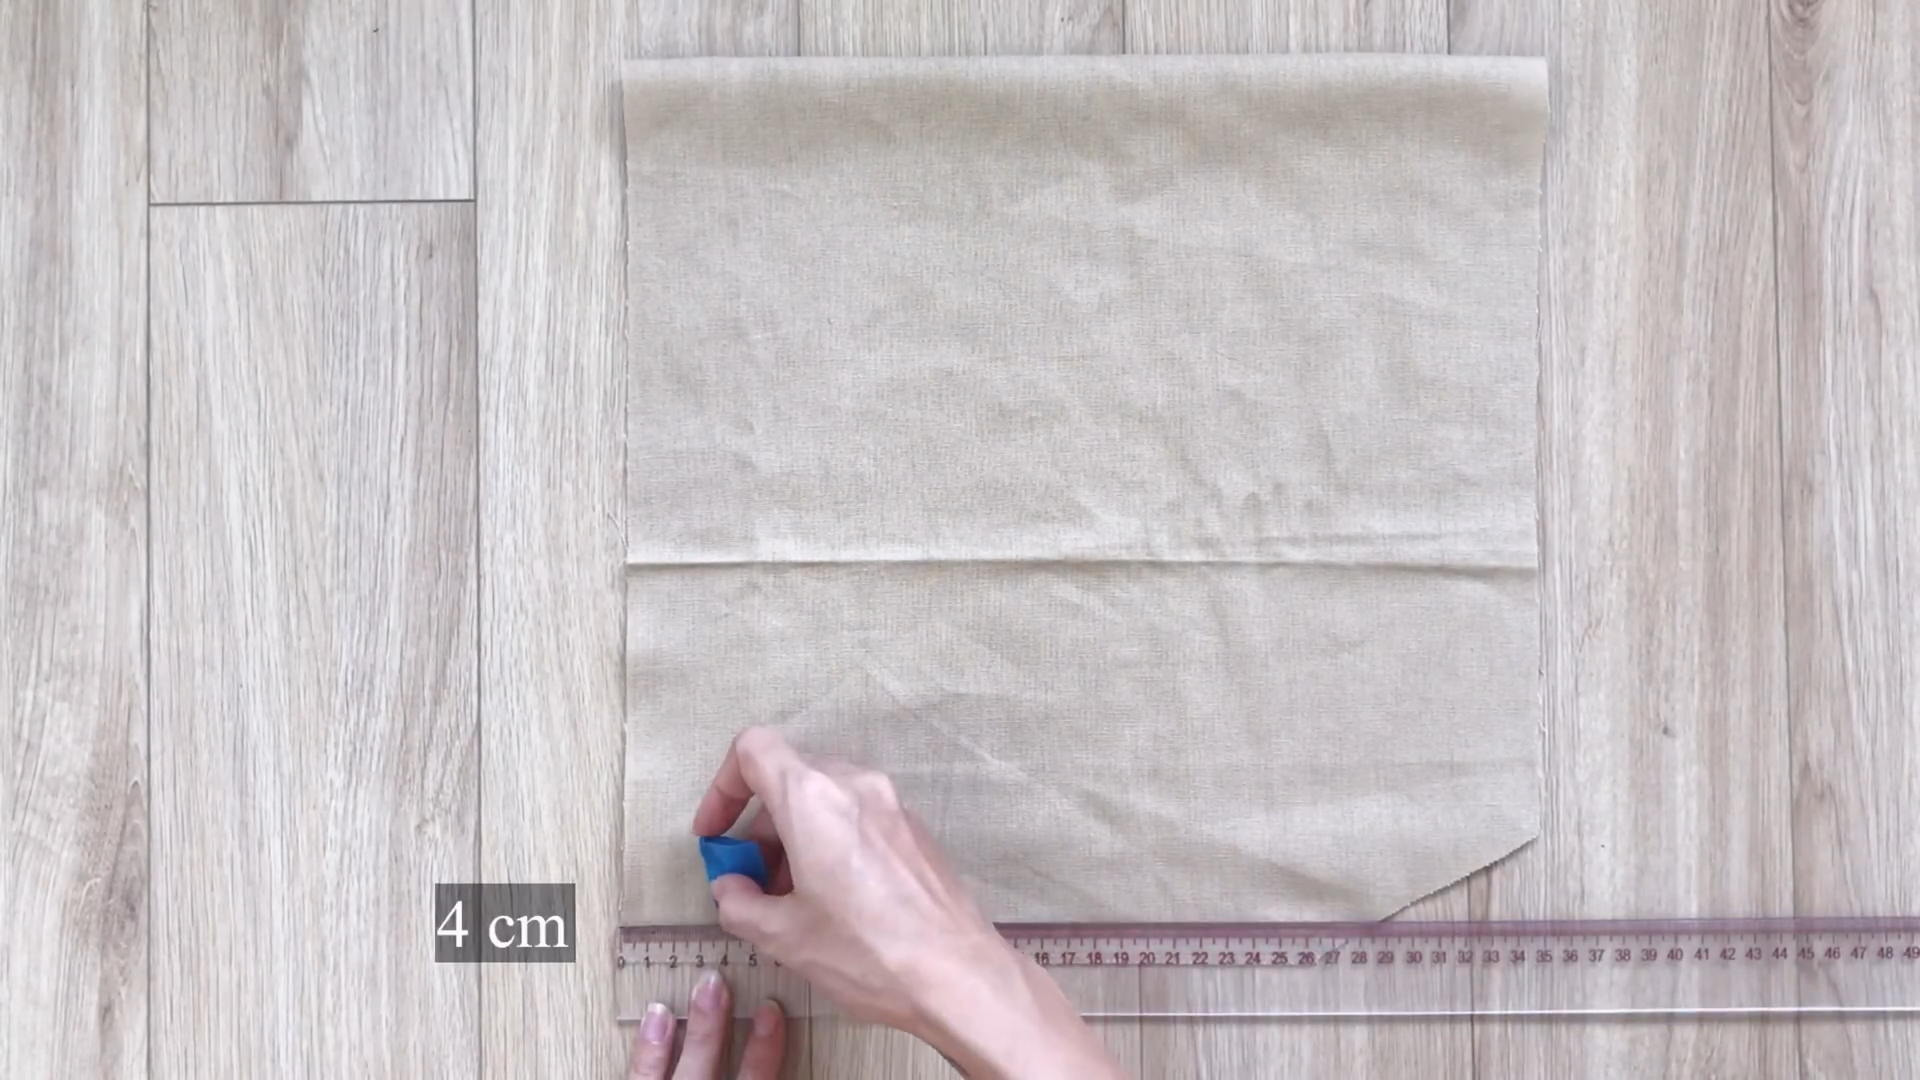
Cut a rectangle 40 cm long (the length from the bust to over the belly button) and 70 cm wide, which is 1.5 times half the bust measurement plus 2 cm for seam allowance.
On one width line, mark 8 cm in from each end, leaving 54 cm between the two marks—twice the width of the finished neck.
From the end of this width line, mark 5 cm down (the distance from above the bust to the middle of the bust).
Connect this mark to the mark on the width line to create the sleeve line for the main bodice.

Cut another piece like this.
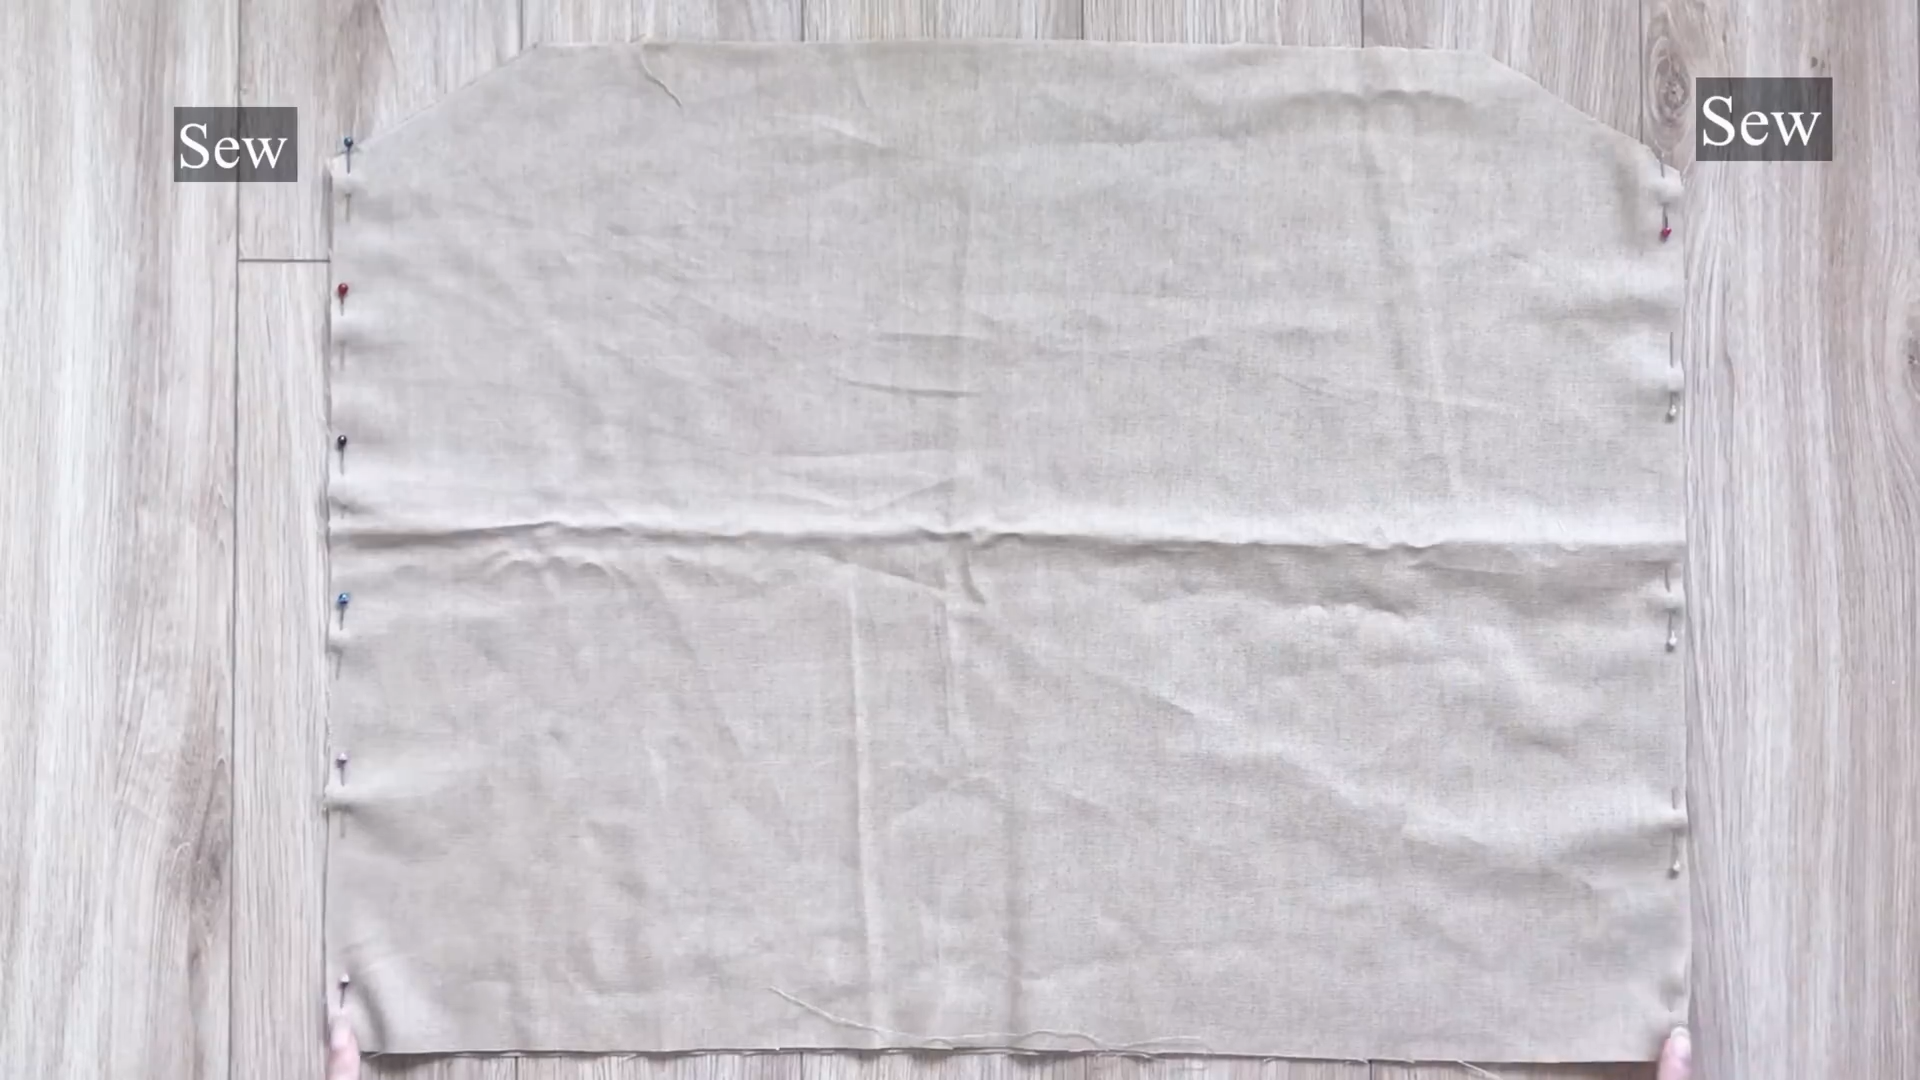
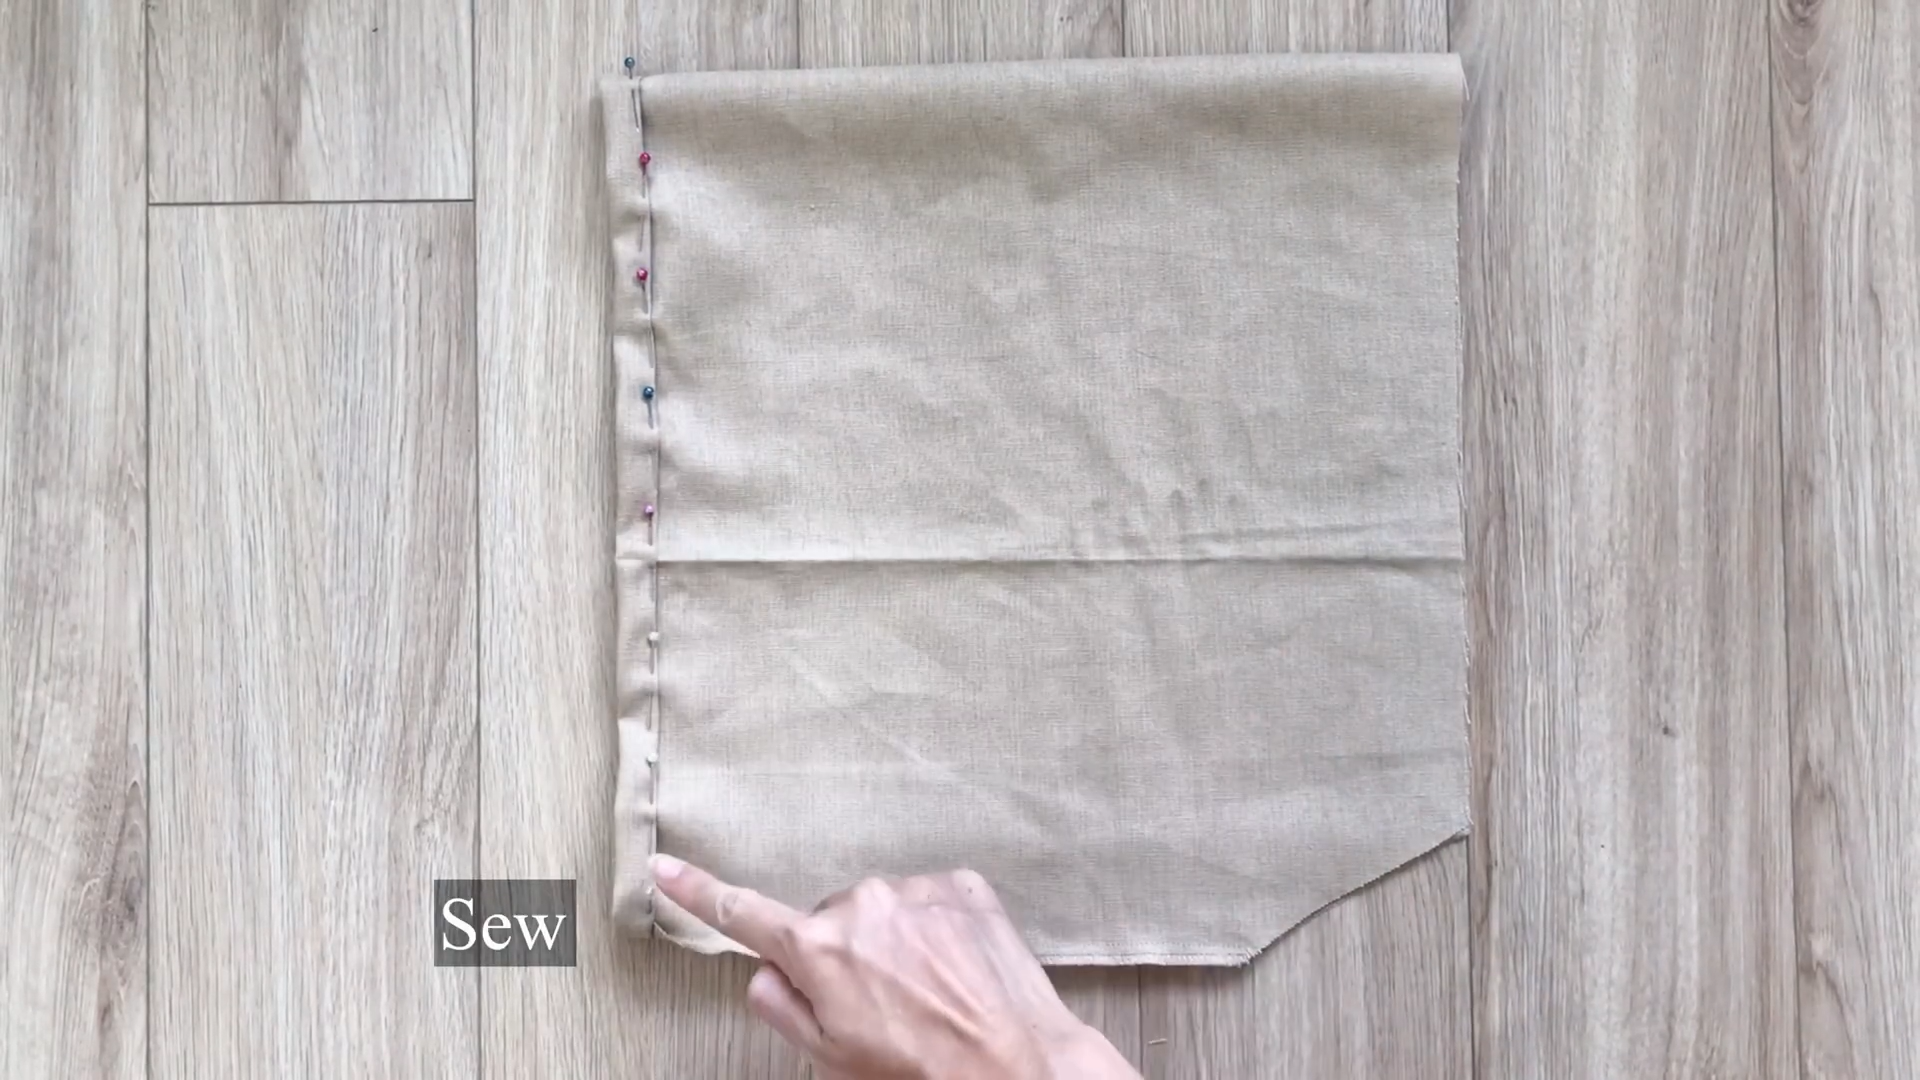
Then, sew the two pieces together along the side lines.
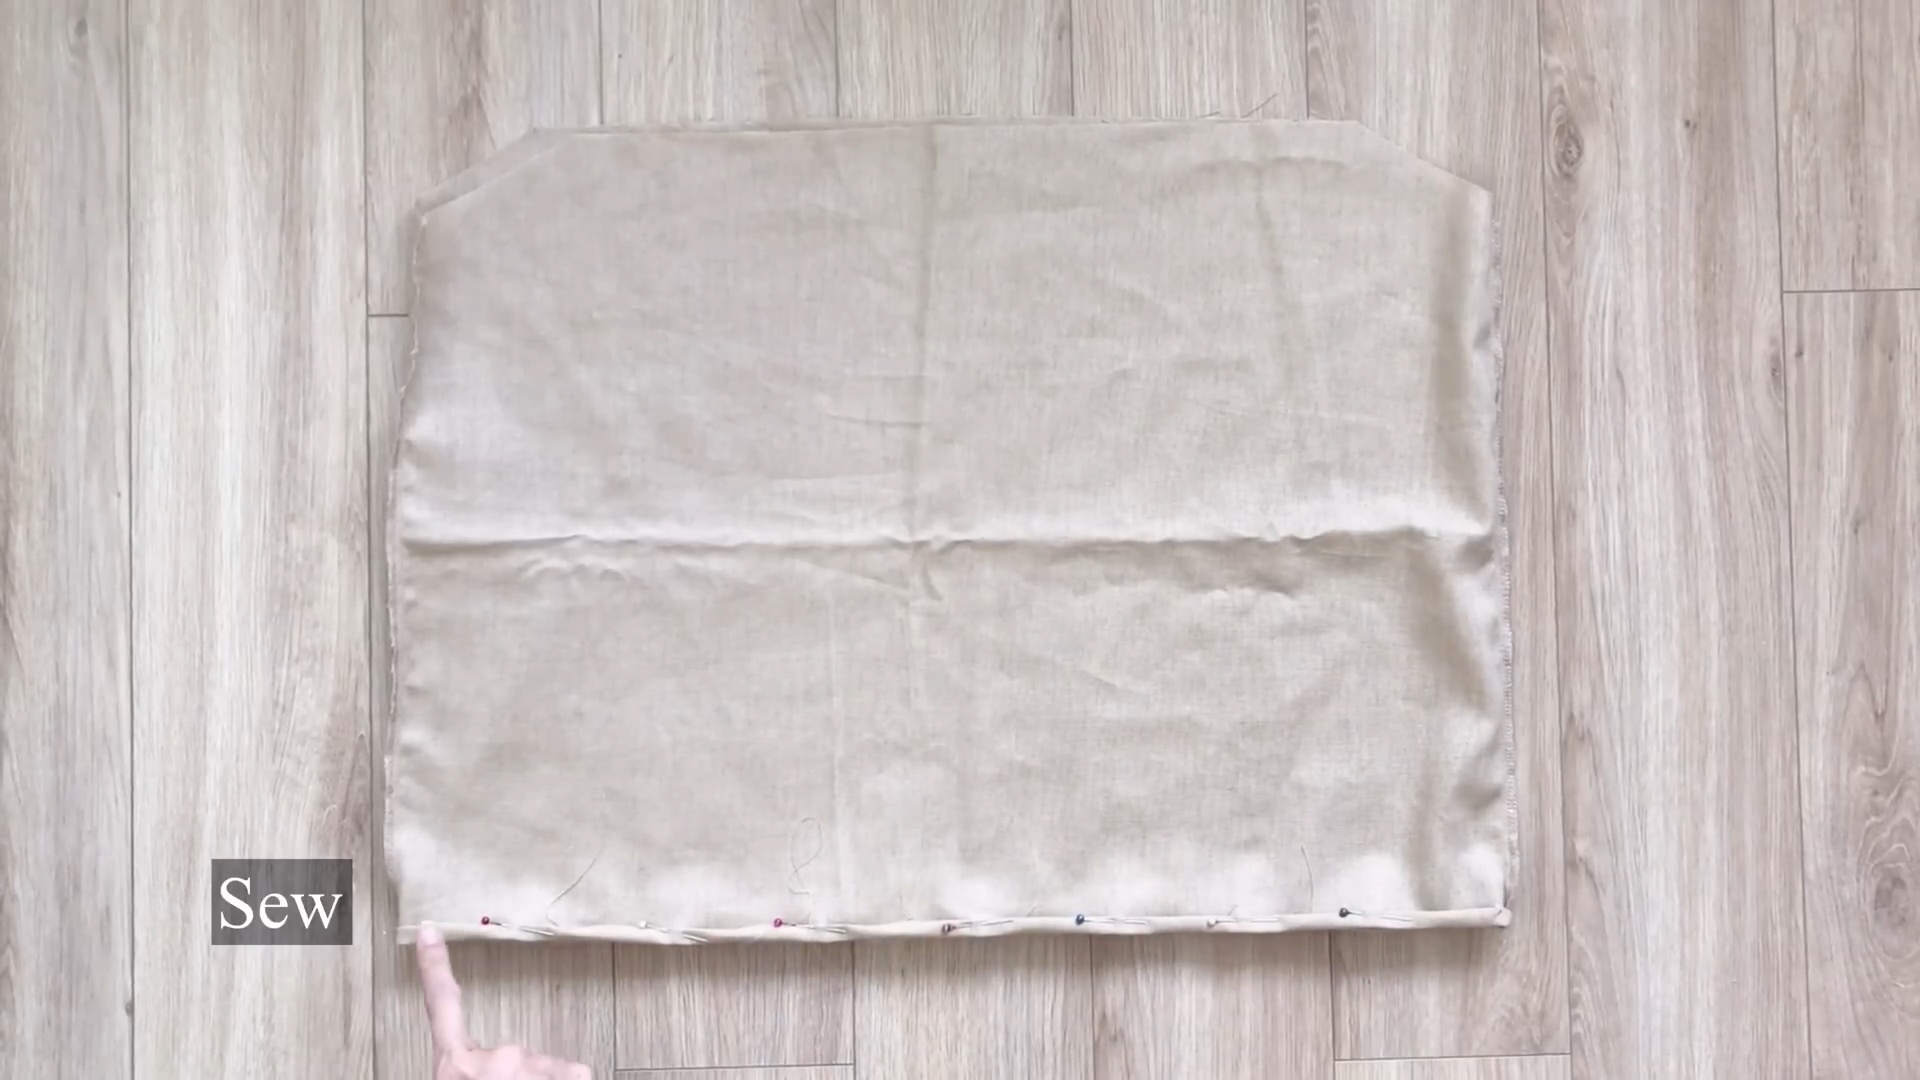
To finish the bottom of the blouse, fold the fabric edge inward twice and sew.
THE SLEEVE
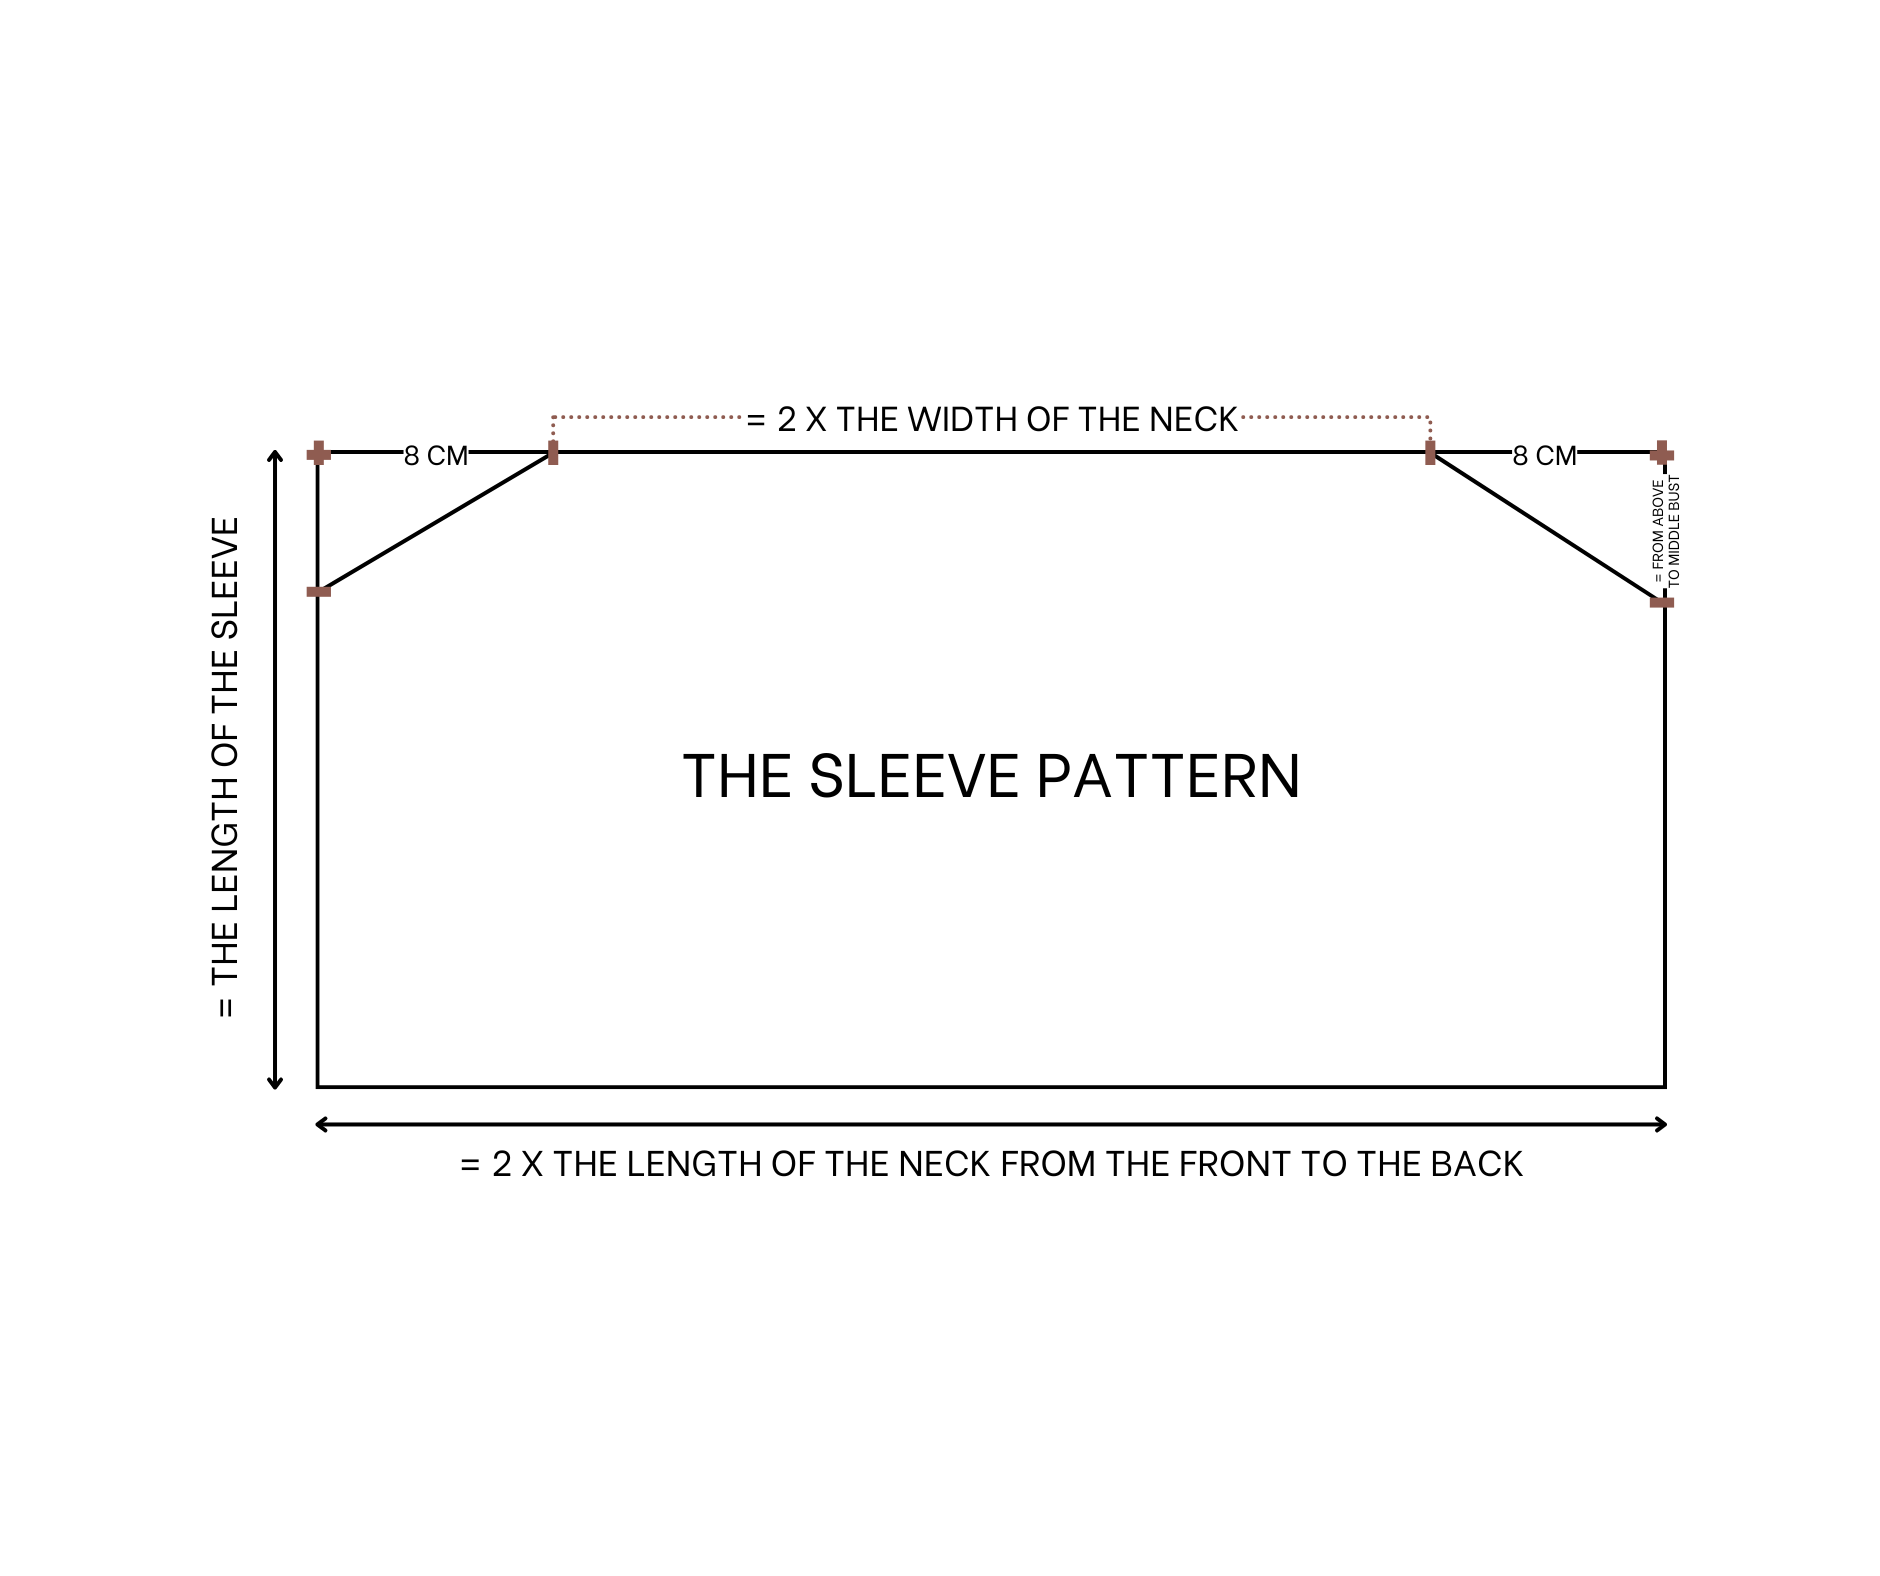
The sleeve pattern
Cut a rectangle 30 cm long (the desired sleeve length) and 80 cm wide, which is twice the length from the back of the neck to the front.
Fold the rectangle in half along the width.
From the folded edge, mark 8 cm inside on the length line, matching the mark made on the main bodice.
Then mark 5 cm up (the distance from above the bust to the middle).
Connect the two marks to create the sleeve line, matching the main bodice sleeve line.
Connect two under armpit lines together then sewing.
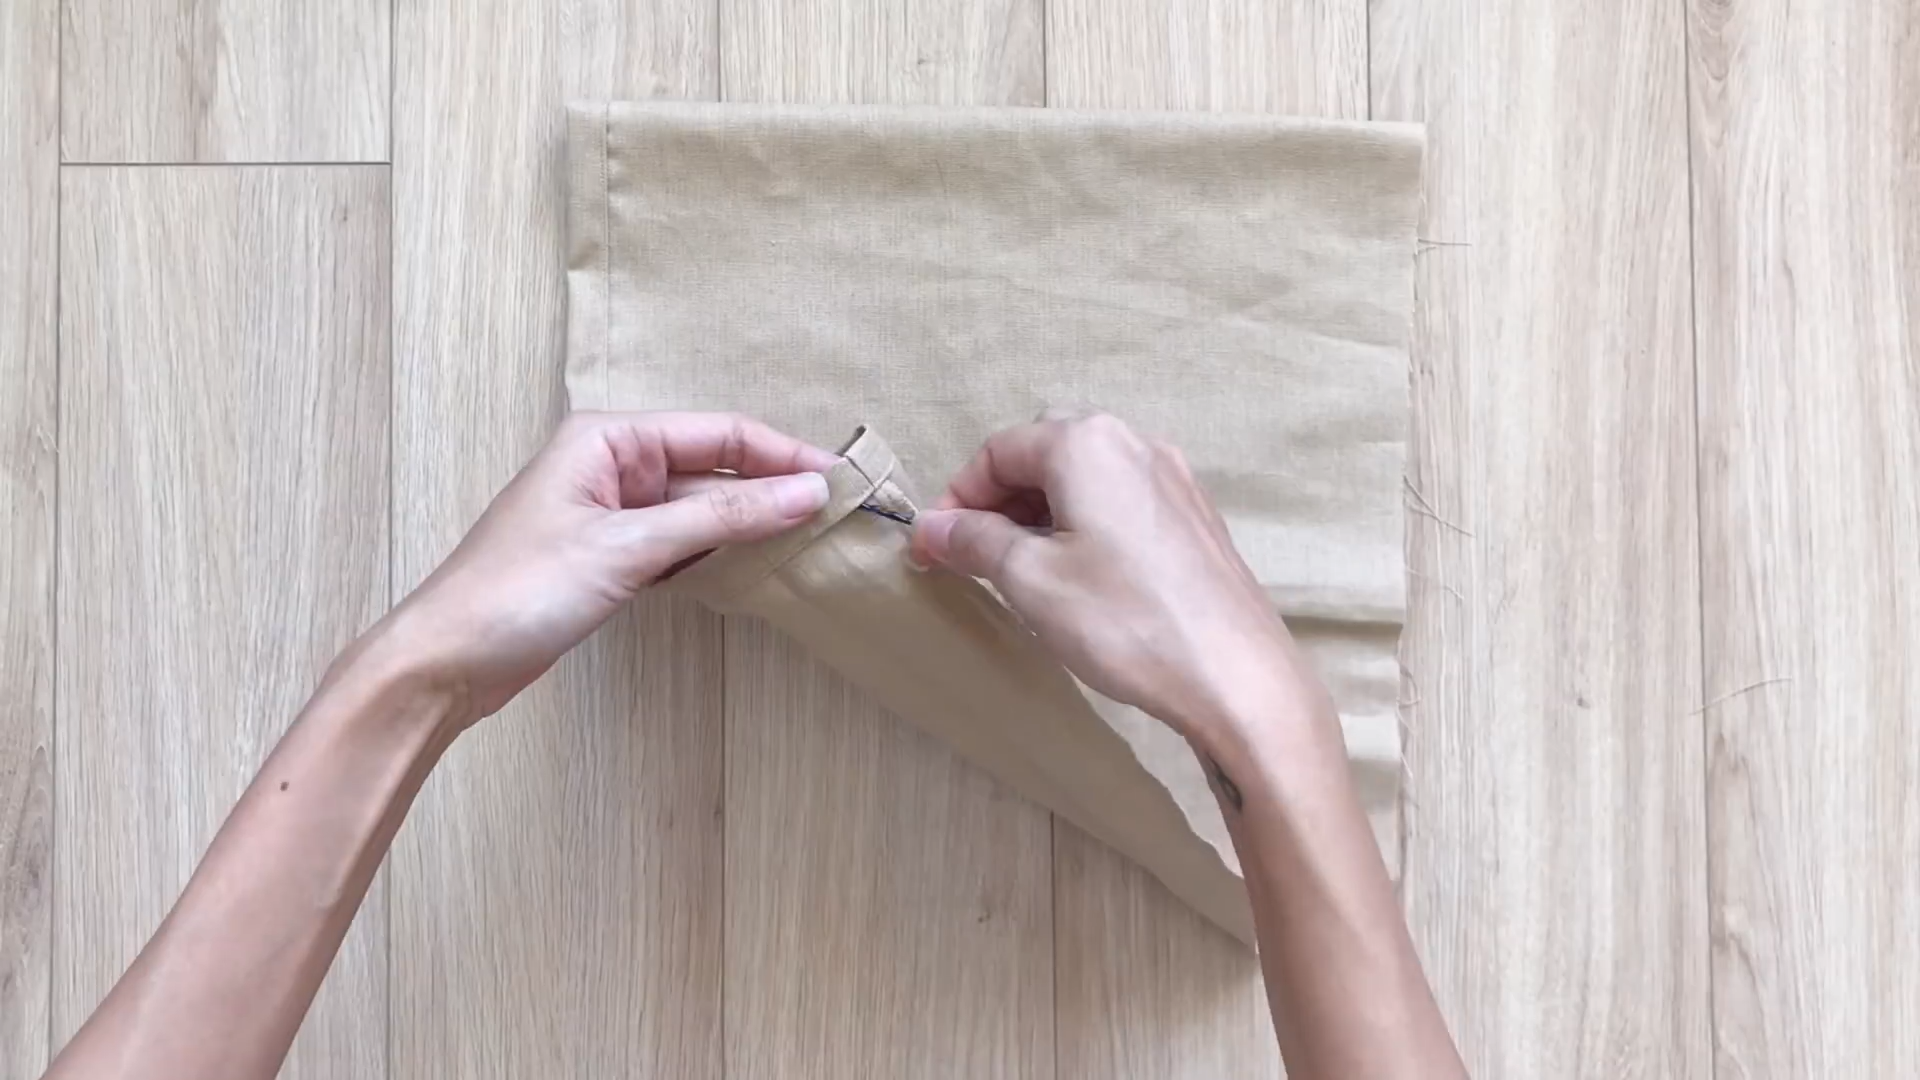
At the sleeve end, draw a straight line 4 cm inside.
Then fold the sleeve edge to this line to create a fabric hole for the elastic band.
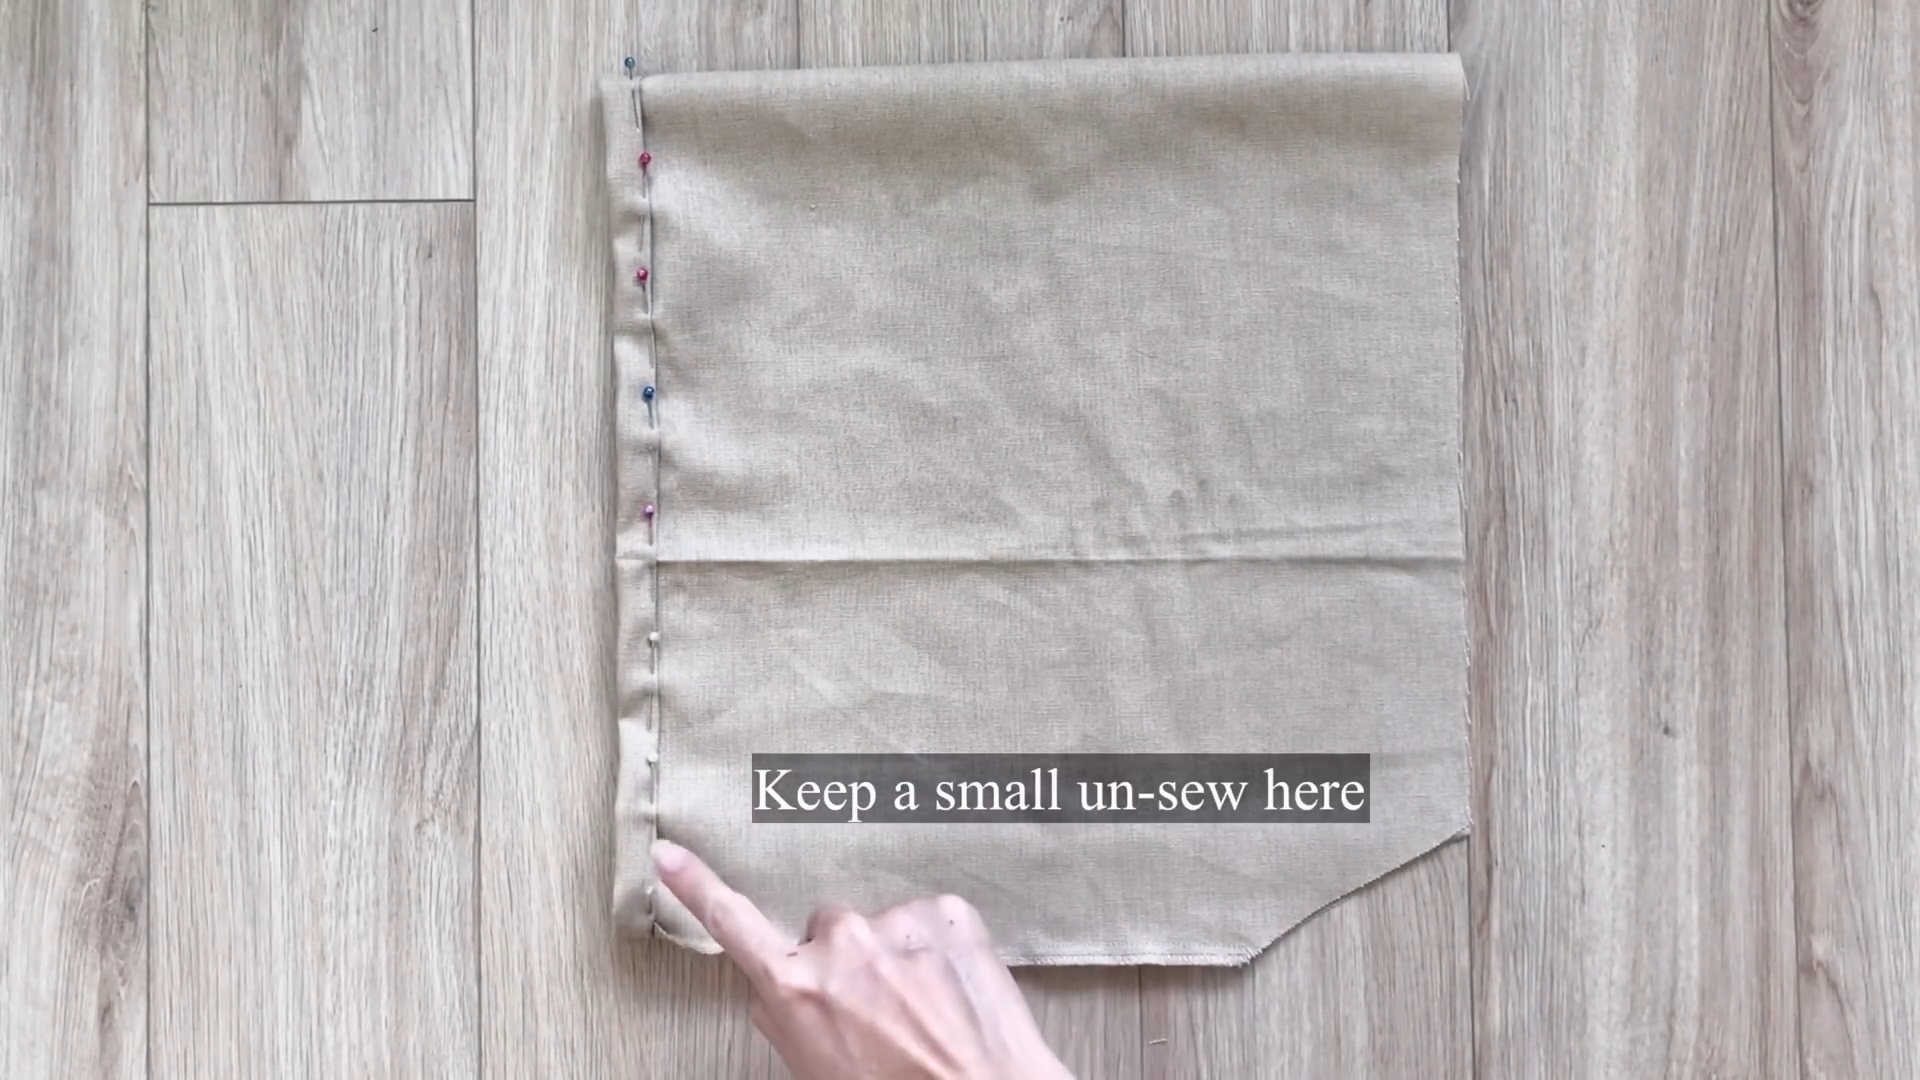
Leave a small opening to insert the elastic later.
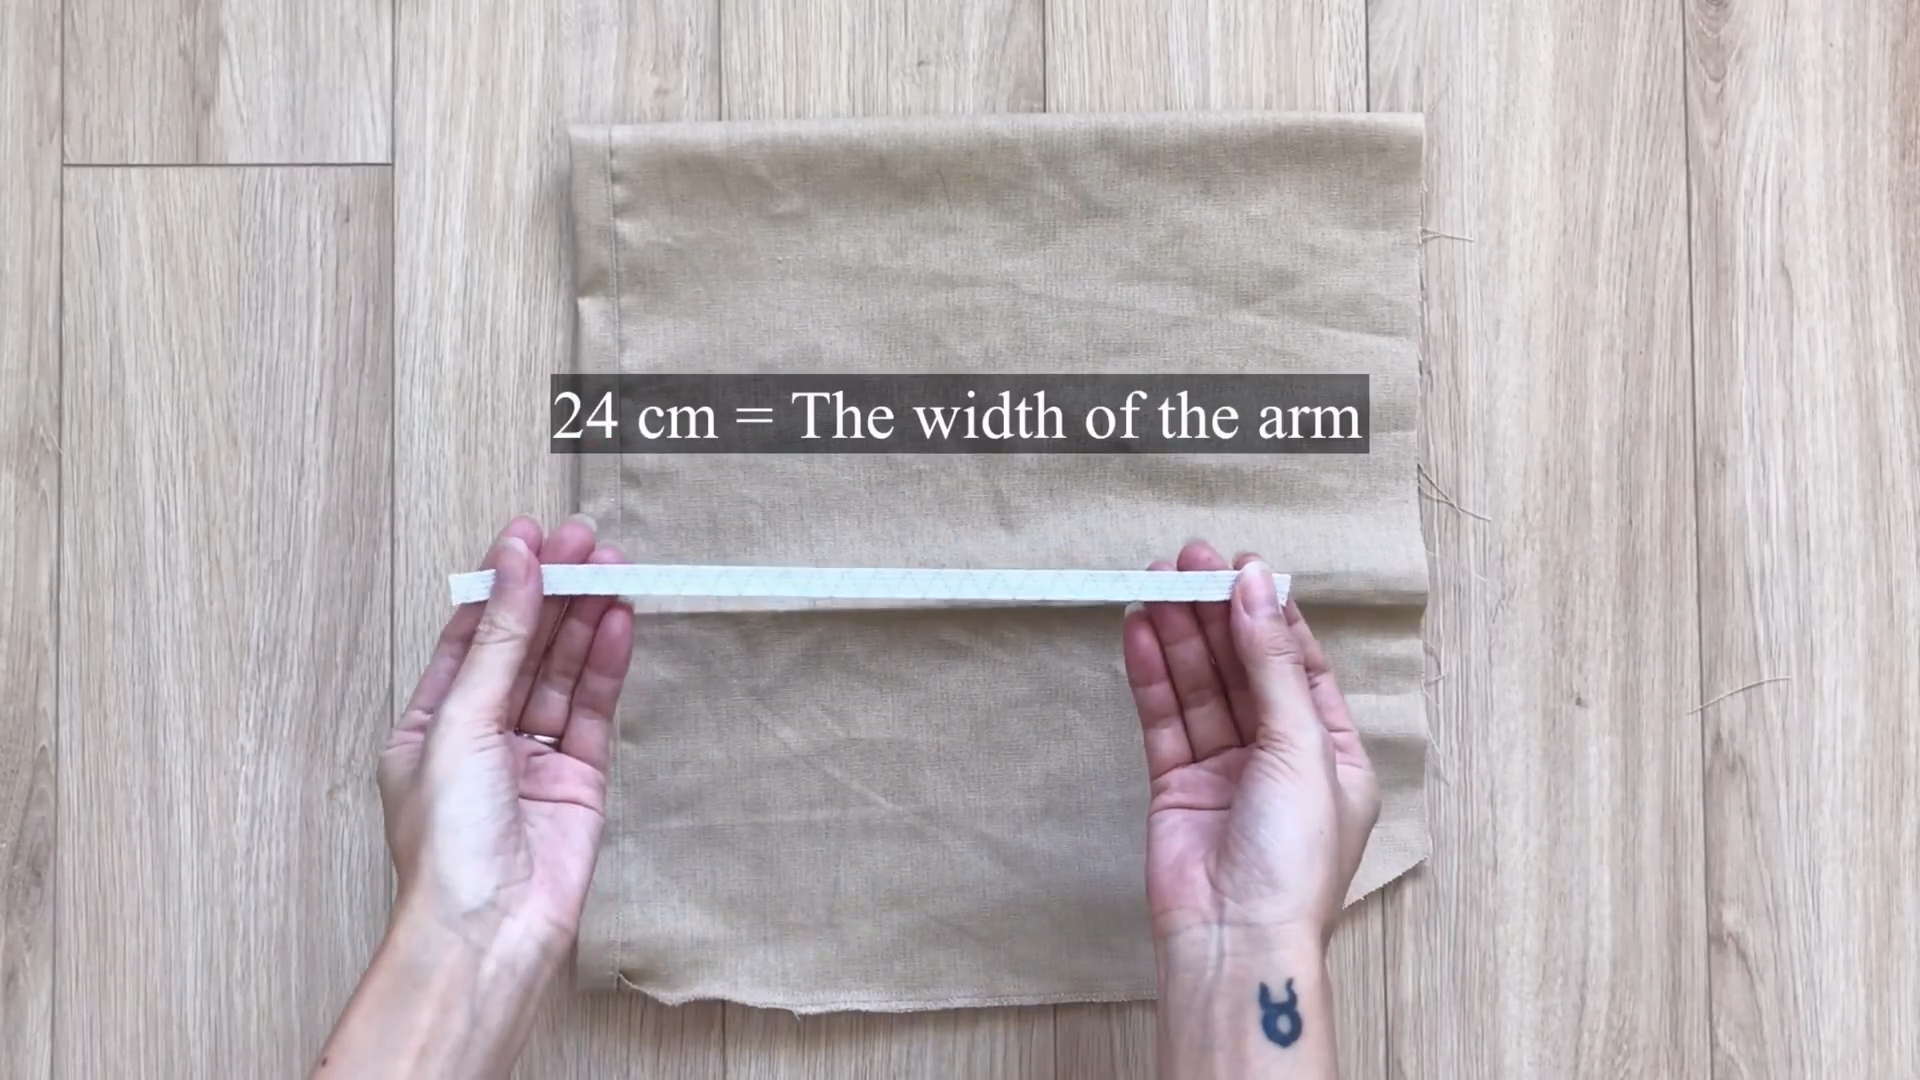
Cut a 1 cm wide elastic band, 24 cm long (the arm width).
Insert the tie into the hole using a safety pin or hairclip.
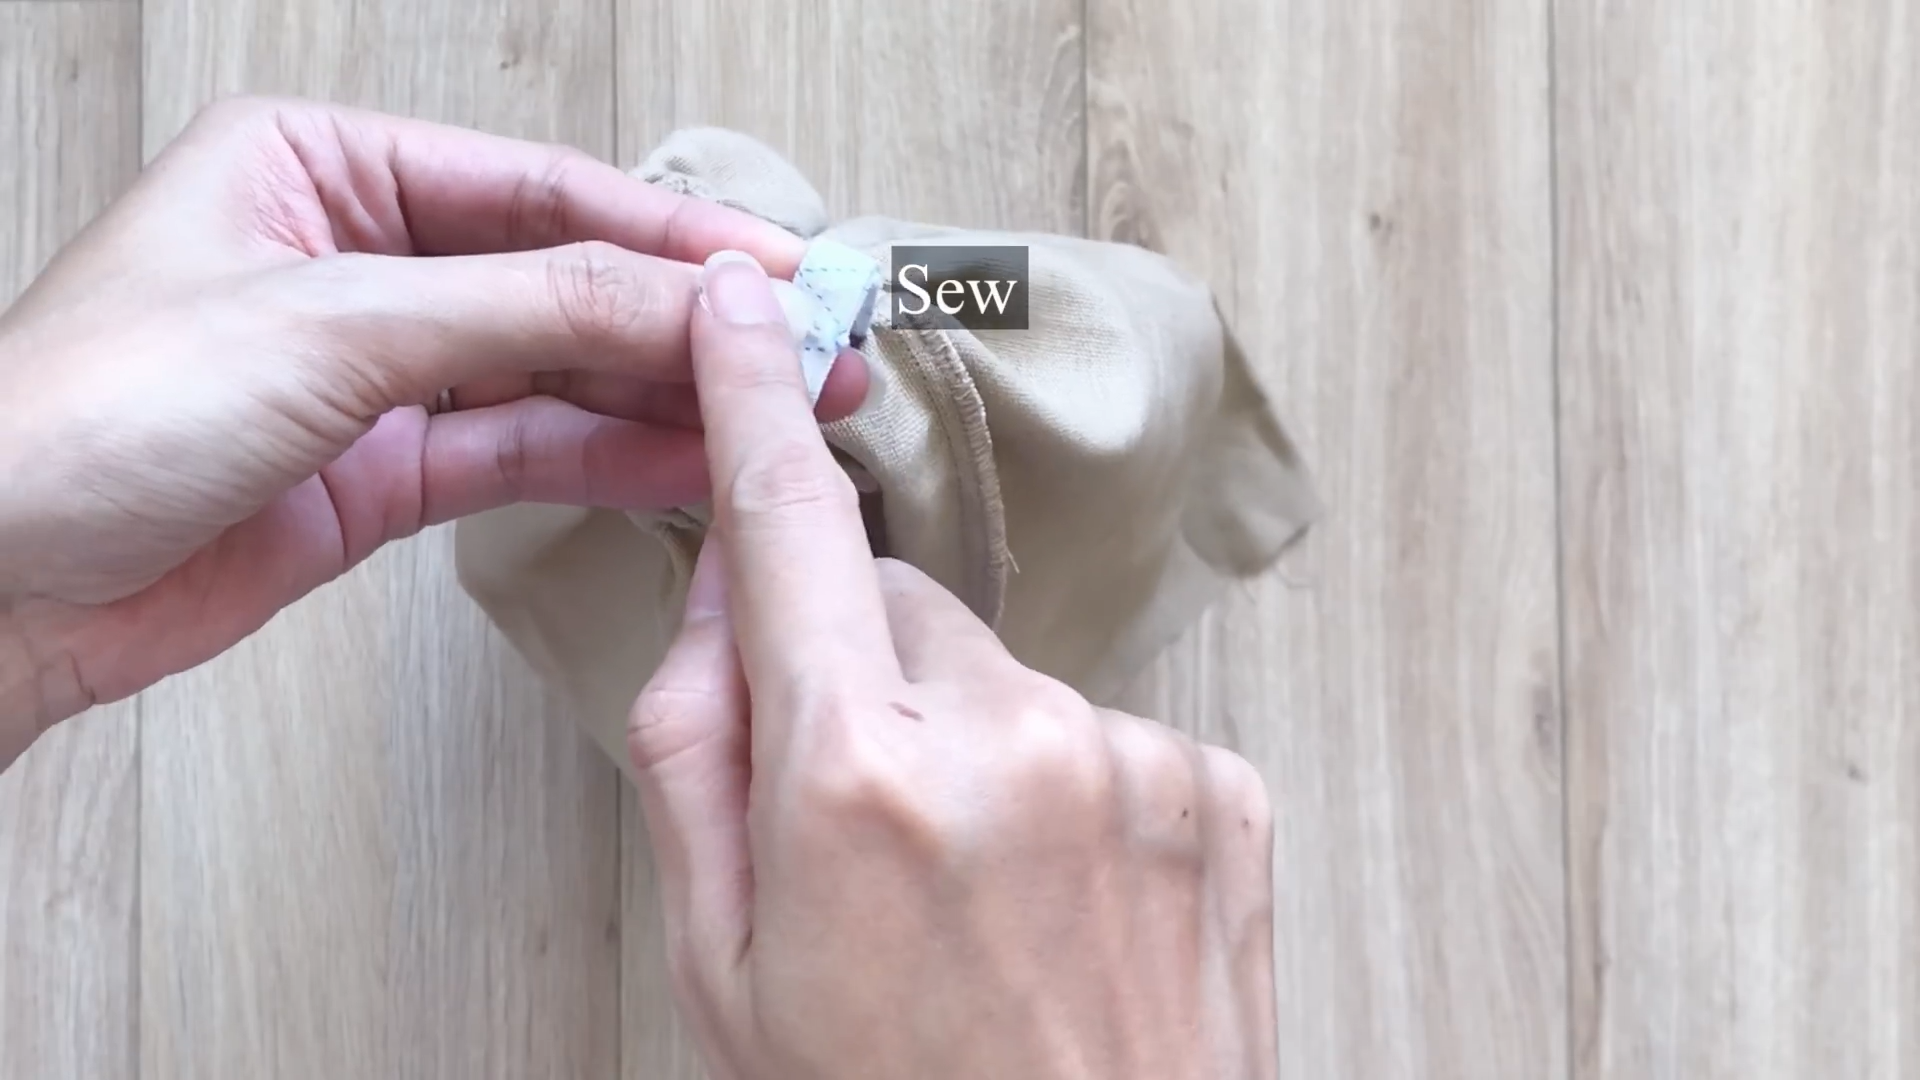
After sewing the elastic ends together, close the opening to finish the sleeve.
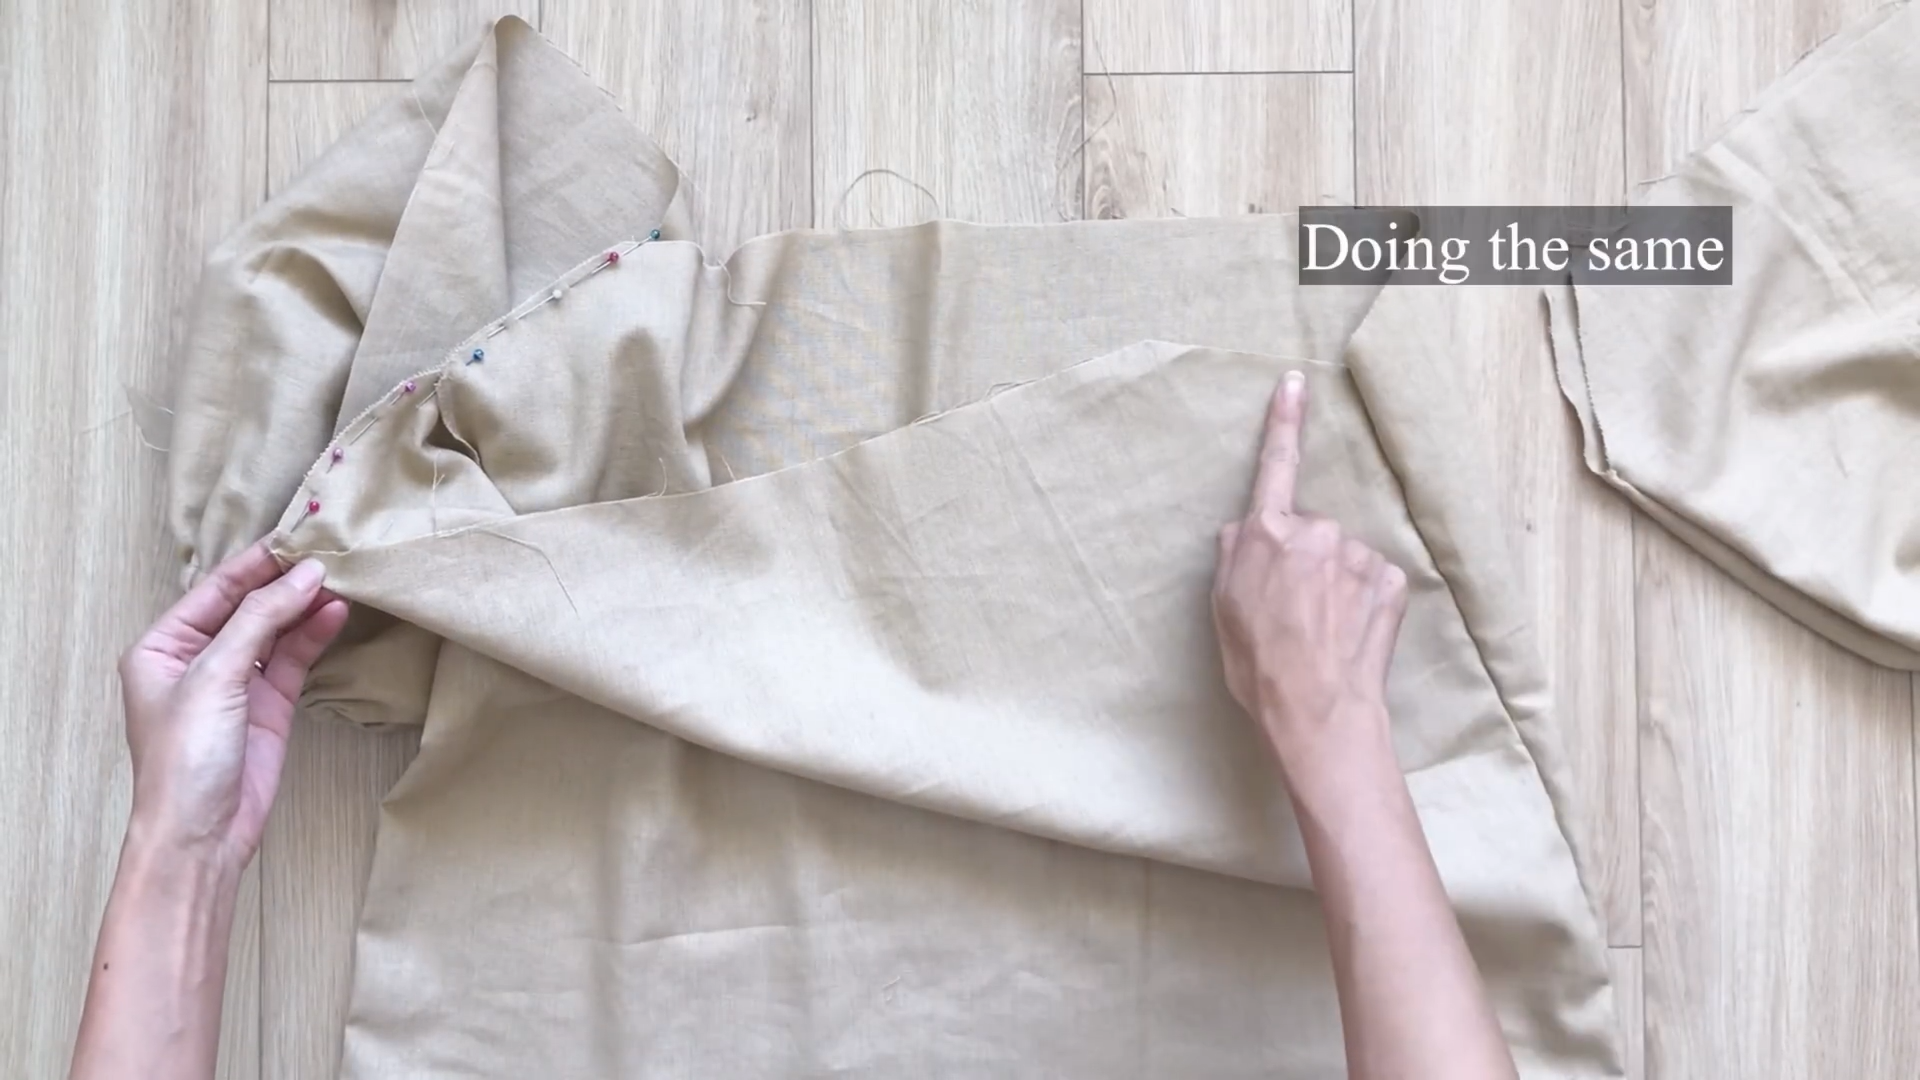
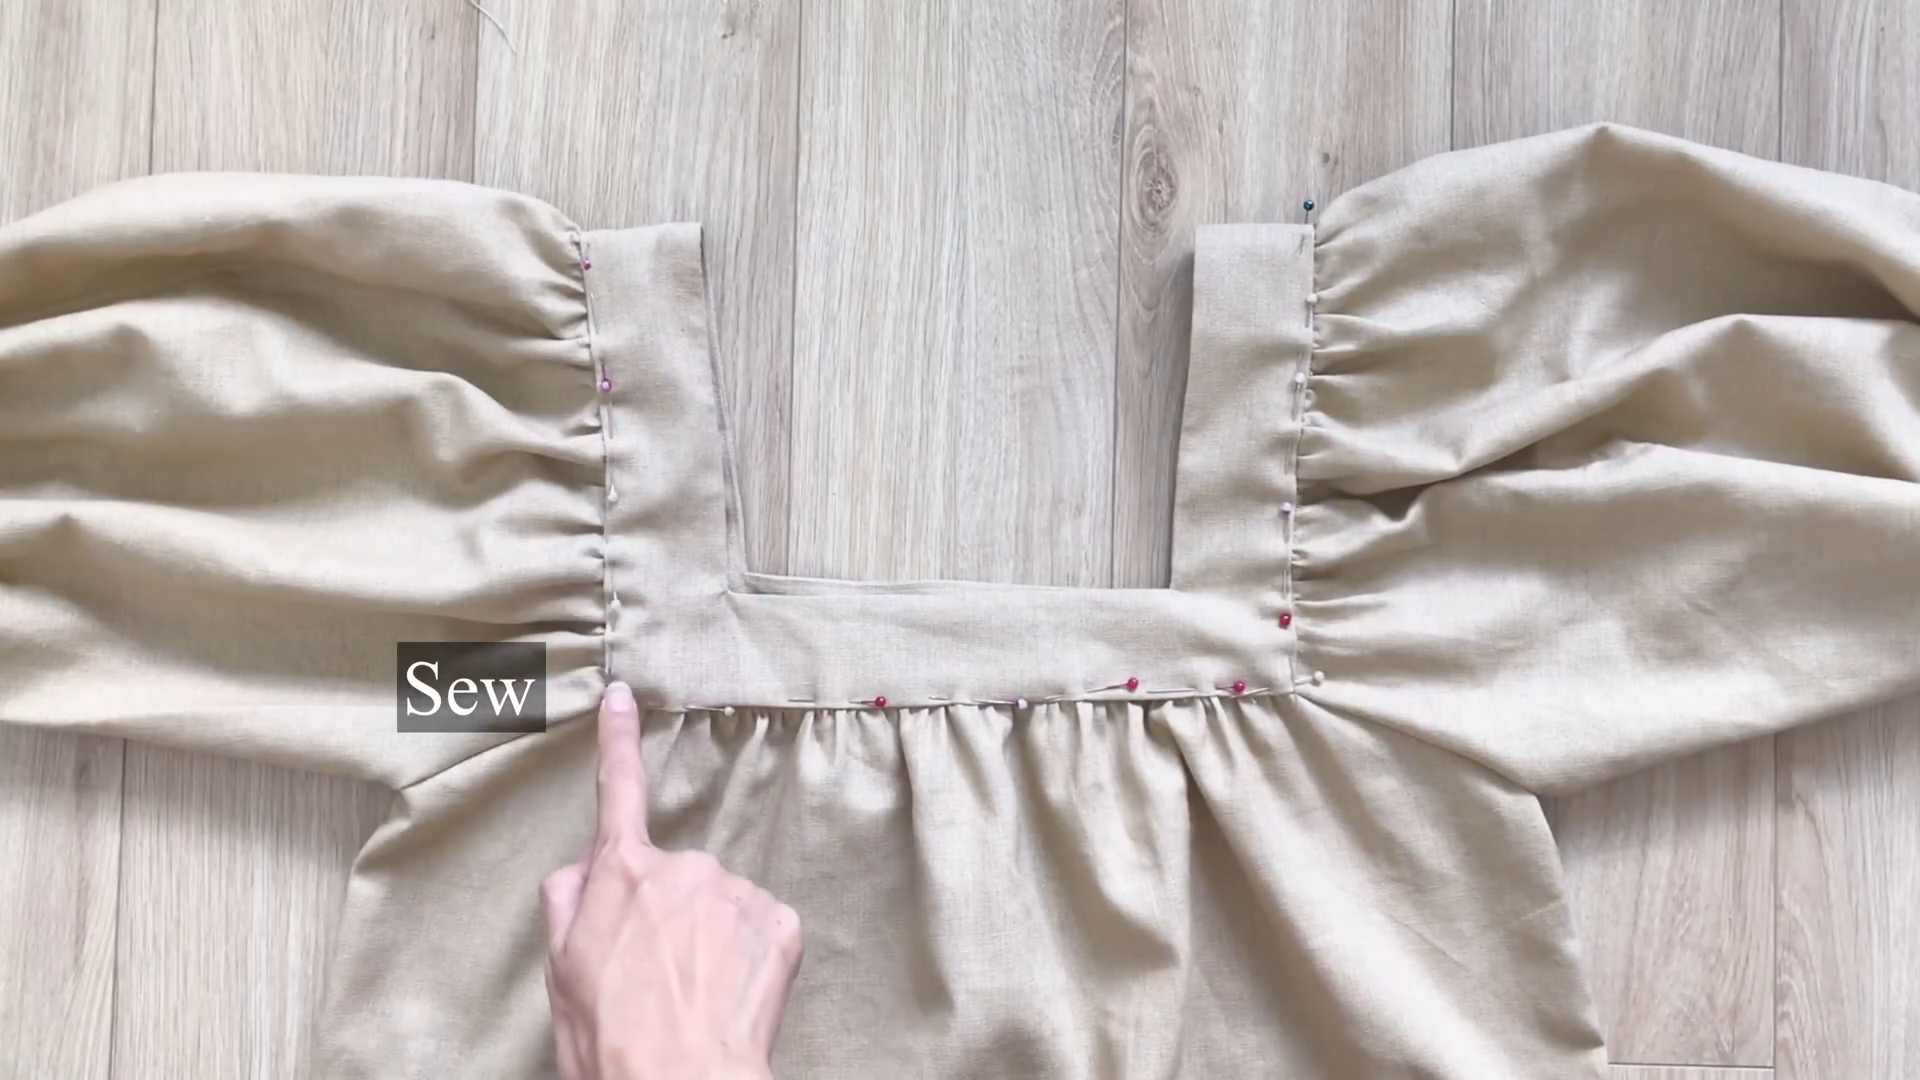
Now, attach the sleeve to the main bodice at the sleeve line, then sew.
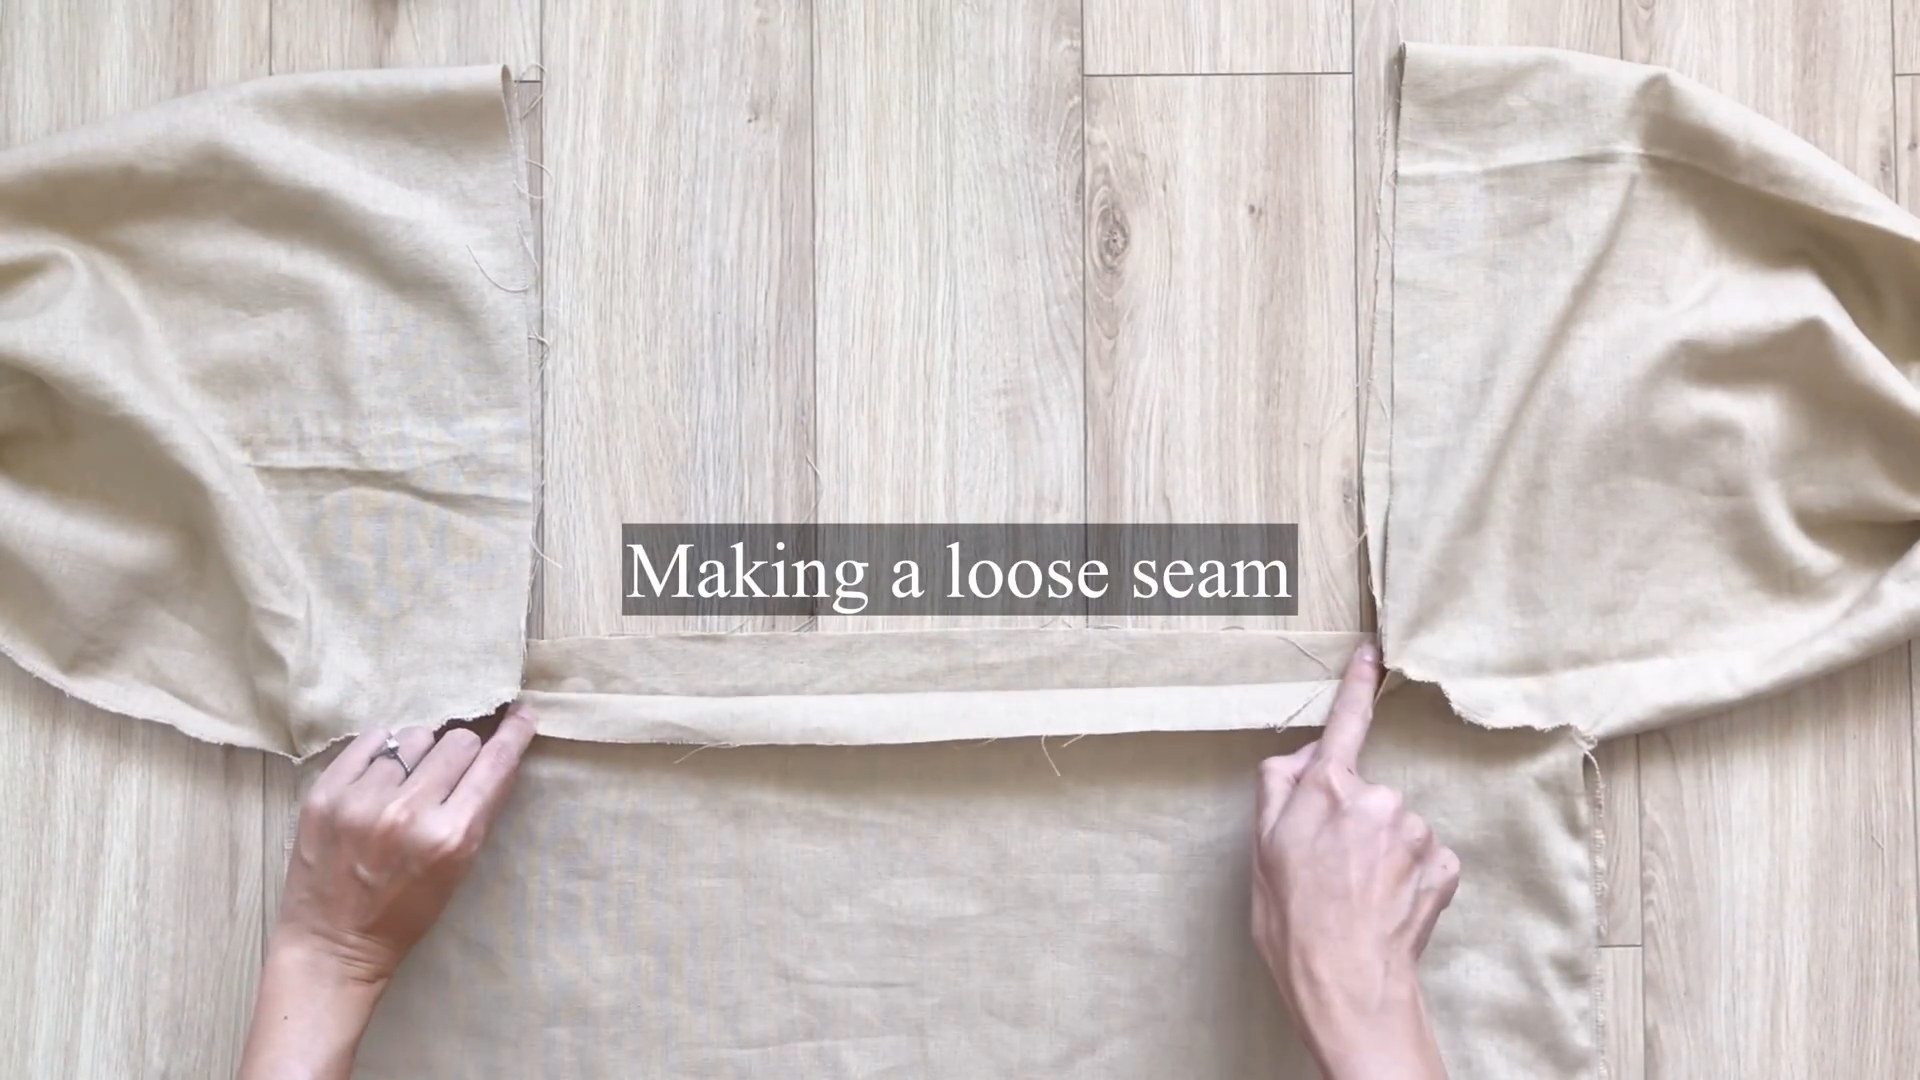
Make a loose seam at the top of the sleeves and the top of the bodice to create gathered fabric later.

The final width of the gathered fabric on the sleeve should be 40 cm (the length of the square neck).
And the gathered fabric on the bodice should be 26 cm (the neck width).
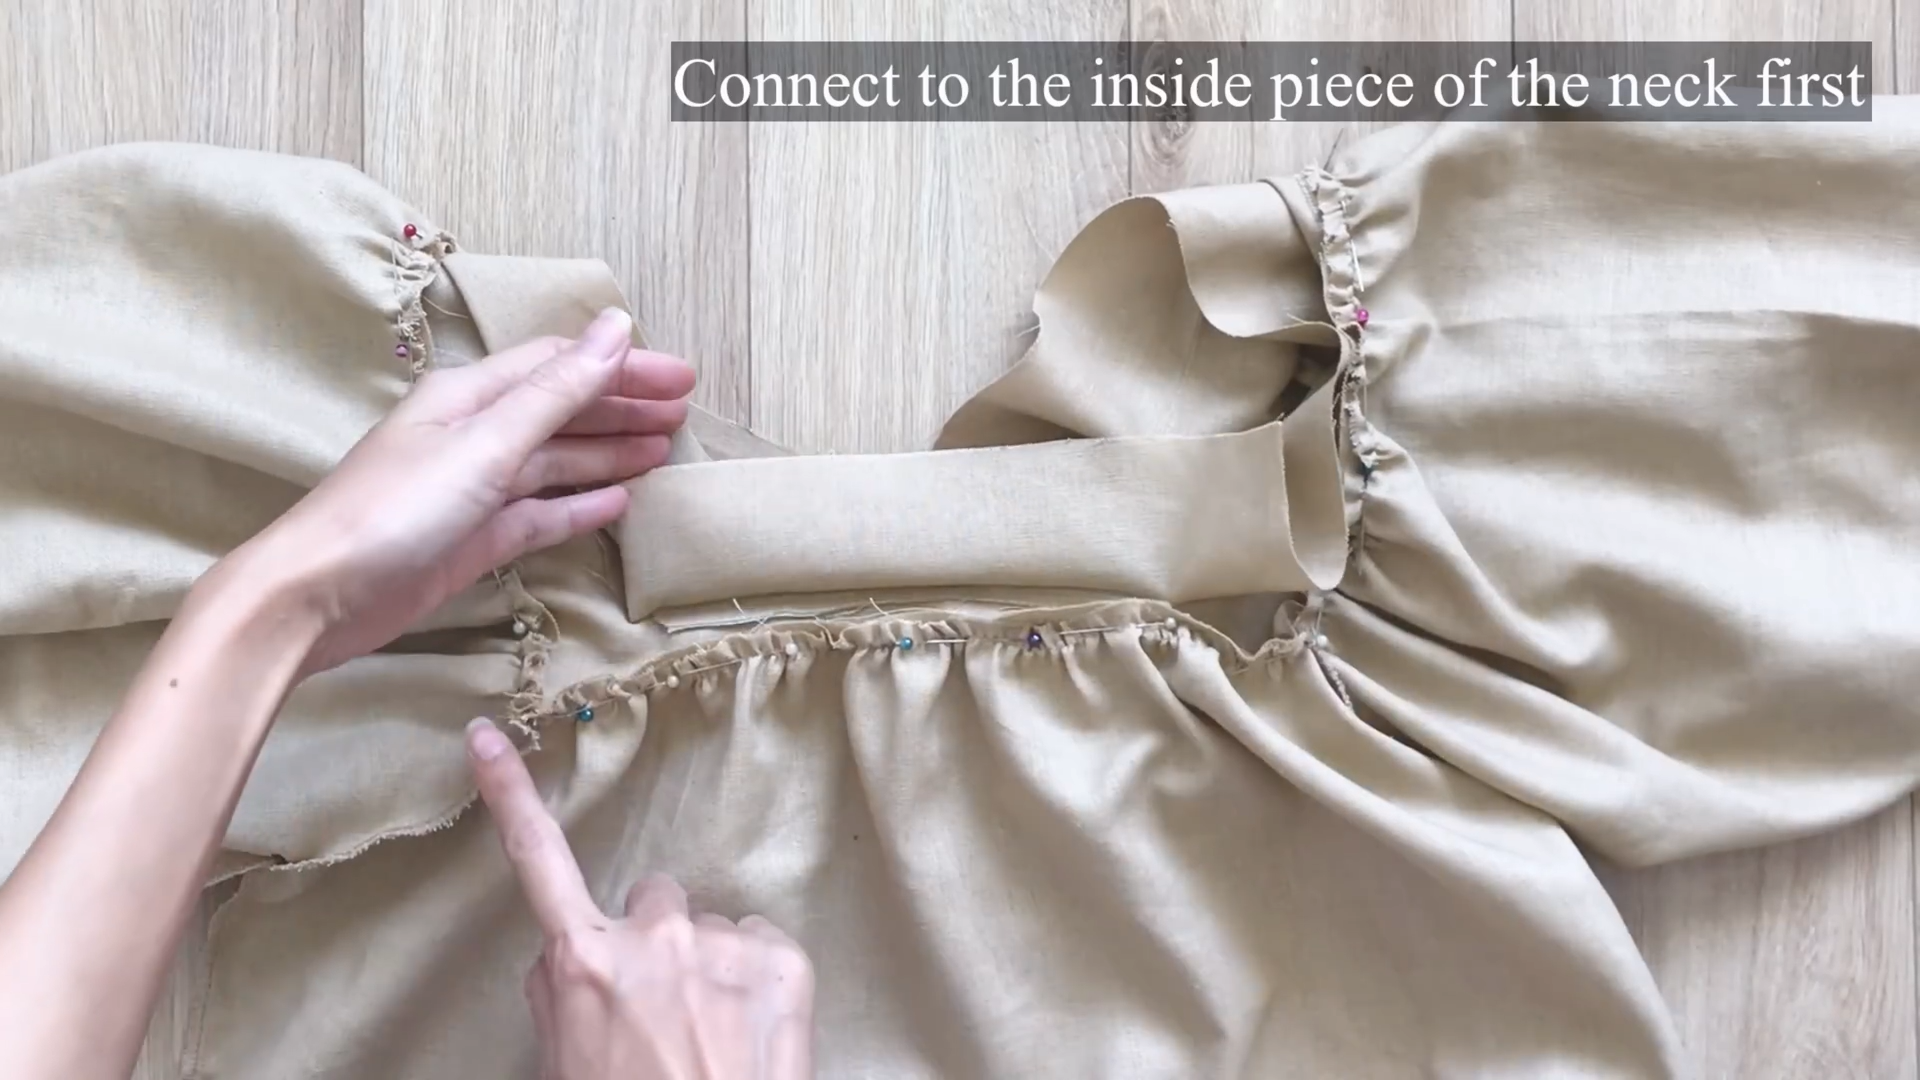
Attach the gathers to the inner neck piece first.
After sewing, fold the outer neck piece over the first seam to hide the fabric edge, then sew a second seam to finish.

DIY Puff sleeve square neck blouse
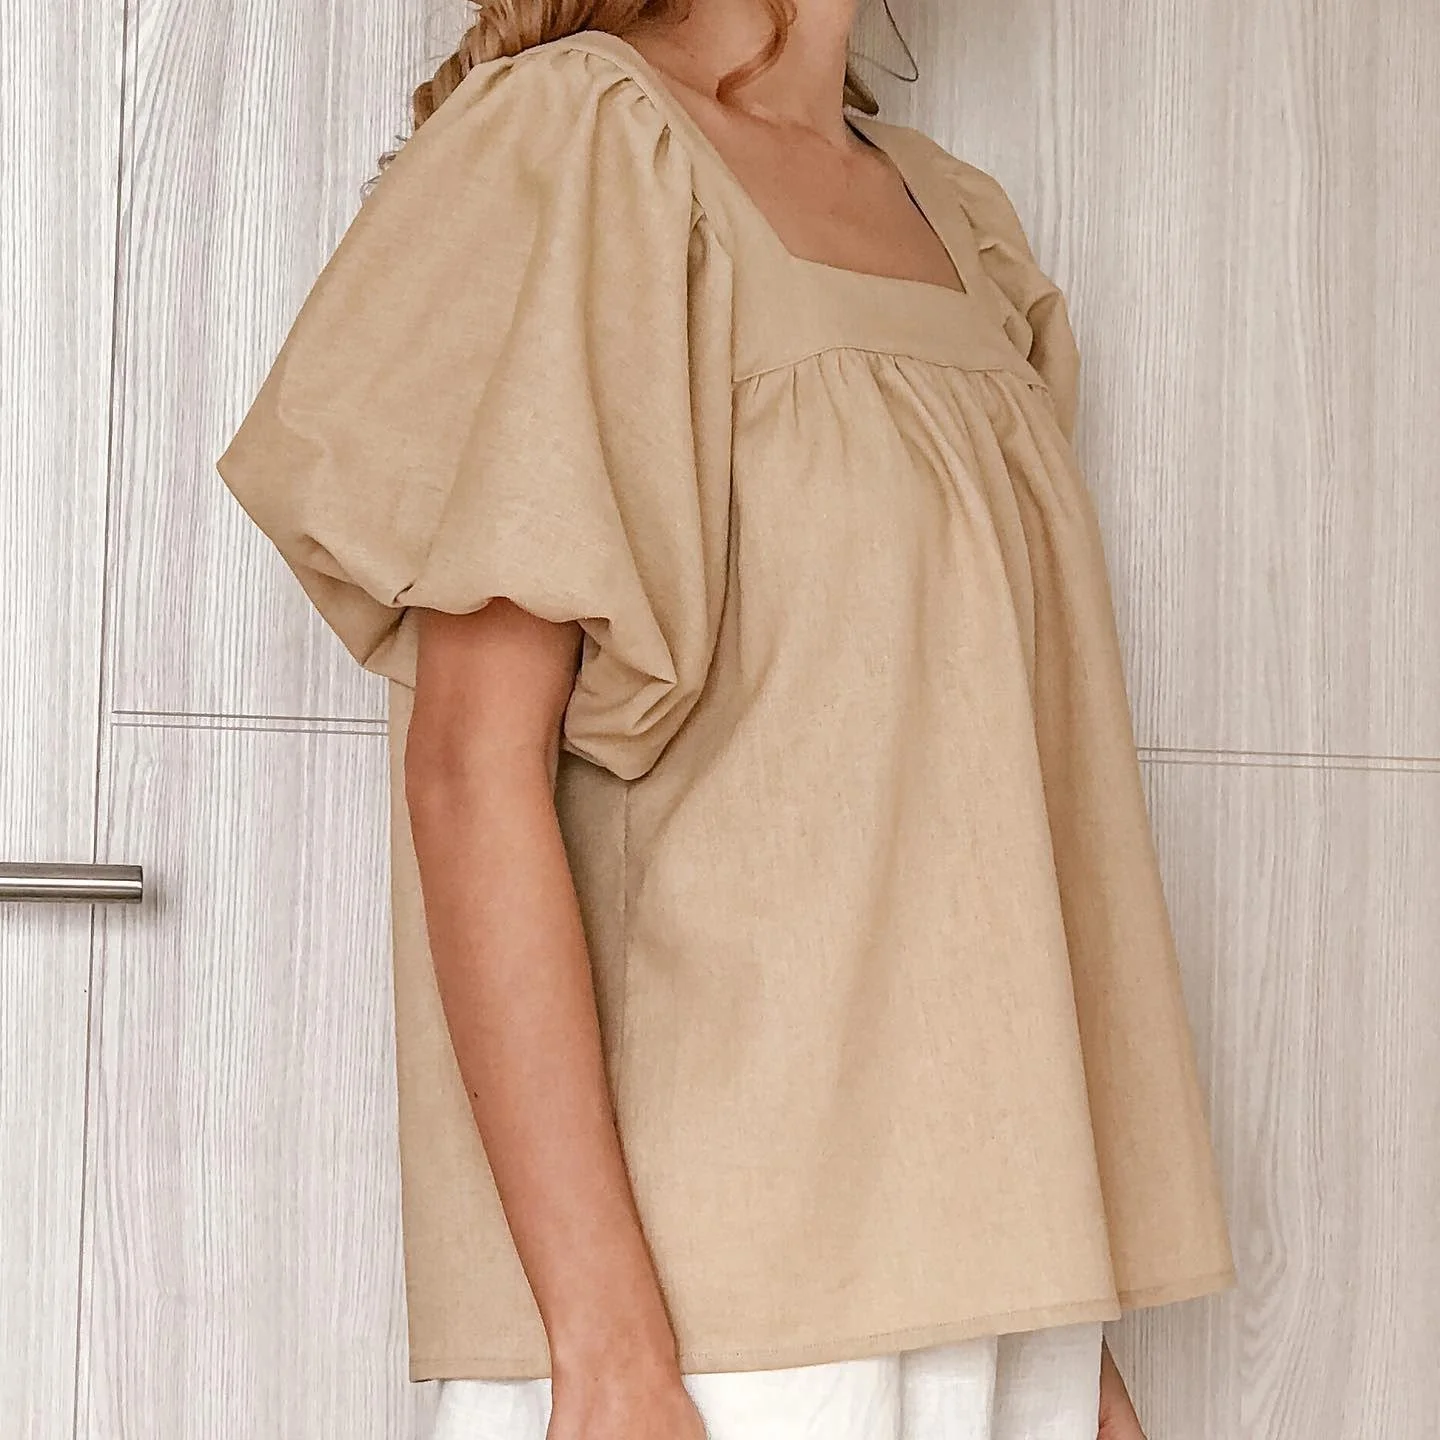
And that’s the finished DIY!
This blouse turned out so cute and perfect for summer. I’m loving this outfit very much!
I hope you enjoyed this video and you’ll give it a try soon.
See you next week with more DIYs!