DIY Refashion Men's shirt into 2 piece summer set - Step by step tutorial
DIY Refashion Men's shirt into 2 piece summer set
Welcome and welcome back to my sewing blog!
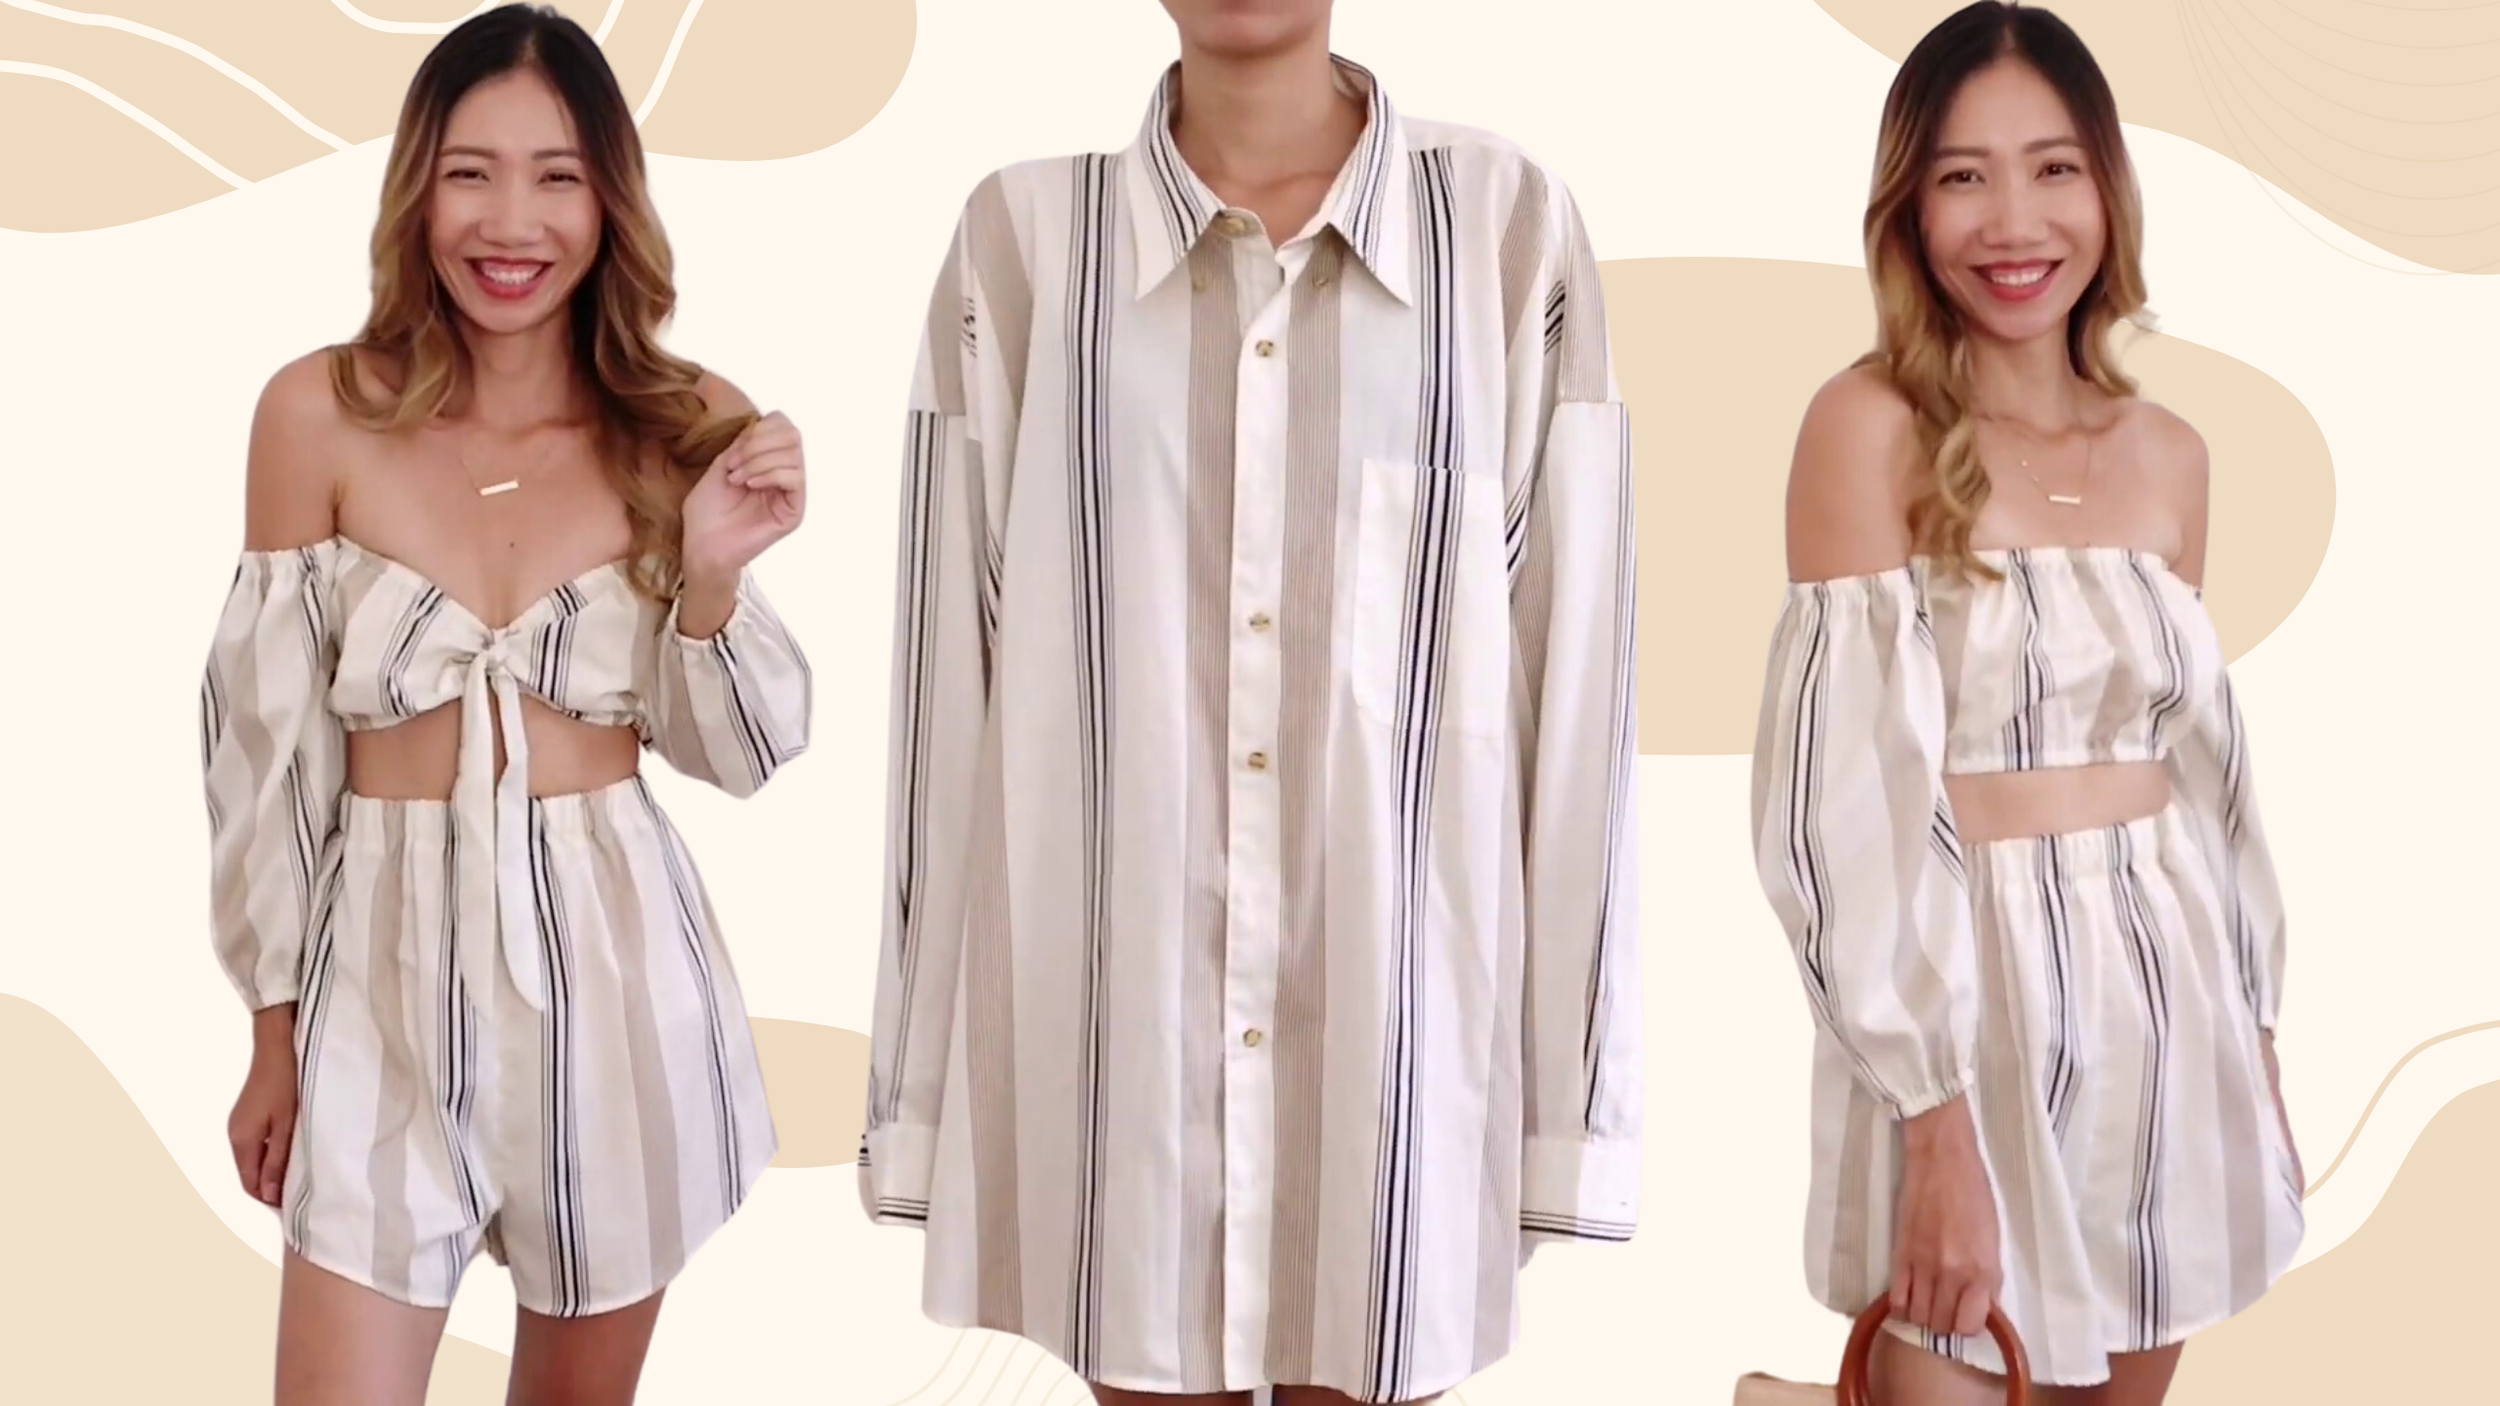
I hope you're all doing well. Today blog is a very exciting one. I really love the result. I refashion a Men's shirt into 2 piece summer set. It has 2 ways to wear for the top of the summer set and they both look great.
So let’s get started!
WHAT YOU’LL NEED
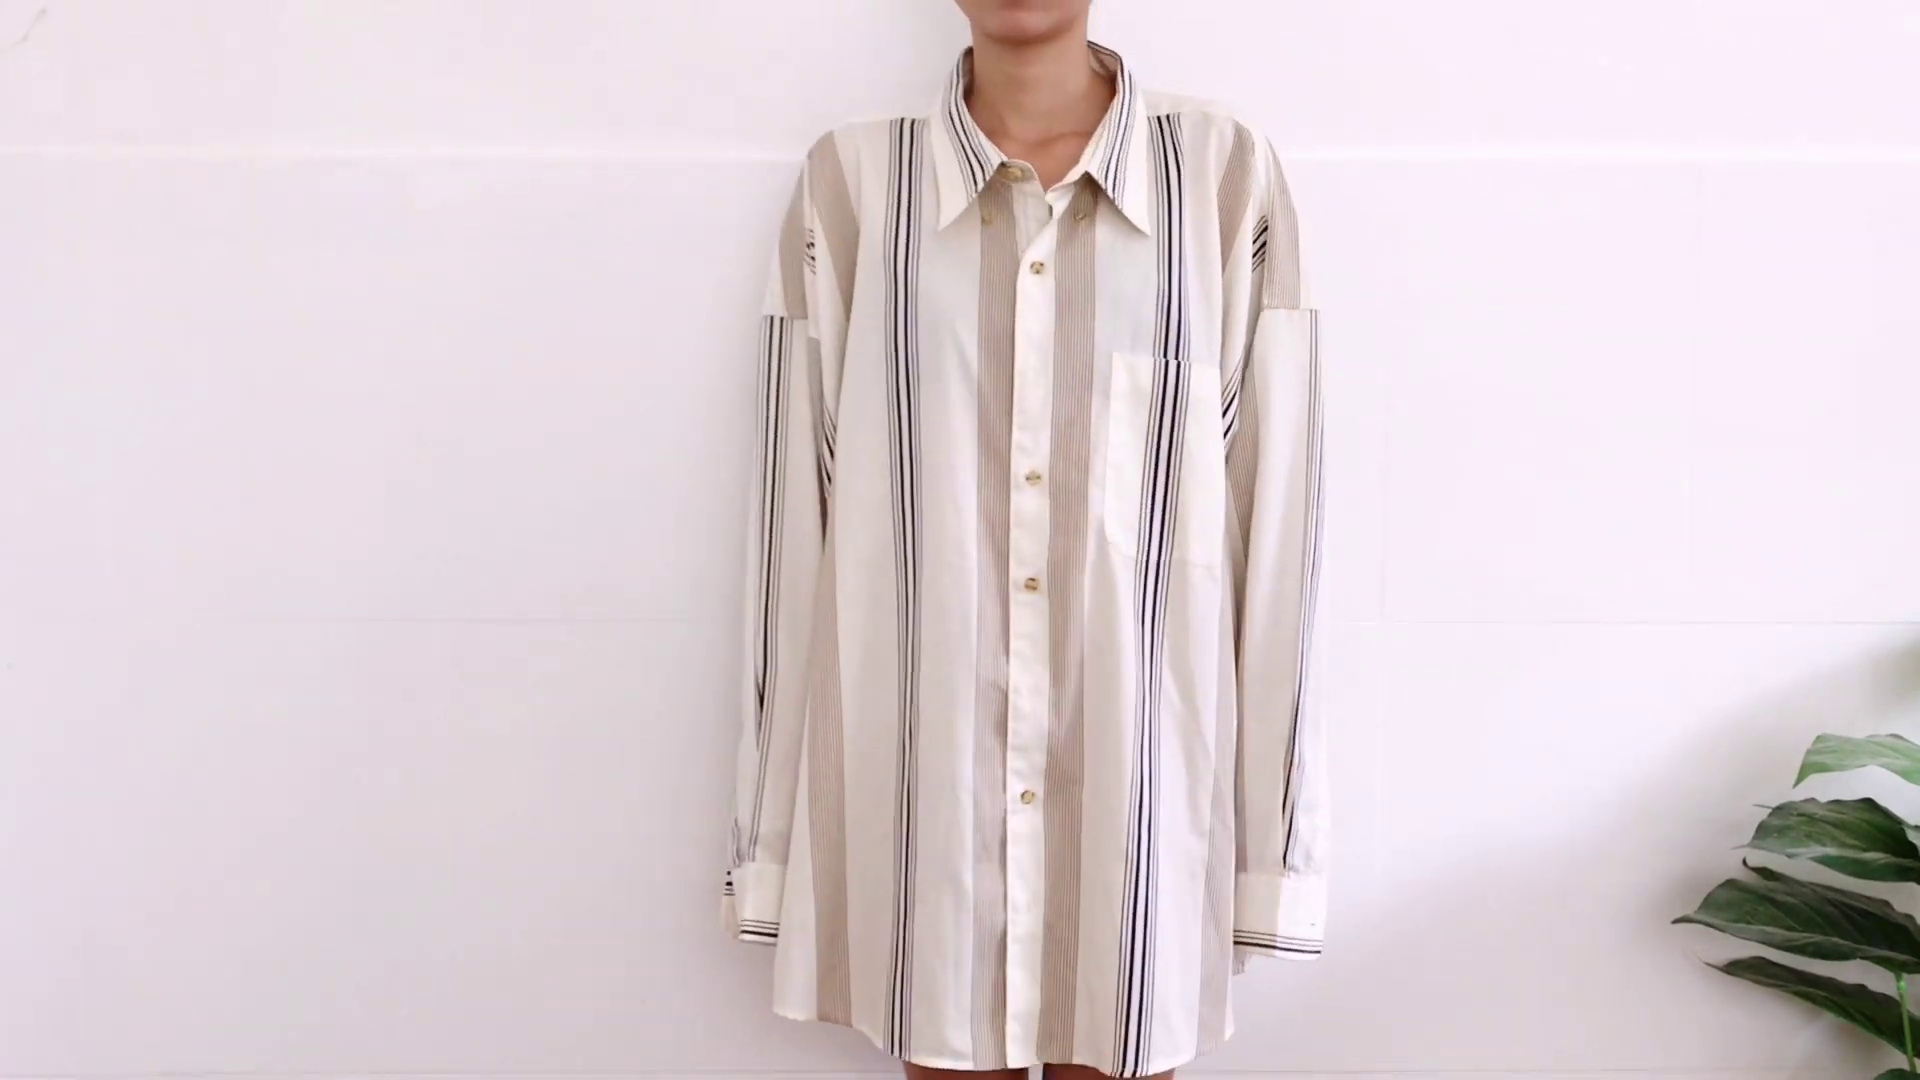
3XL Men's shirt
Sewing machine
Pins
Scissors
Ruler
SEWING THE SET
THE BODY
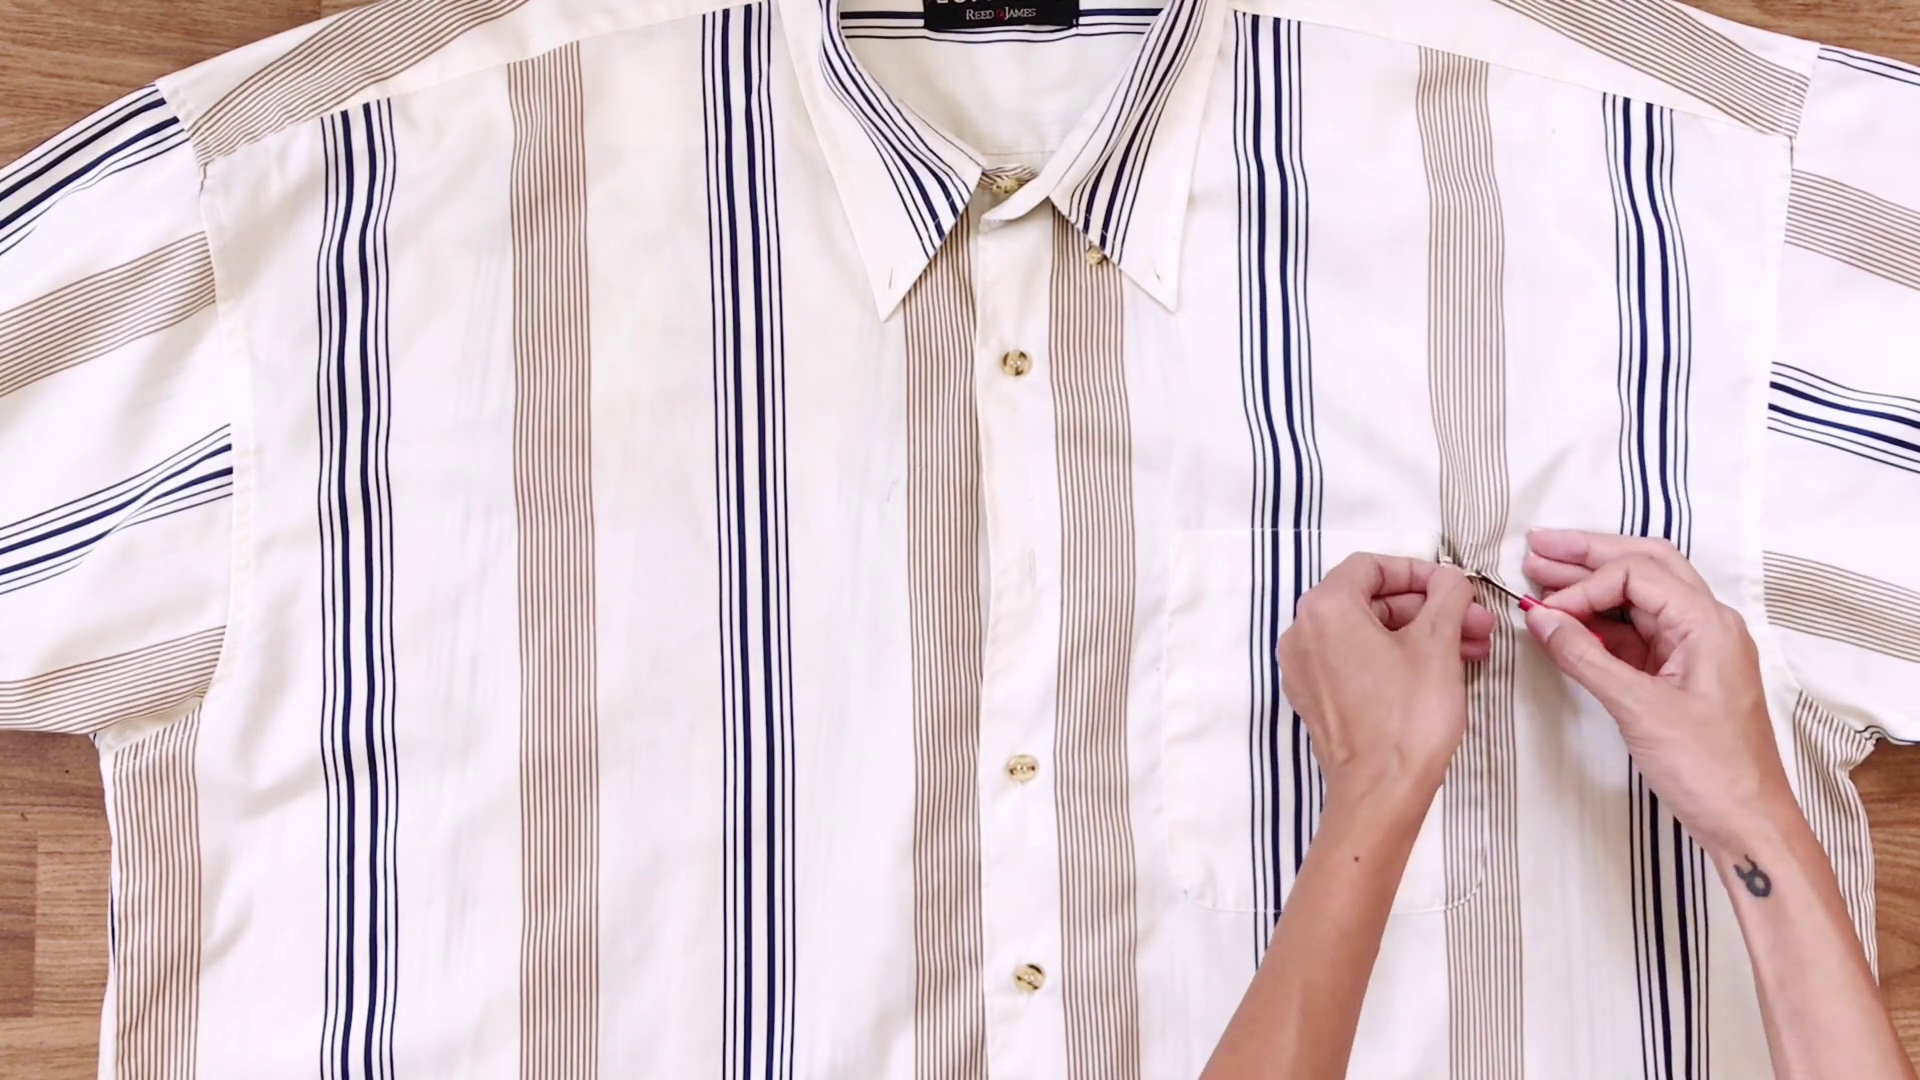
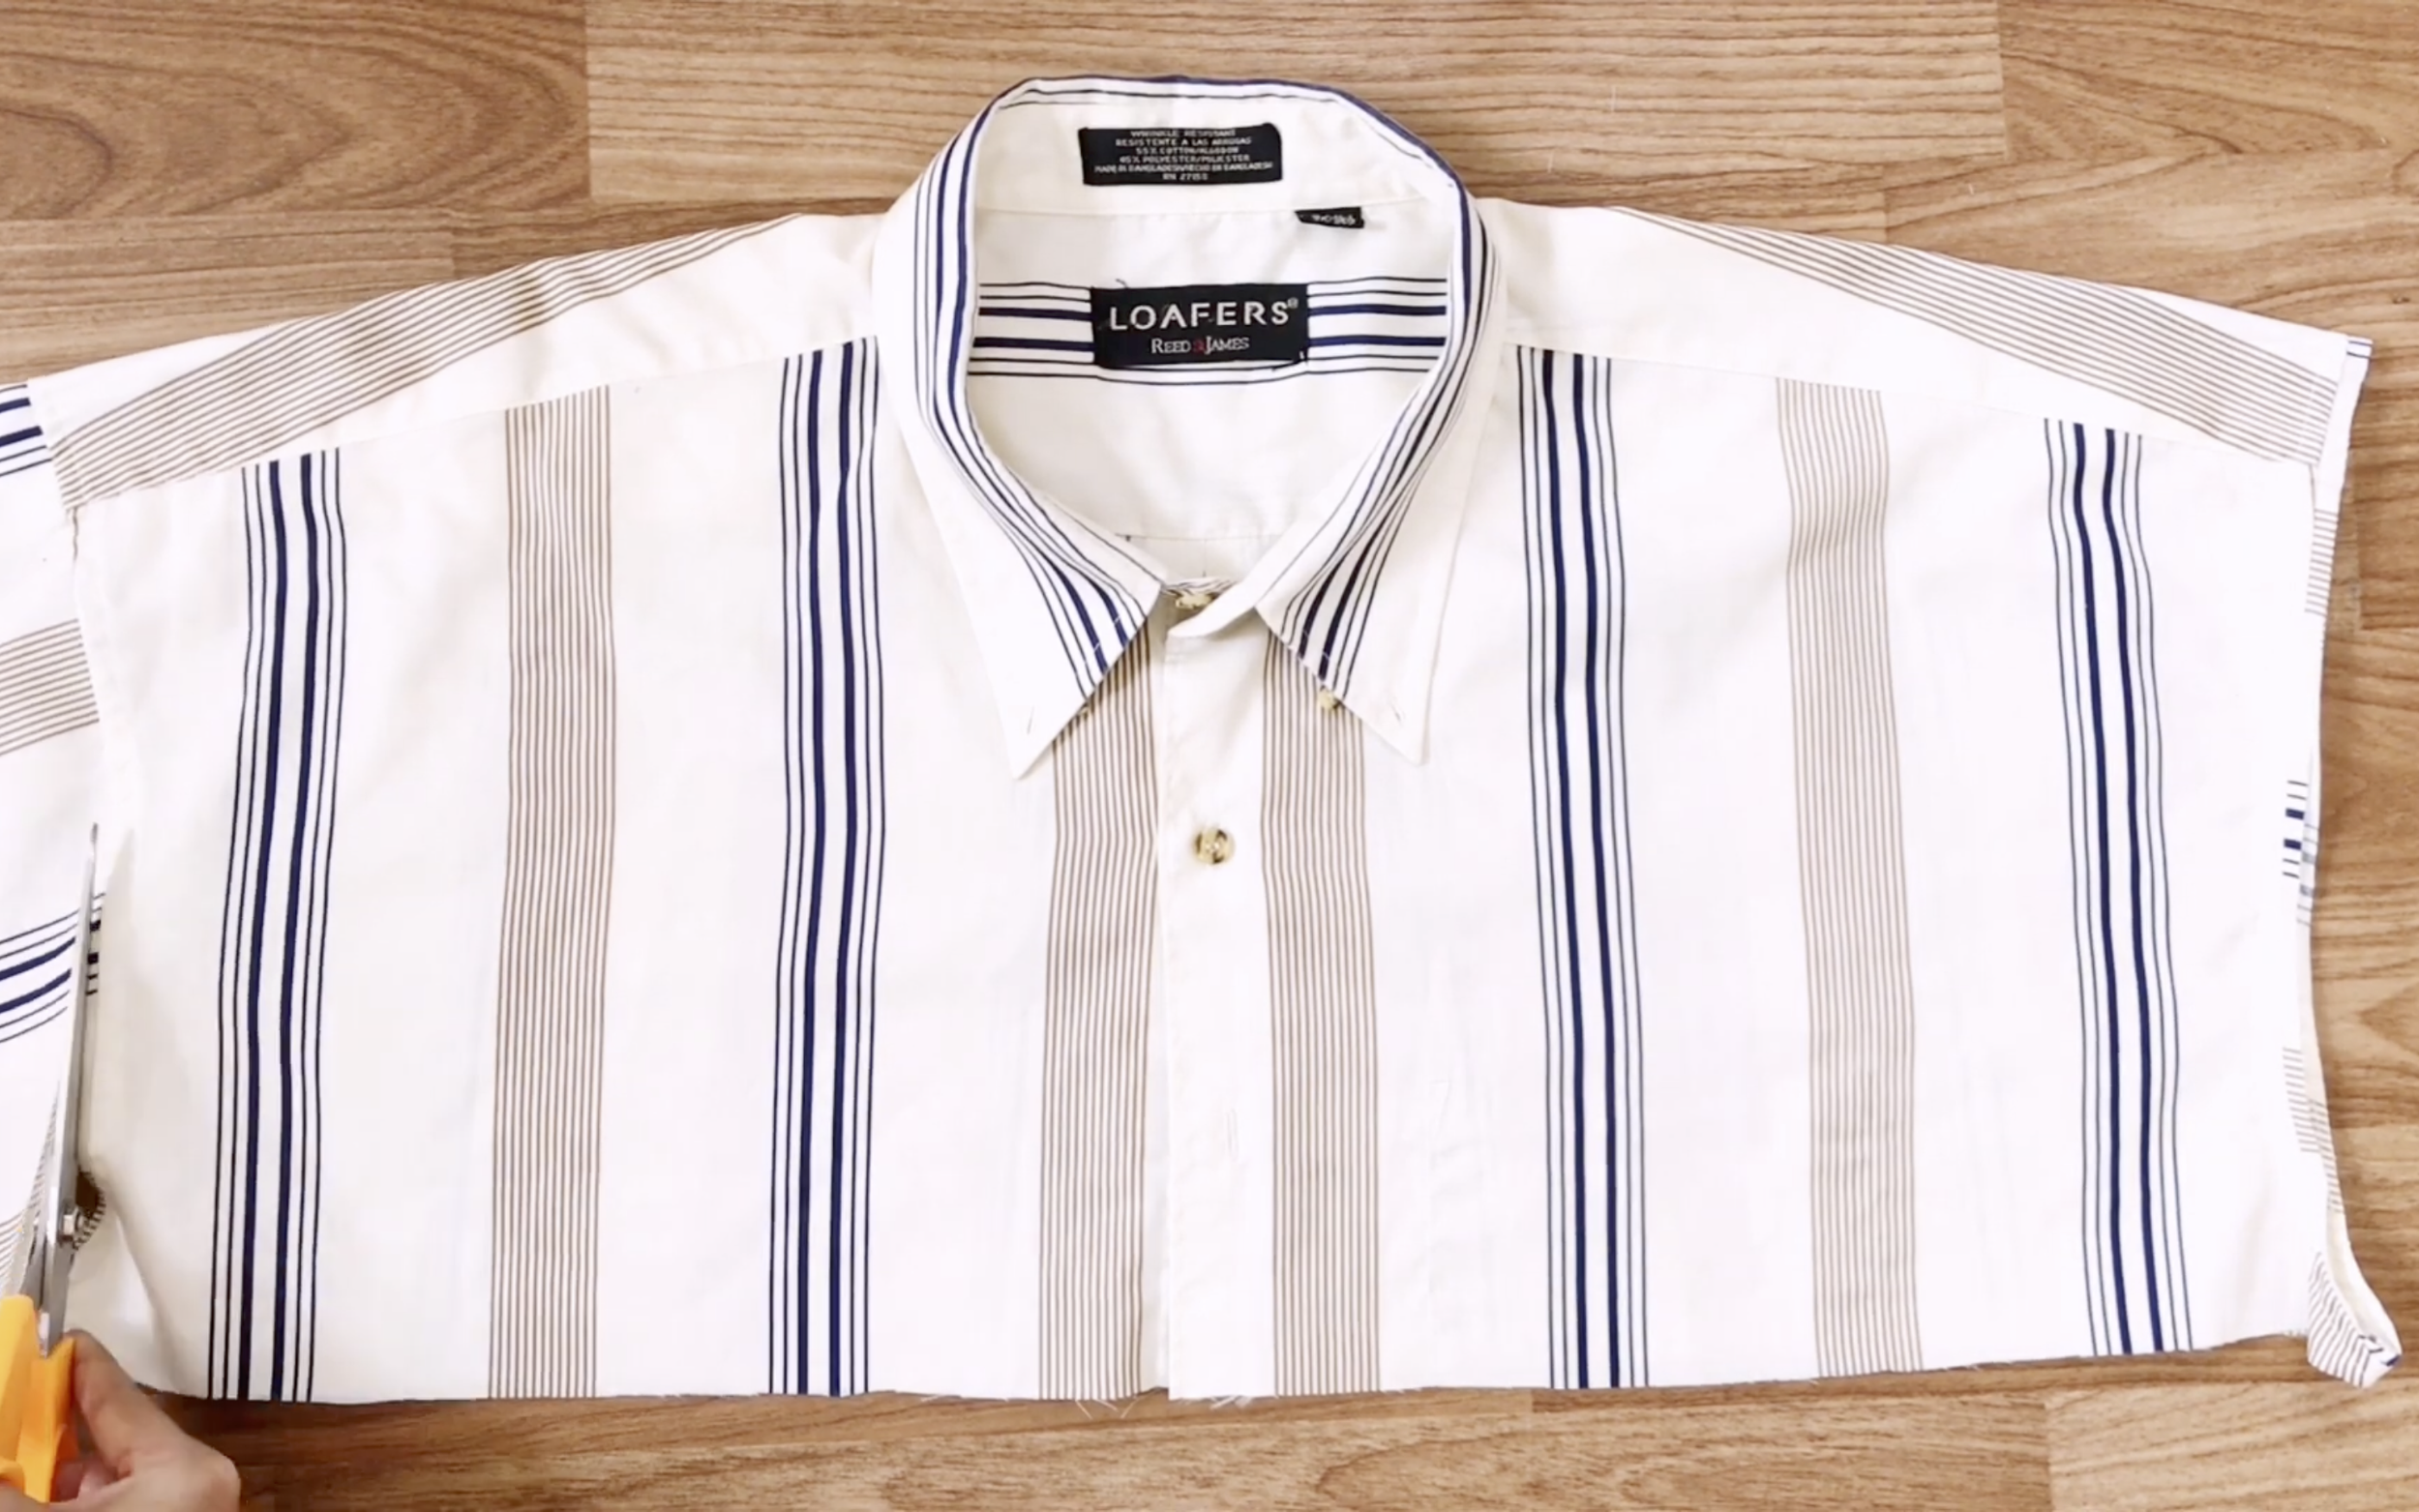
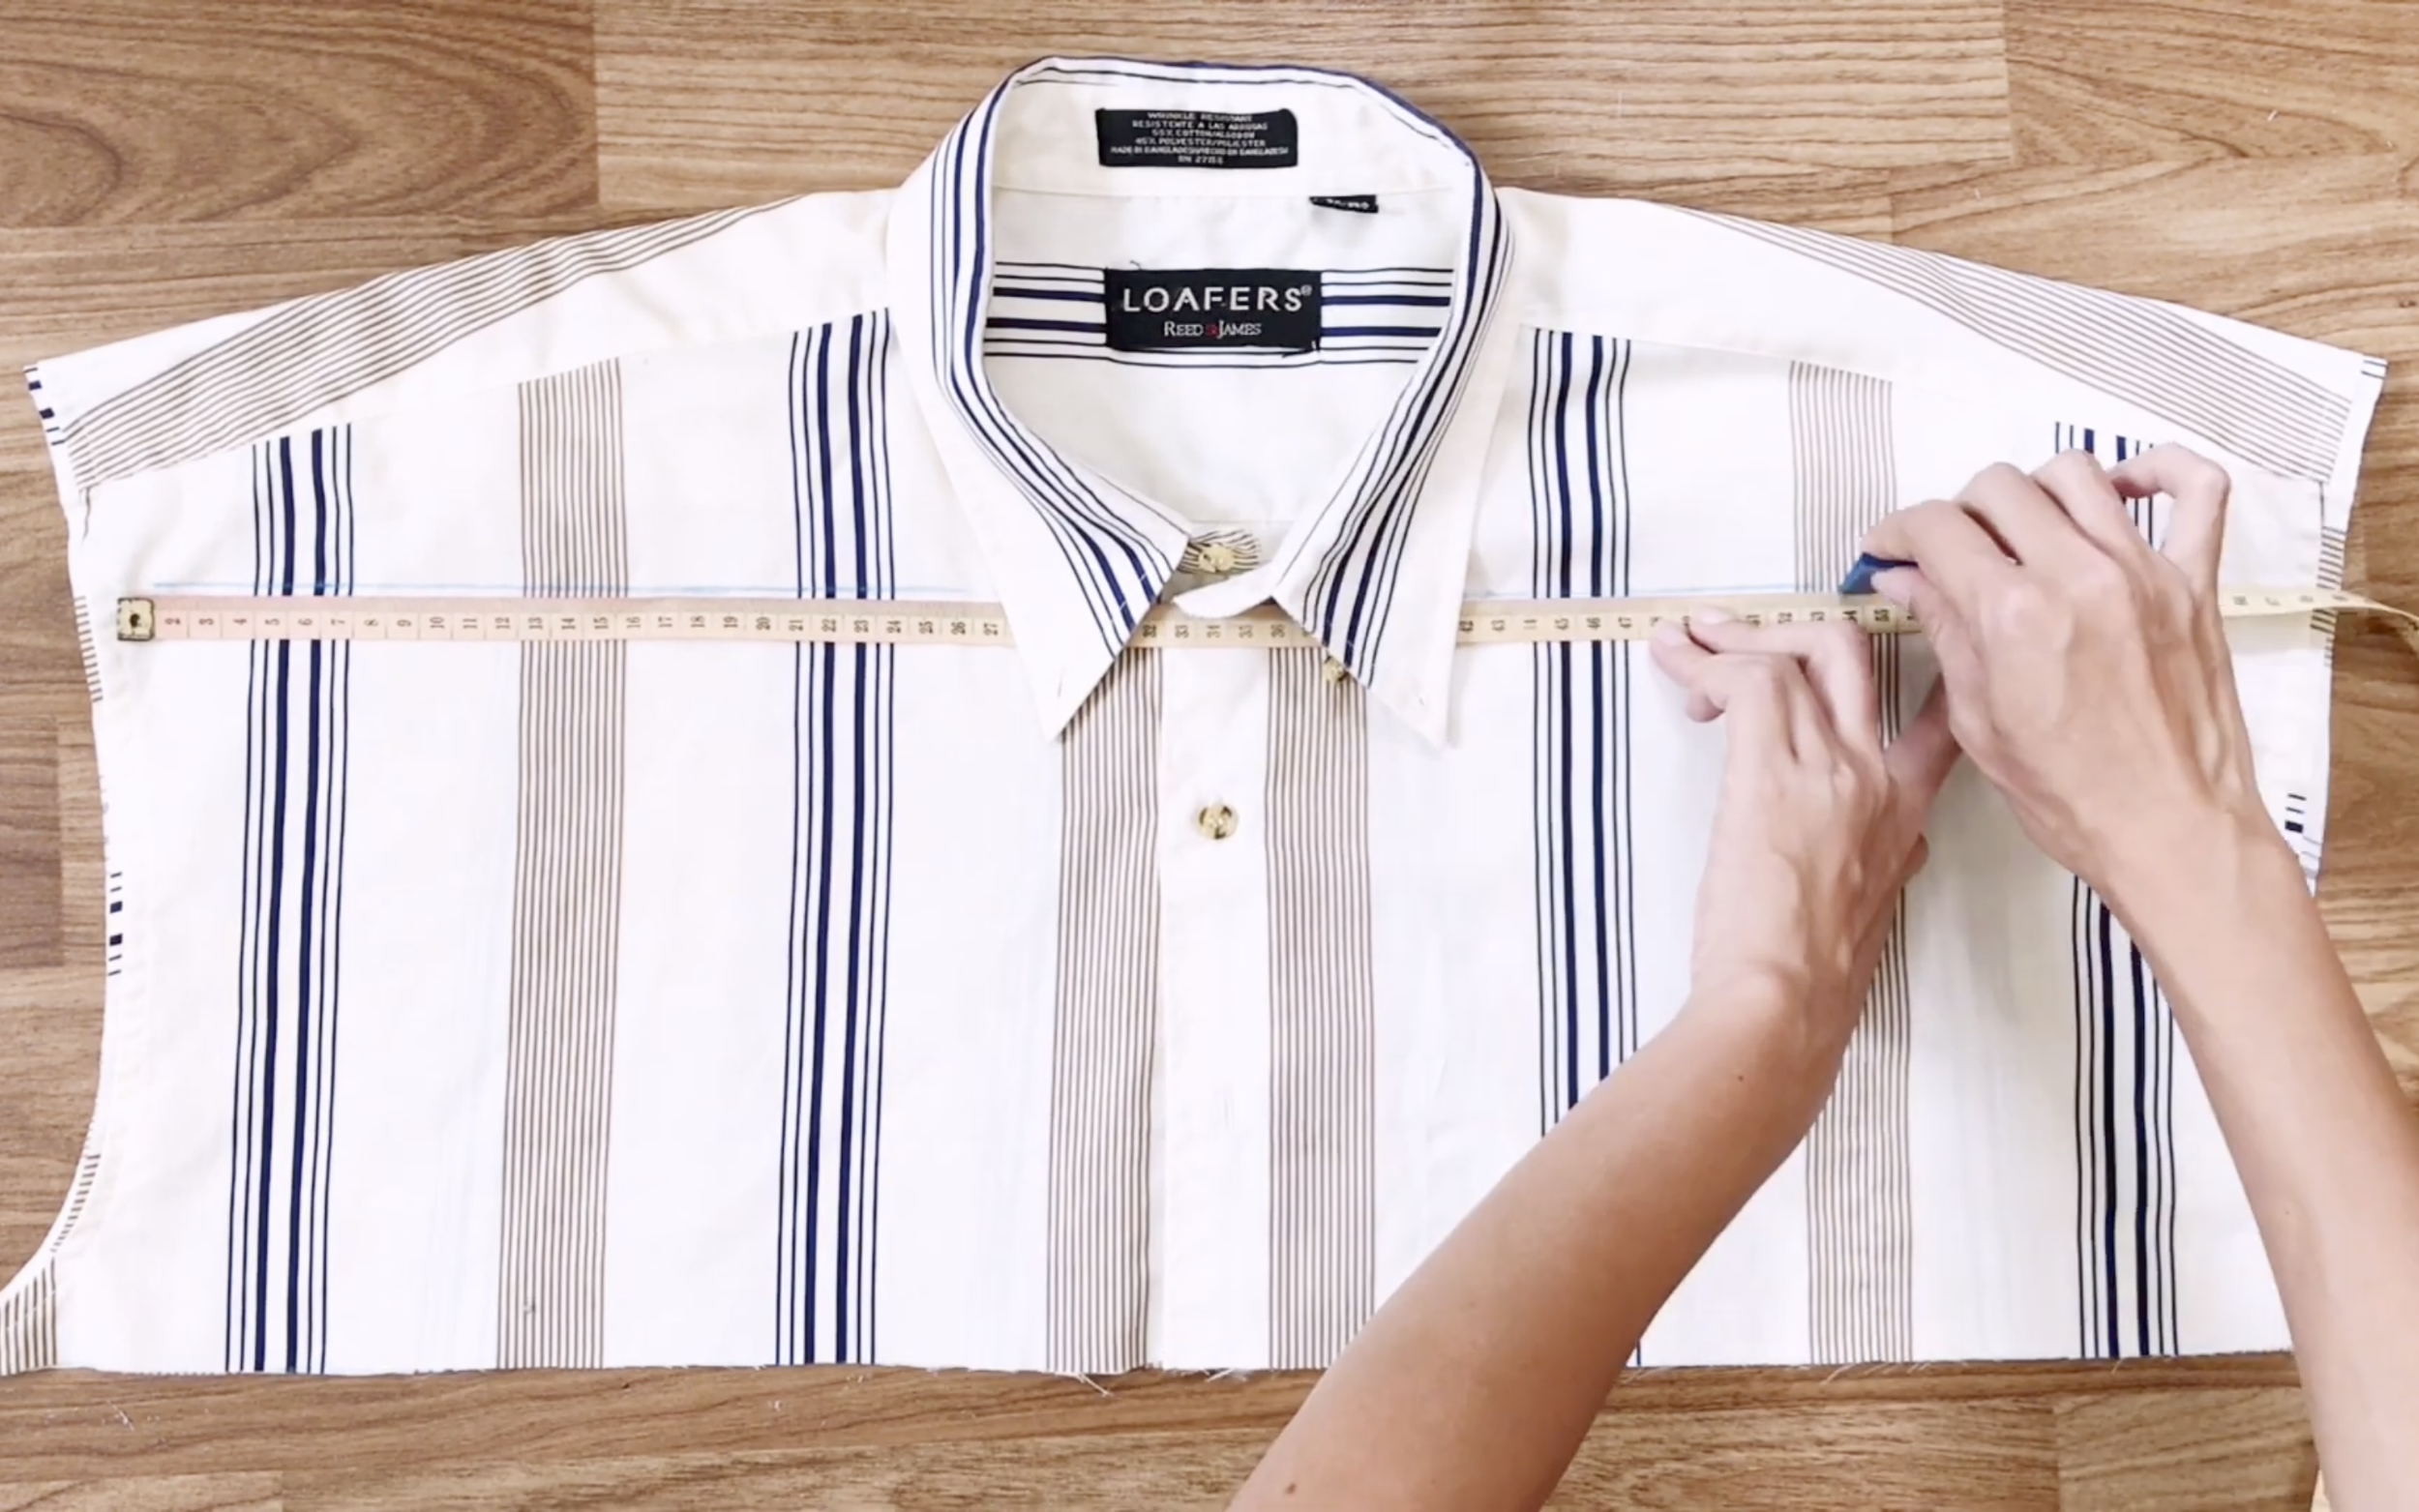
The first step is to remove the front pocket of the shirt.
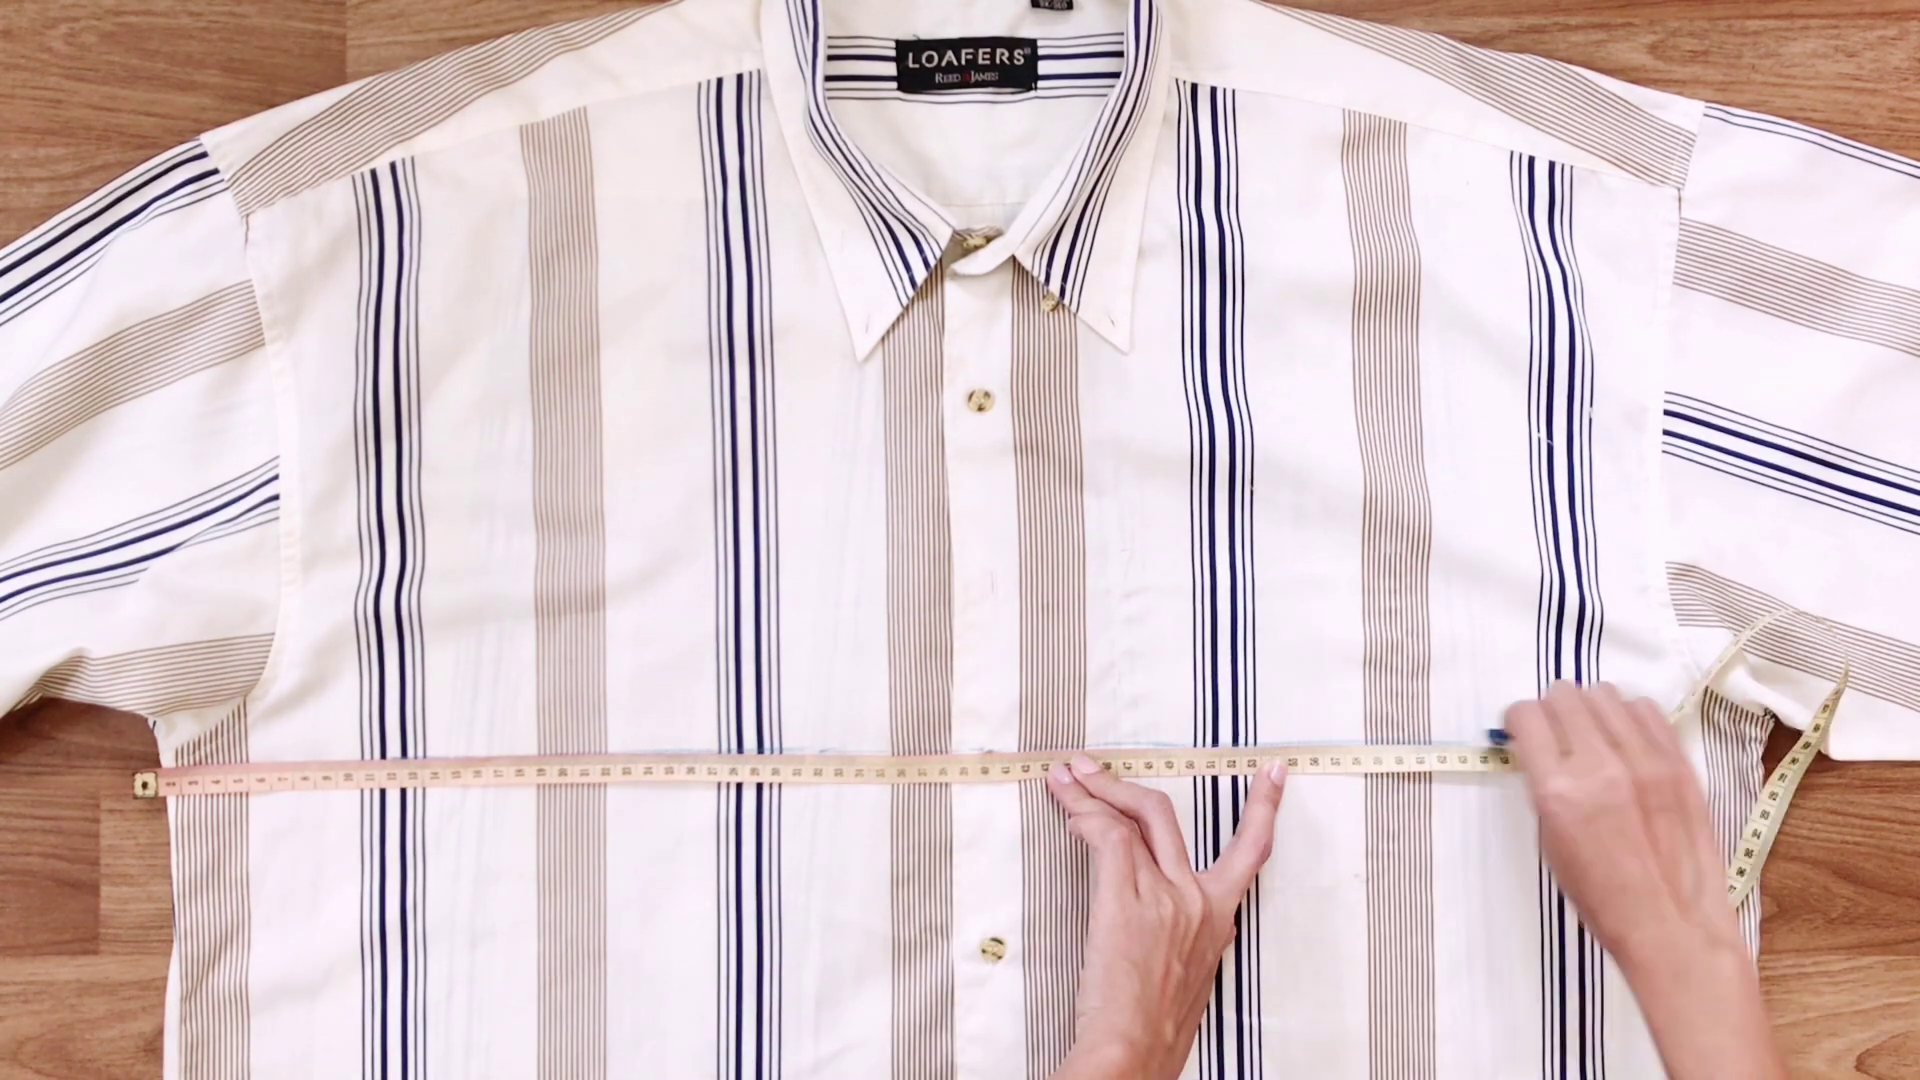
After that, draw a line right under two hands of the shirt.
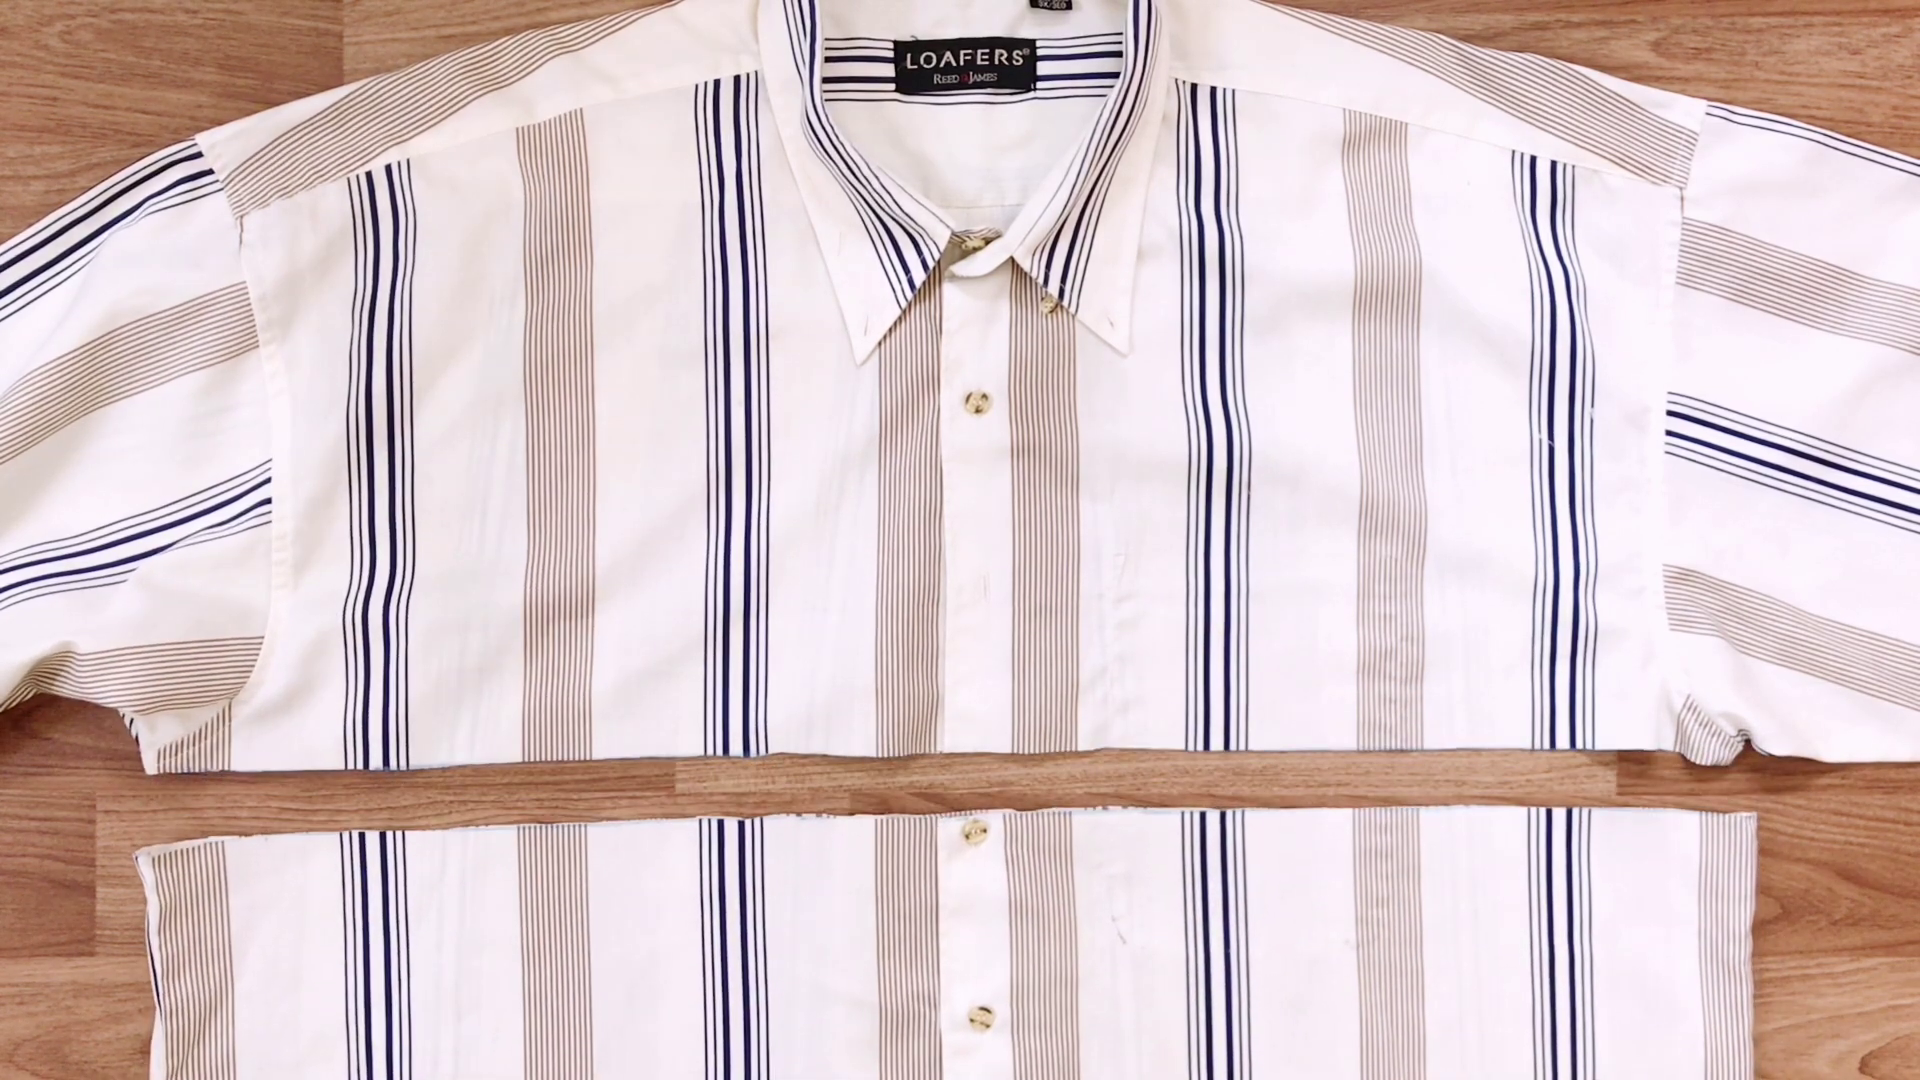
Then, cut along the drawn line.
The fabric under the shirt is used to make the pants for the summer set.
THE PANT
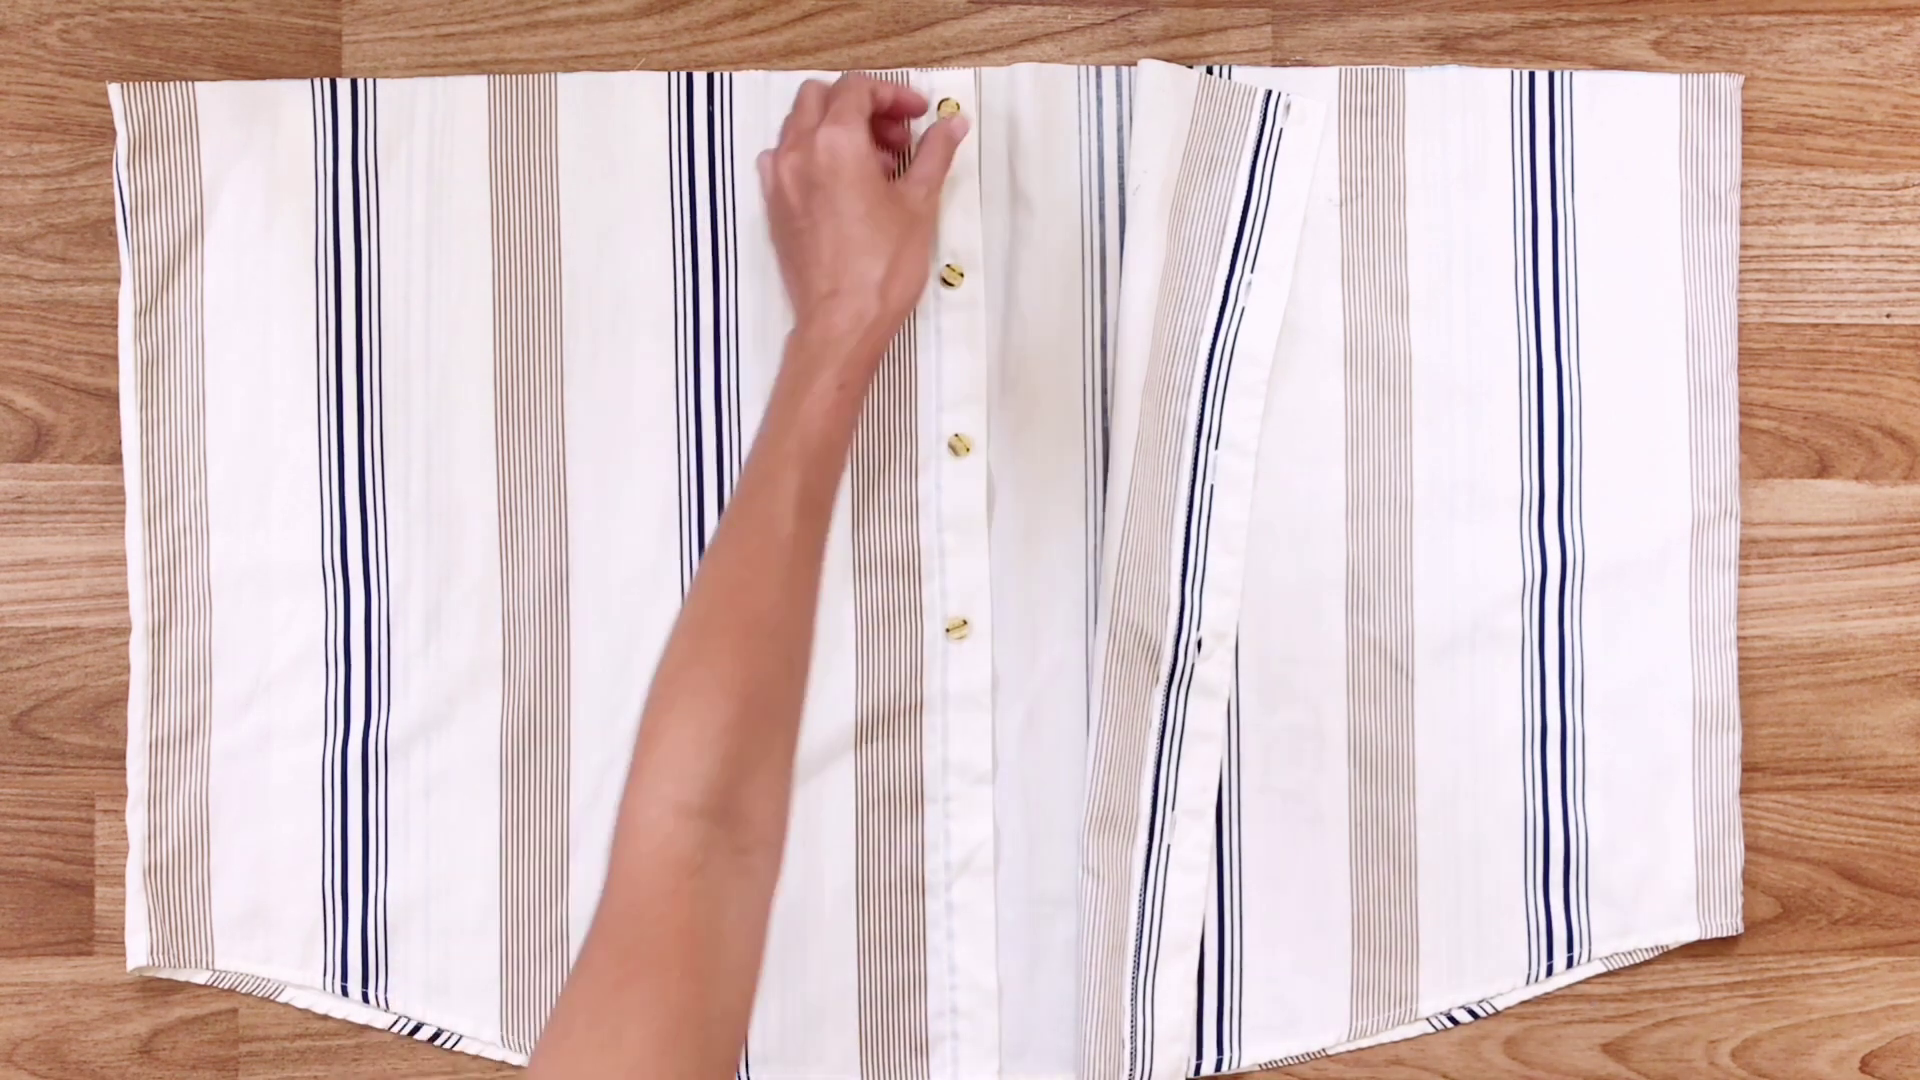
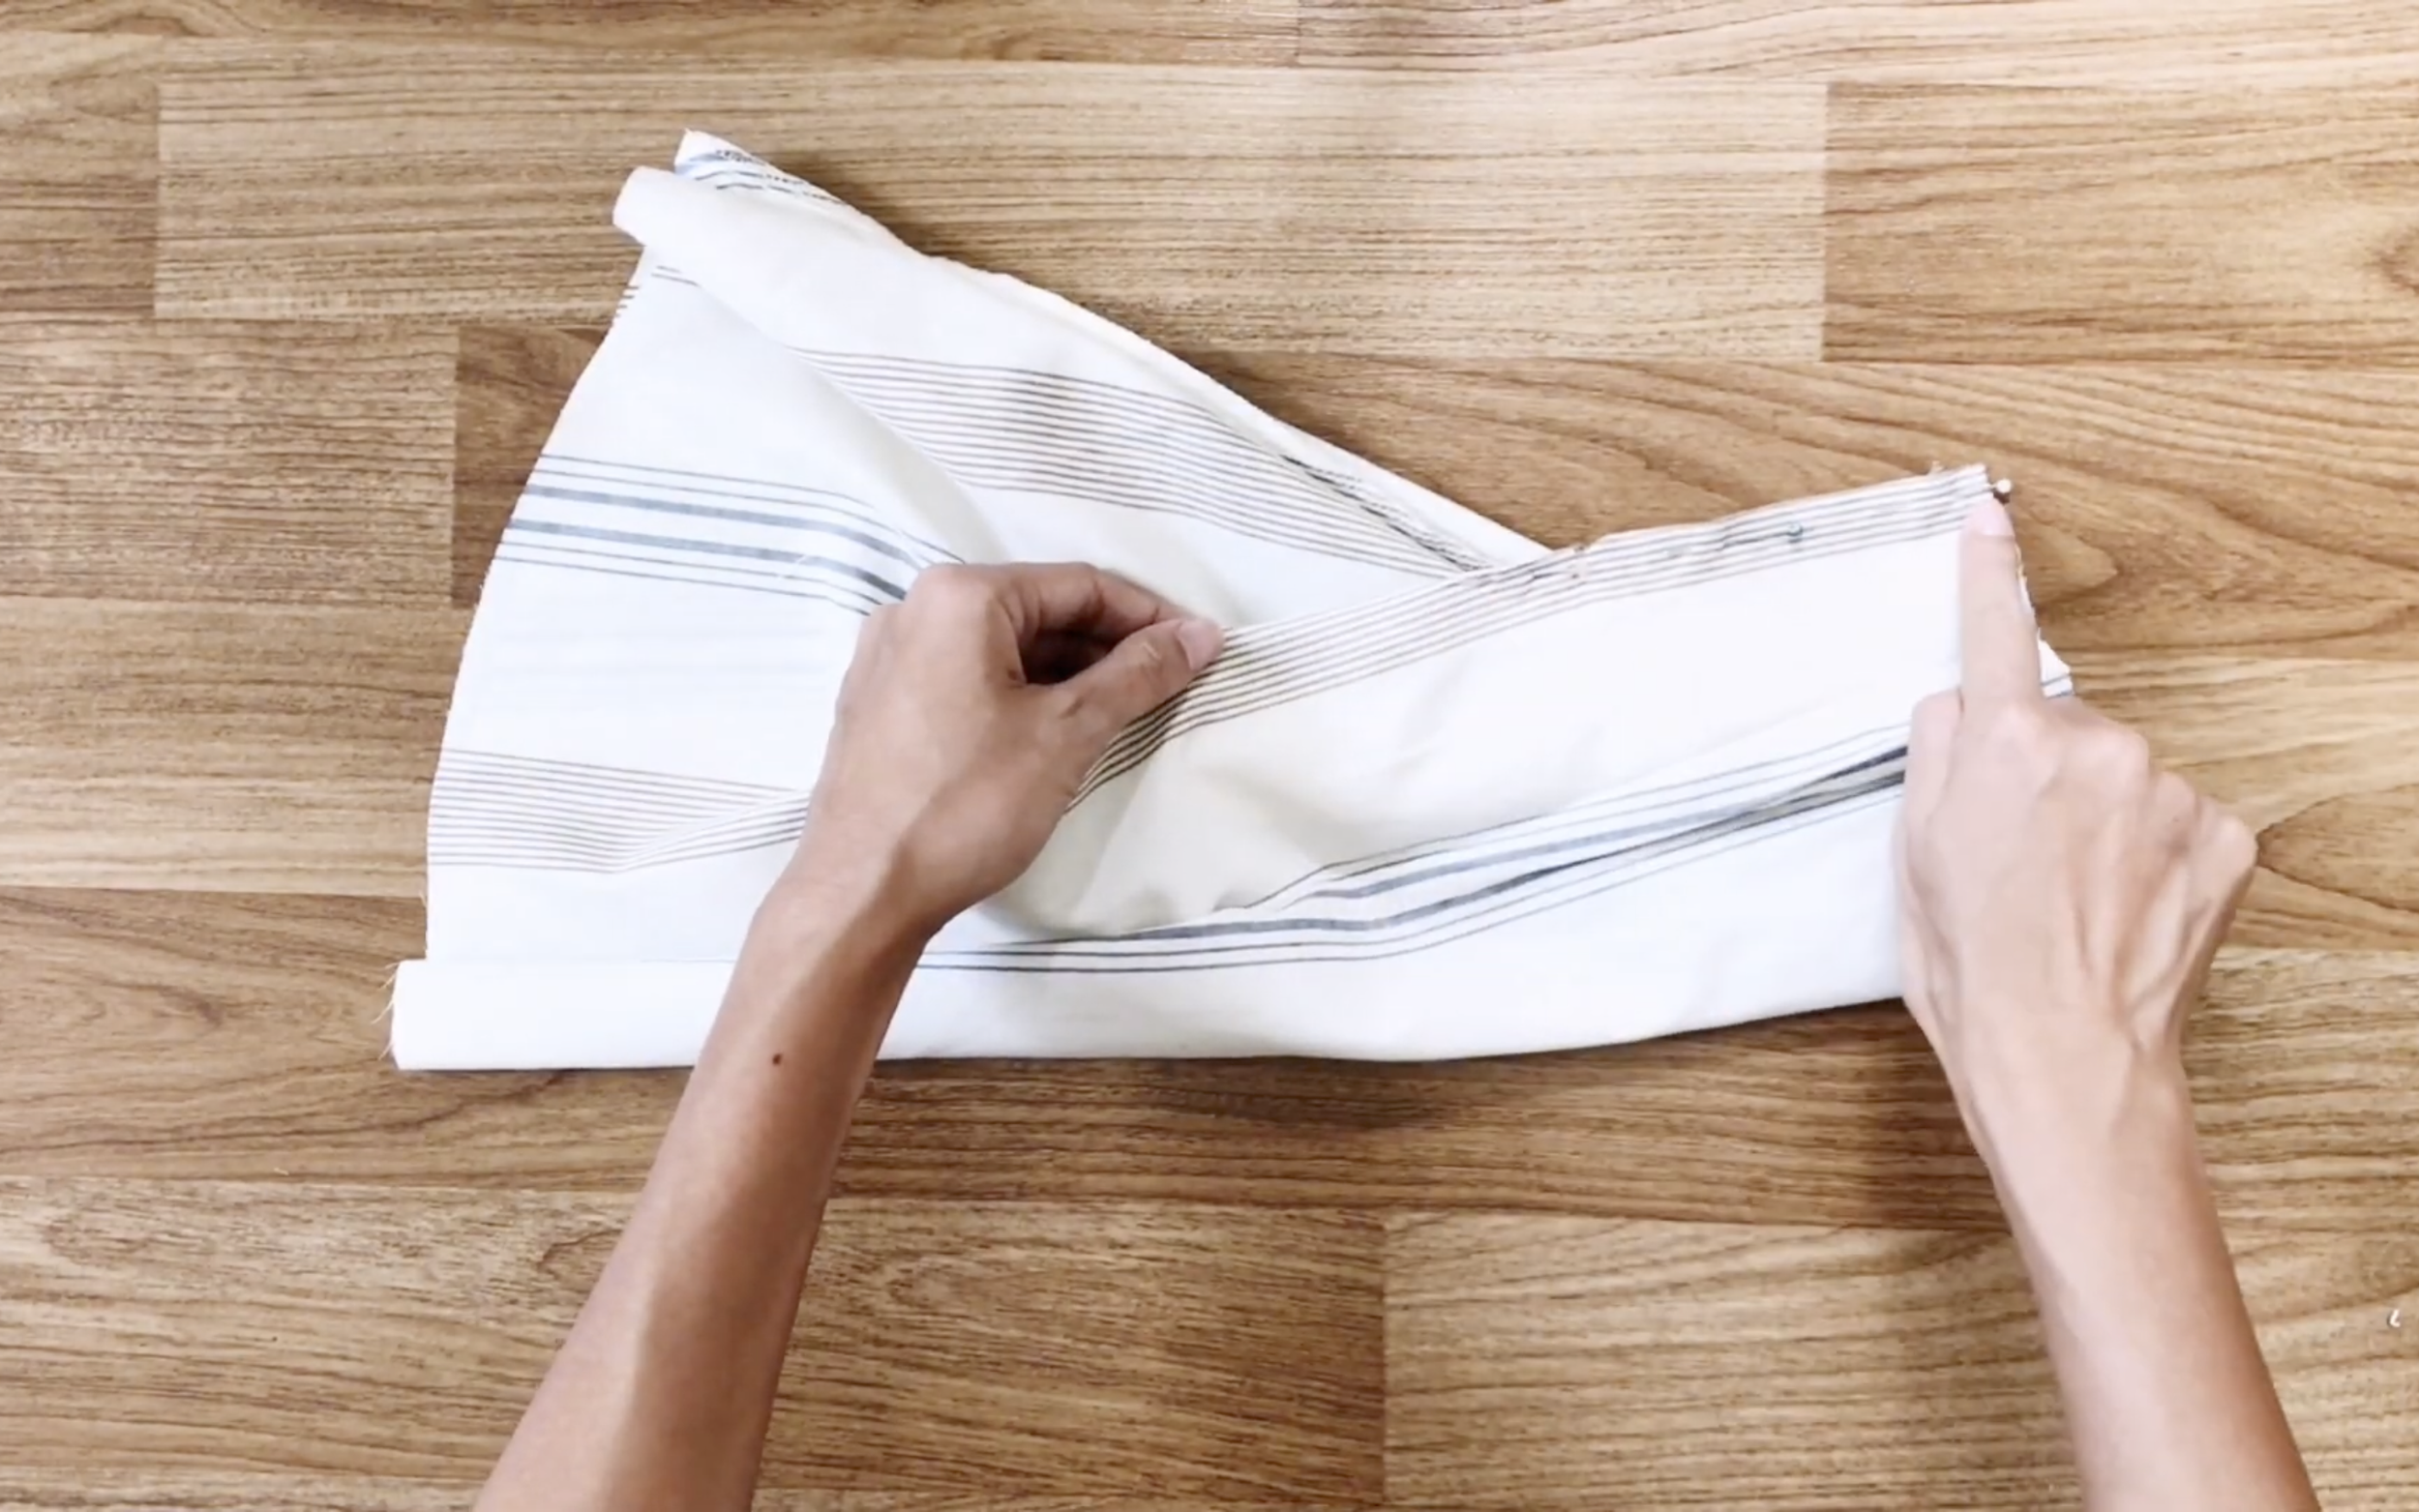
Remove the button at the button area and fold the shirt in half.
At the right side, cut off the button area.
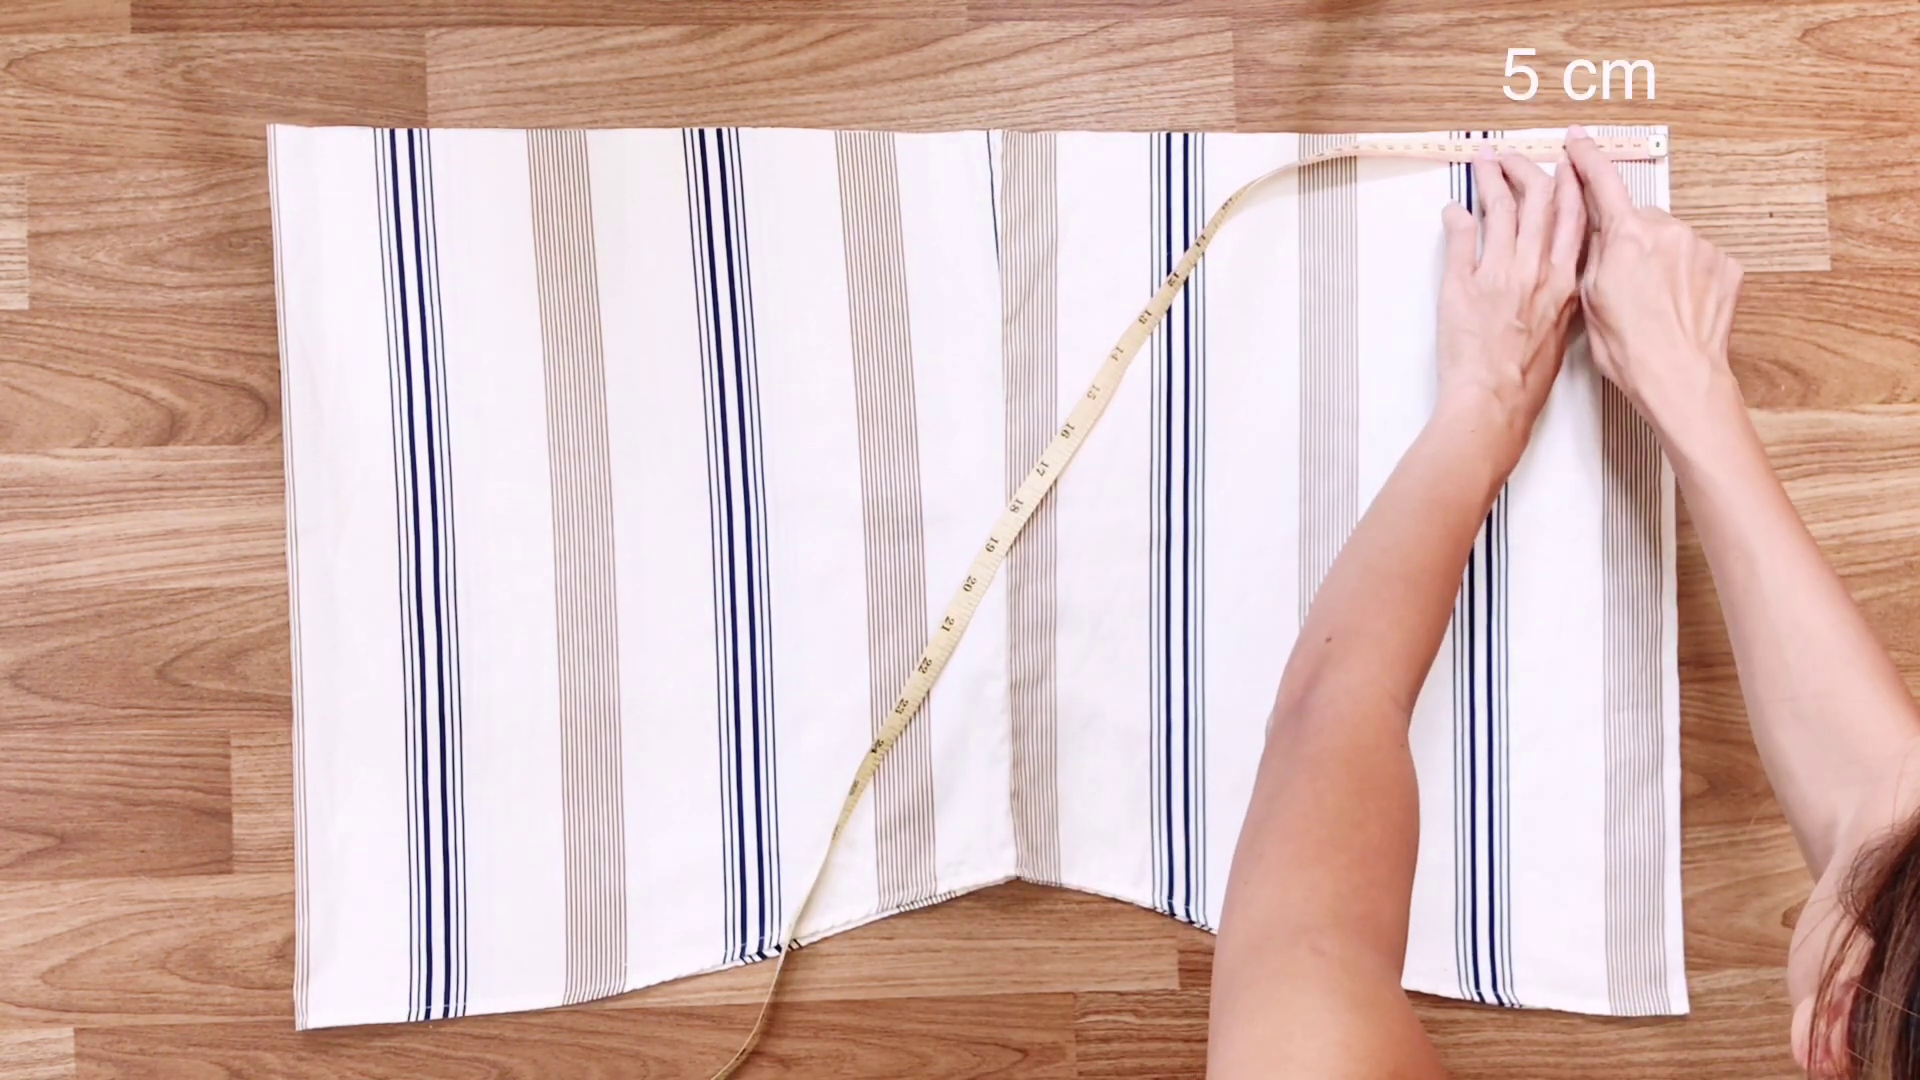
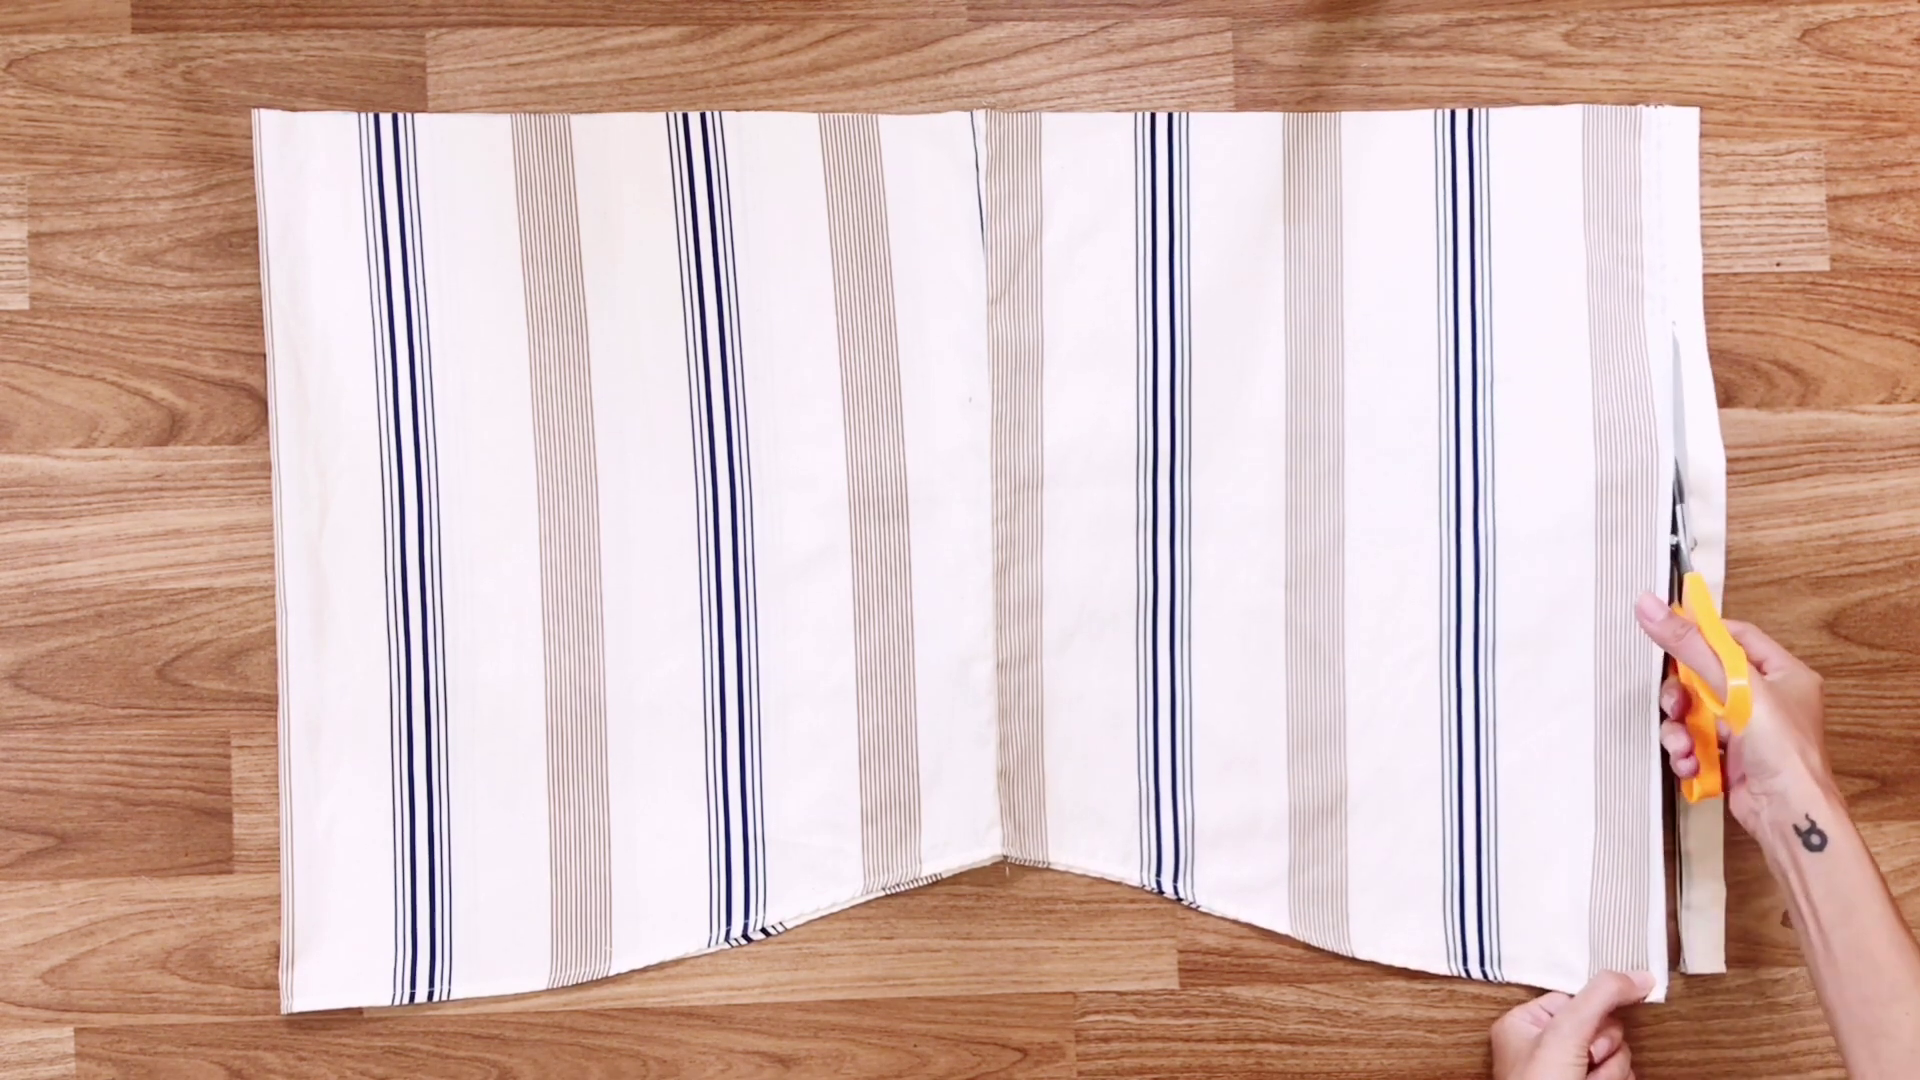
Then, draw a straight line with 5 cm away from the edge.
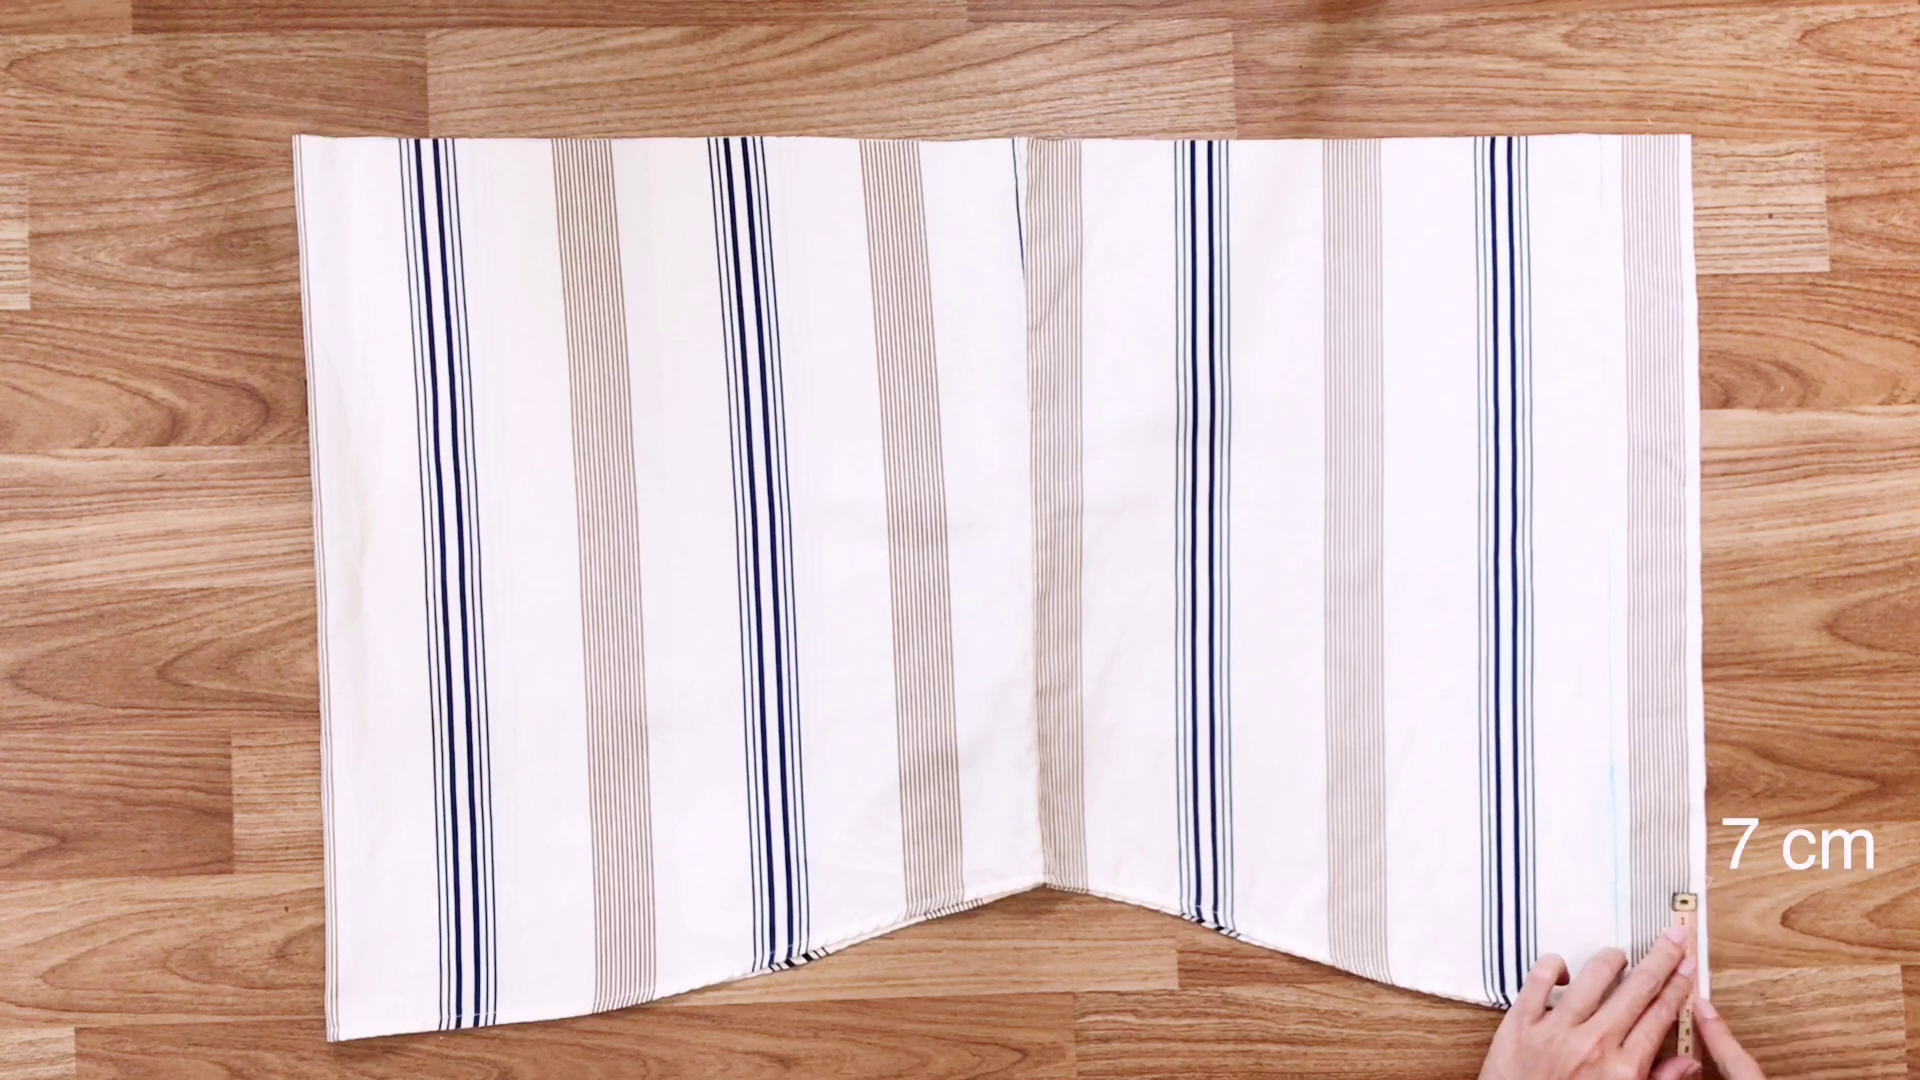
At the end, go up 7cm and mark there.
Then, draw an arc line to connect that mark to the straight line.

At the left side, draw another straight line with 9 cm away from the edge.
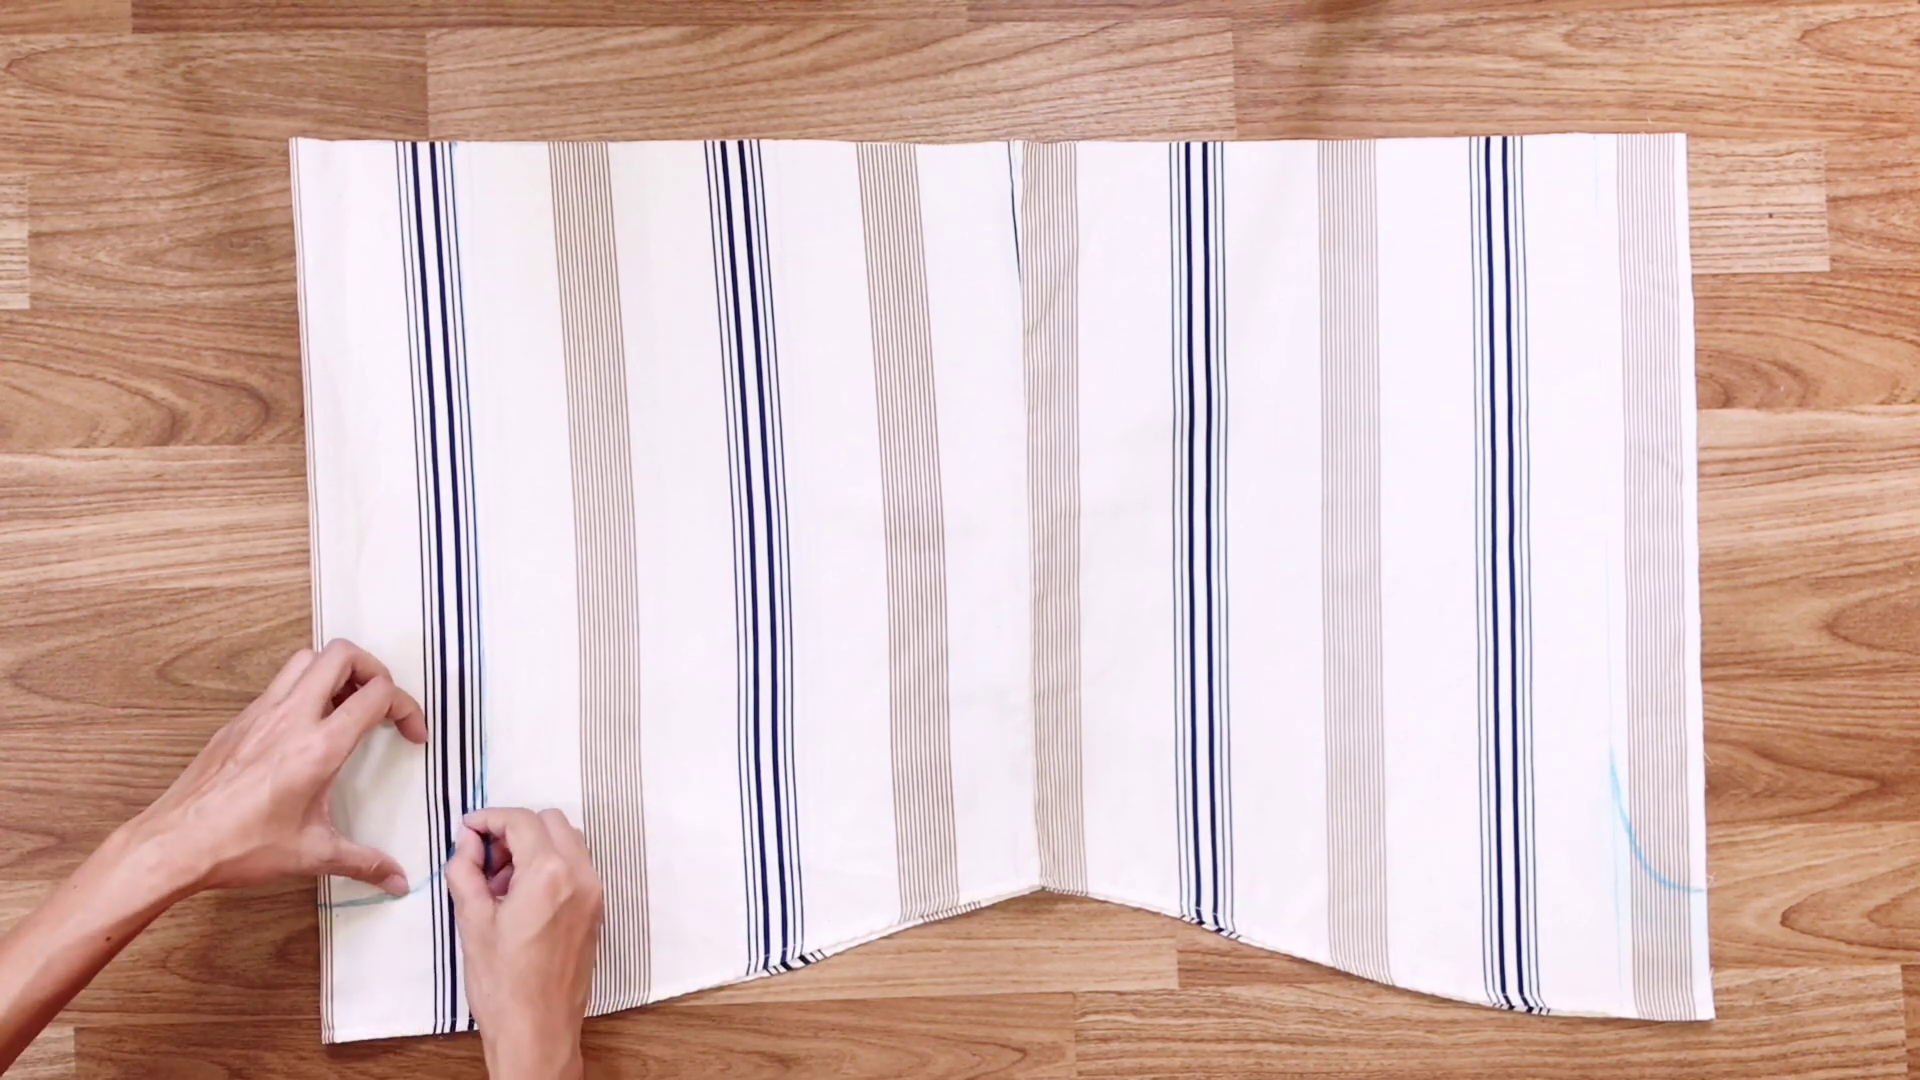
And from the end, go up 7cm and draw an arc line from there to the straight line.
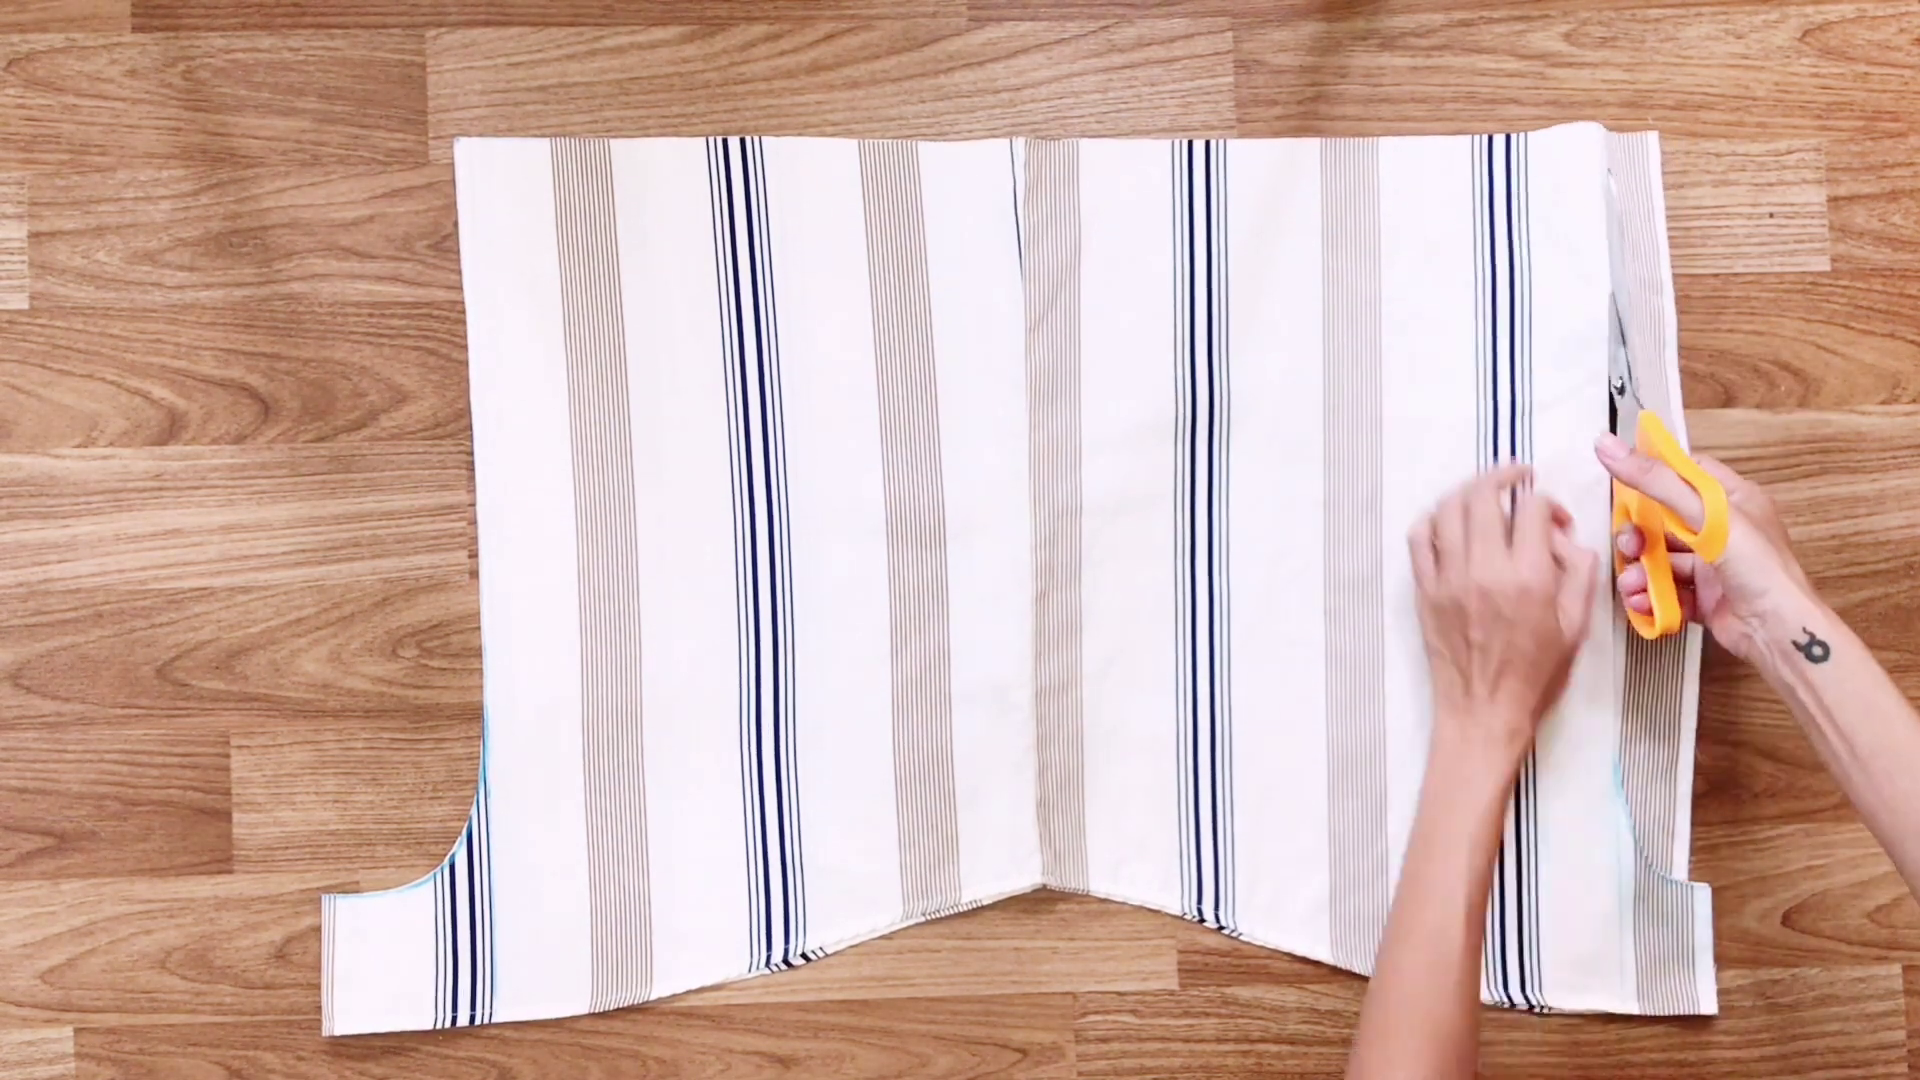
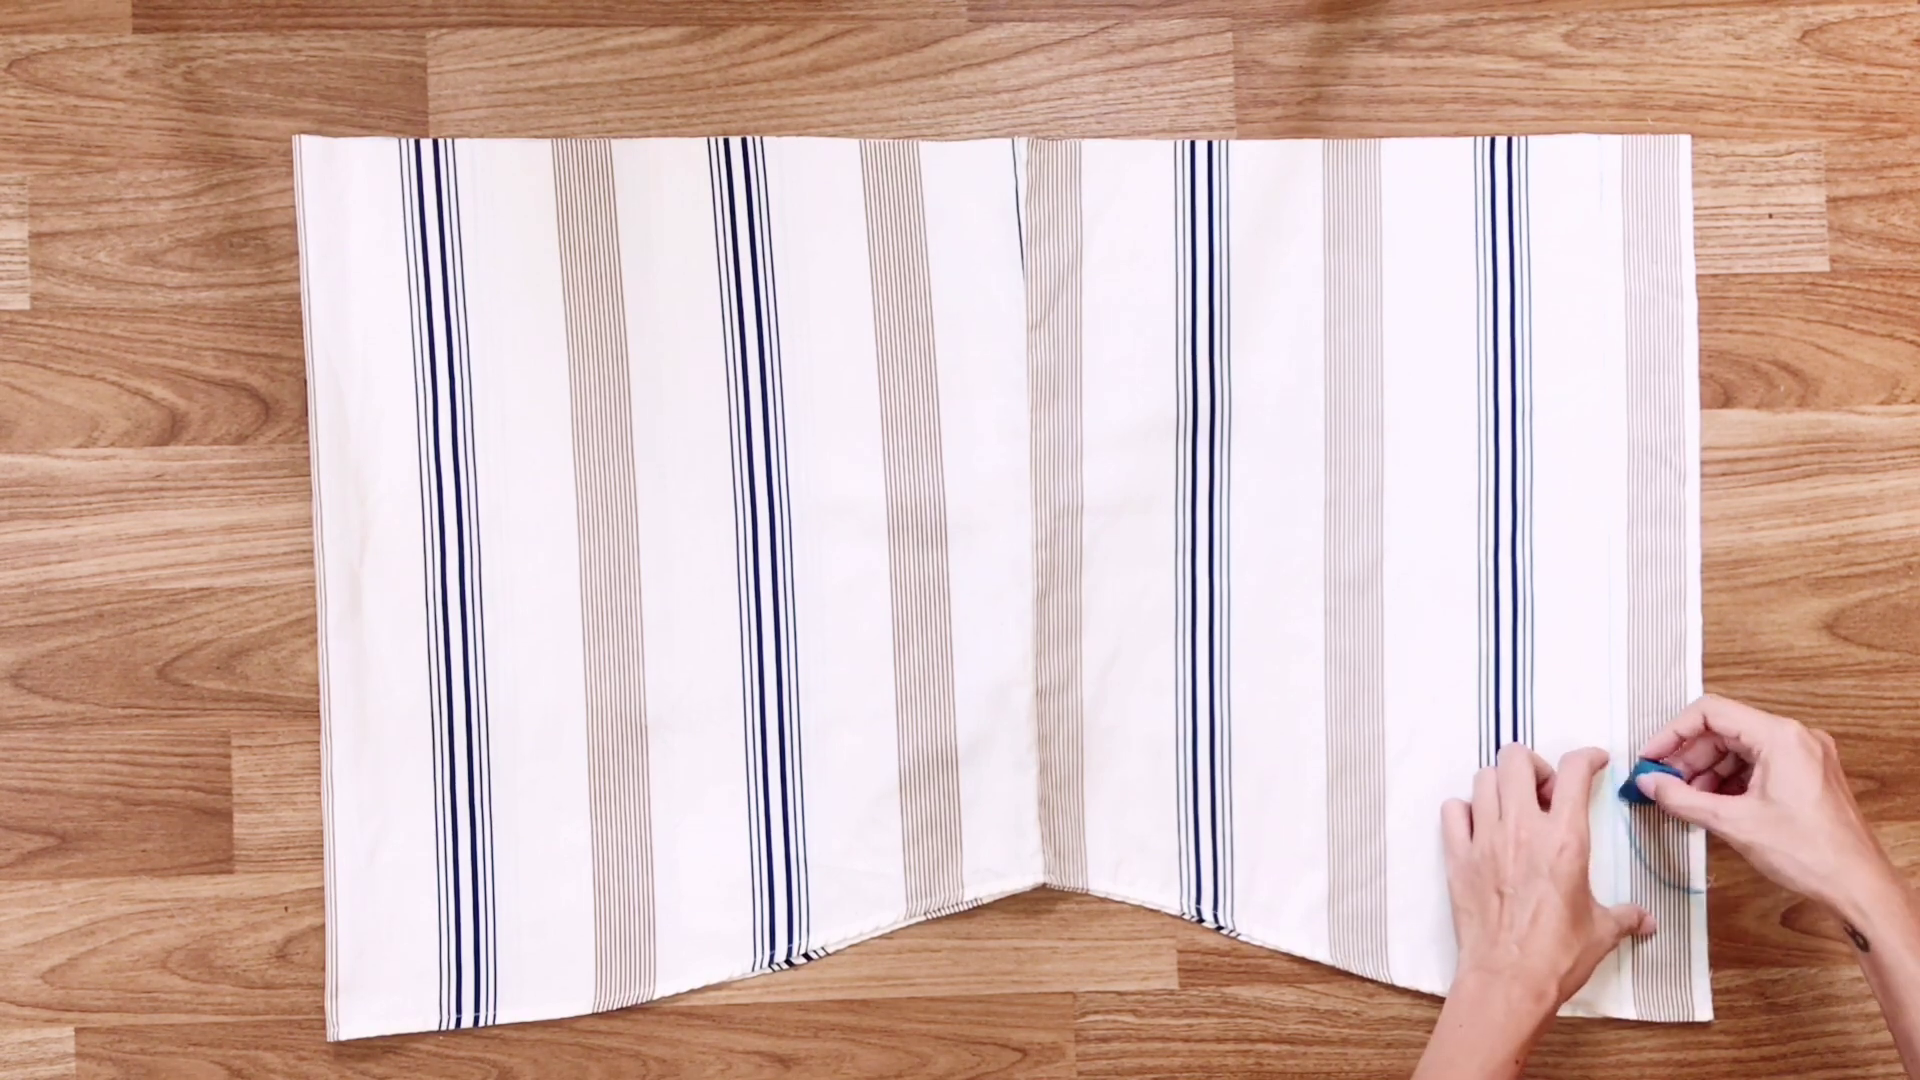
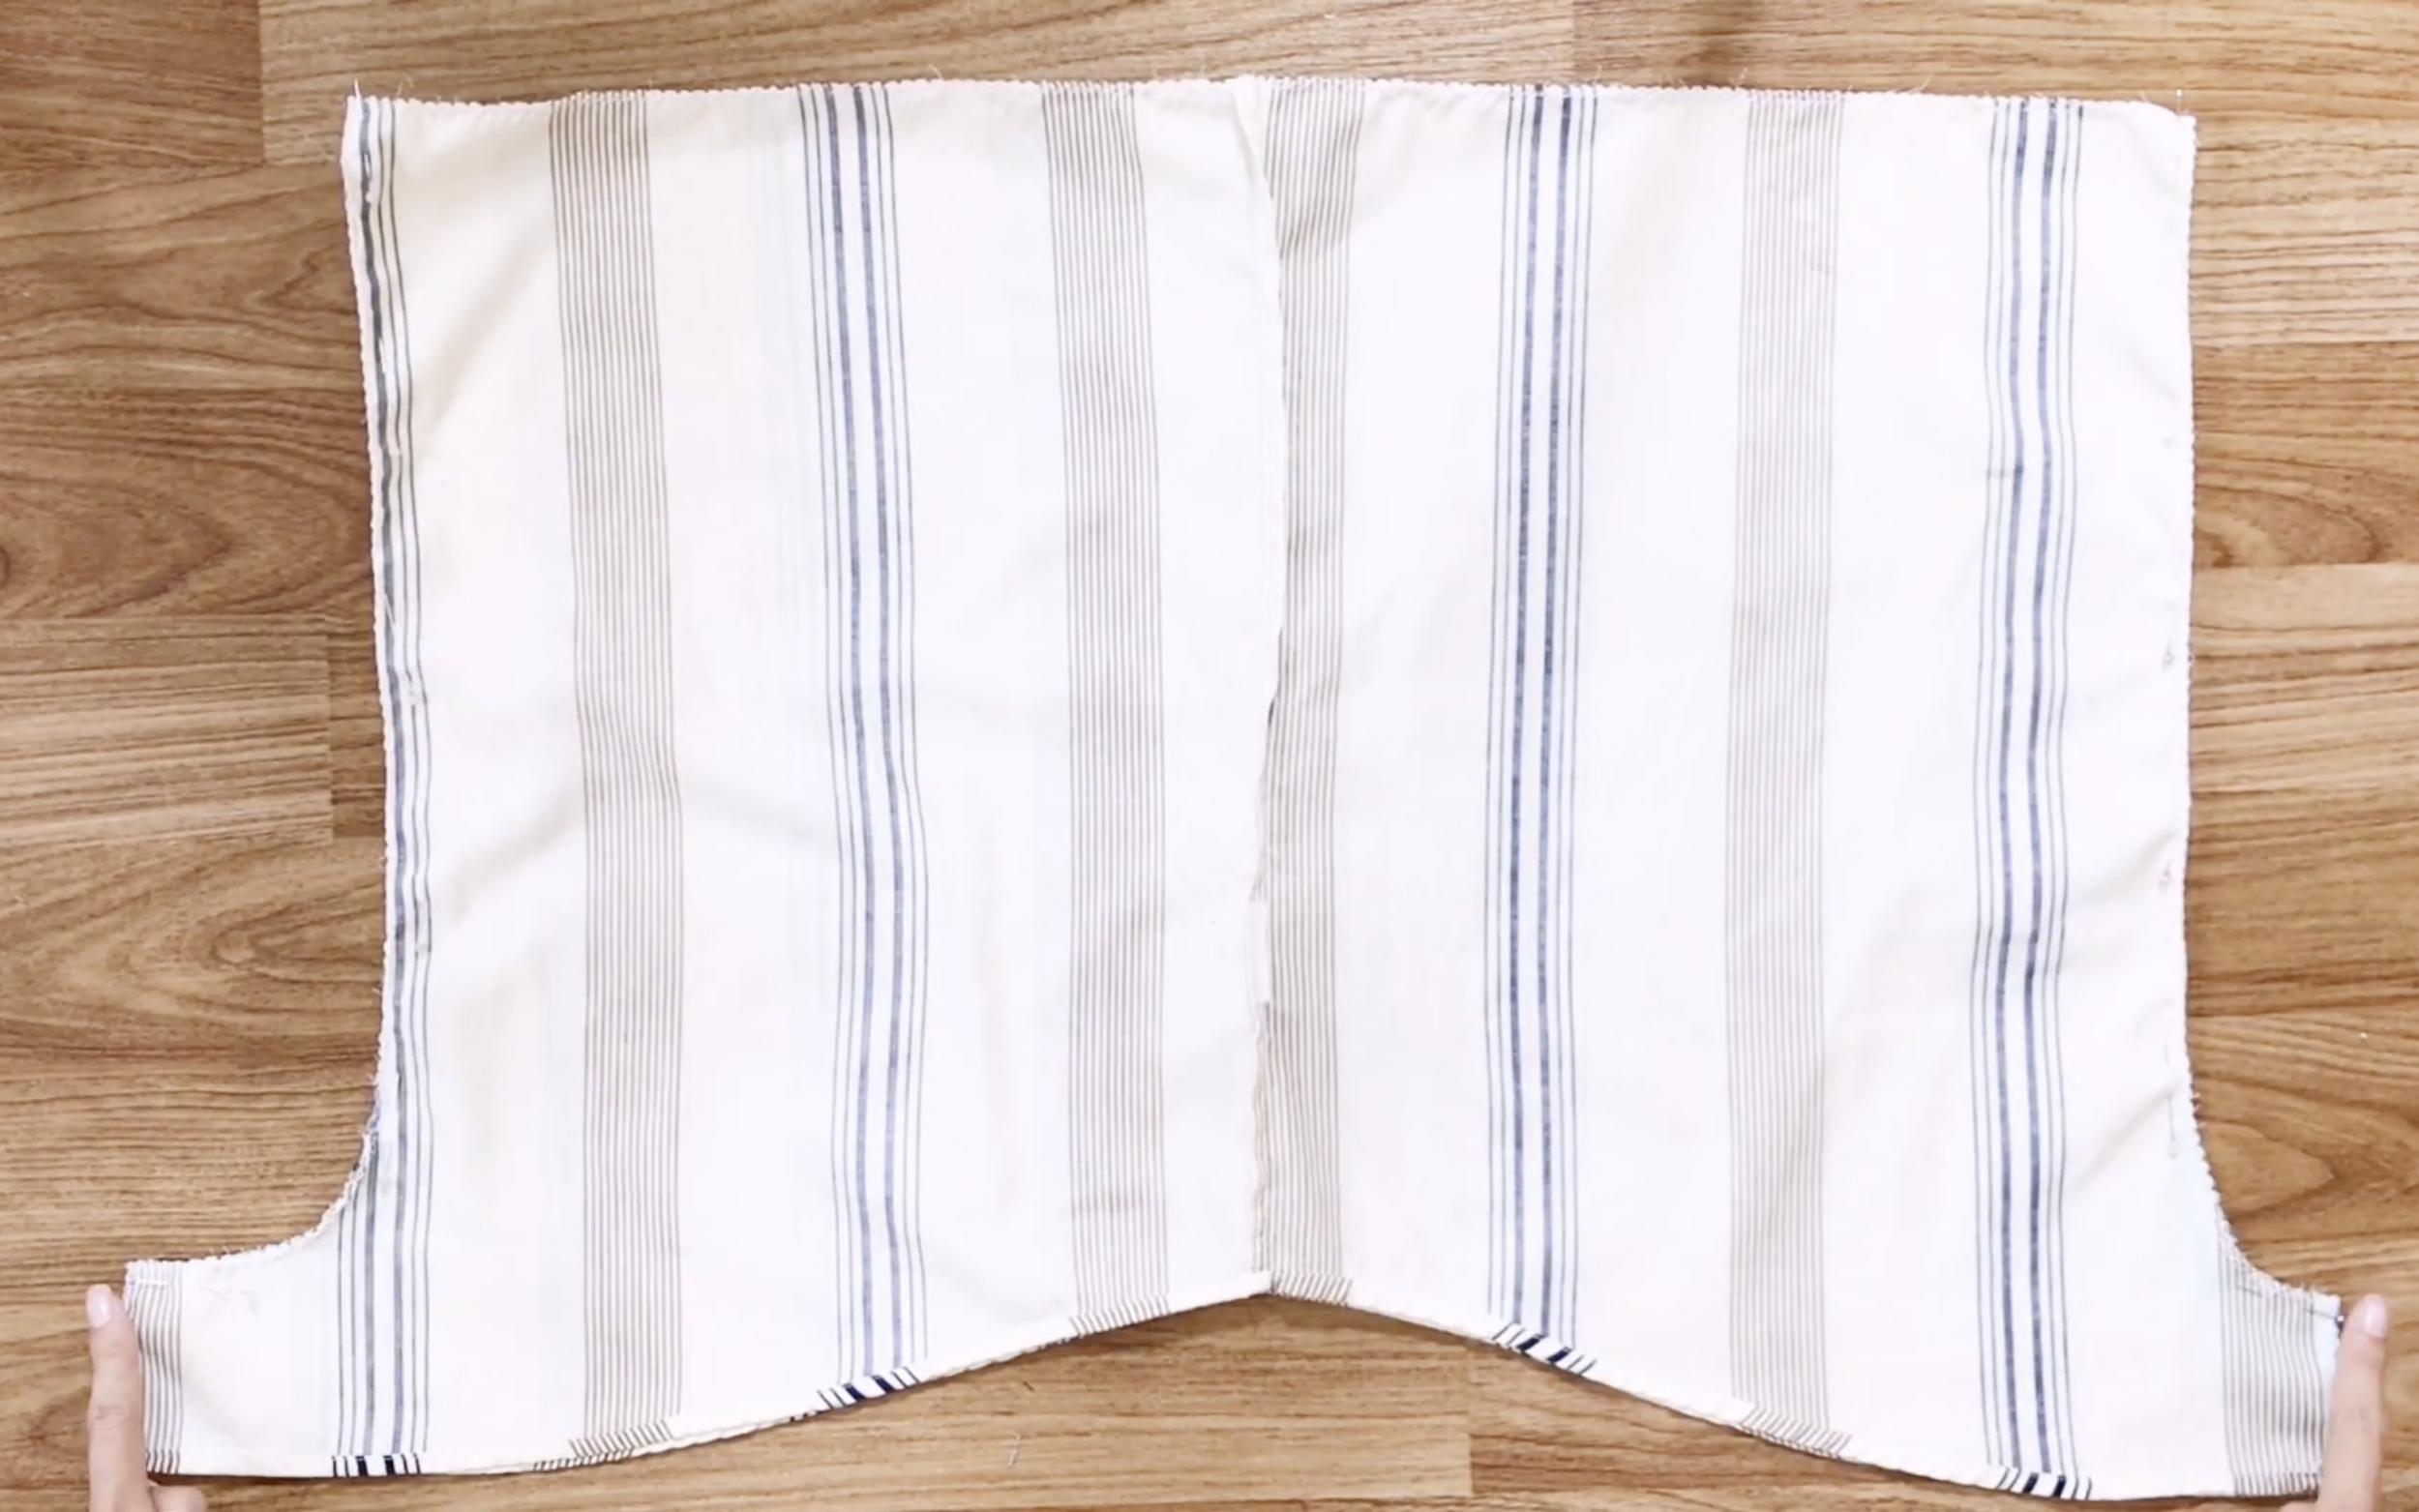
Then, cut along the drawn line.
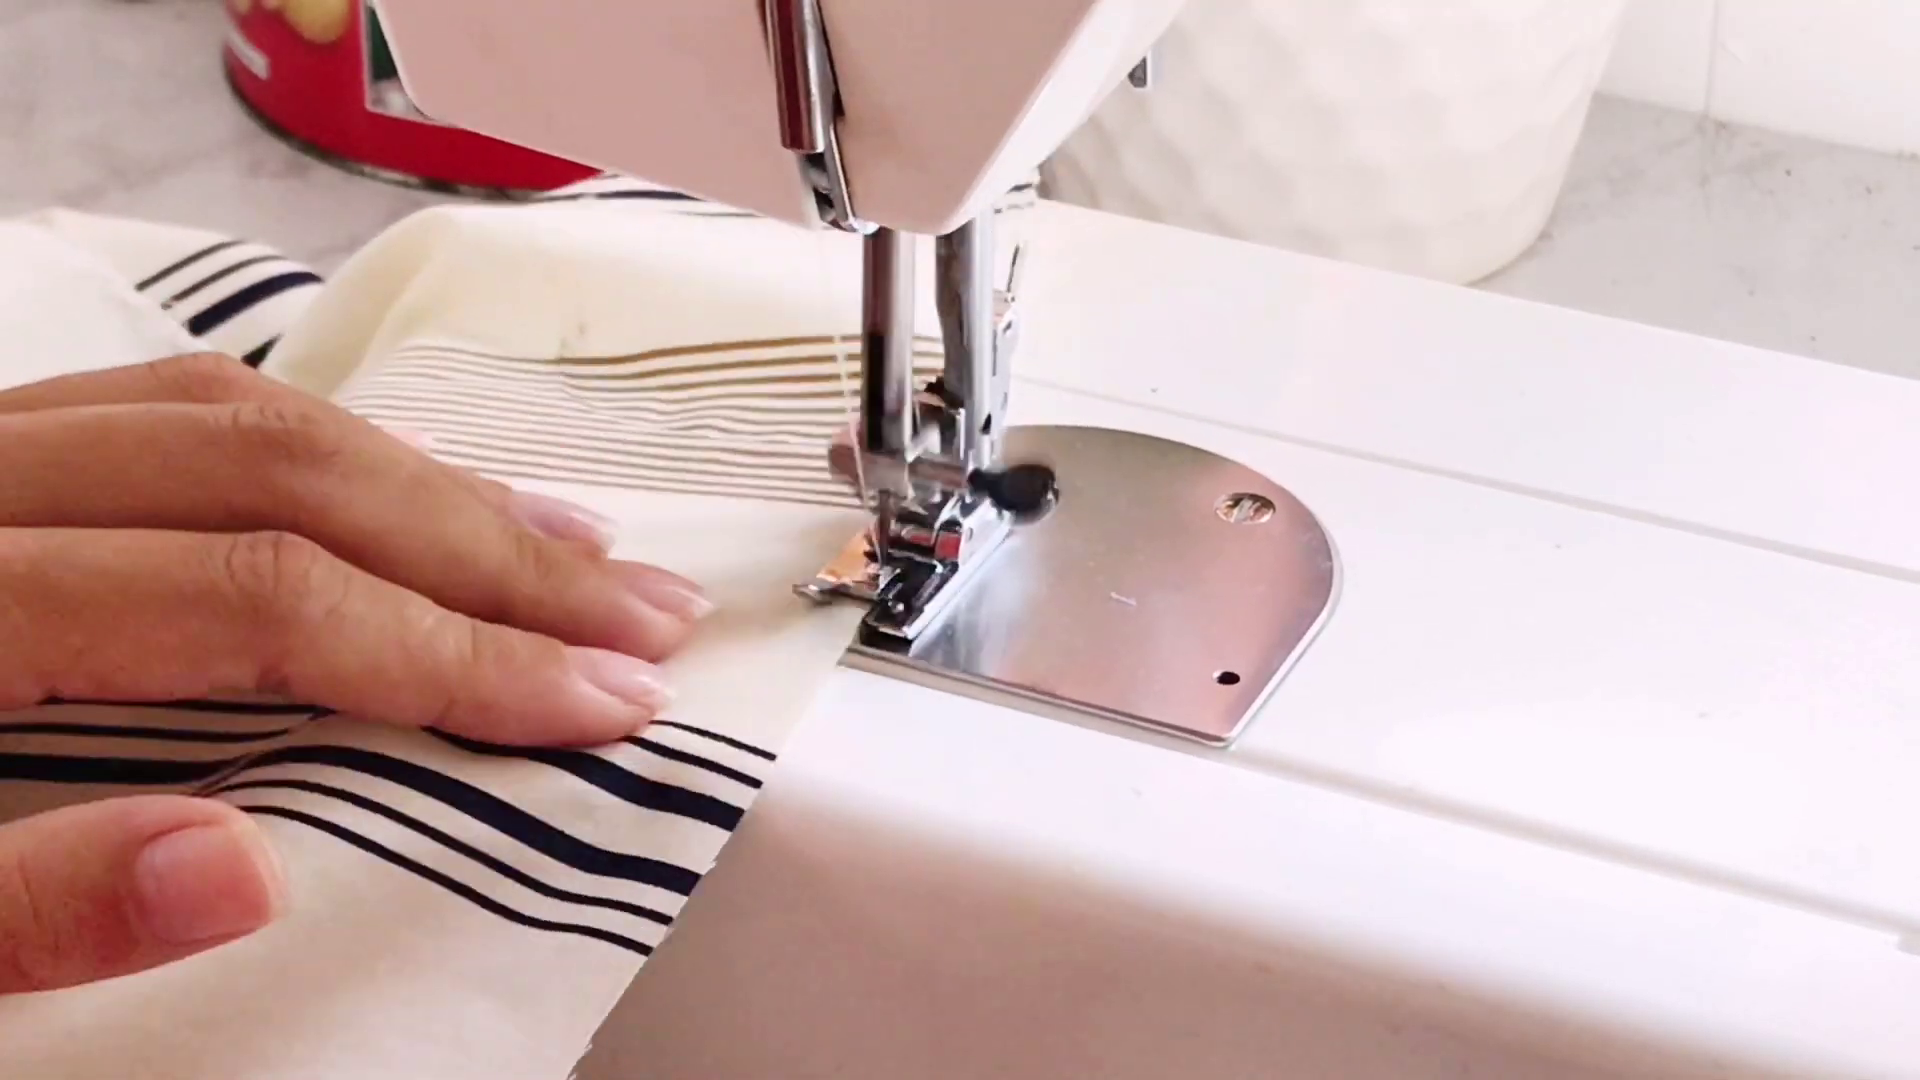
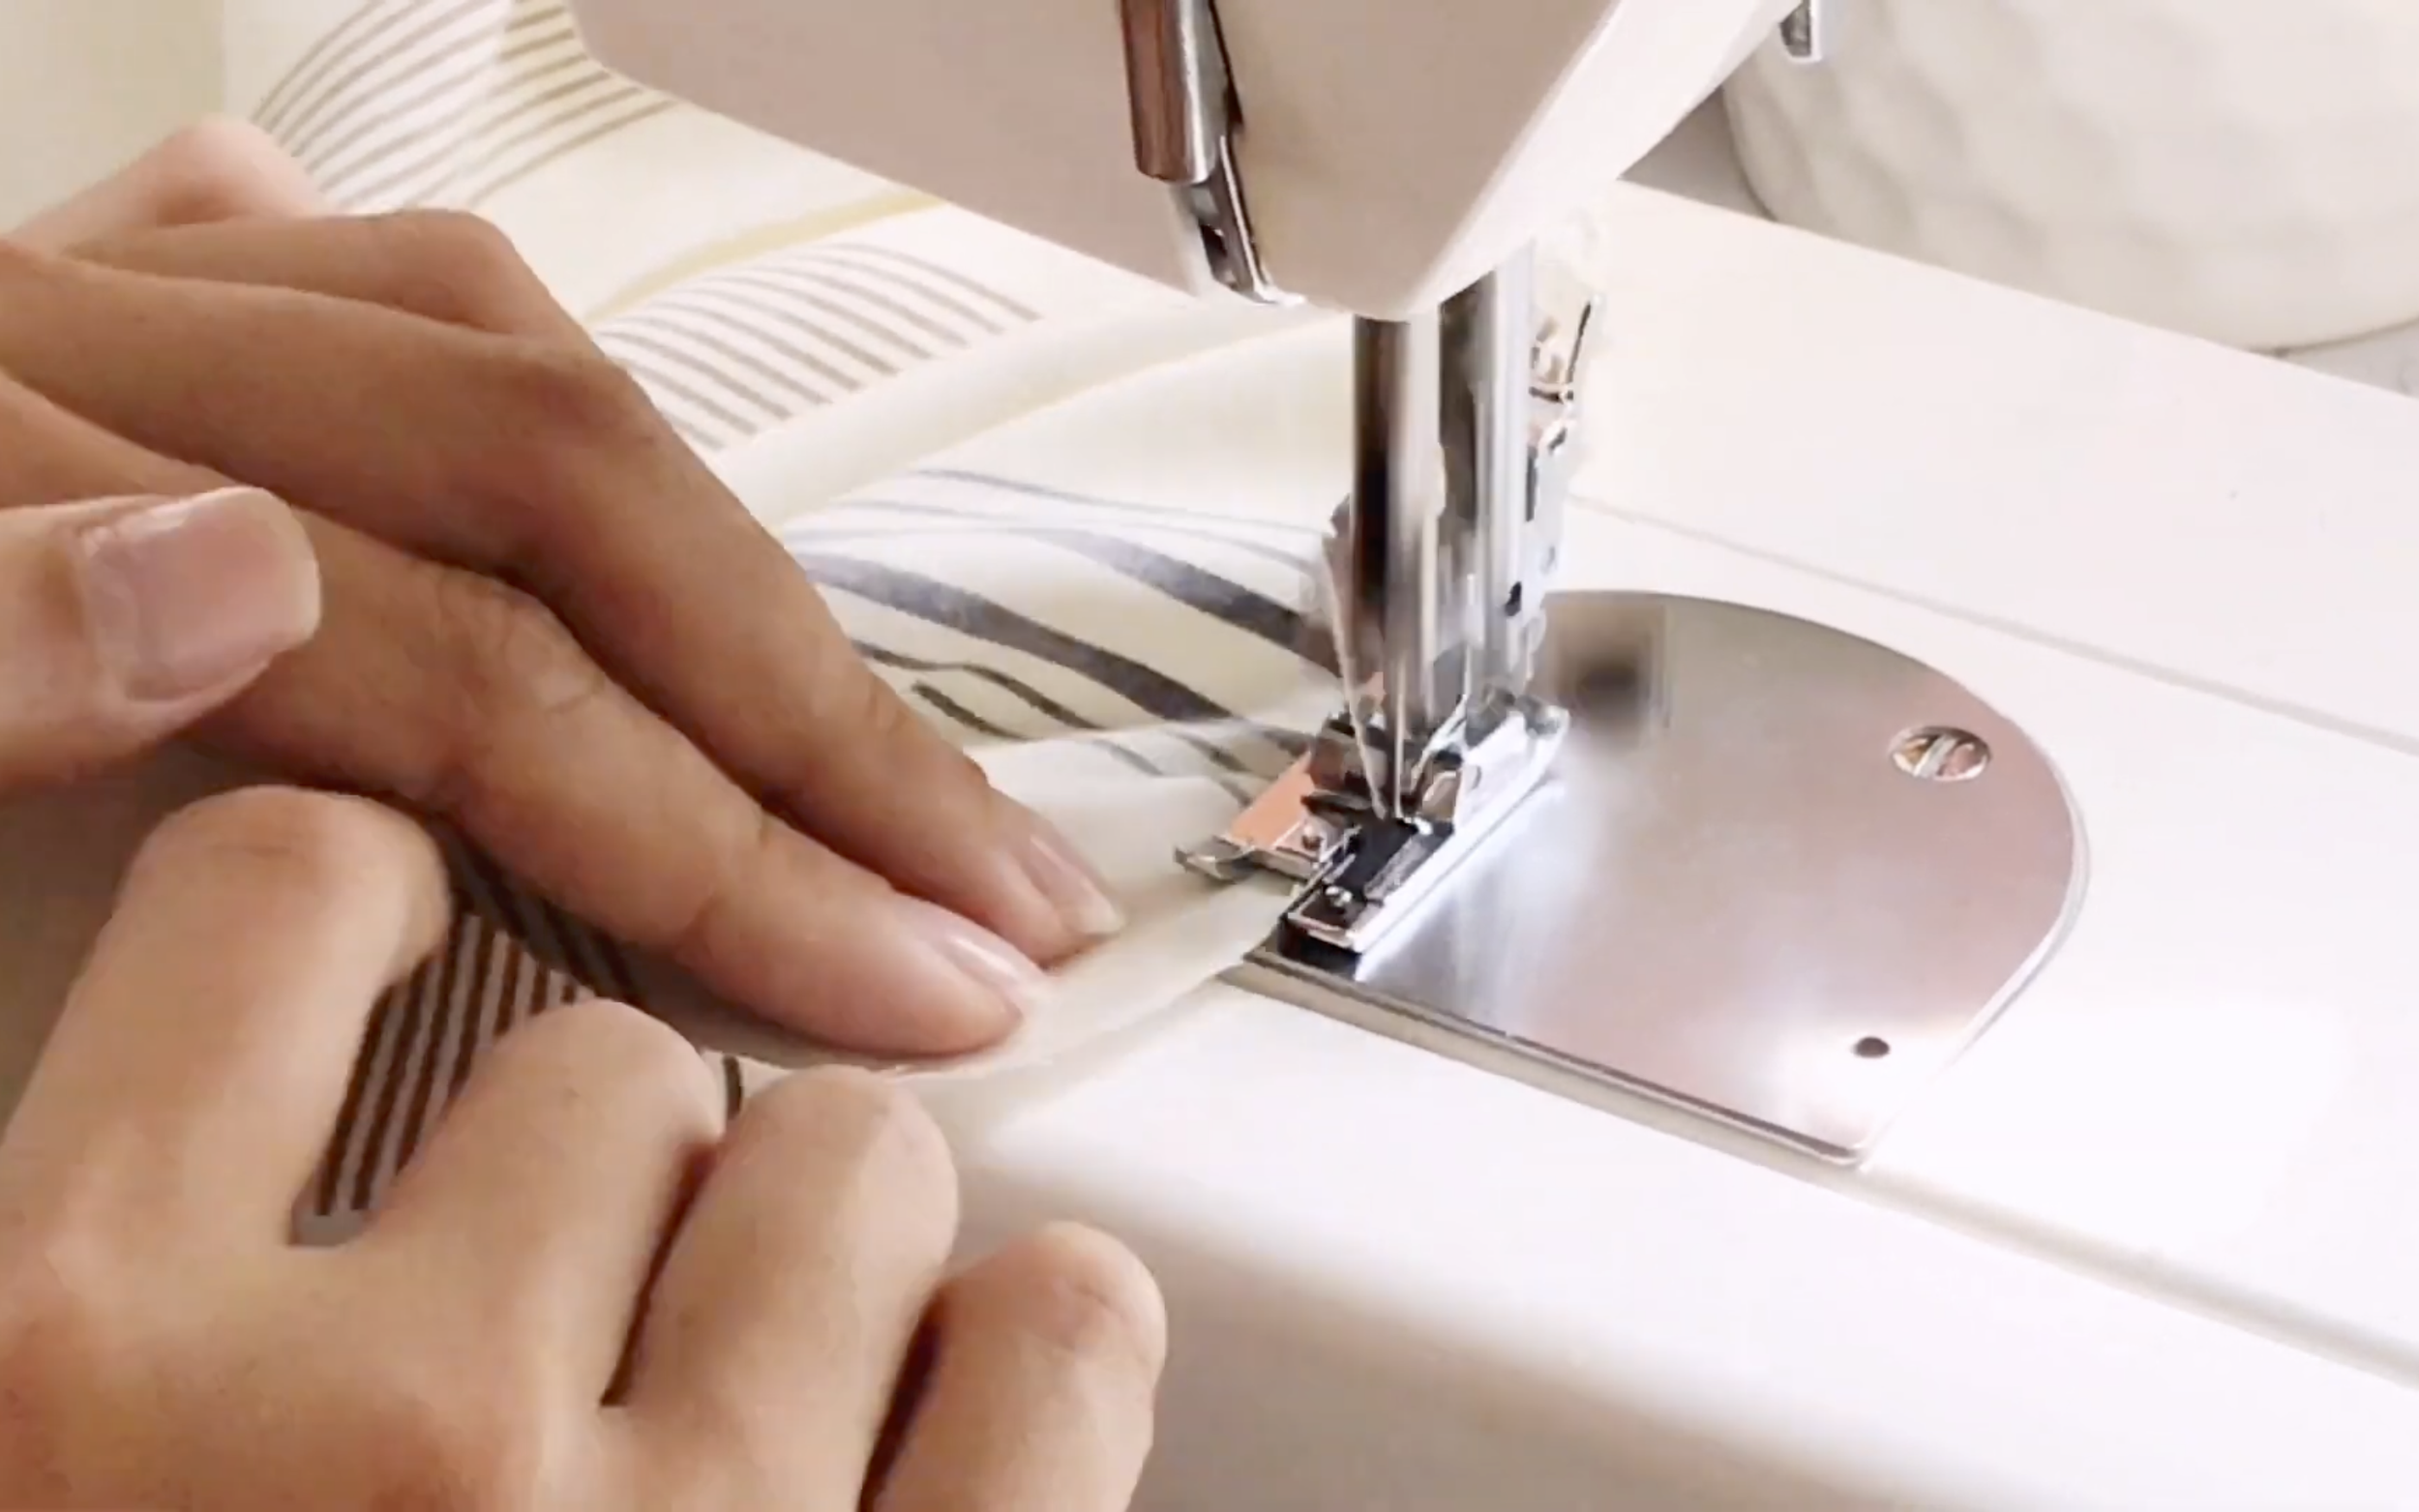
Overlock the fabric to protect the cutting by using the zigzag stitching from the sewing machine.
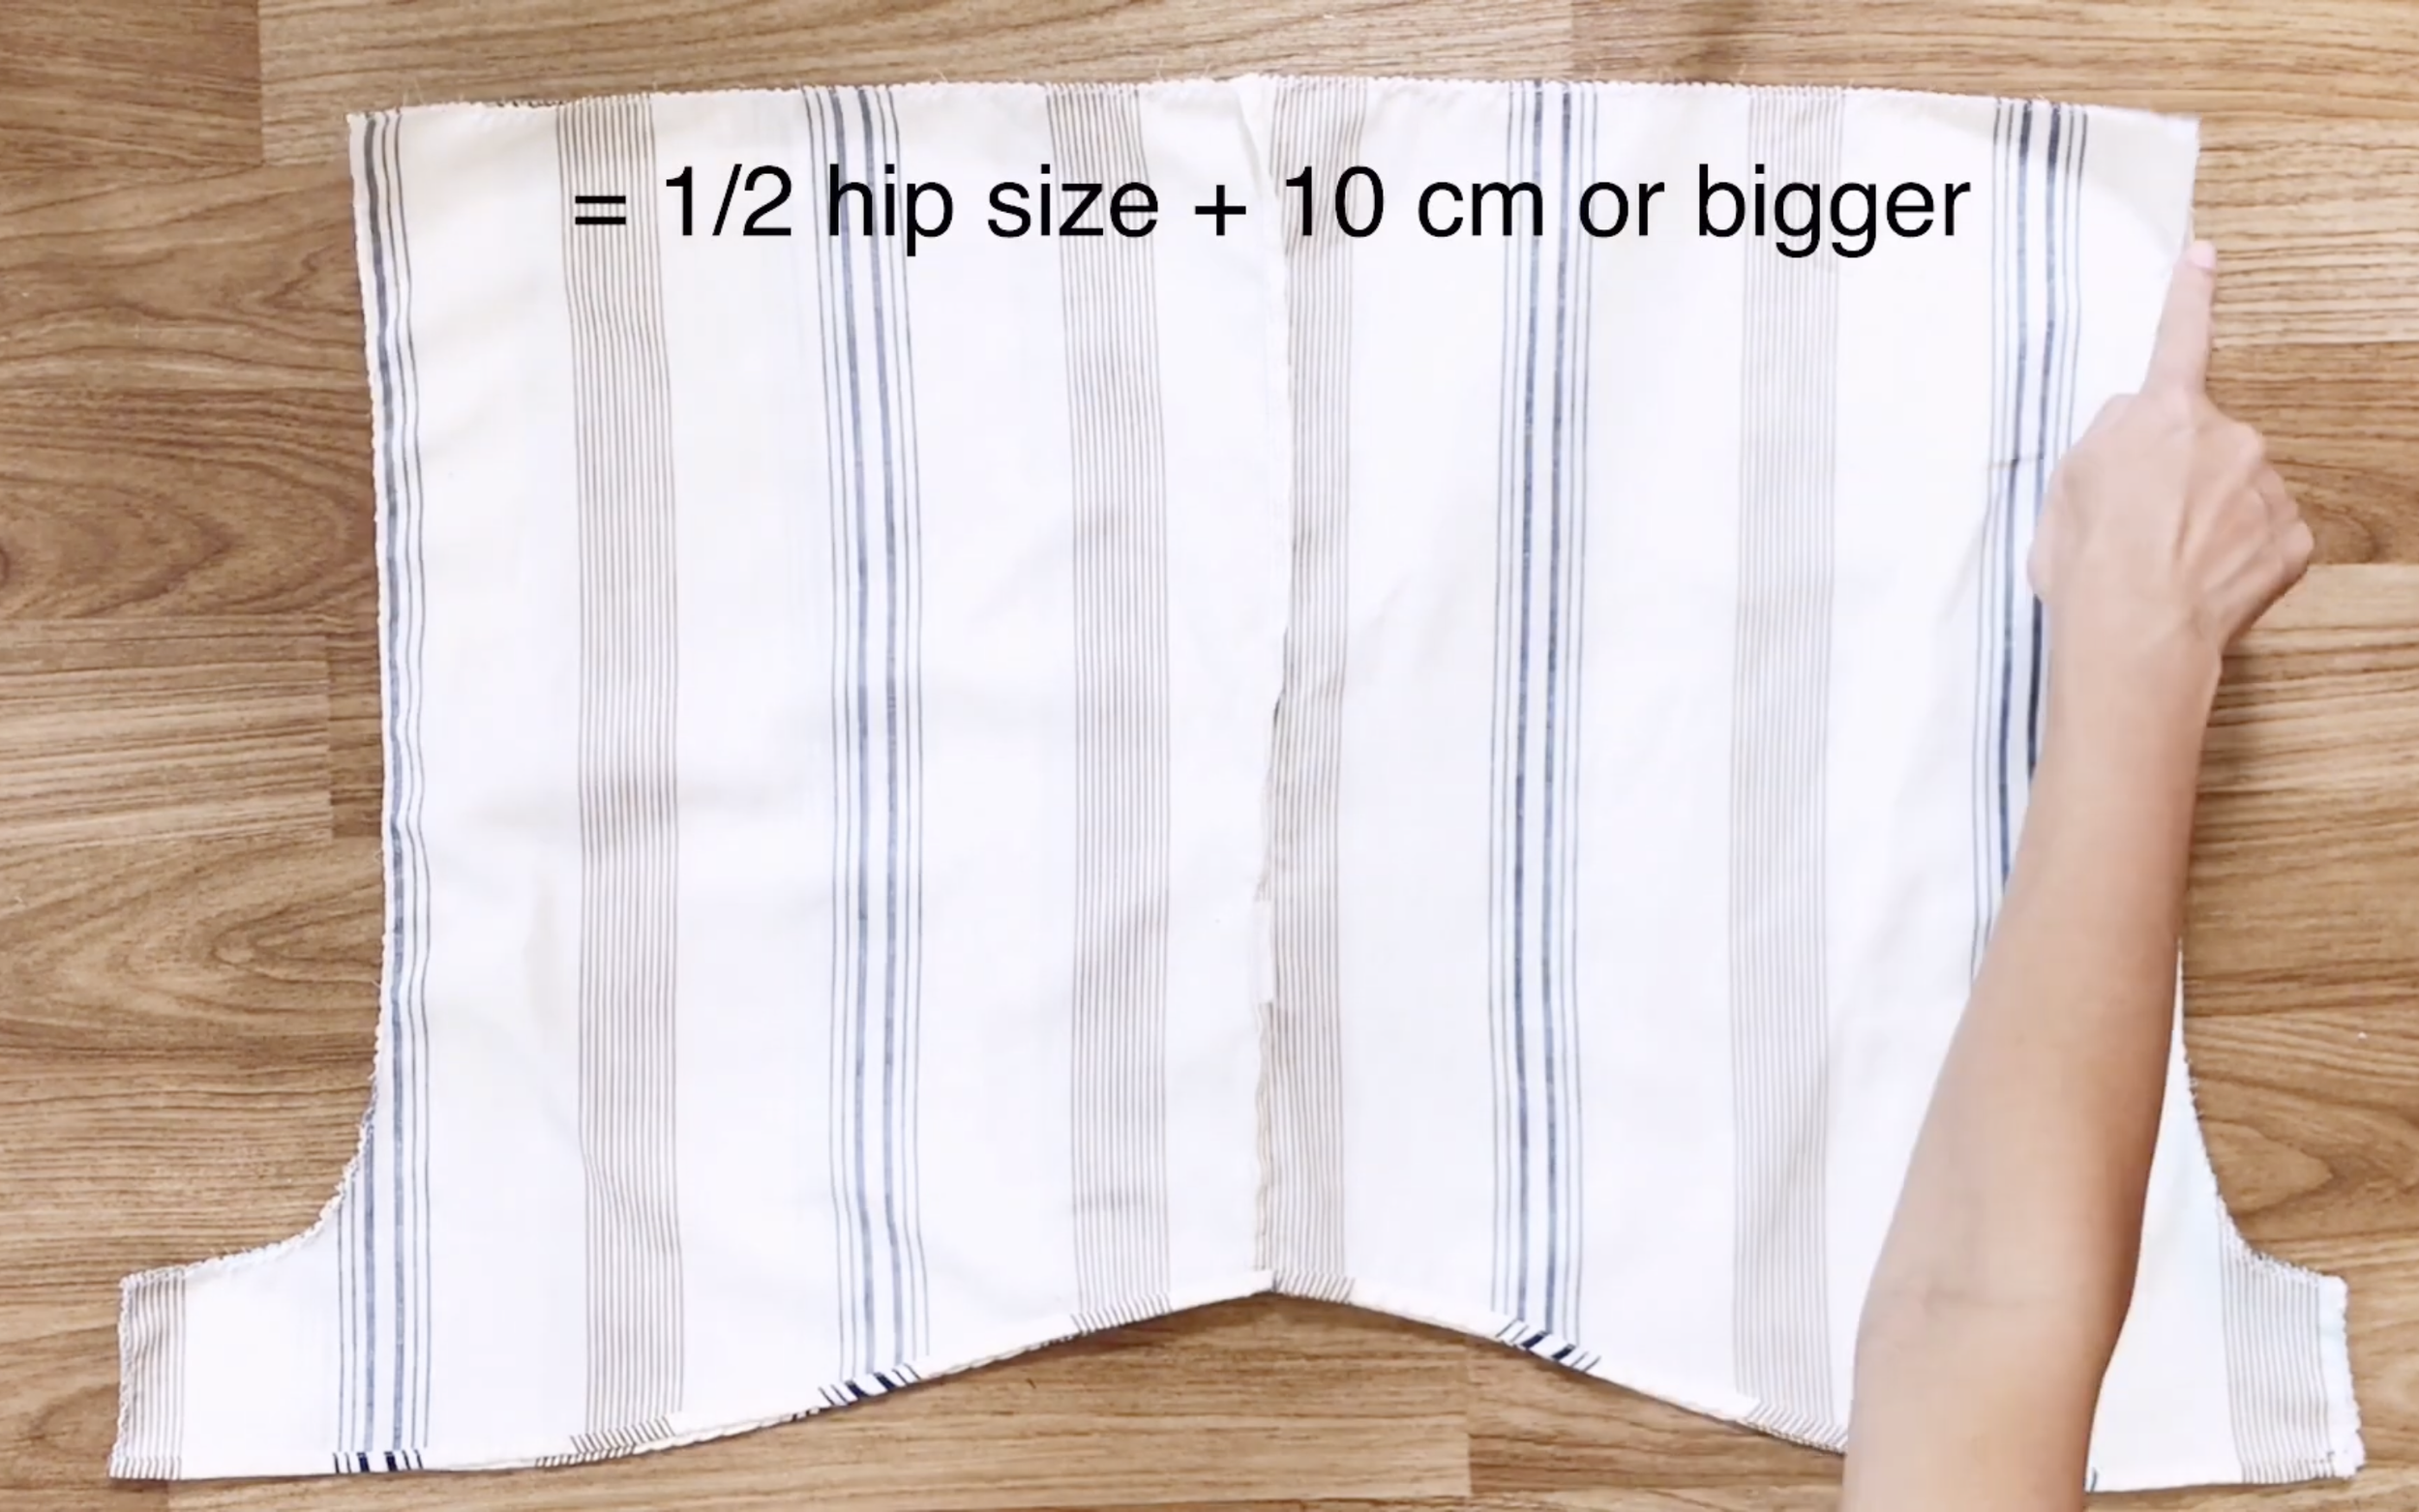
The width of the pants is half of the hip size plus 10 cm or bigger.
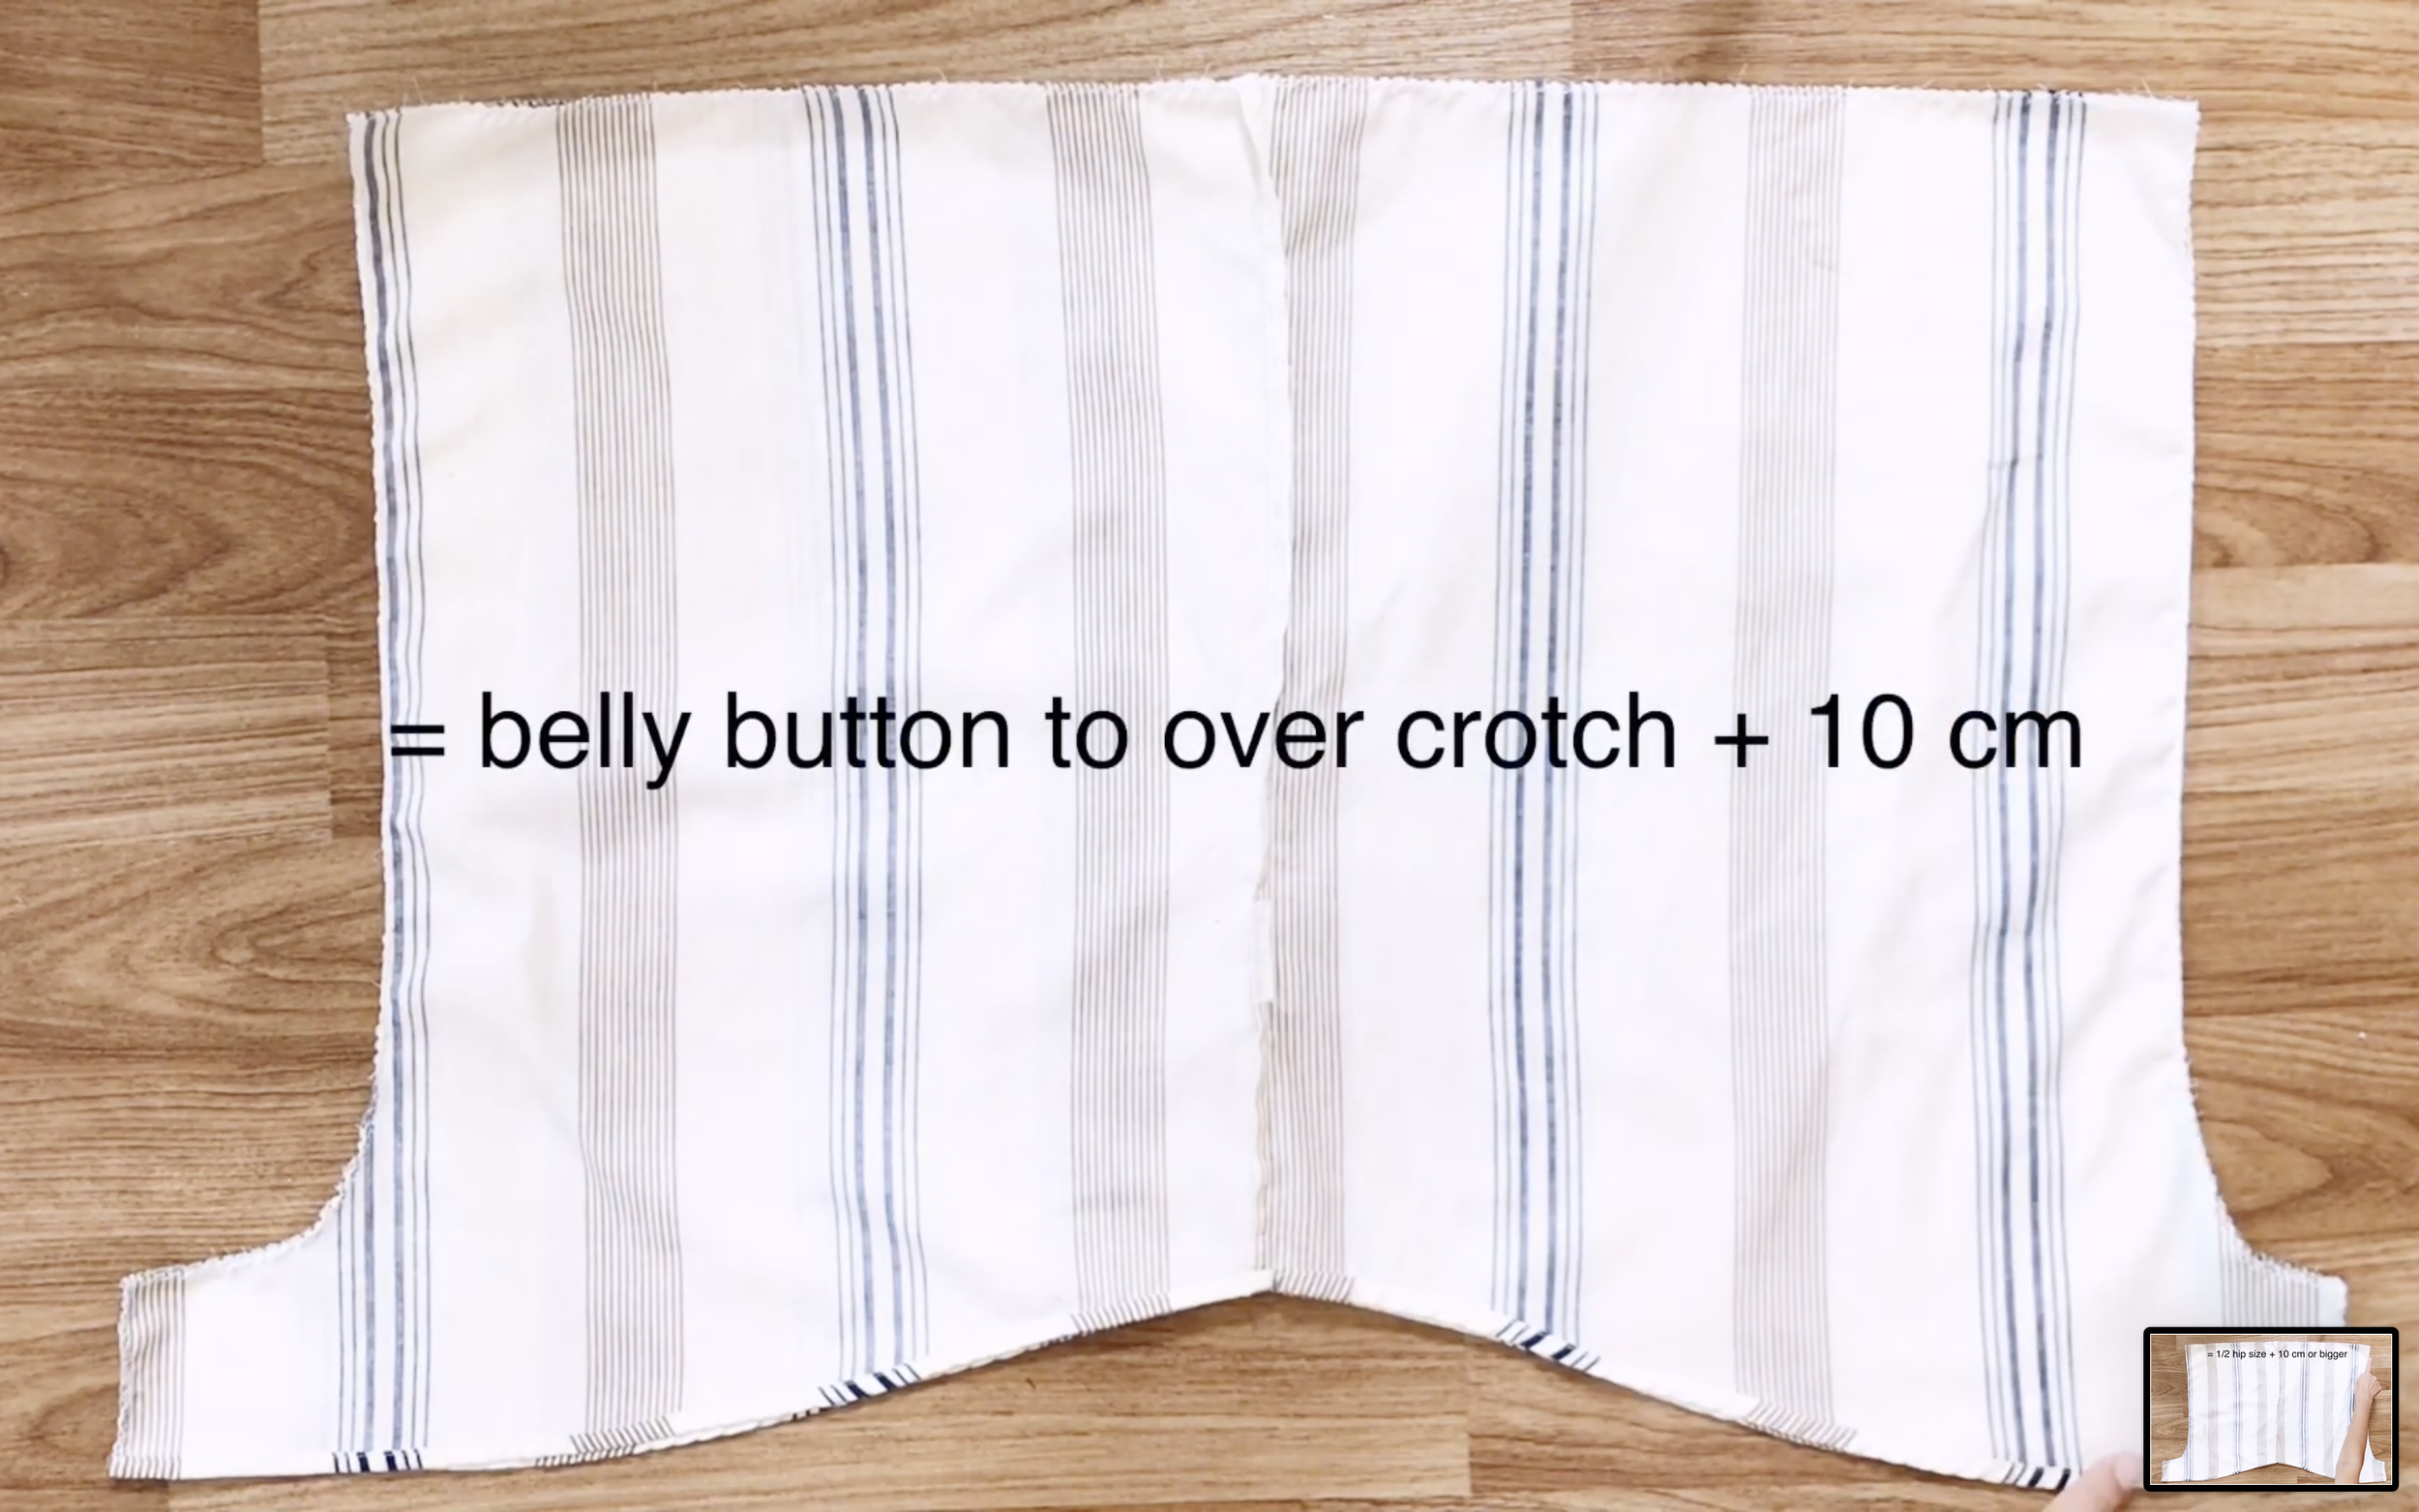
The length of the pants is from the belly to over the crotch plus 10cm.
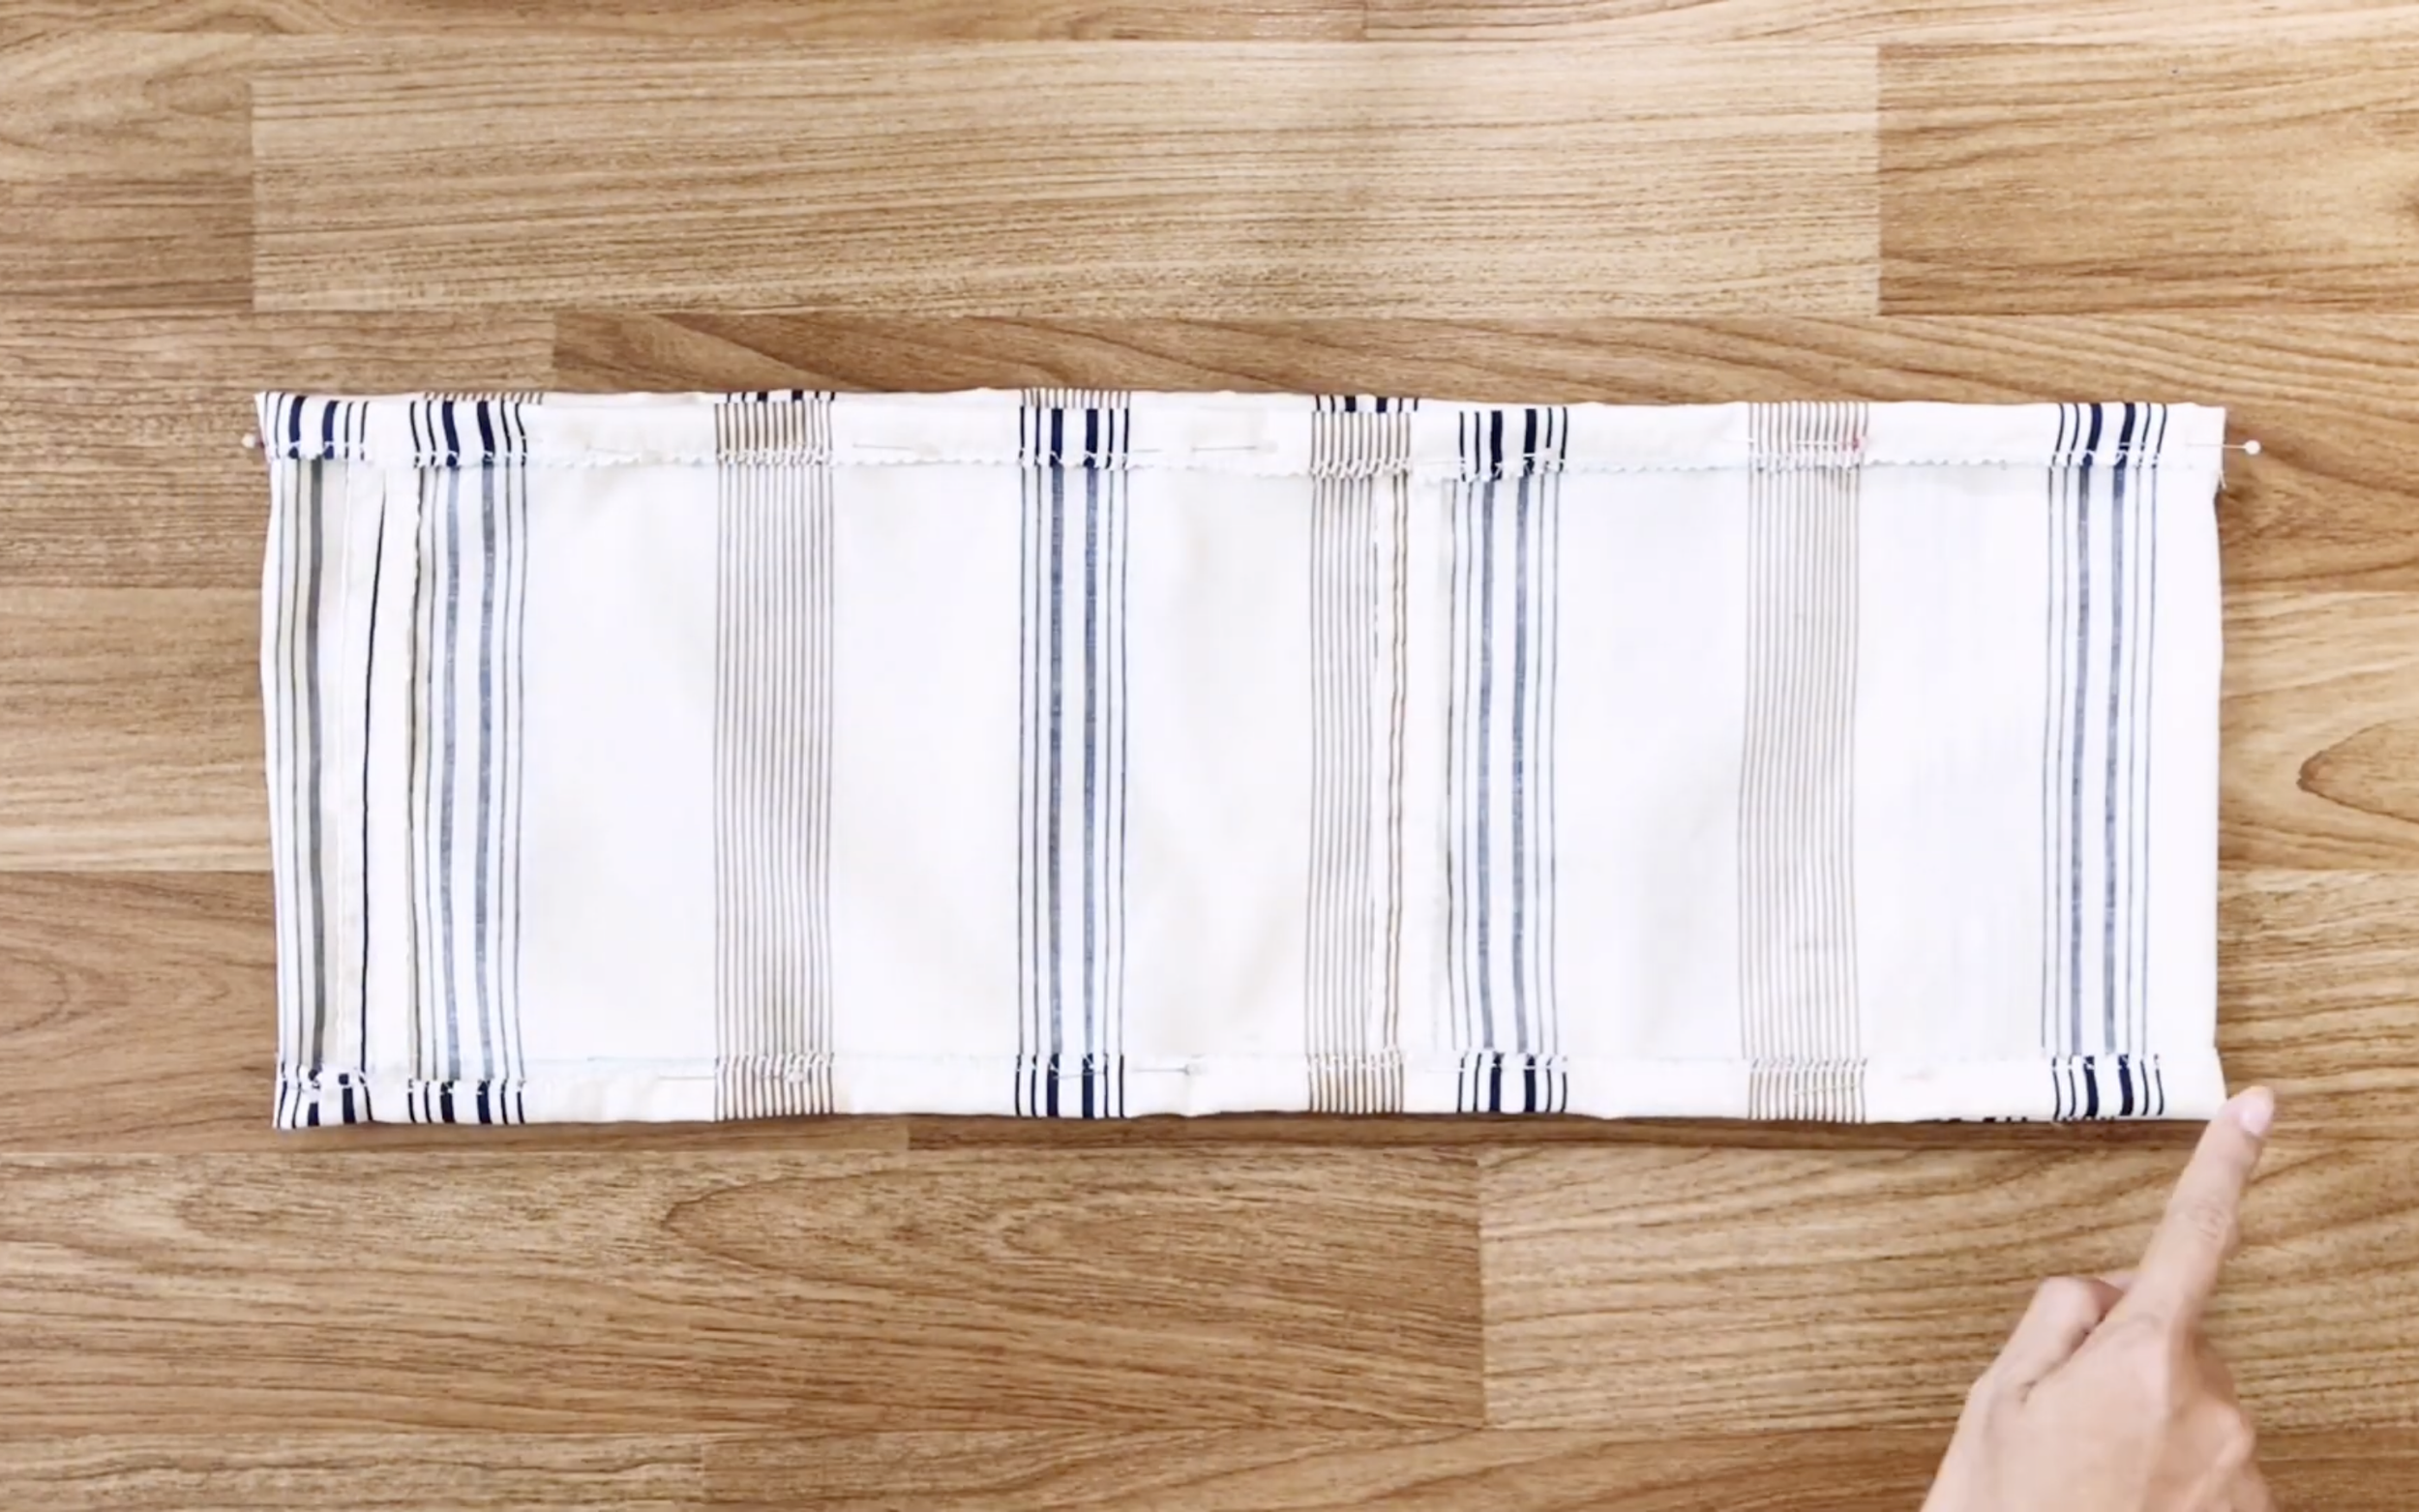
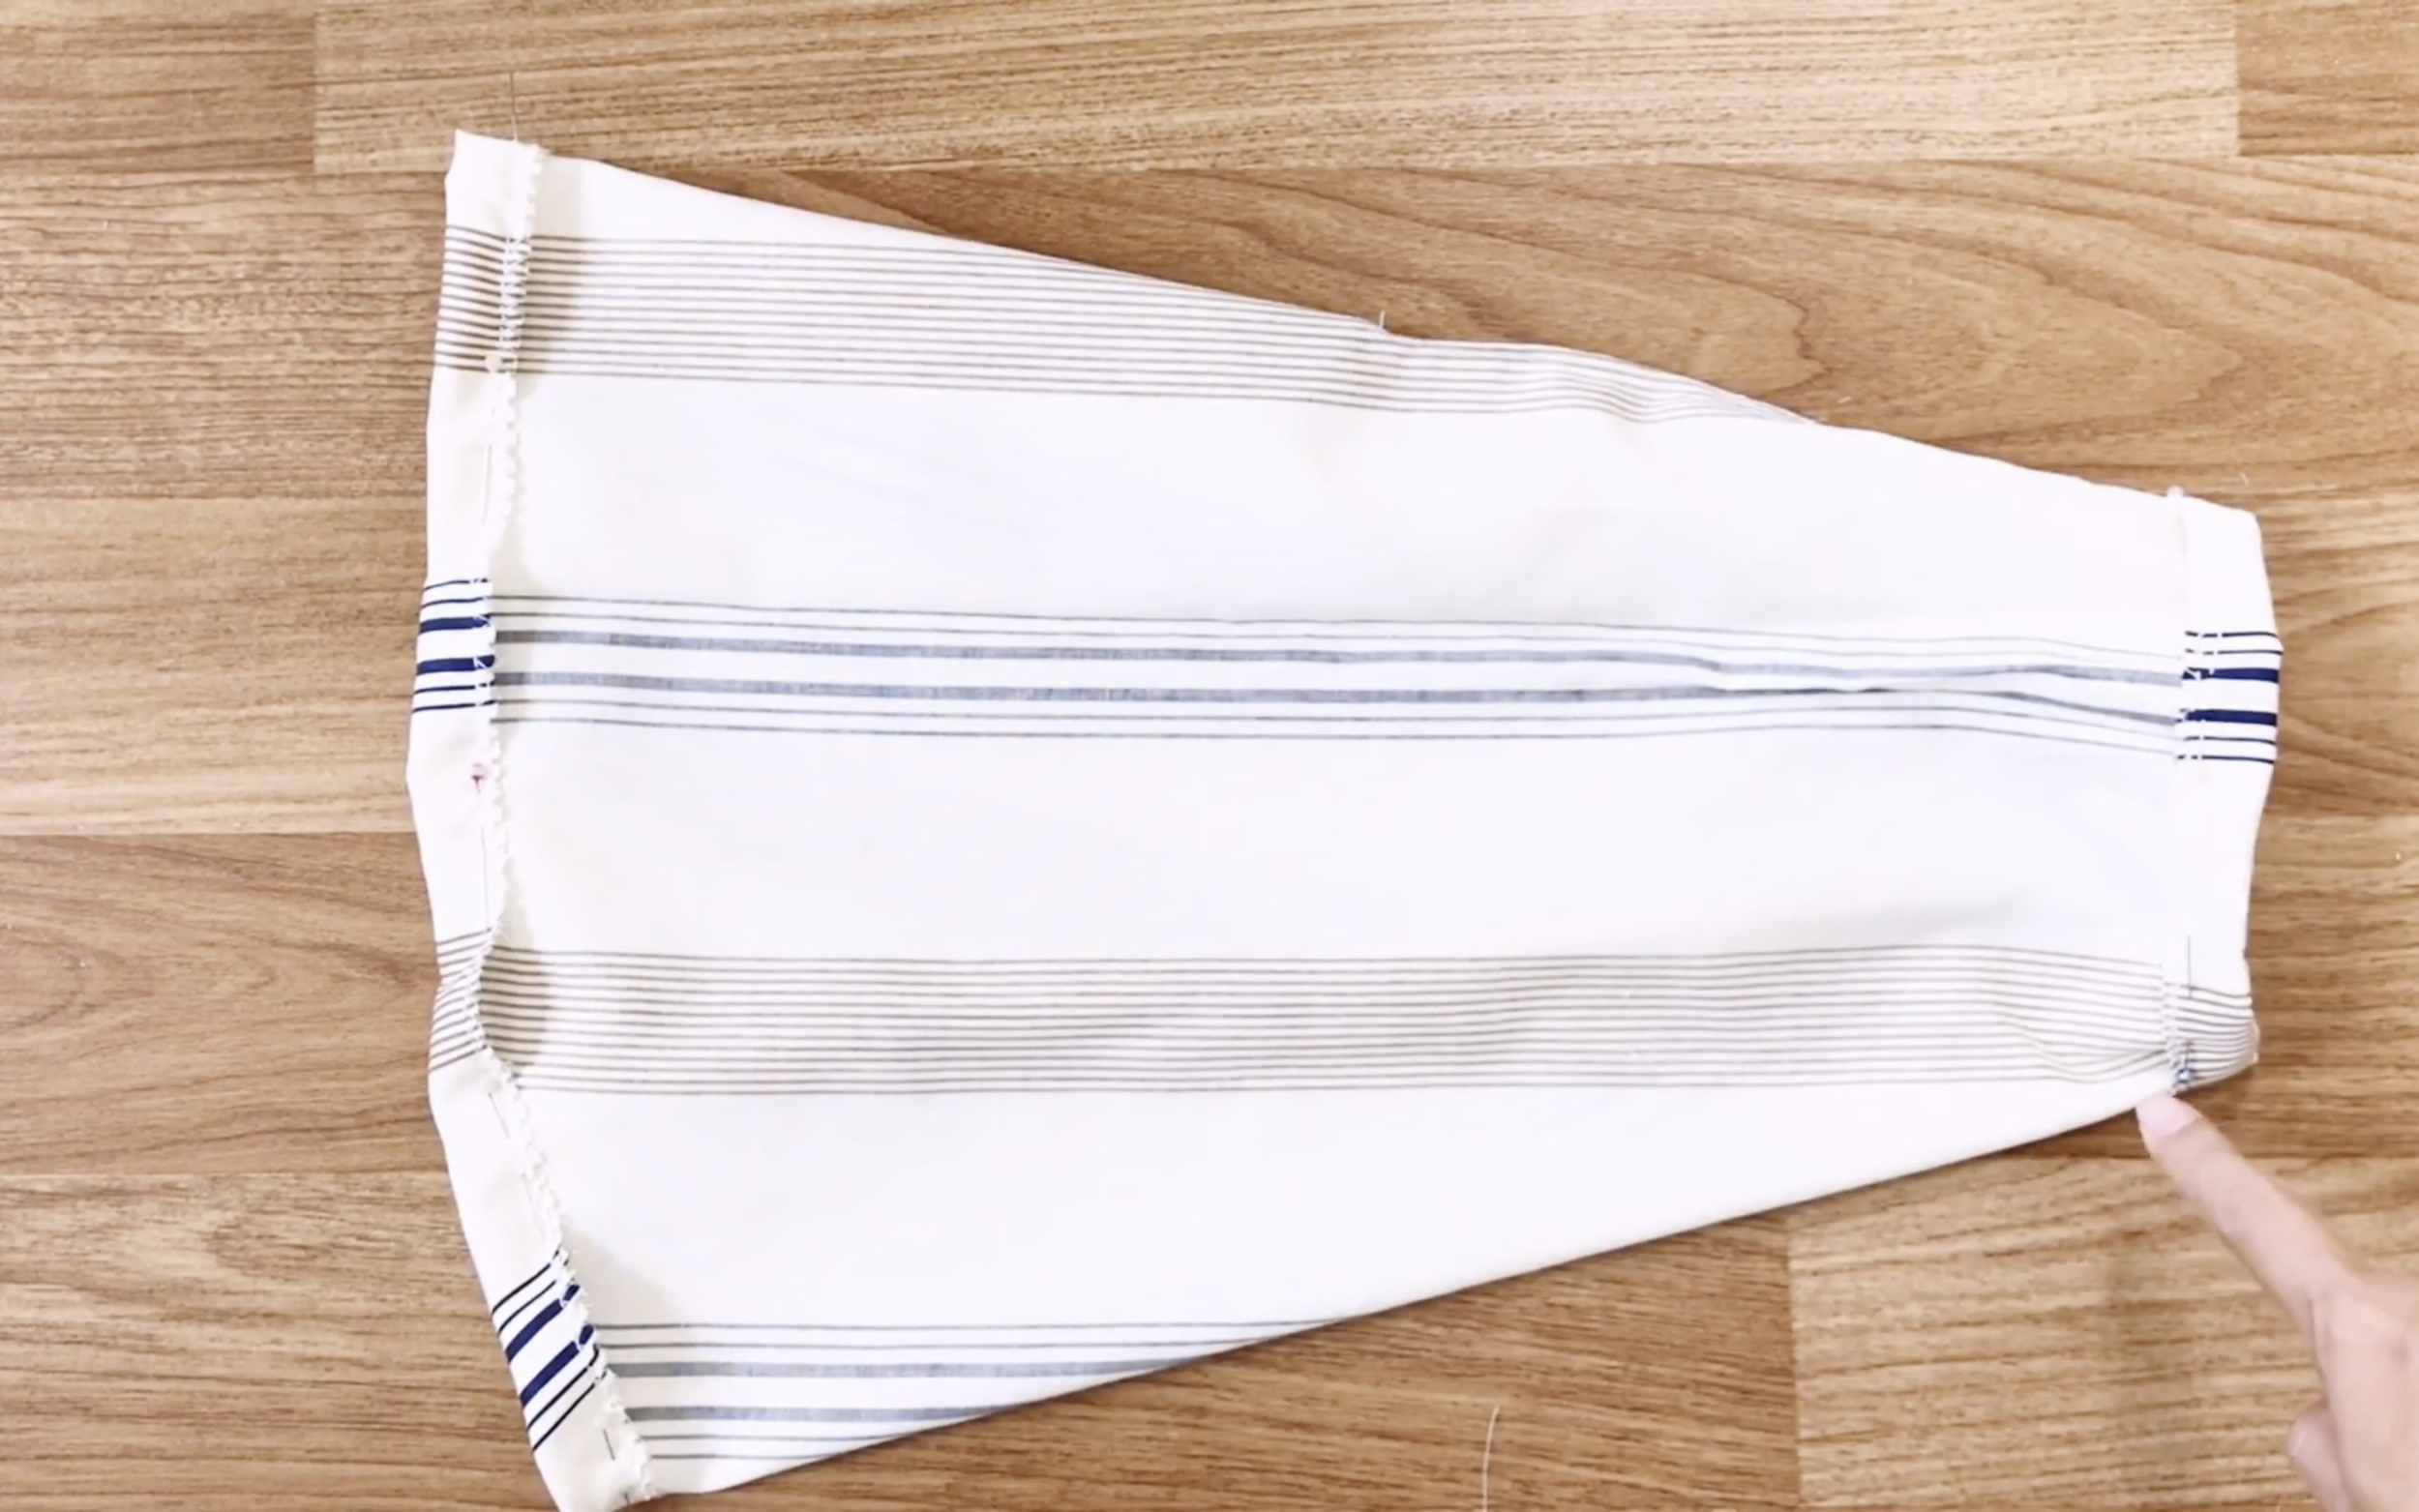
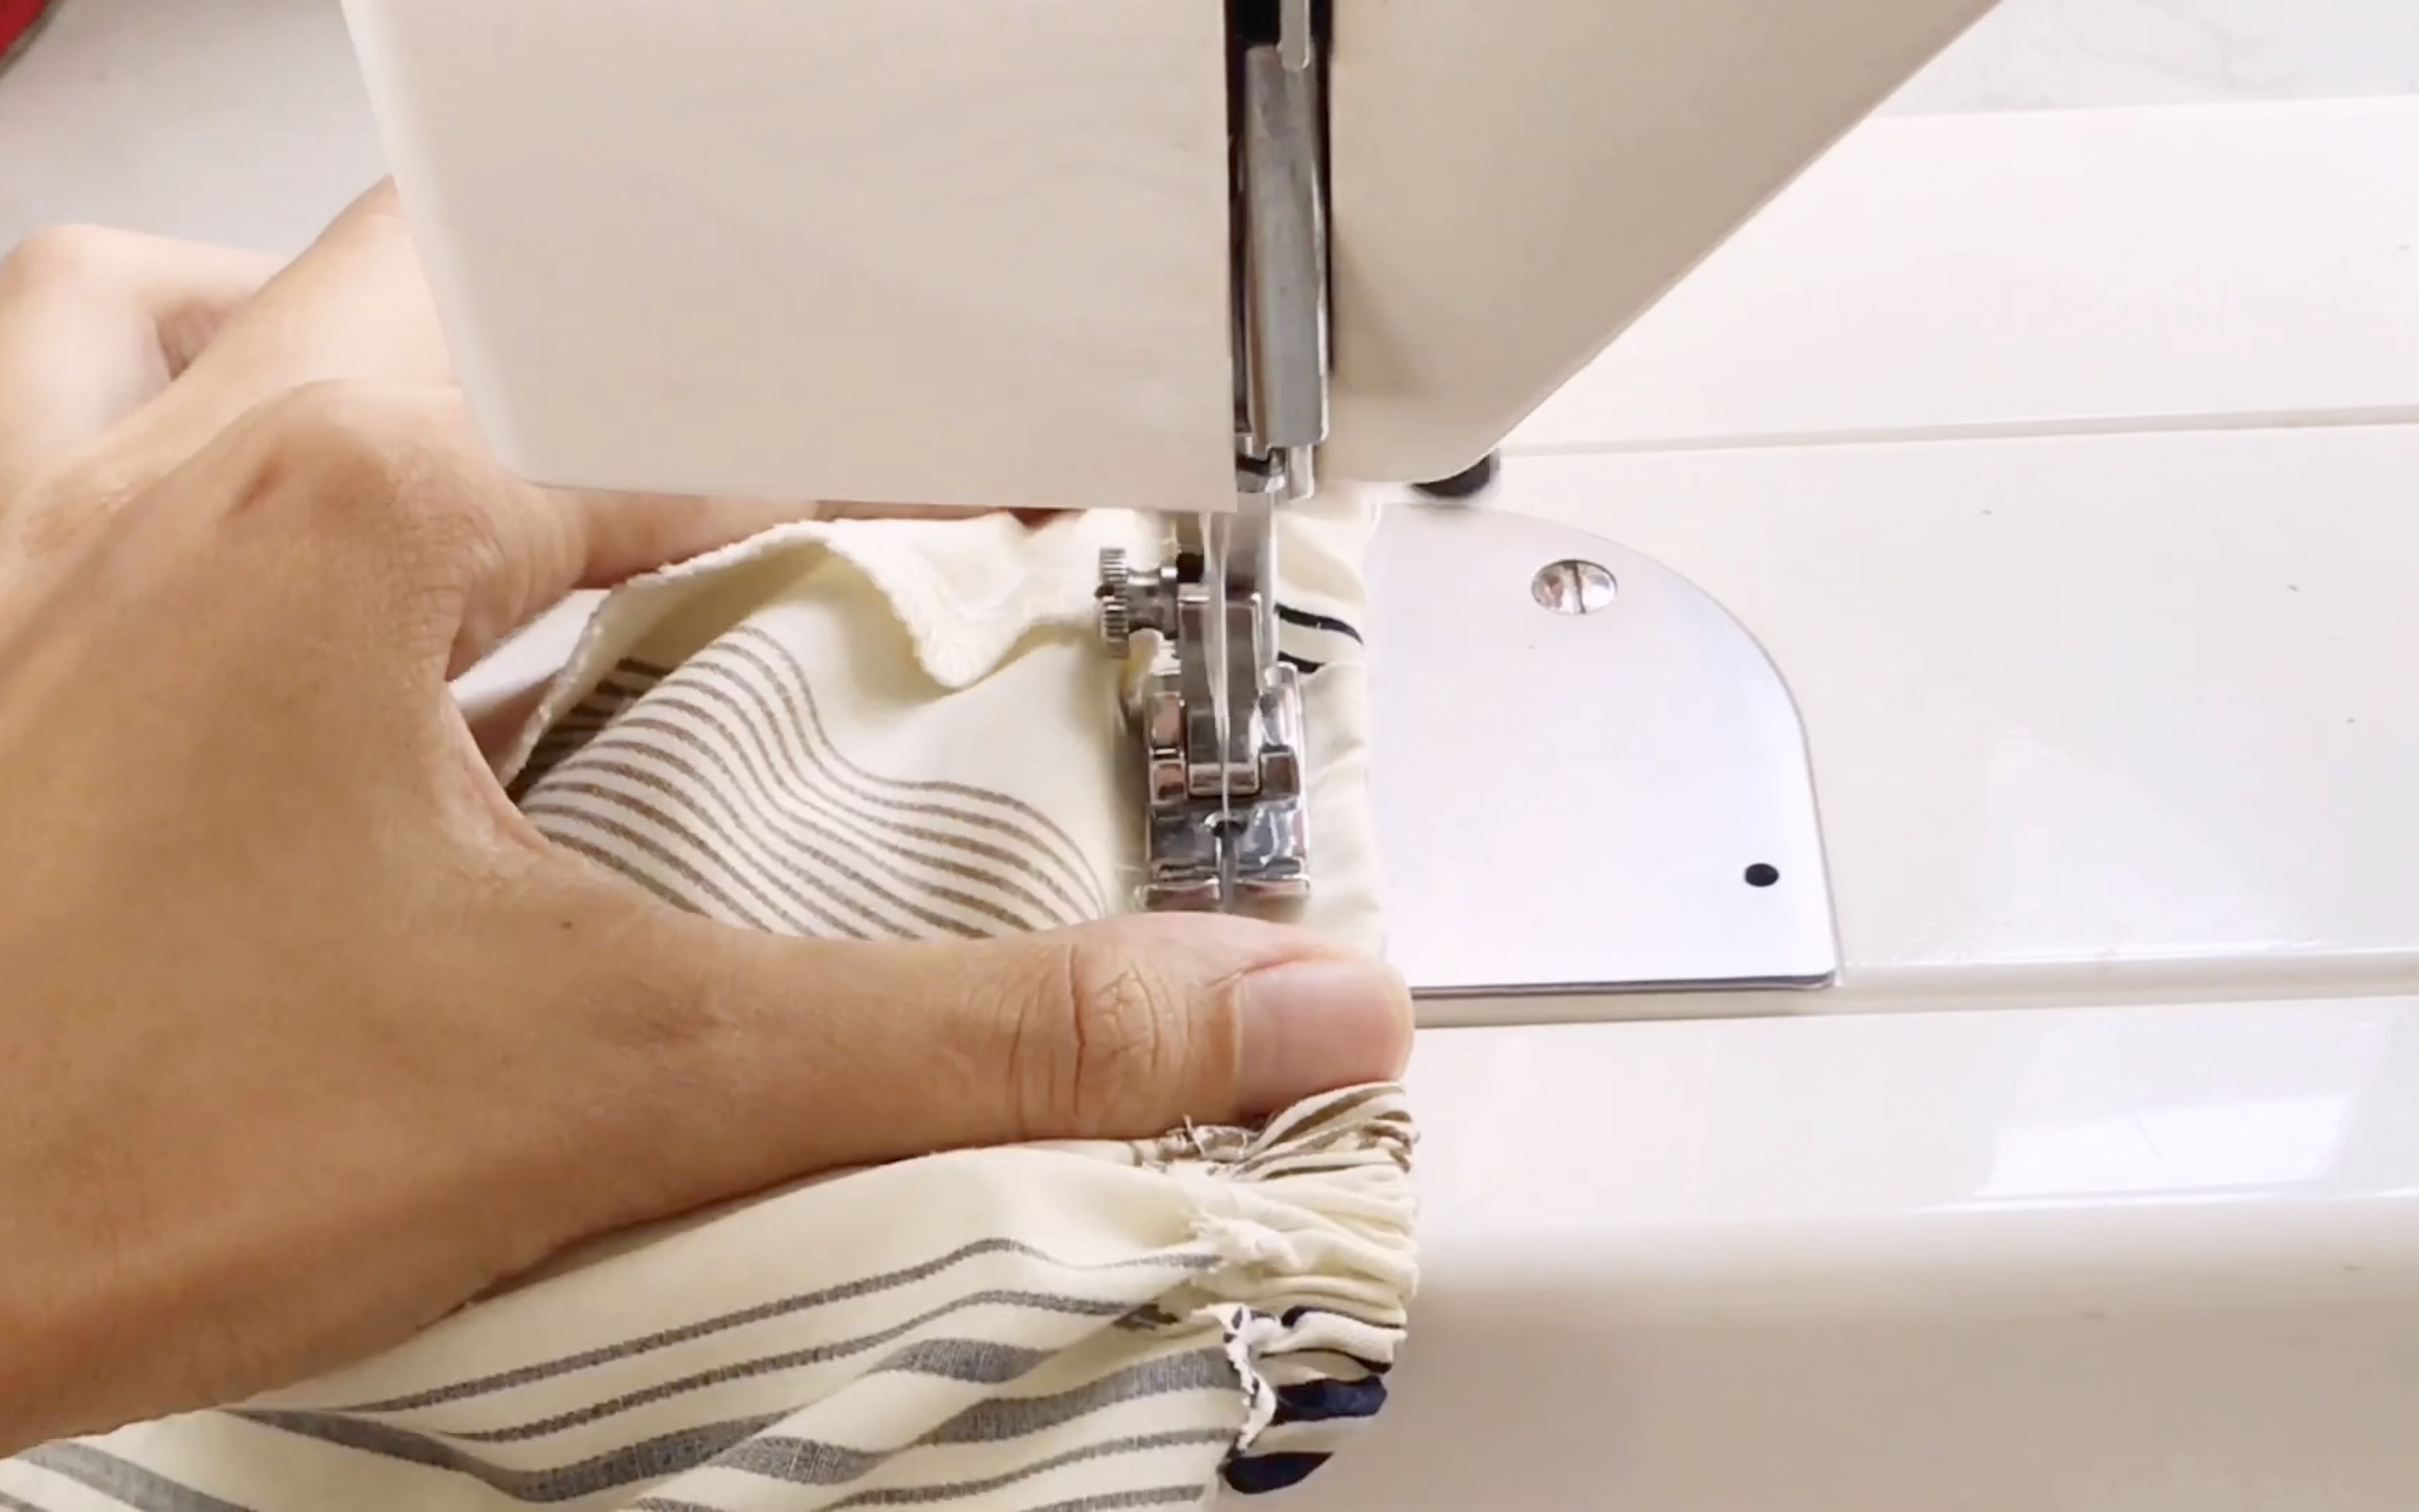
Use pins to hold two sides of the crotch line together. Then, sew along the pinned line.
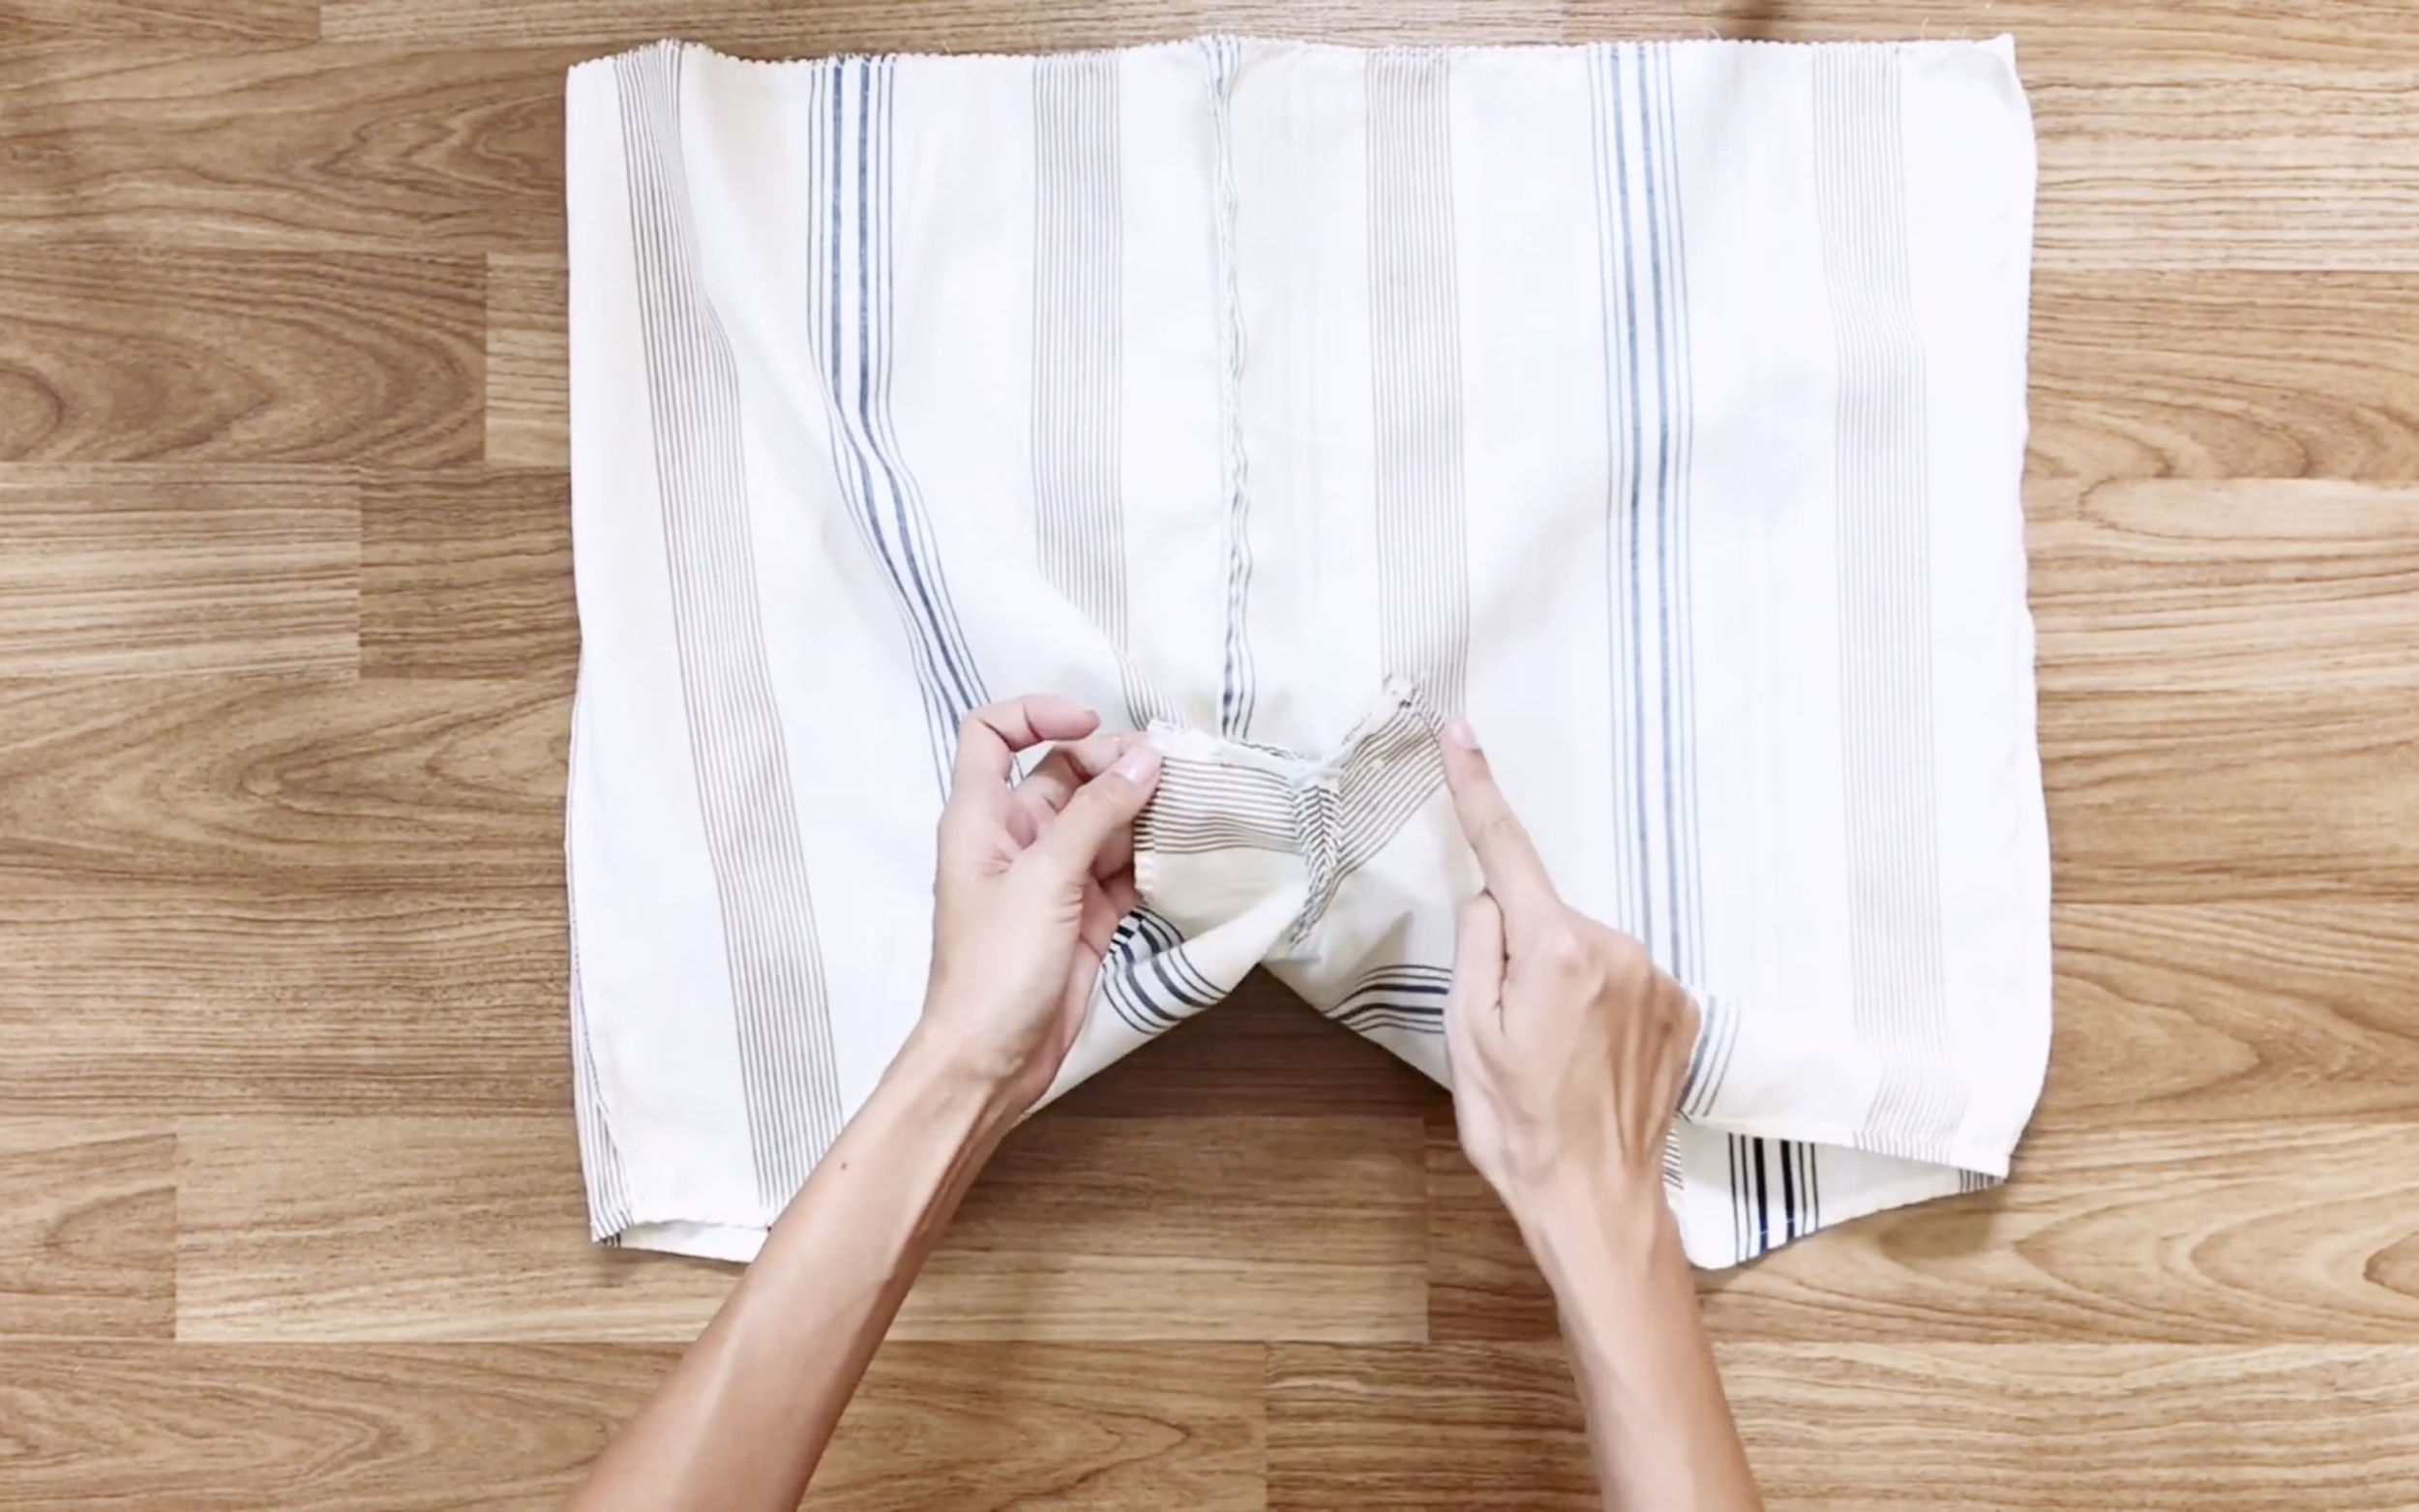
After that, fold the end of the crotch and the legs together. Then, sew along the folded line.
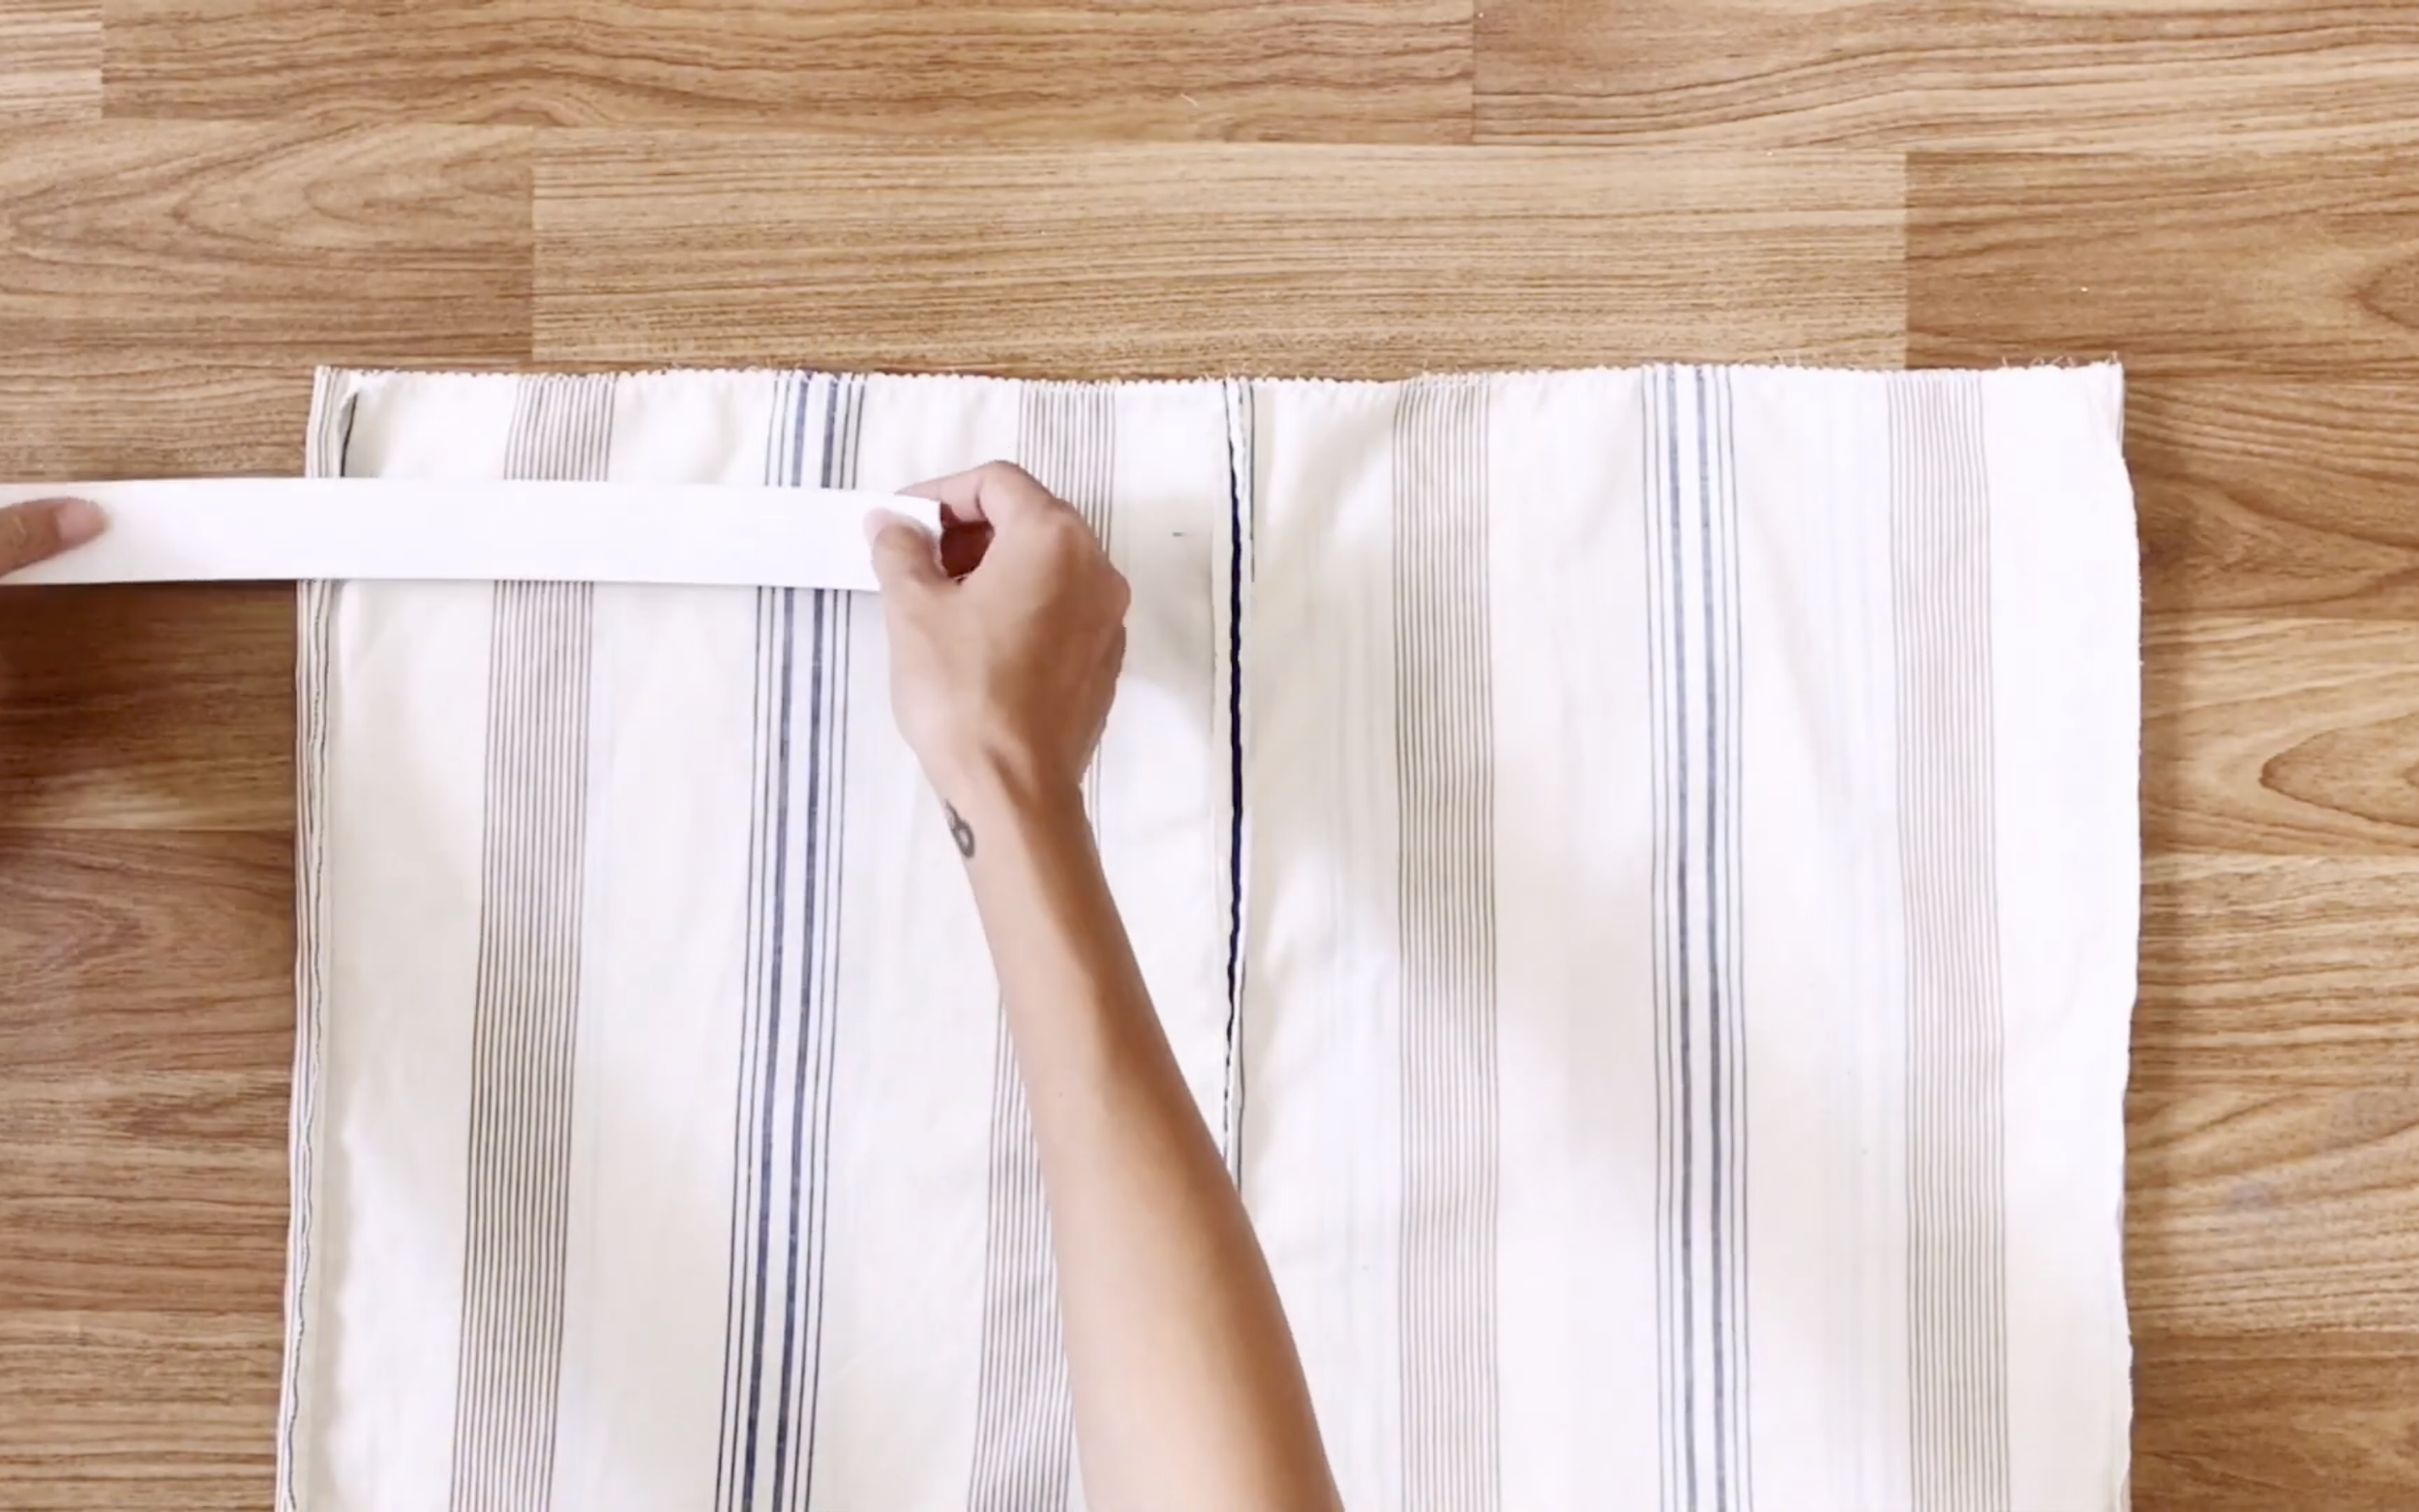
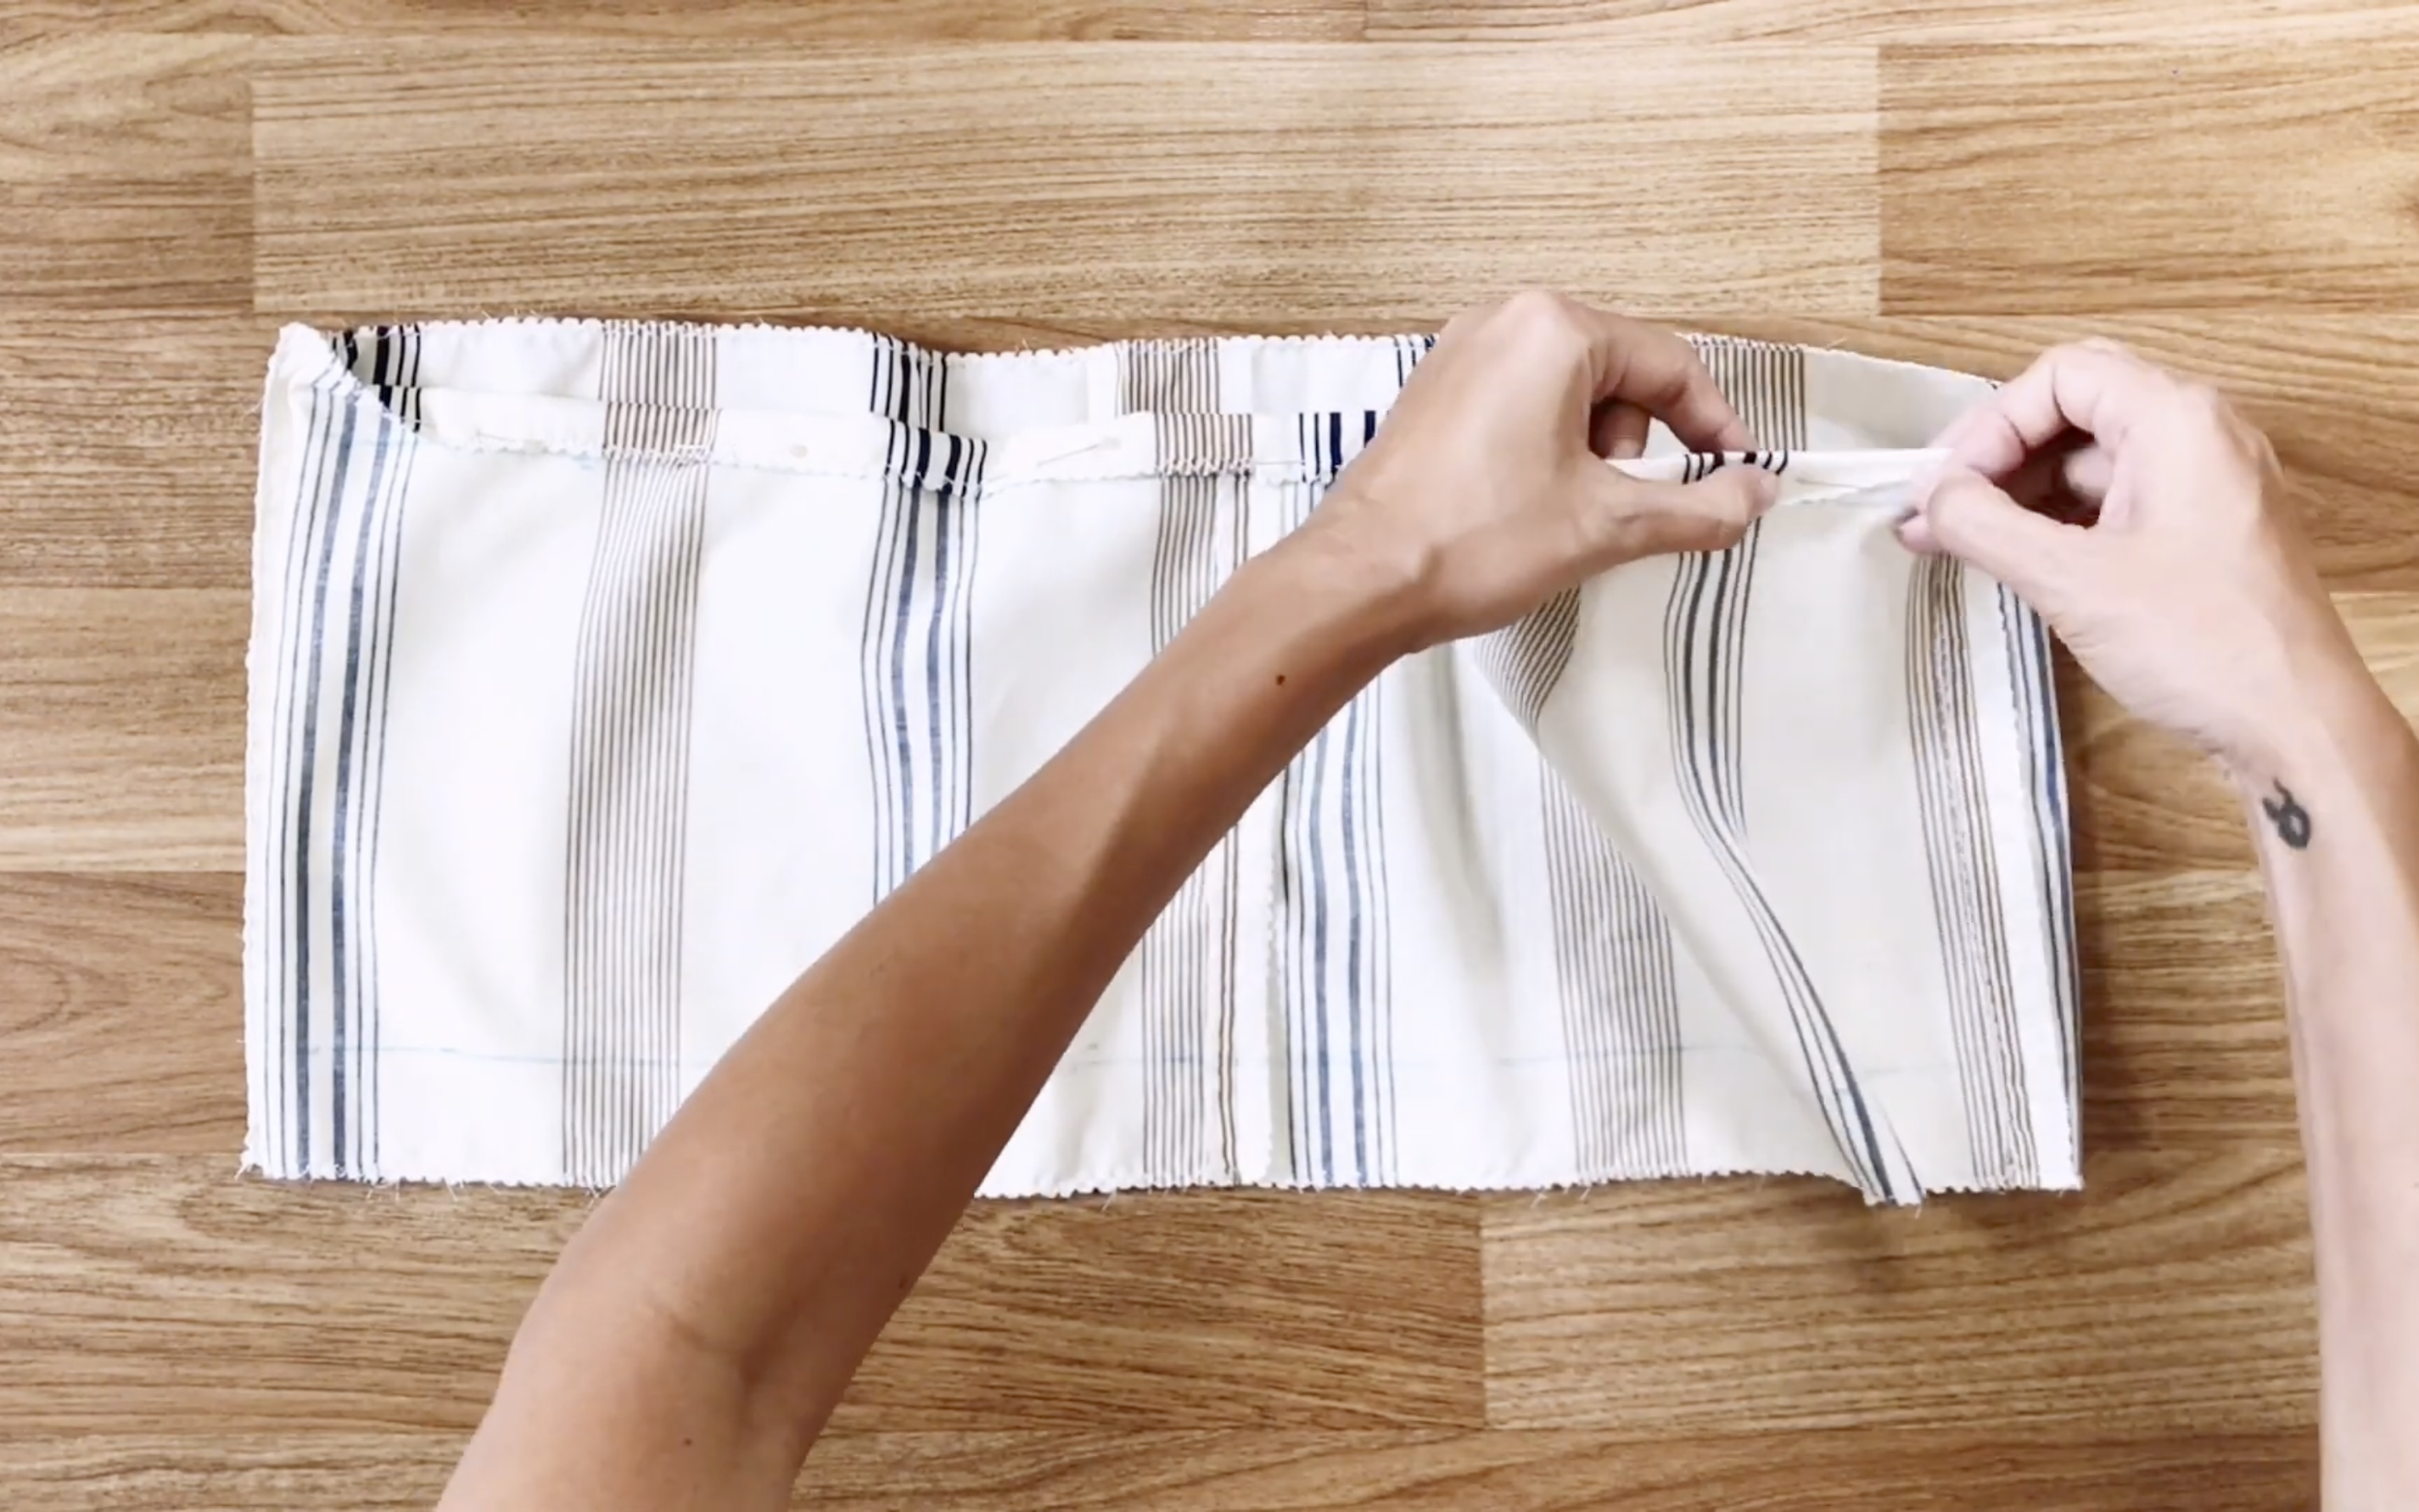
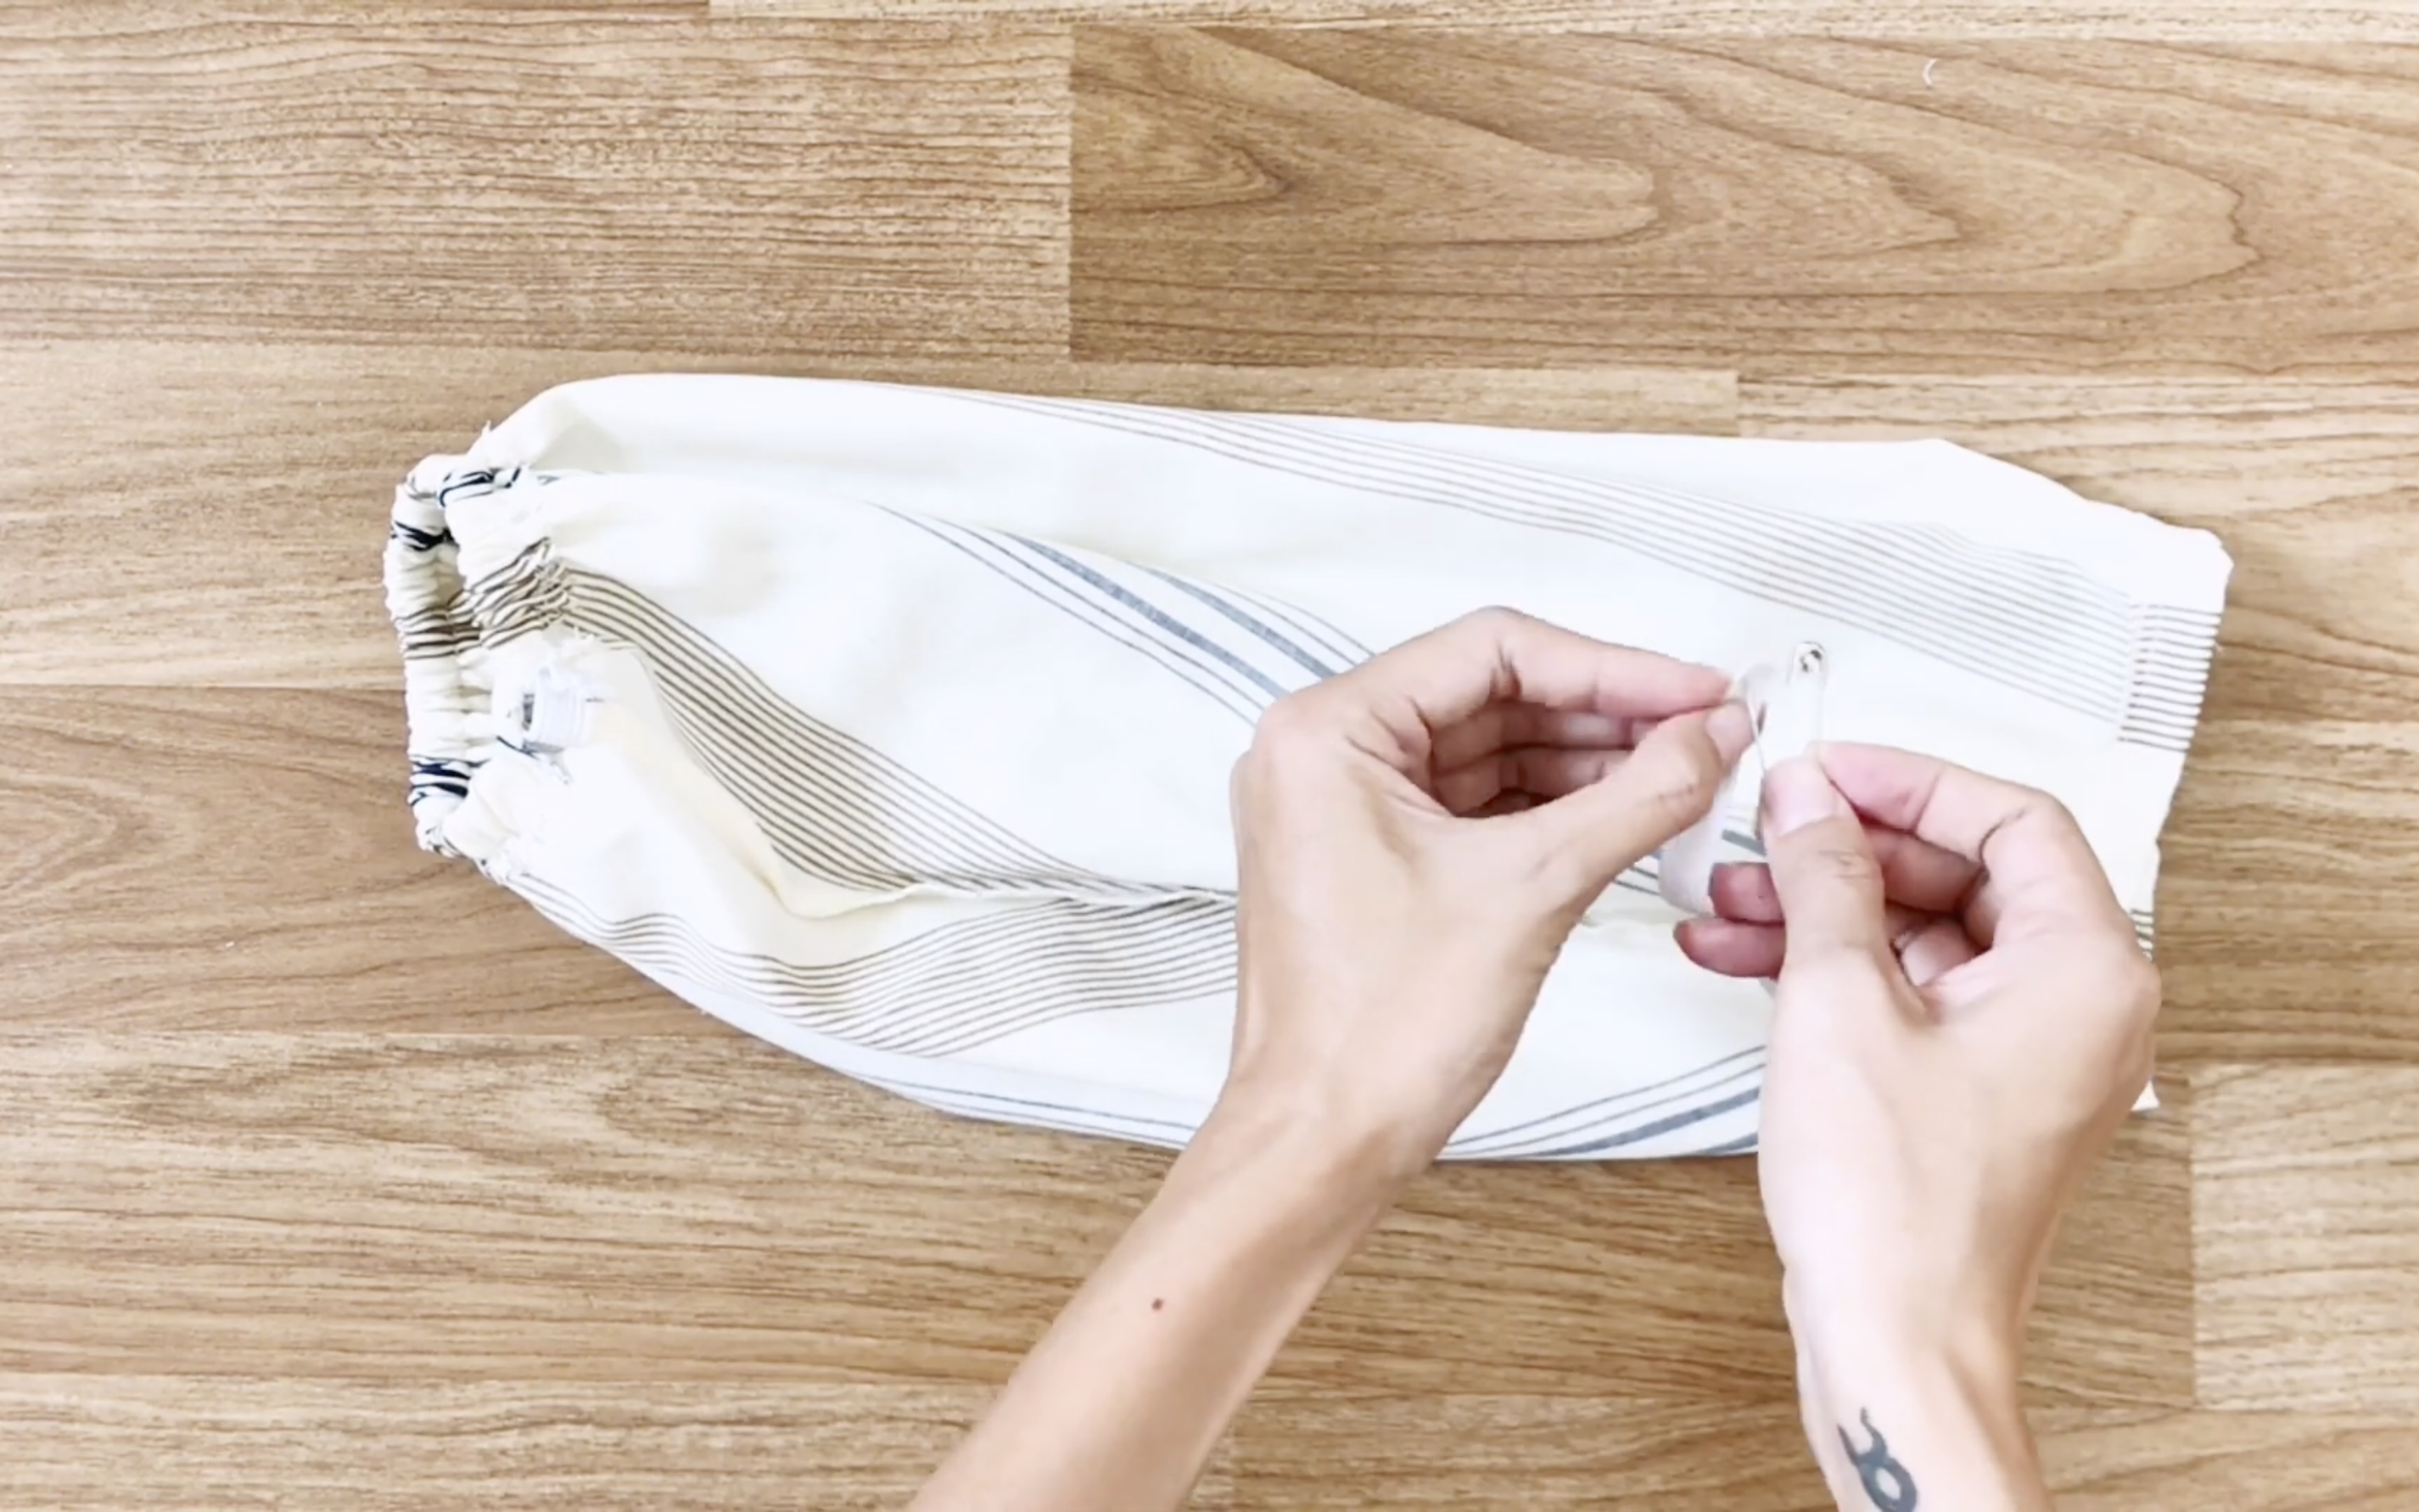
To the top of the pants, use an elastic band to make the waistband.

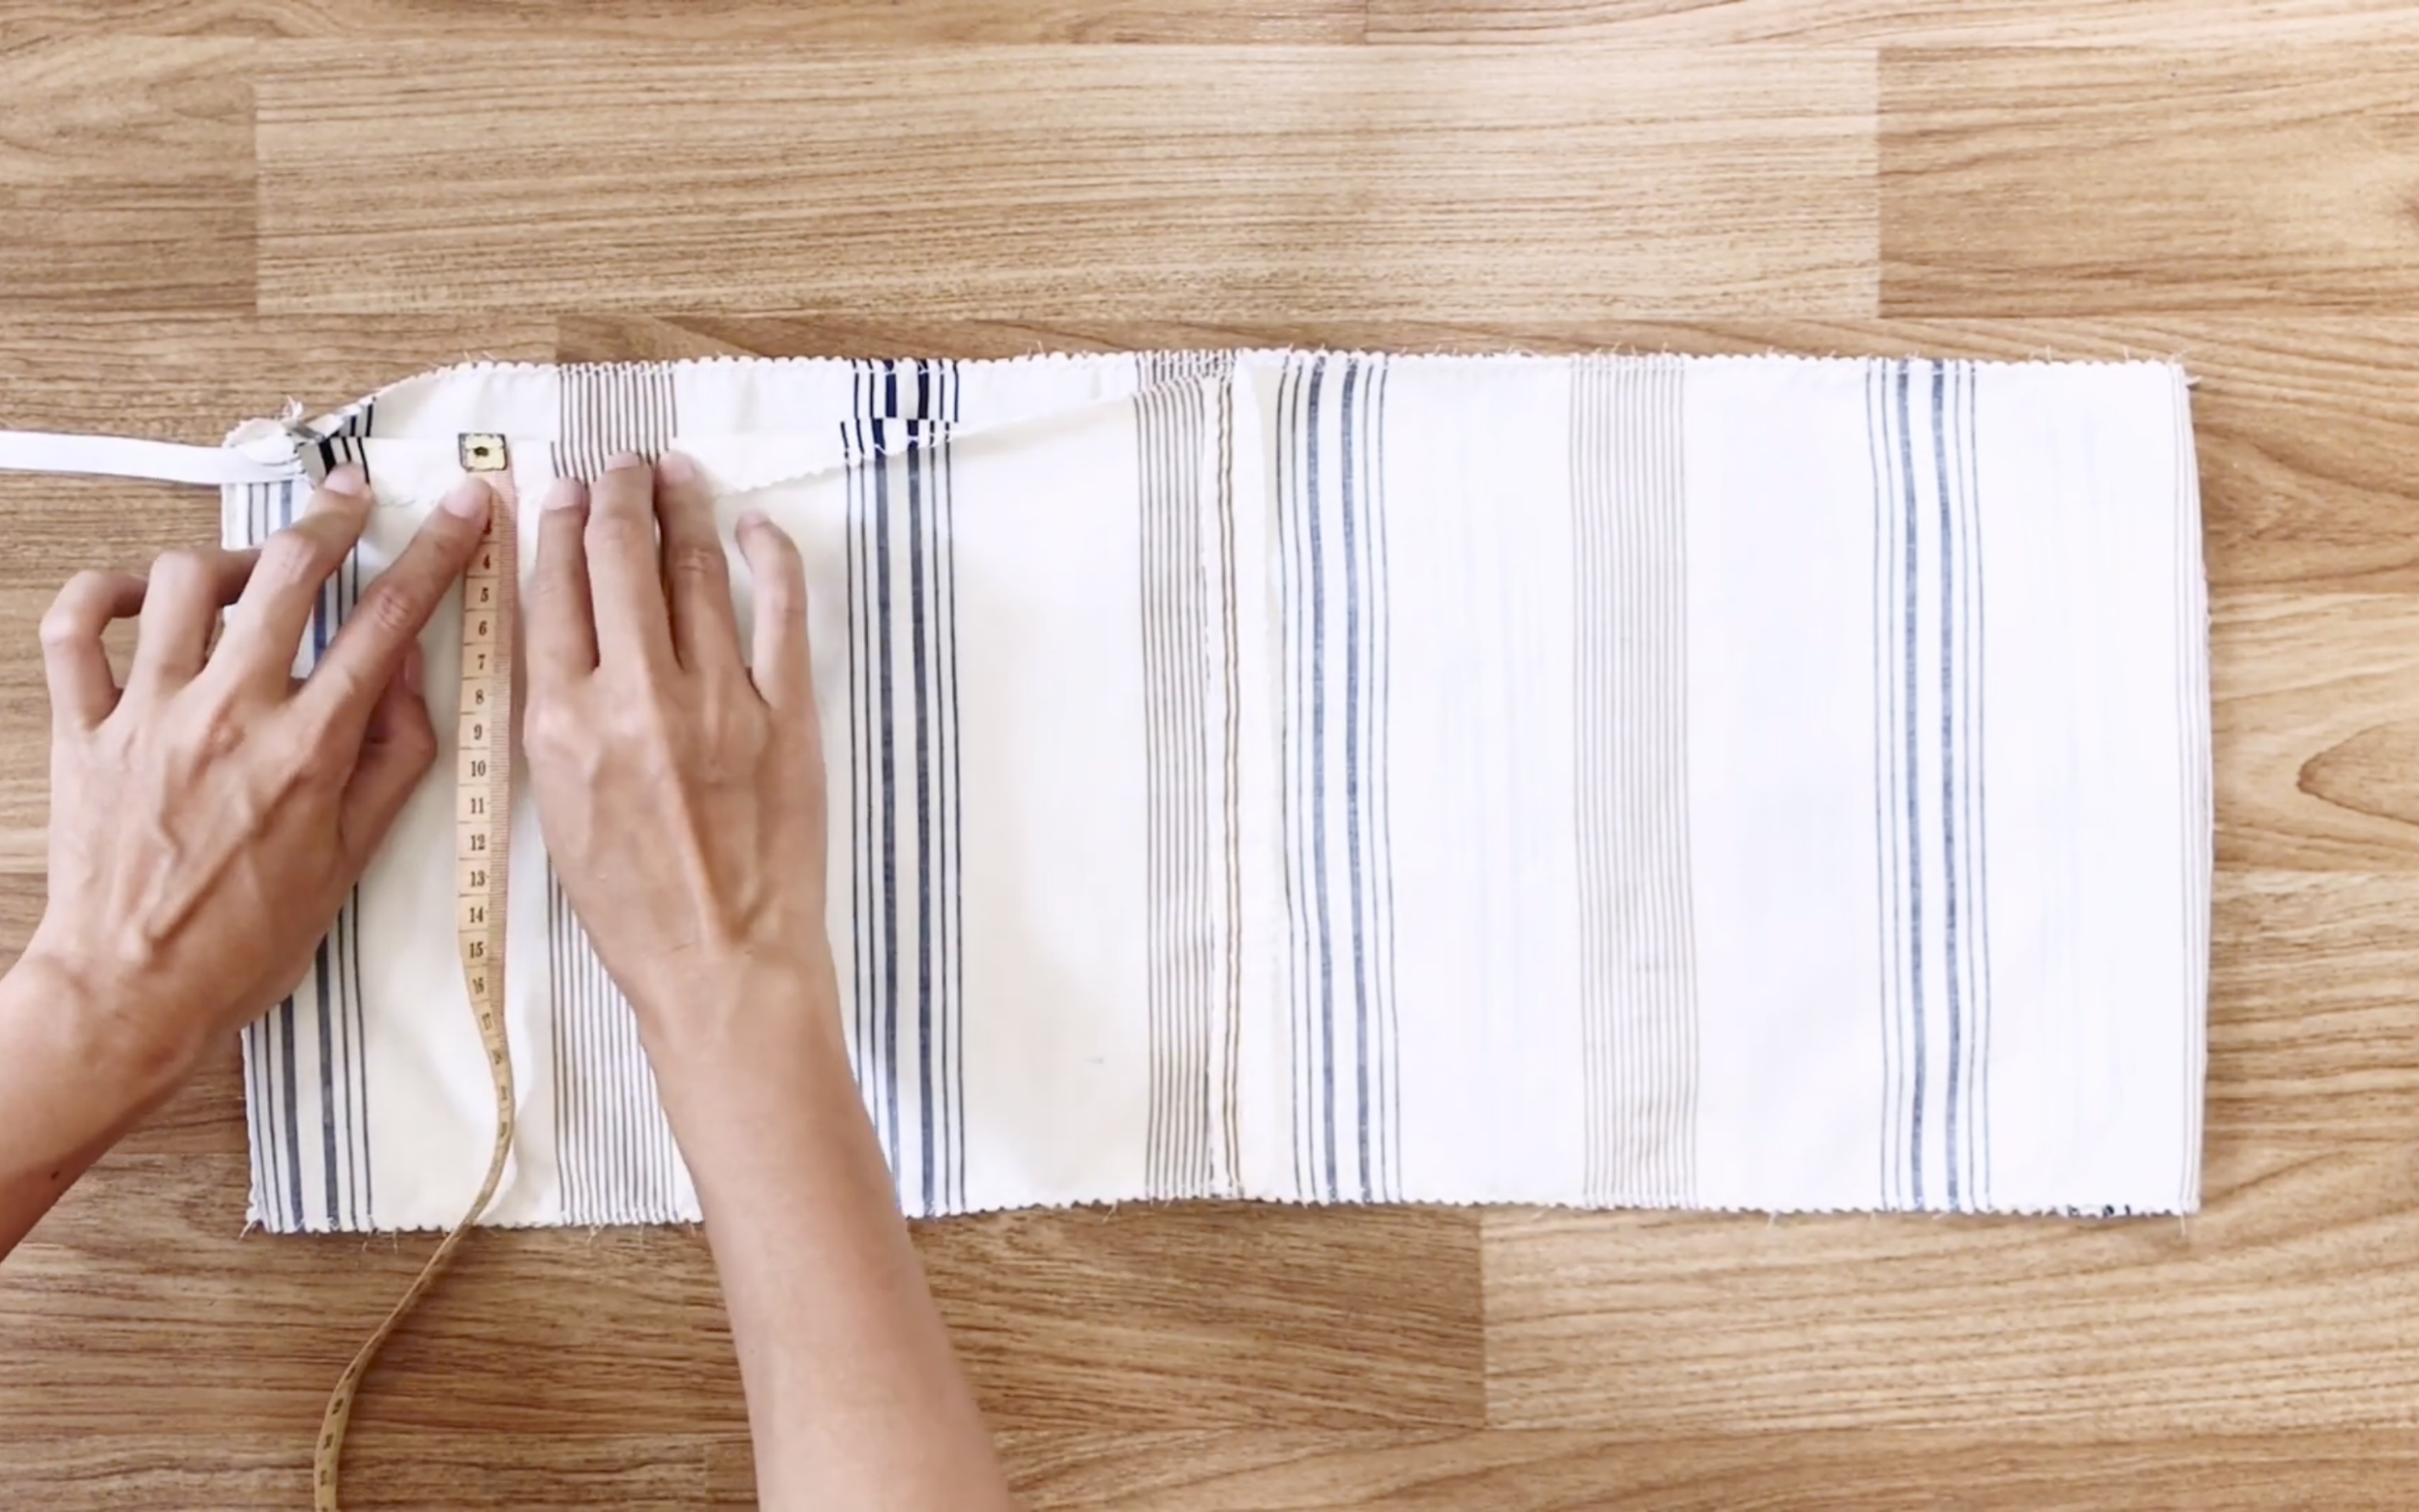
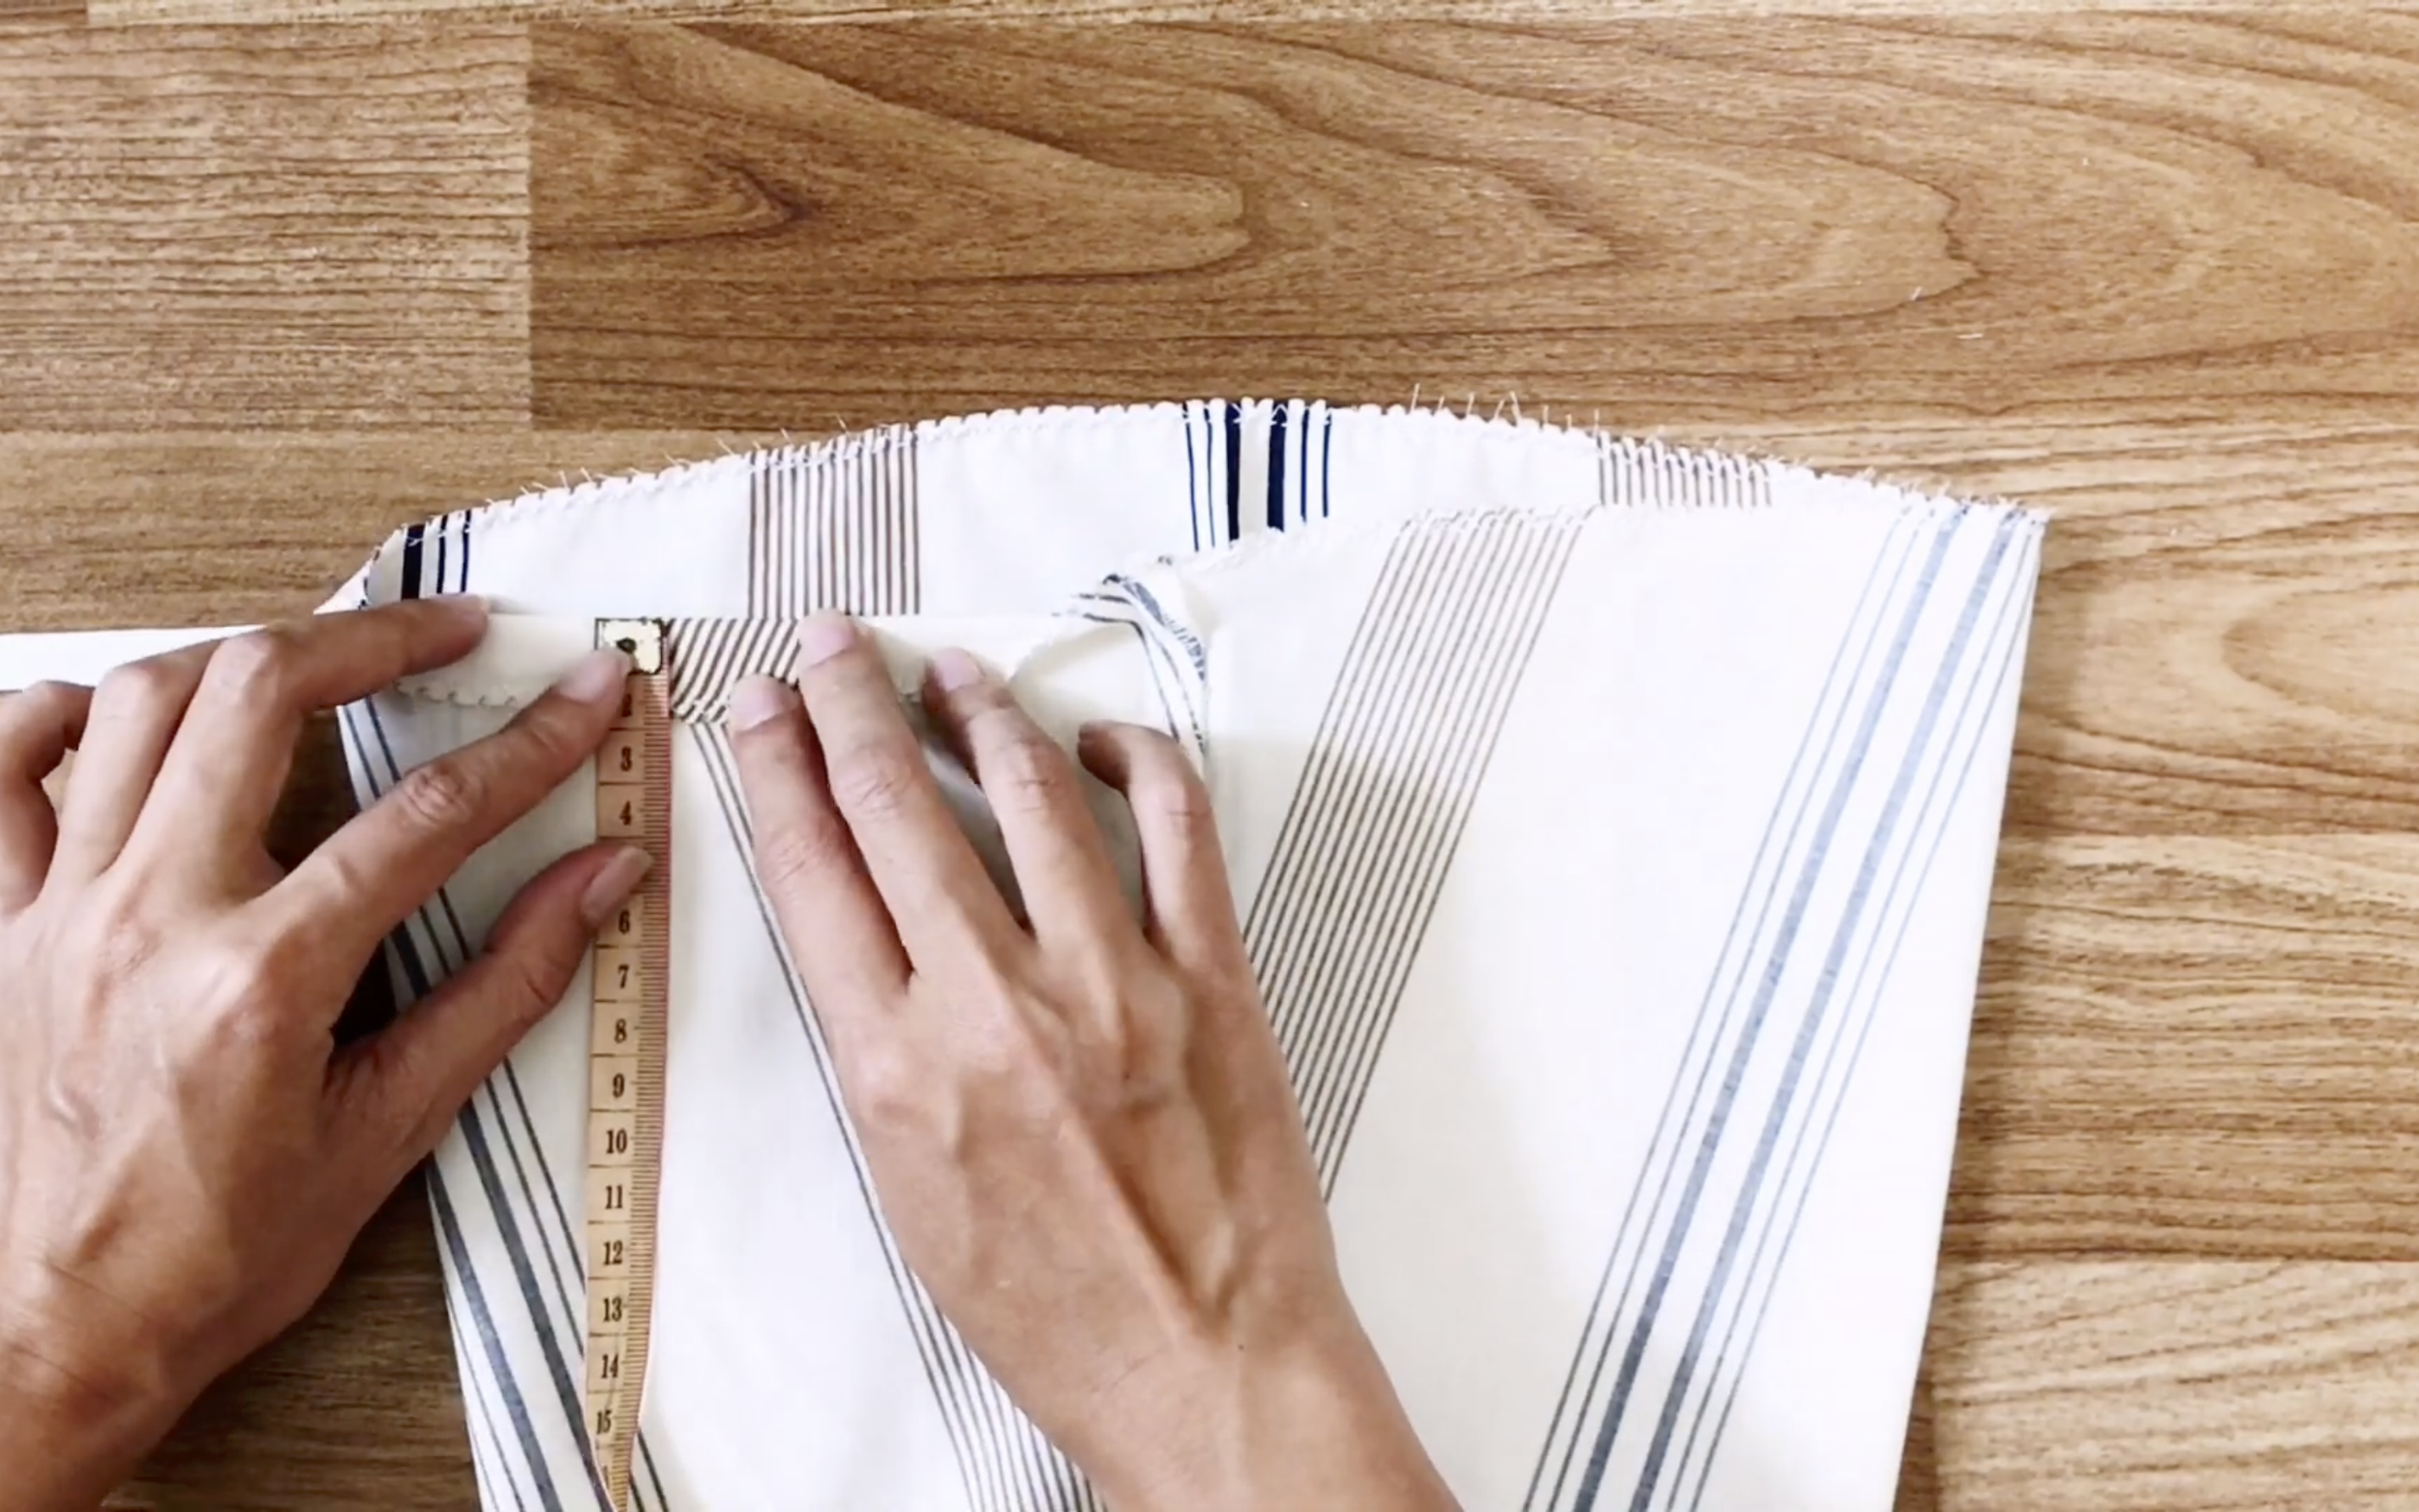
Measure the length of the fabric to fold in and mark it first.
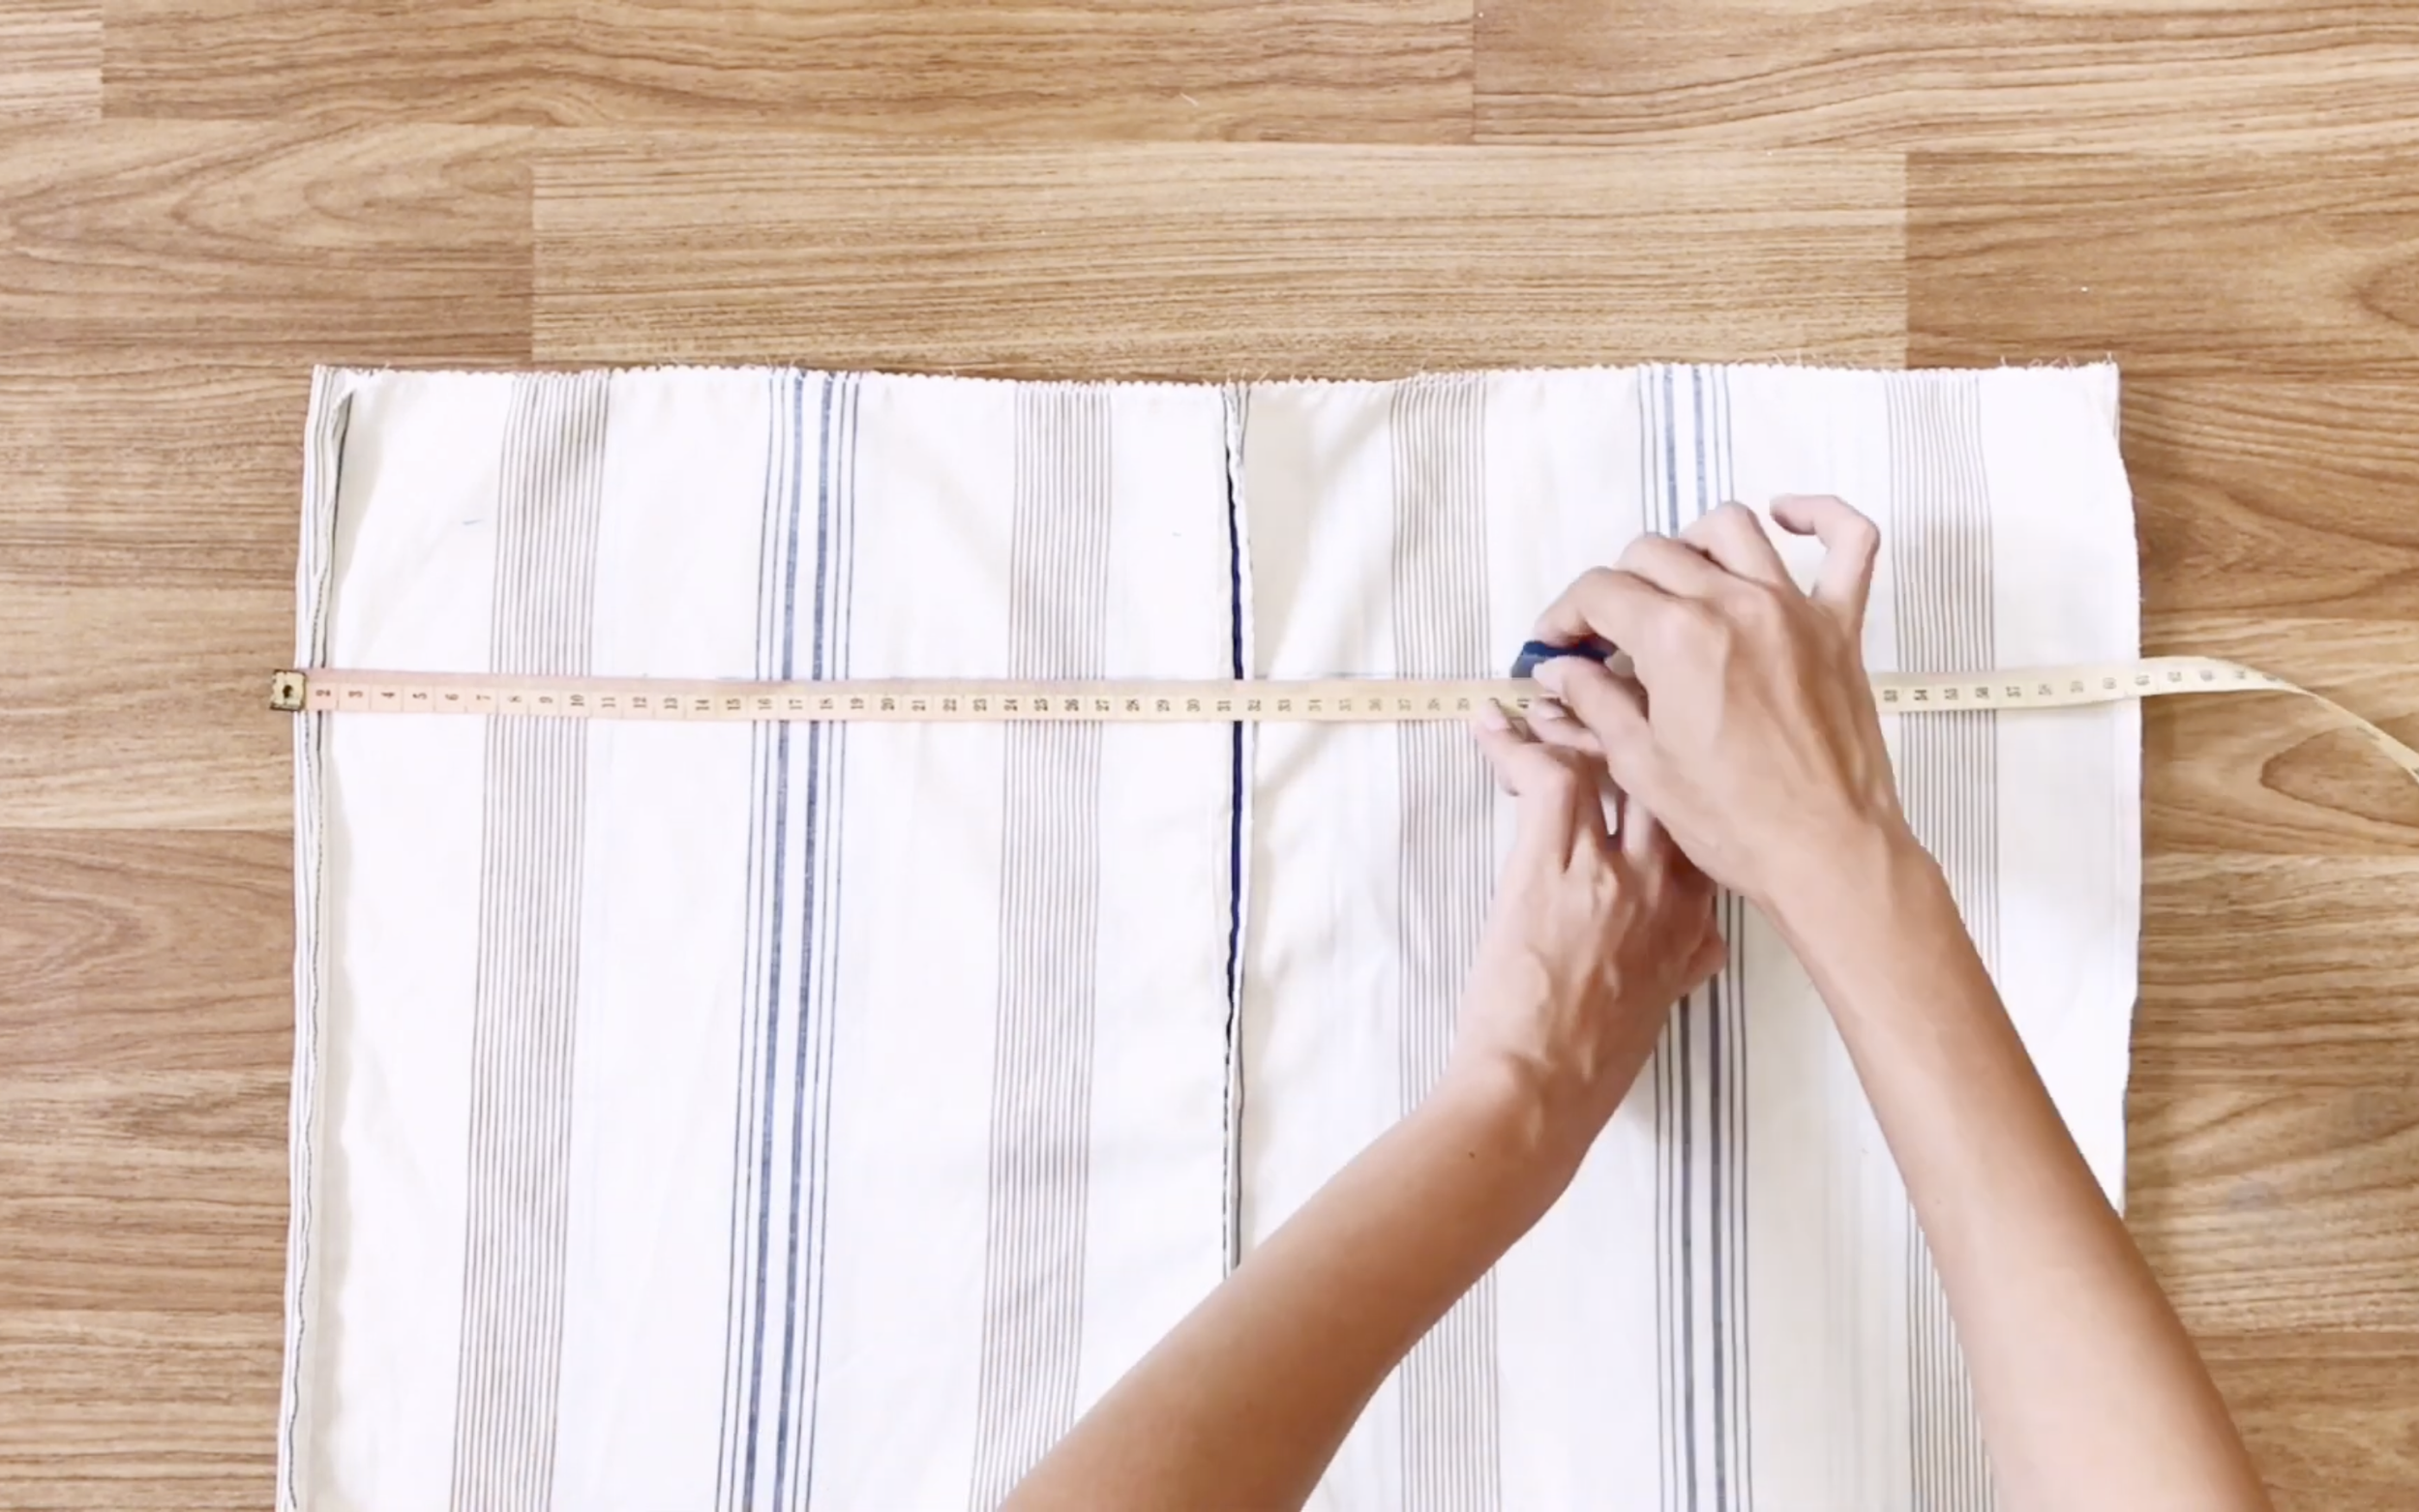
Then, draw a line at that mark which is 10cm from the top.
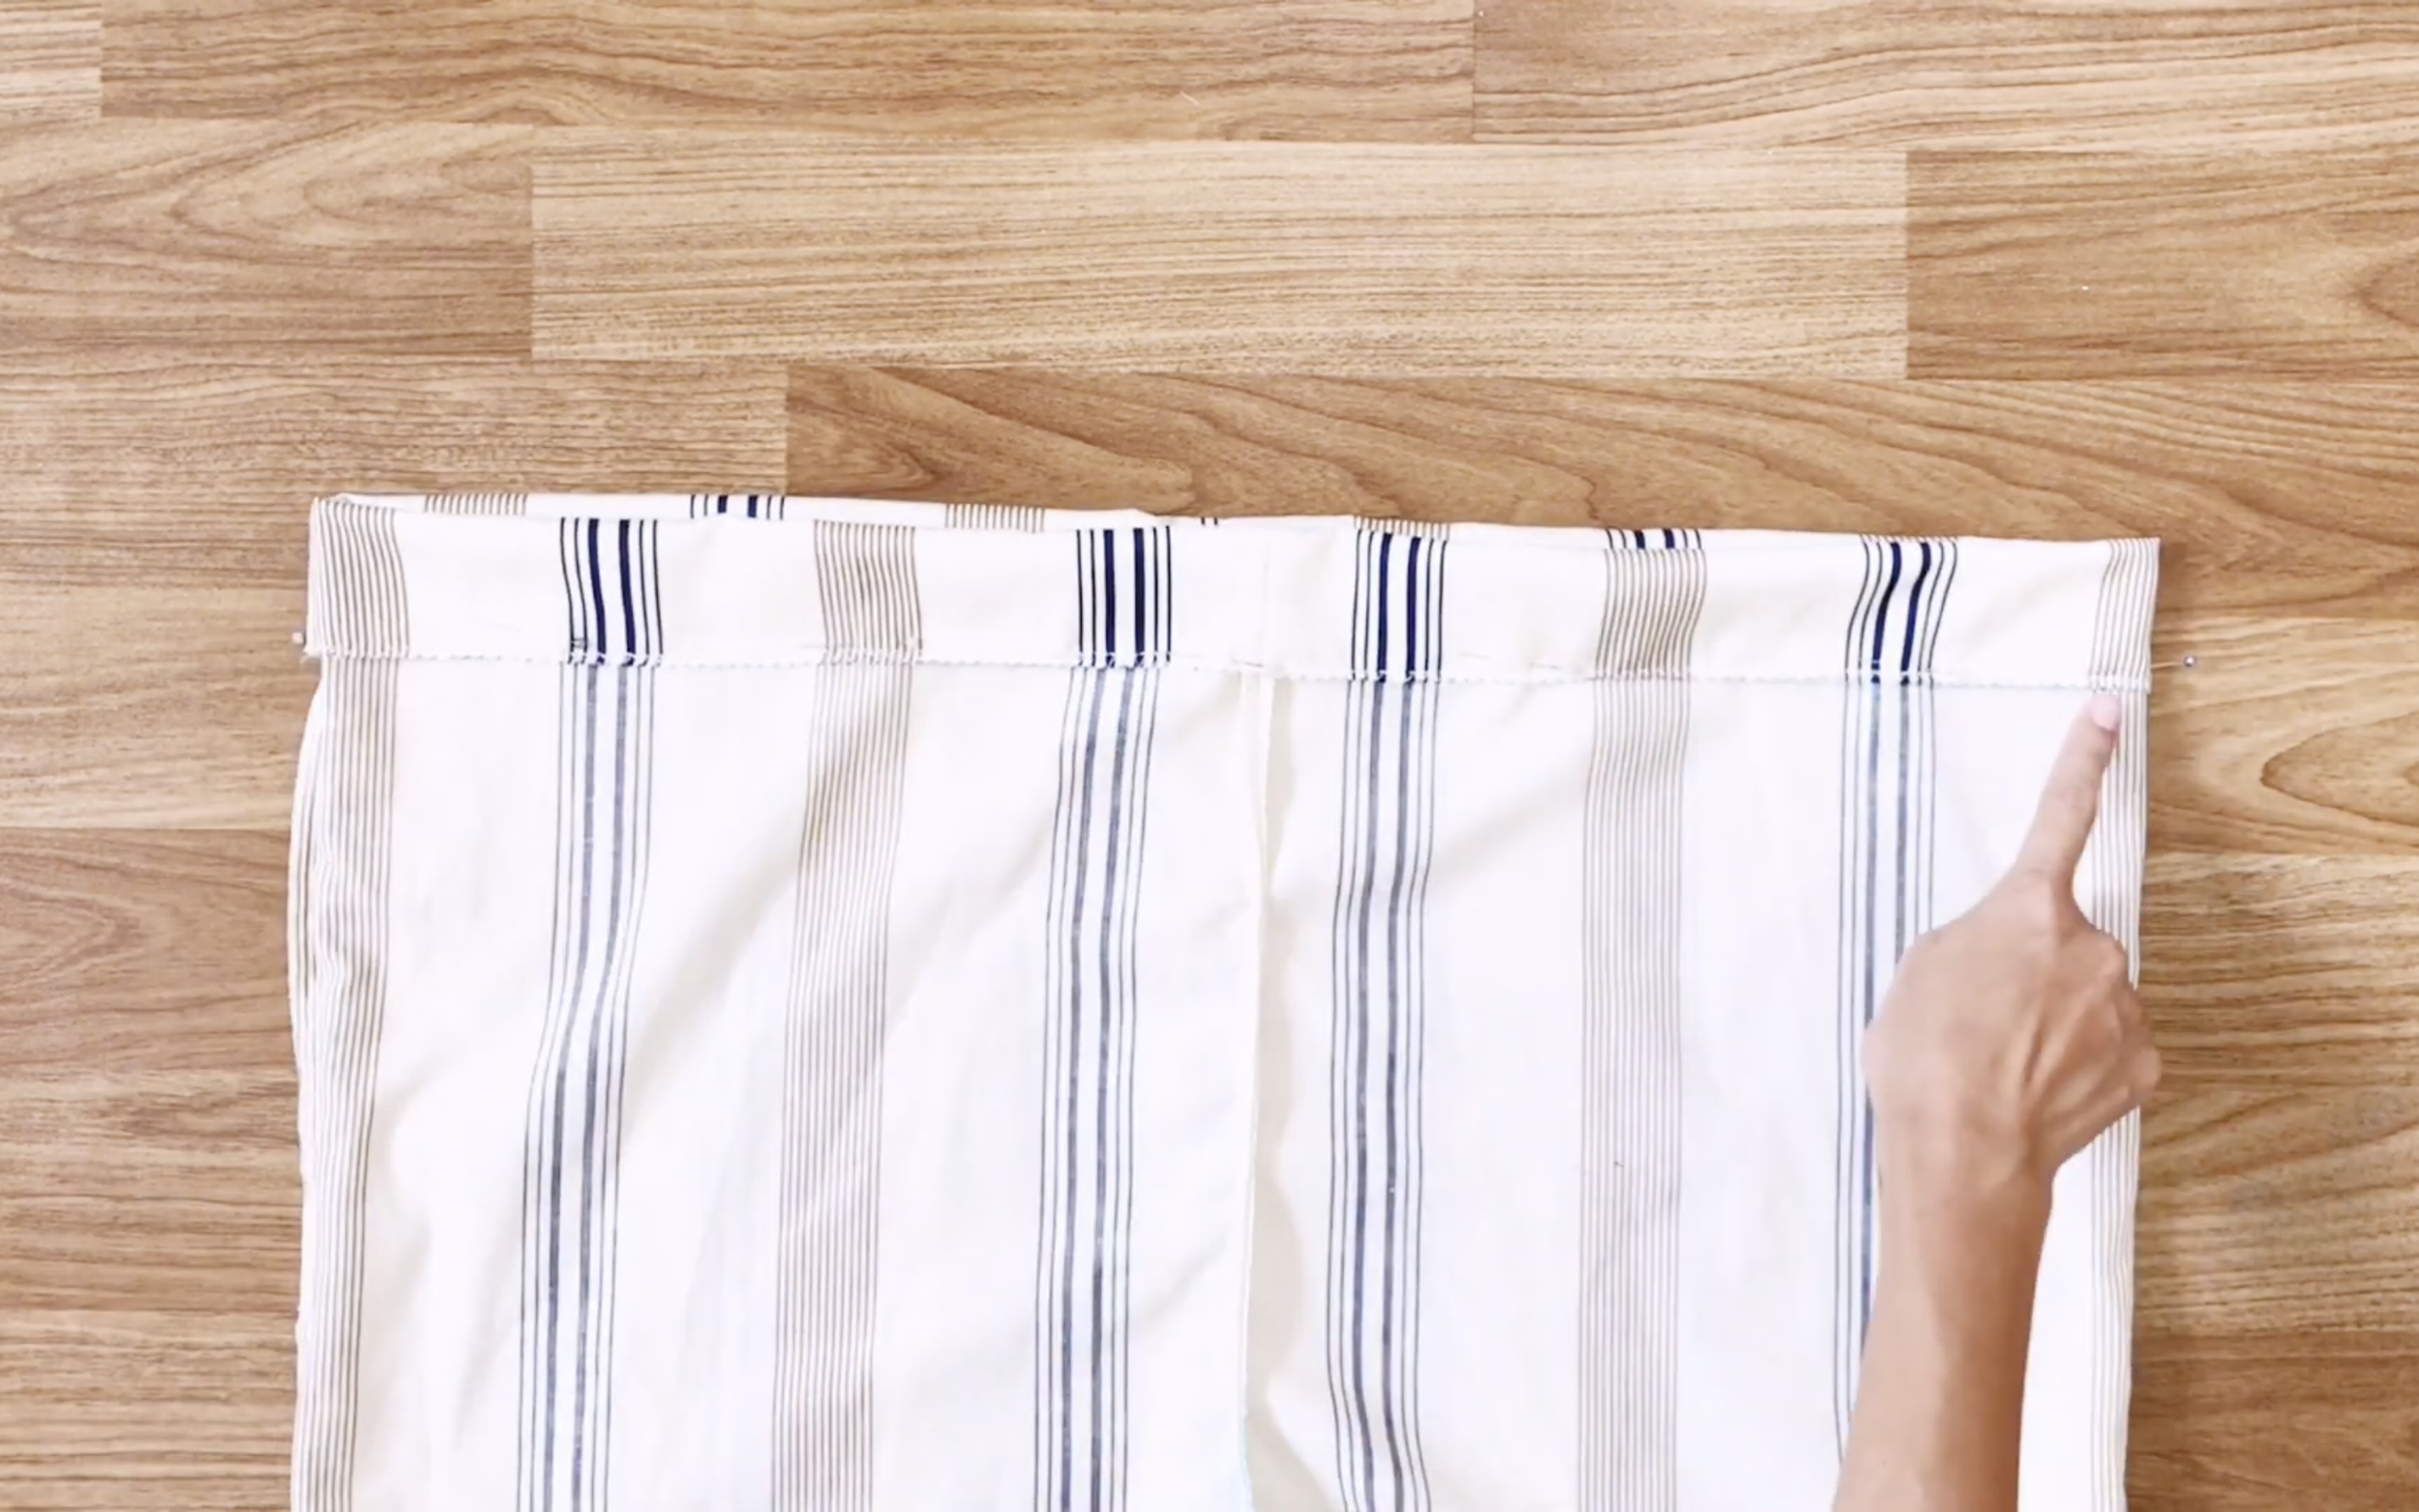
Use pins to hold the folding. And sew along the pinned line.
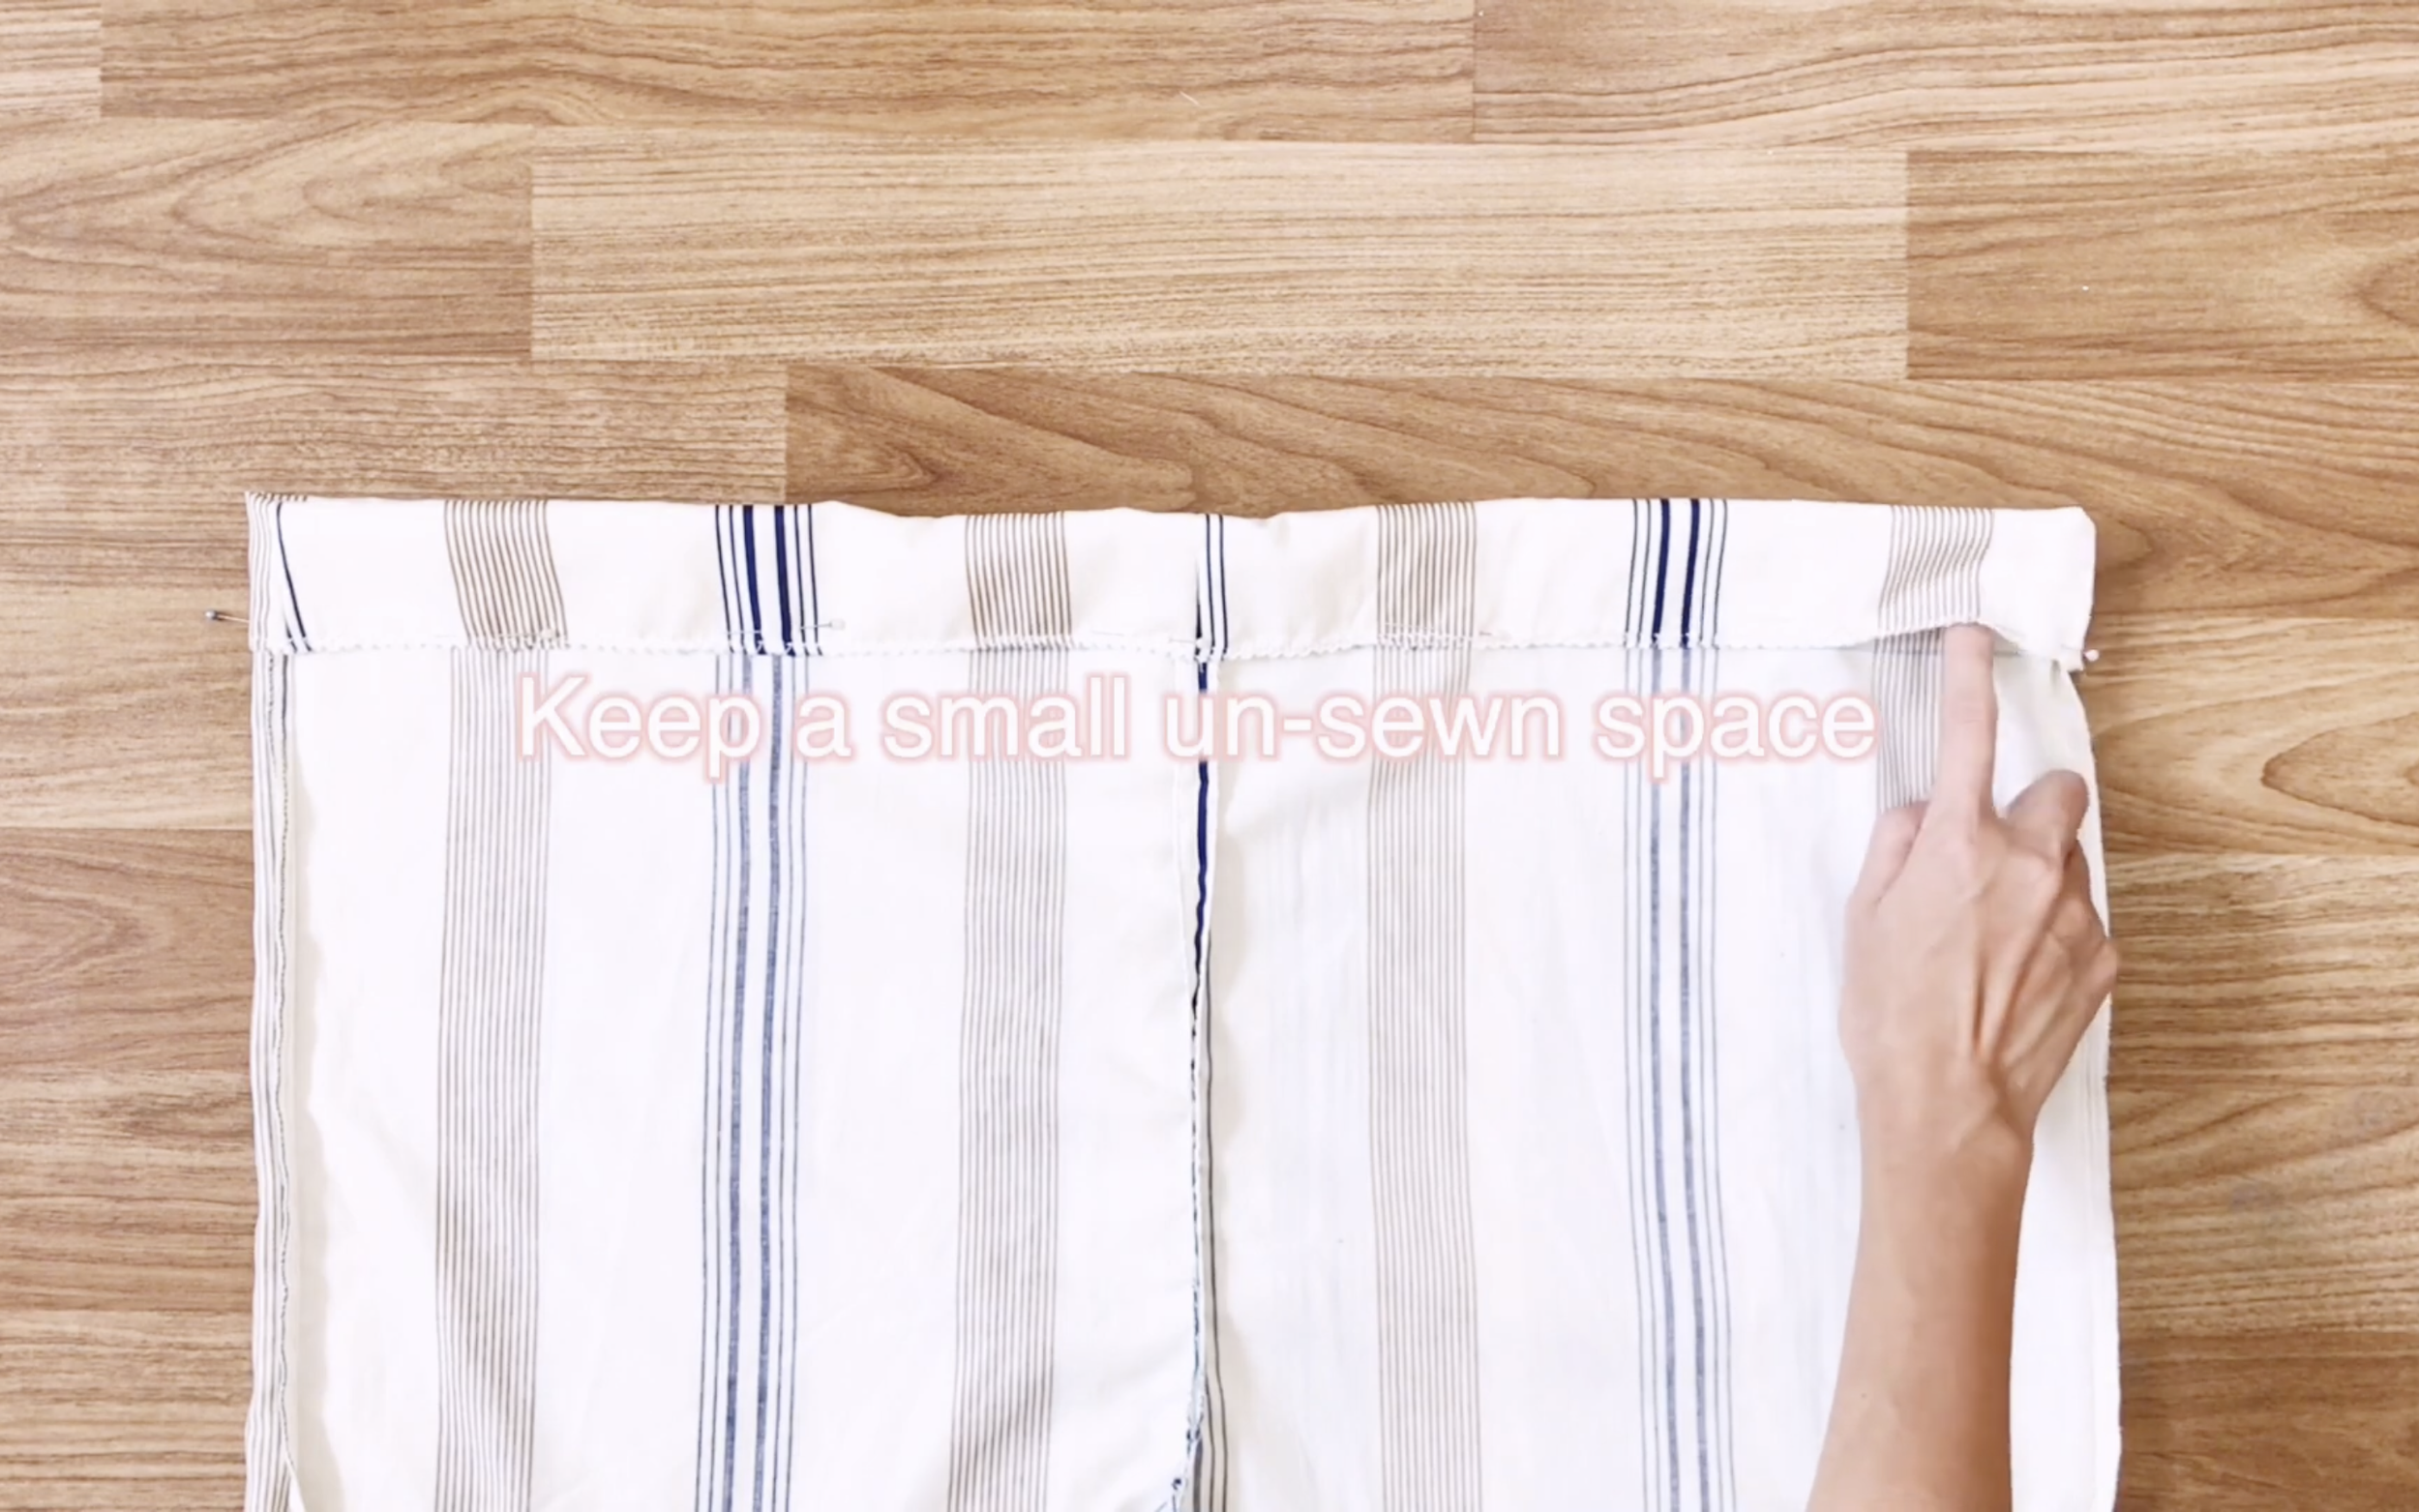
Remember to keep a small un-sewn space to put the elastic band inside later.
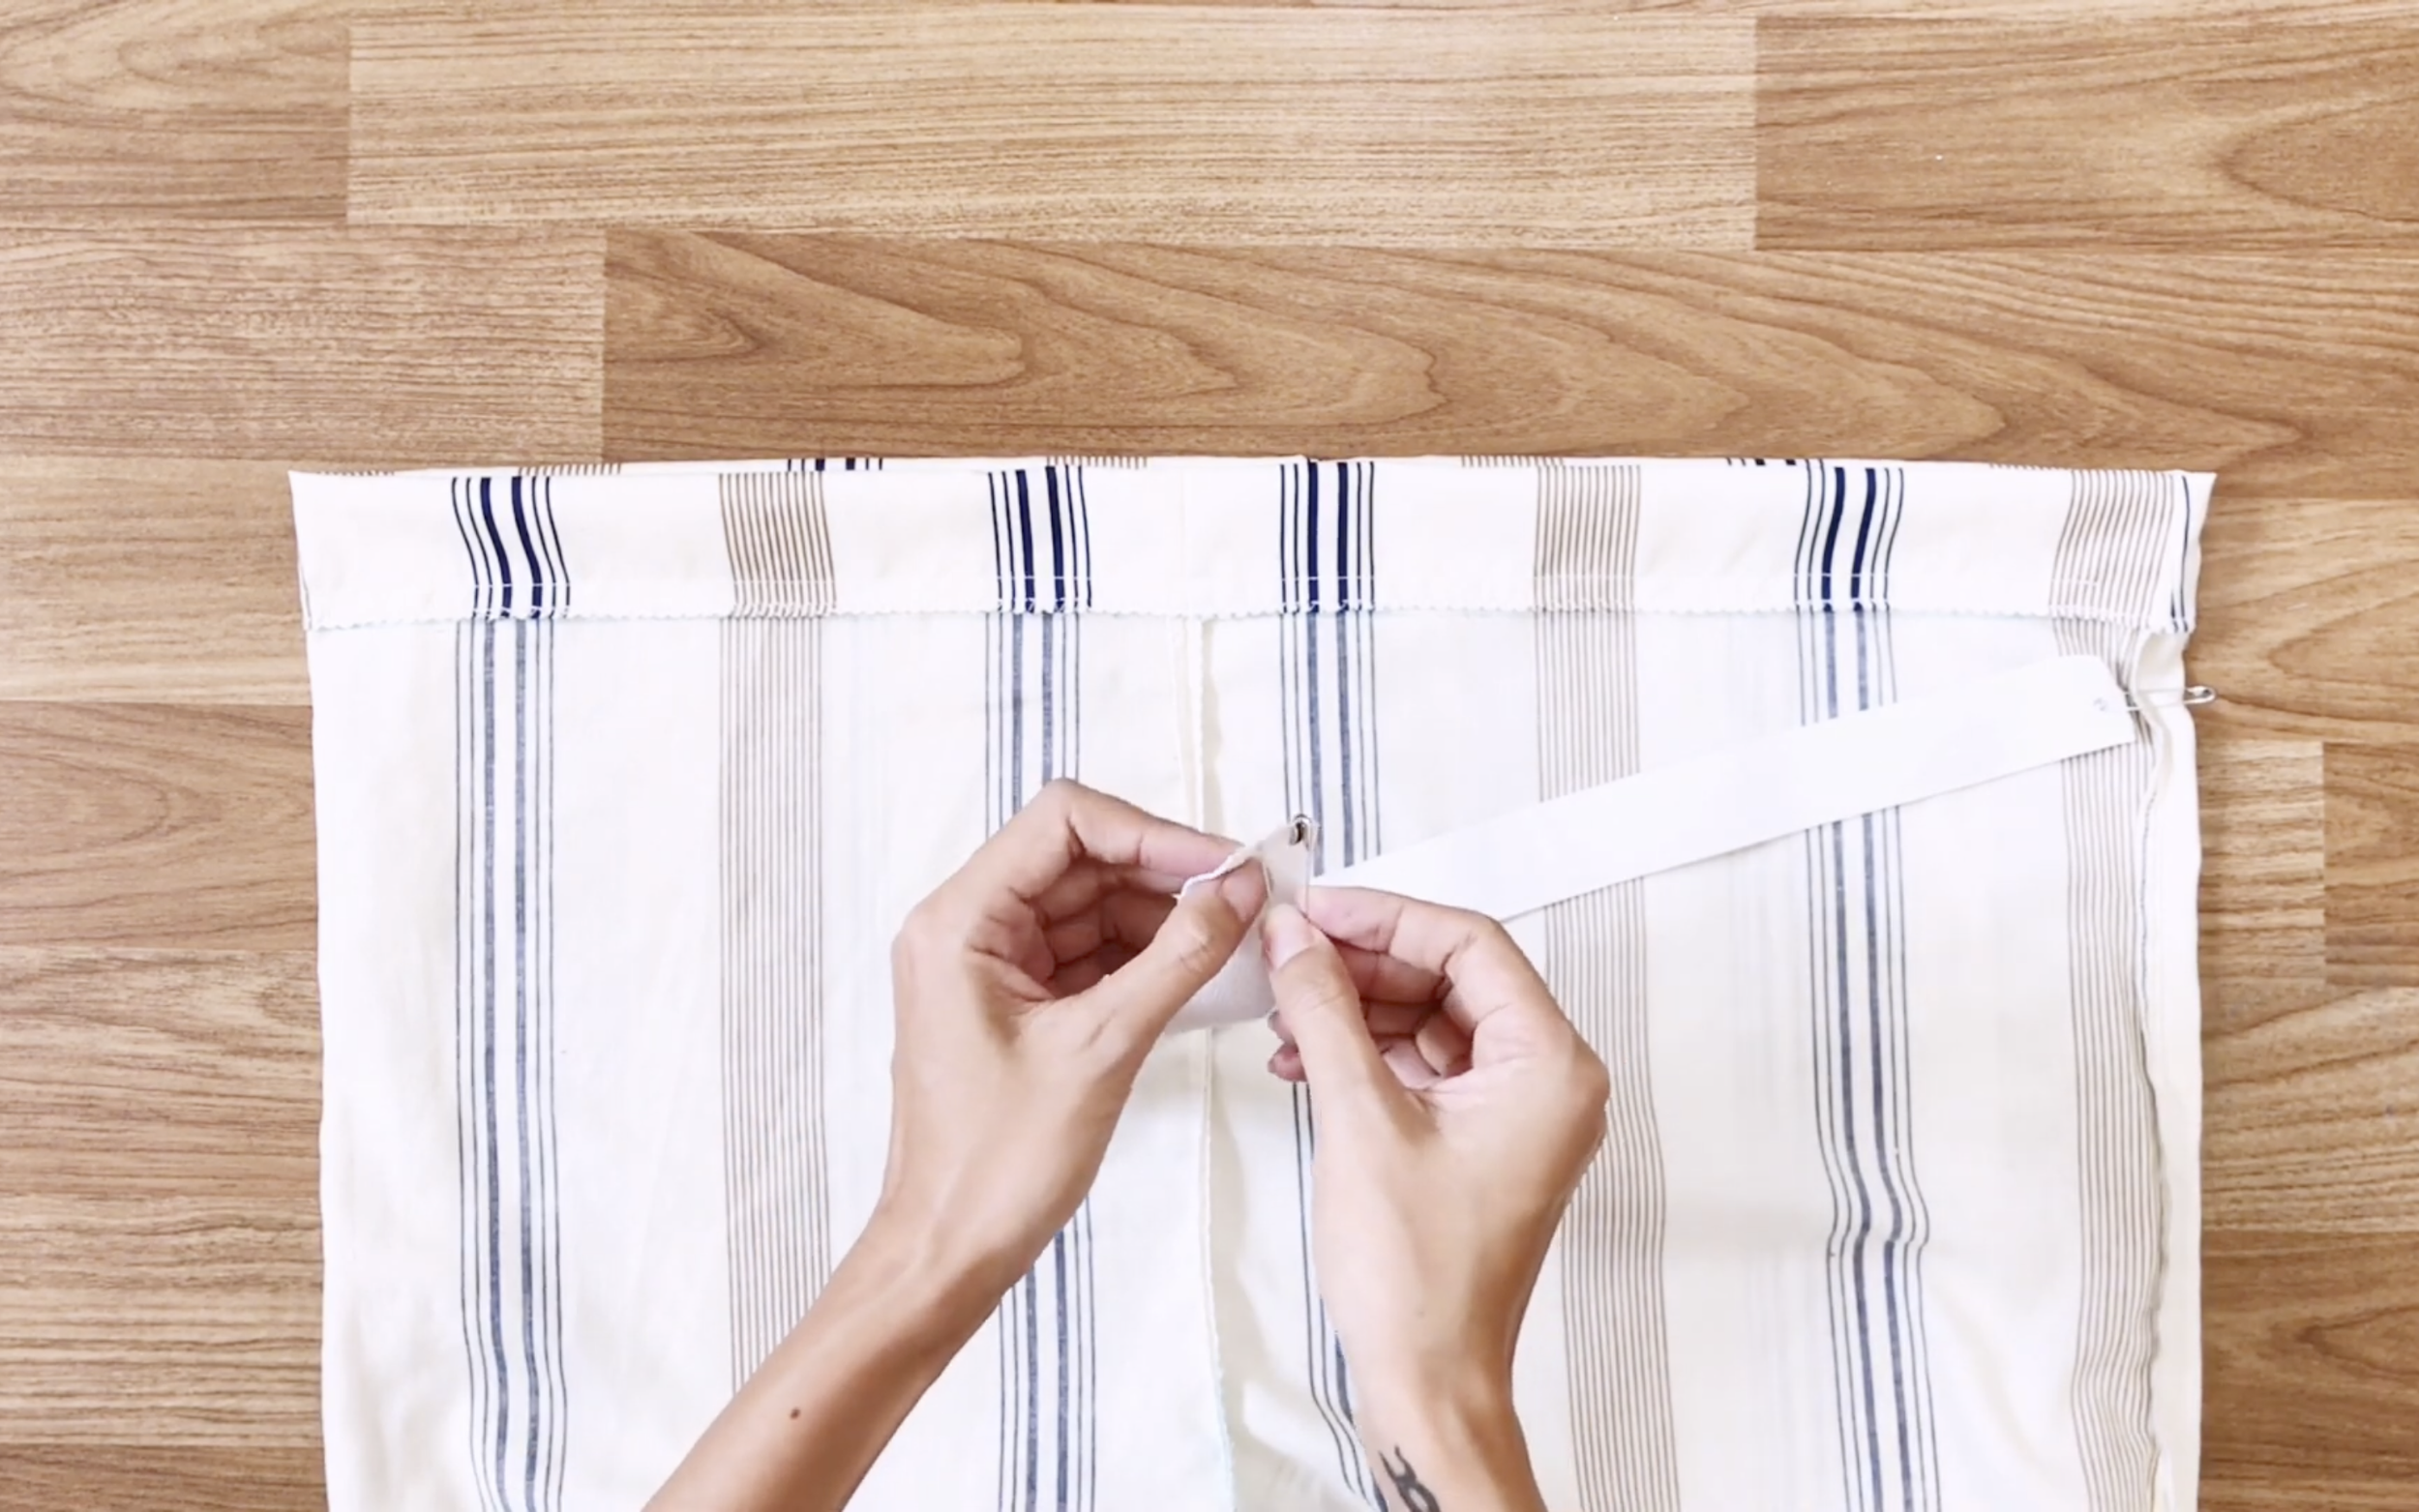
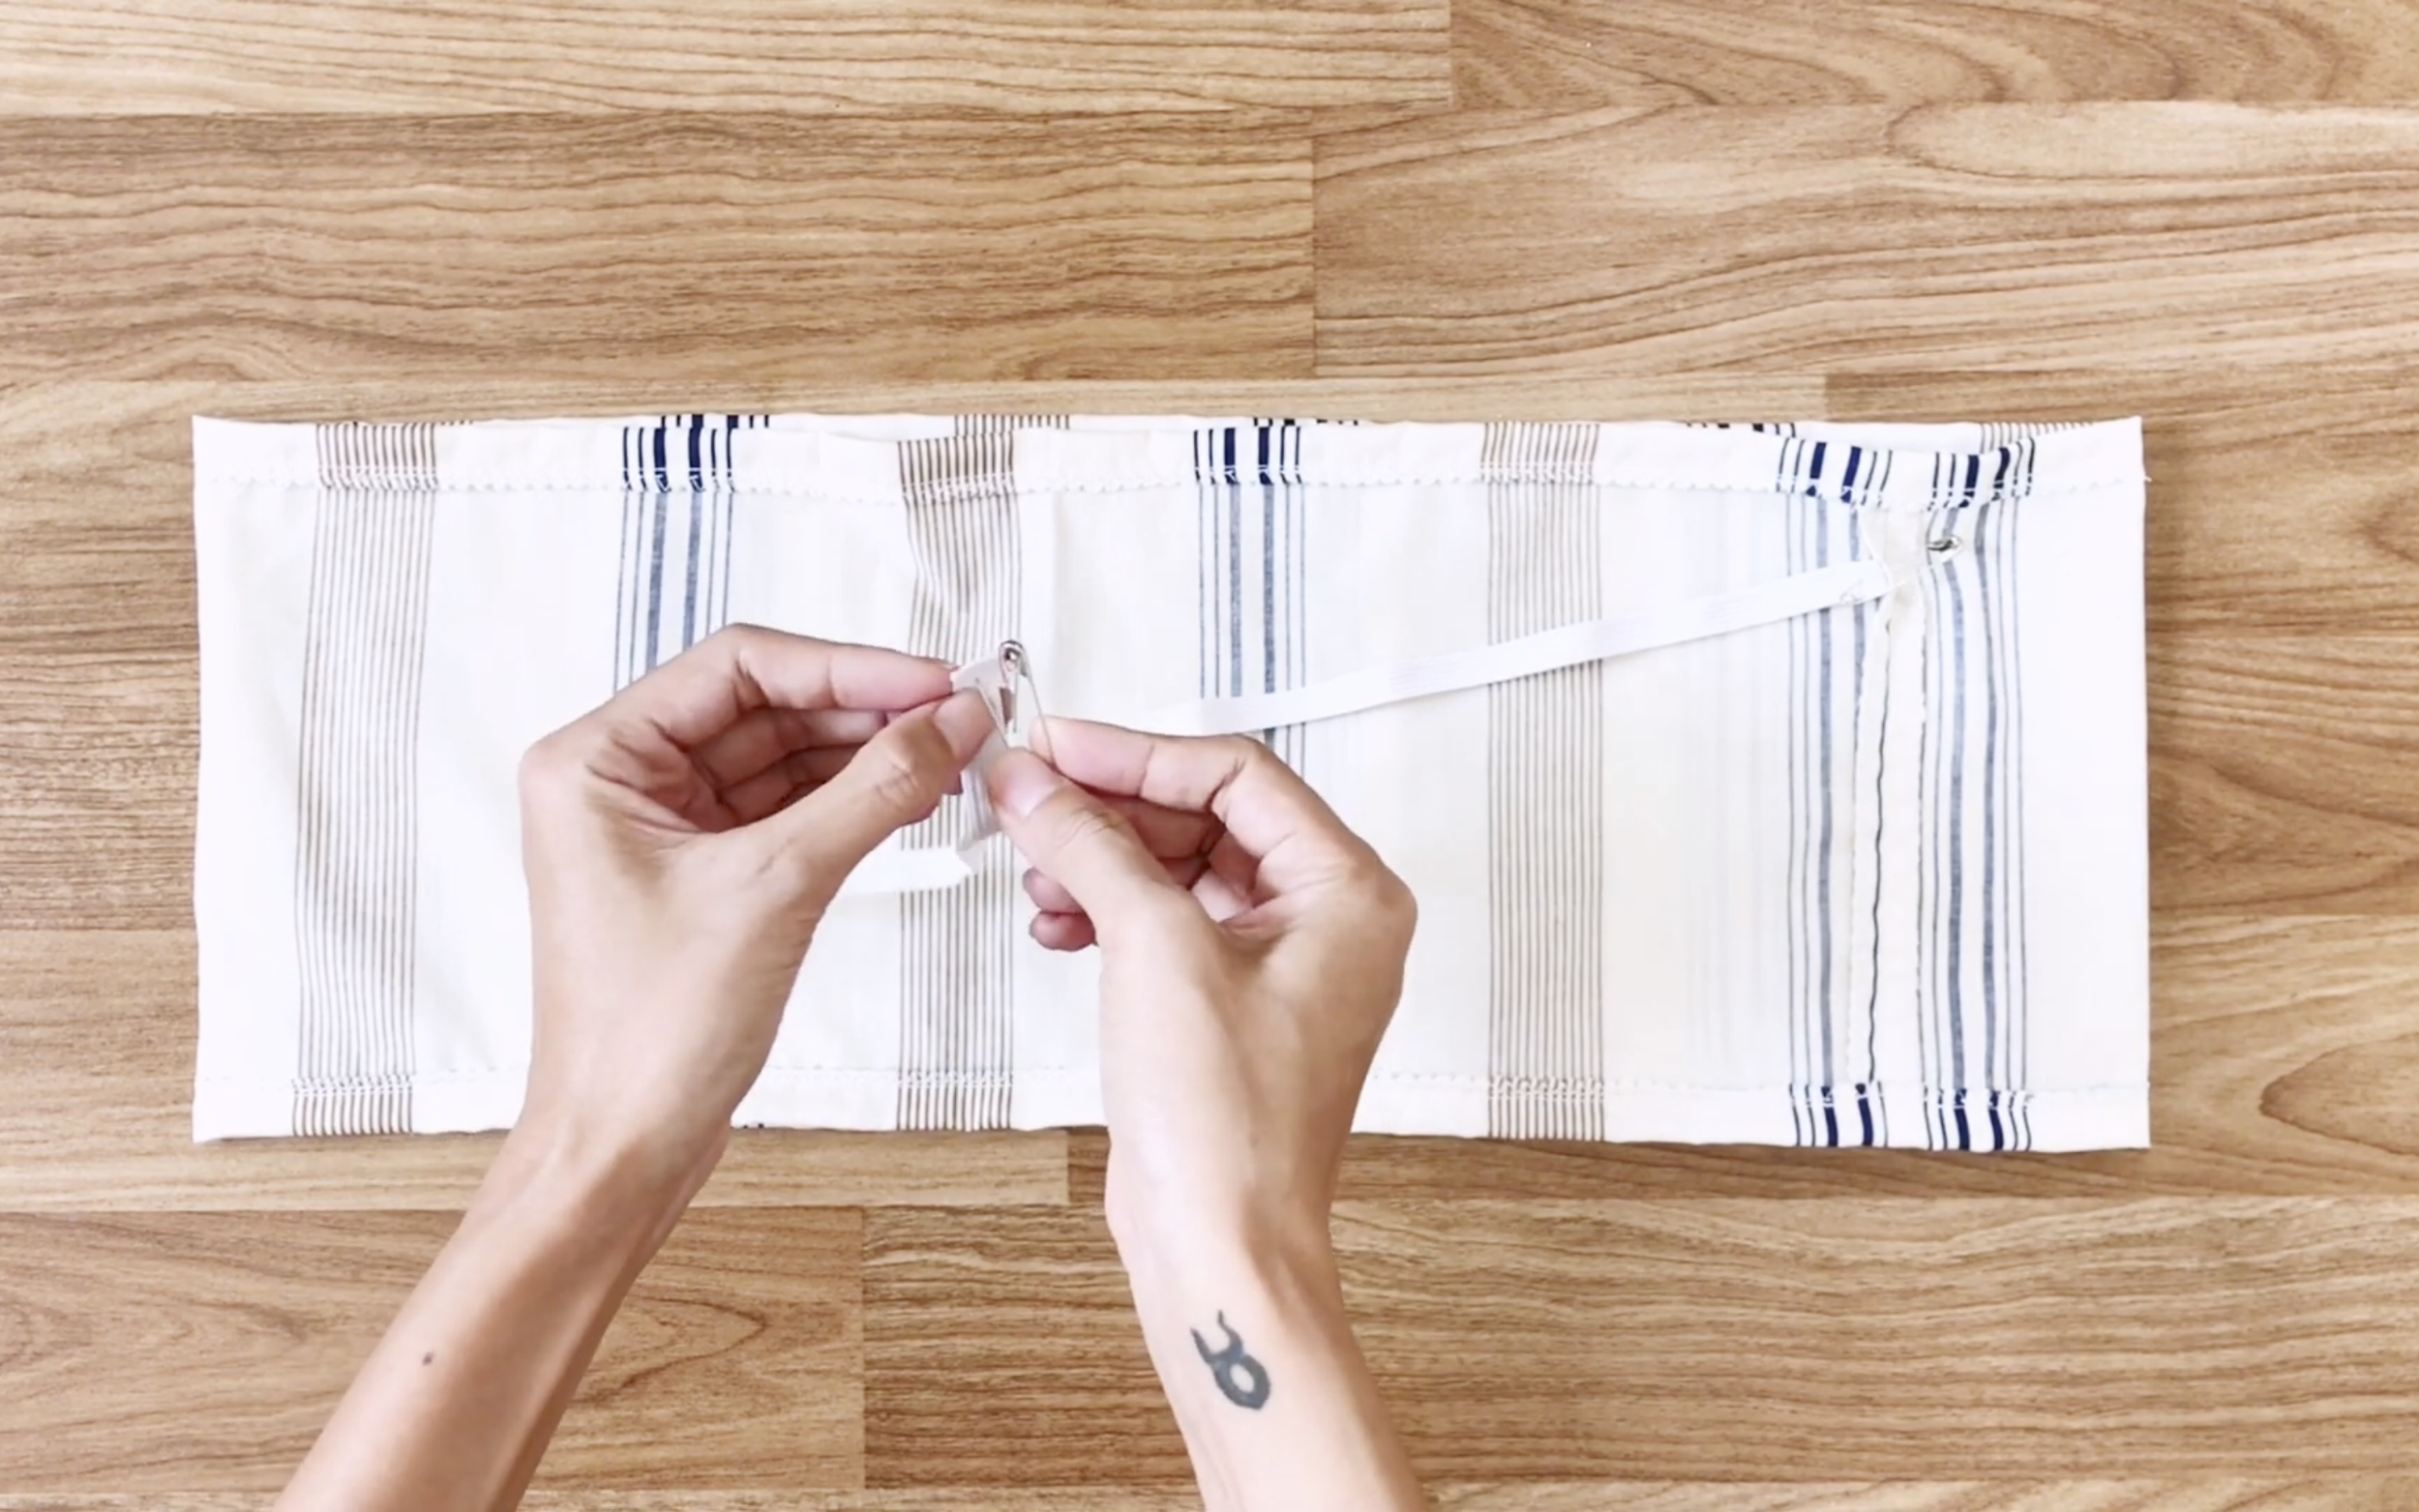
As usual, use two safety pins to put the elastic band inside. One to keep one end of the elastic band outside. The other safety pin to keep another end of the elastic band to go inside.
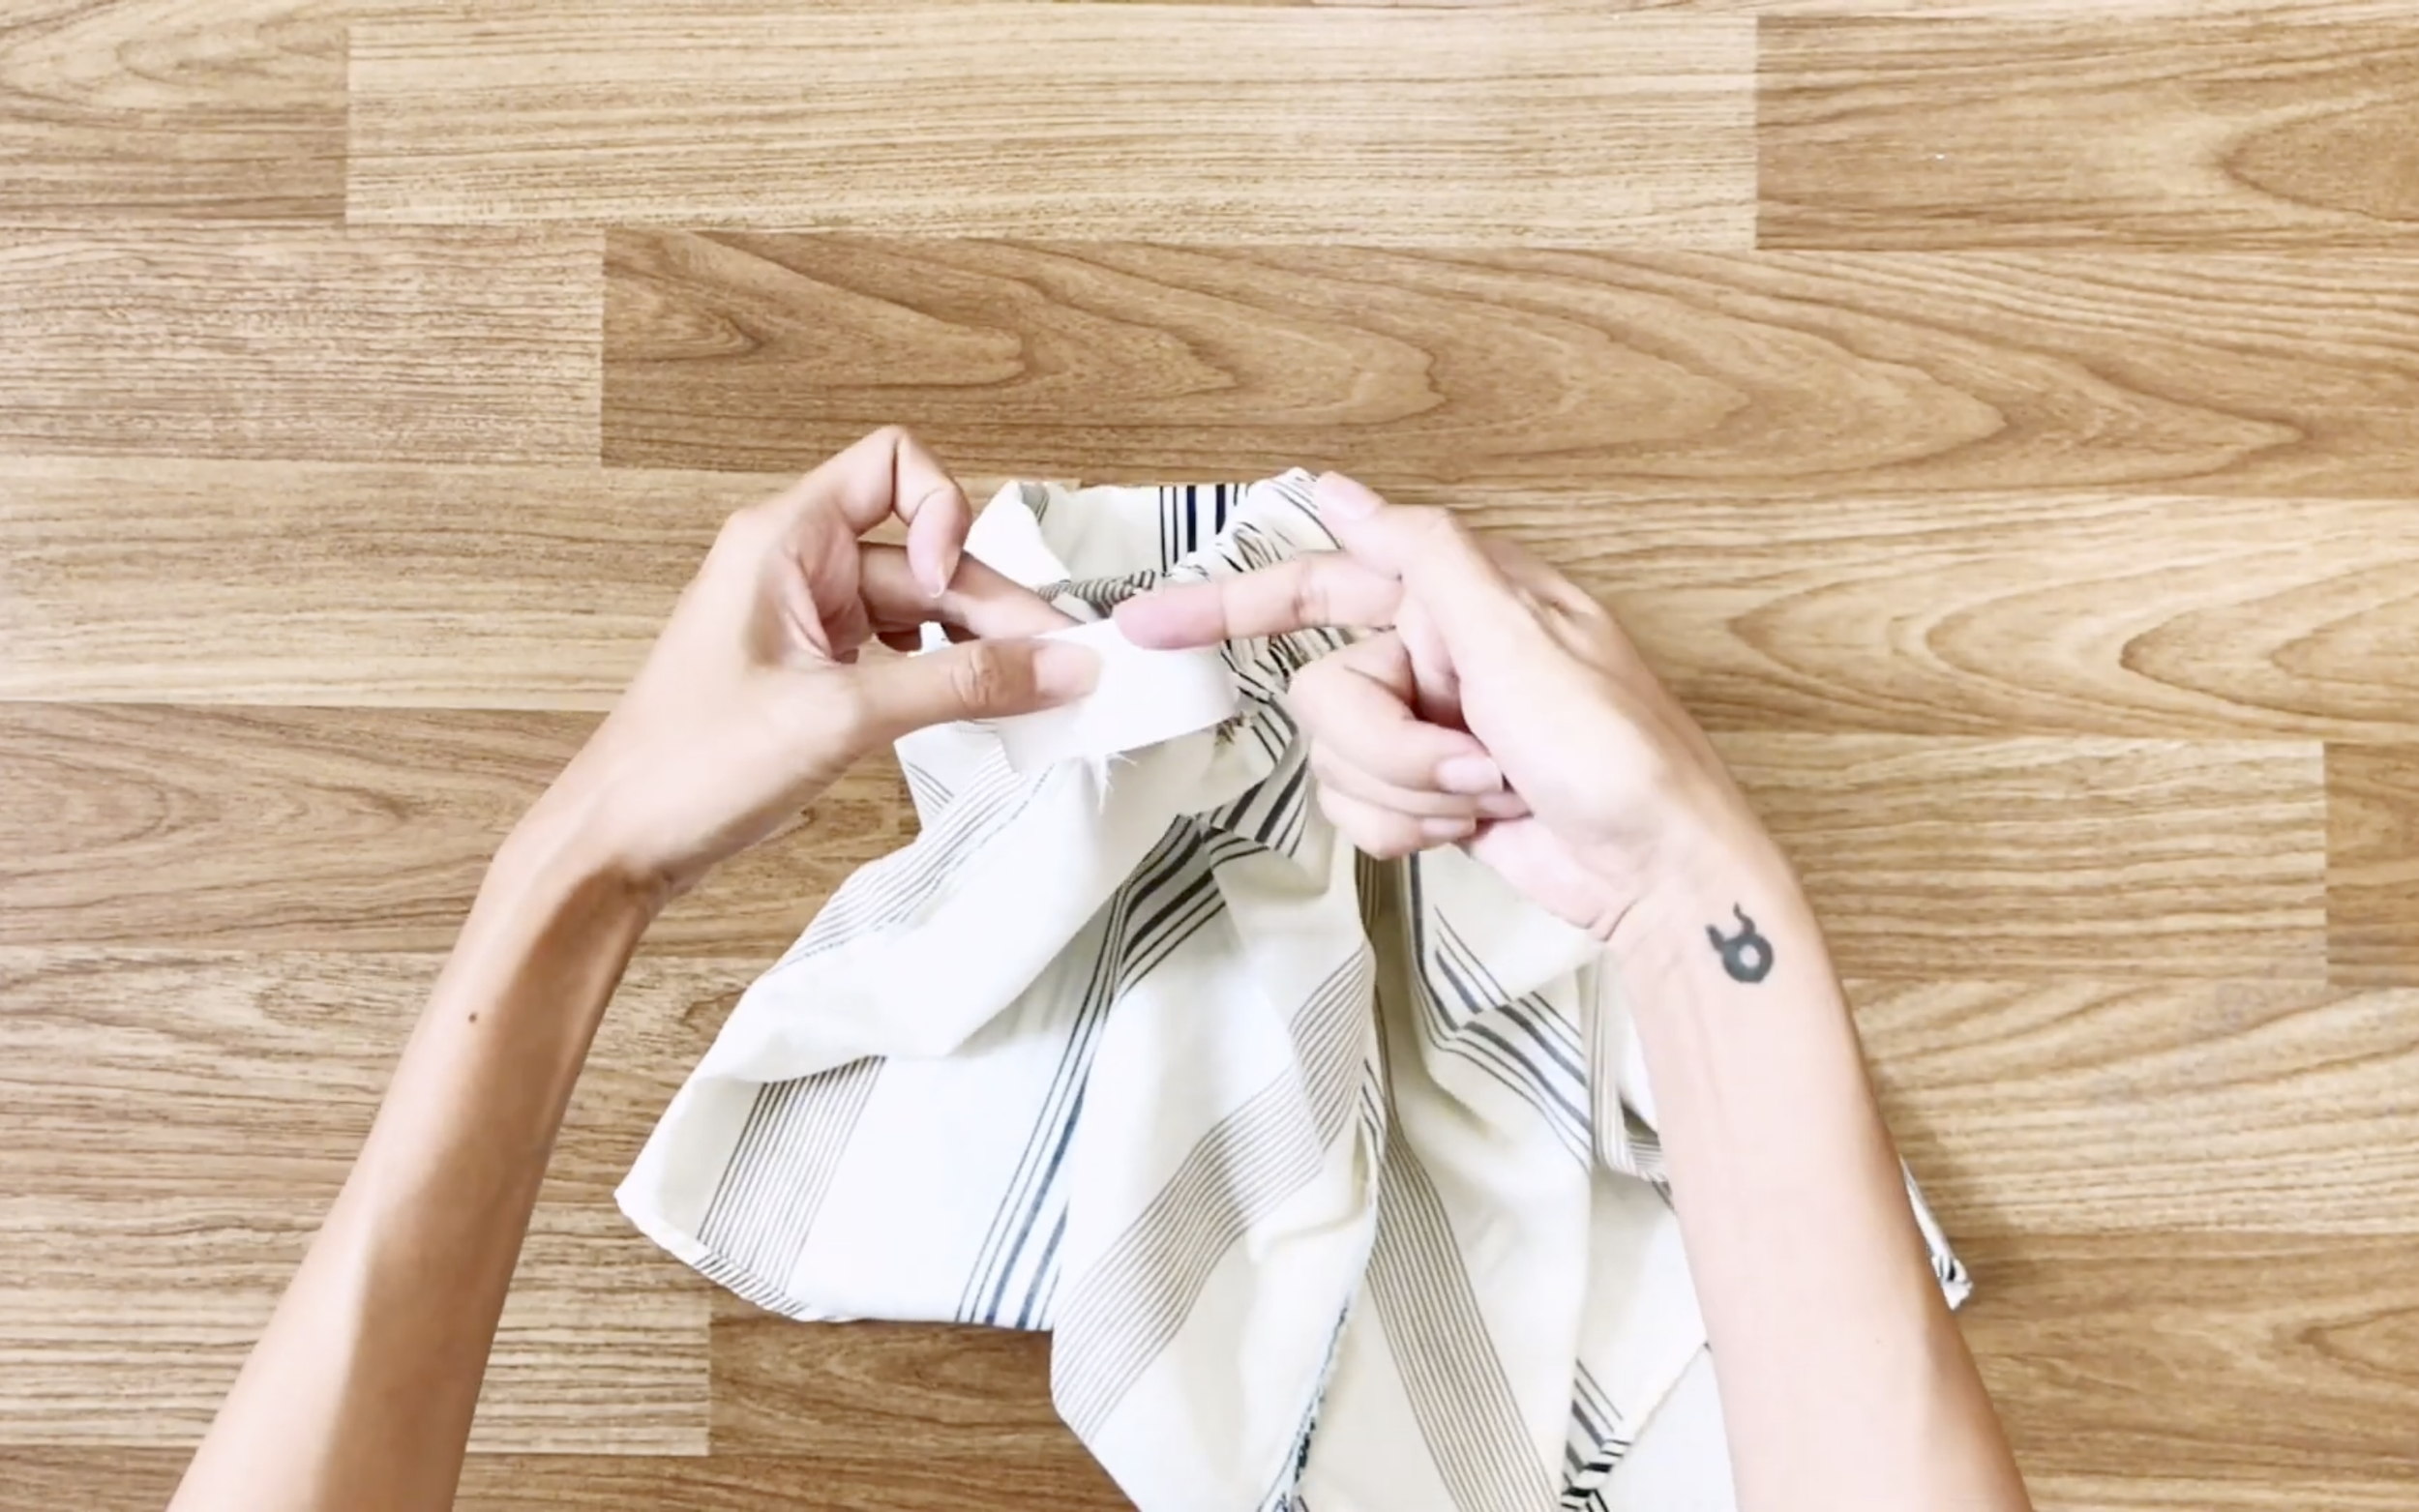
Then, sew the two ends of the elastic band together and close the un-sewn space.
And the pants of the summer set are finished.
THE TOP
Moving to the top of the summer set, cut two hands of the shirt first.
Then, draw a straight line under the neck of the shirt to make the rectangle with 24 cm length.
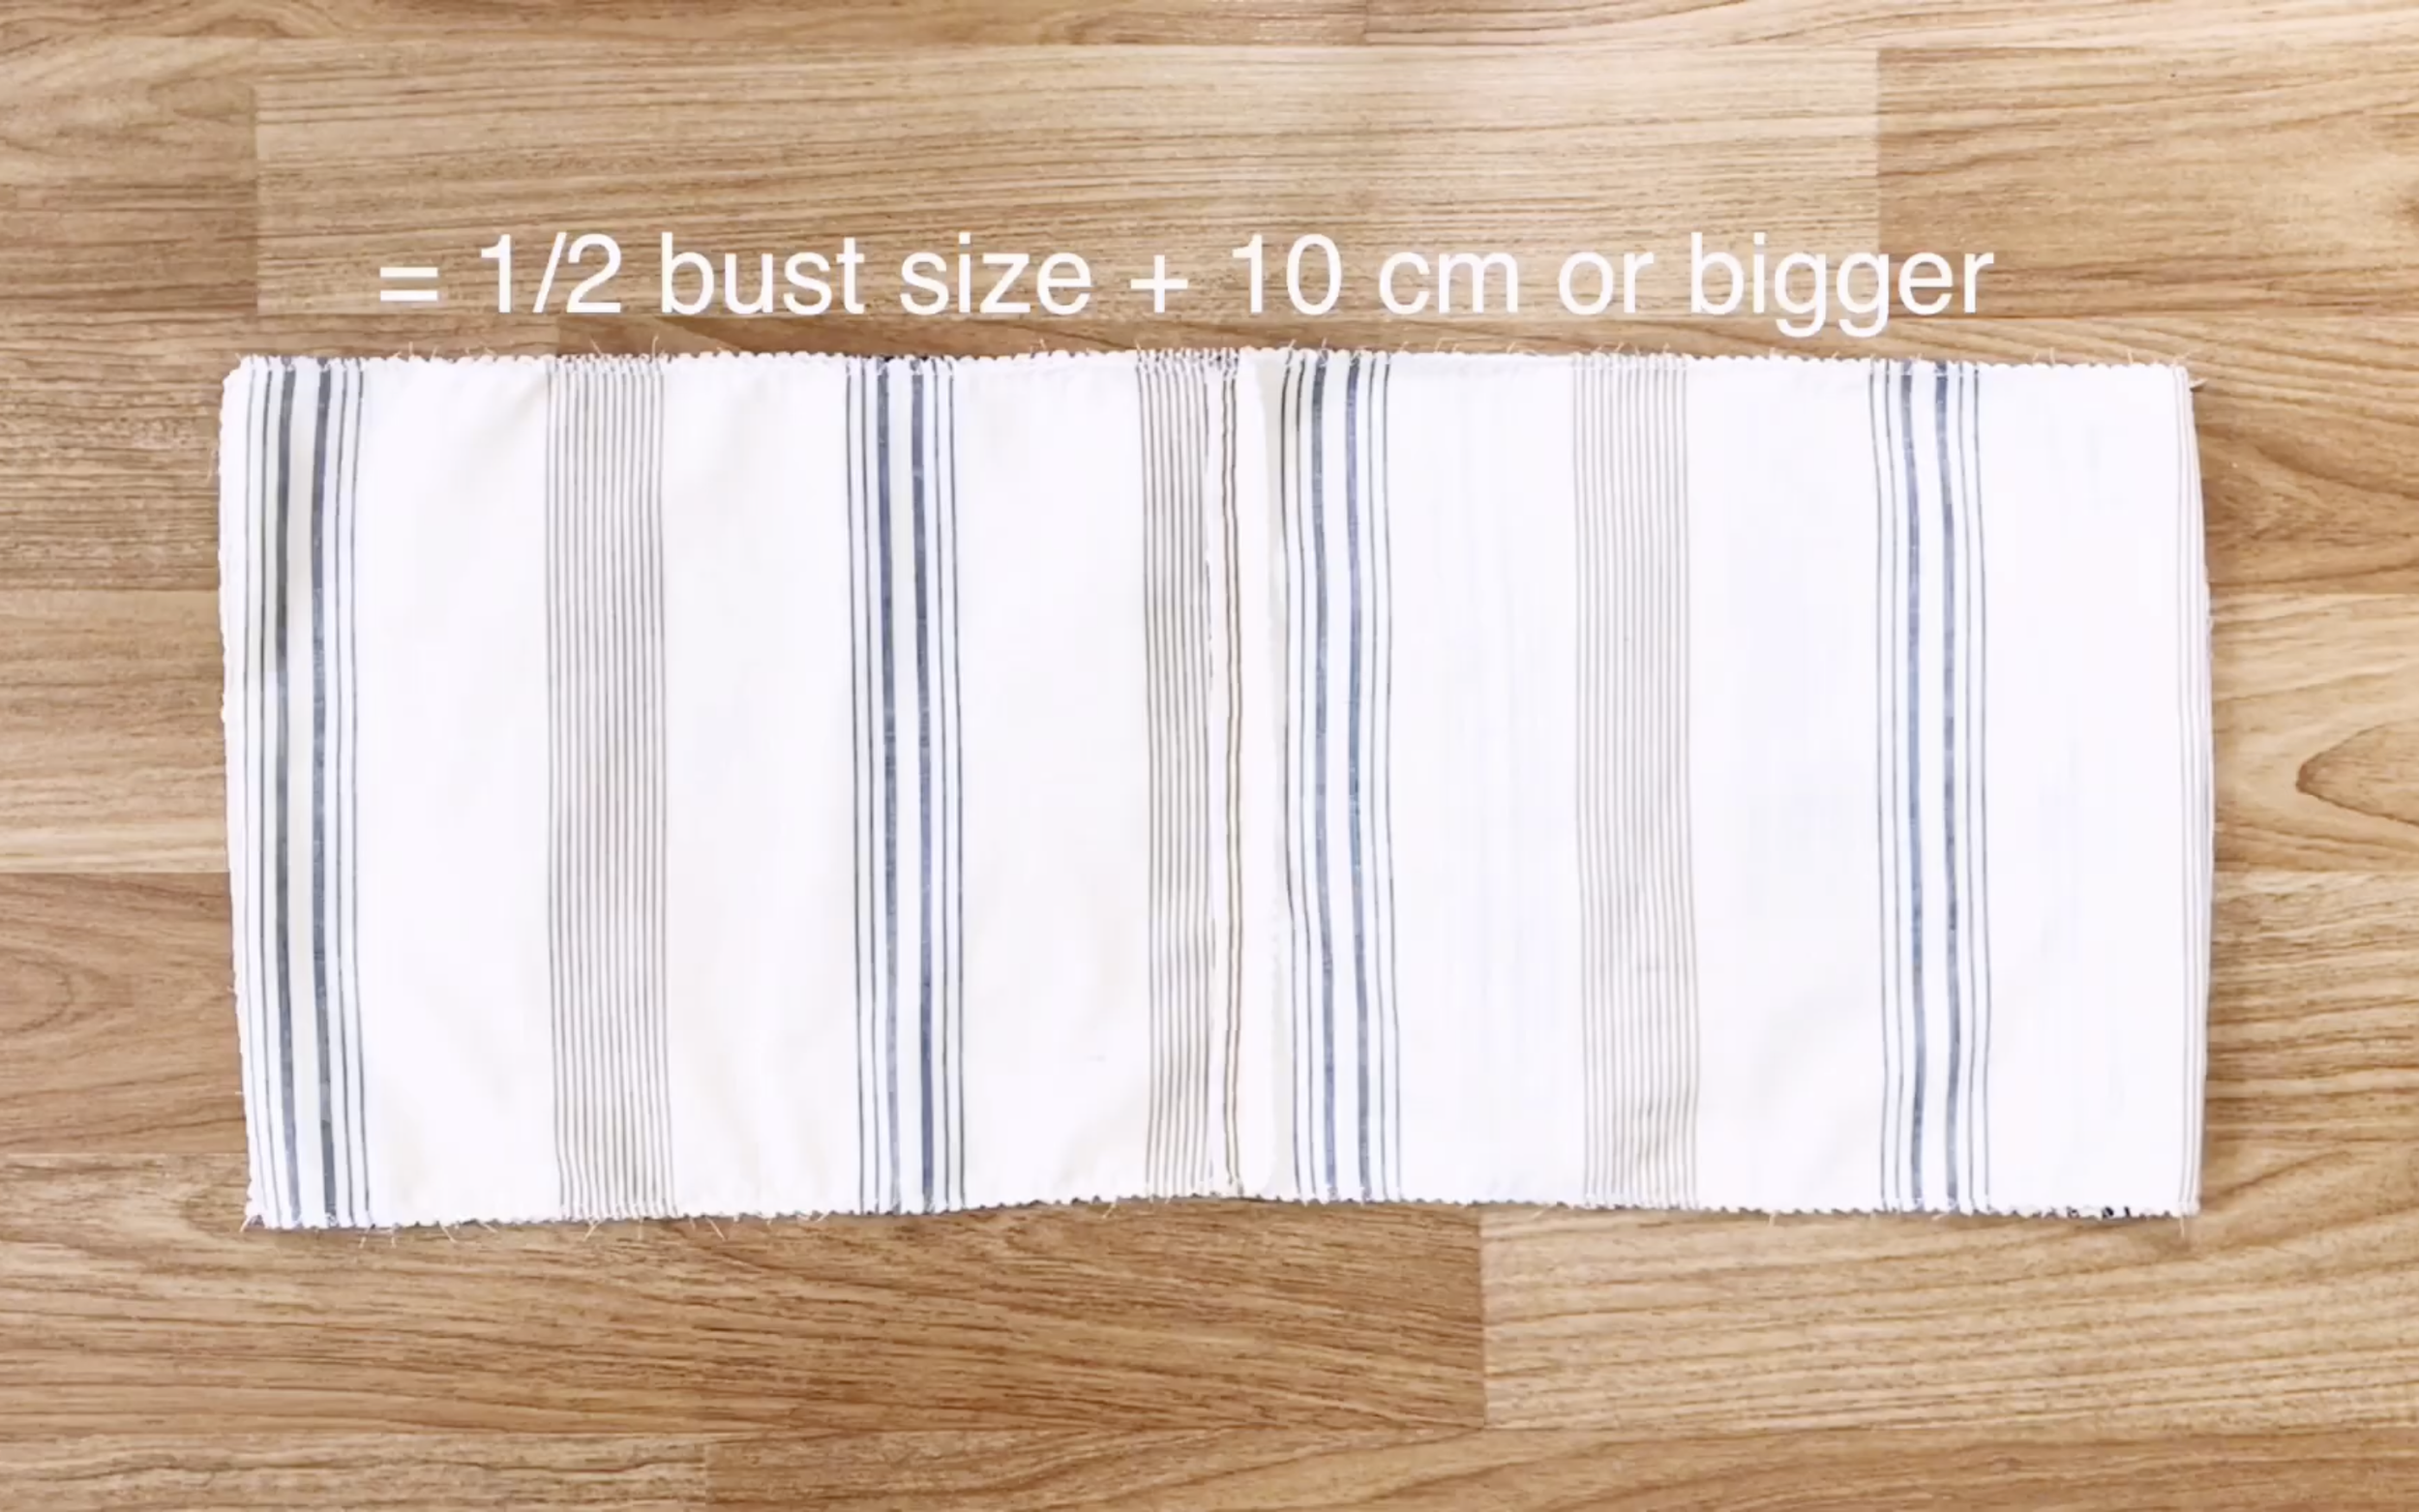
The width of the rectangle has to be half of the bust size plus 10 cm or bigger.
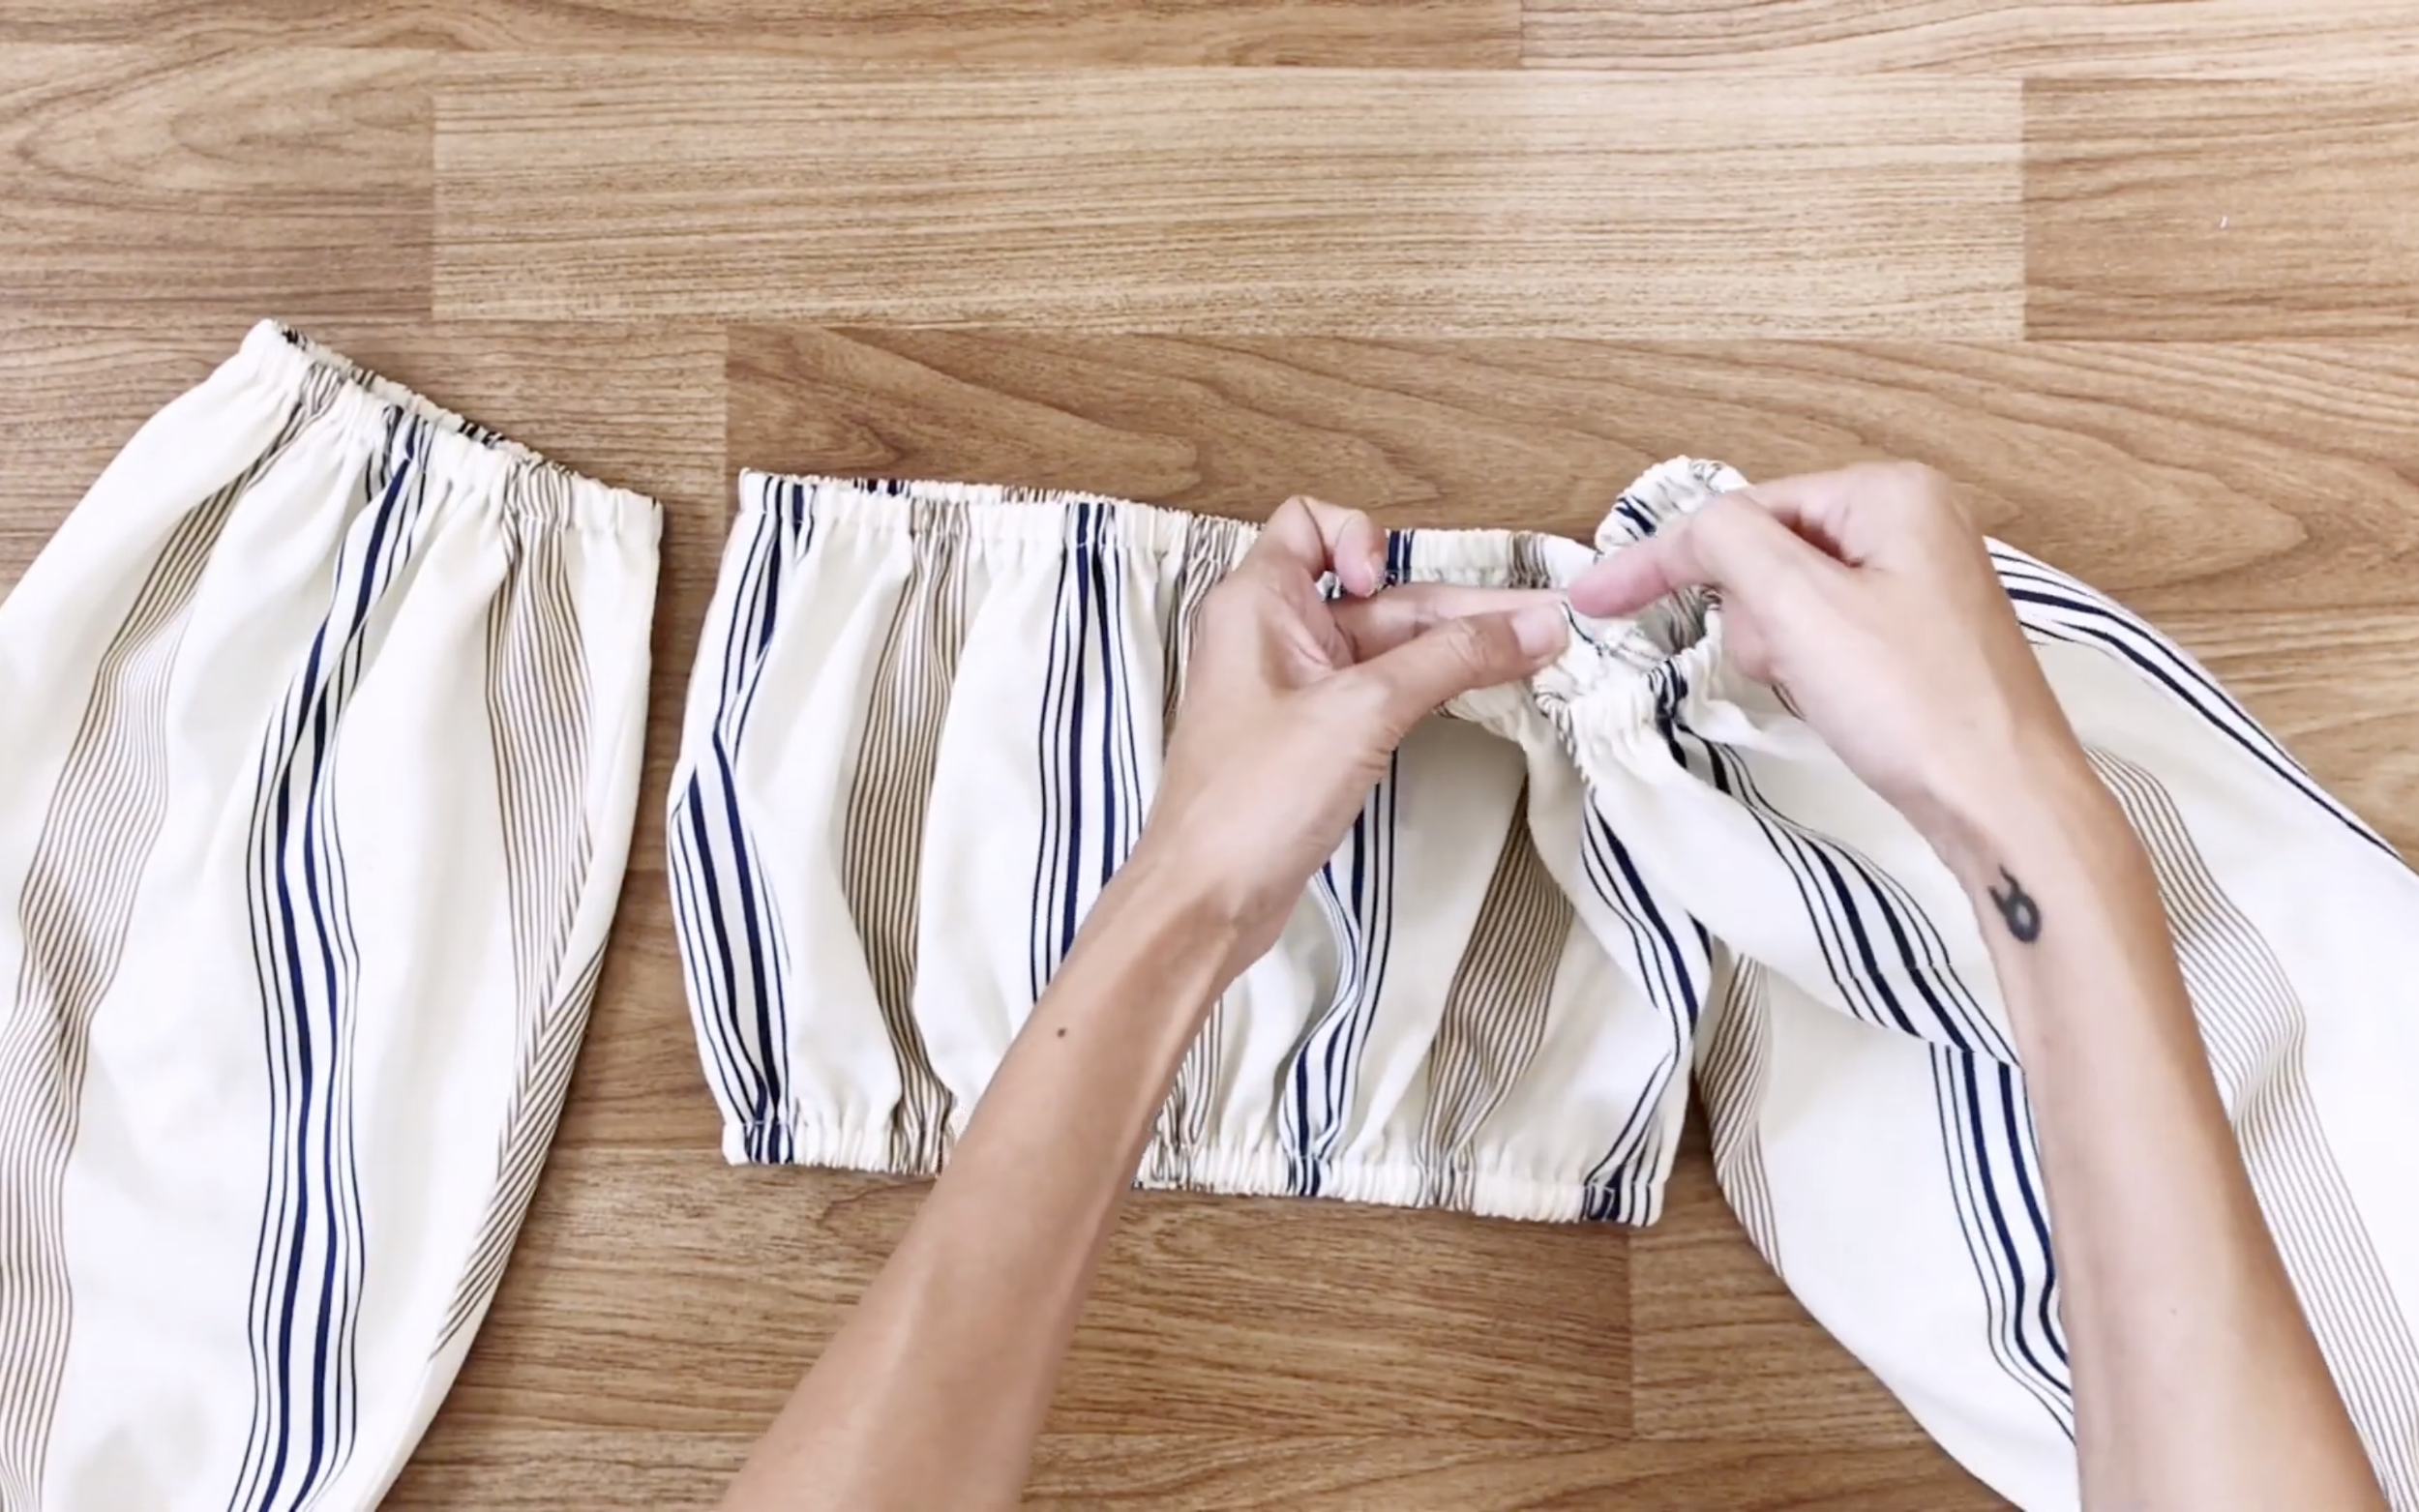
Use a small elastic band for the top.
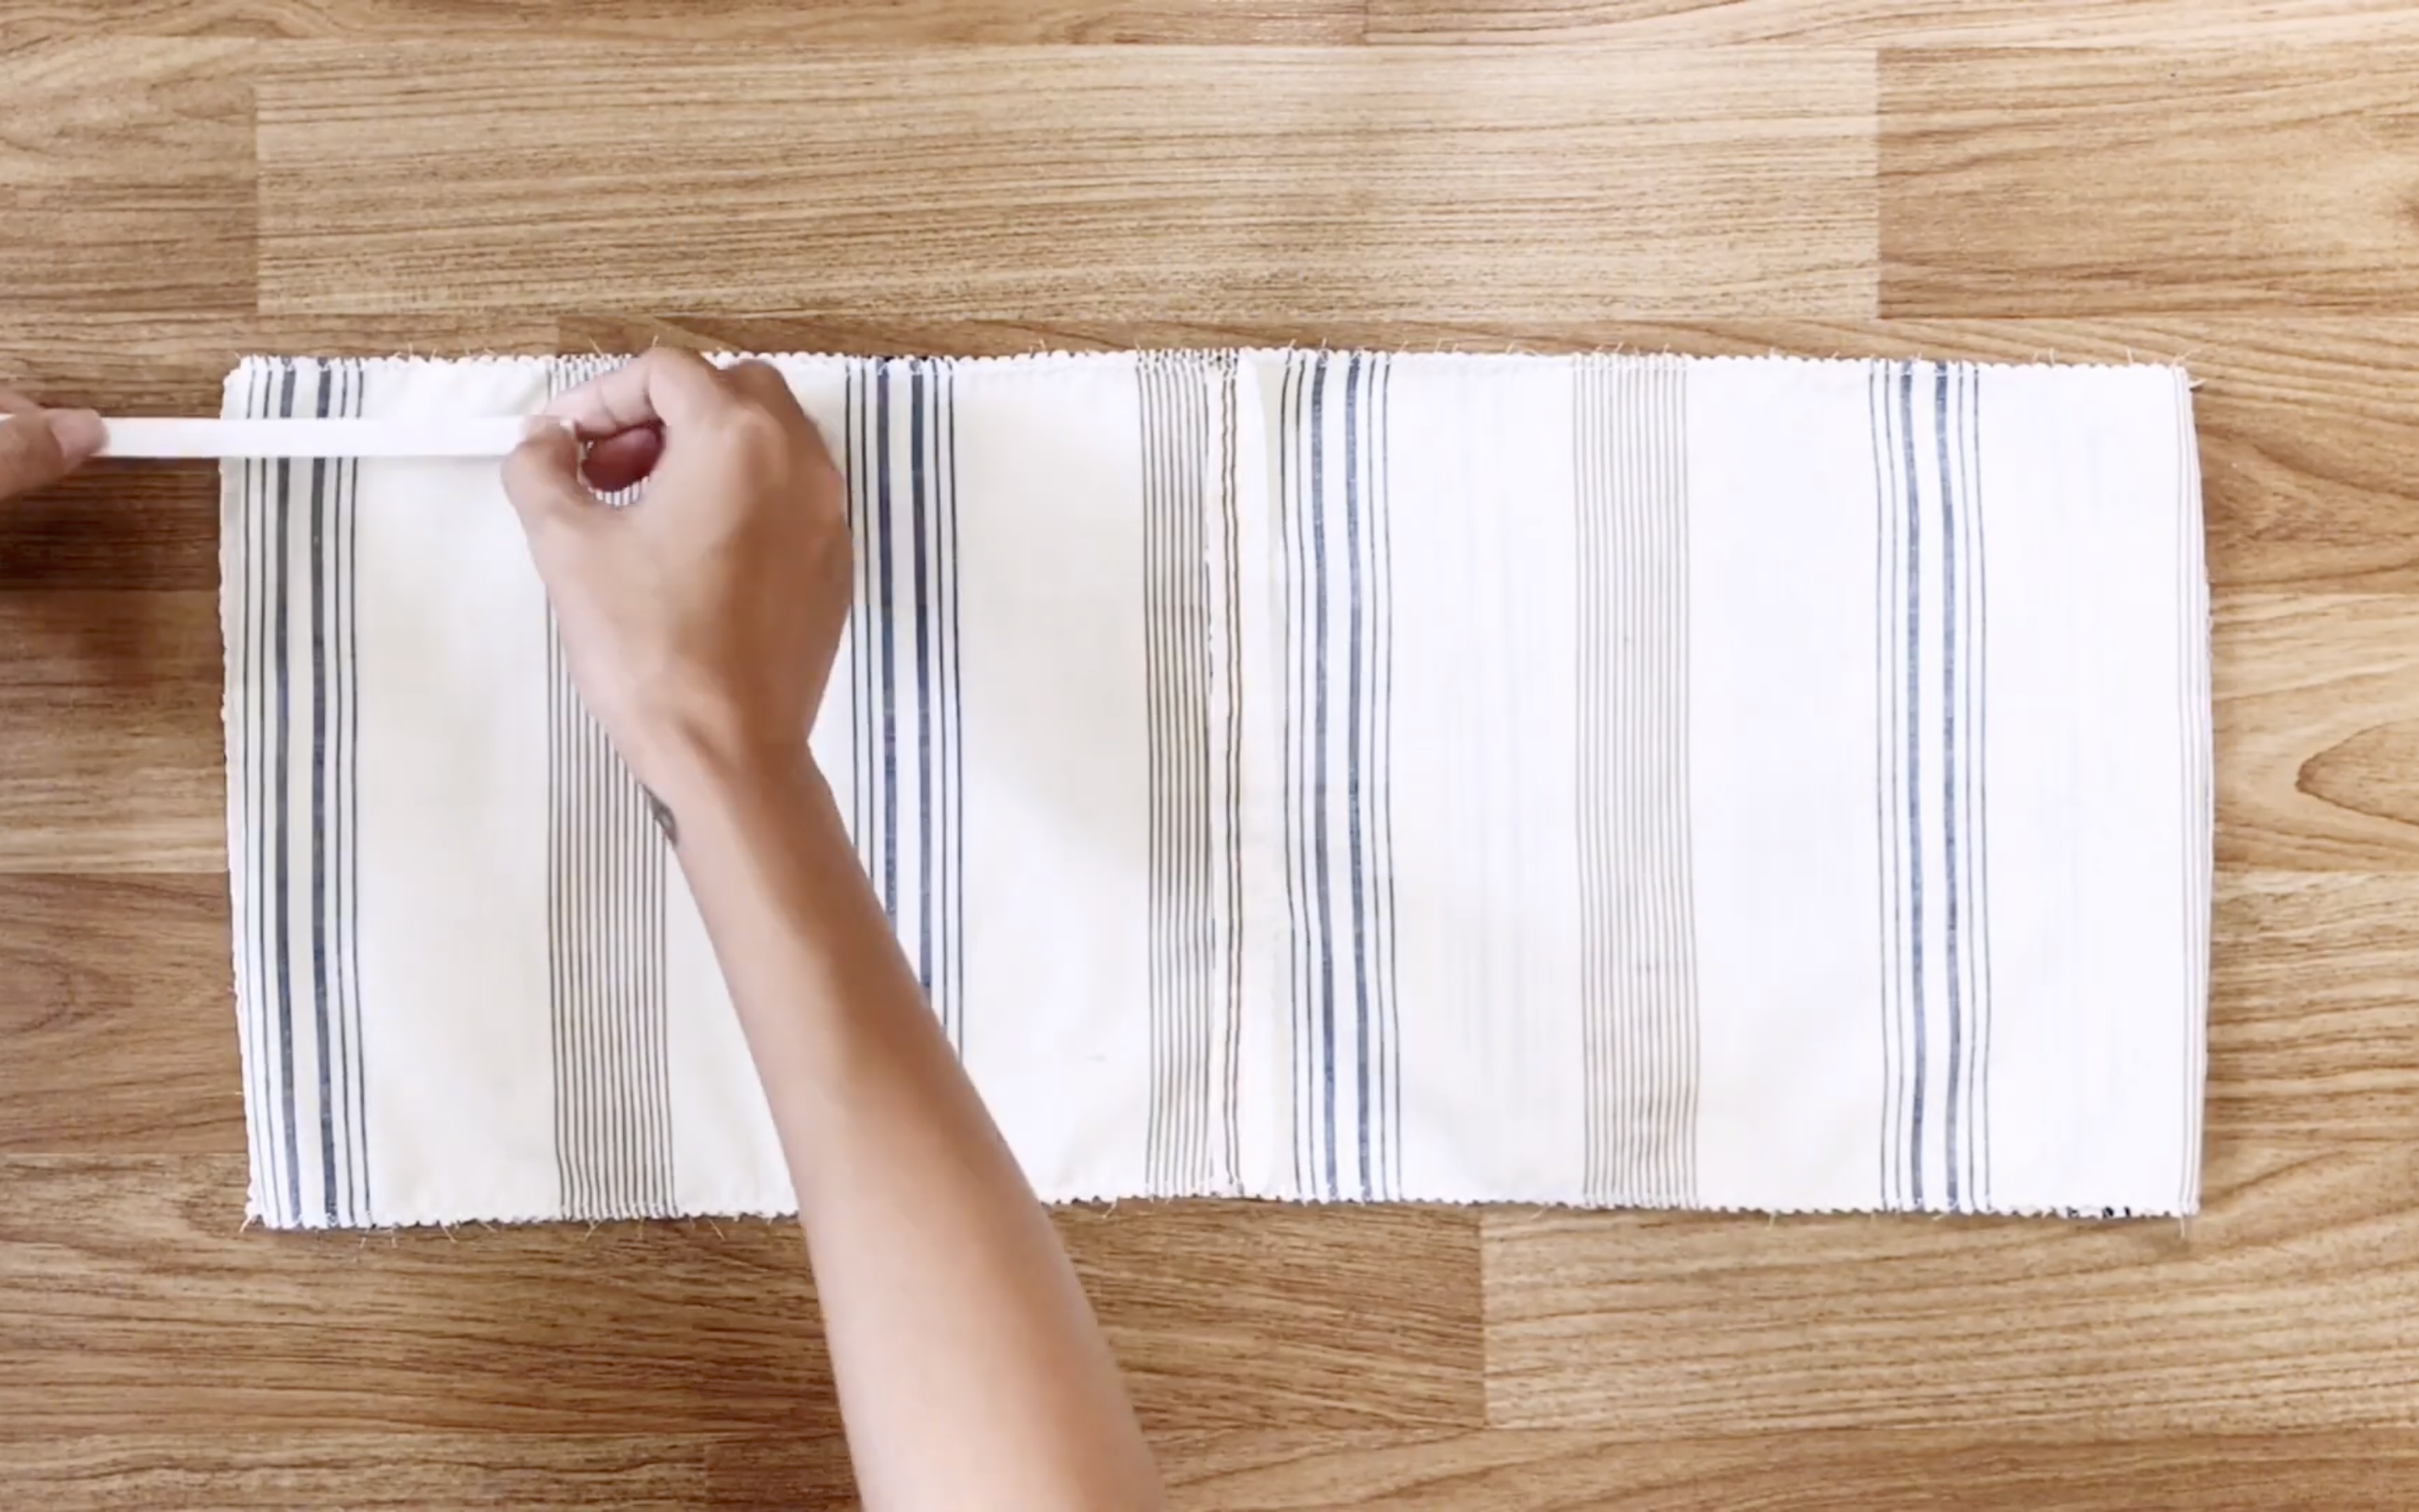
Measure the width of the fabric to fold in first.
Then, use pins to hold the folding.
Do the same folding for the top and the bottom.
Then, sew along the folded line.
Do the same as the waistband of the pants, keep the small un-sewn space to put the elastic band inside.
Then, close it after that.
A small tip here is to keep the length of the elastic band for the top a little longer than the bottom. Because the upper bust is normally bigger than the under bust.

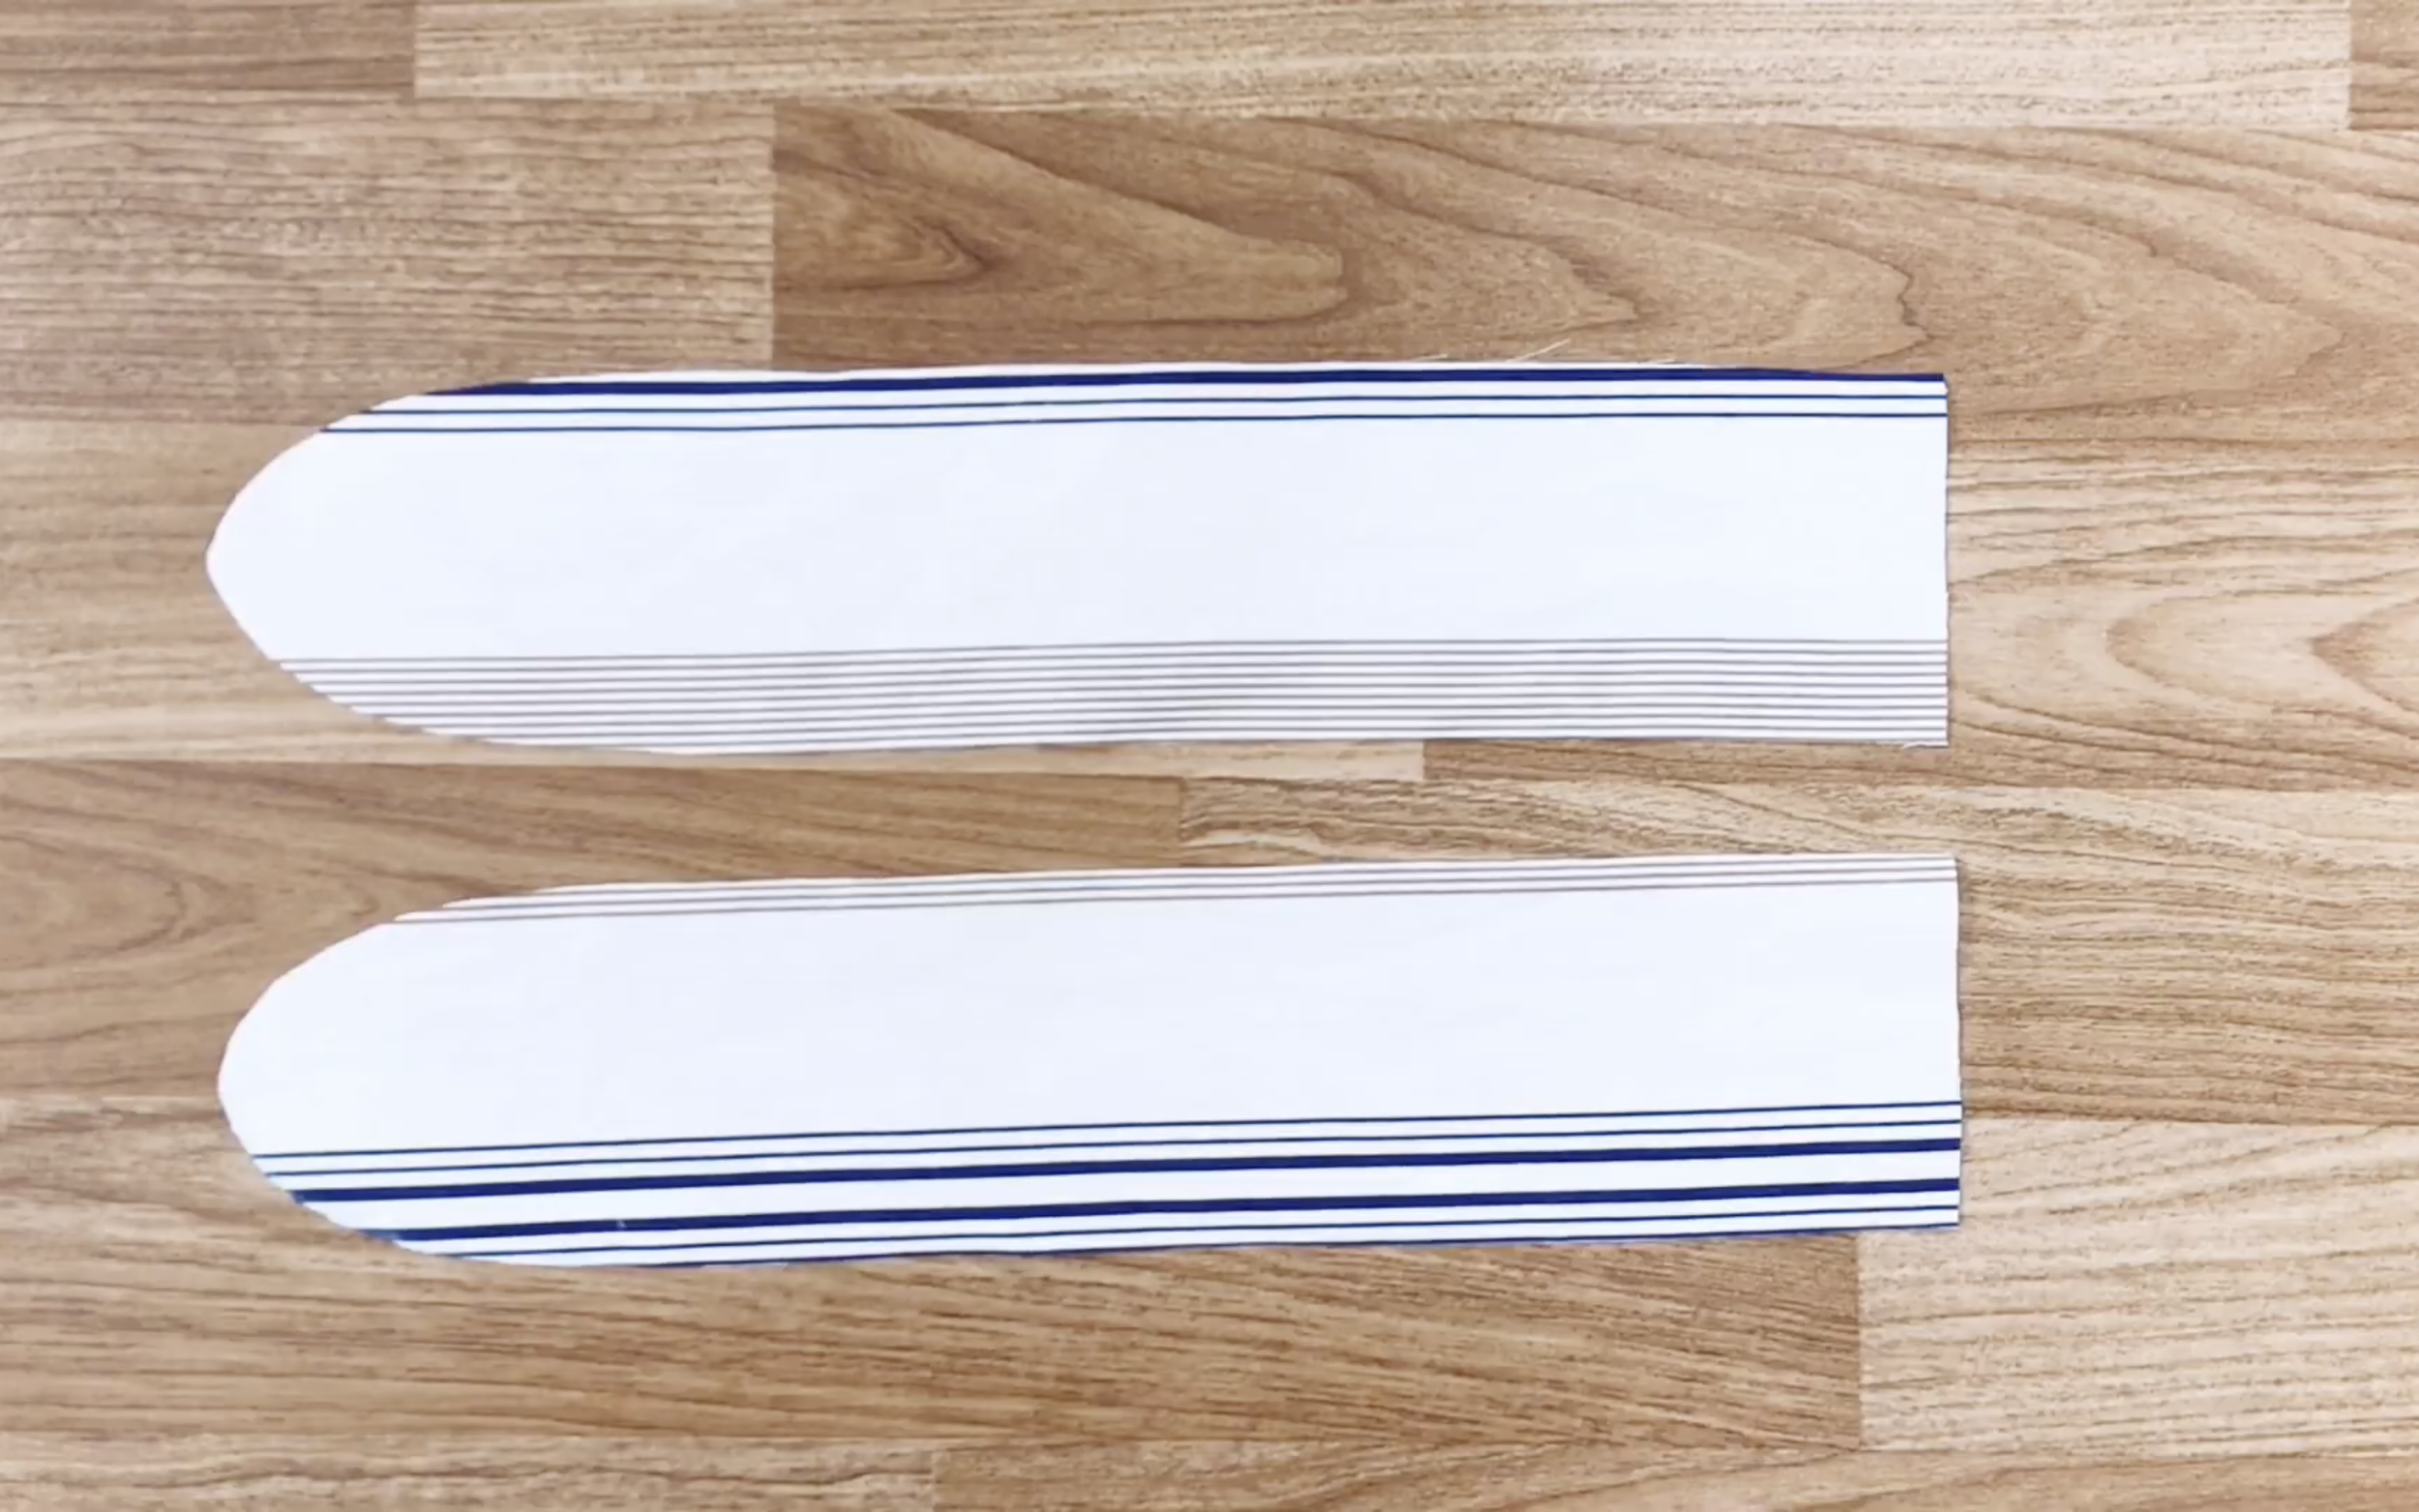
To the hand of the shirt, cut the end of the hand.
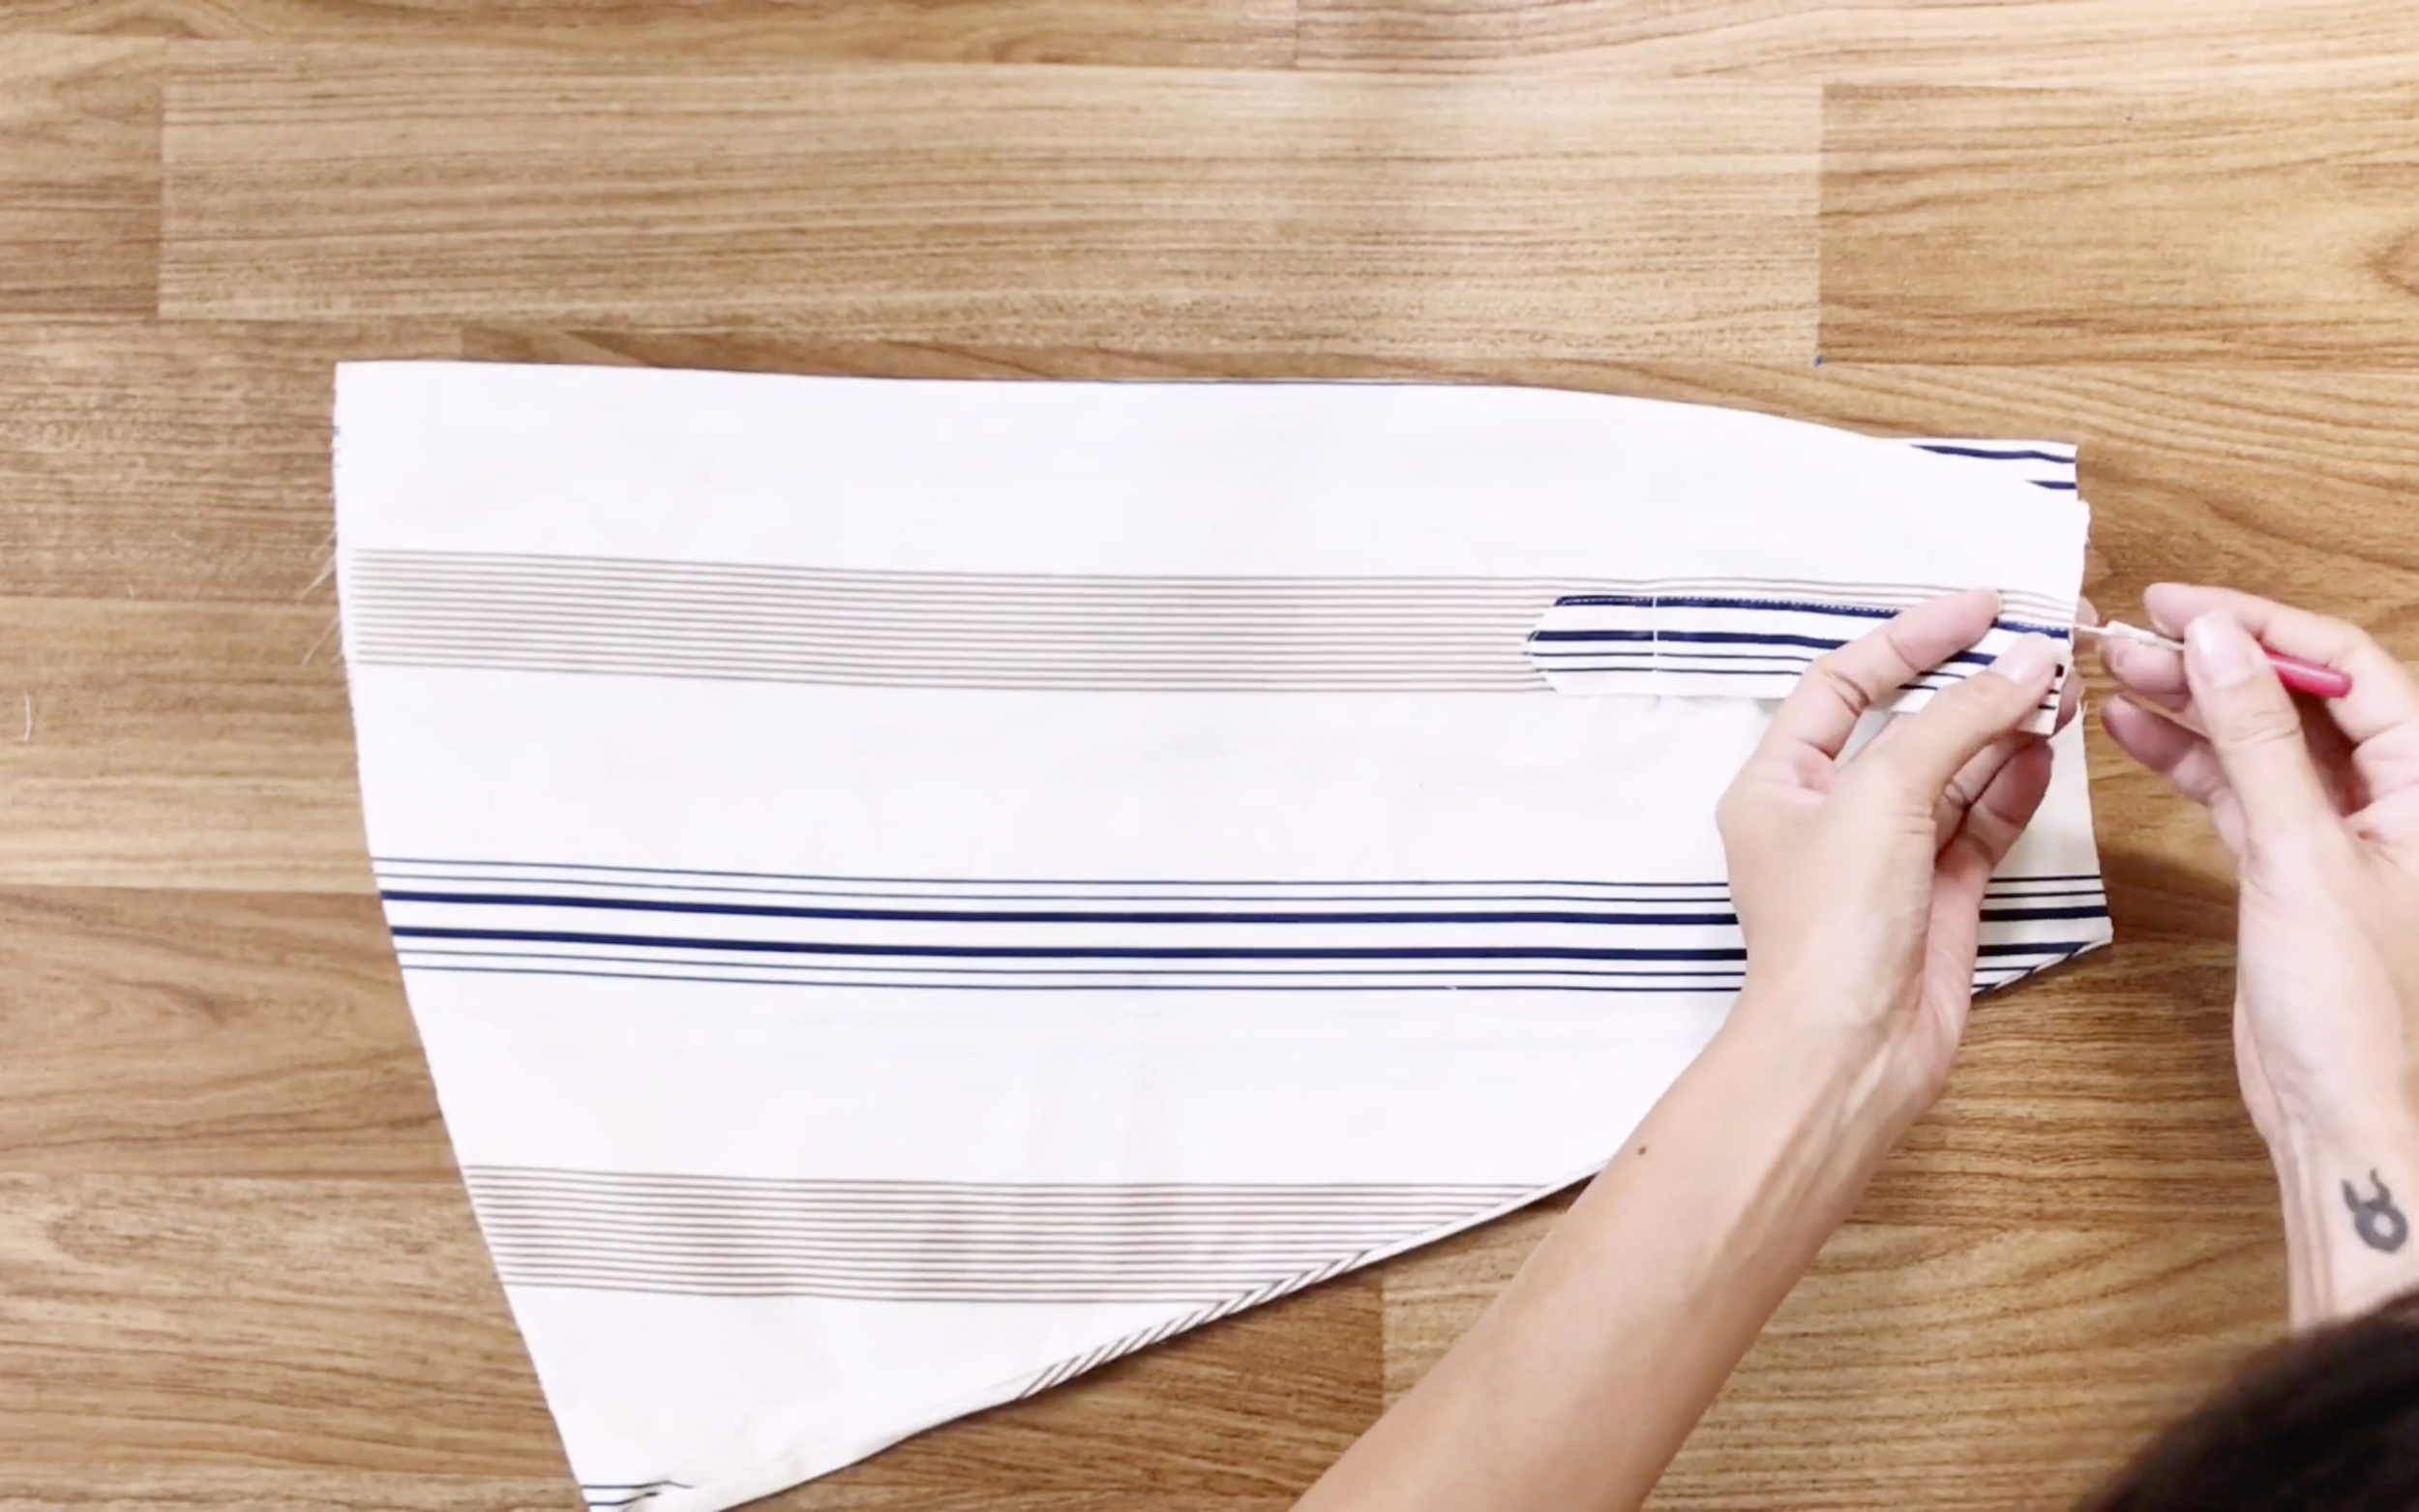
Then, un-sew the connected part of the hand.
After that, sew that open space together.
Then, overlock the fabric to protect the cutting.
Do the same as what was done before, use the same small elastic band and measure the width of fabric to fold in.
Use pins to hold the folding and sew along the pinned line.
Then, put the elastic band inside after that.
Do the same for two sides of the hand.
The tip here is to measure the length of the elastic bands to fit to the arm and the wrist before putting it inside.
After finishing two hands, connect them to the top that was just made before at two sides by making a small seam.
The last step is making the tie for the top.
Use the leftover fabric of the shirt with 50cm width and 8cm length.
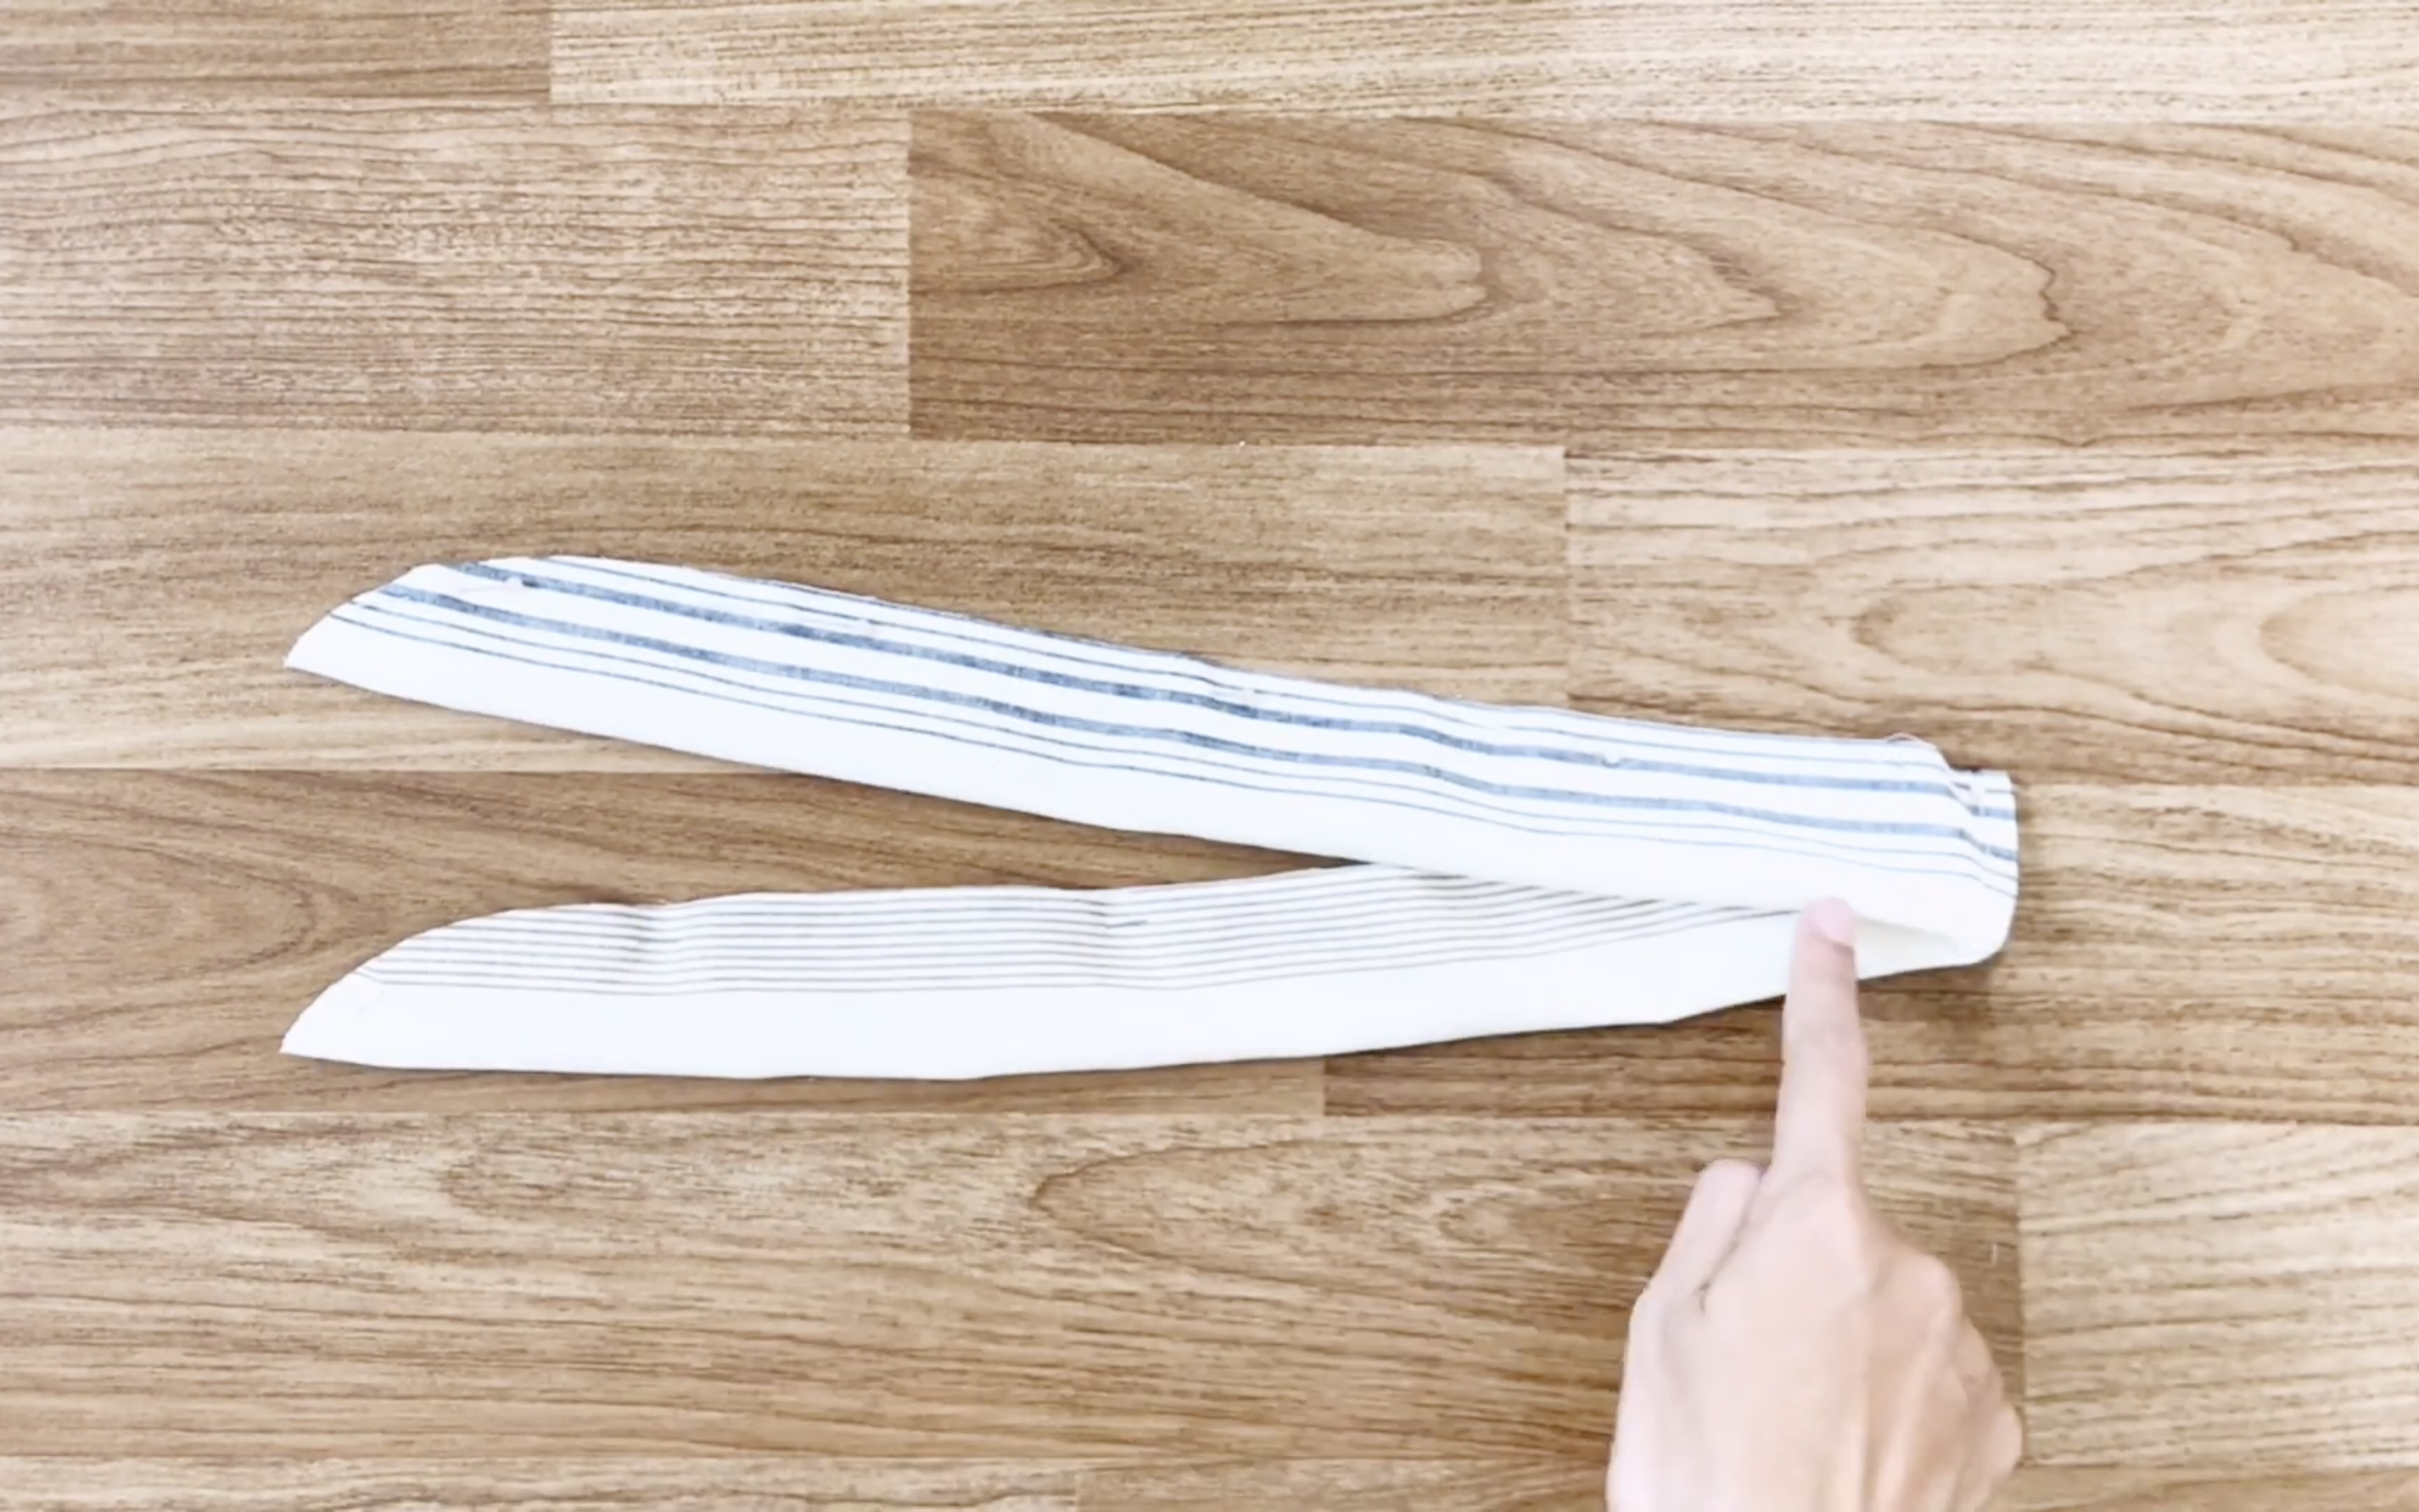
Fold the fabric in half and sew along the folded line.

But keep a small un-sewn space in the middle.
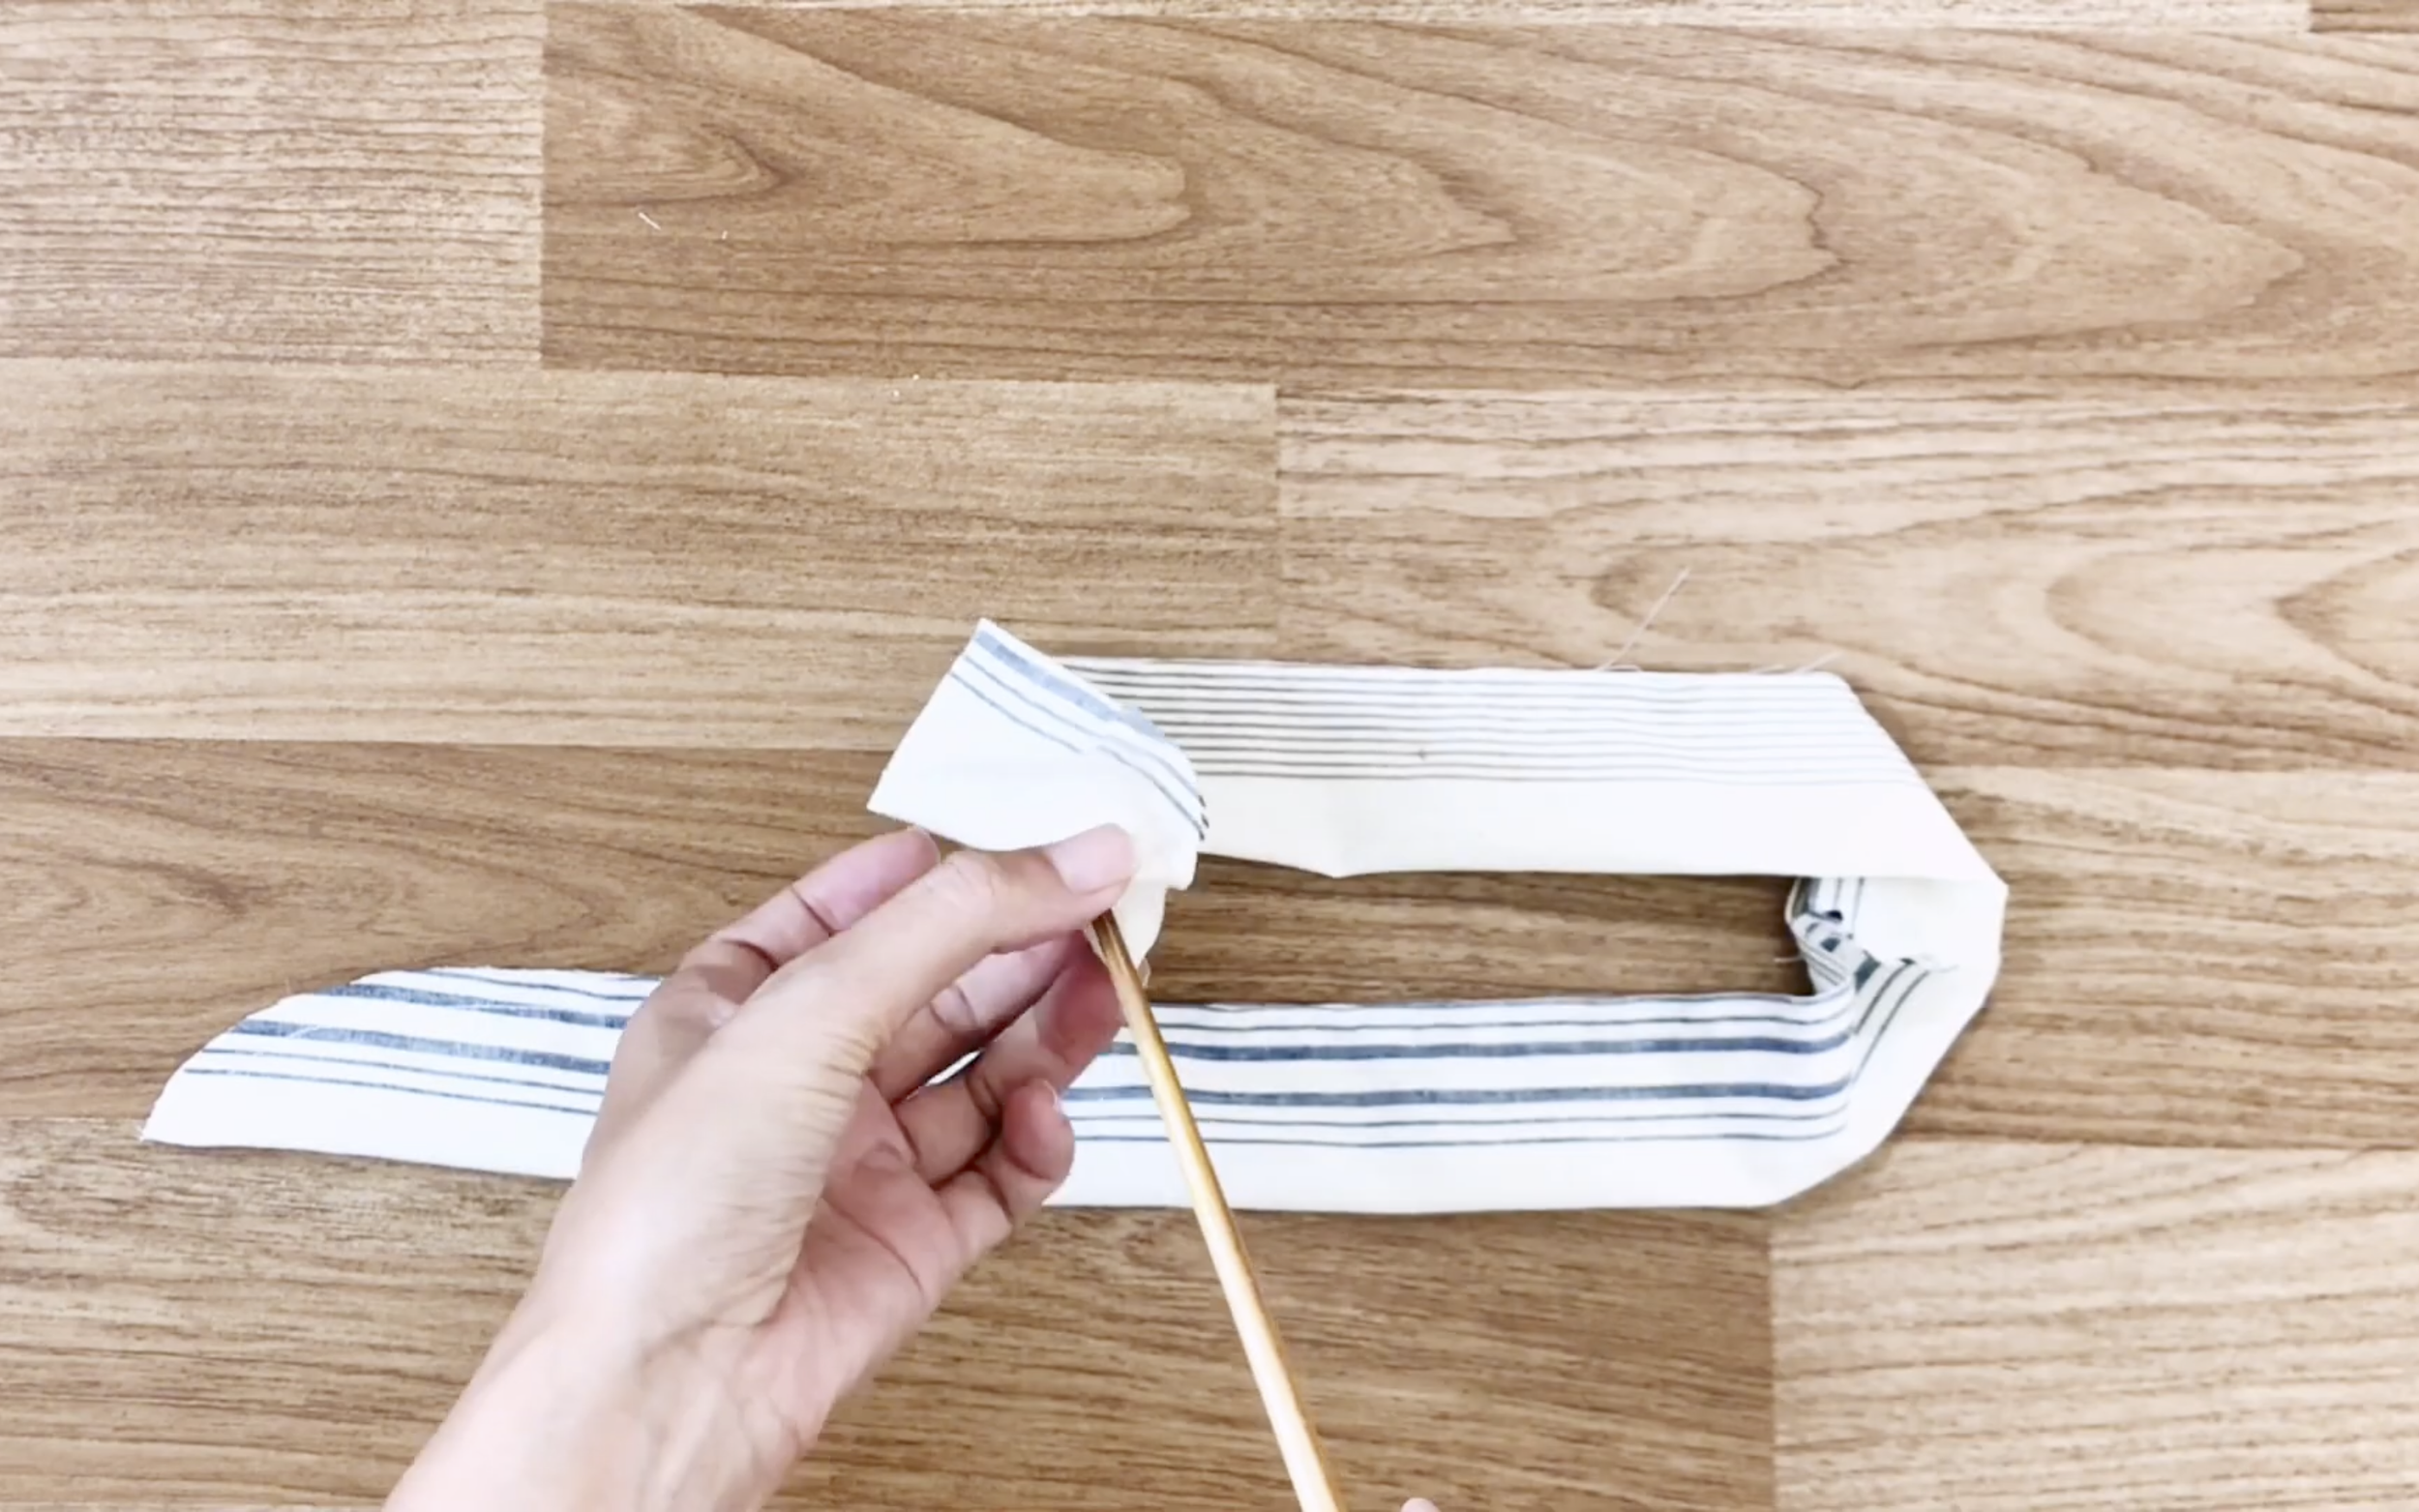
Then, use a long stick to turn the tie right side out.
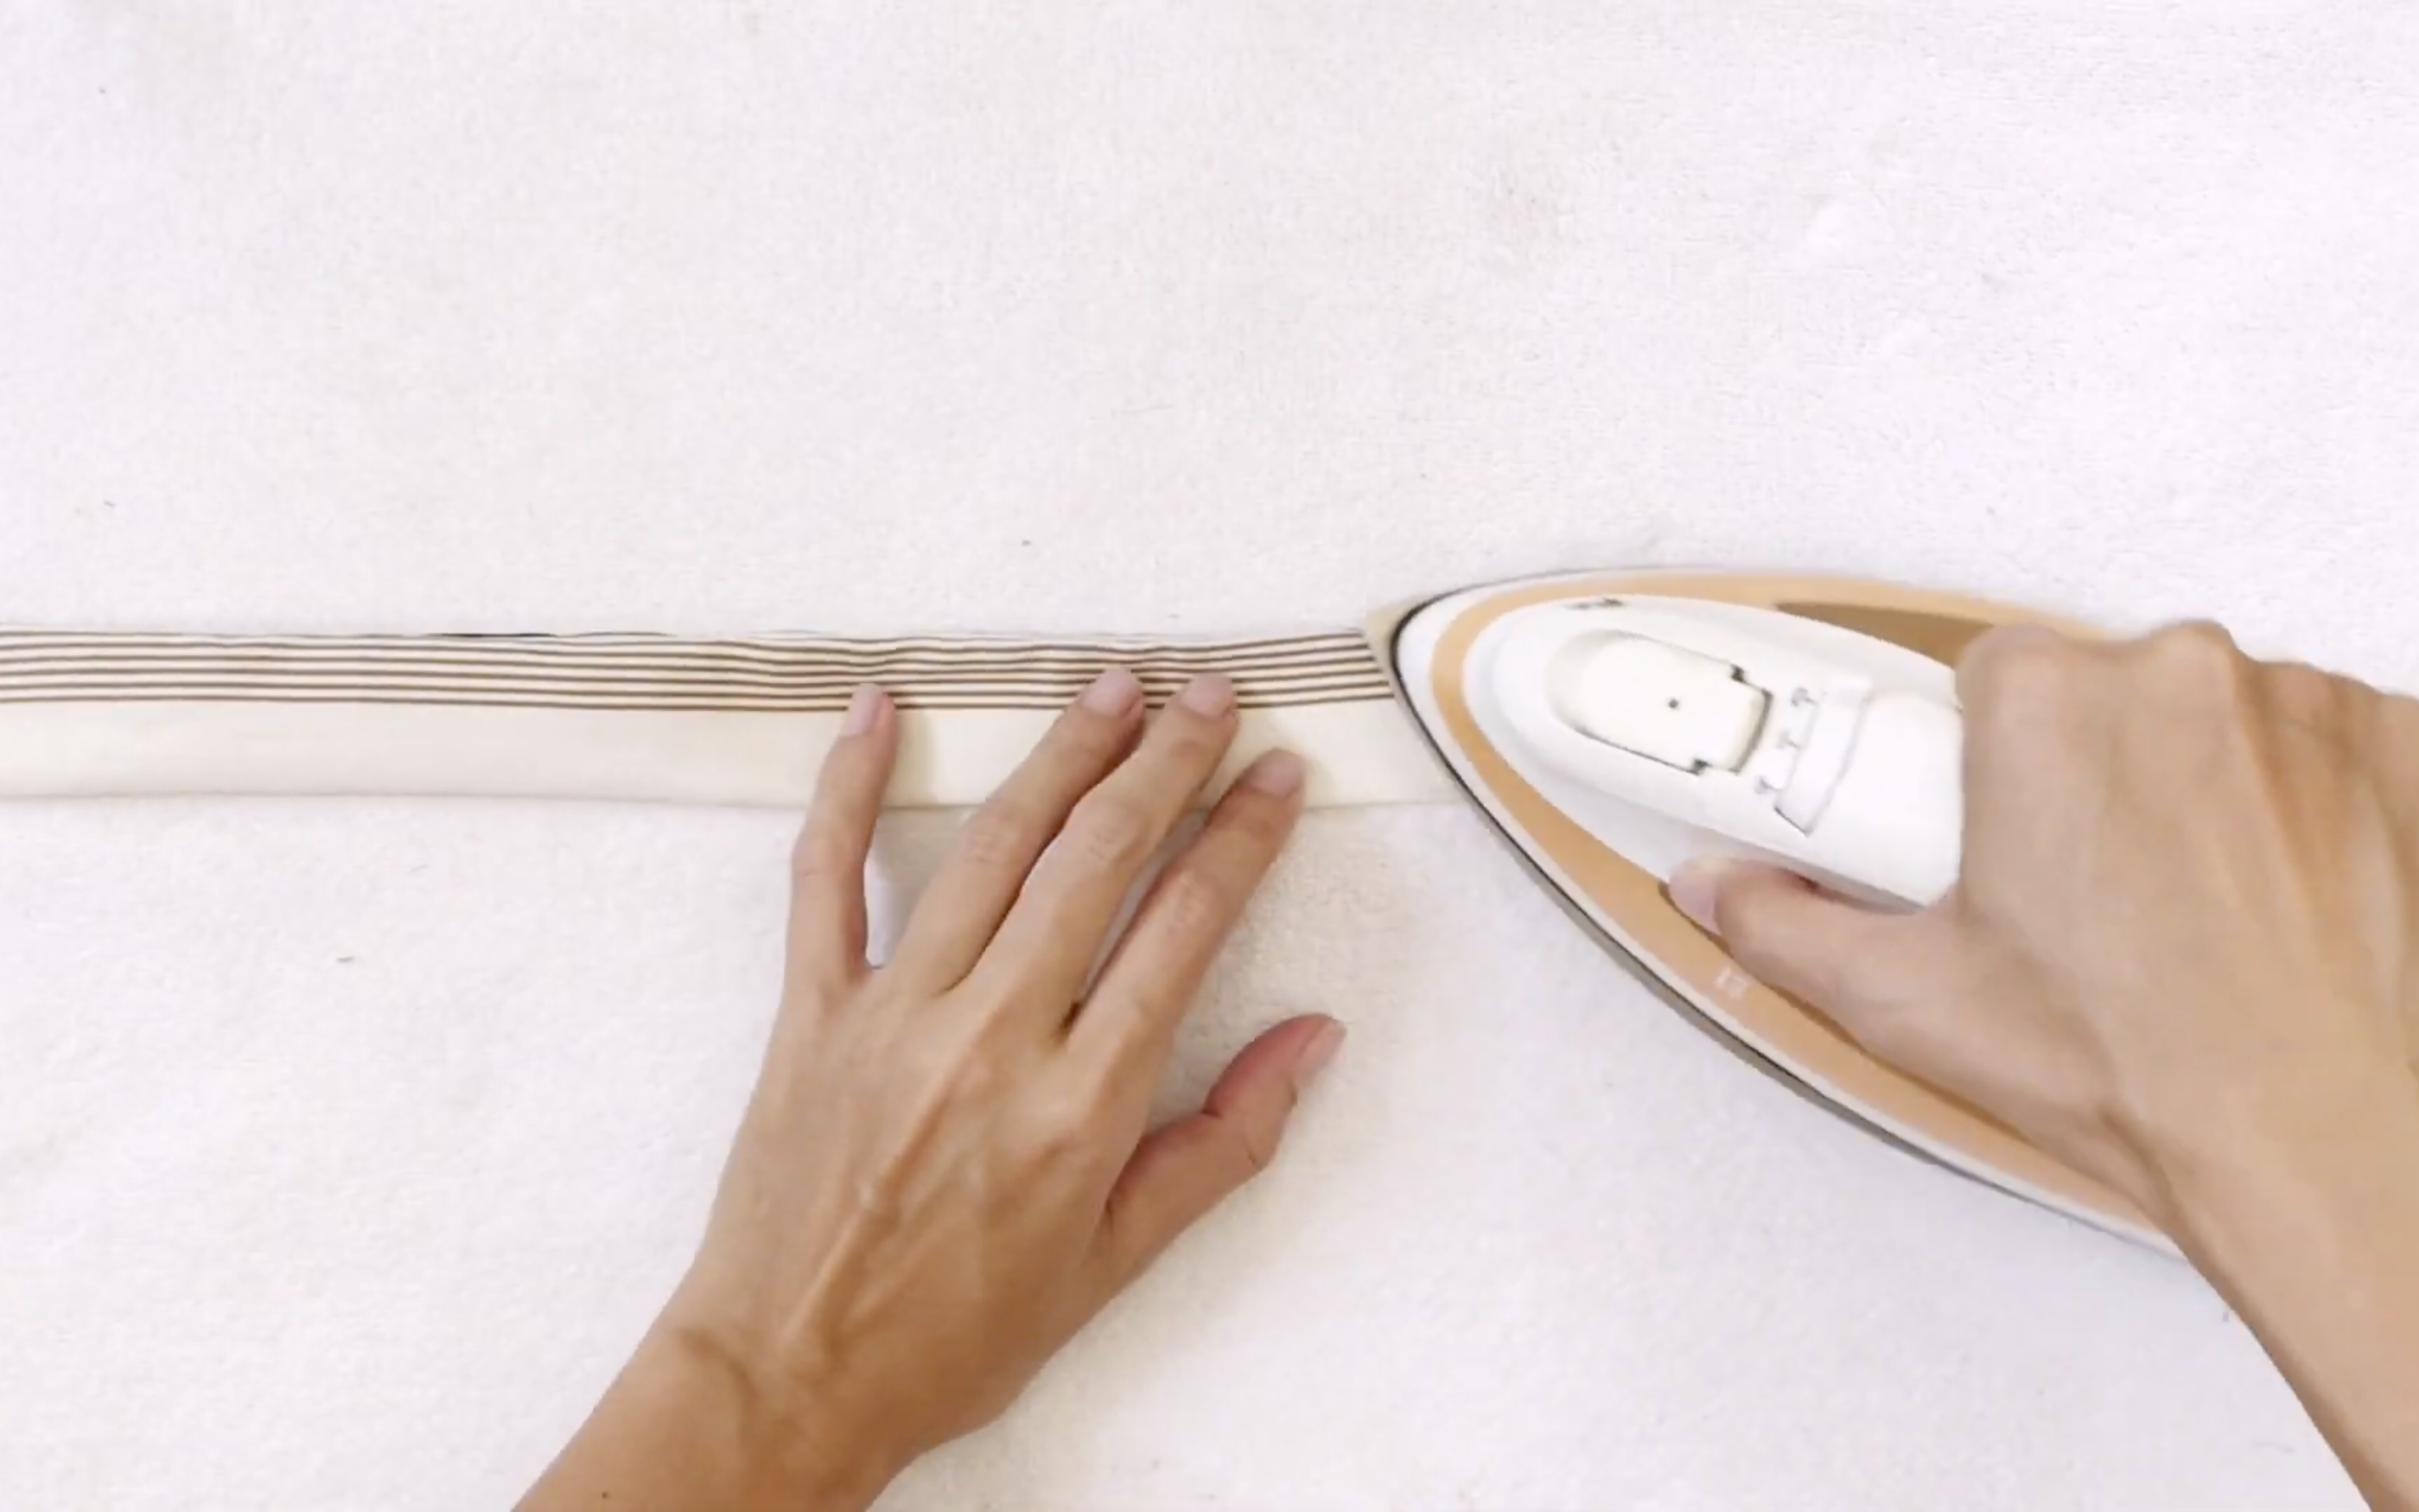
And, use the iron to keep it straight.

DIY Refashion Men's shirt into 2 piece summer set
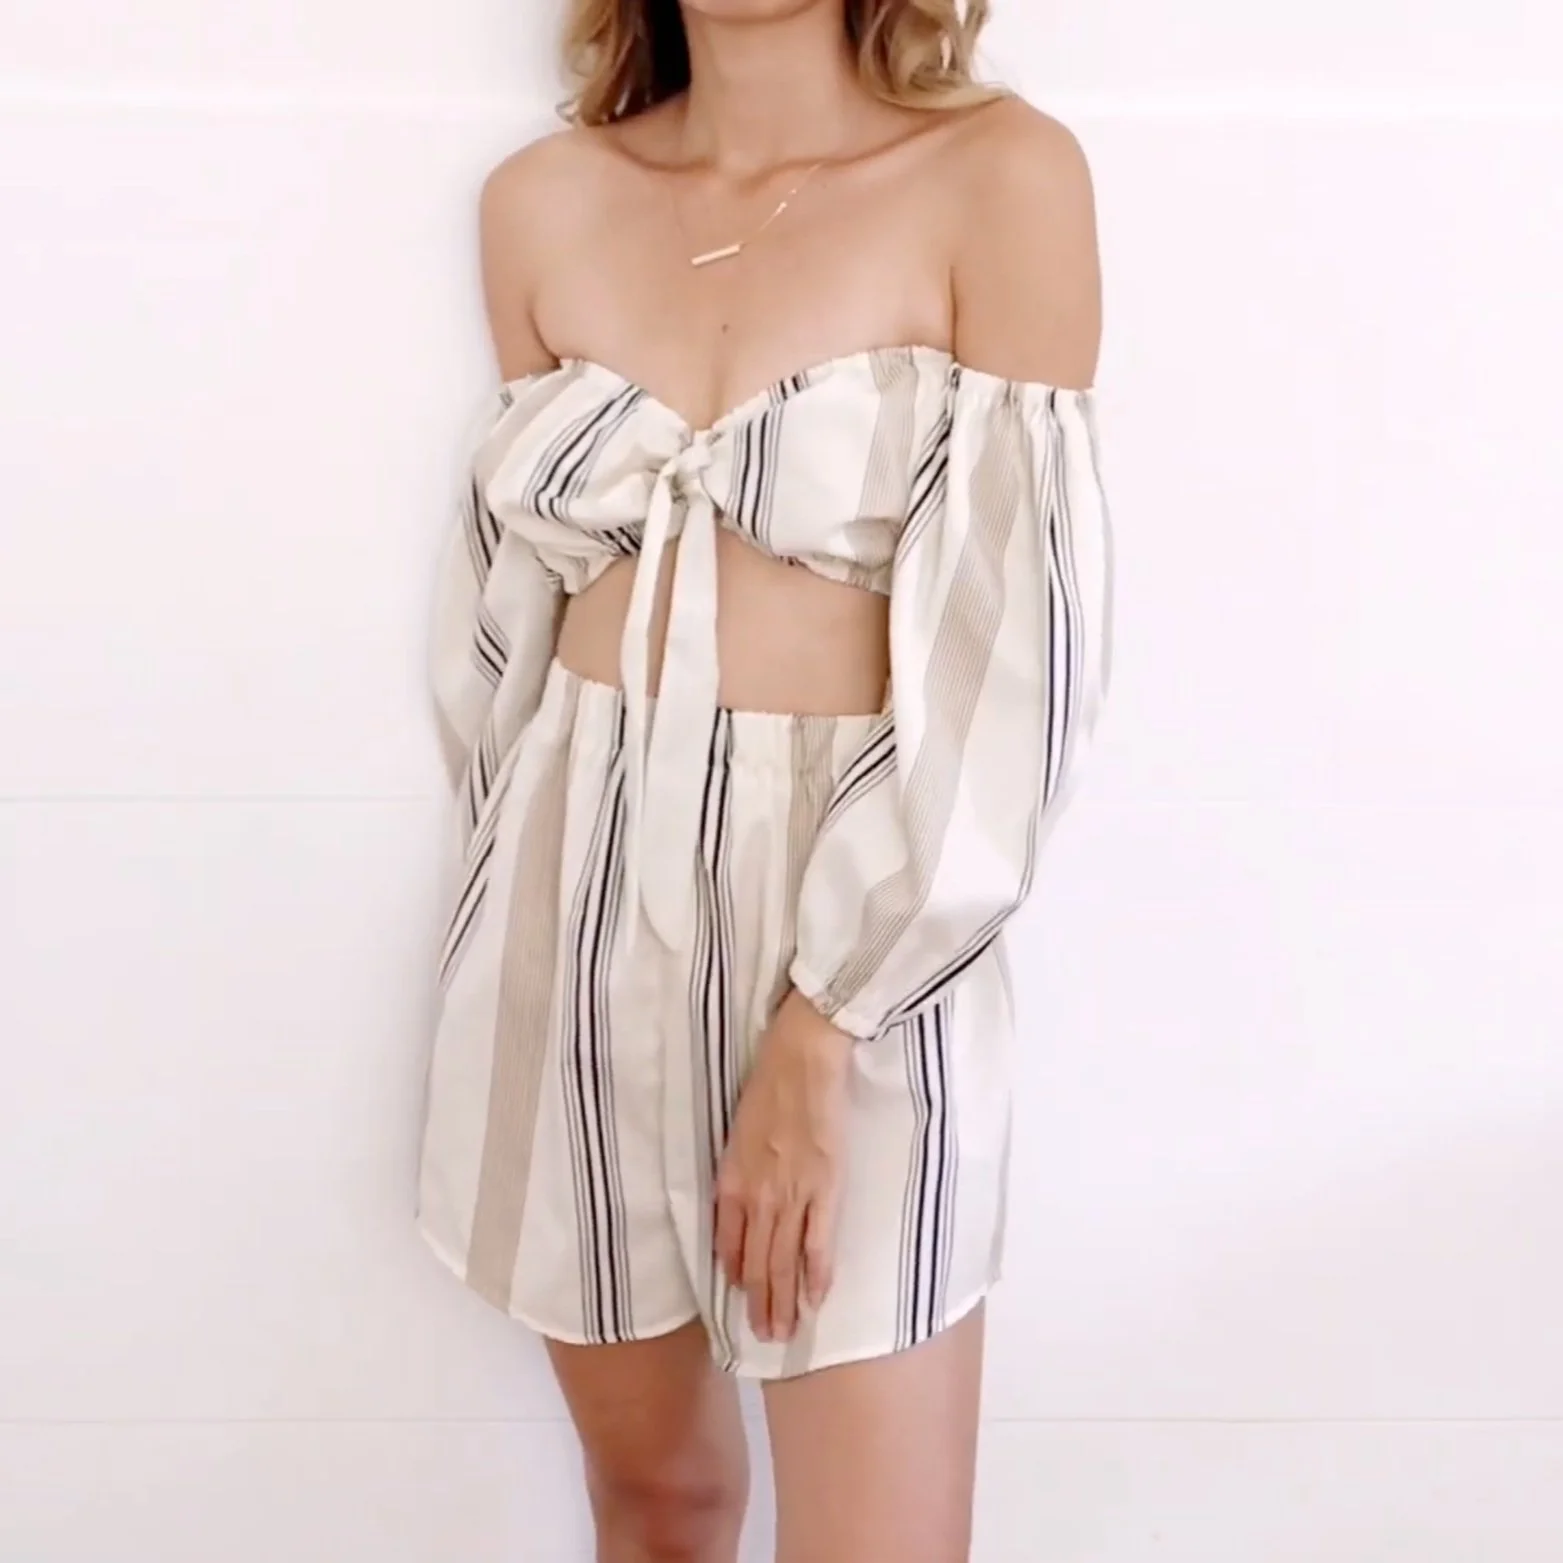
And I've finished this DIY project. Here's my final transformation!
This is a super cute but sexy summer set. You can wear the top in two ways: with or without the tie, and both look great!
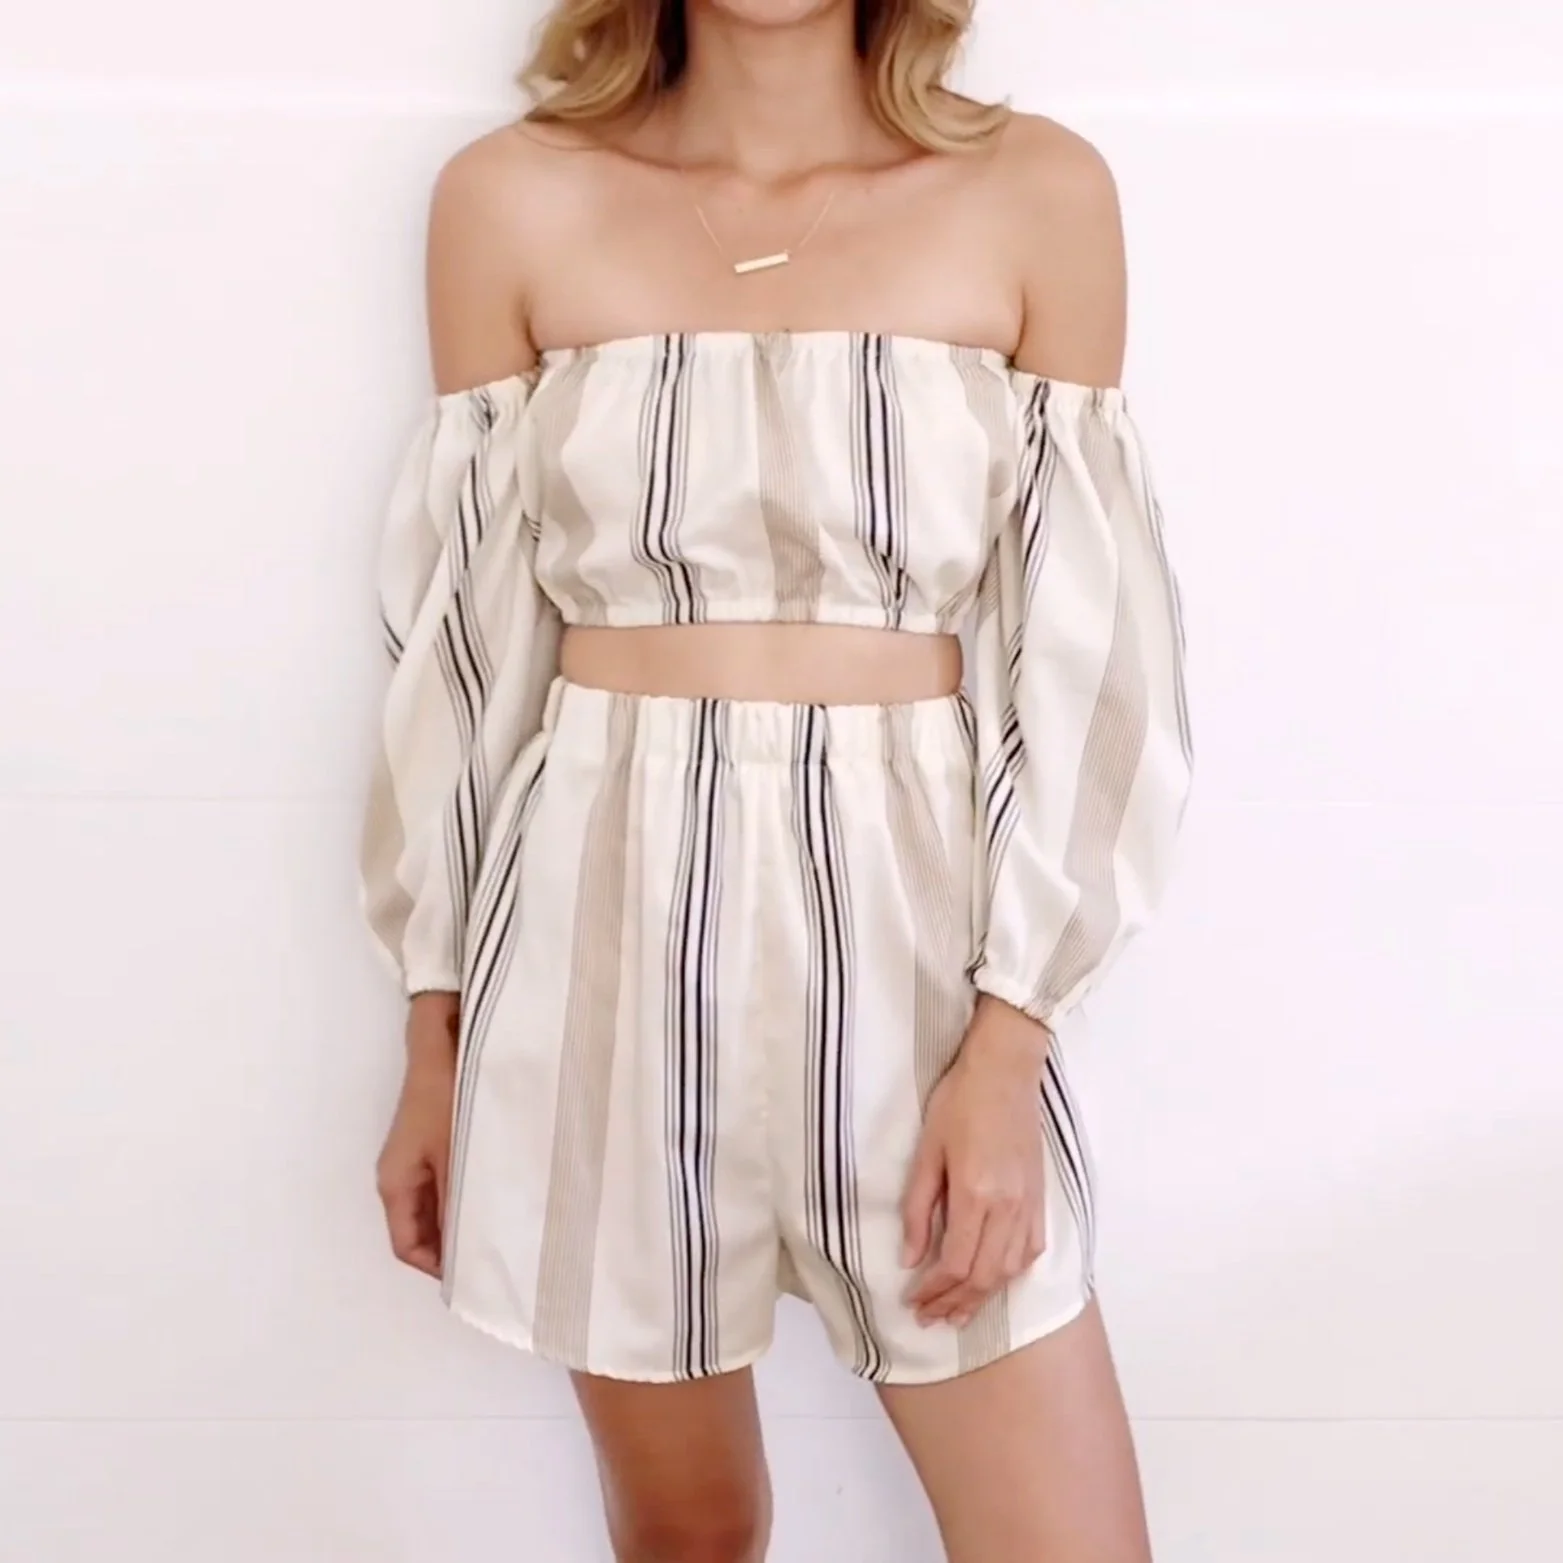
And it won't be too difficult to make. So I hope you will give it a try.
If you liked this project, please share it and subscribe to my channel so you won’t miss any of my upcoming DIYs.
Until next week, happy sewing!