DIY RUFFLE COLLAR BLOUSE from Men's shirt - Refashion Men's shirt into a pretty and trendy top

DIY RUFFLE COLLAR BLOUSE from Men's shirt
Welcome and welcome back to my sewing blog!
I'm so excited to show you how to transform a men's shirt into a ruffle collar blouse. Lately, I've been loving vintage and classic styles, as you might have noticed from my recent DIY projects. When I saw this top on my Instagram feed, I knew I had to make it.
So let’s get started!
WHAT YOU’LL NEED
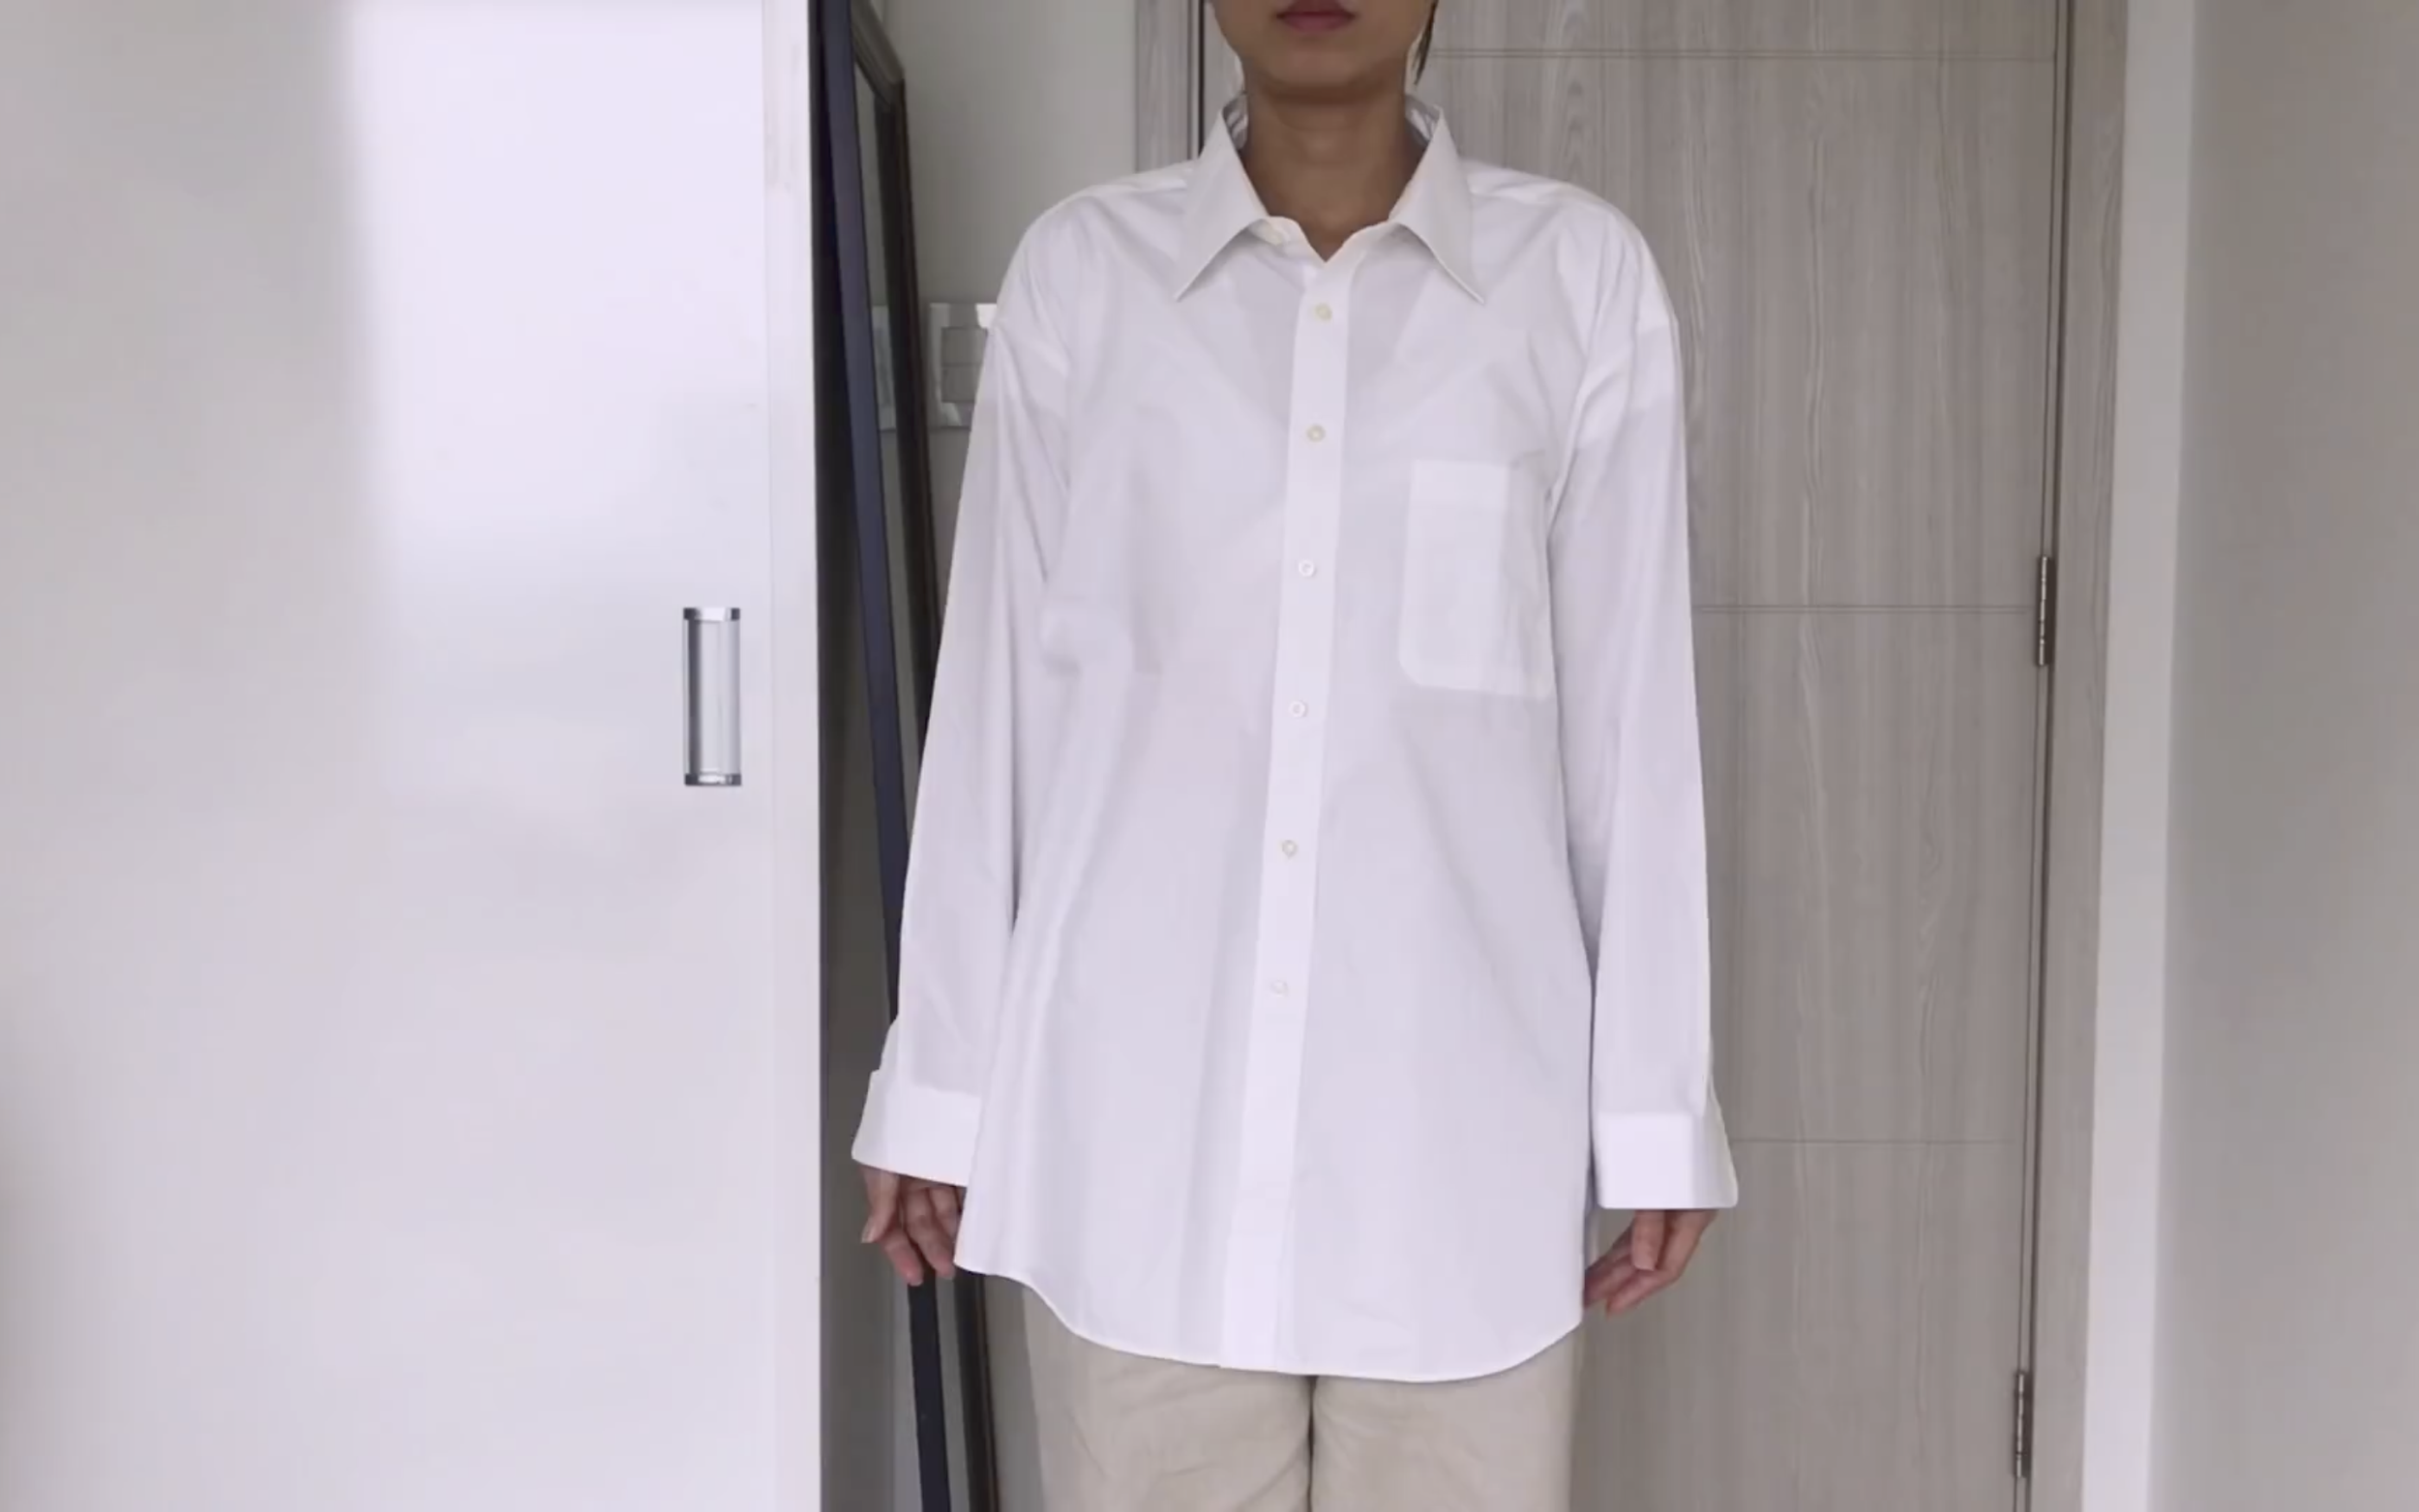
White Men's shirt in XXL size
Sewing machine
Pins
Scissors
Ruler
Chalk
Iron
SEWING THE BLOUSE
THE TOP
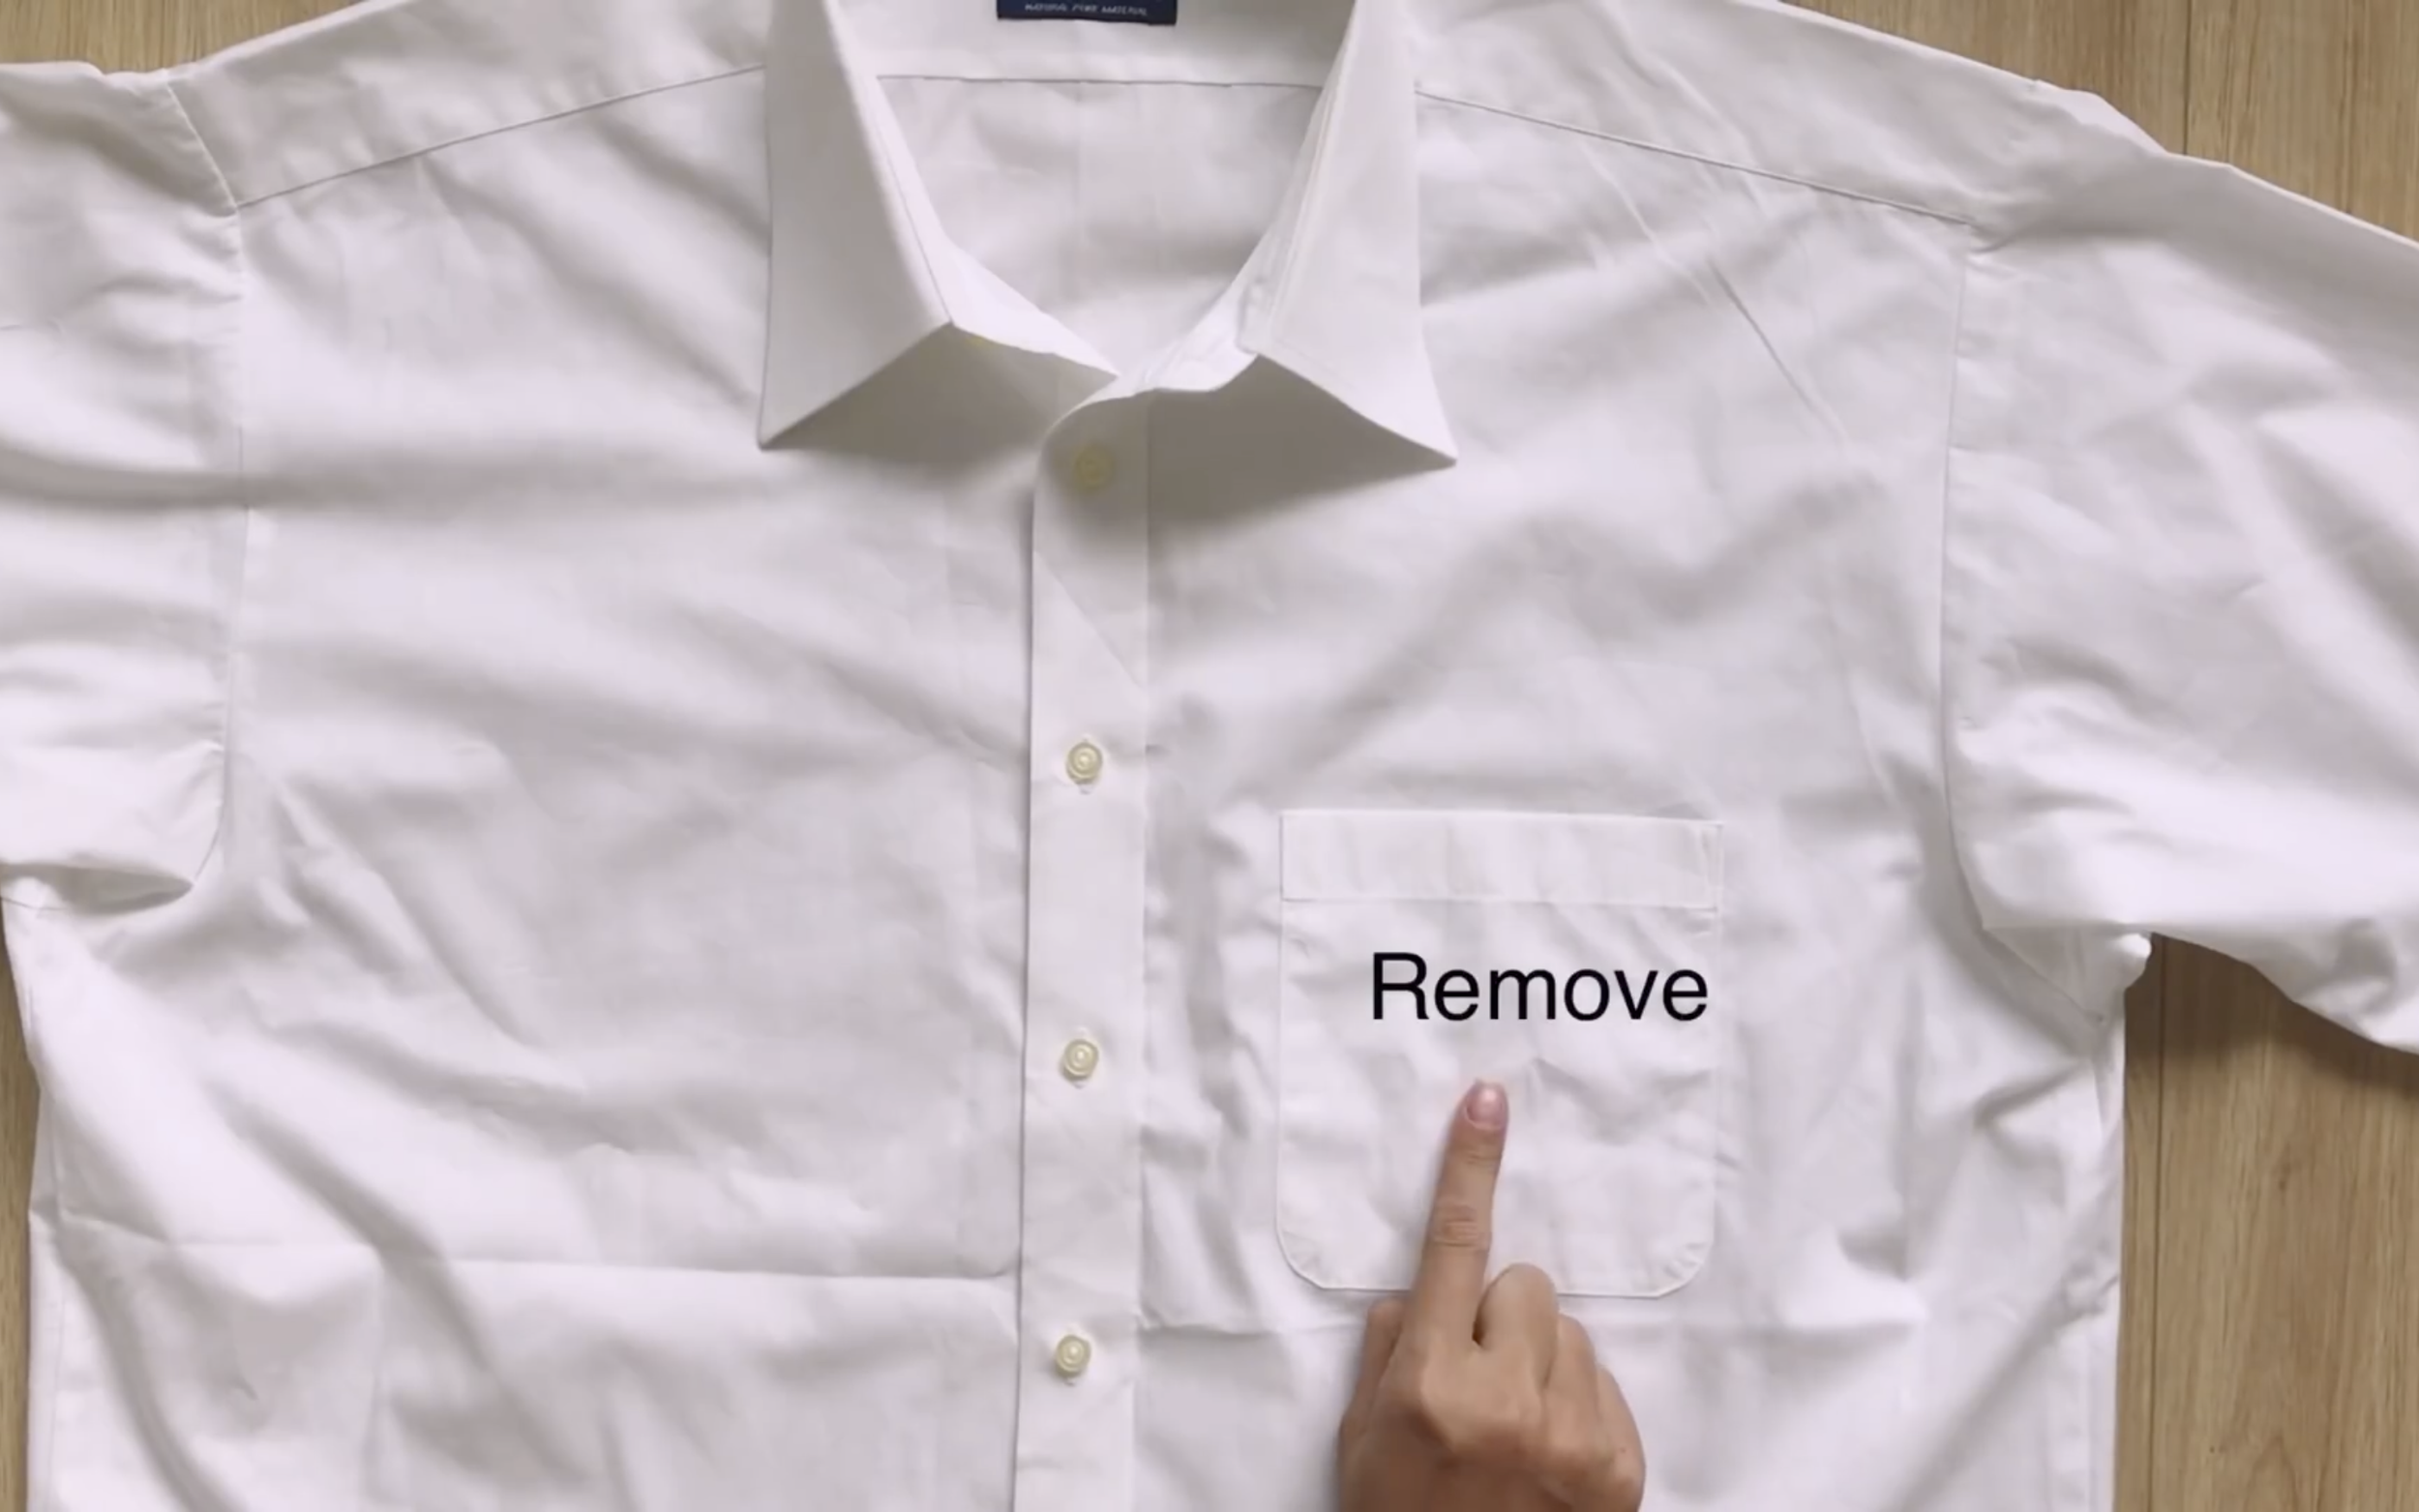
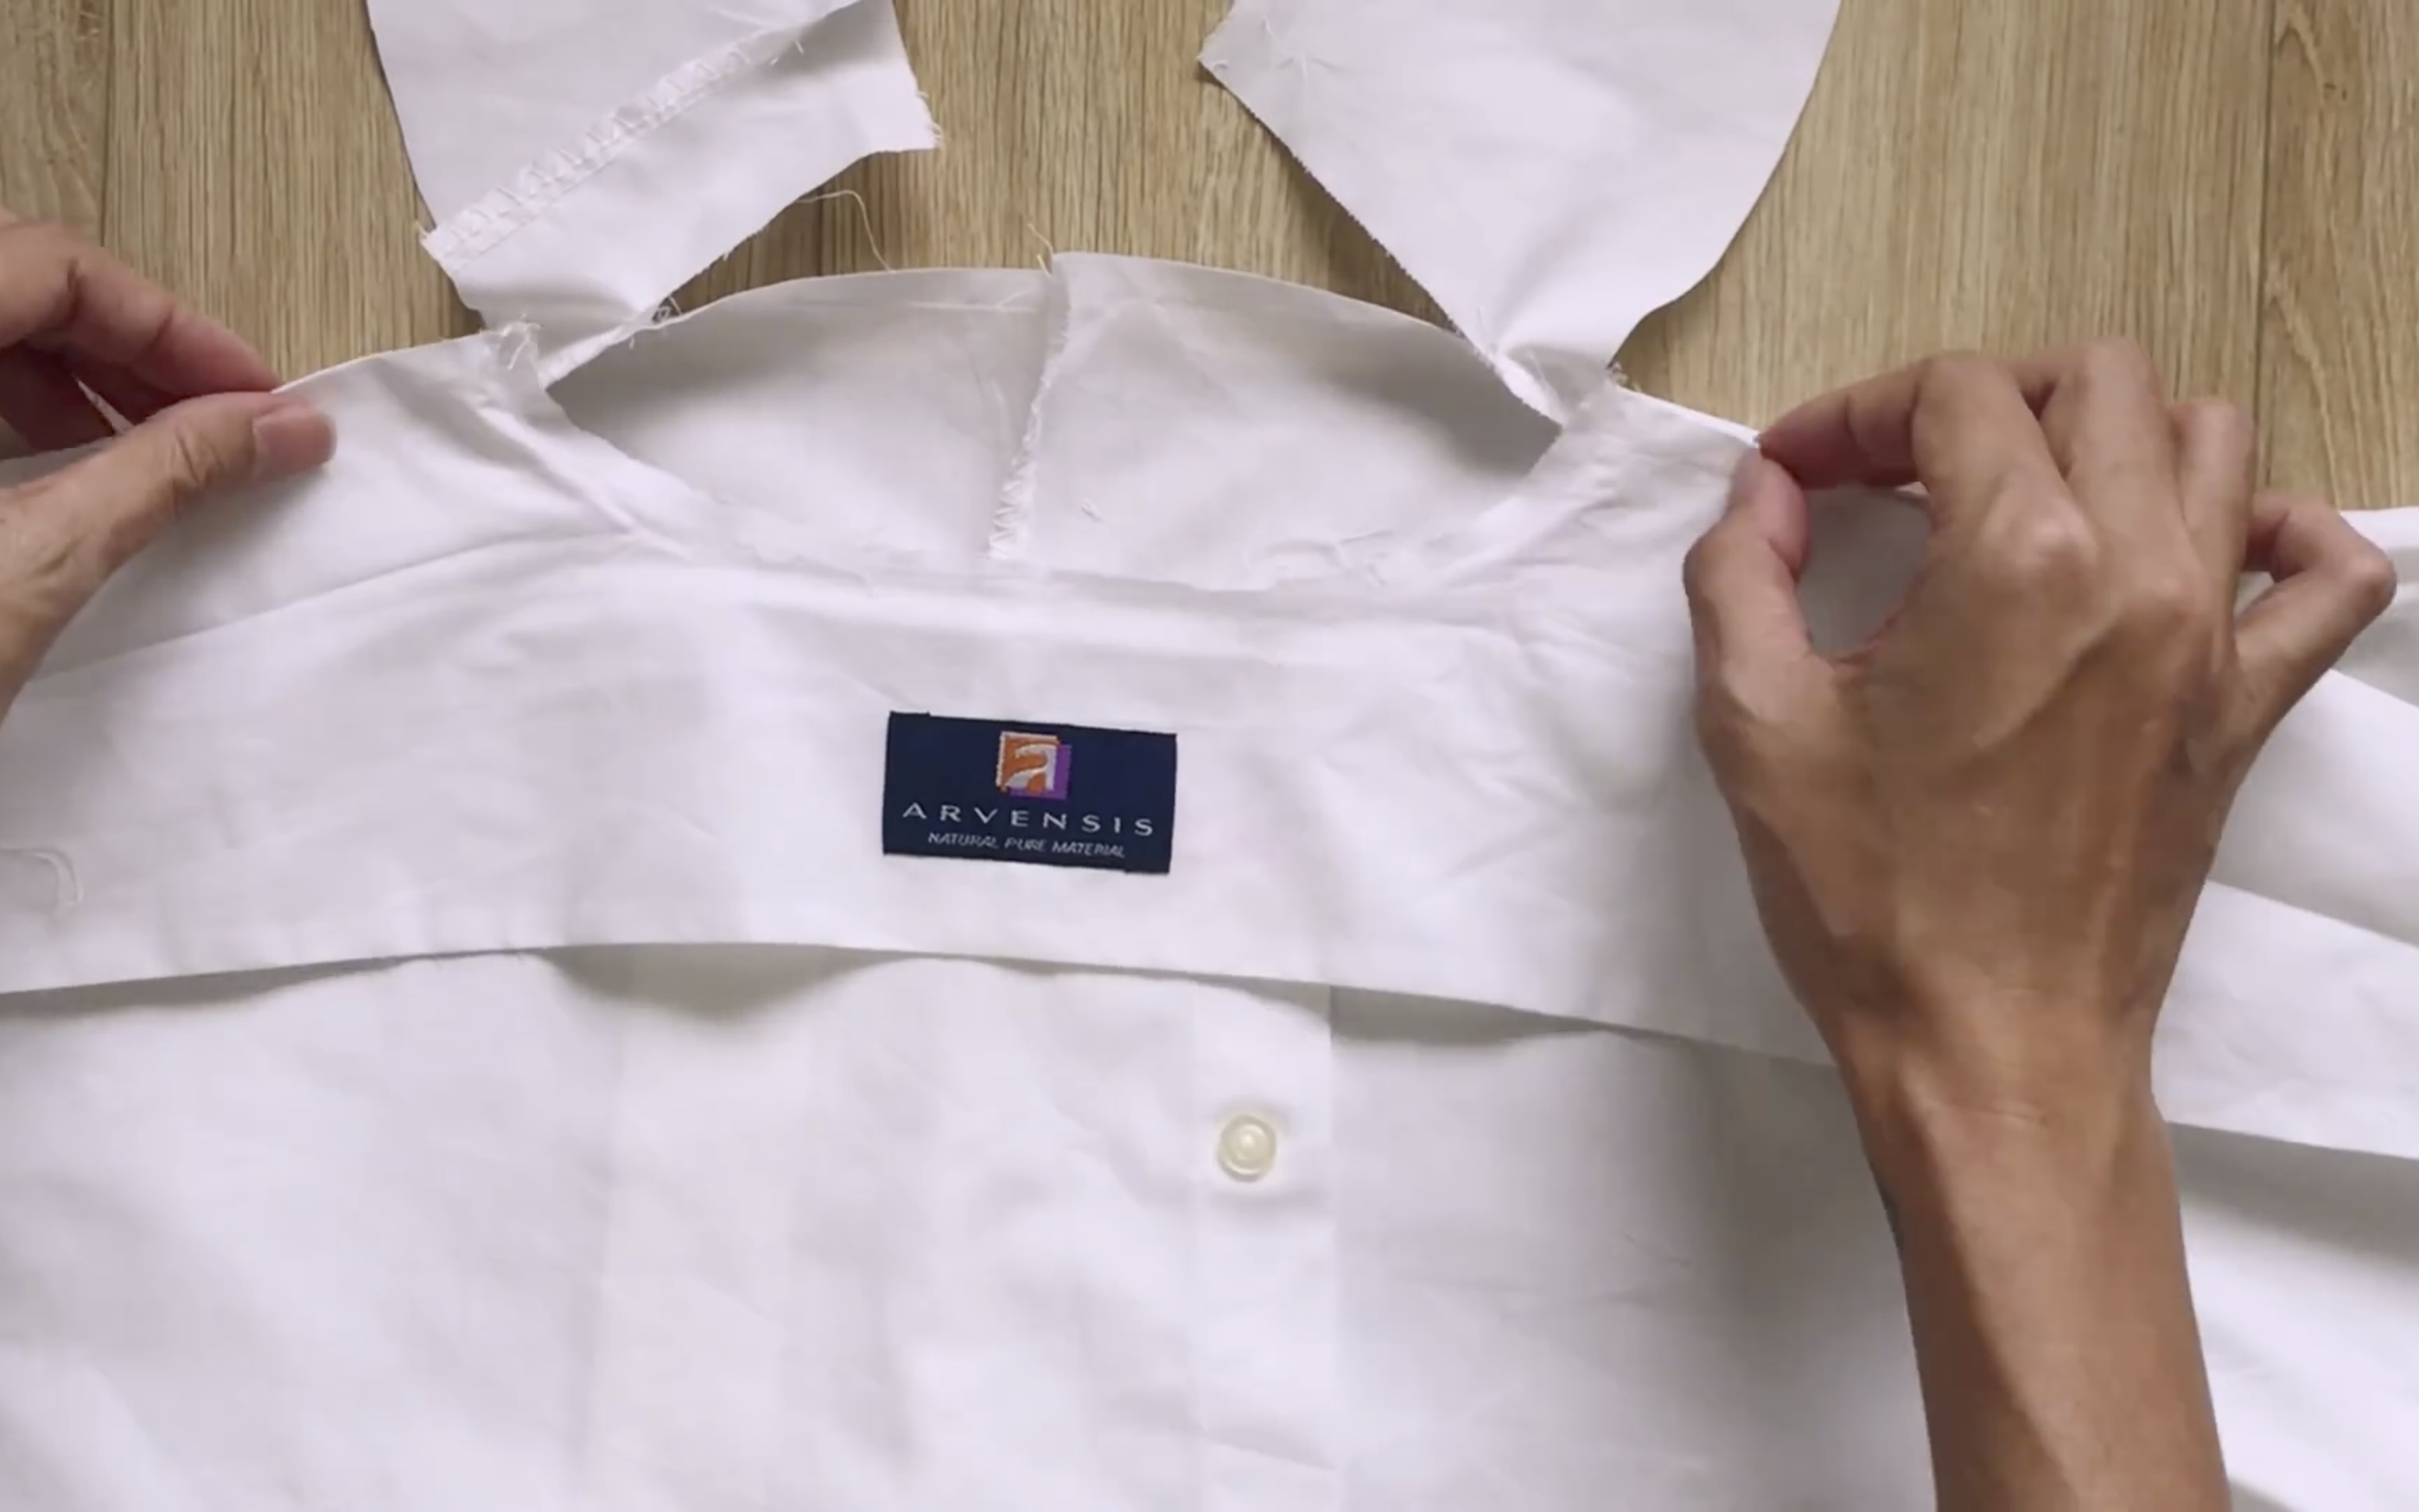
The first step is to remove the front pocket of the shirt.
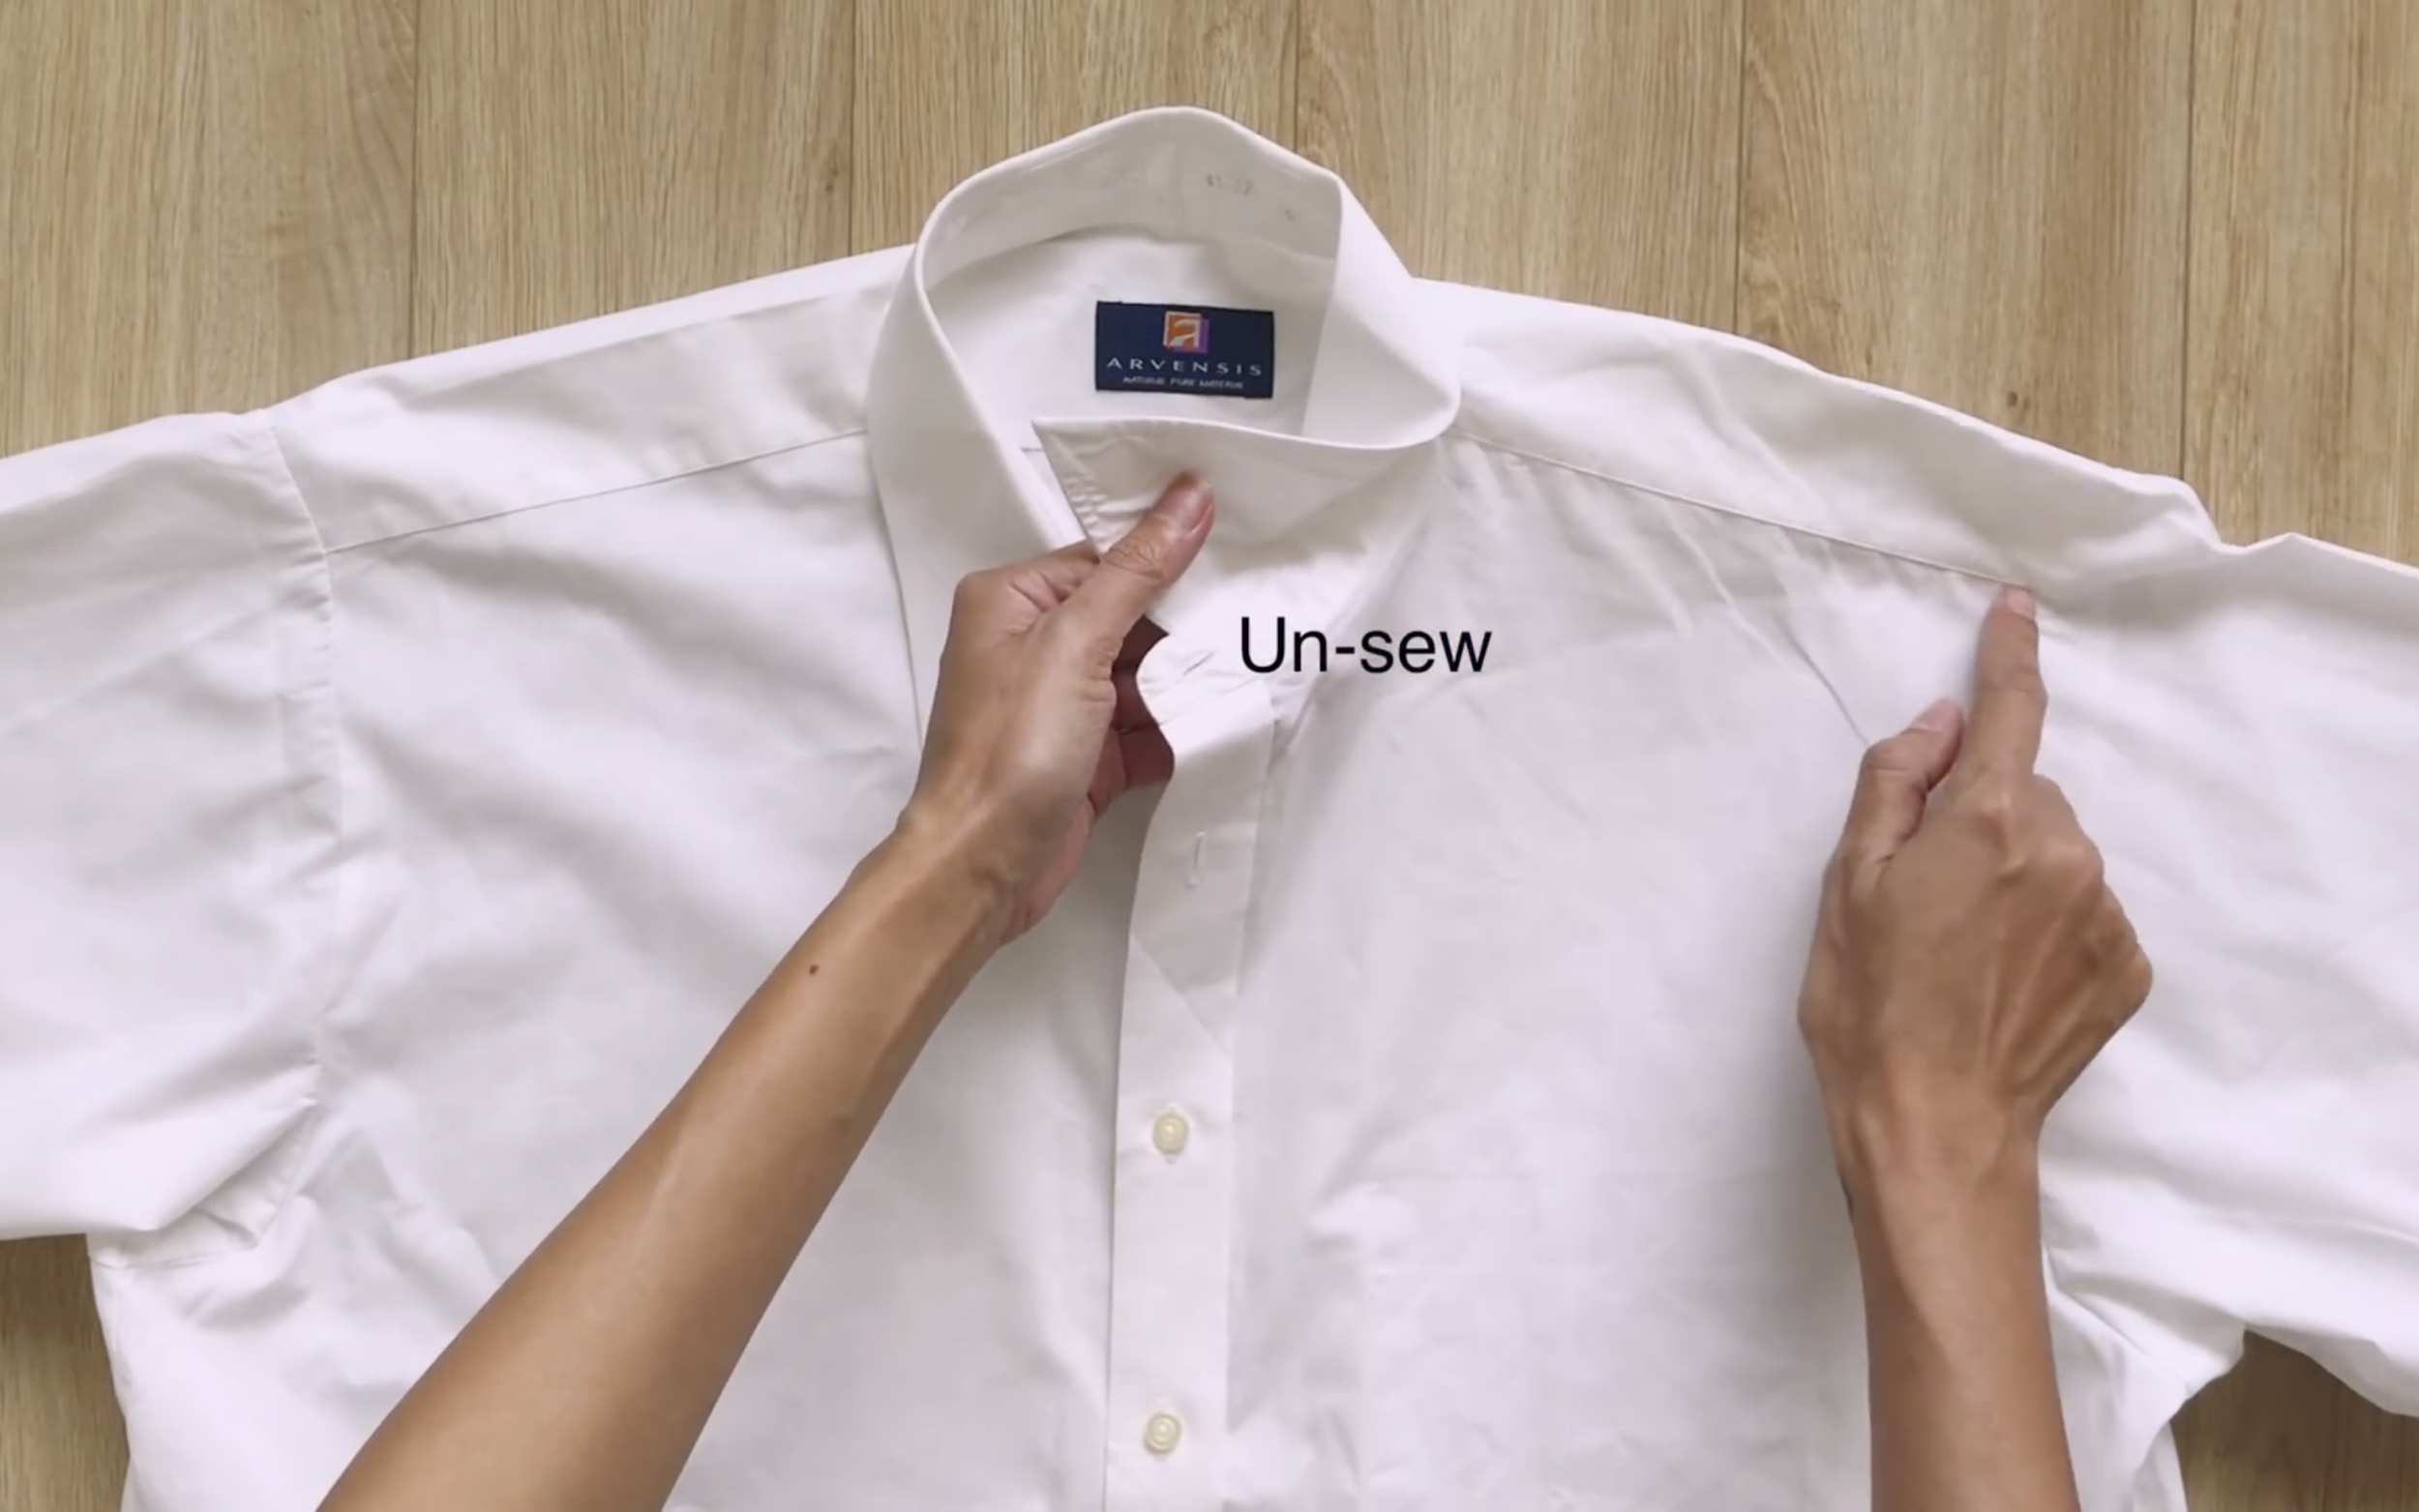
After that, un-sew the seam at the neck, extending over to the back.
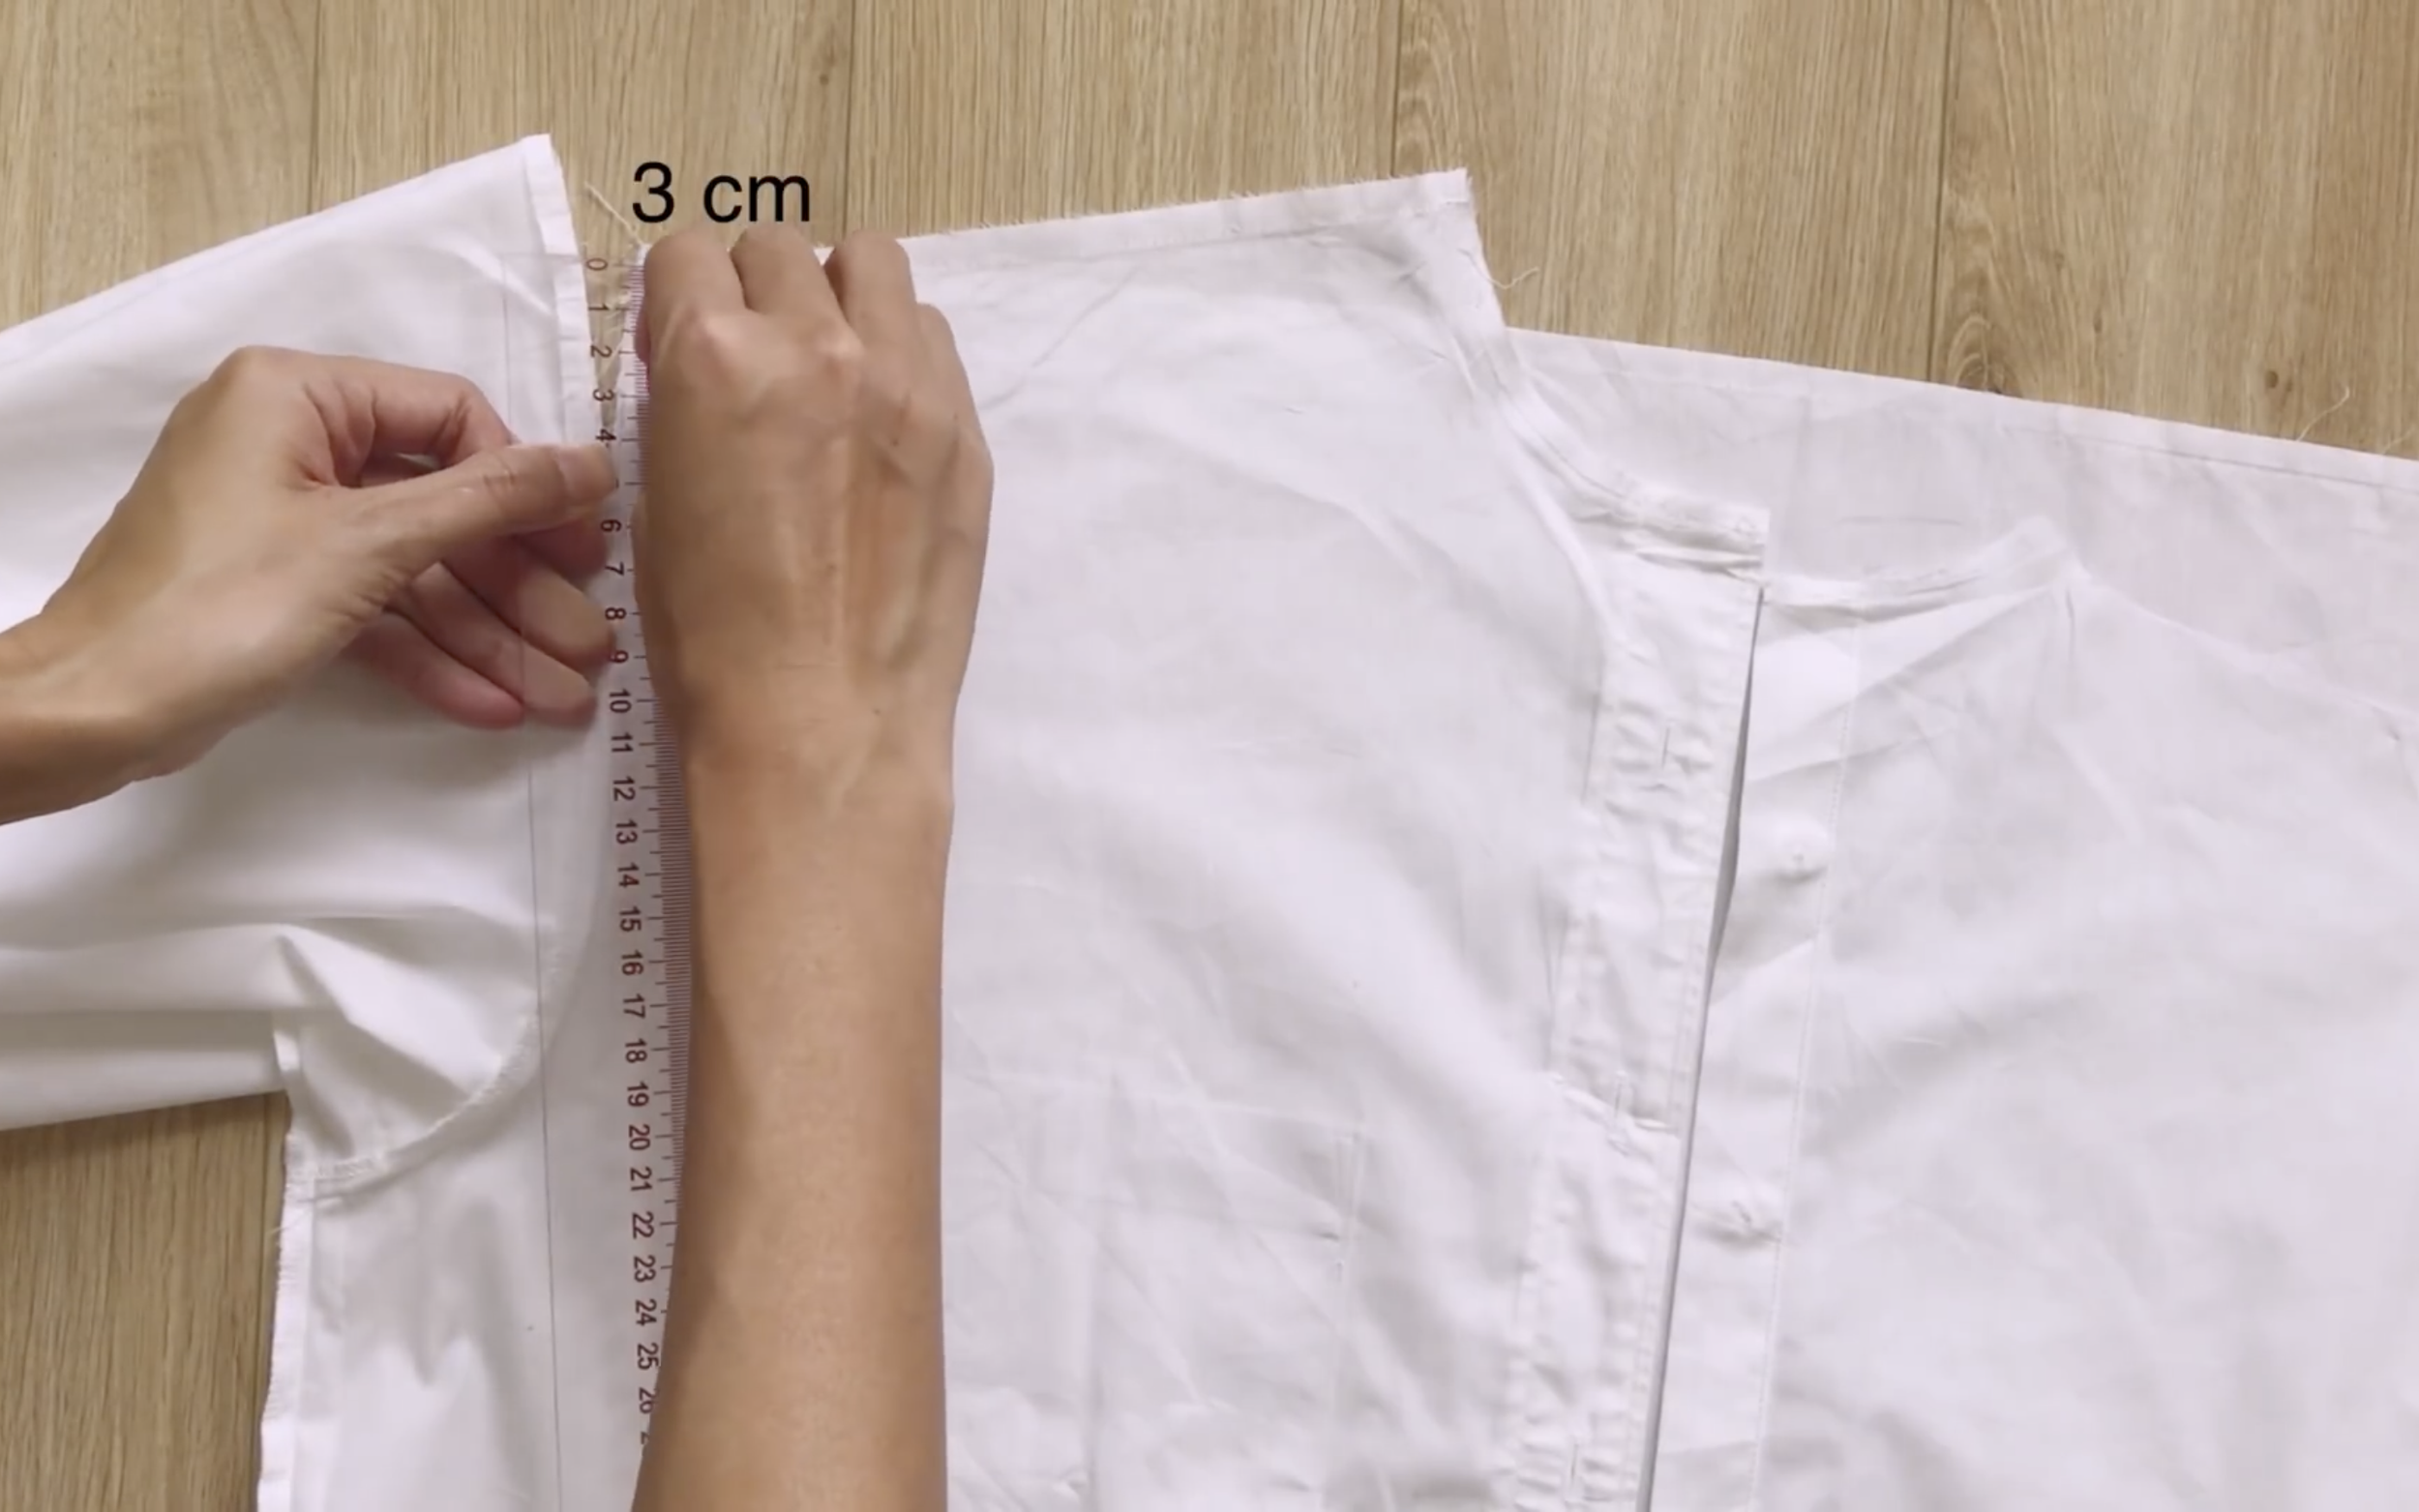
On the shoulder line of the front of the shirt, draw a new line 3 cm below the original one.
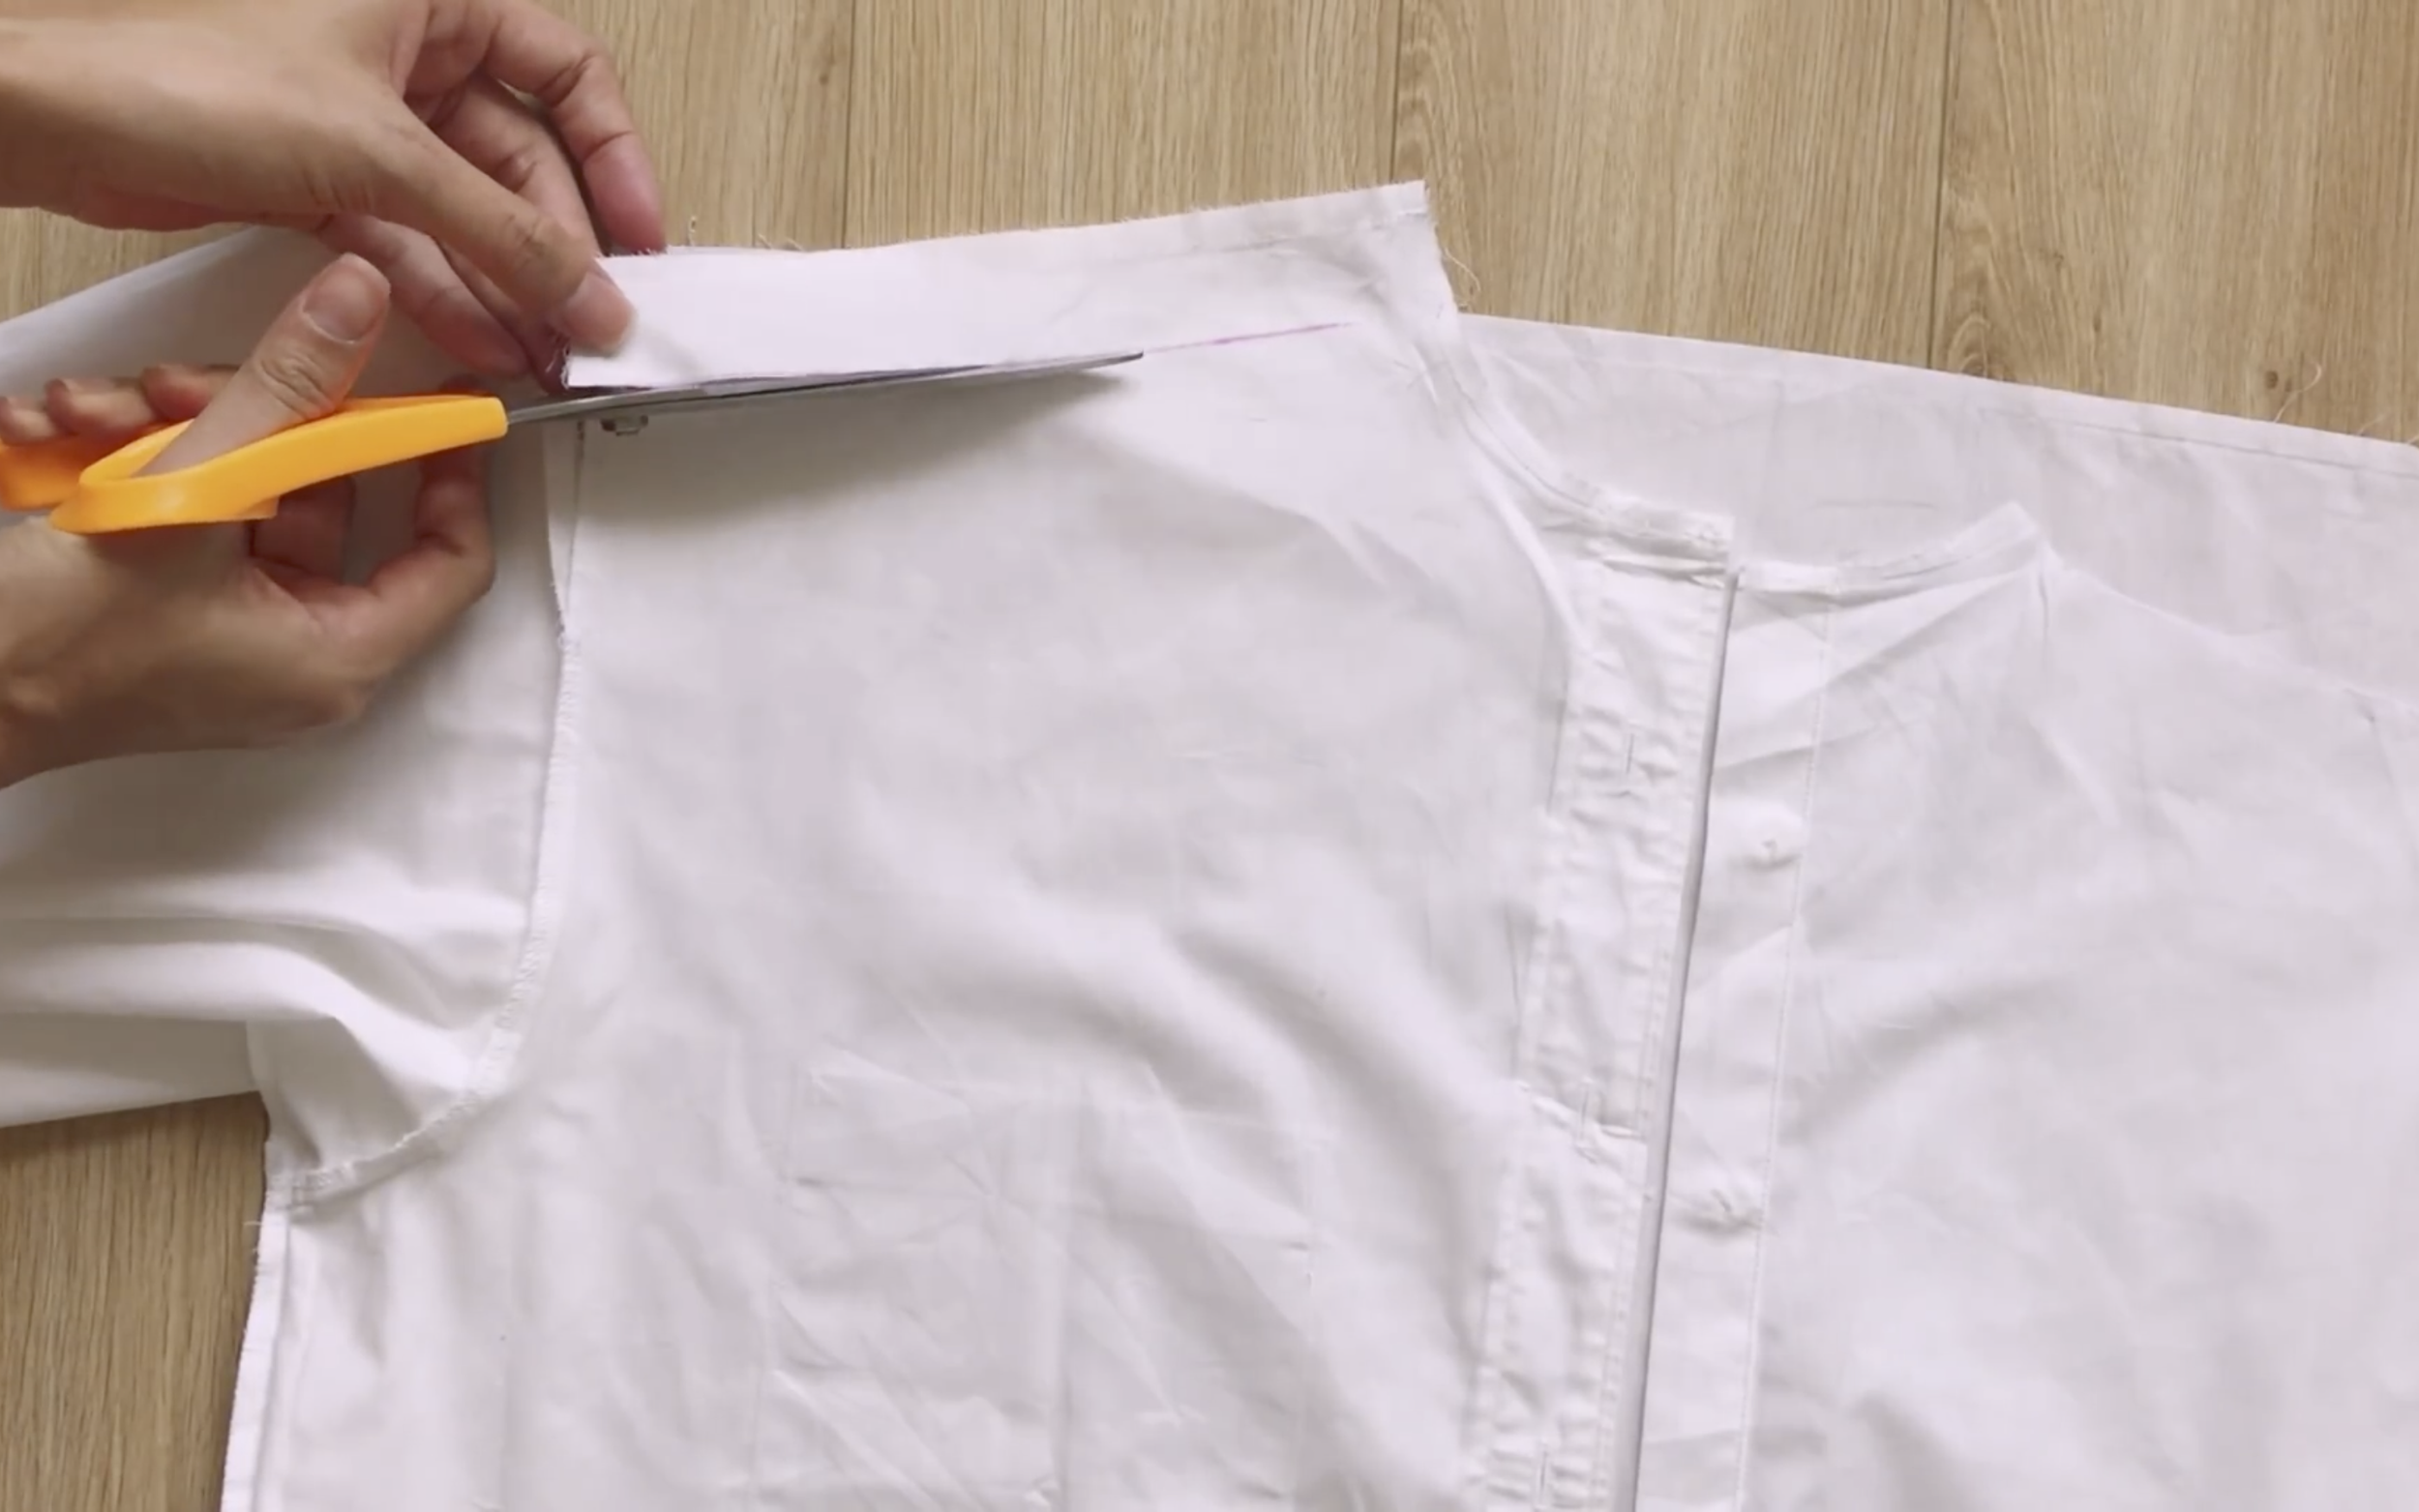
Cut along this new line.
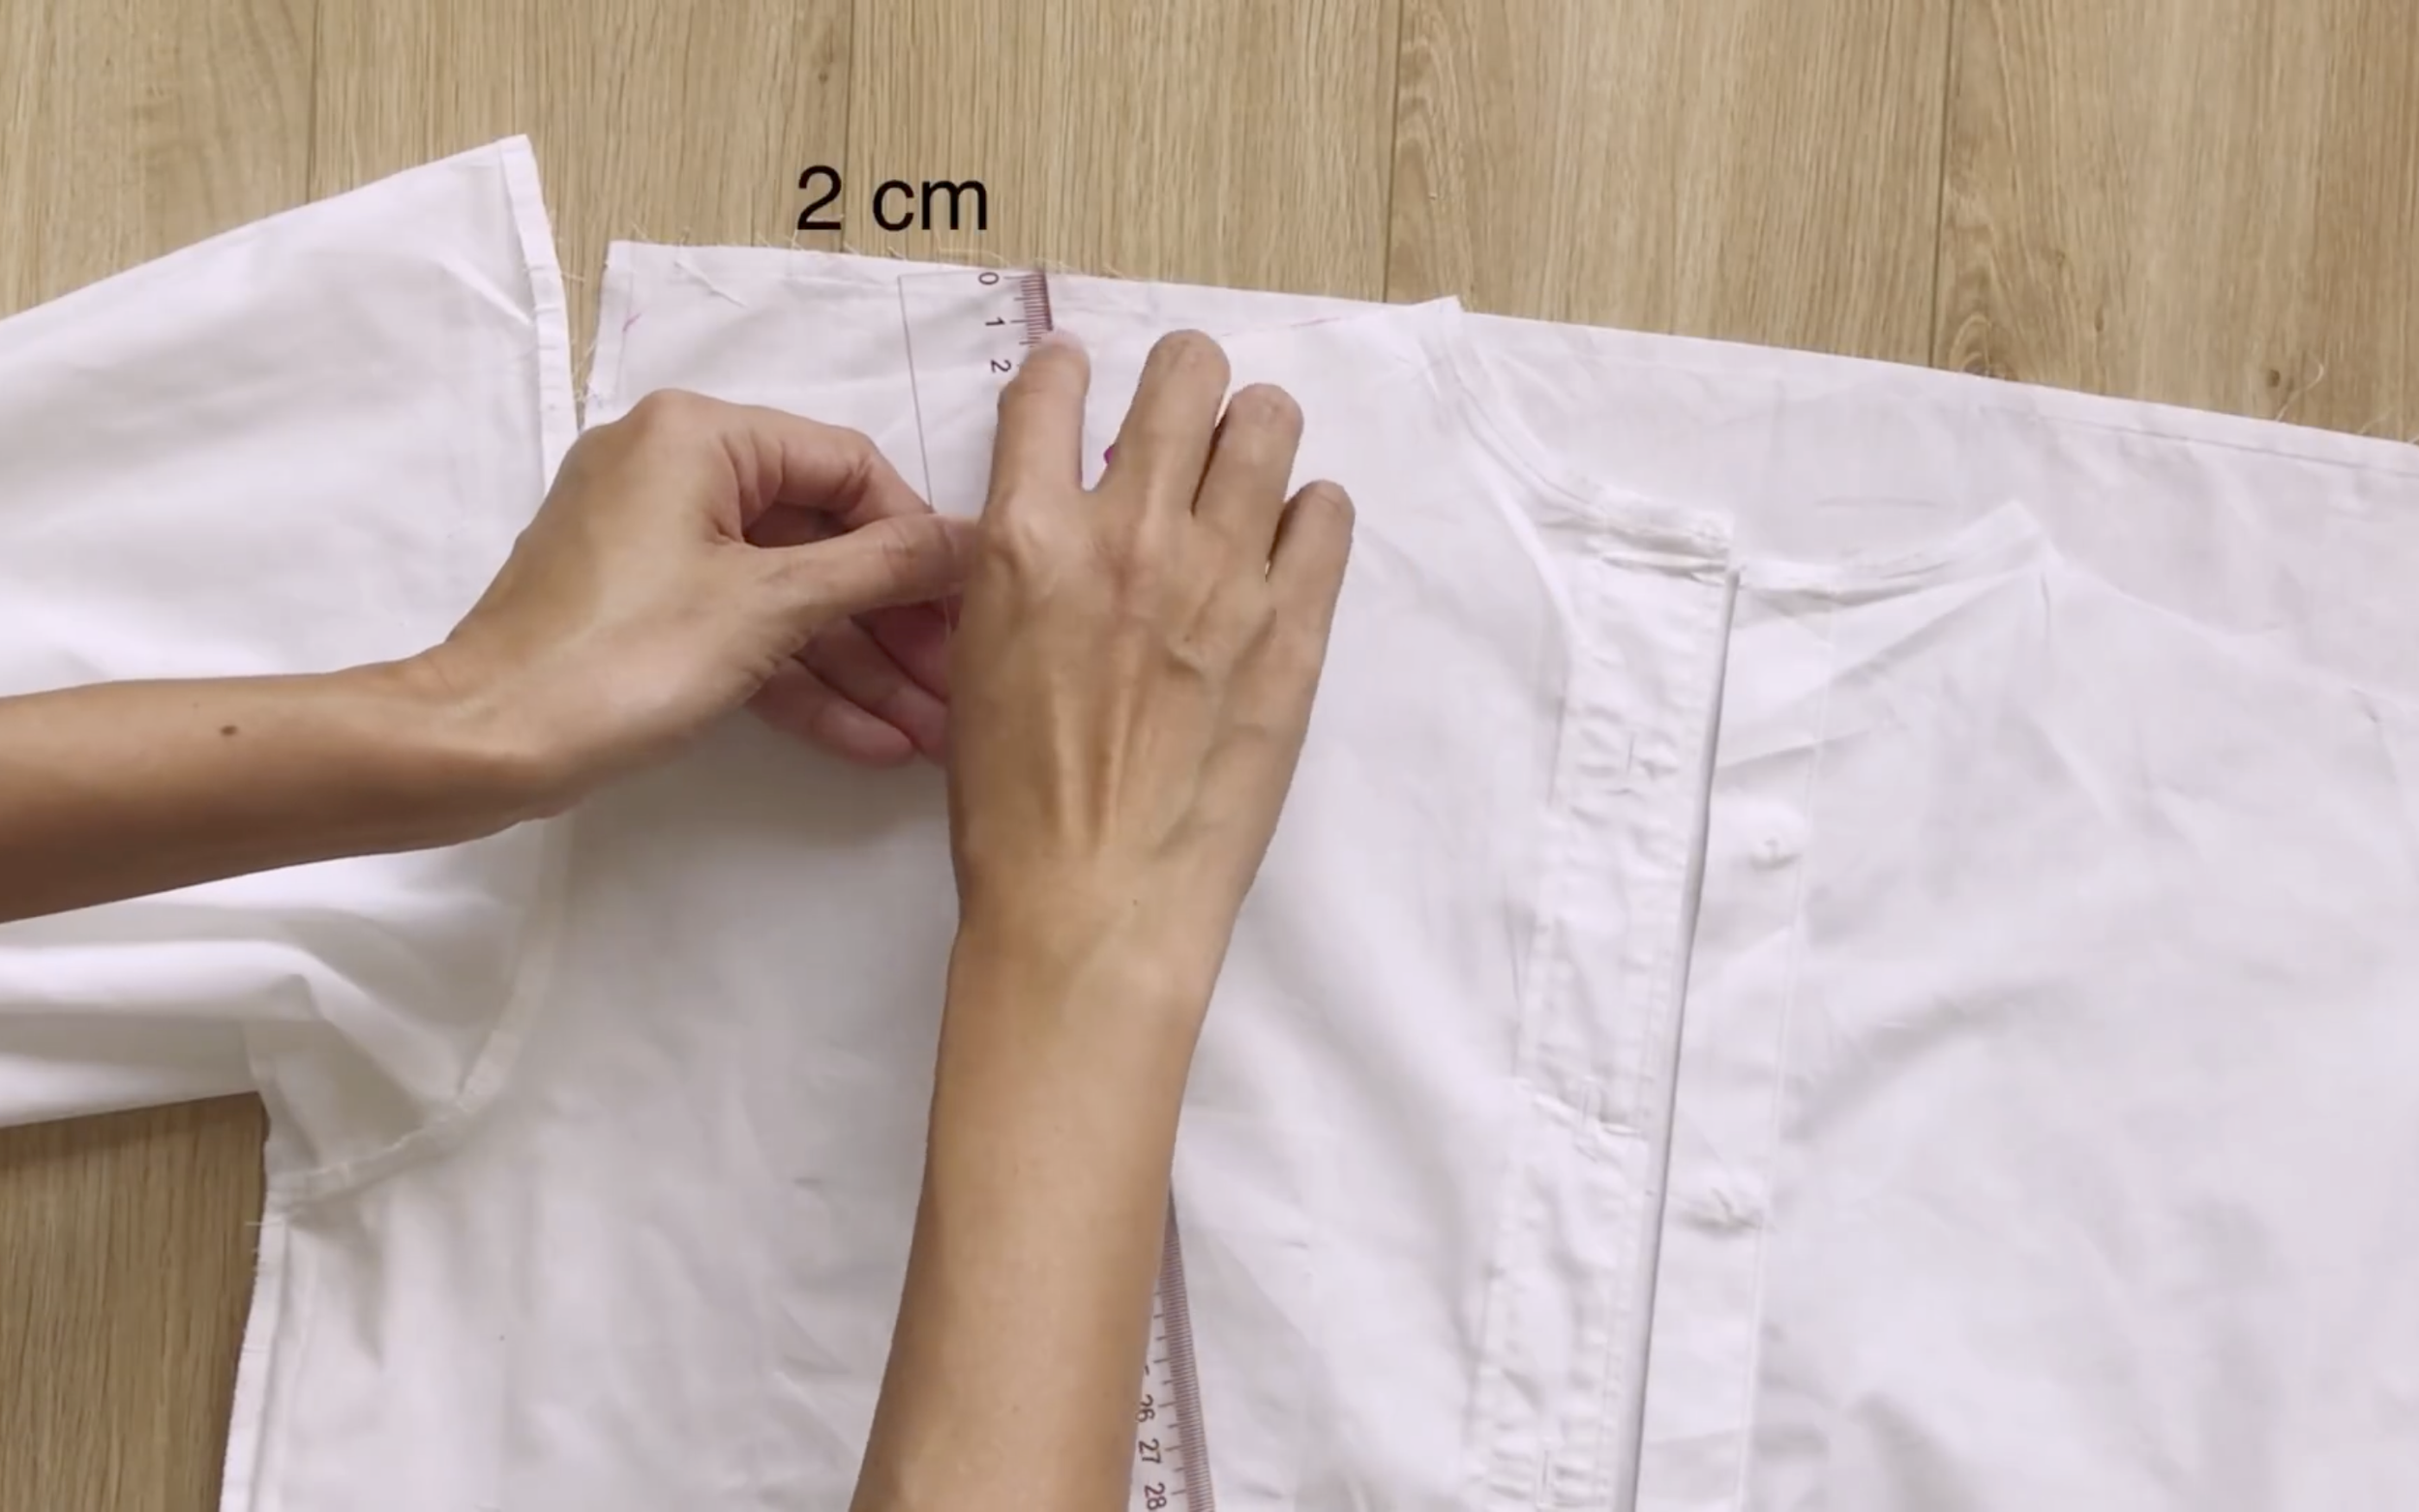
Then, draw a new shoulder line for the back, 2 cm above the new front shoulder line.
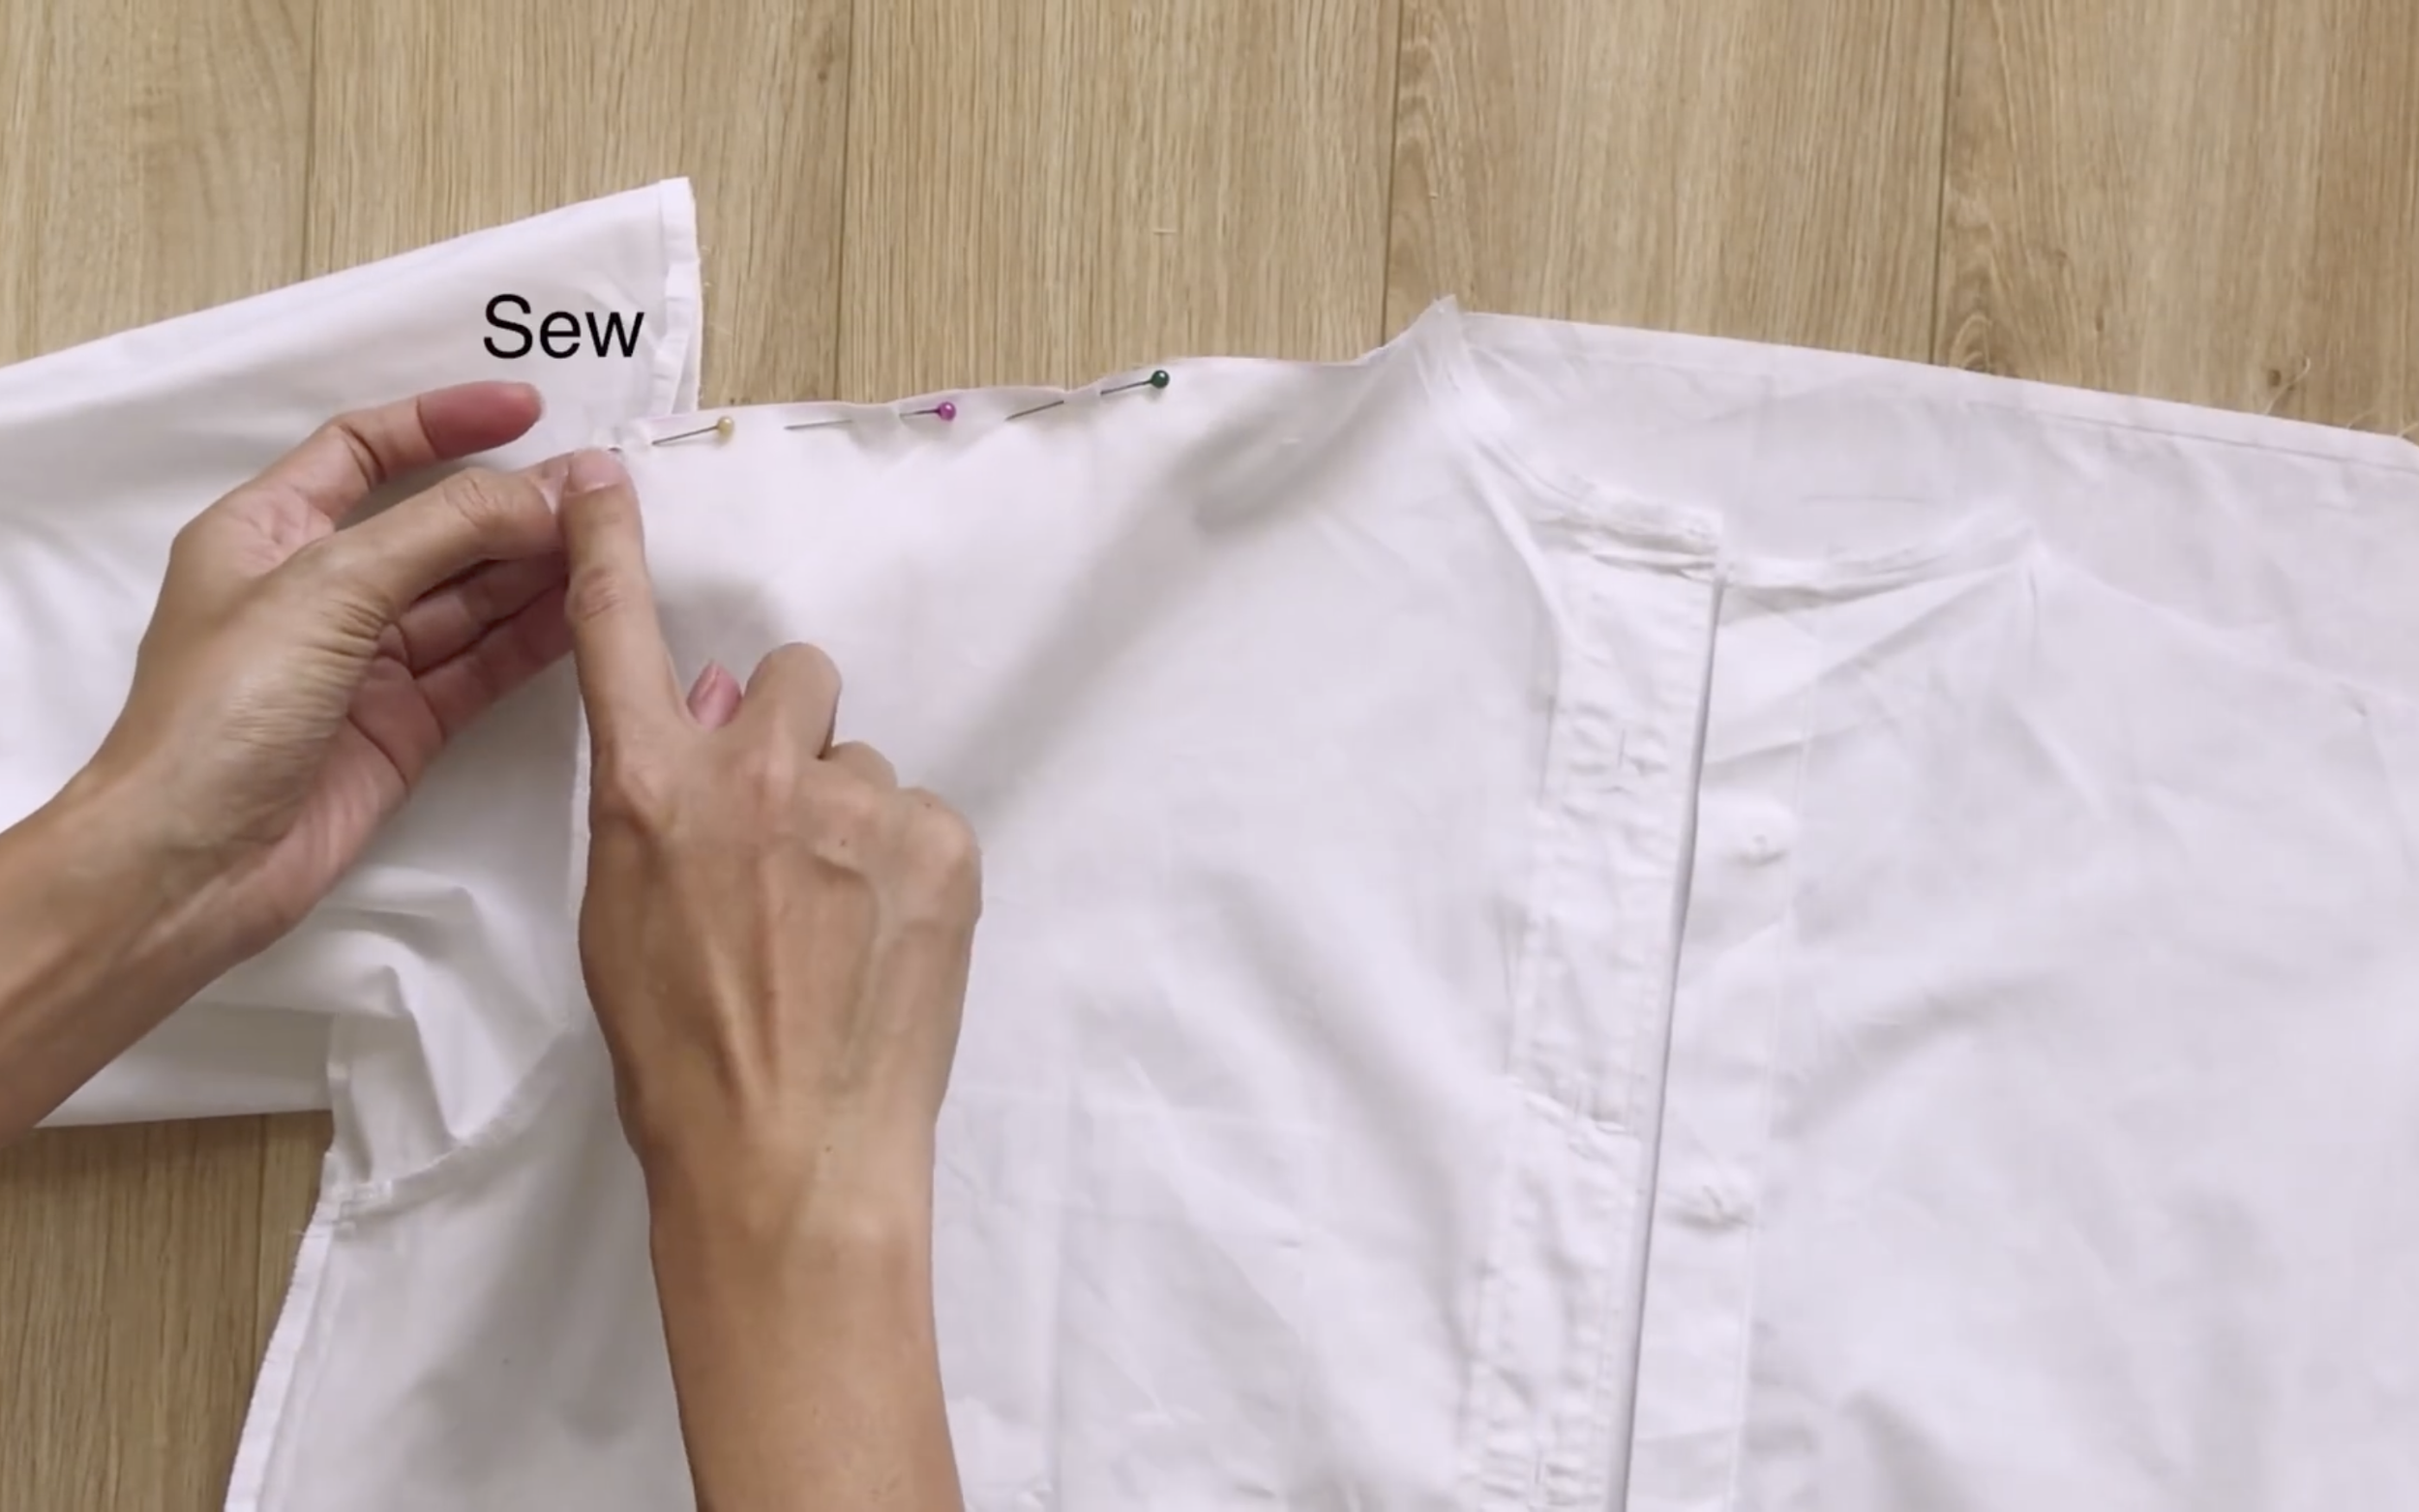
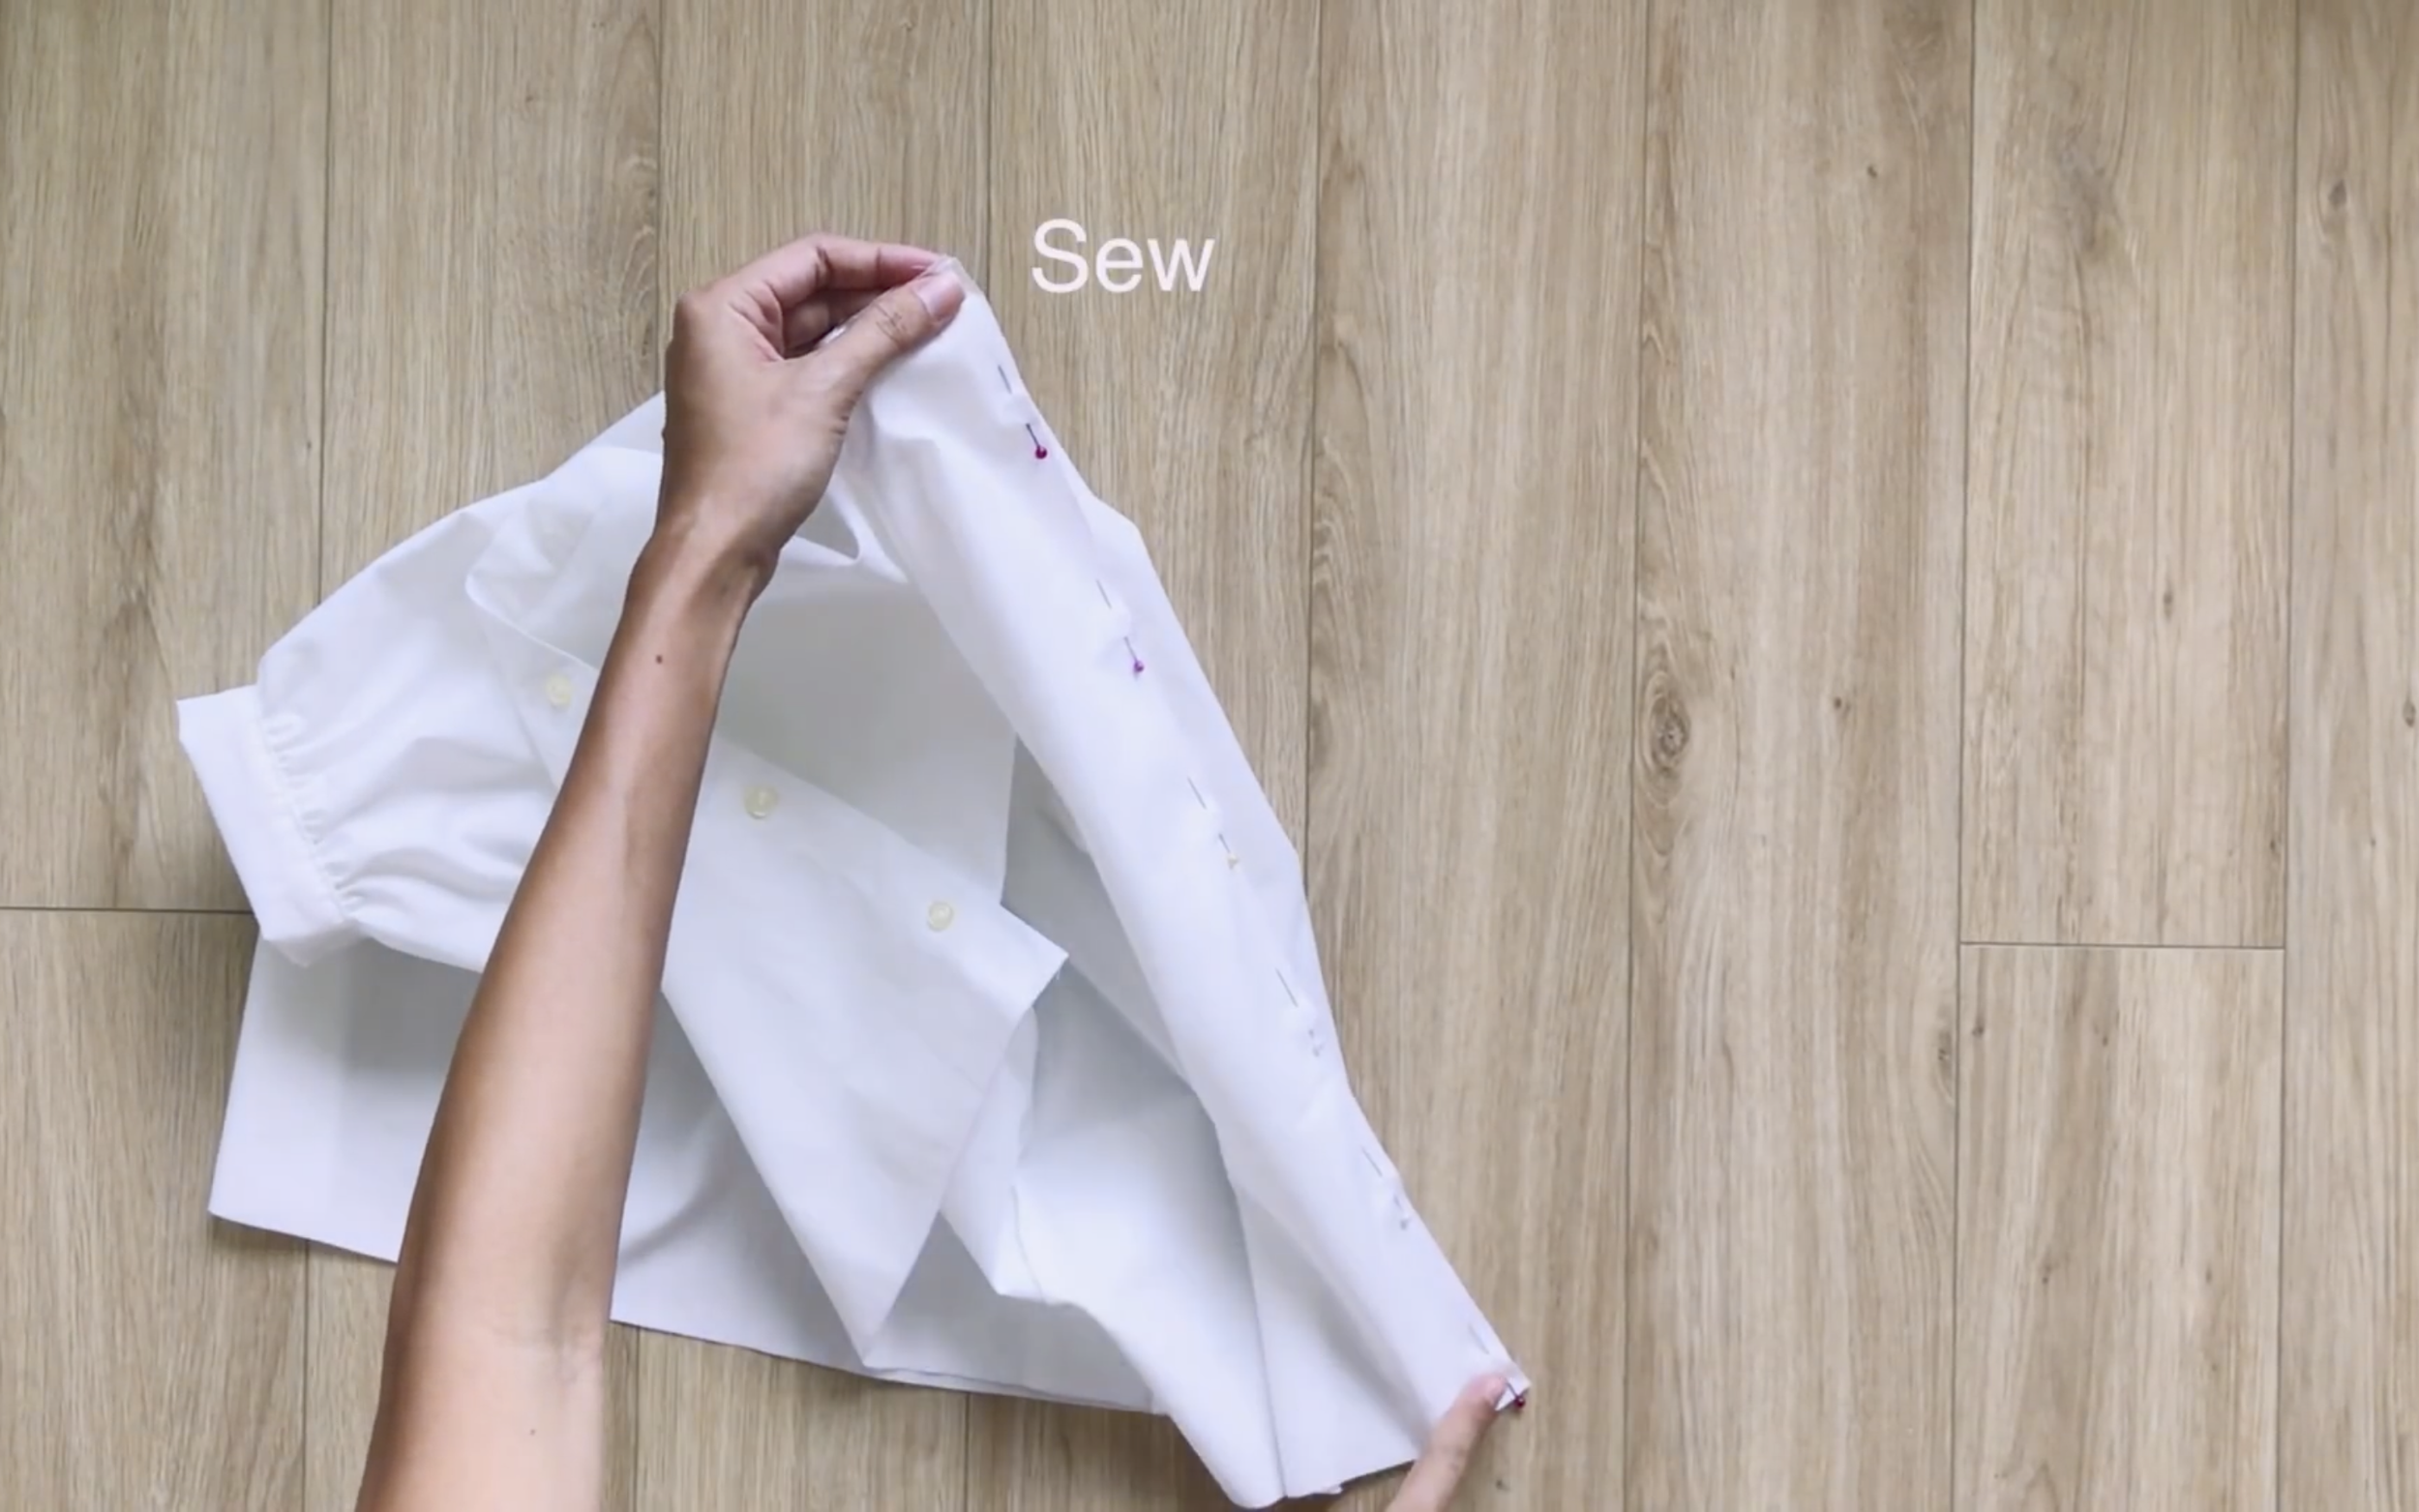
Connect the two new shoulder lines together and sew.
THE SLEEVE
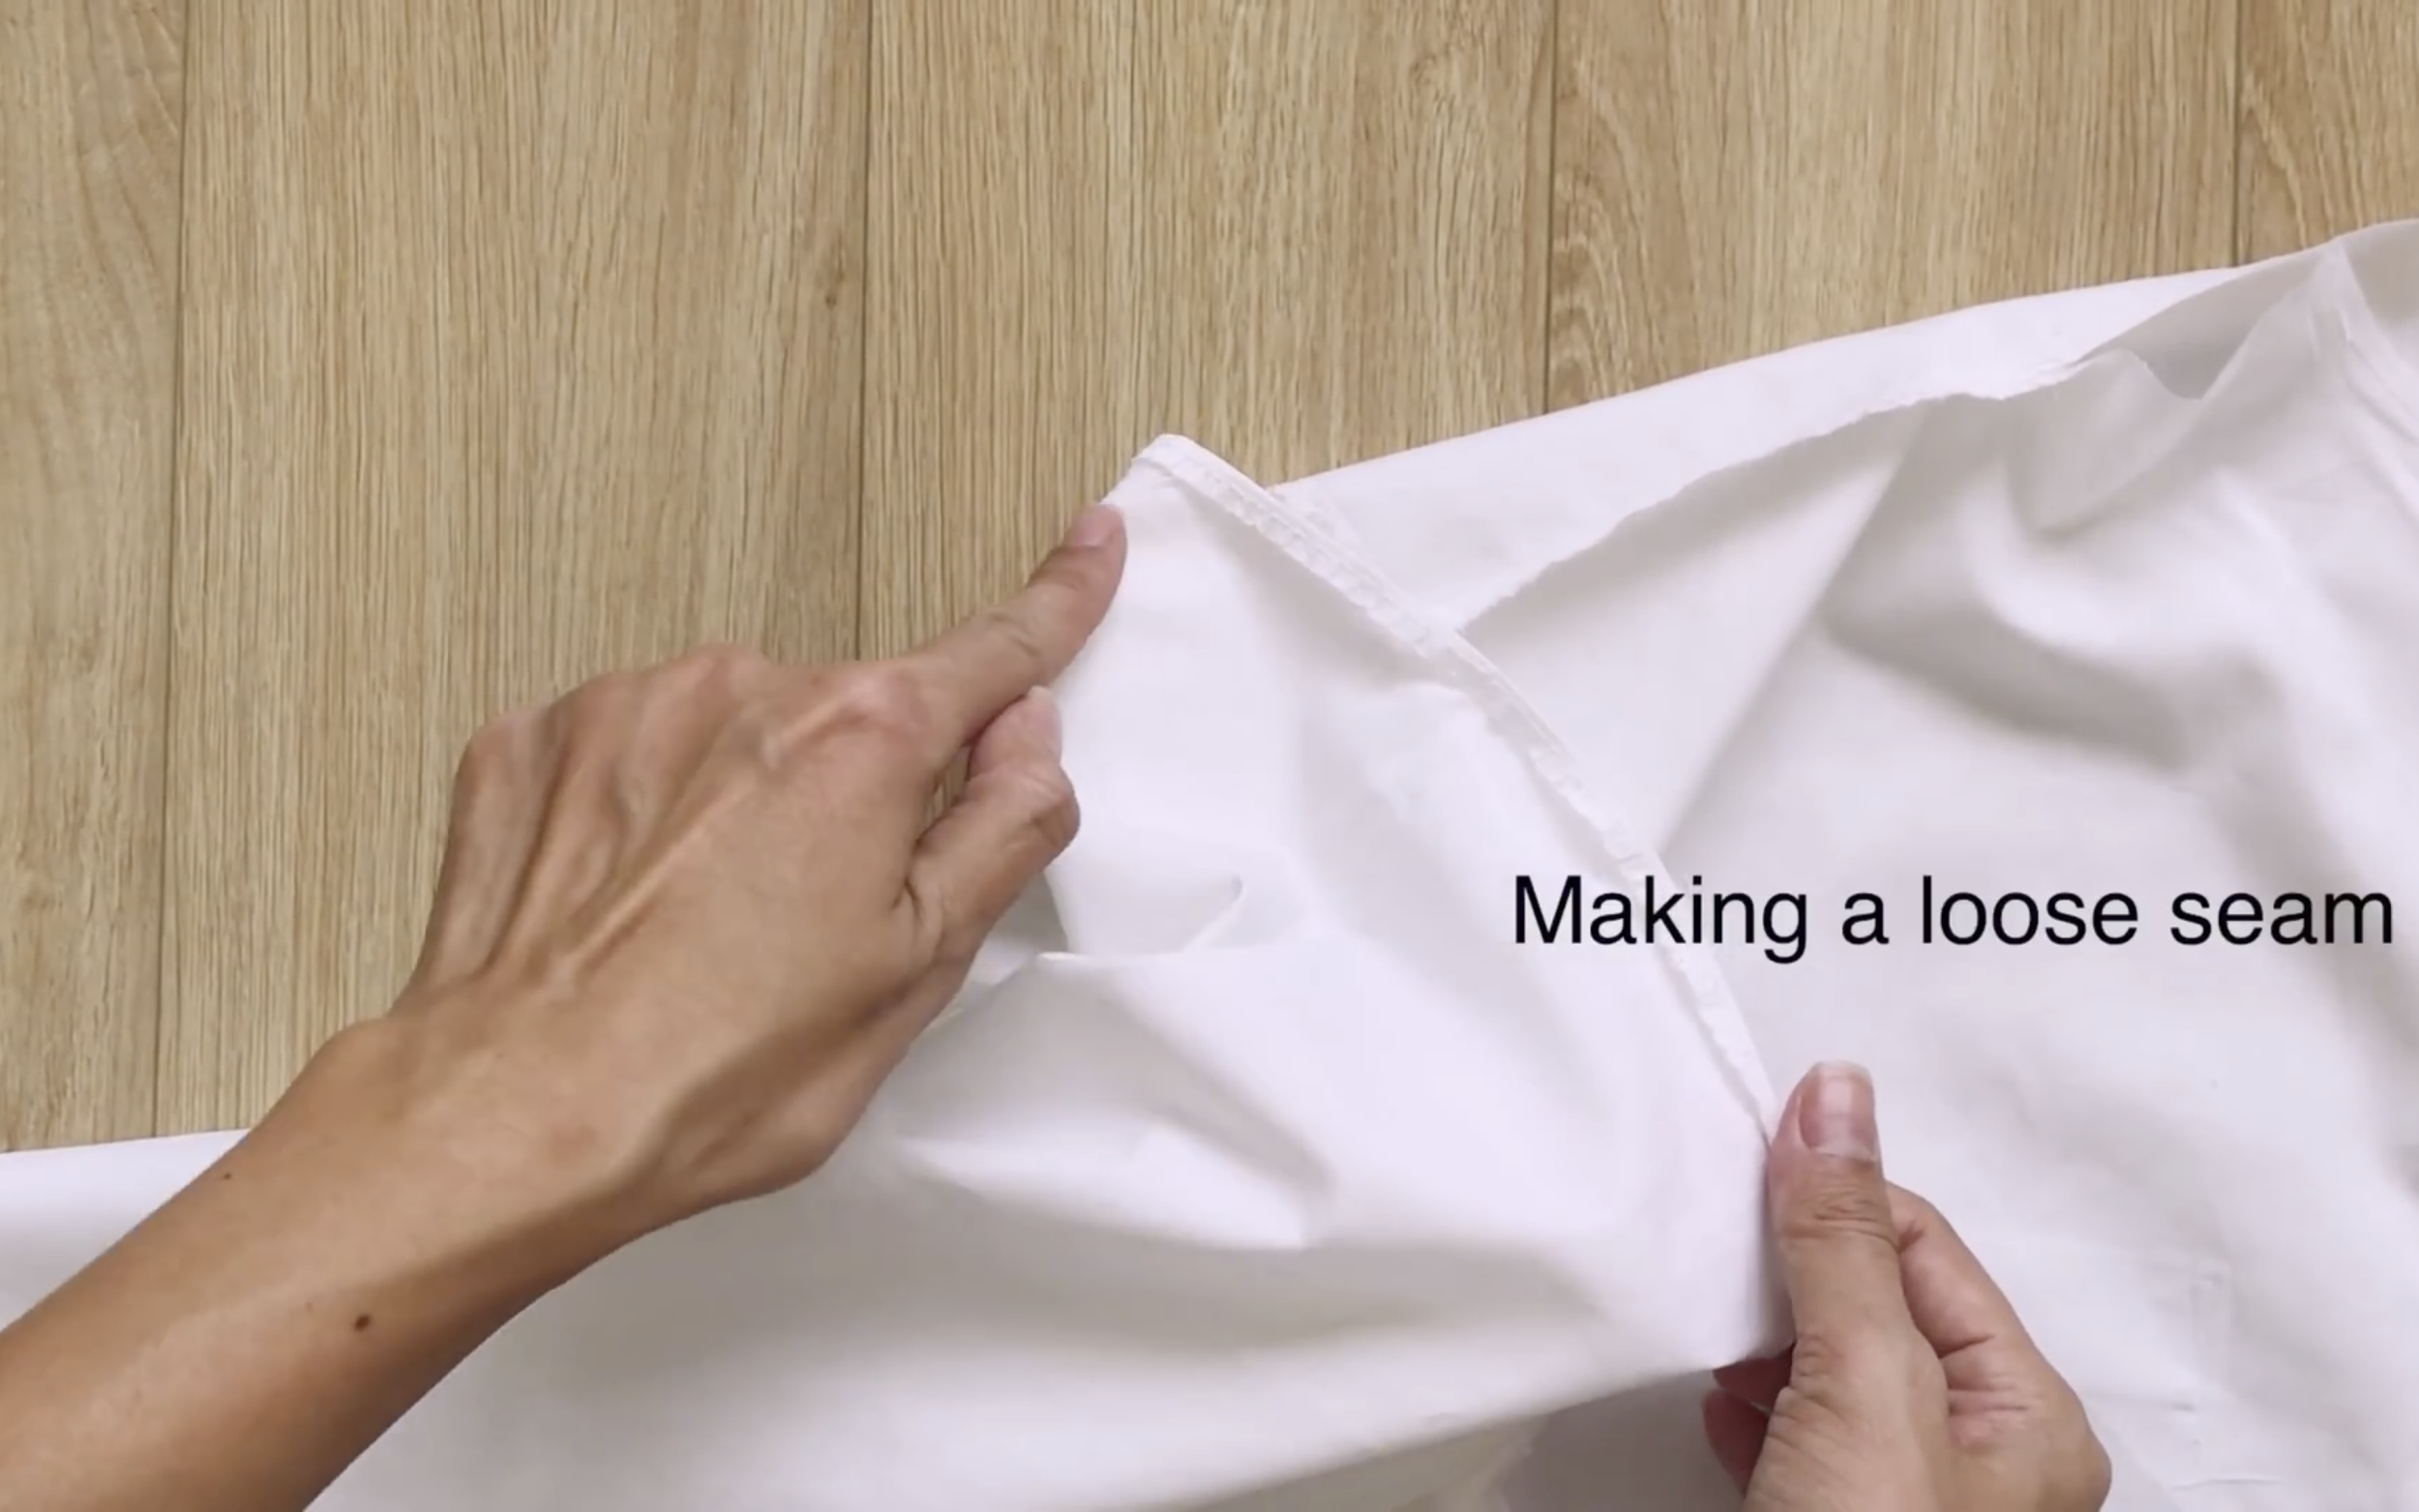
At the top of the sleeve, make a loose seam first.
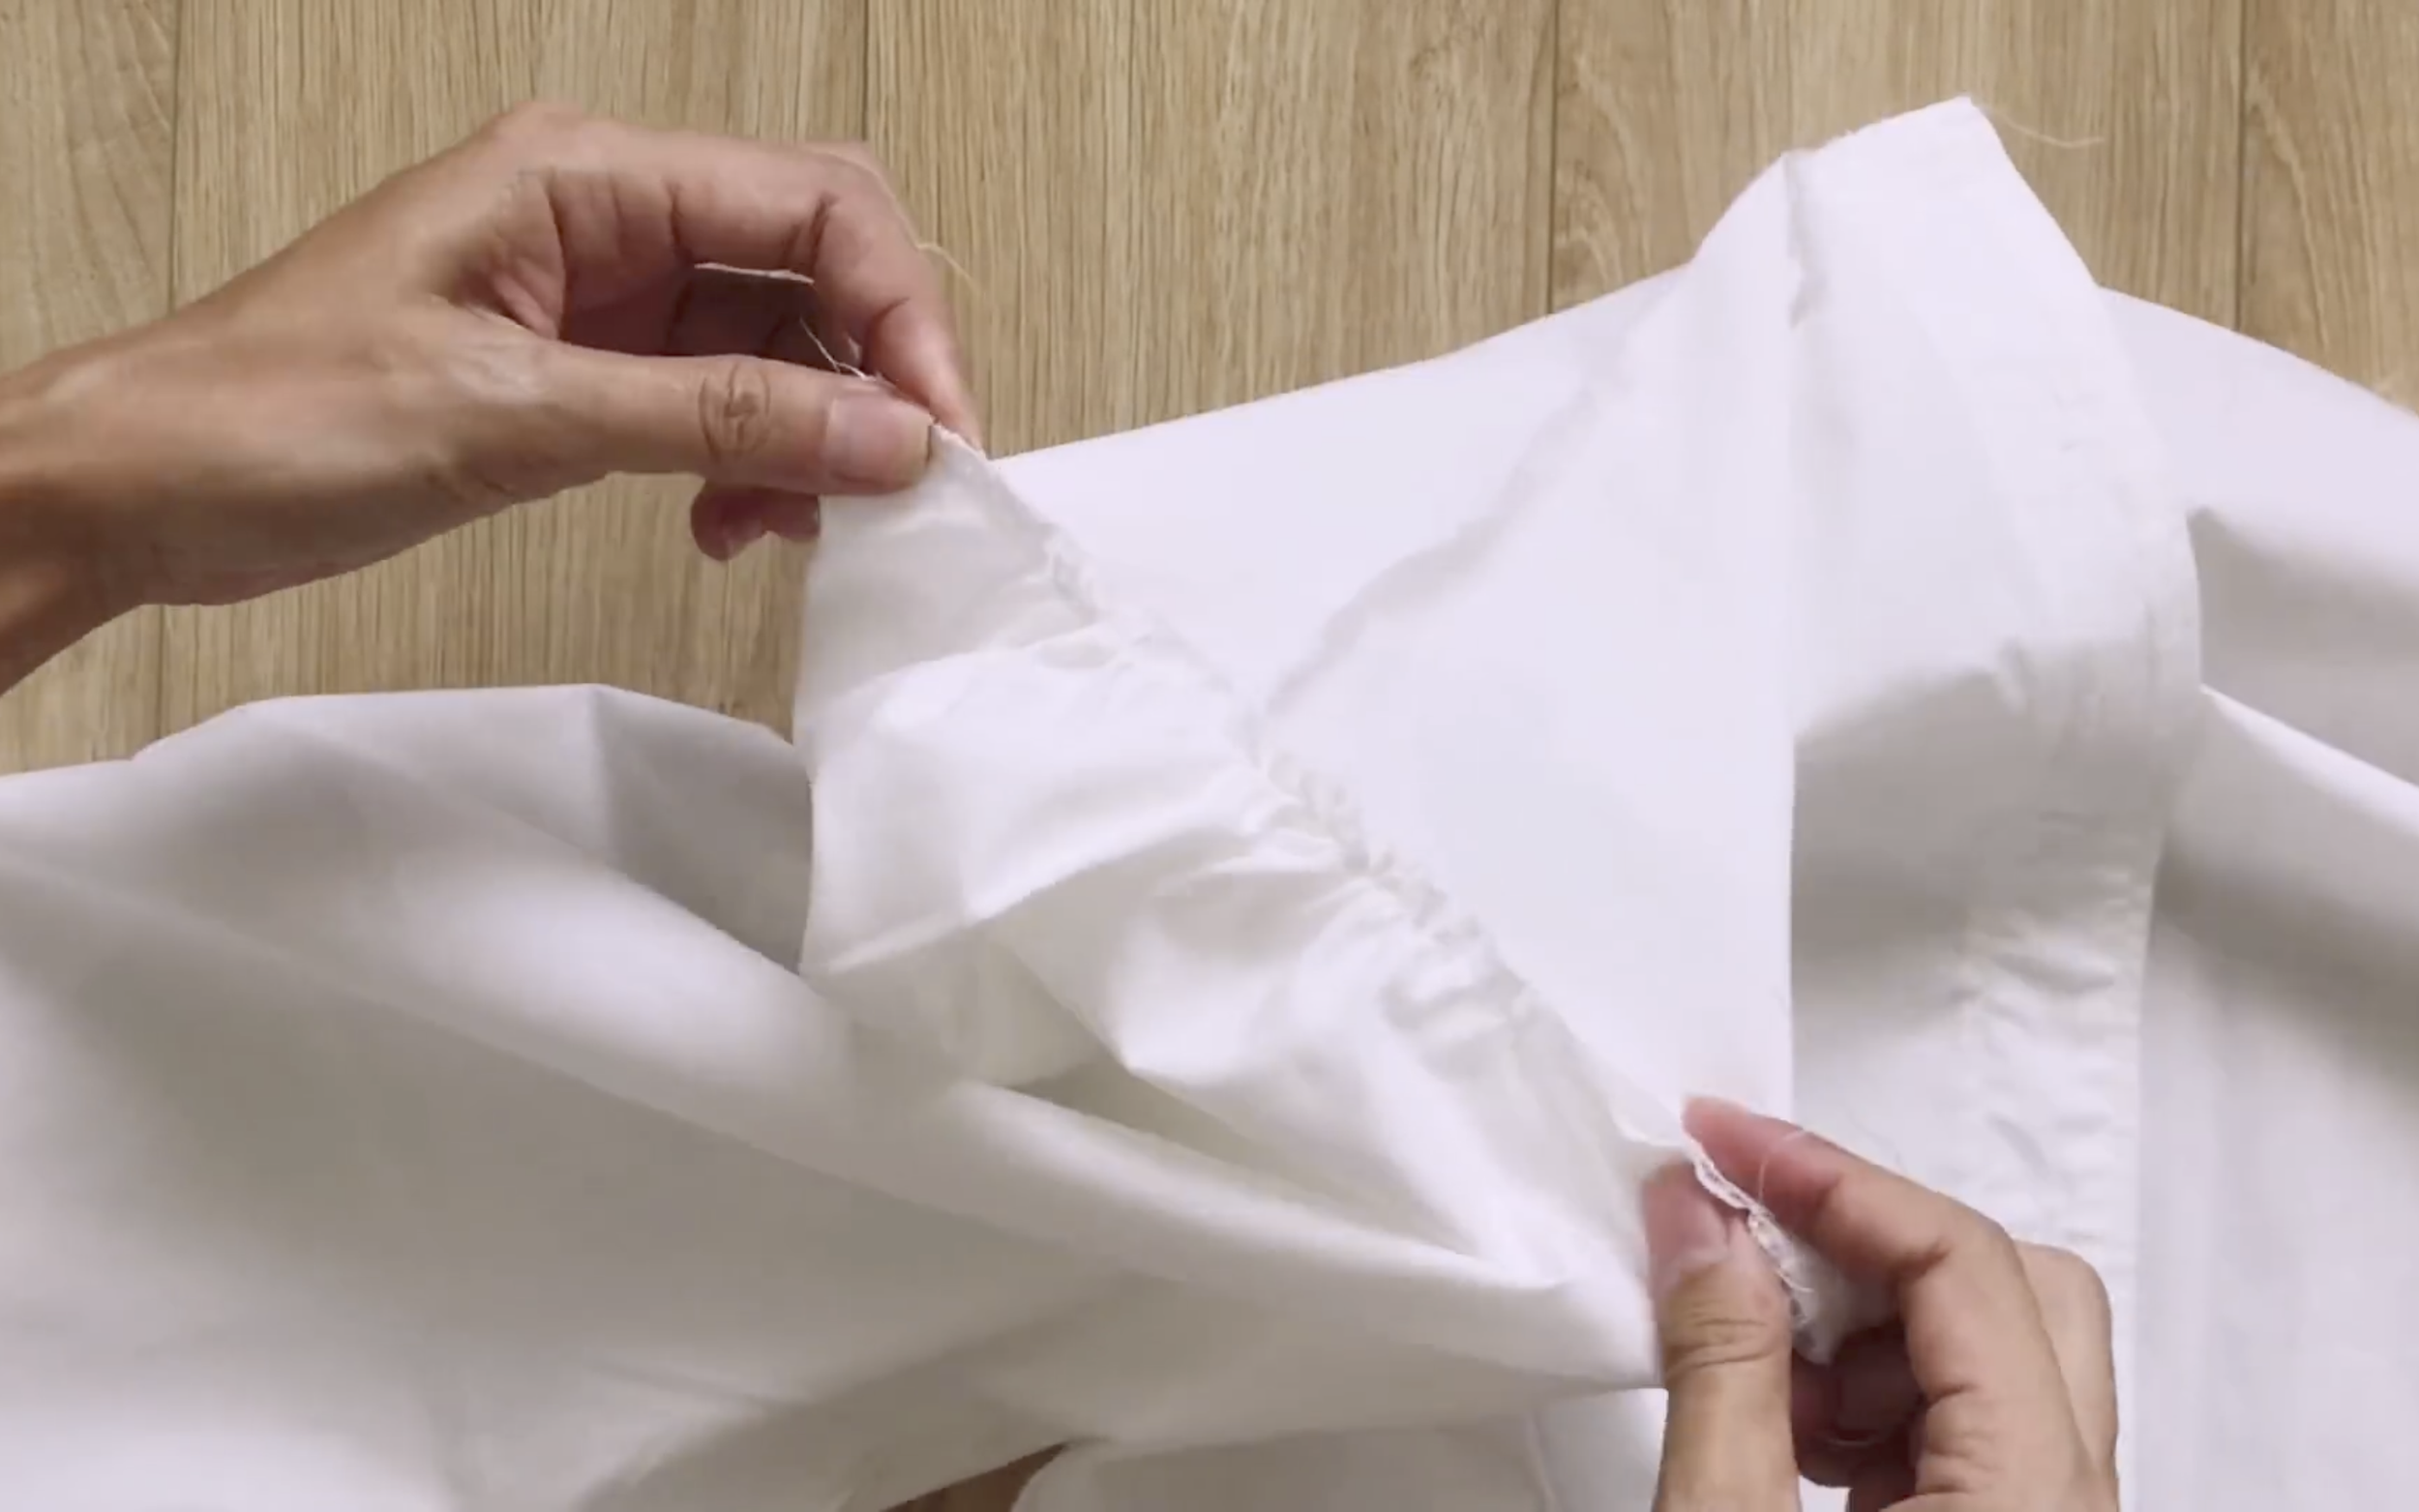
Then create a ruffle there to fit the width of the new sleeve.
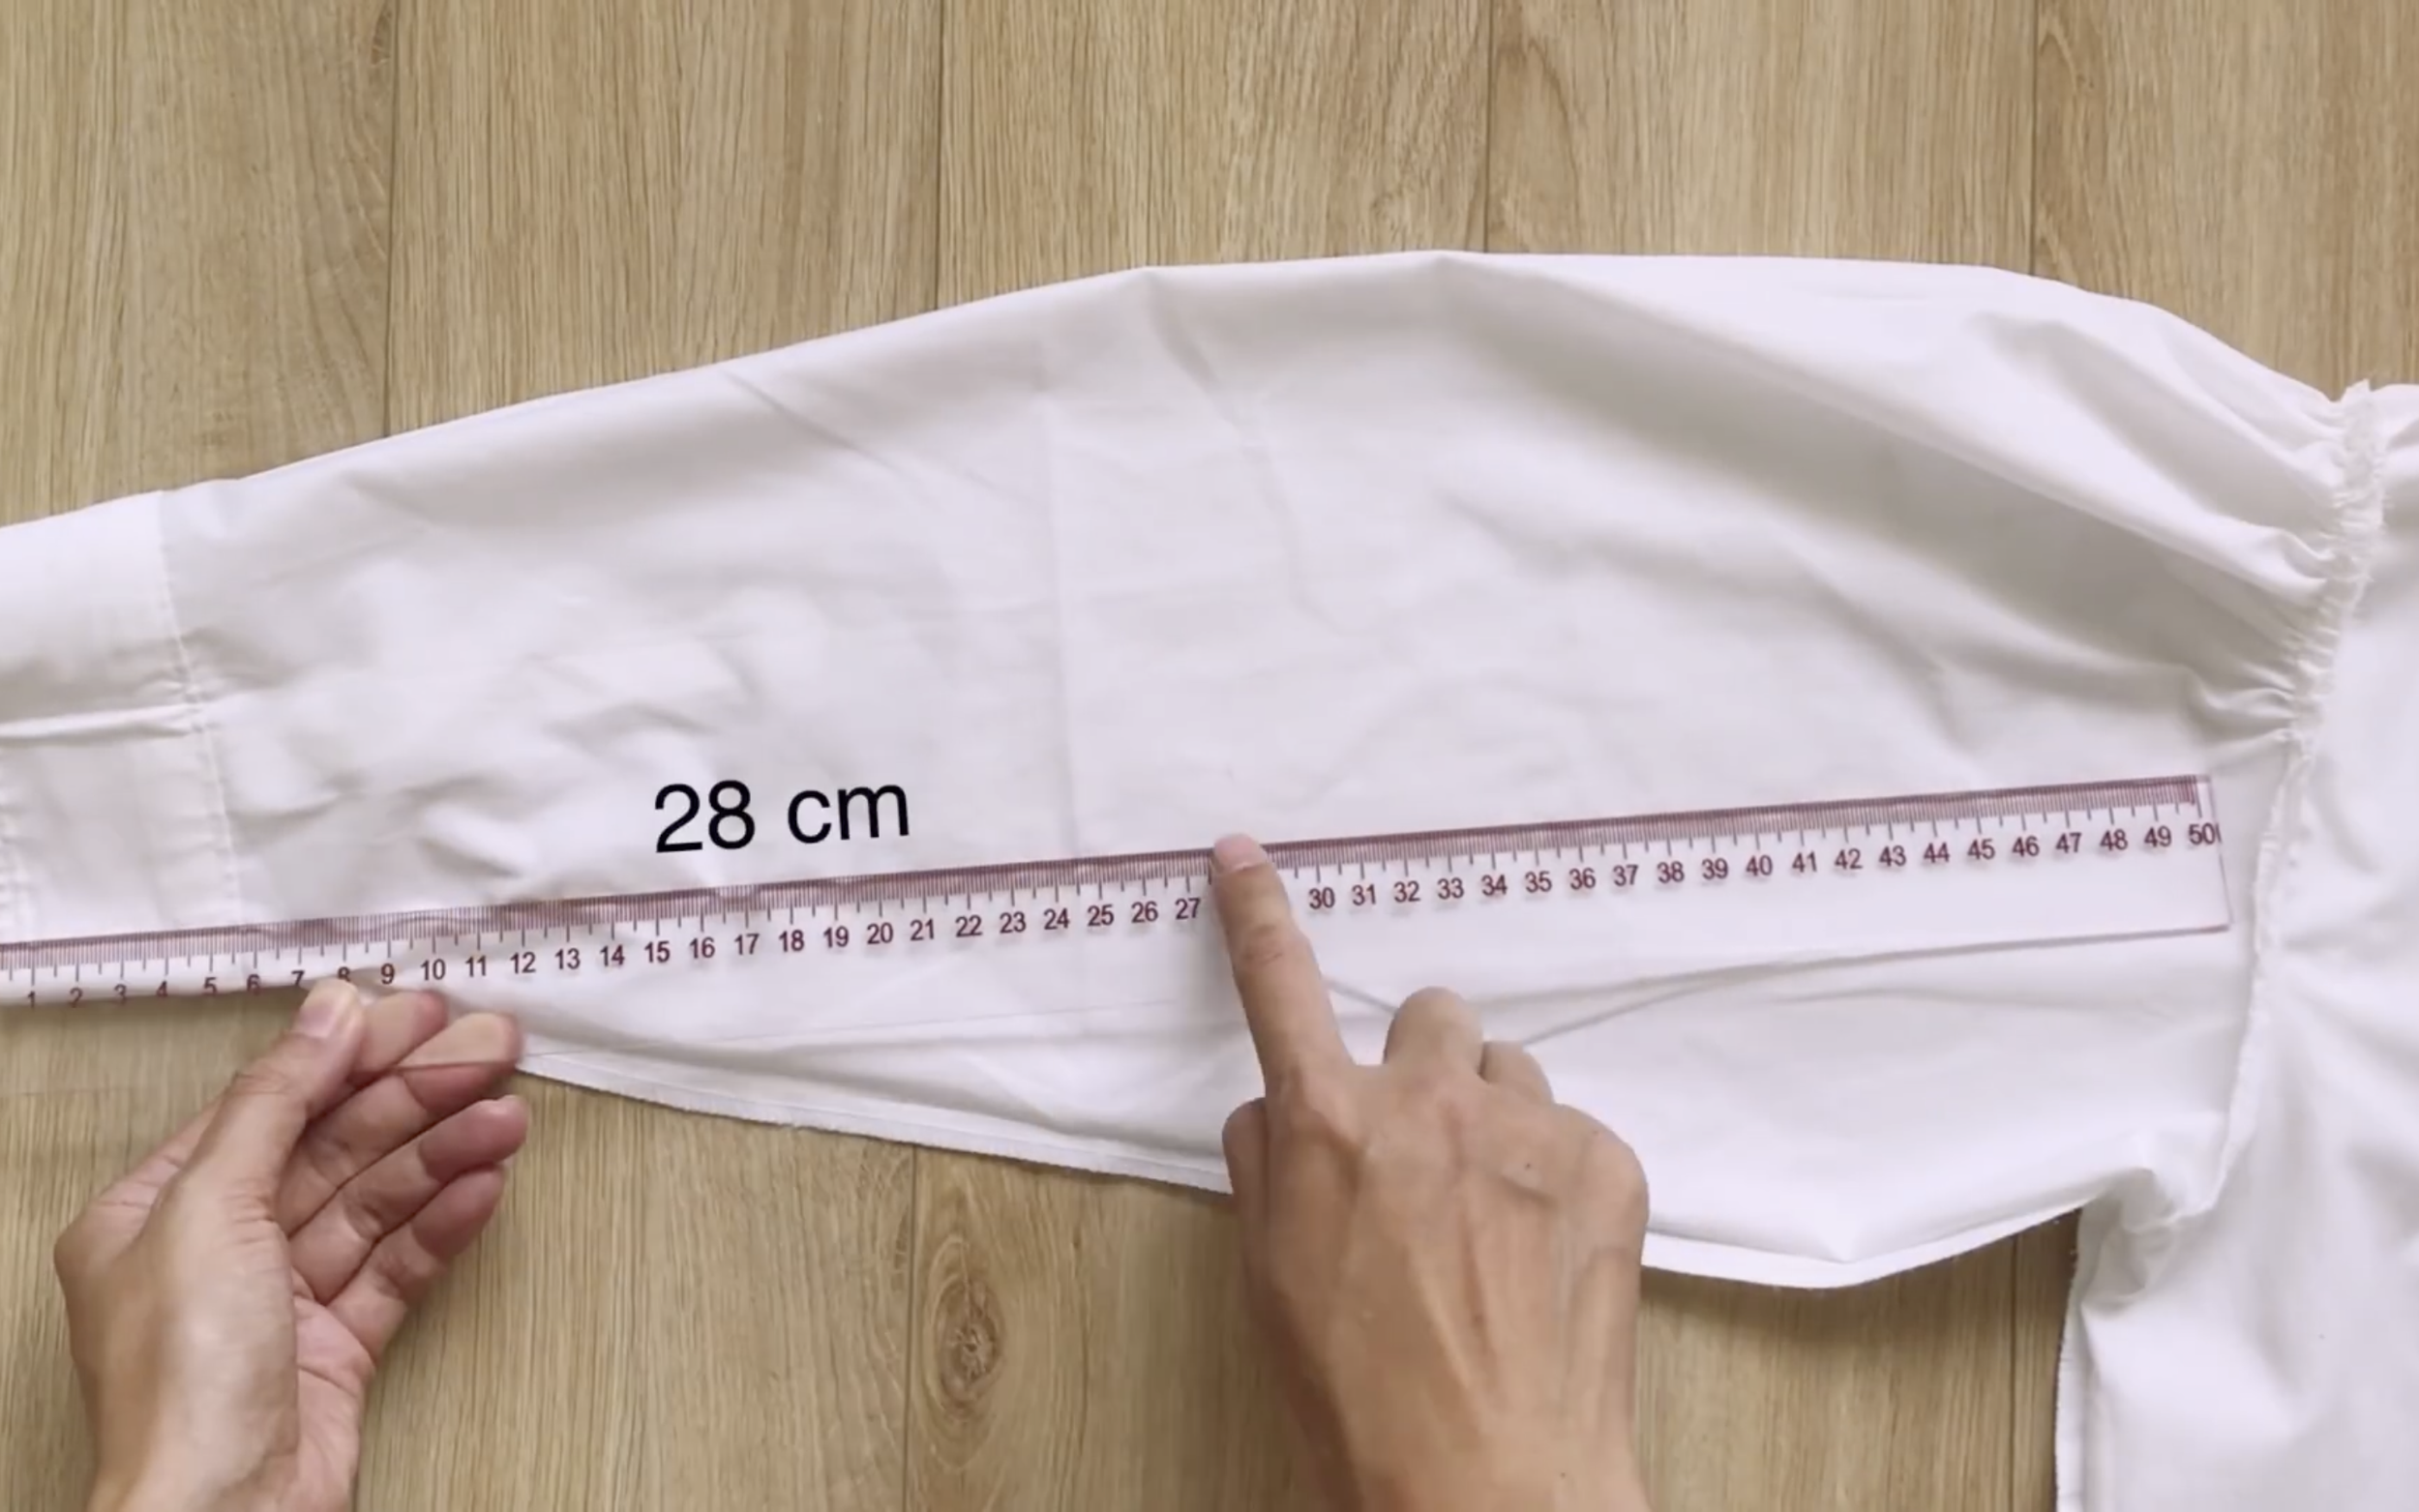
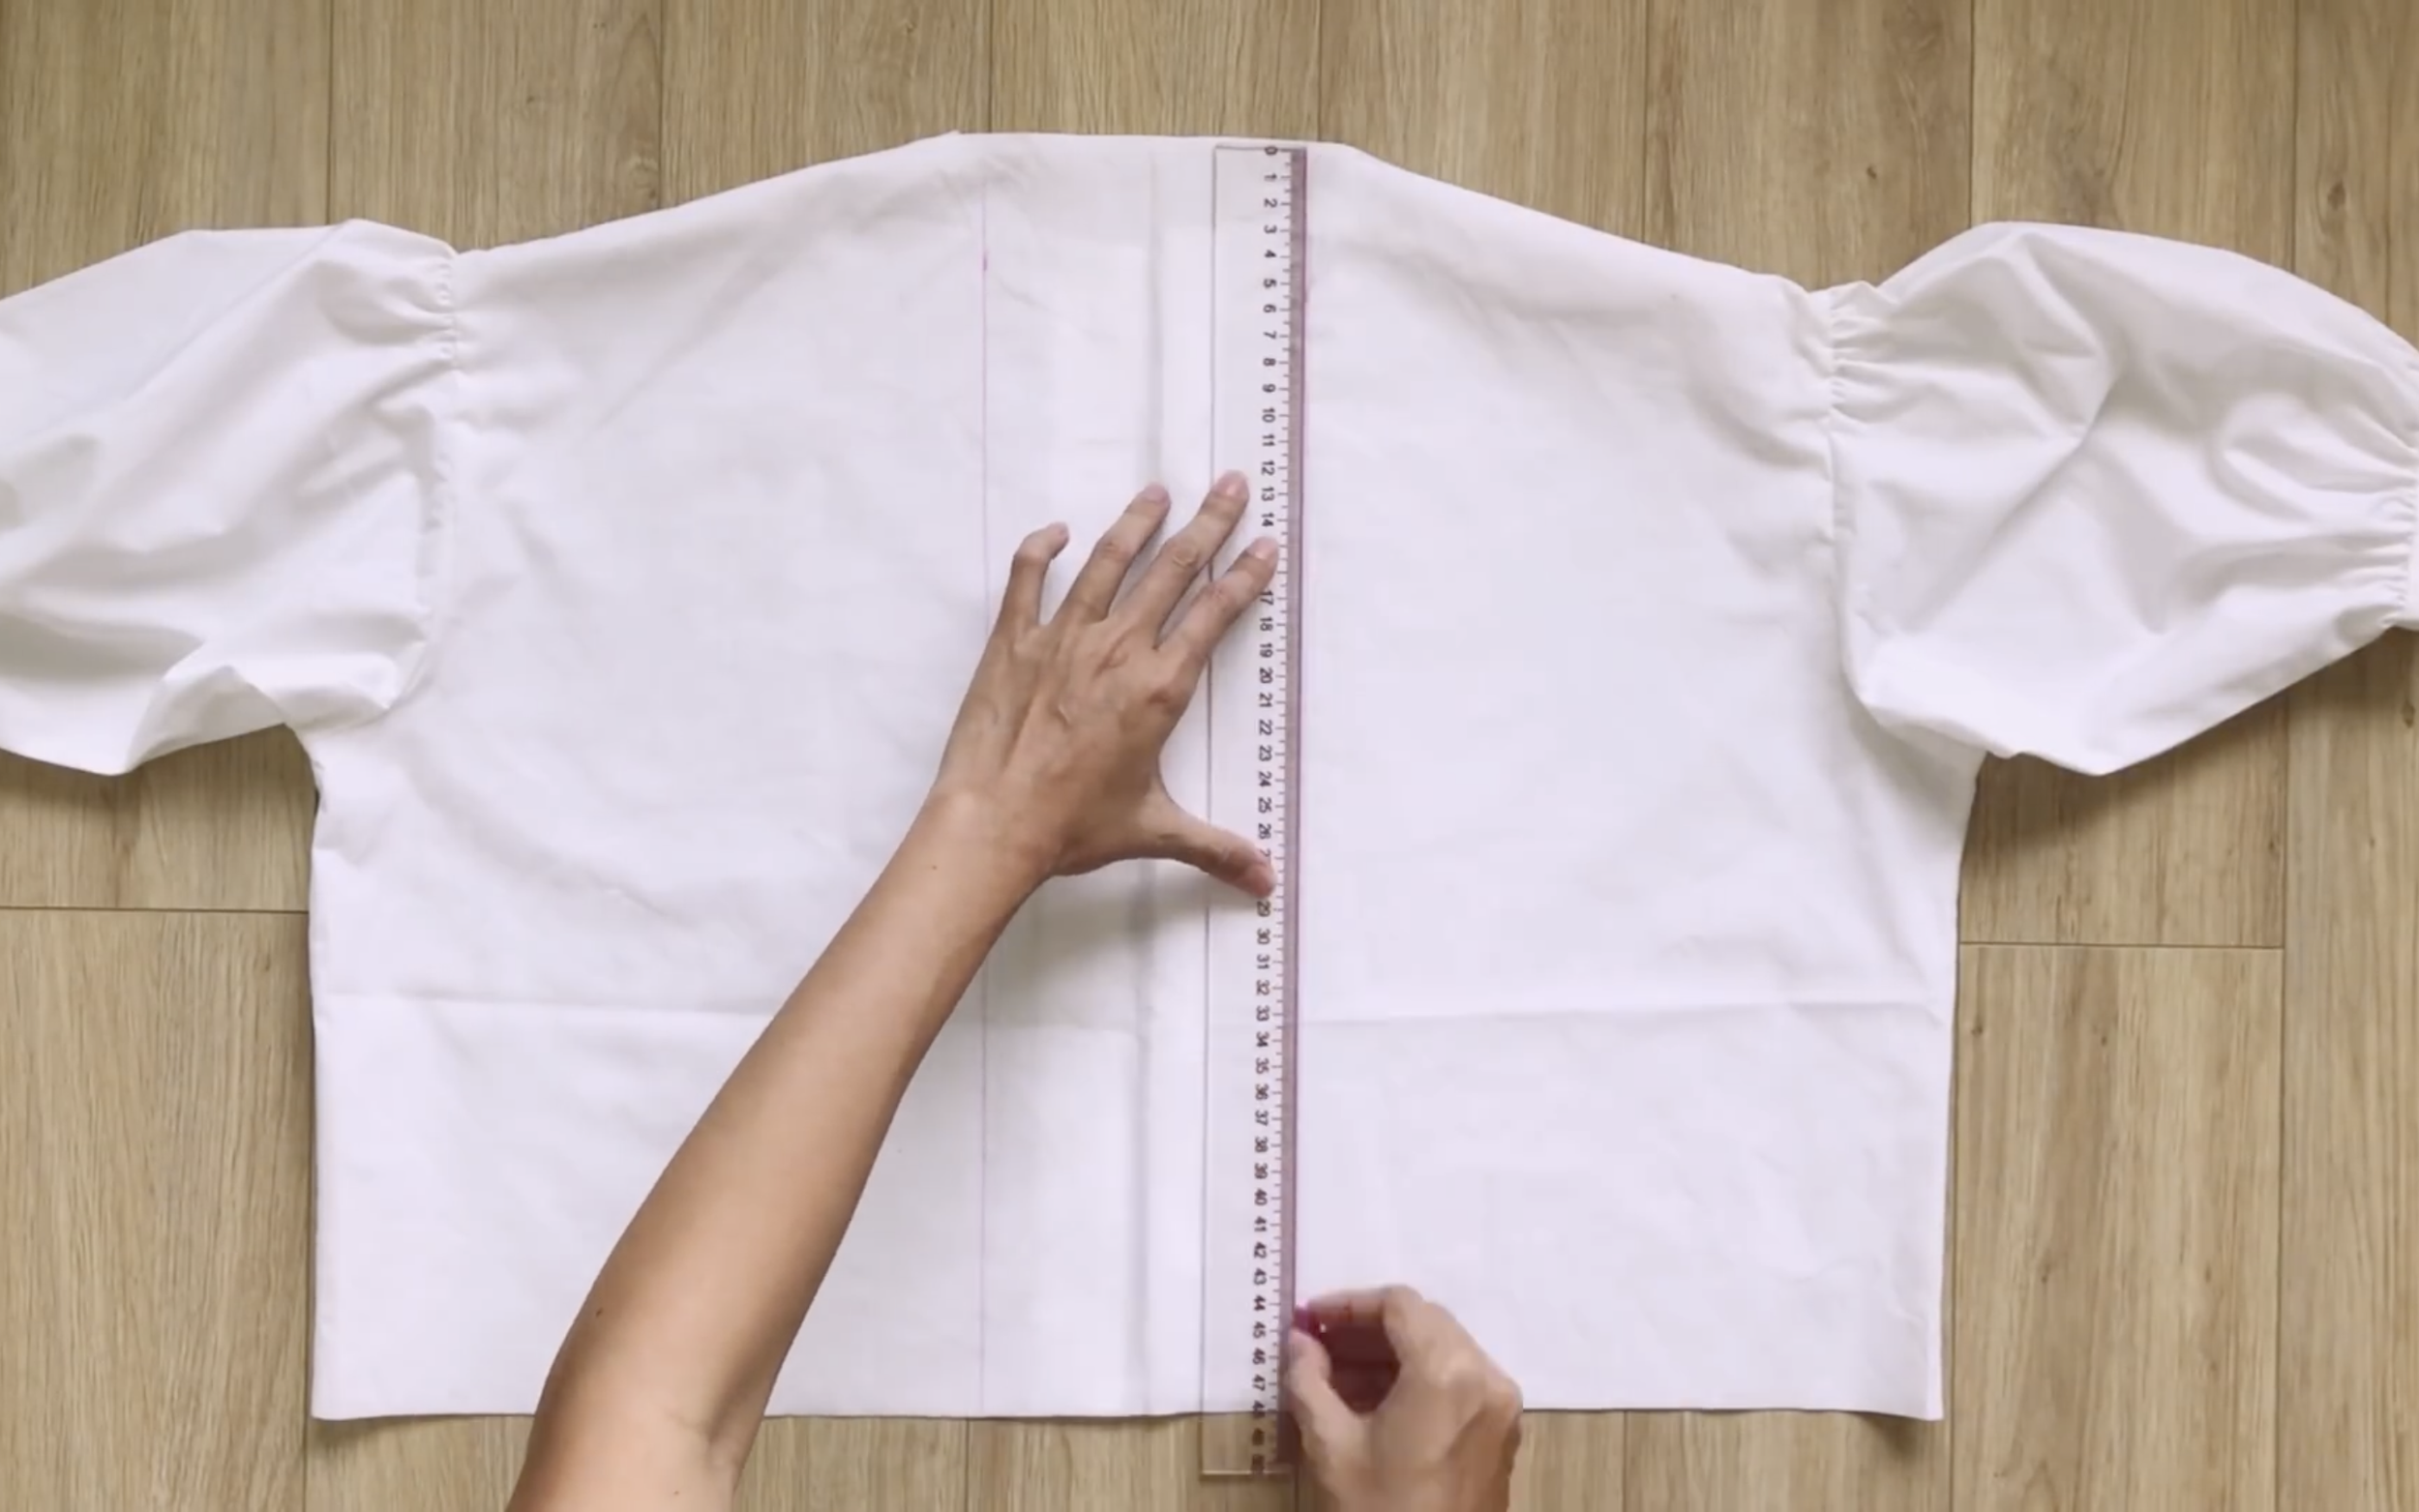
From the end of the sleeve, draw a line 28 cm inside it.
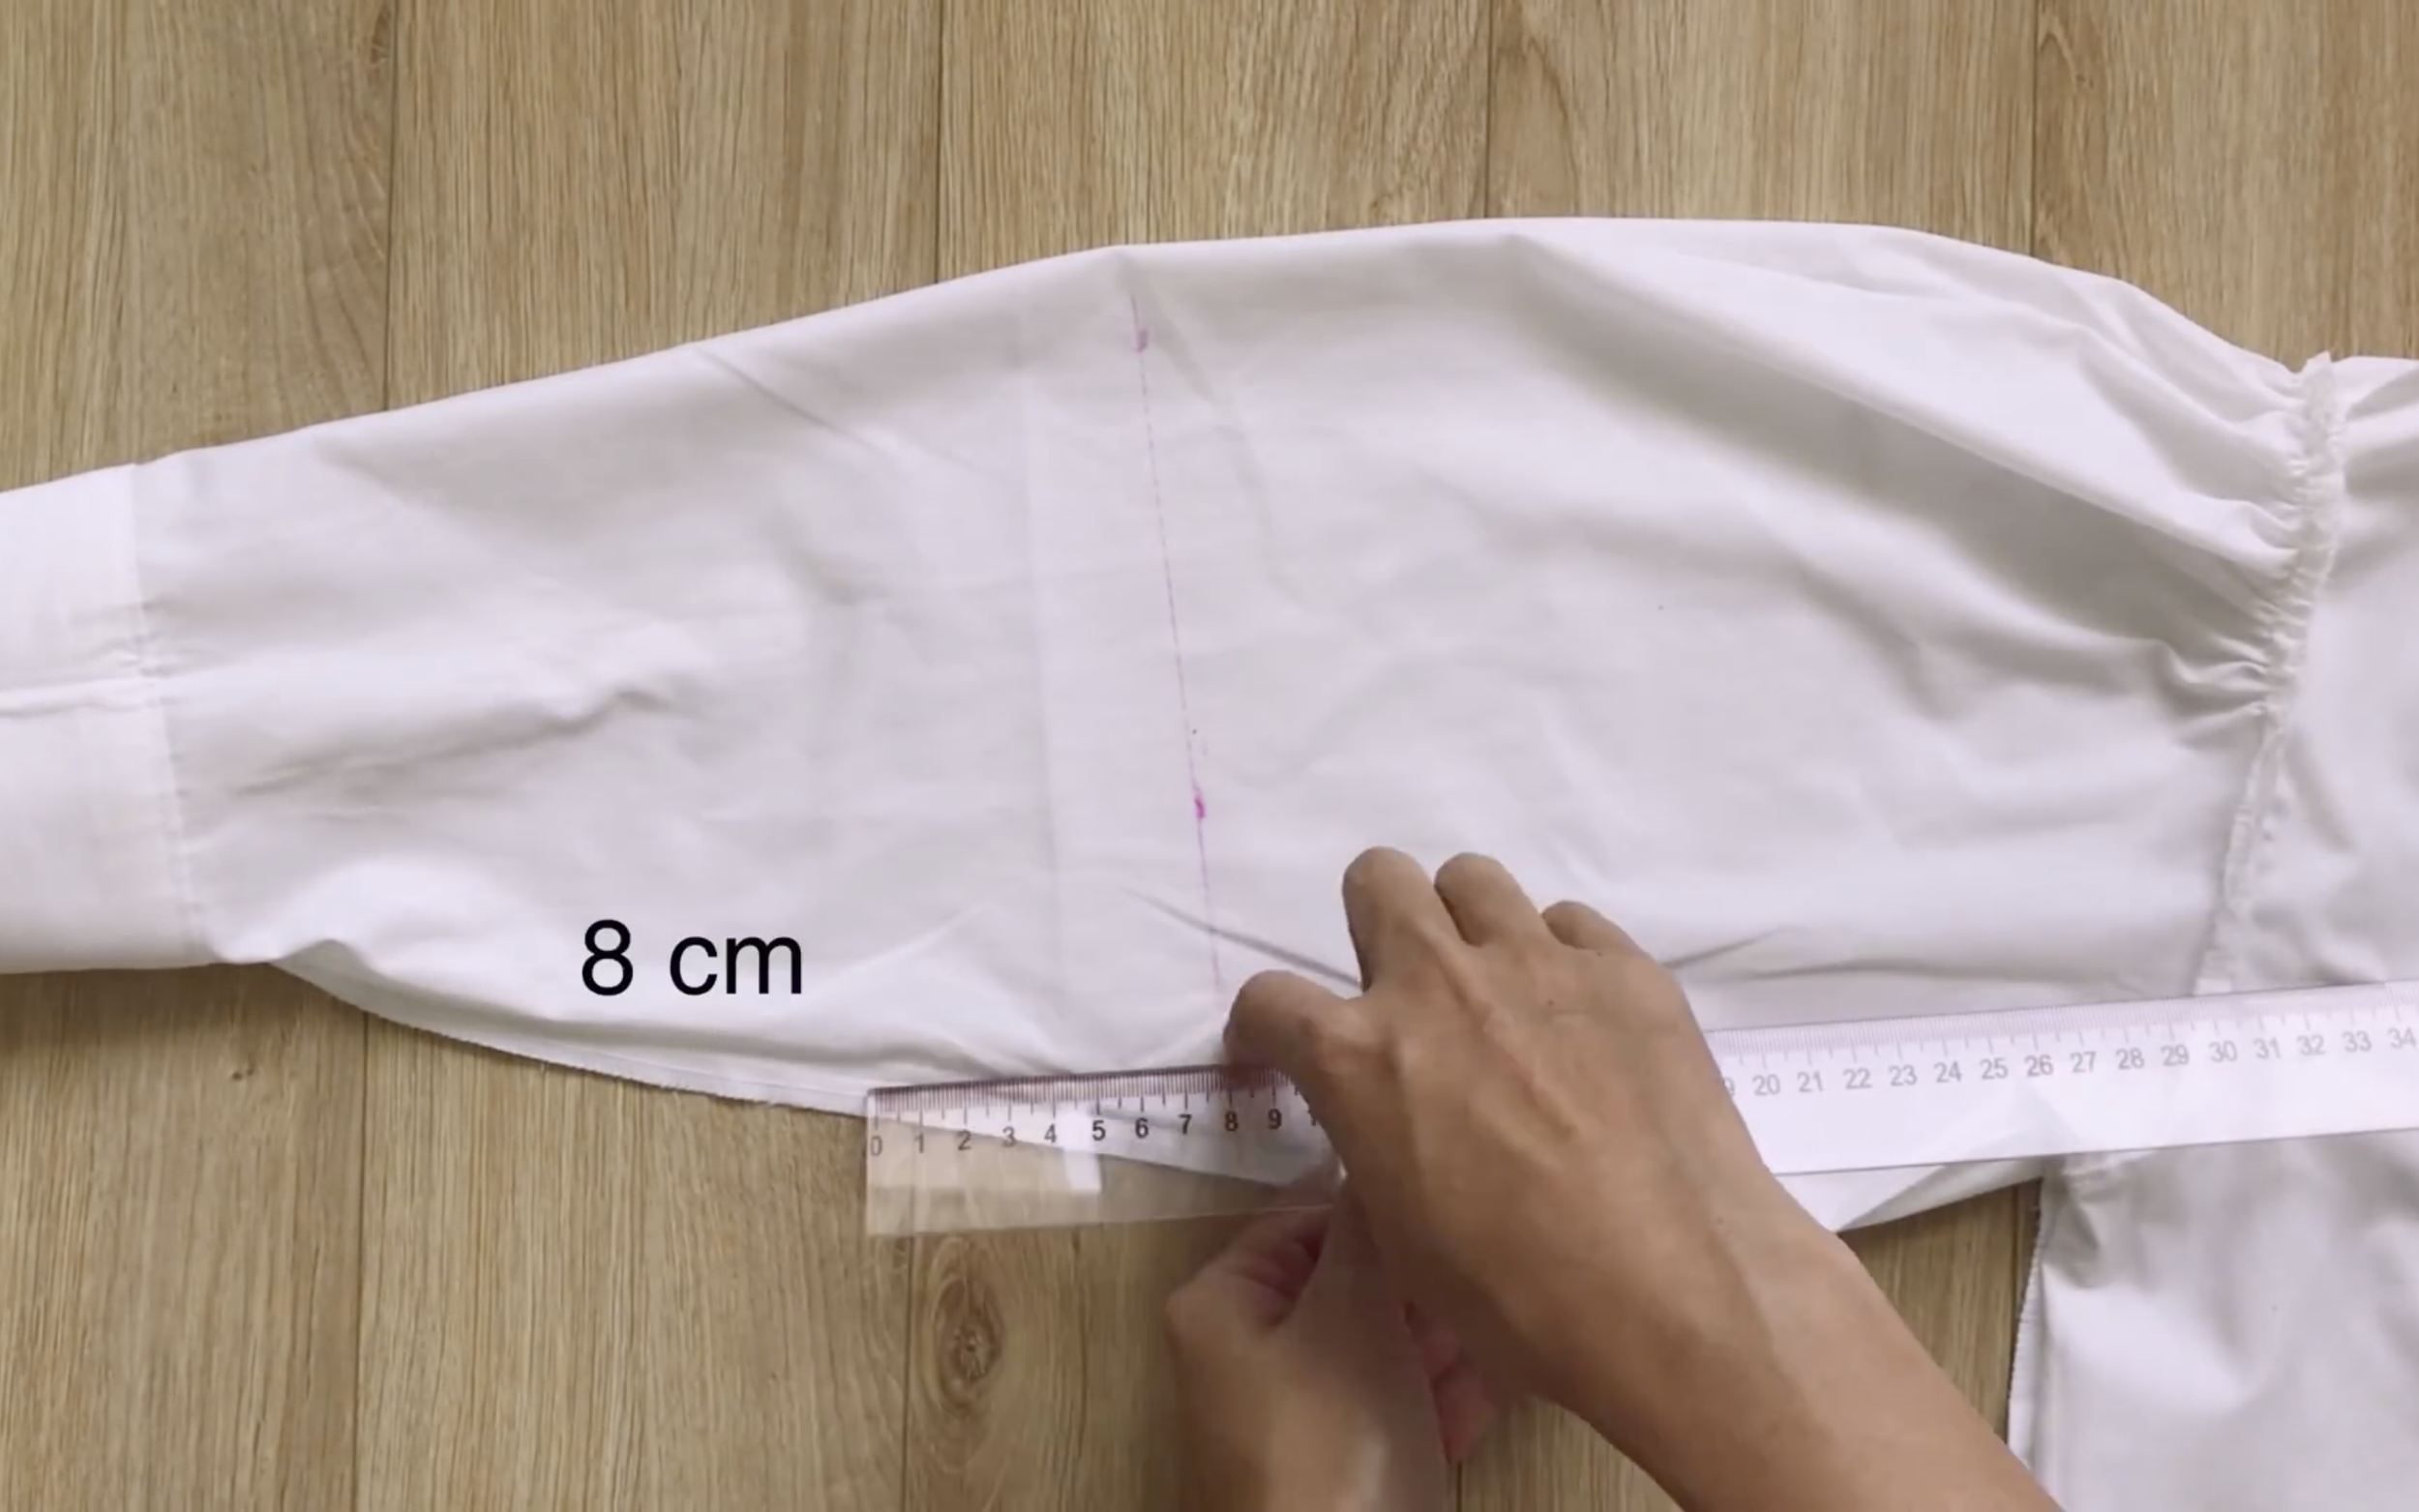
Then draw another line 8 cm from the first line.
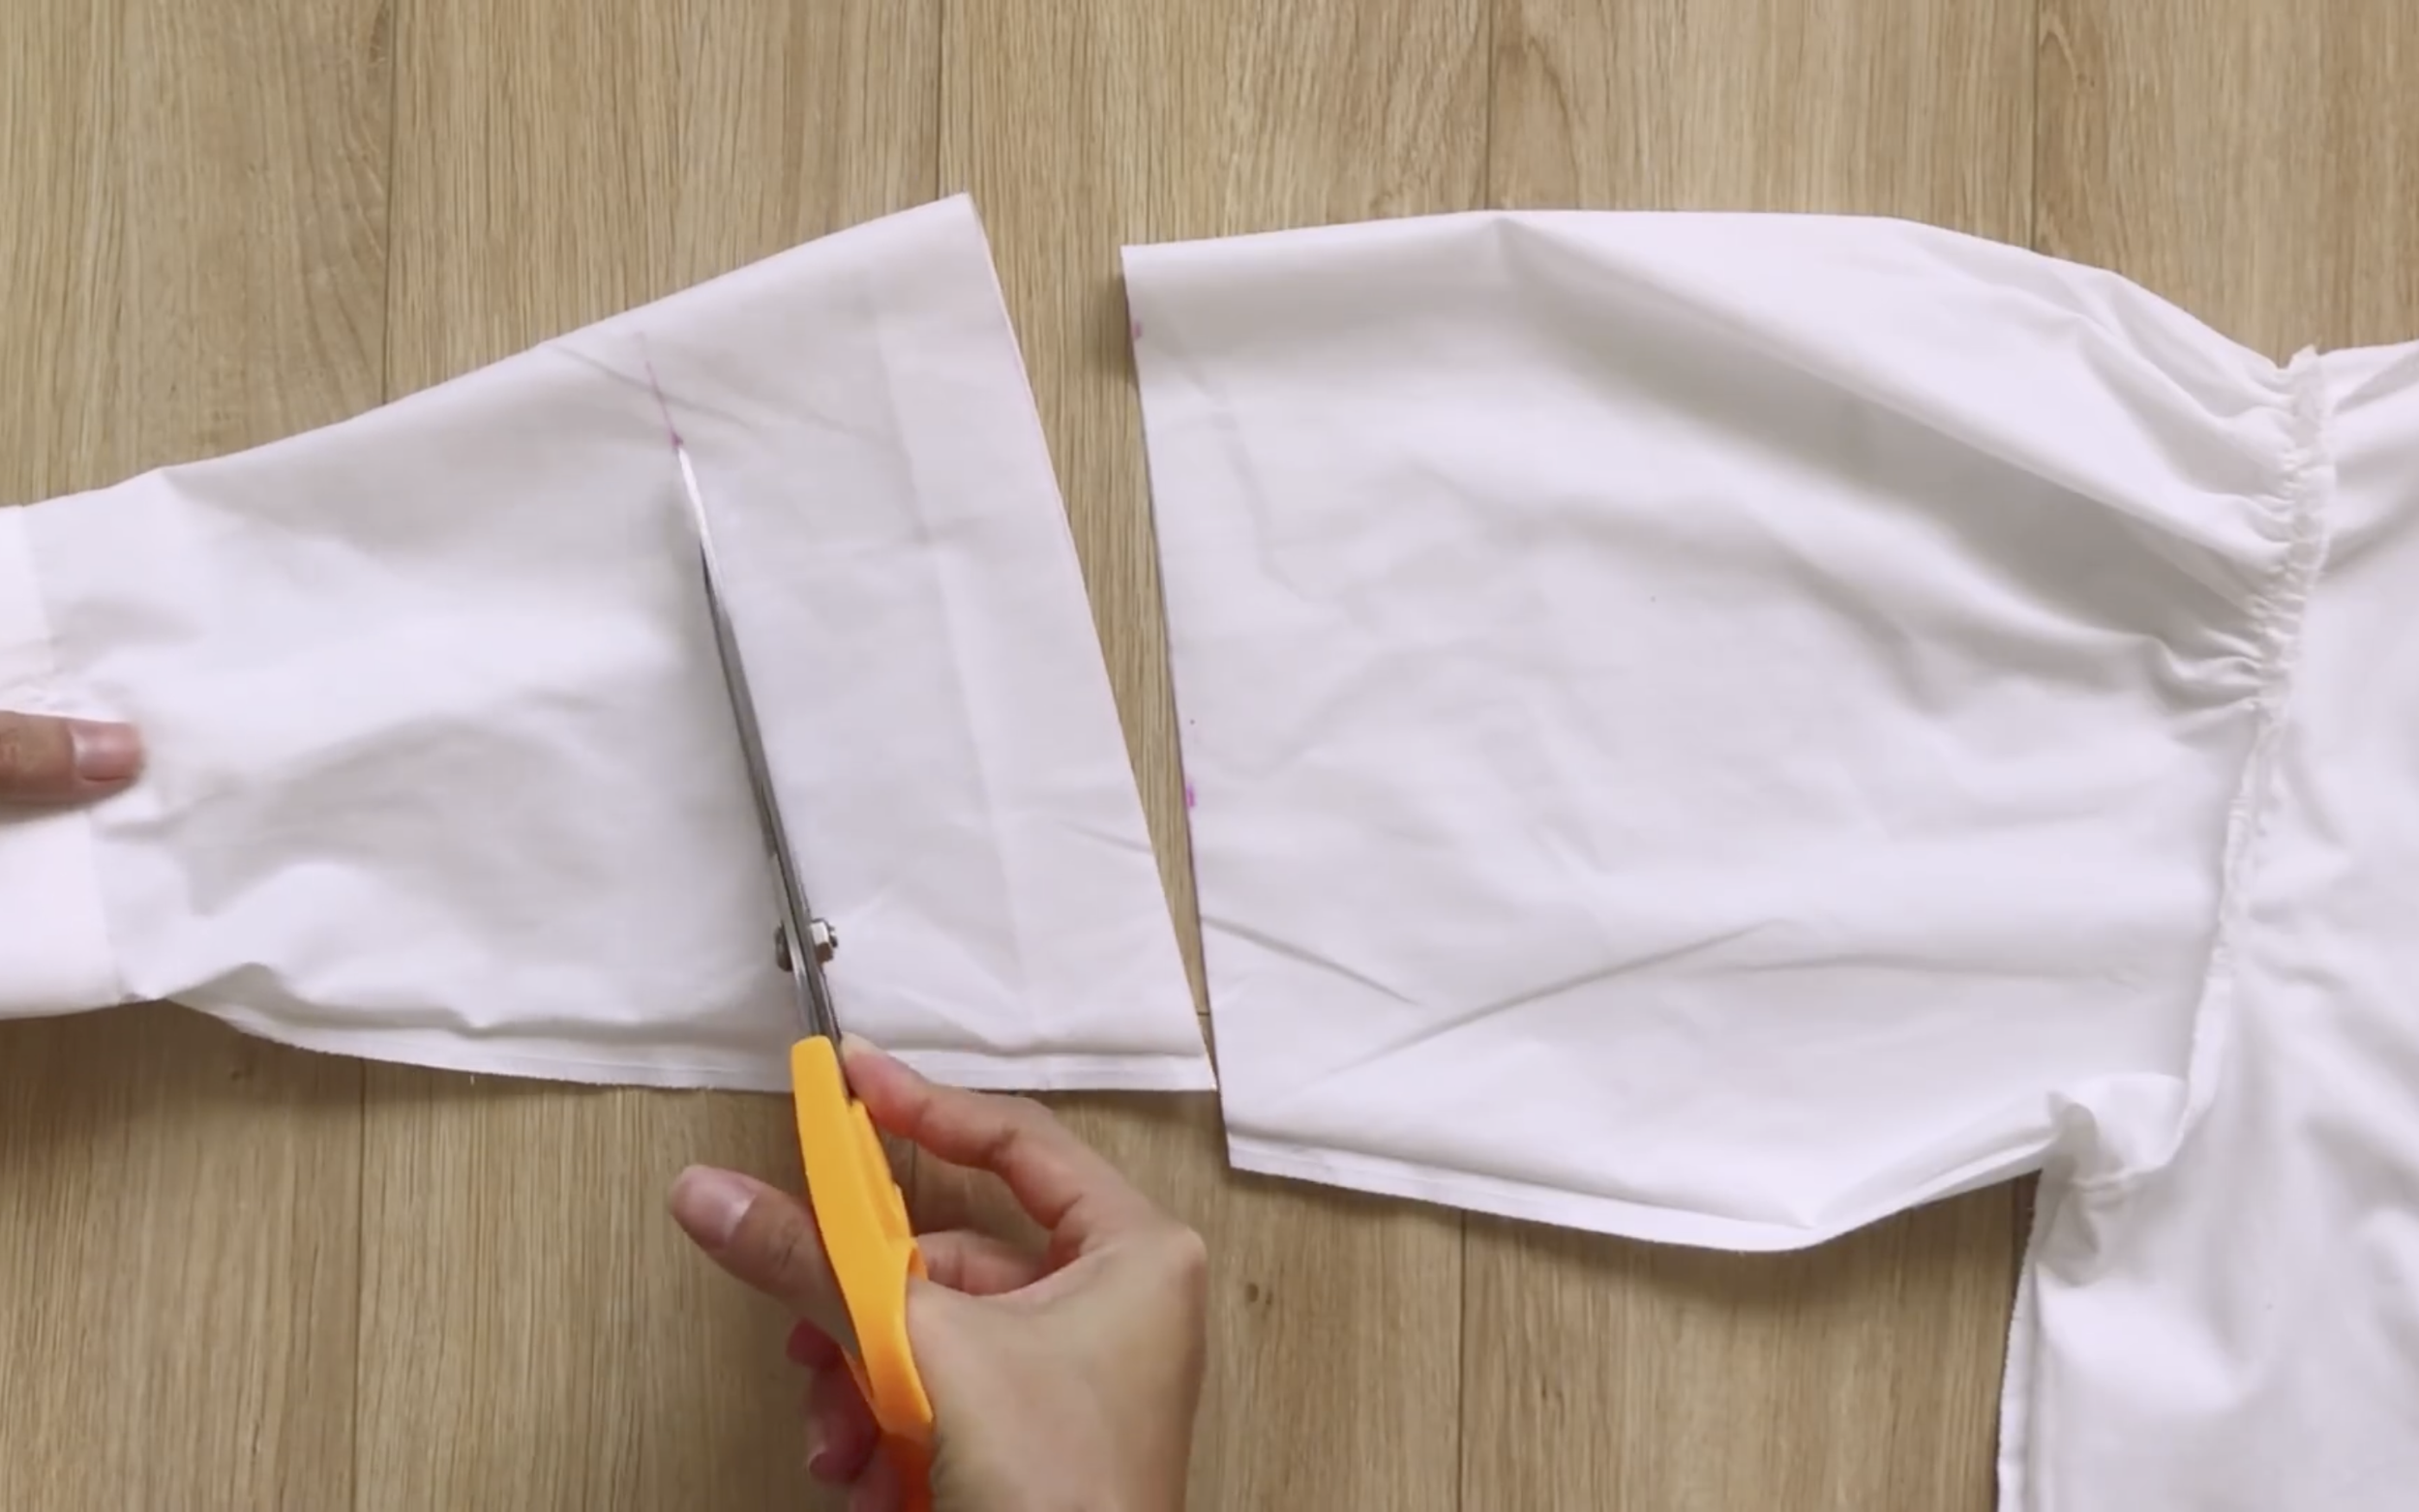
Cut along these lines.
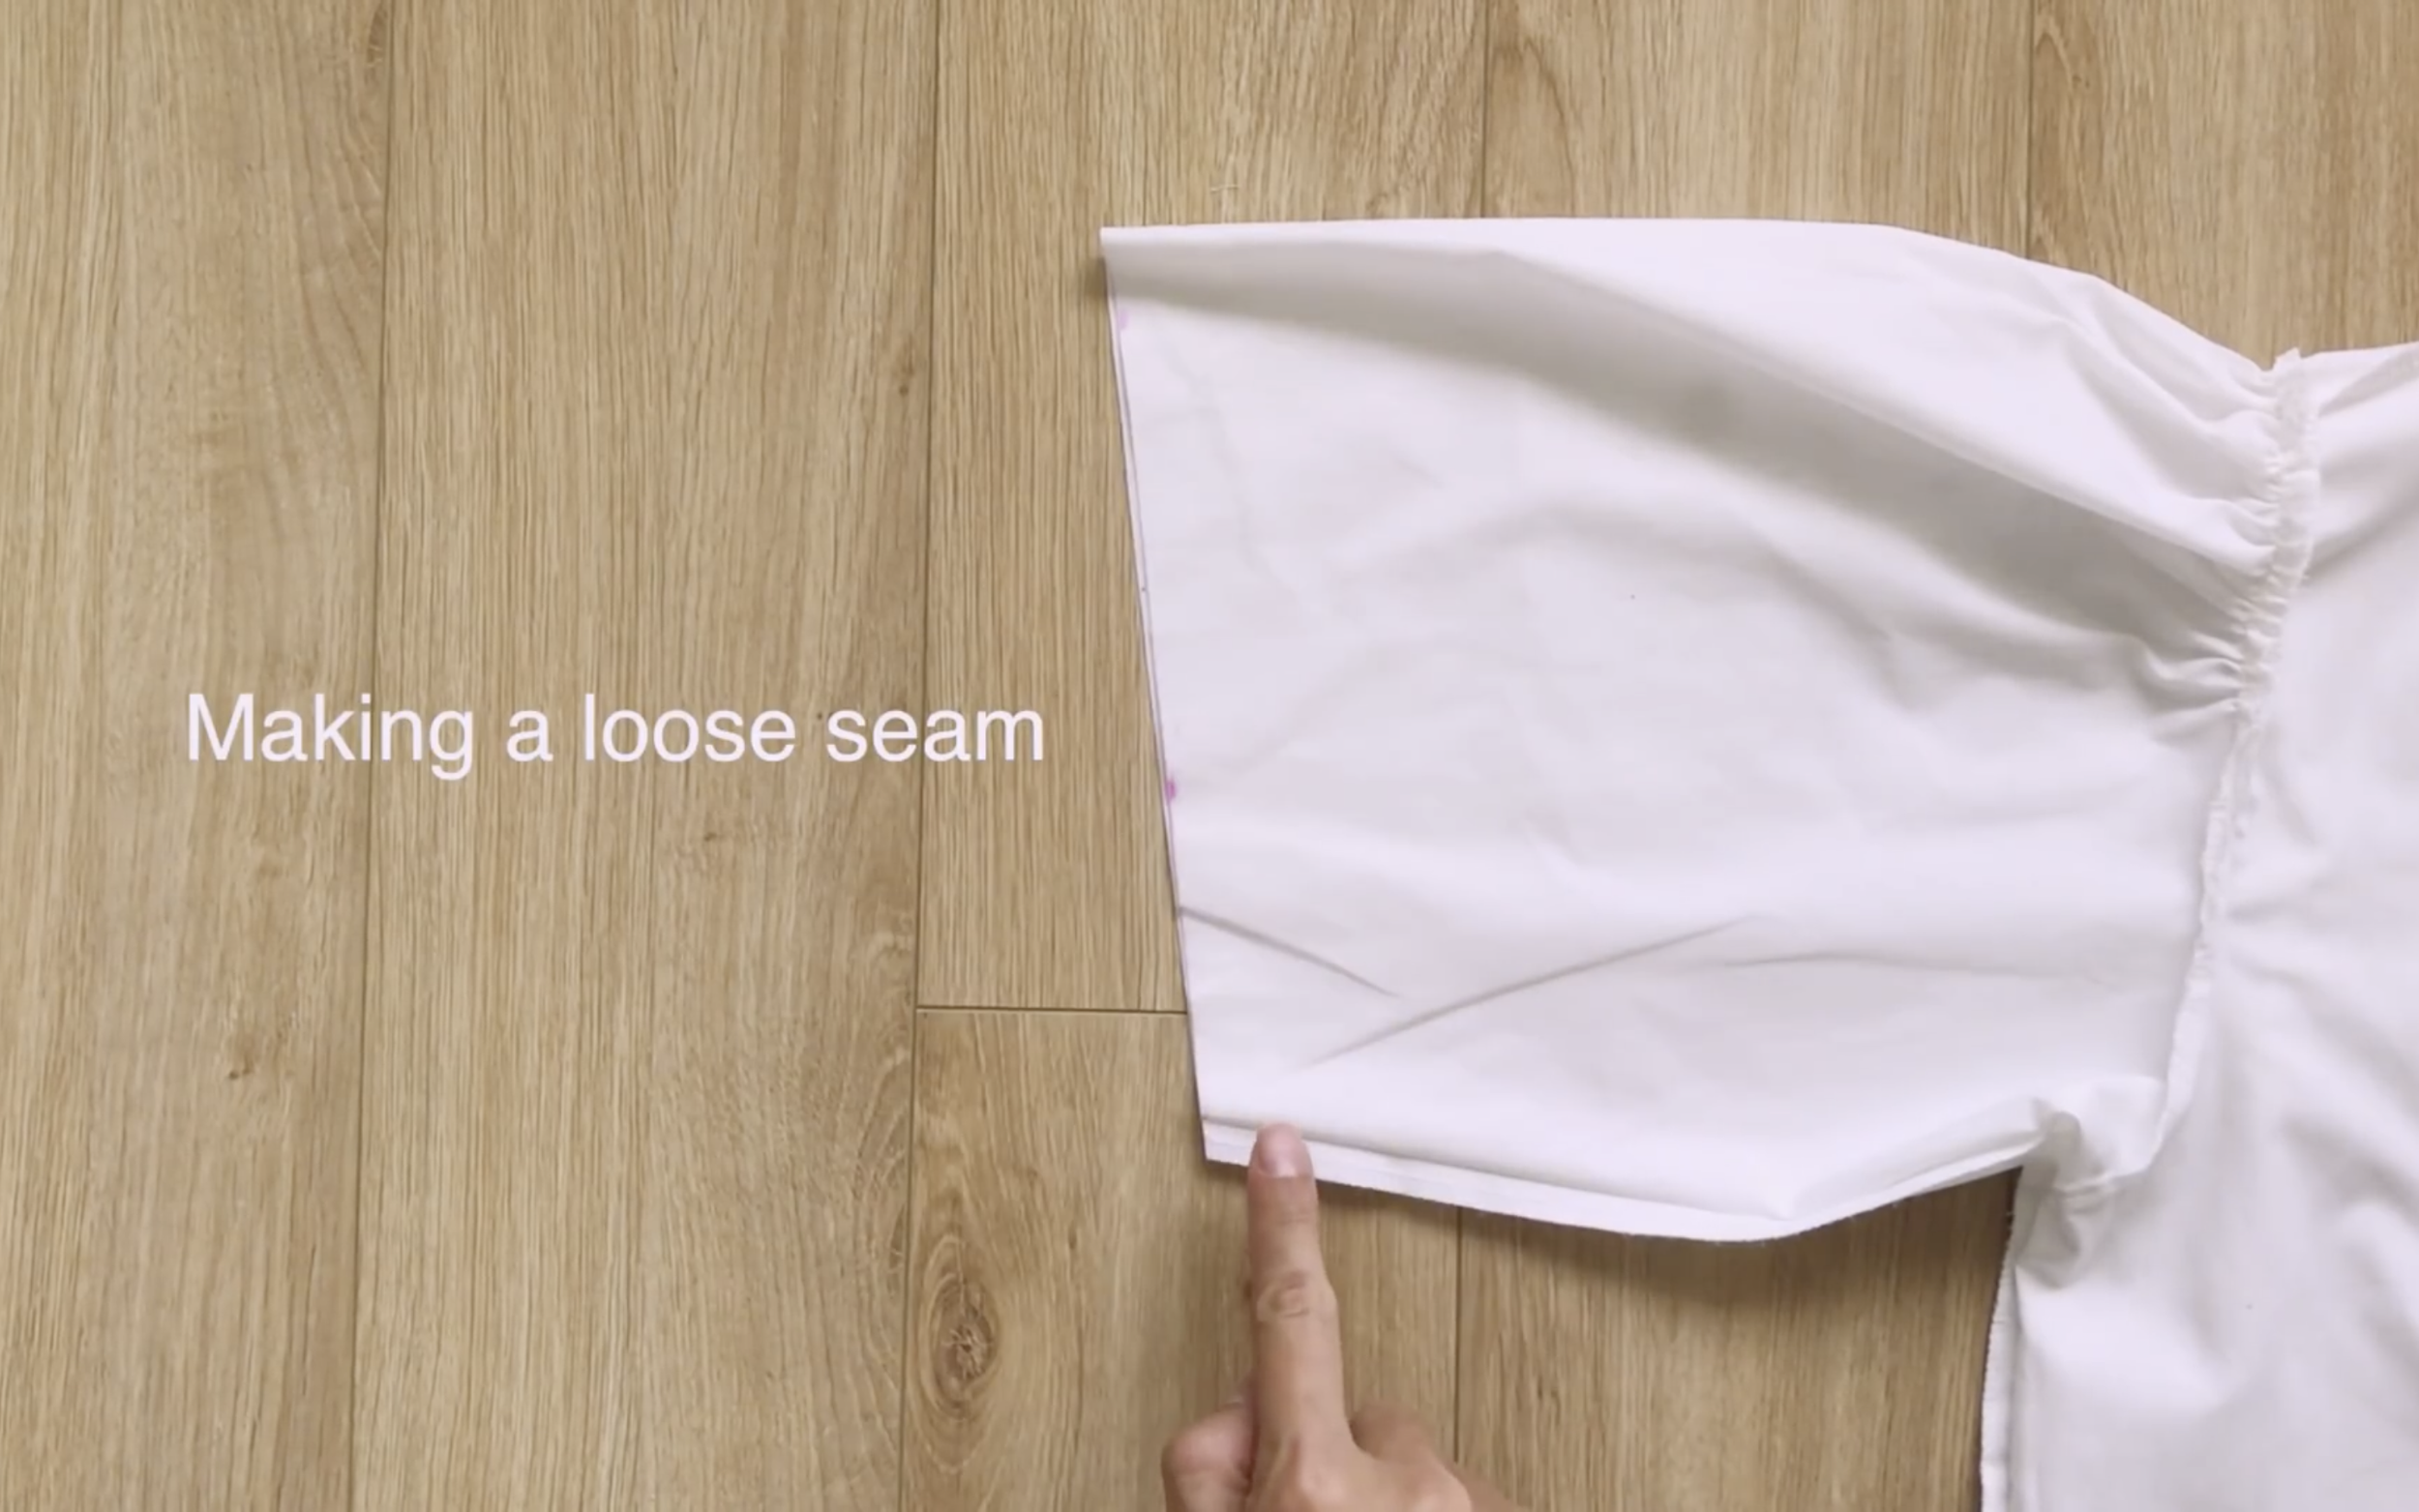
Make a loose seam at the end of the new sleeve first, then create the ruffle.
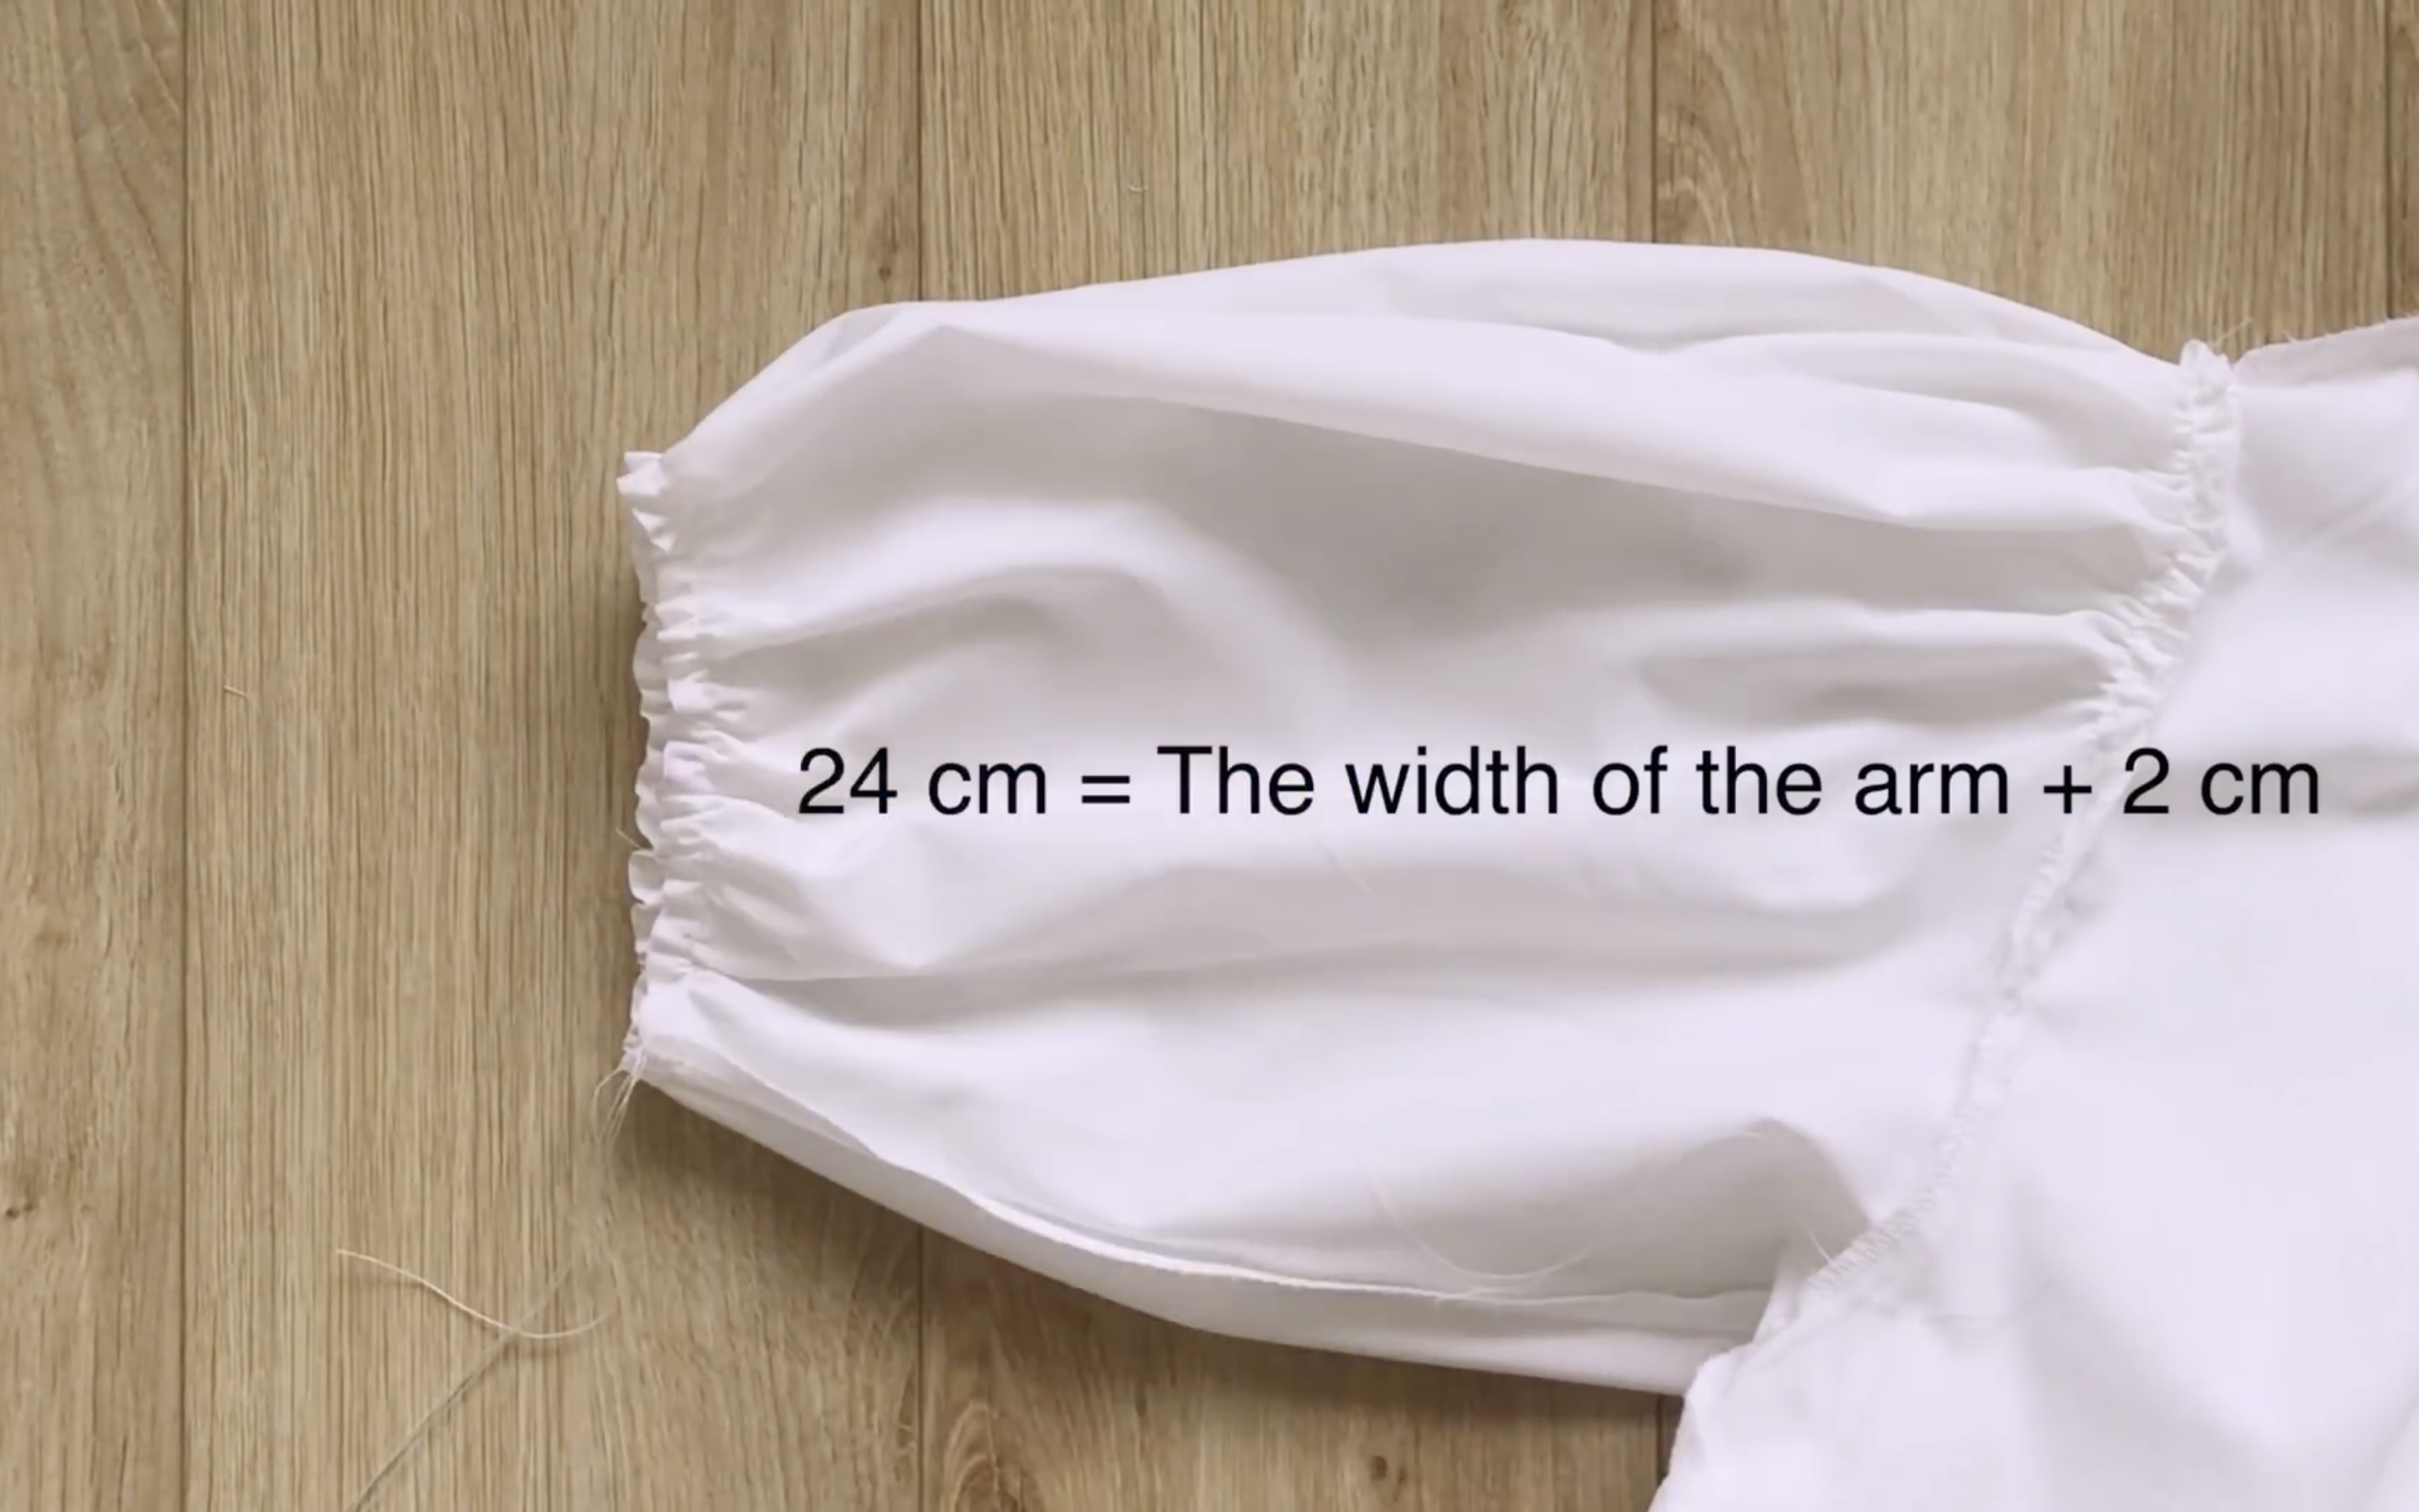
Make sure the width of the ruffle at the end is around 24 cm, which is the width of your arm plus 2 cm.
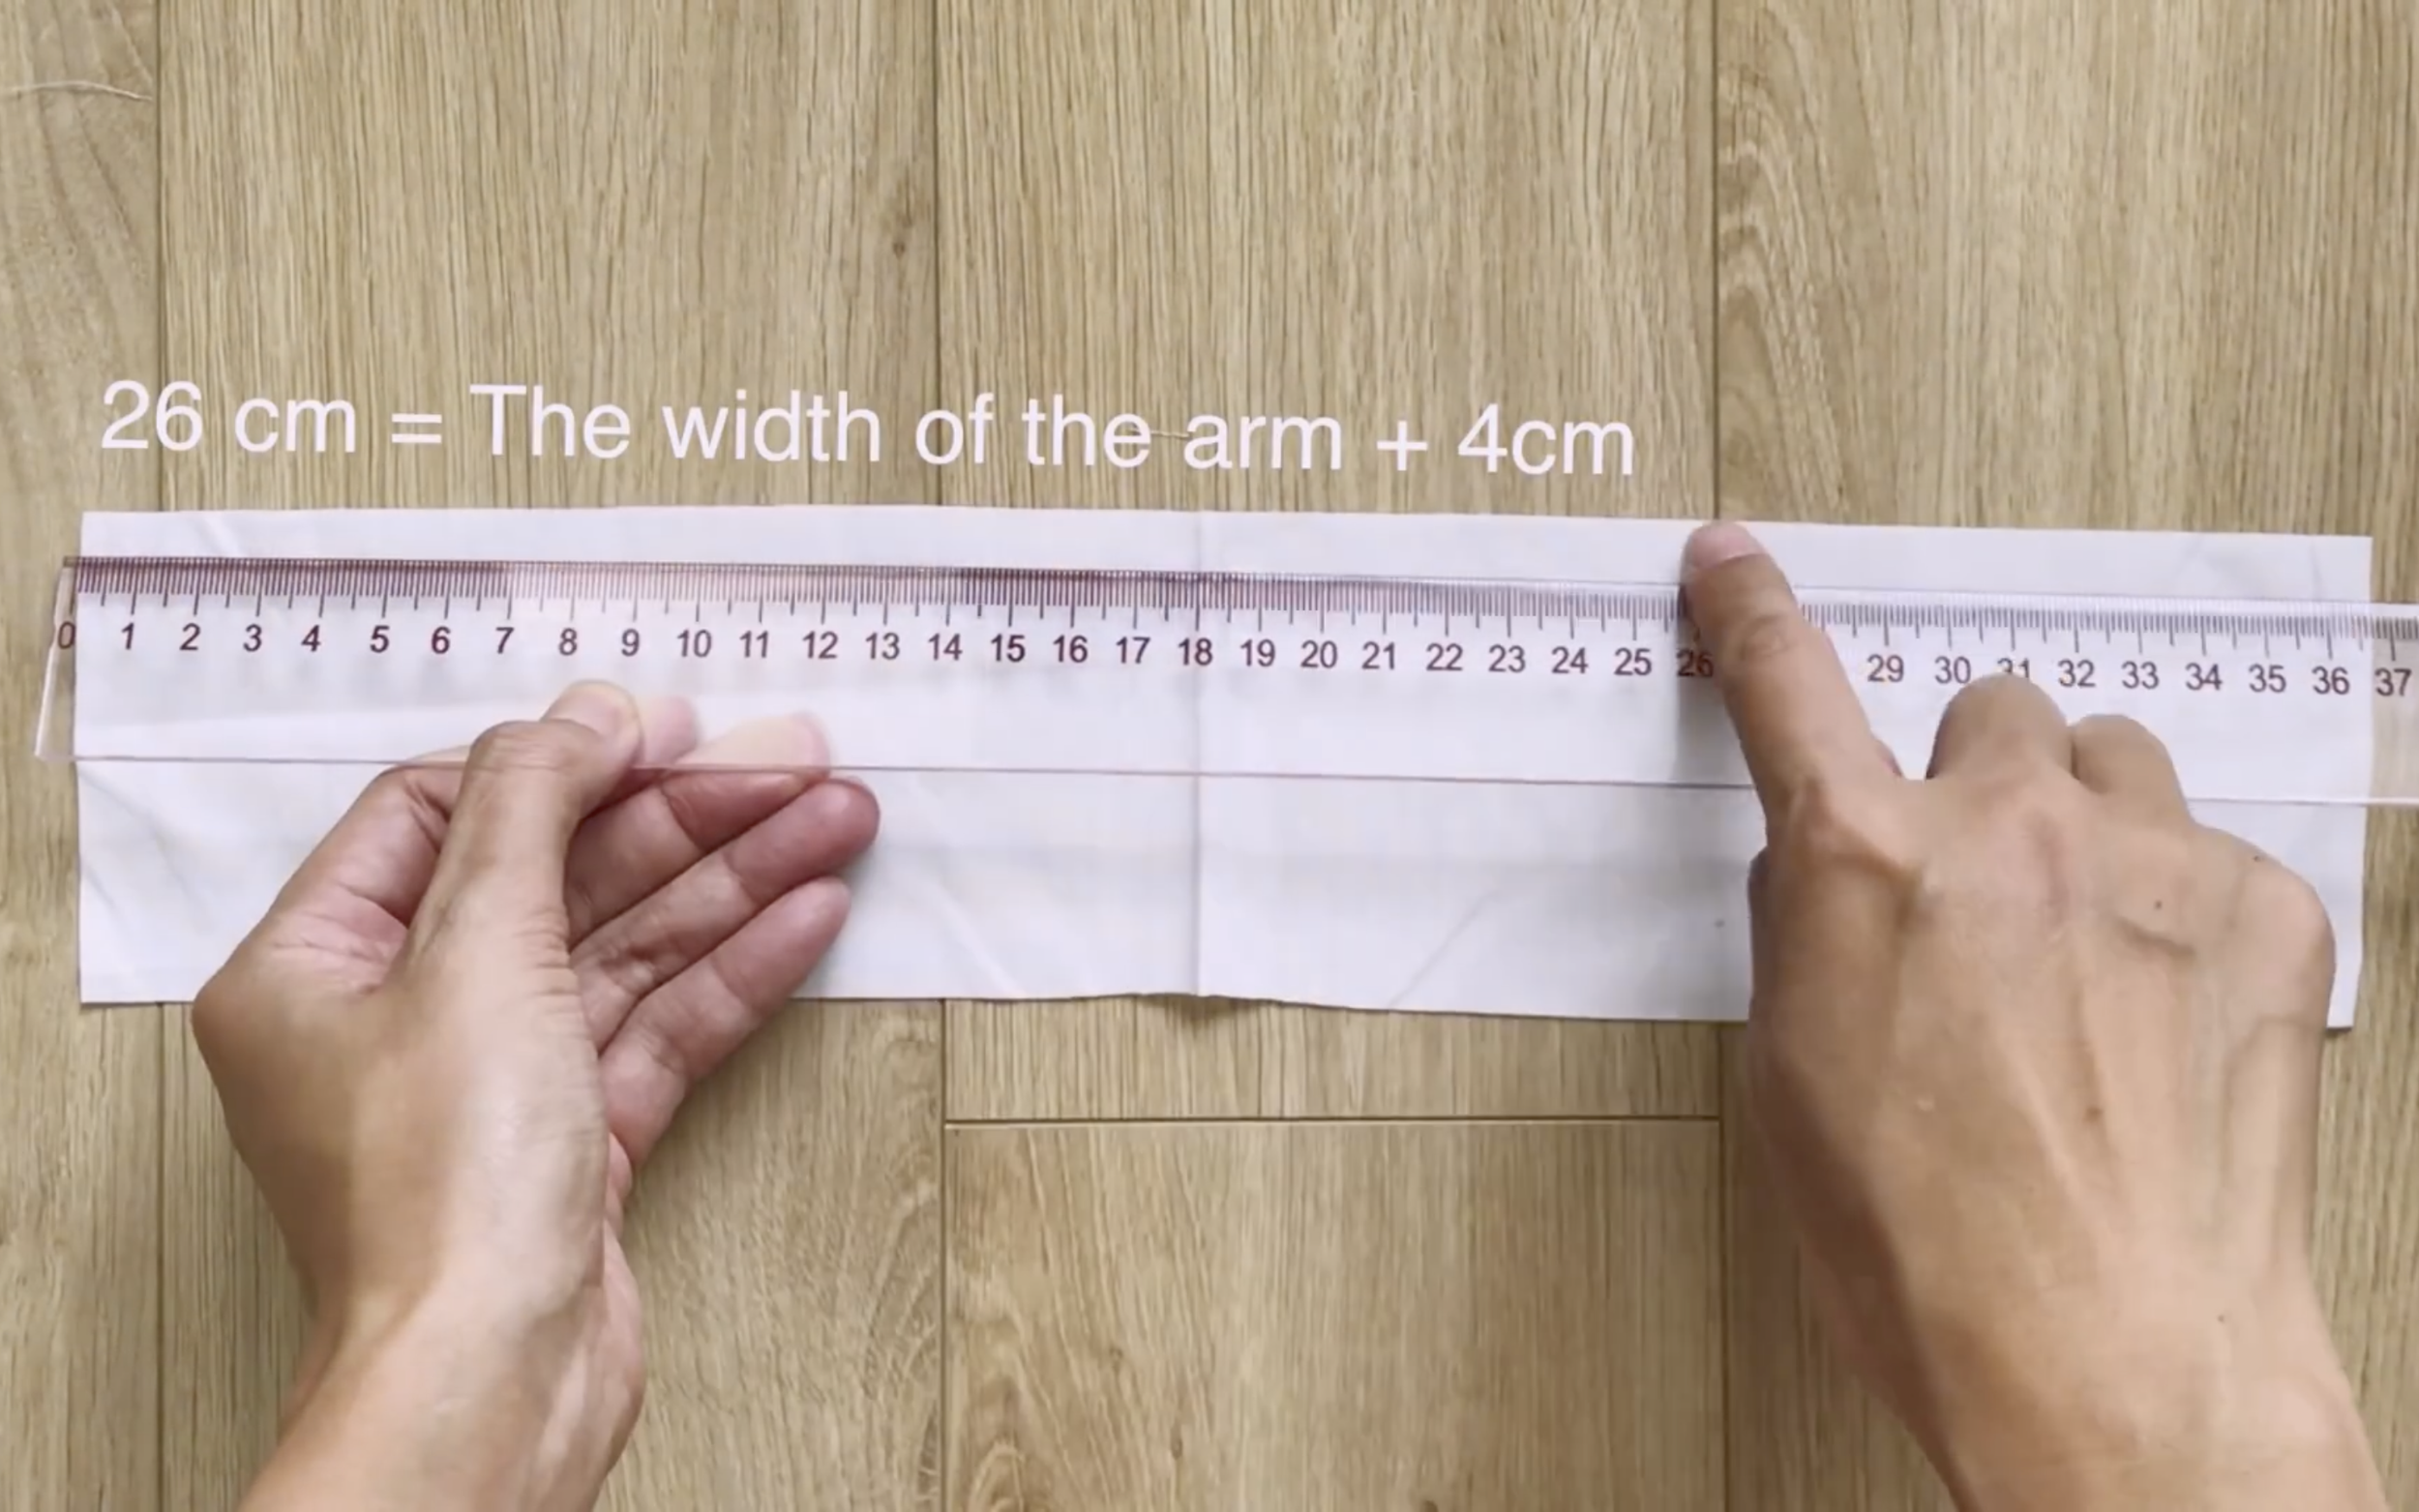
Use the fabric cut from the old sleeve to cut a rectangle with a 26 cm width.
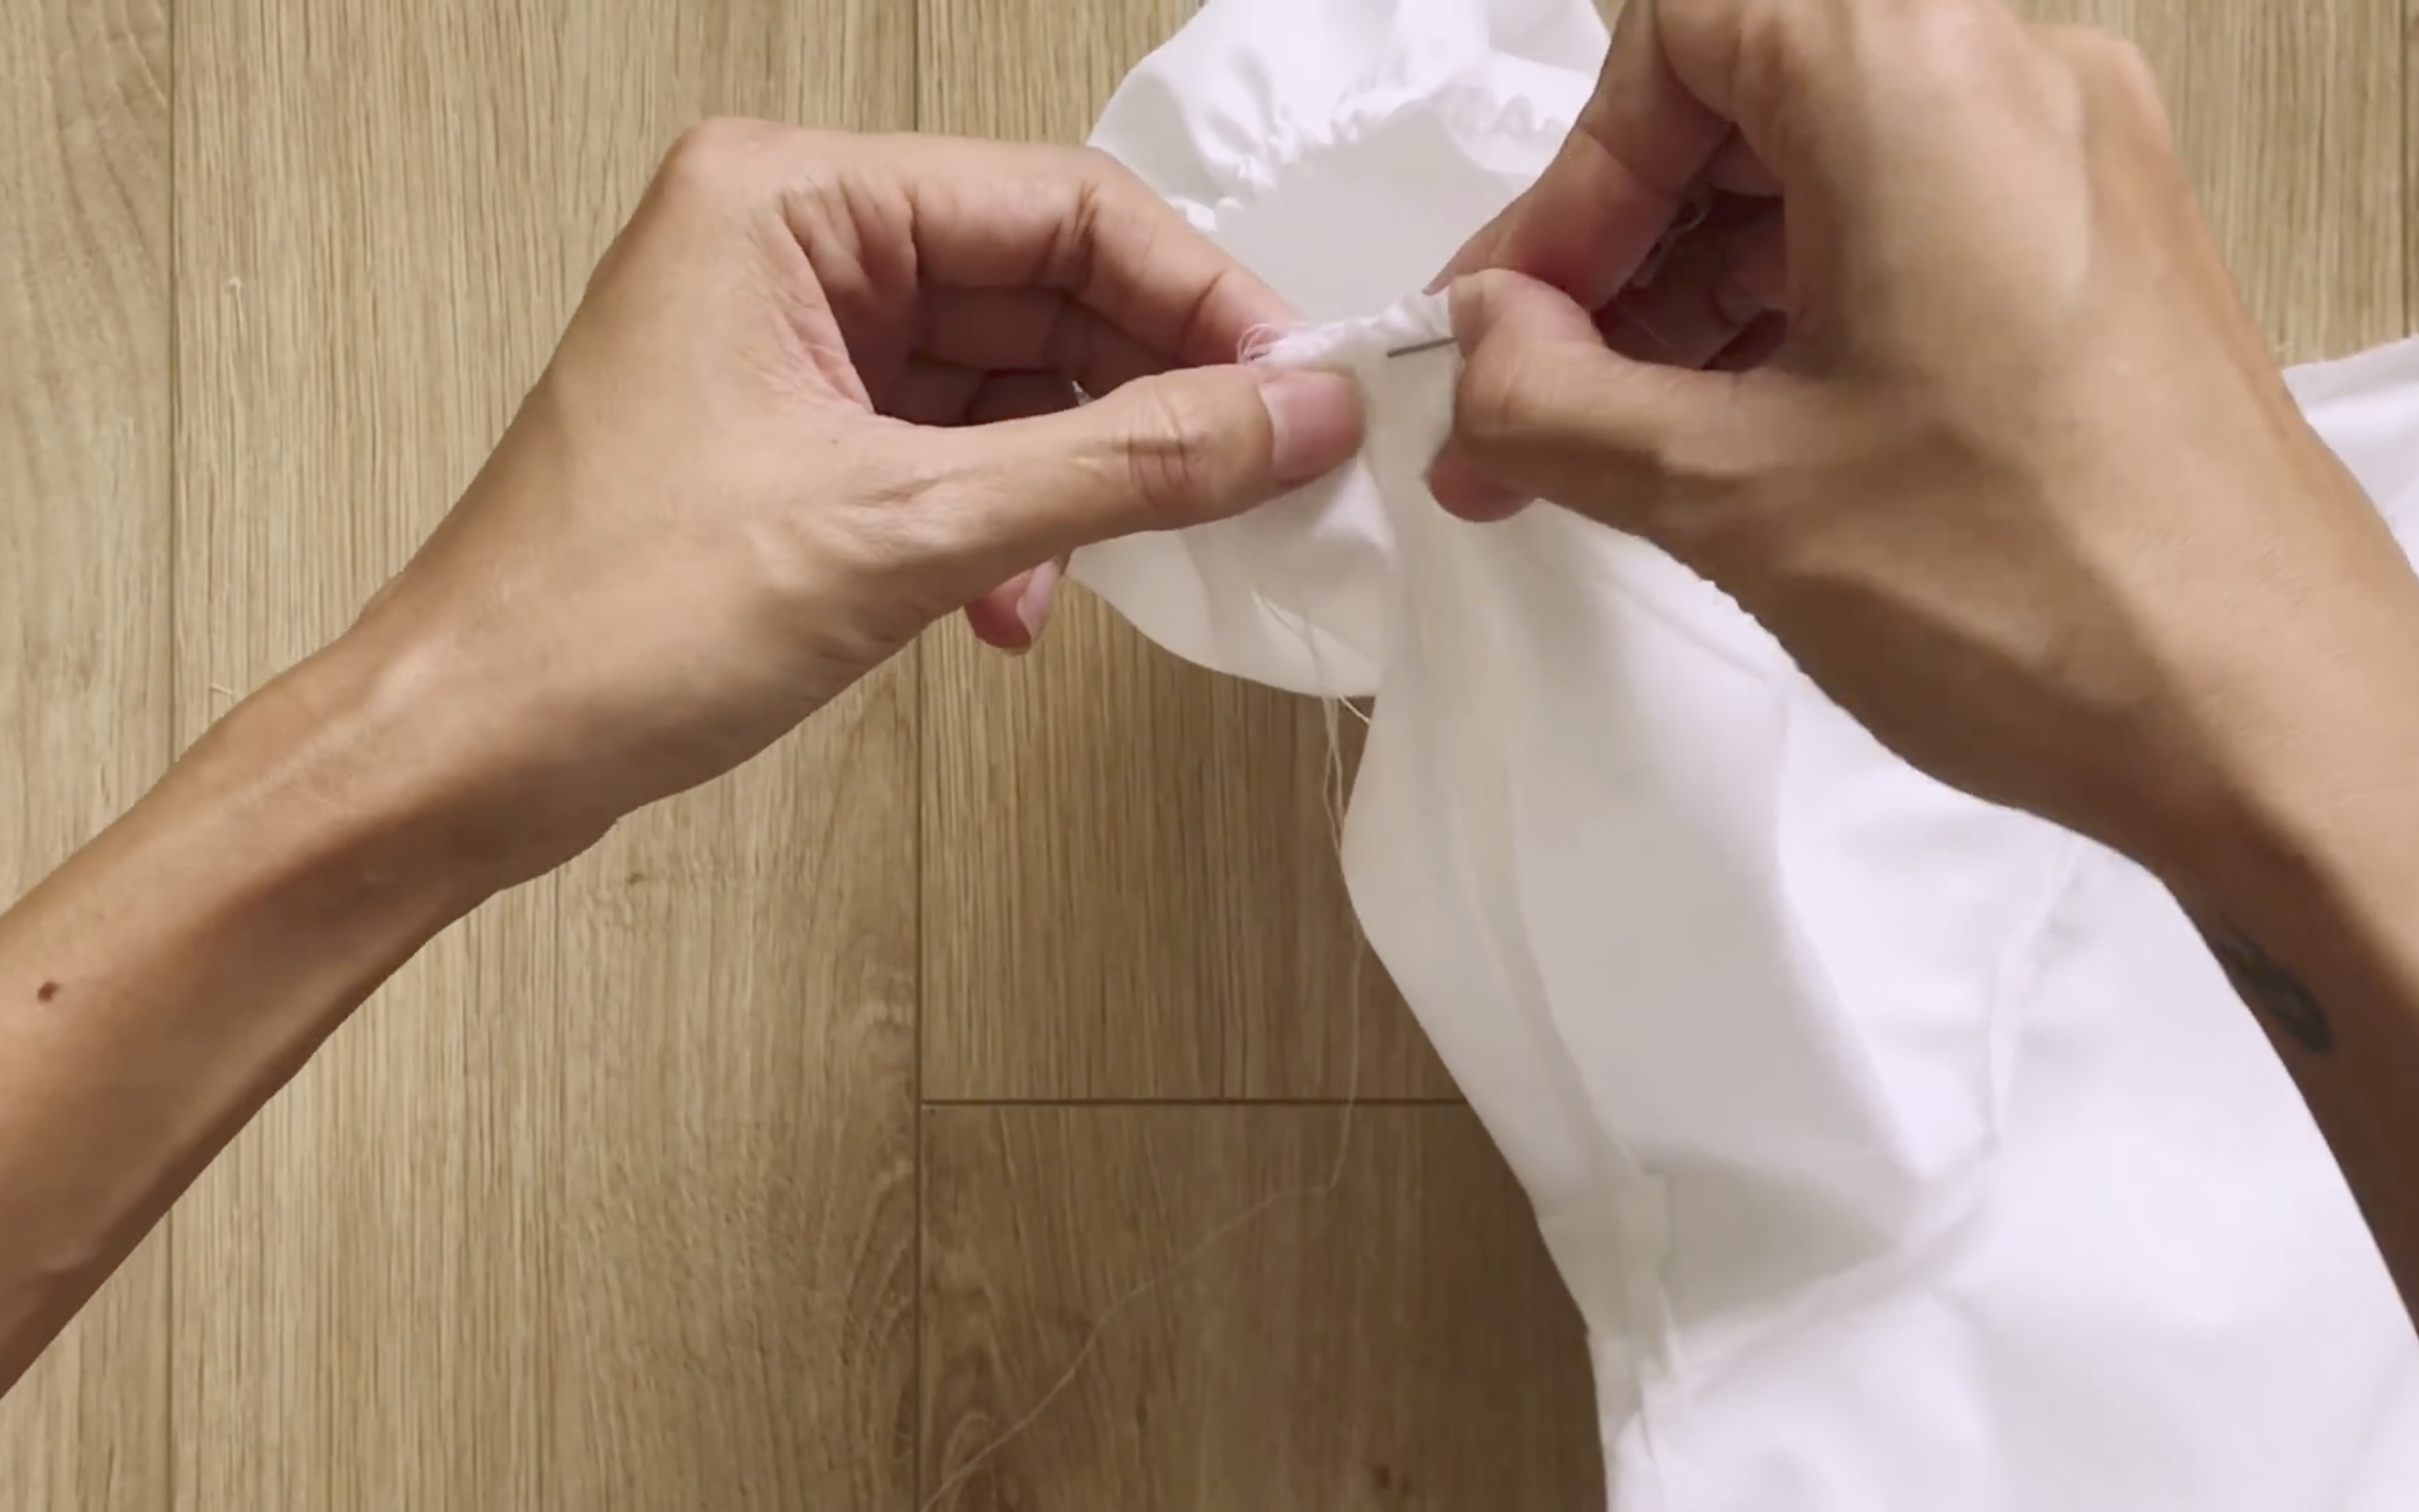
Then, connect it to the end of the new sleeve.
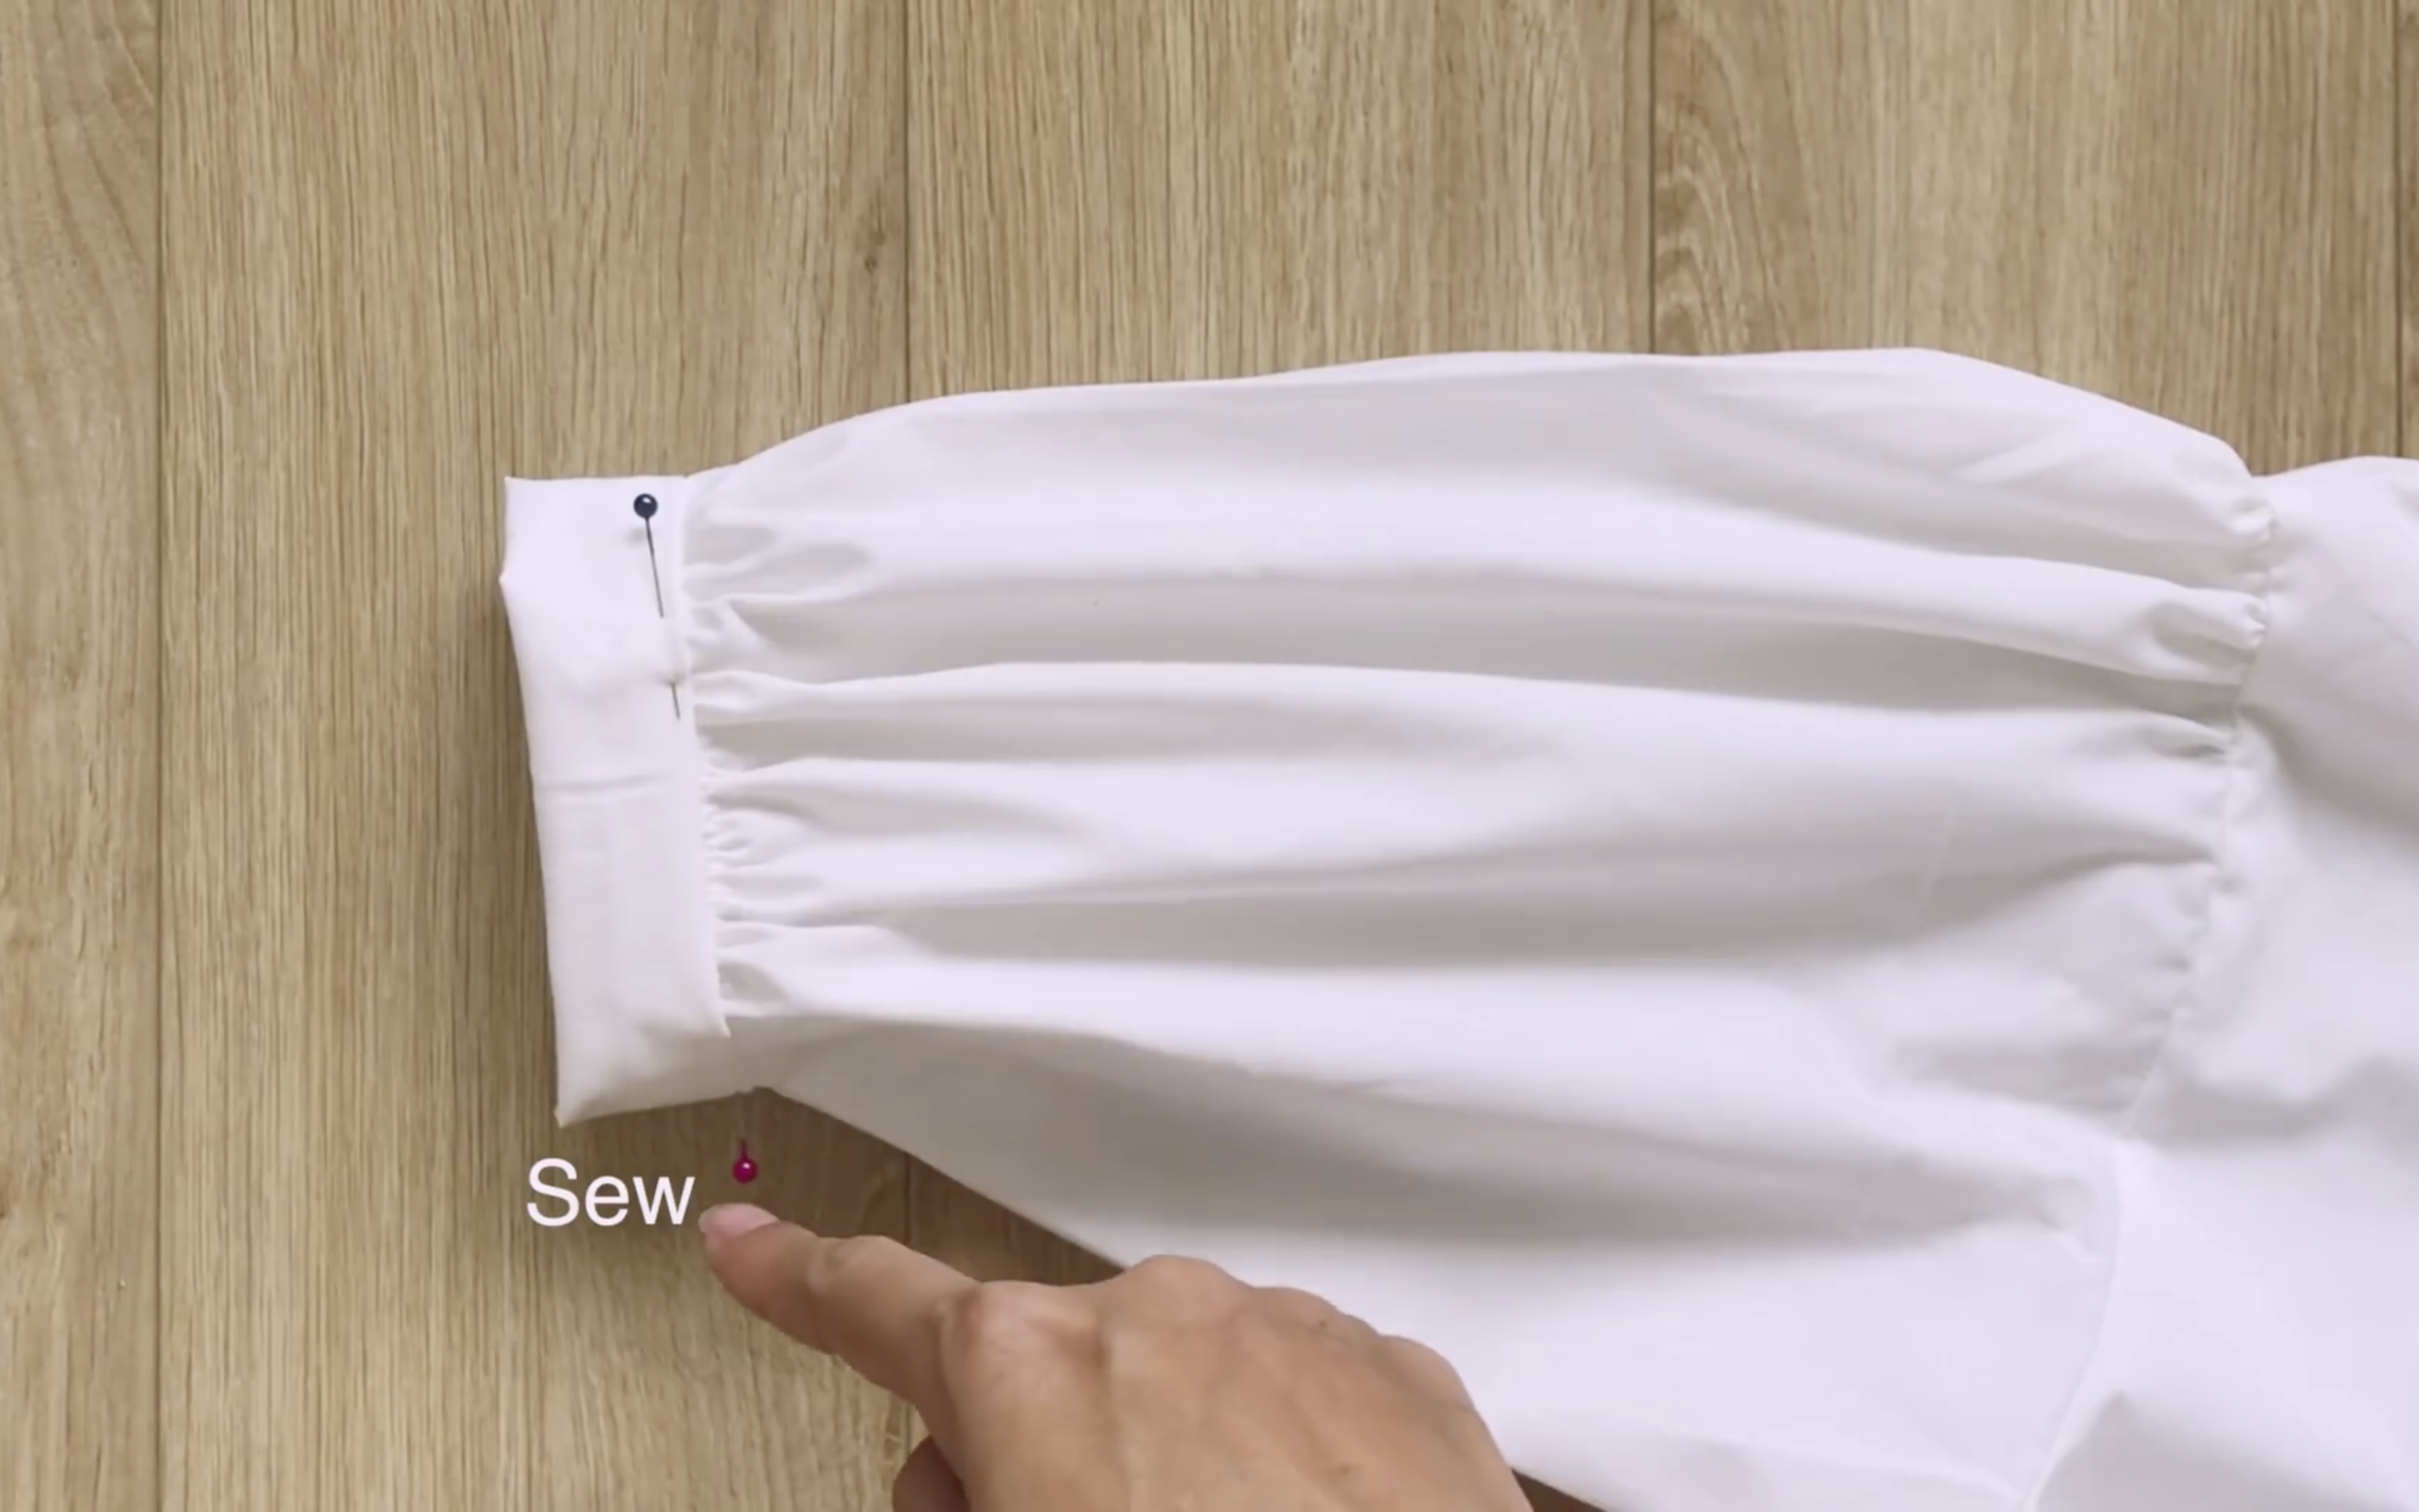
After the first seam, fold the end of the rectangle inside by 1 cm. Then fold it again over the first seam to hide all the extra fabric inside, and make the second seam.
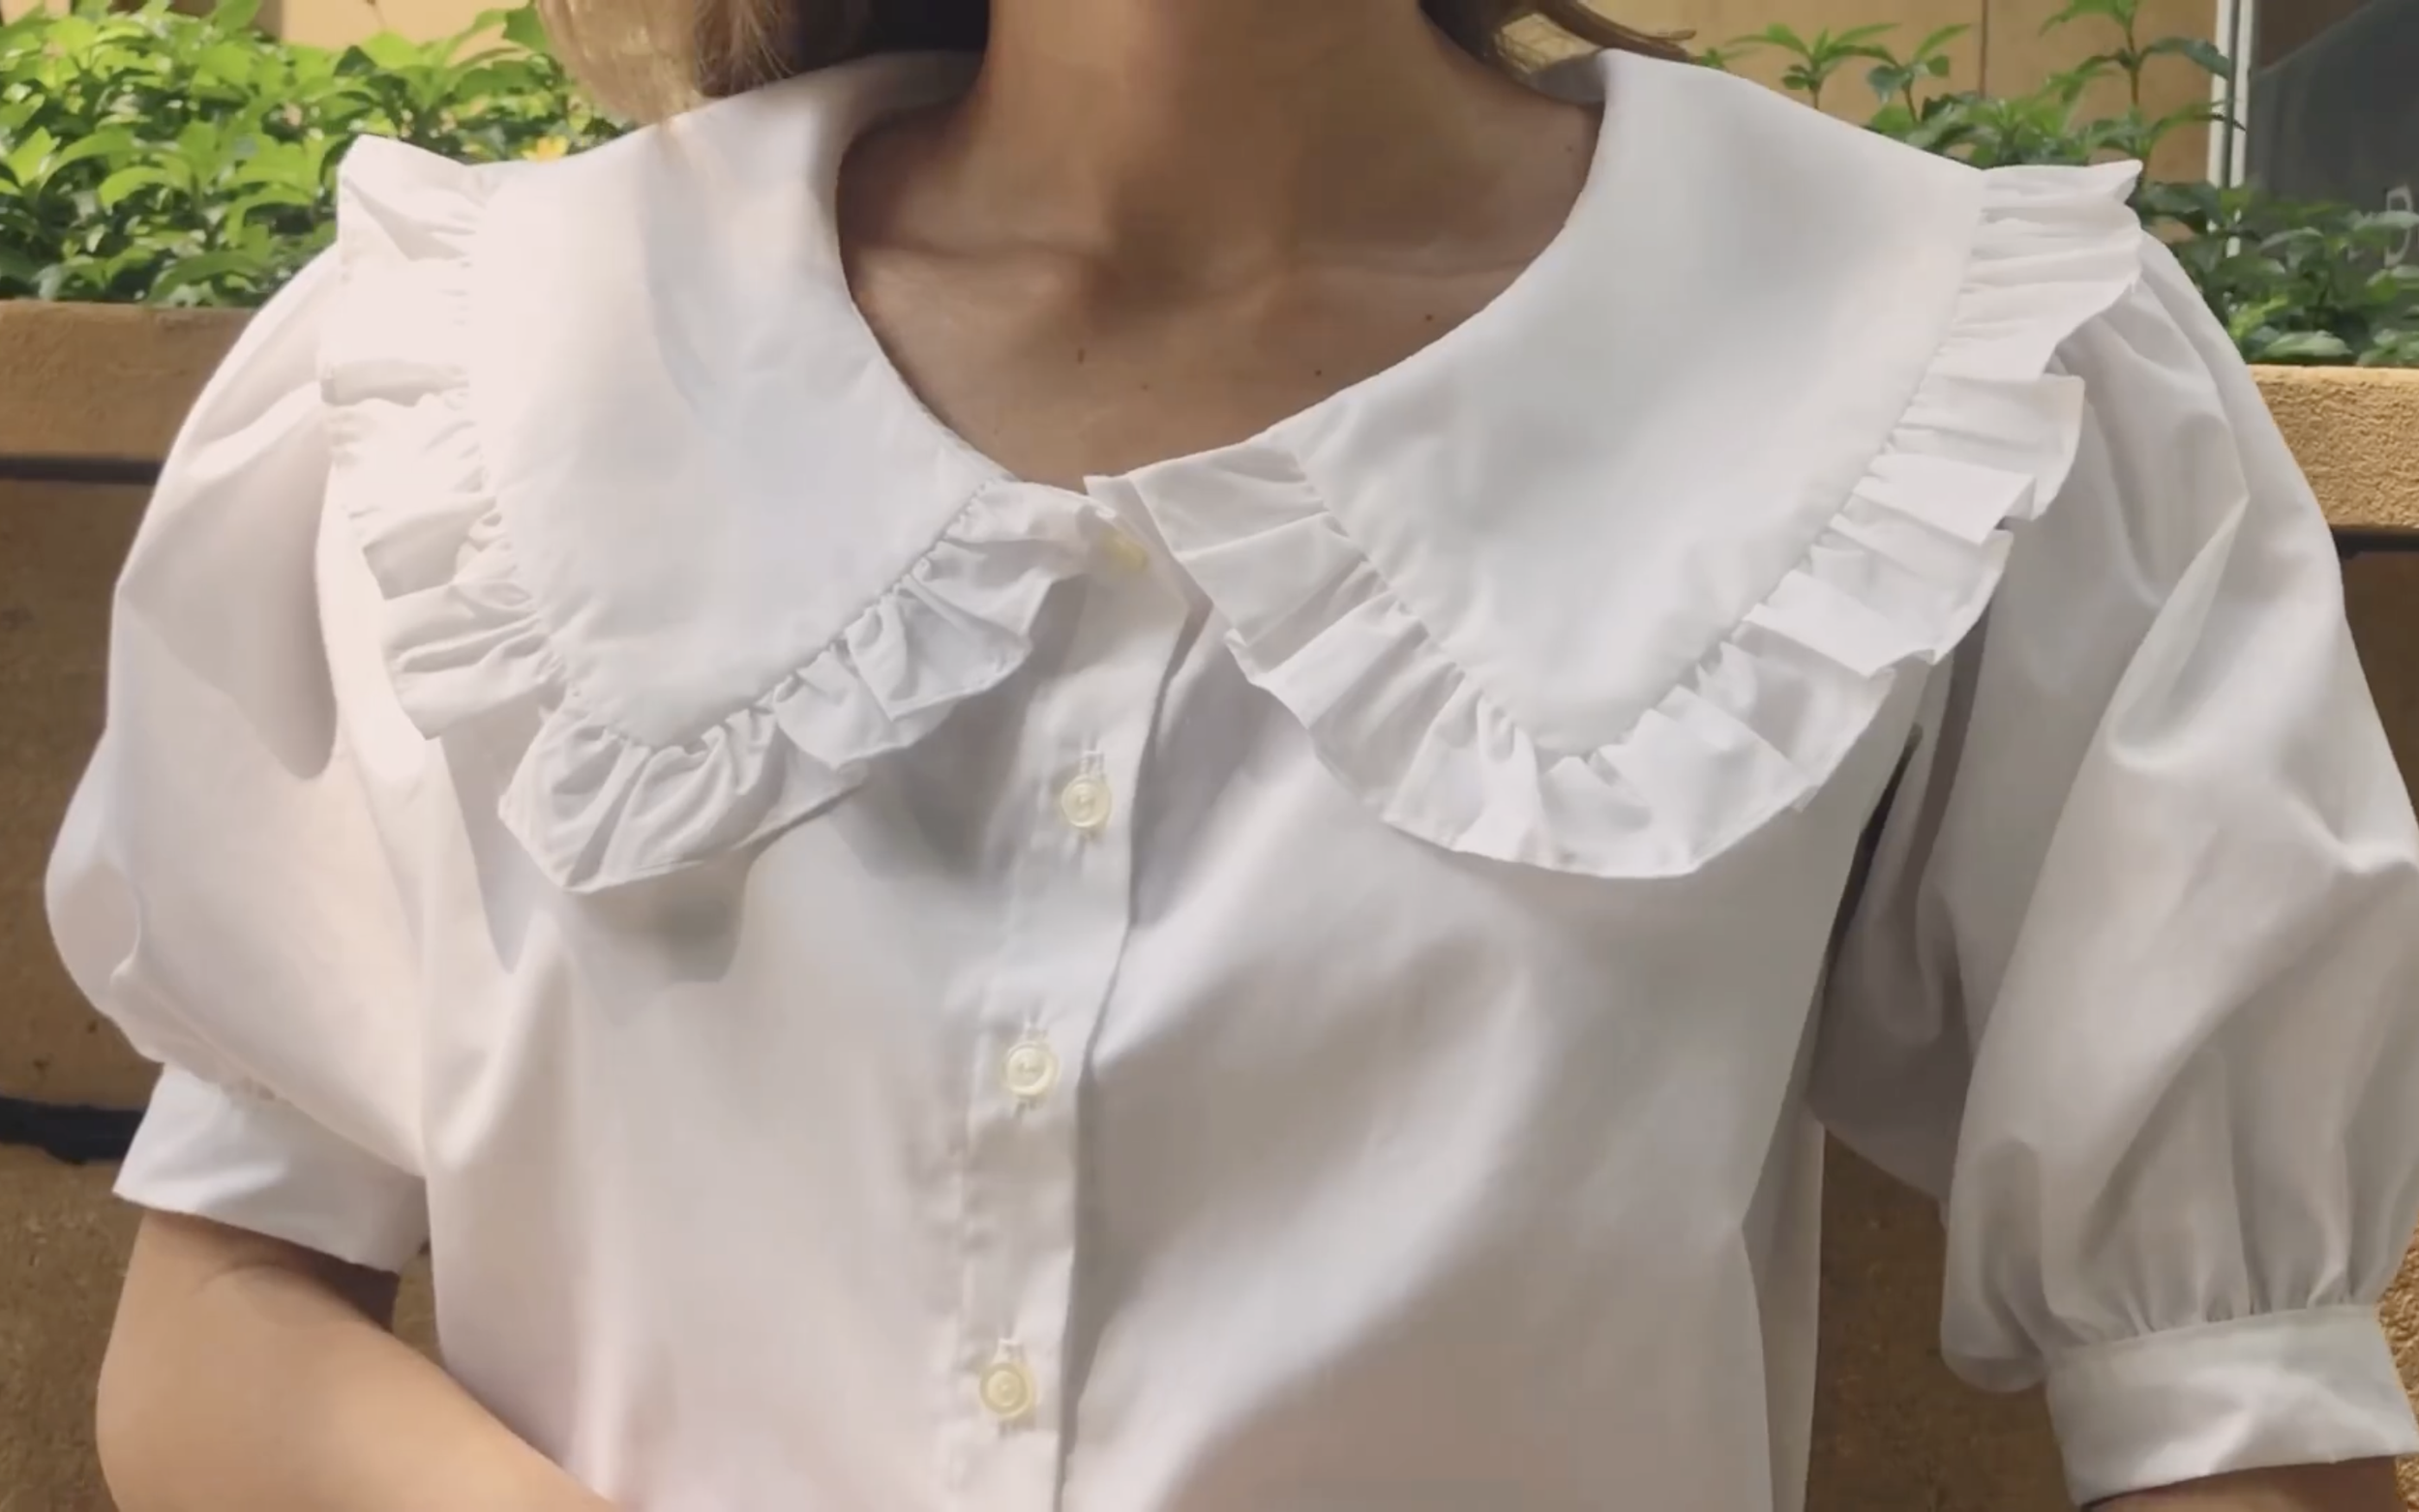
THE COLLAR
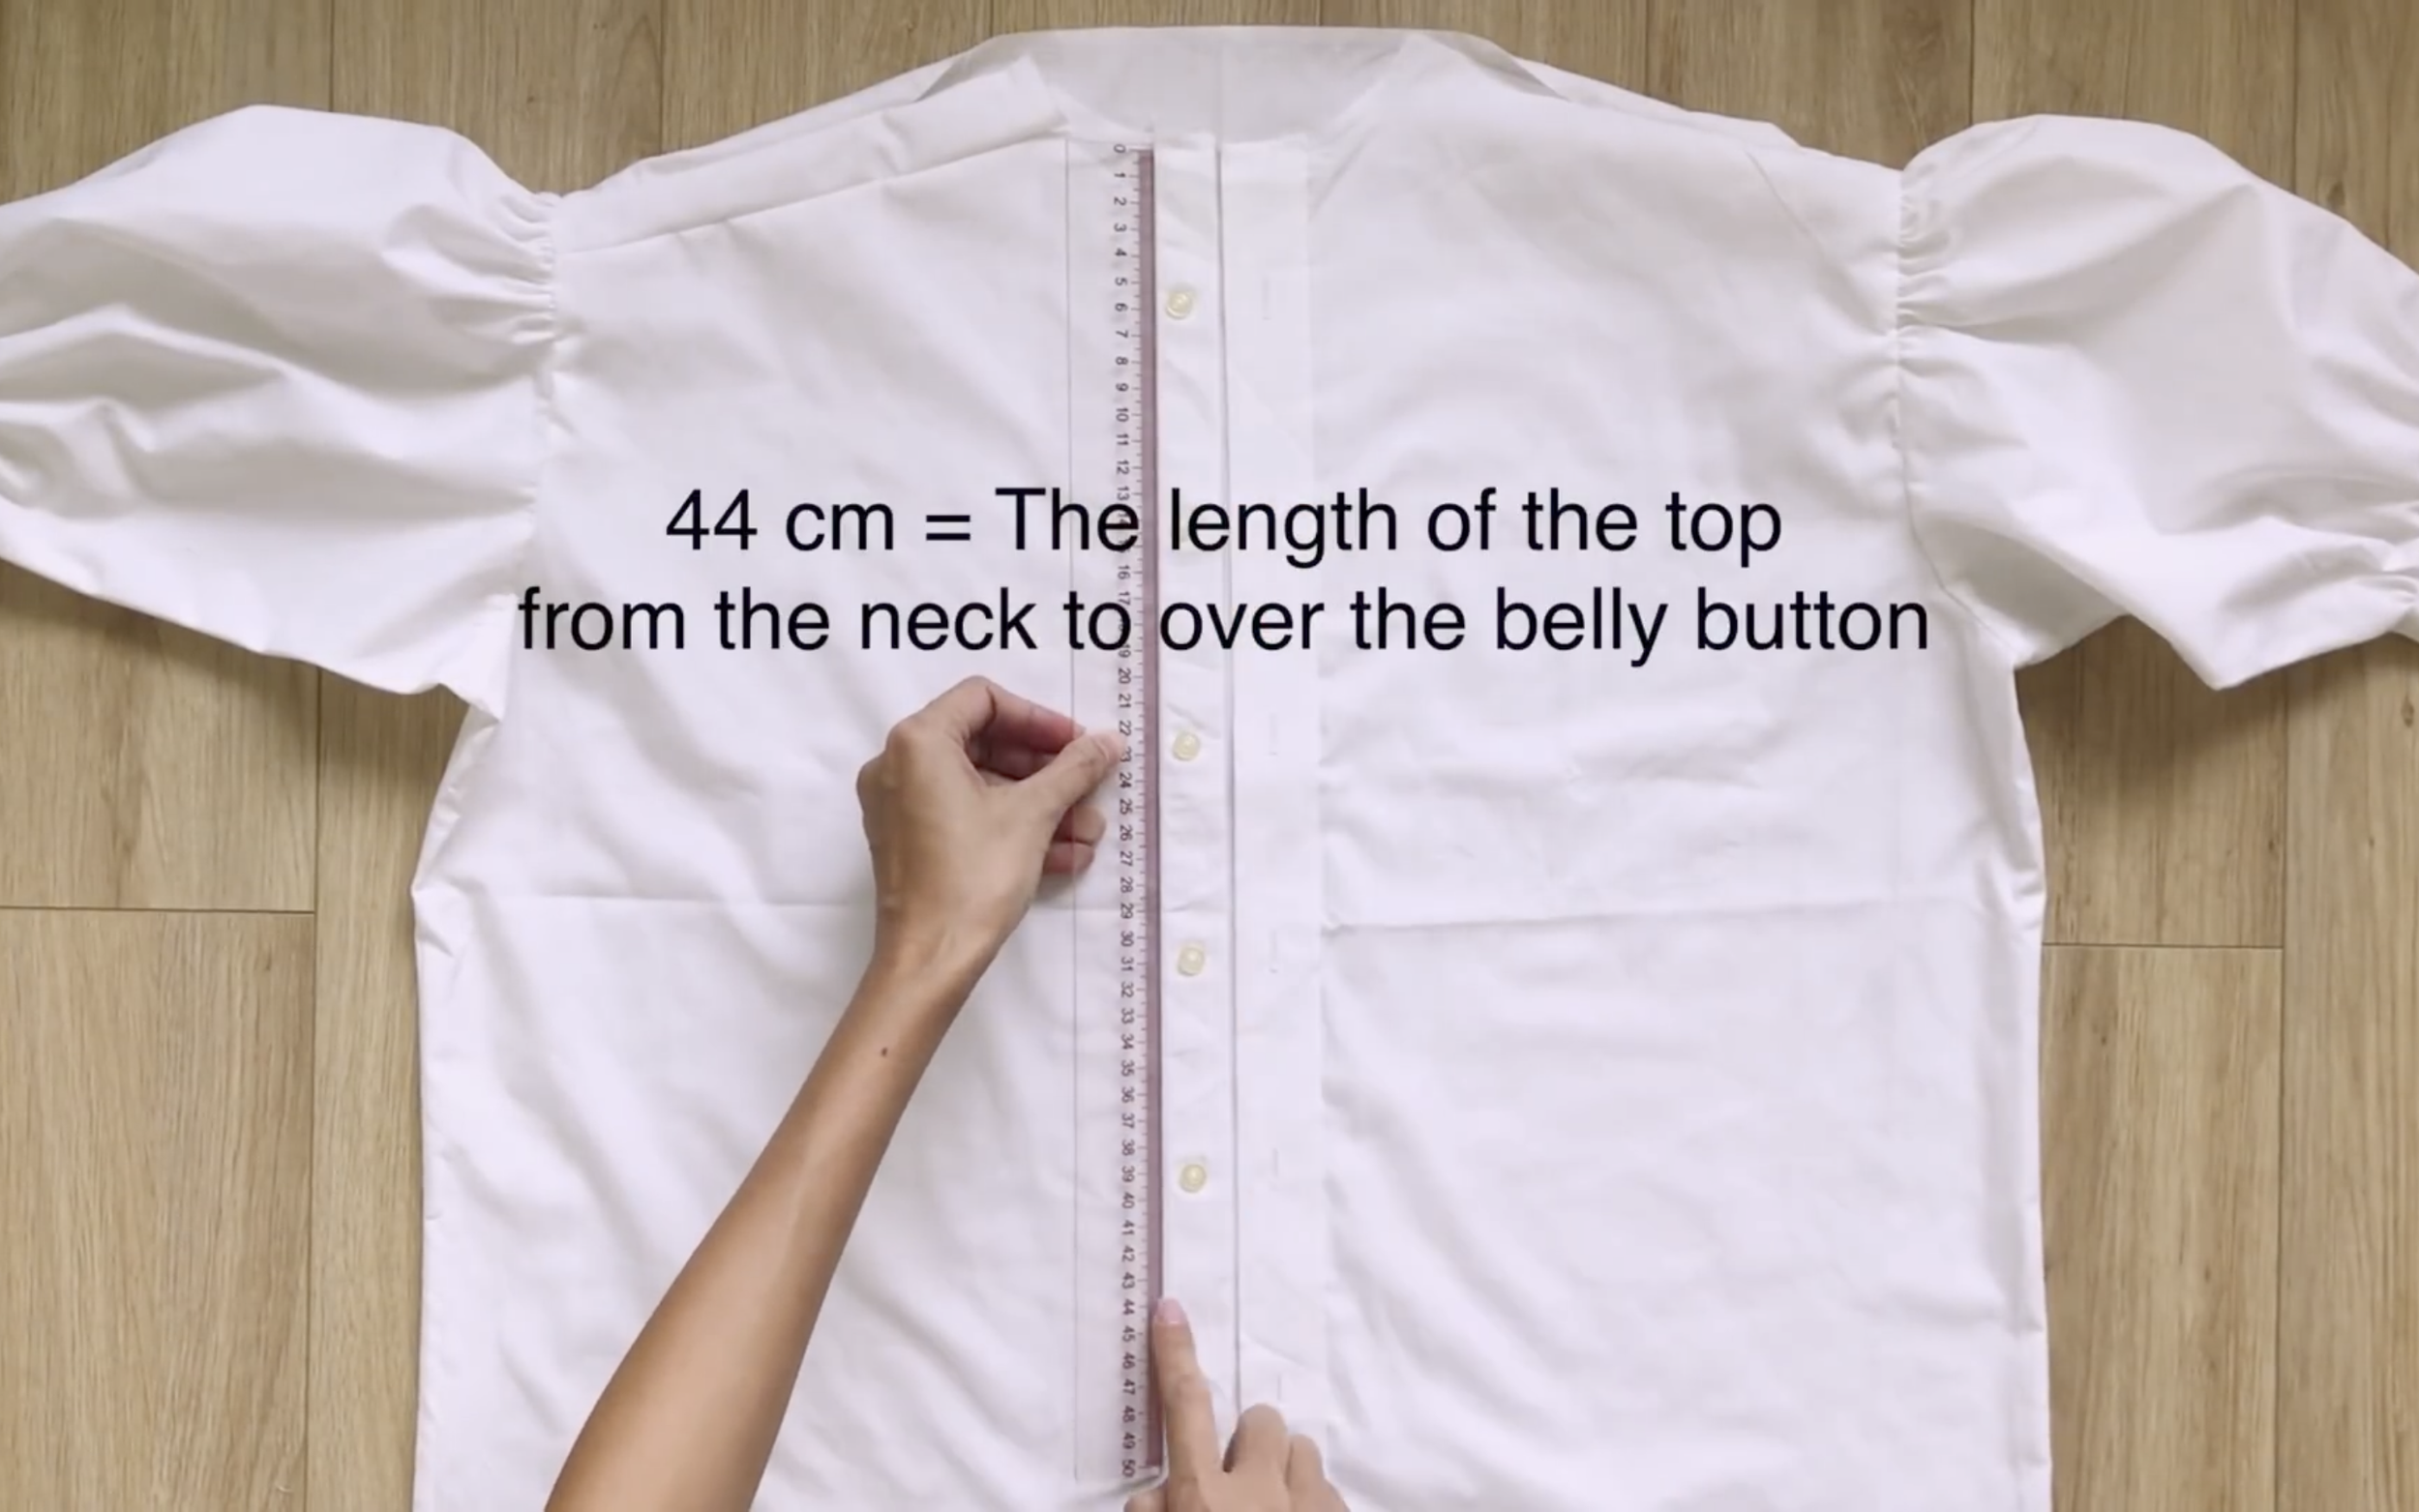
From the neck of the shirt, move down and mark at 44 cm, which is the length from the neck to just over the belly button.
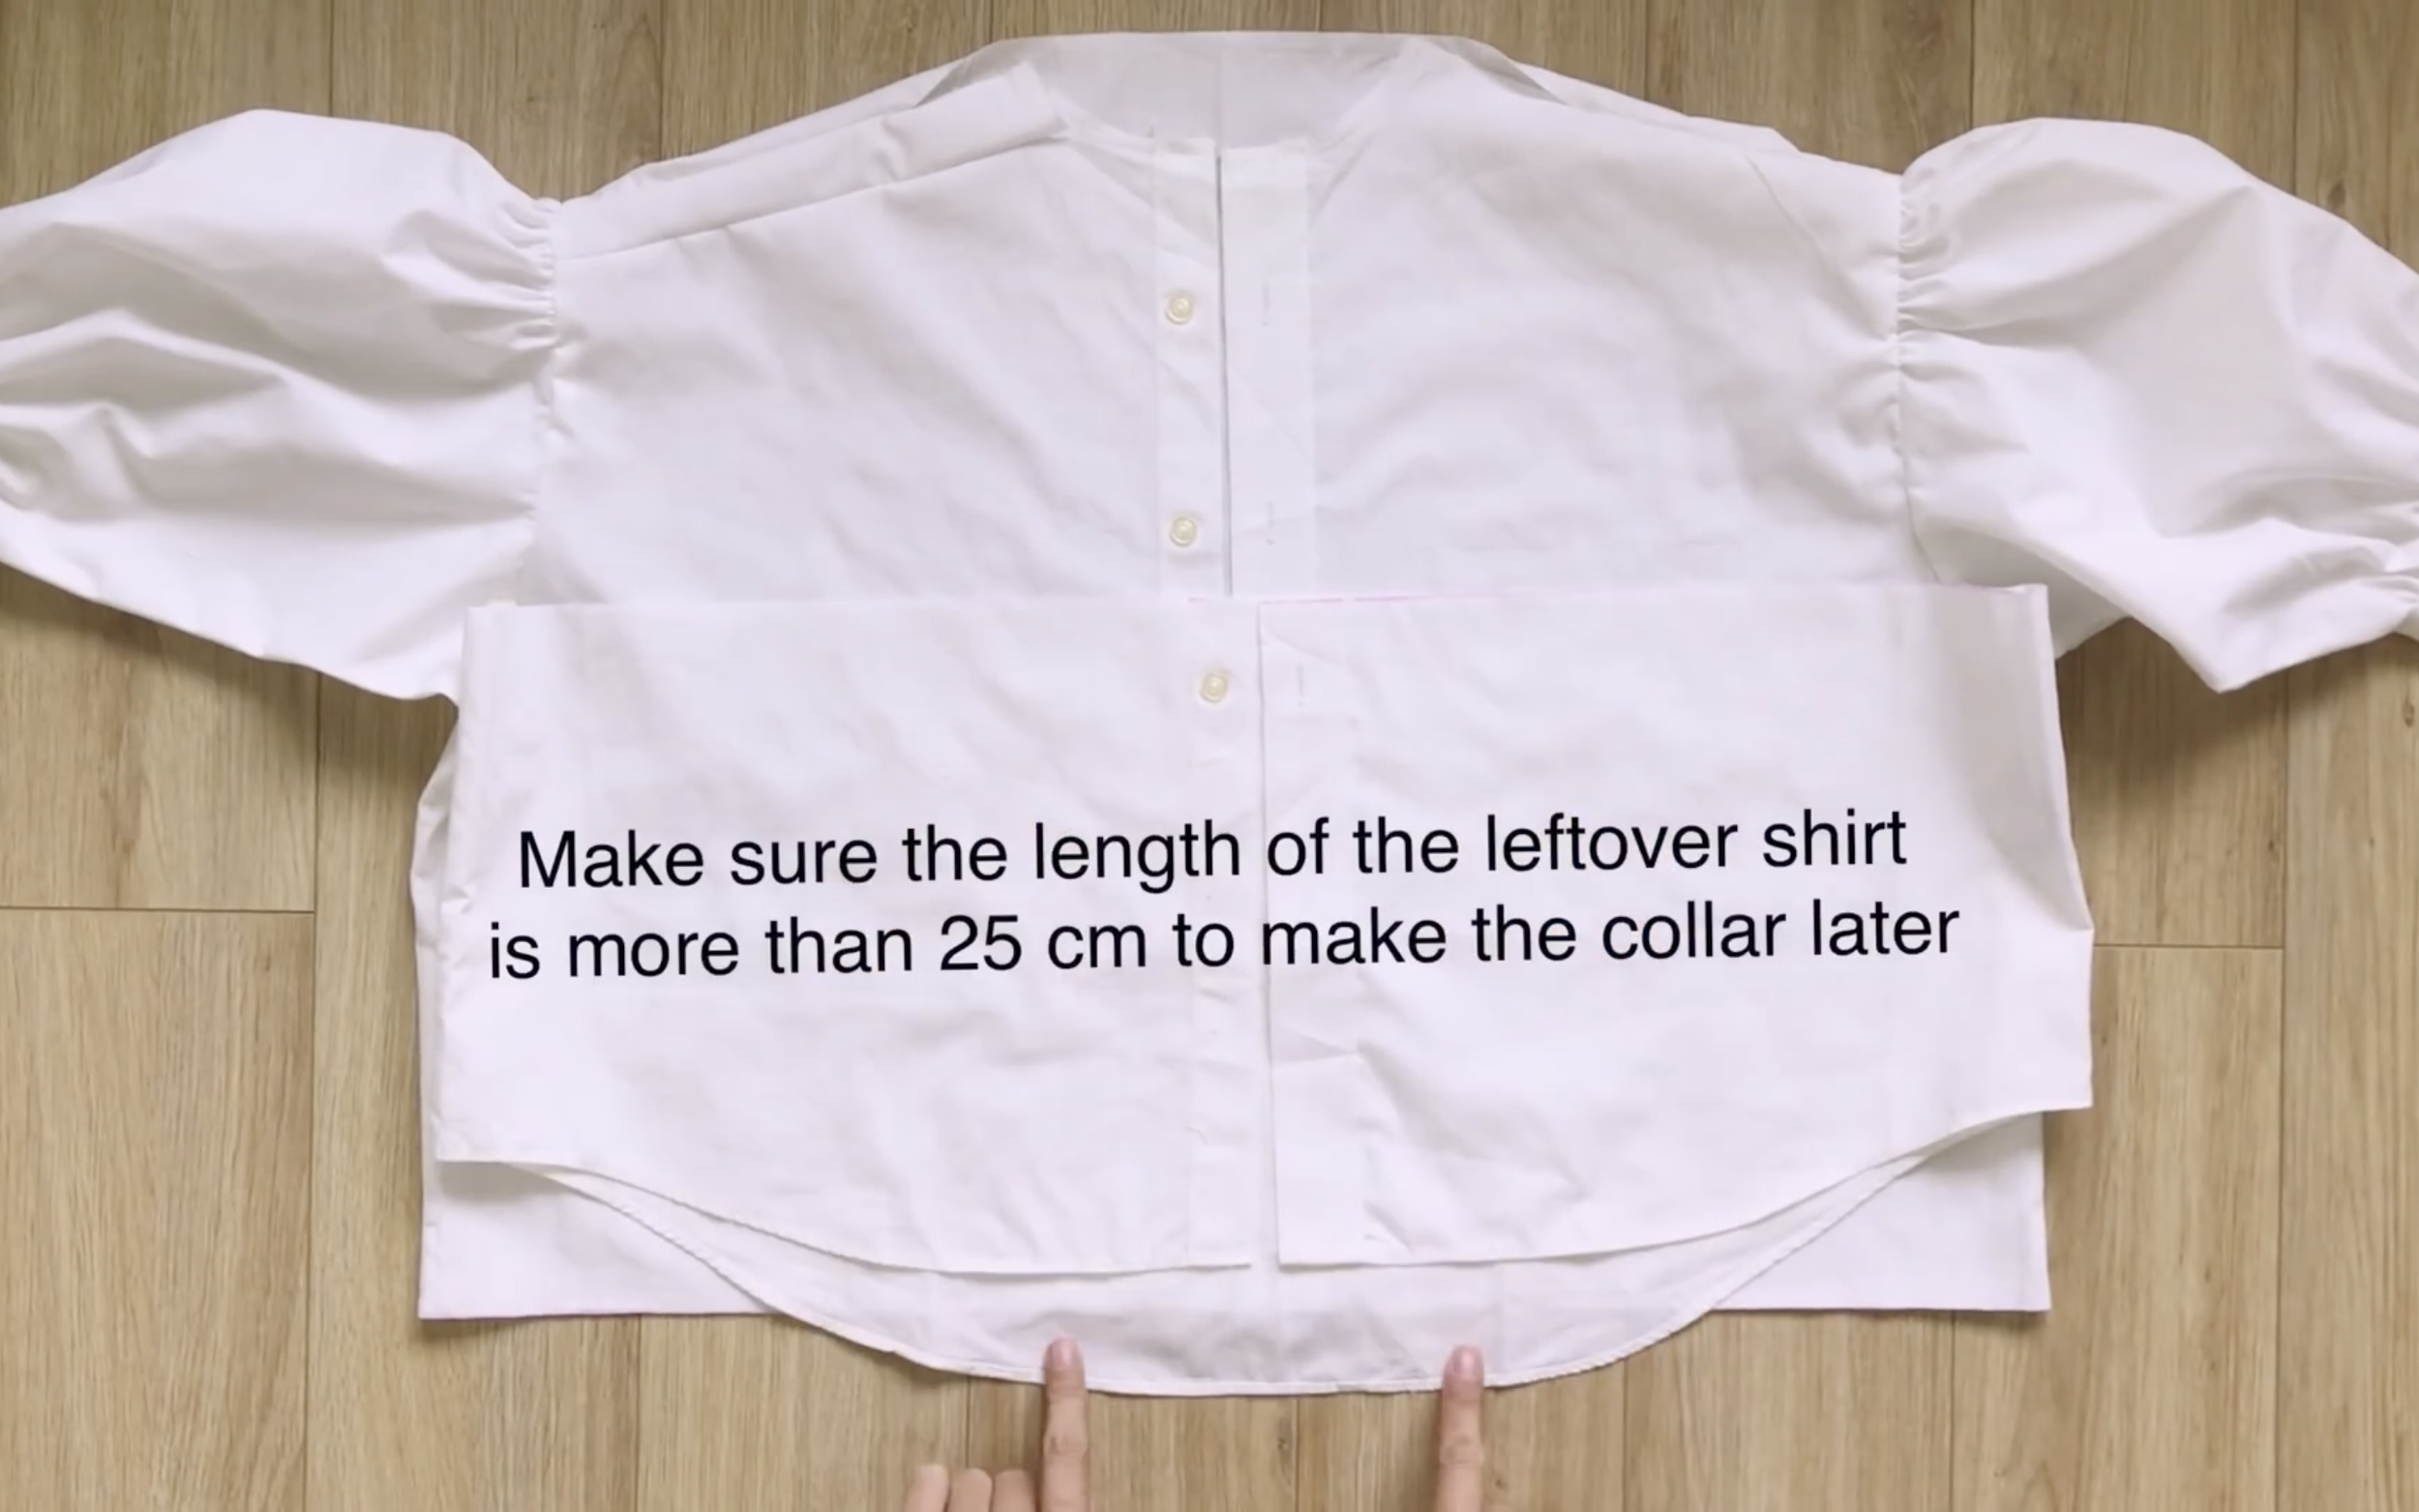
Make sure the leftover fabric of the shirt is big enough to make the collar later.

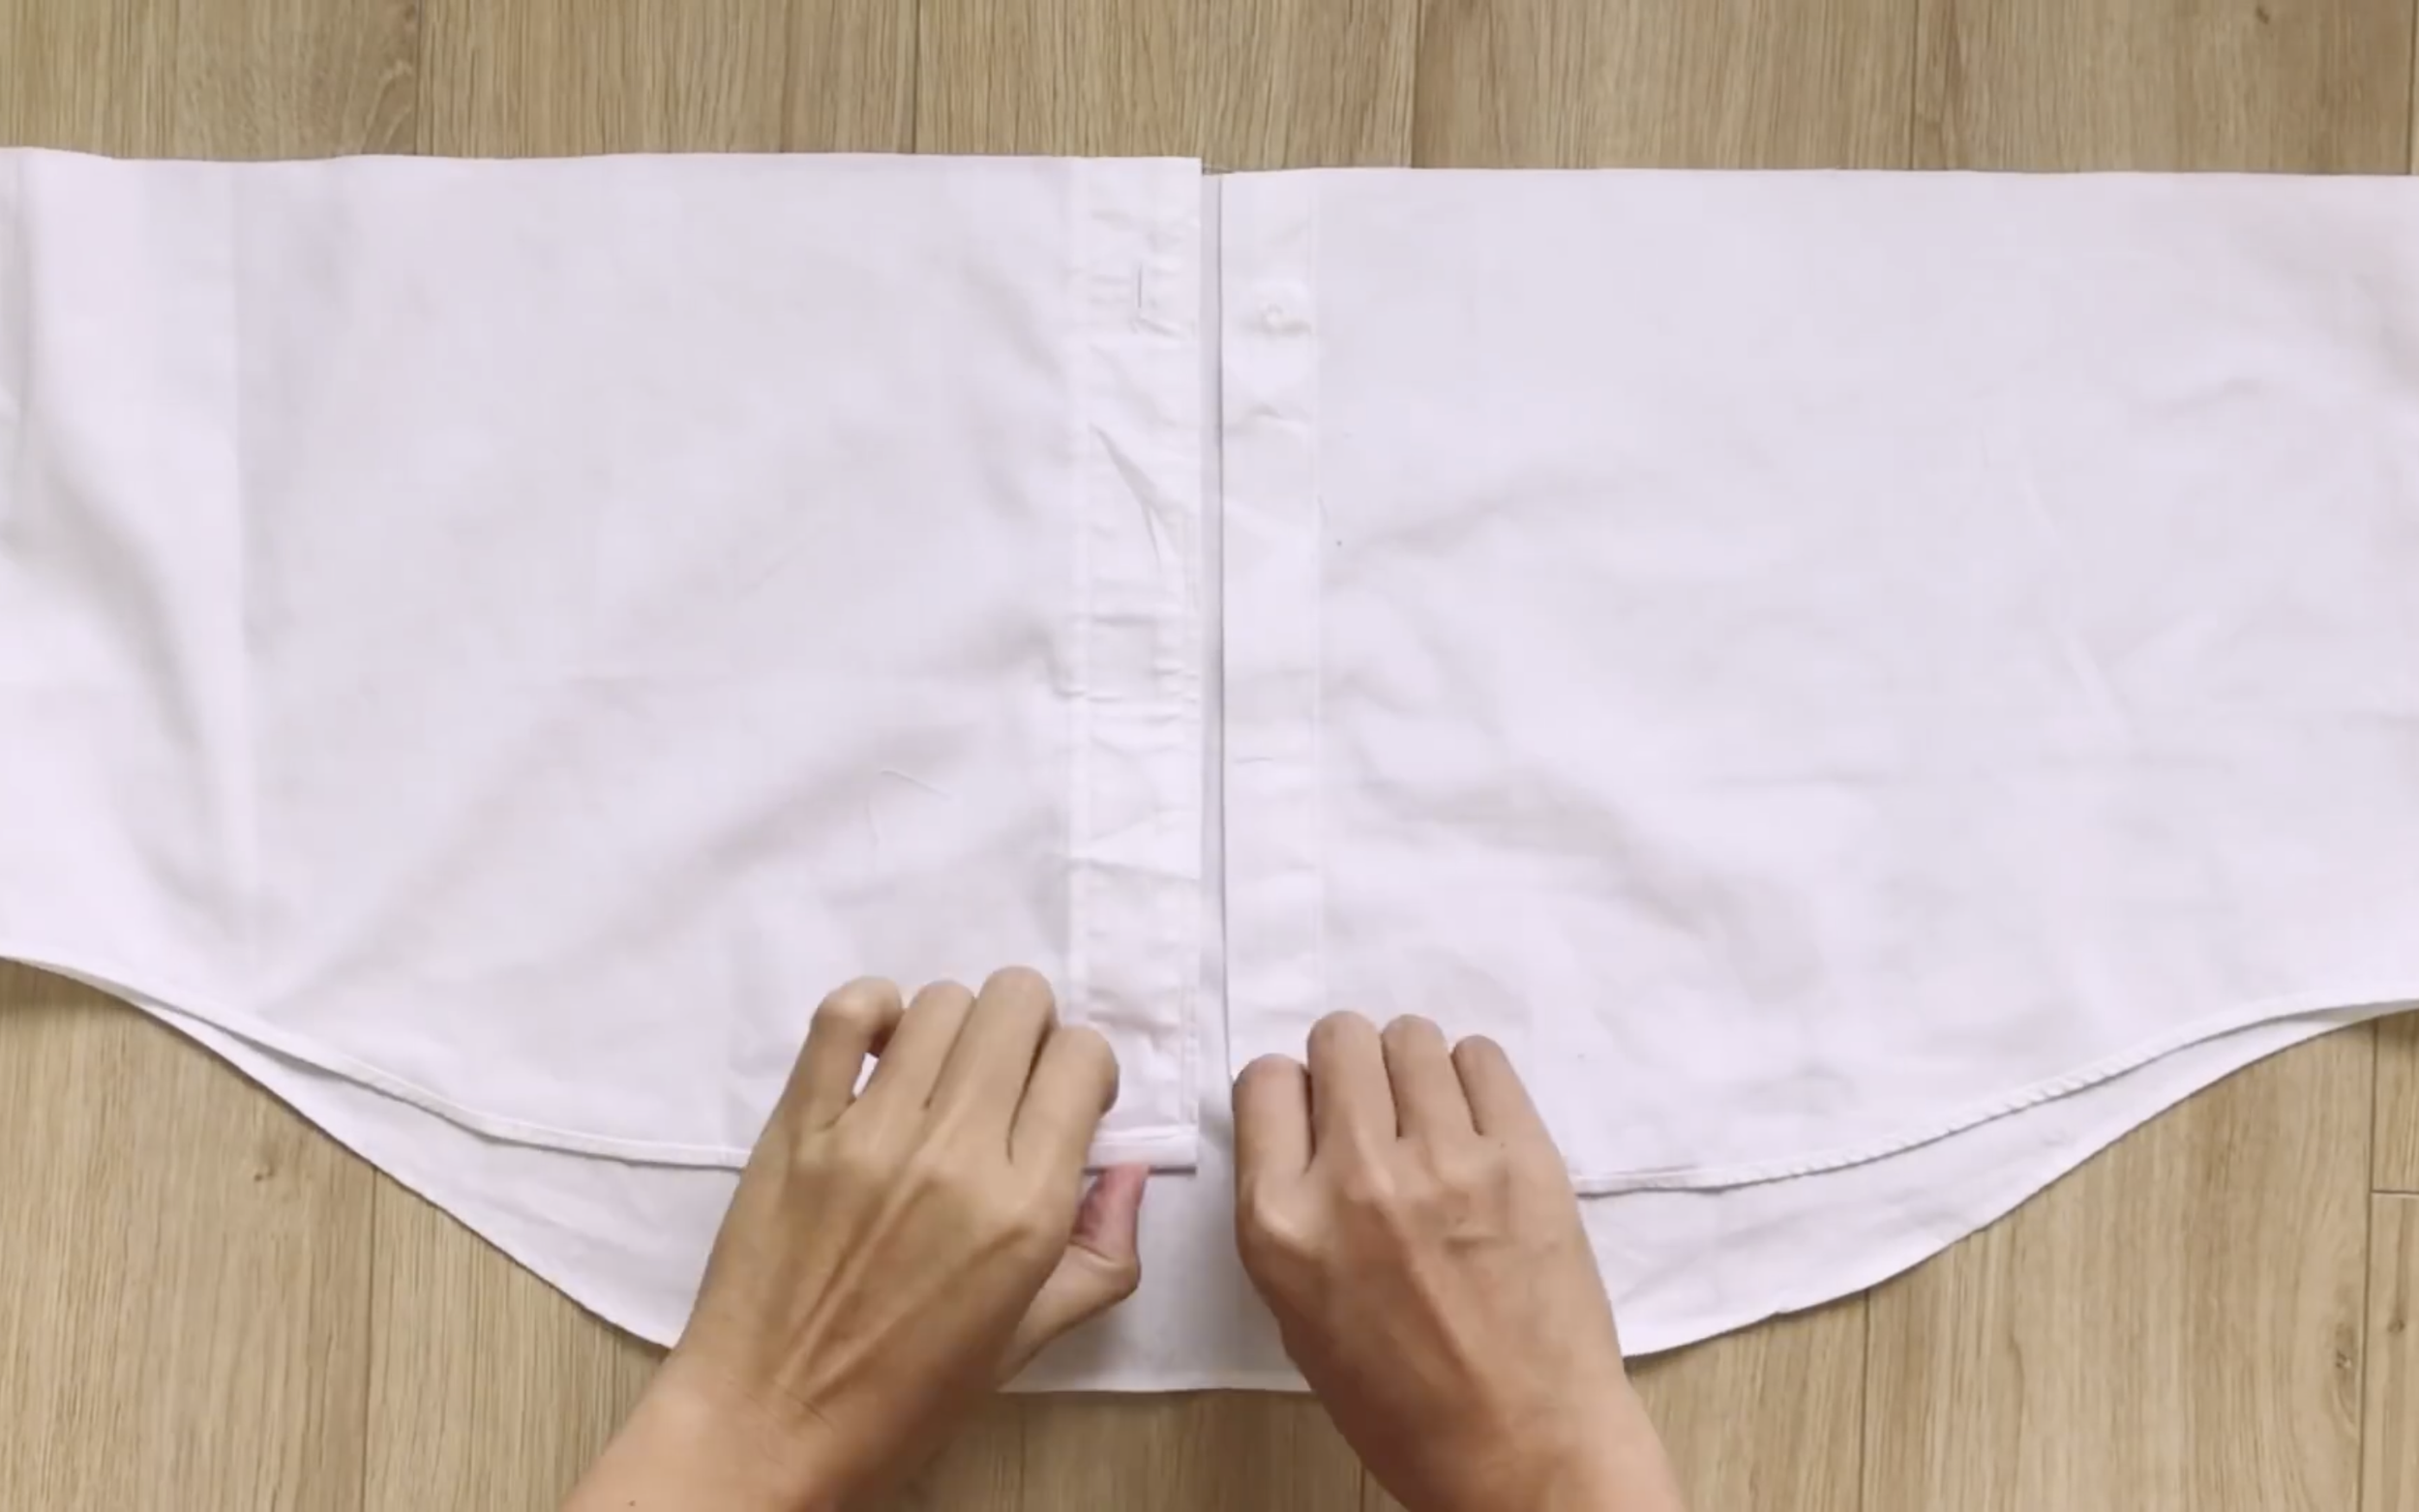
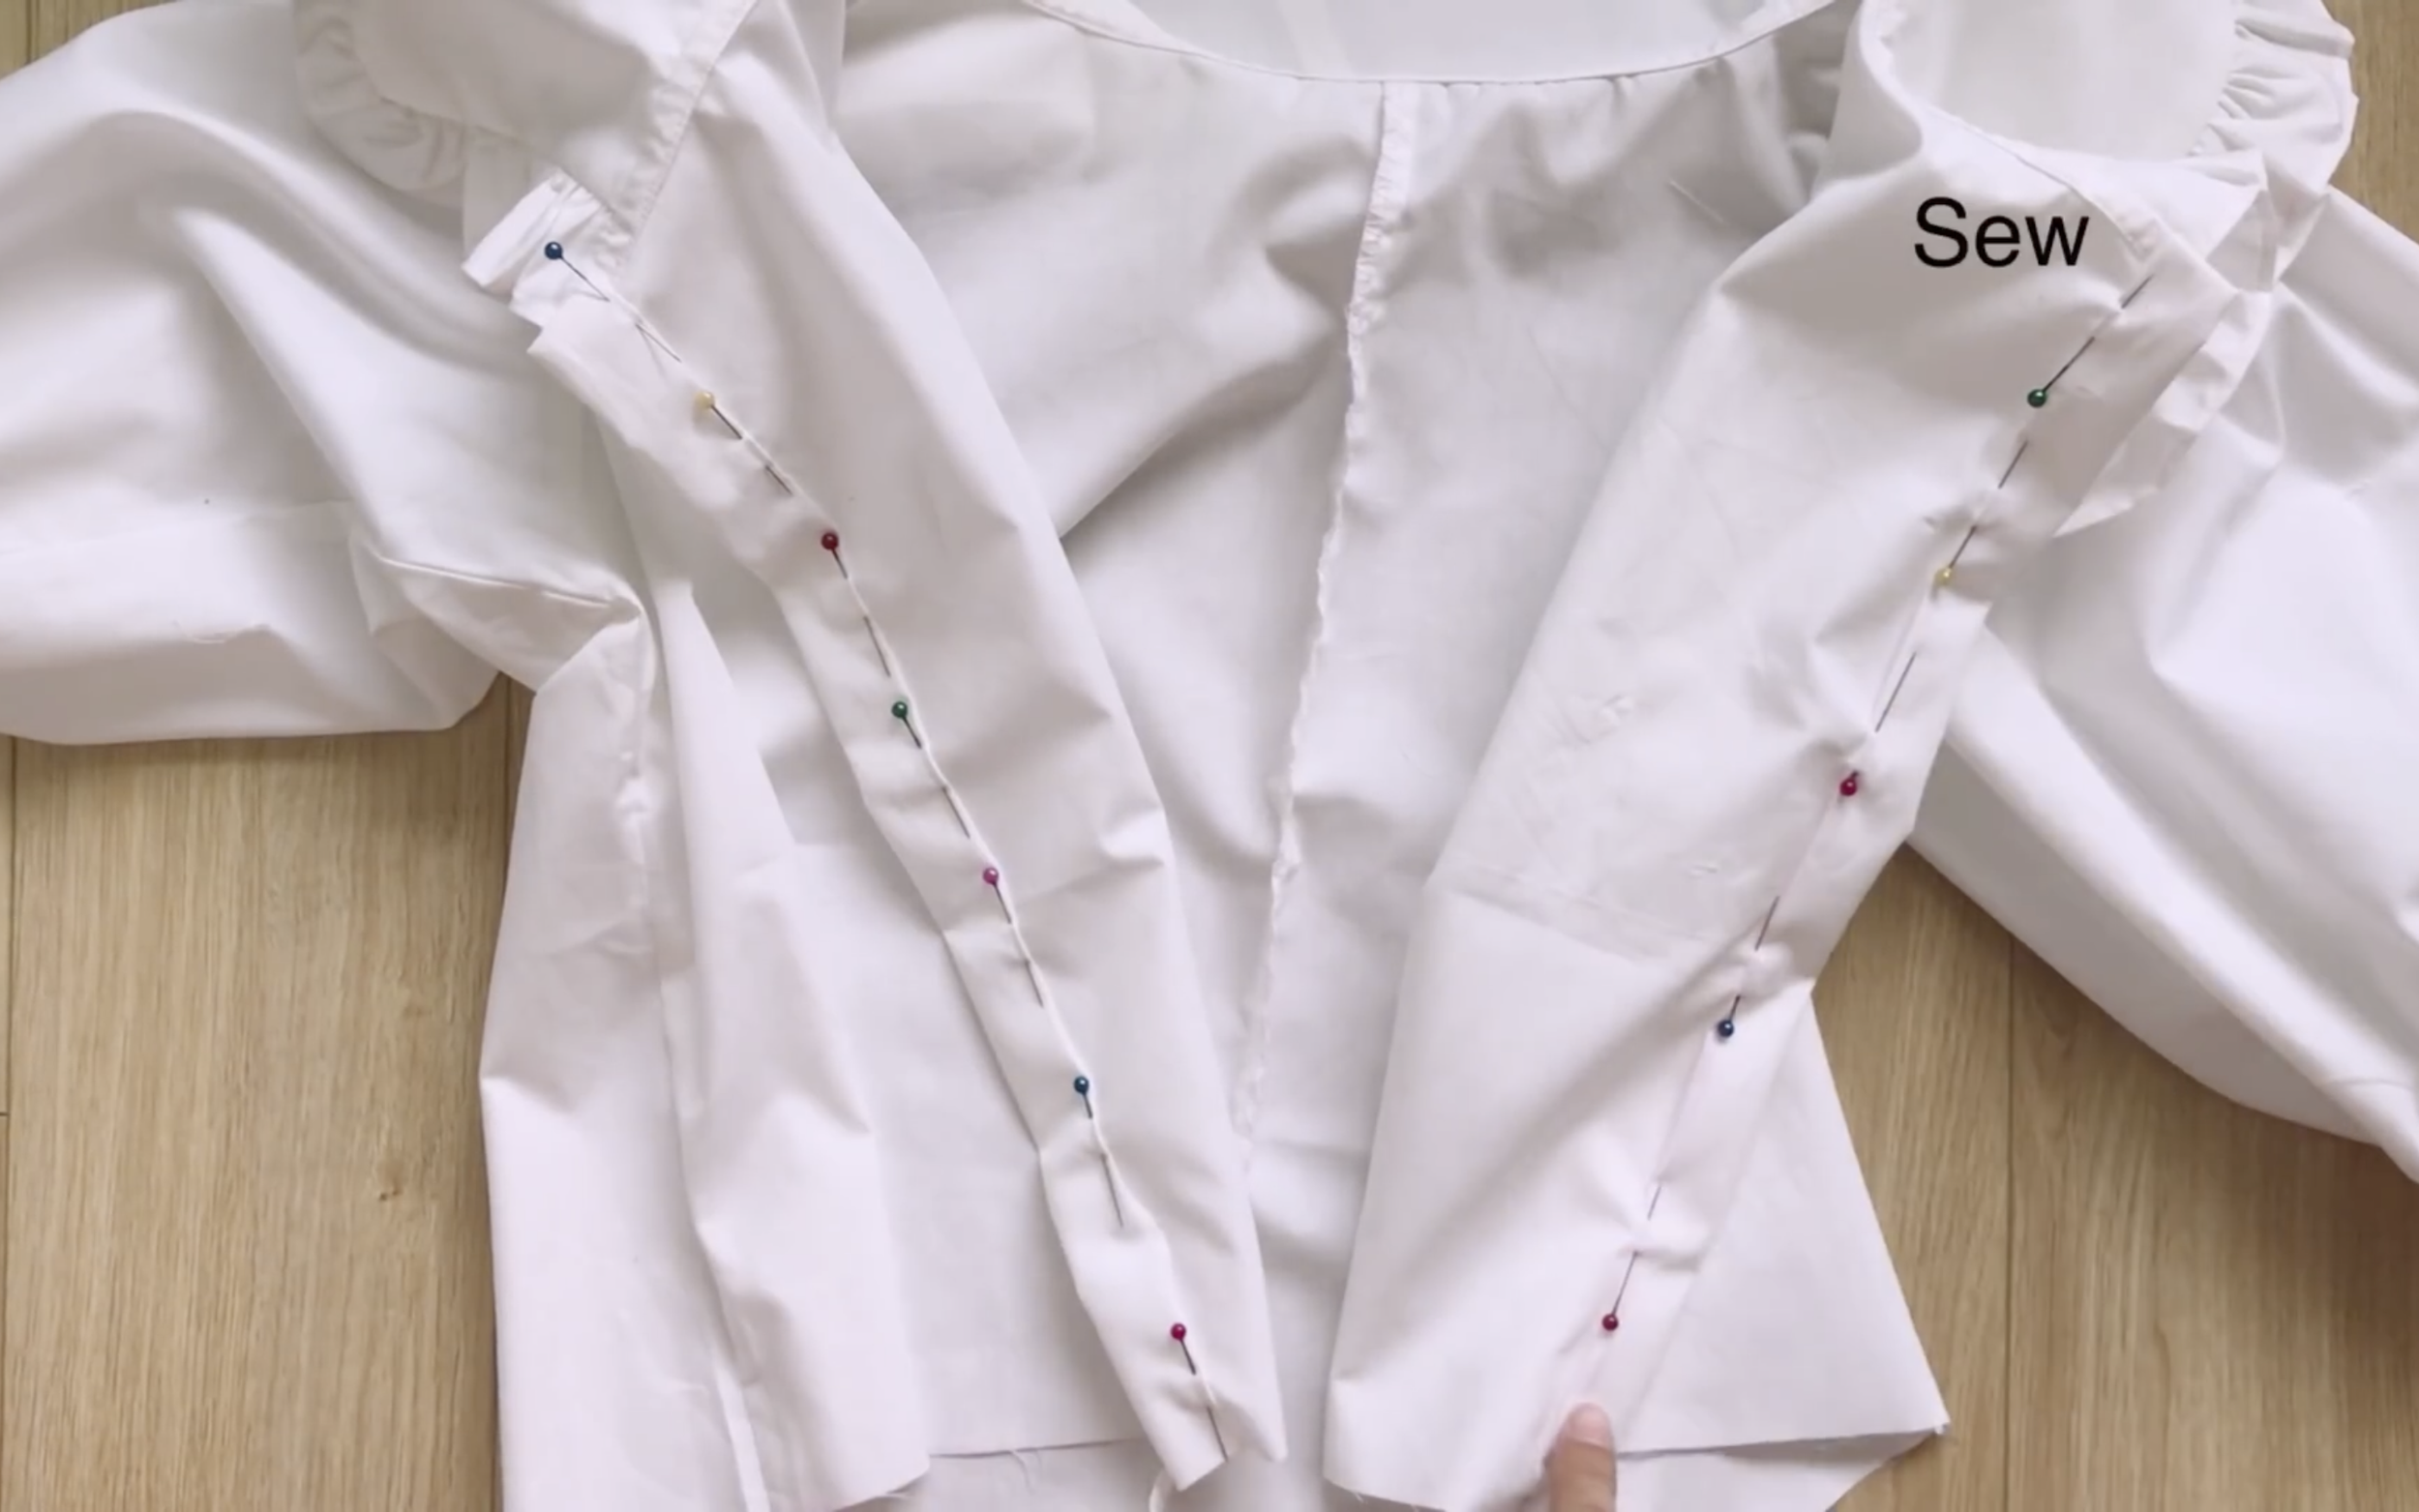
At the back of the top, from each side of the shoulder line, move 20 cm inside, which is half the width of the shoulder.
Draw a straight line from this mark down to the end of the top.
Cut along these lines and connect them.
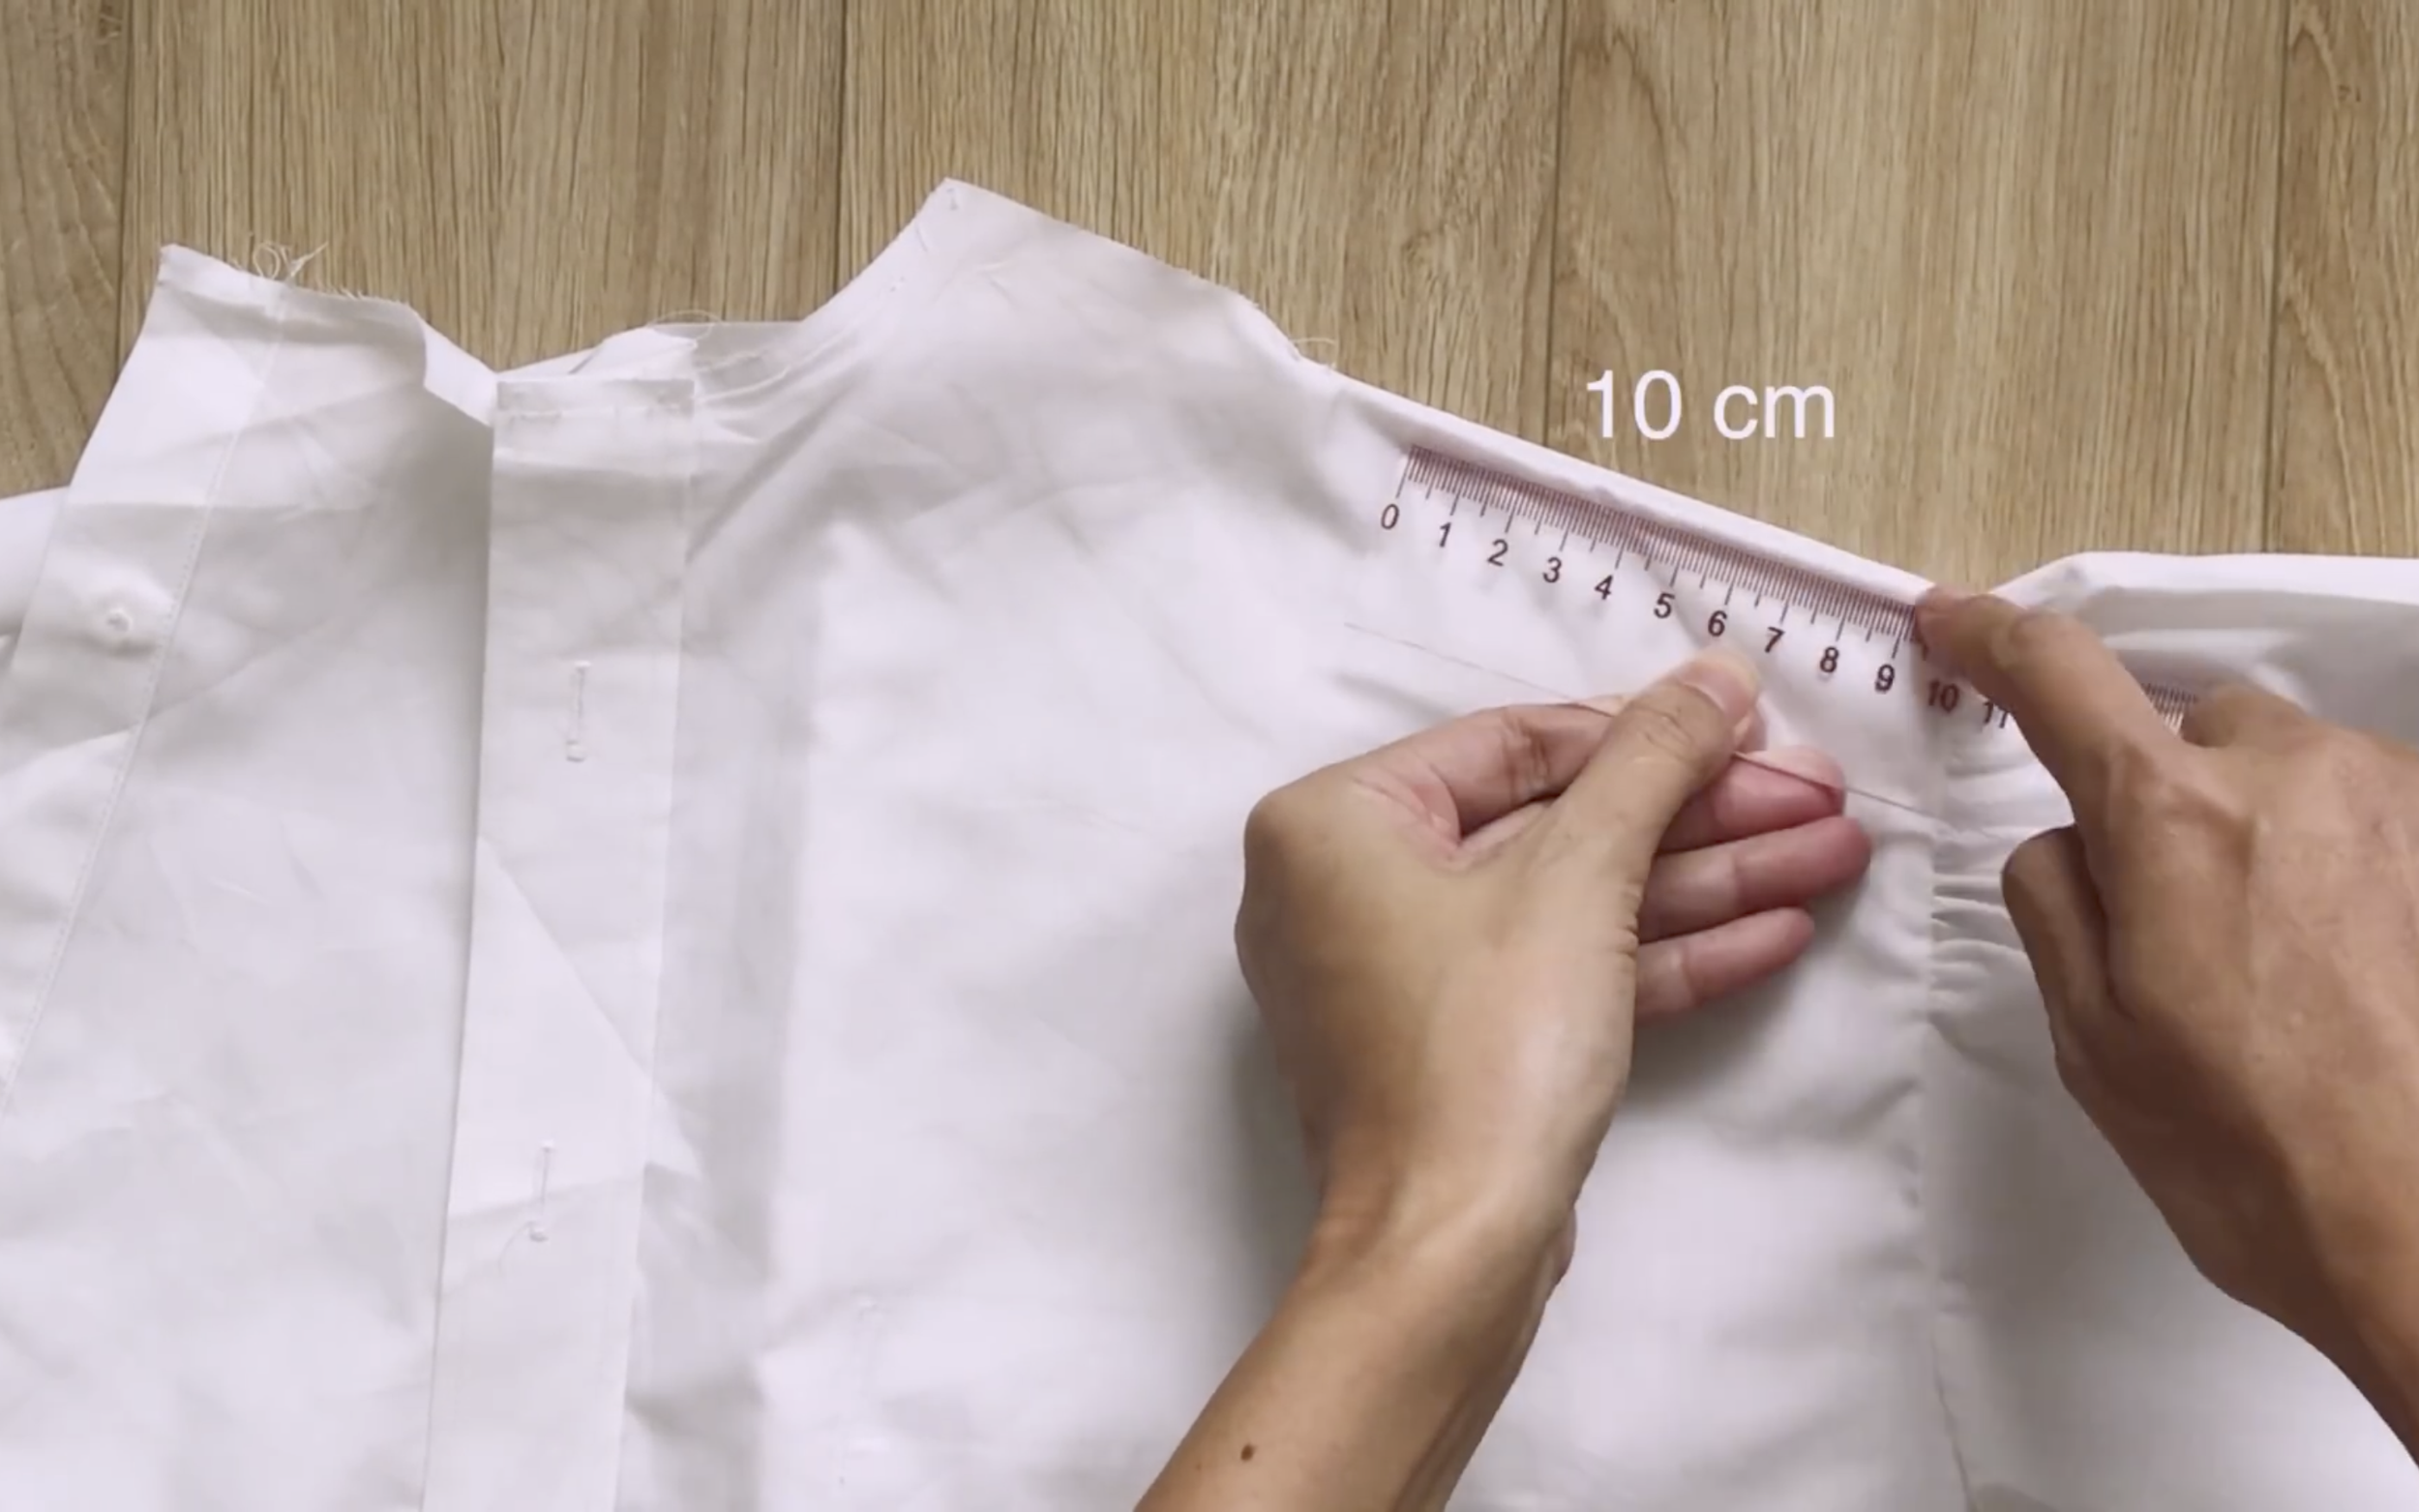
At the end of the shoulder line, mark 10 cm inside; this will be the desired width of the top.
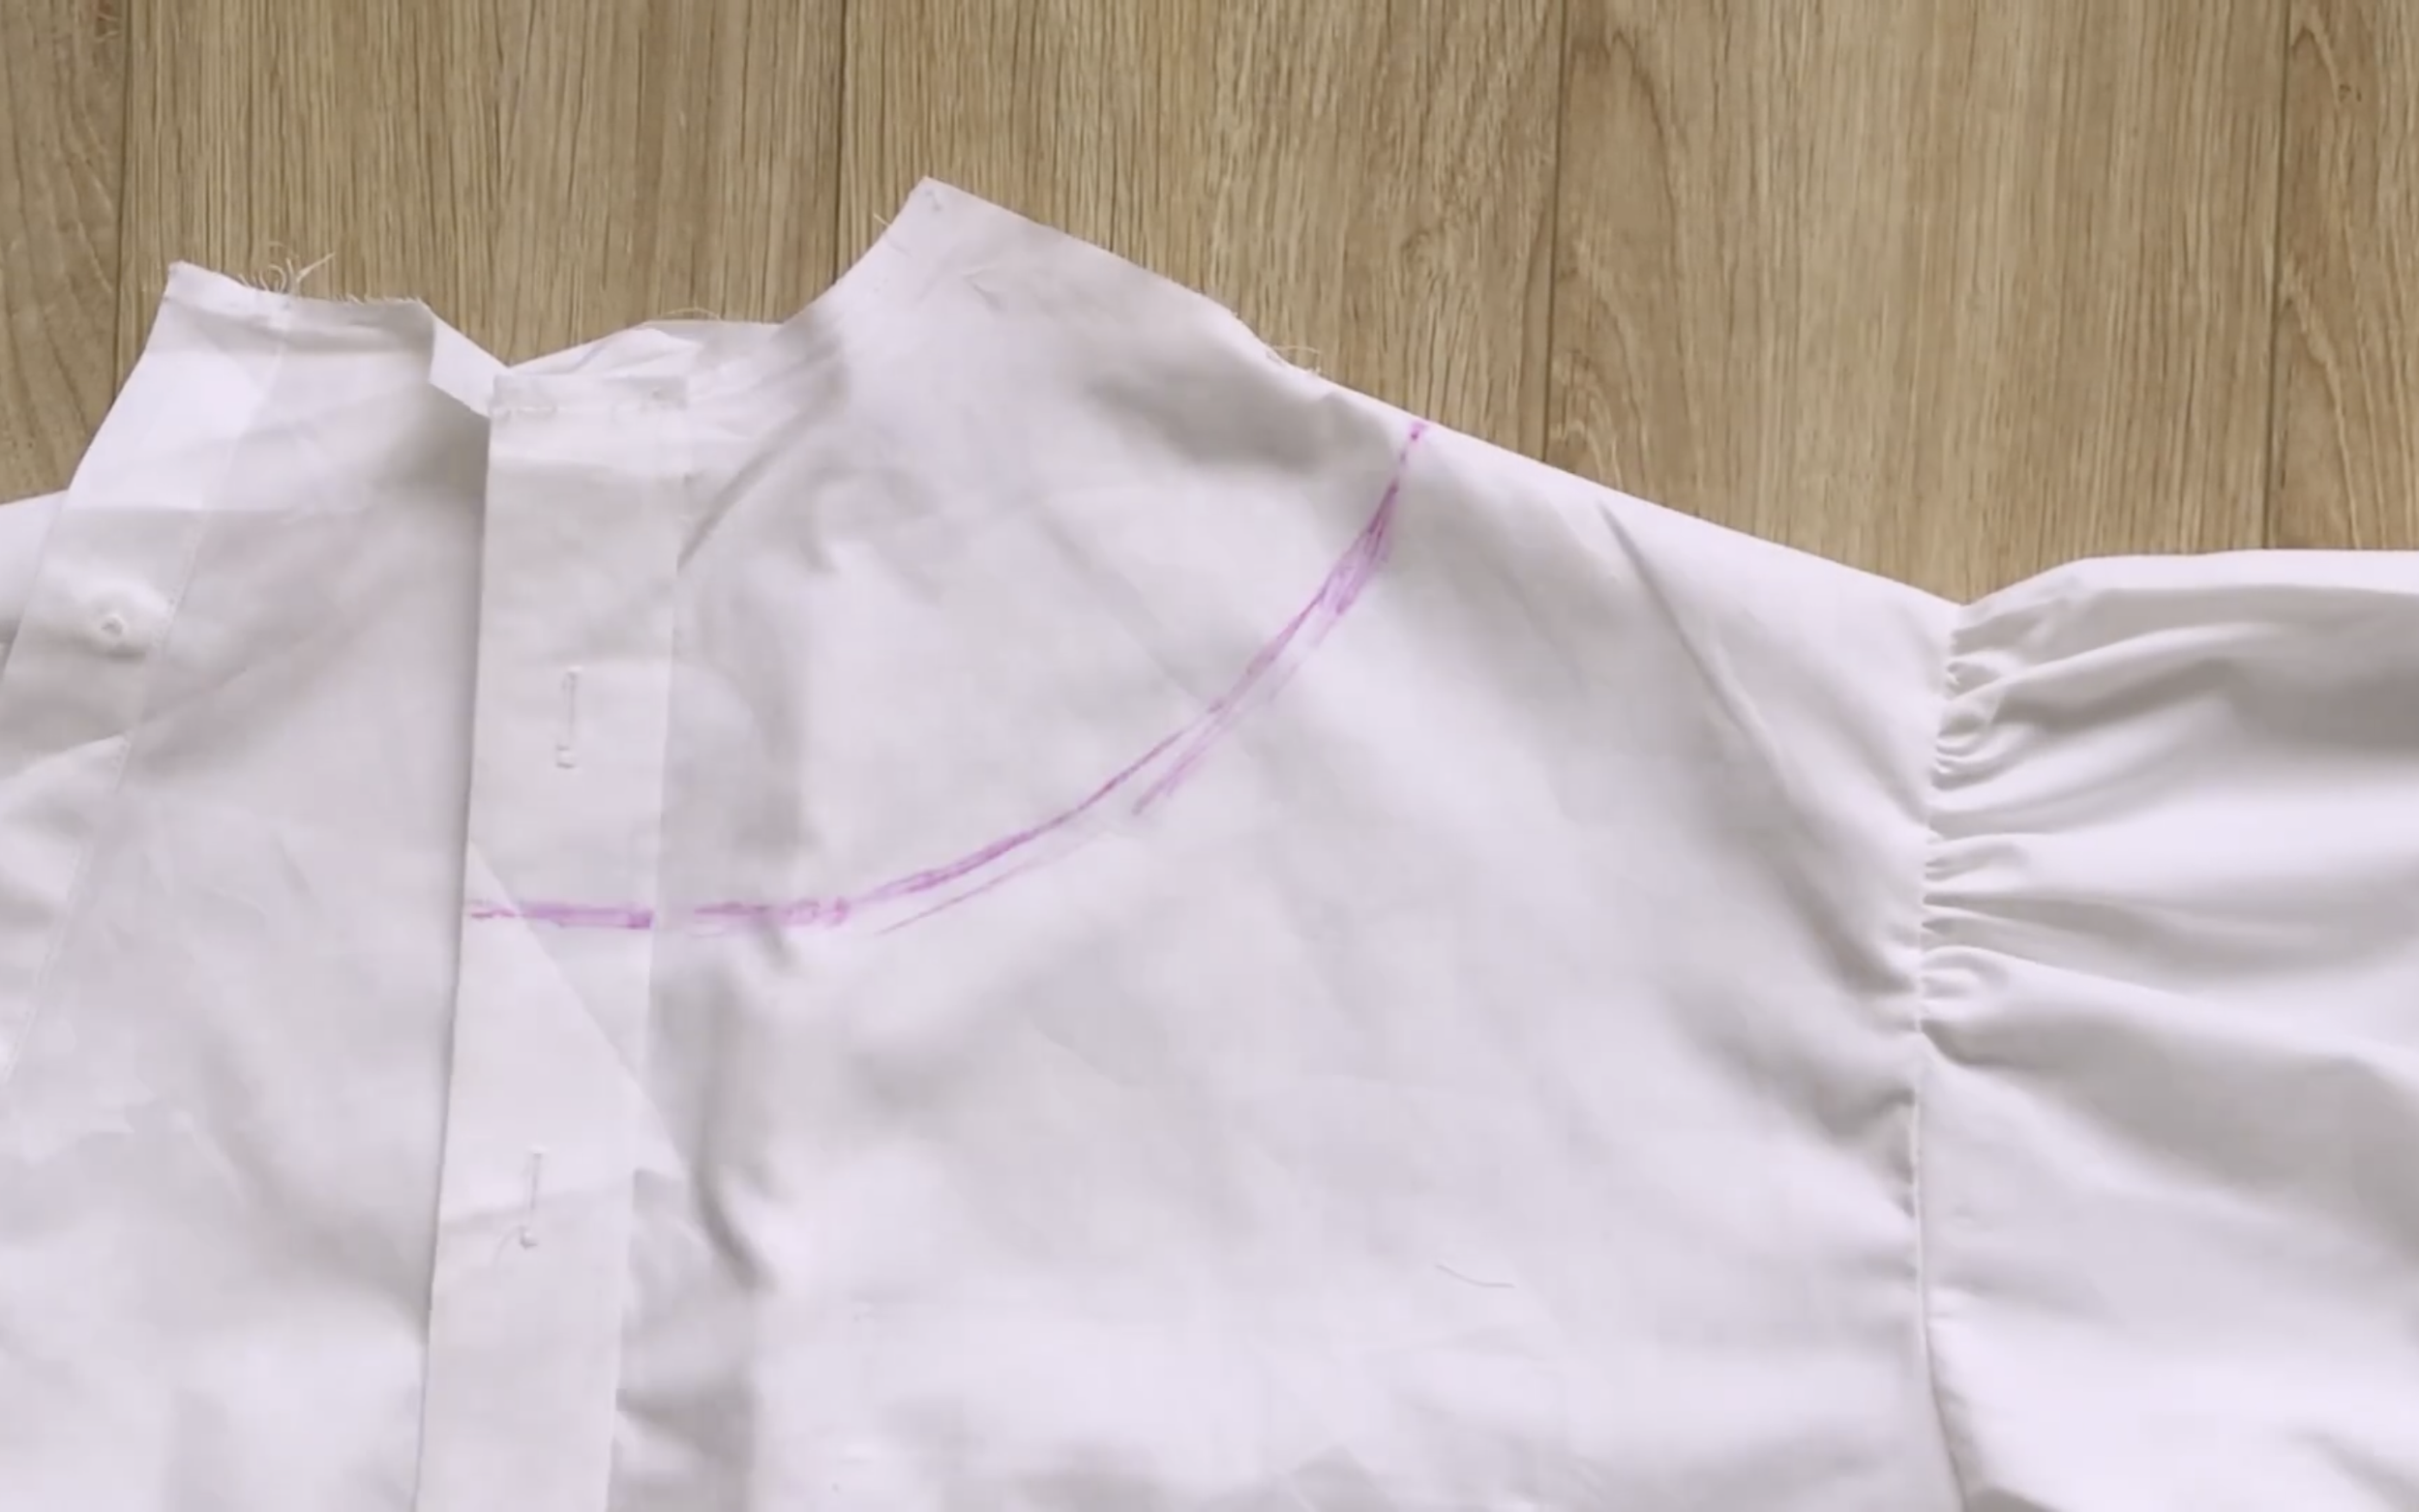
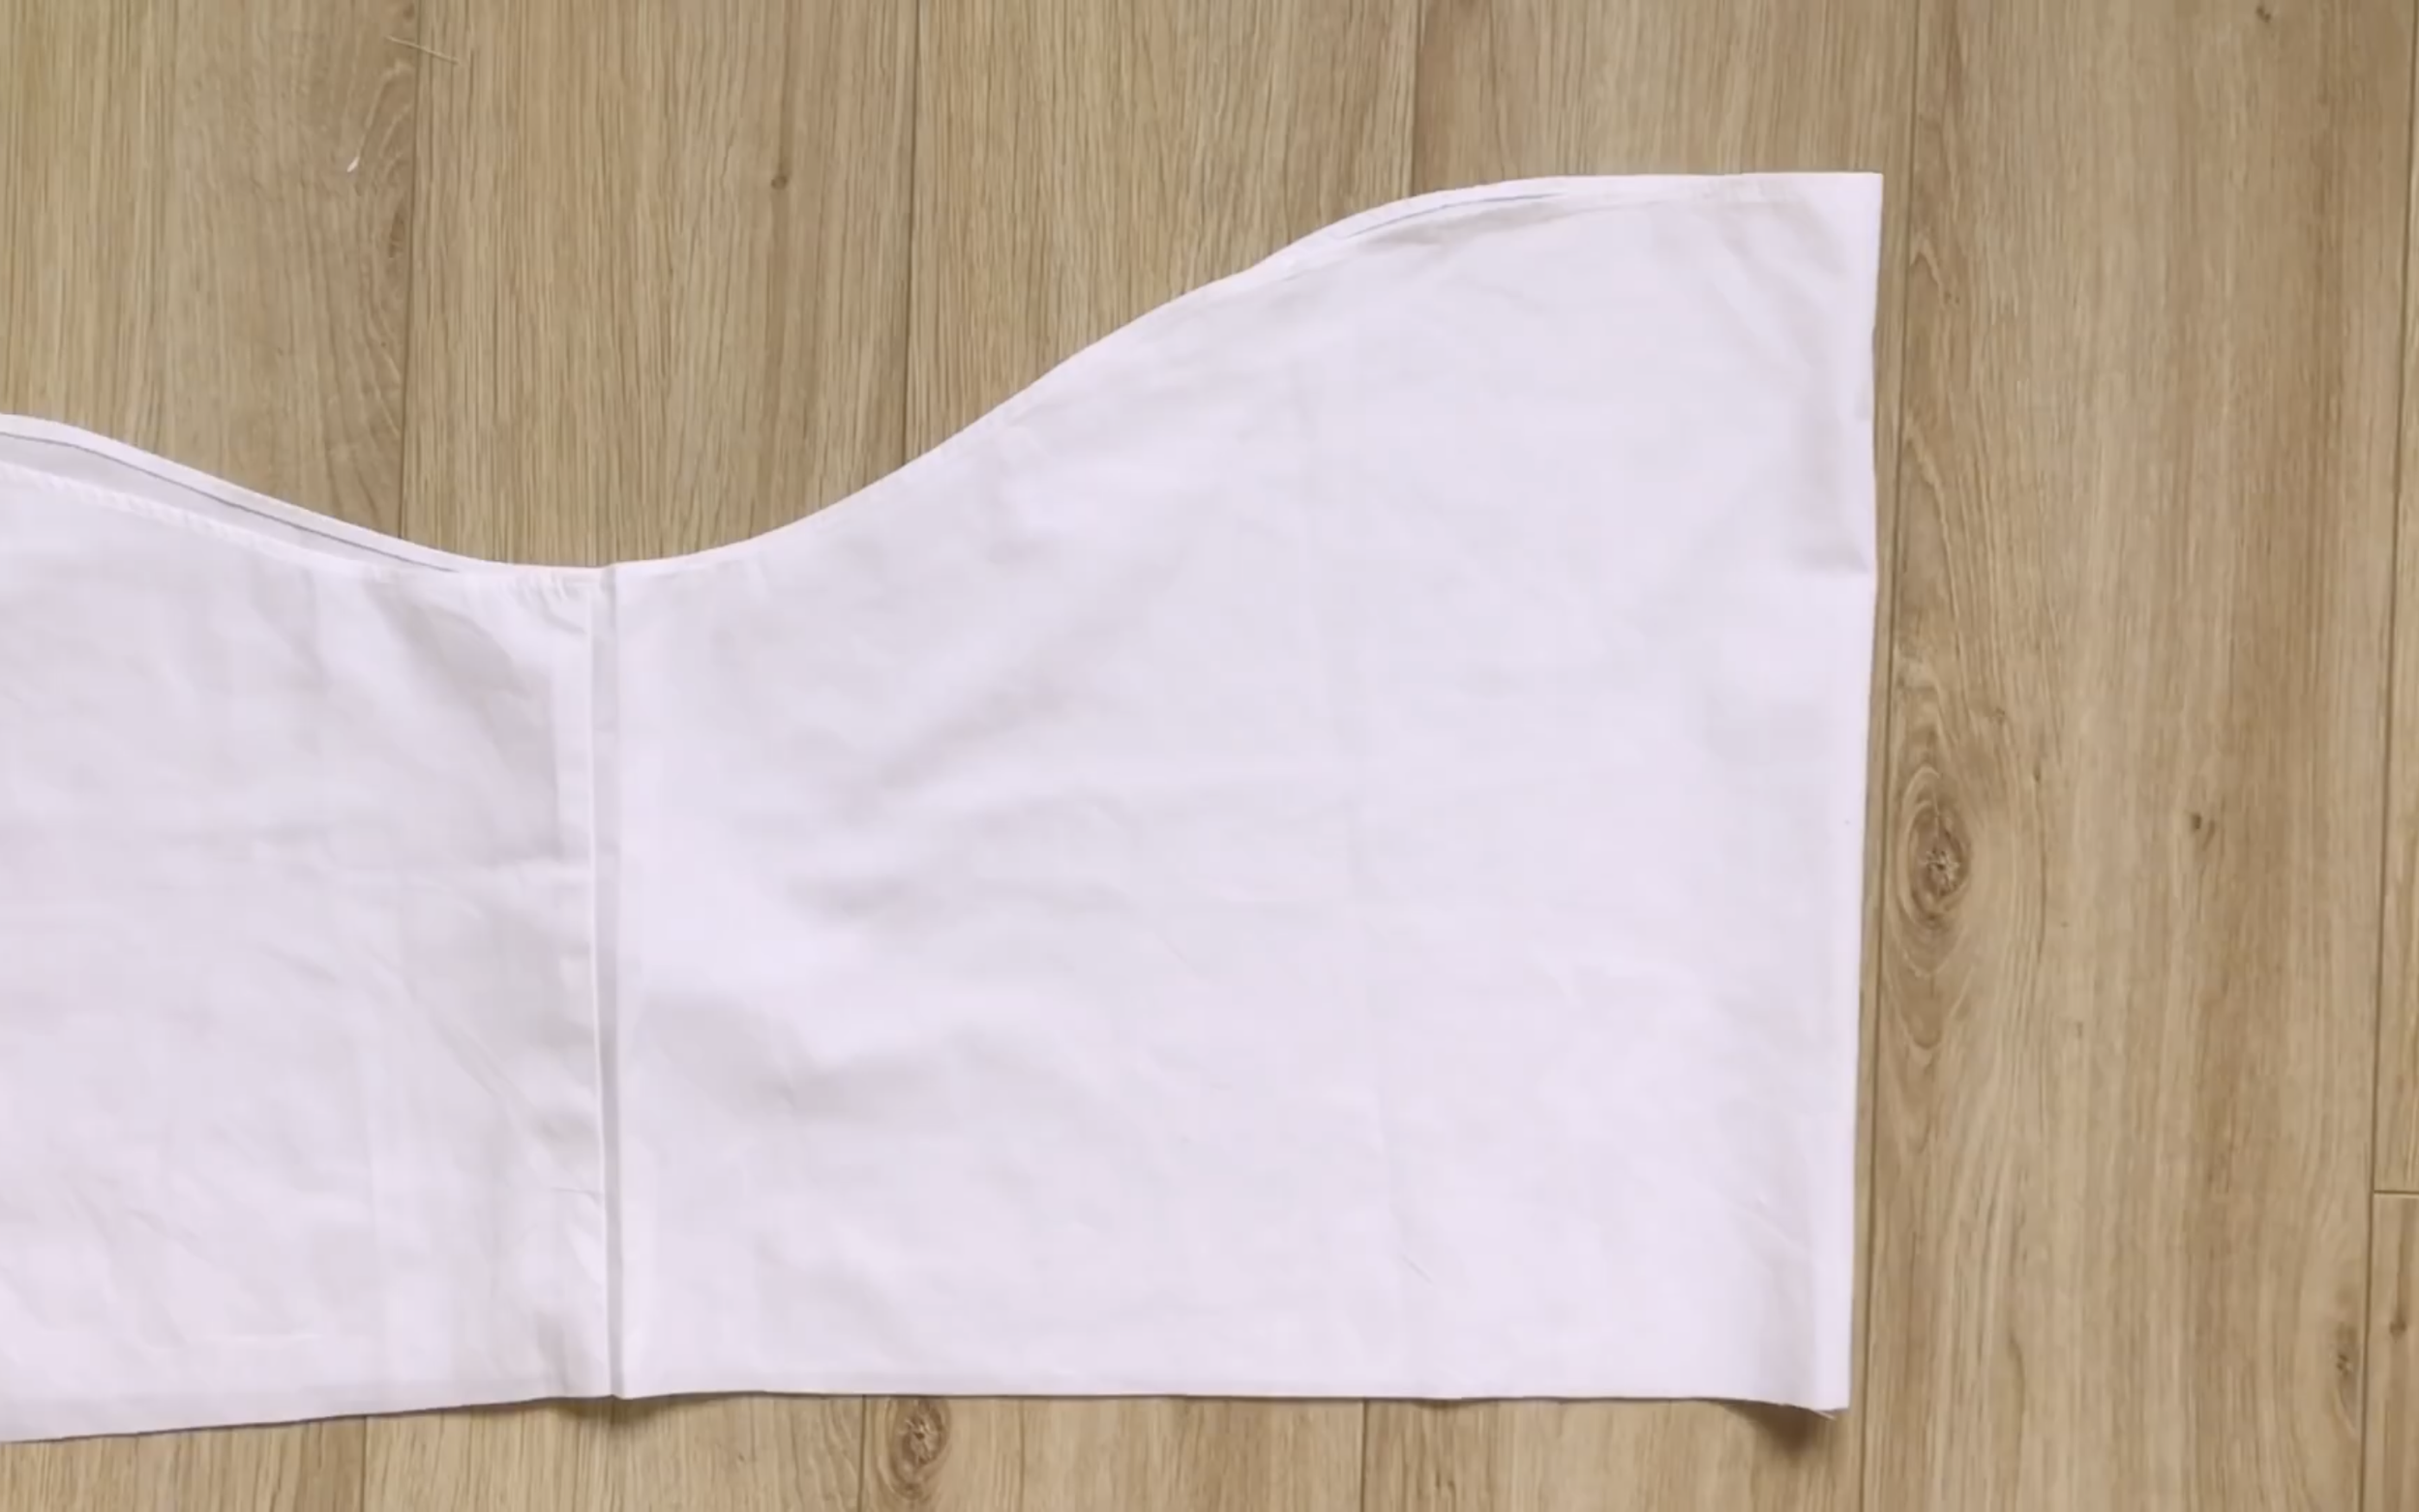
Check the width of the remaining shoulder line to draw the new neckline for the blouse.
Use the back neckline of the main shirt to draw the neckline for the back of the blouse.
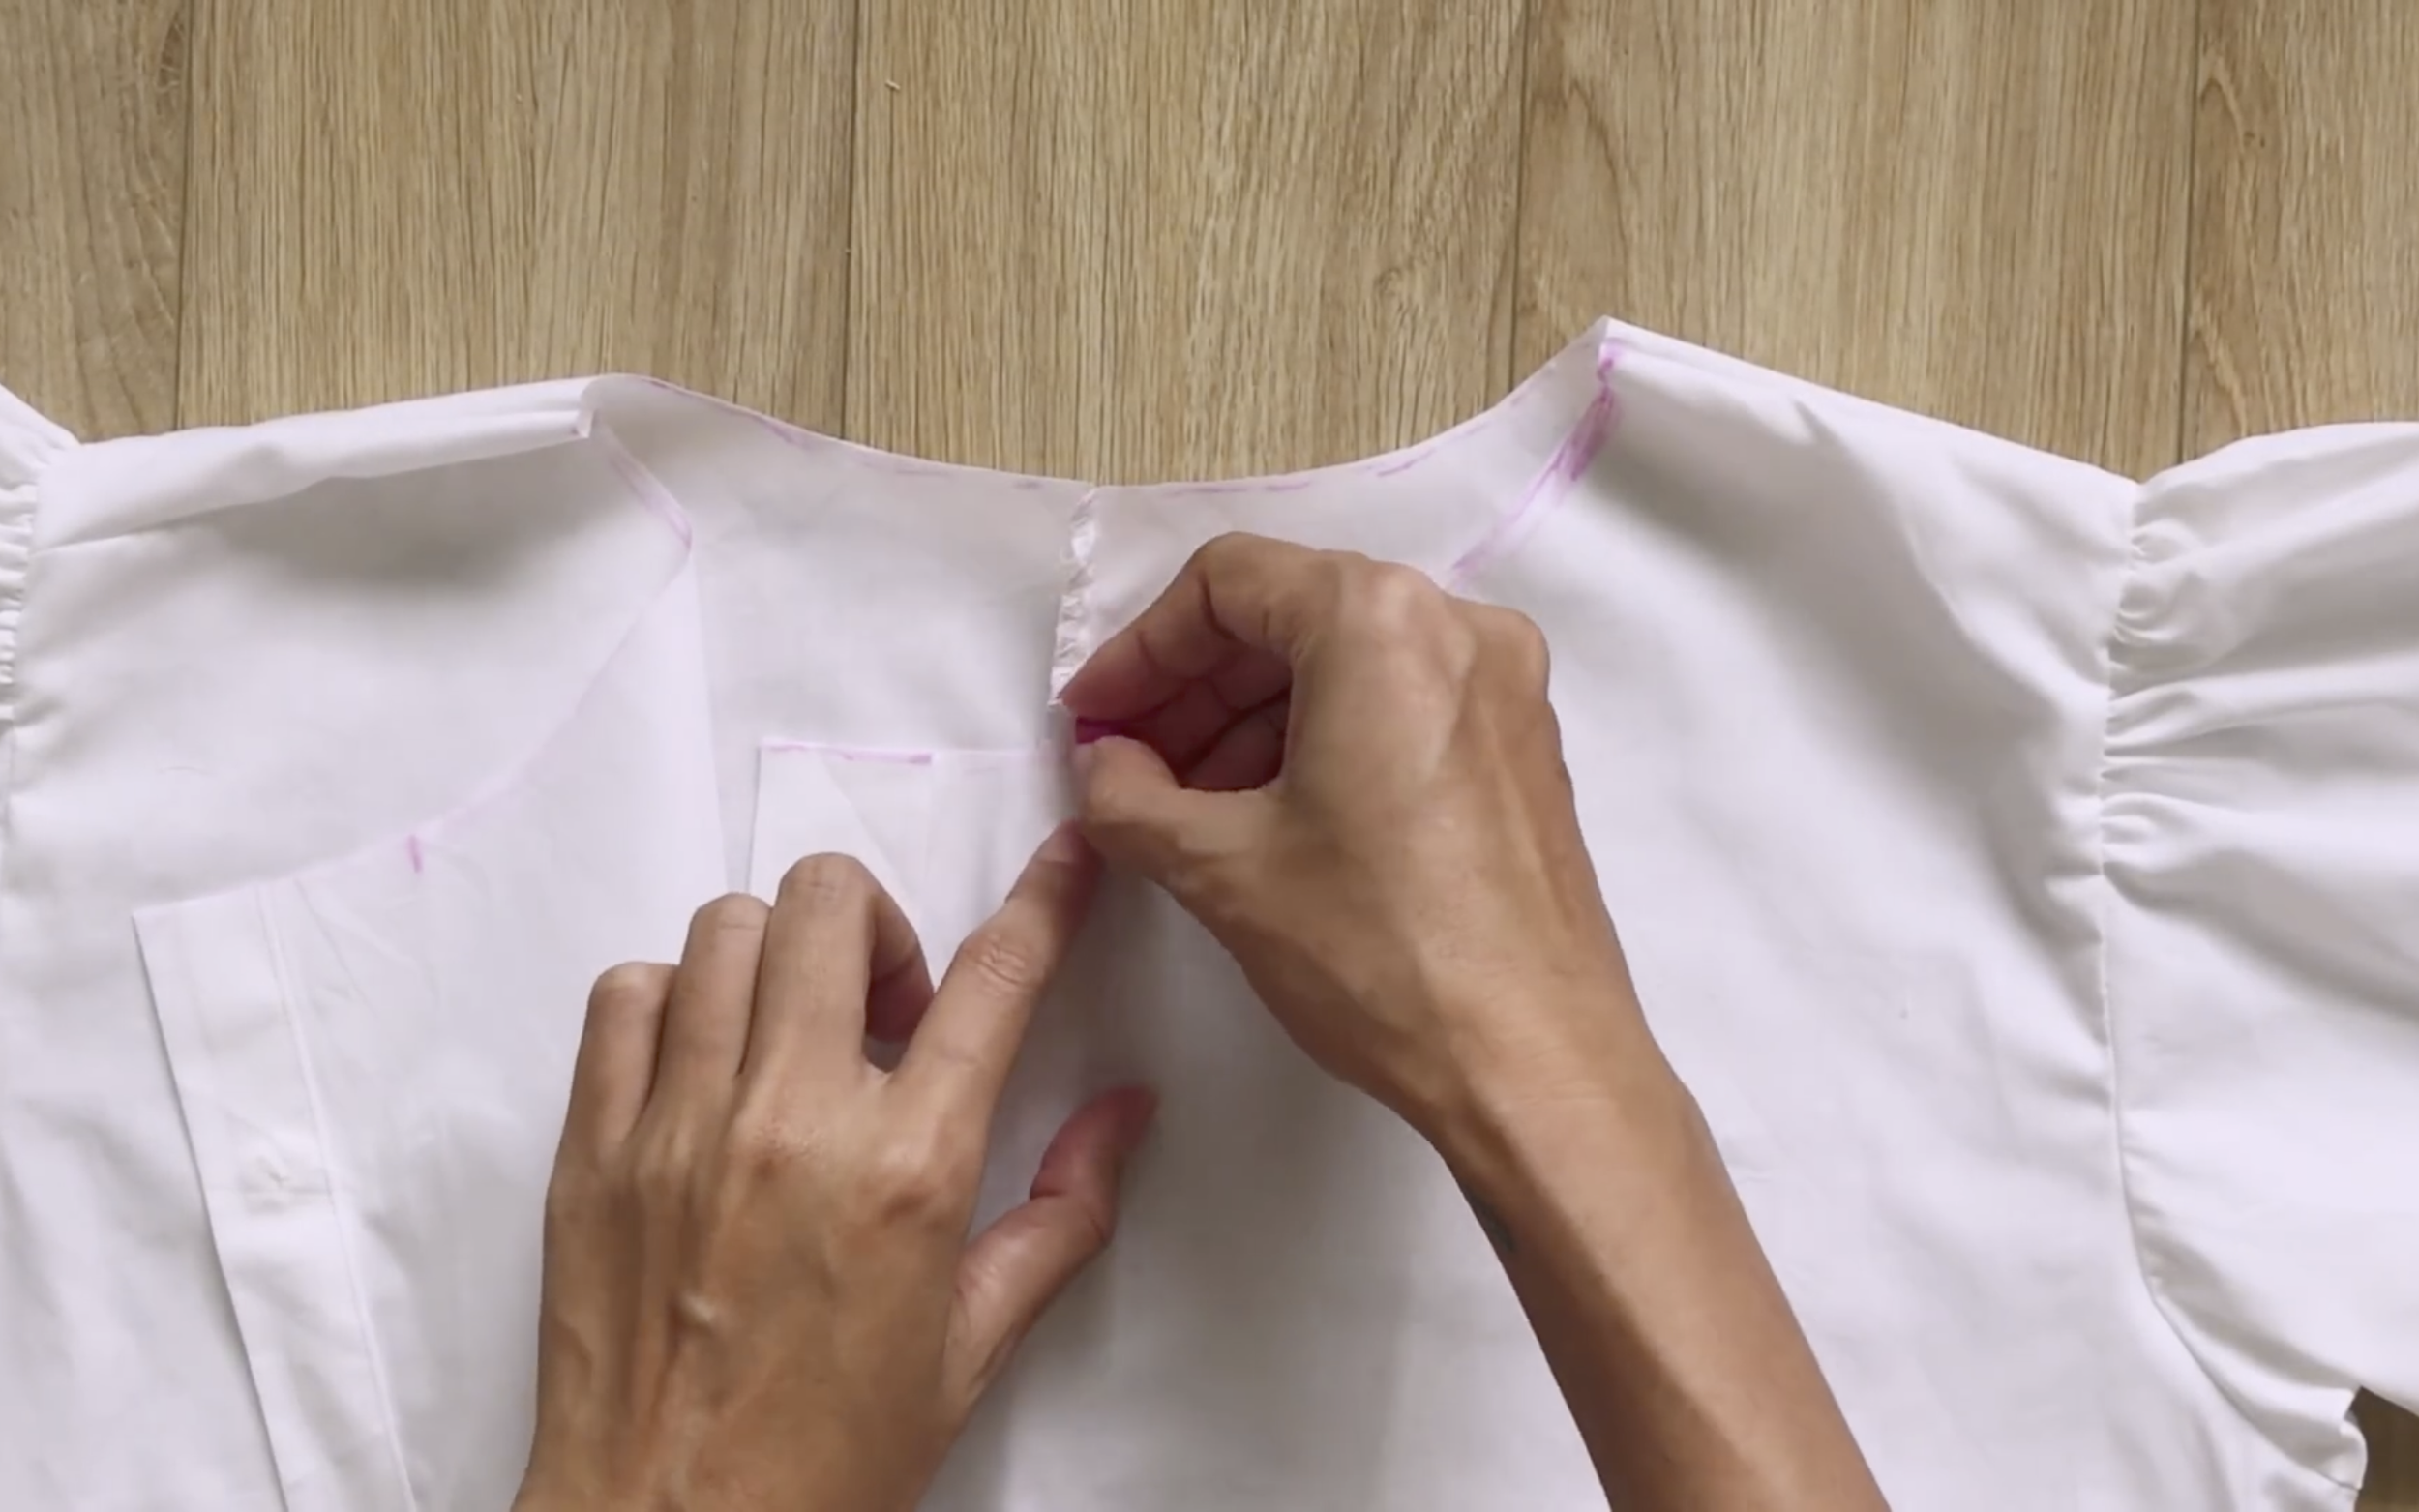
After cutting, mark the front neckline at the middle of the back neckline.
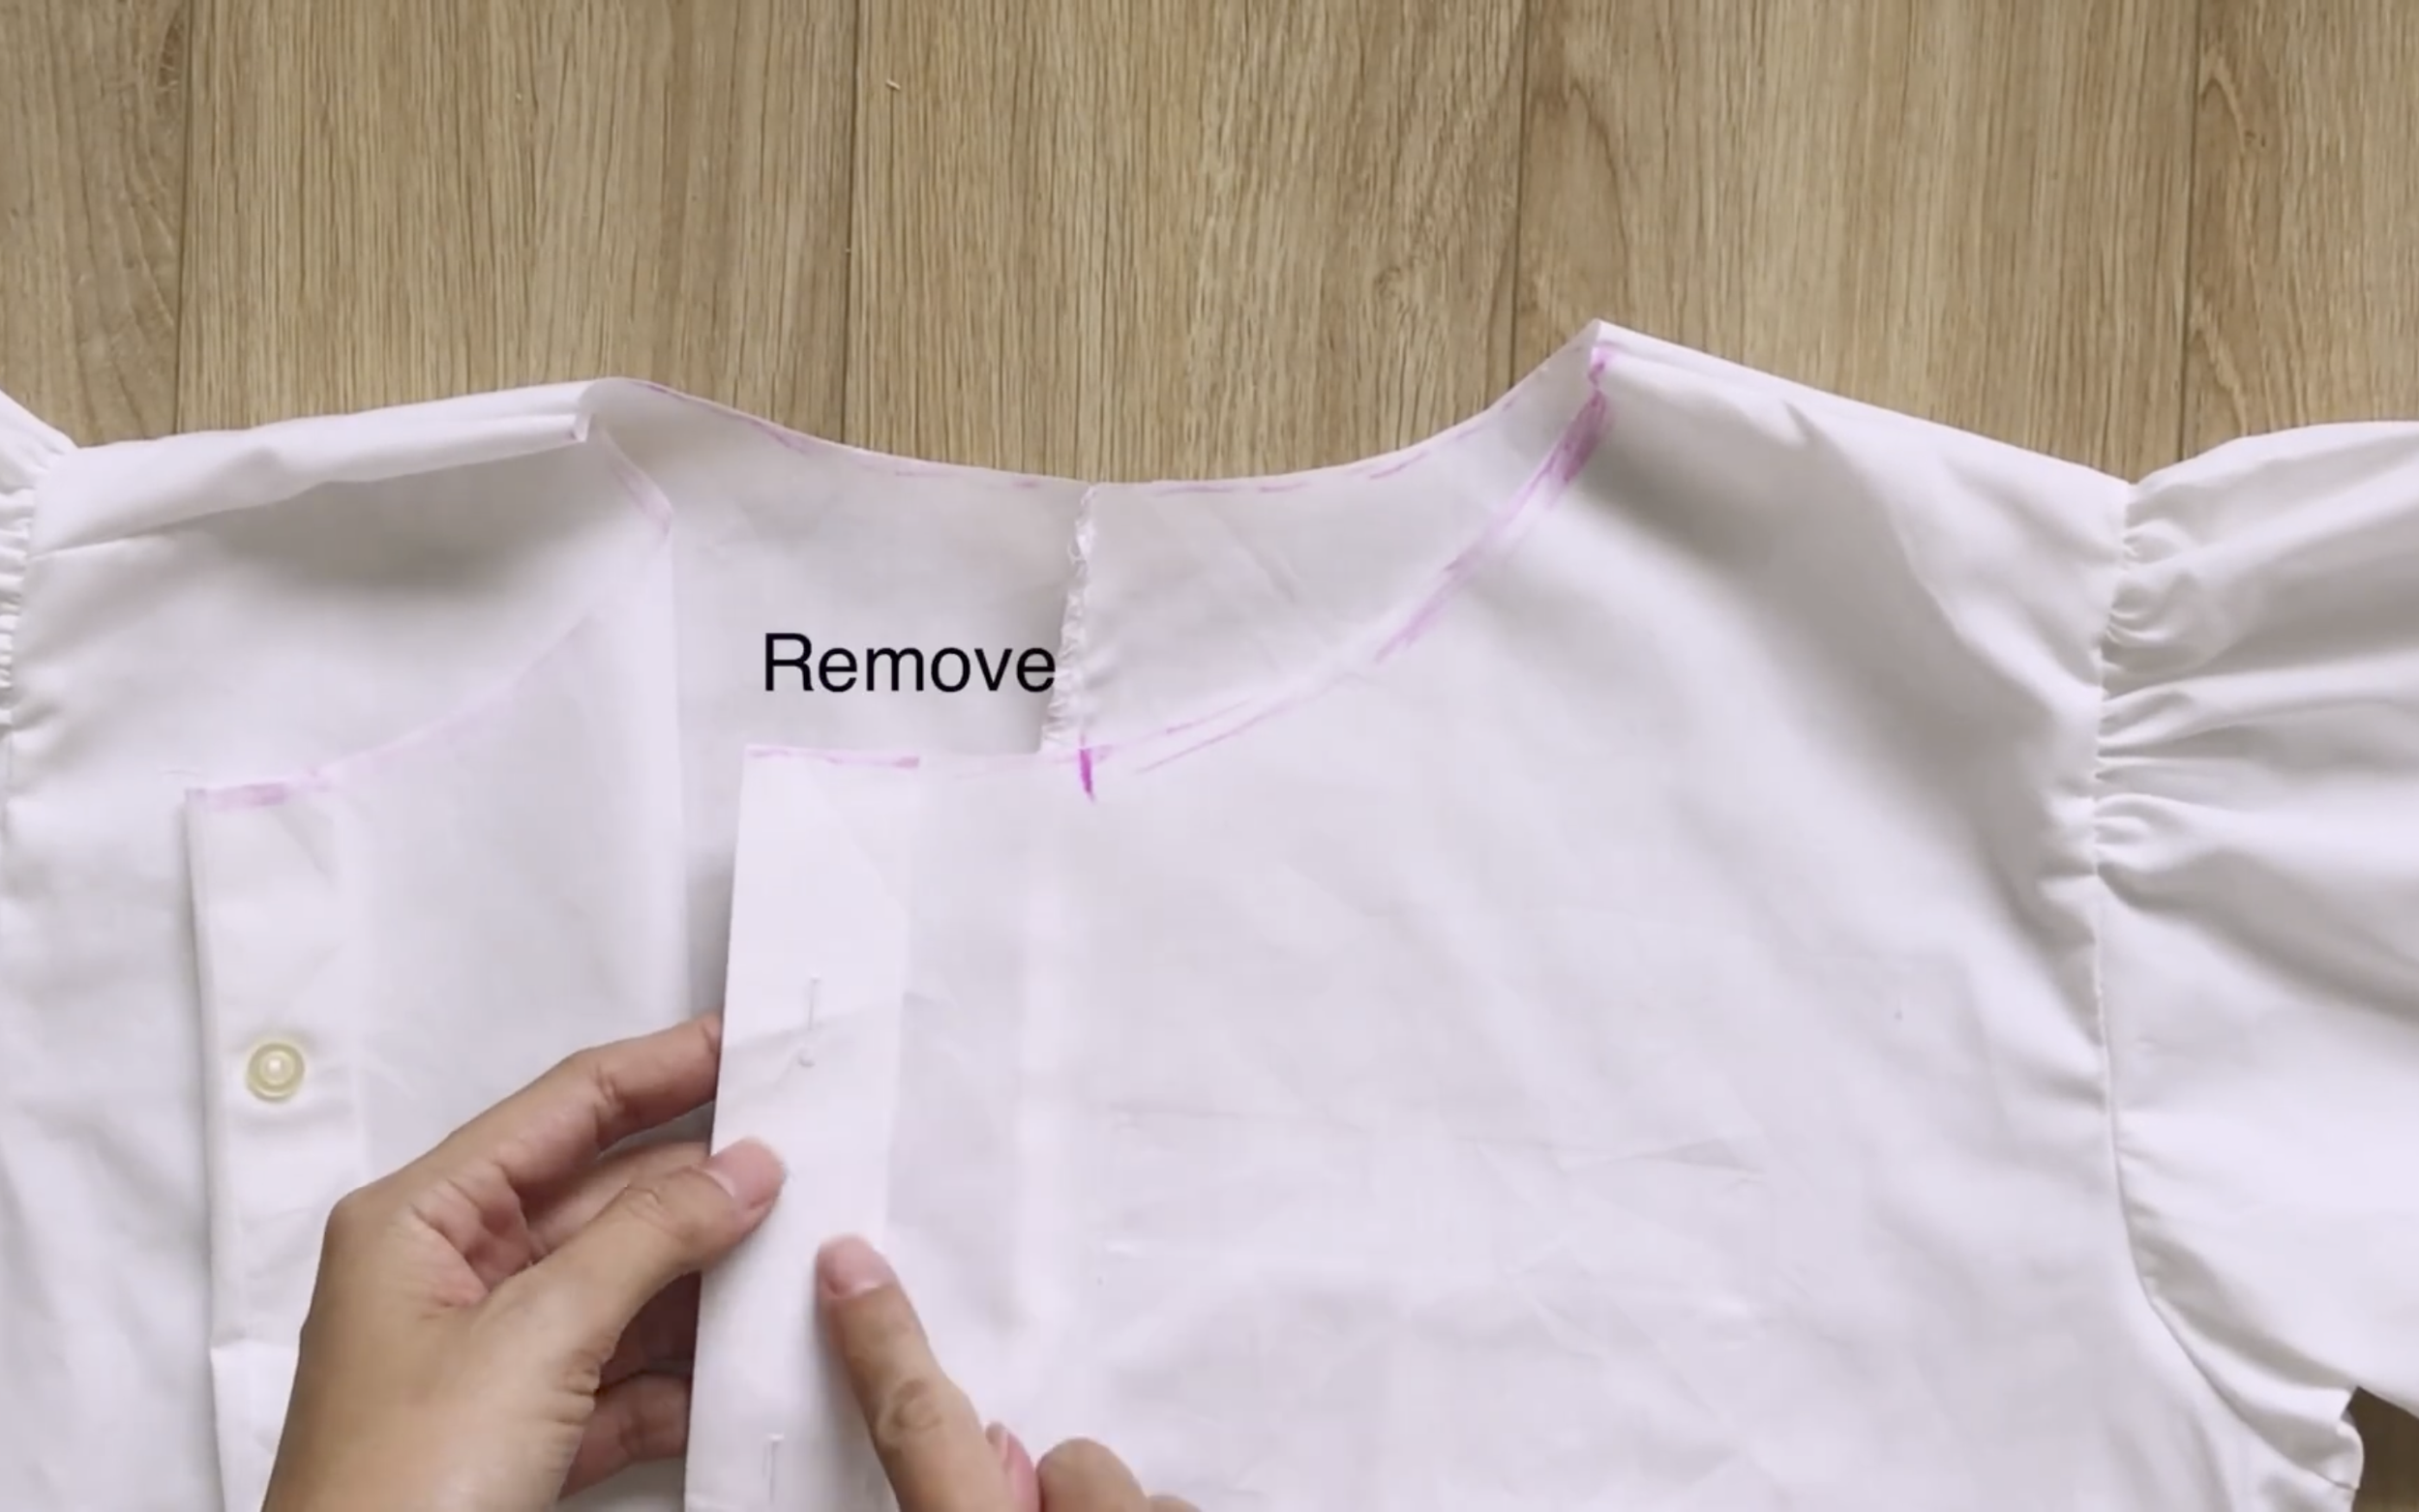
Remove the button and buttonhole from the main shirt.
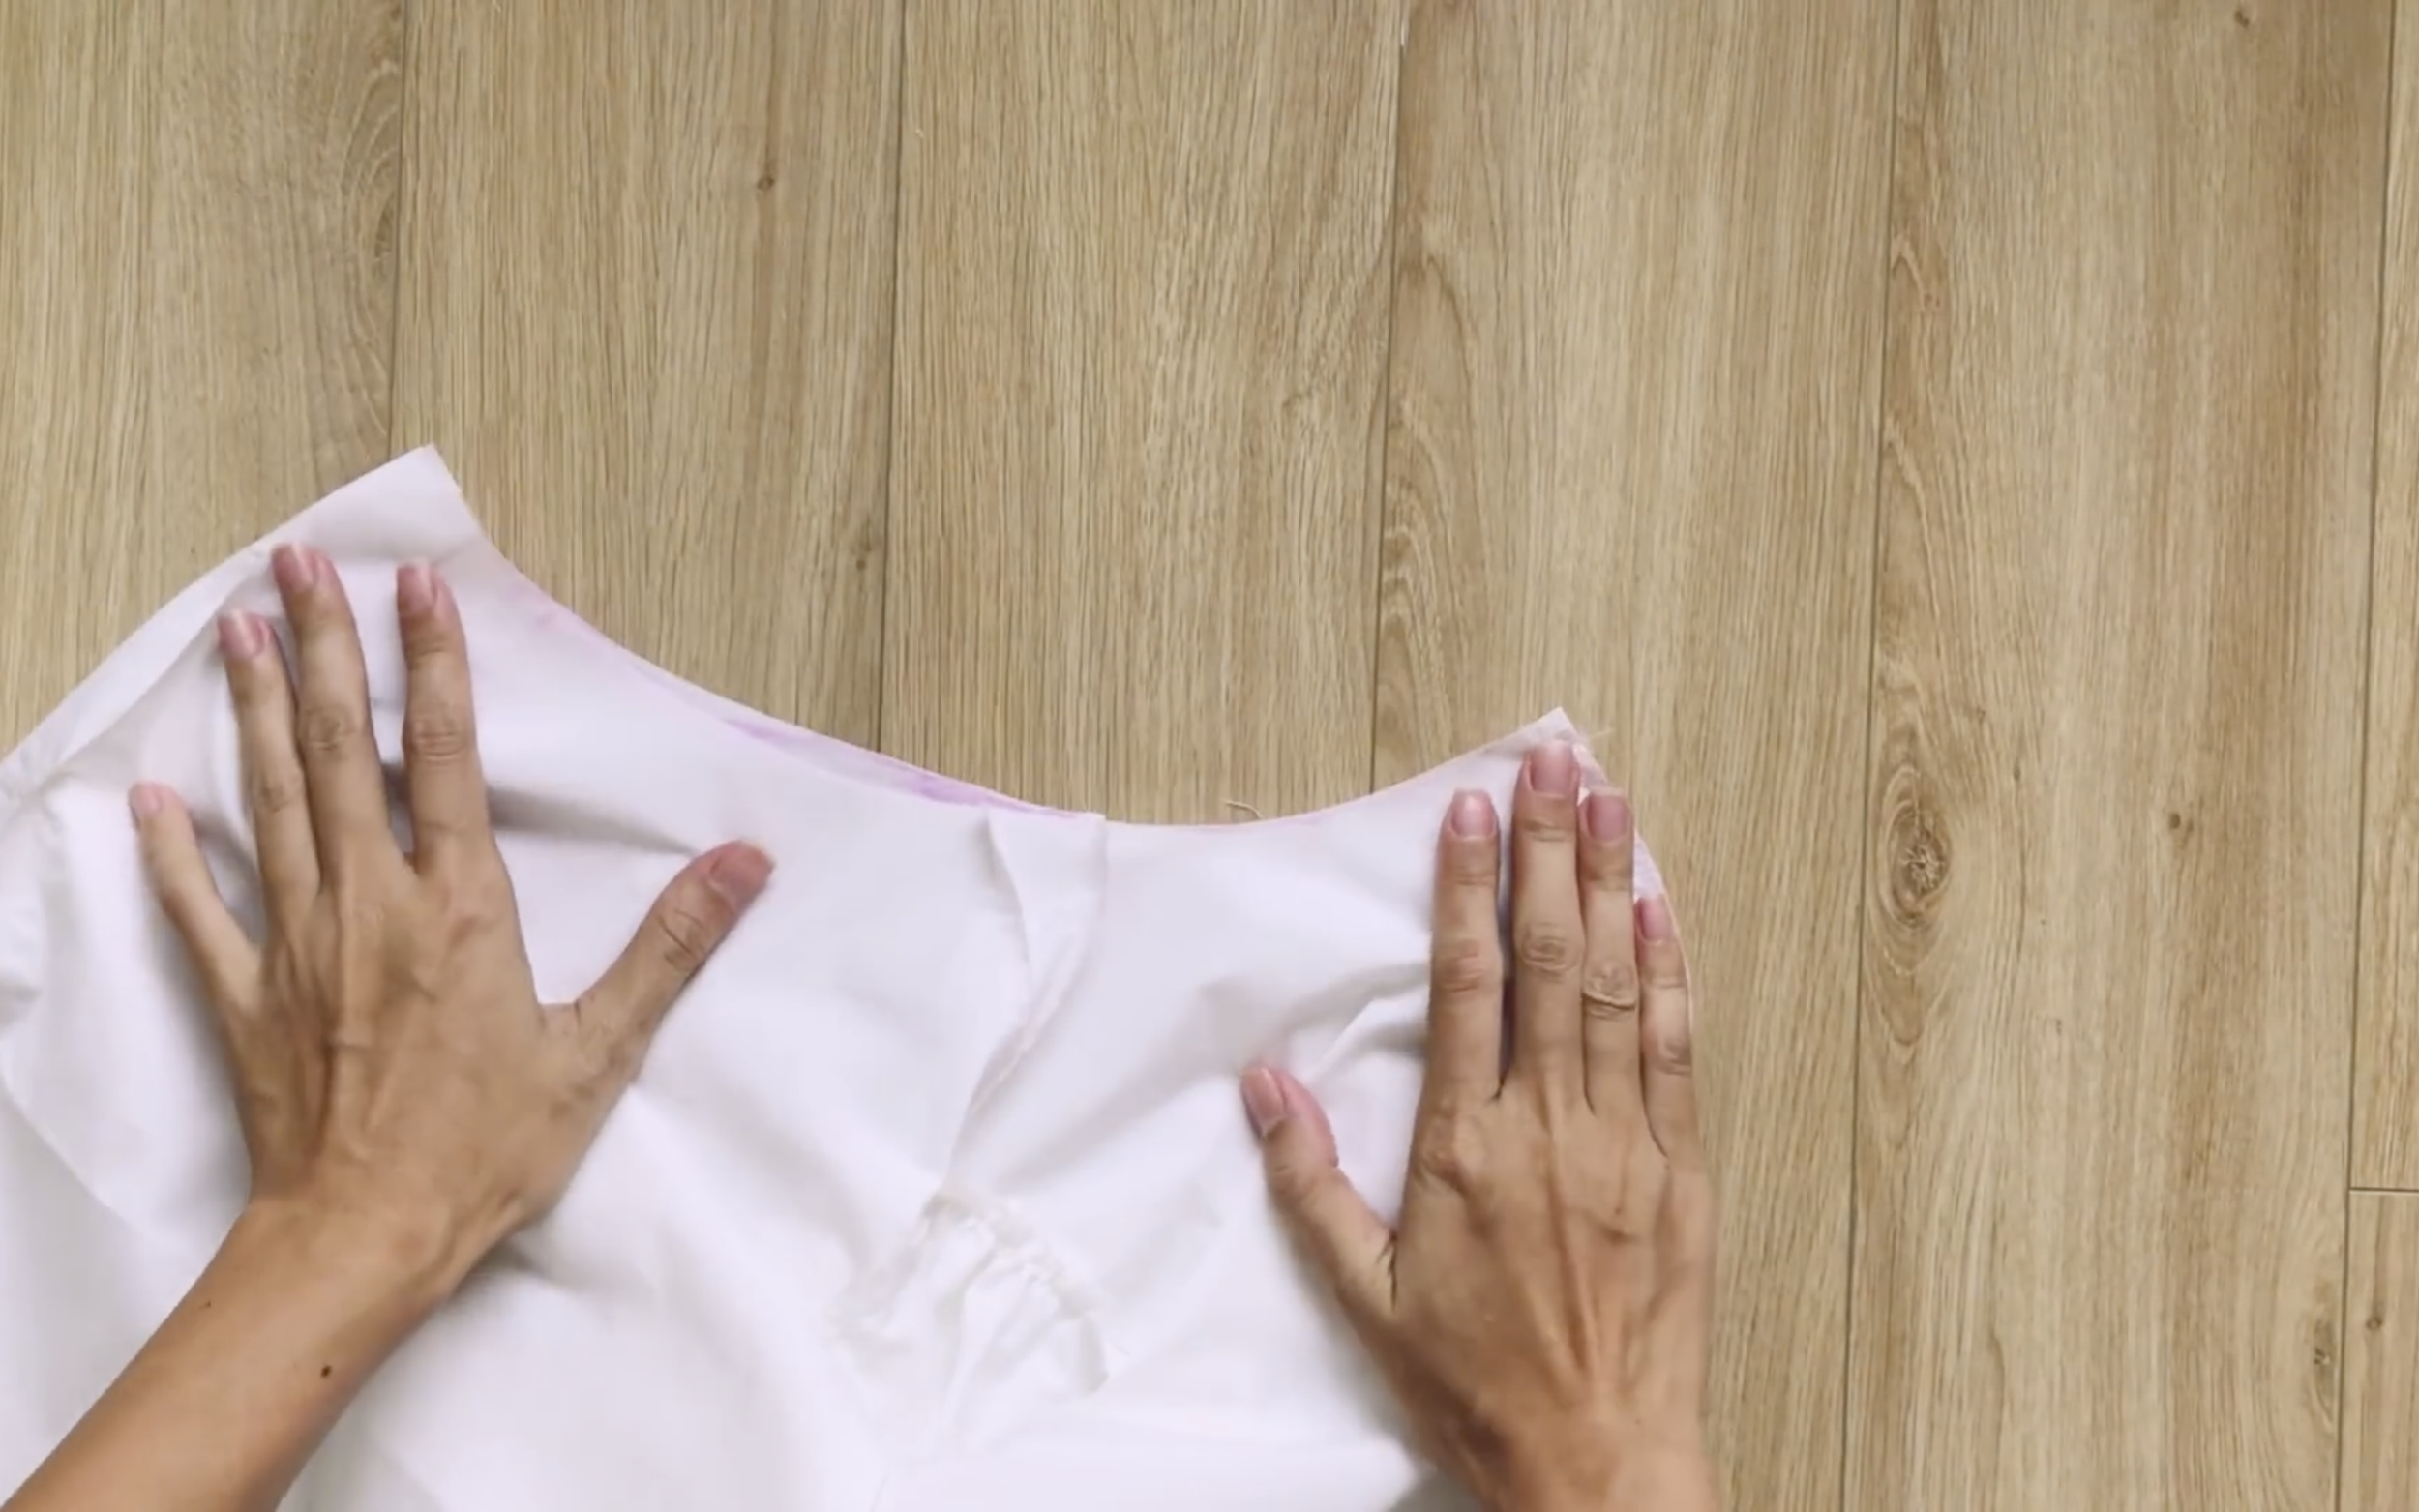
Fold the neck of the blouse in half at the middle of the back neckline.
Use the leftover fabric from the main shirt to create the collar.
Fold the leftover fabric in half
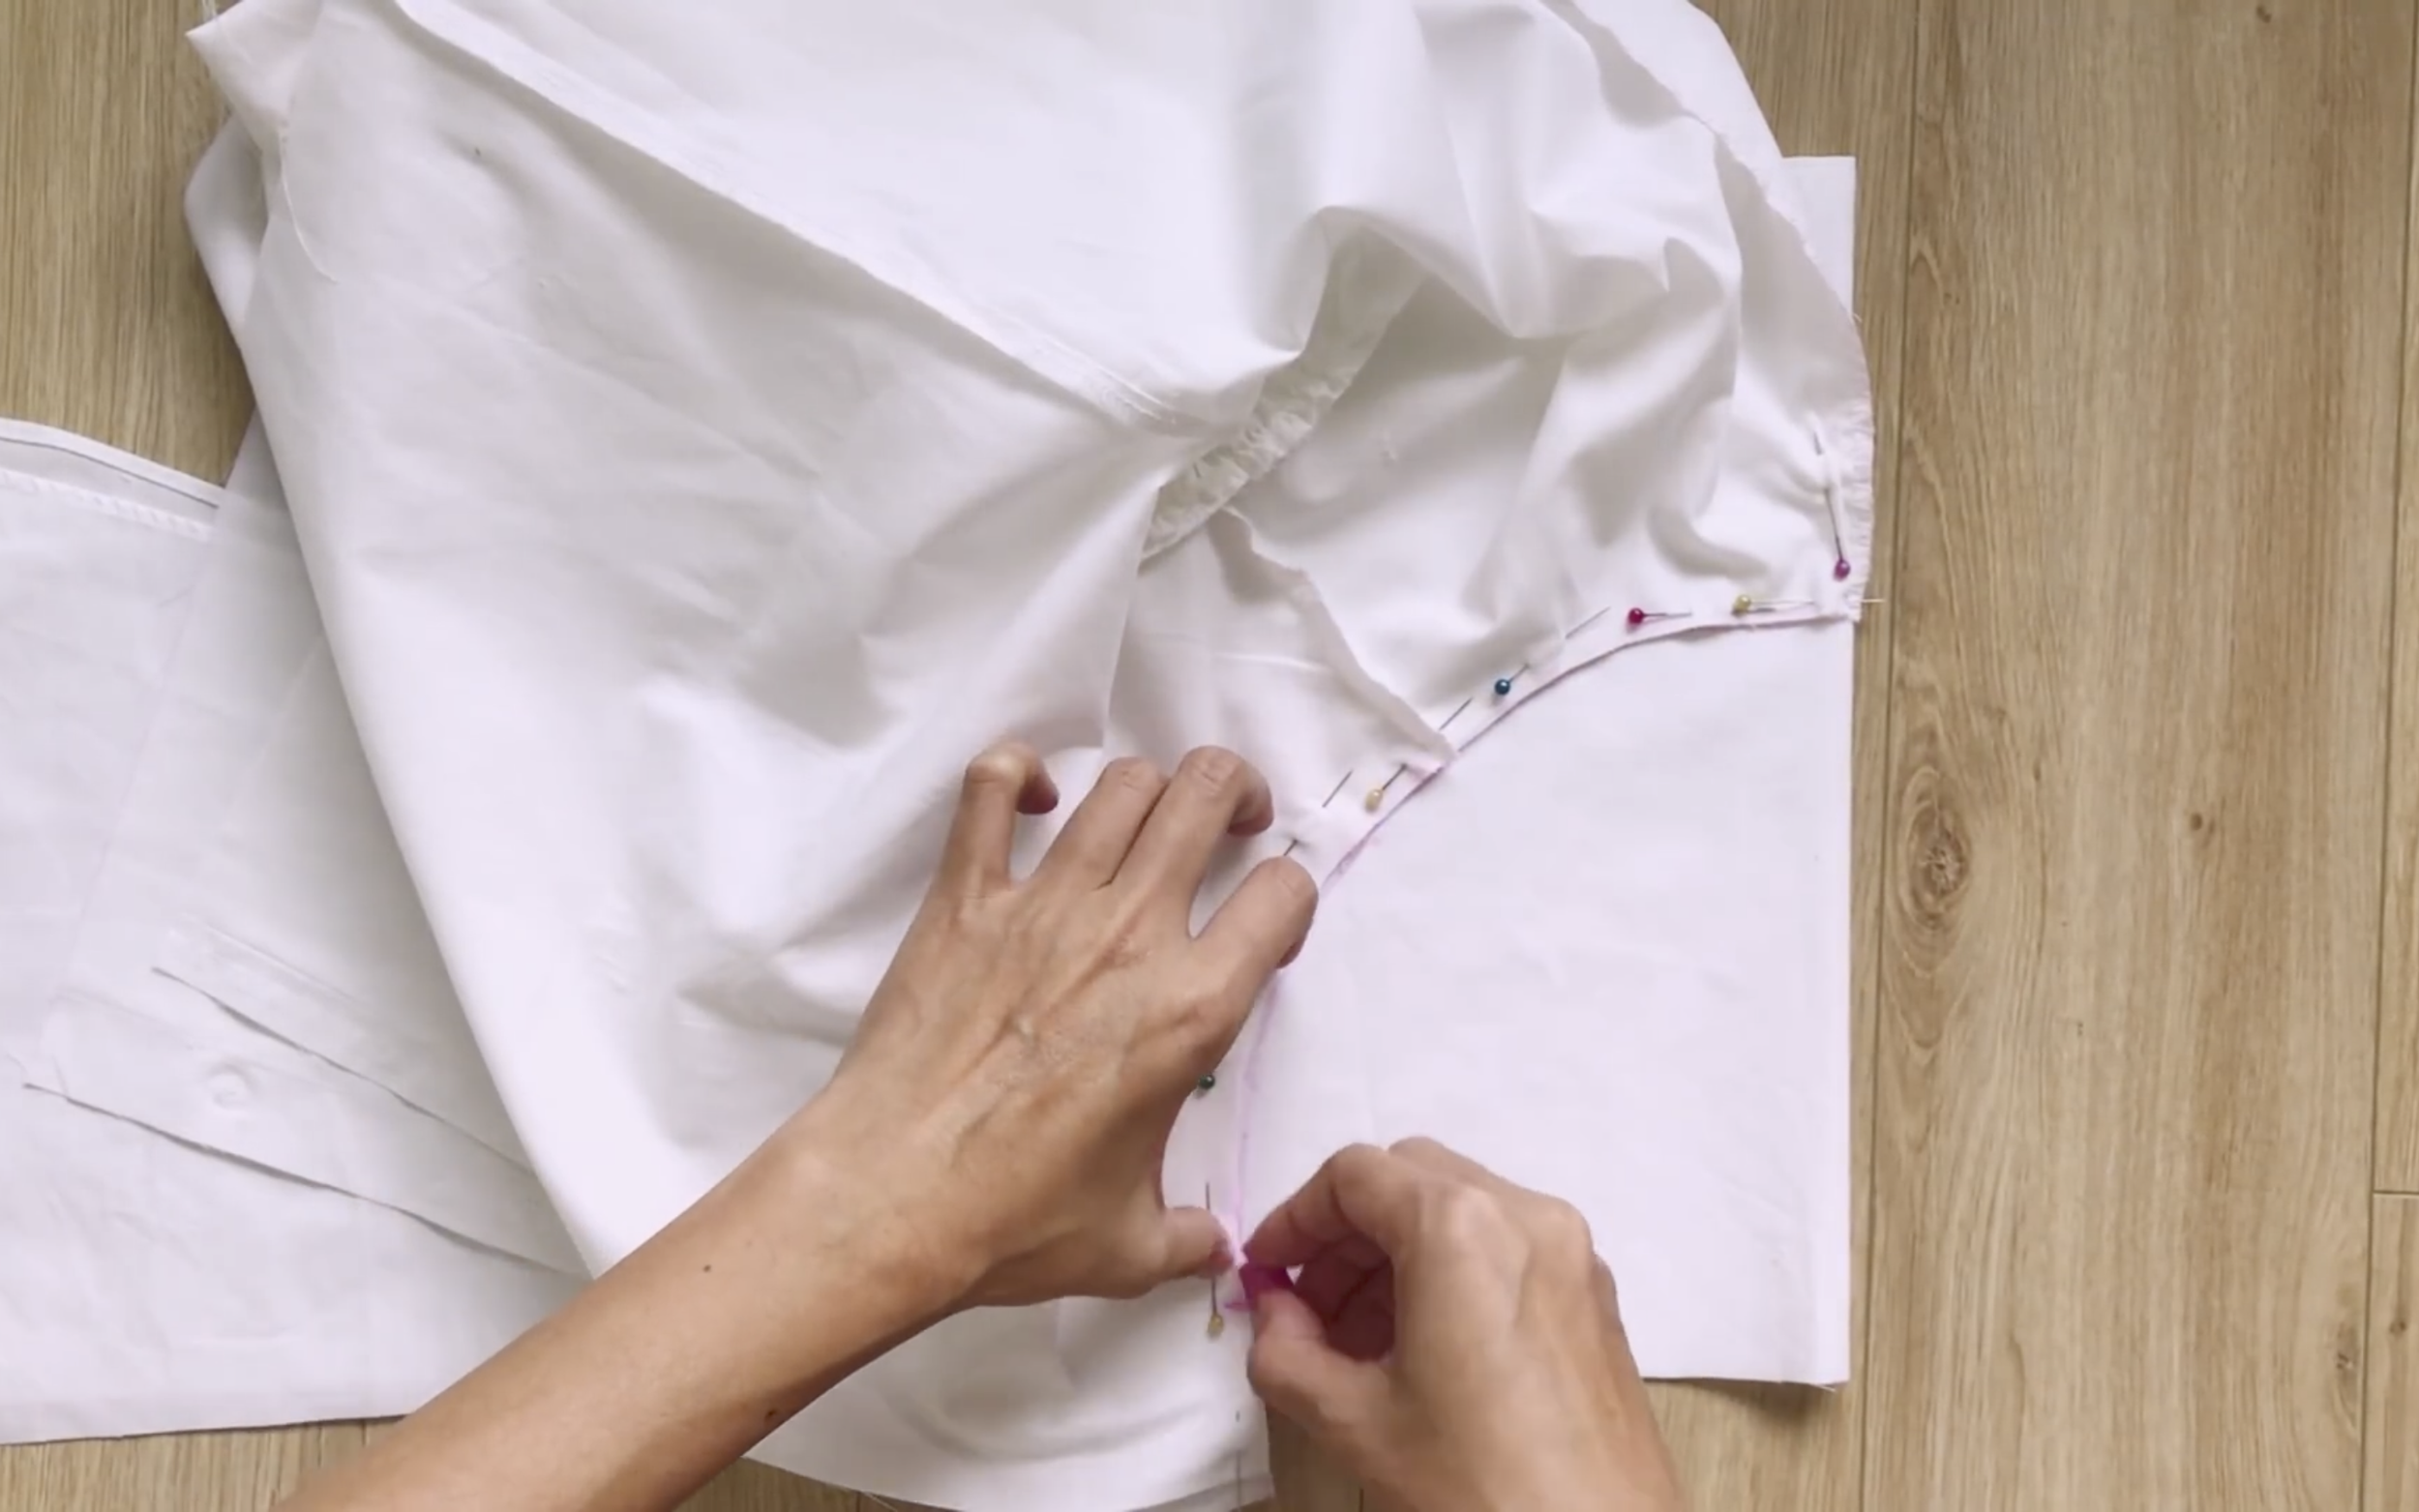
Then, apply the neck of the blouse to draw the curved line of the neck.
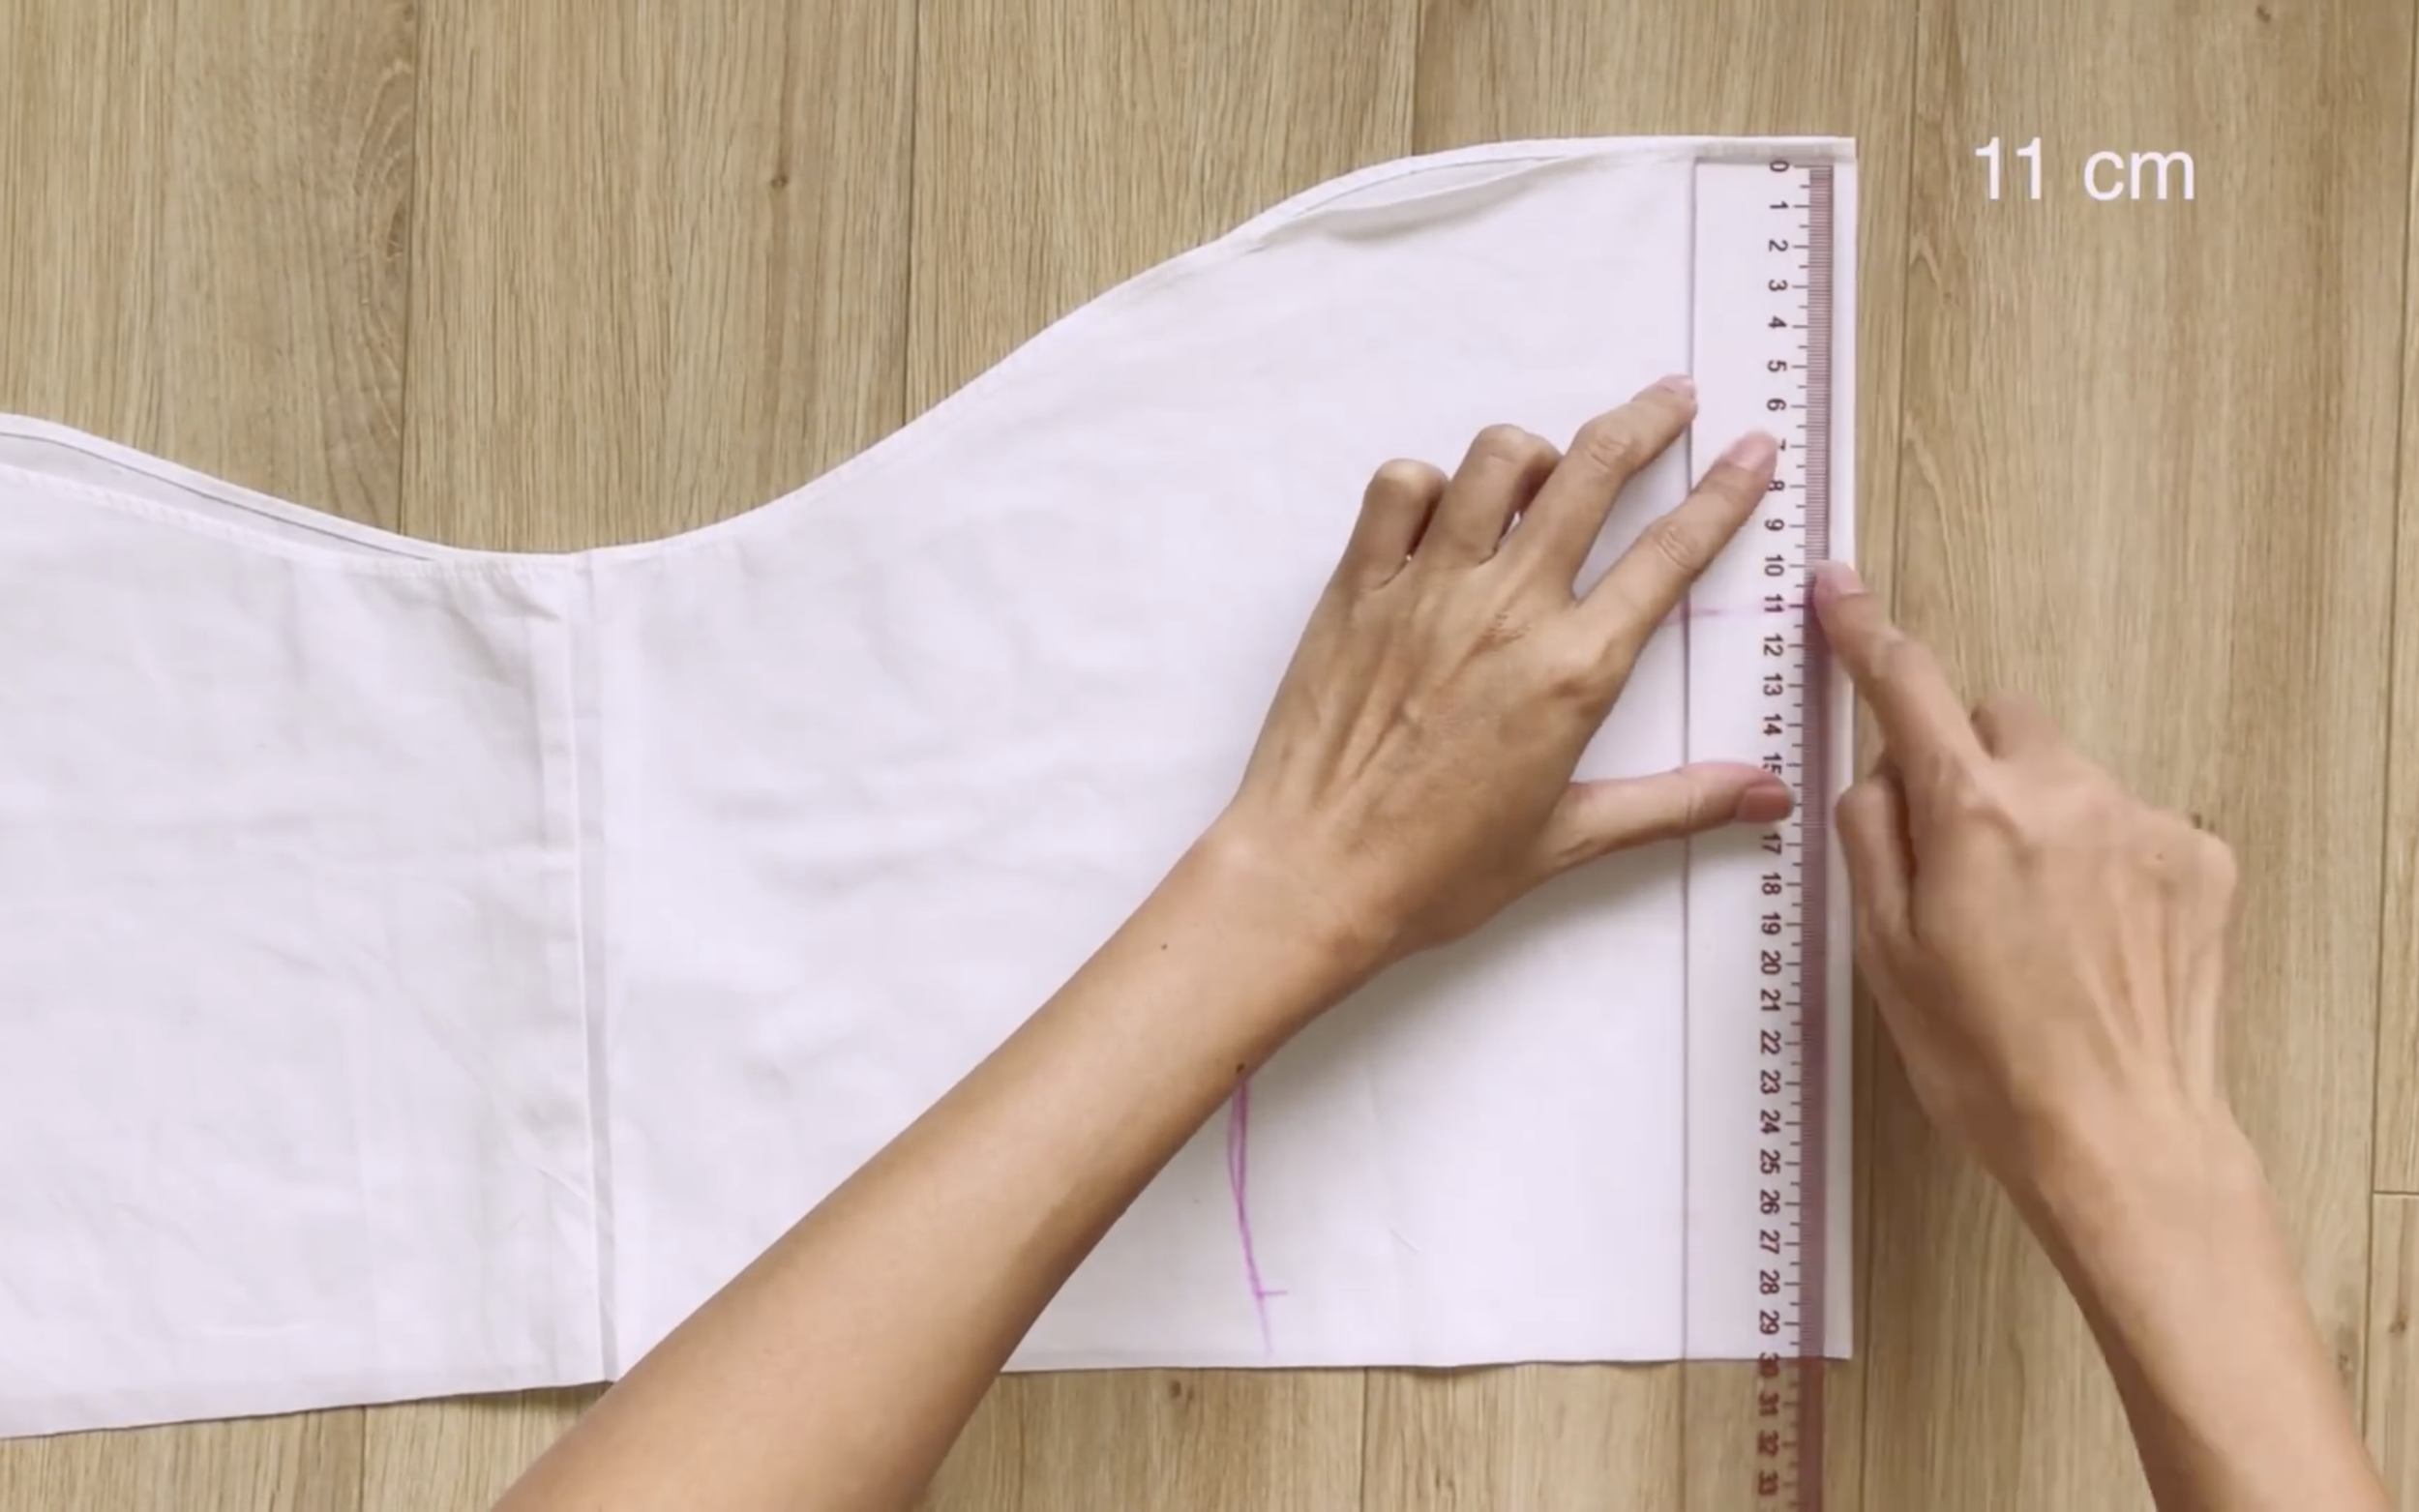
From the curved line, draw another curved line 11 cm outside to create the collar width.
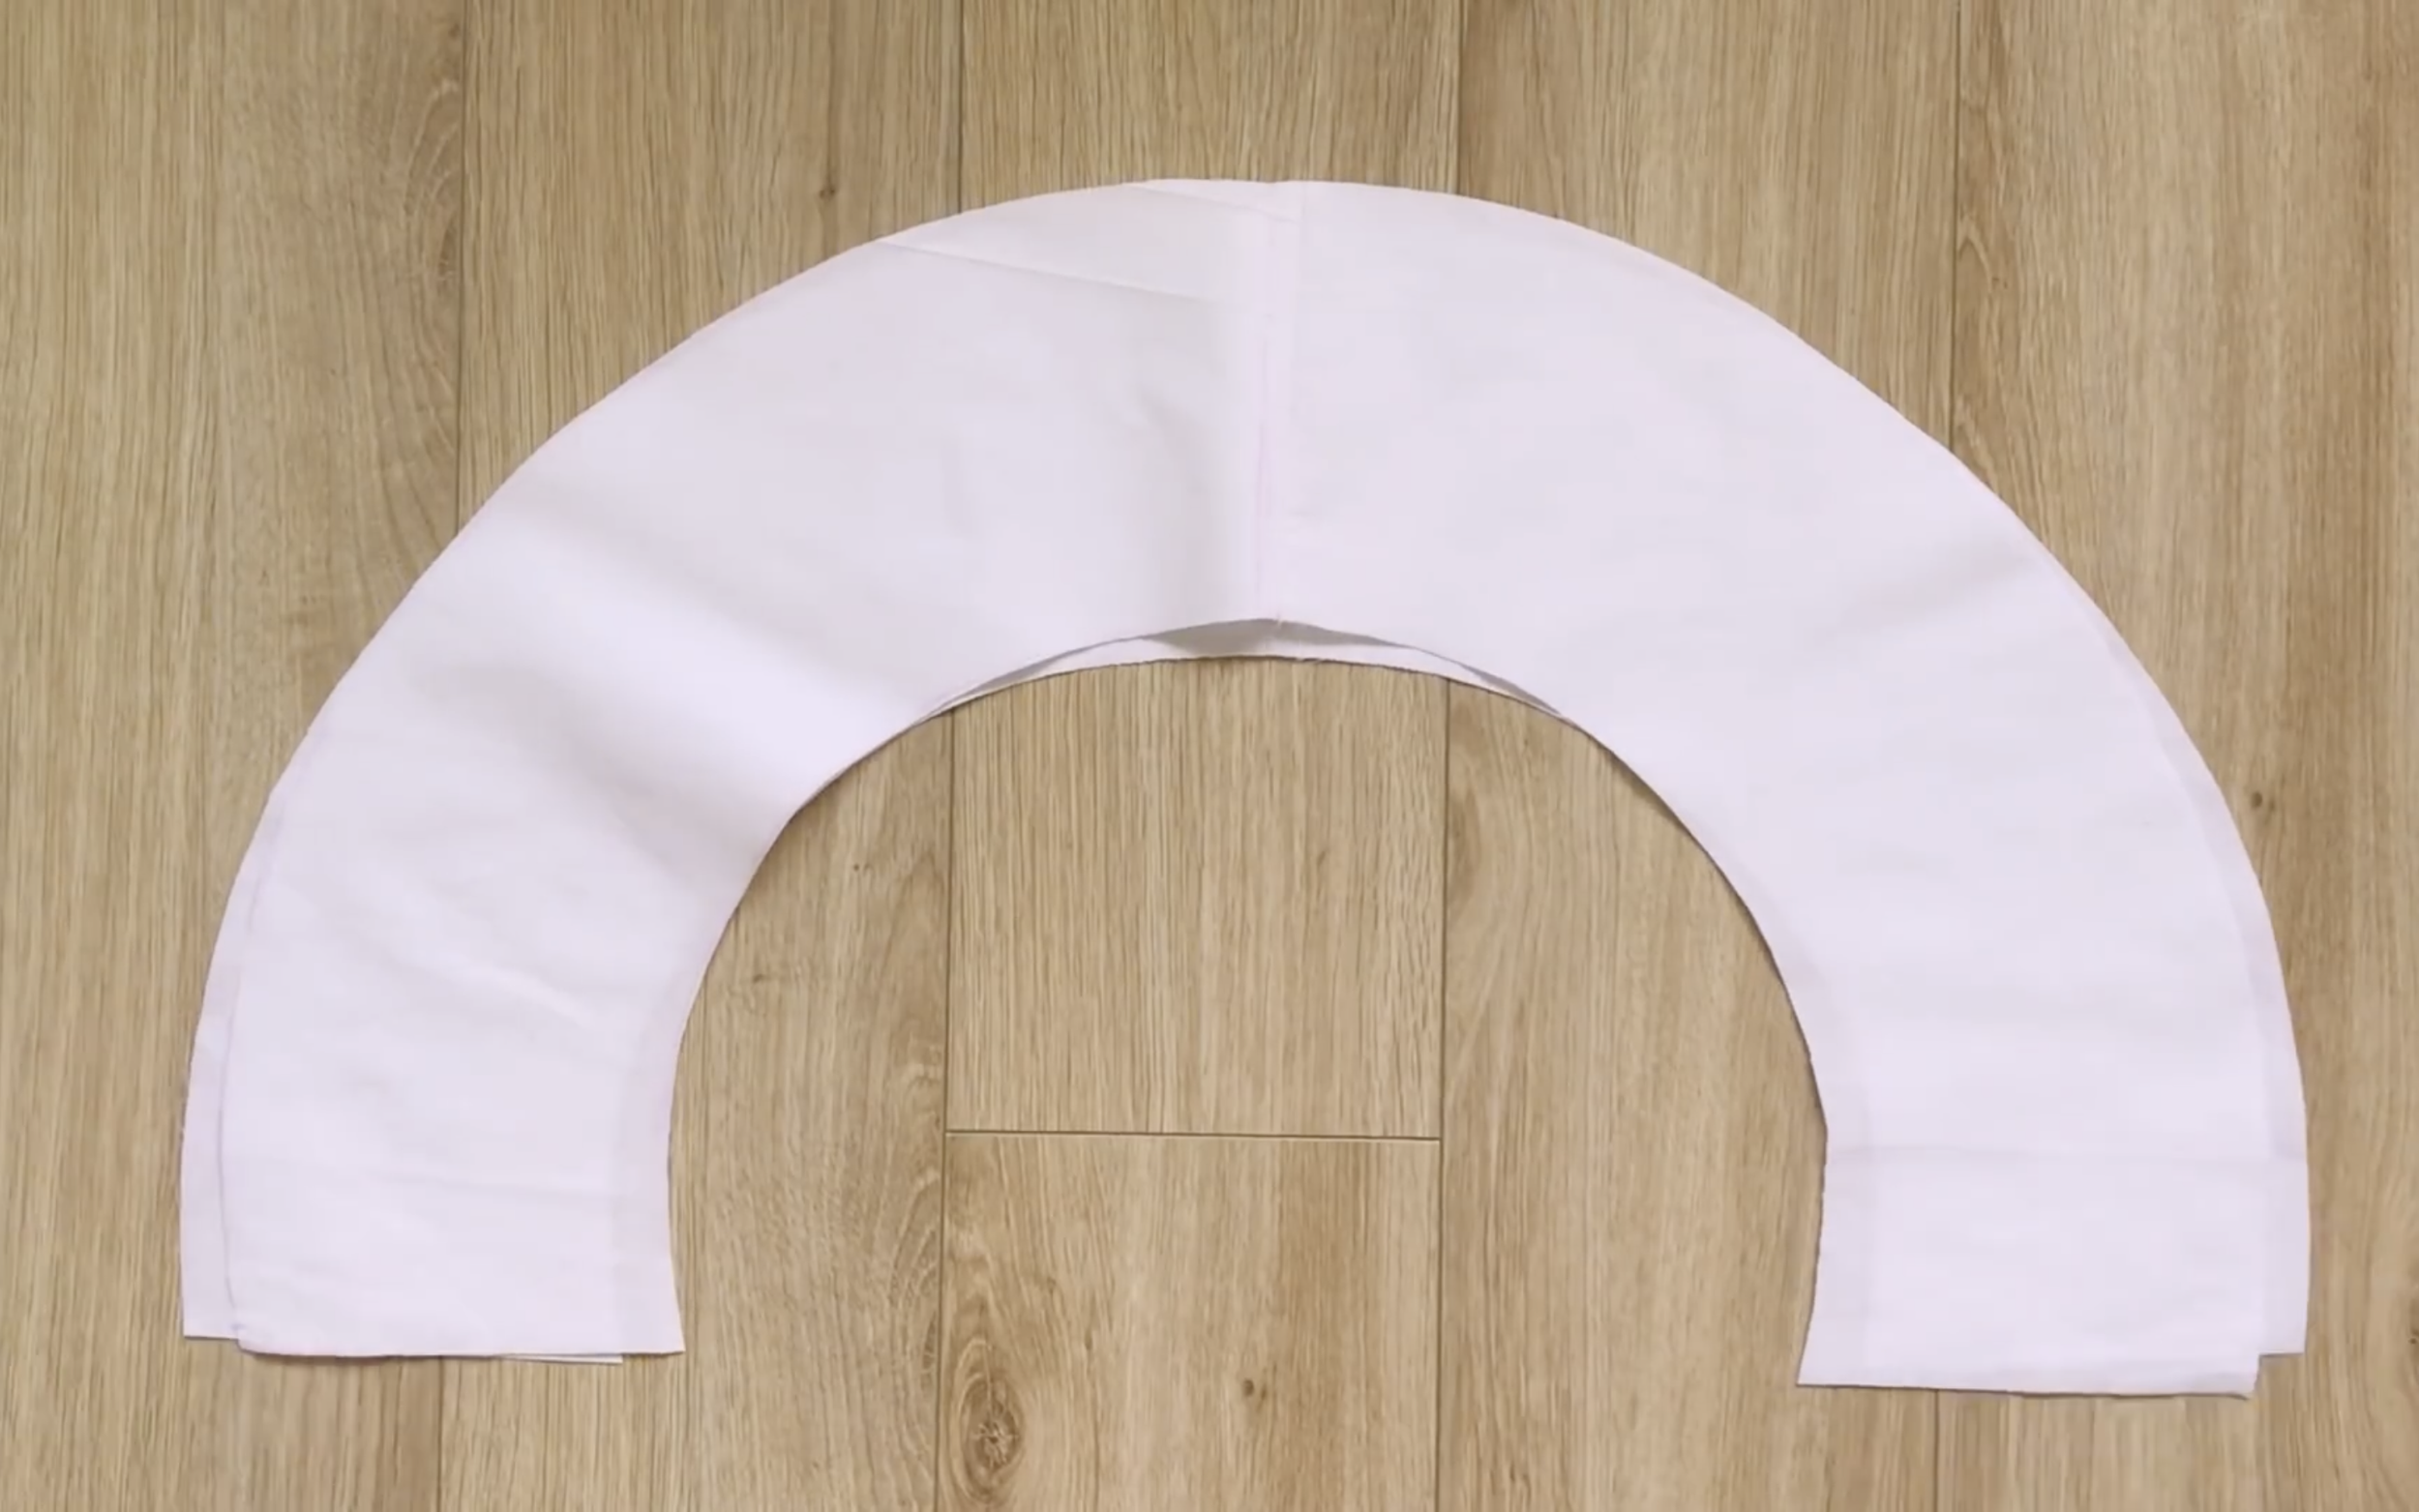
Make two pieces like this for the collar.
THE RUFFLE
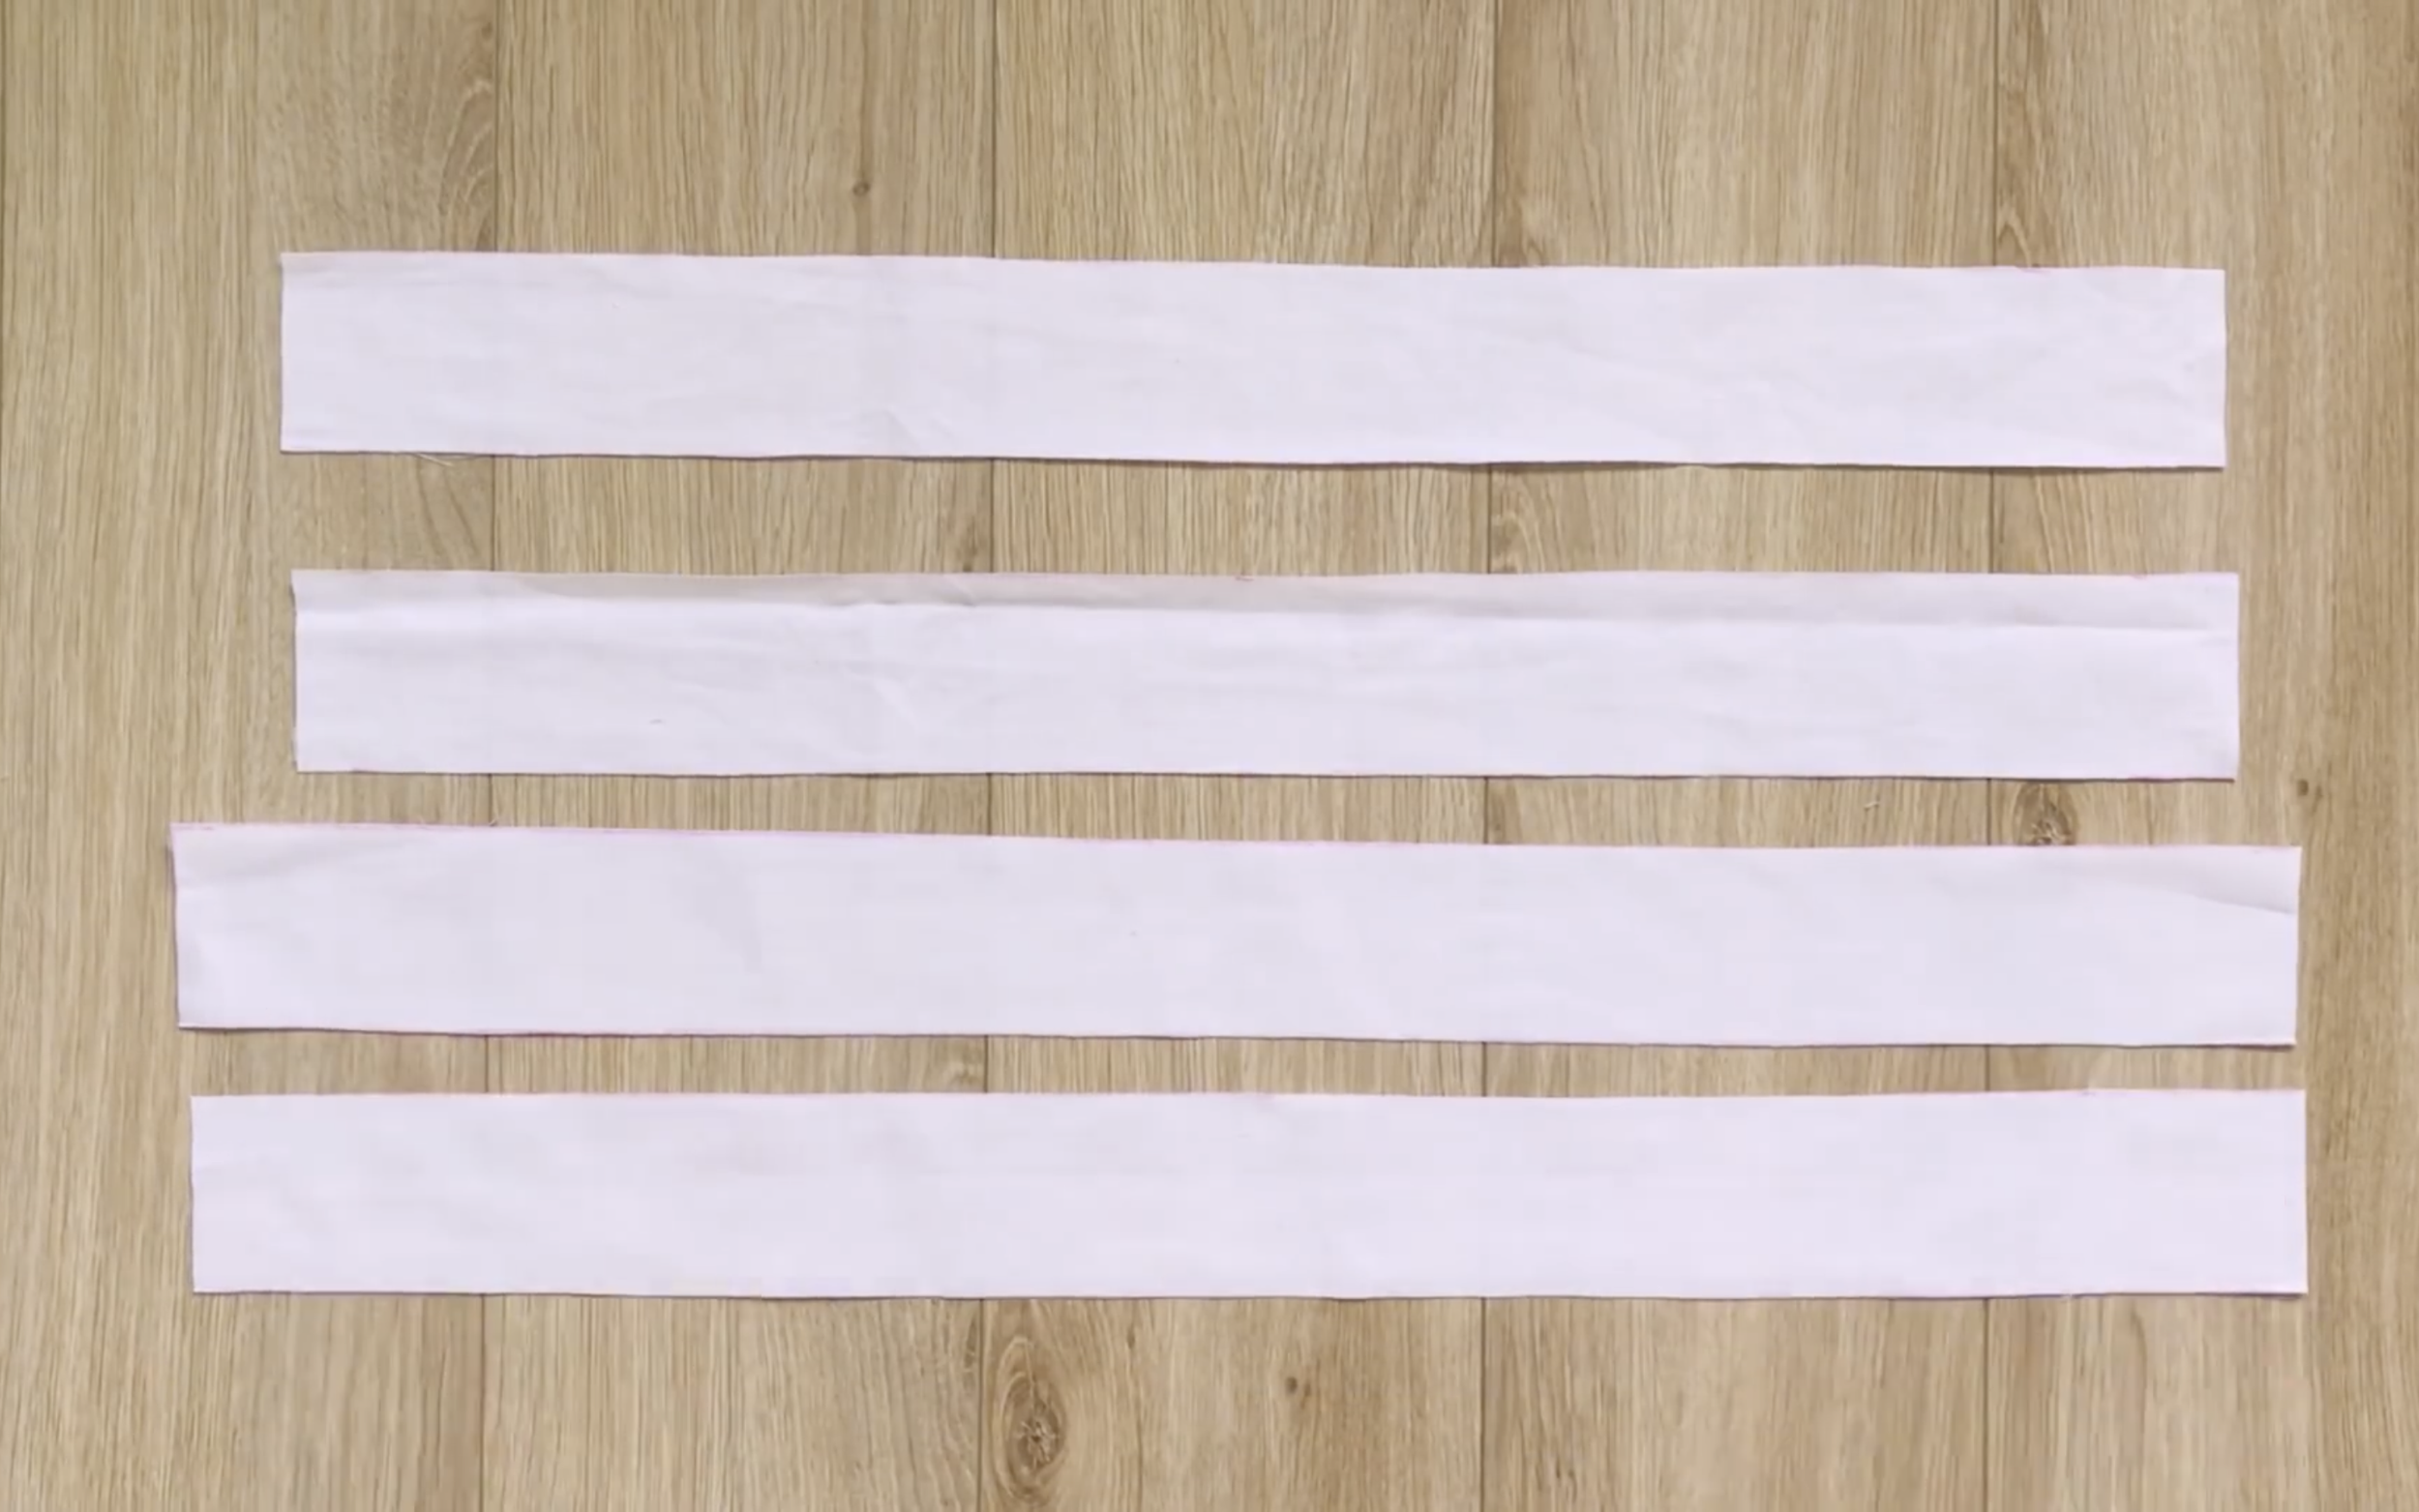
To create the ruffle, cut long rectangles about 6 cm wide and as long as possible.
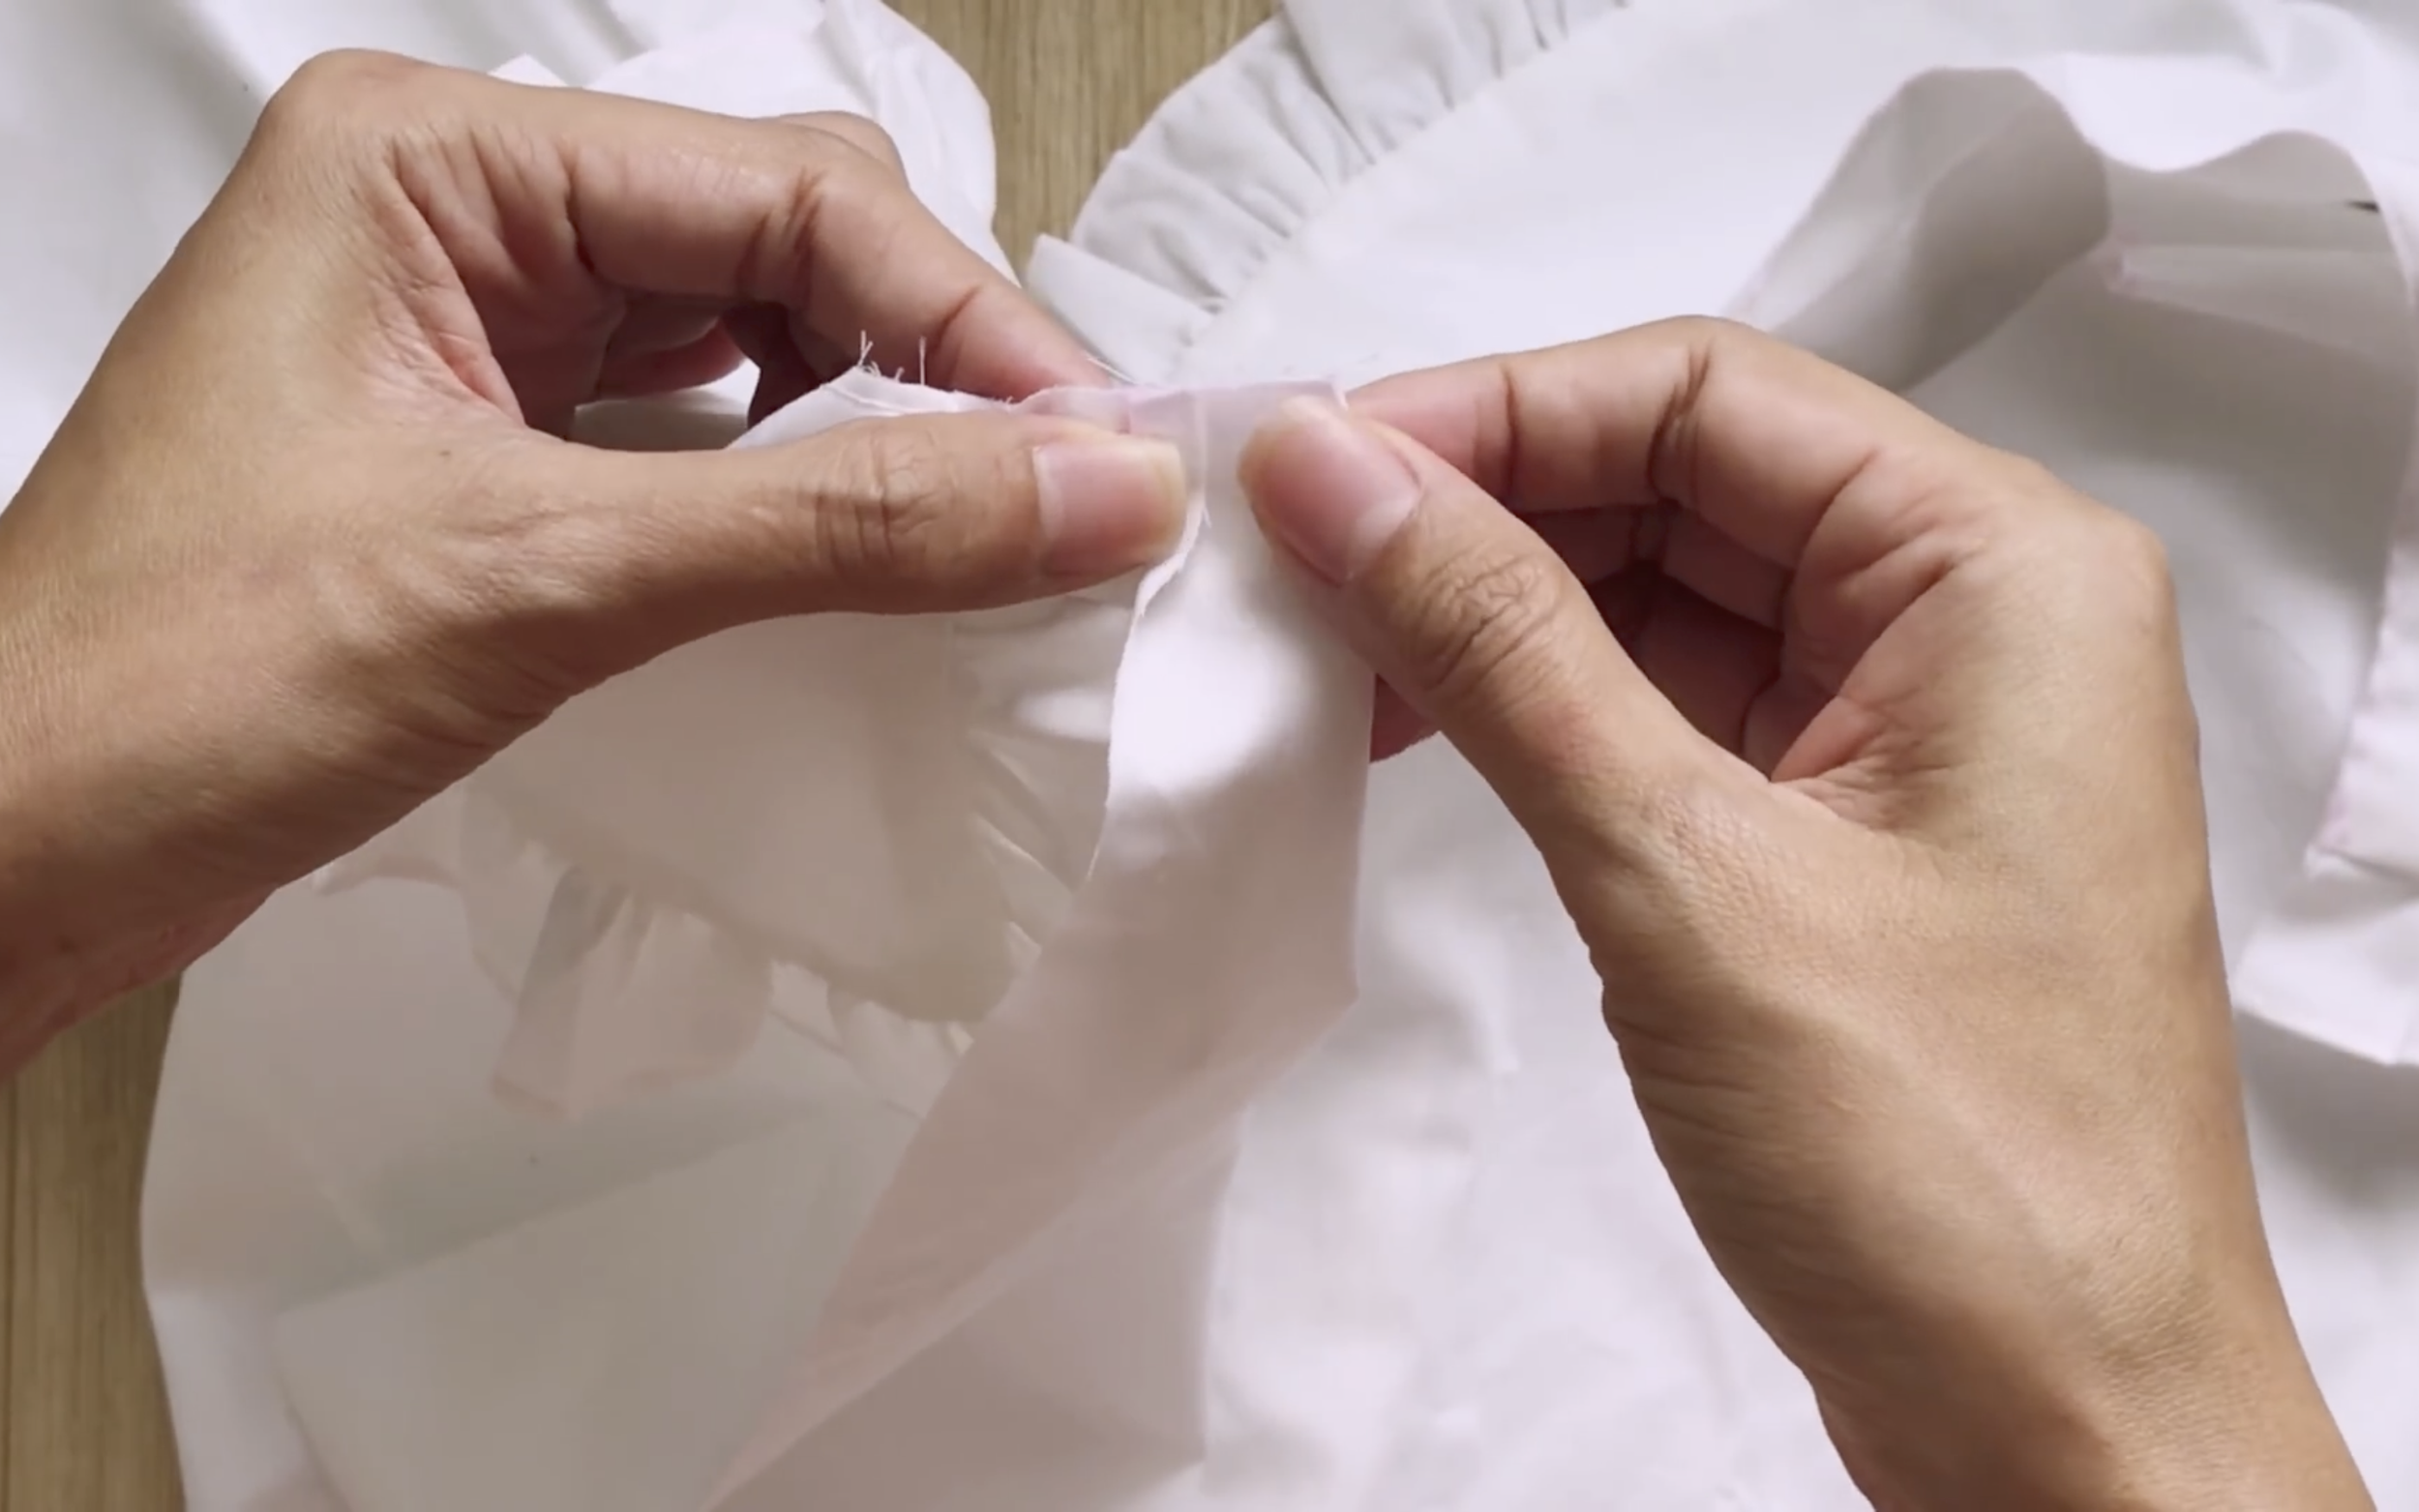
At one long edge of the rectangle, fold the fabric end inside twice, then sew.
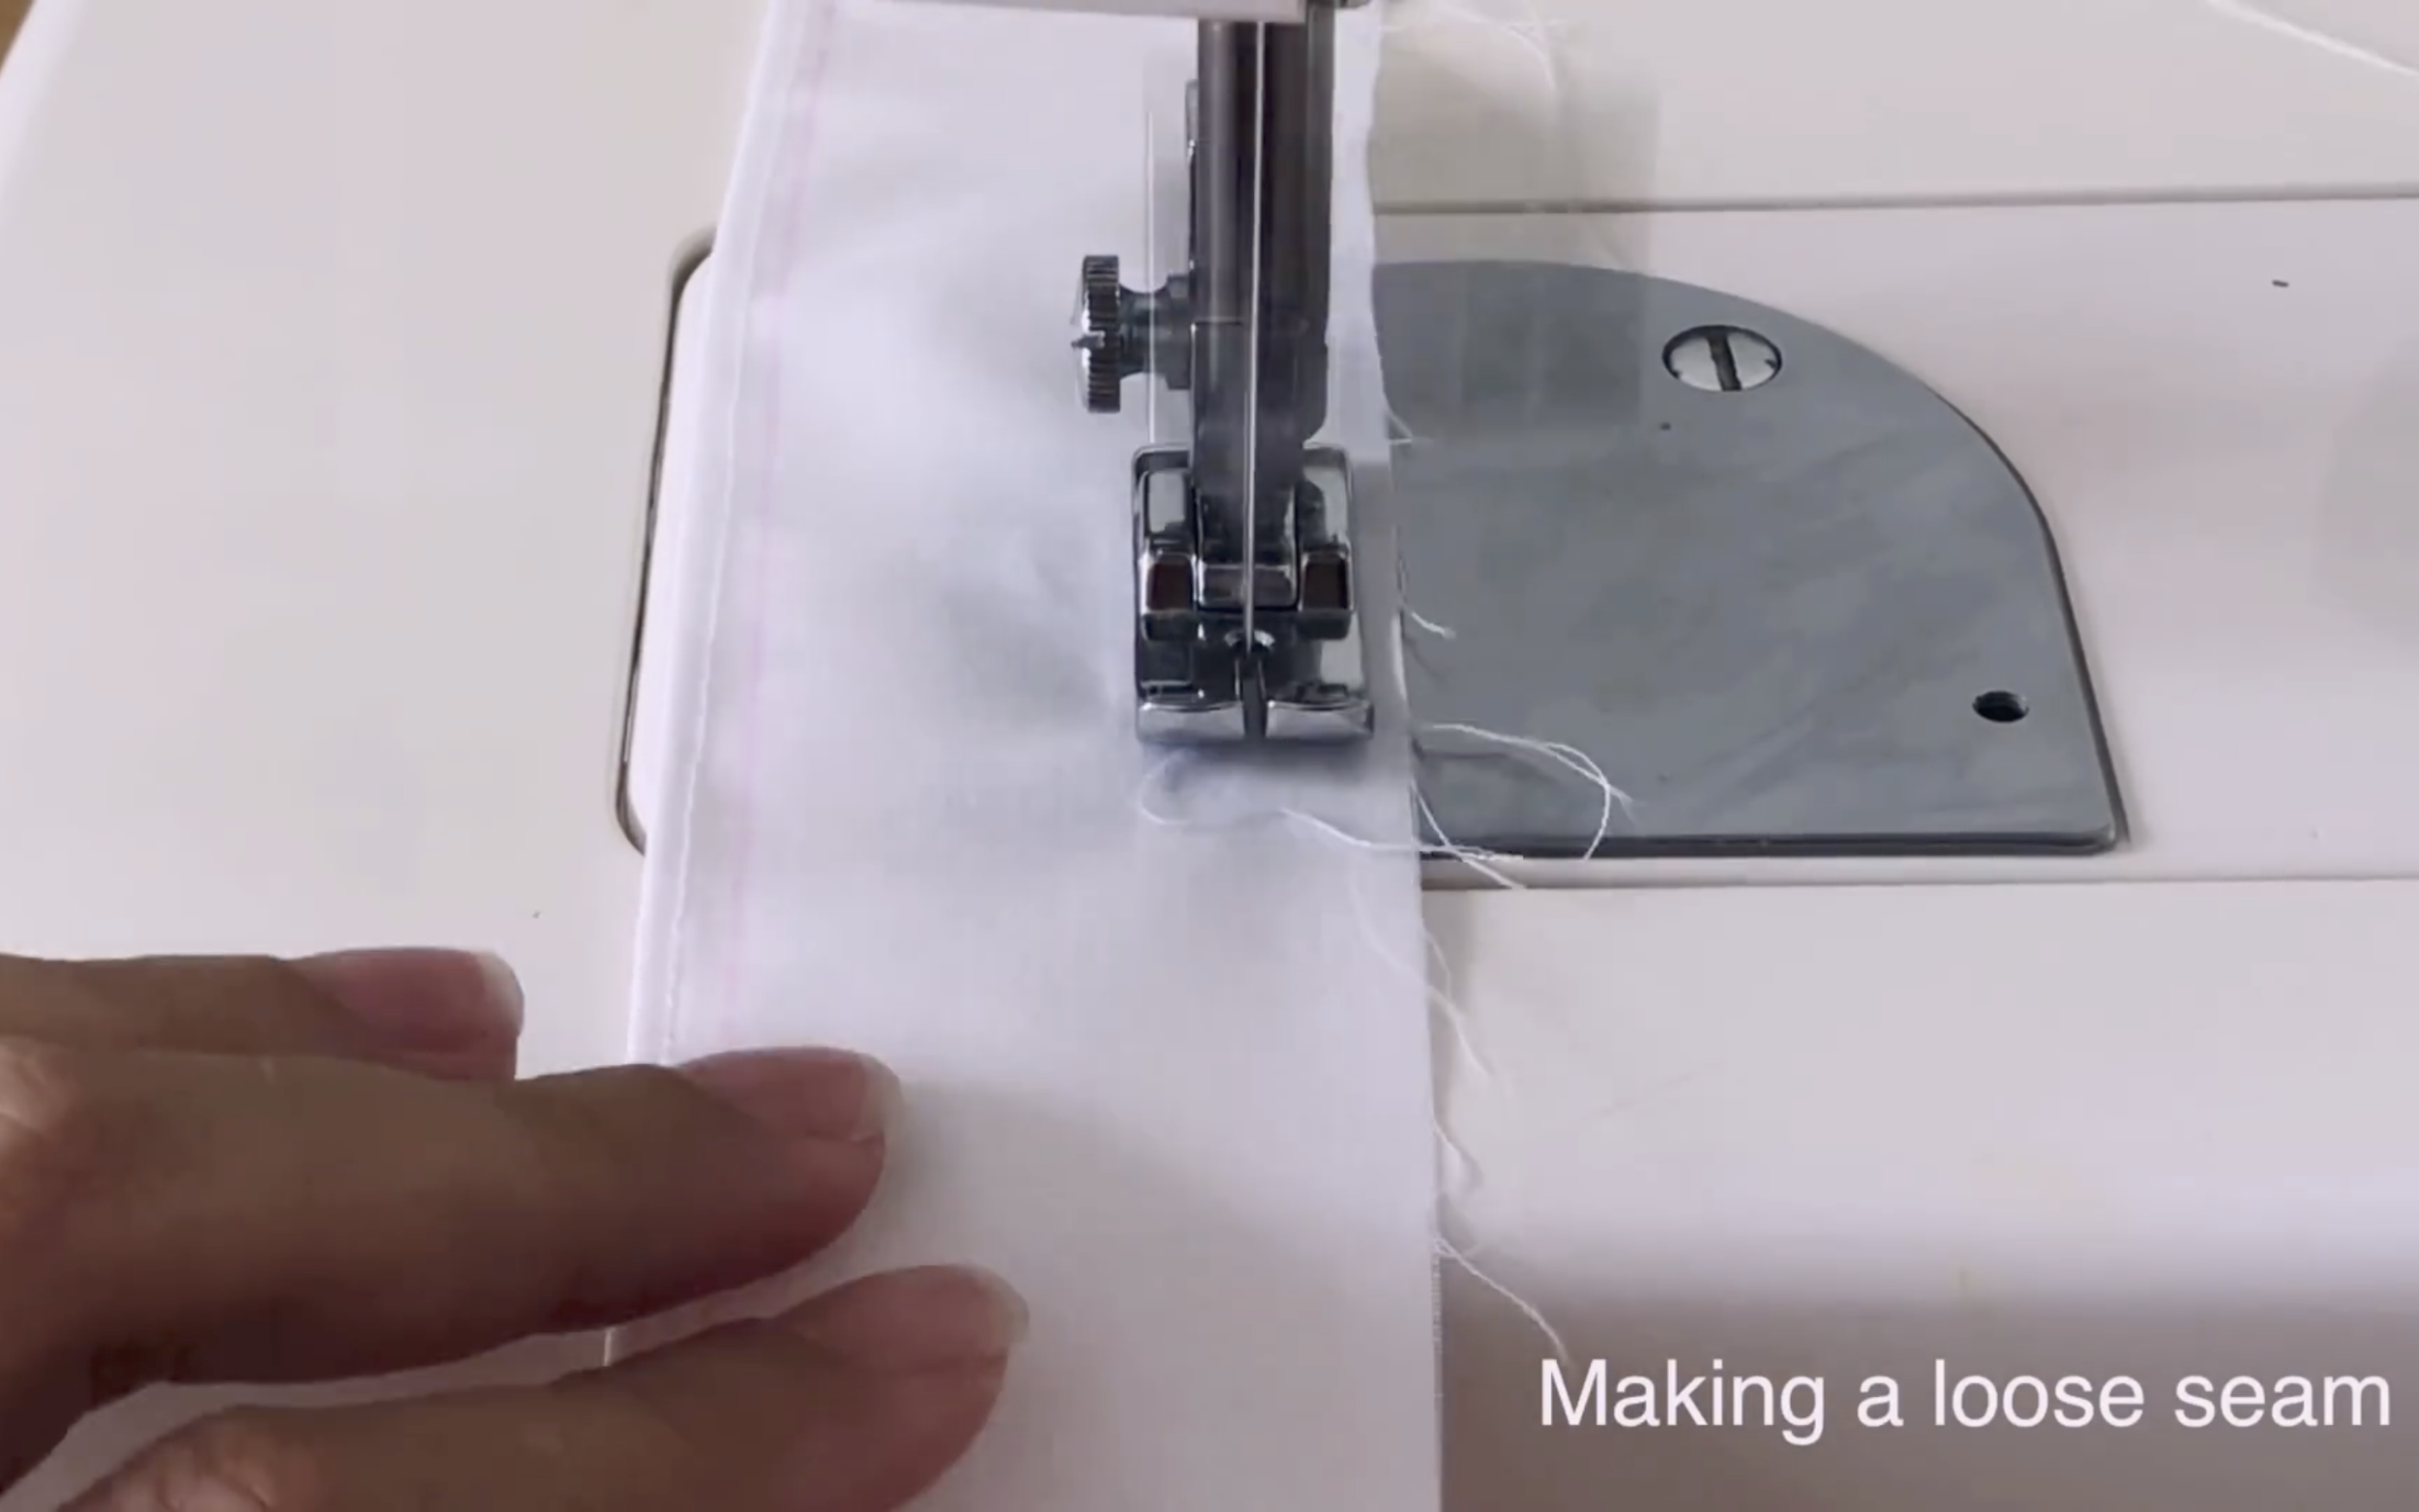
Make a loose seam at the other edge to create the ruffle.
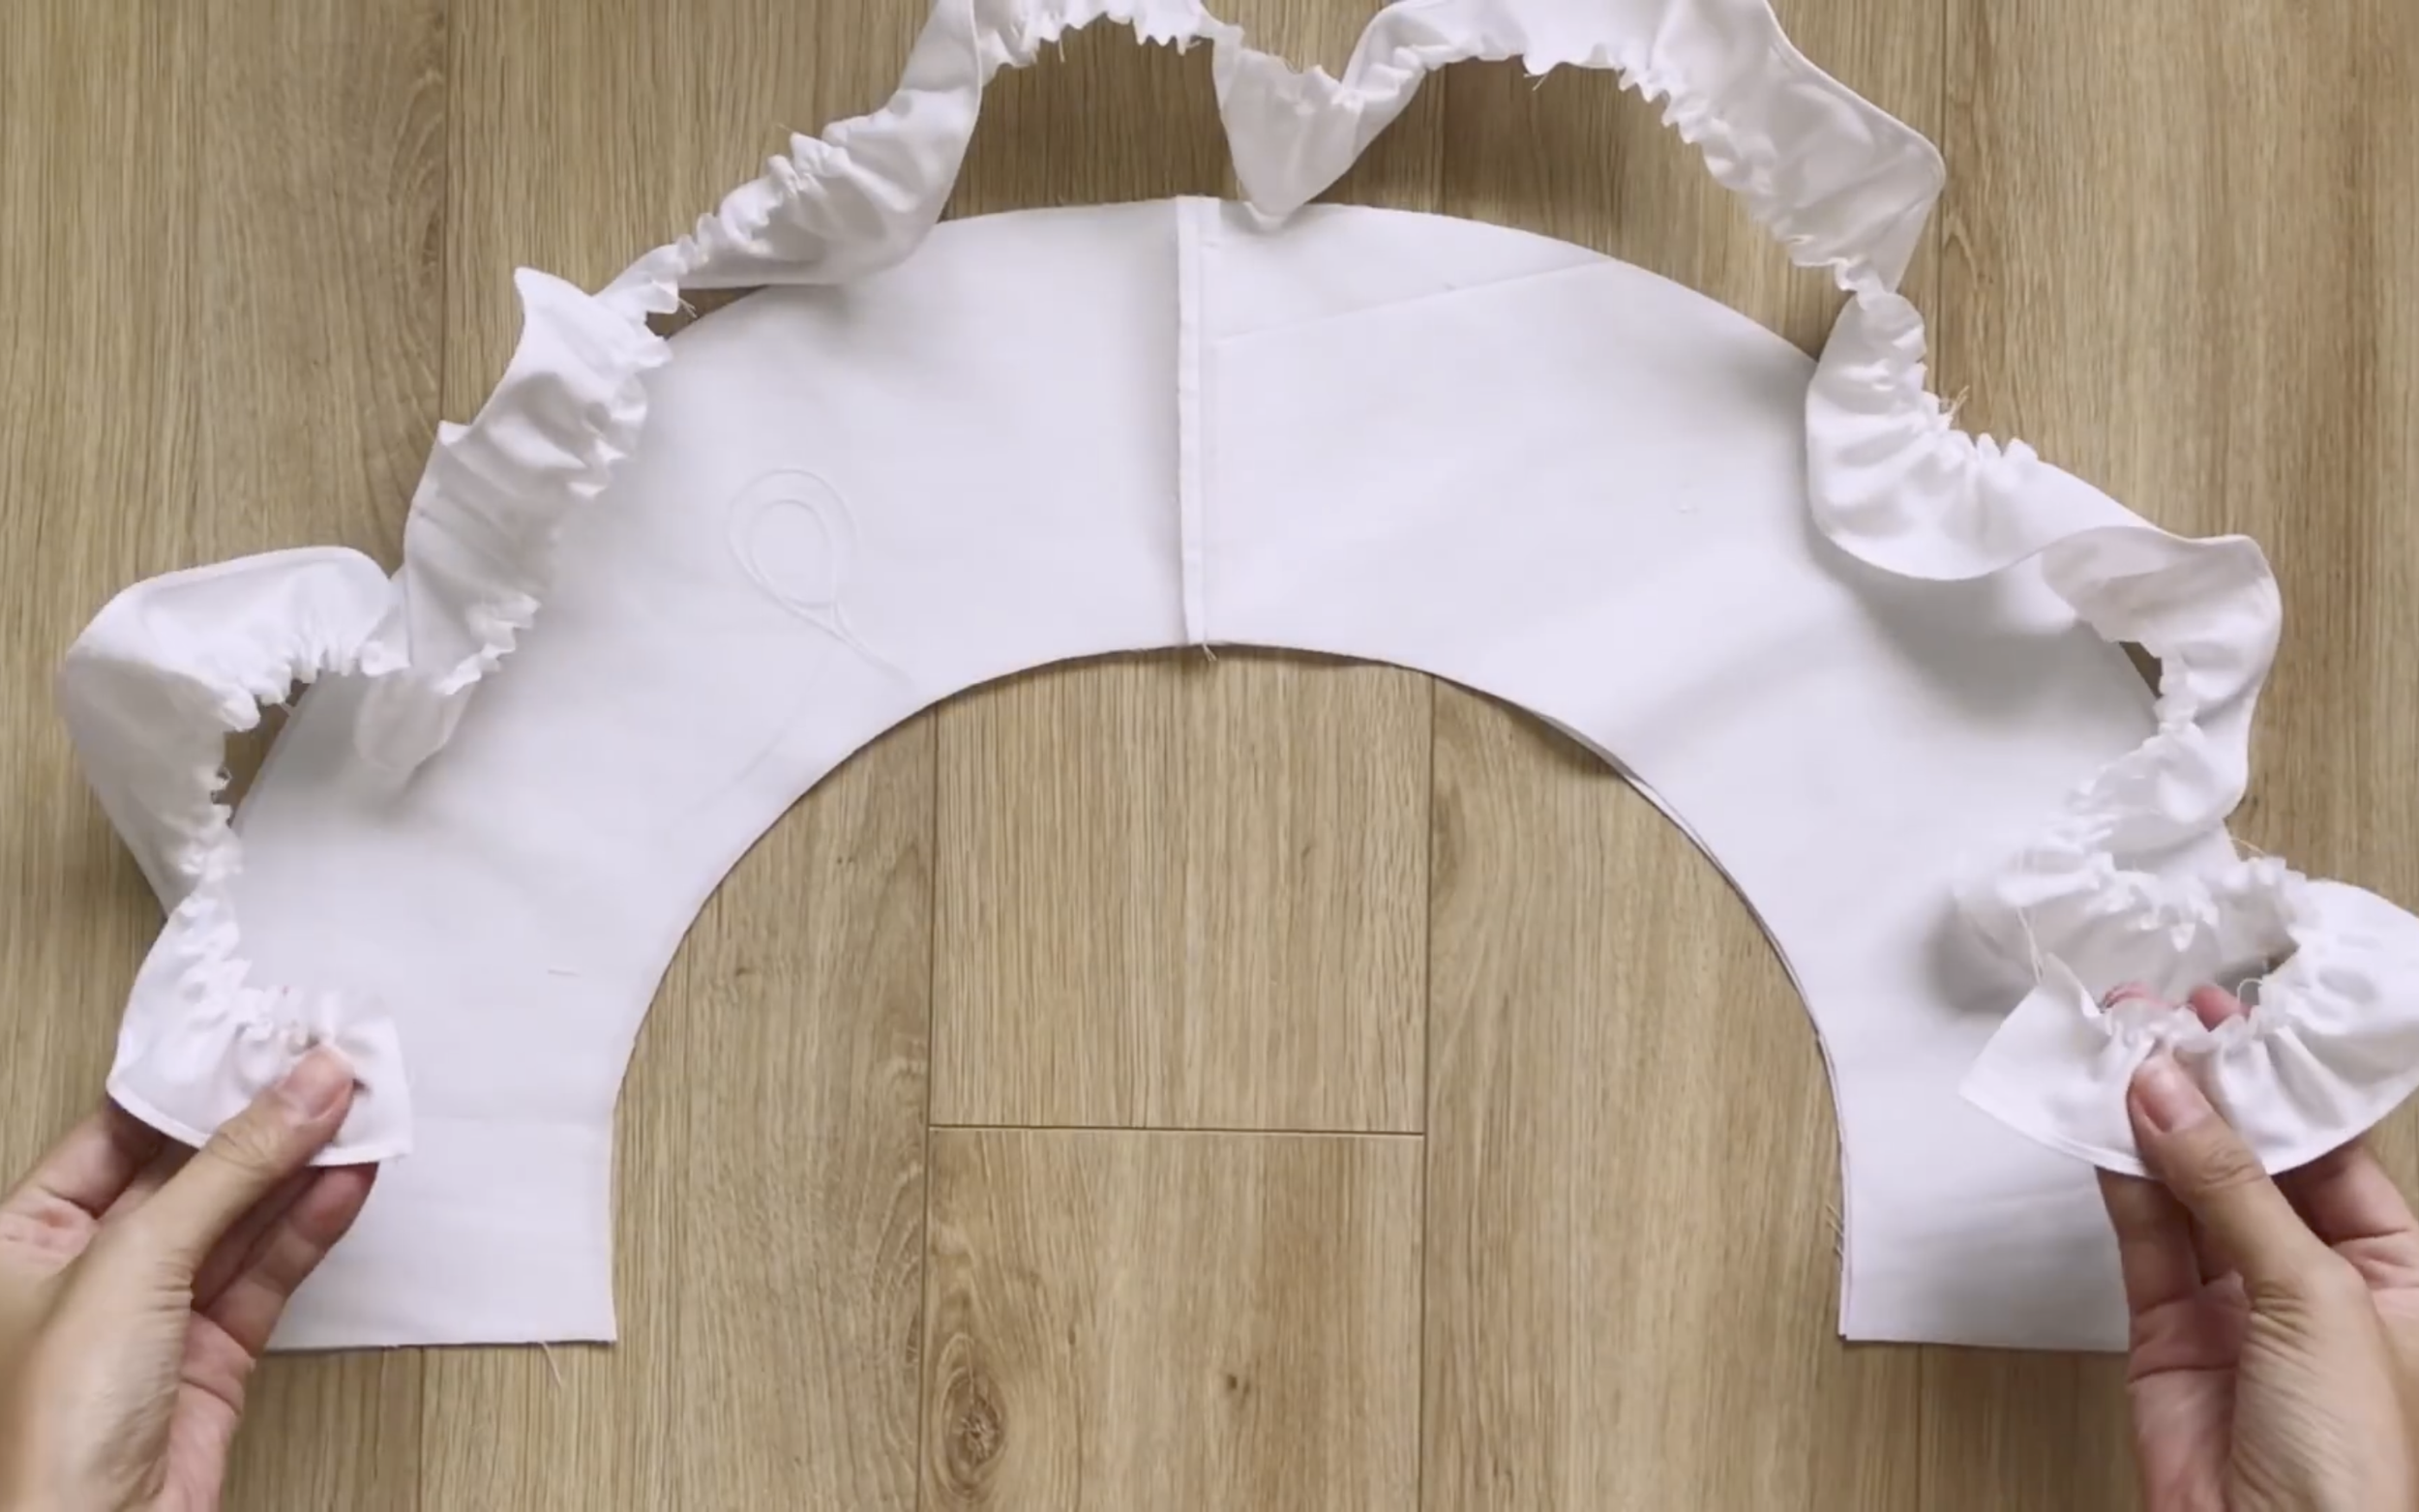
Make sure the length of the ruffle matches the length of the collar.
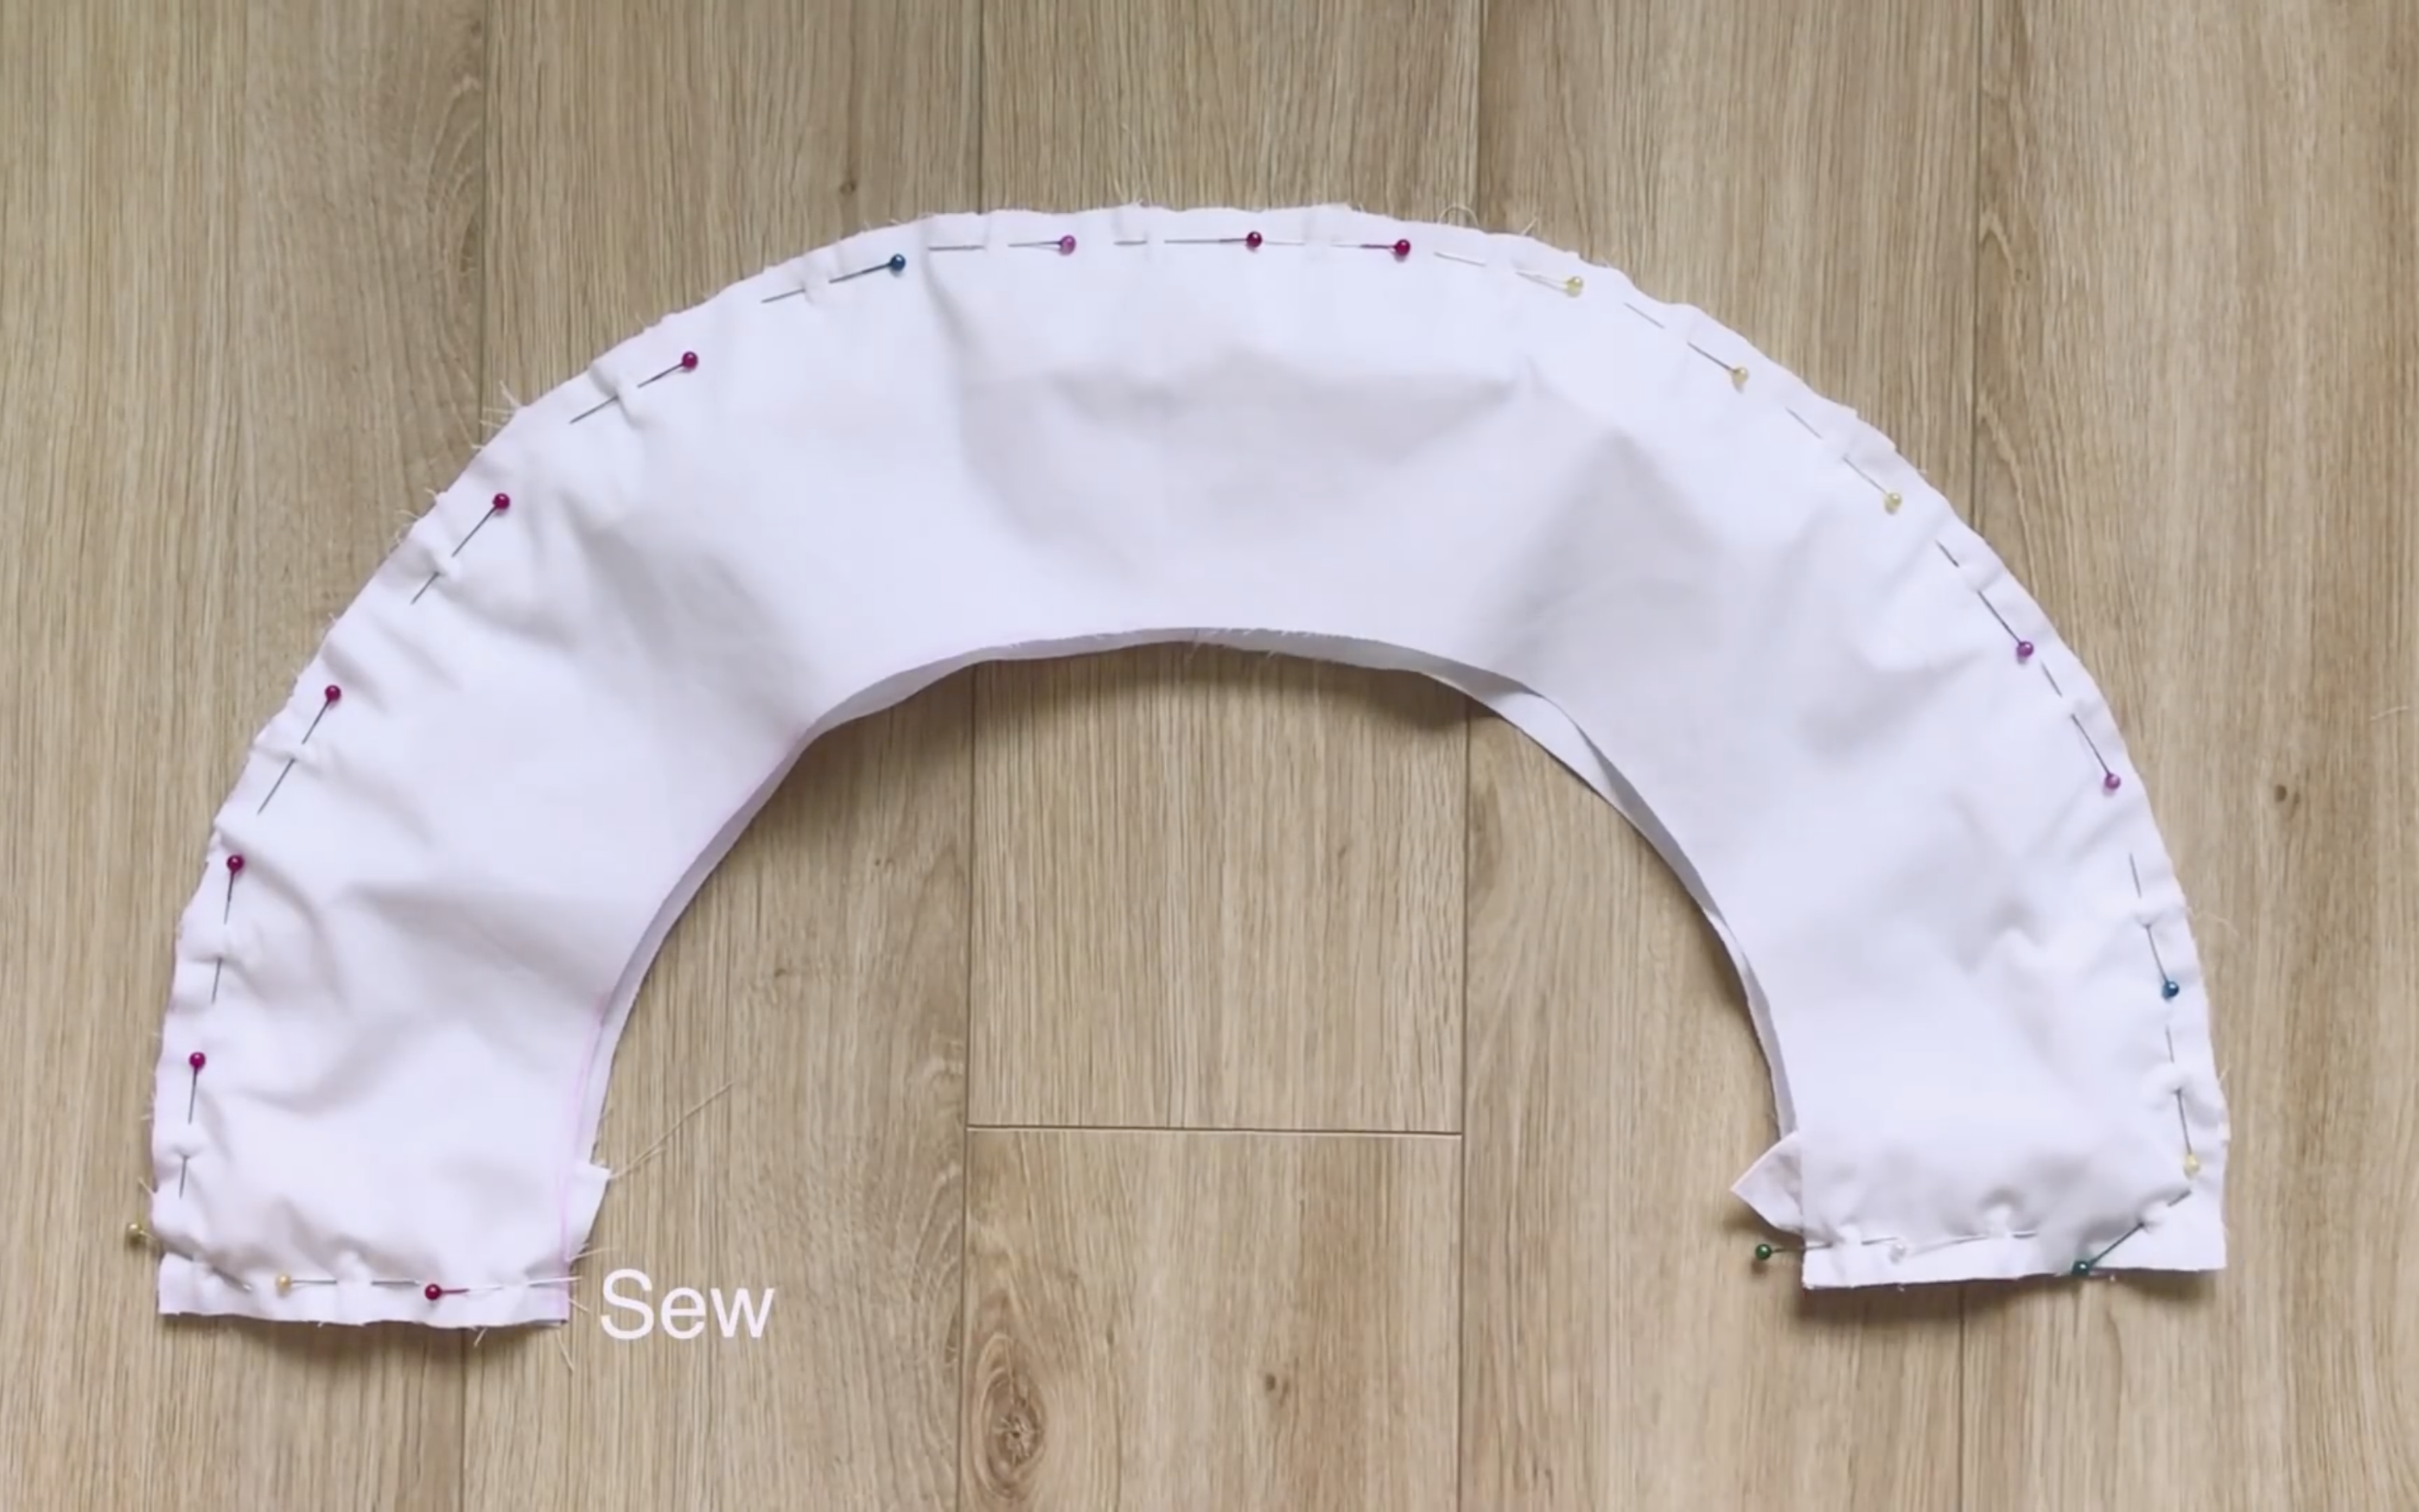
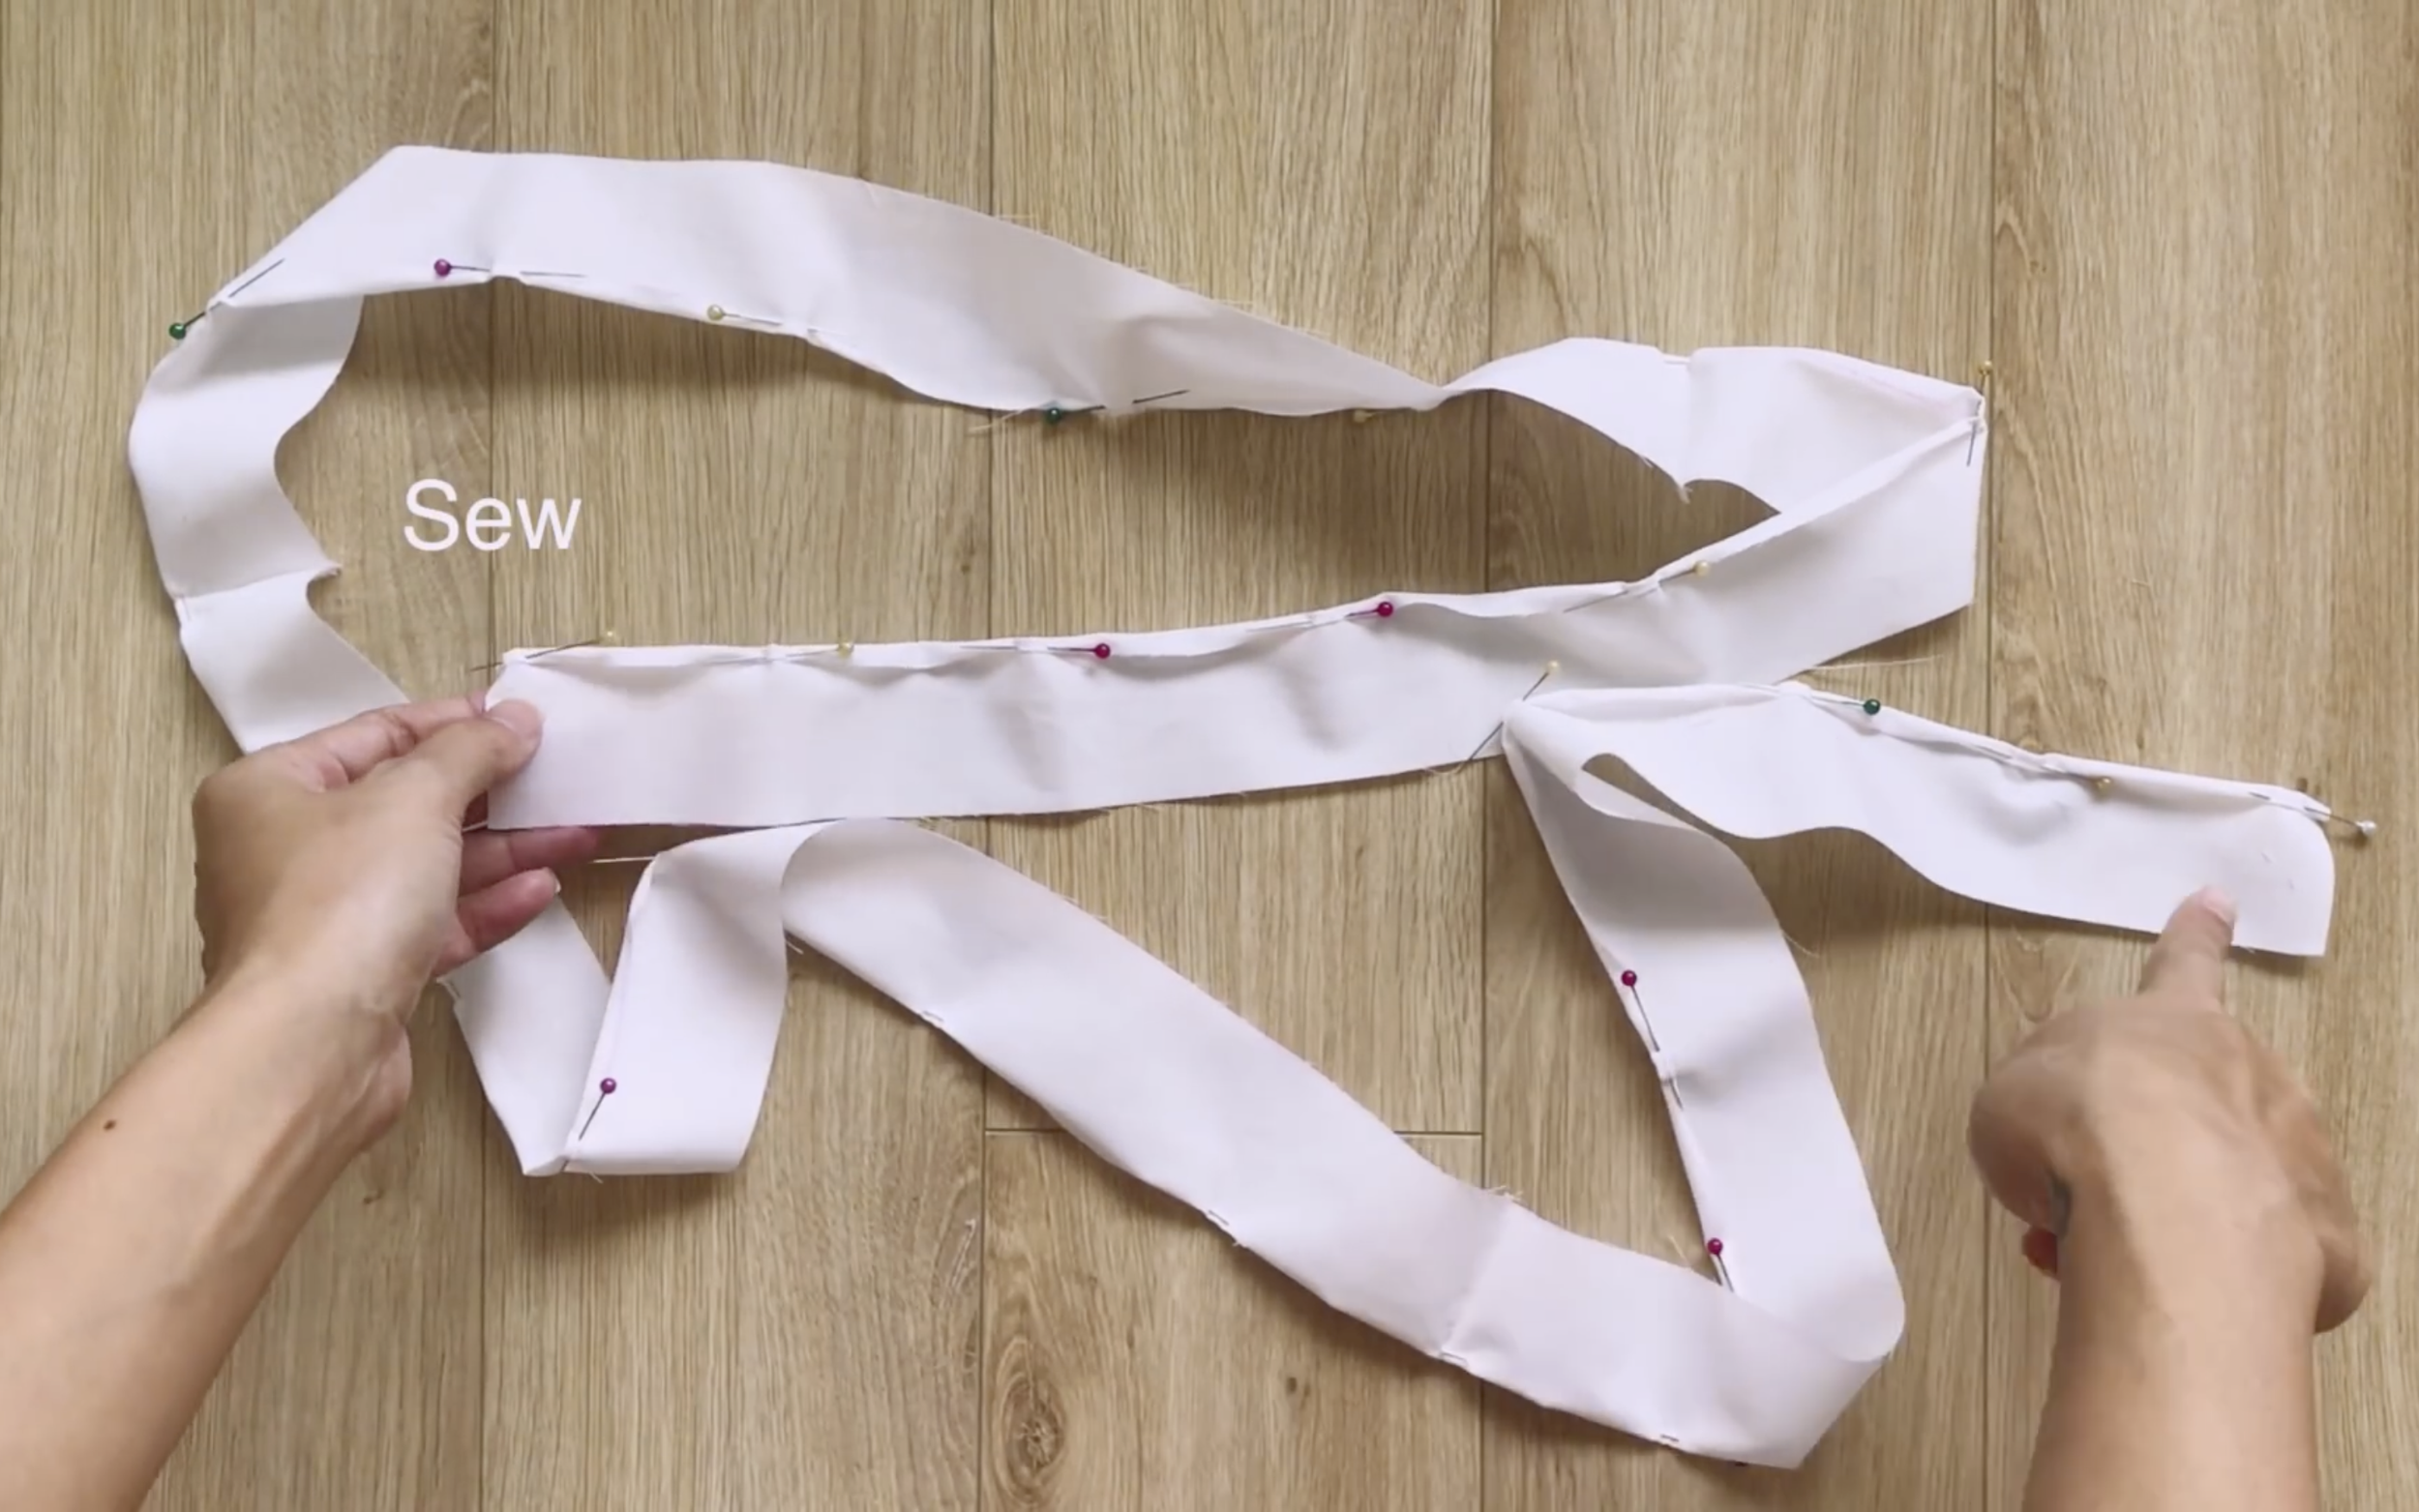
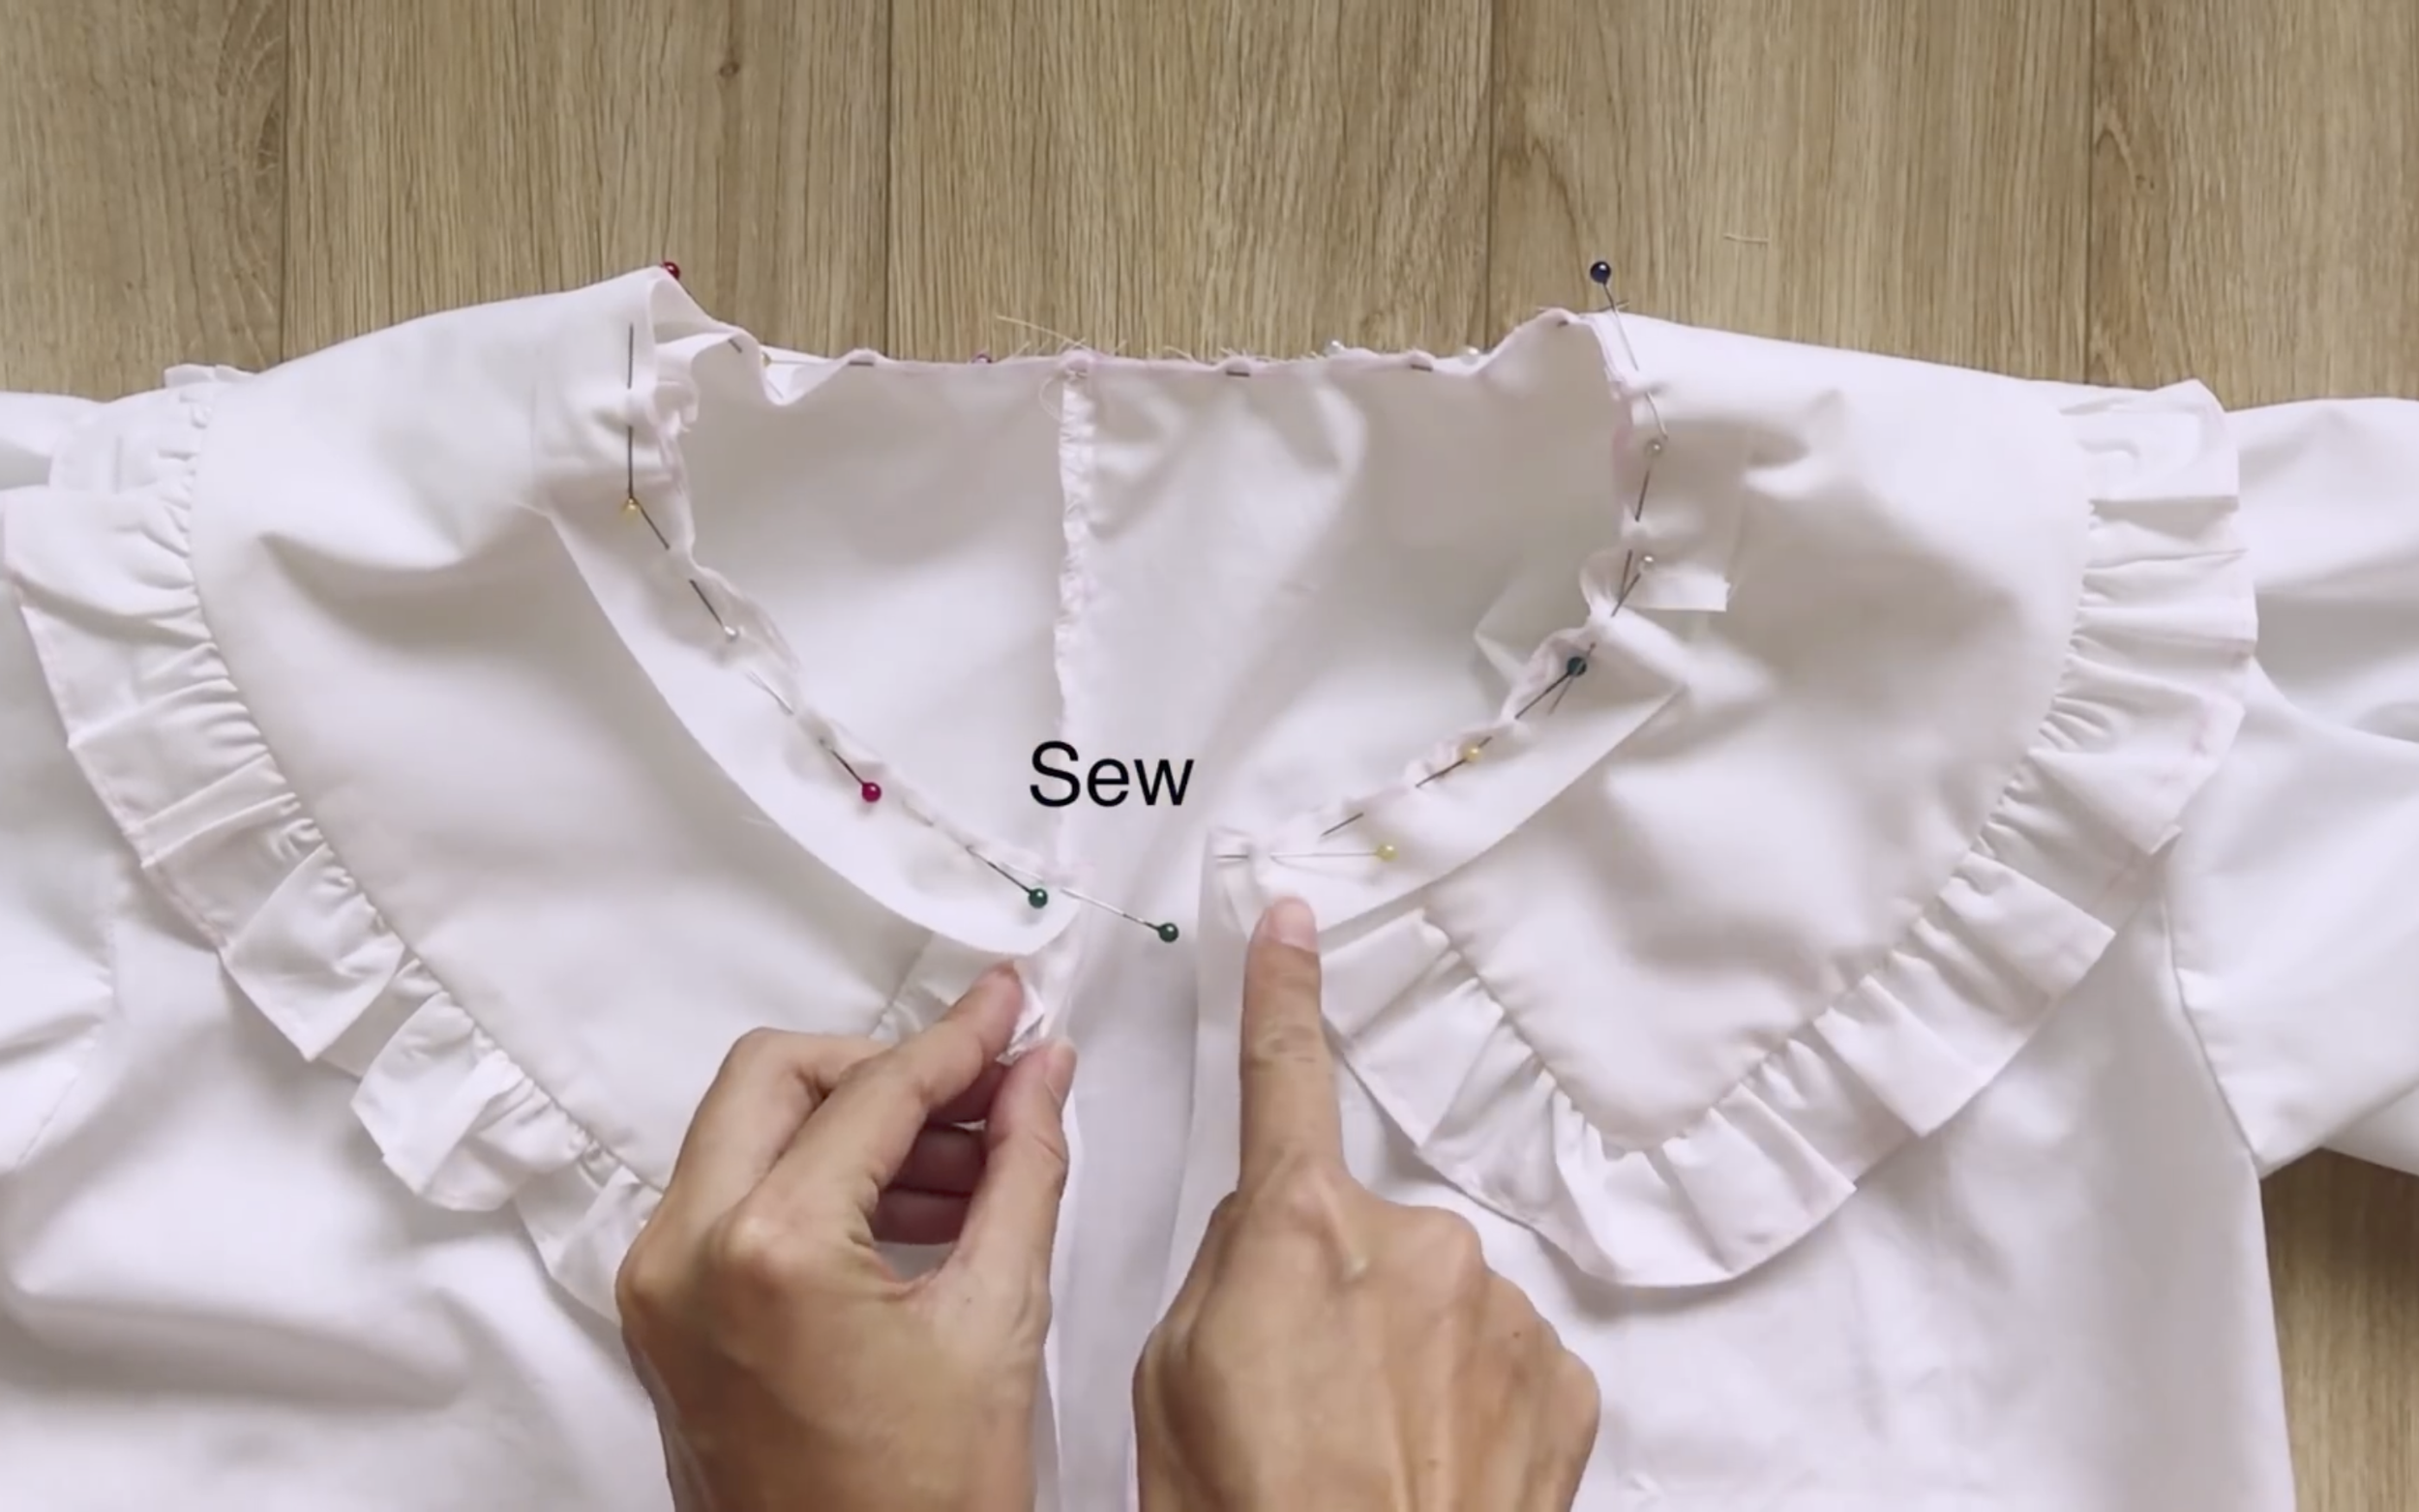
Attach the ruffle to the collar and sew. A helpful tip is to connect the ruffle to one piece of the collar first, then attach the second piece later to make sewing easier.
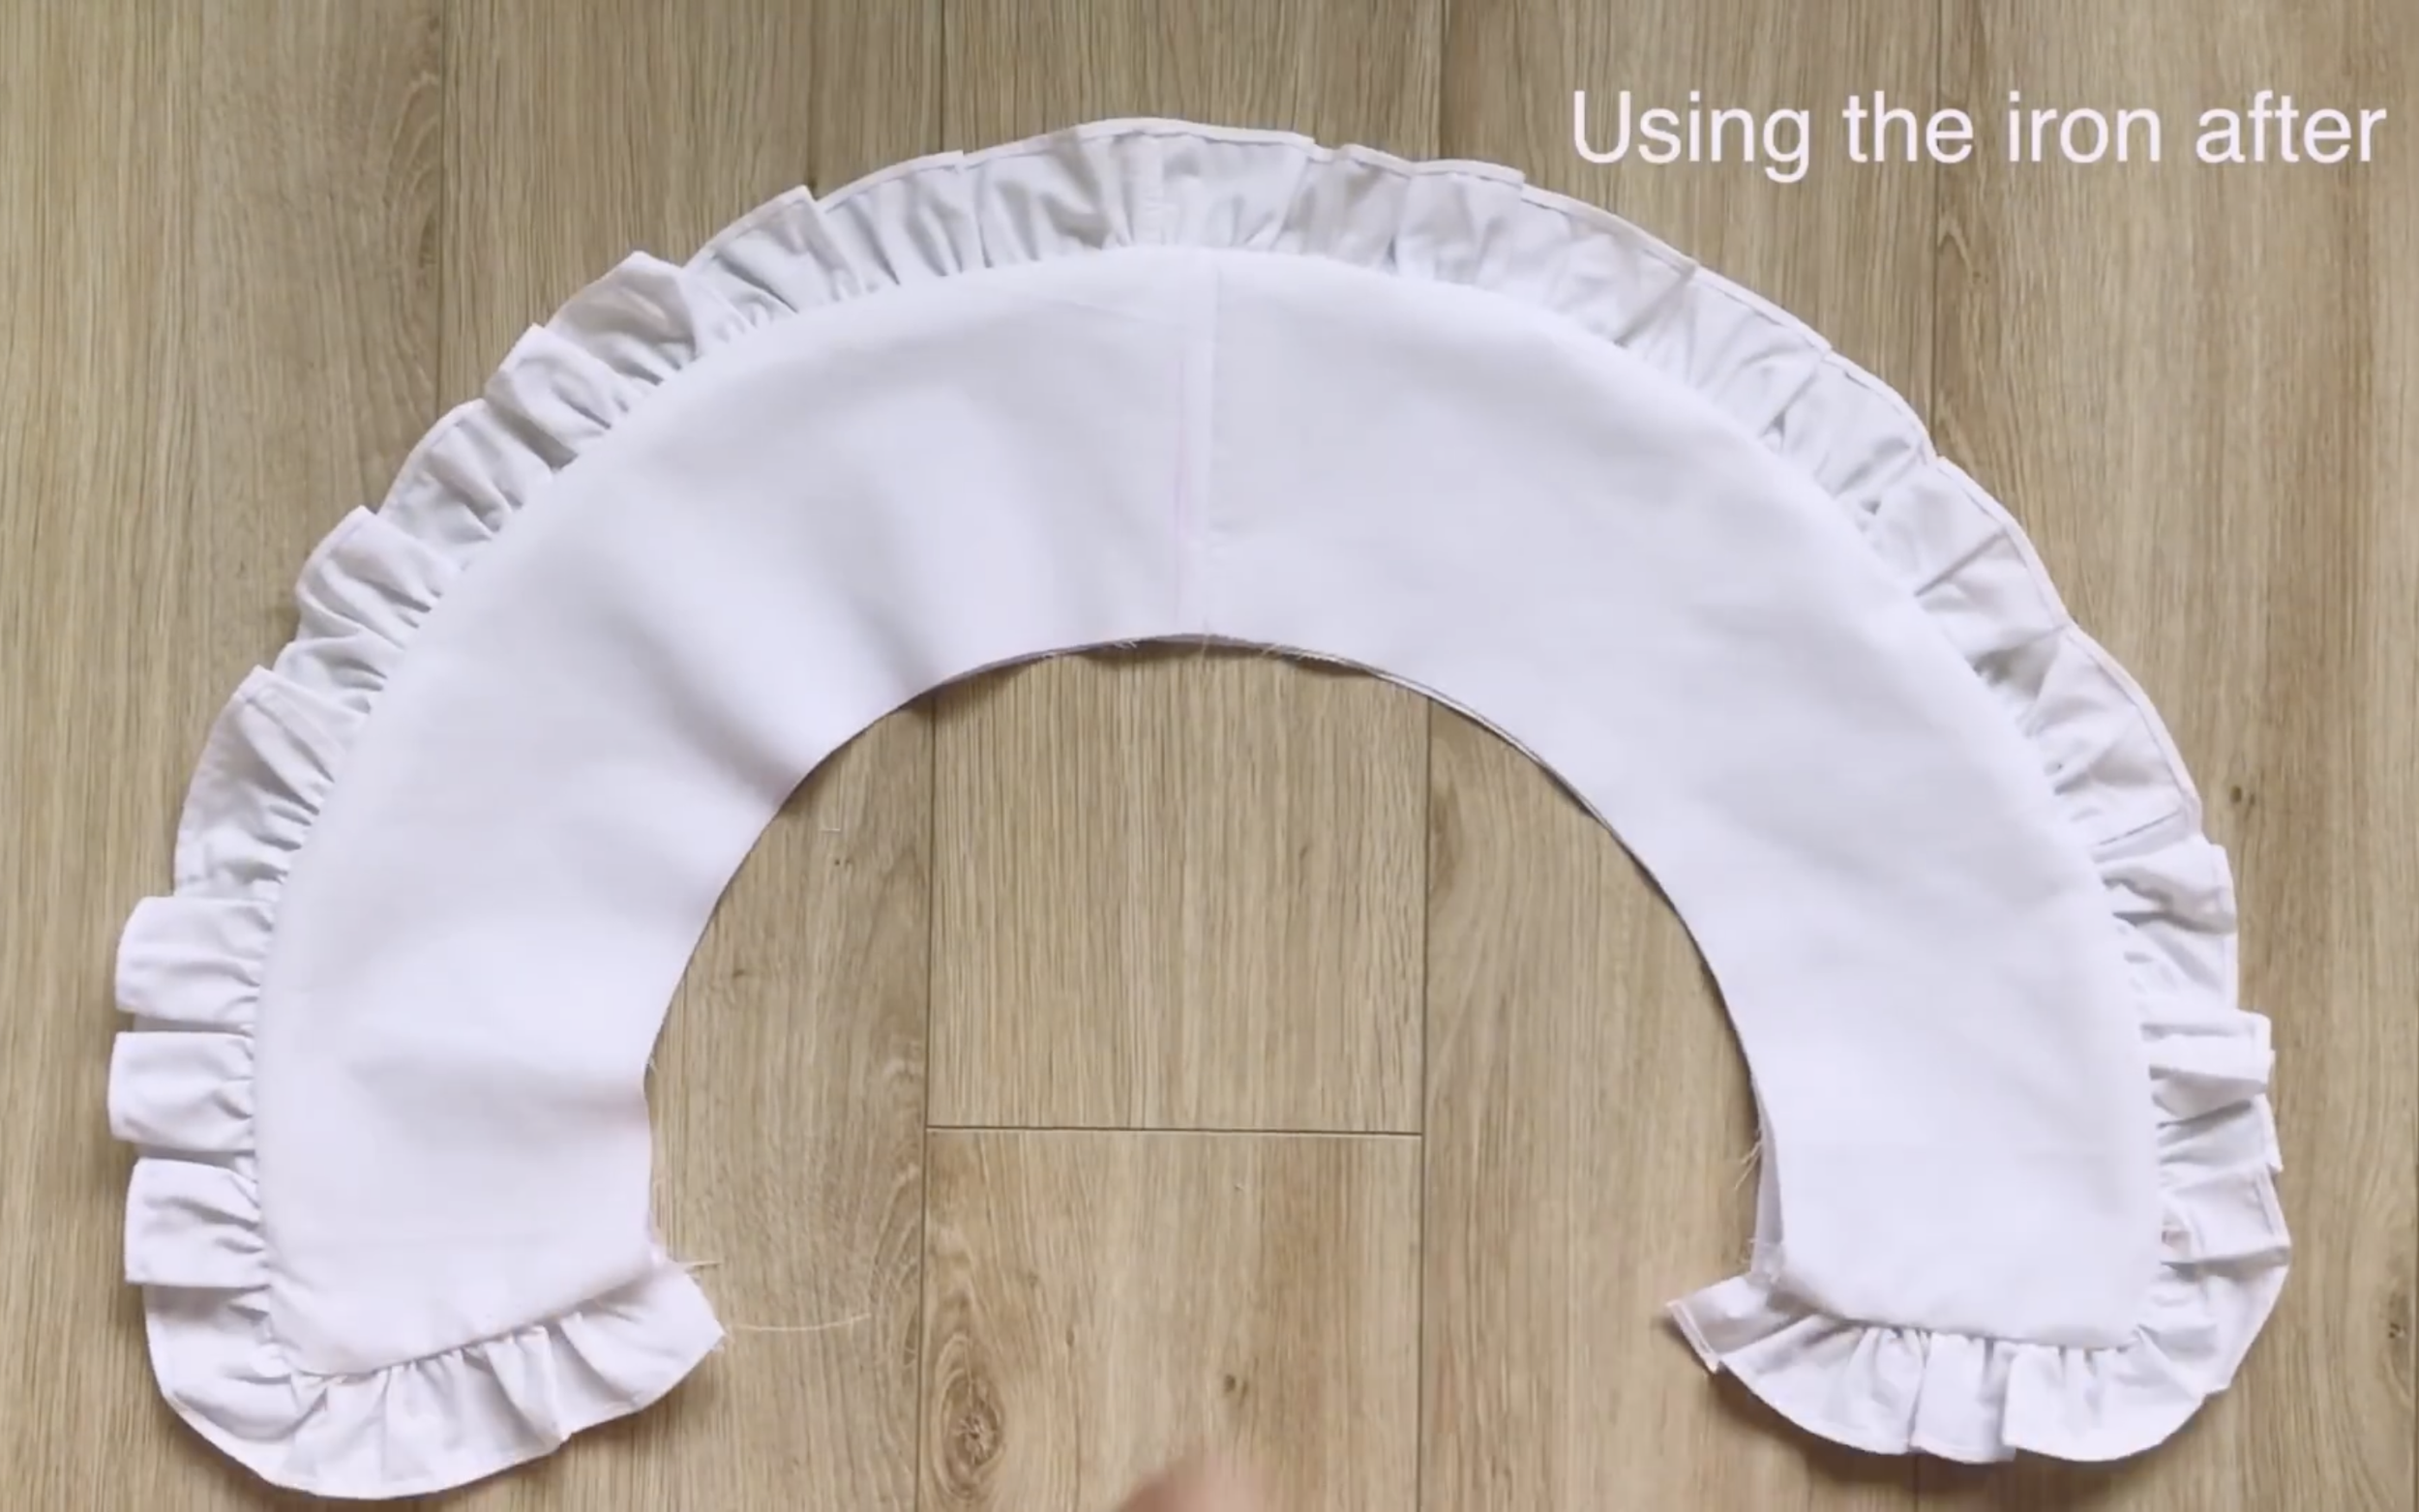
Turn the collar right side out and iron it to make it neat.
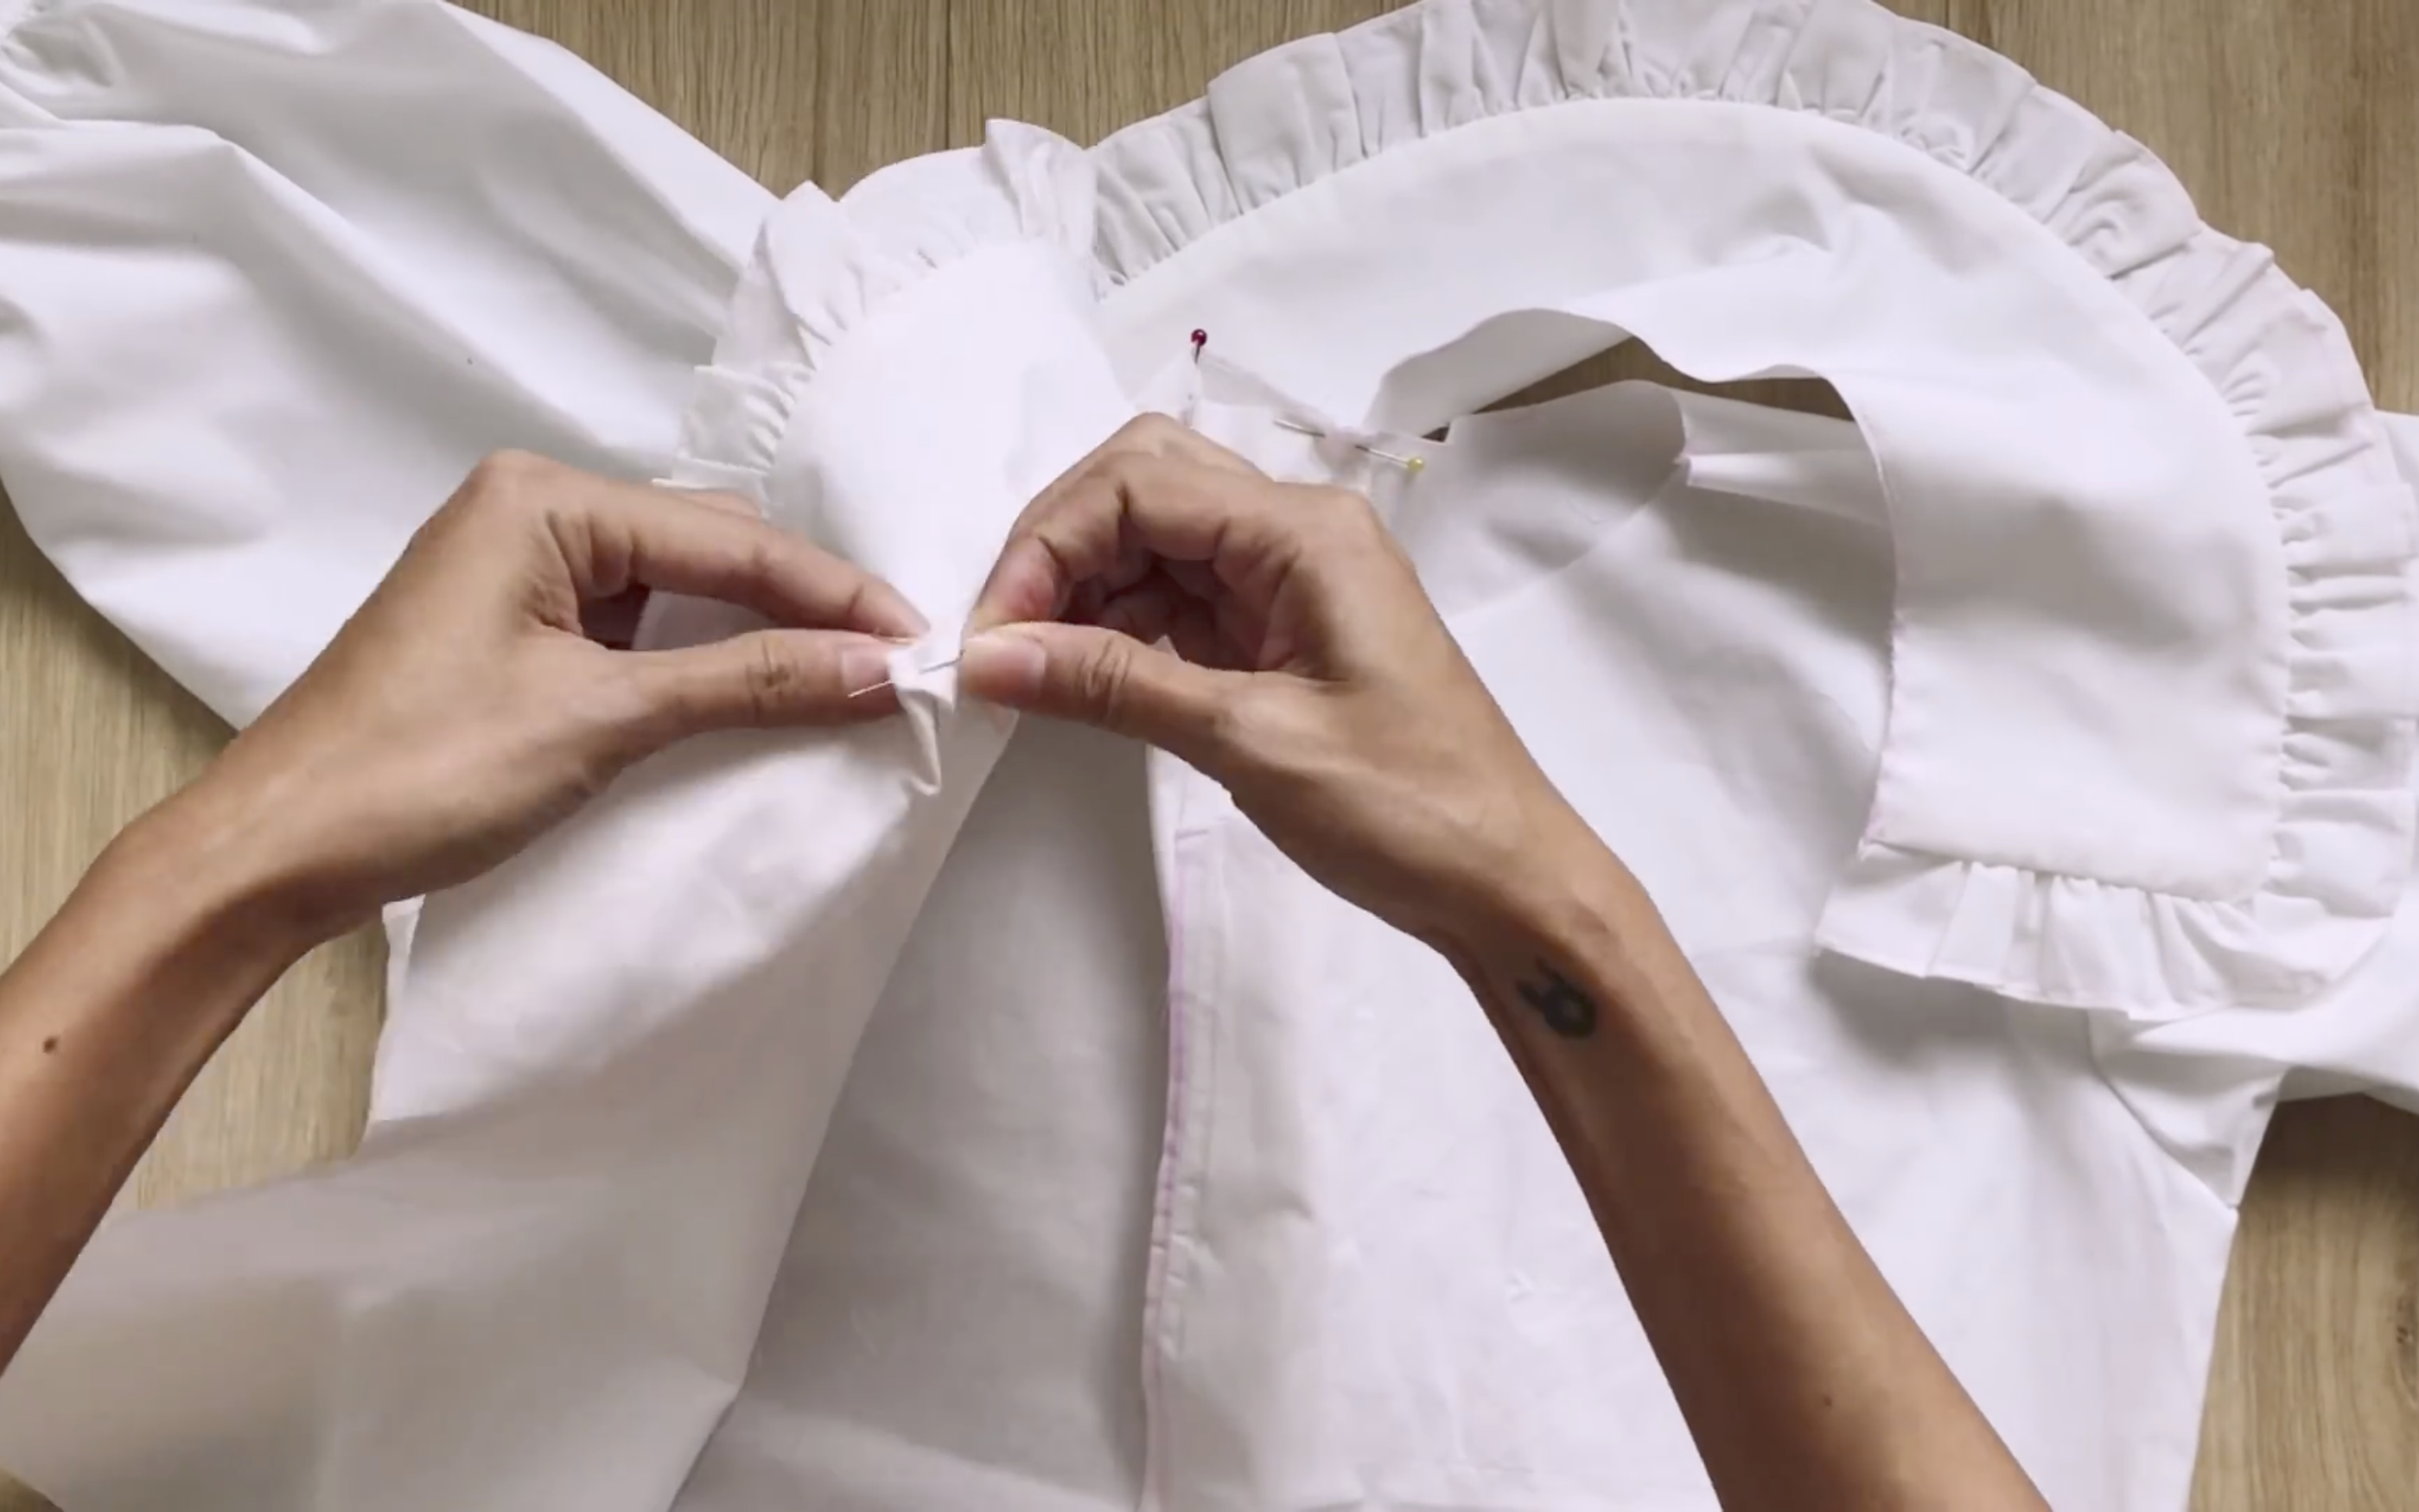
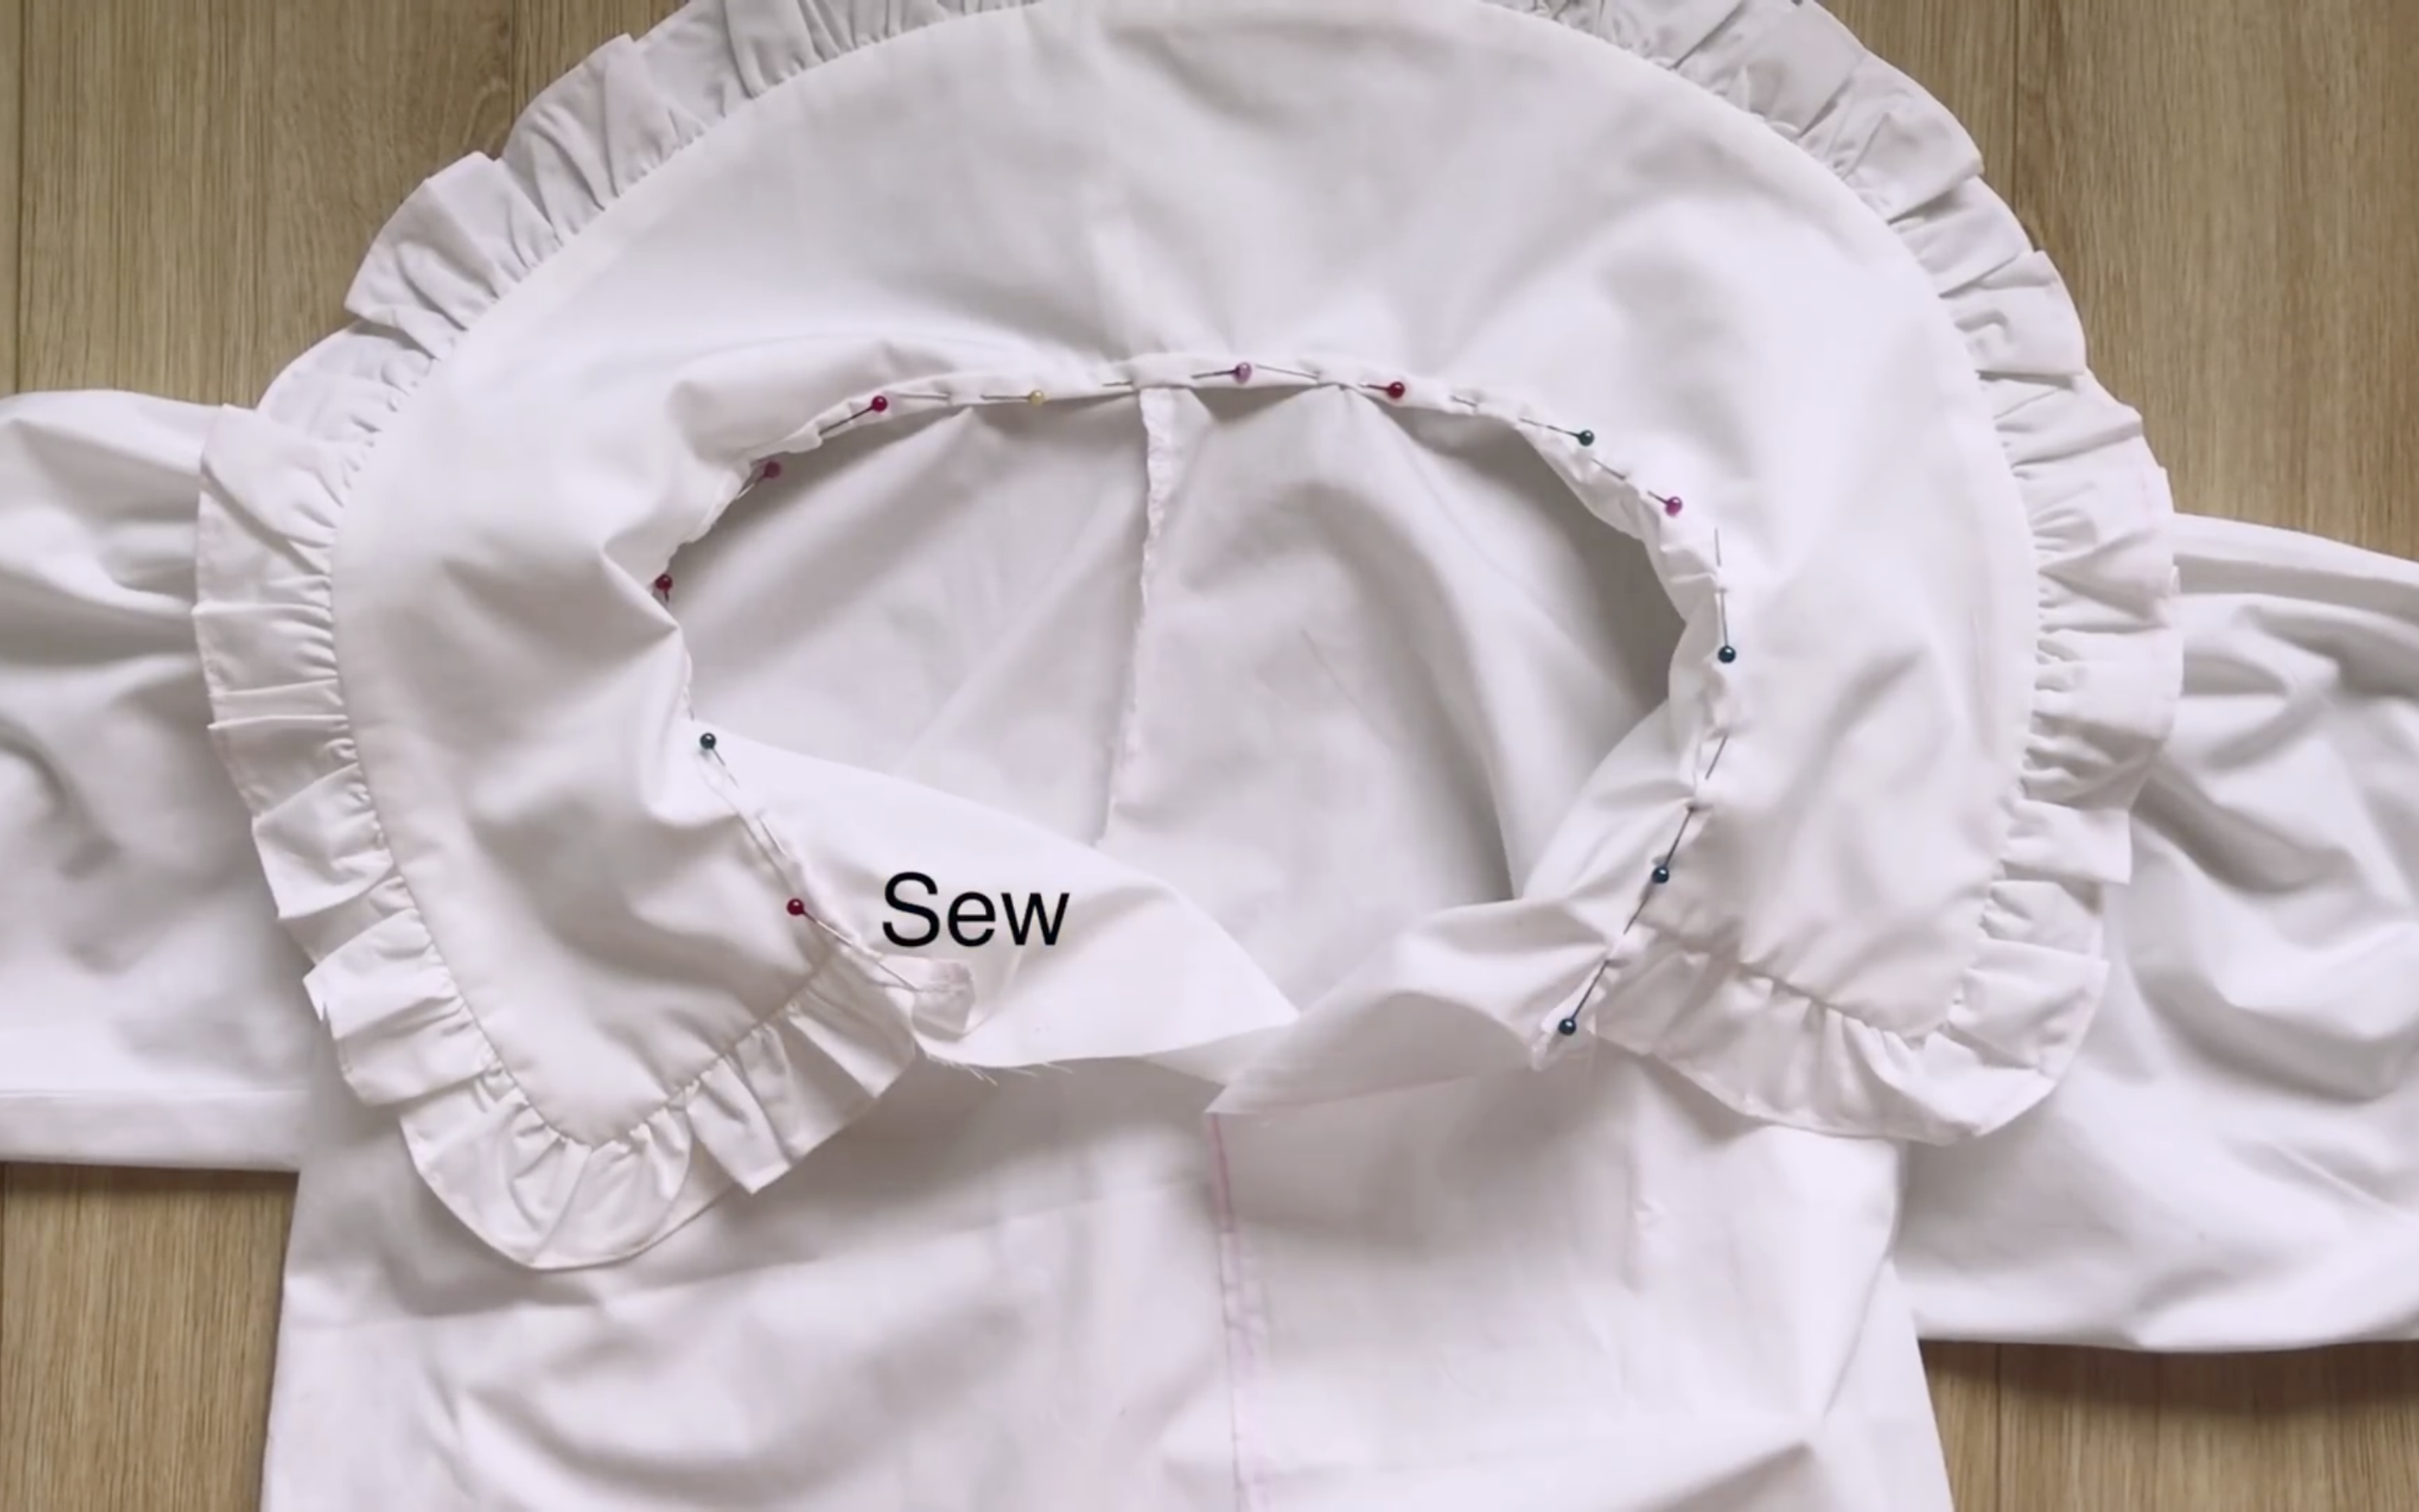
Connect the middle of the collar to the middle of the neck at the back first, then attach the rest.
At the beginning of the neckline, fold the extra fabric inside to create the button area for the blouse.
Use a long fabric strip, 3 cm wide, to attach to the neckline and sew.
After the first seam, fold the long fabric strip inside to hide the seam and make the second seam to finish the neck.
Turn the beginning of the neckline outside and fold the rest to create a new button and buttonhole area.

Fold the bottom edge of the blouse inside twice and sew to finish.

The final step is to install the buttons and make the new buttonholes.

DIY RUFFLE COLLAR BLOUSE from Men's shirt
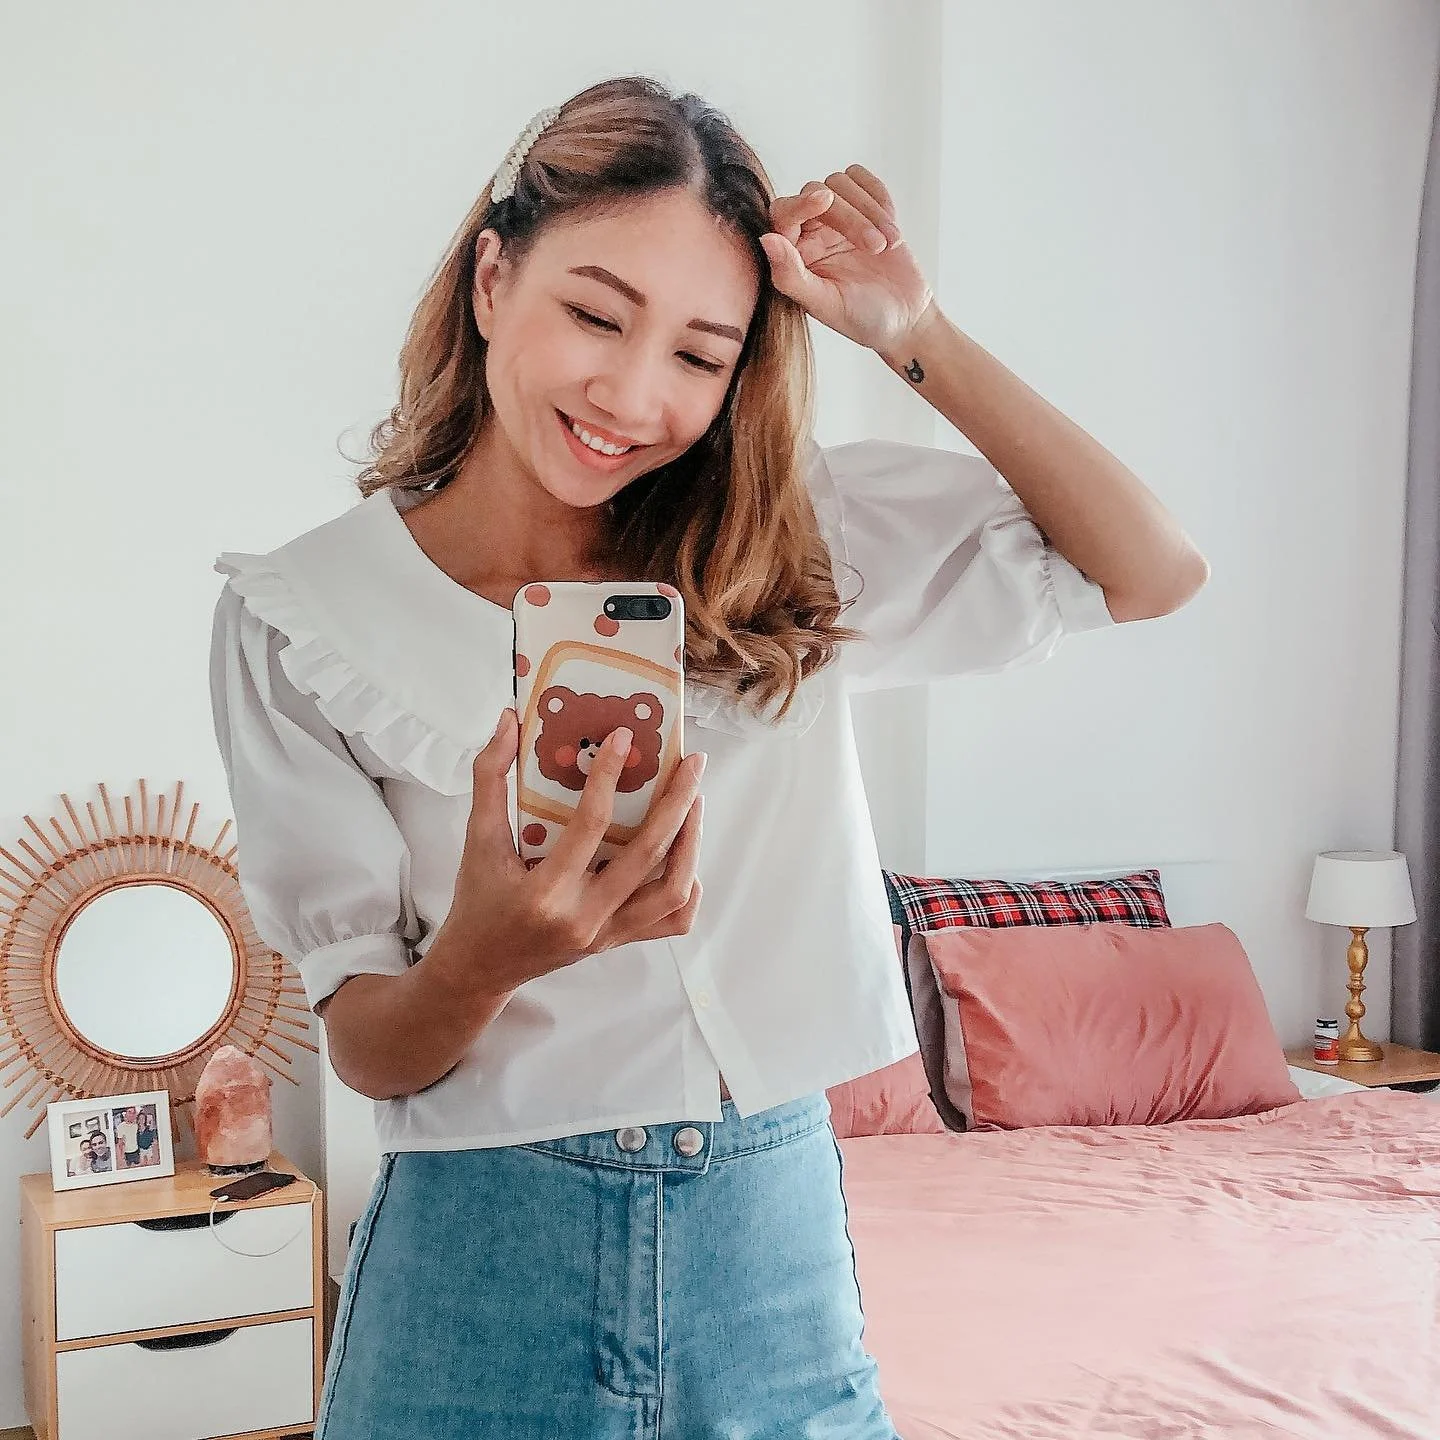
Voilà! And I've finished this DIY. Here's my final transformation!
This blouse has such a vintage and classic vibe, perfect for any occasion. I love how it turned out!
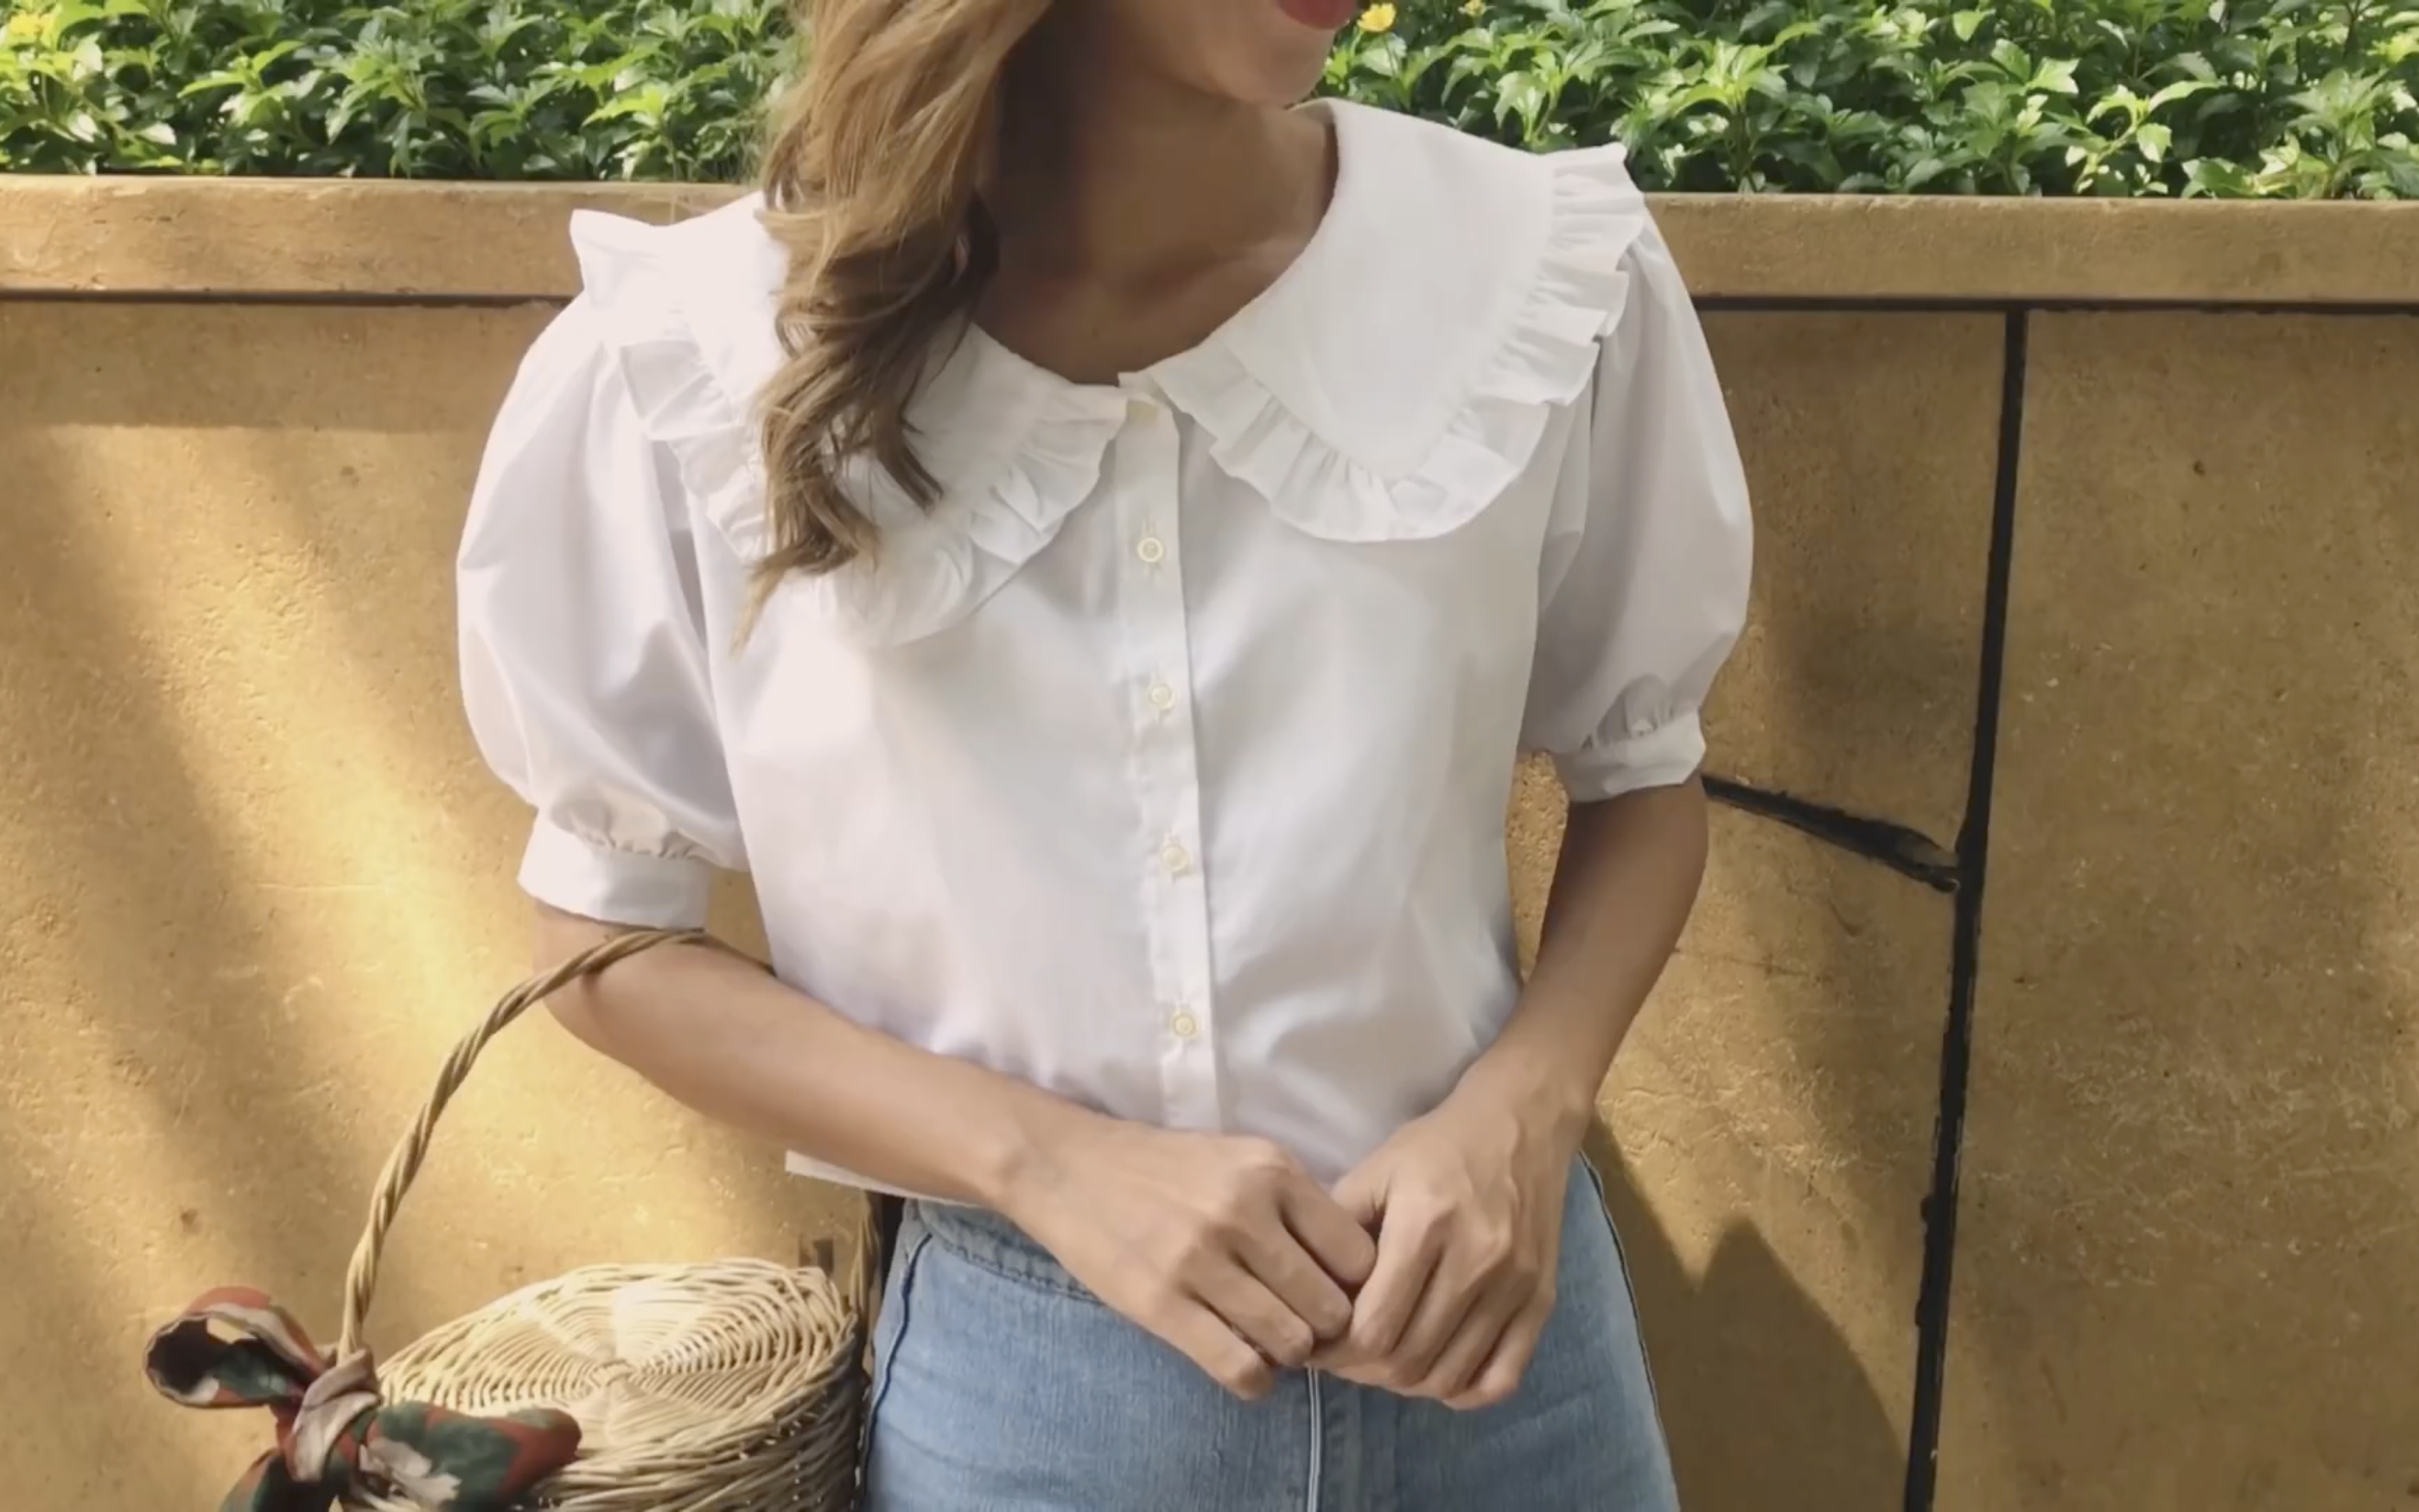
And it won't be too difficult to make. So I hope you will give it a try.
If you liked this project, please share it and subscribe to my channel so you won’t miss any of my upcoming DIYs.
Until next week, happy sewing!