Refashion DIY Men's Shirt into Jumpsuit/Romper

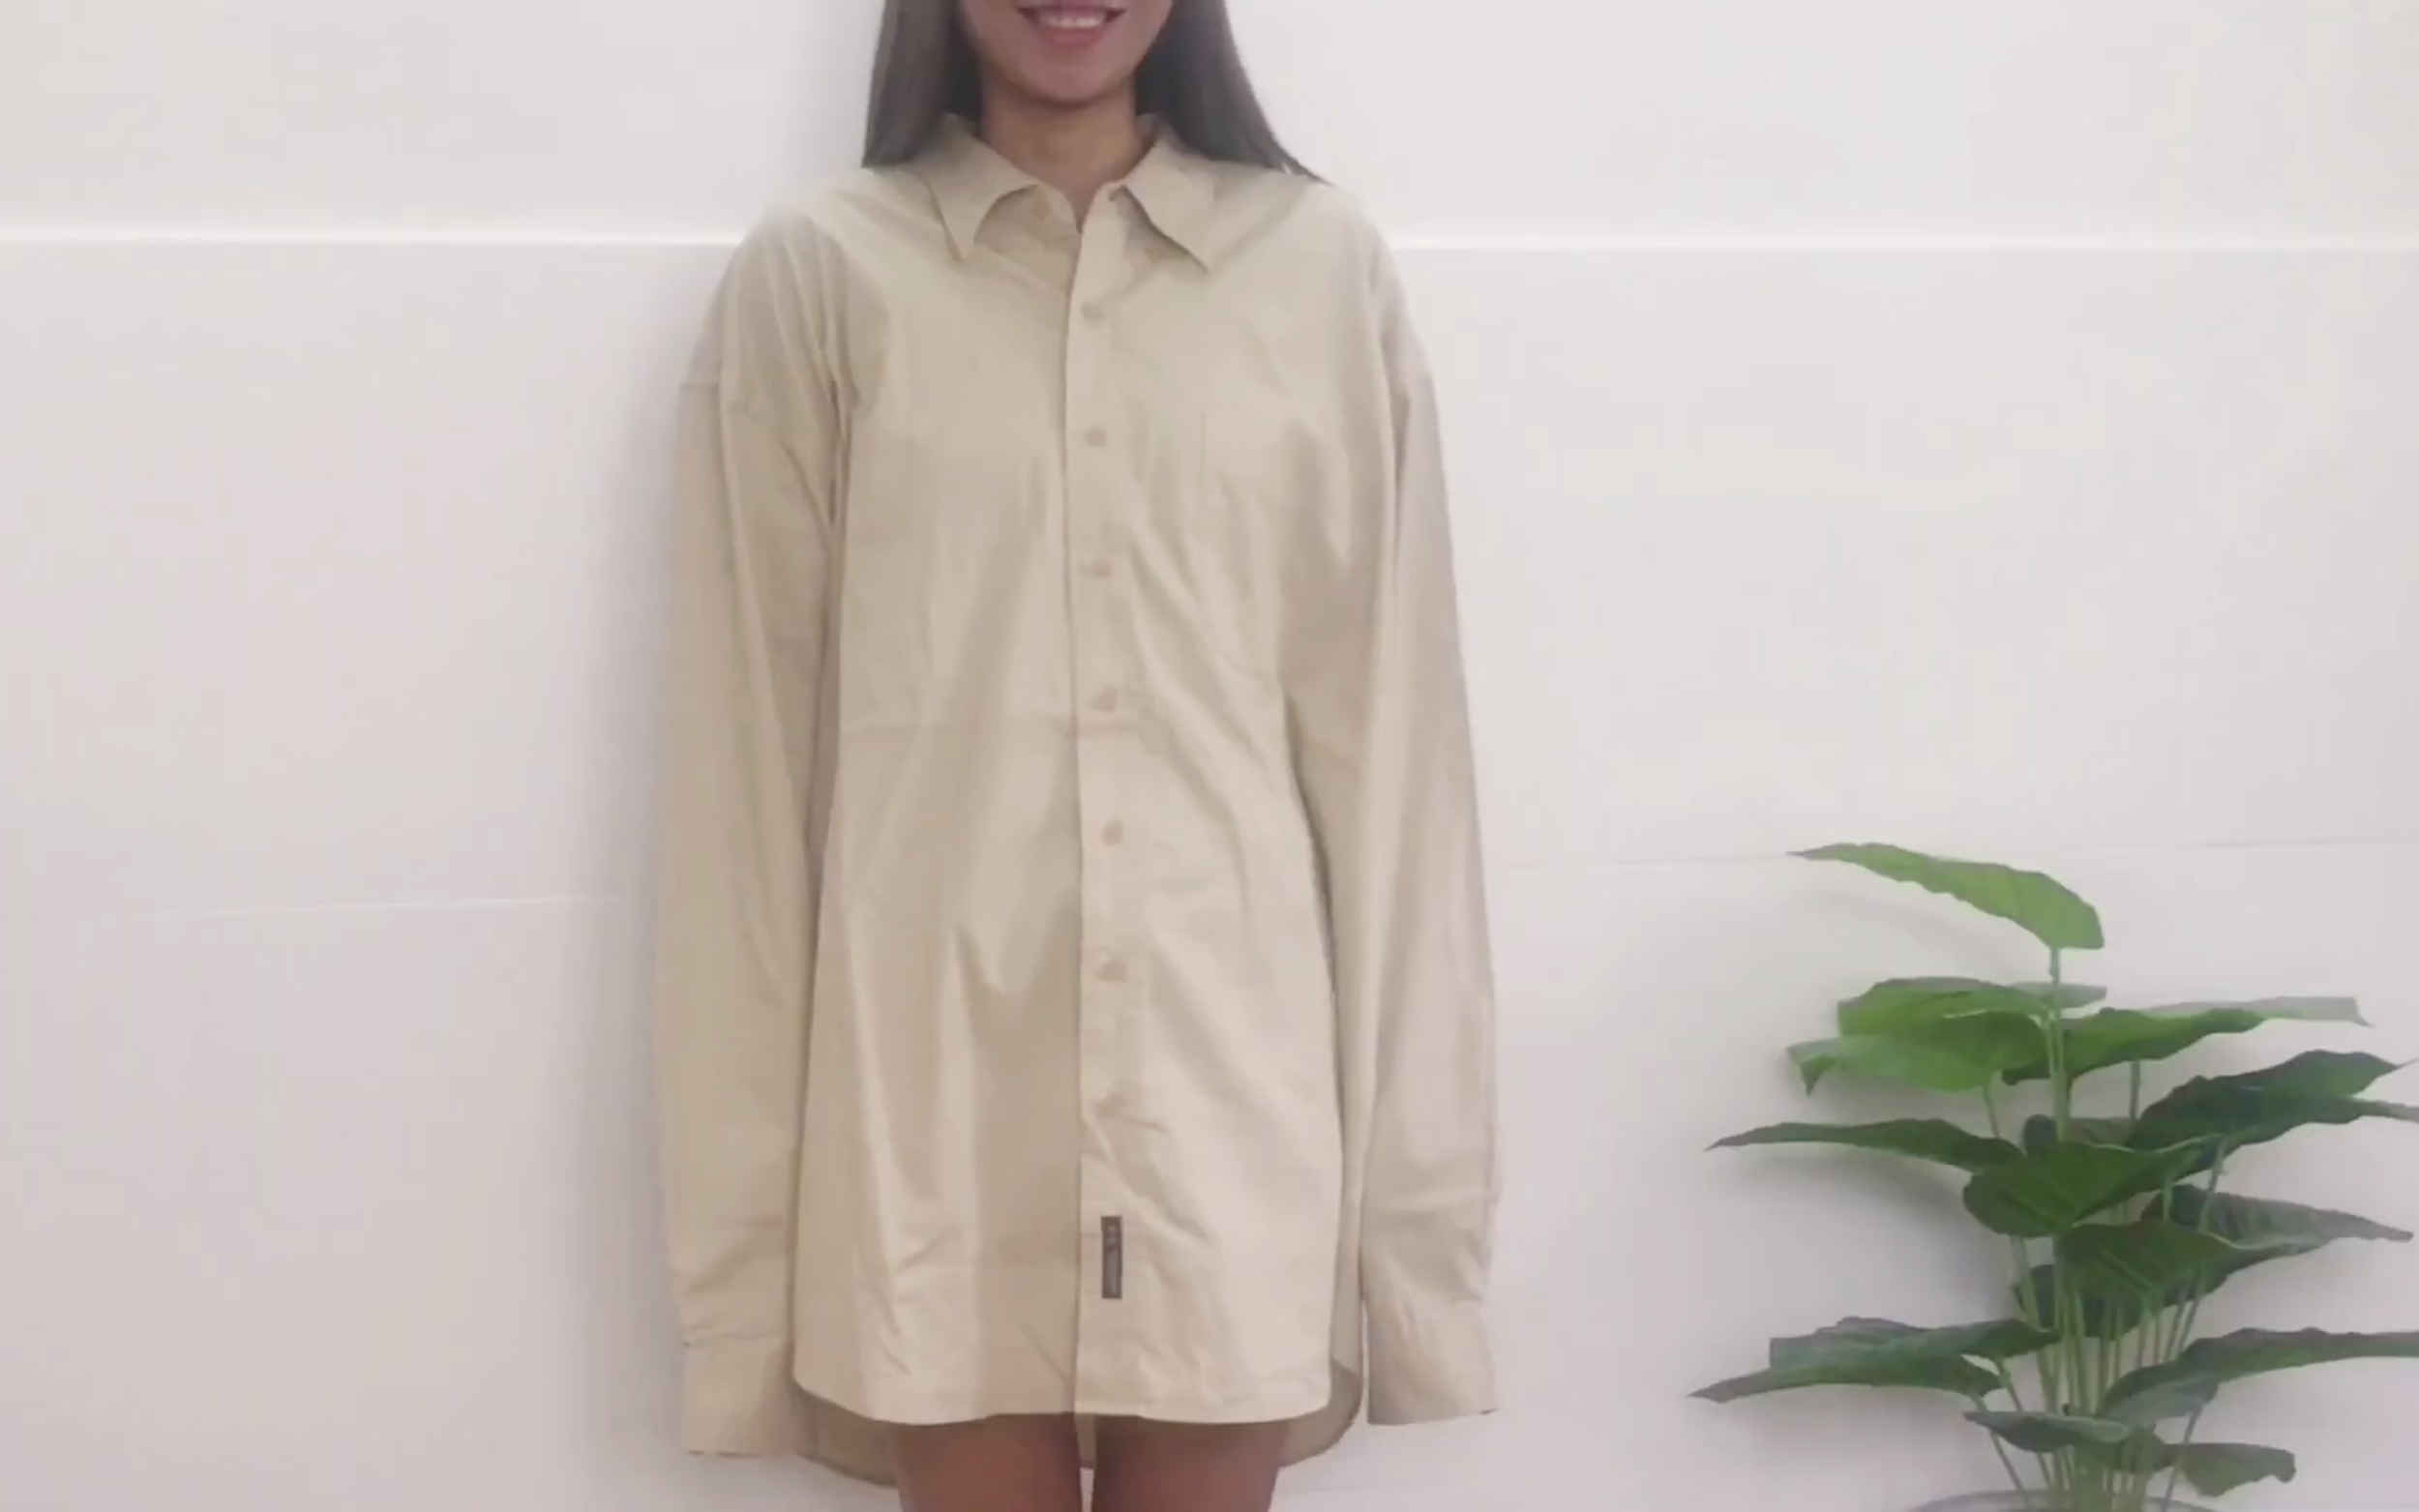
DIY Men's Shirt into Jumpsuit/Romper
Welcome and welcome back to my sewing blog!
I'm back with a very exciting DIY that I transform a men's shirt into the jumpsuit. I hope you like it and could easy to make the similar one by yourself. The size of the jumpsuit I made is my size (S size). So if your size is bigger, you just need to increase the shoulder, the belly and the high of the pants around 4cm (each side) for M size and 8 cm for L size.
So let’s get started!
WHAT YOU’LL NEED
Old shirt
Sewing machine
Pins
Scissors
Ruler
SEWING THE JUMPSUIT
THE BODY

From the top of the neck, go down to 40 cm, draw a line.
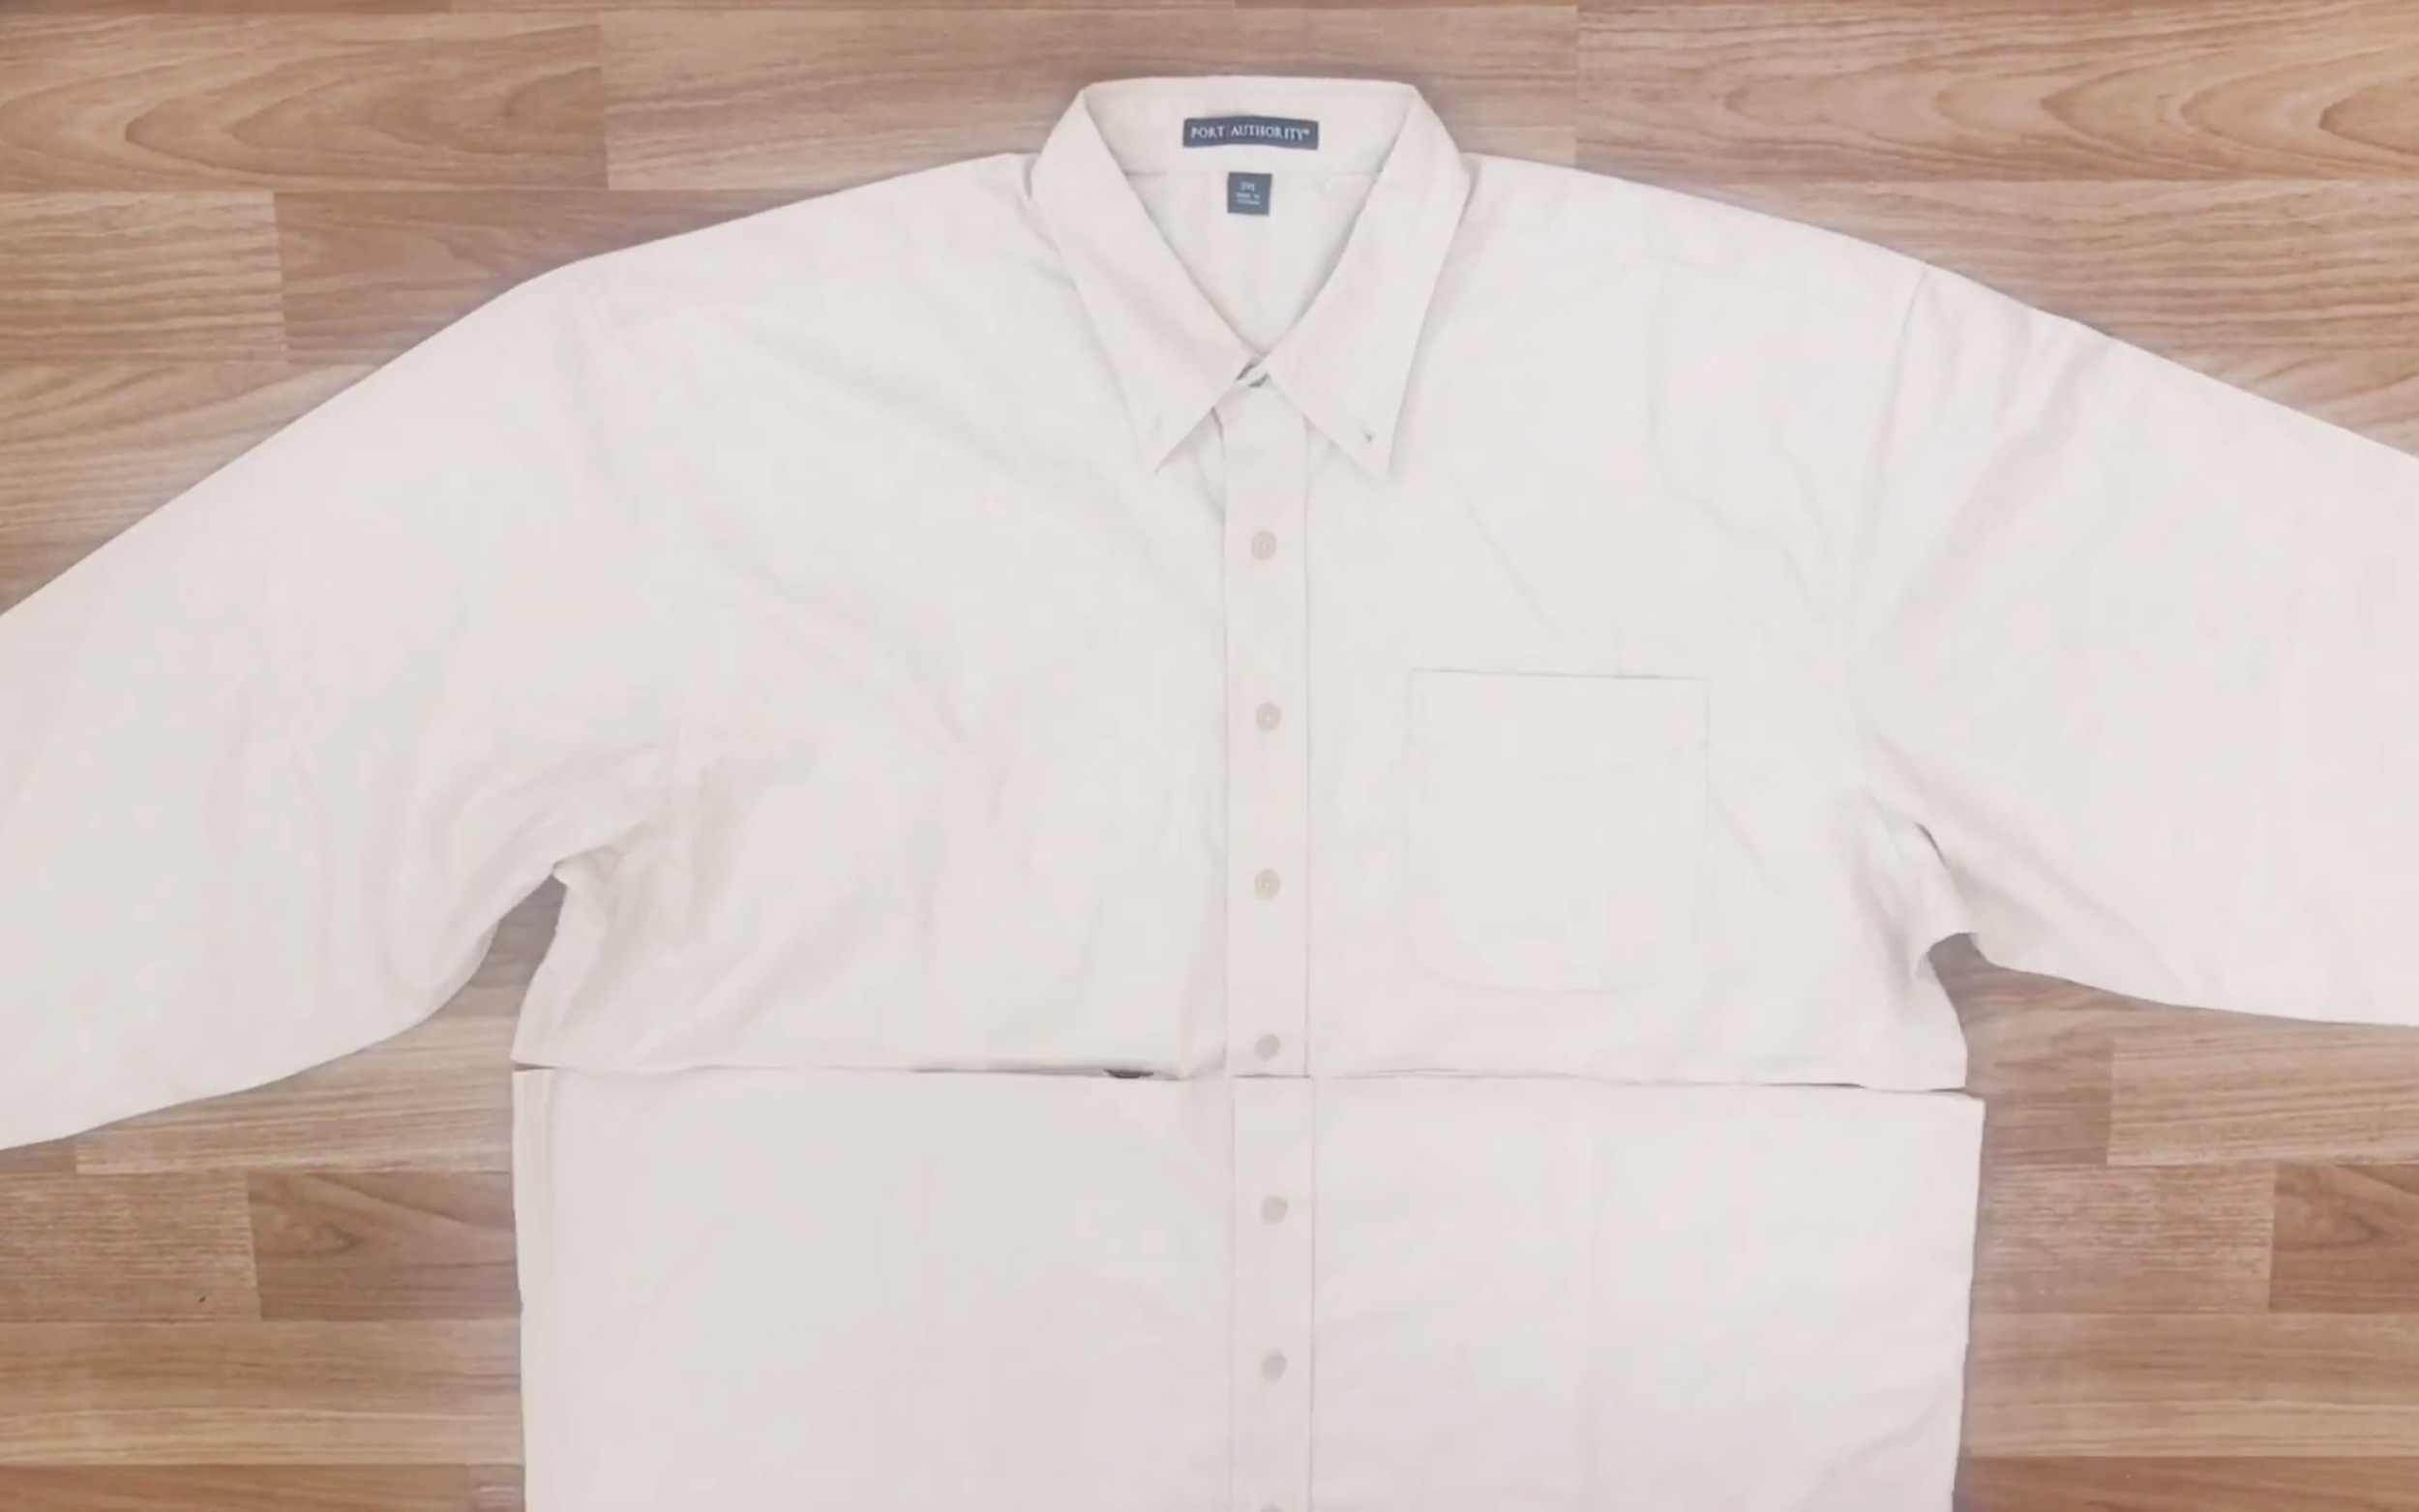
Then cut along the shirt into two pieces for the top and the bottom of the jumpsuit.
THE BOTTOM
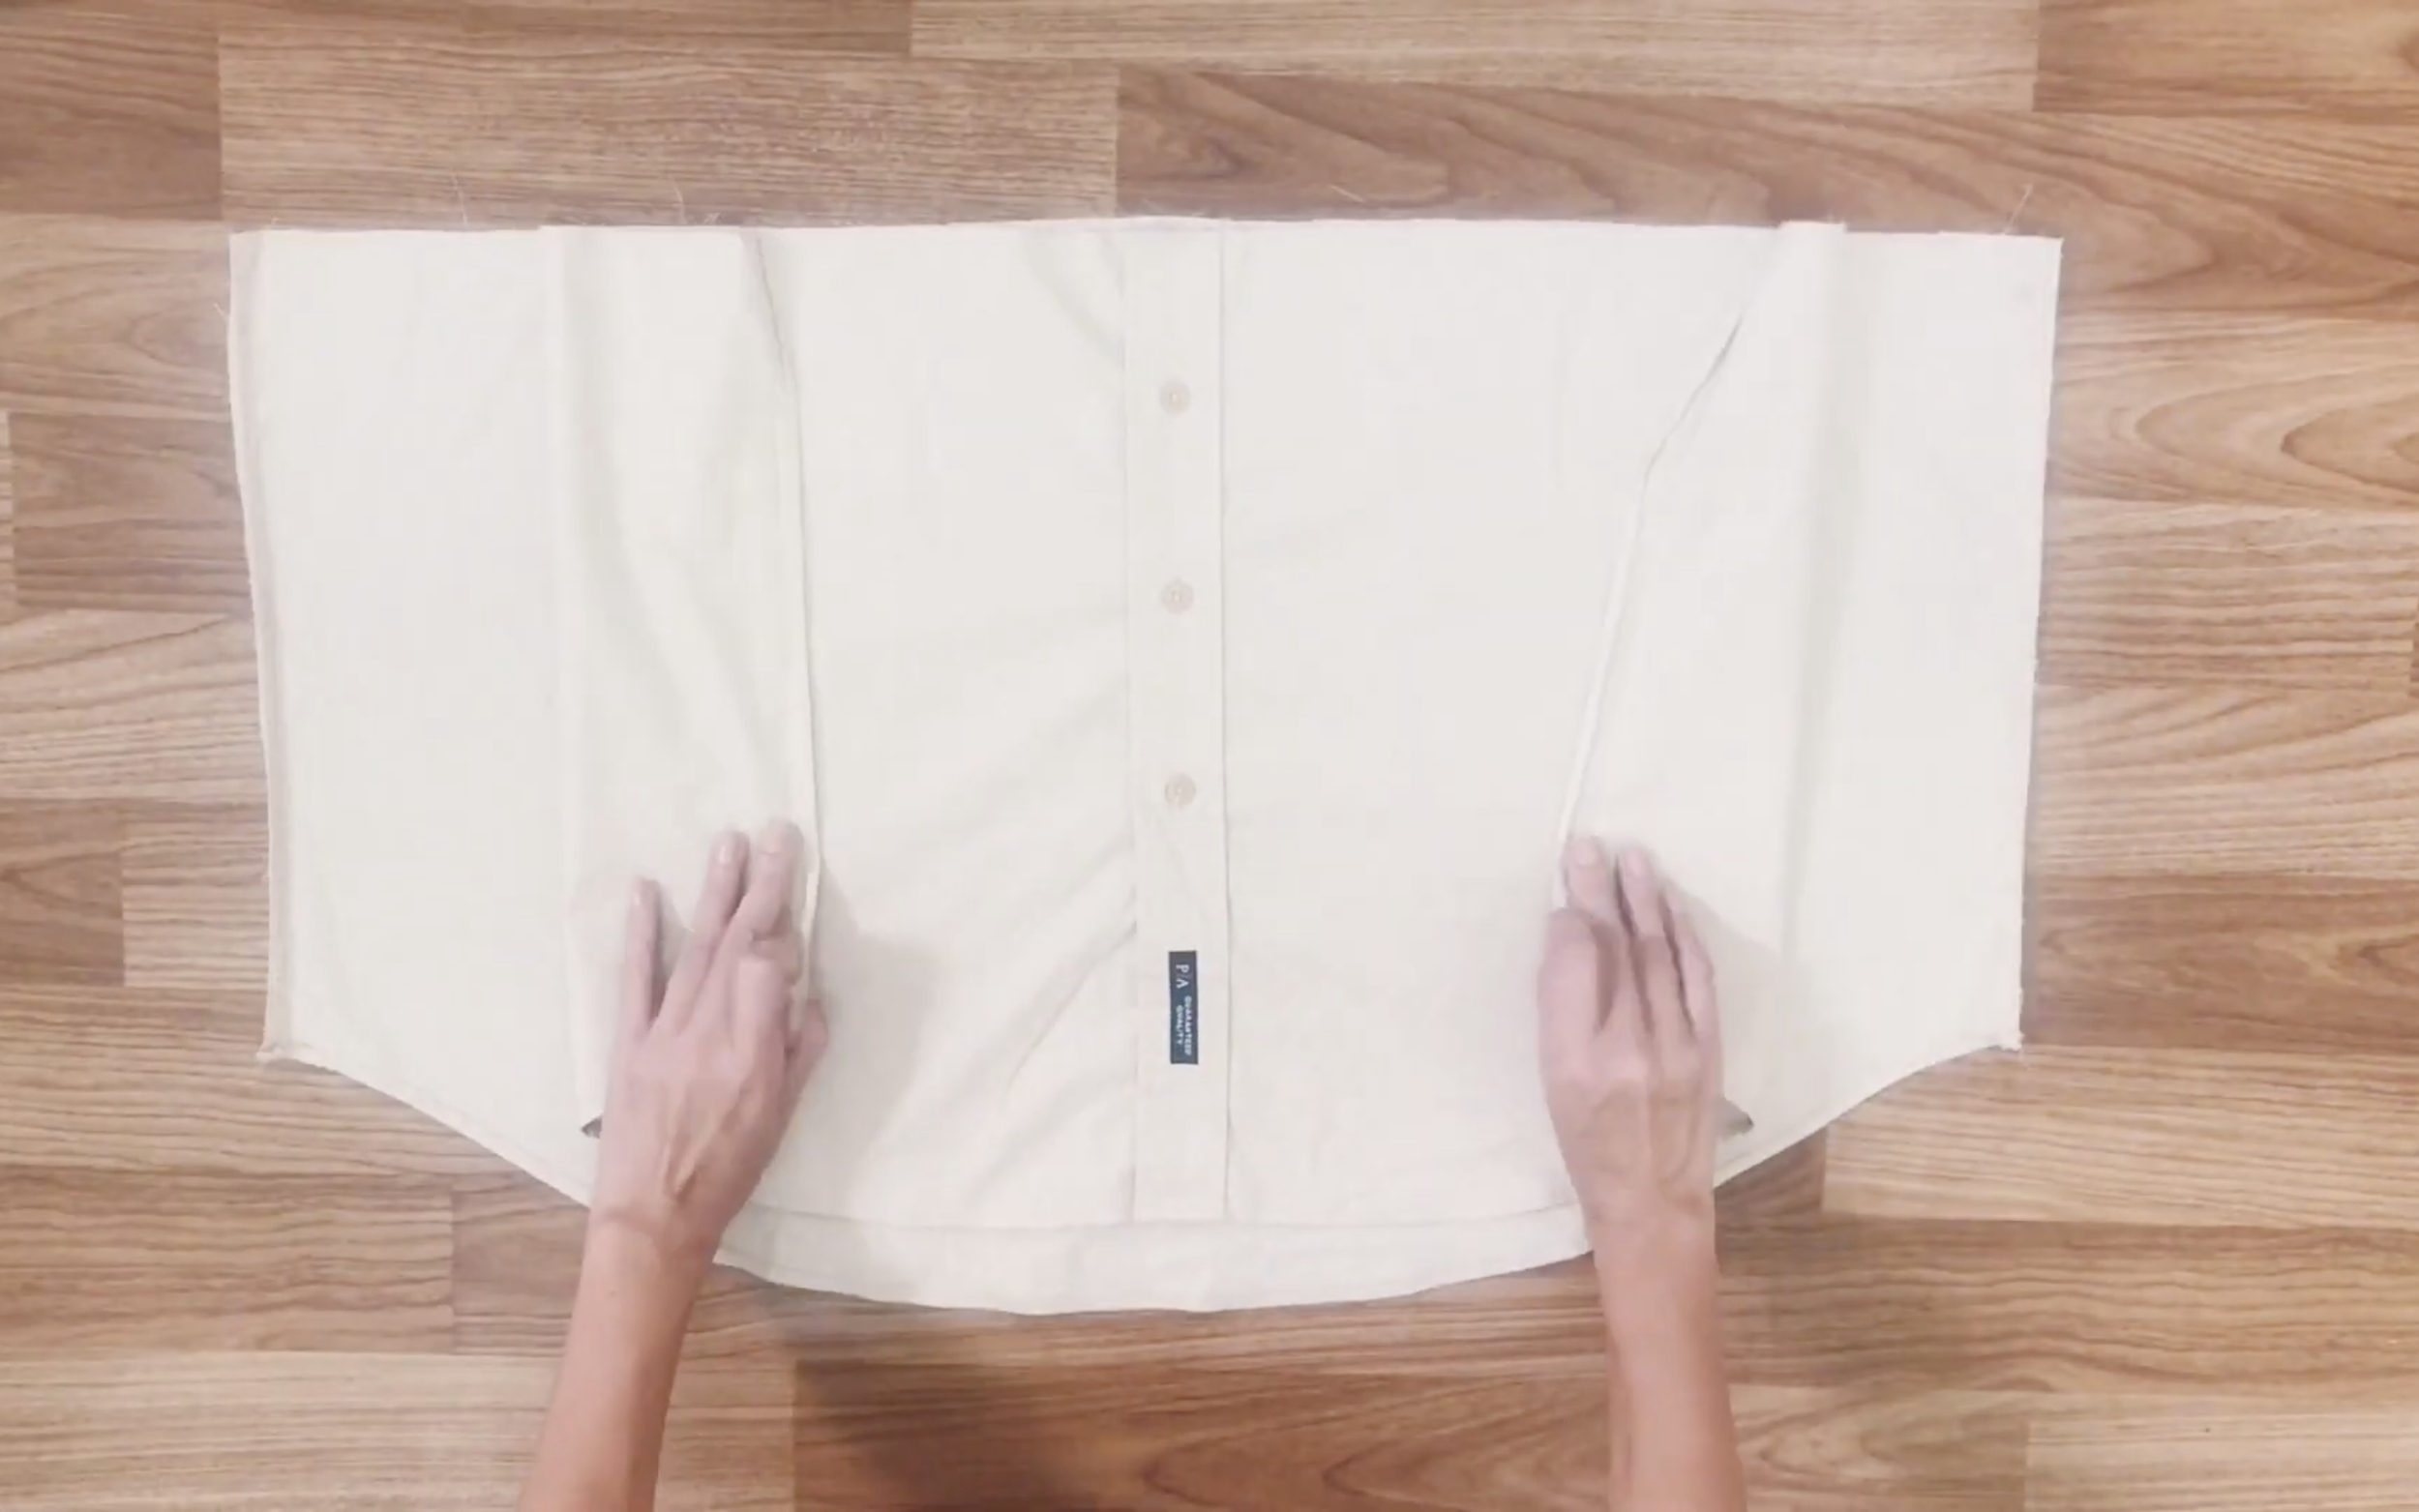
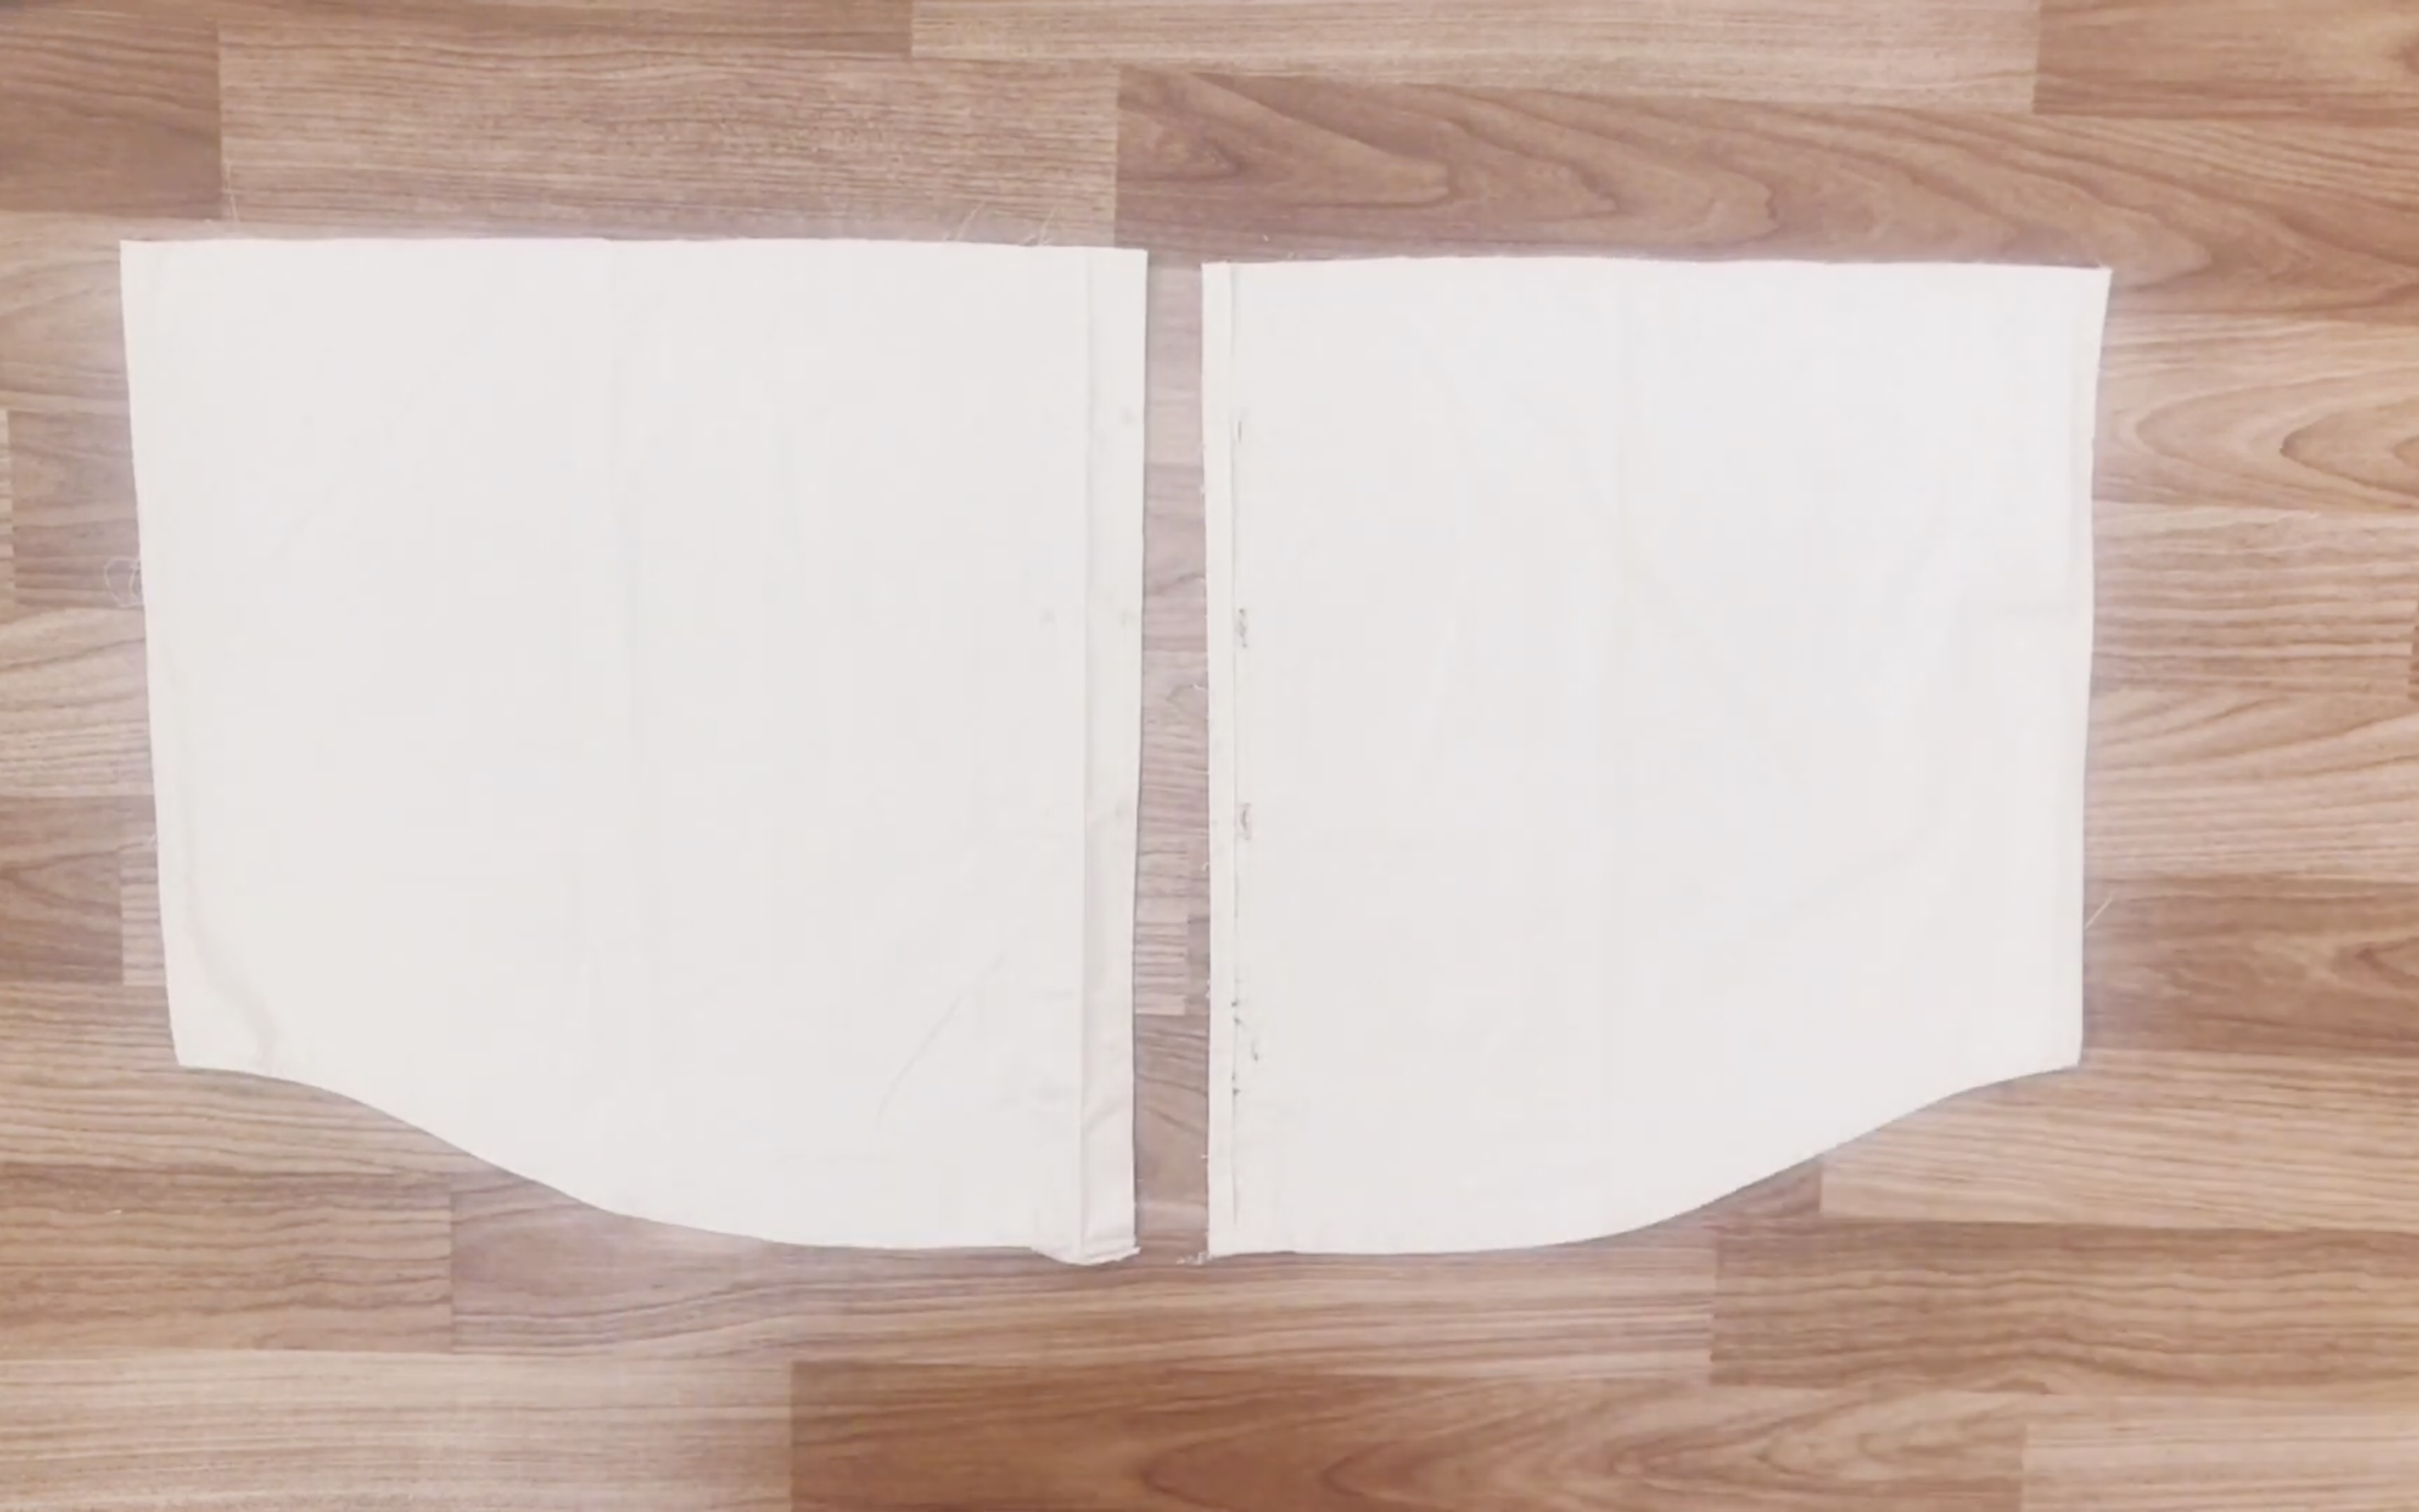
Start with the bottom piece first by un-sewing two sides of it.
The front of the shirt will be the front of the pant of the jumpsuit.
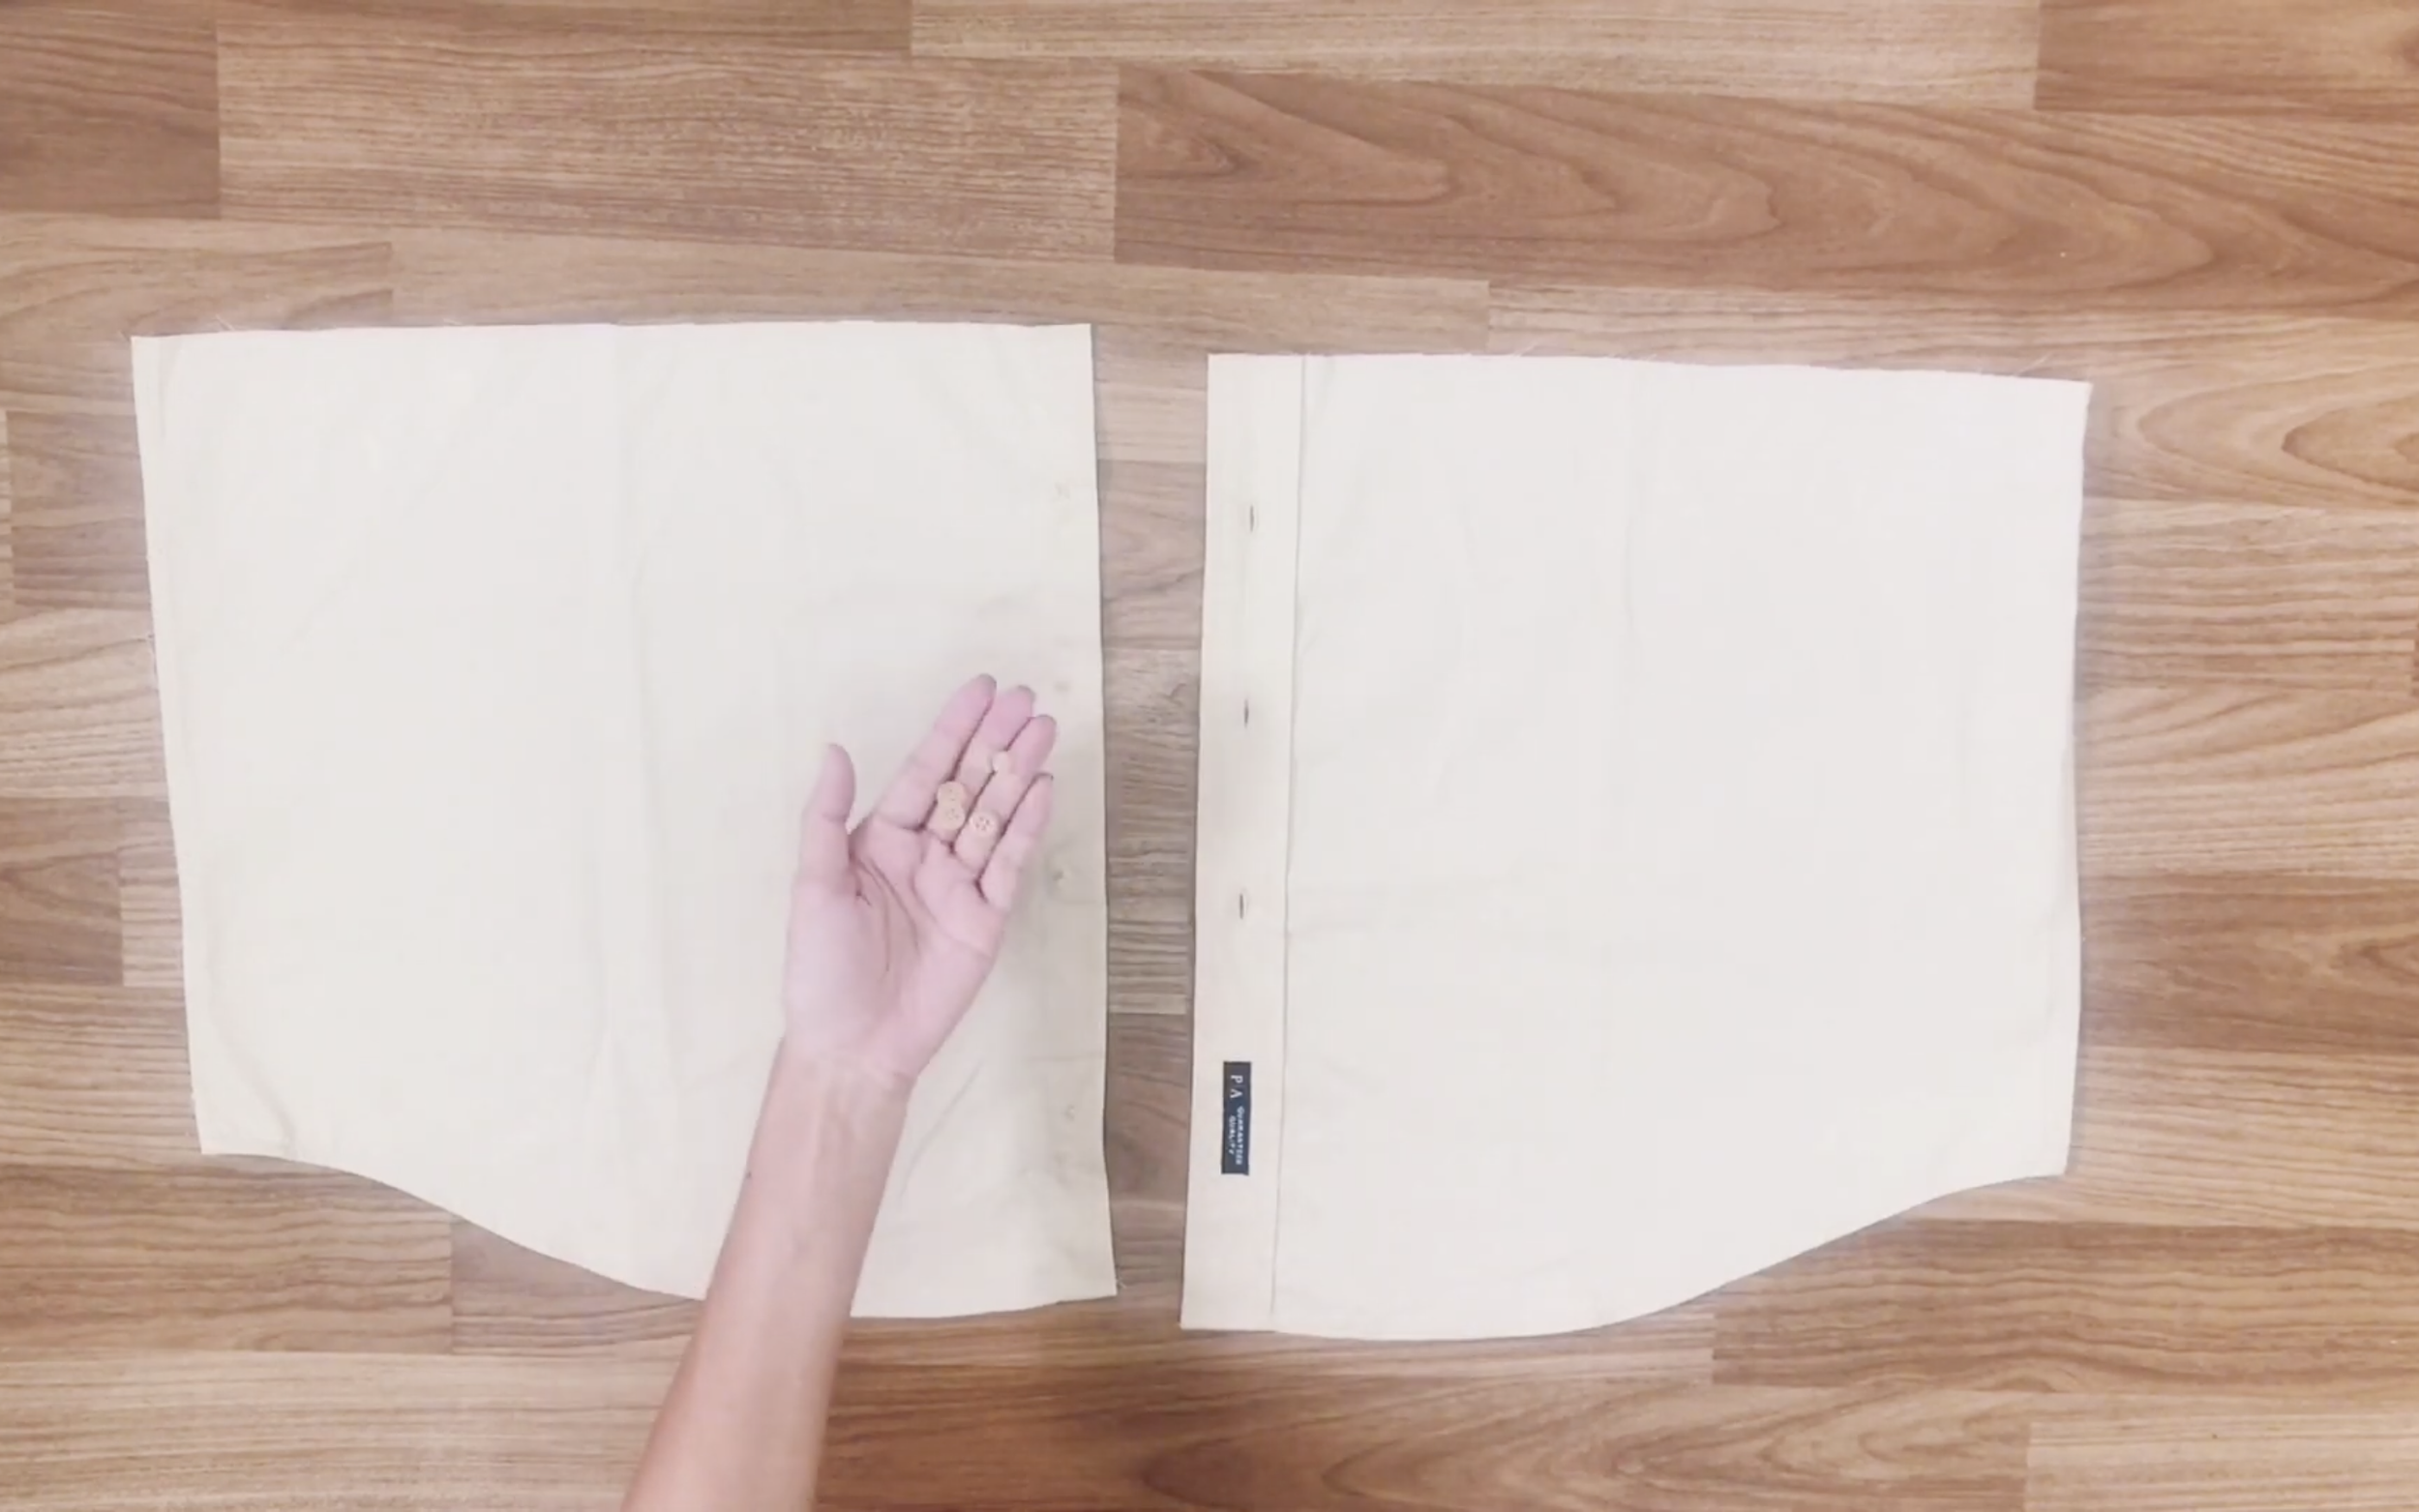
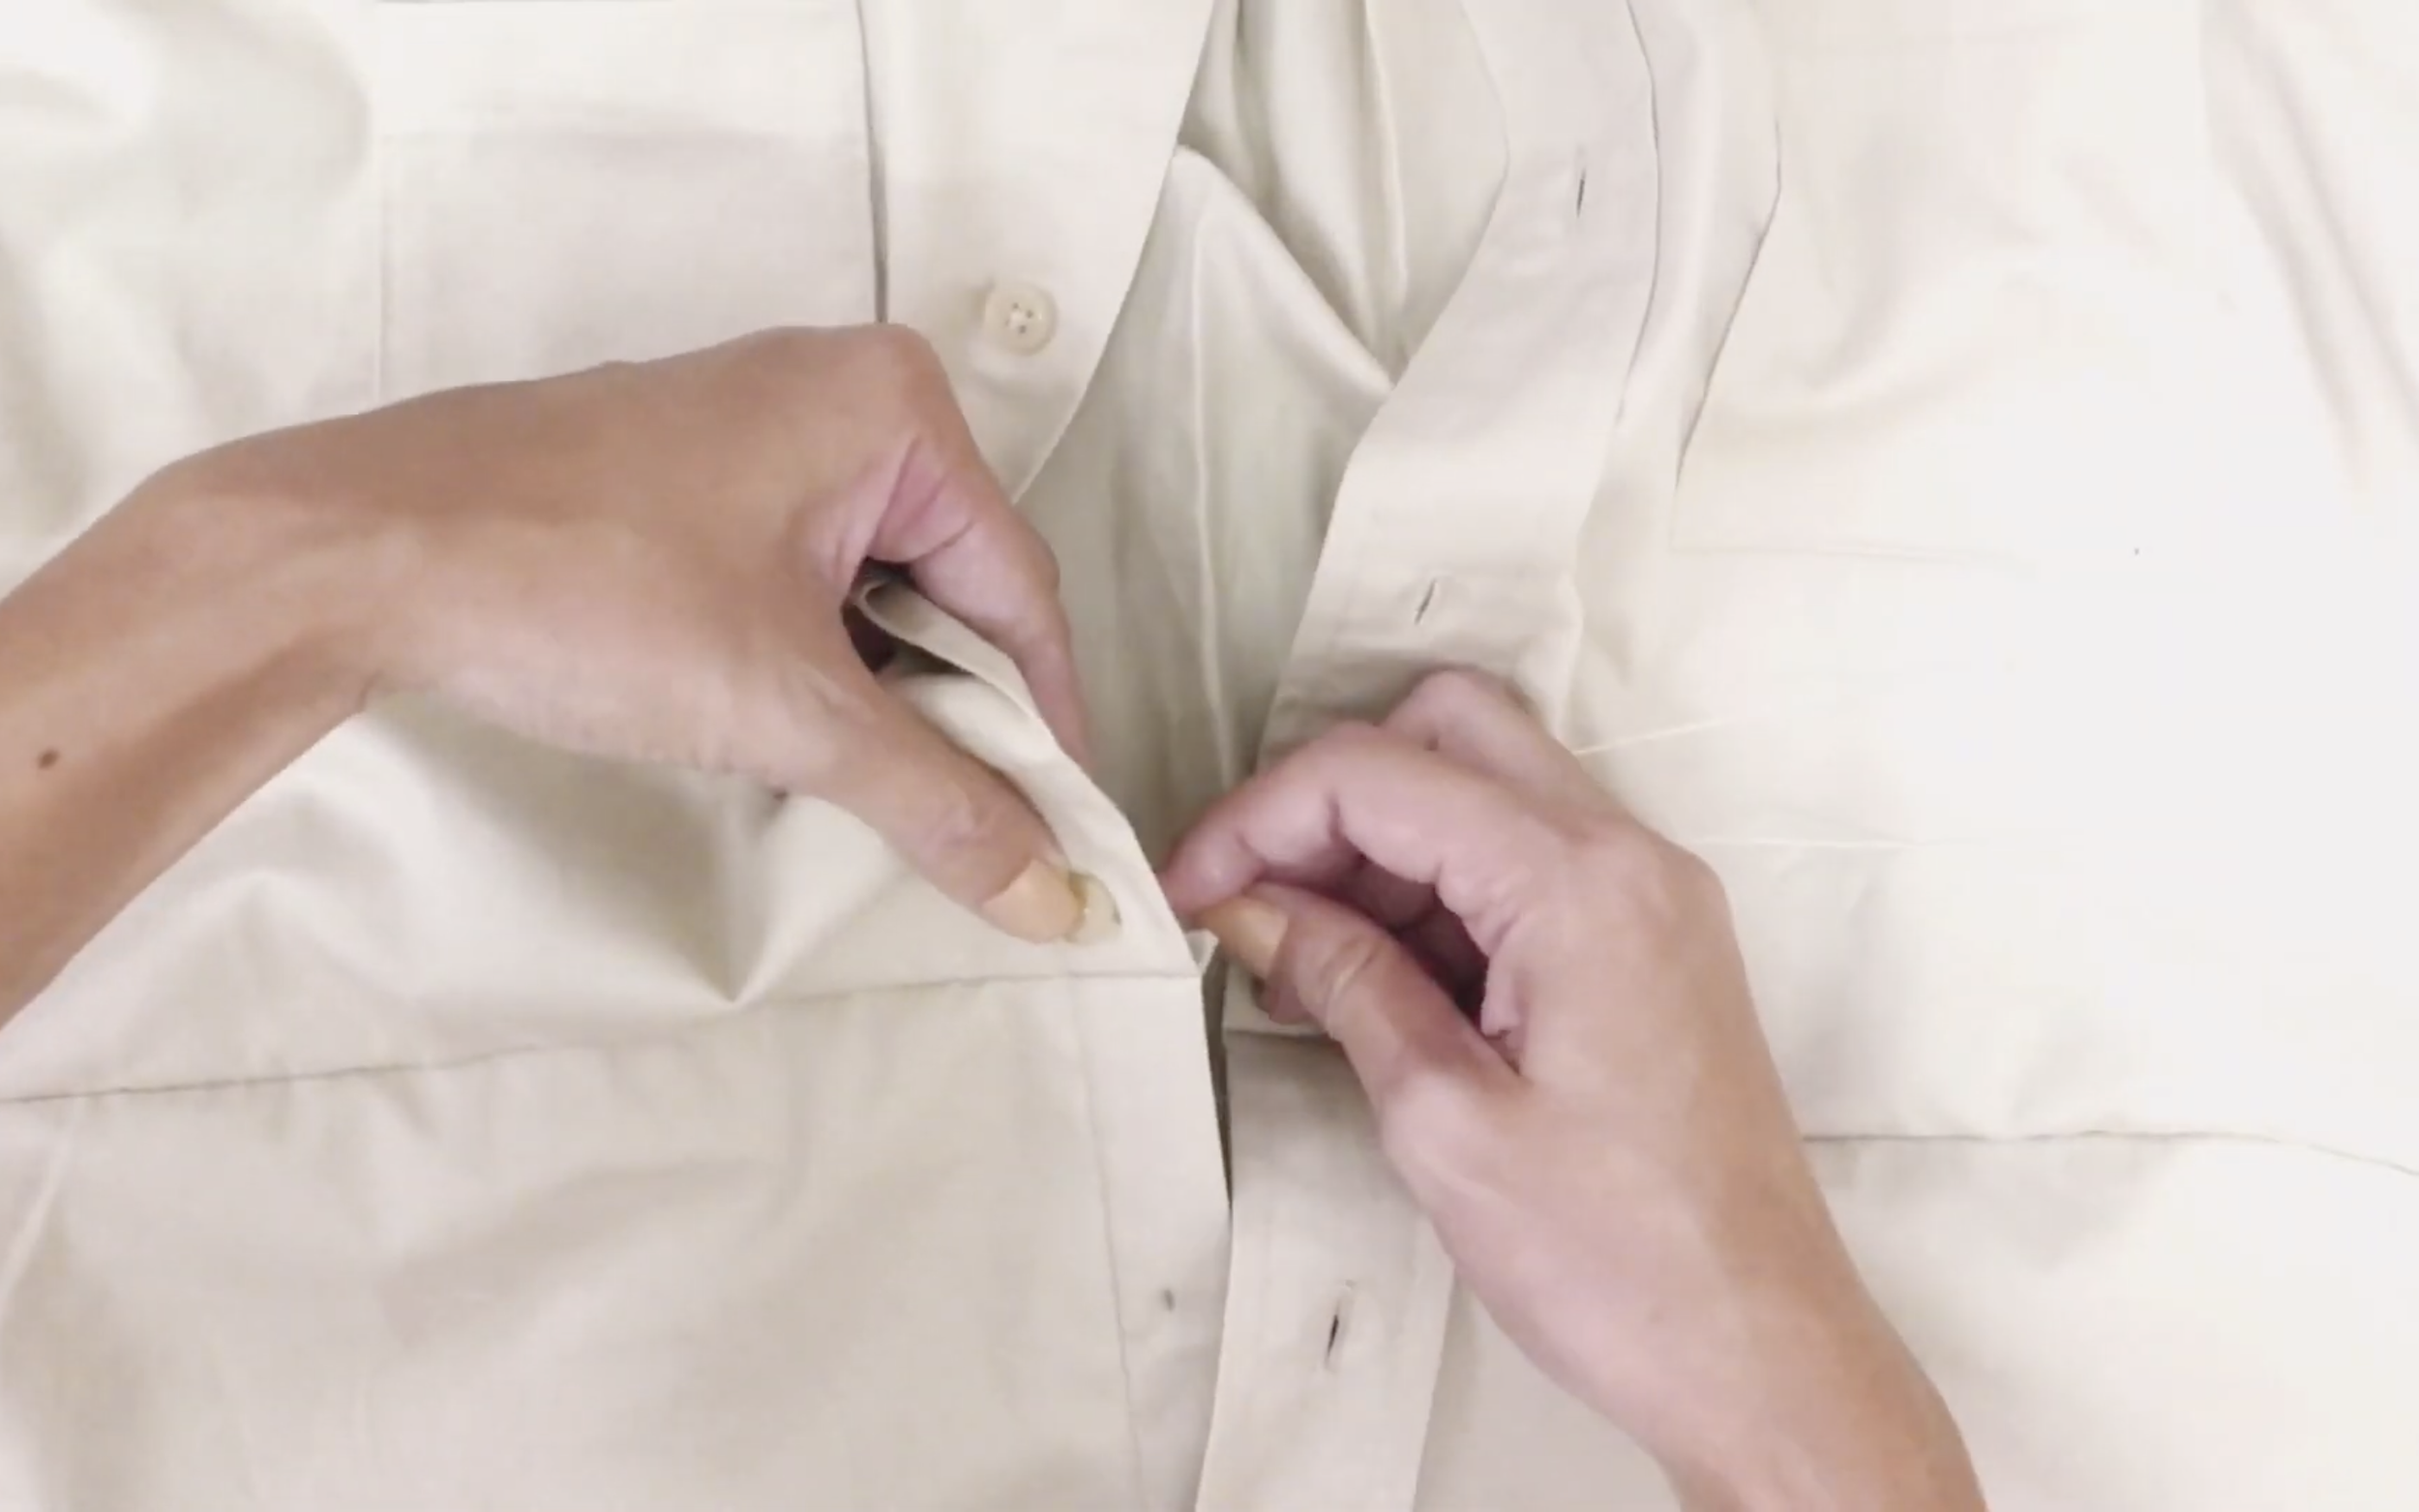
First thing is to remove the button of the shirt and remember to keep them to use later.
Then, un-sew the button part of the shirt before folding them together.
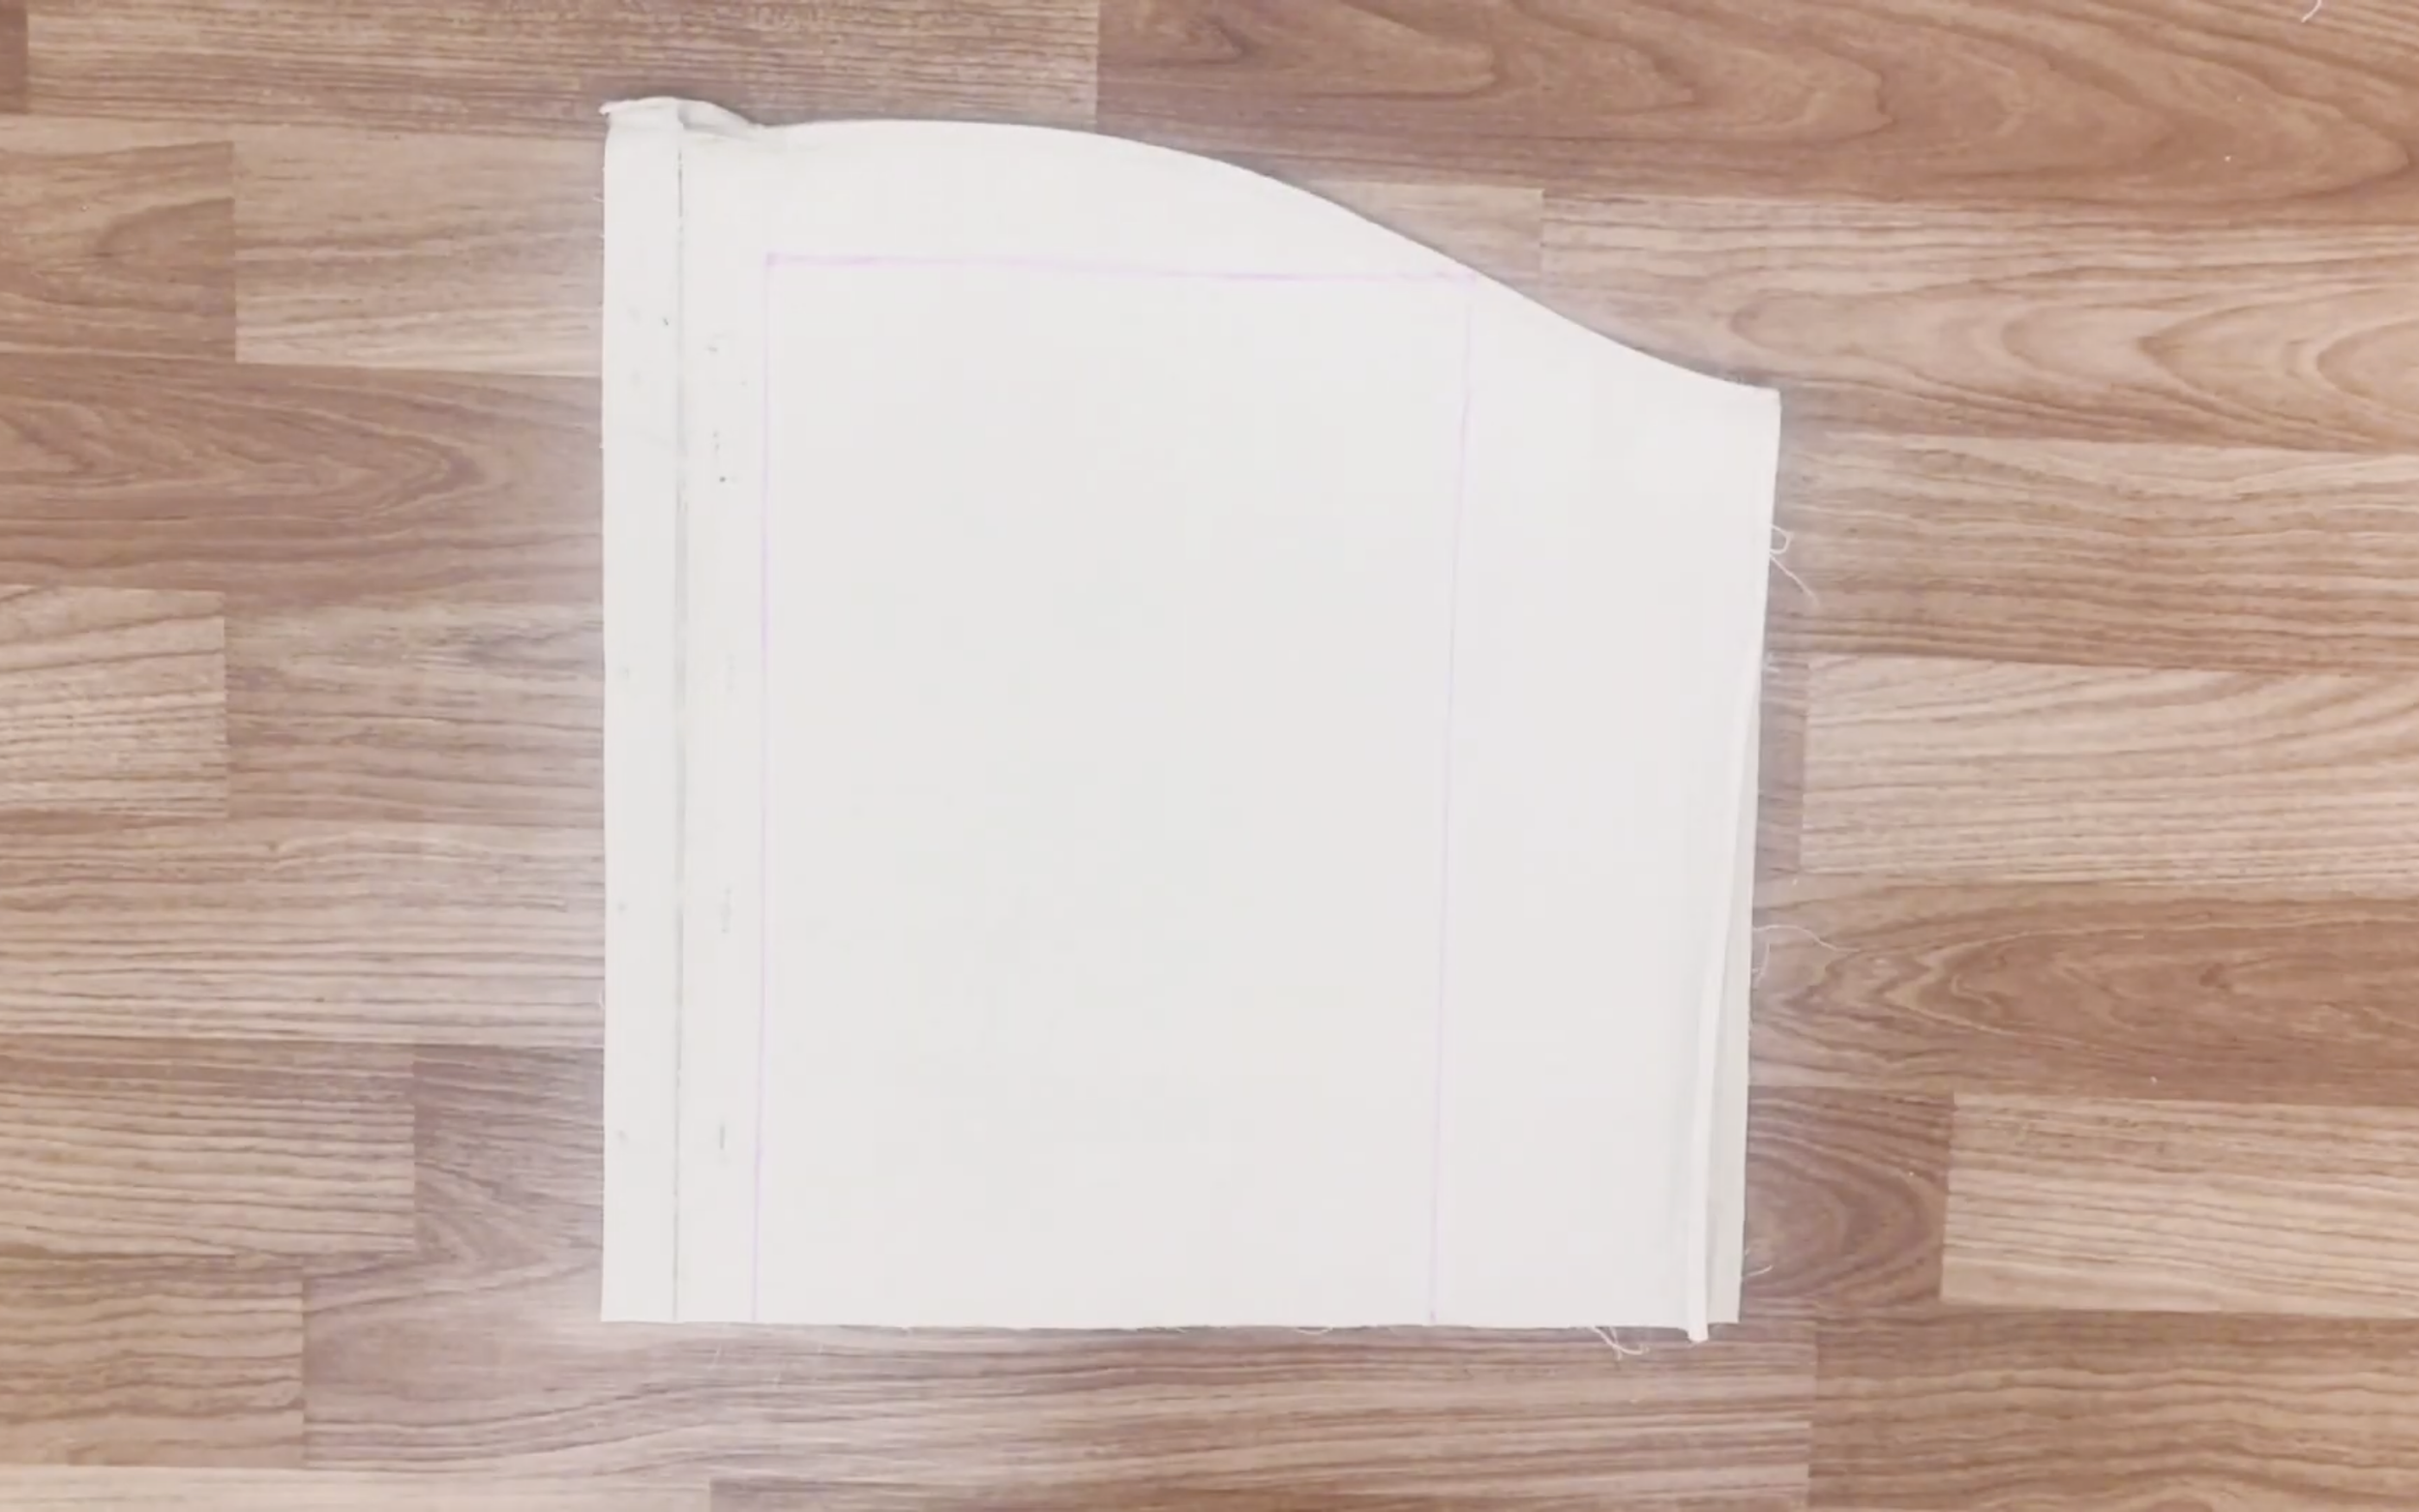
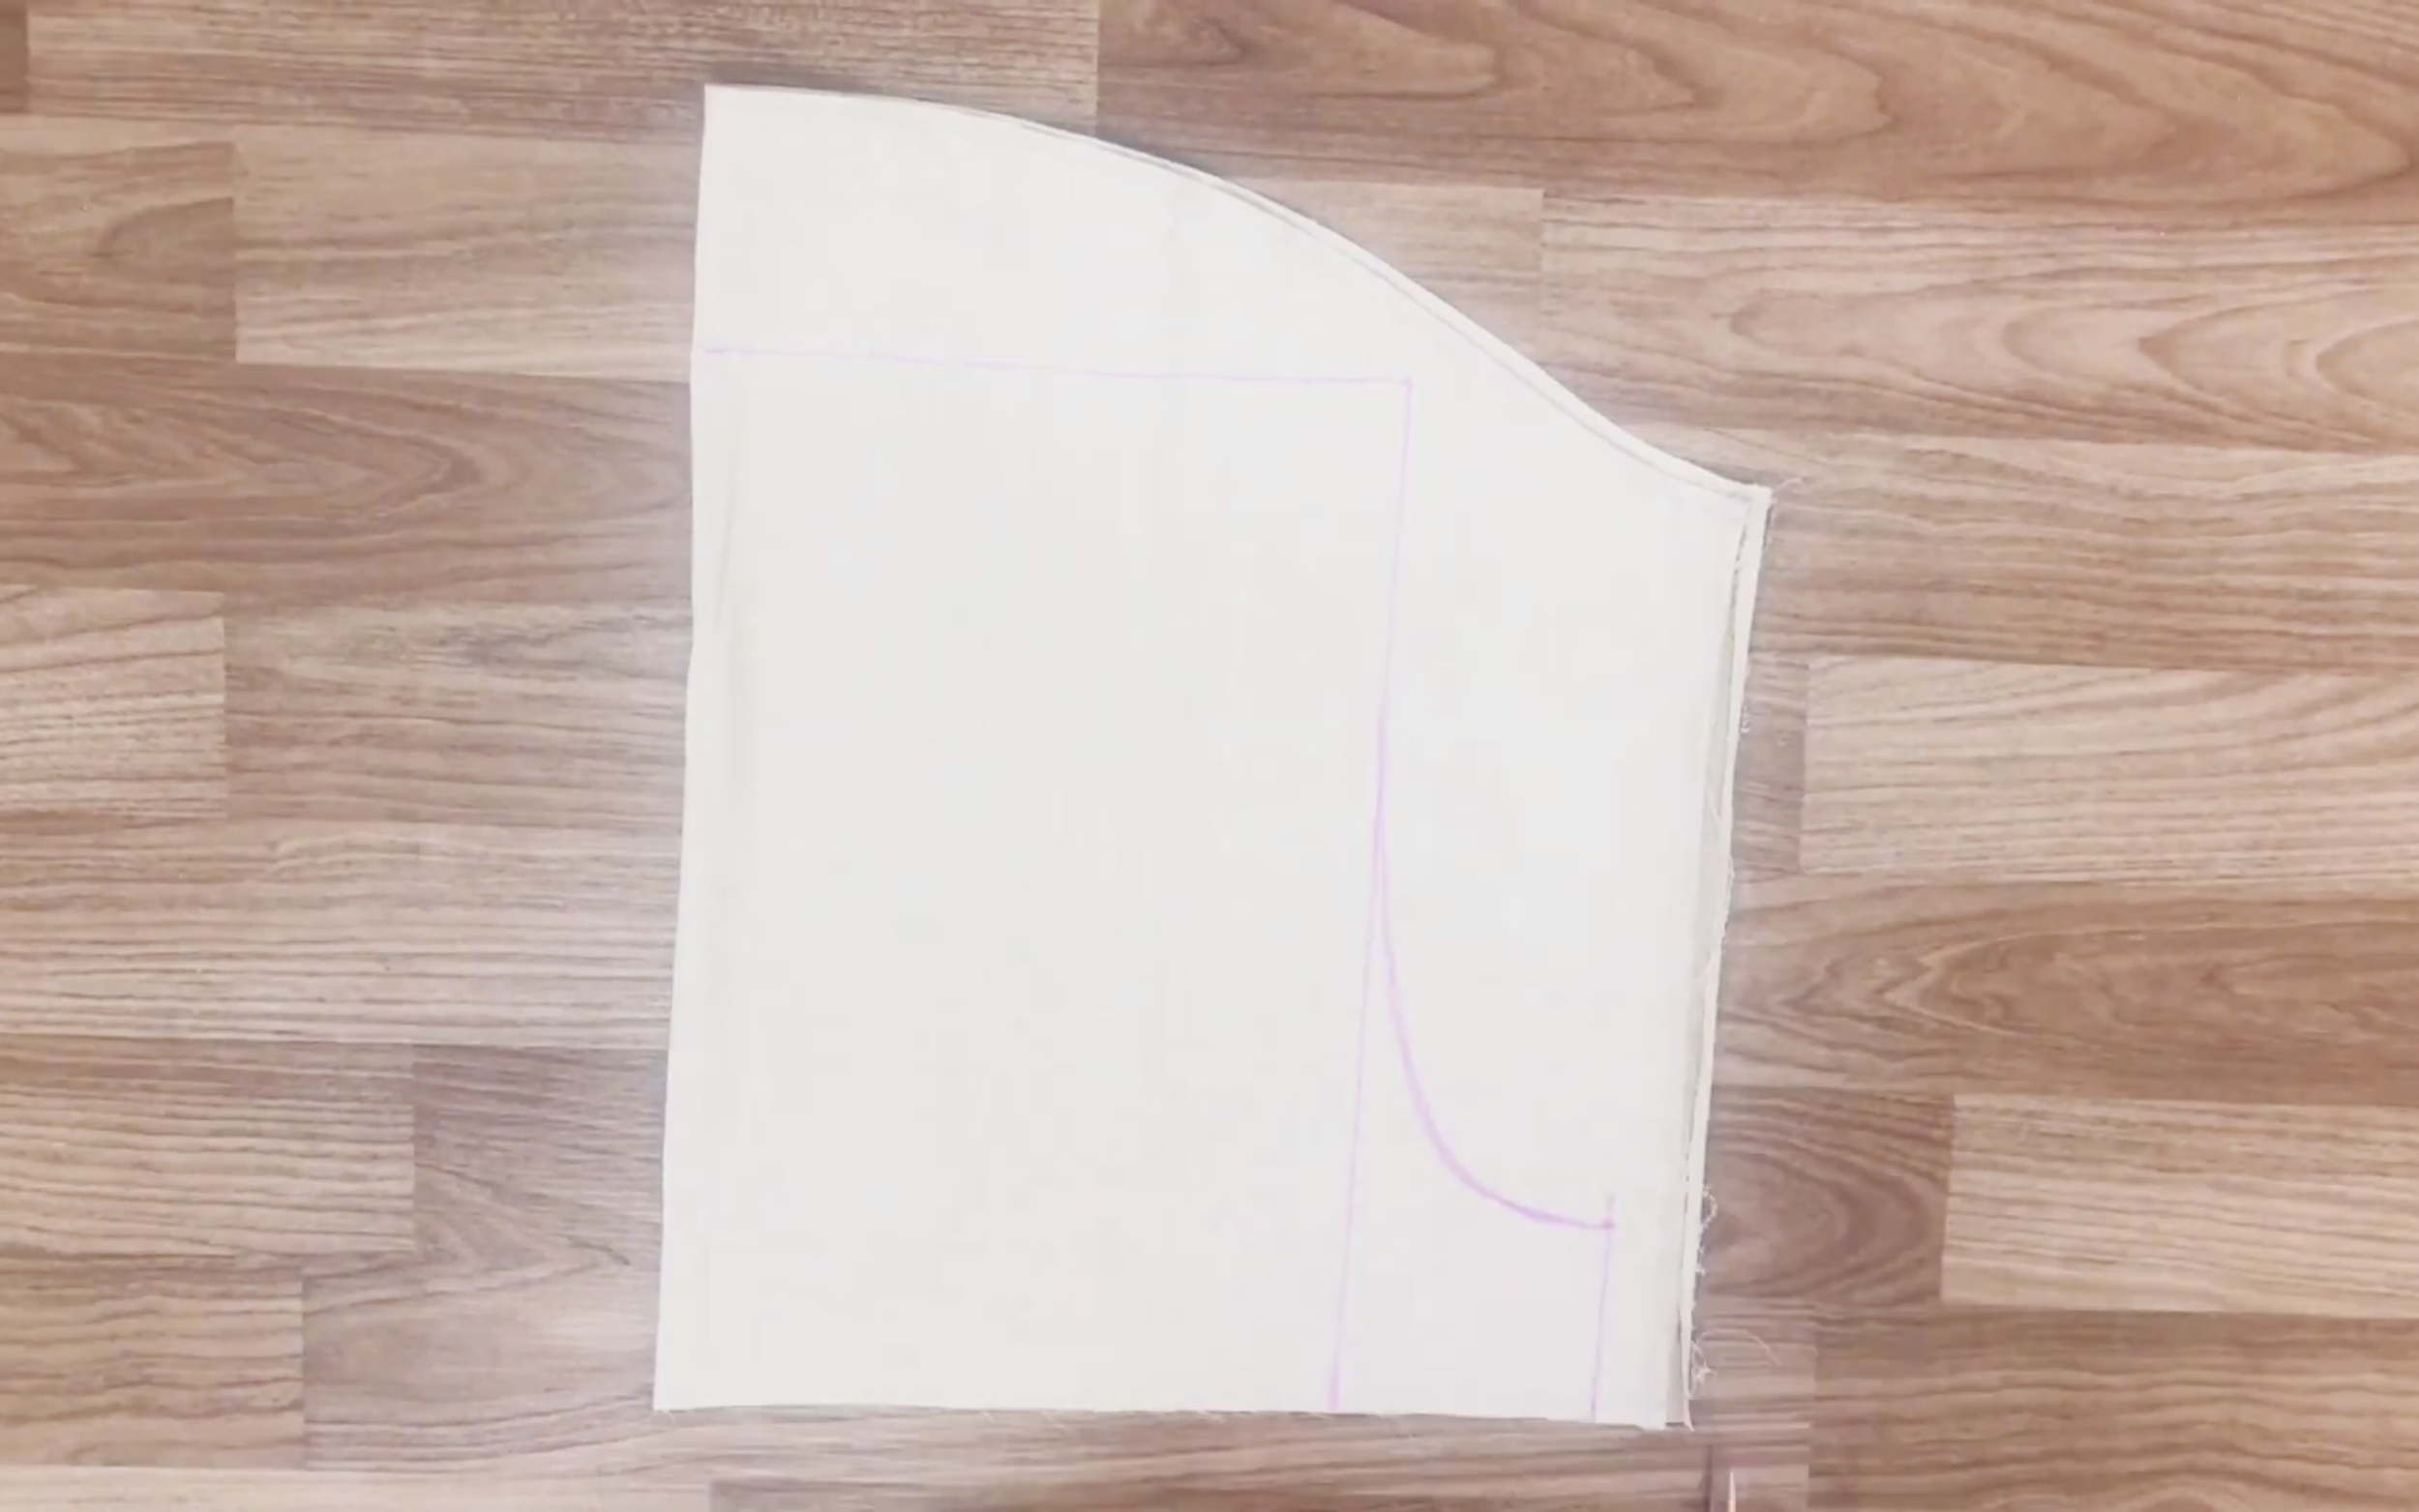
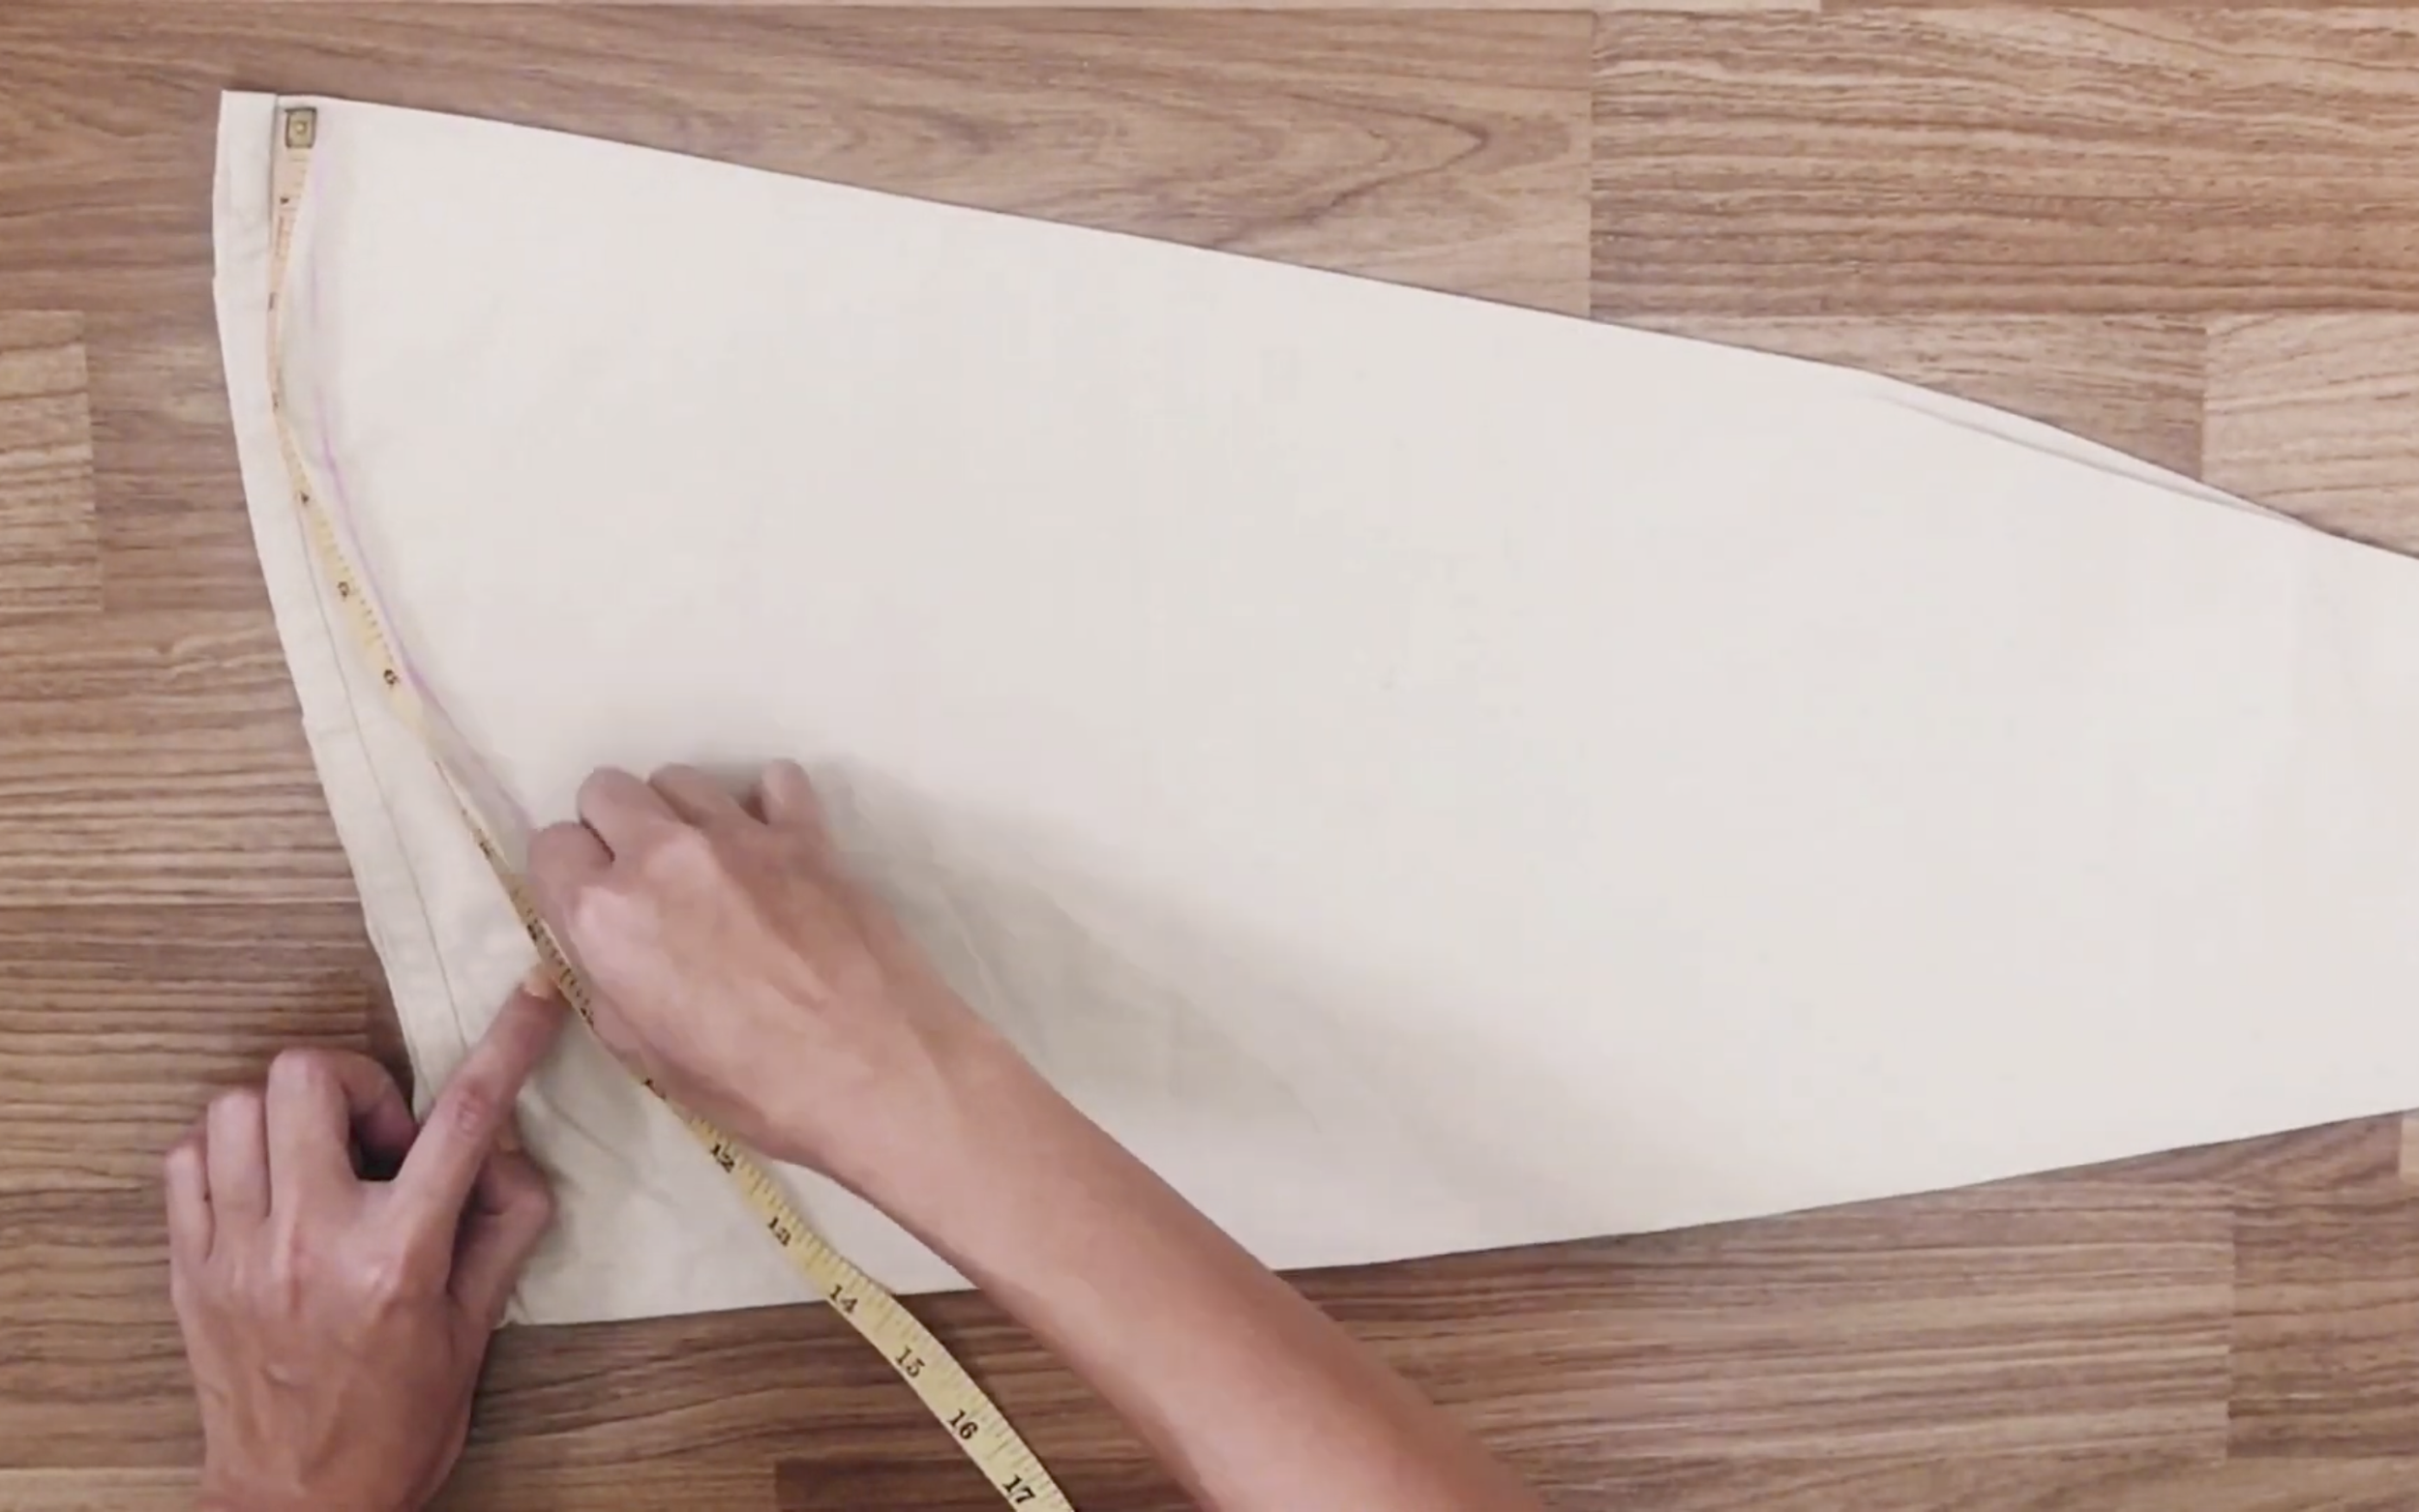
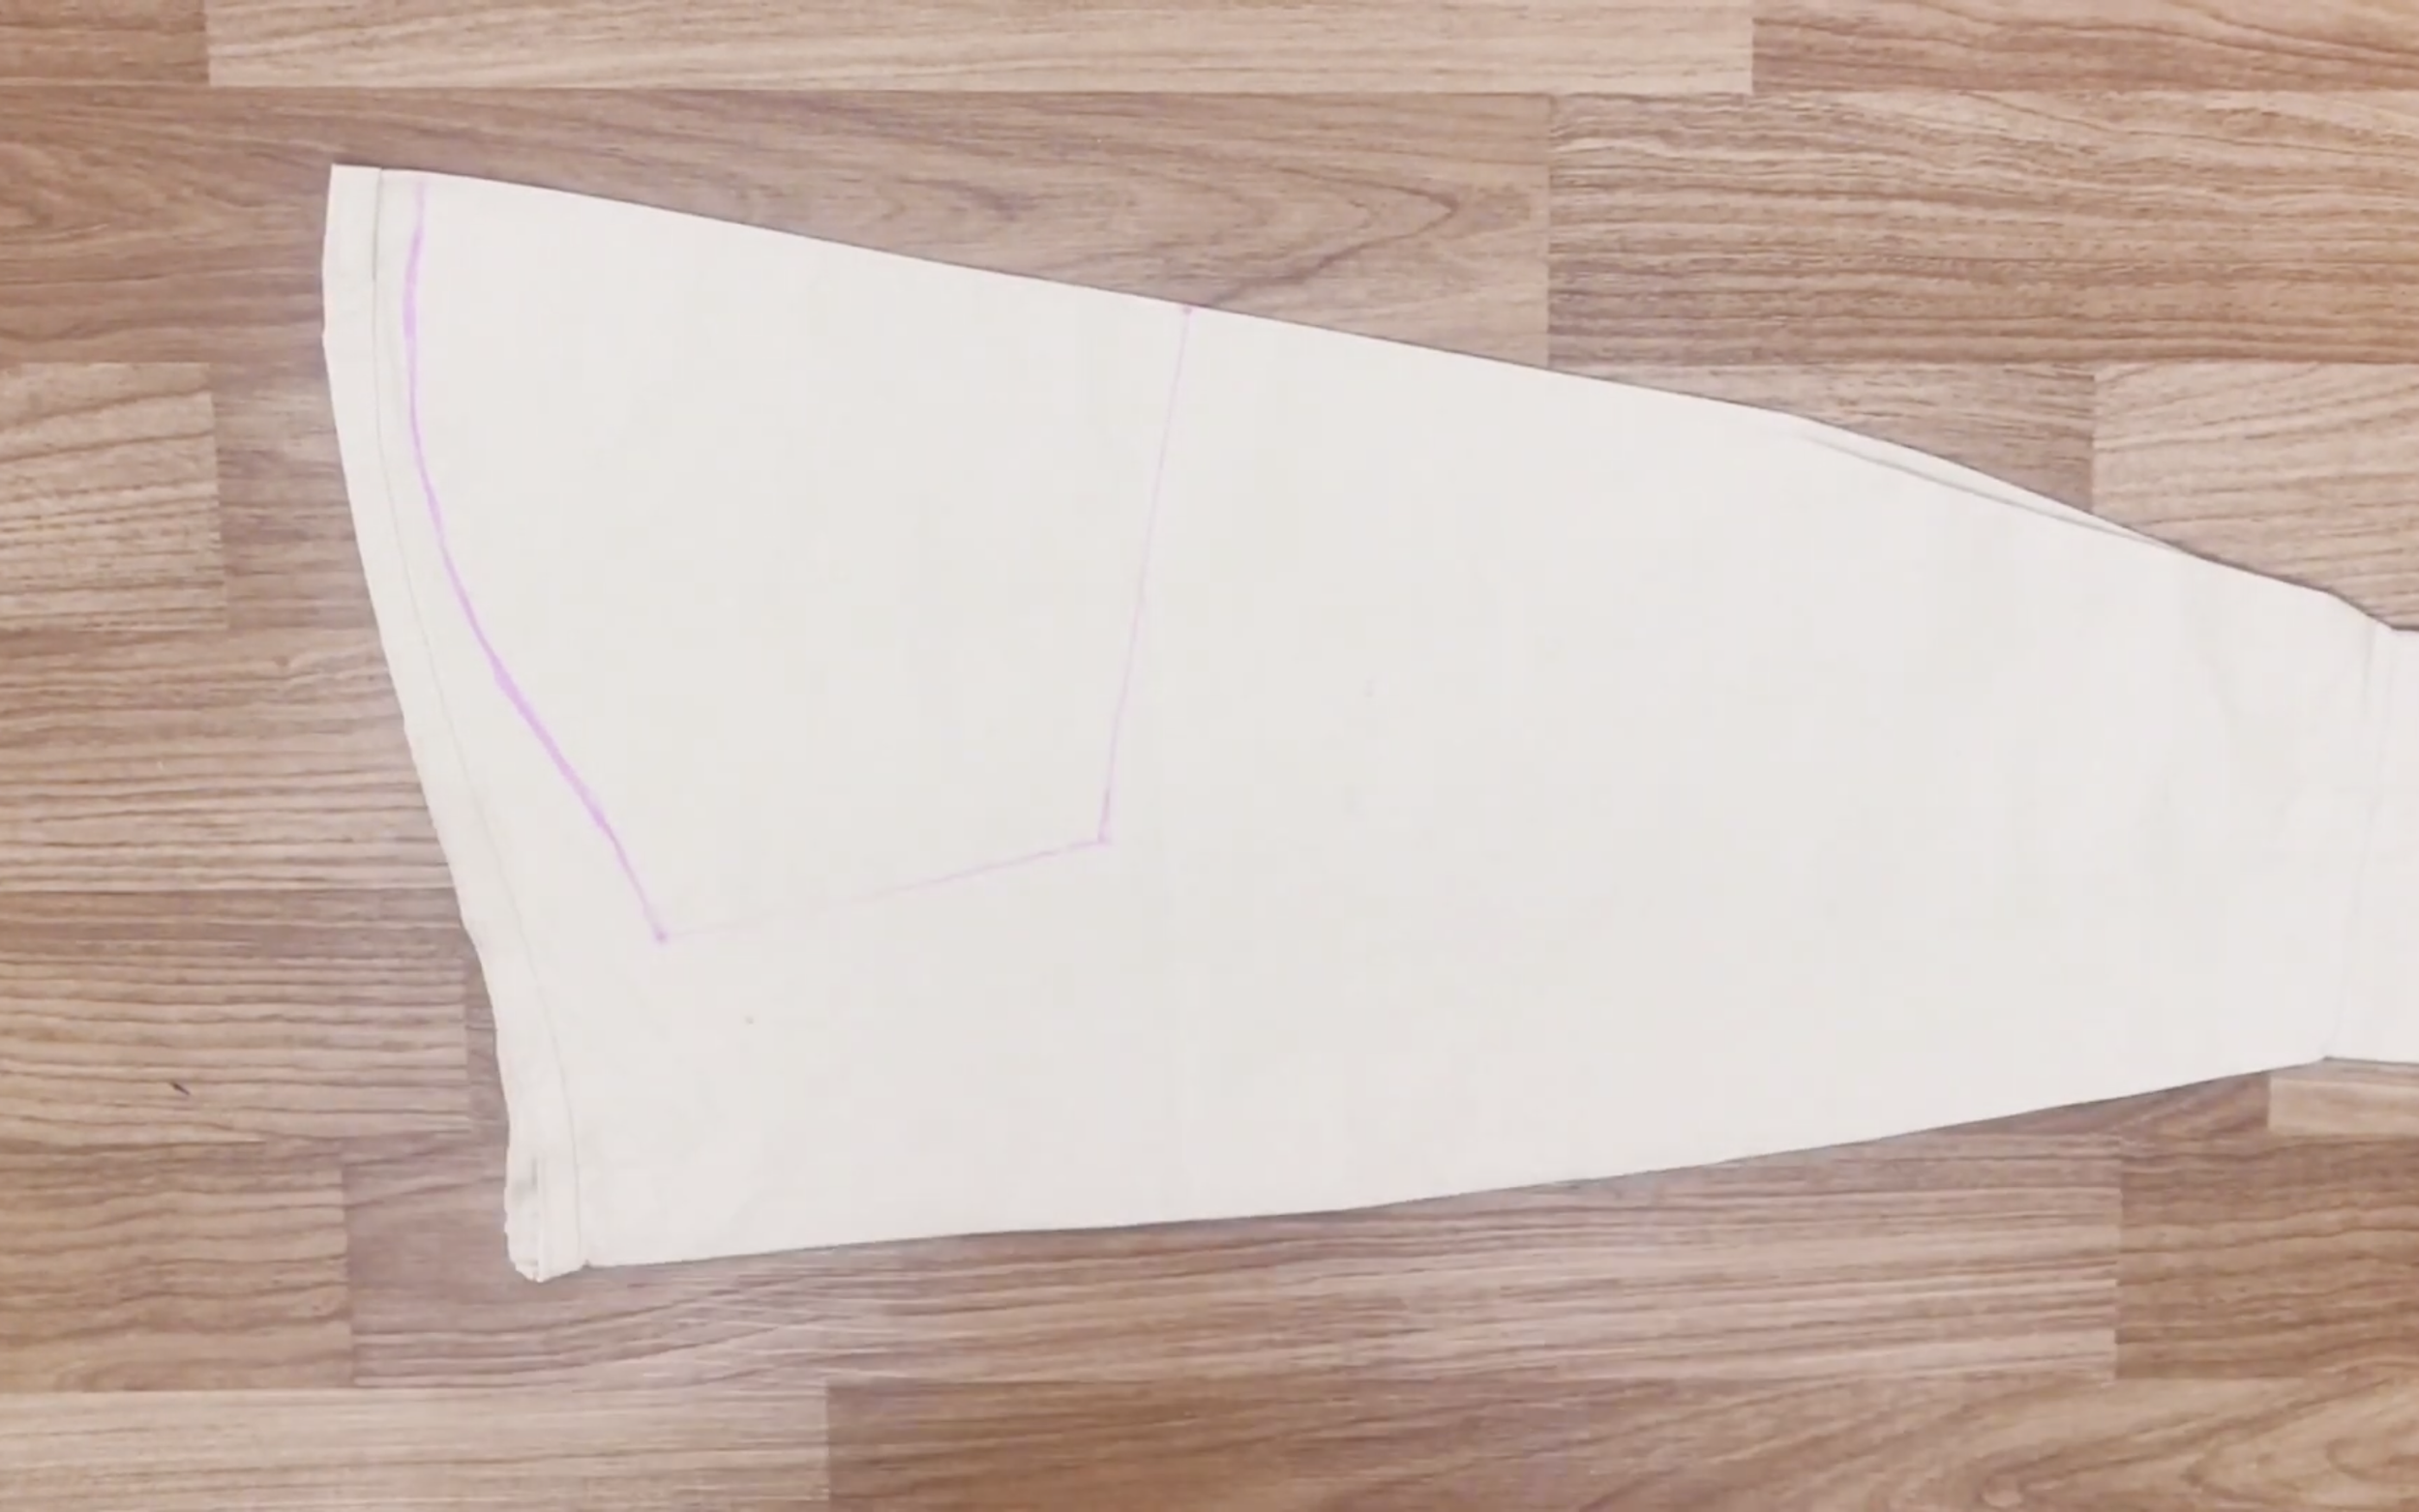
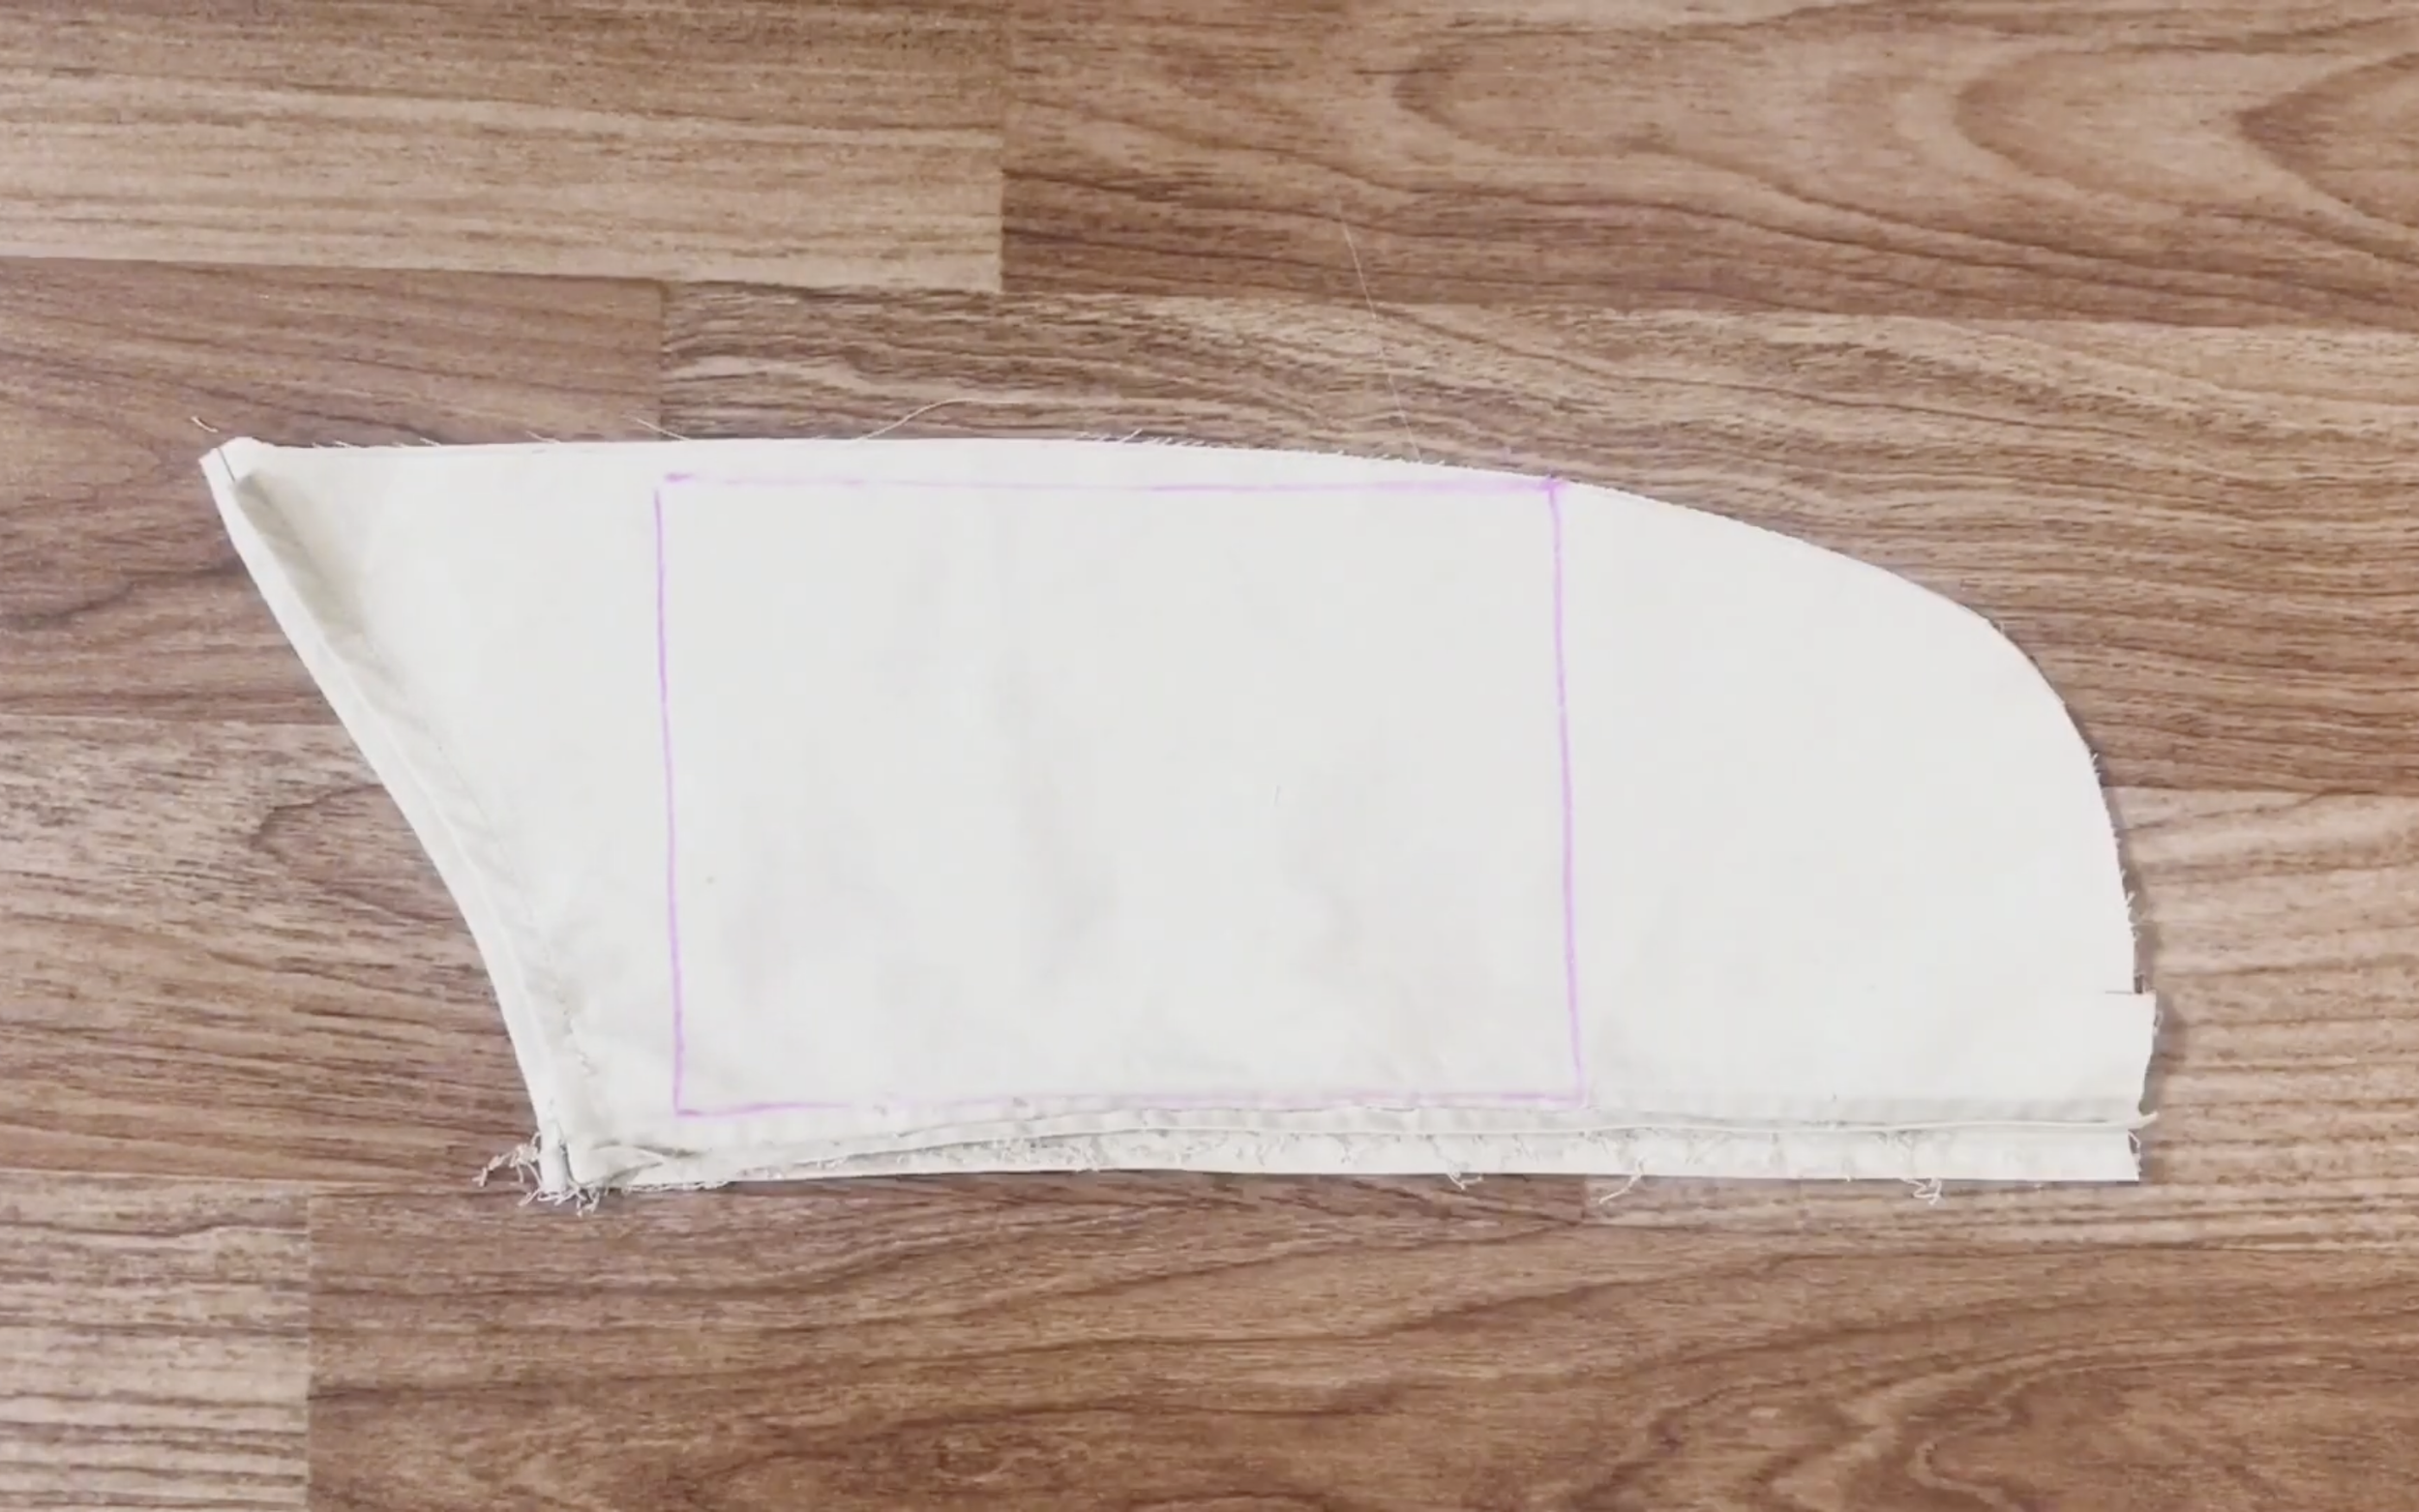
To make the front of the pant, draw a rectangle with 36 cm height and 24 cm width.
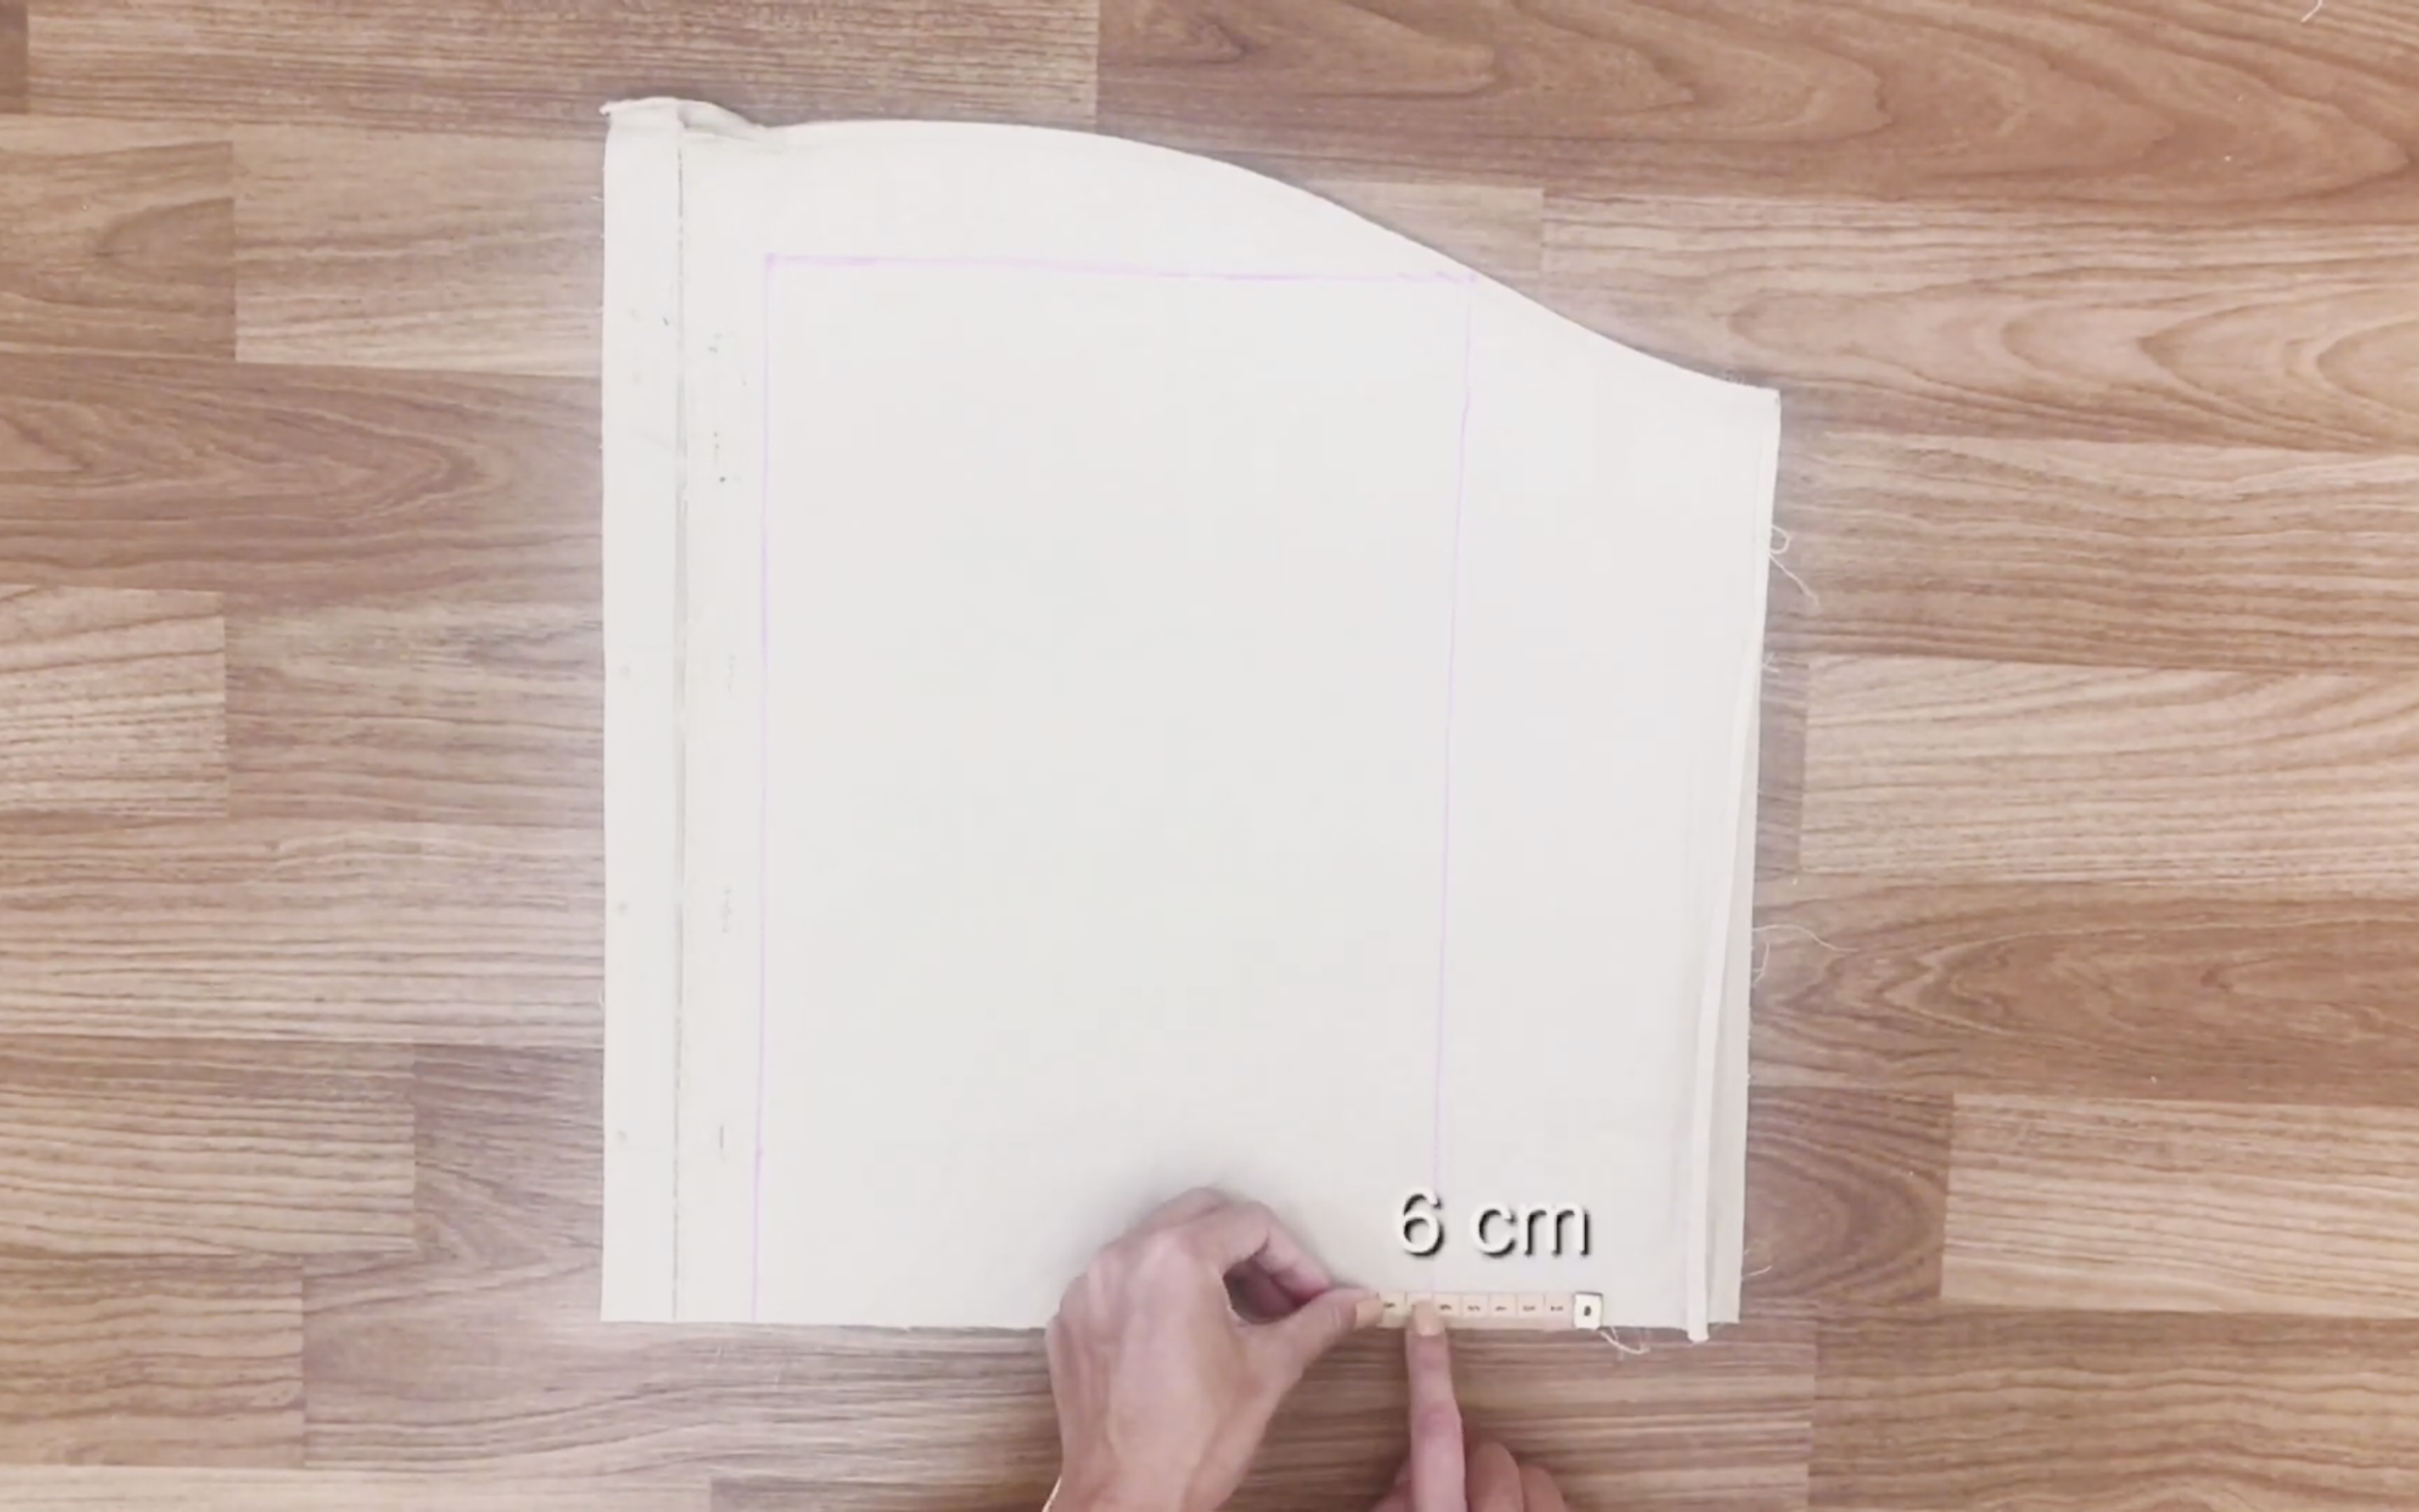
From the bottom of the rectangle, go 6 cm to the right side.
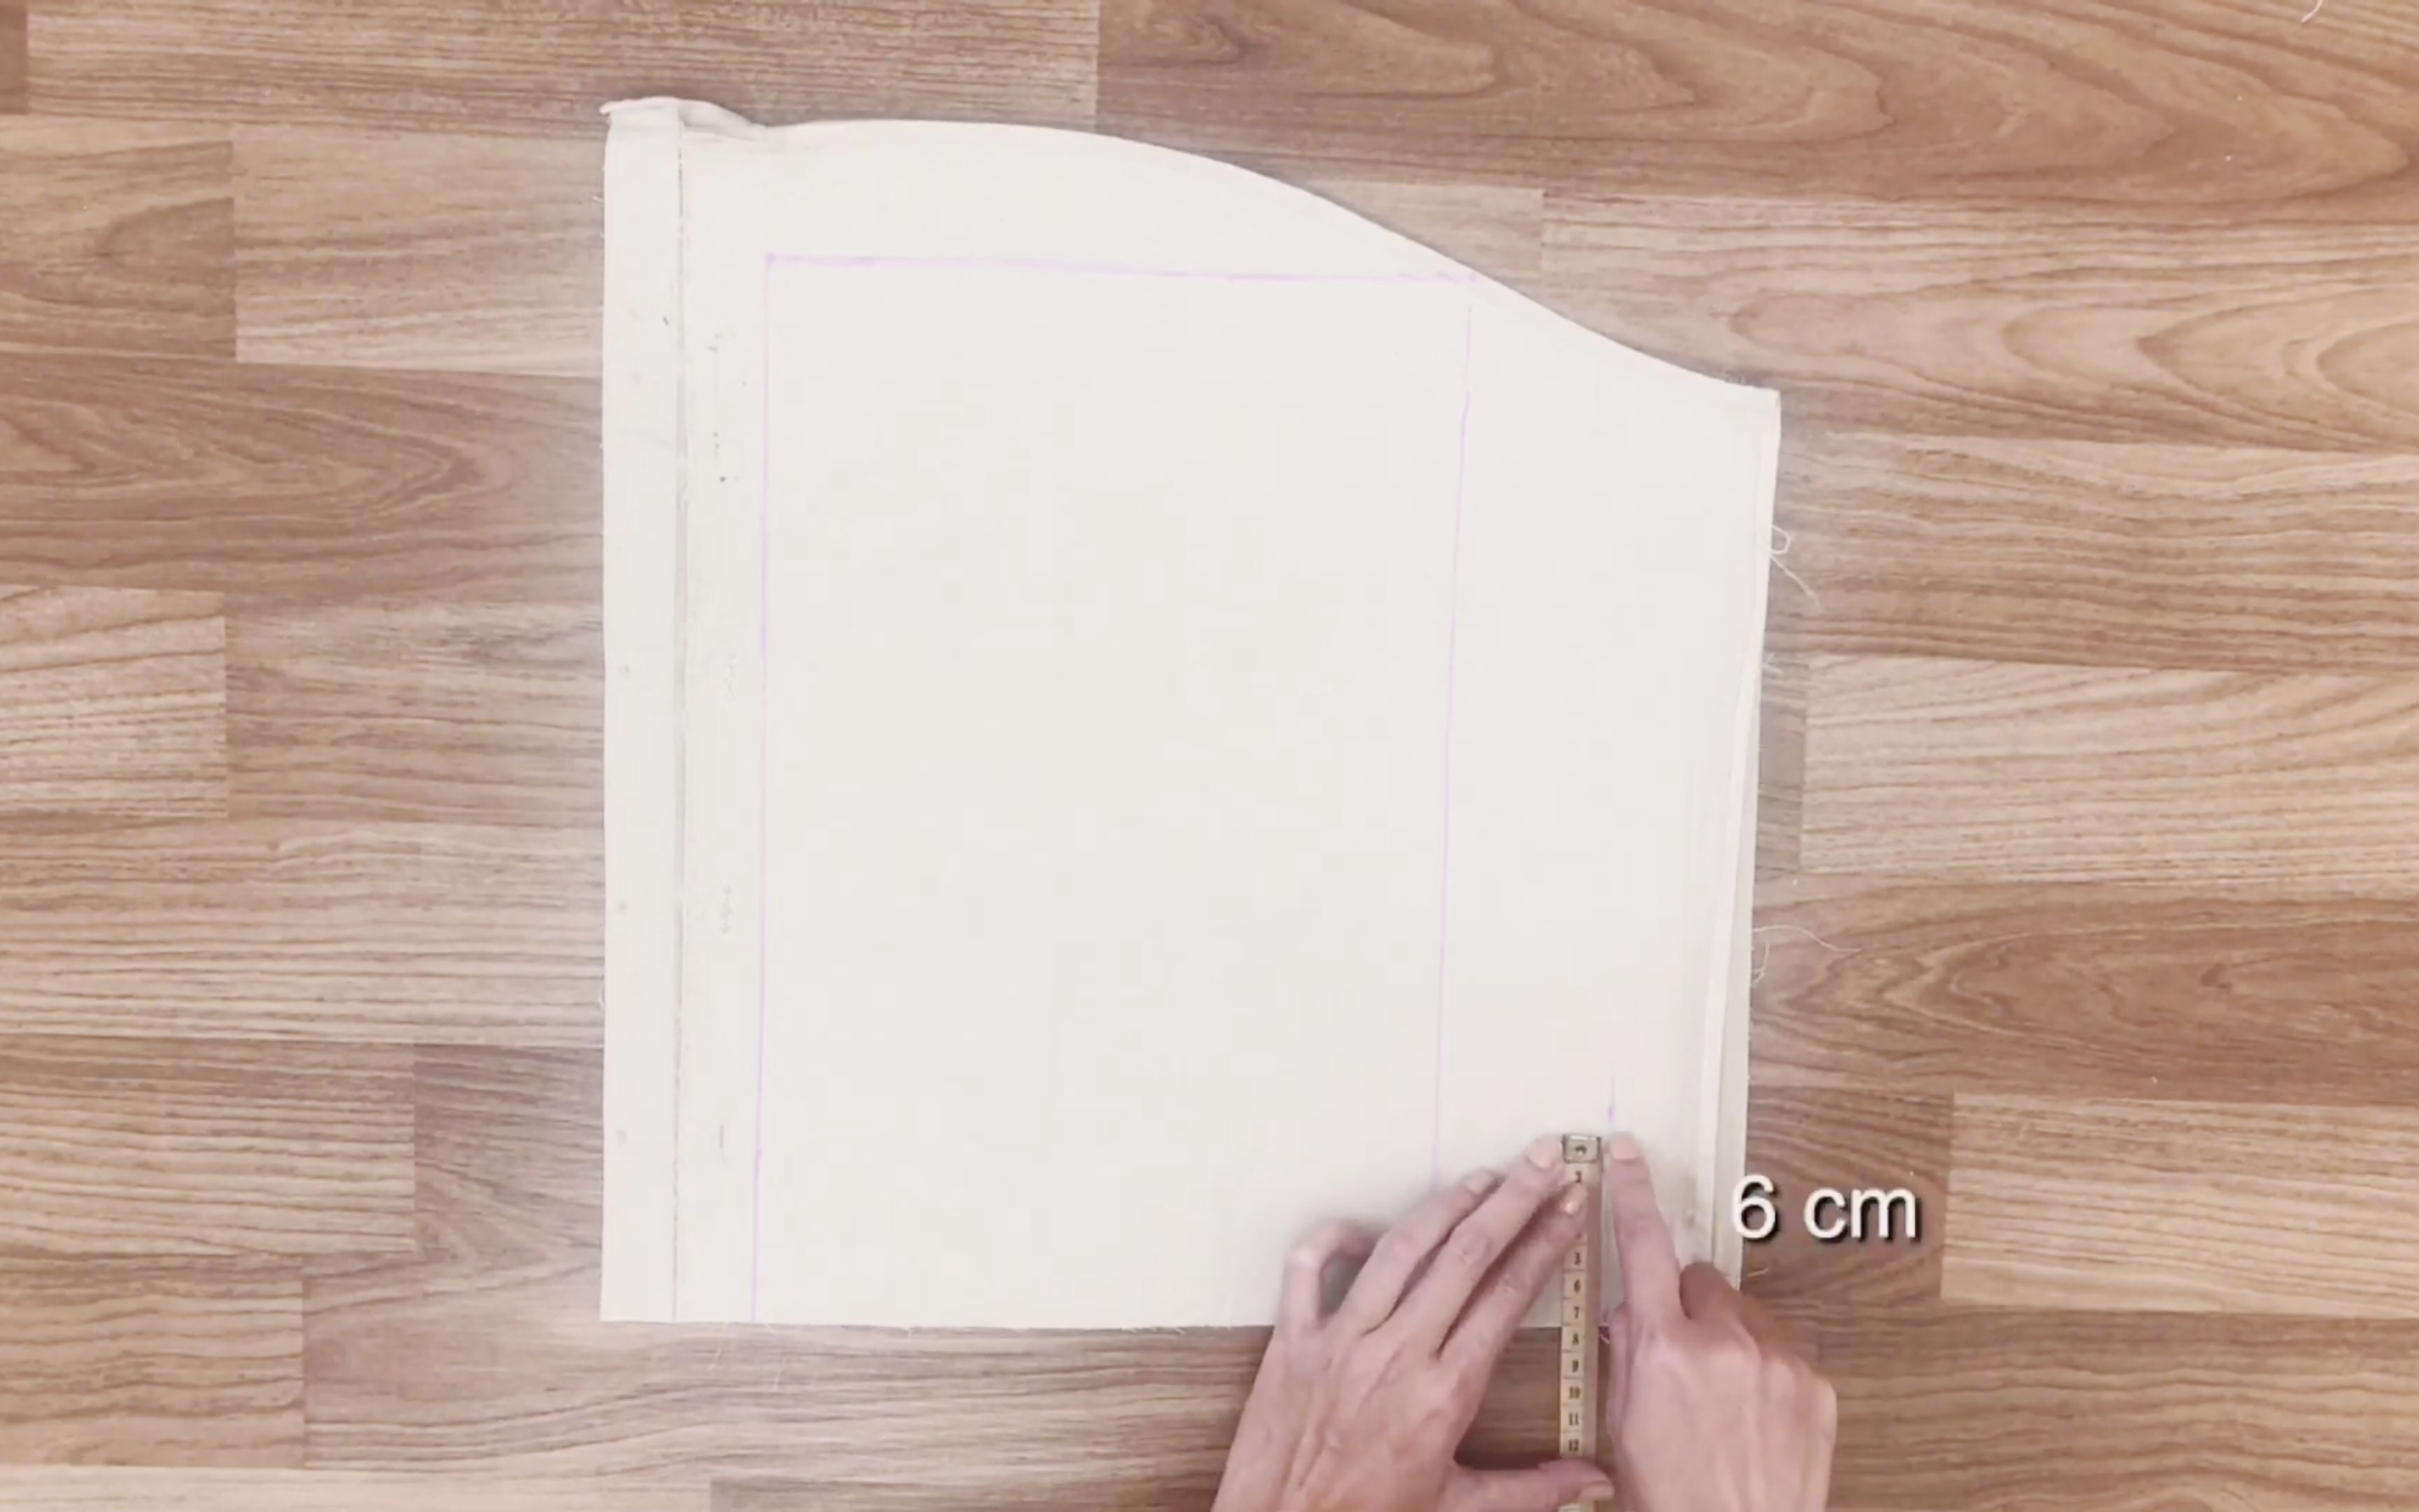
Then, go up 6 cm.
From there, draw the arc line to connect with the rectangle.
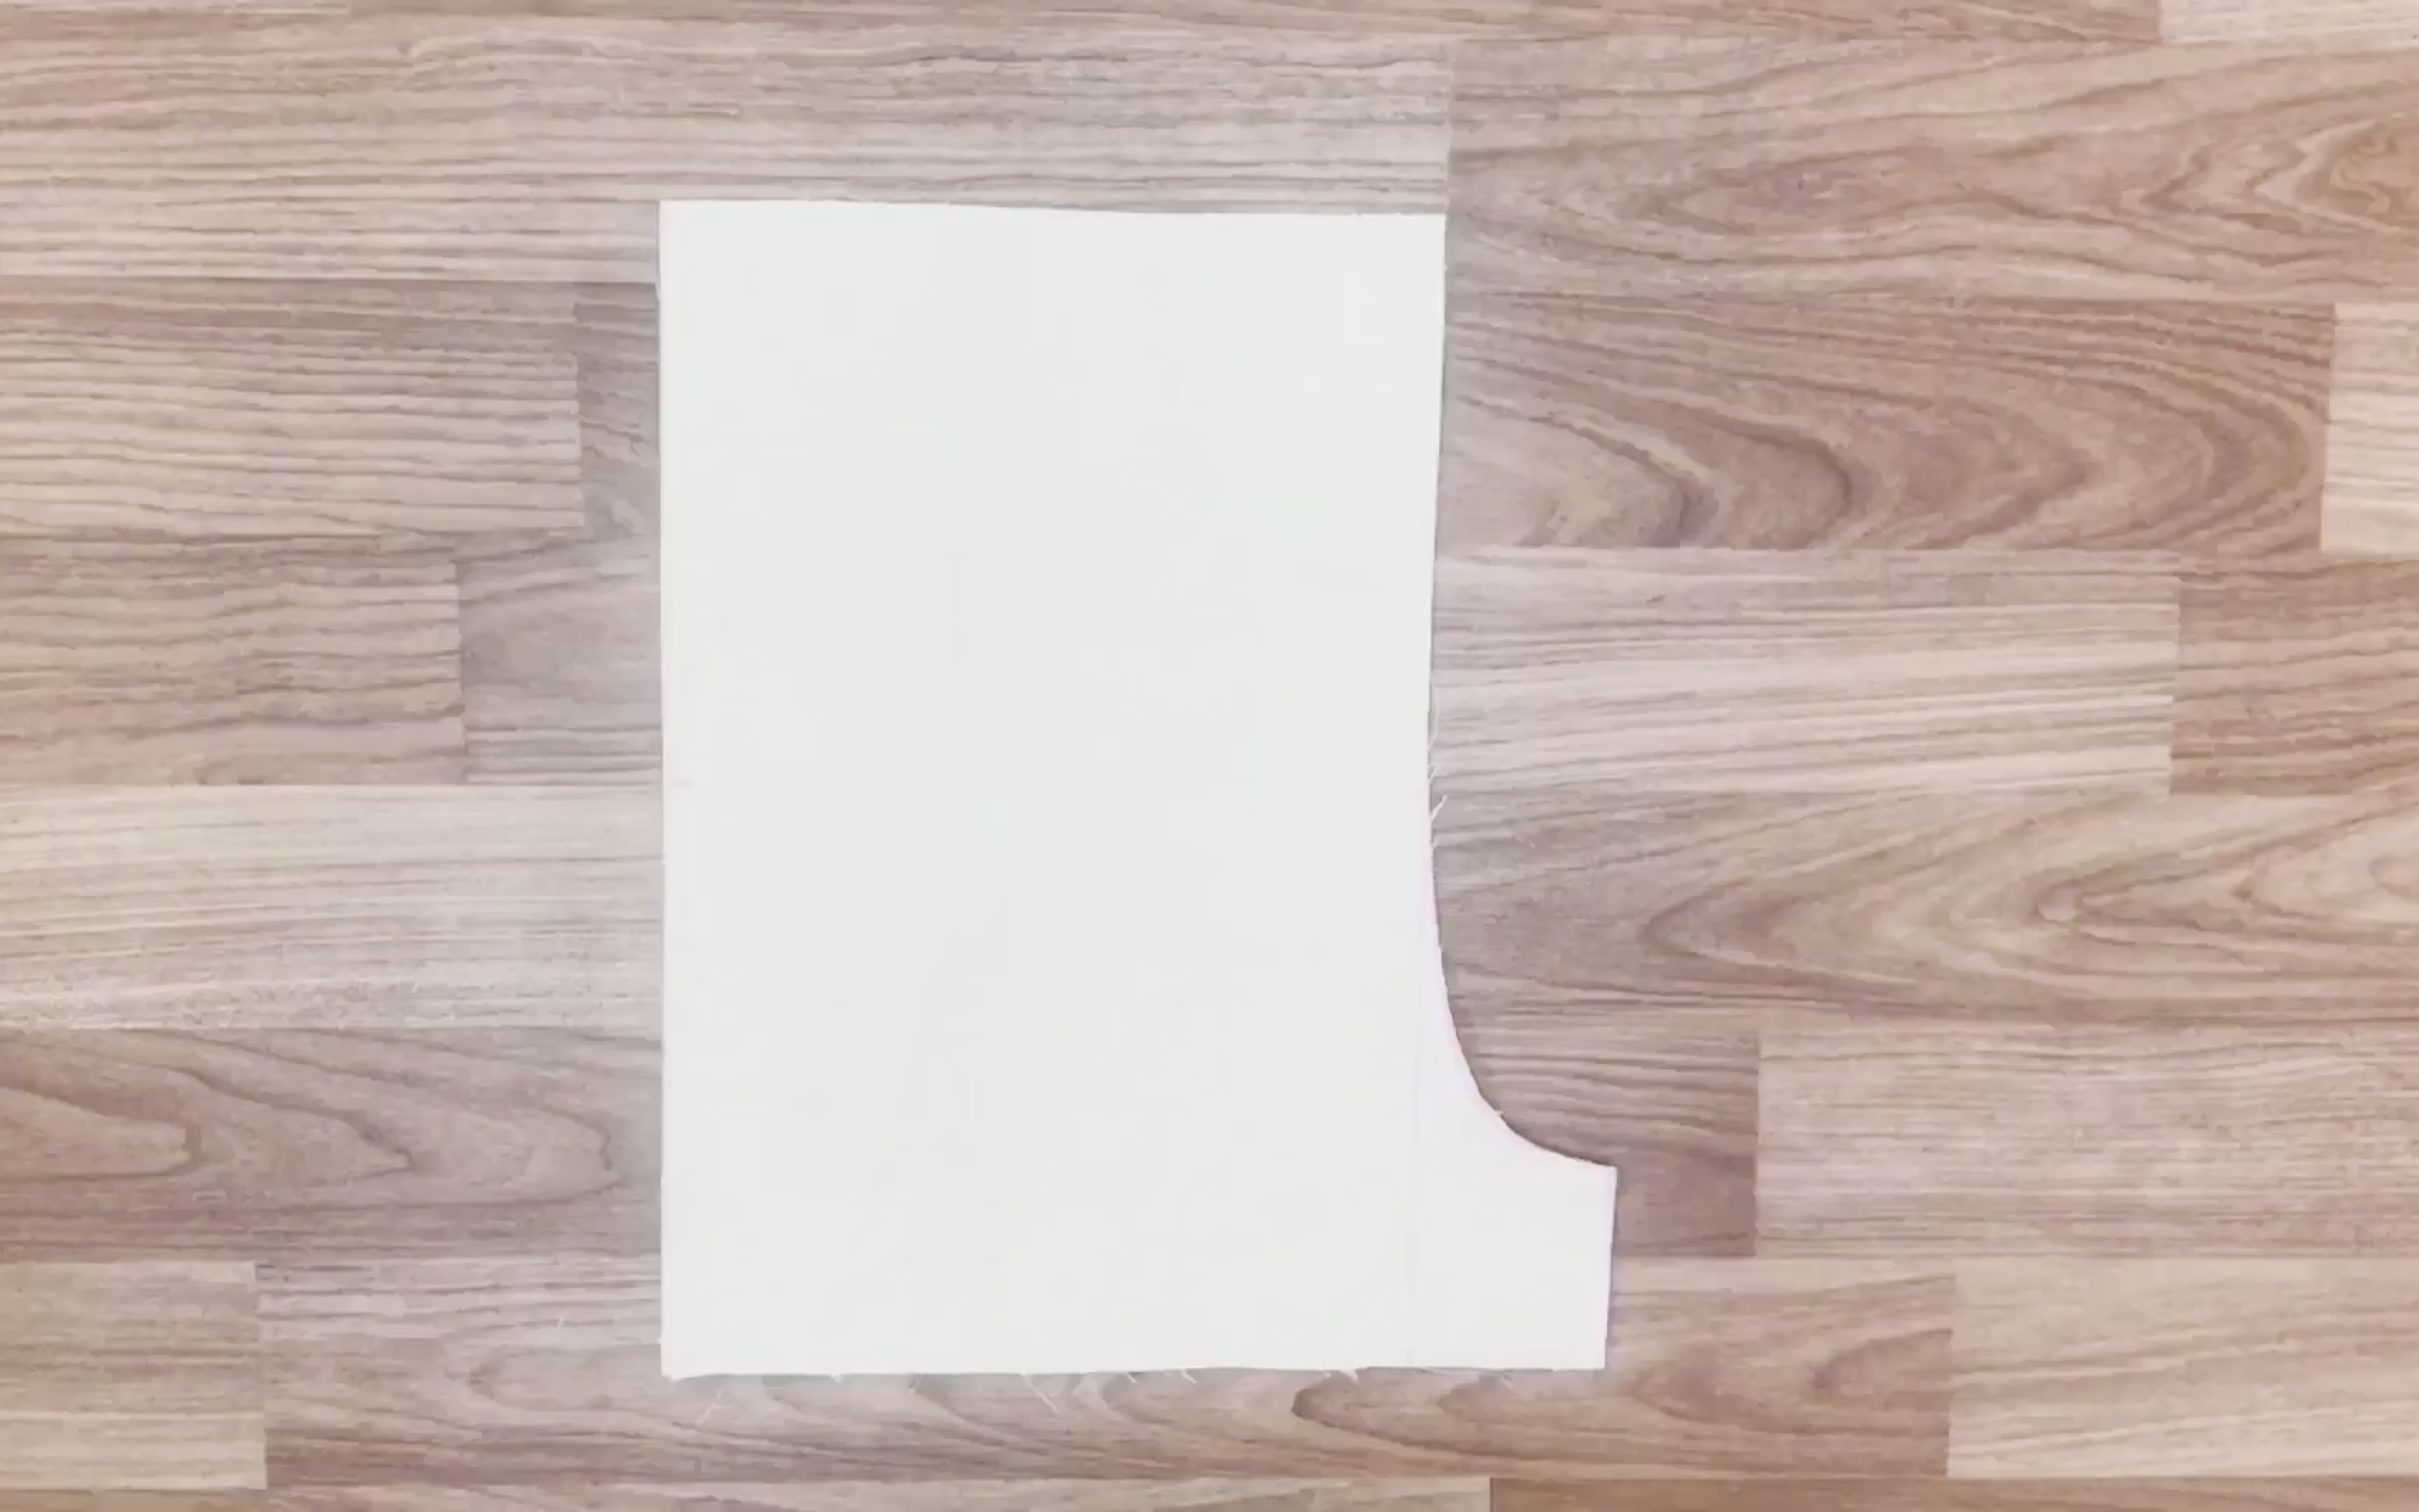
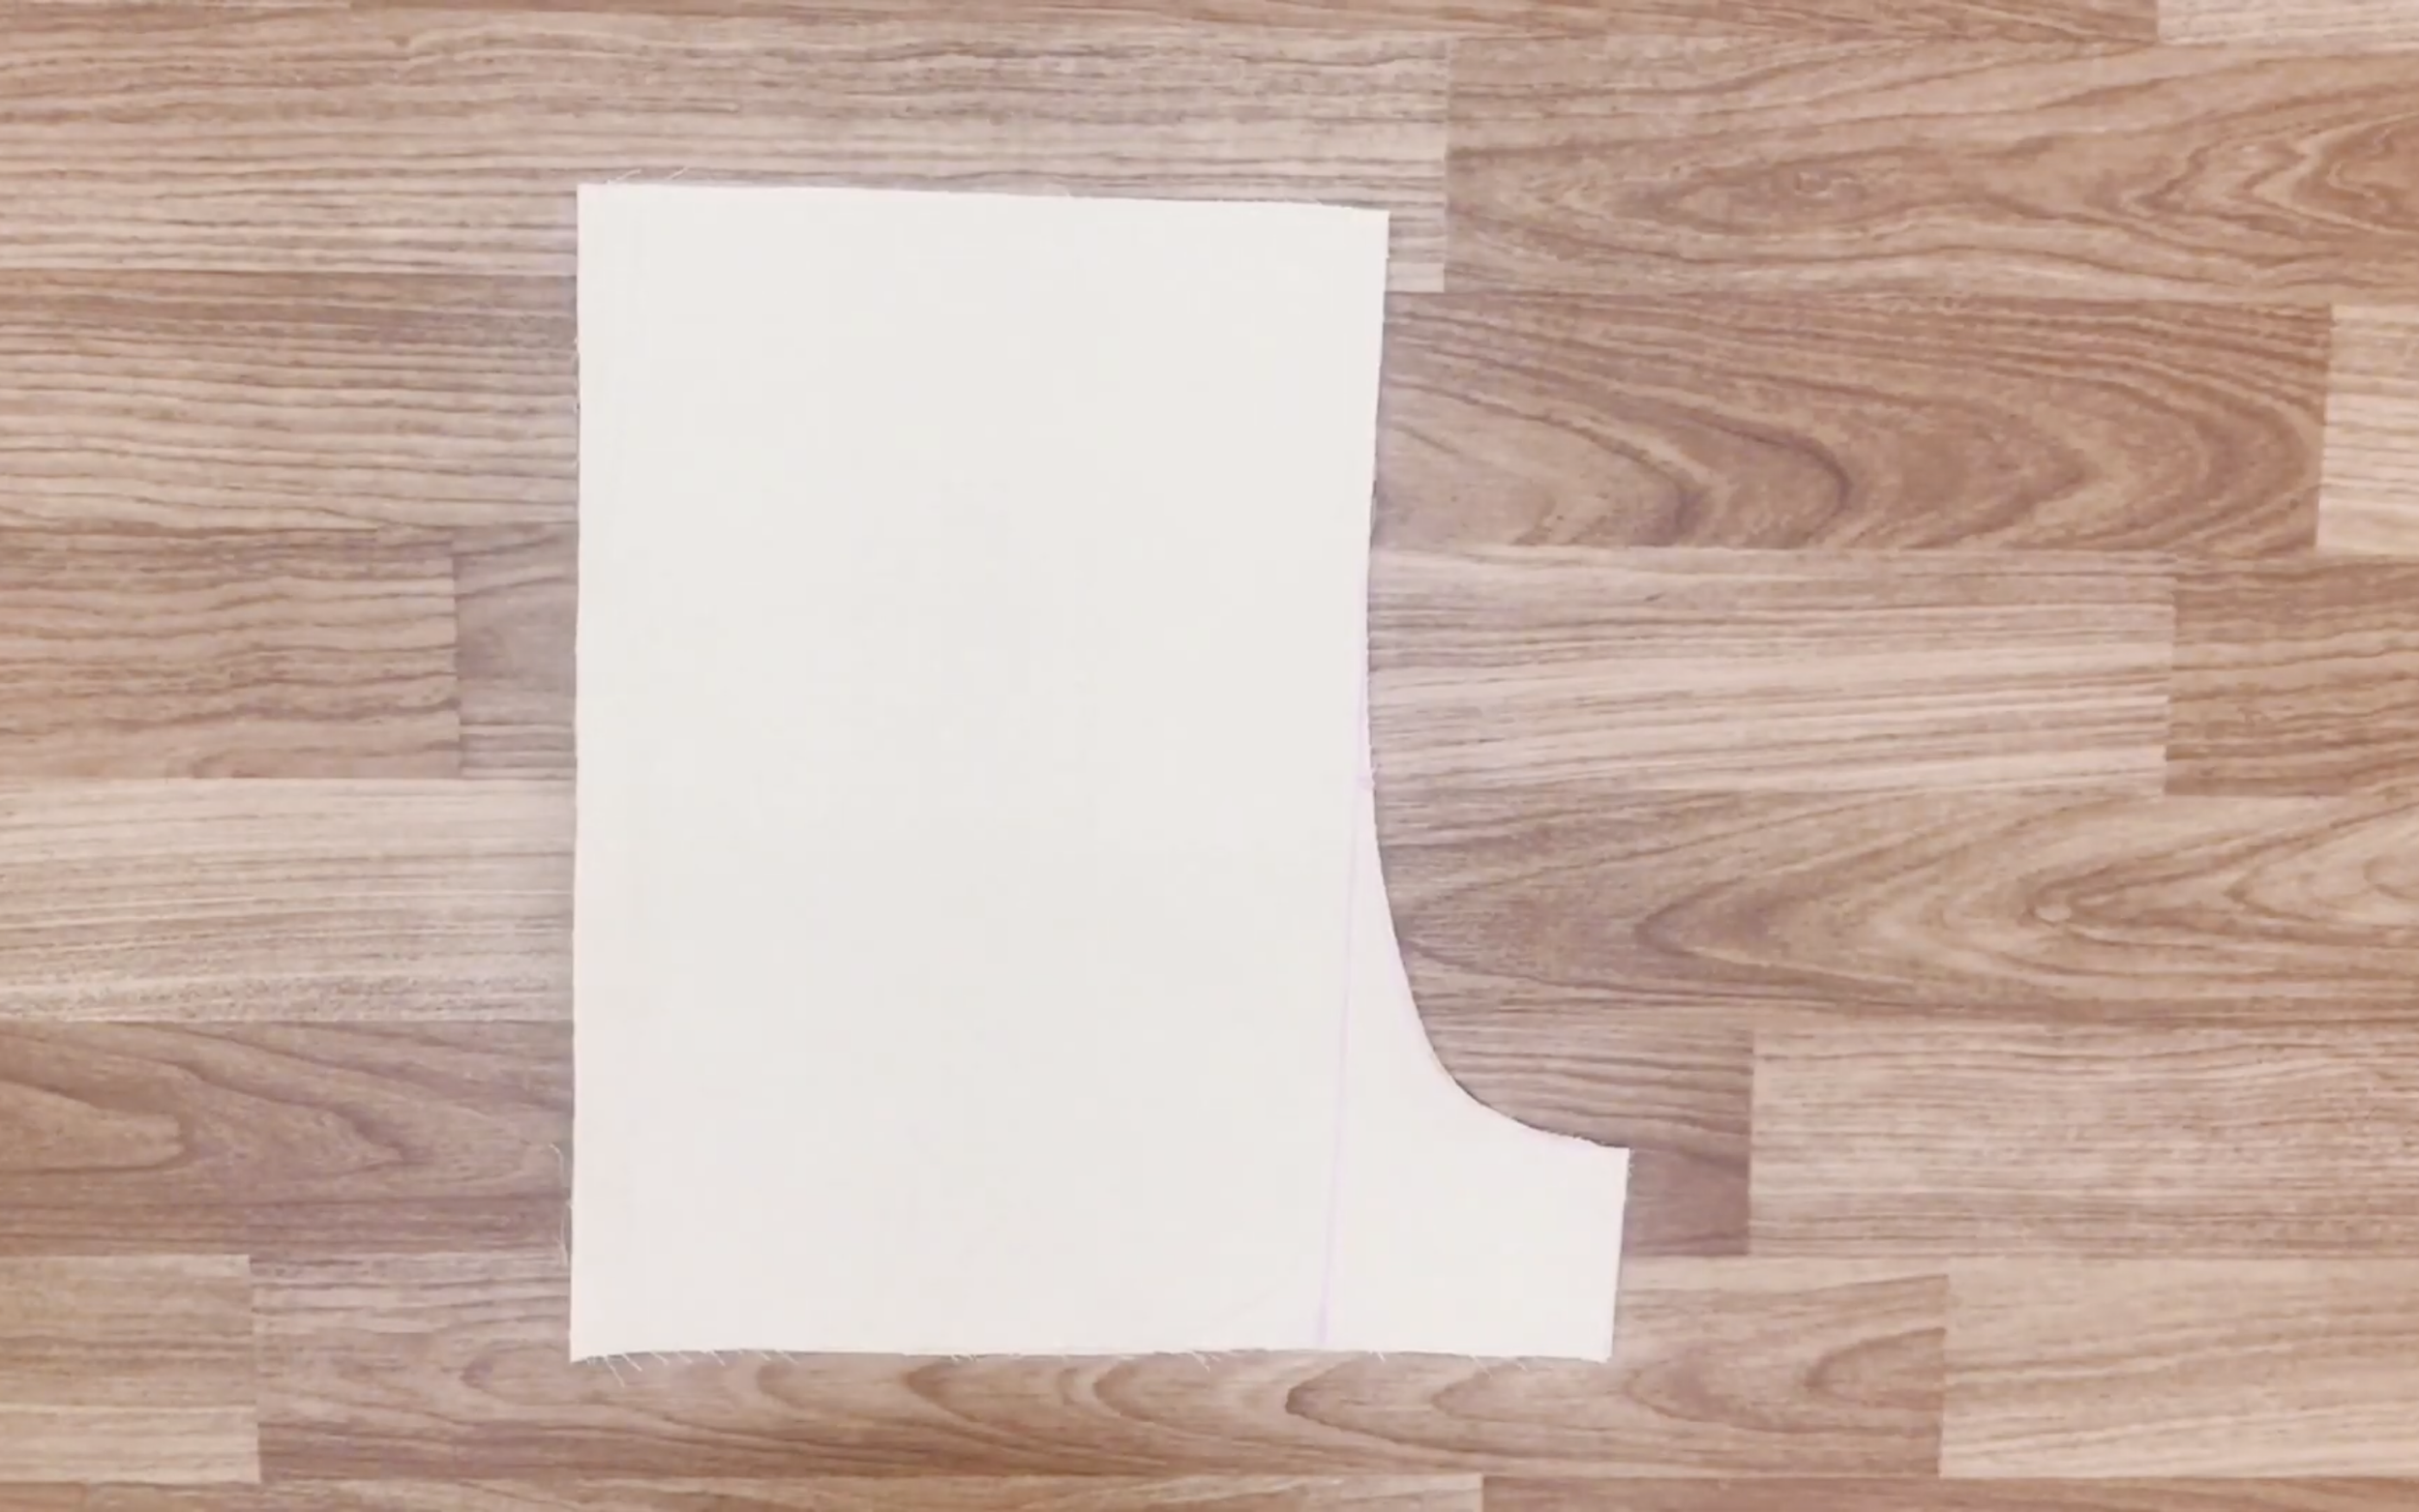
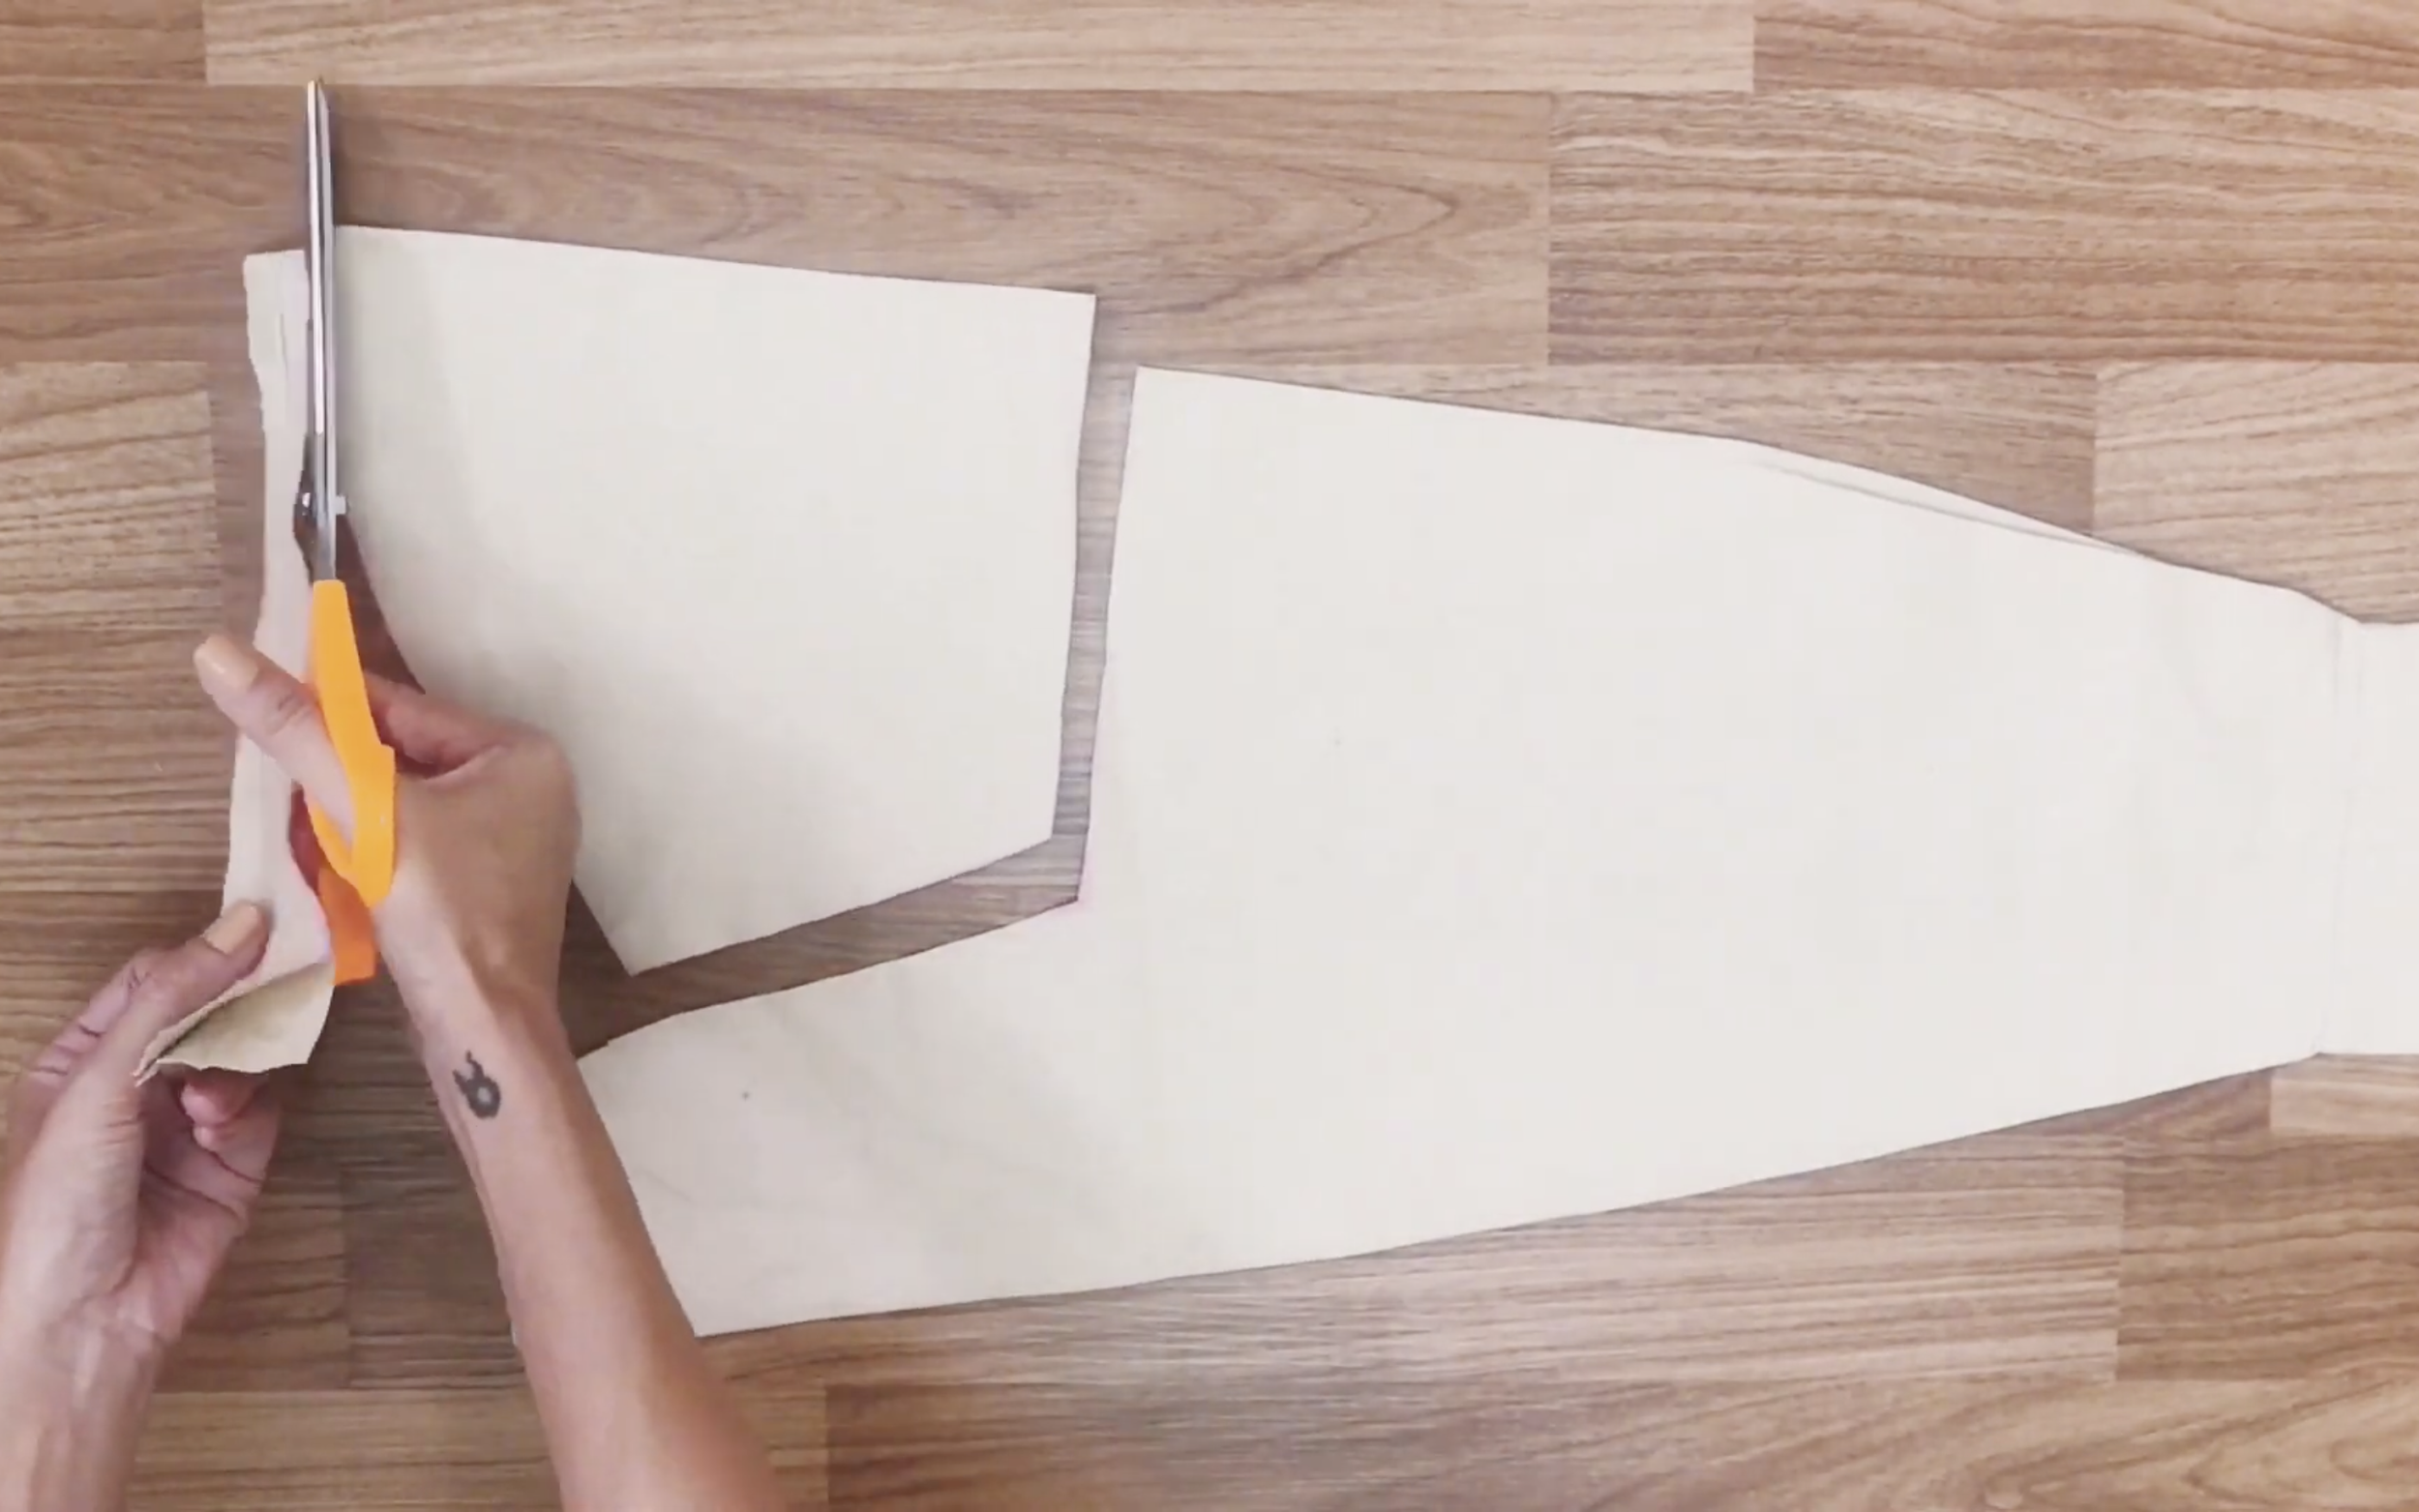
You just need to cut by the drawing line and you will have the front part of the pant.
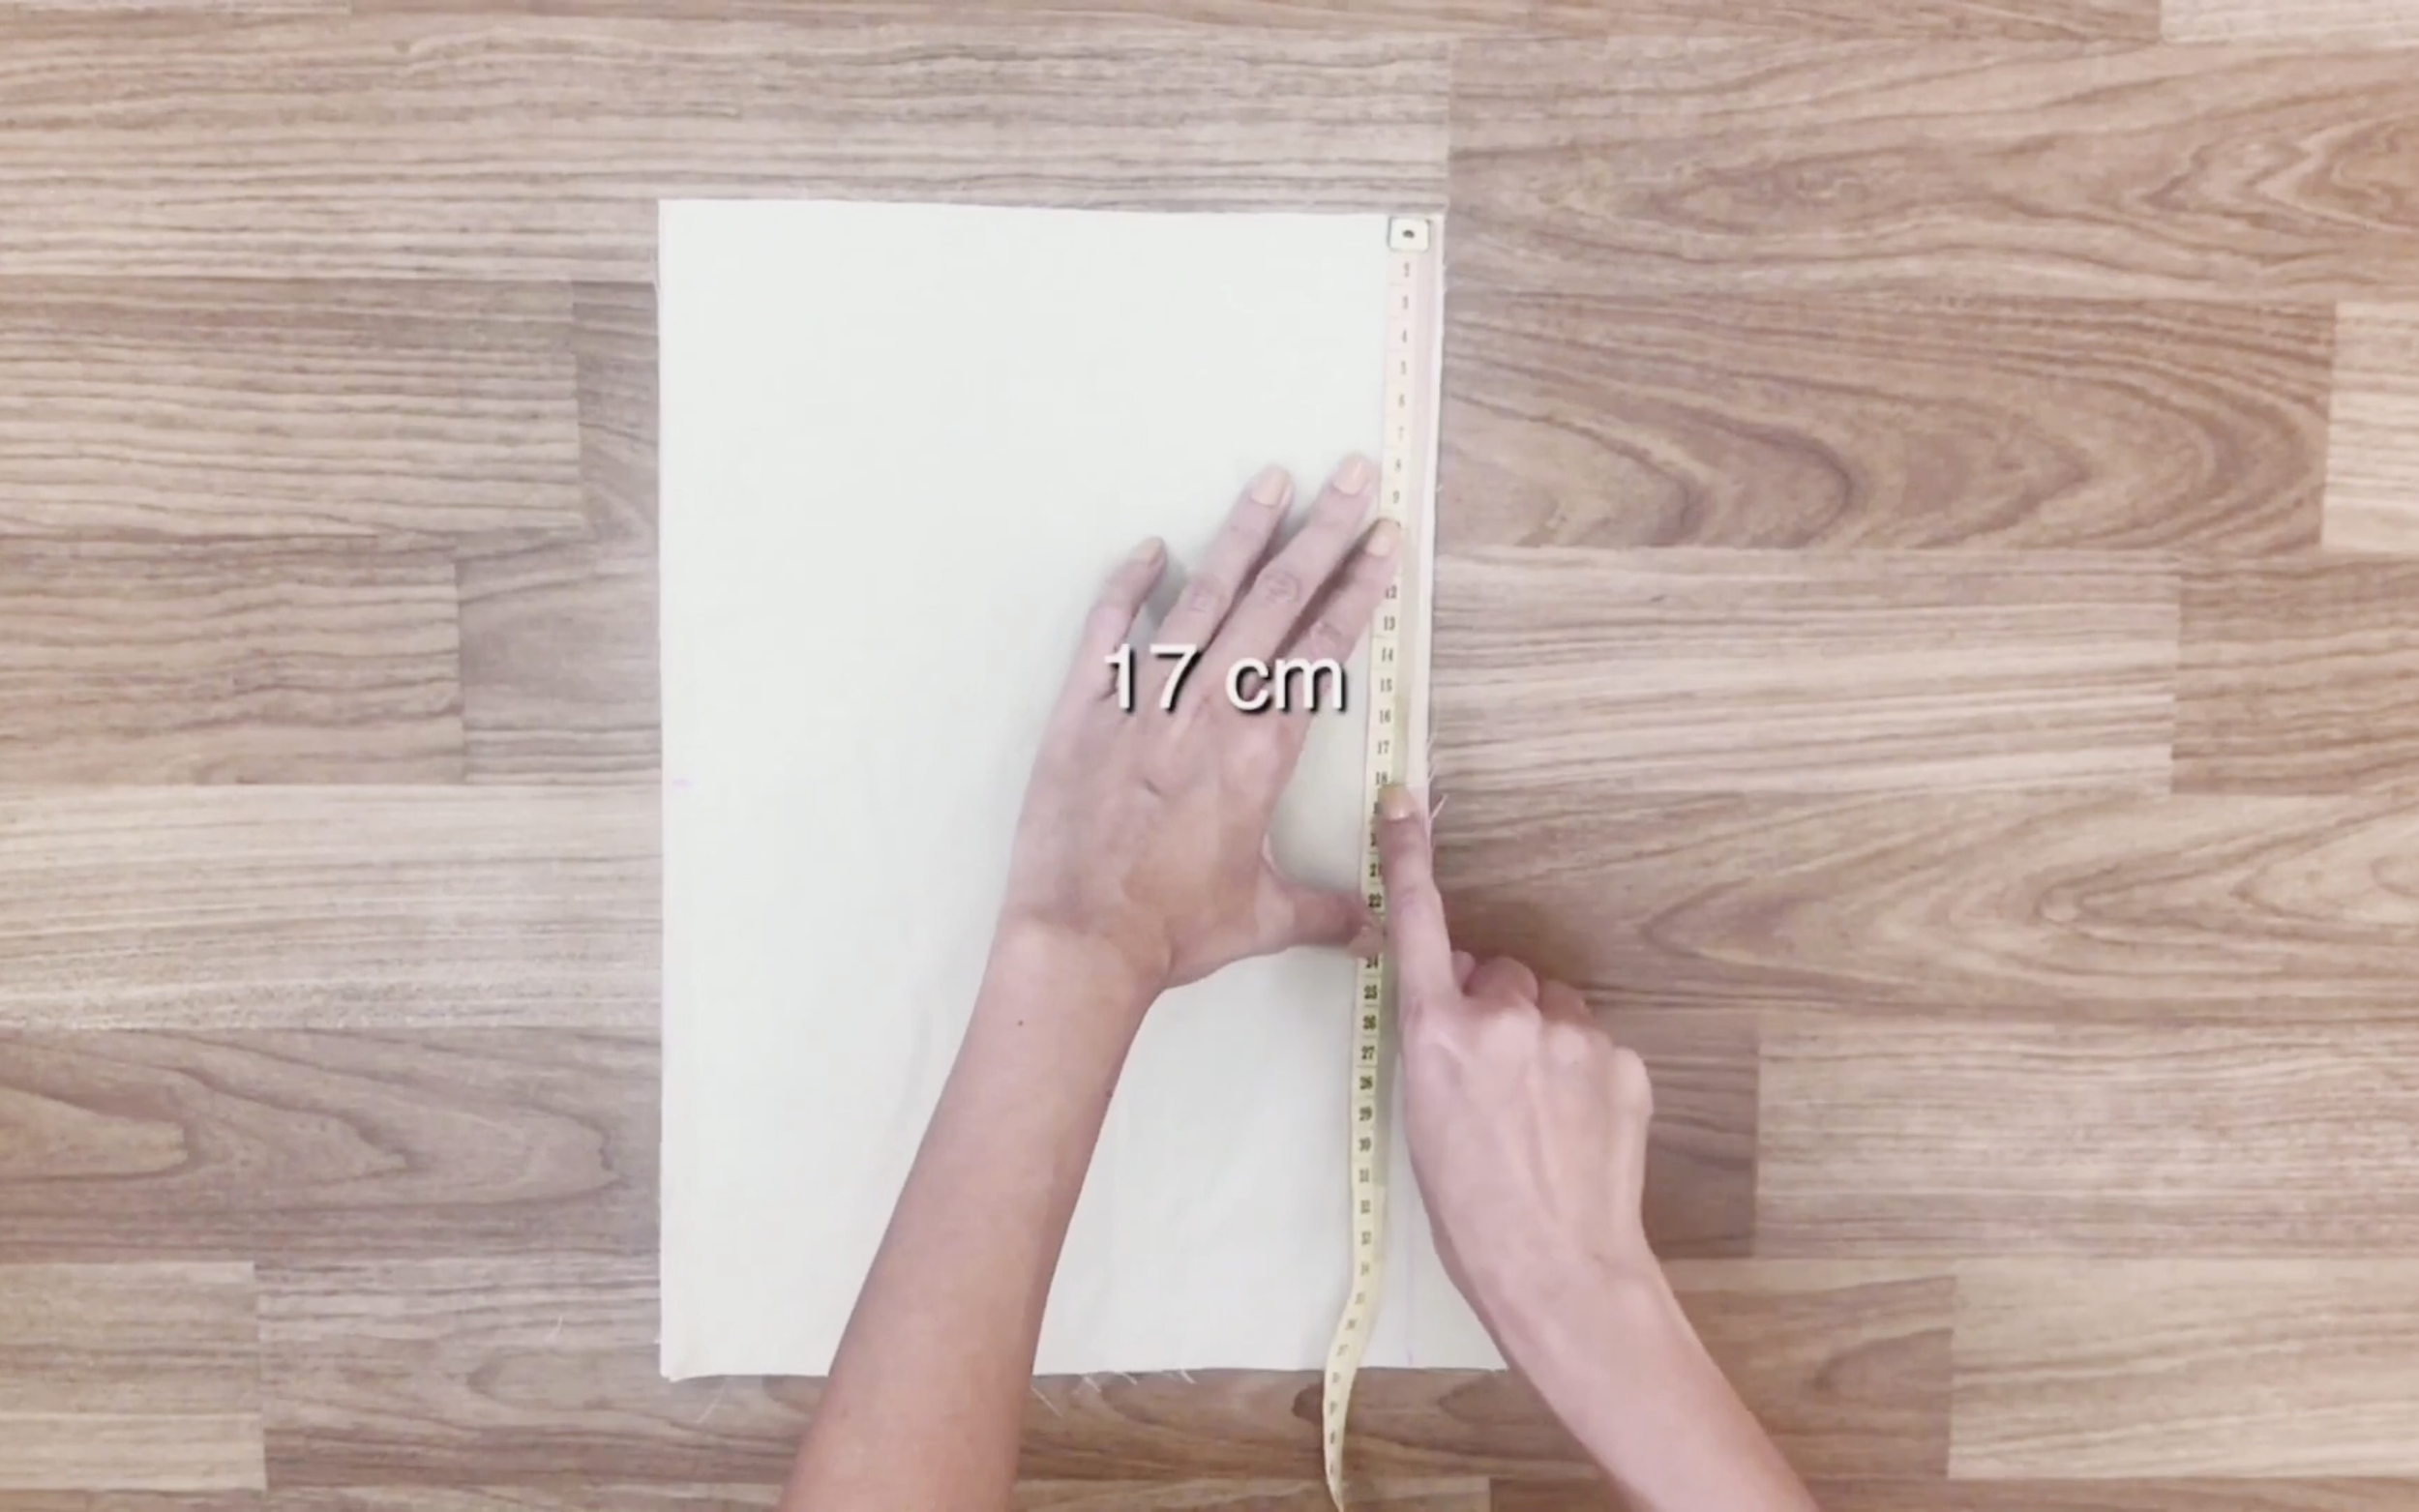
From the top of the front pant, go down 17 cm and make a mark because you will sew from the mark followed to the line.

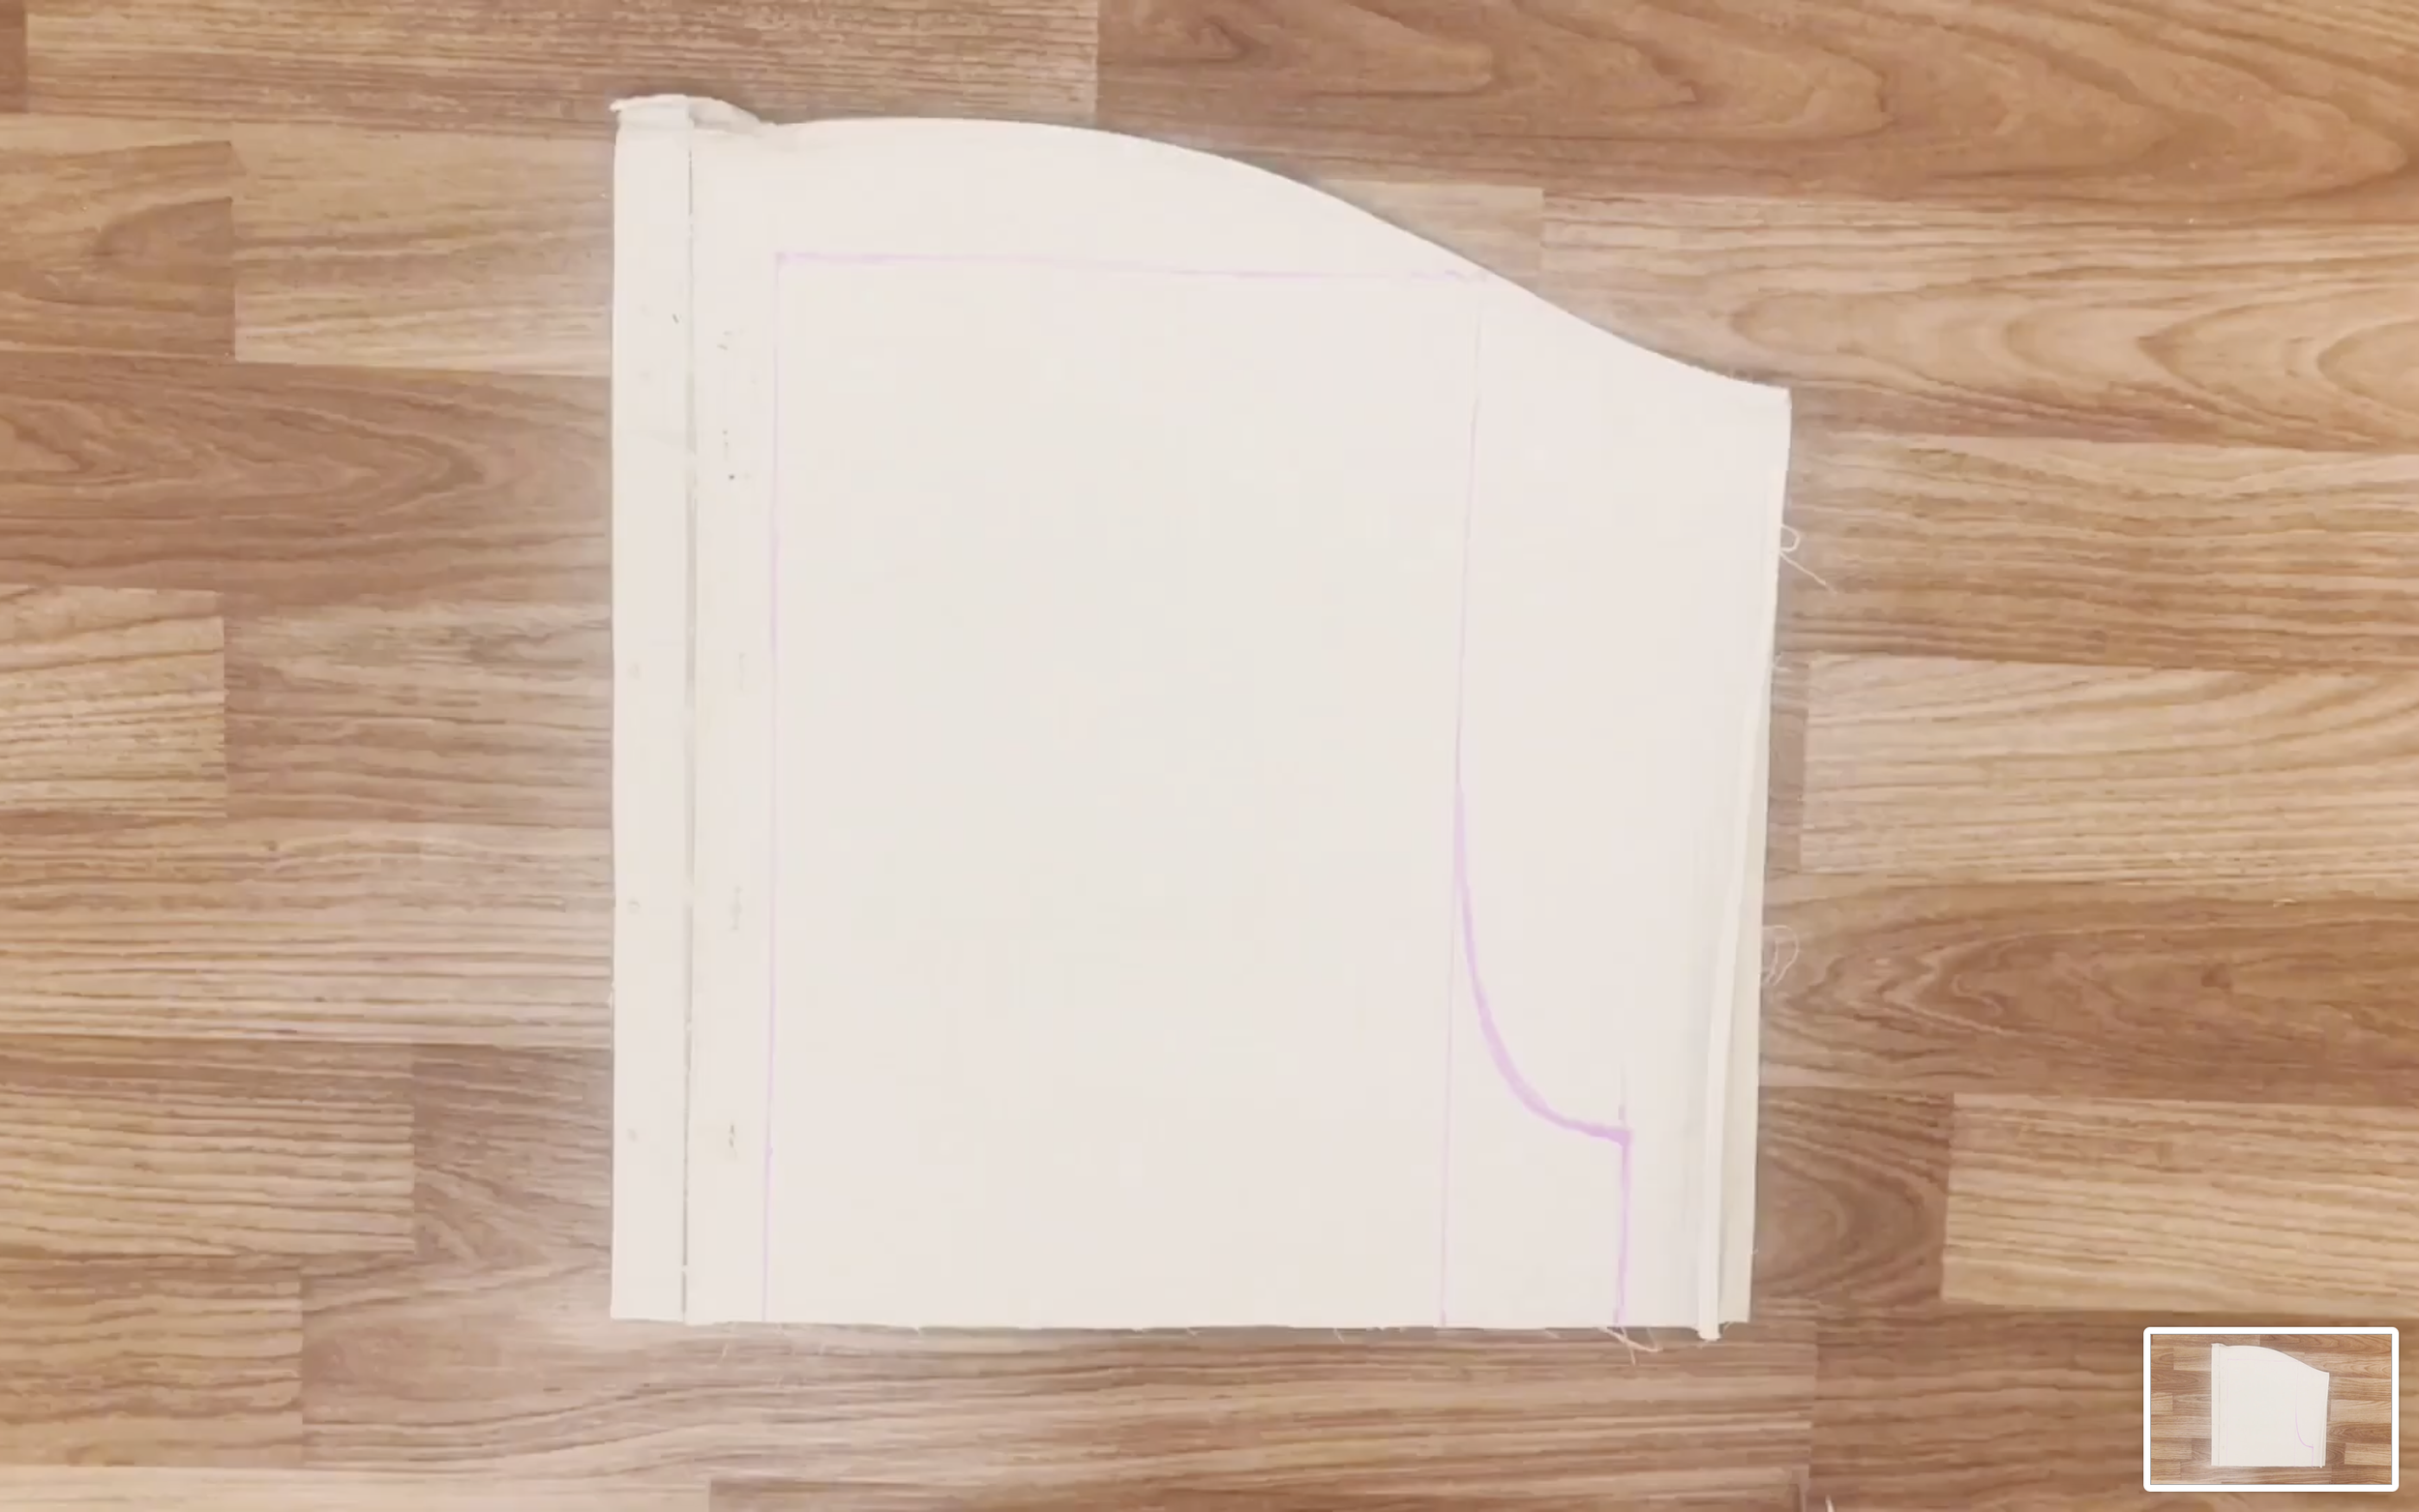
Doing similar for the back of the pant, draw the rectangle with the same side to the front part.
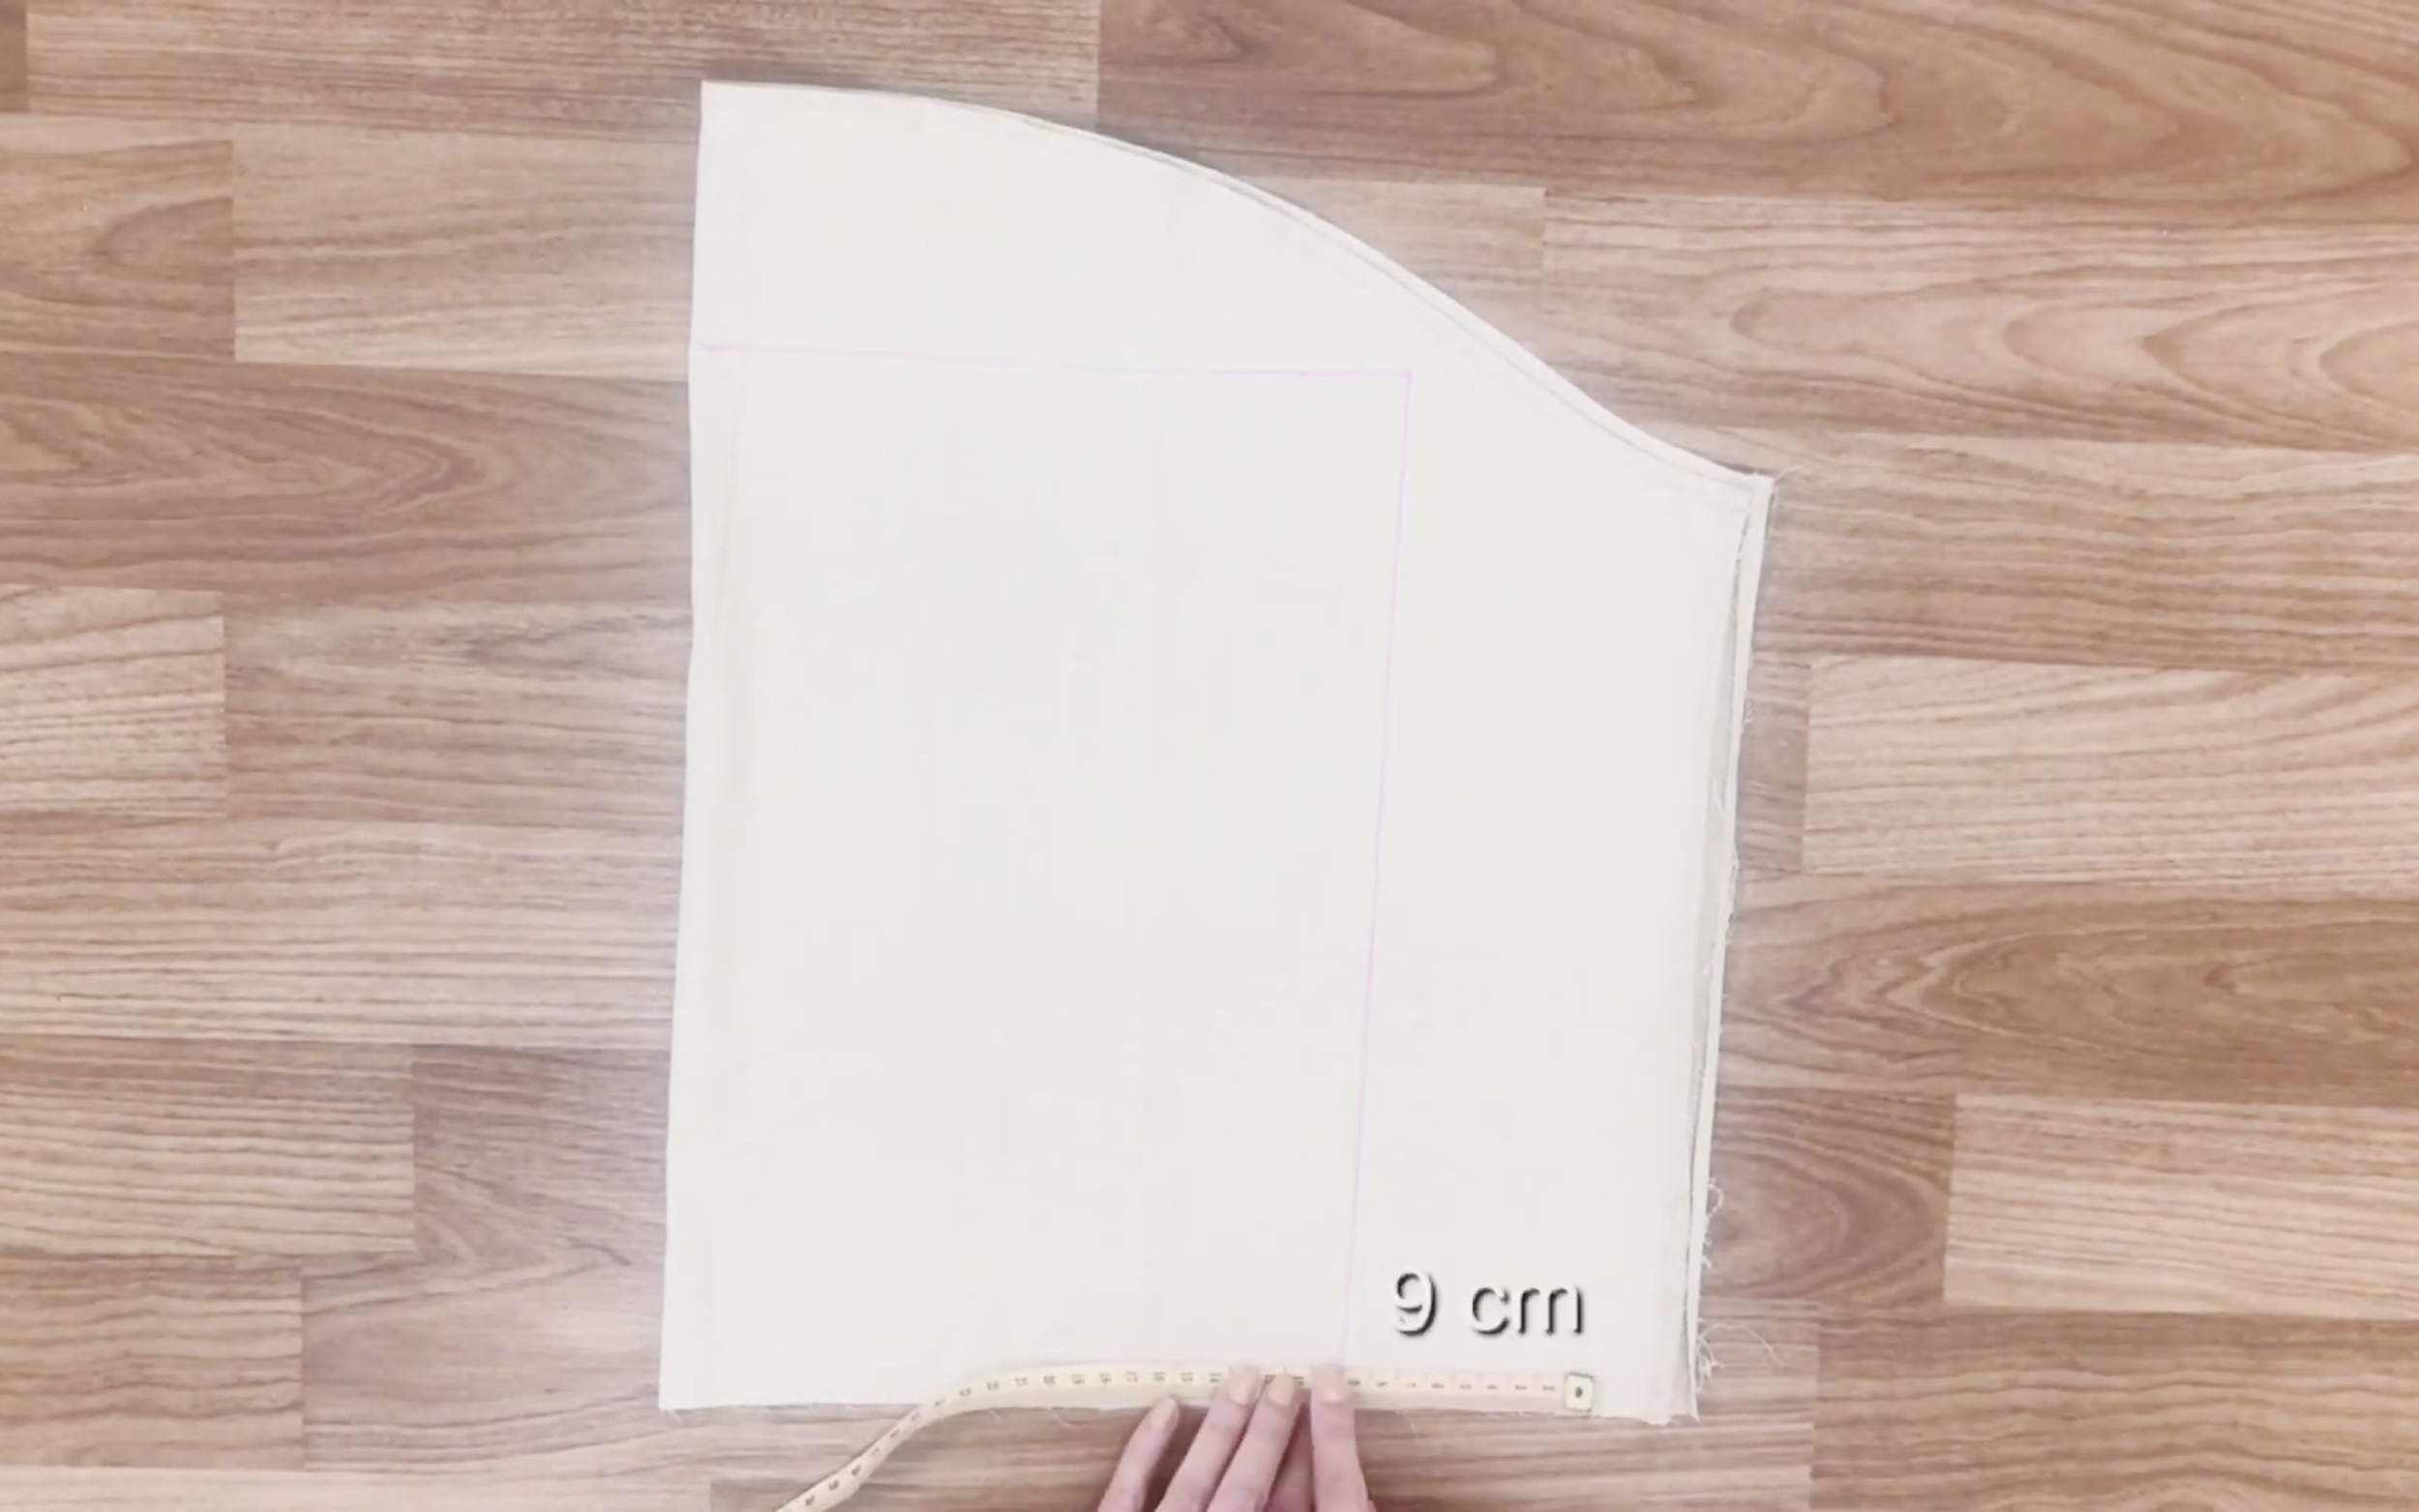
But from the bottom of the rectangle, go 9 cm to the right instead of 6 cm like the front part.
Then, go up 6 cm and draw an arc line similar to what was done with the front part.
Then, cut by the drawing line and sew the arc line of two pieces together.
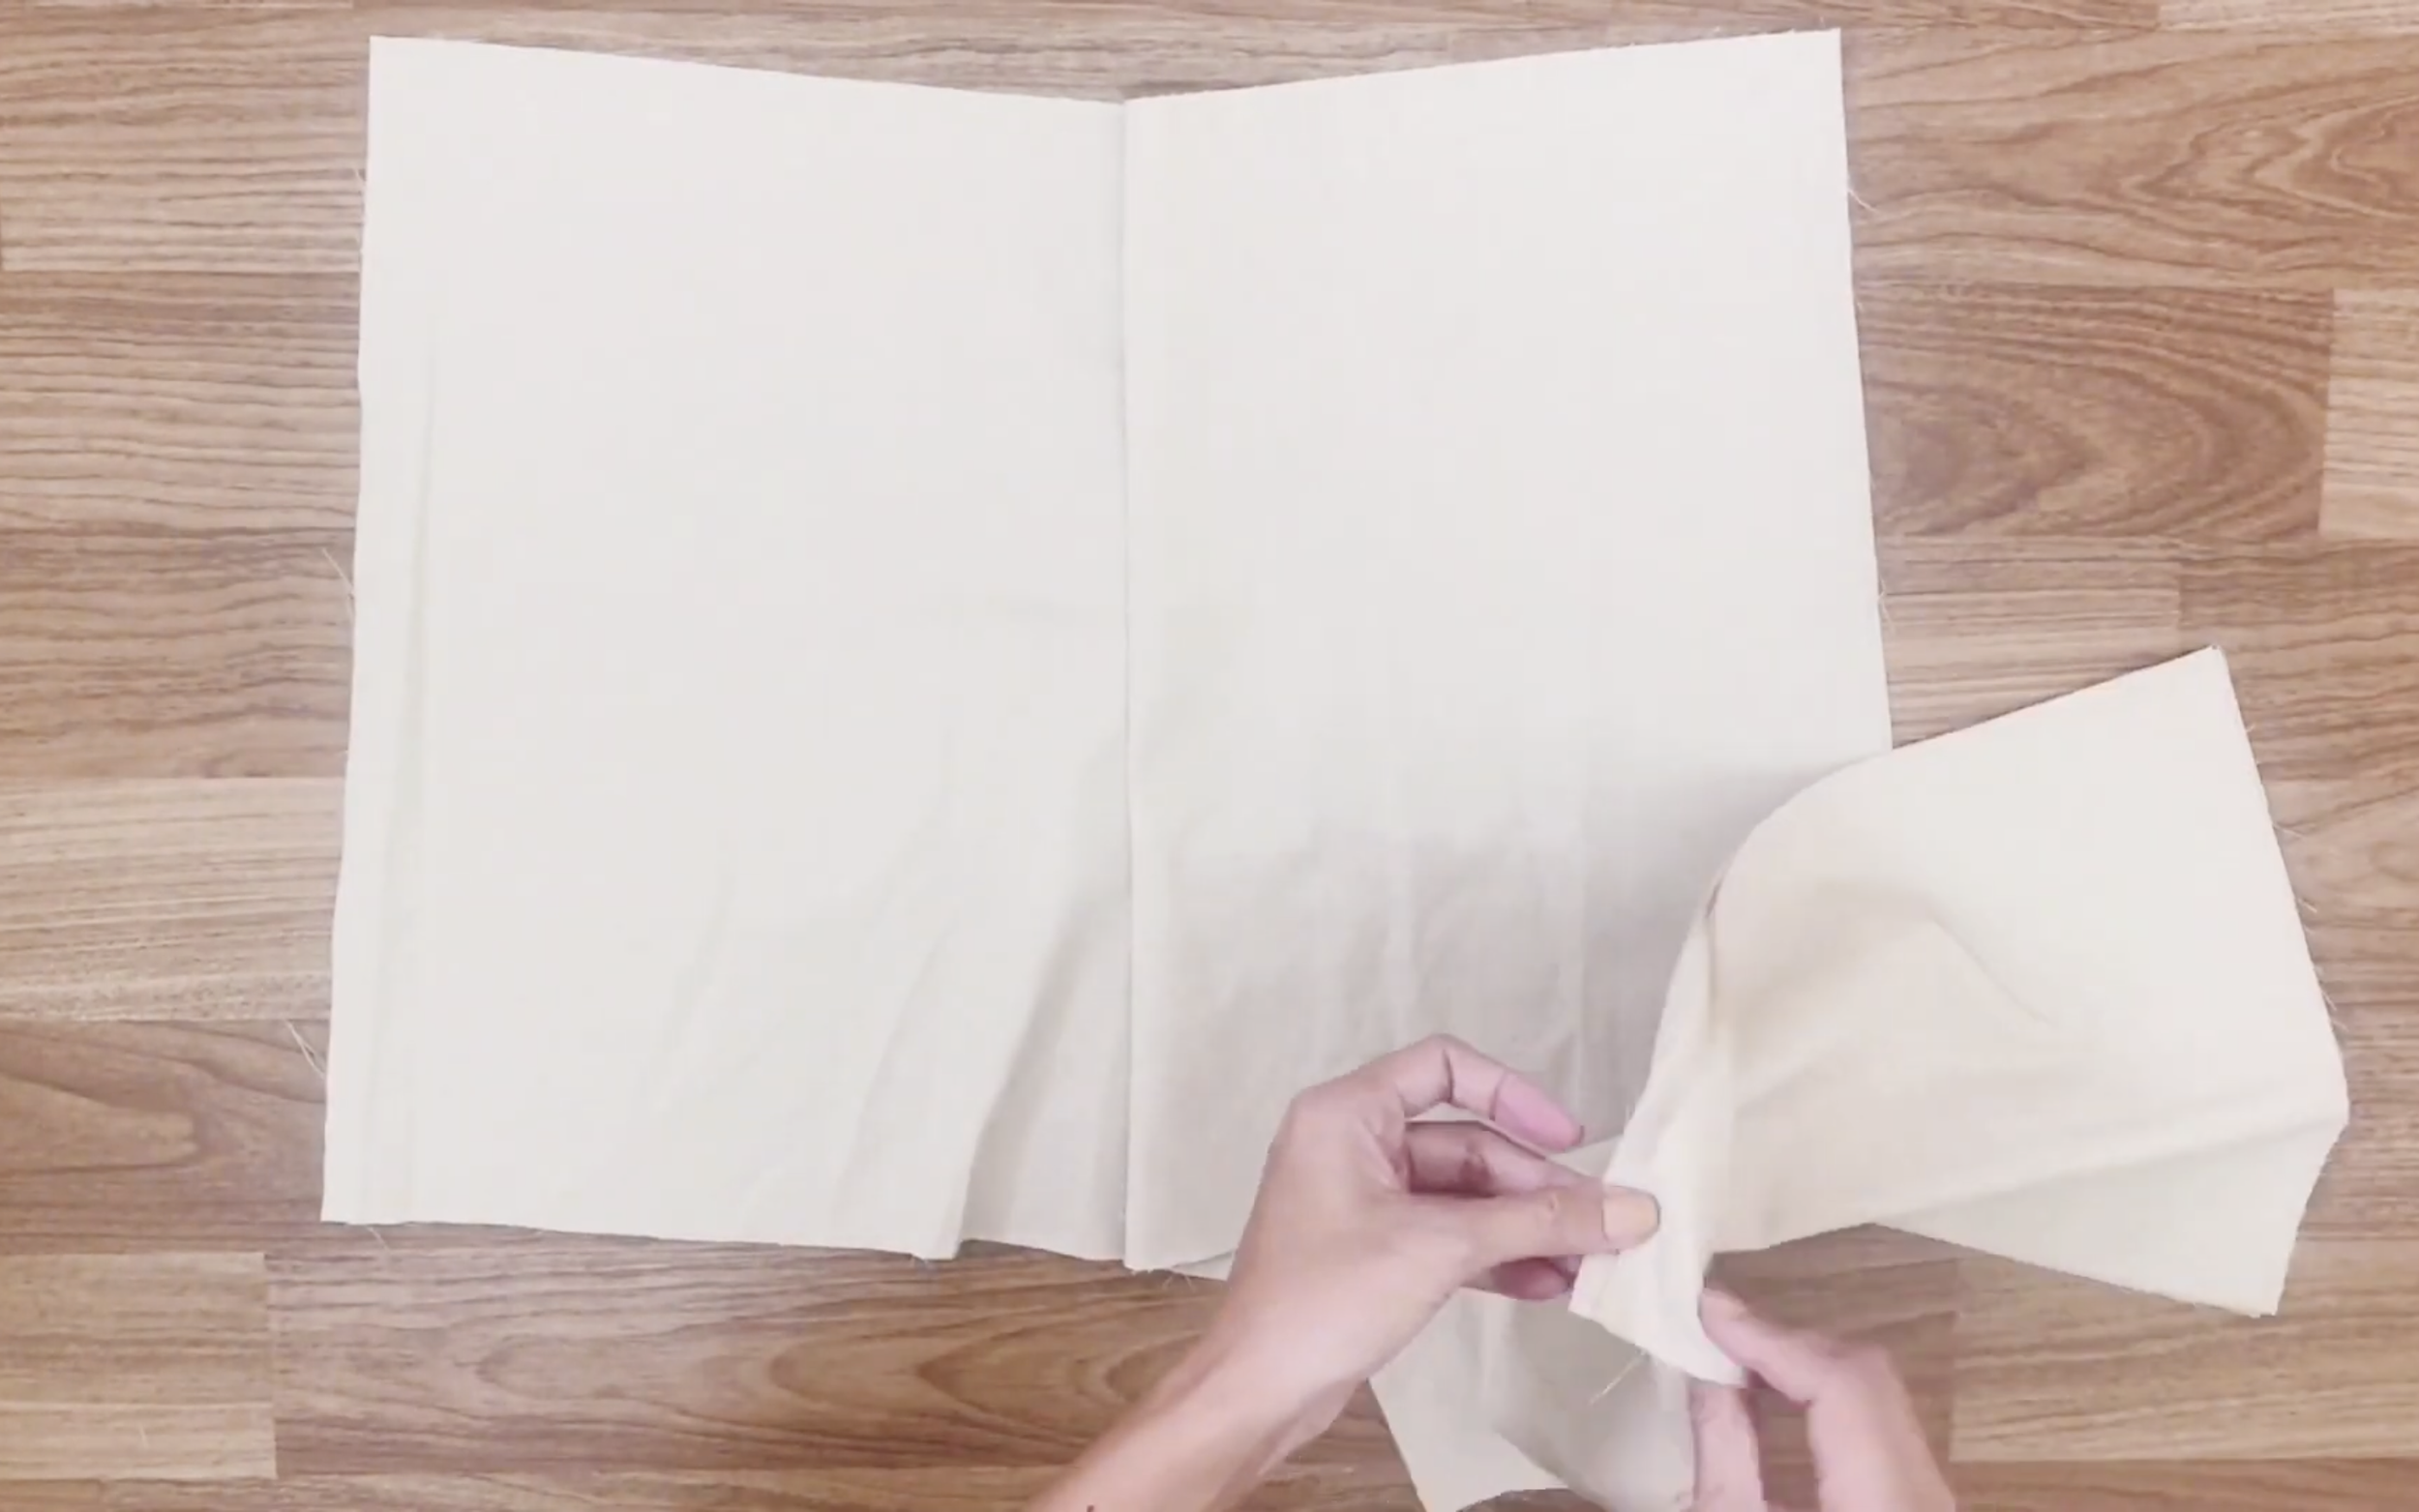
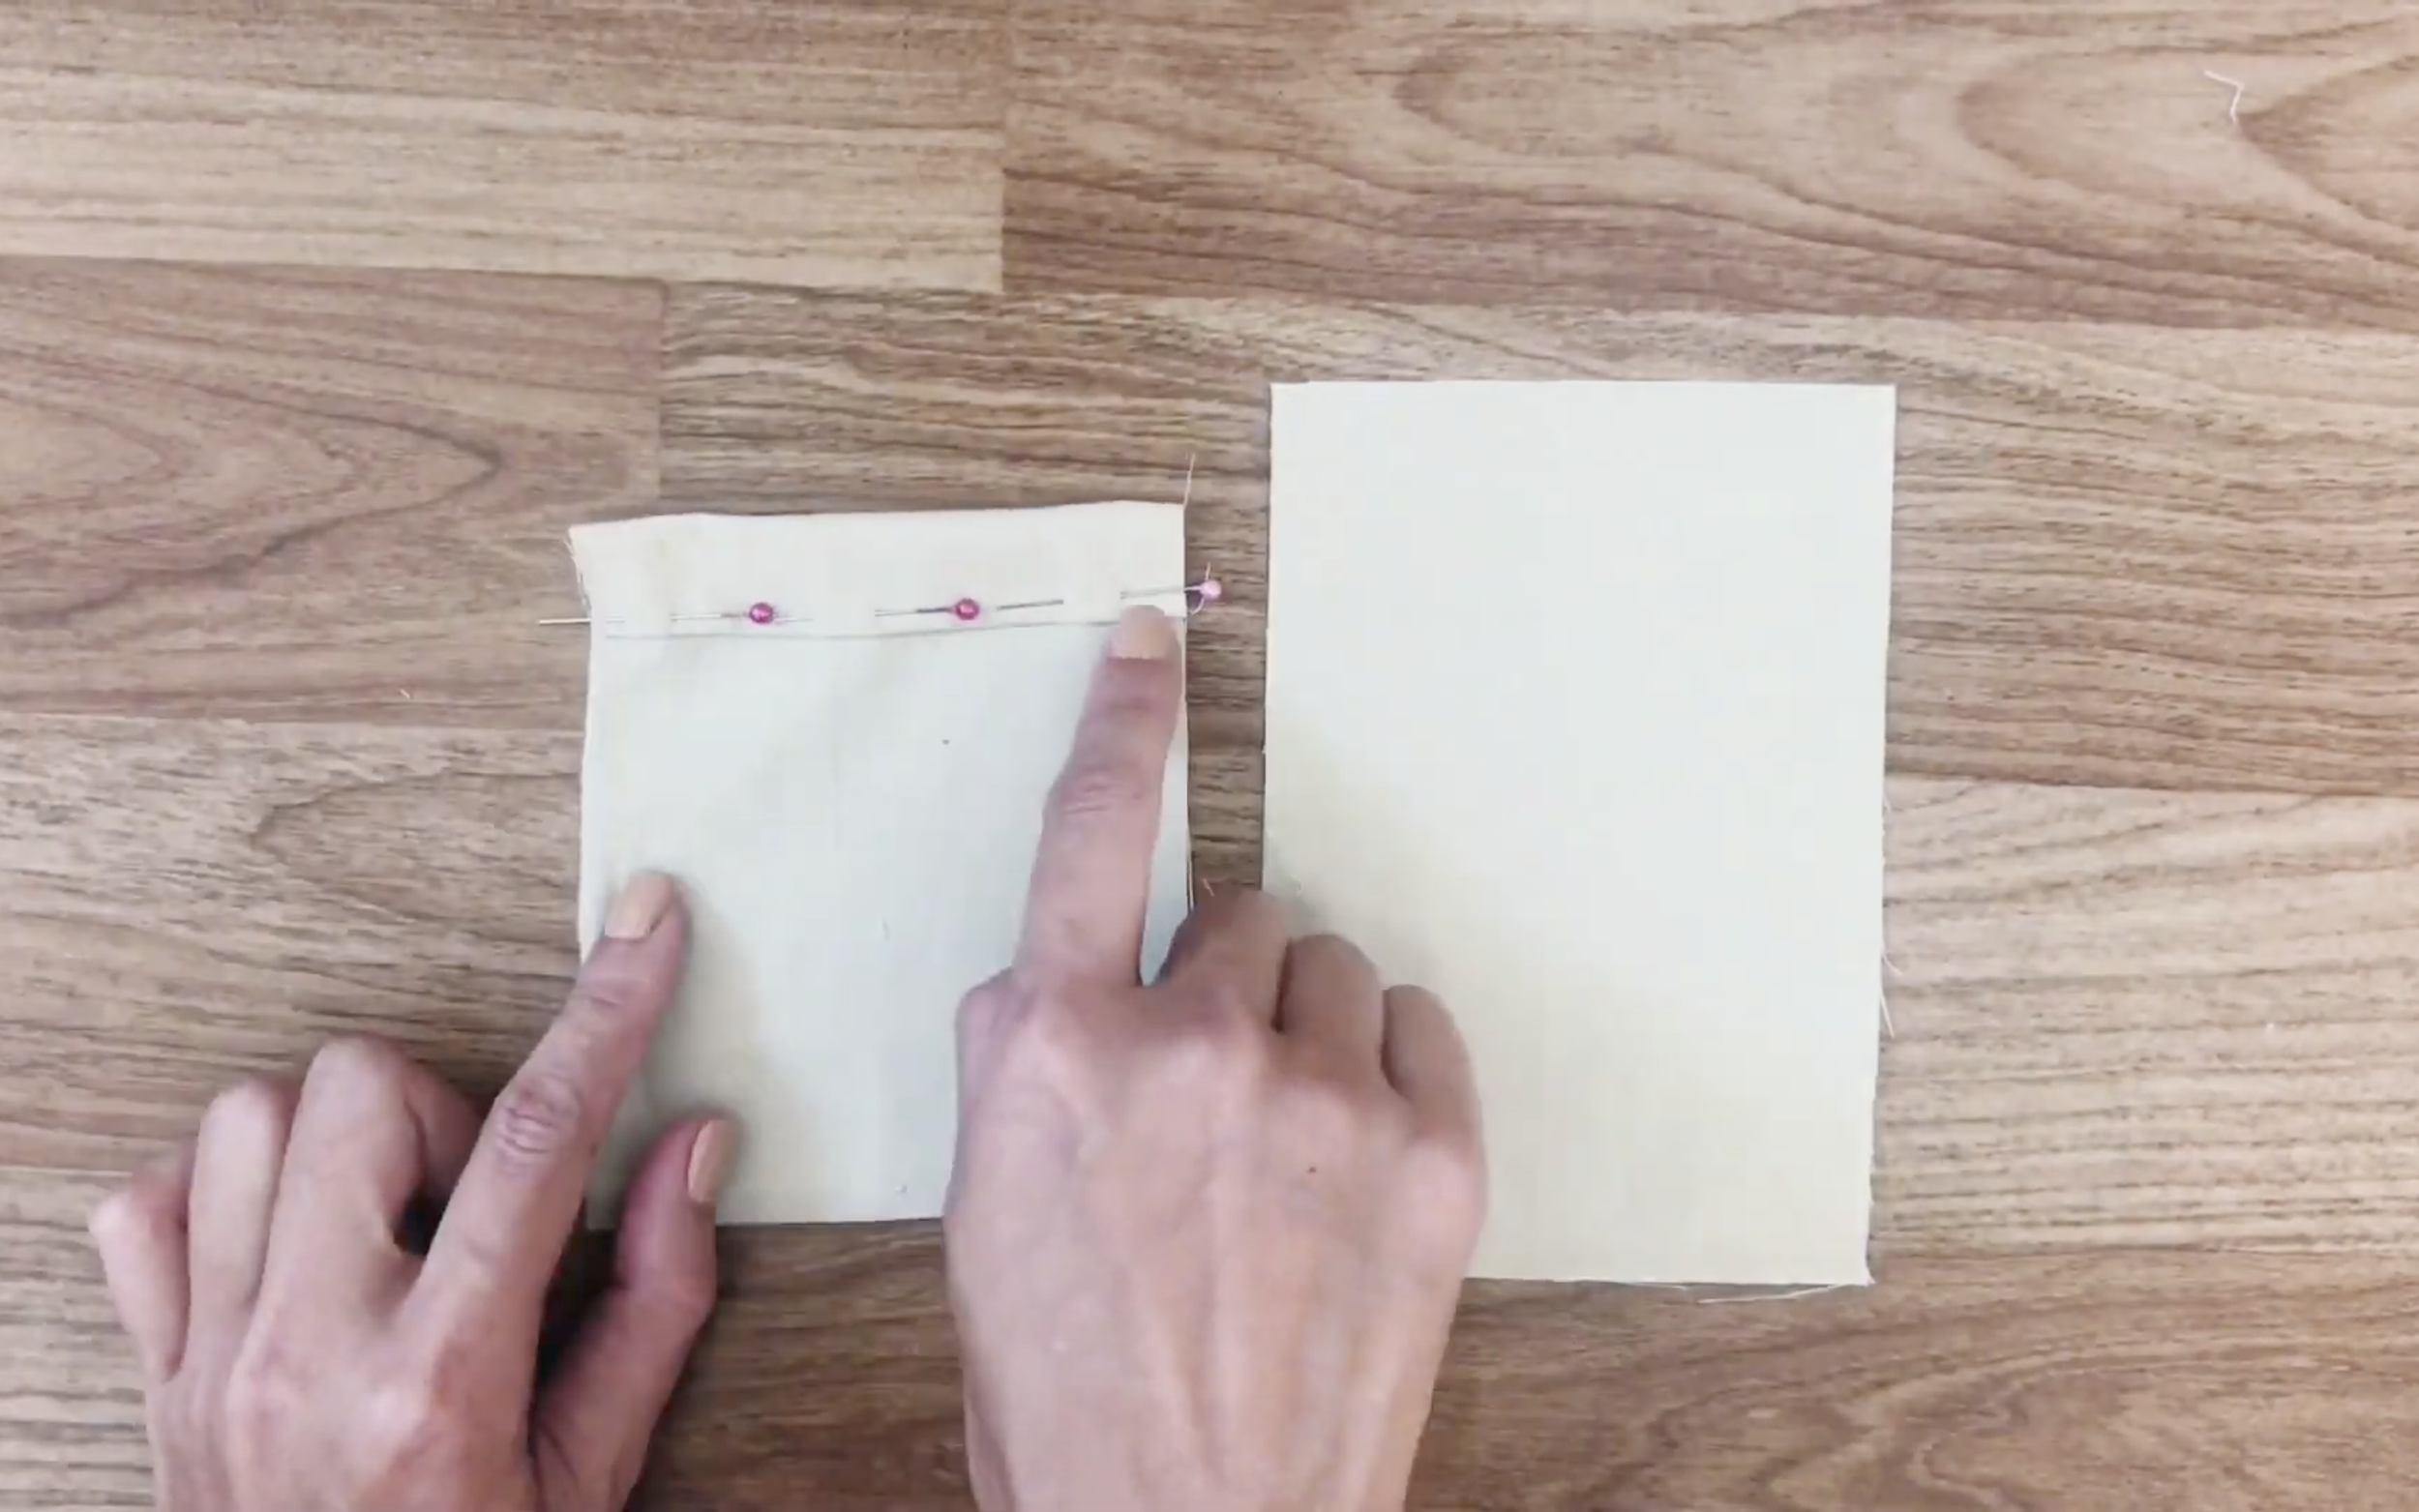
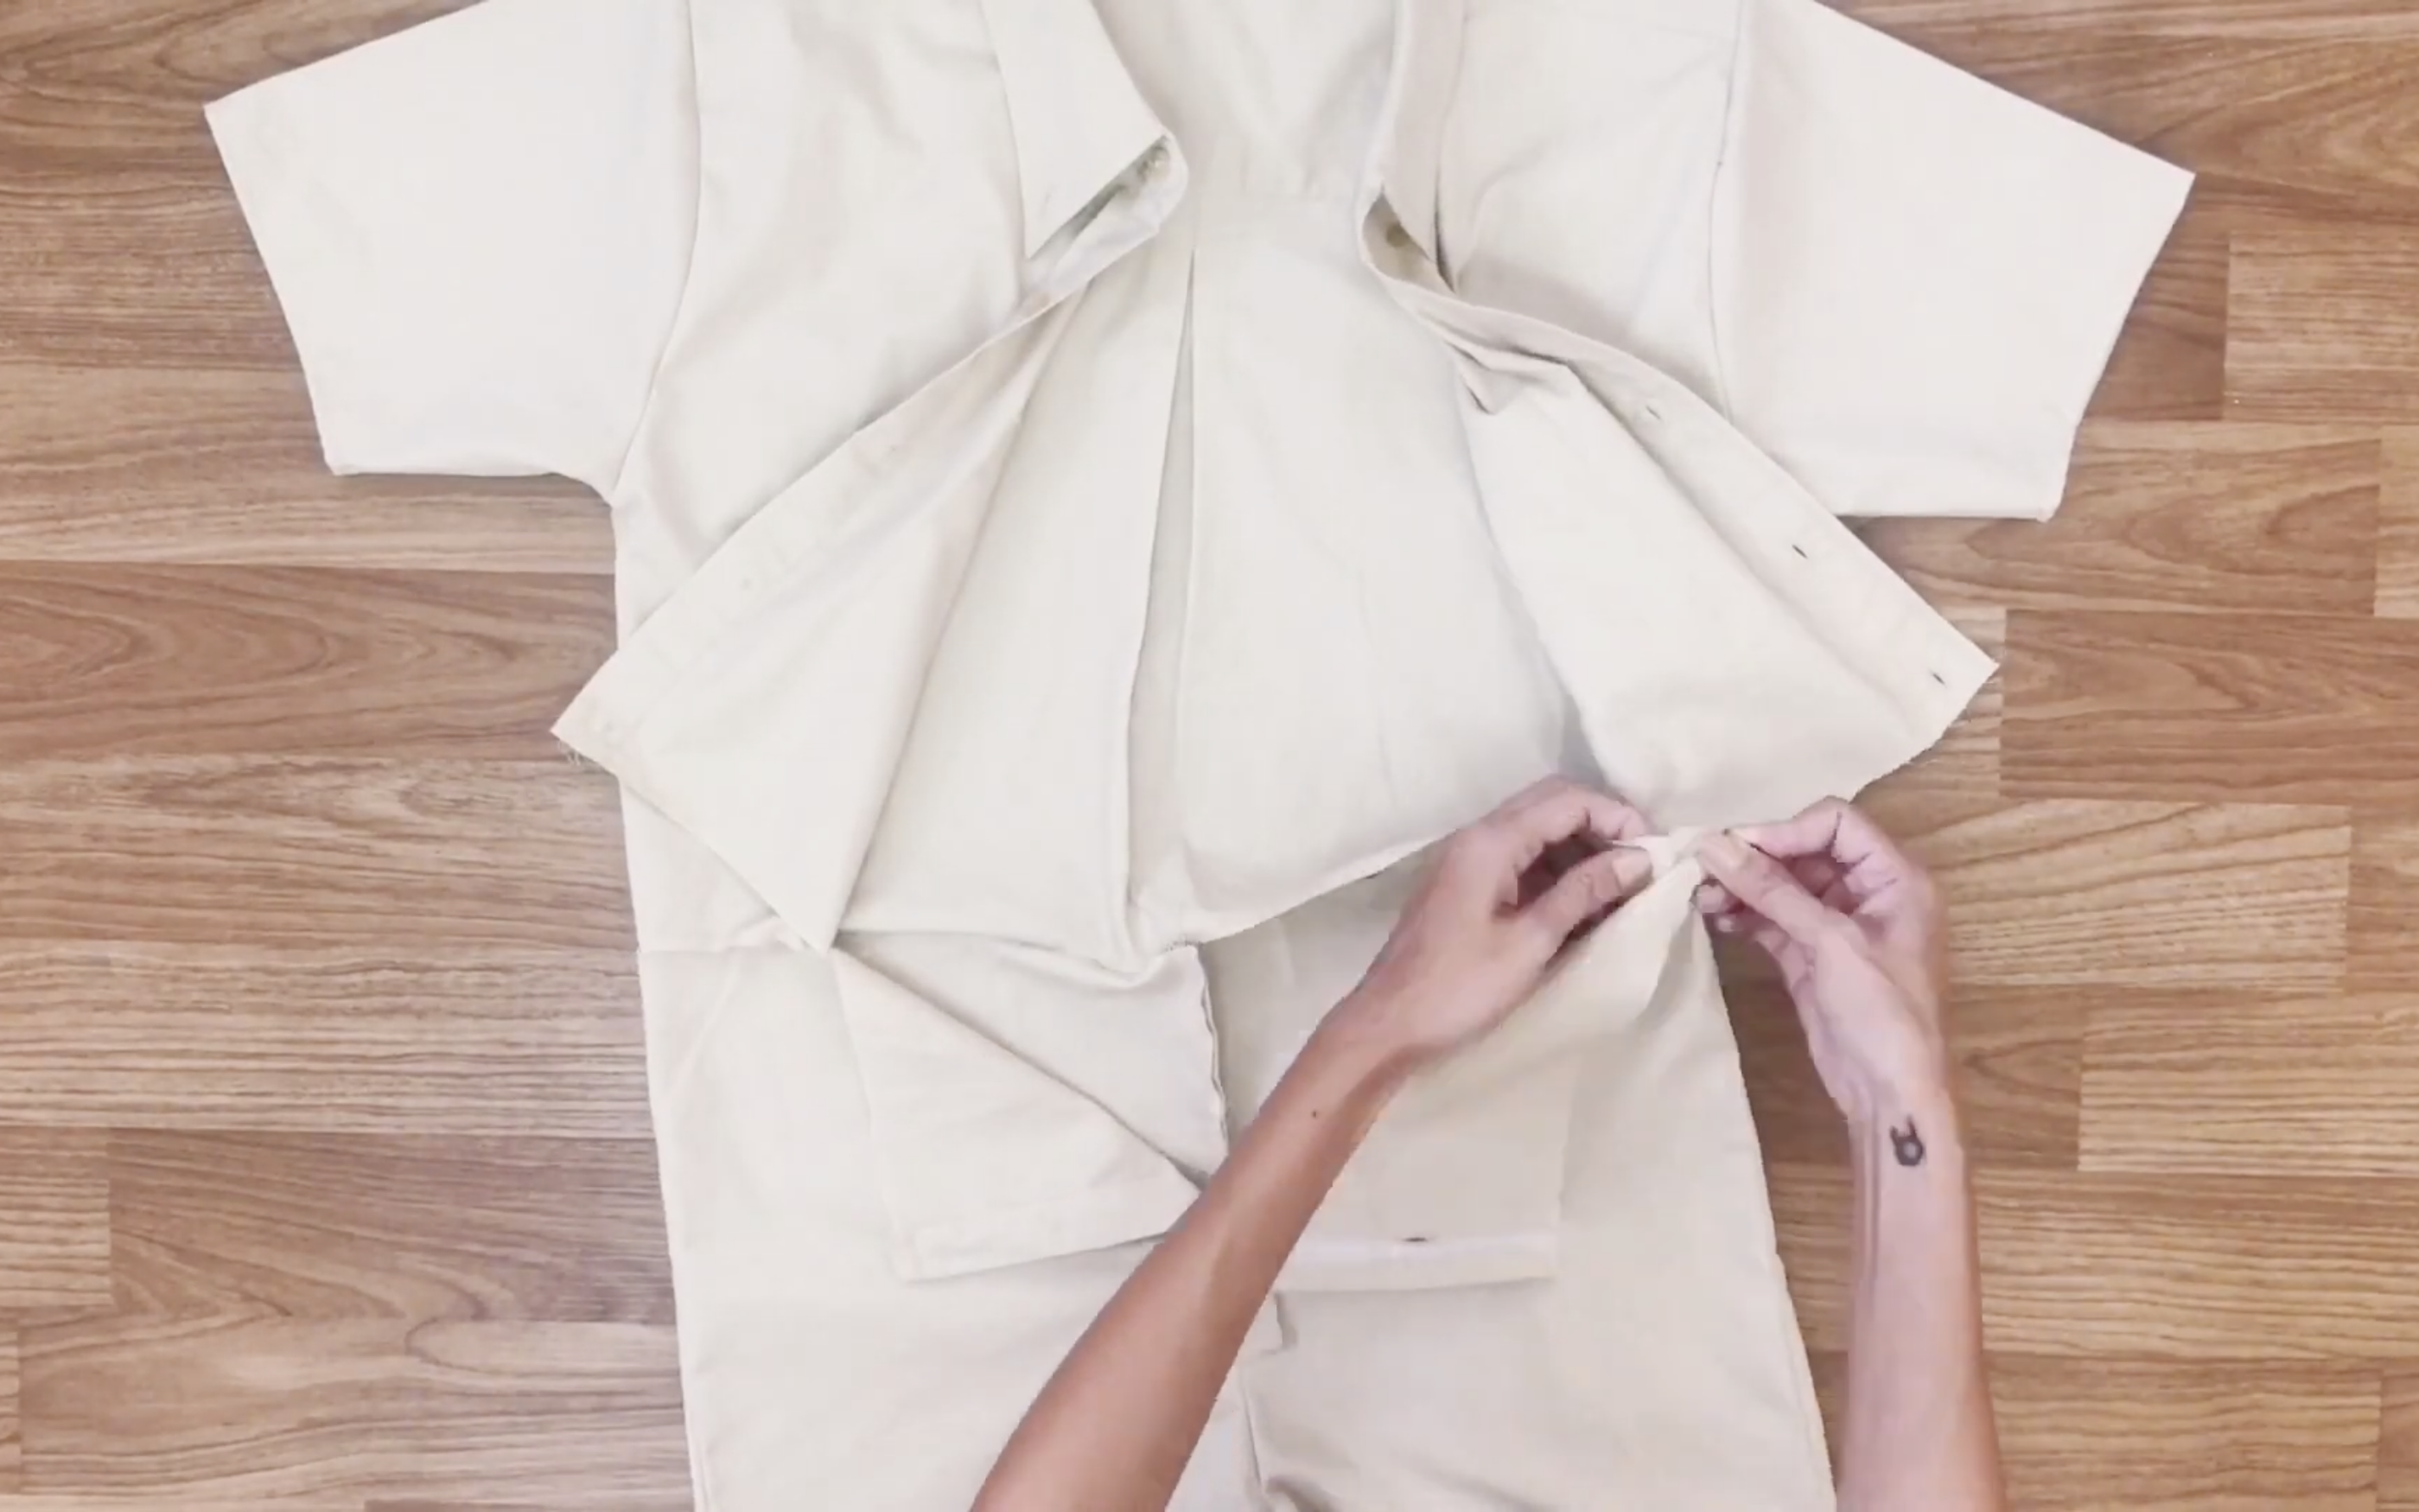
The next step is gathering the front and the back together. Remember to put two outside faces of the pant facing each other.
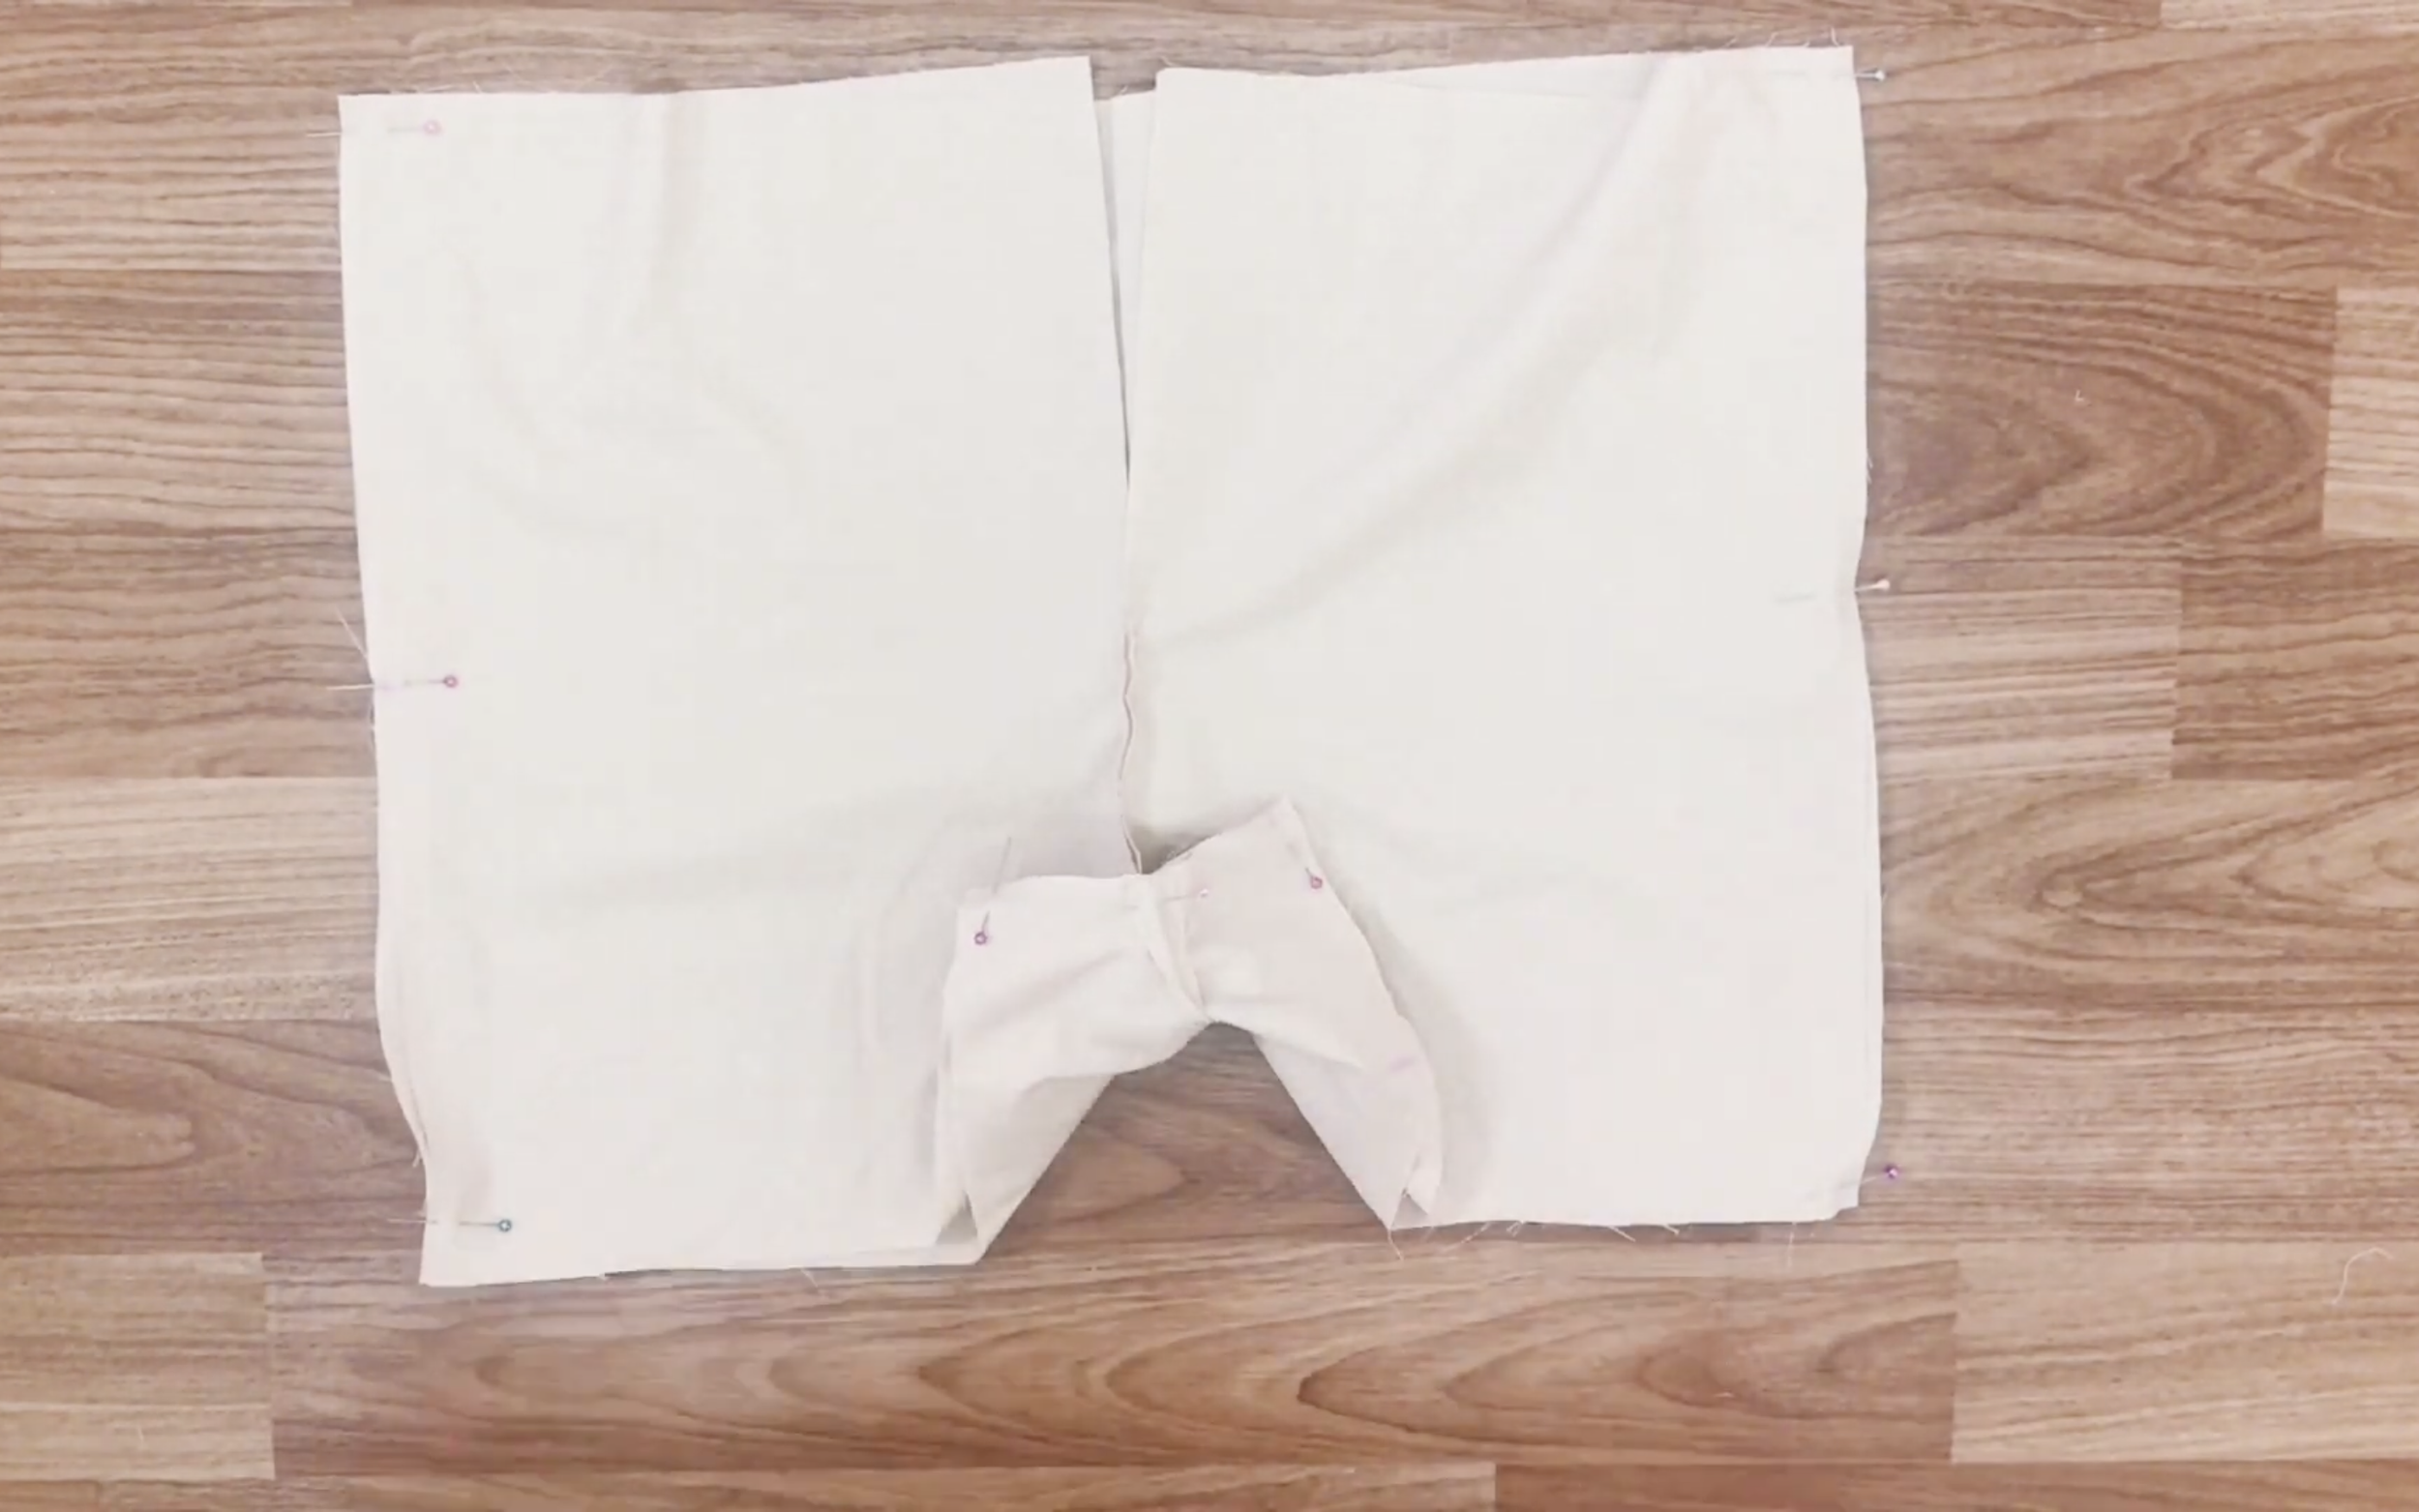
Use the pins to hold two sides in the bottom of the front and the back of the pants. Then, sew them together.
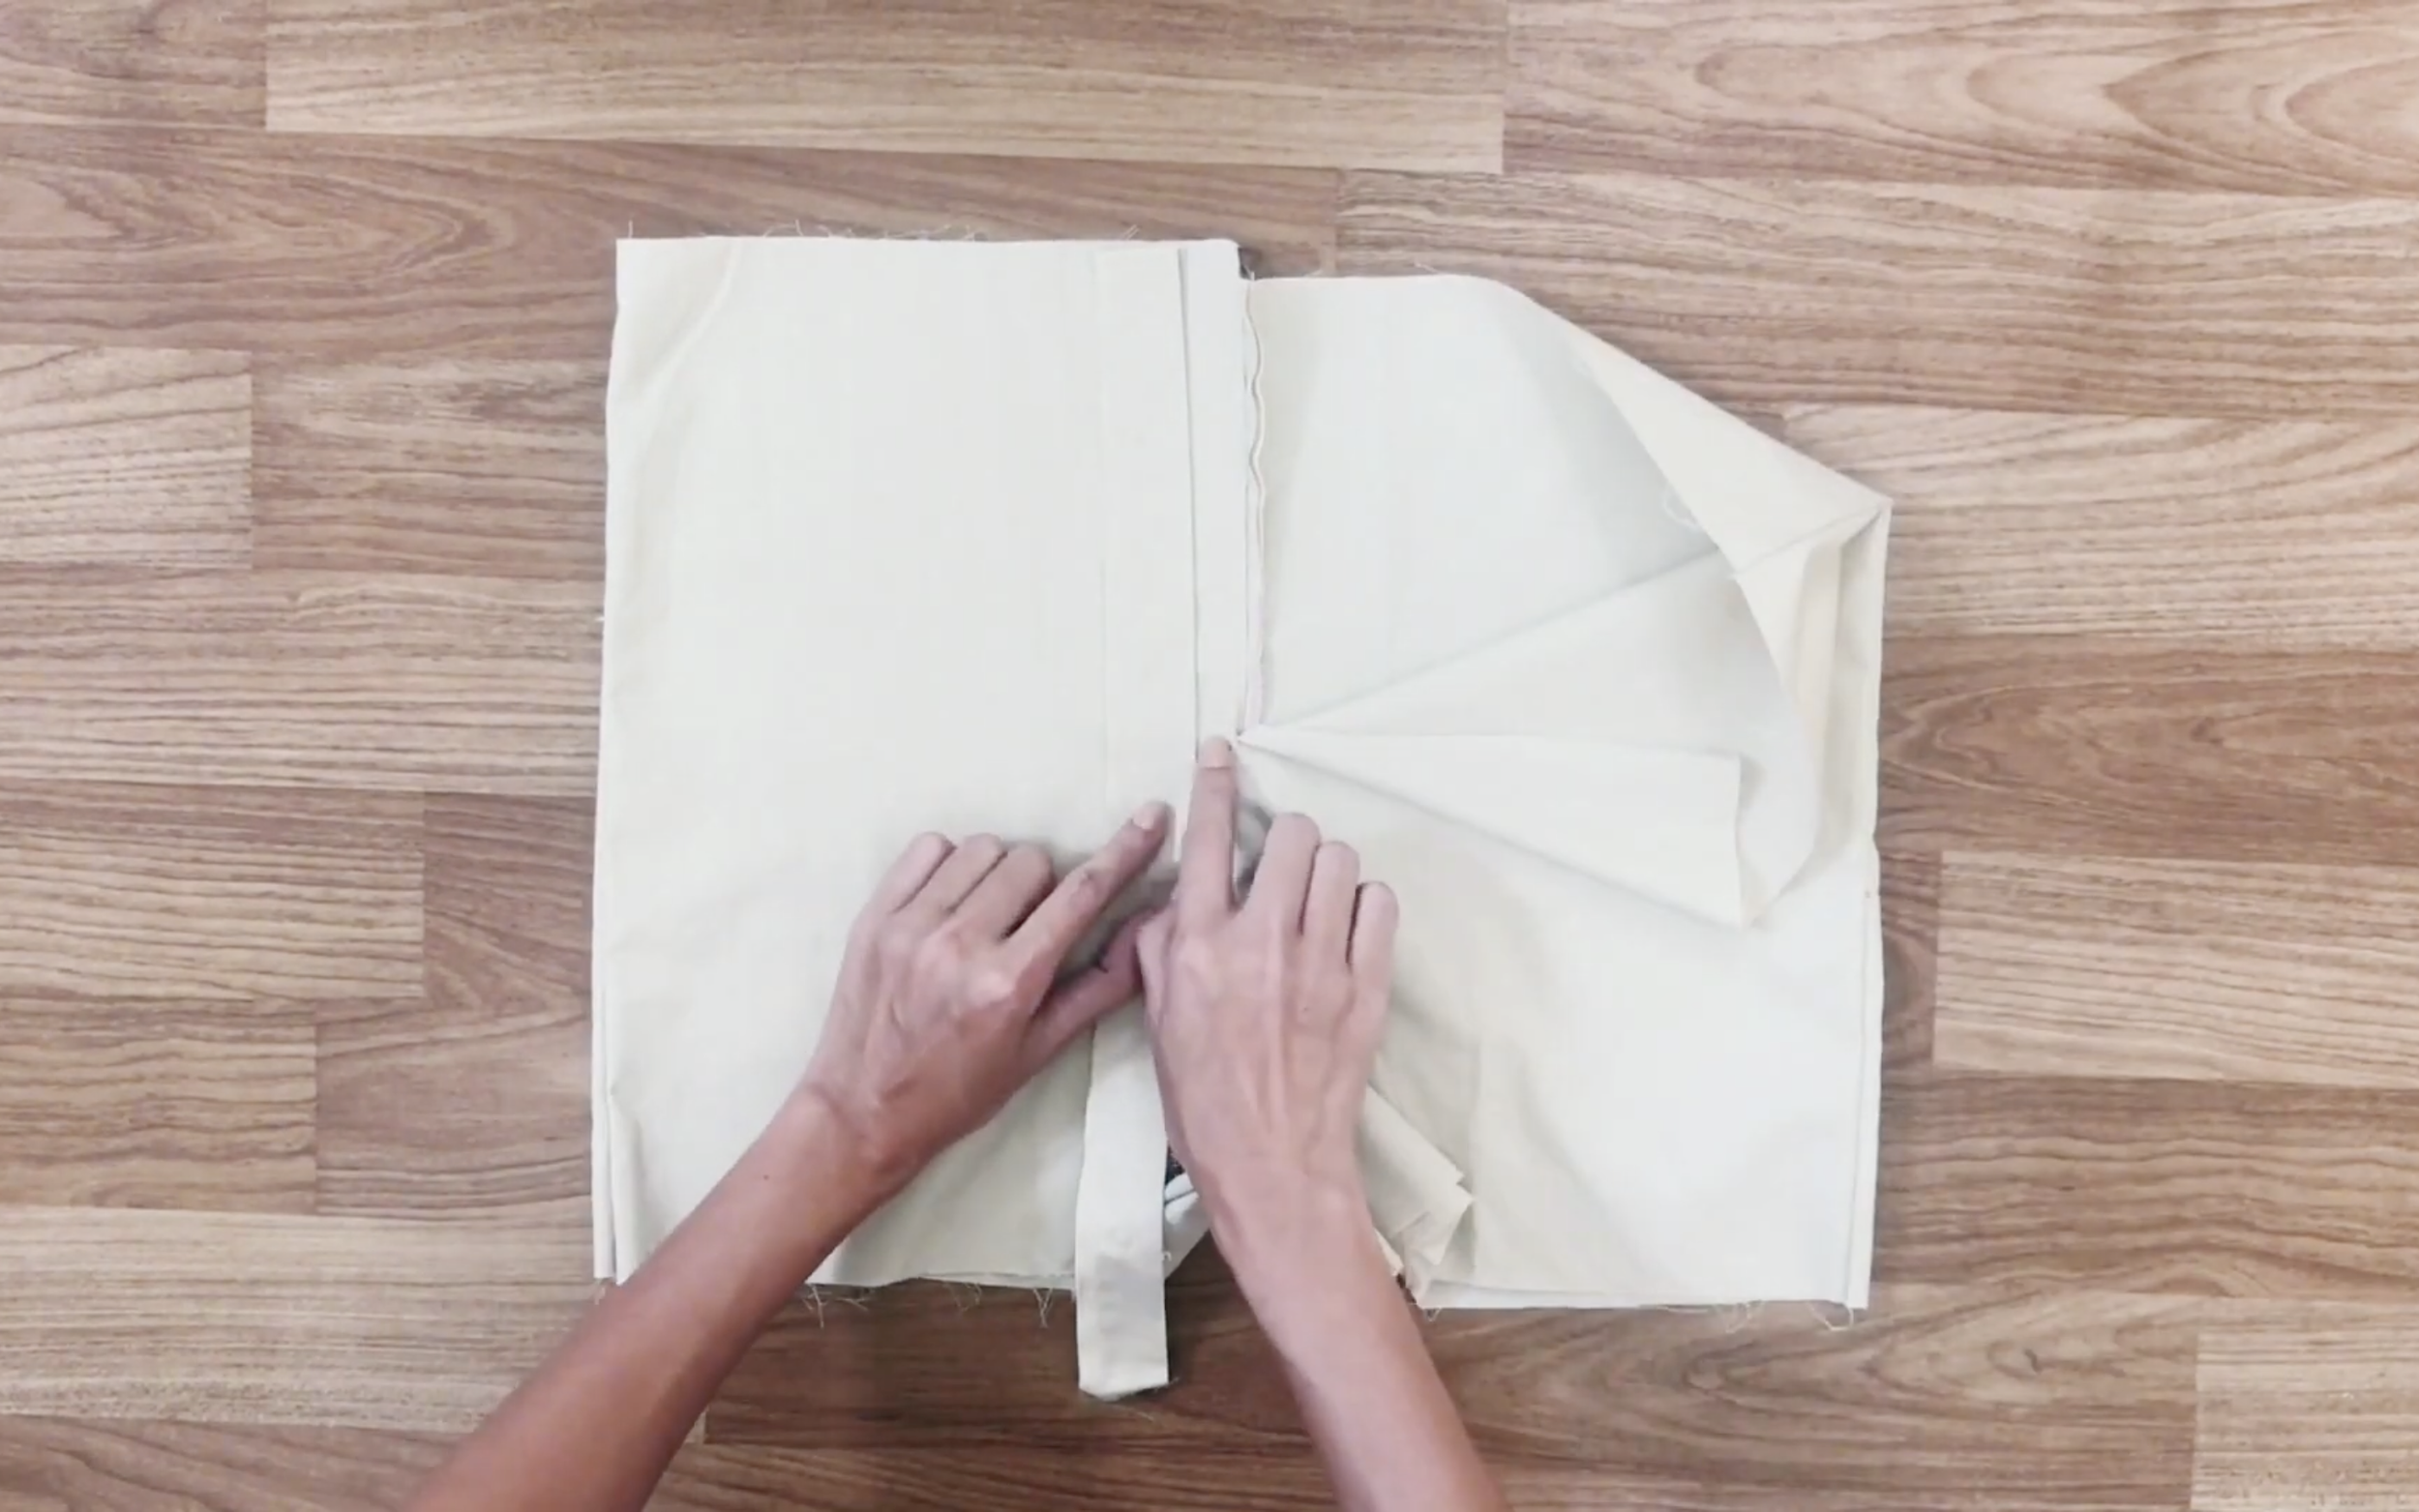
At the front of the pants, create the fly shield at the un-sewn area. Use the bottom part that was cut off when creating the front of the pants before.
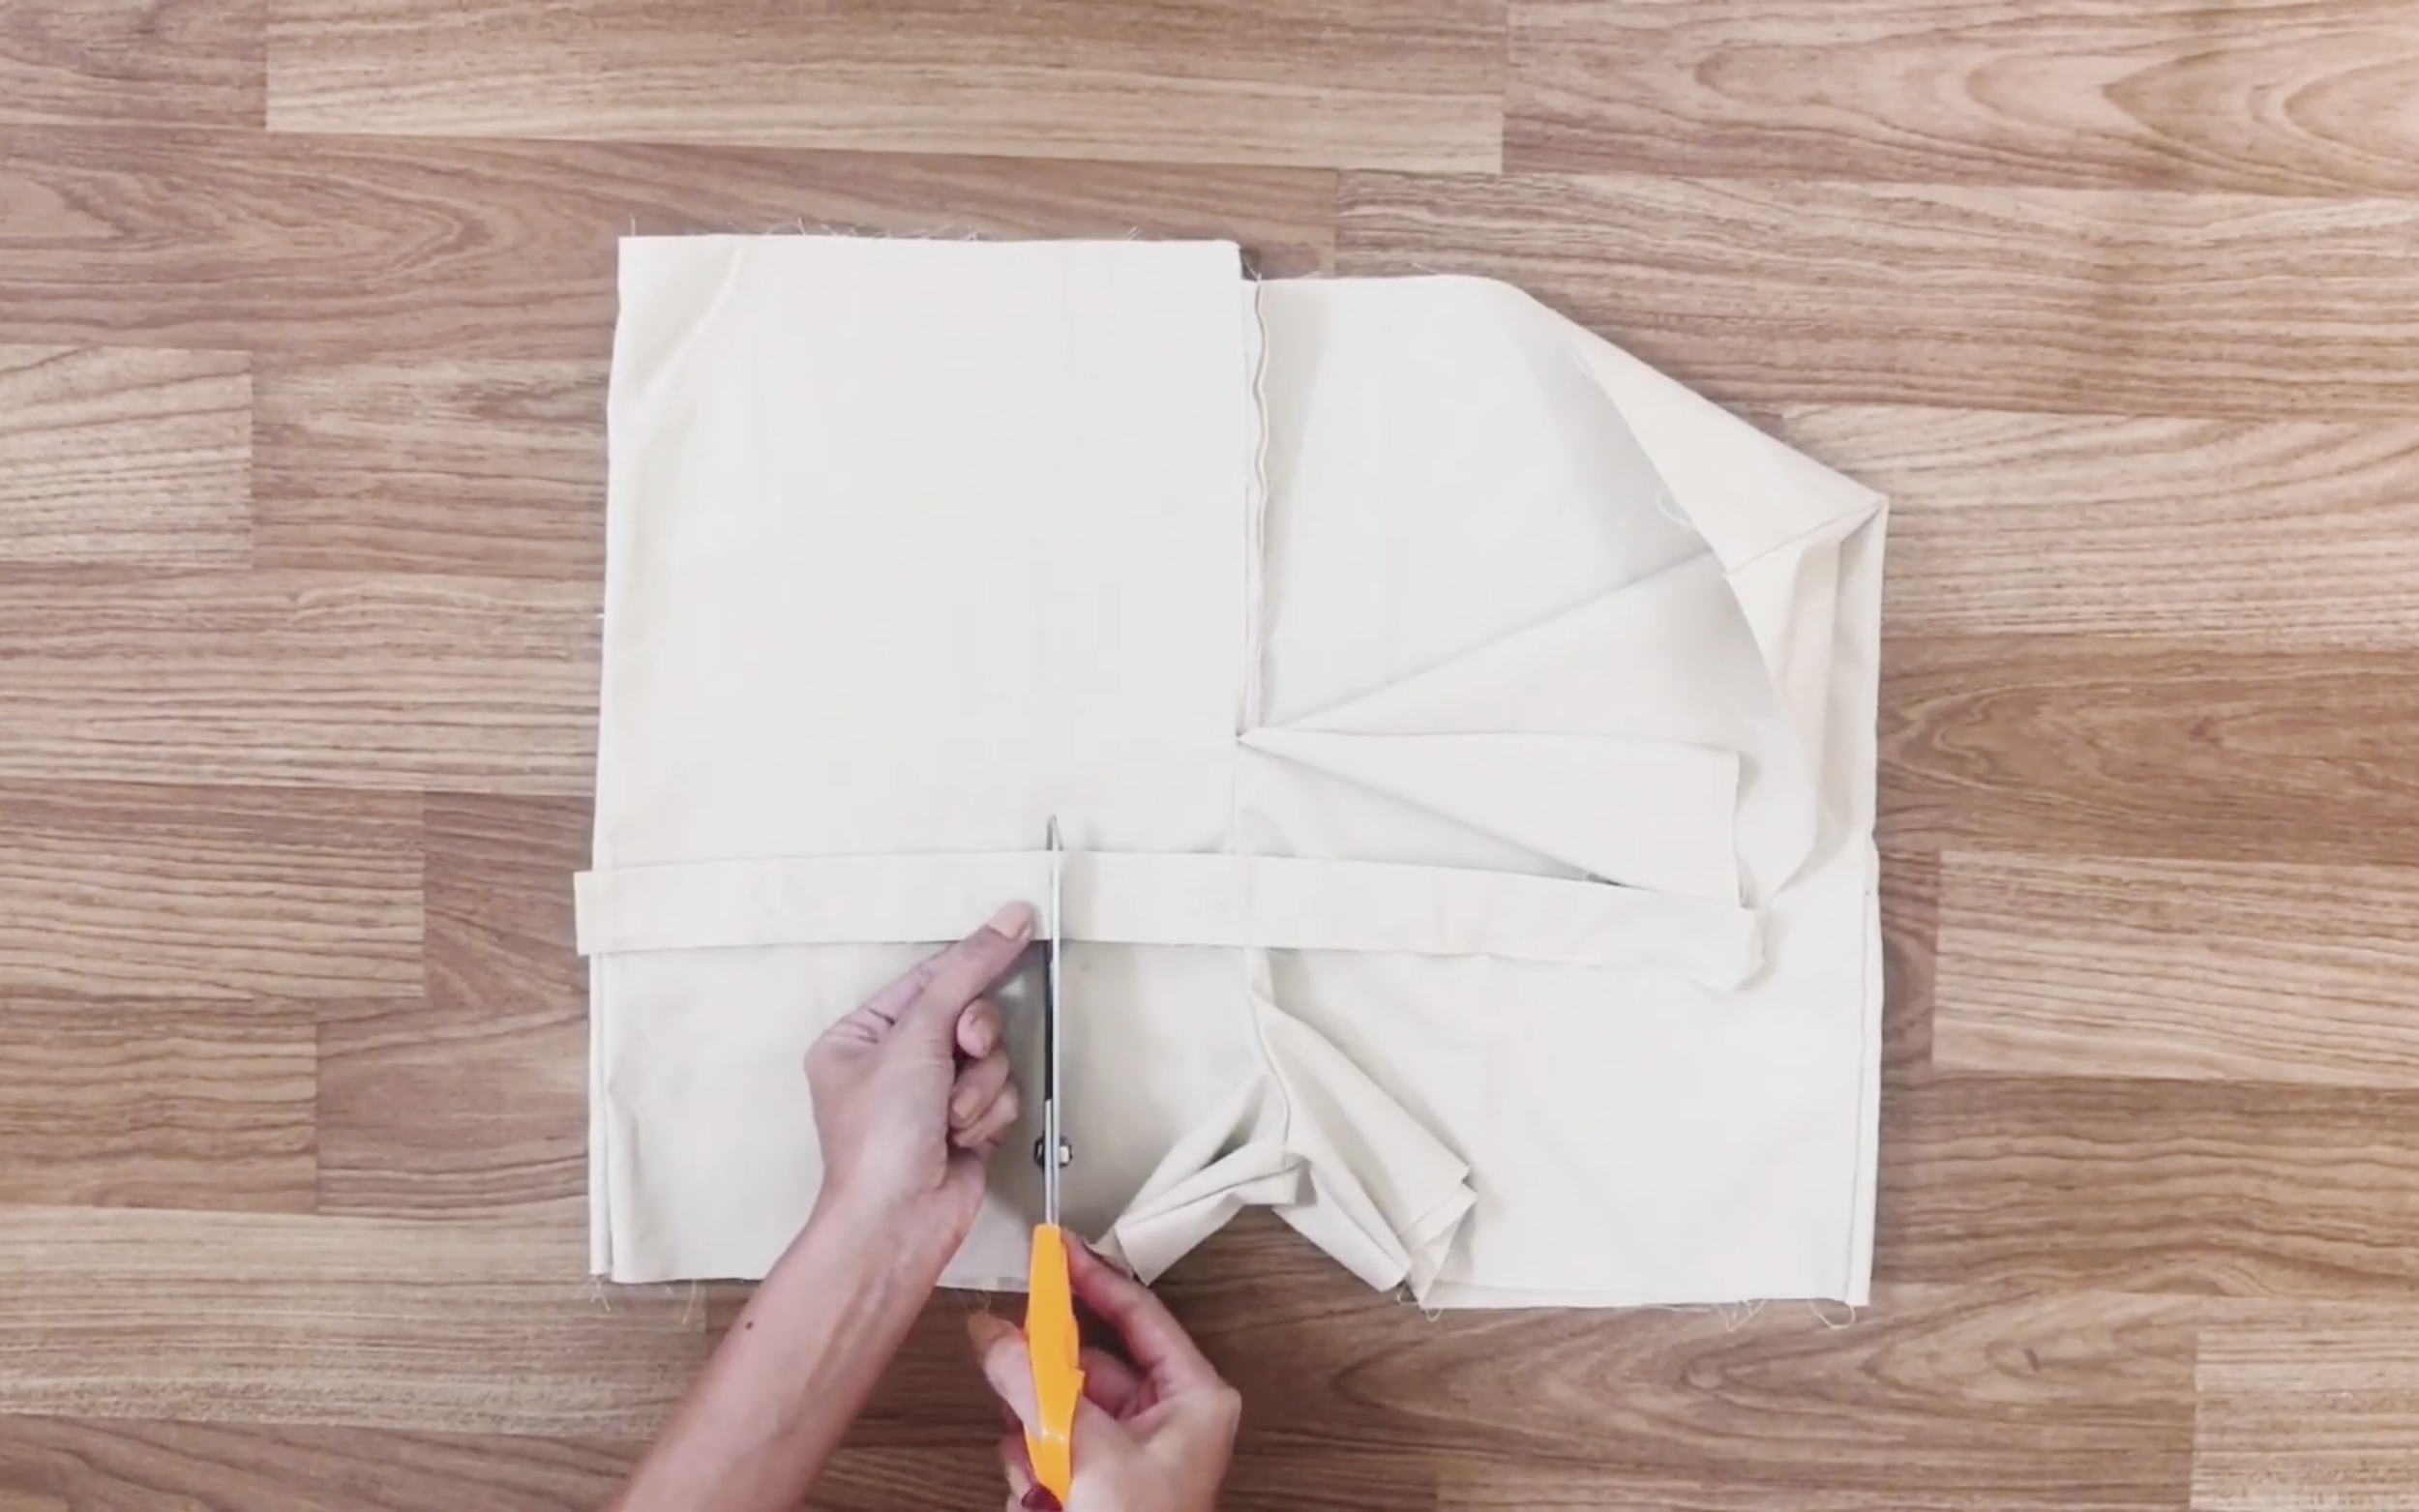
Remember that you will have to pass up of the pocket with at the button and the buttonhole. So, better check which side they are in the beginning.
For the button part, the tip is sewing right at the connection point so you won’t see the seam and it looks like they are not a separate part.
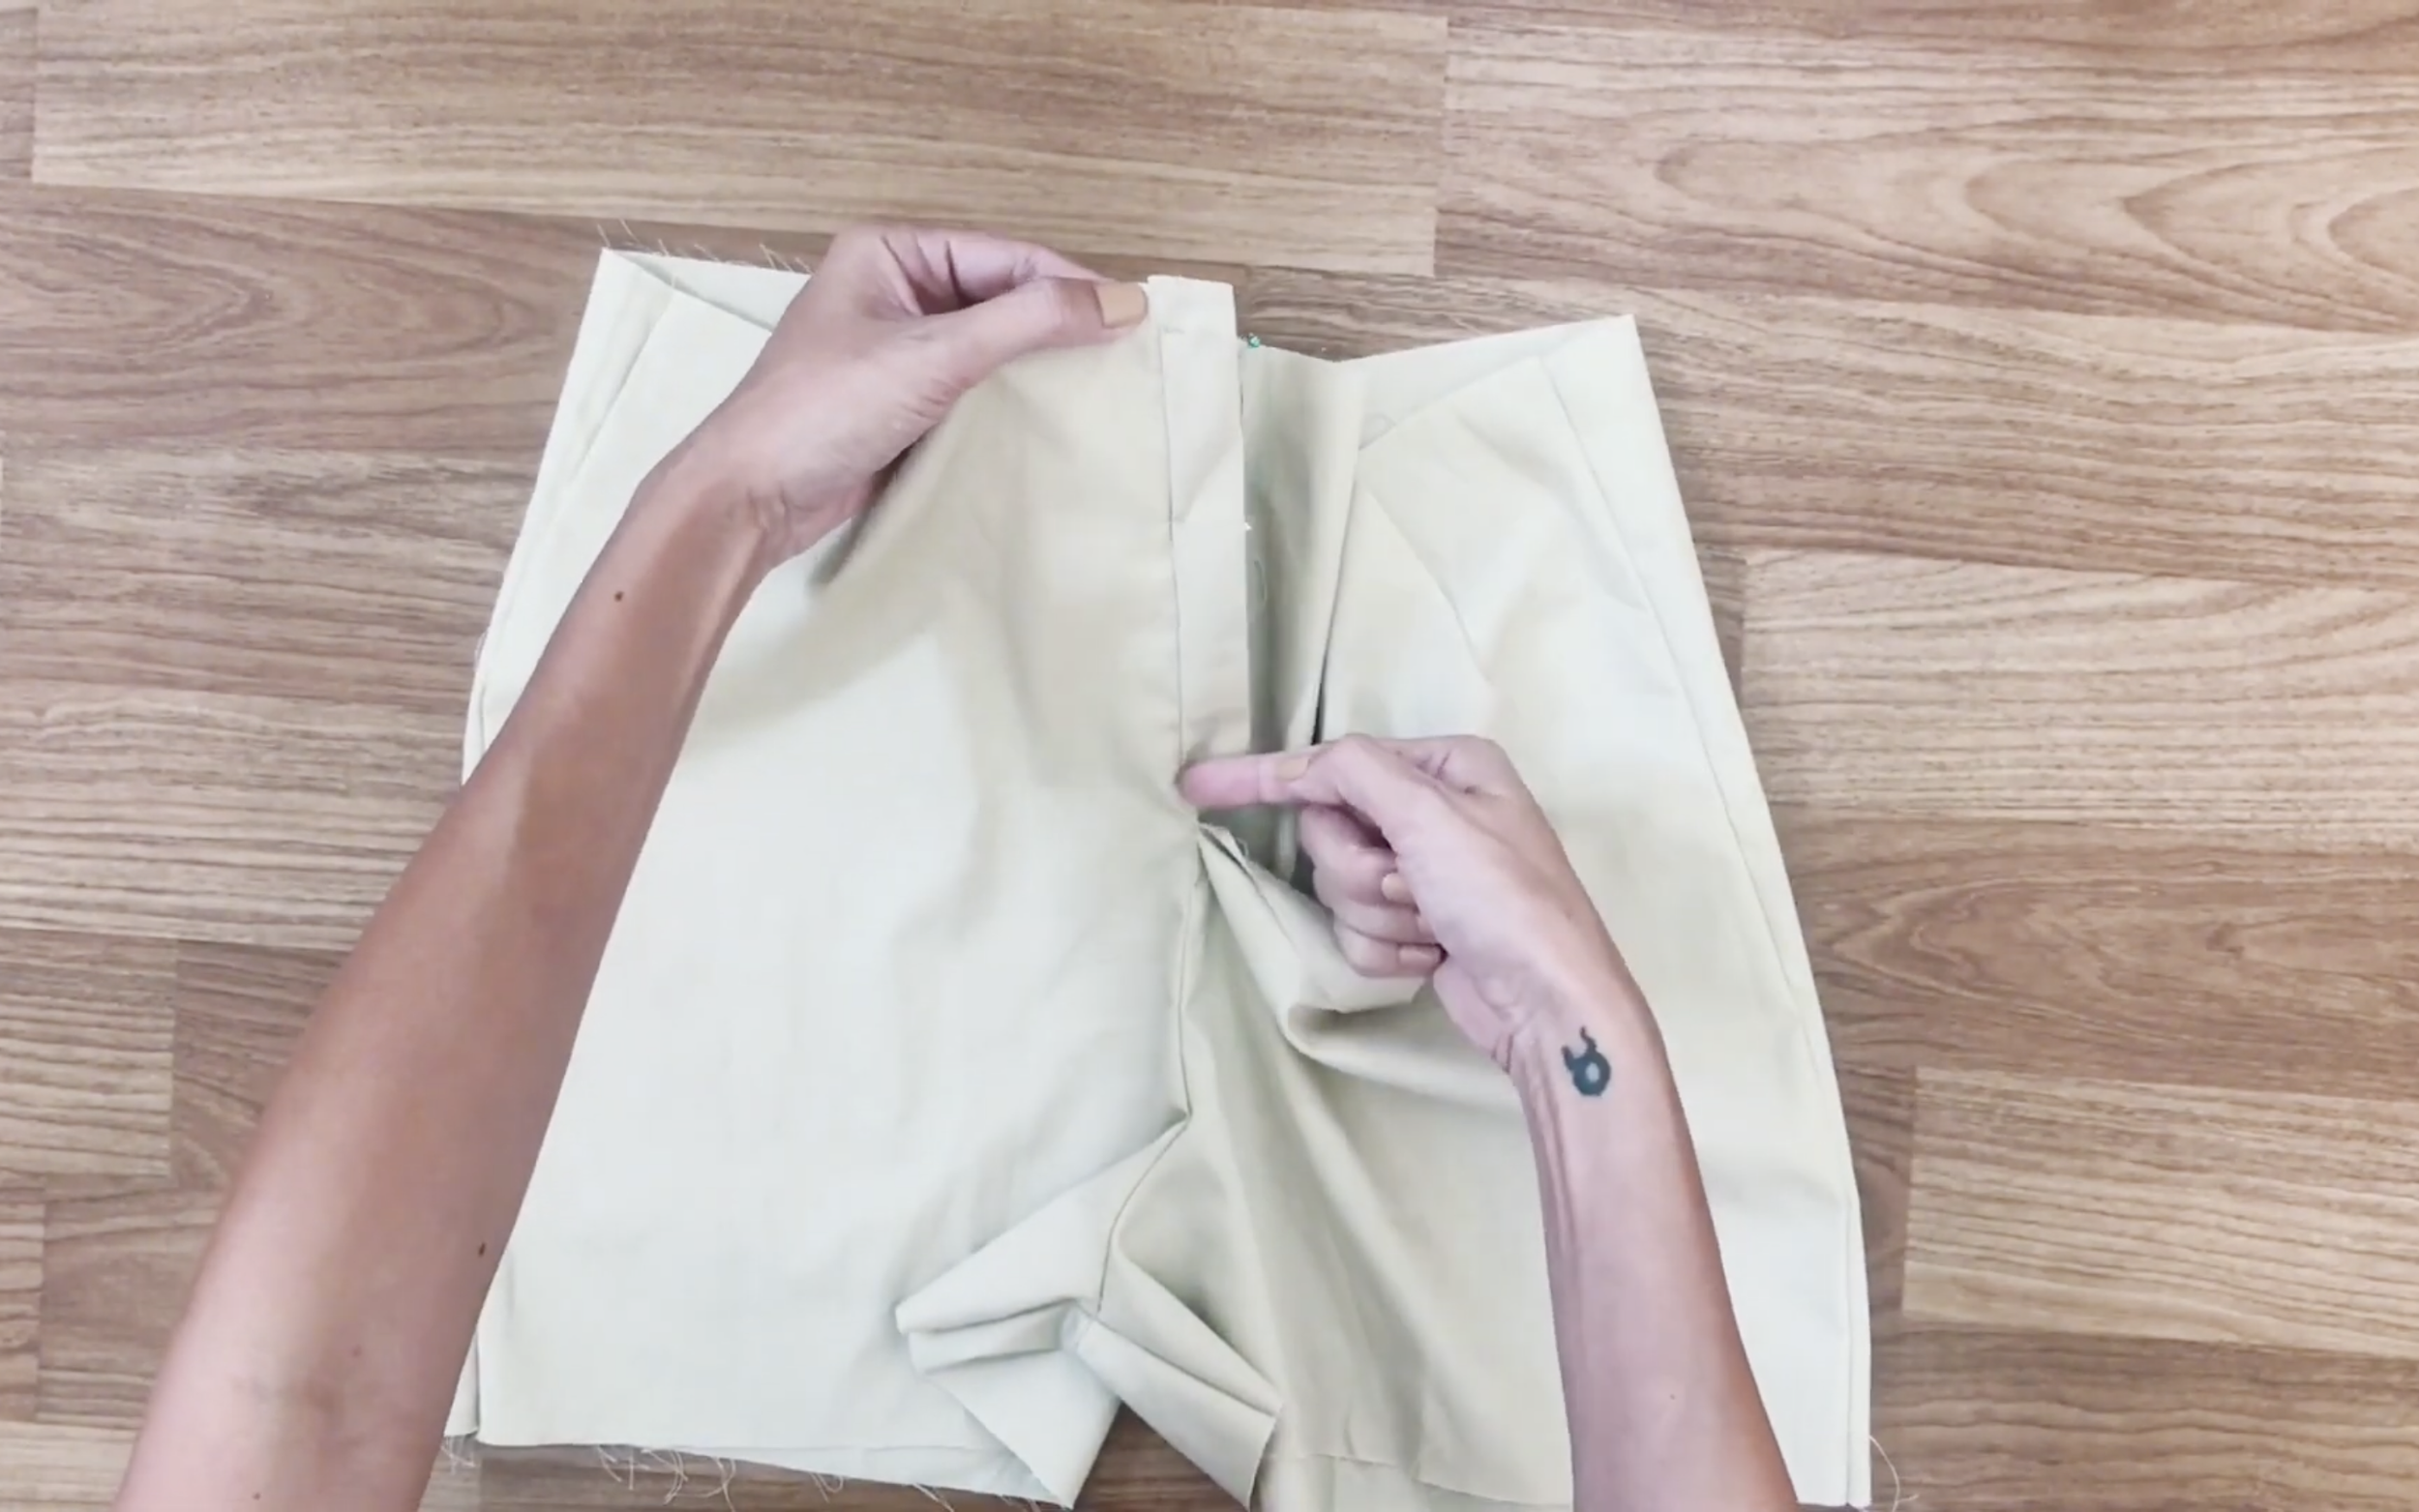
For the buttonhole part, you need to cut it longer to cover the button part.
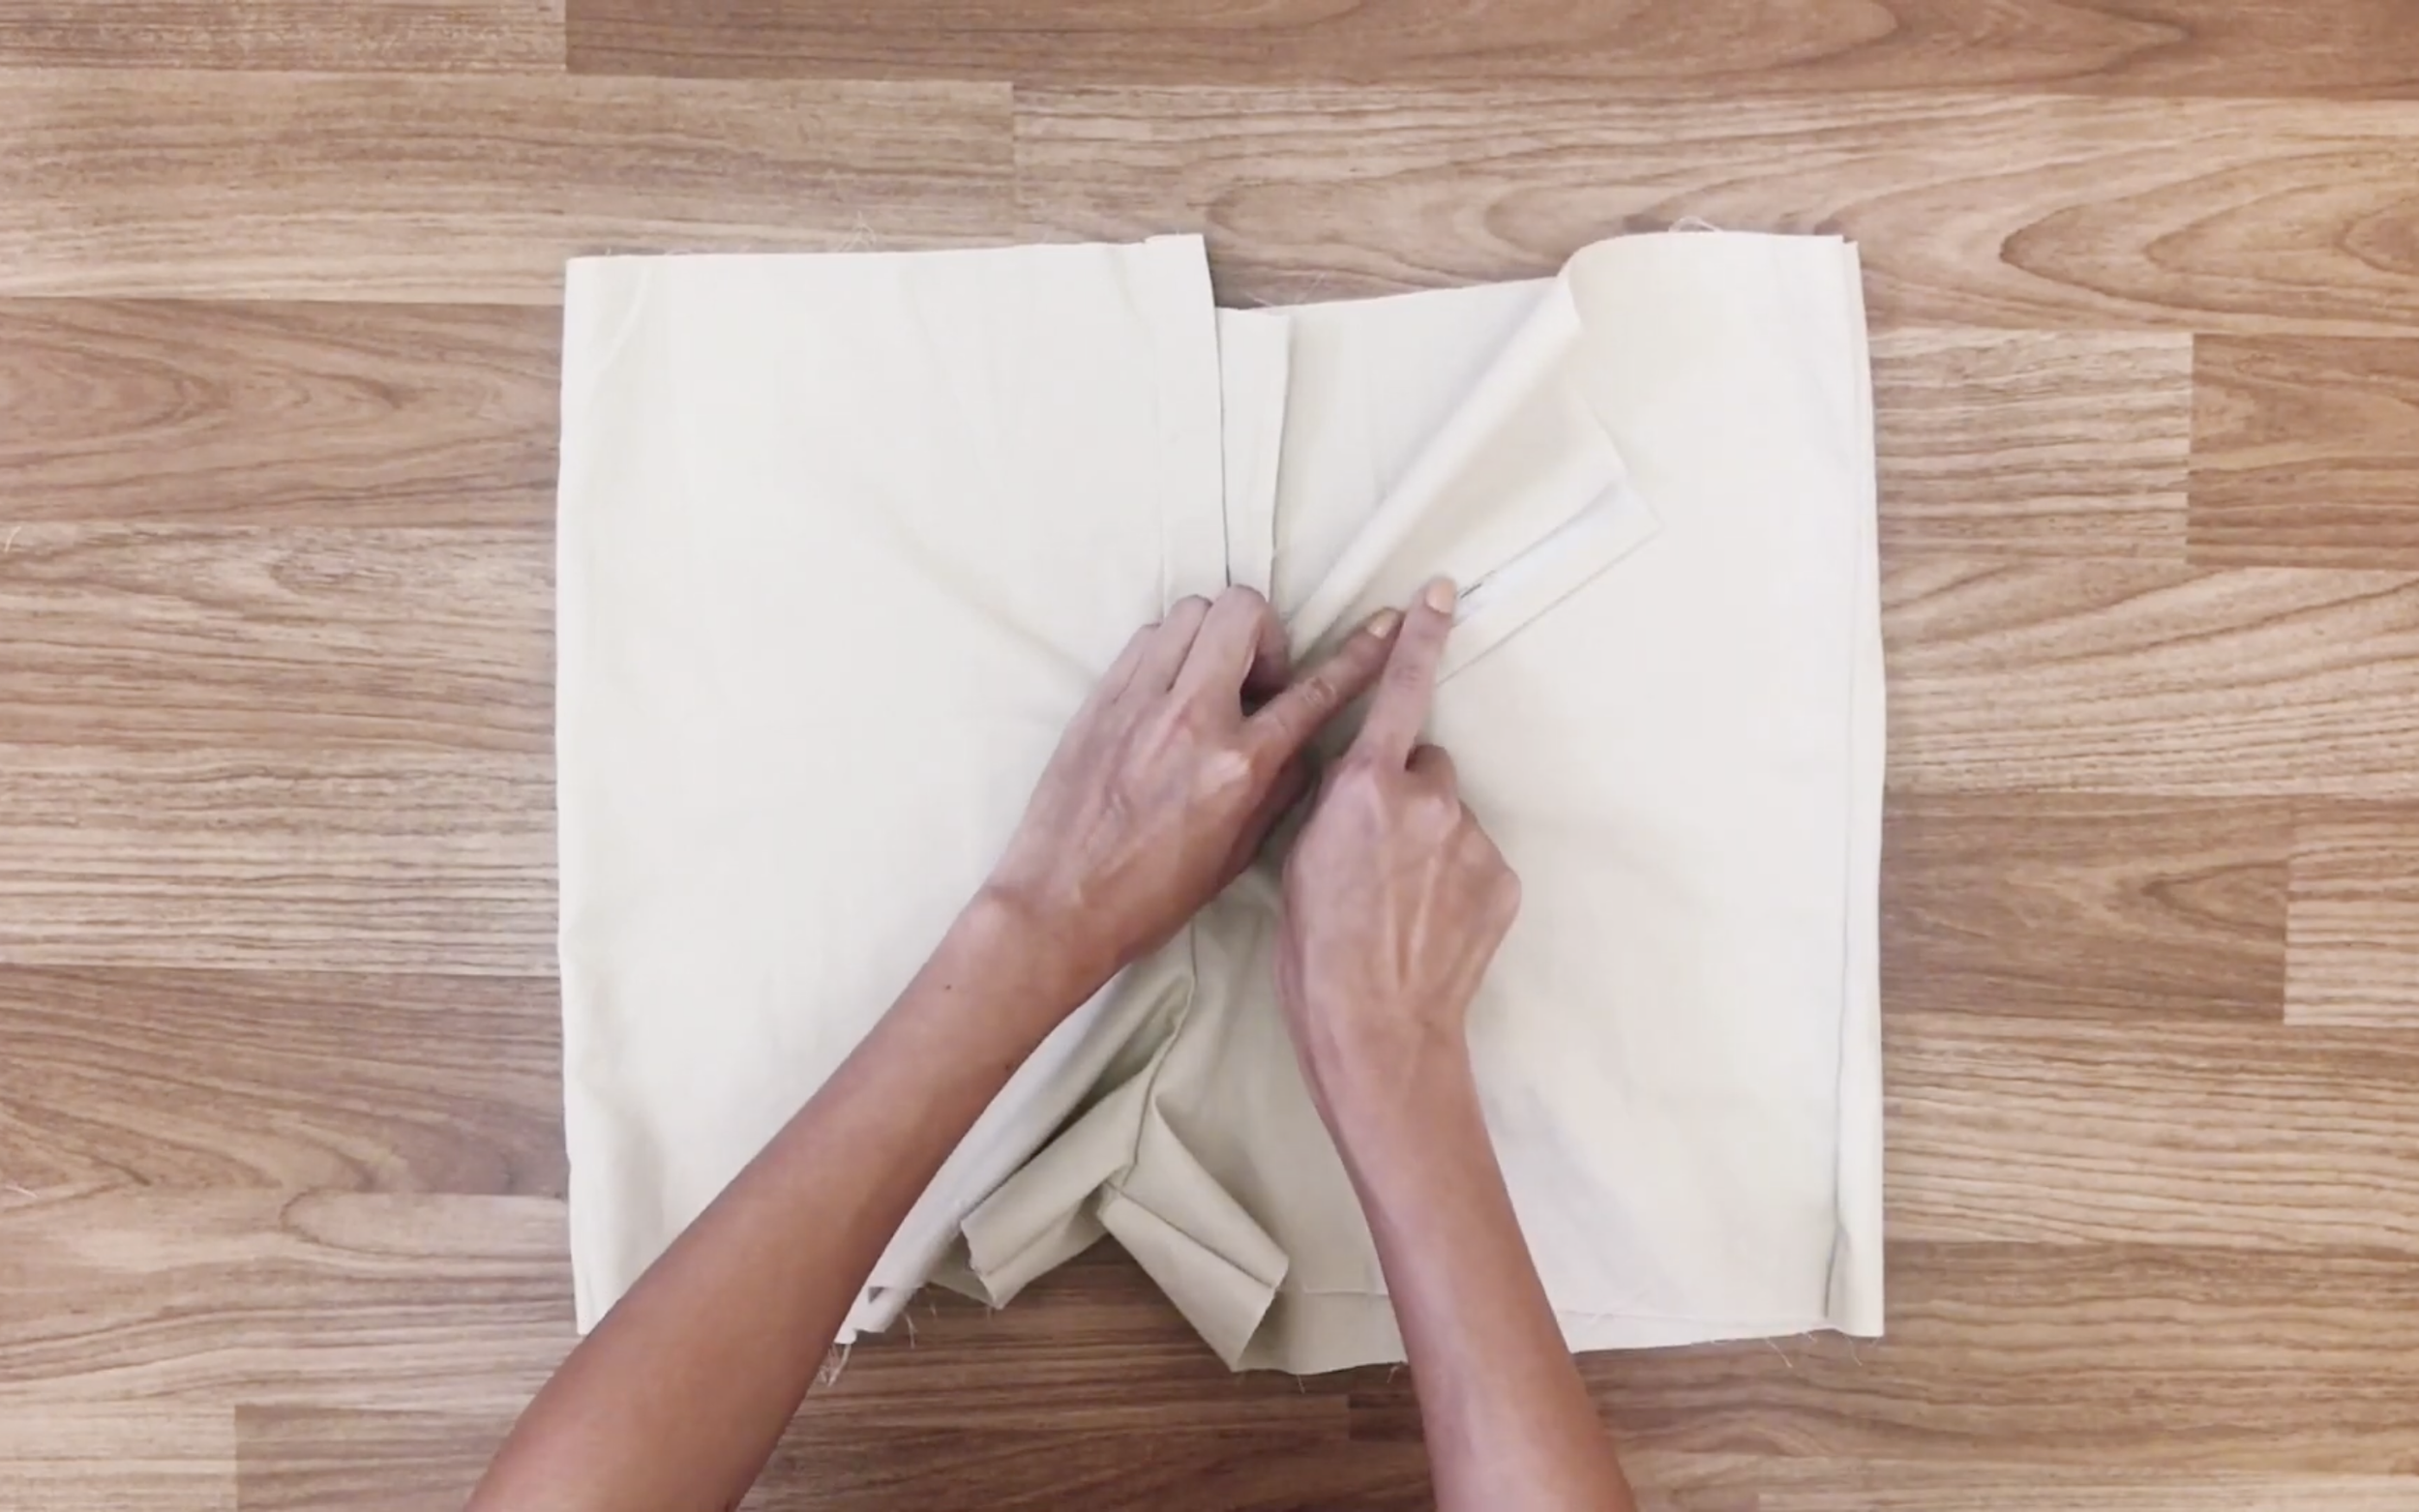
Beside that when you fit the buttonhole to the pants, don’t hide the hole.
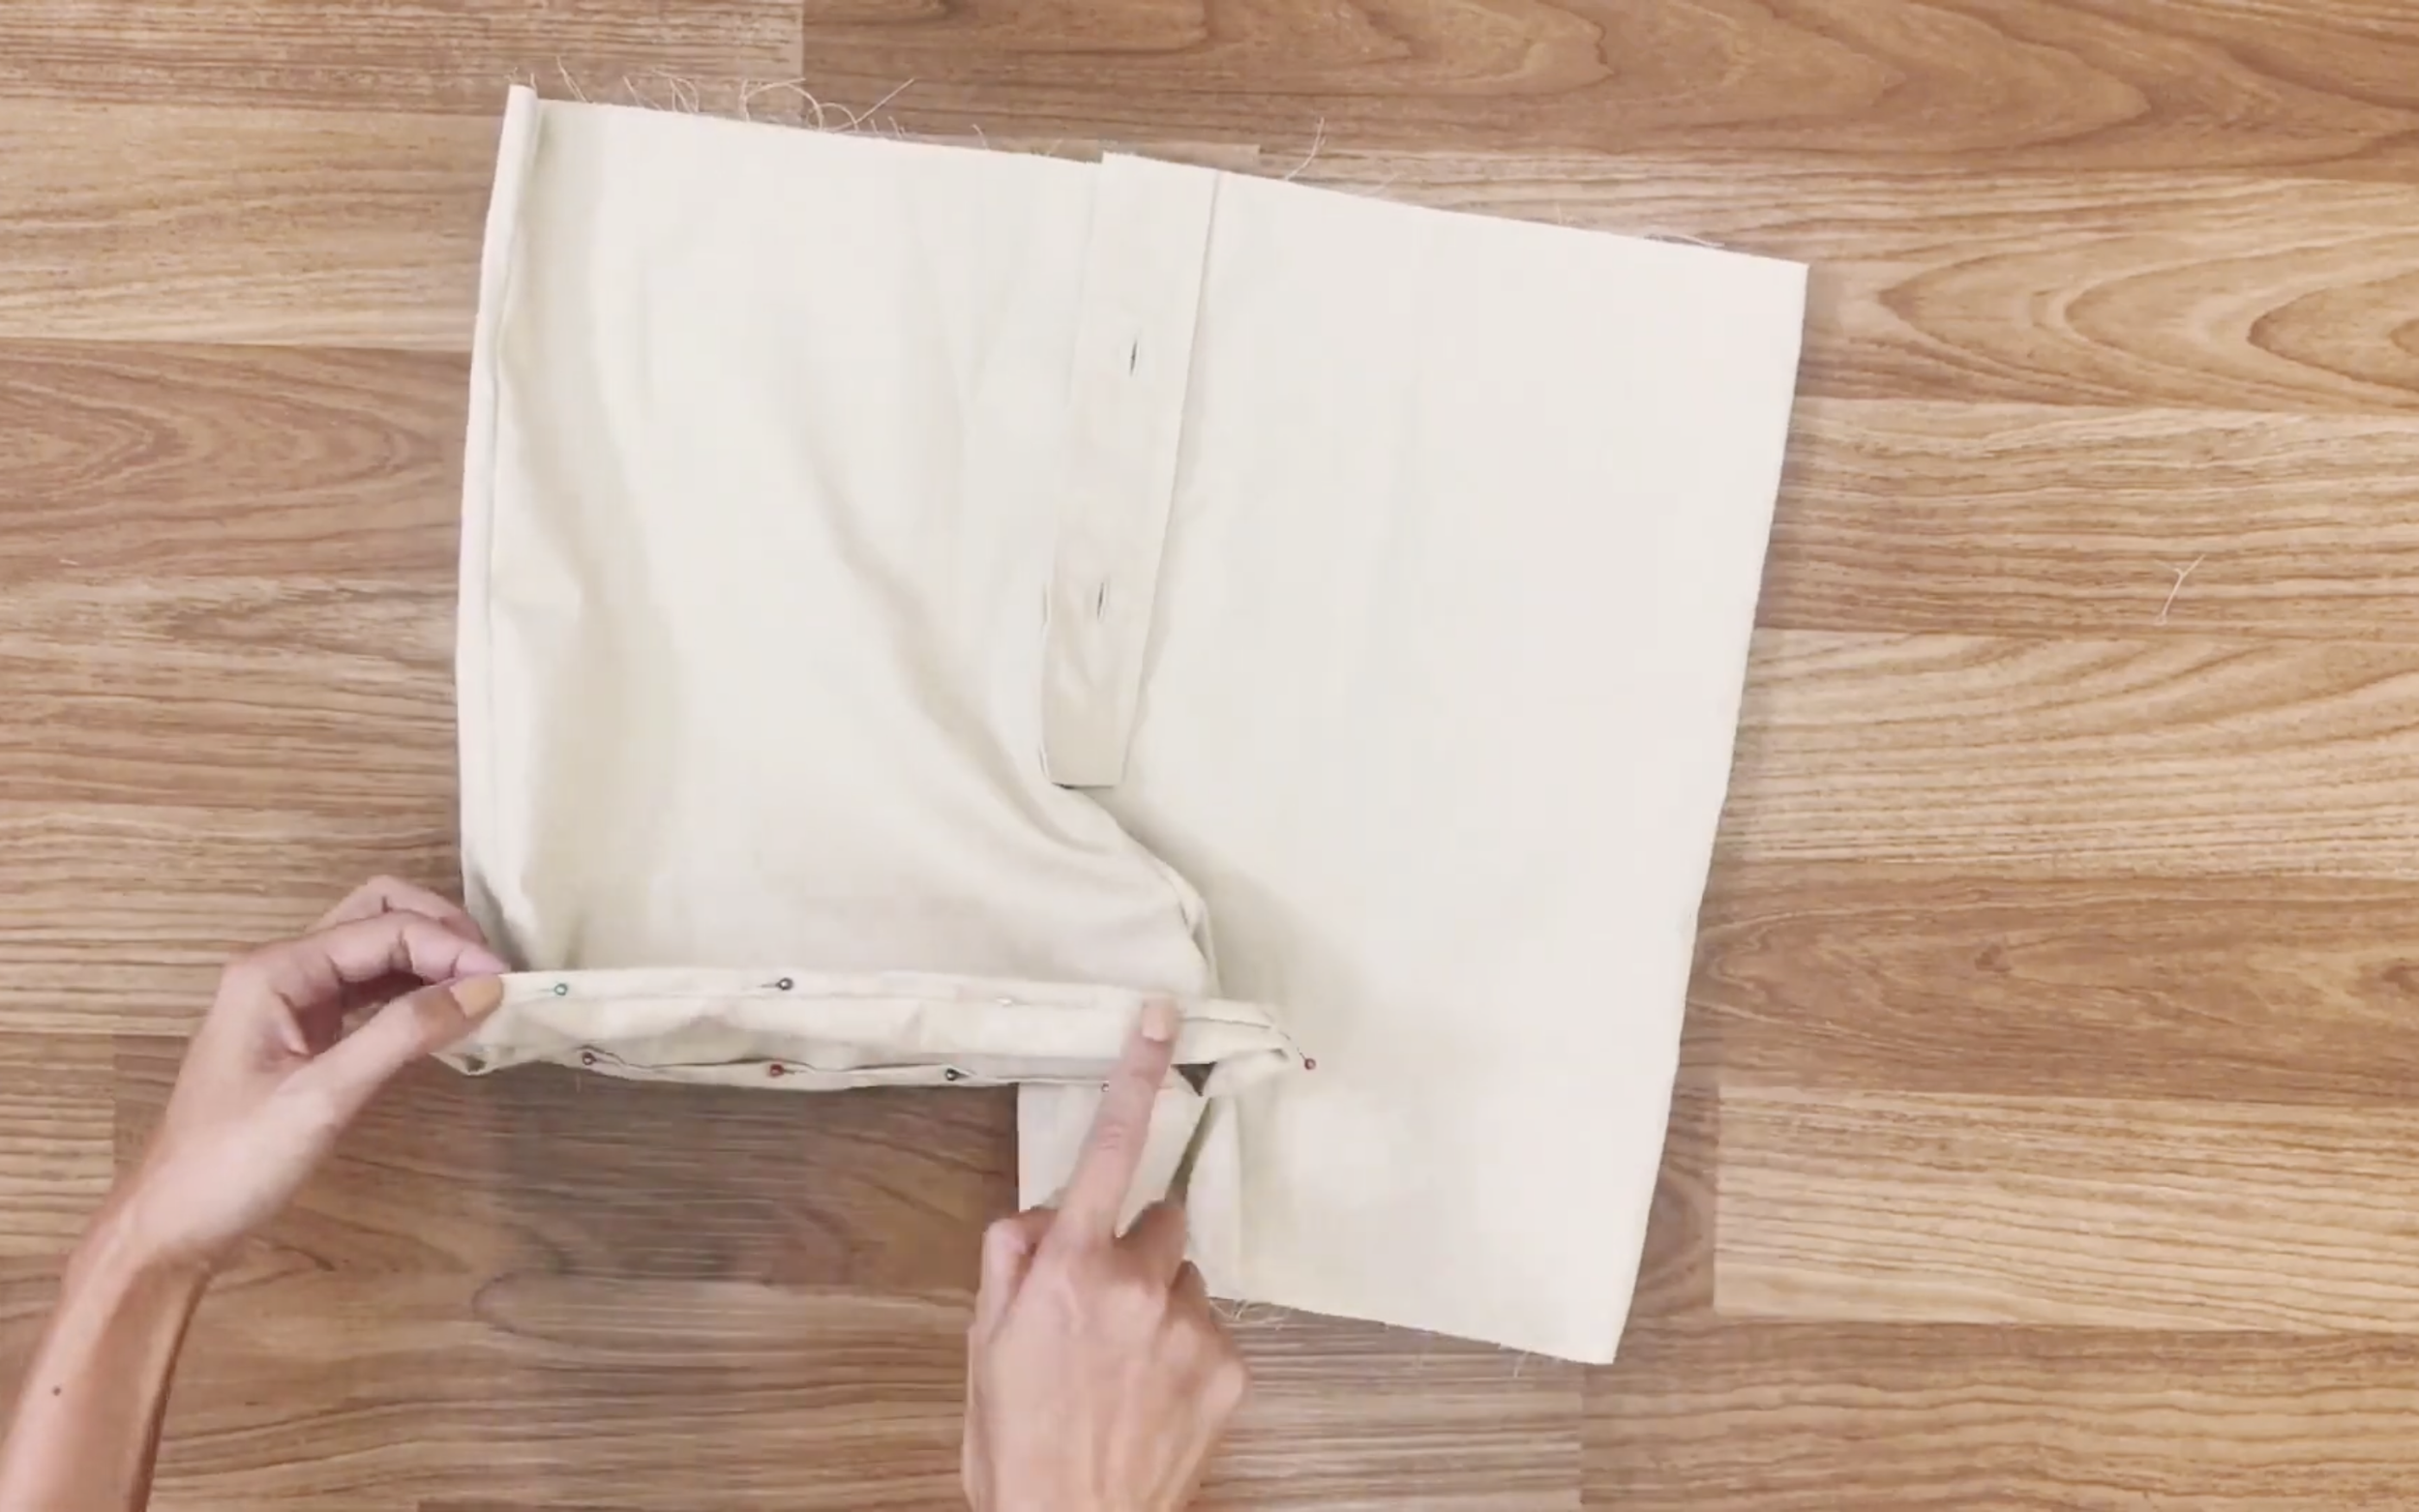
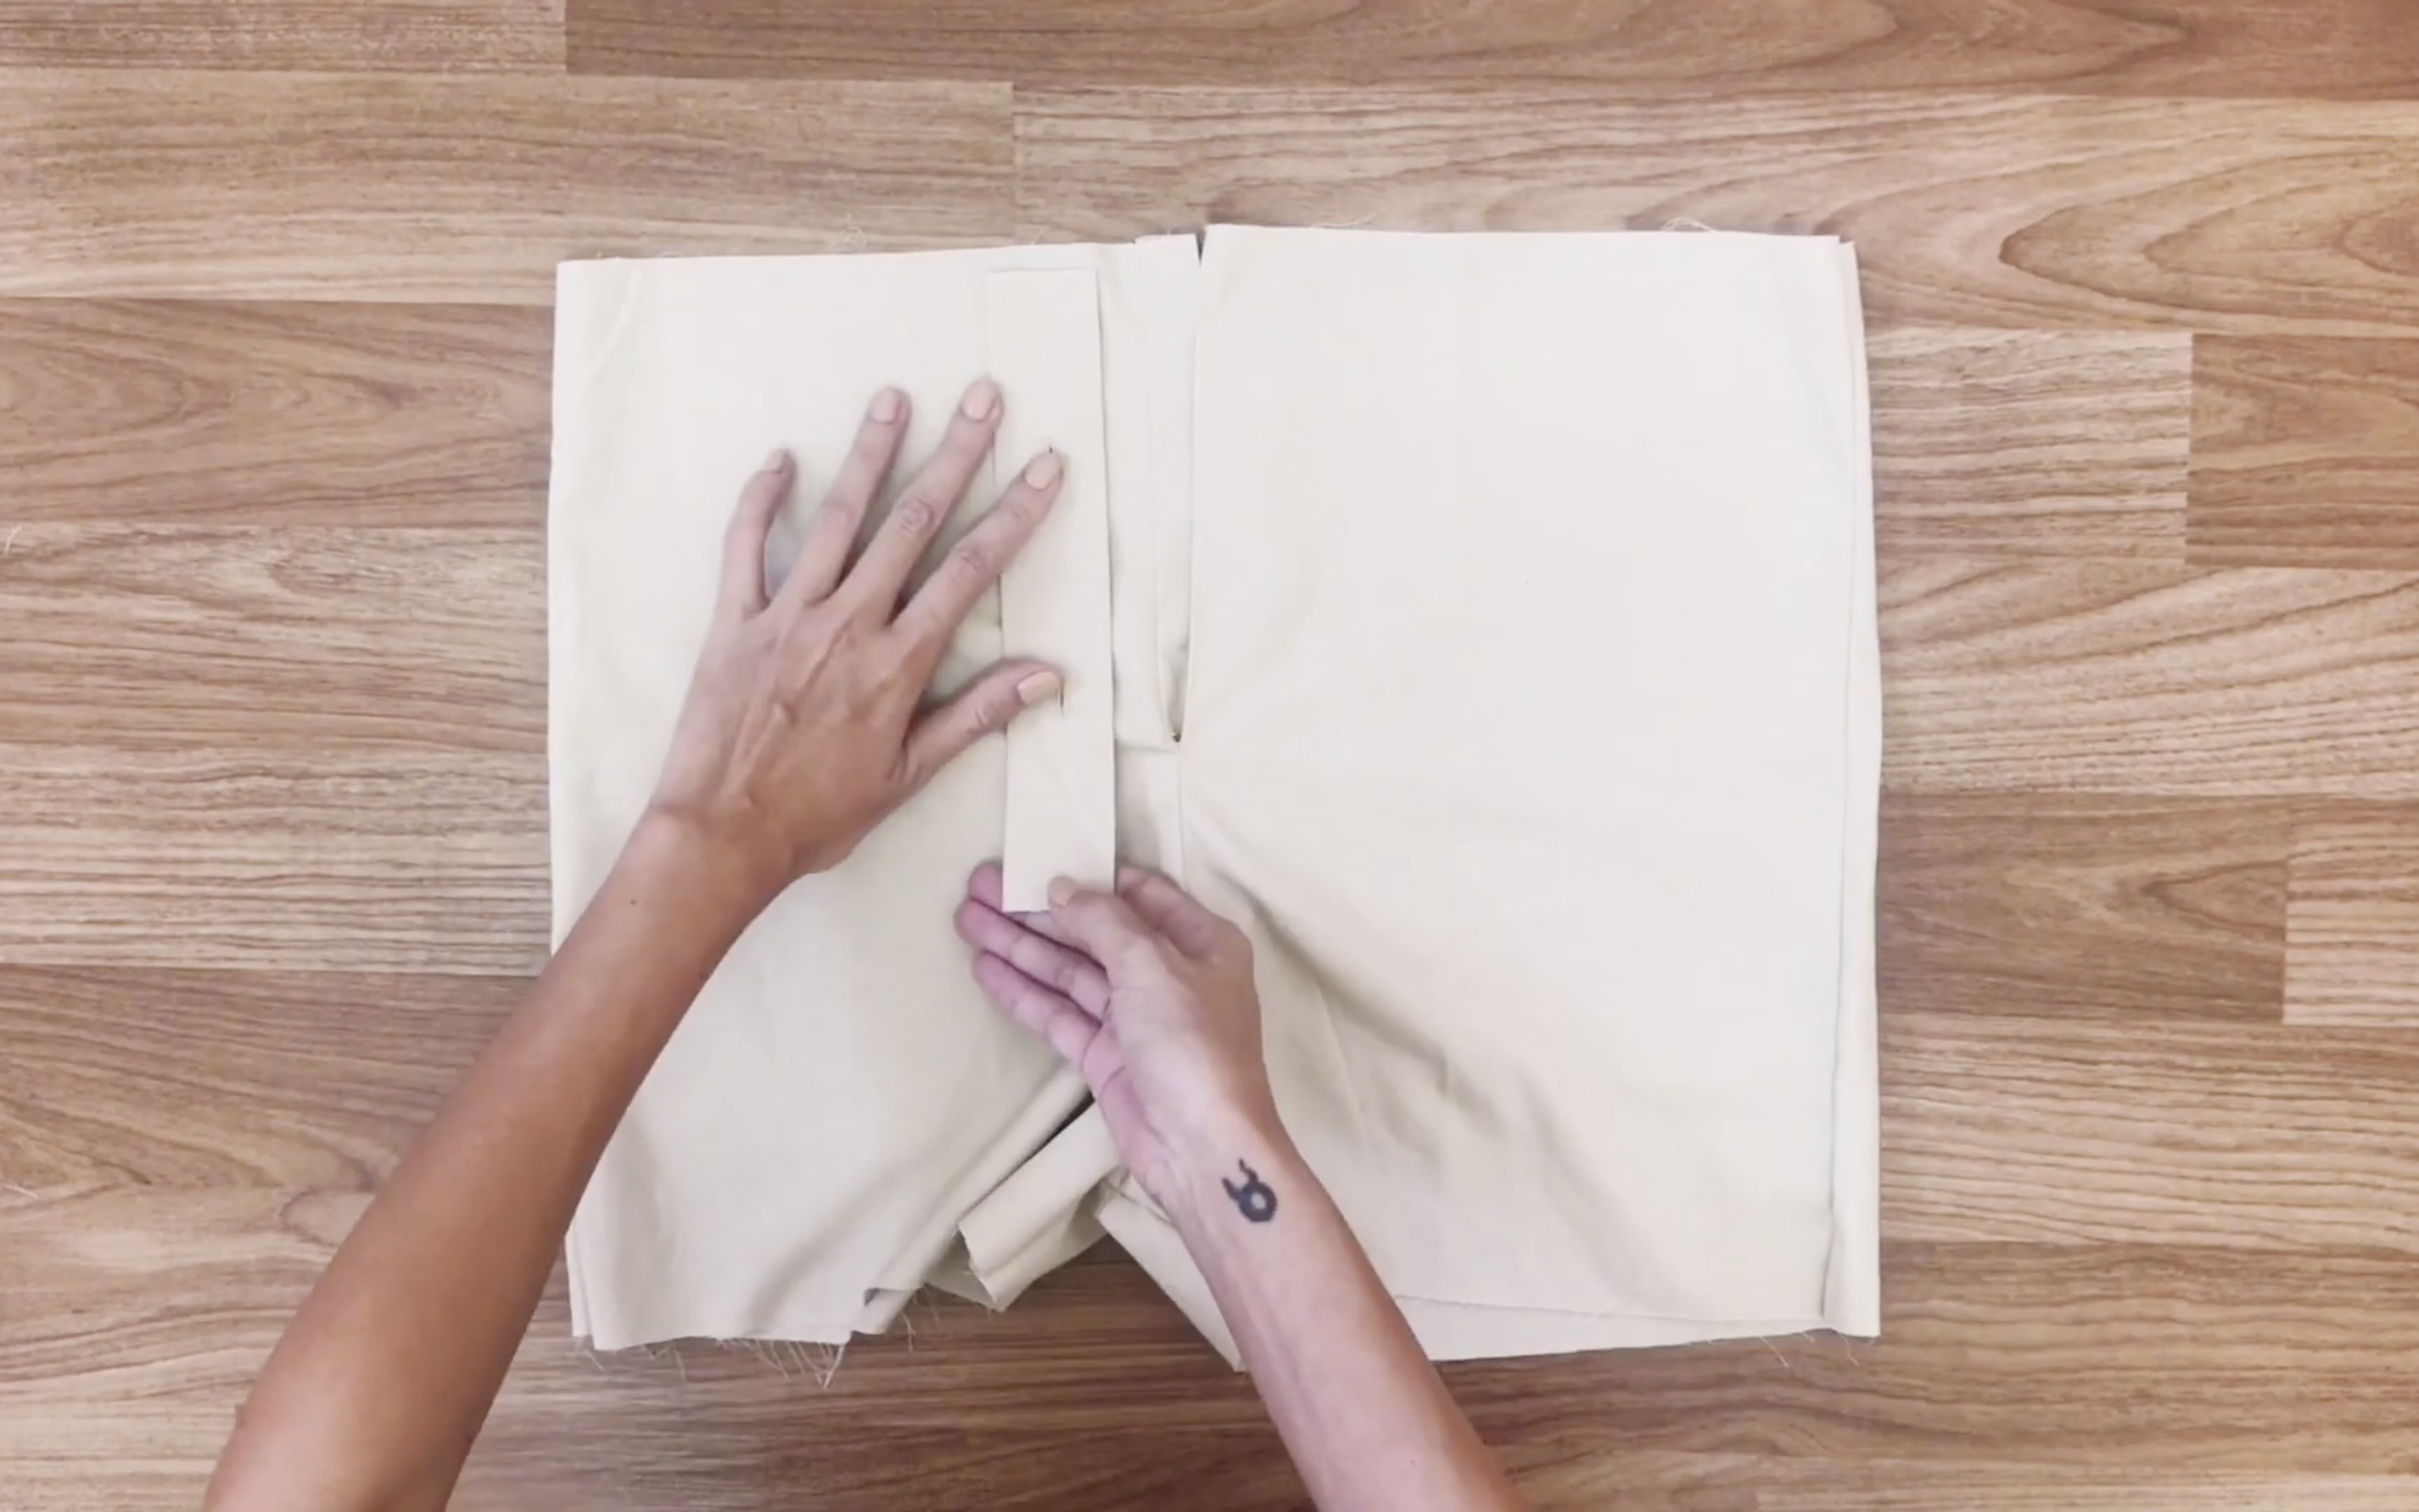
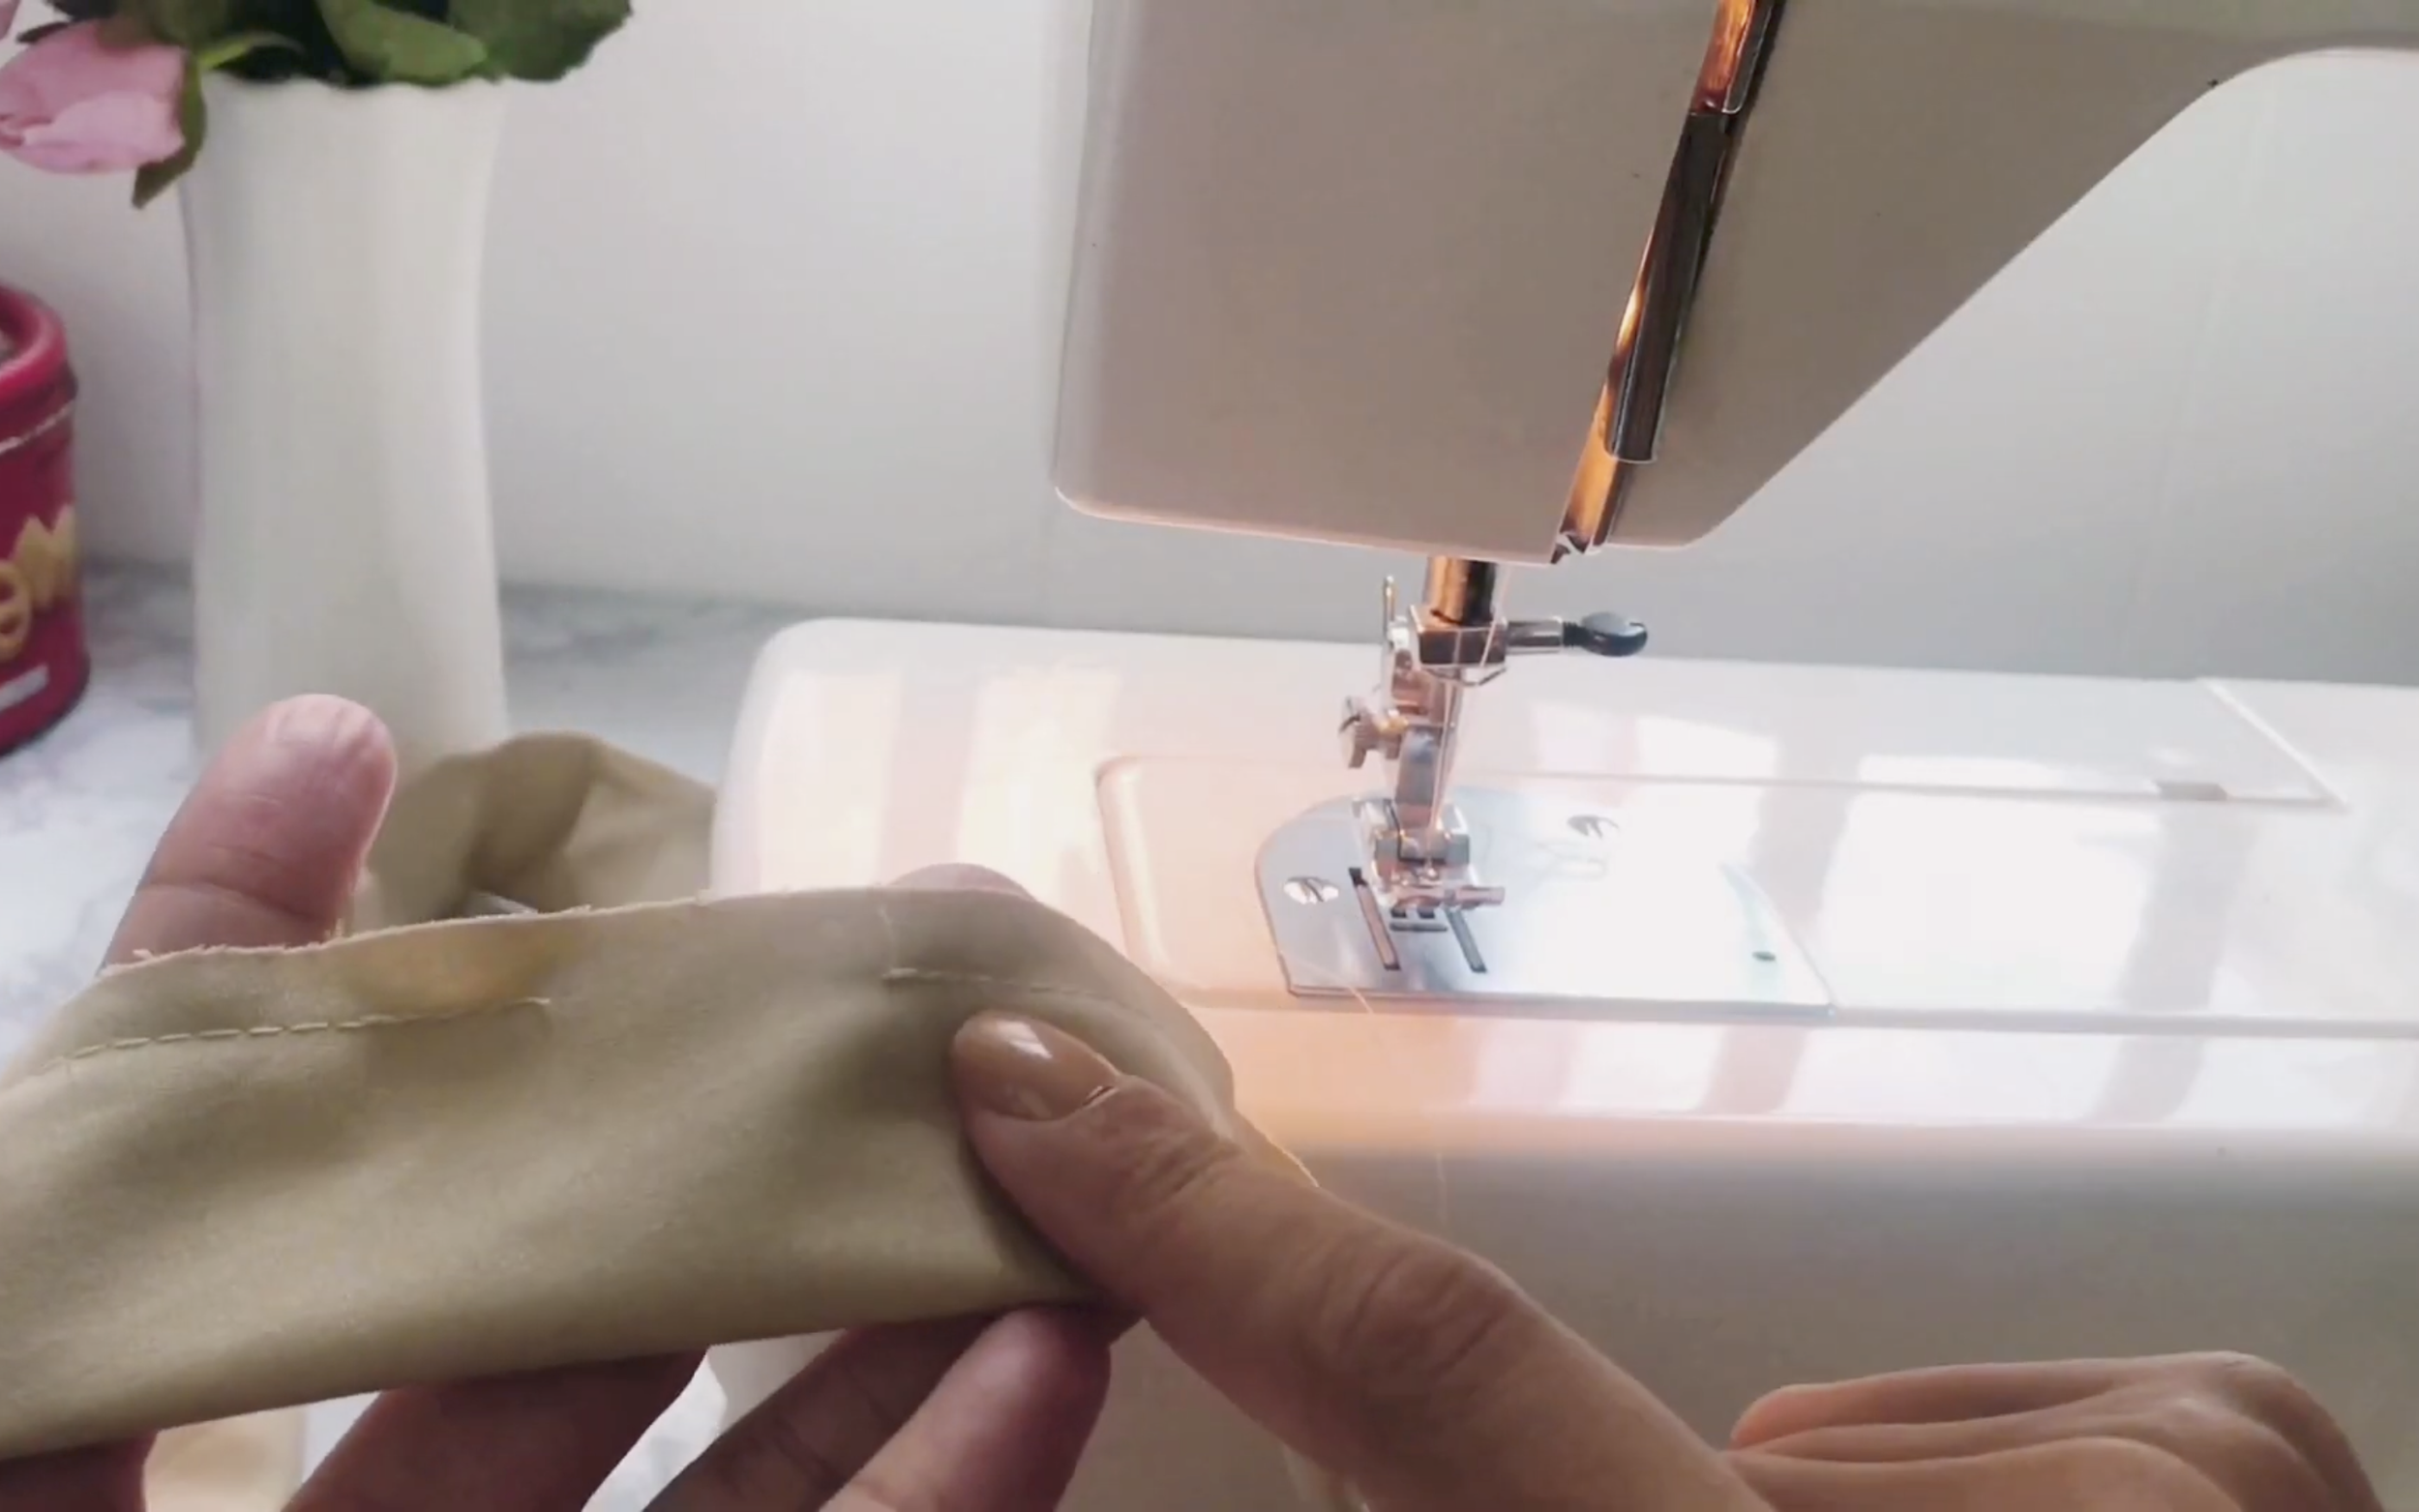
The last step to finish the pants of the jumpsuit is sewing the end of the leg to hide the cutting.
The way it’s done is by folding the fabric double times and use the pins to hold it before sewing.
THE TOP
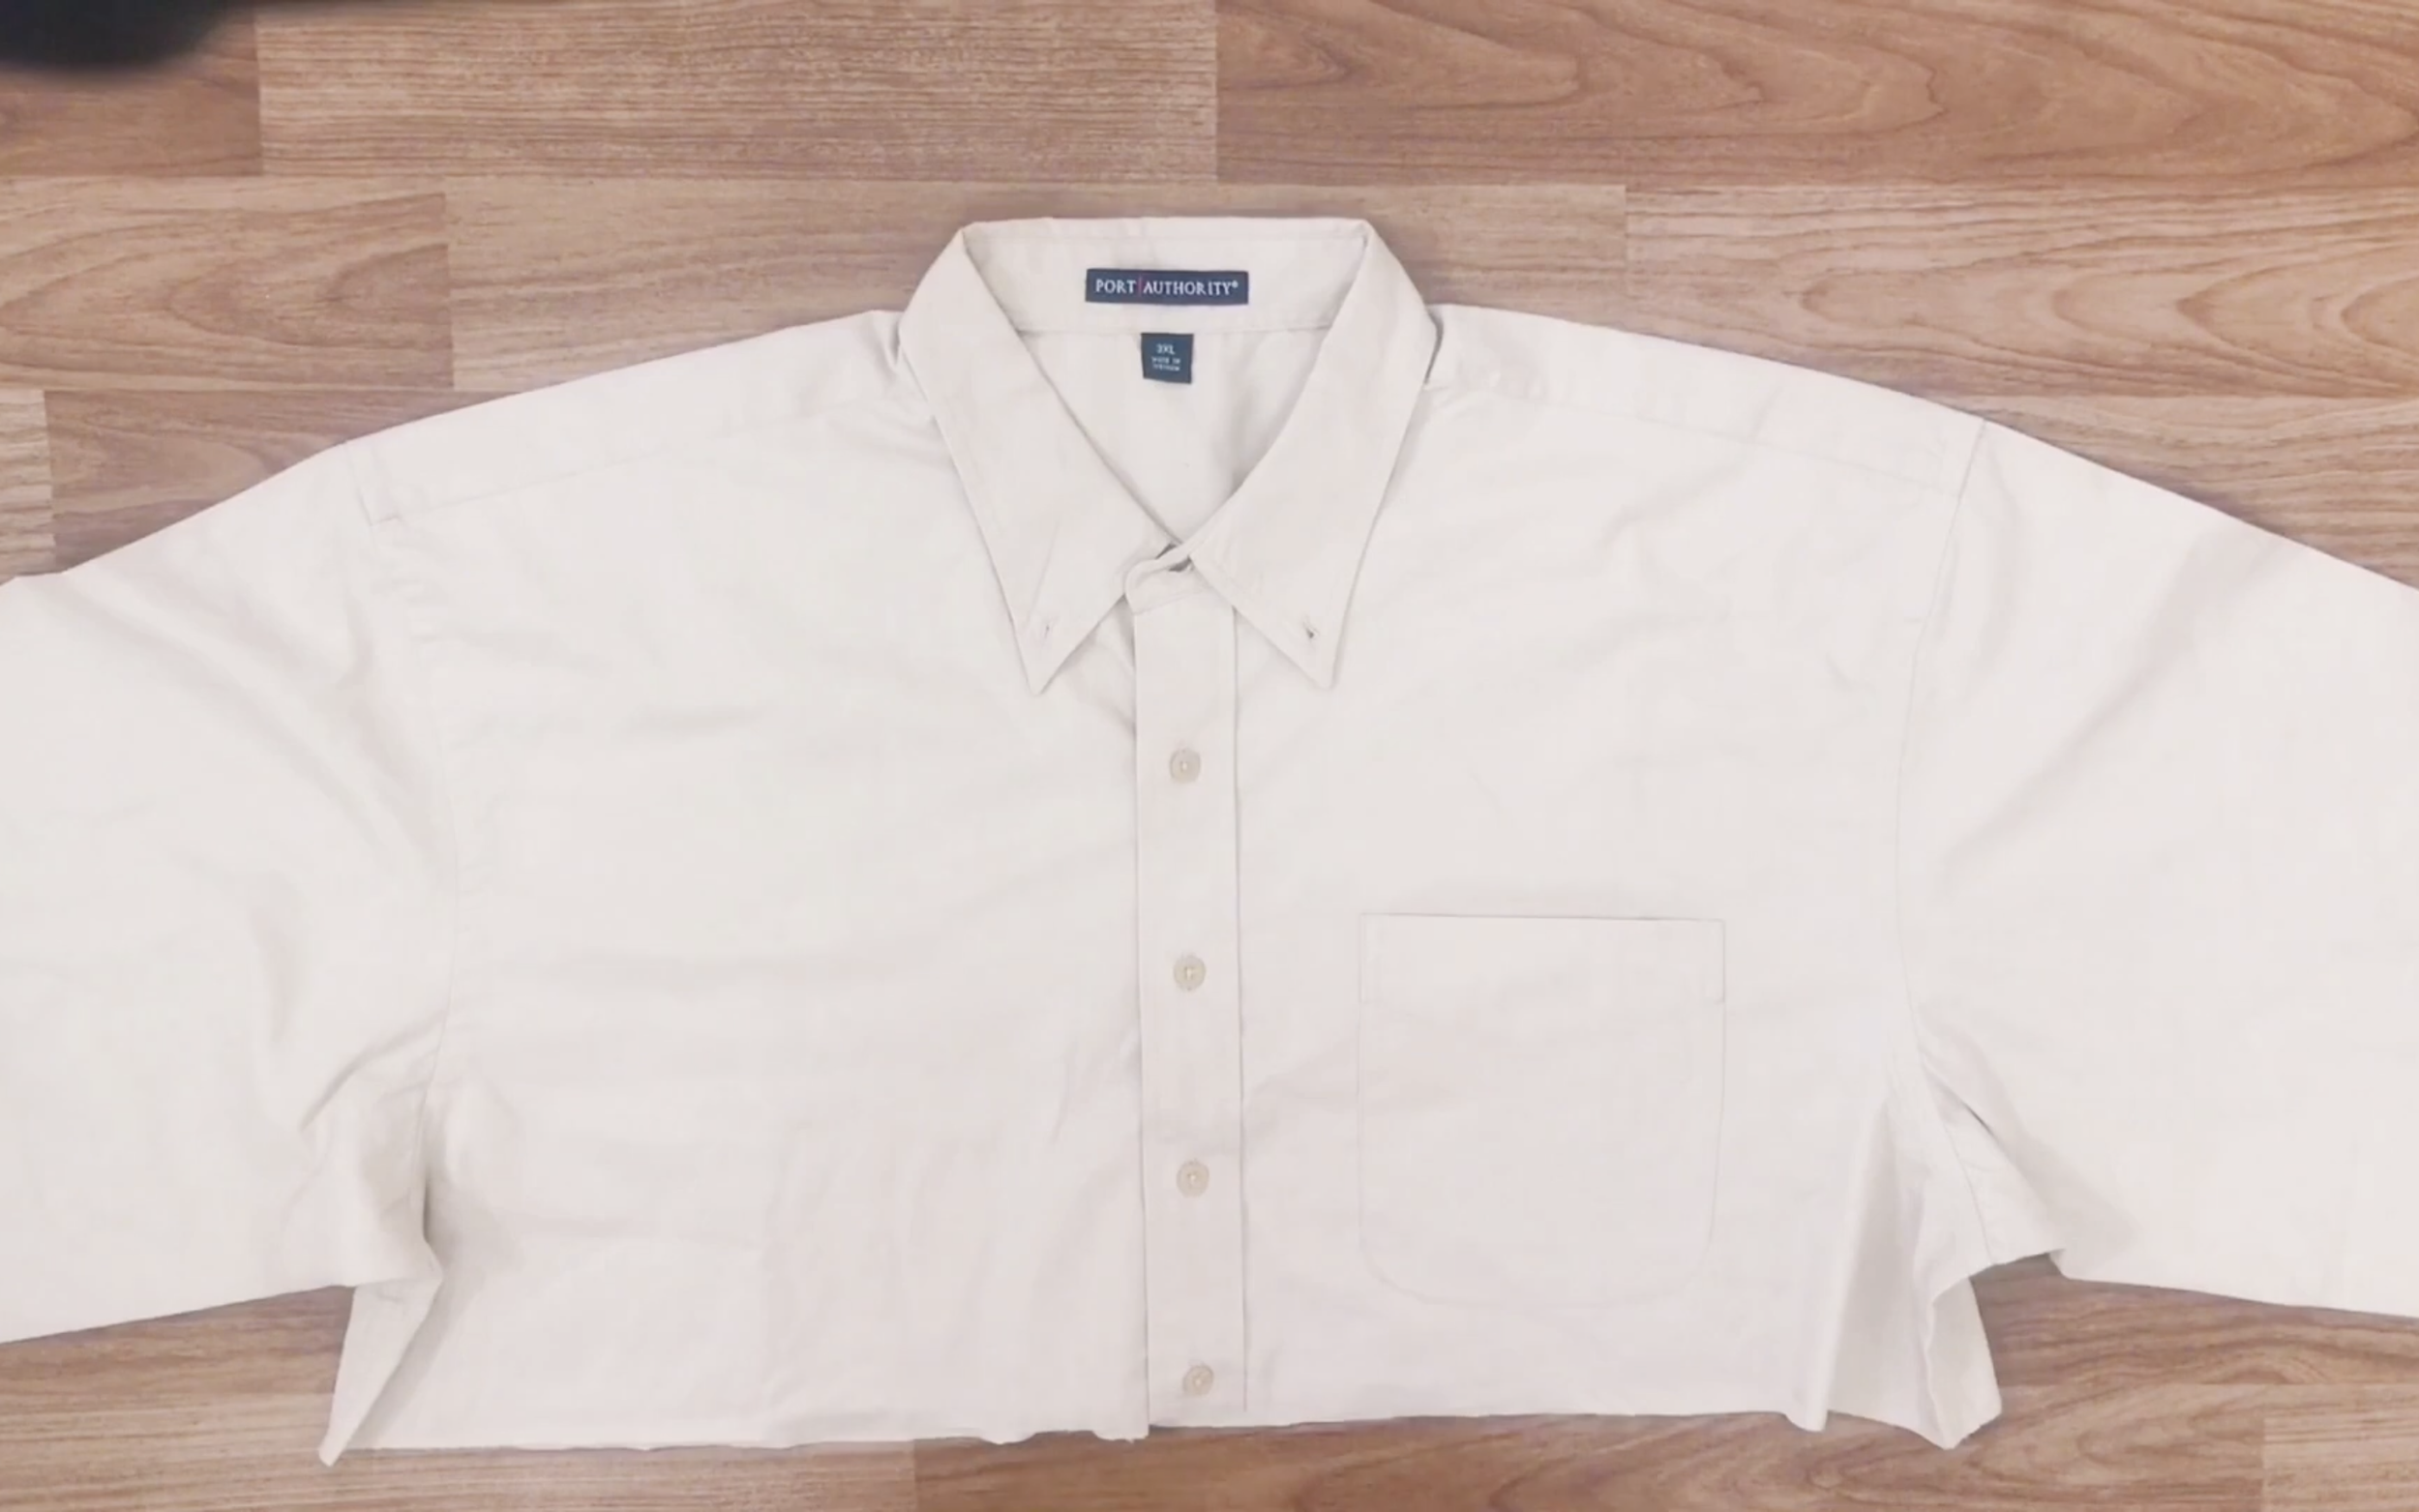
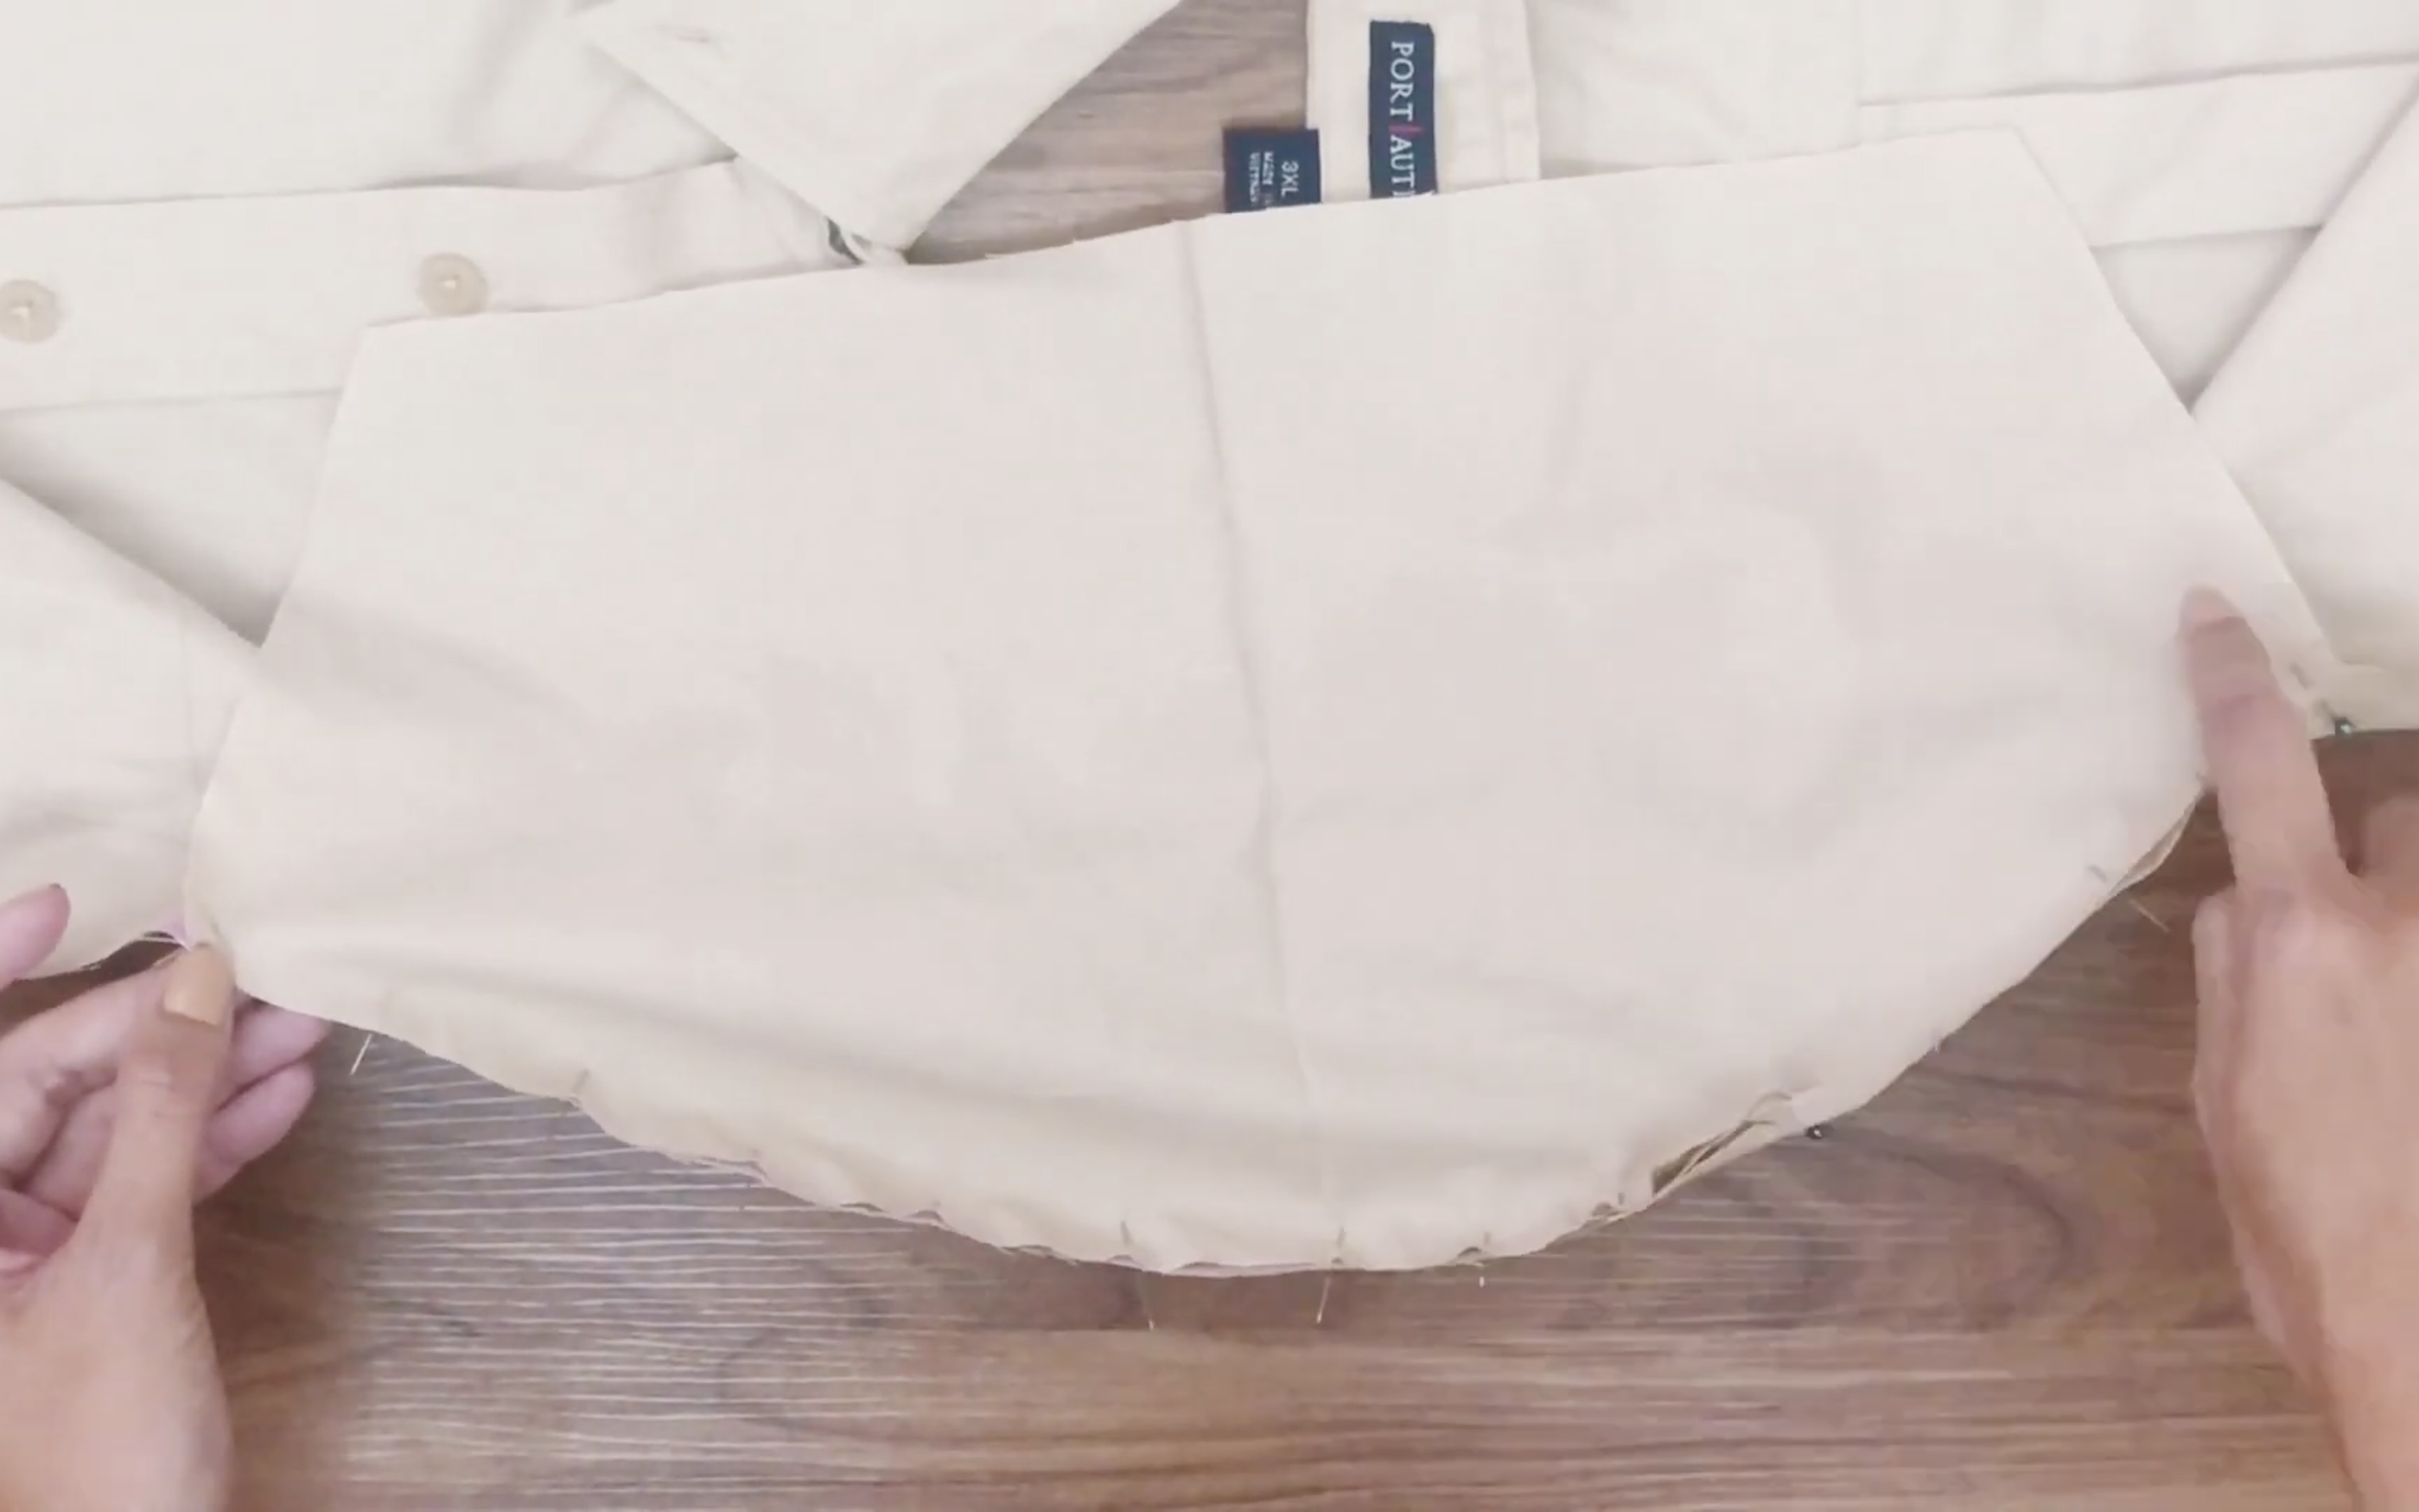
Moving forward to the top of the shirt that will be the top of the jumpsuit.
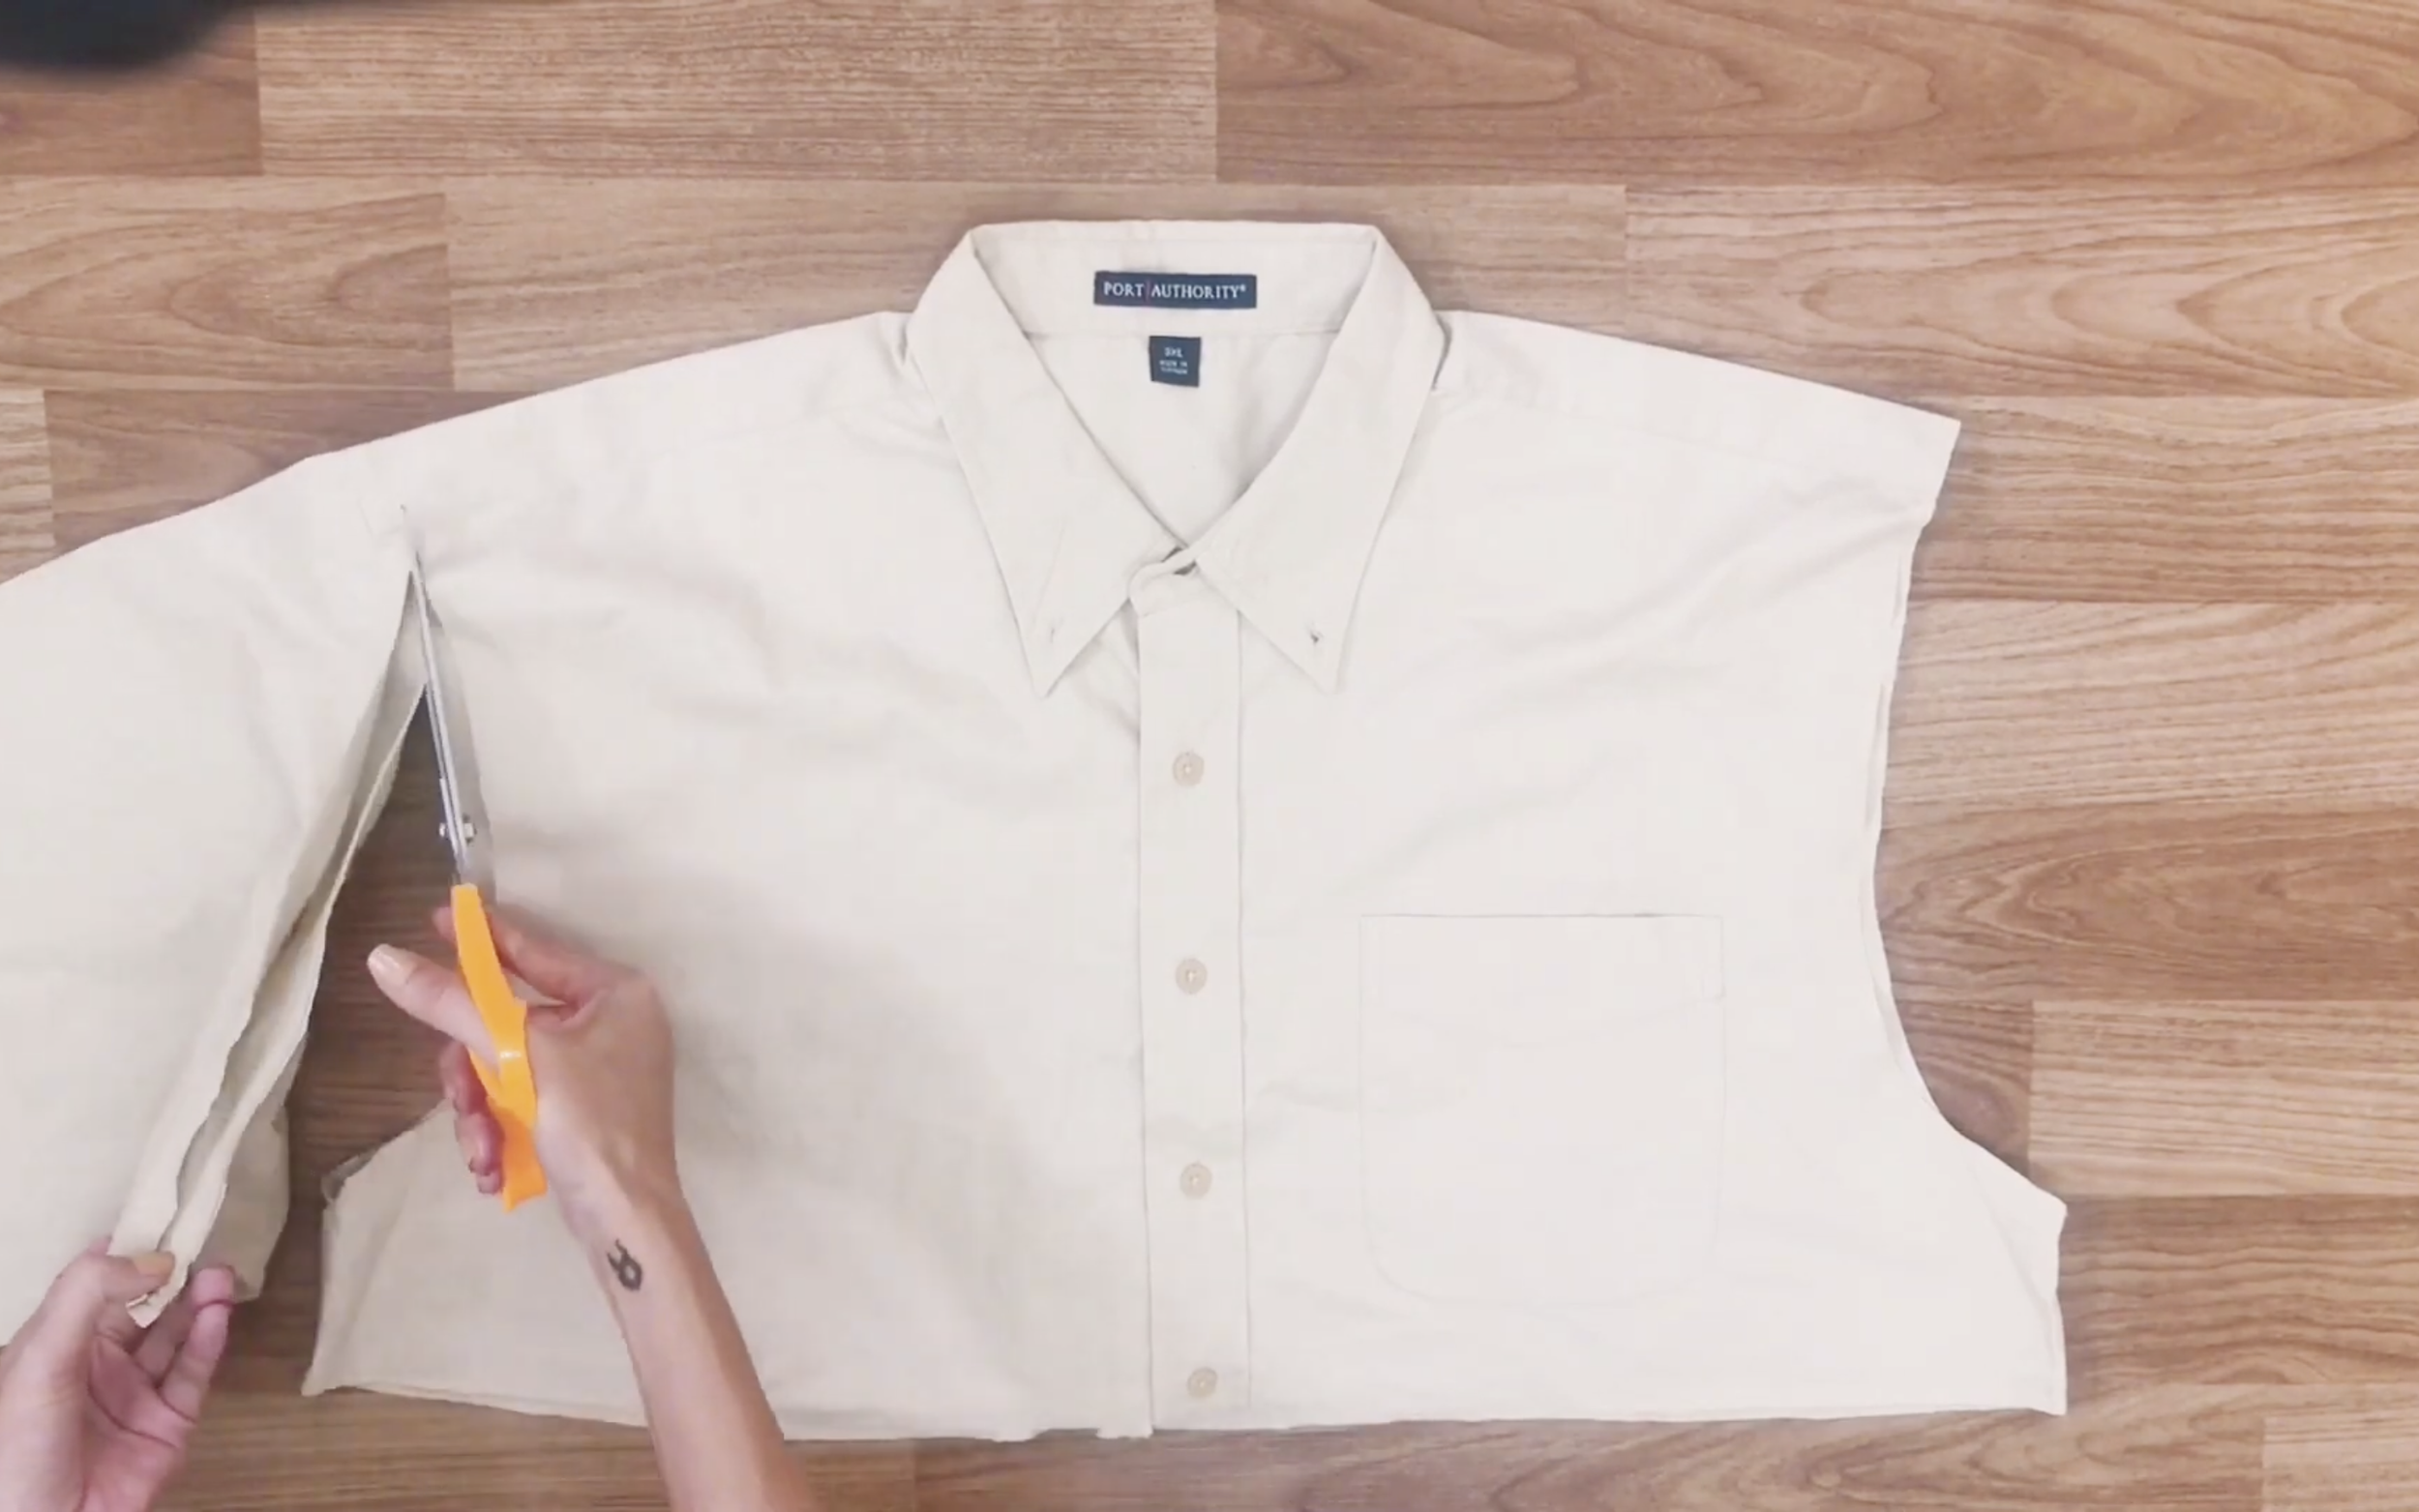
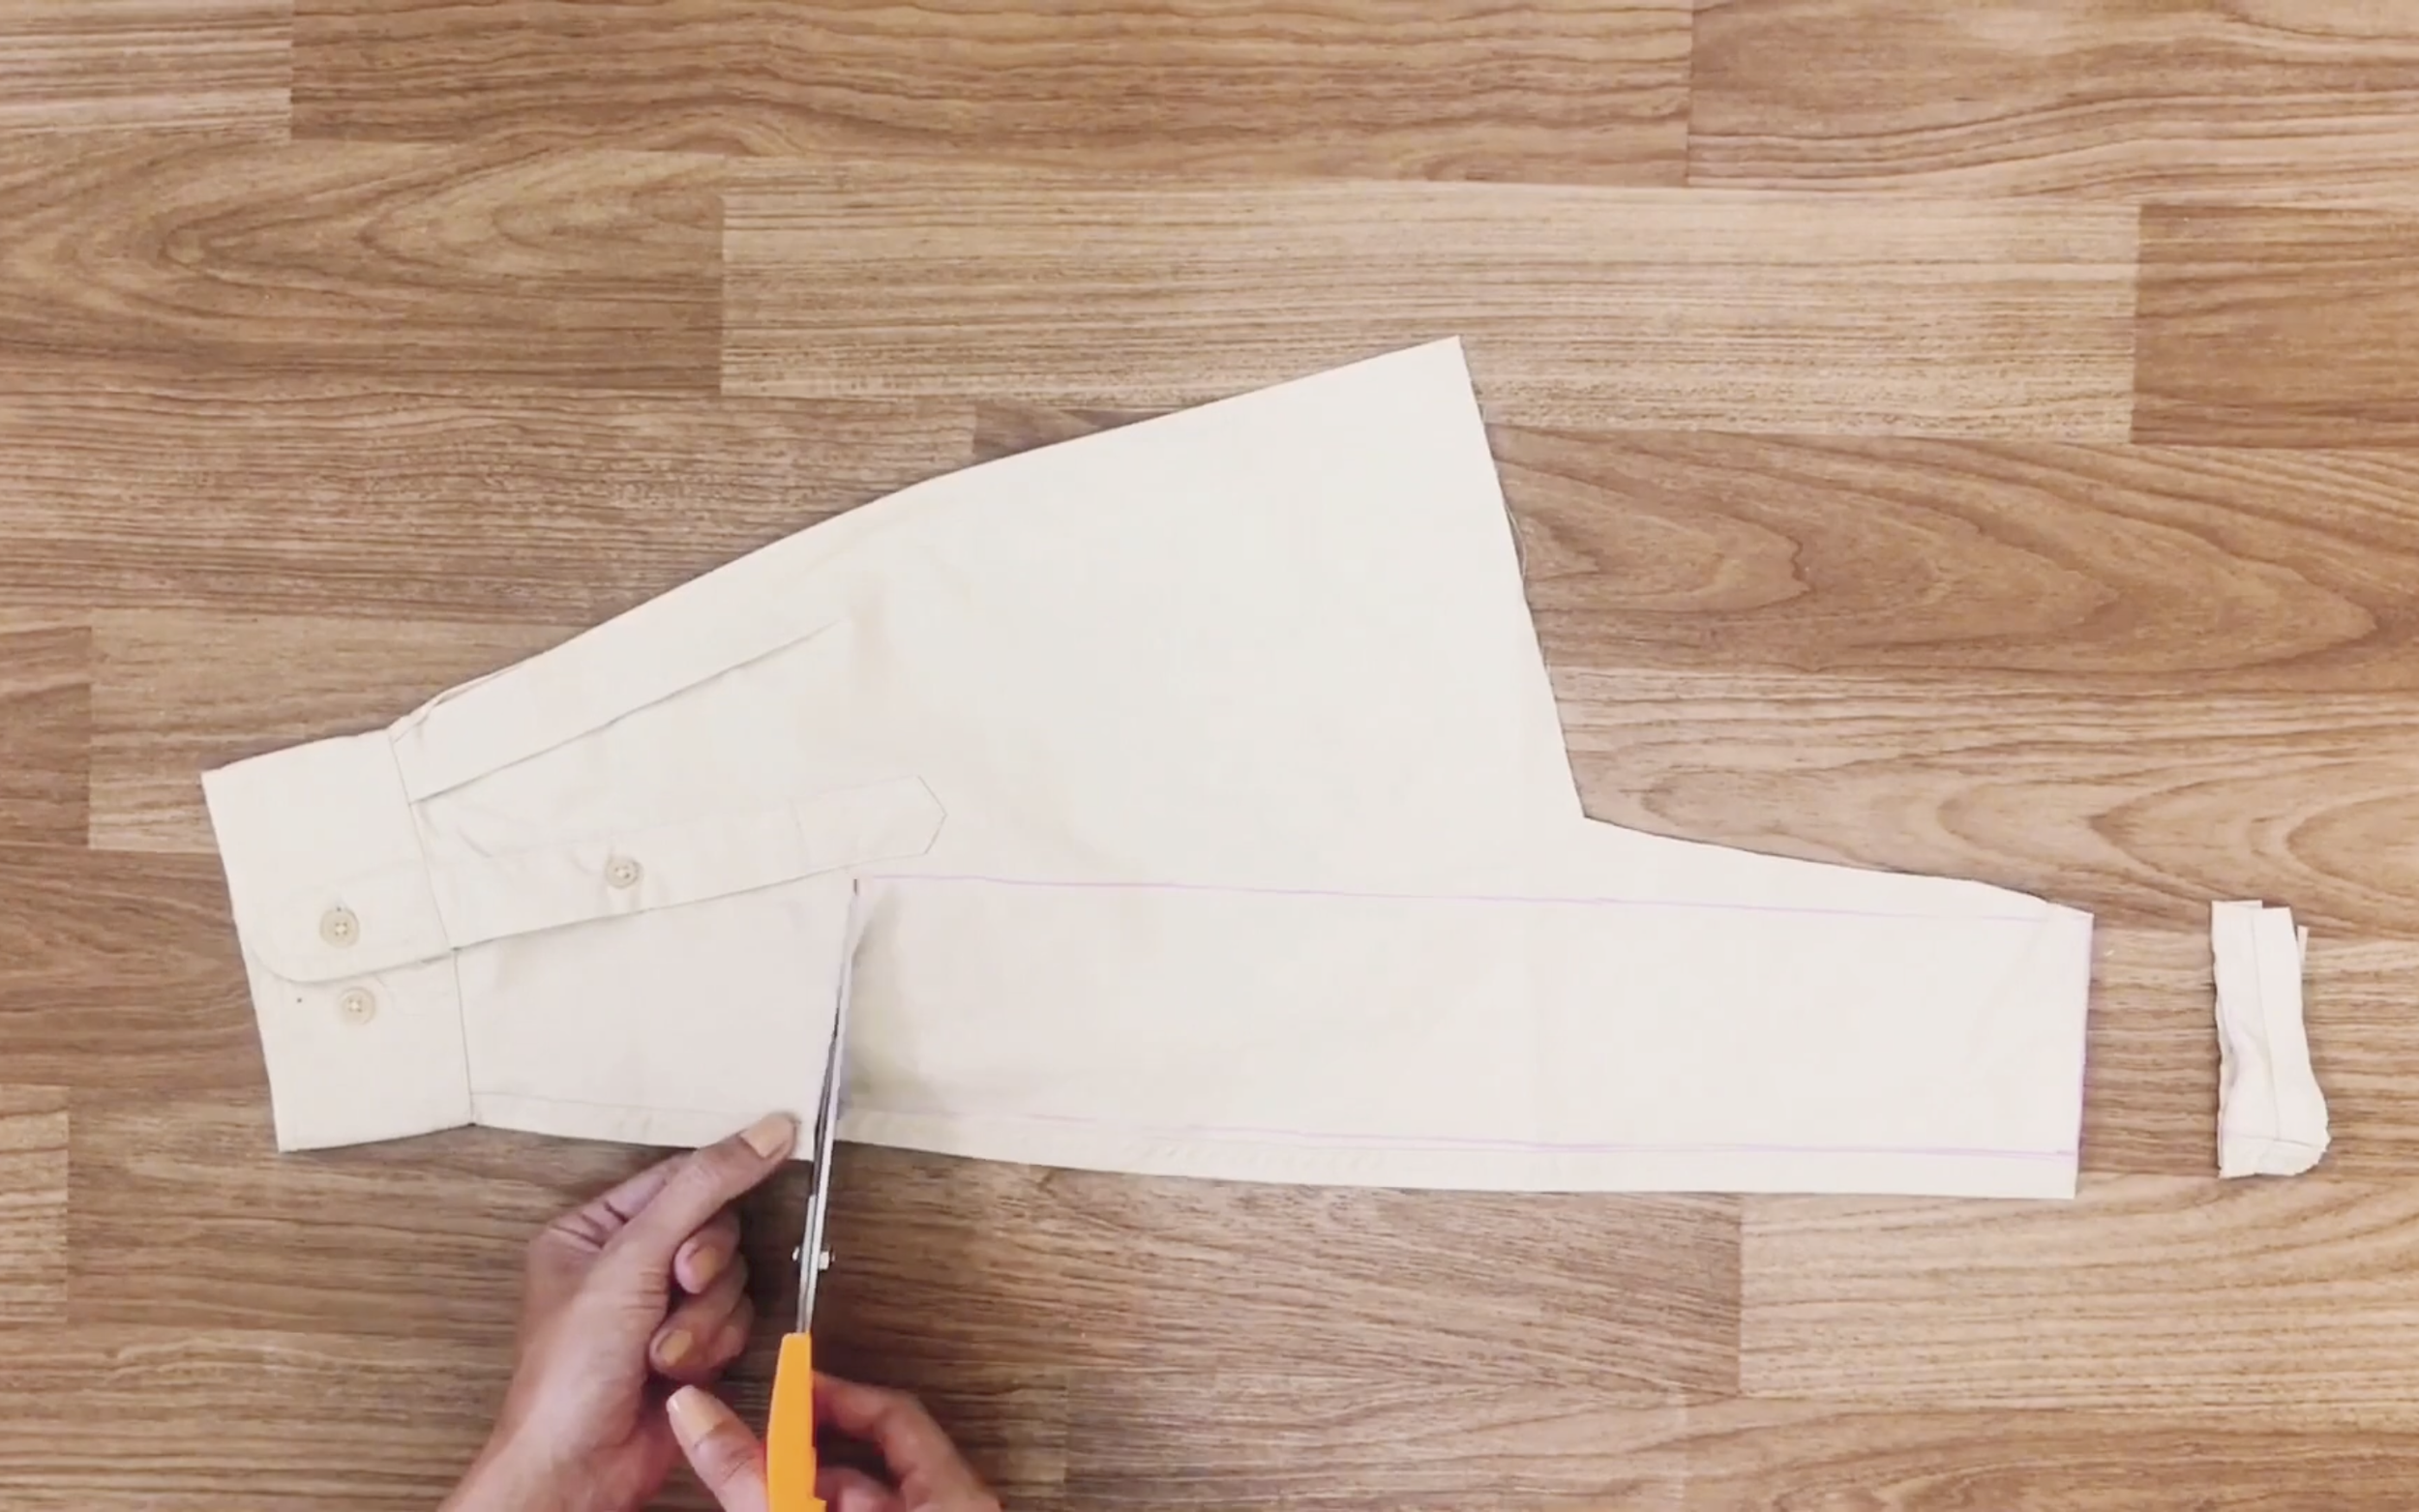
Cut the hands of the shirt first to resize the shirt to fit the side.
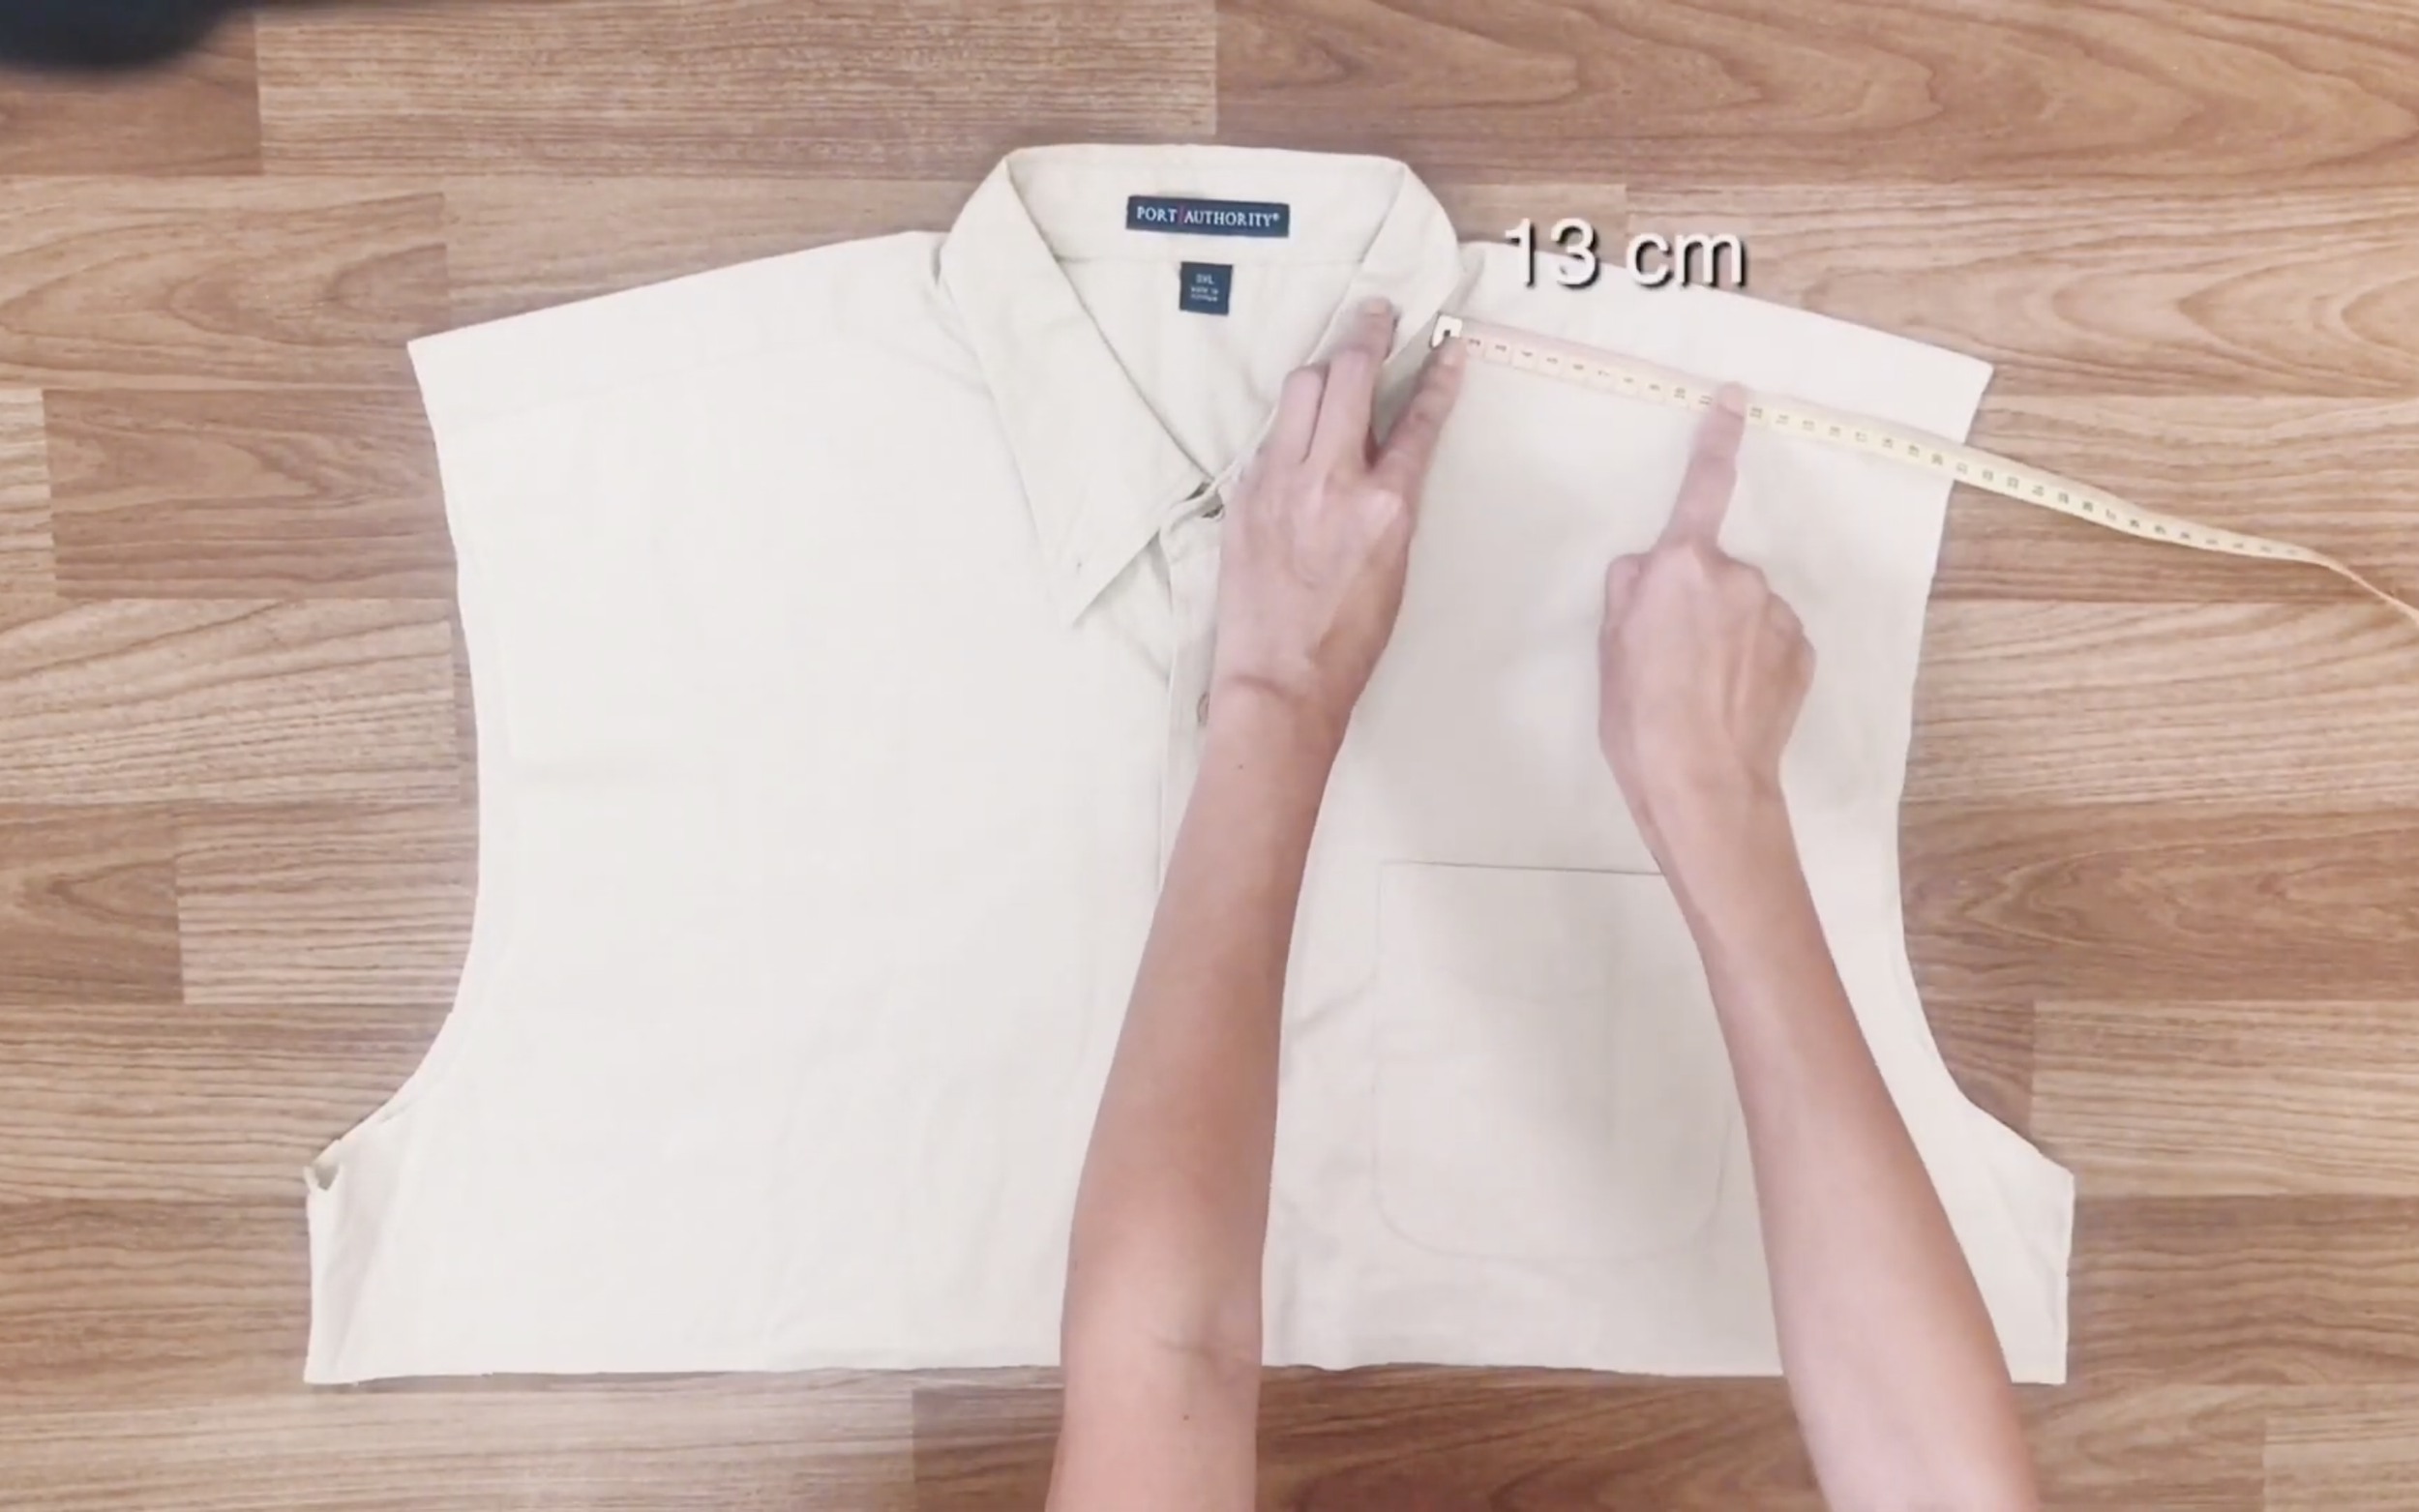
From the neck, go to 13 cm on the shoulder and do the same for the other side.
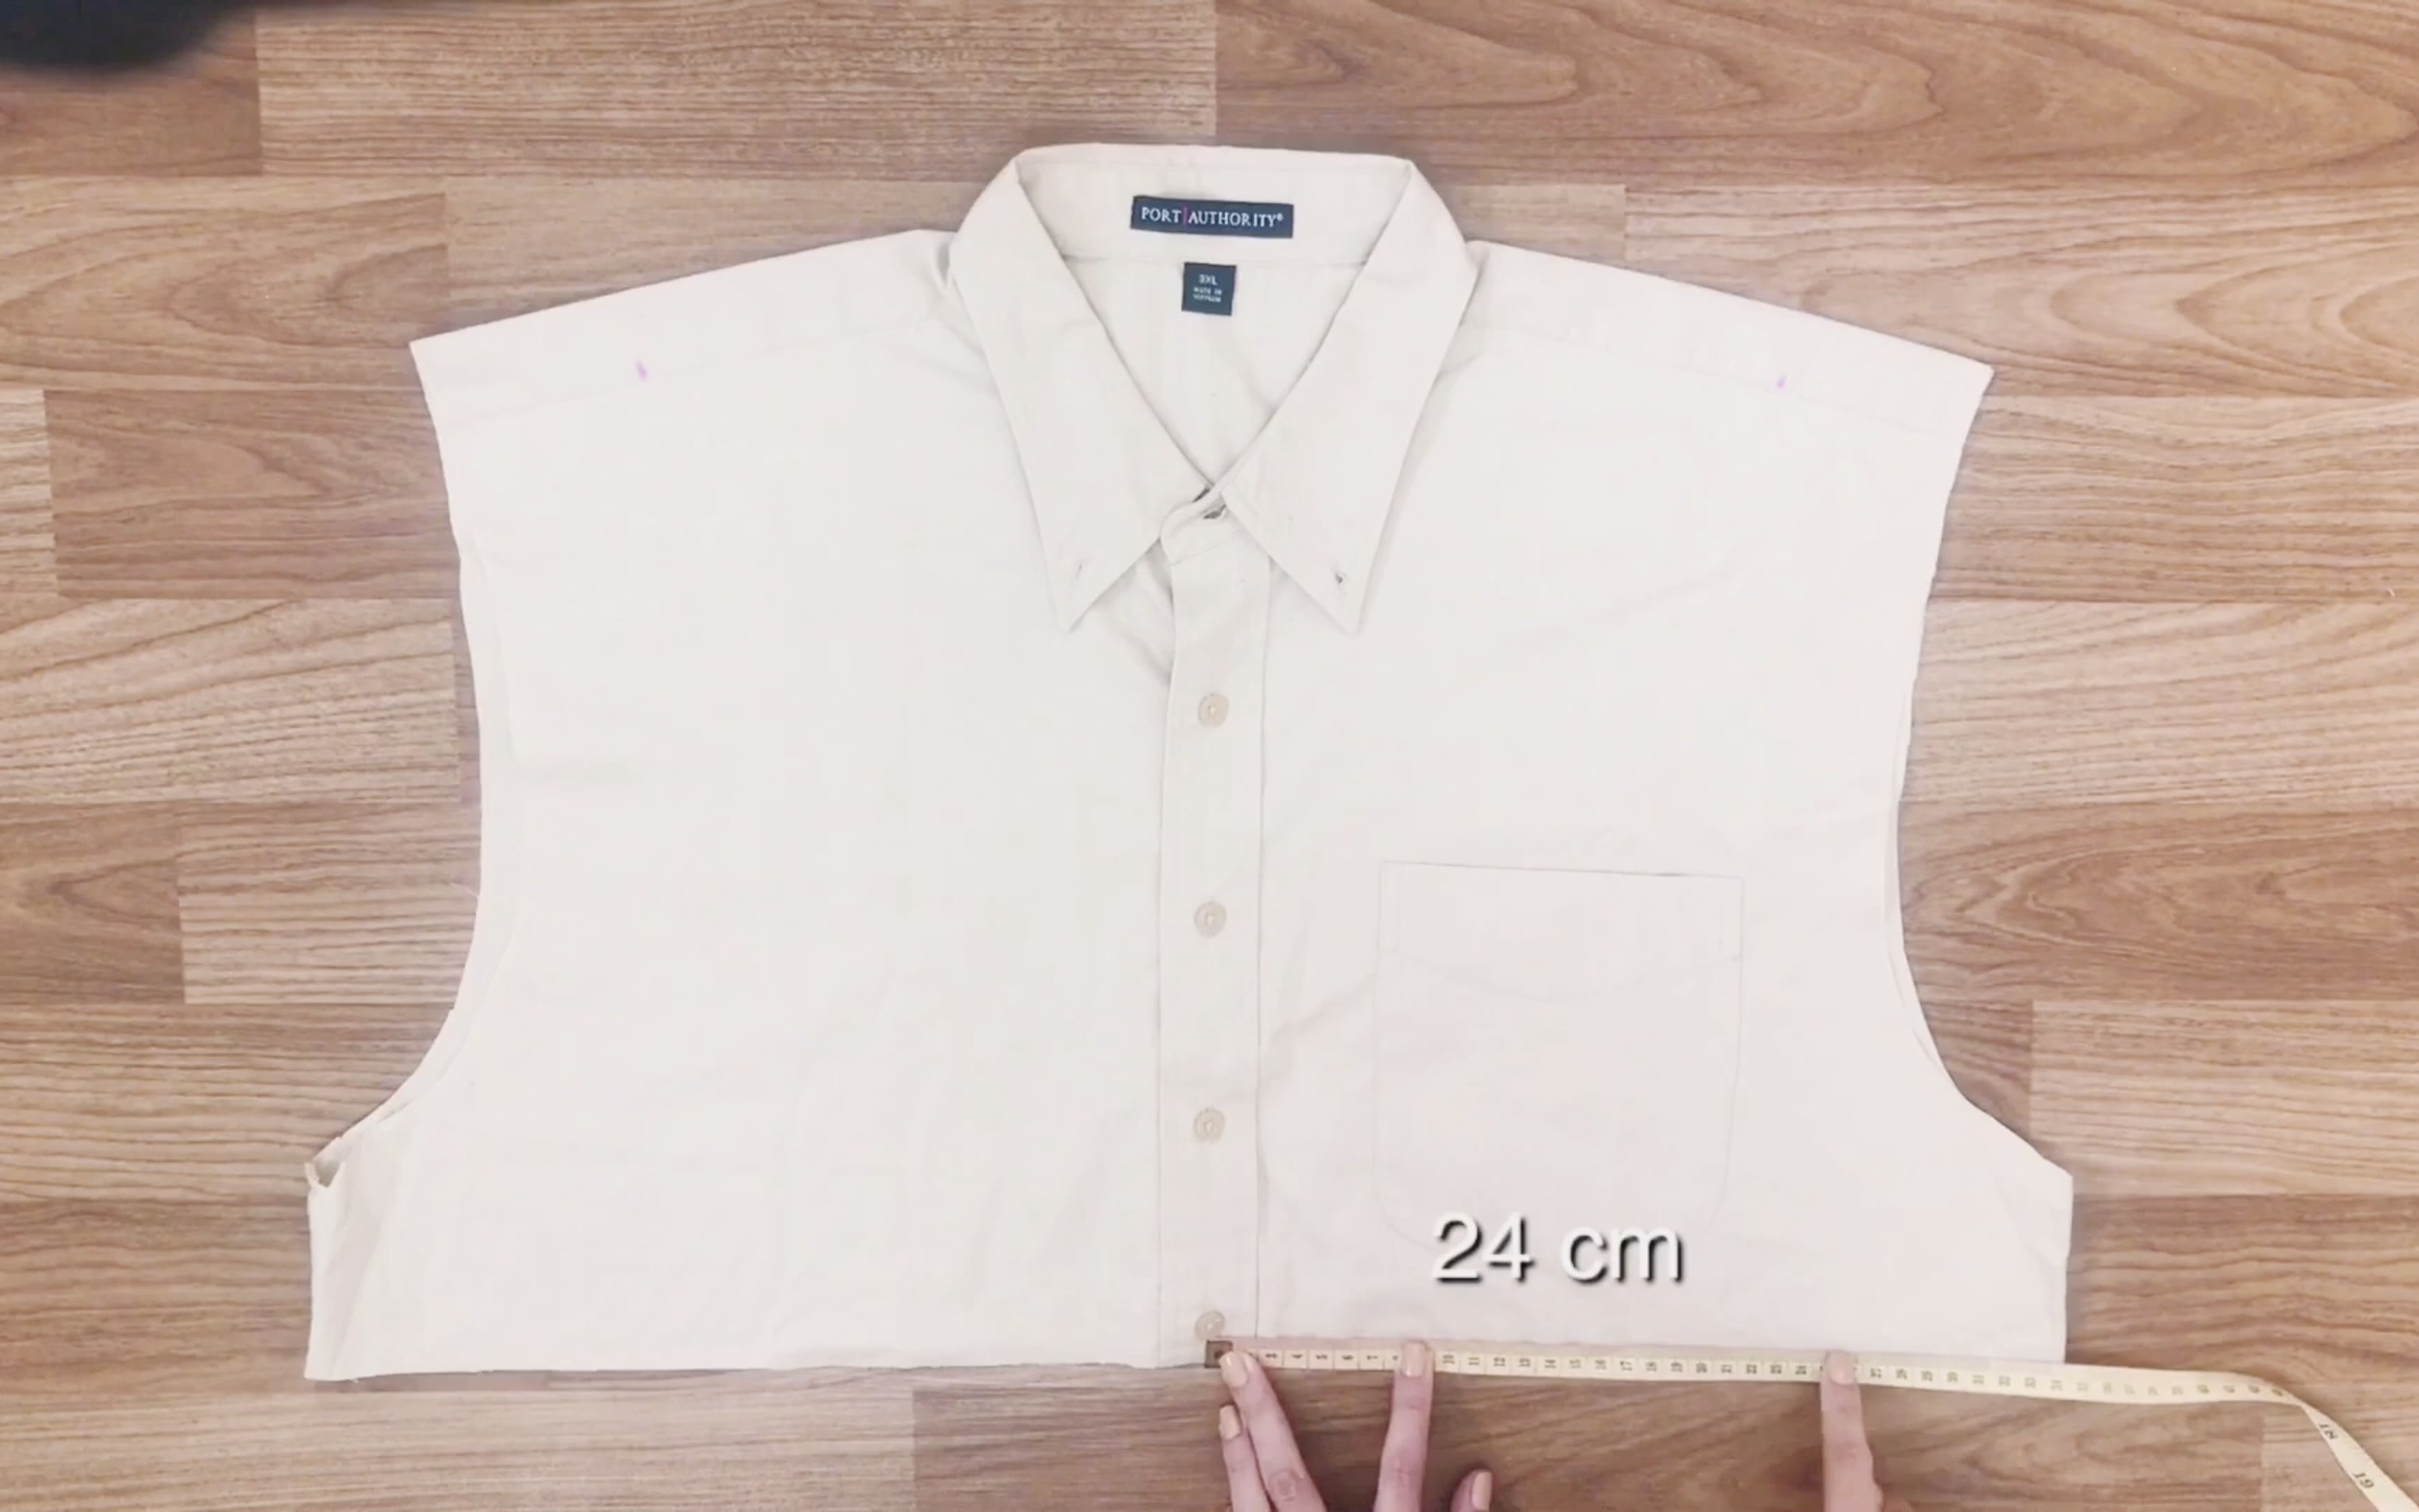
At the bottom of the shirt, from the button, go to 24 cm to the right and do the same to the left.

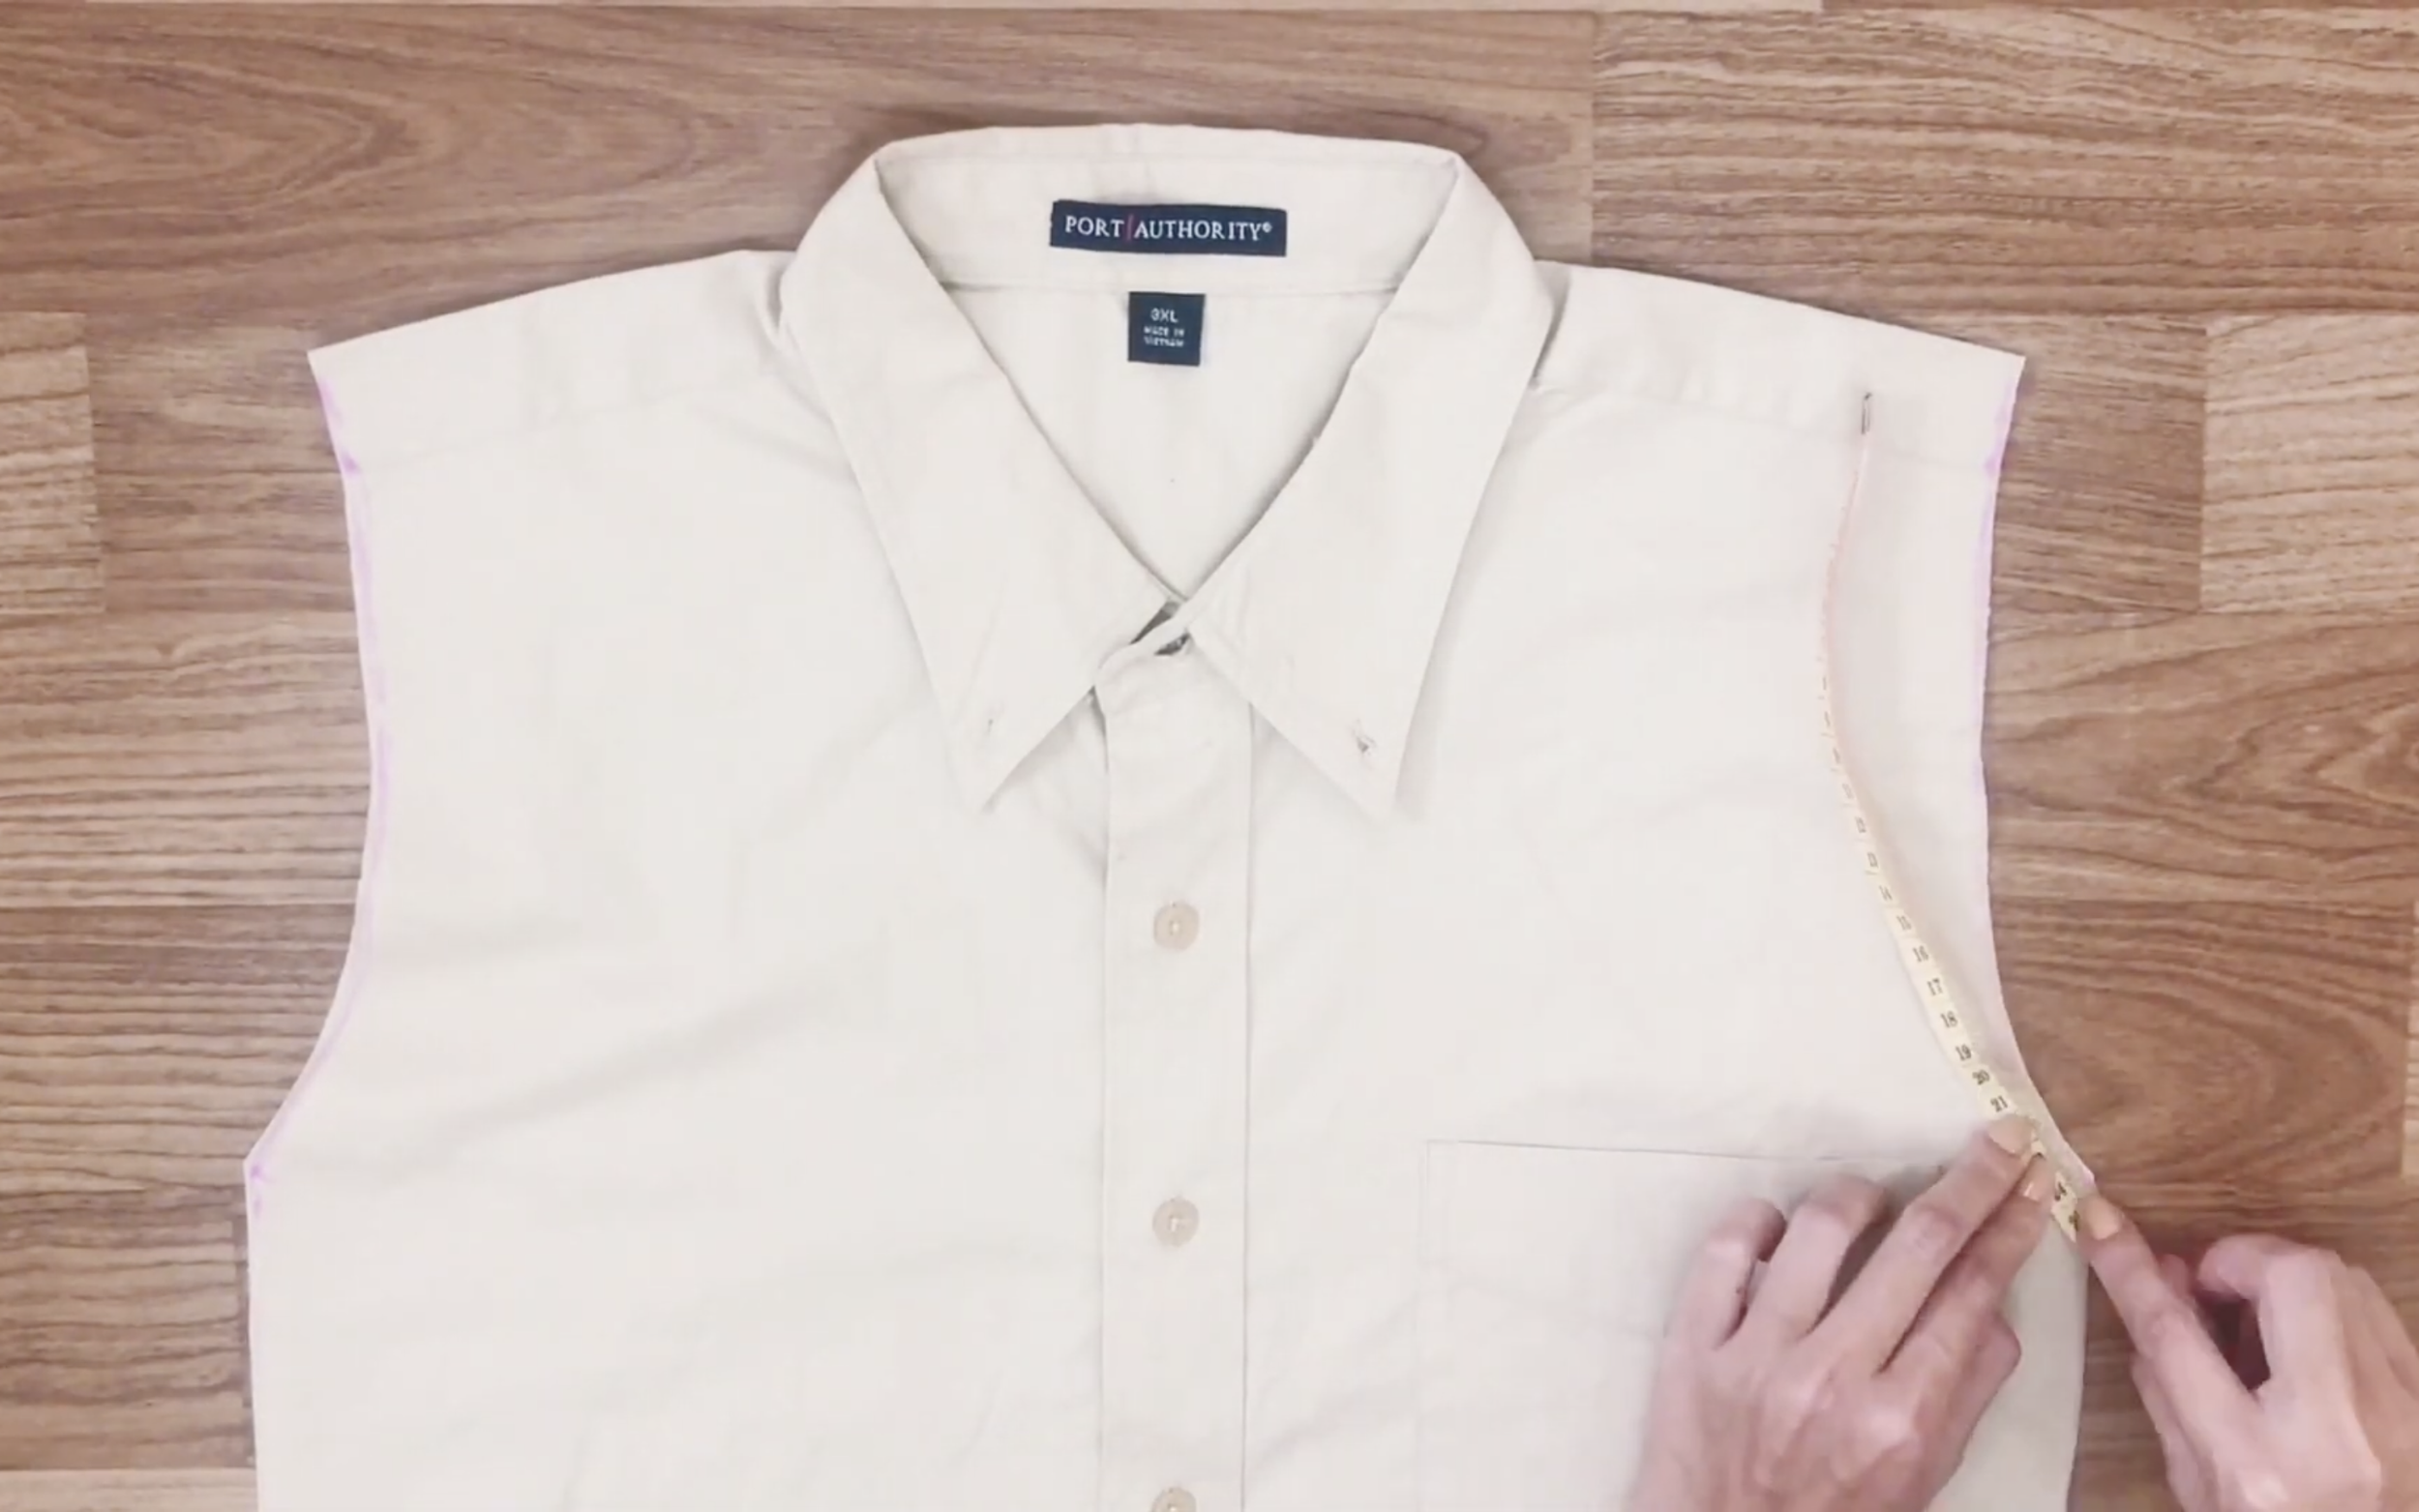
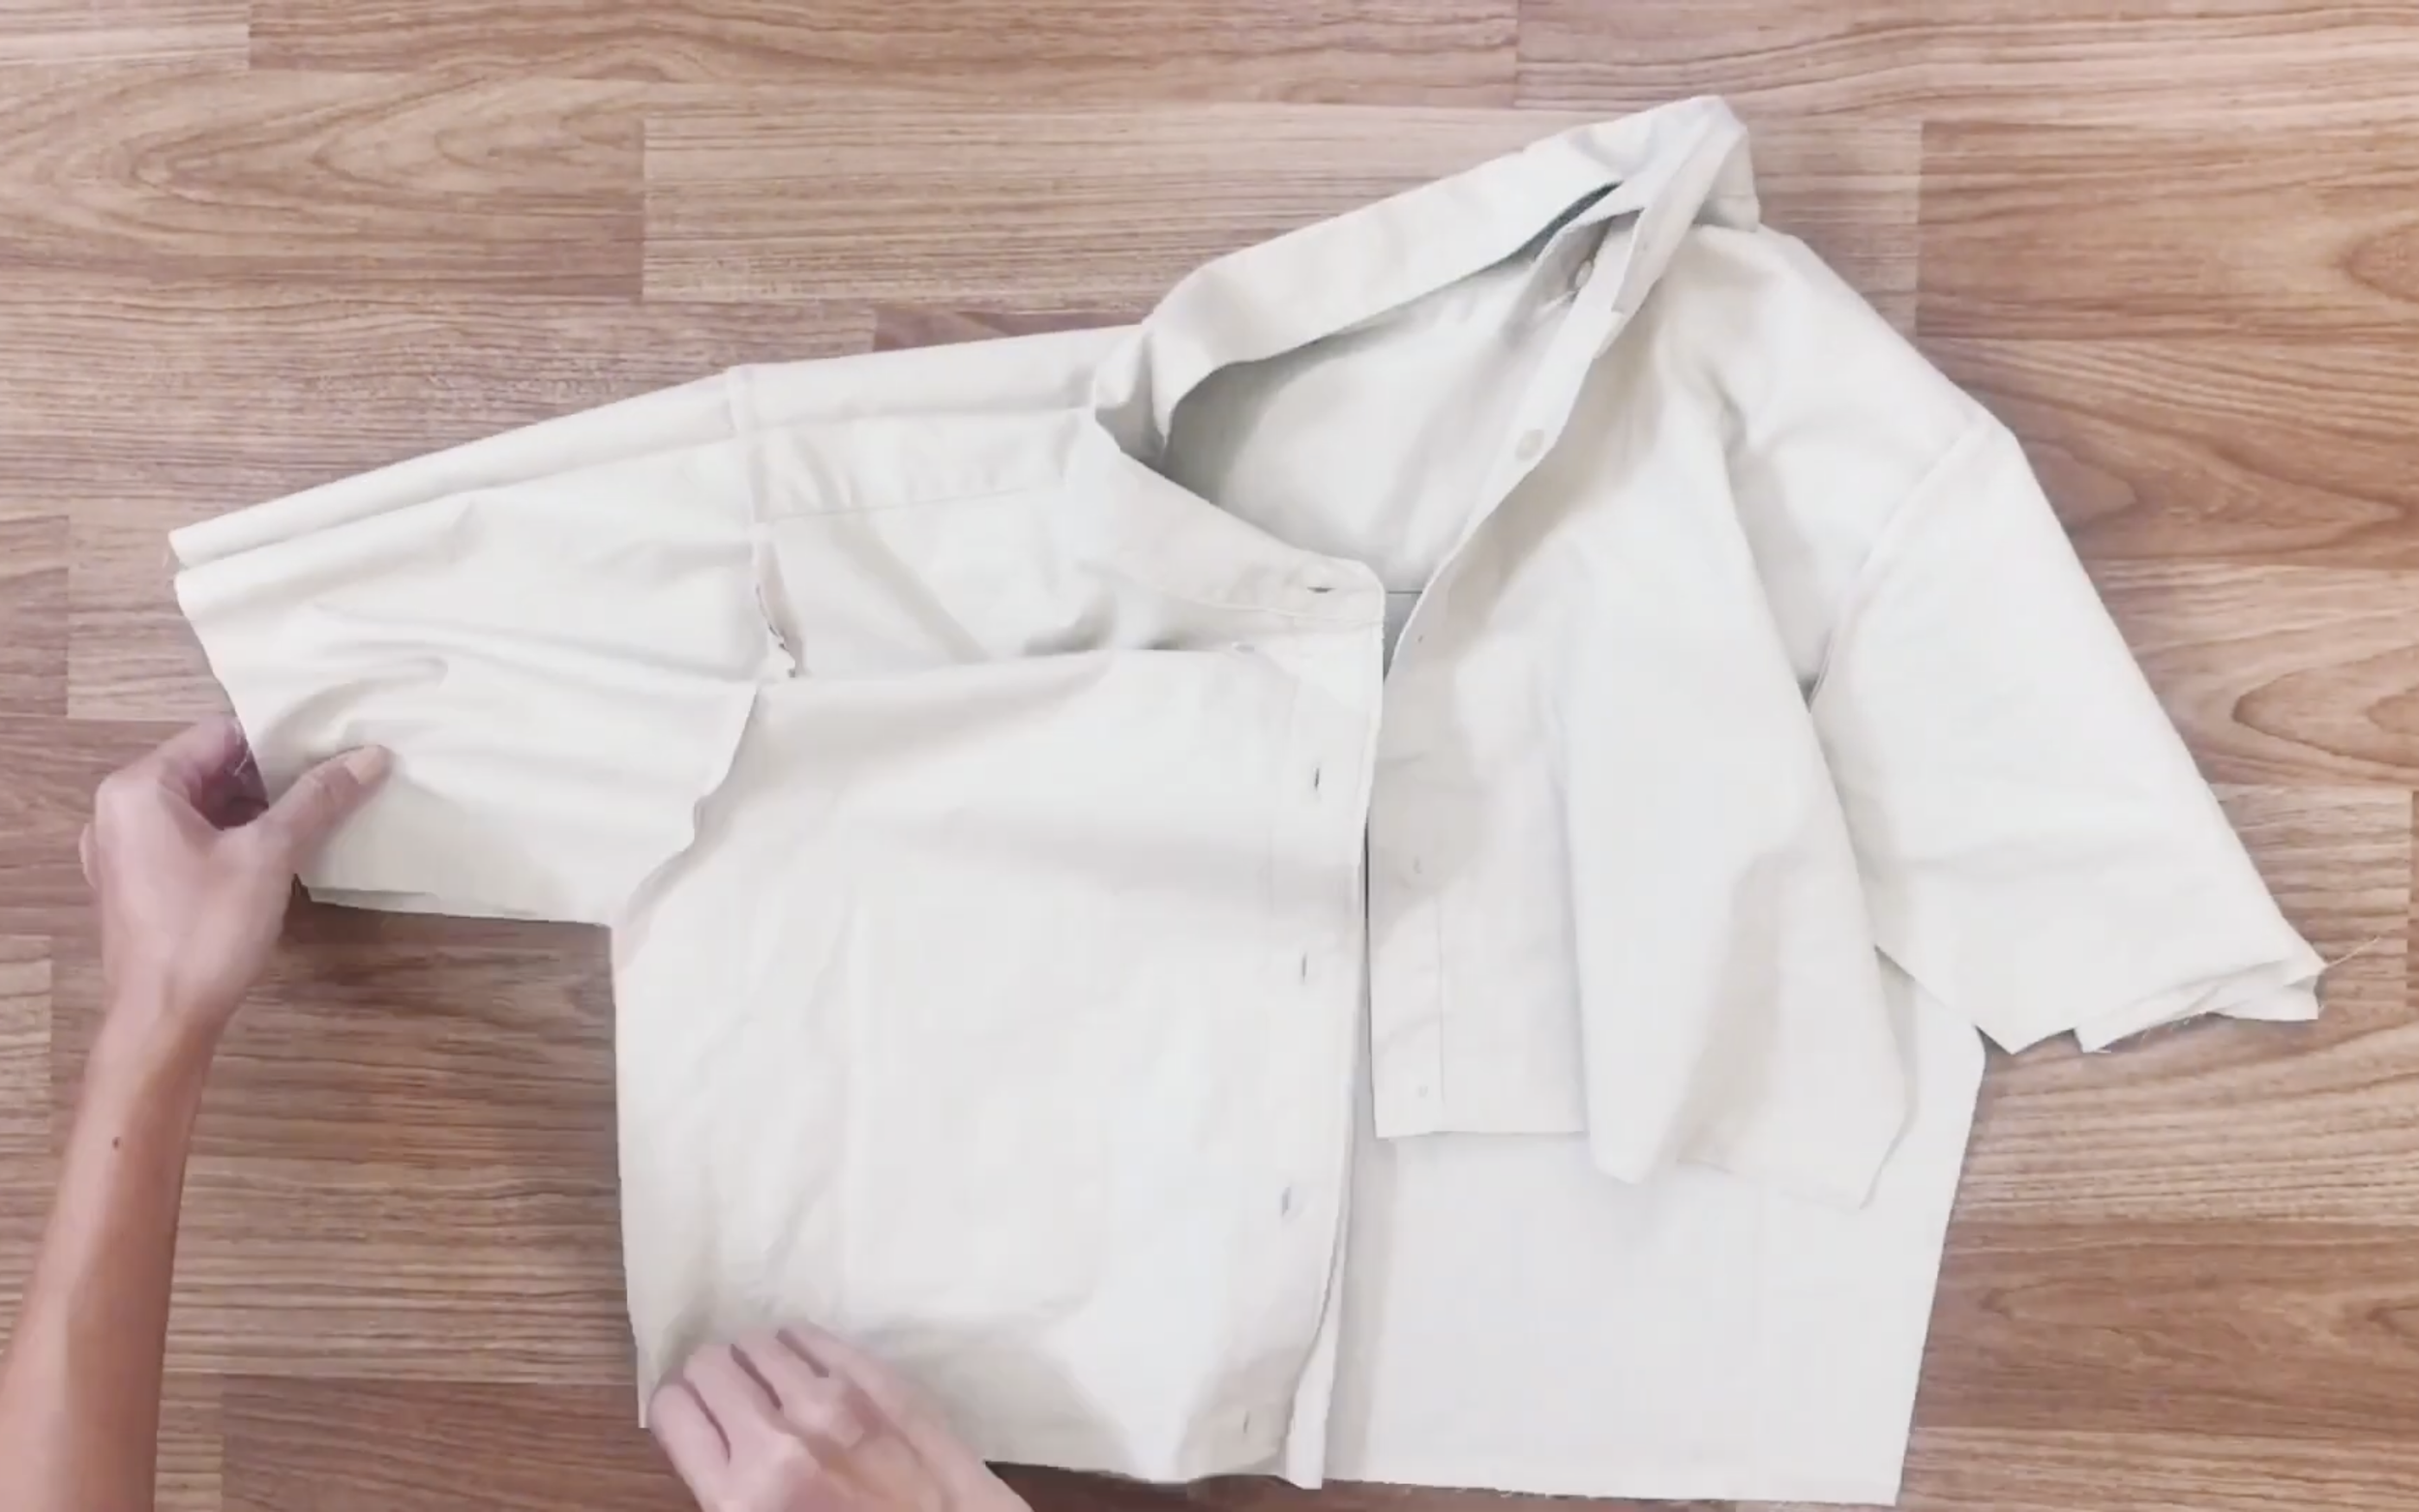
From the mark at the bottom, go up 20 cm and put the mark there.
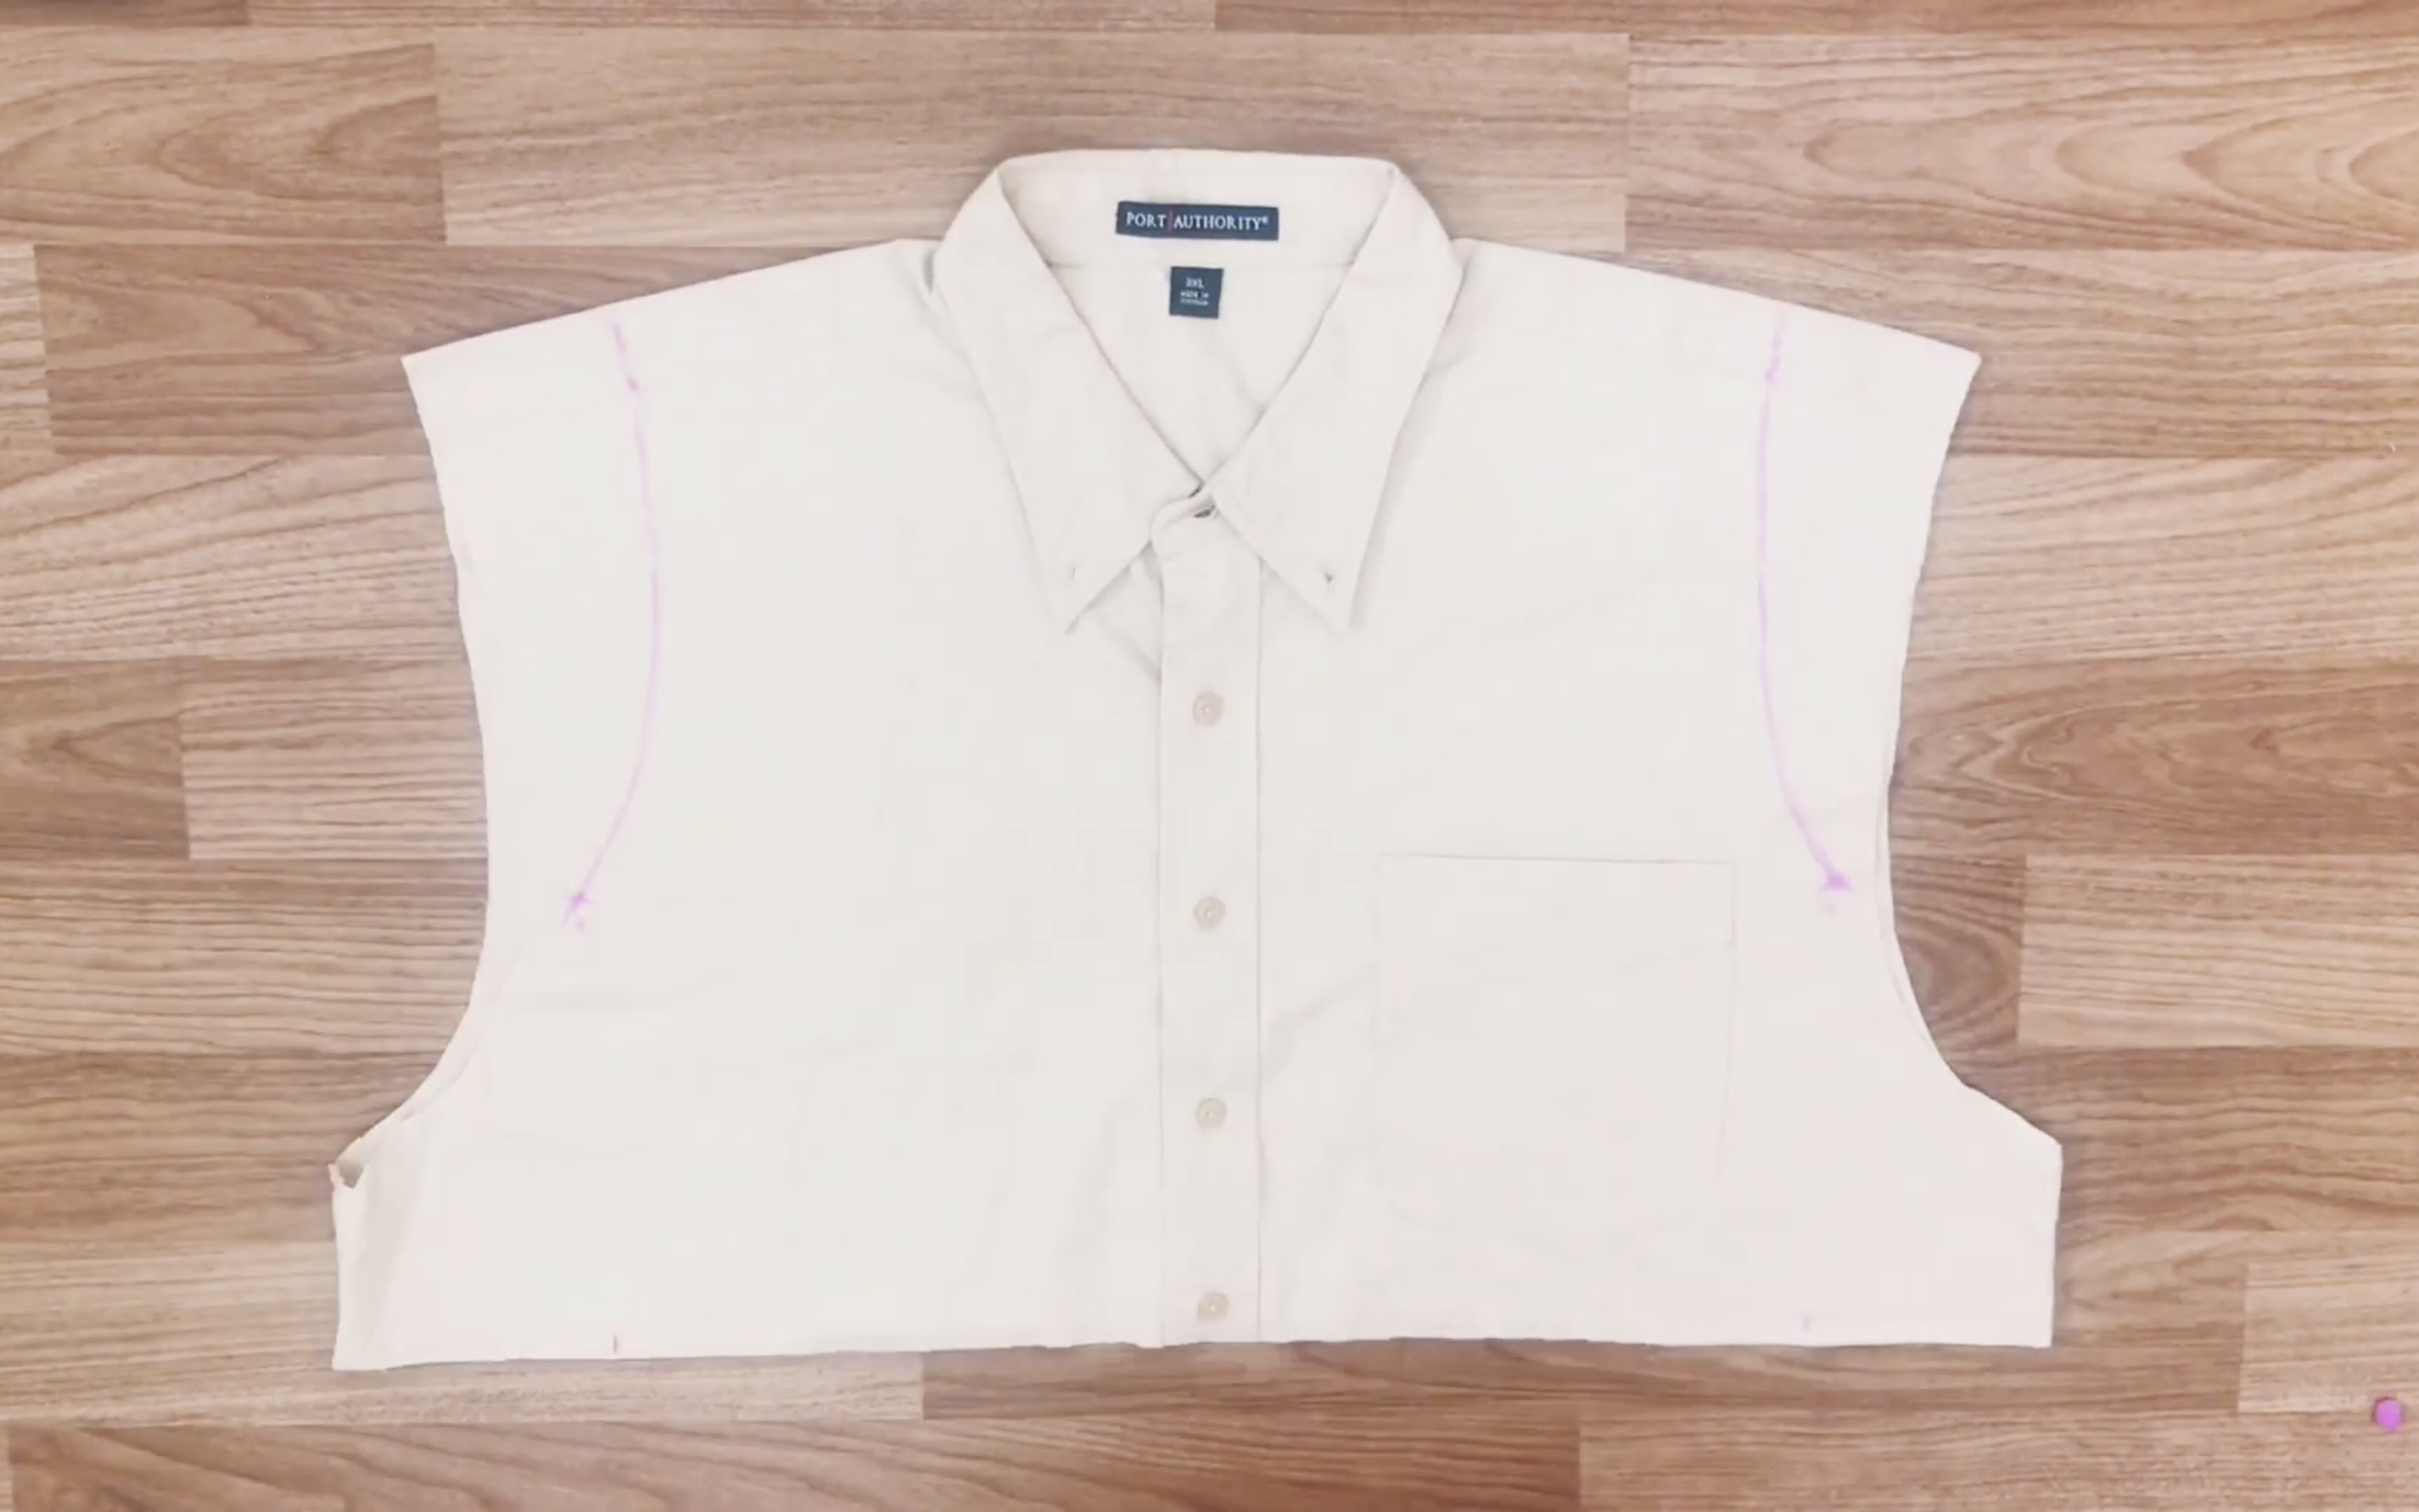
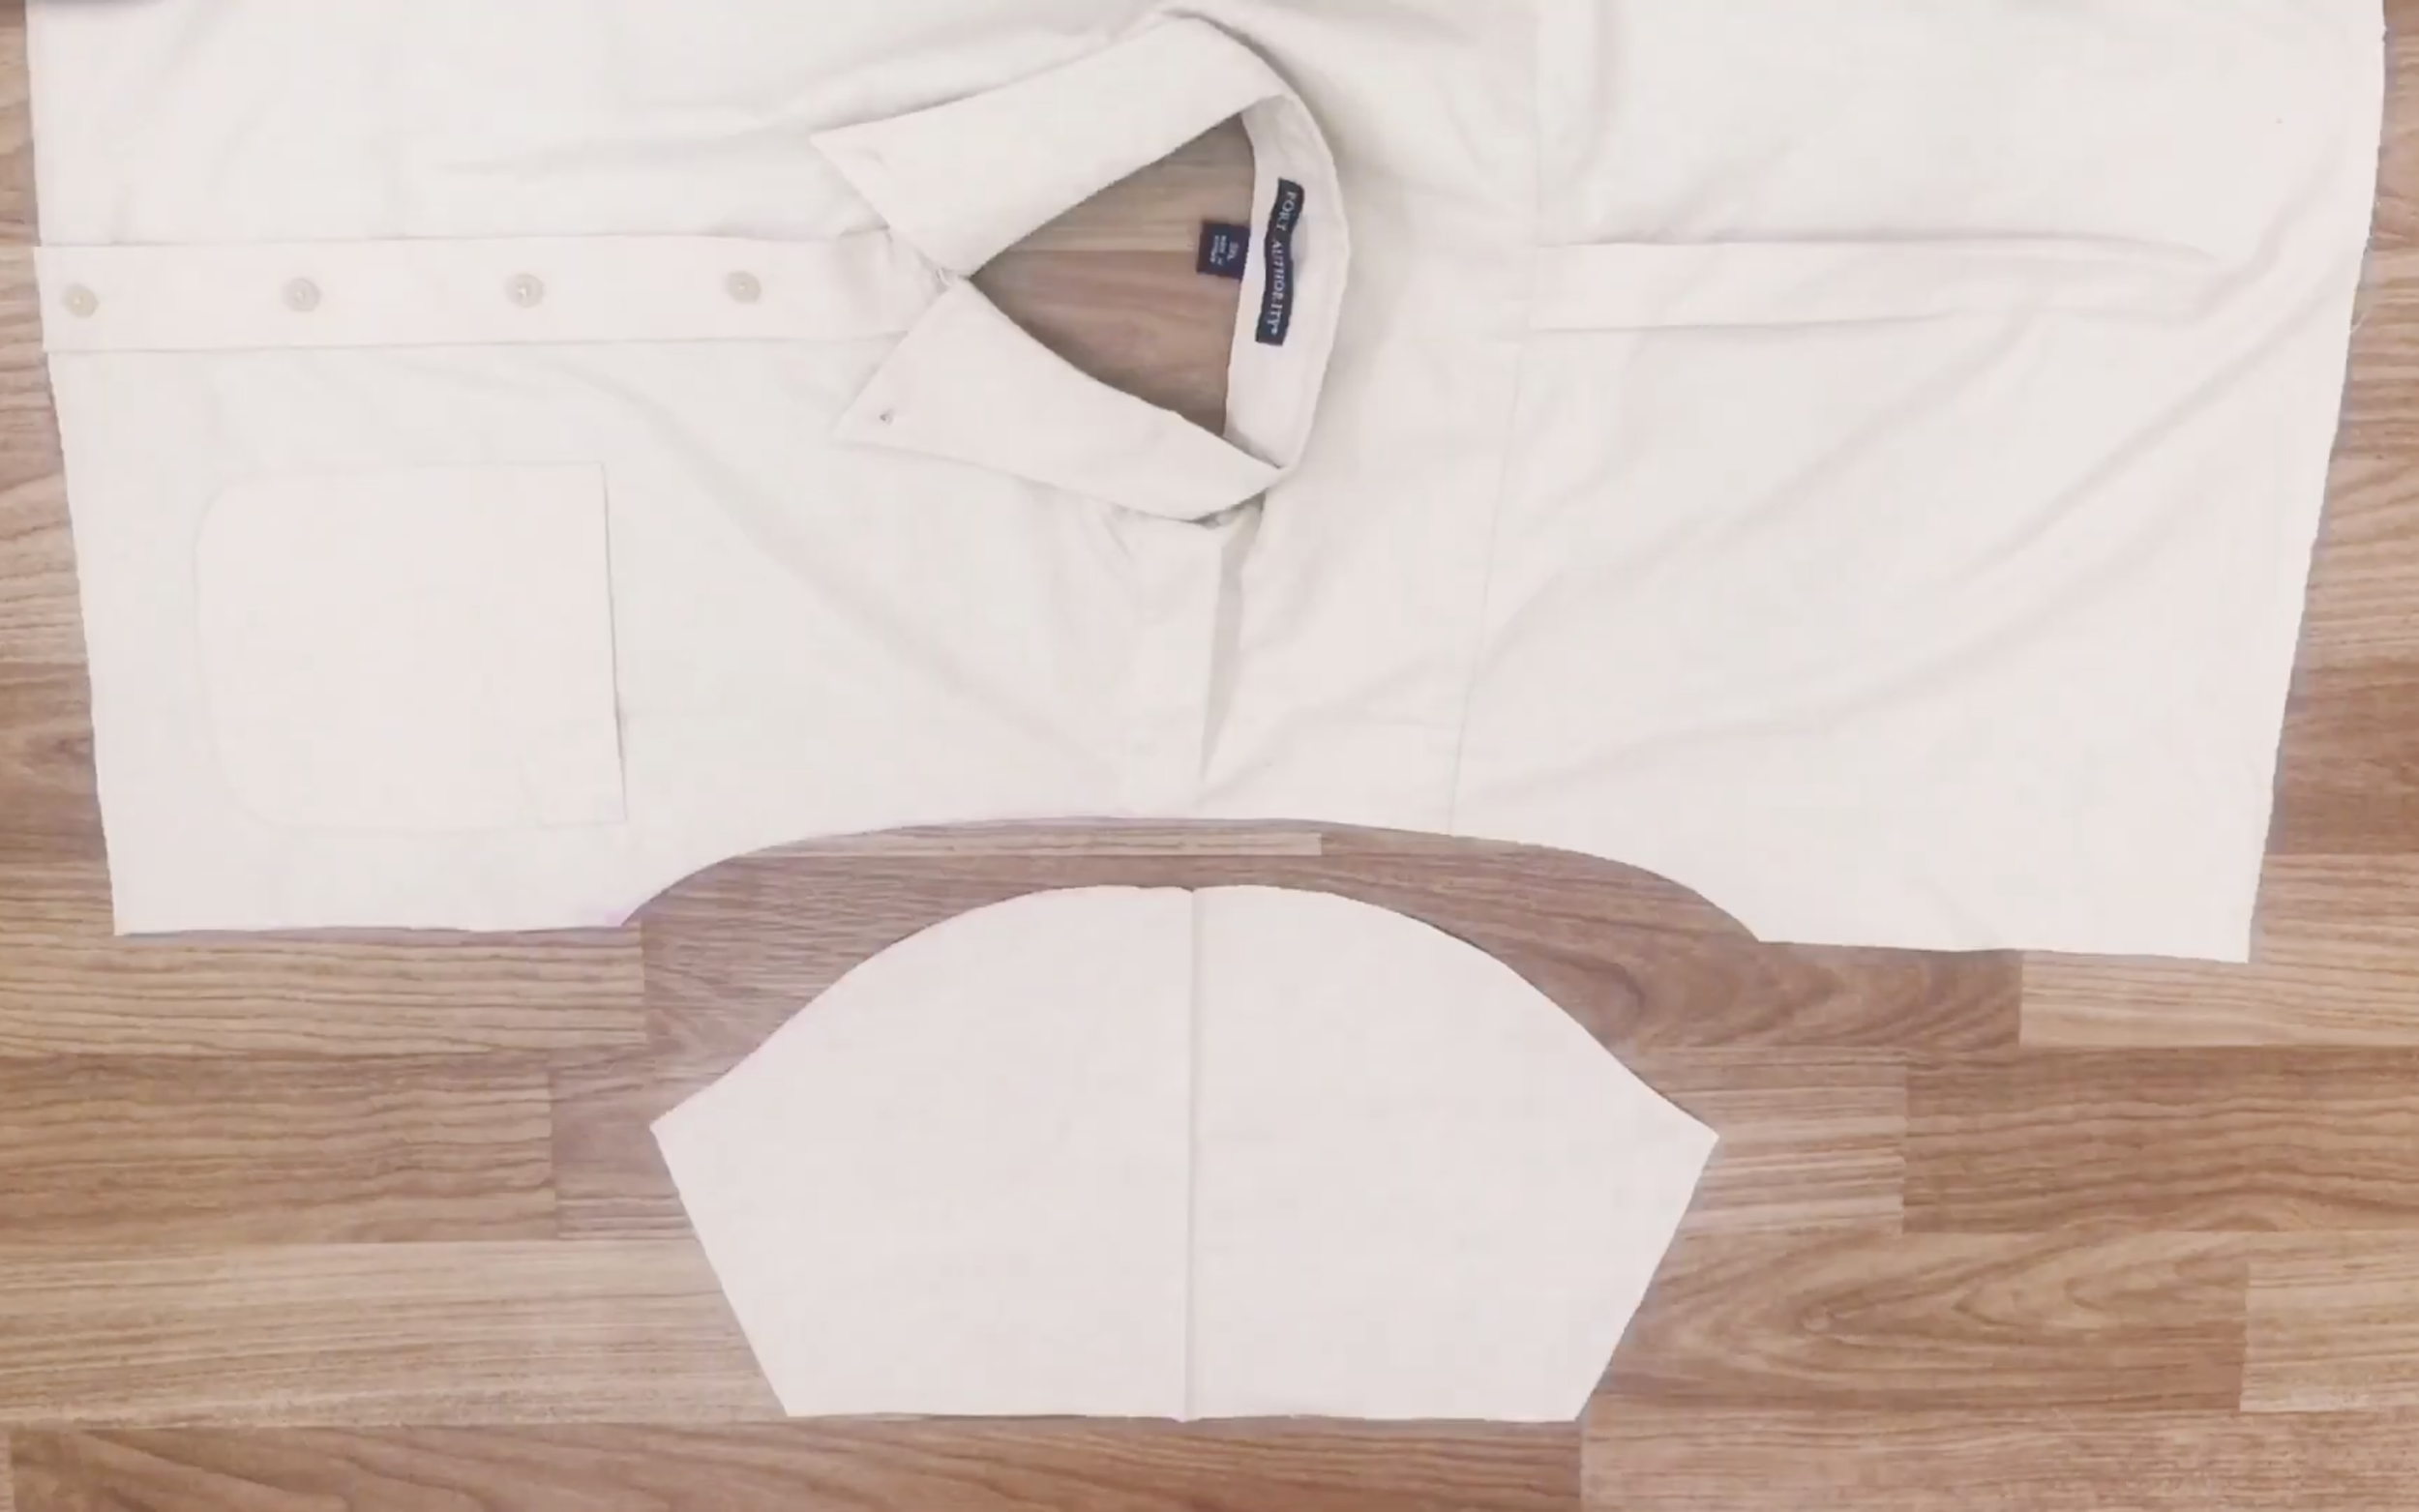
Then, draw the arc line from the mark at the shoulder to that mark and cut by the drawing line.

So now, you have the body of the shirt.
To make the hand of the shirt, measure the lane of the hand in the body part first.
Then, apply that length to the beginning of the hand. Here, tips learned is drawing a slightly S slide.
From the top of the hand, go to 22 cm then go down 16 cm and connect with the bottom of the hand.
After cutting, you will have the hand part of the shirt.
To connect the hand to the body of the shirt, connect the top of the hand to the top of the body first. Then, connect the rest of them later.
Use the pins to hold them together before sewing.
Flip the shirt into inside face and pin two sides of the body together then sew them by the line.
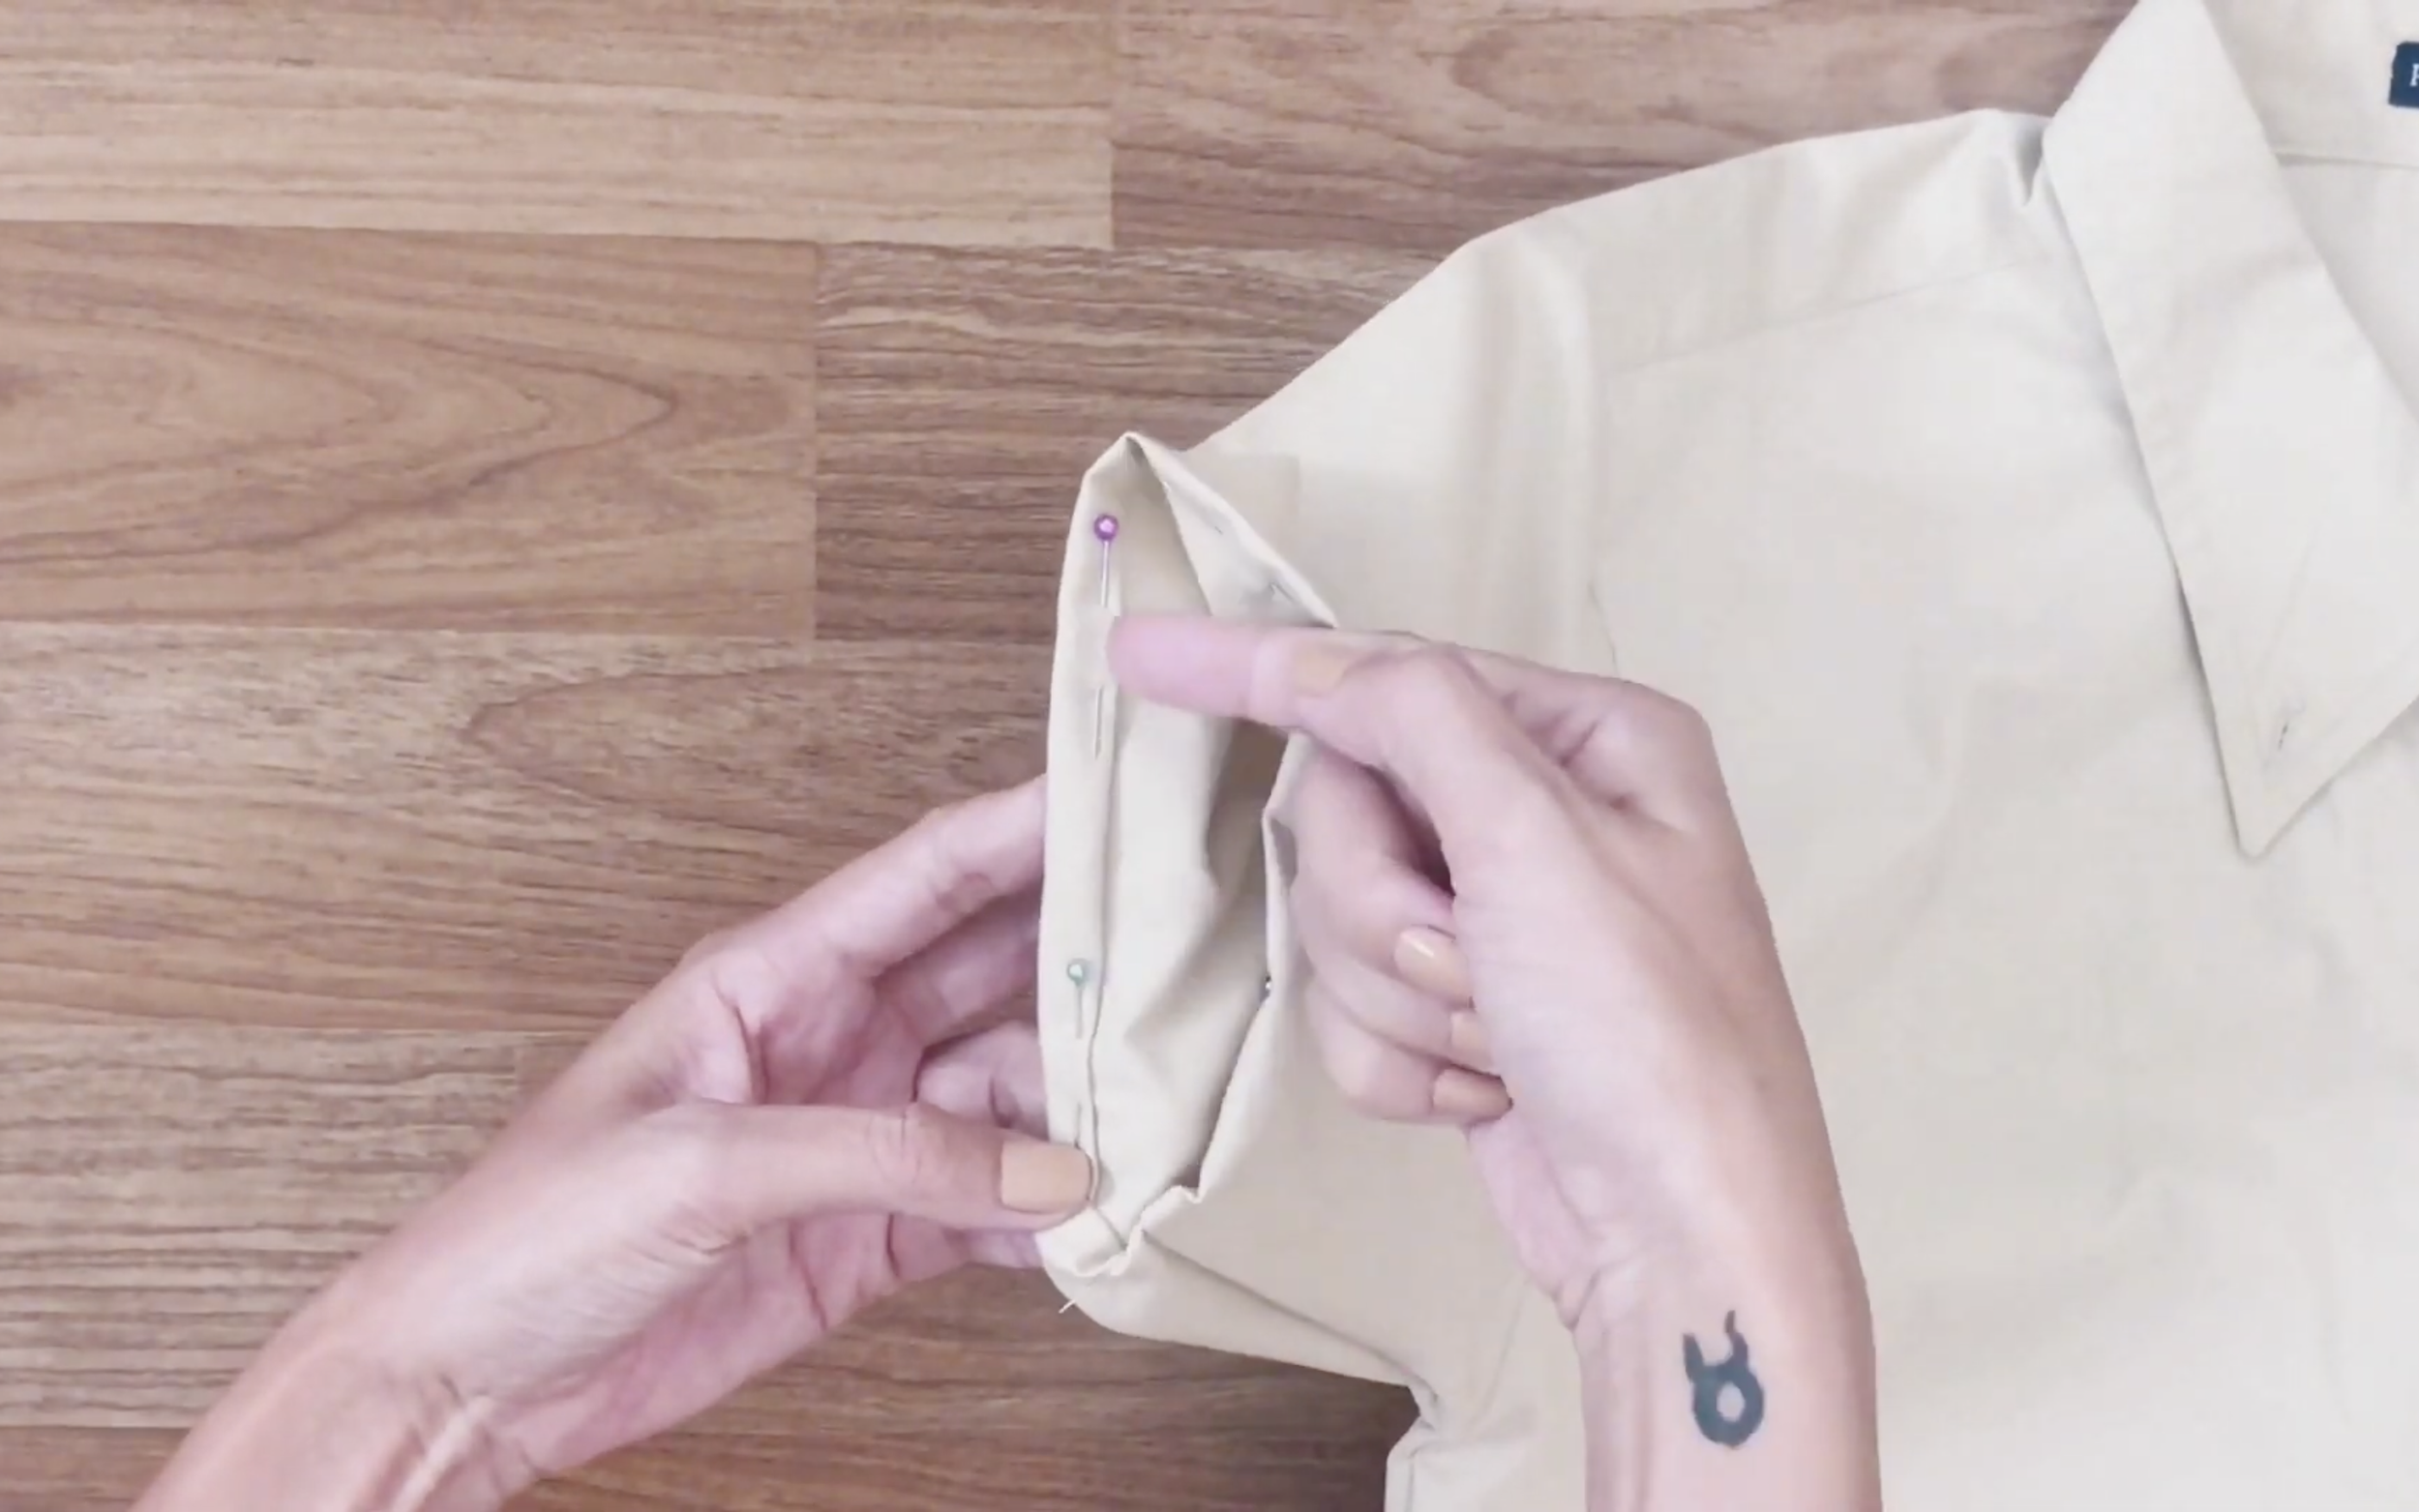
Next step is folding the end of the hands. Do the same with what was done to the end of the leg by folding the fabric double times.
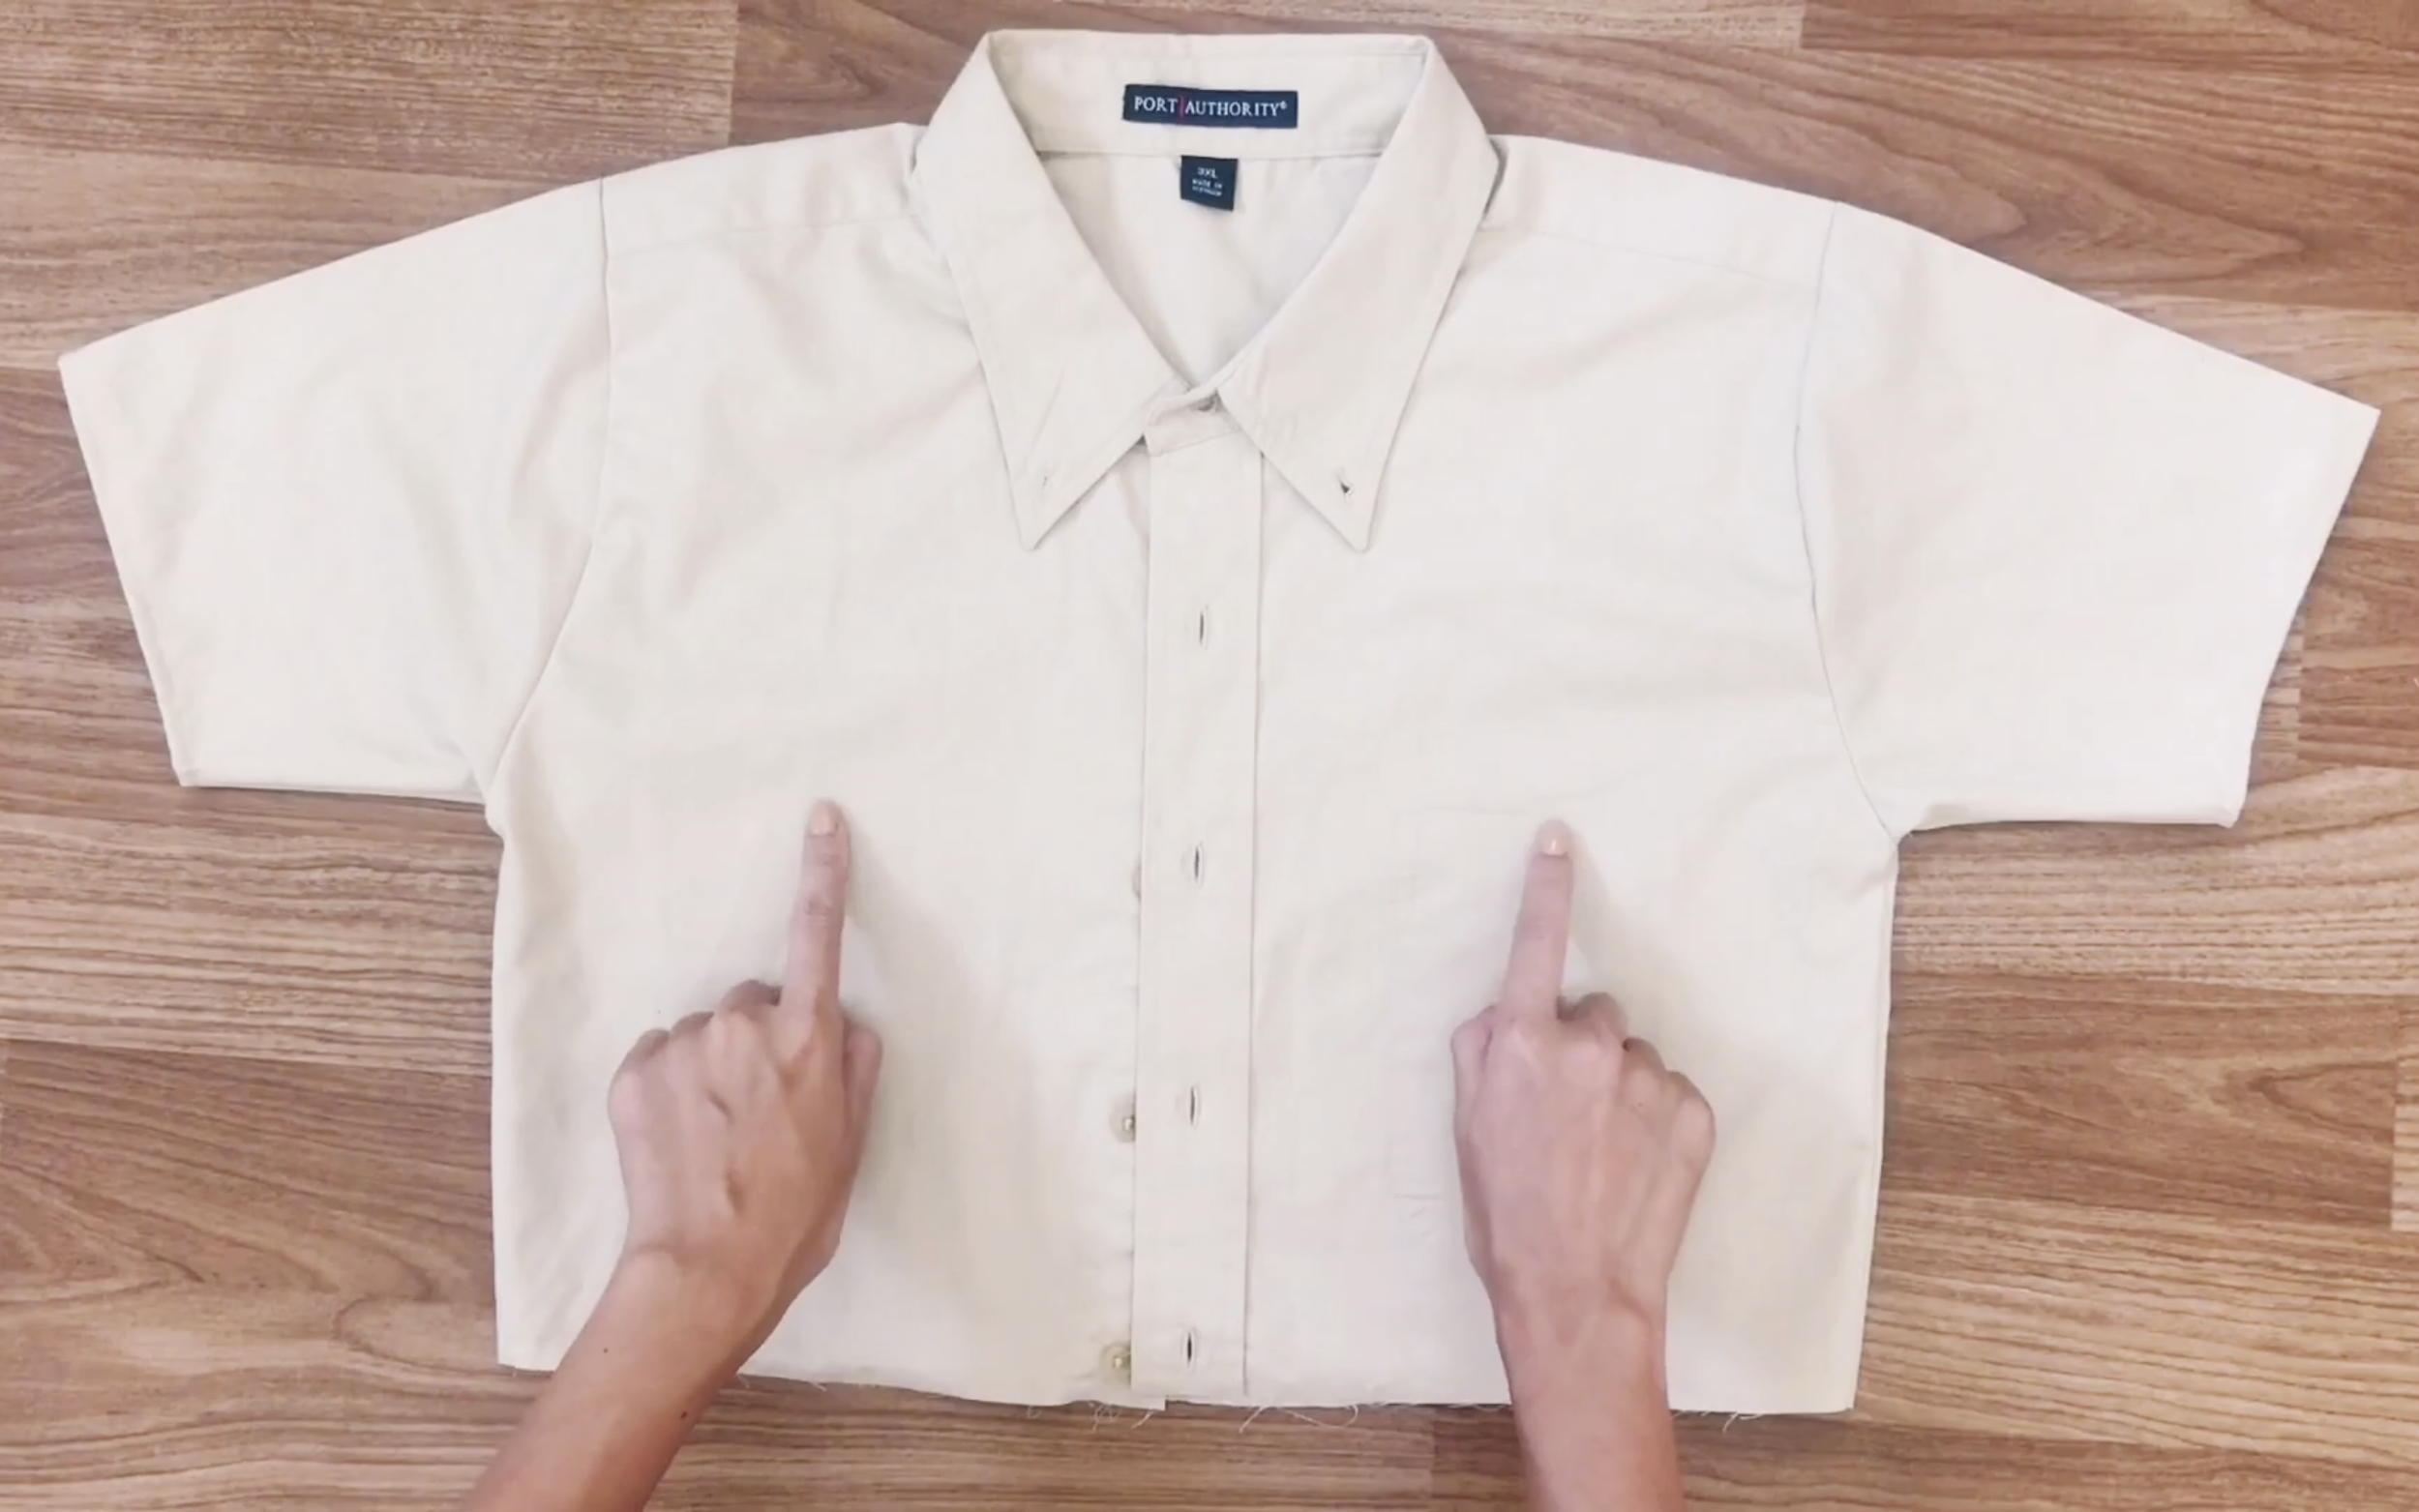
The last step is making the pocket for the shirt.
The size of the pocket made is 11 cm wide and 15 cm height.
Because the leftover fabric is not much so it is the maximum pocket that could be made.
If your fabric is more, you can make the bigger pocket if you like.
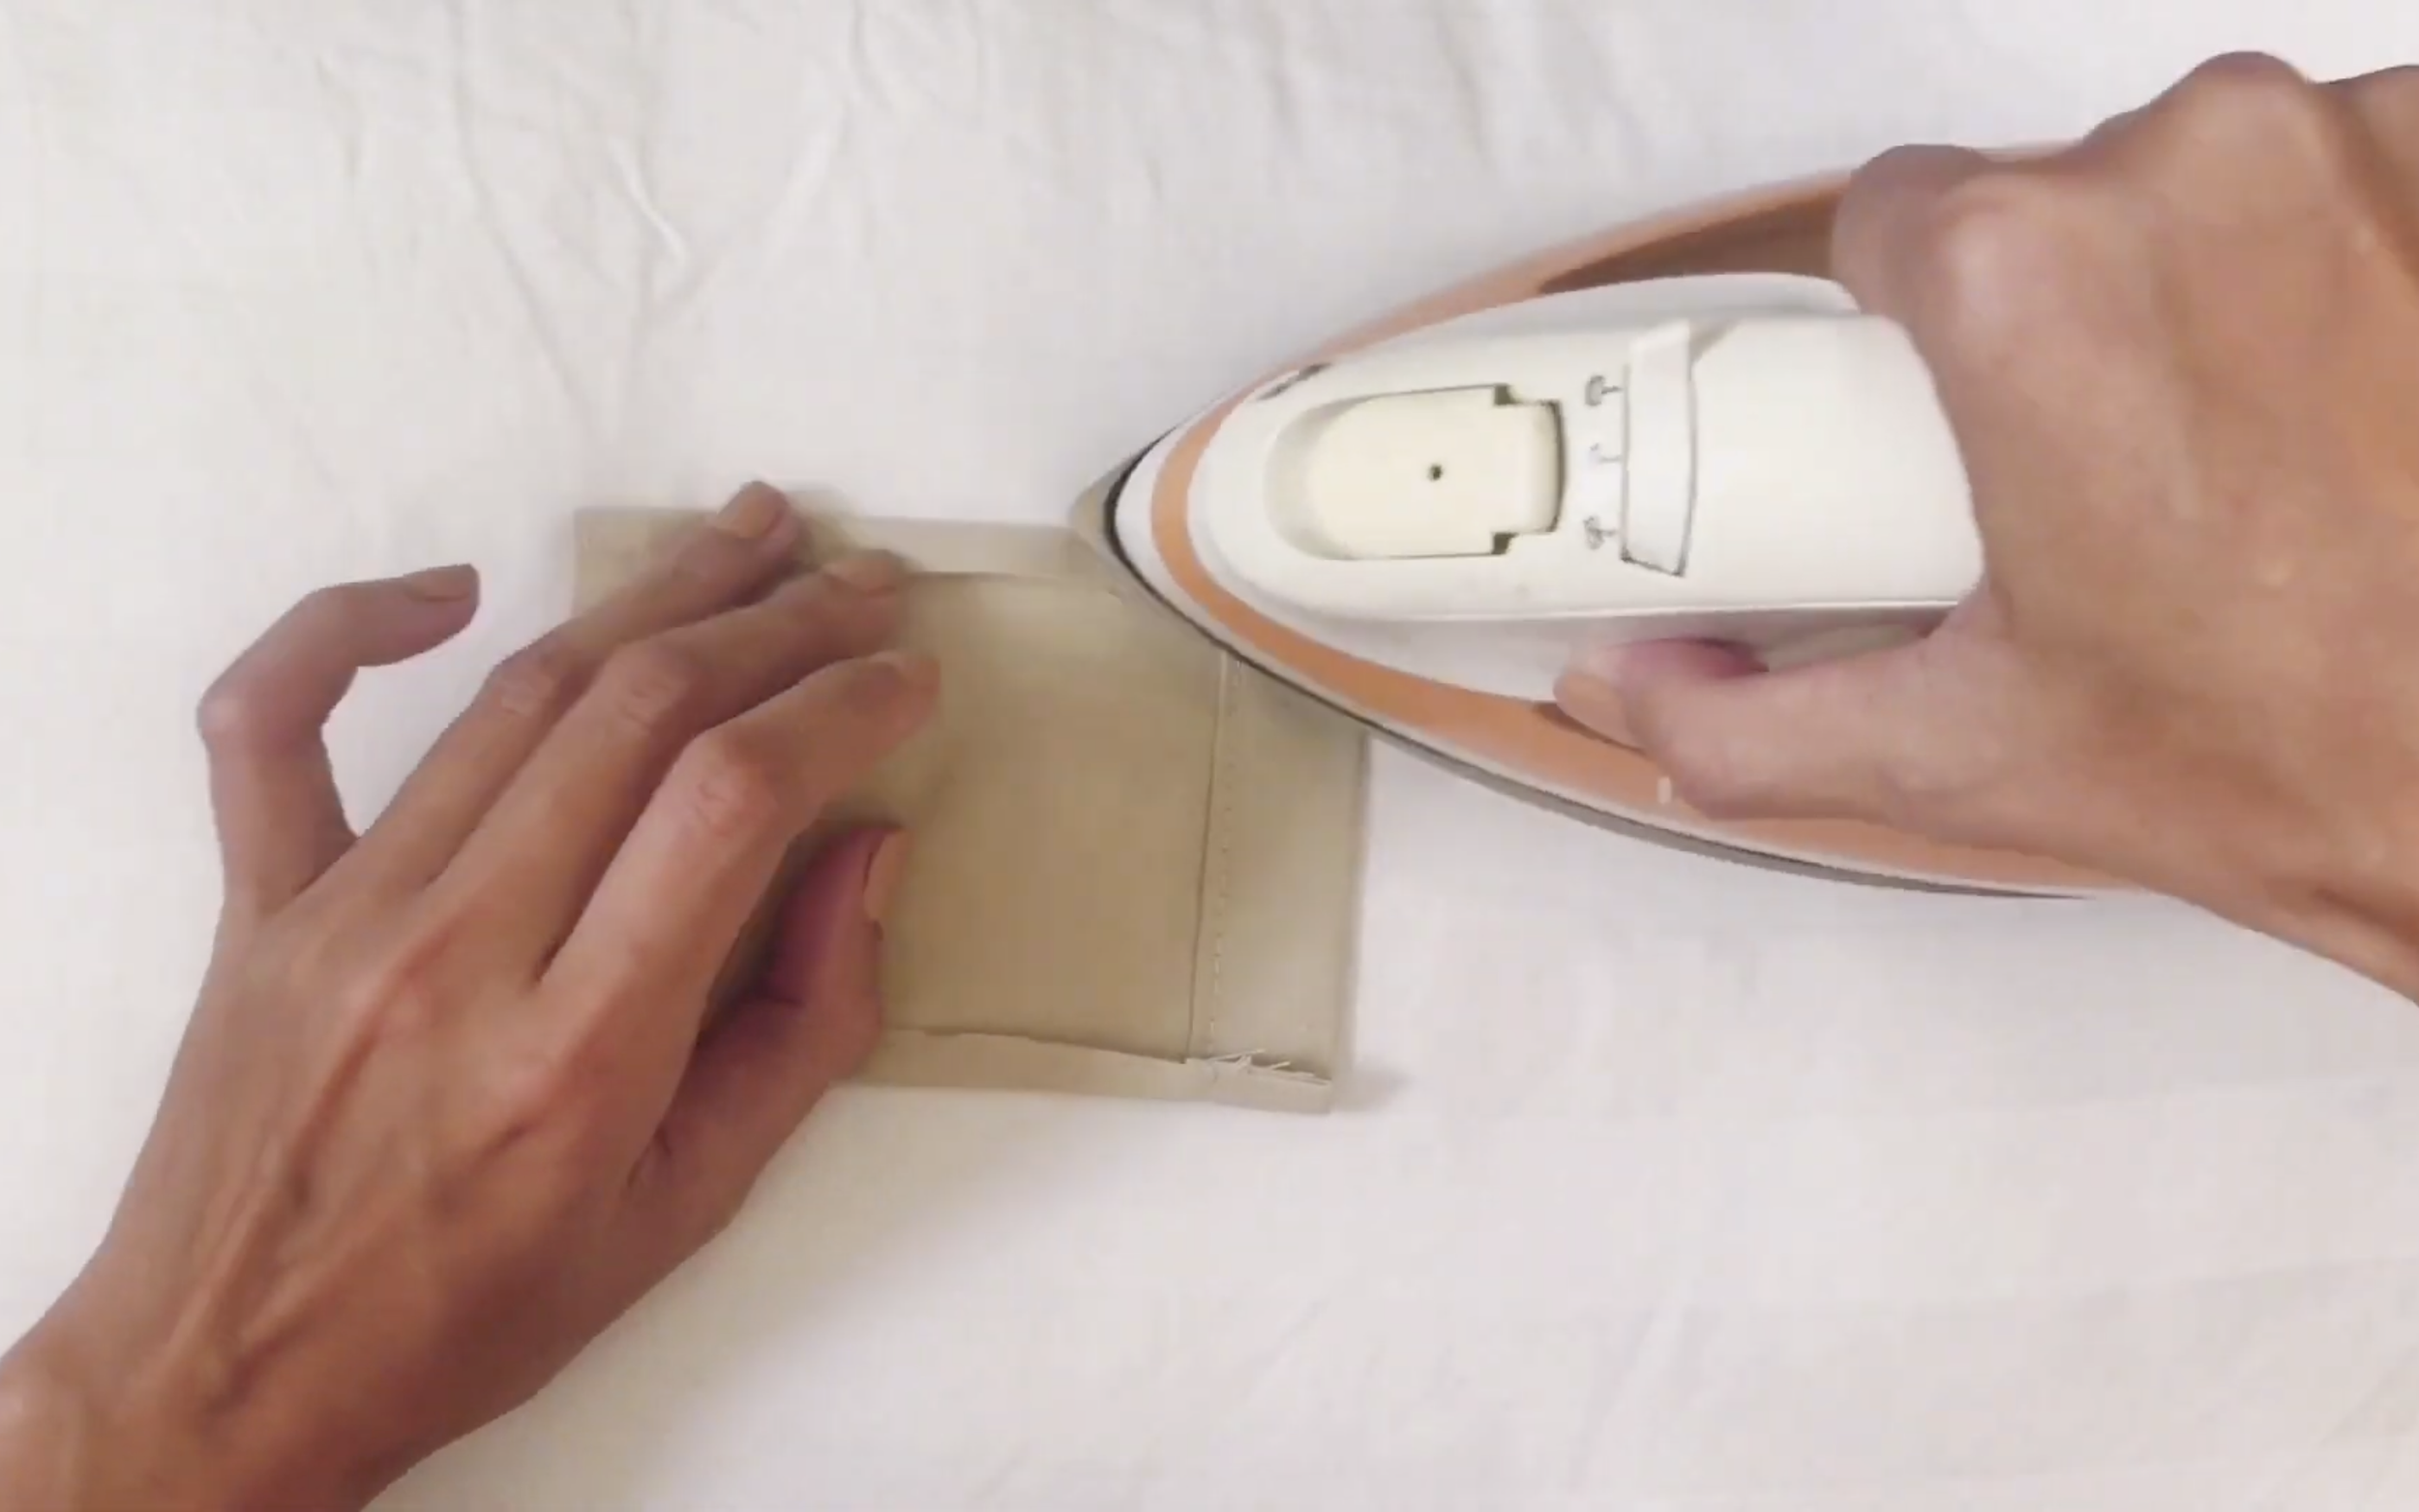
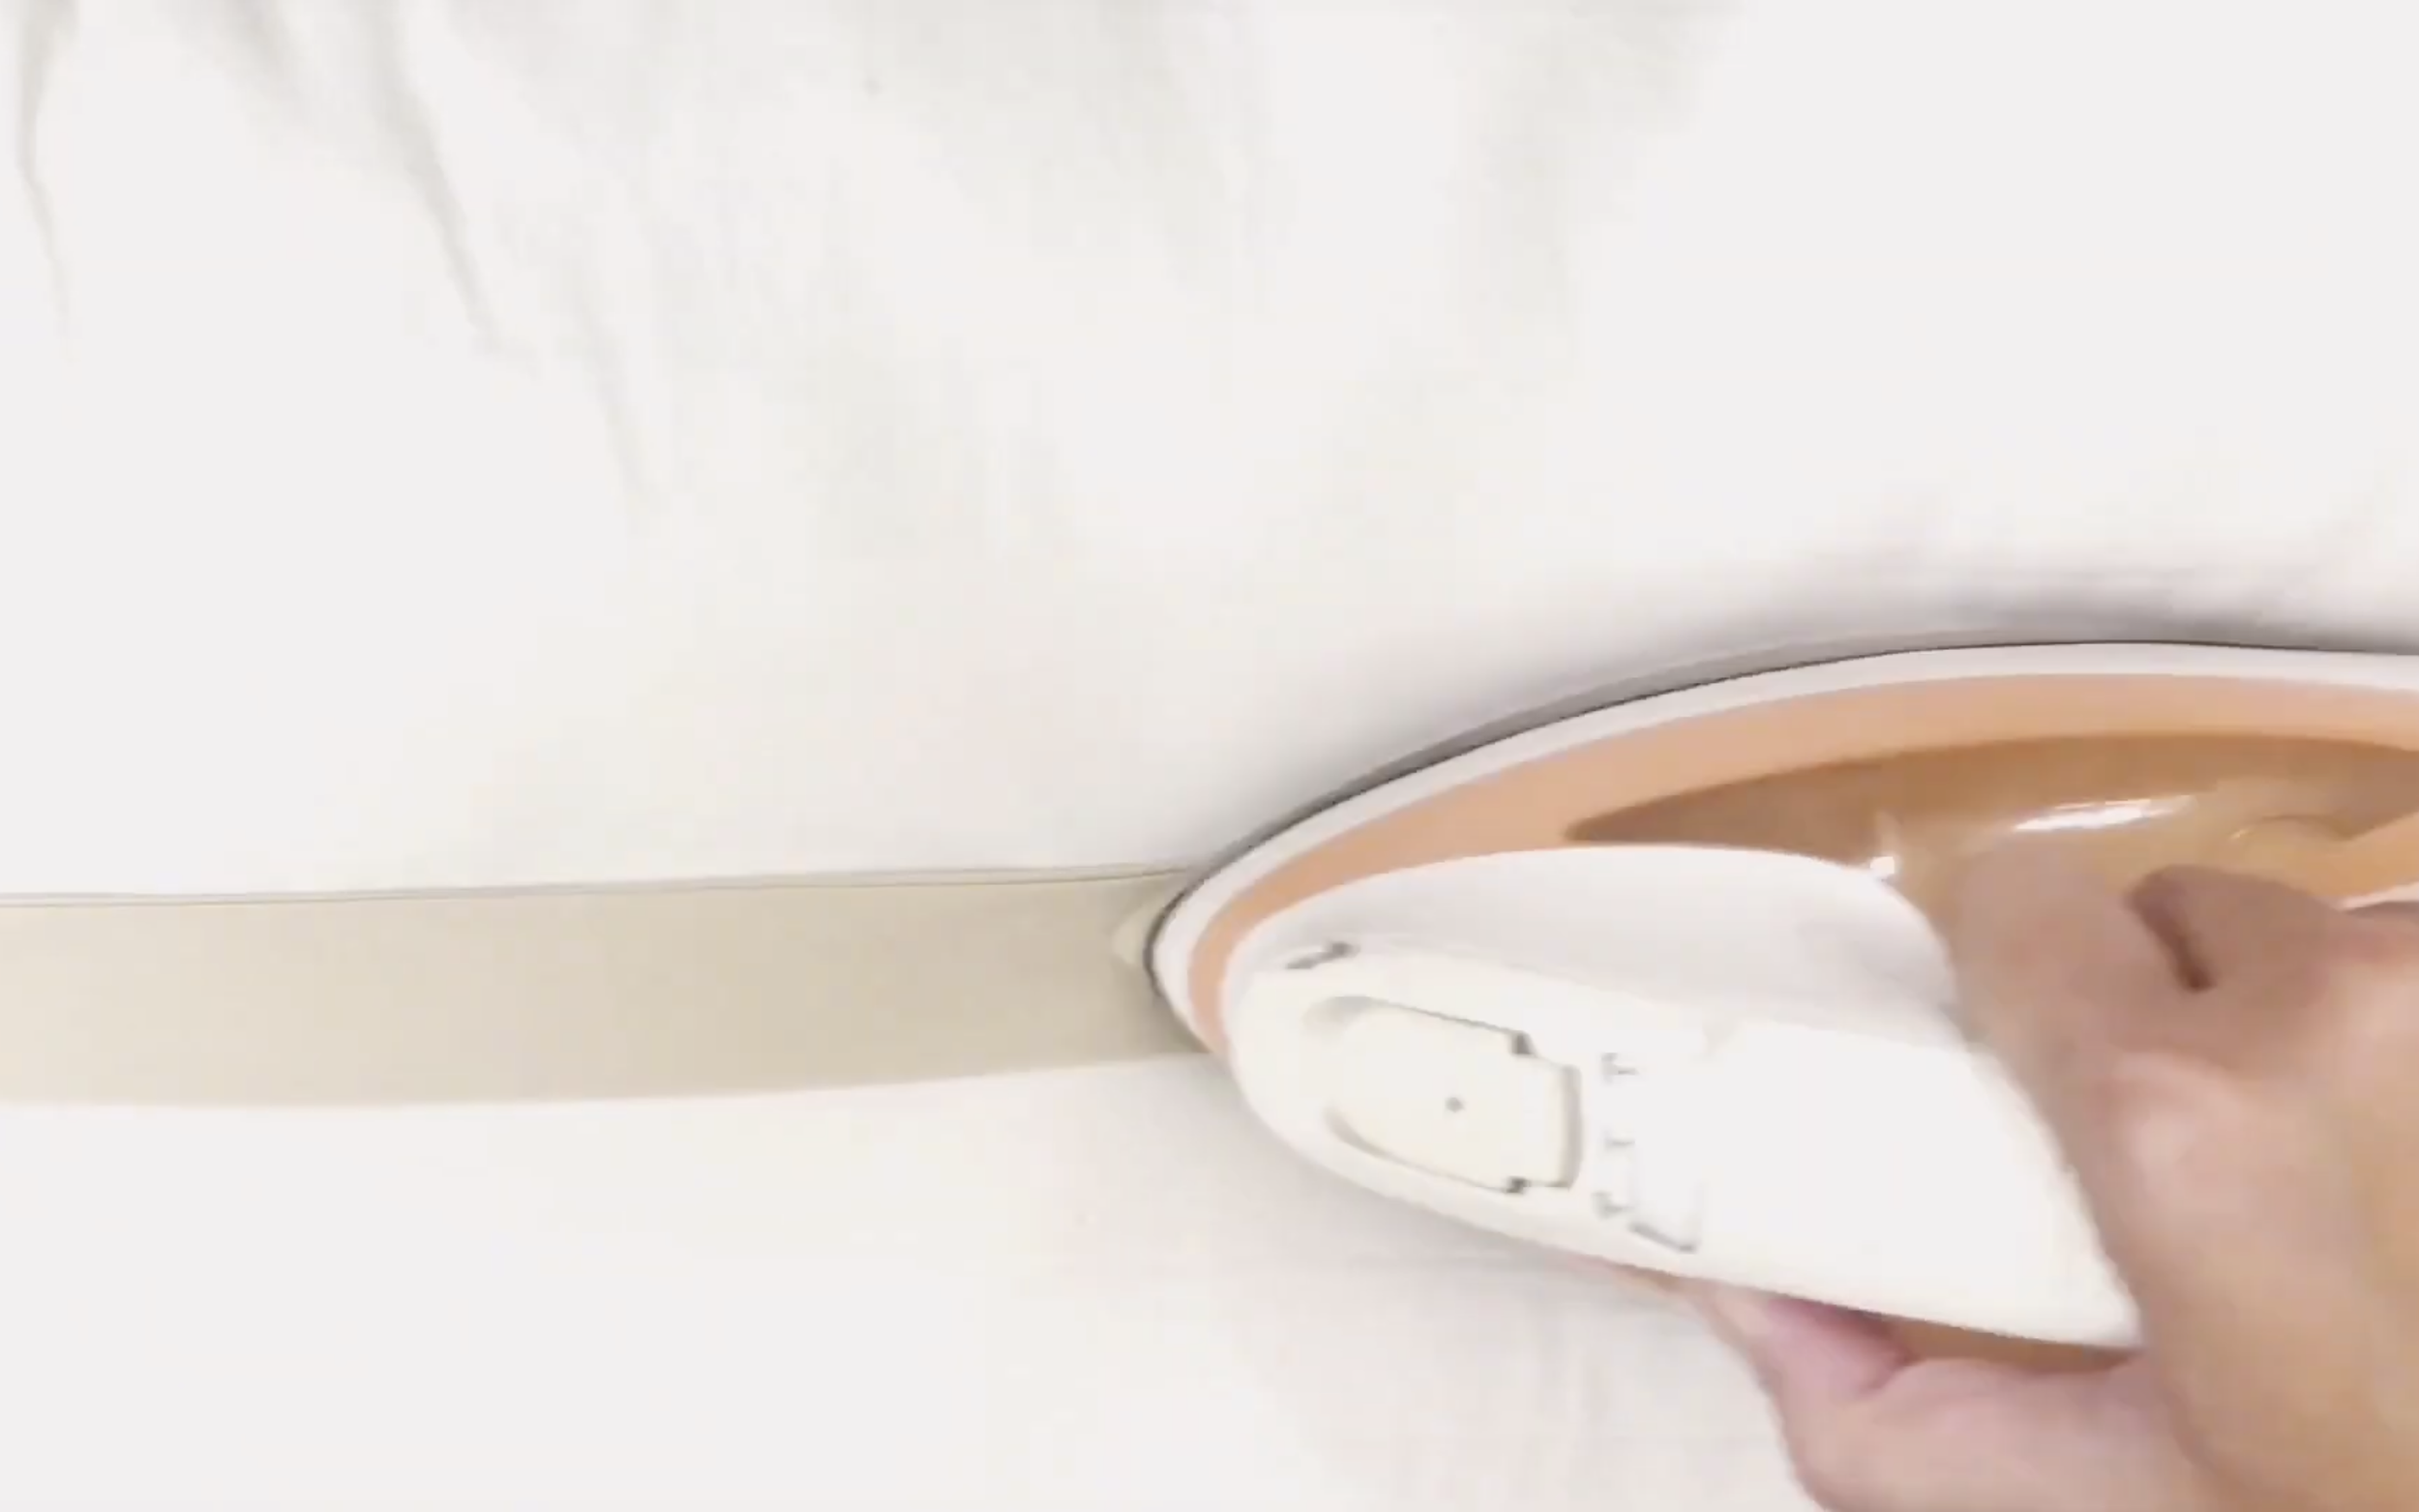
Use the iron to create the crease for the pocket. It will help you sew the pocket easily into the body of the shirt.
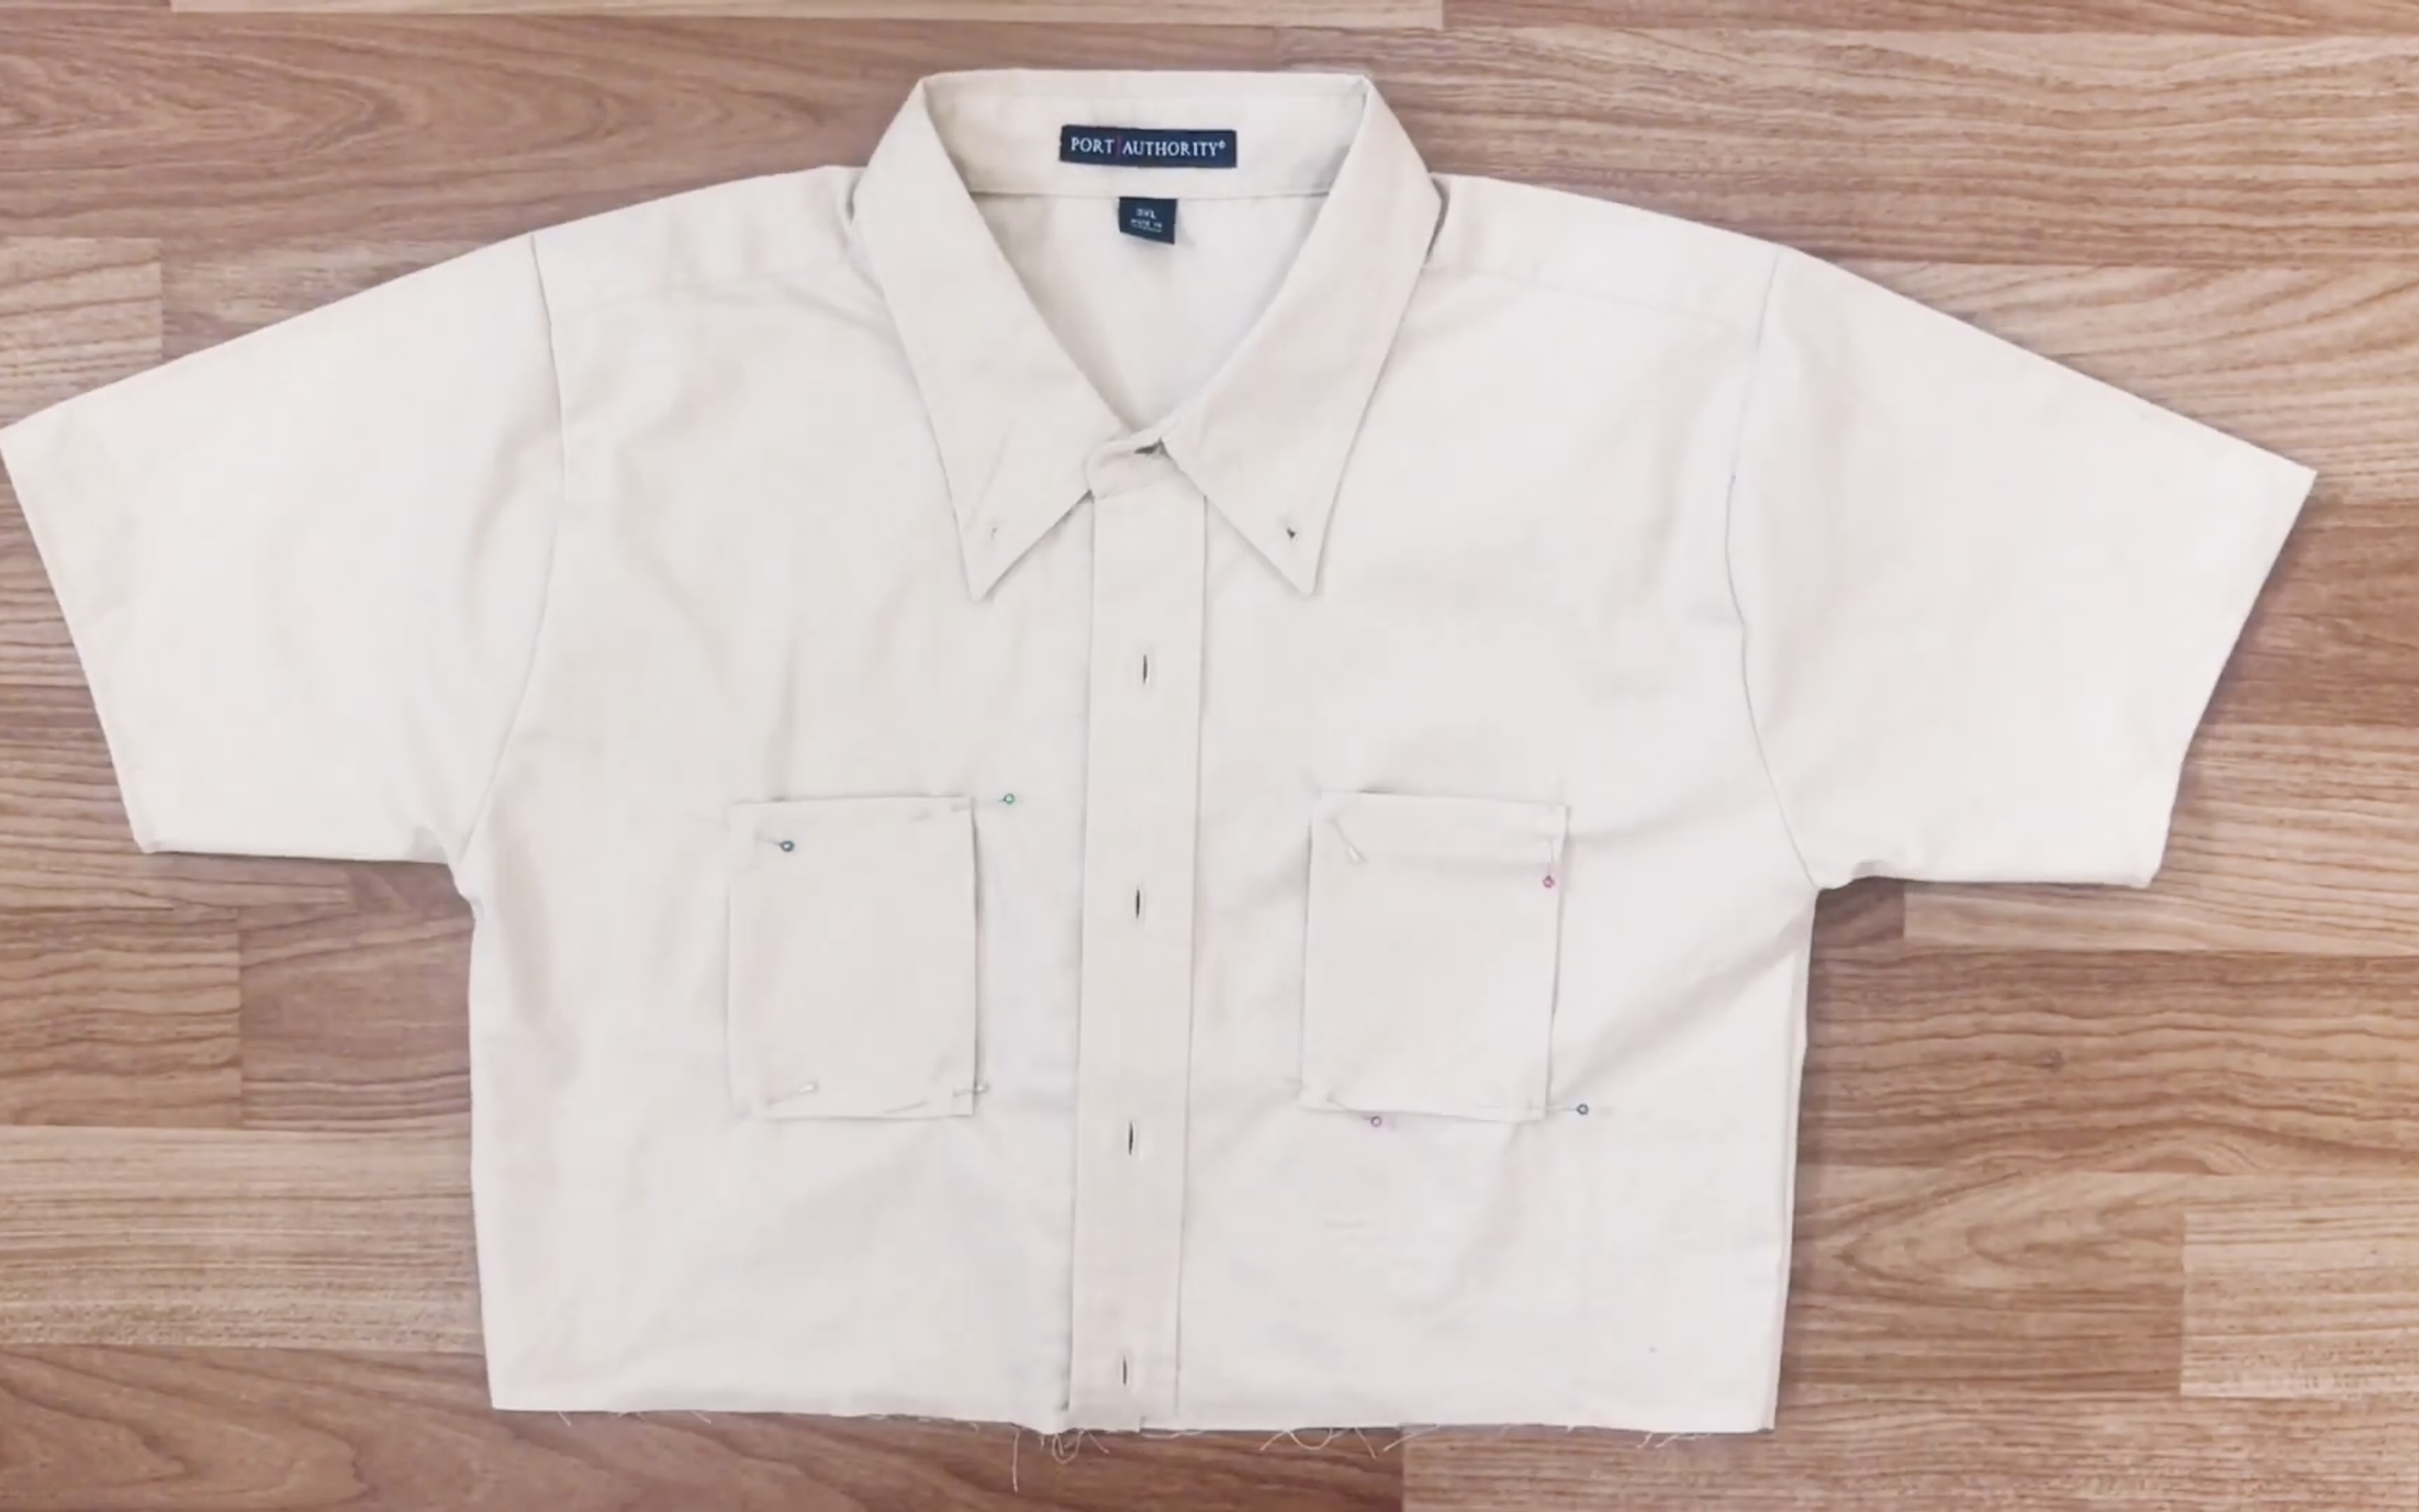
The position of the pocket is 7 cm up from the bottom and 4 cm right or left from the button. Use the pins to hold them before sewing.
CONNECTING THE TOP AND THE BOTTOM
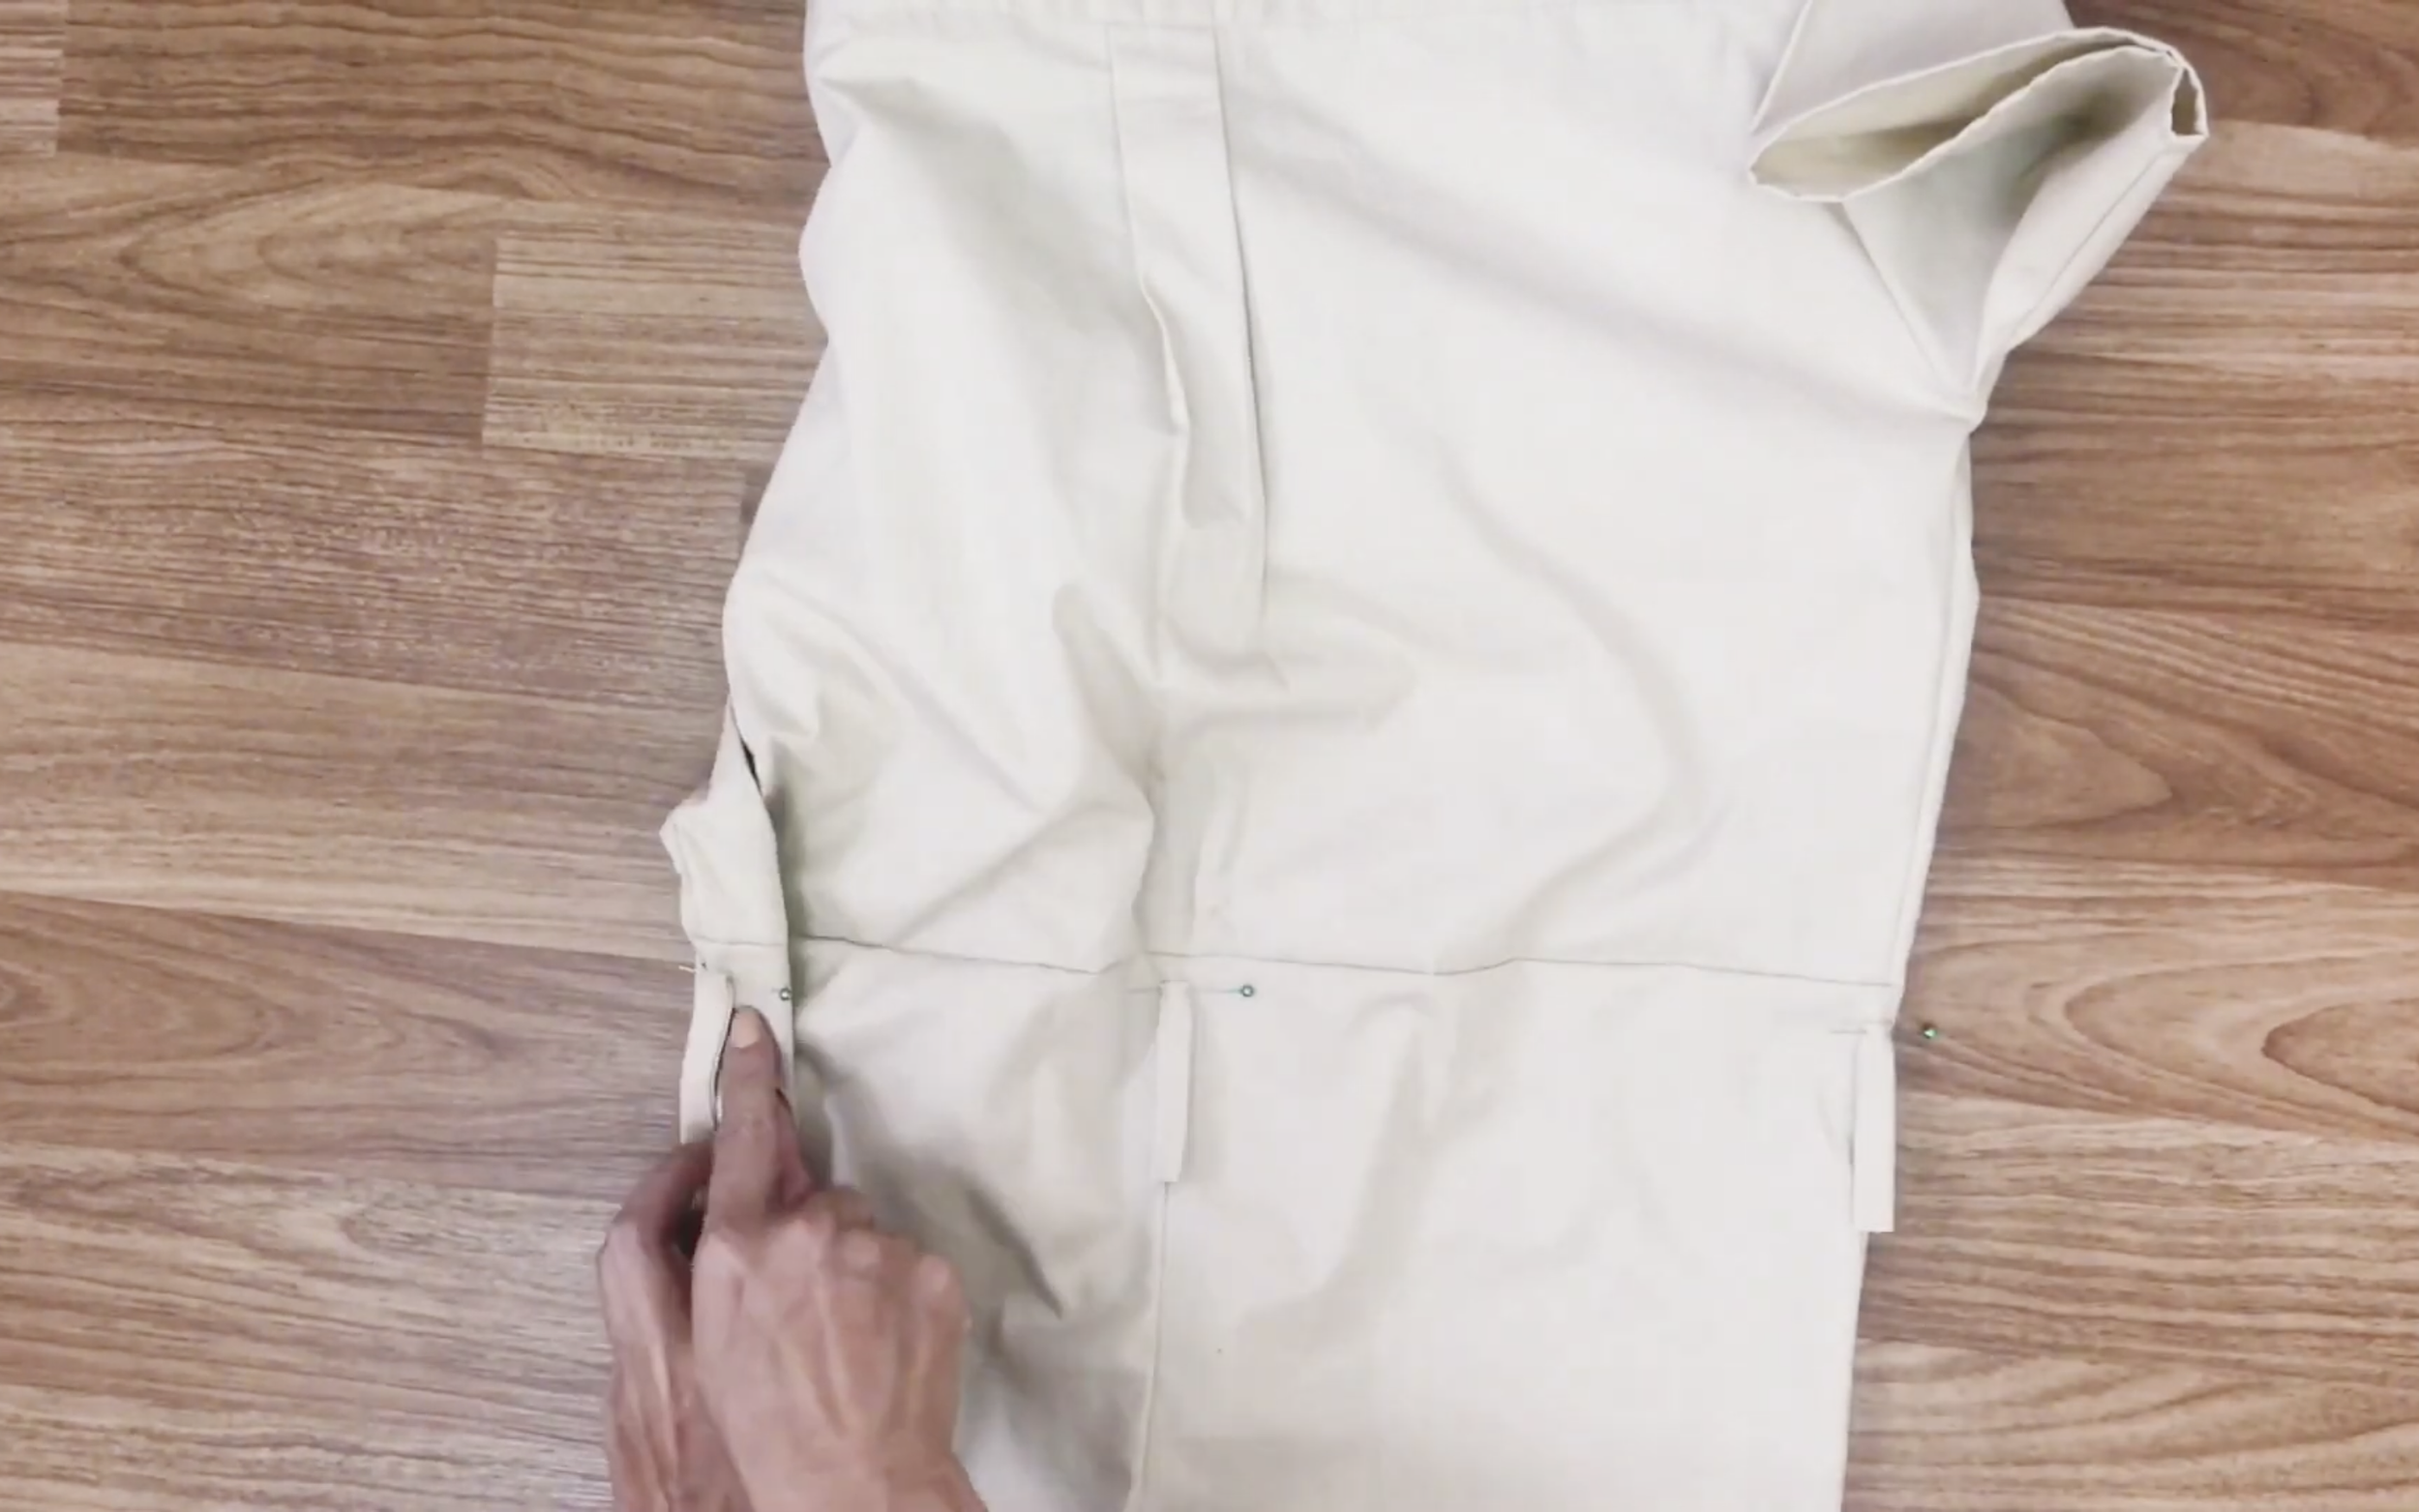
Pin two sides of the body and the band first. Then, pin the rest of them together before sewing.
The next step is making the belt loop to hold the belt and also help to hide the connection line between the top and the bottom of the jumpsuit.
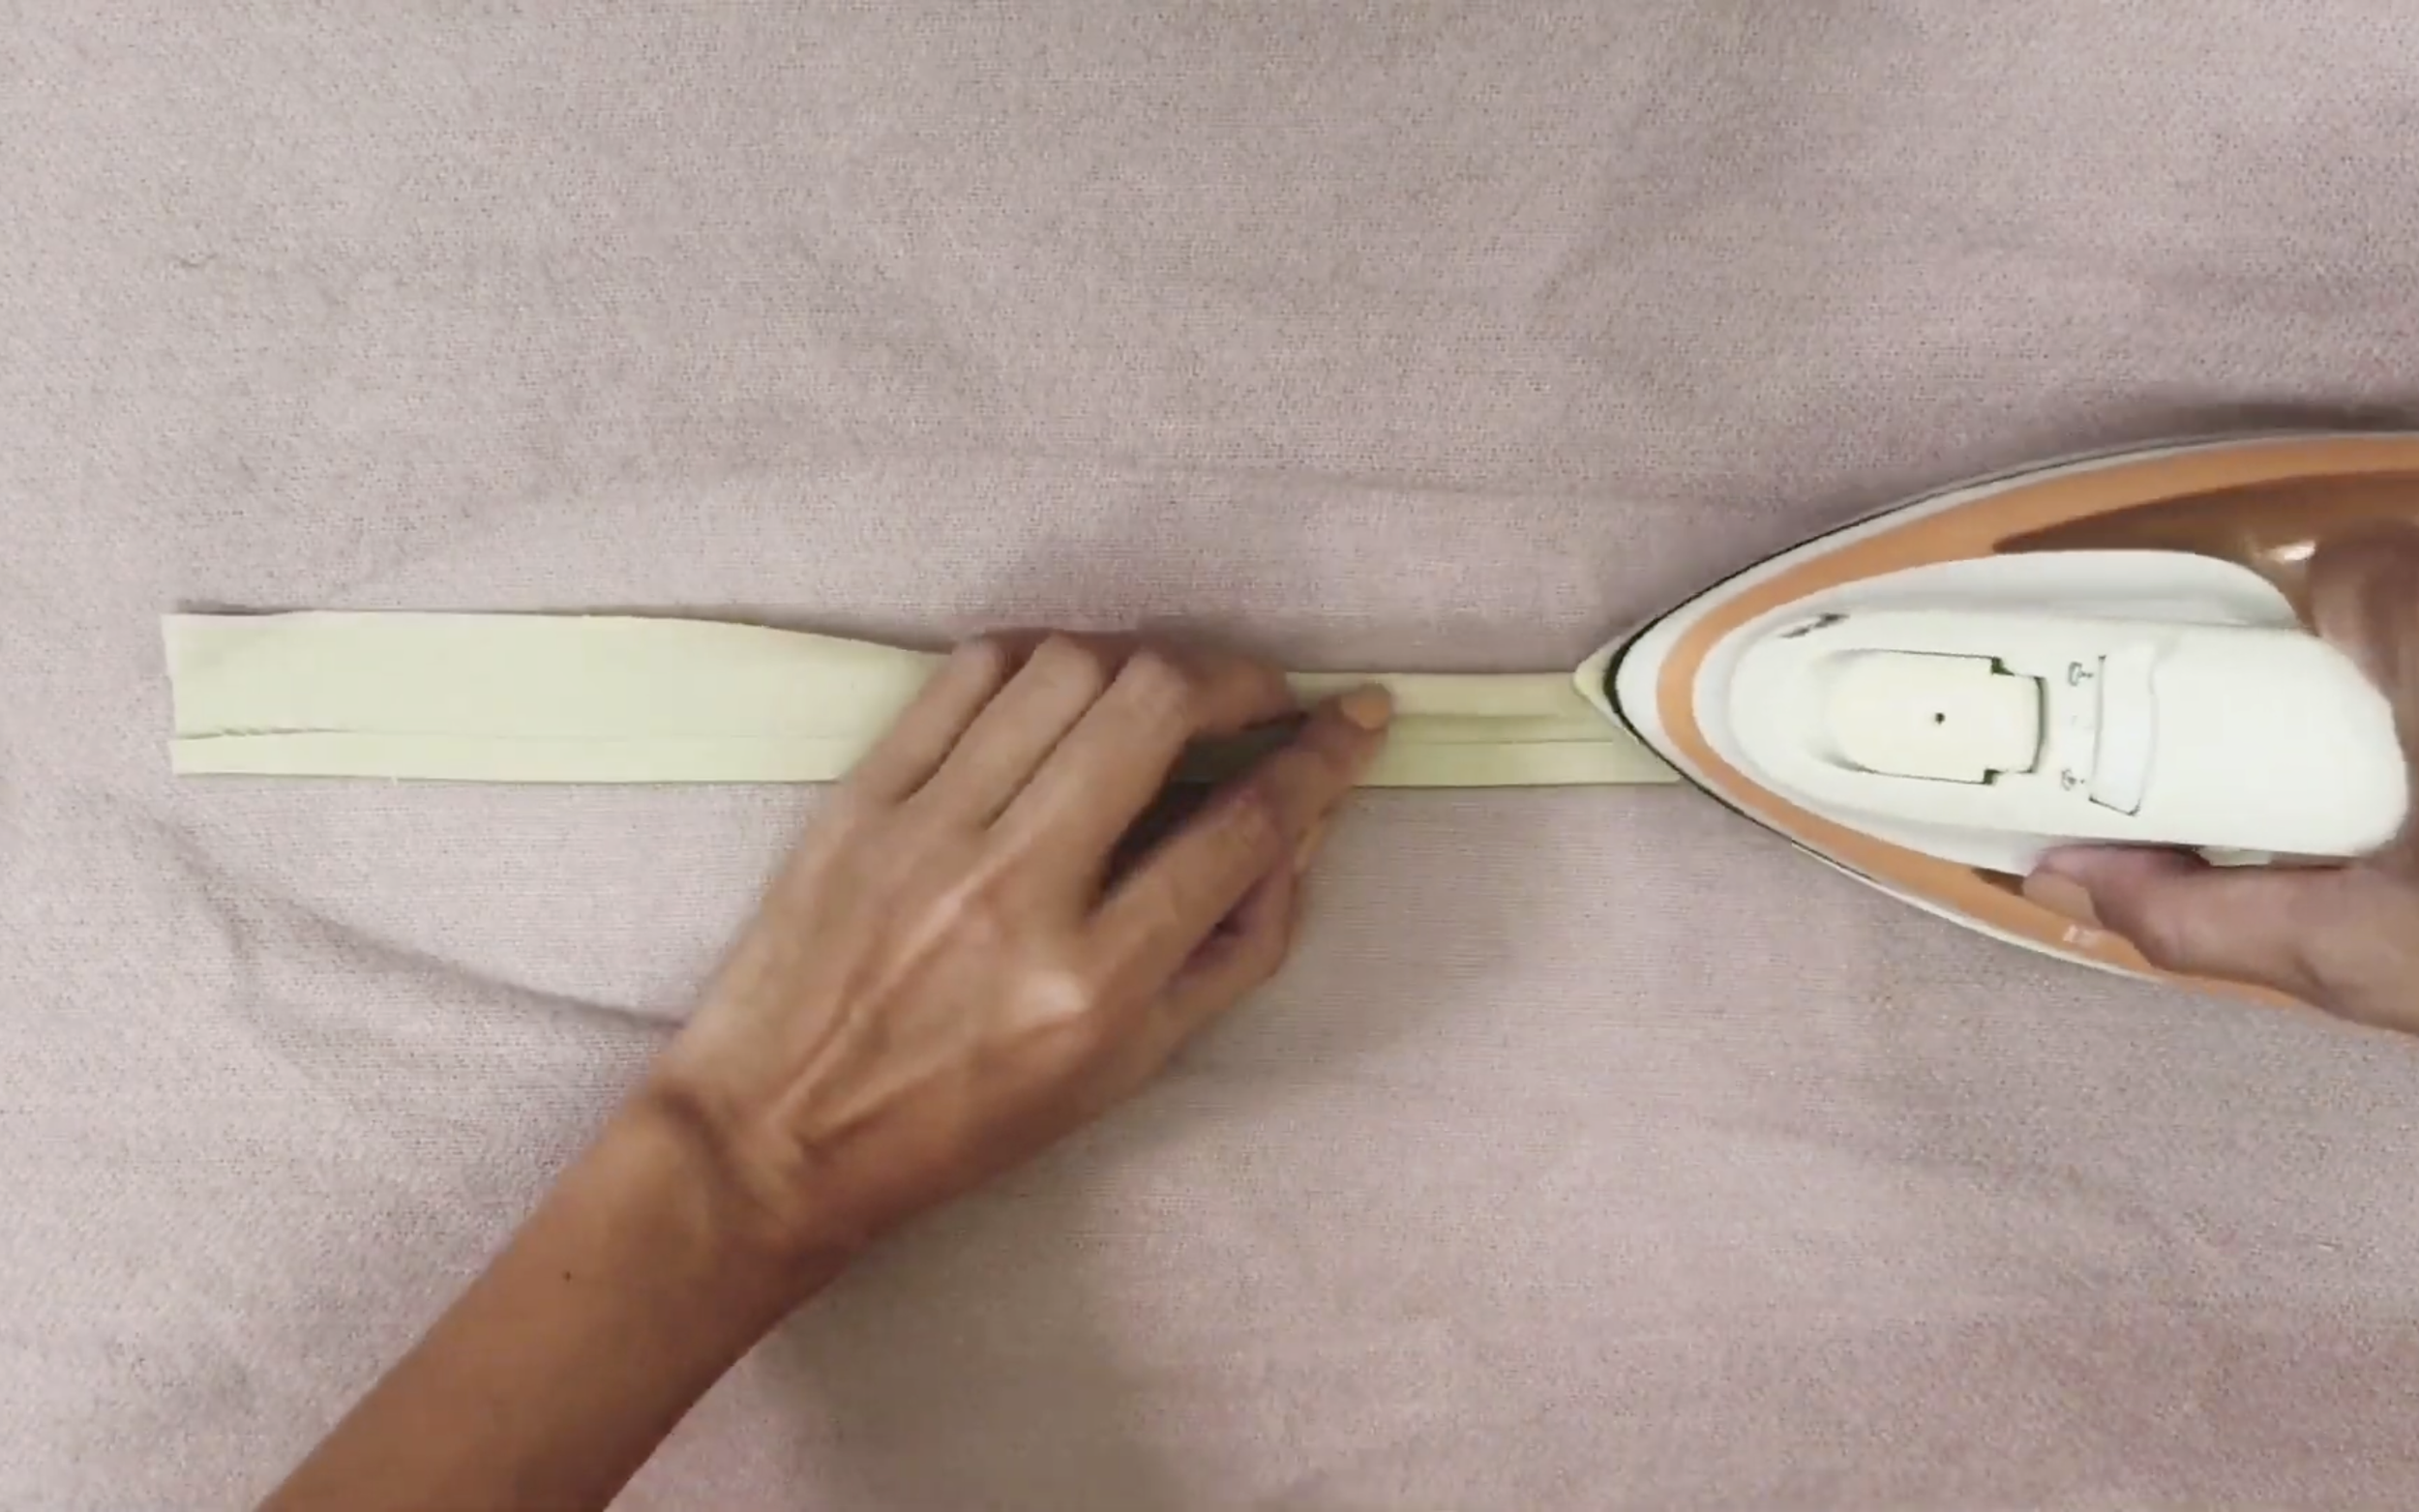
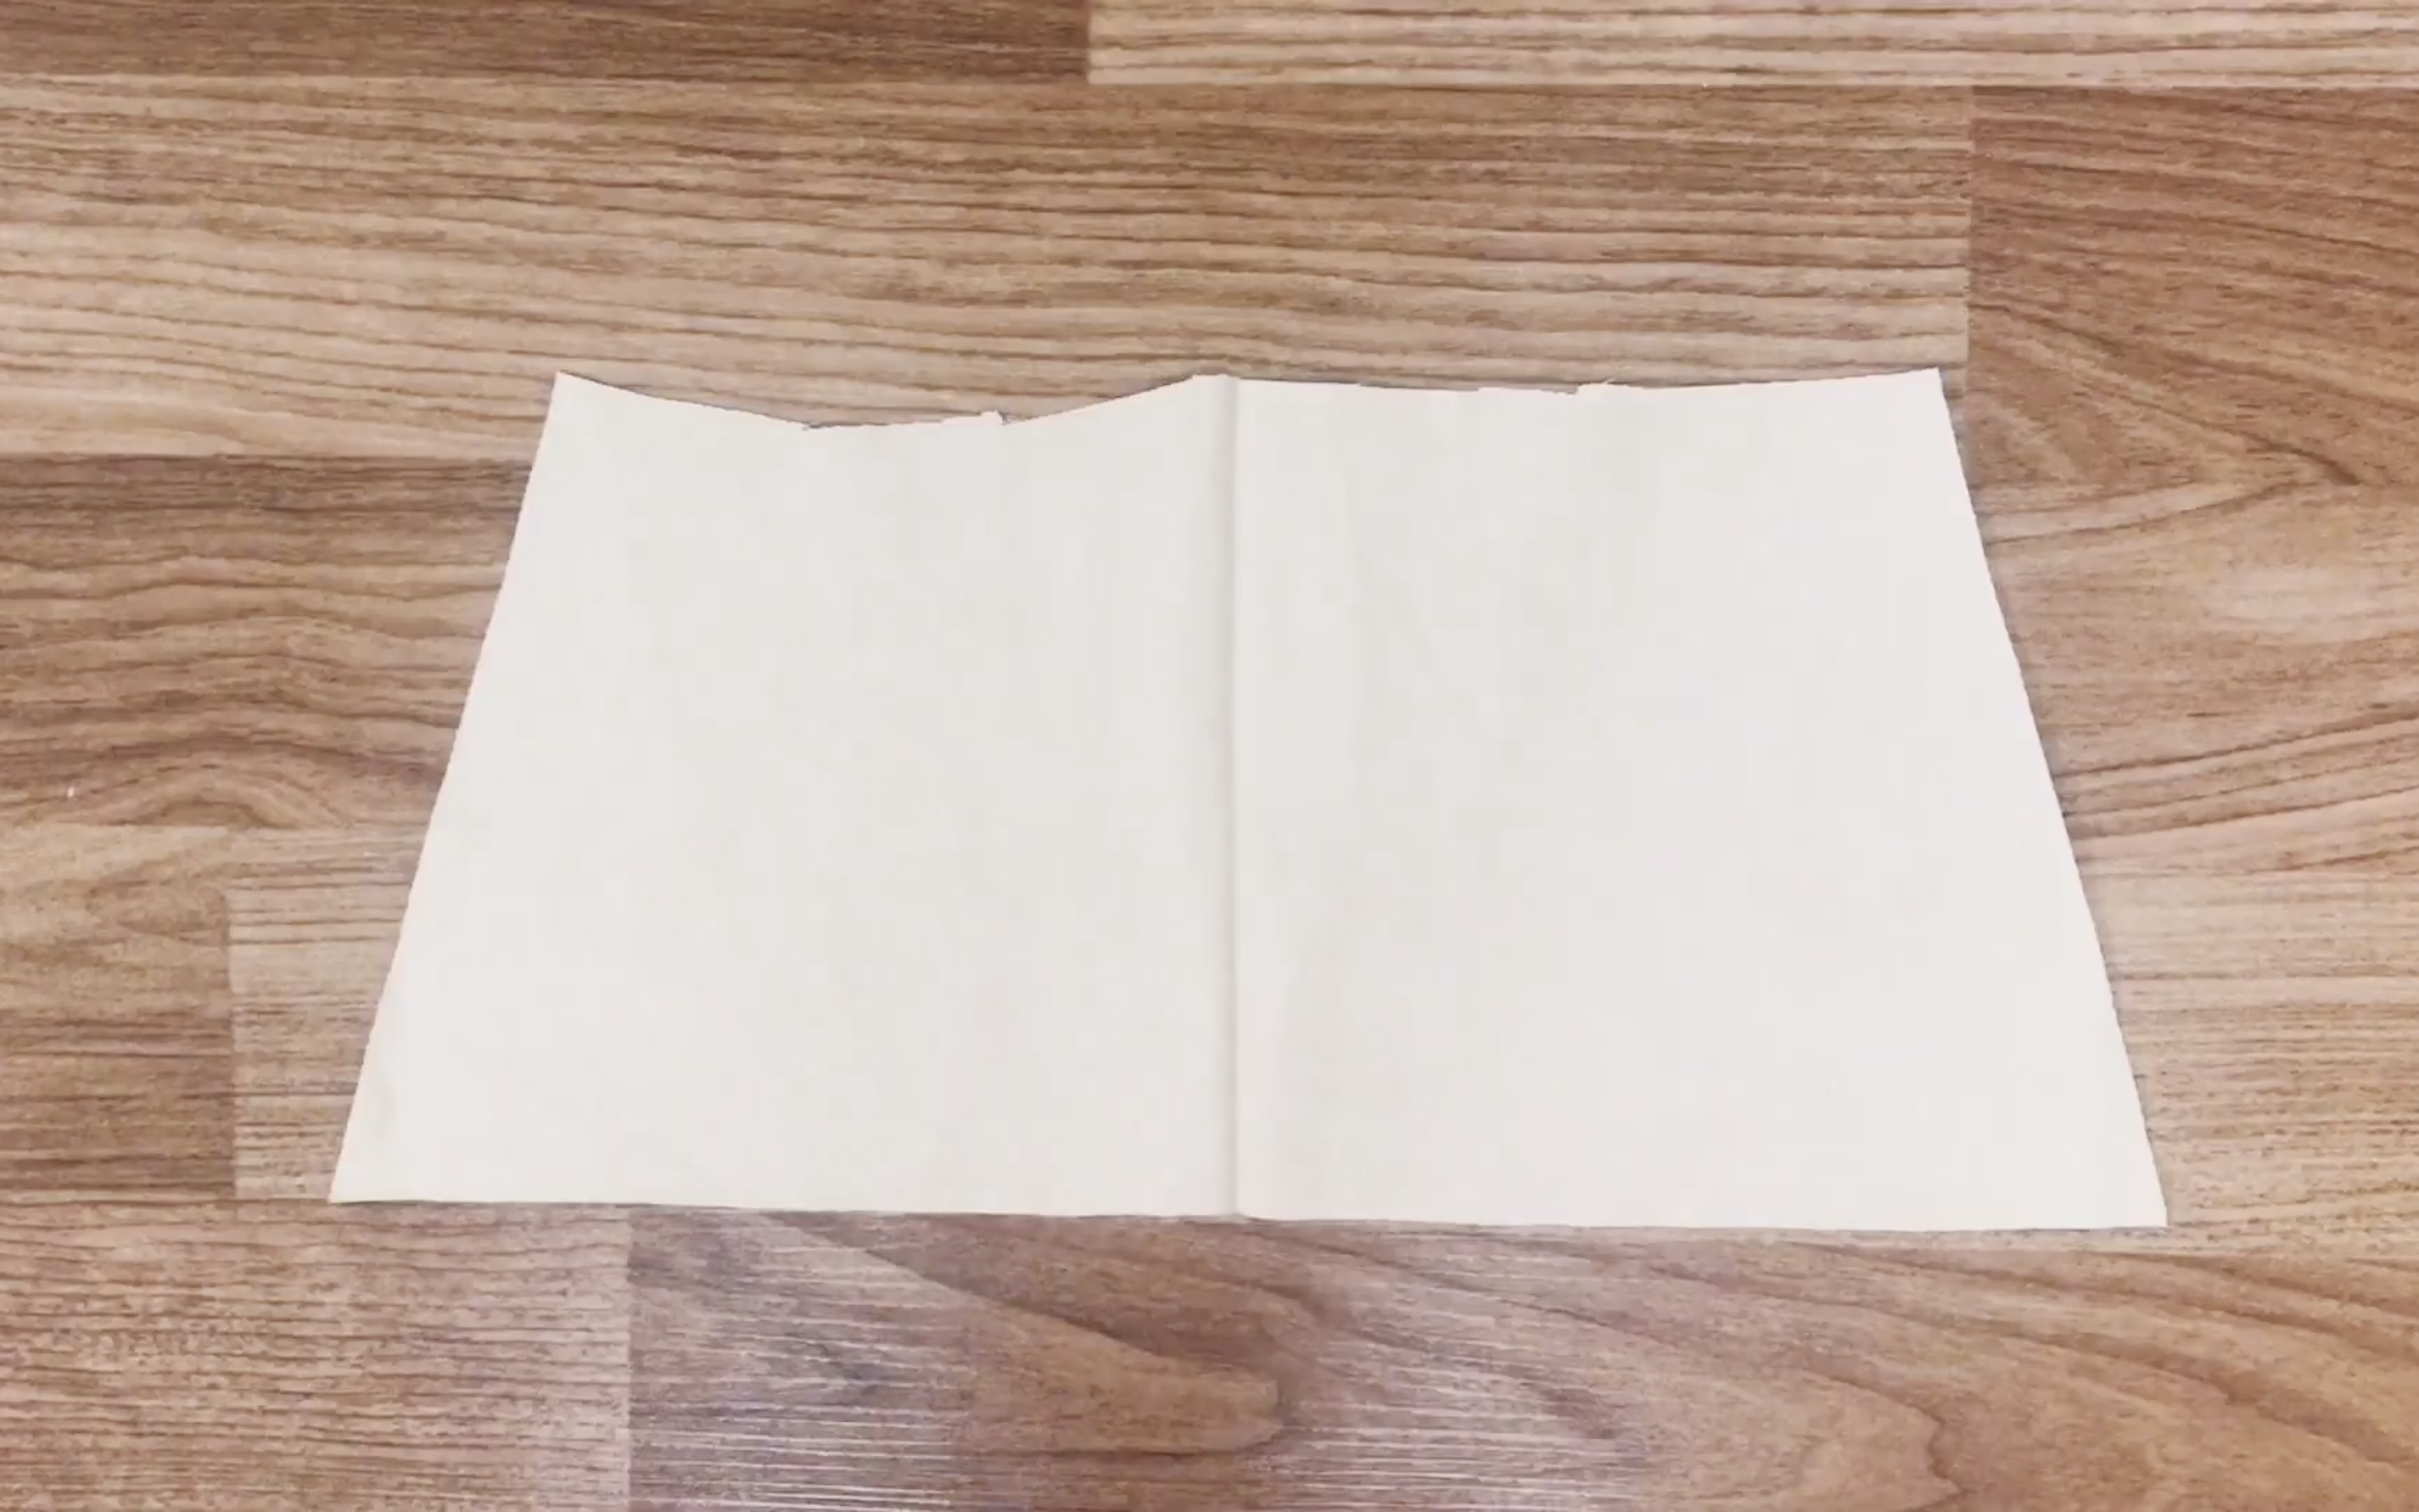
Cut 5 cm wide fabric and use the iron to make the fold.

Then, sew two folds together and cut it into three pieces with 6 cm each.
Two pieces for two sides and the last piece for the back of the jumpsuit.
To have the belt loop stick harder to the jumpsuit, make double or triple sewing.
Now, install the button to the pant at the button side.
The last step is making the belt for the jumpsuit. Use the leftover fabric from the hand.
The tip you might want to know that keeping a small un-sew on the belt when sewing is helpful so you can upside the belt later.
And you can use the iron to hide that small hole.

DIY Men's Shirt into Jumpsuit/Romper
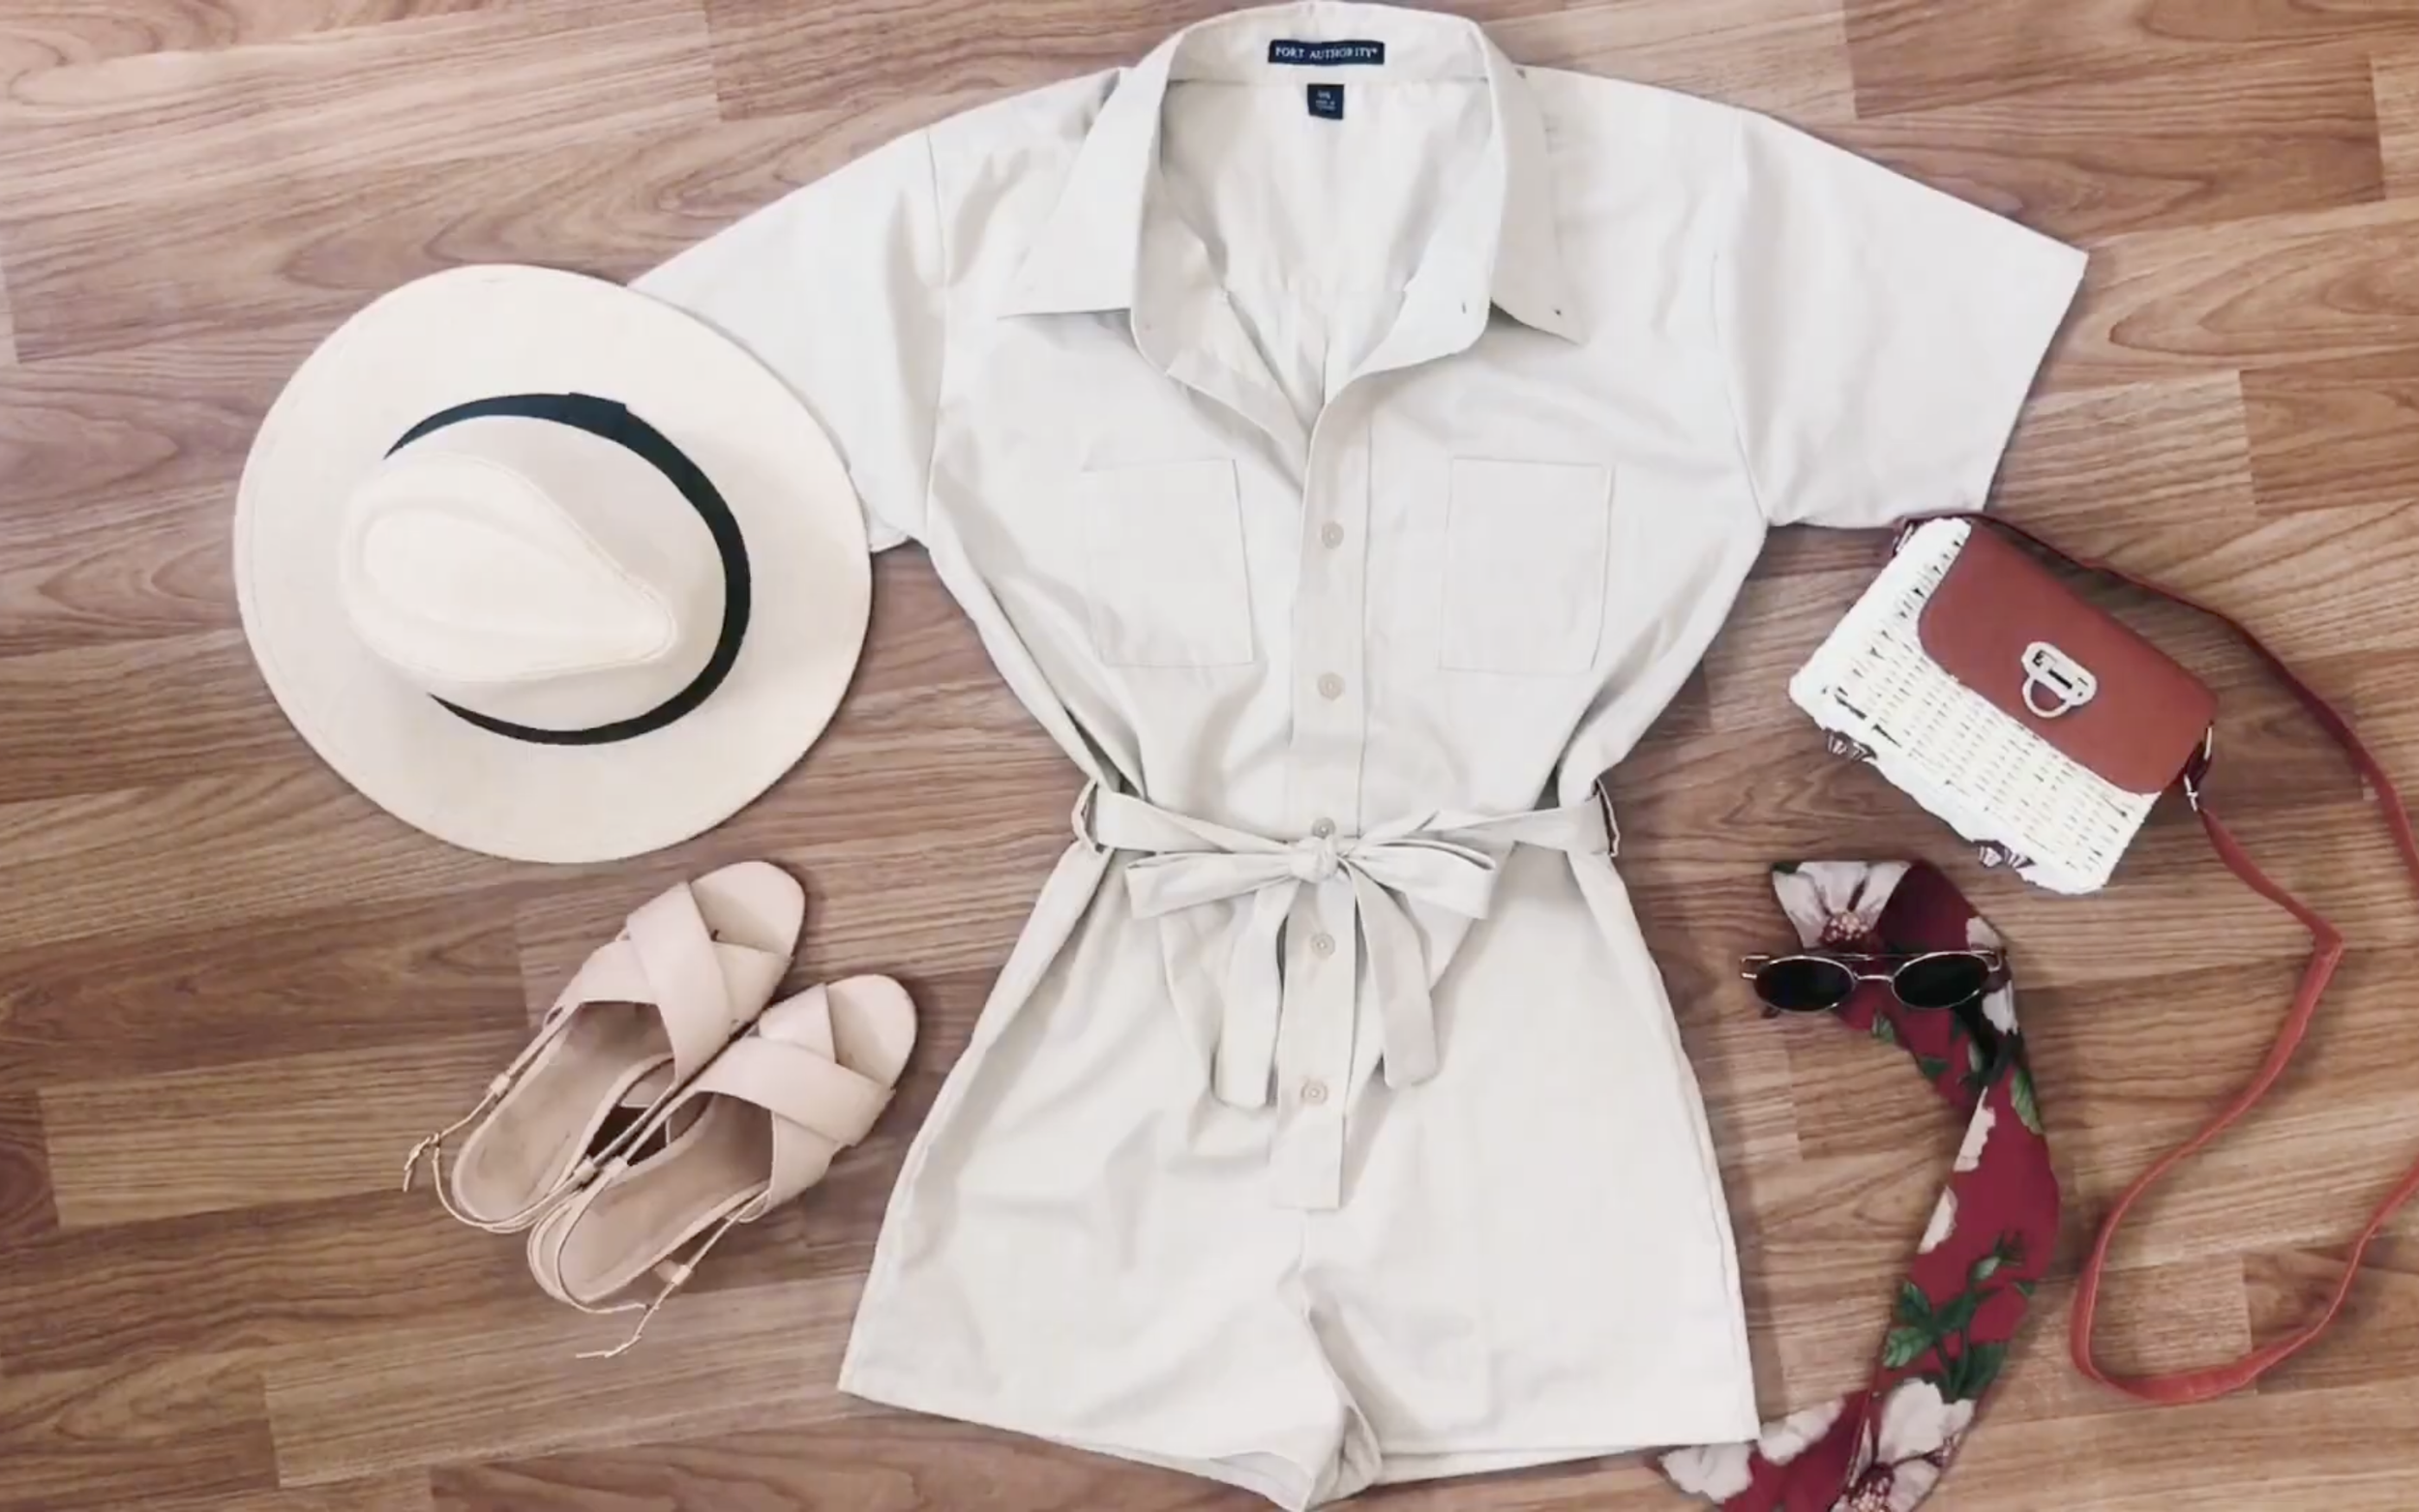
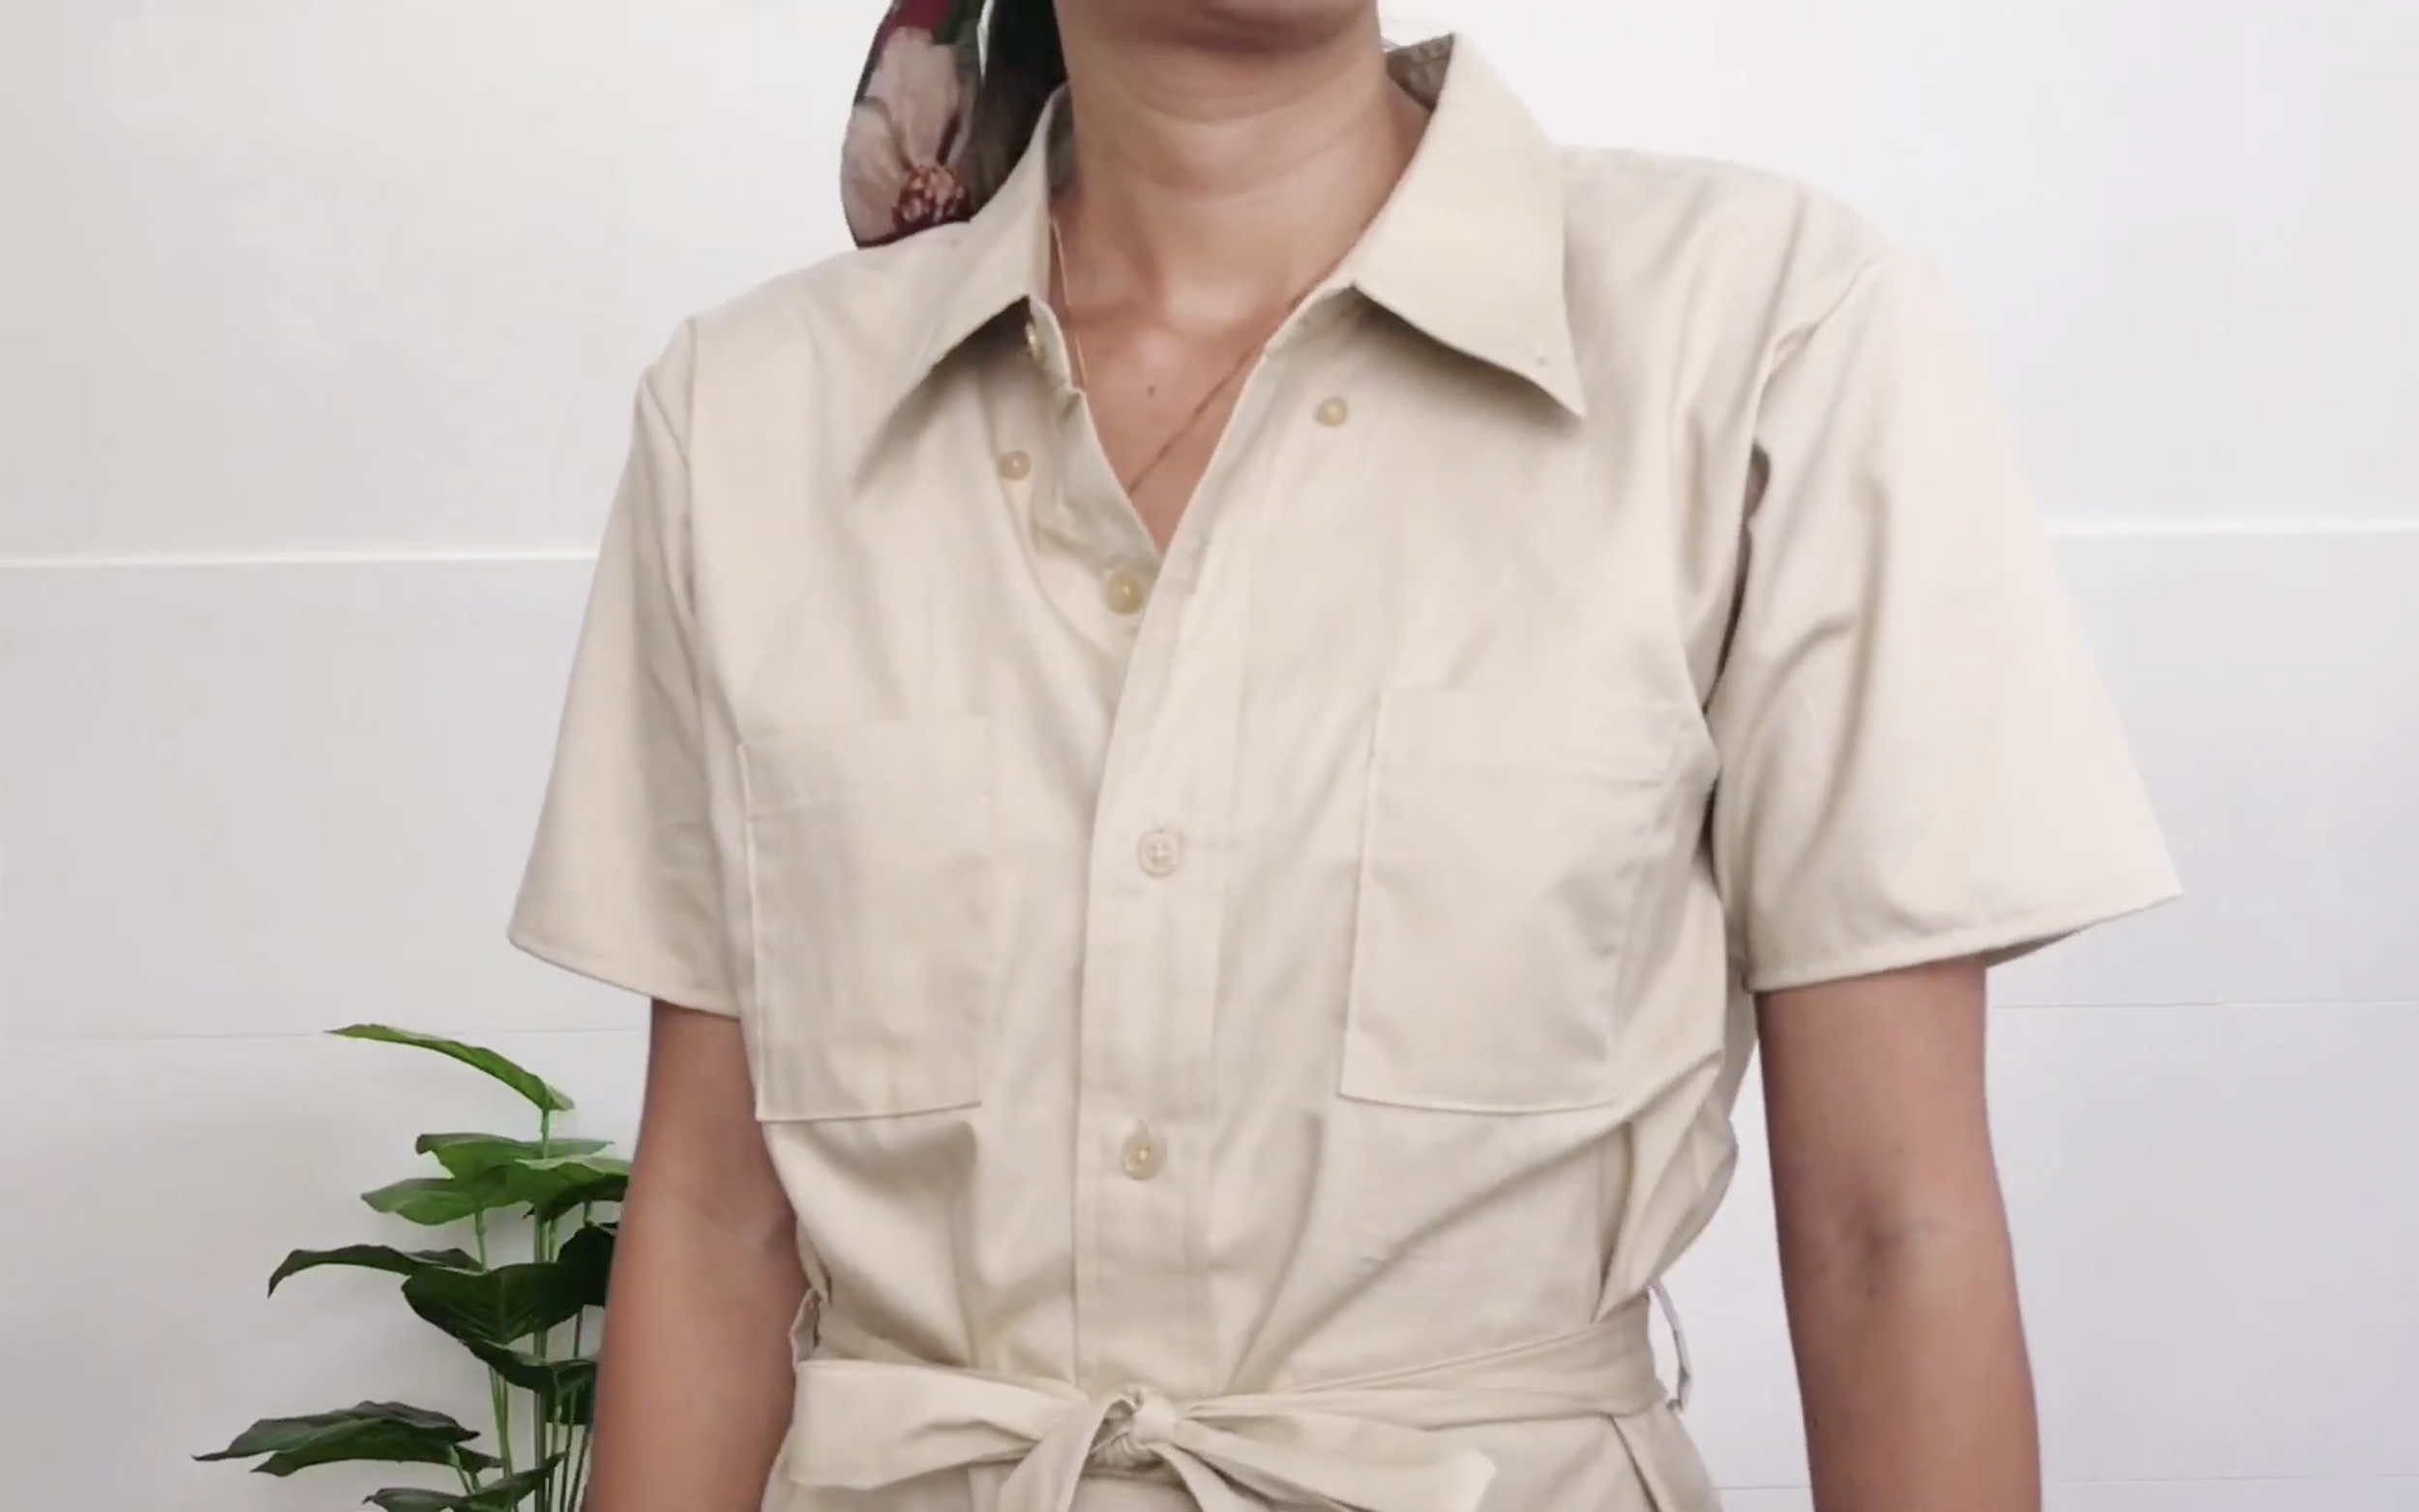
And I've finished this DIY. Here's my final transformation!
This is such a cute and versatile jumpsuit. I’ve got to mix this jumpsuit with some of my favorite items to complete my summer outfit. Let's see how it looks!


And it won't be too difficult to make. So I hope you will give it a try.
If you liked this project, please share it and subscribe to my channel so you won’t miss any of my upcoming DIYs.
Until next week, happy sewing!