DIY SCRUNCHIES & HEADBANDS - Hand-sewn project - Episode 1
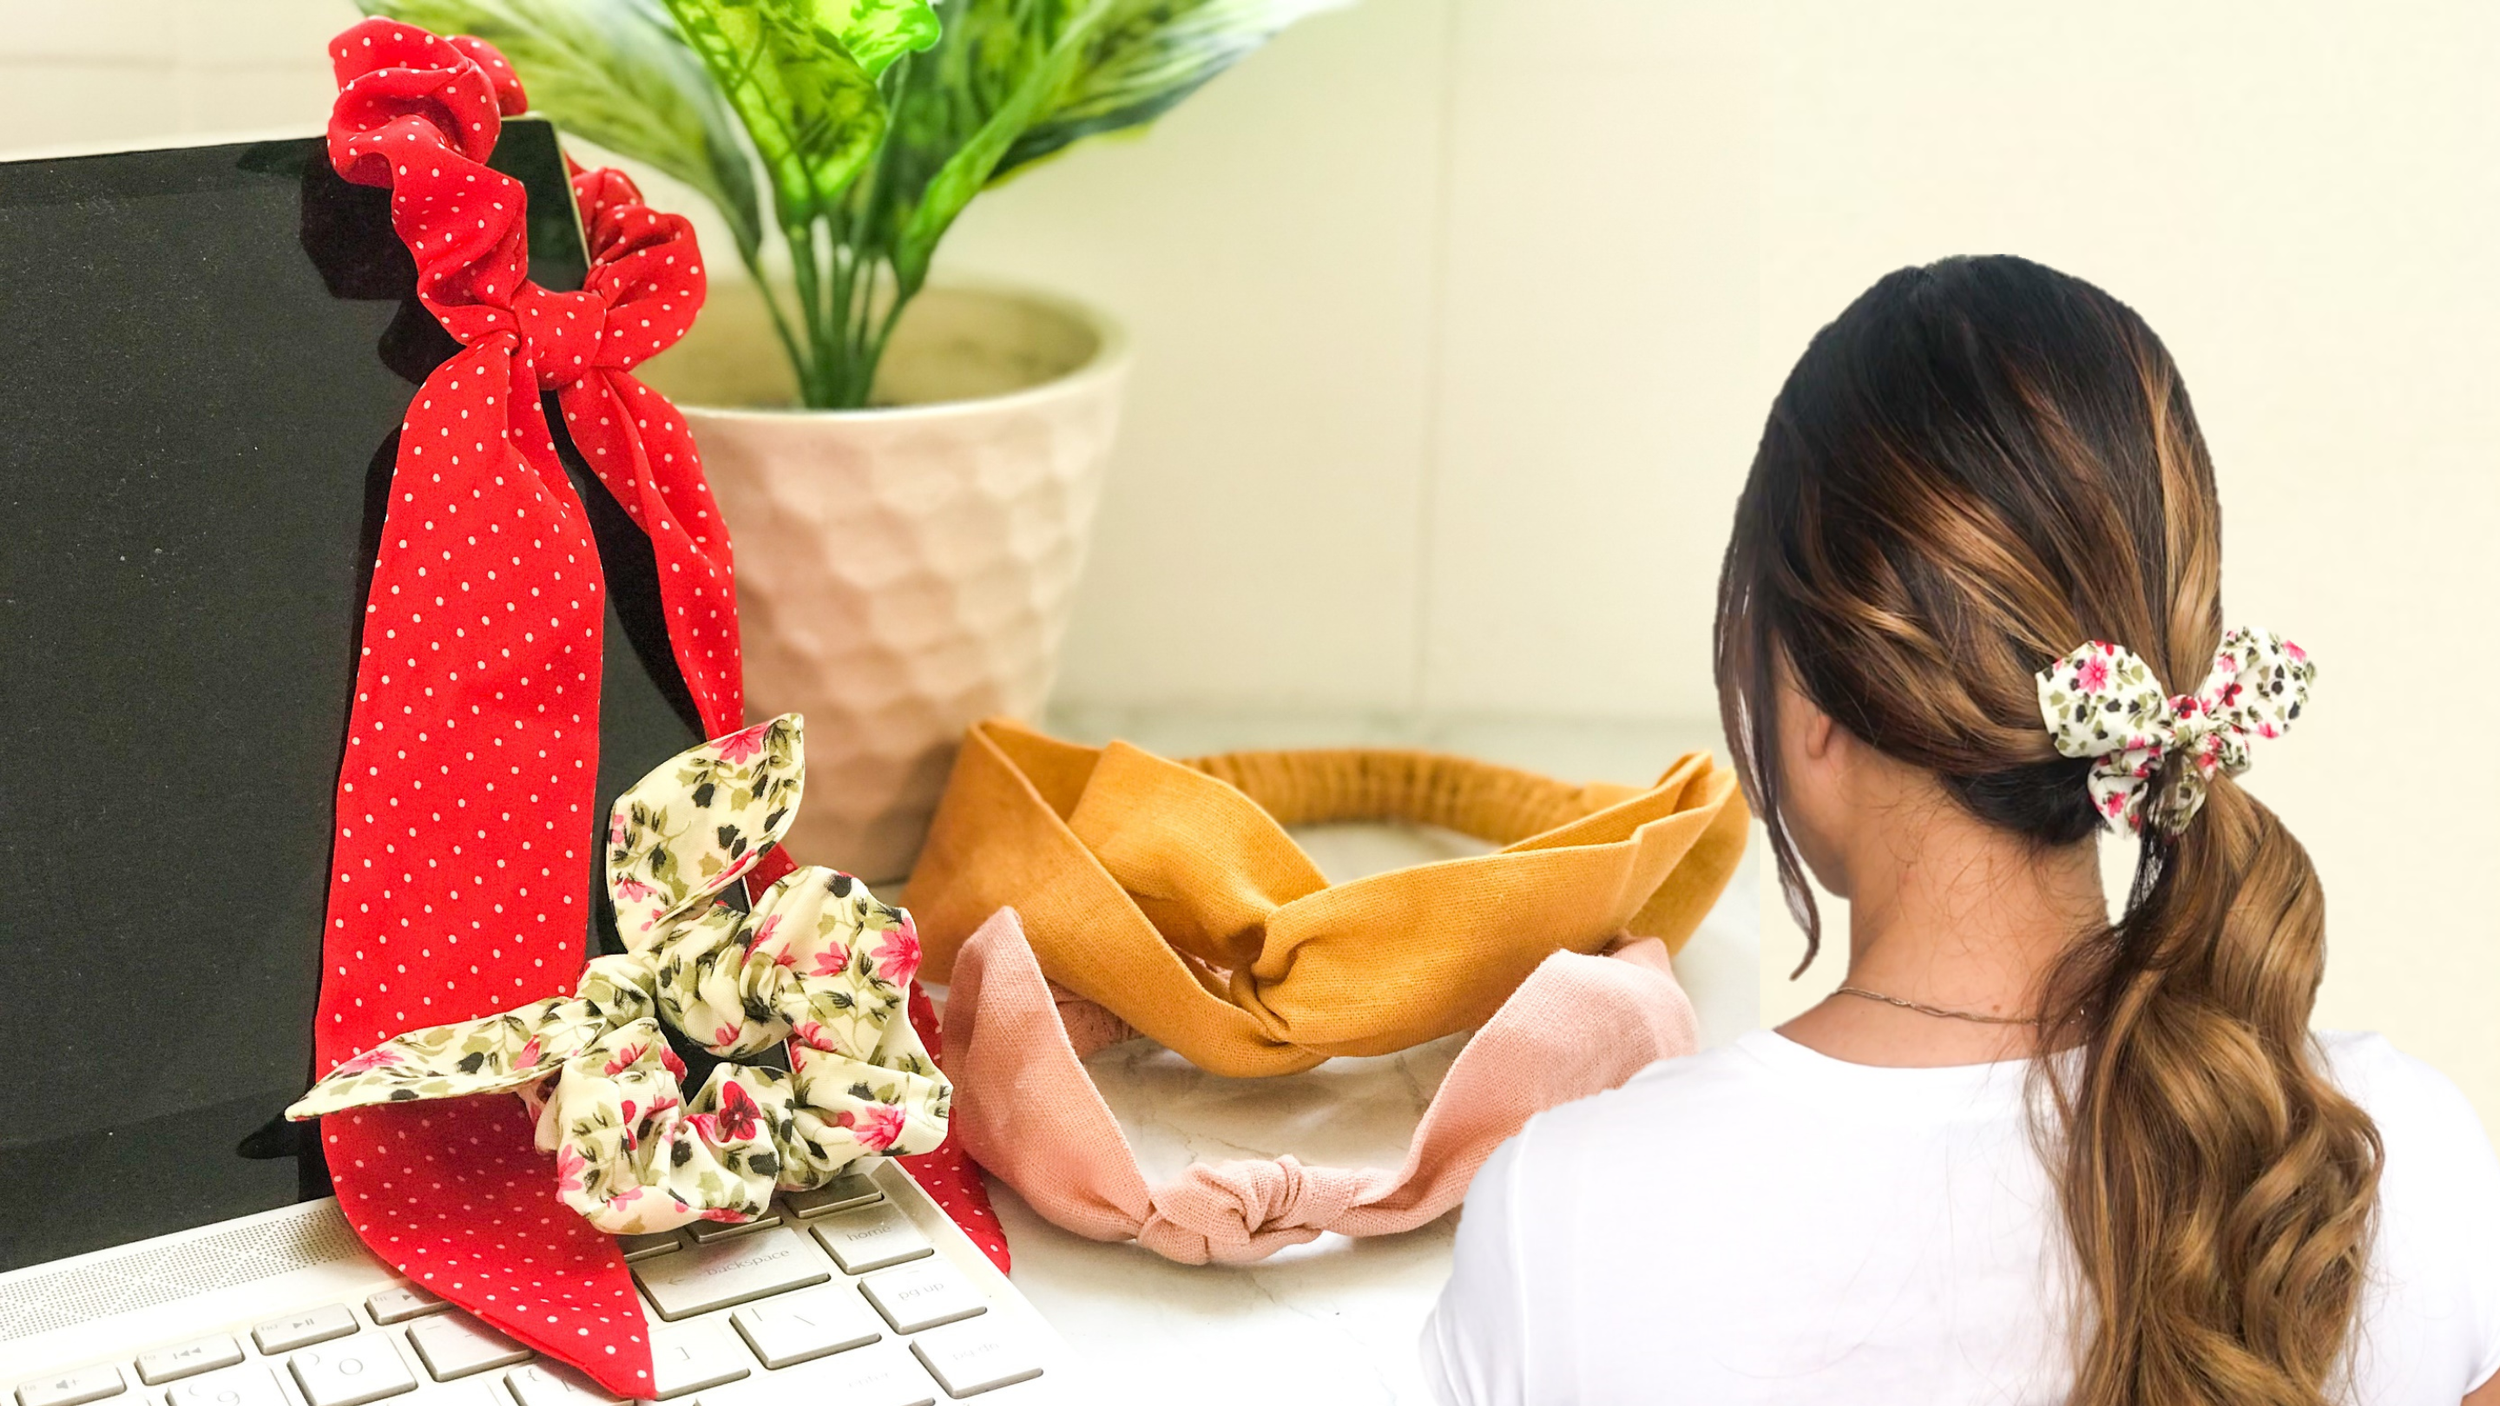
DIY SCRUNCHIES & HEADBANDS - Hand-sewn project - Episode 1
Welcome or welcome back to my channel!
Today's tutorial is the first hand-sewn eposide that I promised you to have one a month. This's a great way to start your sewing journey.
So I hope you'll enjoy it and give it a shot for your next DIY project.
WHAT YOU’LL NEED
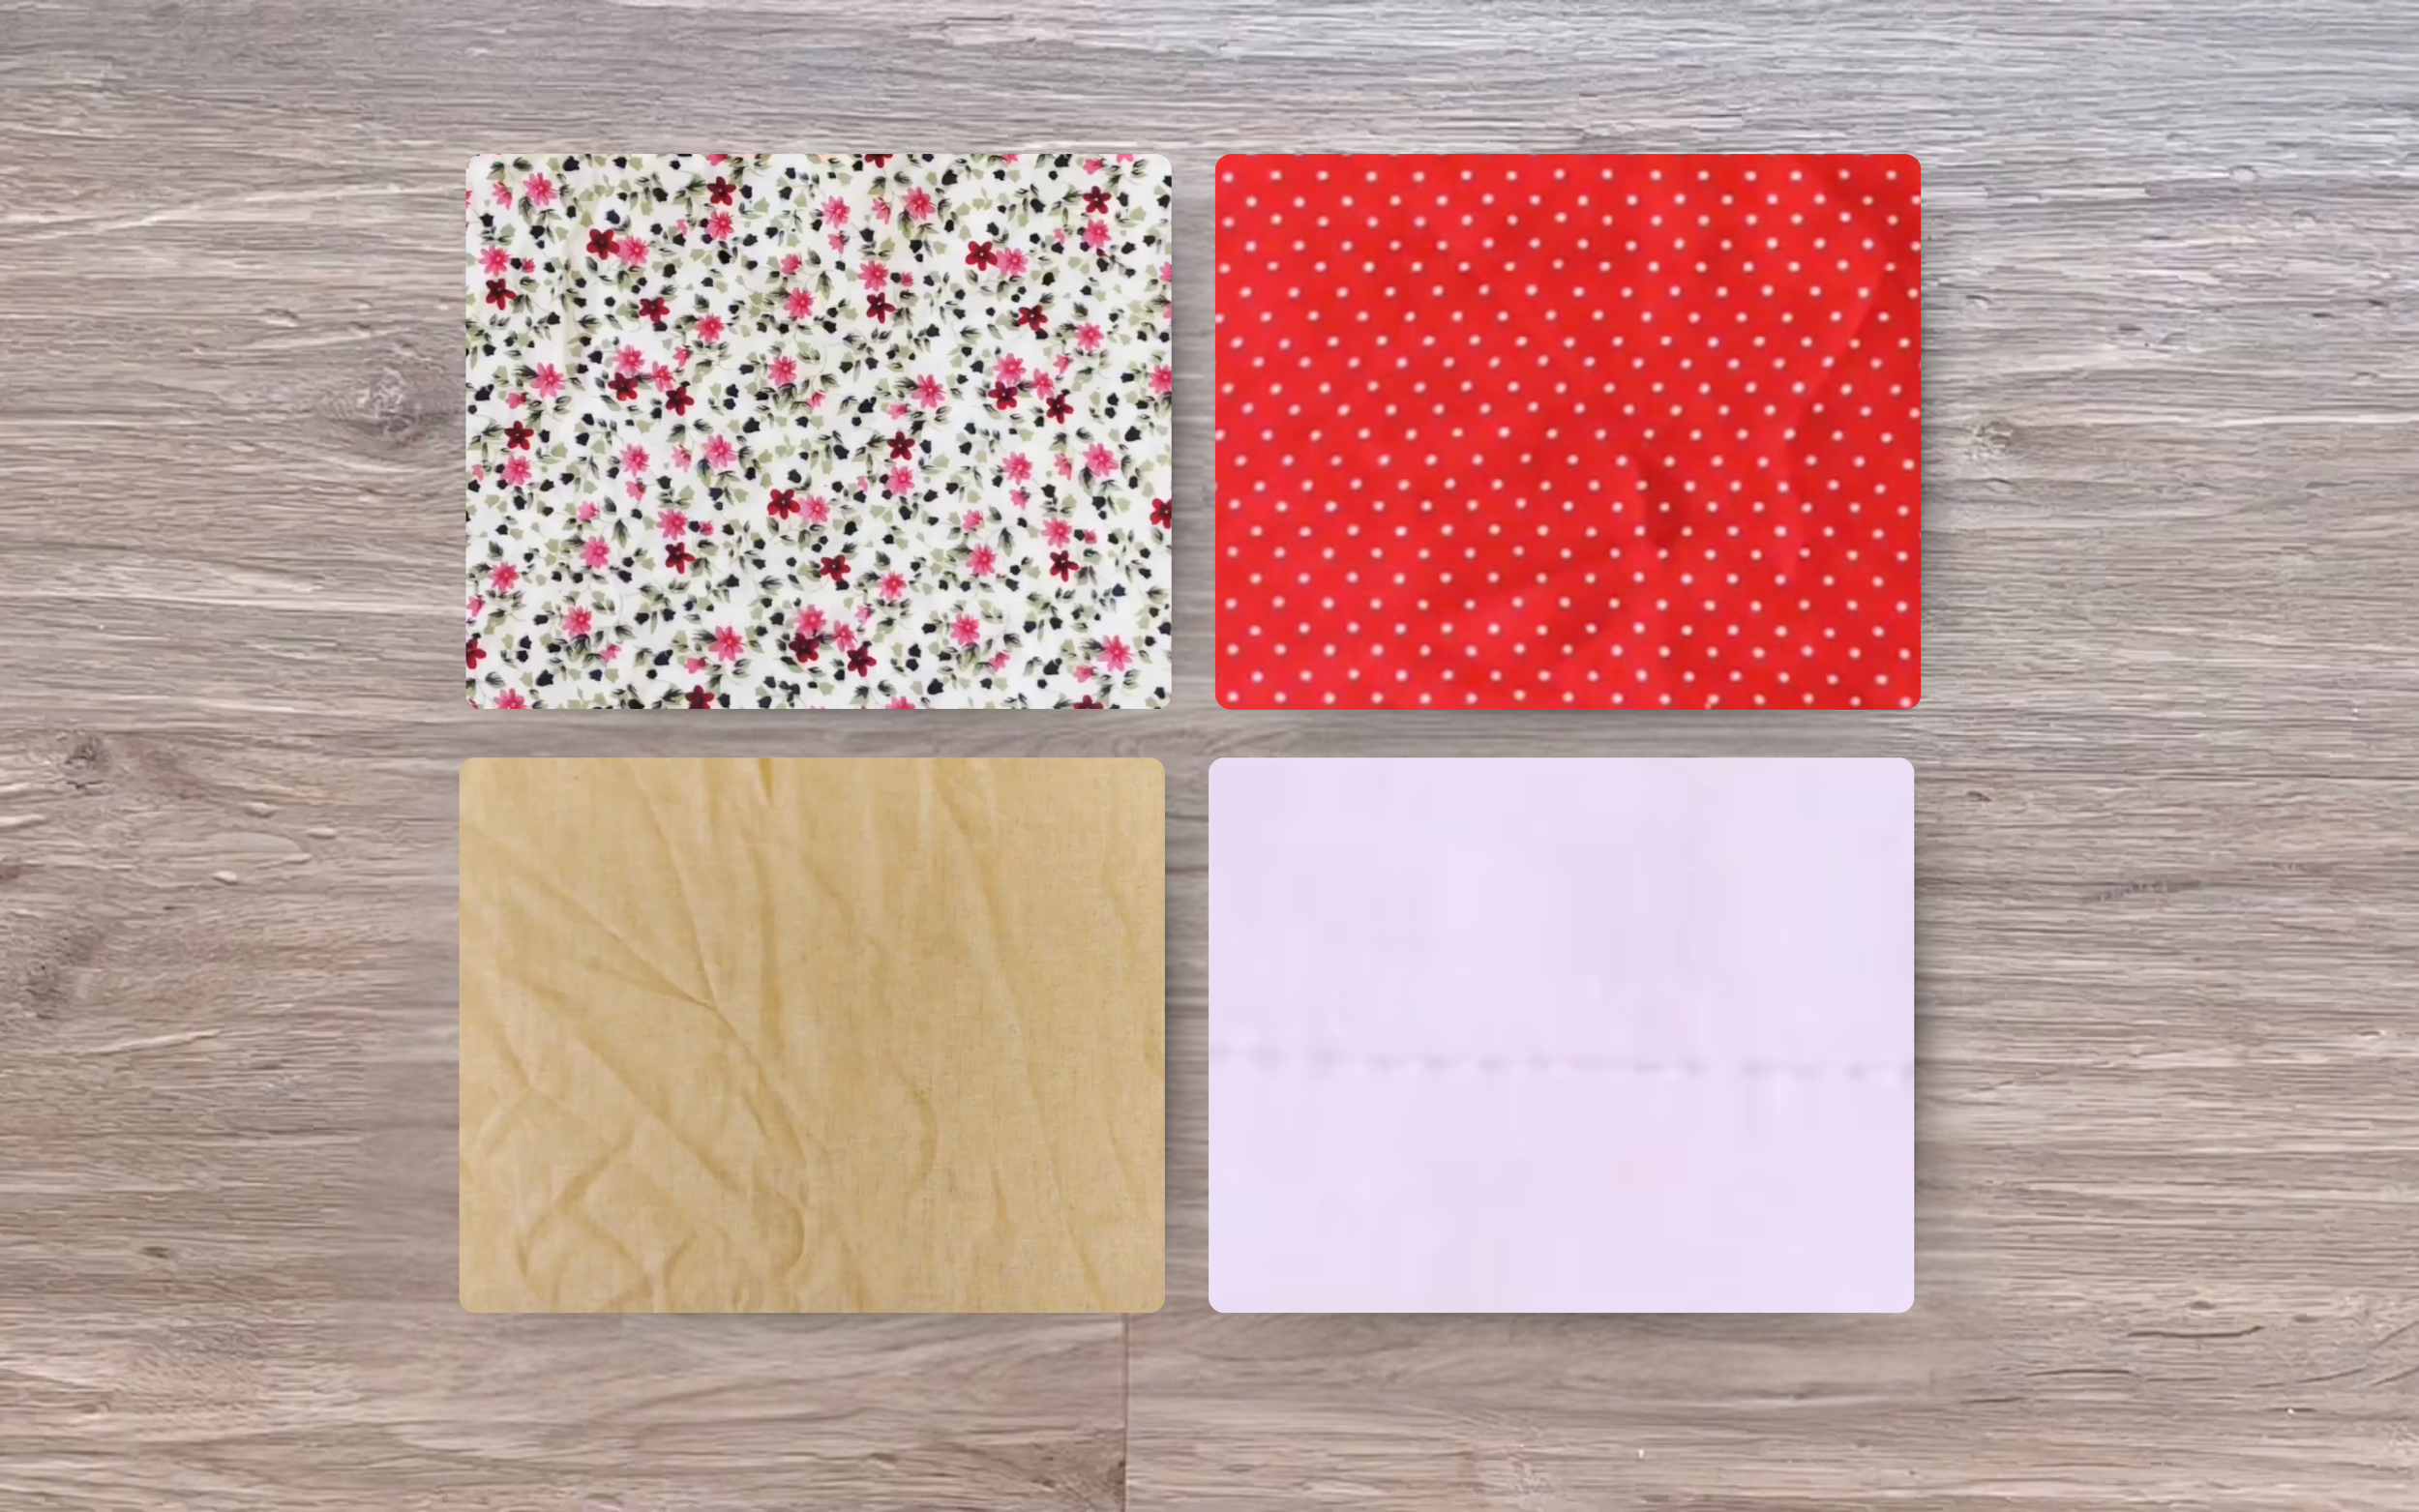
Fabric
Small elastic band
Sewing supplies (thread, safety pin, etc.)
Iron
SCRUNCHIES & BOW TIES
THE MAIN PATTERN
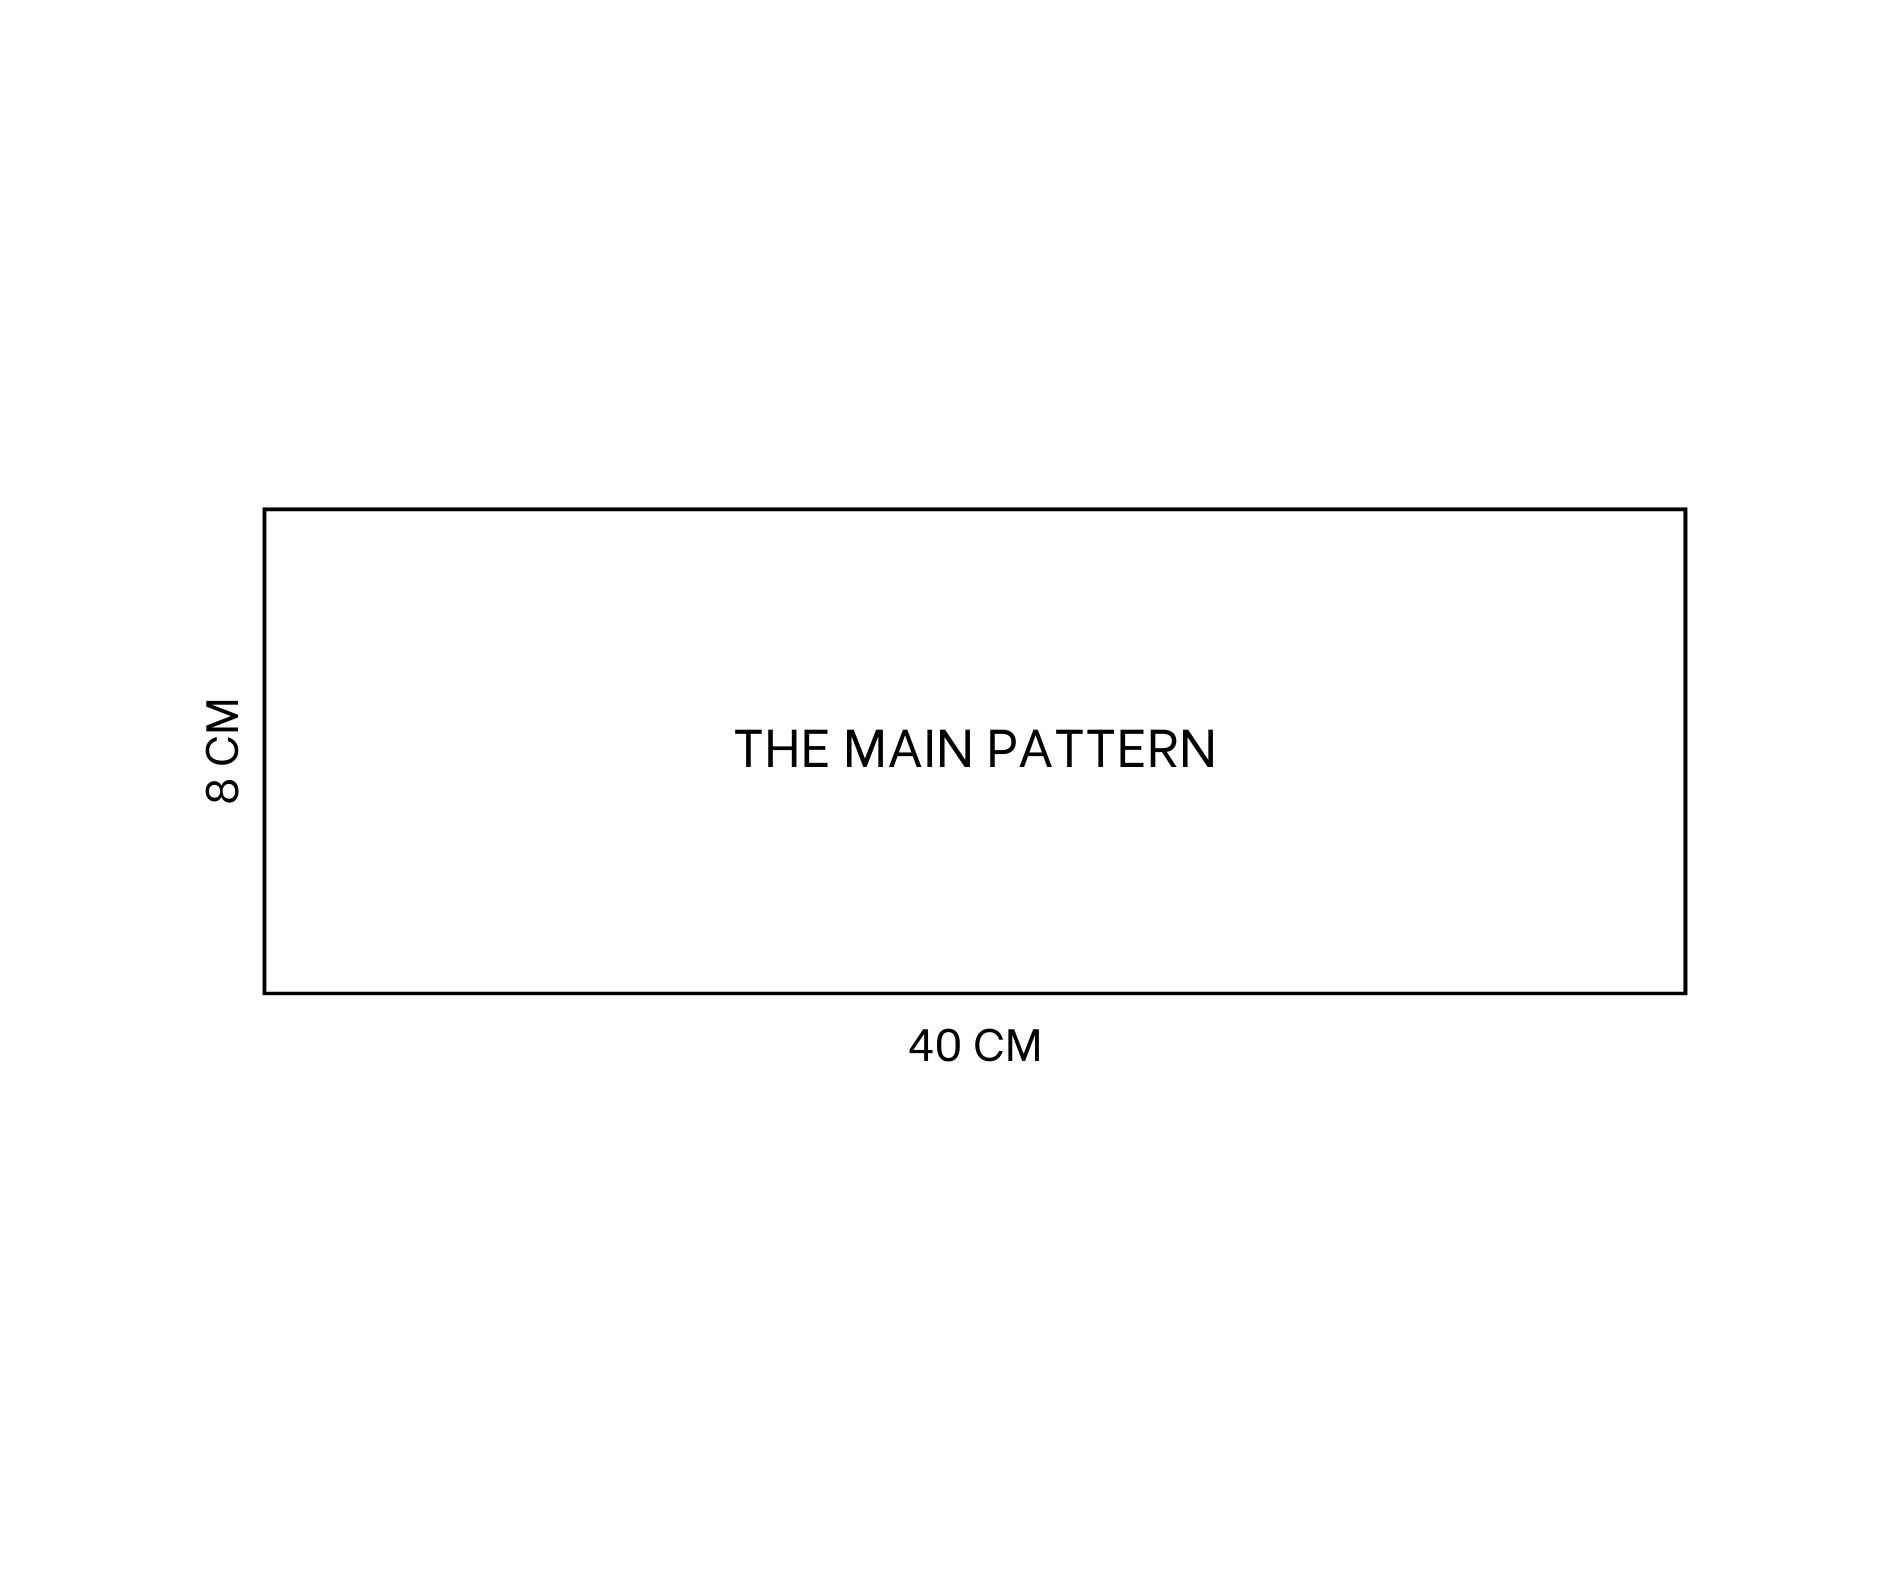
For the main pattern of the scrunchies, draw a rectangle with 8 cm width and 40 cm length.
THE BOW TIE PATTERN
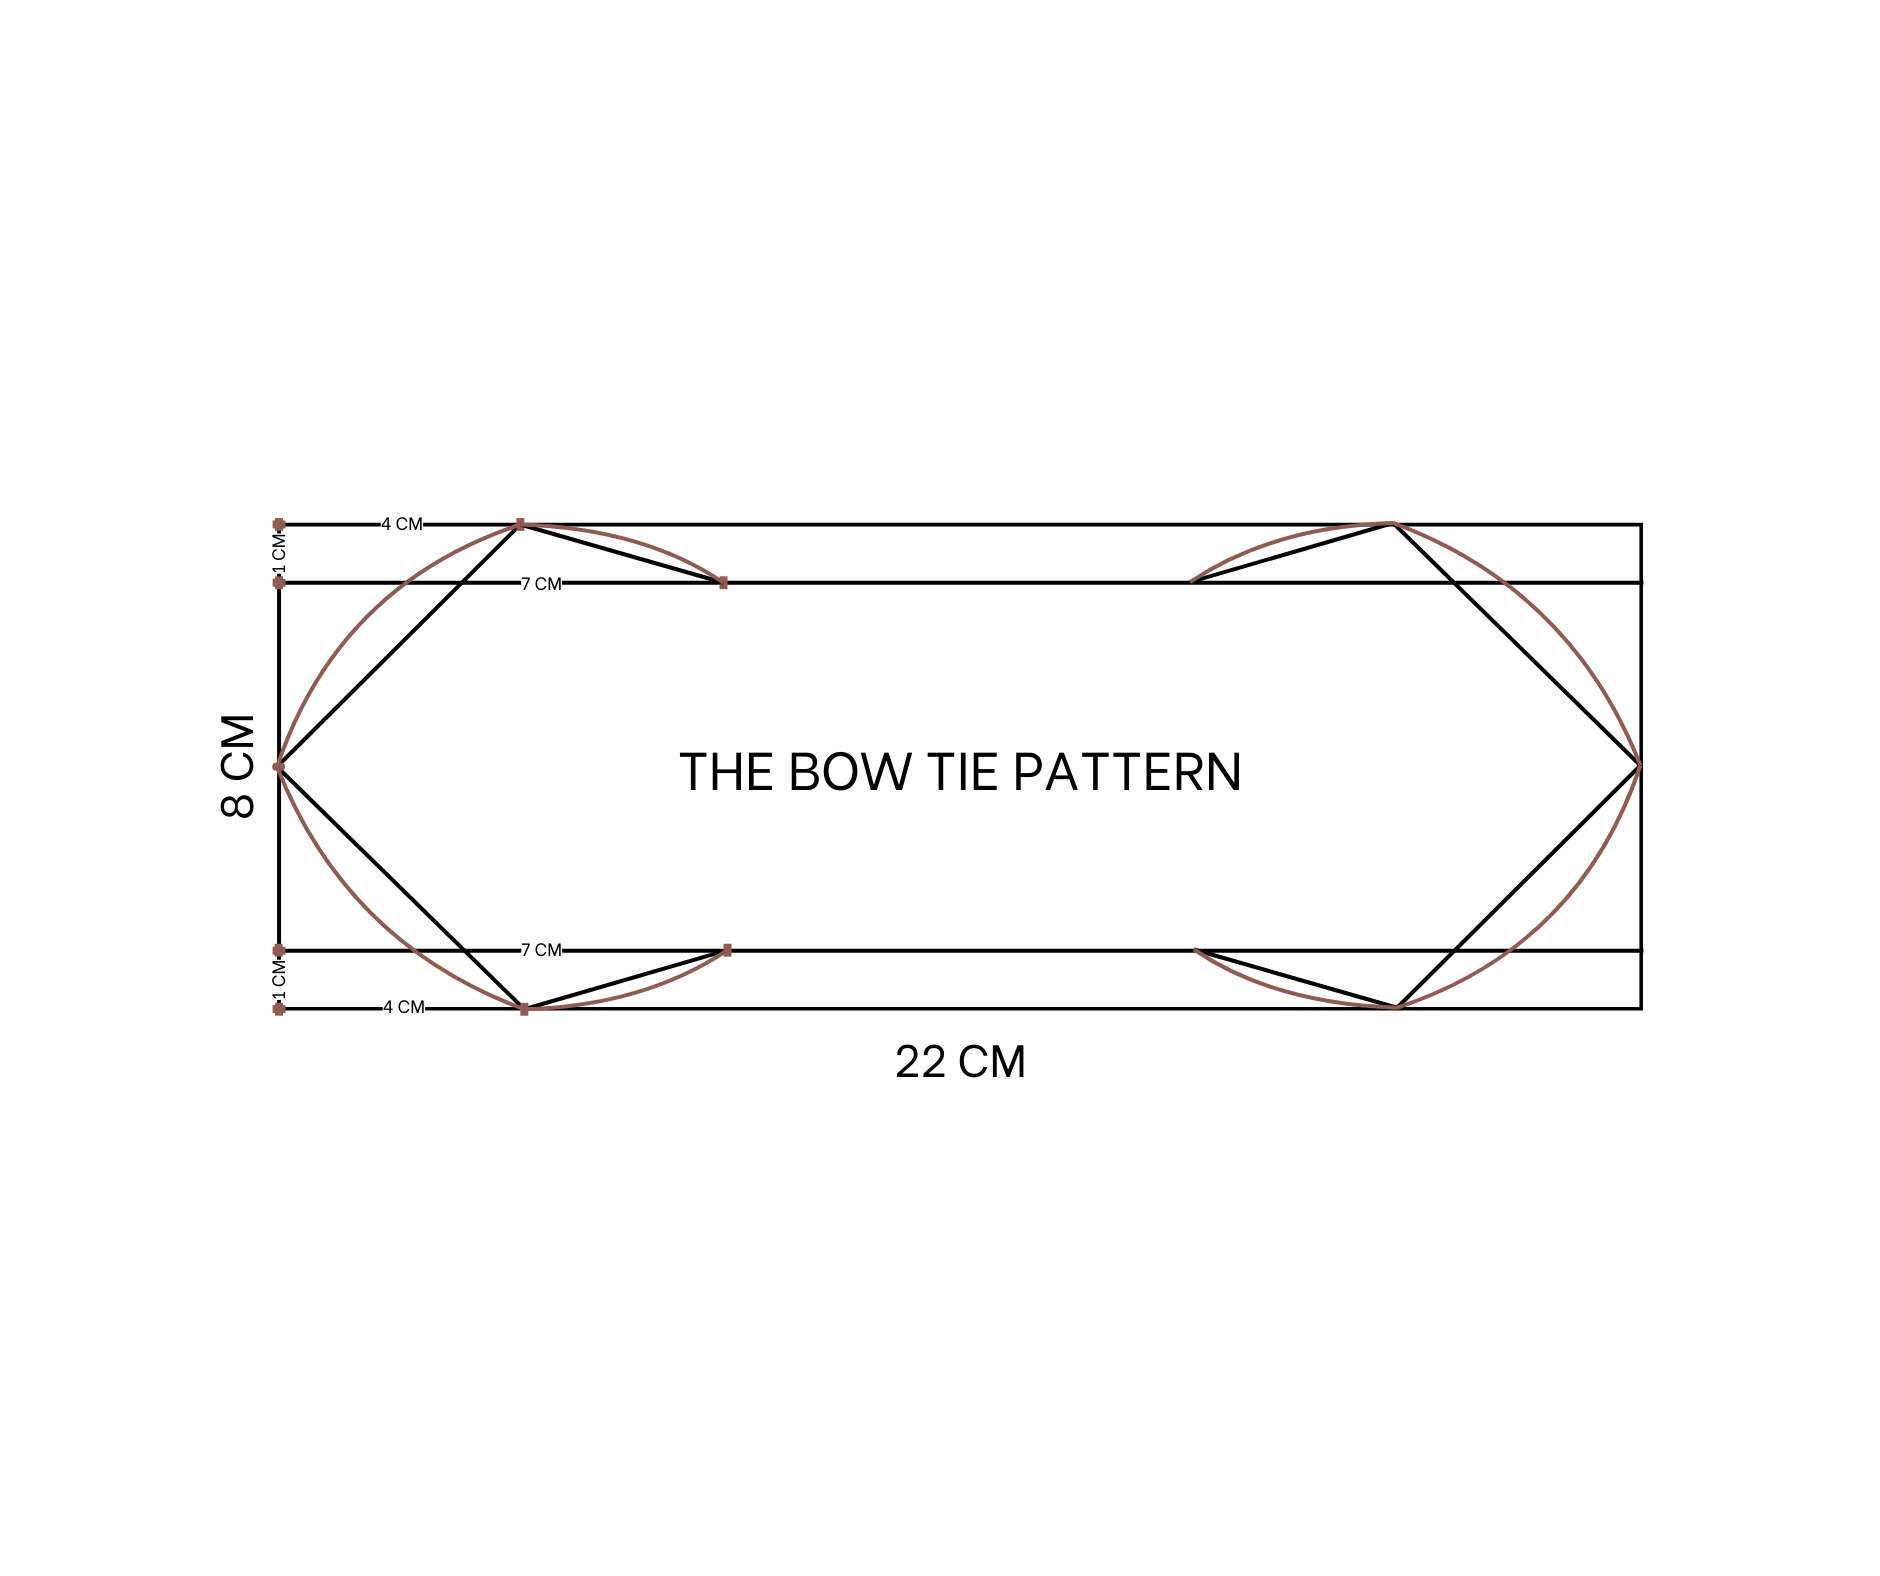
For the bow tie of the scrunchies, draw a rectangle with 8 cm width and 22 cm length.
From two sides of the rectangle, draw two other lines 1 cm inside.
At those lines, mark at 7 cm. Then mark at 4 cm on the two outside lines.
From the 7 cm mark, connect to the 4 cm mark and finish at the middle mark.
After that, draw a curved line and repeat the same for the other side.
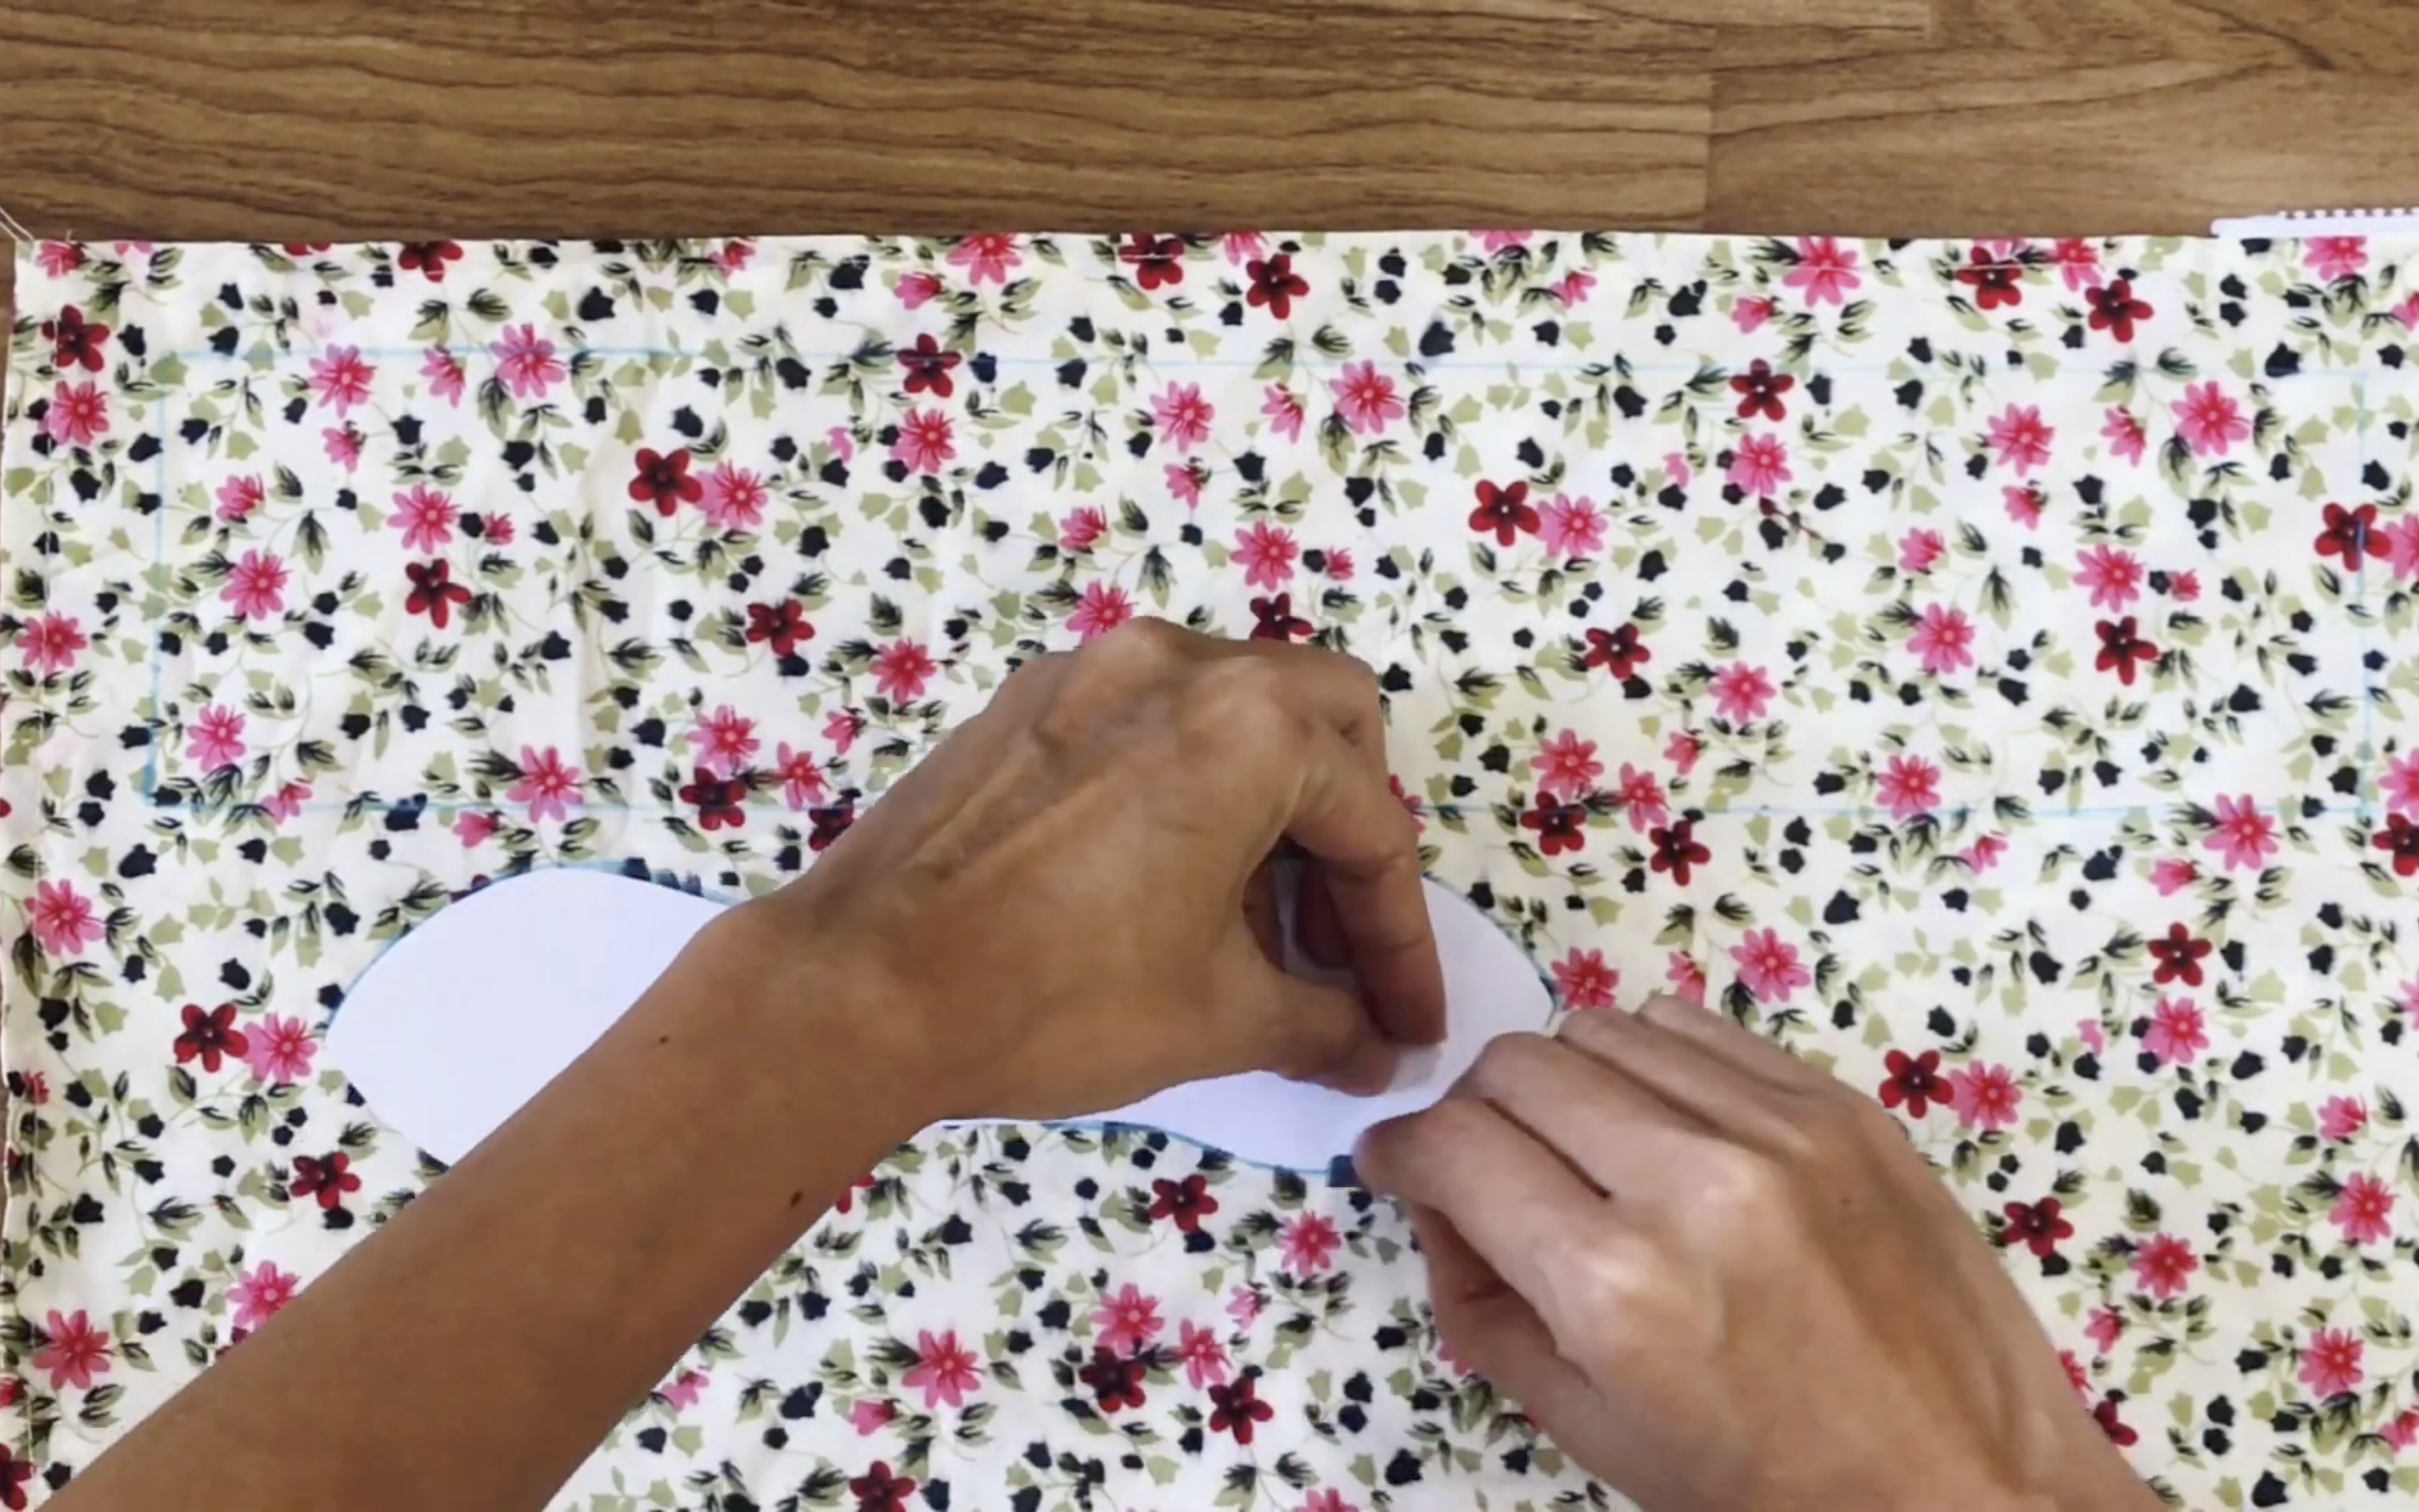
After having the pattern, apply it to the fabric and draw along.
For the main part, one pattern is needed. For the bow tie, two patterns are needed.
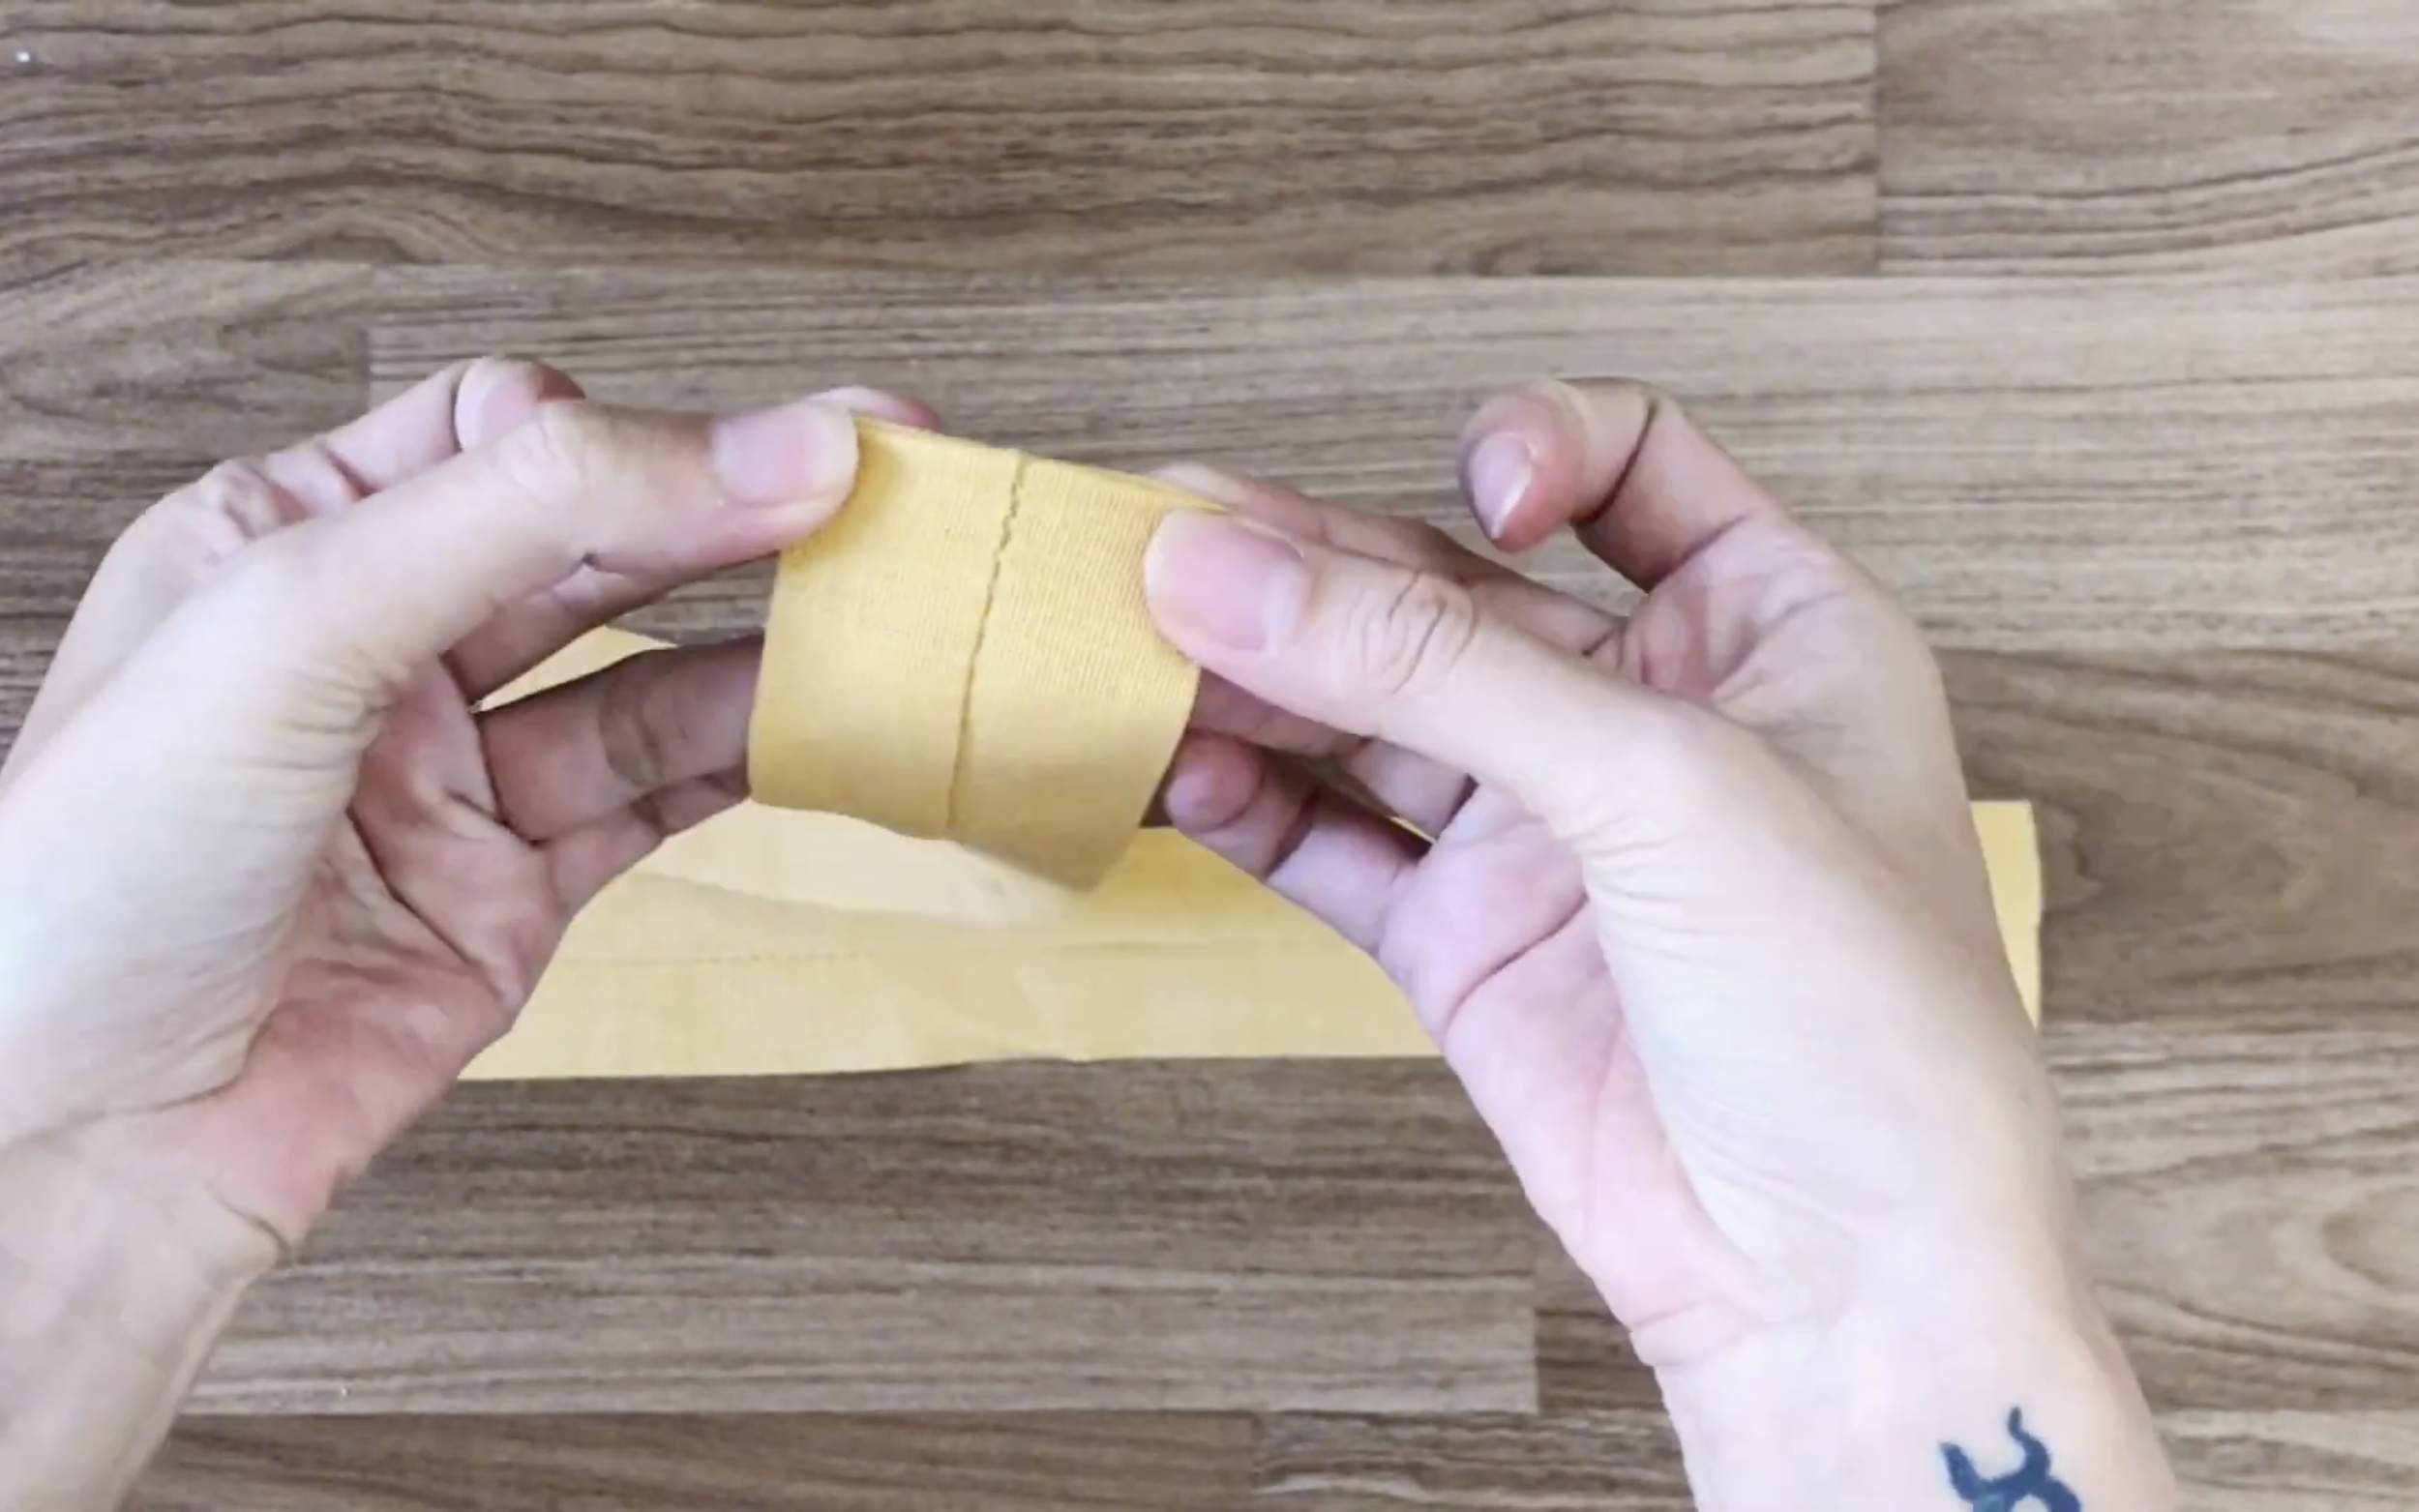
For the main part, fold it in half and sew one side.
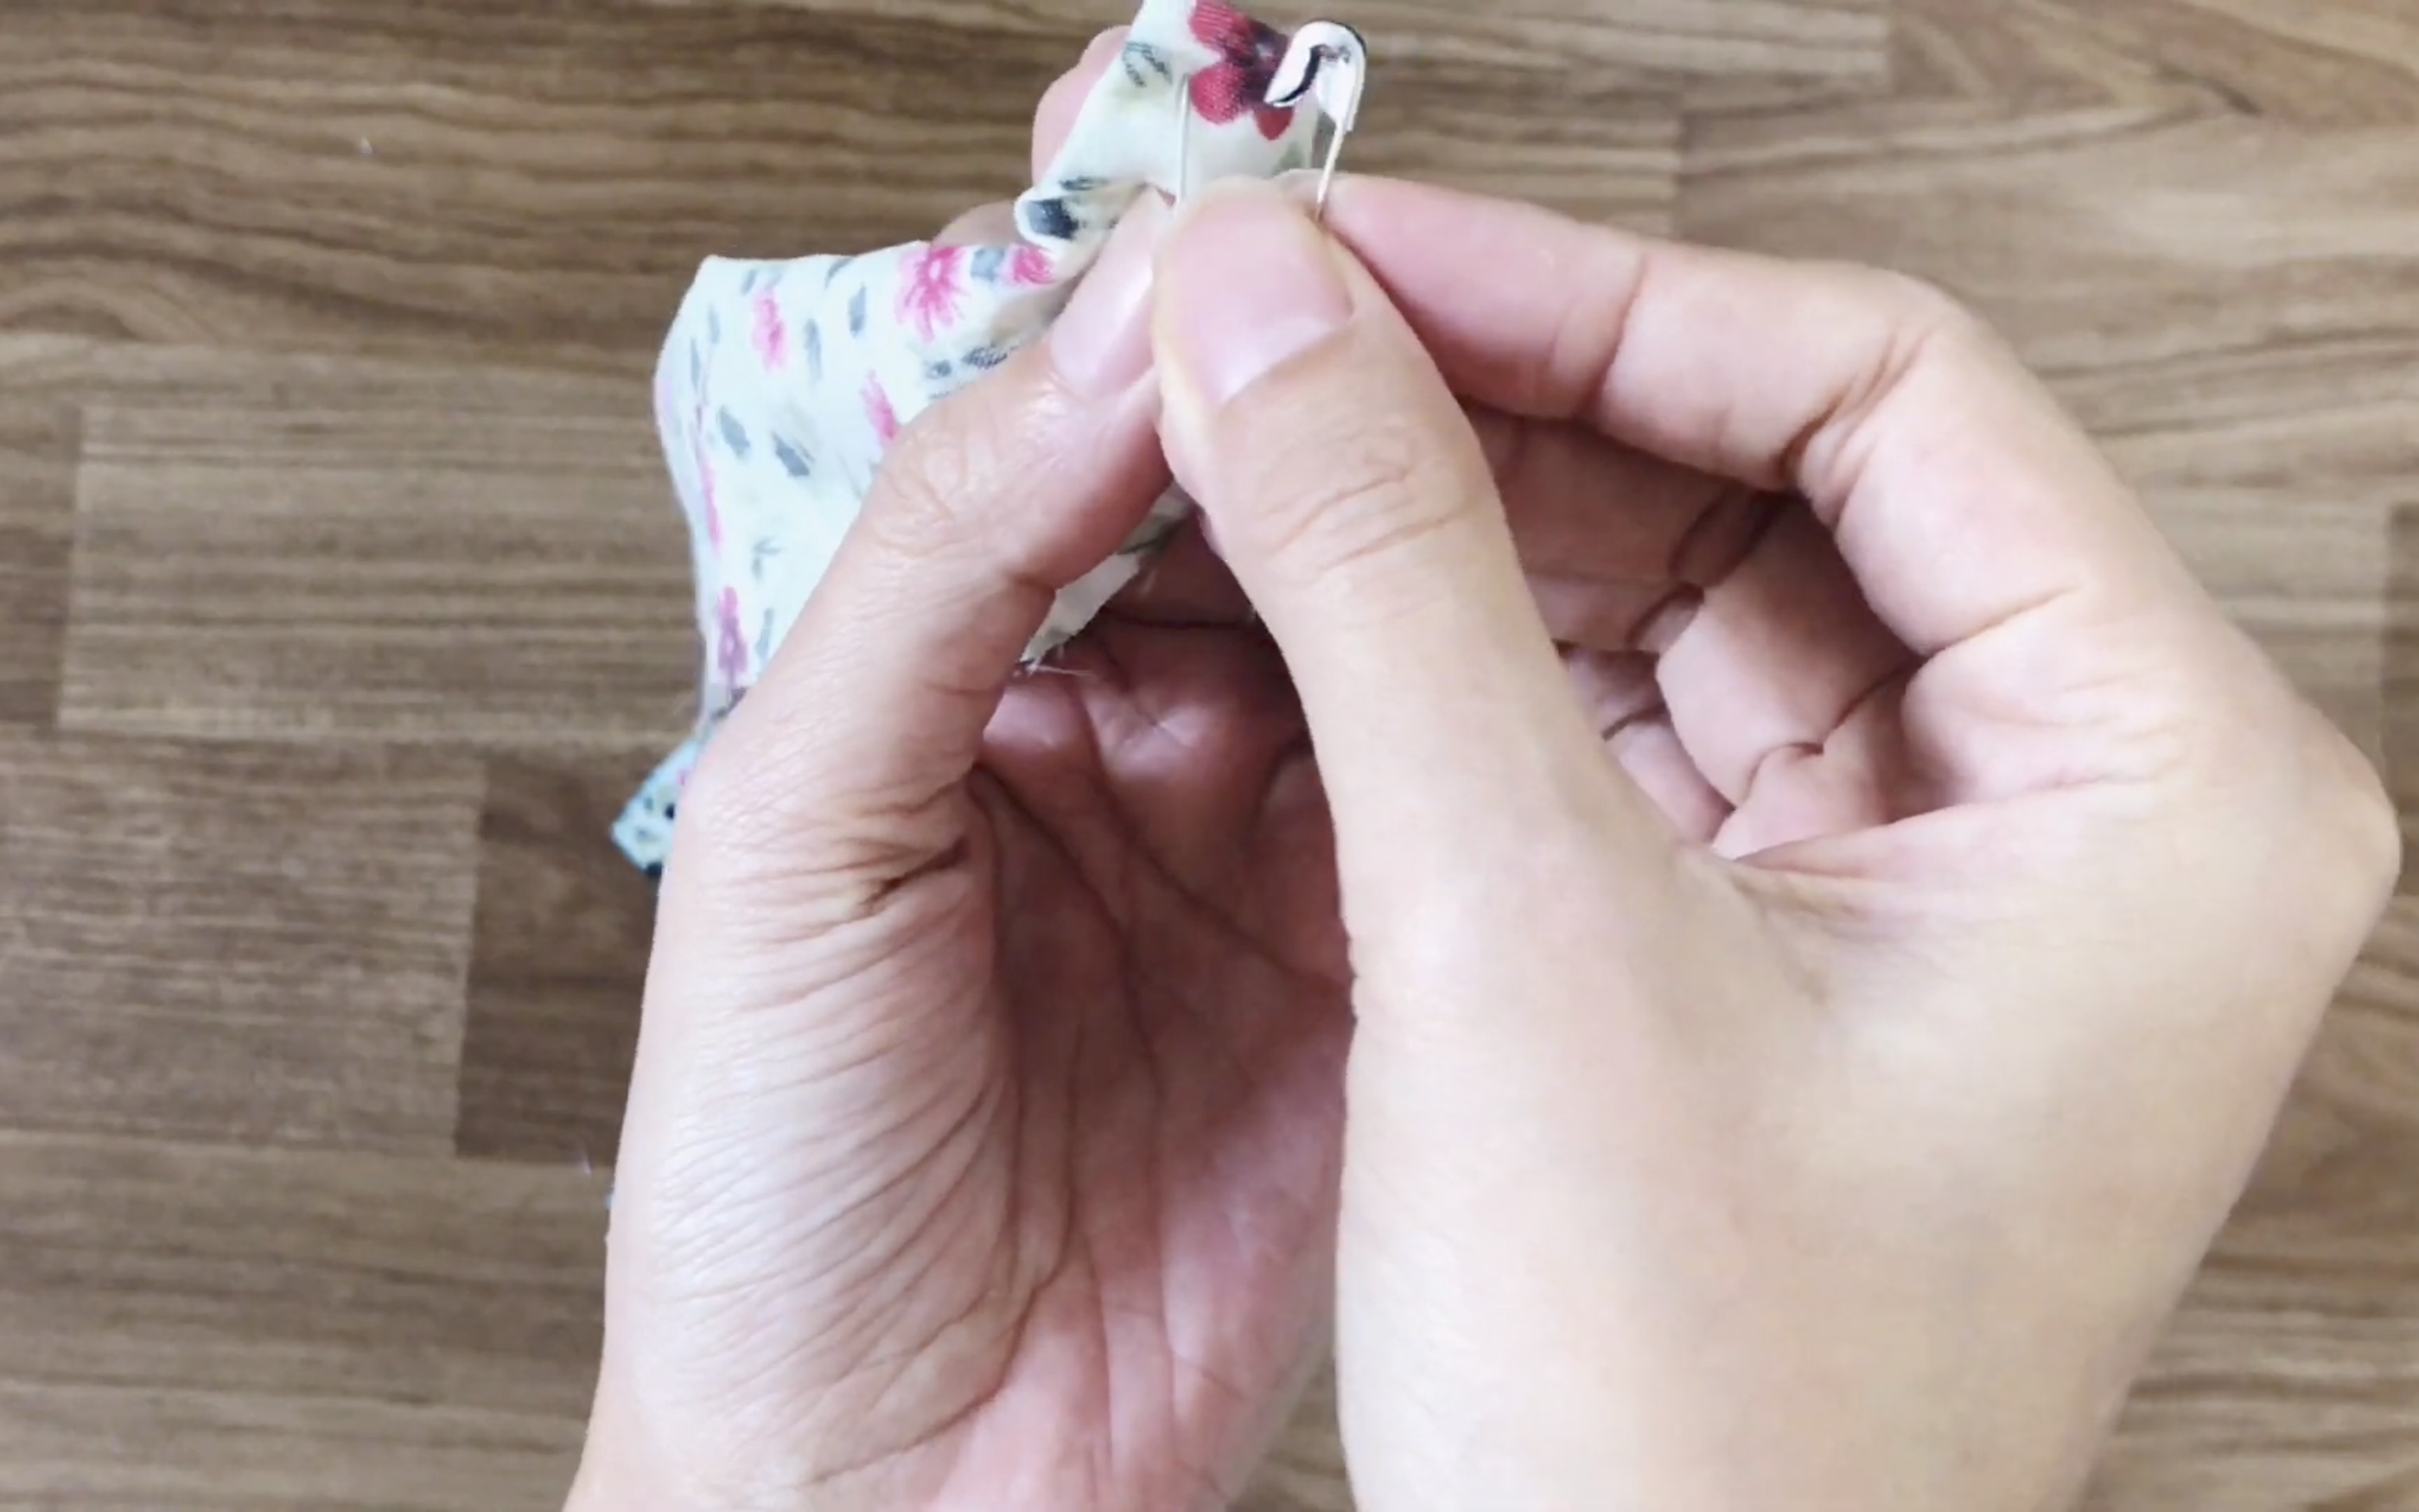
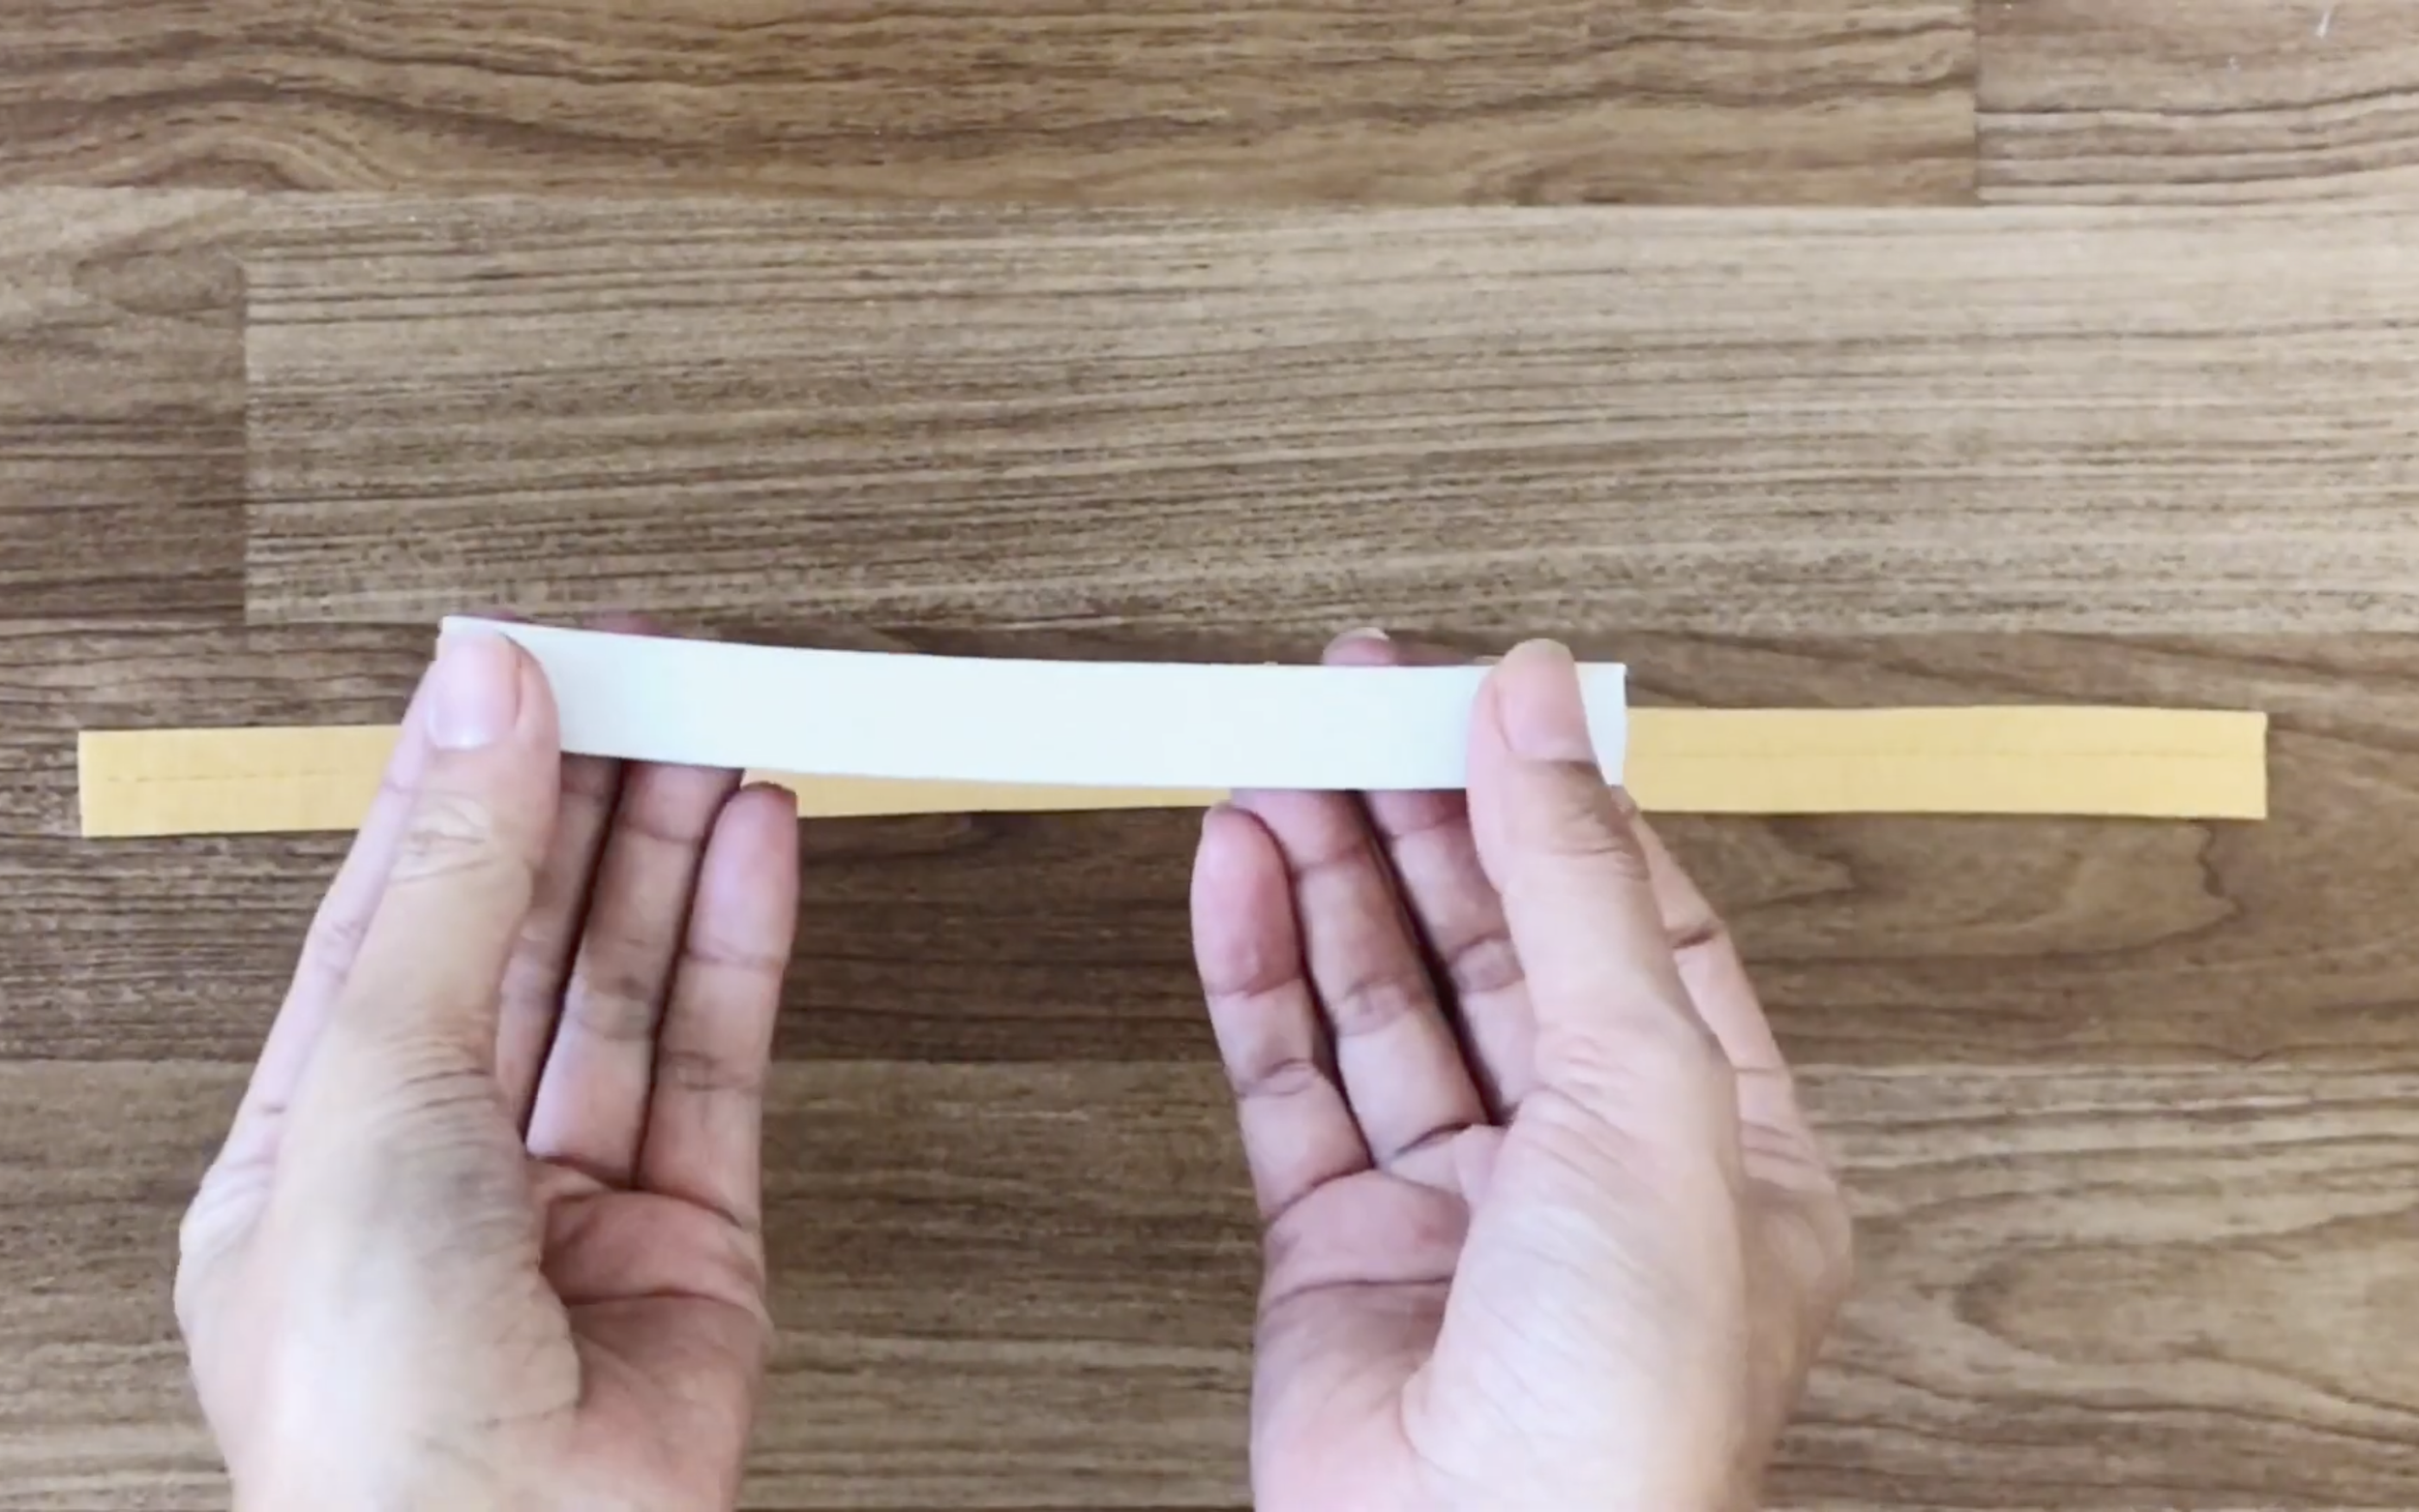
Use a safety pin to turn it inside out later.
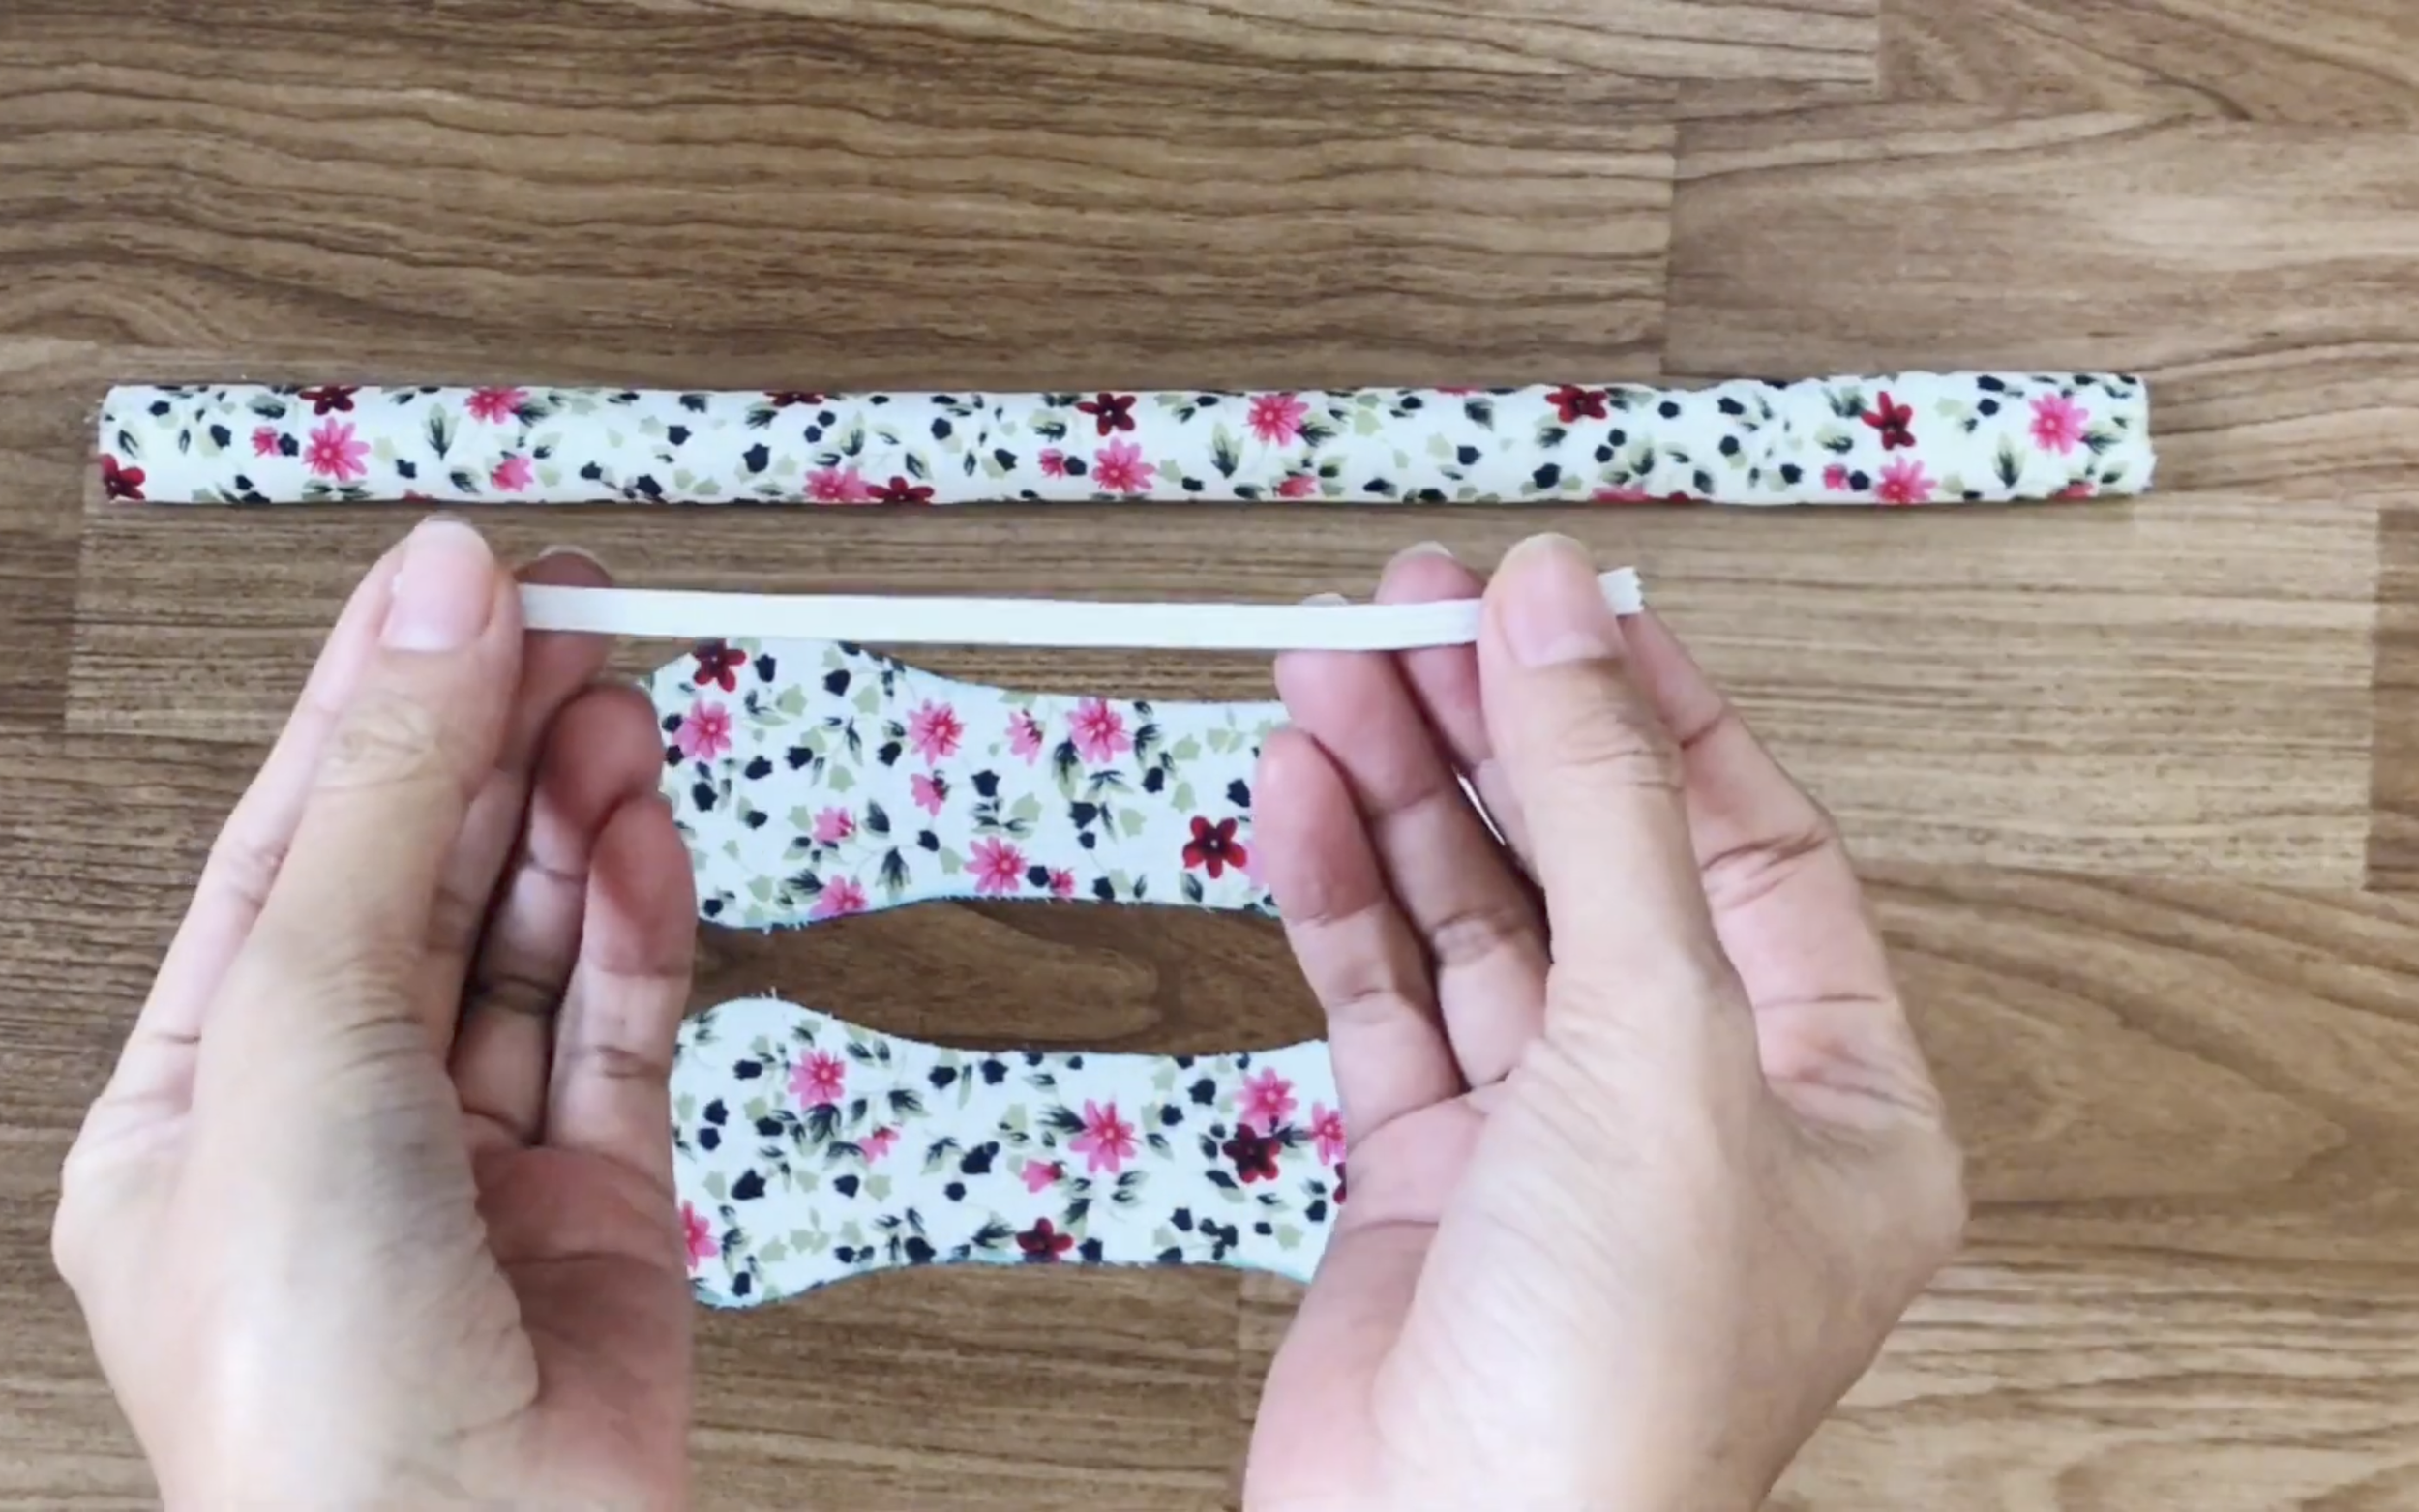
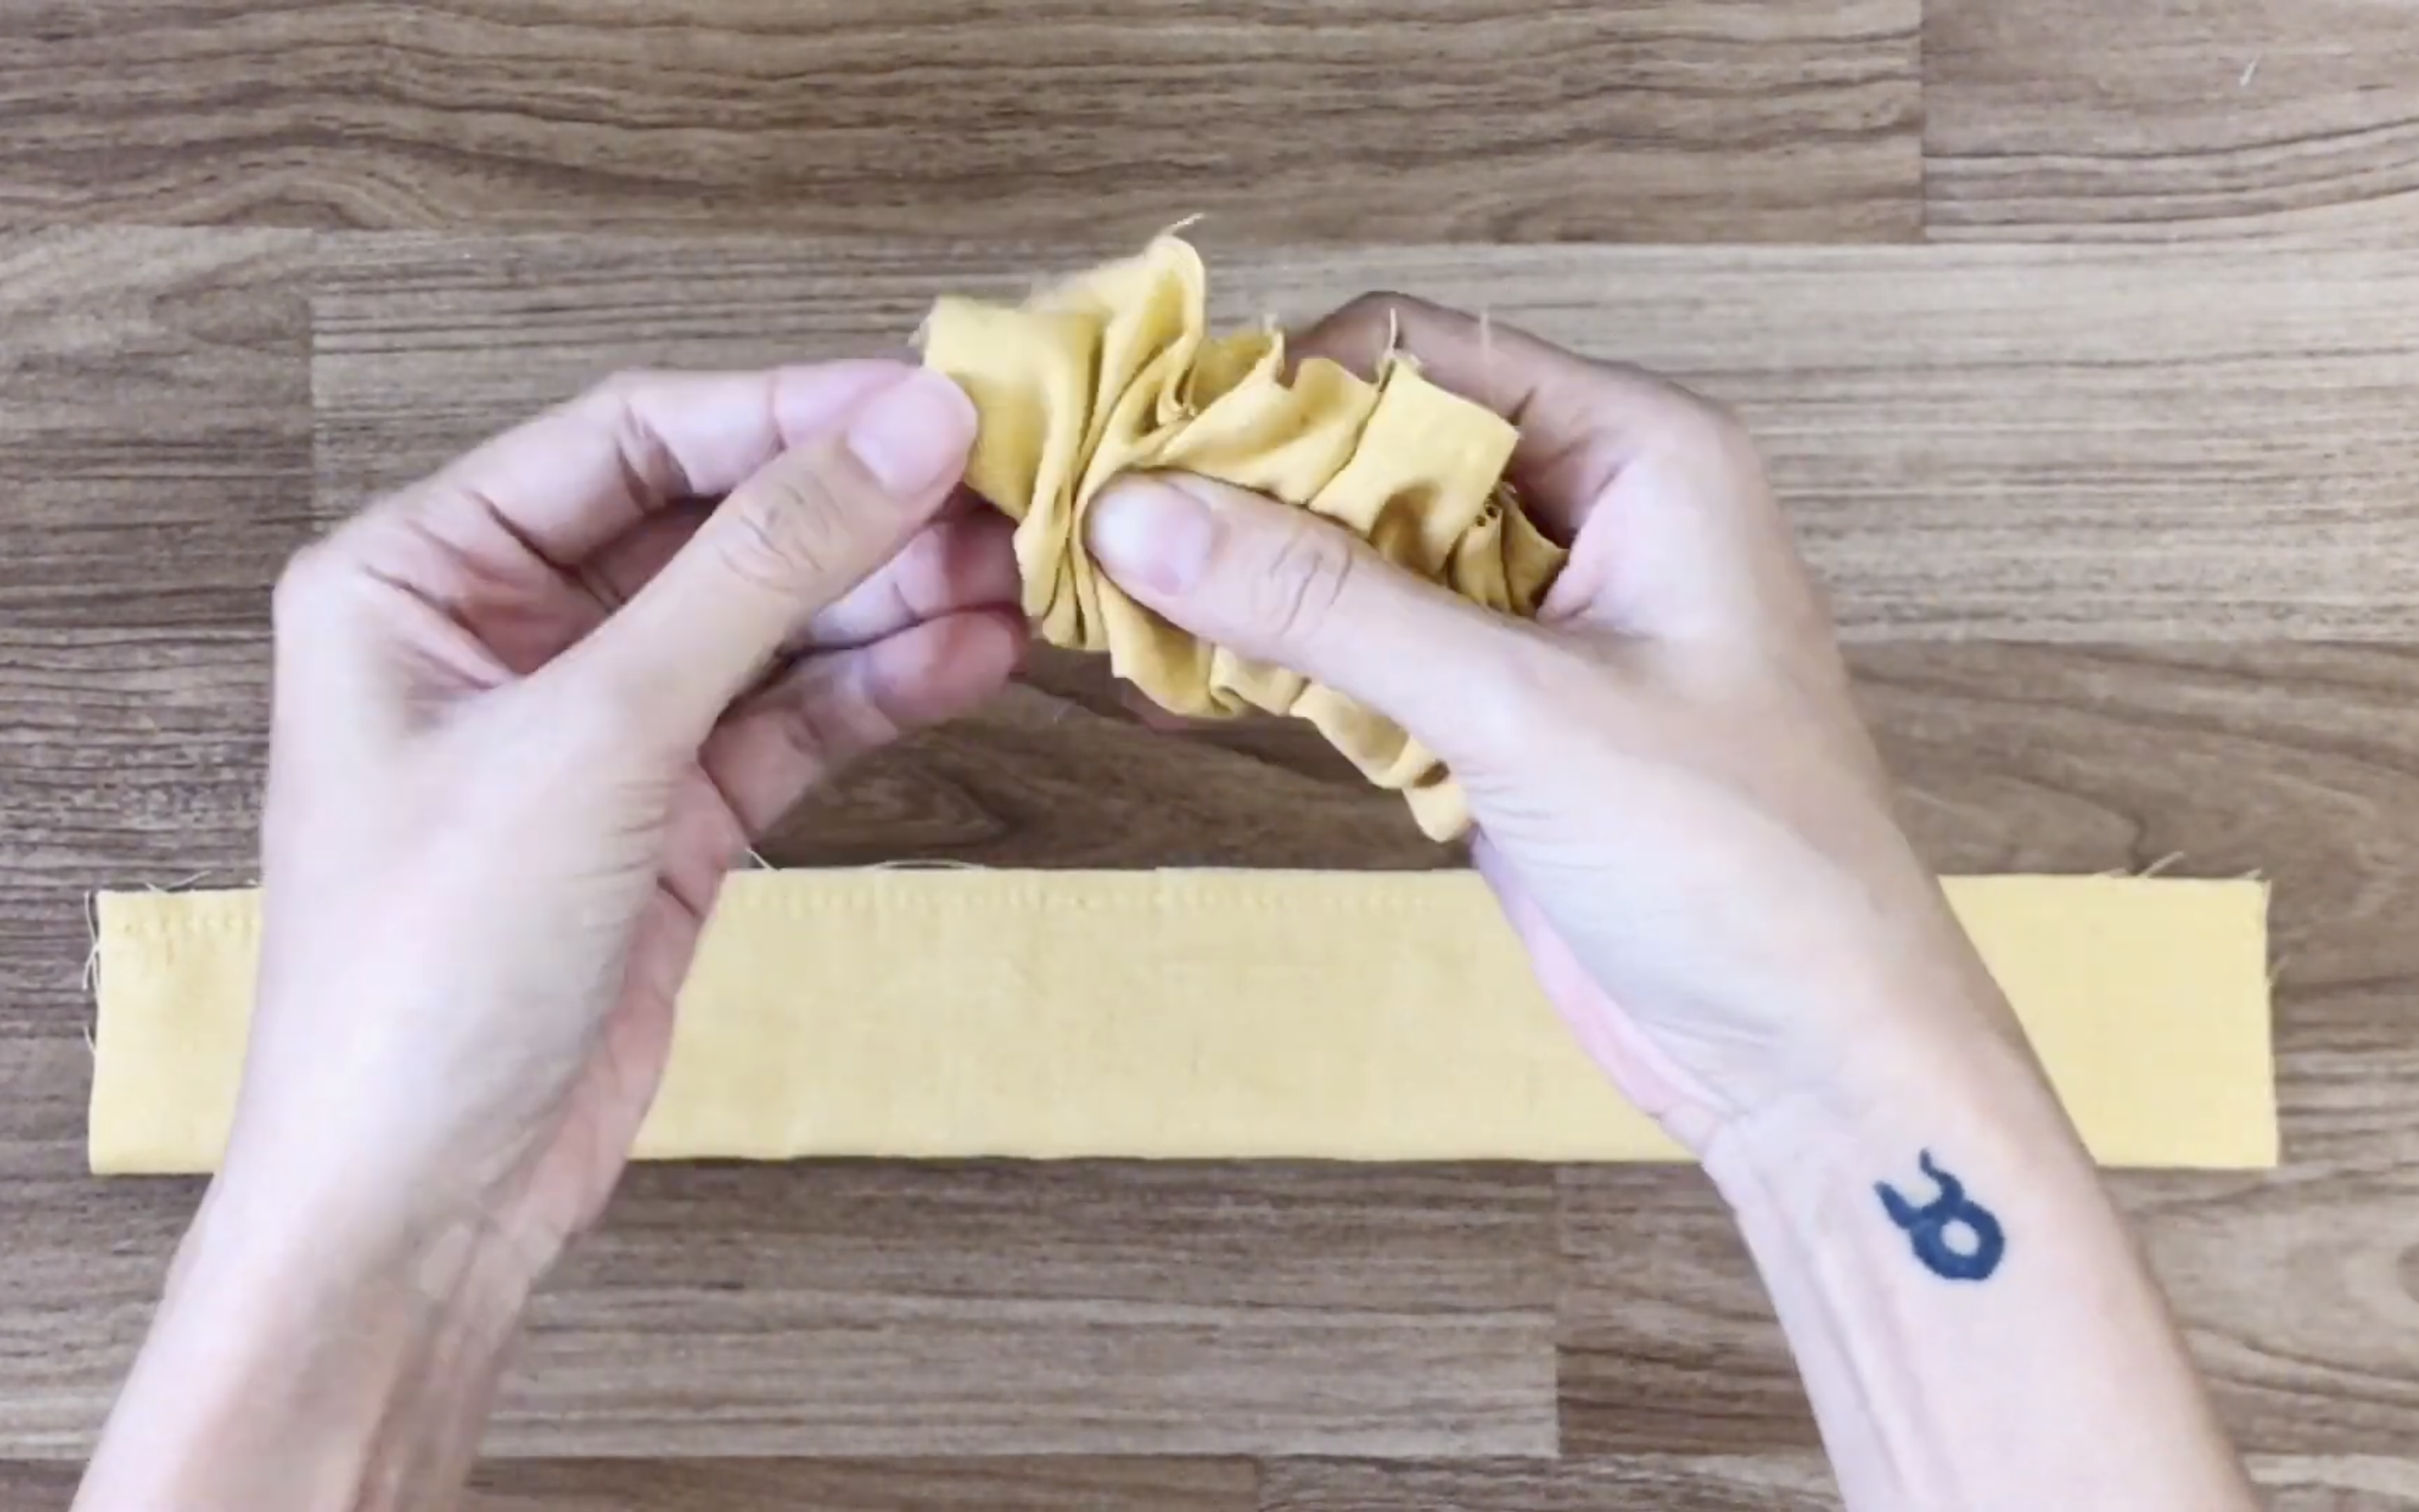
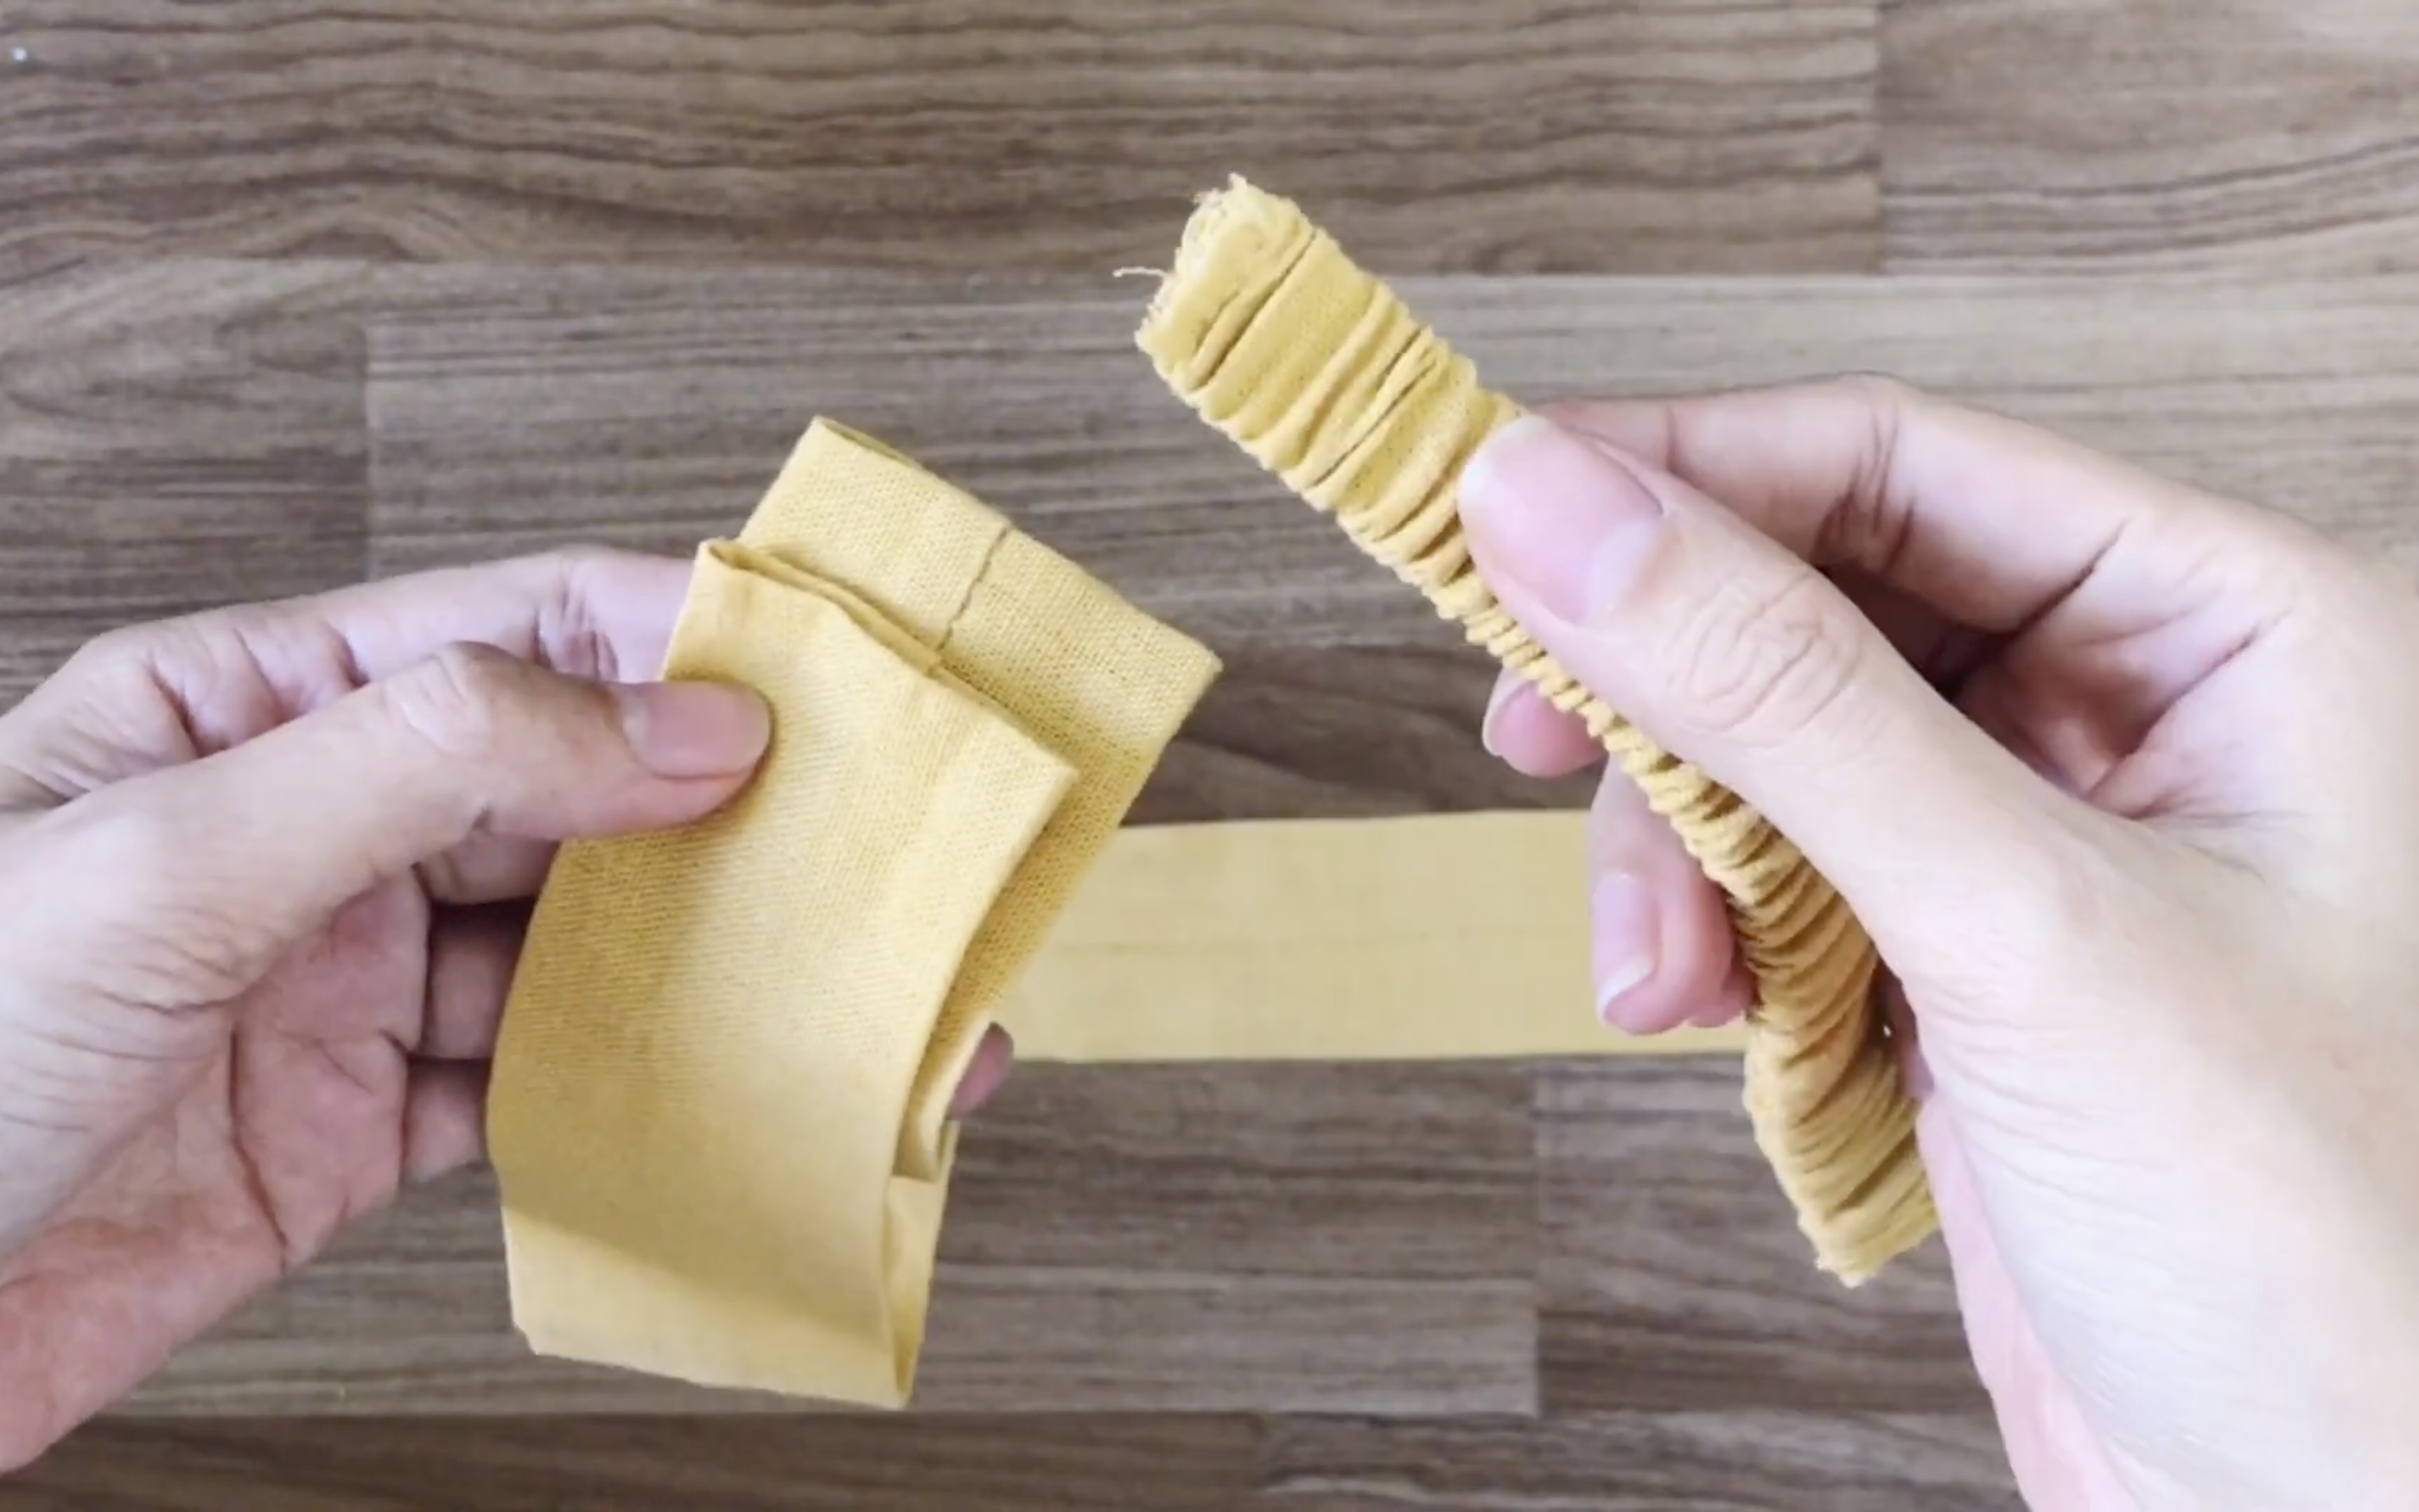
Use a small elastic band, around 12 cm, to put inside the main part to create scrunchies.

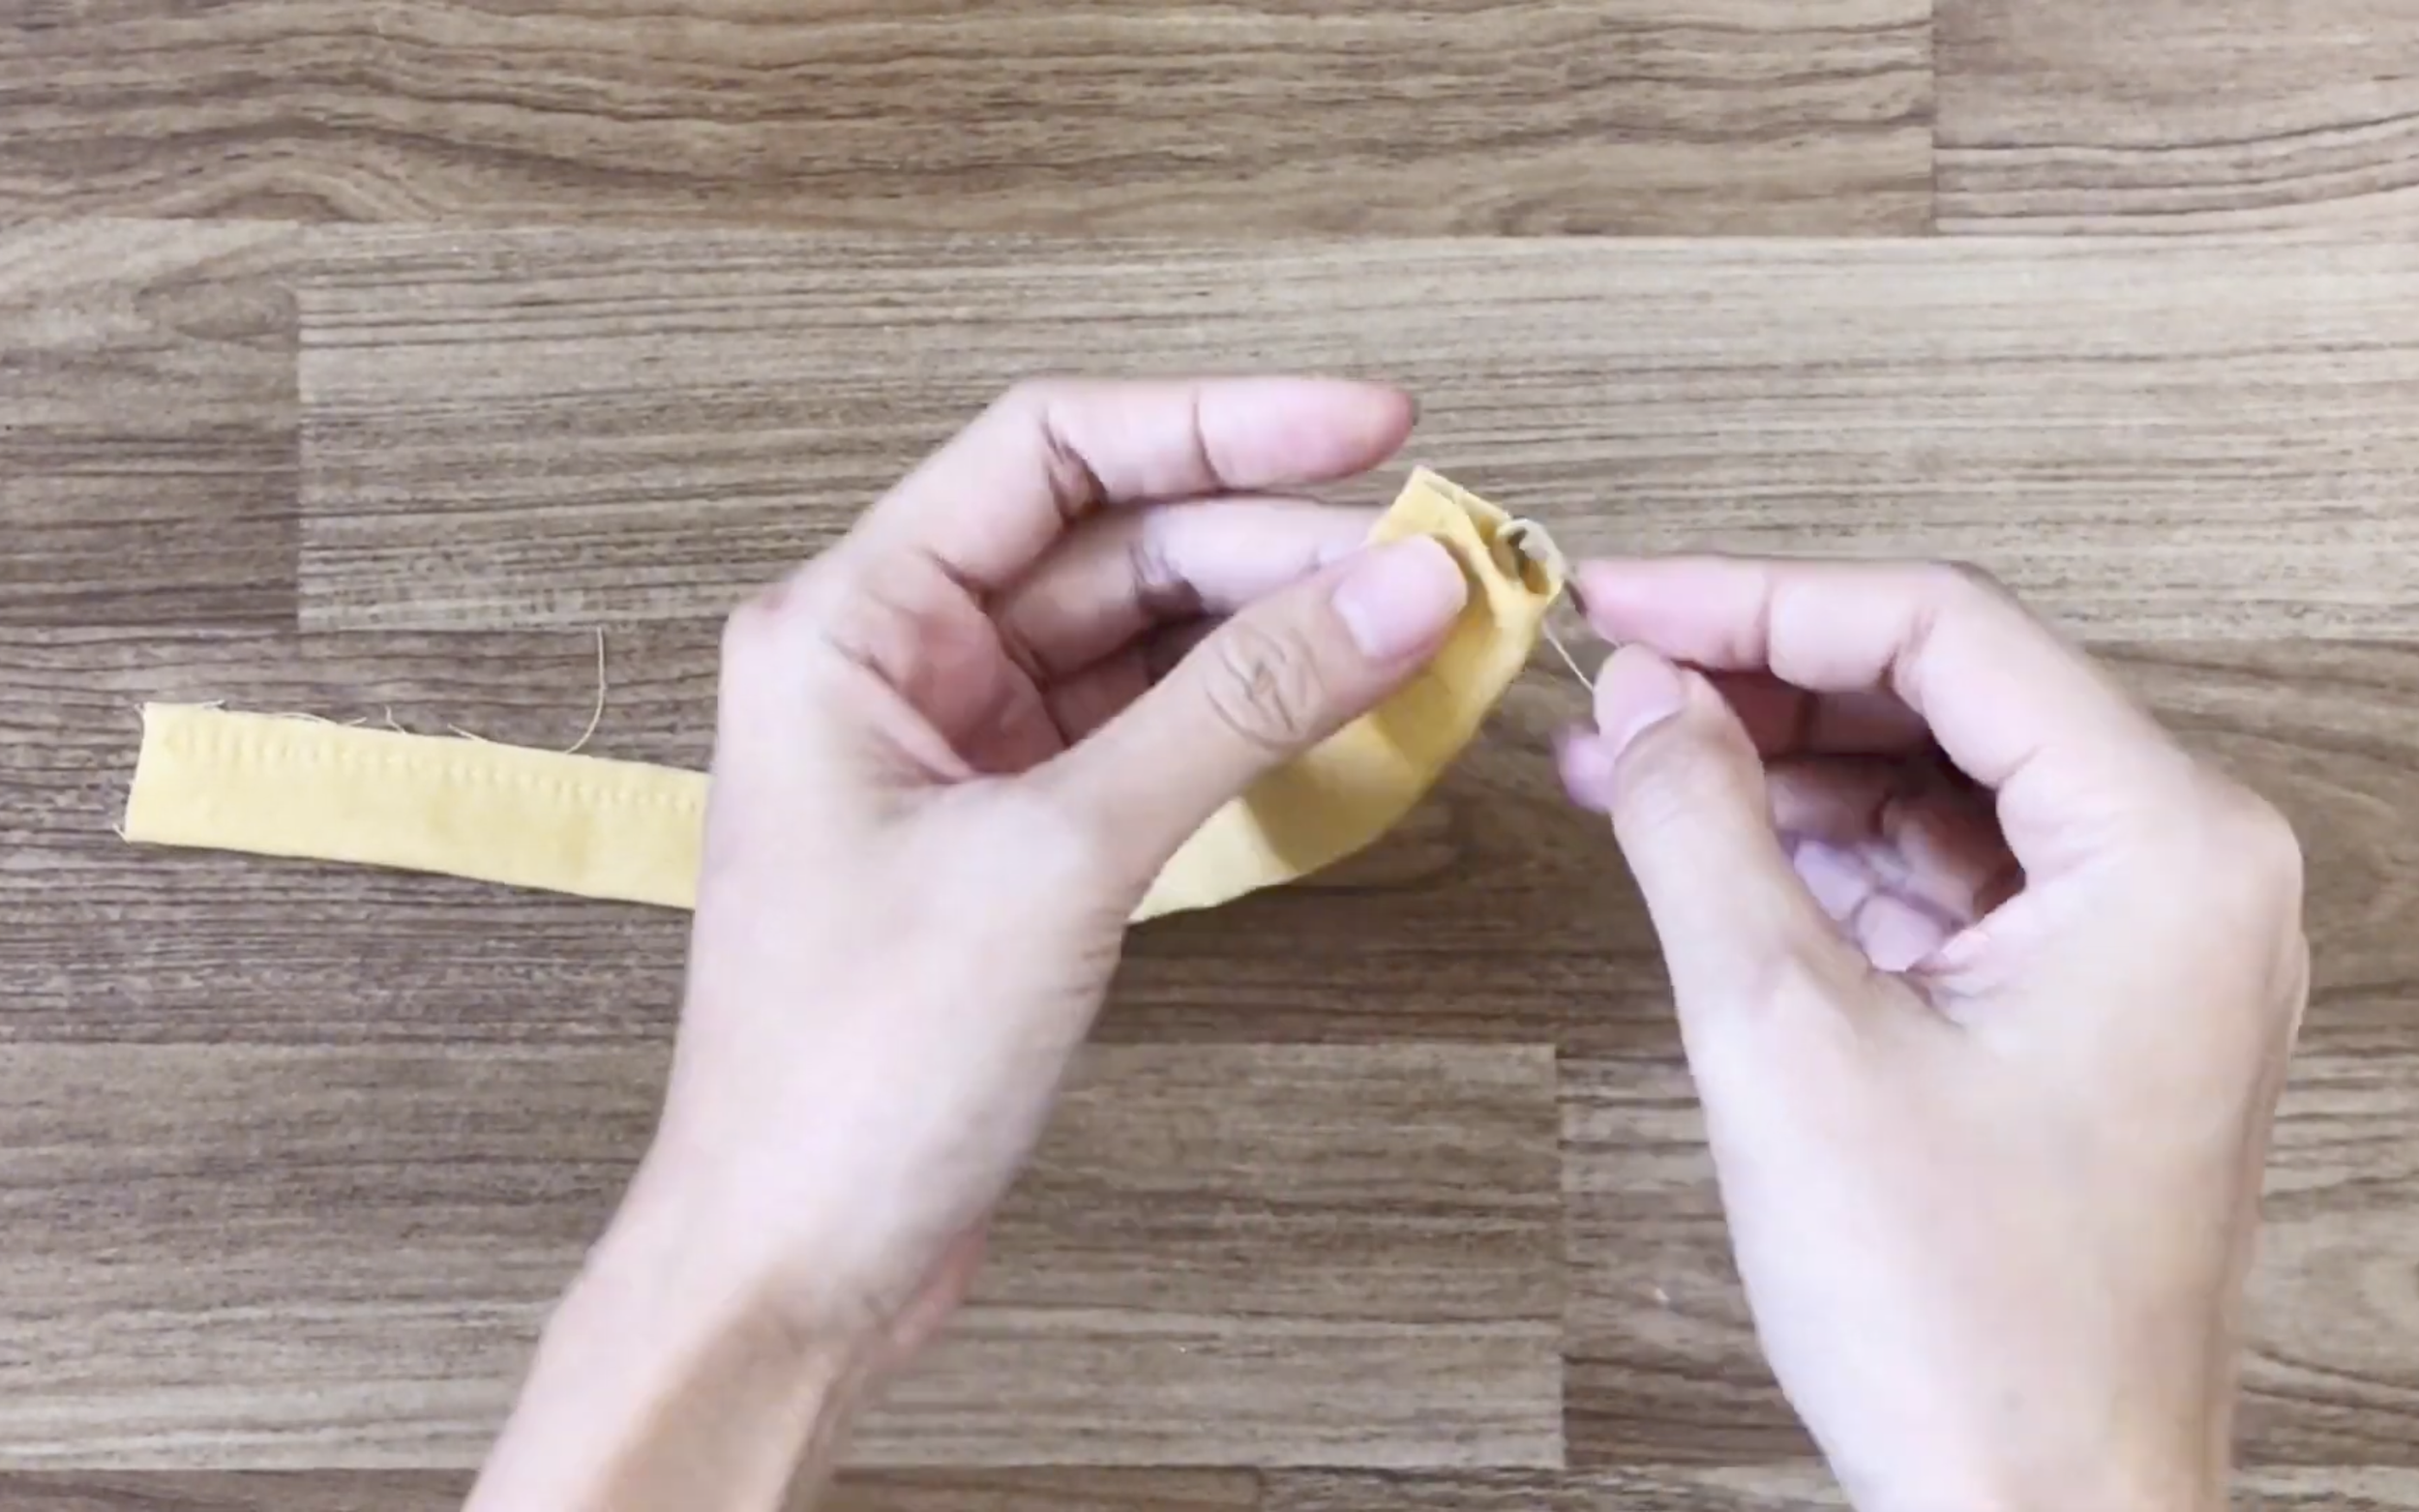
Sew the two ends of the elastic band.
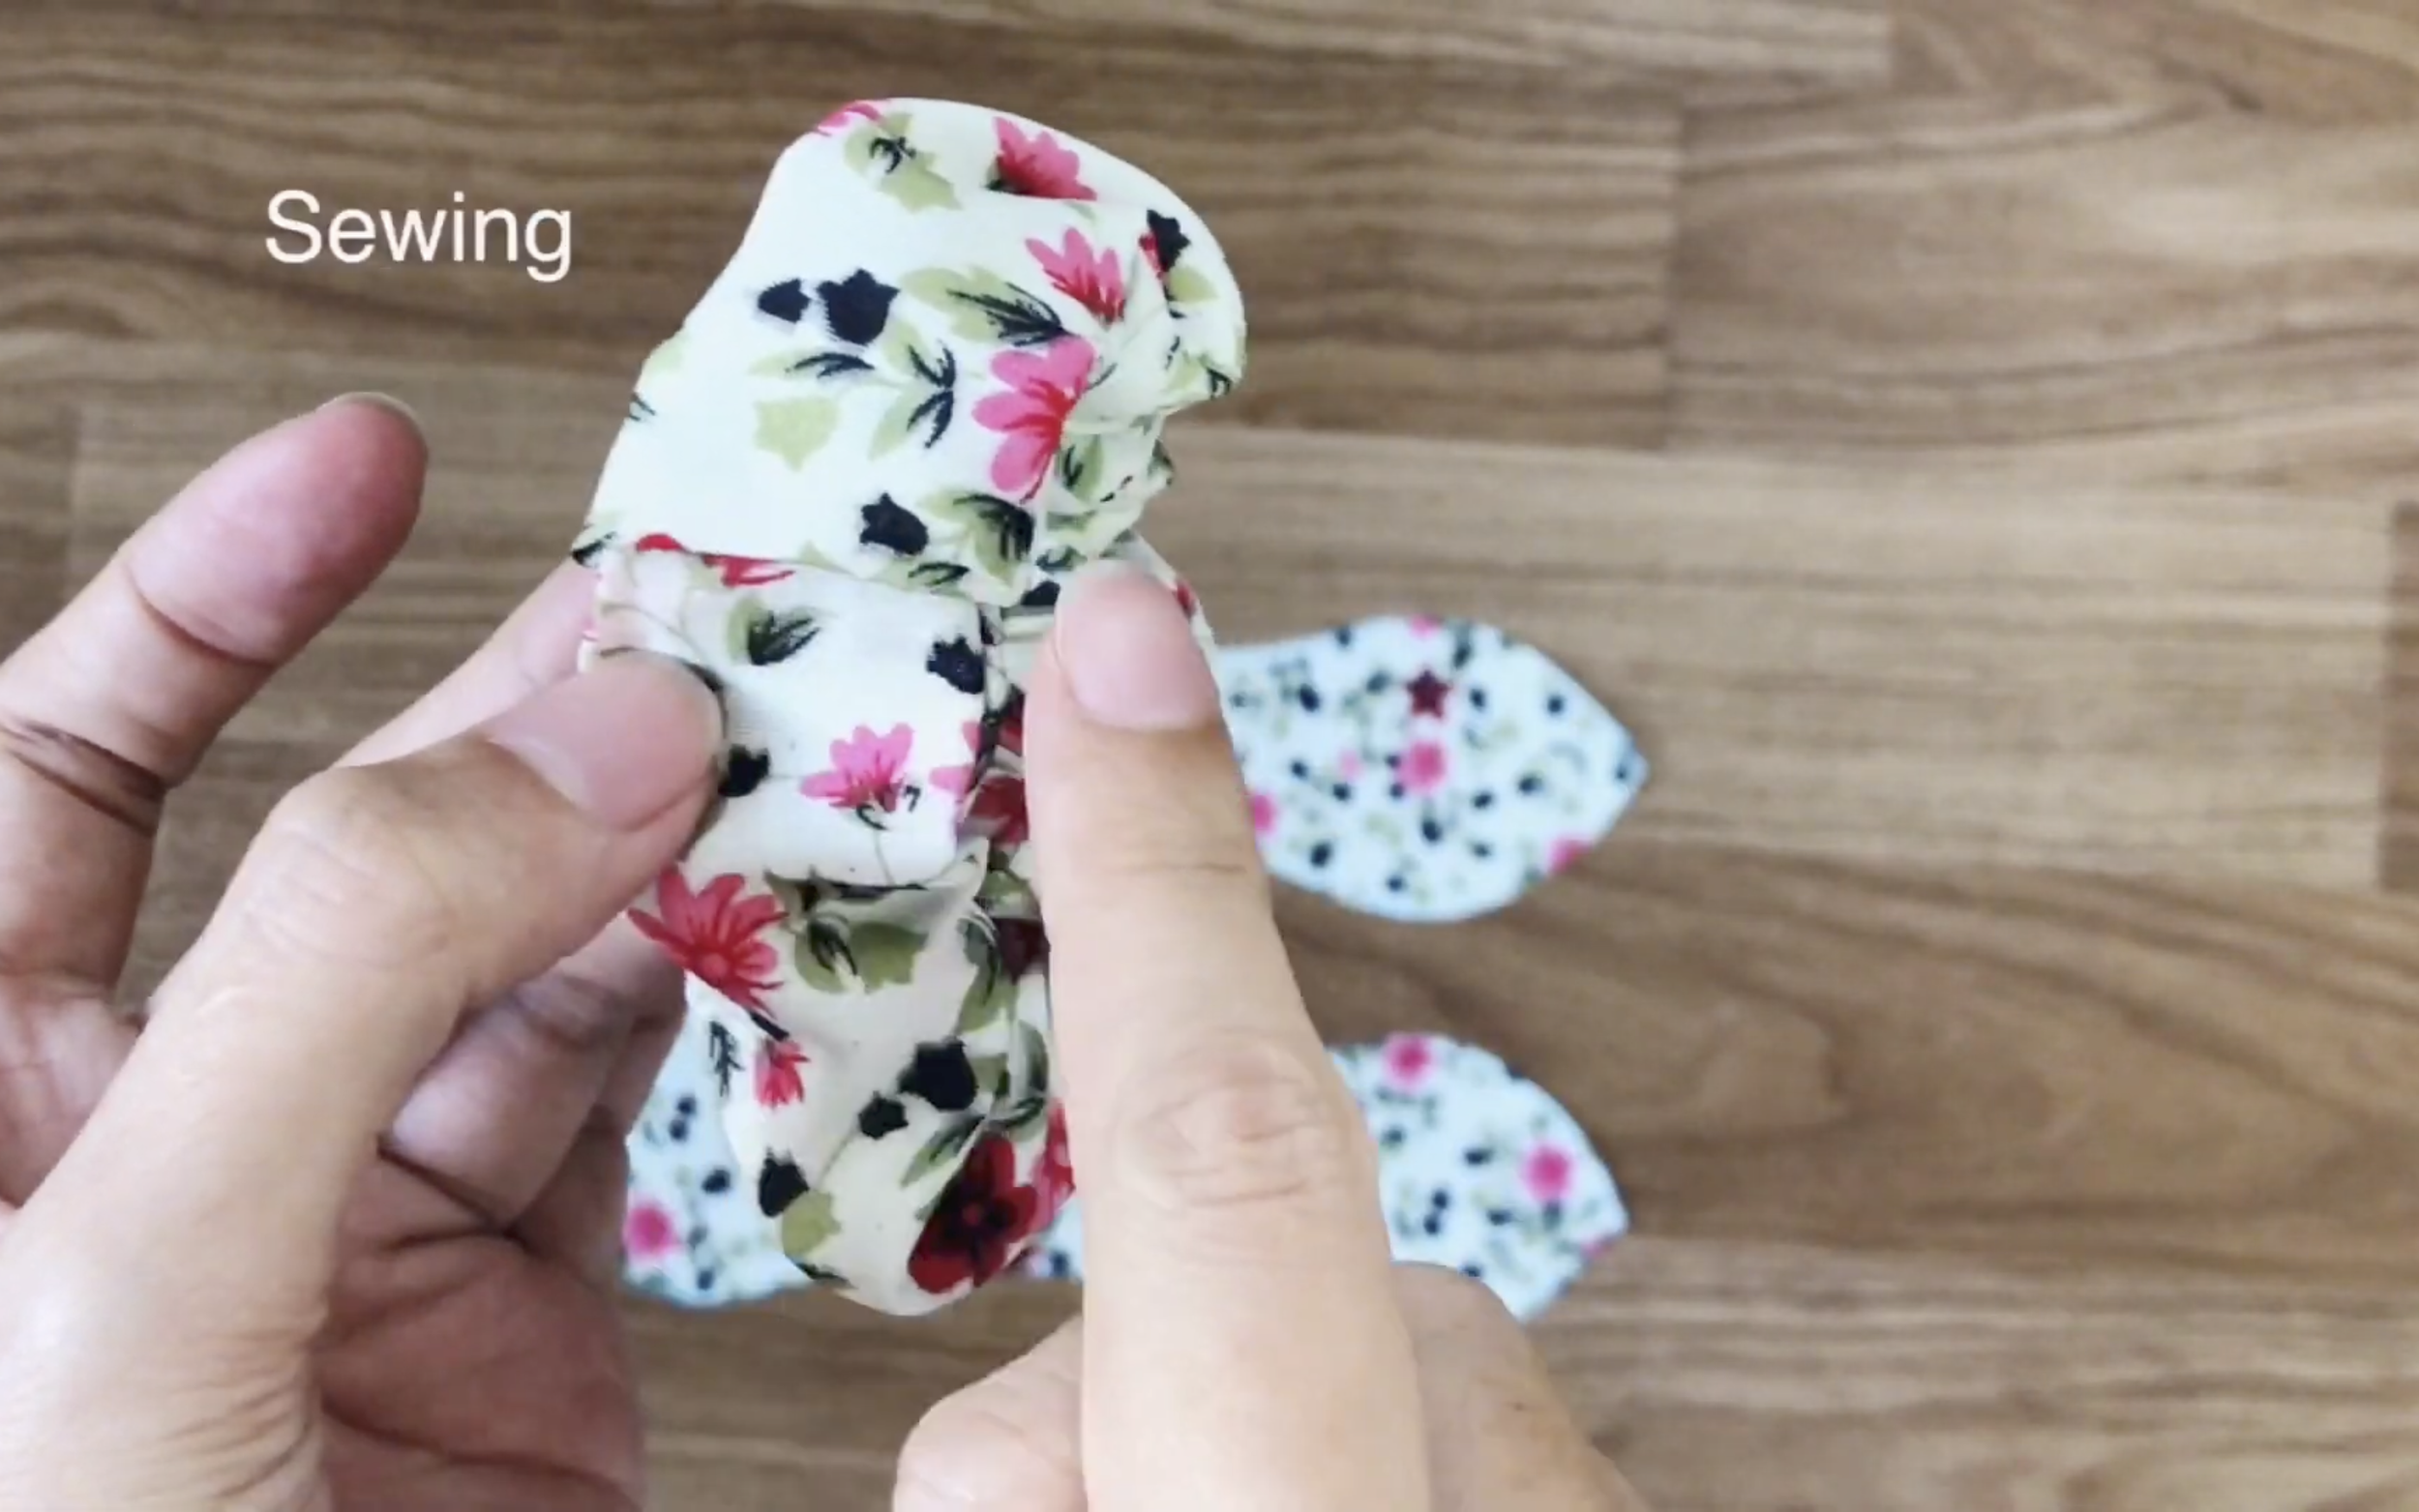
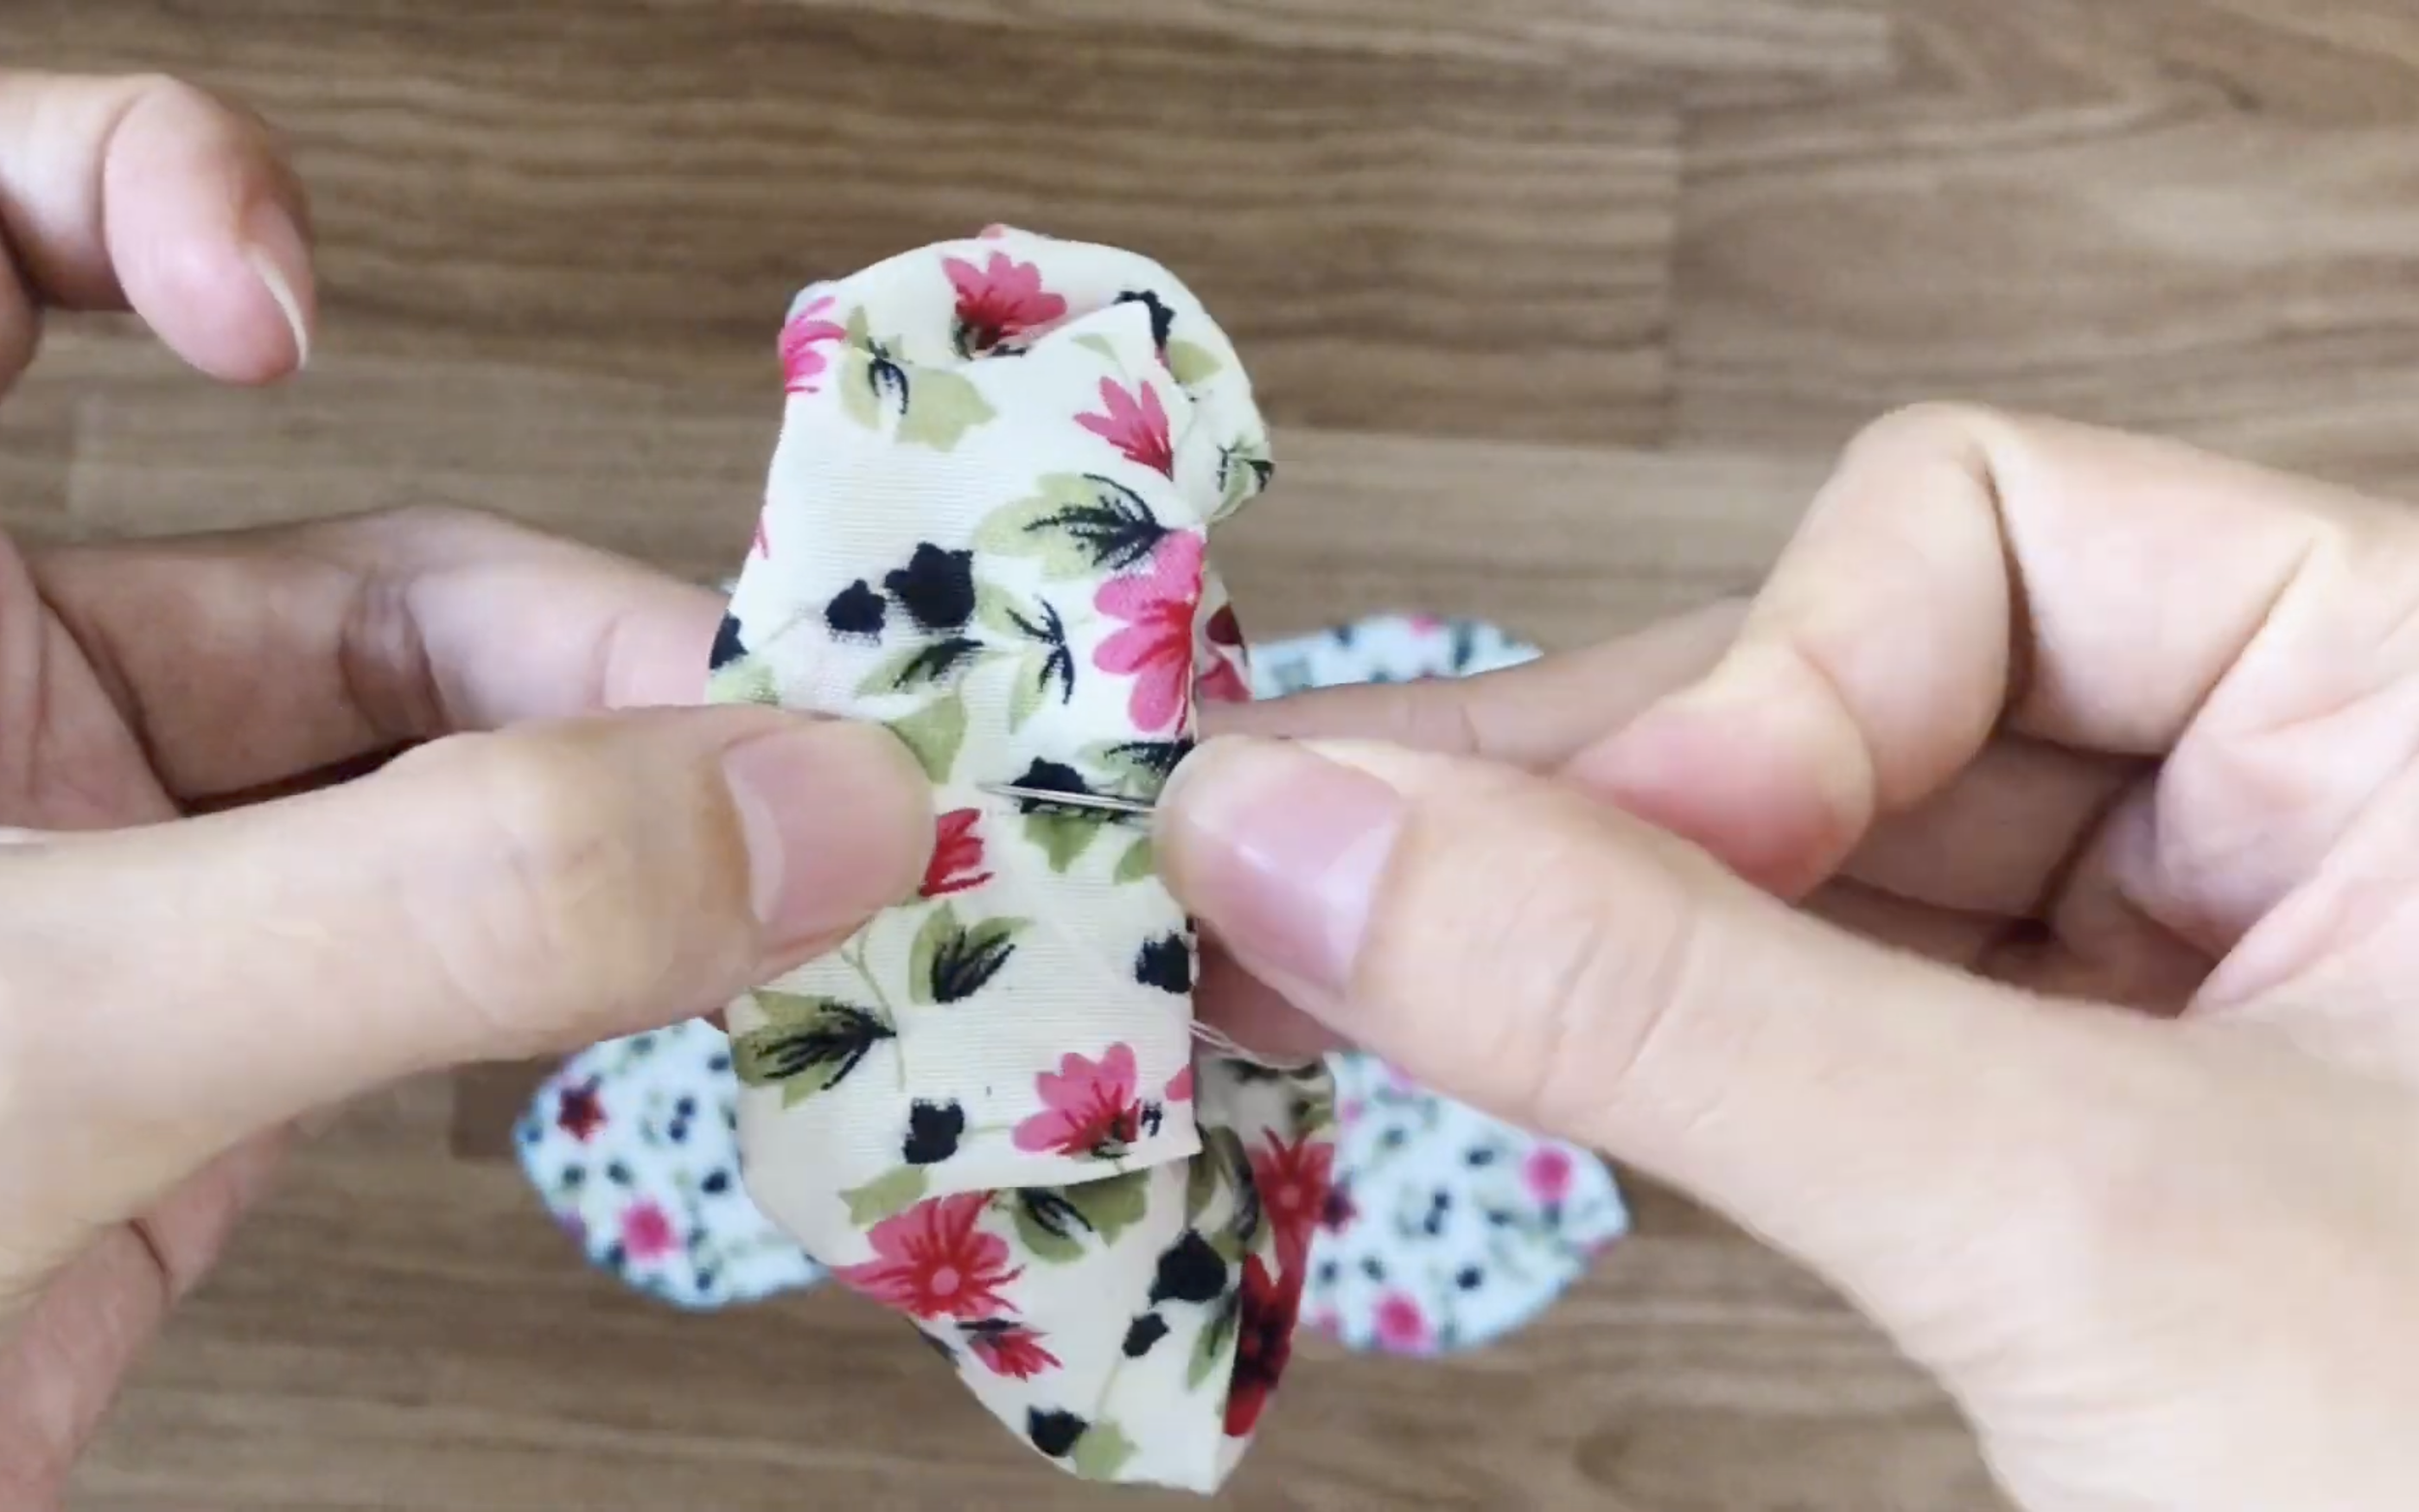
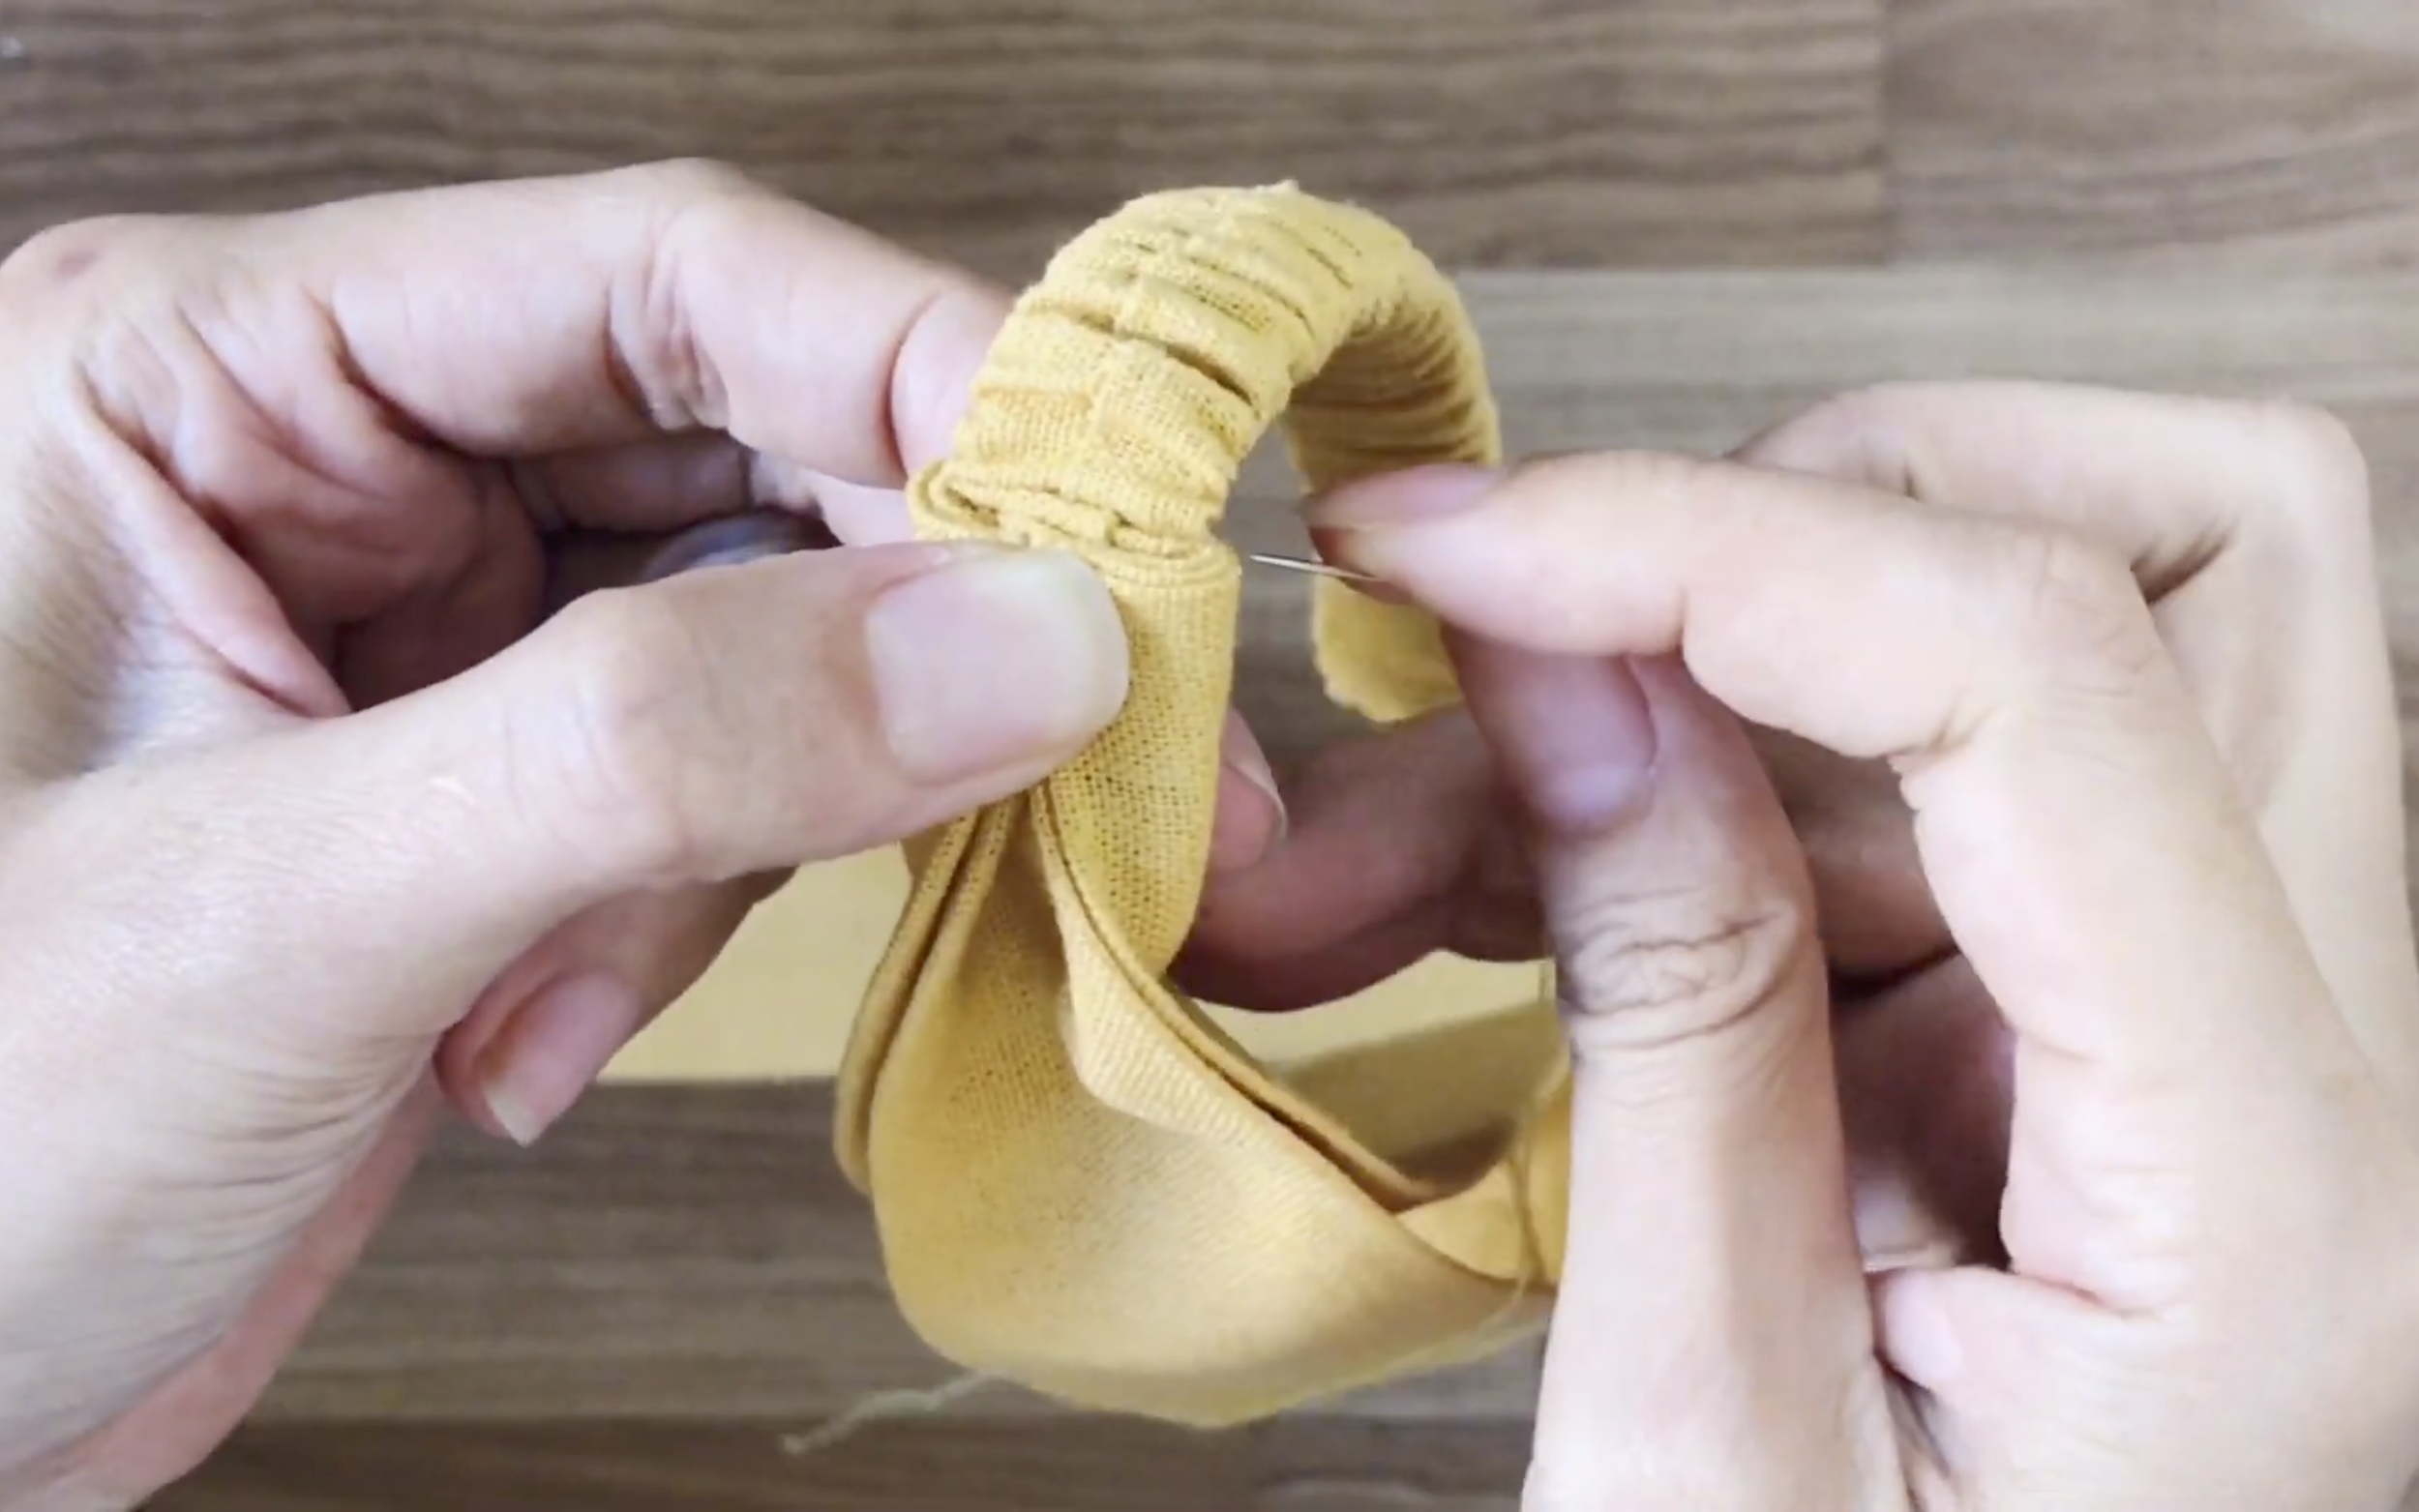
To connect the two ends of the main part nicely, fold the end of one side inward to hide the cutting. Fix their positions together, then sew.
A tip is to push the elastic band down to the end of the main part, where it meets the seam before sewing, so the elastic stays in place.
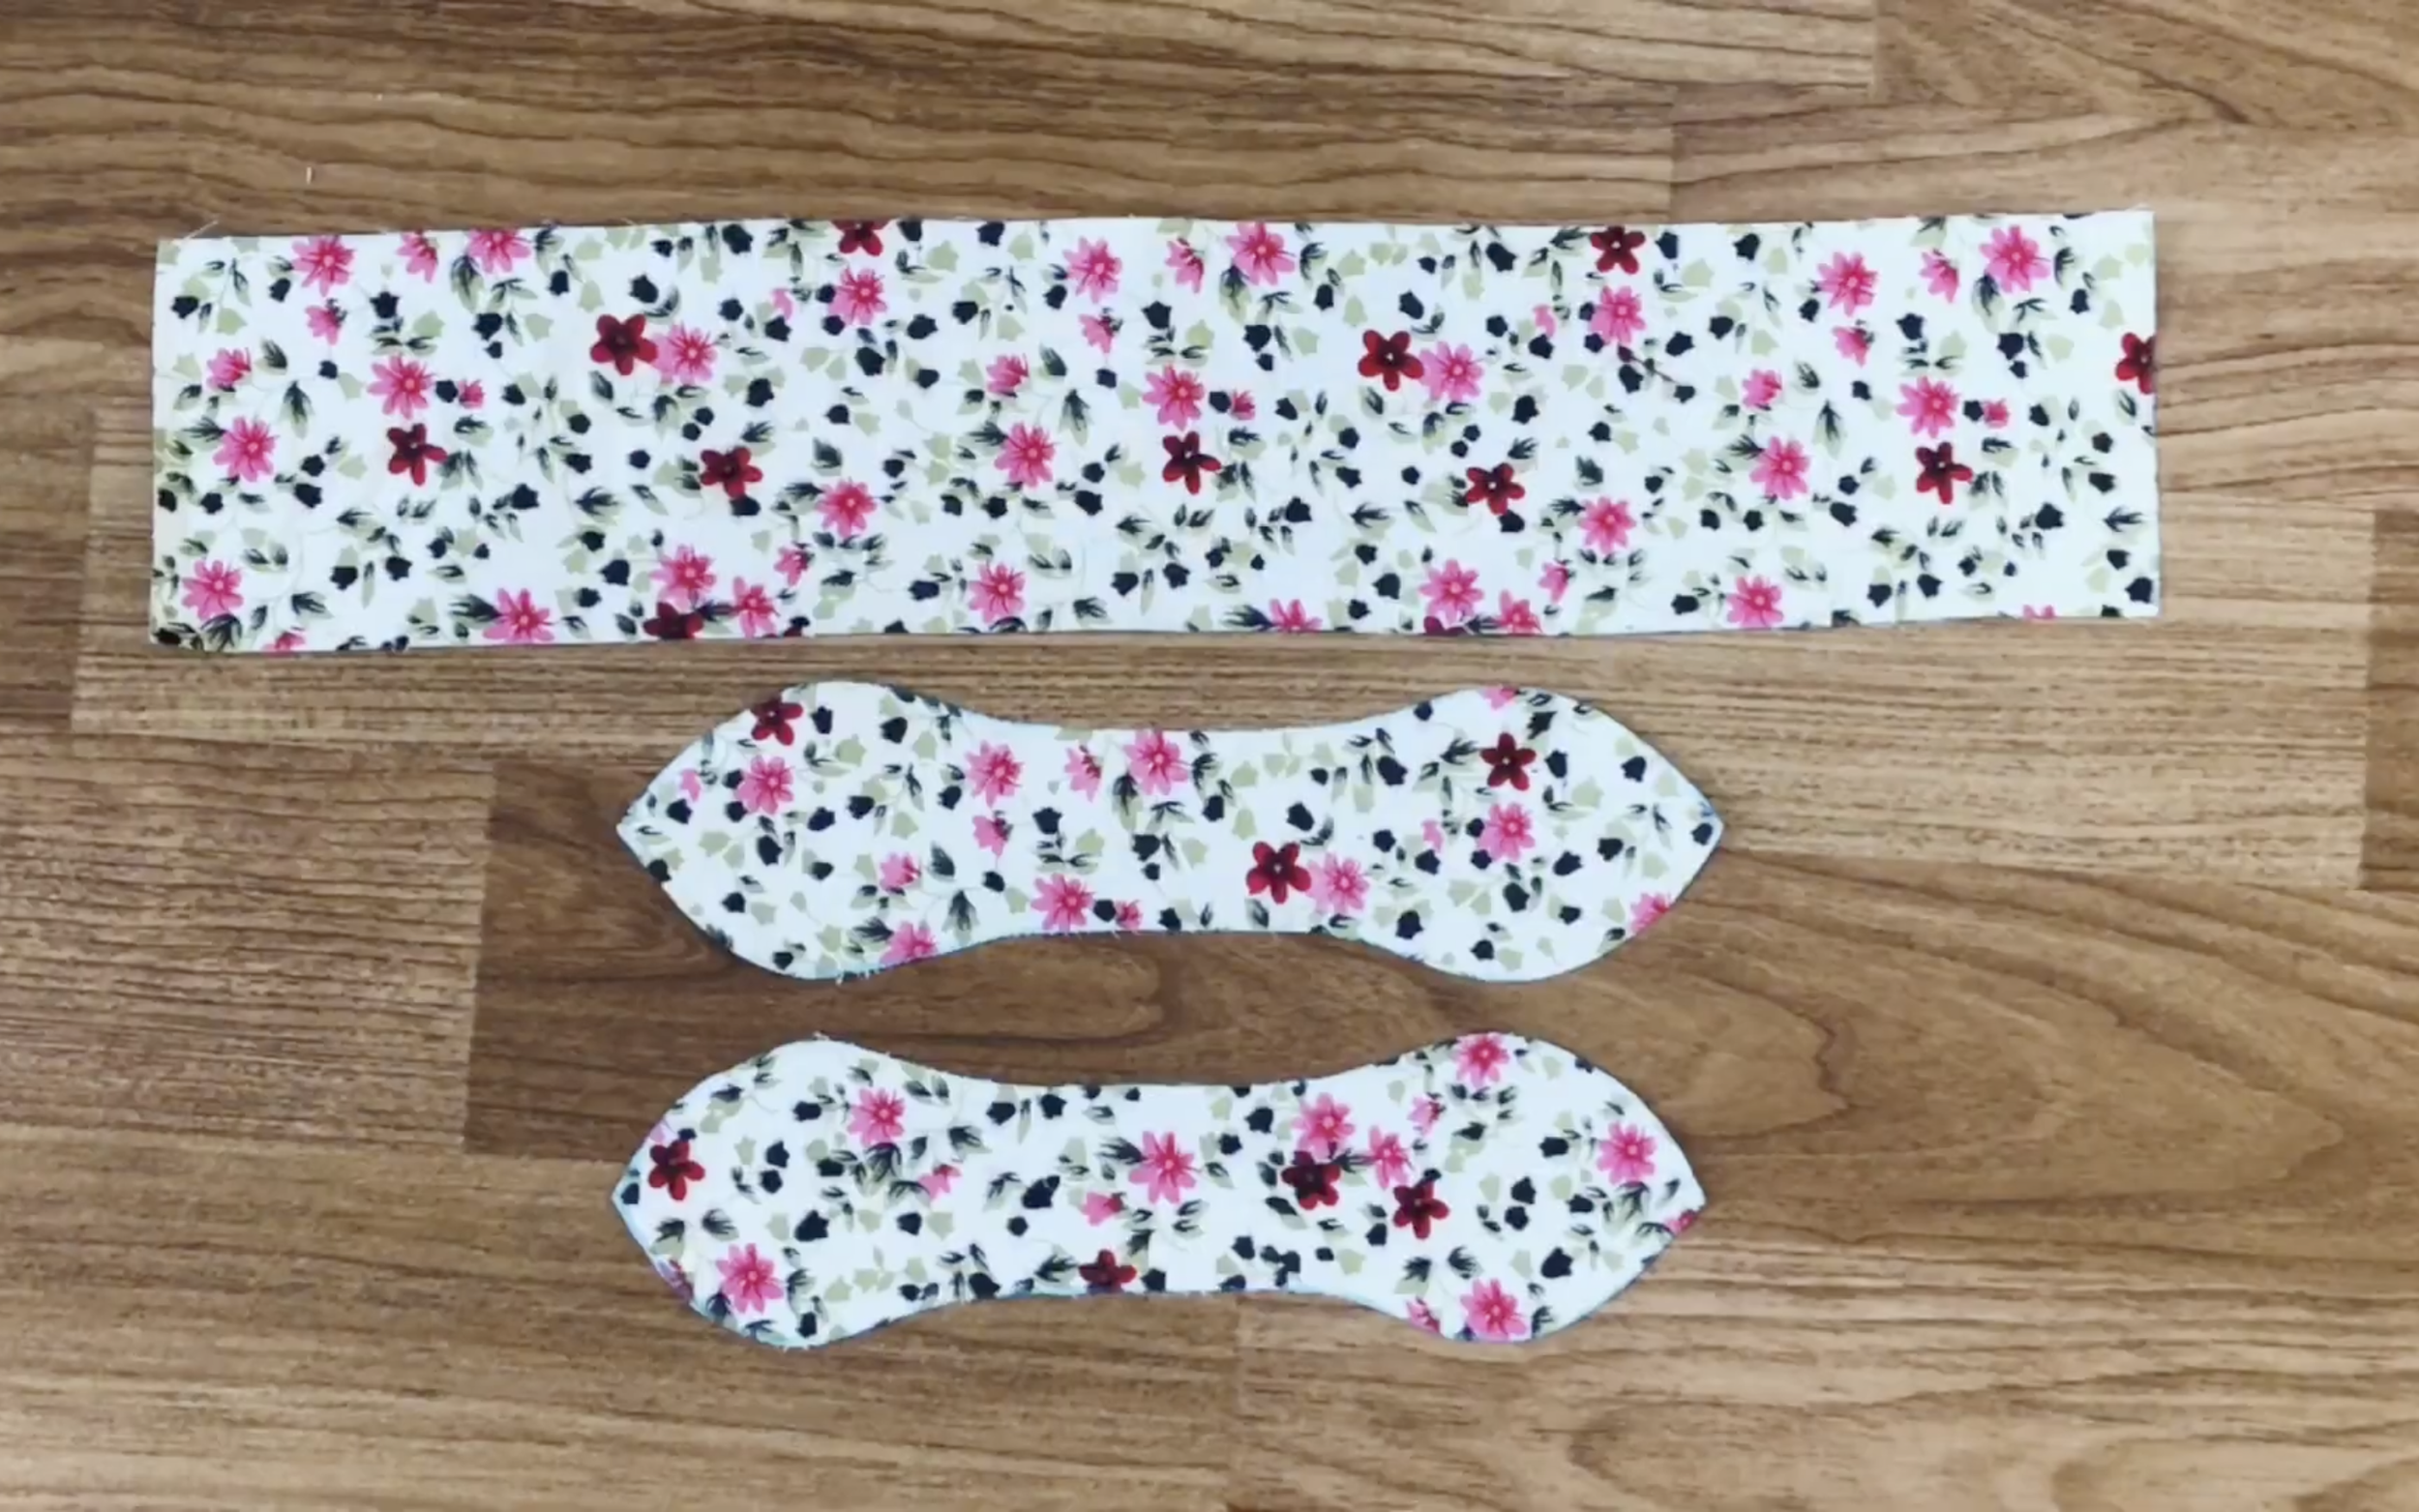
For the bow tie, fold the two patterns together, then sew along the cutting line.
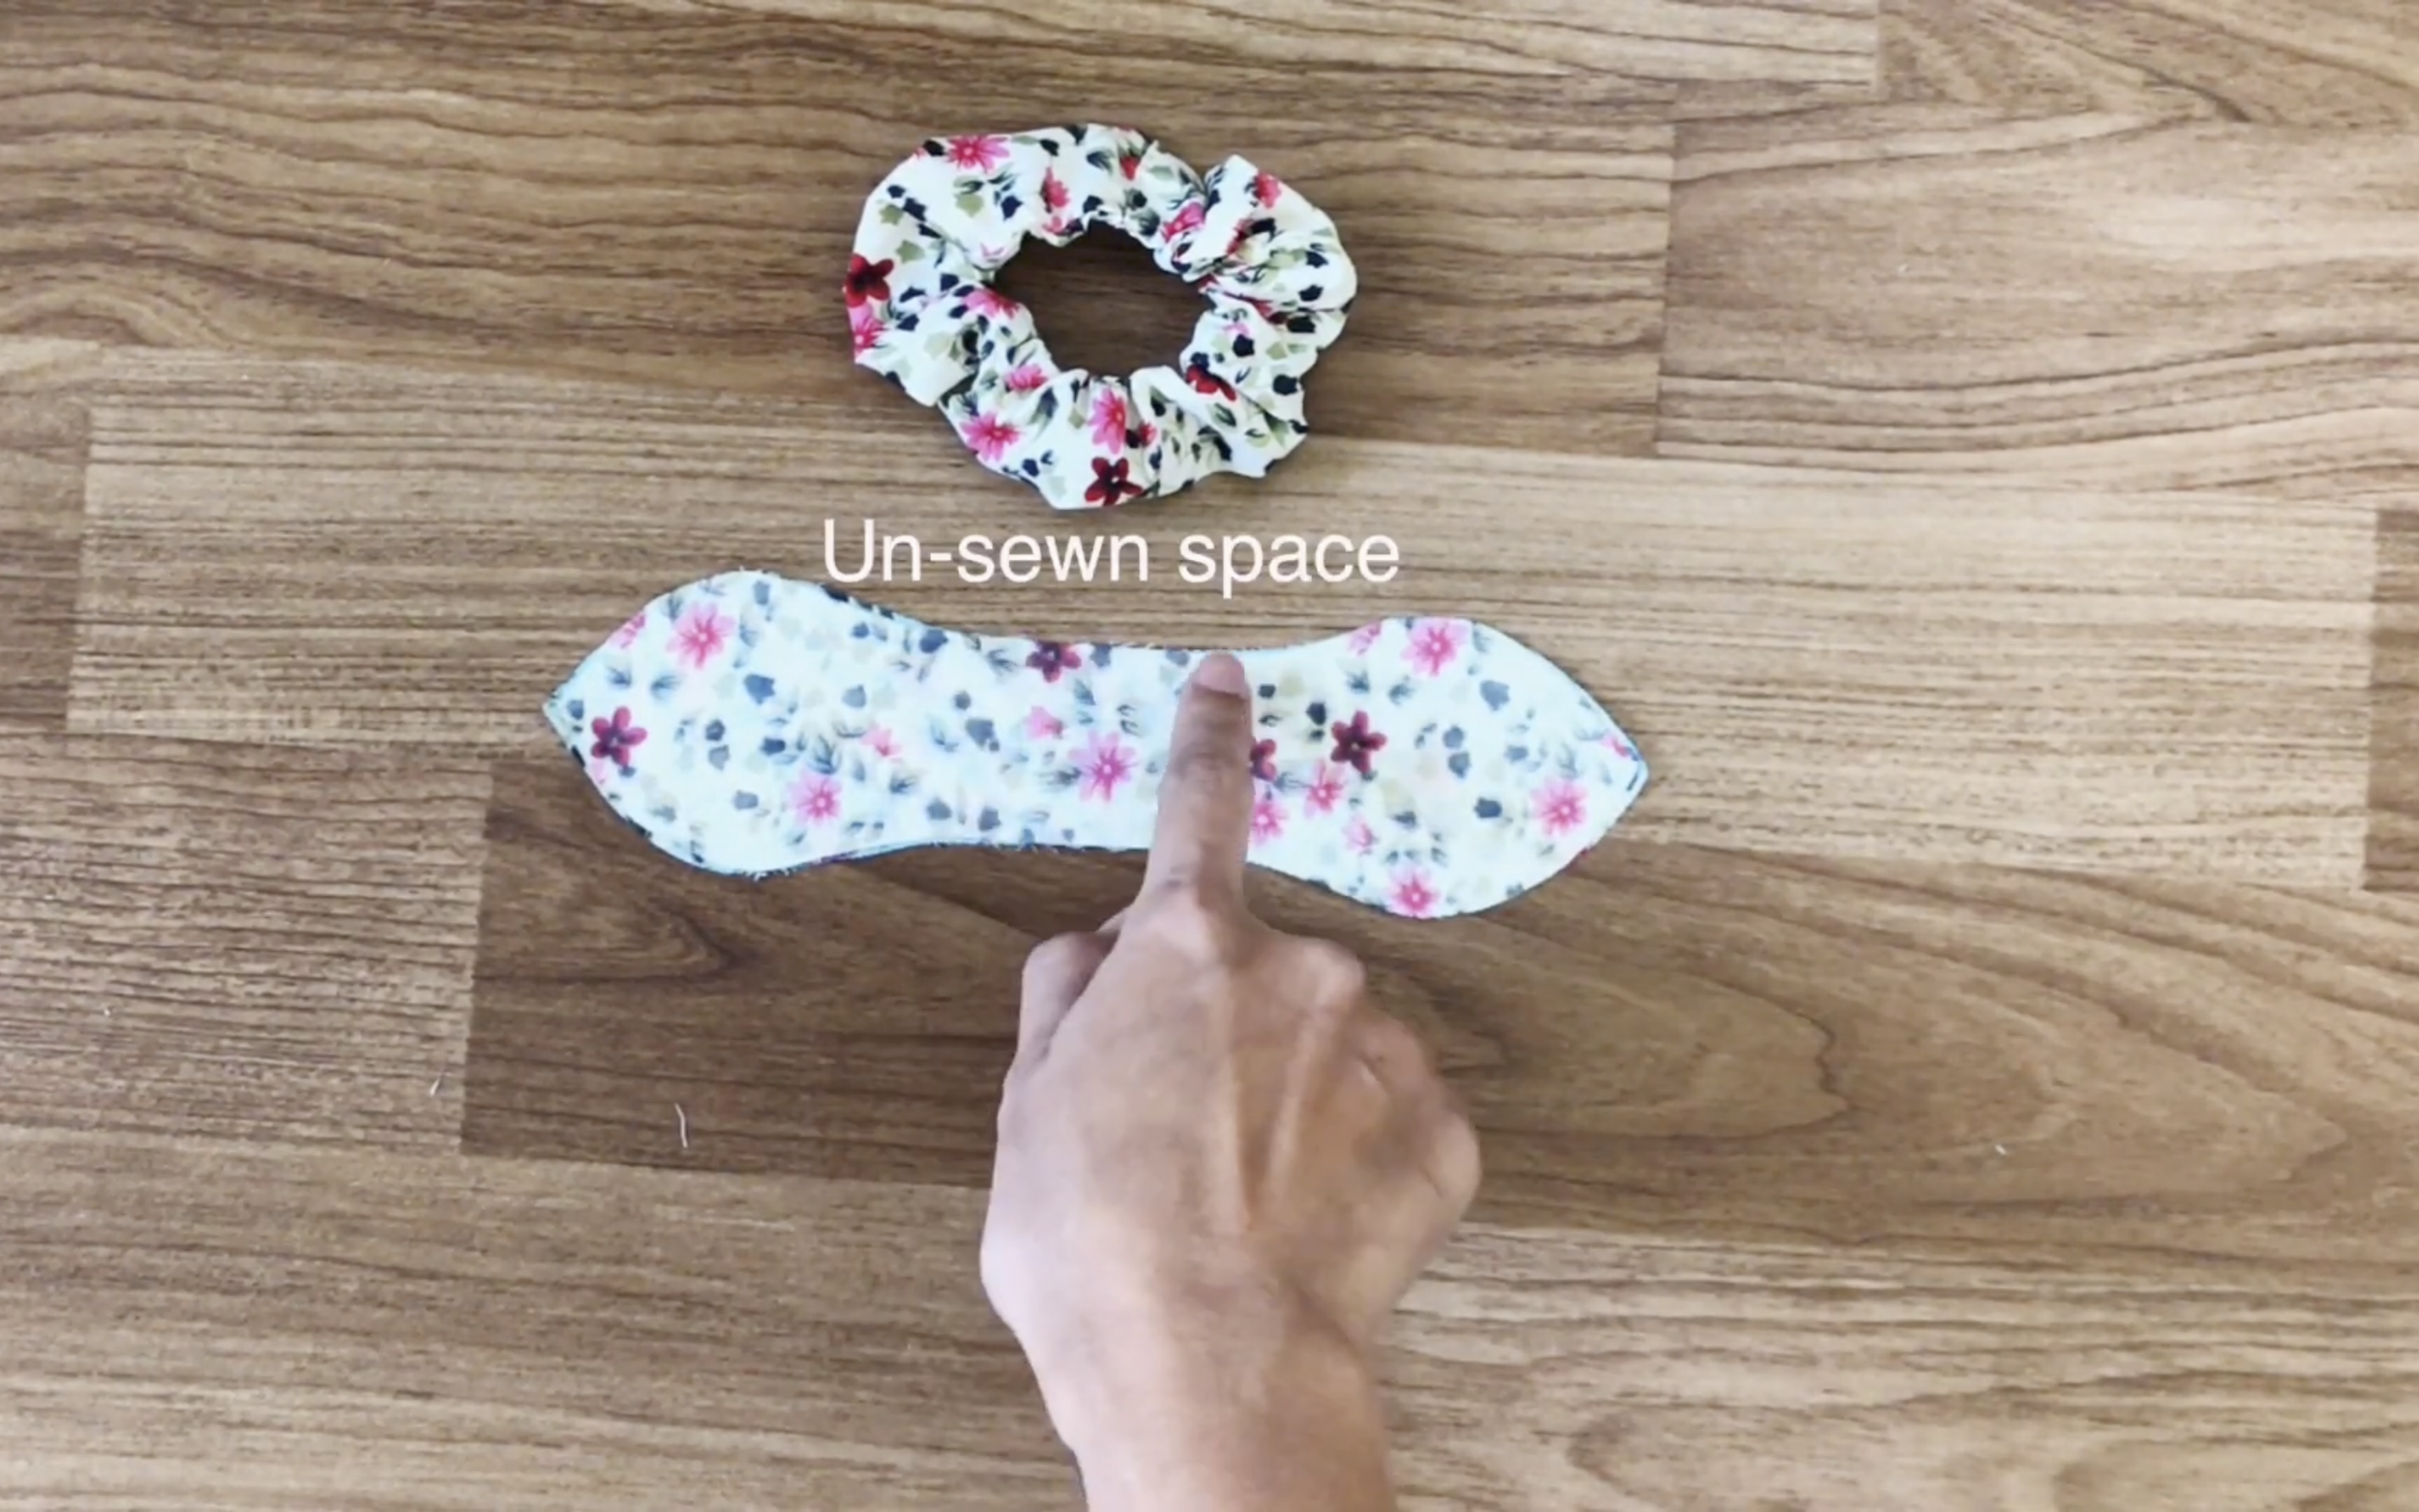
Leave a small unsewn space to turn the bow tie inside out later.
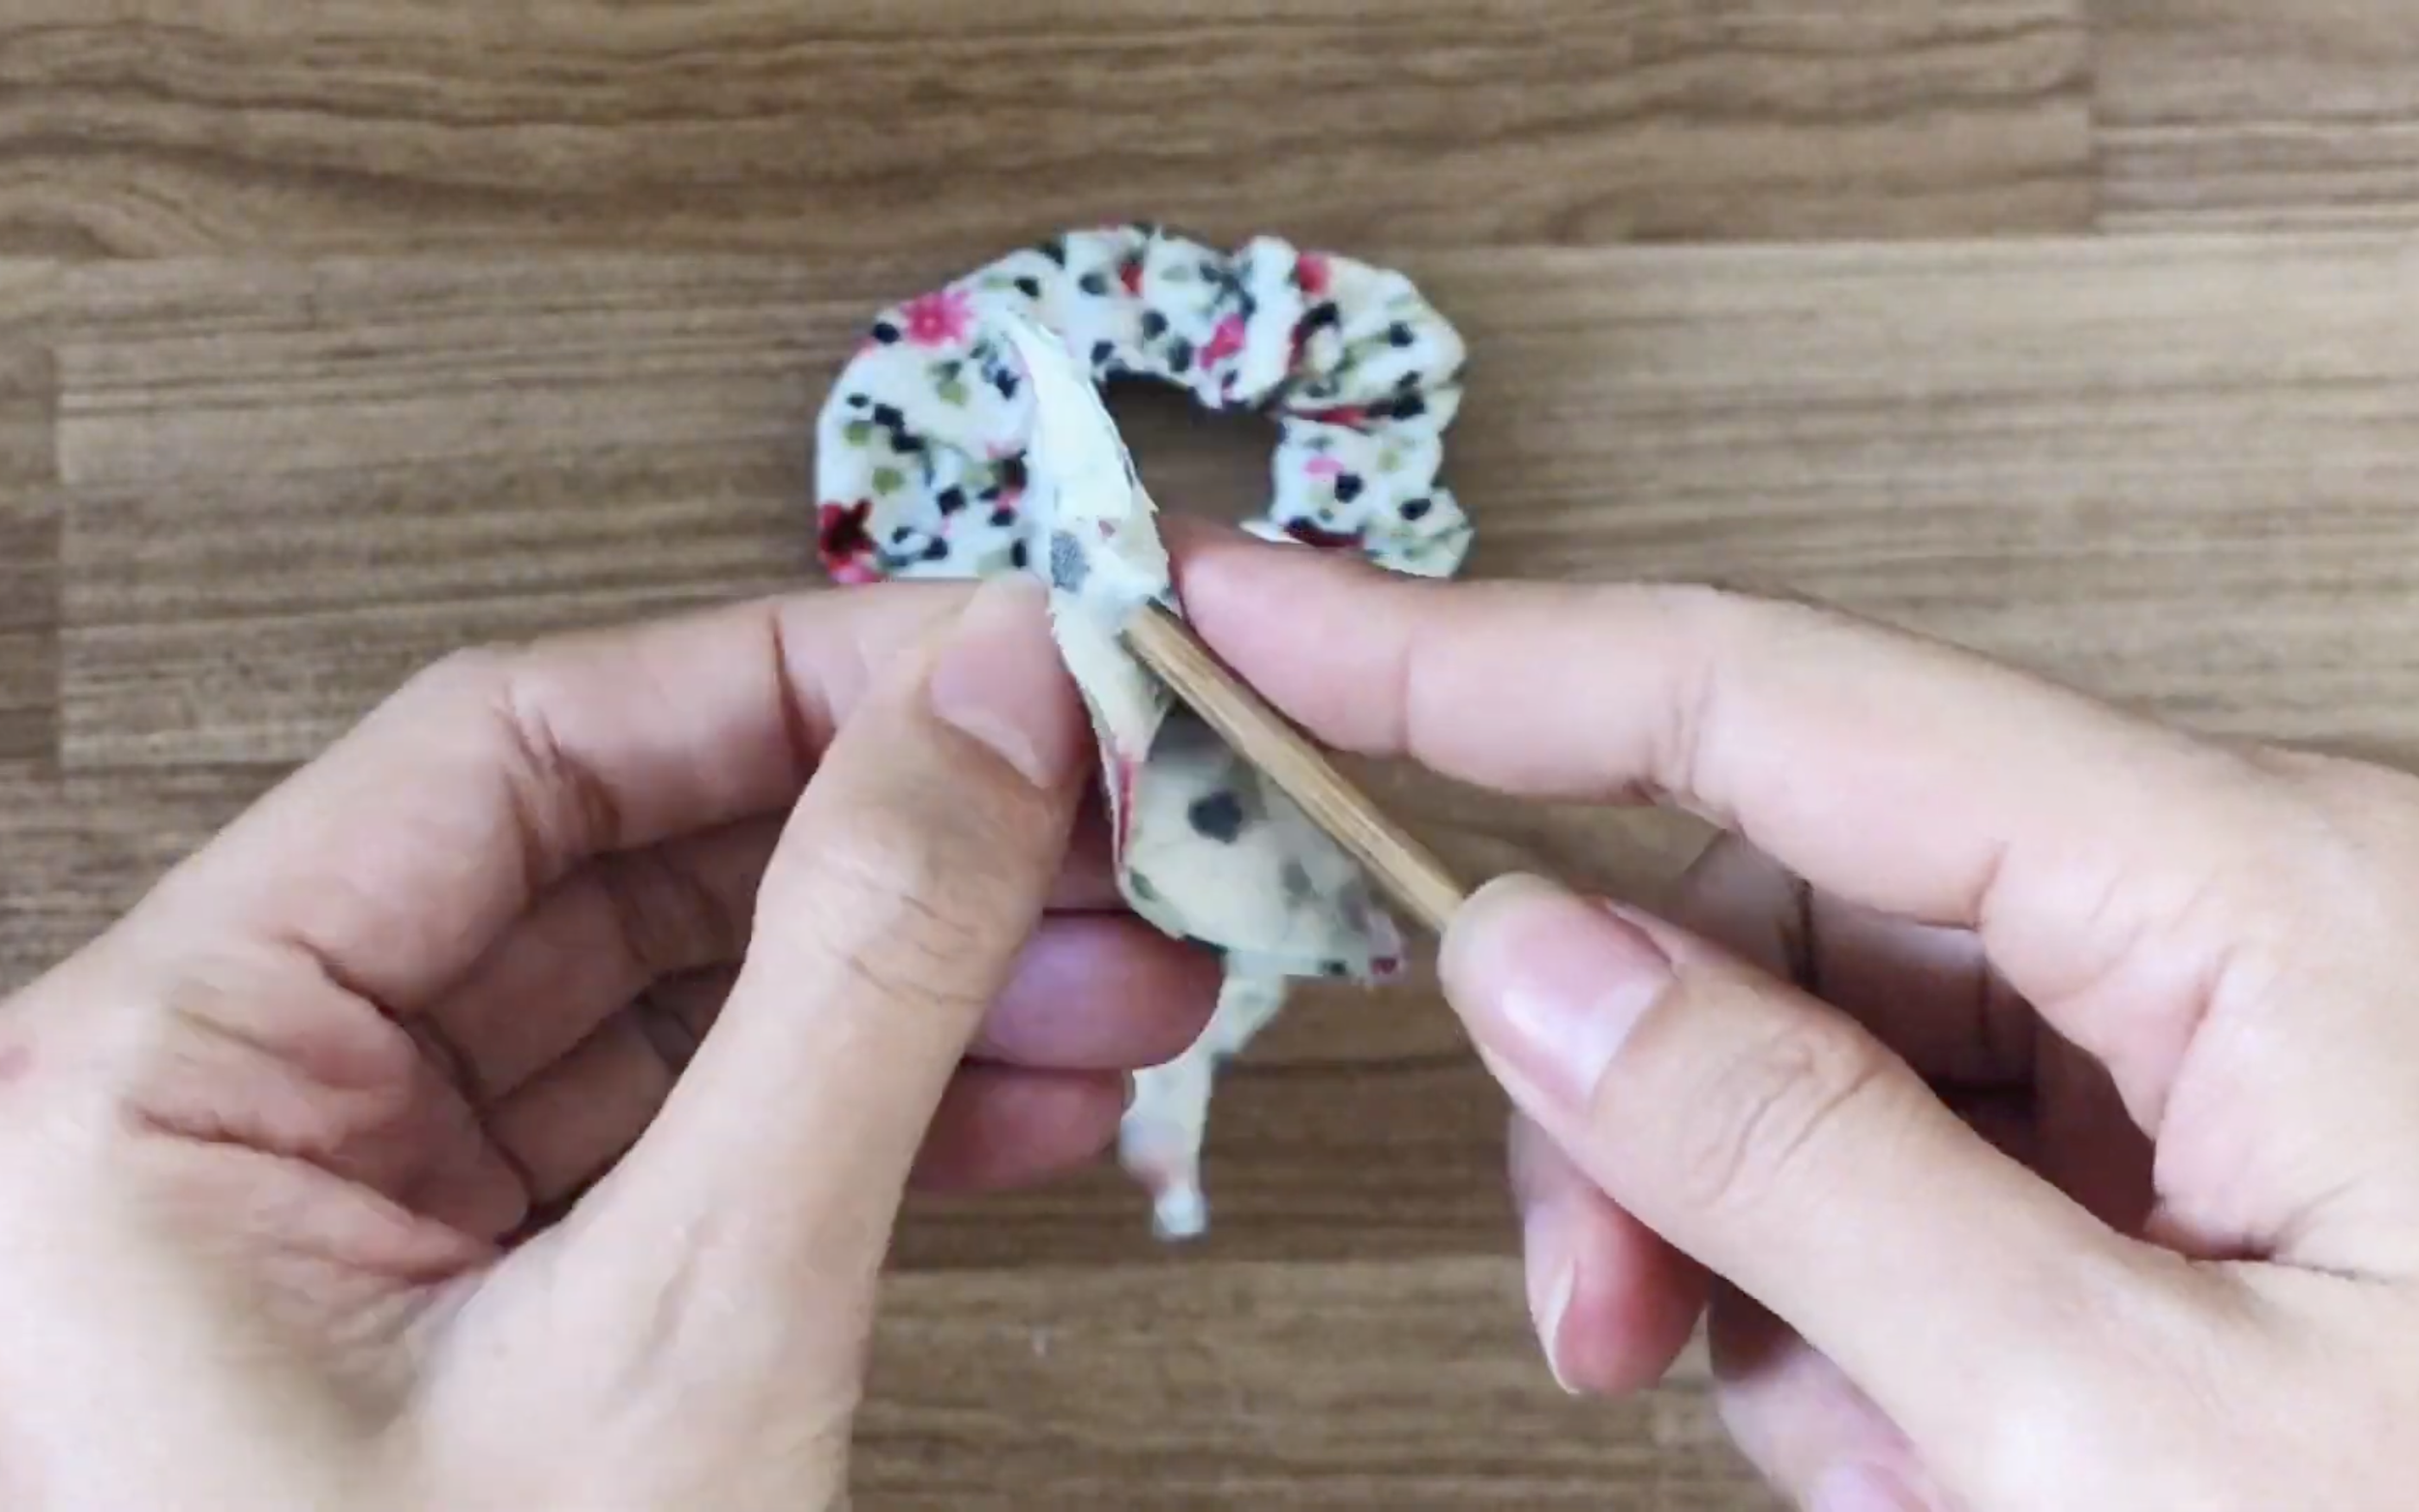
Use a long stick to do this.

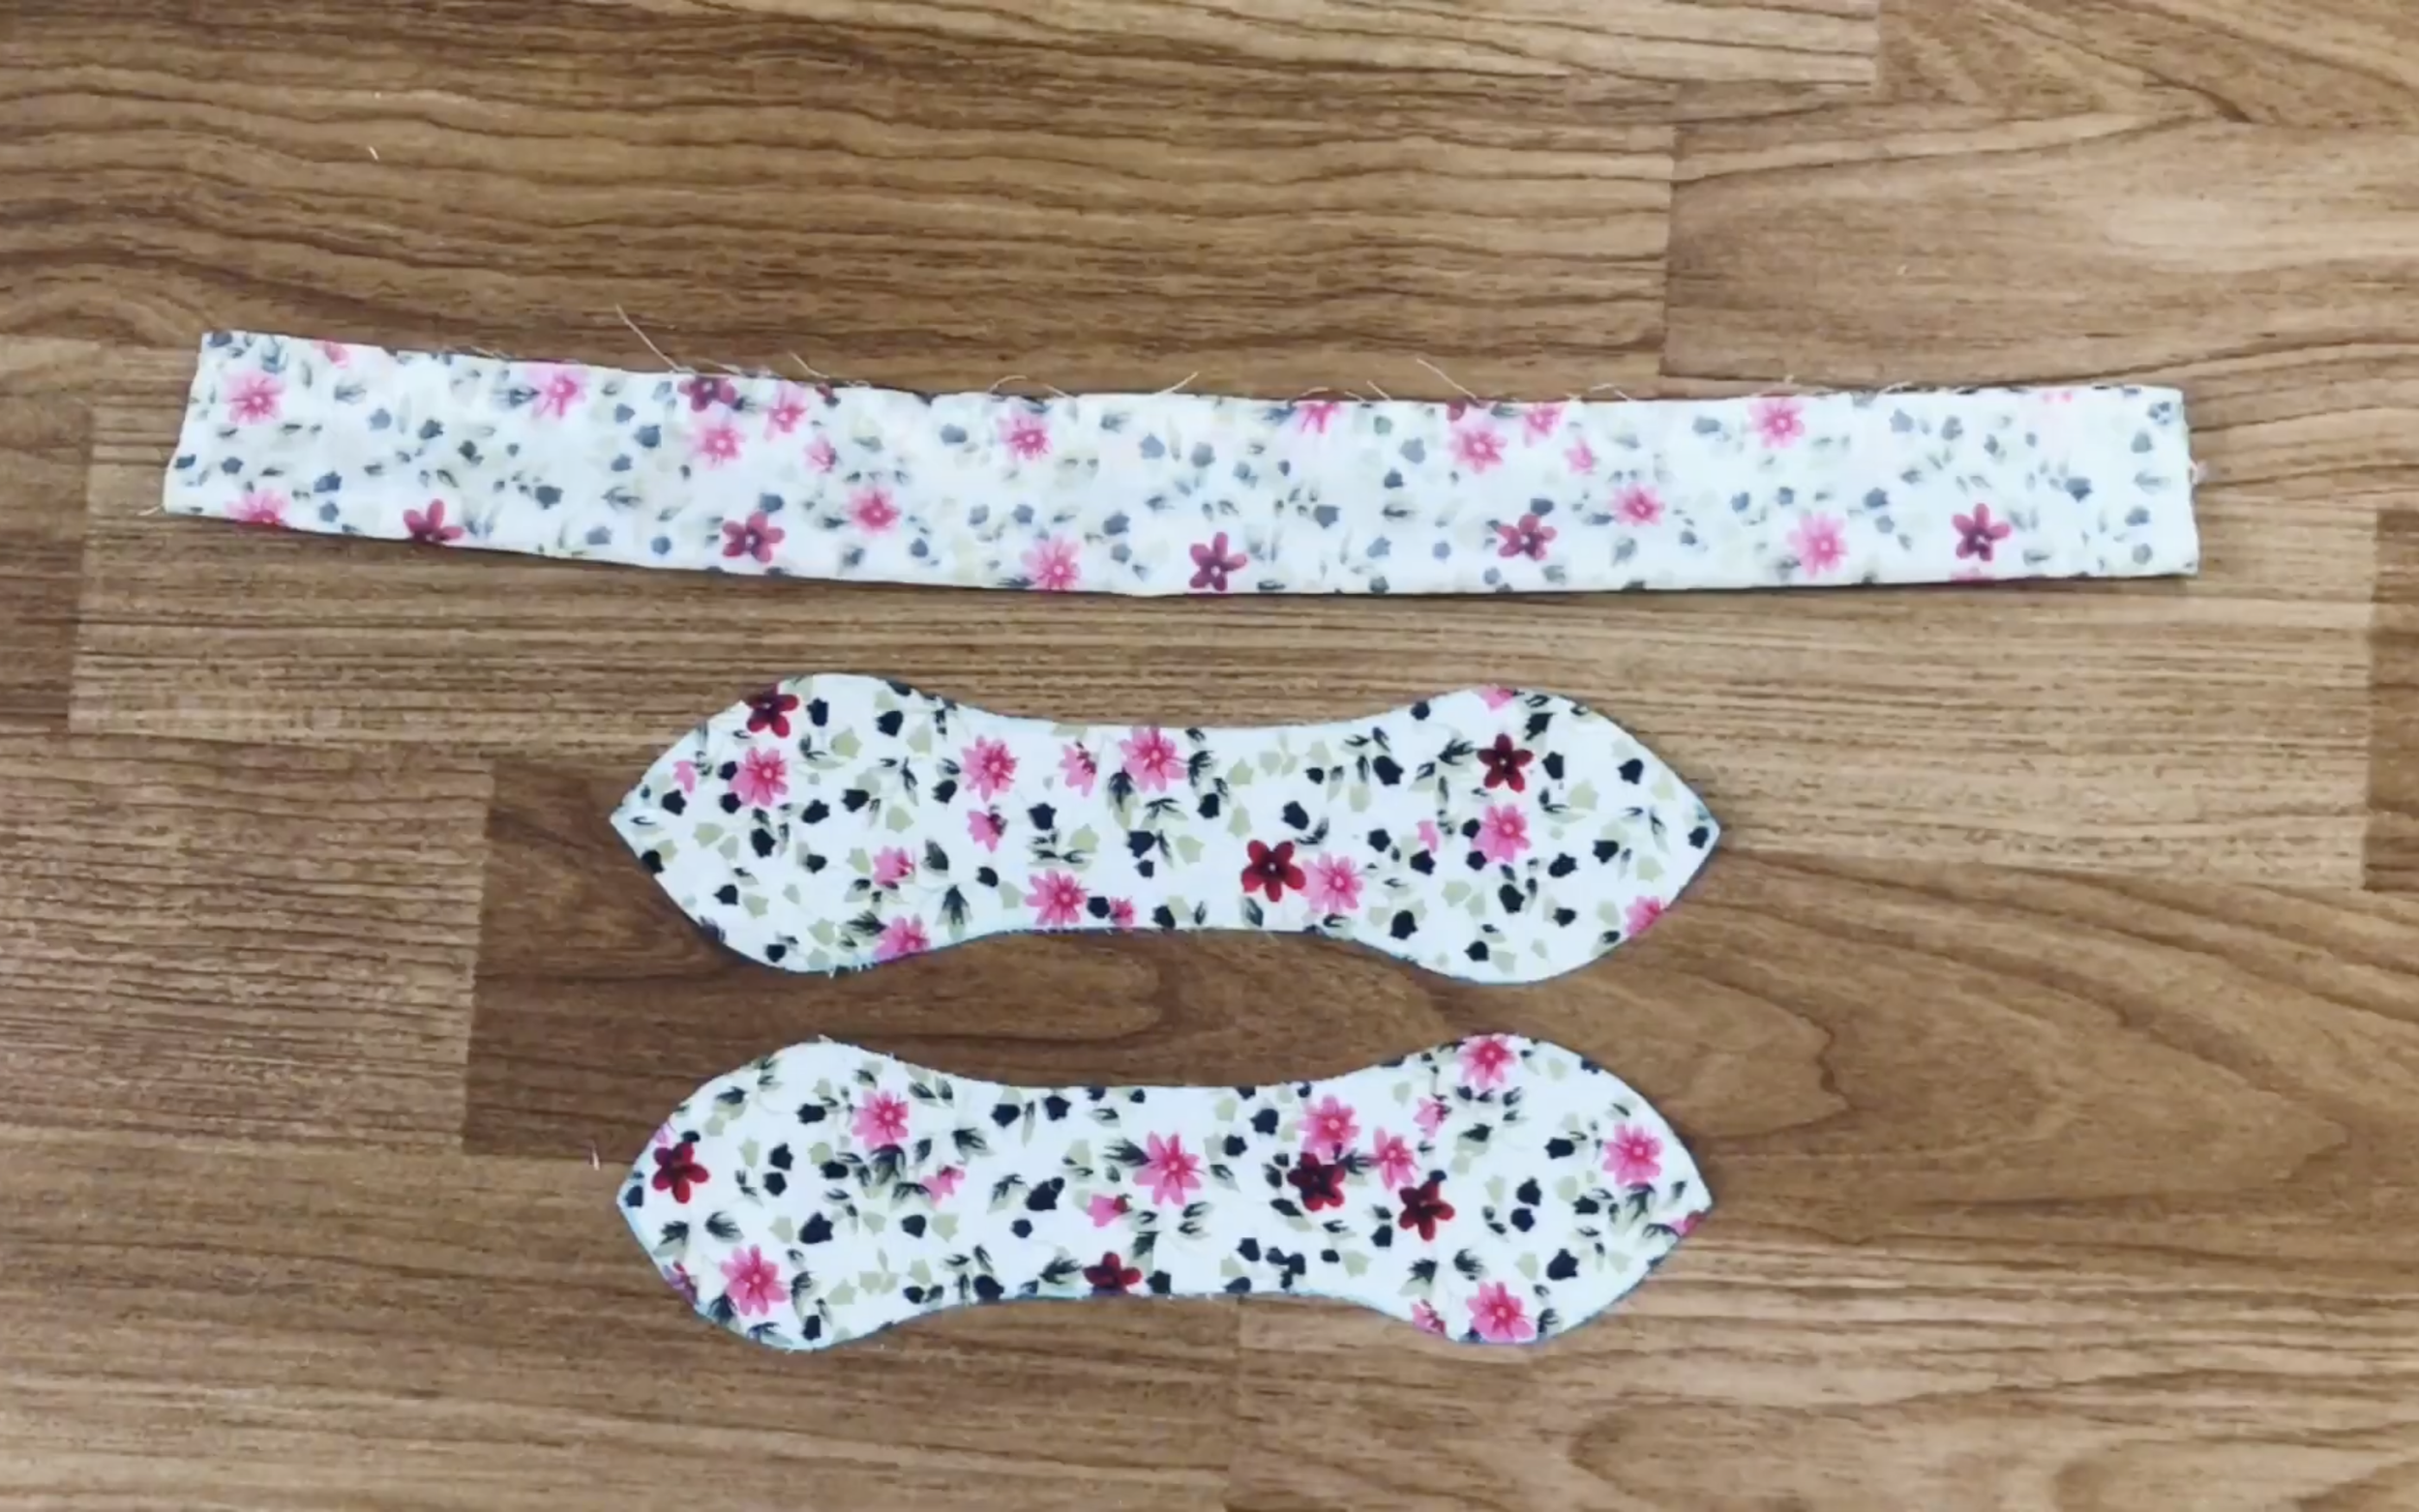
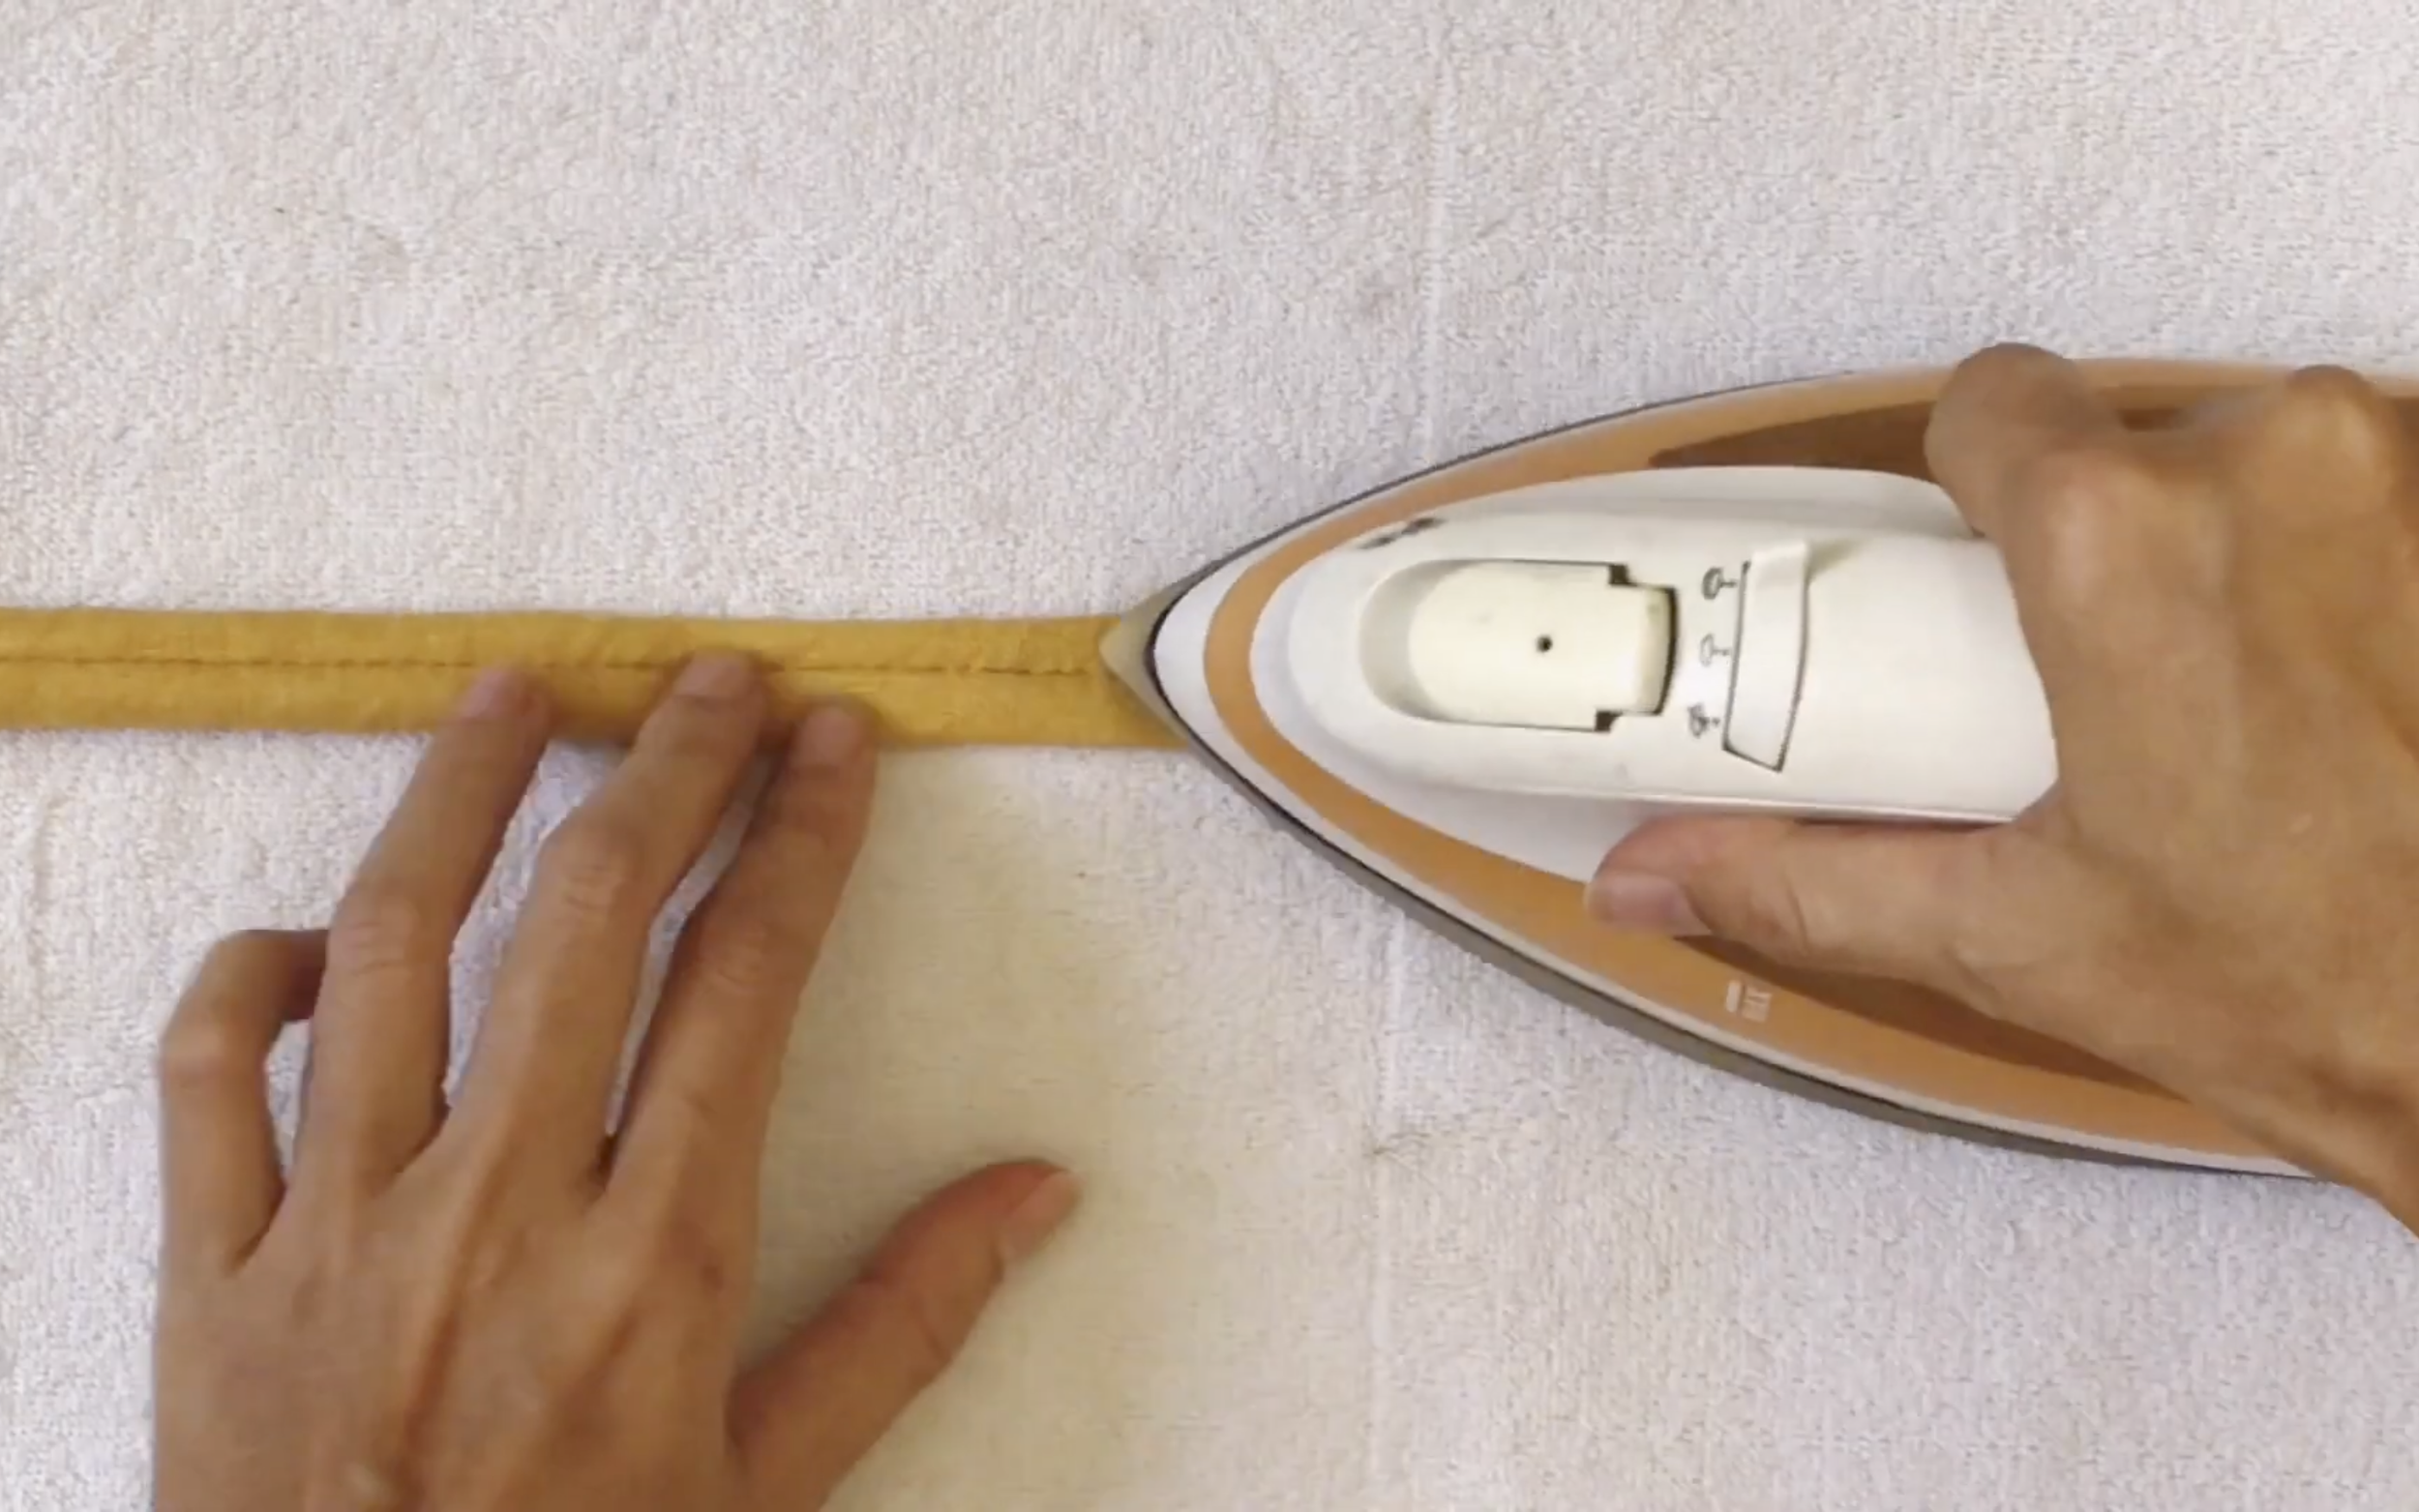
Then iron to make it neat.
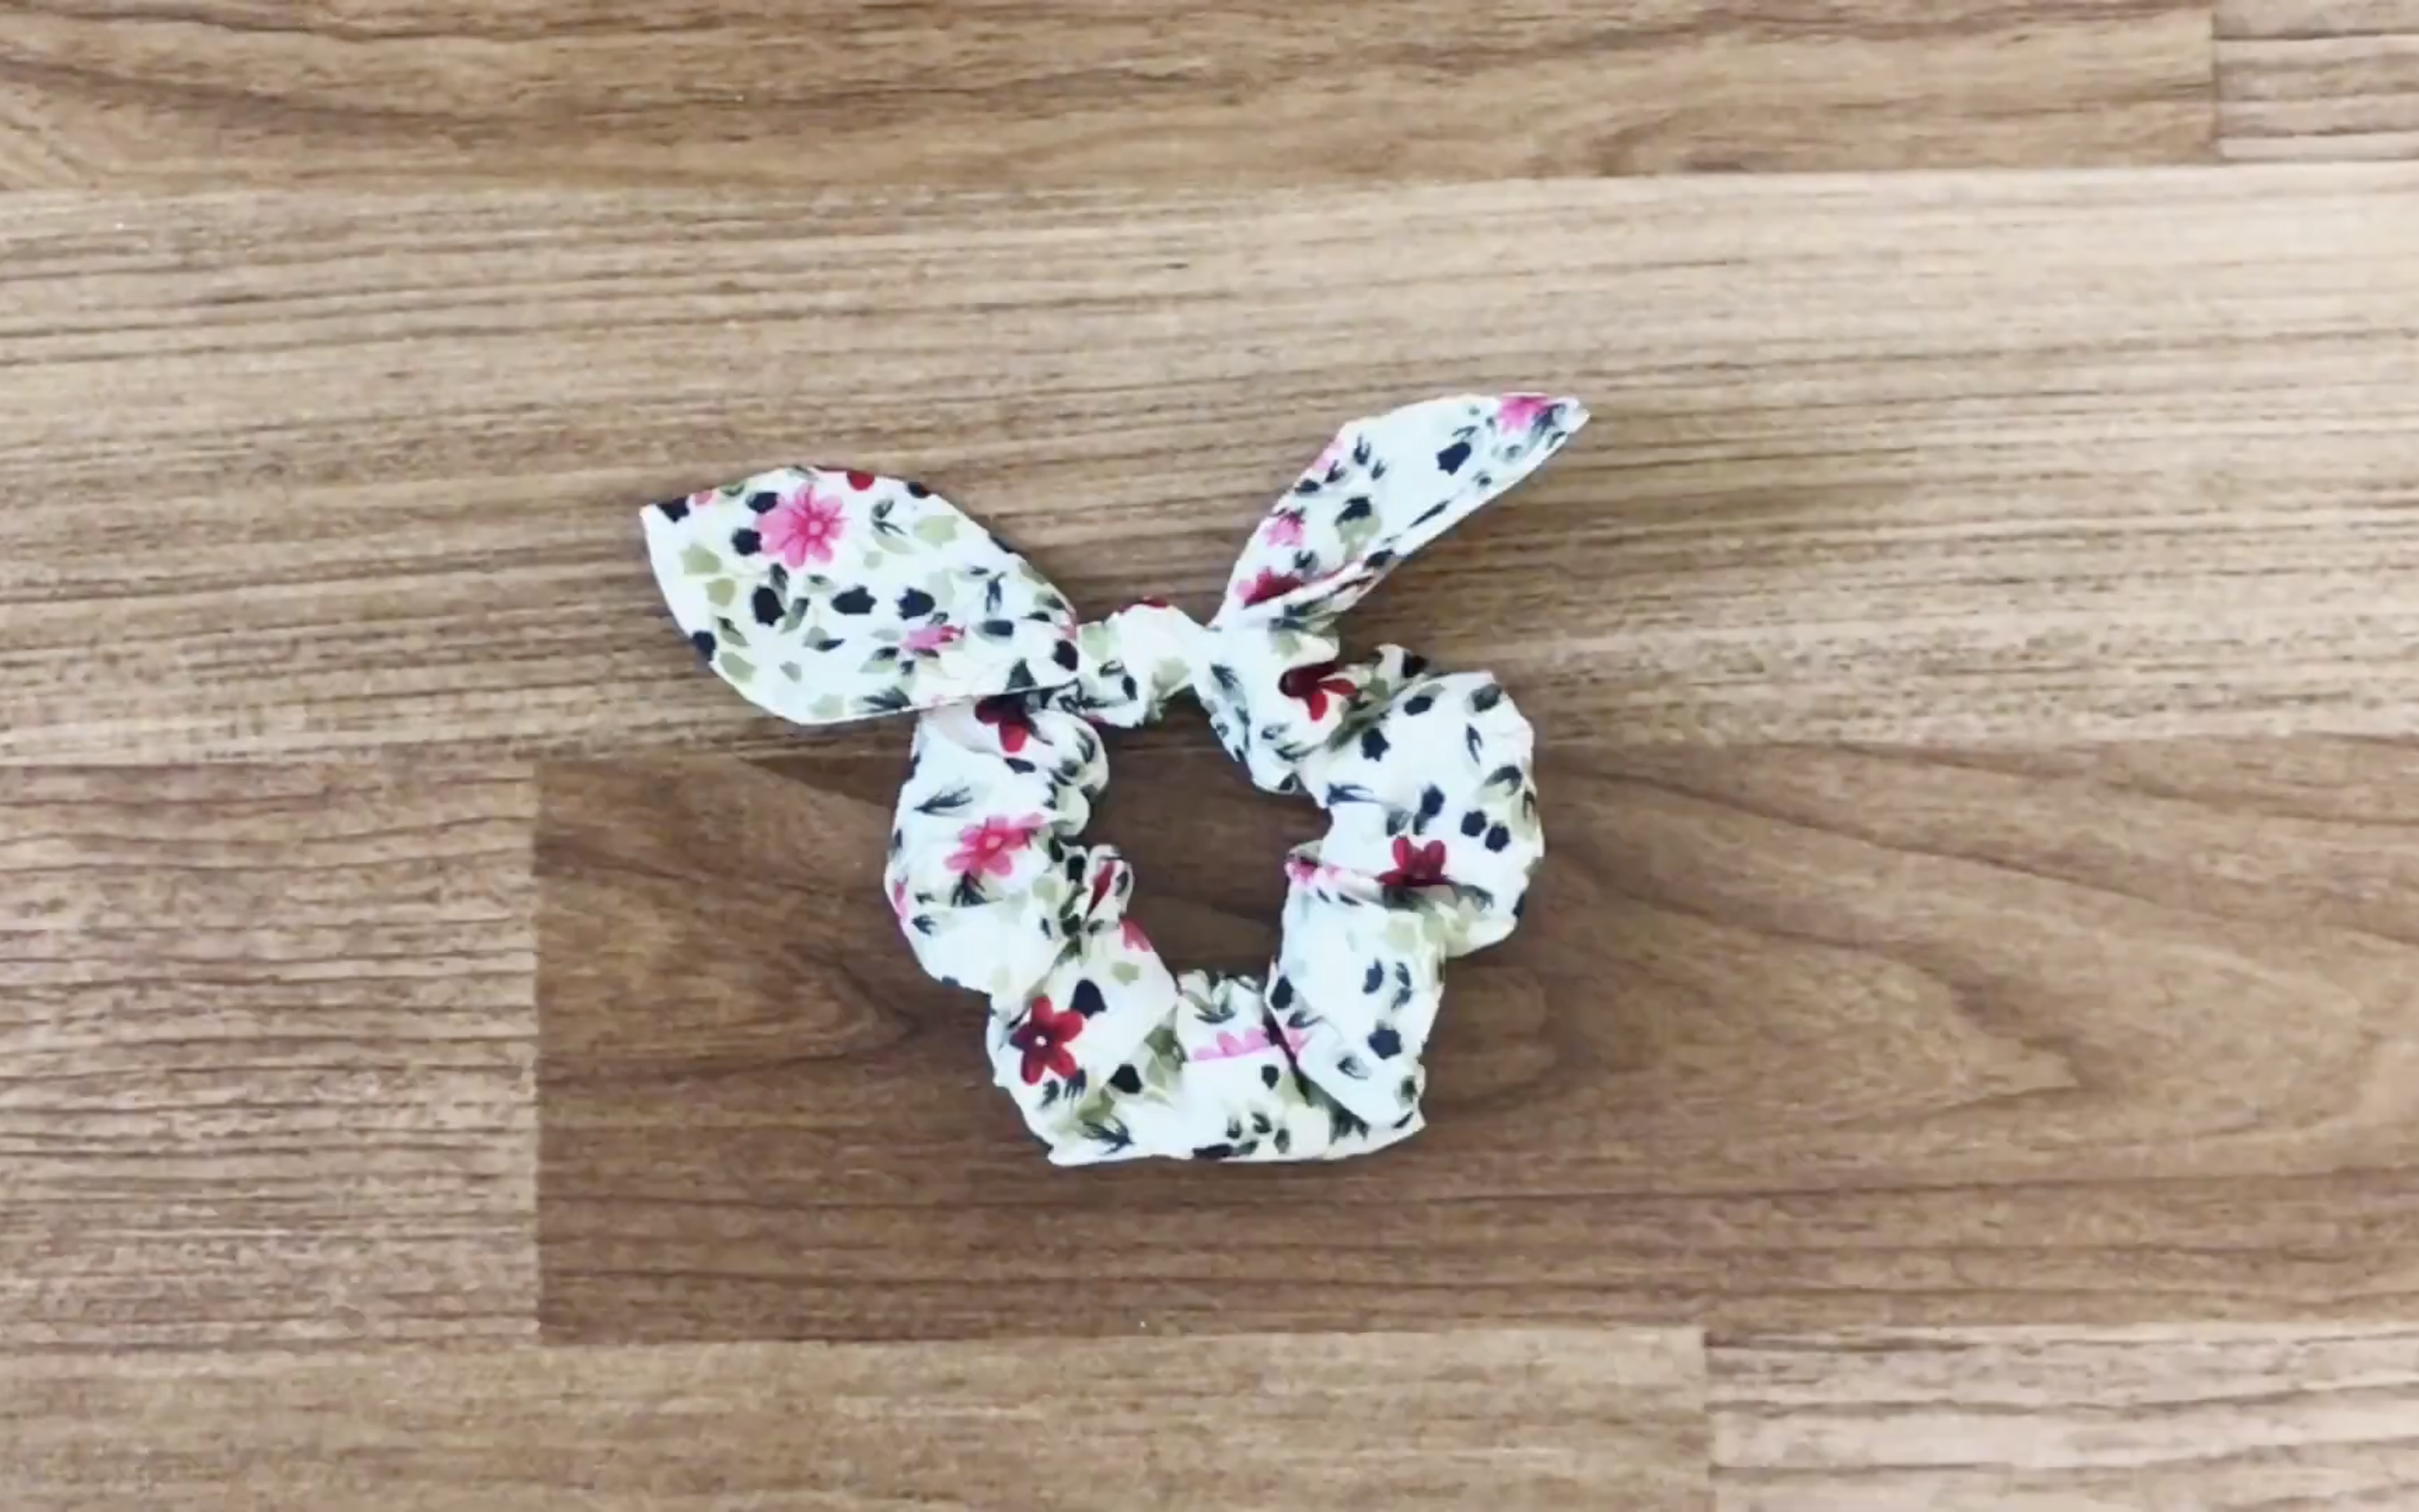
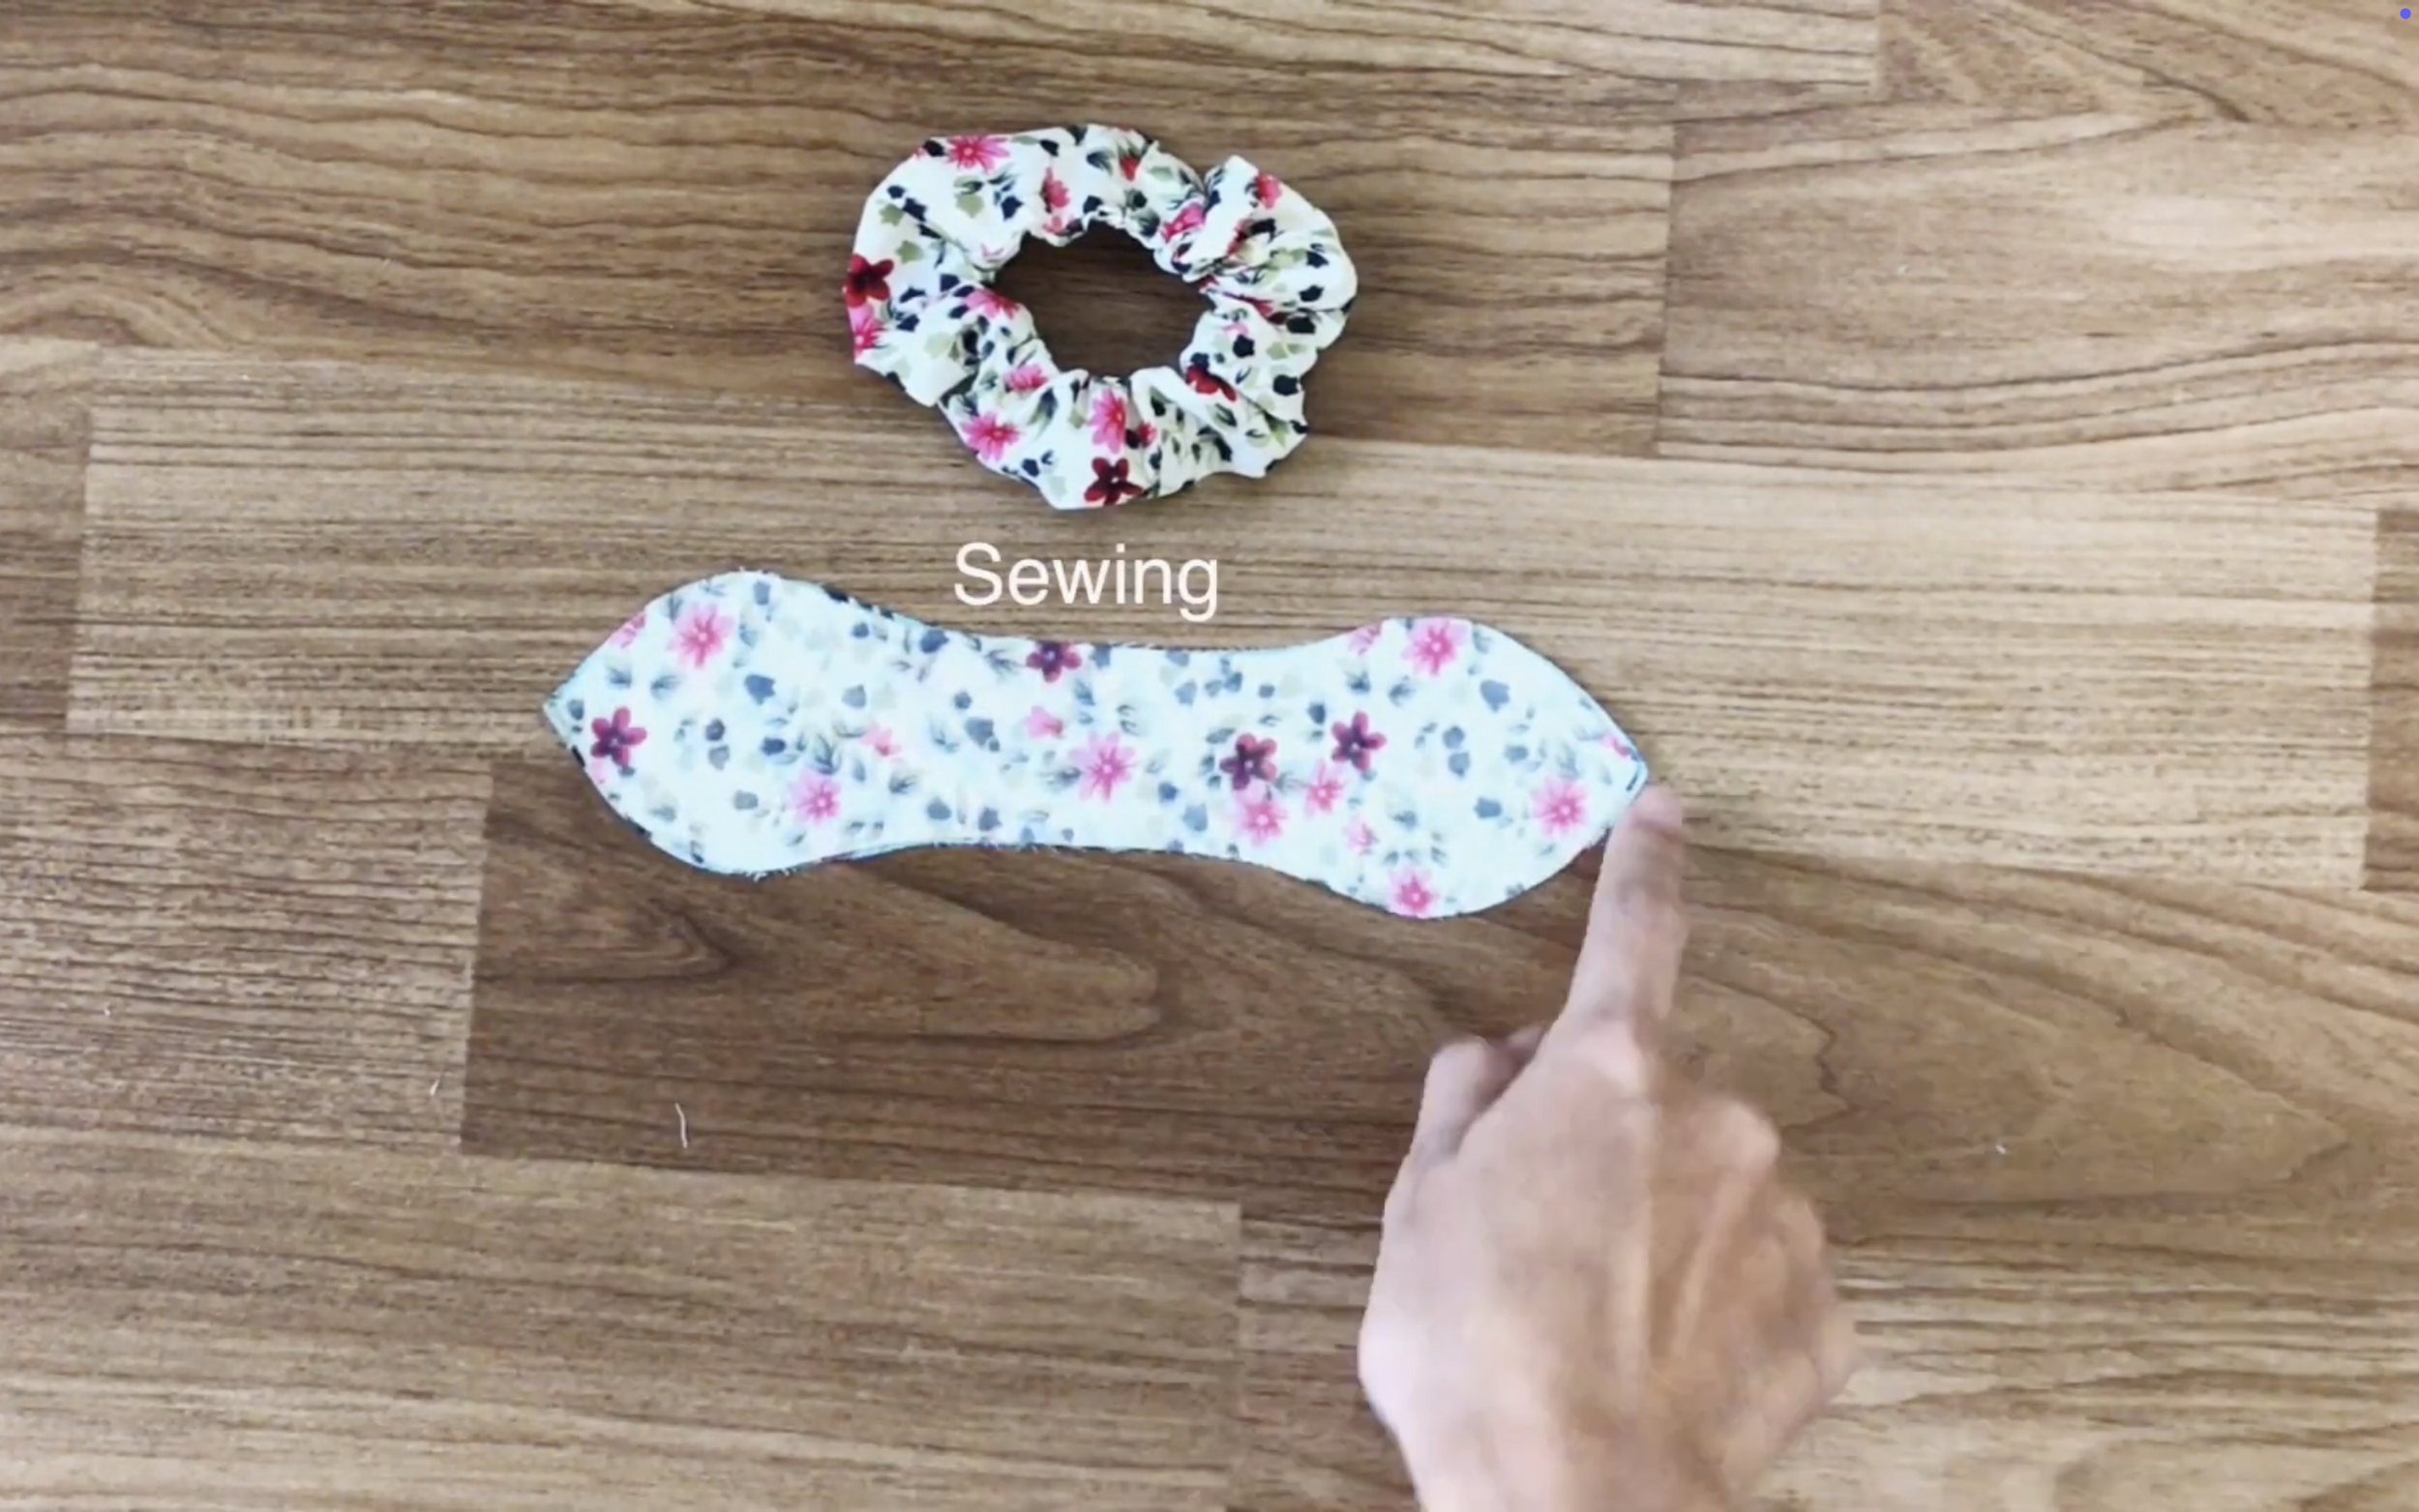
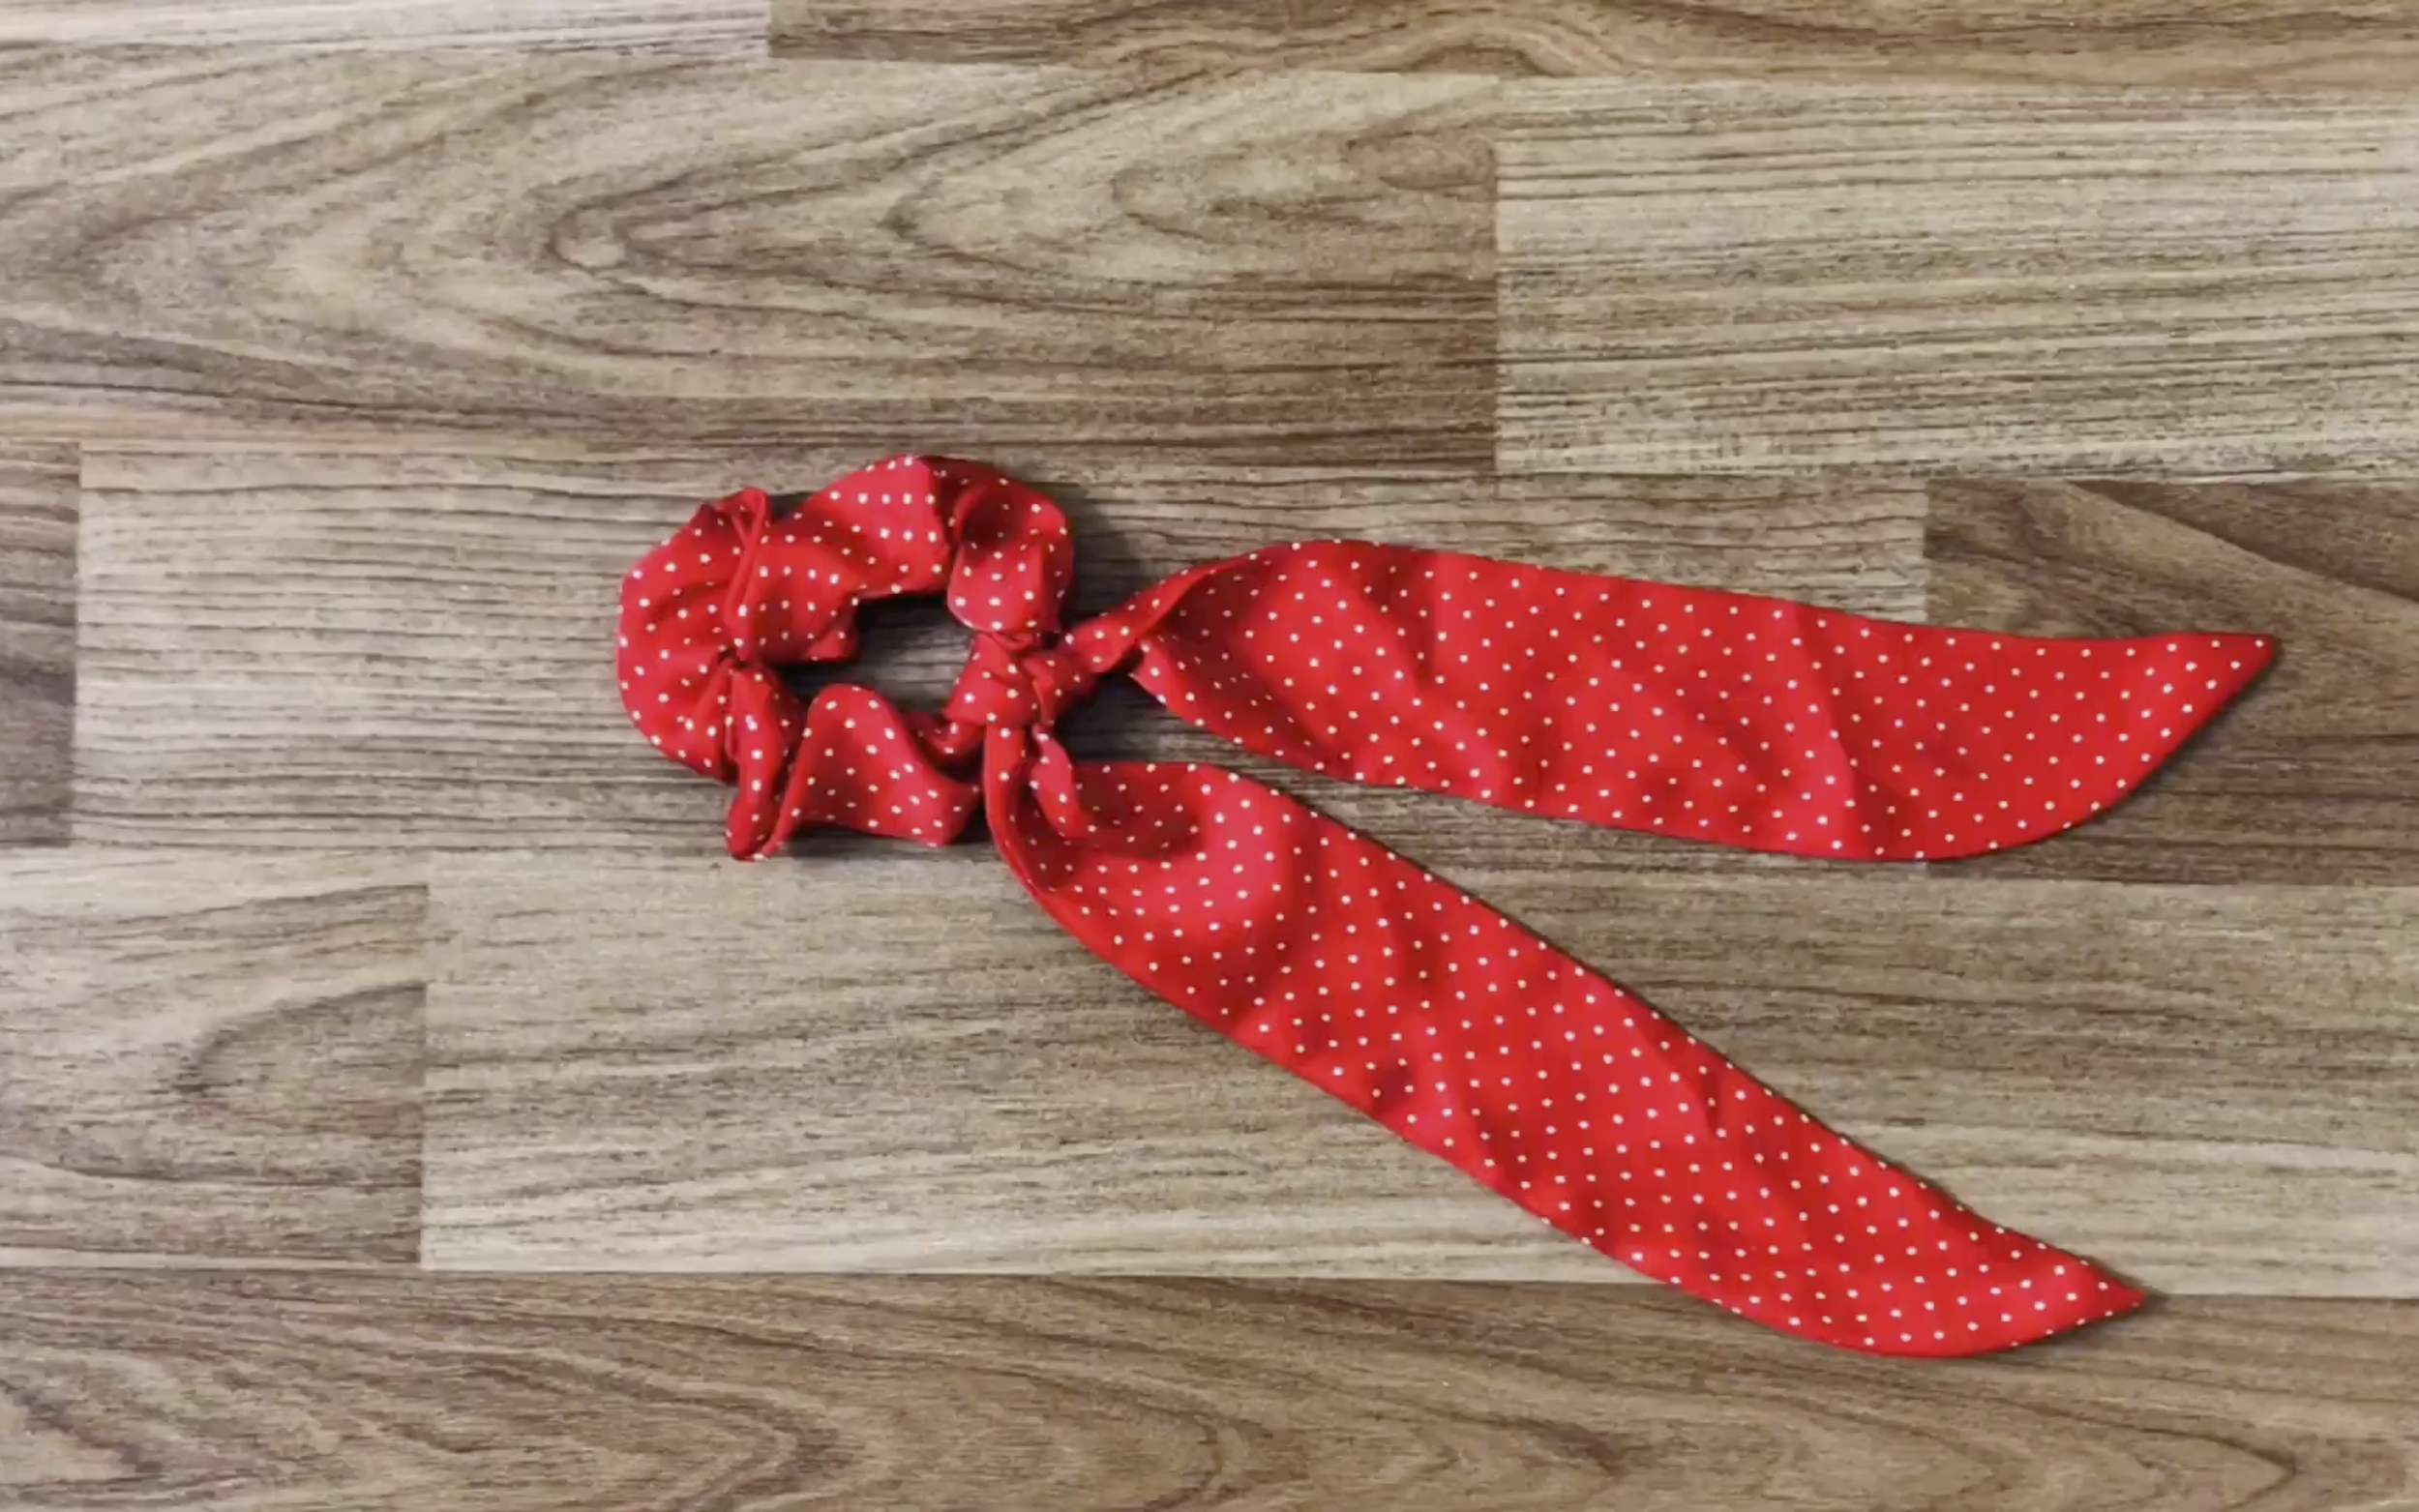
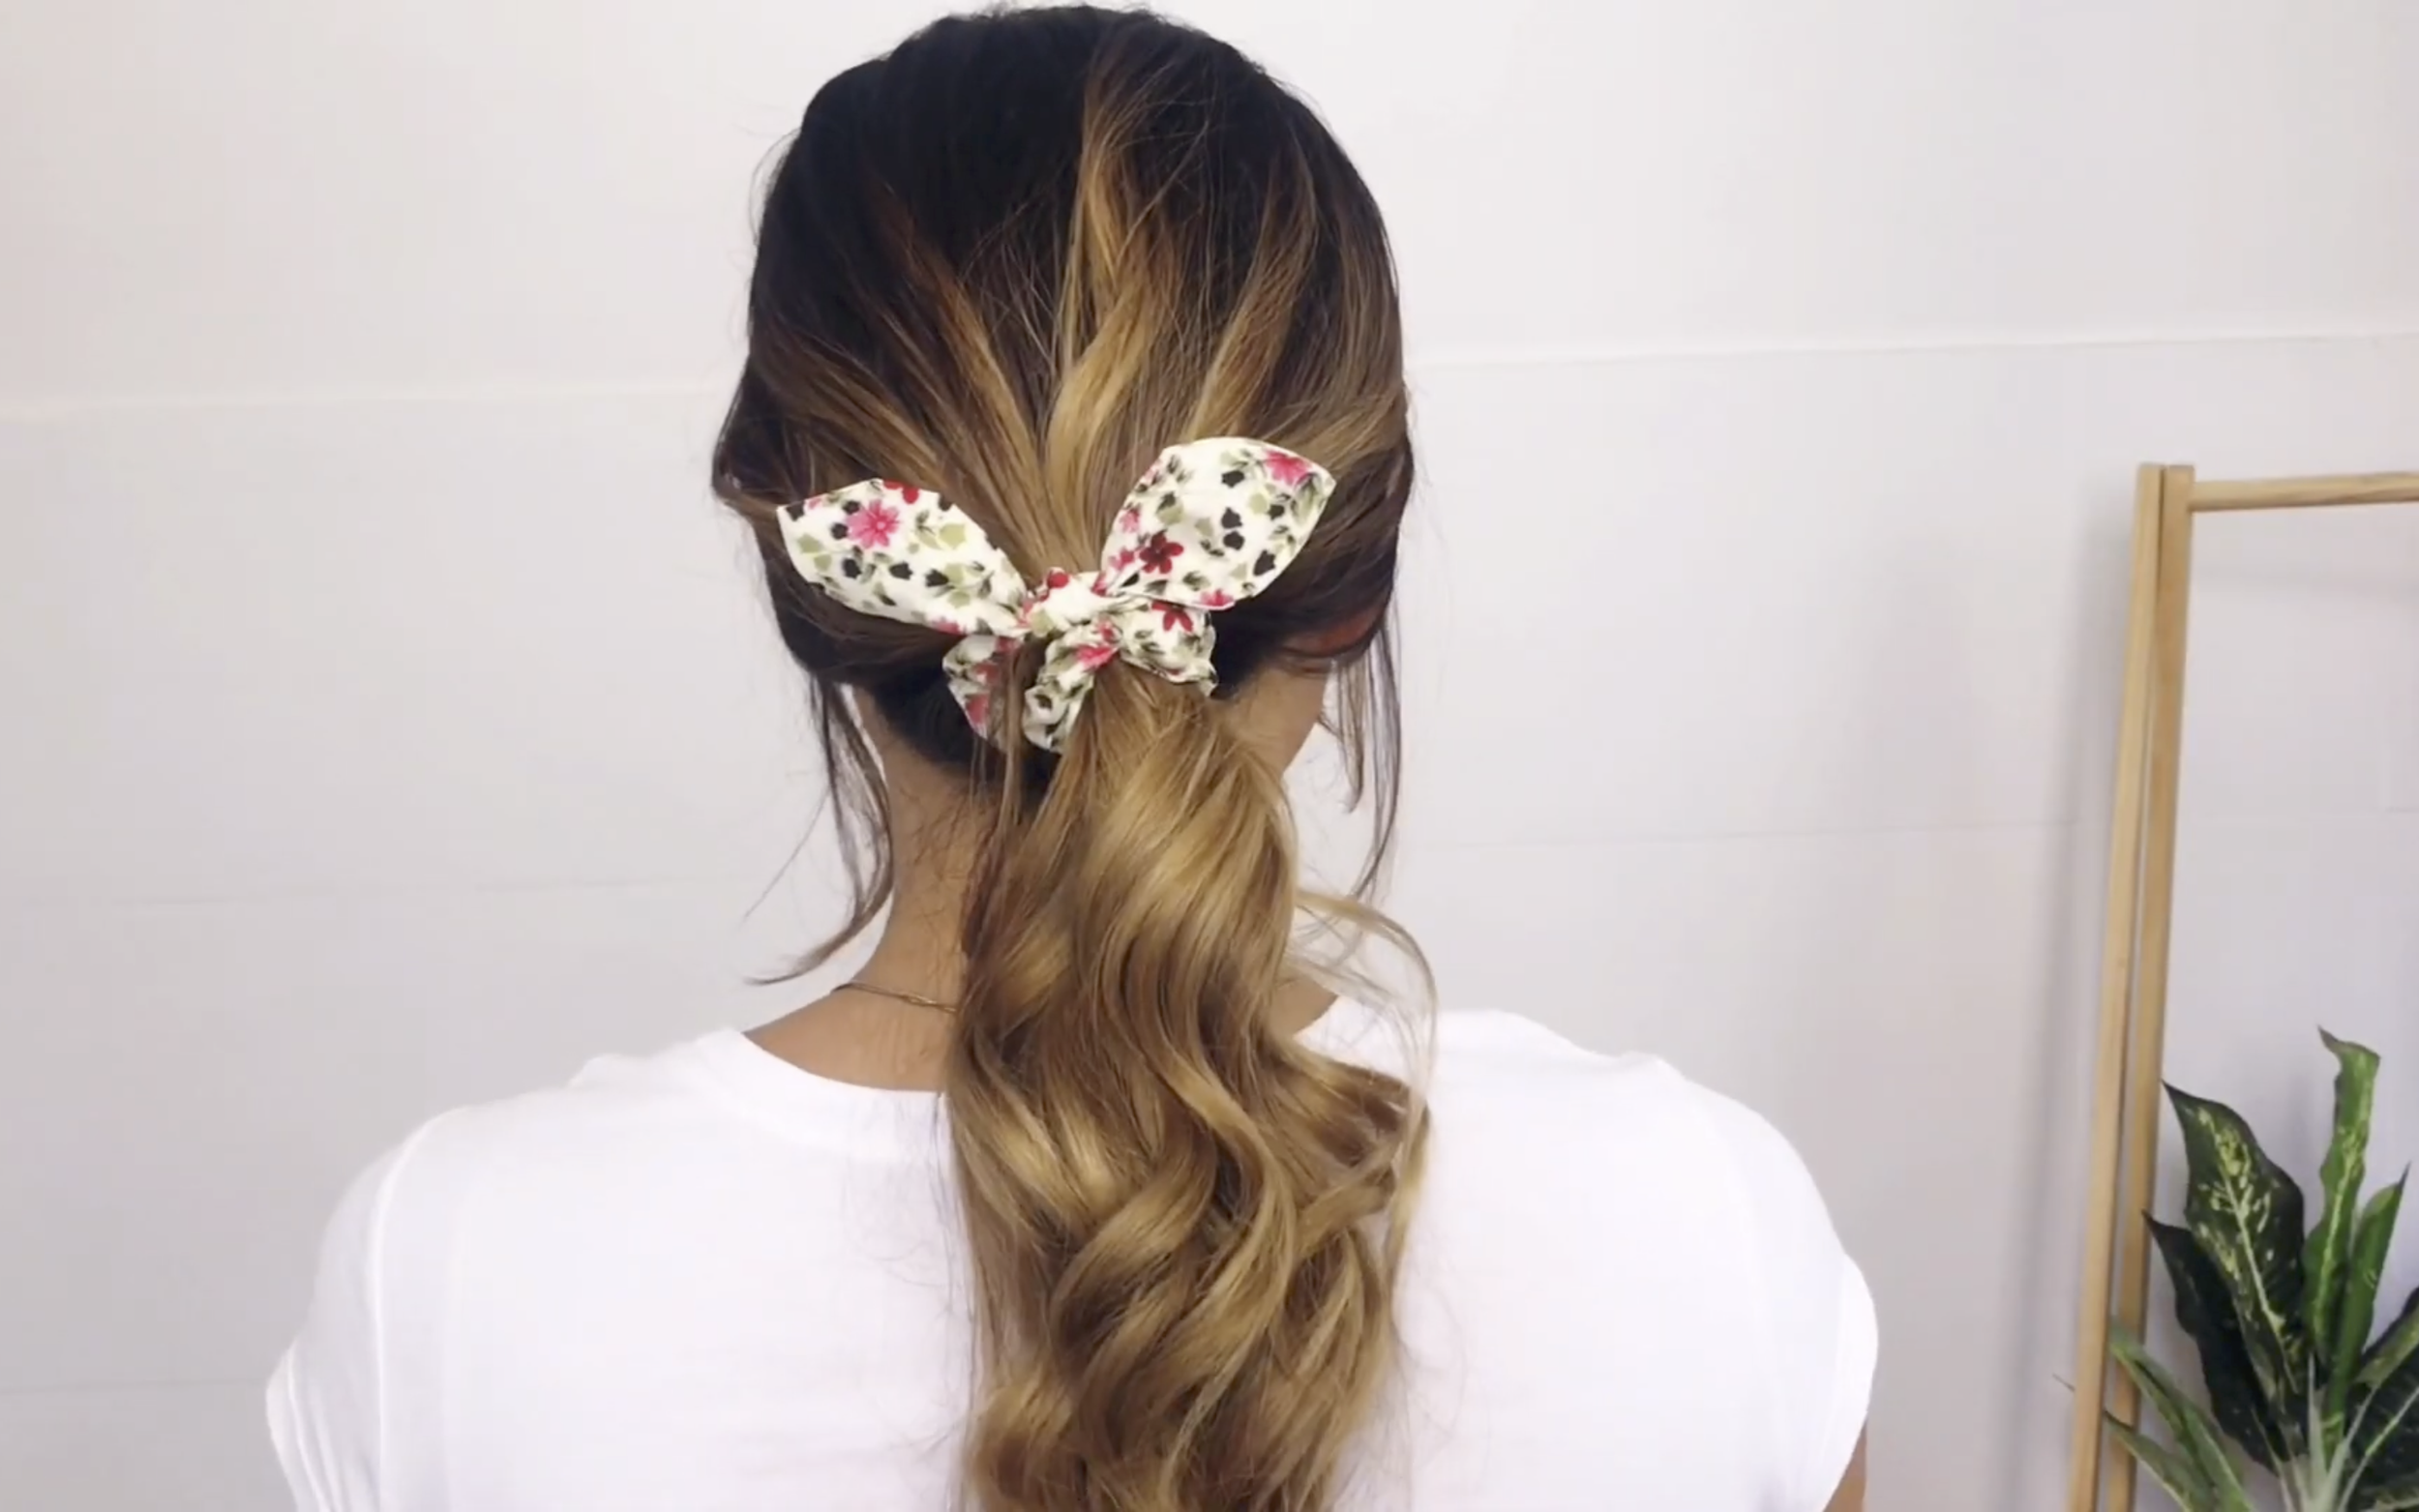
Tie the bow tie to the scrunchies to complete this DIY.
Here's how it looks.
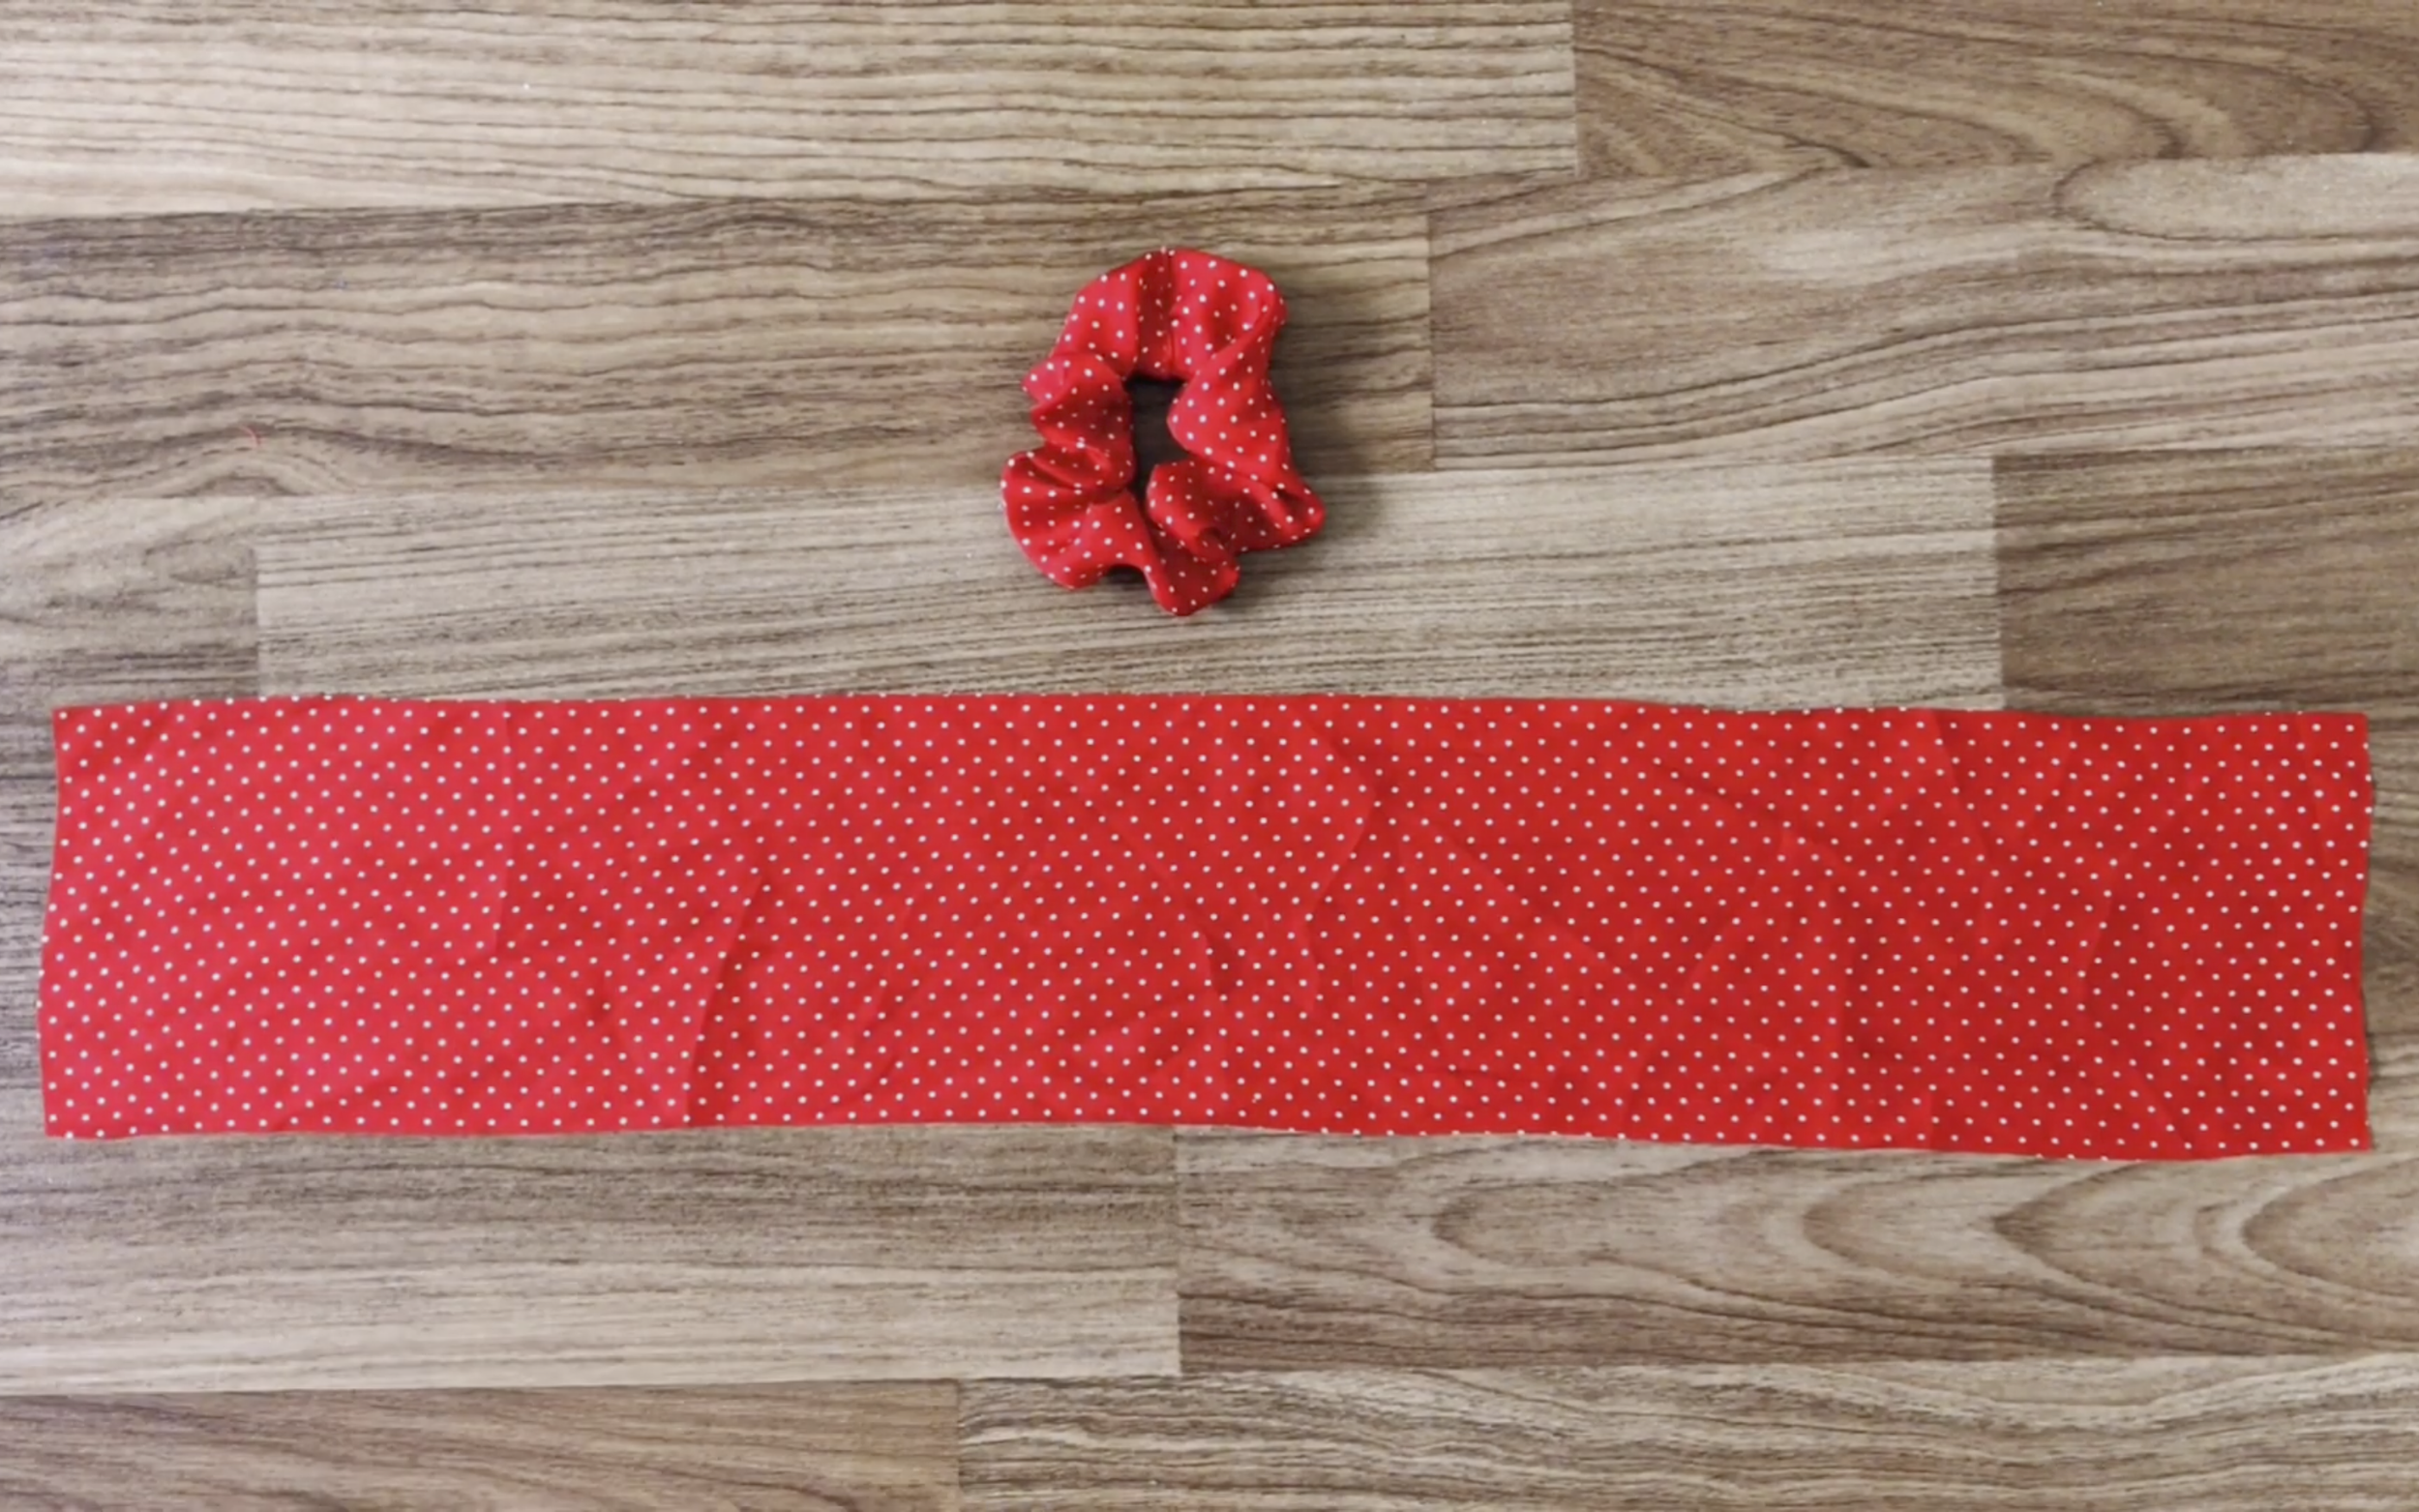
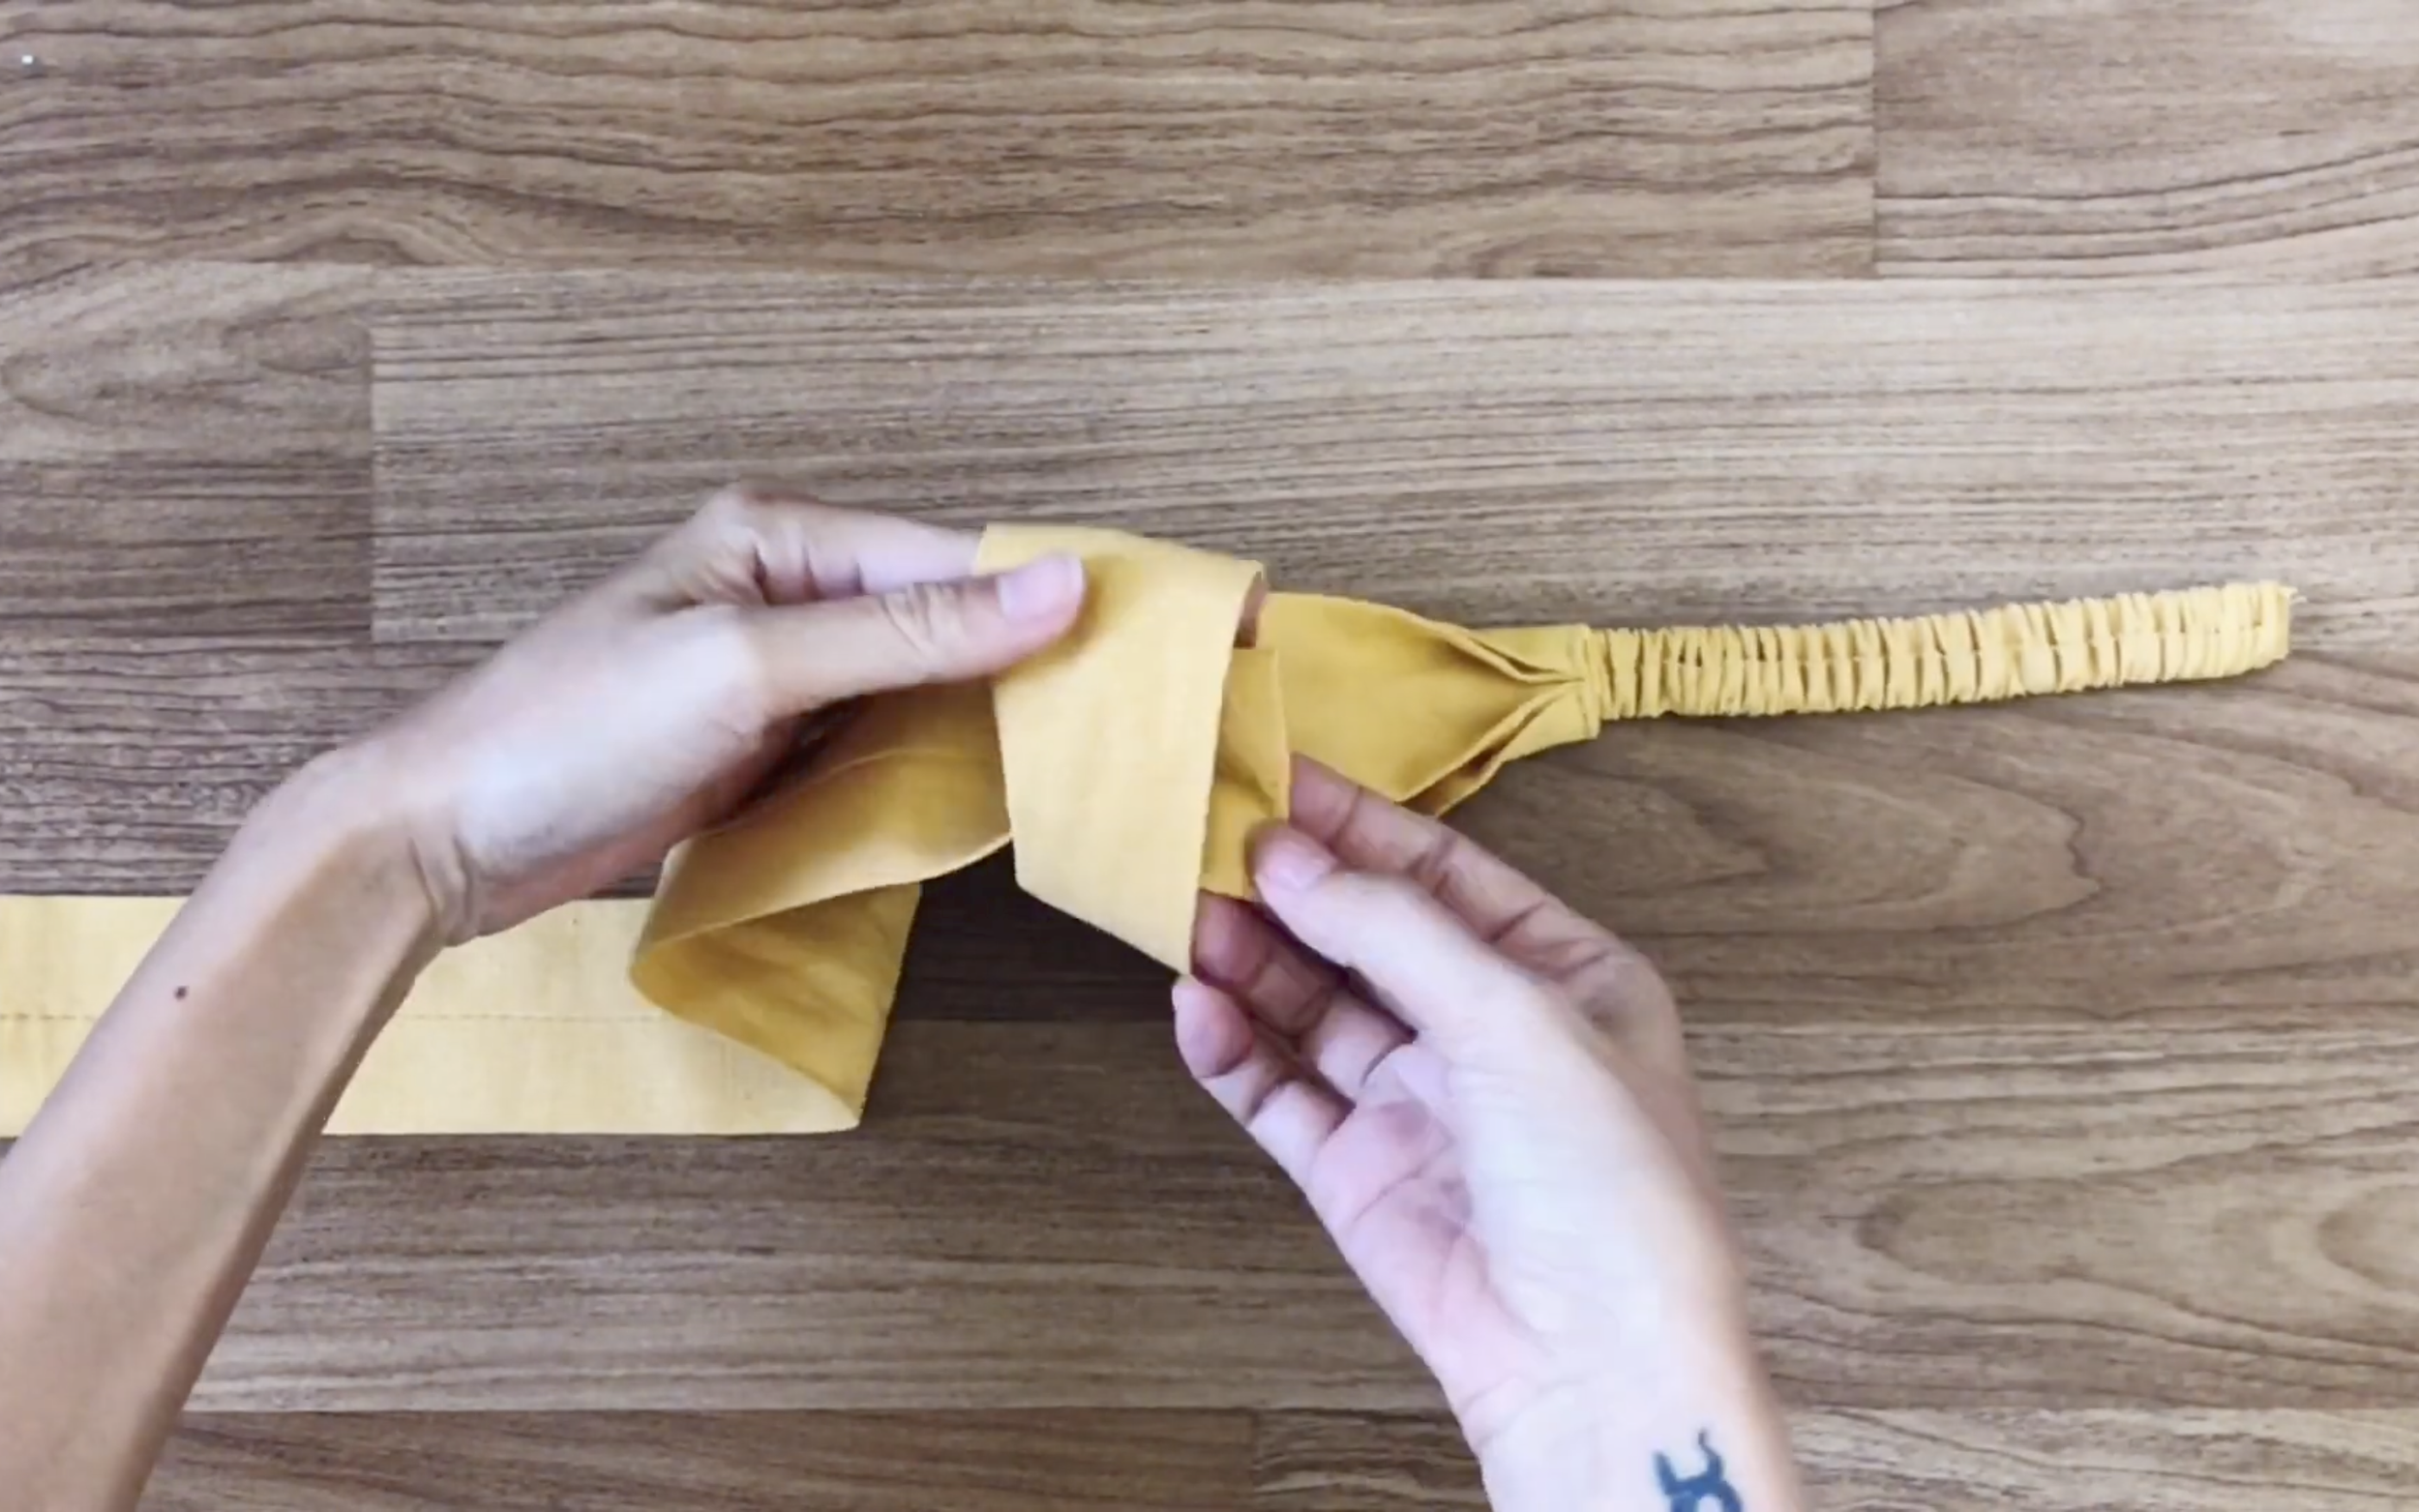
If a small bow tie isn’t preferred, create a long strap for the scrunchies by cutting a rectangle with 60 cm length and 11 cm width.
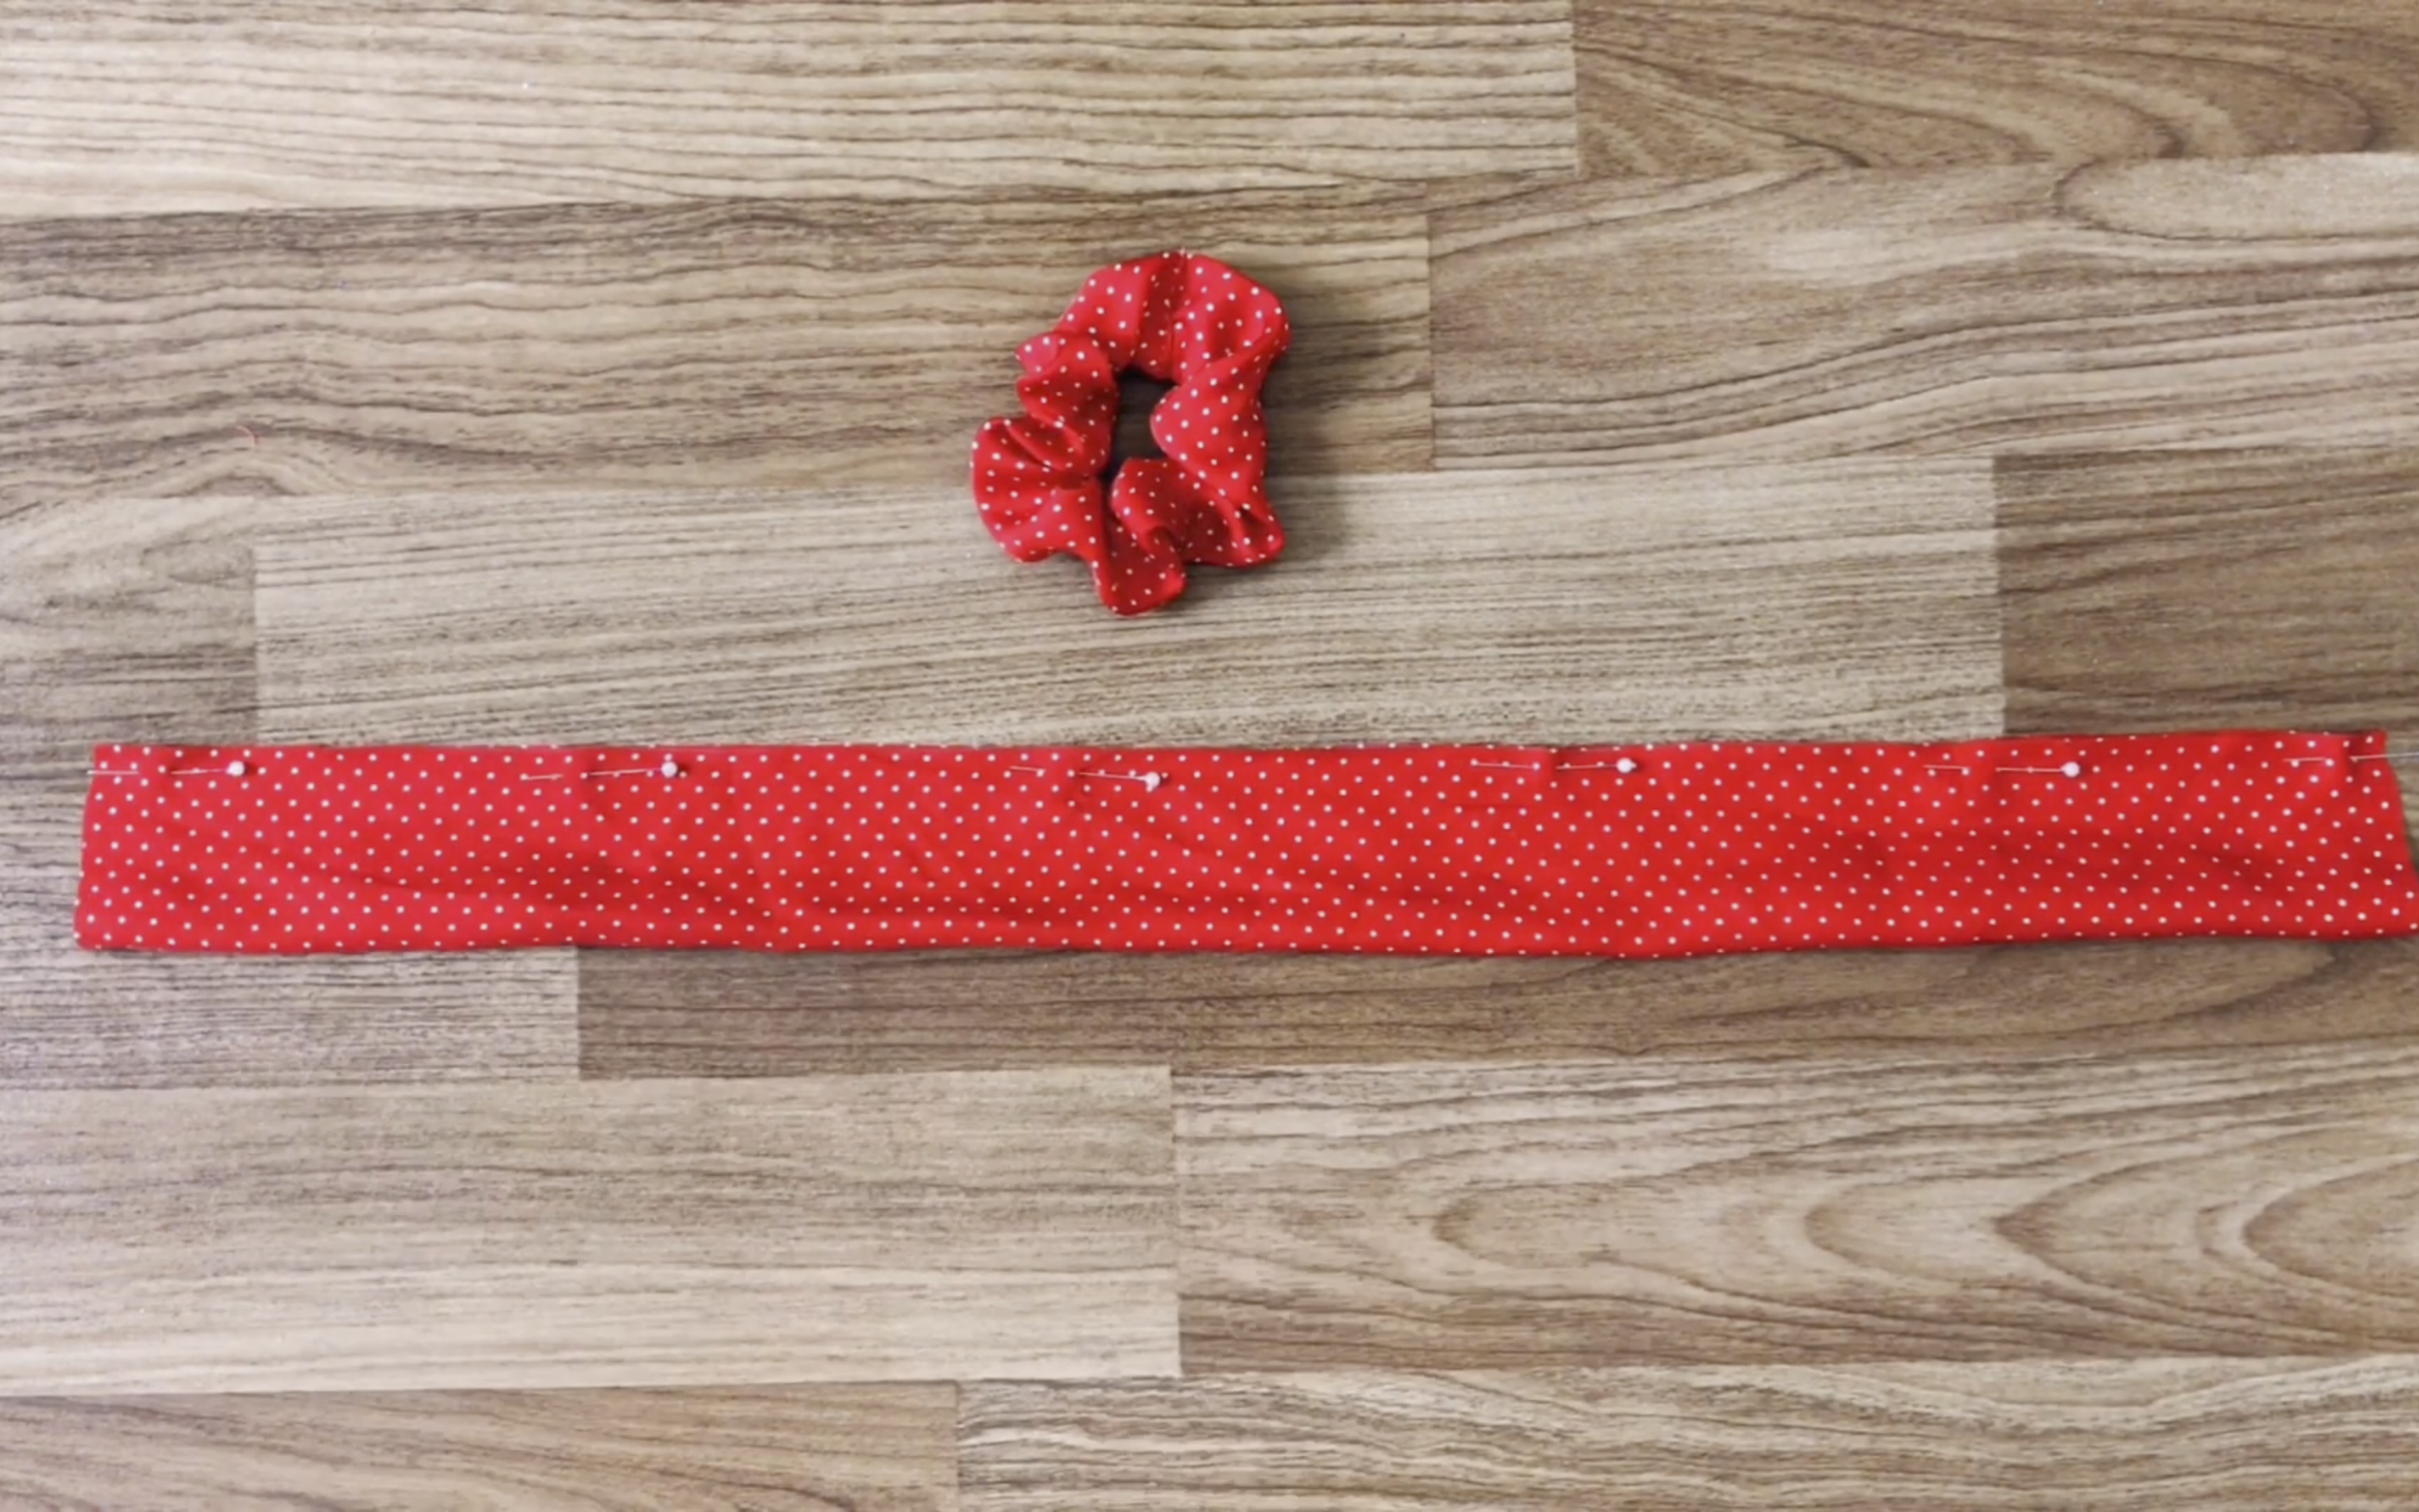
Fold the two sides of the rectangle together and pin them.
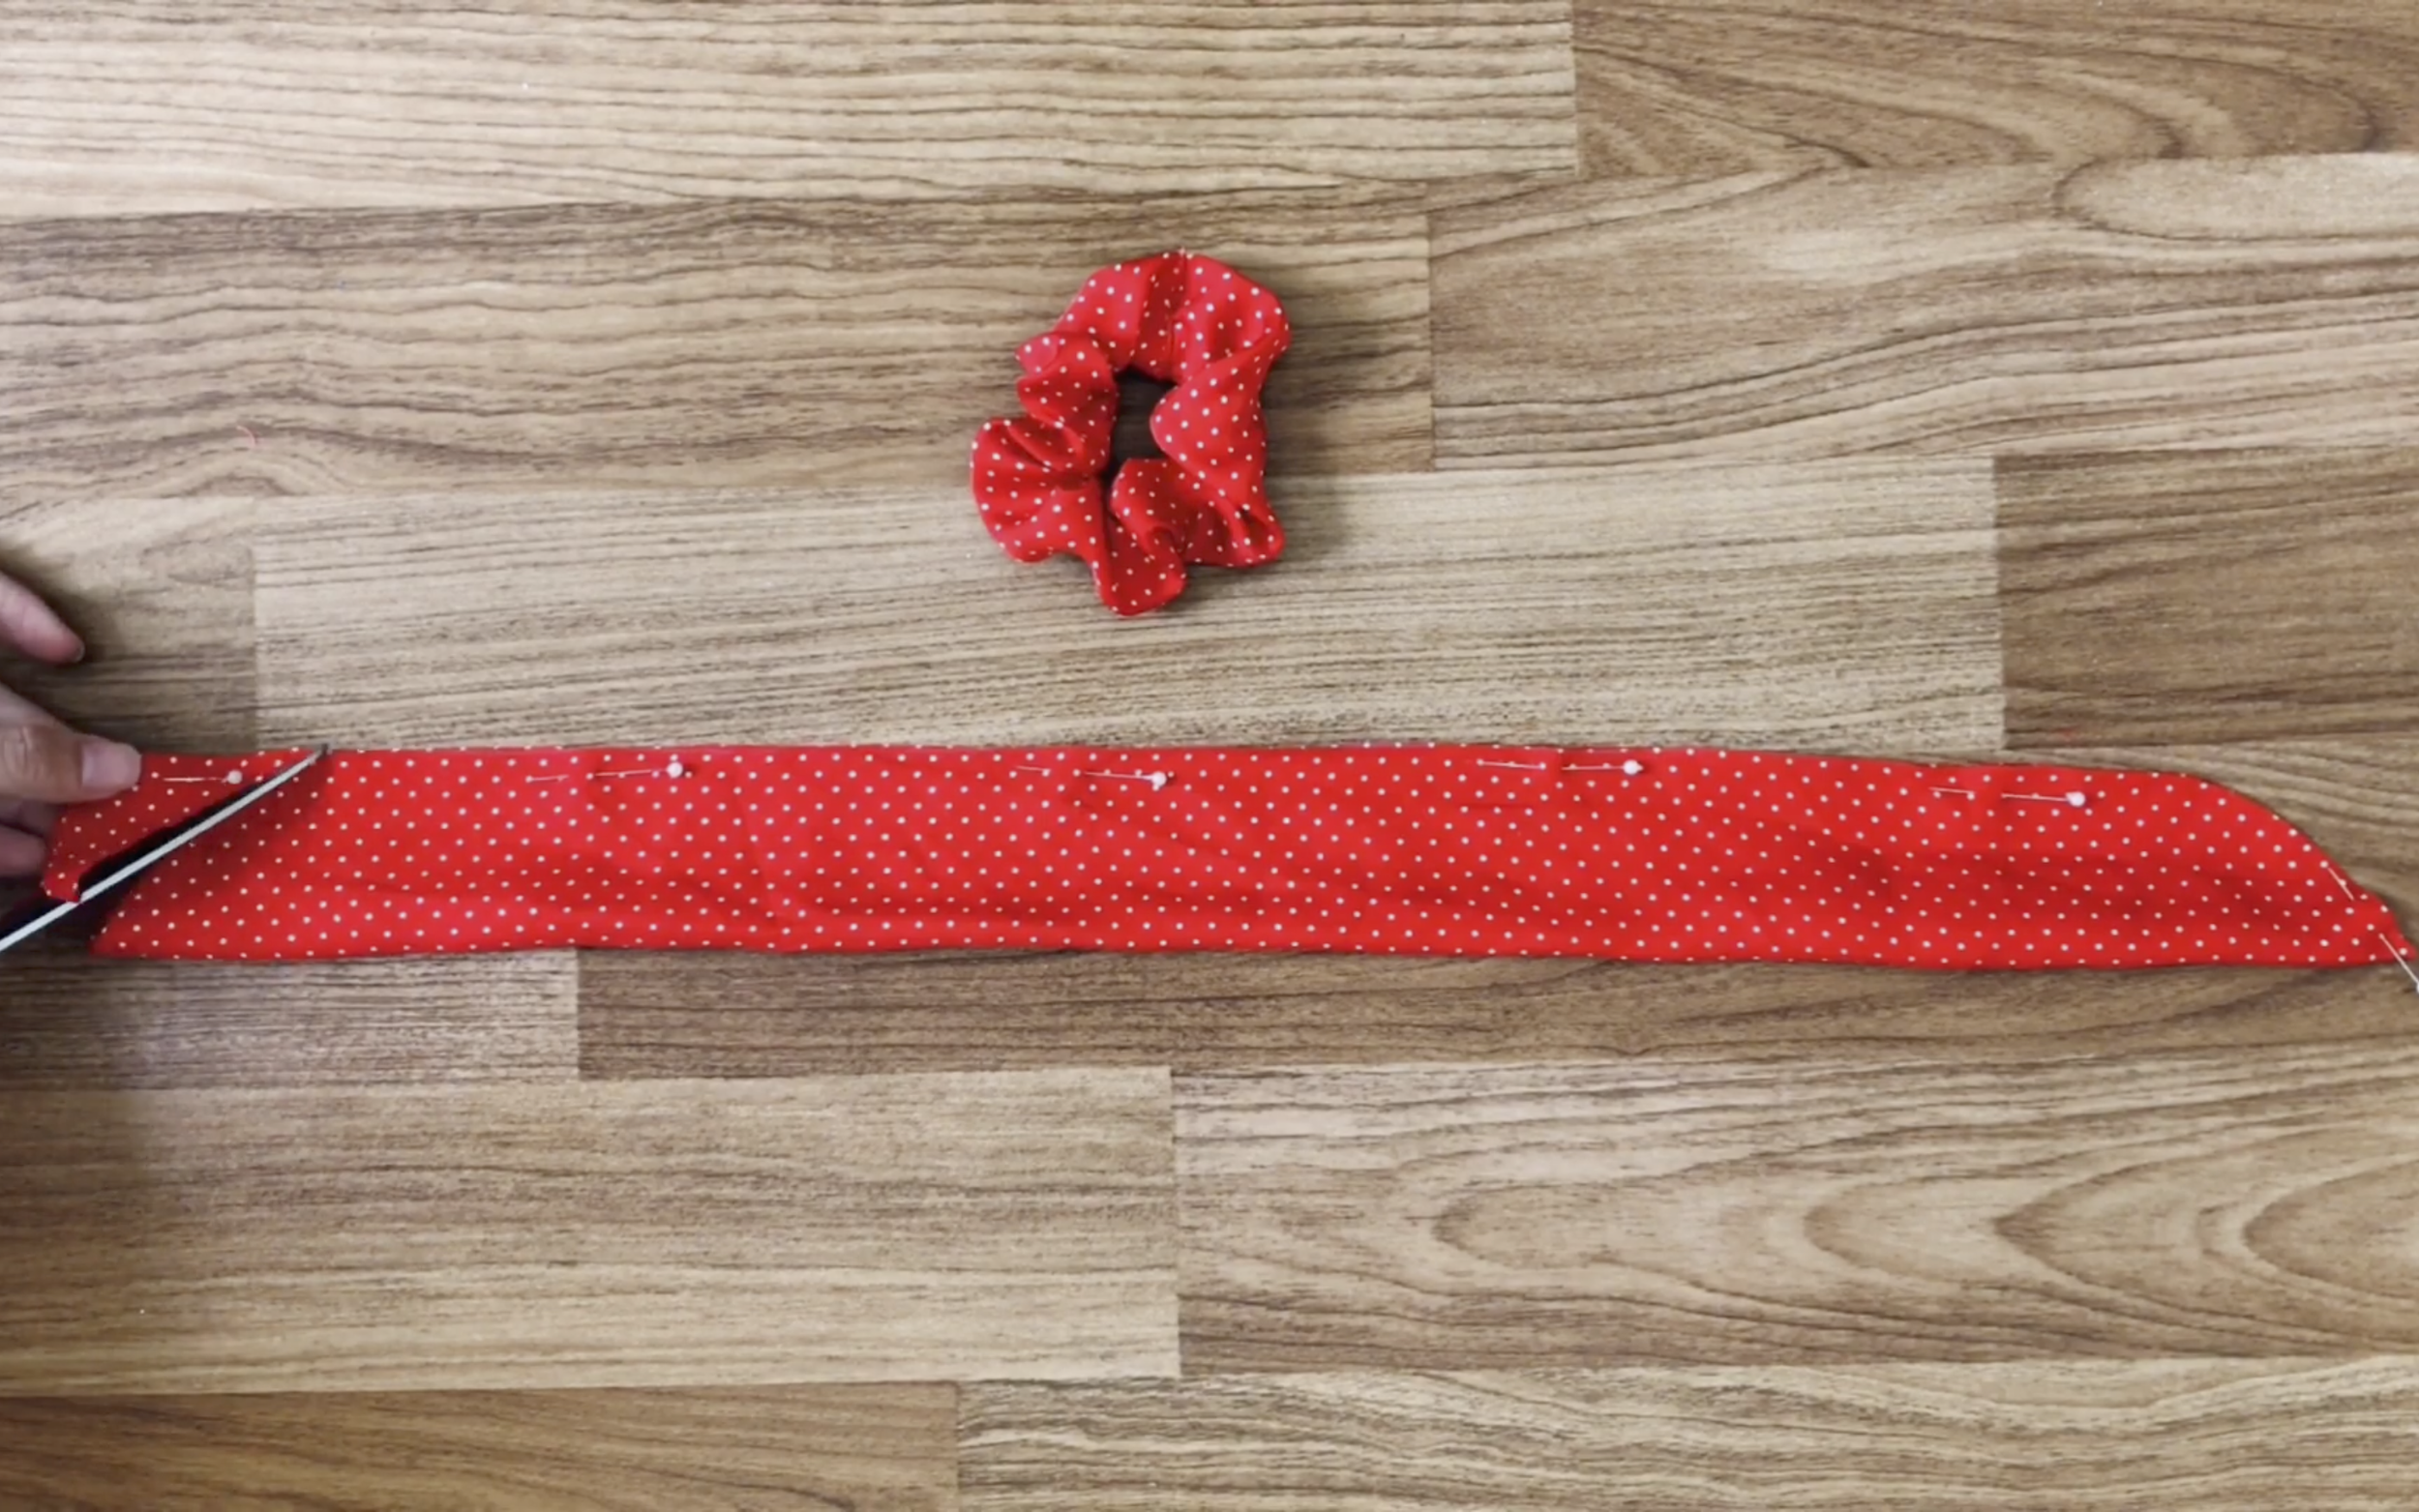
Cut a small curve at both ends of the rectangle.
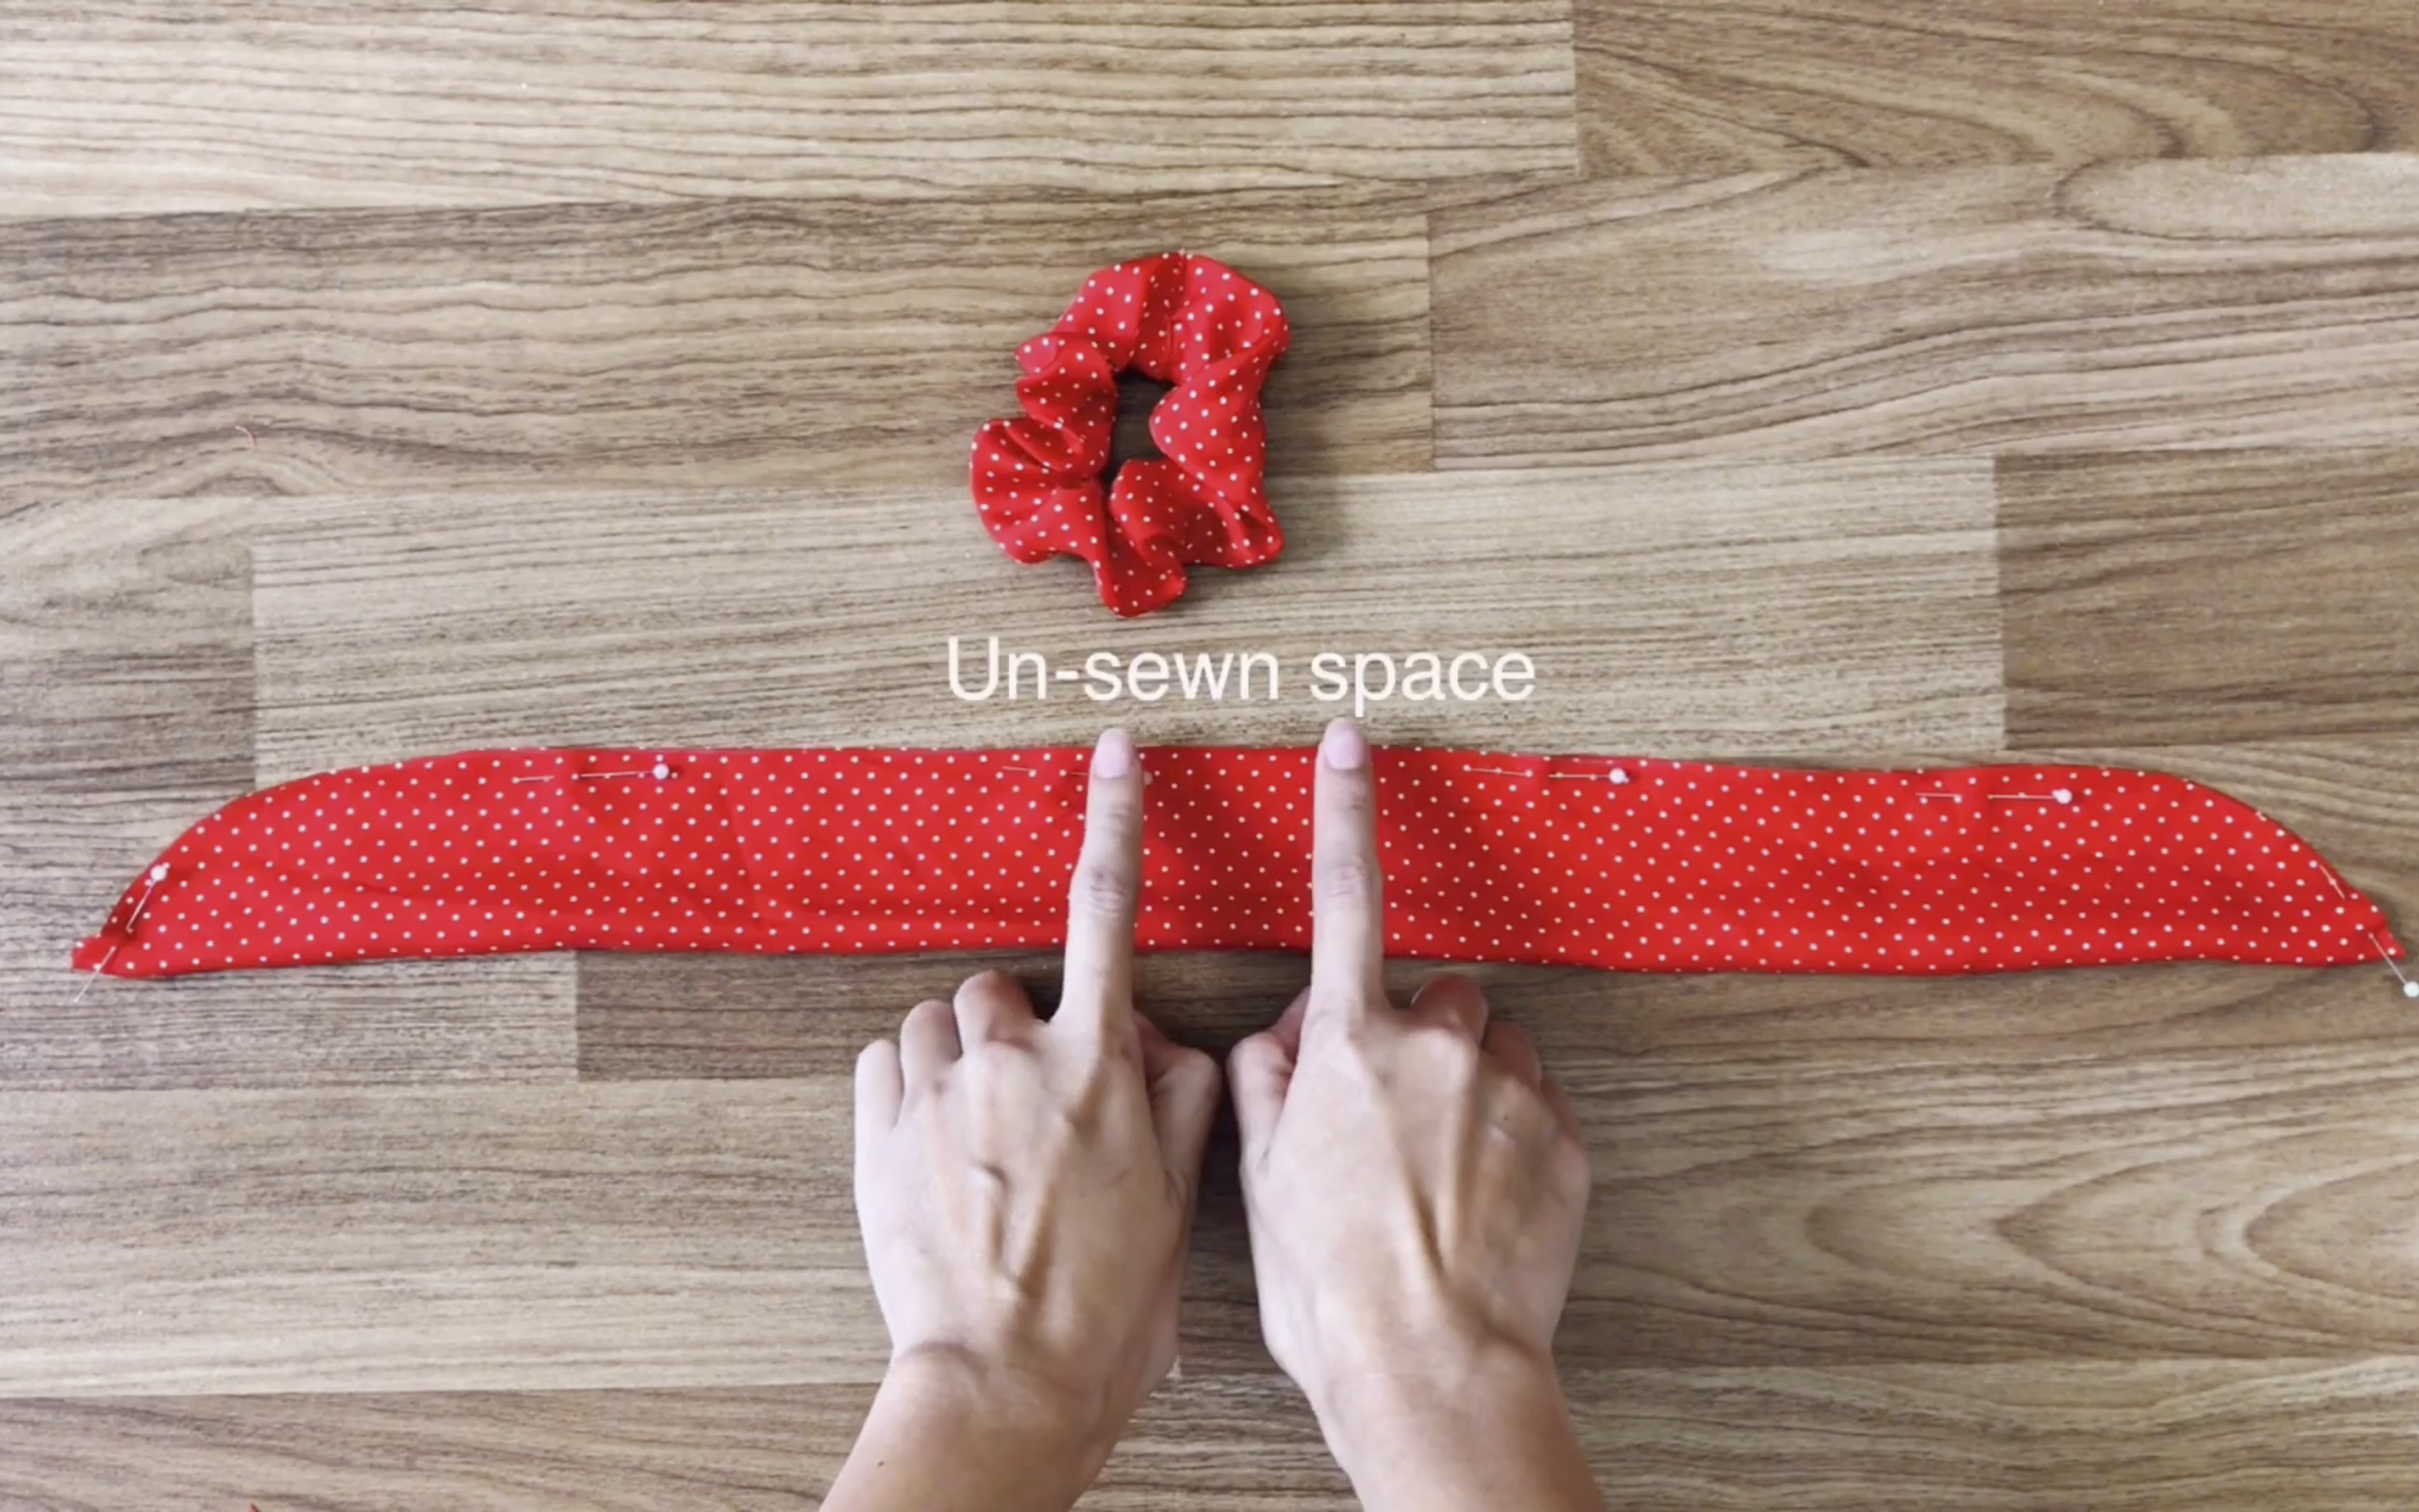
Sew along the cutting line, keeping a small unsewn space to turn it inside out.
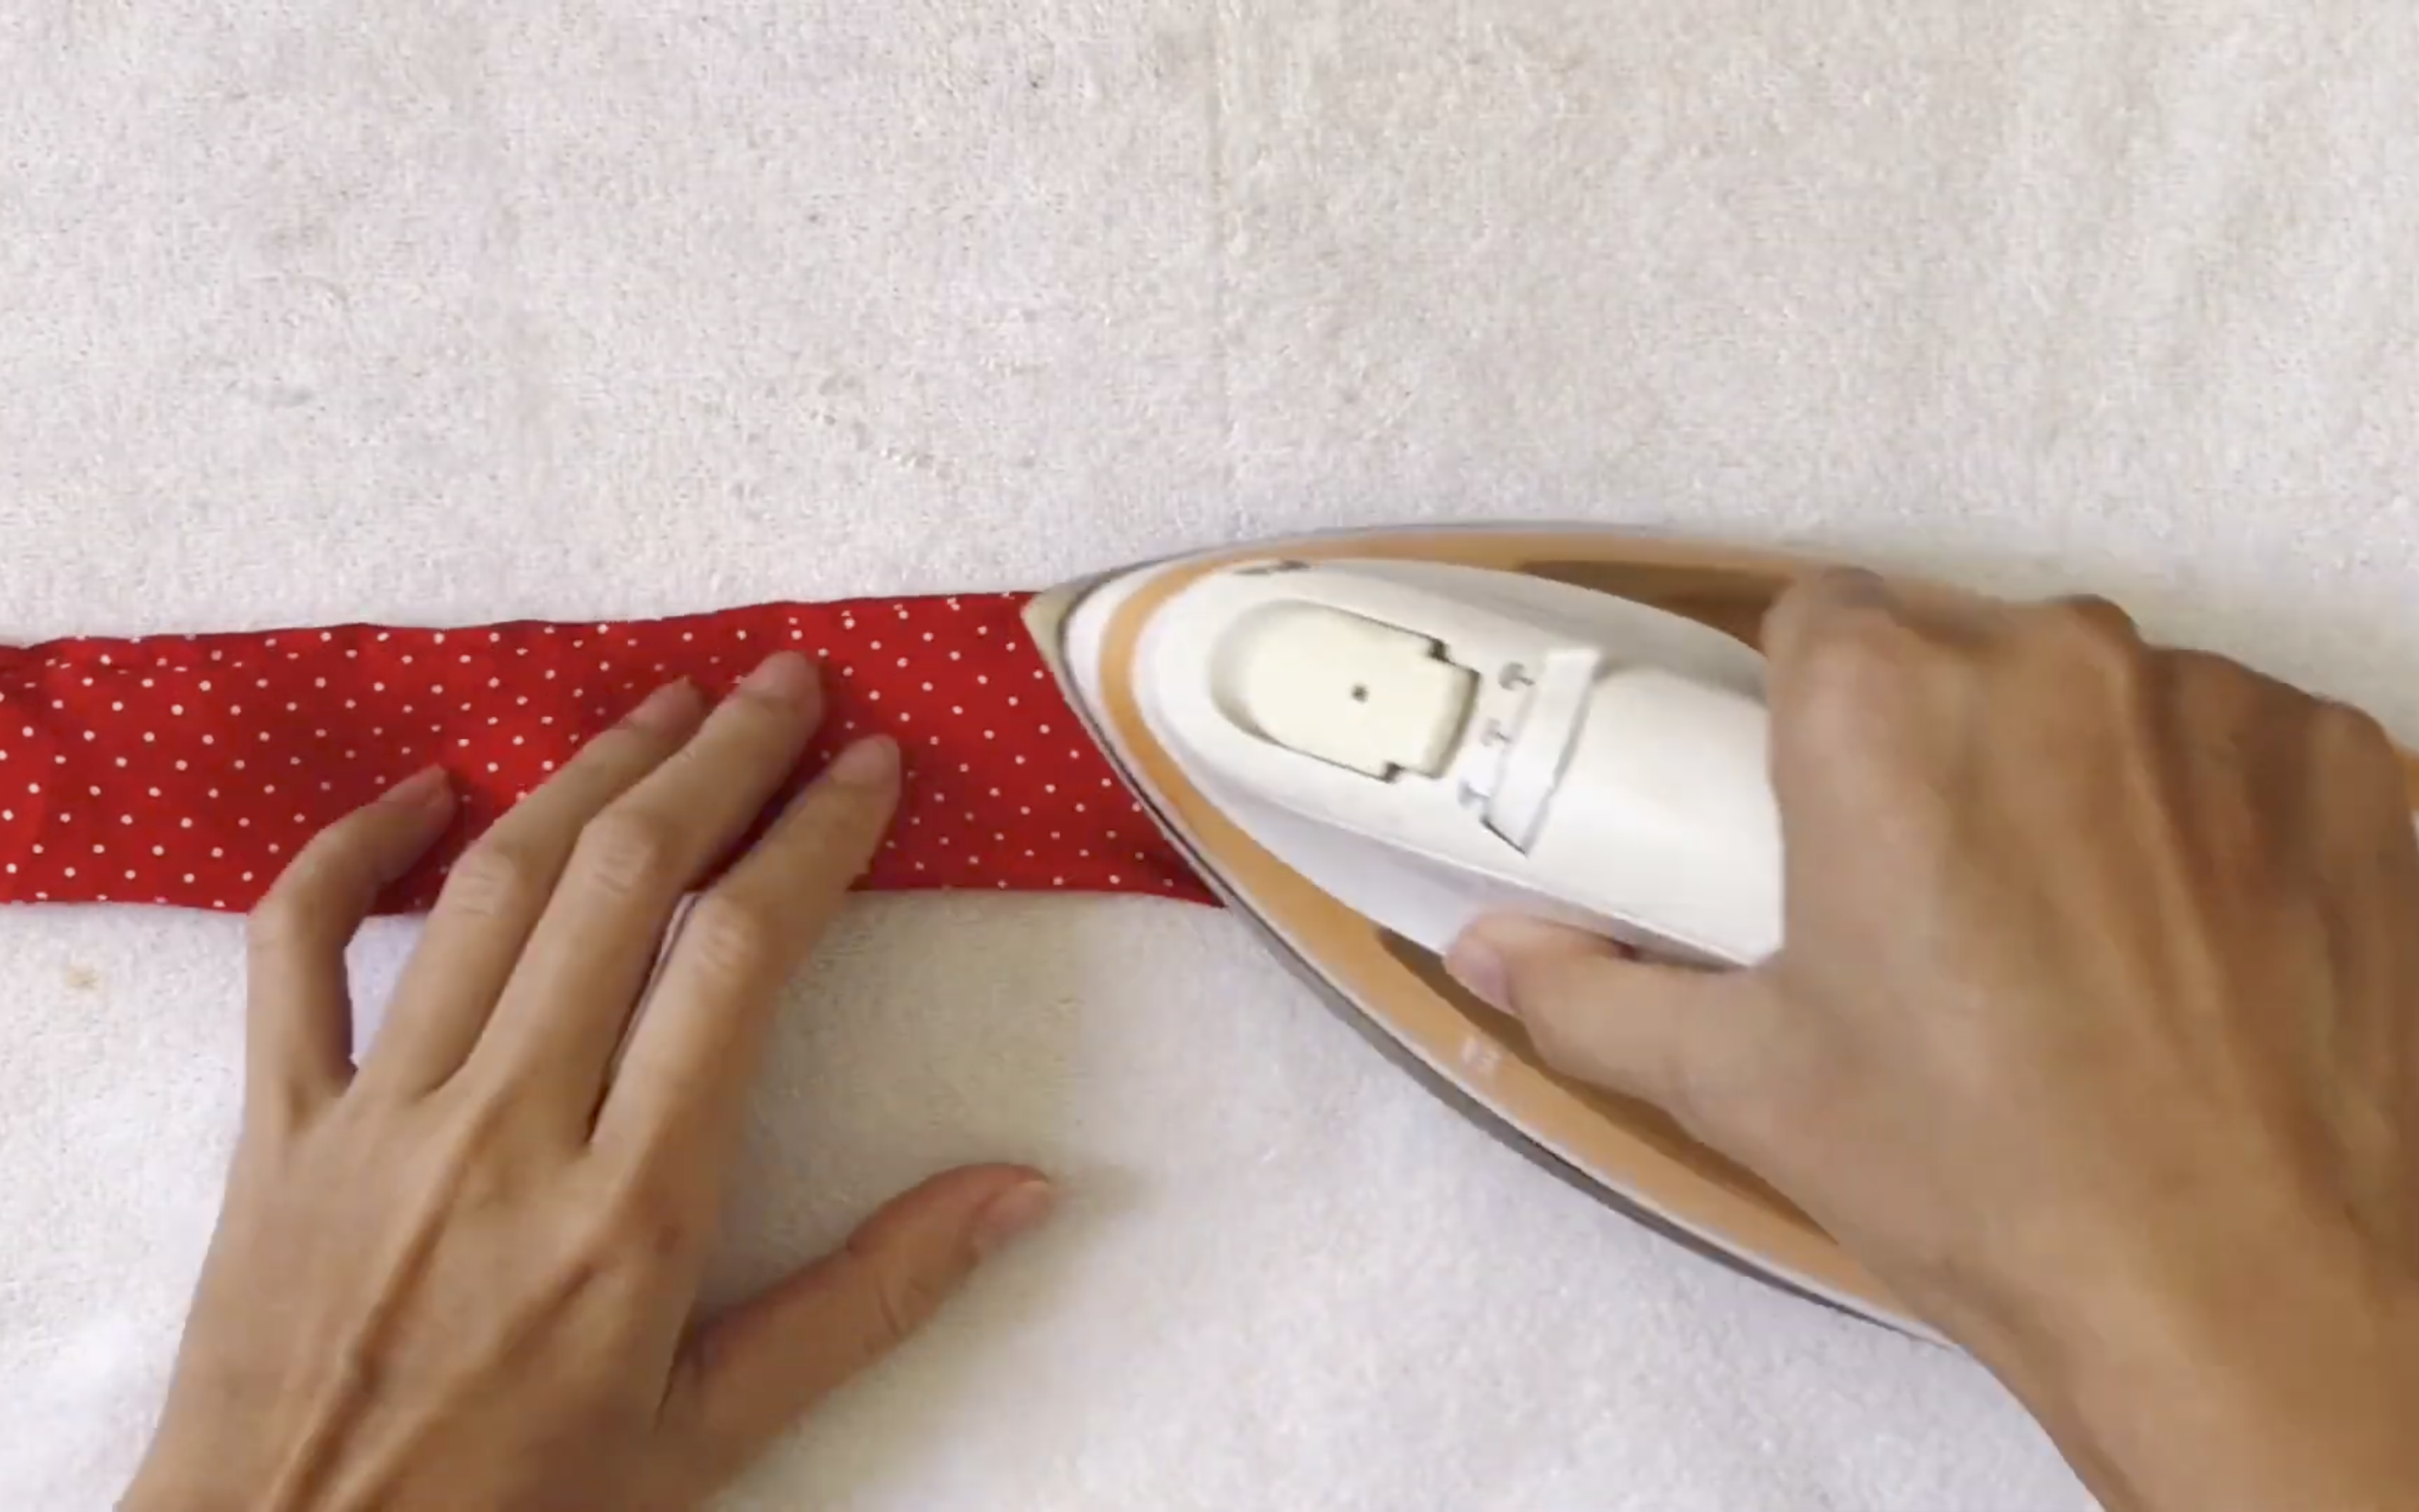
After turning the strap inside out, iron to make it neat.
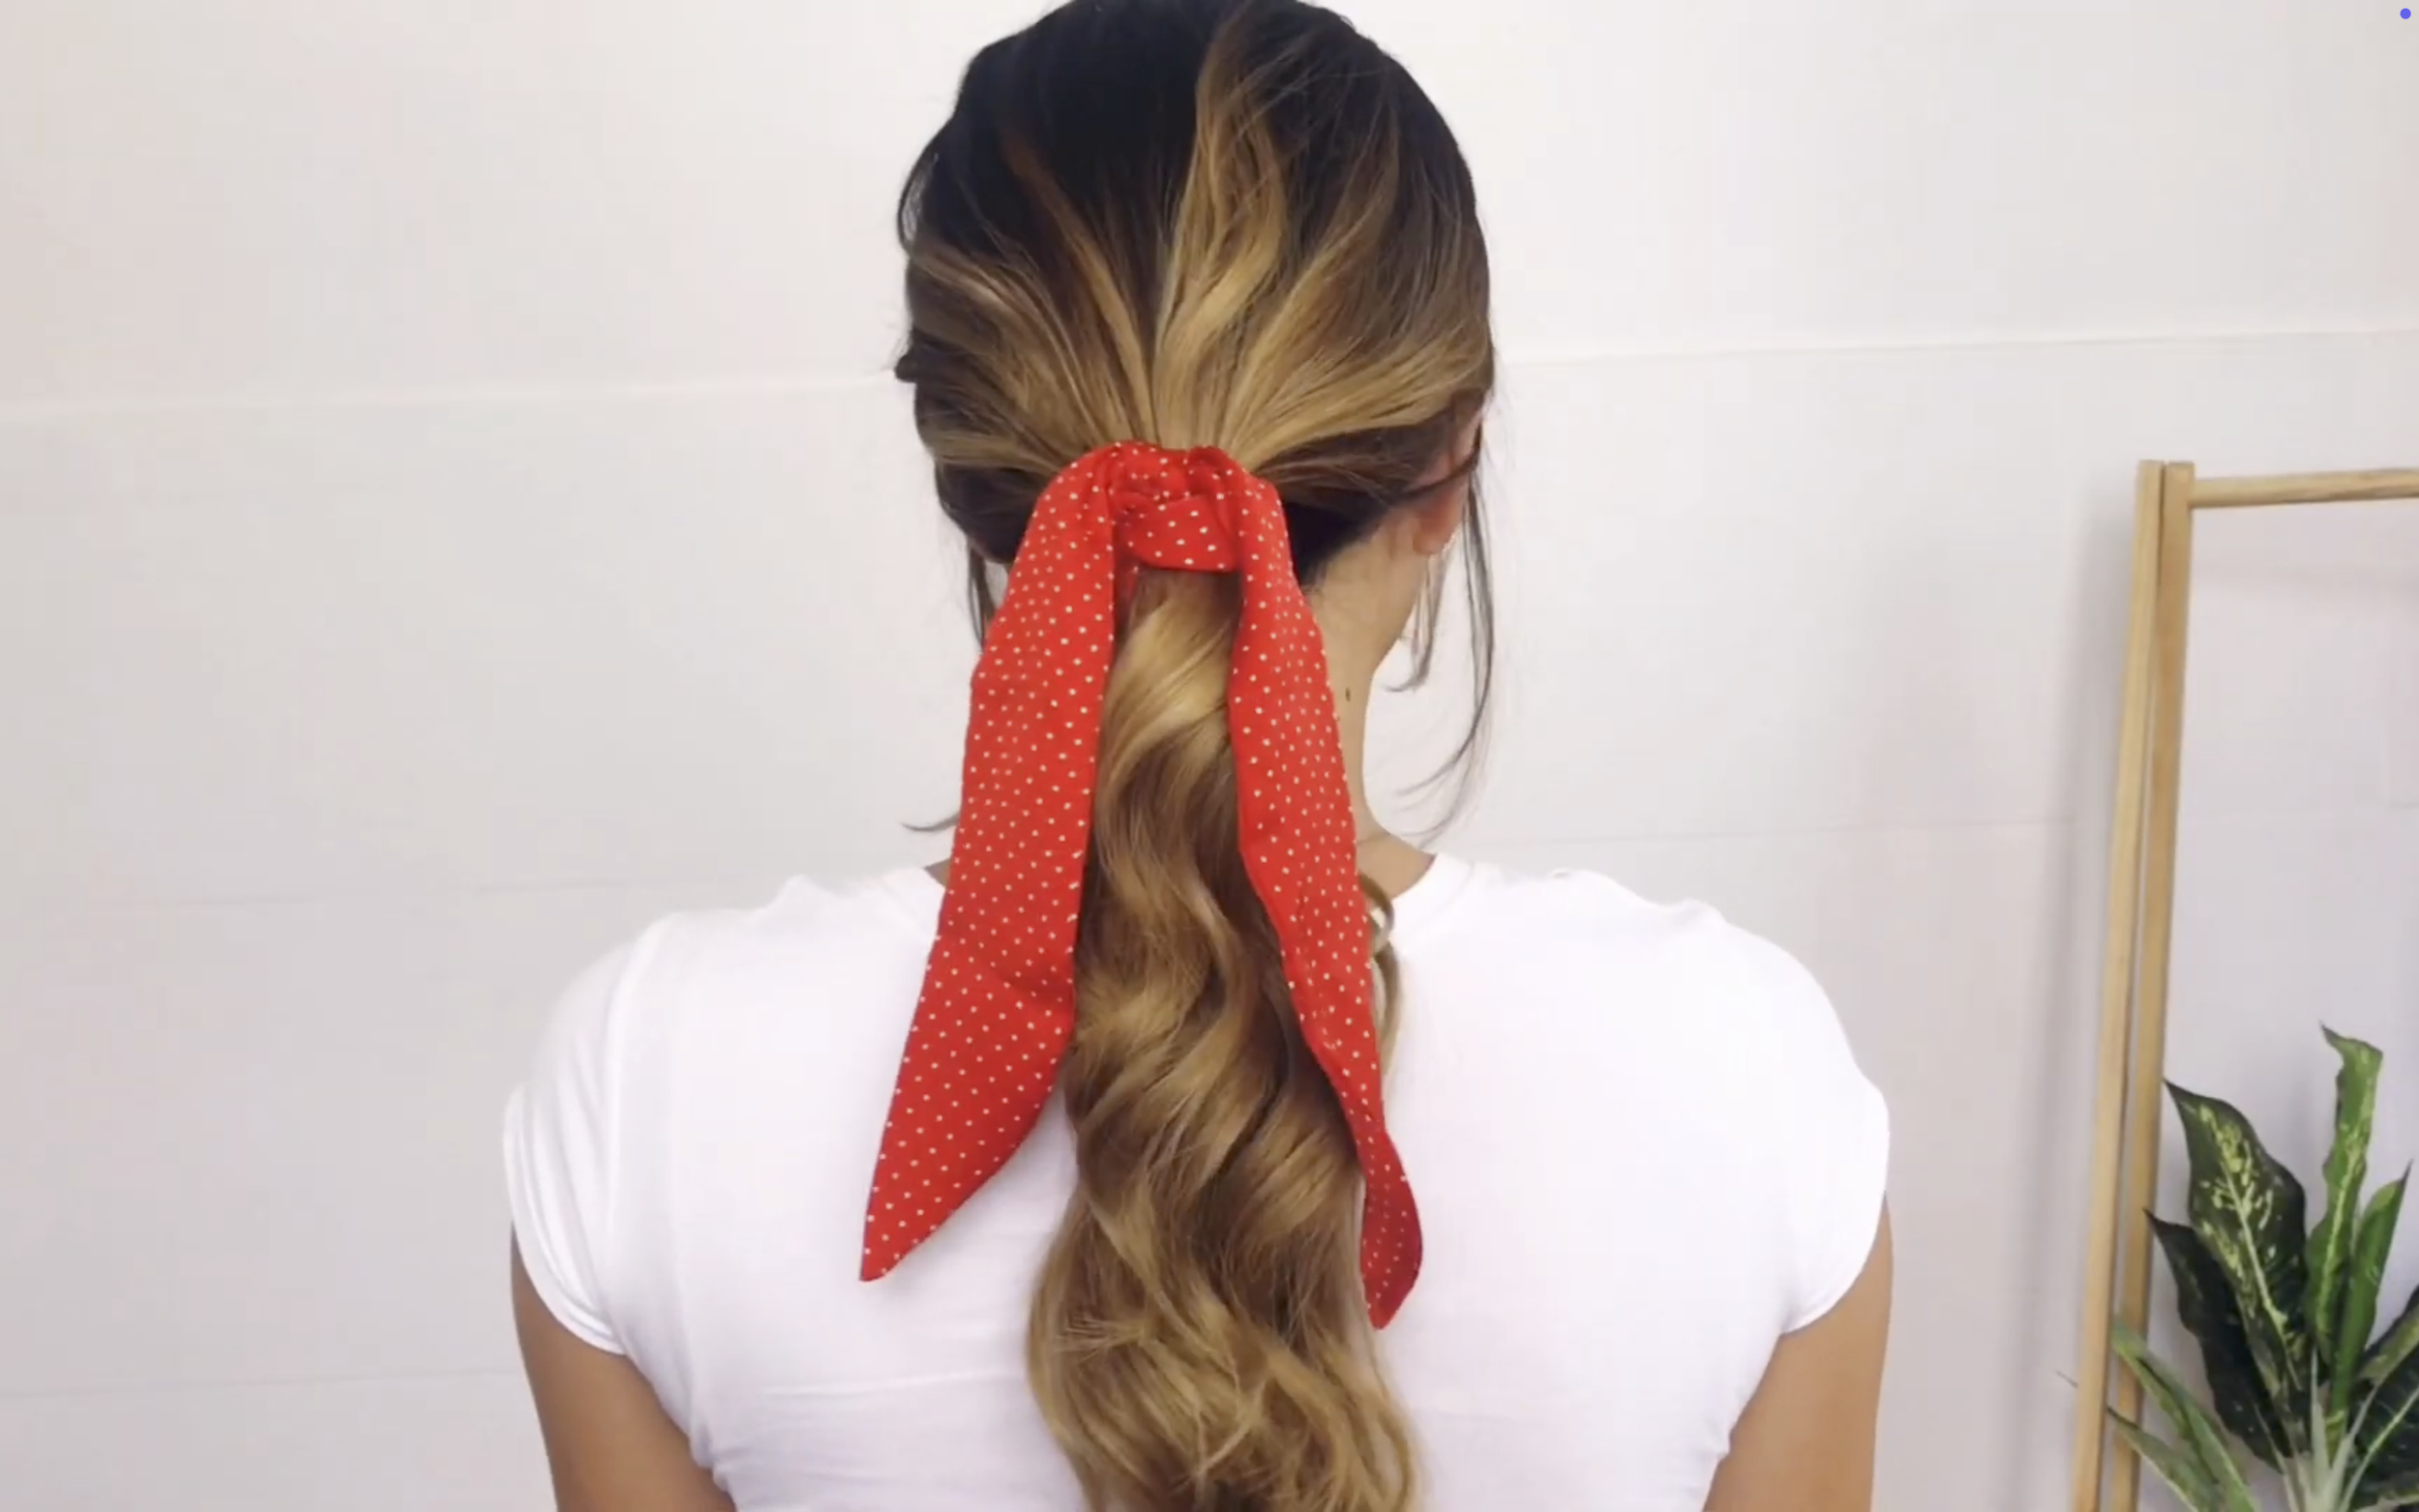
Tie it to the main part of the scrunchies to complete this DIY.
Here's how it looks.
2. HEADBAND
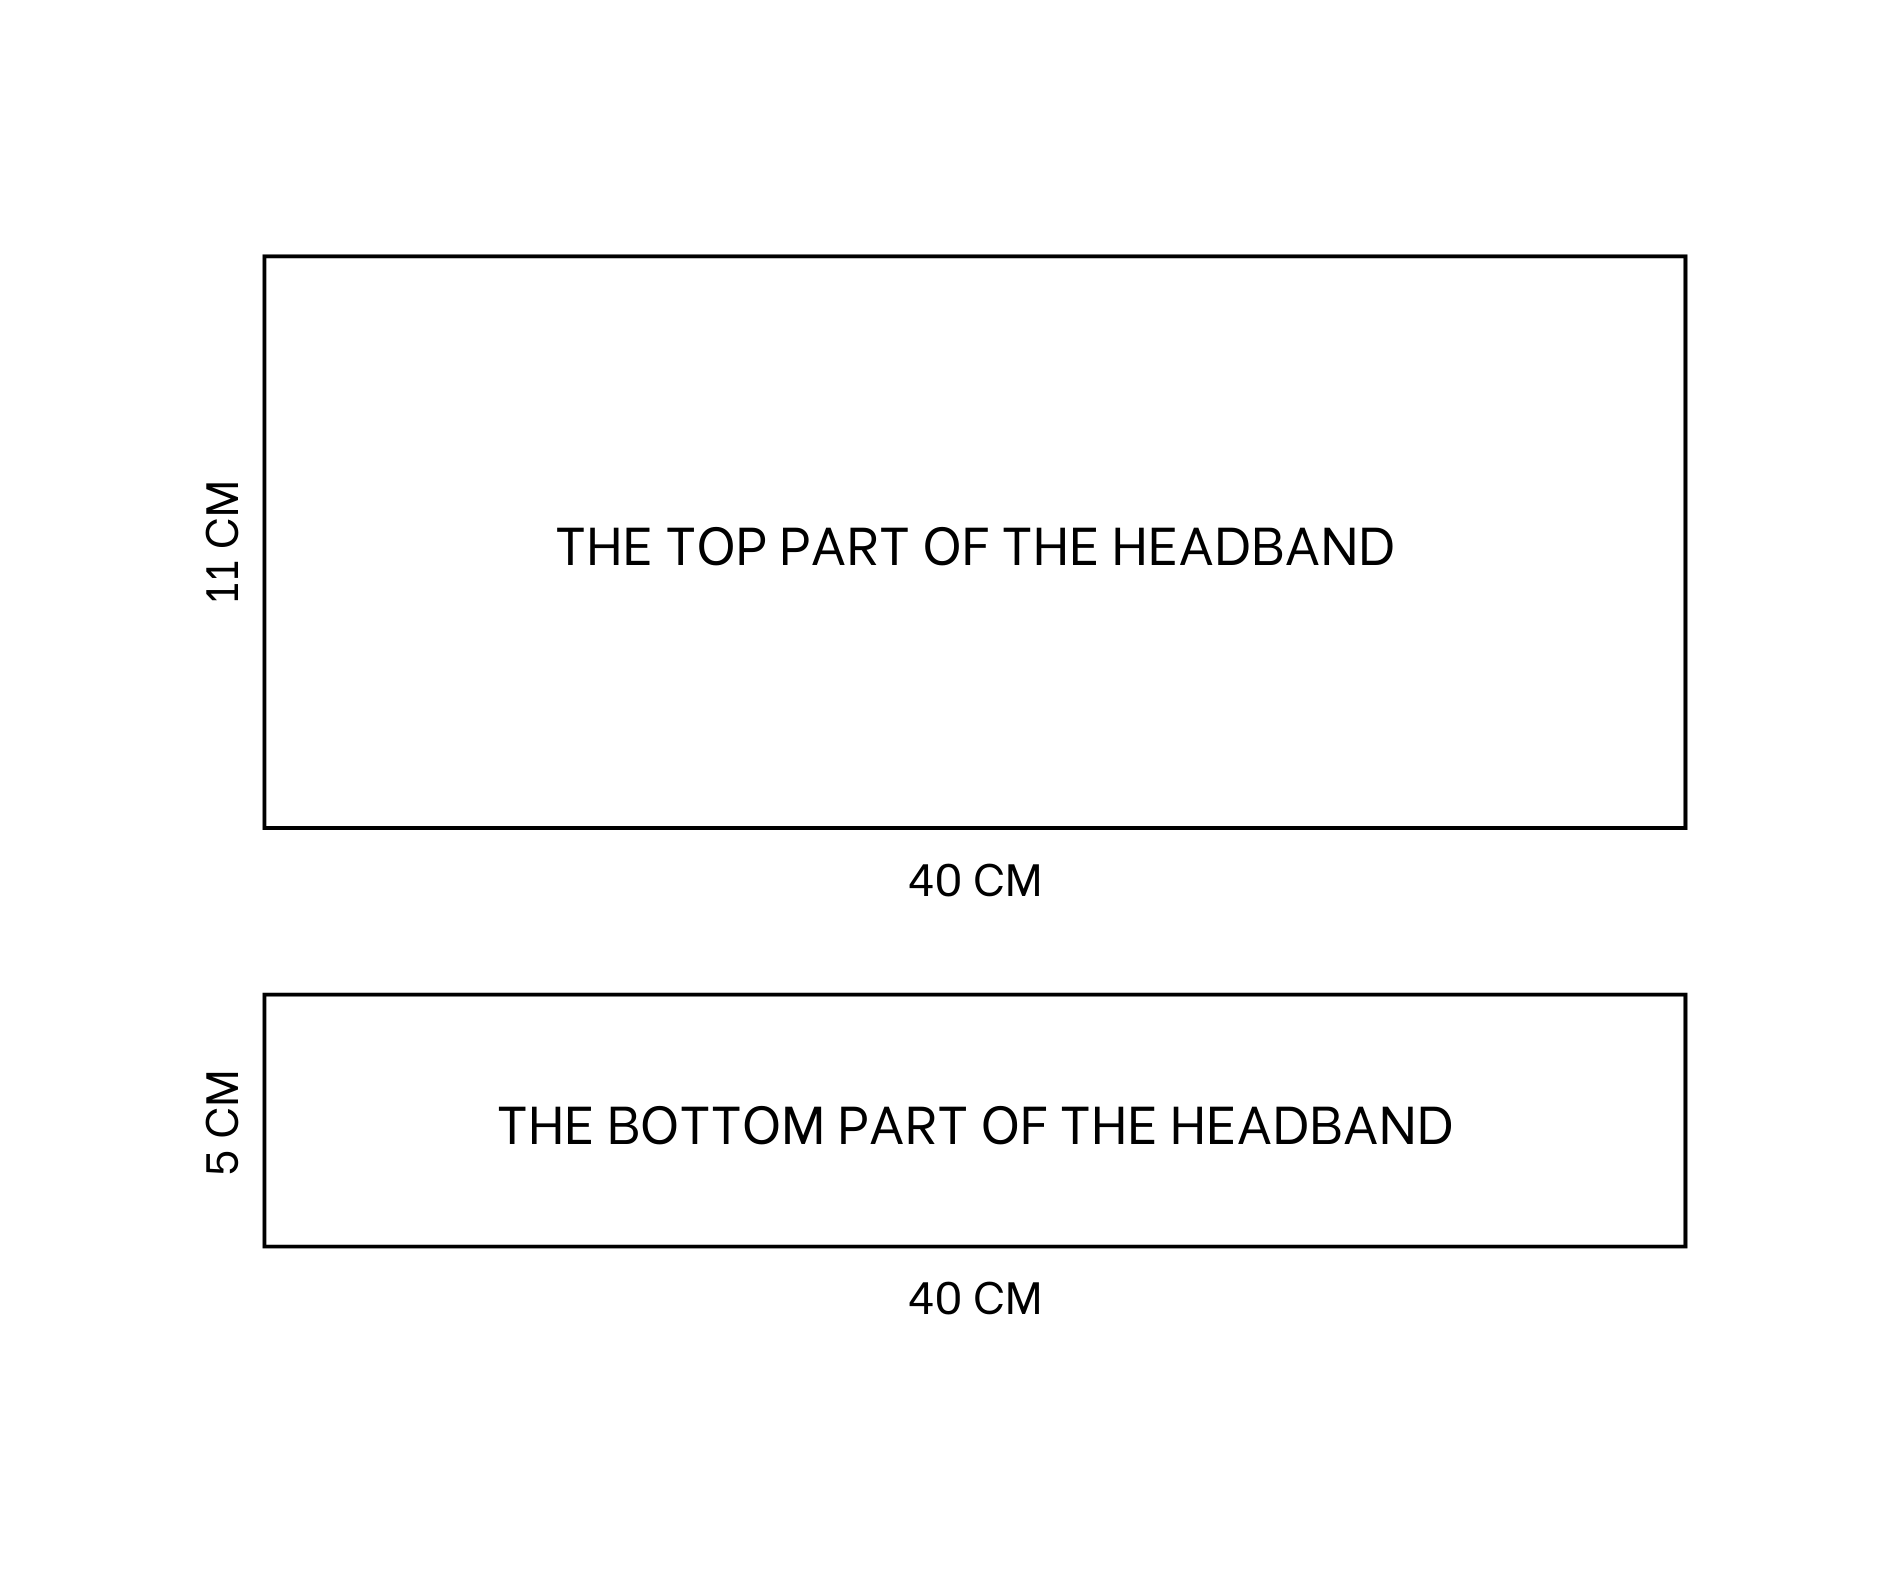
Moving to the headband, draw a rectangle with 11 cm width and 40 cm length for the top part.
Draw another rectangle with 5 cm width and 40 cm length for the bottom part.
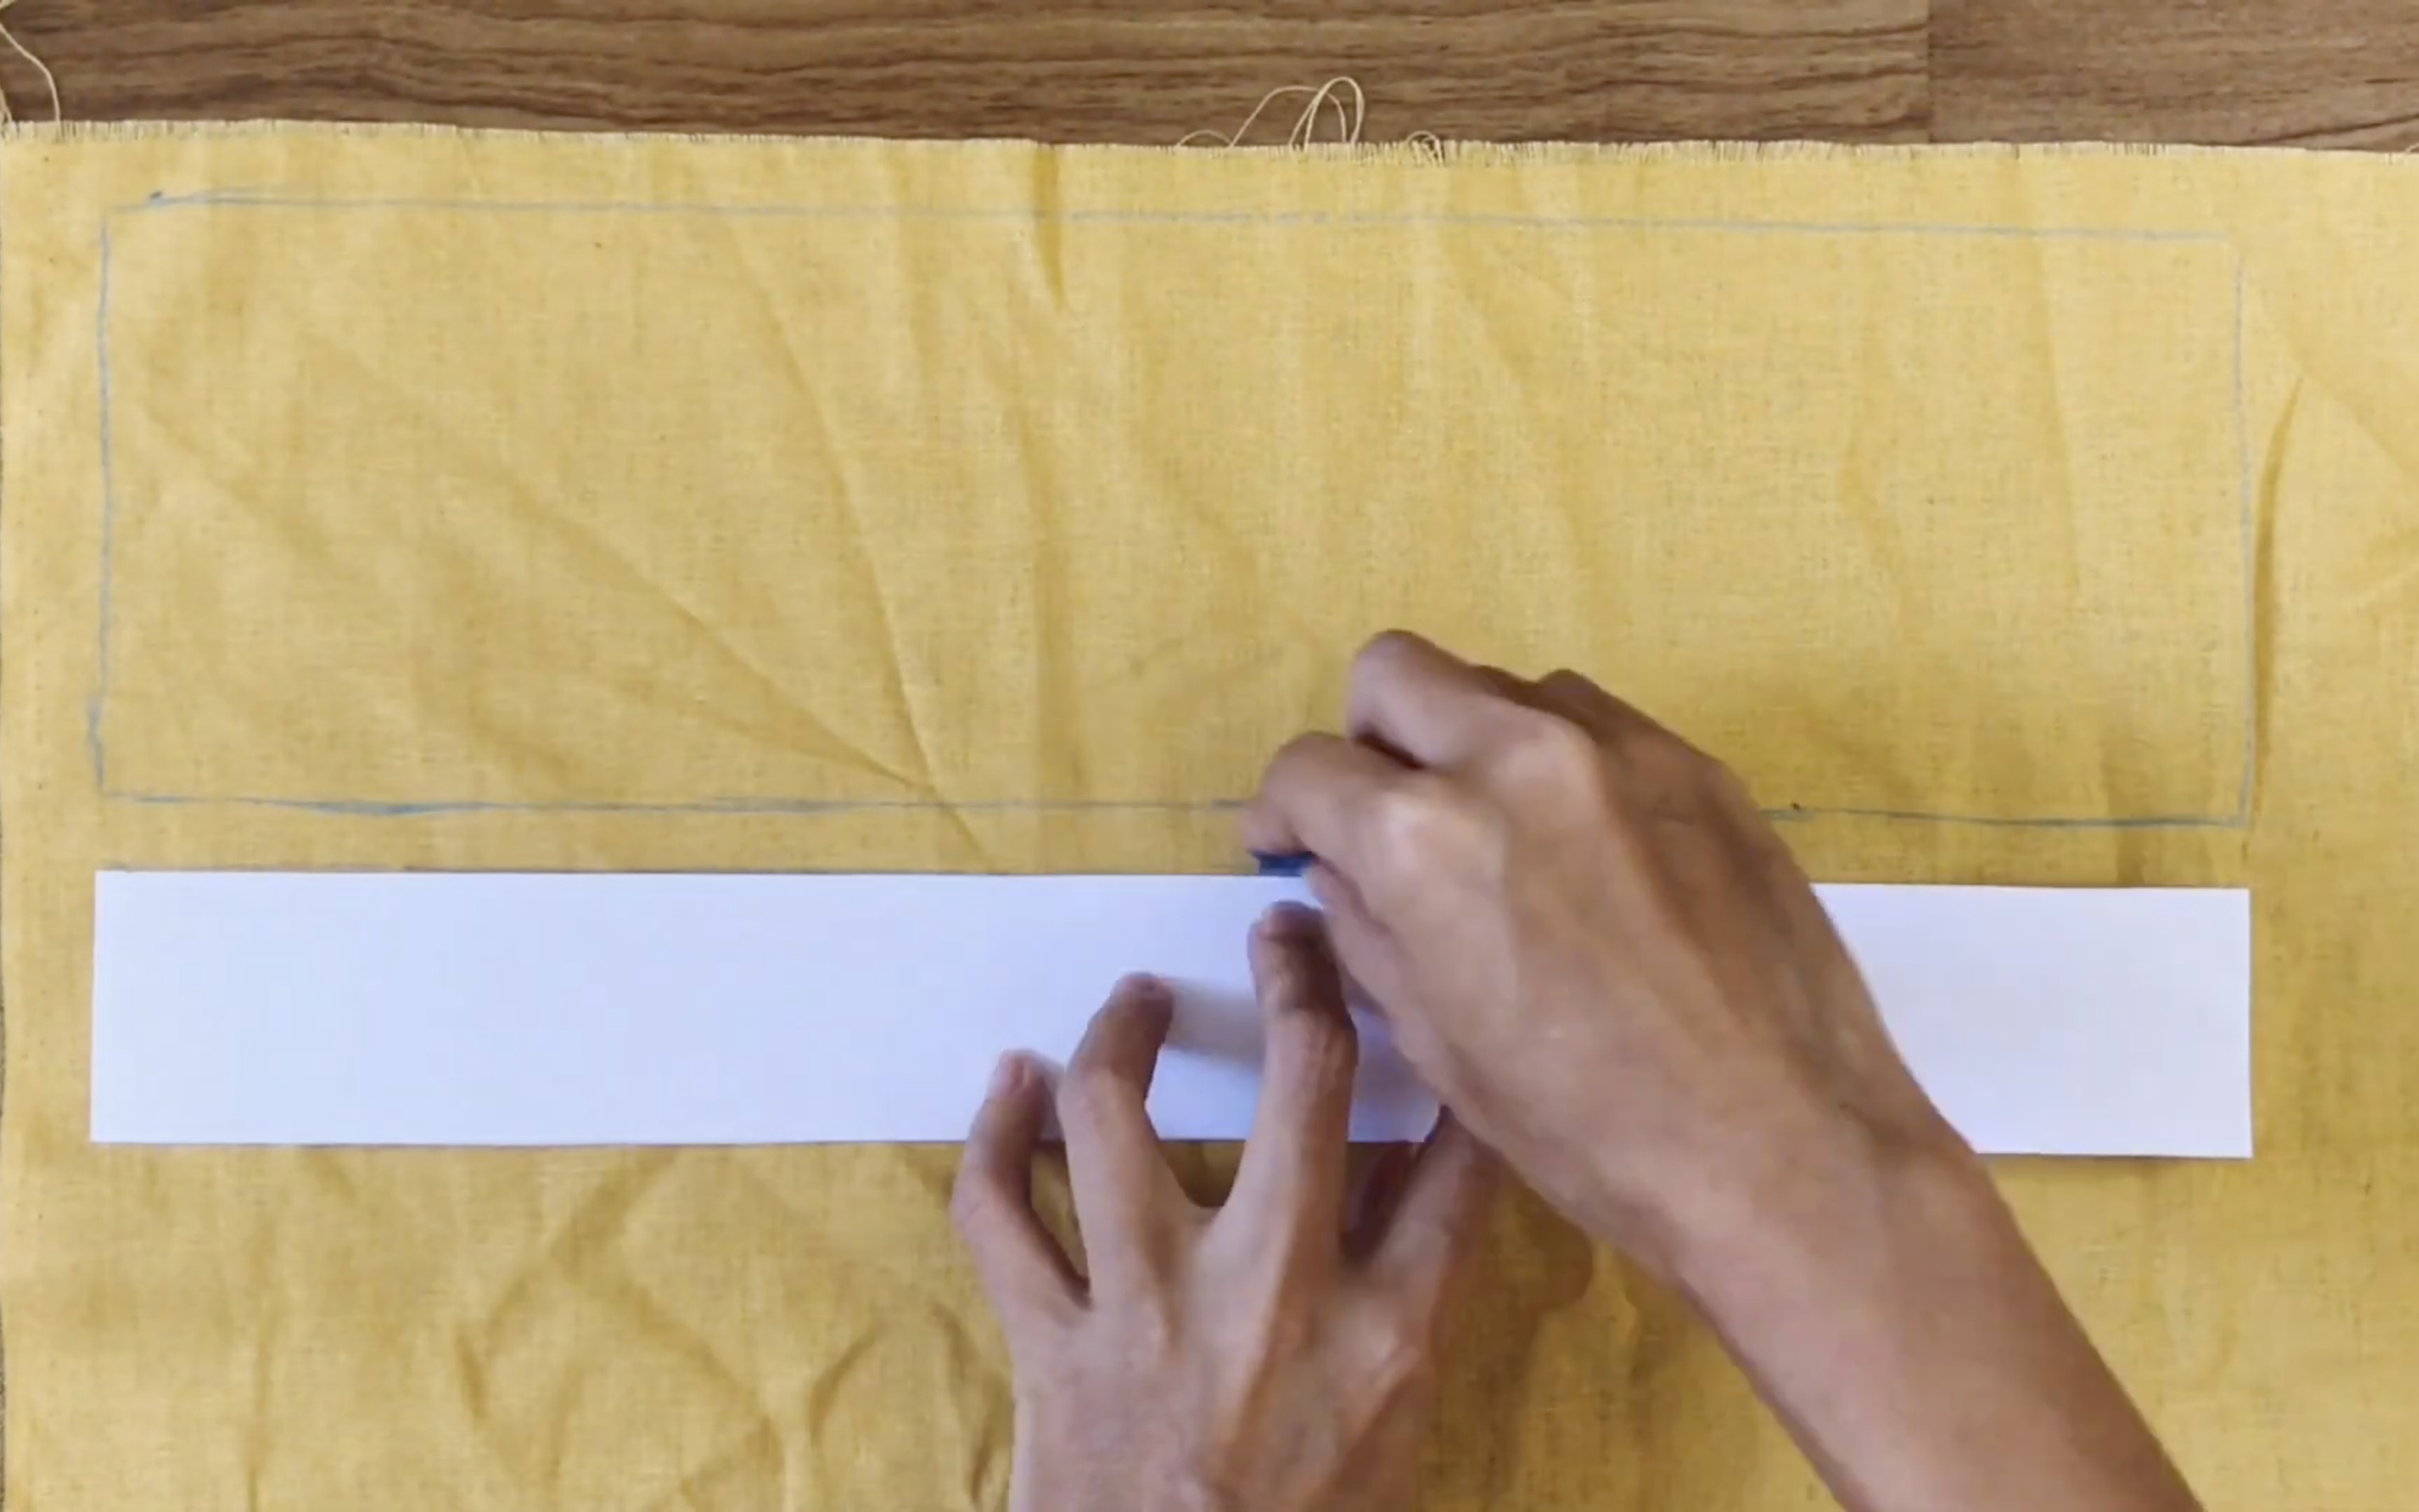
After cutting, apply the pattern to the fabric and draw along.
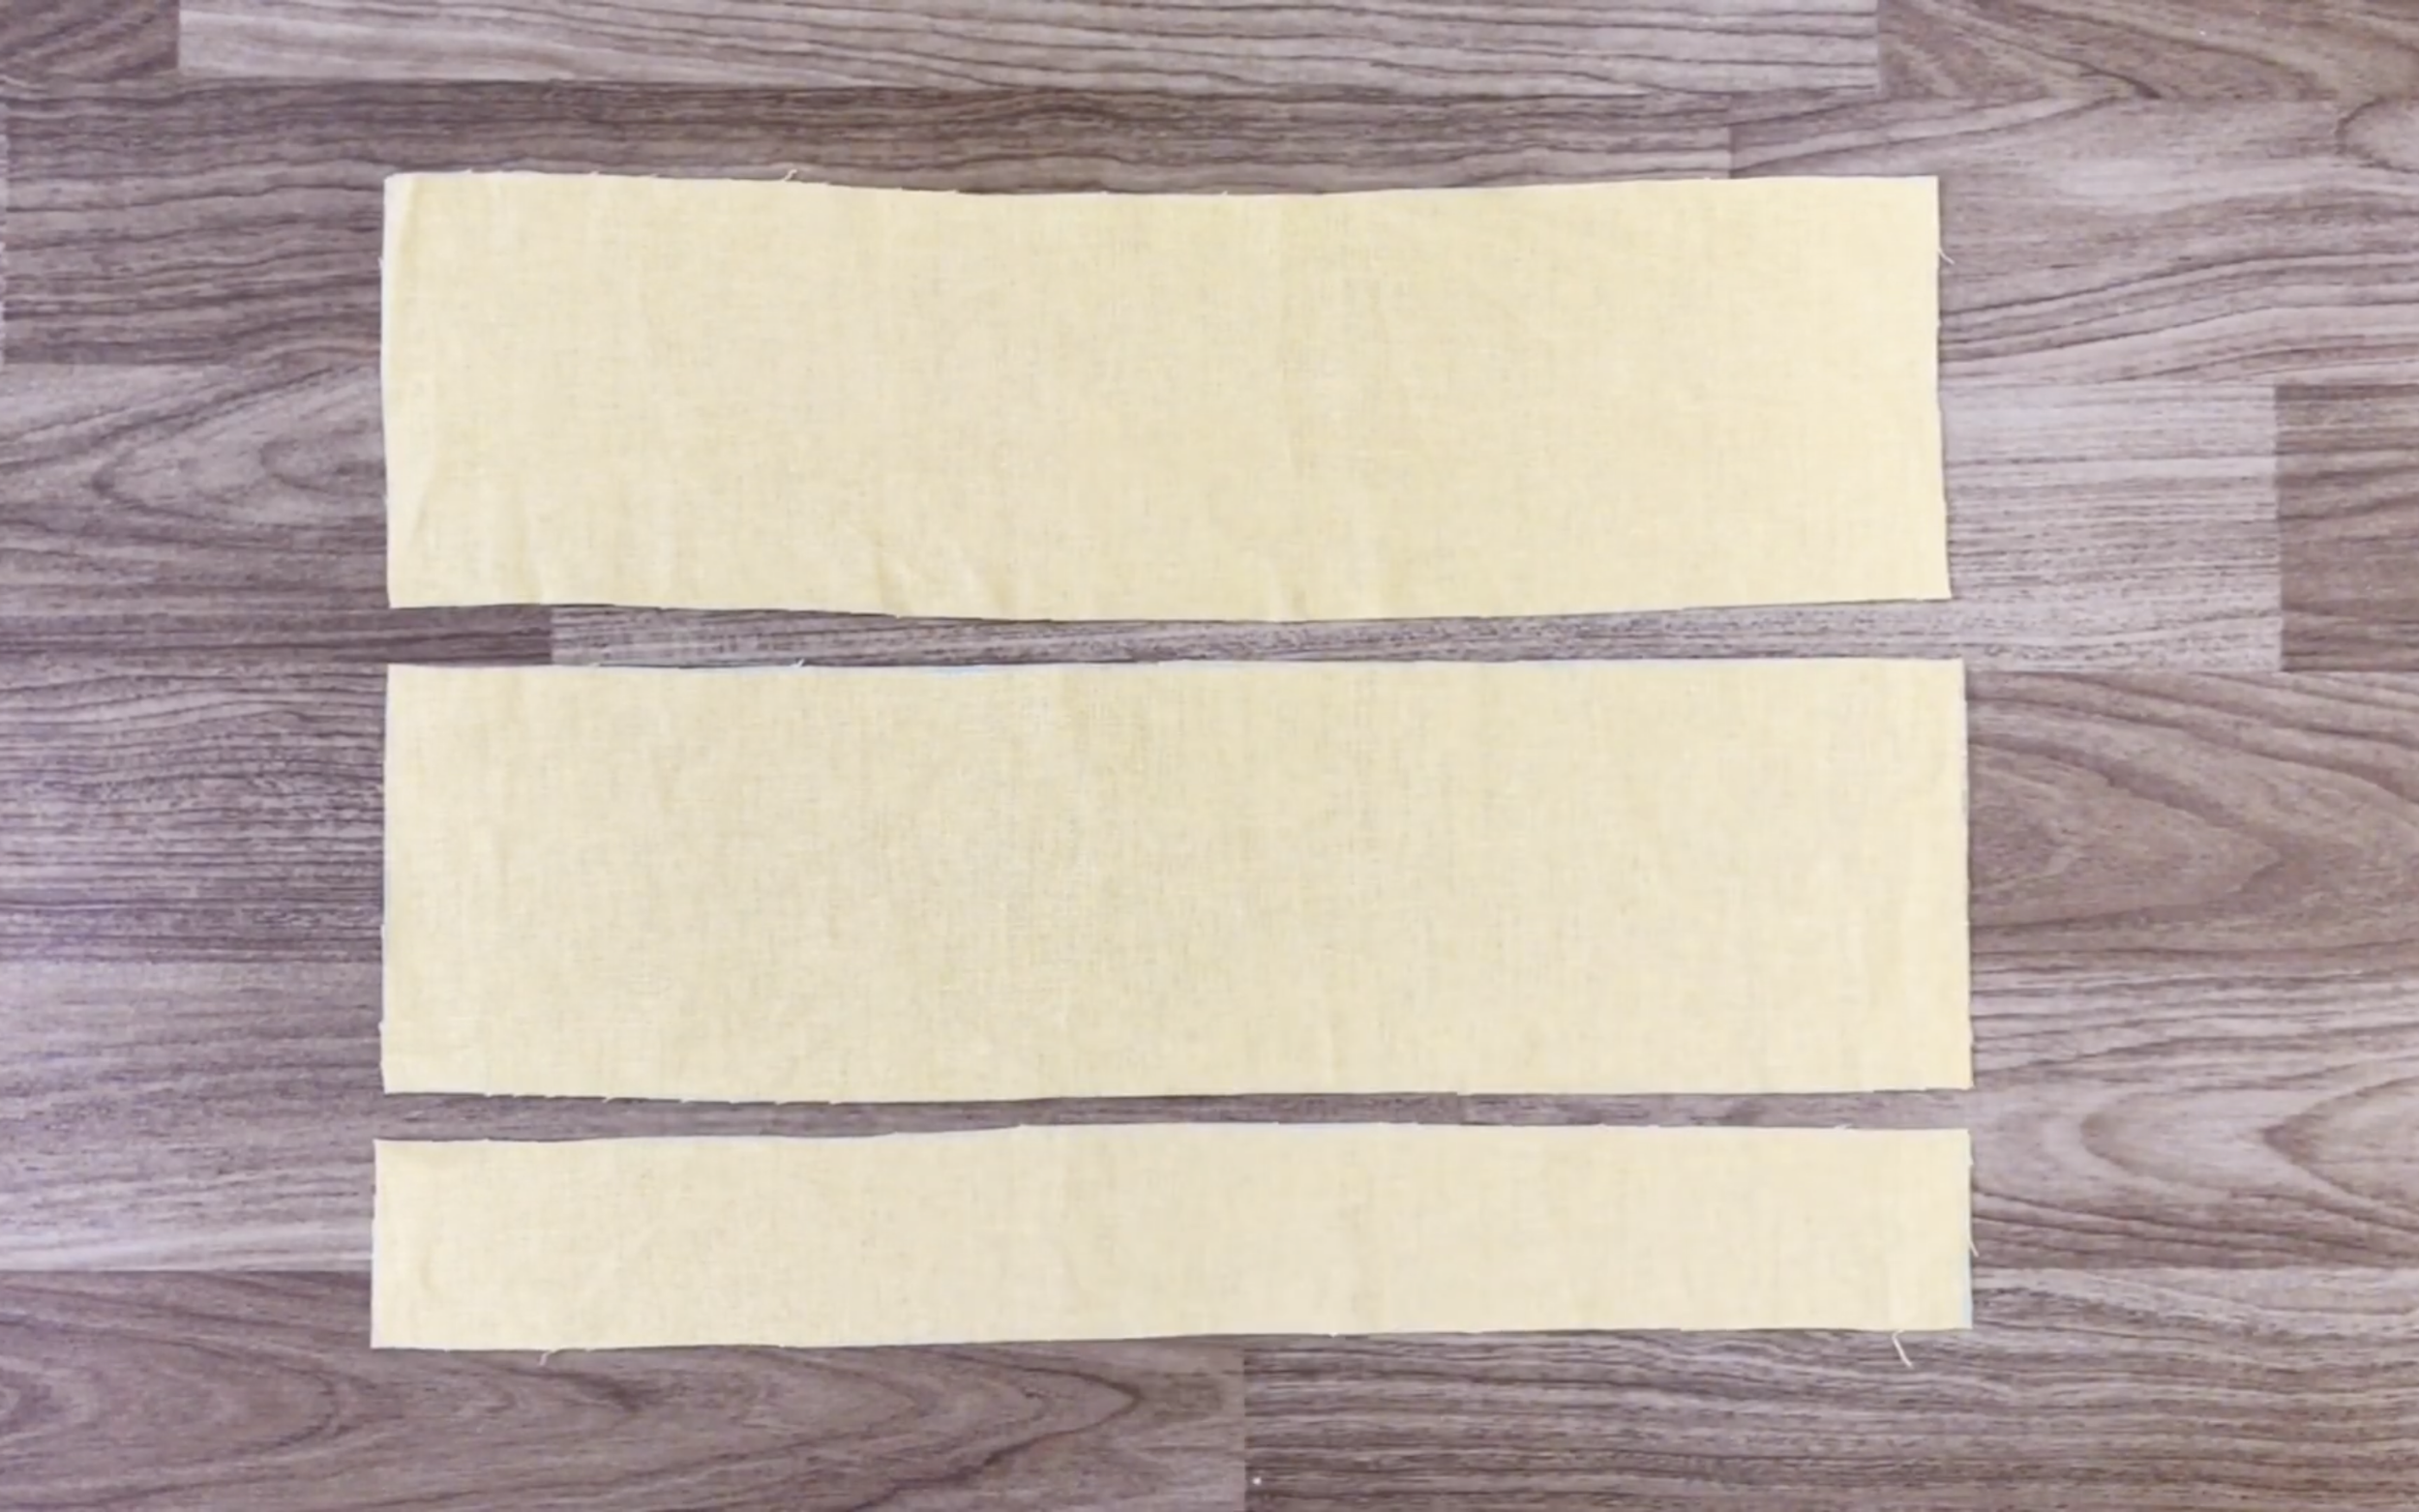
Two top parts and one bottom part are needed for this headband.

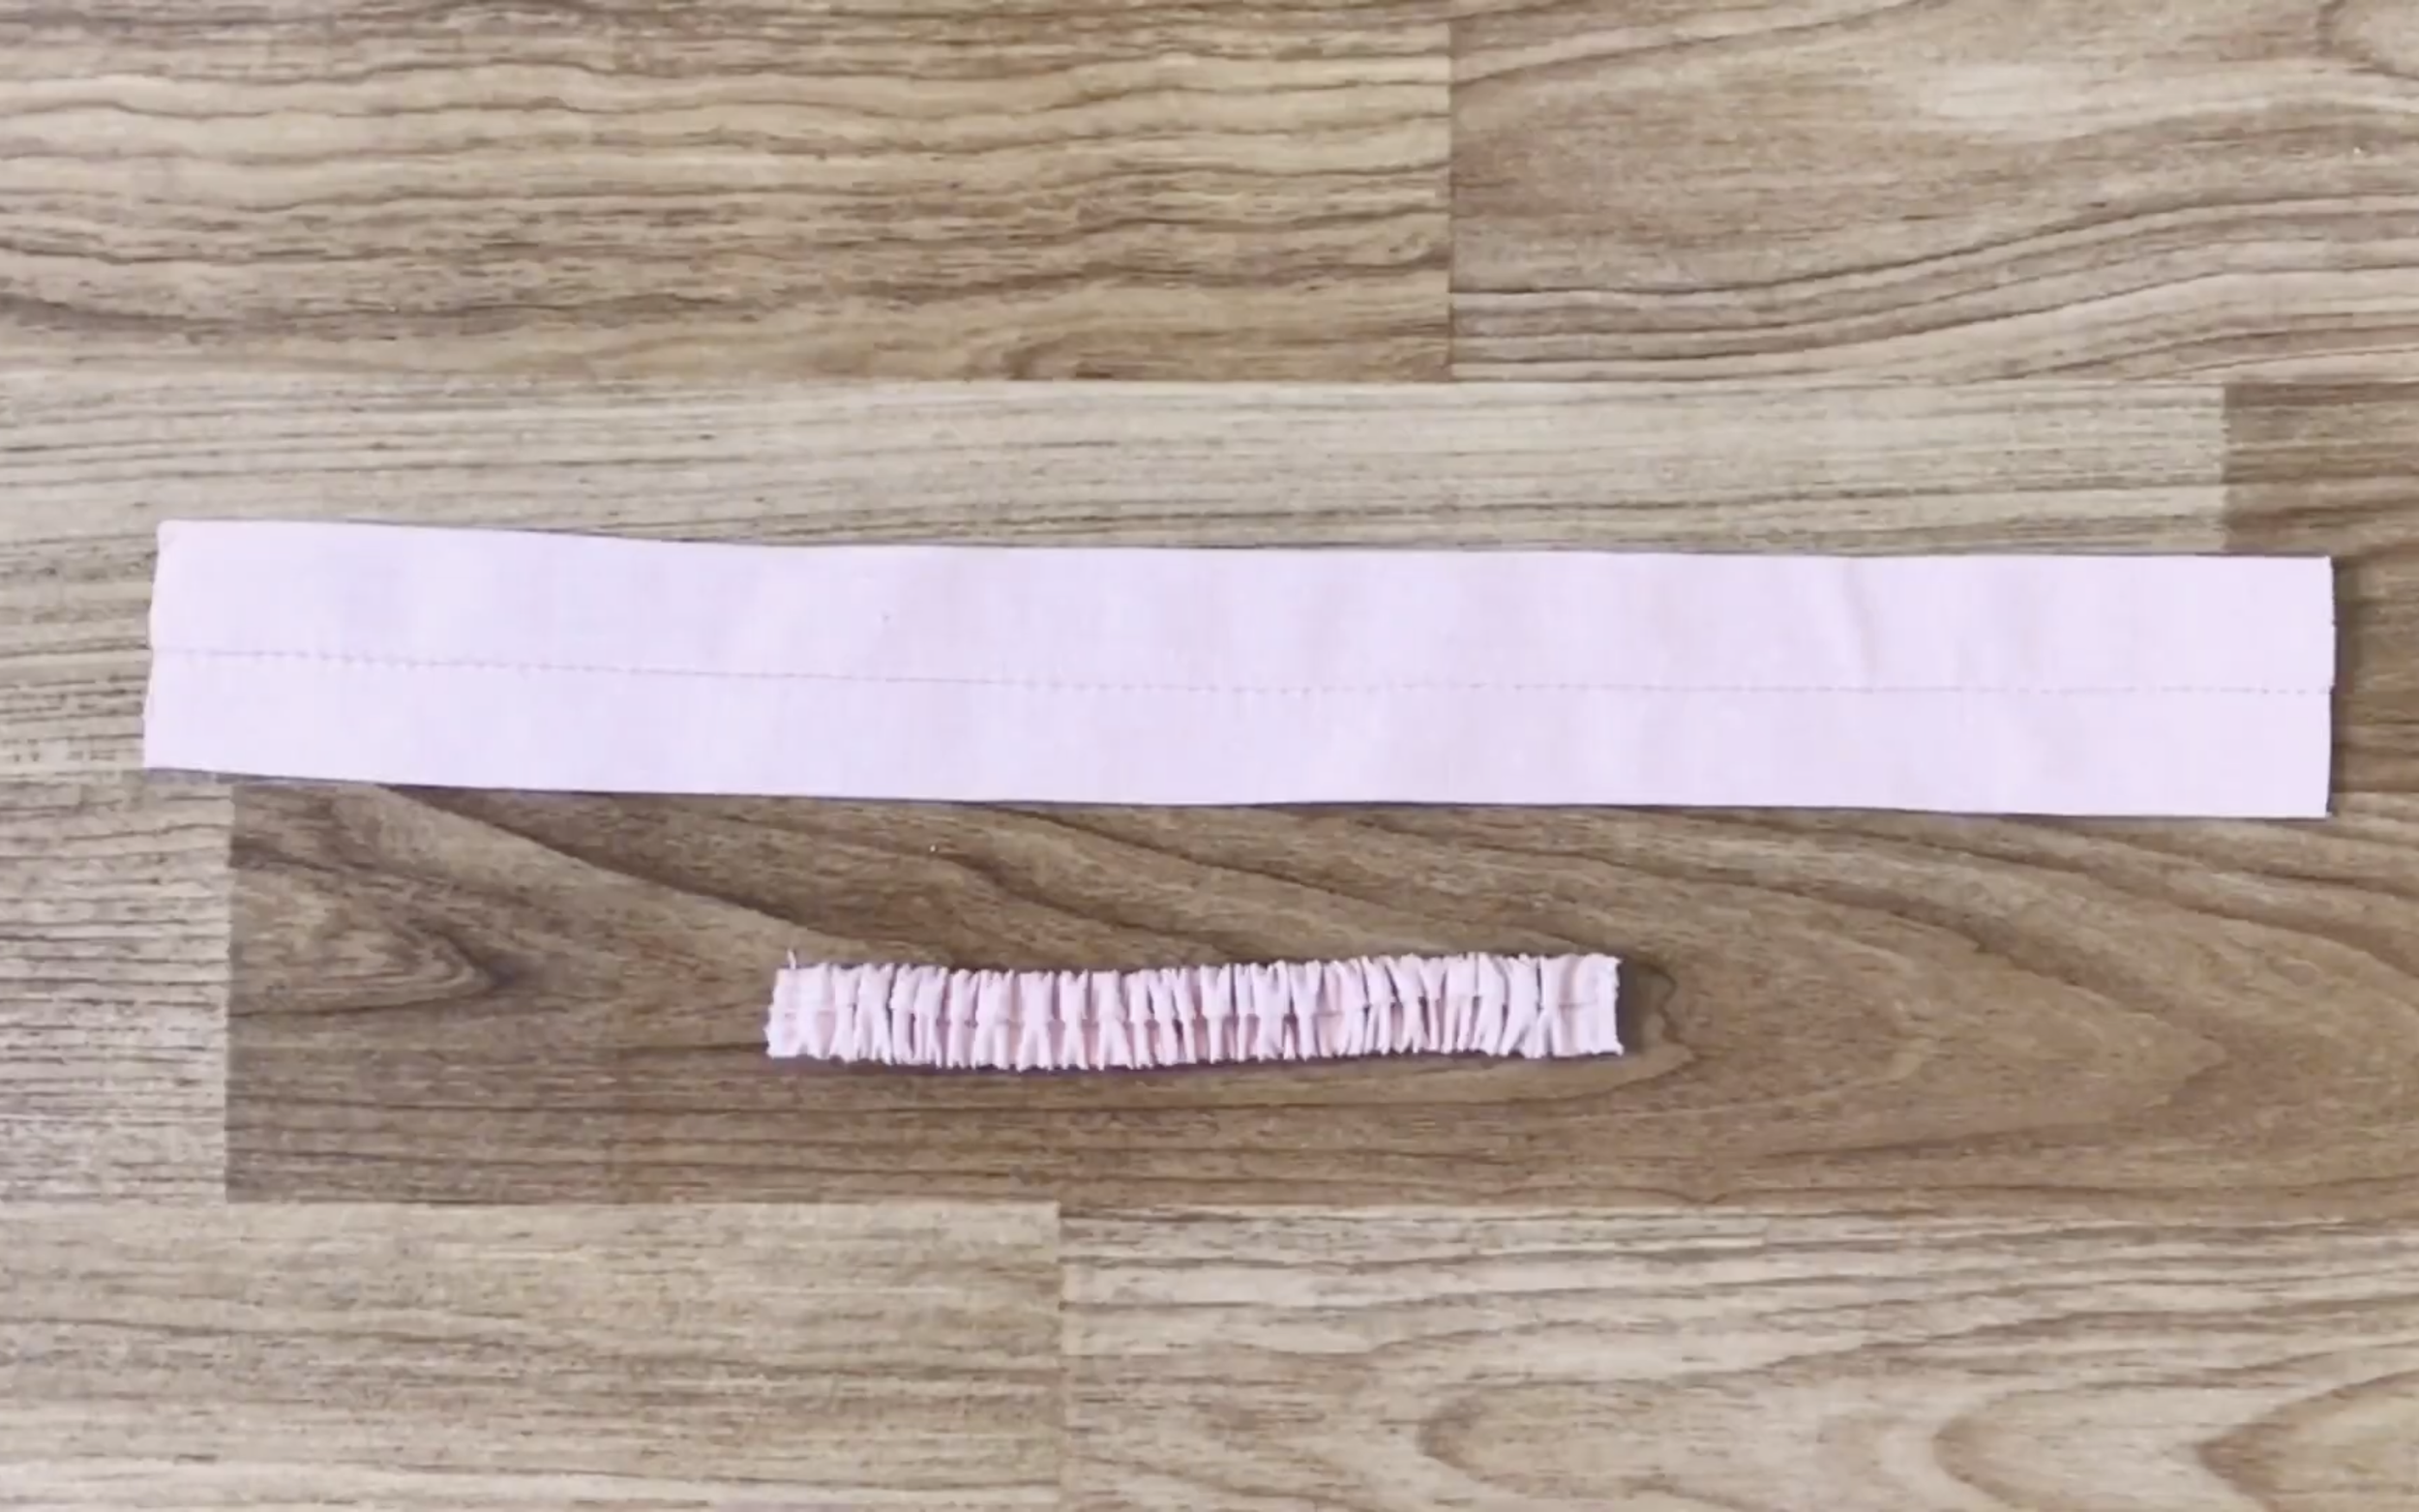
For the bottom part, fold it in half and sew along the cutting line.
Use a safety pin to turn it inside out.
Then iron to fix the seam position in the middle.
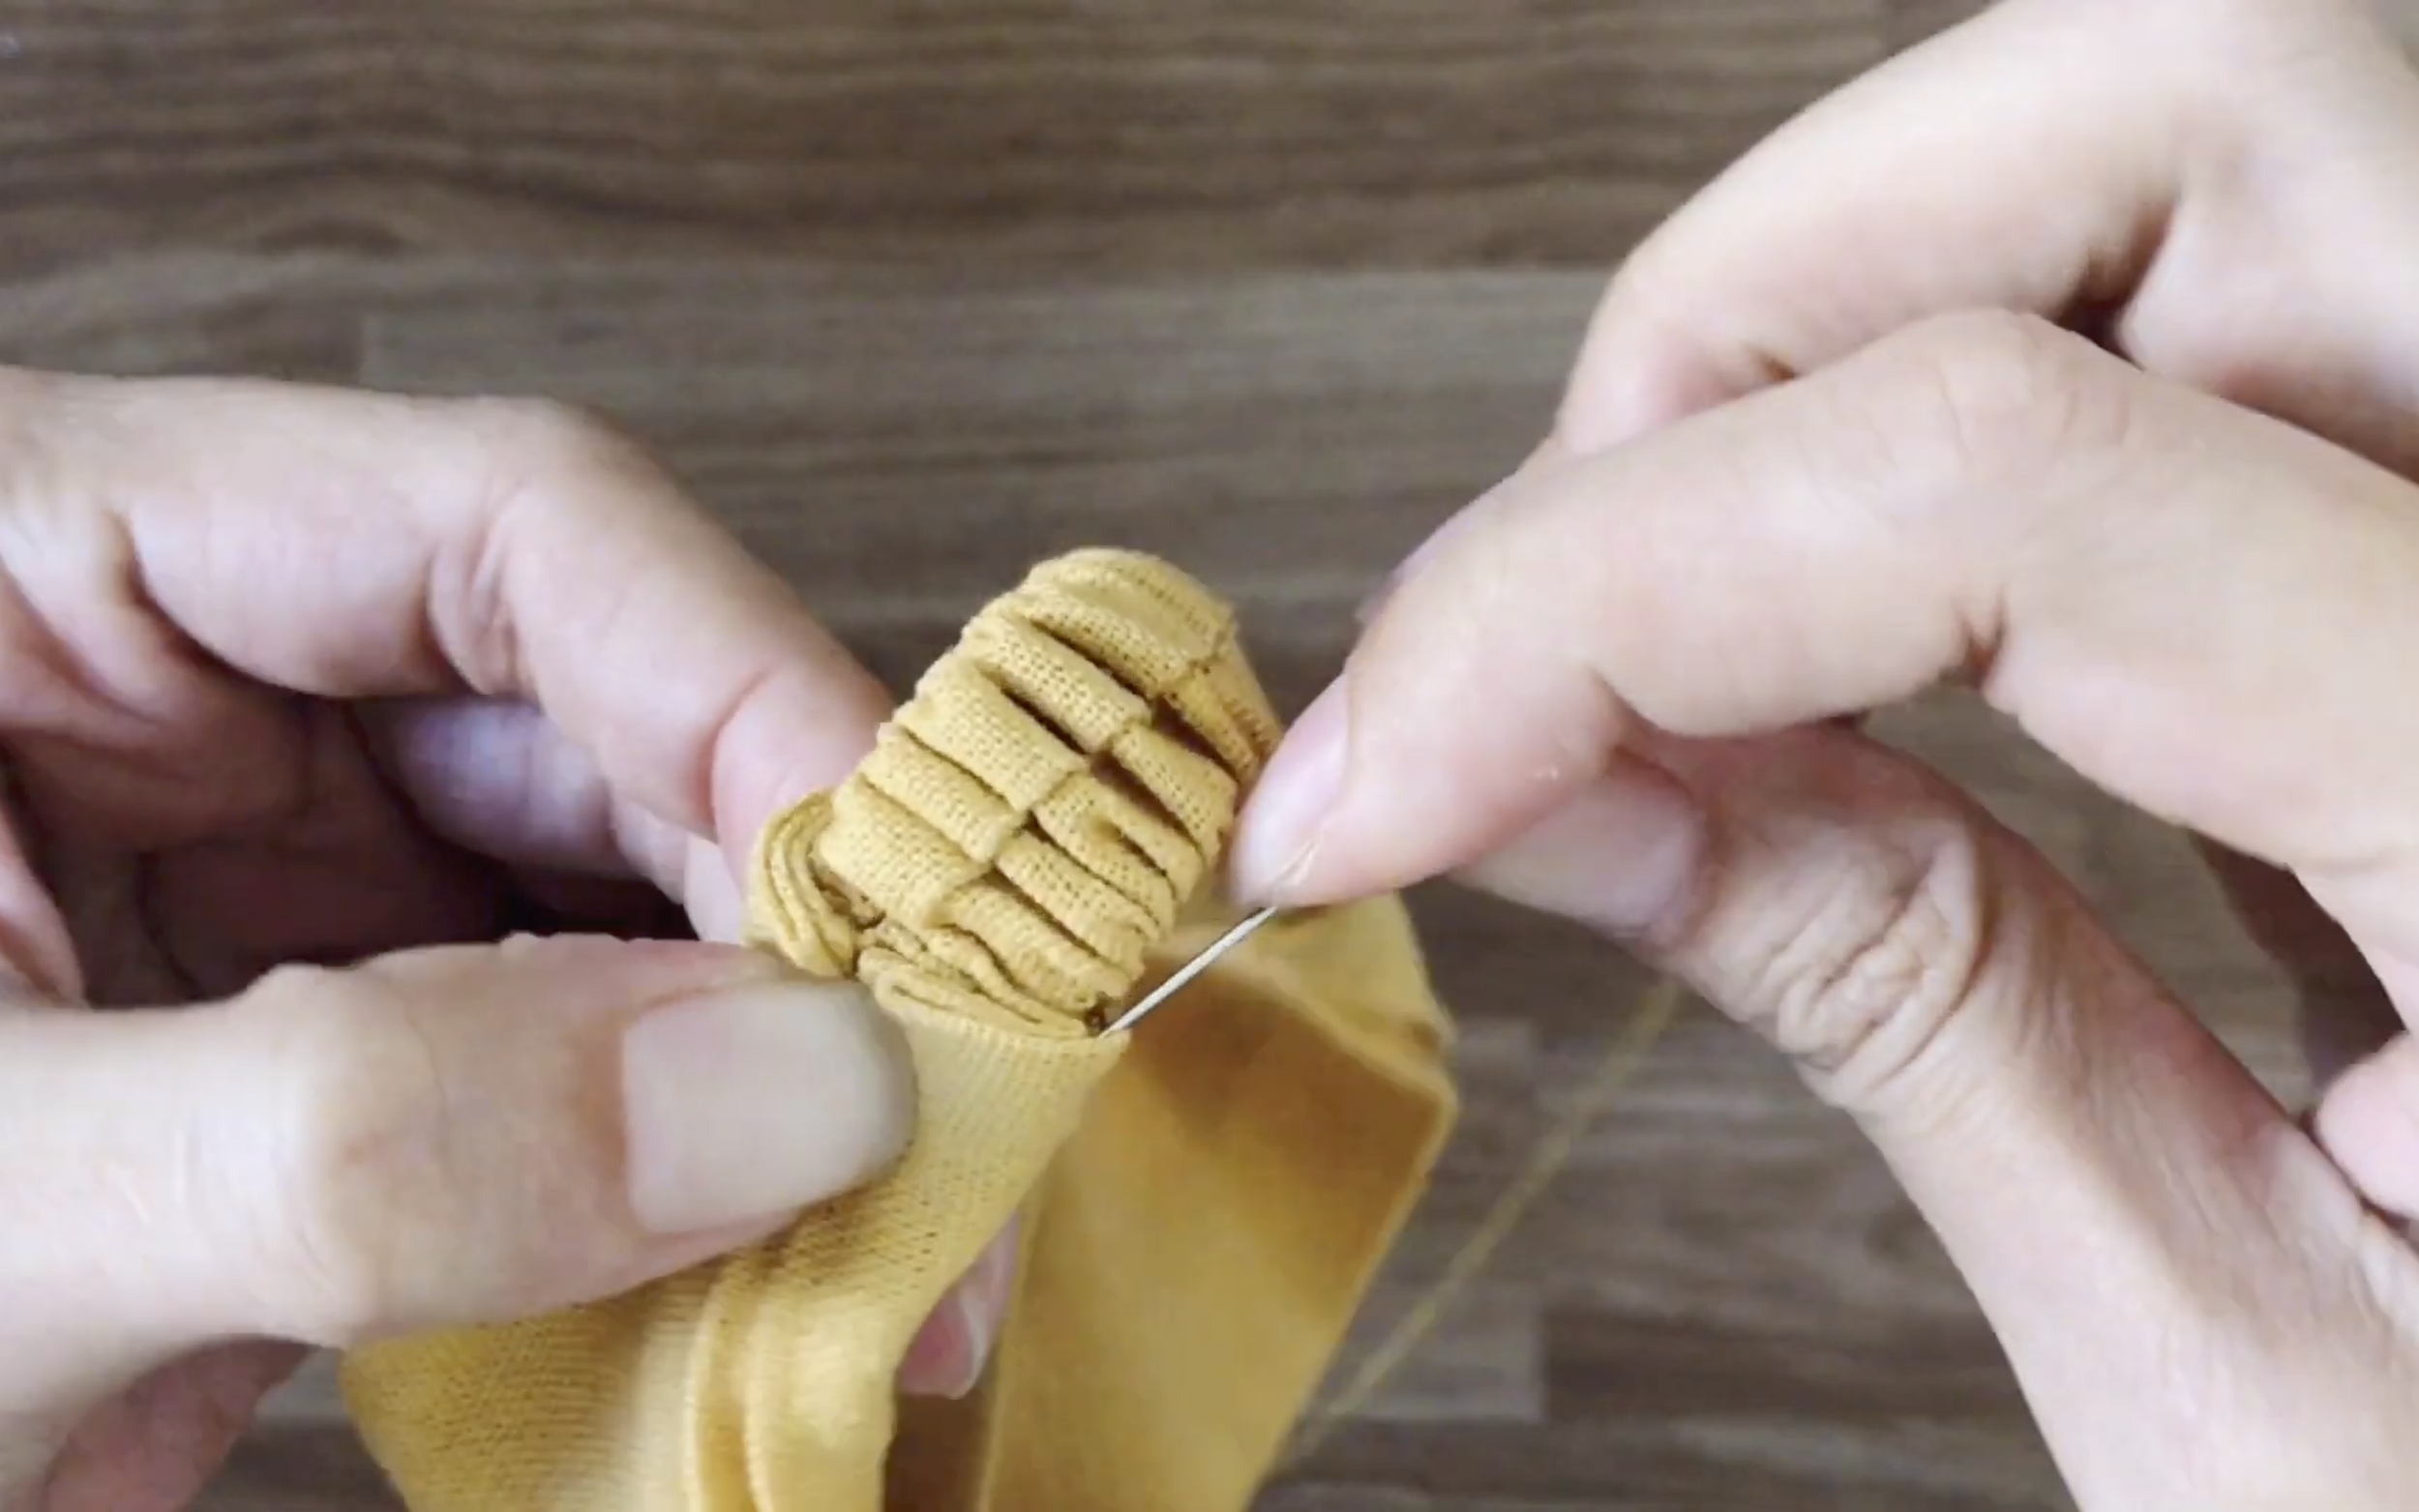
Use a smaller elastic band, and sew its ends to the two ends of the fabric.

For the top part, fold it in half and sew along.
Then turn it inside out.
Iron it with the seam in the middle.
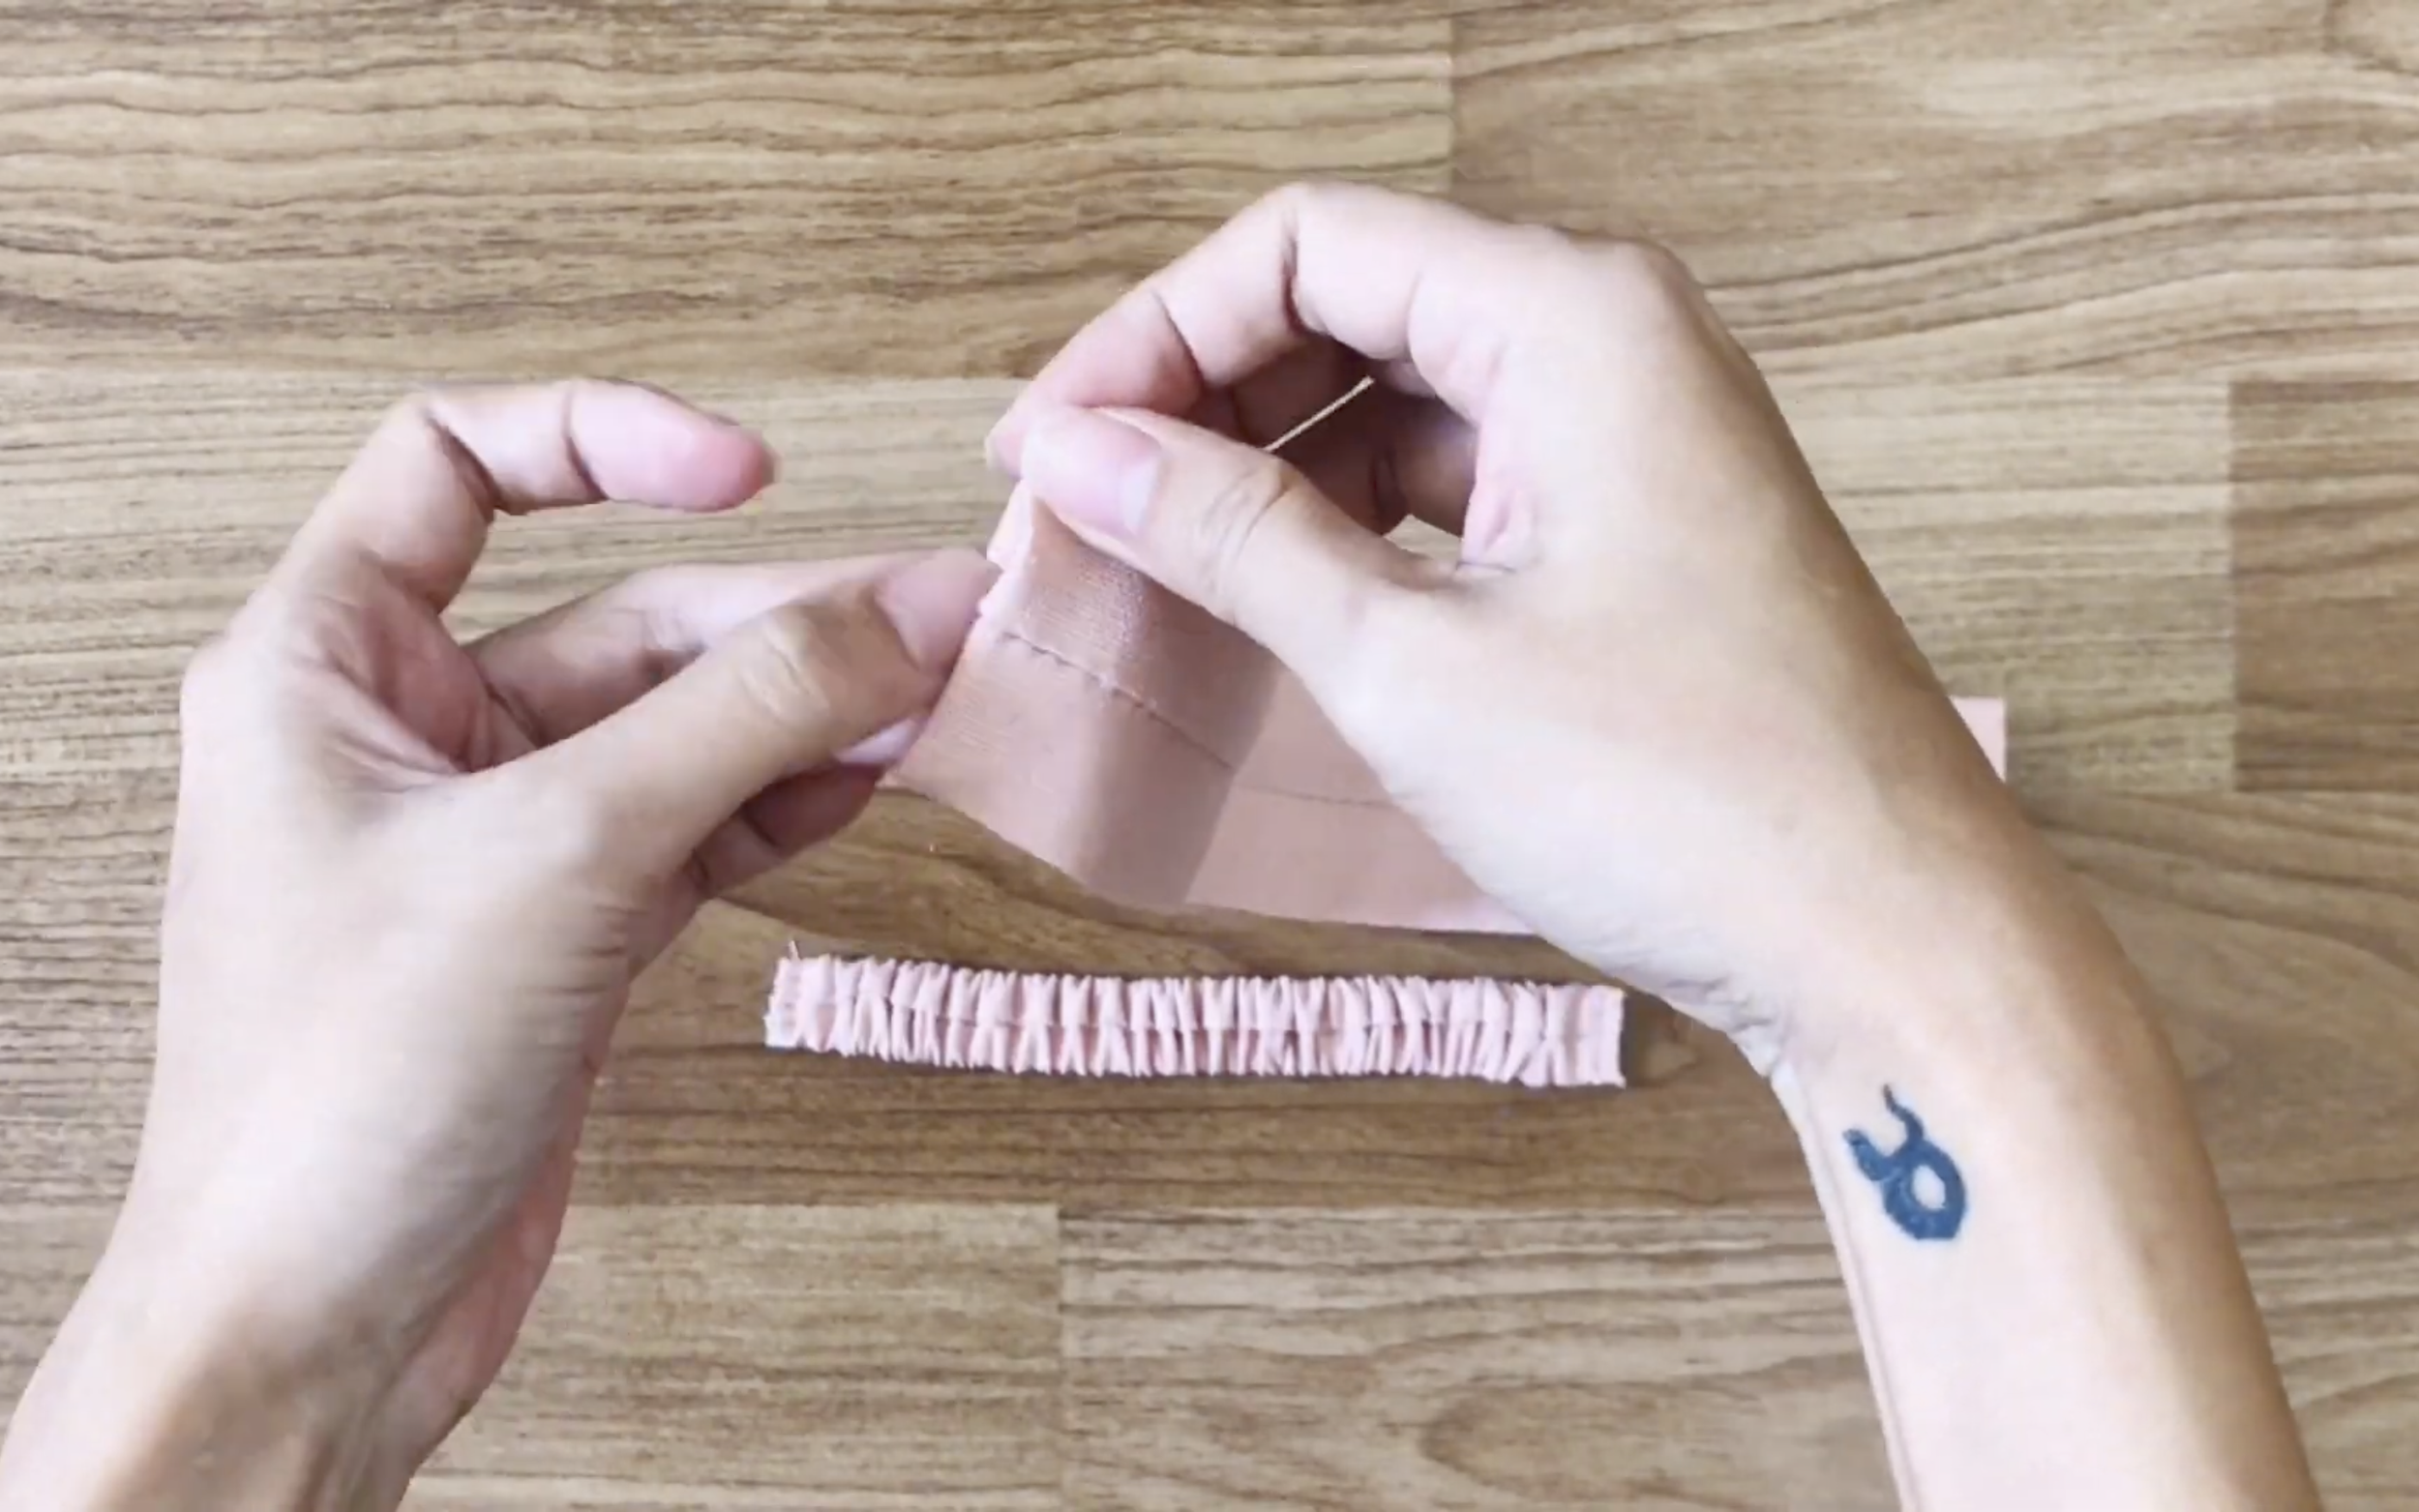
Fold the two ends of the top part inward to hide the cutting.

Iron it with the seam in the middle.
Fold the two ends of the top part inward to hide the cutting.
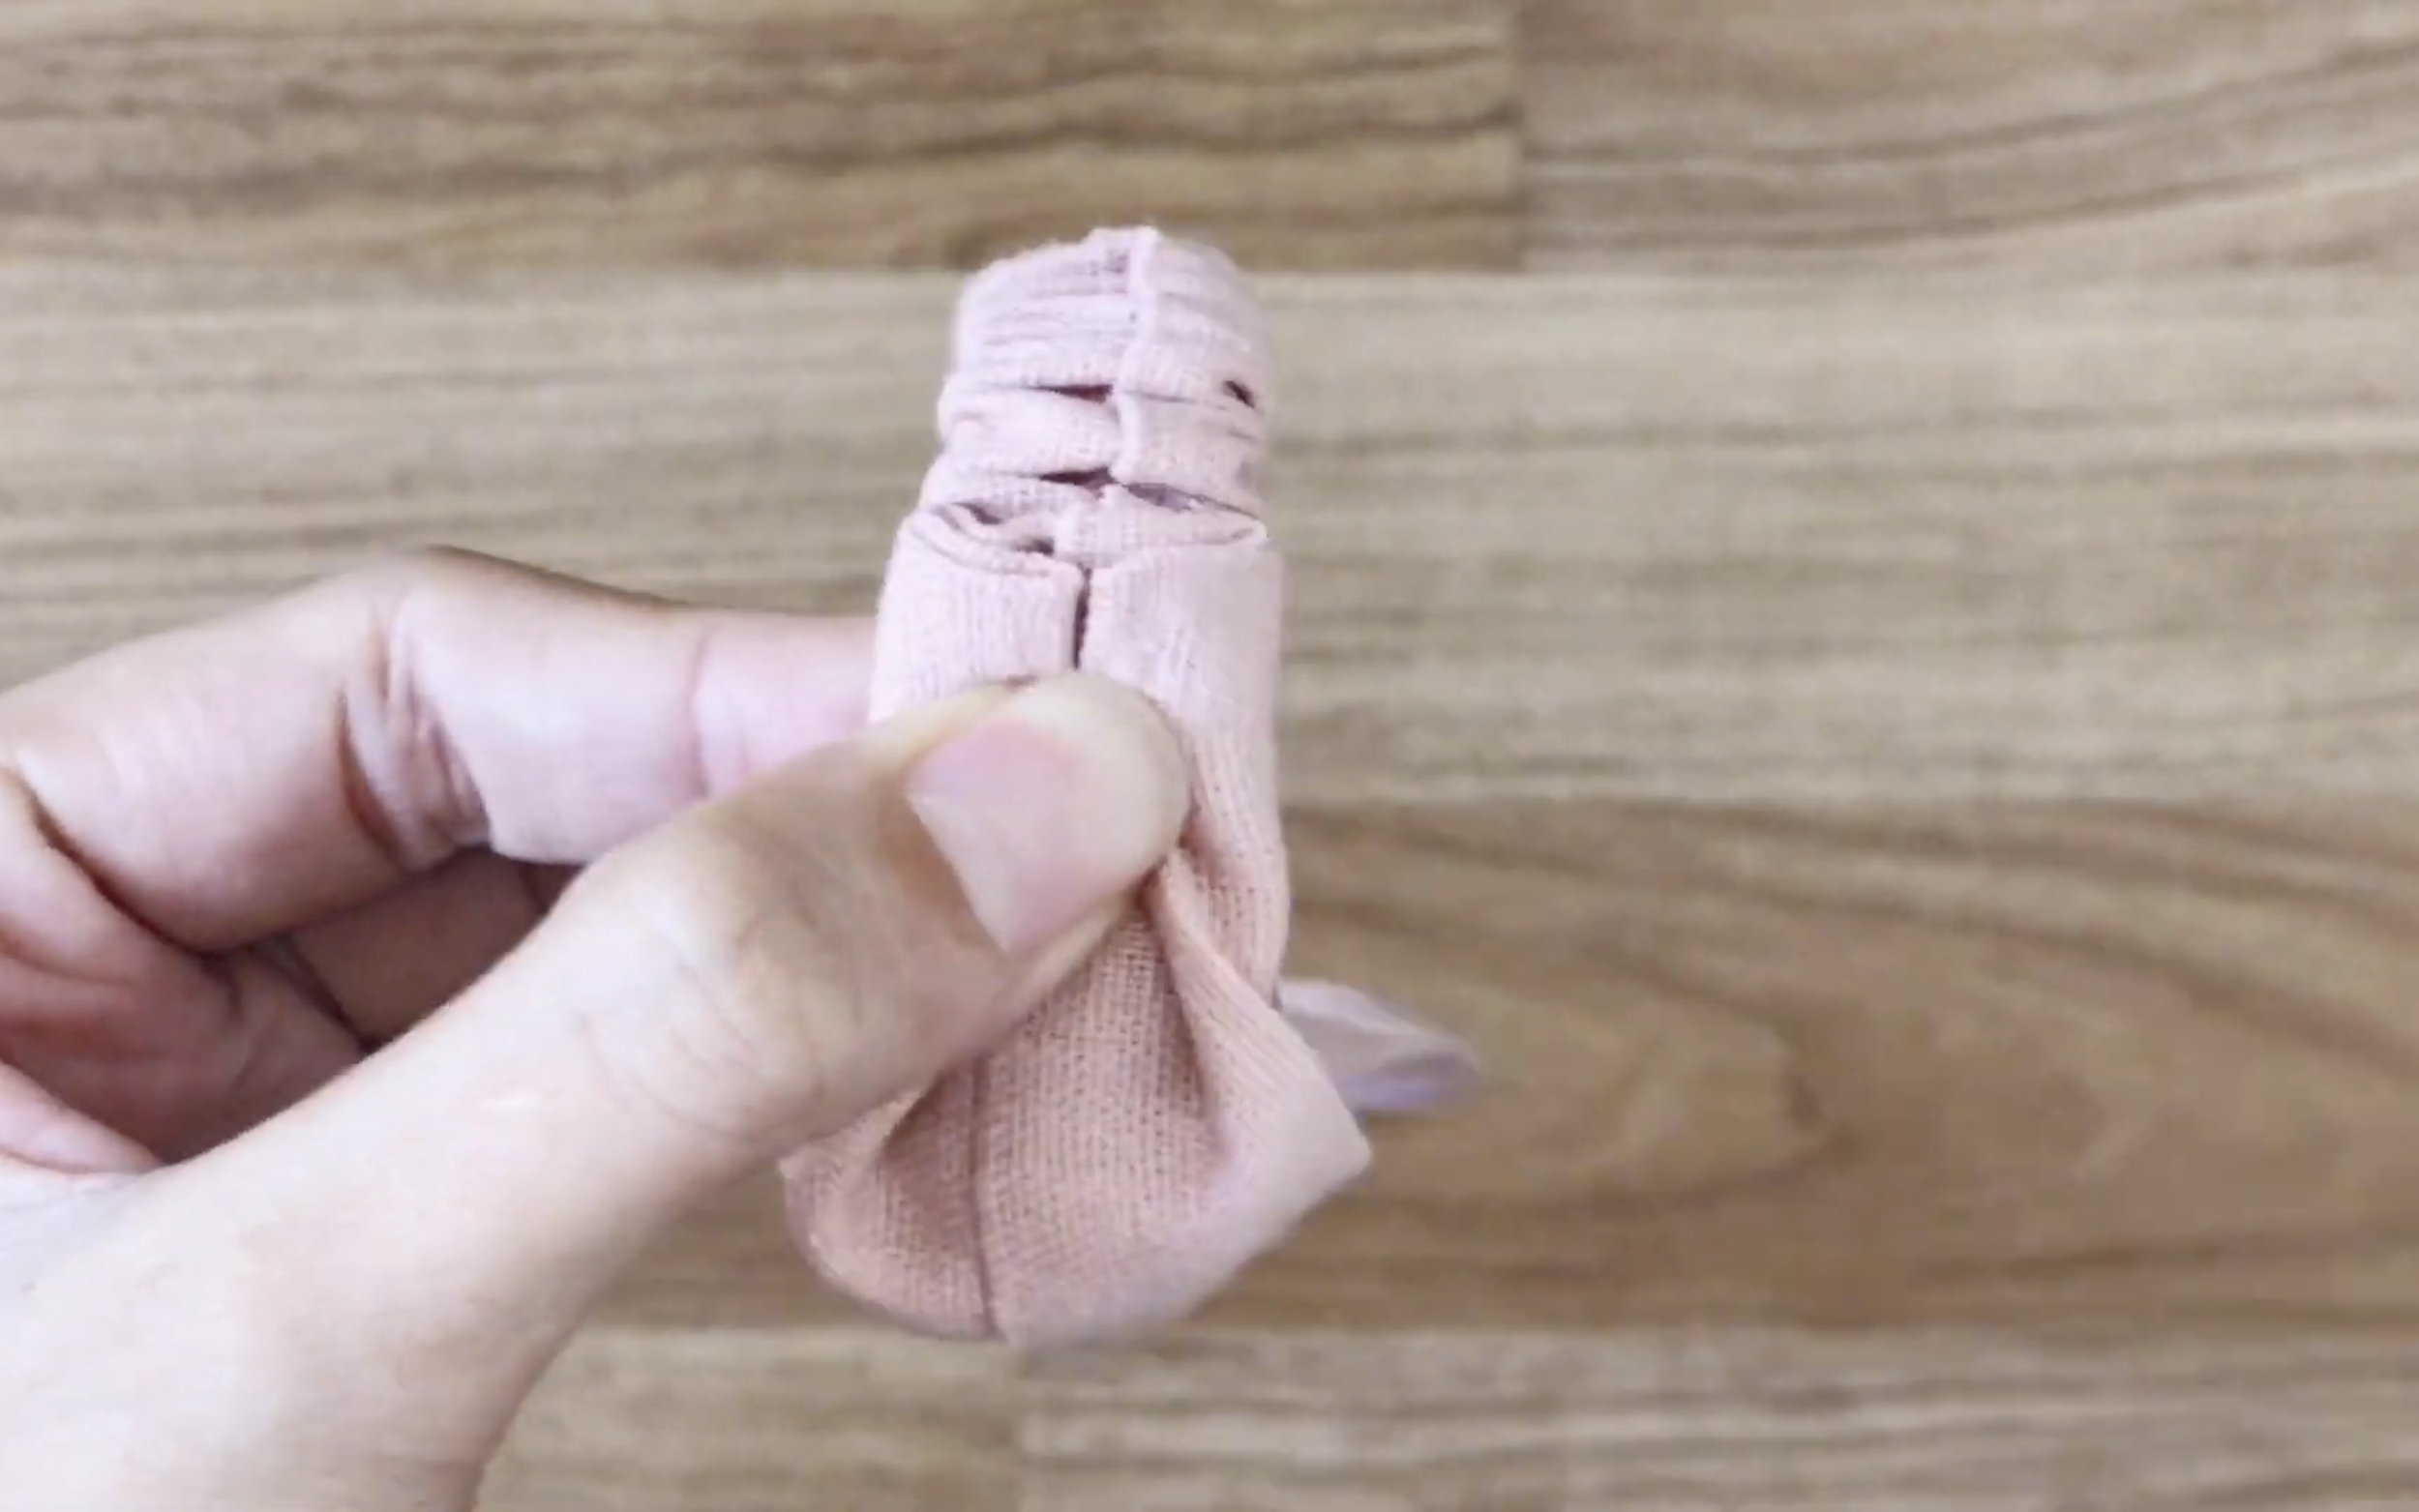
For the first top part, fold the two ends together with the seam inside the fold.
Sew the two ends of the elastic bands together after that and close the holes.
For the second top part, thread it through the first top part, then connect its end to the other end of the bottom part, similar to the first top part.
This completes the DIY.
Here's how it looks.
Then connect its end to the other end of the bottom part, similar to the first top part.
This completes the DIY.
Here's how it looks.
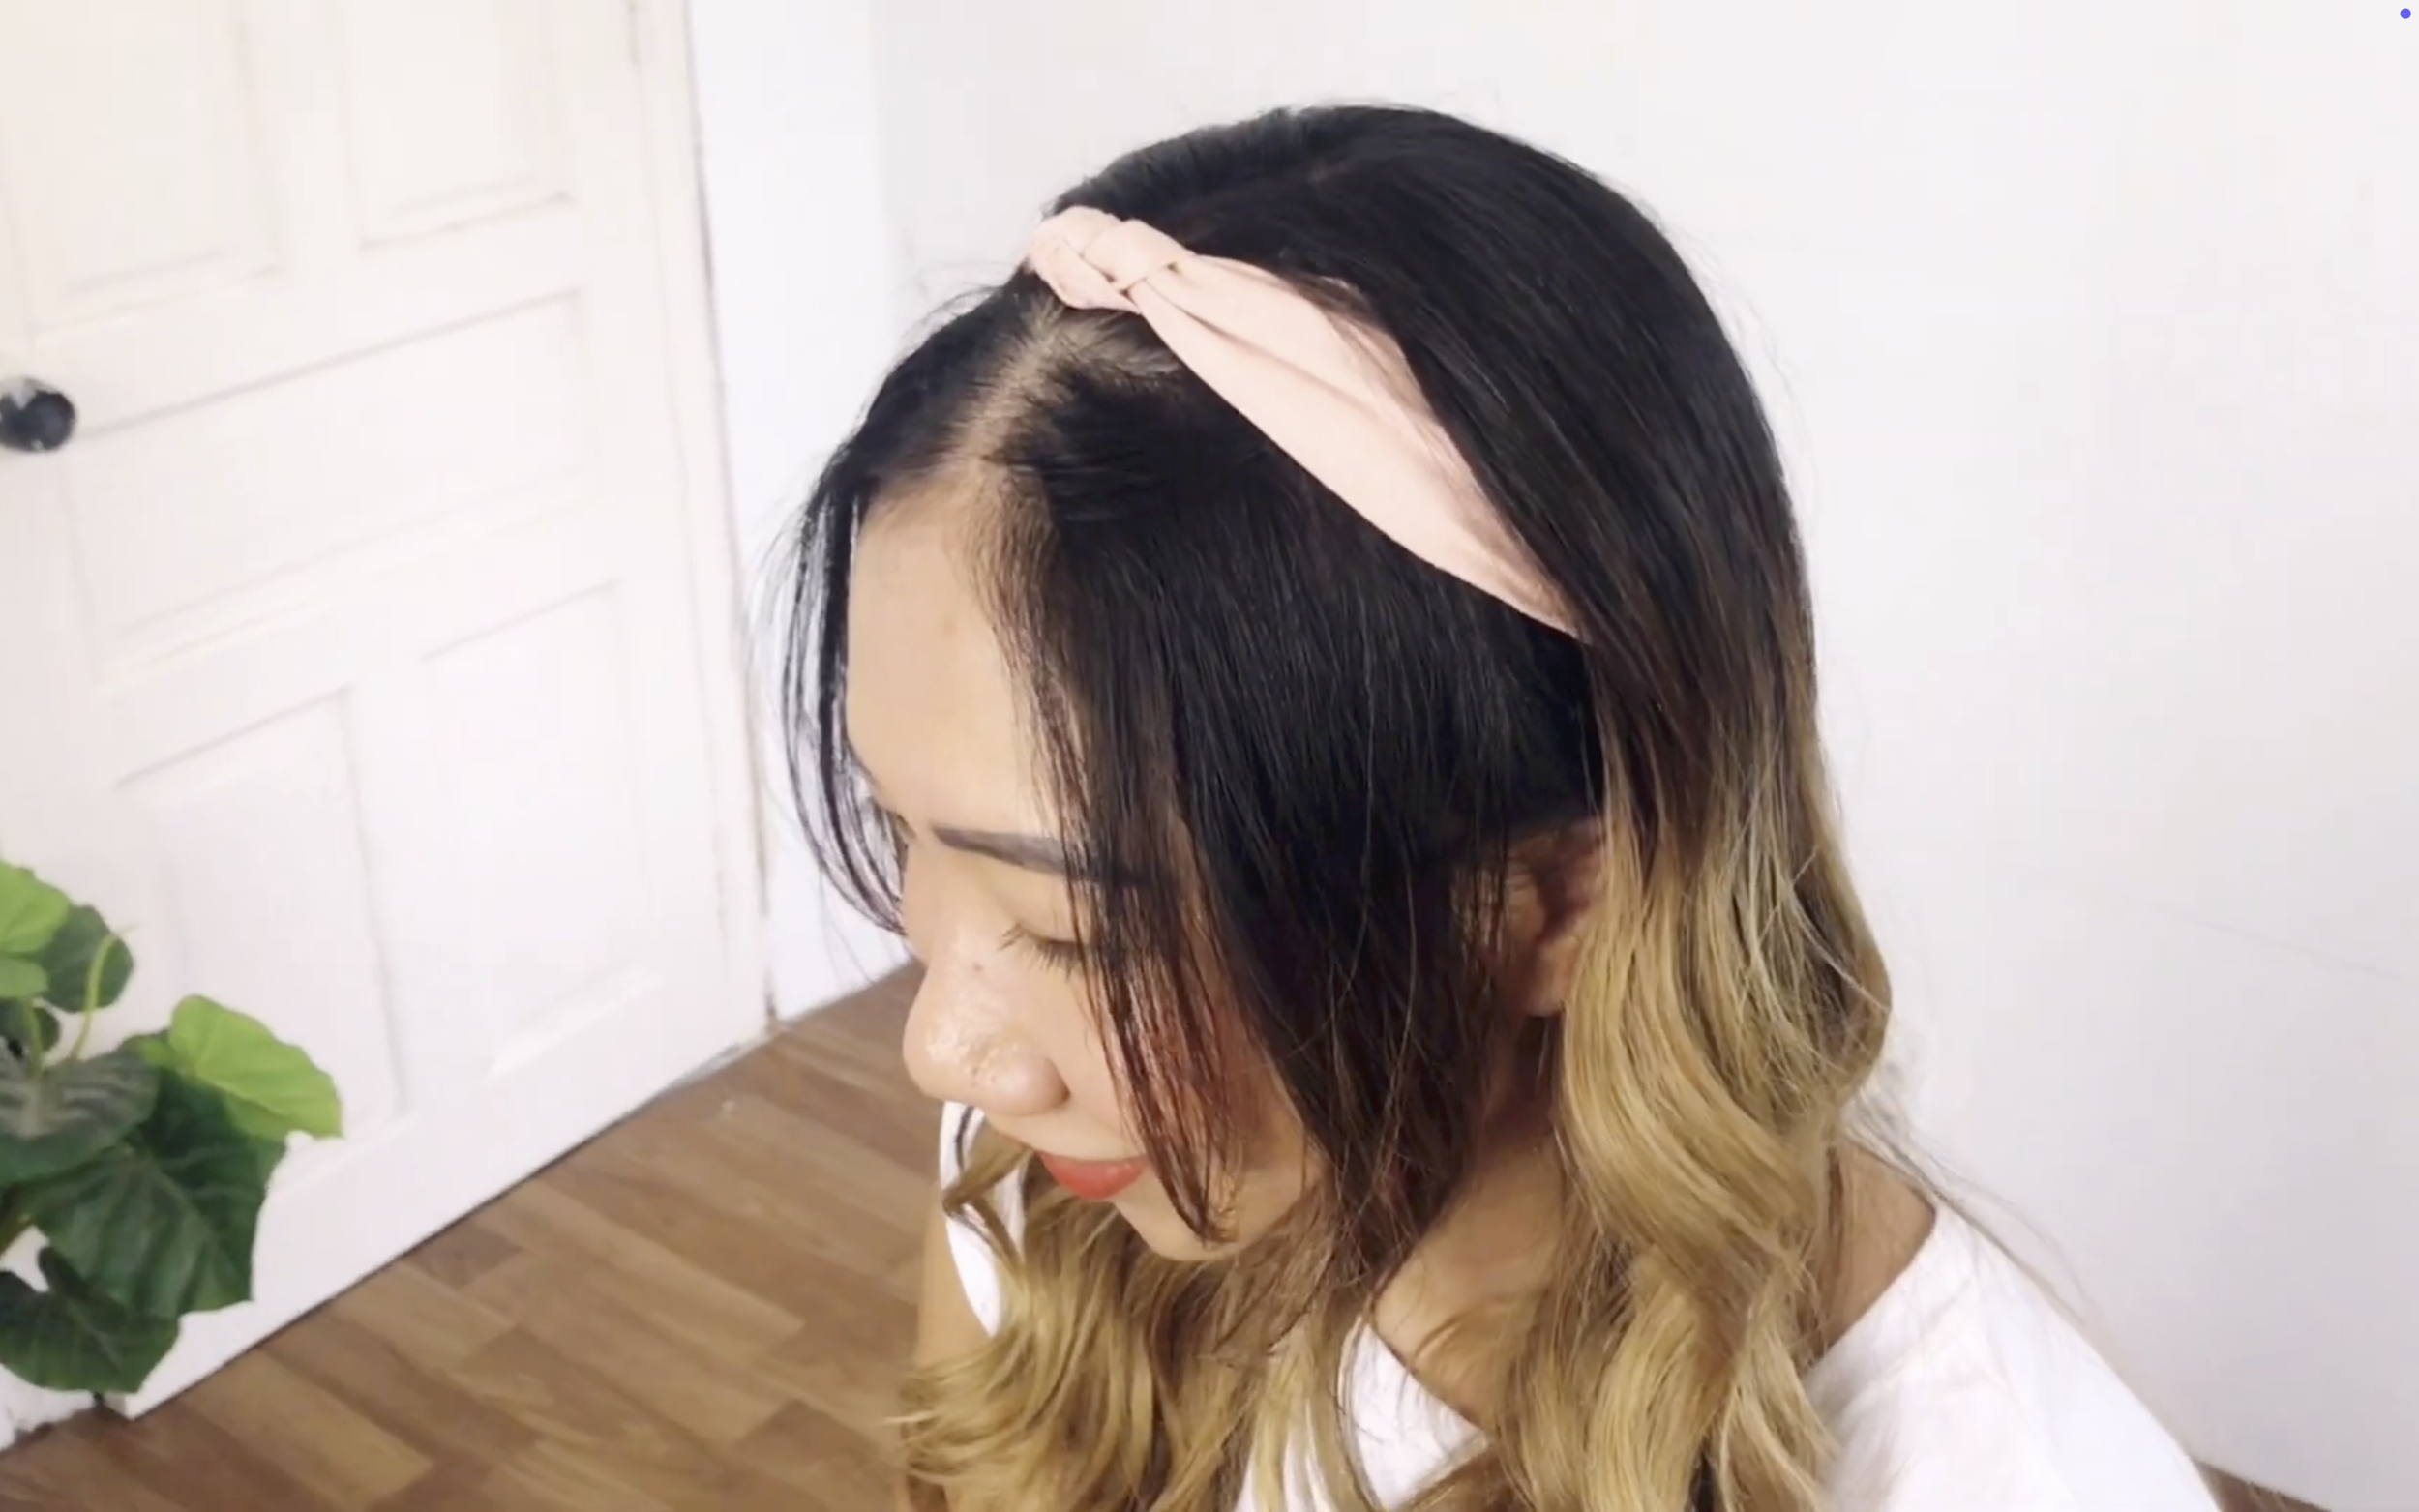
For a different style, use only one top part.
Fold the two ends of the top part inward.
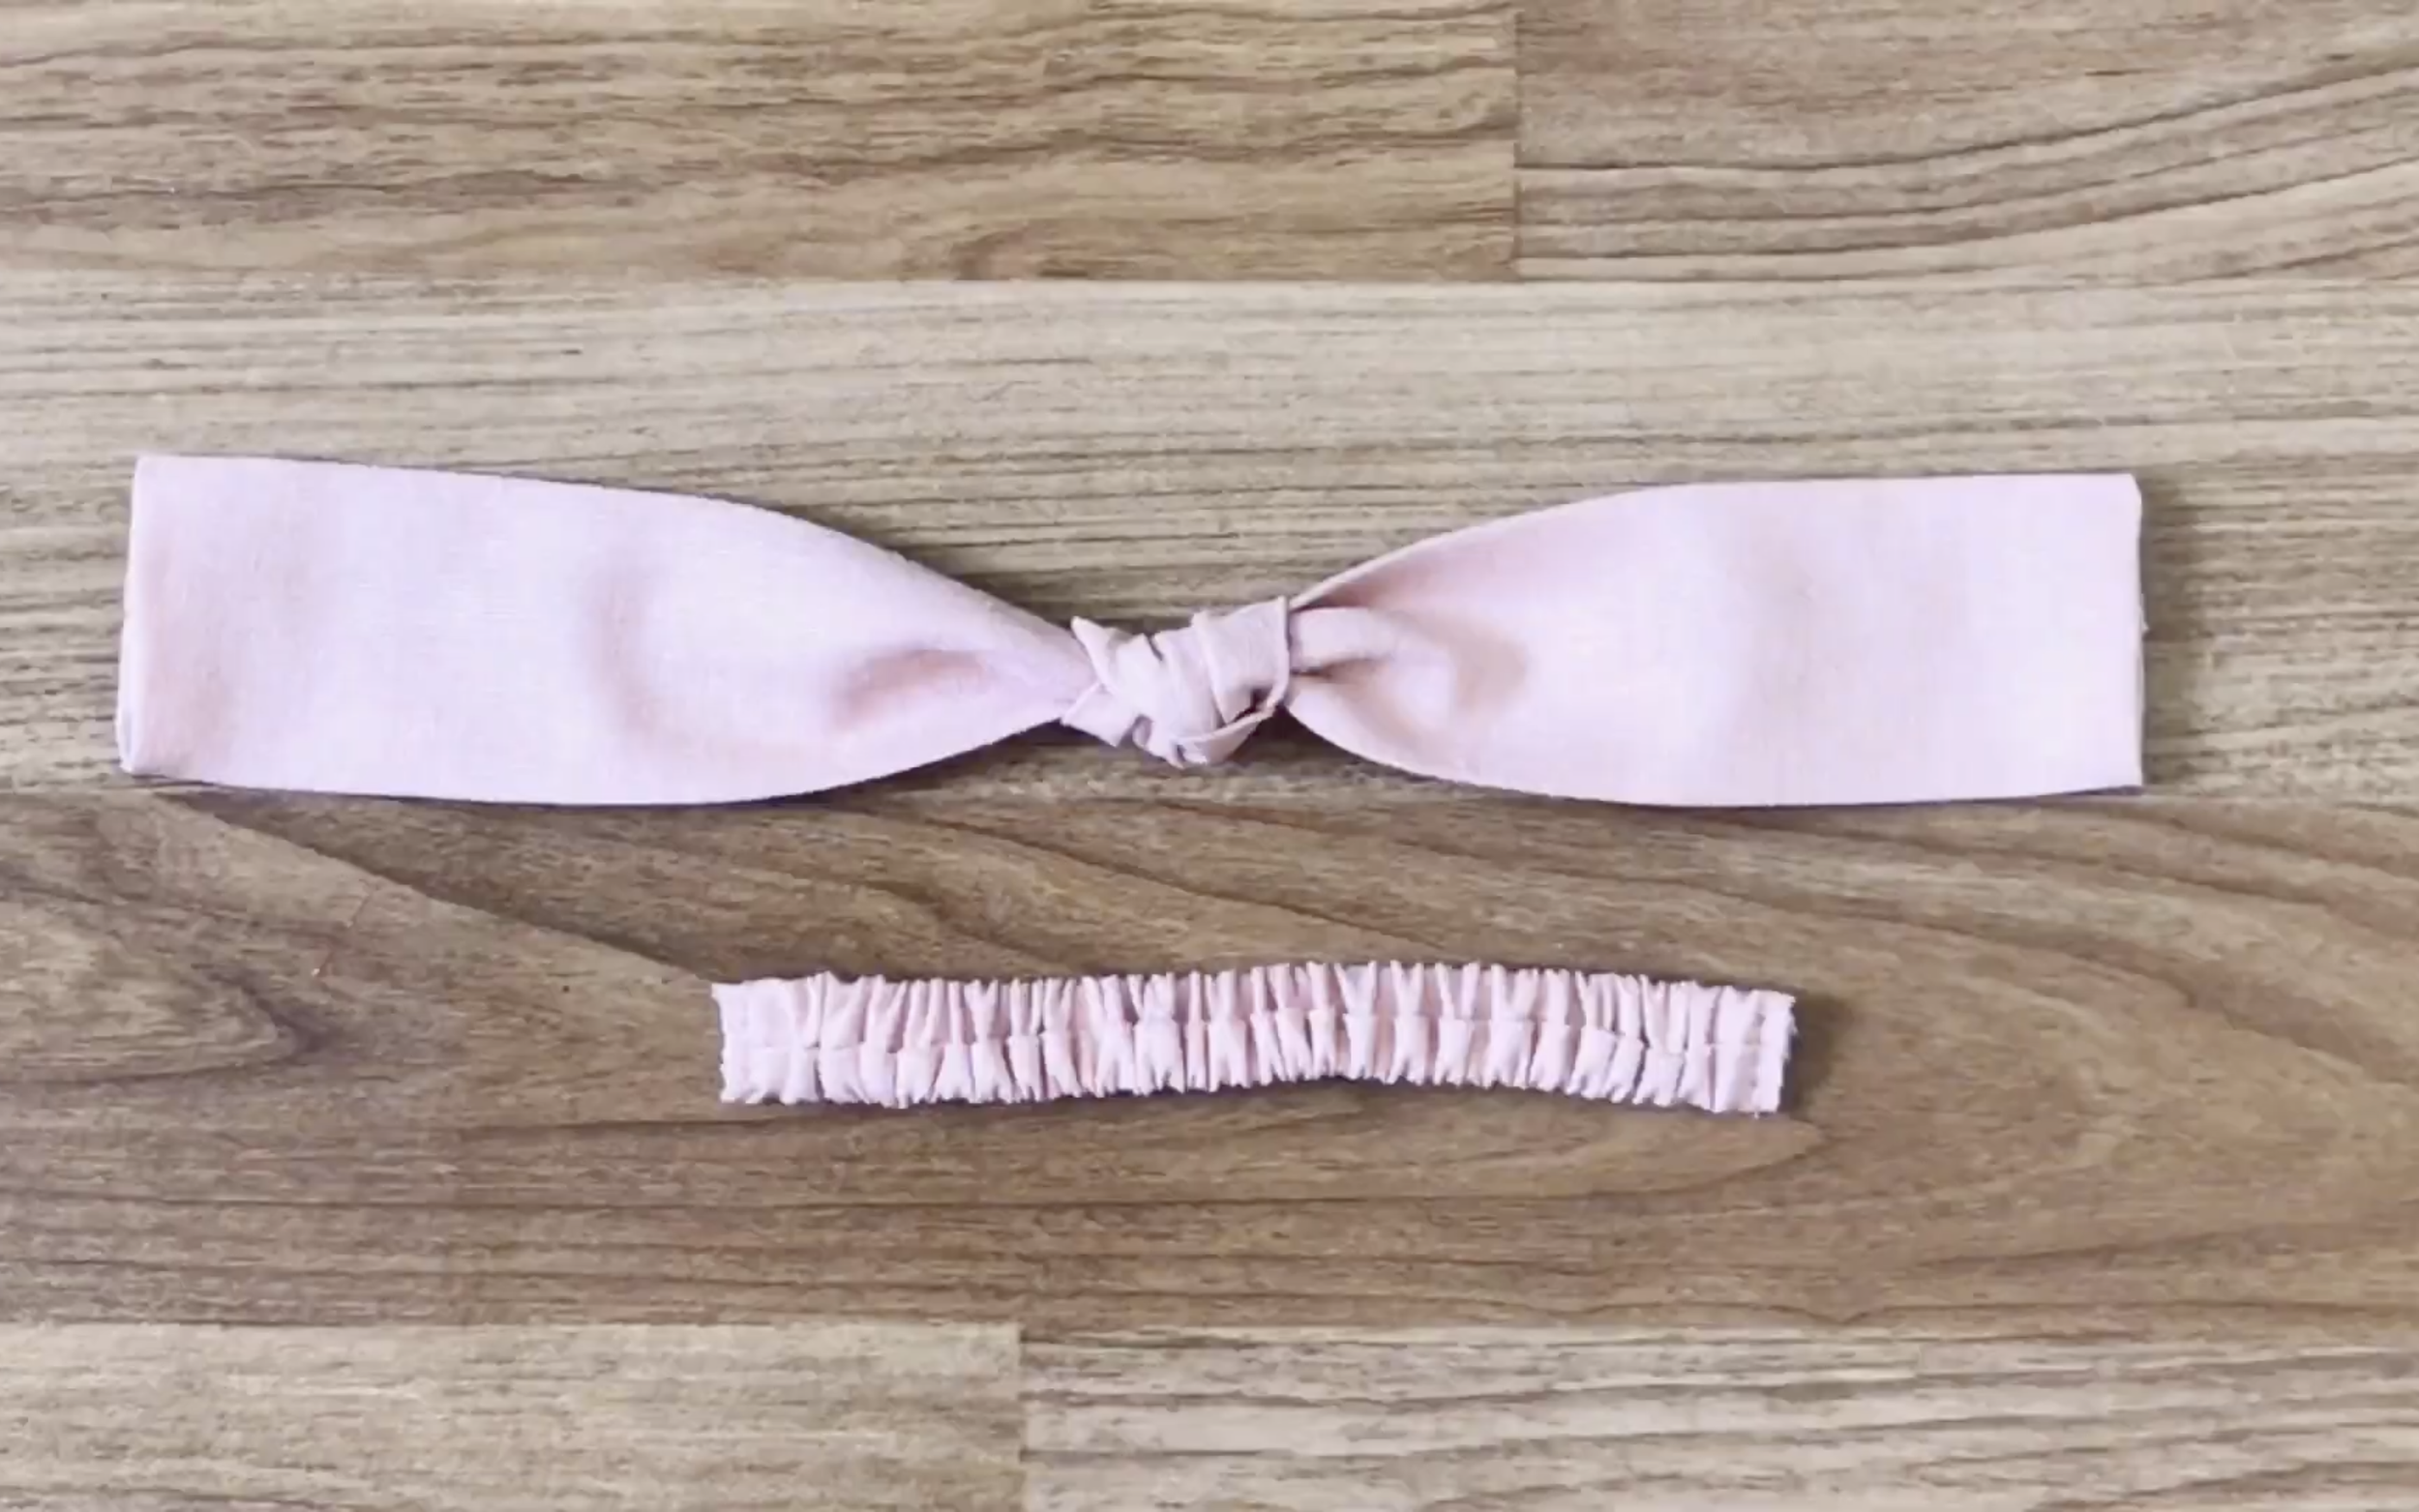
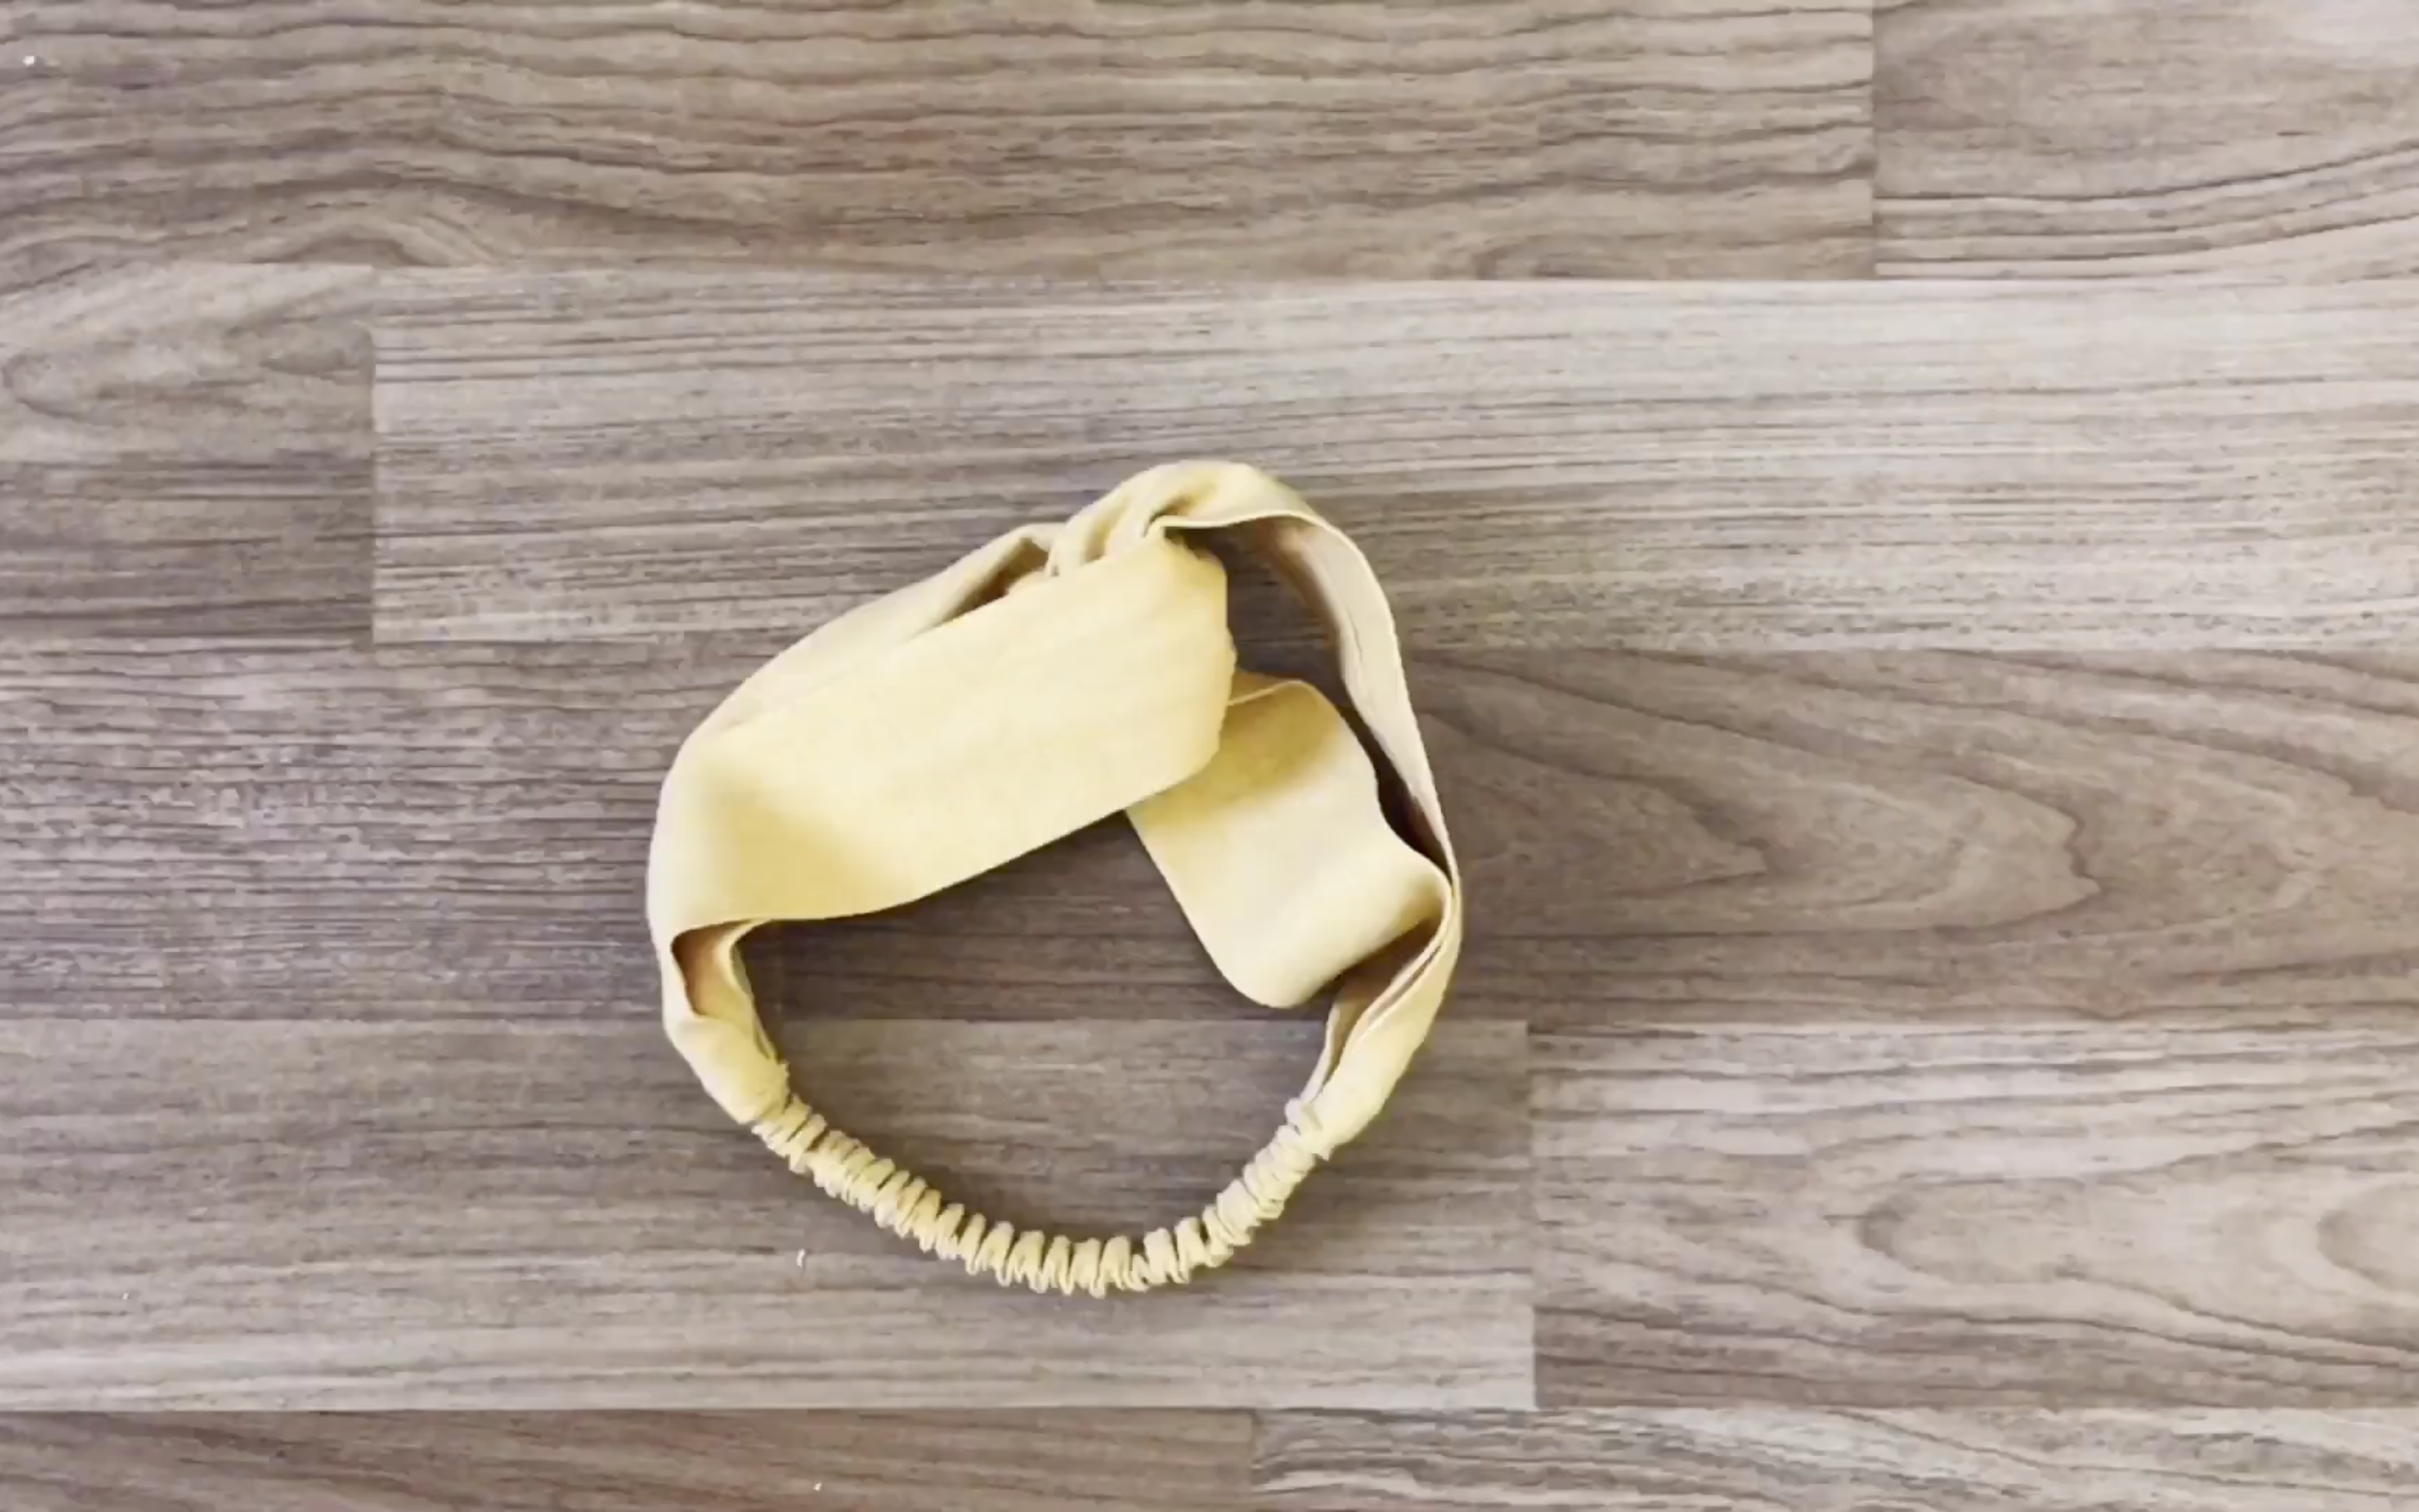
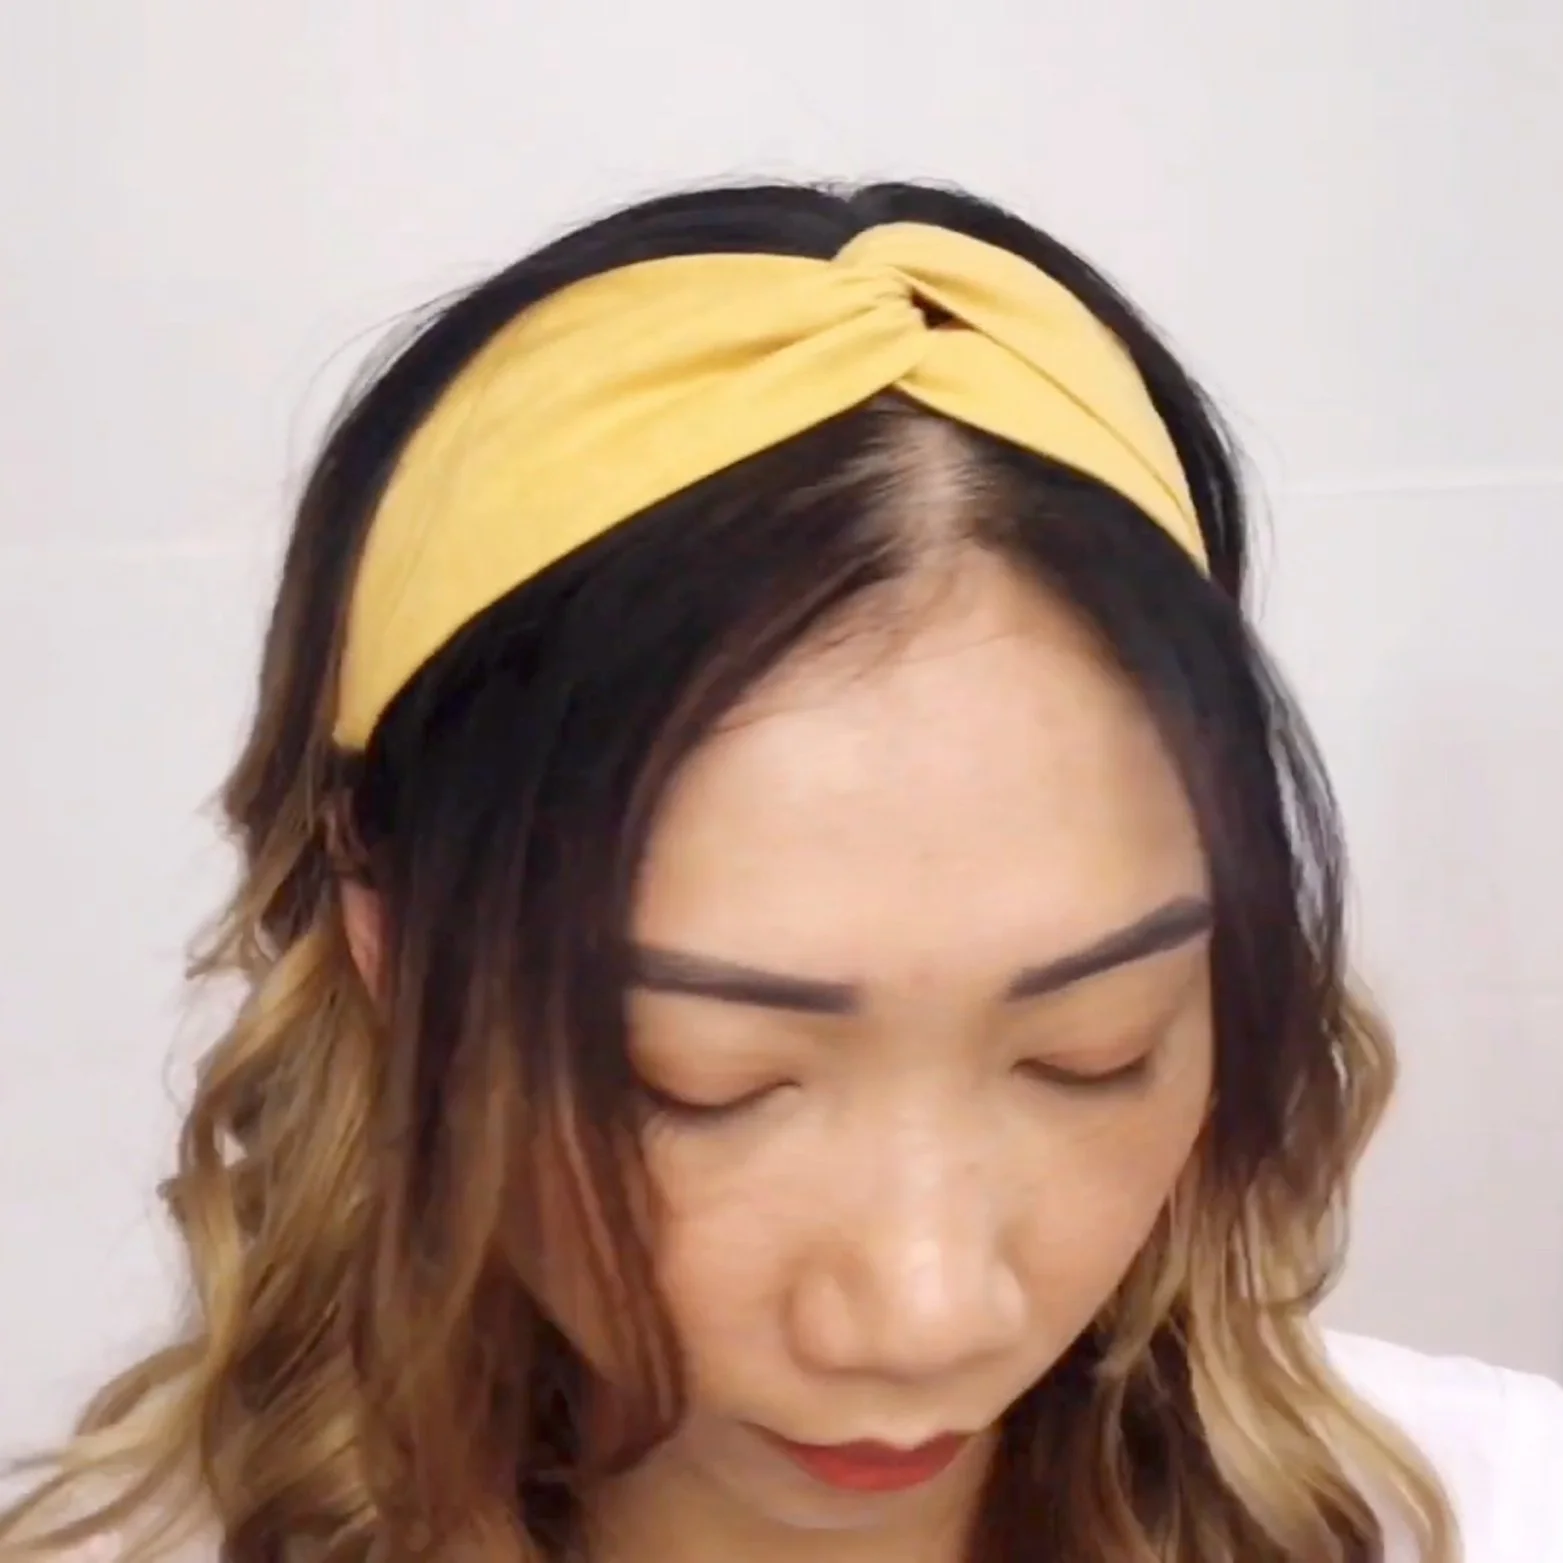
Then make a knot in the middle of the top part.
Connect the two ends of the top part to the two ends of the bottom part, following the same steps as before.
And it's done.
Here's how it looks.
That’s it for today’s hand-sewn episode!
Starting with an easy project like this is a great way to begin sewing. I hope it inspires you to try your next DIY.
I hope you found my step-by-step guide helpful and inspiring.
If you’re interested in making your own, give it a try and let me know how it goes!
Until then, happy sewing!