I made dresses for my mothers (A-line dress & Half circle dress) | My perfect wedding series - Ep 7

I made dresses for my mothers (A-line dress & Half circle dress) | My perfect wedding series - Ep 7
Welcome or welcome back to my channel!
In today's tutorial, I'm going to share with you the last episode of my "Perfect wedding" series. They're the dresses for my mothers. I made them based on the same bodice design. I just made a few changes at the sleeve and the skirt part to make them more suitable for each of them.
So I hope you can get come inspiration out of it. Let’s get started!
WHAT YOU’LL NEED
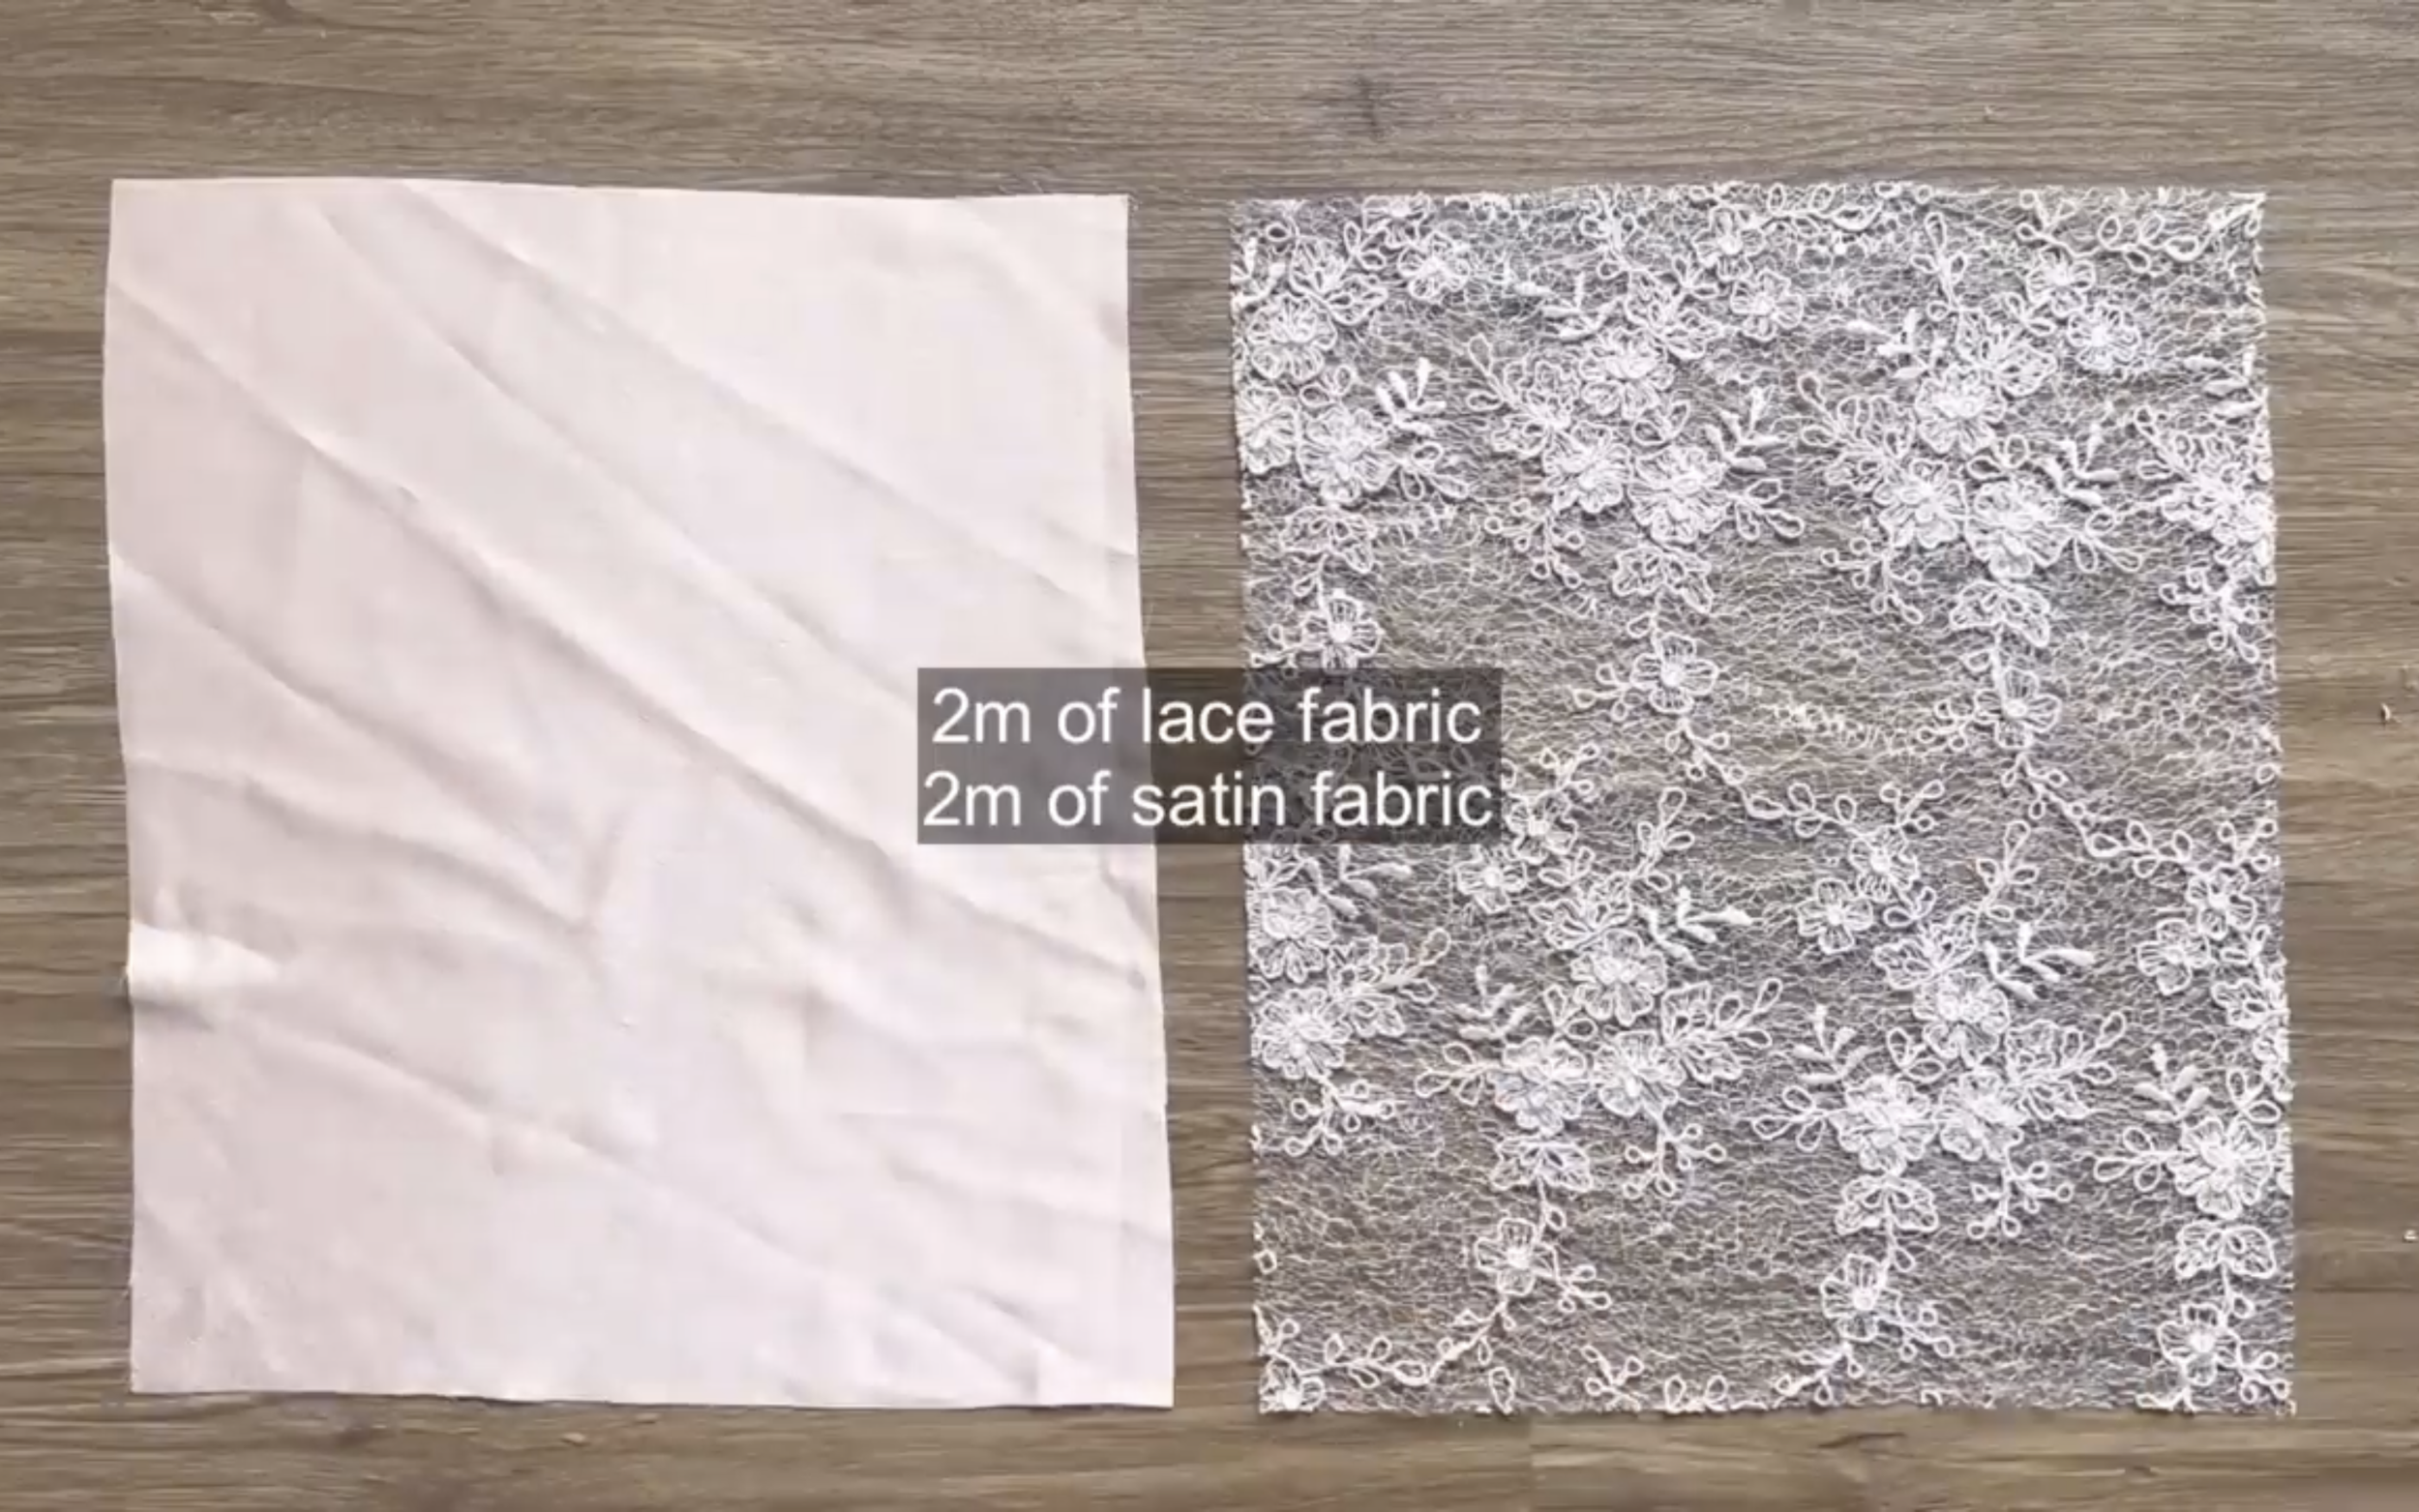
Main fabric: 2.5m of lace fabric & satin fabric
Lining fabric: 2.5m of lining fabric
Pattern paper
Sewing machine
Pins
Scissors
Ruler
Long stick
Zipper
Buttons
MAKING THE PATTERNS
Here’s the pattern for the project. To get a clear understanding of all the measurements needed for the pattern, watch the video from 1:01 to 10:41.
Remember, you can adjust these measurements to fit your own dimensions!

THE BACK BODICE PATTERN
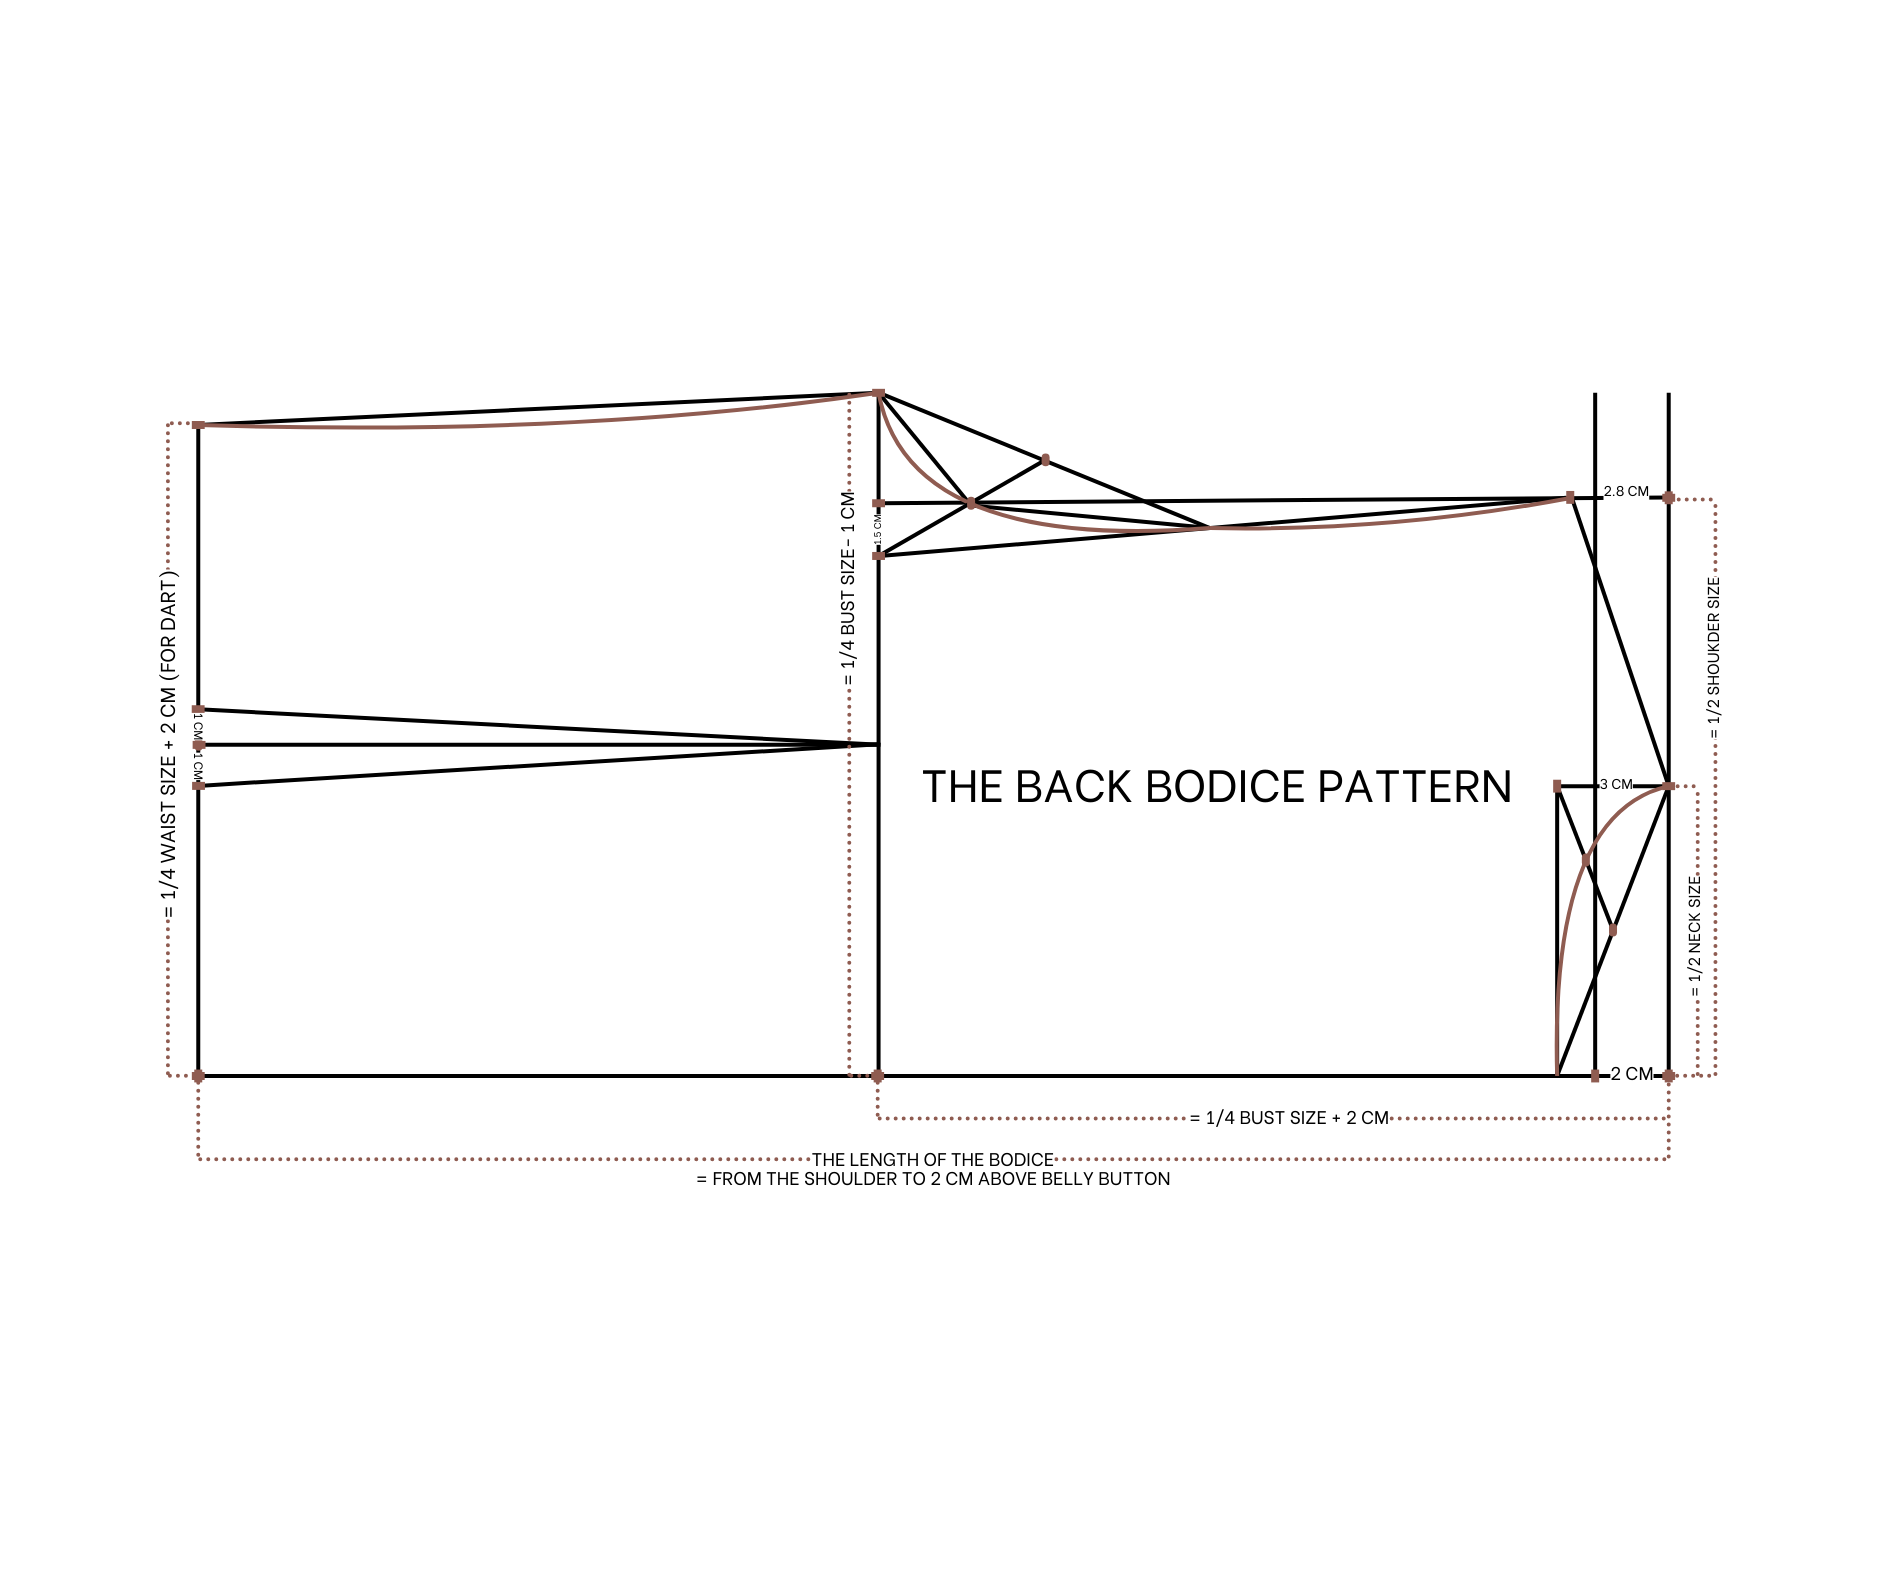
To make the front and back bodice pattern, start by drawing a straight line and a horizontal line intersecting at one point.
From the first straight line, draw another line 2 cm away from it.
From the end of this new straight line, mark up 8 cm, which is half the neck of the desired dress, then draw a perpendicular line from that mark. The width of this line is 3 cm, which is the depth of the neck for the back bodice.
Draw a straight line from the end of the perpendicular line to cut the horizontal line at one point.
Connect this cutting point to the mark on the neckline with a slanted line.
Mark the middle of this line before connecting it to the end of the perpendicular line.
Mark the middle of the new slanted line and connect it to the mark on the neckline and the cutting point on the horizontal line.
Use this to draw a curved line to finish the neckline of the back bodice.
From the end of the second straight line, mark up 16 cm, which is half the shoulder size.
Draw a perpendicular line from that mark. The width of this line is 2.8 cm, which is 1/10 of the shoulder size minus 0.5 cm.
Connect the end of this line to the end of the neckline to complete the shoulder line of the back bodice.
From the second straight line, draw another line 22 cm away, representing a quarter of the bust size plus 2 cm. This line is the bust line of the bodice.
From the end of the bust line, mark up 19 cm, which is a quarter of the bust size minus 1 cm.
Extend the perpendicular line from the shoulder to cut the bust line.
From the cutting point, mark 1.5 cm inside and connect this mark to the end of the shoulder line.
Mark the middle of the new line and connect it to the end of the bust line.
Continue marking the middle of each new line and connect it to the mark on the bust line and the middle of the first slanted line.
Use this to draw a curved line to finish the sleeve line of the back bodice.
From the second straight line, draw another line 41 cm away, representing the length of the bodice from the shoulder to 2 cm above the belly button. This line is the waistline of the bodice.
From the end of this line, mark up 18 cm, which is a quarter of the waist size plus 2 cm for the dart.
From this mark, draw a horizontal line parallel to the first one, cutting the bust line at one point.
From this cutting point, make two marks 1 cm on either side and connect them to the cutting point on the bust line.
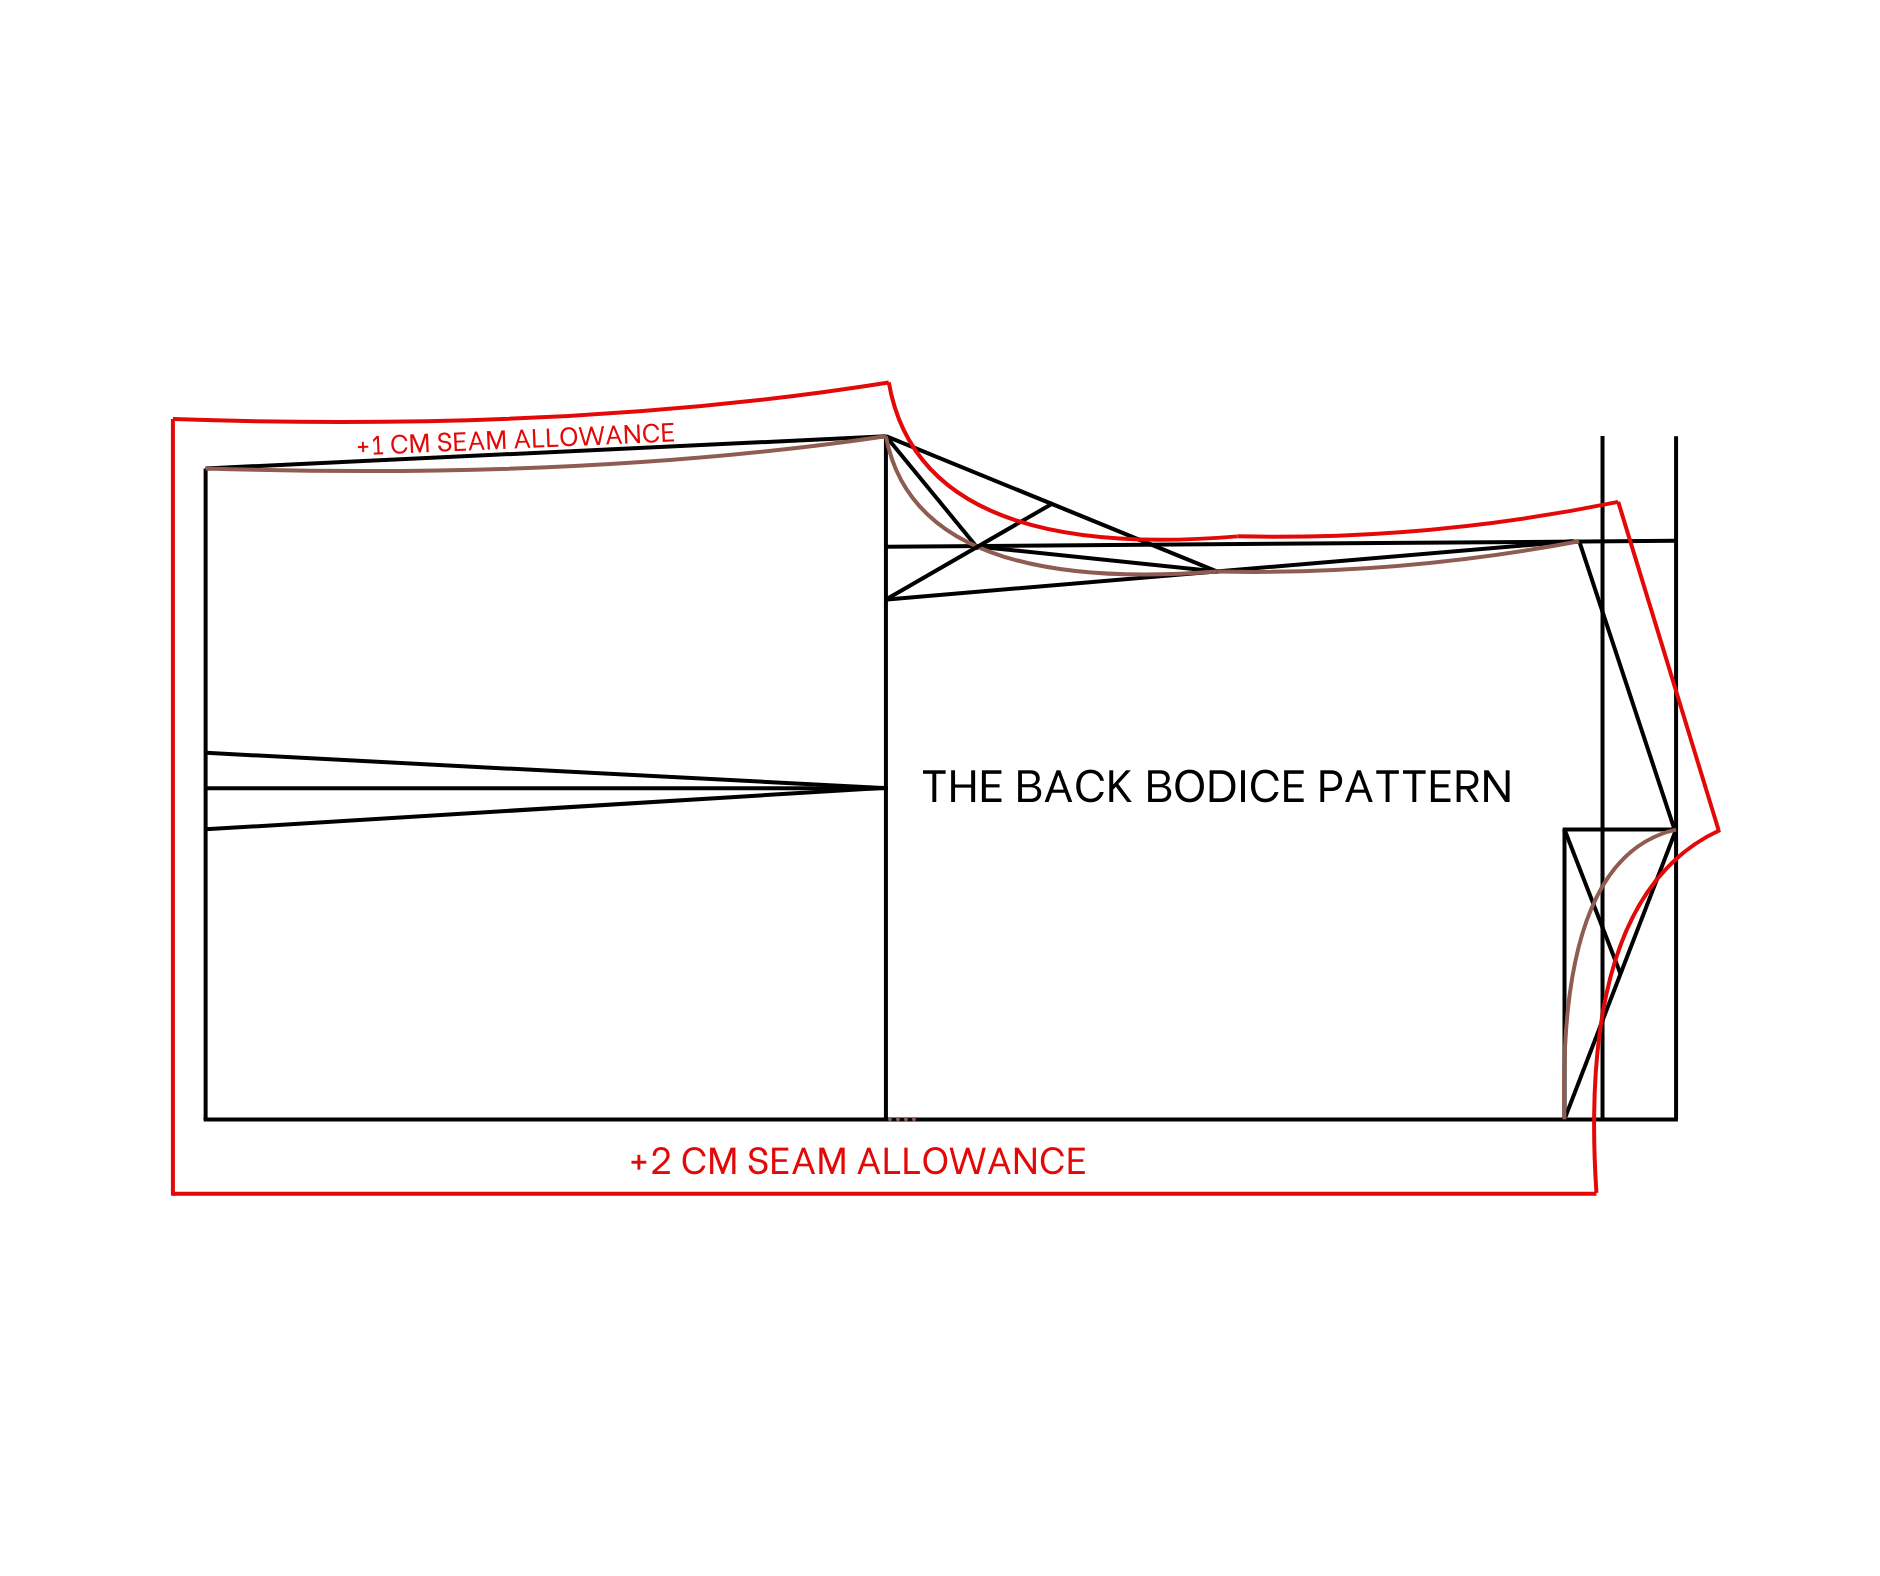
Add 1 cm for seam allowance, except for 2 cm seam allowance at the middle line of the back bodice.
THE FRONT BODICE PATTERN
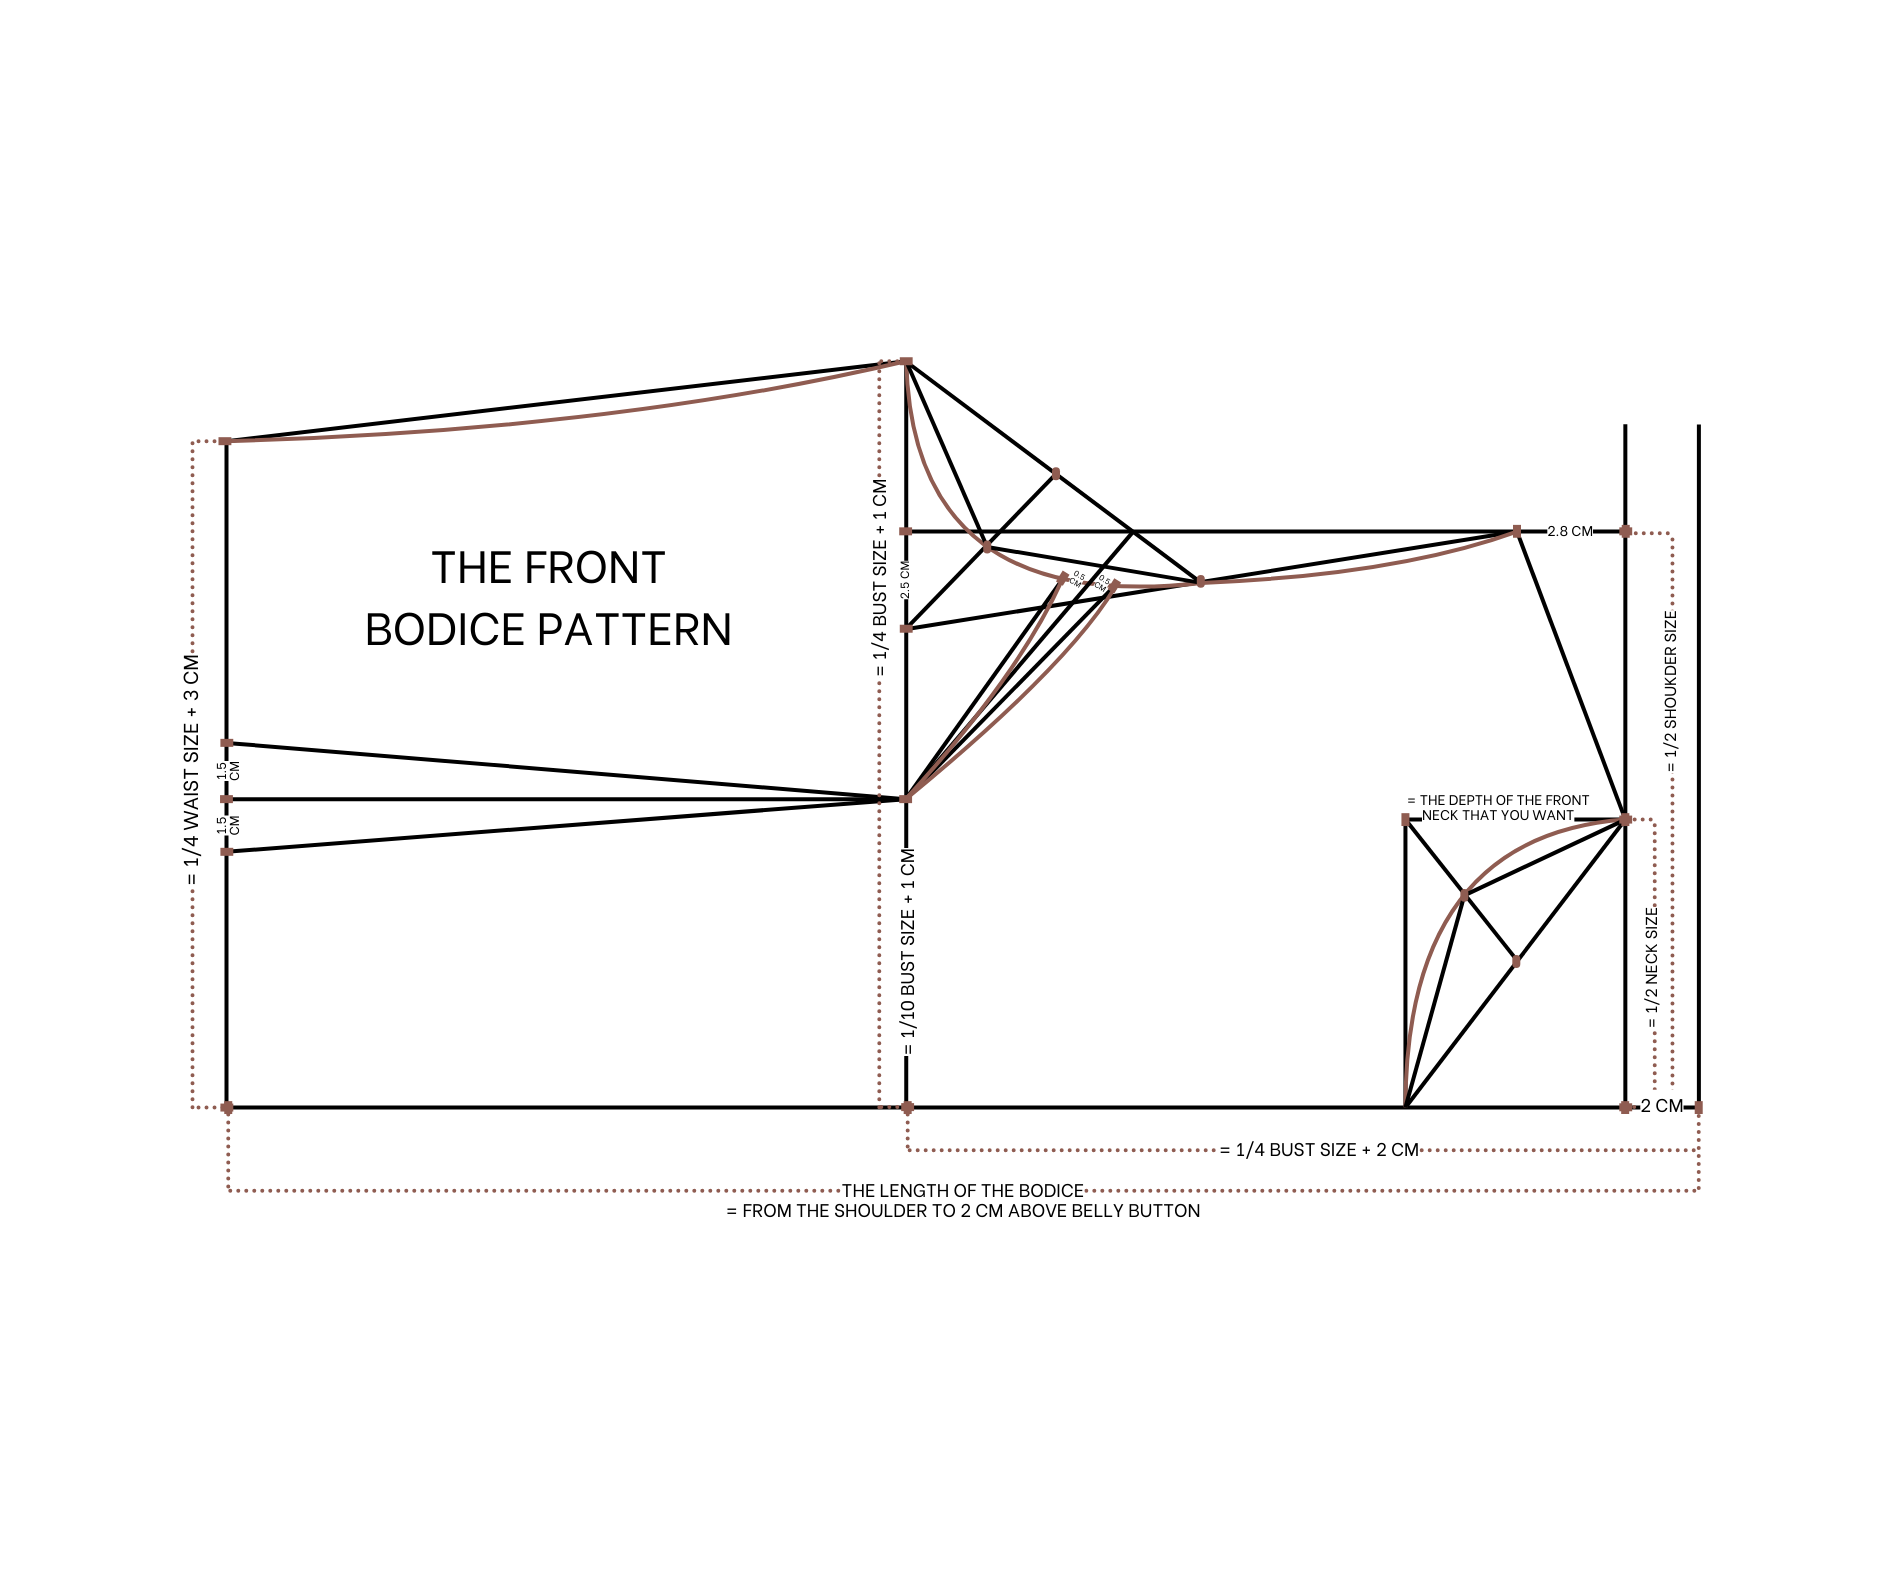
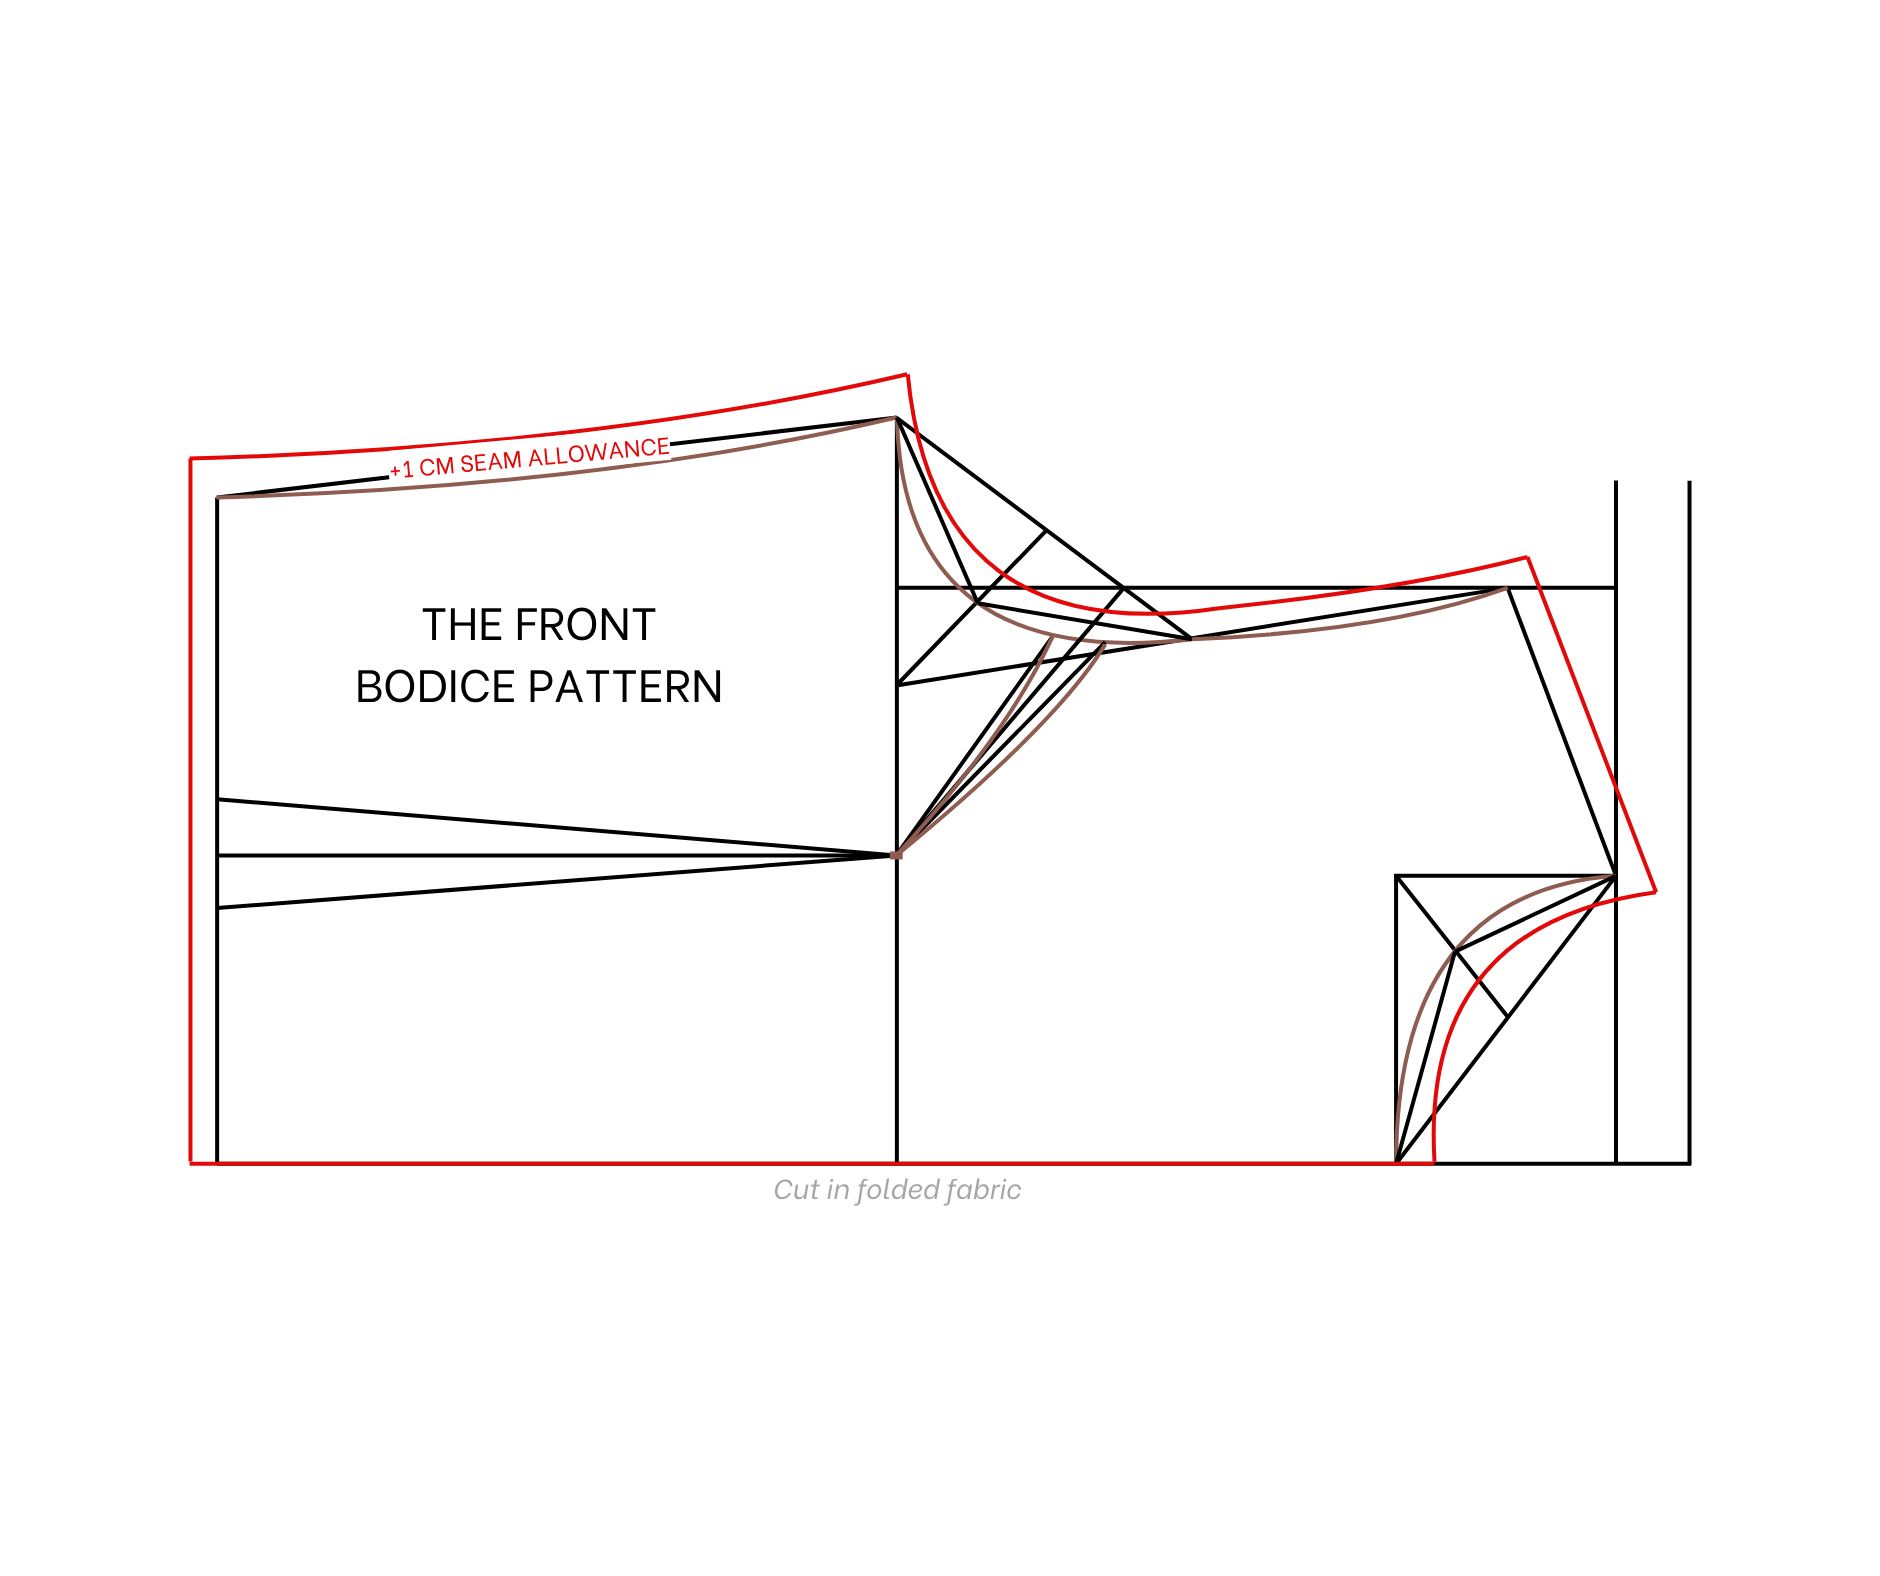
For the front bodice, draw two straight lines 2 cm apart.
Instead of making the neckline from the second straight line, make it from the first one. The depth of the front neckline is 6 cm instead of 3 cm.Create the shoulder line the same way as for the back bodice.
From the second straight line, draw another line 22 cm away, which is a quarter of the bust size plus 2 cm. This line is the bust line of the front bodice.
From the end of this line, mark up 21 cm, which is a quarter of the bust size plus 1 cm.
Extend the perpendicular line at the shoulder to cut the bust line.
From the cutting point, mark 2.5 cm inside and connect it to the end of the shoulder line.
Create the sleeve line for the front bodice similarly to the back bodice.
From the second straight line, draw another line 41 cm away, representing the length of the bodice from the shoulder to 2 cm above the belly button. This line is the waistline of the bodice.
From the end of this line, mark up 19 cm, which is a quarter of the bust size plus 3 cm for the dart.
From the end of the bust line, mark up 9 cm, which is 1/10 of the bust size plus 1 cm.
Draw a horizontal line parallel to the first one, cutting the waistline at one point.
From the cutting point, make two marks 1.5 cm on either side and connect them to the mark on the bust line to create the dart.
From the cutting point on the perpendicular line at the sleeve, connect it to the mark on the bust line.
Make two more marks 0.5 cm on either side and use these to draw a curved line to finish the dart on the front bodice.
Add 1 cm for seam allowance, except no seam allowance on the horizontal line, as this will be cut on folded fabric.
THE SLEEVE PATTERN
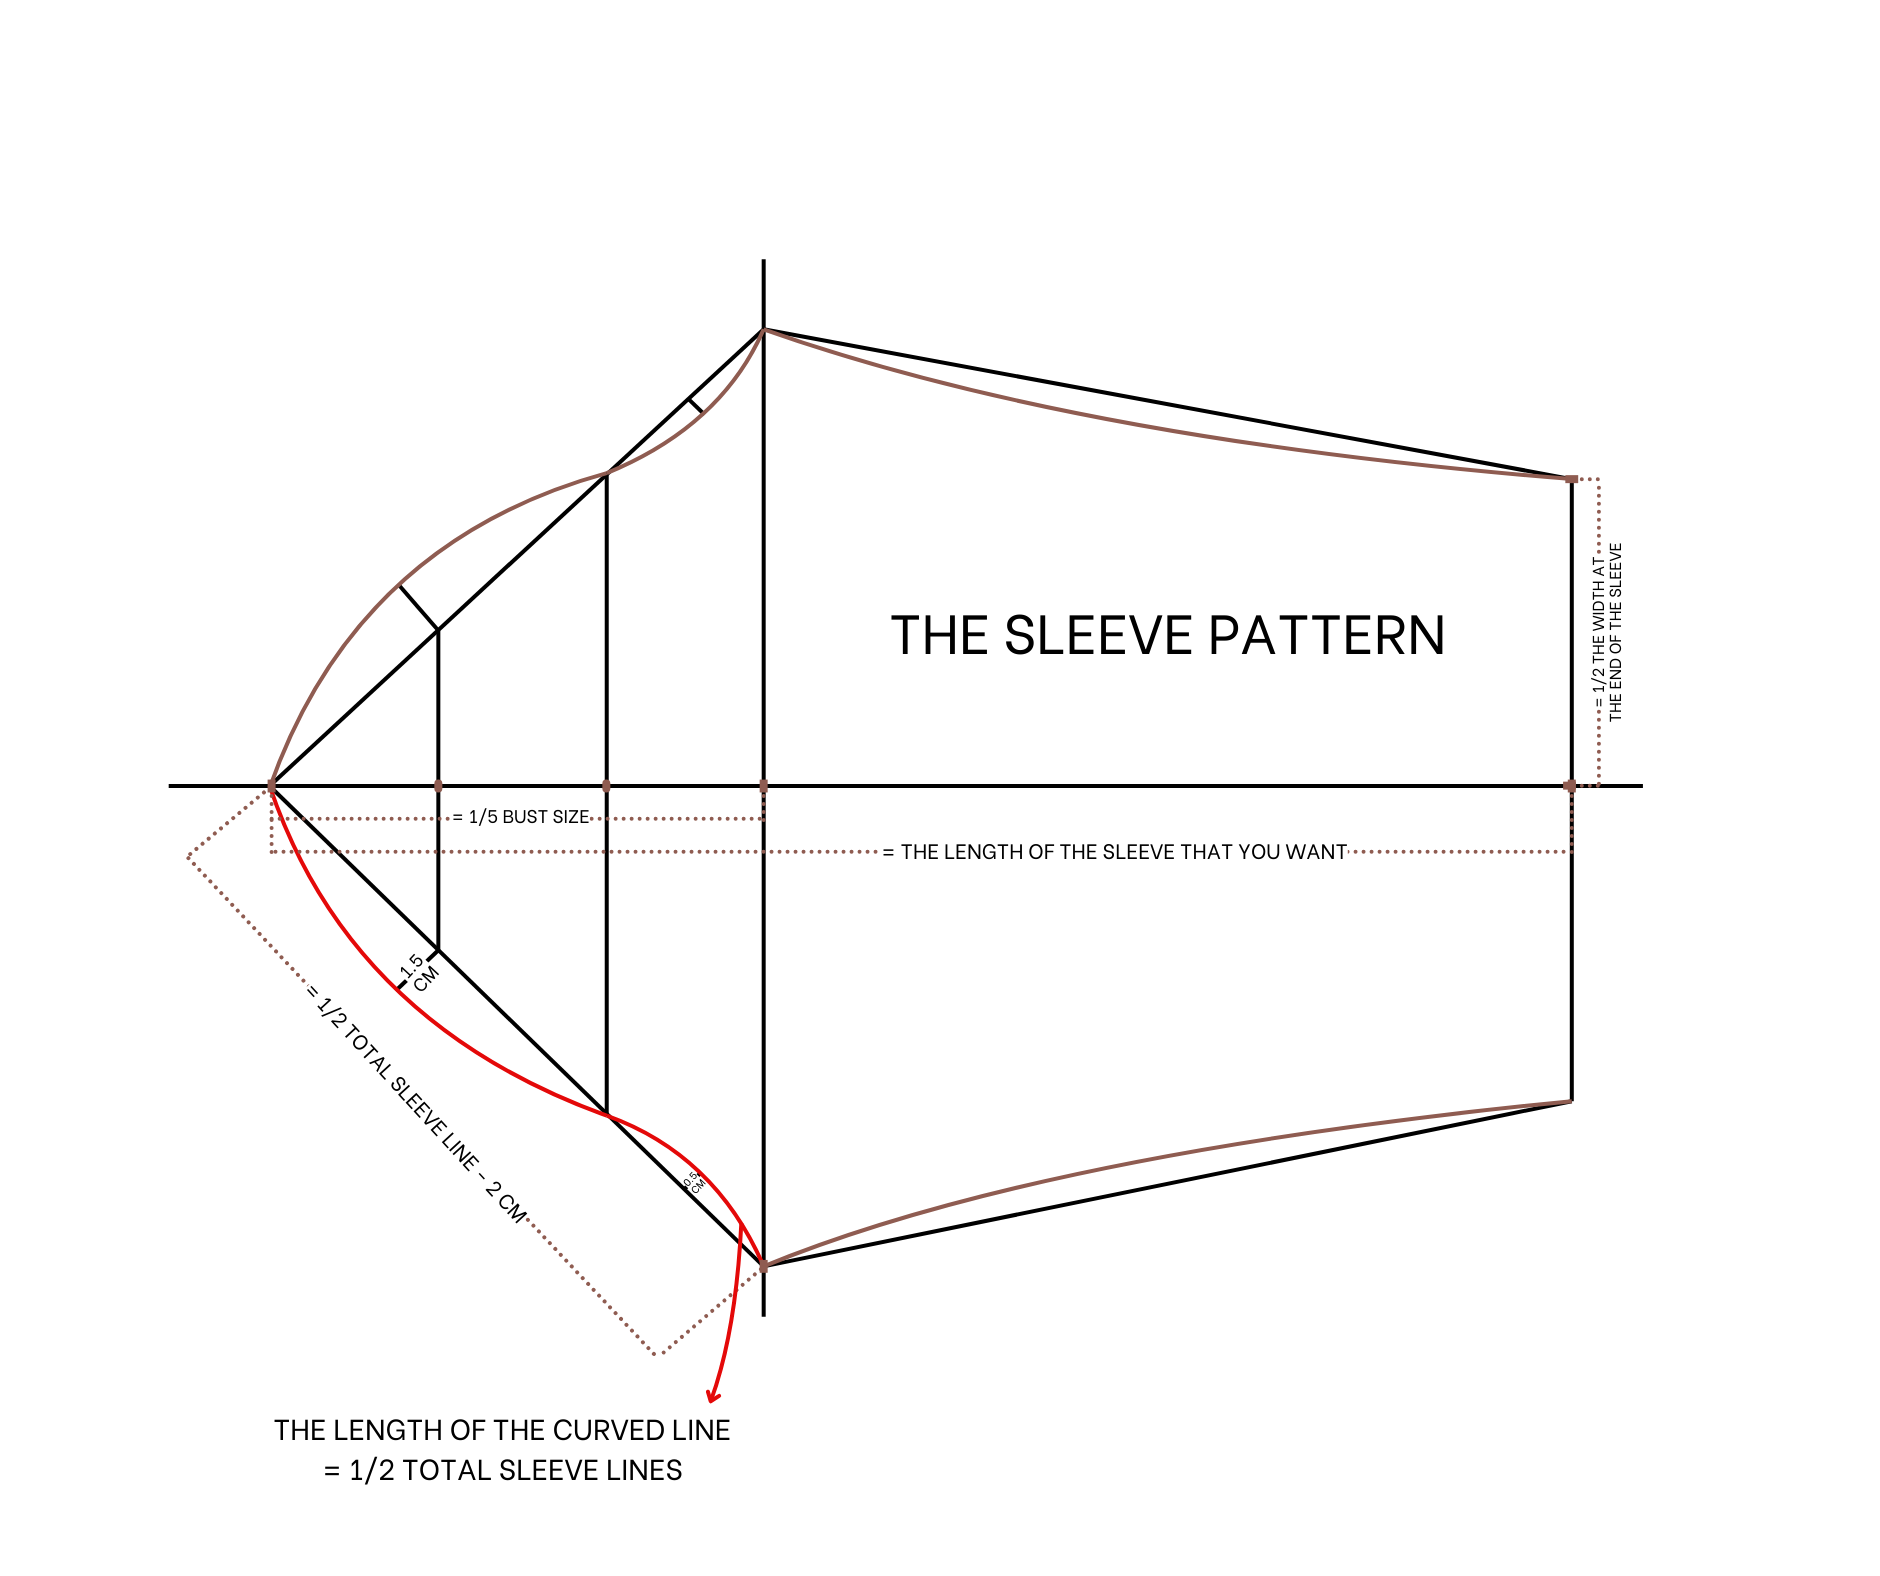
For the sleeve pattern, measure the length of the sleeve on the front and back bodice patterns.
Draw a straight line and a horizontal line intersecting.
From the intersection, mark 16 cm to one side, representing 1/5 of the bust size.
Draw a slanted line from this mark to intersect the straight line. The width of the slanted line is half the width of the sleeve line on the front and back bodice minus 2 cm.
Divide the middle line into three equal parts.
From these marks, draw straight lines cutting the slanted line.
From the top cutting point, draw a perpendicular line 1.5 cm outside the slanted line.
From the midpoint between the other cutting point and the end of the slanted line, draw another perpendicular line 0.5 cm inside.
Connect these marks with a curved line on both sides to complete the sleeve line at the top. Ensure the sleeve line length matches the combined sleeve line lengths of the front and back bodices.
From the top of the sleeve line, mark 42 cm on the horizontal line, representing the desired sleeve length.
Draw a straight line through this mark.
From this point, make two more marks 10 cm on either side, making the width 20 cm, which is the desired sleeve width.
Connect these marks to the two ends of the sleeve line at the top.
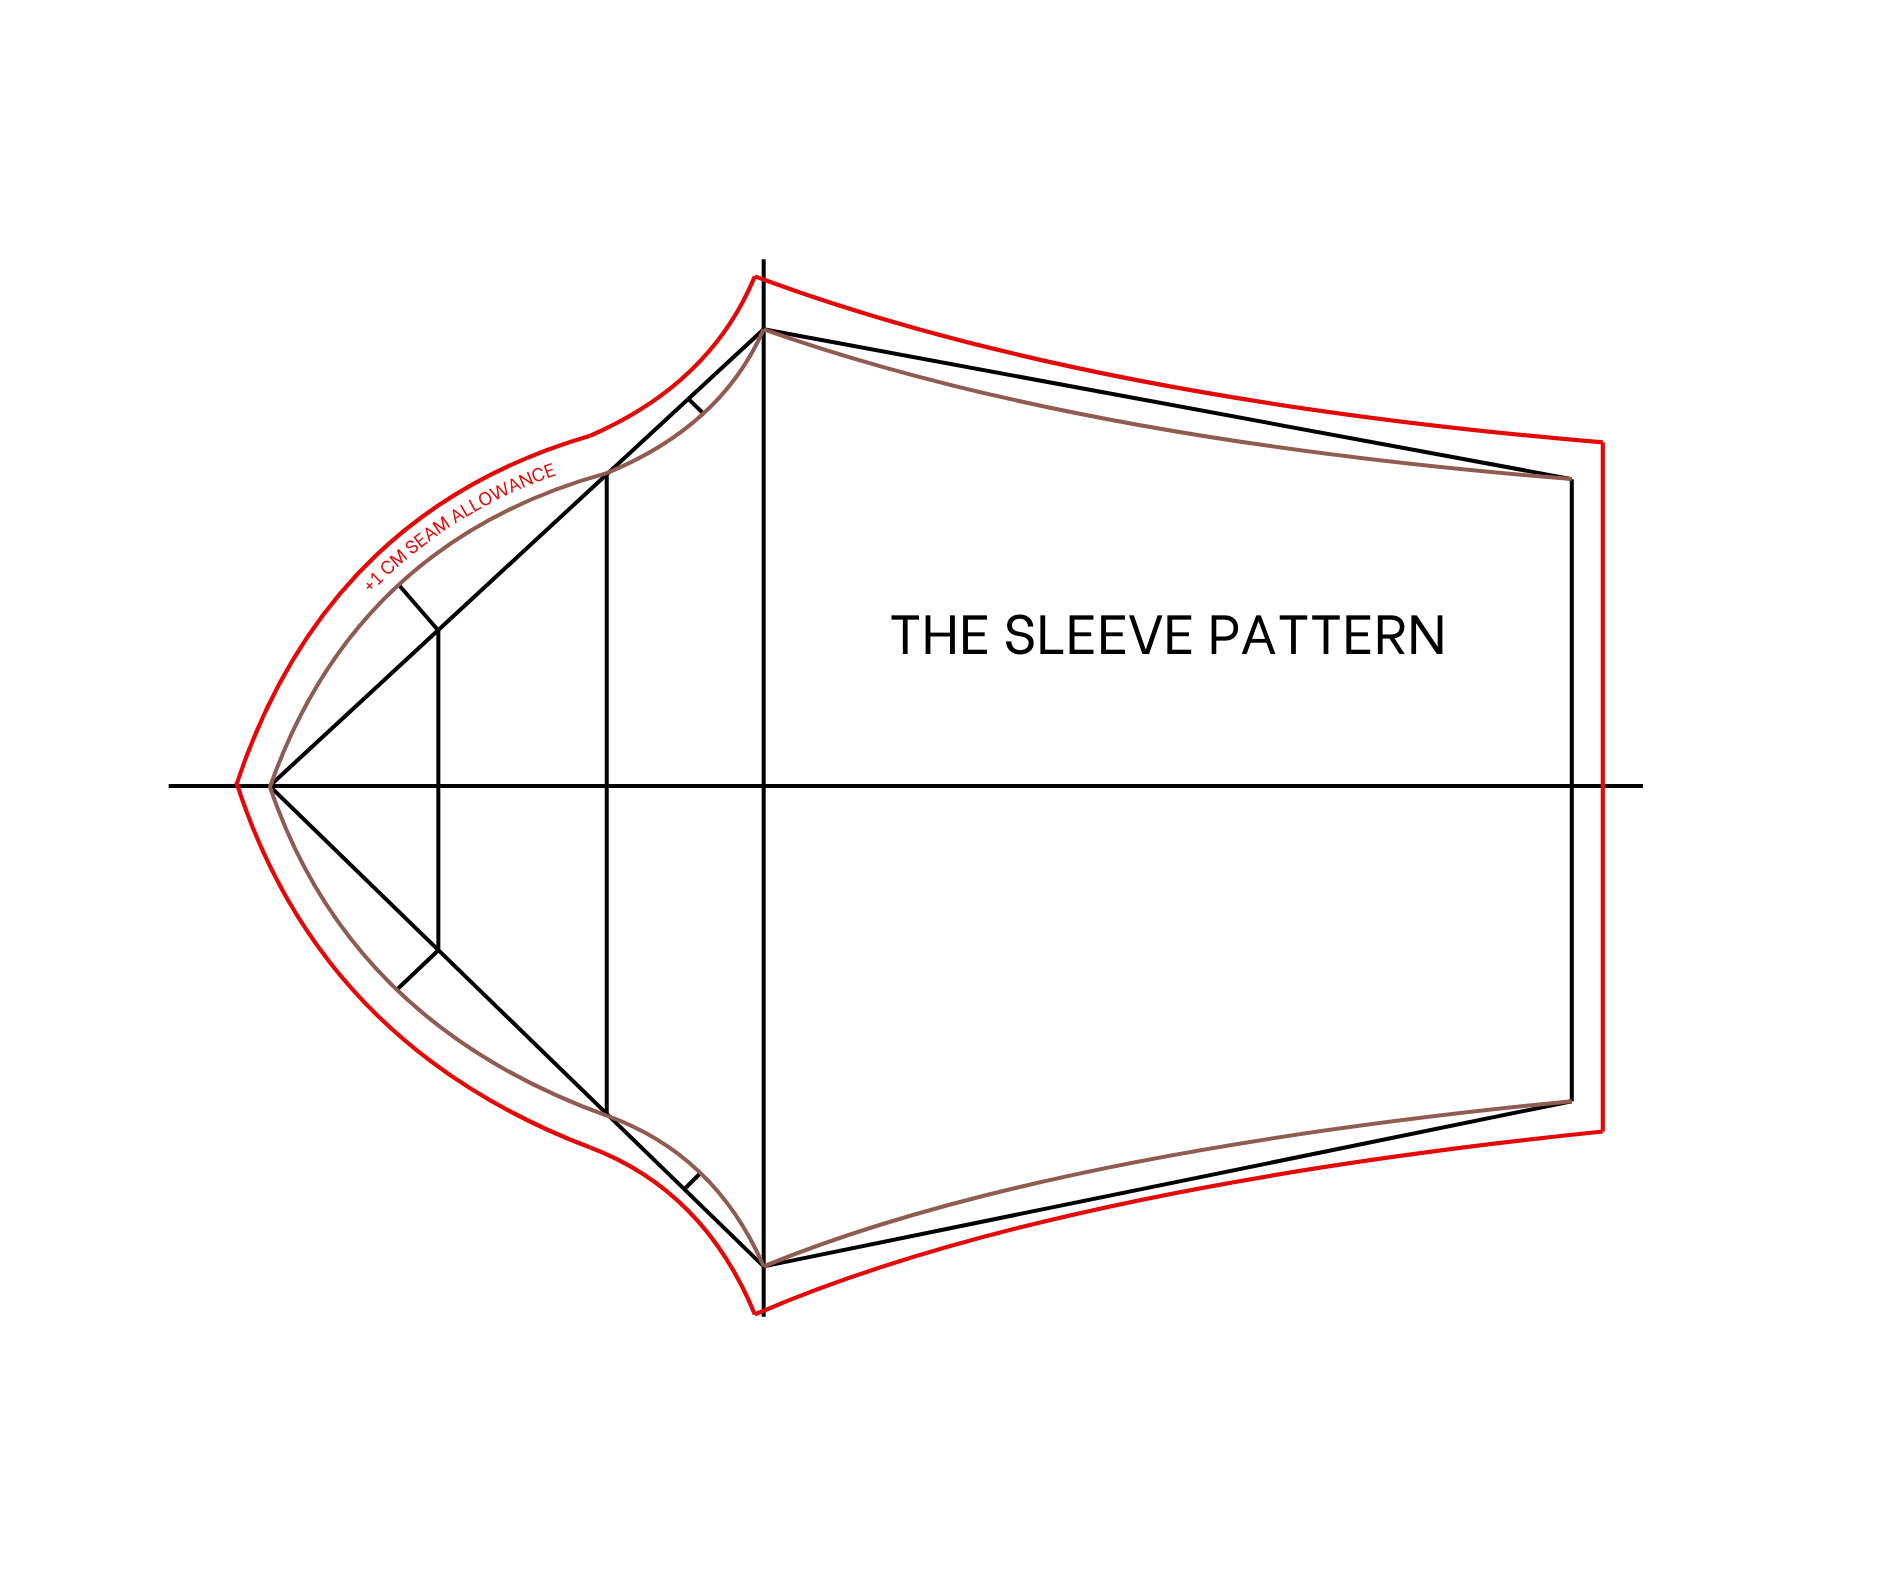
Add 1 cm for seam allowance.
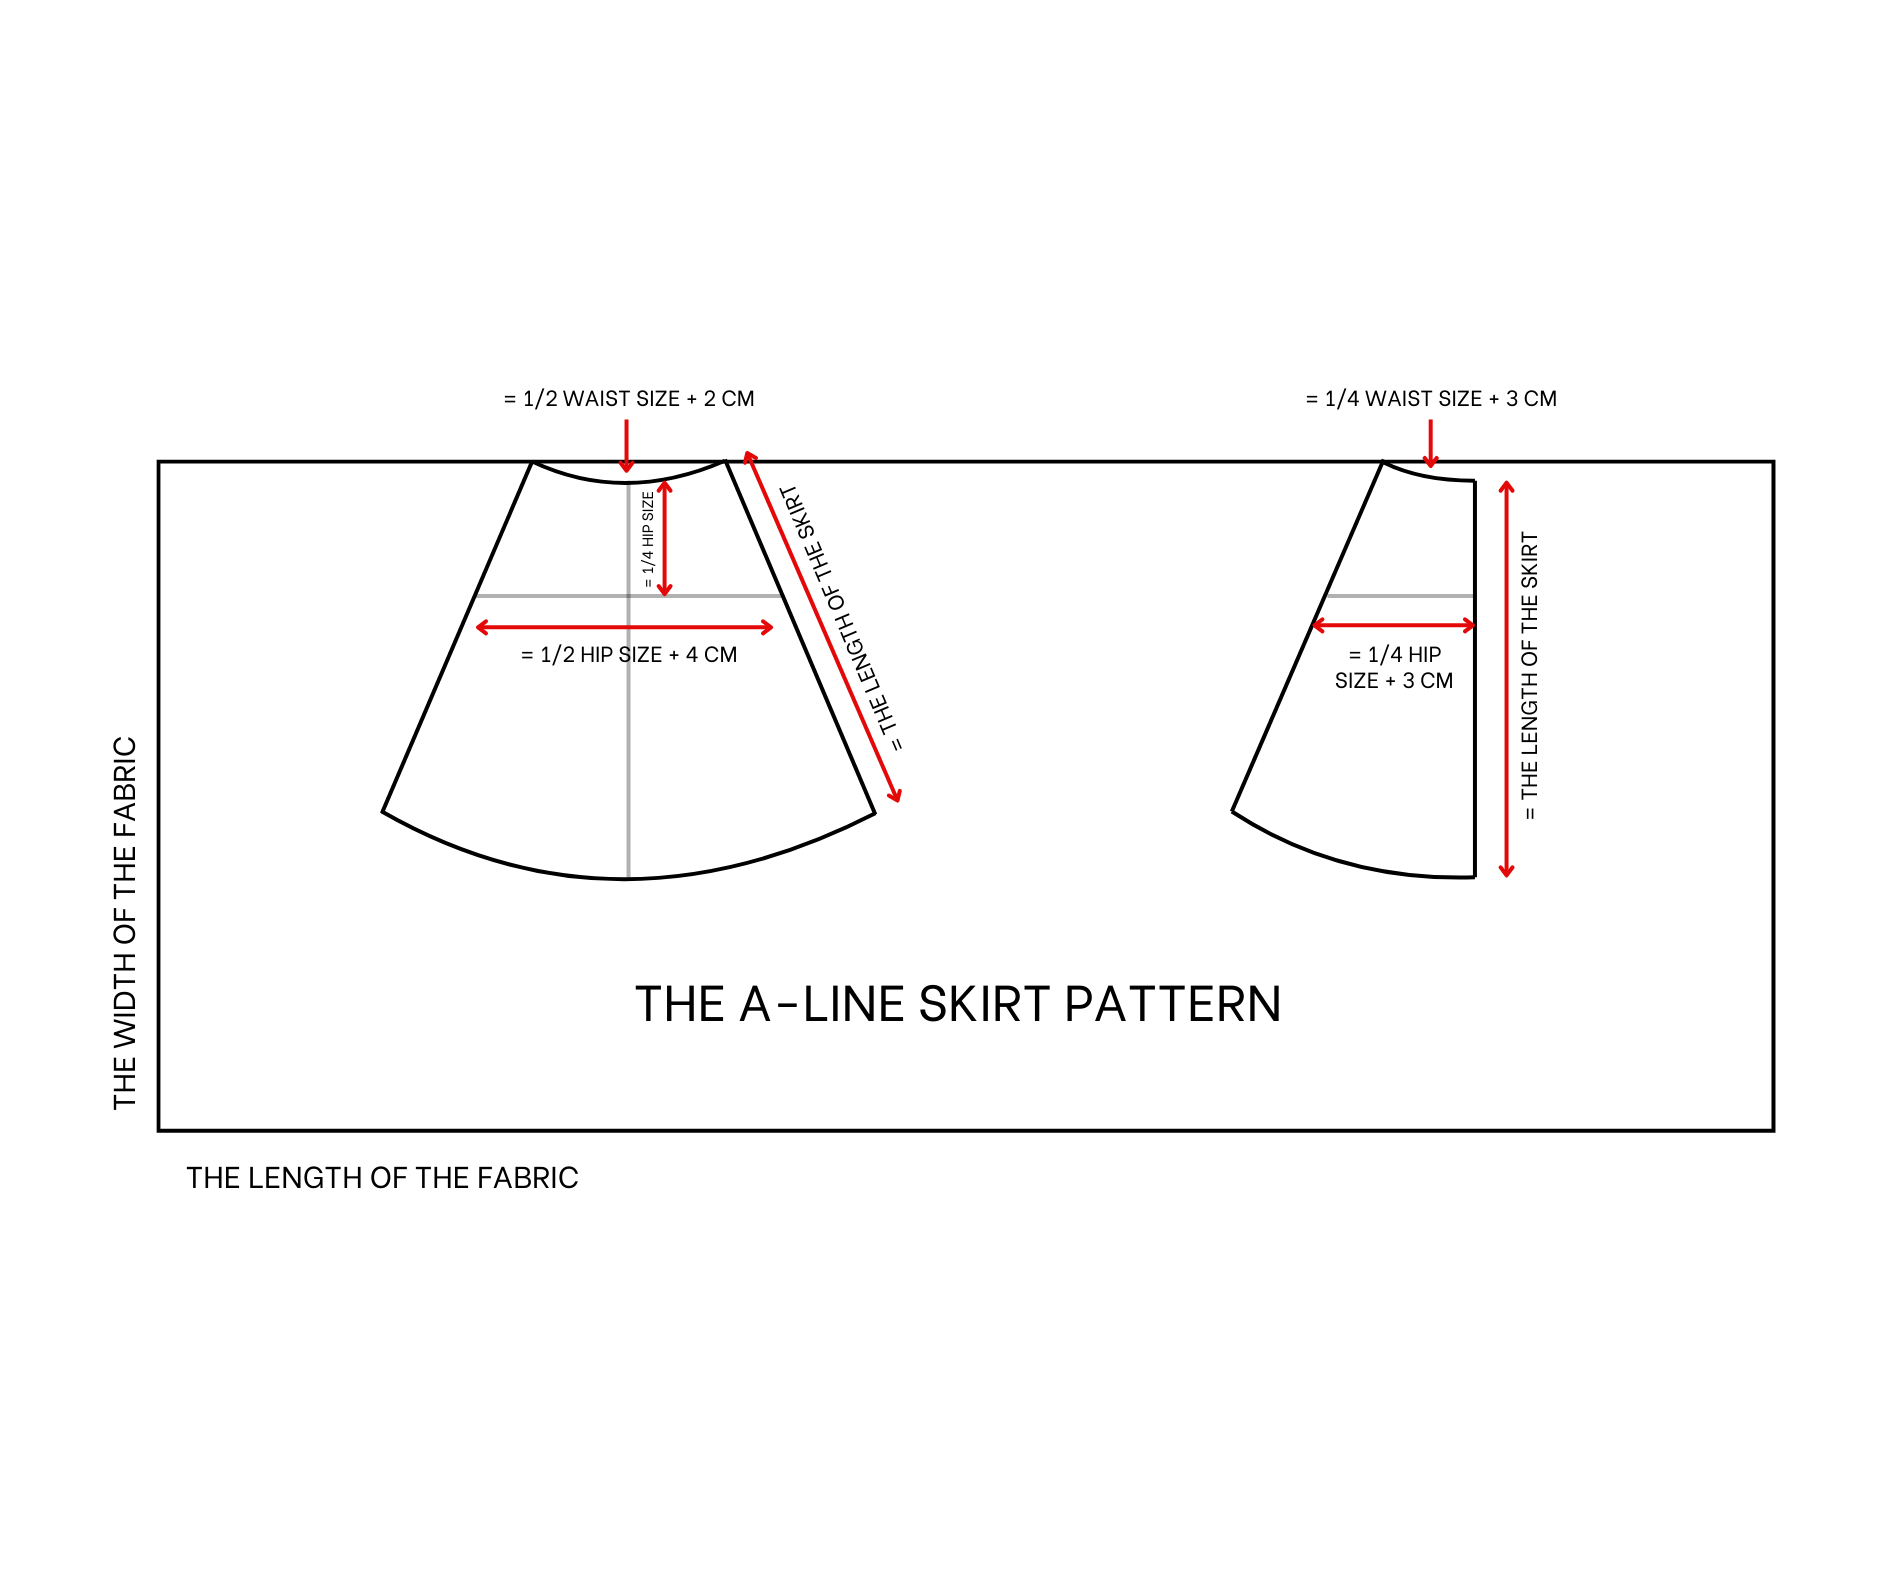
THE A-LINE SKIRT PATTERN
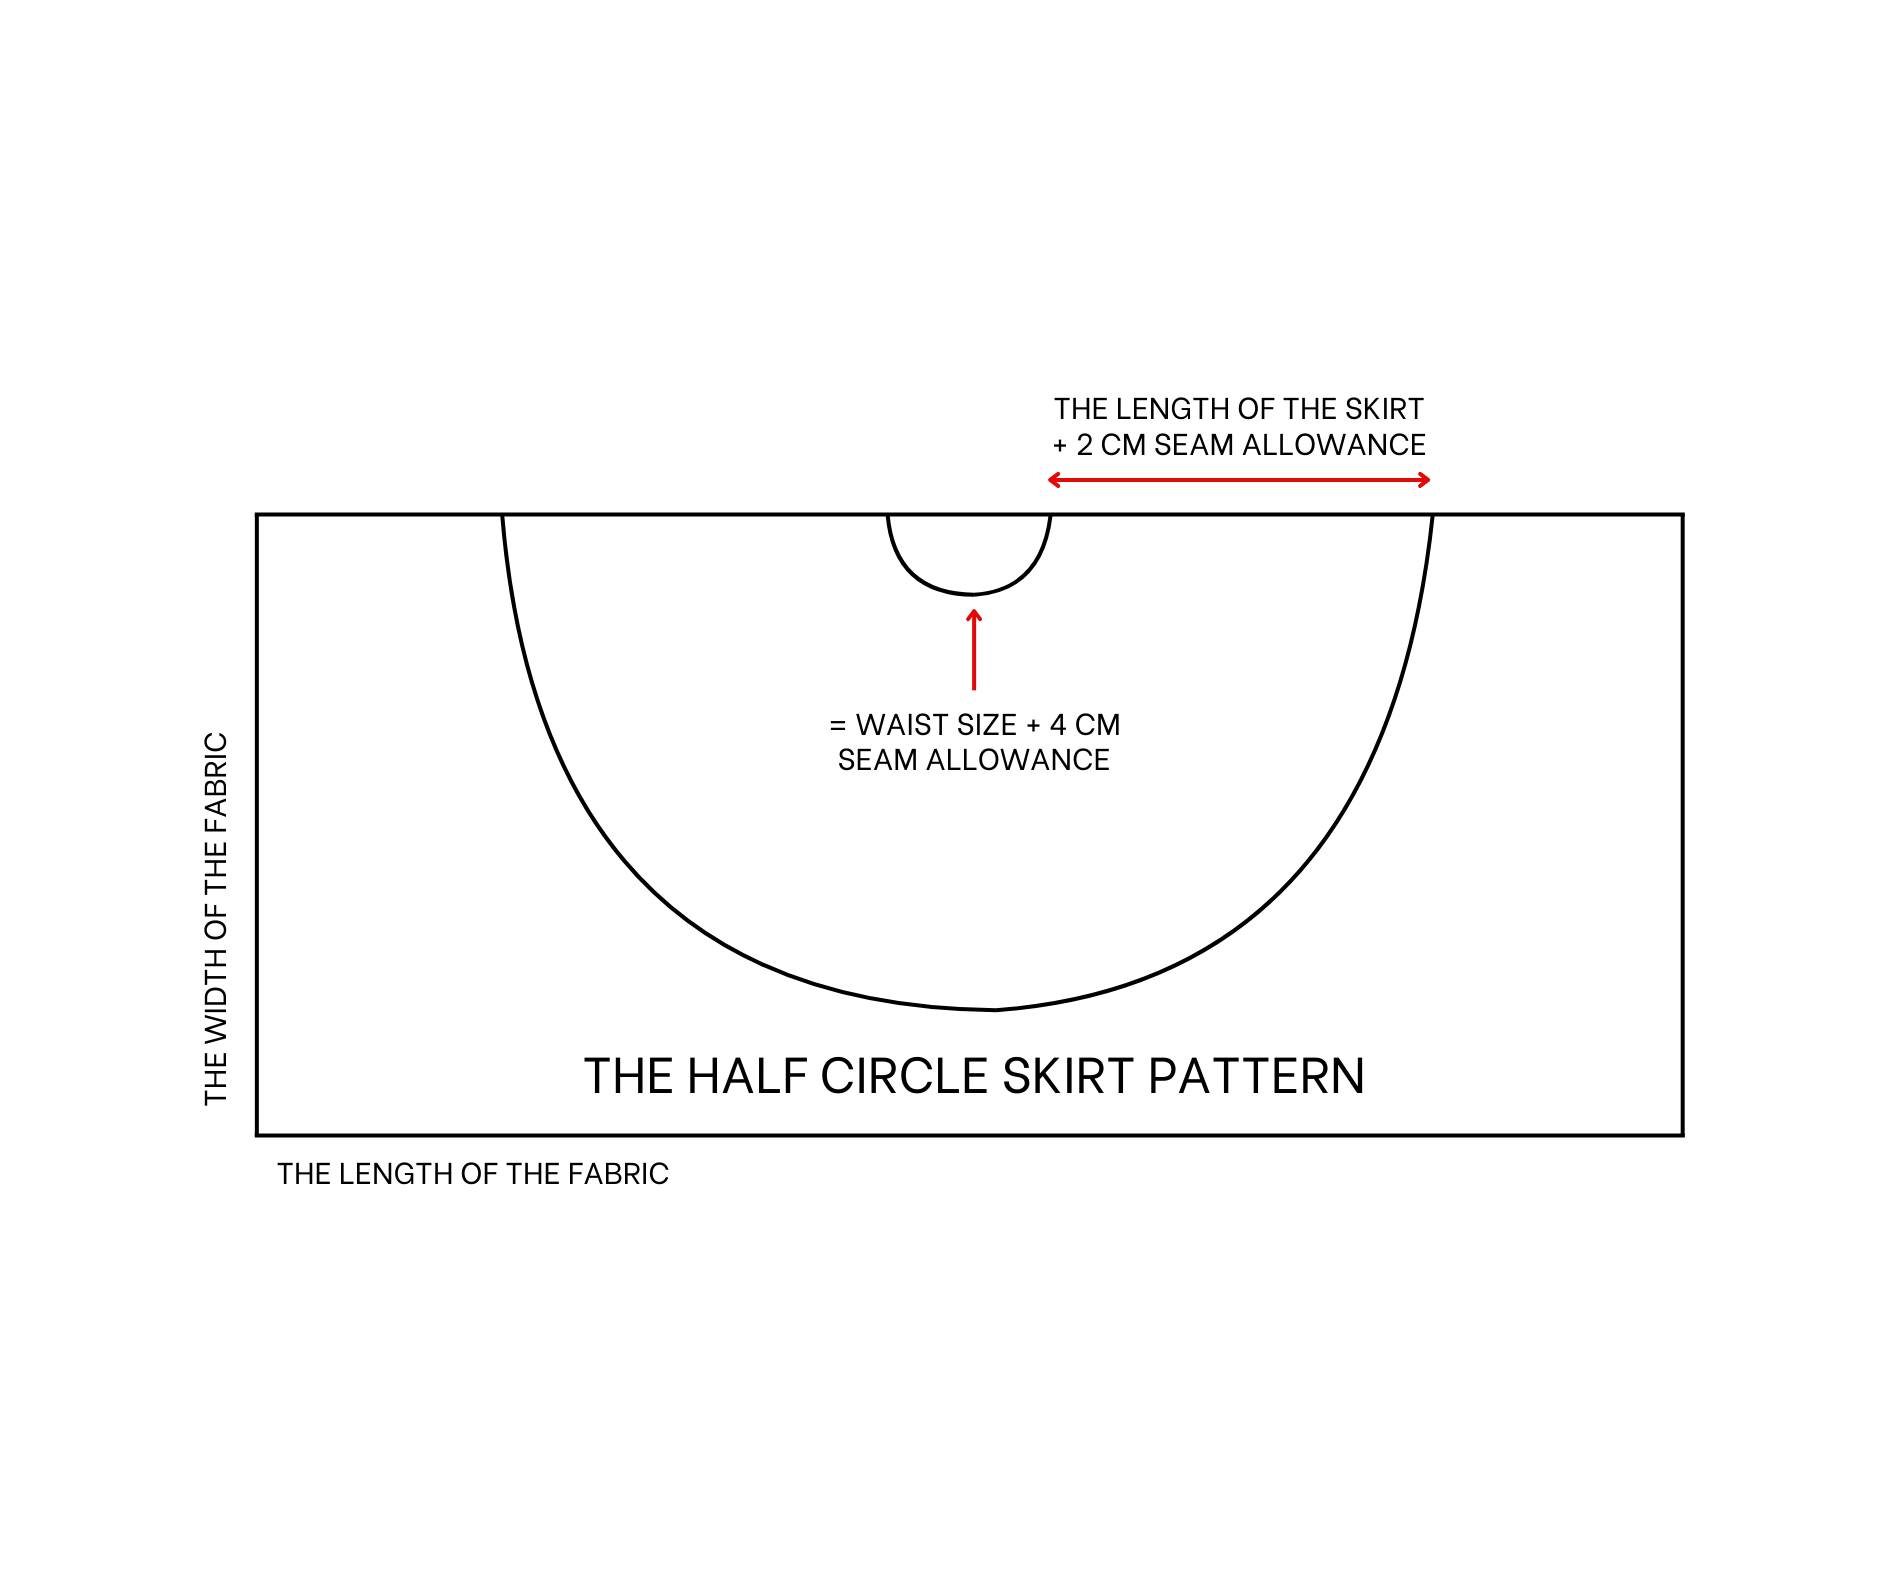
THE HALF CIRCLE SKIRT PATTERN
SEWING THE DRESS
THE A-LINE DRESS WITH SLEEVE
Started with the A-line dress first.
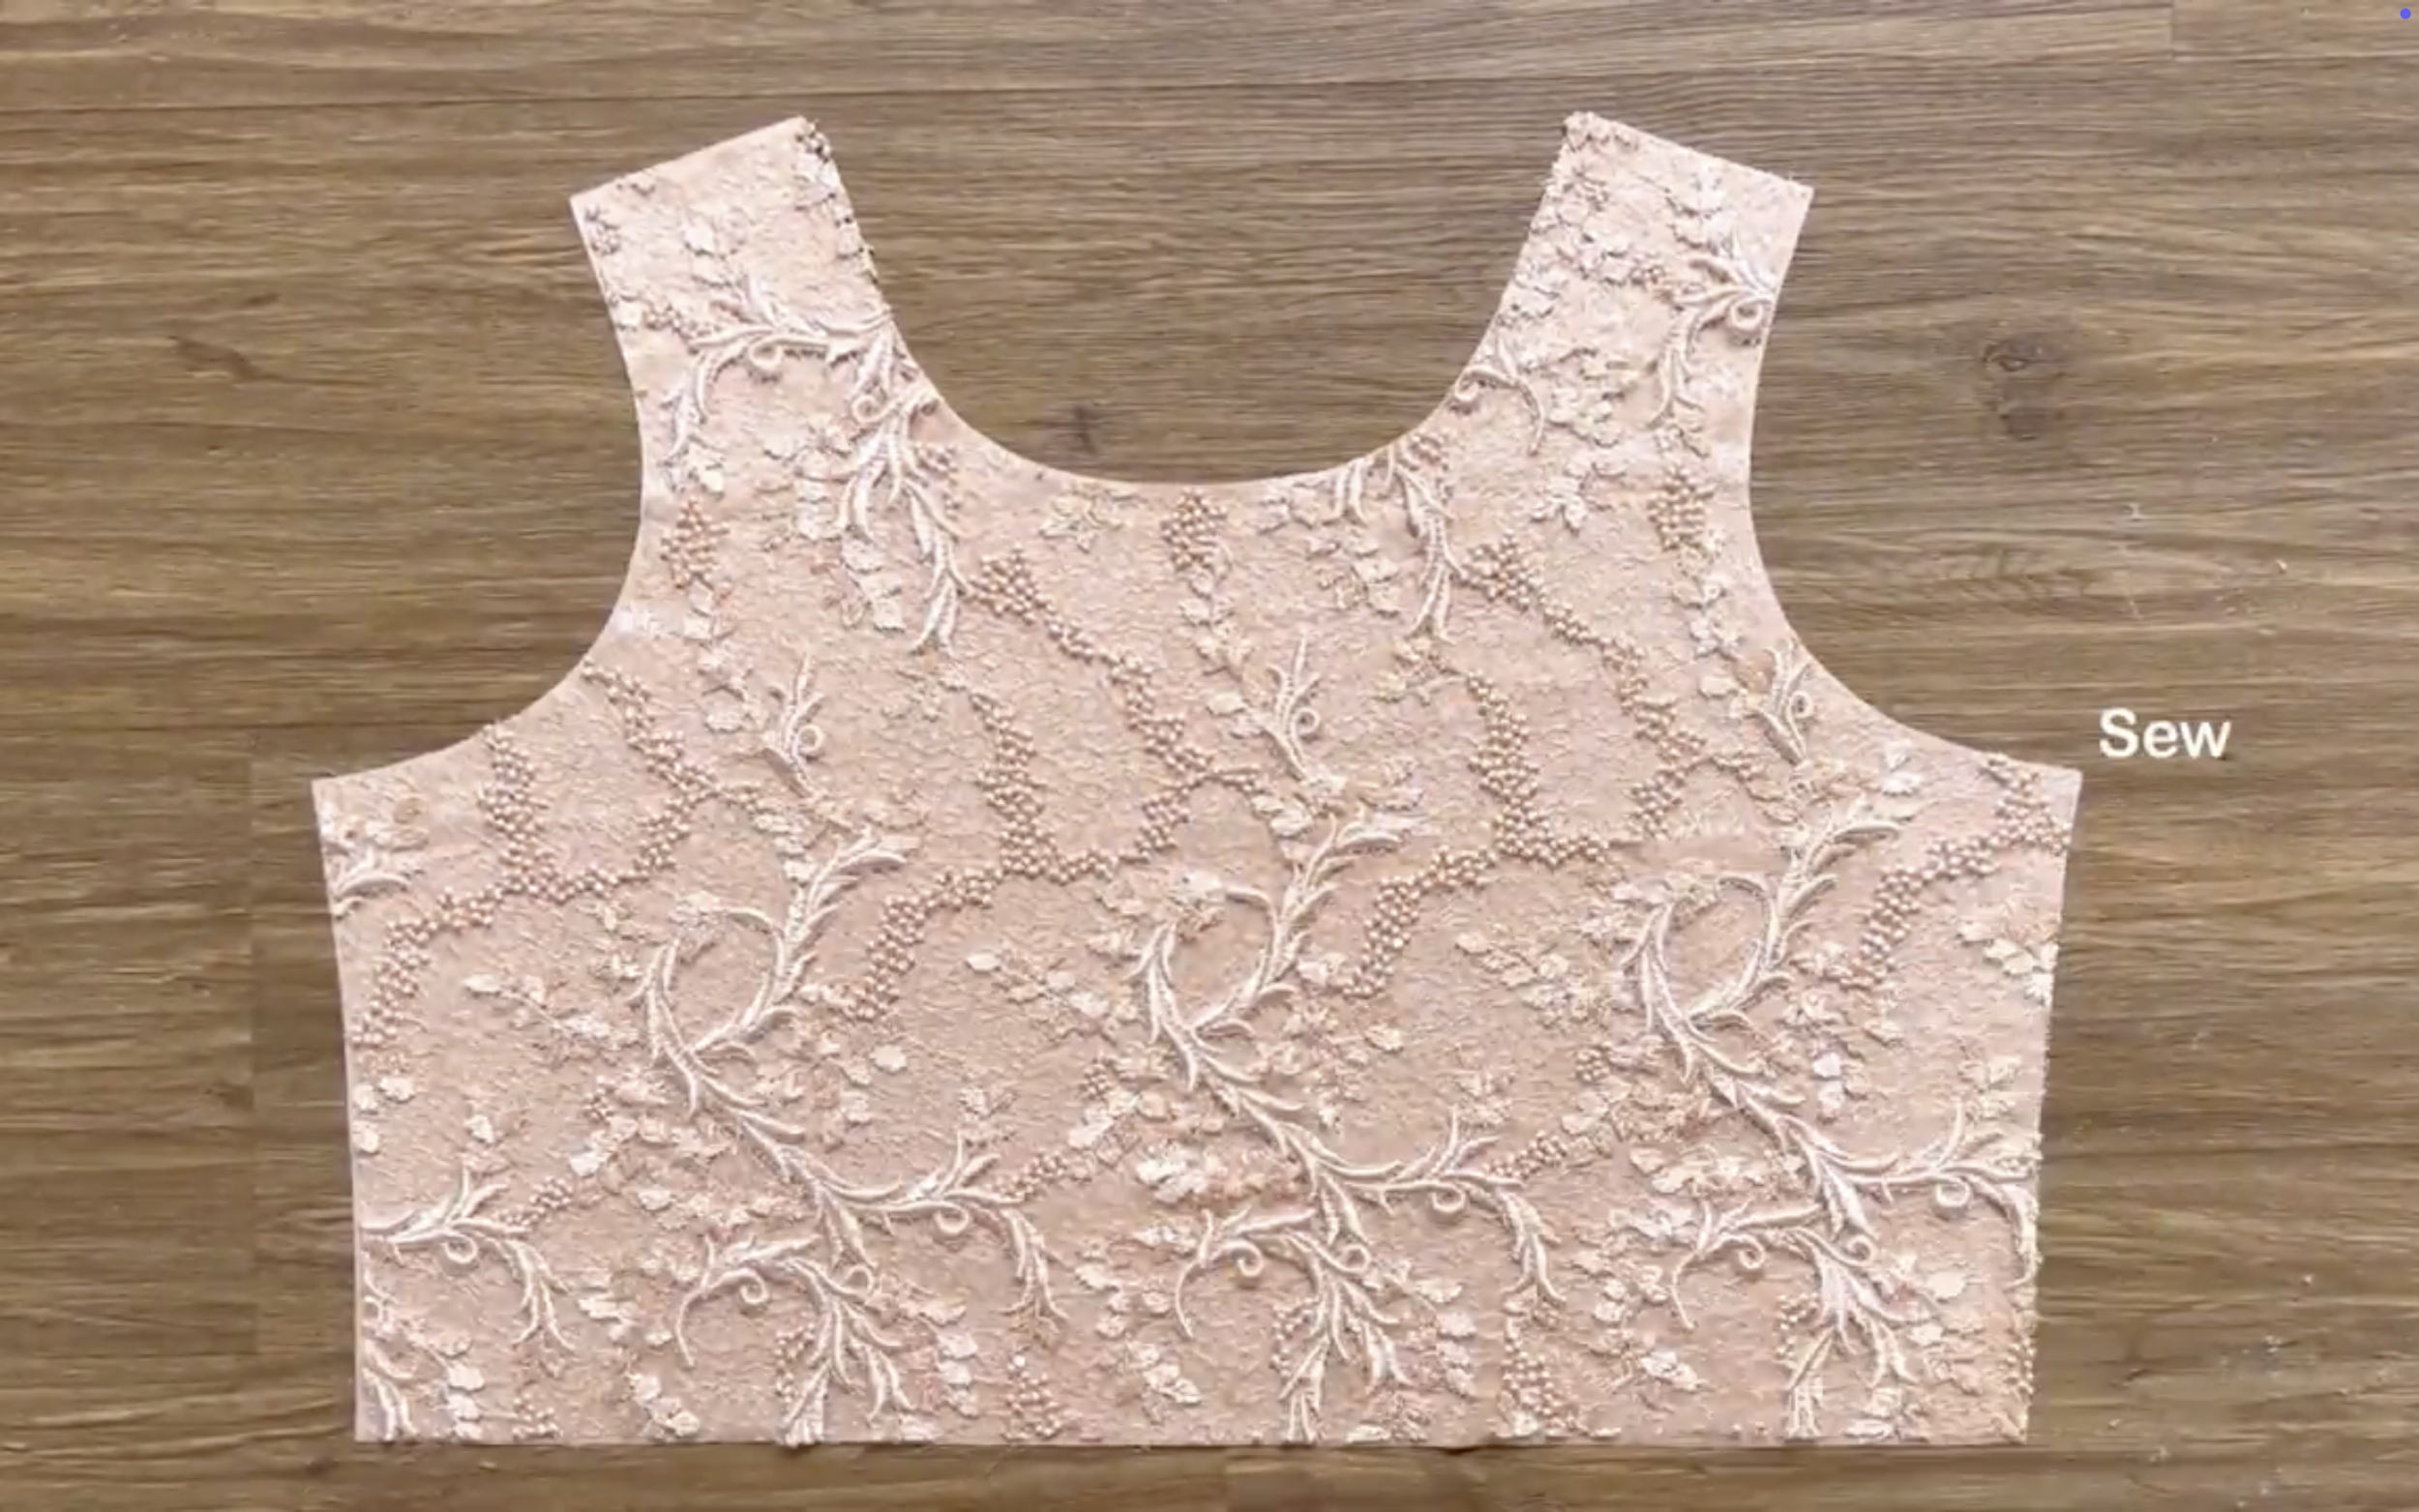
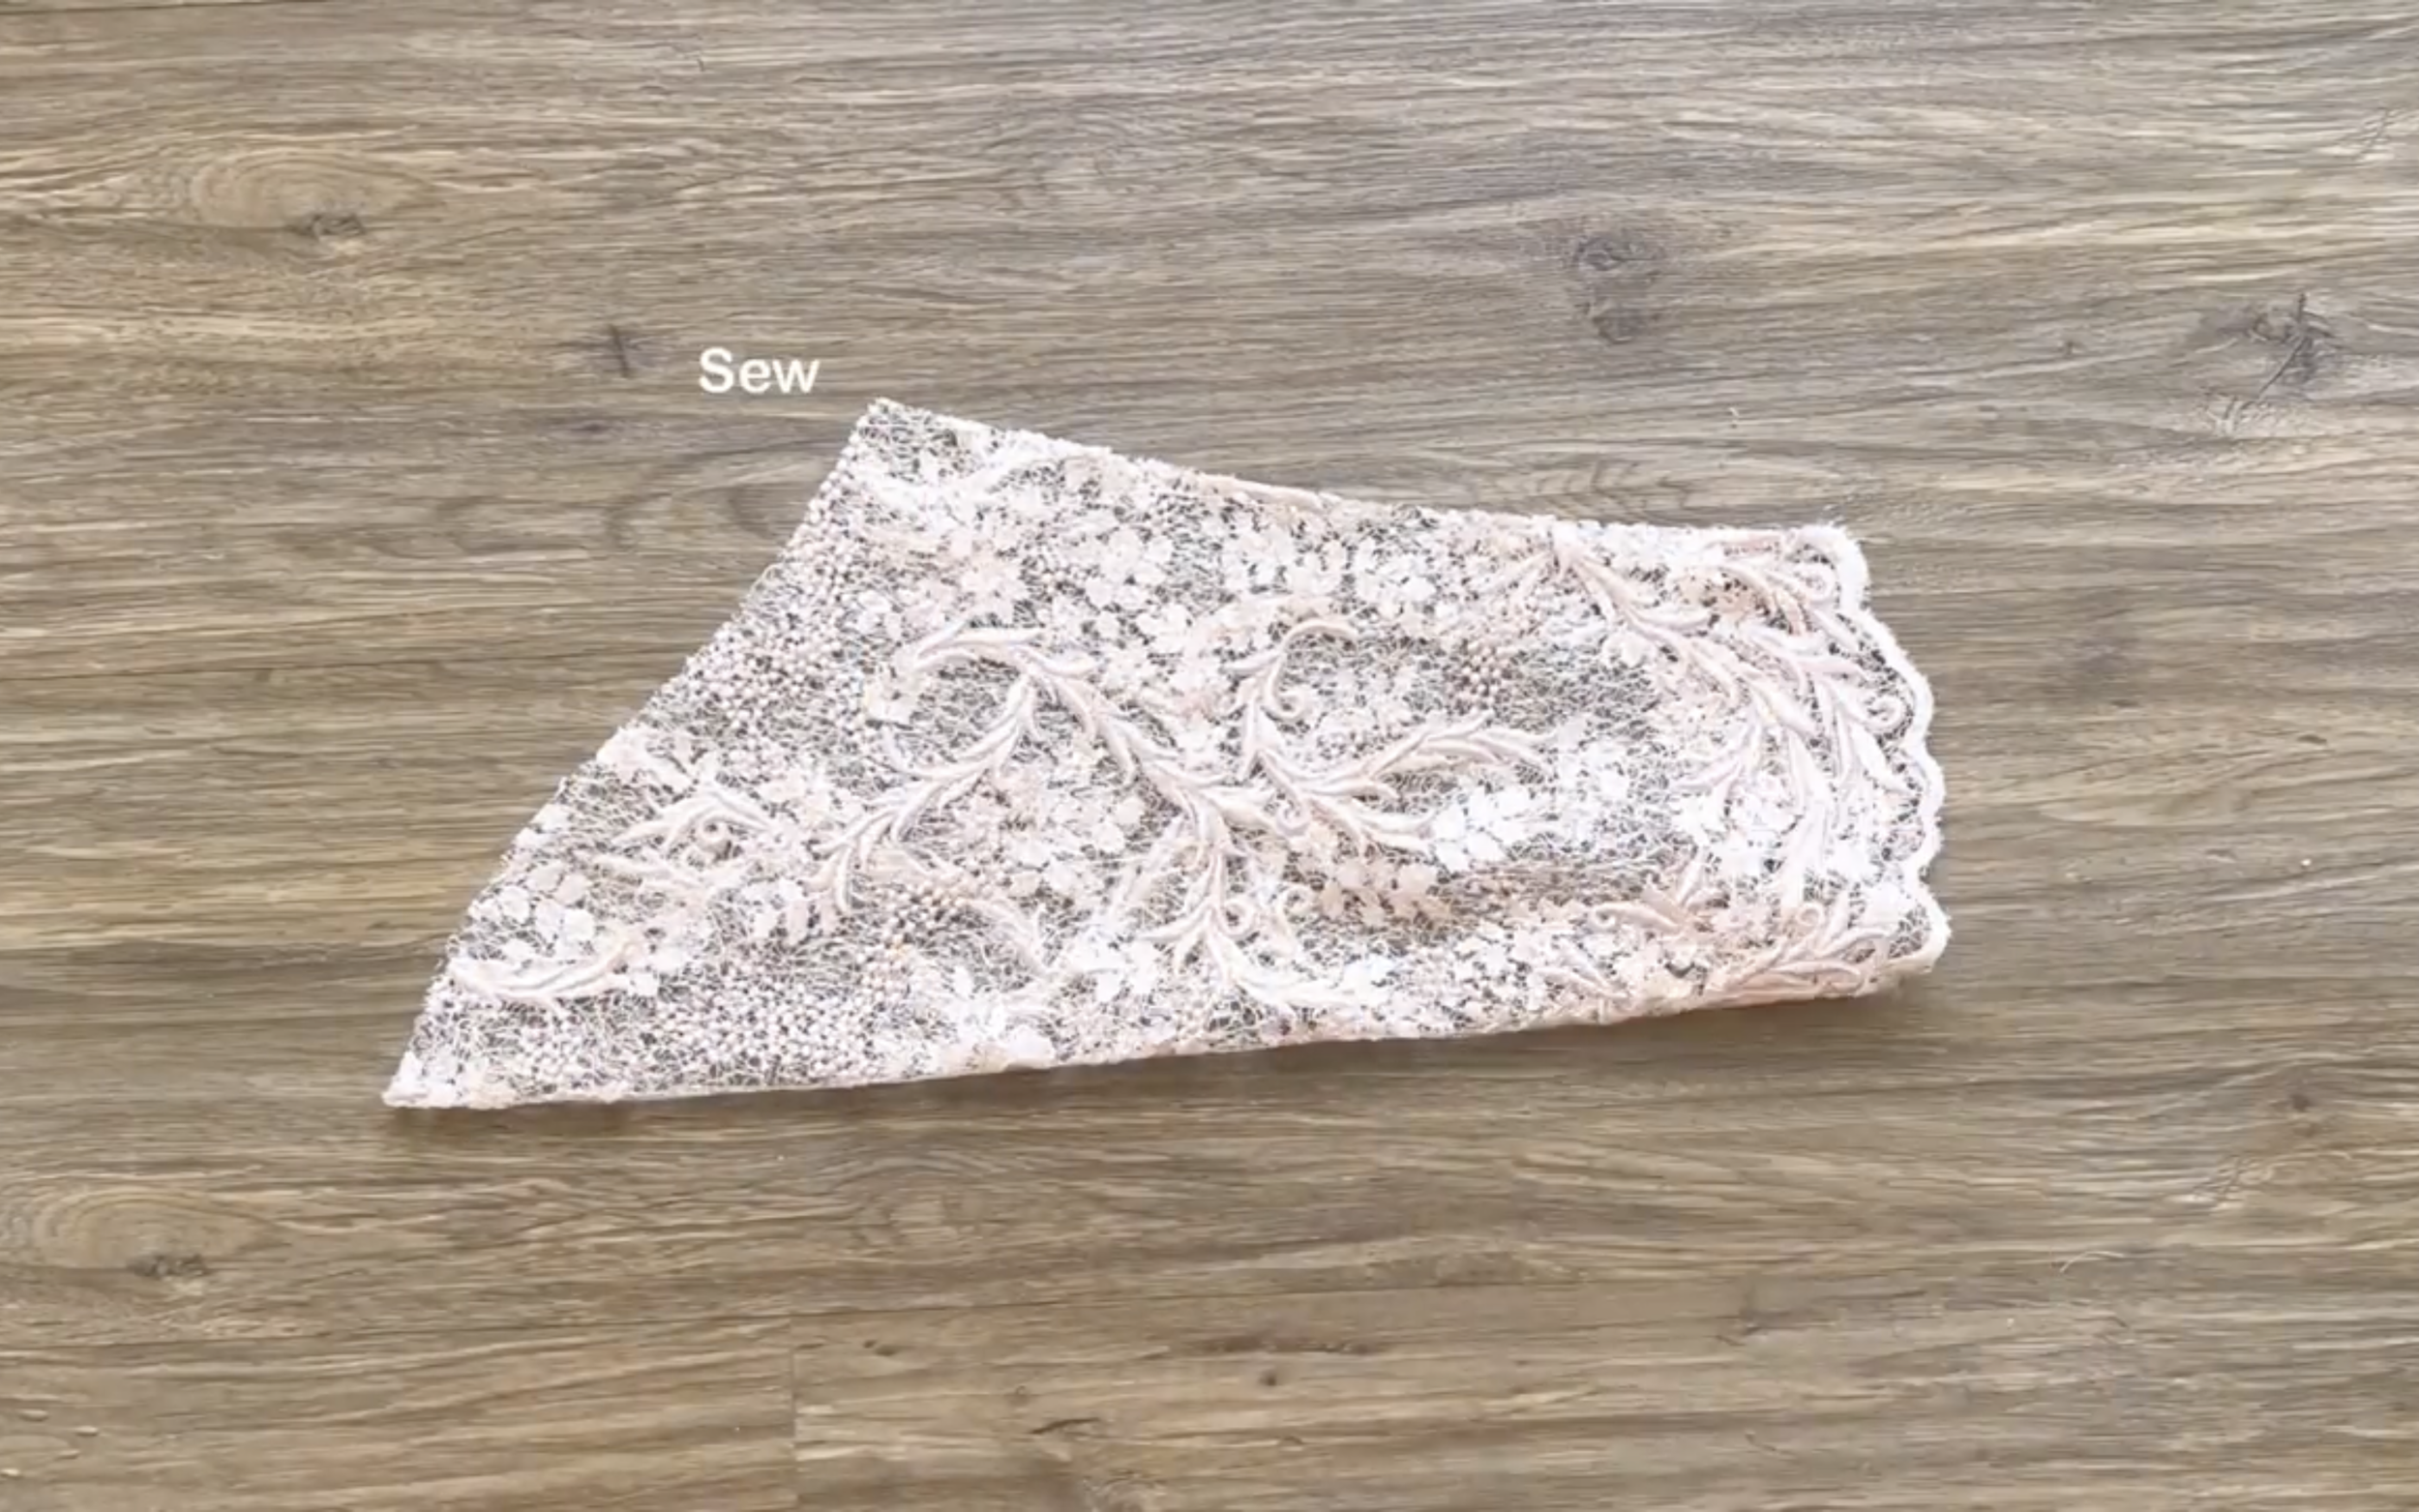
After cutting all pieces of the pattern, connect the lace fabric to the satin fabric.
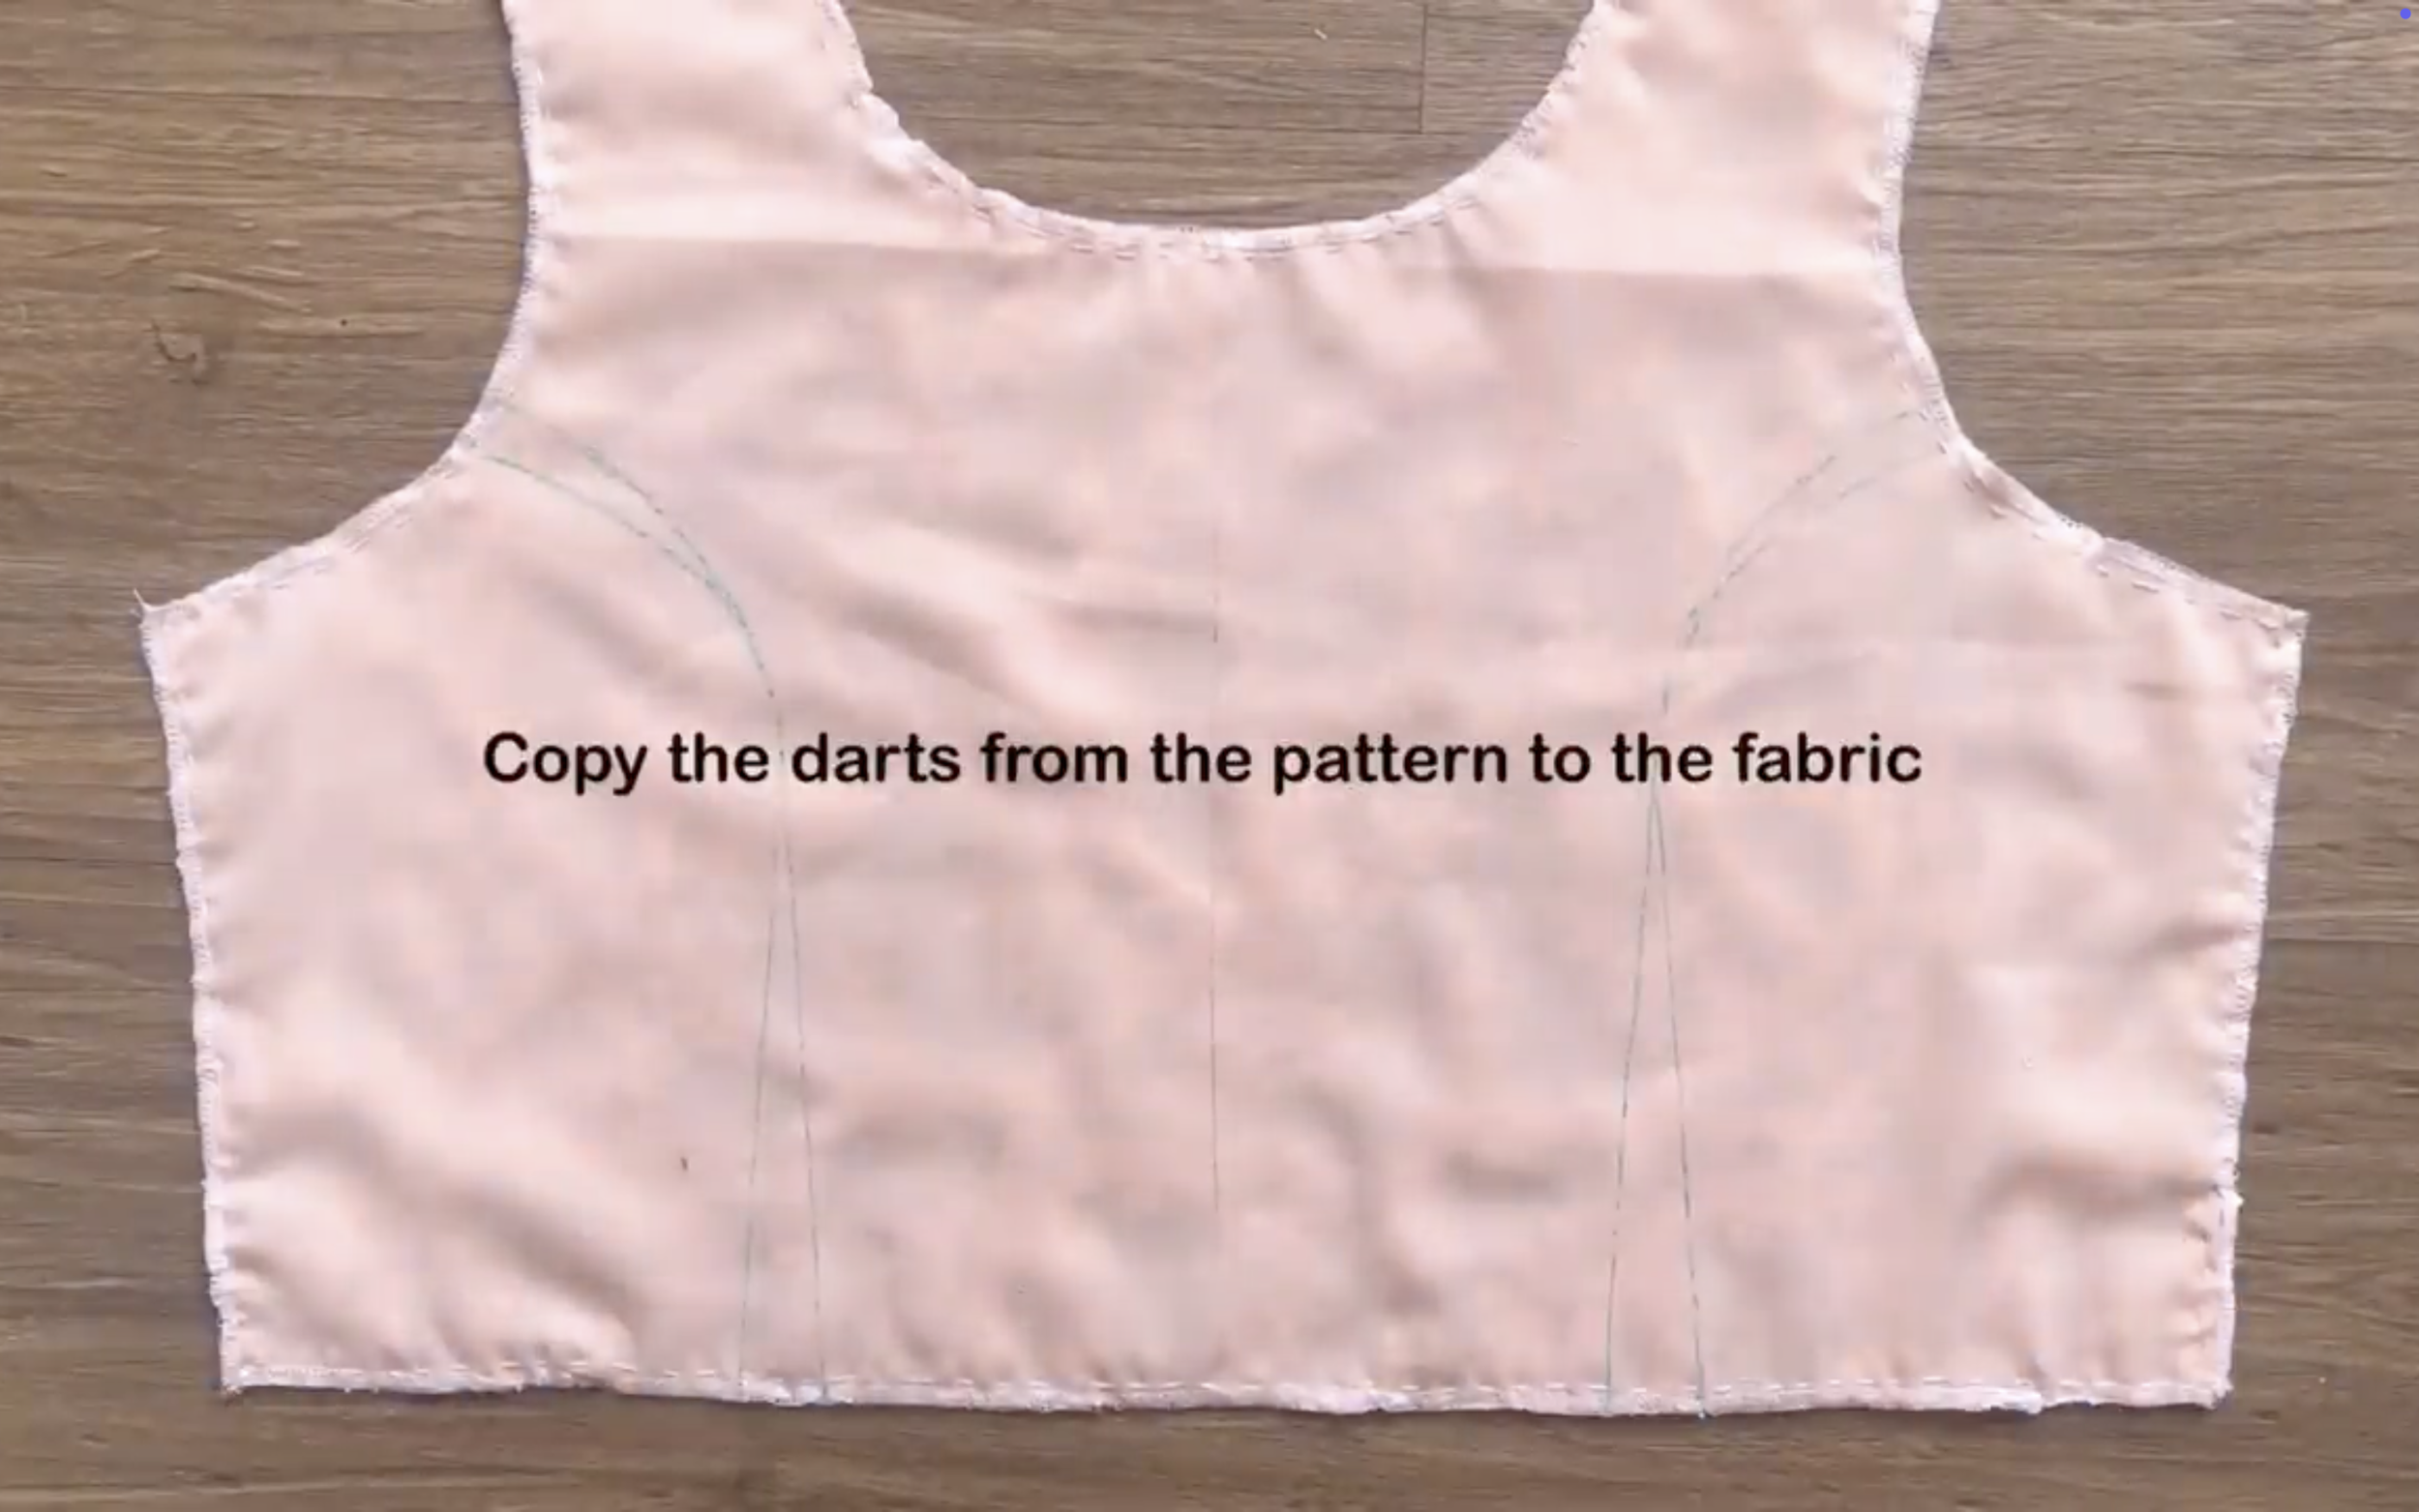
Copy the dart from the pattern to the fabric and sew to finish that.
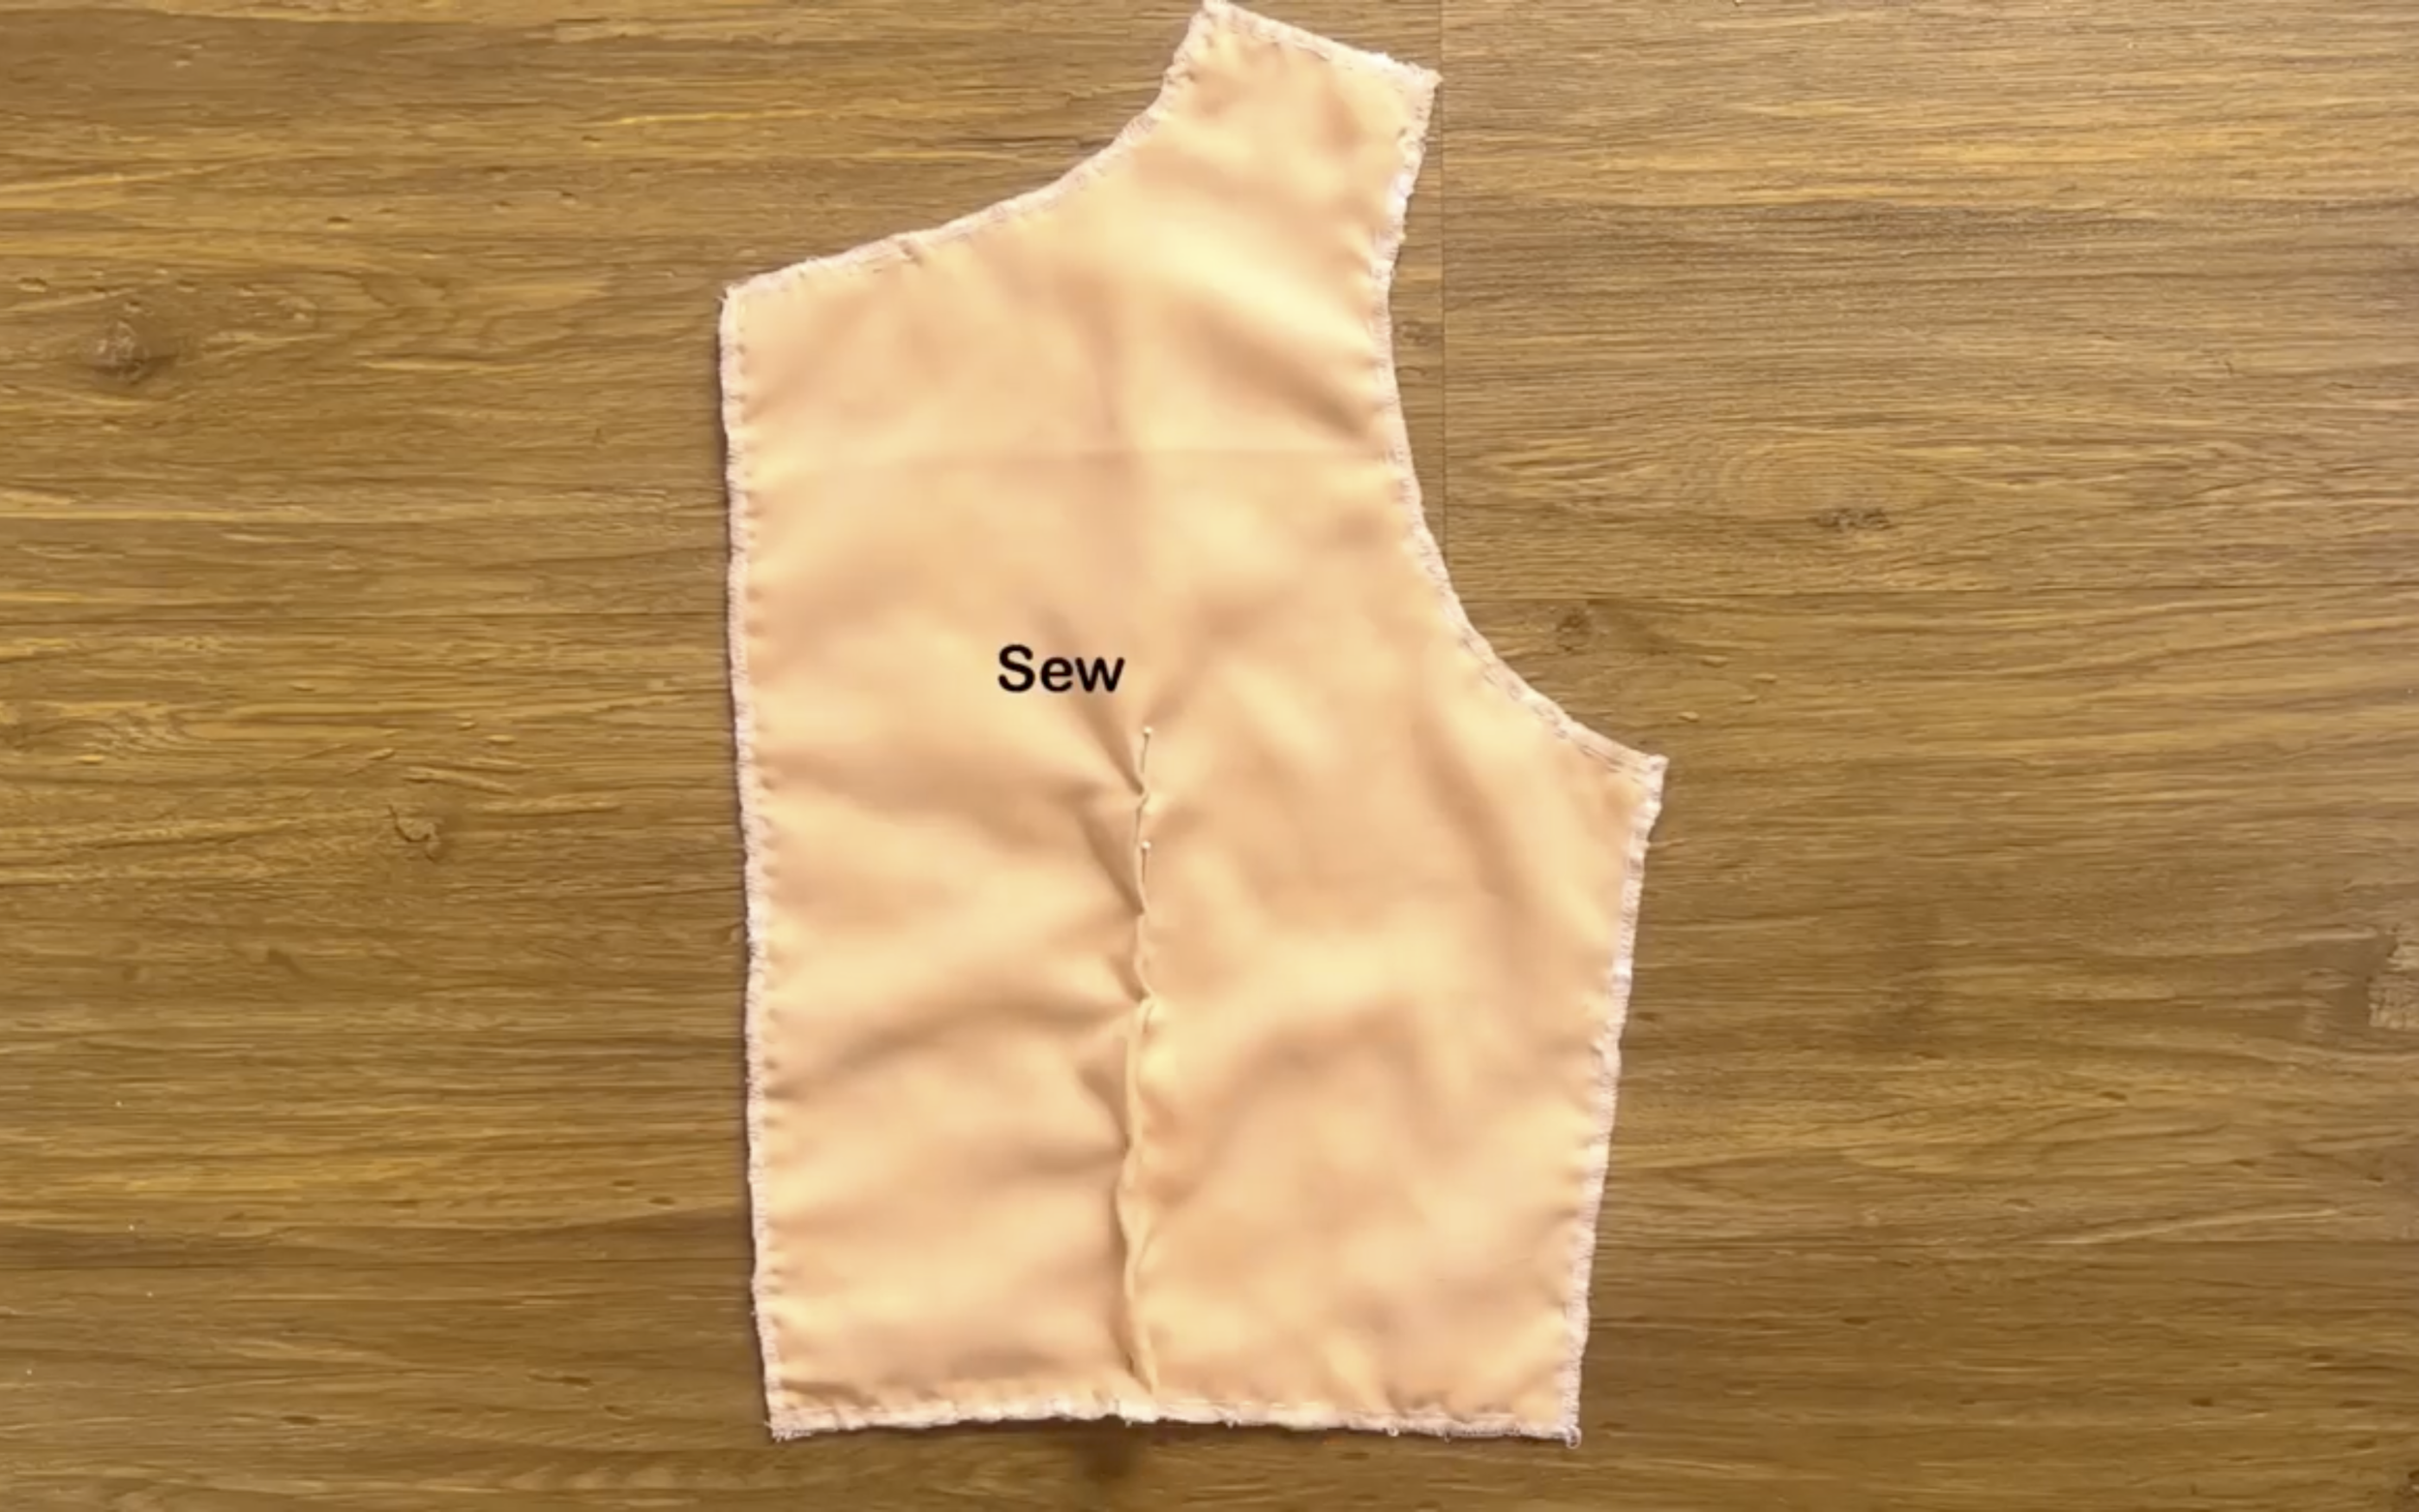
Repeat the same for the front and back of the bodice.

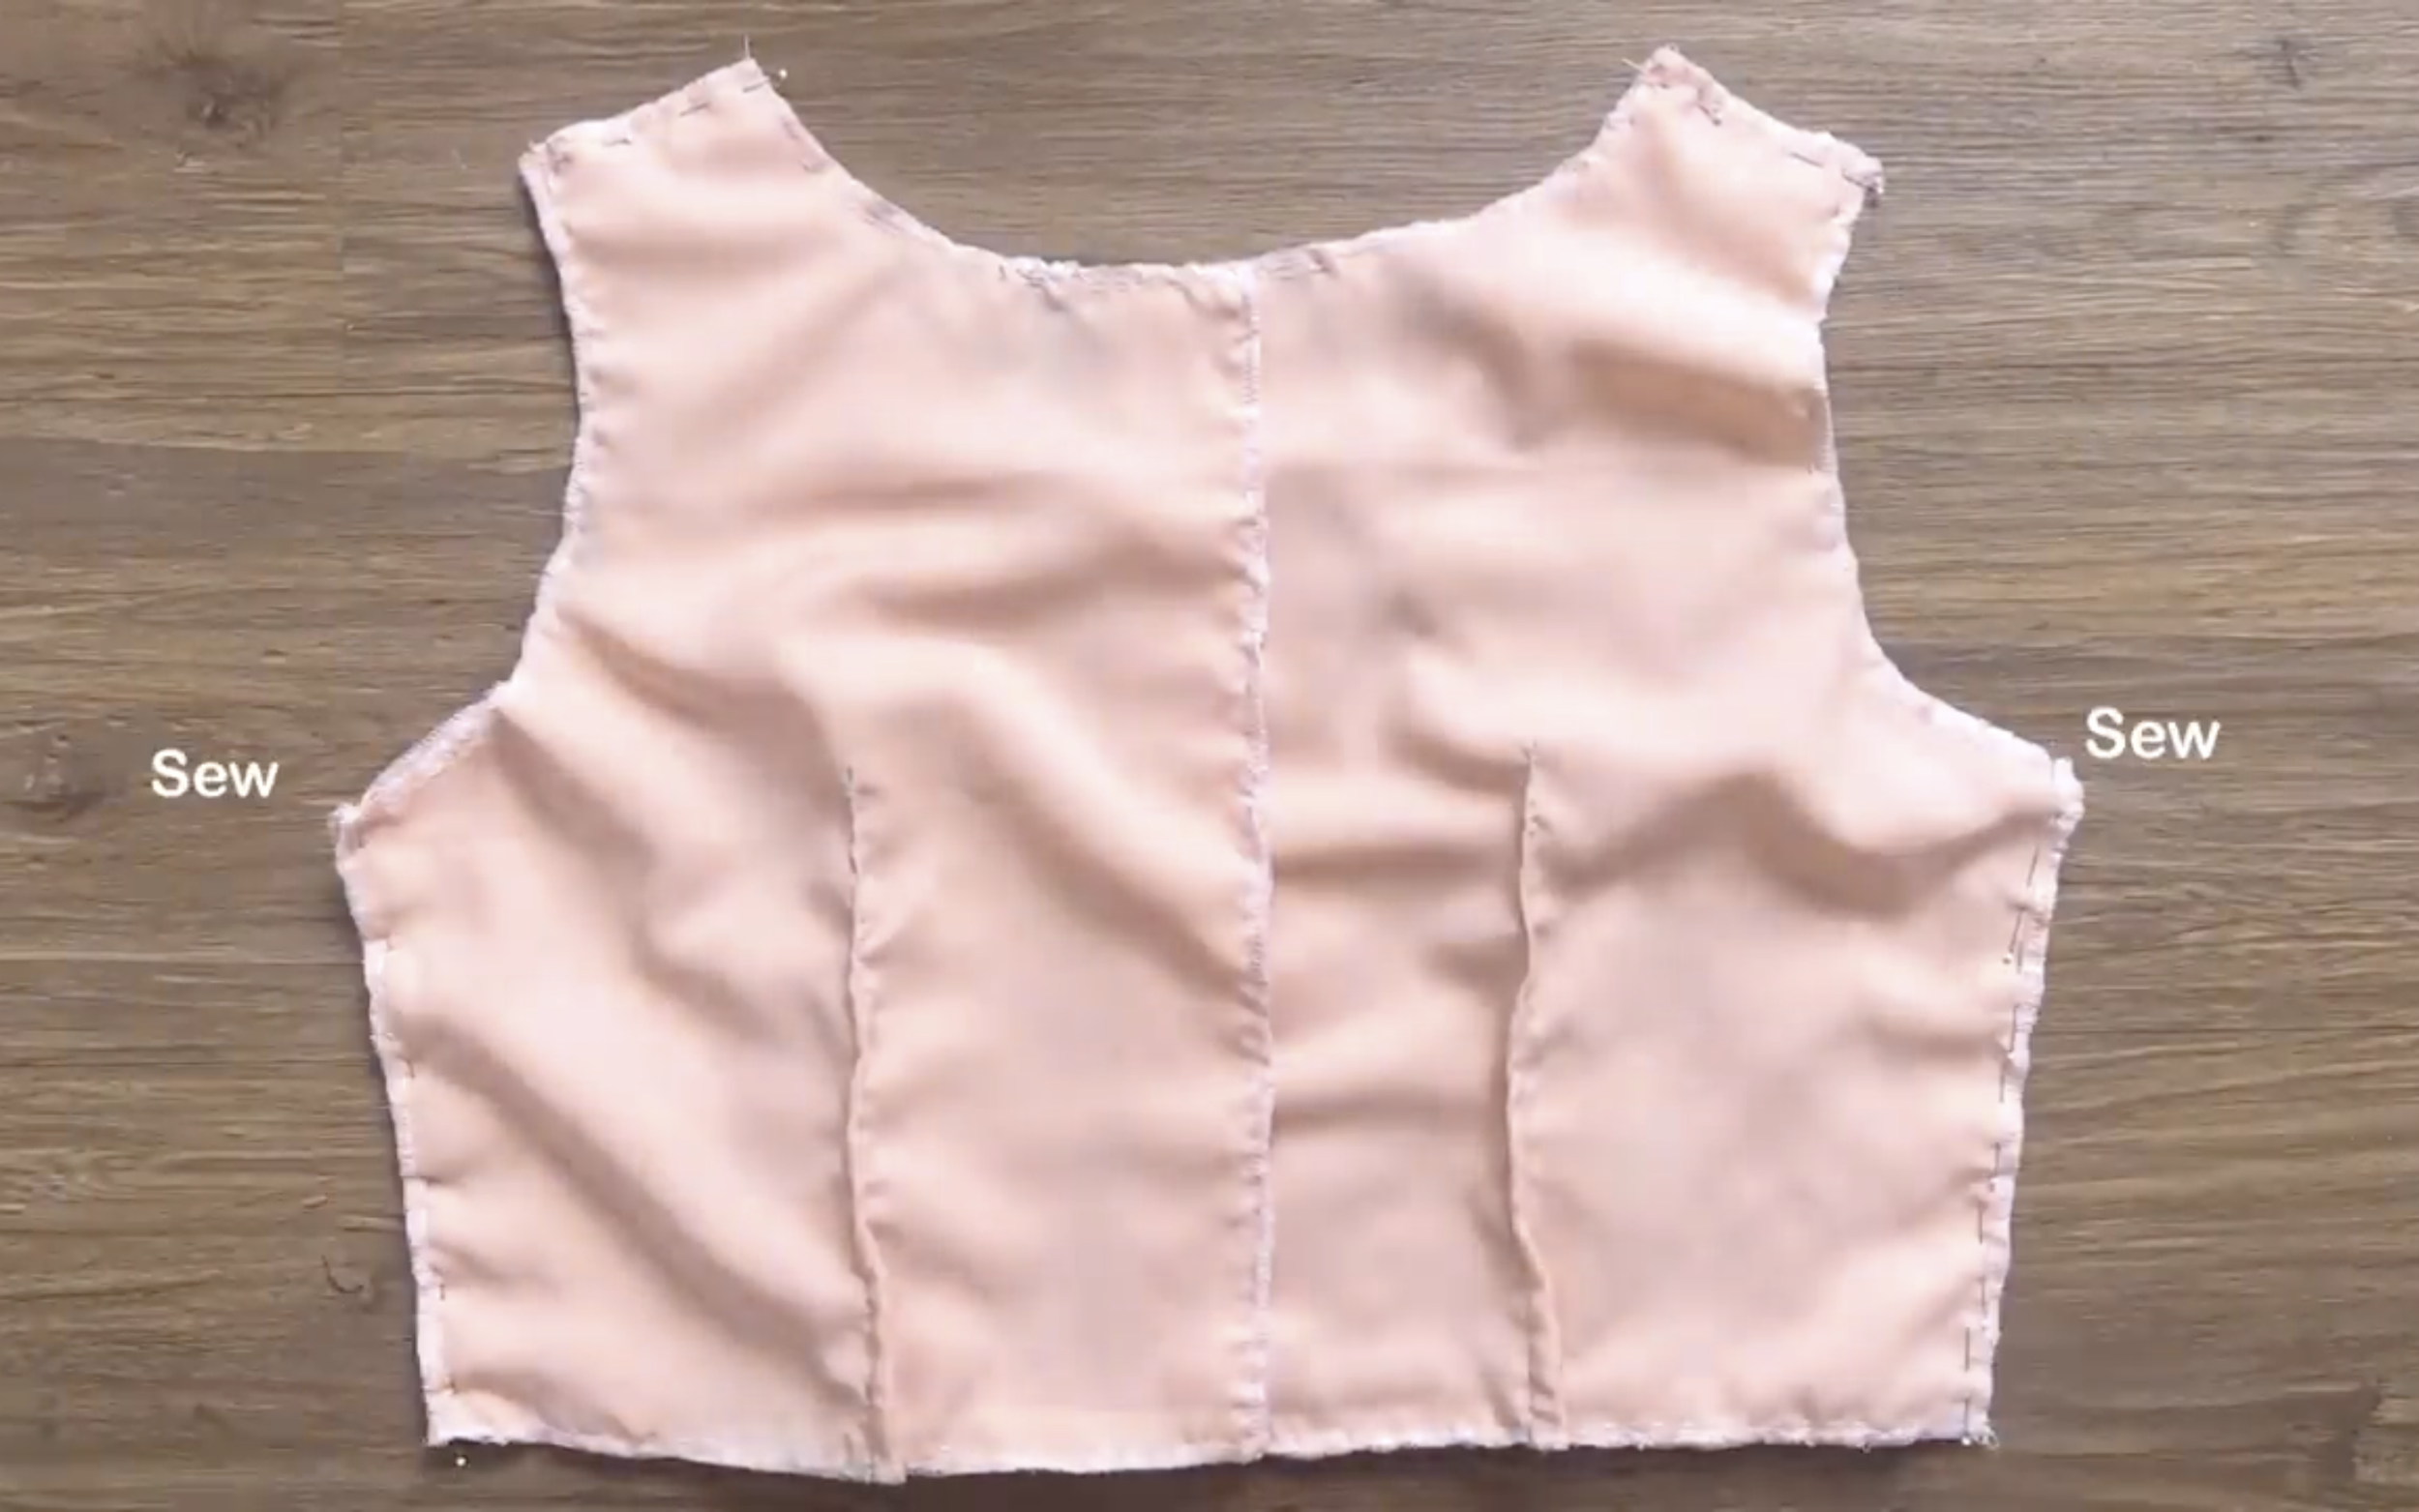
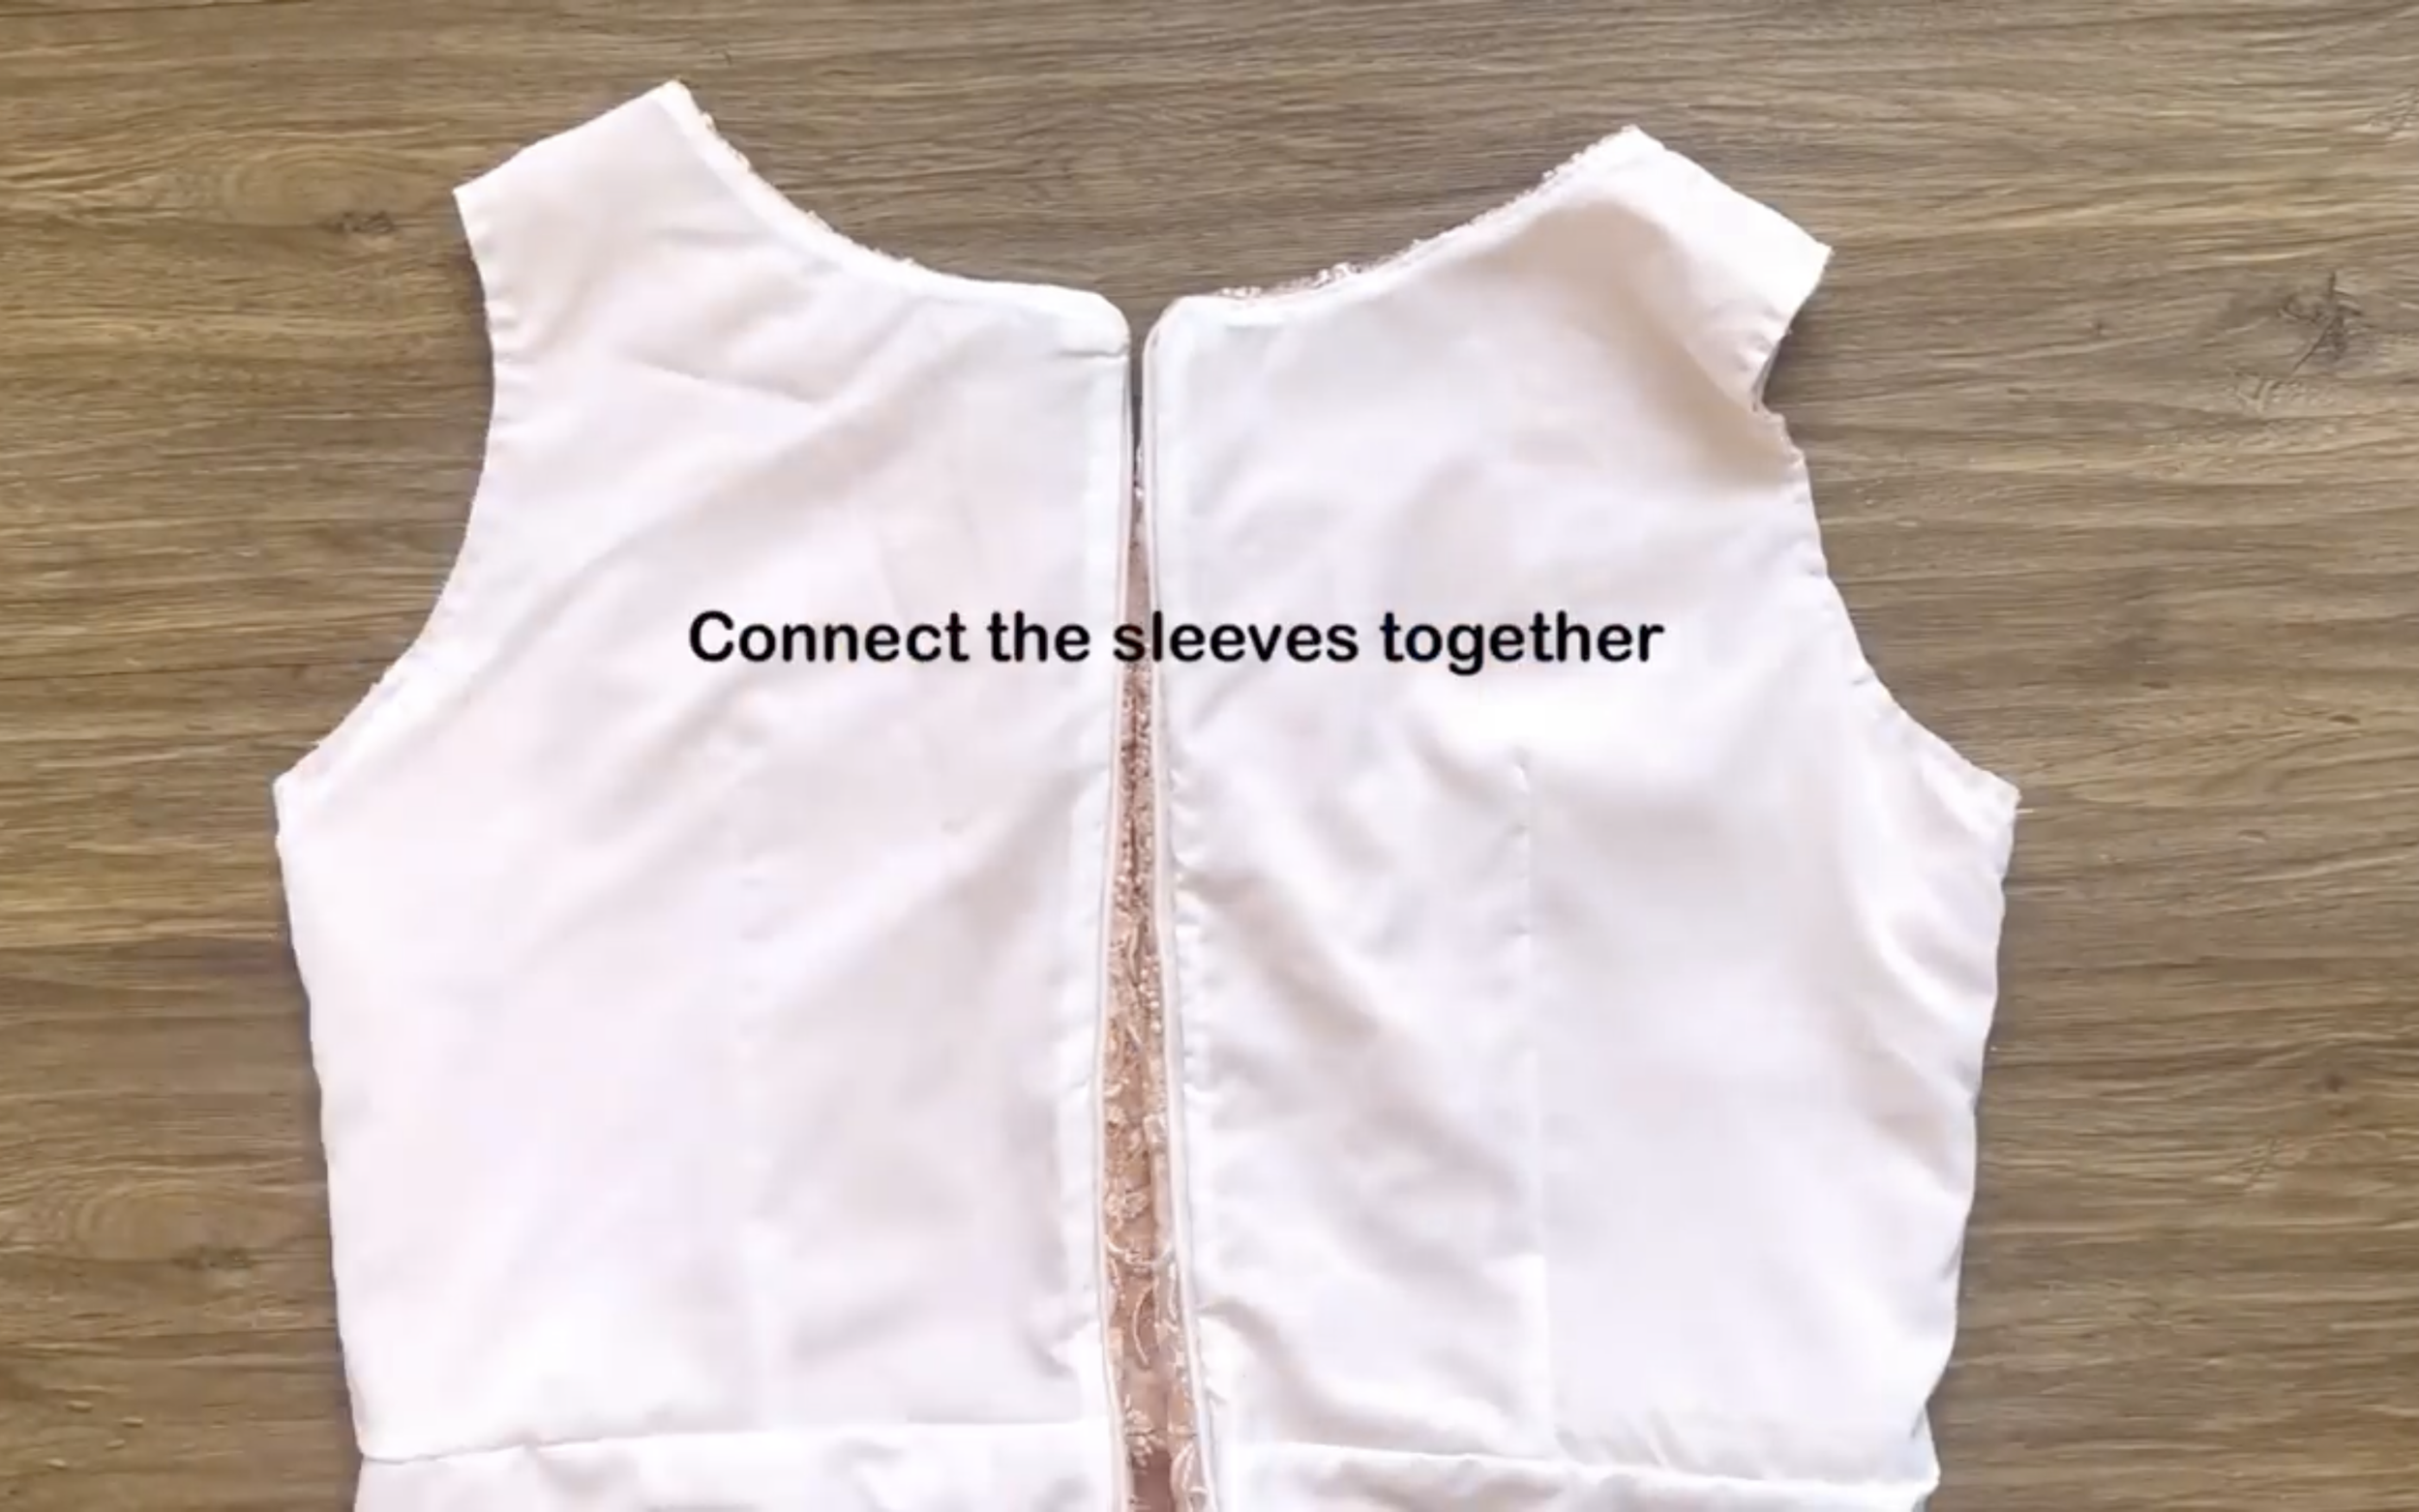
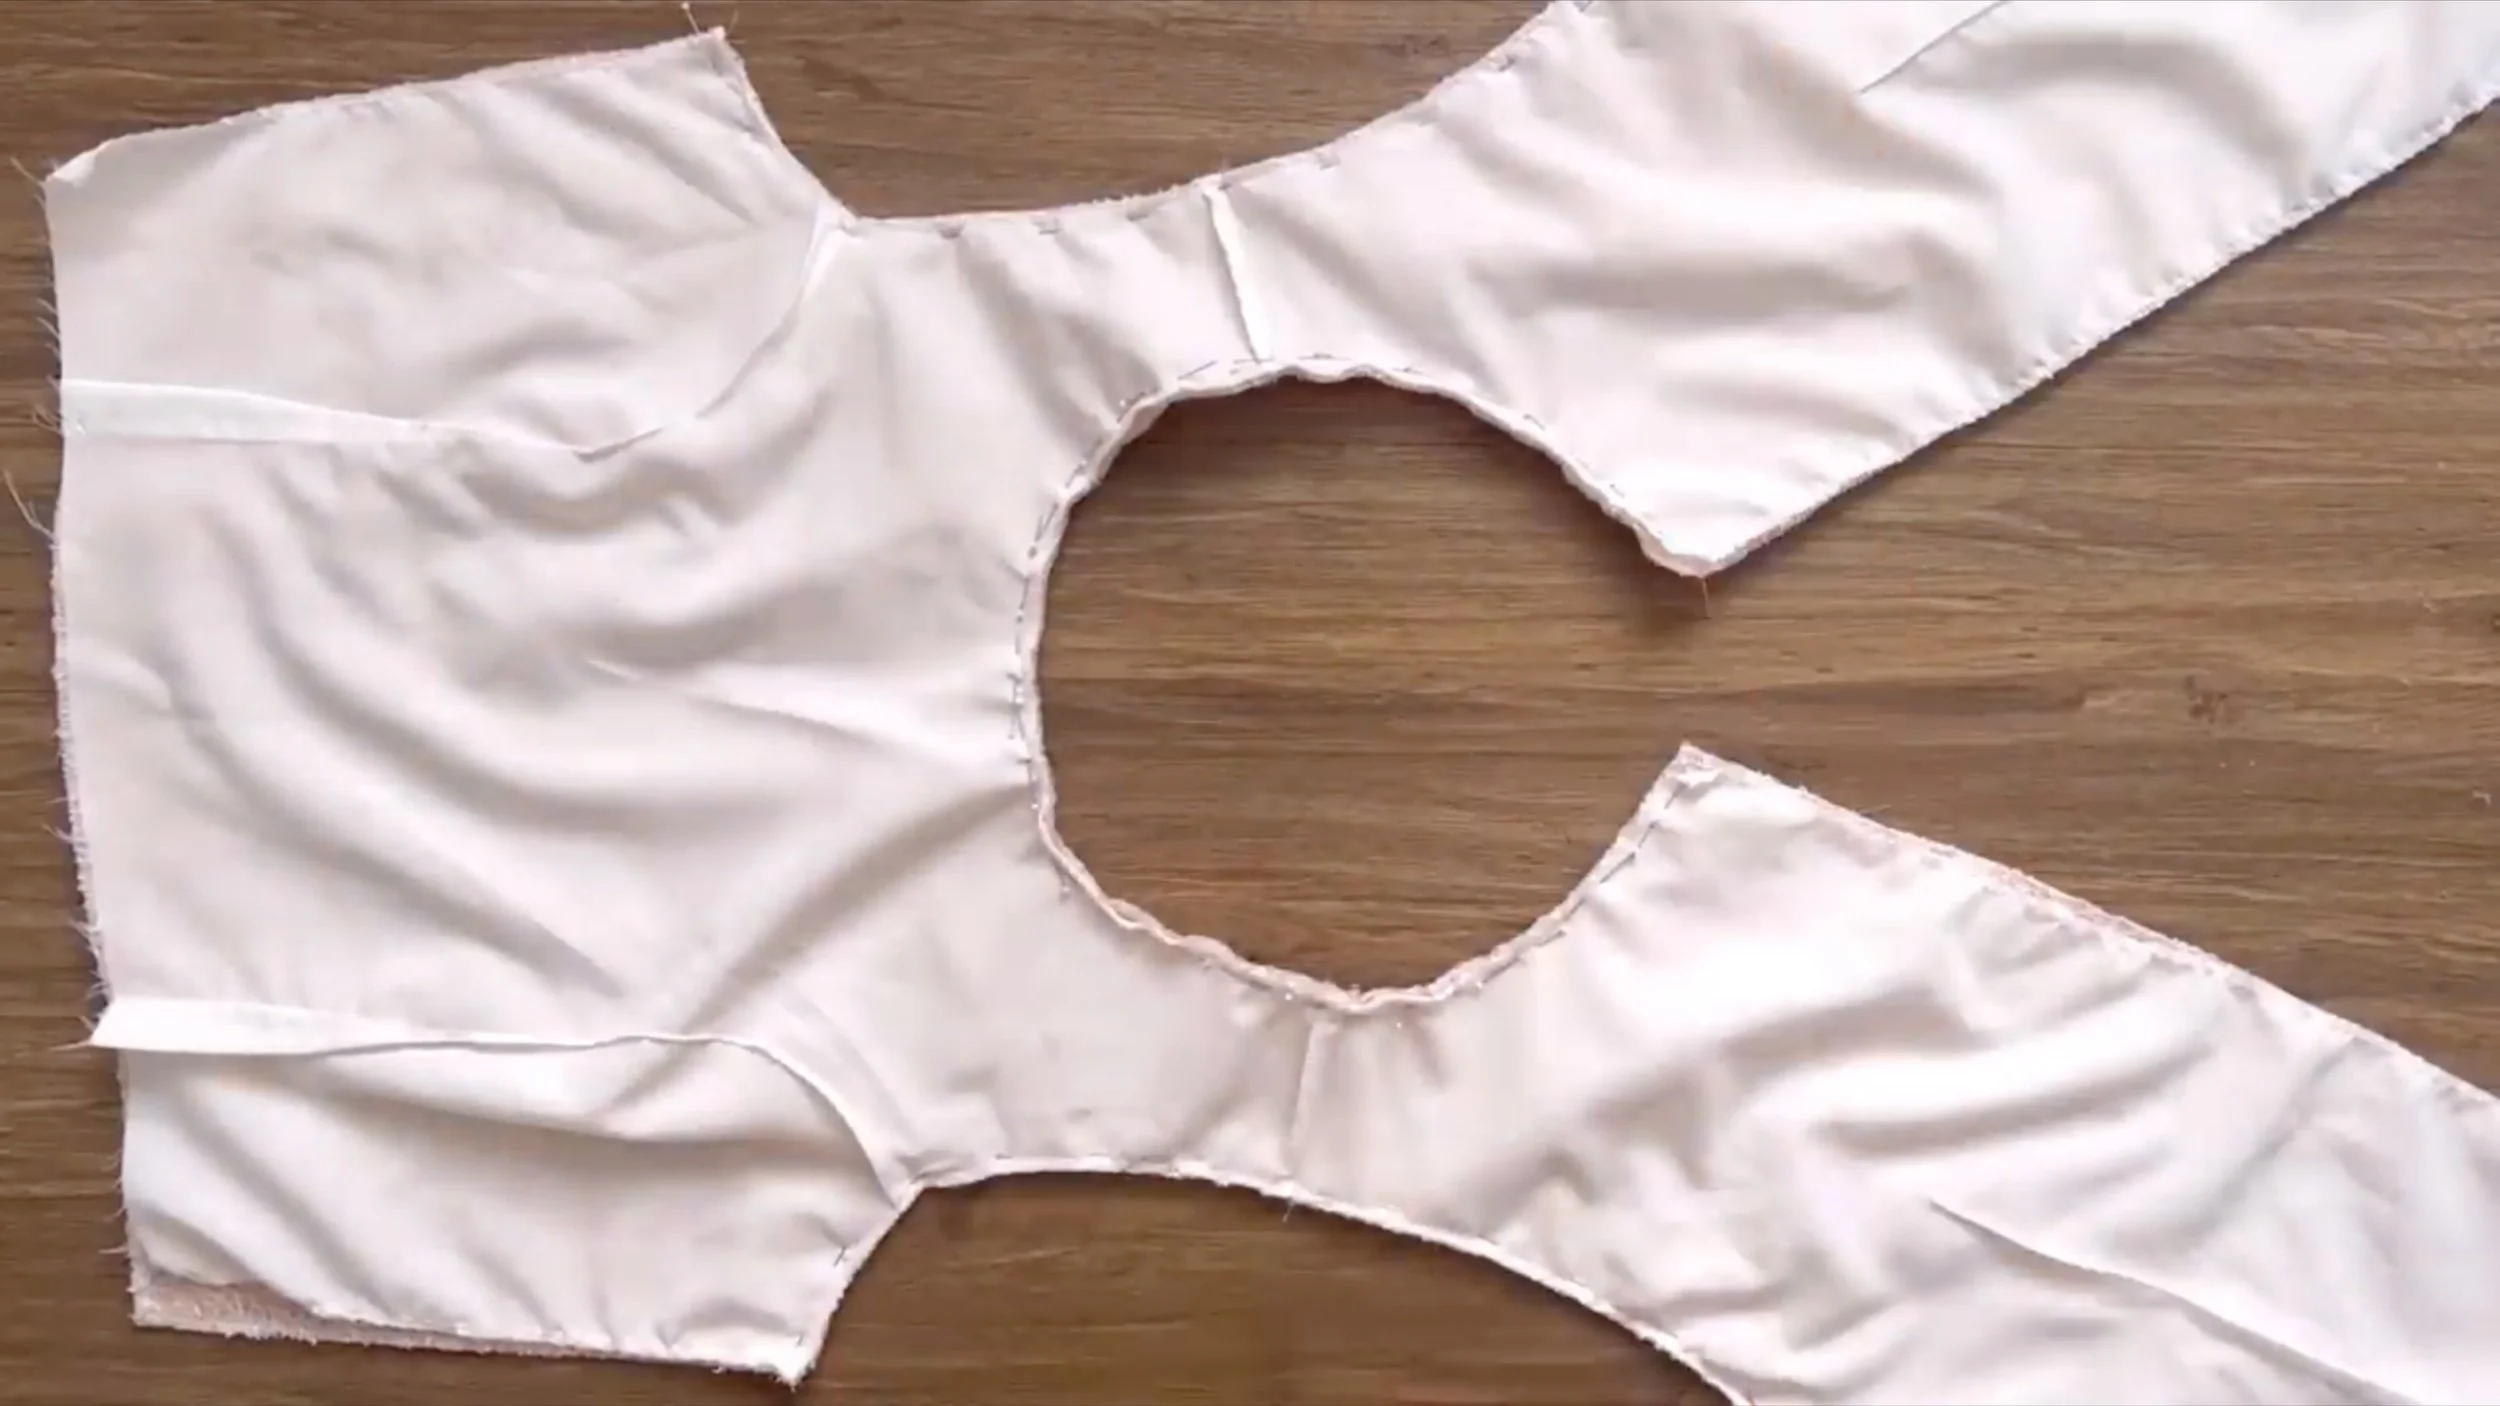
Connect the front and back together at the shoulder and two sides.
At the skirt part, connect the front and back of the skirt together at two sides.

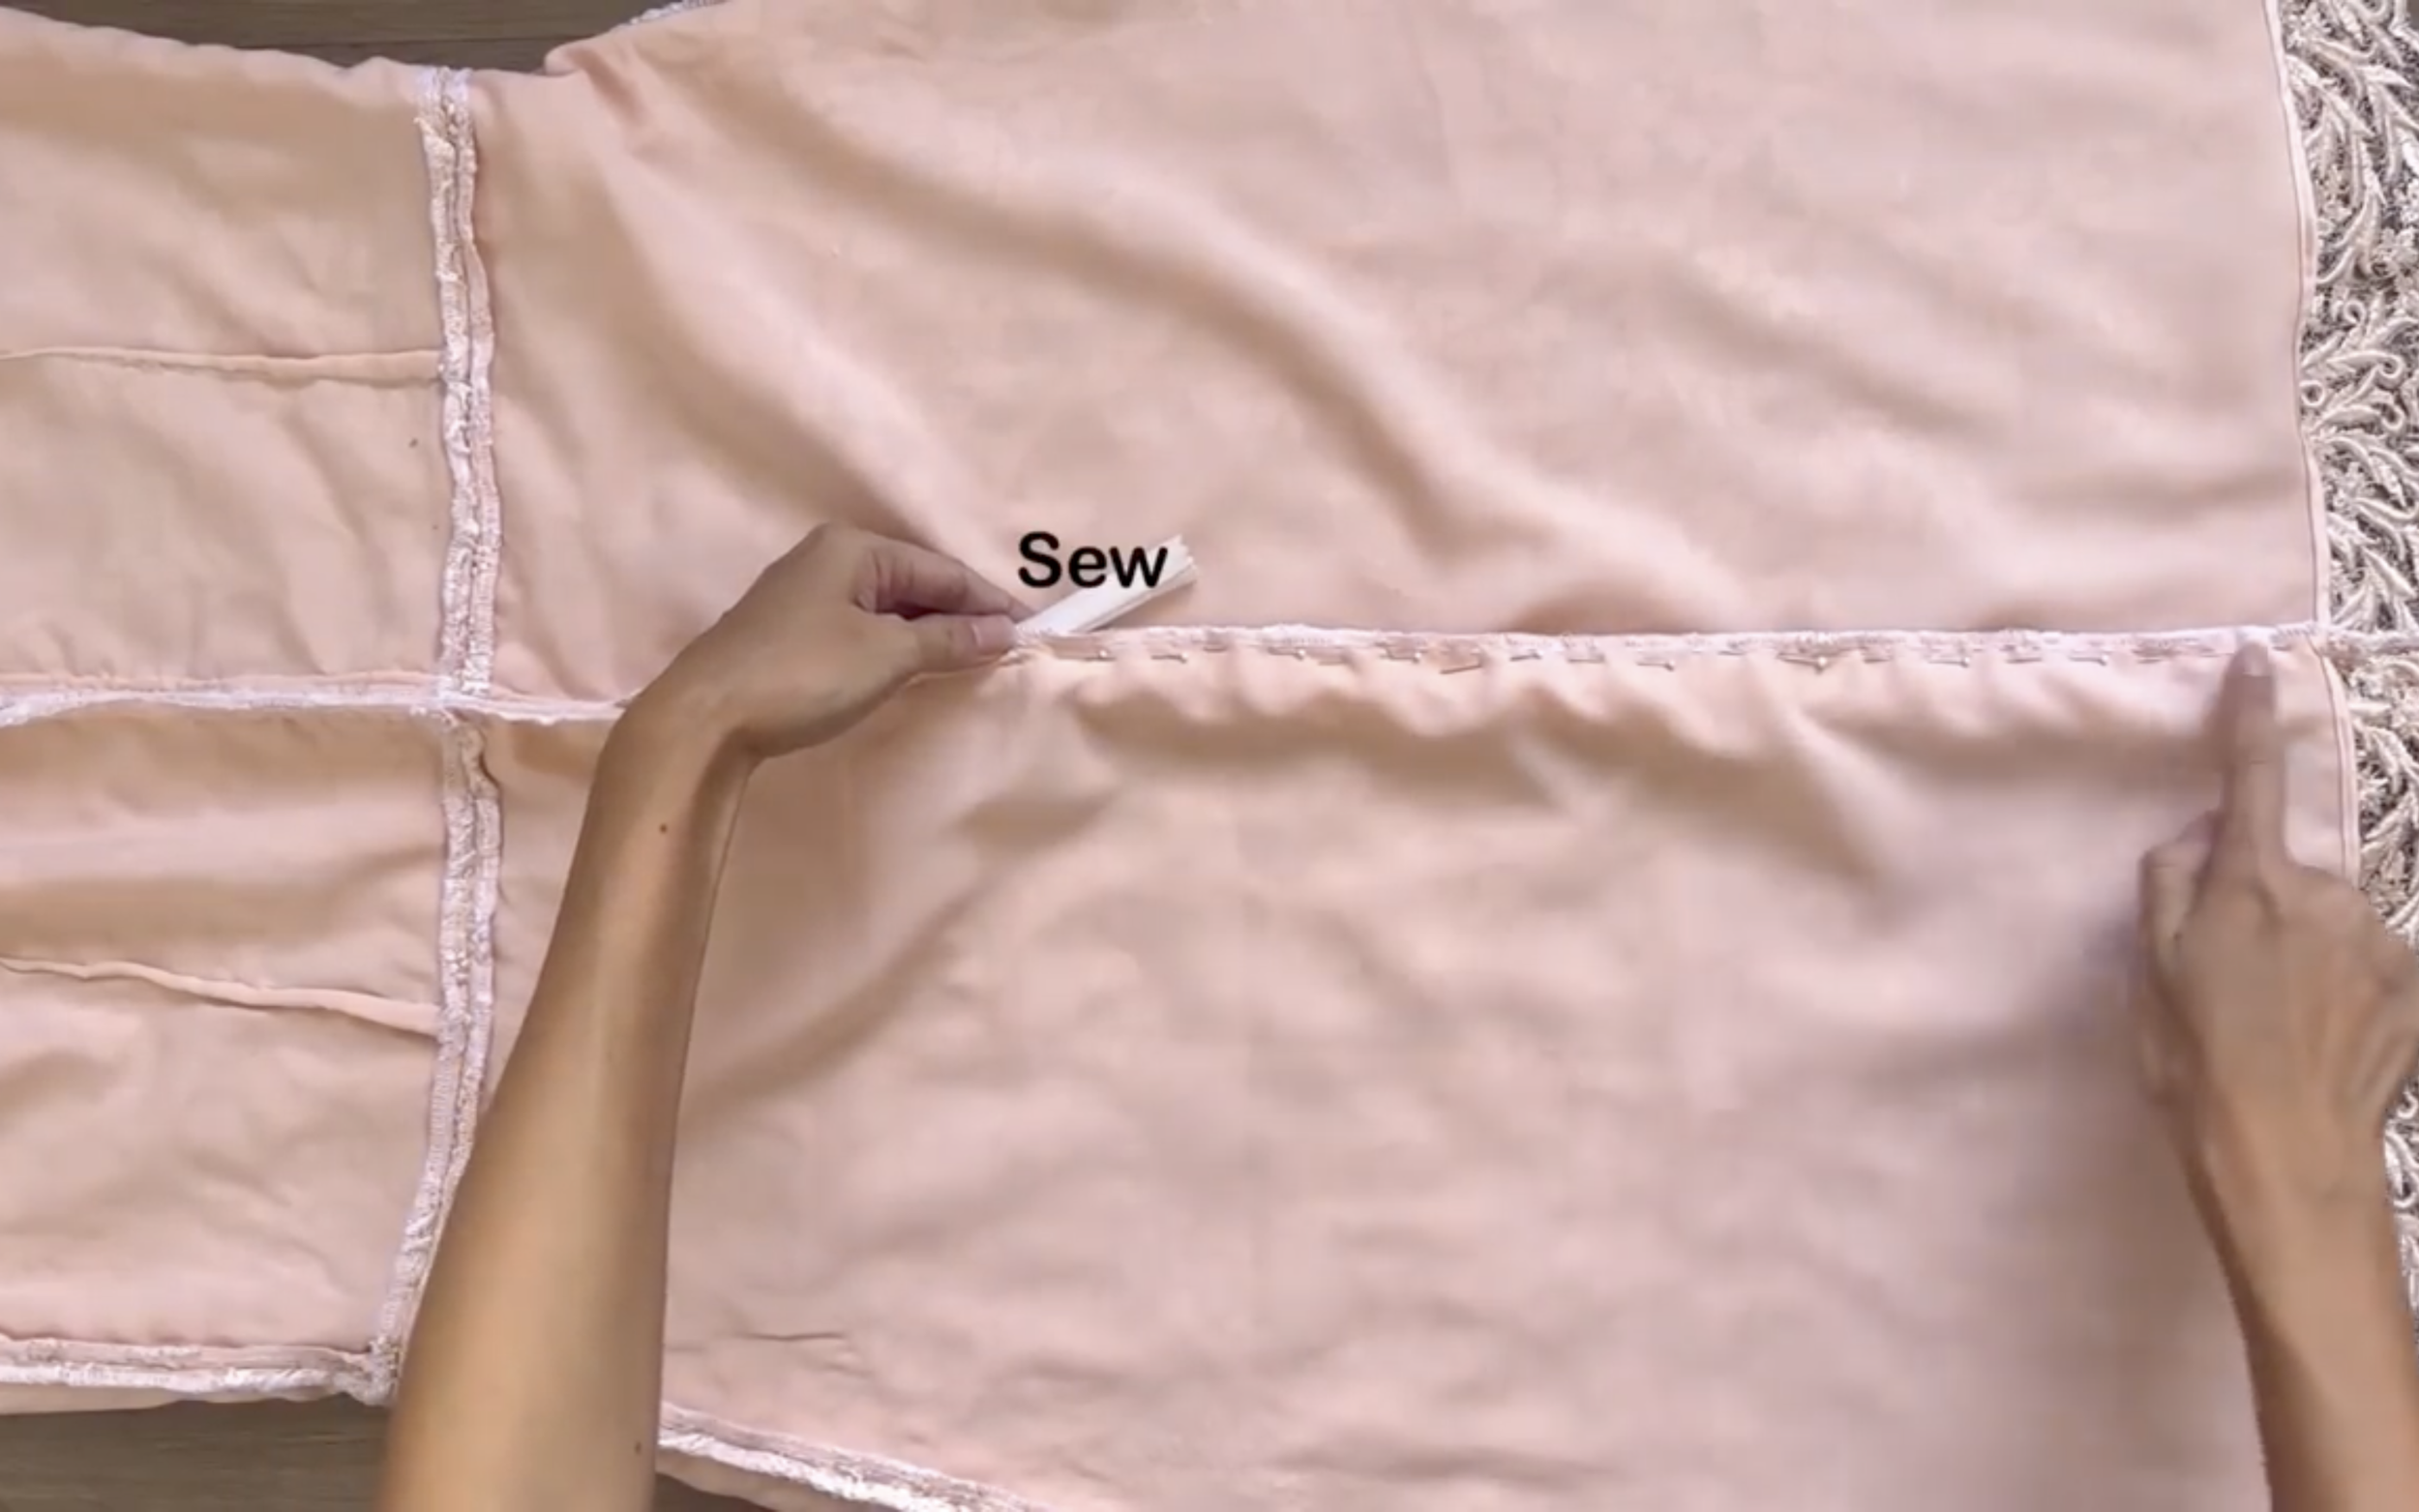
Finish the end of the skirt by folding the edge of the fabric inside twice, 0.5 cm each time, and sewing.
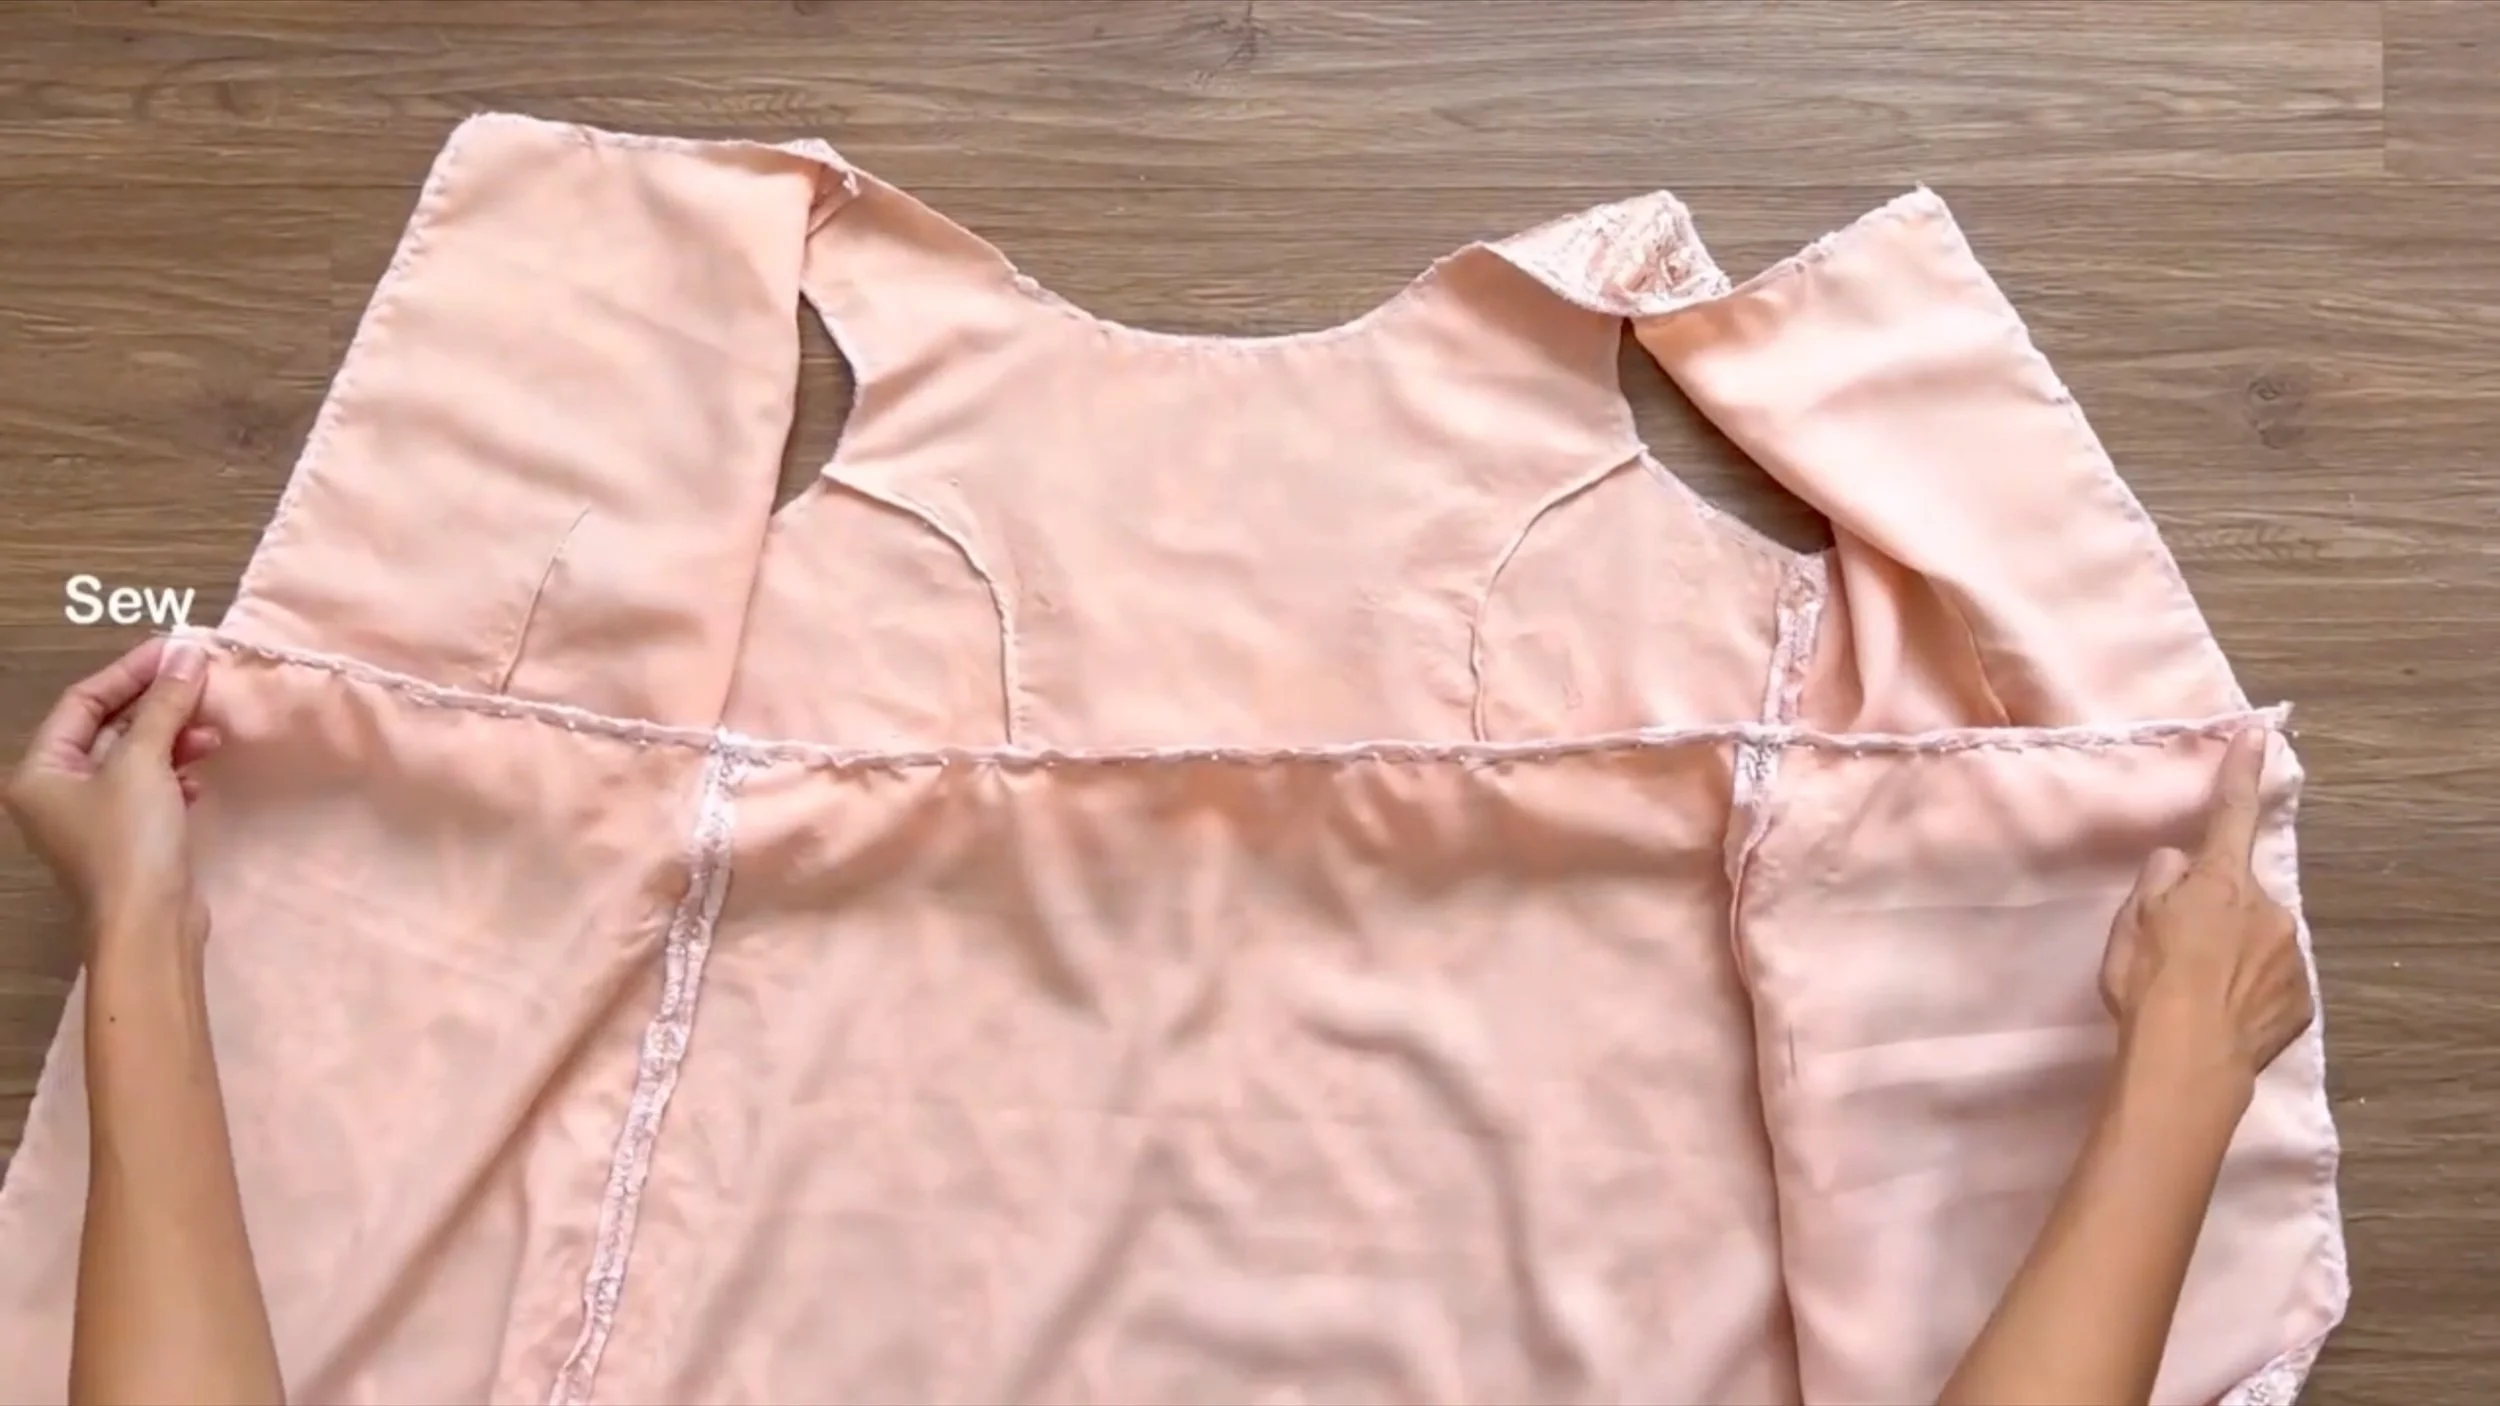
Connect the bodice to the skirt at the waistline.
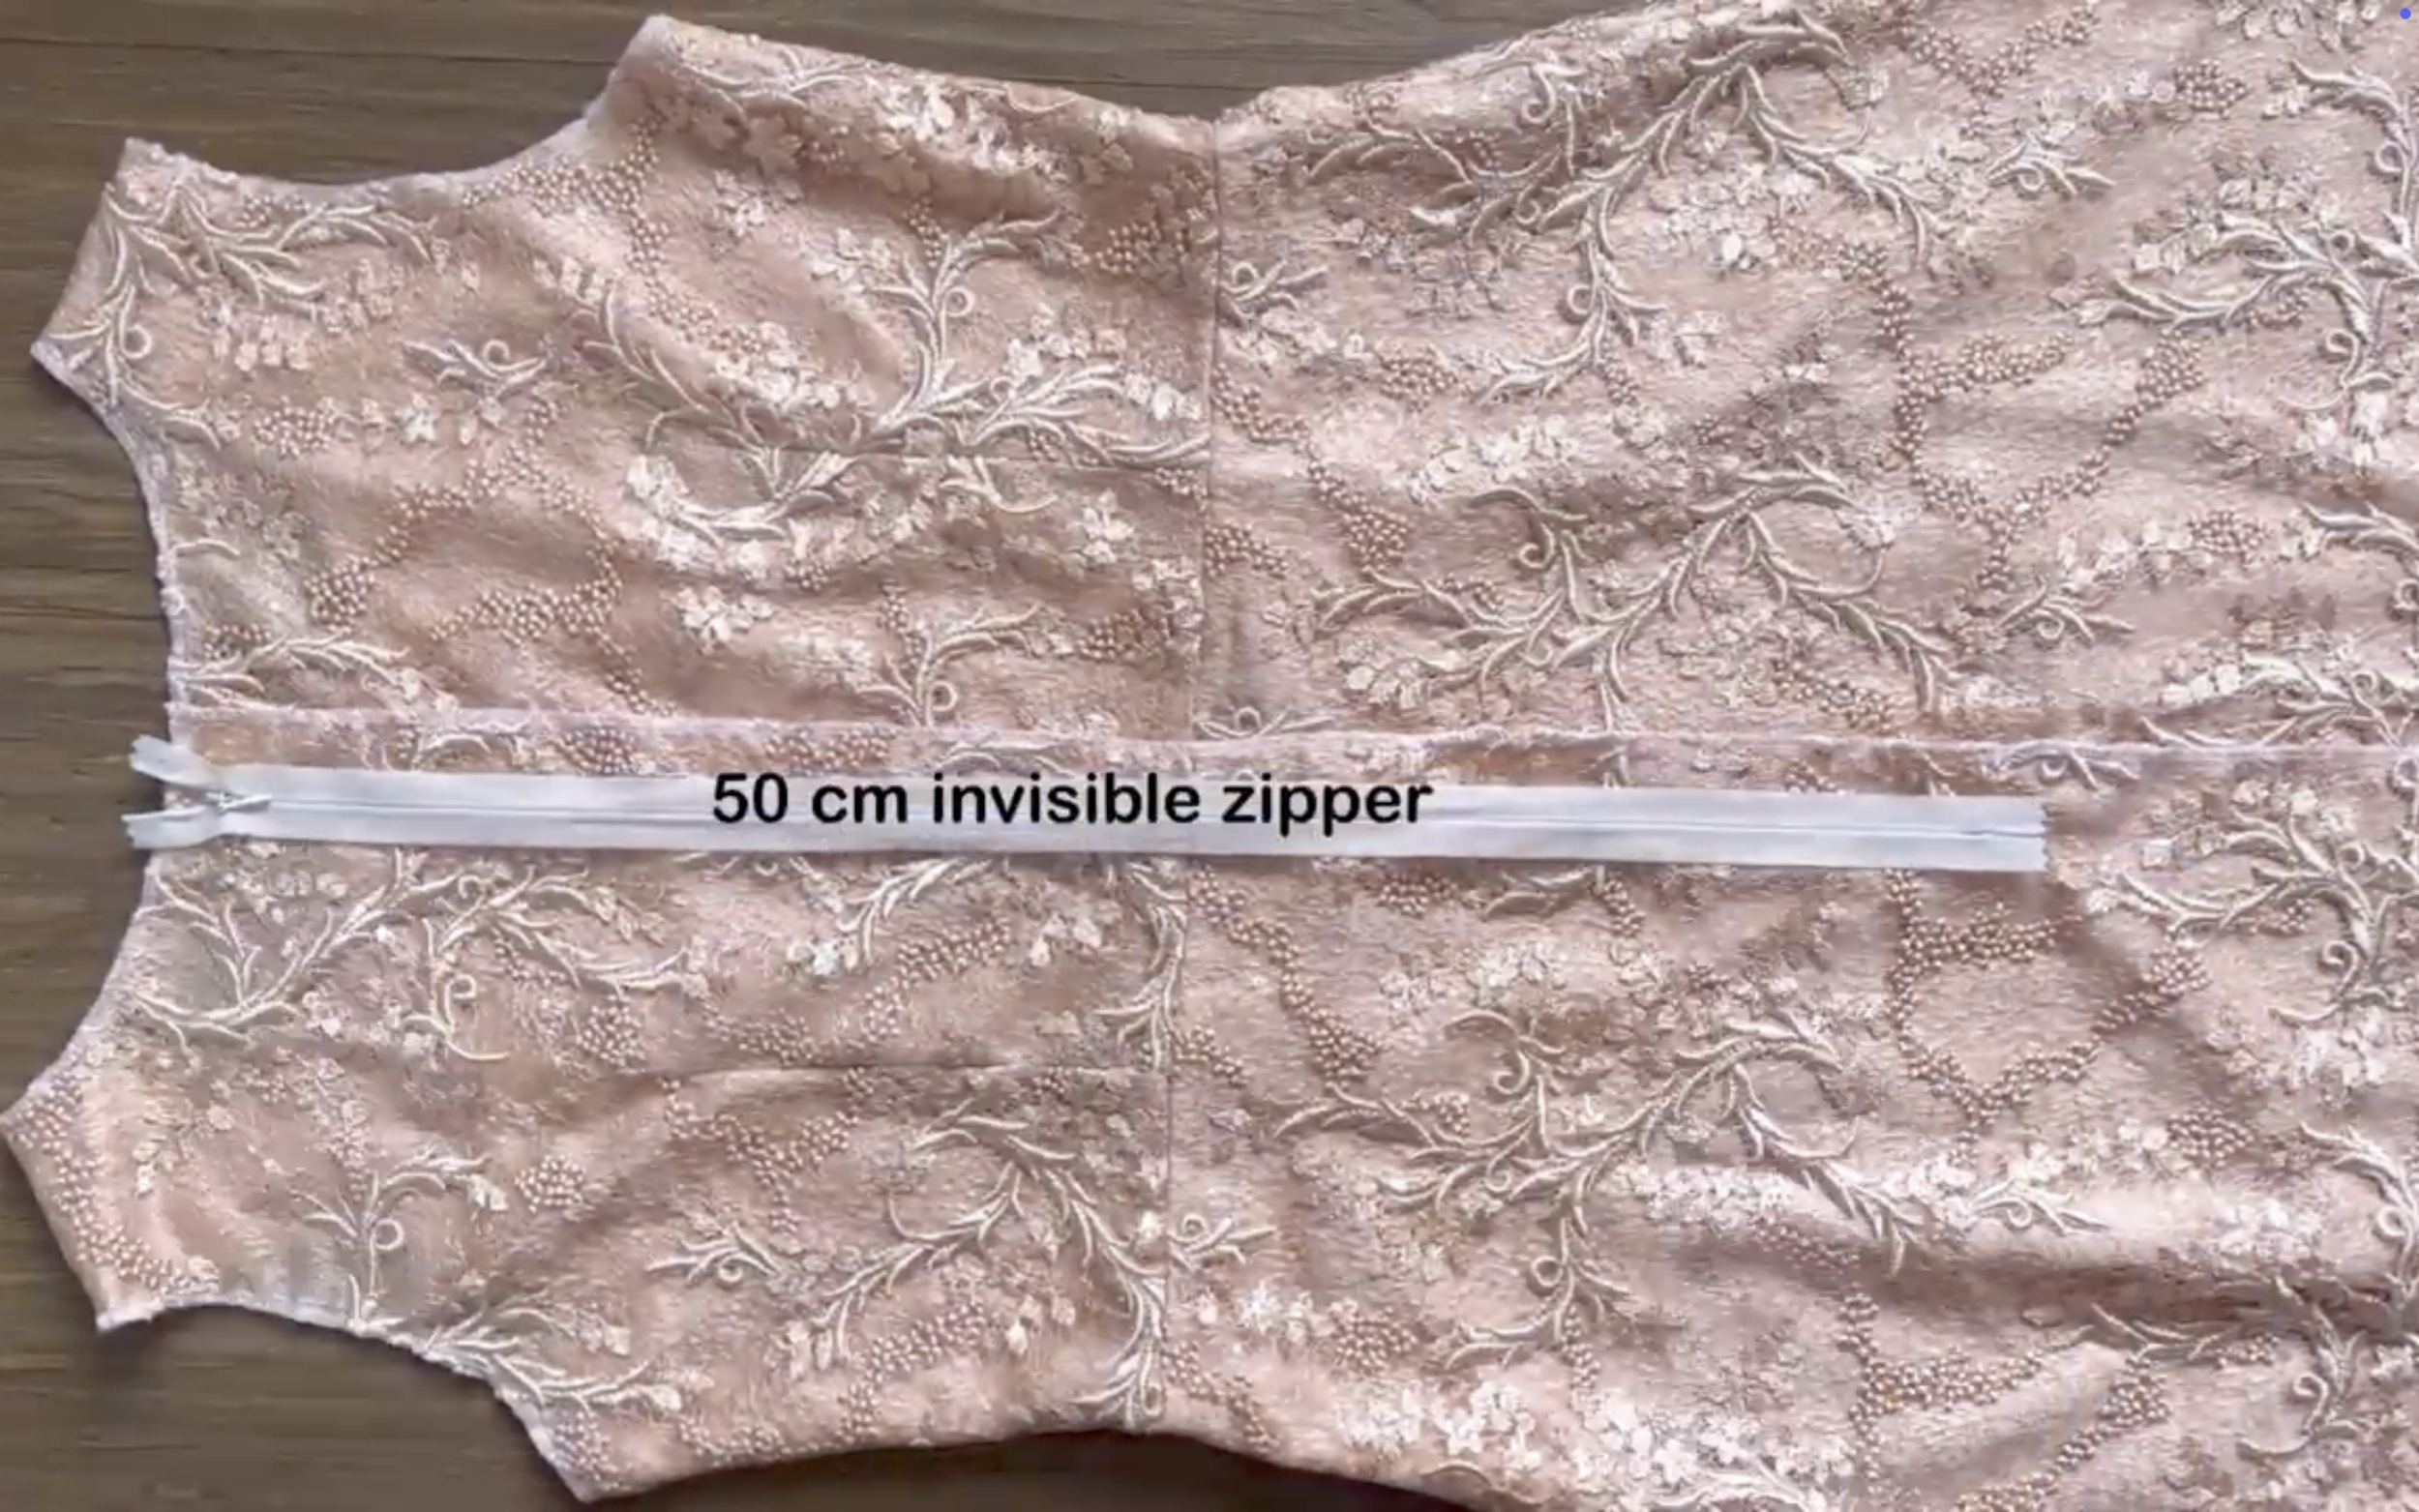
Use a 50 cm invisible zipper to connect the two pieces of the back of the dress together.
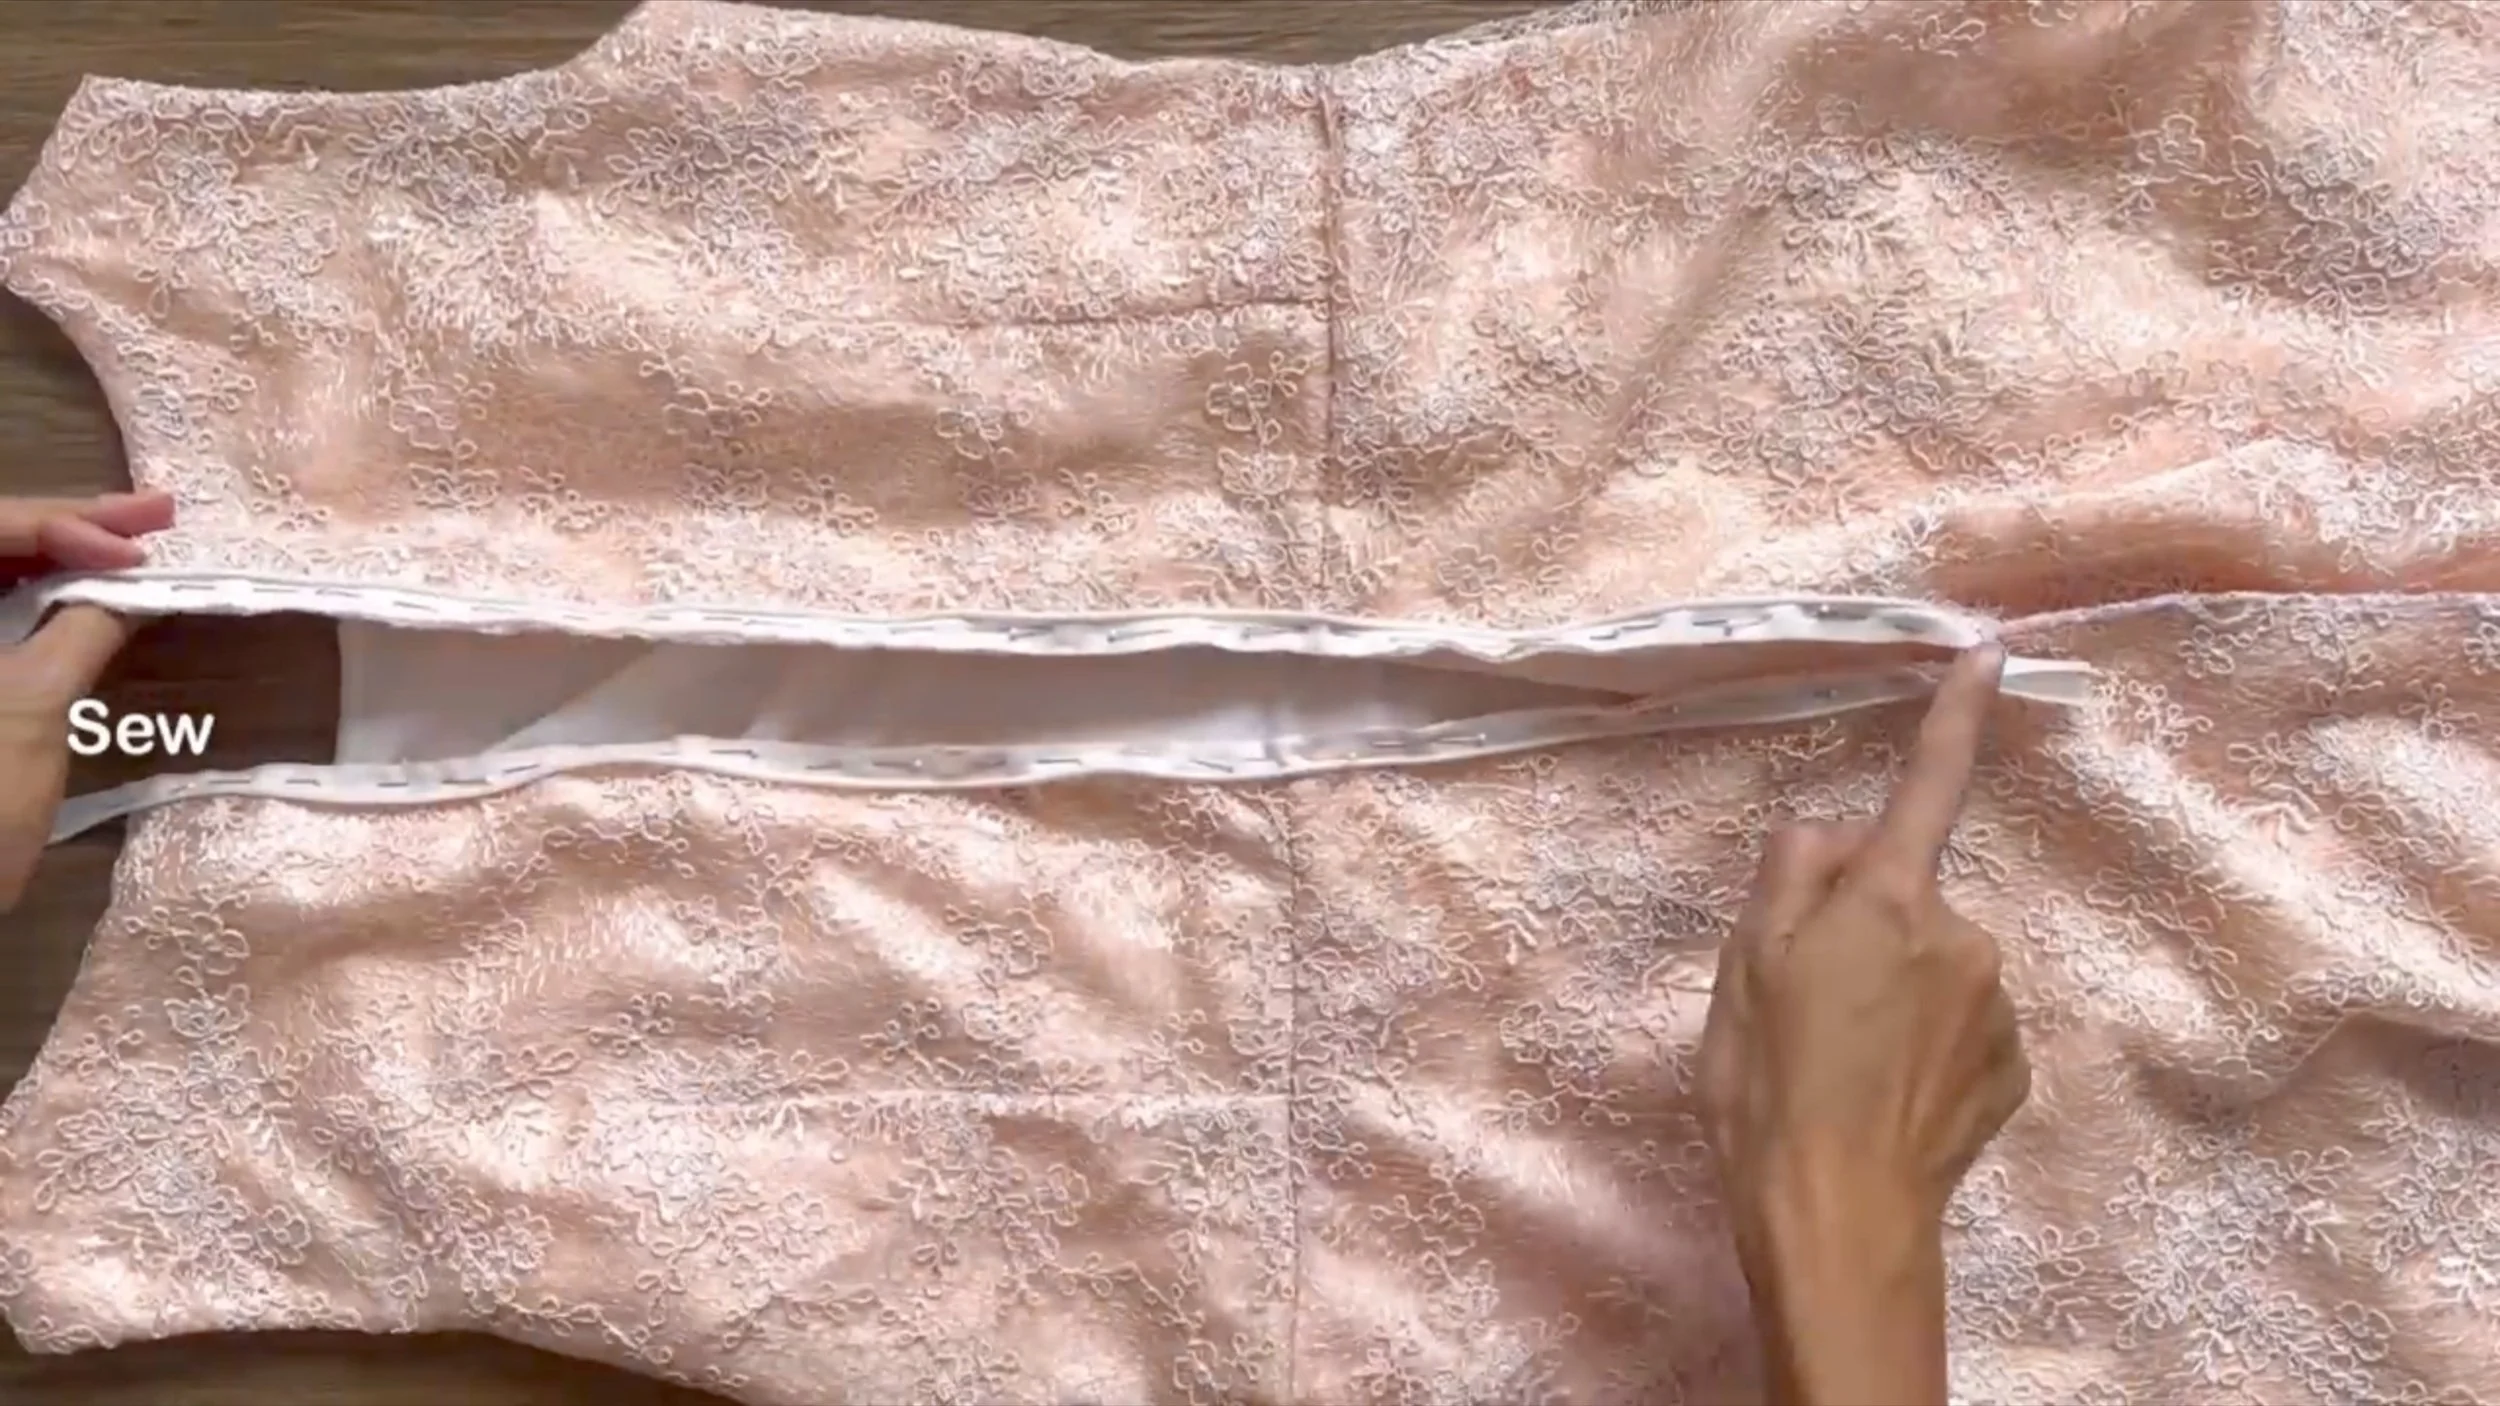
After sewing, finish the back of the dress by sewing the rest of the two pieces under the zipper together.
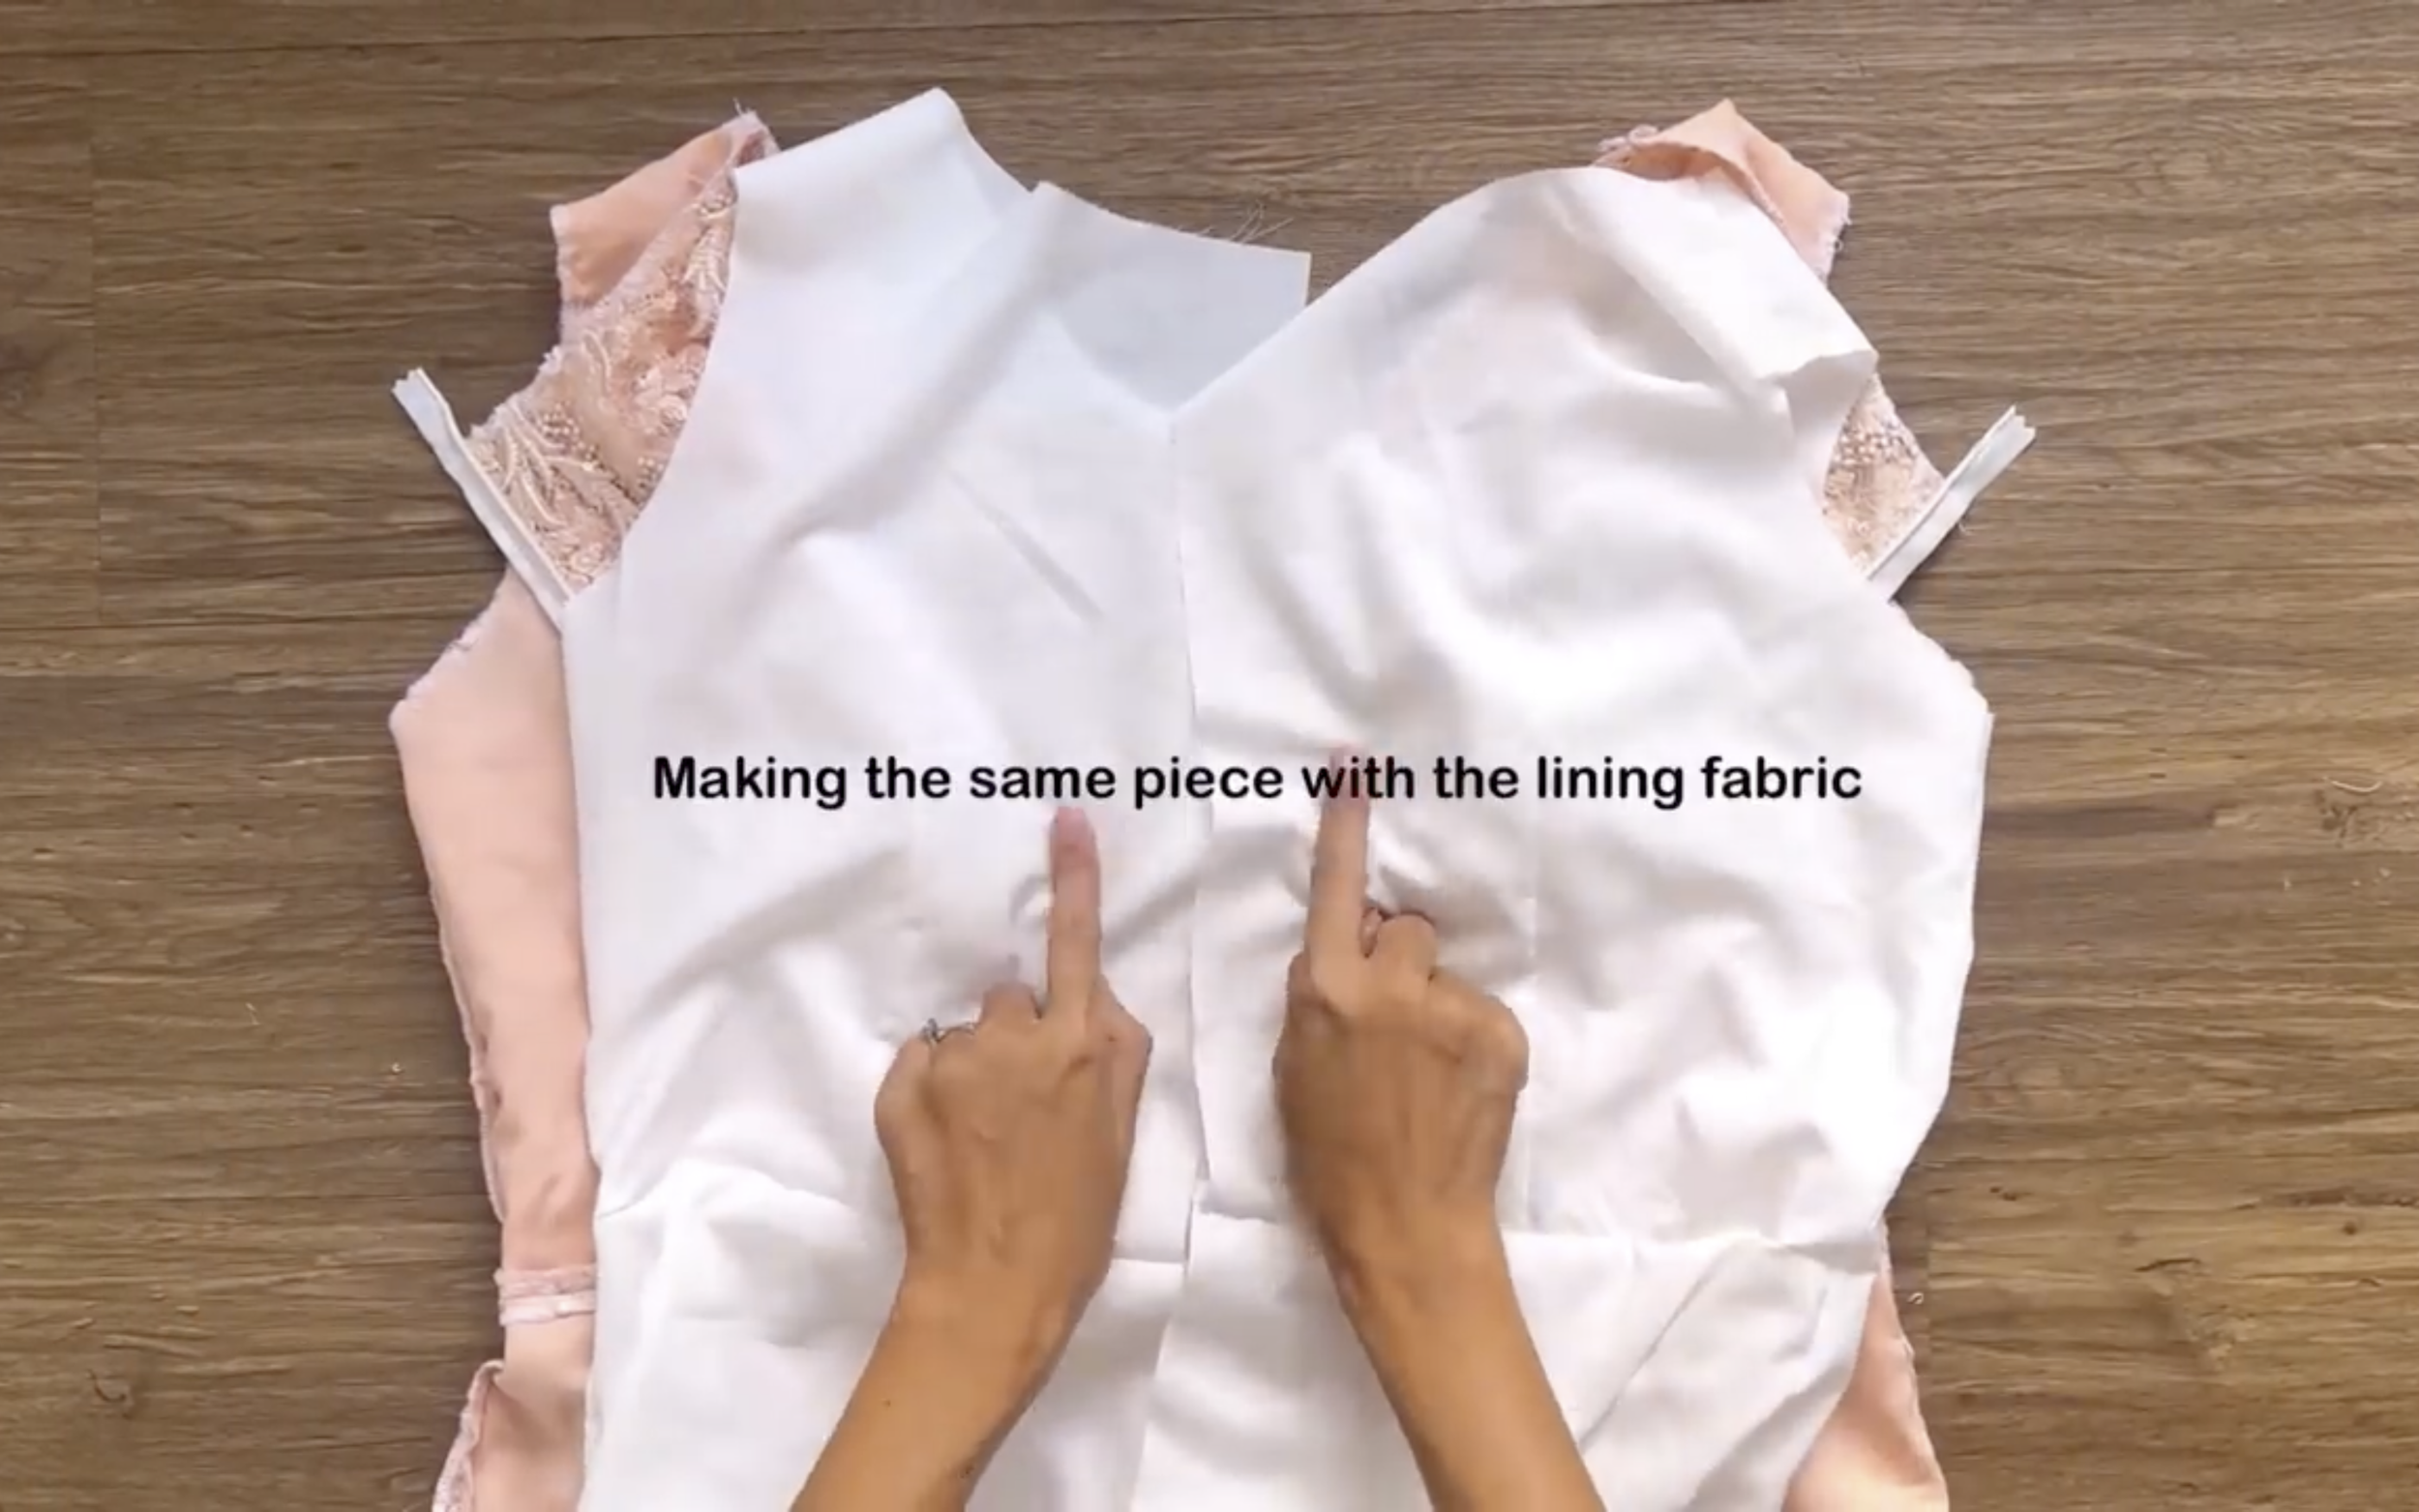
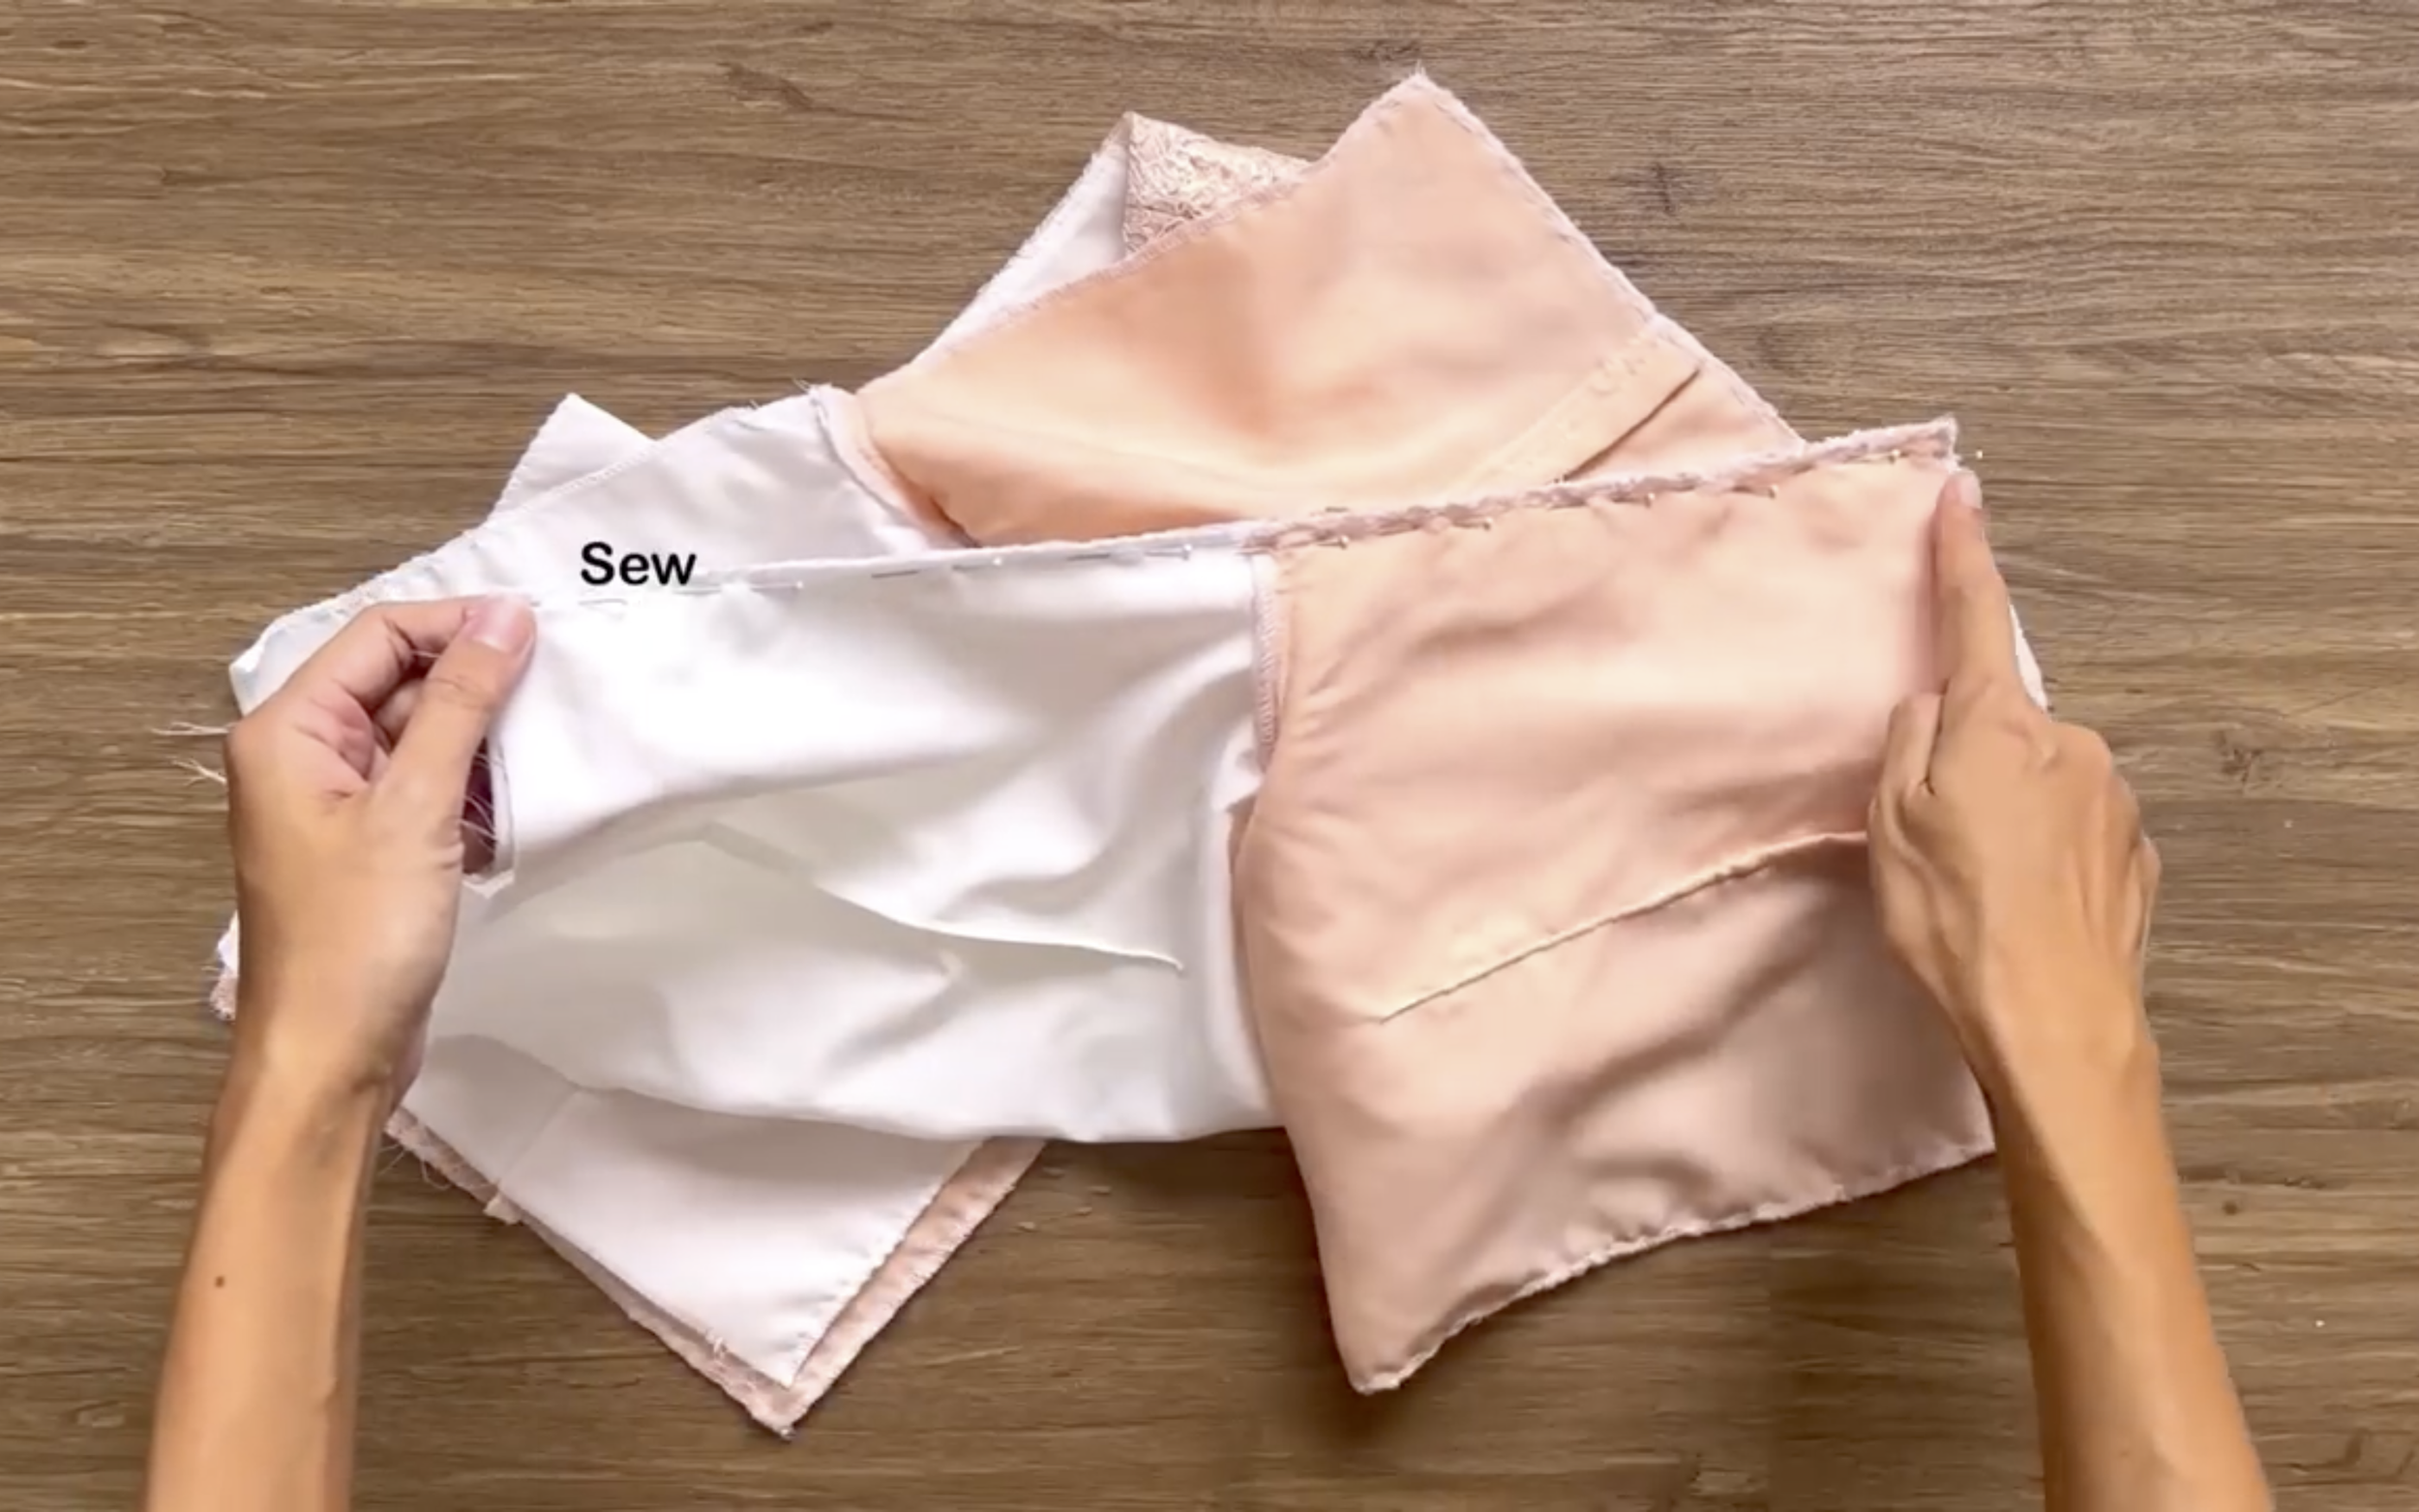
Use the same method to make the lining part of the dress.

Connect the lining to the main fabric at the neckline.
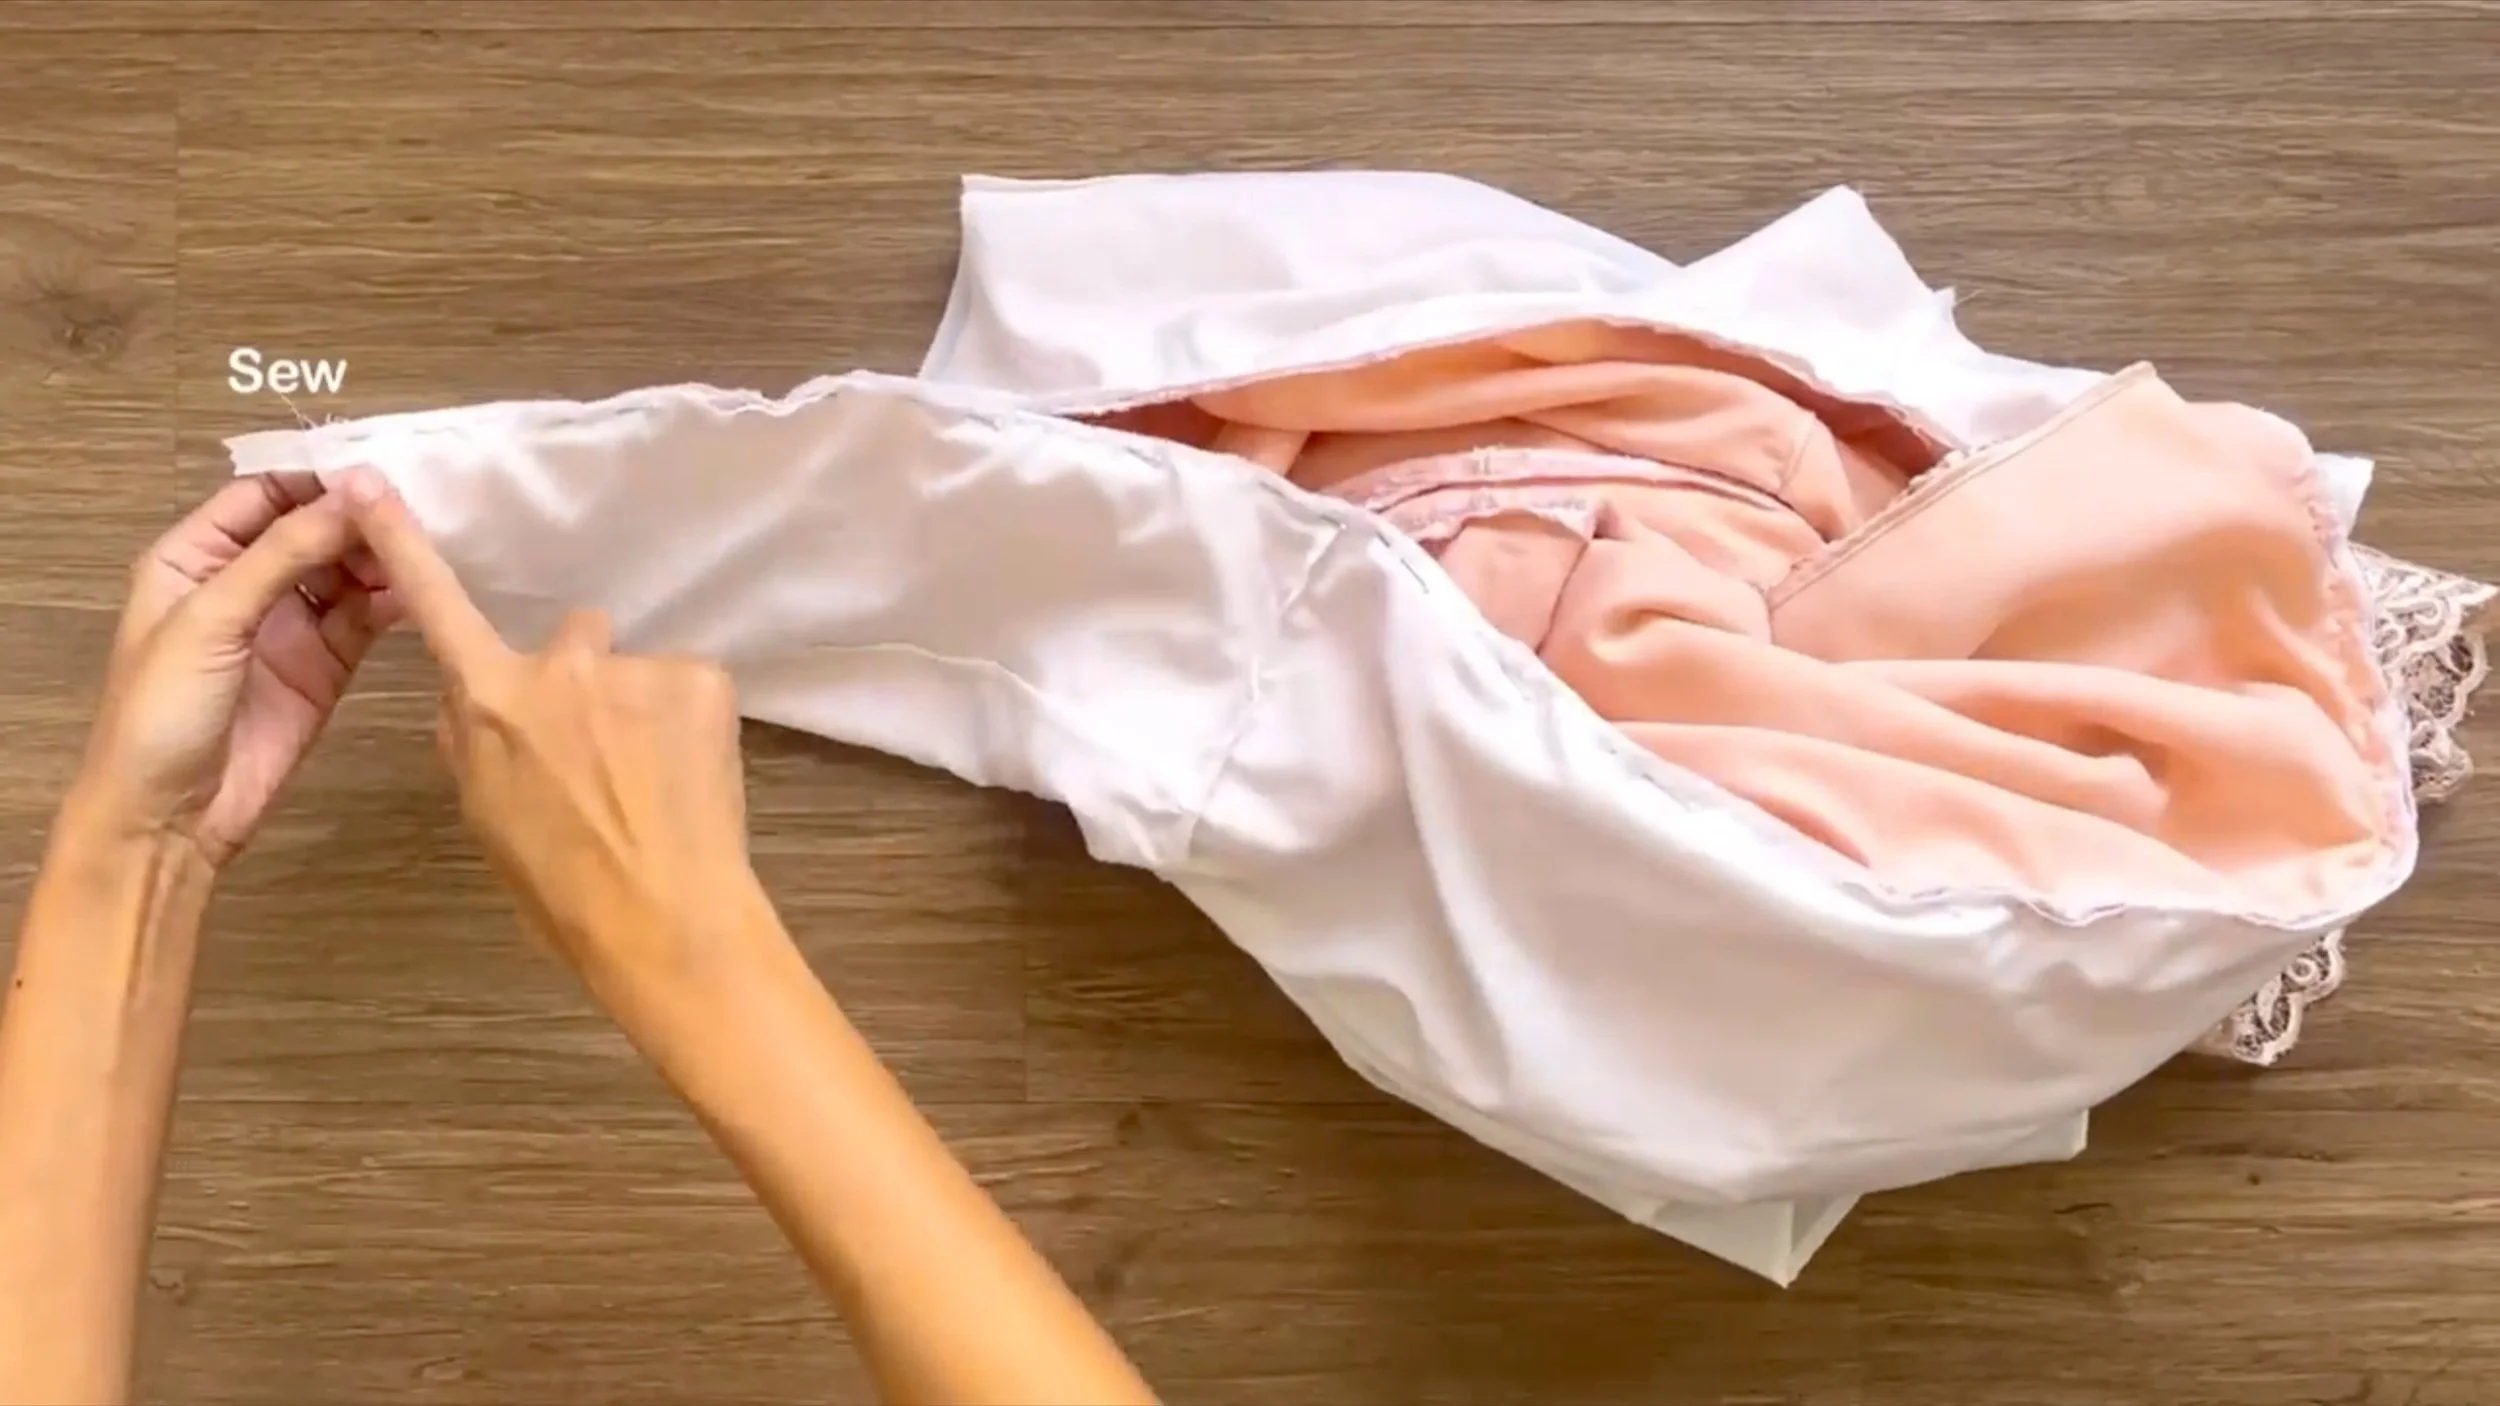
Before turning the lining inside, connect the two pieces of the back dress at the lining to the main fabric so the zipper is in the middle between them.
After sewing, finish the rest of the back dress under the zipper by sewing the pieces together, similar to how it was done for the main fabric.
Connect the sleeve of the lining to the main fabric.
For the sleeve, connect the underarm lines together first, then attach them to the bodice of the dress.
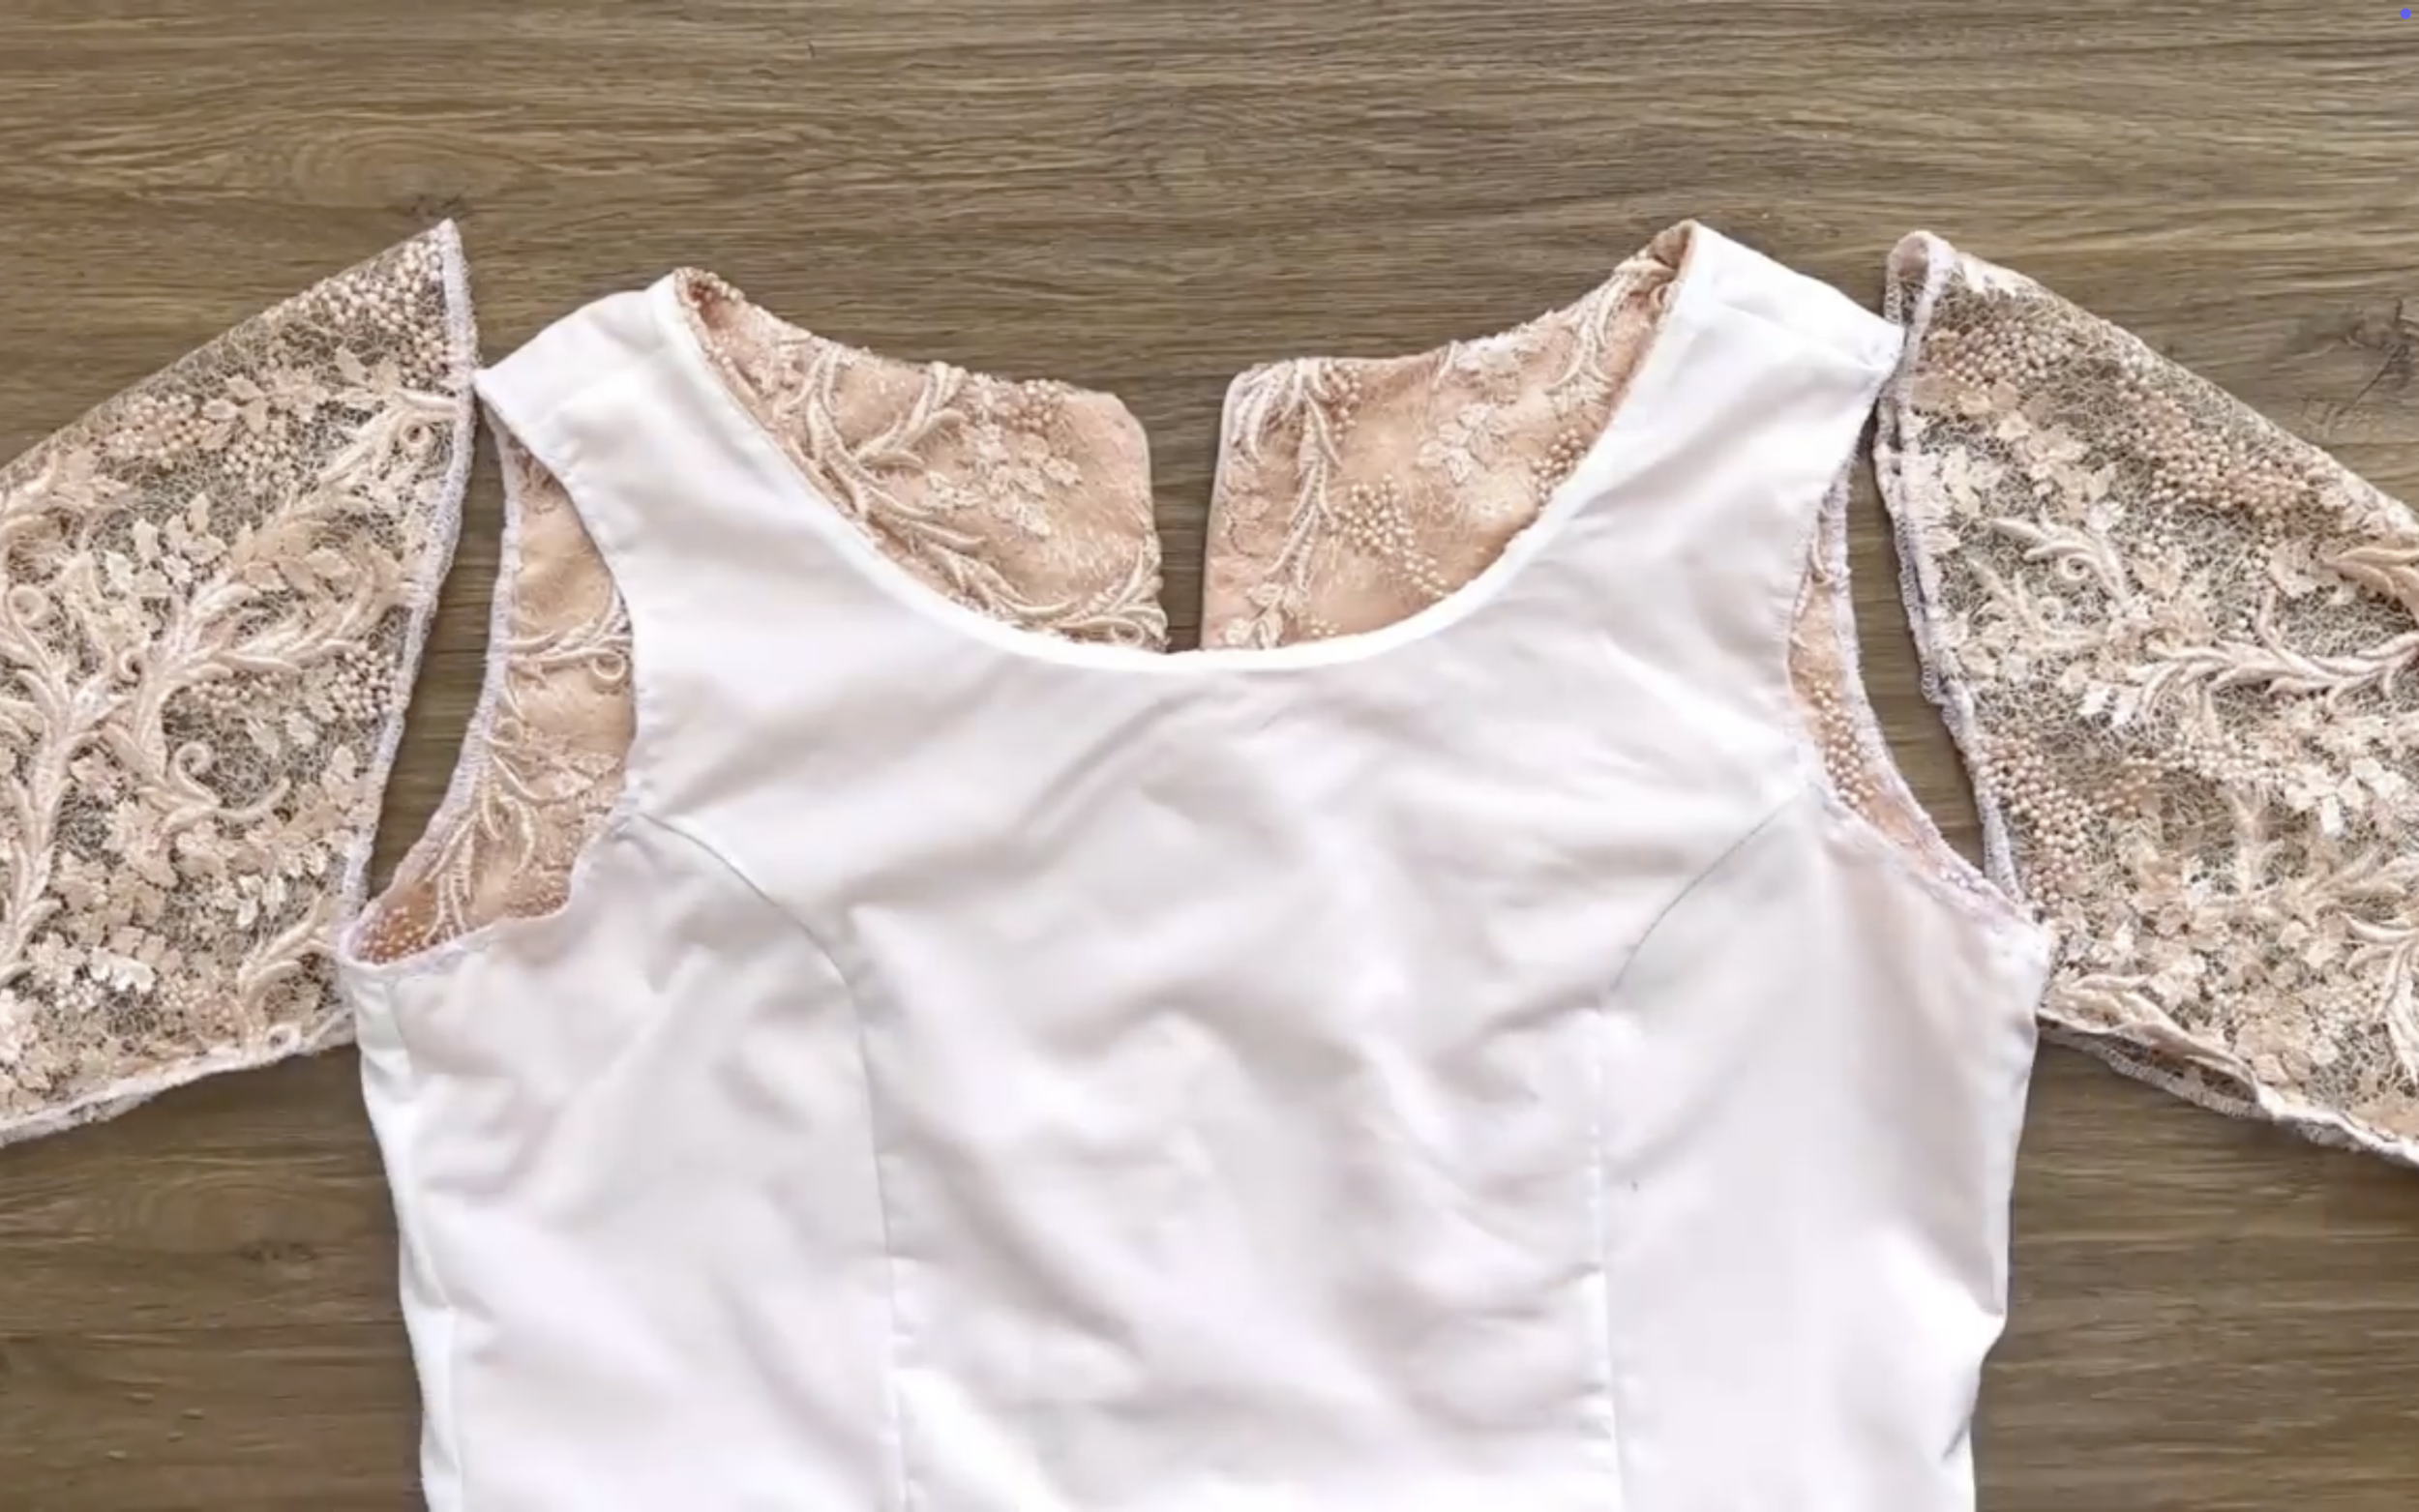
Finish the A-line dress with sleeves.
THE SLEEVELESS DRESS WITH HALF CIRCLE SKIRT
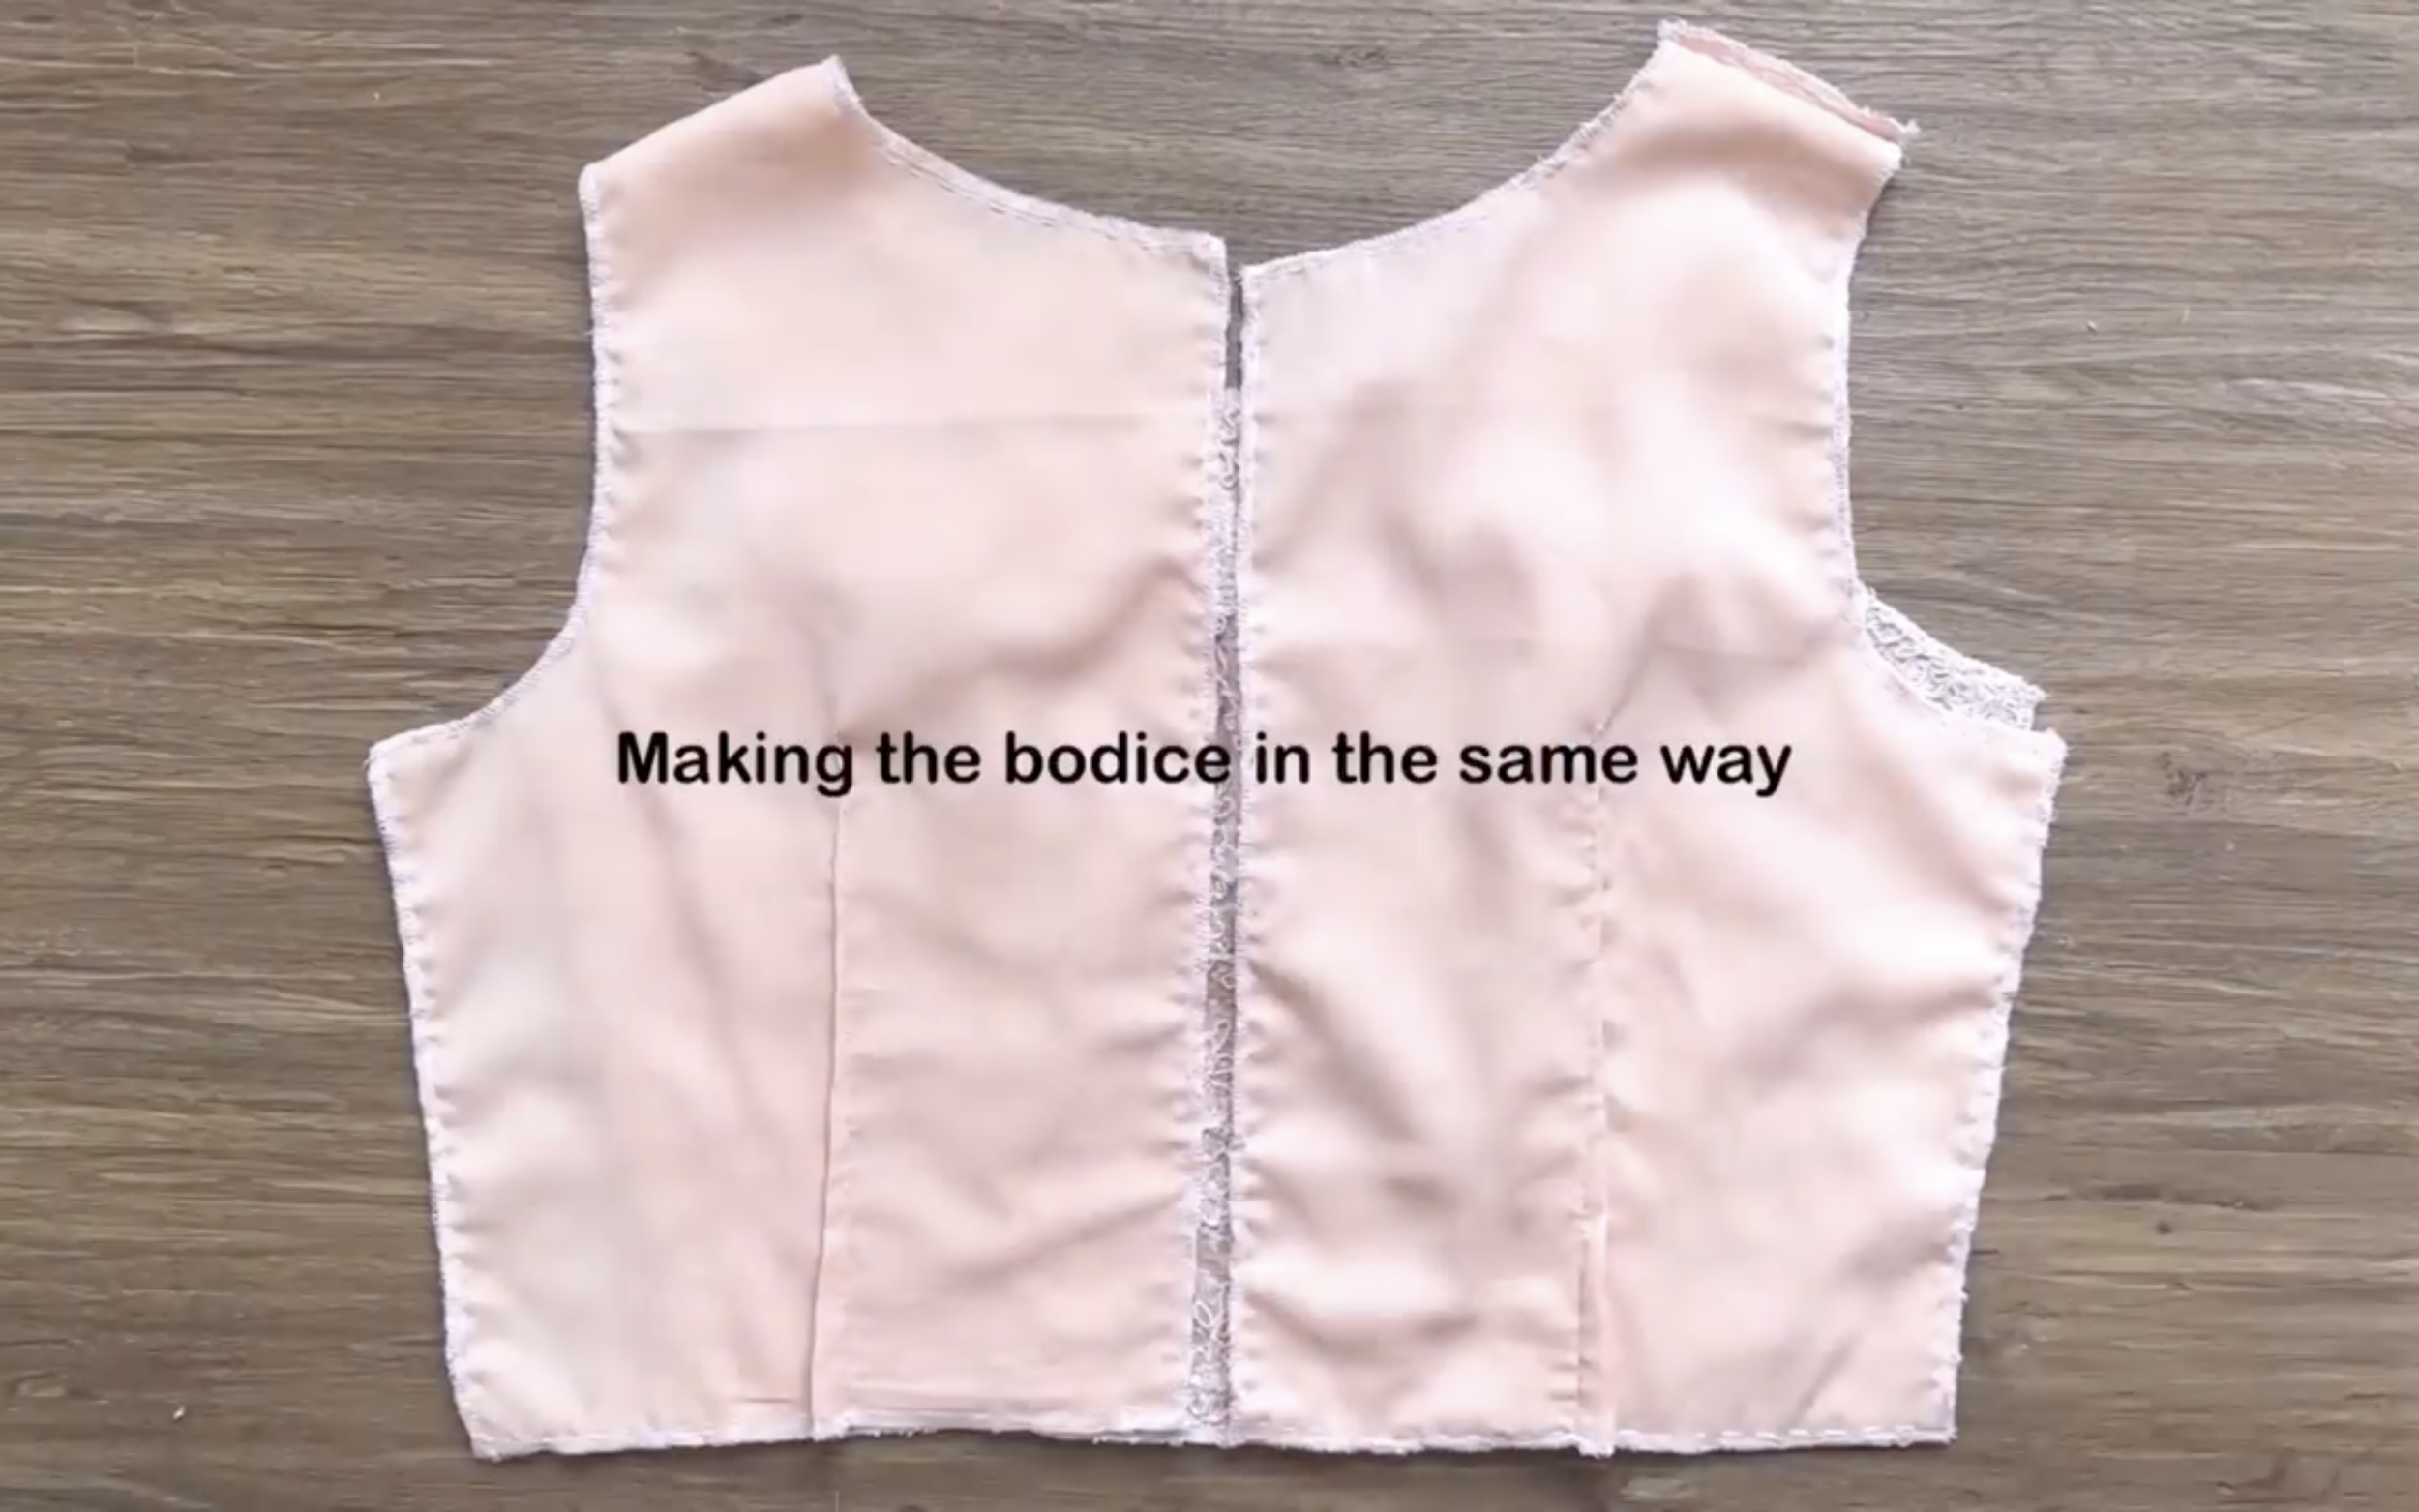
For the sleeveless dress with the half-circle skirt, use the same method to make the bodice for both the main fabric and the lining.
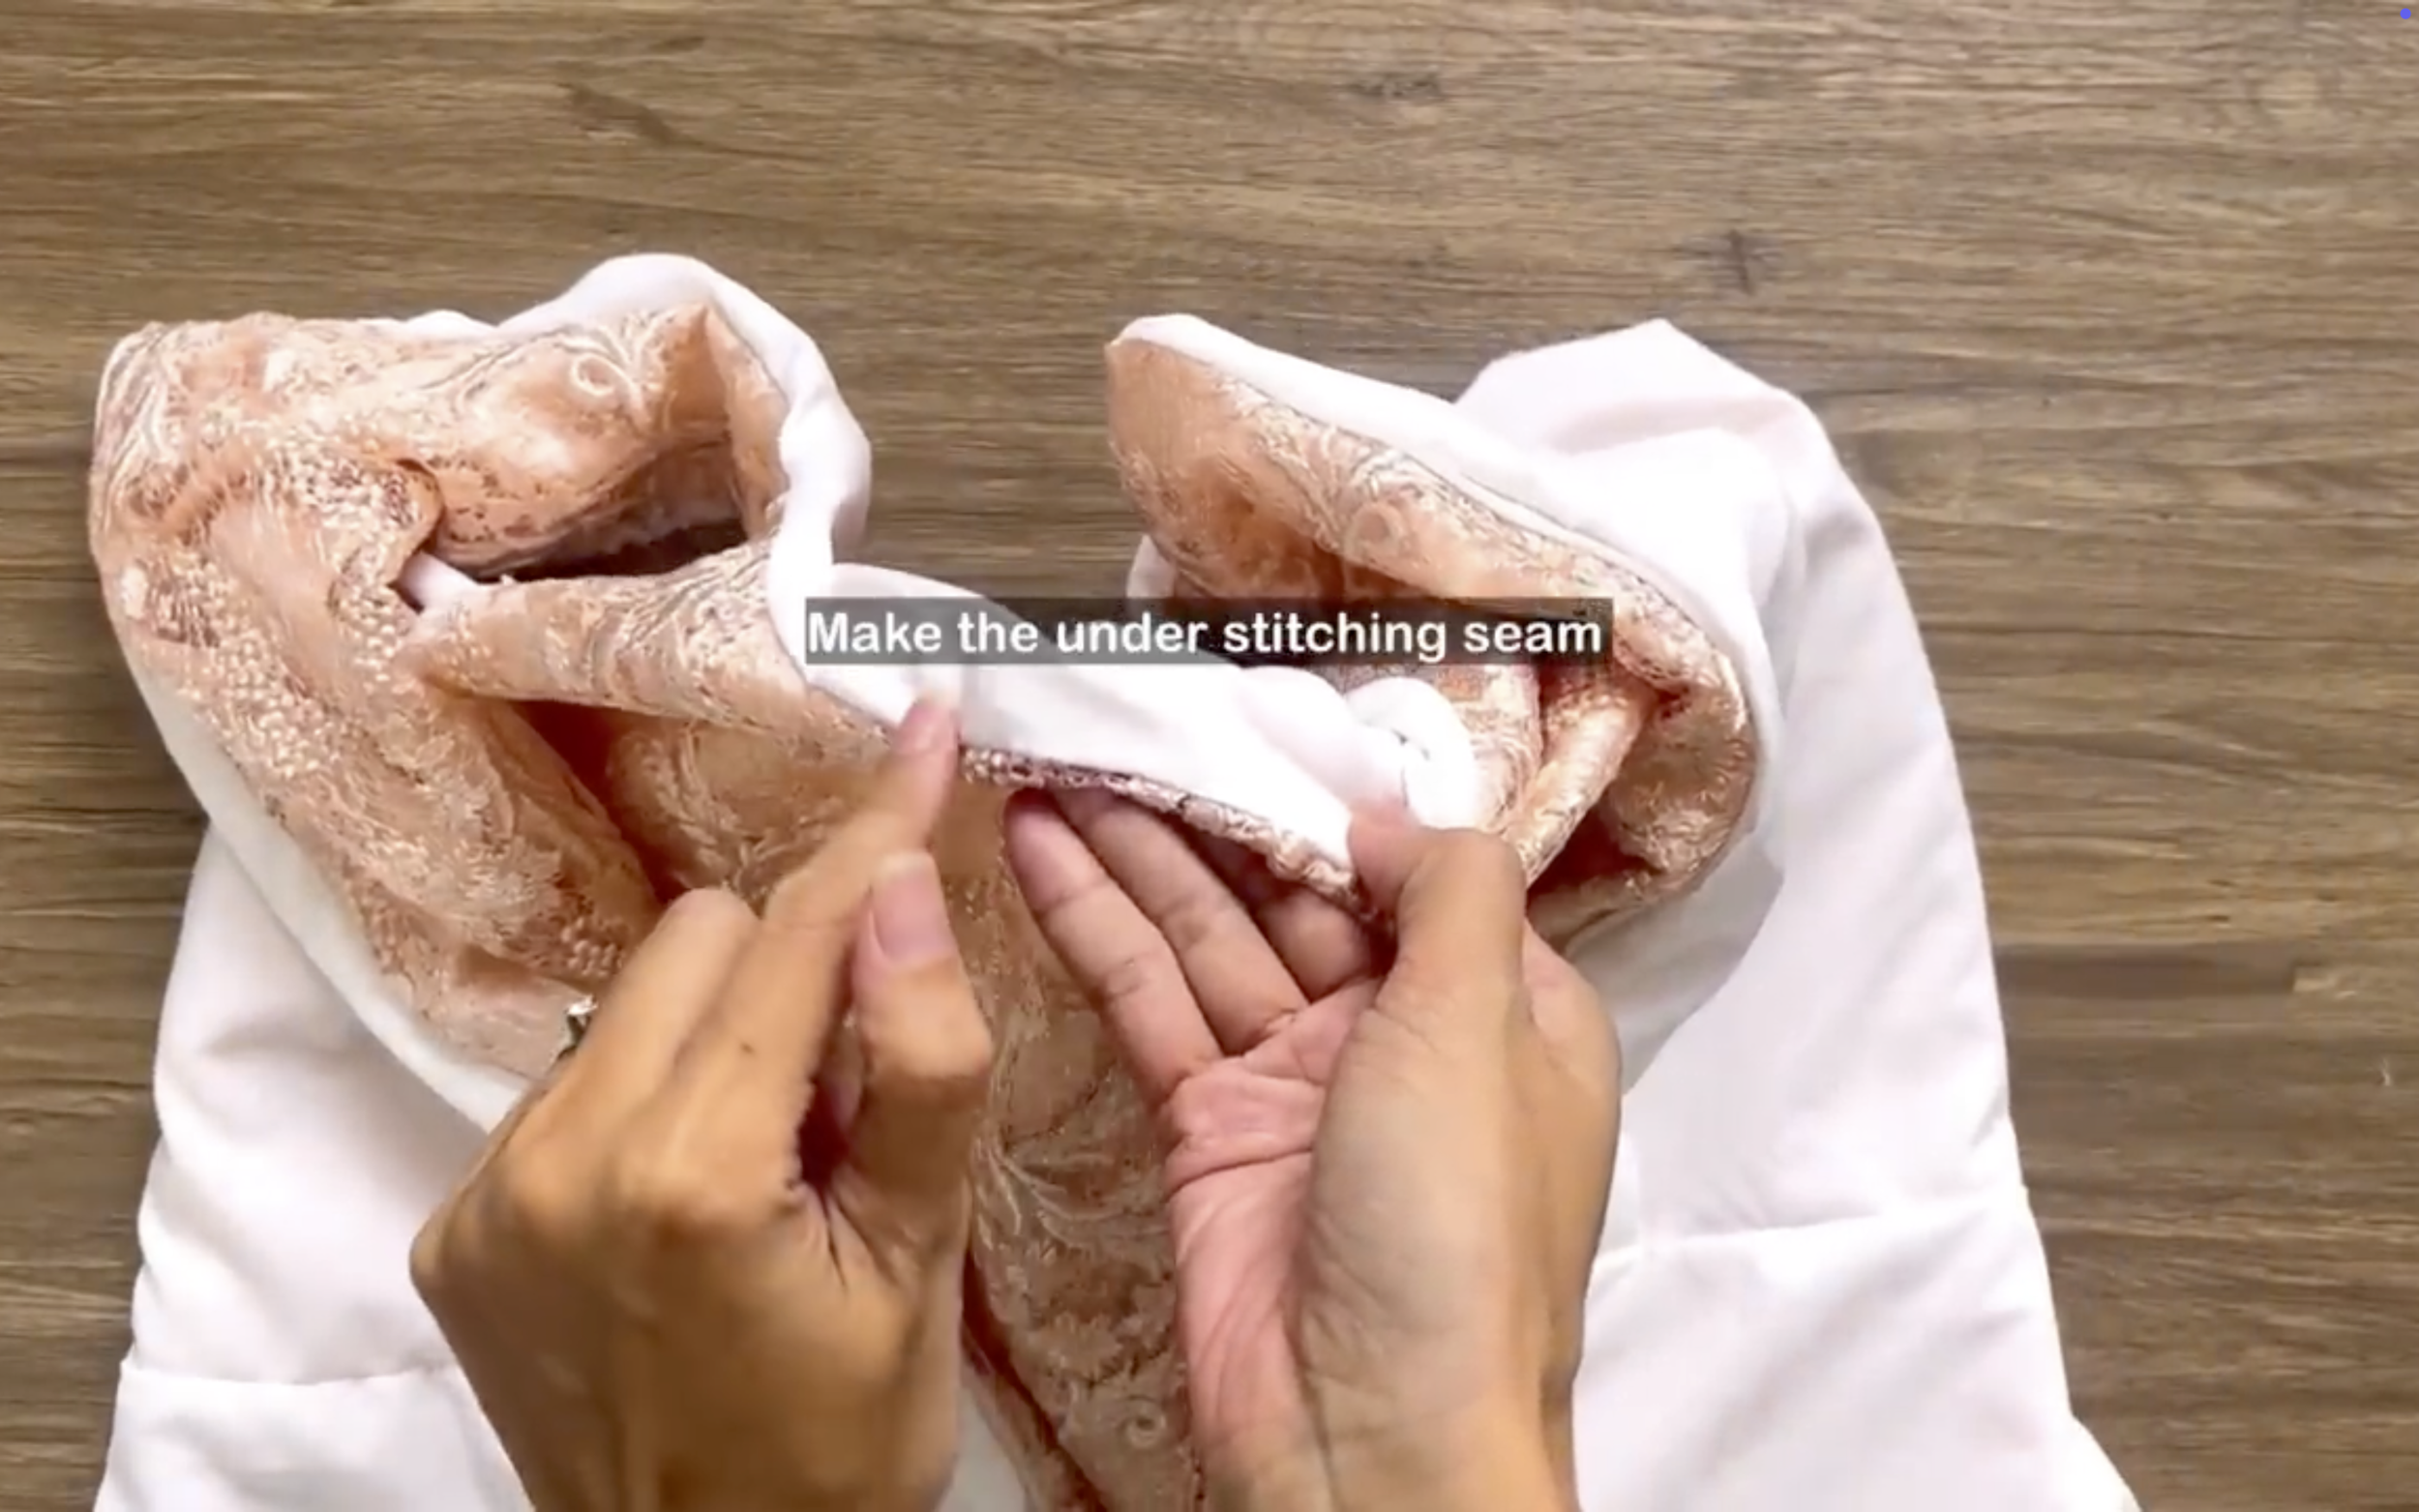
Connect them together at the neckline and the sleeve line.
After turning to hide the seam inside, connect the side seams of the bodice to complete it.
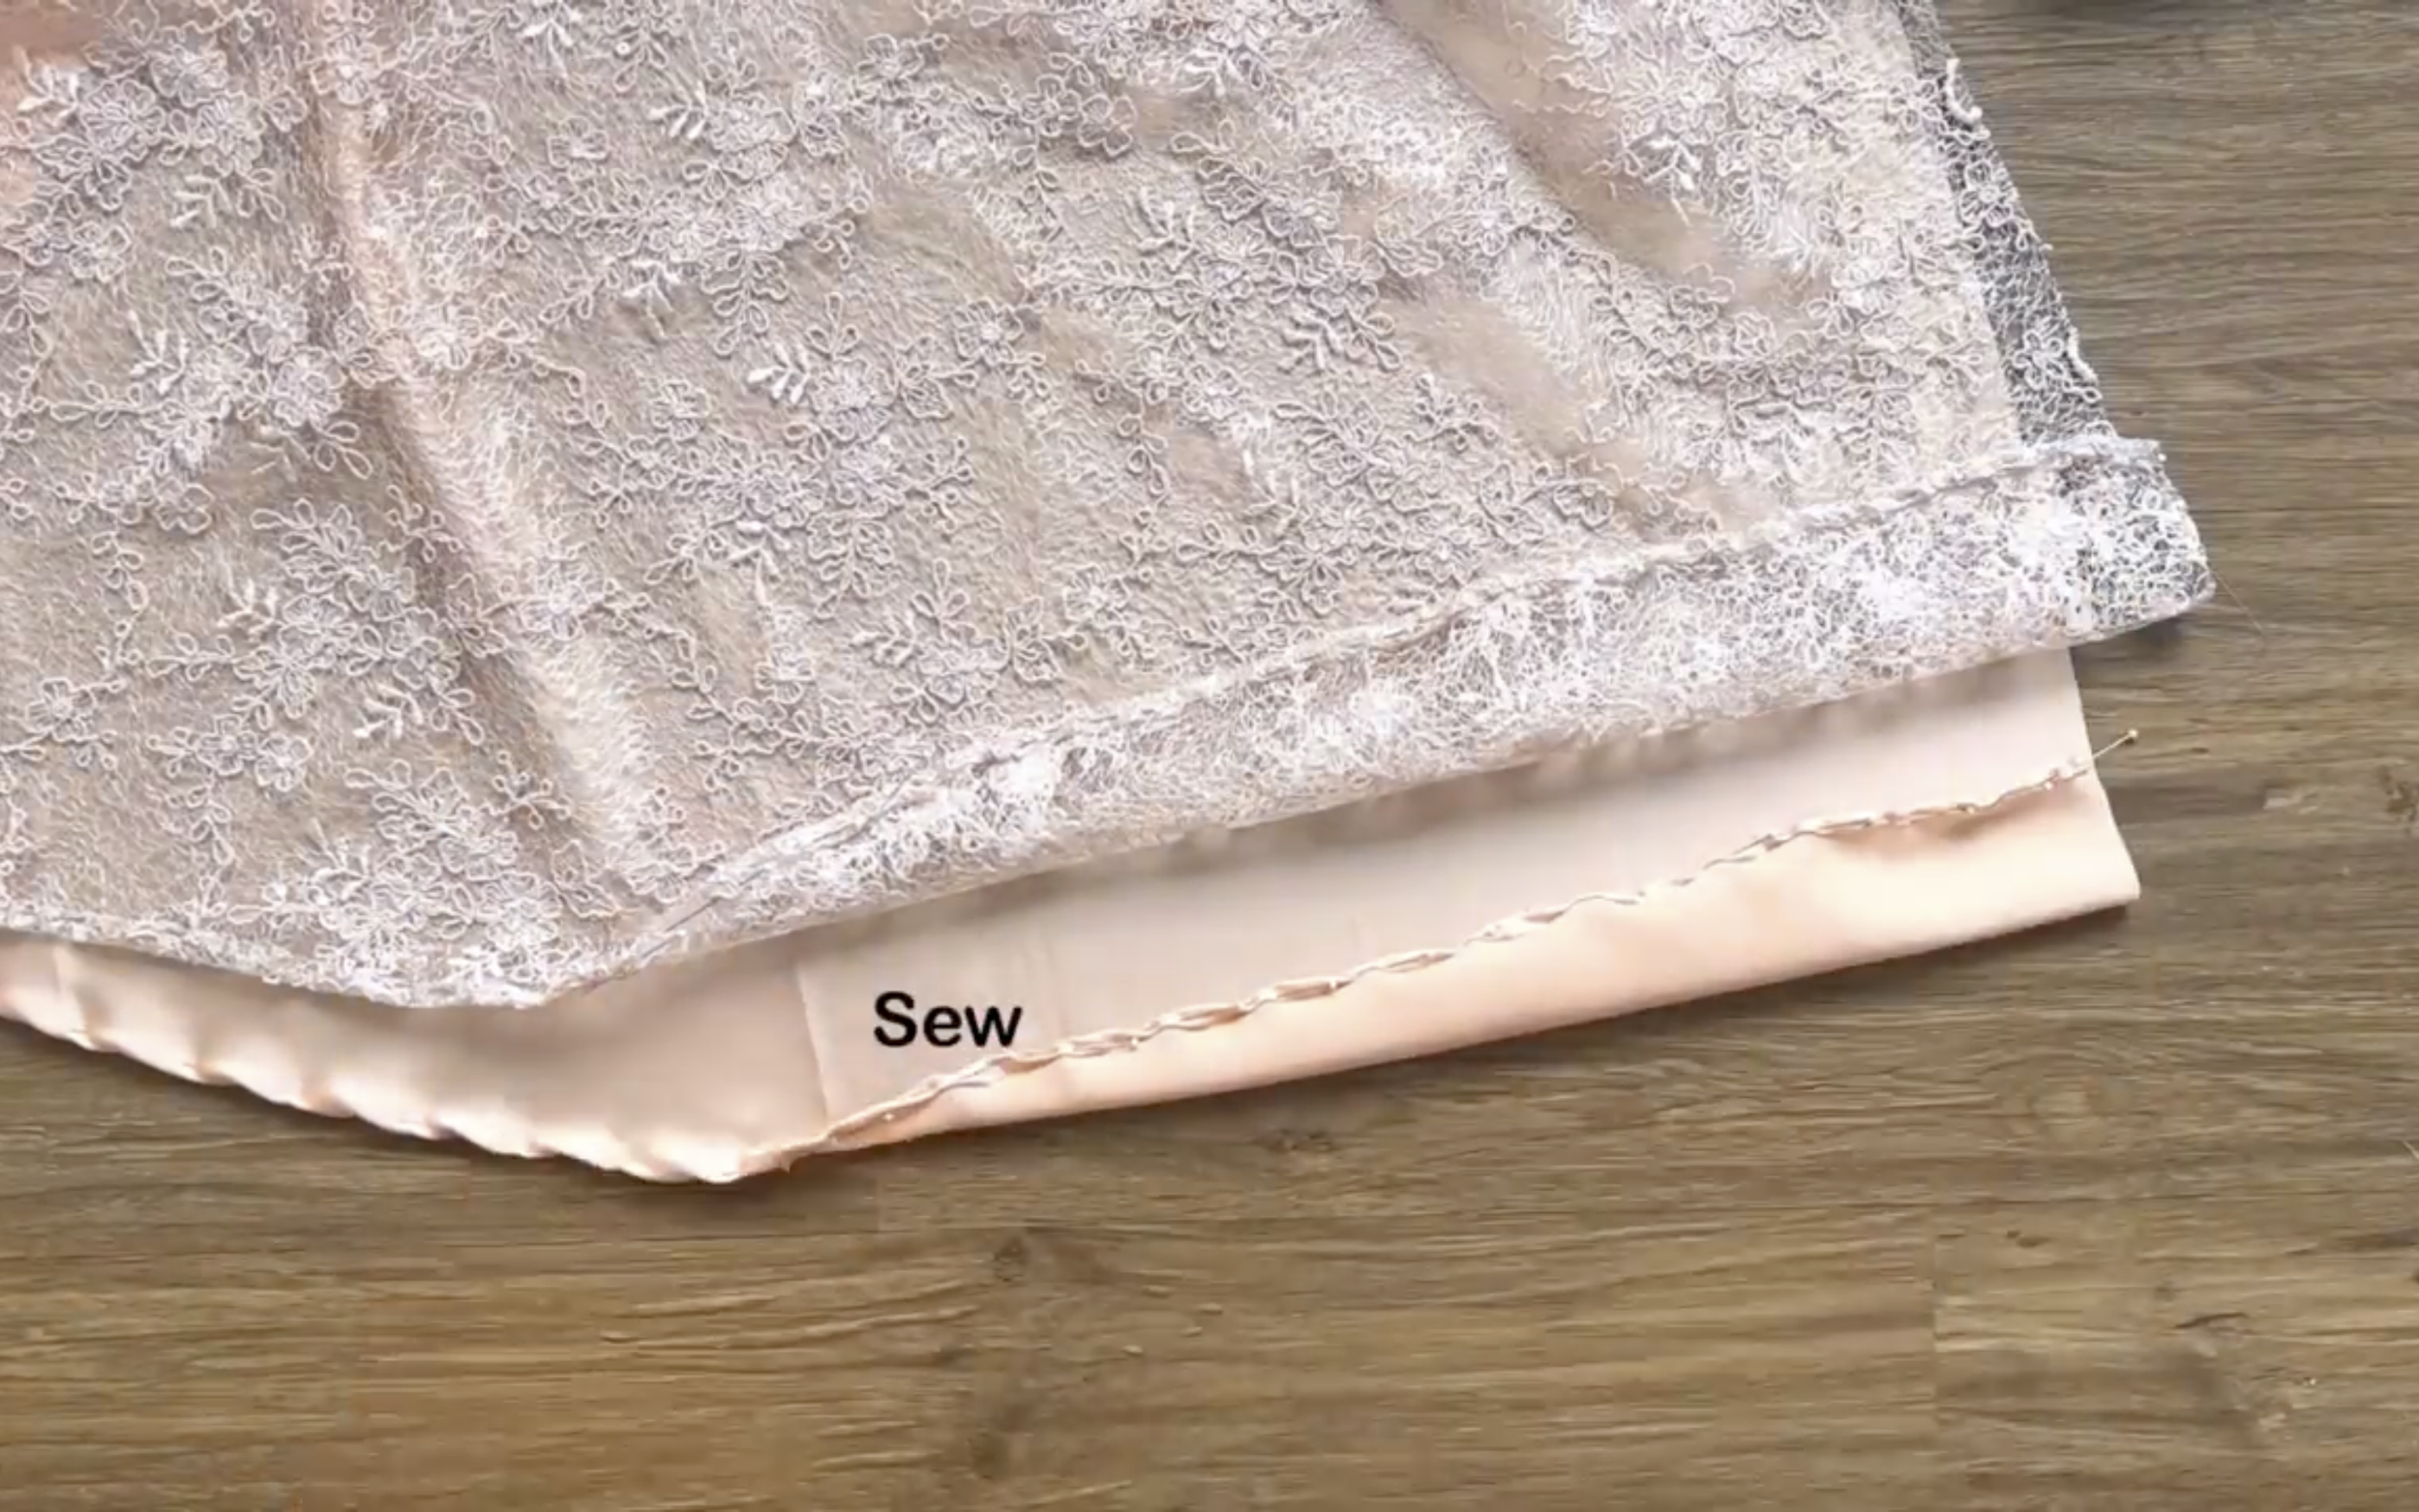
For the skirt part of the dress, after connecting the lace fabric to the satin fabric, finish the edge of the skirt by folding it inside twice, 0.5 cm each time, and sewing.
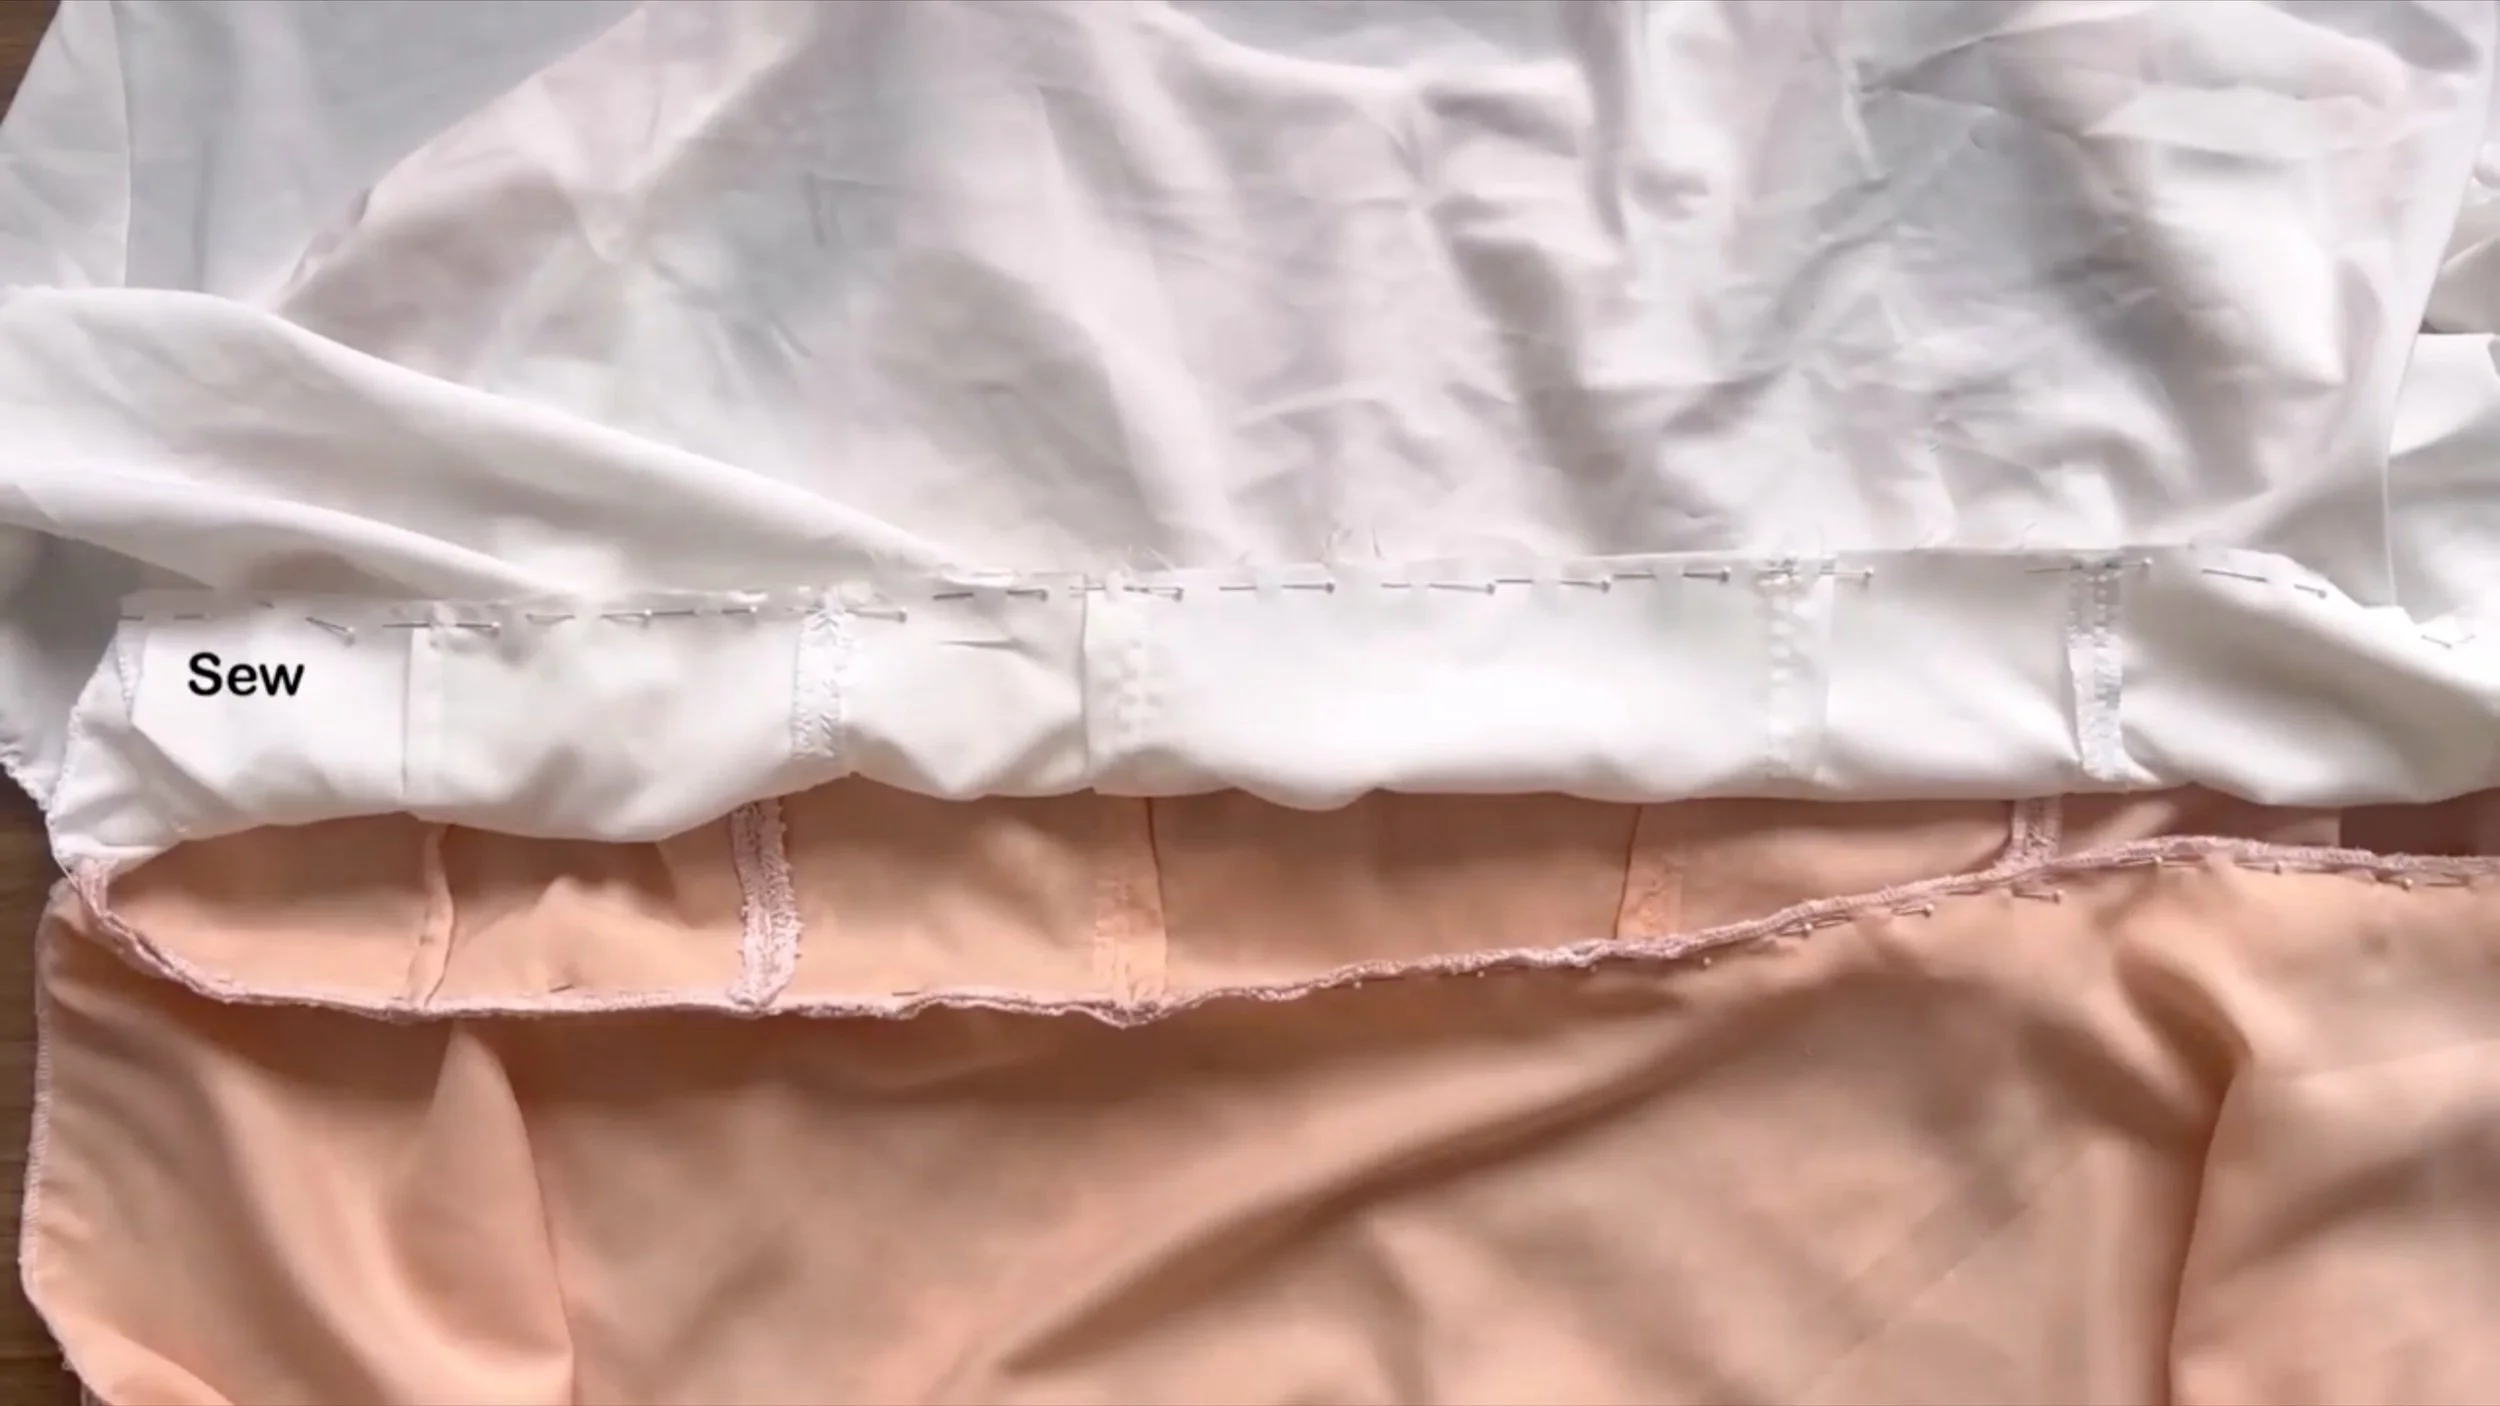
Connect the bodice and the skirt together at the waistline, keeping the main fabric and lining fabric separate.
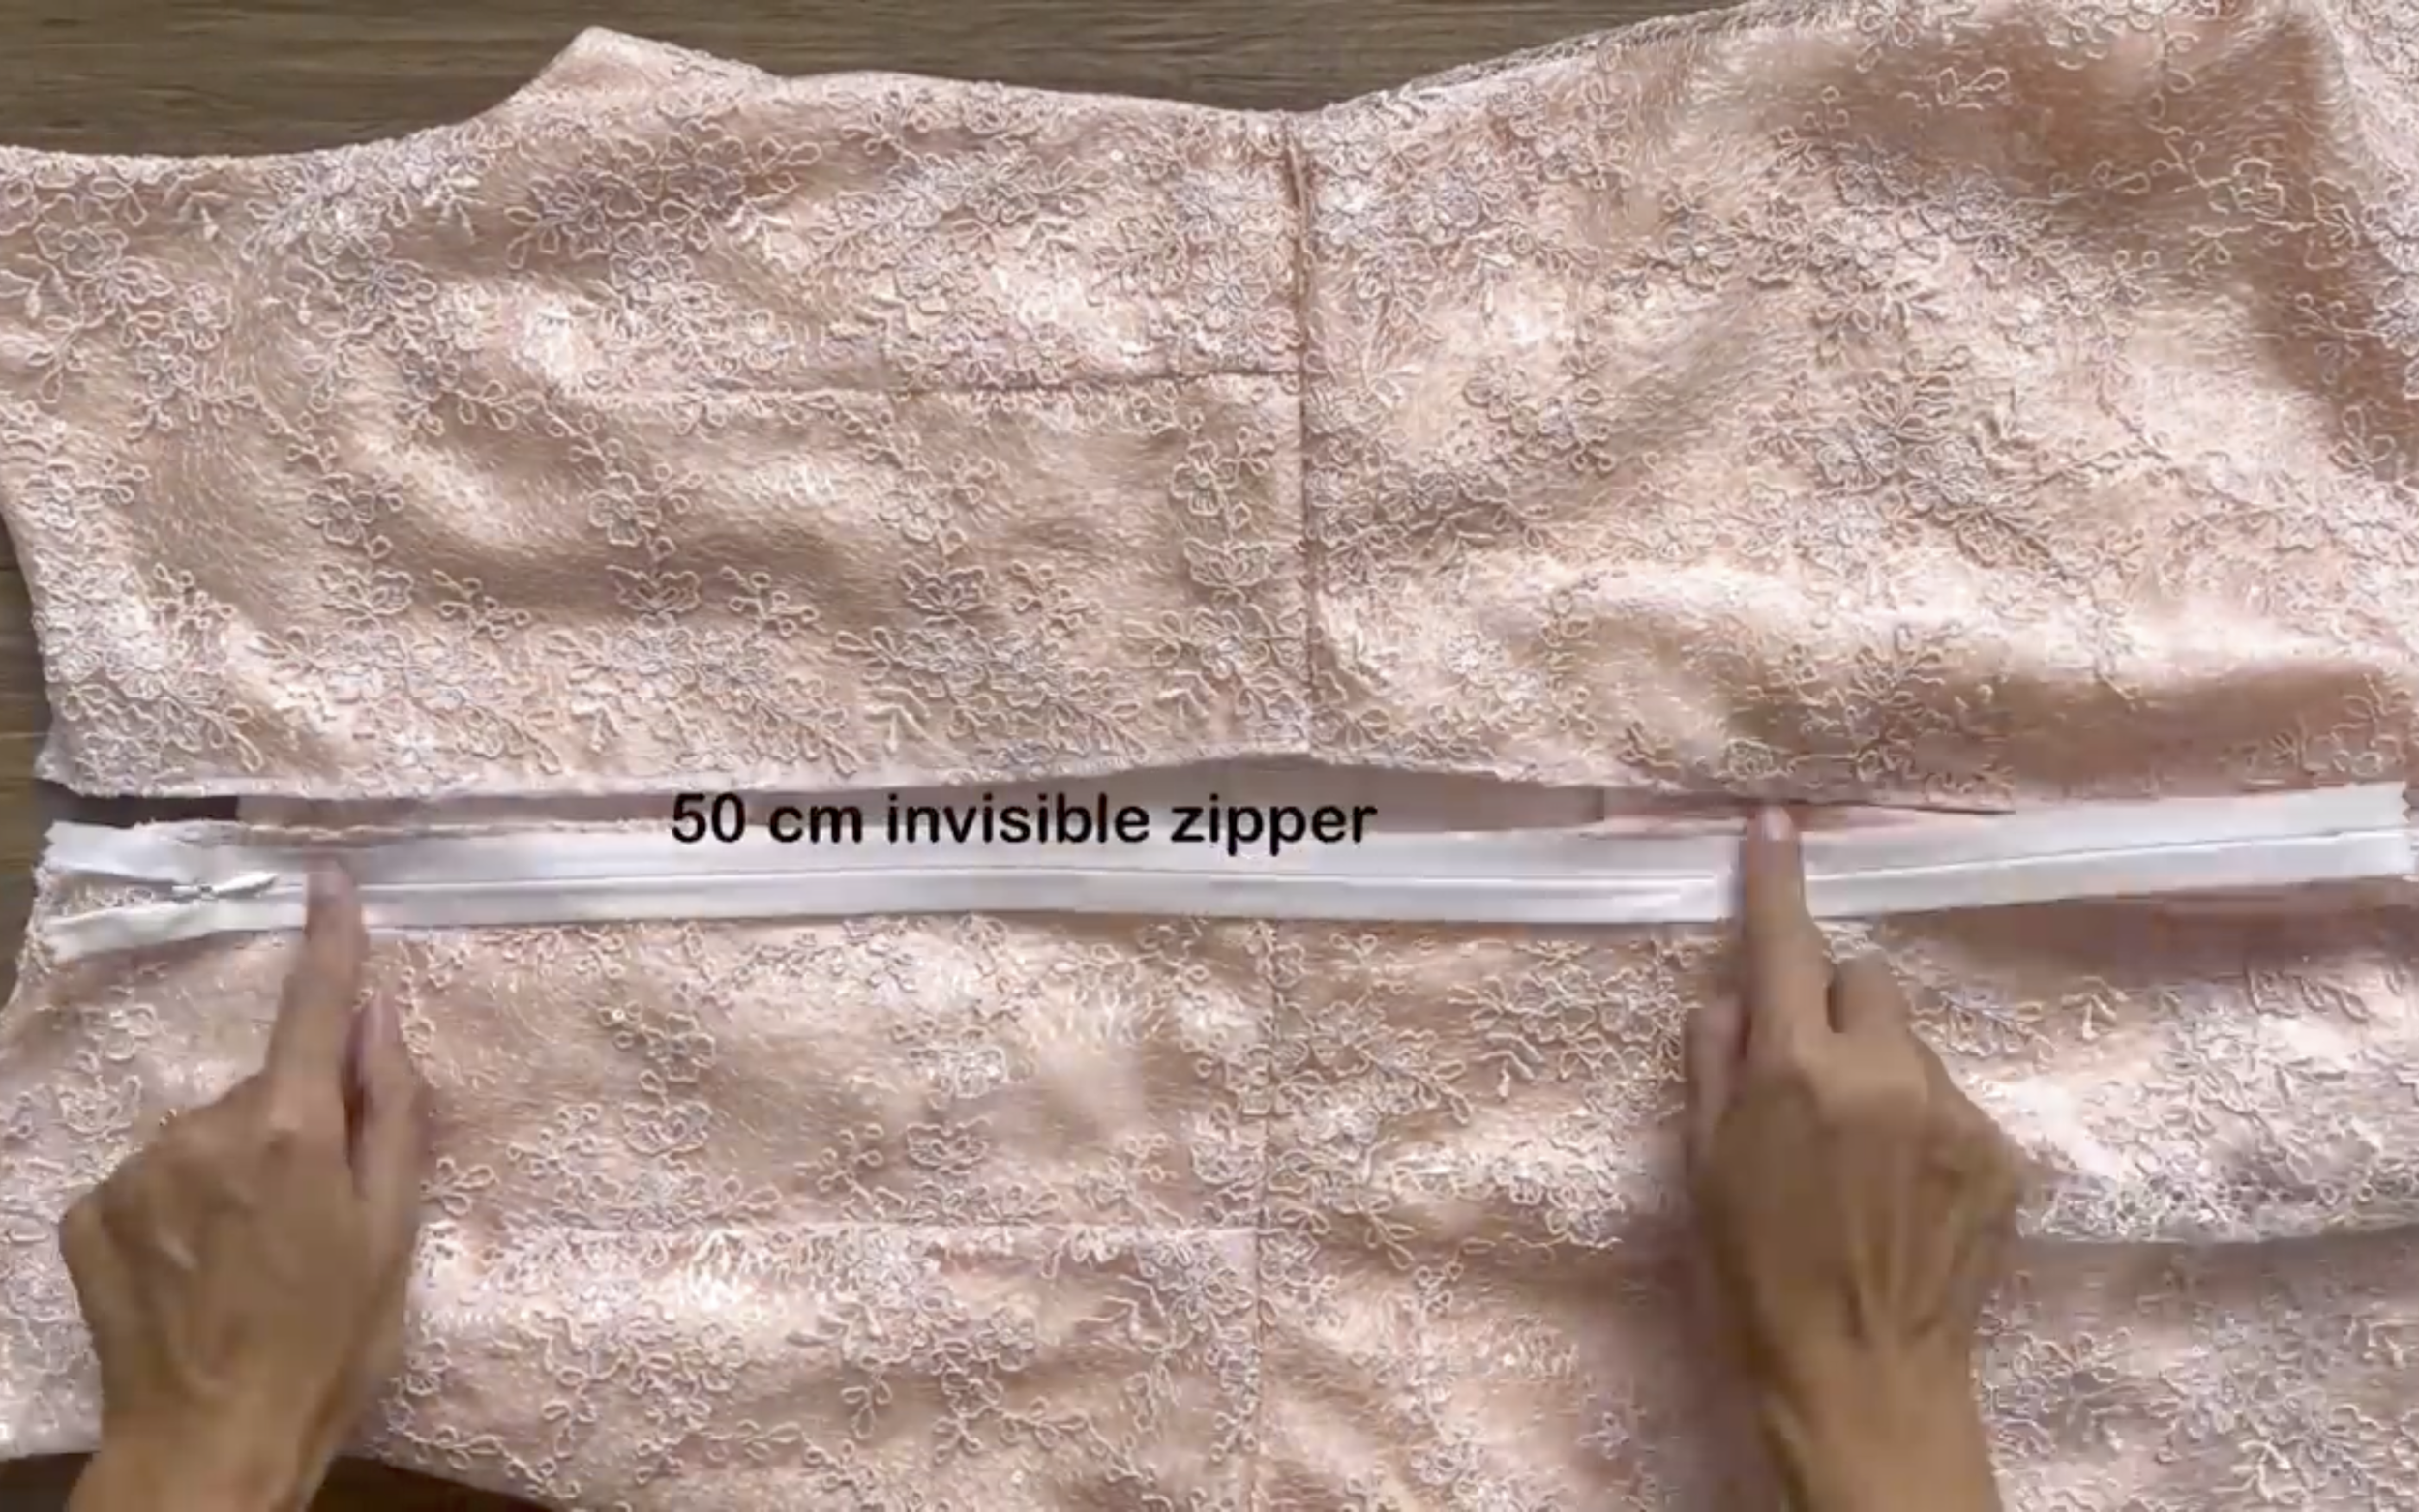
Use a 50 cm invisible zipper to connect the two pieces of the back dress together.
Attach the zipper to the main fabric of the dress first.
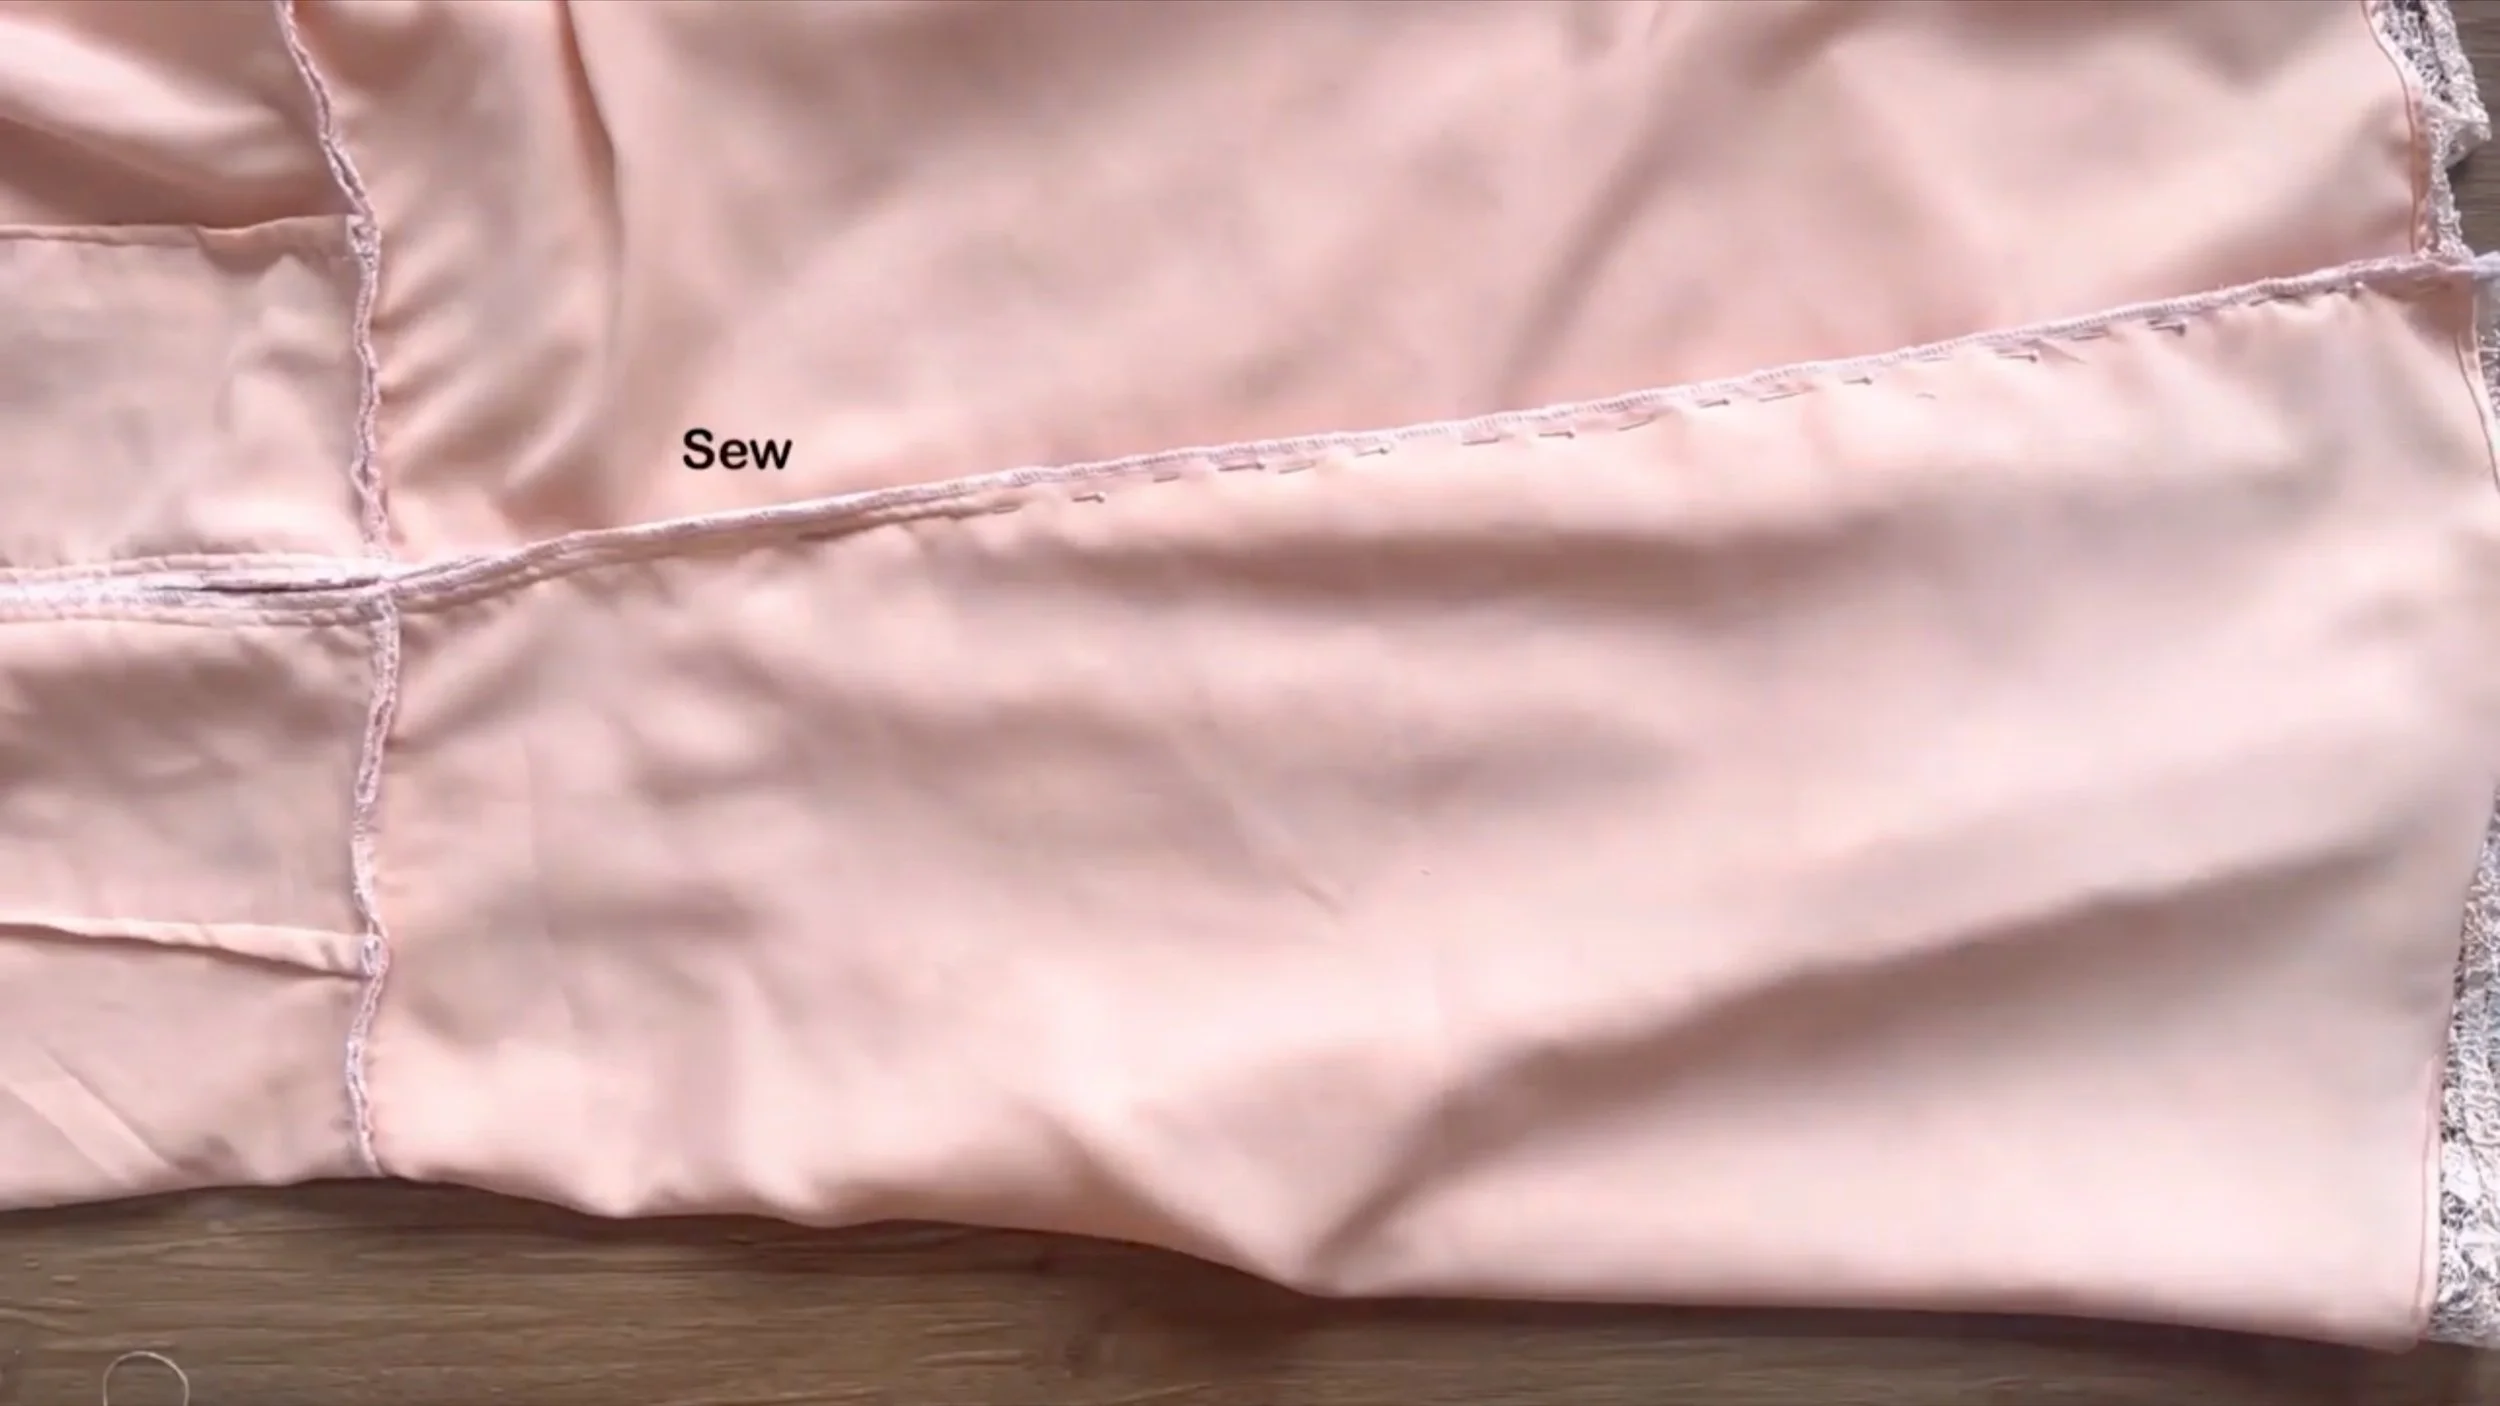
Finish the rest of the back dress under the zipper by connecting the pieces together.
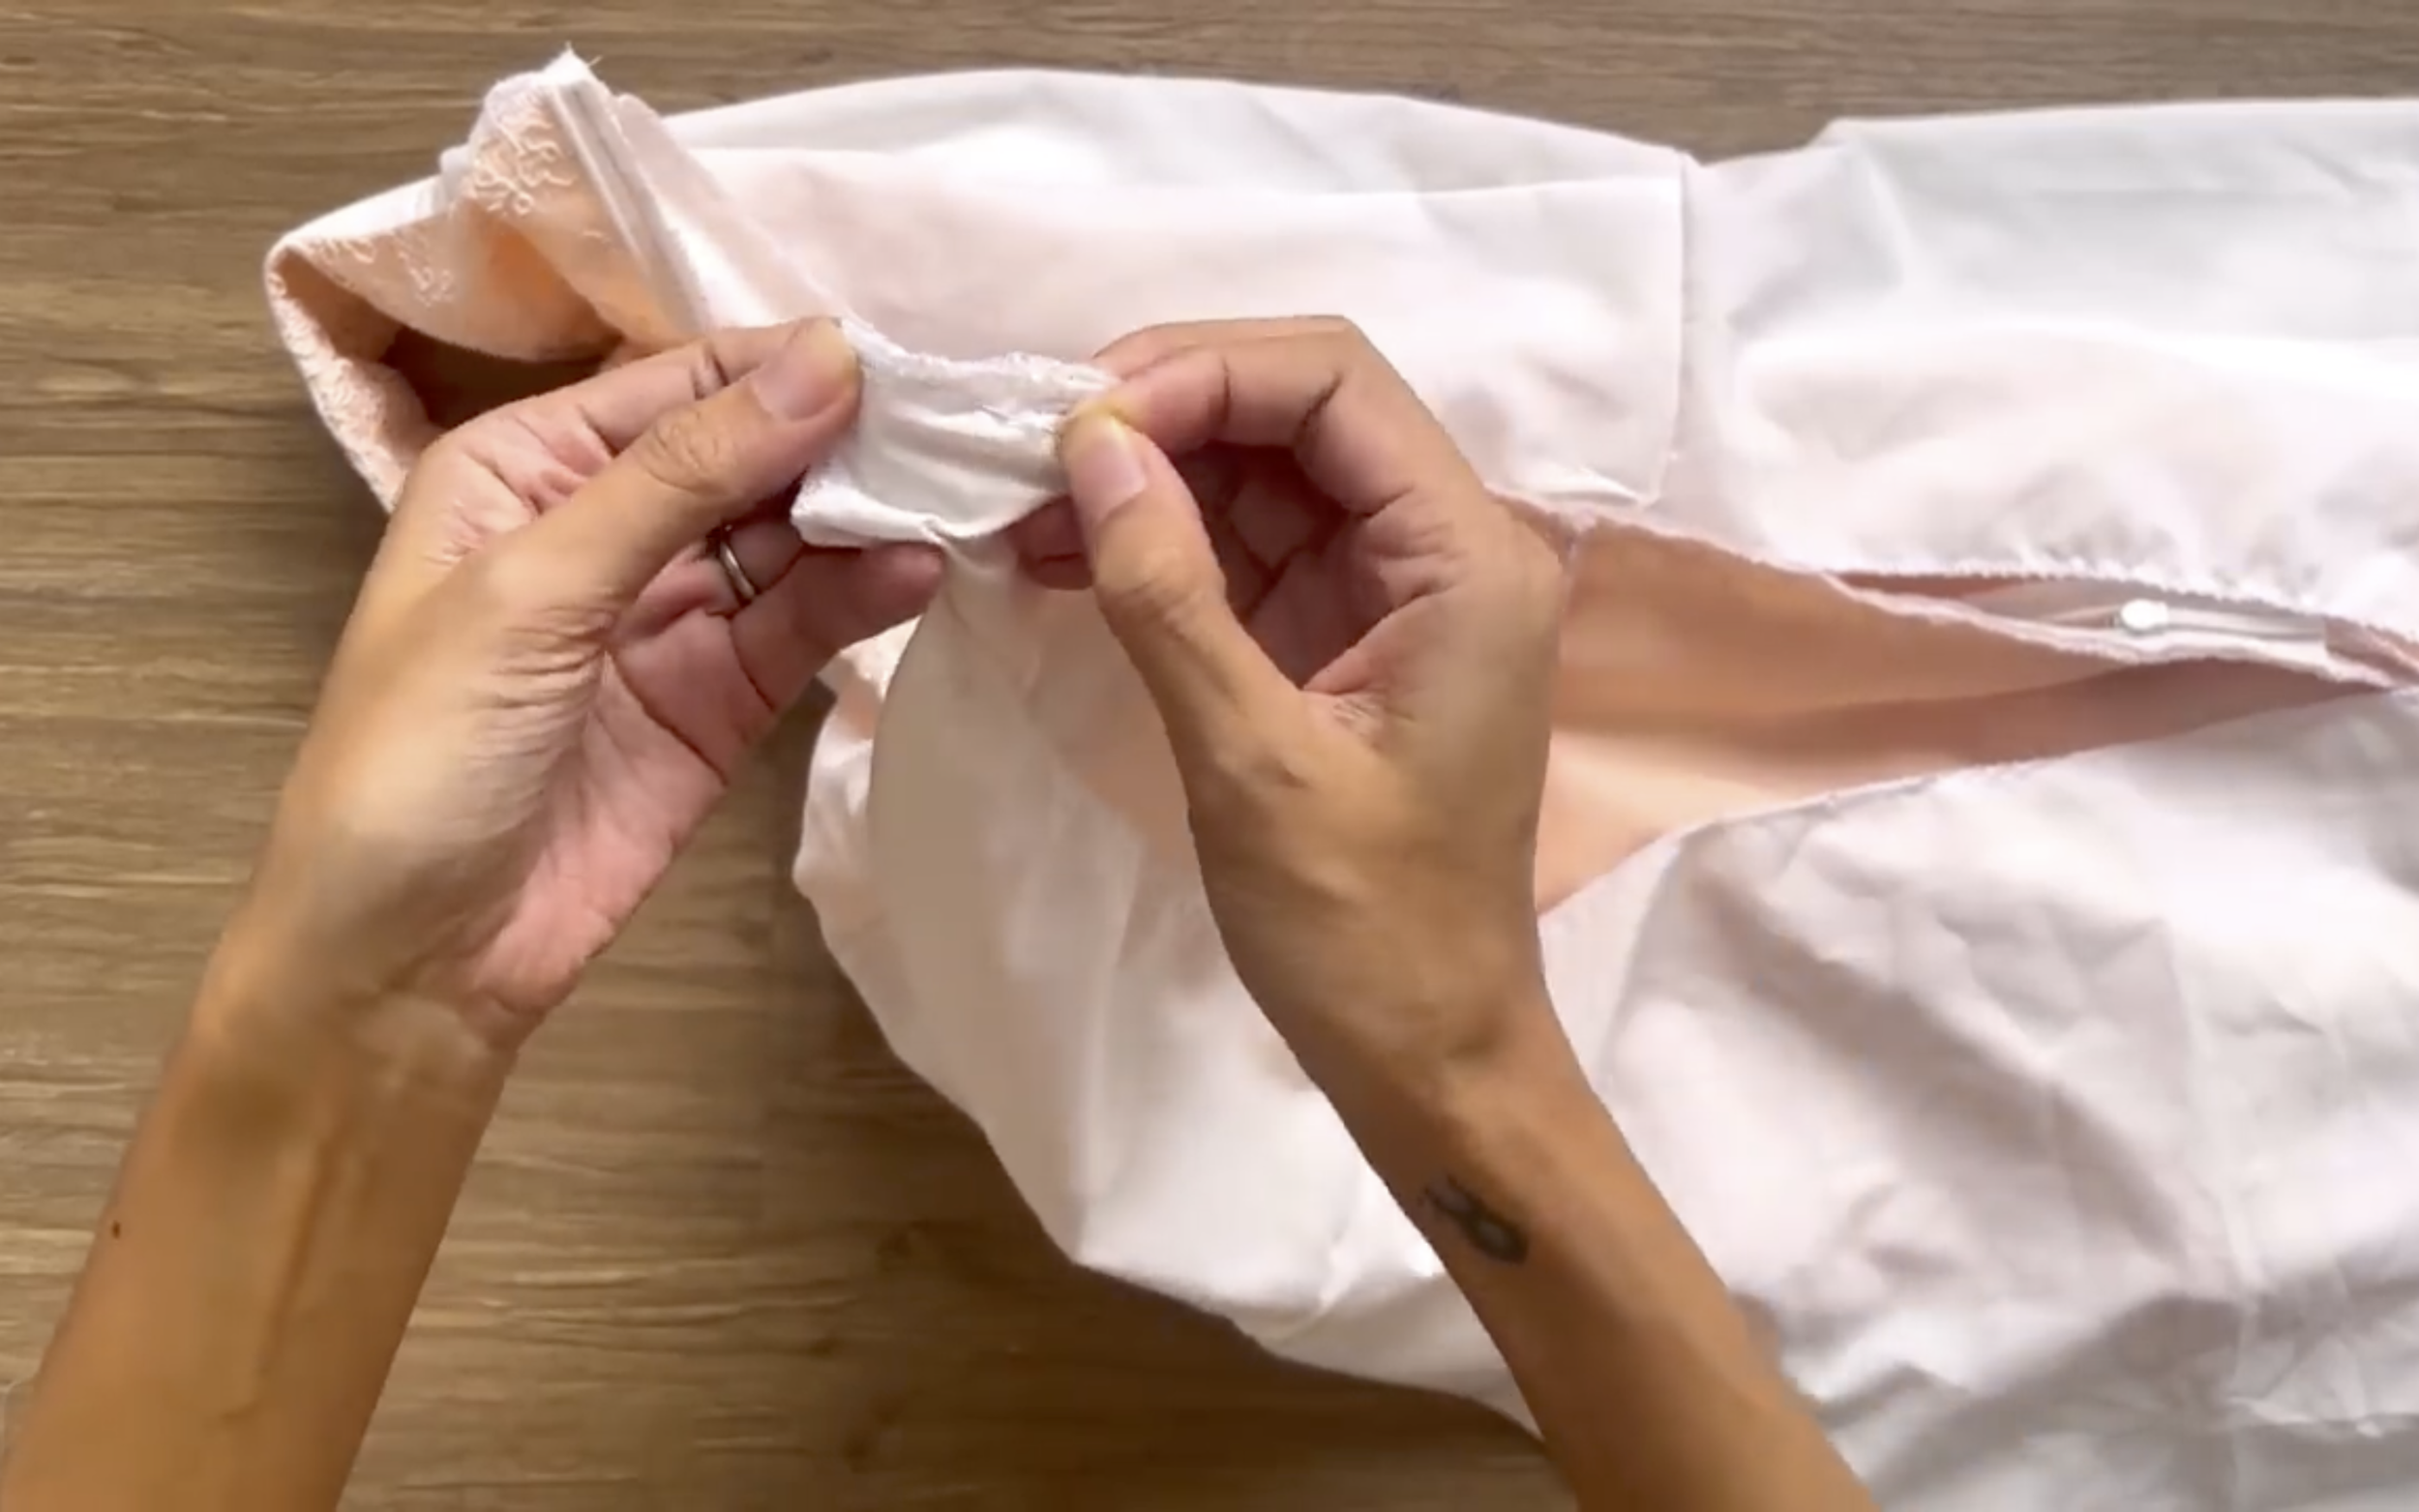
Turn the lining fabric inside and attach it to the zipper so the zipper is positioned between the main fabric and the lining.
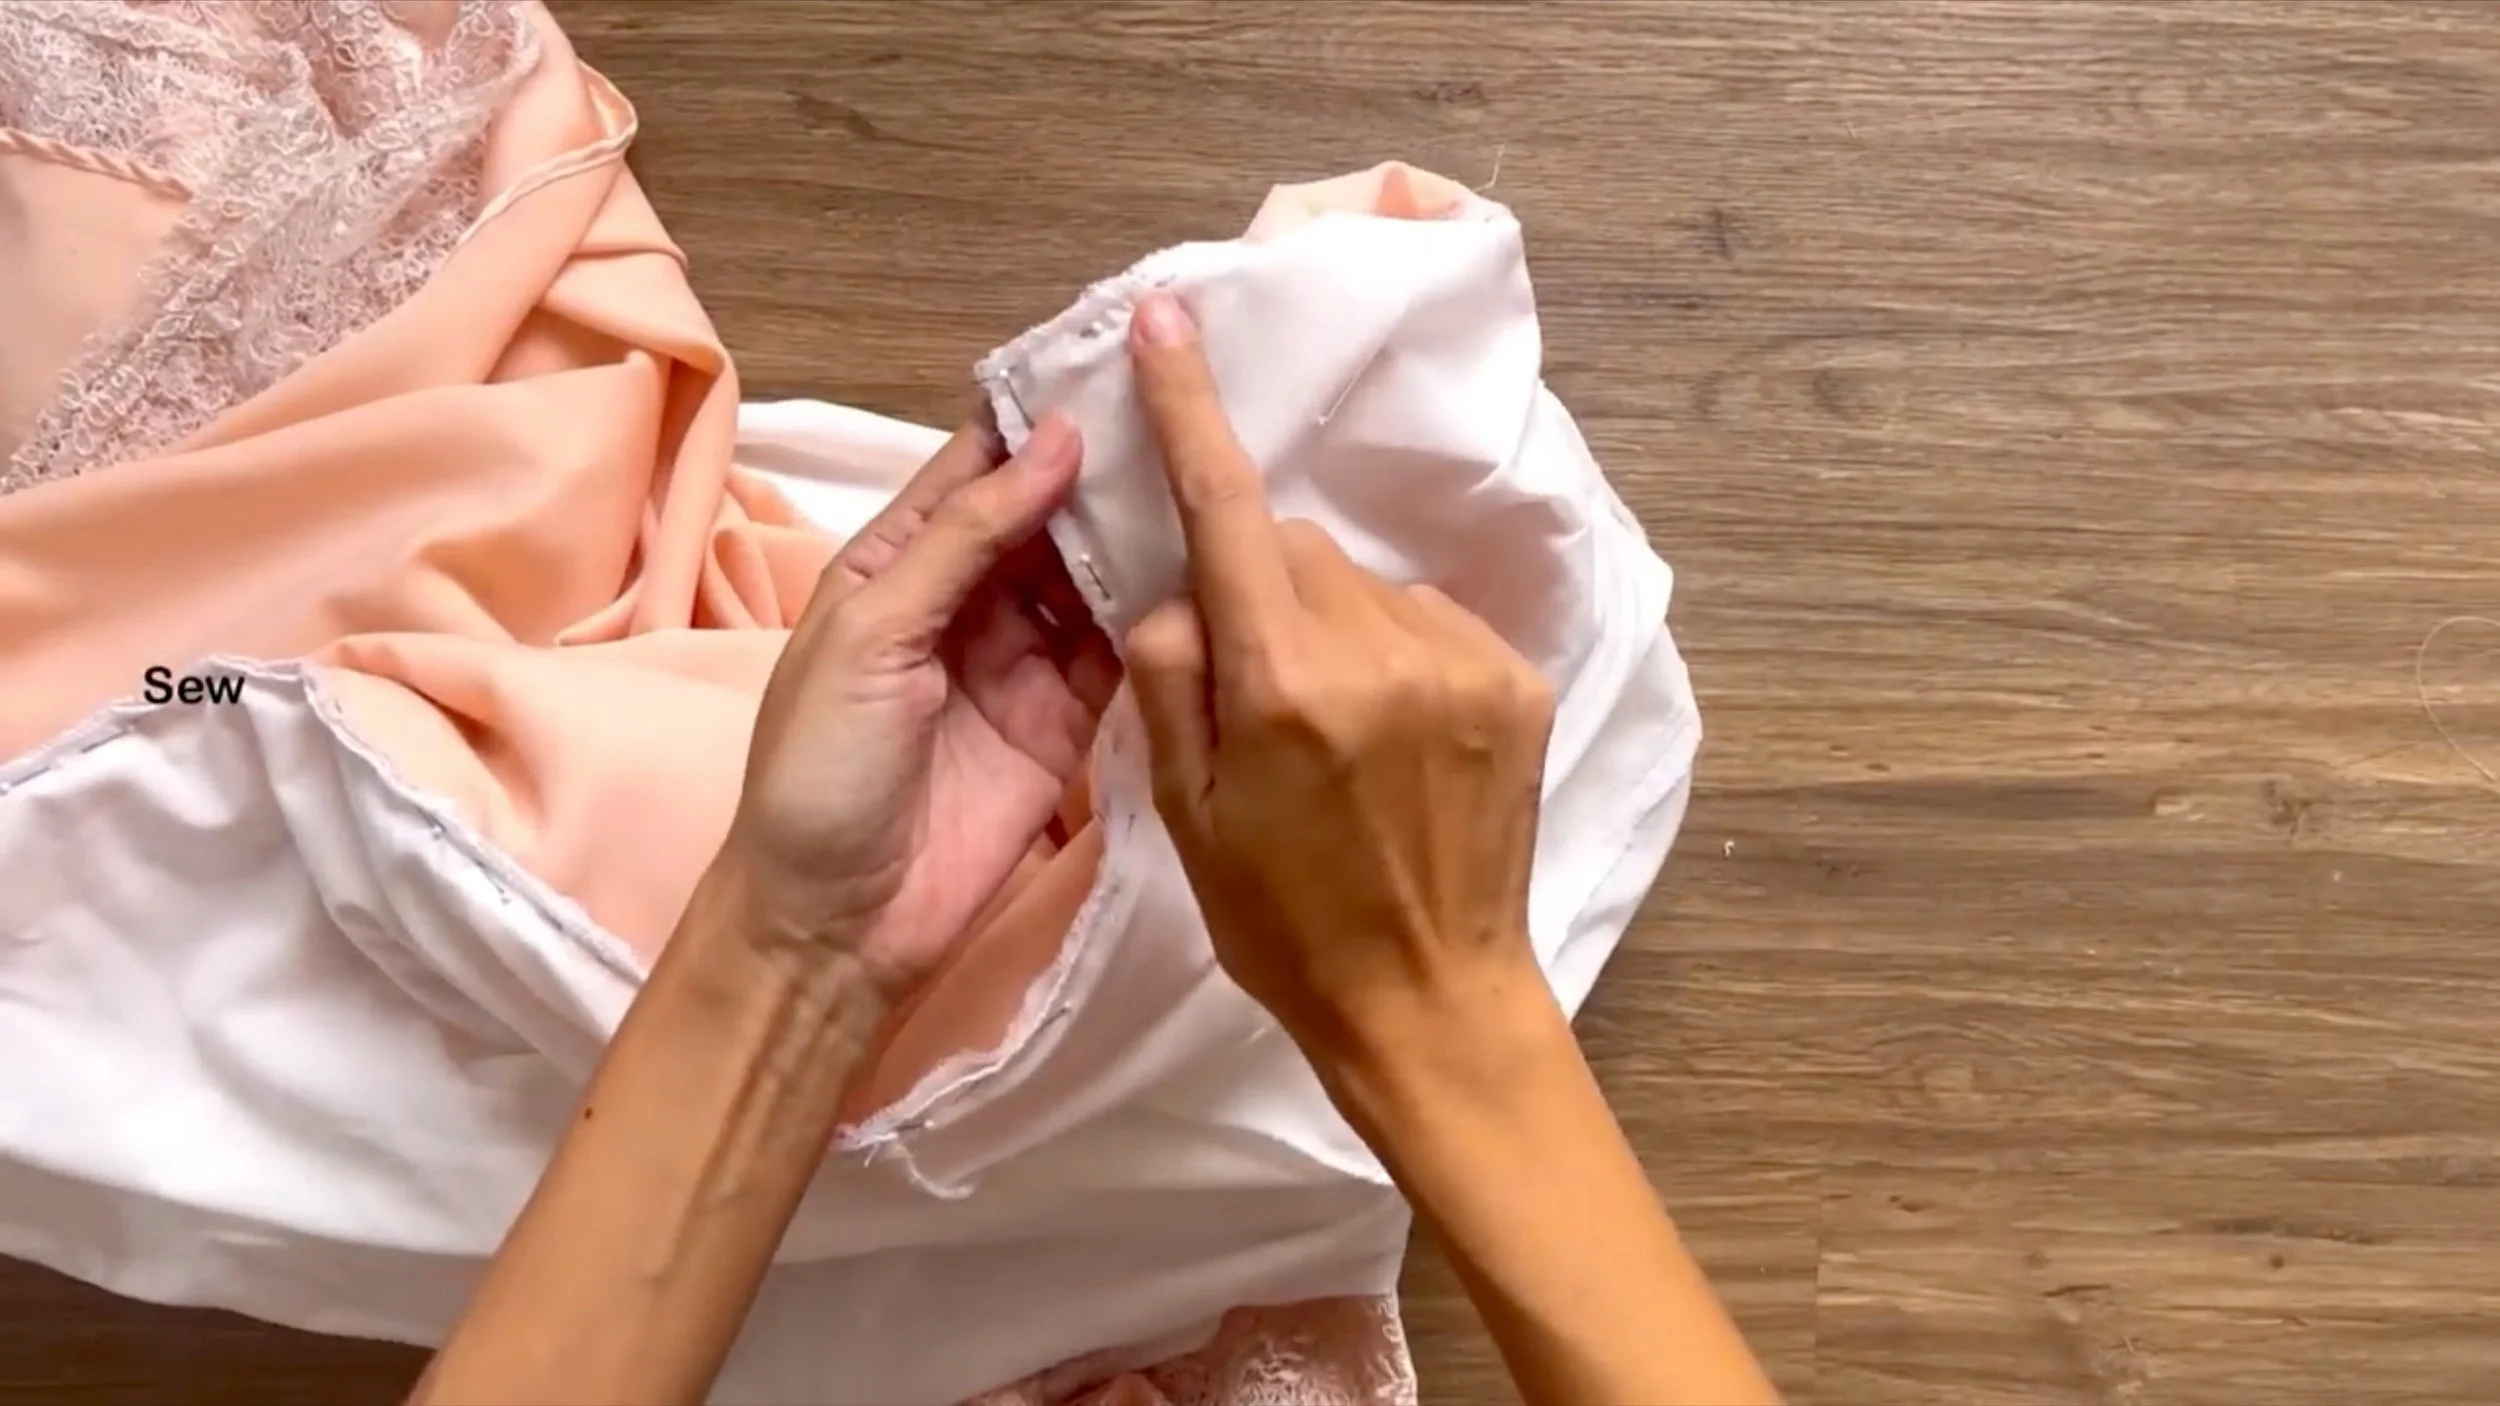
Connect the rest of the lining fabric under the zipper to complete the dress.

I made dresses for my mothers (A-line dress & Half circle dress) | My perfect wedding series - Ep 7
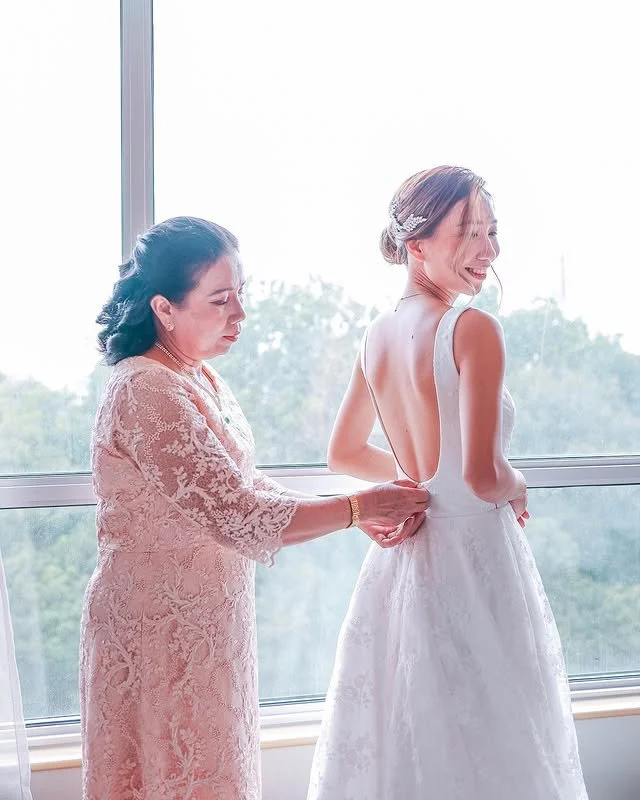
And that’s a wrap on this special dress for my two mothers!
I’m so happy it fits perfectly and that they love it too. It feels wonderful to complete my wedding DIY journey with this meaningful piece.

I hope you found my step-by-step guide helpful and inspiring.
If you’re interested in making your own, give it a try and let me know how it goes!
Until then, happy sewing!