DIY Stripe patchwork dress from 2 leftover fabrics | Step by step sewing tutorial

DIY Stripe patchwork dress from 2 leftover fabrics | Step by step sewing tutorial
Welcome or welcome back to my channel!
In today's tutorial, I'm going to share with you how I made my stripe patchwork dress from 2 leftover fabrics. This's a pretty but quite vintage dress with a cool design. It's also a fun and create project that you can play around, mix & match the different fabrics together.
So I hope you like it and try it out. Let’s get started!
WHAT YOU’LL NEED
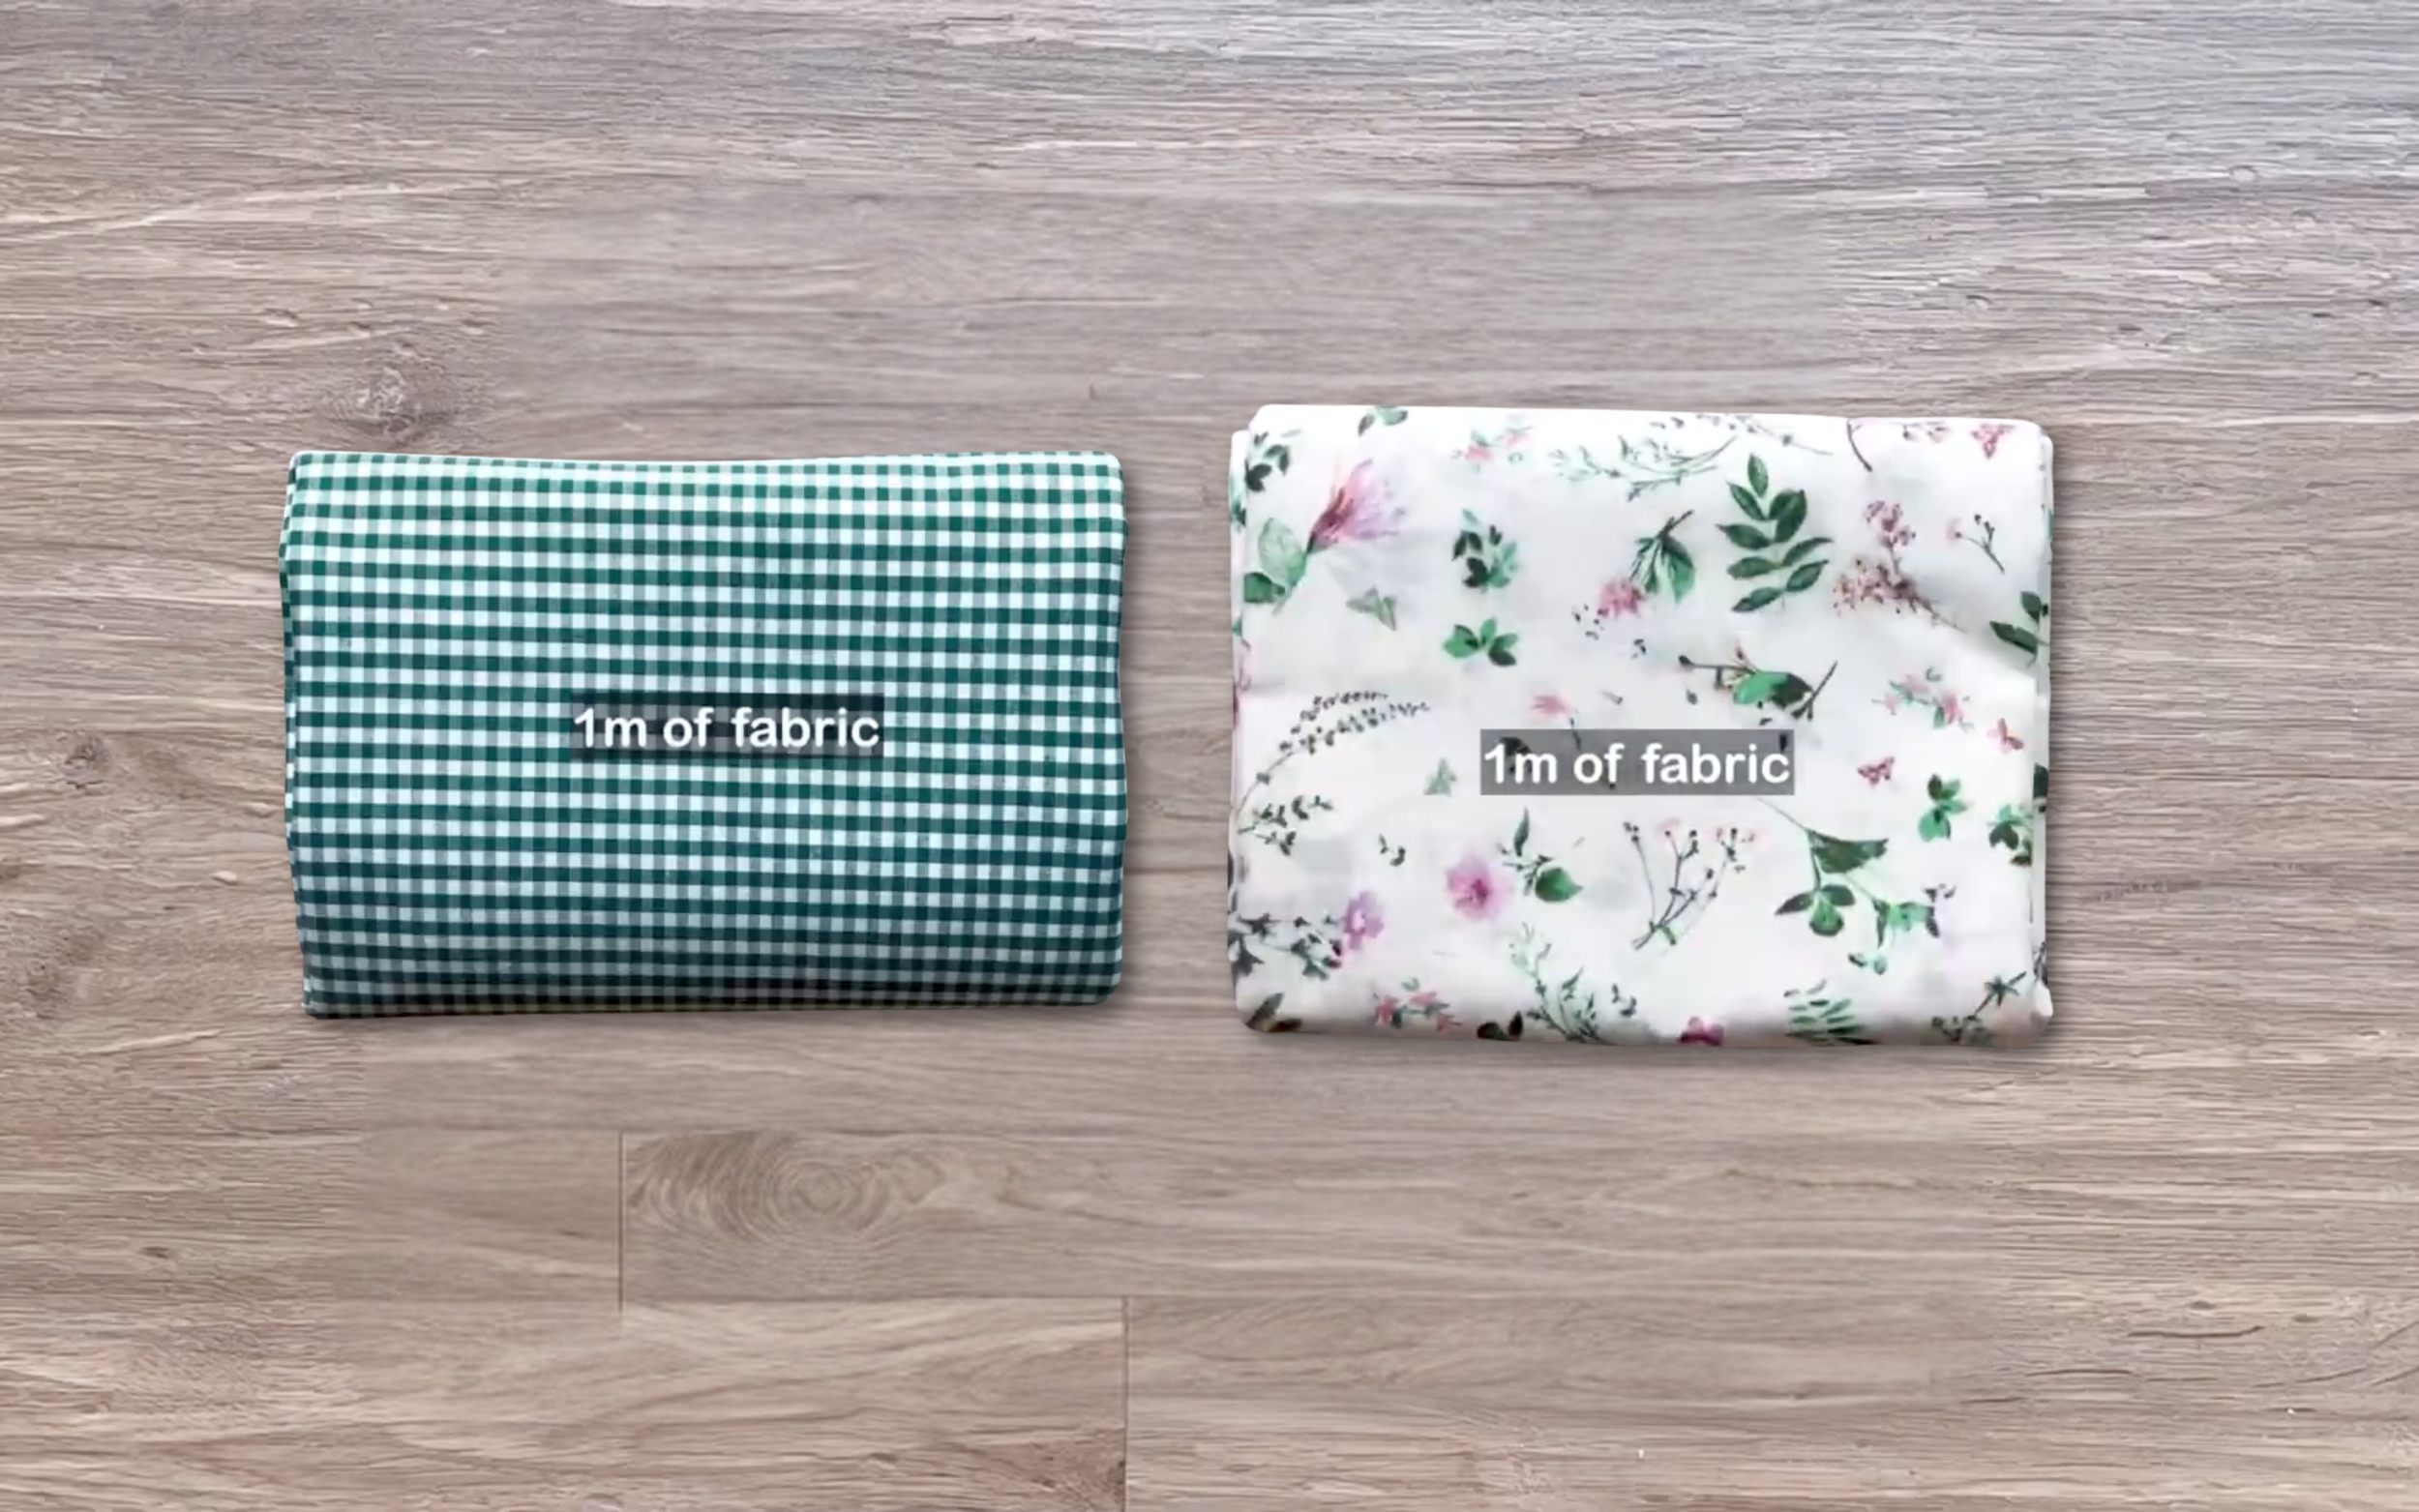
2m of cotton fabrics (1m for each type of fabric)
Pattern paper
Sewing machine
Pins
Scissors
Ruler
Long stick
Zipper
Buttons
MAKING THE PATTERNS
Here’s the pattern for the project. To get a clear understanding of all the measurements needed for the pattern, watch the video from 0:52 to 2:32.
Remember, you can adjust these measurements to fit your own dimensions!

THE FRONT BODICE PATTERN
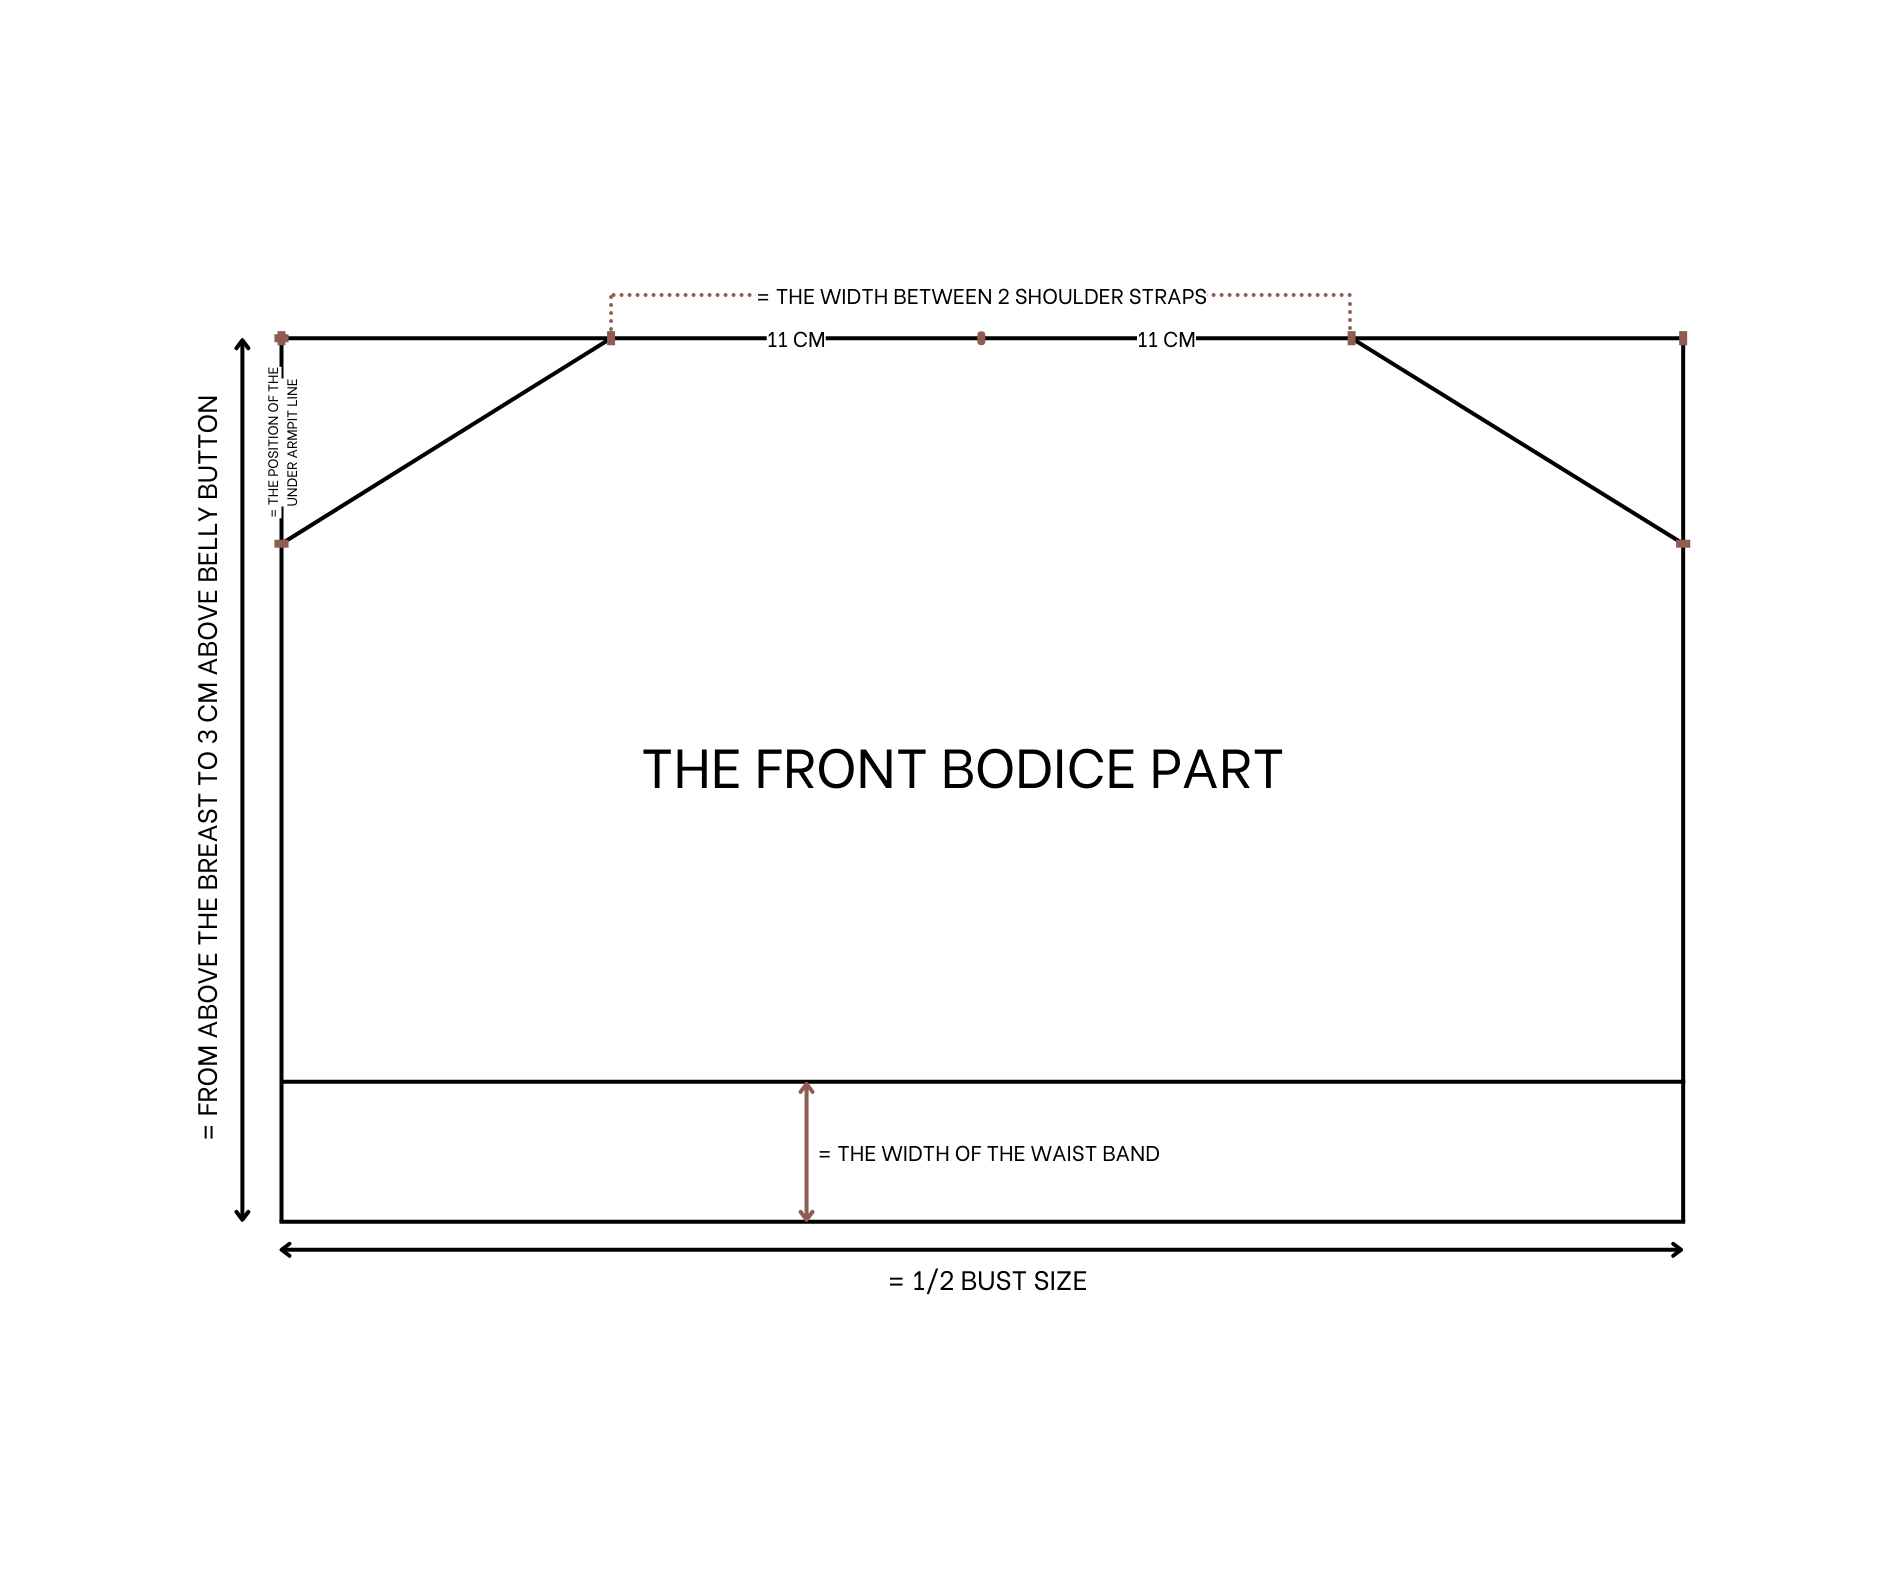
To make the front bodice pattern, draw a rectangle with 28 cm length, which is the length from about the breast to 3 cm above the belly button, and 40 cm width, which is half the bust size.
On the top width line, mark the middle first.
From this mark, measure 11 cm to each side so the width between the two new marks will be 22 cm, which is the width between the two inside shoulders where the shoulder strap will be positioned.
From the top of the lane line, mark down 6 cm, which is the length of the armpit of the dress.
Then connect it to the mark on the top width line on the same side to create the under-armpit line of the front bodice.
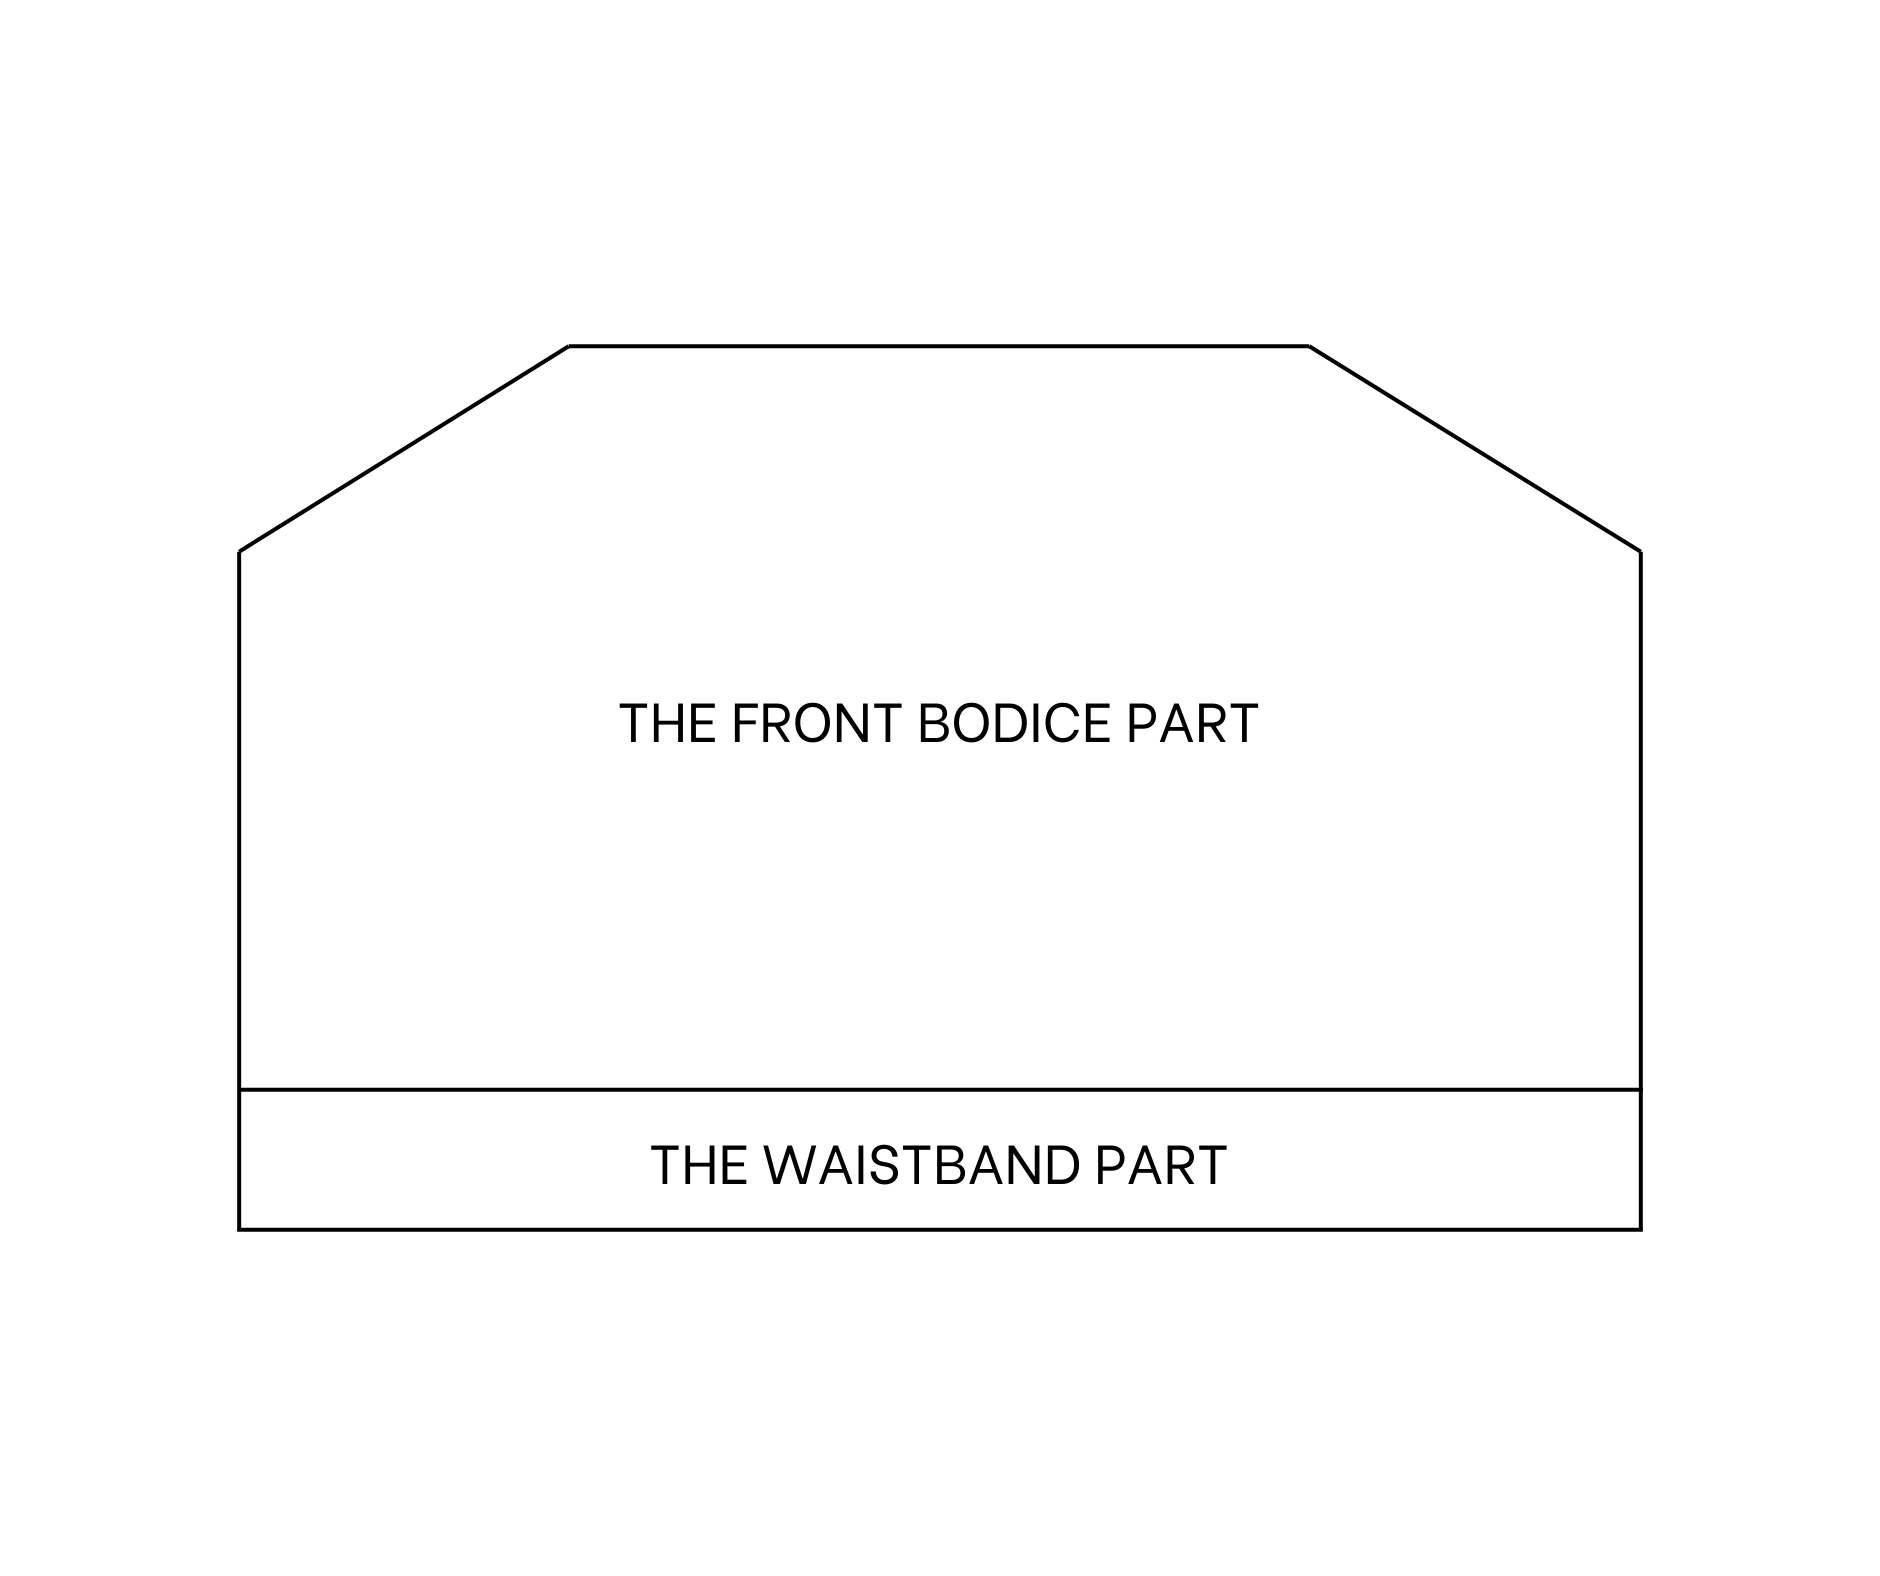
From the bottom width line, draw another line 4 cm above it. 4 cm is the width of the waistband at the waist of the dress. This creates two parts of the front bodice: the front bodice and the waistband.
Add 1 cm for seam allowance for each part after cutting.
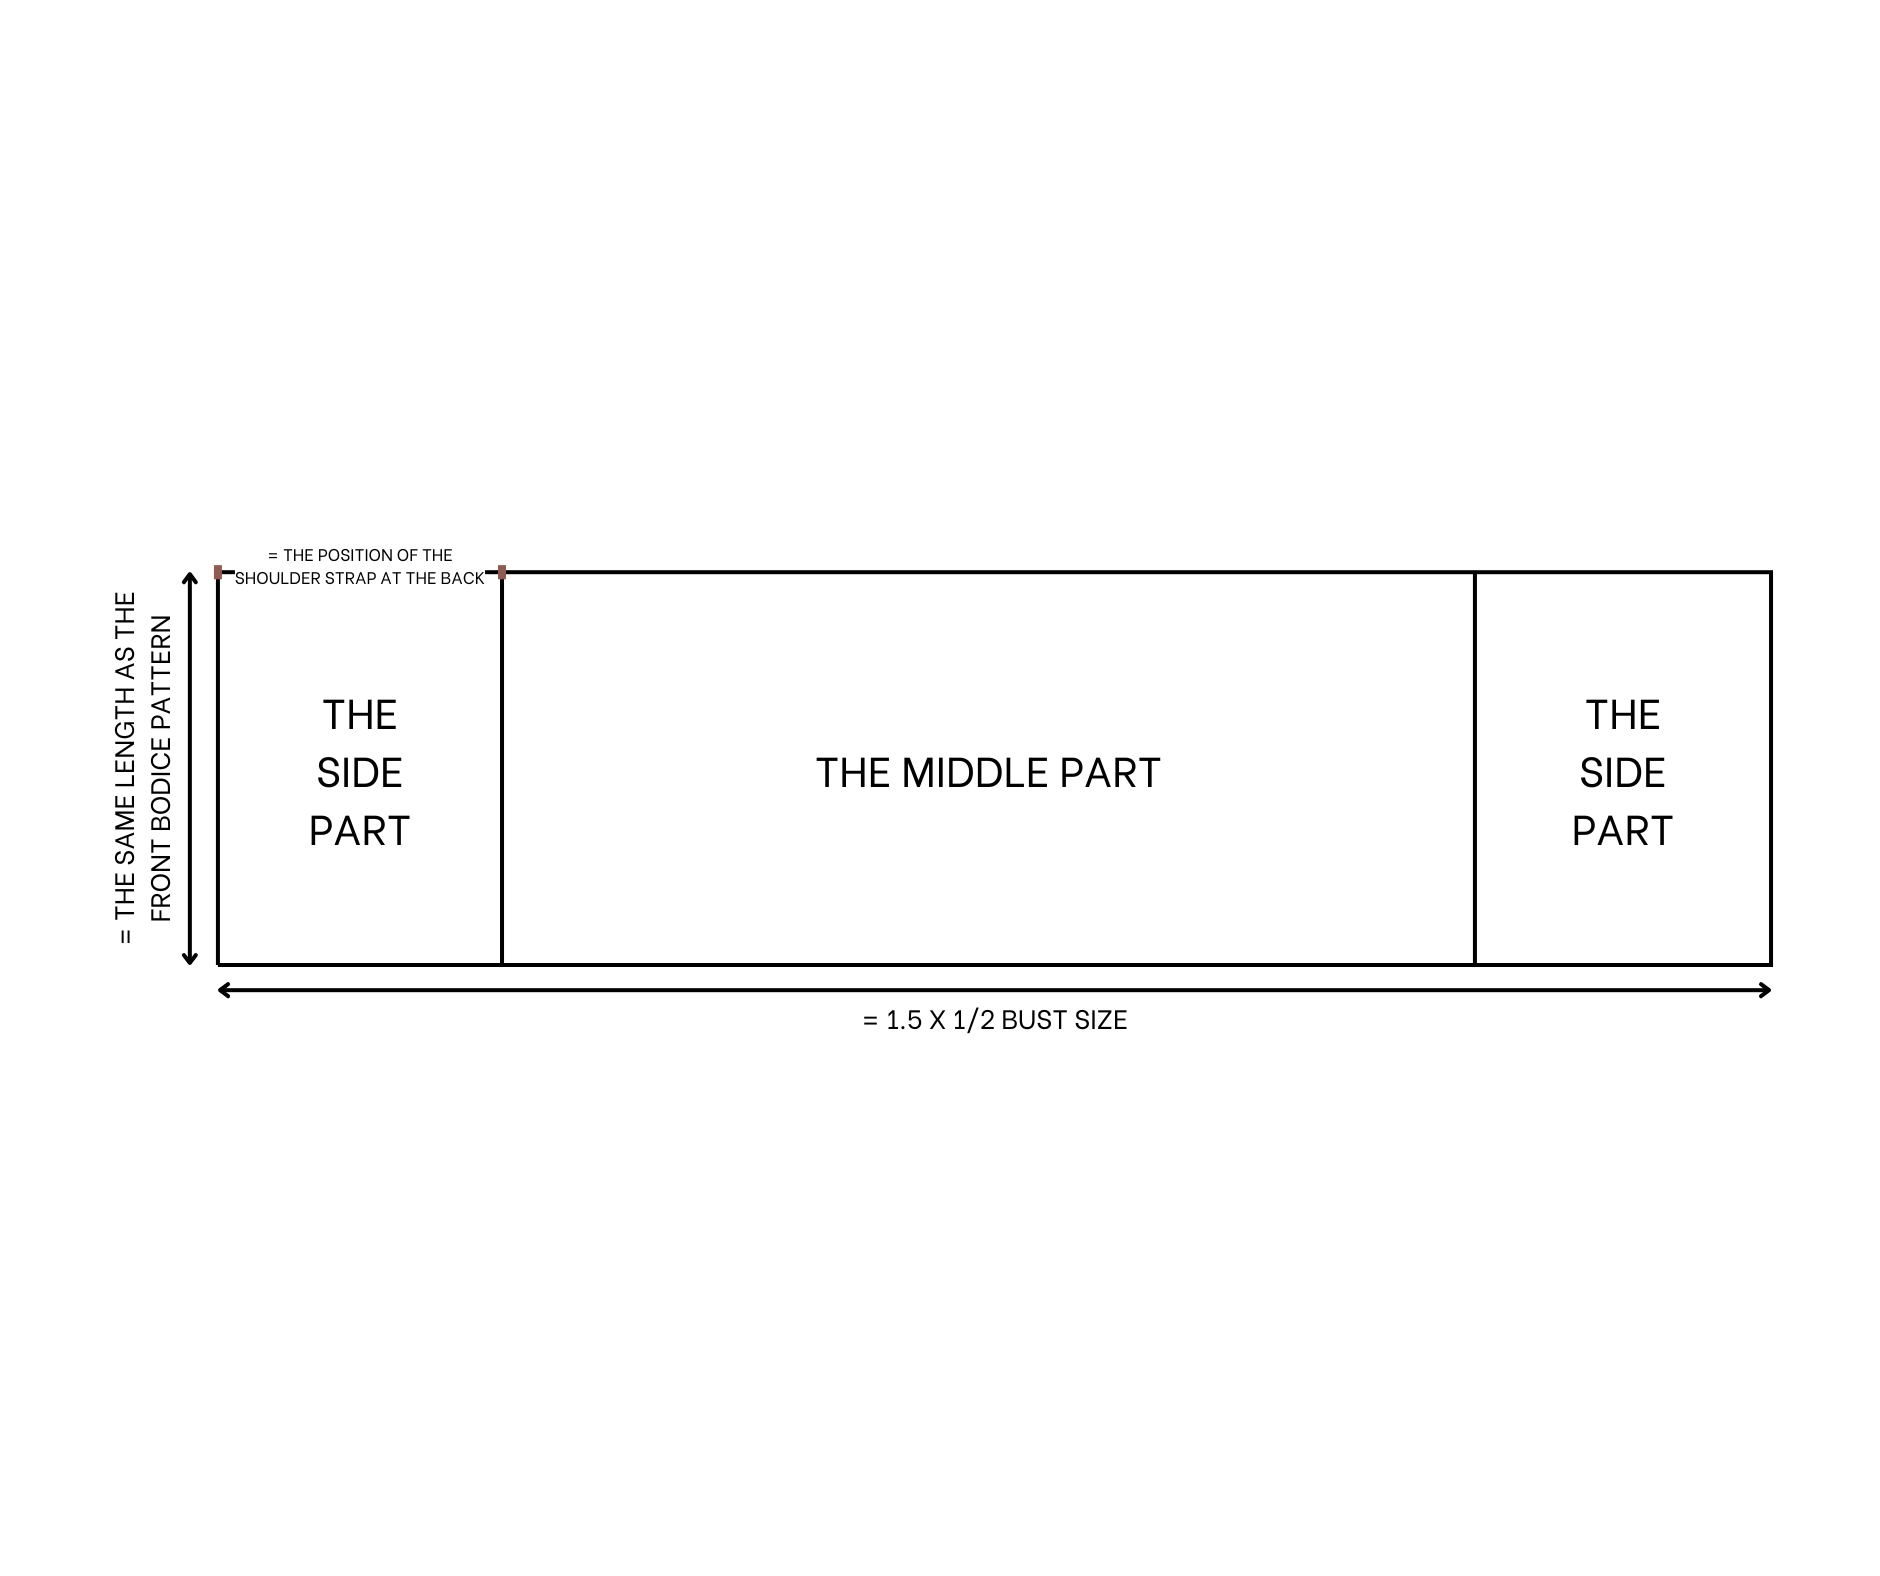
THE BACK BODICE PATTERN
To make the back bodice pattern, draw a rectangle with the same length as the front bodice pattern and 60 cm width, which is 1.5 times half the bust size.
From one end of the top width line, mark inside 11 cm, which is the position of the shoulder strap at the back, plus 1 cm for seam allowance.
This creates three parts of the back bodice.
SEWING THE DRESS
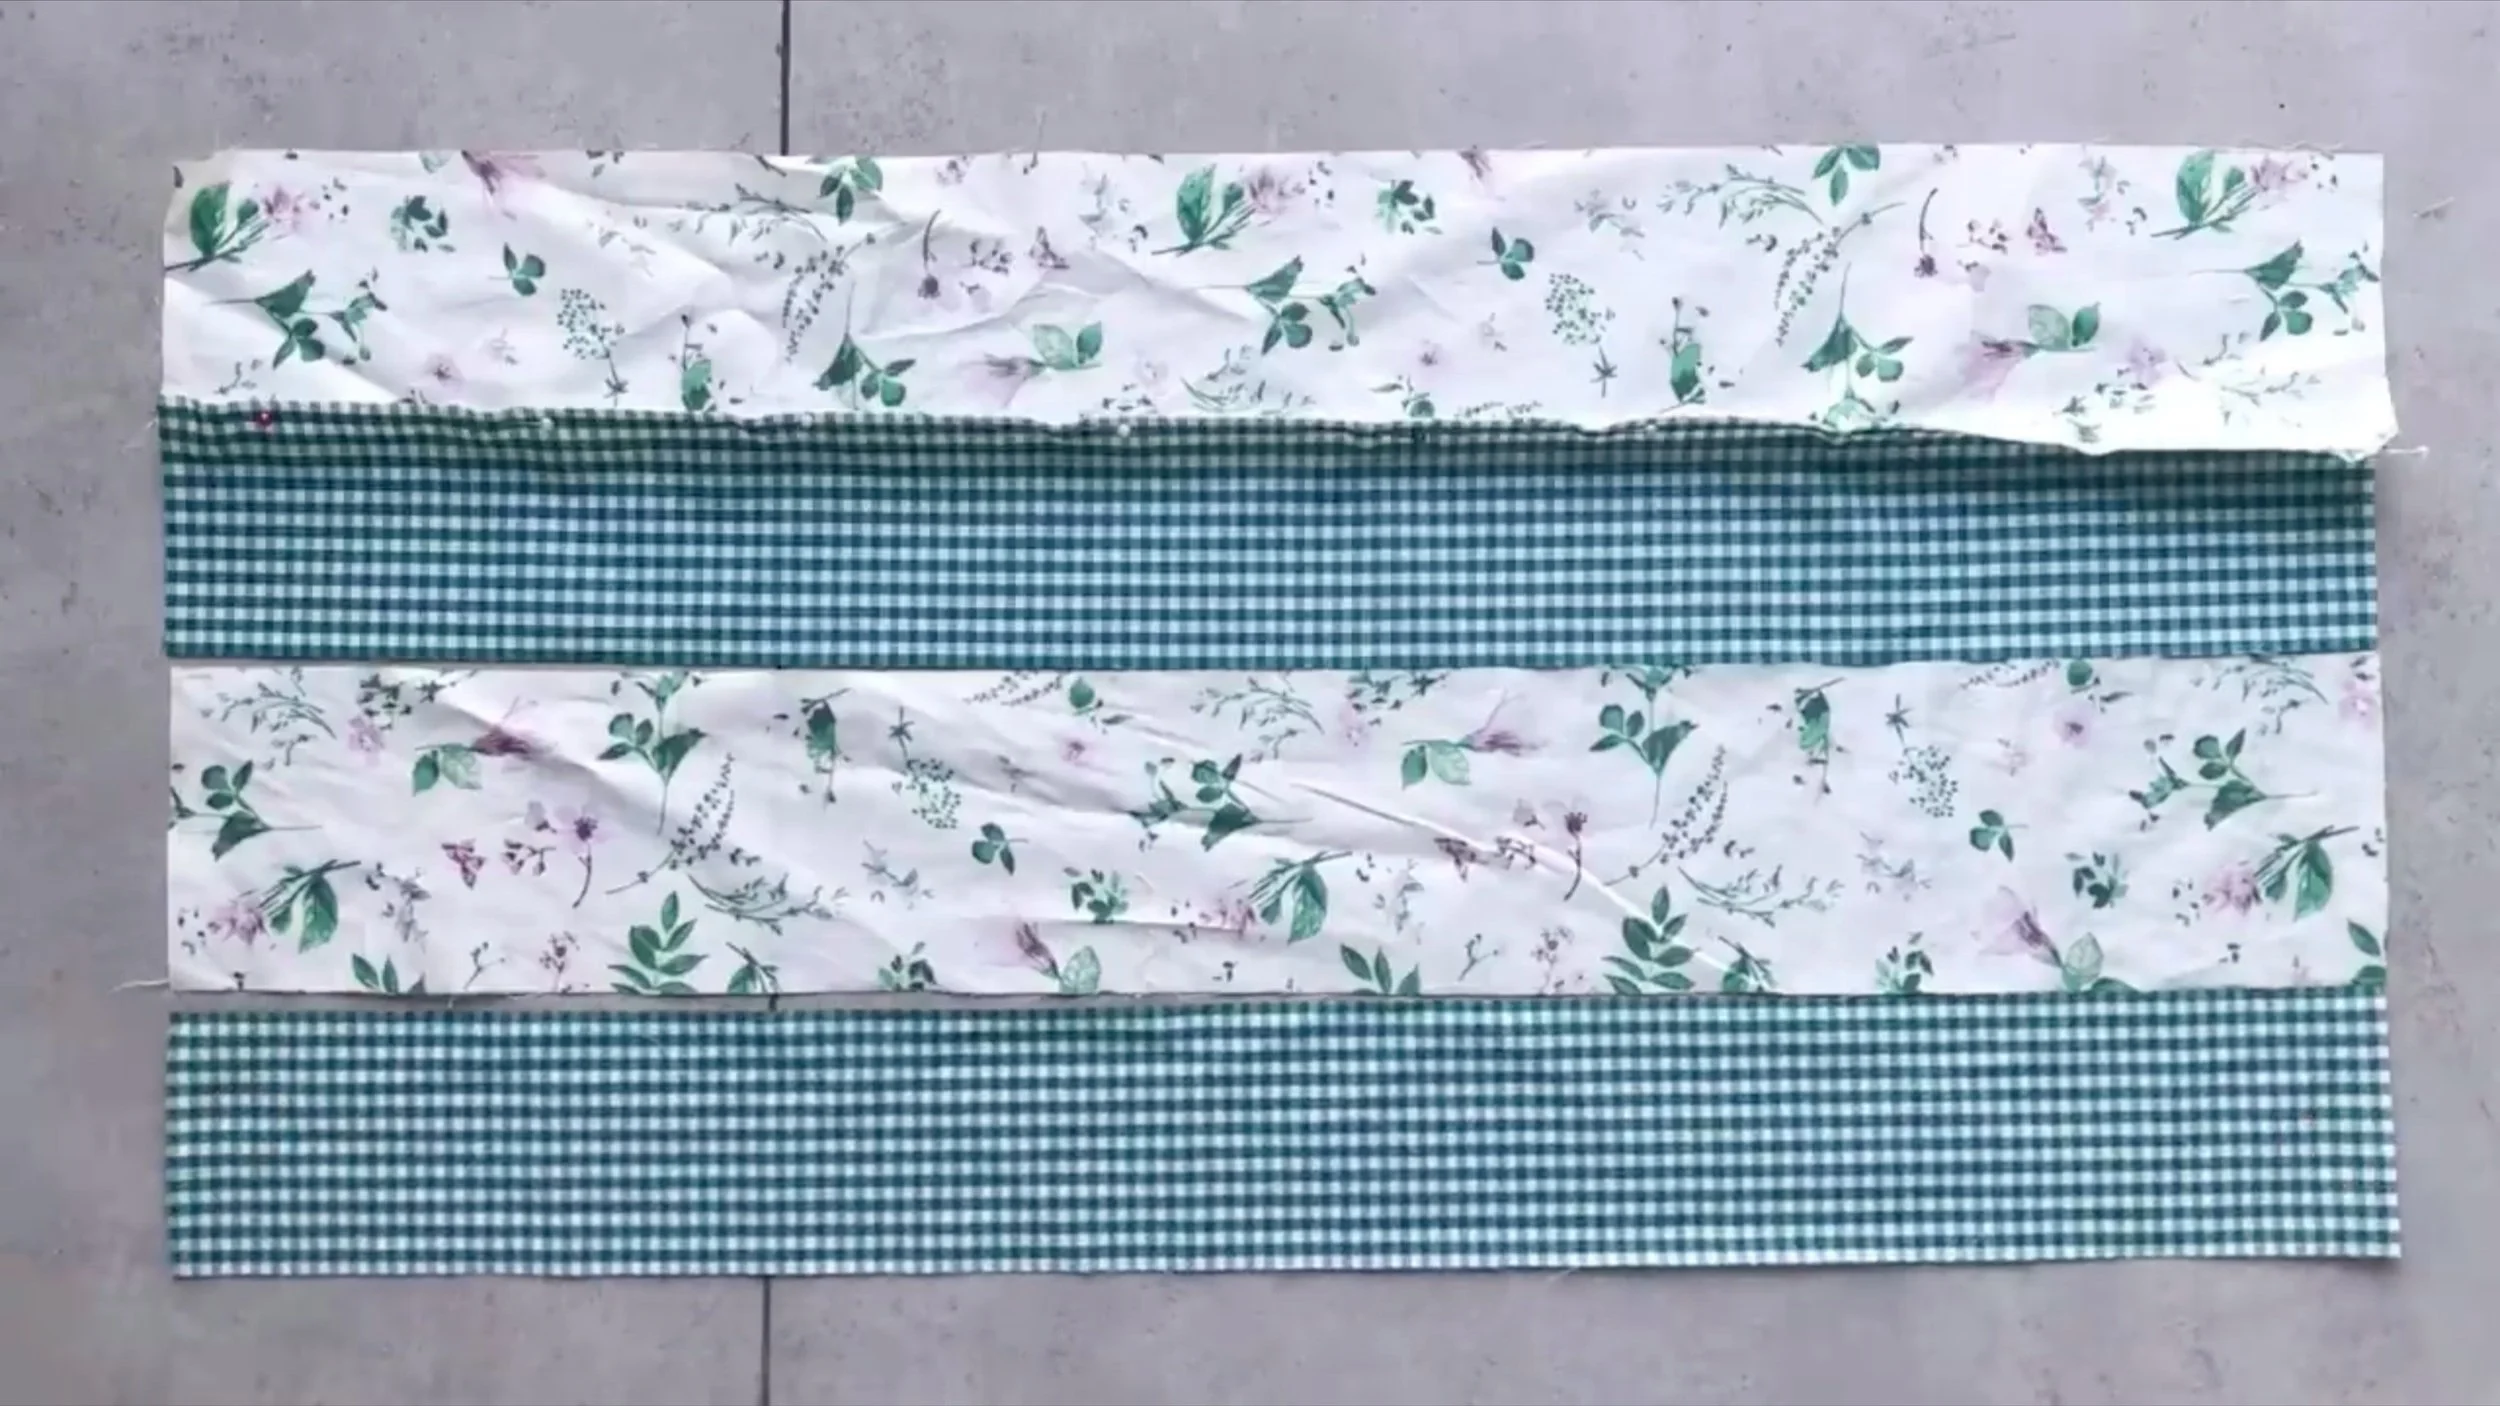
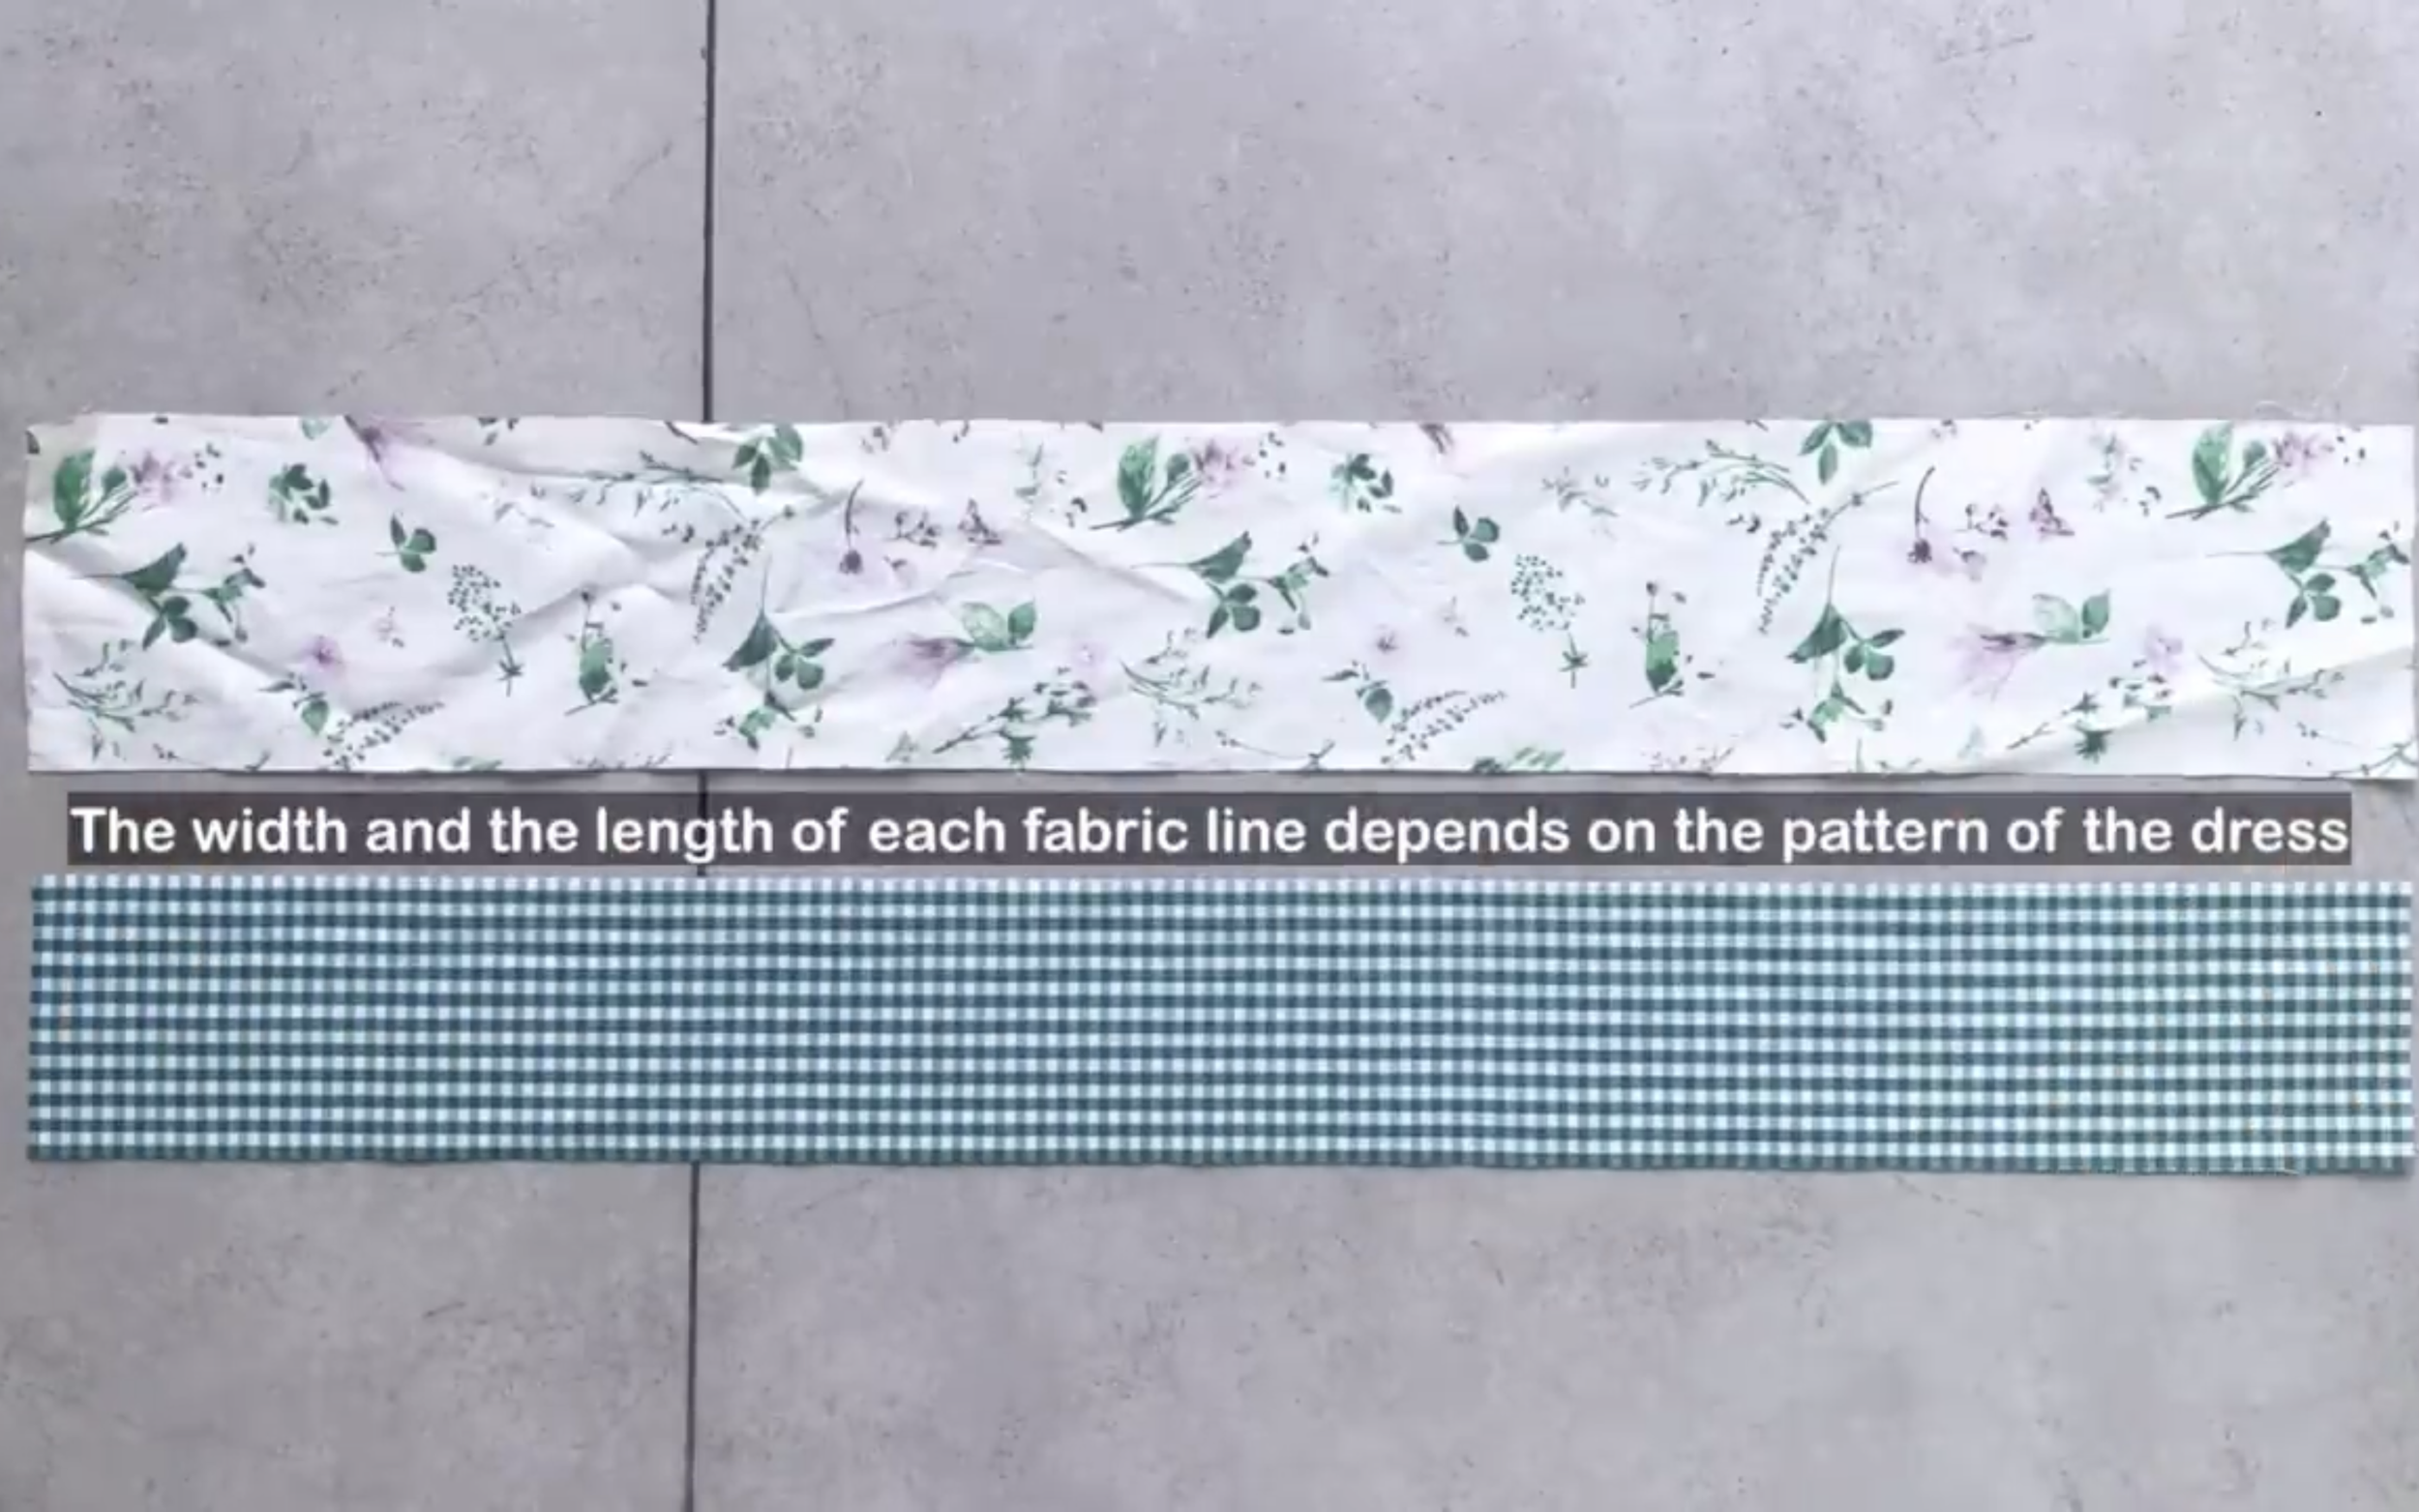
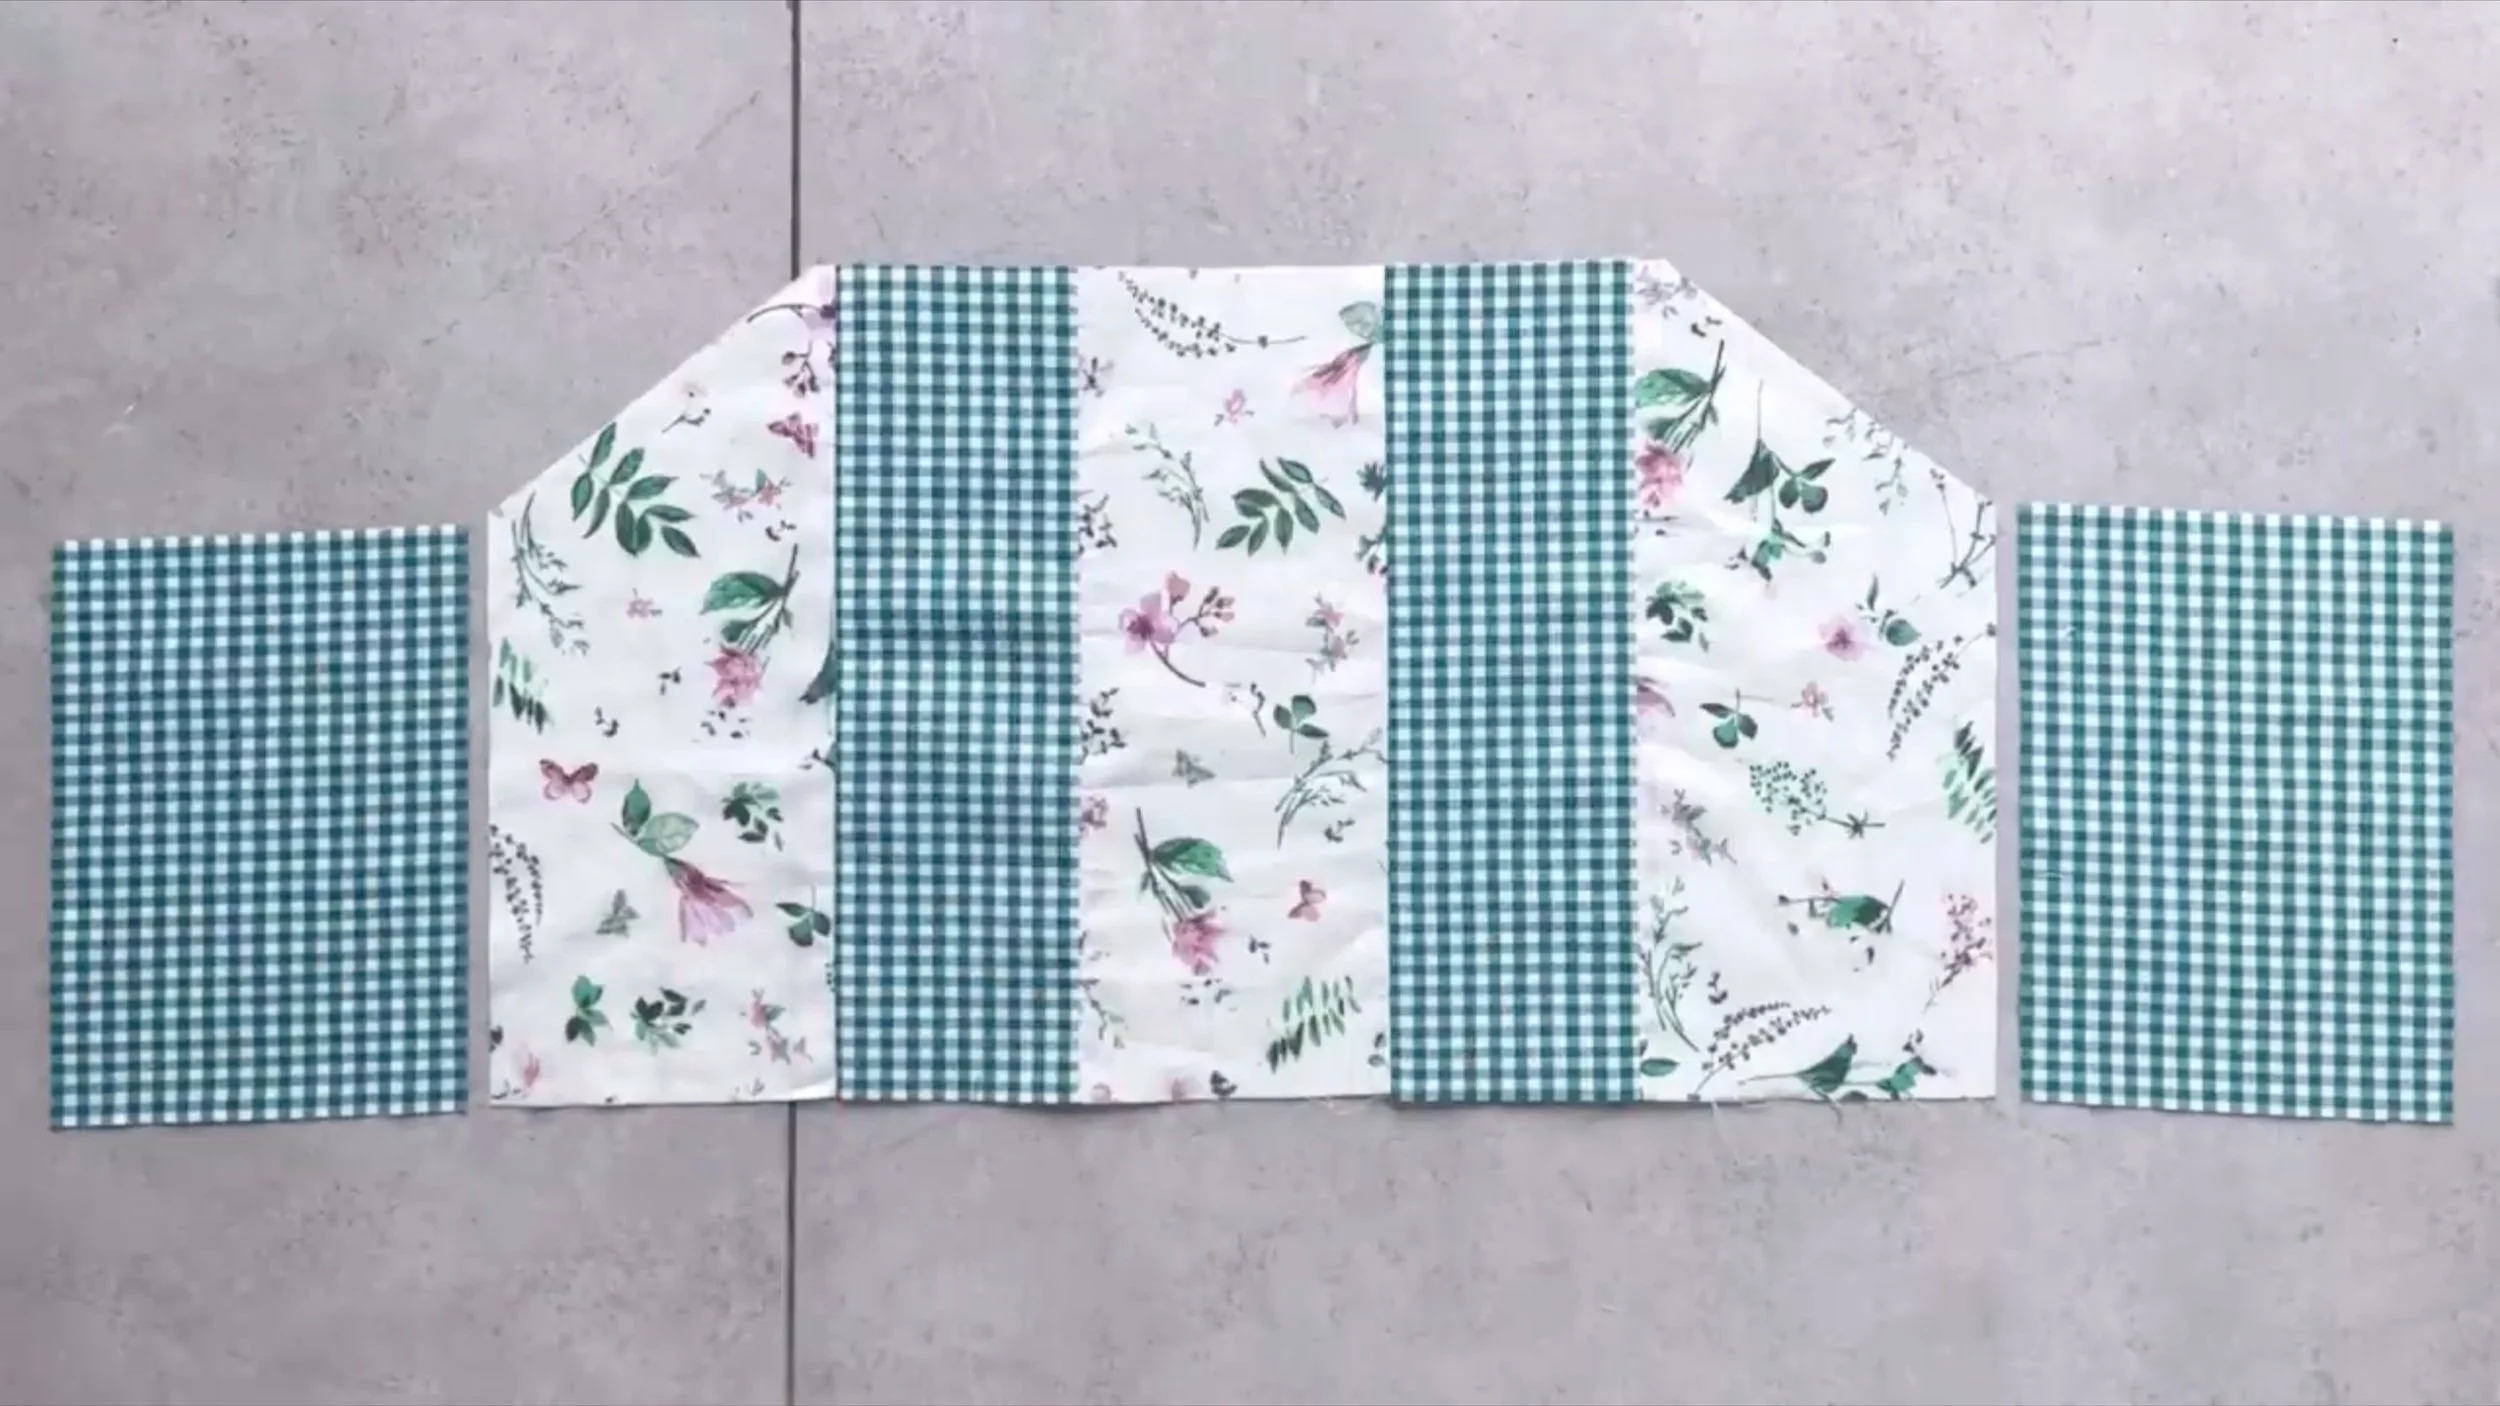
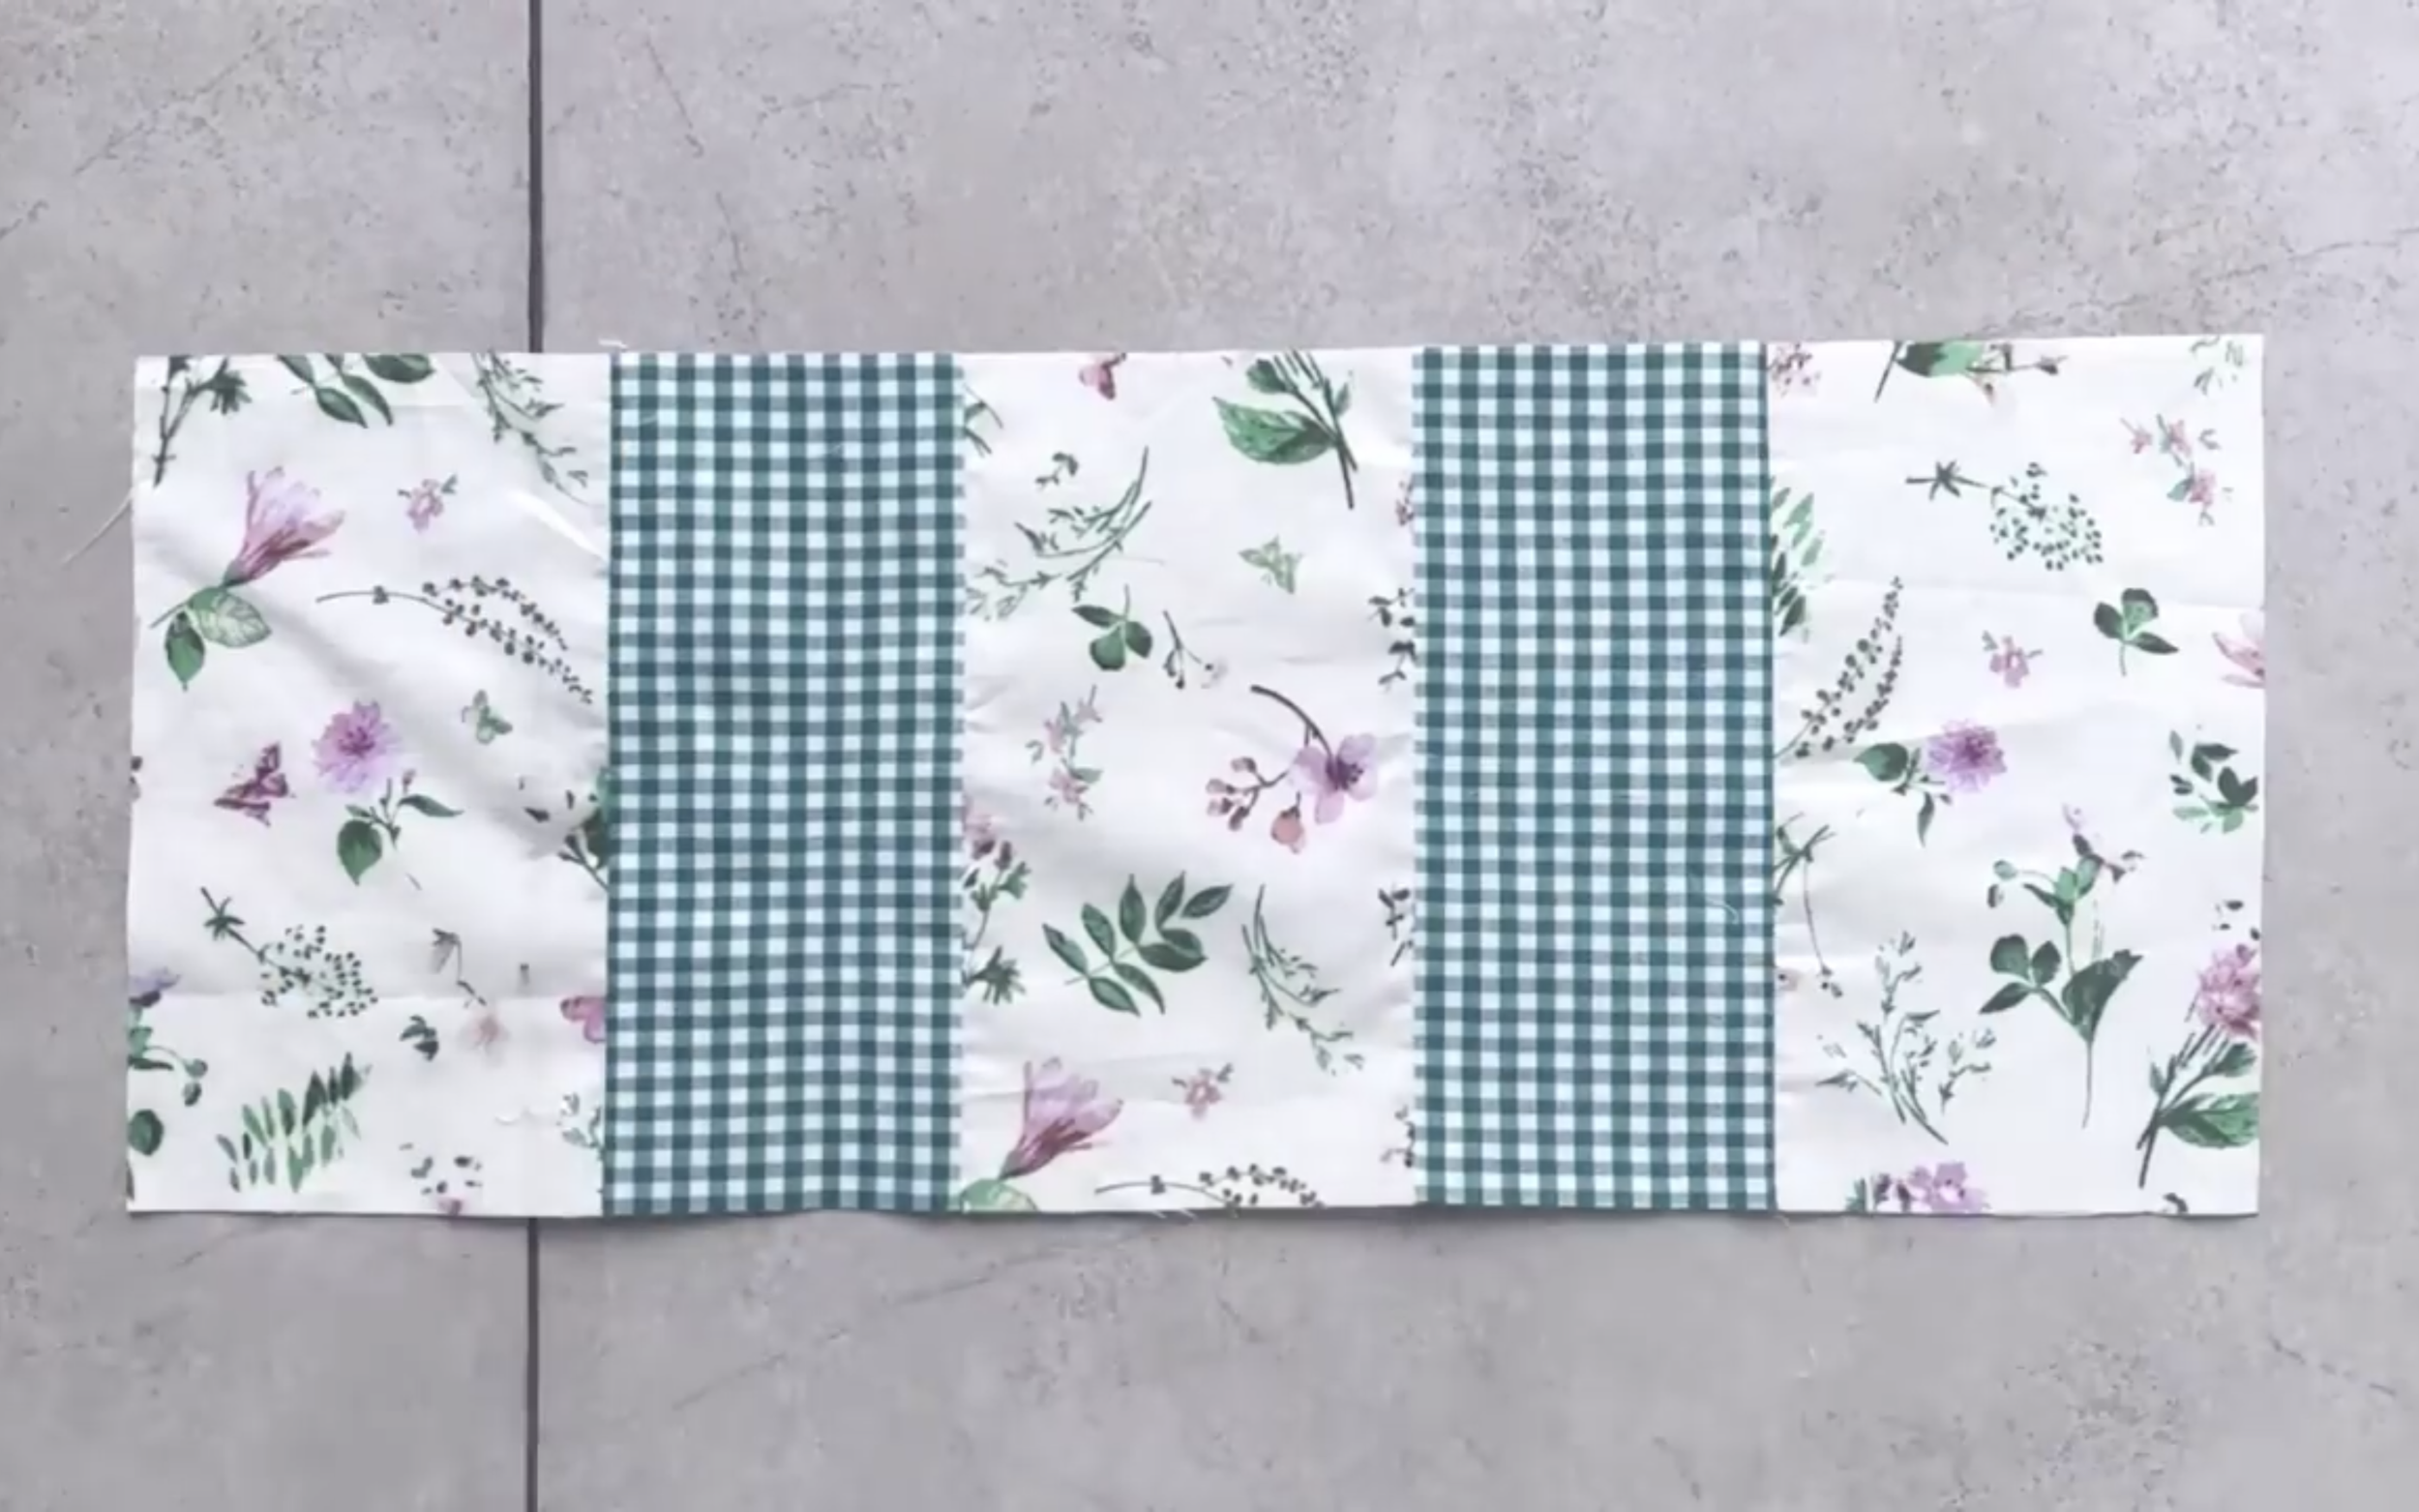
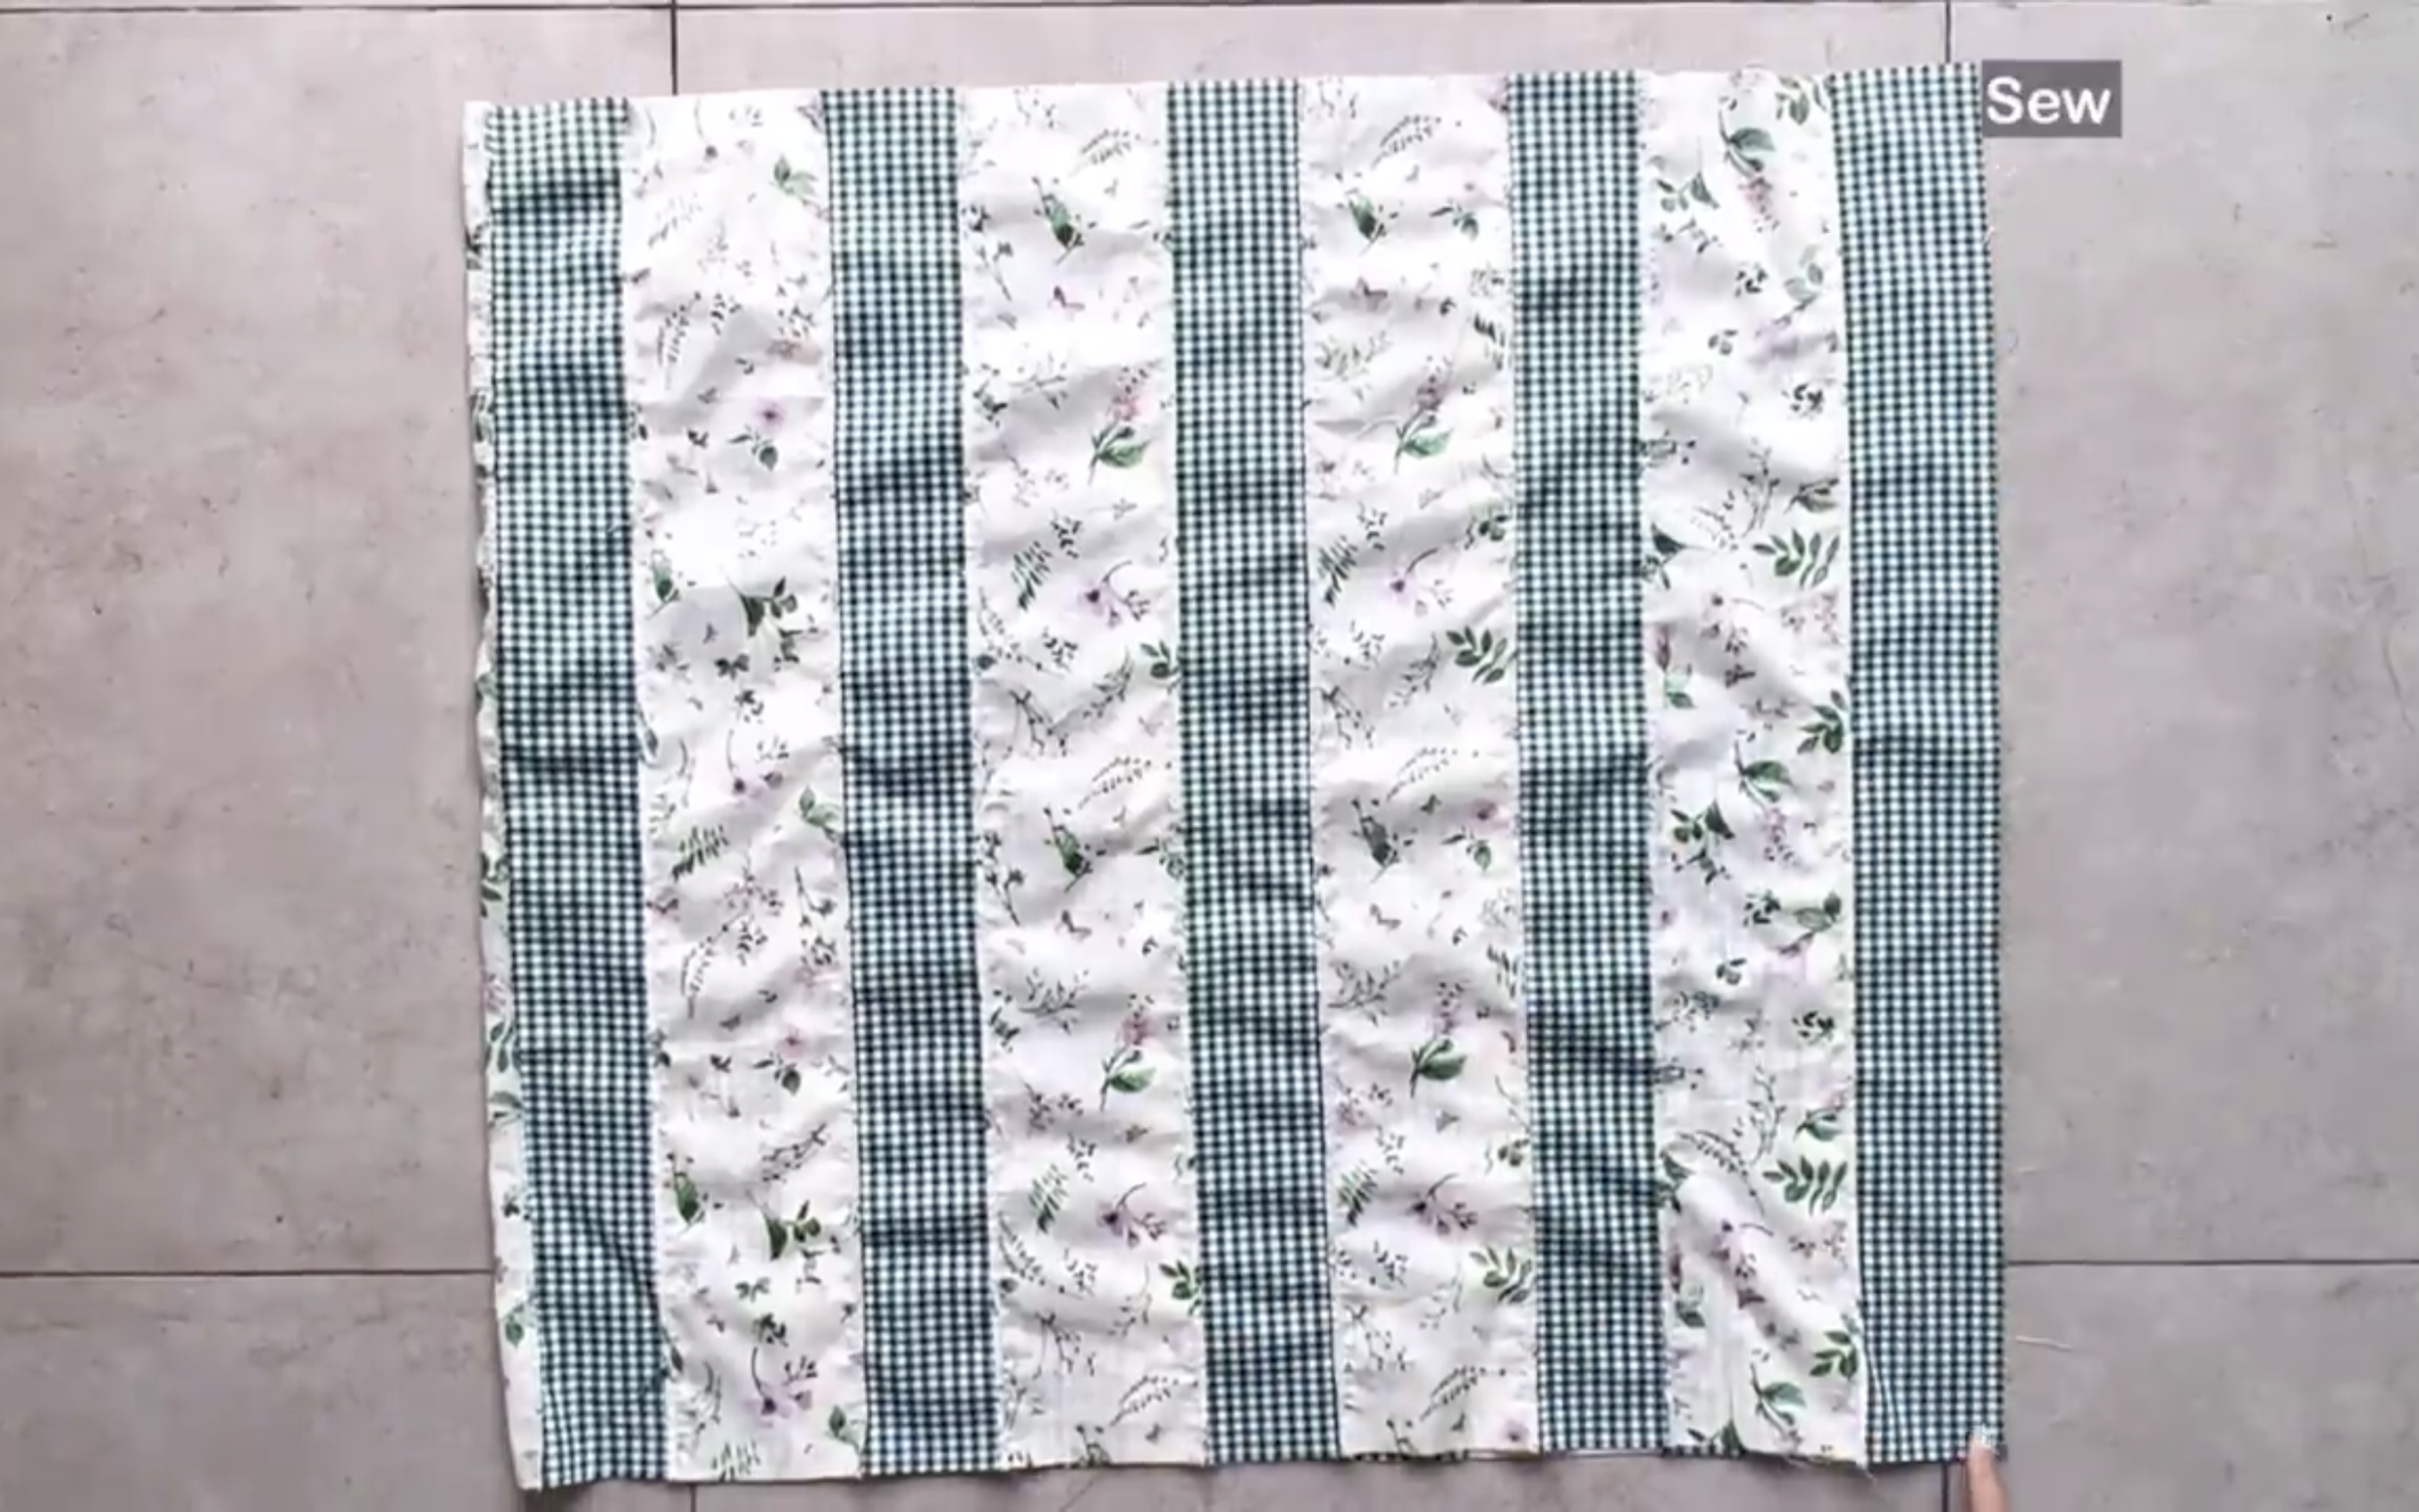
To create a nice matching for the fabric, cut it into small pieces and connect them together so it looks like straight fabric in the end.
Mark the dart from the pattern onto the fabric.
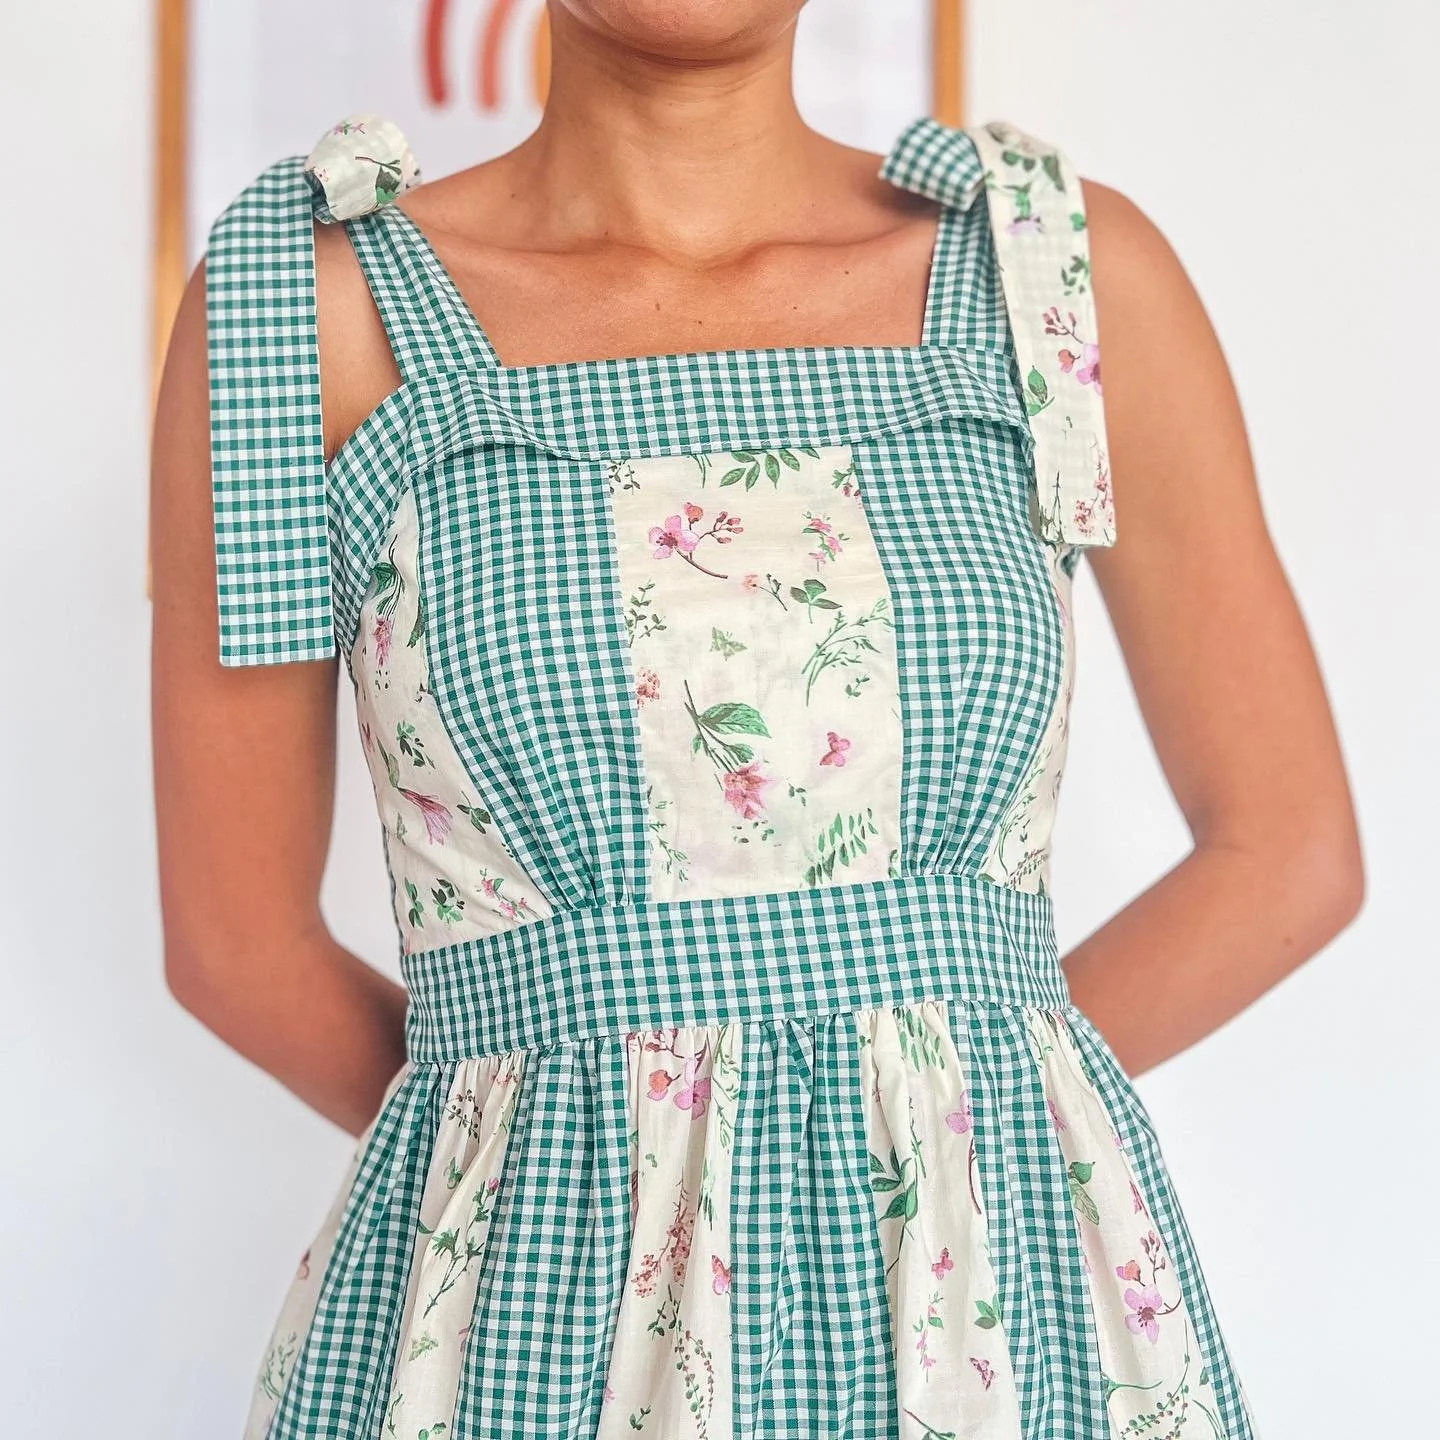
THE TOP PART OF THE DRESS
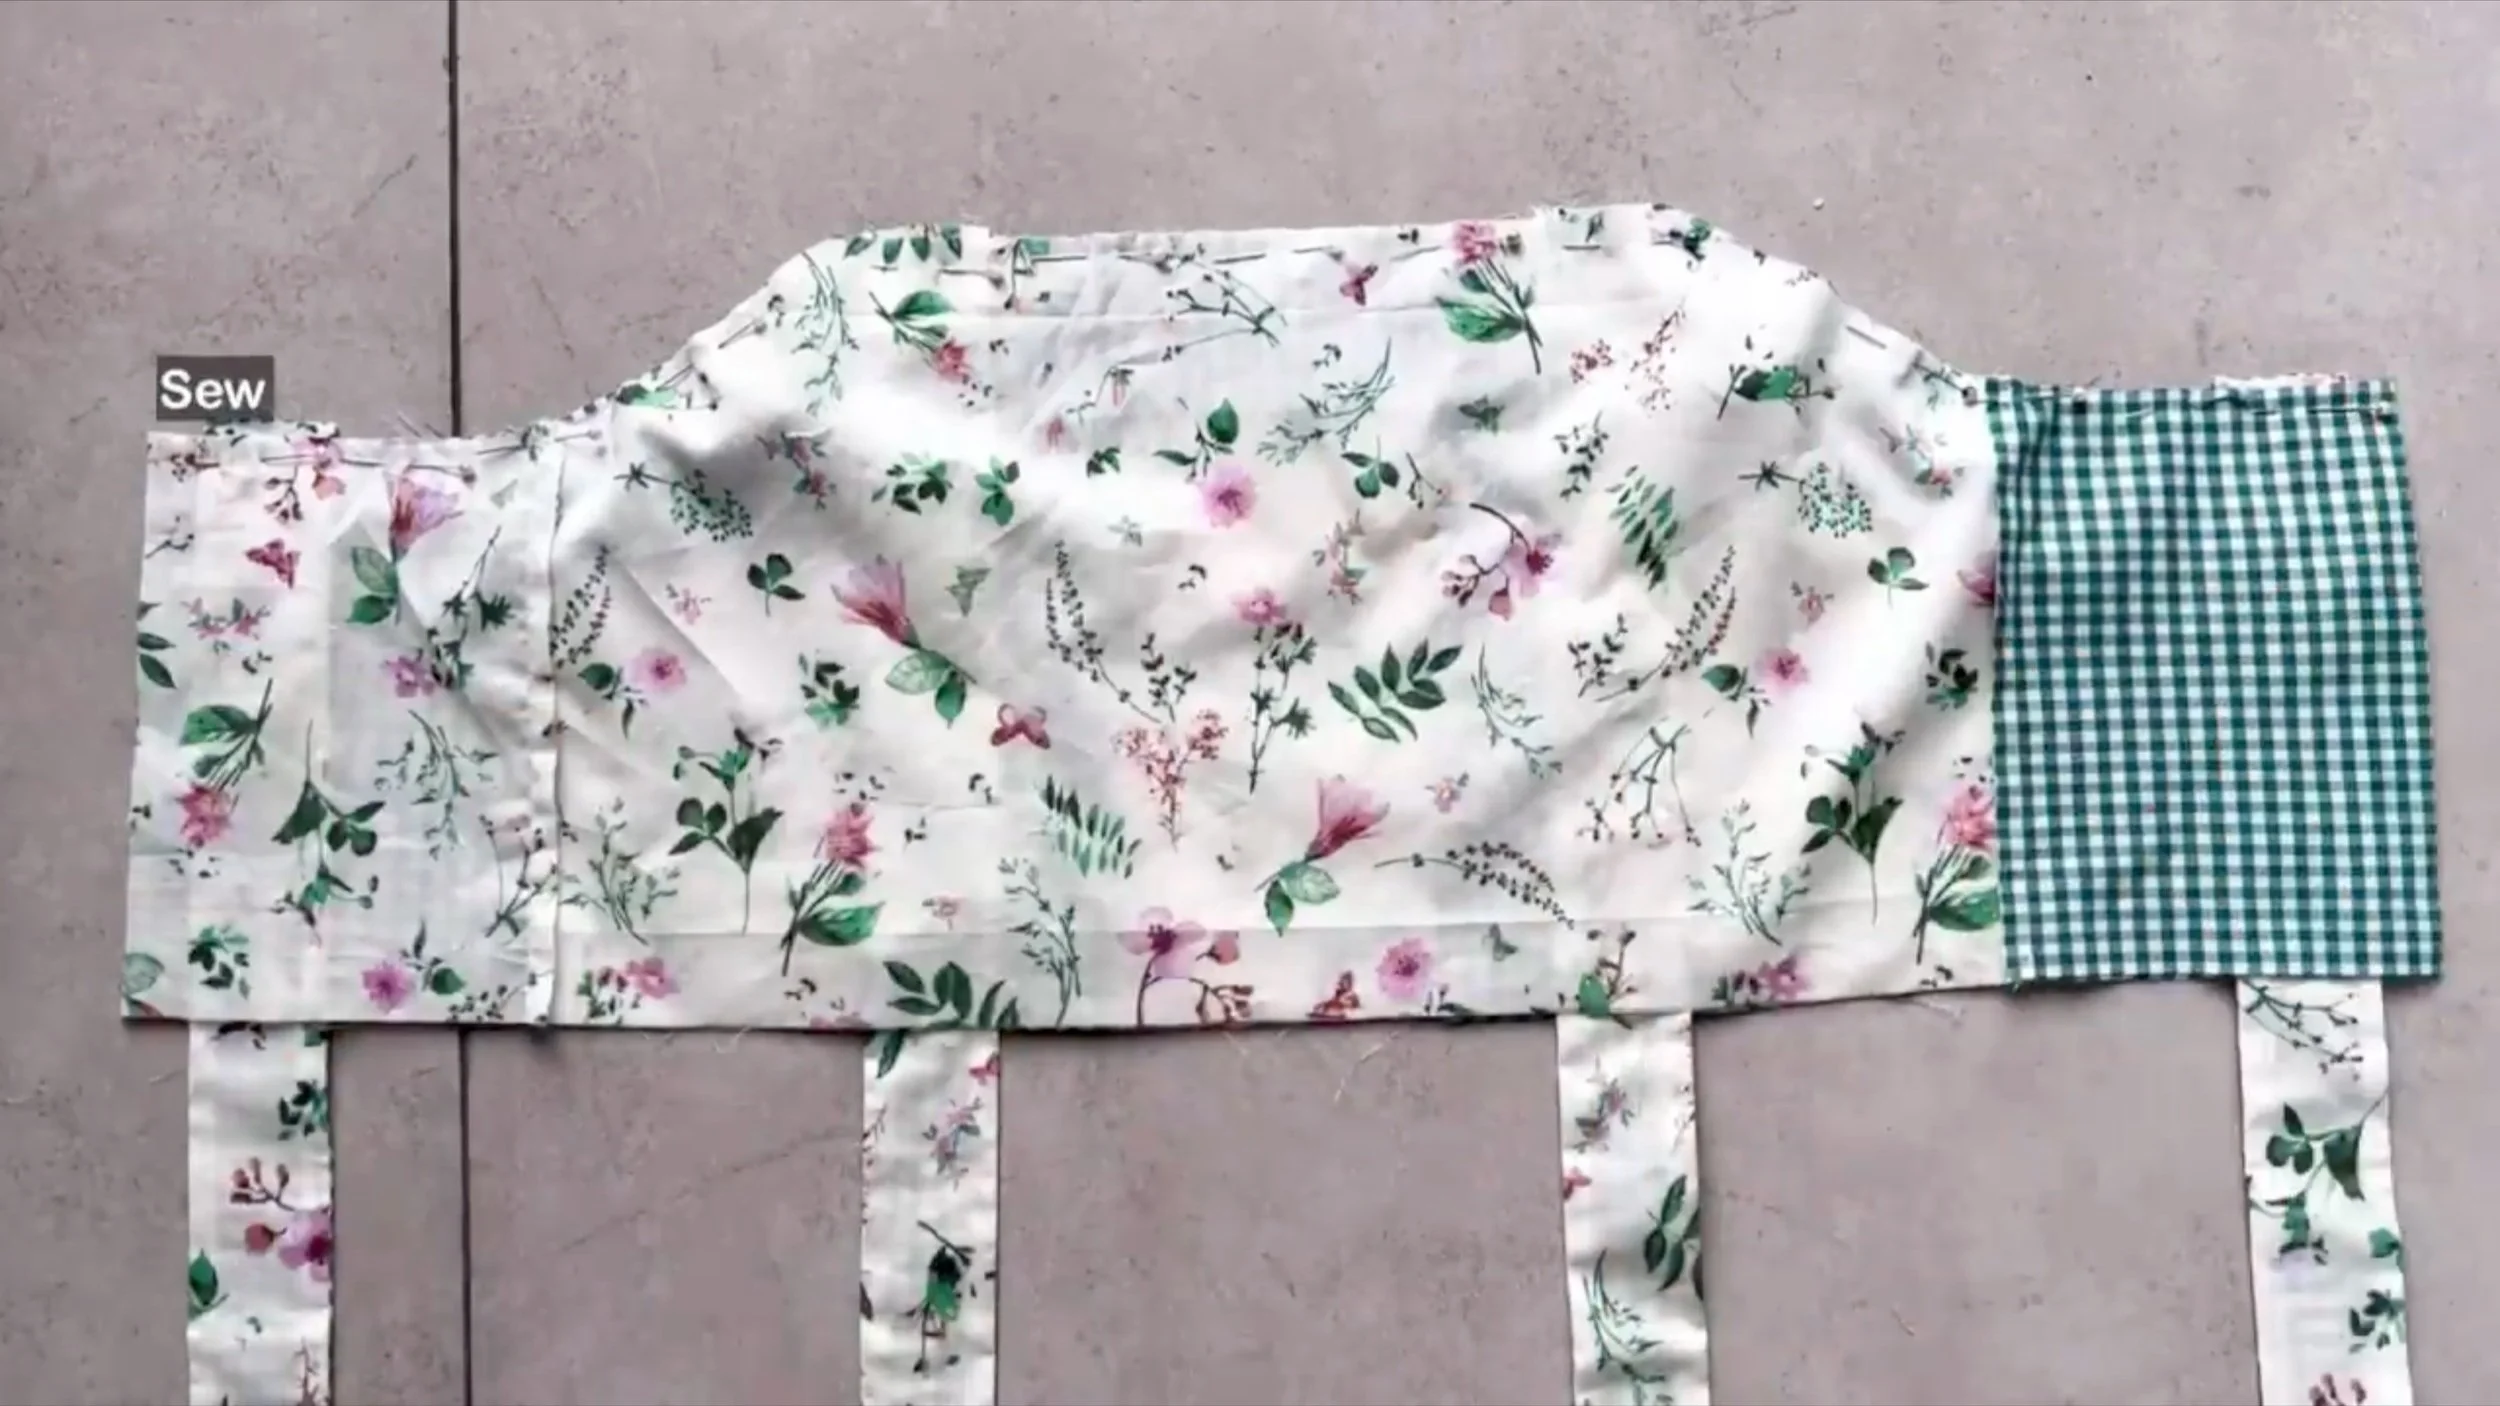
Here are the front bodice and two side back bodice pieces of the top dress.
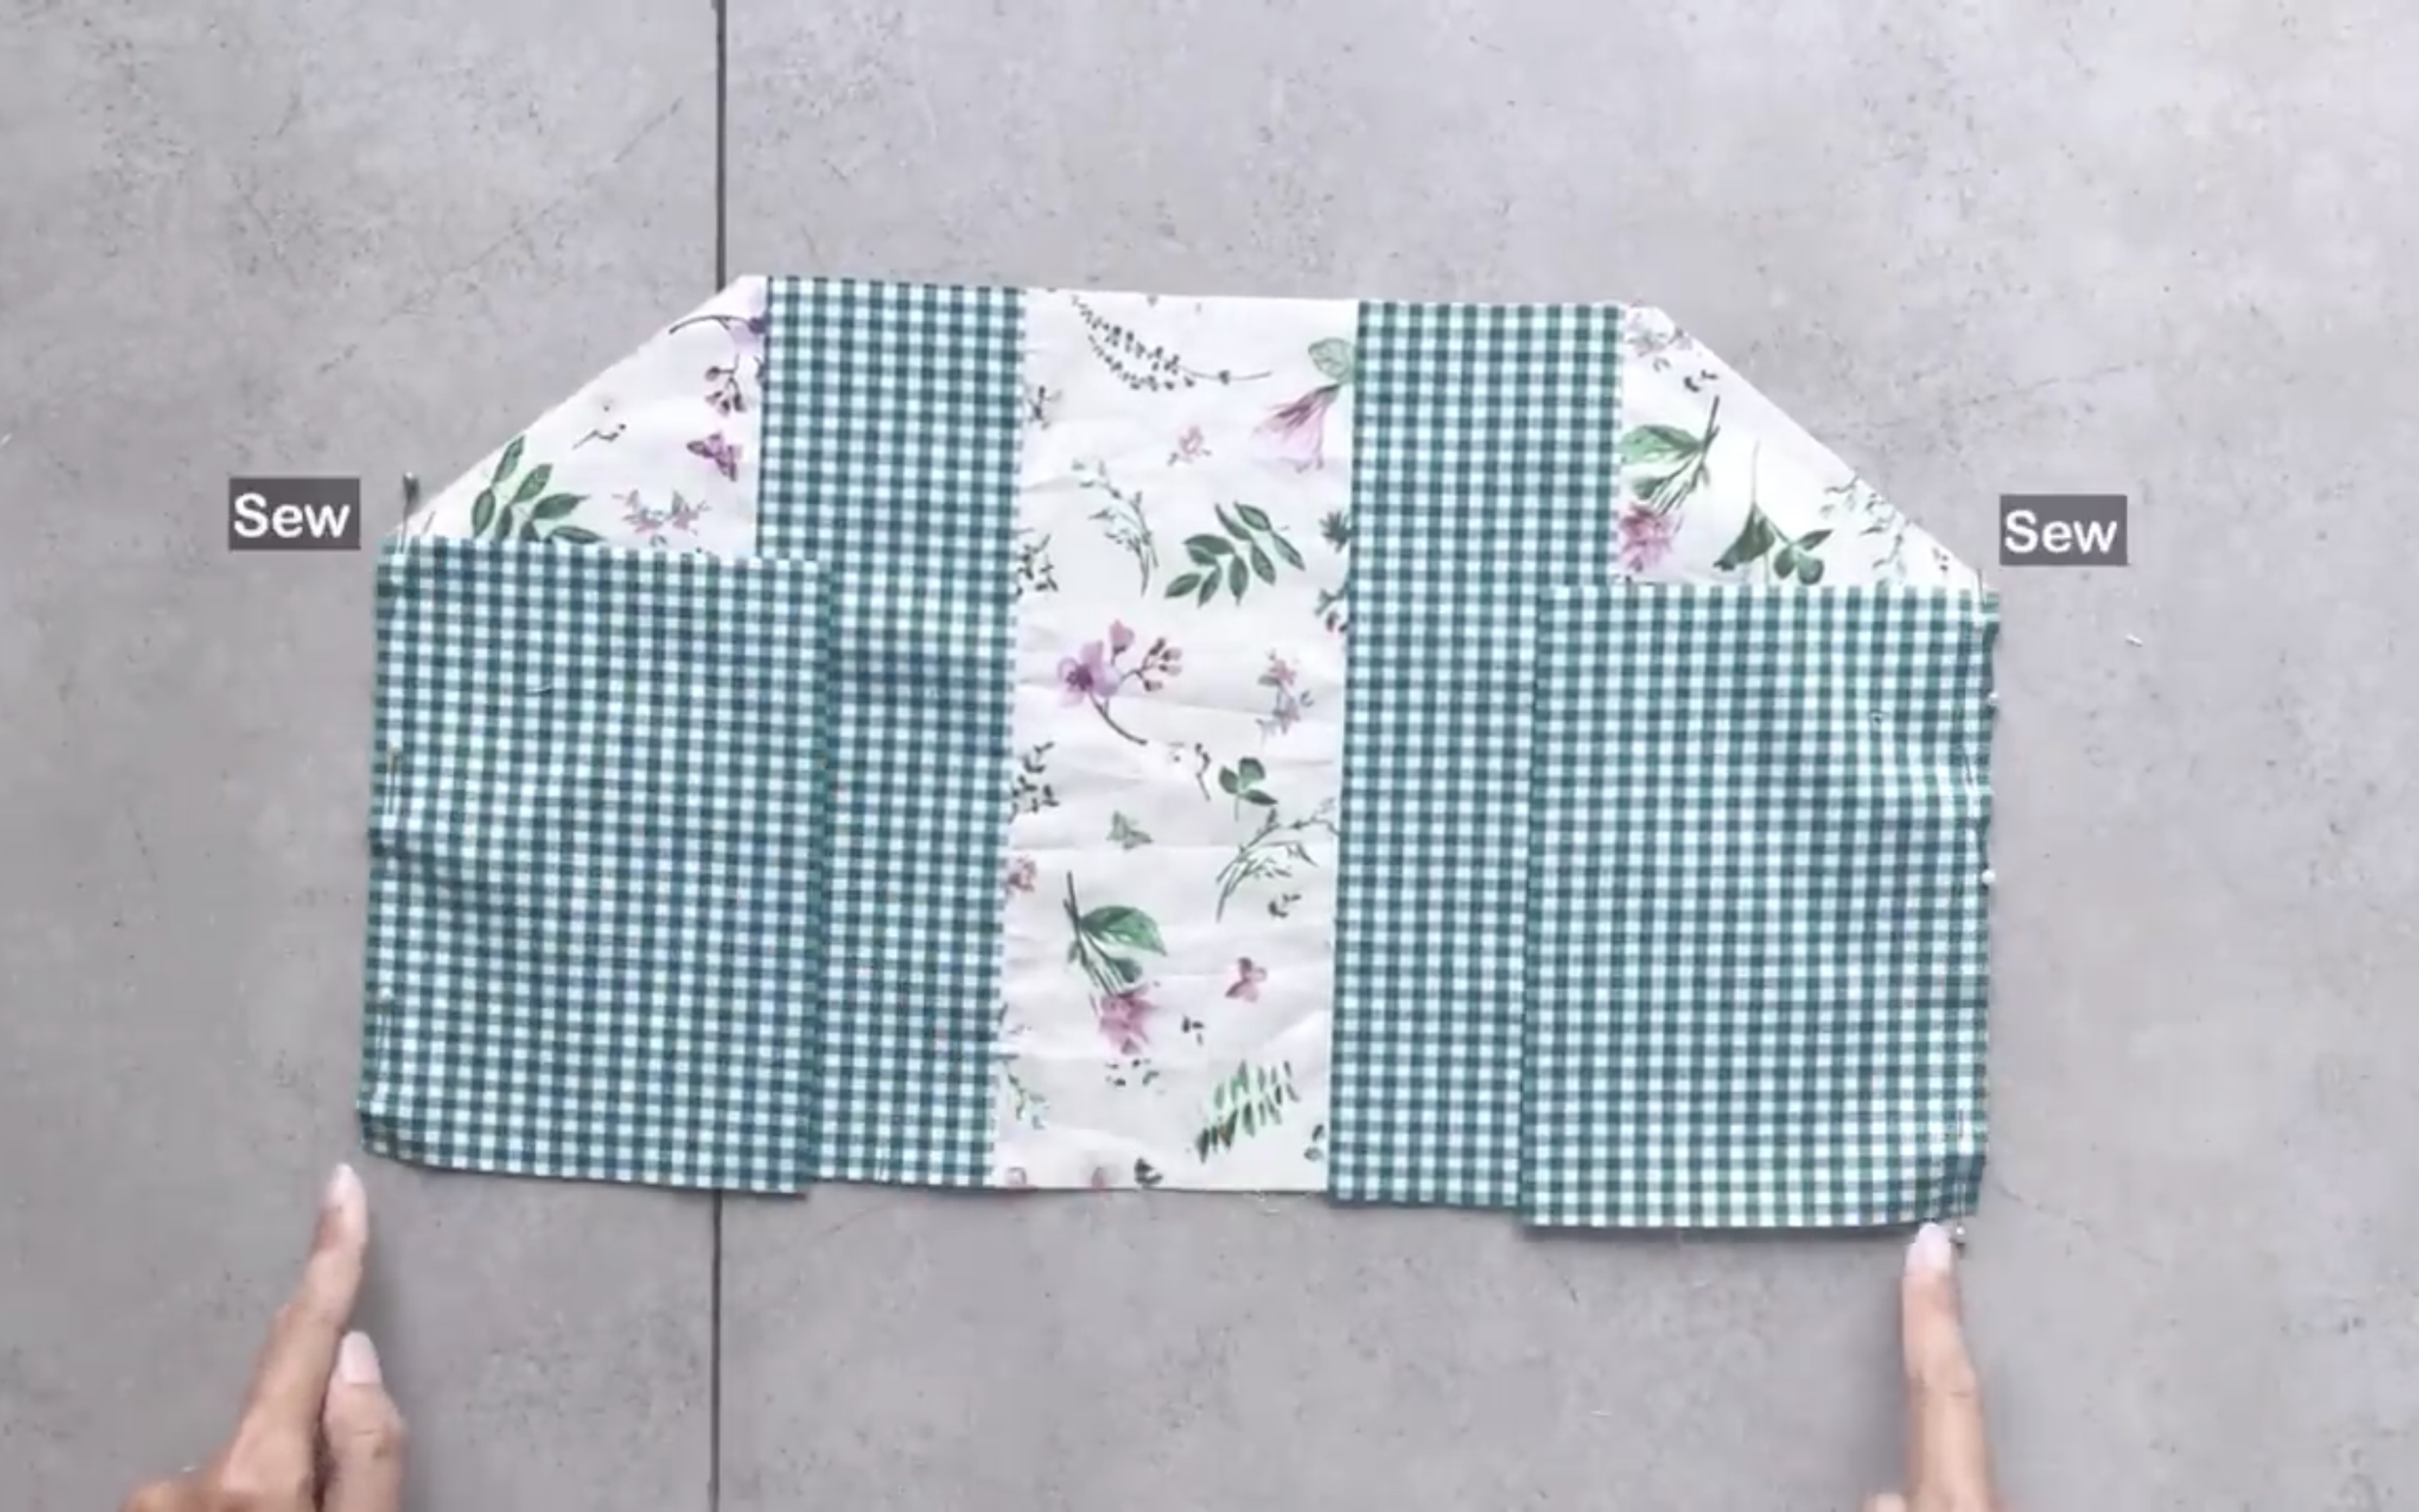
Connect them together at the sideline first.
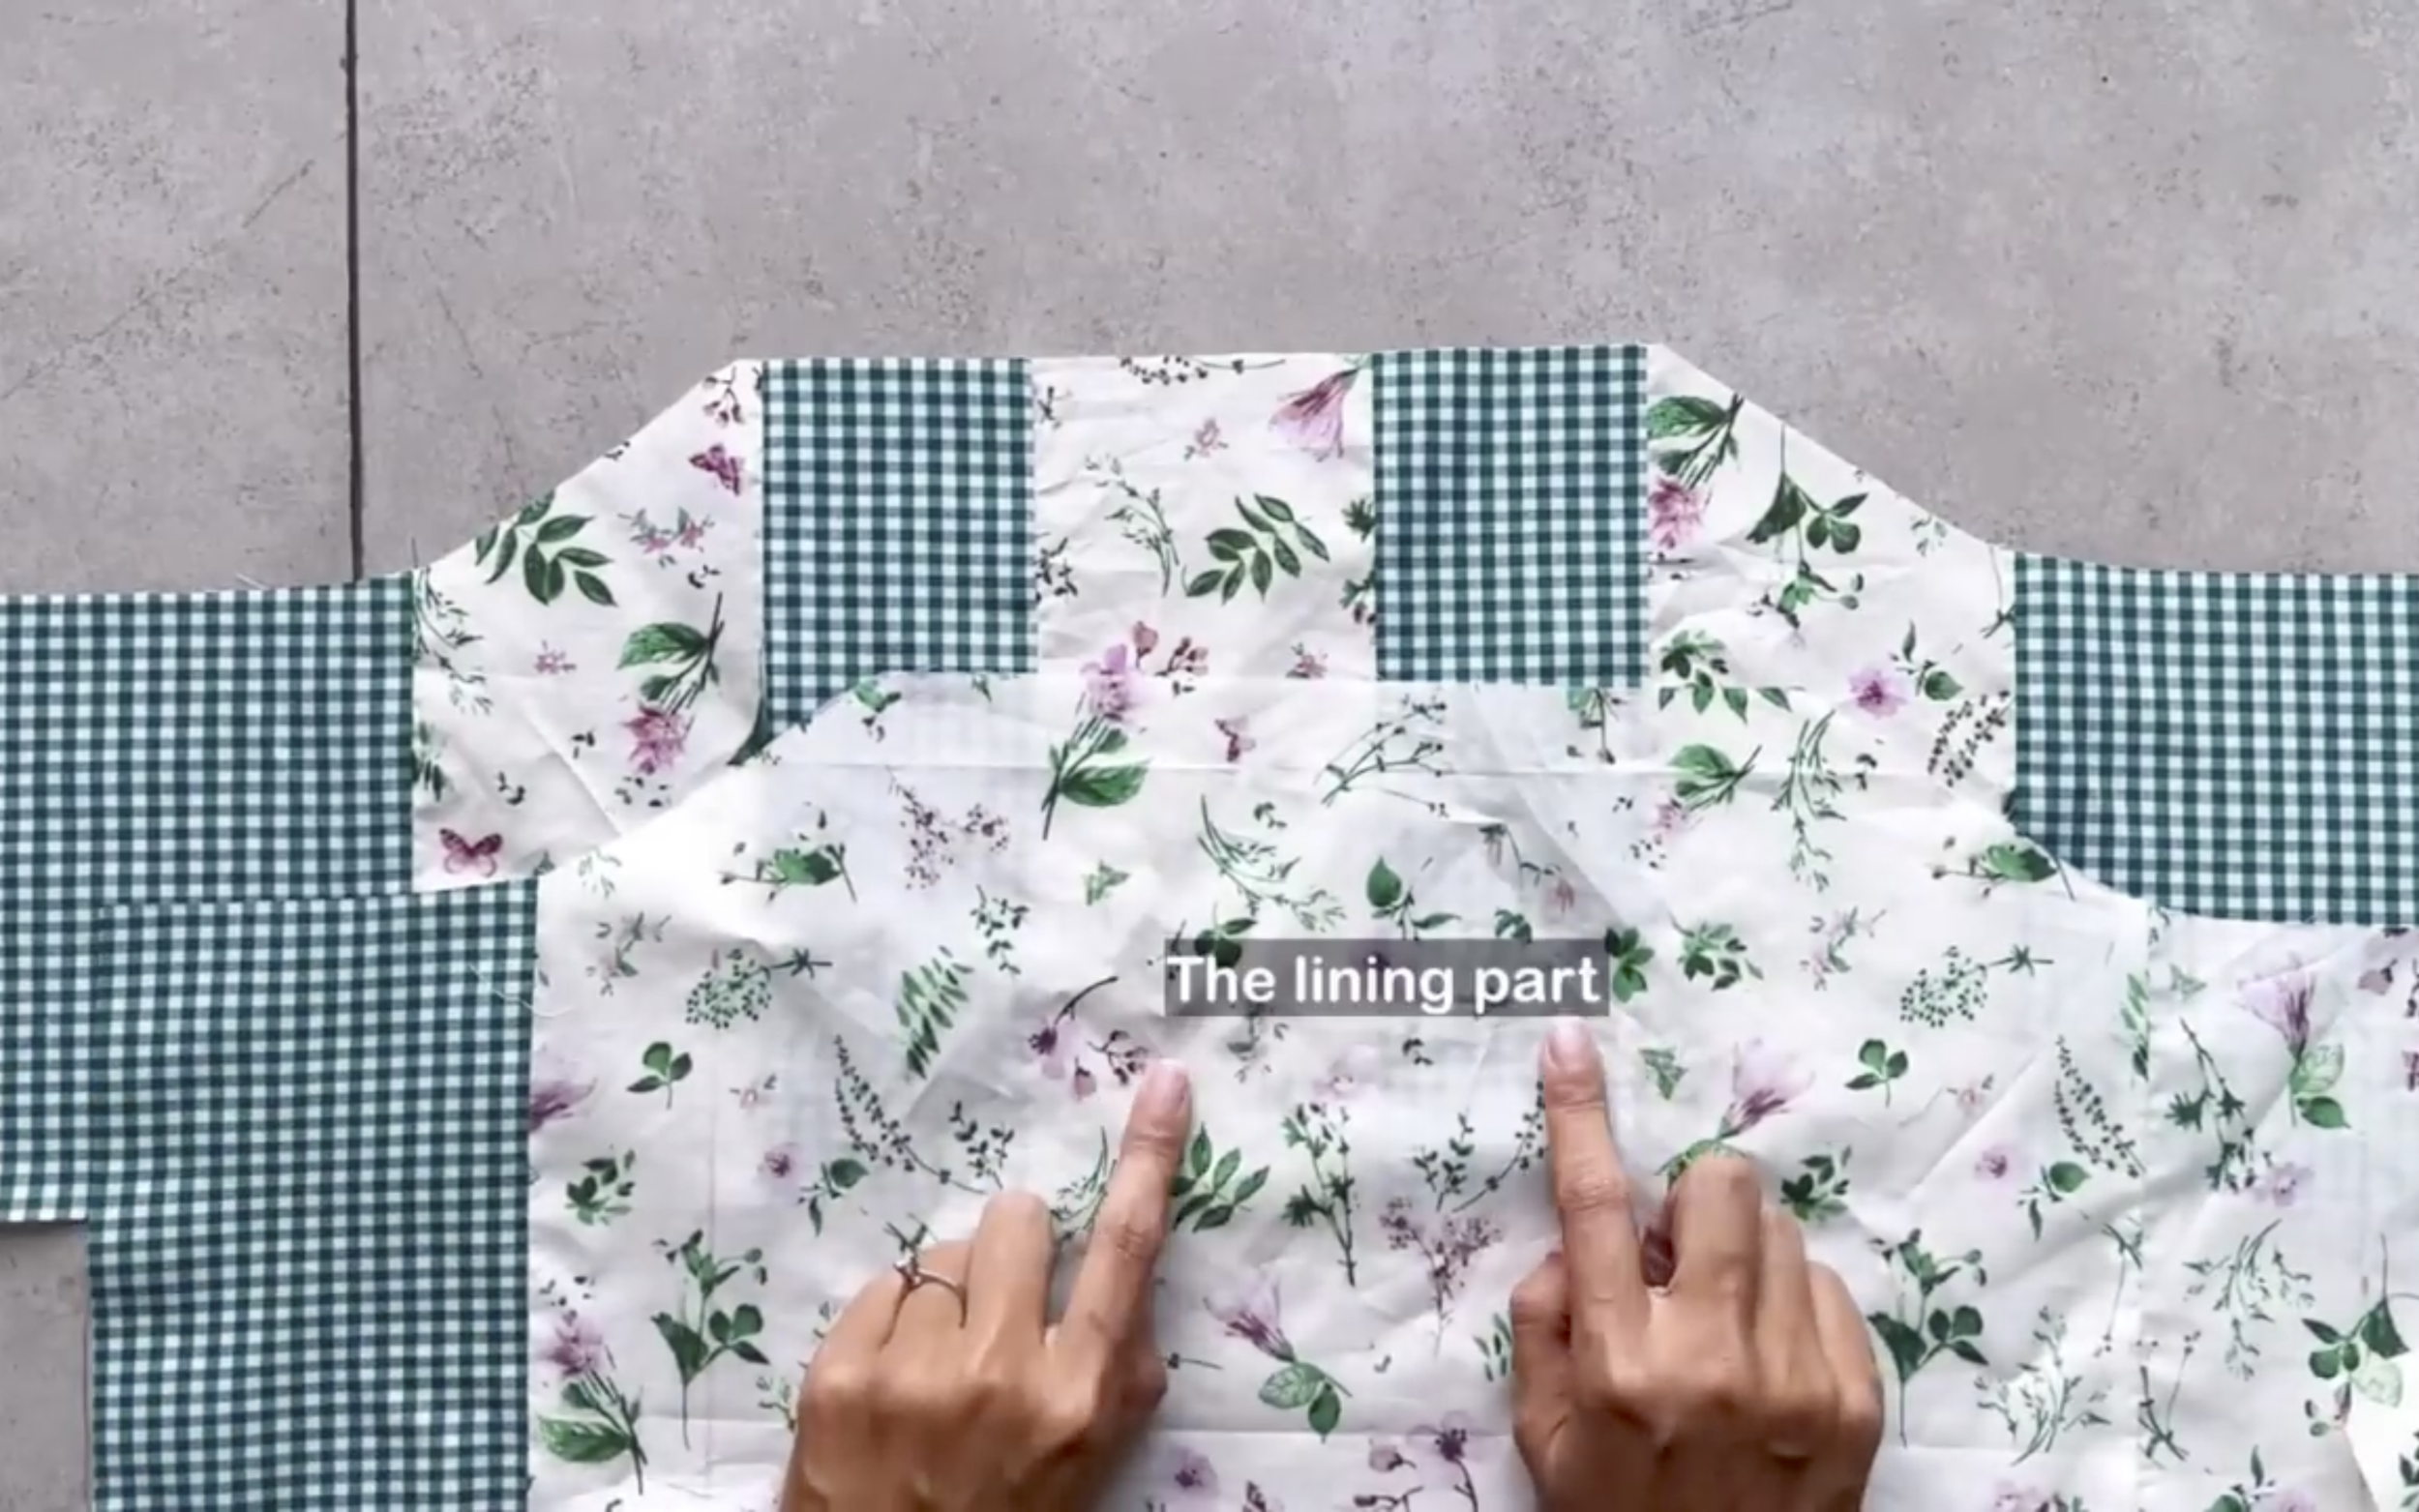
Make another piece like this without the matching fabric for the lining part of the top dress.
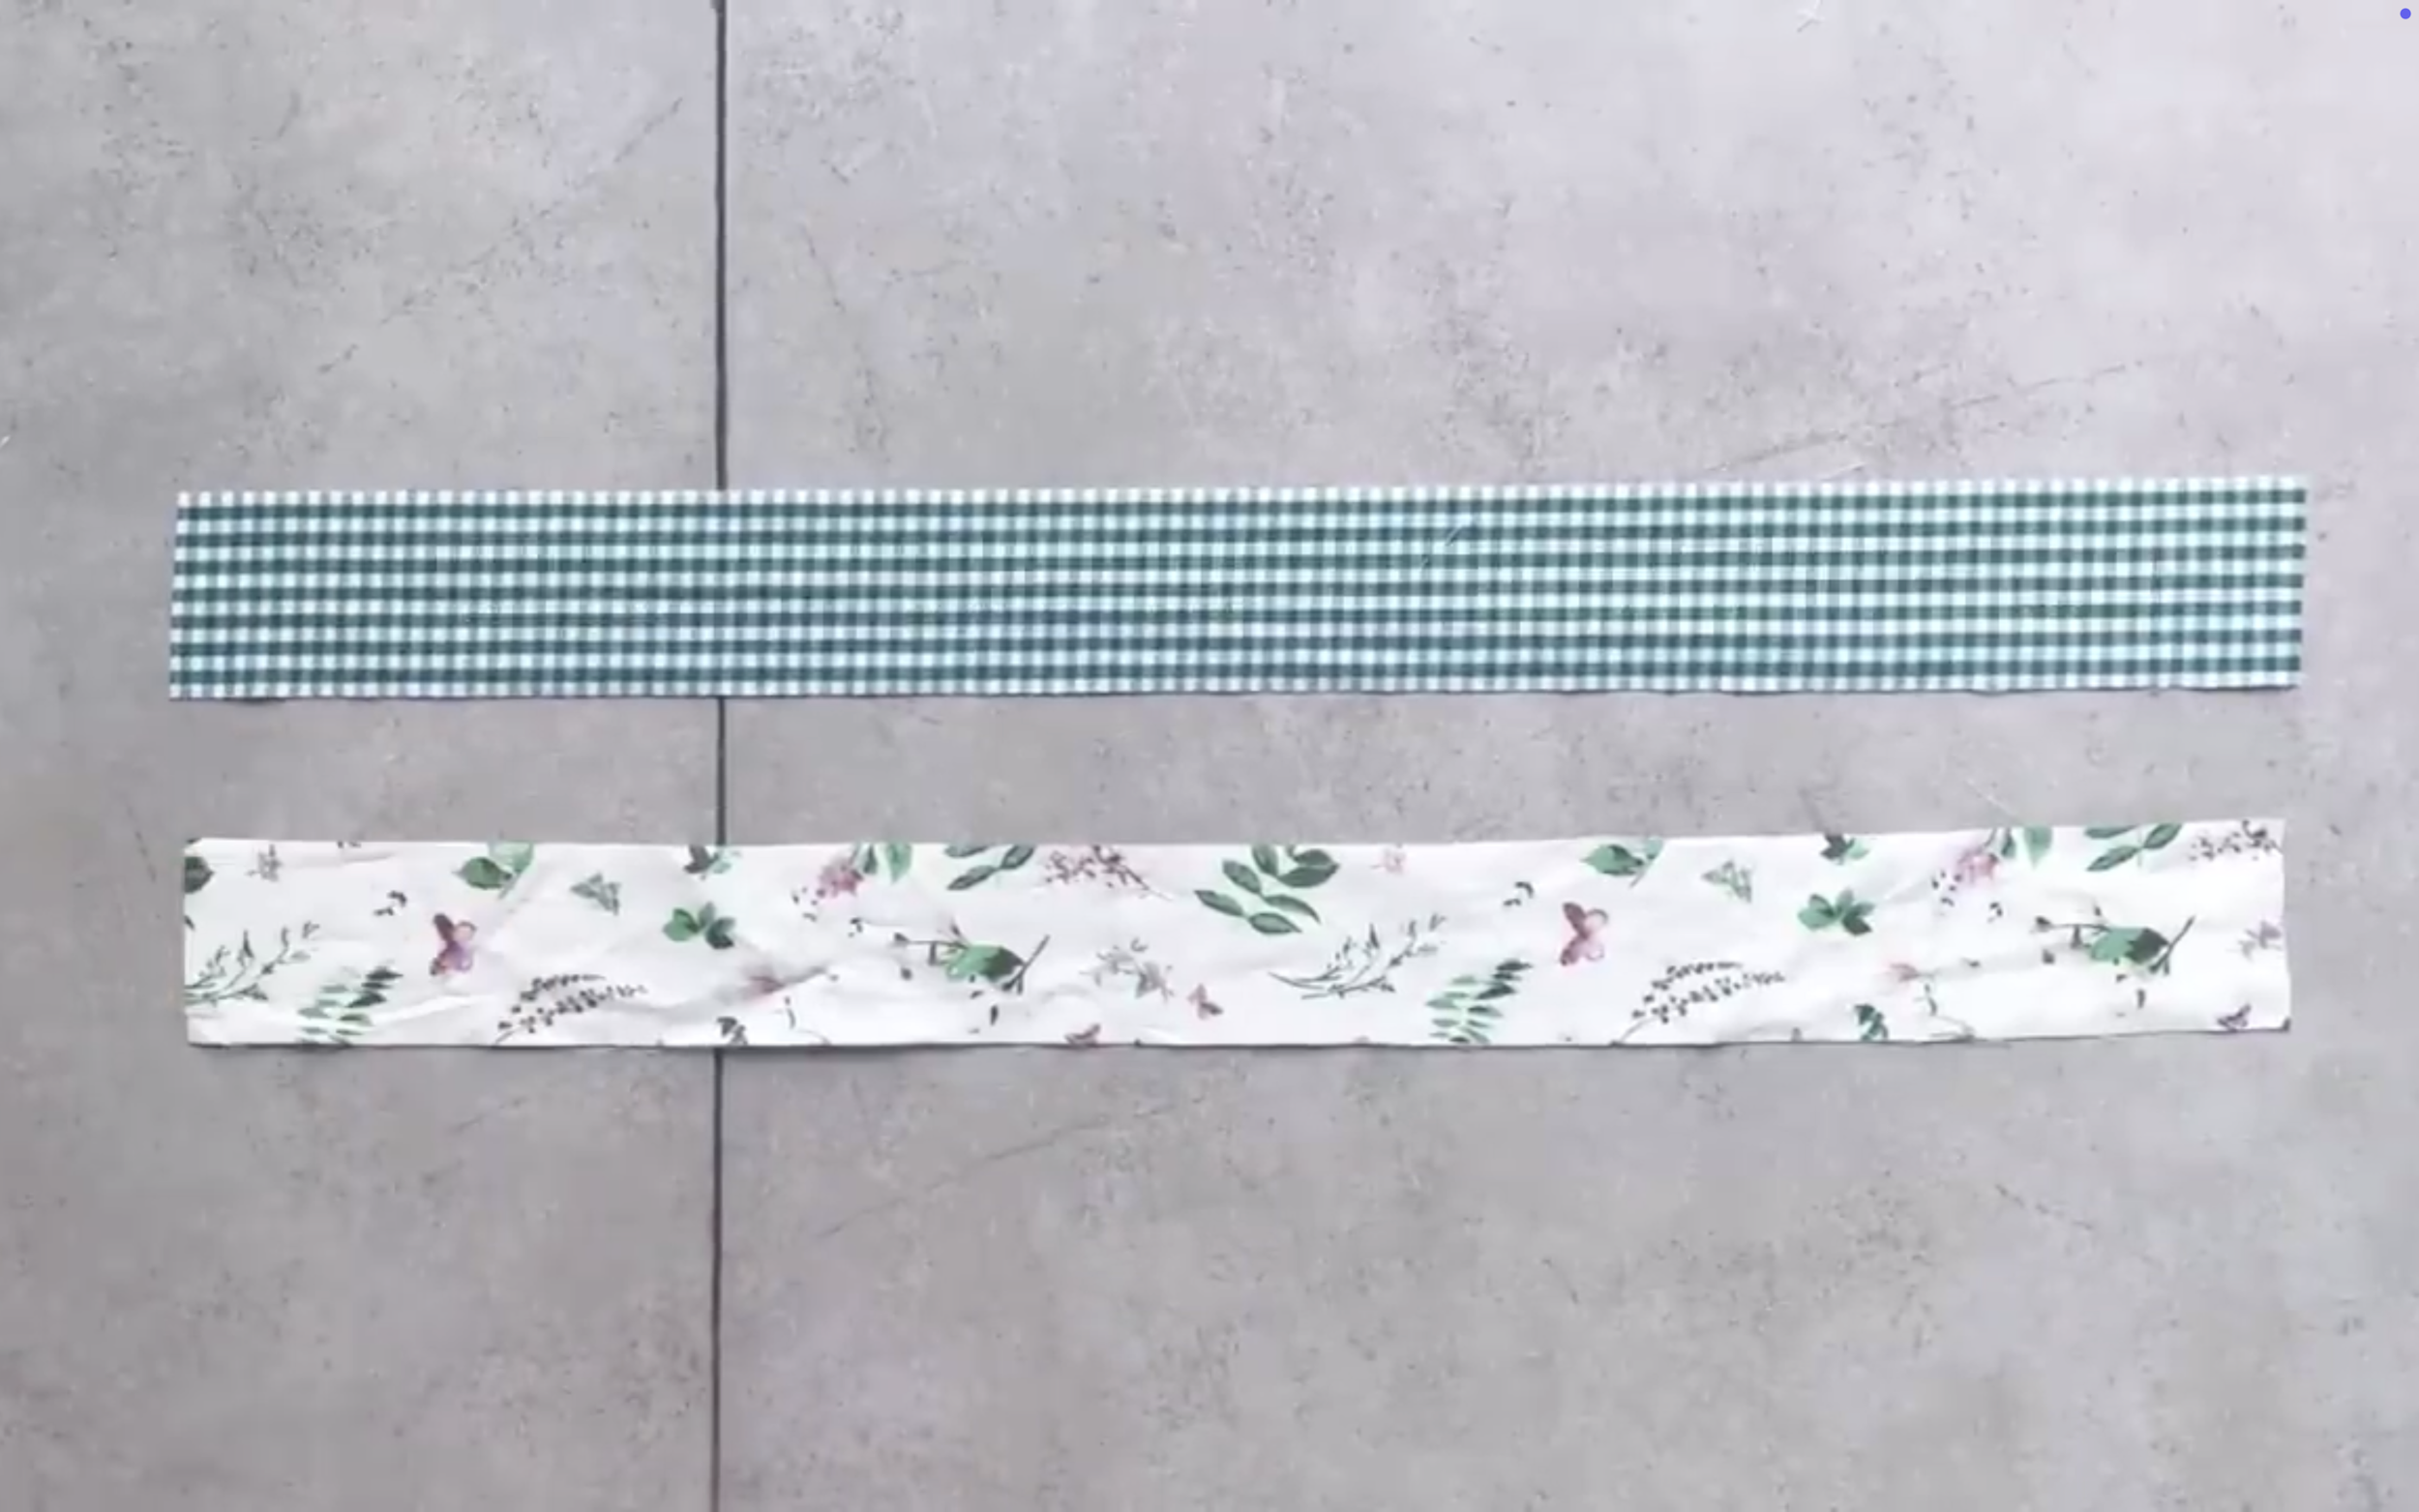
Cut a long fabric line with 6 cm width, which is the length of the waistband, plus 2 cm for seam allowance.
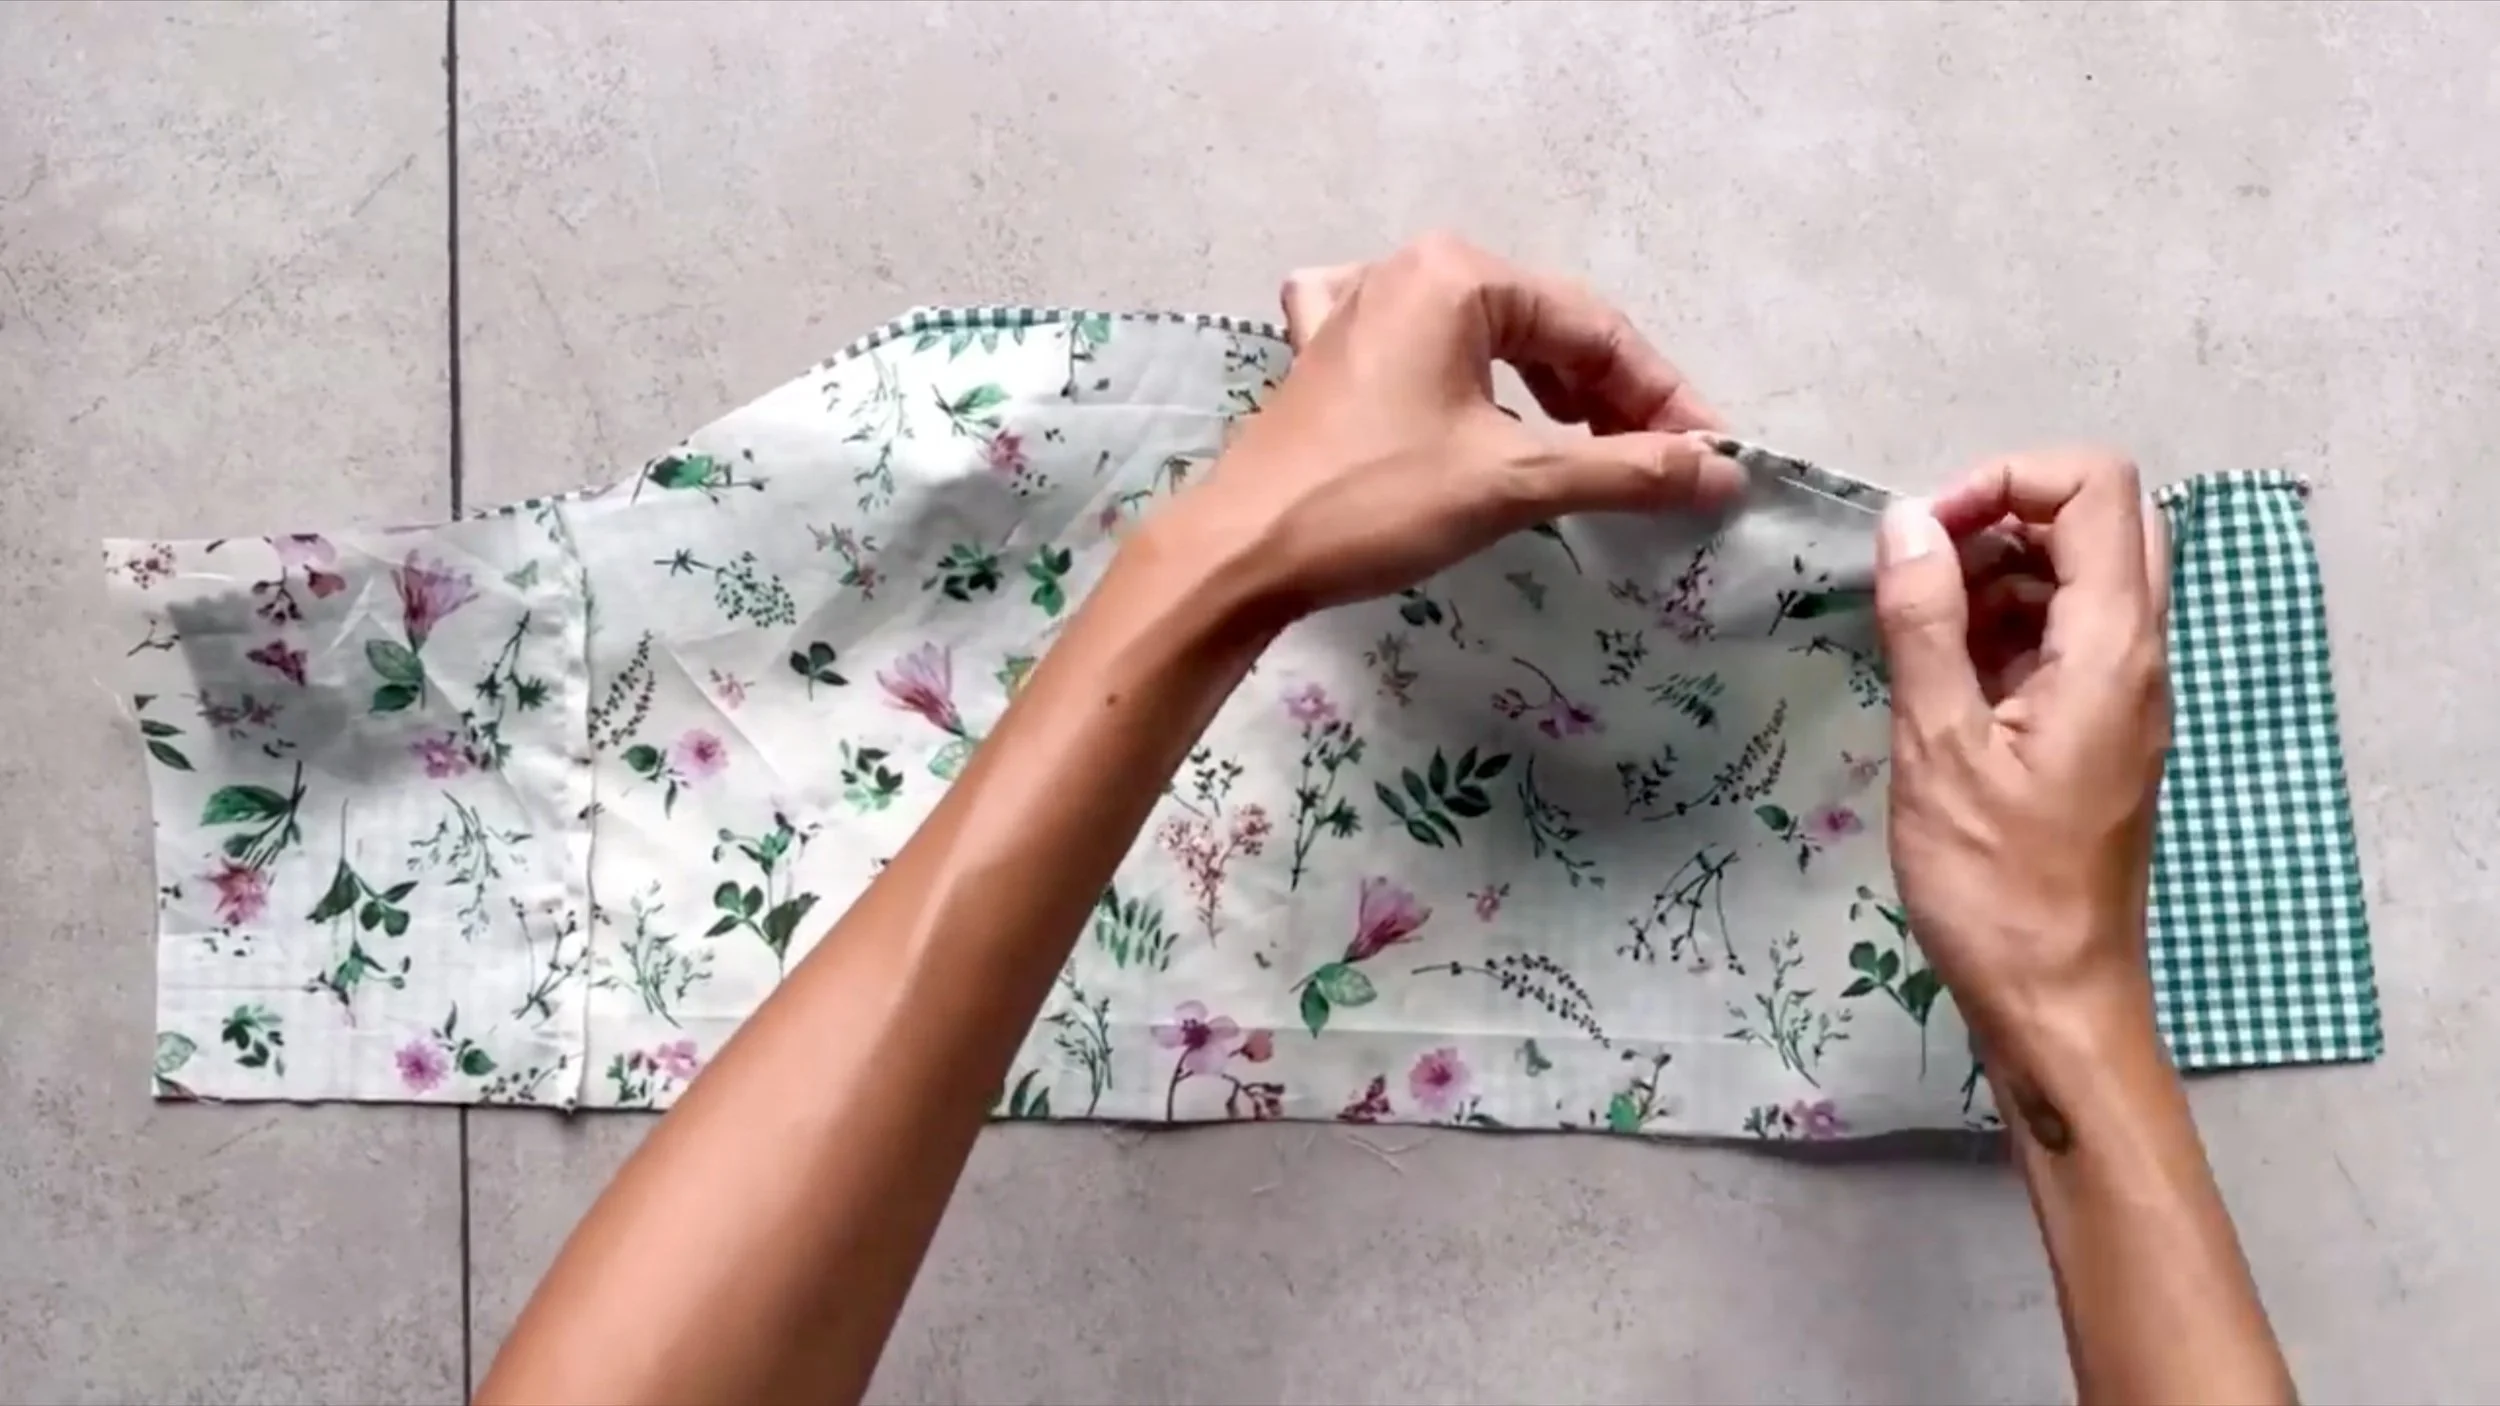
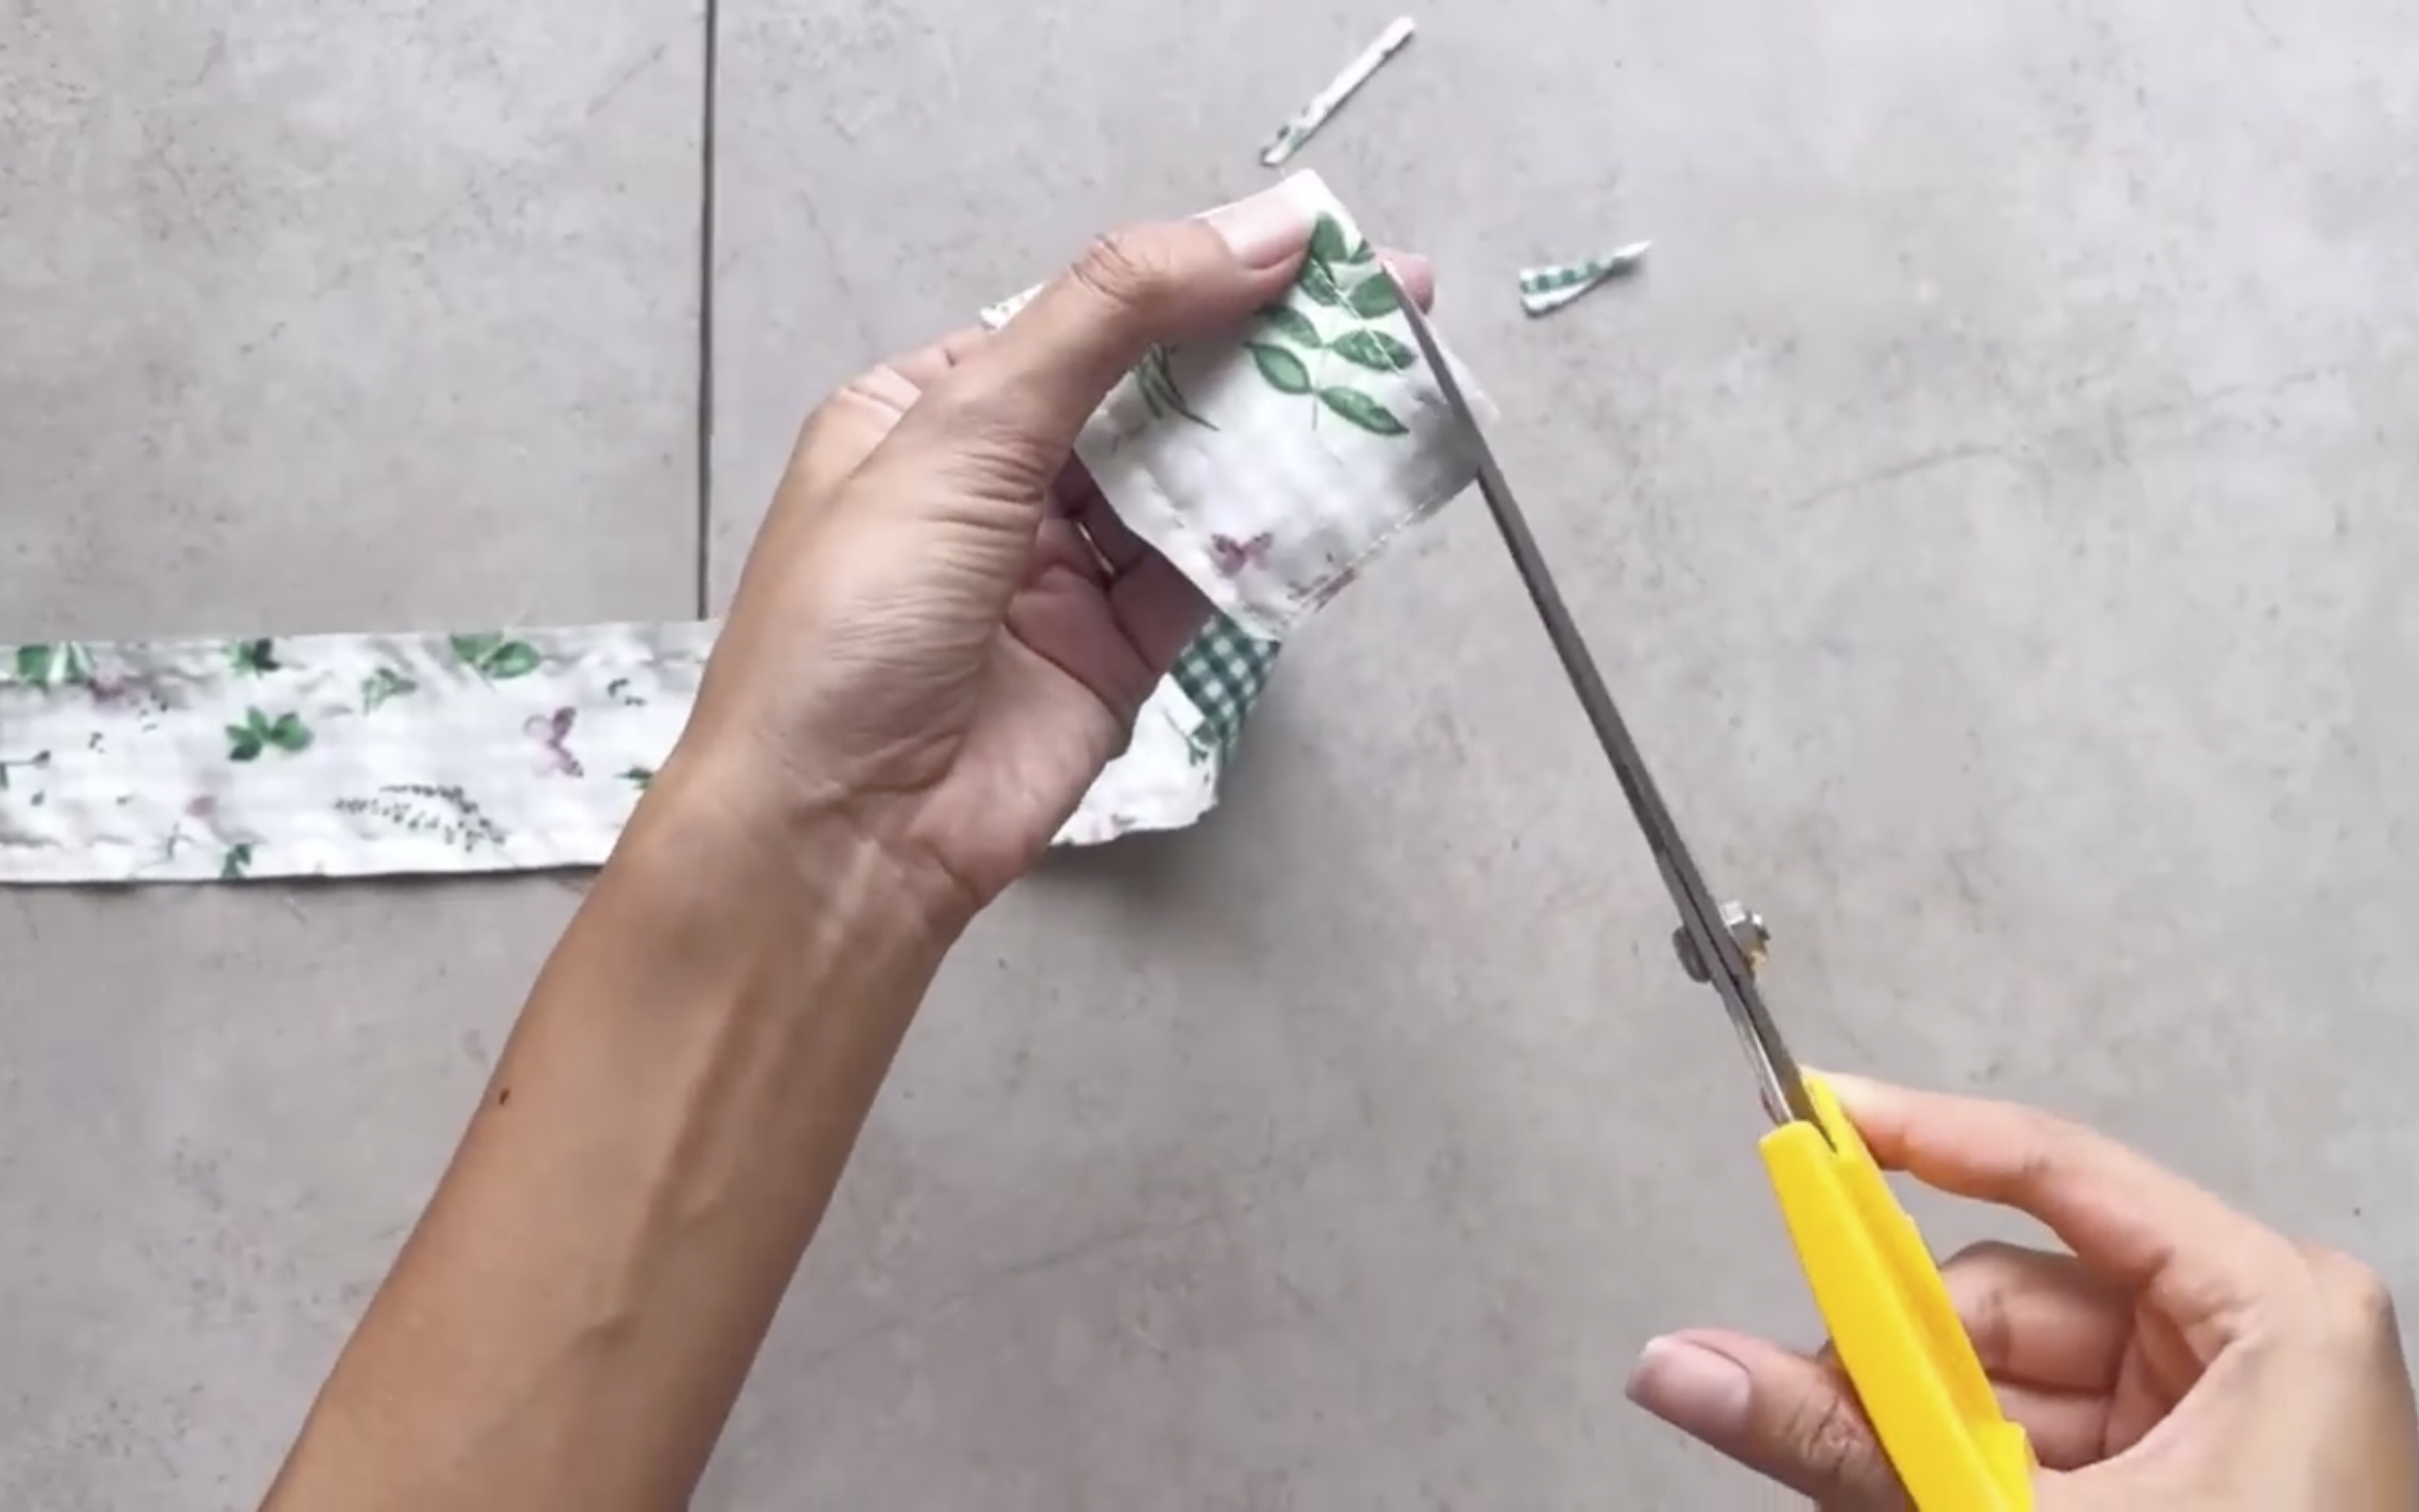
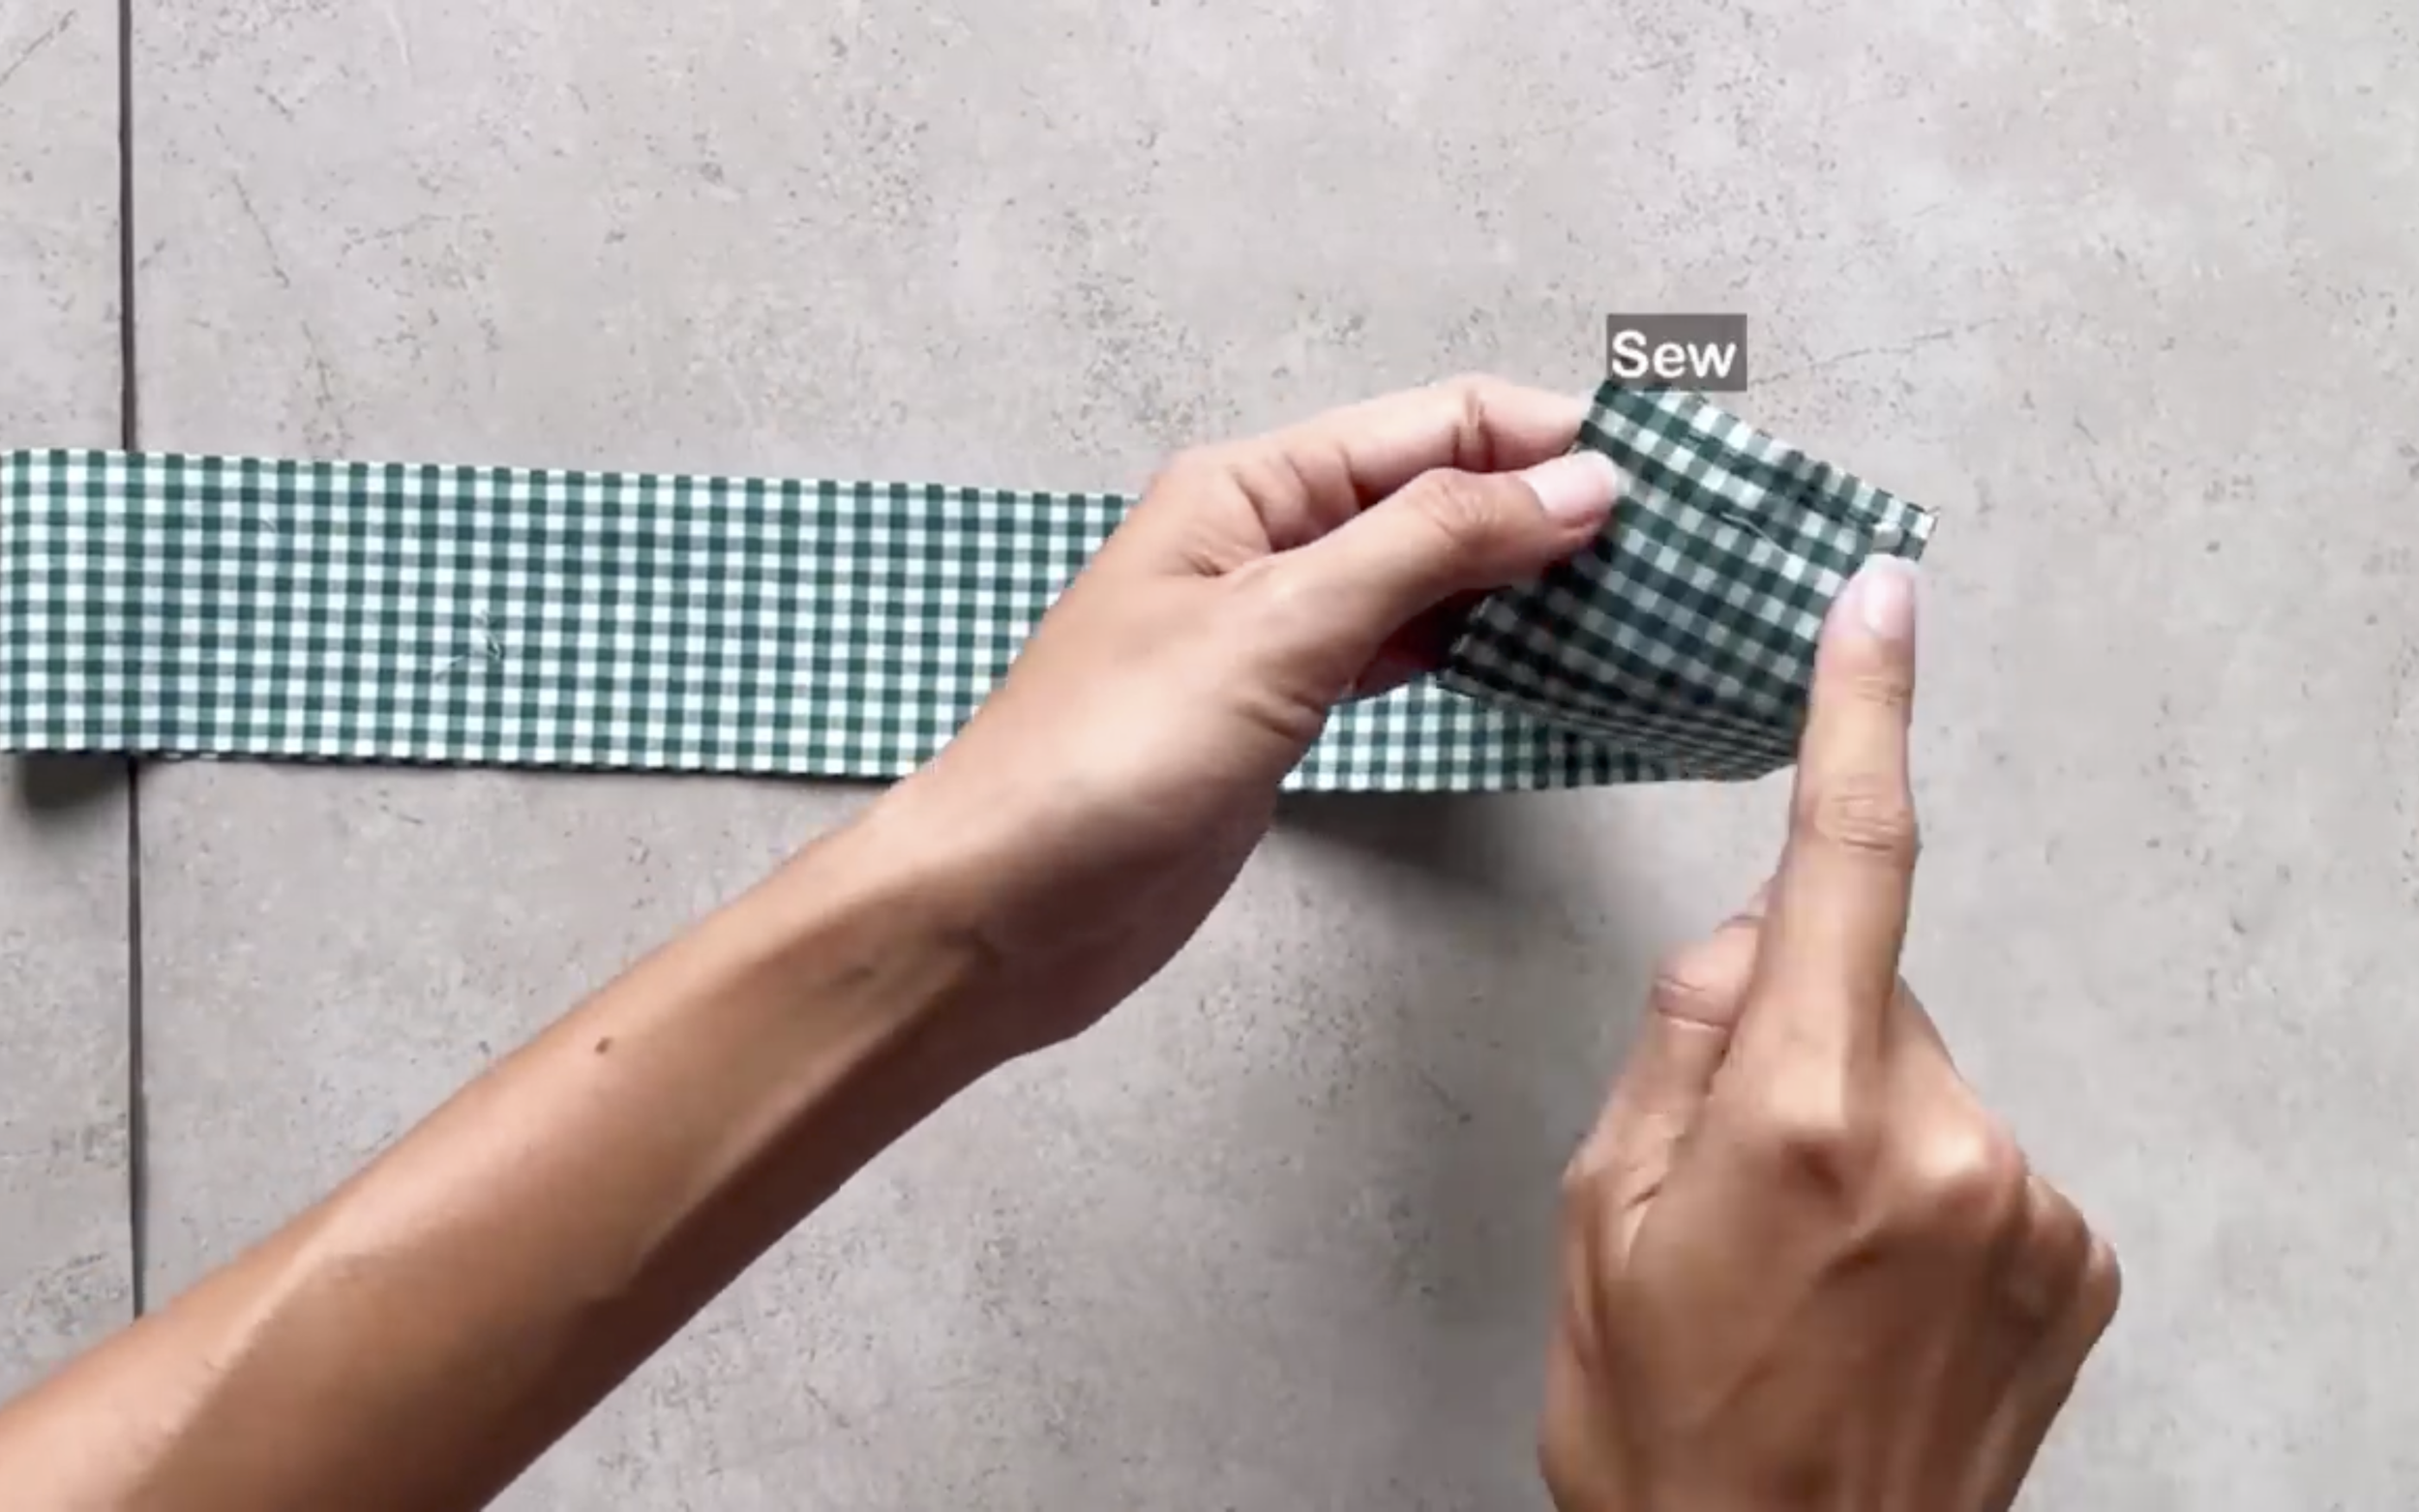
At one lane line, finish the end of the fabric by folding it inside twice with 0.5 cm each time and sew it together.
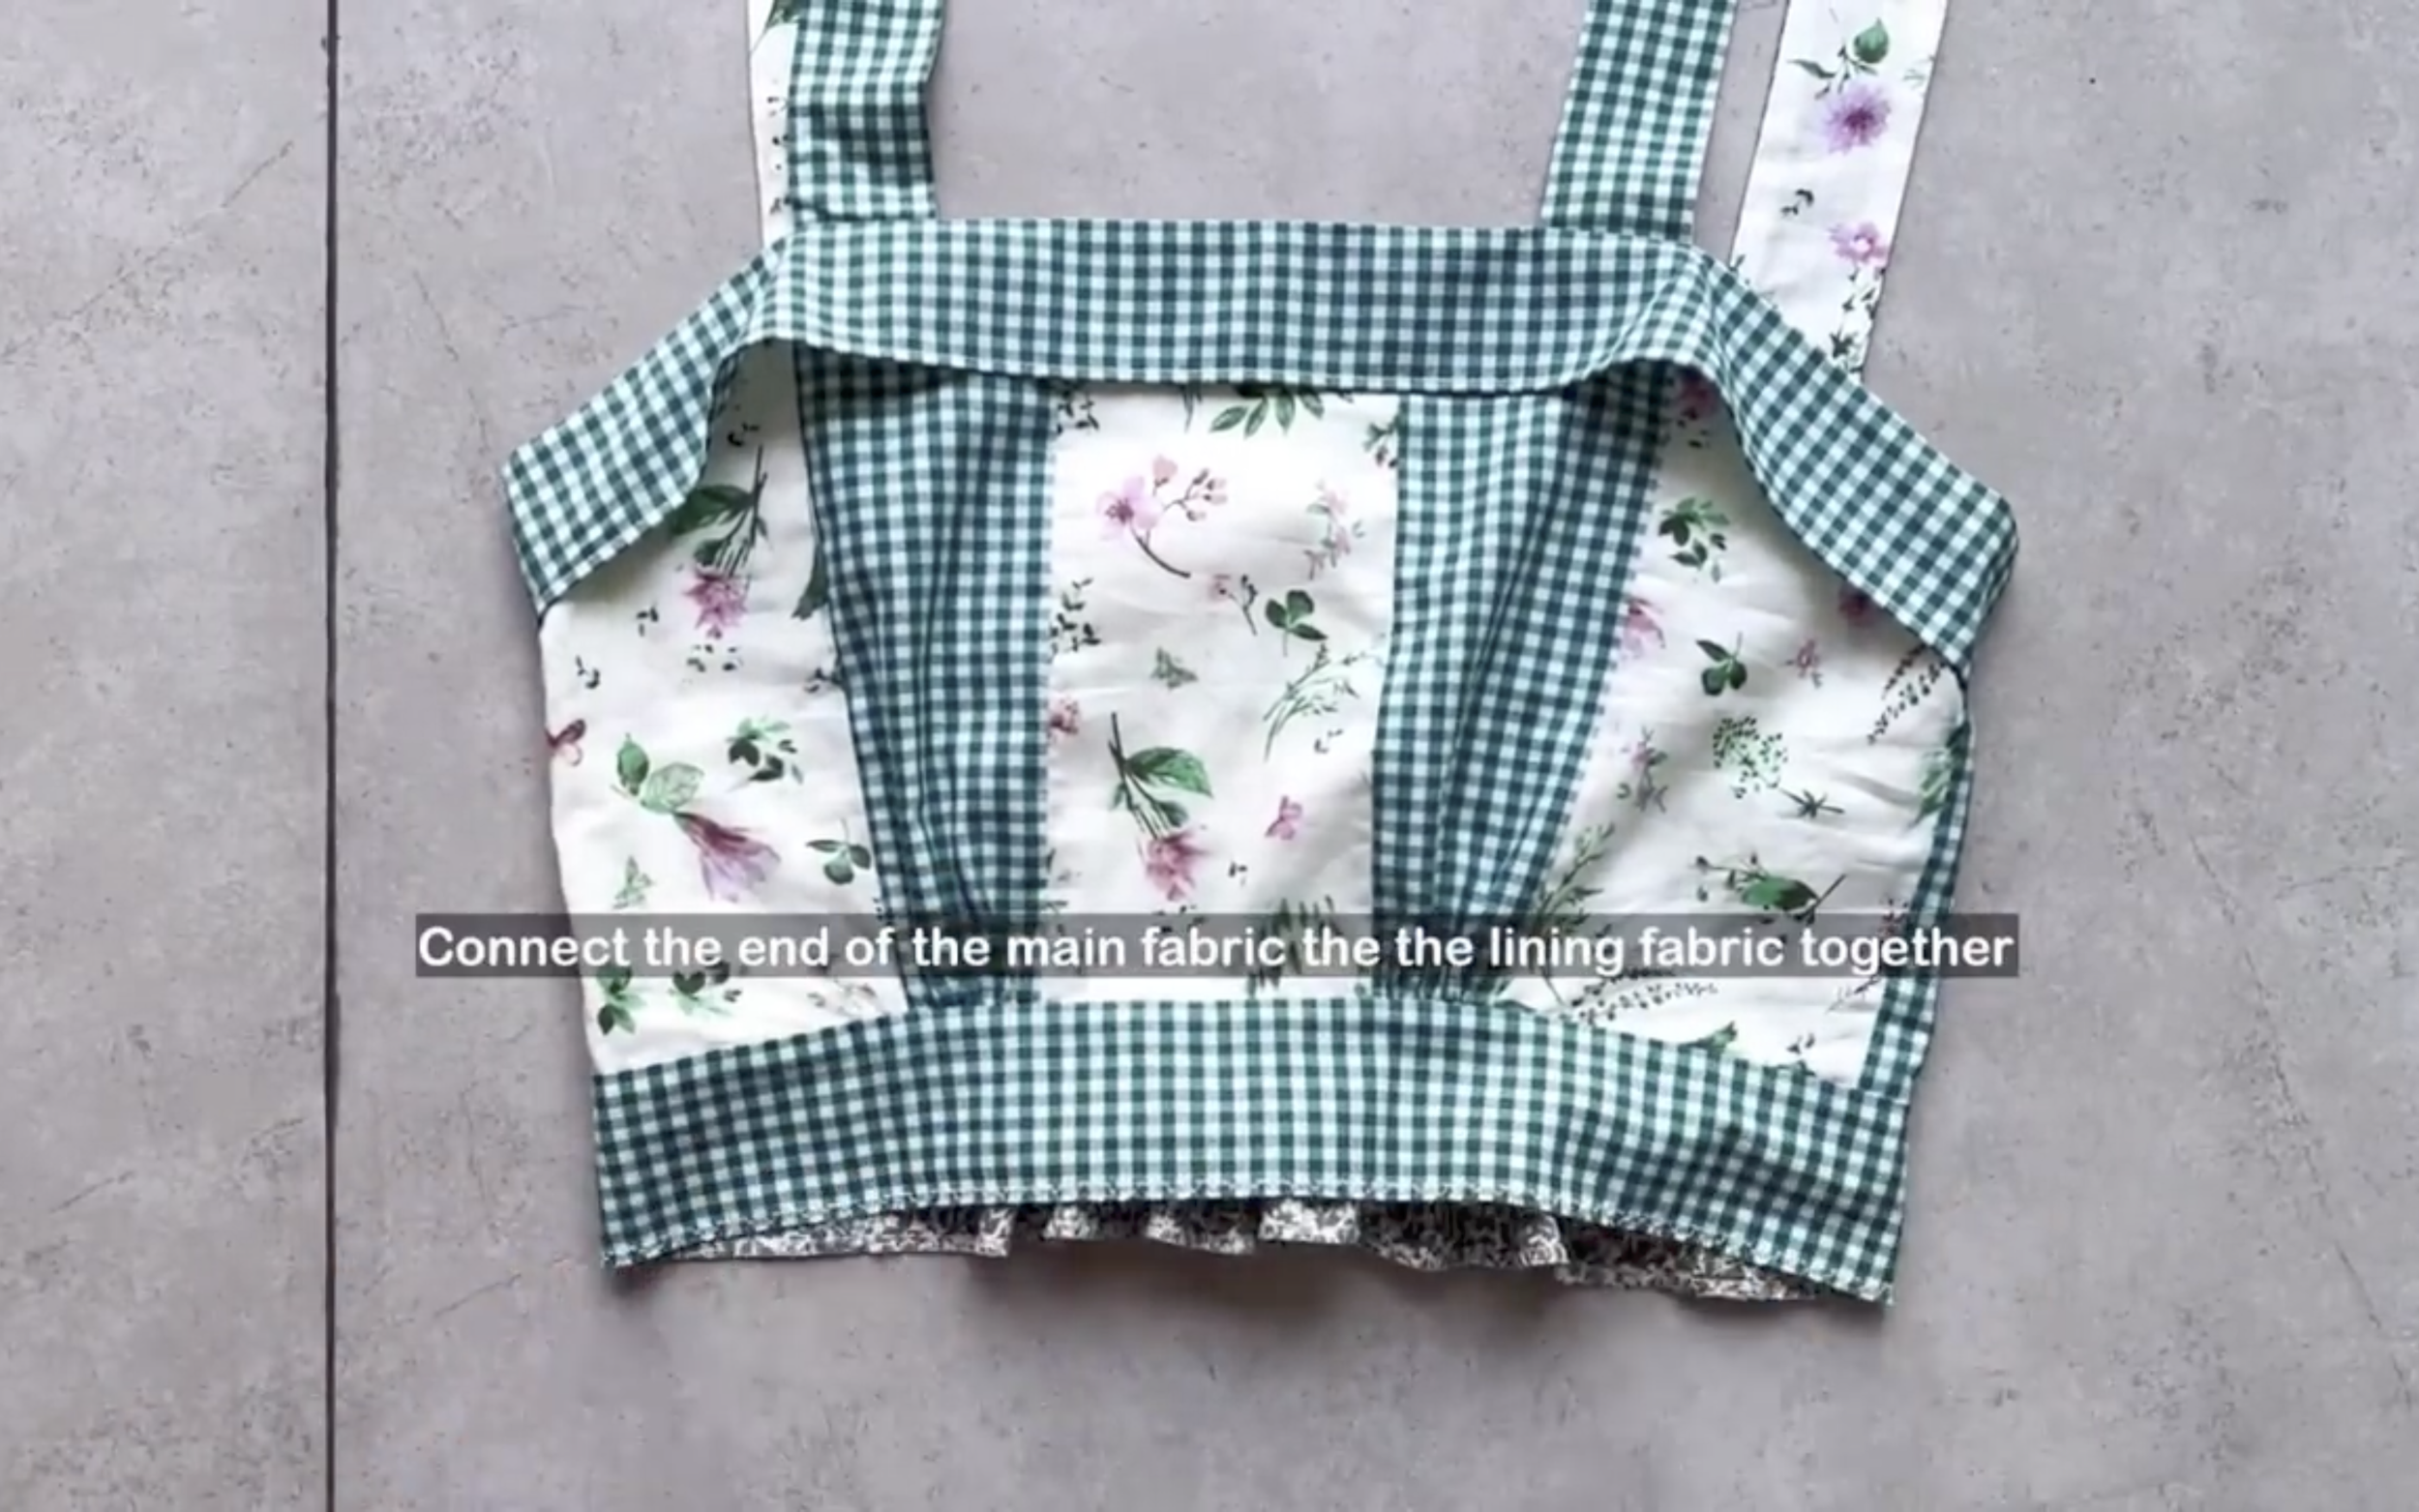
After sewing, connect the other side of the fabric line to the top part of the strap just finished.
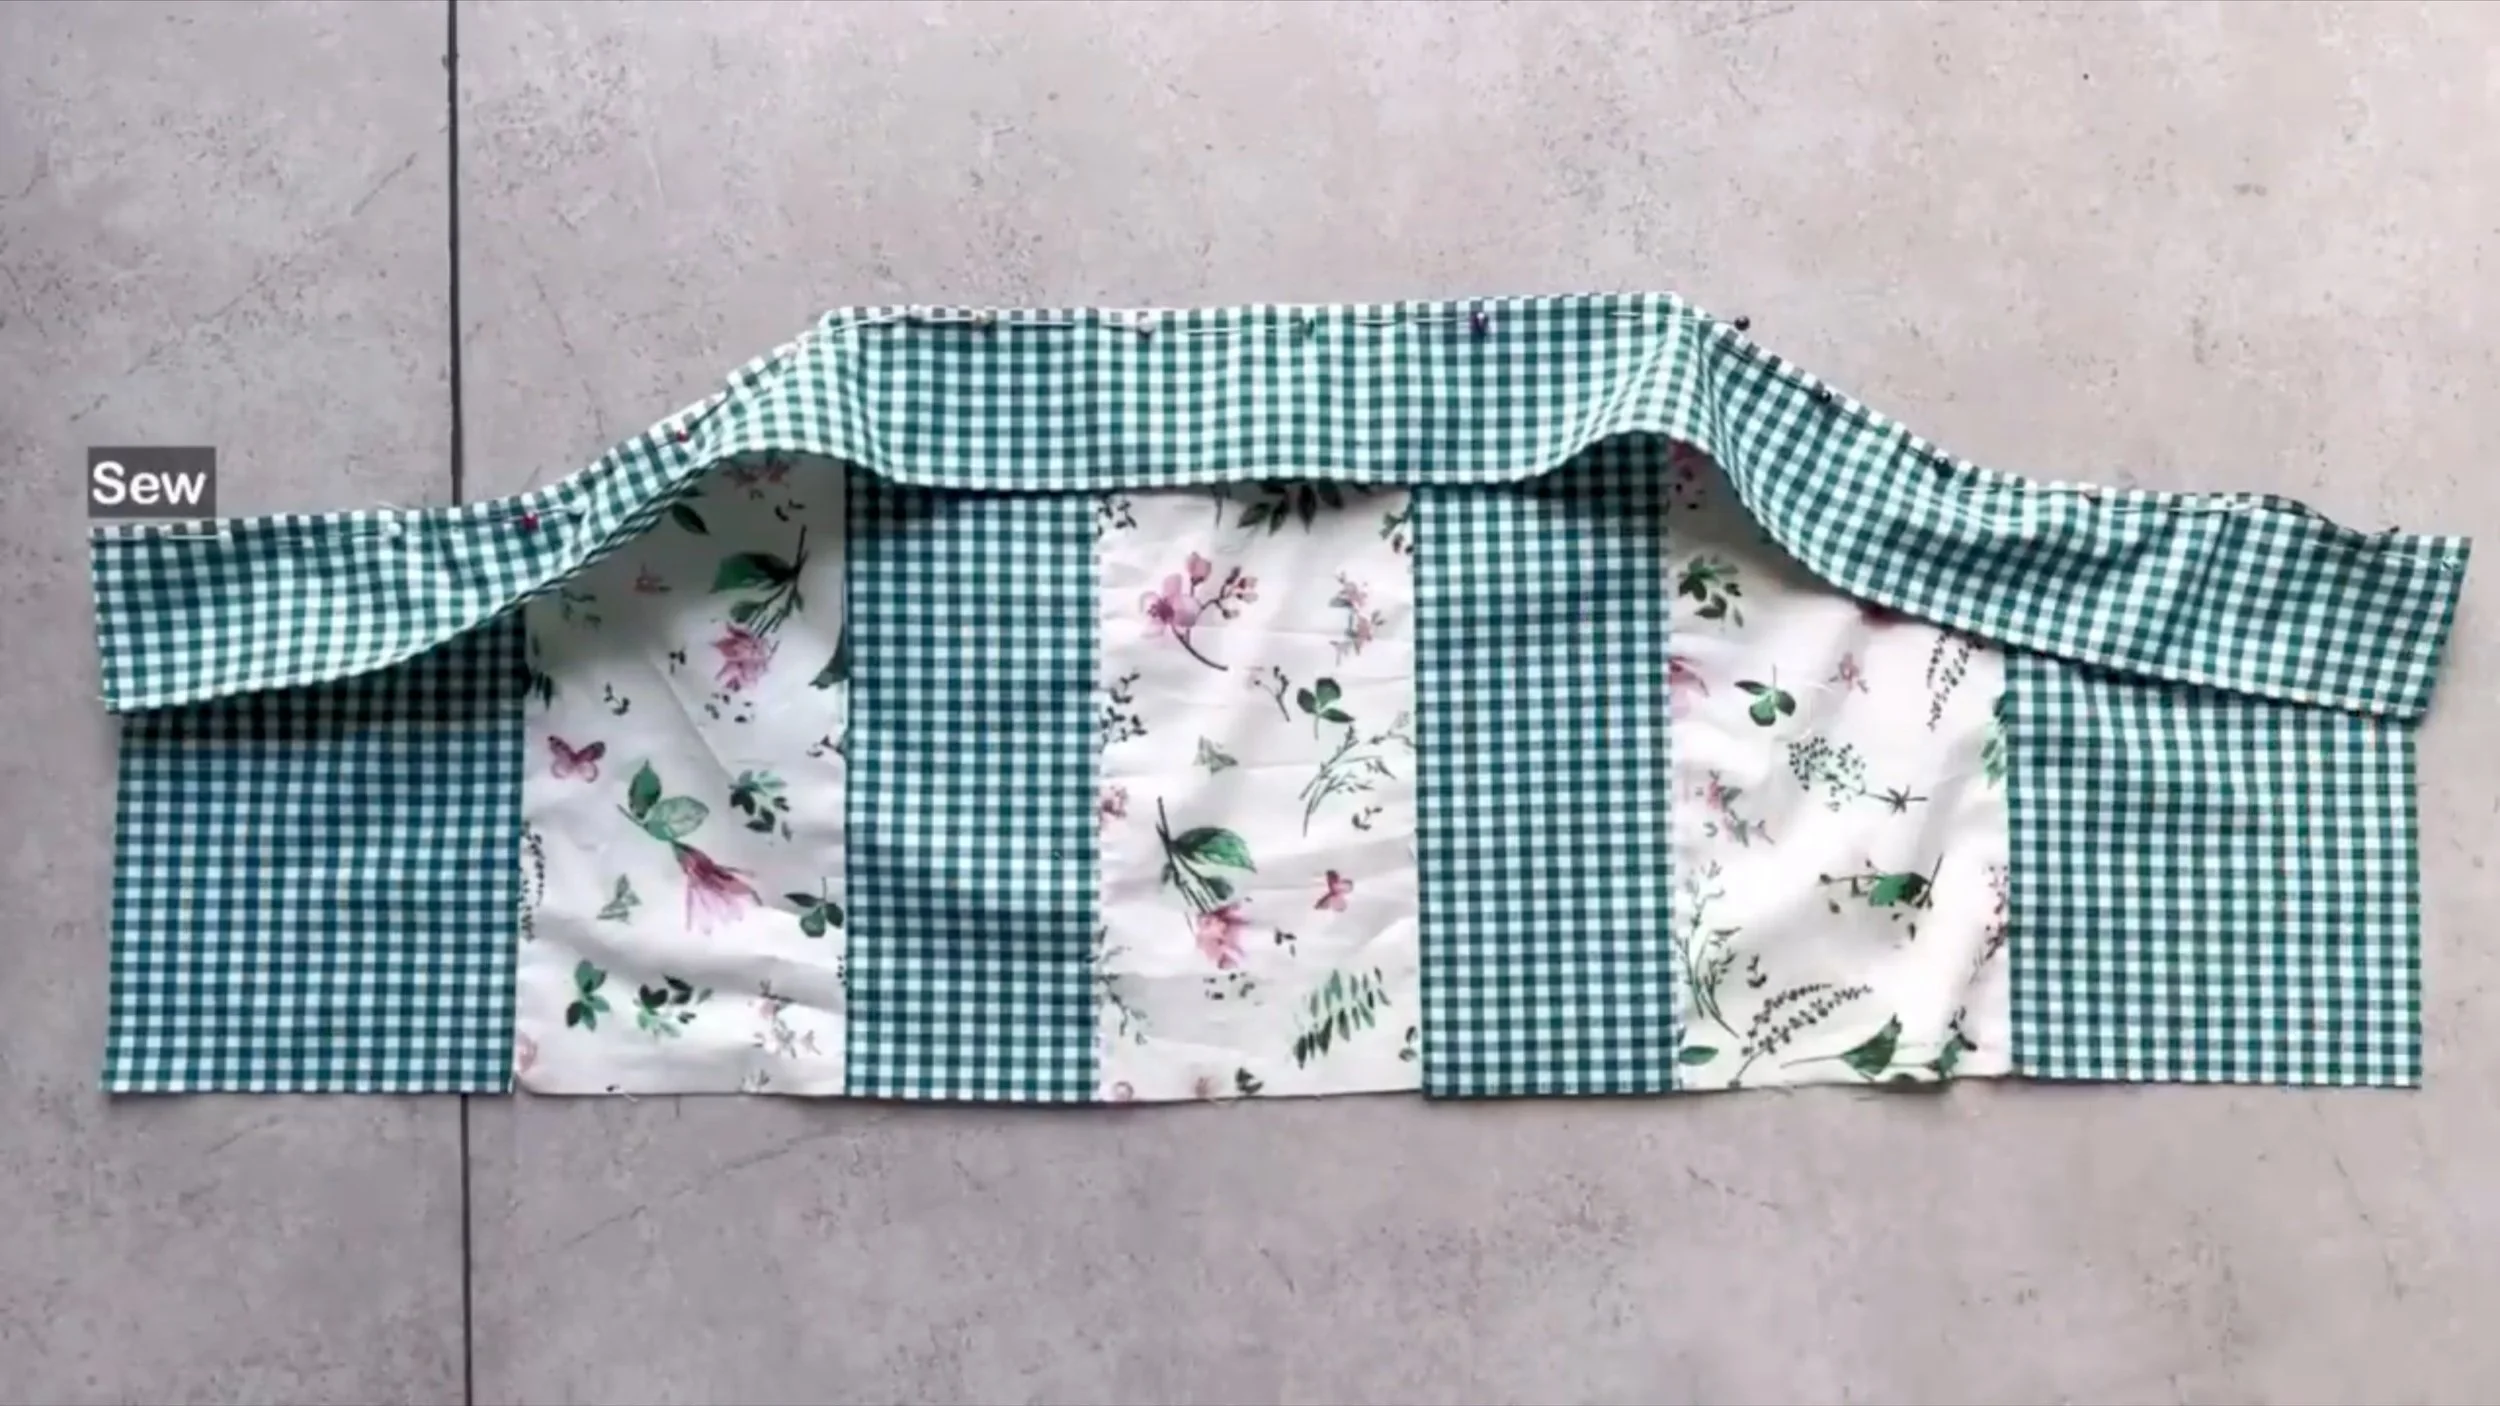
Connect the lining part to the main part of the top dress with pins first. Make sure the fabric line is in the middle between them.
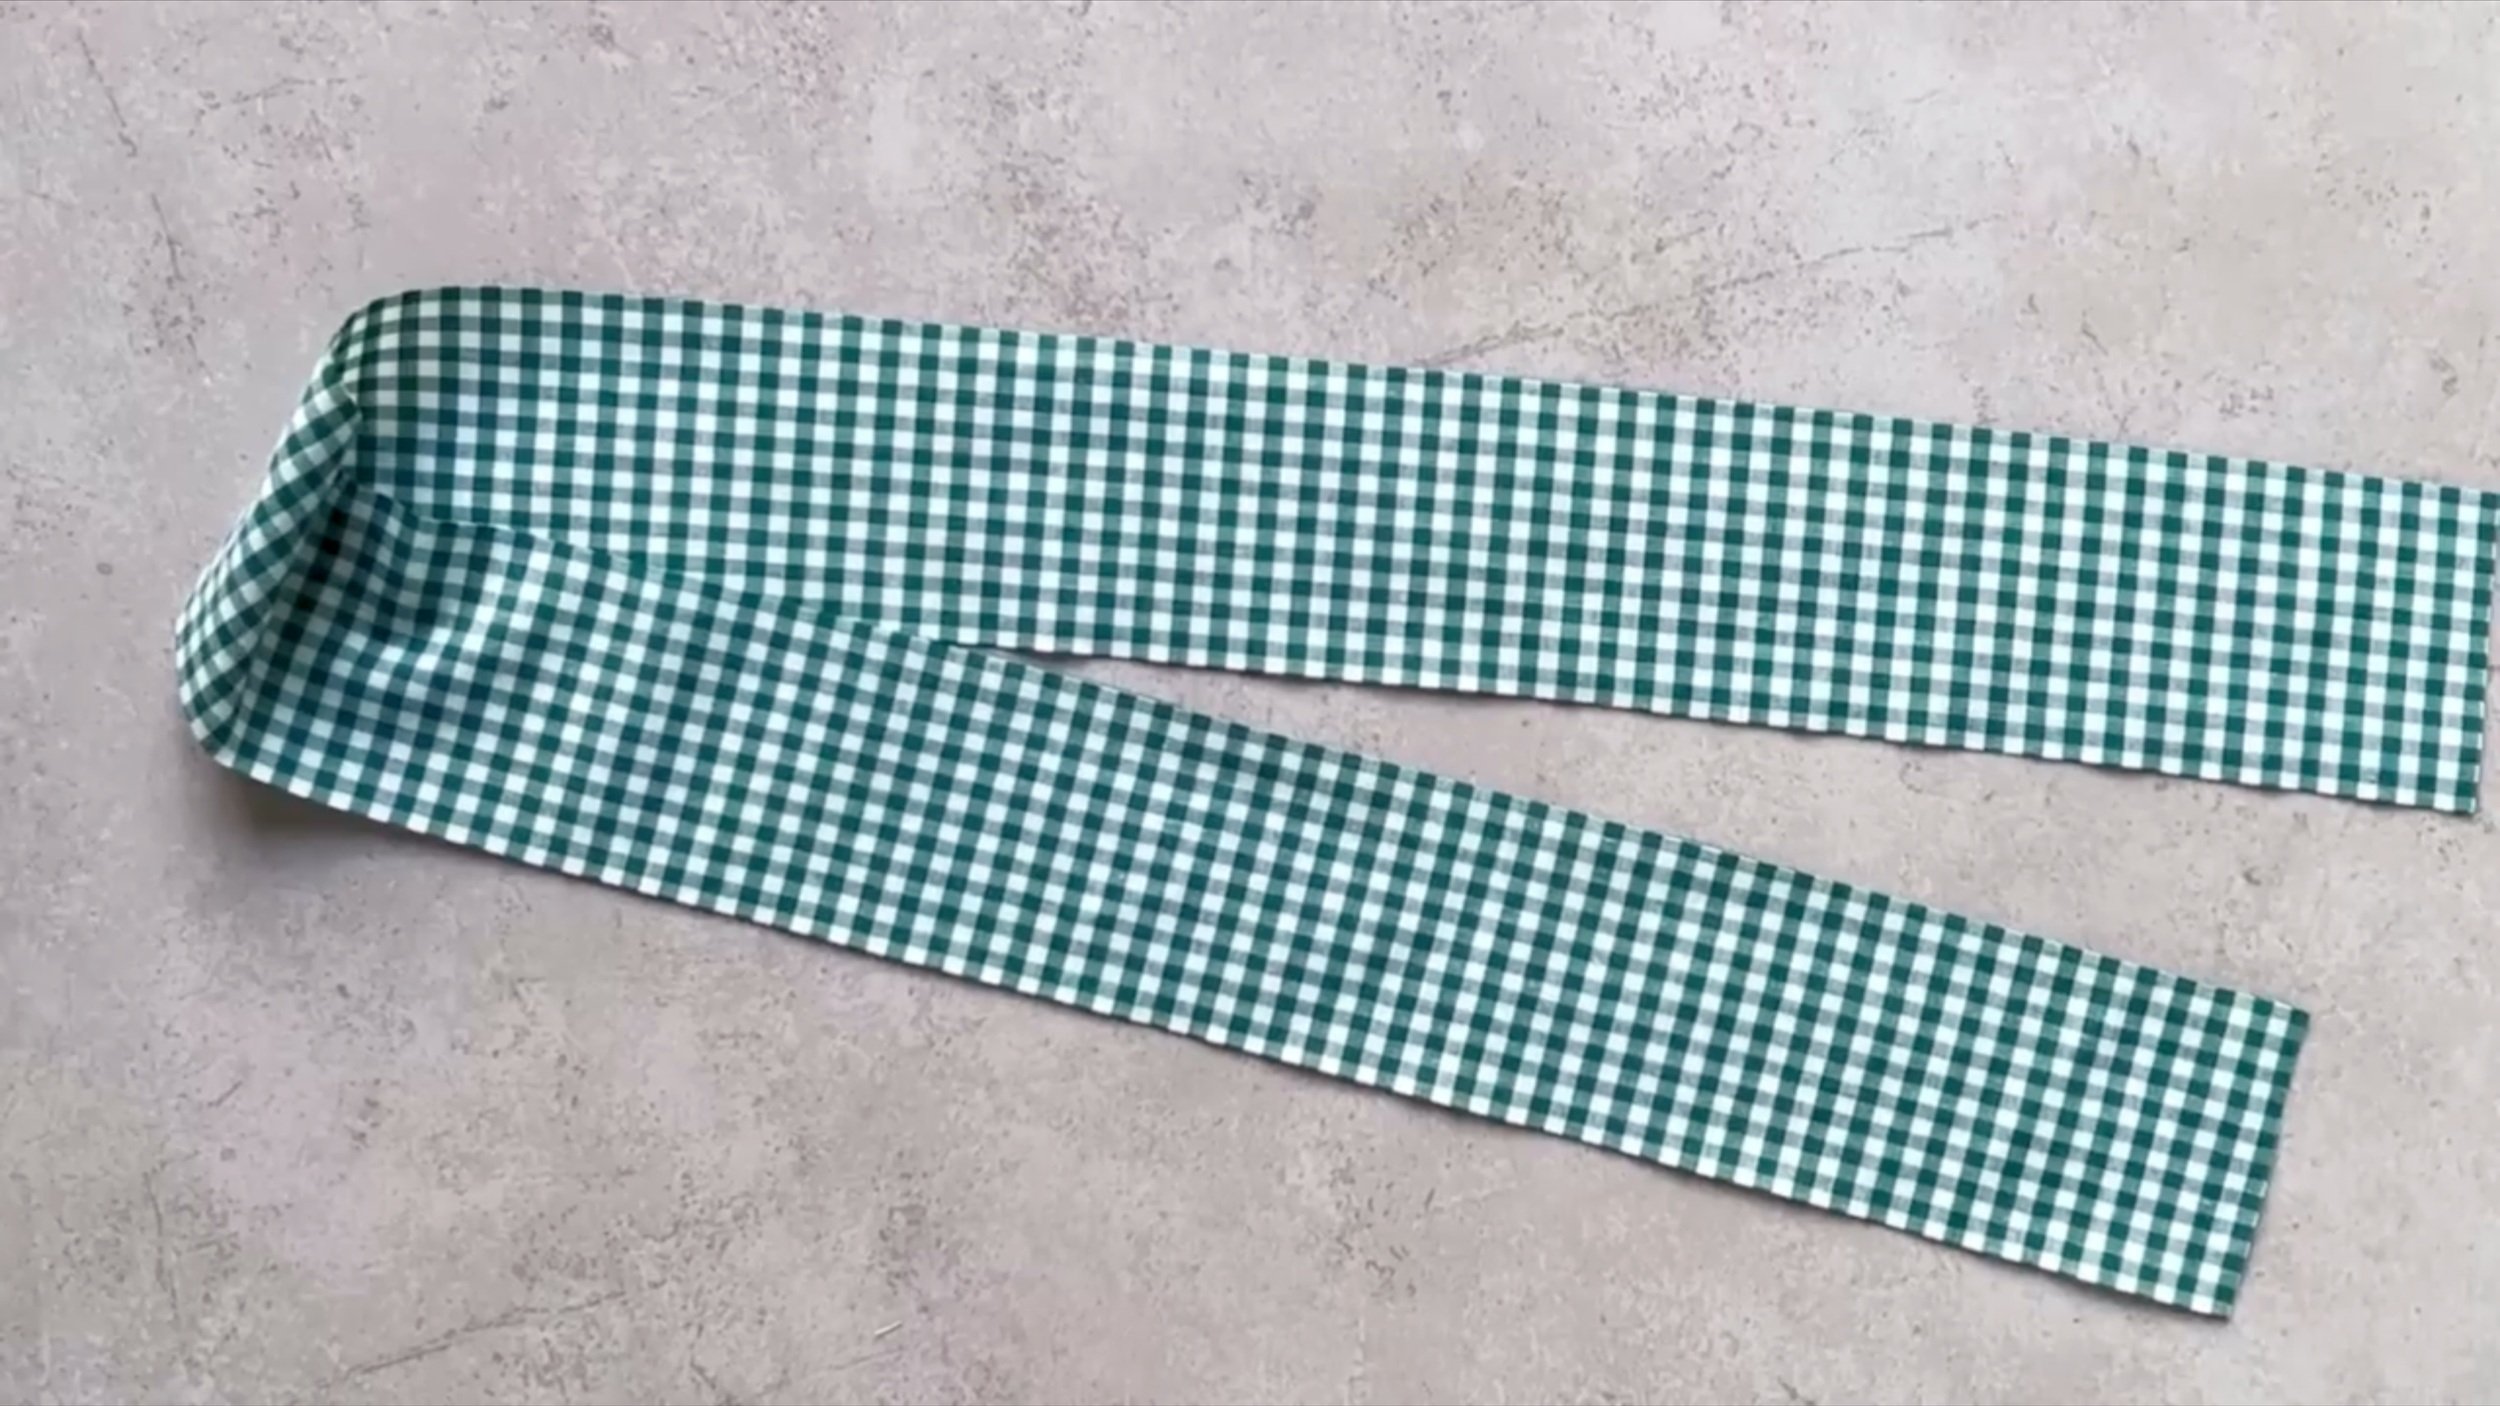
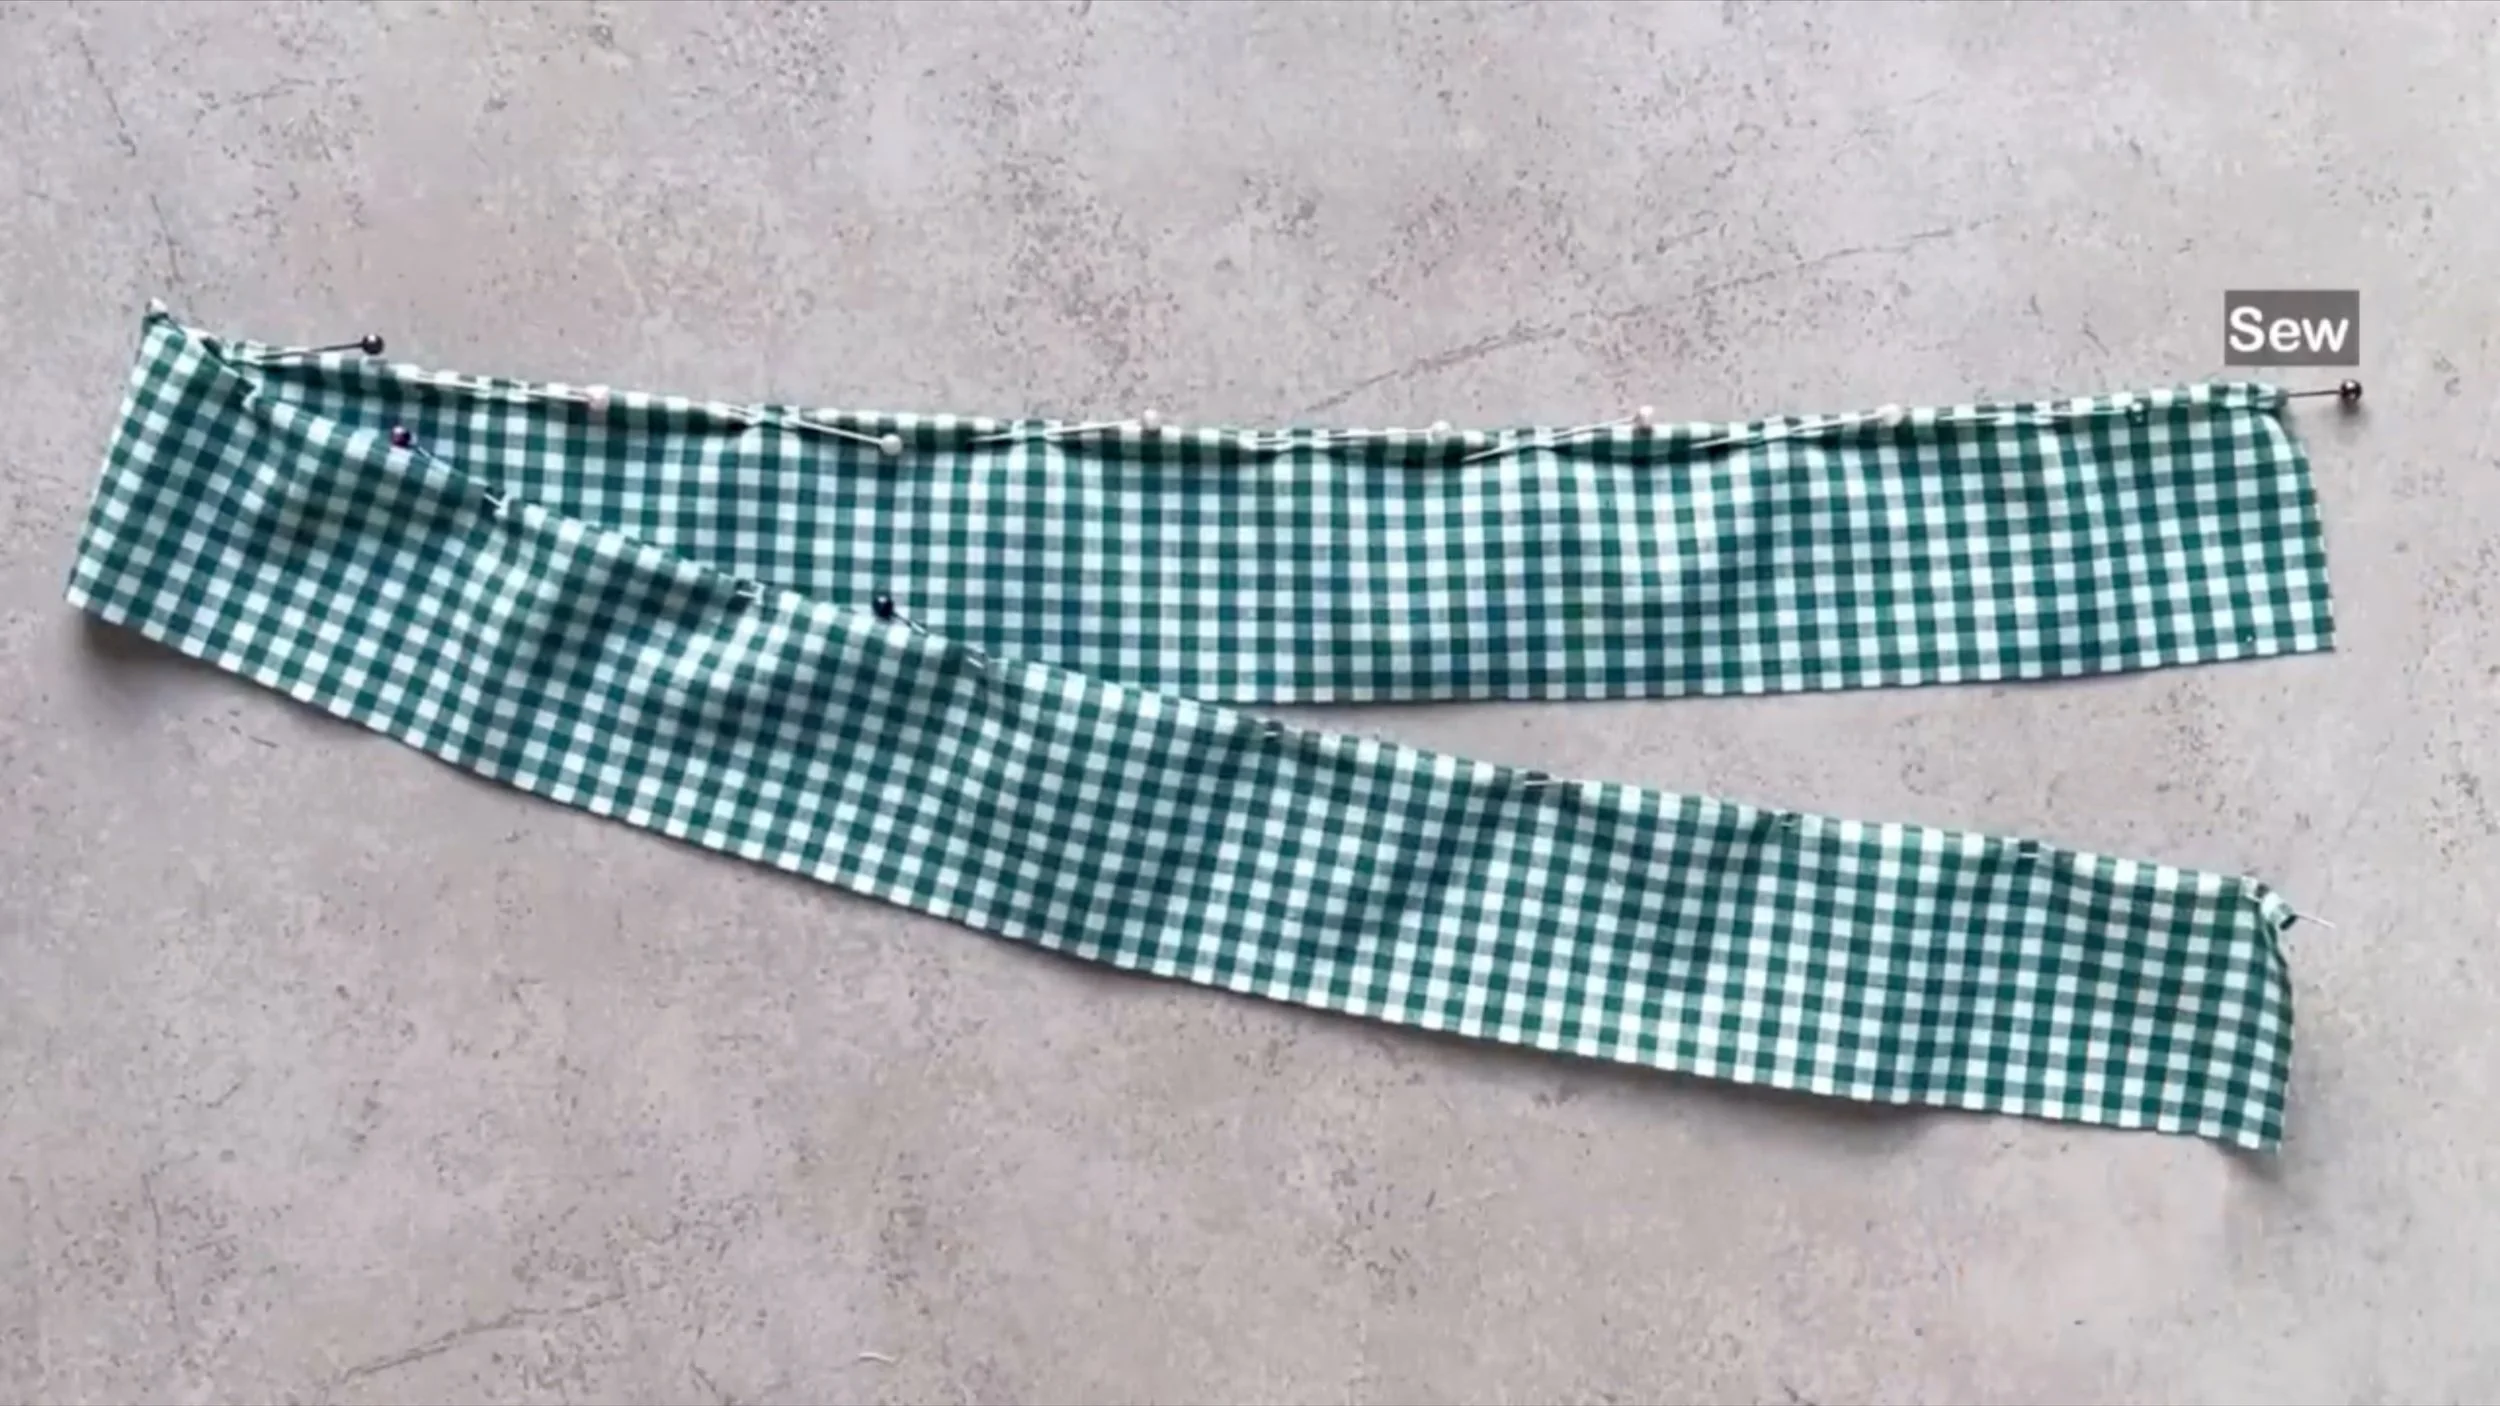
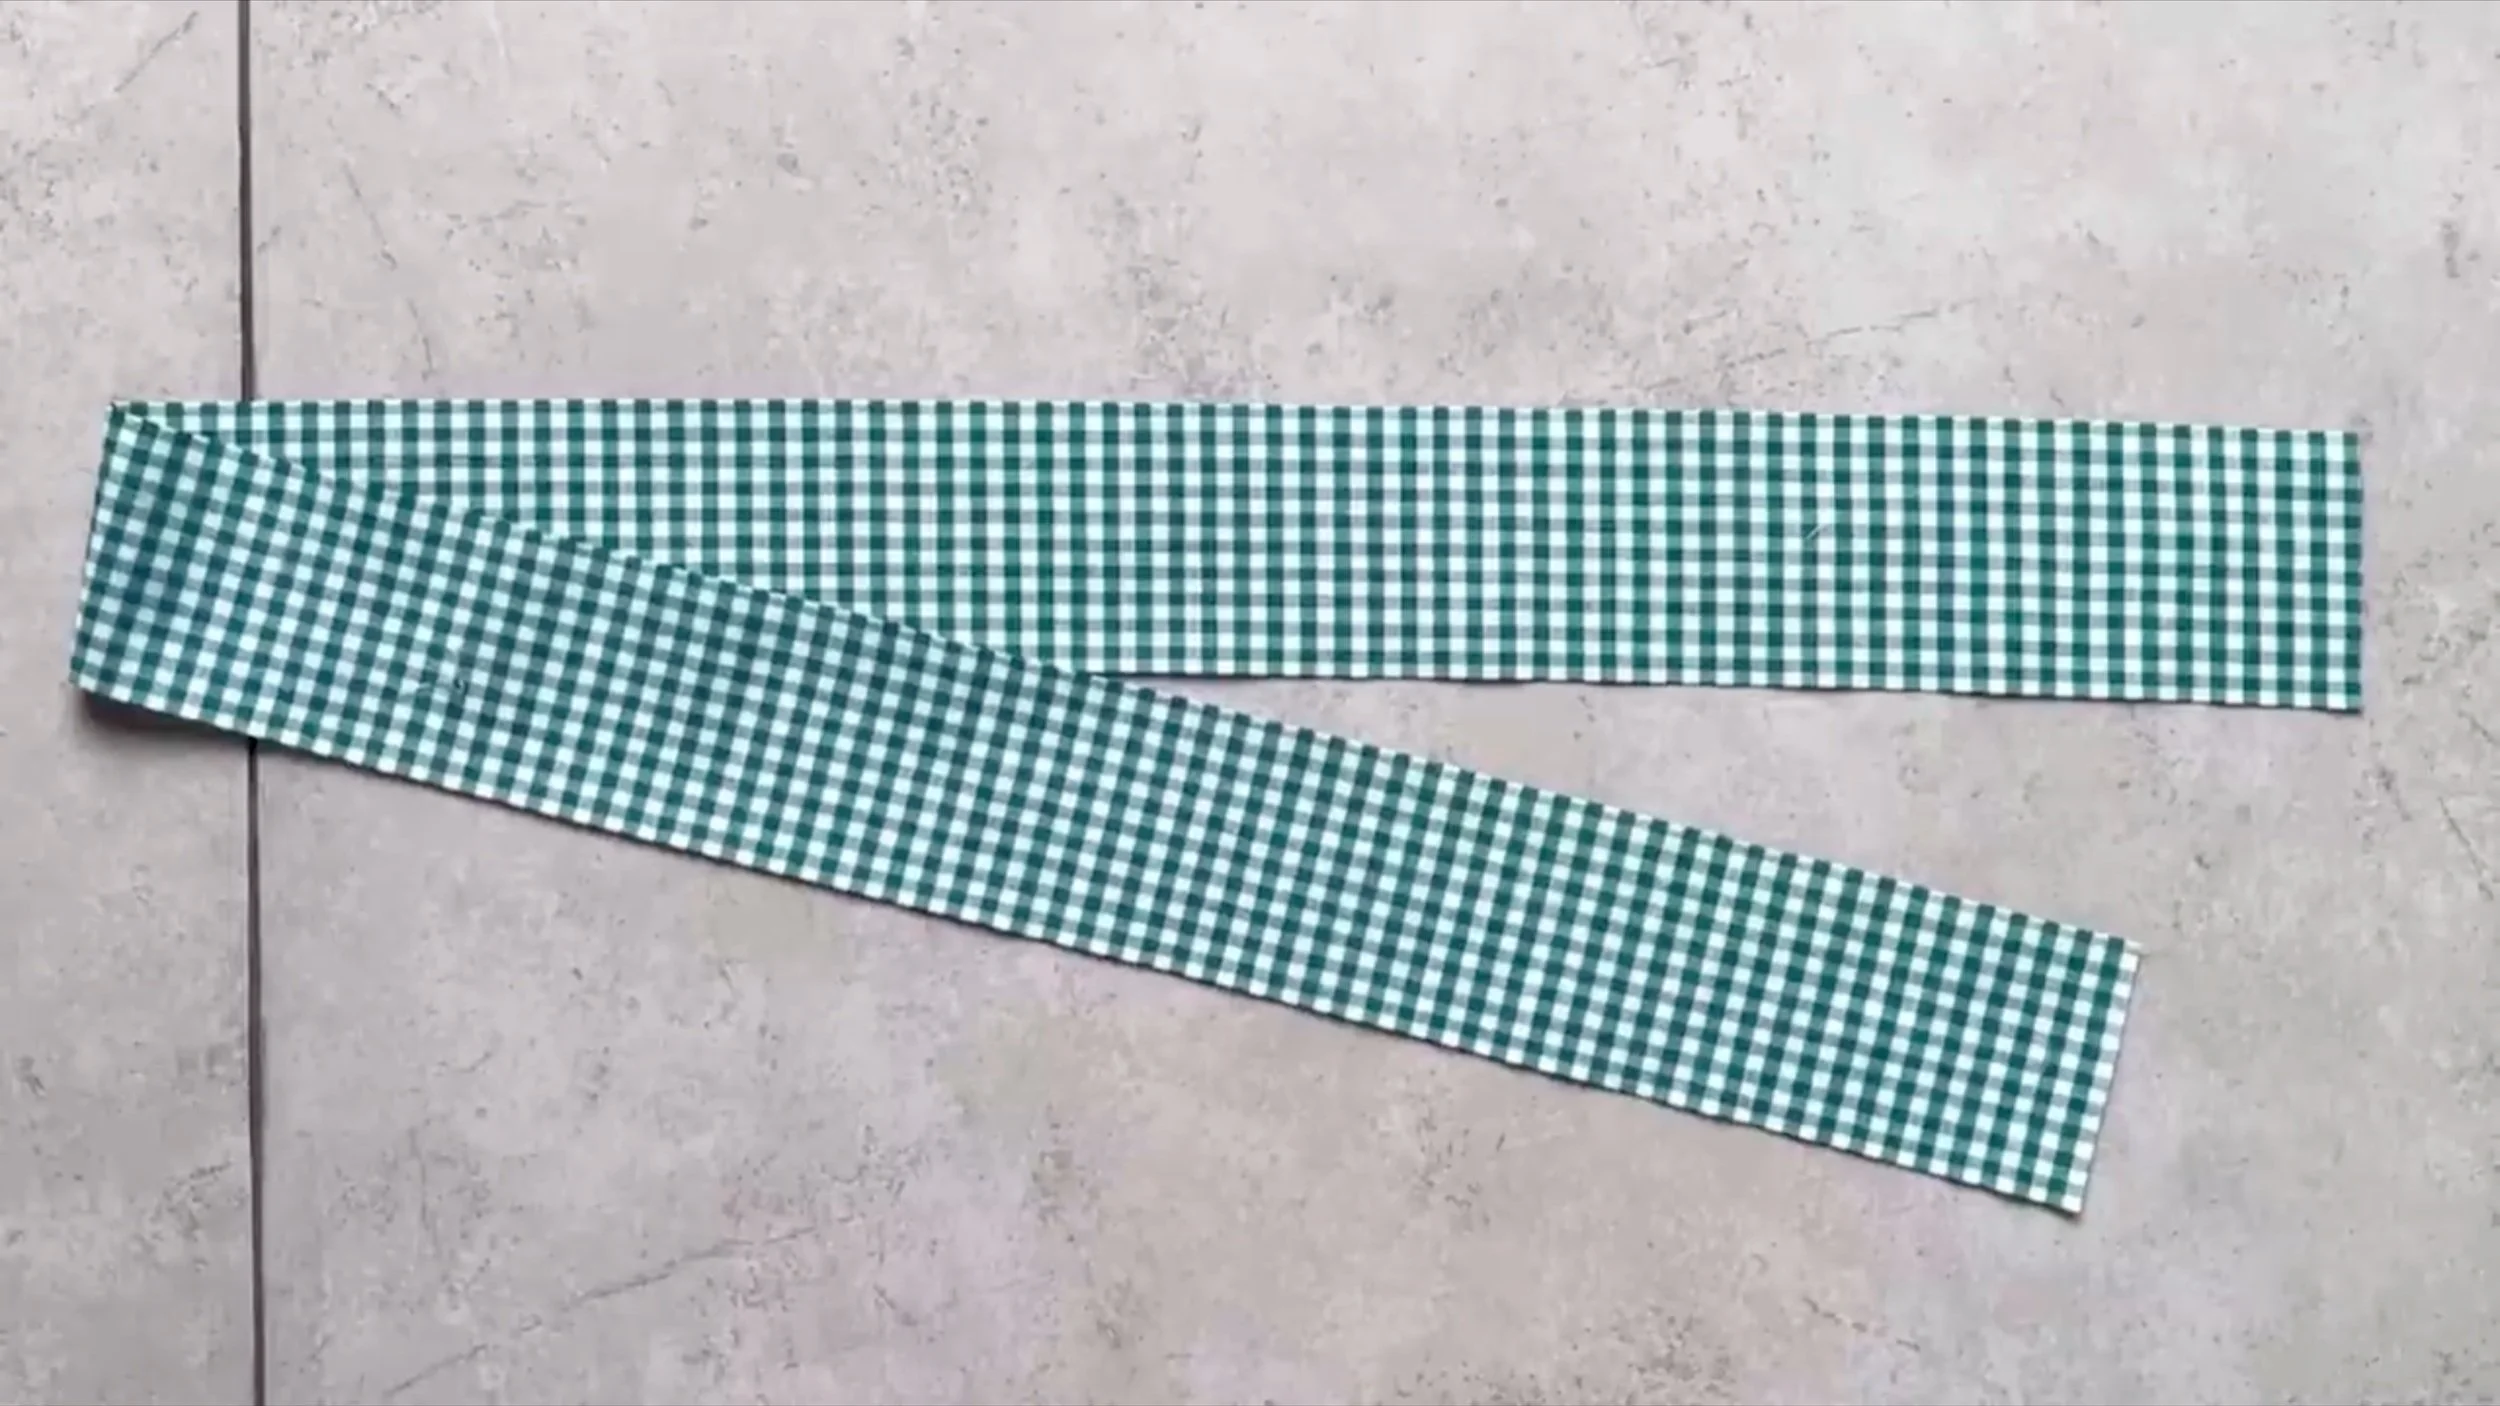
To make the shoulder strap, cut two long fabric pieces with 6 cm width, which is the width of the shoulder strap, plus 2 cm for seam allowance, and 70 cm length, which is the length of the shoulder strap.
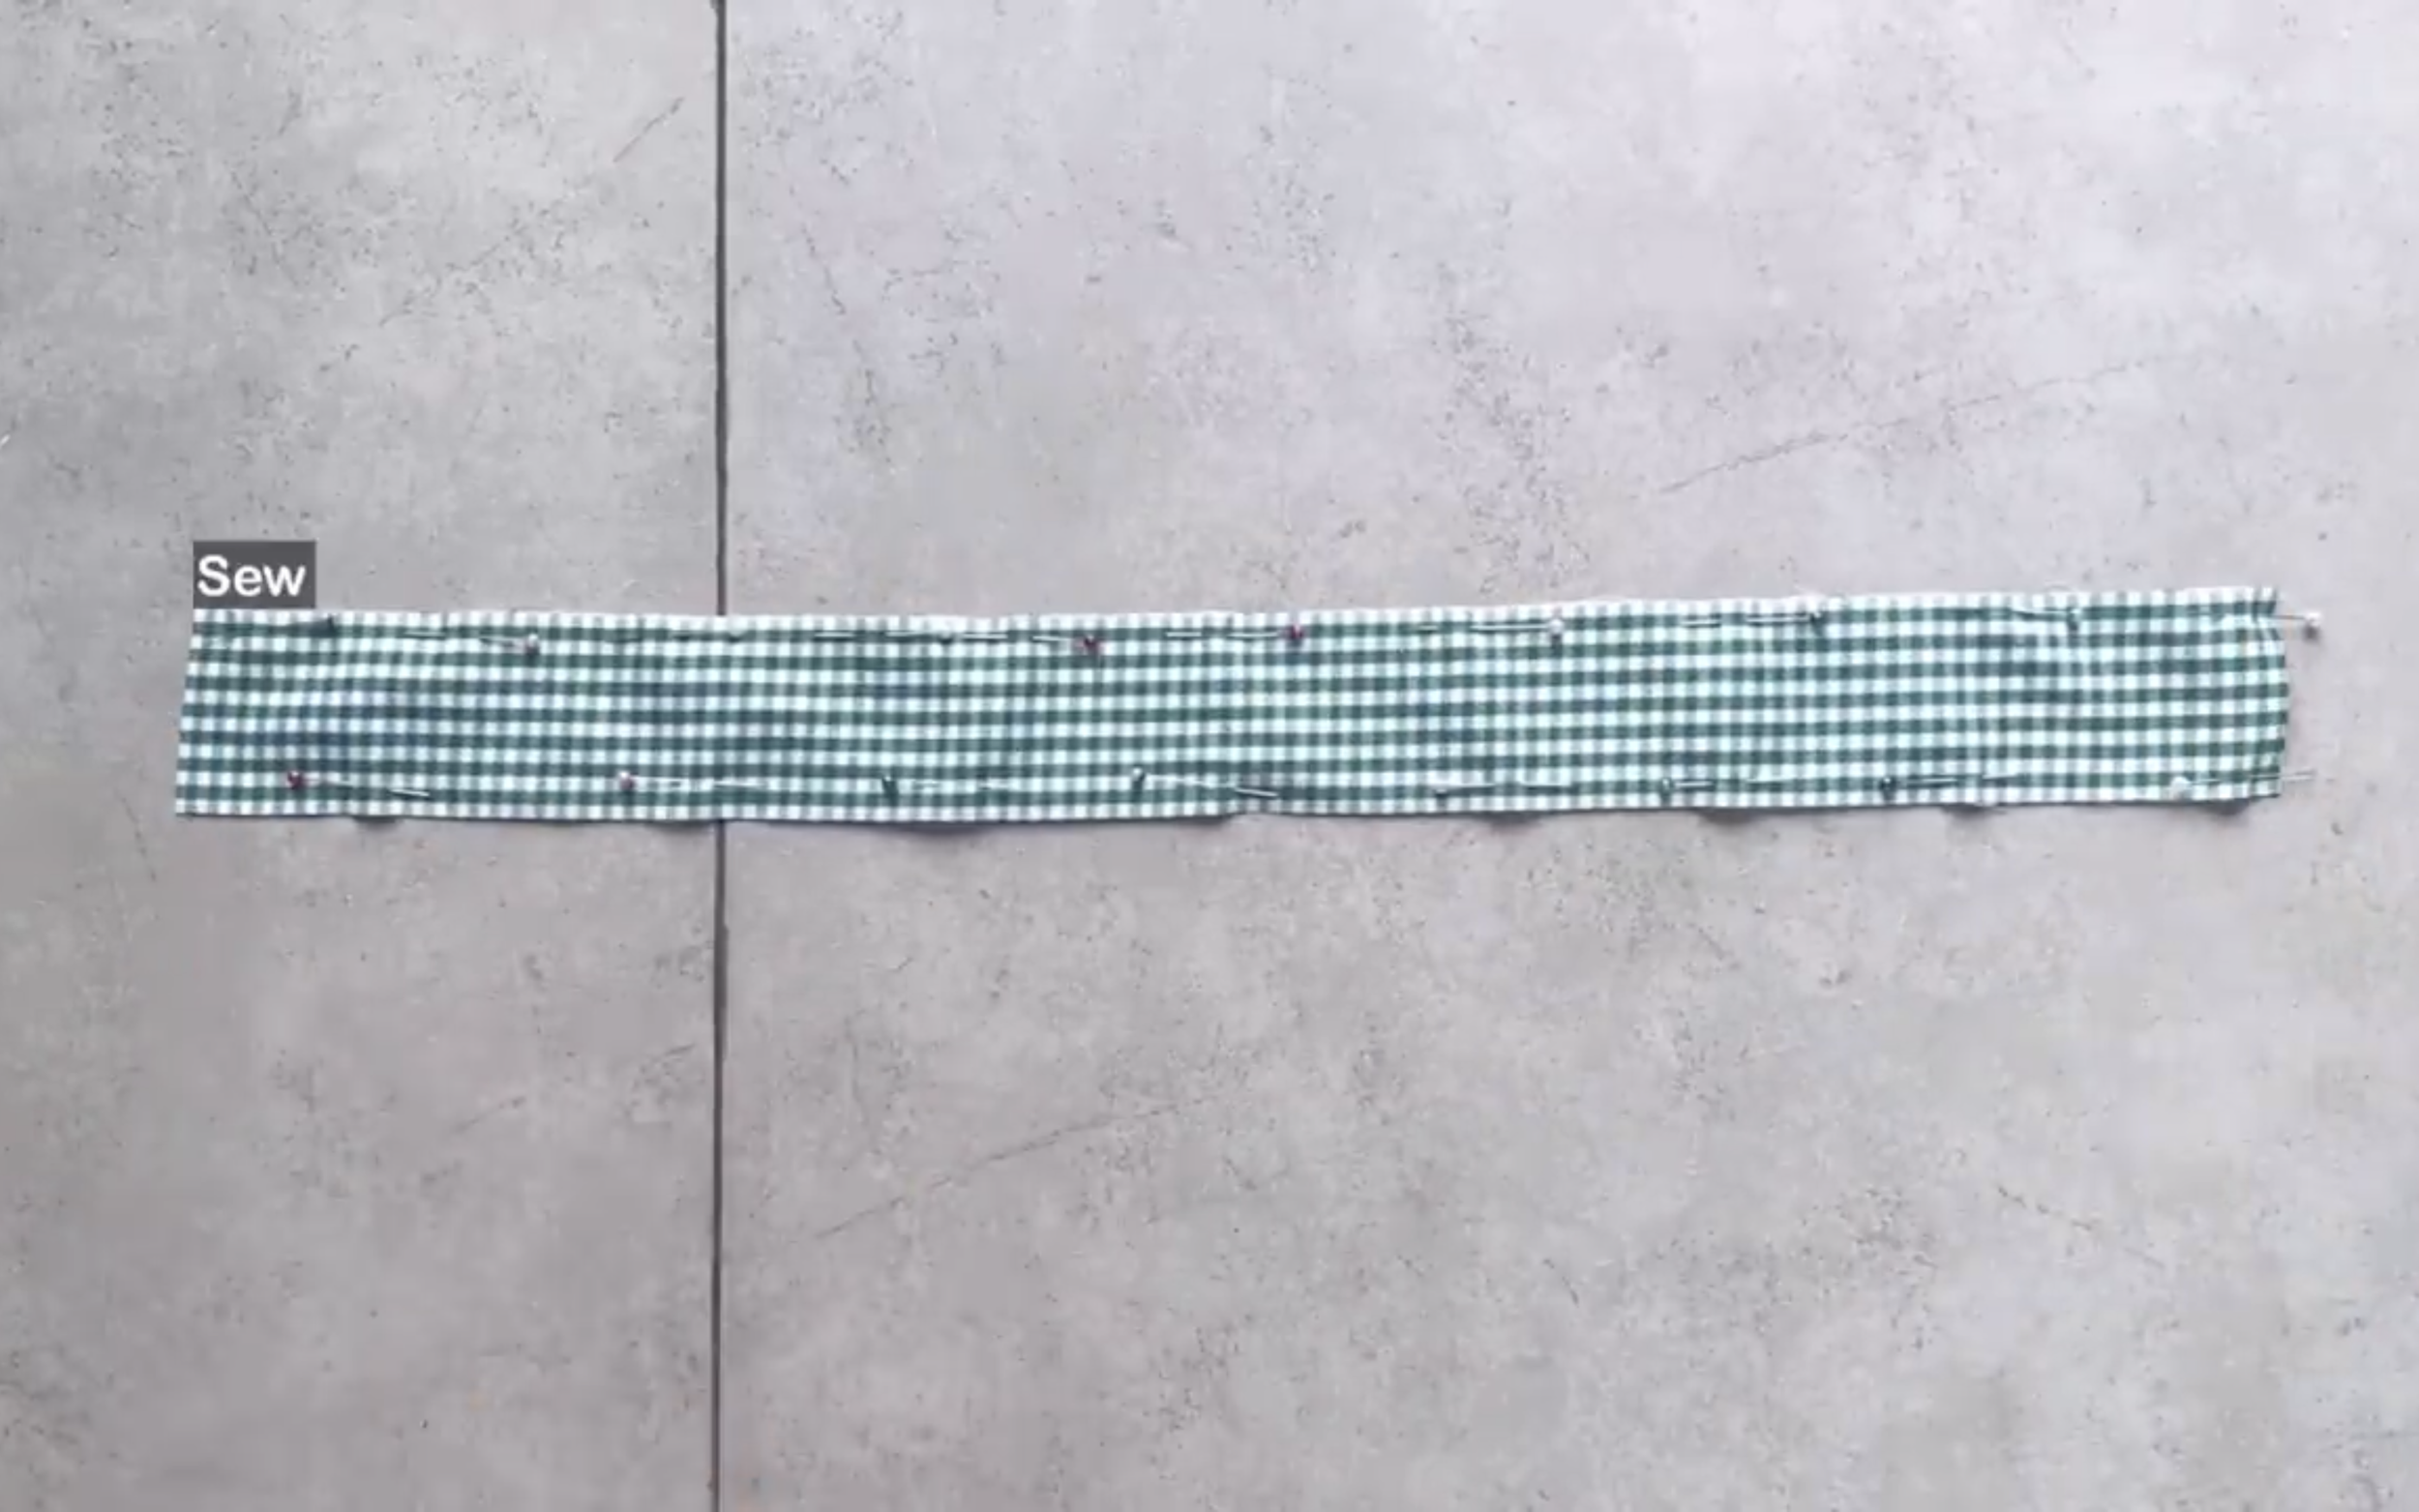
Connect the two long fabric pieces together along two lane lines and one width line.
After turning it inside out, use an iron to make the seam look neater.
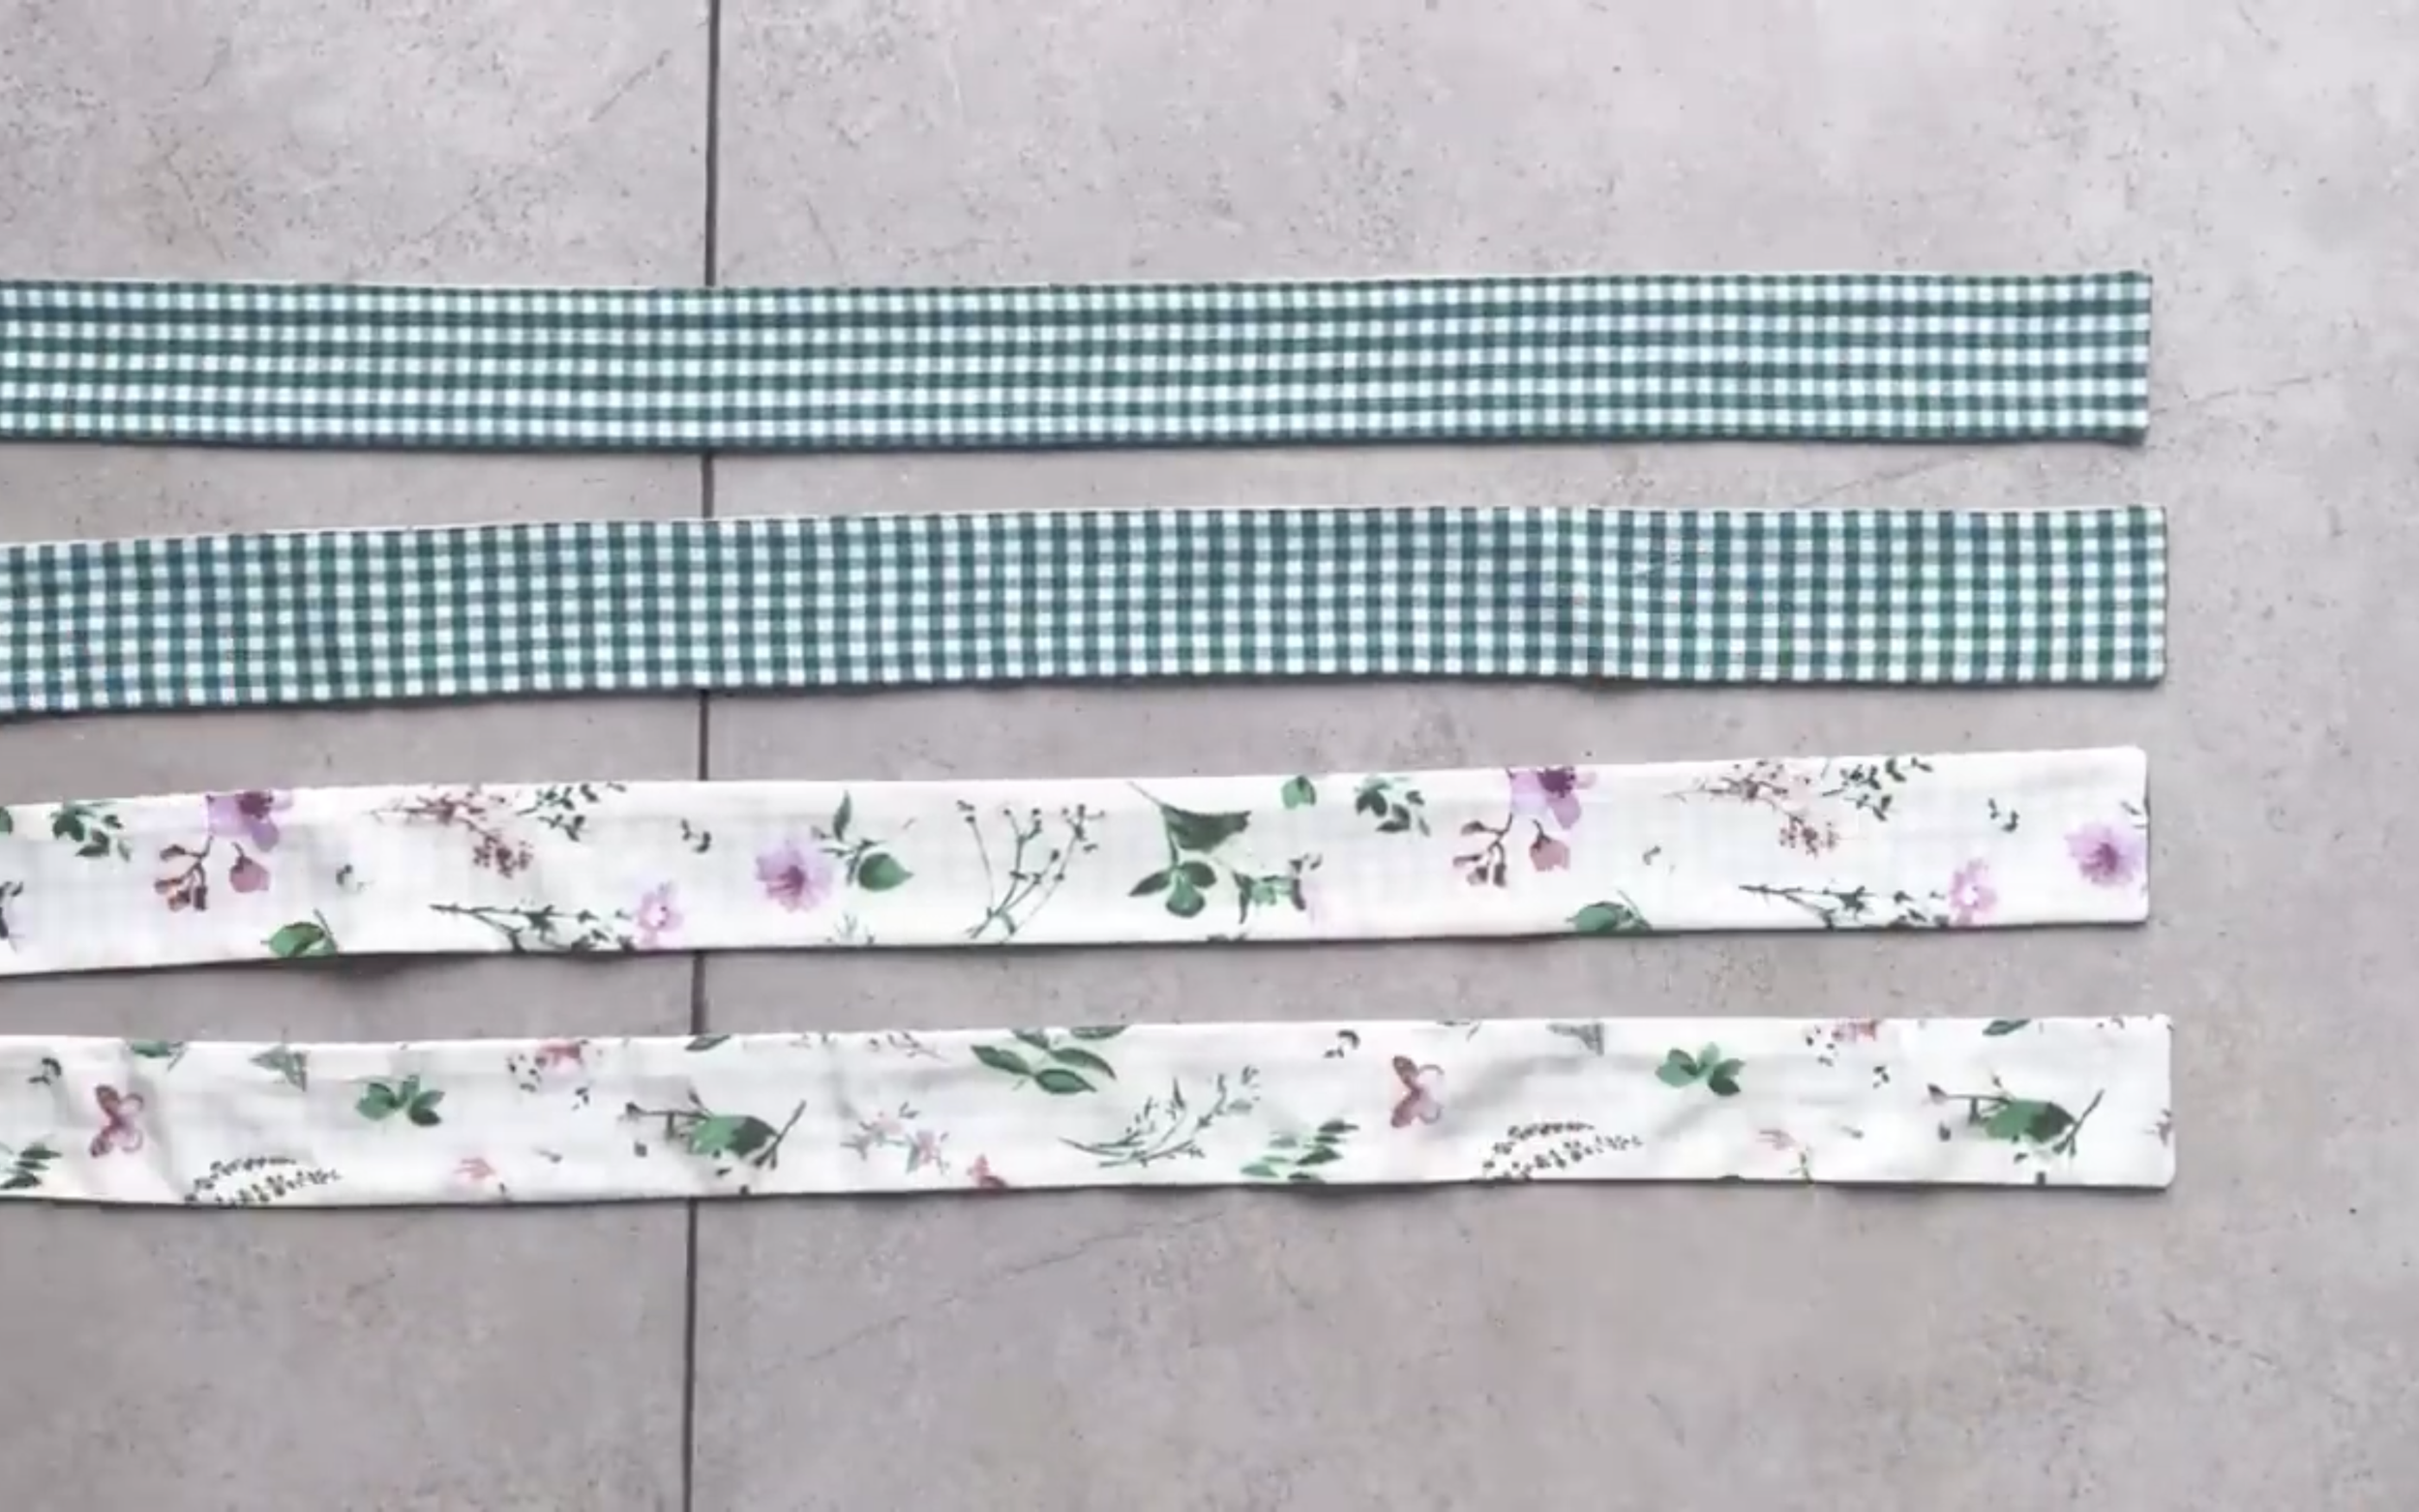
Four shoulder straps like this are needed.
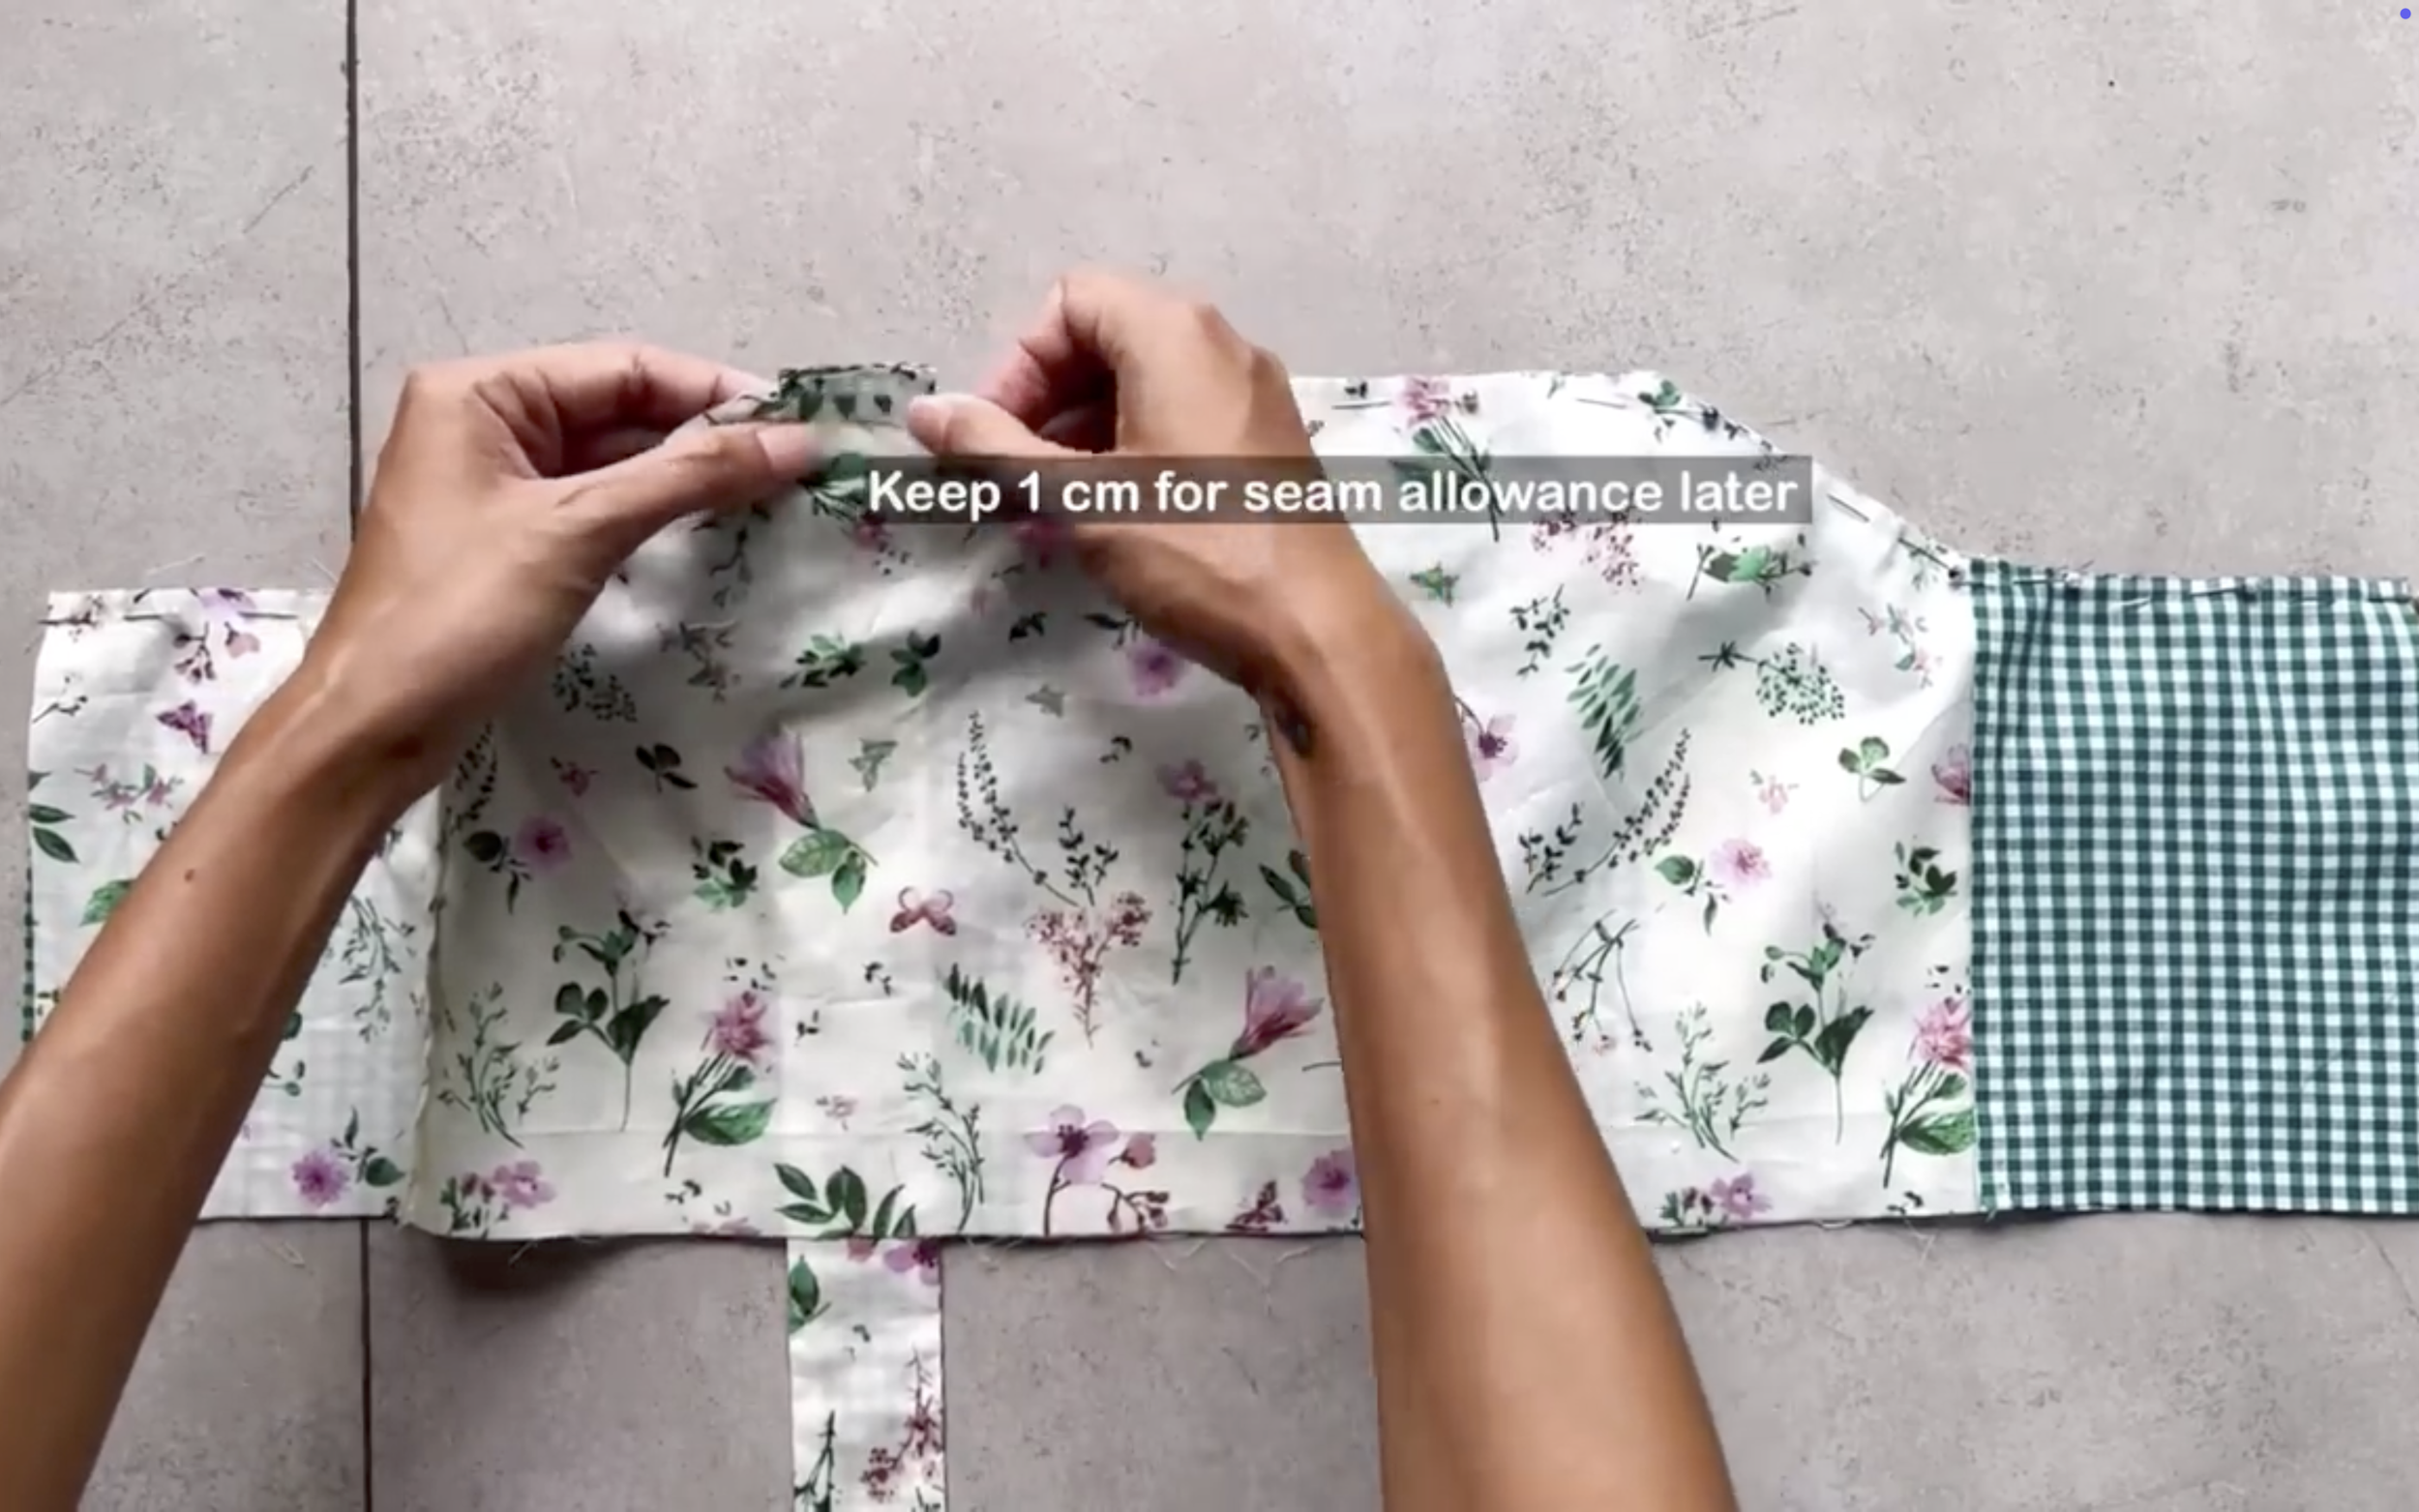
Add one end of the shoulder strap to one end of the top line at the front bodice.
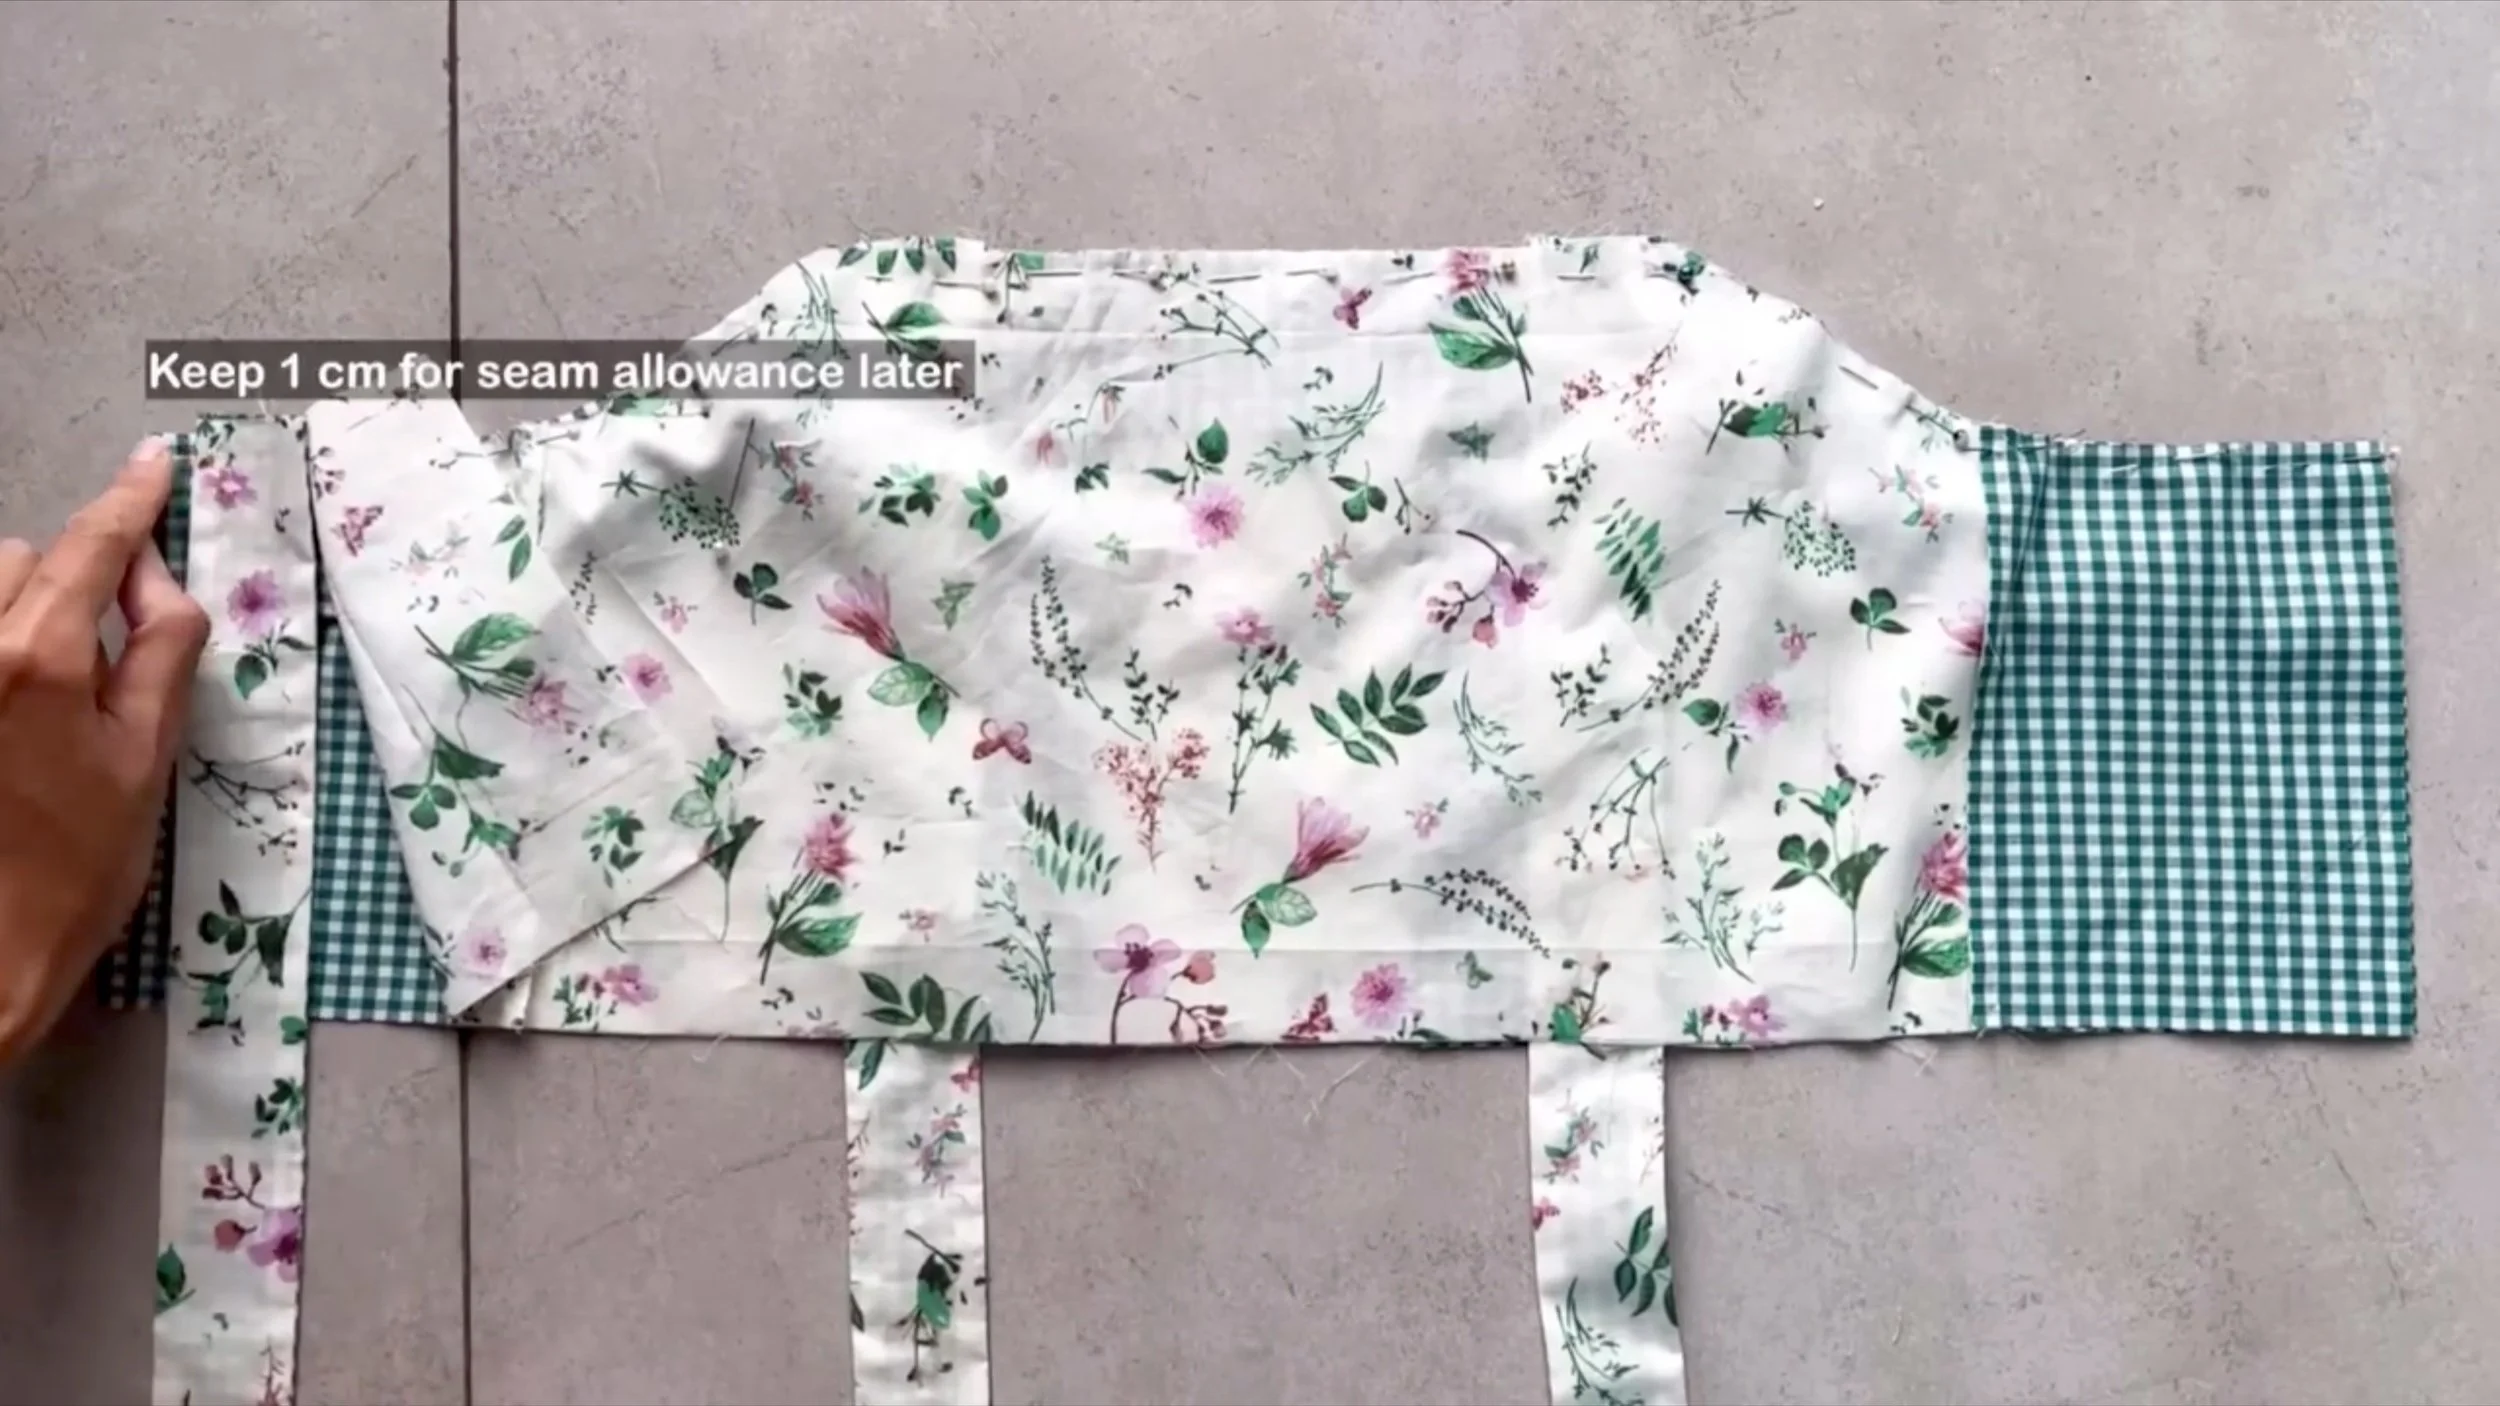
Then add one end of the shoulder strap to the end of the back bodice. Keep 1 cm at the back bodice for seam allowance later.
Make sure the shoulder strap is in the middle between the main part and the lining part of the top dress.
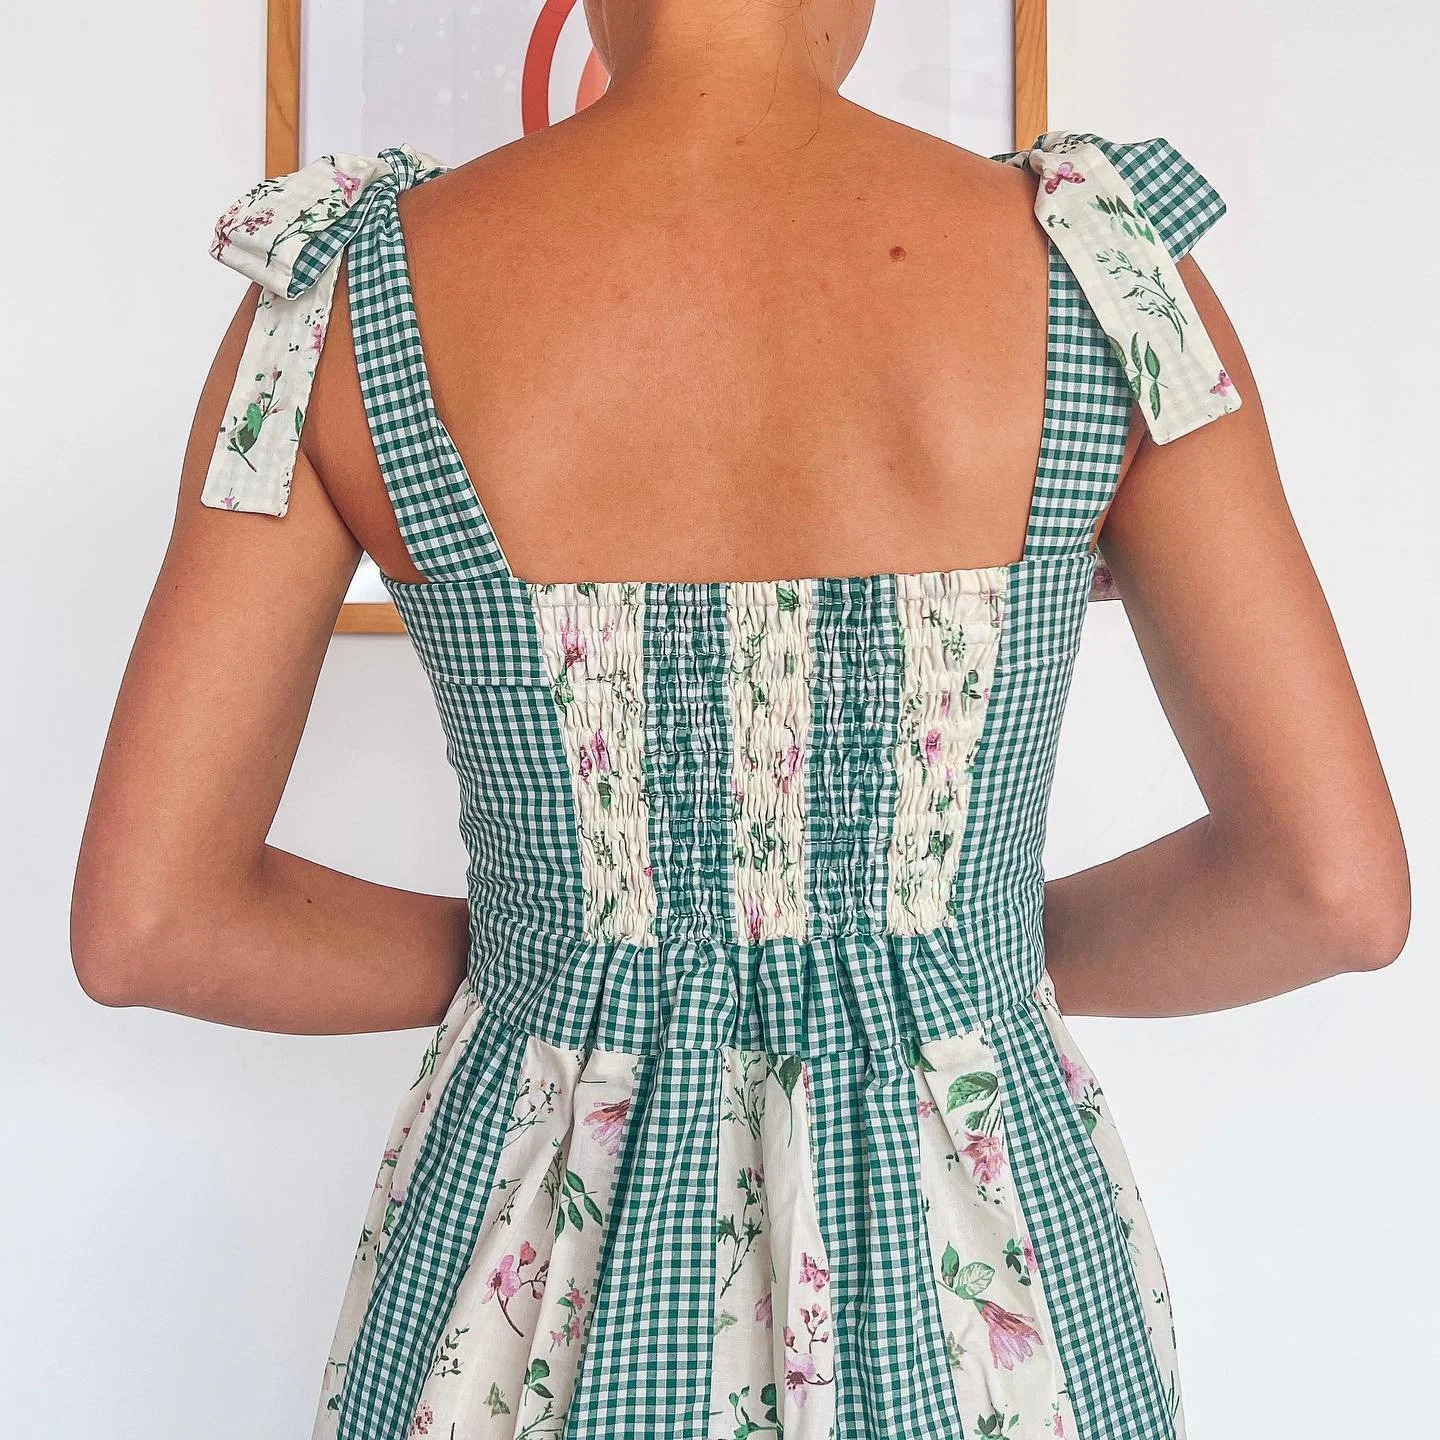
For the middle part of the back bodice, start with the main part.
Cut another piece like this without matching fabric for the lining part.
Connect them together at the top line first.
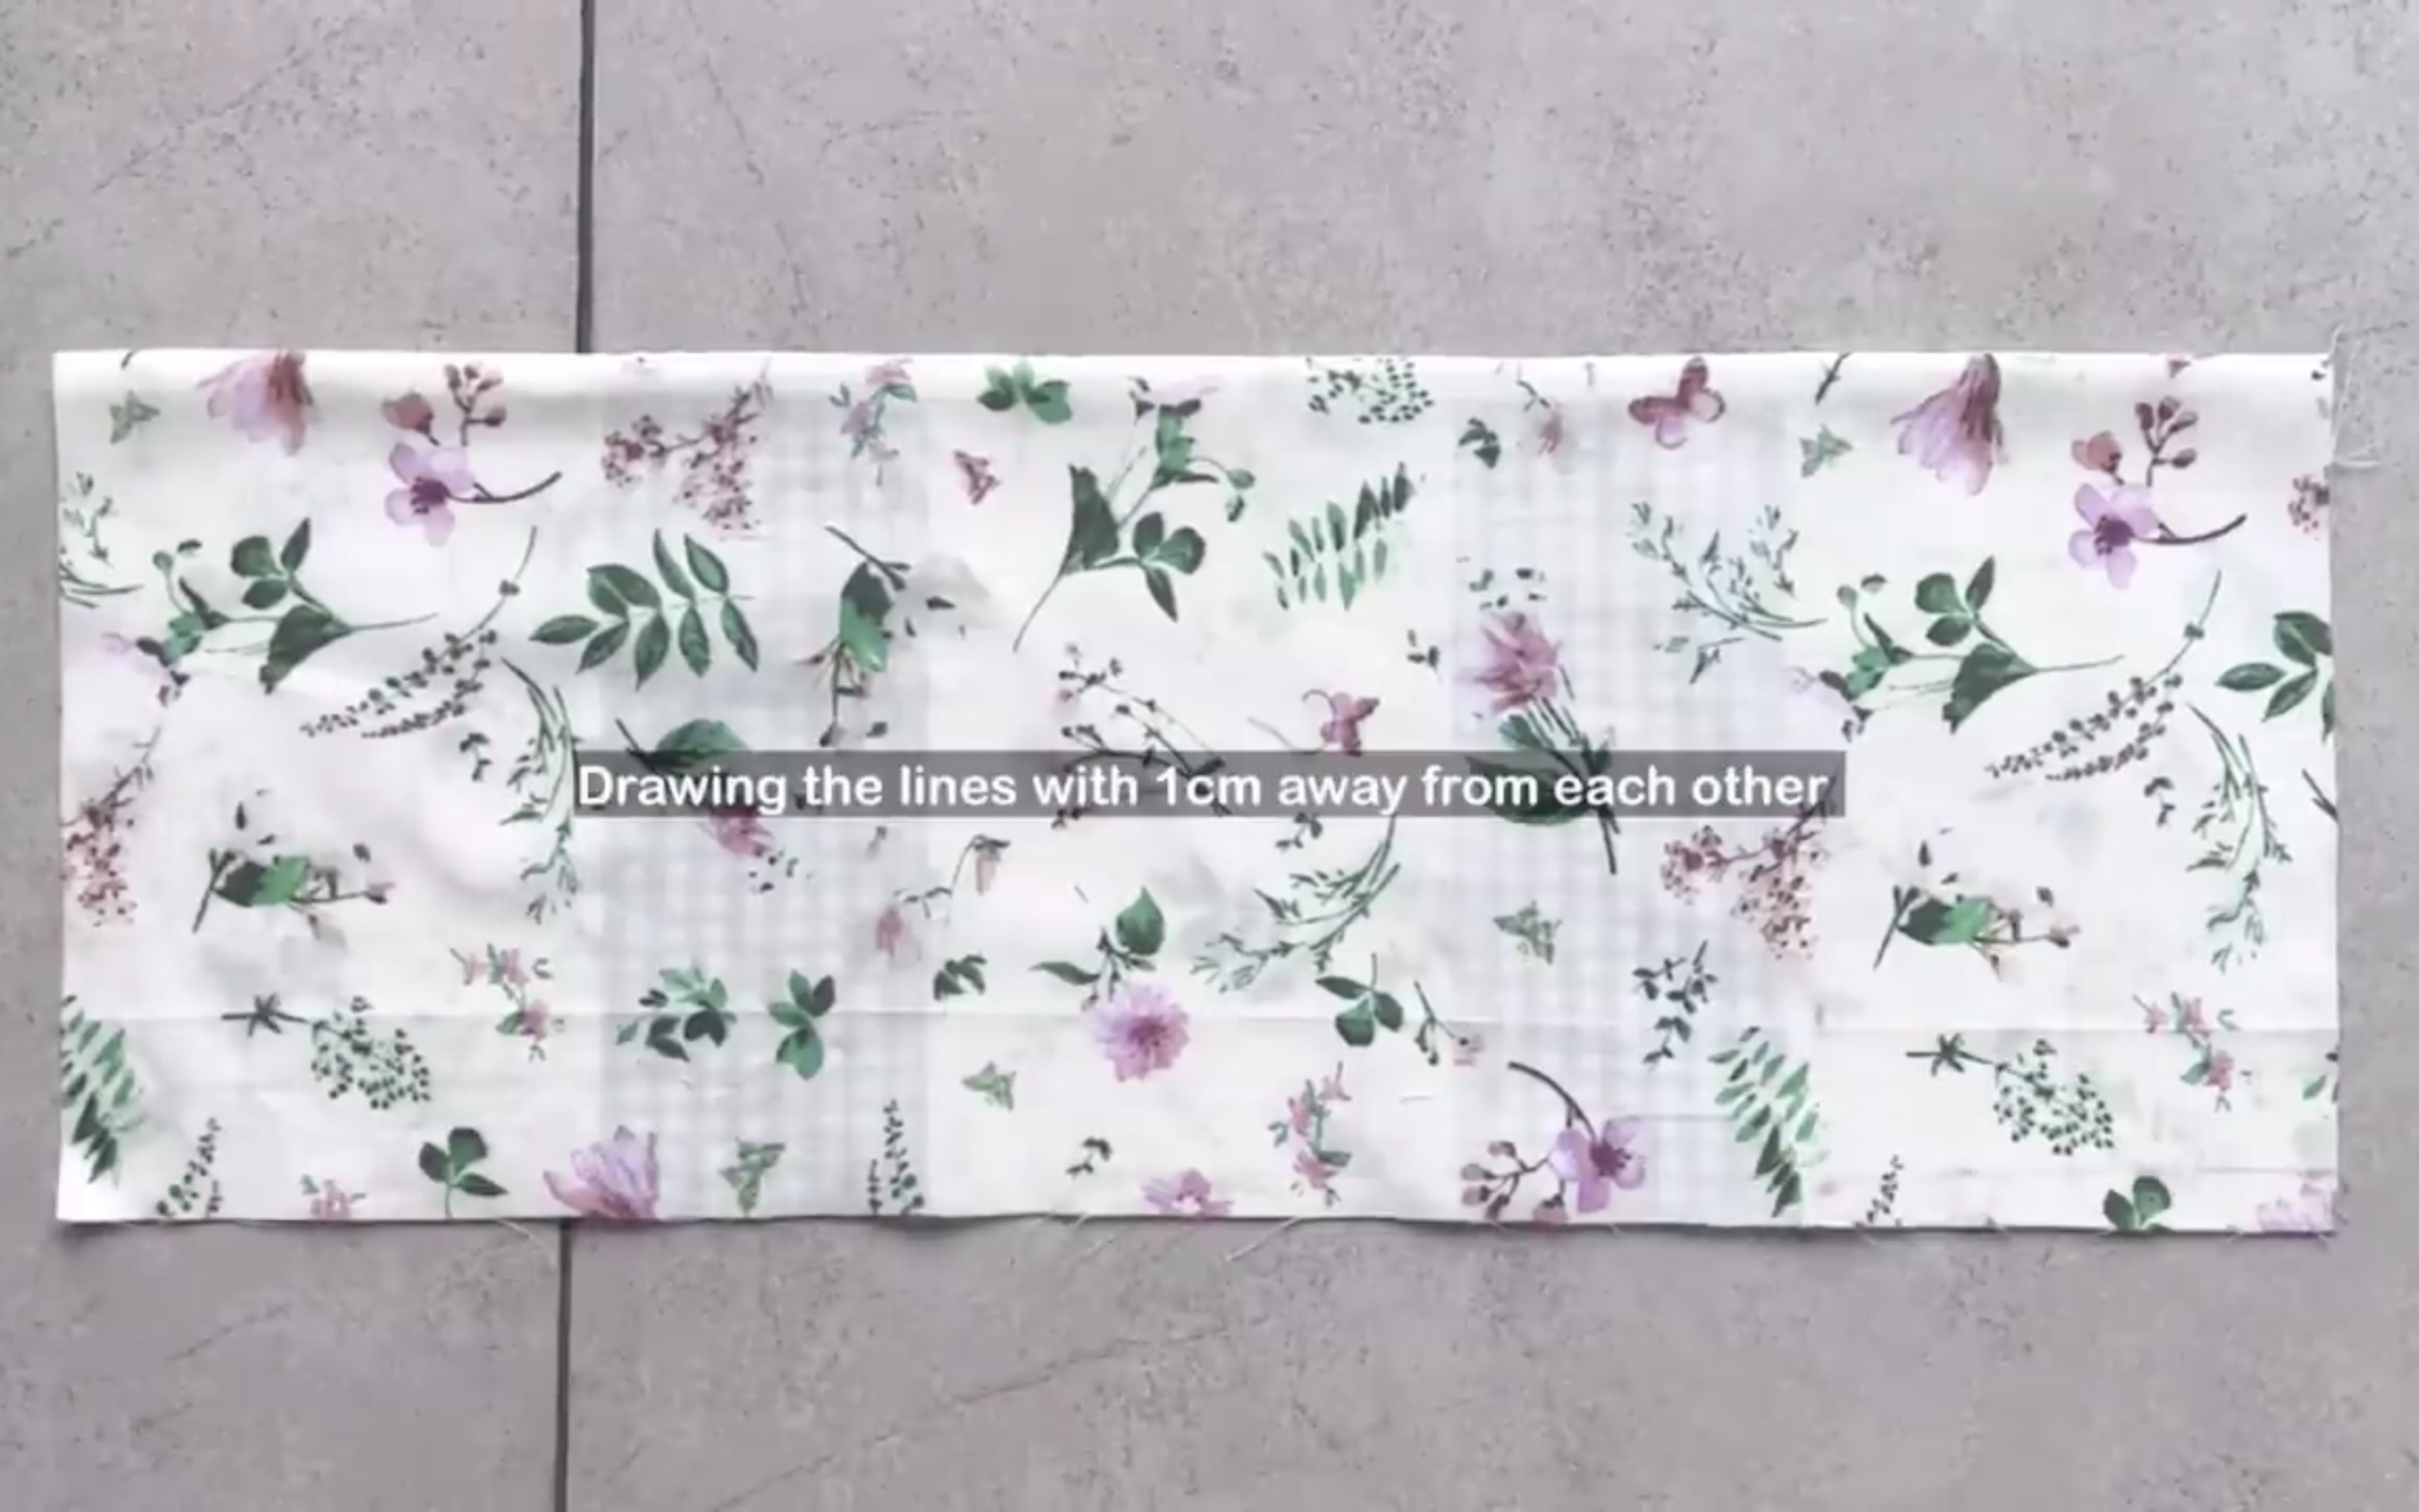
After turning the seam inside out, draw horizontal lines 1 cm apart and sew along the lines to create fabric holes.
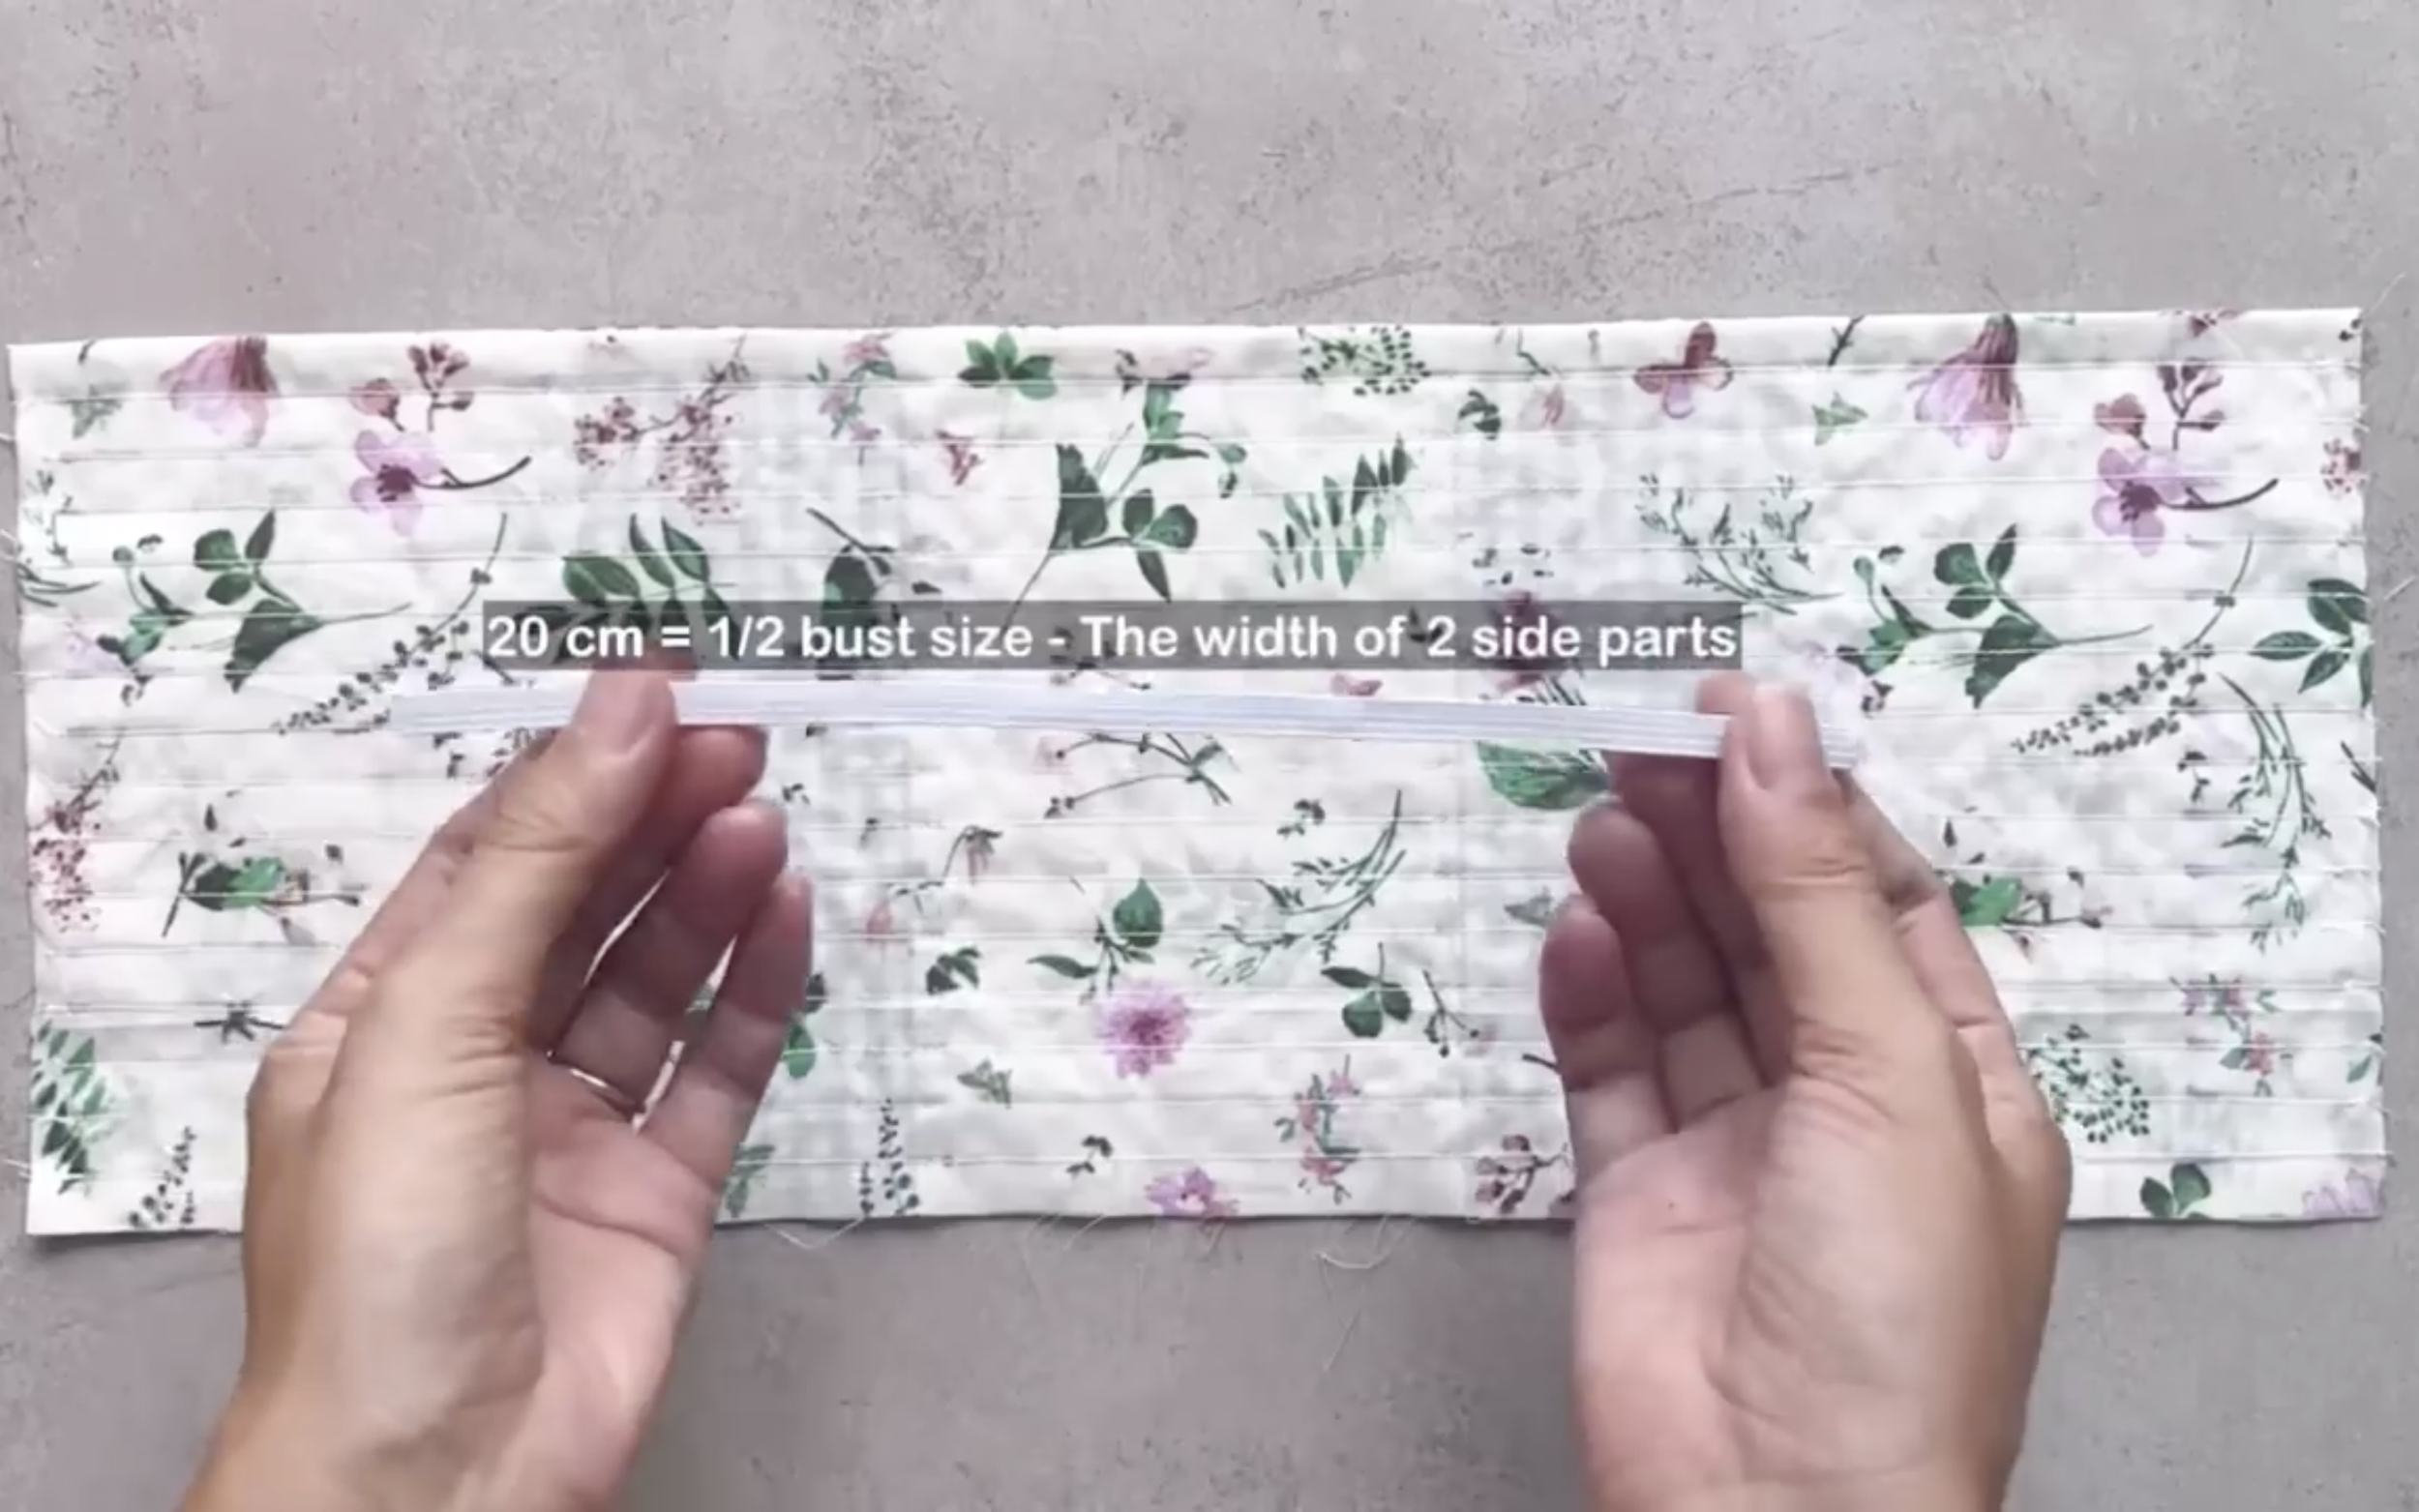
Cut an elastic band less than 1 cm wide, which is smaller than the fabric holes, and 20 cm long, which is half the bust size minus the width of the two side parts of the back bodice.
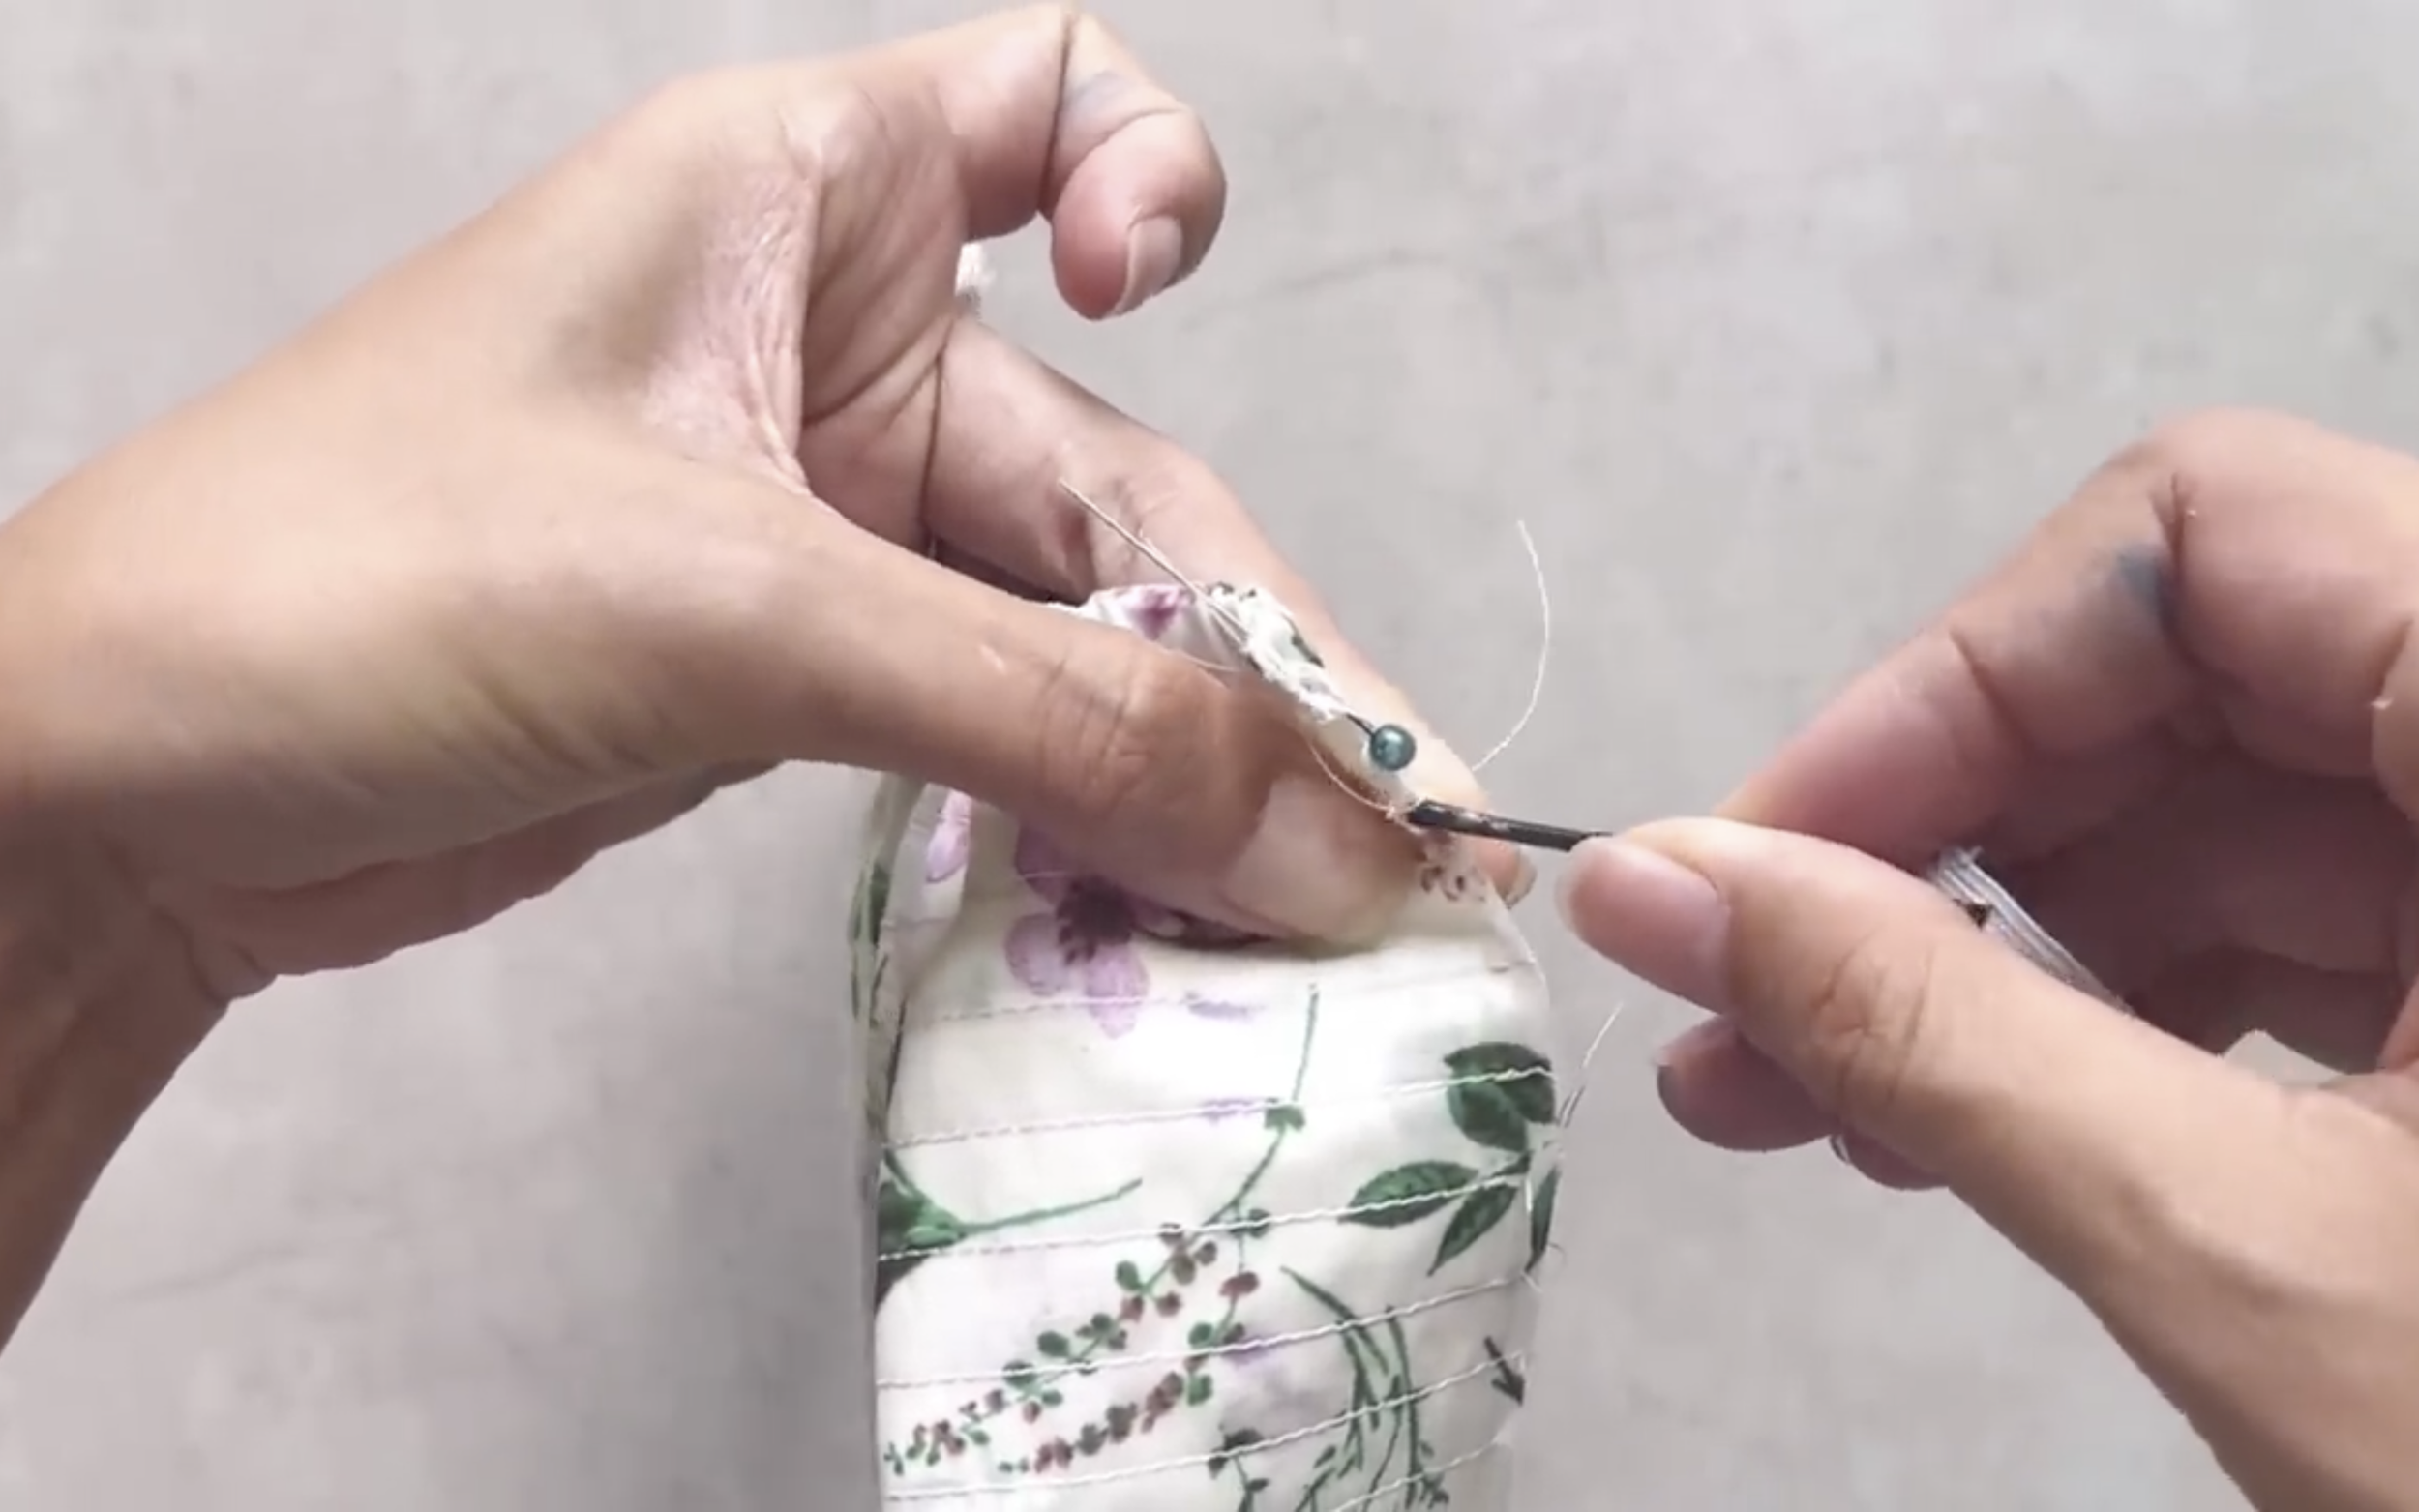
Insert the elastic band through the fabric holes and secure the ends with pins to prevent movement.
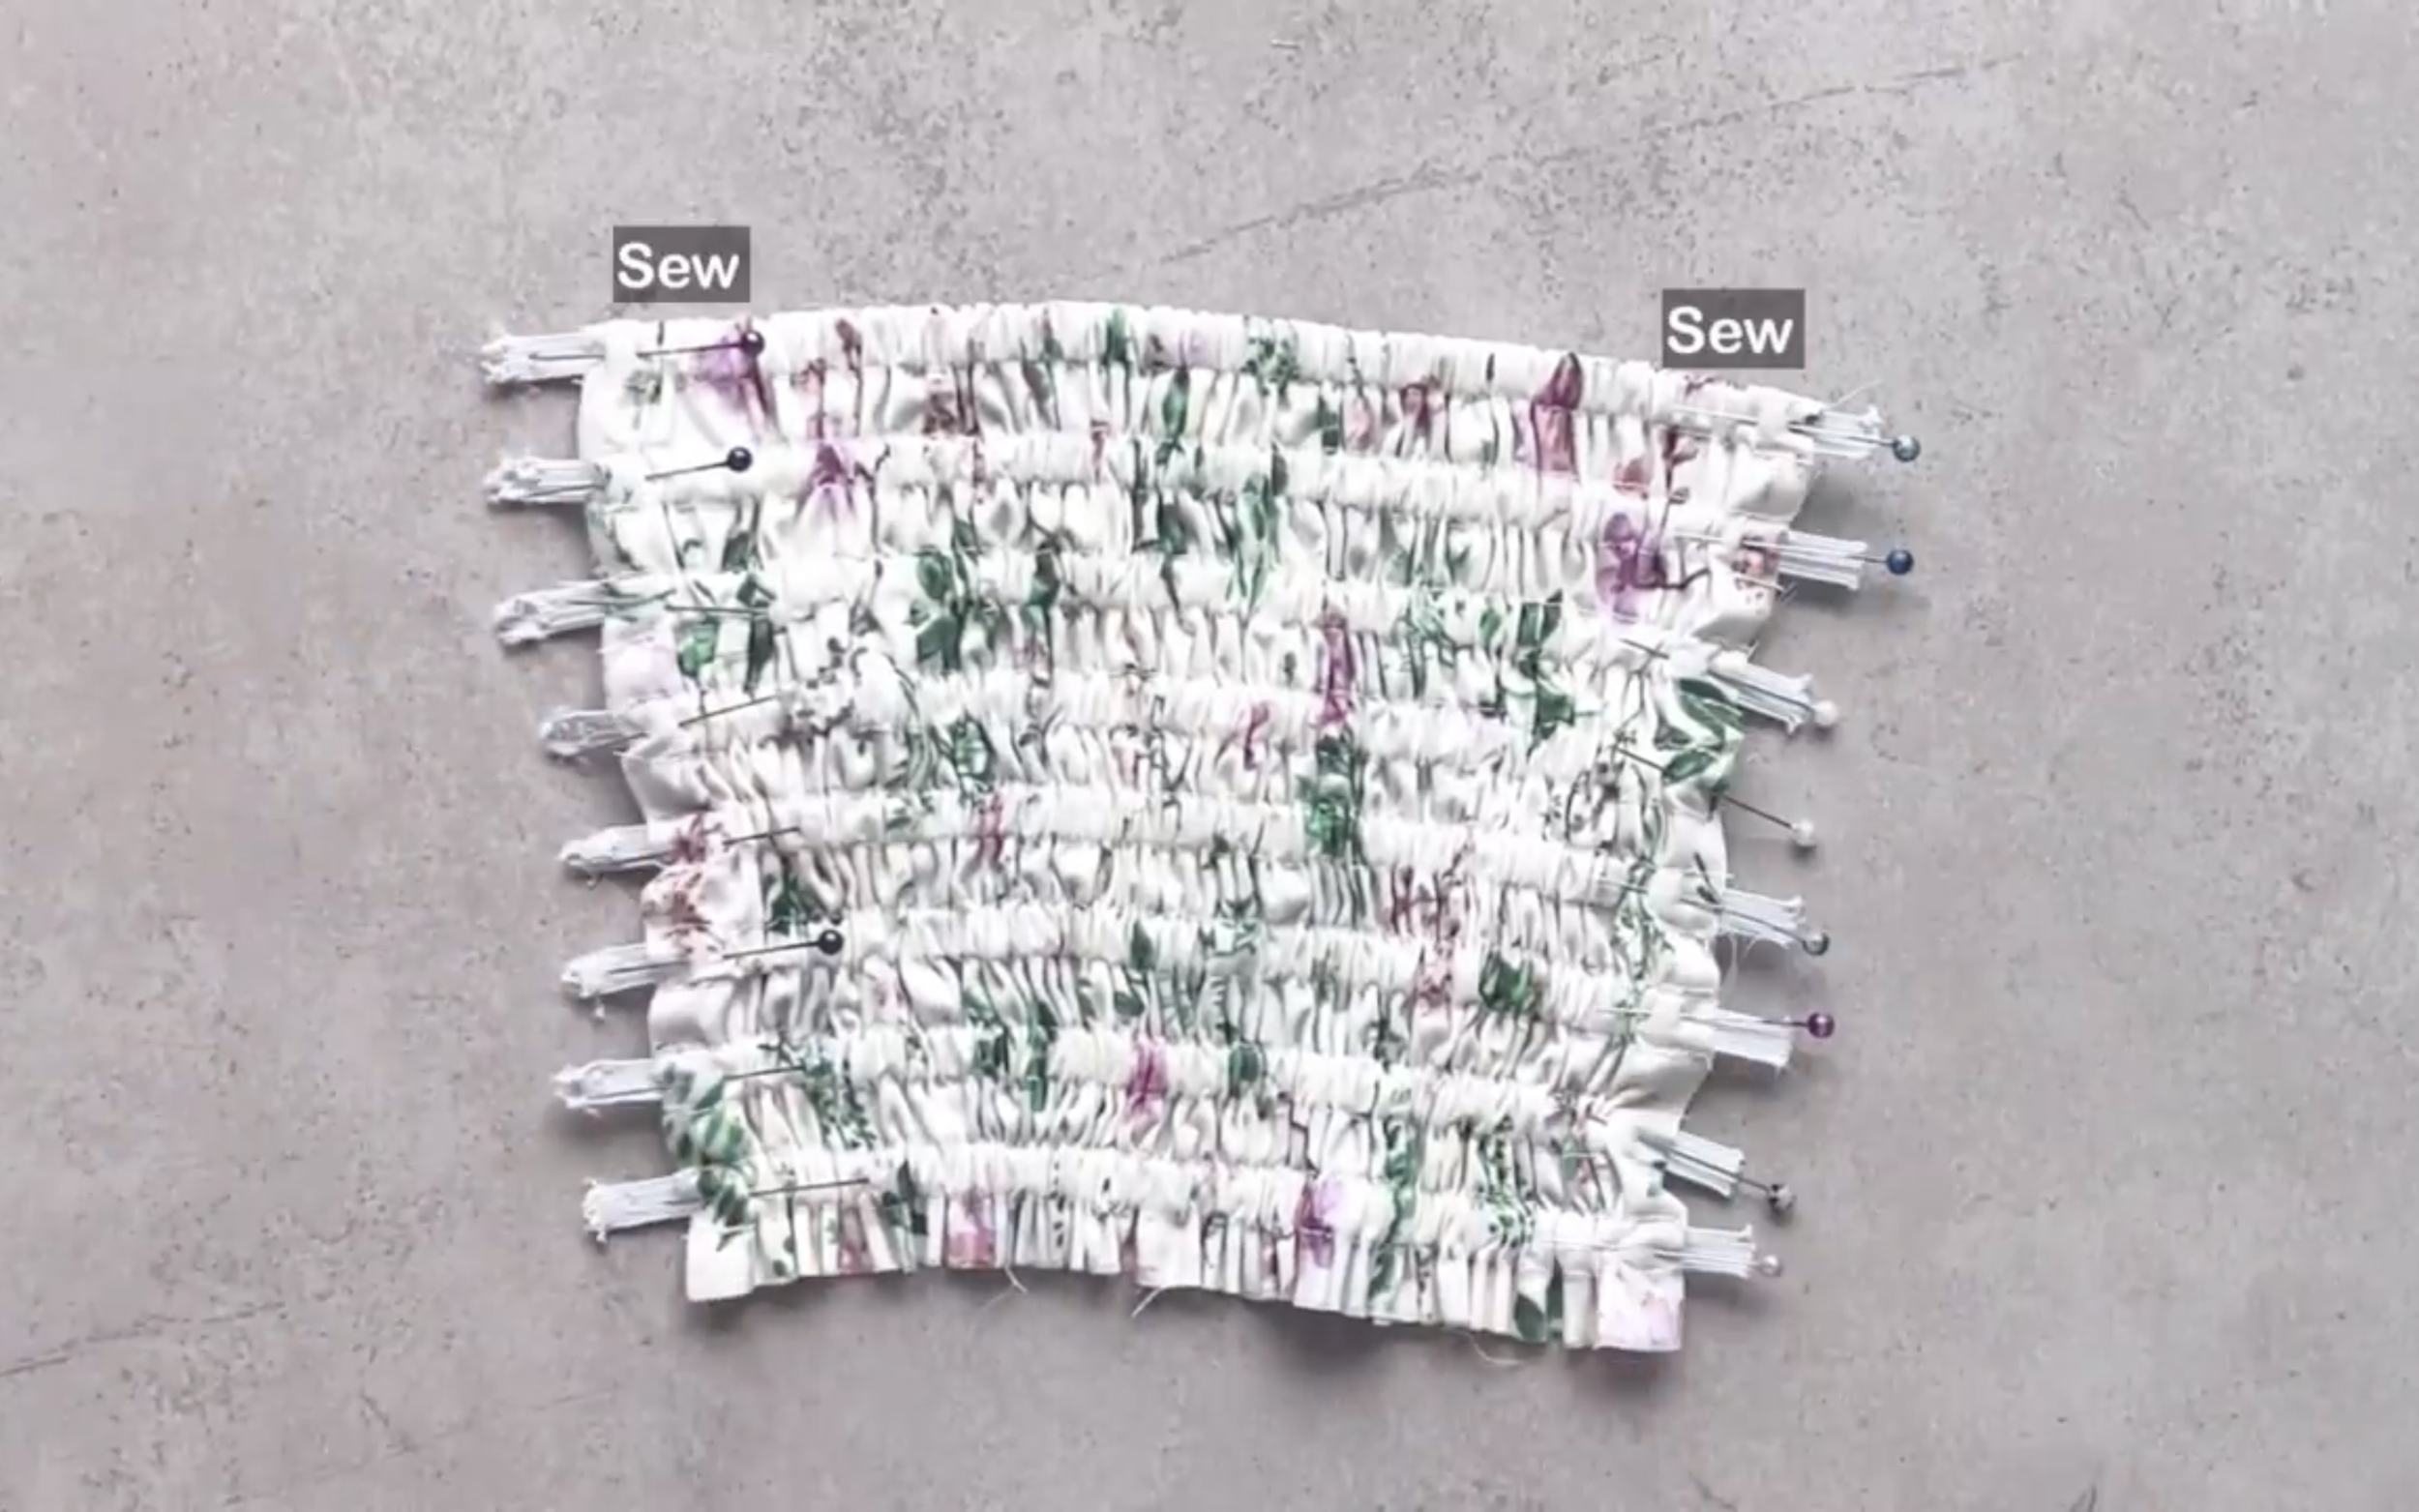
Repeat for the other fabric holes, then sew the ends of the elastic band to the fabric.

Connect the middle part of the back bodice to the two side pieces. Make sure the middle part is positioned between the main part and the lining part.
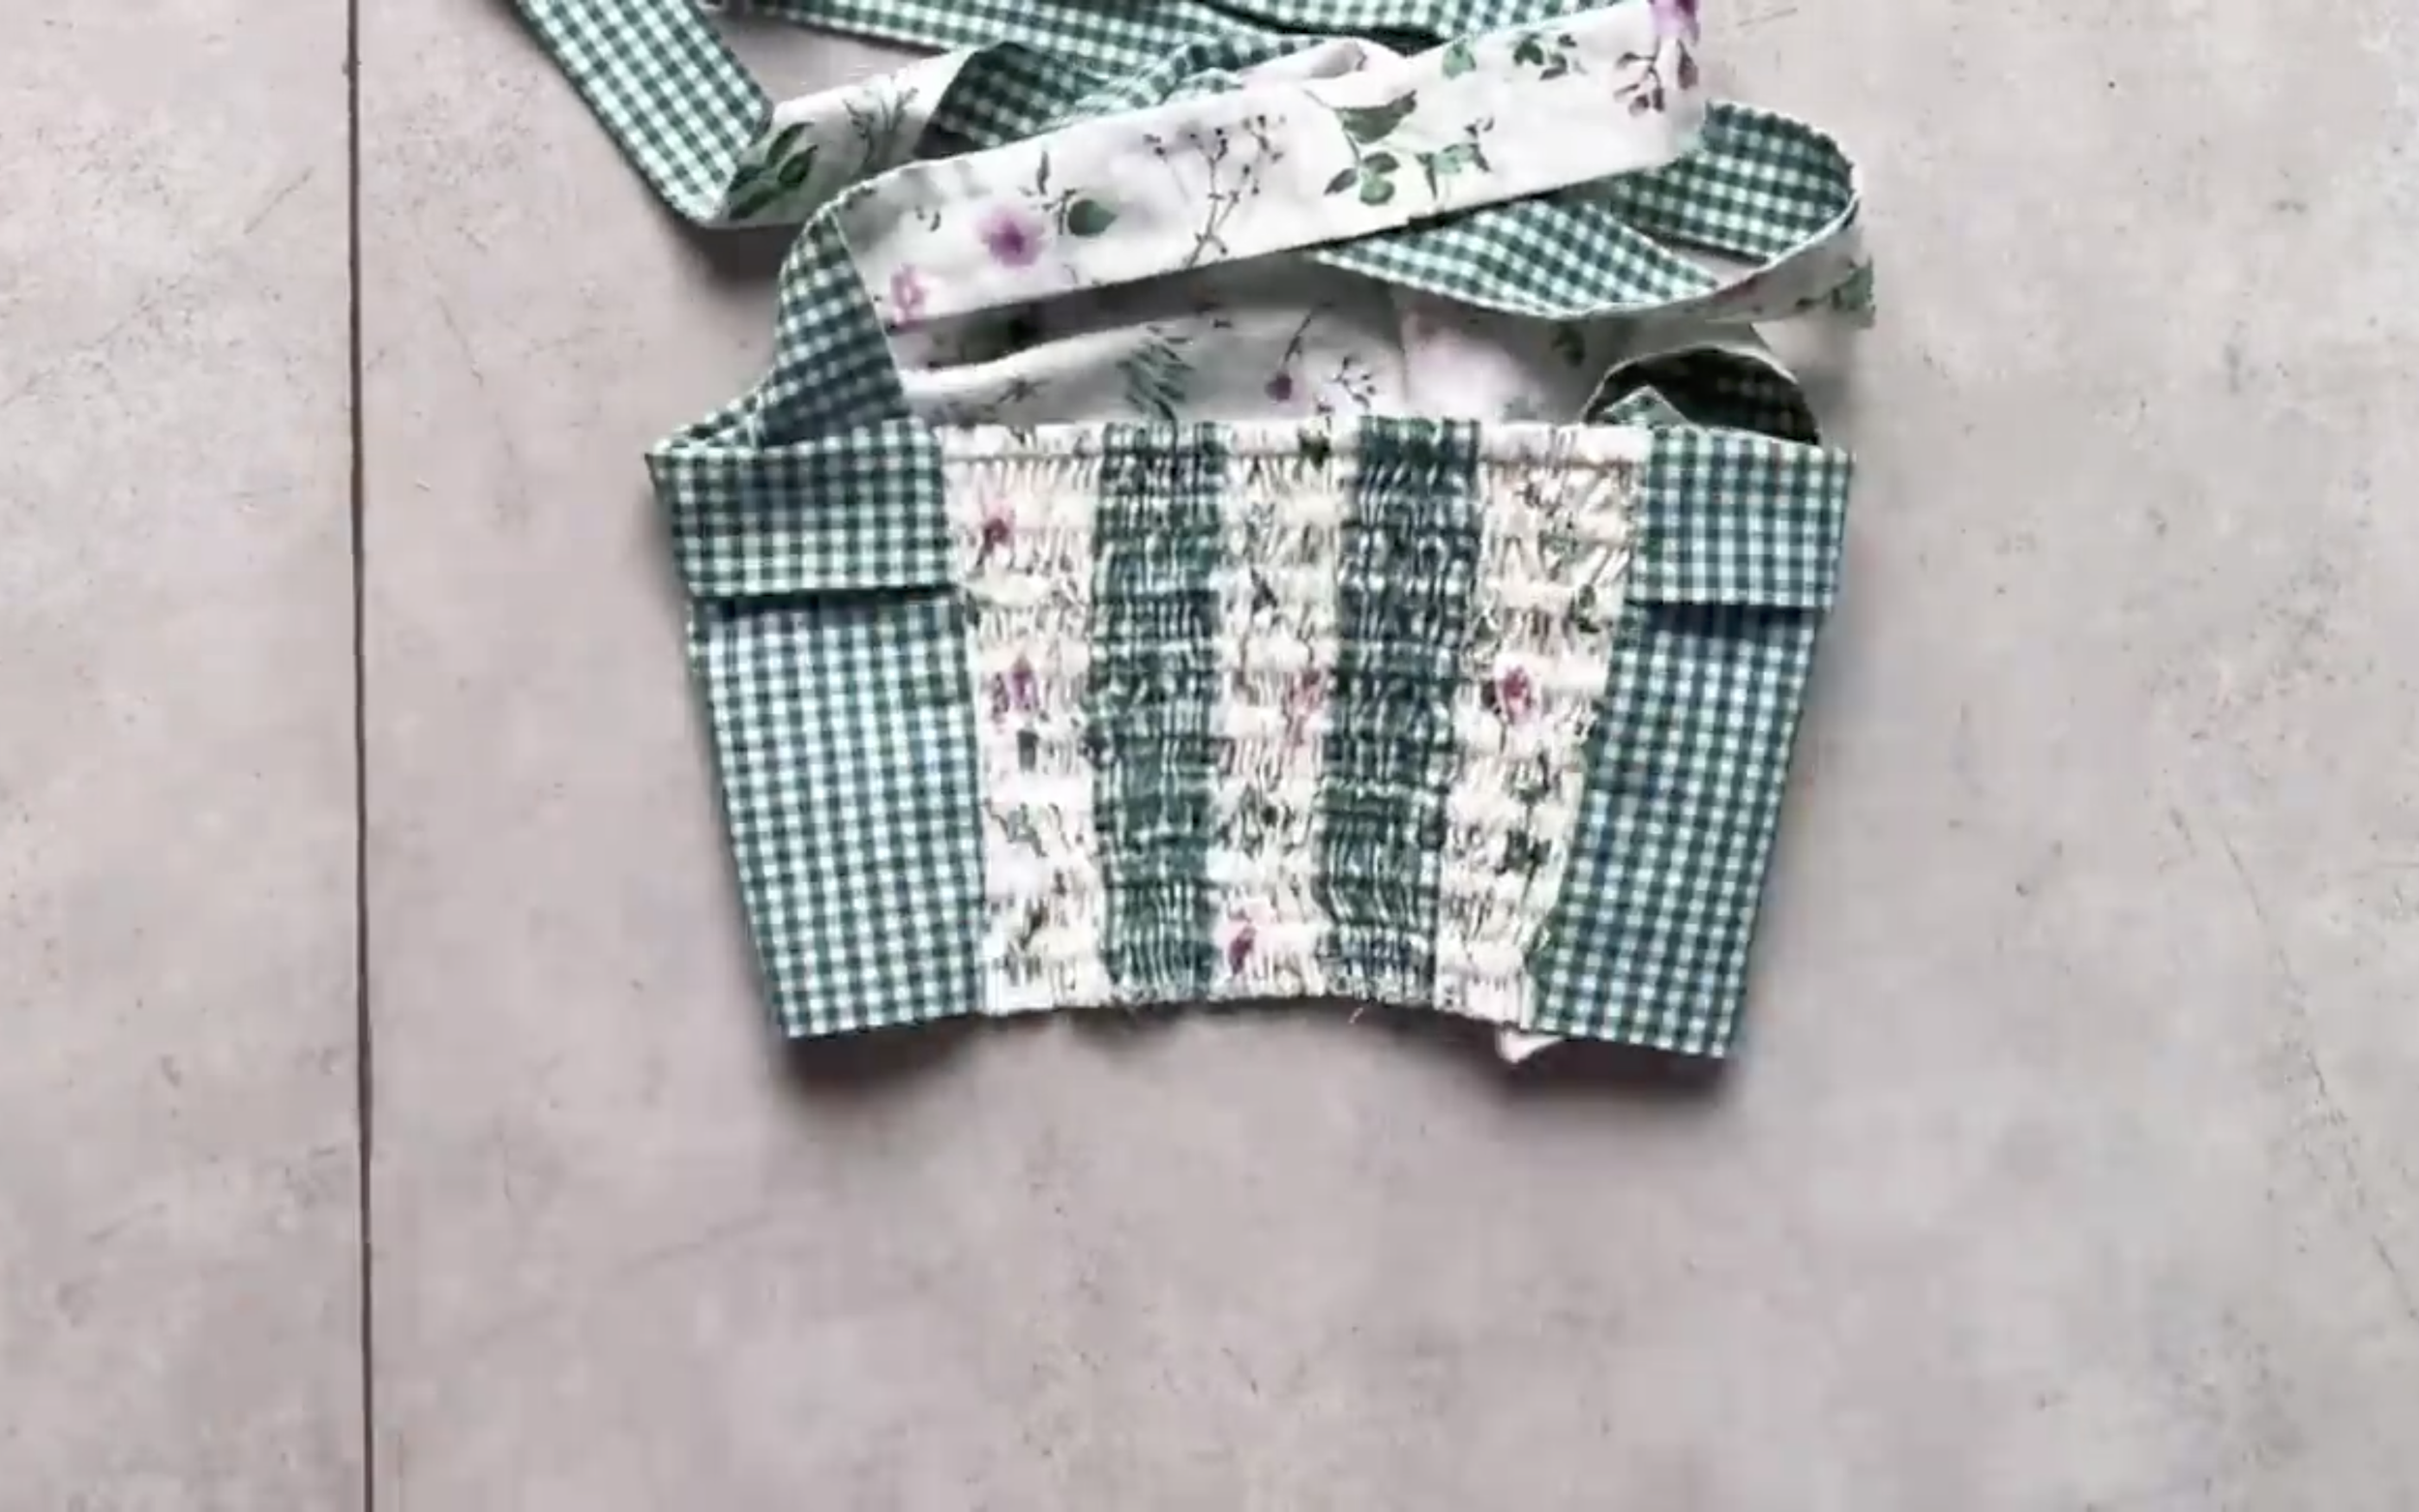
Here is how it looks after sewing and turning the seam inside out.

Connect the two pieces of the top part at the ending line.
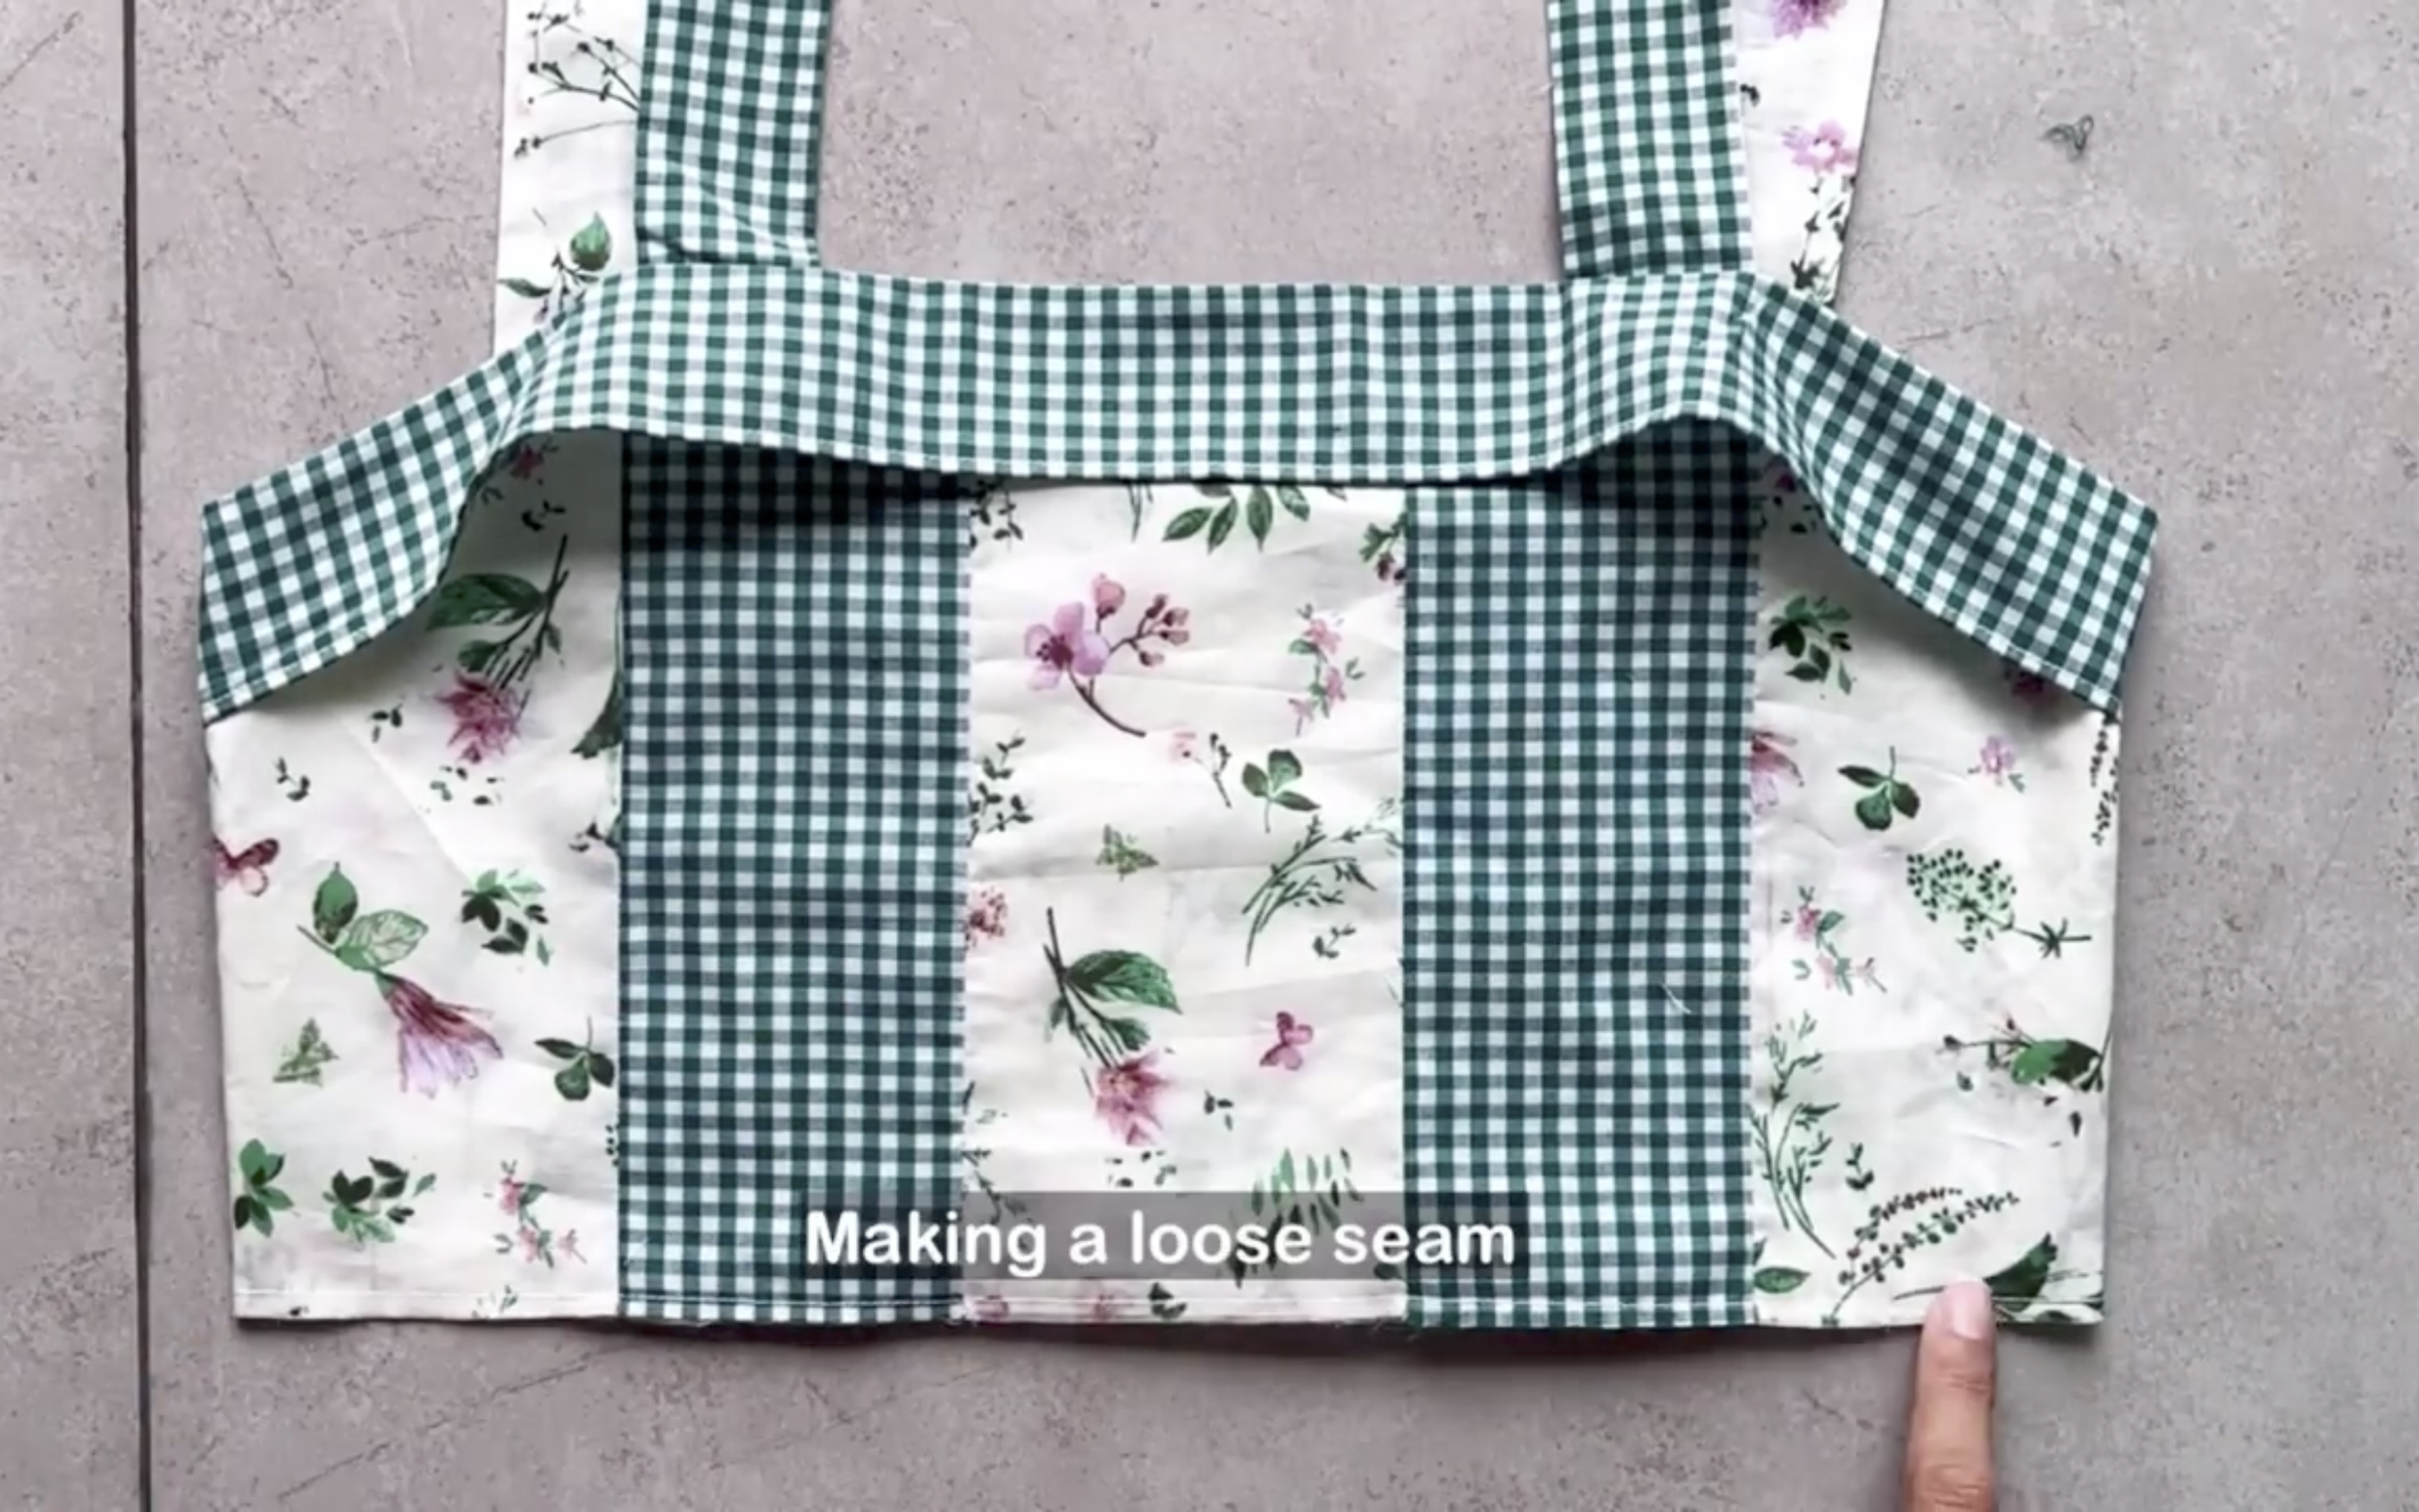
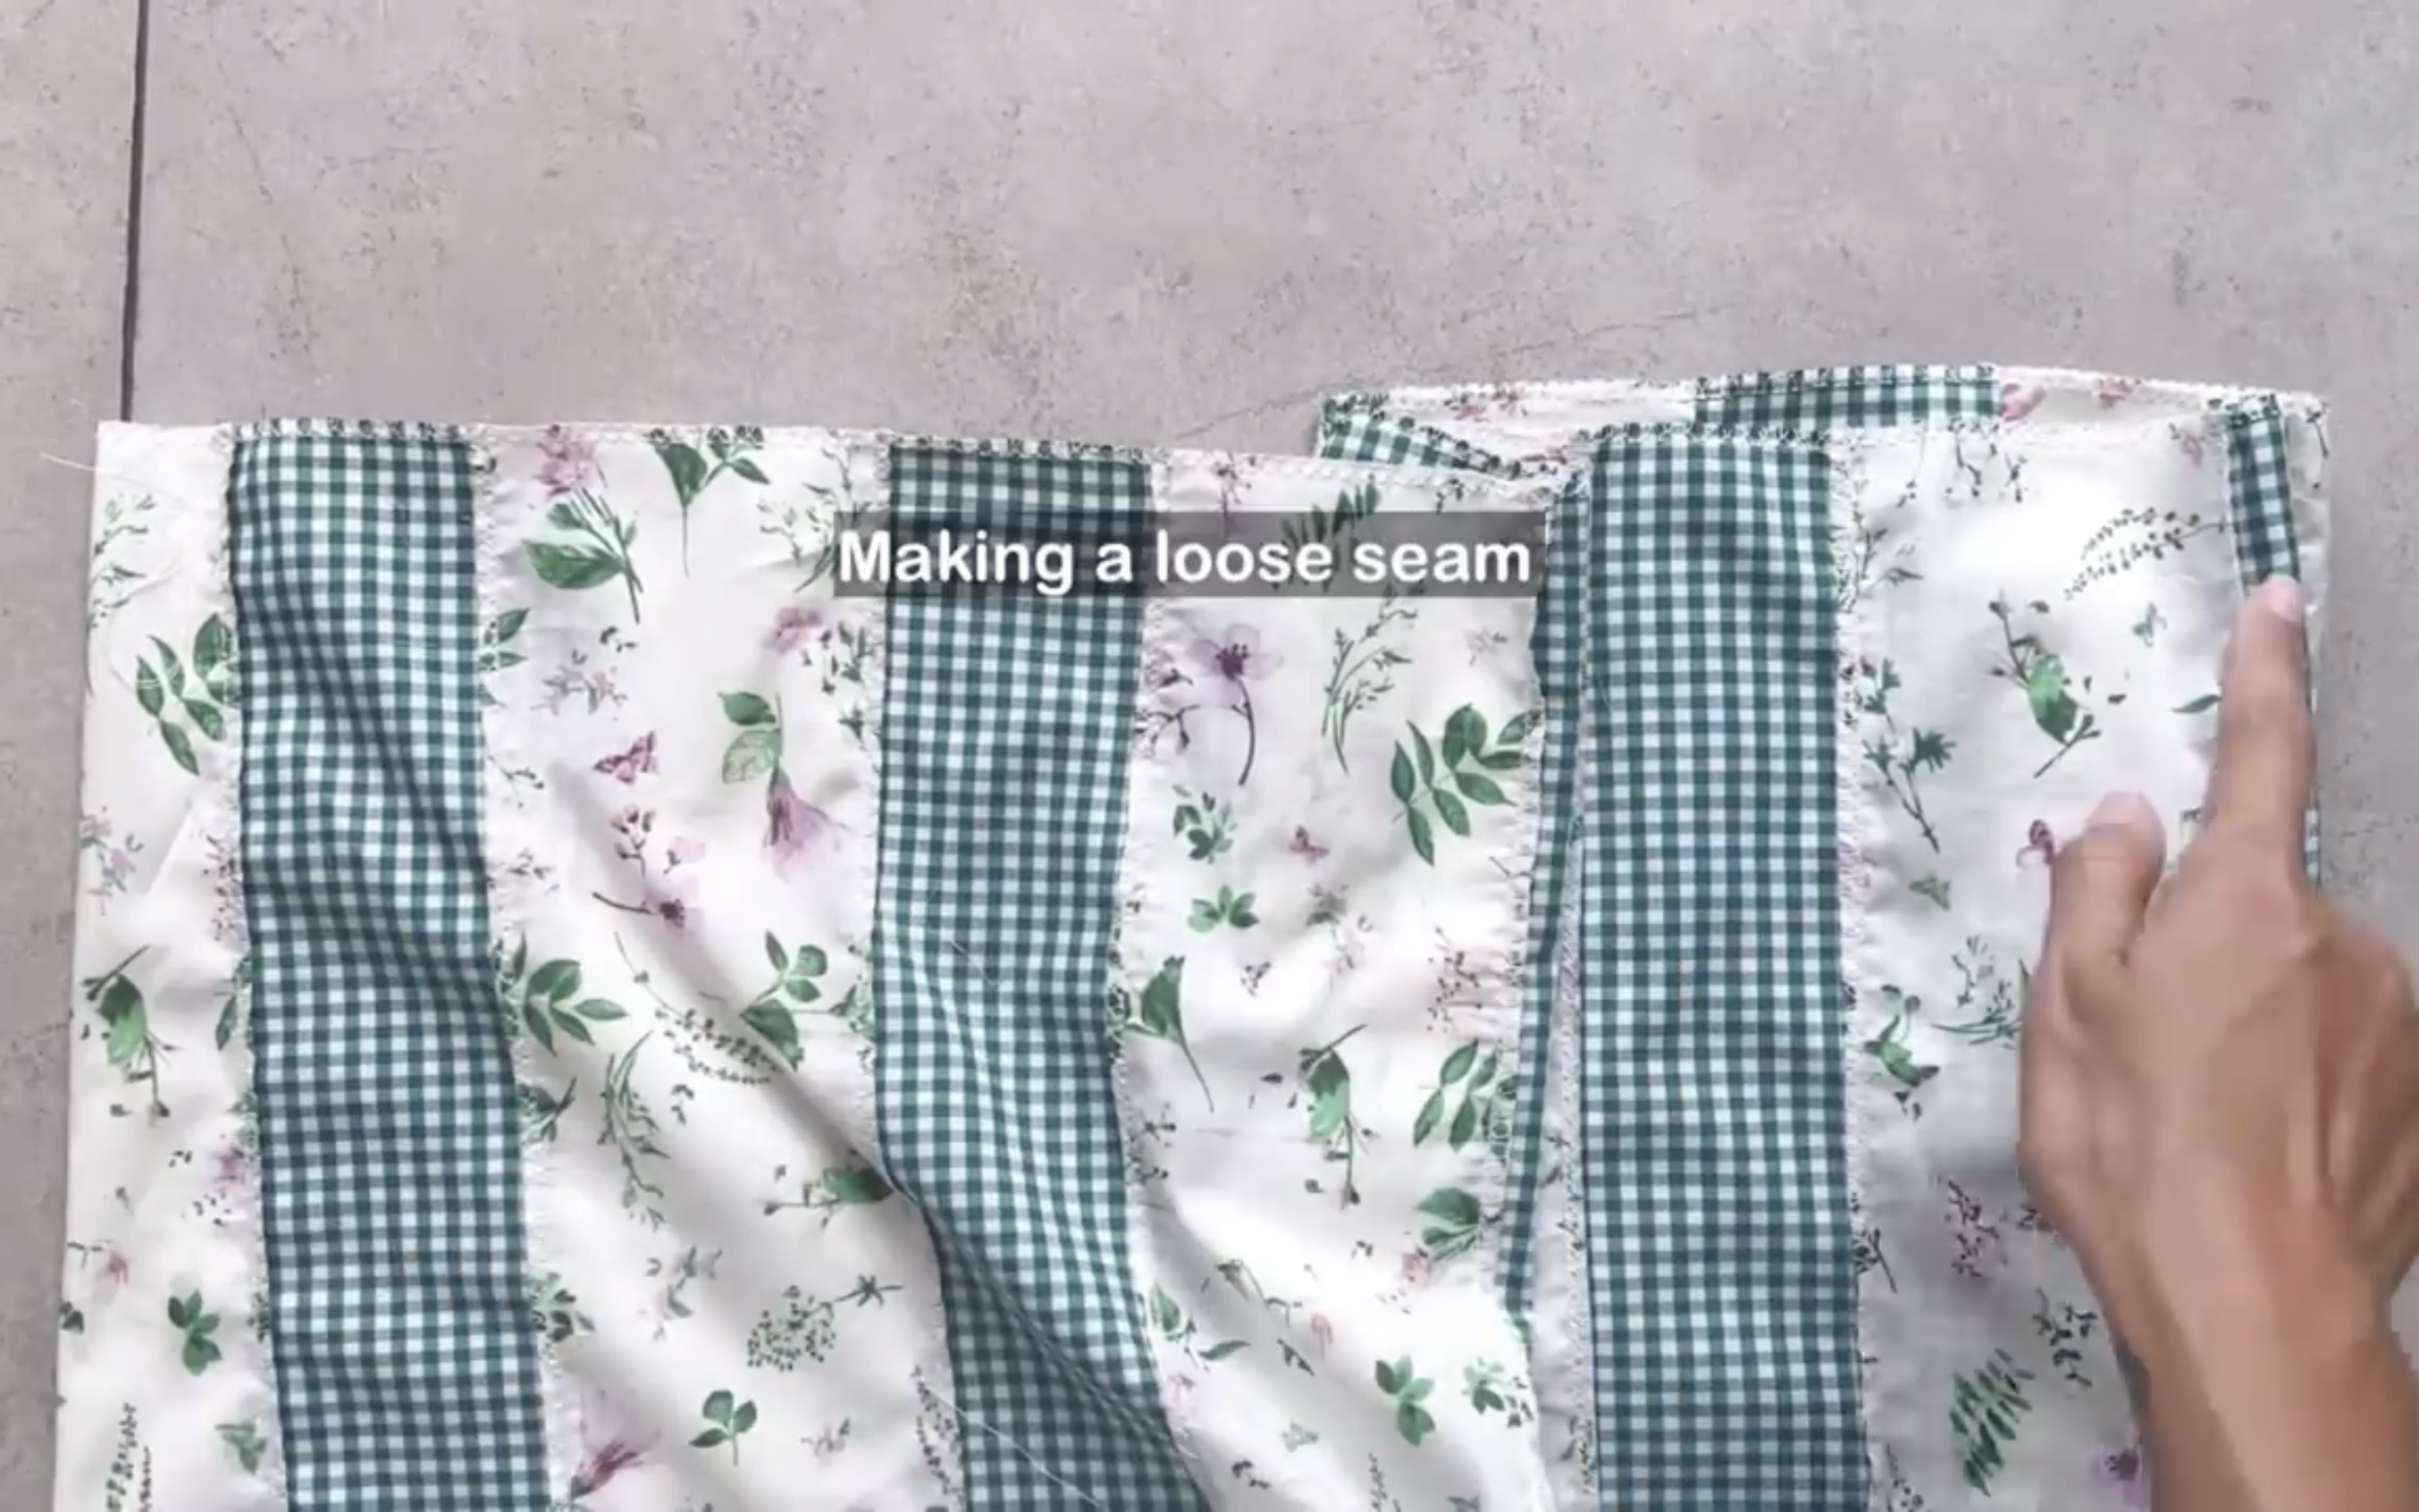
Create a loose seam at the end of the front bodice first, then gather the fabric later.
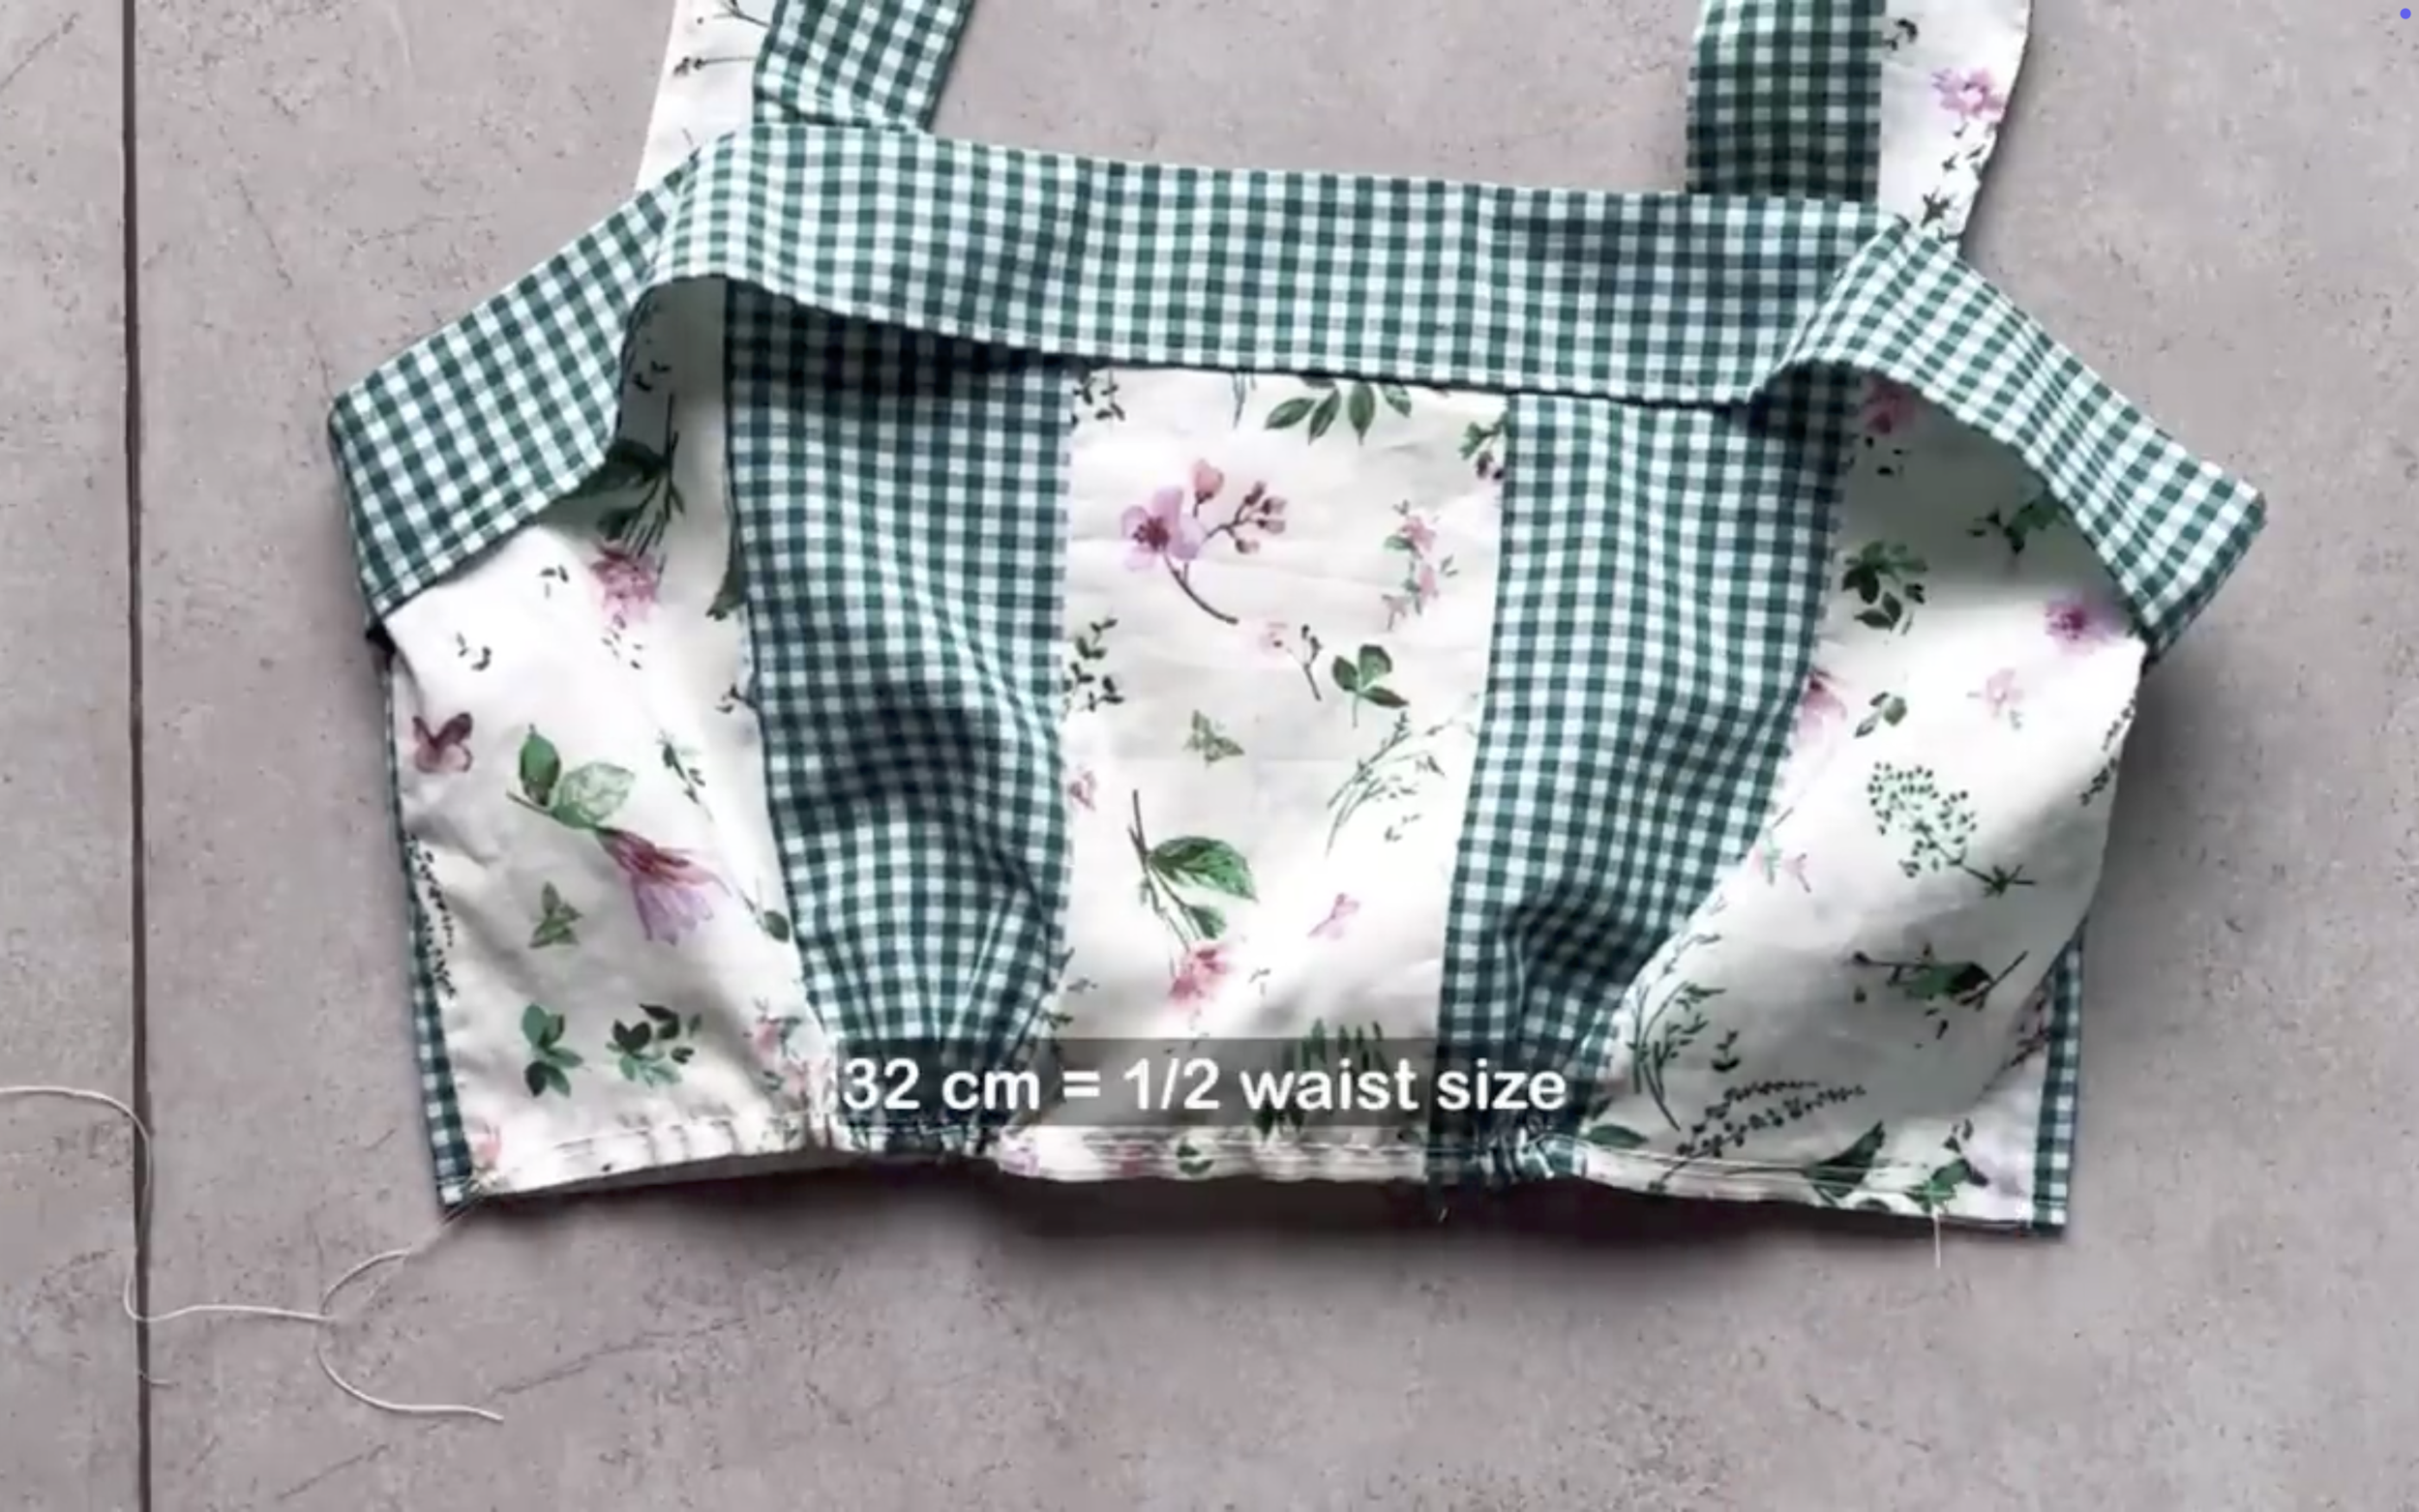
Make sure the gathered fabric is around the breast area and the final width of the front bodice is 32 cm, which is half the waist size.
Cut a long fabric line with 6 cm width, which is the width of the waistband, plus 2 cm for seam allowance, and 108 cm length, which is the length of the top part from the front to the back, plus 2 cm for seam allowance.
Connect the two length lines of the fabric to create a circular fabric piece.
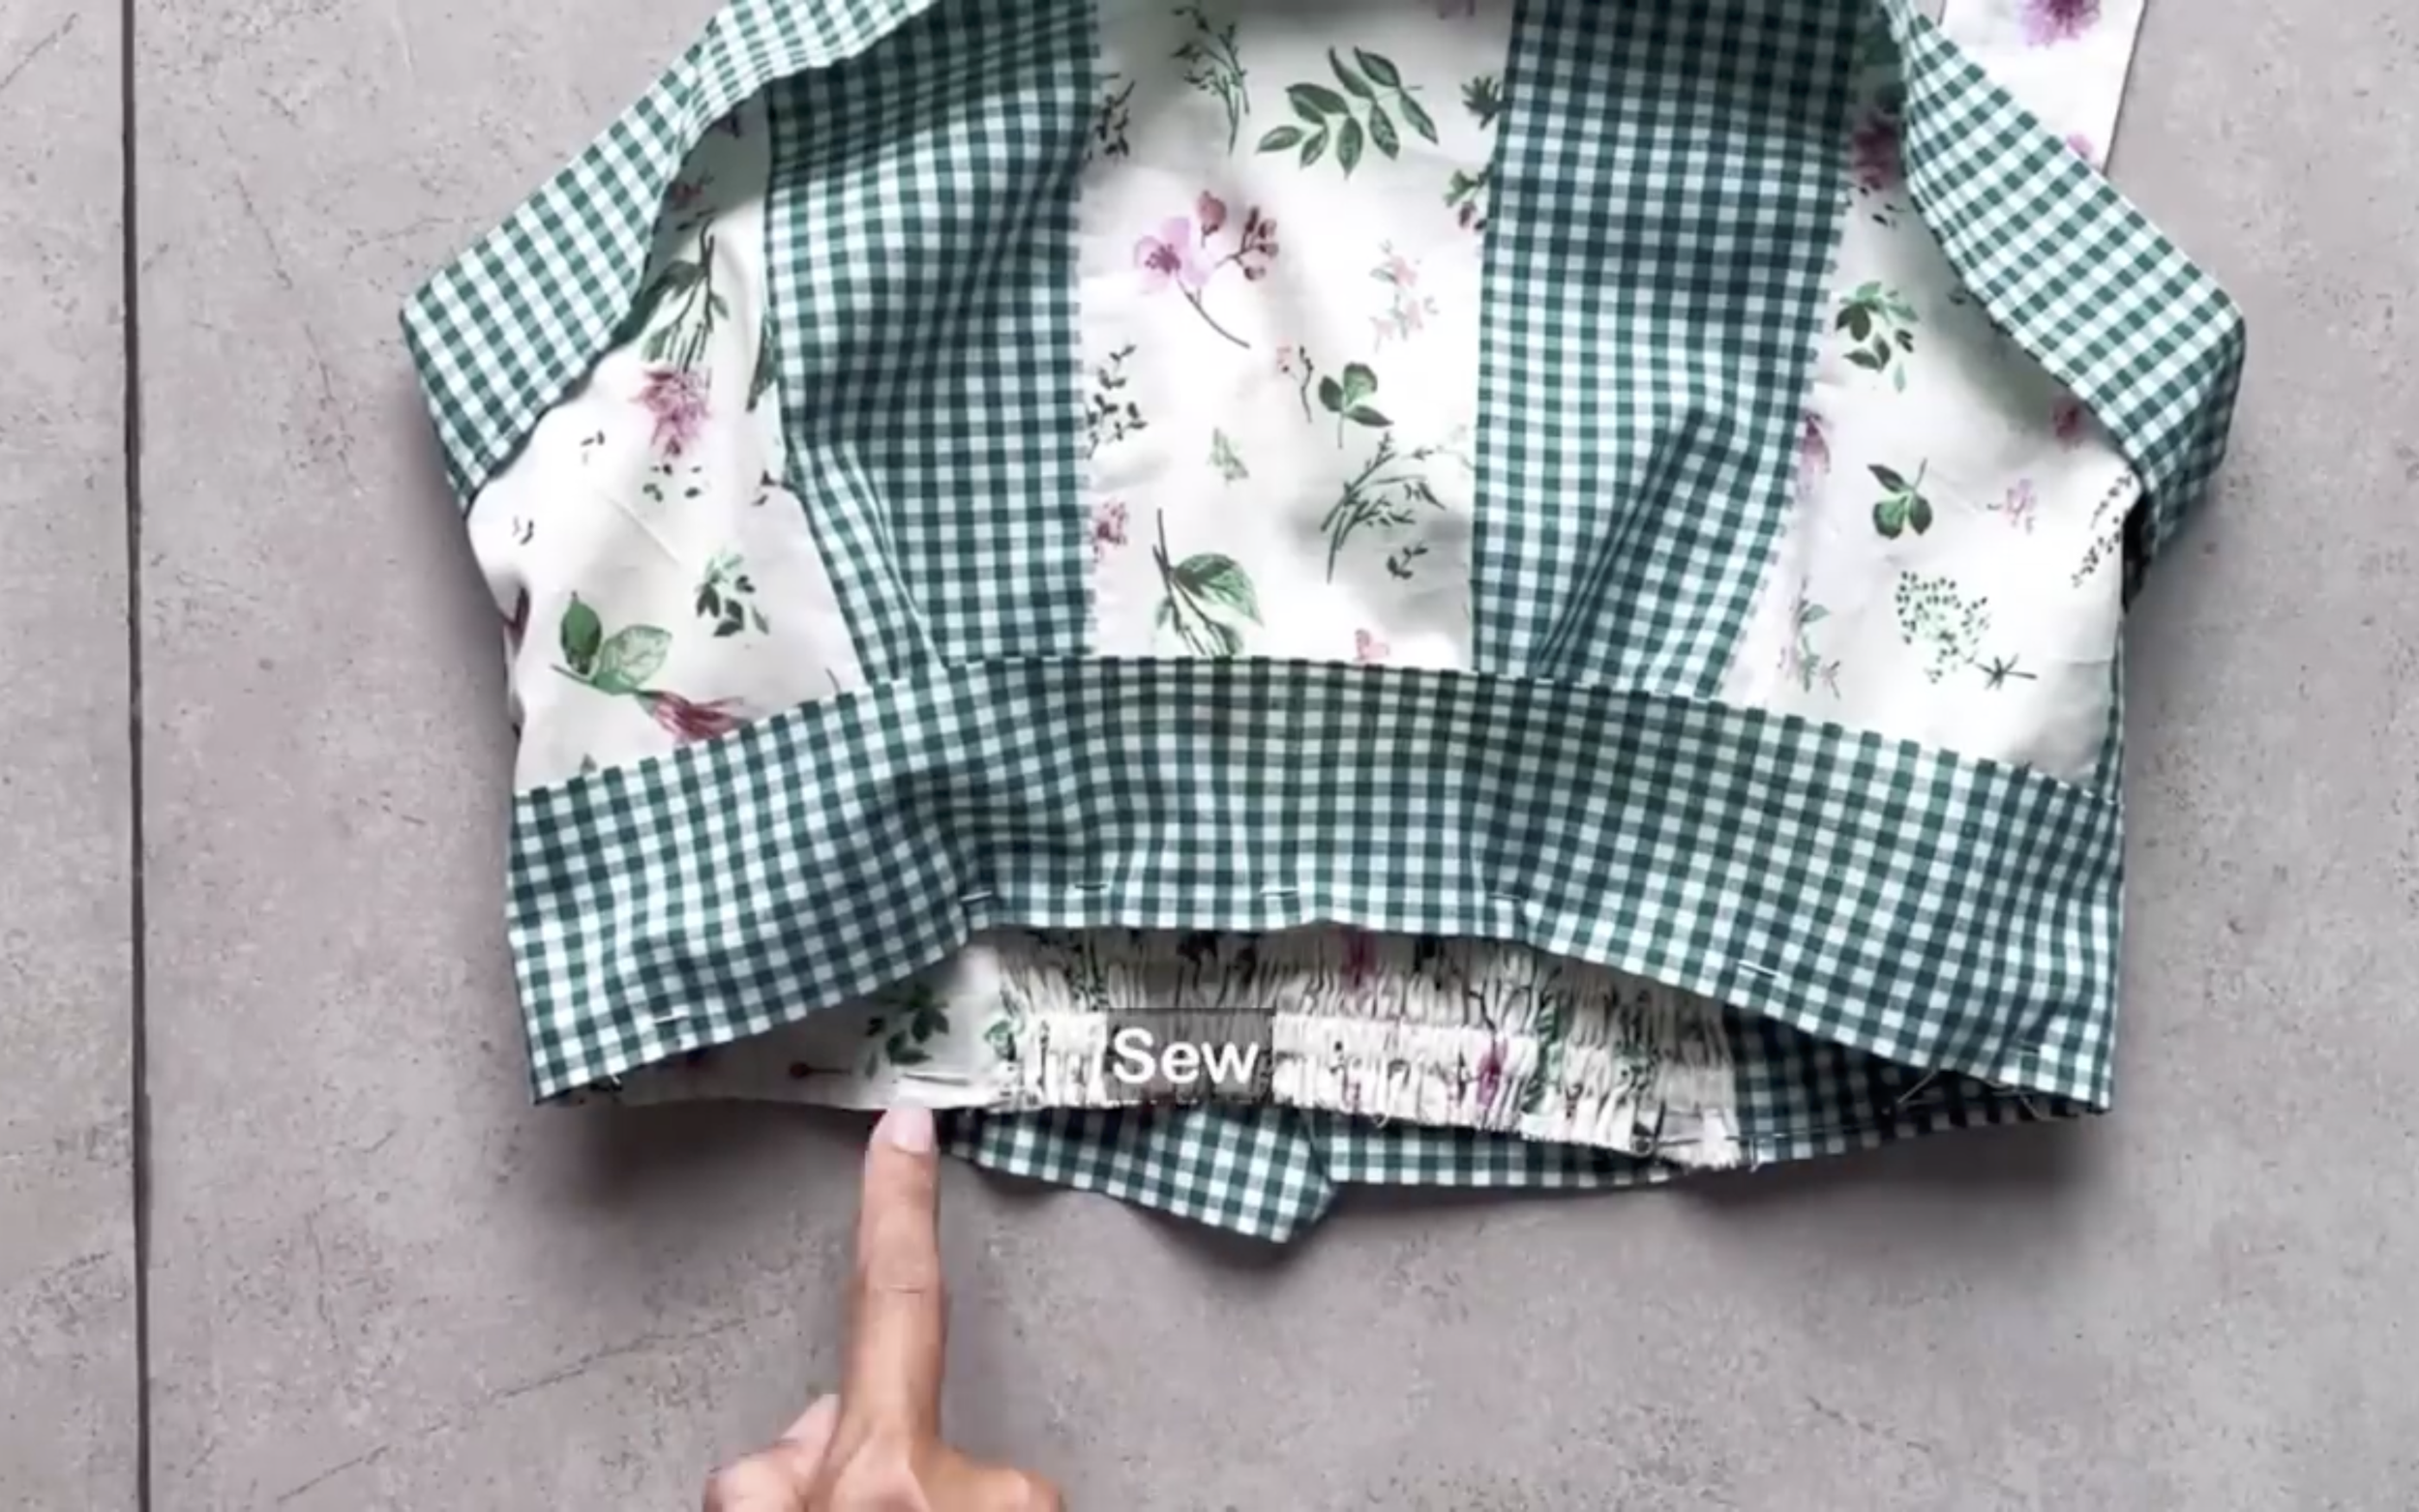
Connect one side of the circular fabric to the end of the top part of the dress.
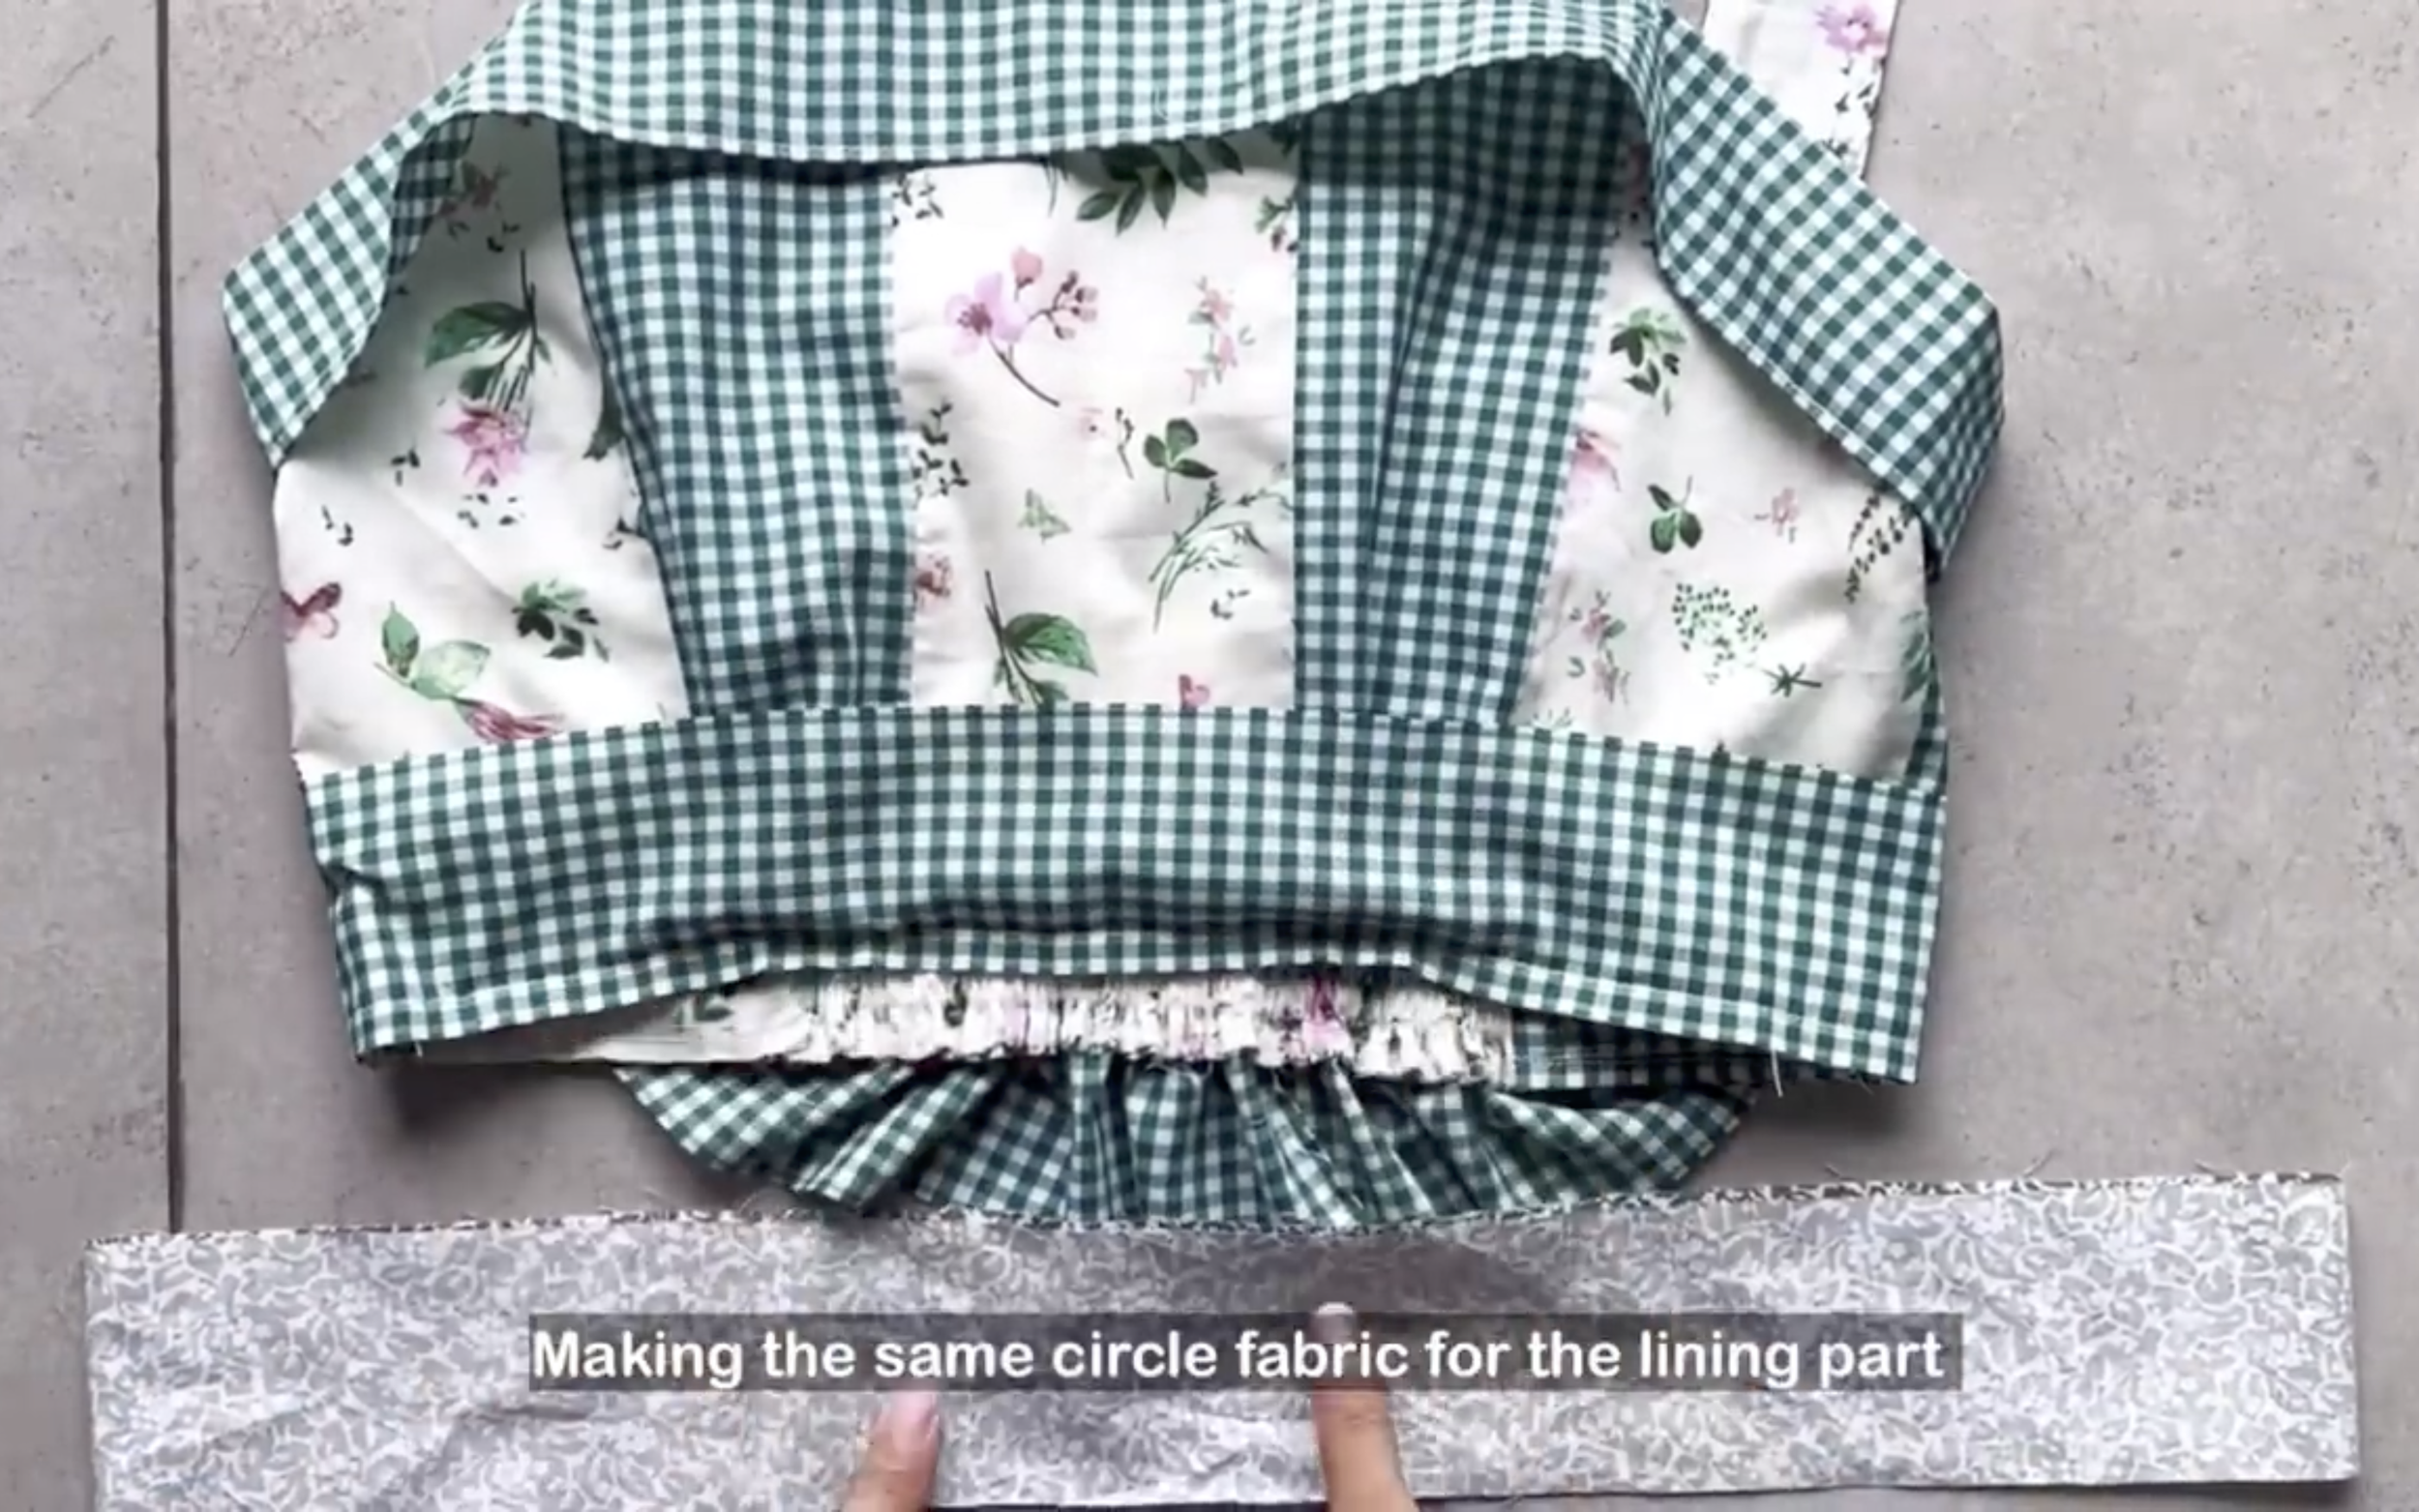
After sewing, make another circular fabric line and connect it to the top part.
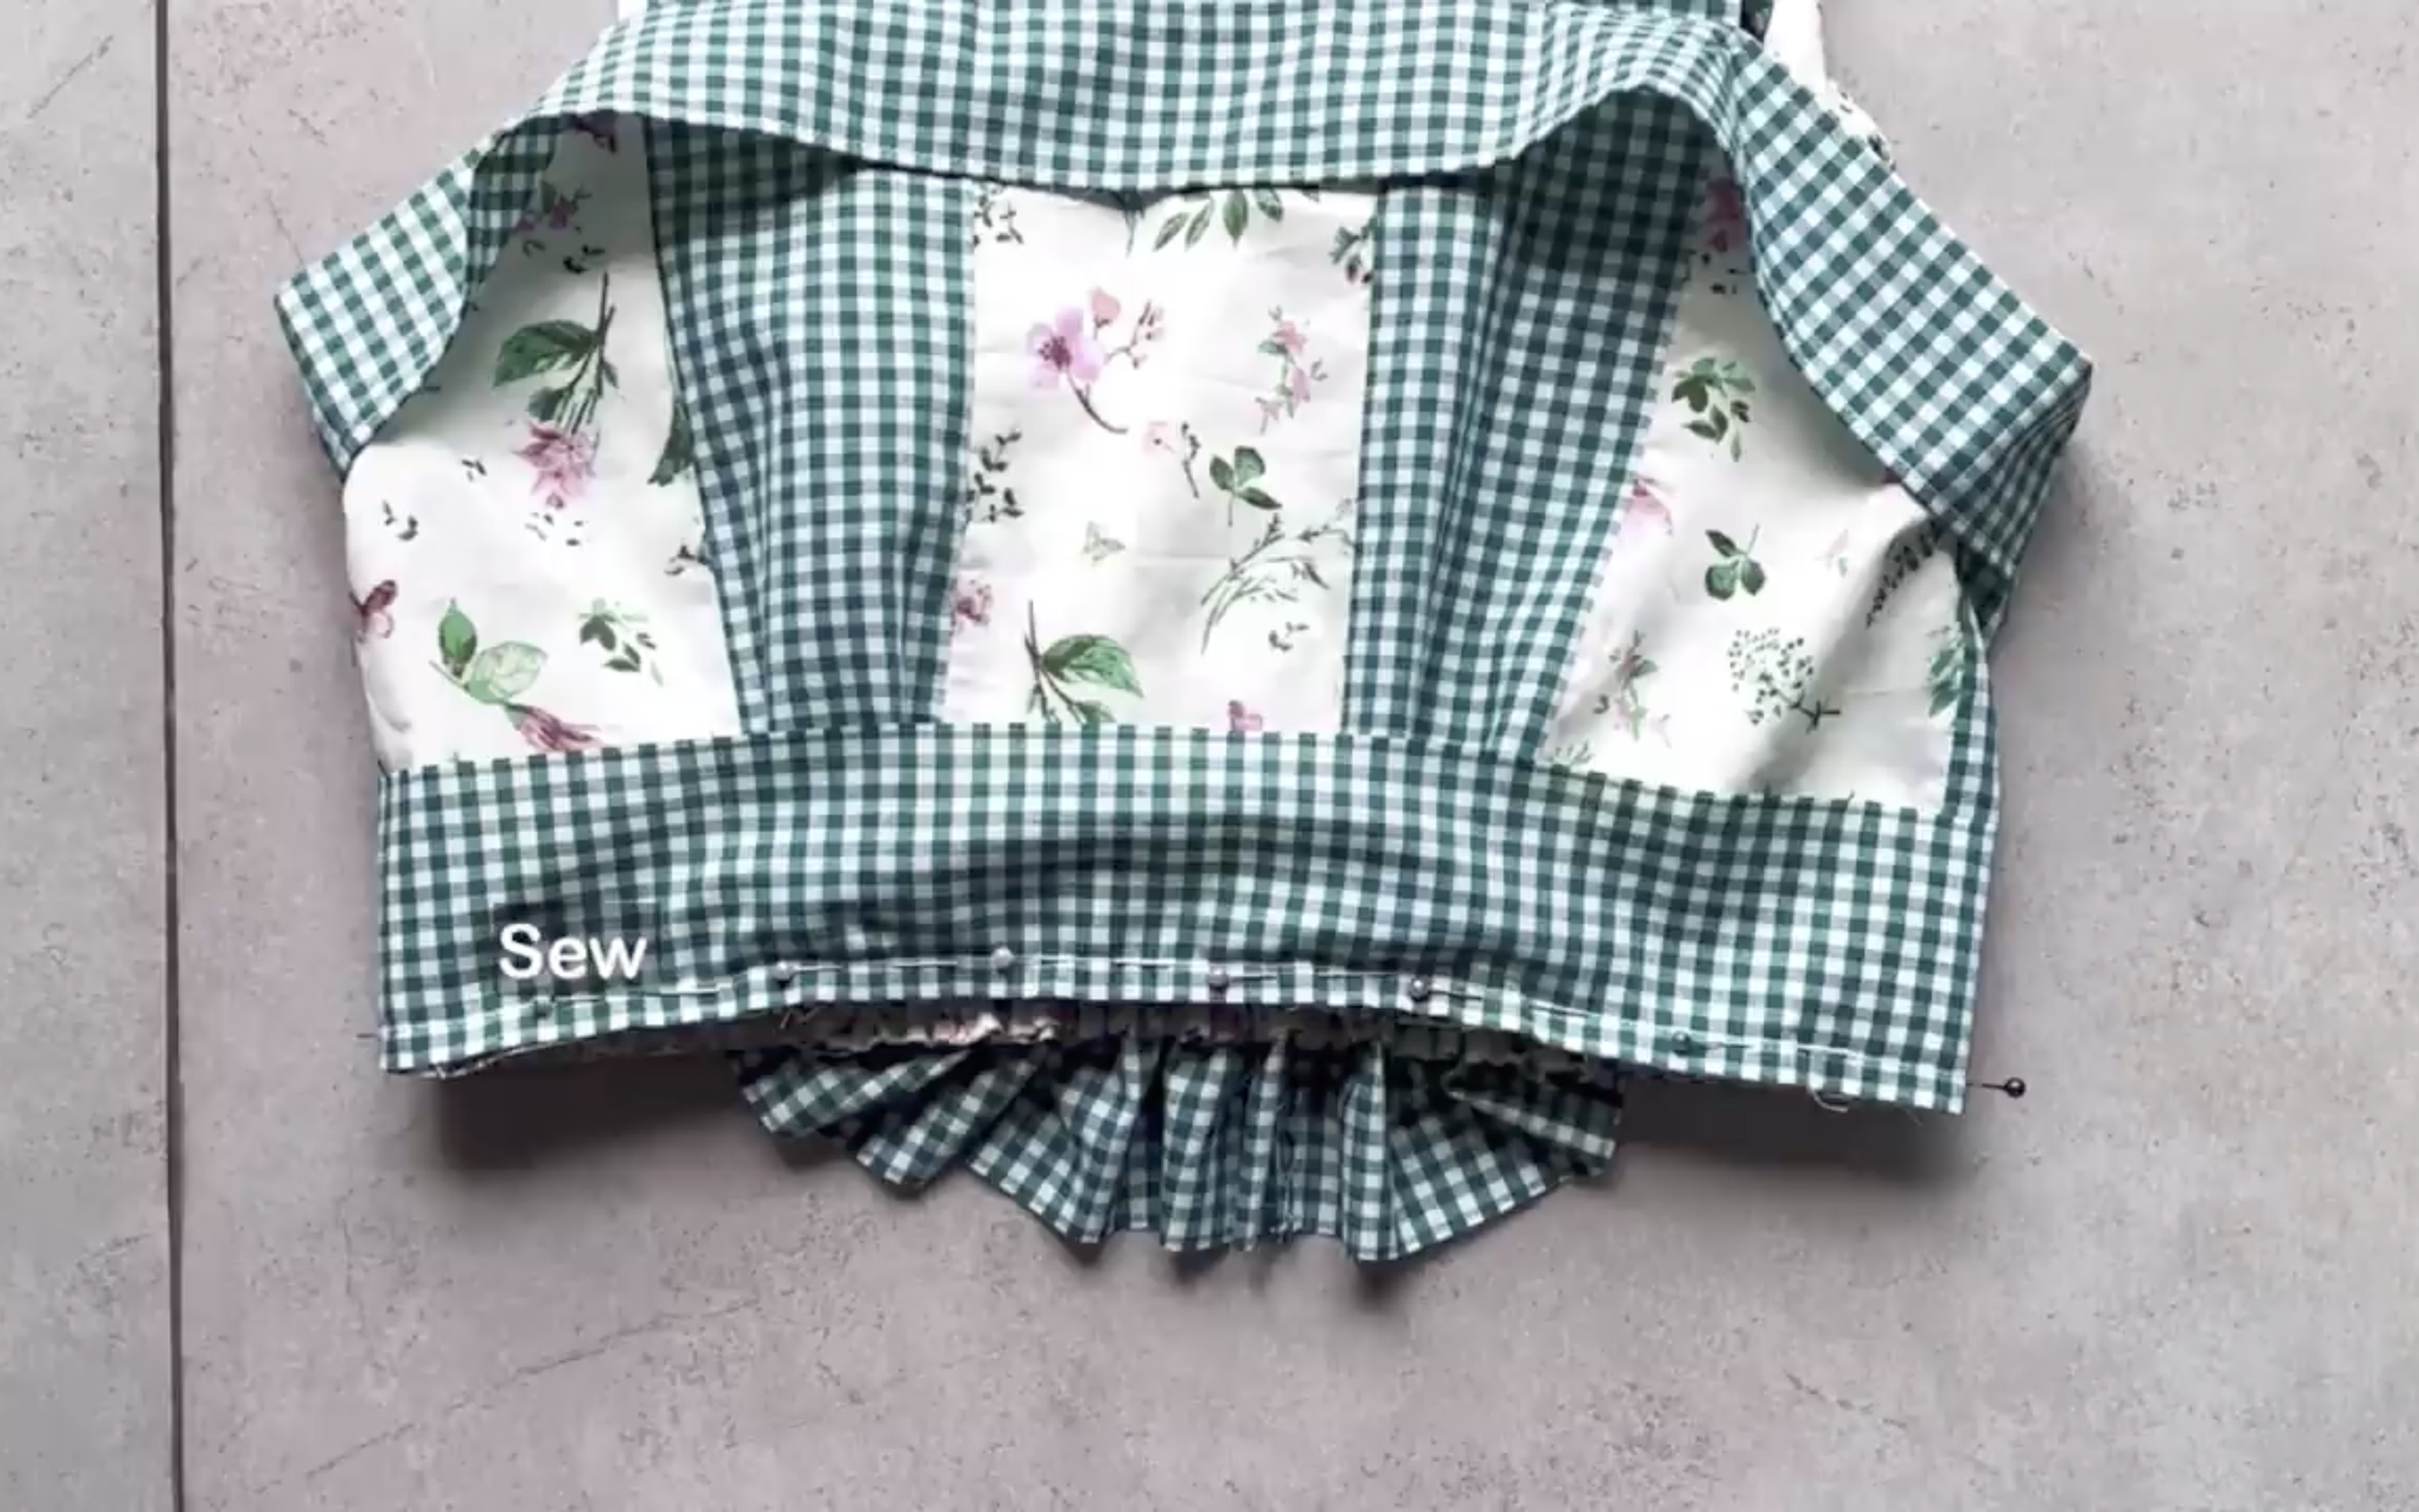
Make sure the top part is positioned between the two circular fabrics.
After sewing and turning the seam inside out, connect the two circular fabrics together to complete the top part of the dress.
THE BOTTOM PART OF THE DRESS
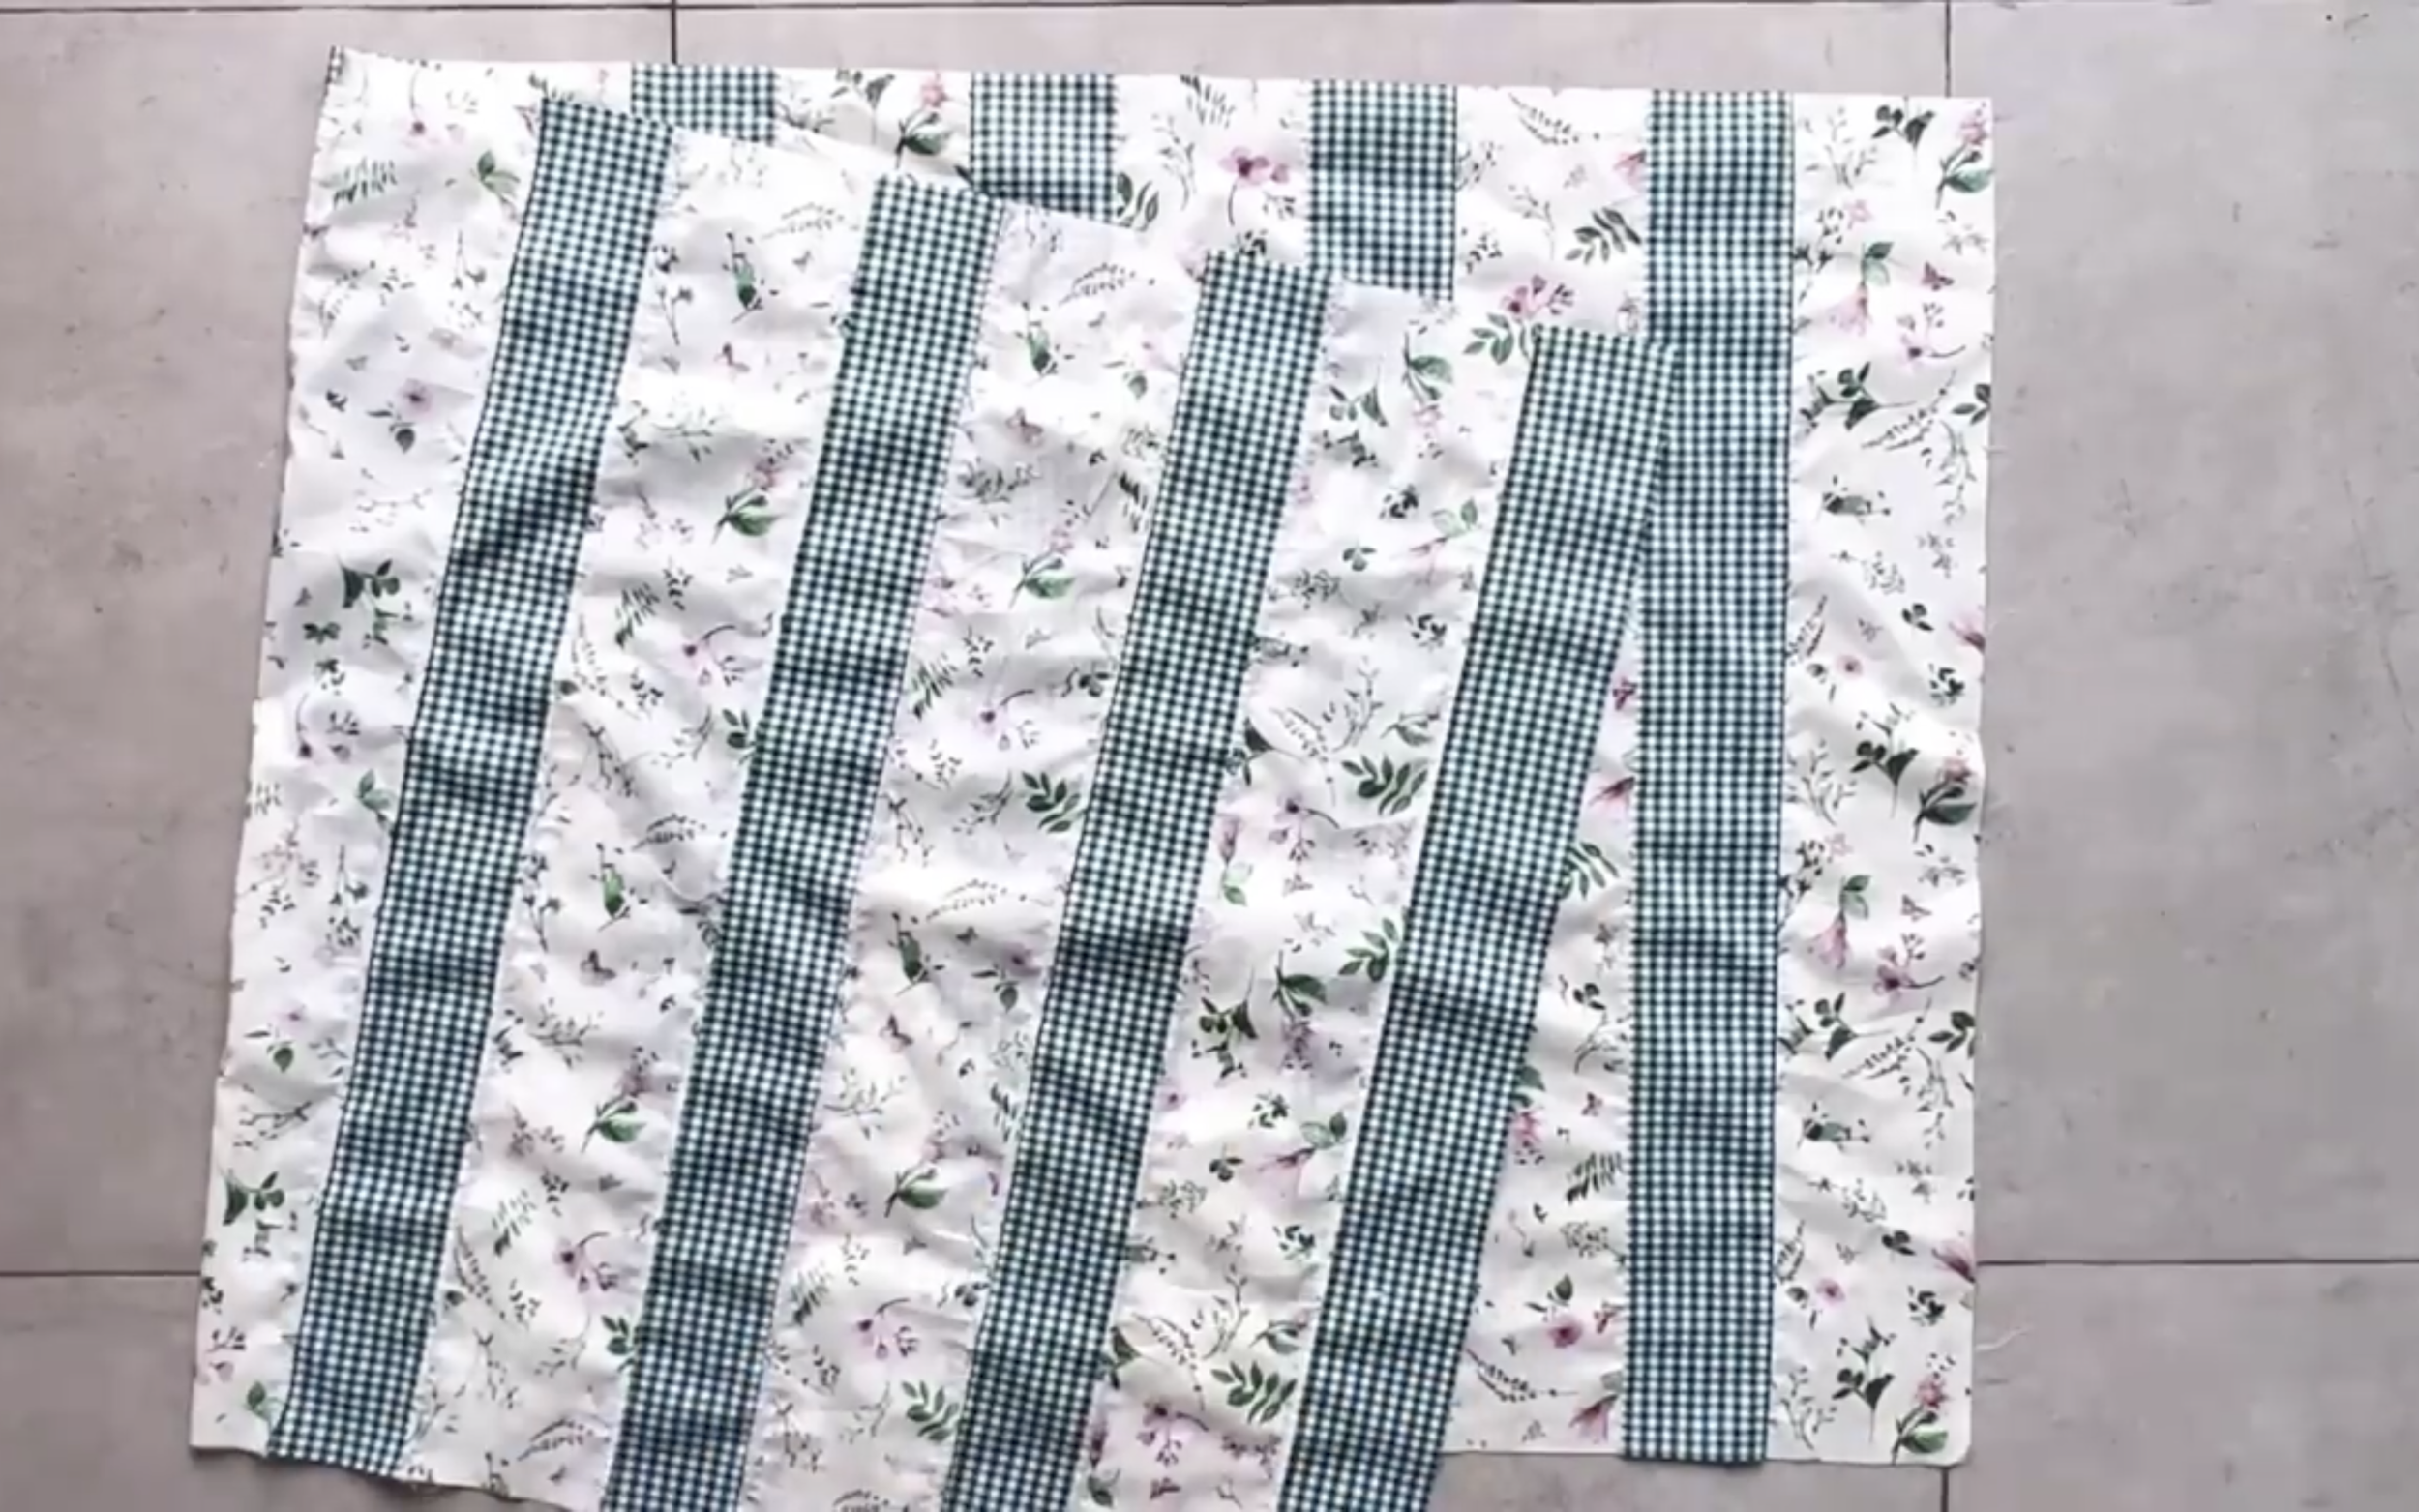
For the bottom part of the dress, create a matching rectangle with 140 cm width, which is 1.5 times the hip size plus 2 cm for seam allowance, and 70 cm length, which is the length from 3 cm above the belly button to the knee. This is also the desired dress length.
Connect the two lane lines of the rectangle to create a circular fabric piece.
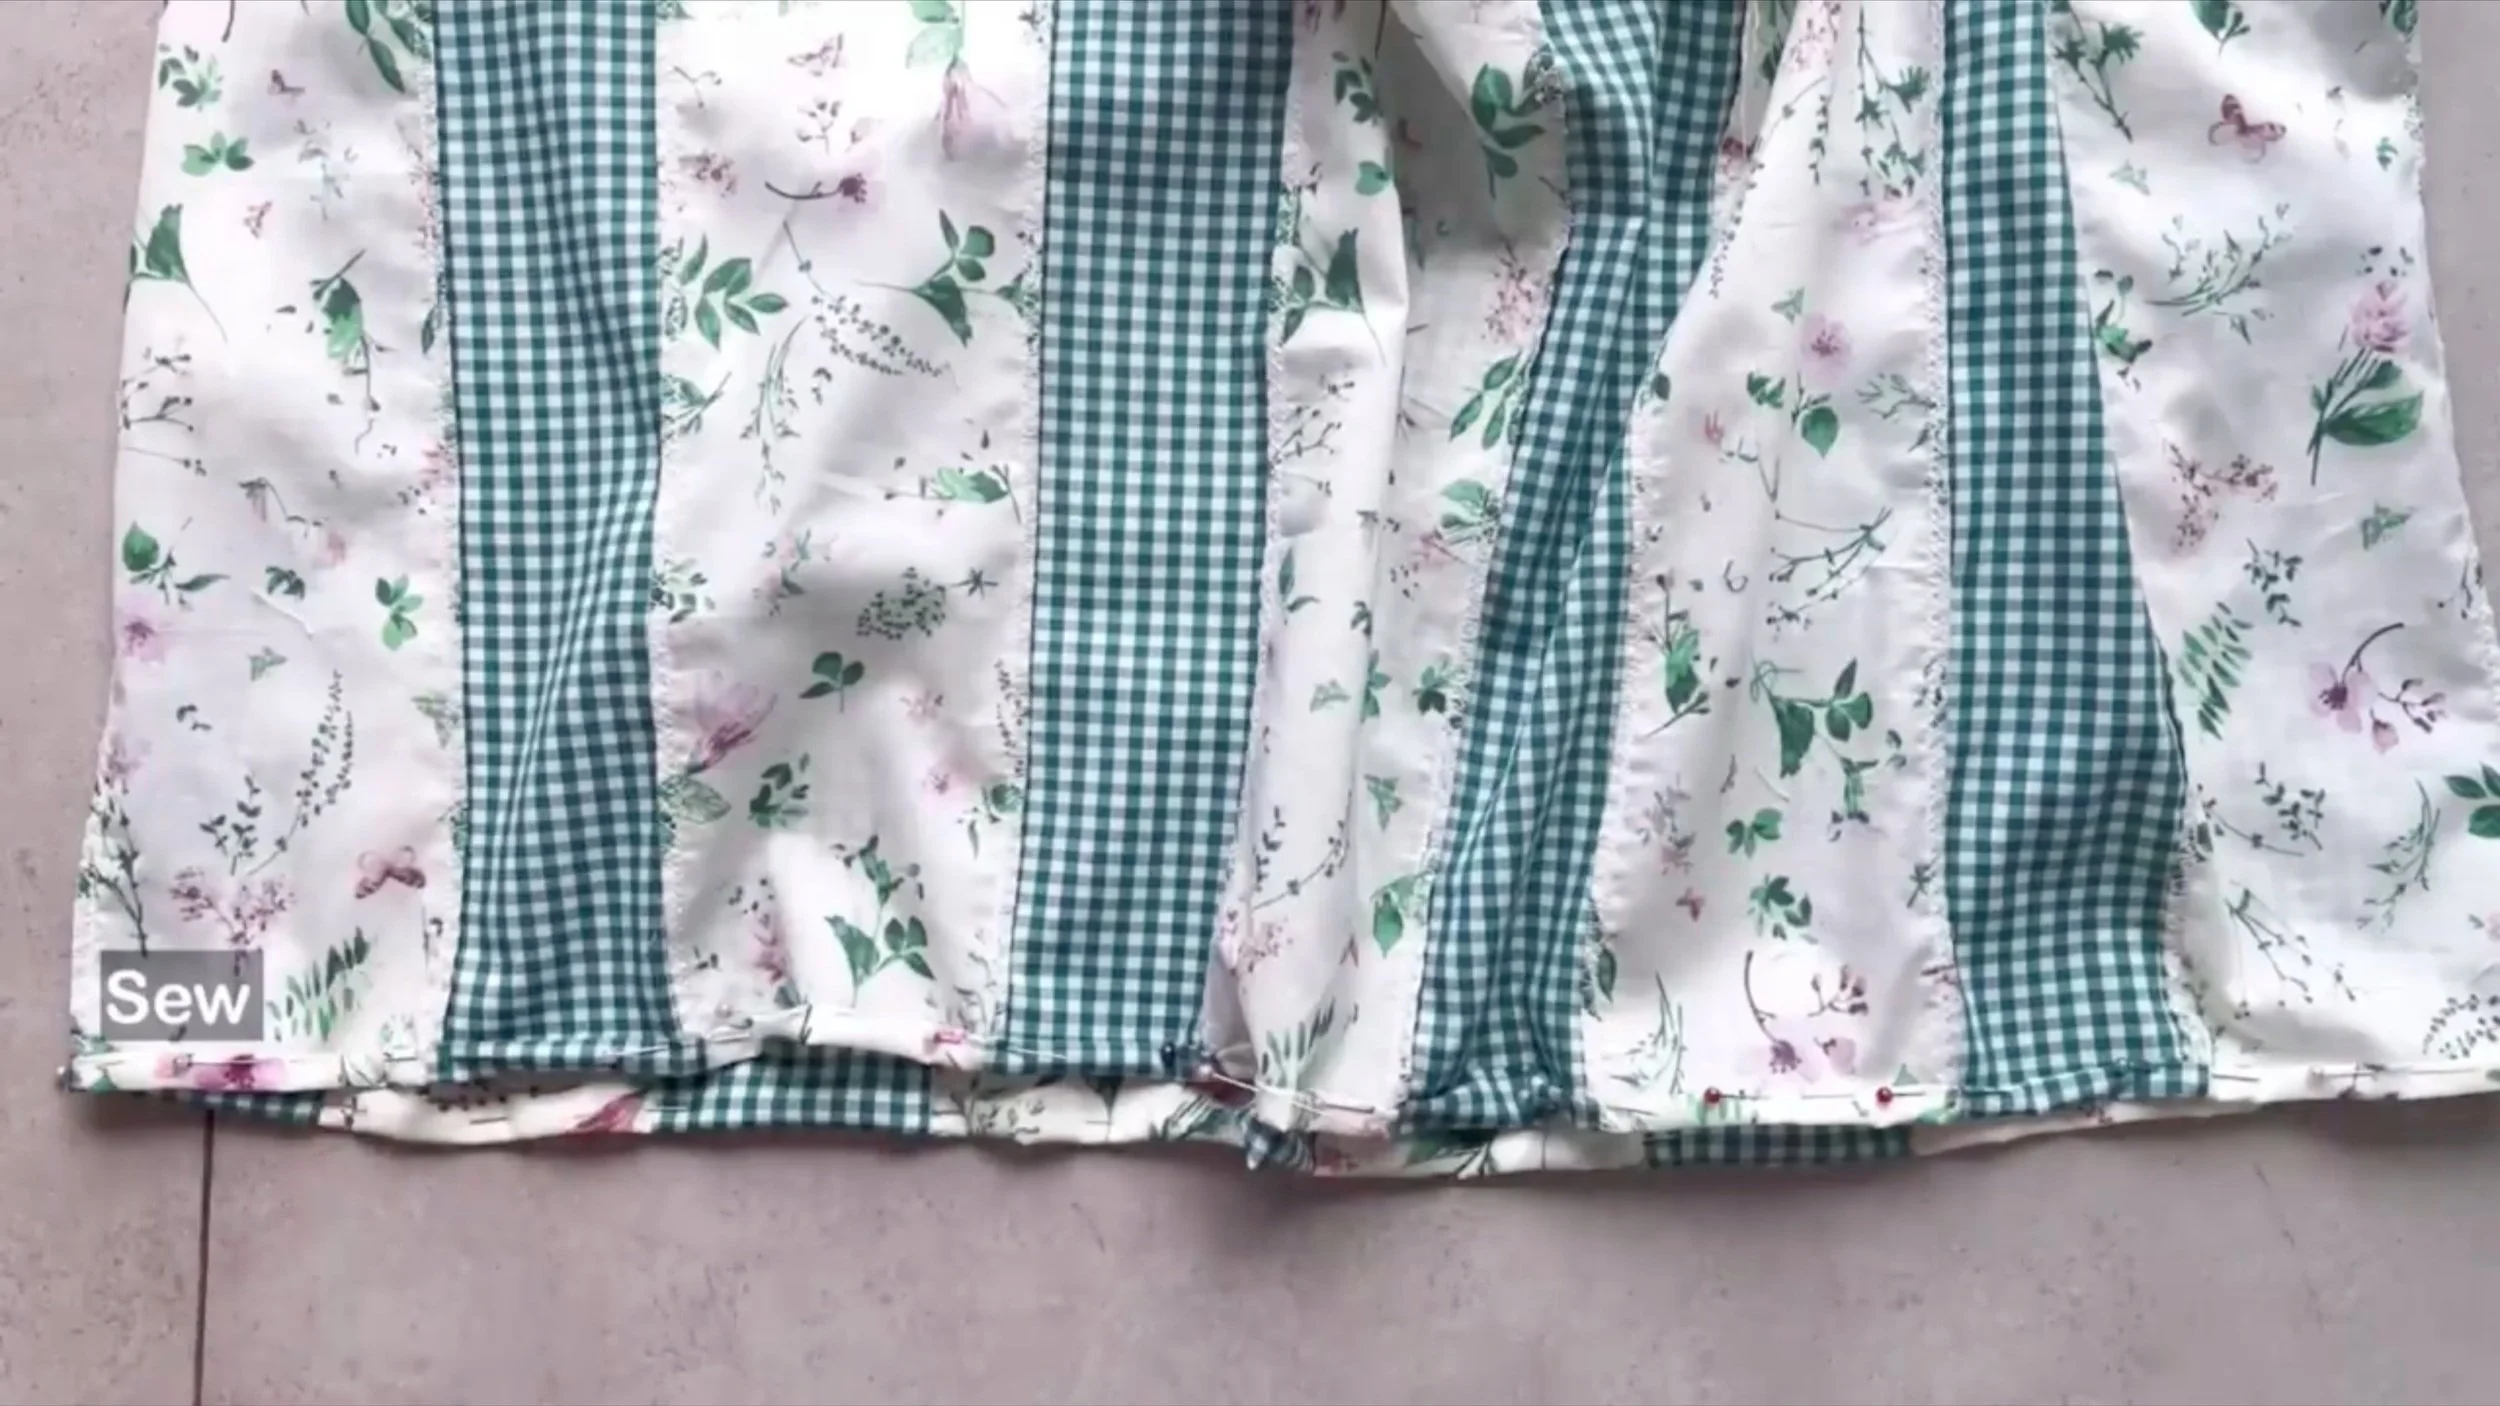
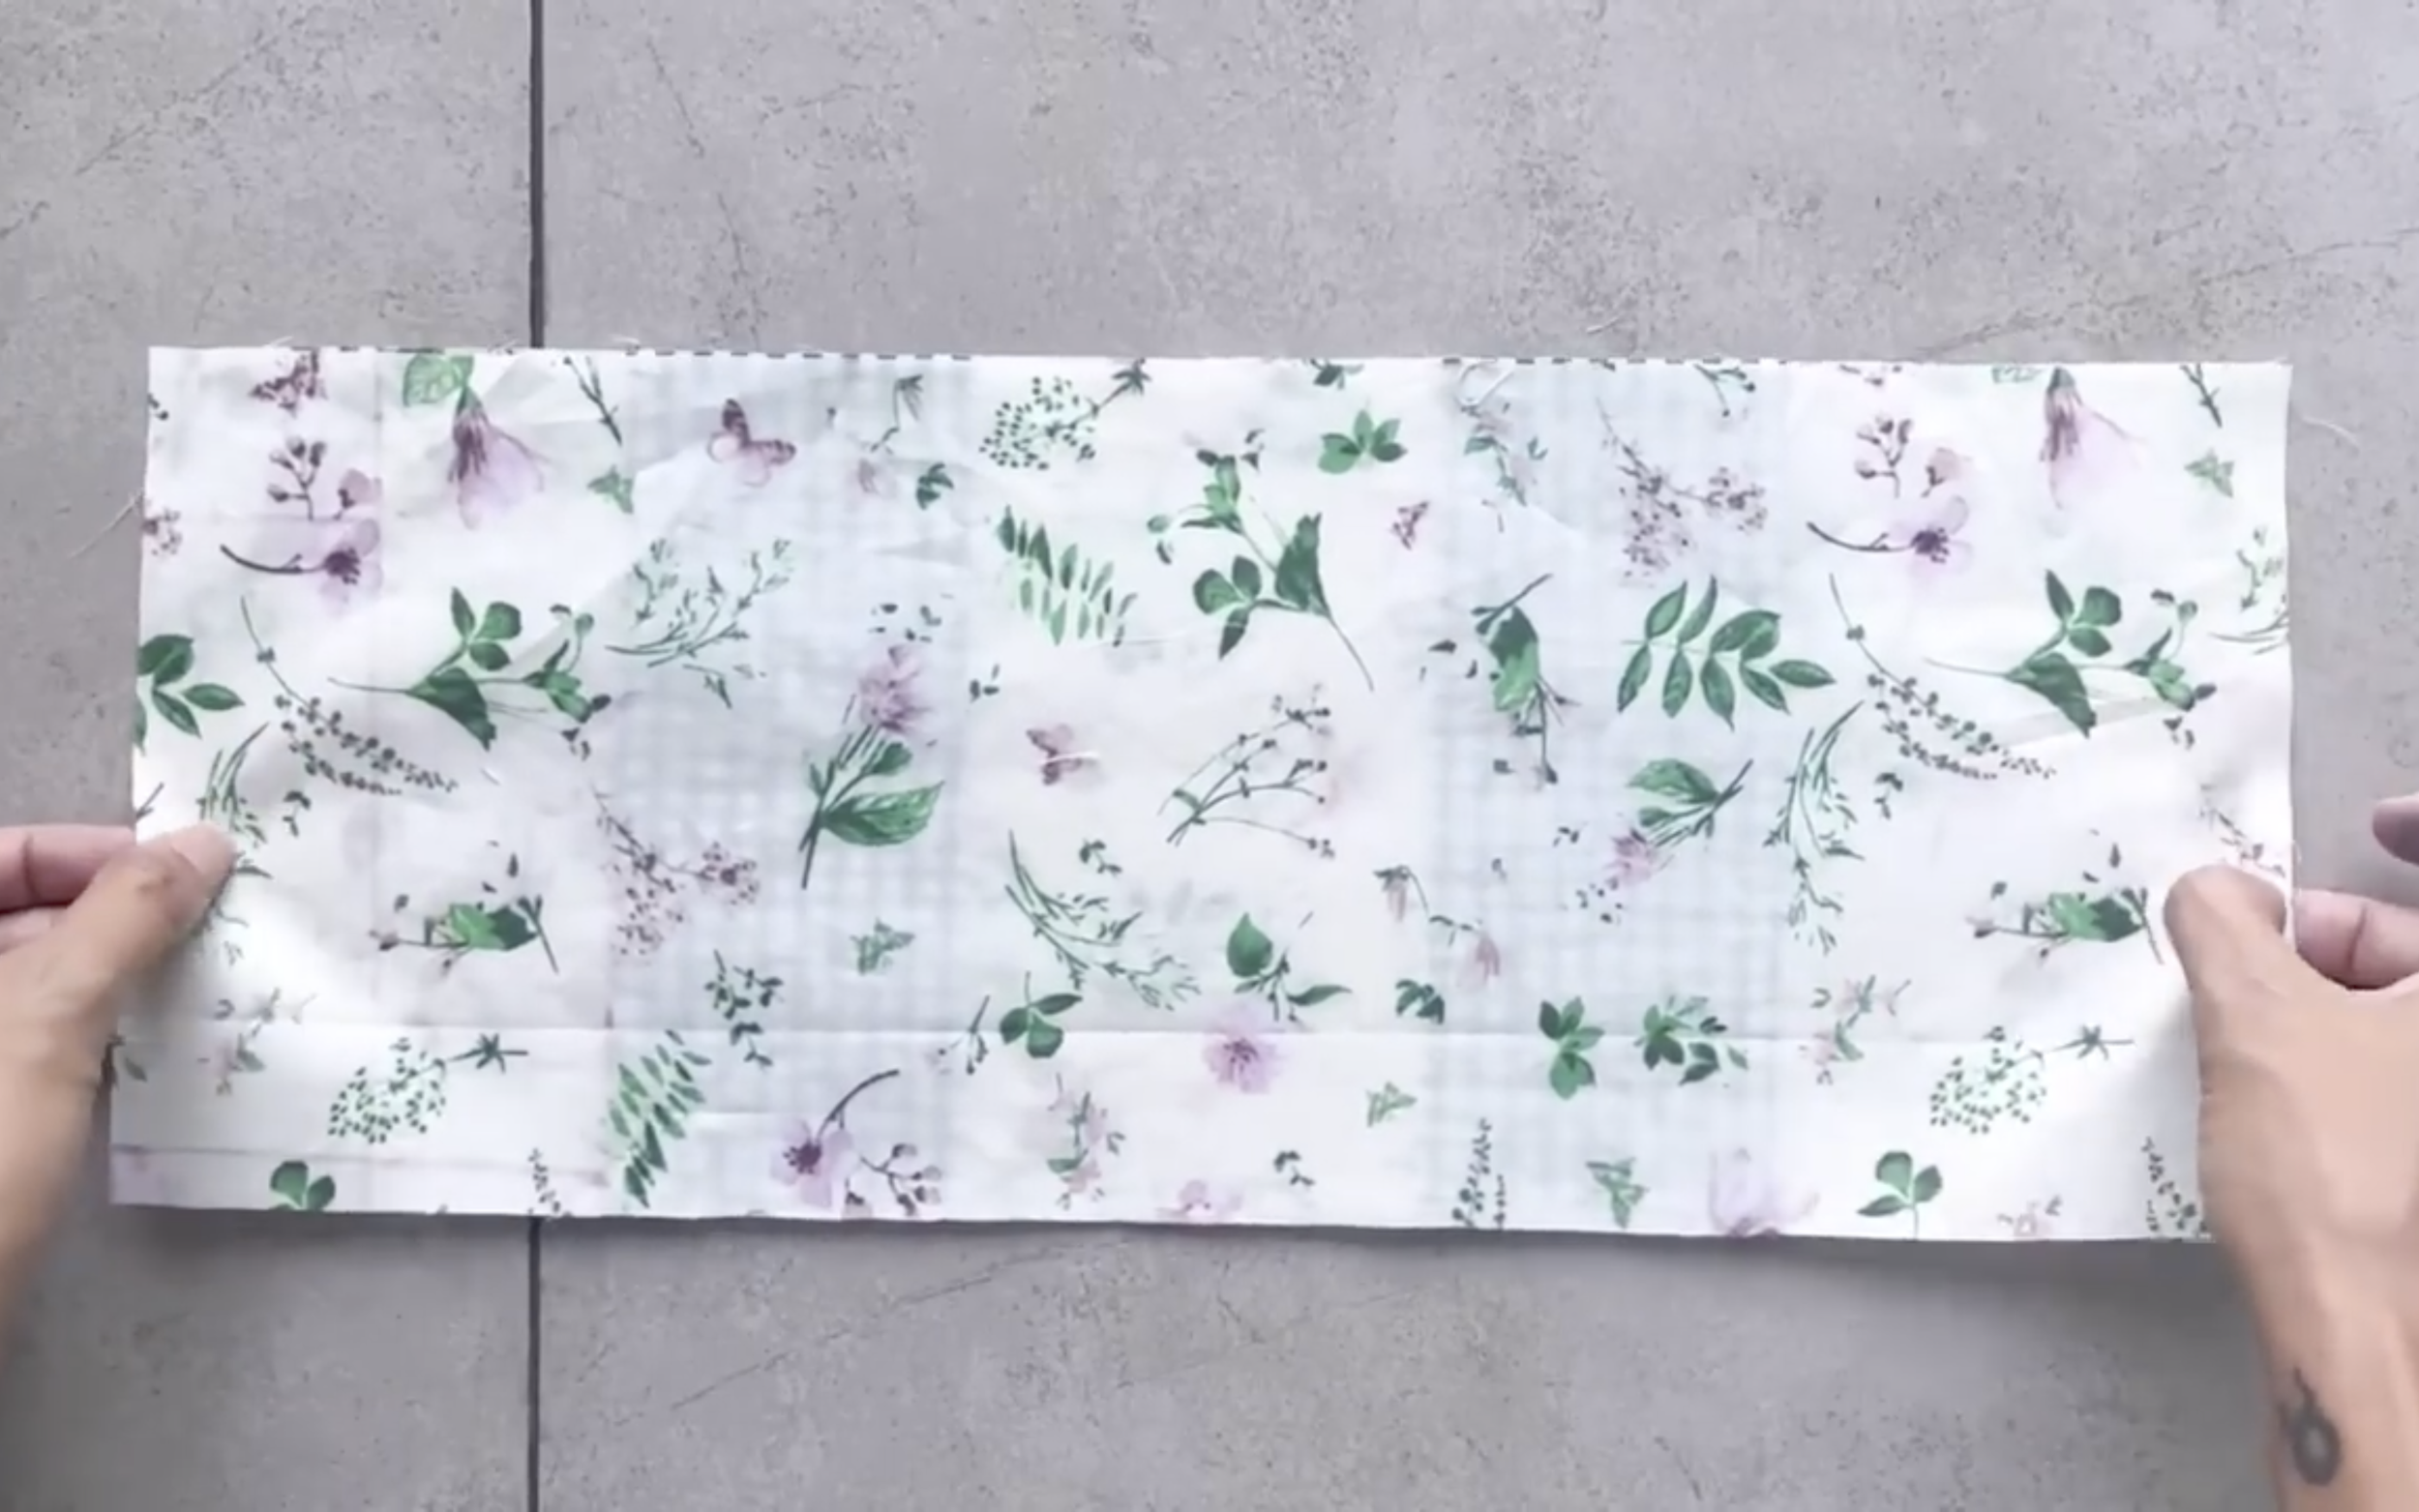
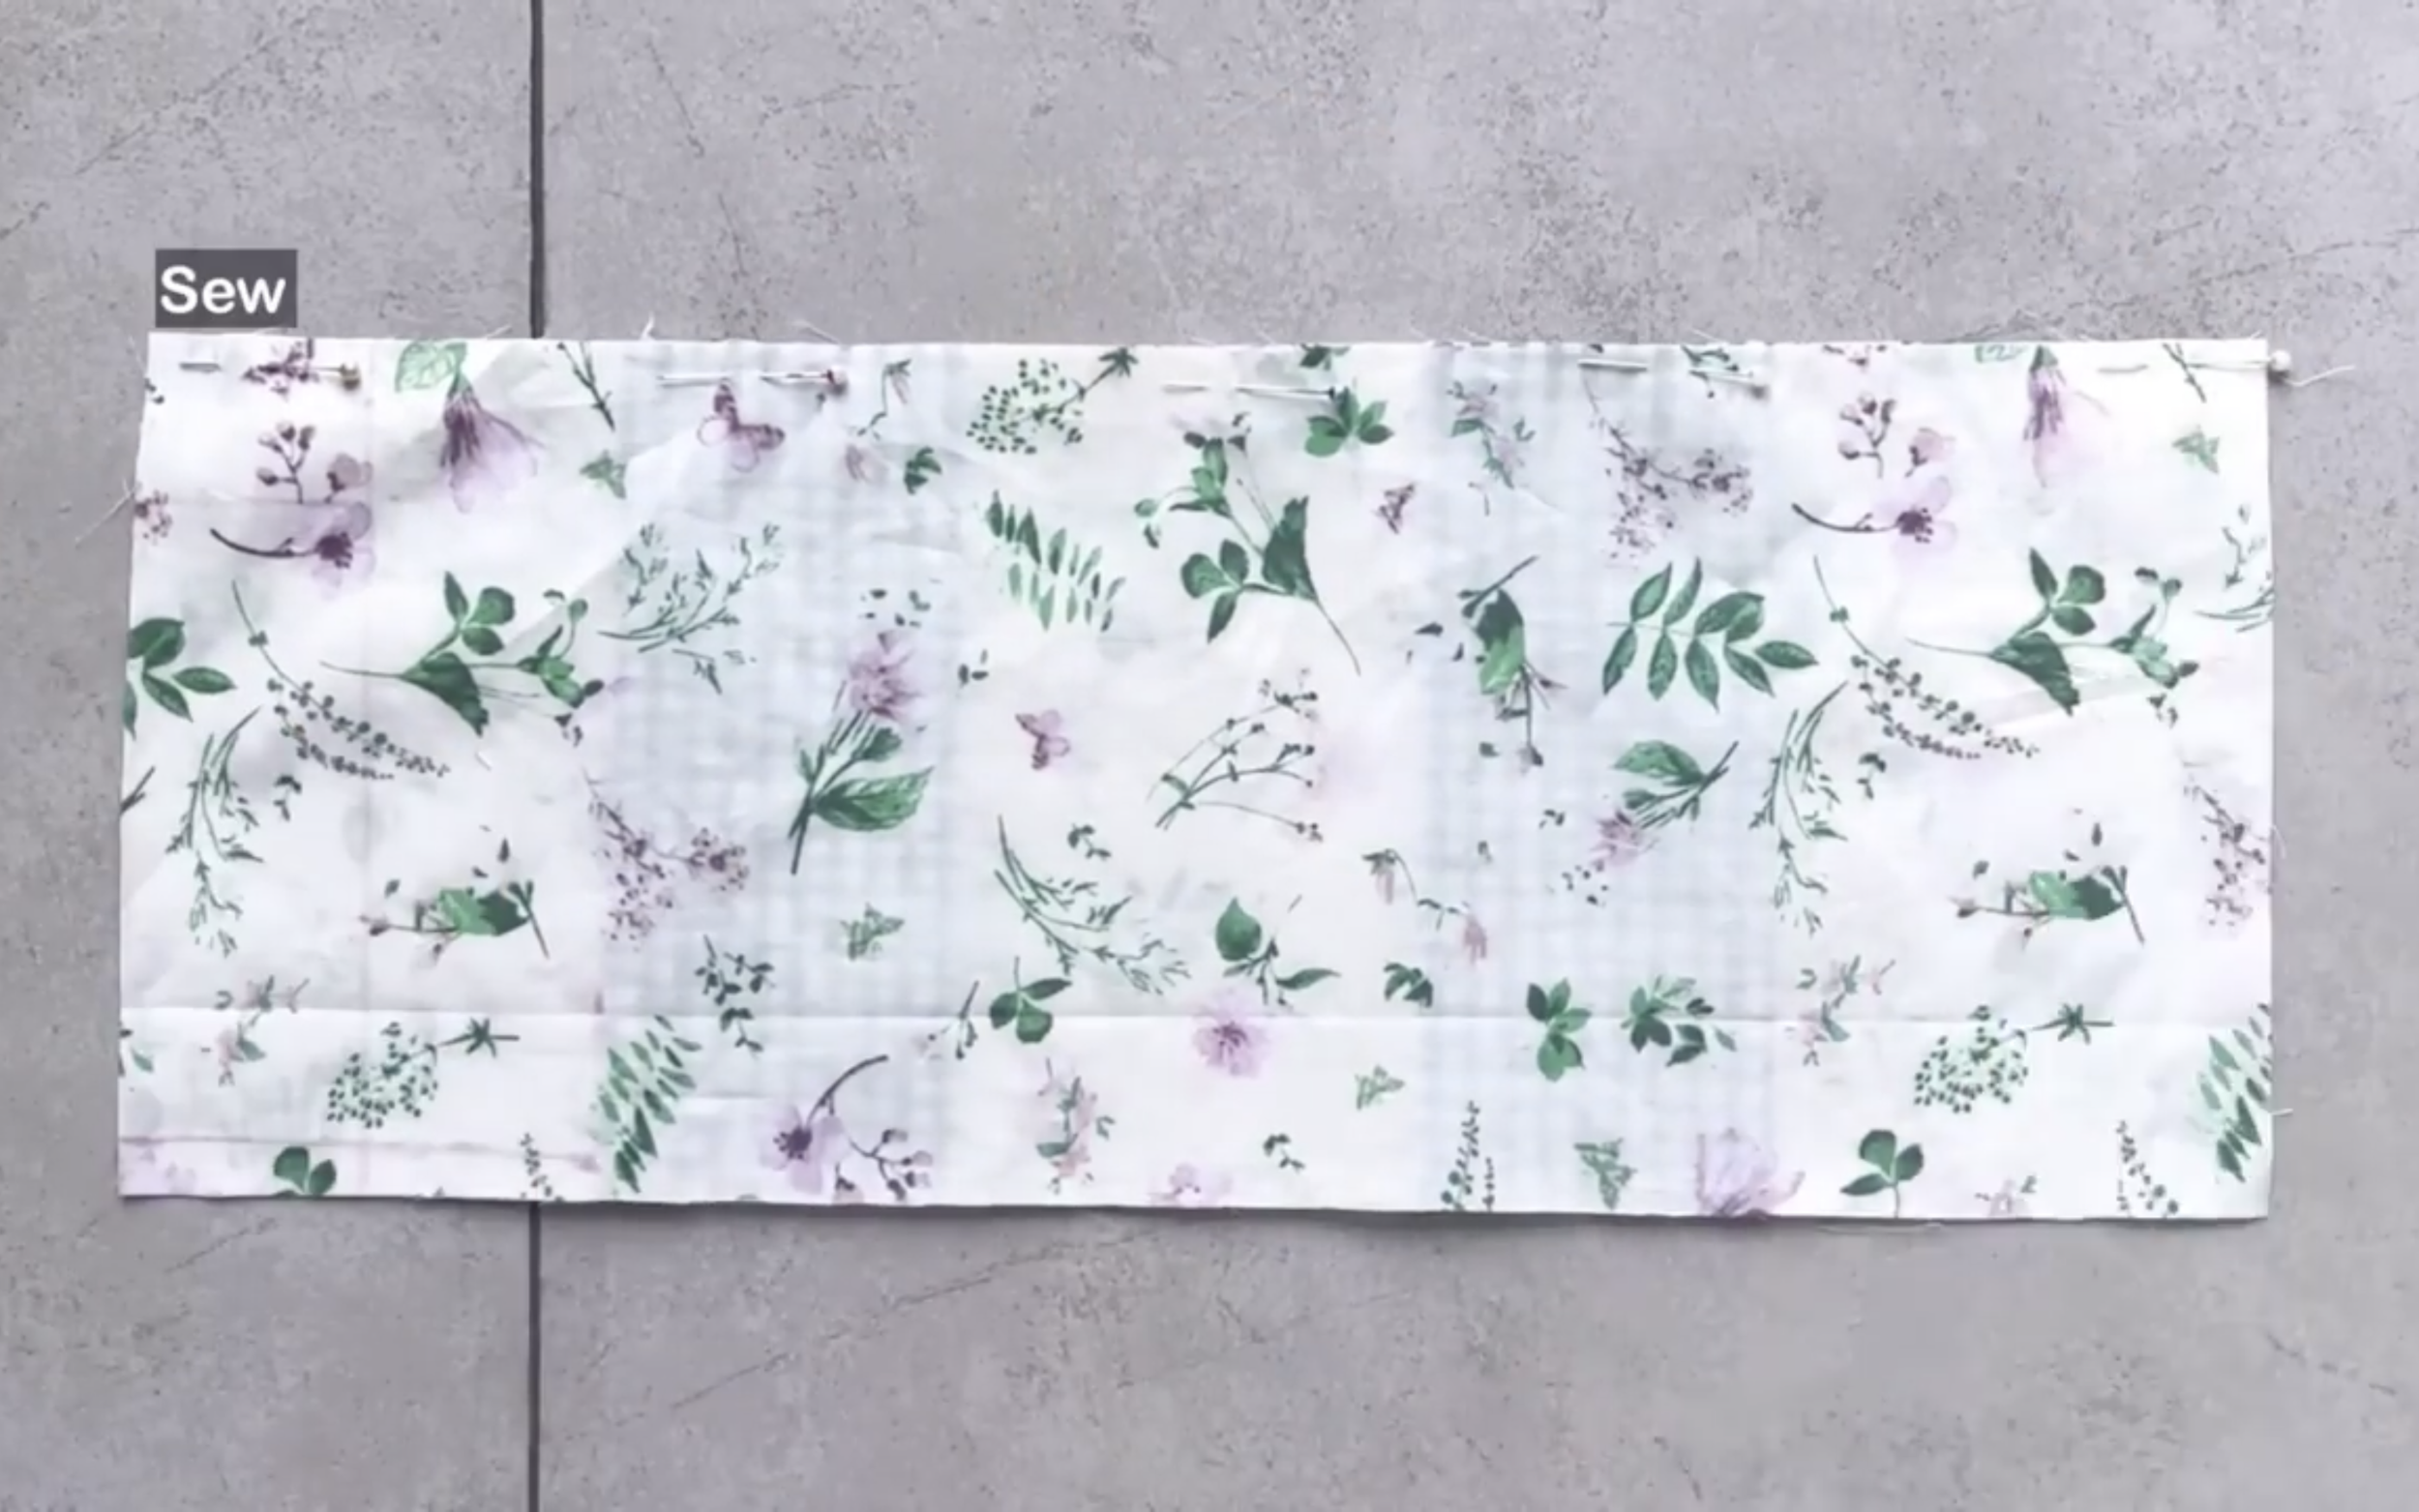
After sewing, finish the end of the bottom dress by folding the fabric inside twice with 1 cm each time and sewing it together.
At the top of the bottom dress, make a loose seam first, then gather the fabric later.
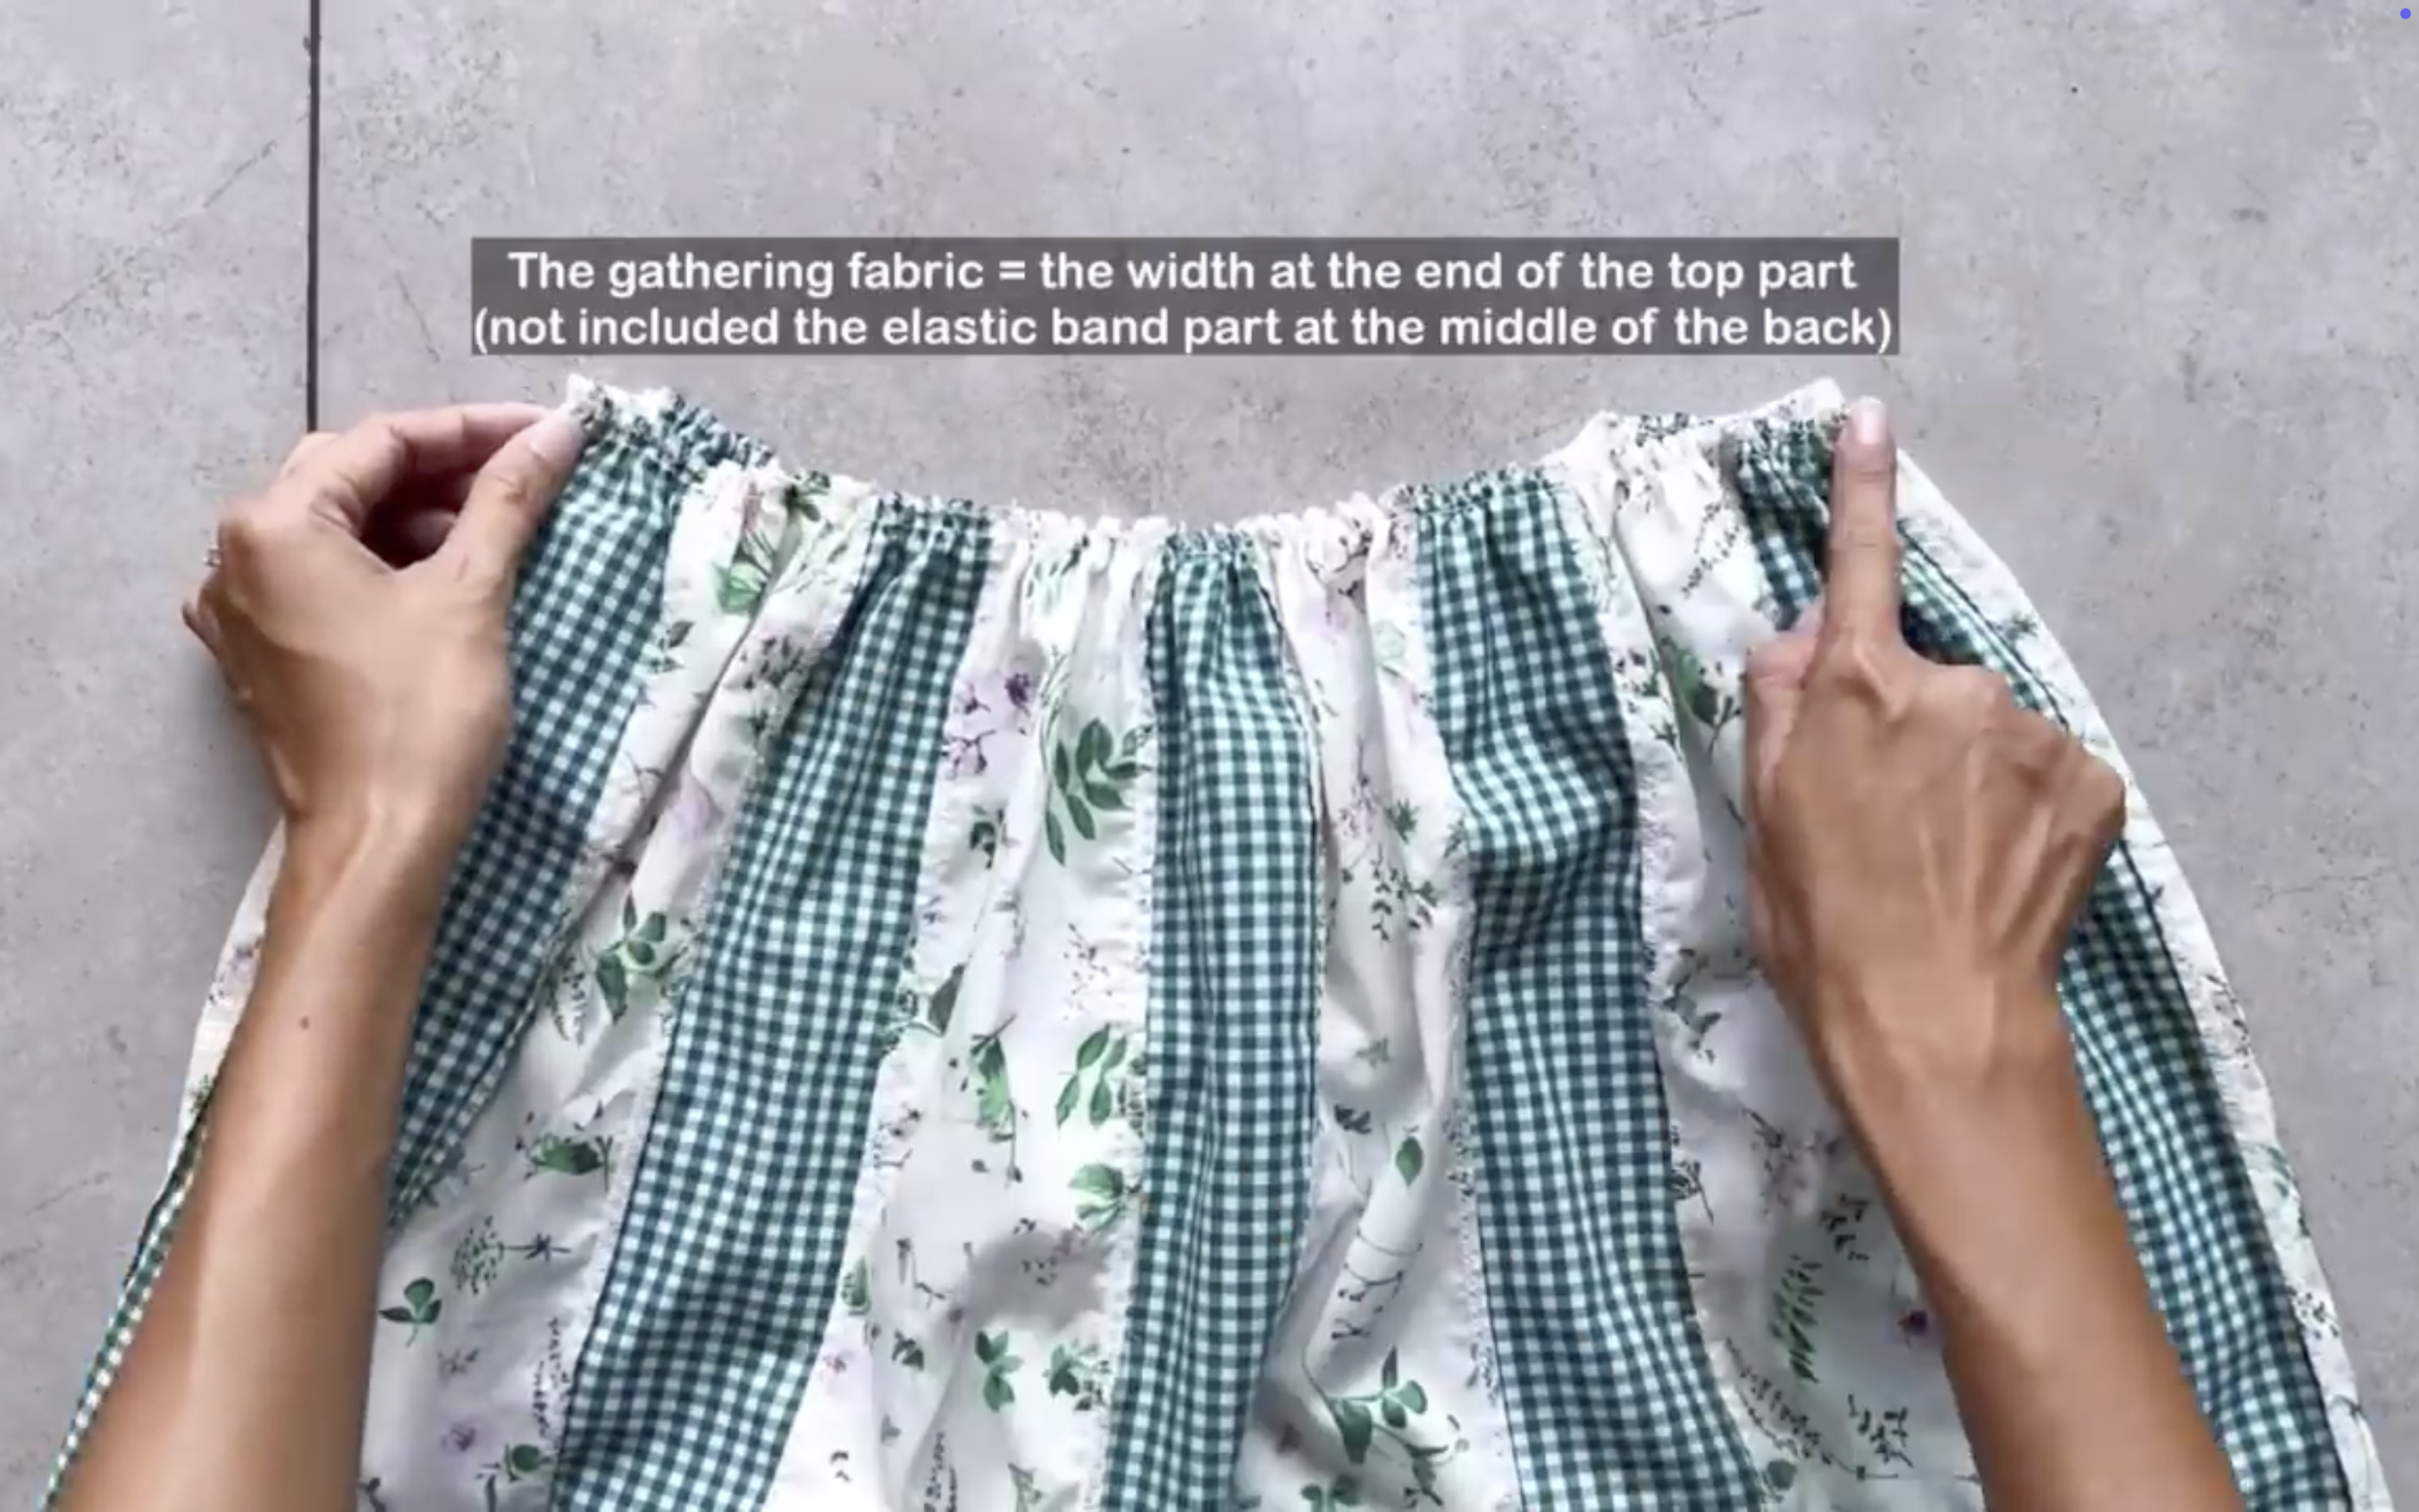
Make sure the gathered fabric is for the front and two sides of the back bodice at the top part only.
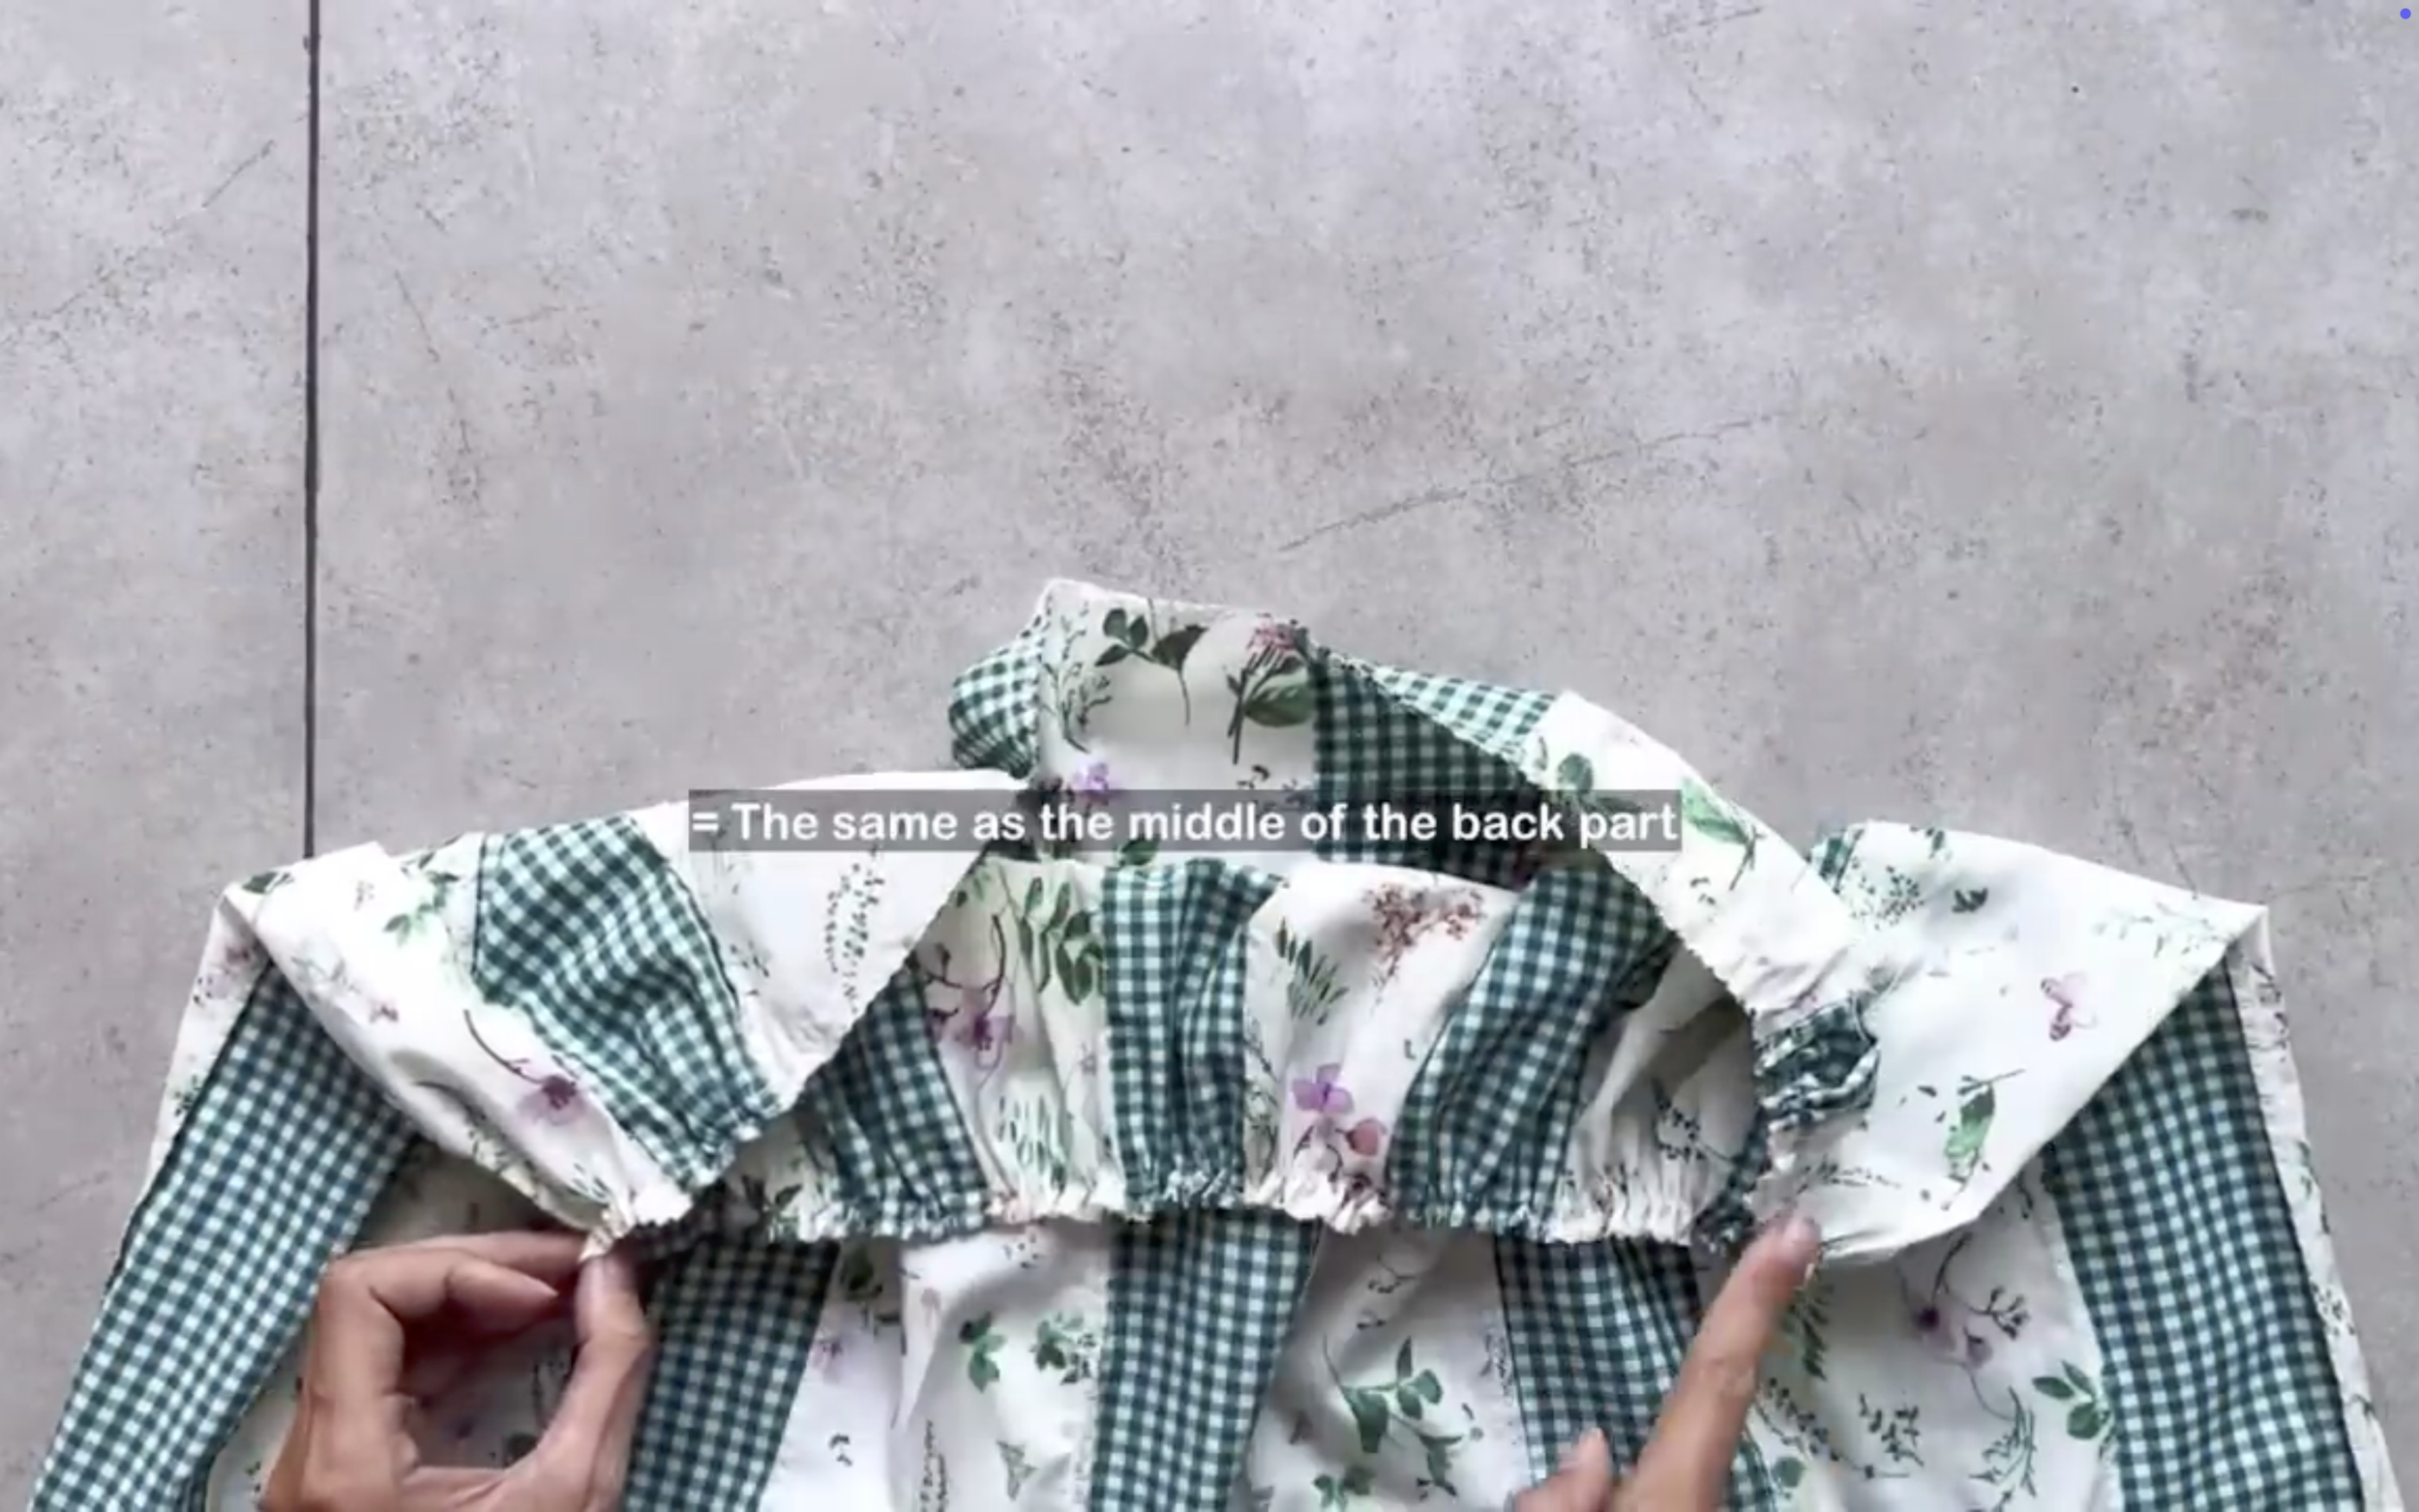
The final width of the gathered fabric should match the top part so they can be connected together later.
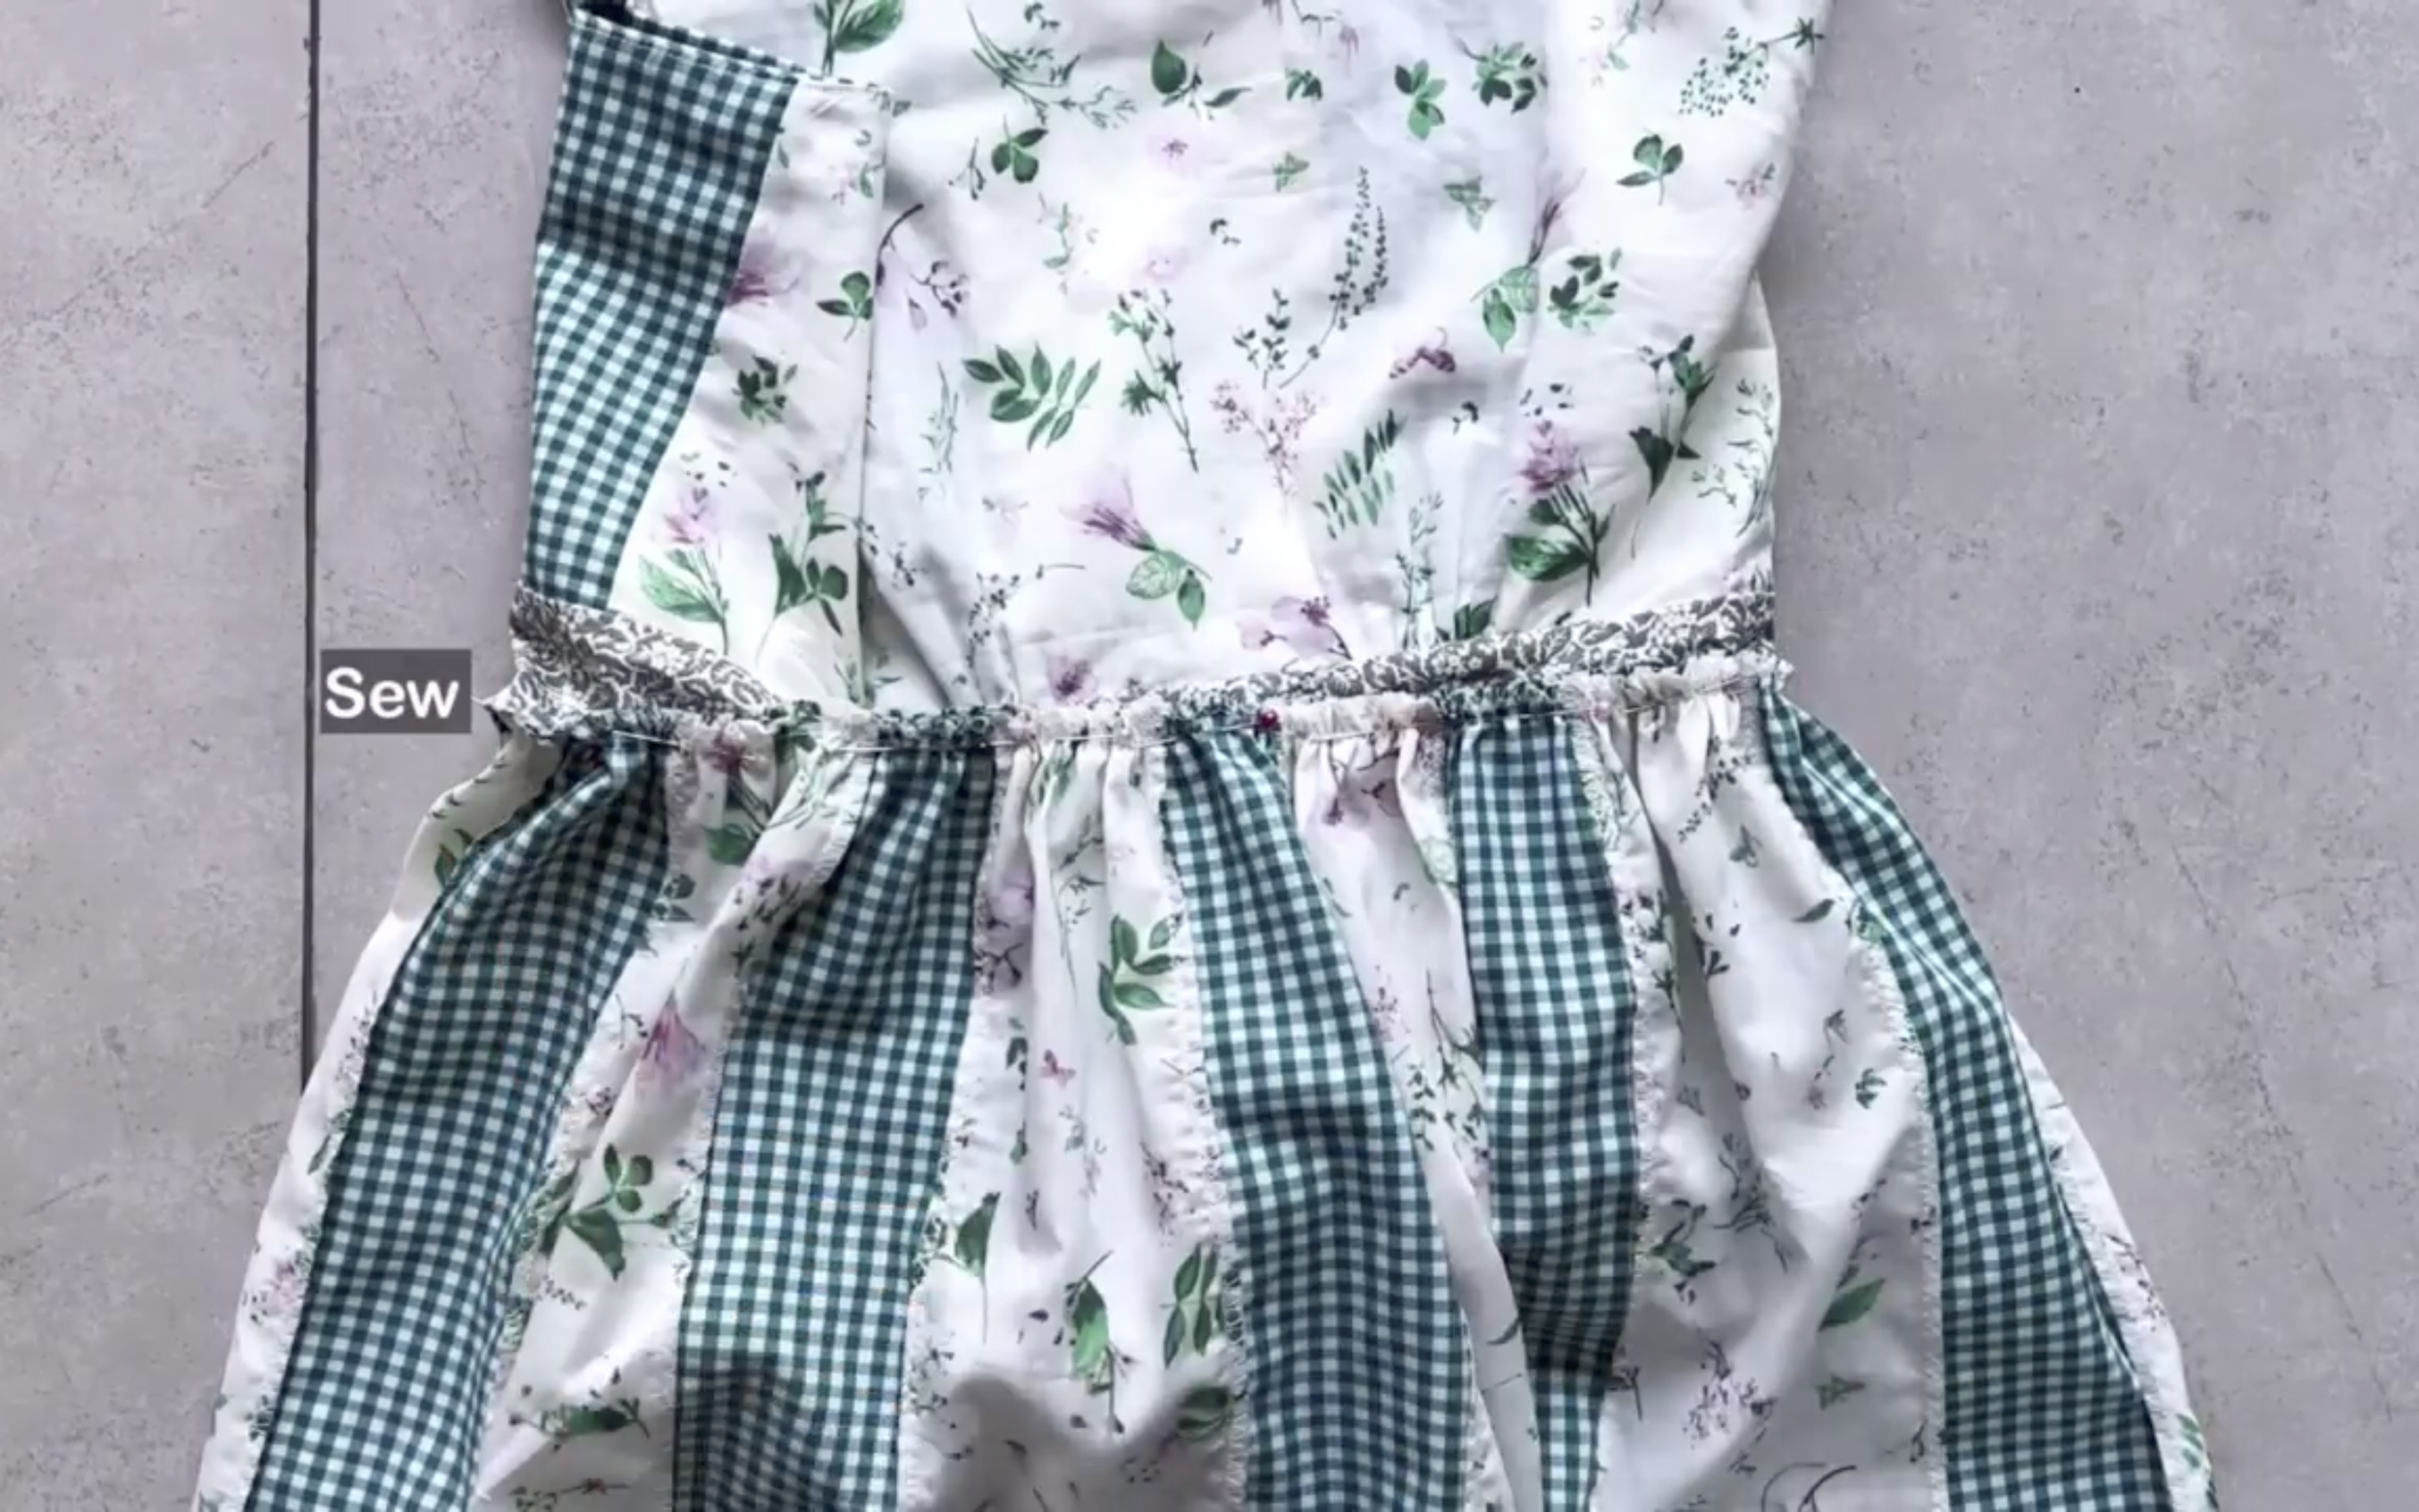
Then connect the top and the bottom of the dress together.

DIY Stripe patchwork dress from 2 leftover fabrics | Step by step sewing tutorial
And that’s a wrap for this DIY!
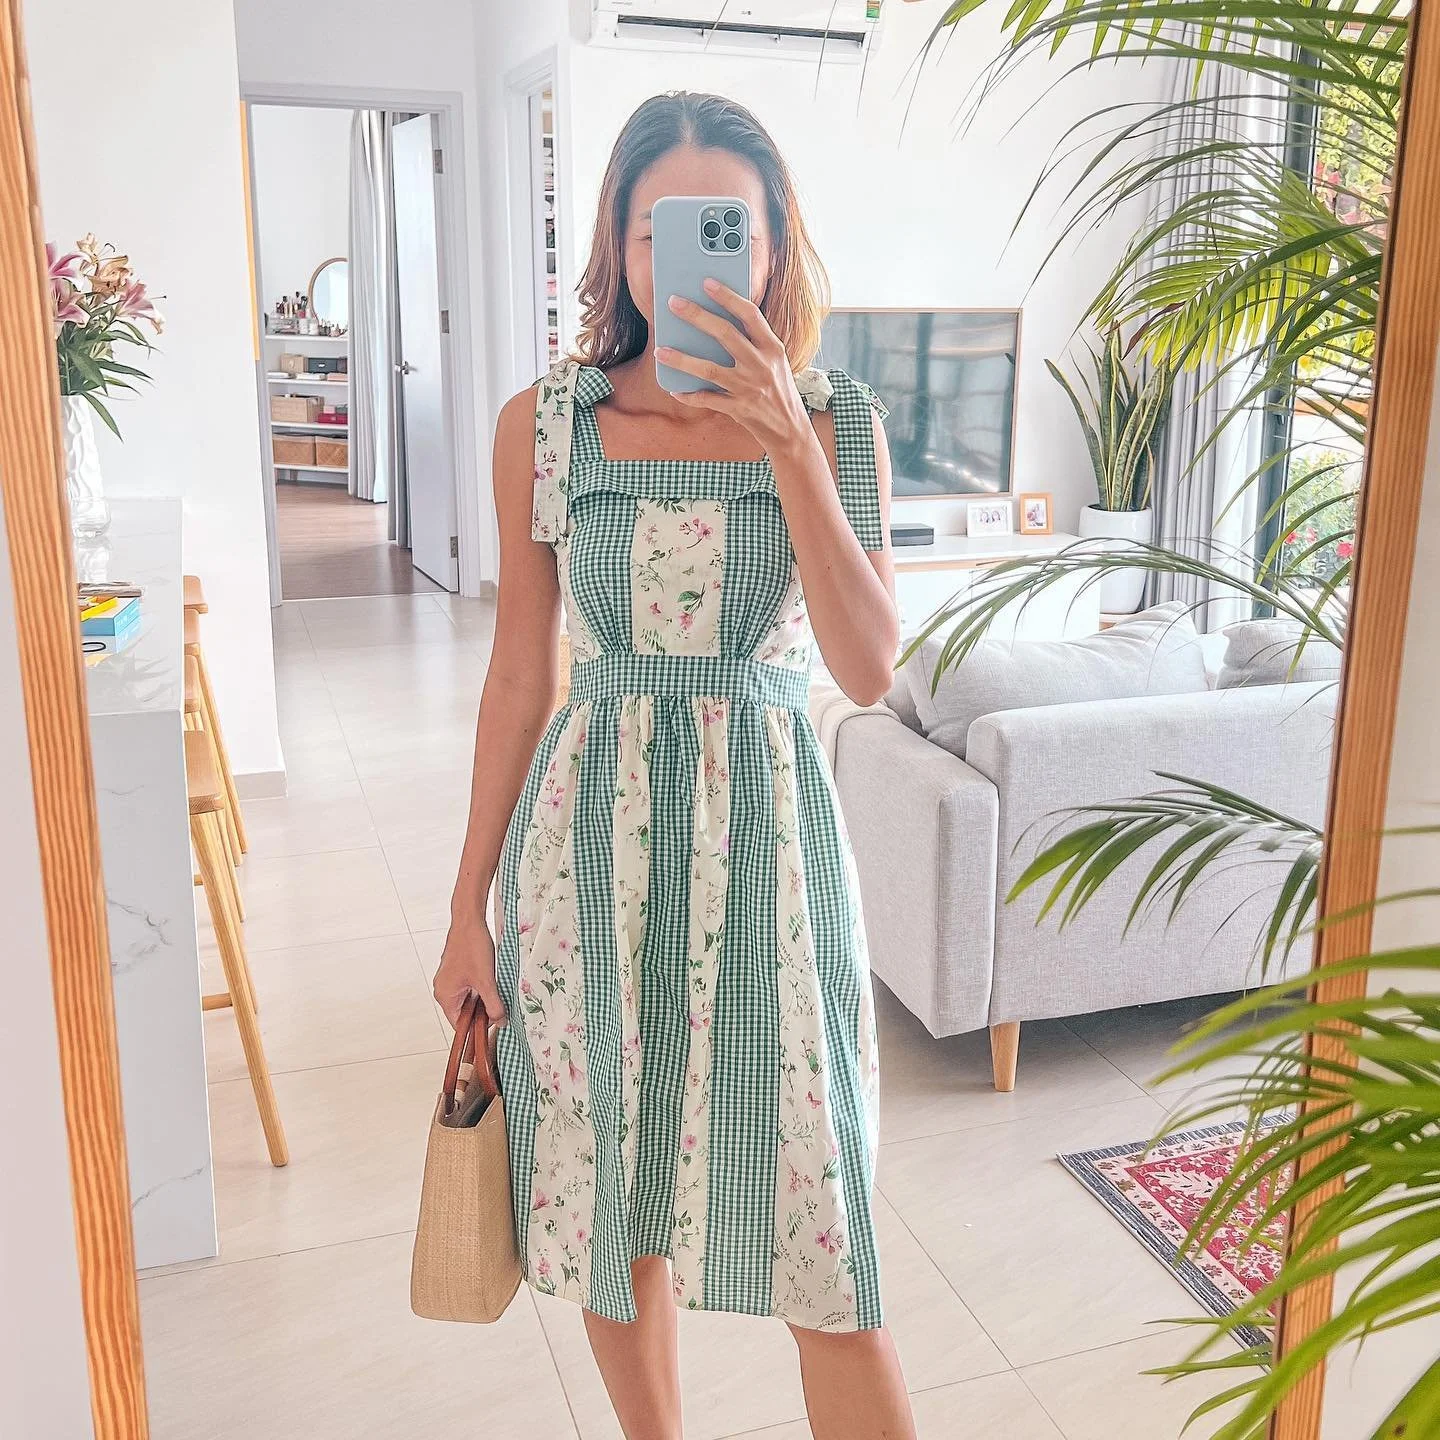
Here’s the final look—such a cute yet elegant dress with a lovely vintage vibe. The combination of the two fabrics really makes it stand out.
I hope you found my step-by-step guide helpful and inspiring.
If you’re interested in making your own, give it a try and let me know how it goes!
Until then, happy sewing!