DIY Wedding guest dress (Making a beautiful dress in the simple way) | Step by step sewing tutorial

DIY Wedding guest dress (Making a beautiful dress in the simple way) | Step by step sewing tutorial
Welcome or welcome back to my channel. My name is Jess and I love doing DIY, making clothes in a "simply but pretty" way.
In today's tutorial, I'm going to share with you how I made a Wedding guest dress. This dress is a combination between a tank top and a cotton dress that I made out of 2 rectangles. That's why it's a super easy and beginner friendly sewing project that you can finish just in a day.
So let’s get started!
WHAT YOU’LL NEED
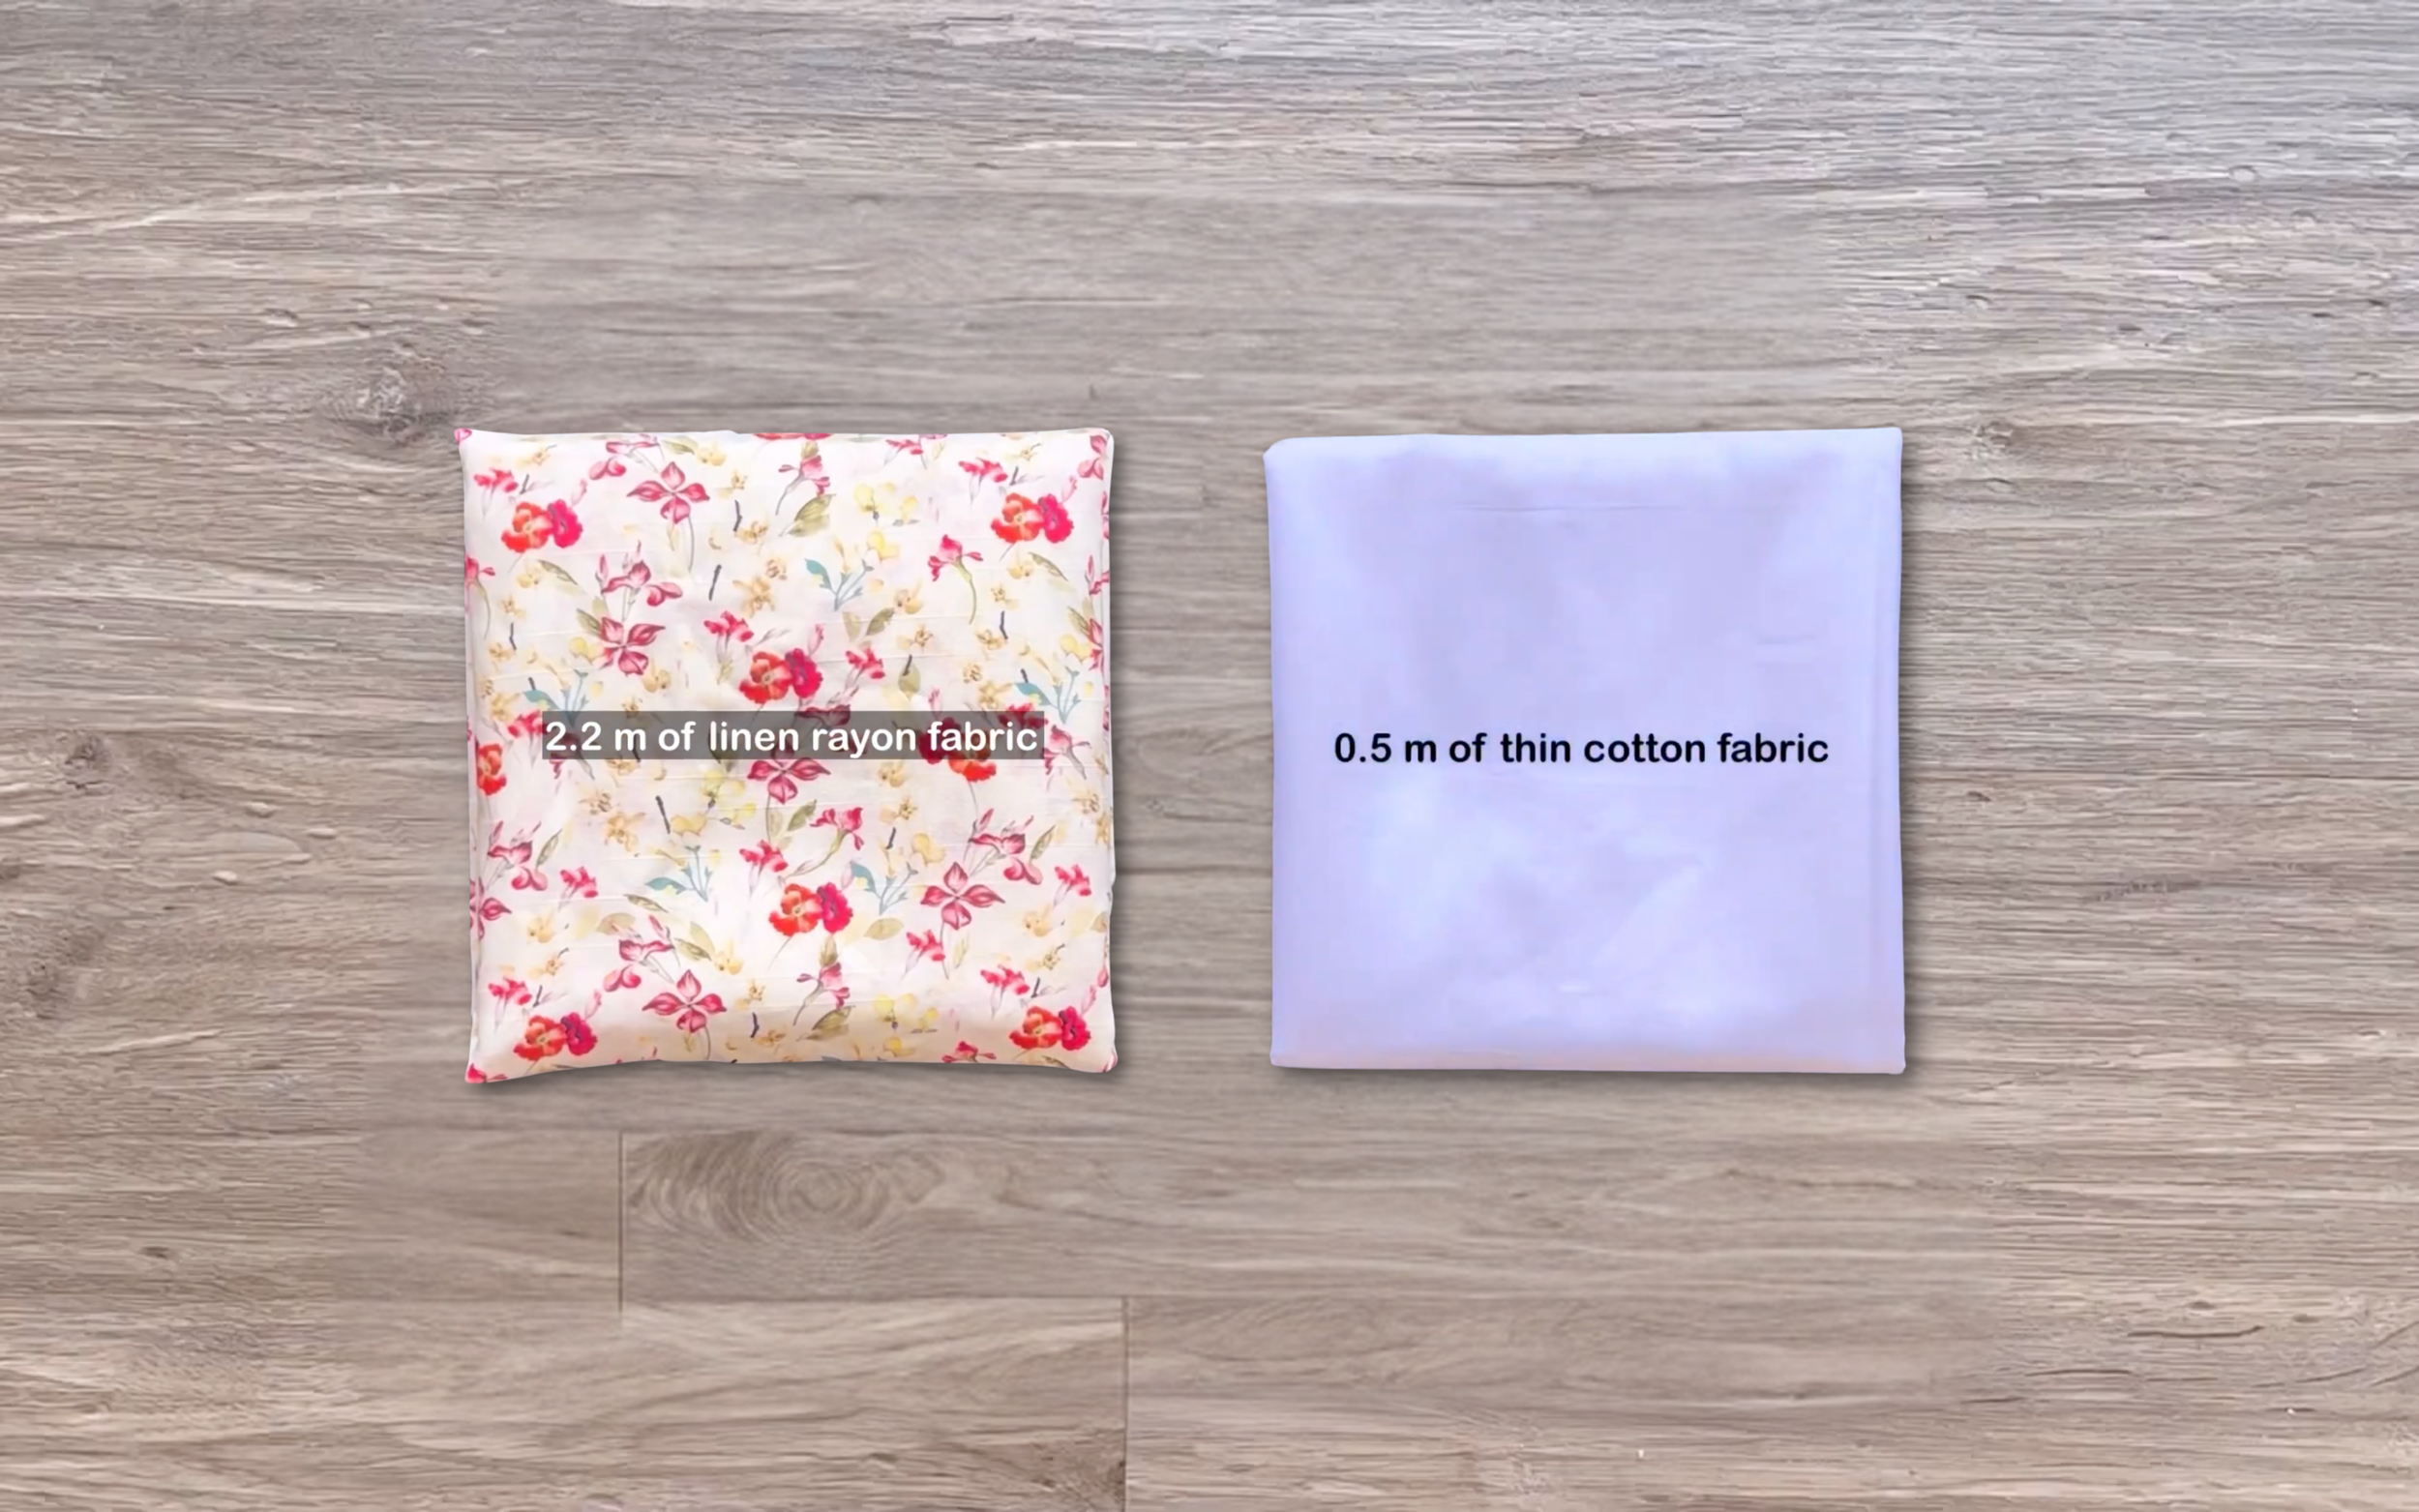
2.2m of linen rayon fabric
0.5m of cotton fabric for lining
Pattern paper
Sewing machine
Pins
Scissors
Ruler
Long stick
Zipper
Buttons
MAKING THE PATTERNS
Here’s the pattern for the project. To get a clear understanding of all the measurements needed for the pattern, watch the video from 0:31 to 3:29.
Remember, you can adjust these measurements to fit your own dimensions!

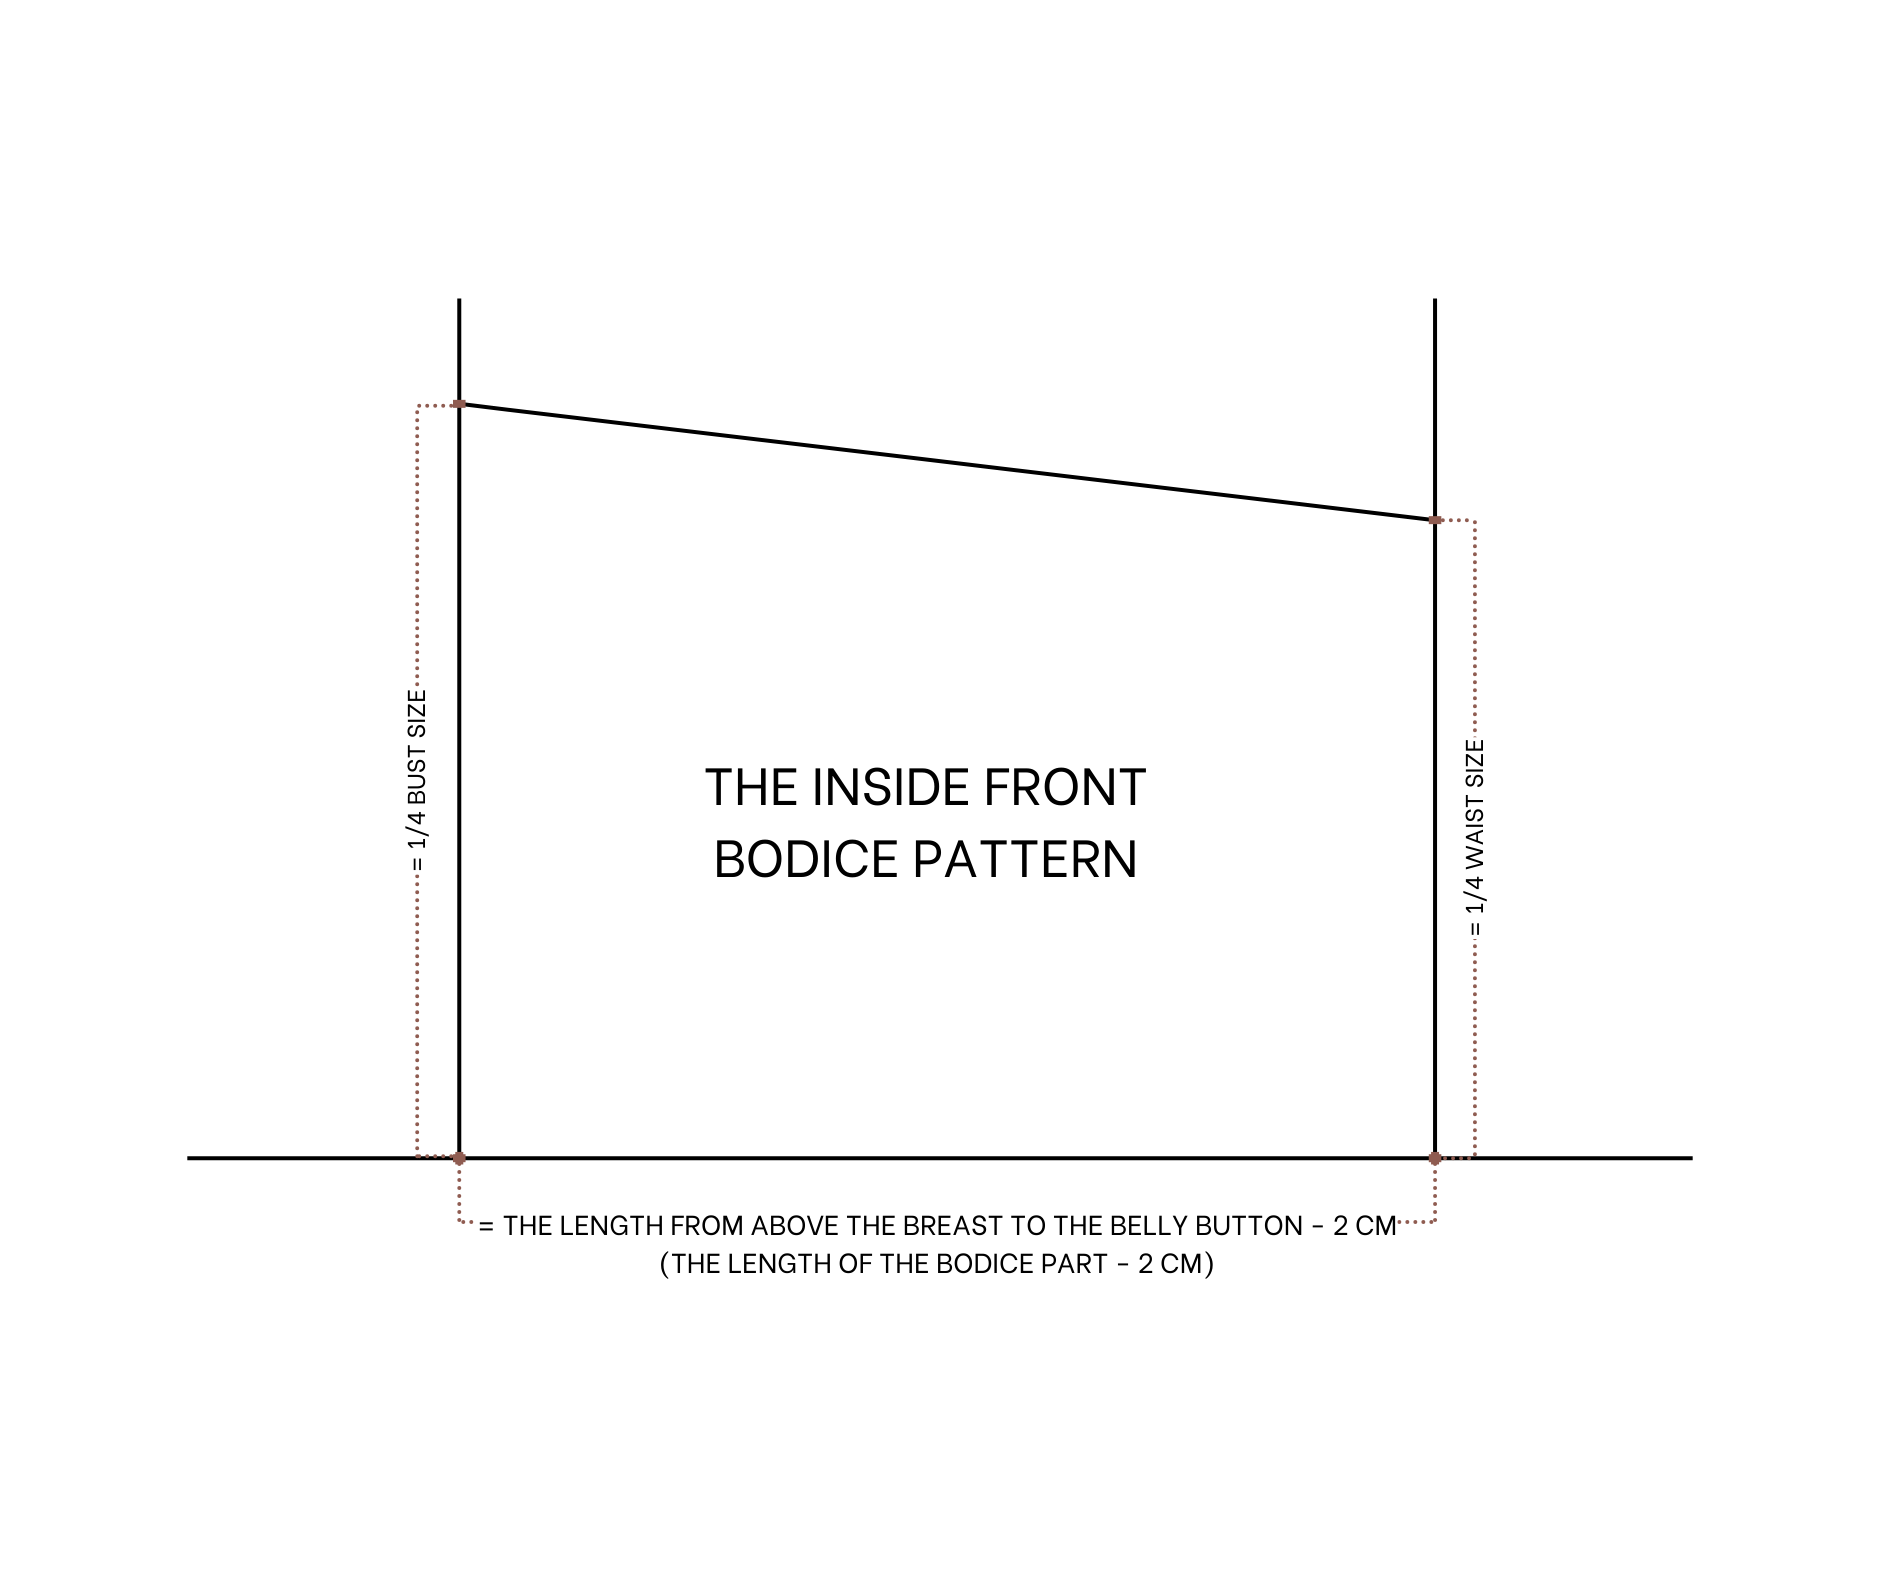
THE INSIDE FRONT BODICE PATTERN
To make the front bodice pattern, draw a straight line and a horizontal line cutting each other at one point.
From the first straight line, draw another one at 26 cm away from it. It's the length from above the breast to the belly button minus 2 cm.
From the cutting point on the first straight line, mark up 20 cm, which is a quarter of the bust size.
From the cutting point on the second straight line, mark up 17 cm, which is a quarter of the waist size.
Then, connect the two marks together.
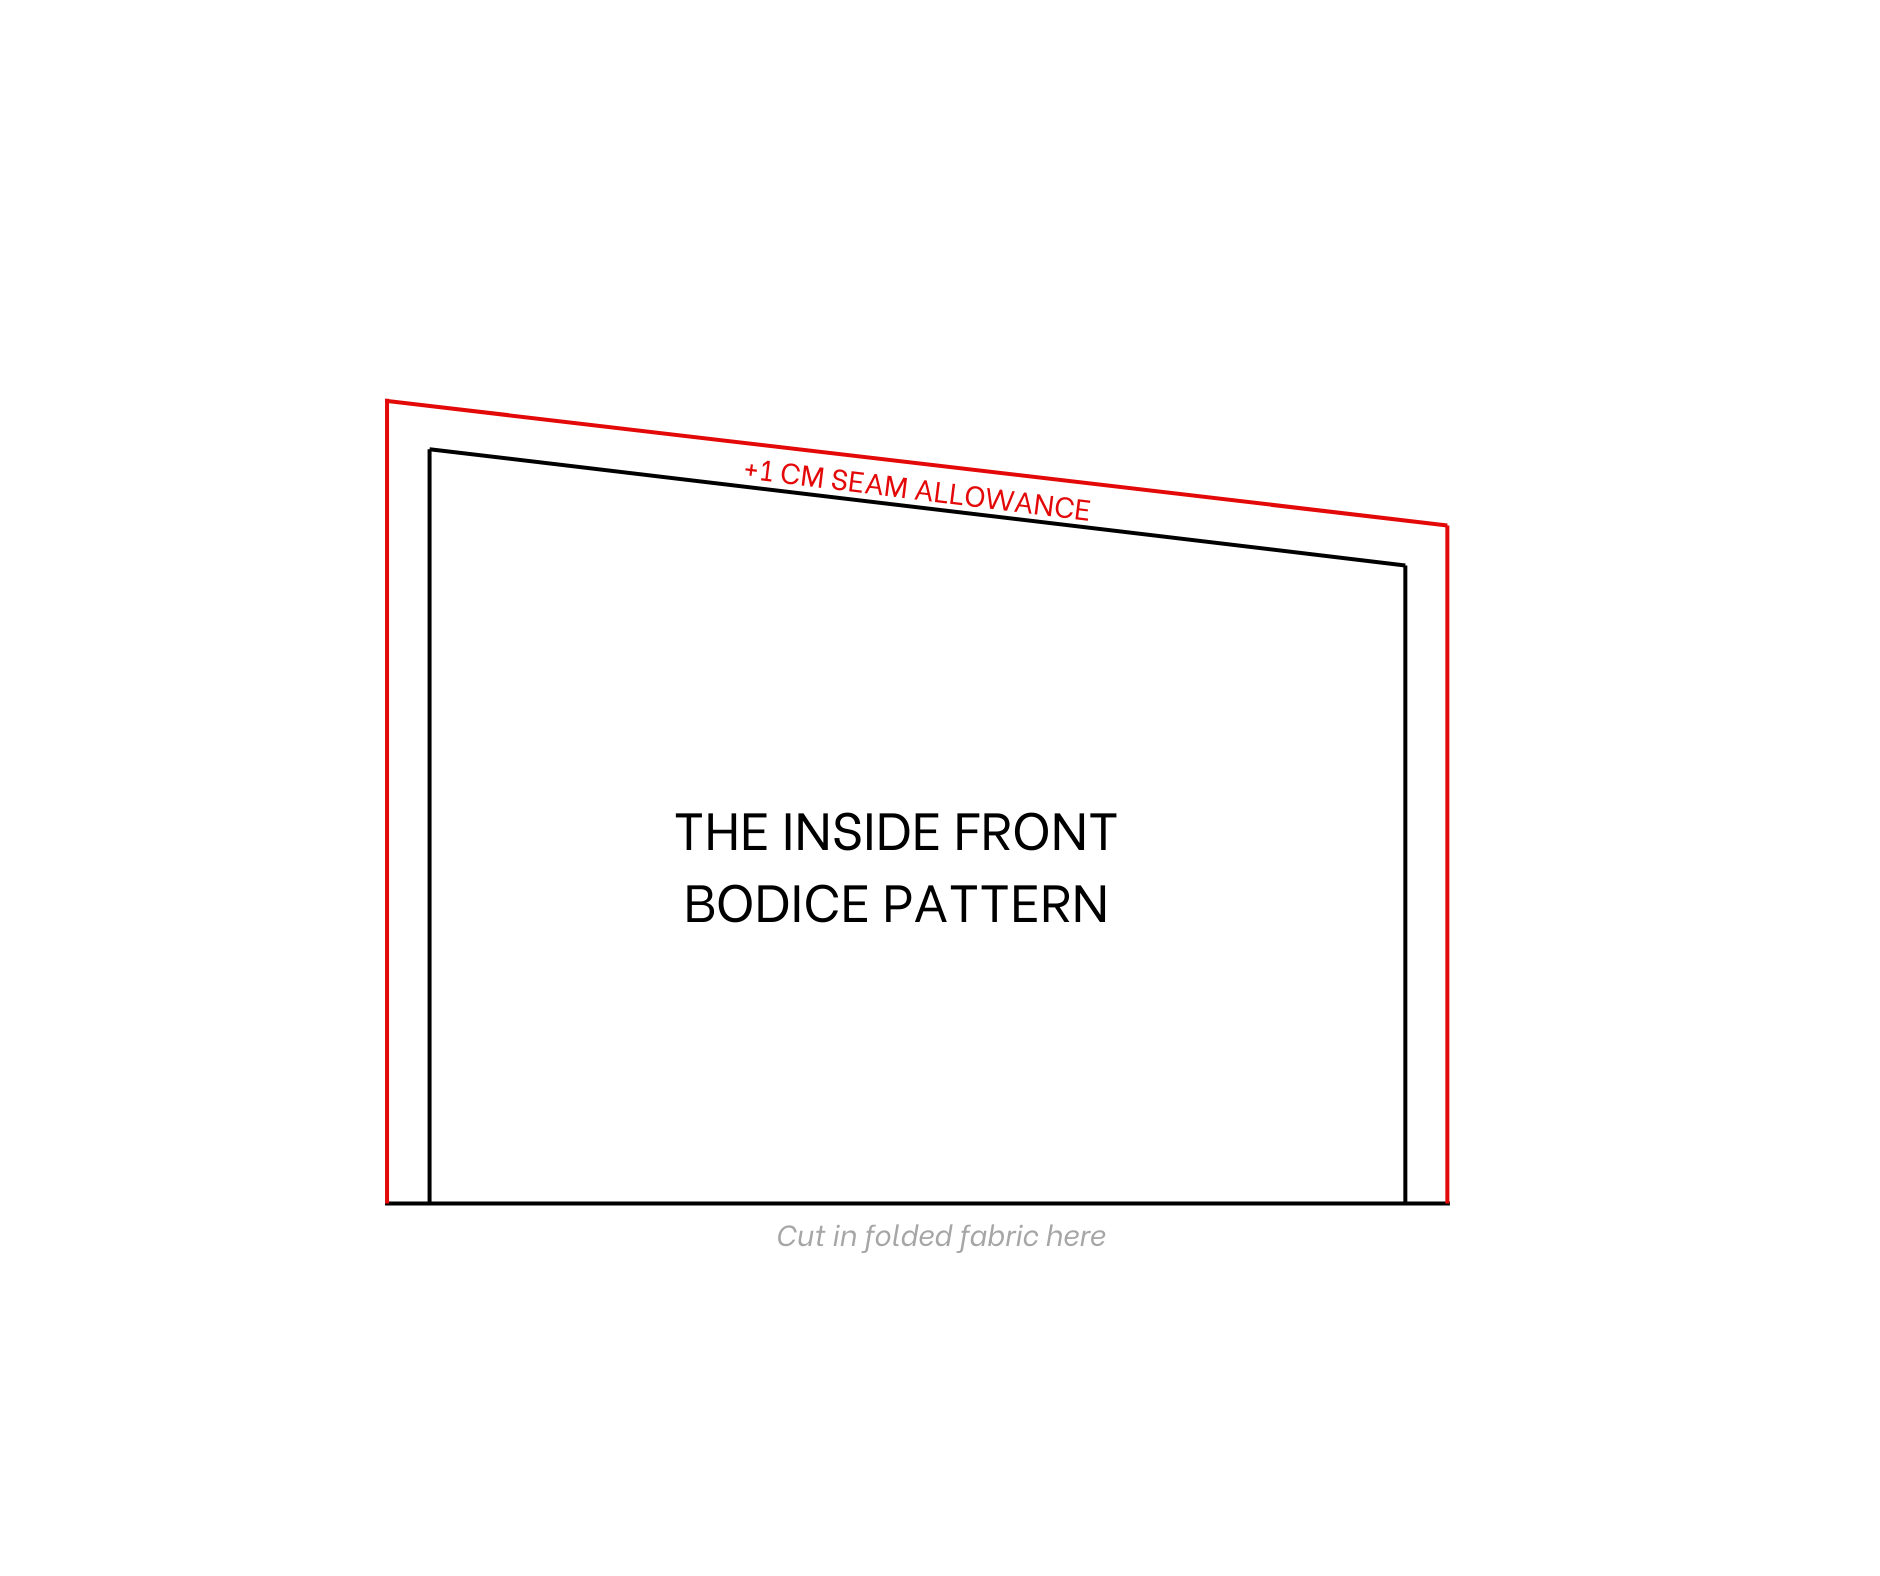
Add 1 cm for seam allowance before cutting.
This pattern needs to be cut in folded fabric at the horizontal line.
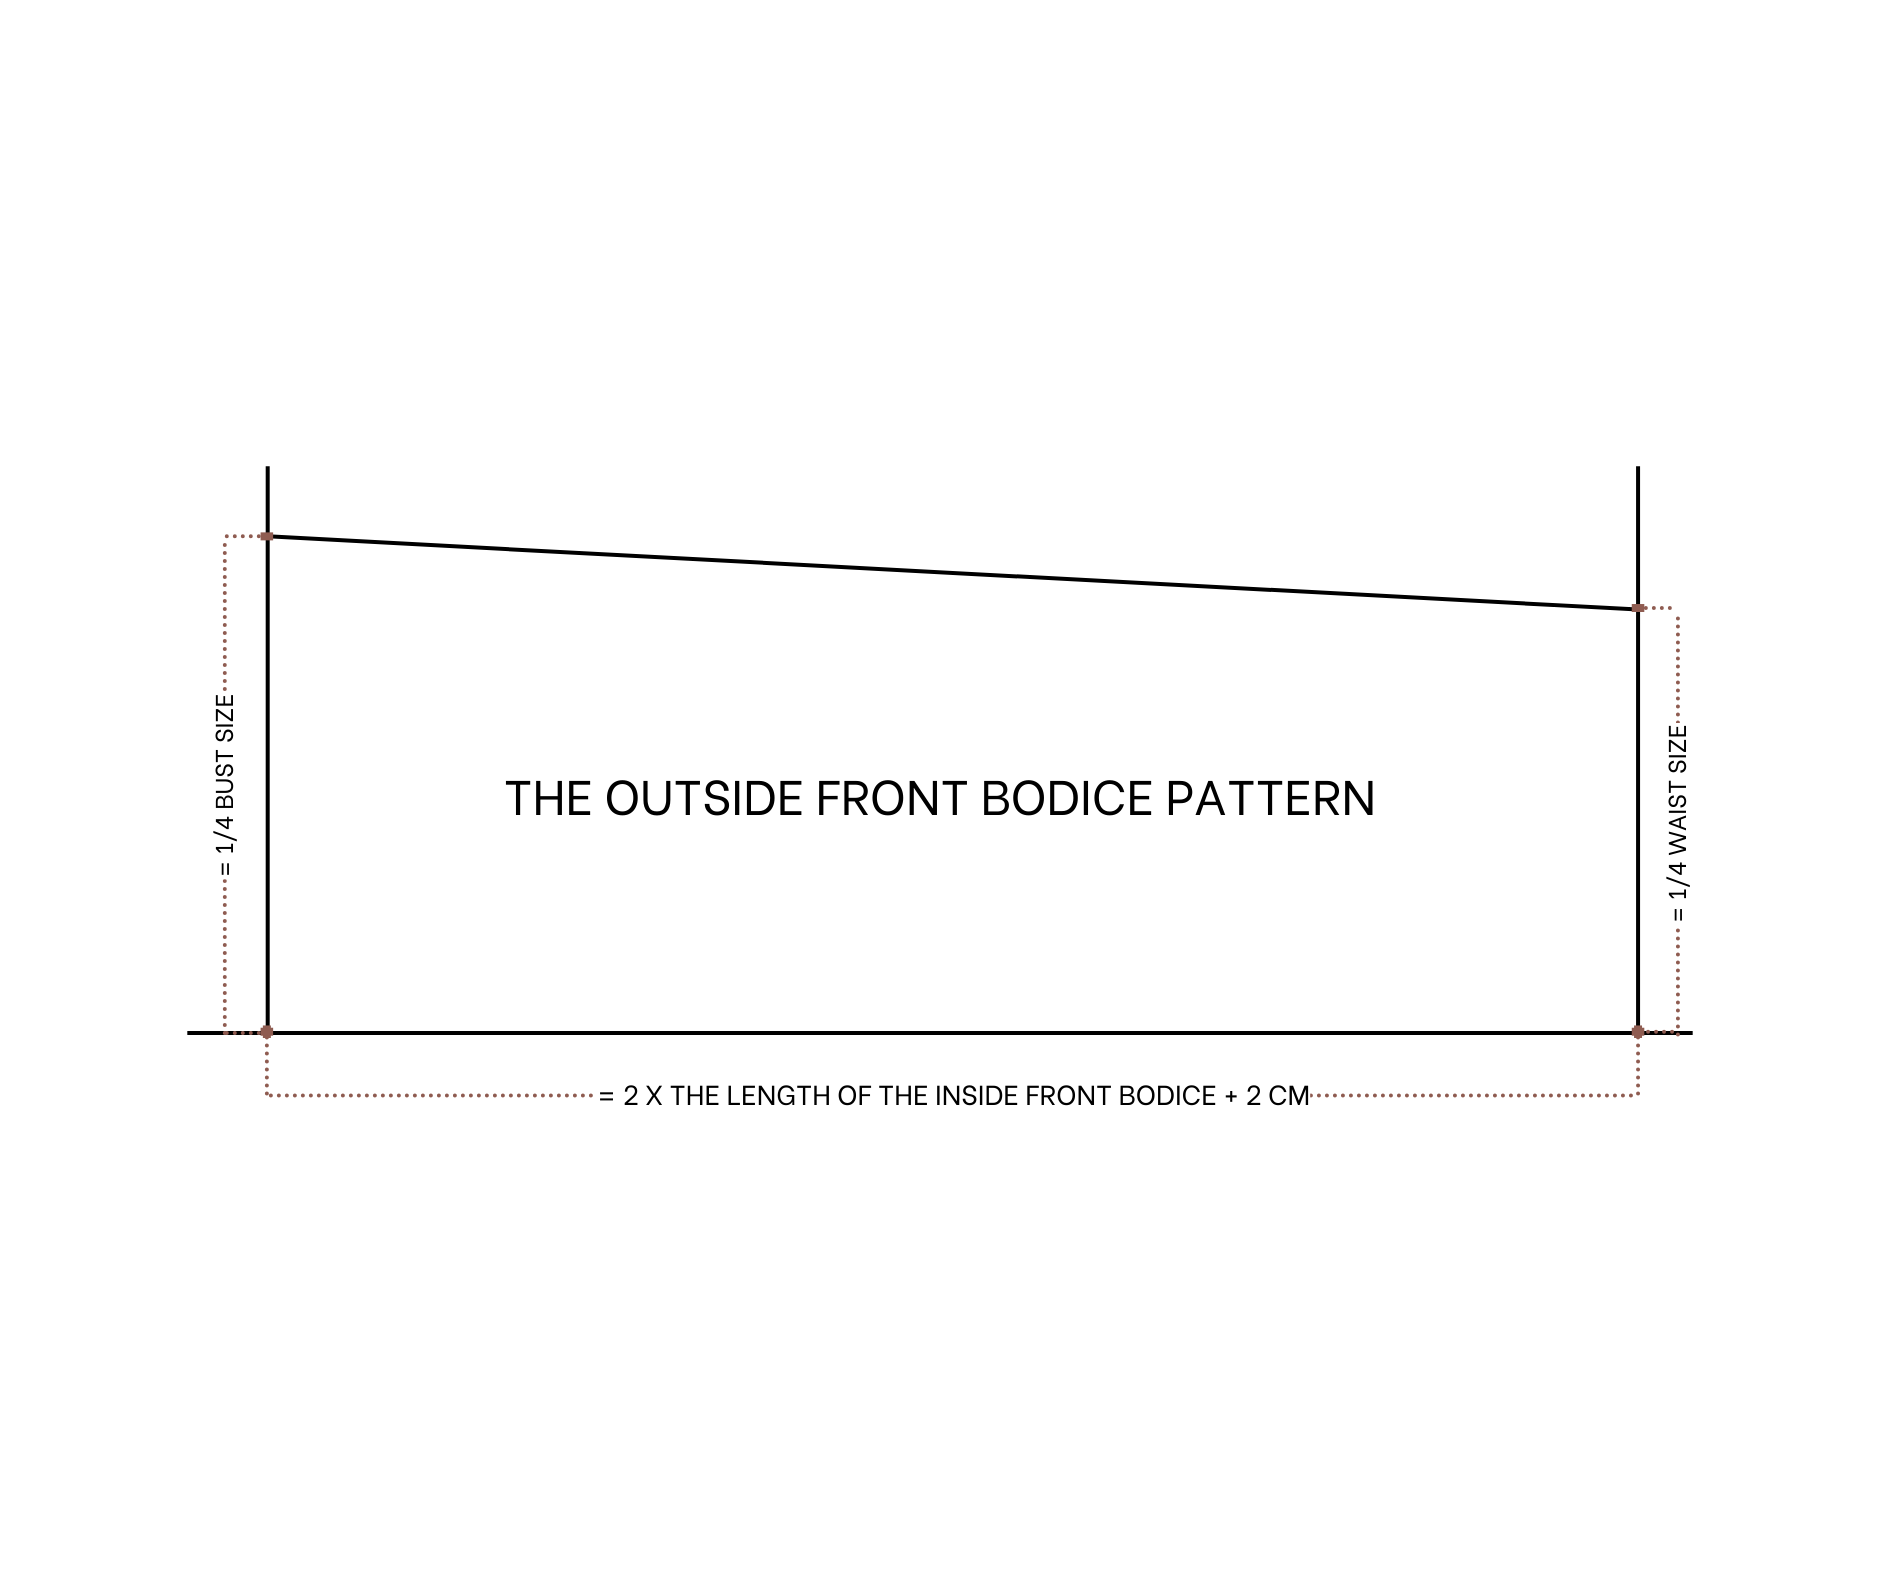
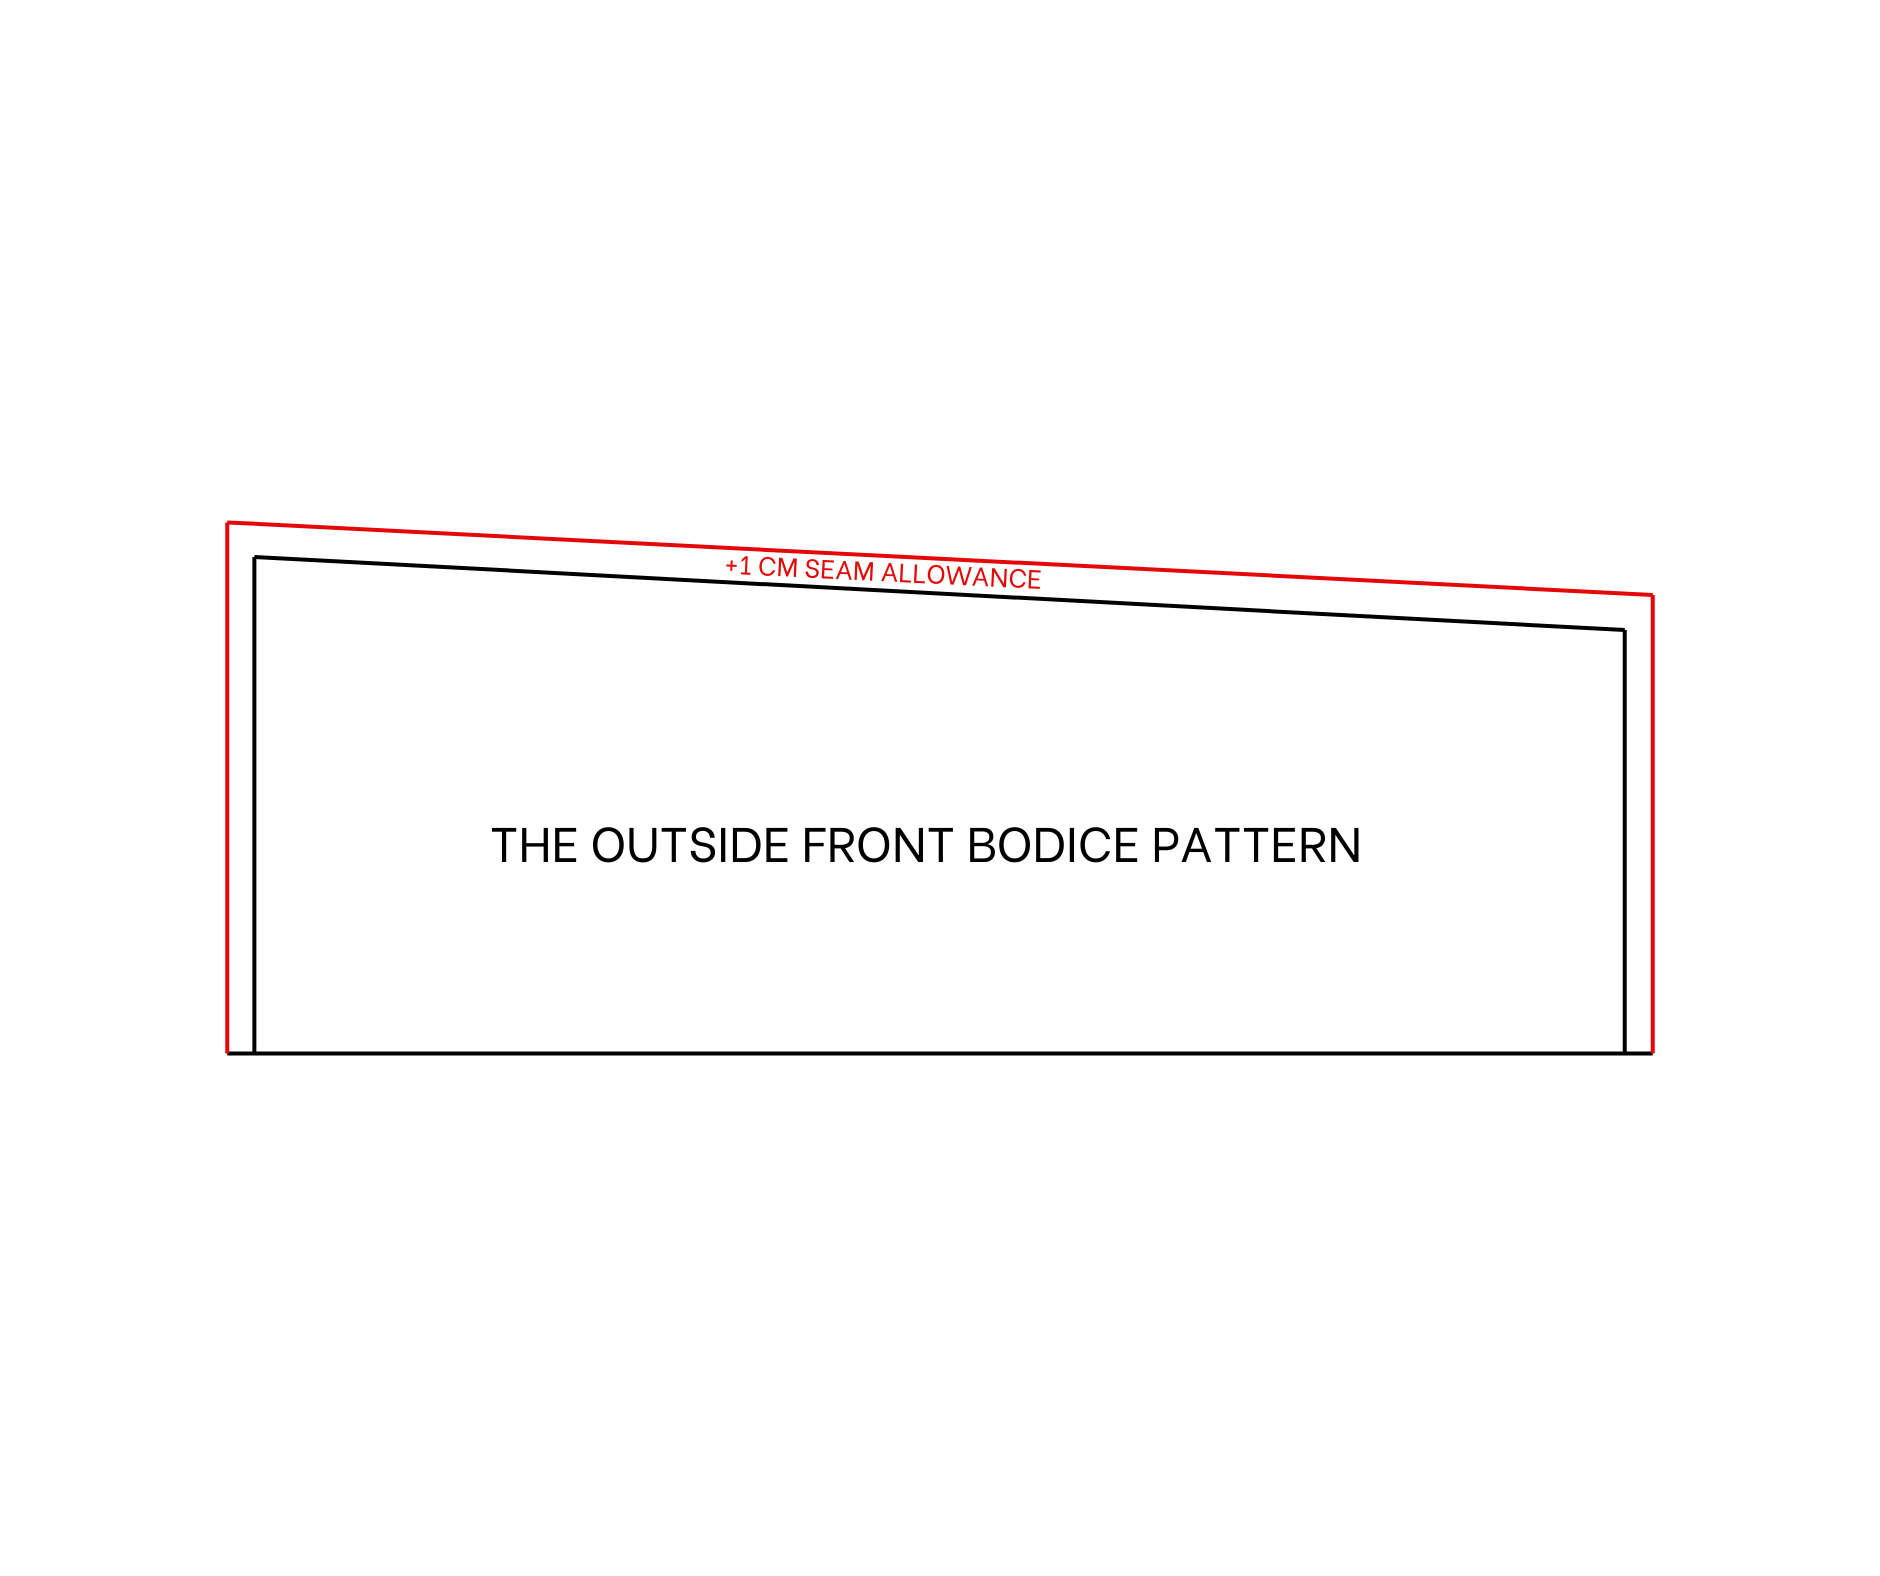
THE OUTSIDE FRONT BODICE PATTERN
Moving to the outside front bodice pattern, draw a straight line and a horizontal line cutting each other first.
From the first straight line, keep drawing another one at 54 cm away from it. This is two times the length of the inside front bodice plus 2 cm.
From the cutting point on the first straight line, mark up 20 cm, which is a quarter of the bust size.
From the cutting point on the second straight line, mark up 17 cm, which is a quarter of the waist size.
Then, connect the two marks together.
Add 1 cm for seam allowance before cutting.
This pattern needs to be cut in folded fabric at the horizontal line.
THE BACK BODICE PATTERN
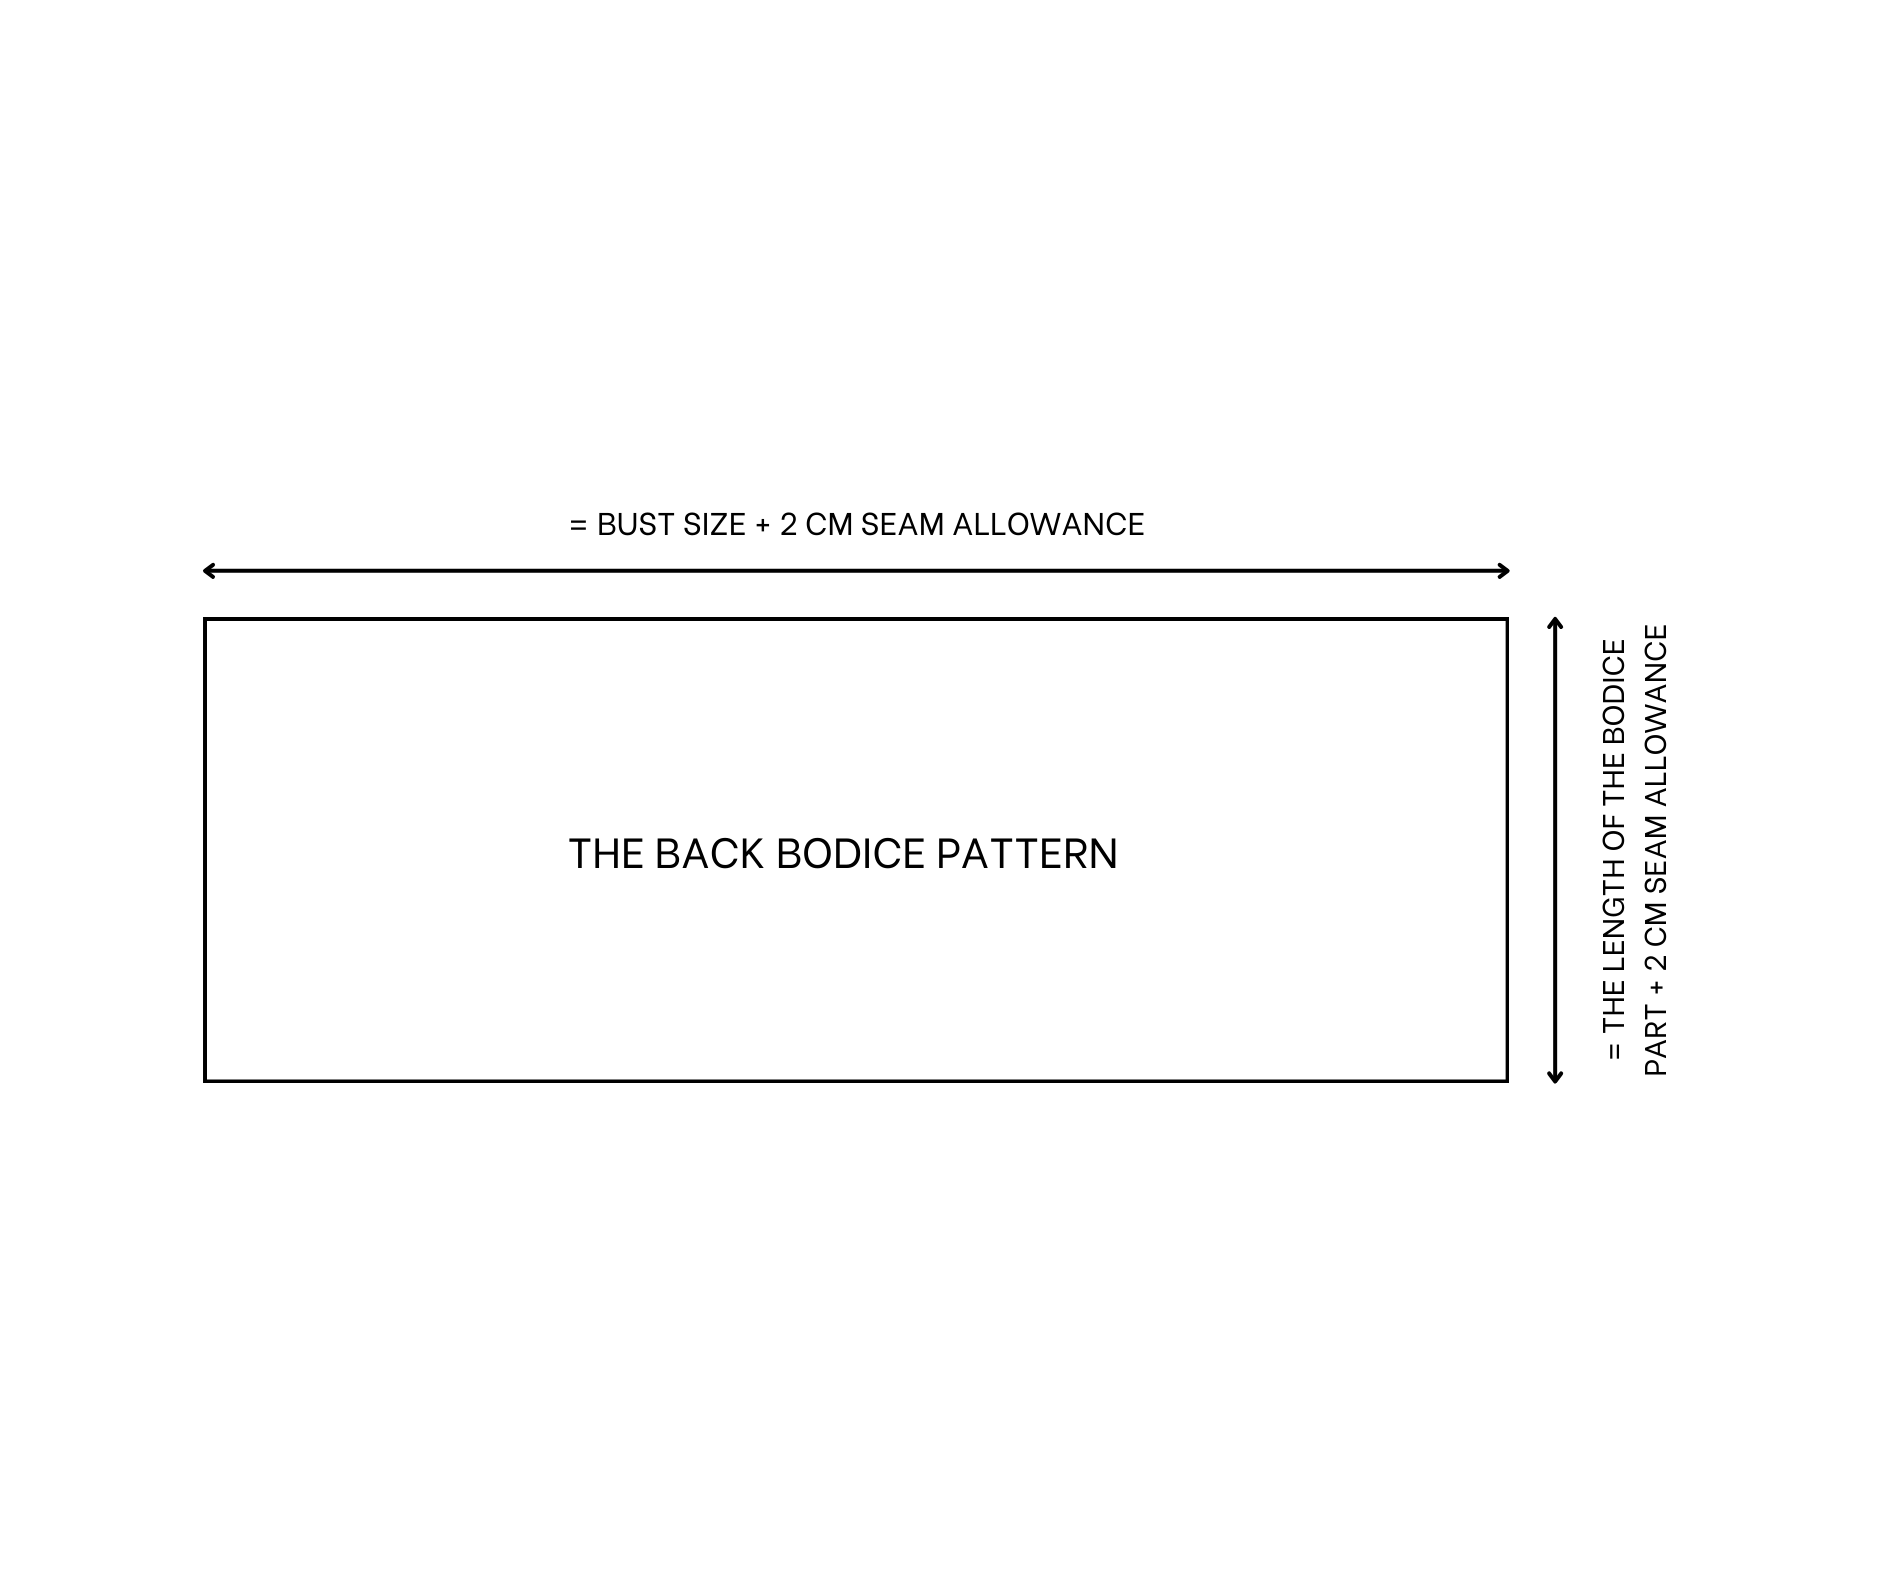
The back bodice pattern of this dress is a rectangle with a 30 cm length, which is the length from above the breast to the belly button plus 2 cm for seam allowance, and an 80 cm width, which is the bust size.
THE SKIRT PATTERN
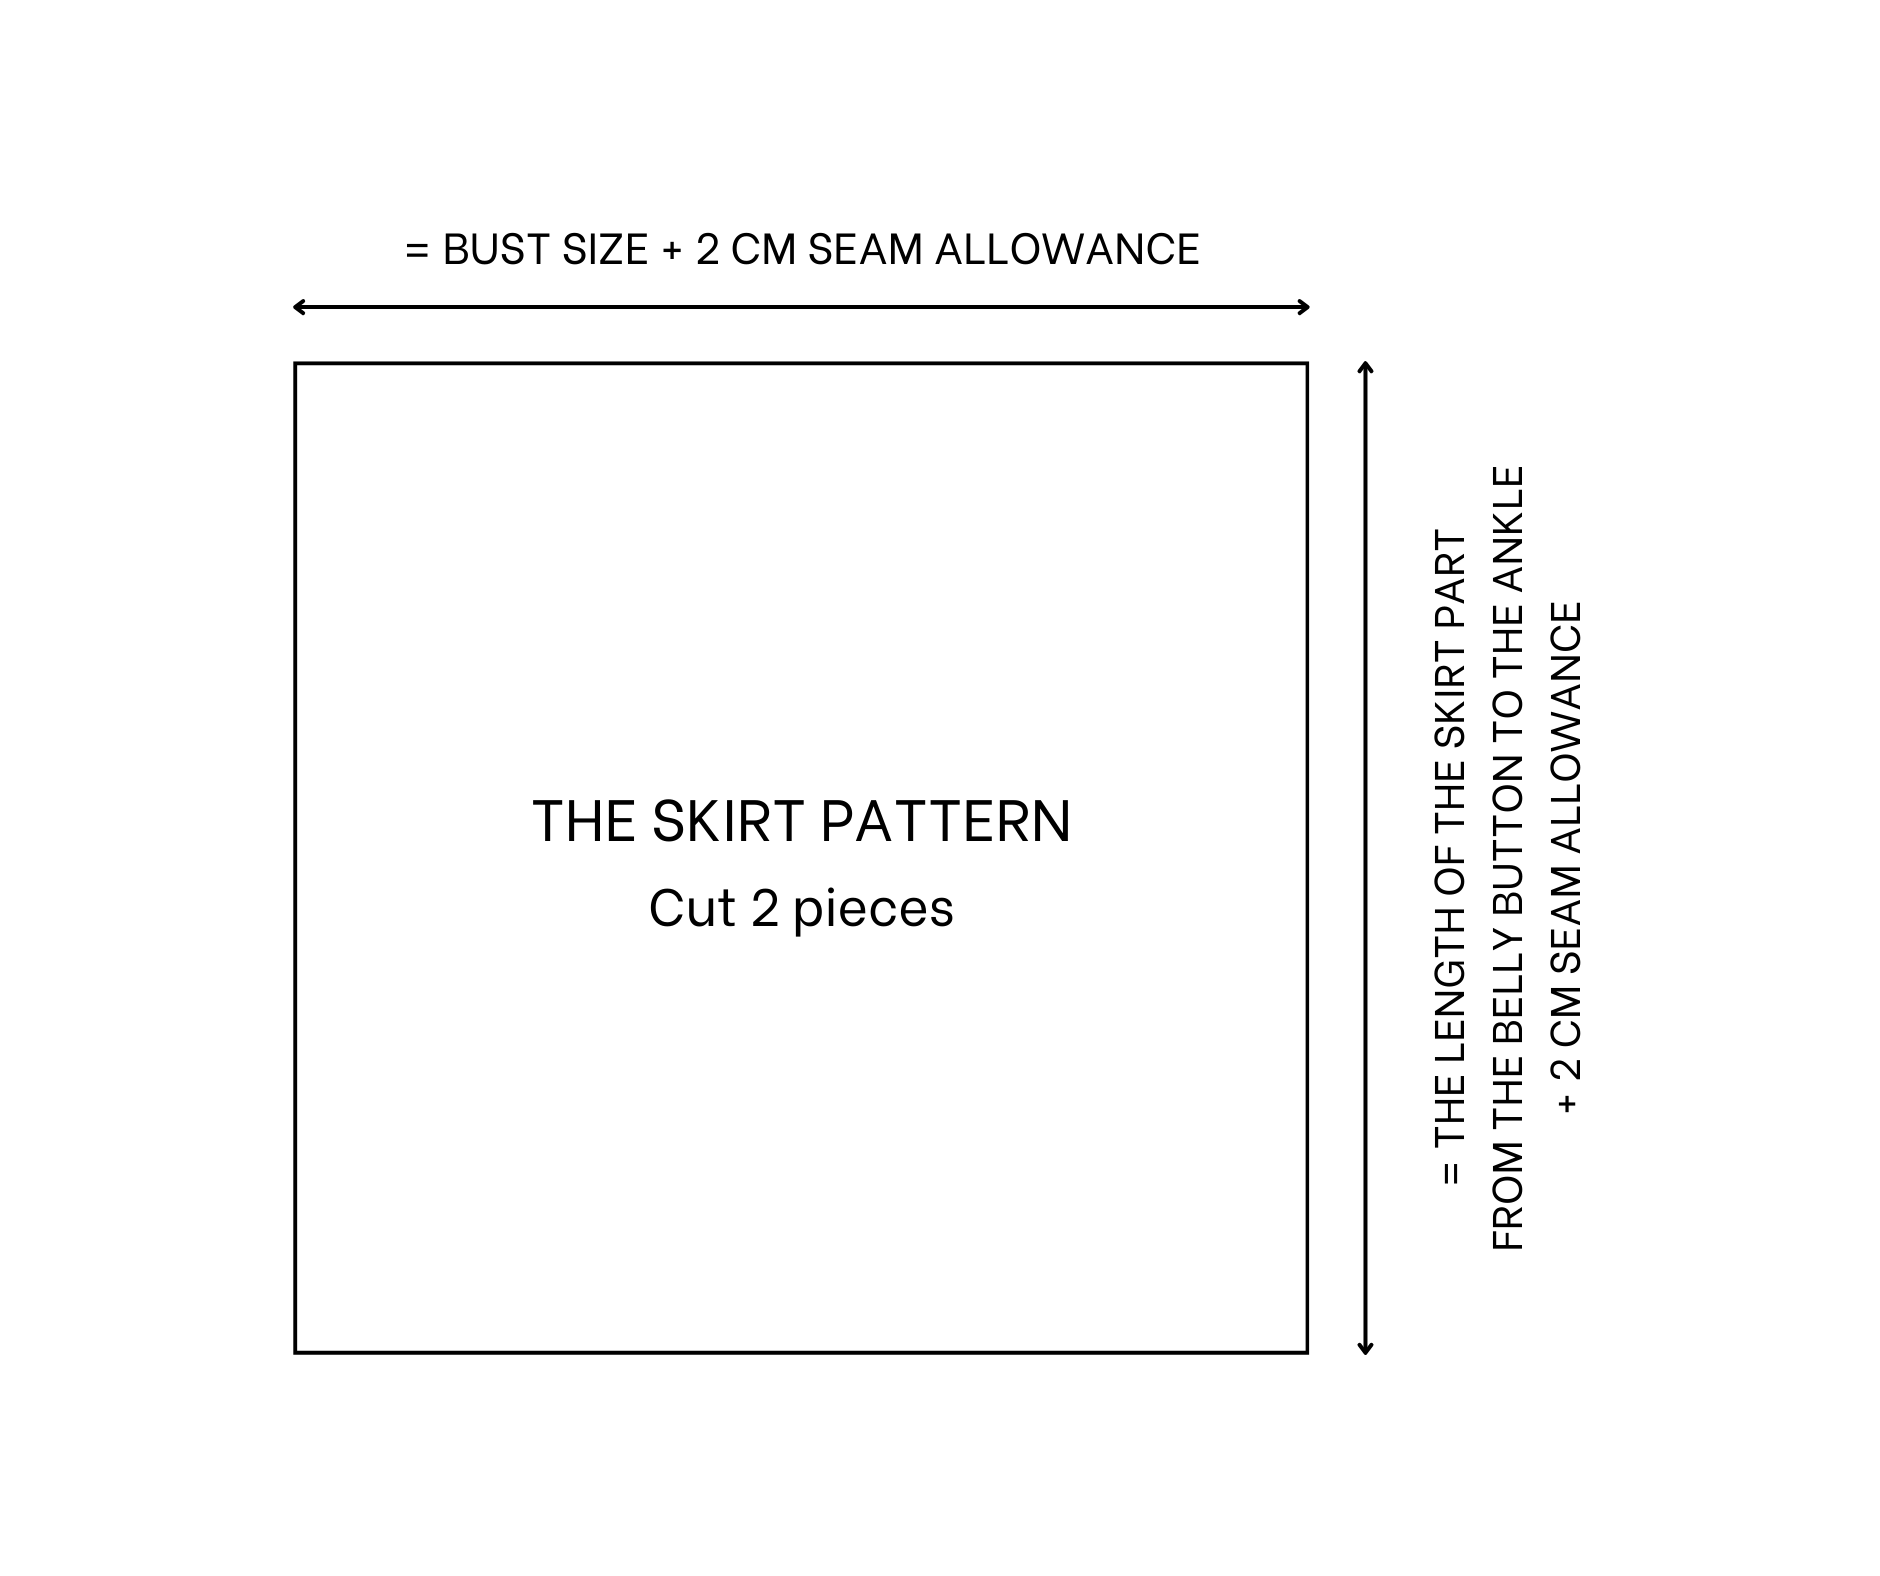
The skirt pattern of this dress is also made from two rectangles.
The measurement of each rectangle is 80 cm in width, which is the same width as the back bodice pattern on the bust size, and 90 cm in length, which is the length from the belly button to the ankle plus 2 cm for seam allowance.
THE POCKET PATTERN
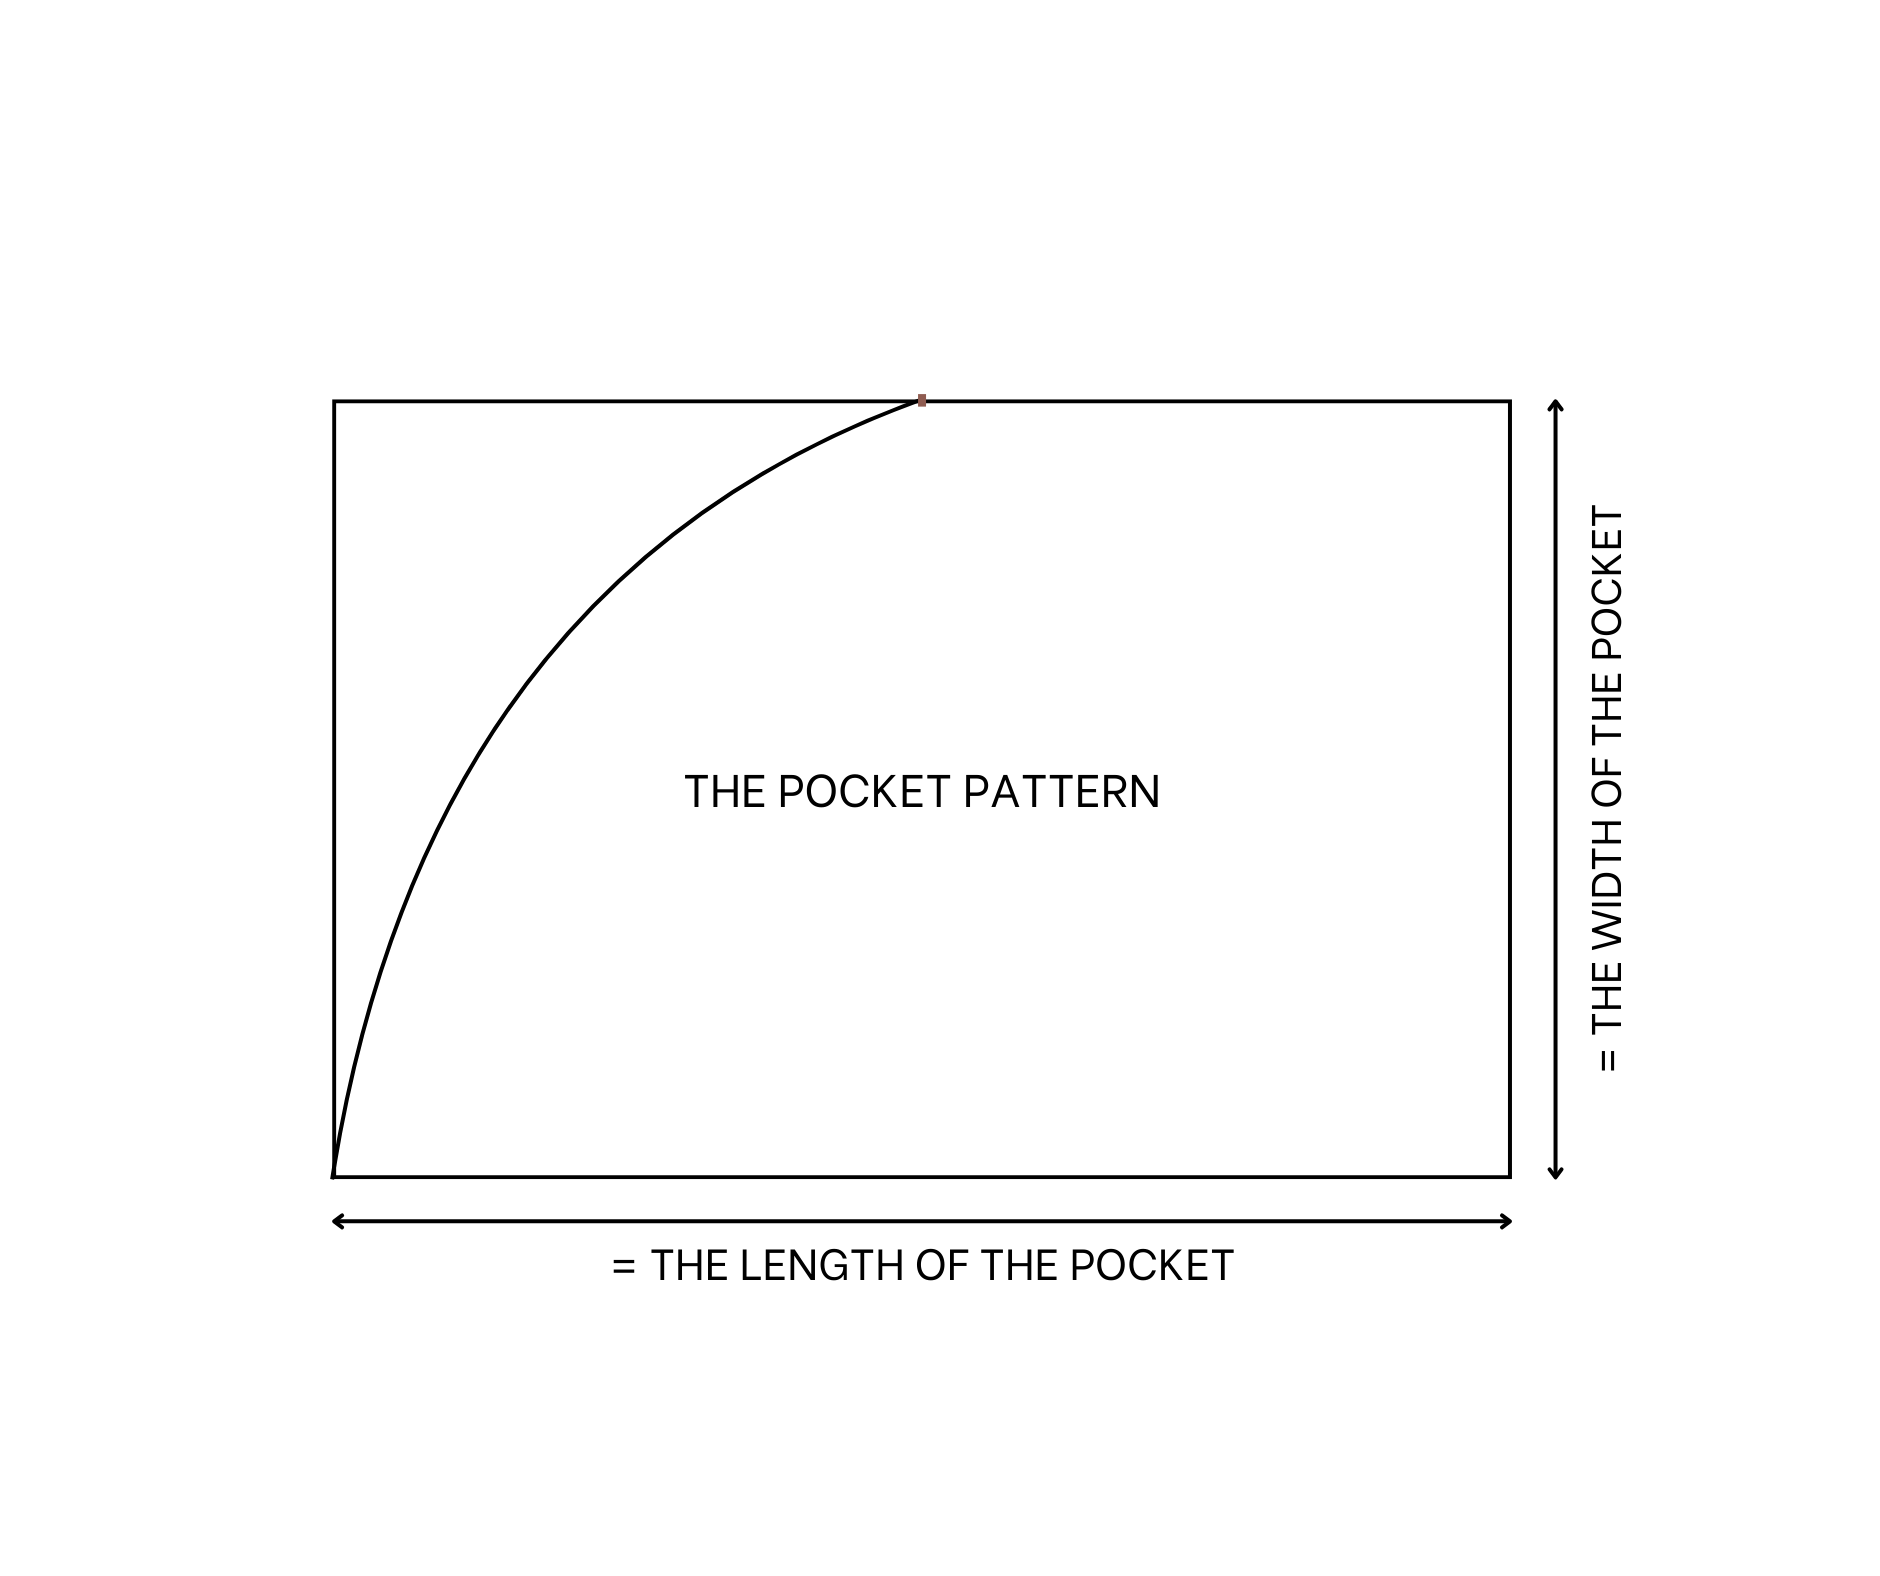
Cut a rectangle with a 20 cm width, which is the width of the pocket, and a 30 cm length, which is the length of the pocket.
Mark the middle of one length line first, then draw a curved line from that mark to connect to one end of the other length line.
SEWING THE DRESS
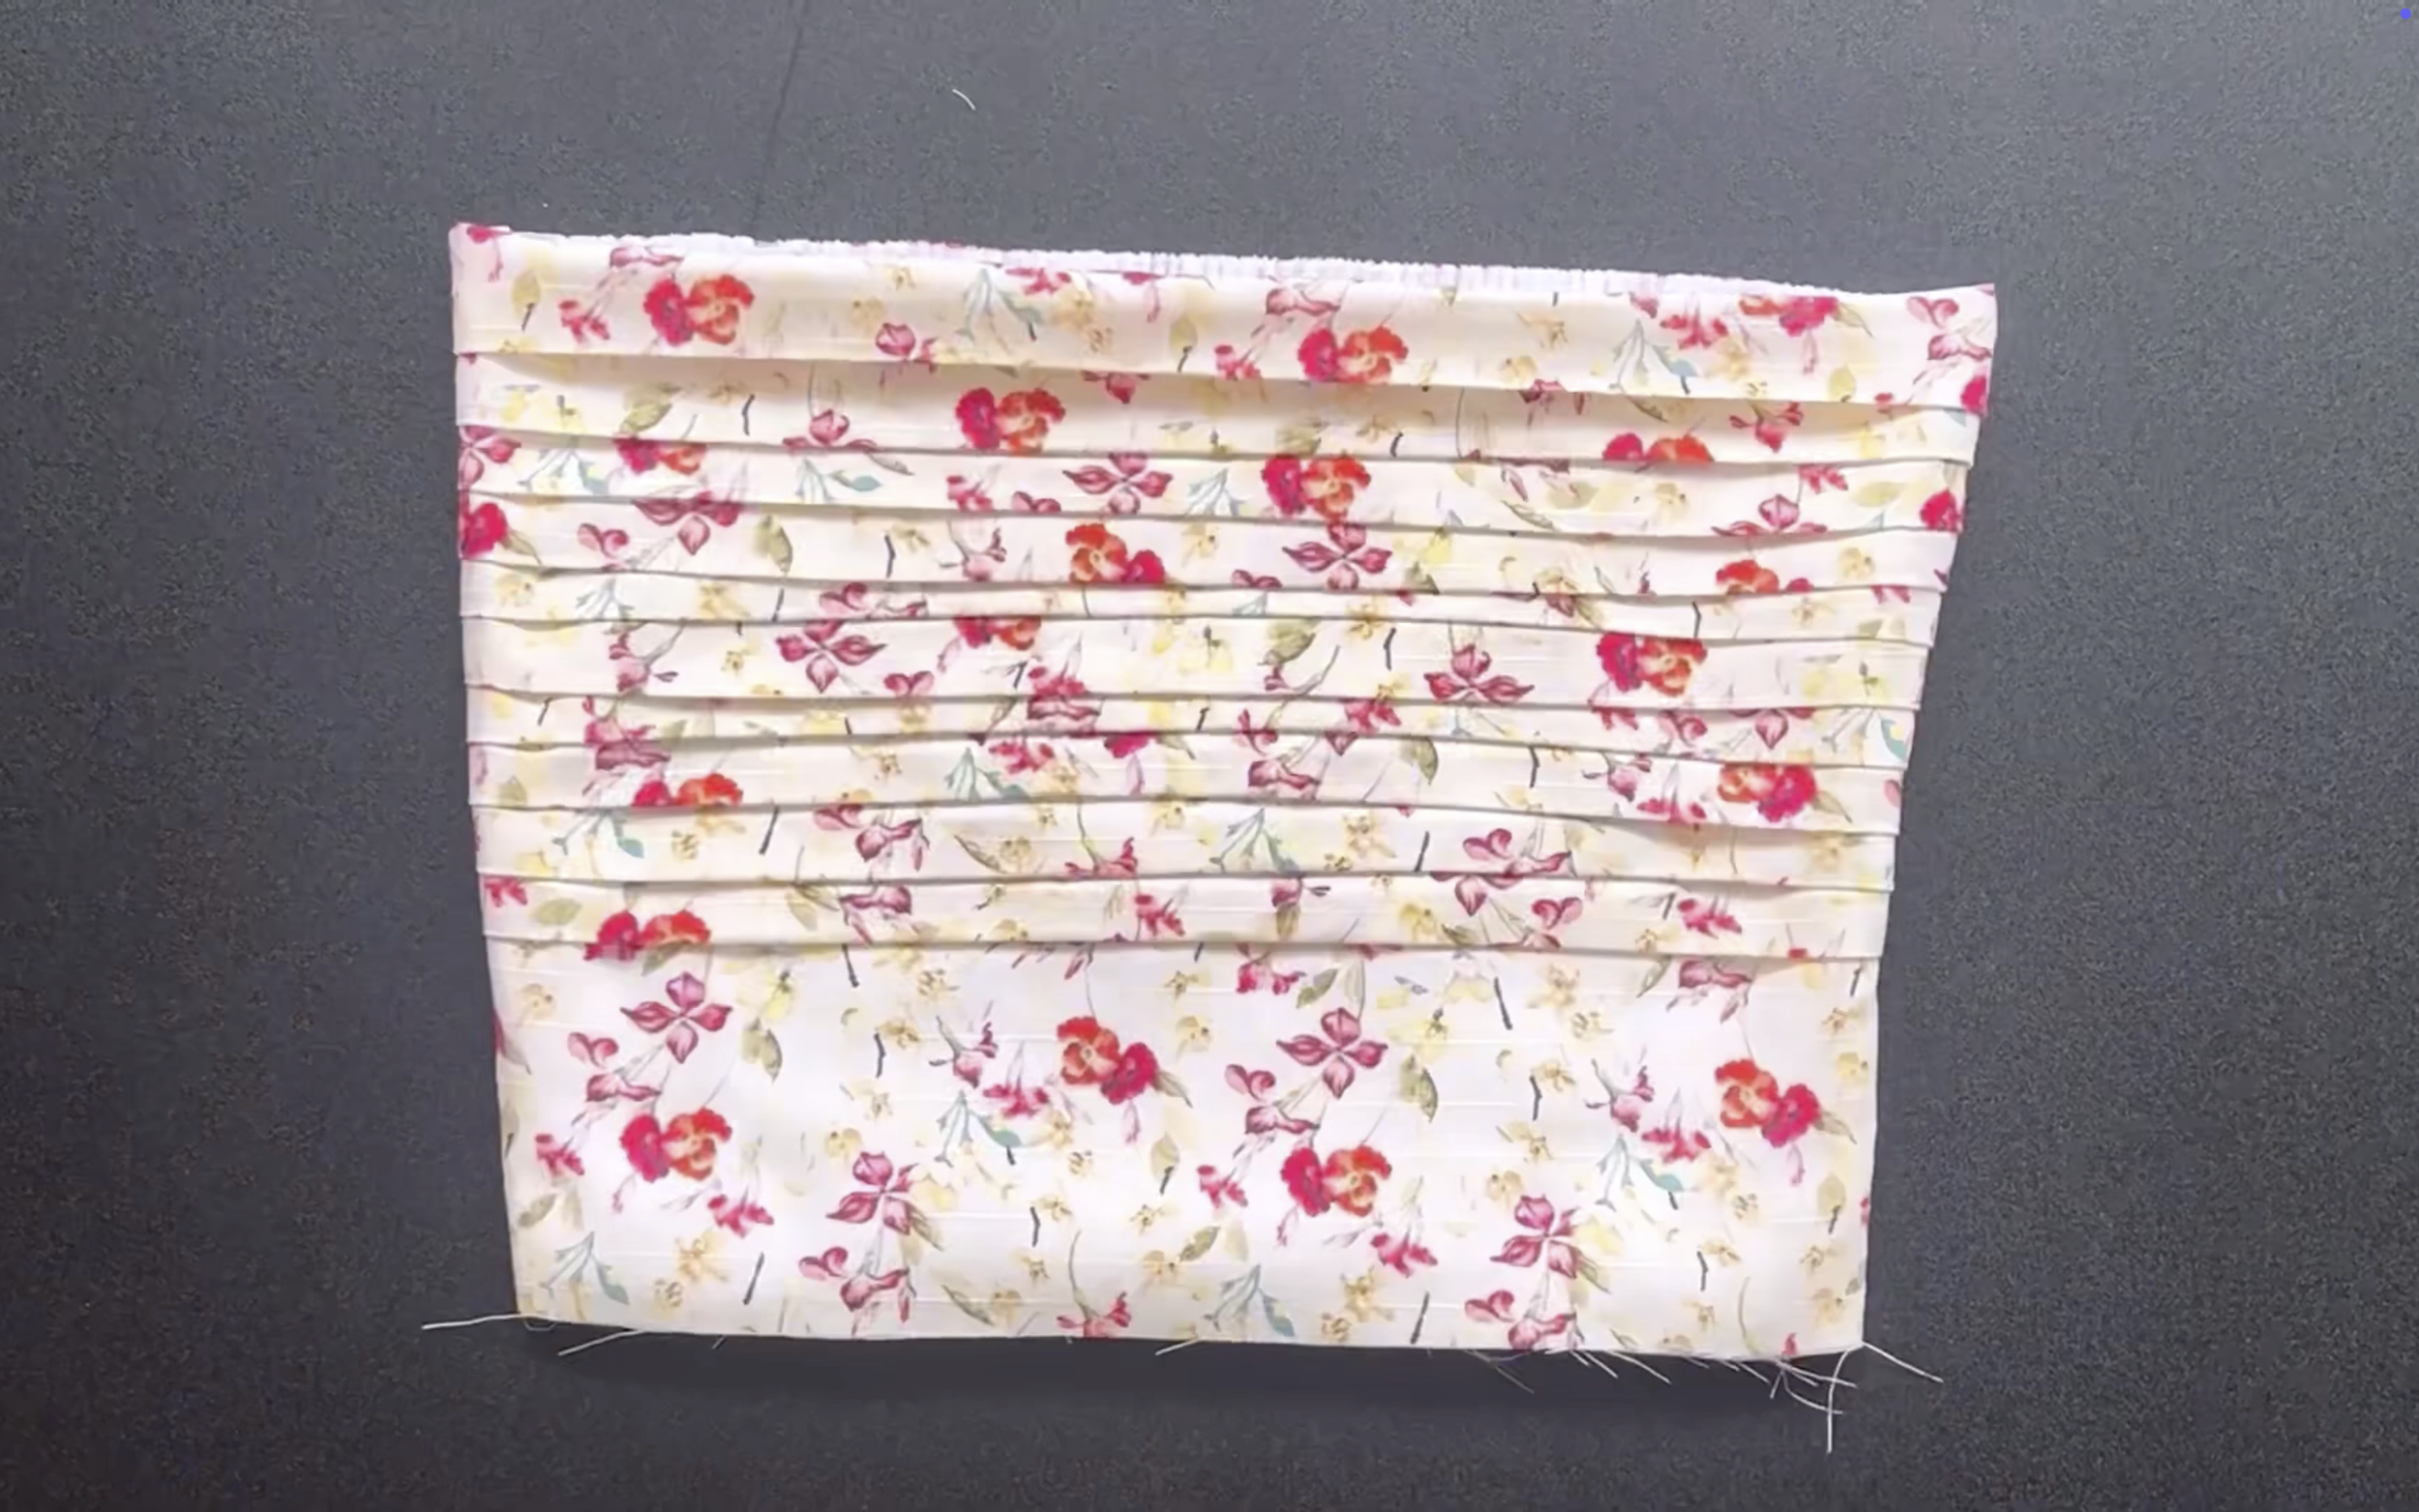
THE FRONT BODICE PART
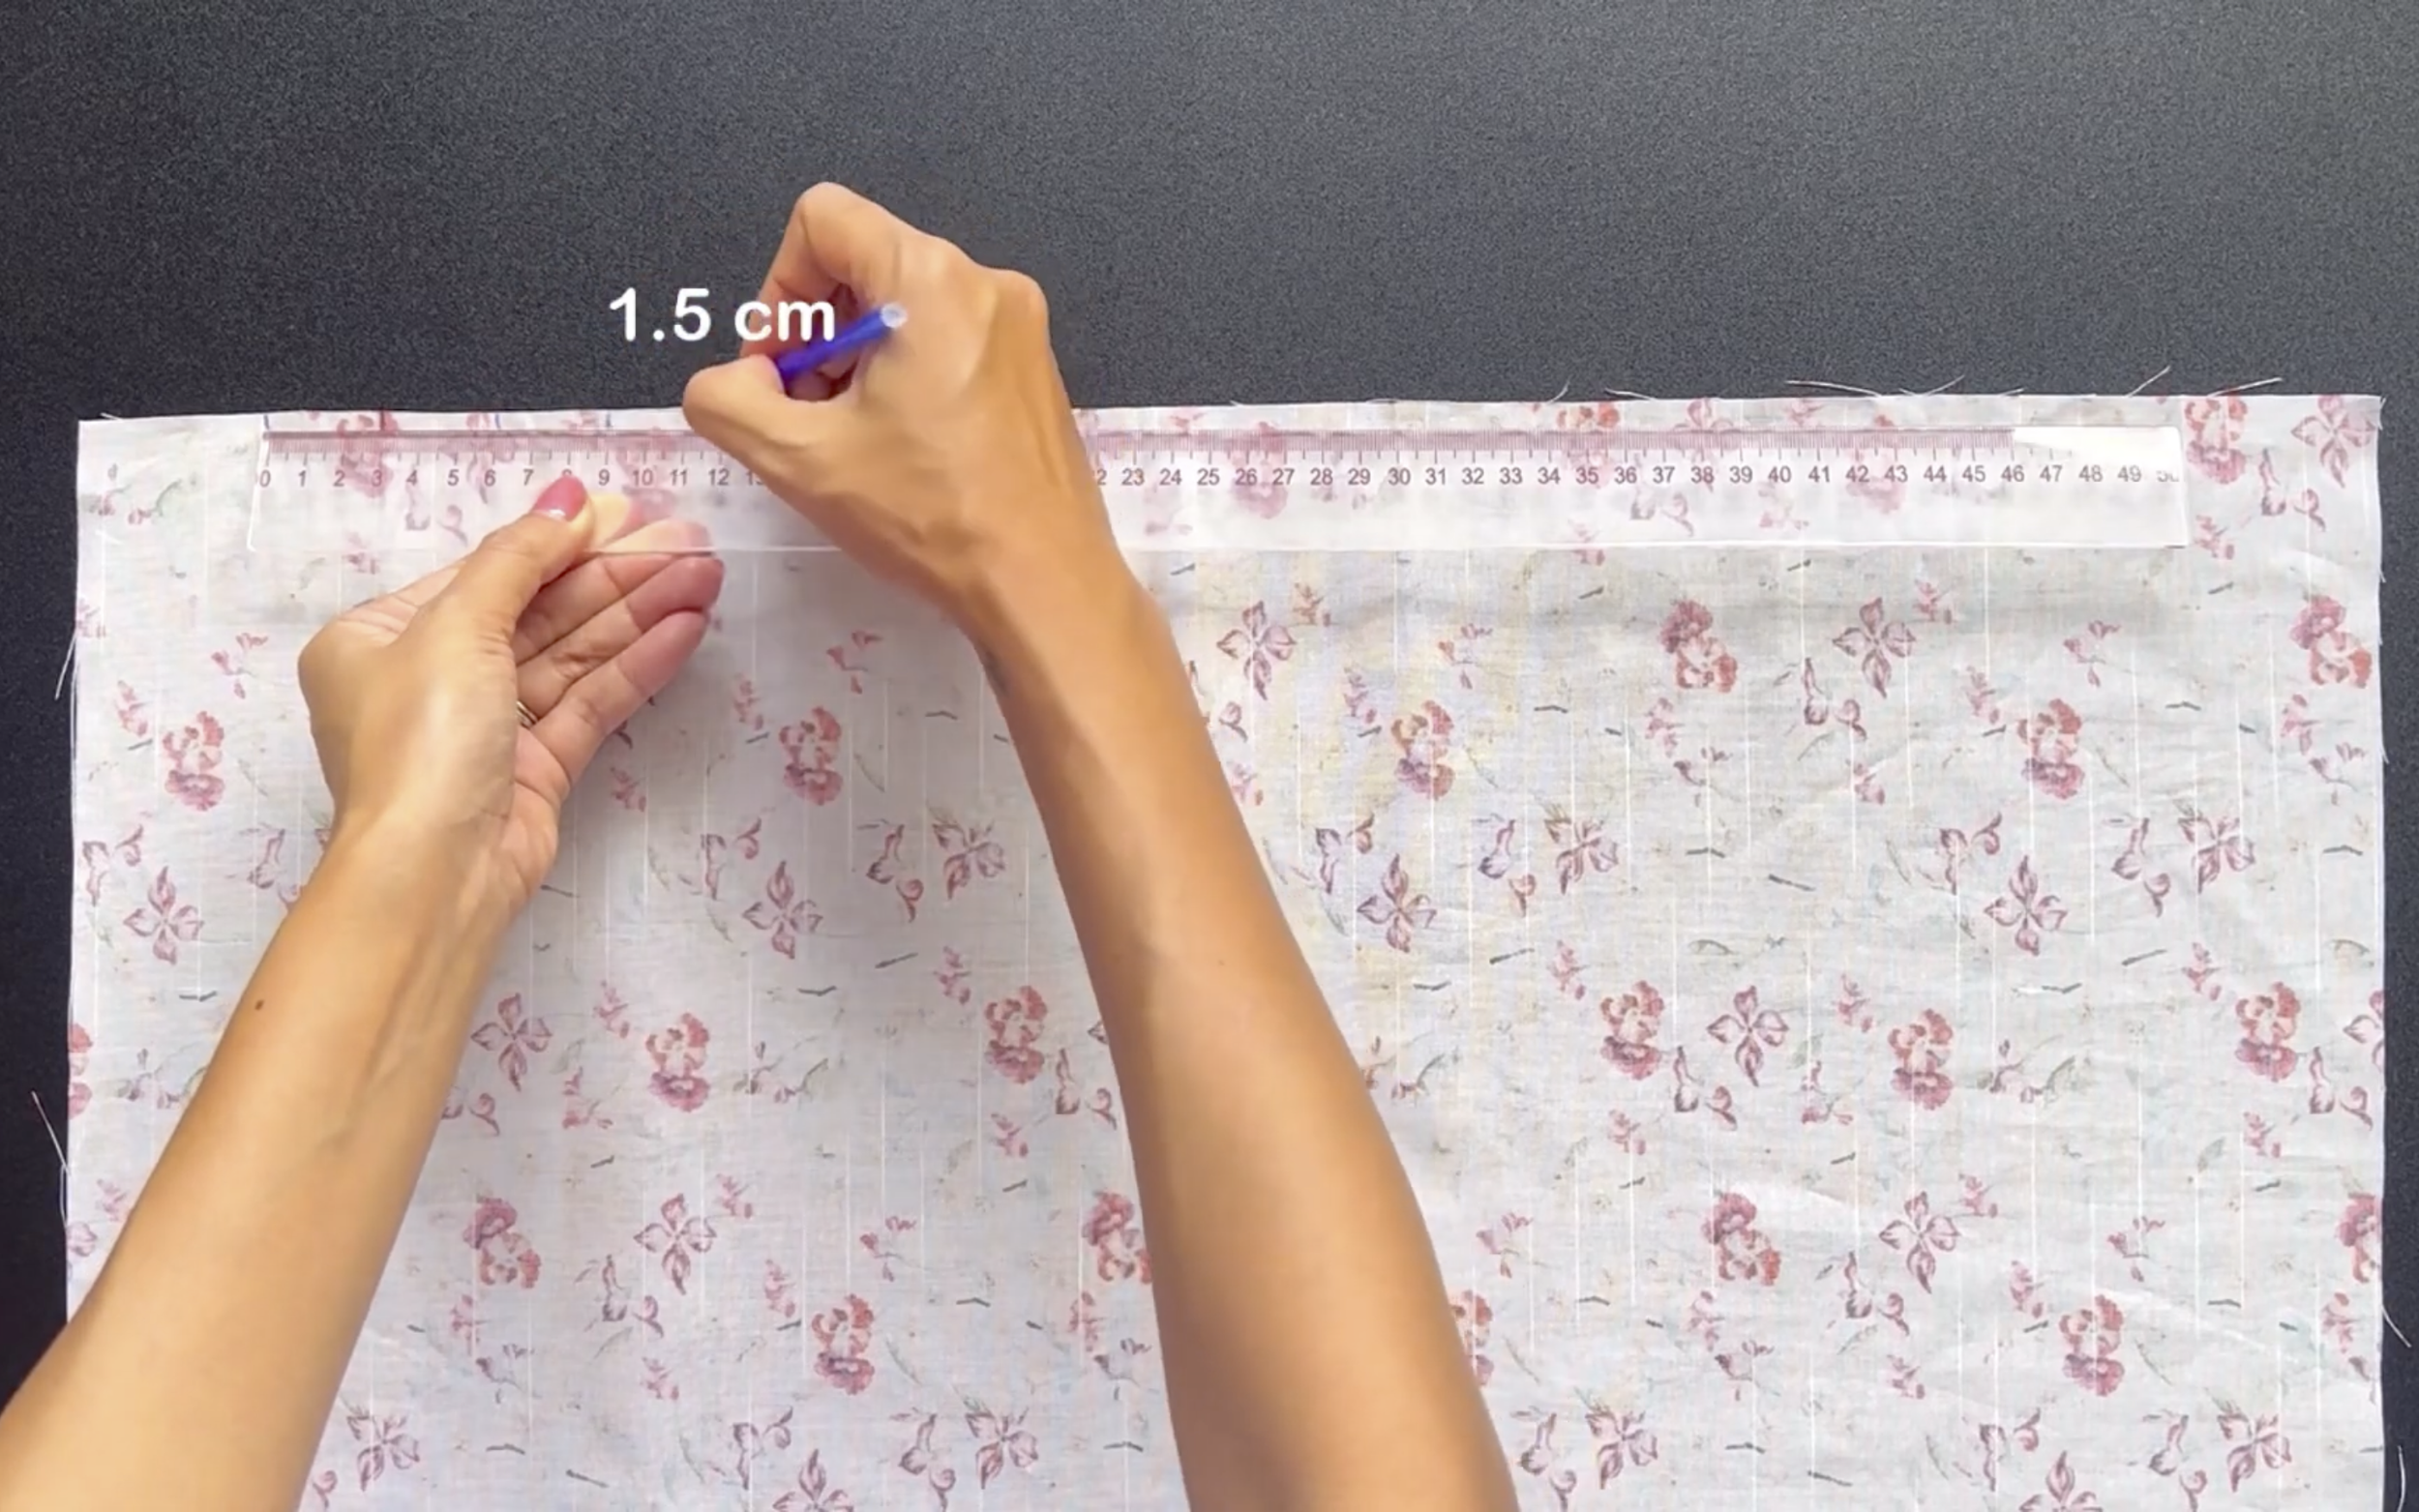
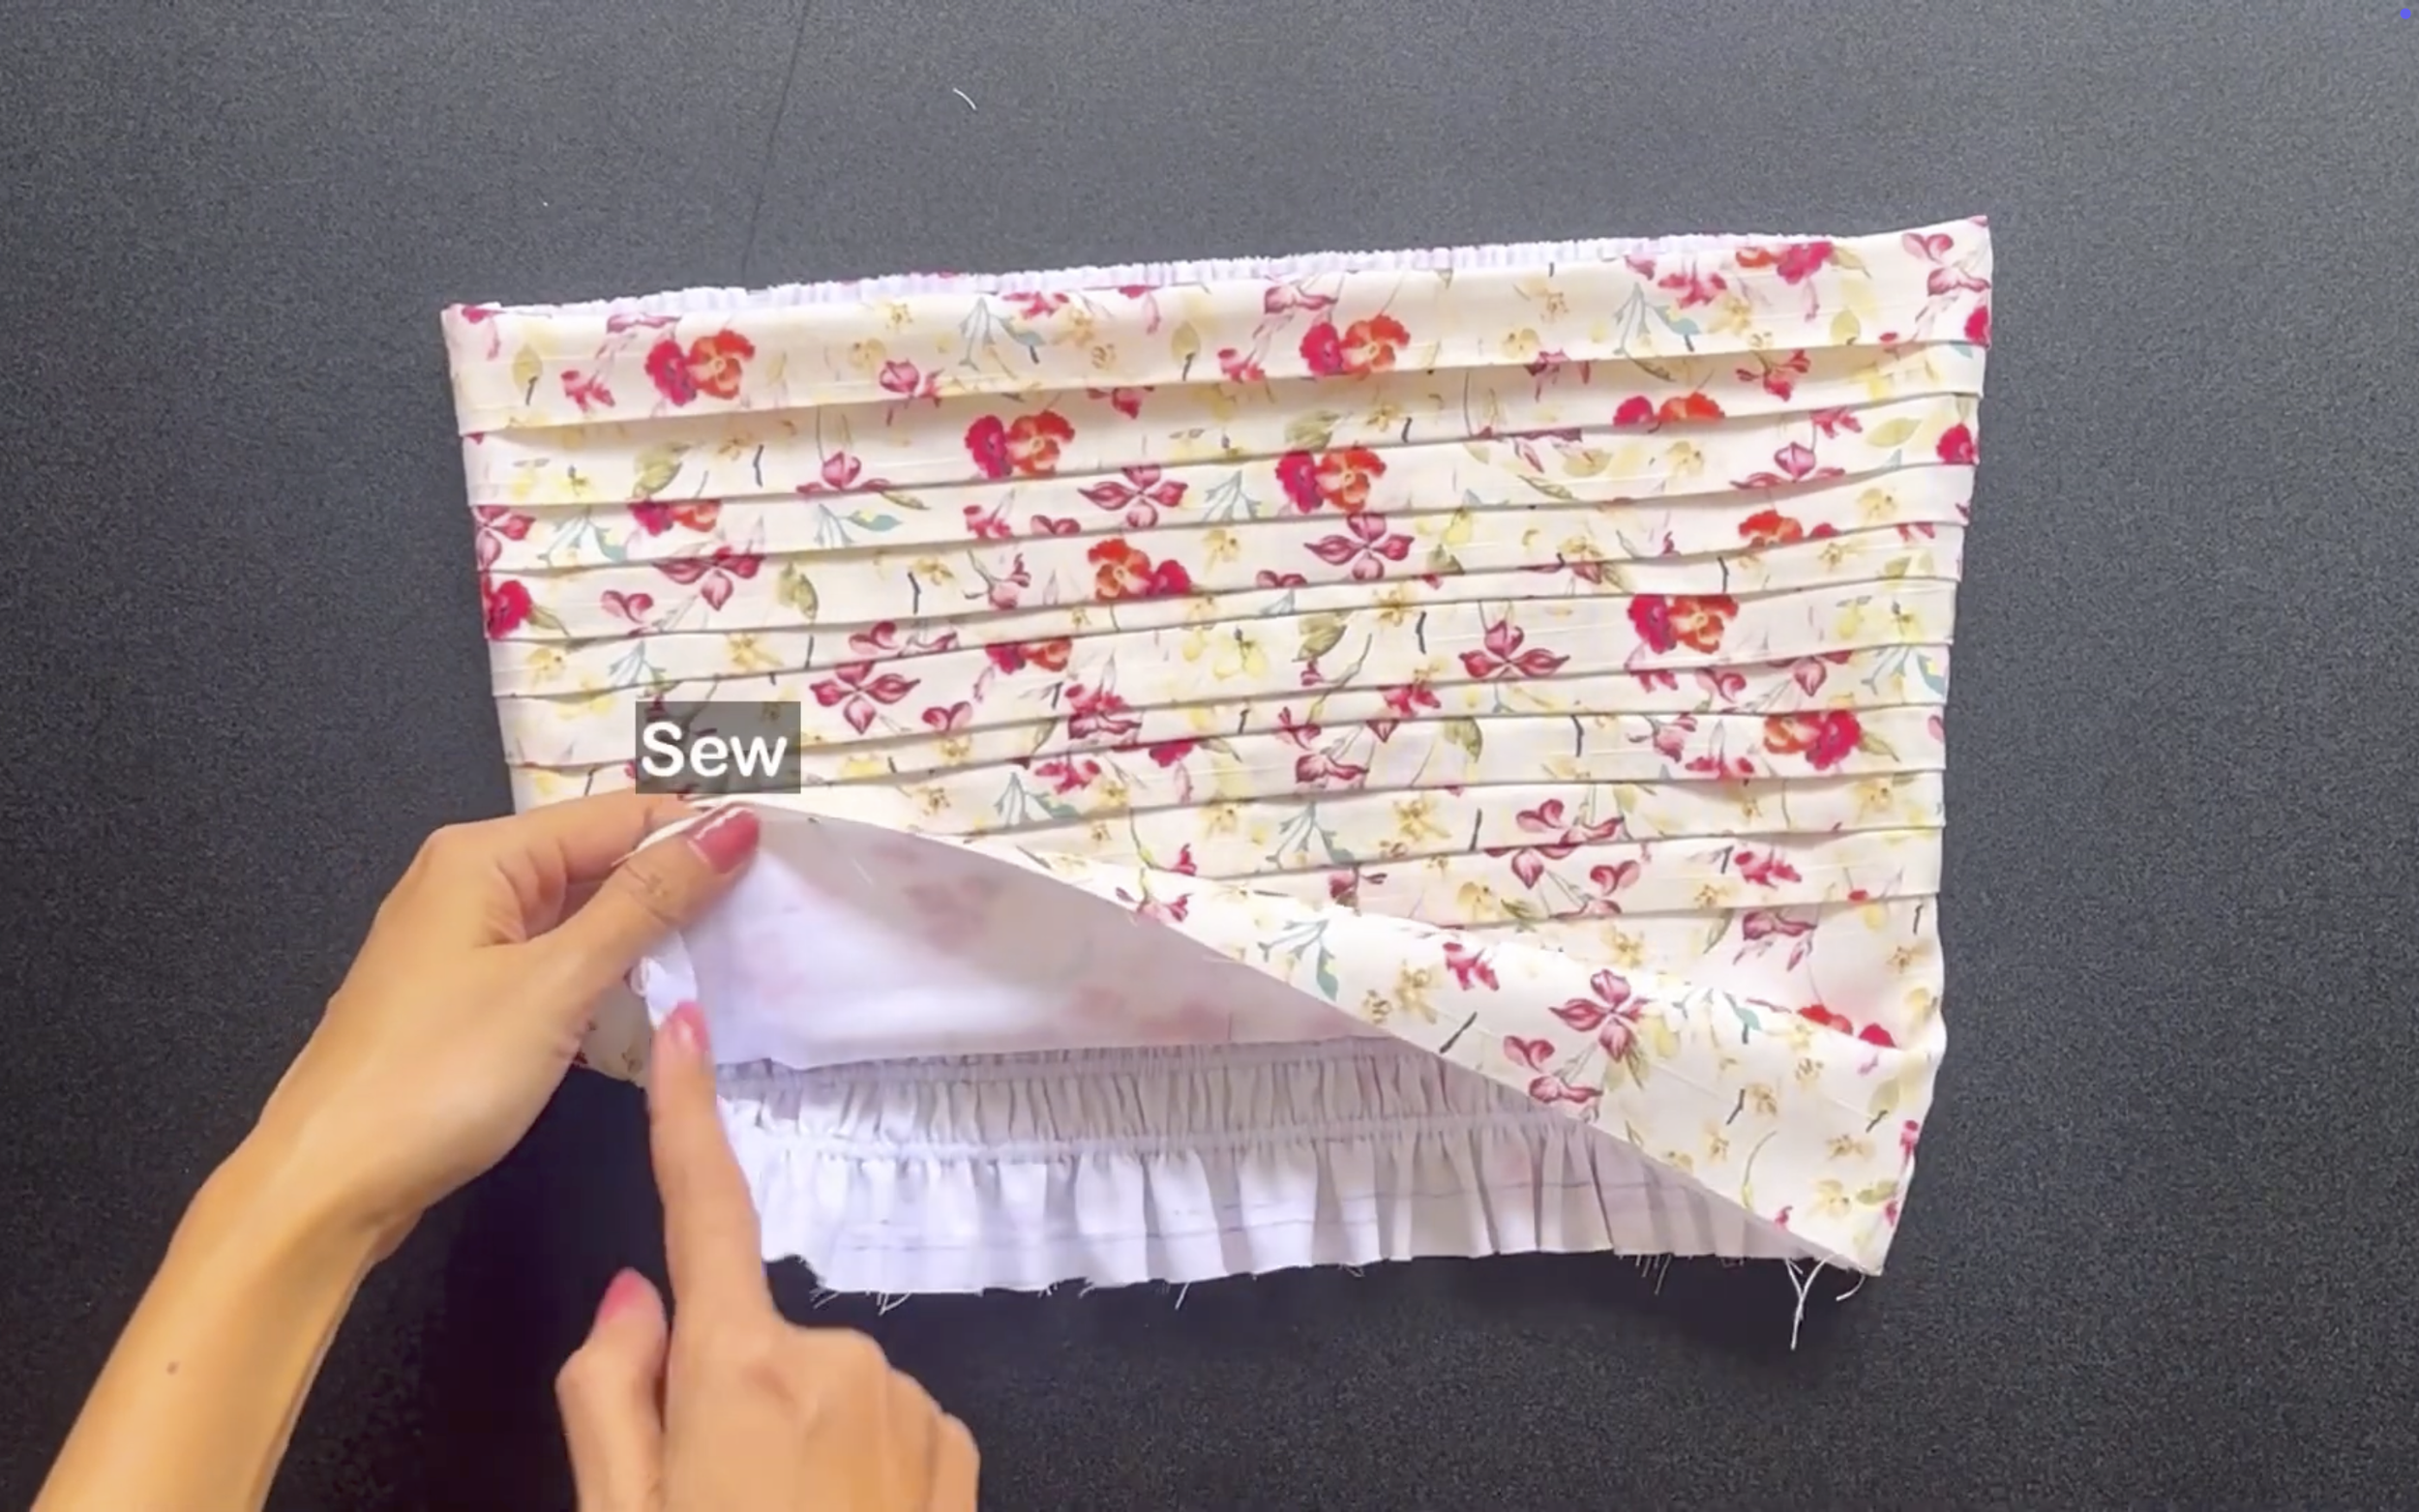
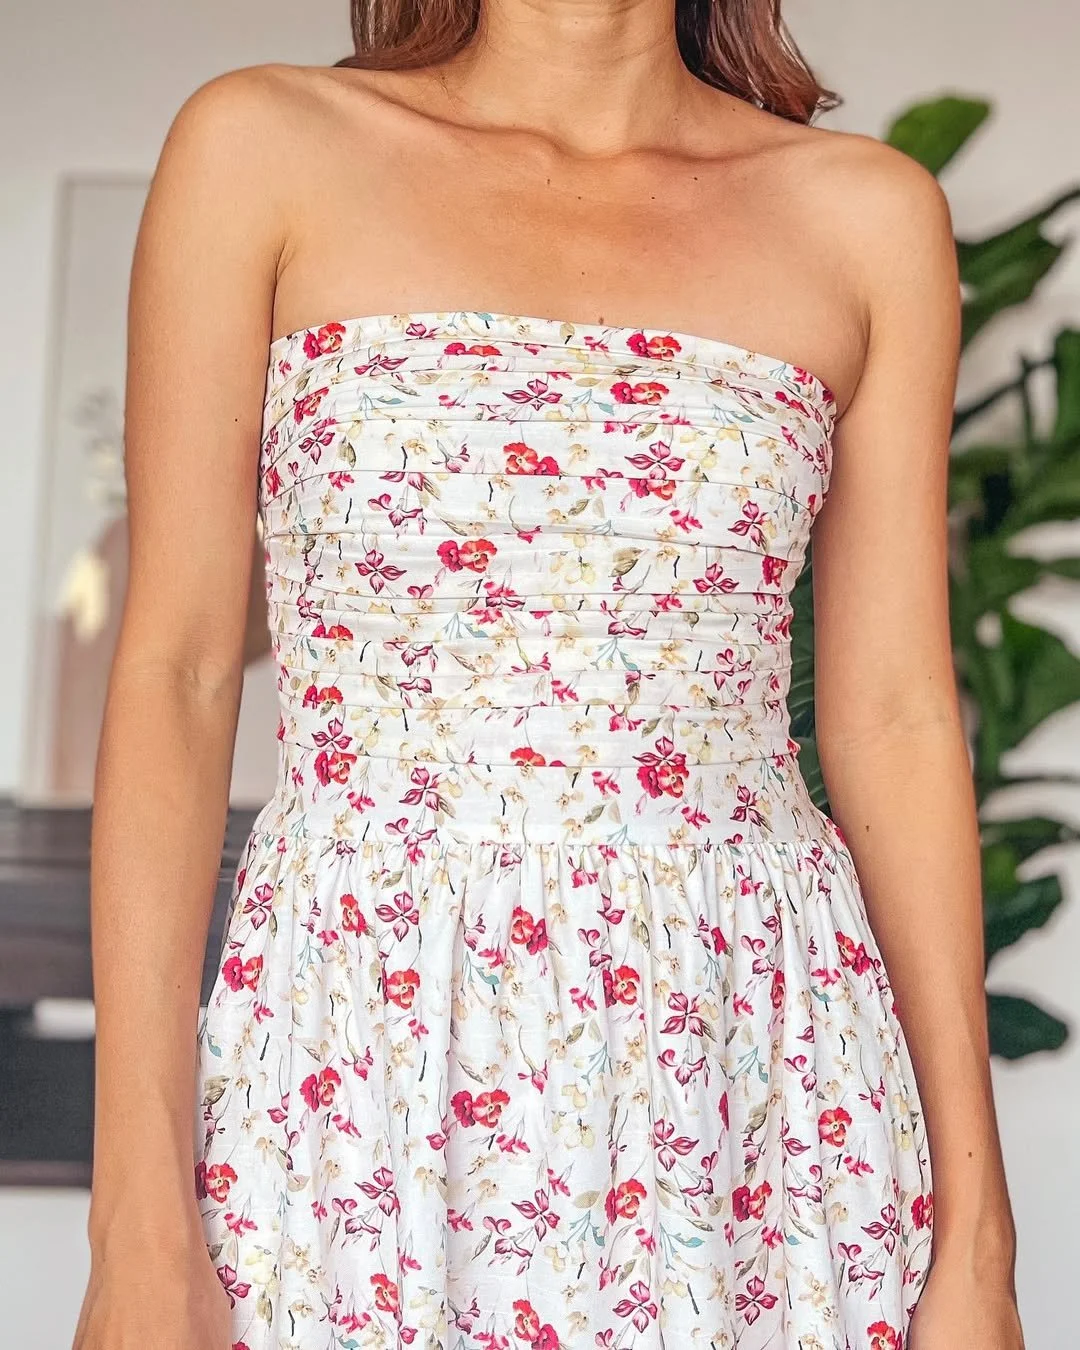
At the outside front bodice, create some folds at both sides with around 1.5 cm width for each fold.
It's up to you to create the same width or different widths for each fold.
After that, sew to keep them in place and do the same for the other side of the front bodice.
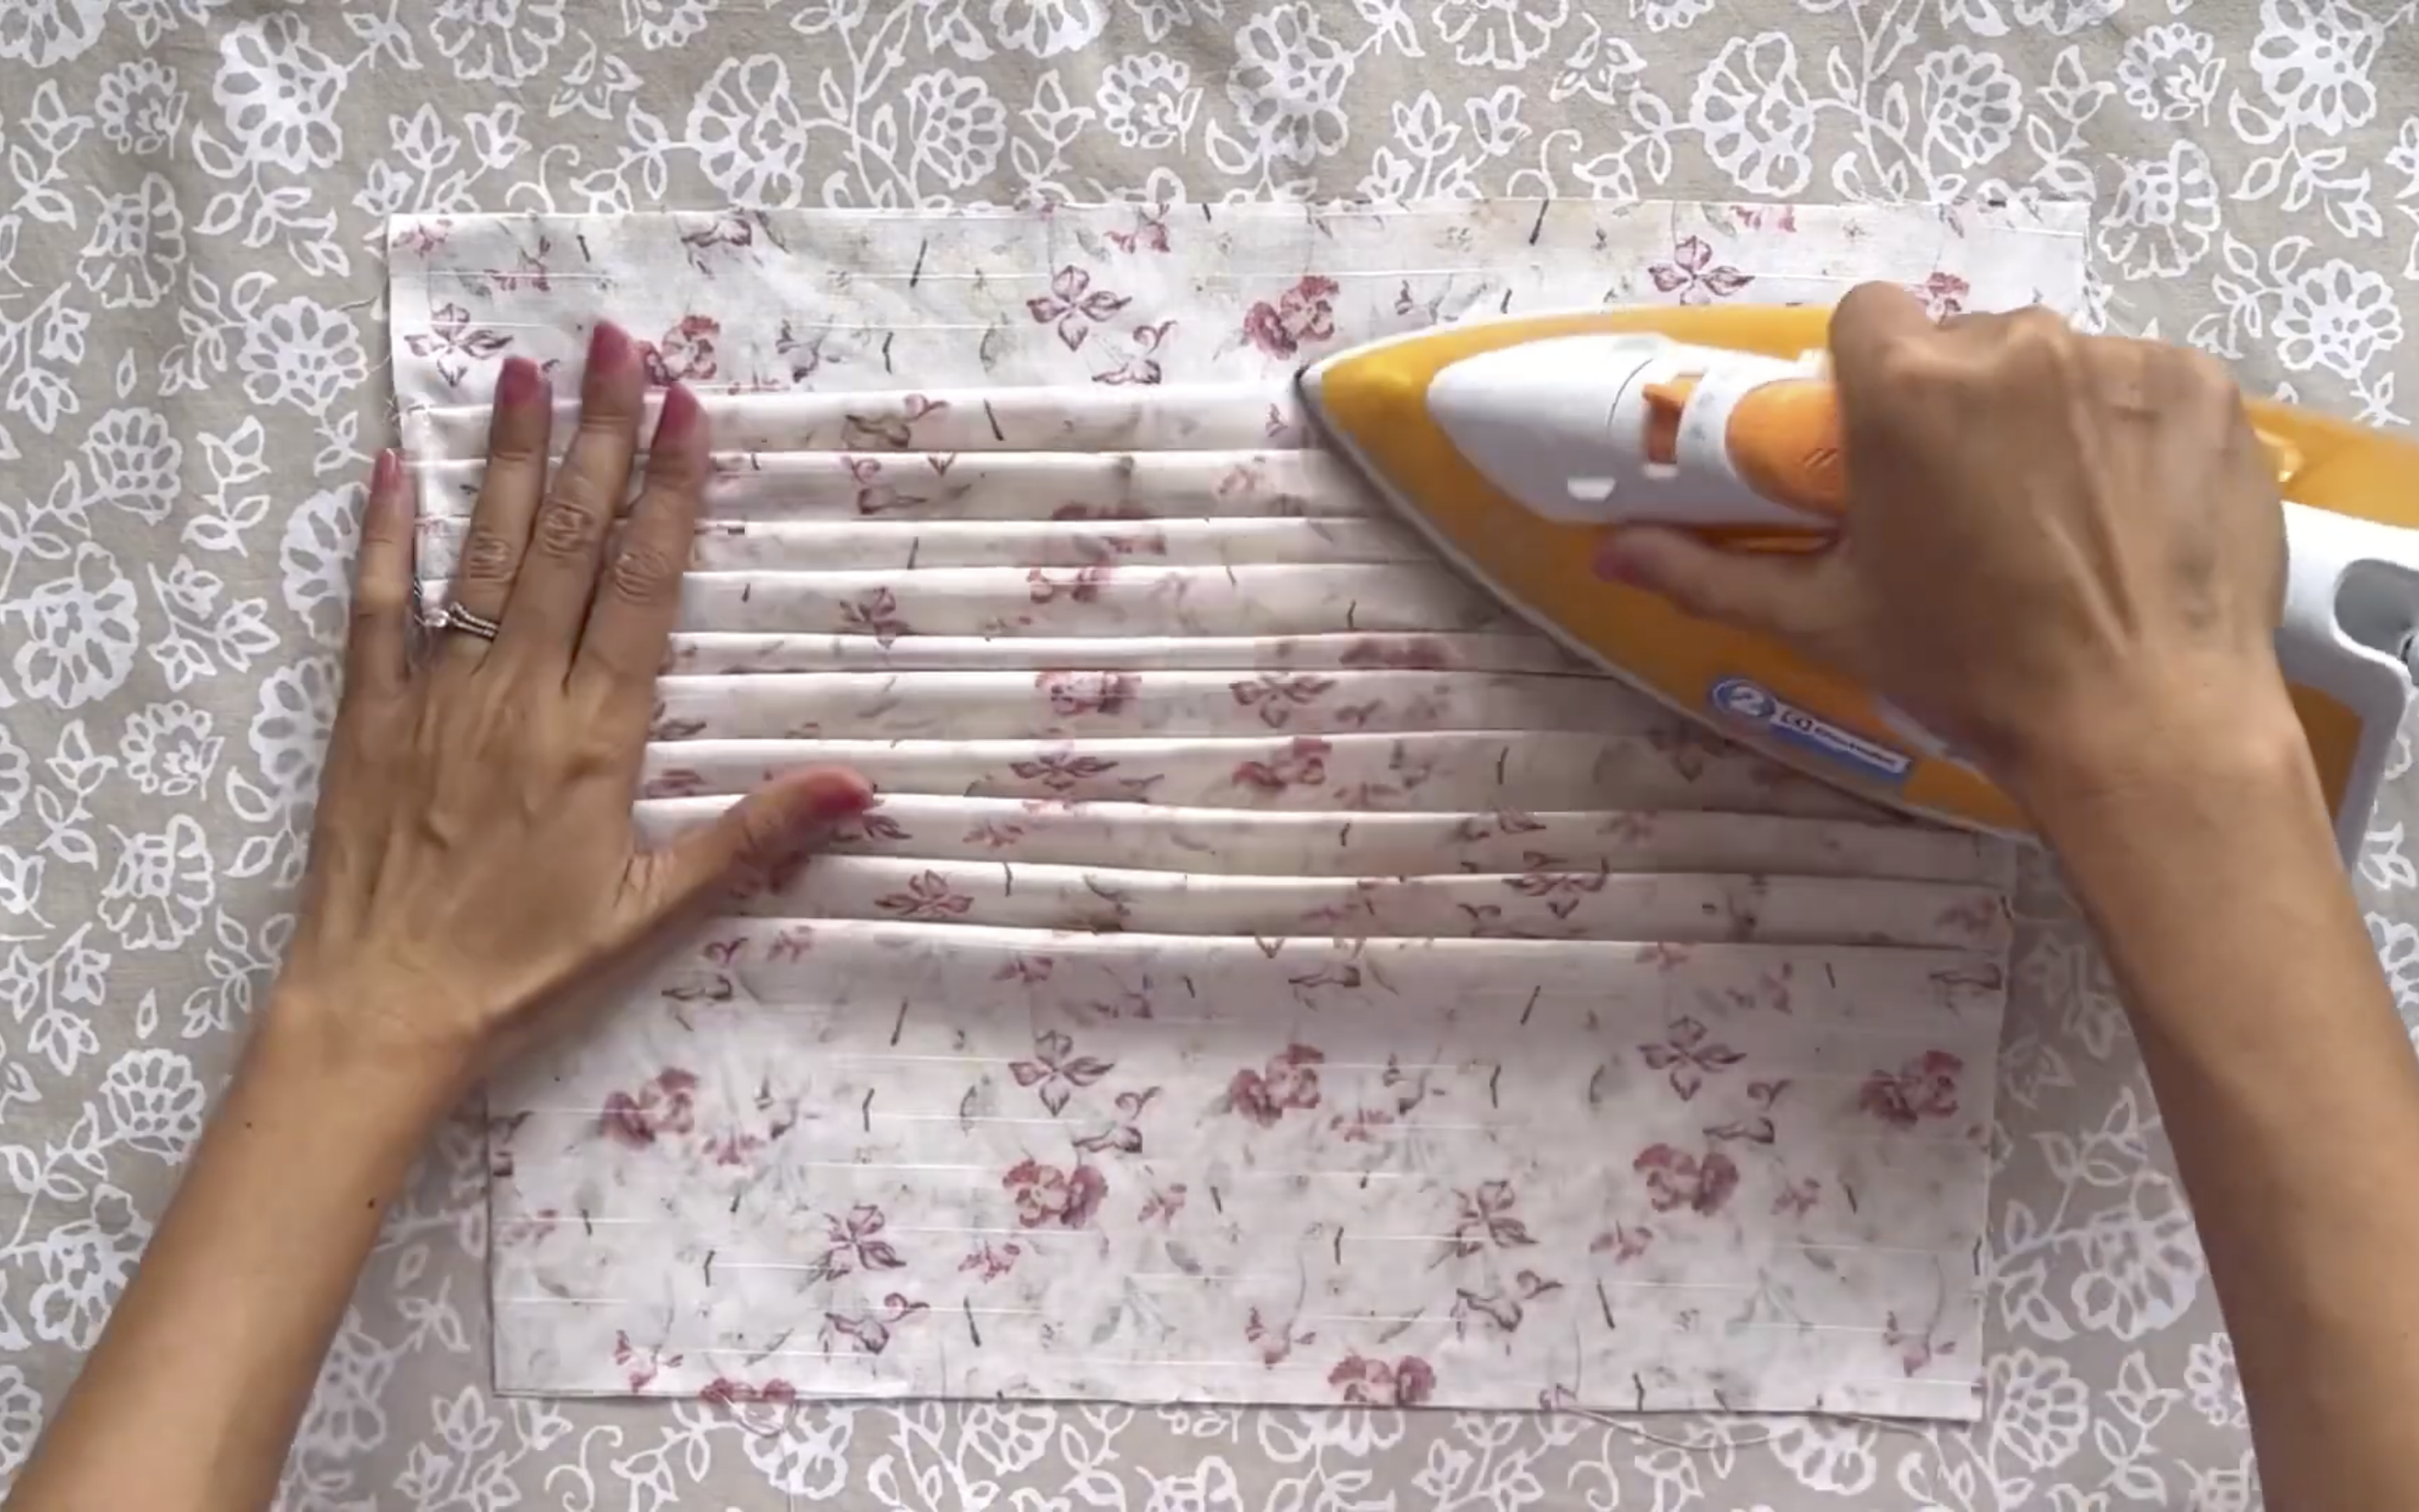
After sewing, iron it to keep the folds nicely in place.
Note: The outside front bodice can be finished by making loose seams at both sidelines first, then creating gathering fabric there later.
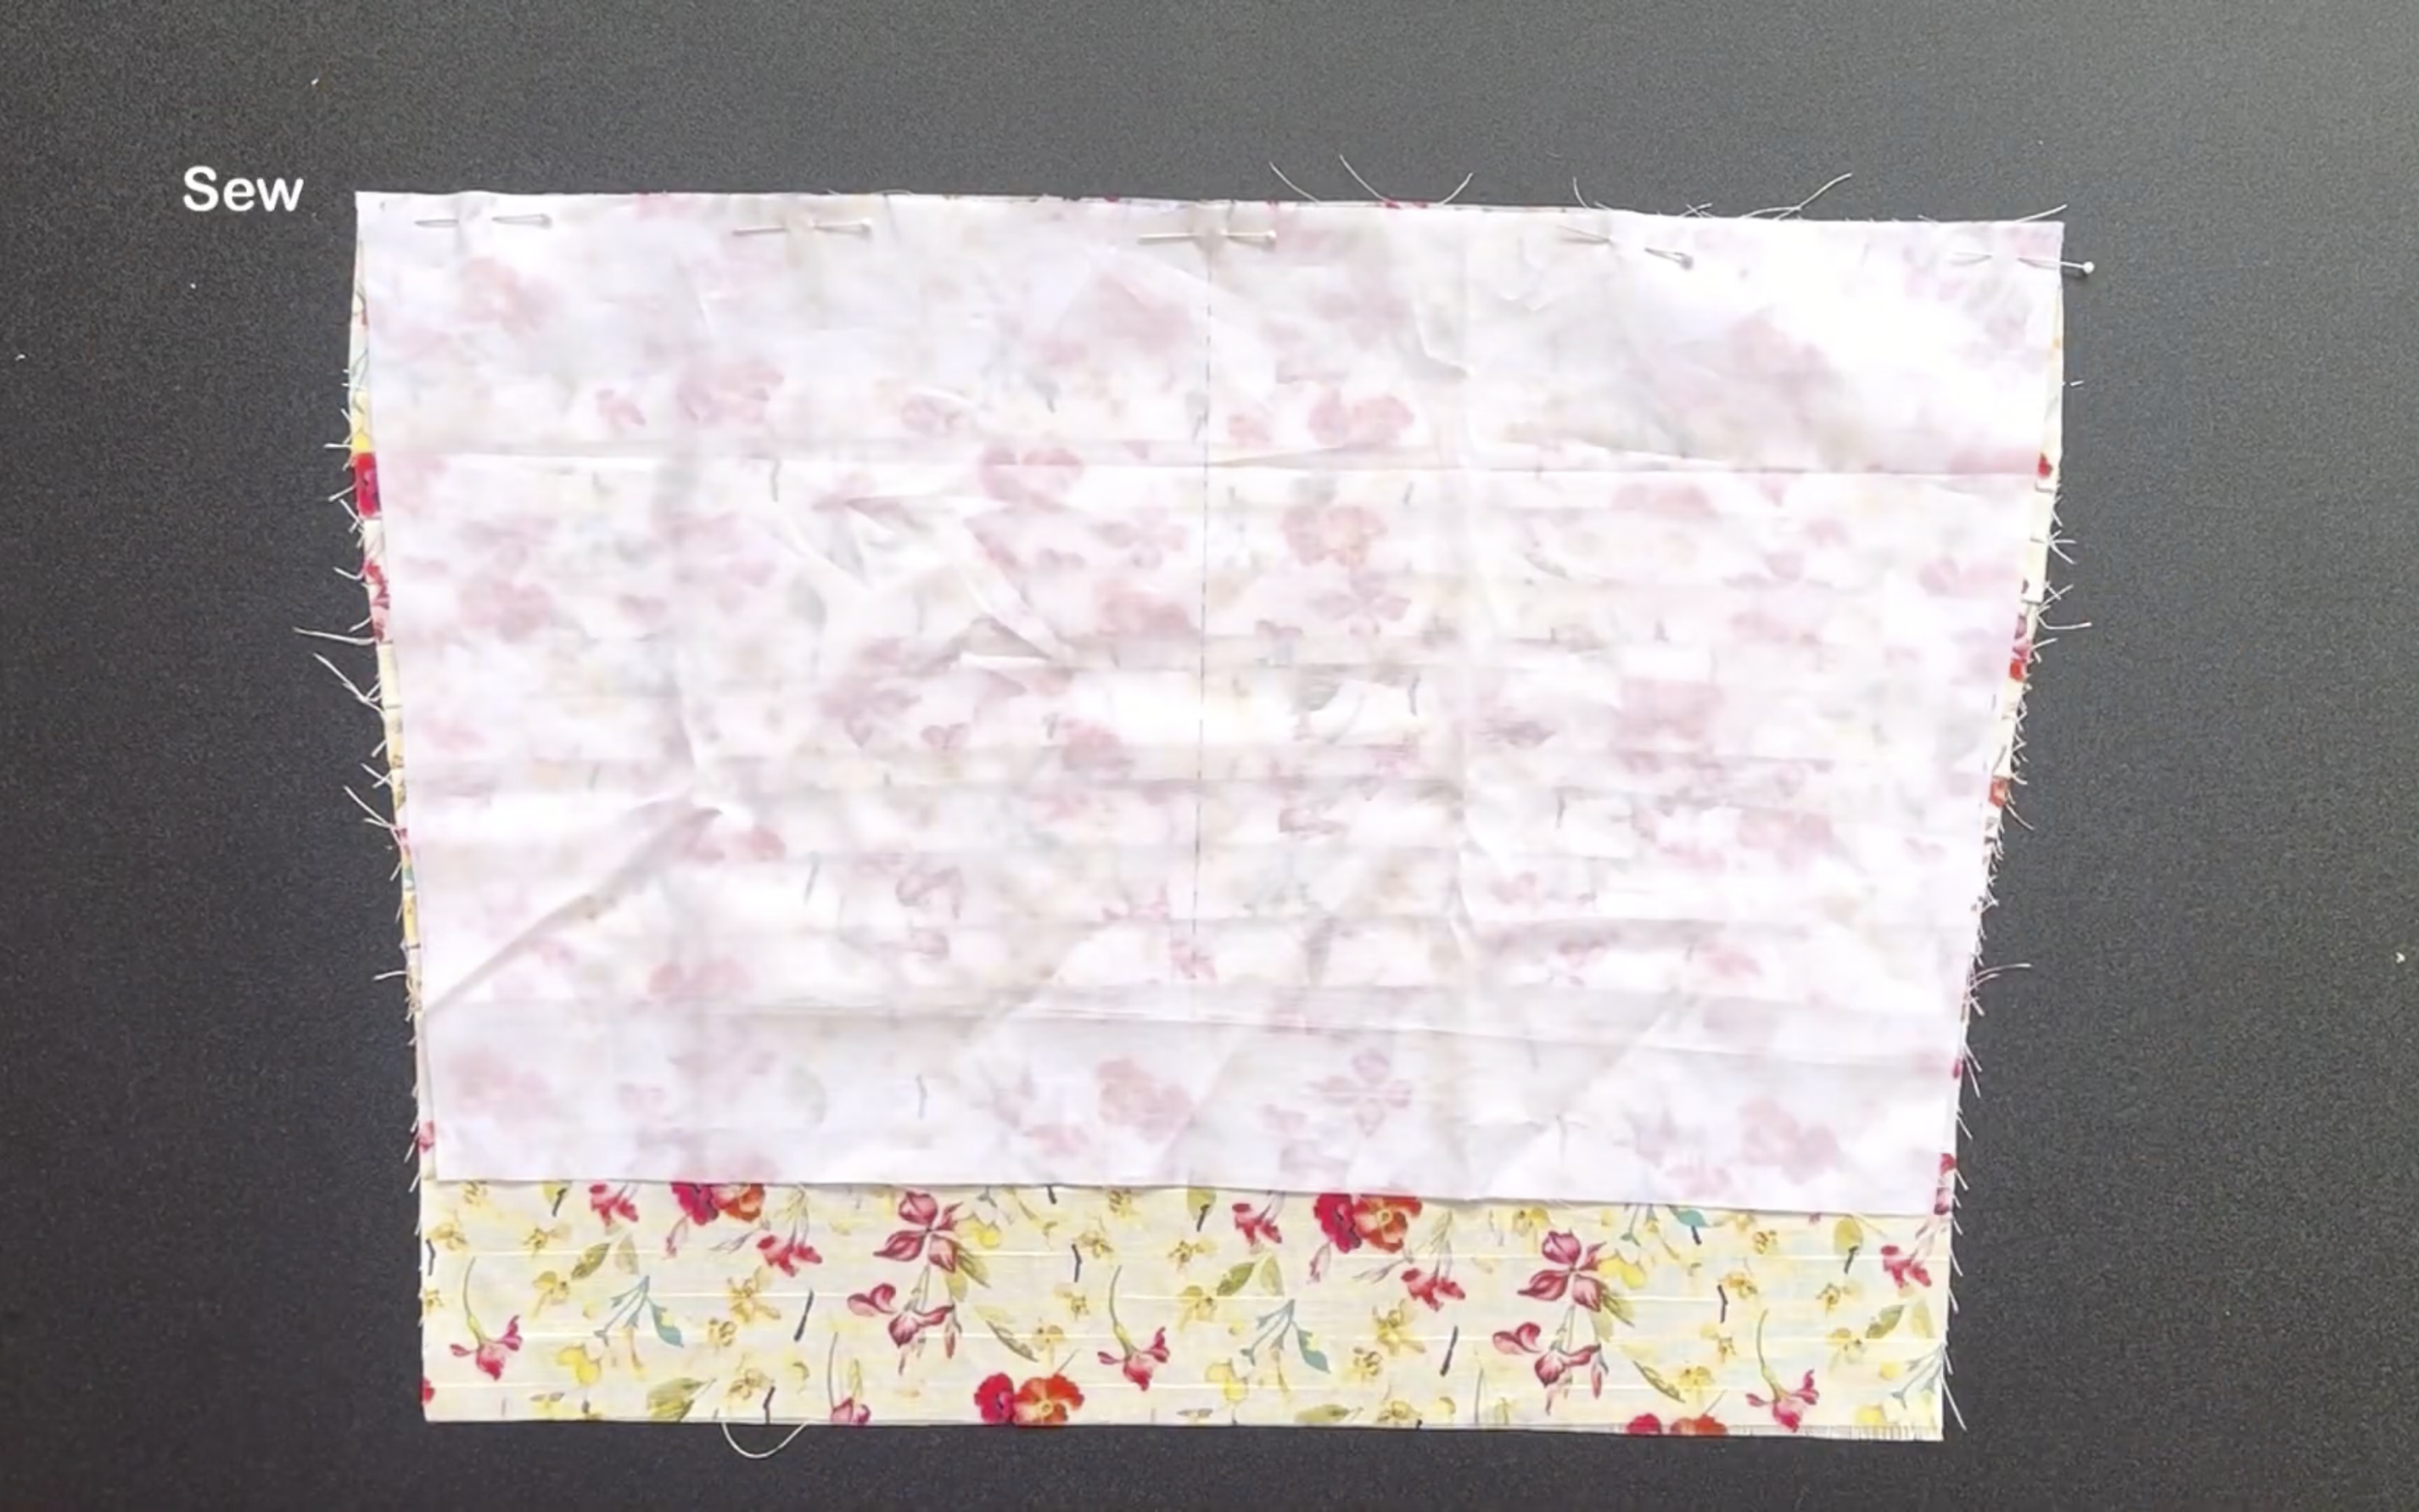
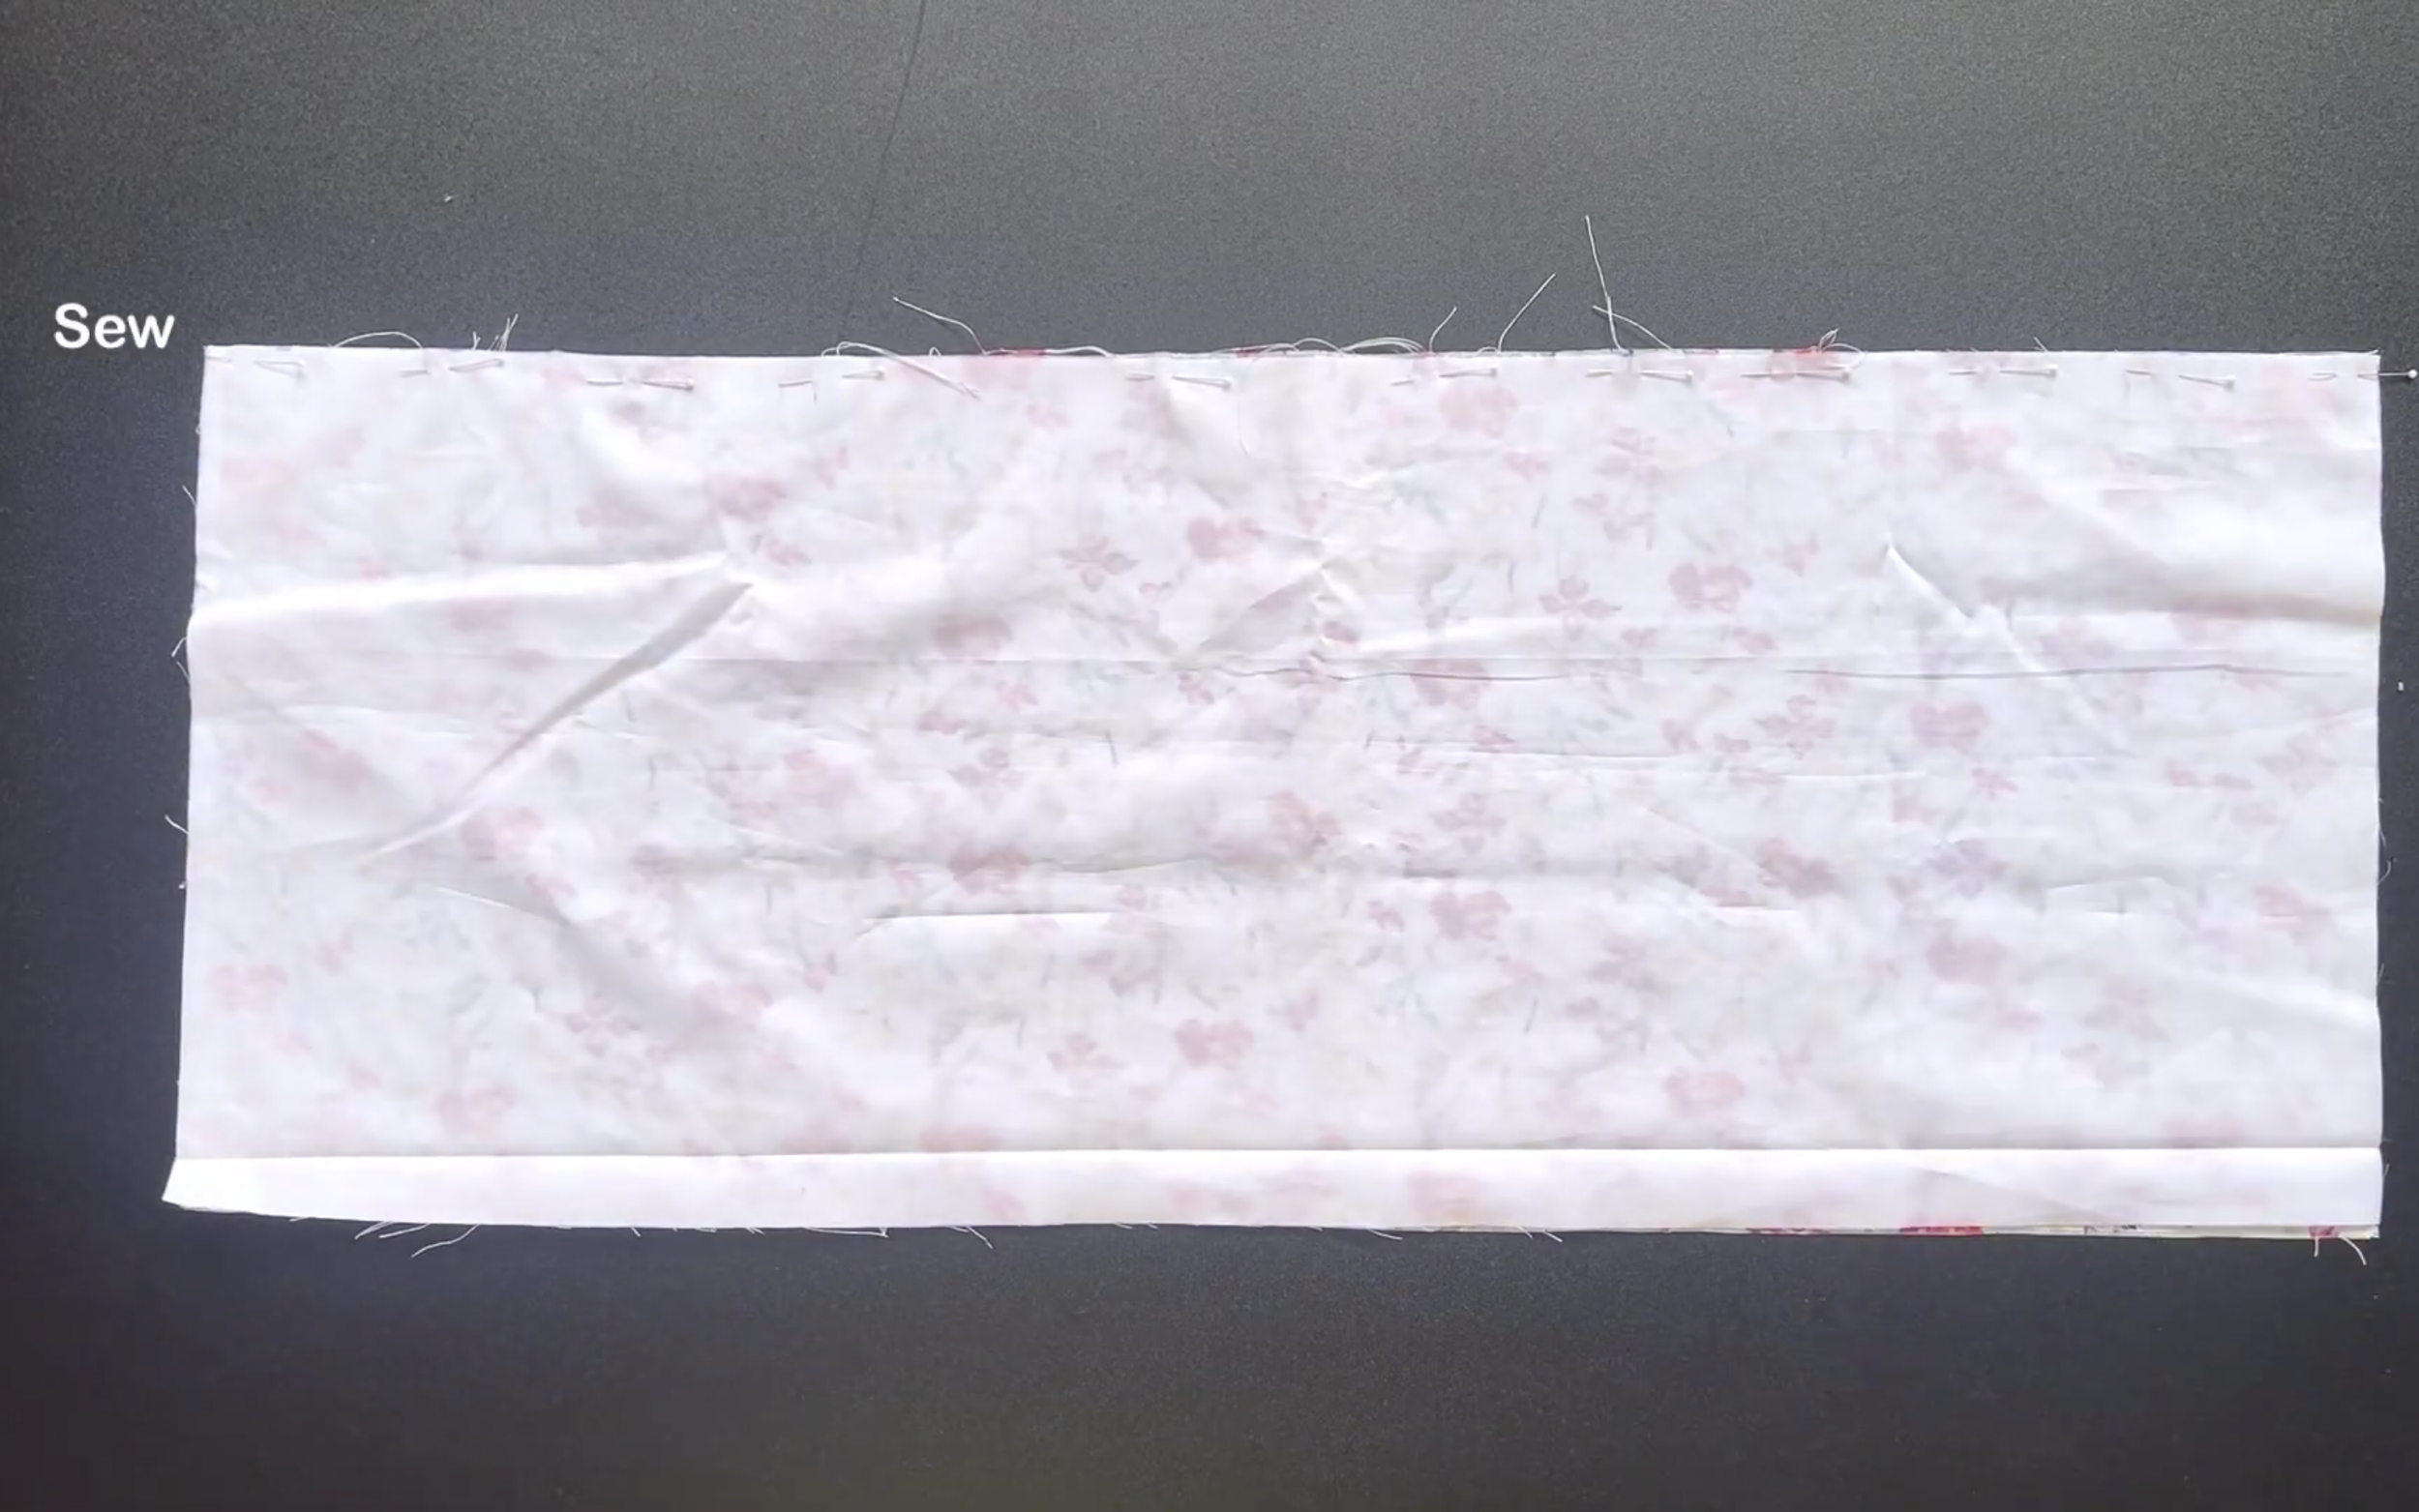
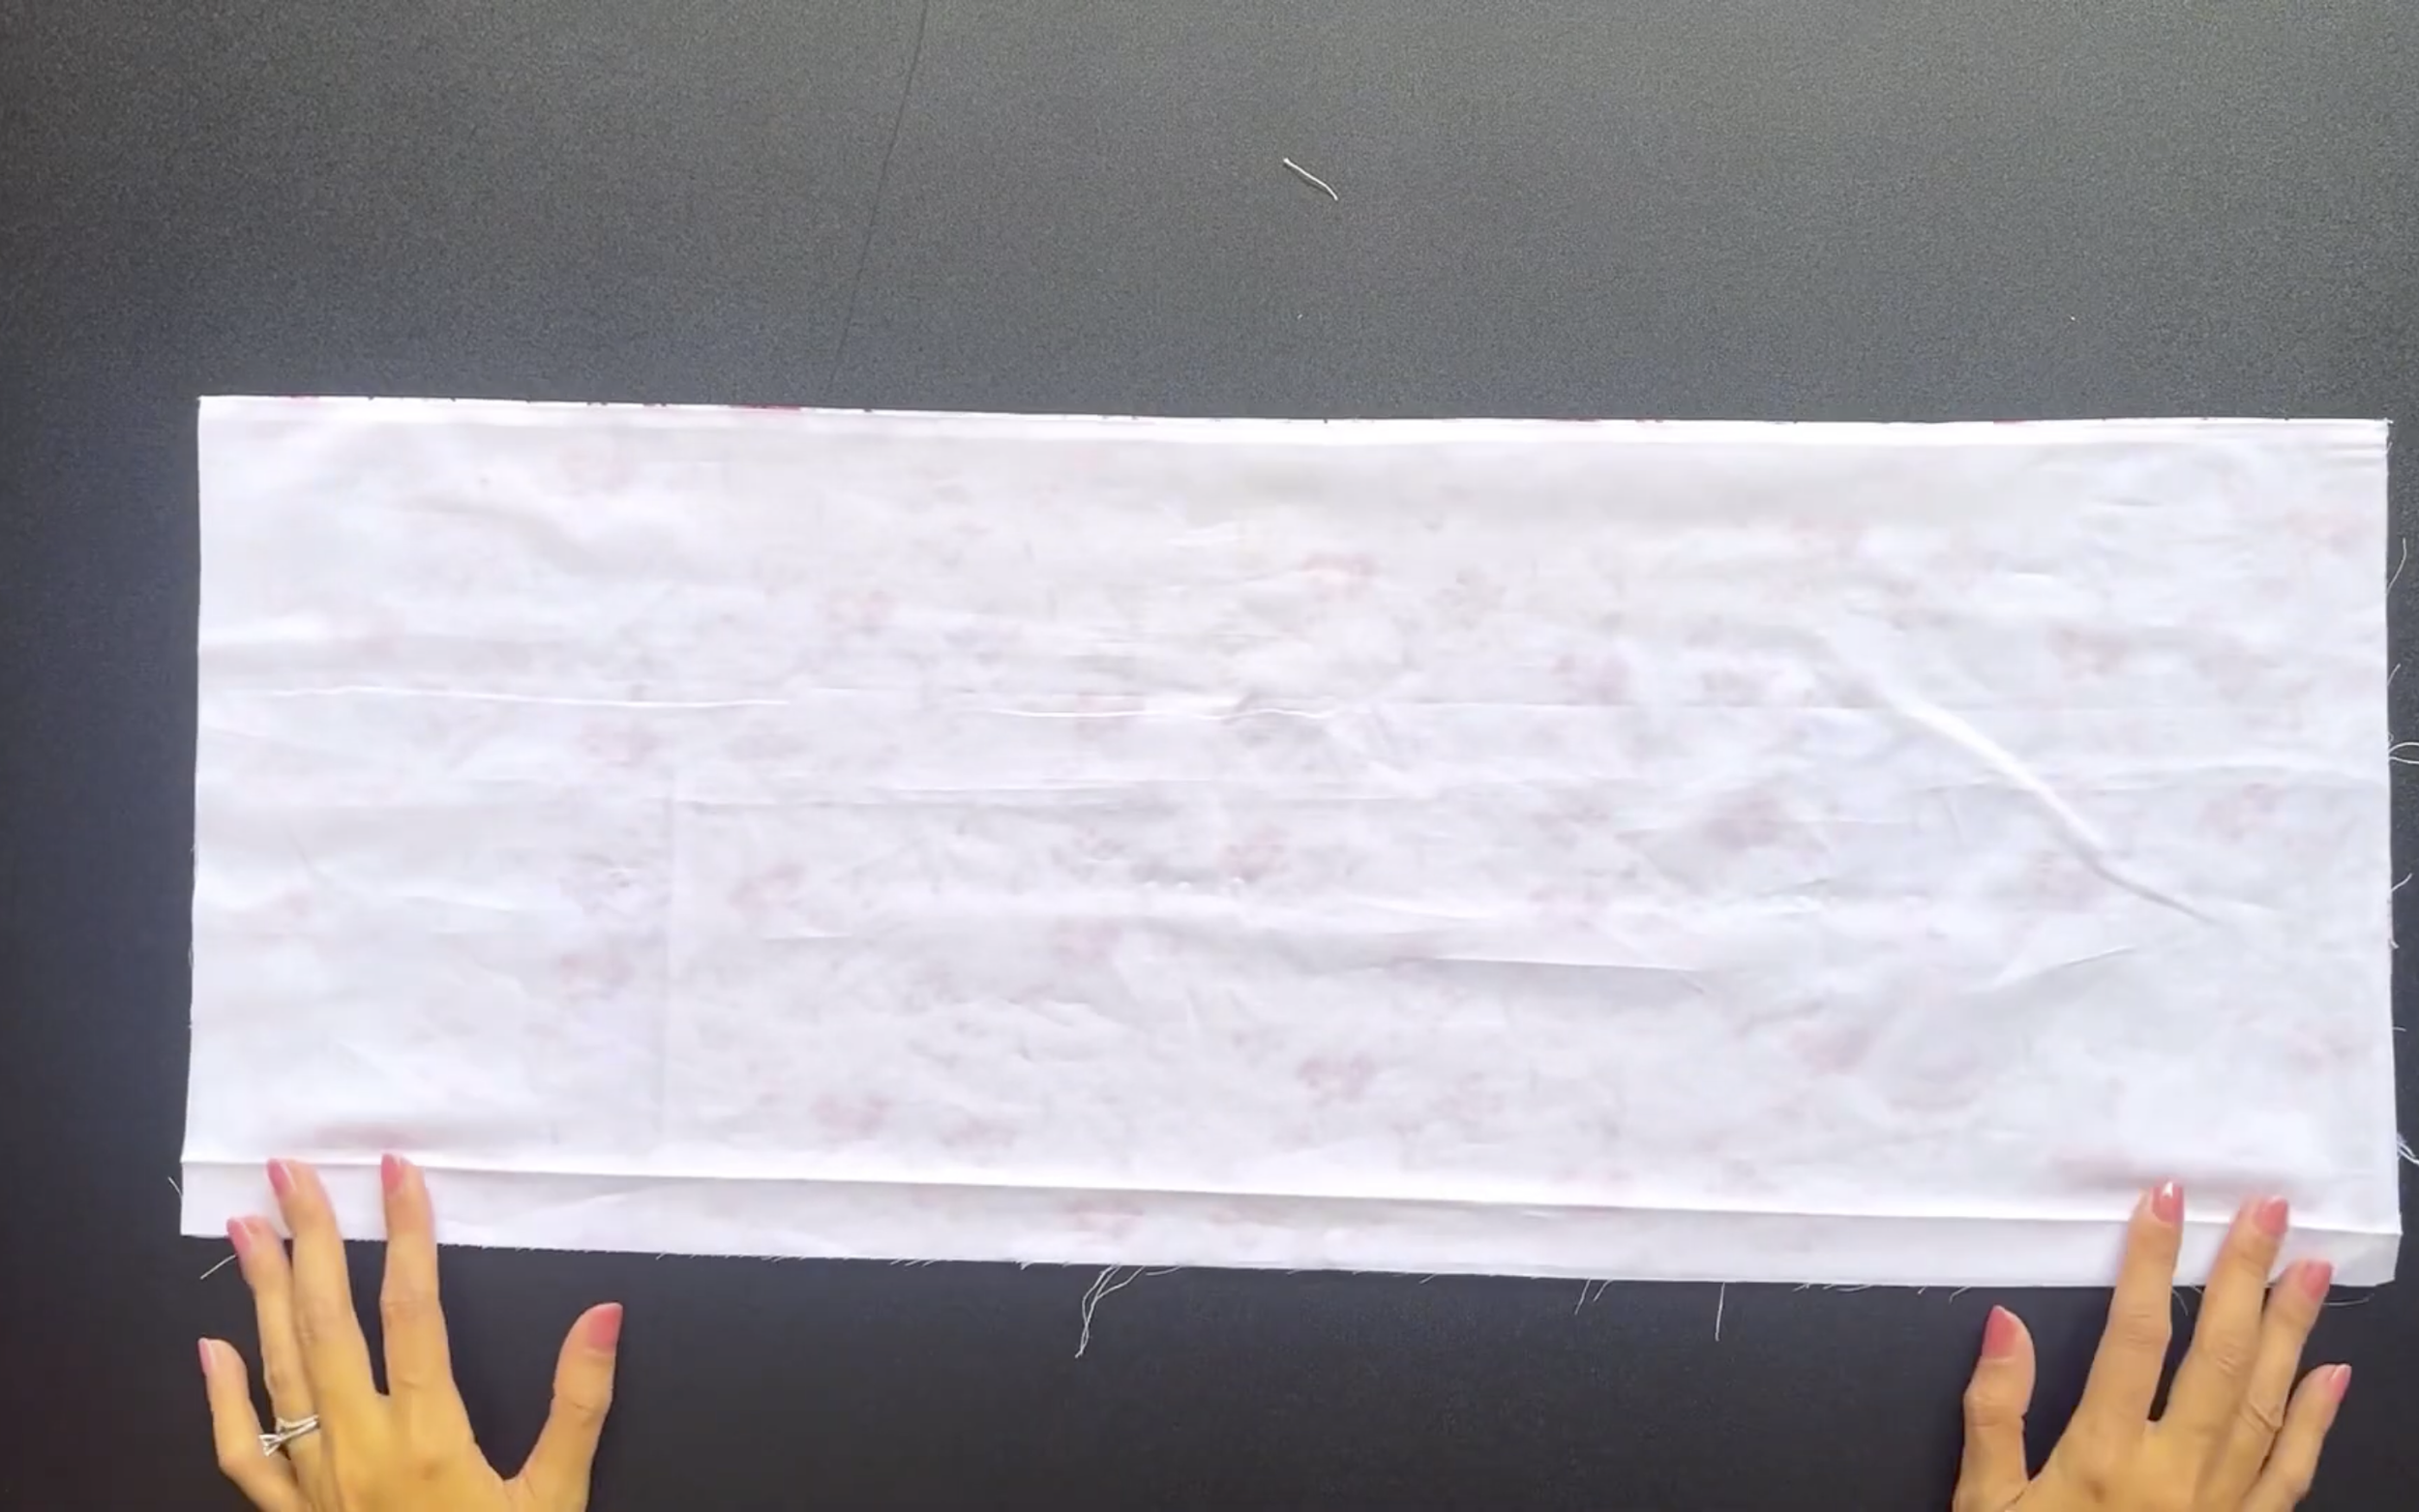
The next step is connecting the inside front bodice and the outside front bodice together at the top of the front bodice, completing the front bodice piece after sewing.
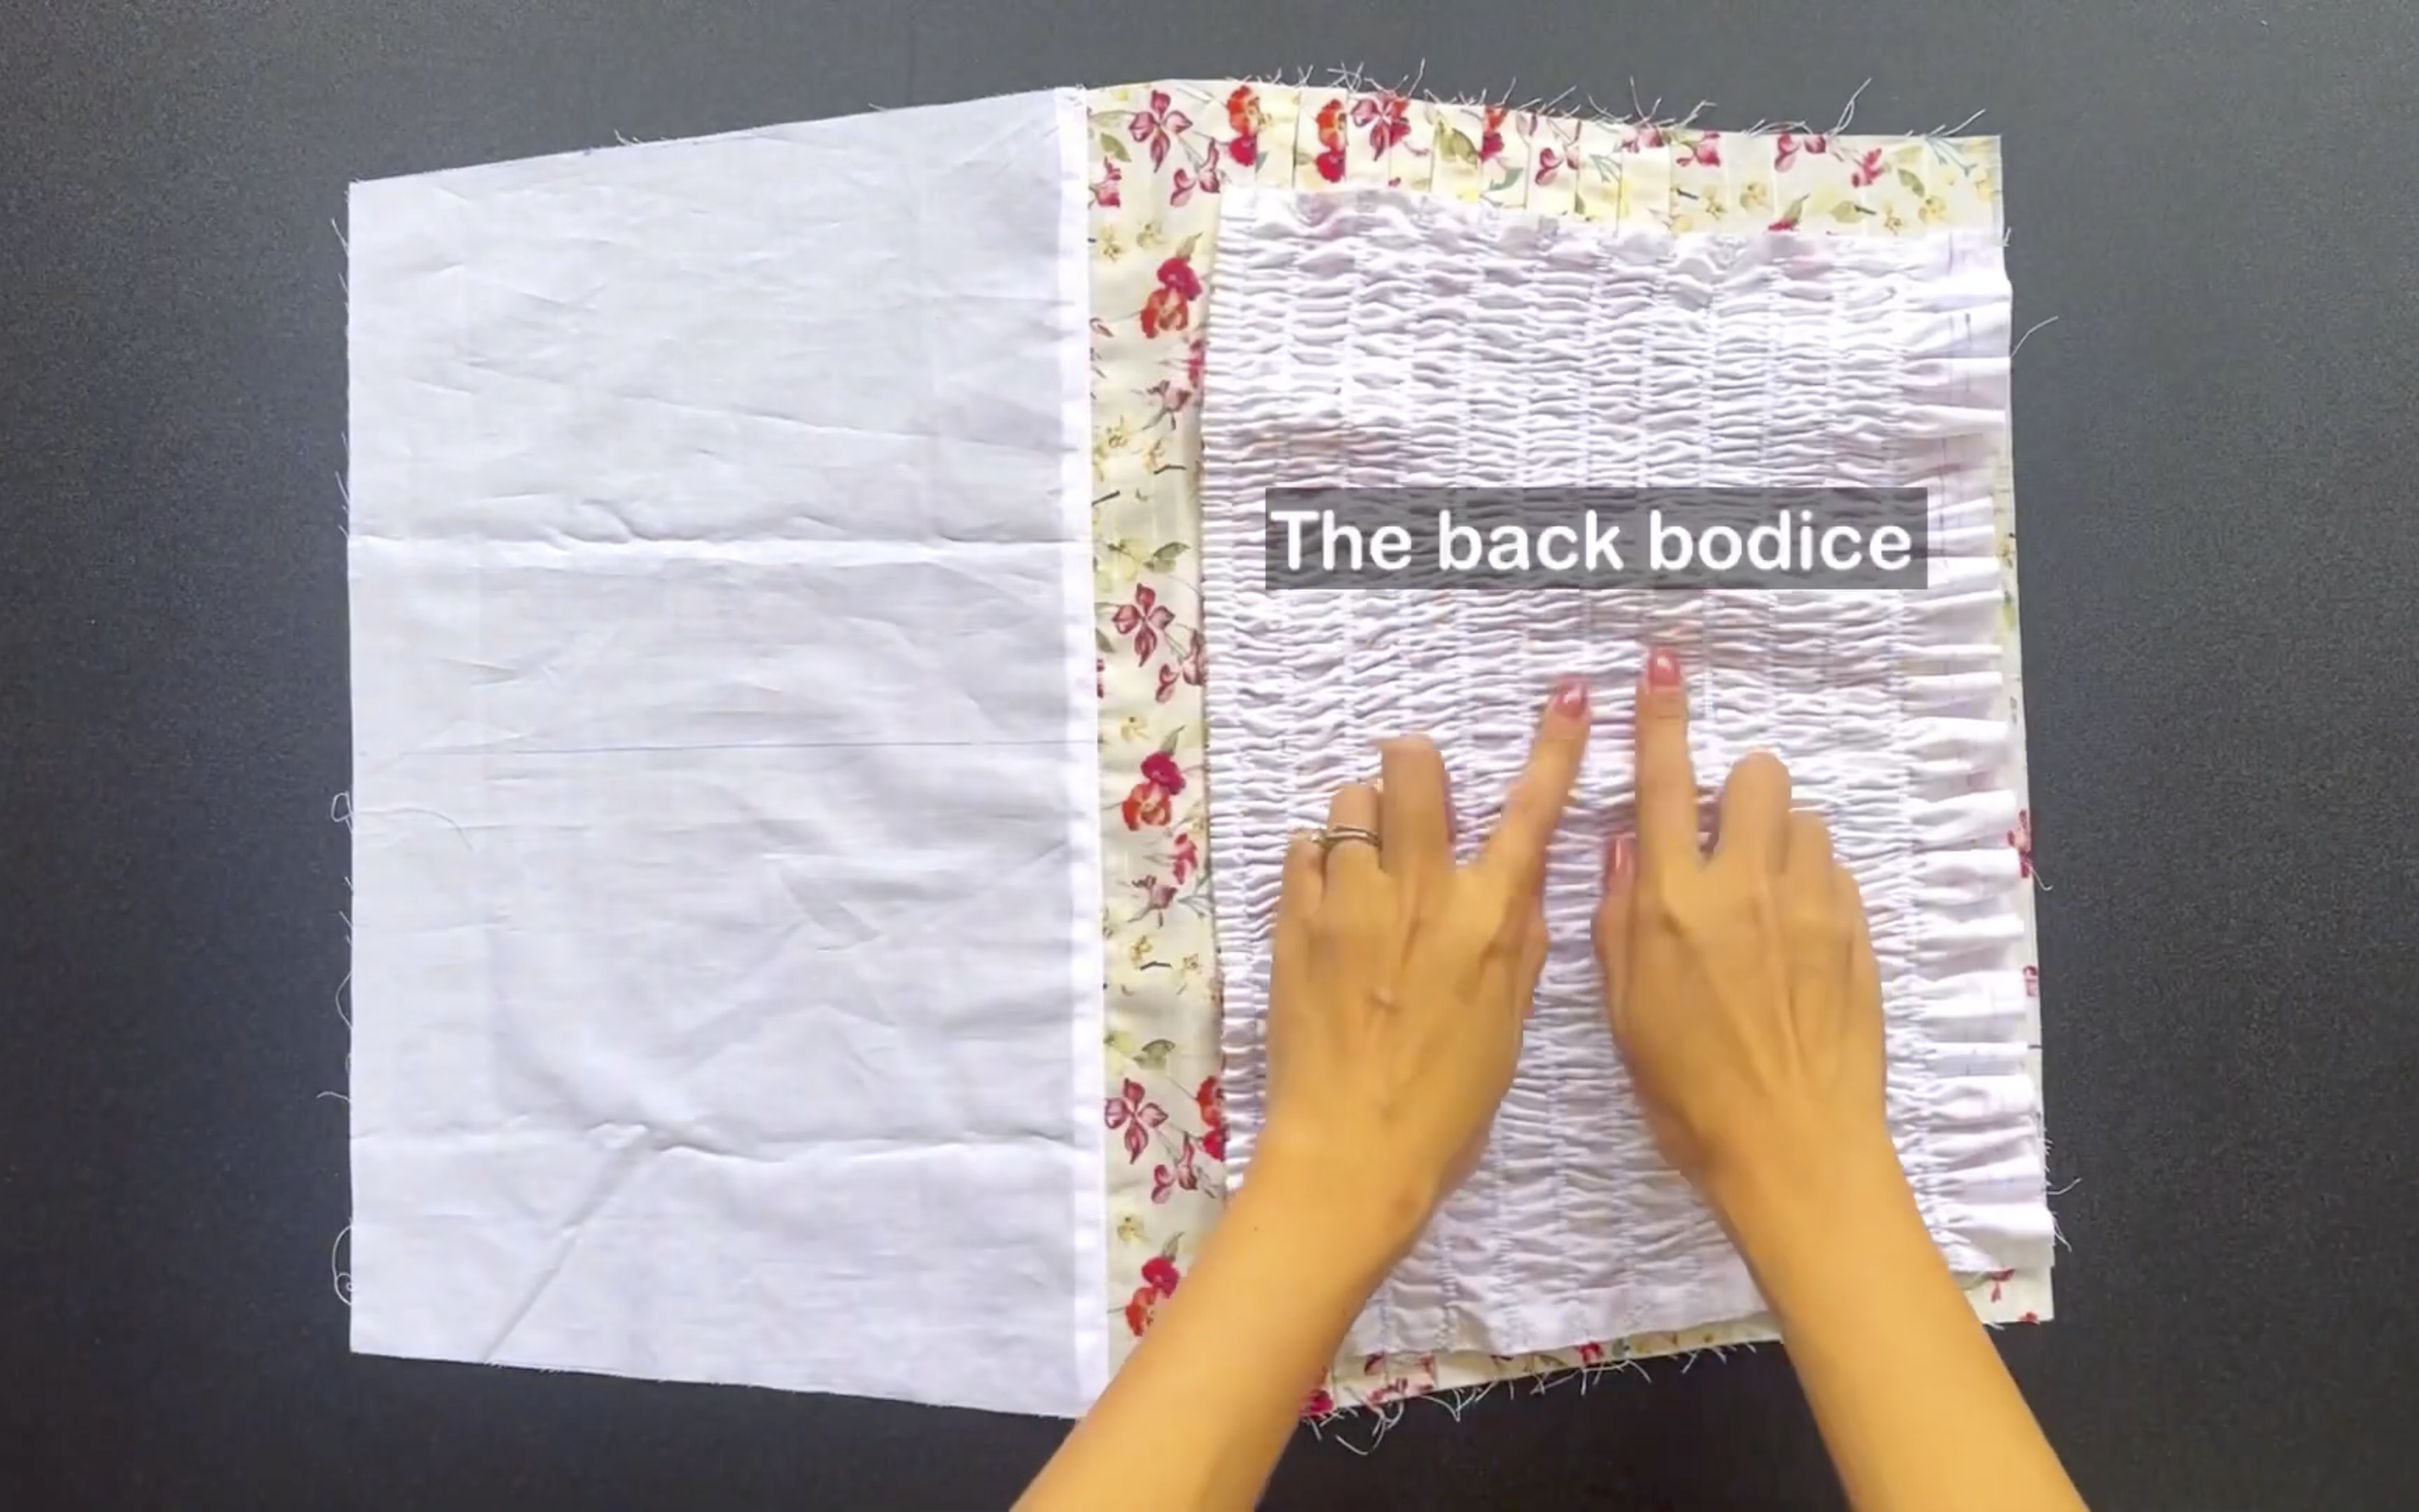
THE BACK BODICE PART
Moving to the back bodice, connect the outside and inside back bodice together at the top line first.
After sewing, turn them inside out to hide the seam.
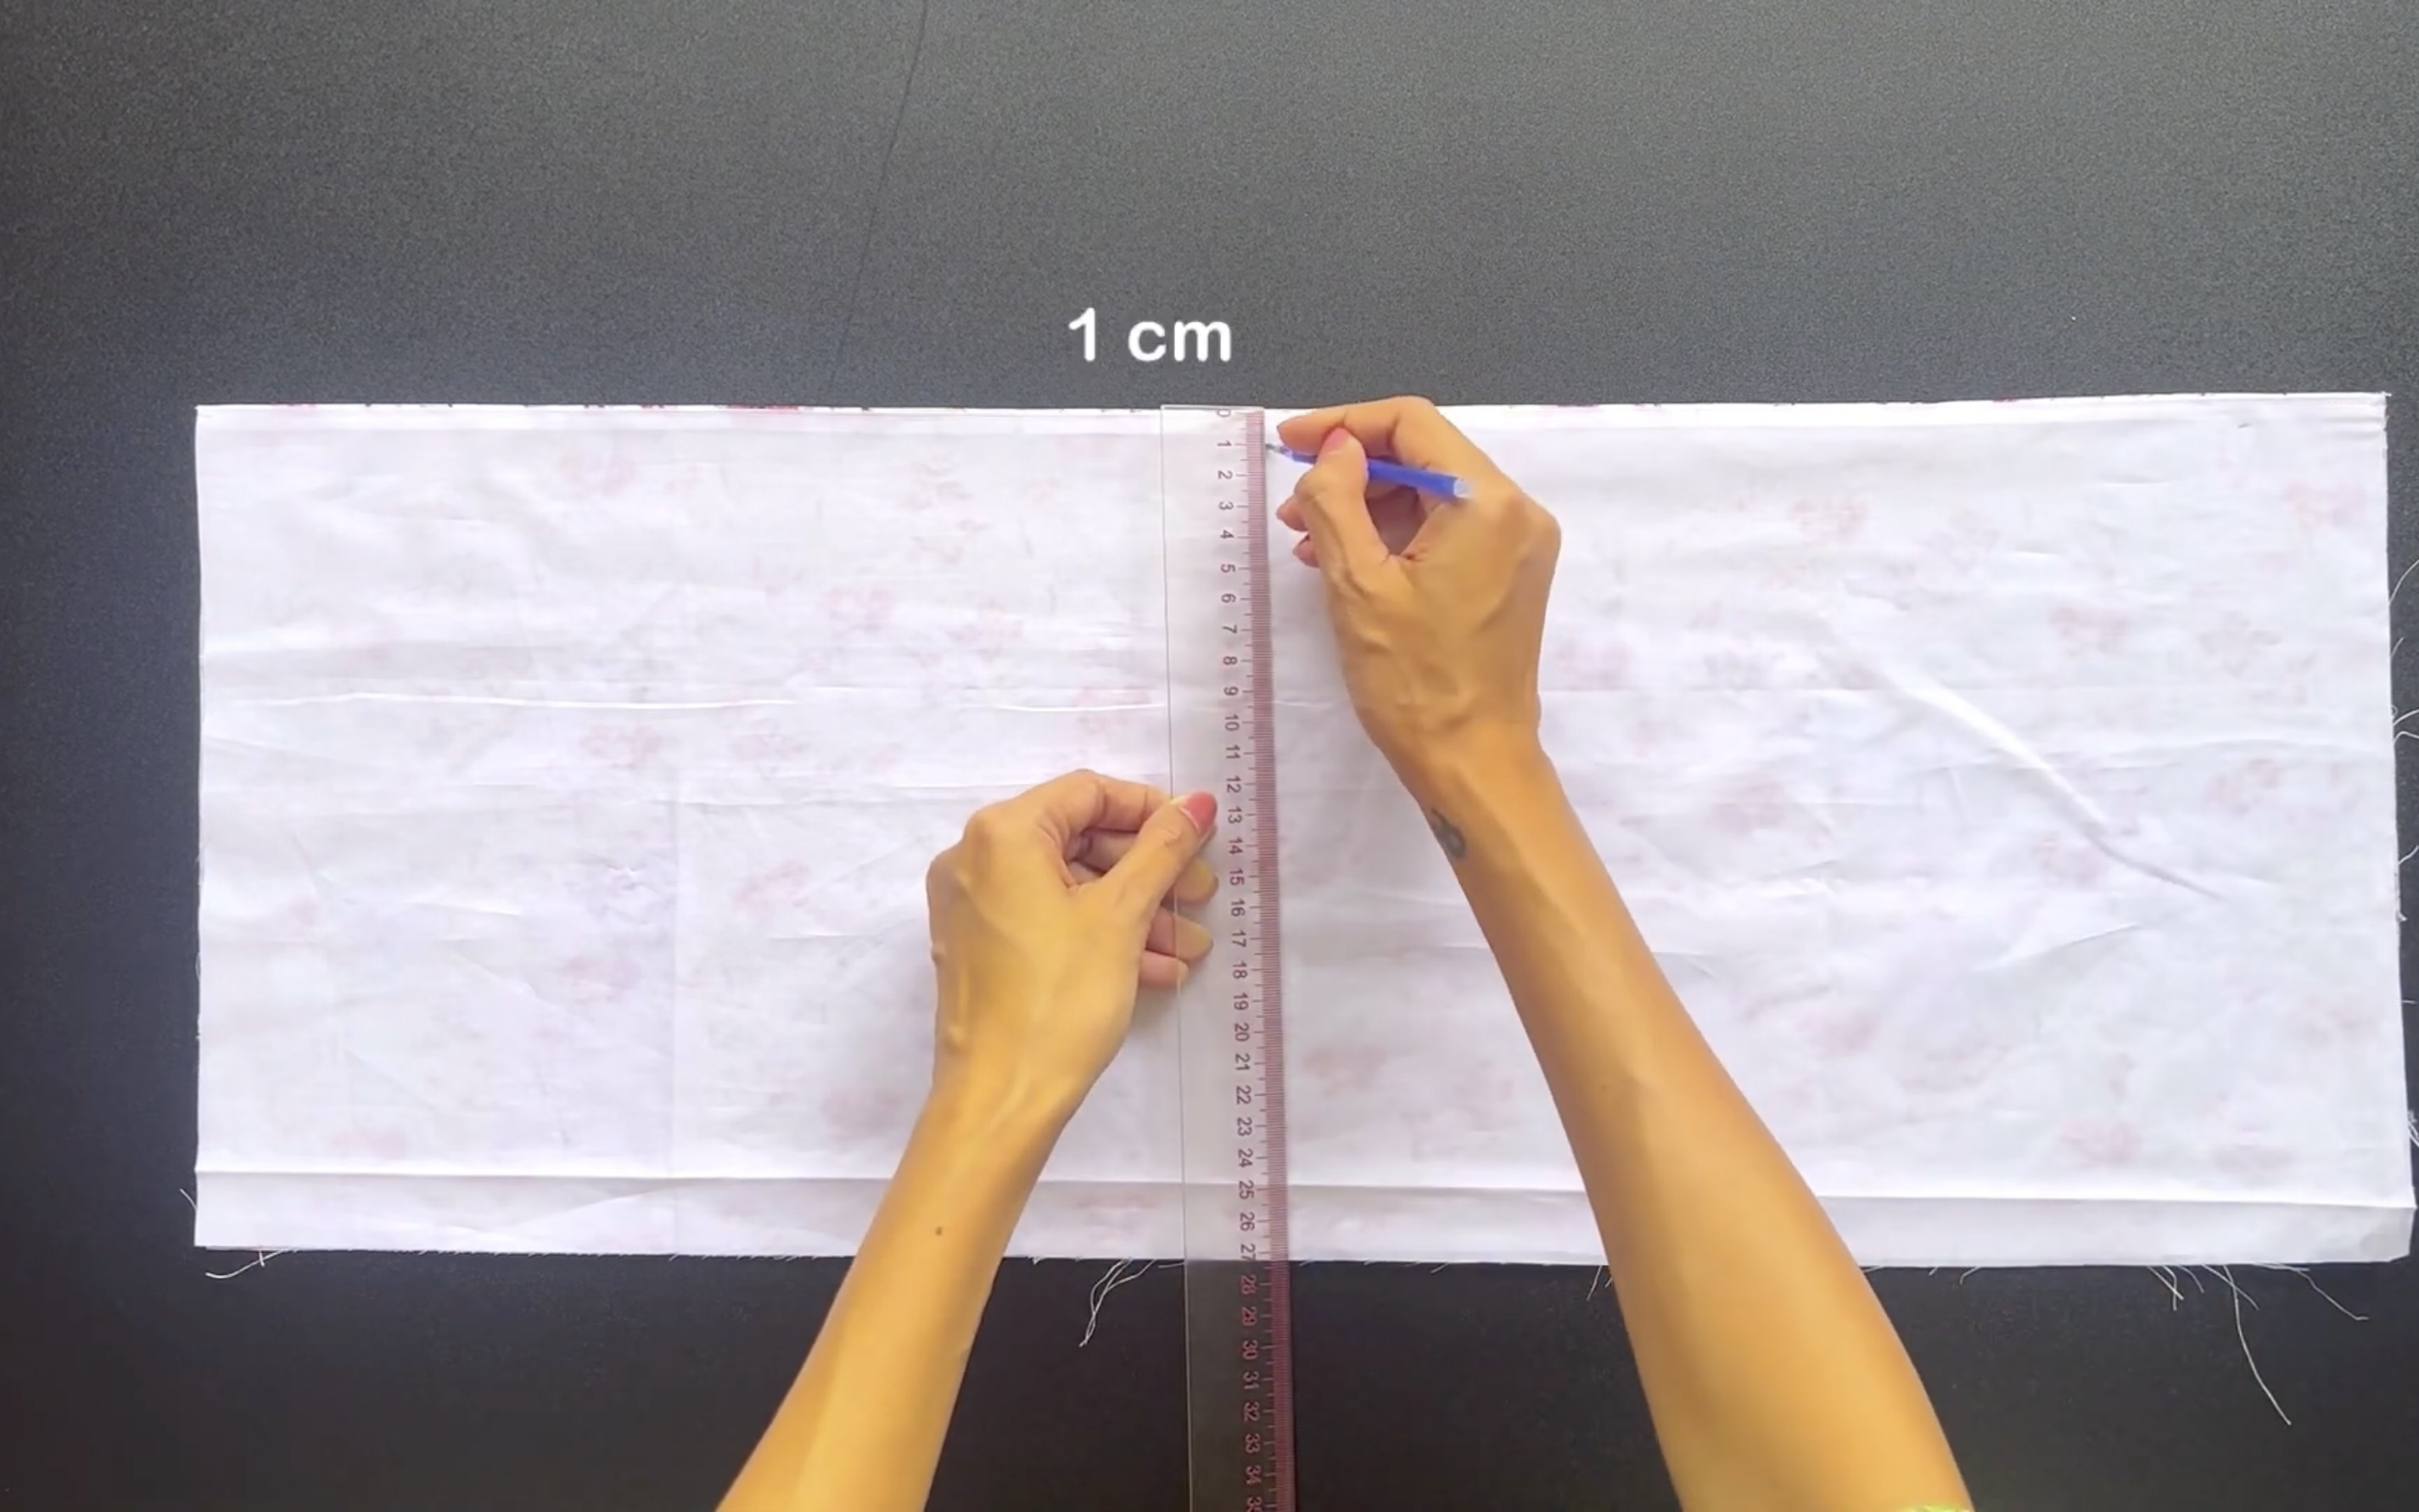
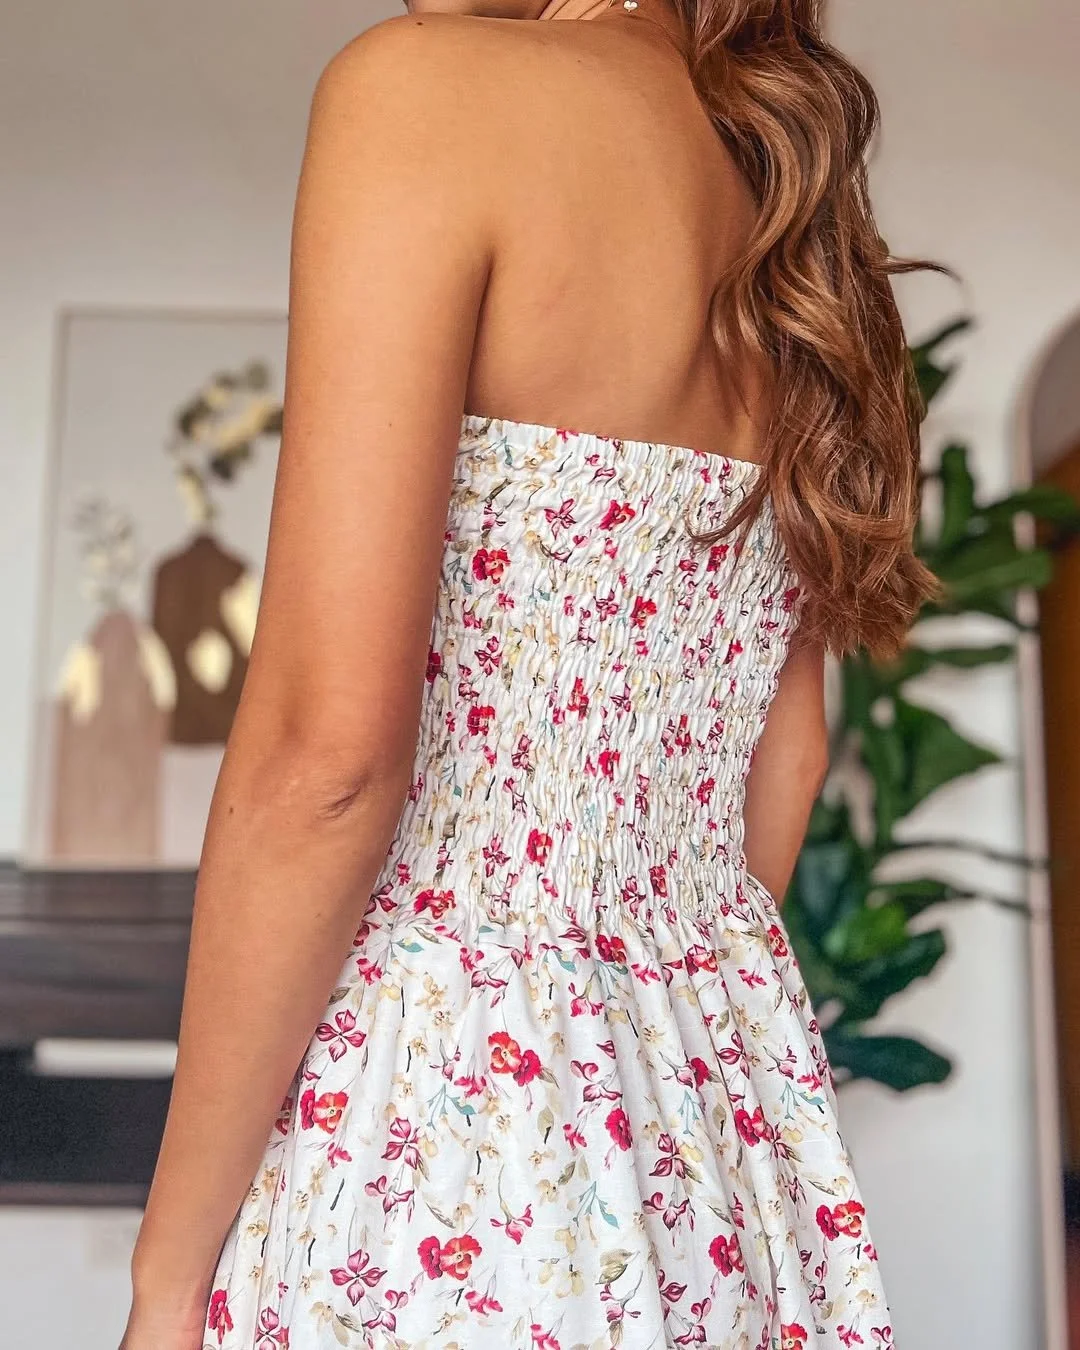
Then, draw a horizontal line 1 cm under the top line of the back bodice.
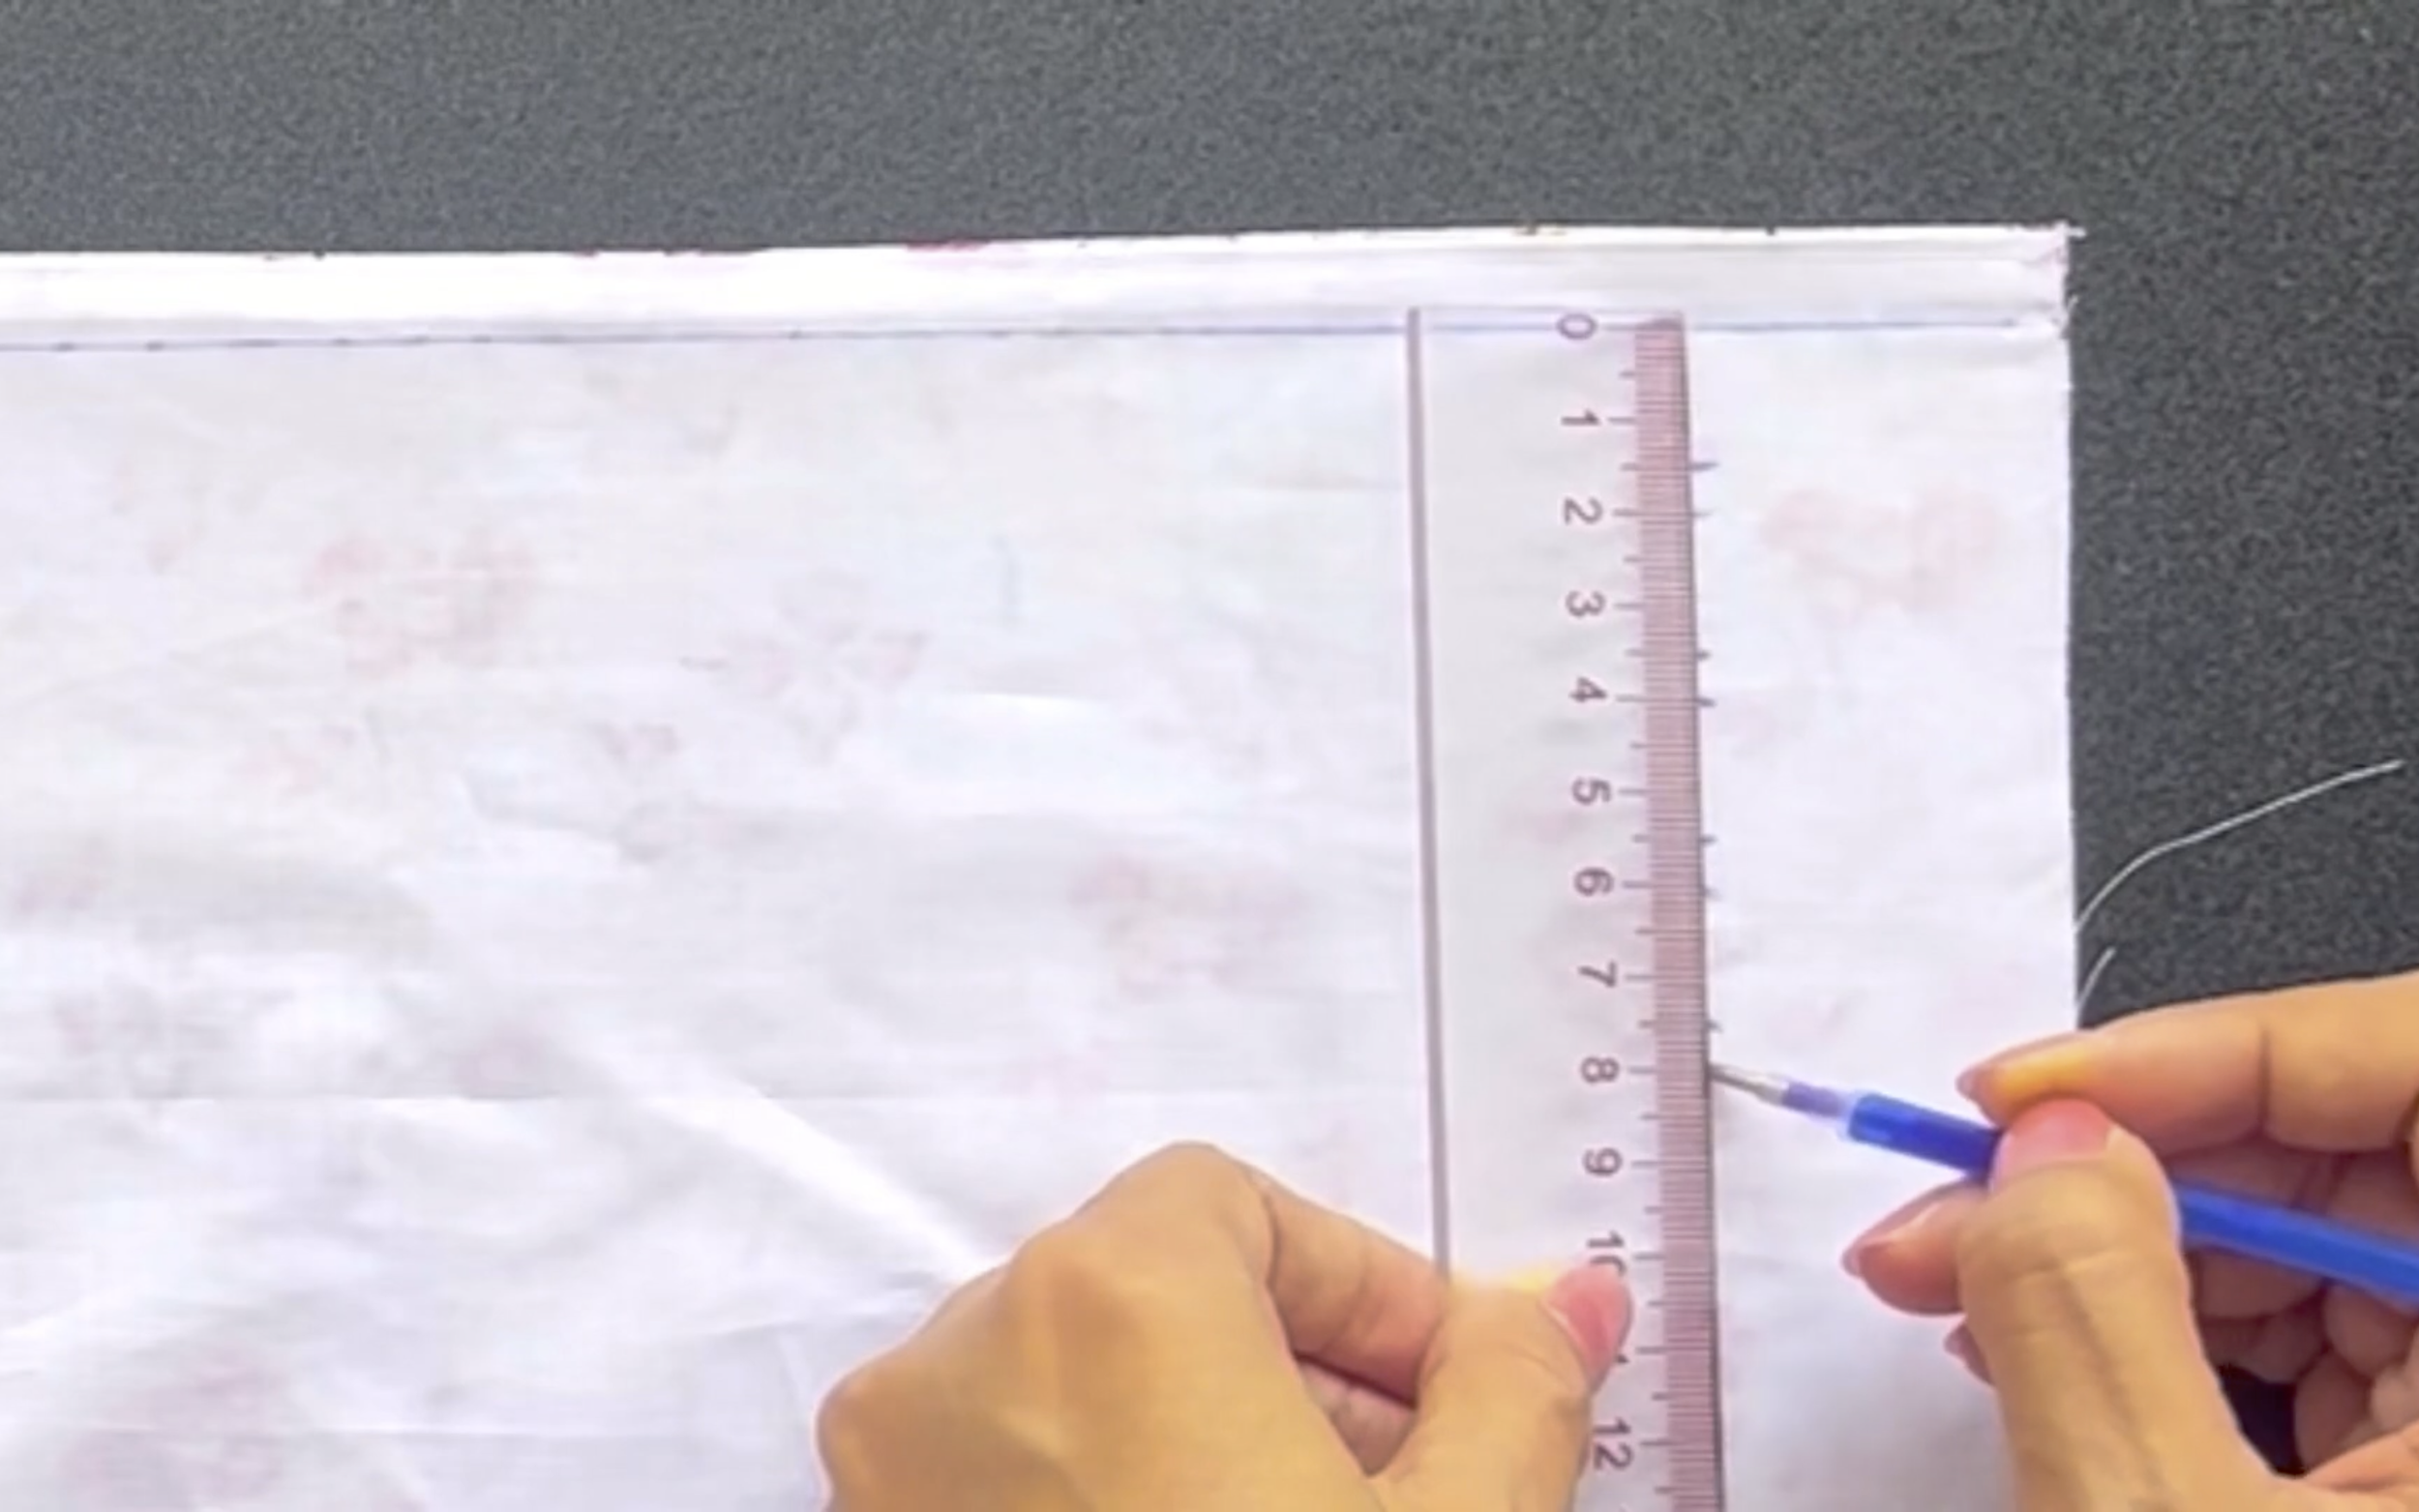
After that, keep drawing another horizontal line at 1.5 cm and 0.5 cm apart, then sew.
By doing this, a fabric hole of 0.5 cm will be created, with each fabric hole spaced 1.5 cm apart.
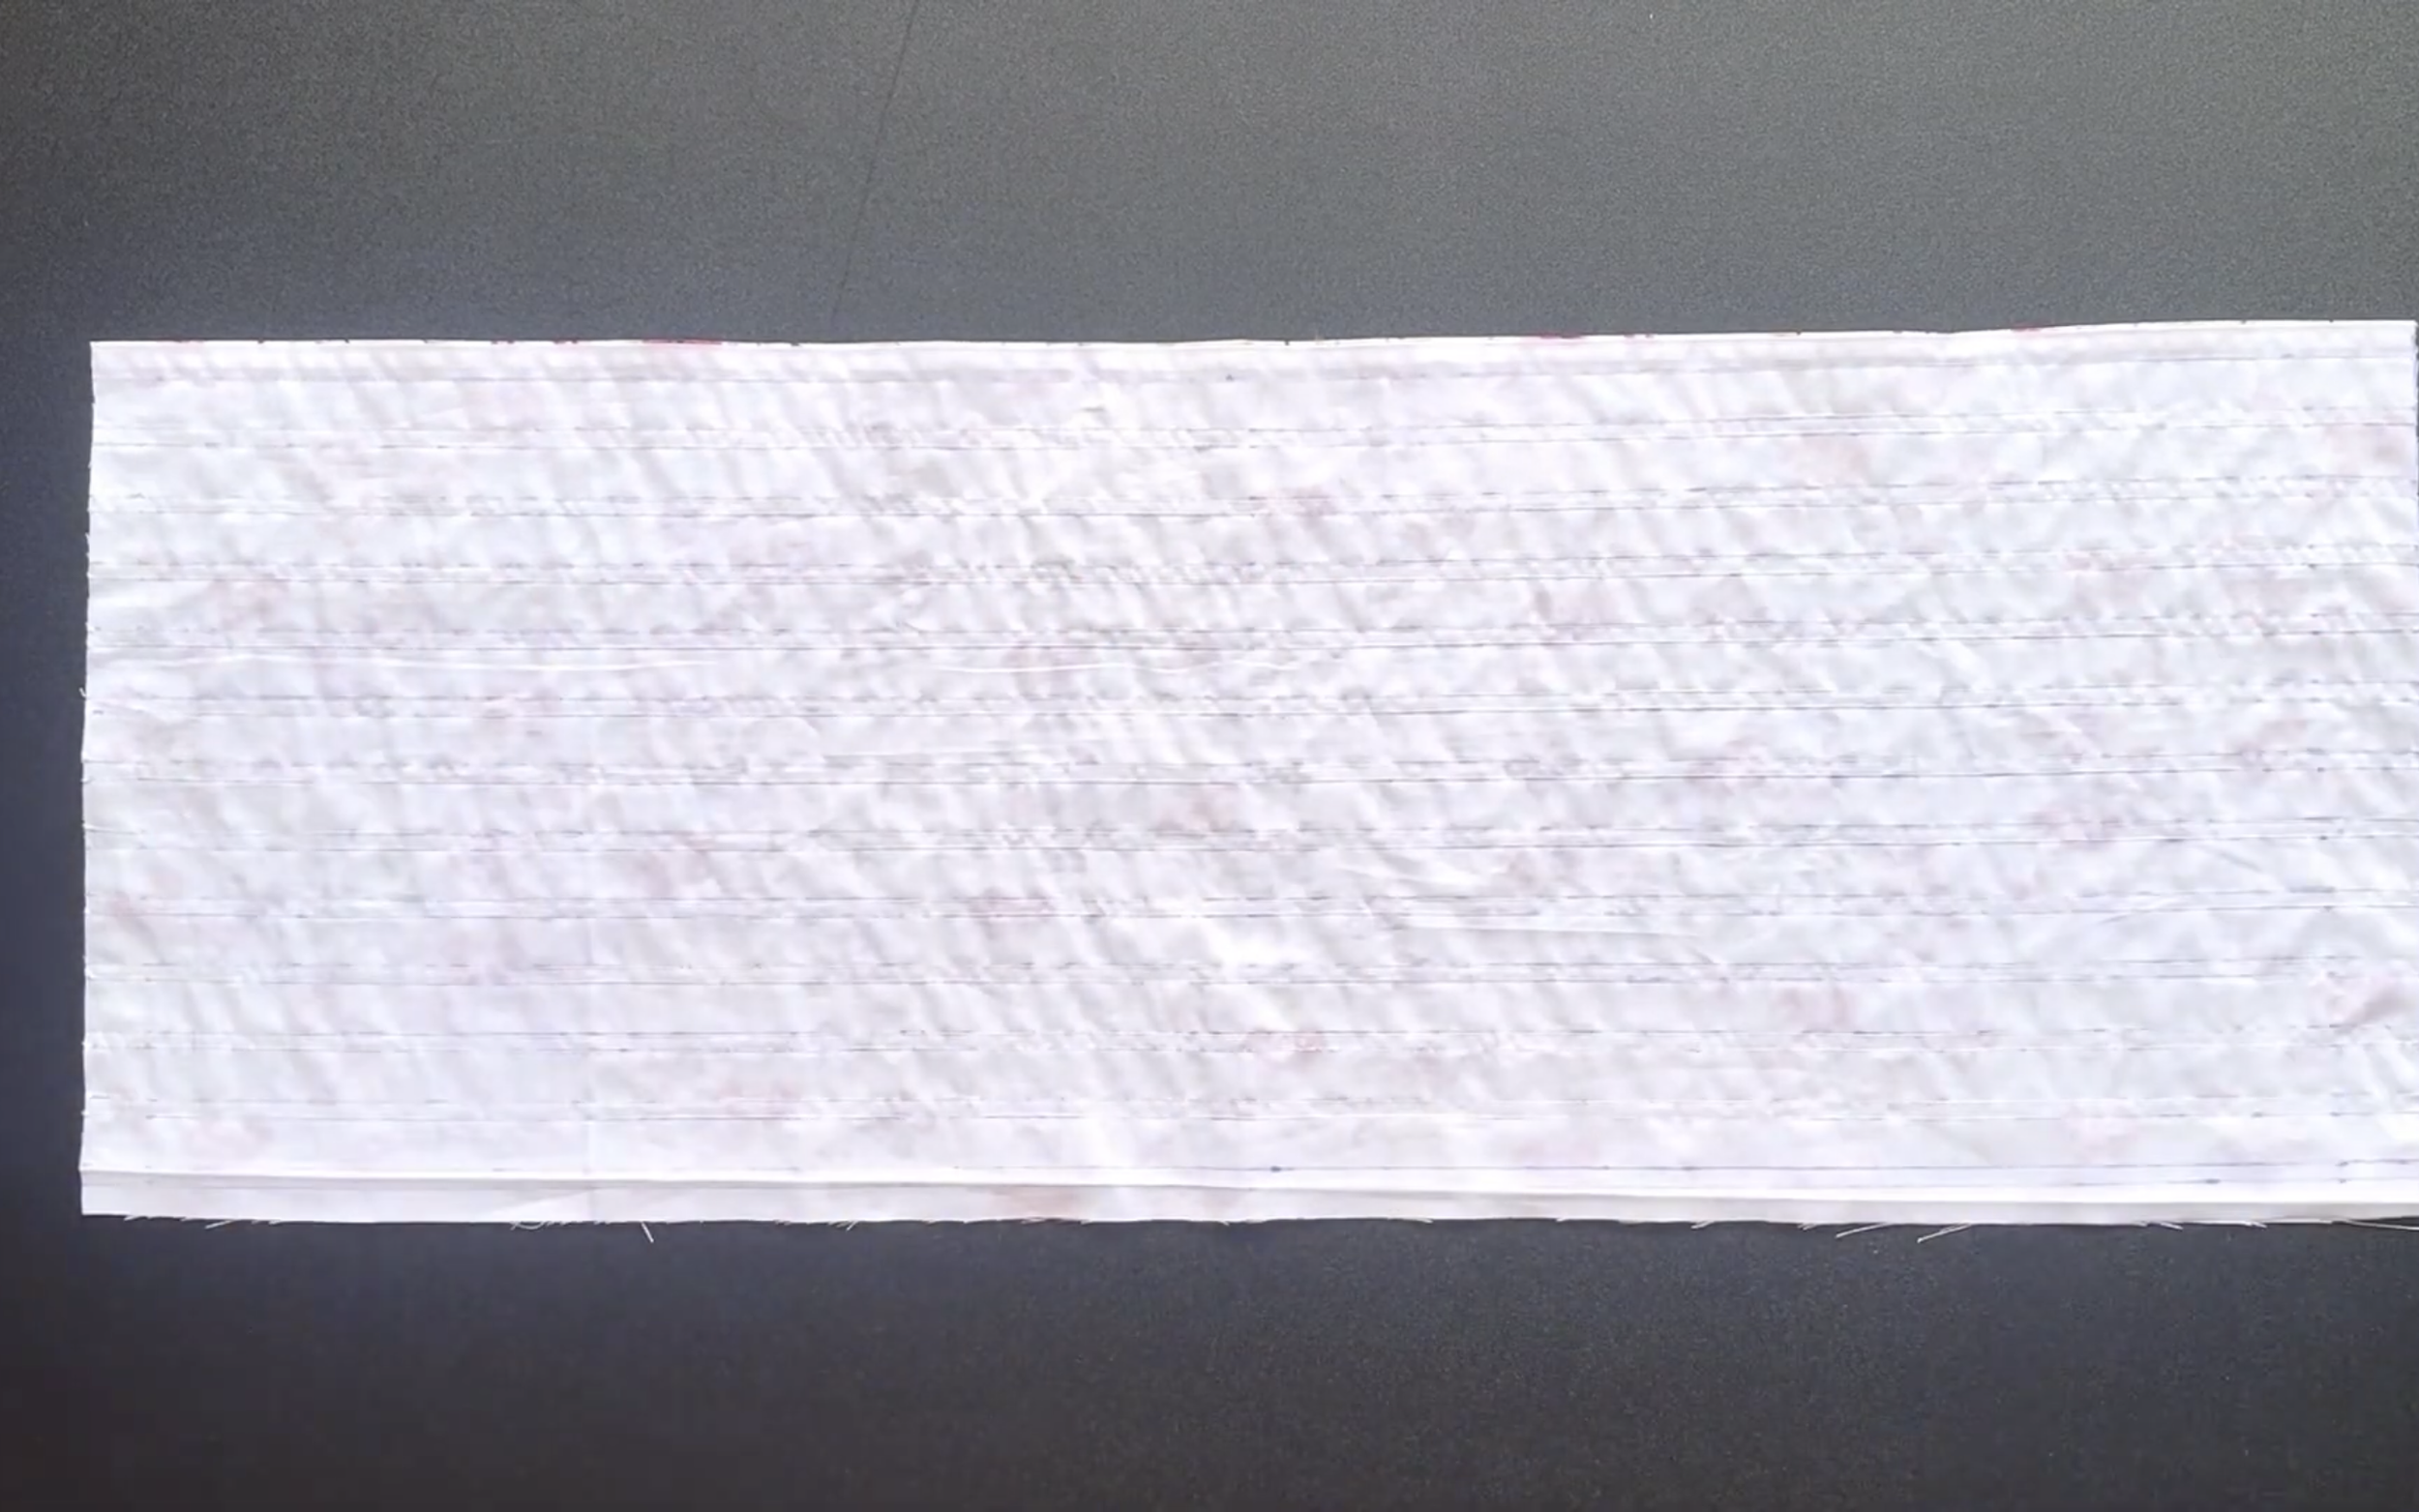
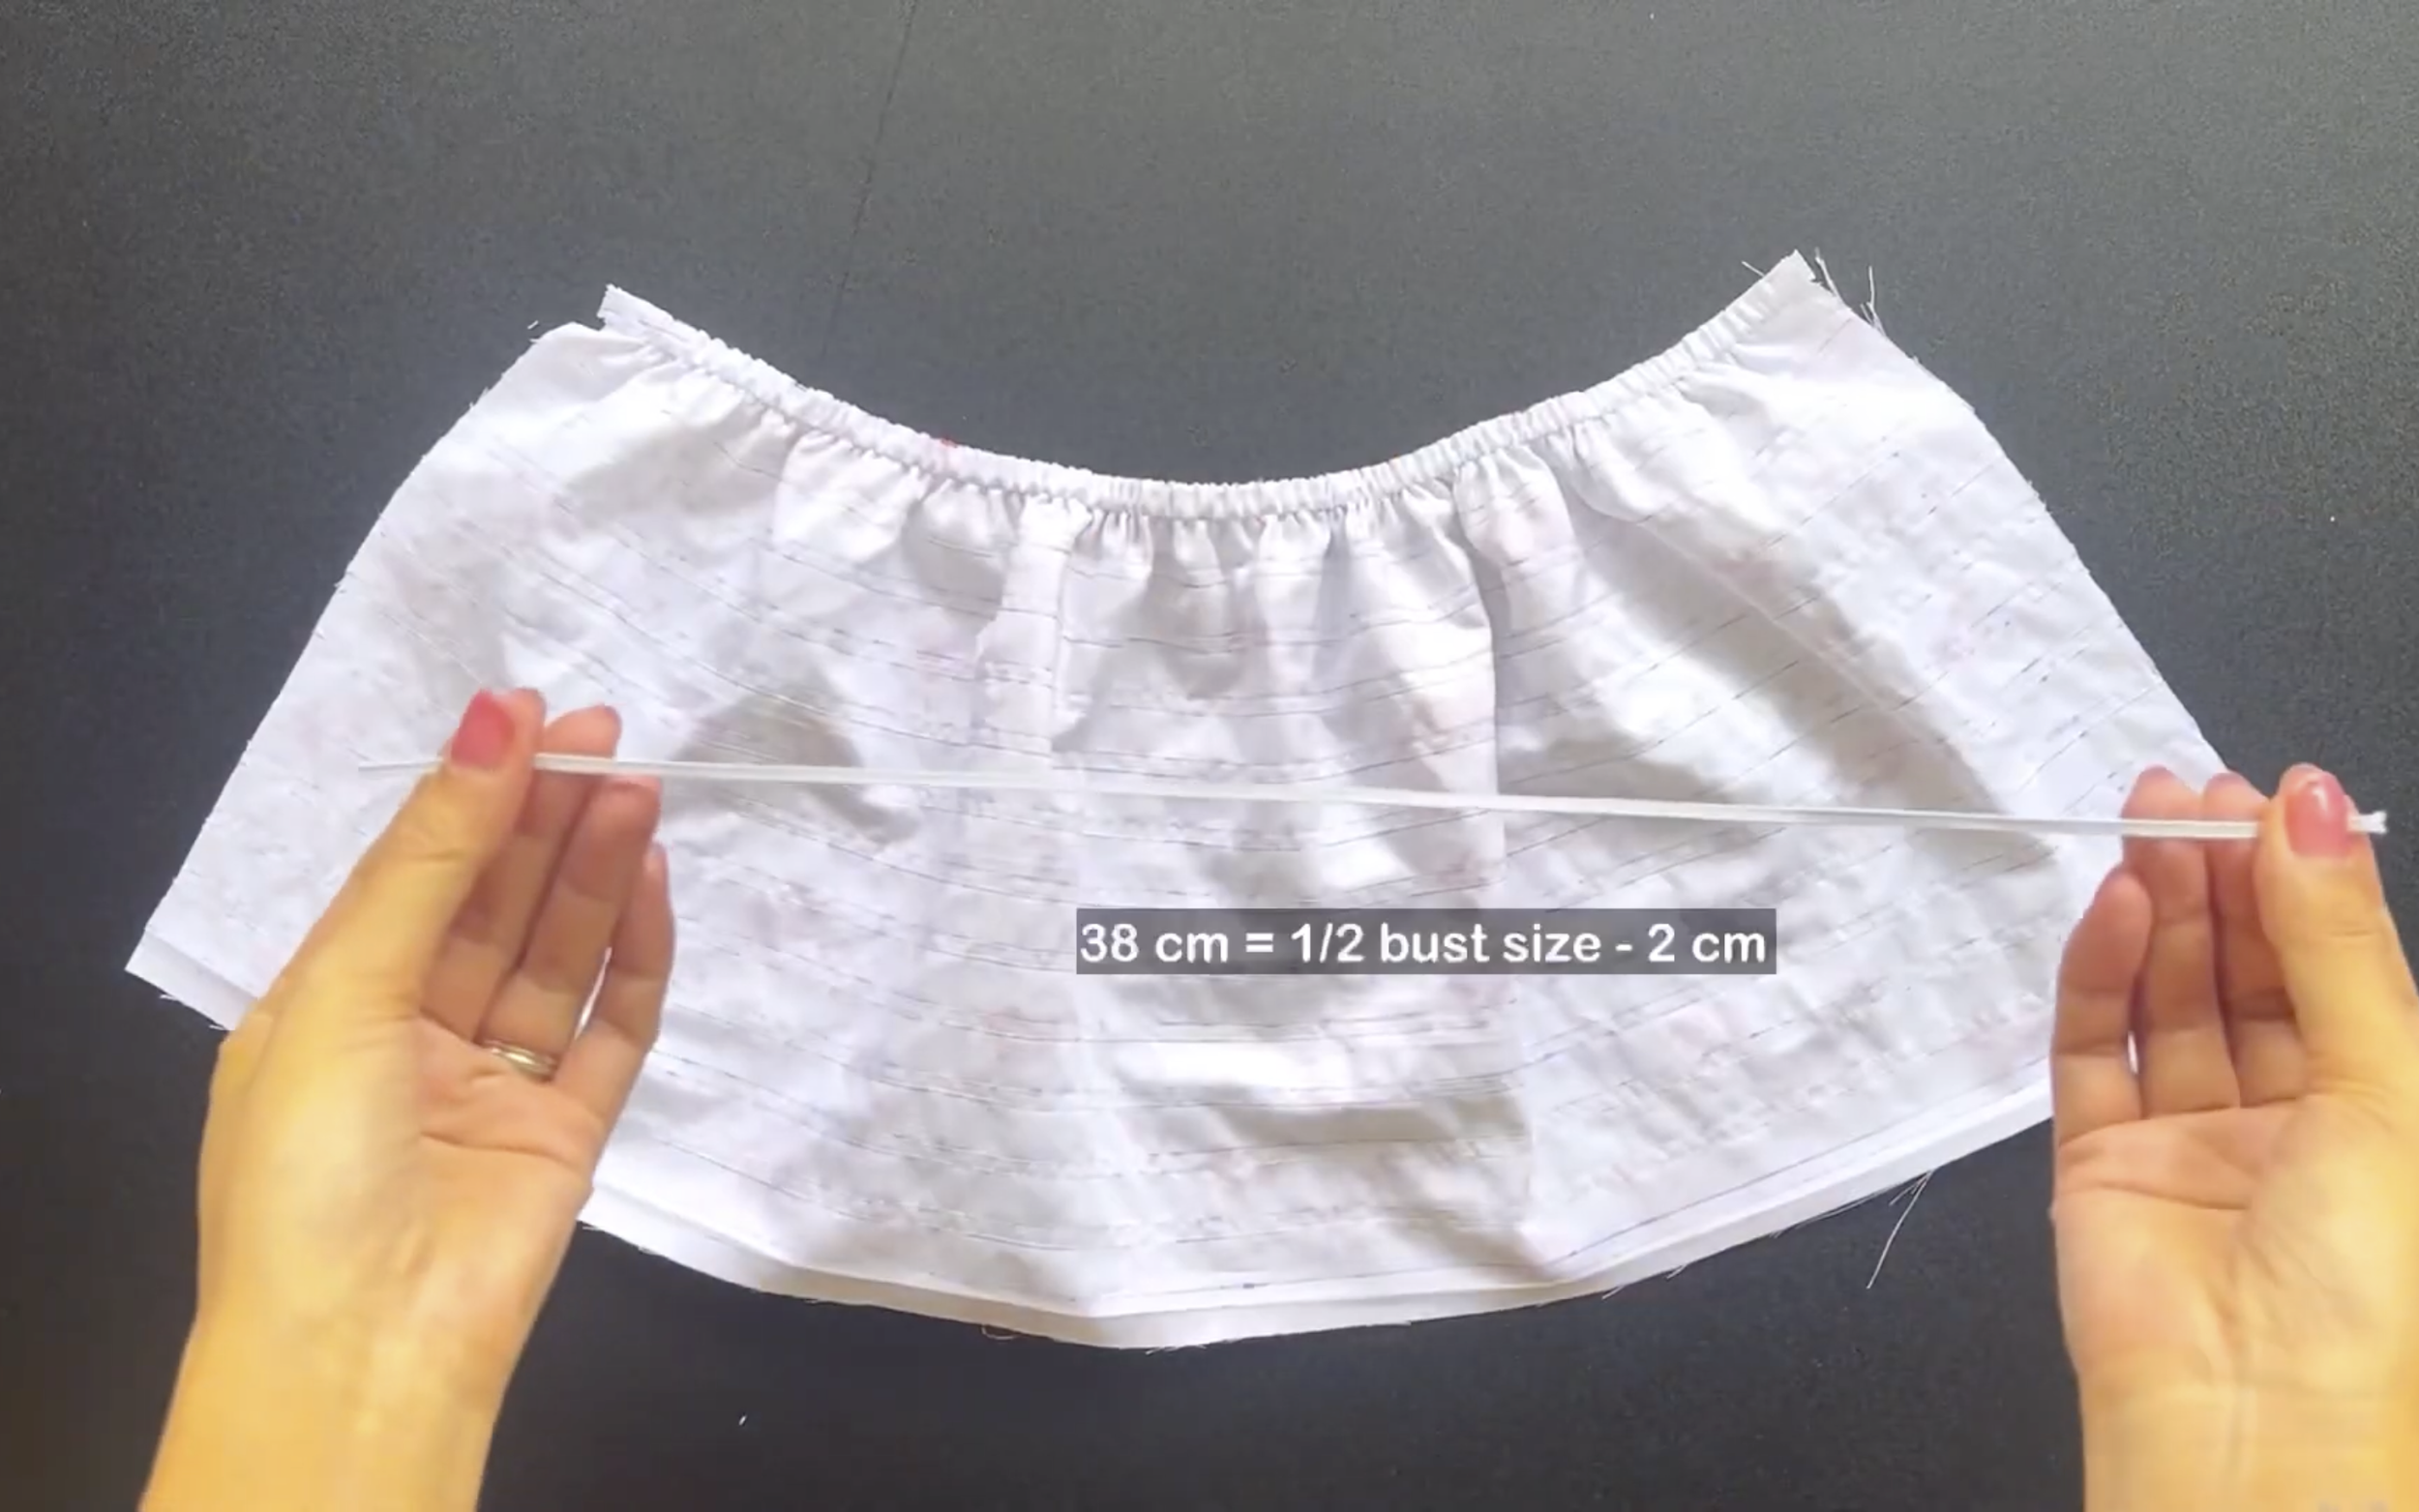
At the top fabric hole, use a 0.8 cm wide elastic band with a length of 38 cm to go through the fabric hole.
For the rest of the fabric holes, use a 0.3 cm wide elastic band with the same length.
After inserting the elastic band into the fabric hole, sew both ends of the elastic band to both ends of the fabric hole to keep them from moving.
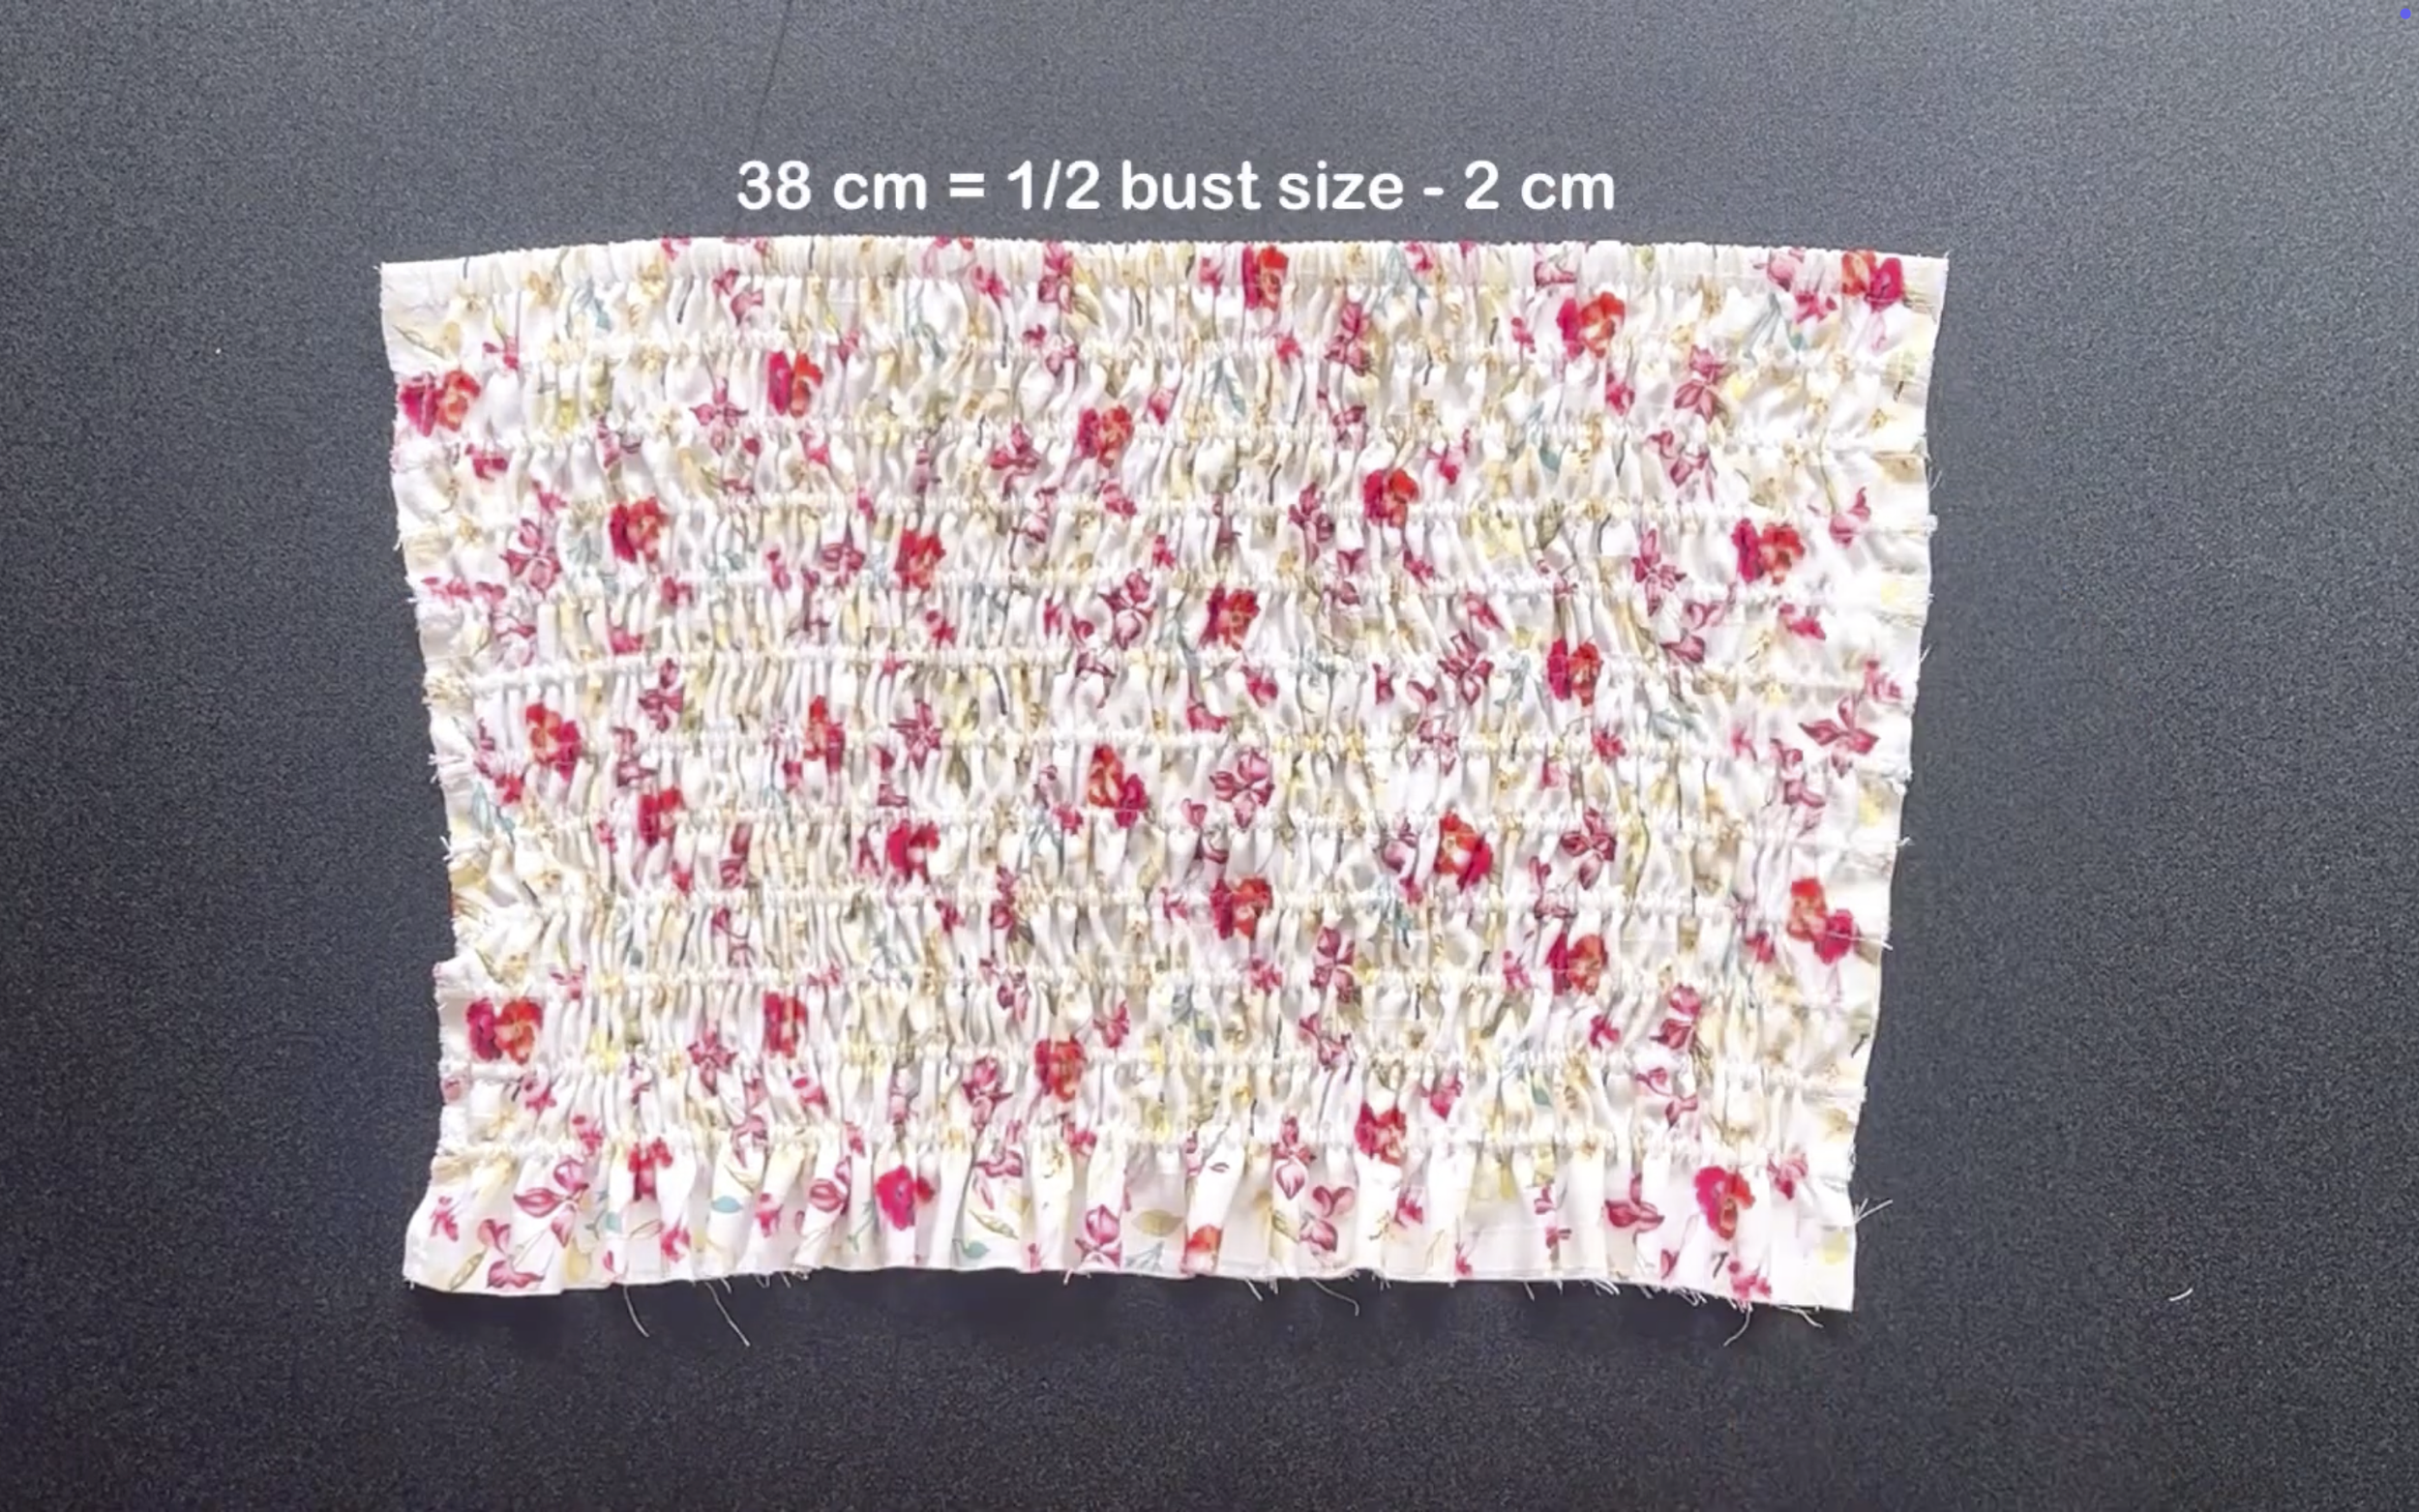
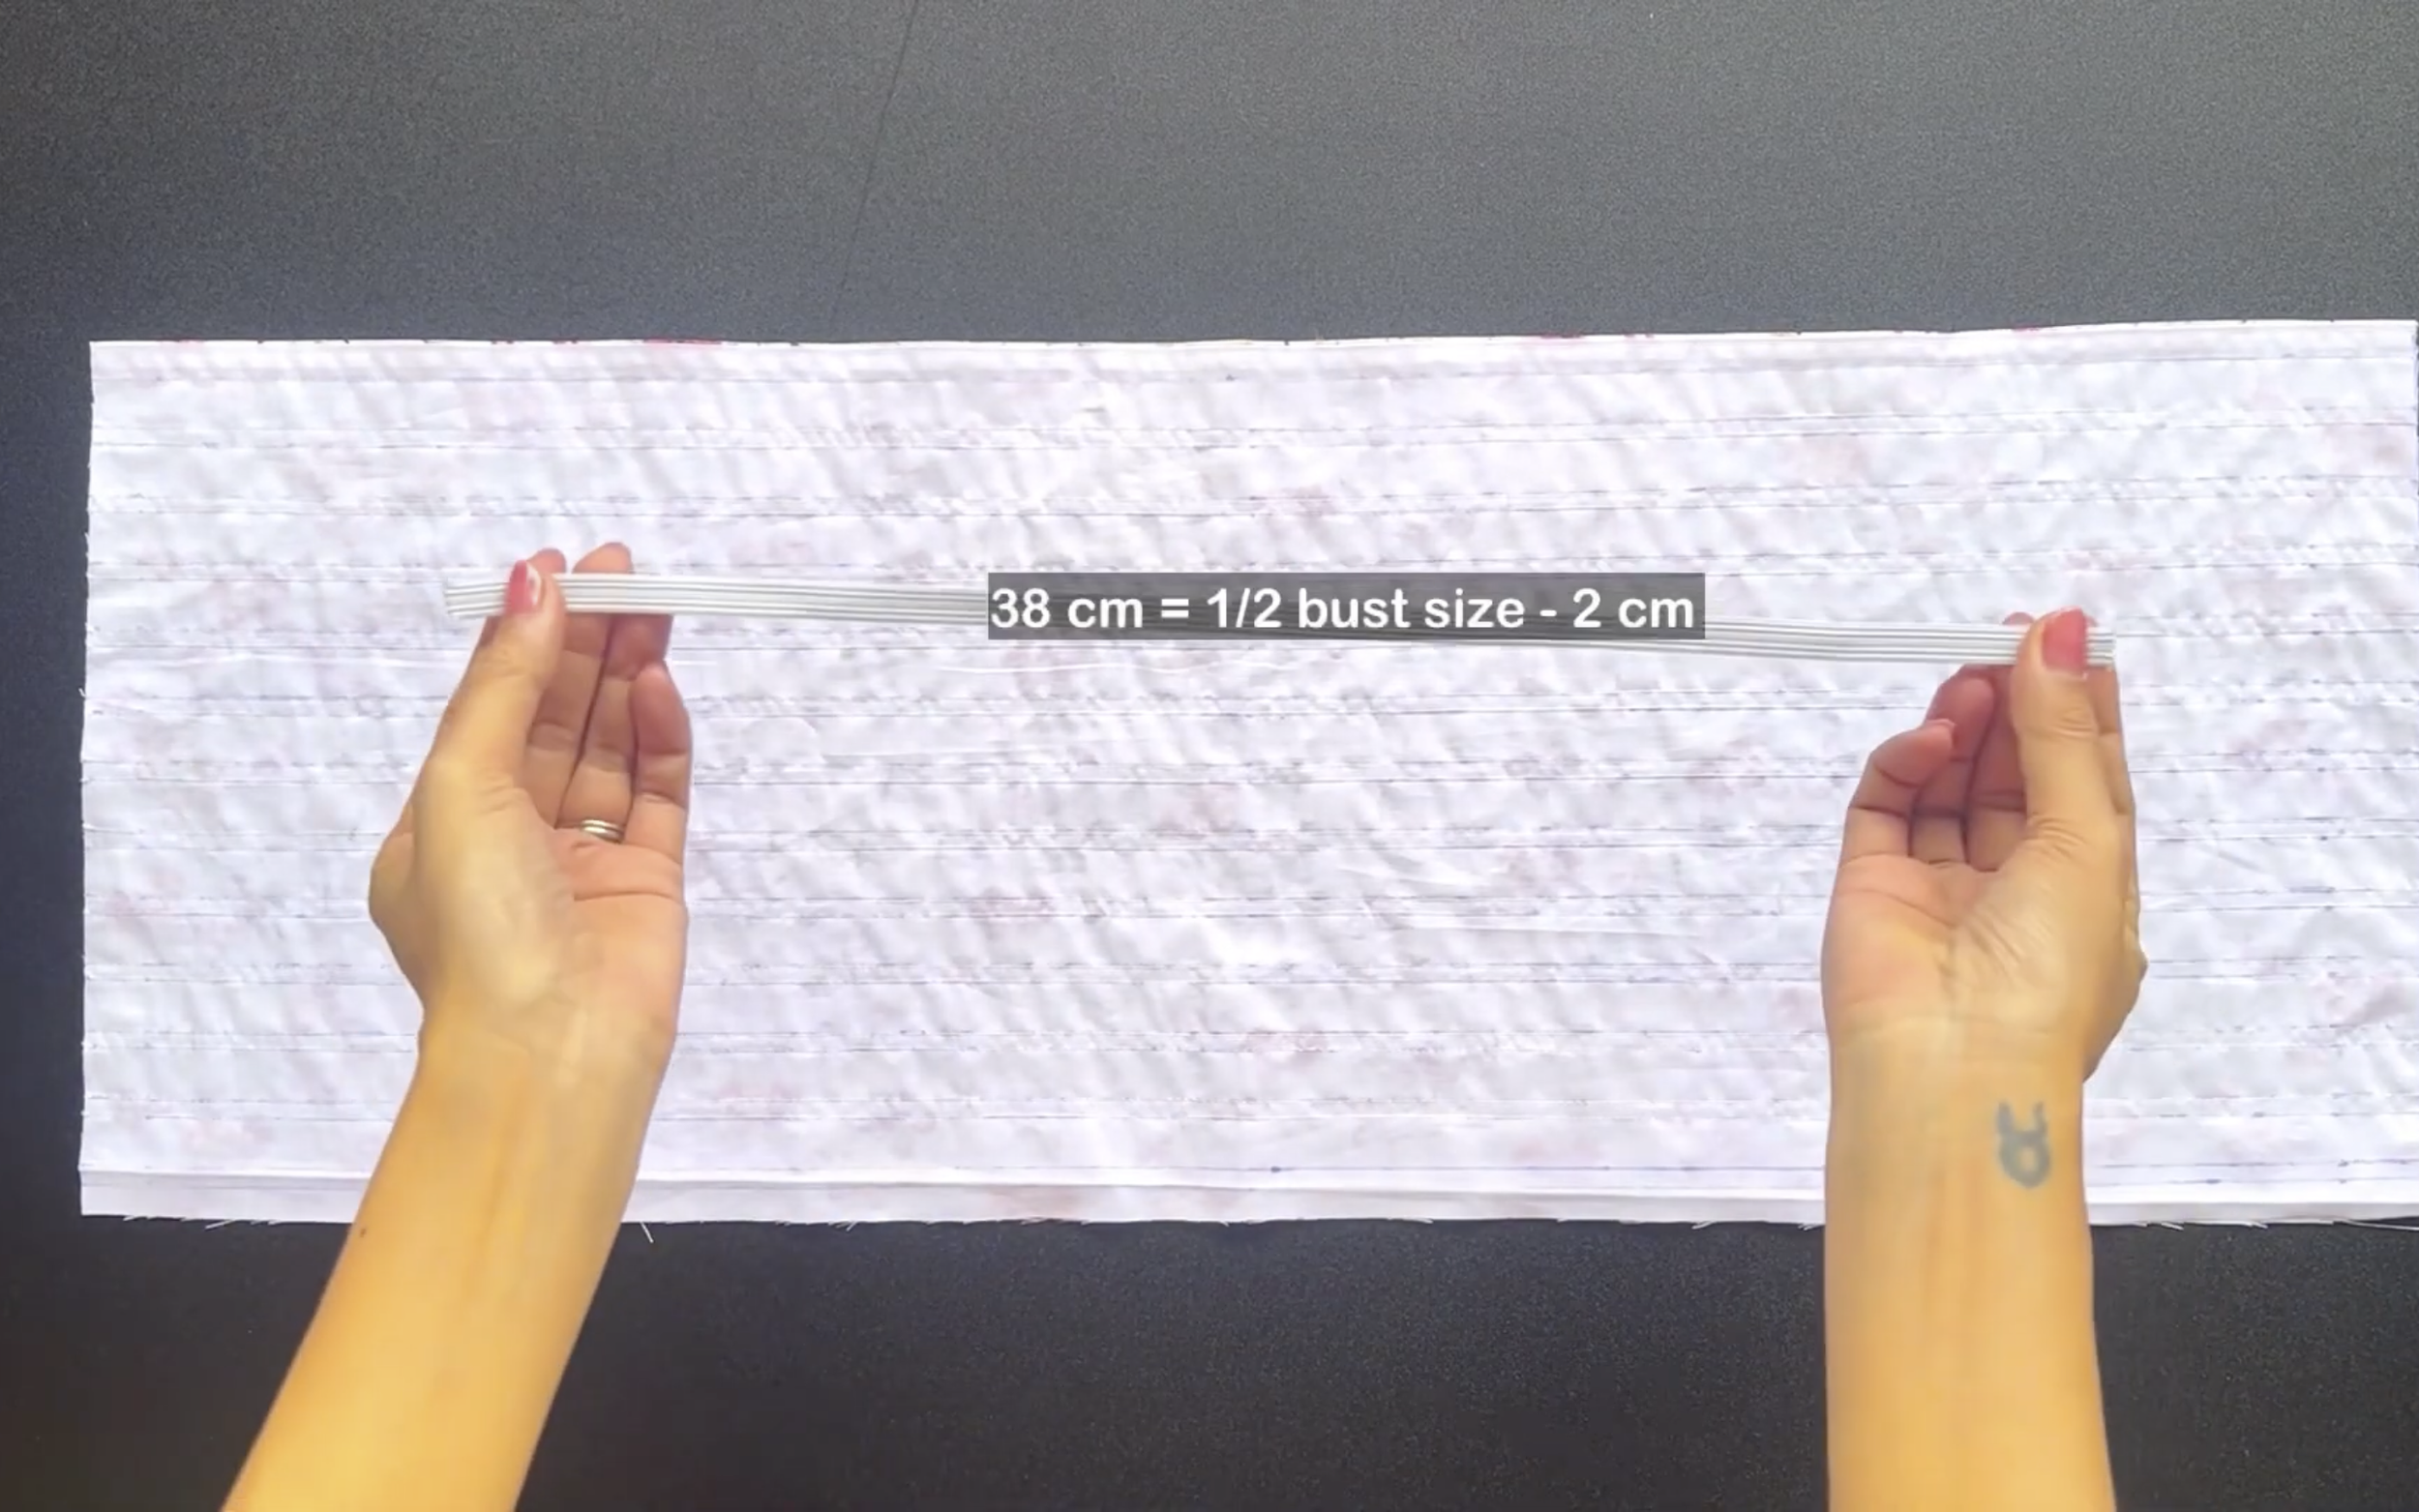
Make sure that the final width of the back bodice at the top is 38 cm, which is half of the bust size minus 2 cm…
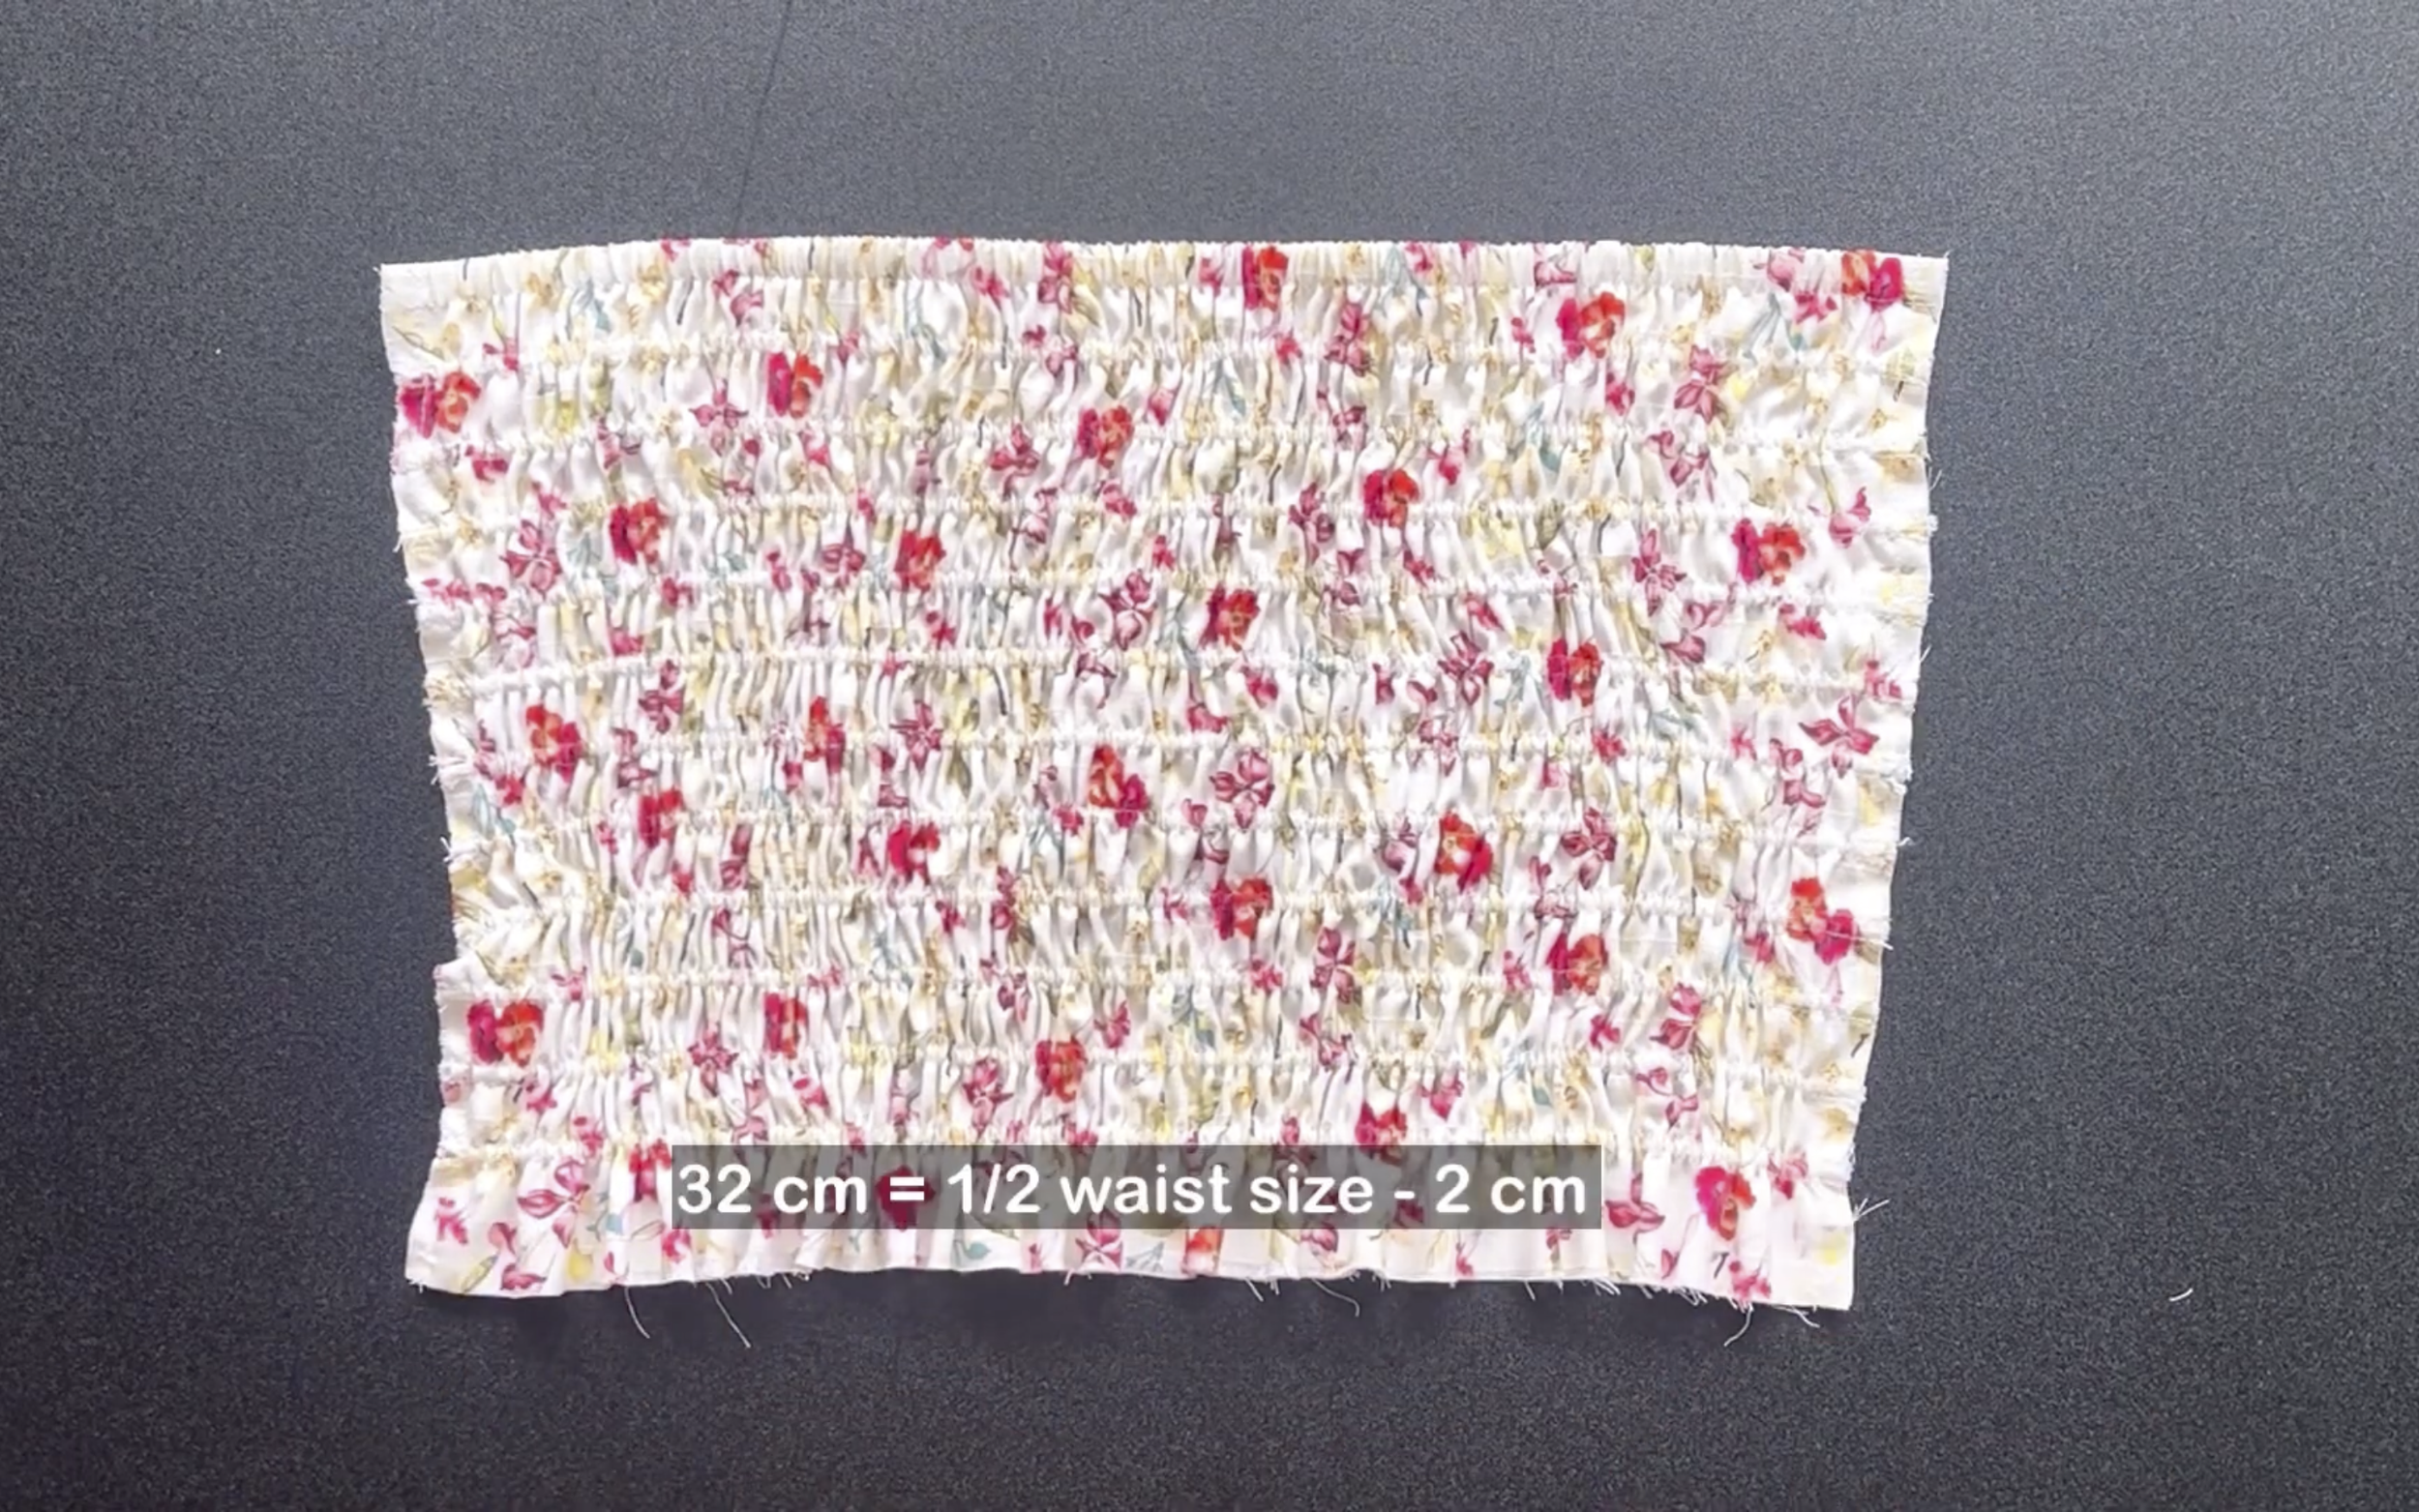
… and the final width of the back bodice at the bottom is 32 cm, which is half of the waist size minus 2 cm.
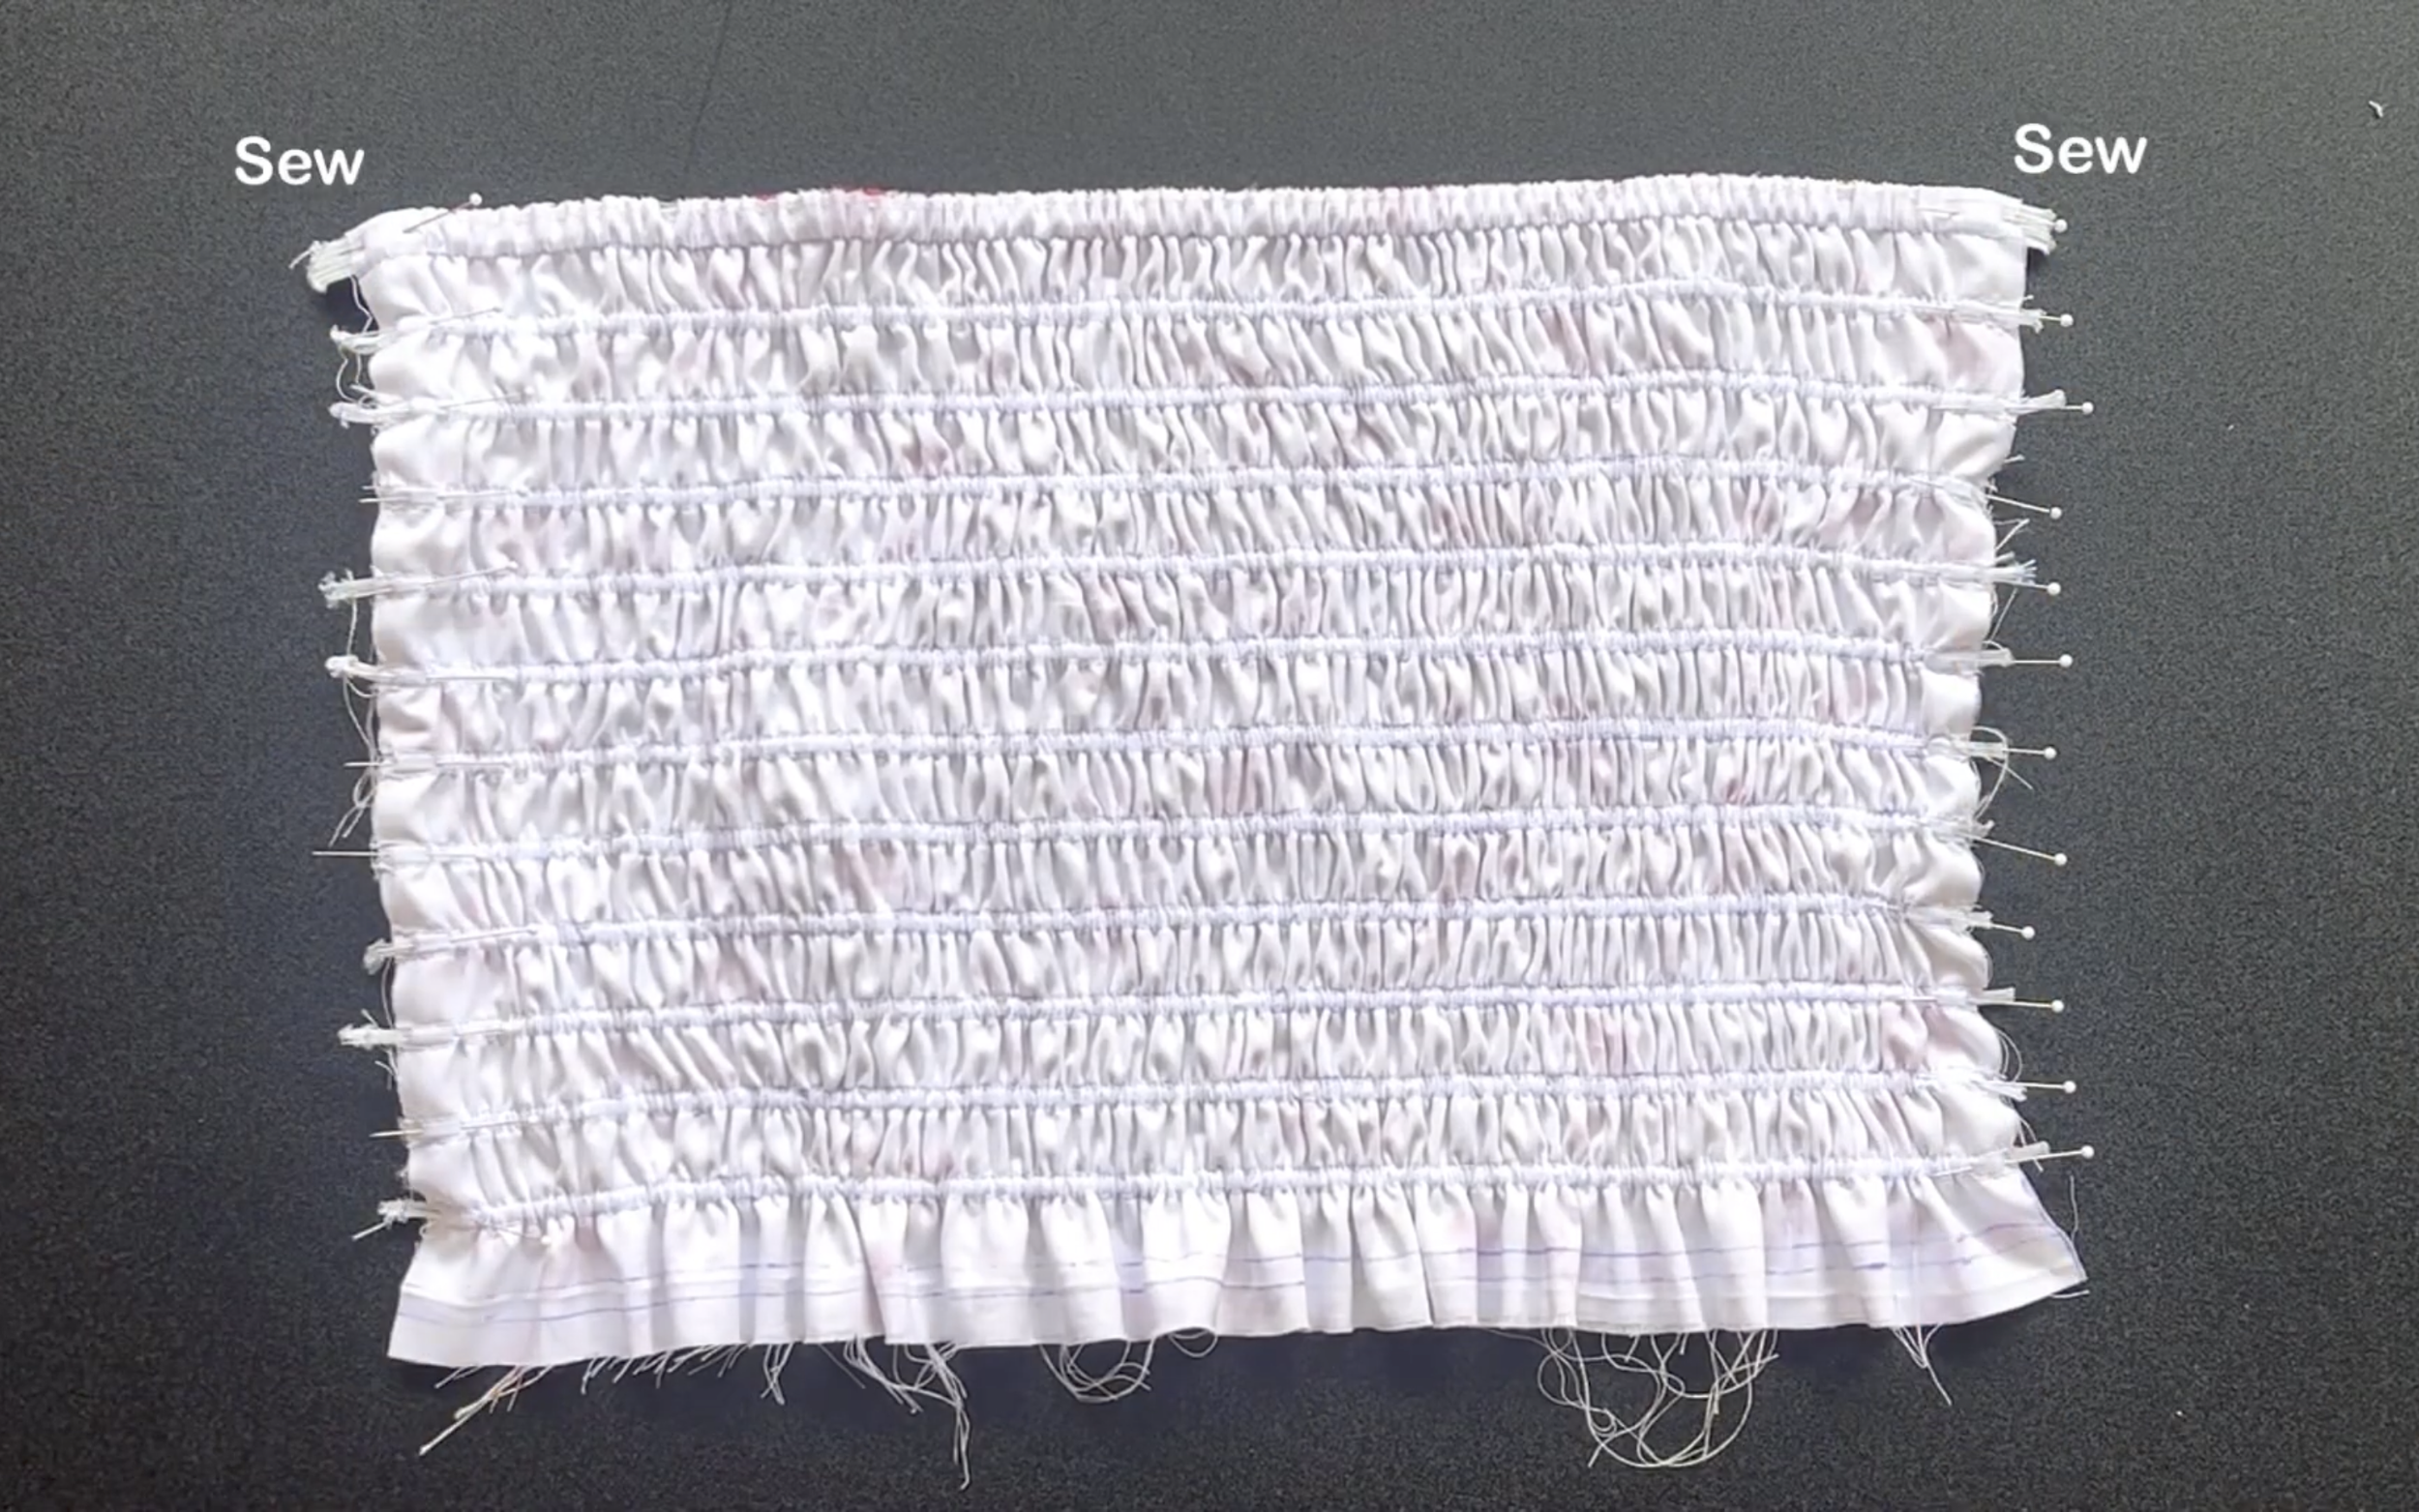
Note: You can finish the back bodice by using the shirring technique instead of using the elastic band.
CONNECT THE FRONT AND THE BACK BODICE TOGETHER
Now, connect the front and back bodice together at the sideline. Make sure the back bodice is positioned in the middle between the outside and inside front bodice.
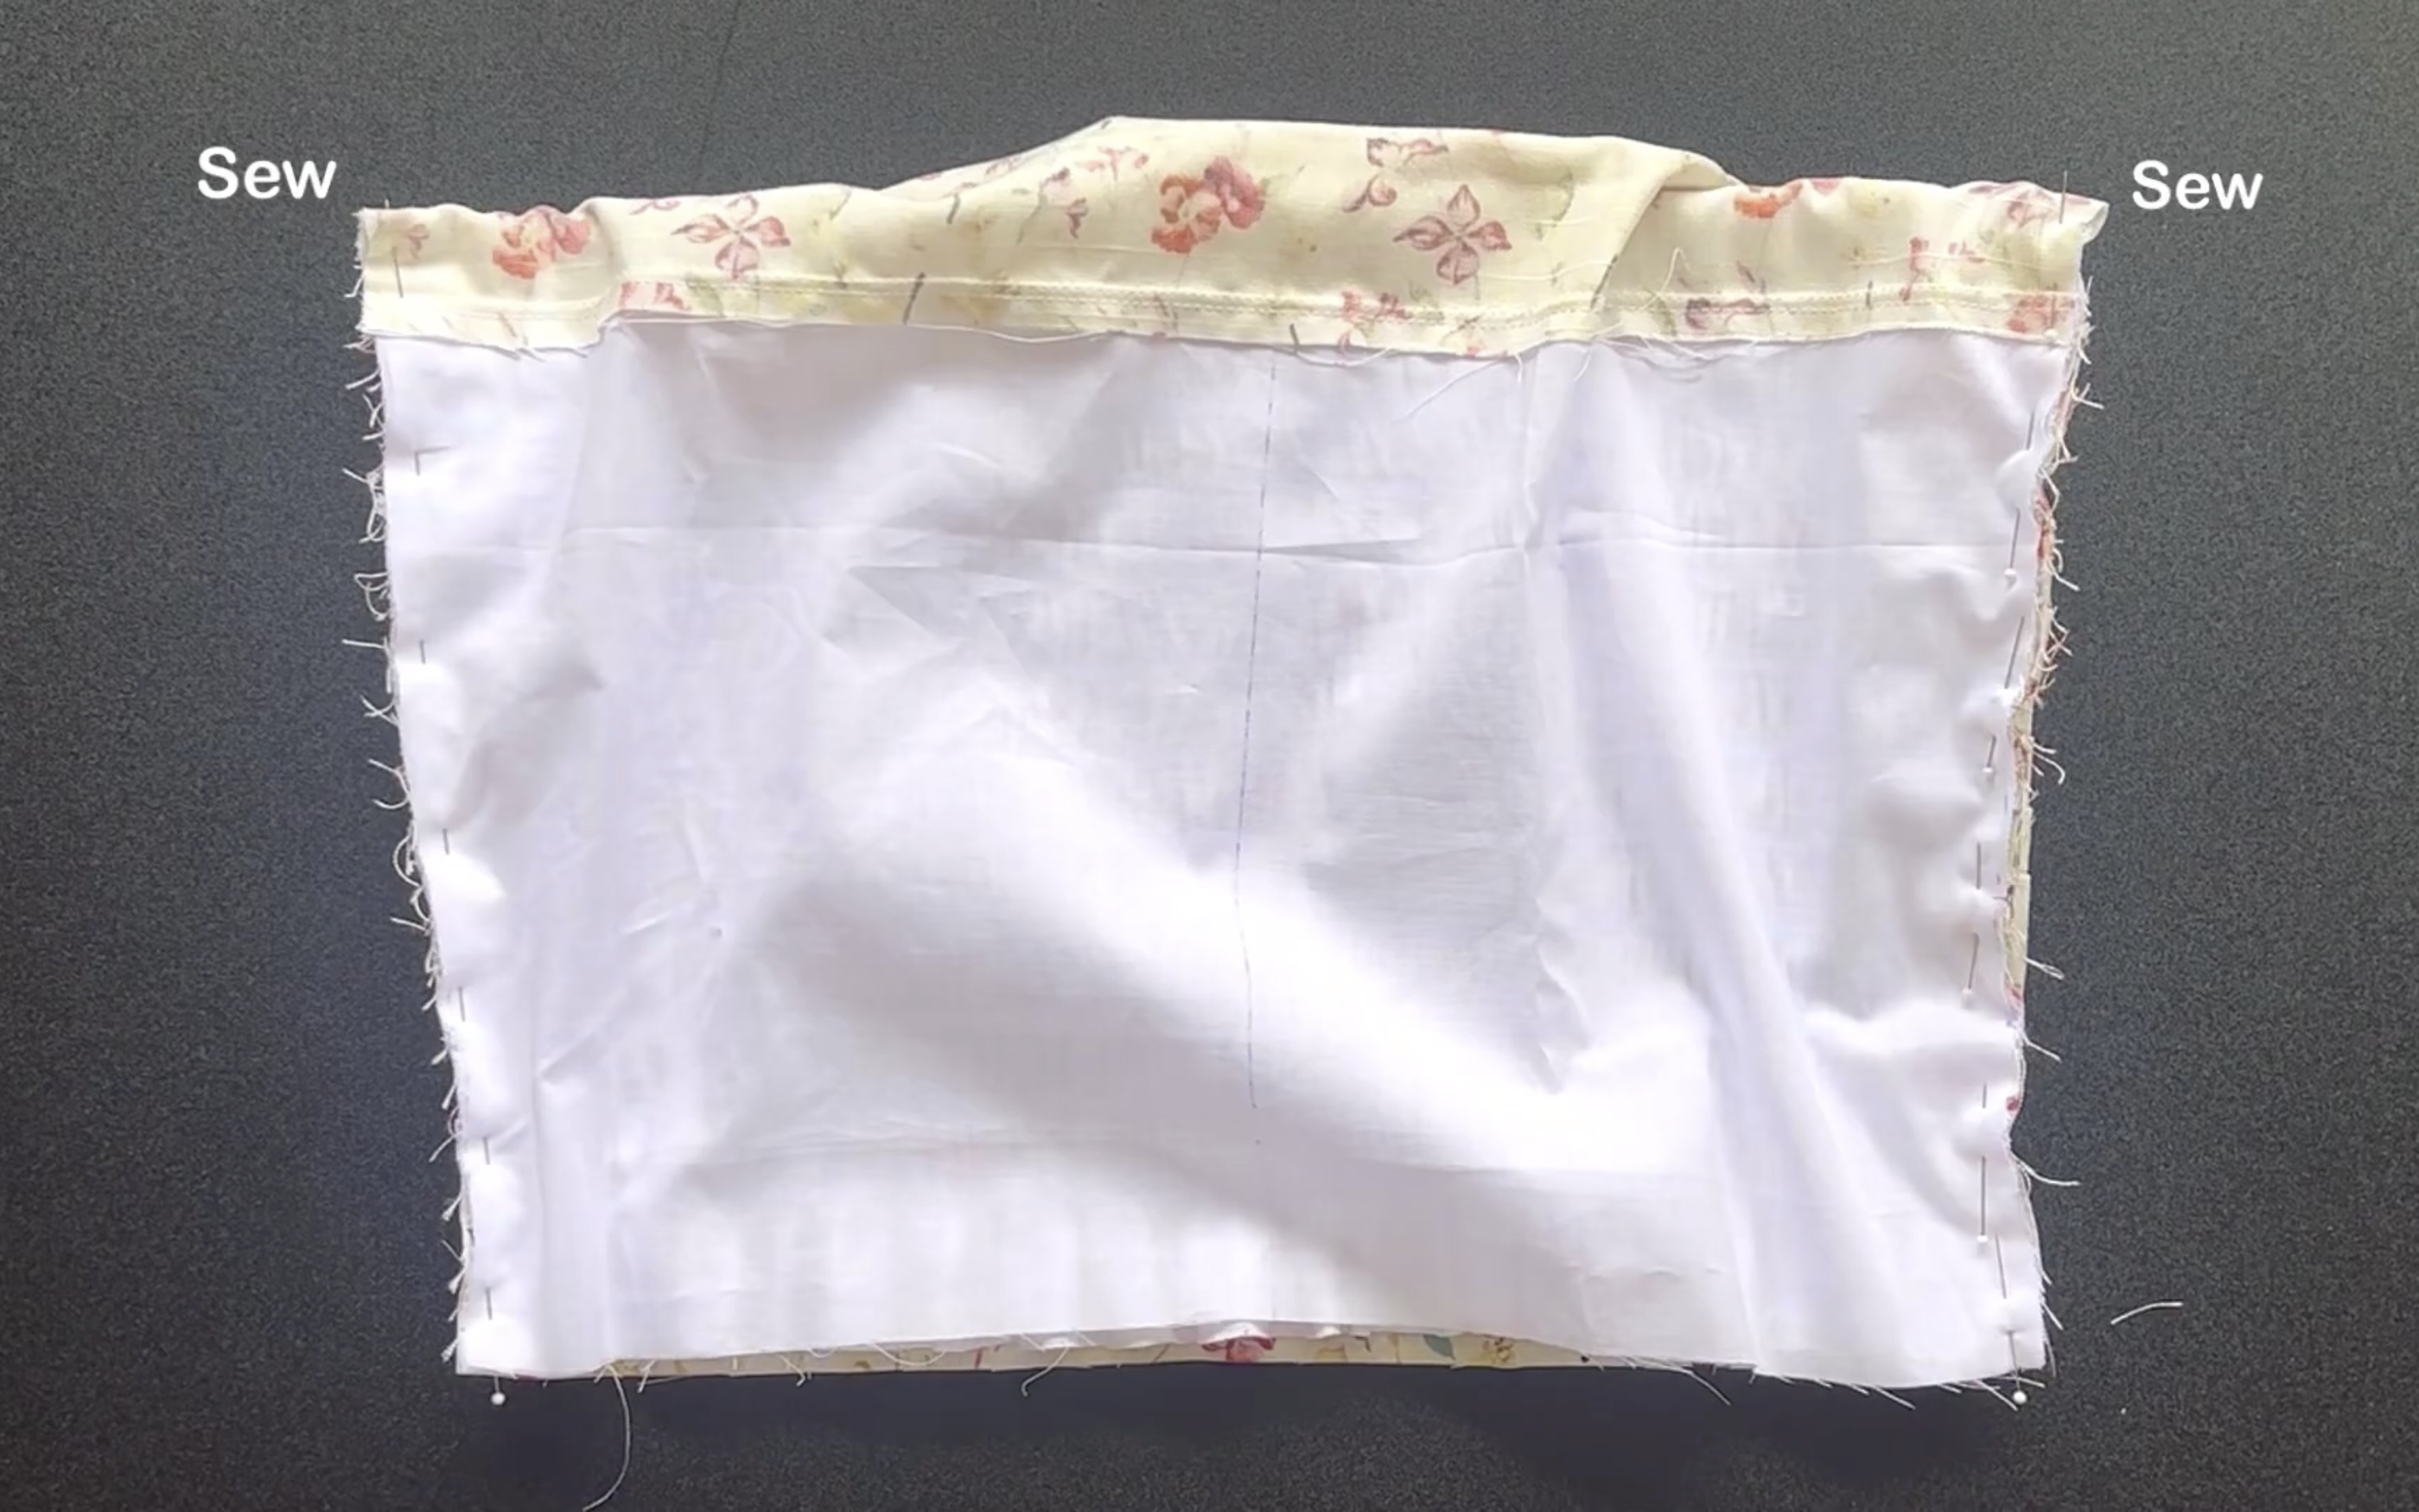
Then sewing.
After sewing, turn the back bodice outward to hide the seam inside.
Then, sew the ends of the inside and outside bodice together.
THE SKIRT PART
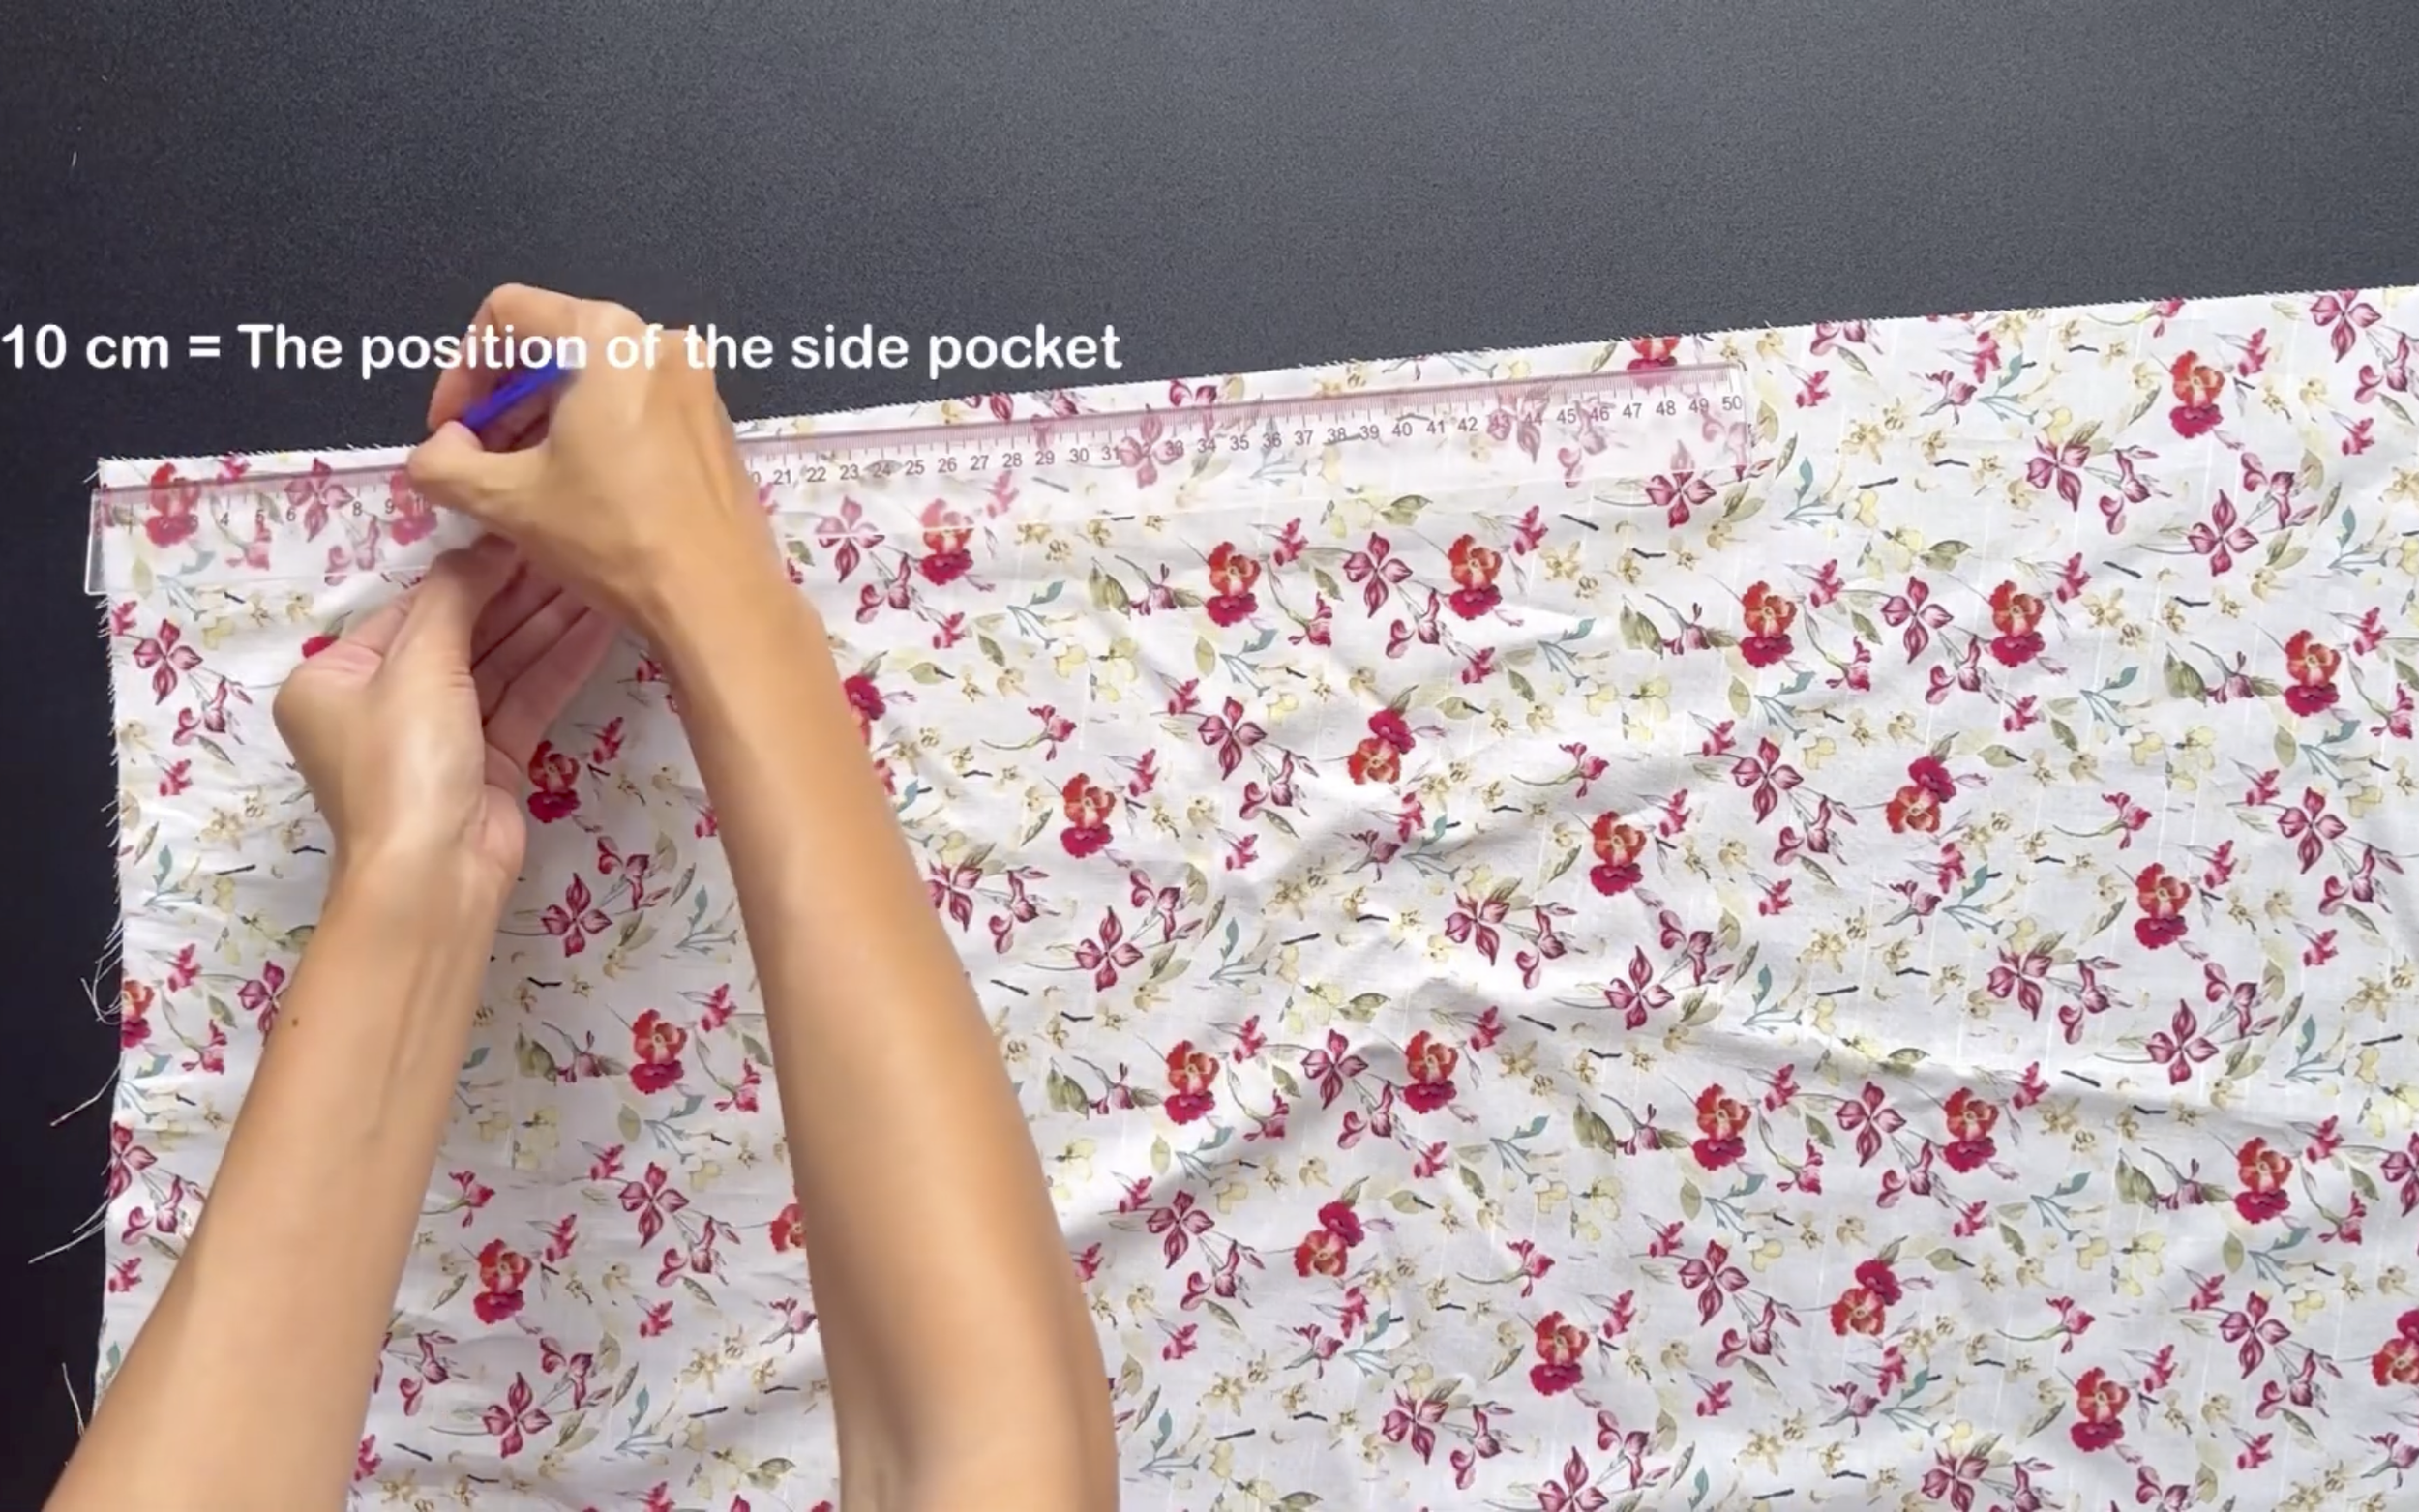
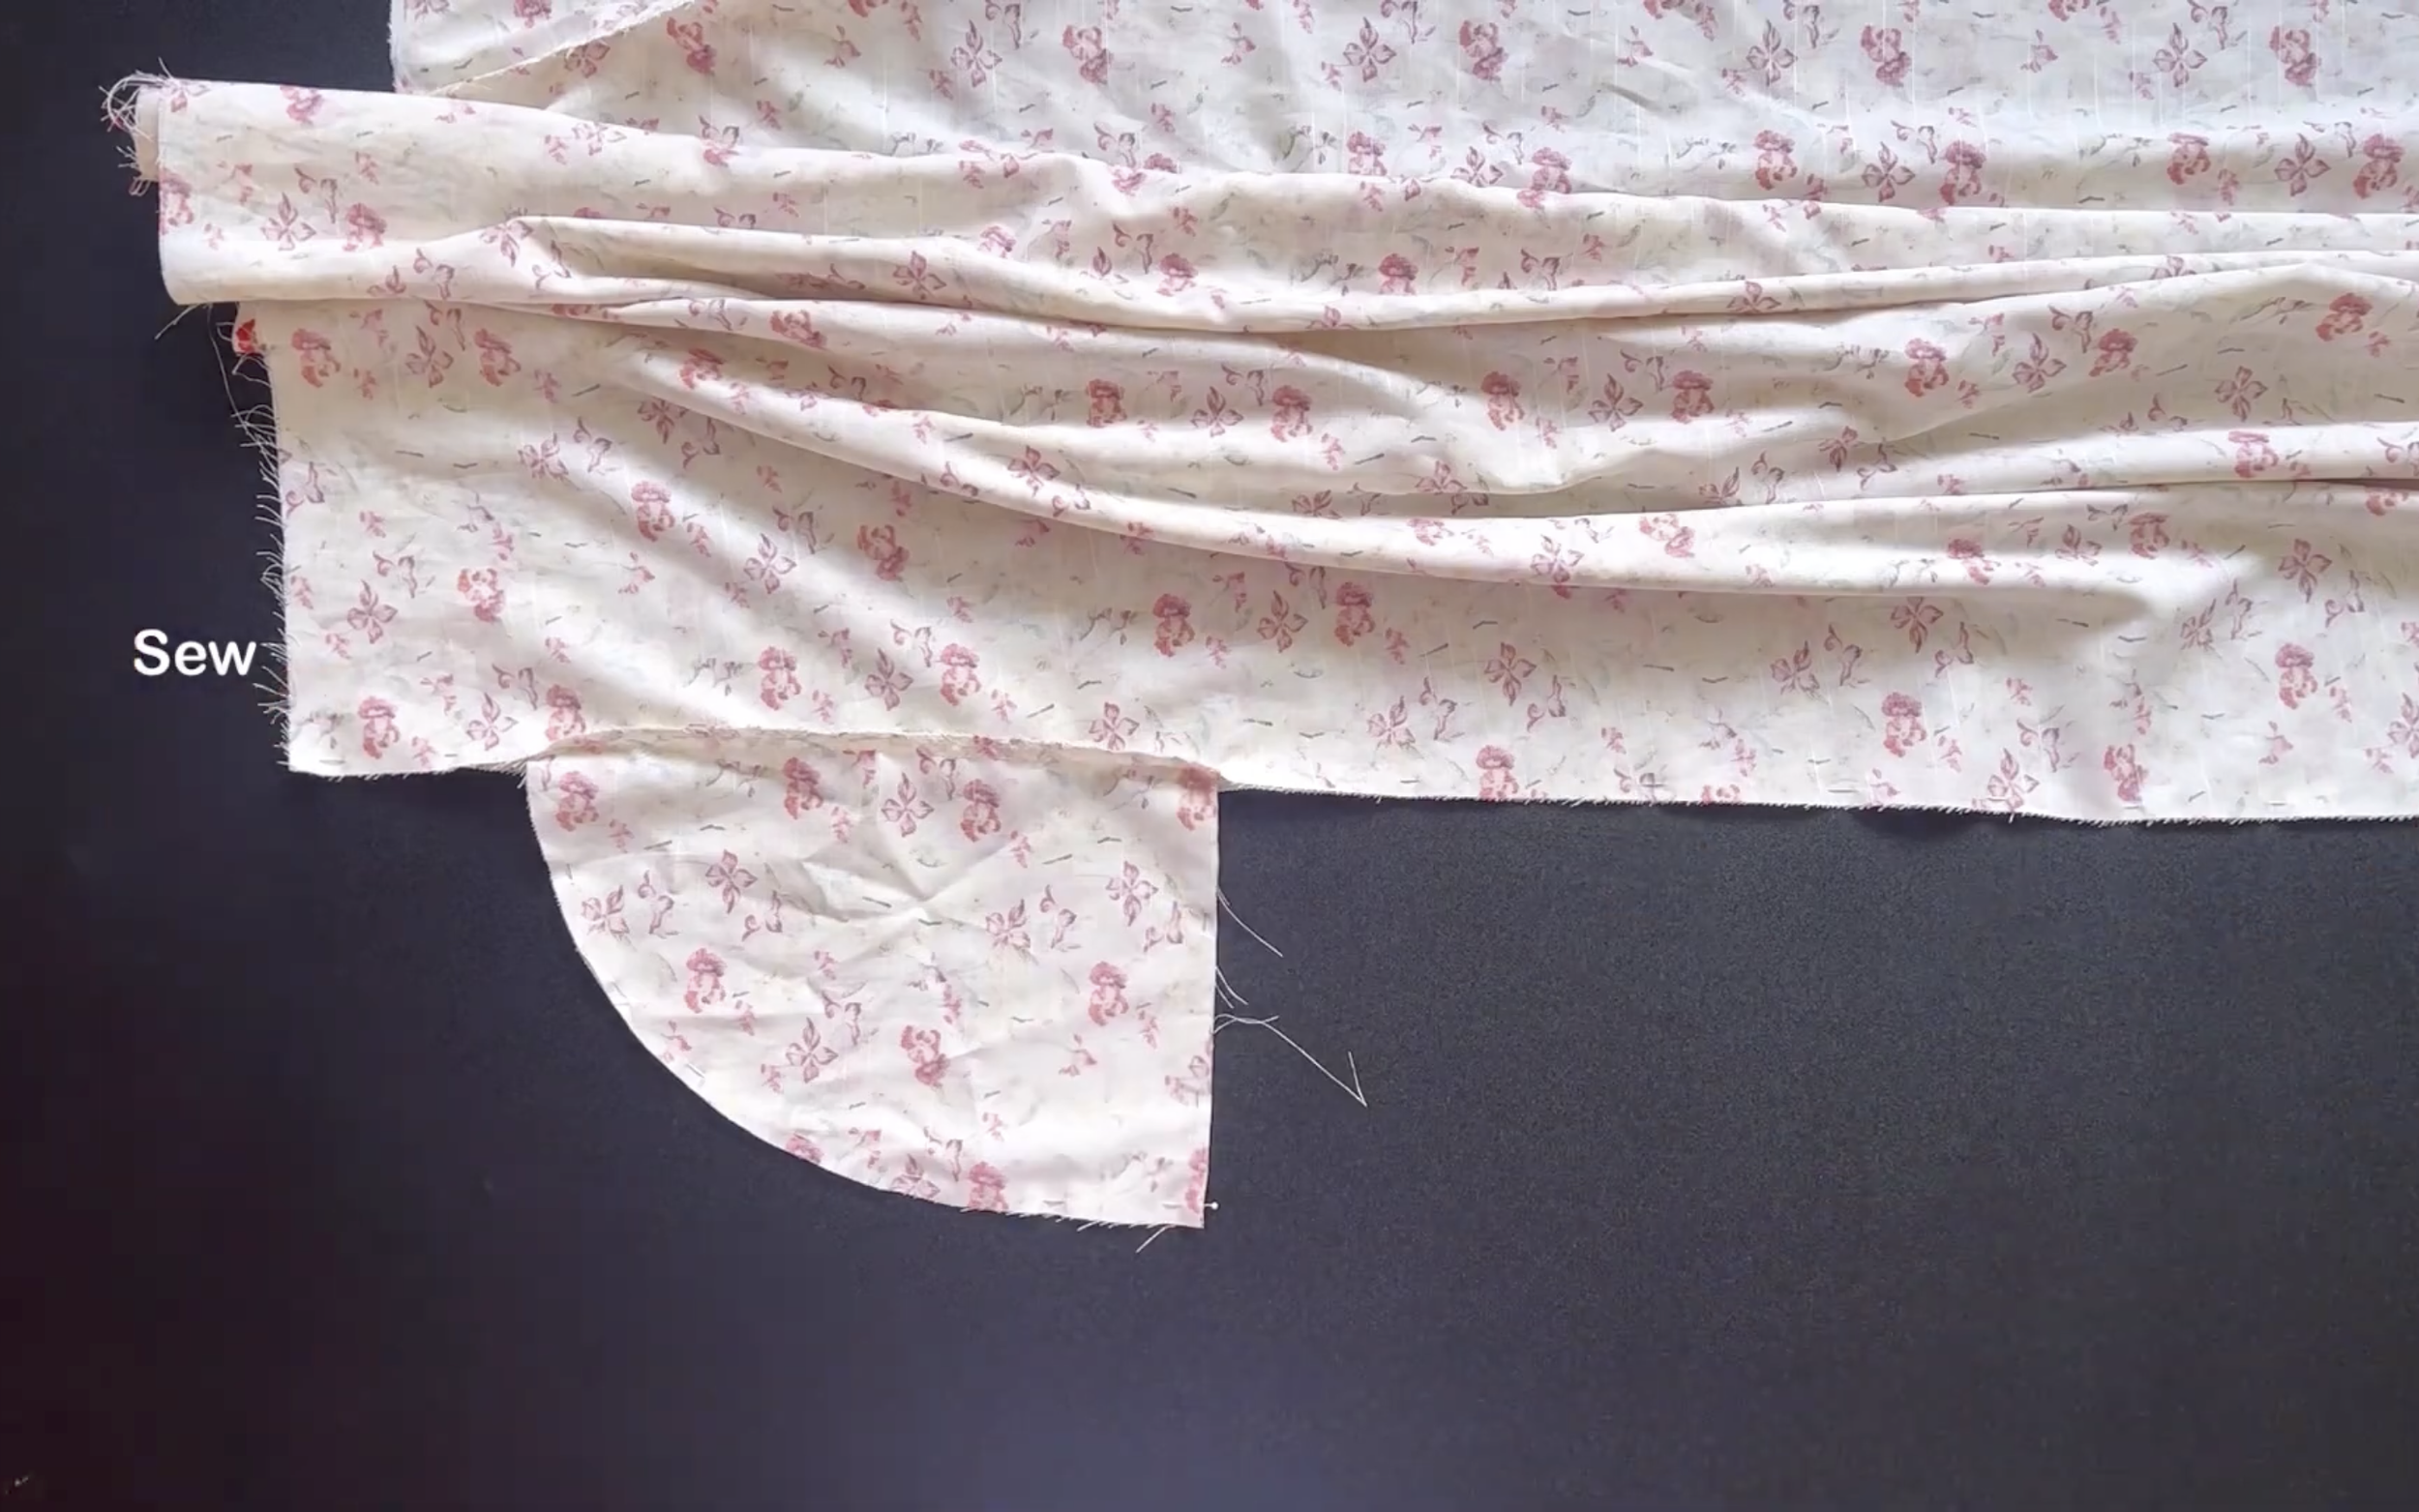
Moving to the skirt part of the dress, from the top of the sideline, mark down 10 cm, which is the position of the side pocket.
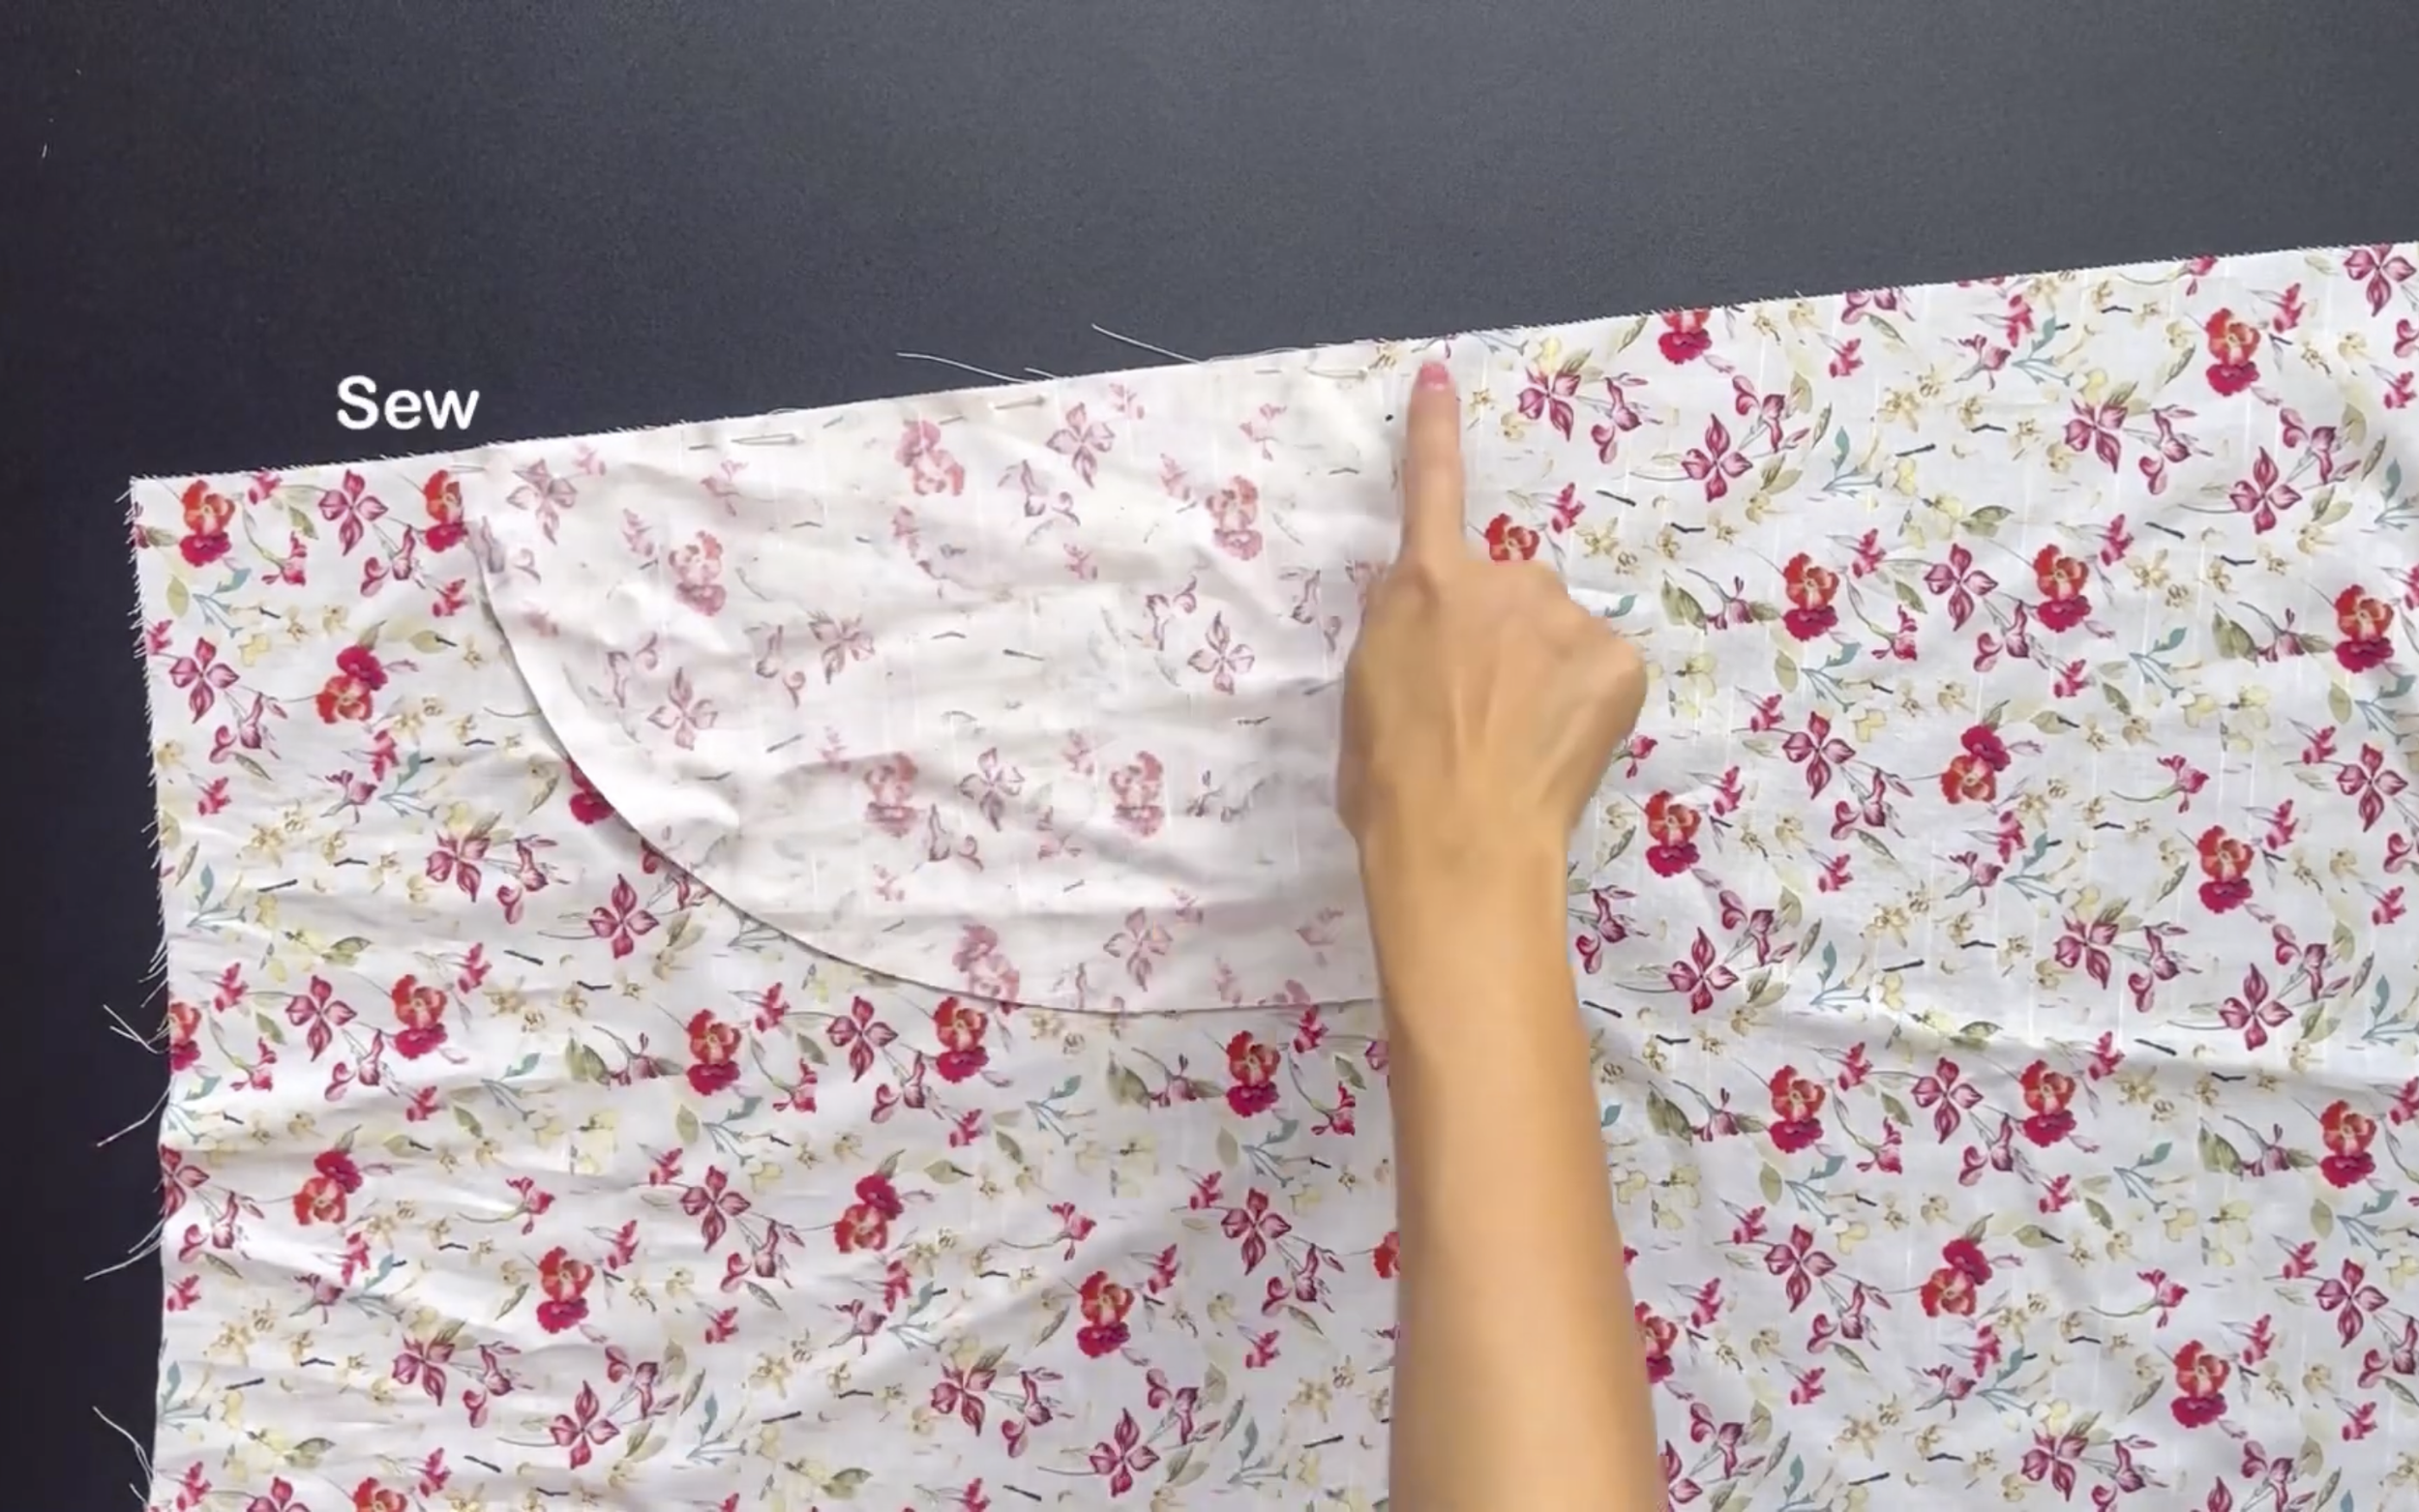
Then, add the pocket there and sew.
Do the same for both sidelines of the skirt piece.
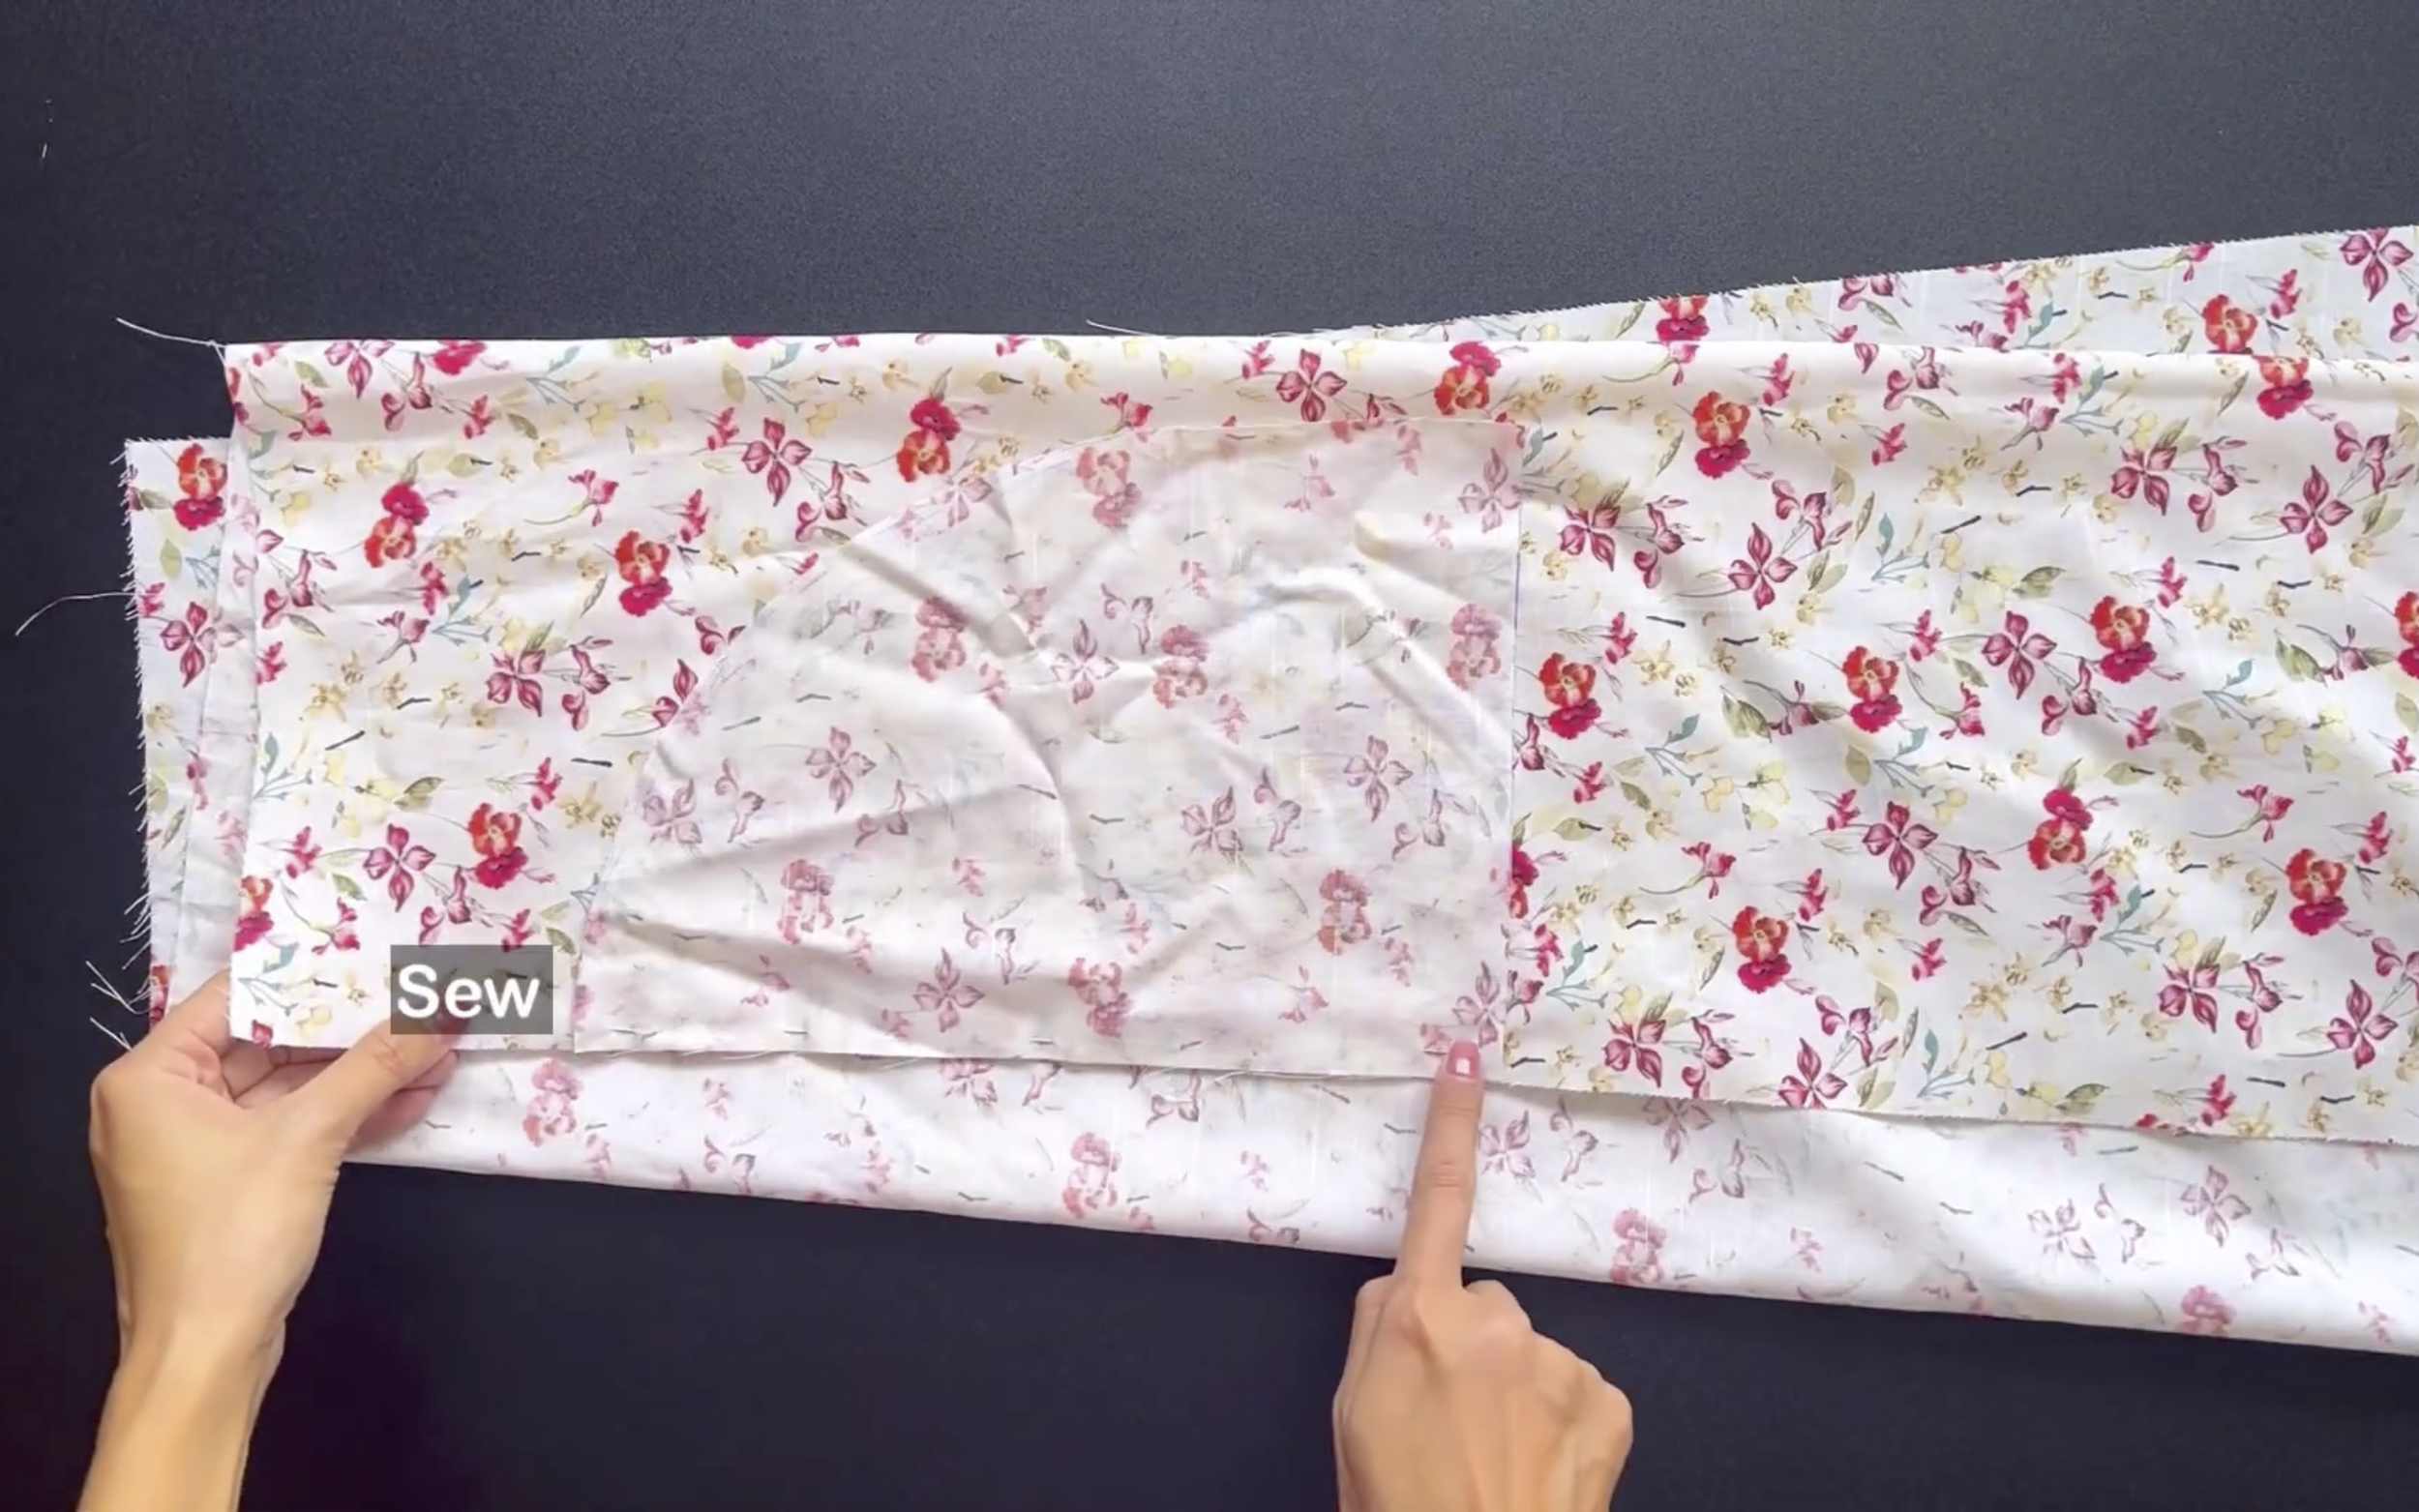
After that, connect both pieces of the skirt together at both sidelines and sew.
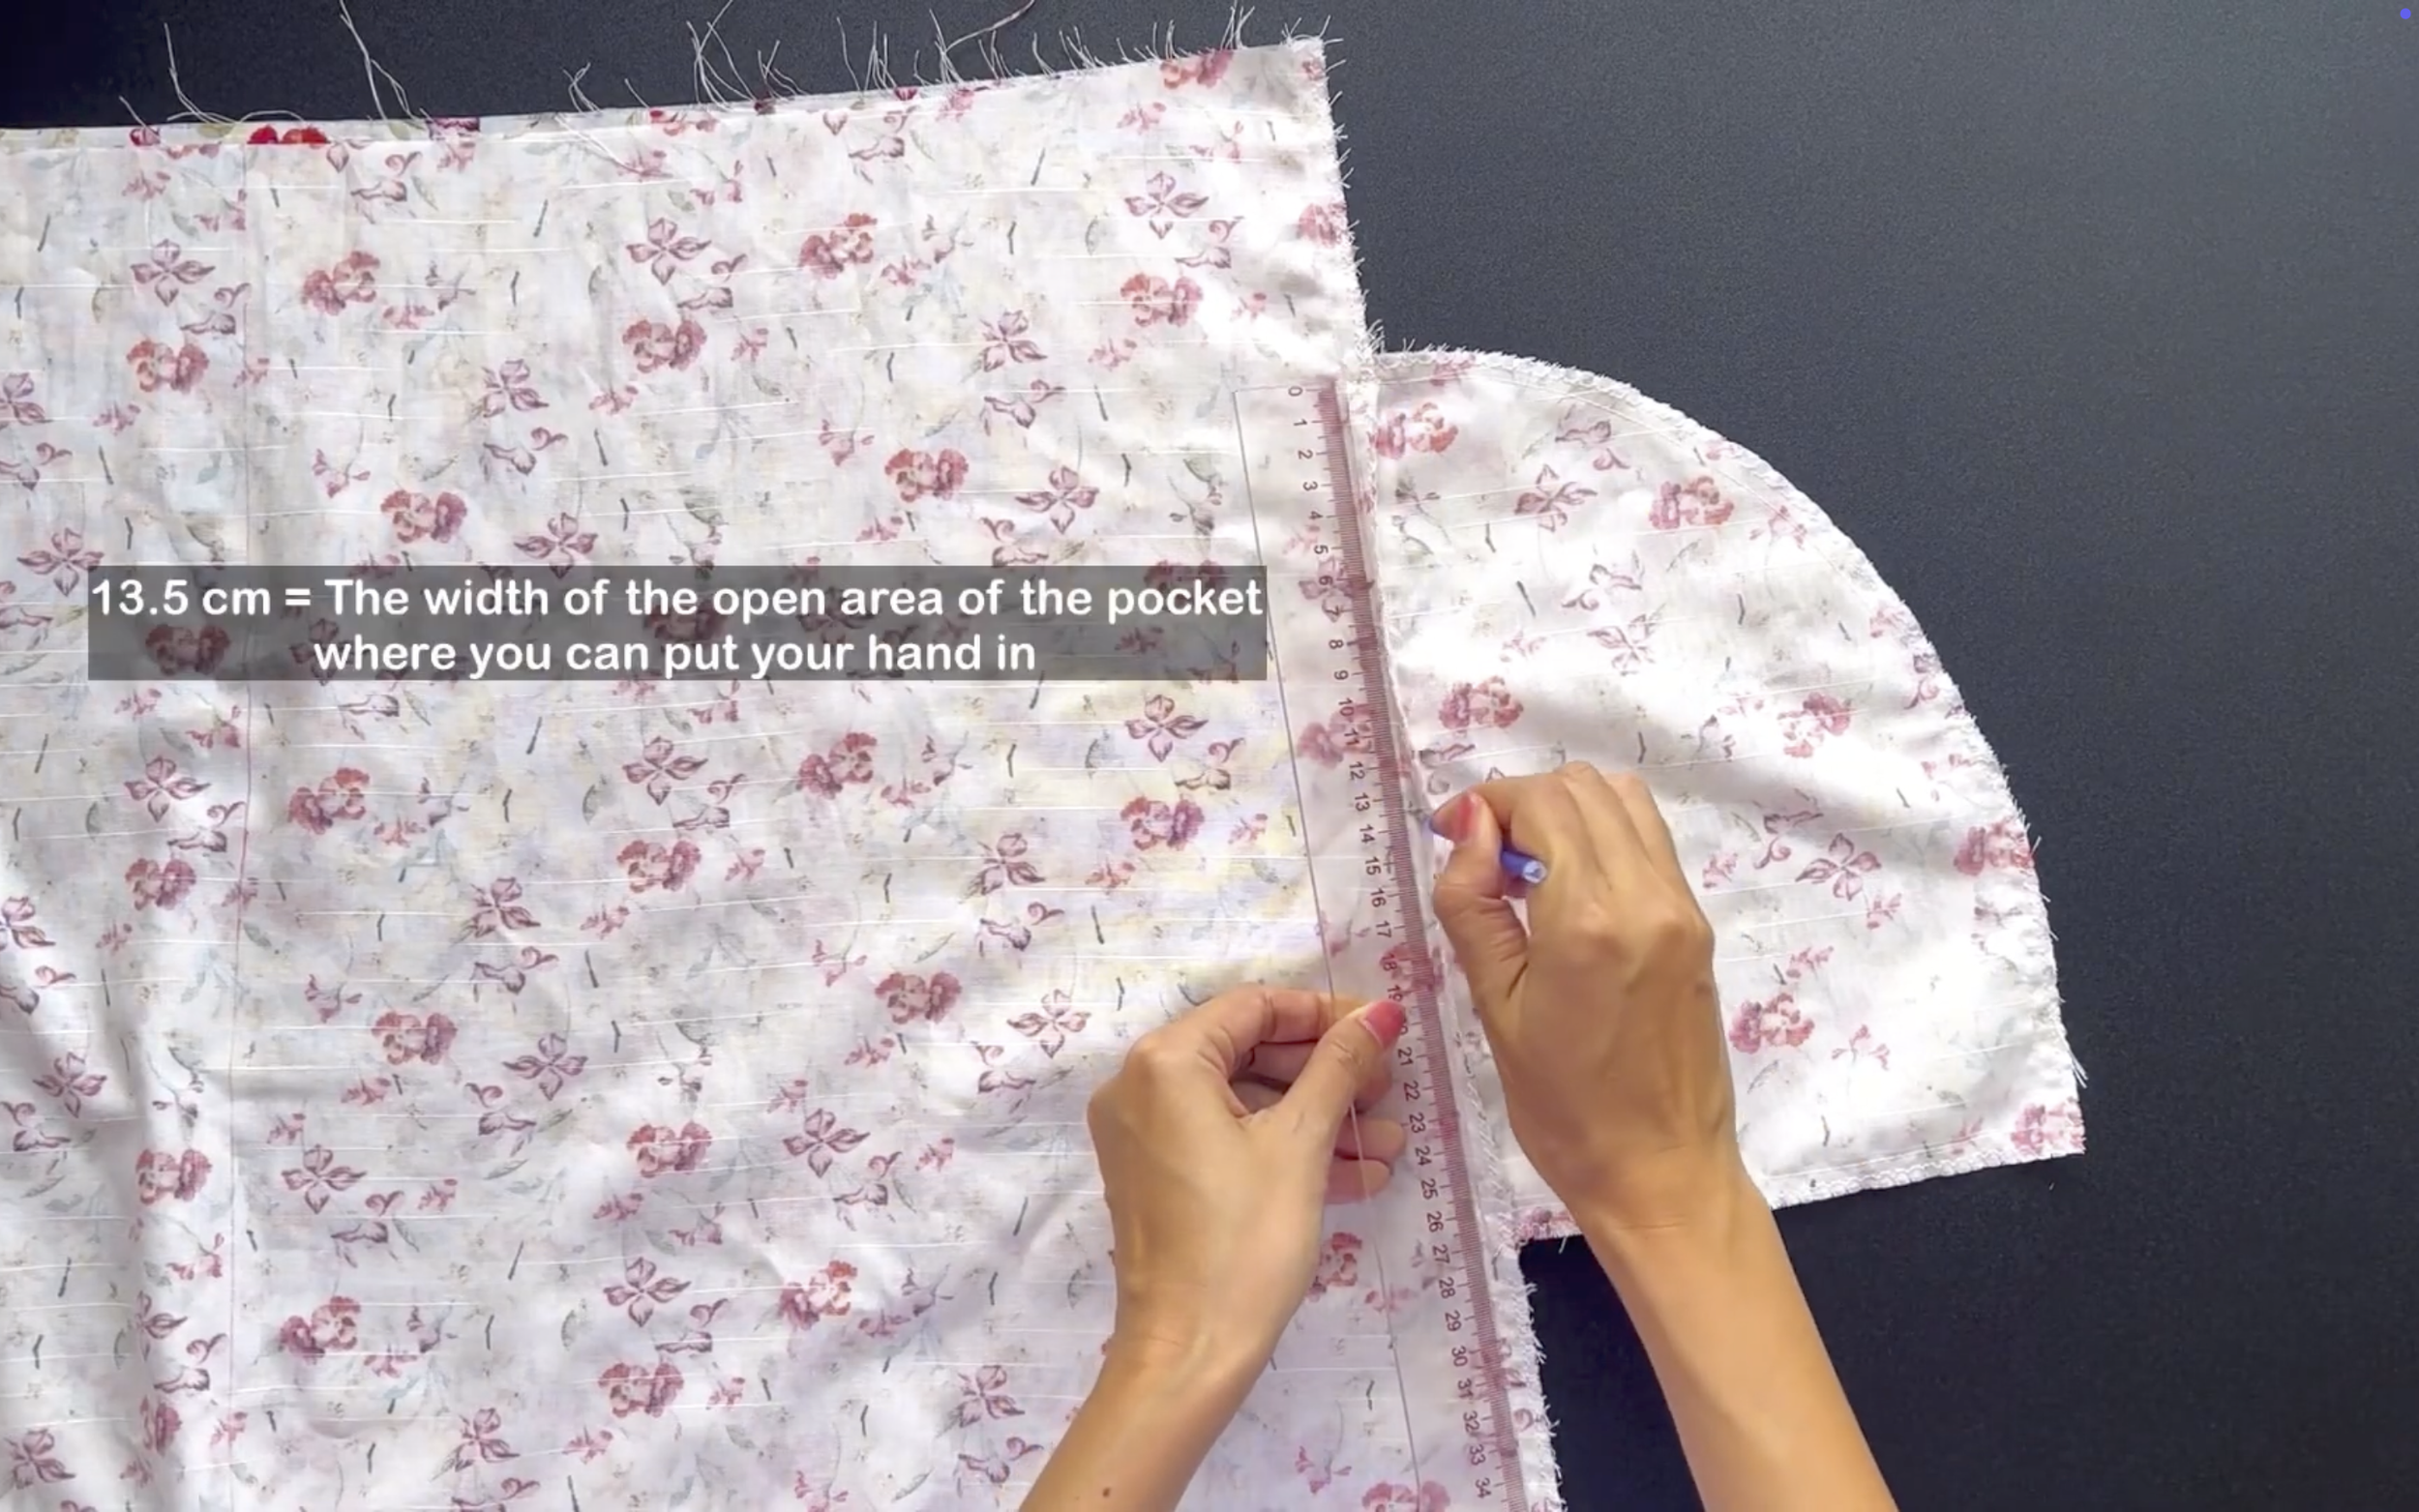
To create depth for the pocket, mark out 13.5 cm from the top of the pocket. This is the width of the open area of the pocket where a hand can be placed inside.

Then sew the rest together.
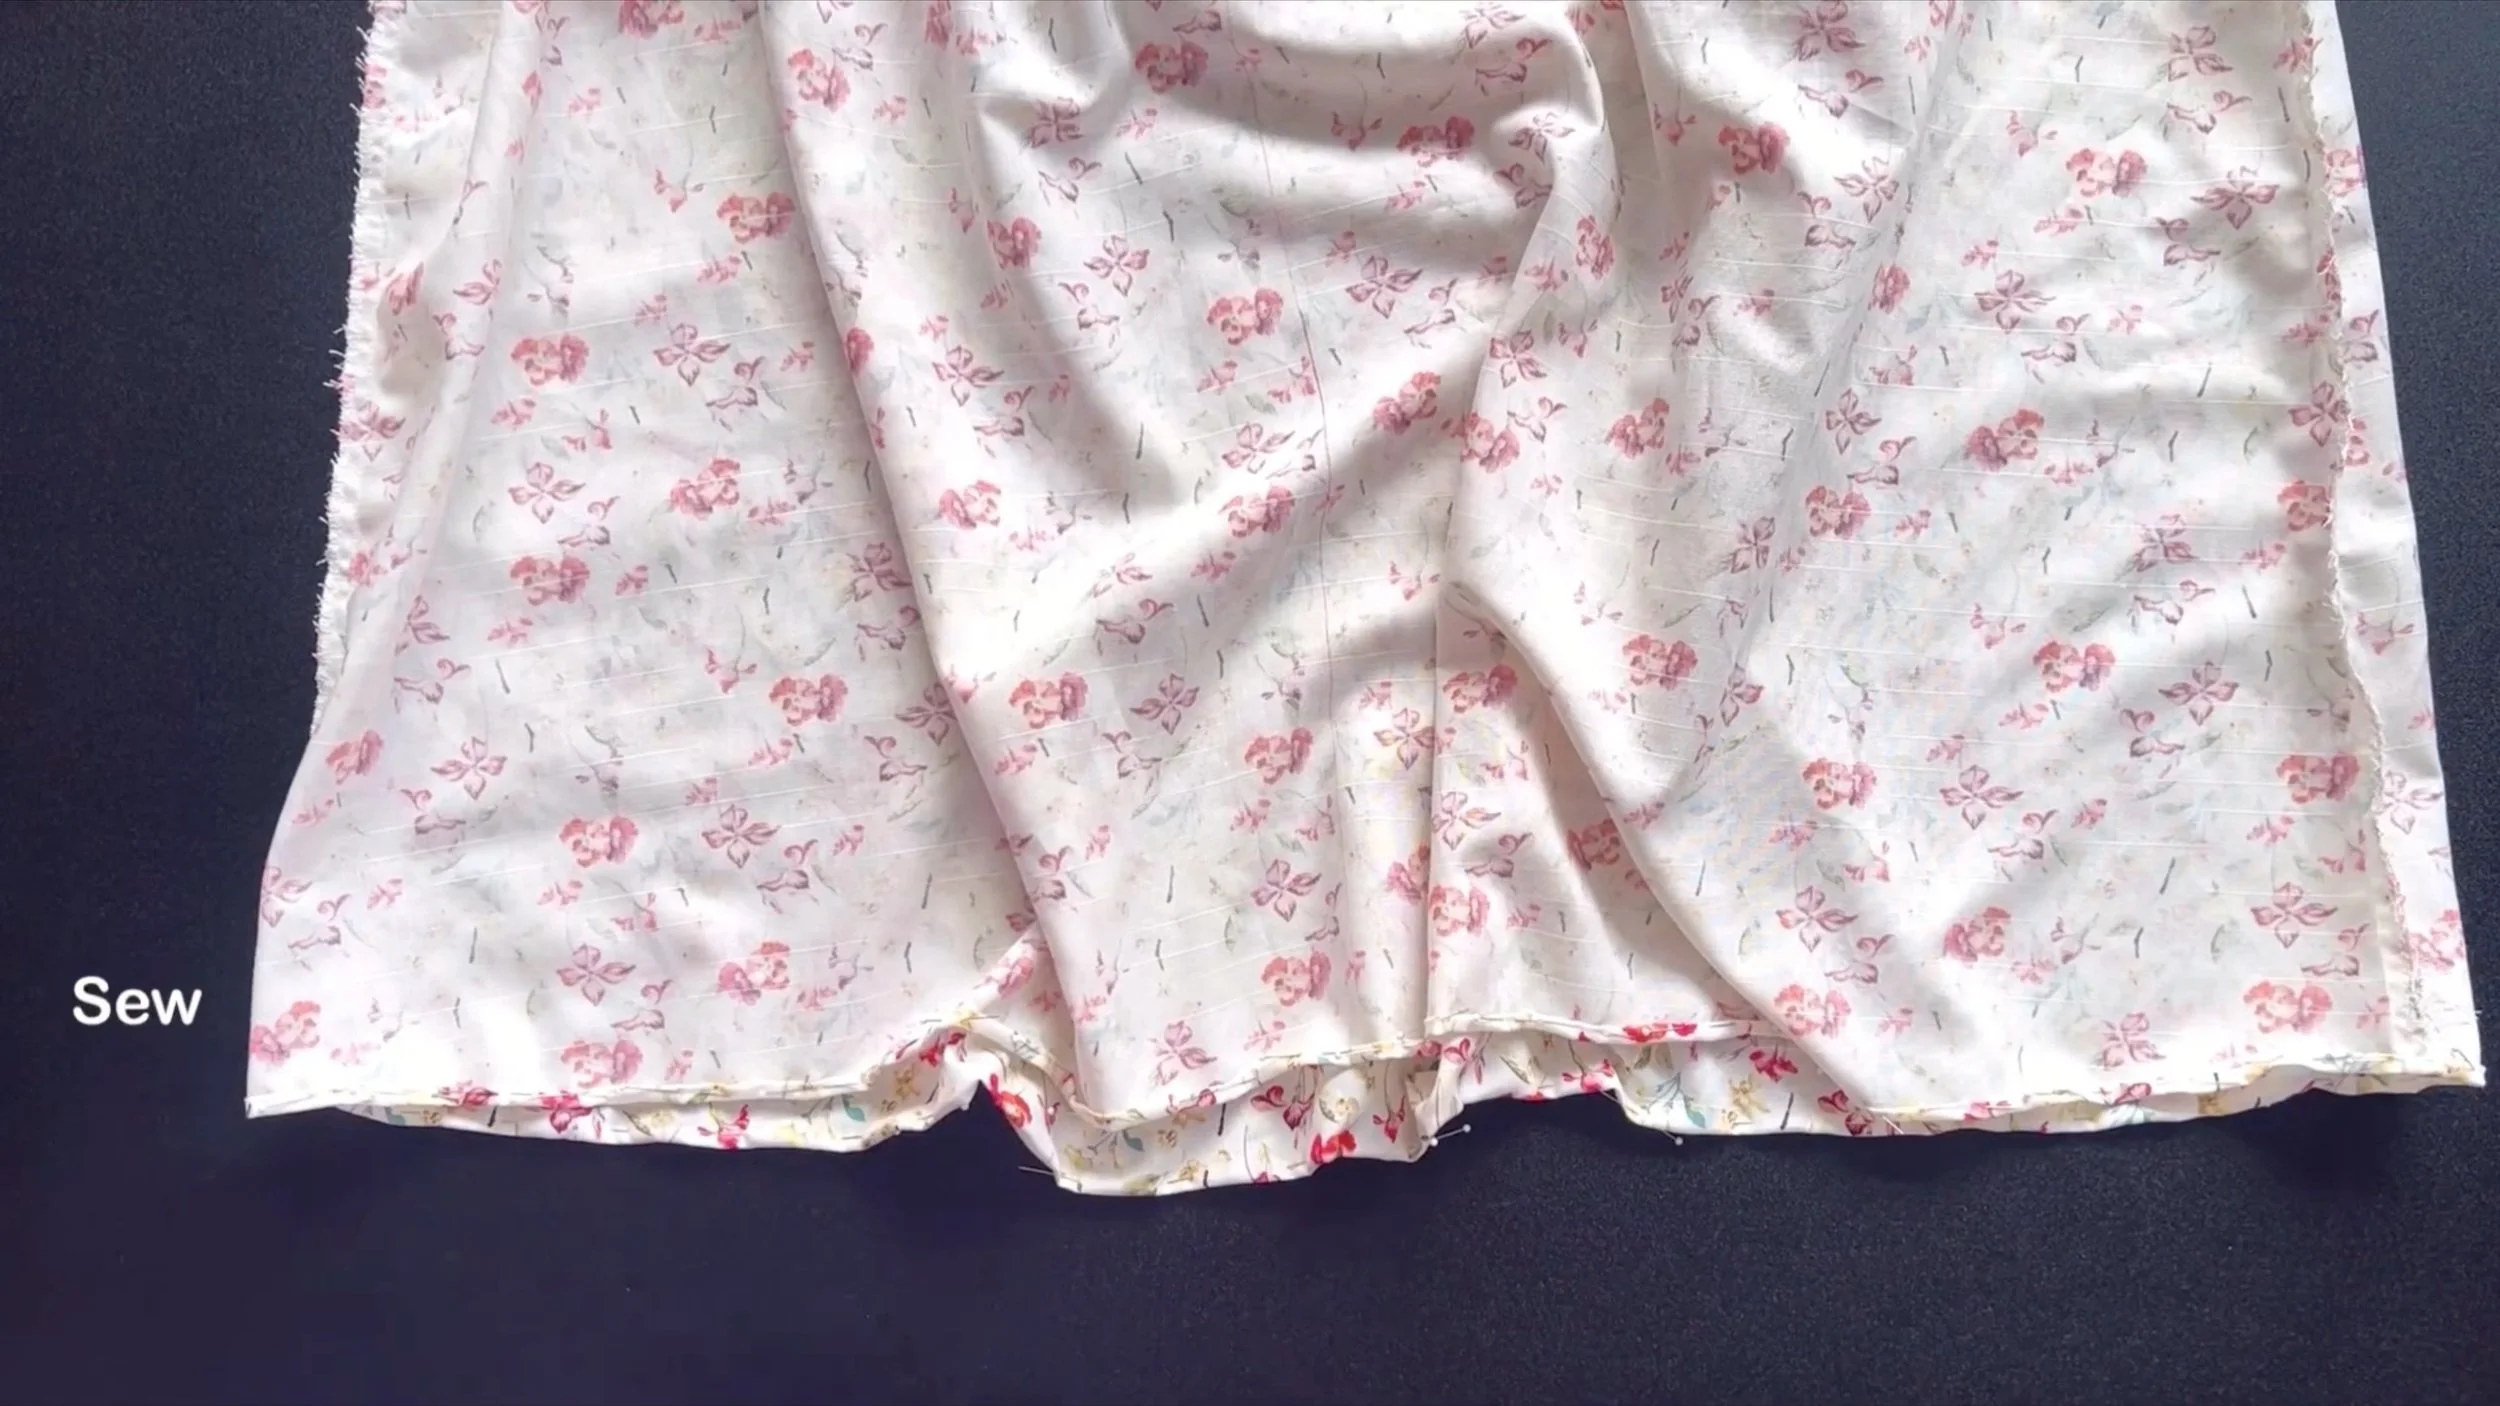
At the end of the skirt, finish by folding the end fabric inside two times with 0.5 cm each time and sewing.

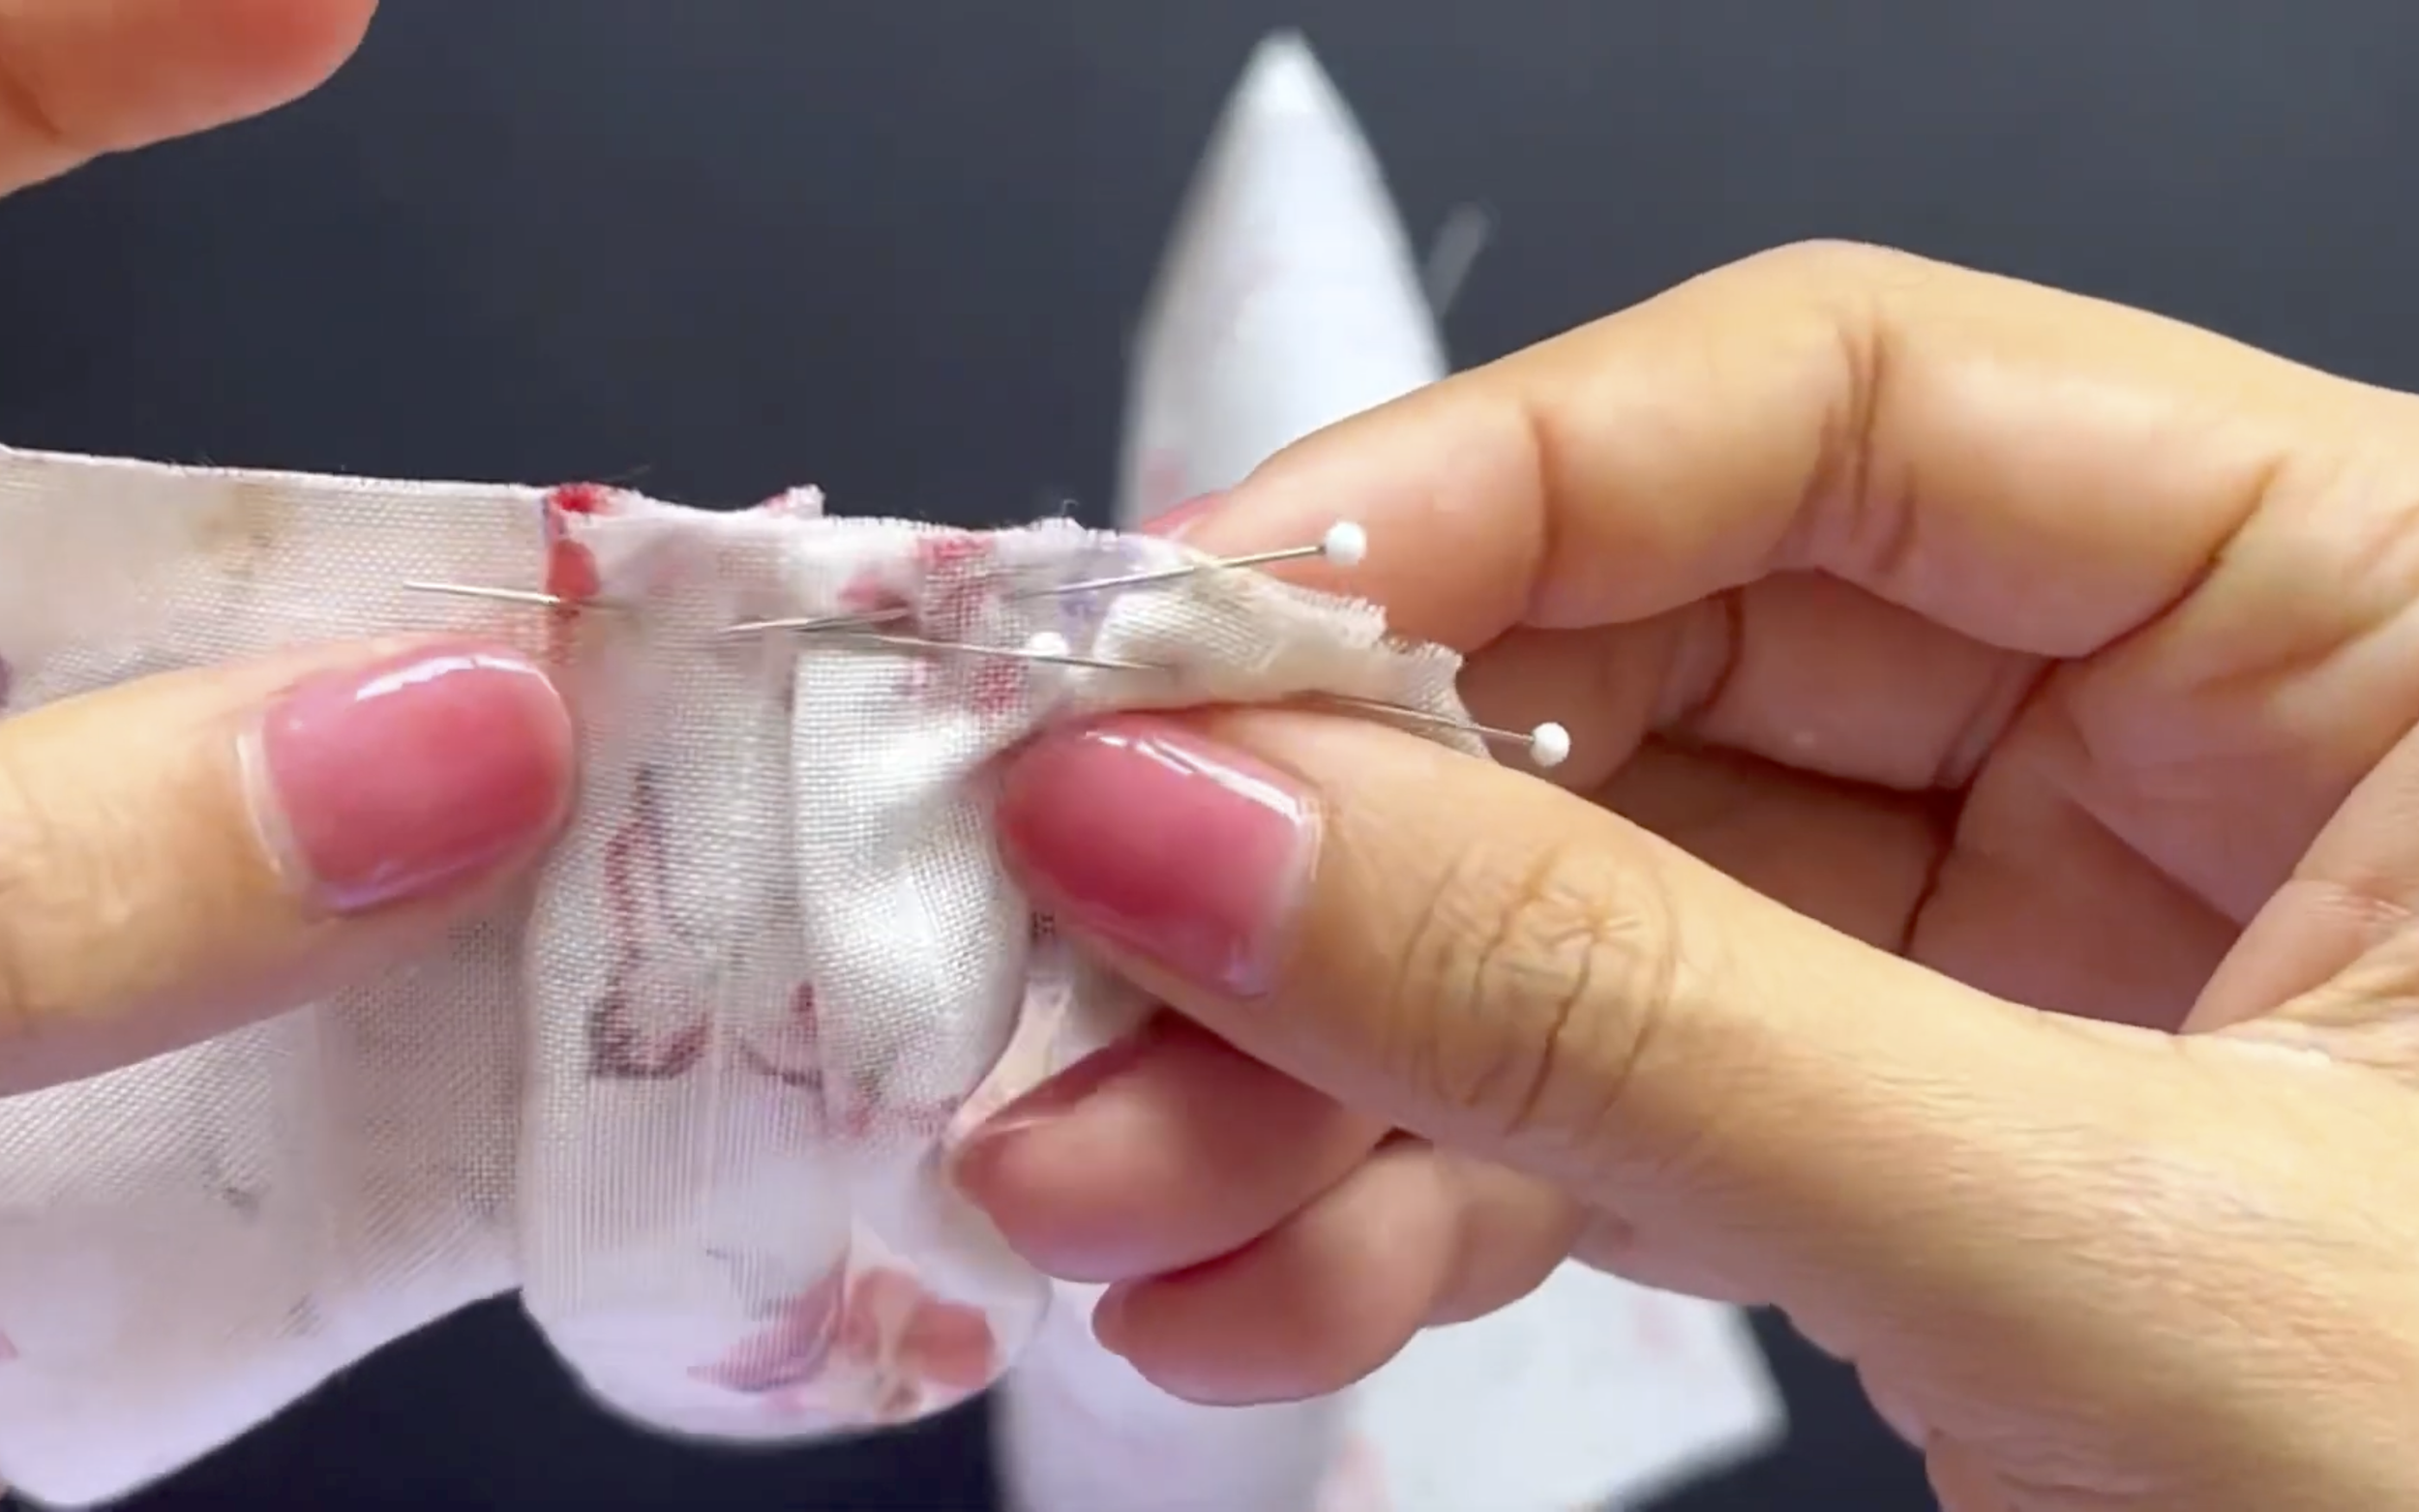
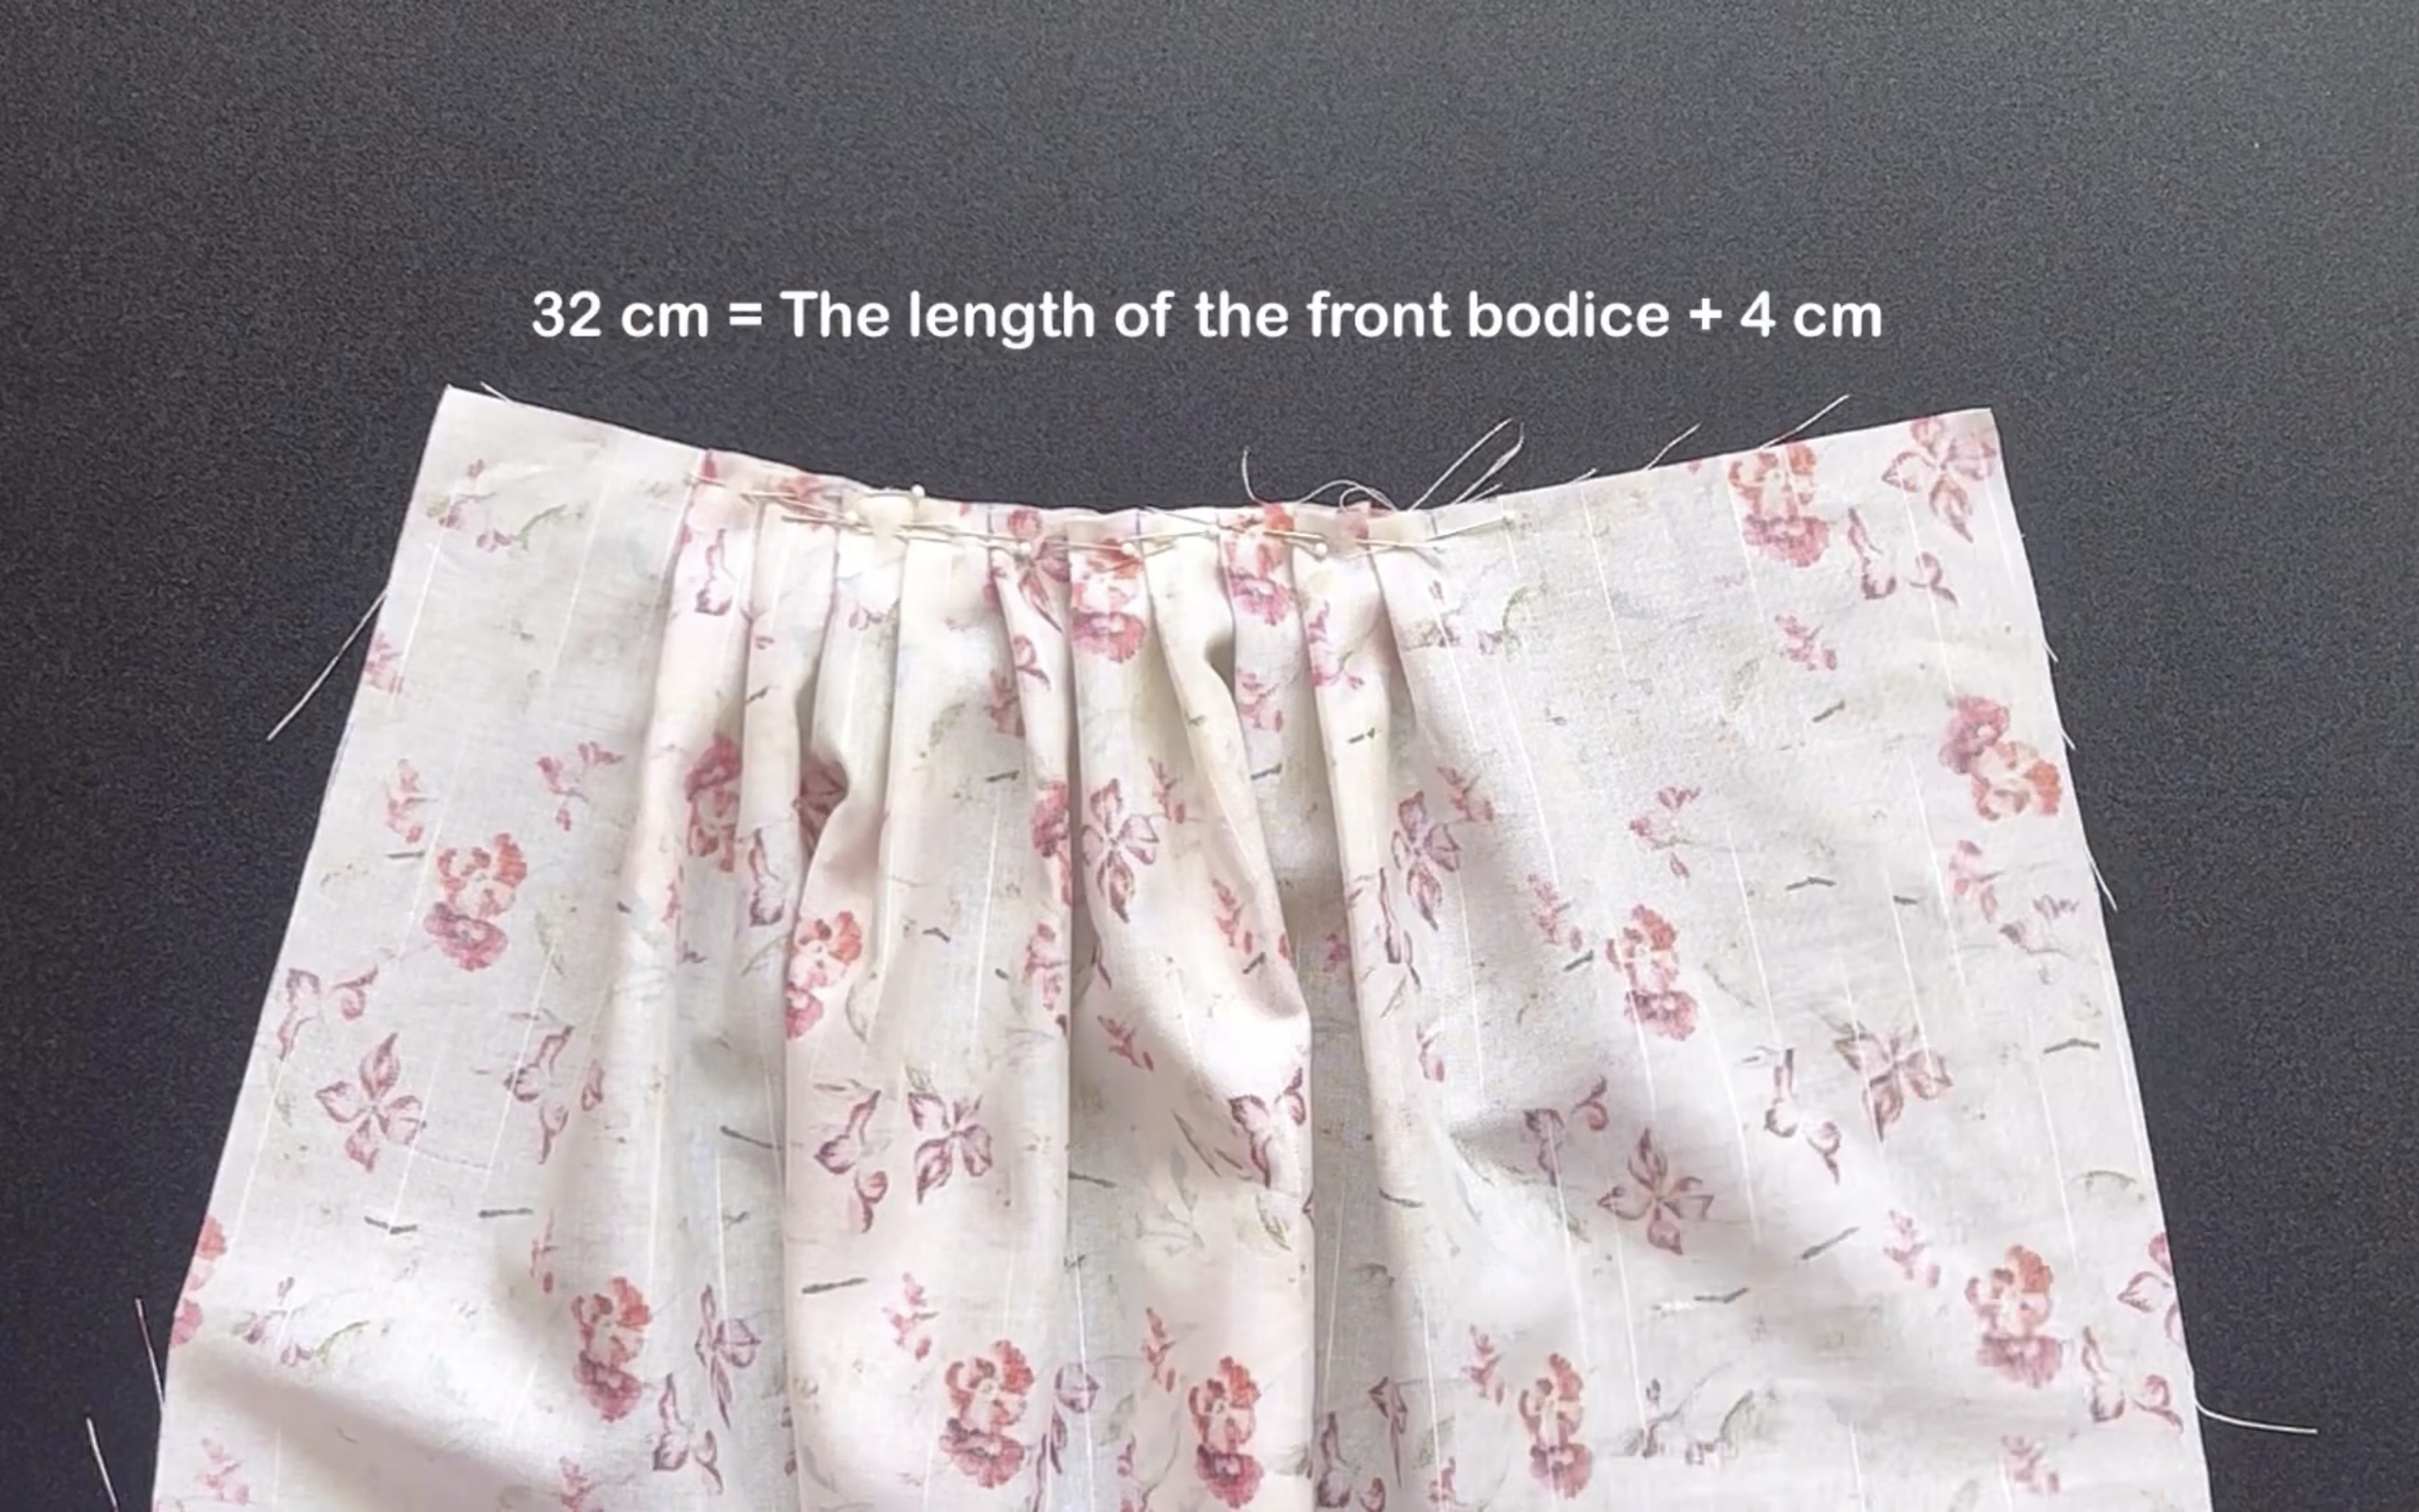
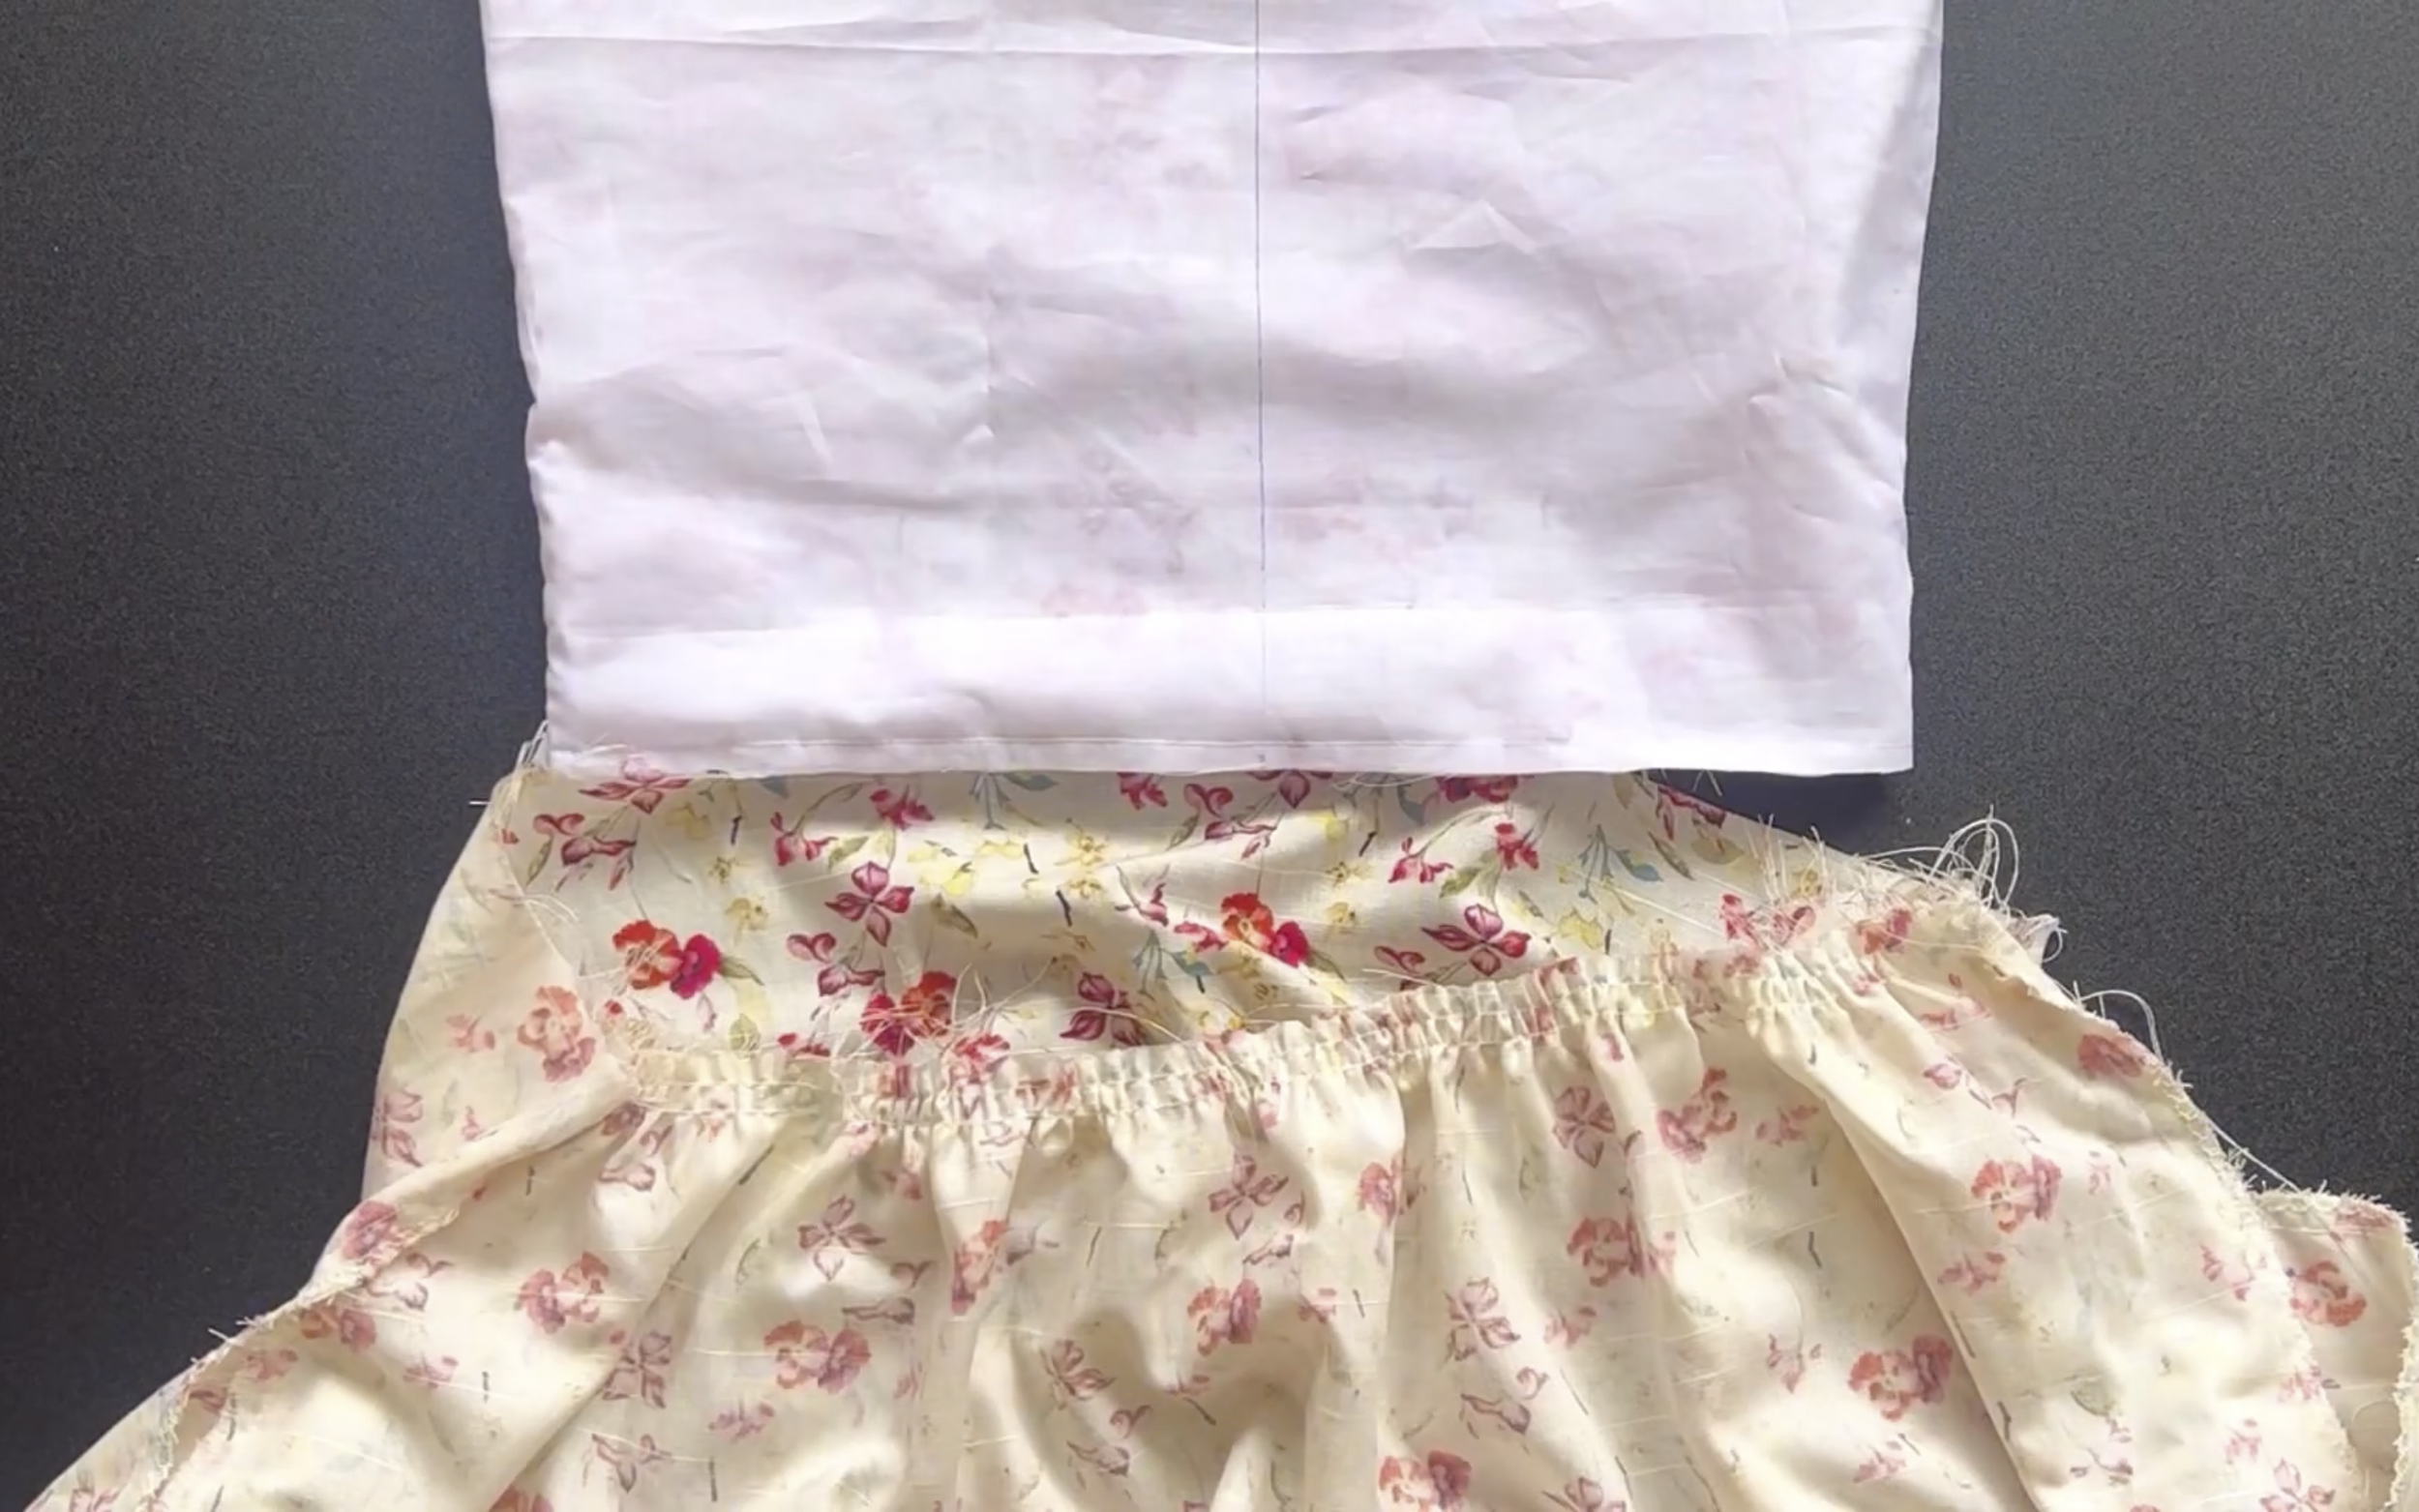
At the top of the skirt, make two loose seams at the front first, then create gathering fabric there later.
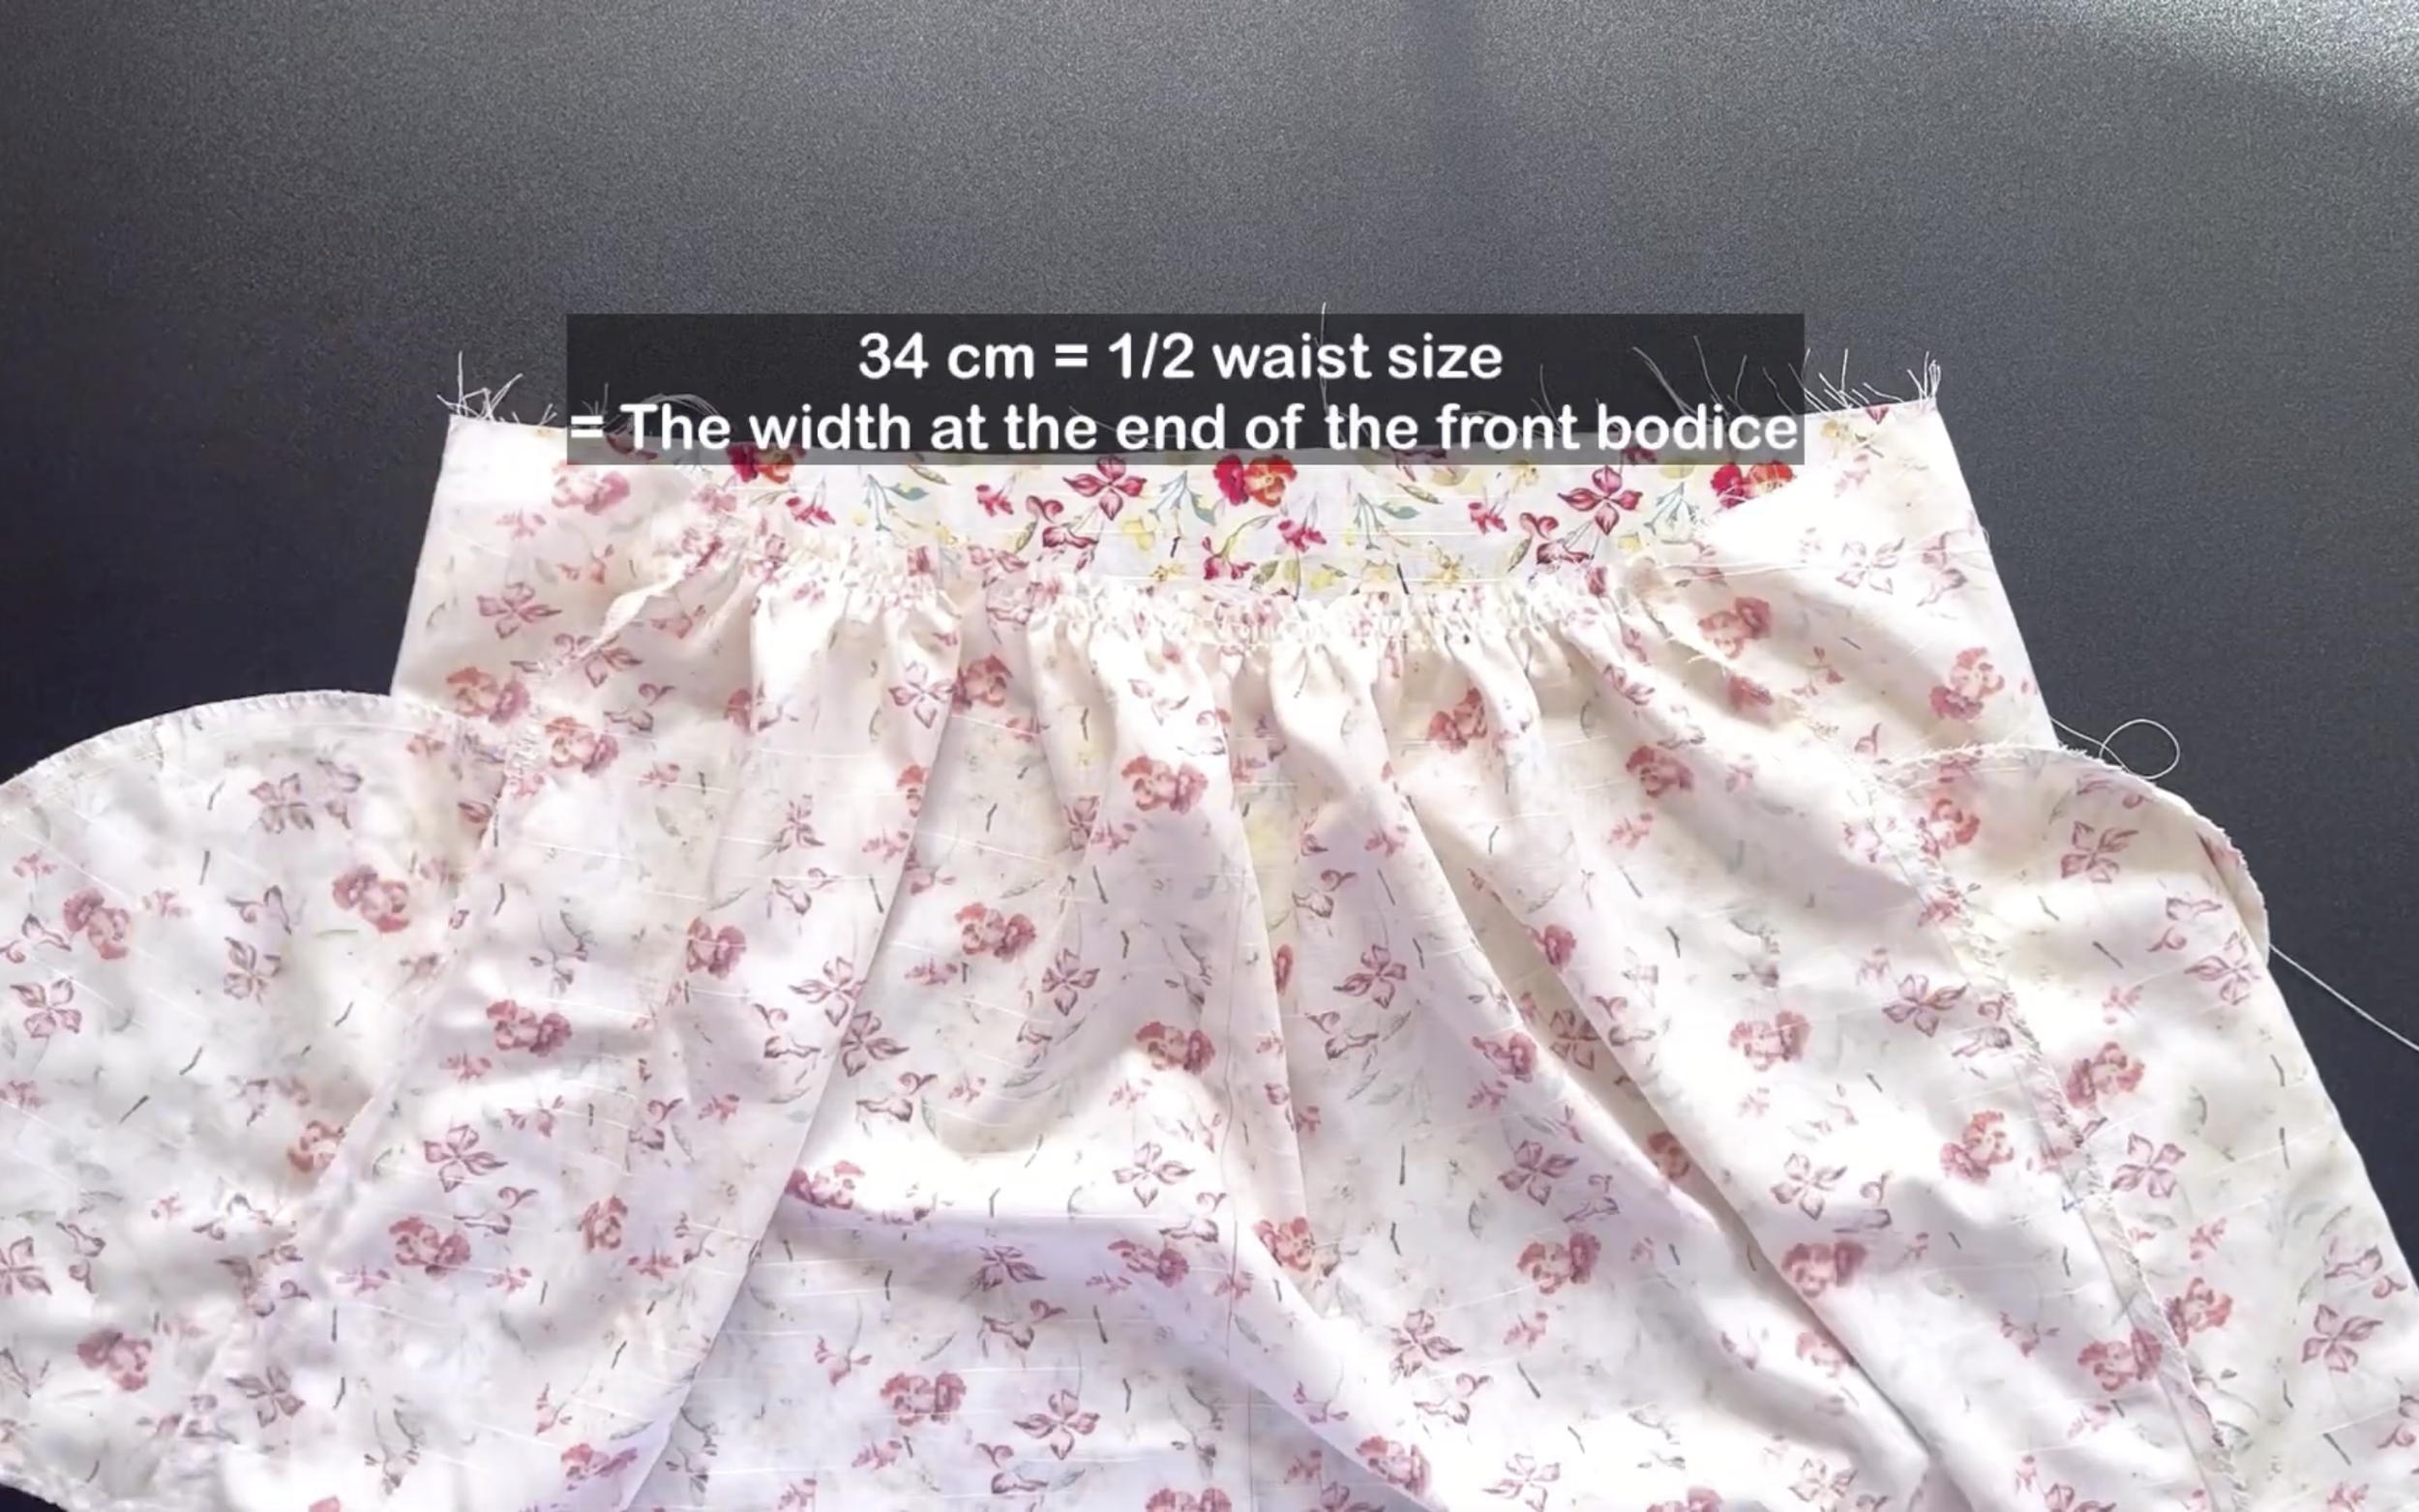
The final width of the gathering fabric should match the end of the front bodice so they can be connected later.
CONNECT THE BODICE AND THE SKIRT TOGETHER
The last step is connecting the bodice and the skirt together at the waist and sewing.
DIY Wedding guest dress (Making a beautiful dress in the simple way) | Step by step sewing tutorial
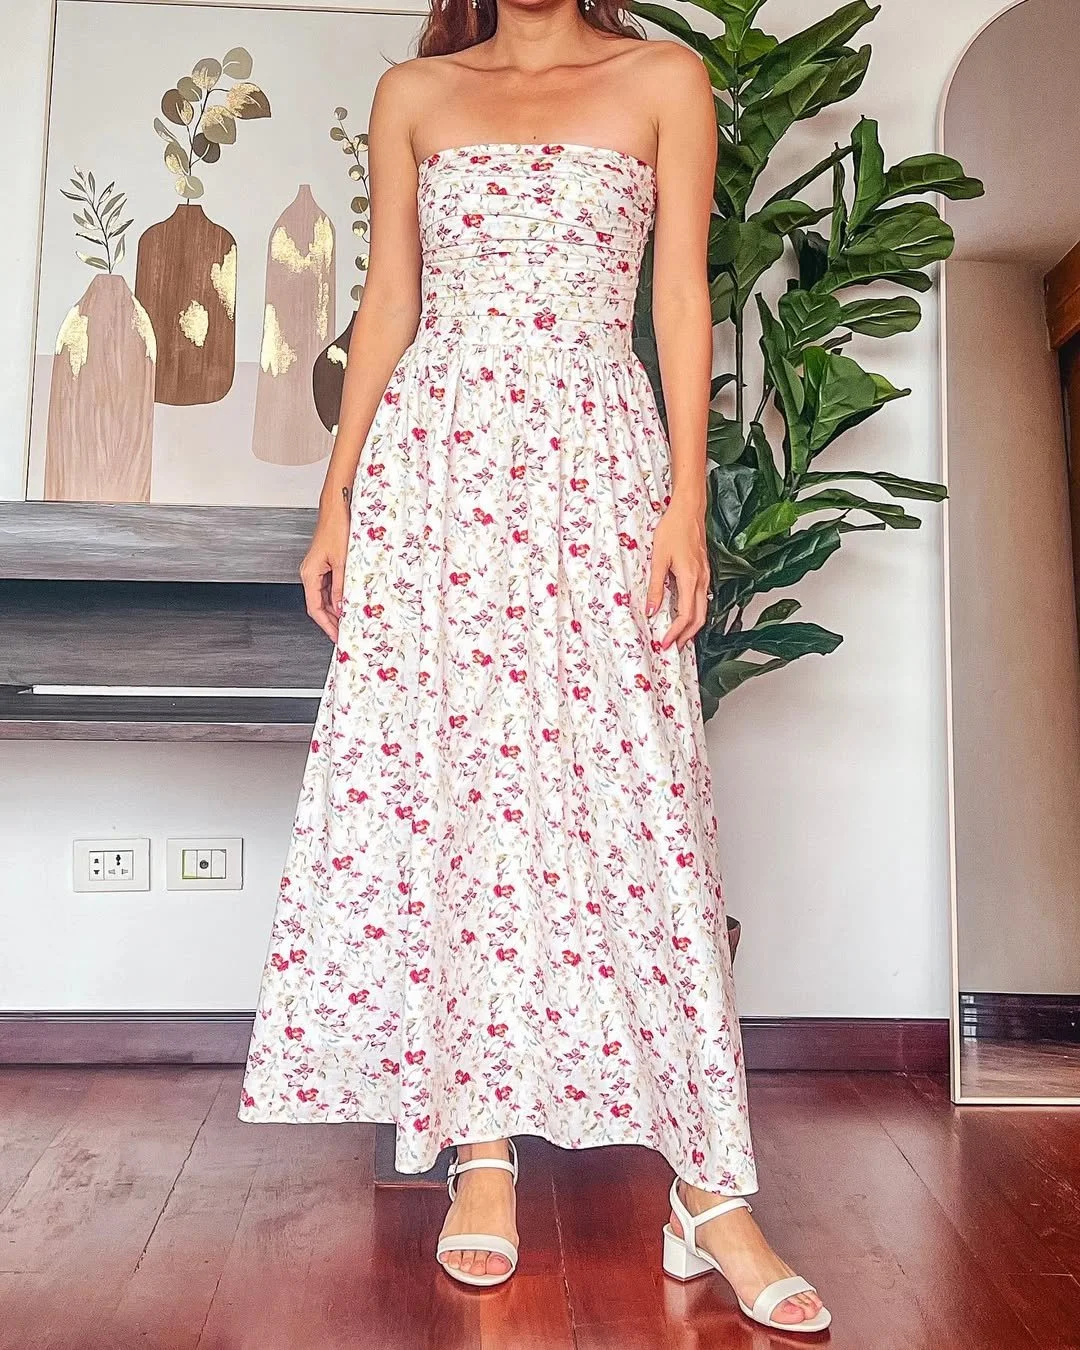
And that’s the final look!
This dress is the perfect mix of femininity, elegance, and a touch of sexiness. Plus, the design helps to flatter the figure effortlessly—just right for a cocktail or wedding guest dress.
I hope you found my step-by-step guide helpful and inspiring.
If you’re interested in making your own, give it a try and let me know how it goes!
Until then, happy sewing!