Making my Valentine's dress (Boat neck, batwing sleeve, wrap look) | Beginner sewing project

Making my Valentine's dress (Boat neck, batwing sleeve, wrap look) | Beginner sewing project
Welcome or welcome back to my channel. My name is Jess and I love doing DIY, making clothes in a "simply but pretty" way.
In today's tutorial, I'm going to share with you how I made my Valentine dress. This dress looks like a wrap dress. But it's not totally a wrap dress. It comes with the boat neck and batwing sleeve in midi length to have the feminine look. This beautiful dress is made from such a simple pattern.
So I hope you will try it out. Let’s get started!
WHAT YOU’LL NEED
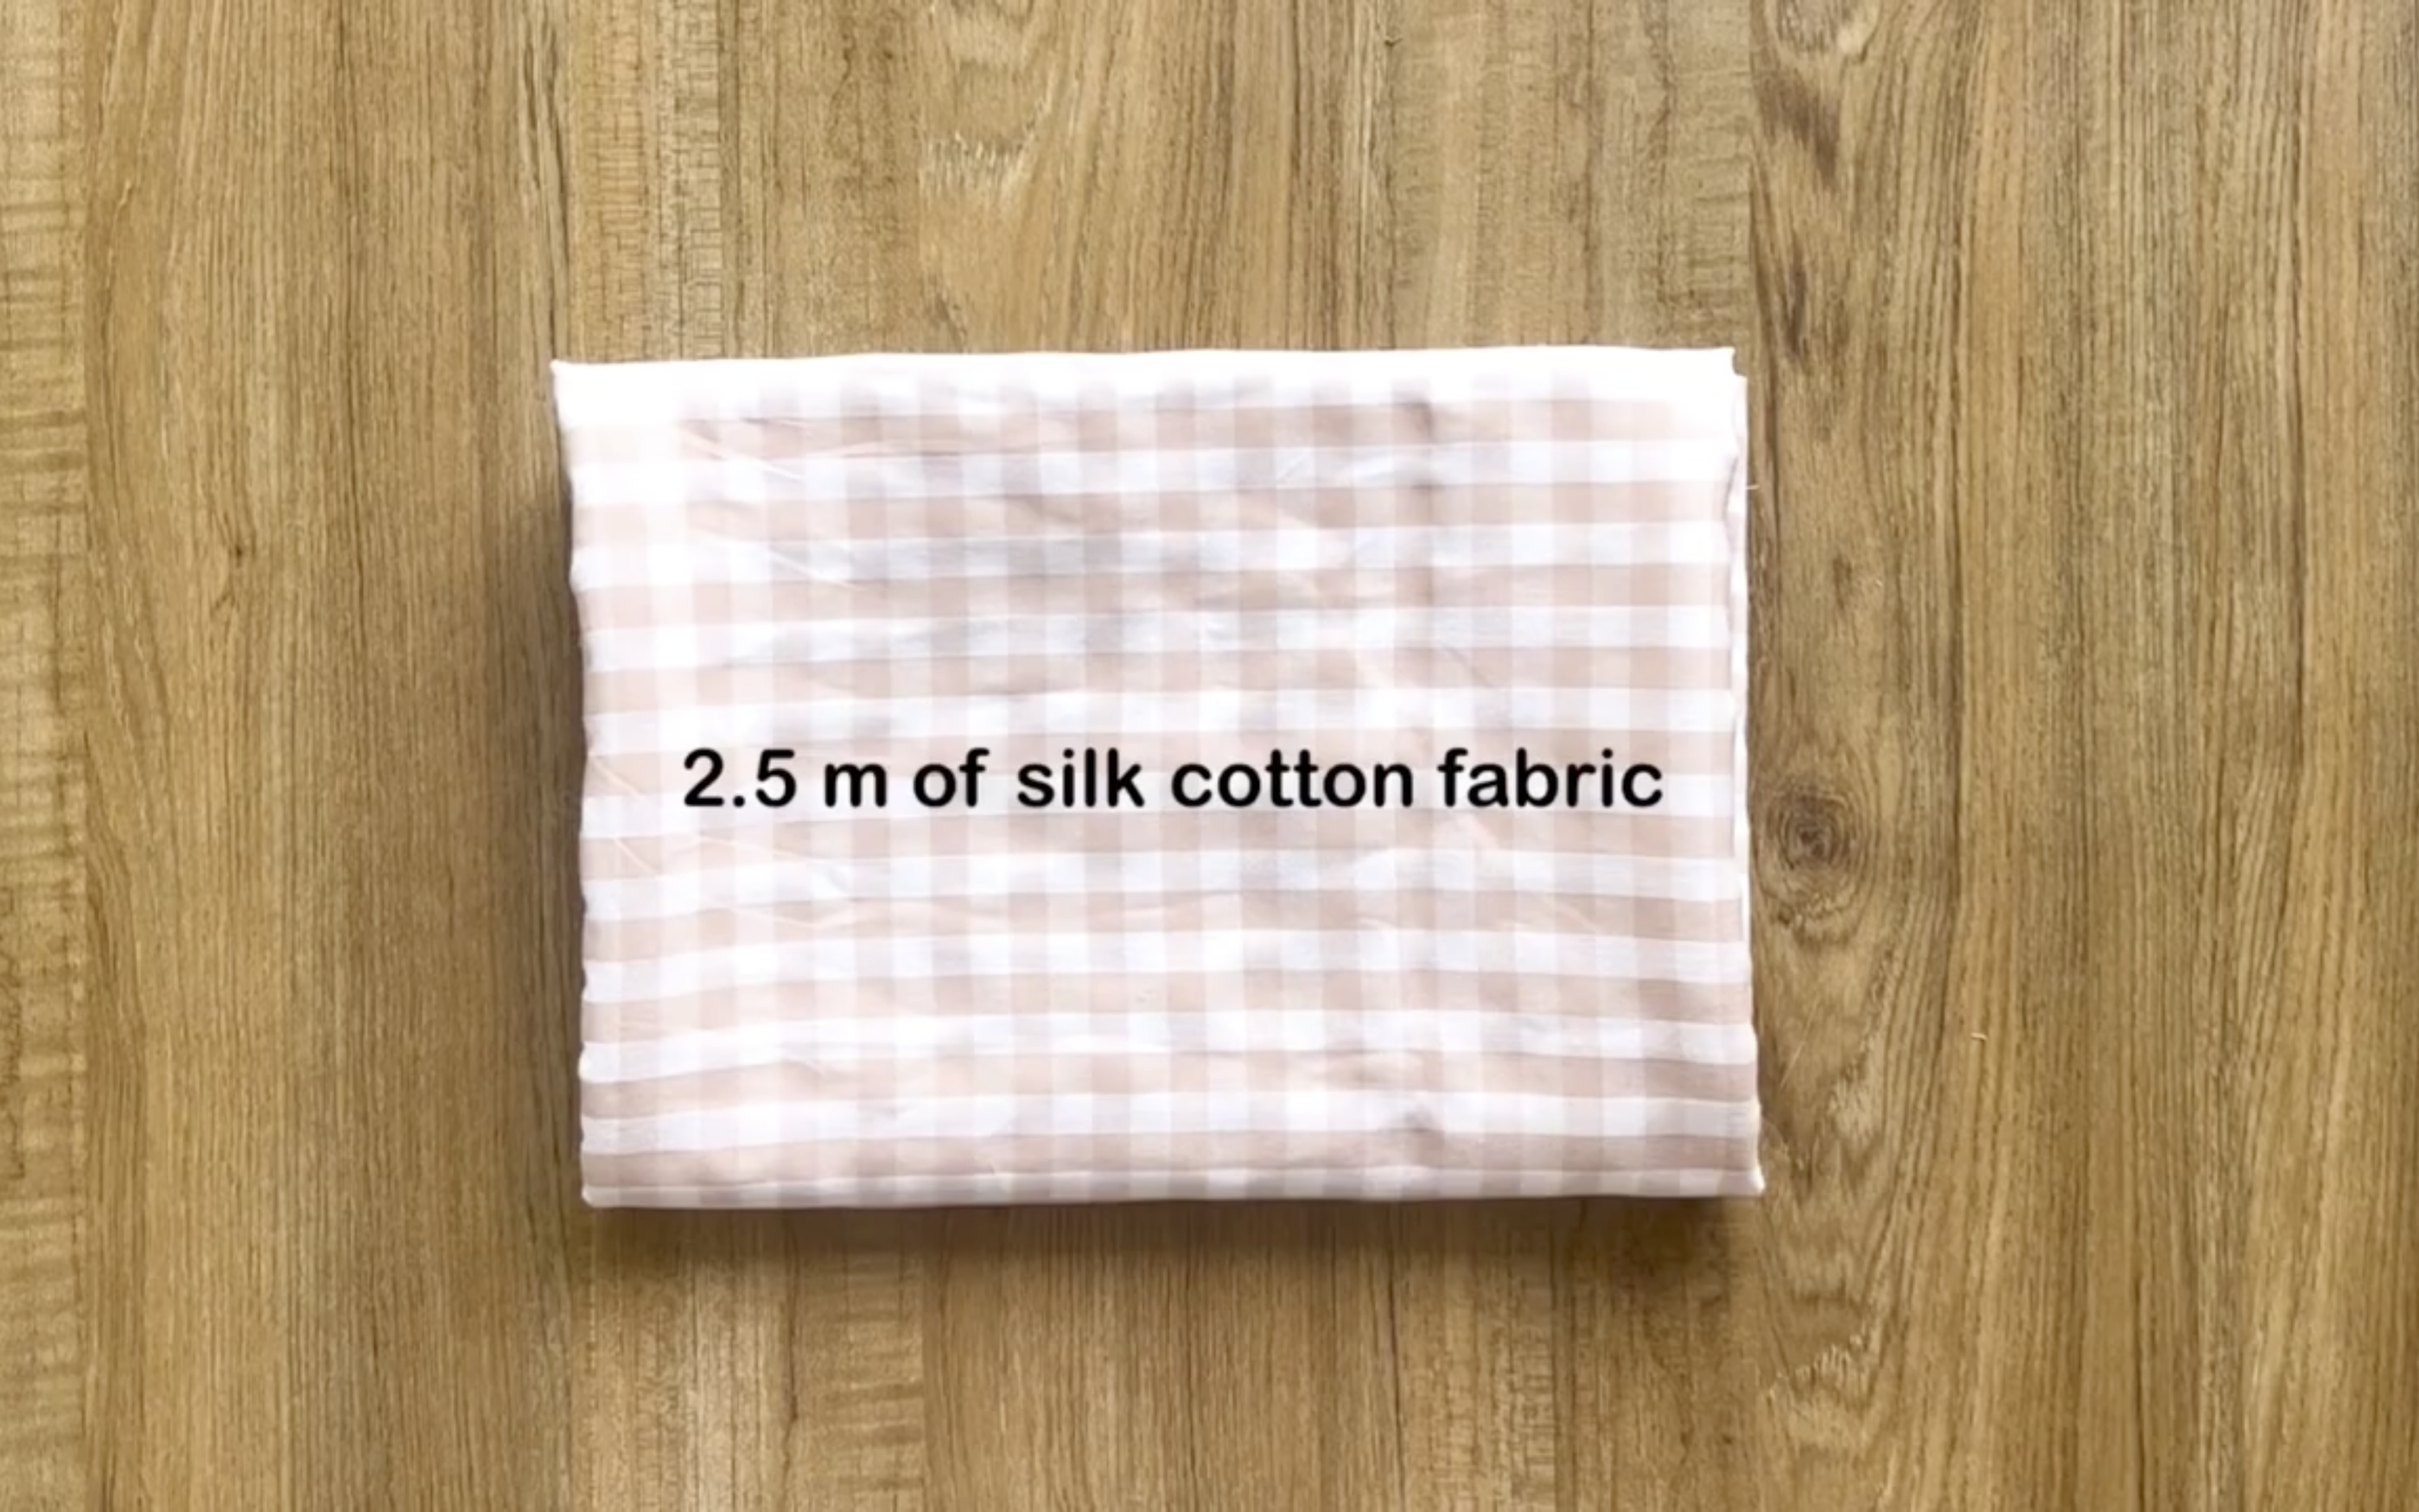
2.5m silk cotton fabric
Pattern paper
Sewing machine
Pins
Scissors
Ruler
Long stick
Zipper
Buttons
MAKING THE PATTERNS
Here’s the pattern for the project. To get a clear understanding of all the measurements needed for the pattern, watch the video from 1:12 to 7:16.
Remember, you can adjust these measurements to fit your own dimensions!
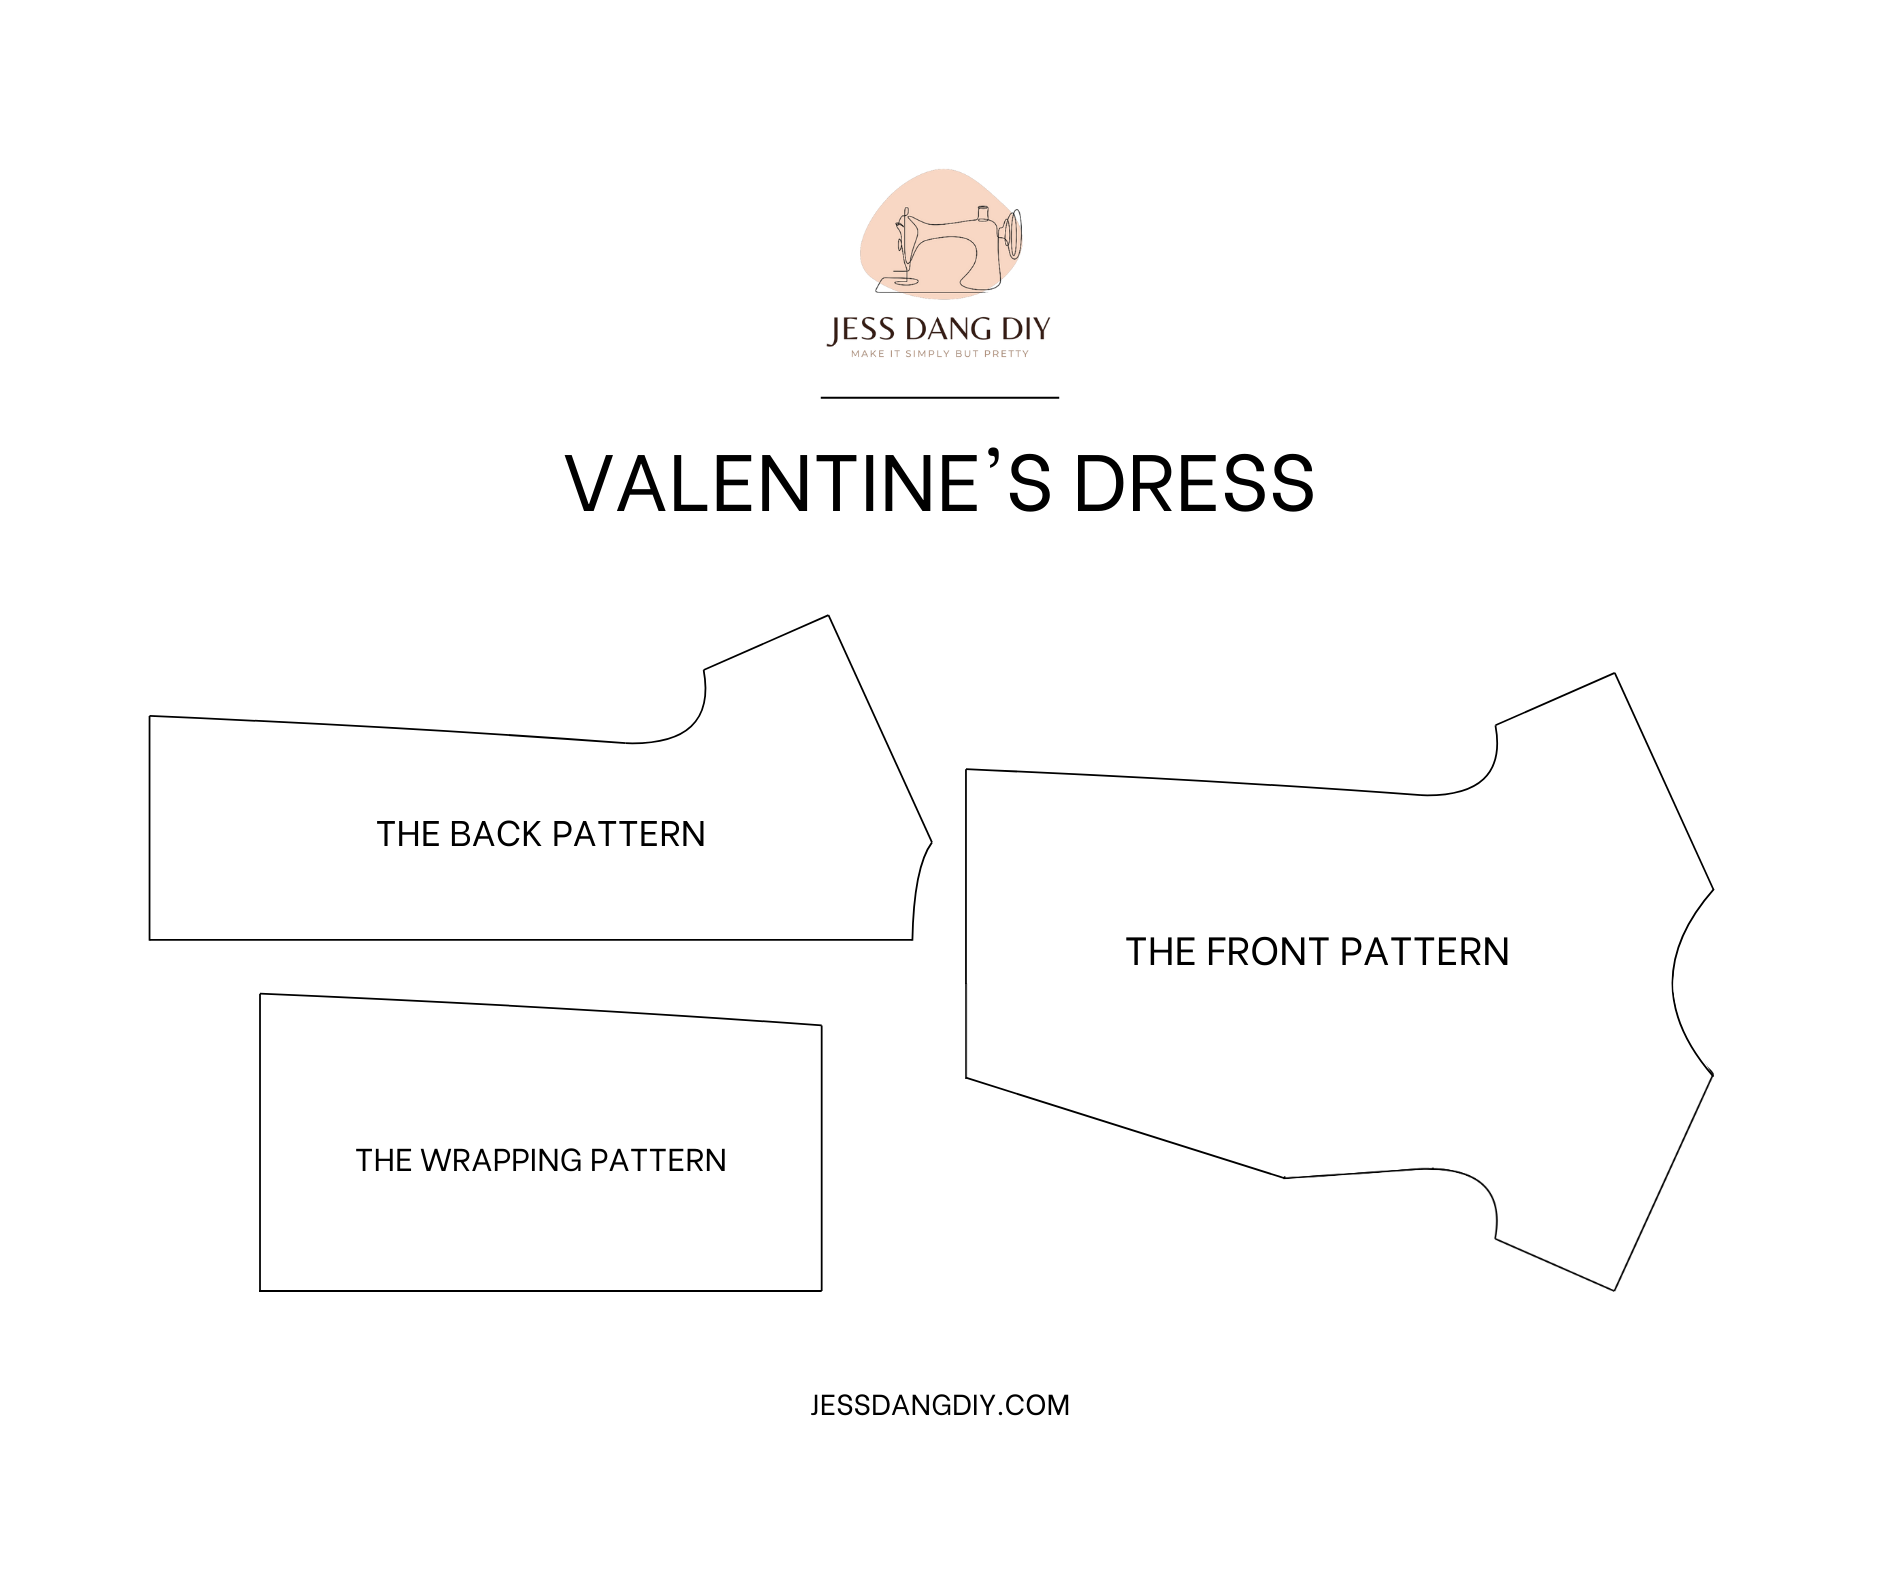
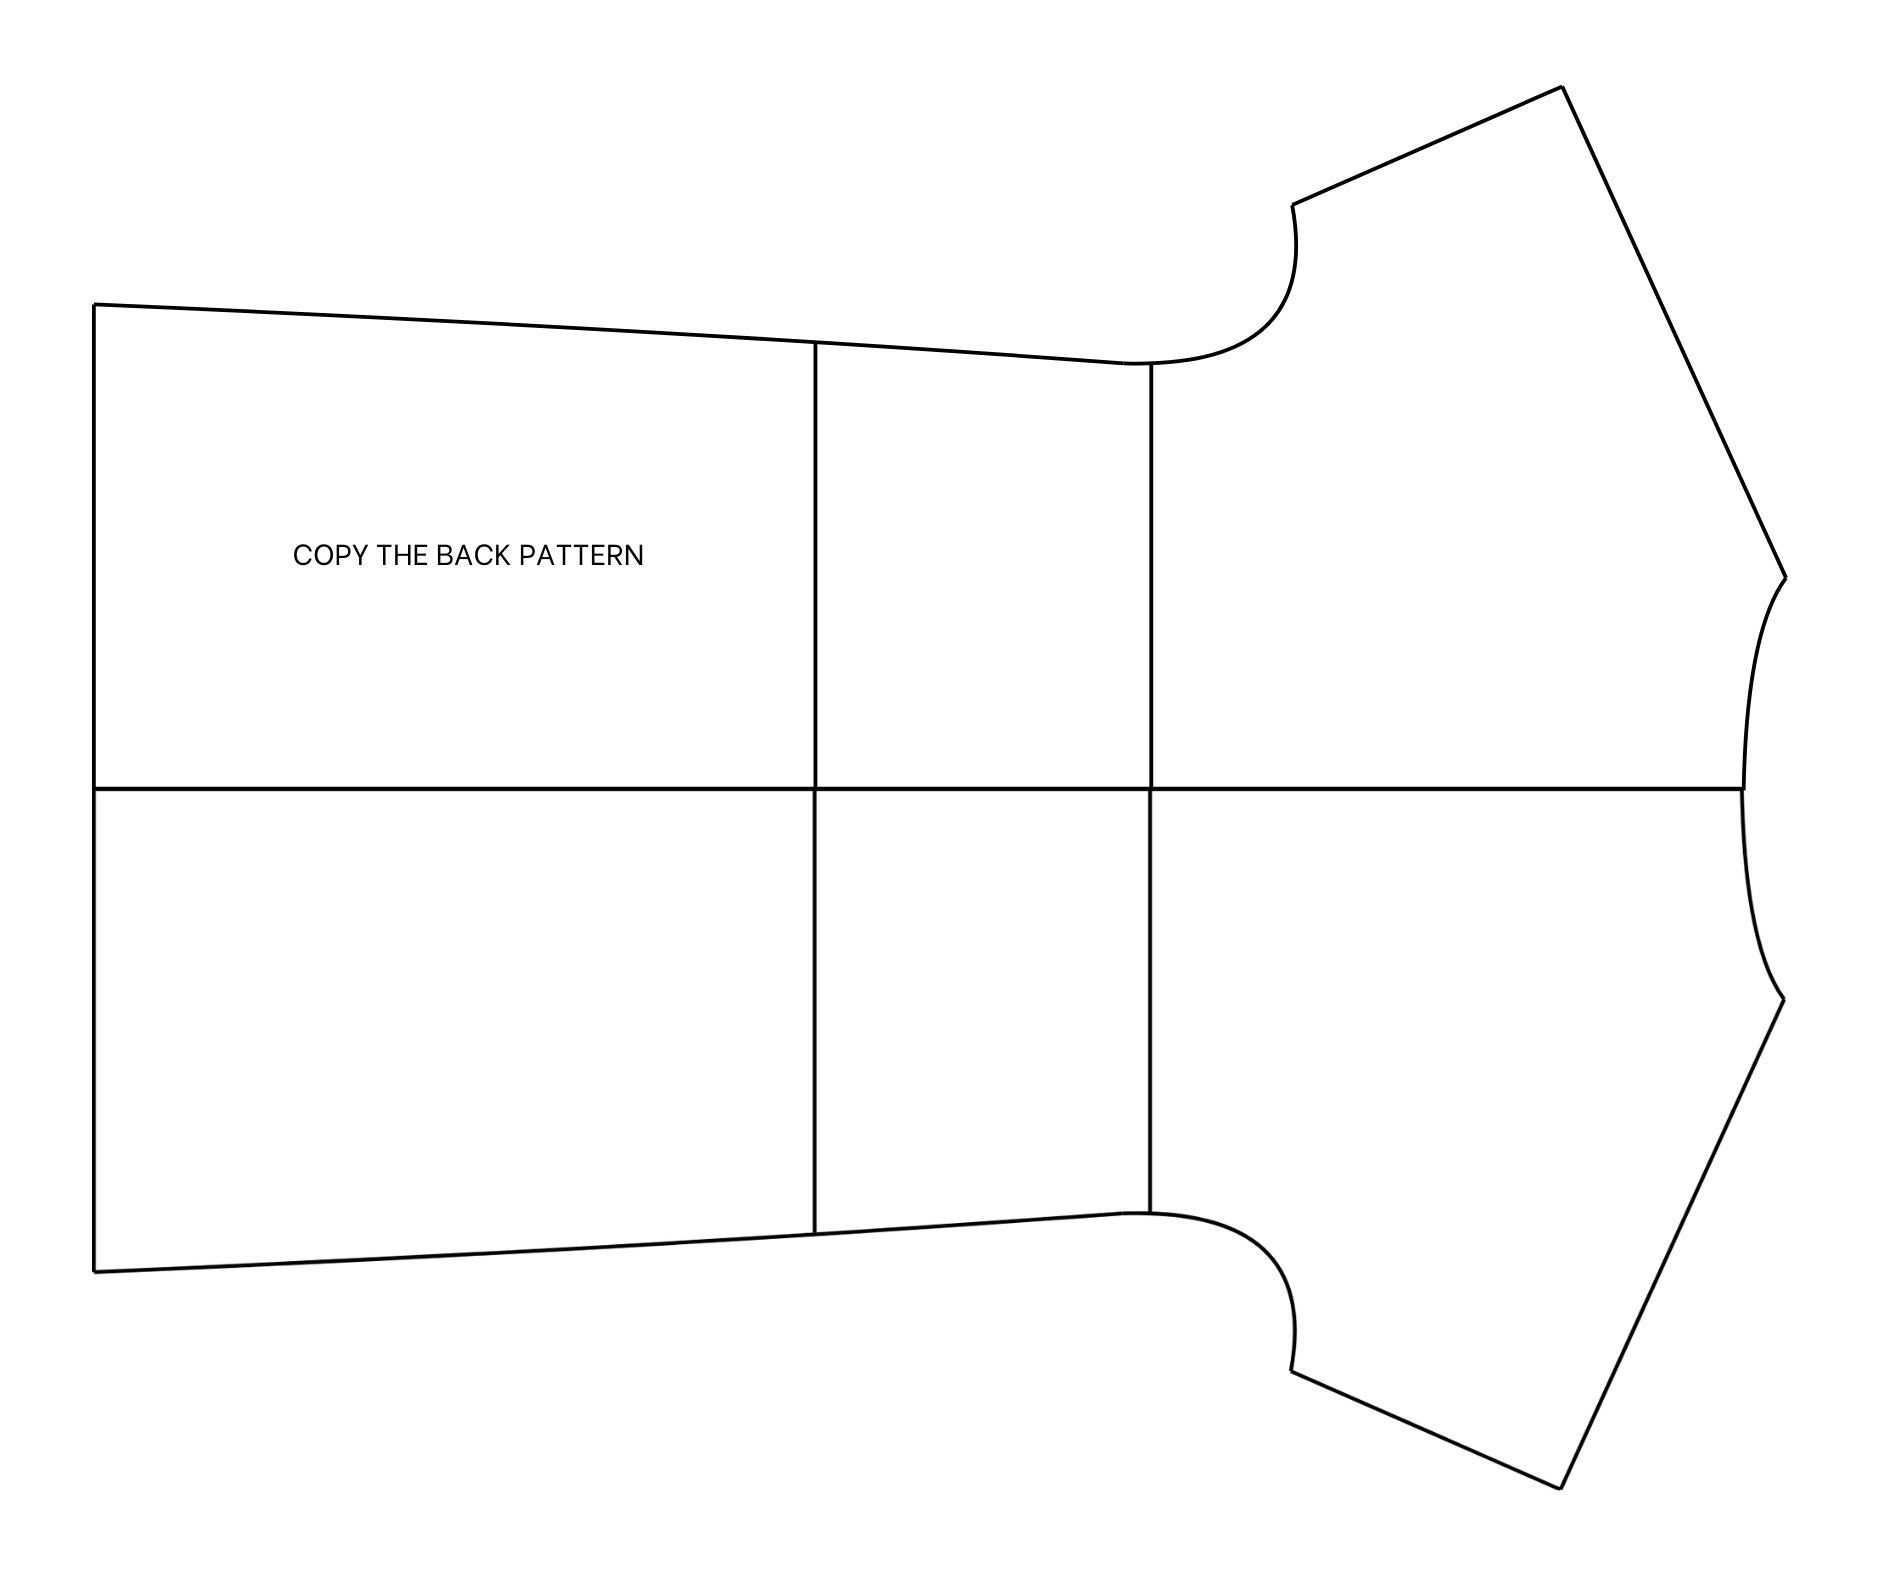
THE BACK PATTERN


To make the back pattern, draw a straight line cutting the edge horizontal line first.
From the first straight line, draw another one 2 cm next to it.
From the end of the second straight line, mark up 14 cm, which is half of the neck size that is wanted.
Then, draw a perpendicular line through that mark. The length of this line will be 3.5 cm, which is the depth at the back of the dress.
Then, keep drawing another straight line at the end of this line.
After that, draw a curved line to connect the end of the new straight line to the mark on the second straight line to create a neckline for the back pattern.
From the end of the second straight line, keep making another mark at 18 cm, which is half of the shoulder size.
Then, draw a perpendicular line to that mark and cut the first straight line at one point.
After that, connect this mark to the top of the neckline to create the shoulder line of the back pattern.
Extend the length of the shoulder line to have the sleeve line of the dress.
The length of the sleeve line will be 30 cm, which is the length from the shoulder to the elbow or wherever desired. Then, draw a perpendicular line from the end of the sleeve line. The length of this line will be 18 cm, which is half of the wrist at the end of the sleeve that is wanted.
From the second straight line, draw another one at 42 cm, which is the length from the shoulder to the belly button, so this straight line will be the waistline.
From the end of the waistline, mark up 25 cm, which is a quarter of the bust size plus 5 cm.
Then, draw a curved line to connect that mark to the end of the sleeve line to create the armpit line of the back pattern.
From the waistline, keep drawing another straight line at 23 cm, which is a quarter of the hip size. This is the hip line of the back pattern.
From the second straight line, draw another one at 120 cm, which is the length from the shoulder to over the knee. This is the desired length of the dress and also the ending line of the back pattern.
From the end of the hip line, mark up 28 cm, which is a quarter of the hip size plus 5 cm.
From the end of the ending line, mark up 30 cm, which is a quarter of the hip size plus 7 cm.
Then, connect the two new marks to the one on the waistline to create the sideline of the back pattern.
Redraw it a bit to make the line nicer. Then, add 1 cm for seam allowance later.
This pattern needs to be cut in folded fabric at the edge line.
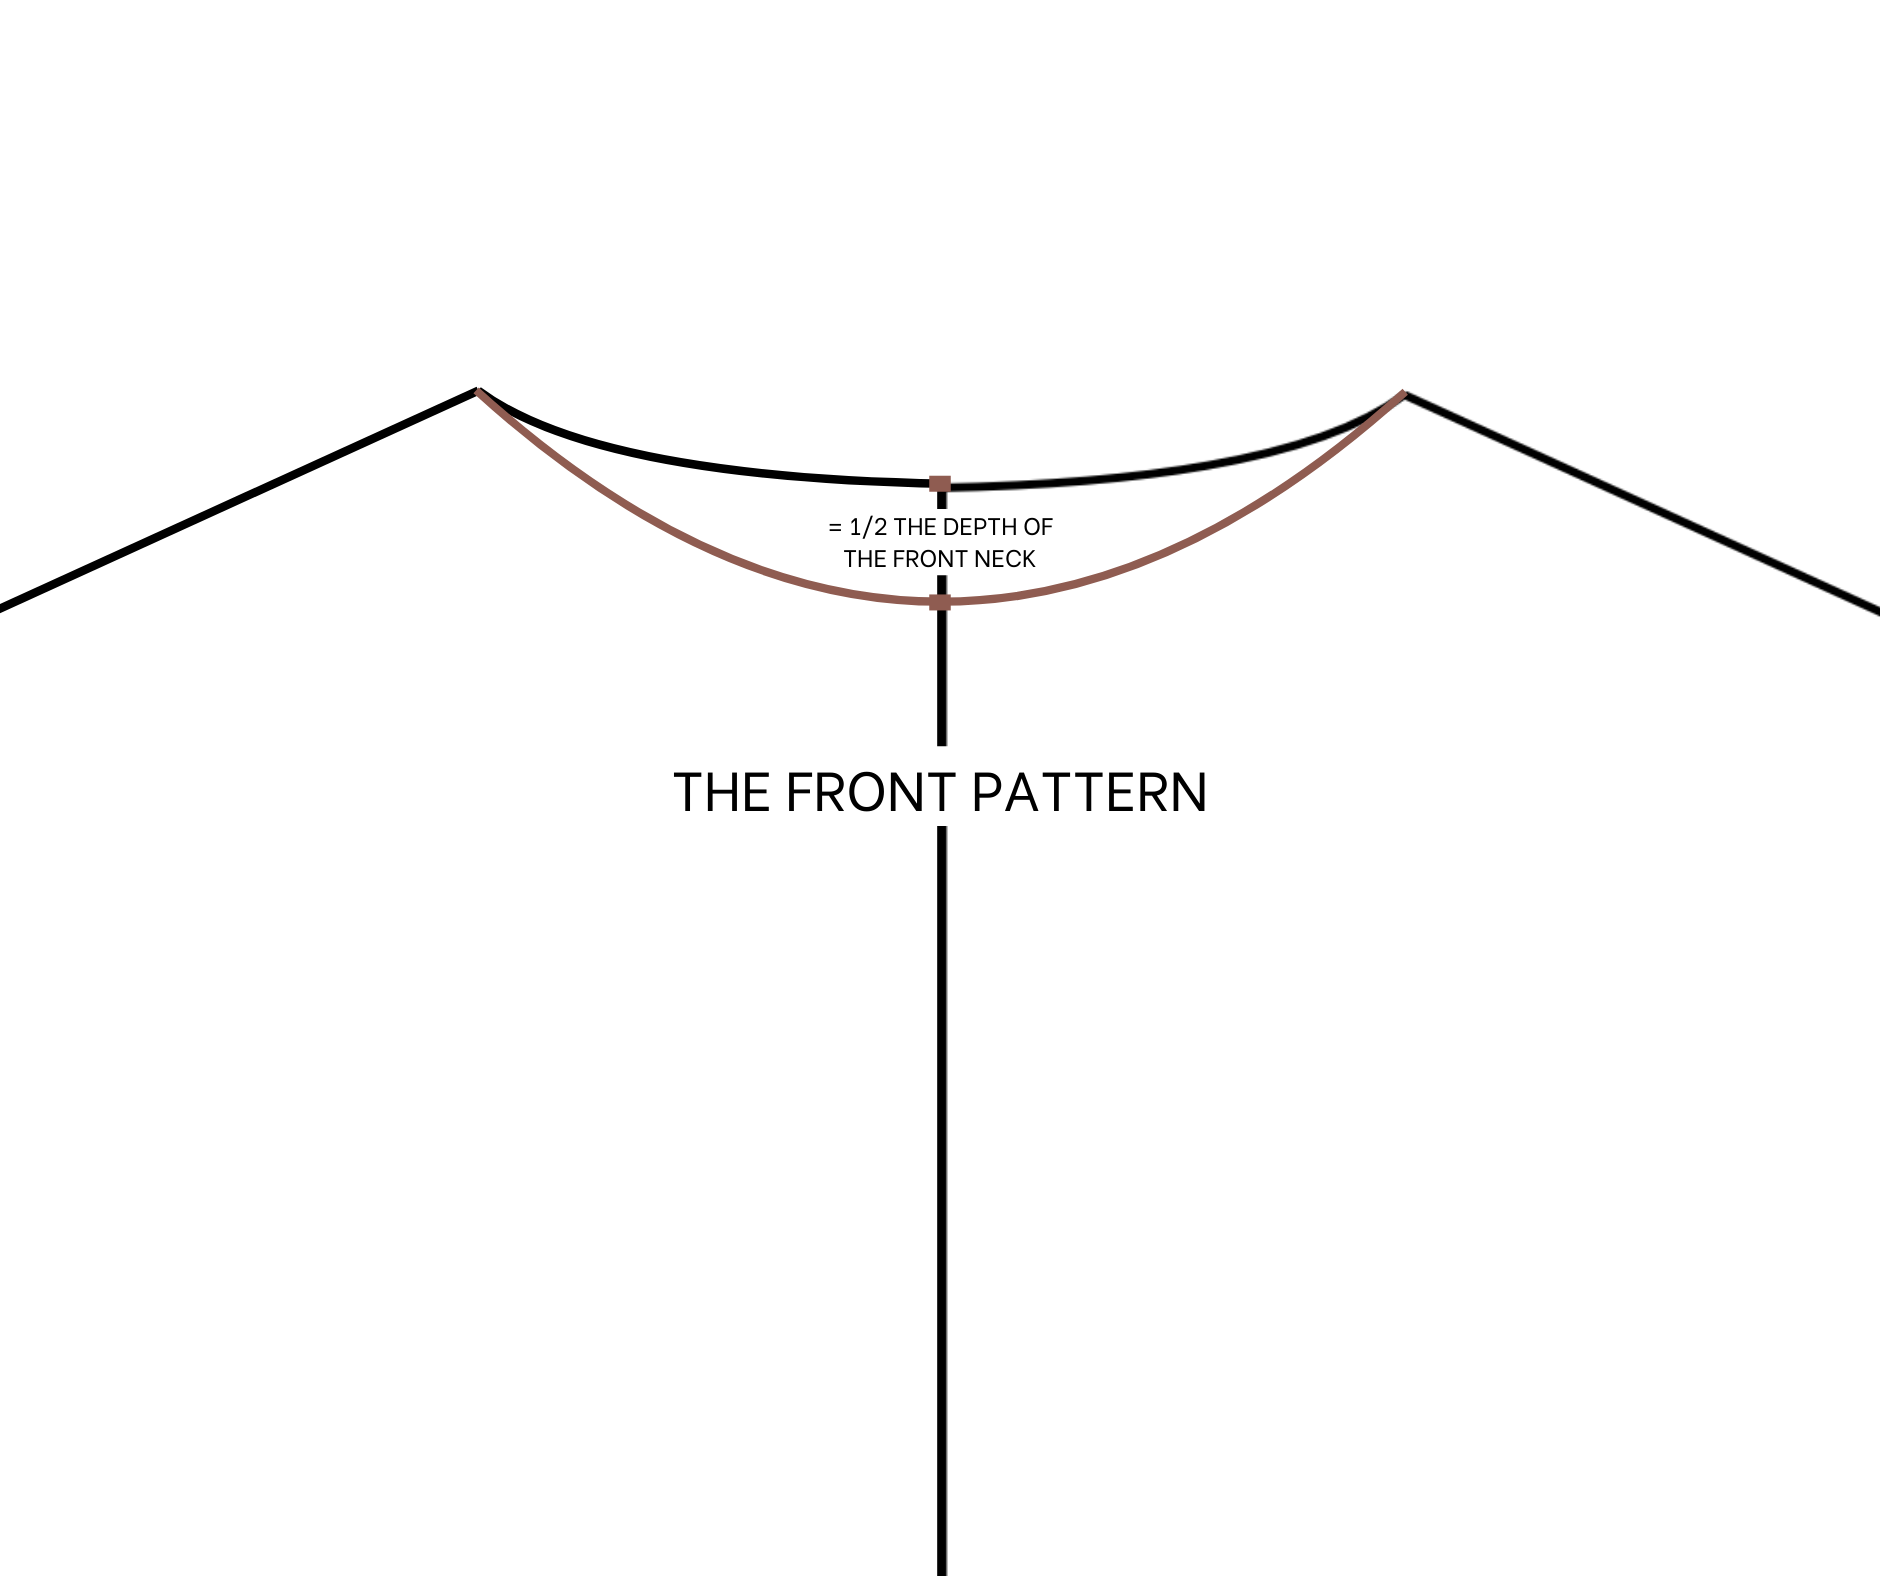
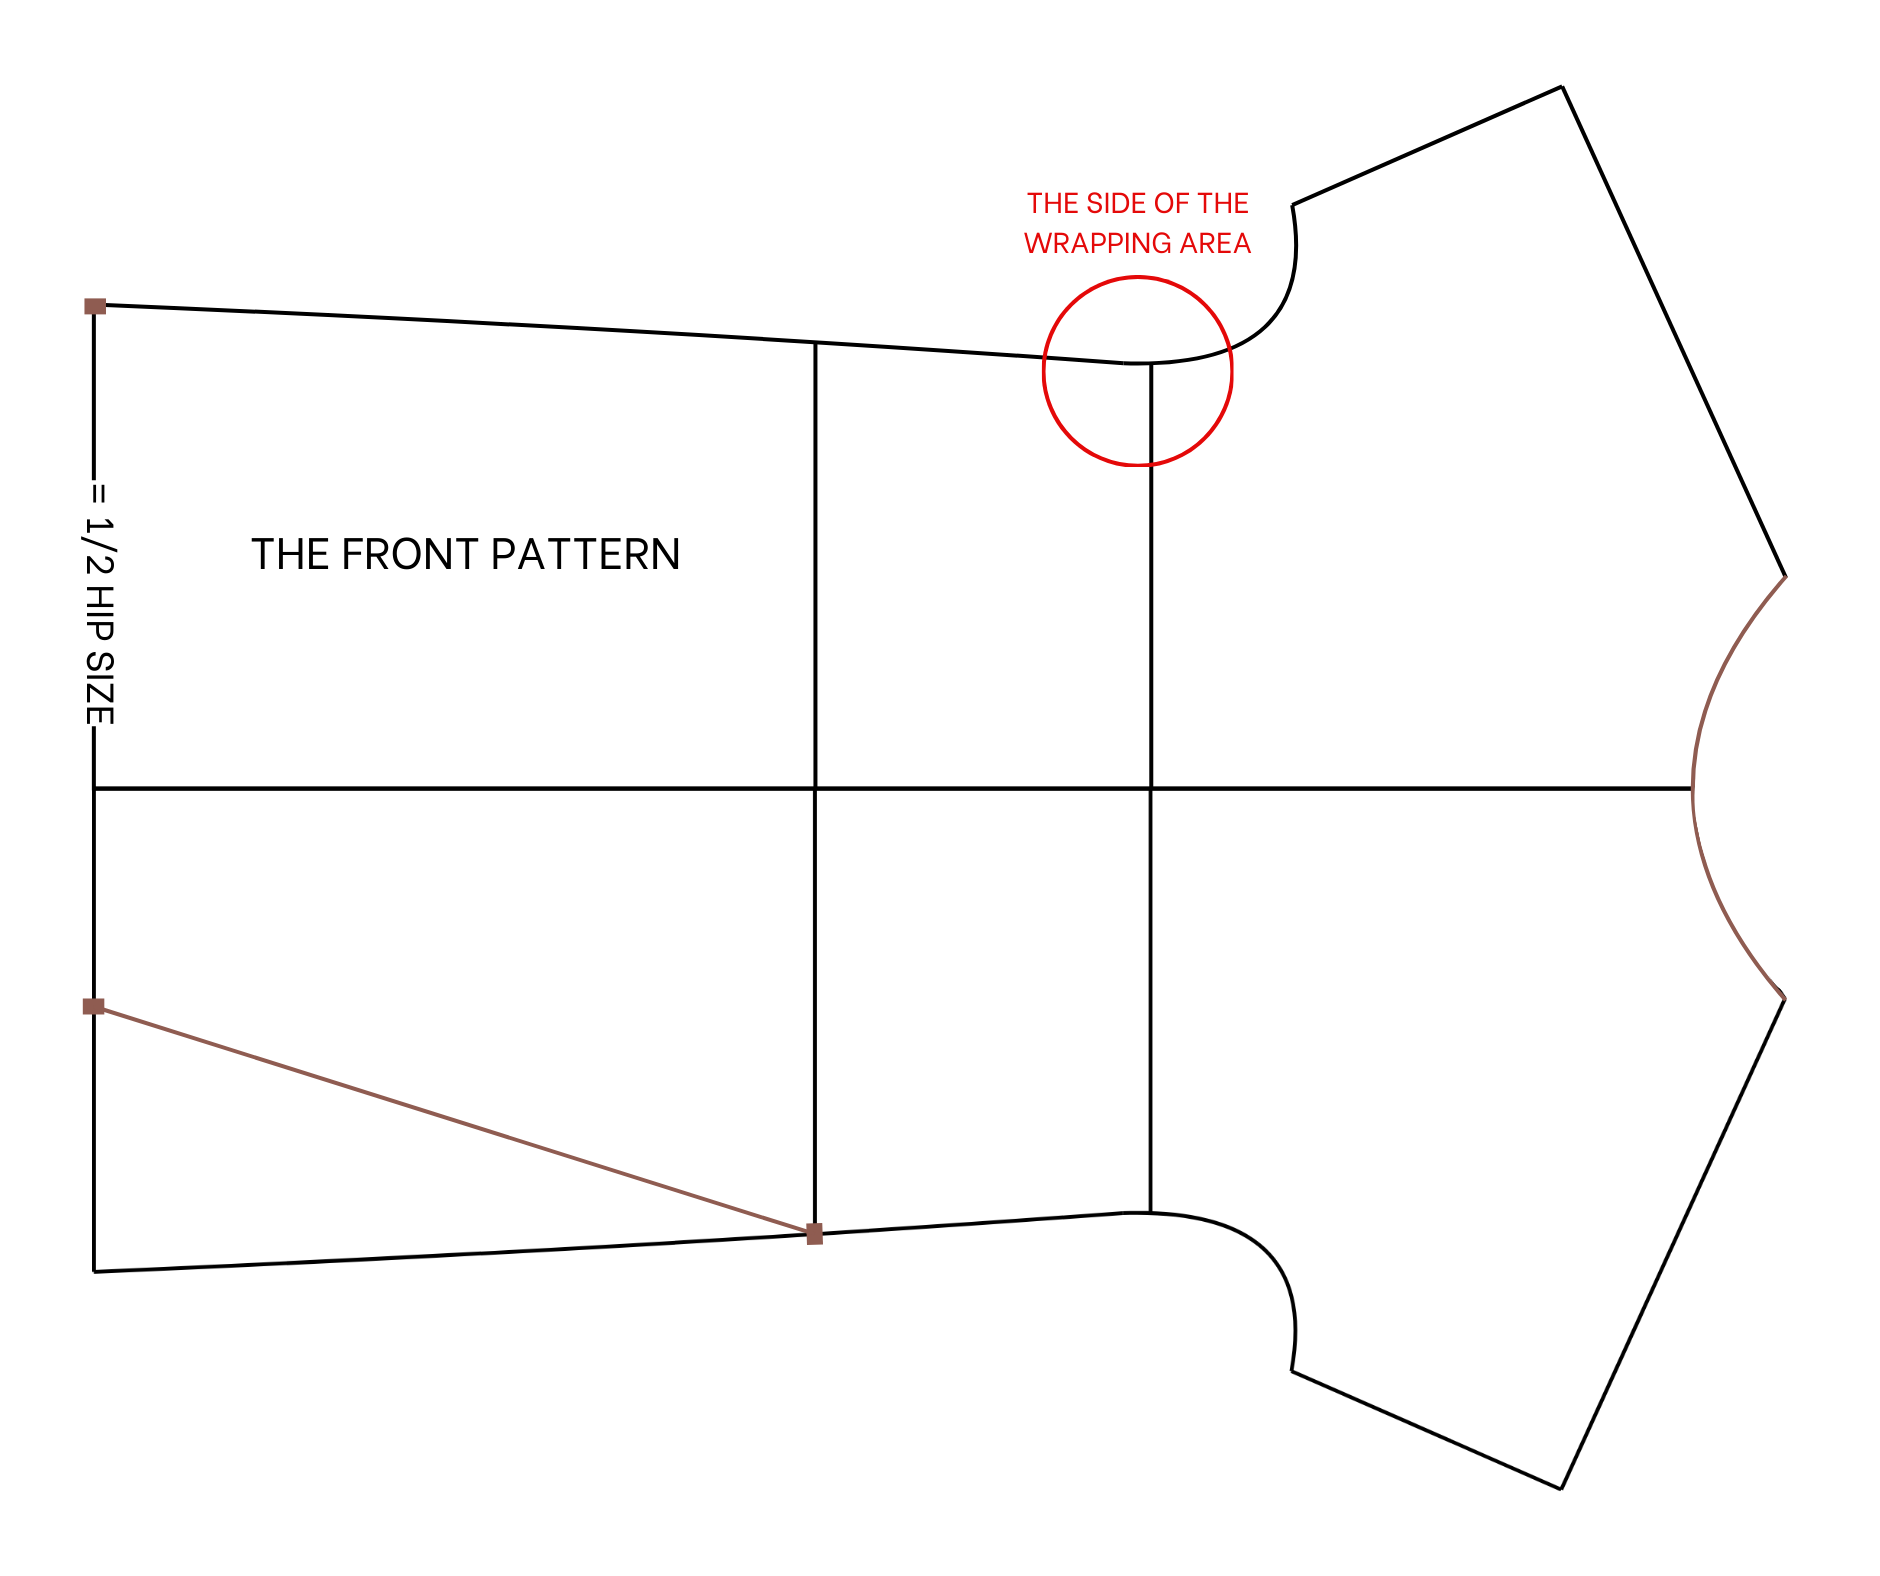
THE FRONT PATTERN
Moving to the front pattern, copy the back pattern onto the paper first.
Then, make the neckline 3.5 cm lower than the current one, so the depth of the front neckline will be 7 cm.
Then, redraw the curved line to have the neckline for the front pattern.
As it is a wrap dress, choose the side where the tie will be placed first.
Then, from the end of the sideline, mark at 46 cm on the ending line, which is half of the hip size.
After that, connect this mark to one end of the hip line next to it to create a slanted line. This is the open part of the dress and the skirt part, allowing more space when walking in the dress.
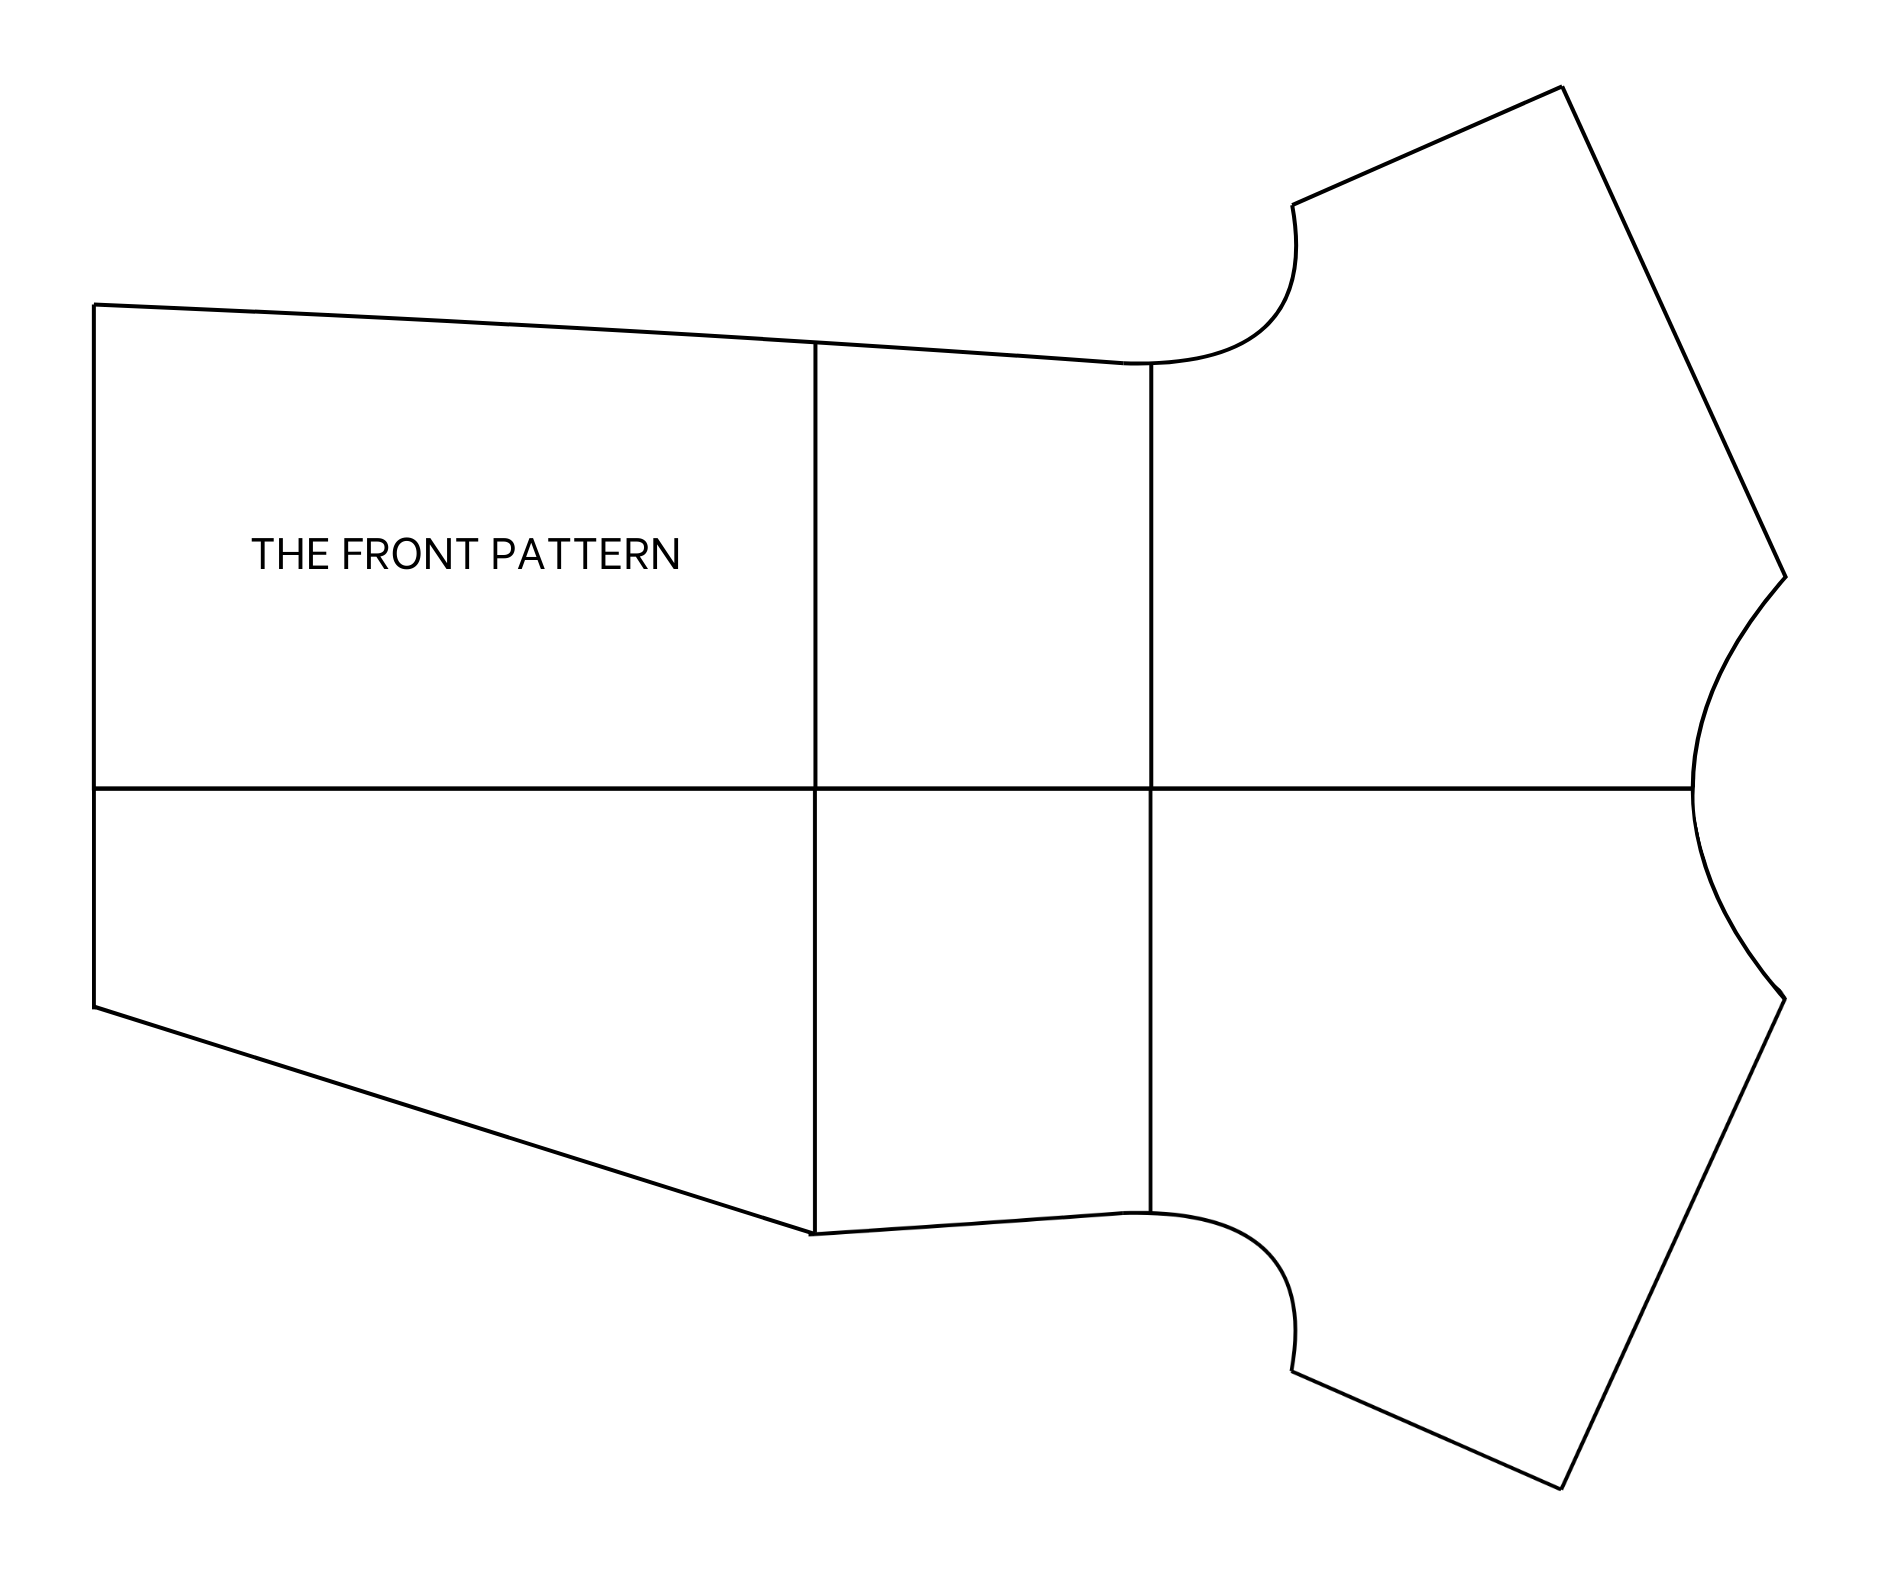
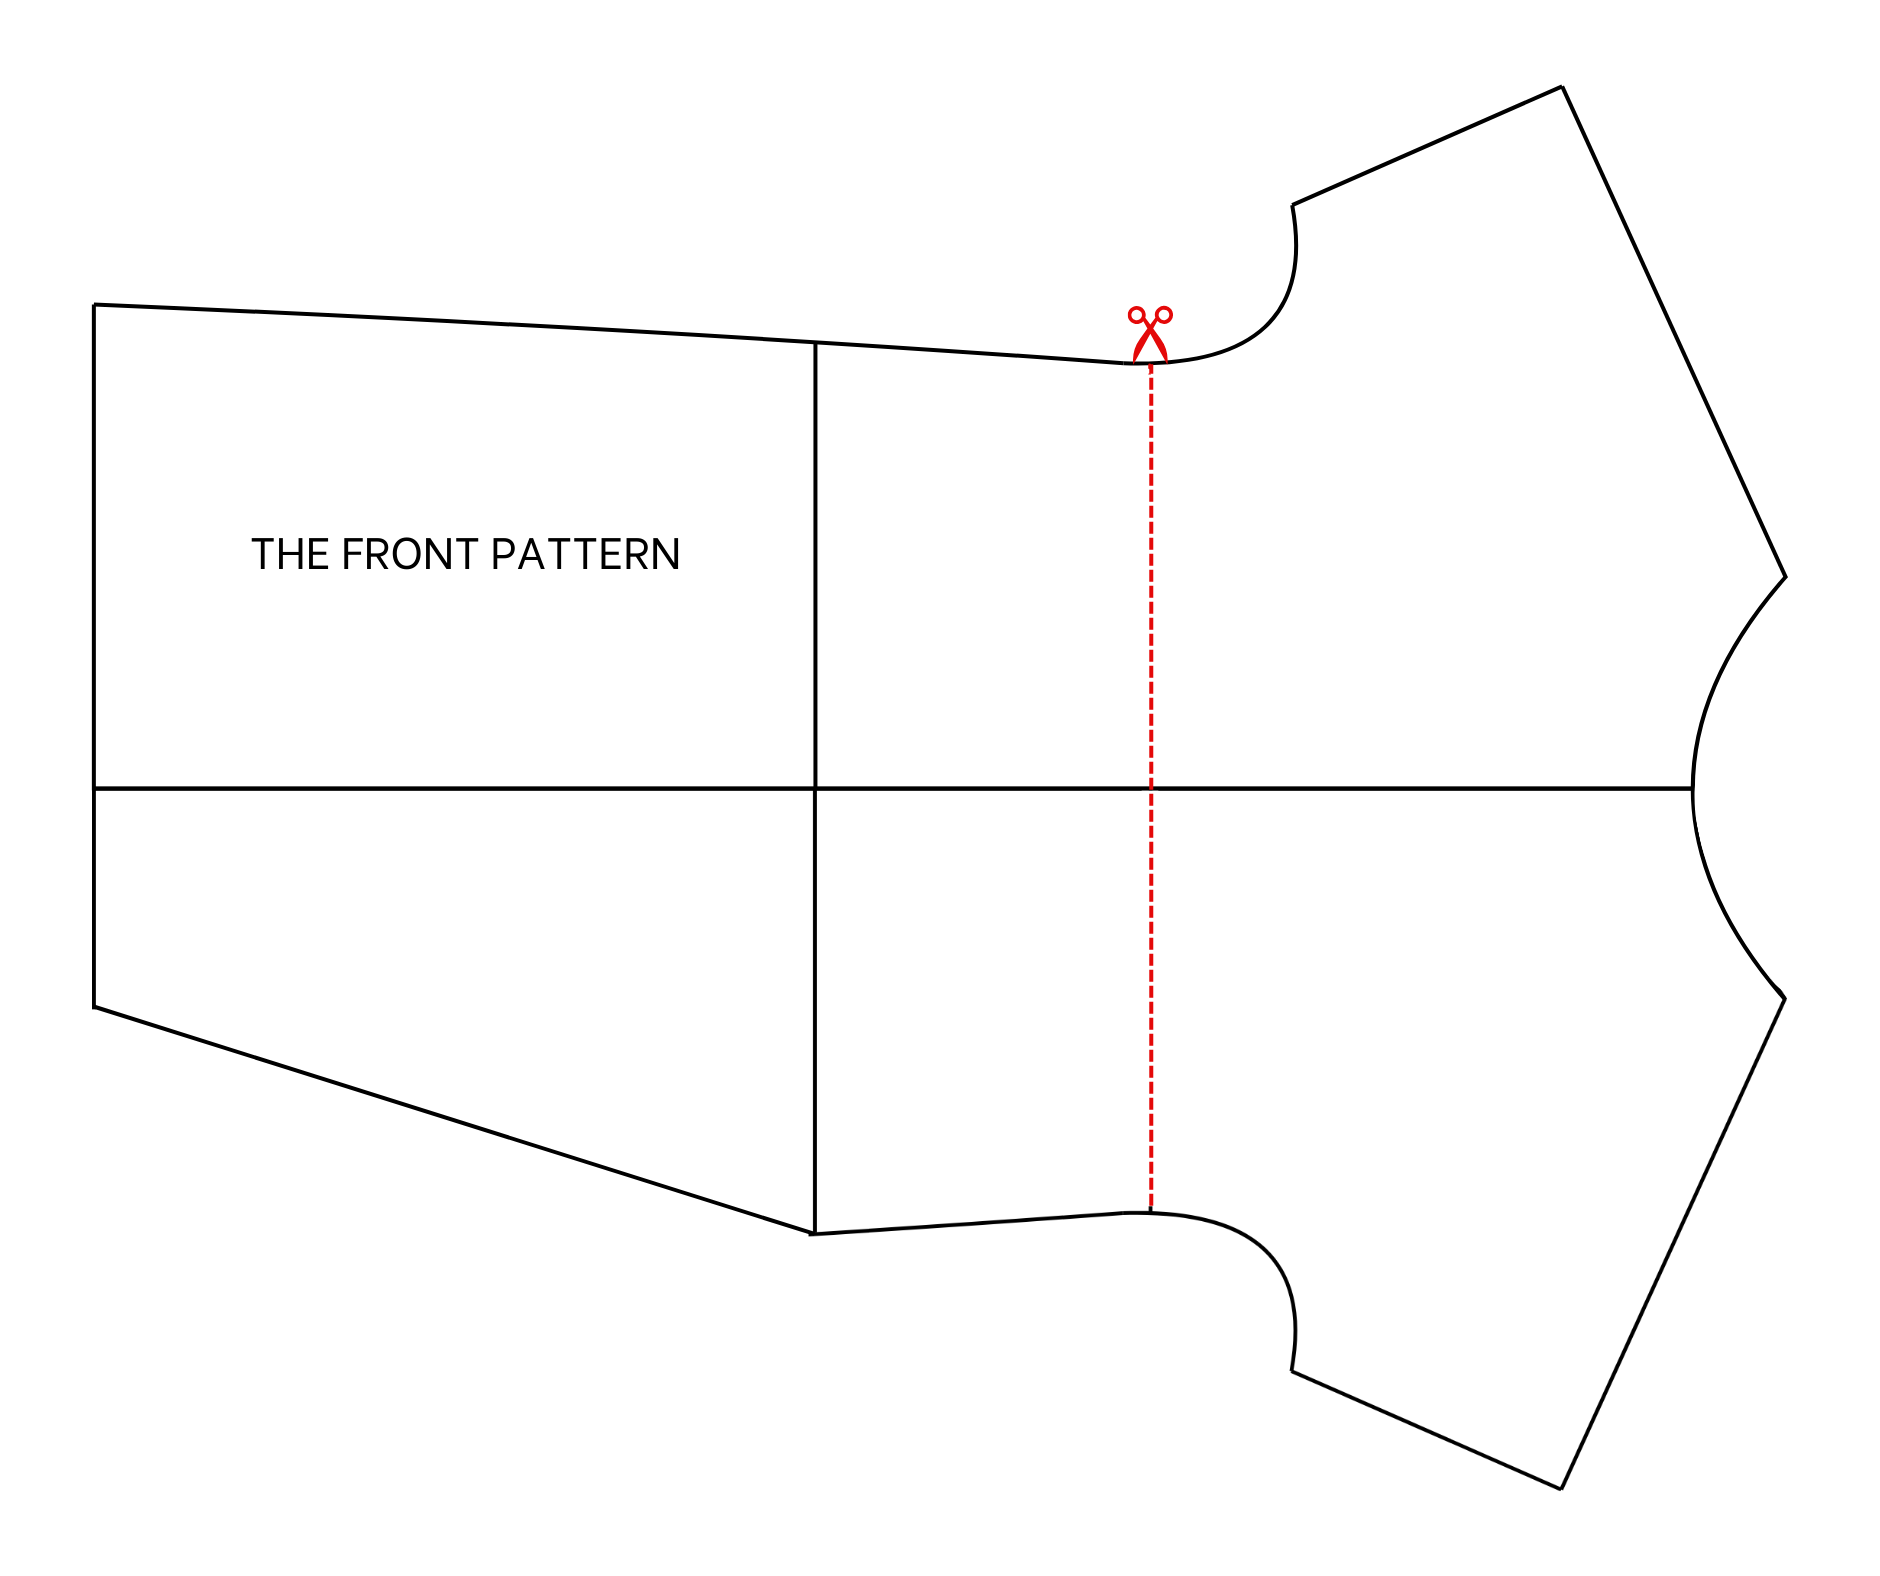
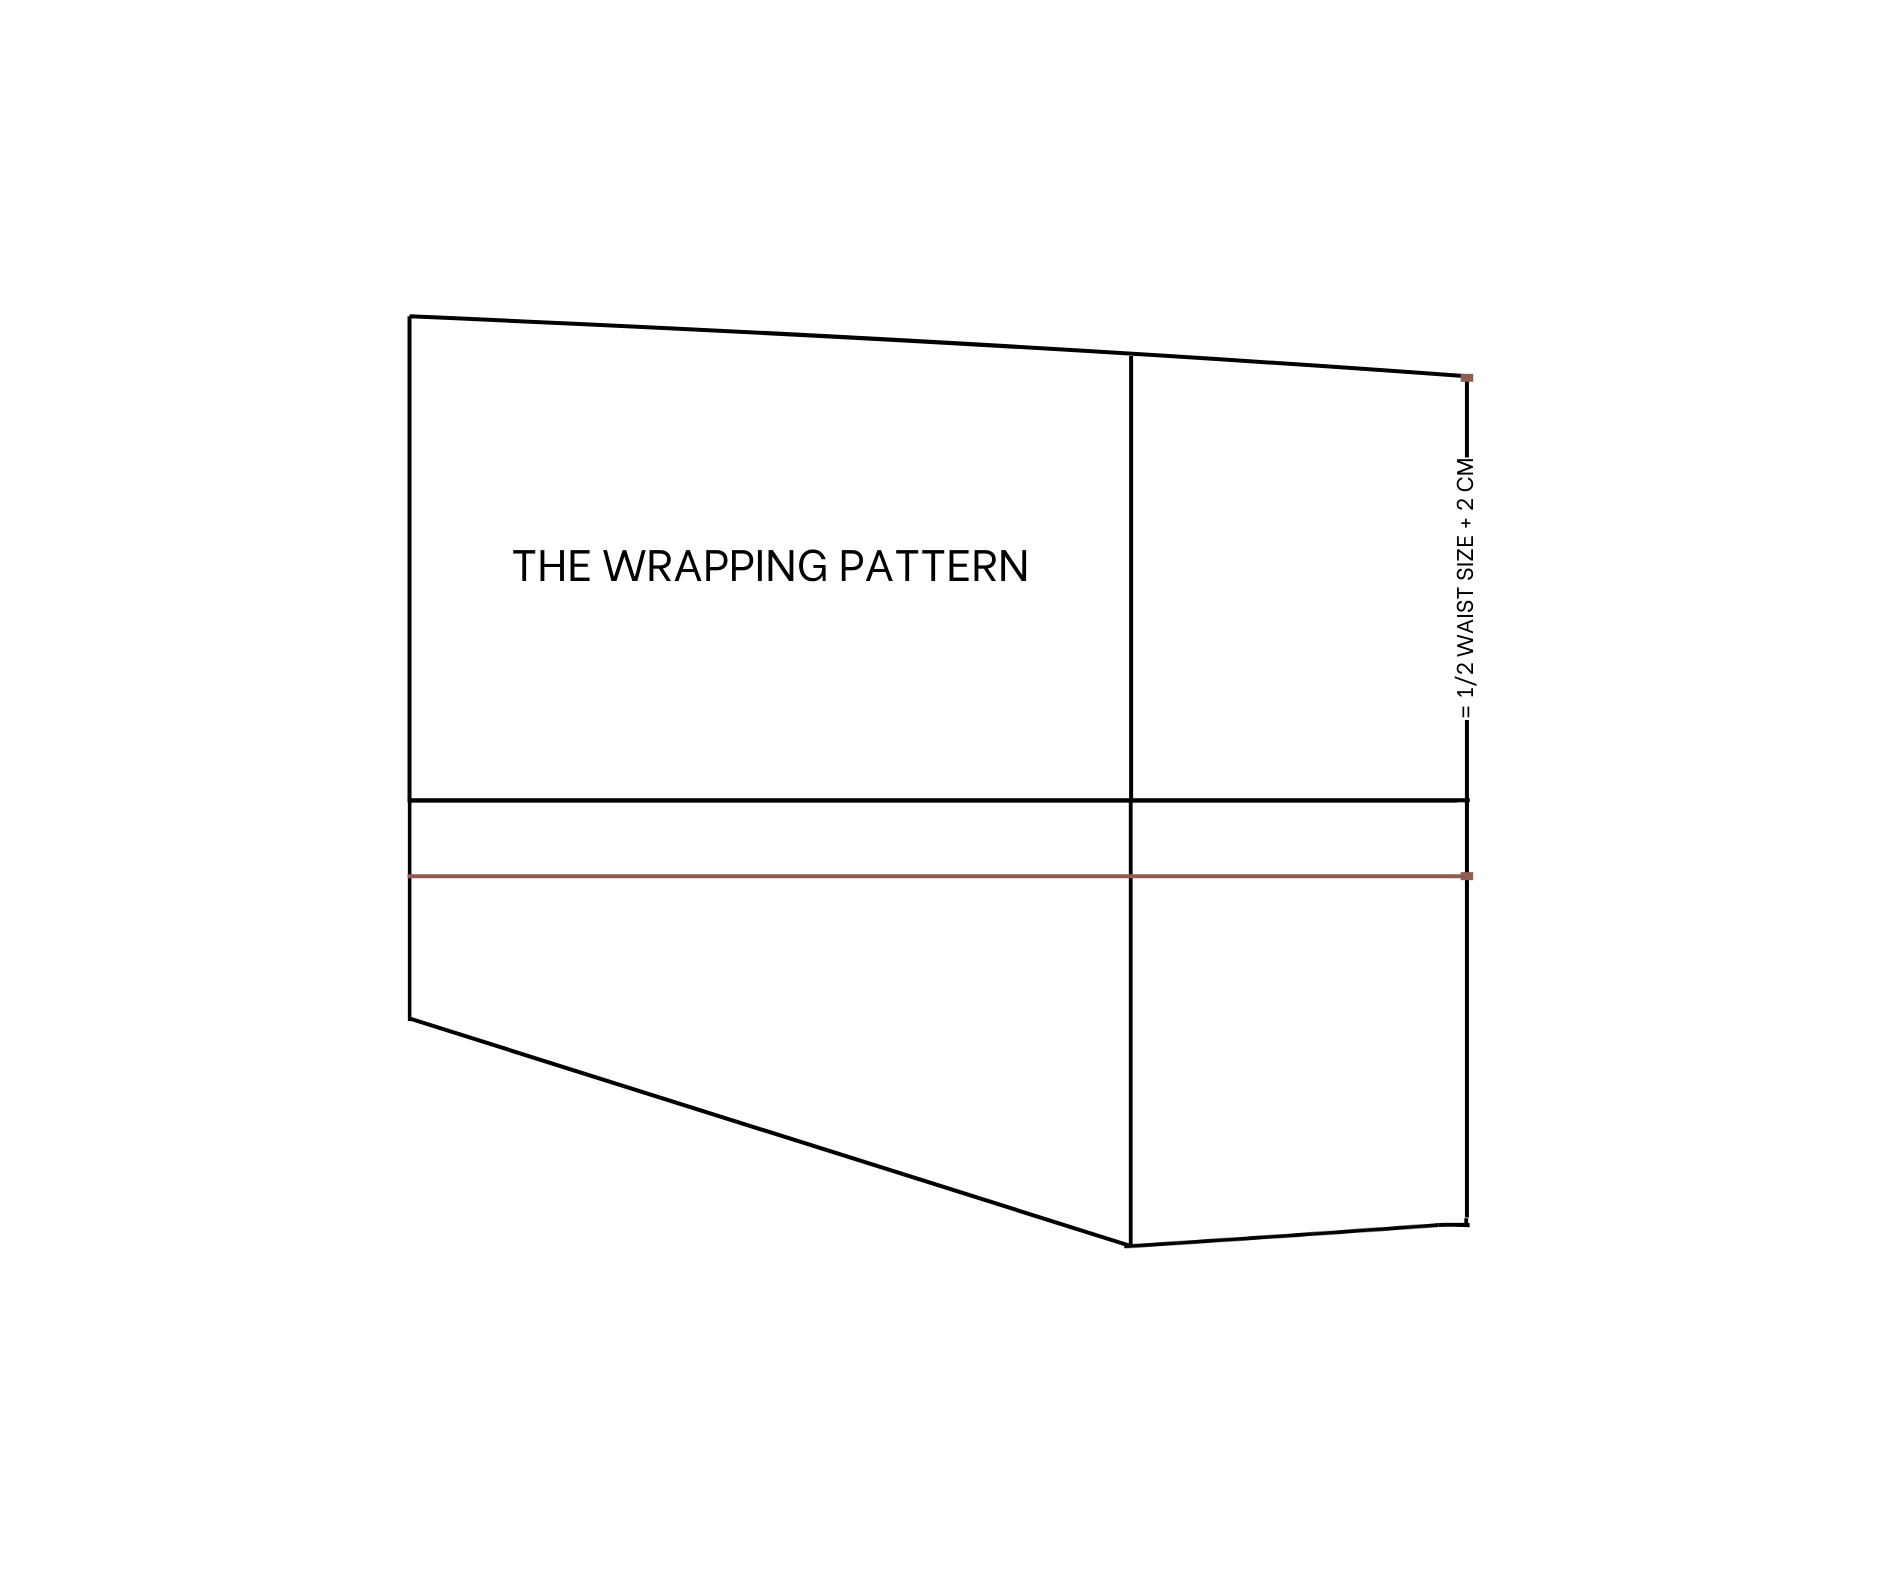
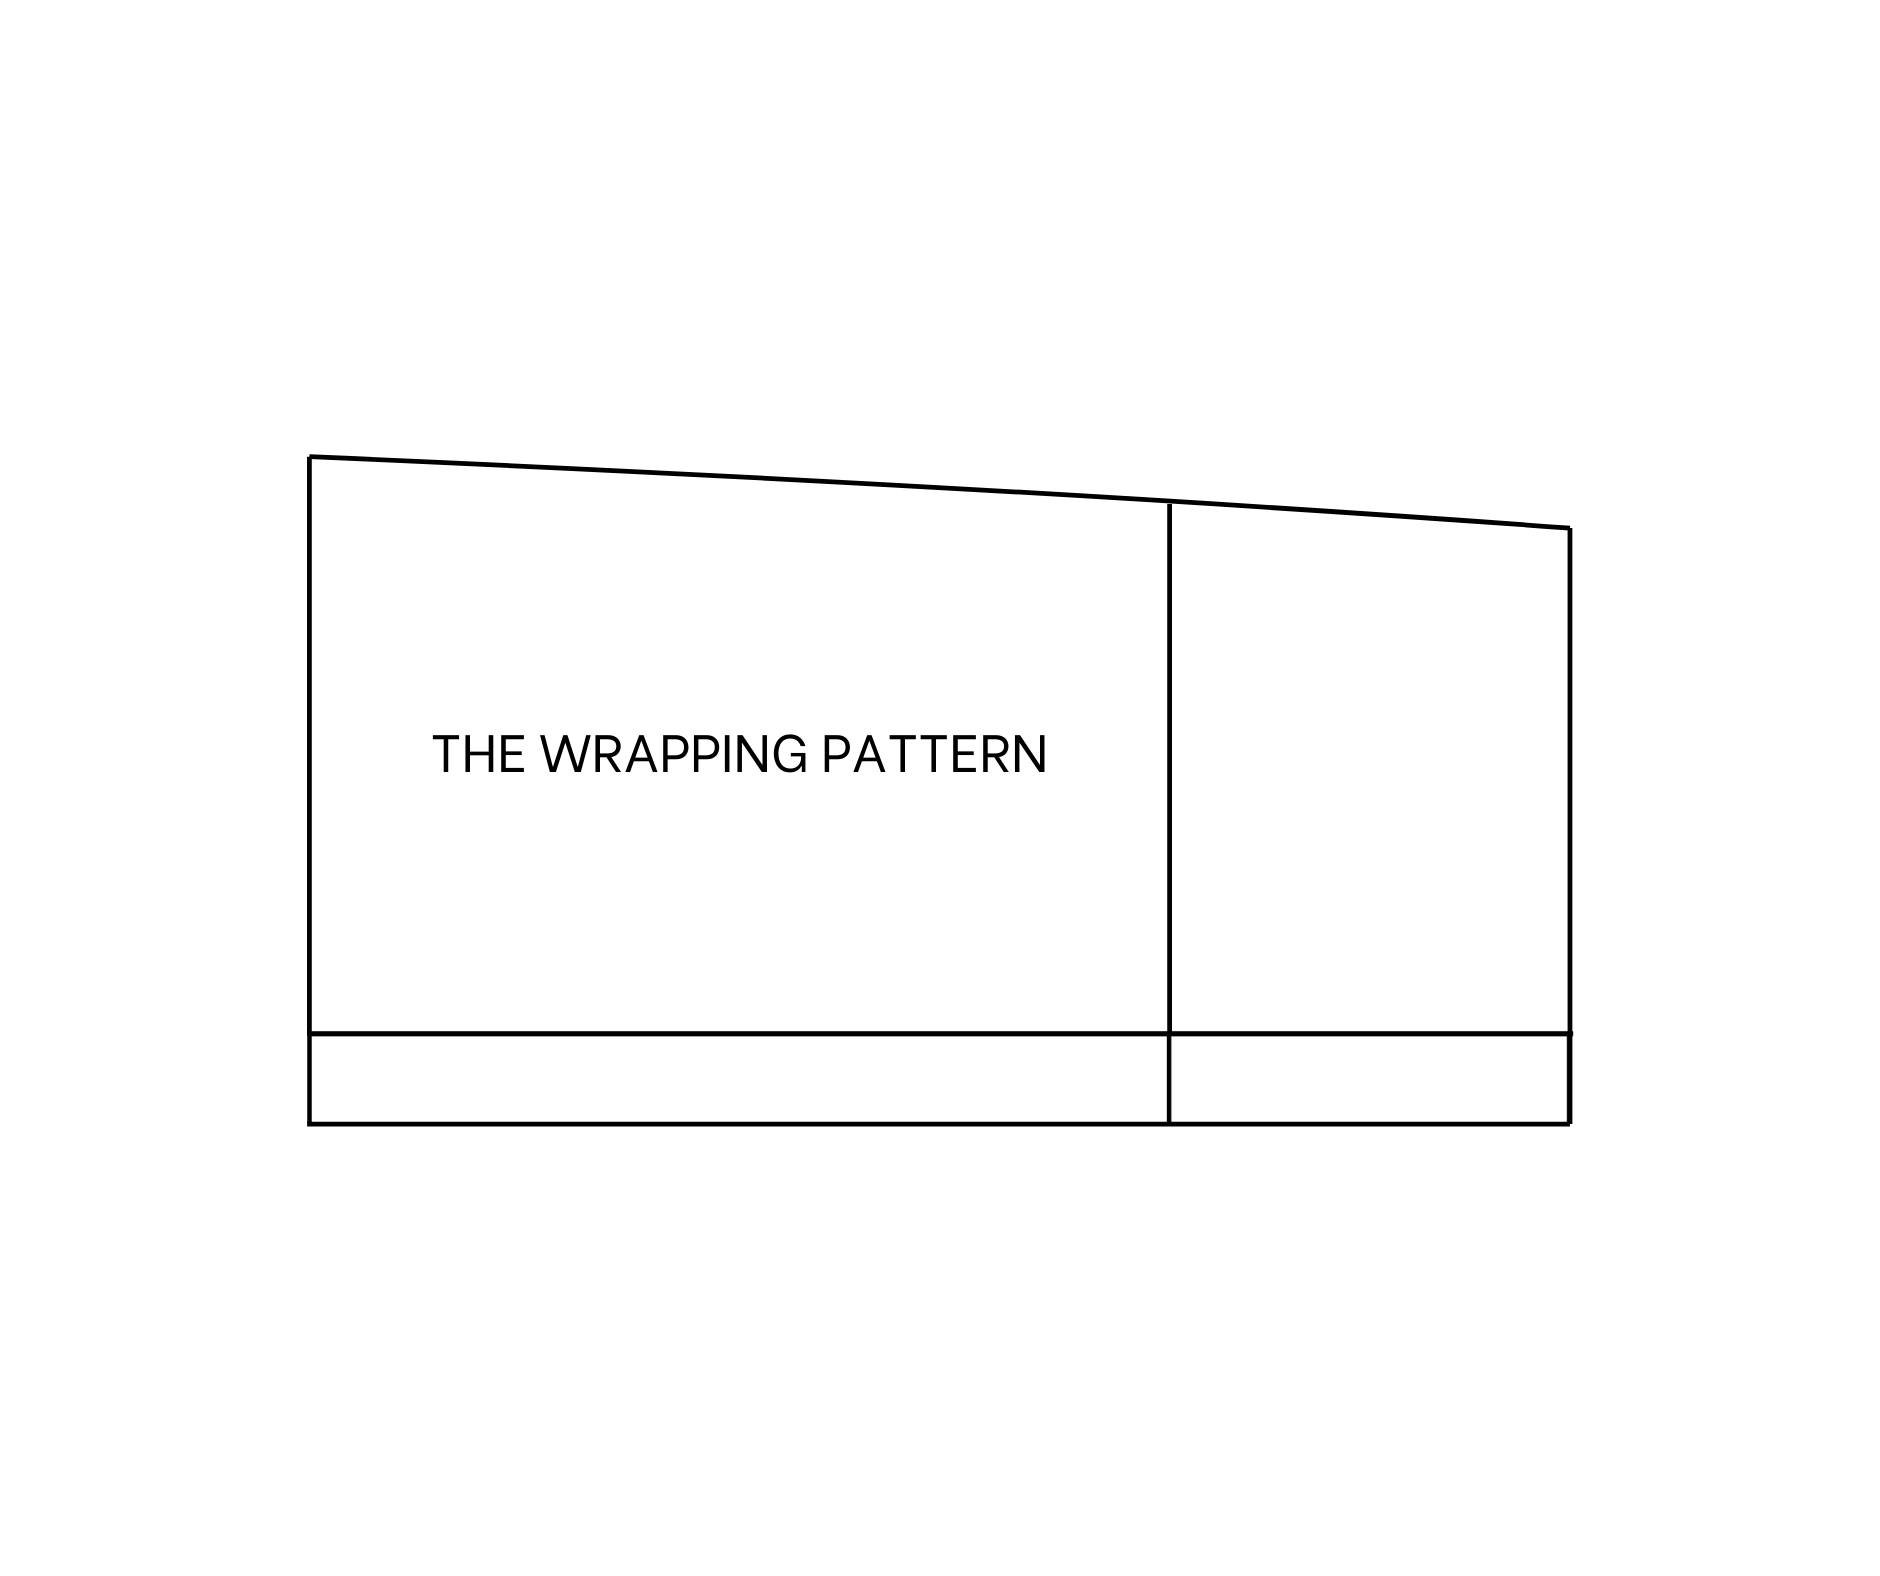
THE WRAPPING PATTERN
To make the wrapping part of the front pattern, remove the top part of the pattern at the waistline first.
From one end of the waistline, which is the side chosen for the tie before, mark at 34 cm, which is half of the waist size plus 2 cm.
Then, draw a perpendicular line through that mark to the ending line, and the wrapping part of the front pattern will be ready after cutting.
SEWING THE DRESS
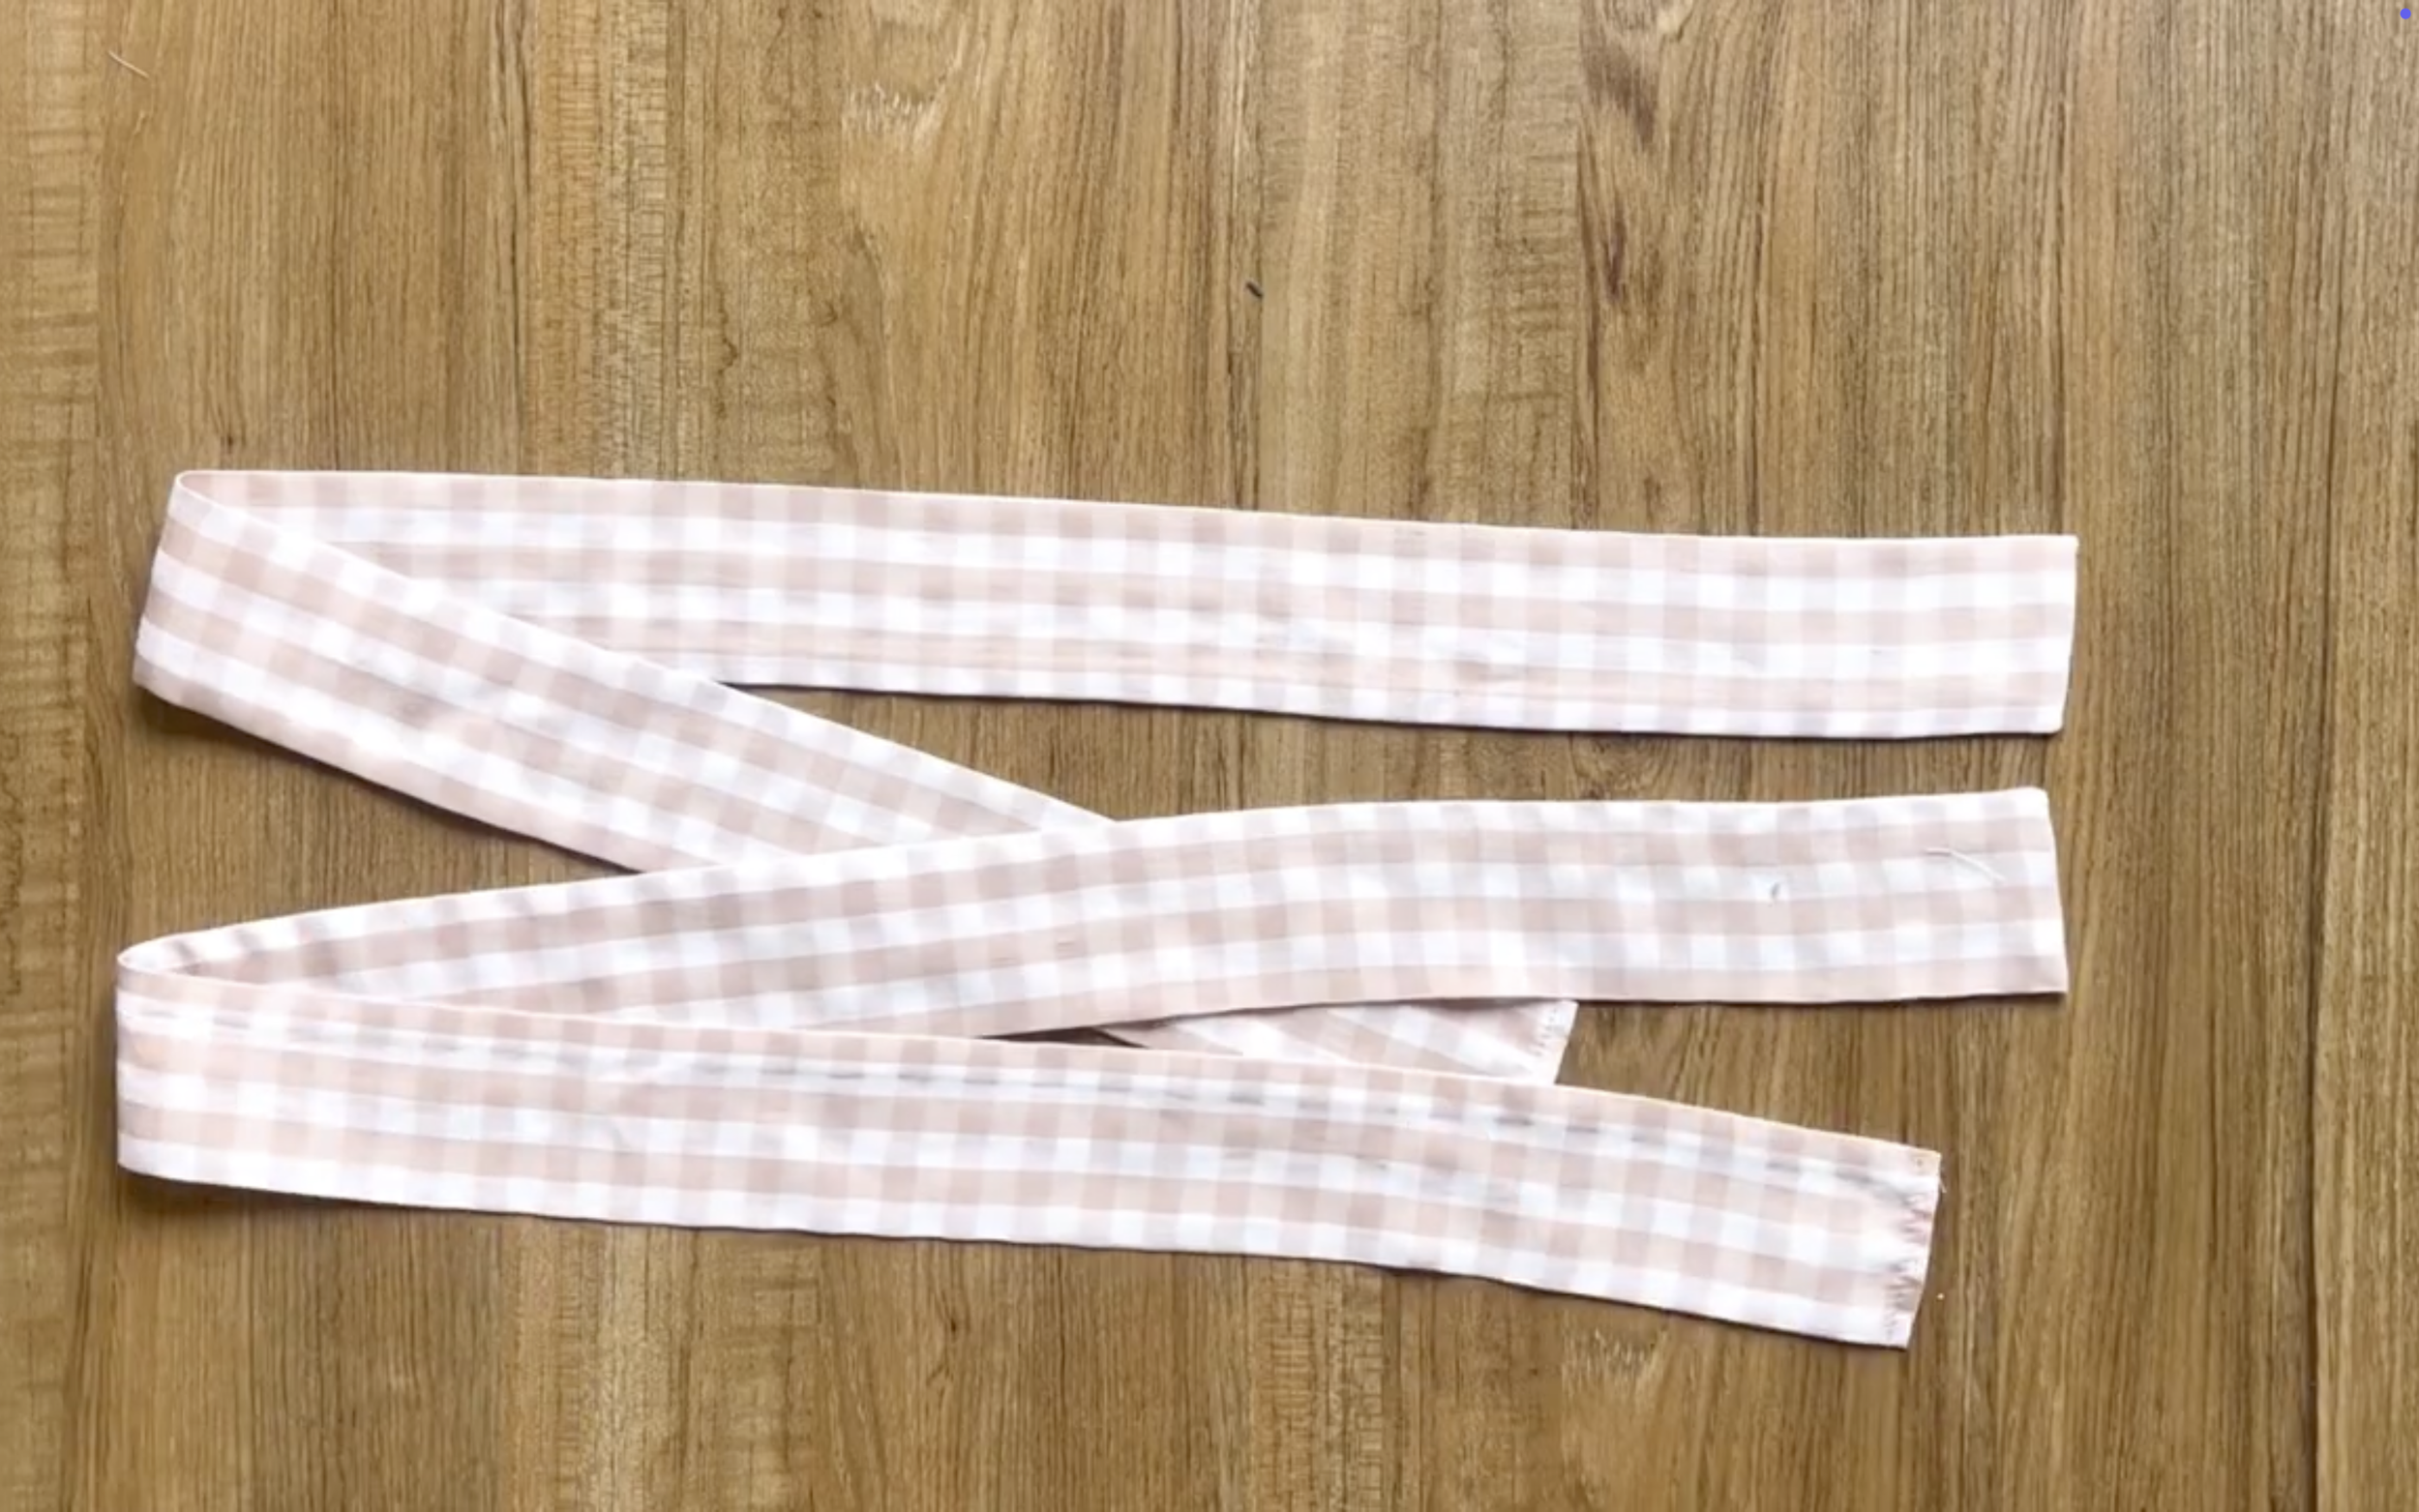
THE TIES
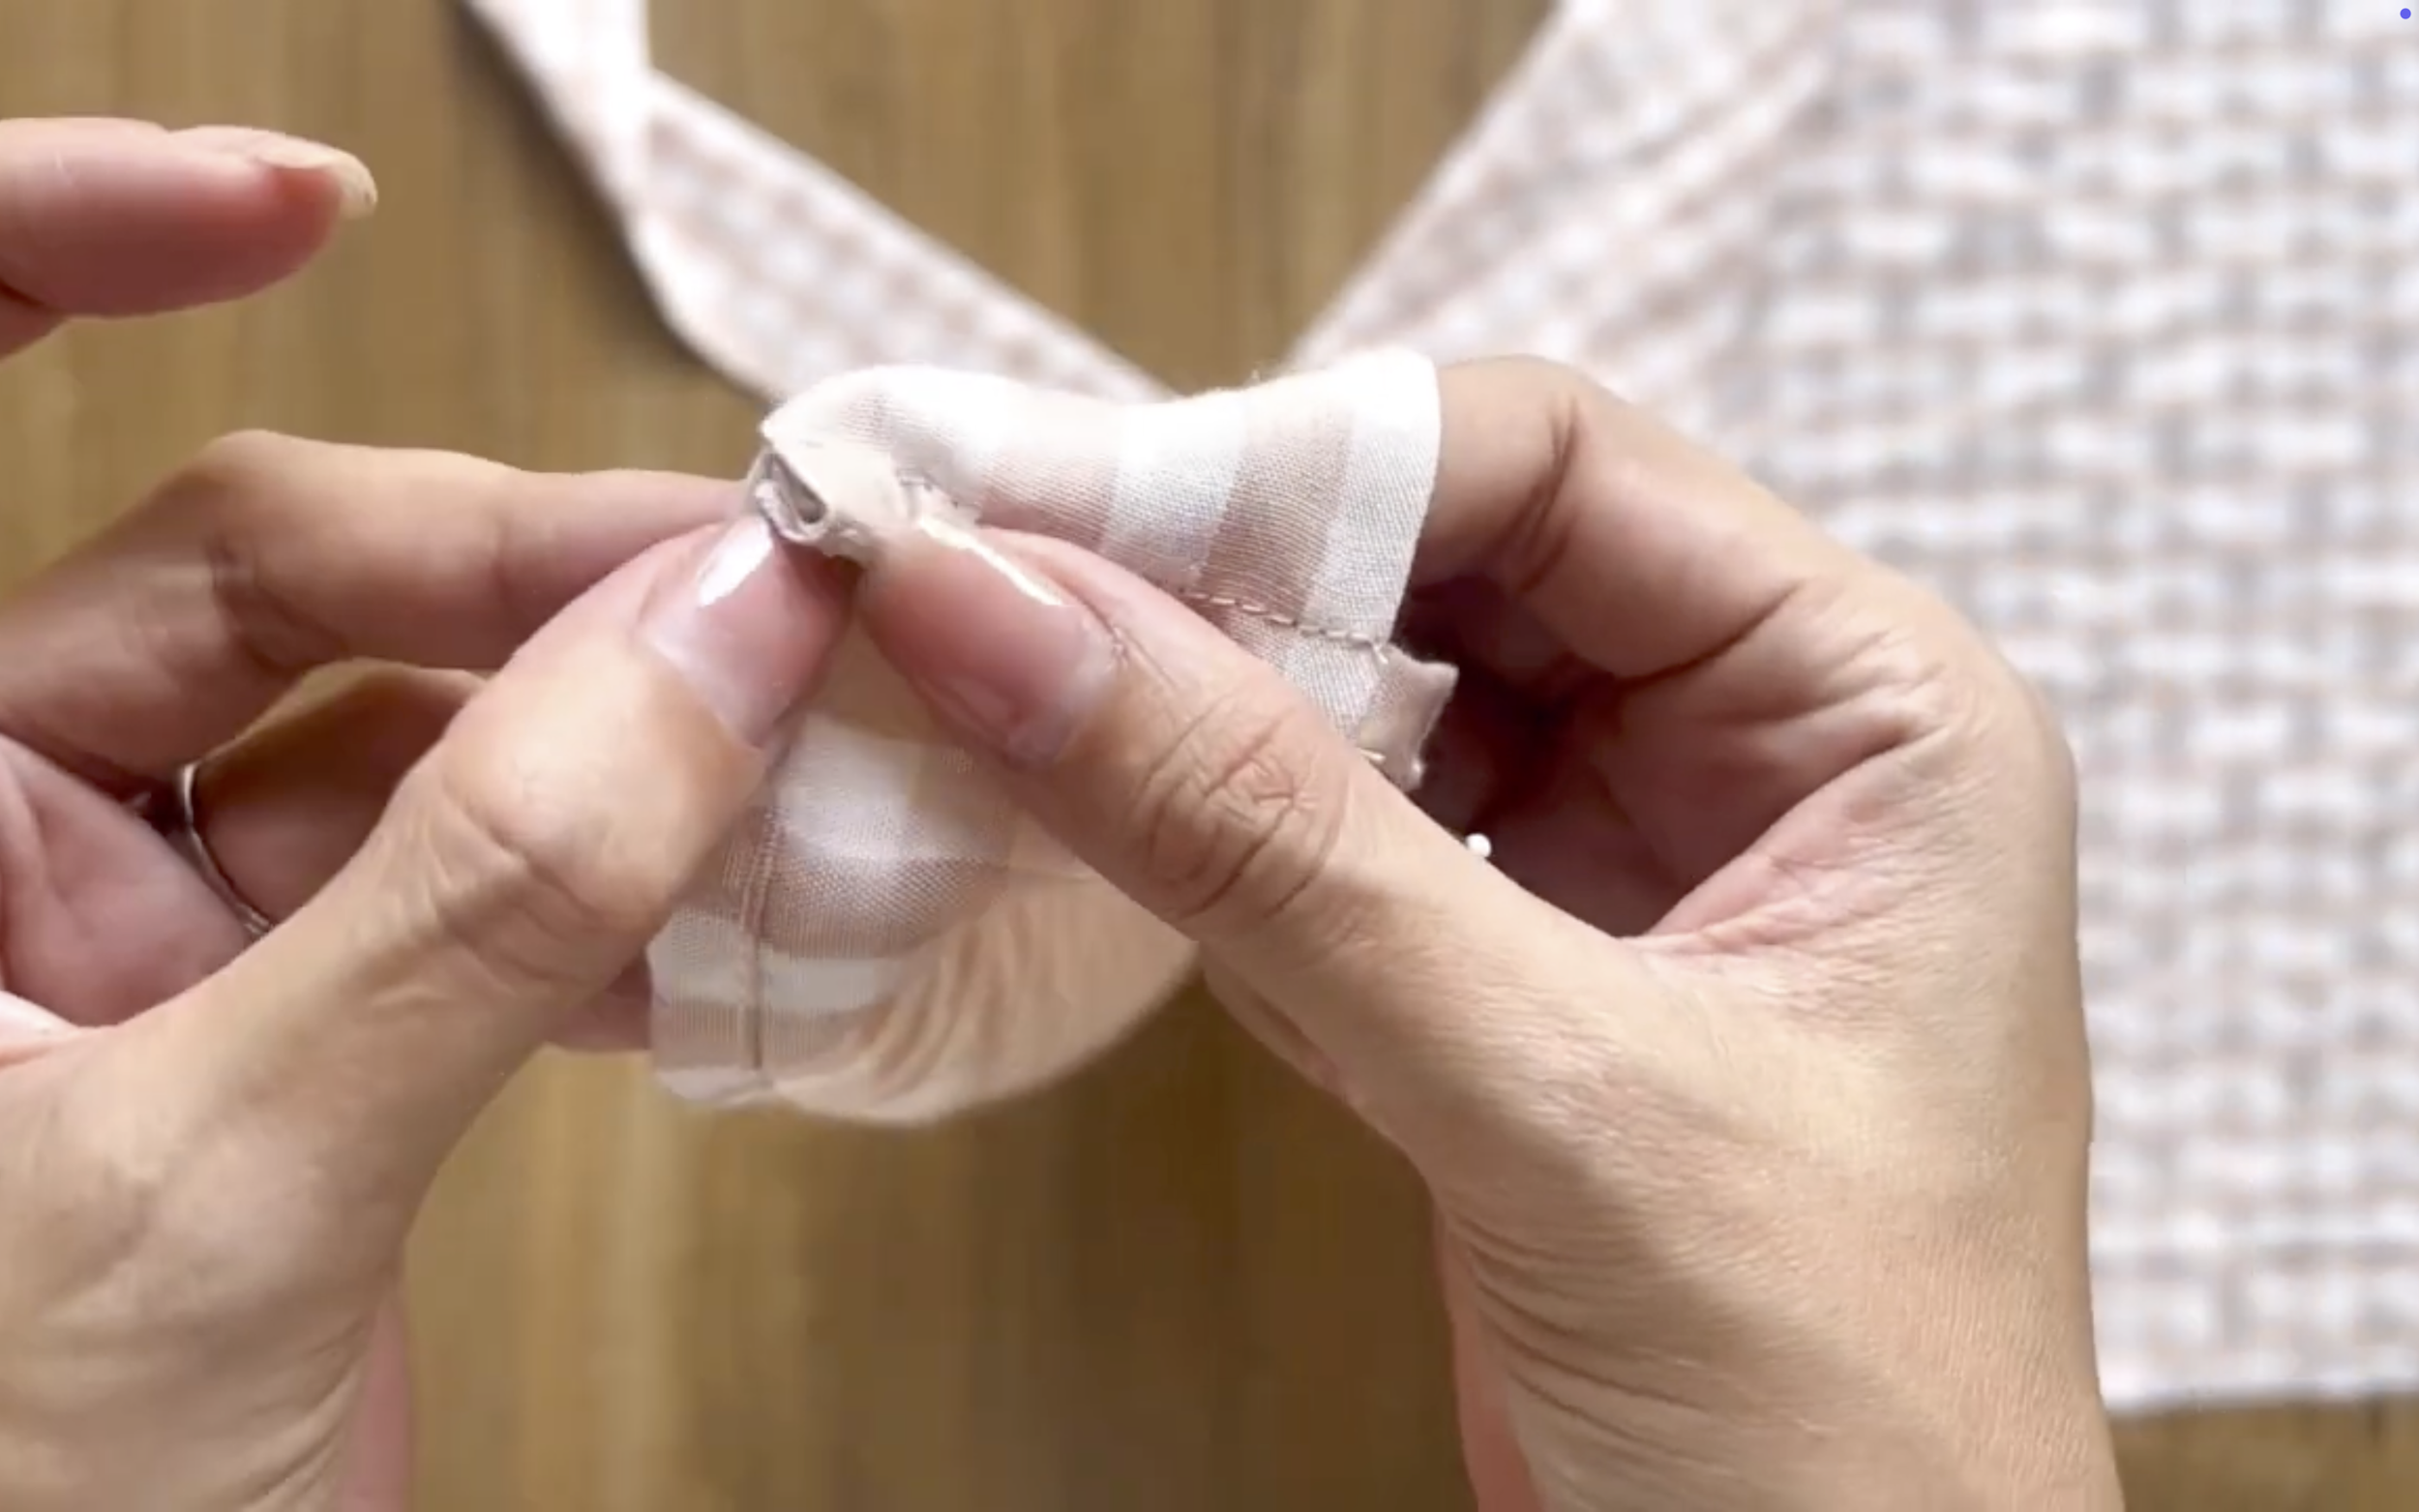
Make the tie for the dress first.
Cut a rectangle with 12 cm width, which is two times the width of the tie that is wanted plus 2 cm for seam allowance, and 96 cm length, which is 1.5 times the waist size.
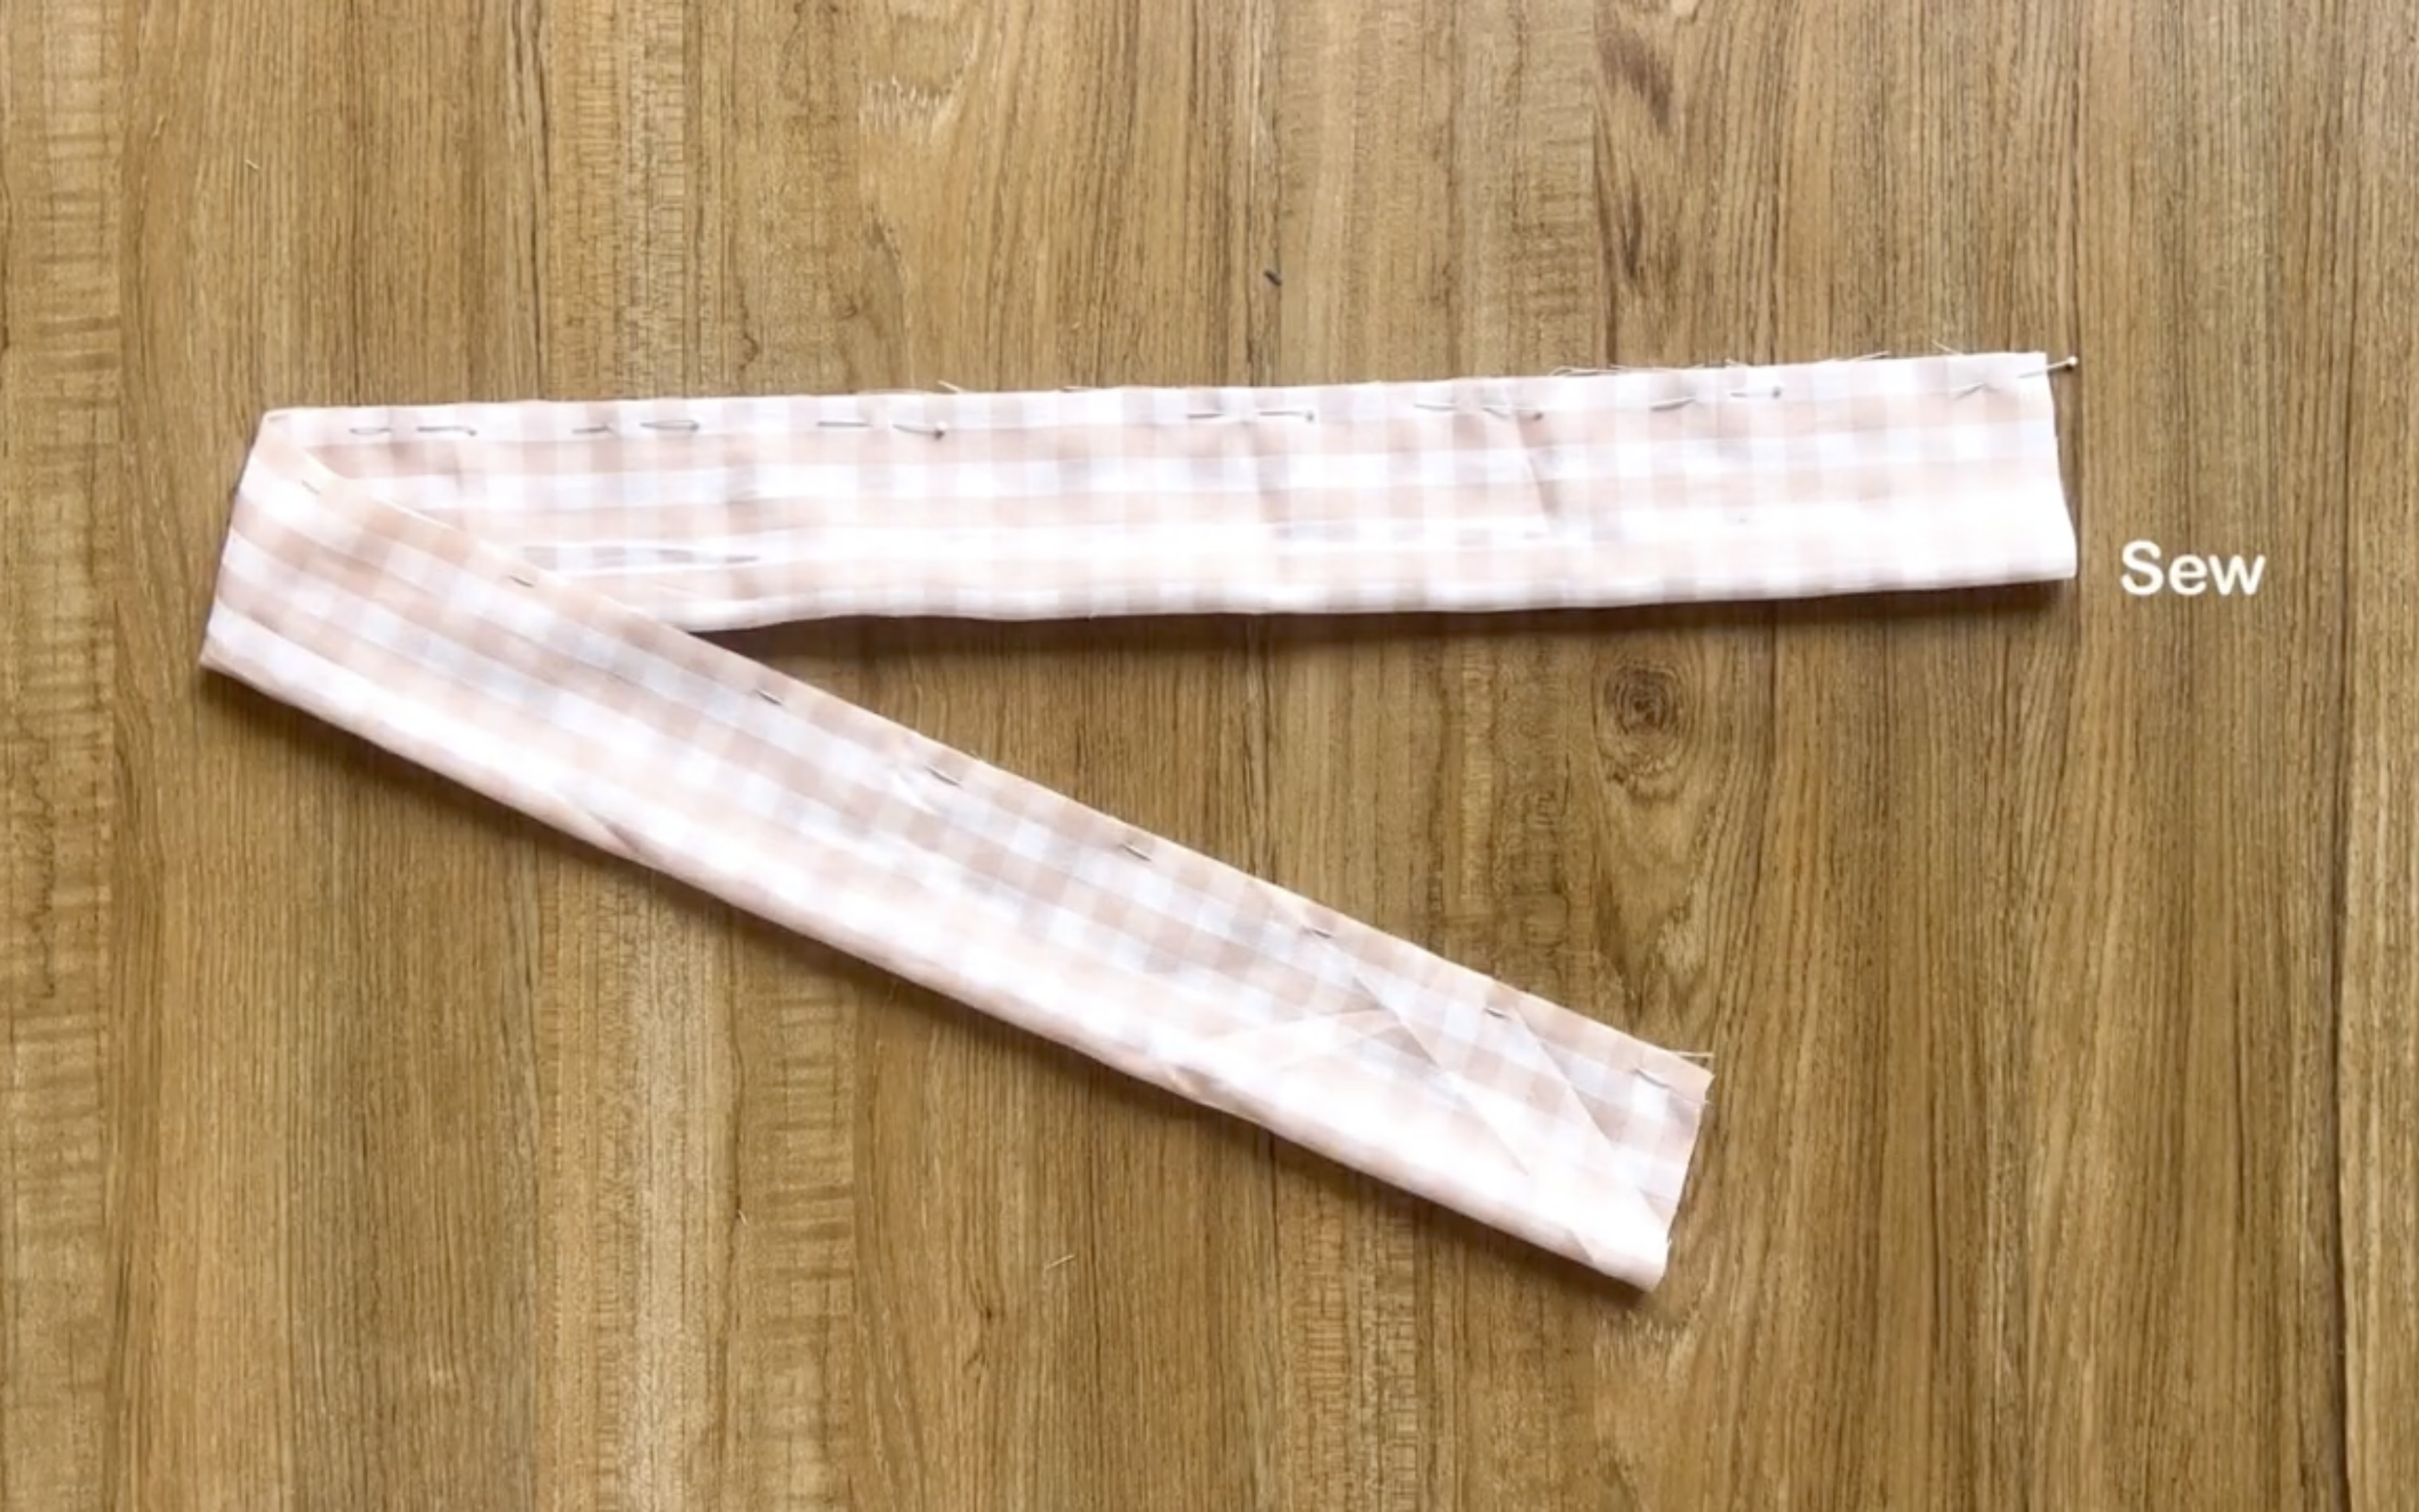
Fold two length lines of the rectangle together and sew first.
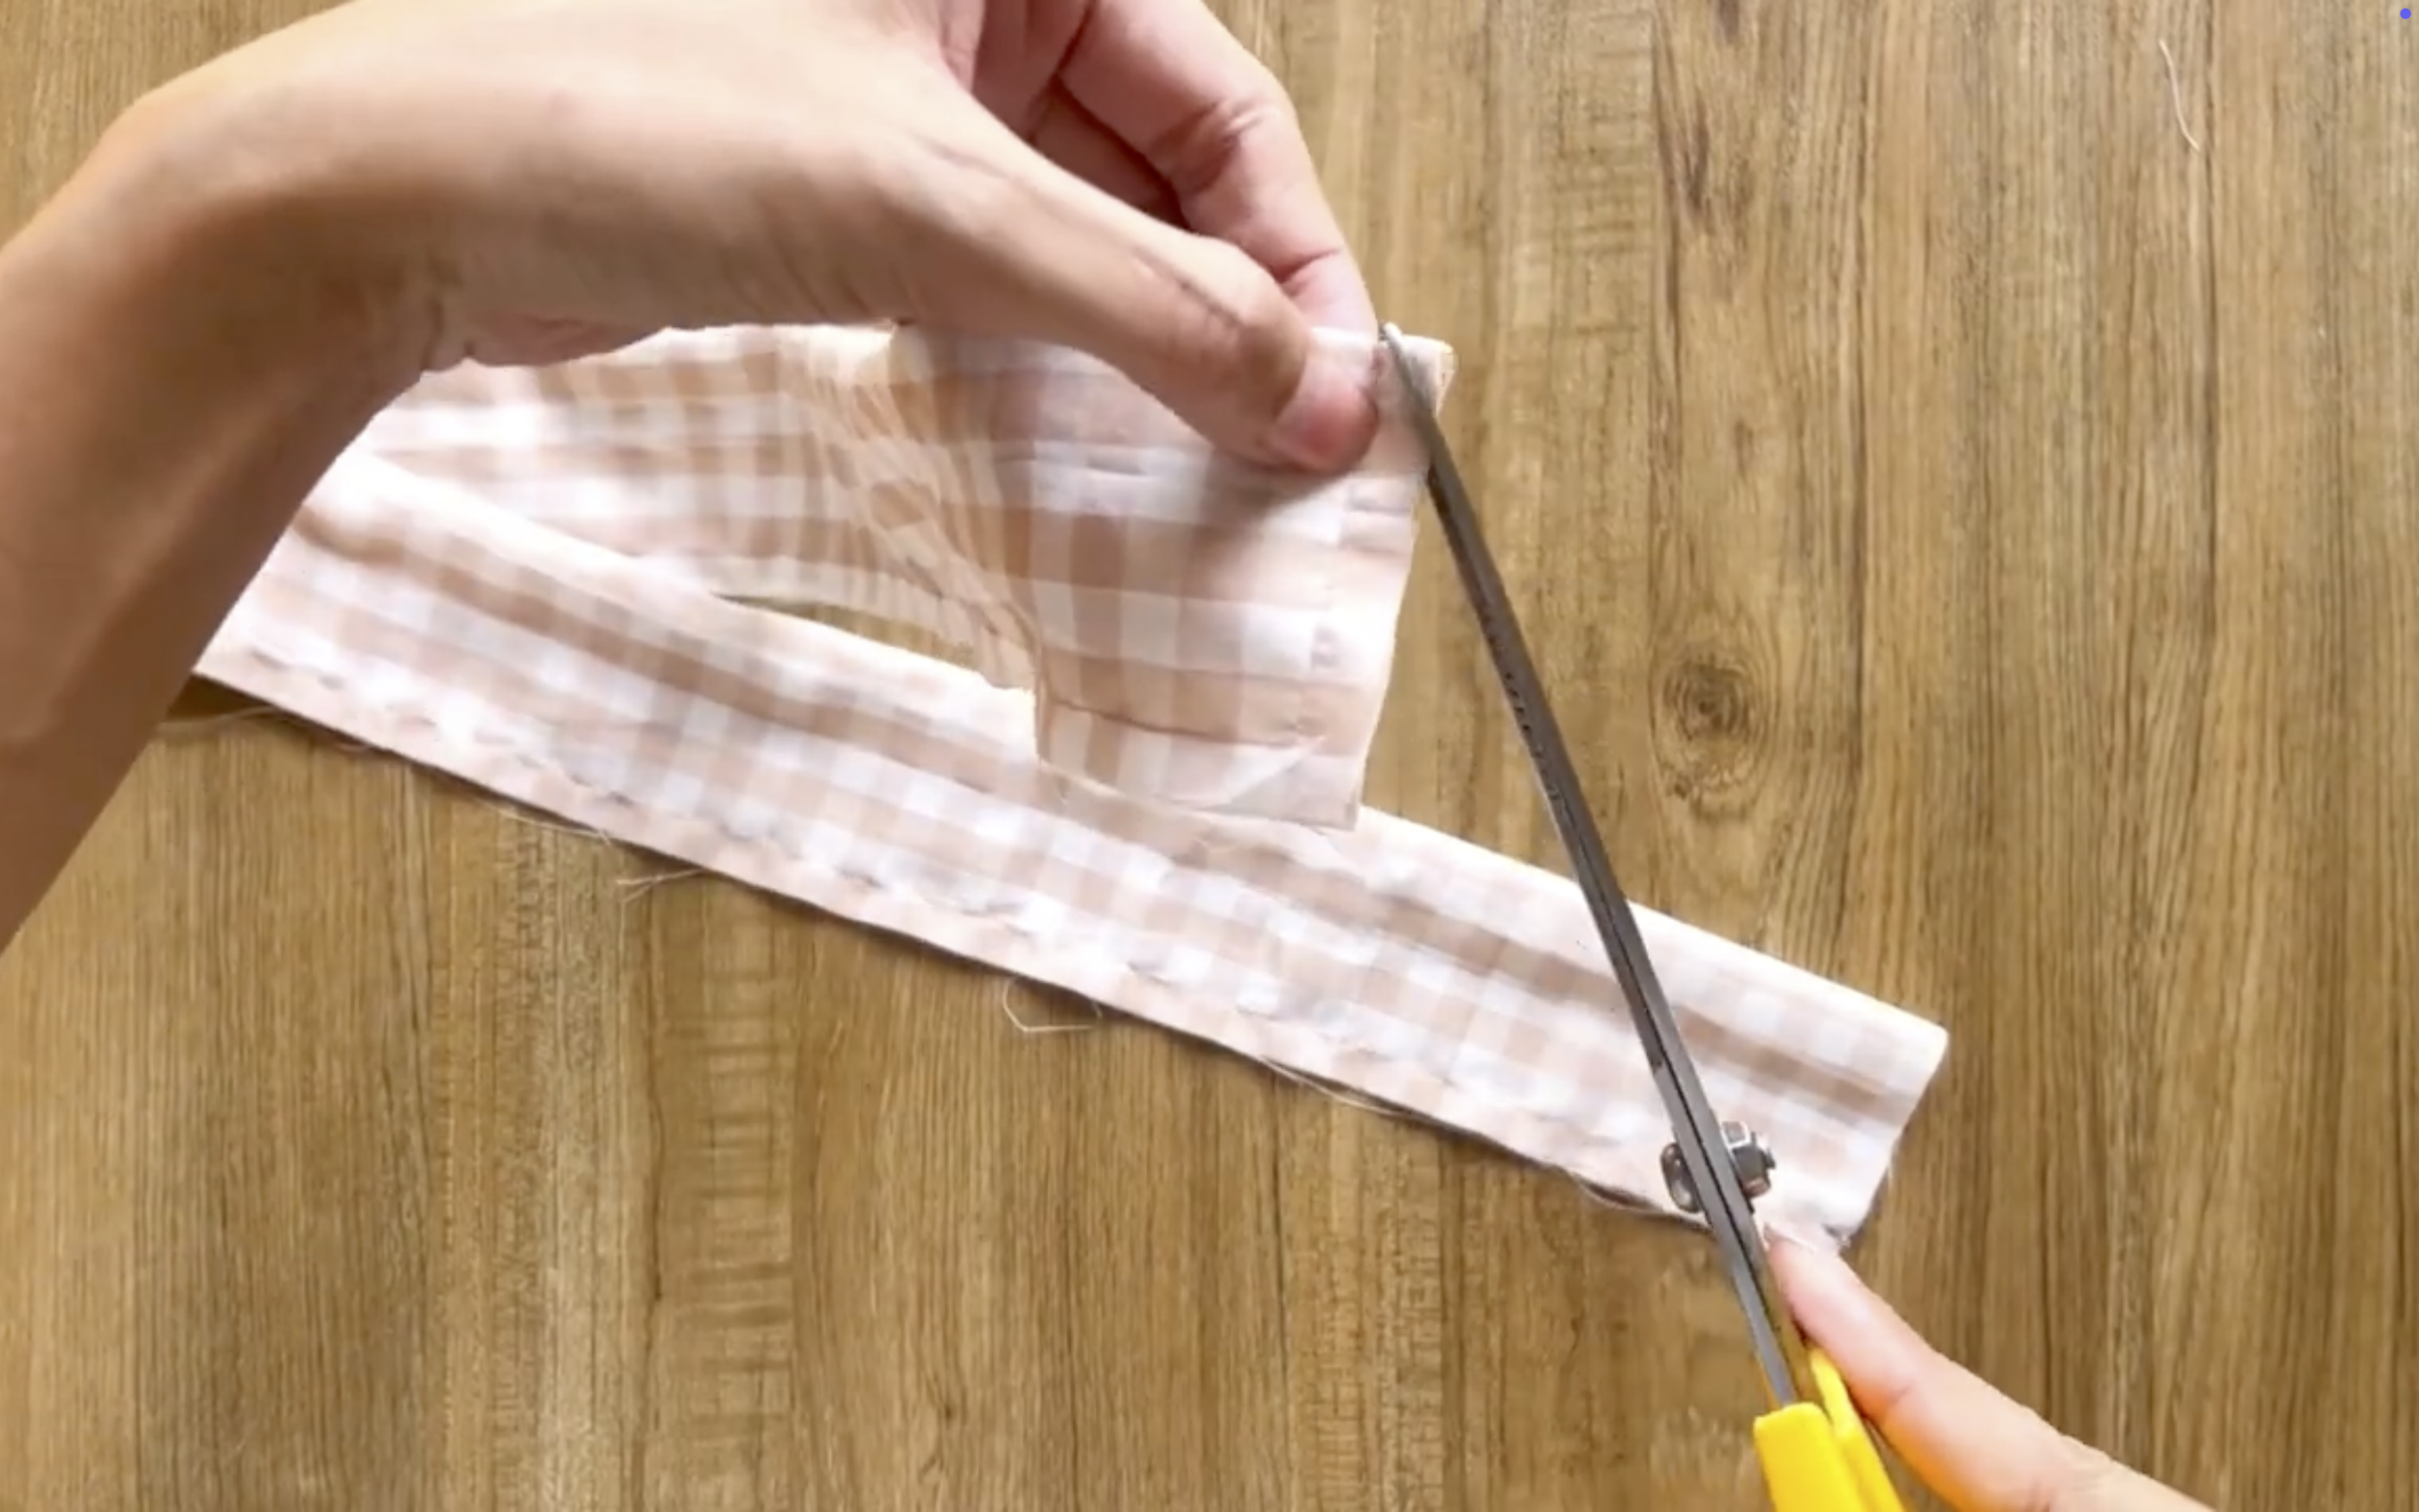
Before turning it, make a small cut at the edge of the top of the tie.
Then use a long stick to flip the tie inside out.
After that, use an iron to keep the folding from moving.
Two ties like this are needed.
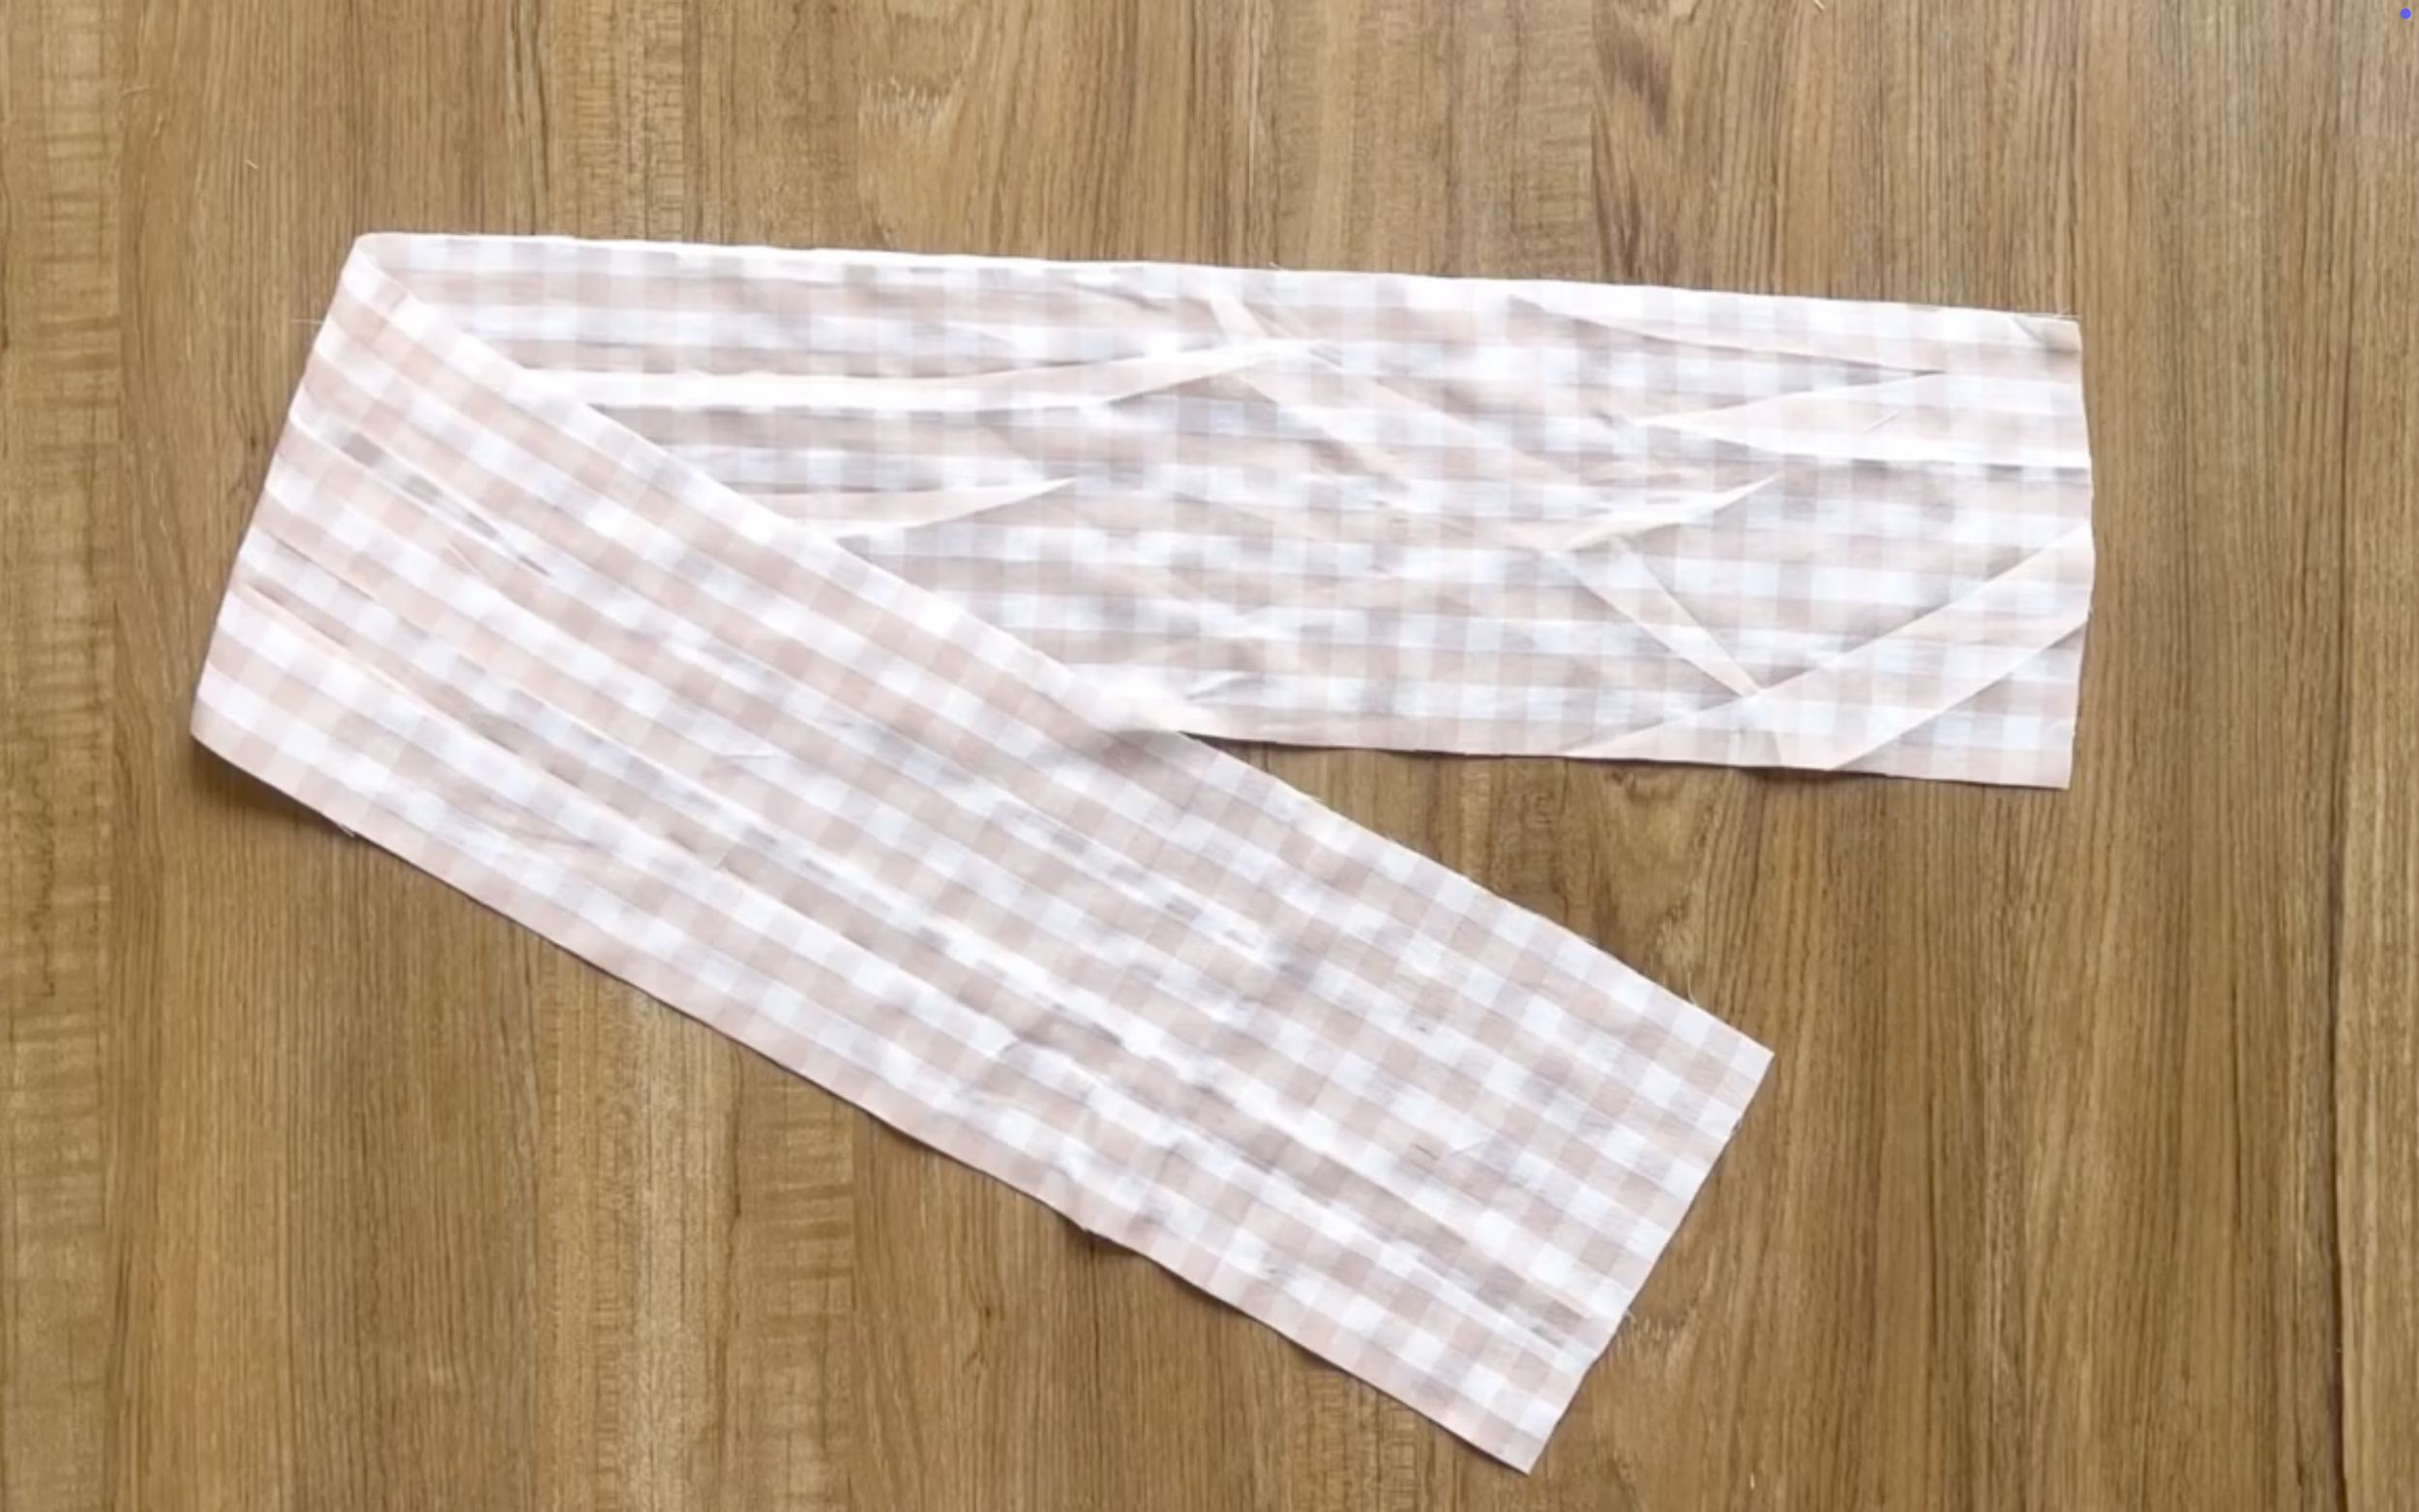
THE WRAPPING PART
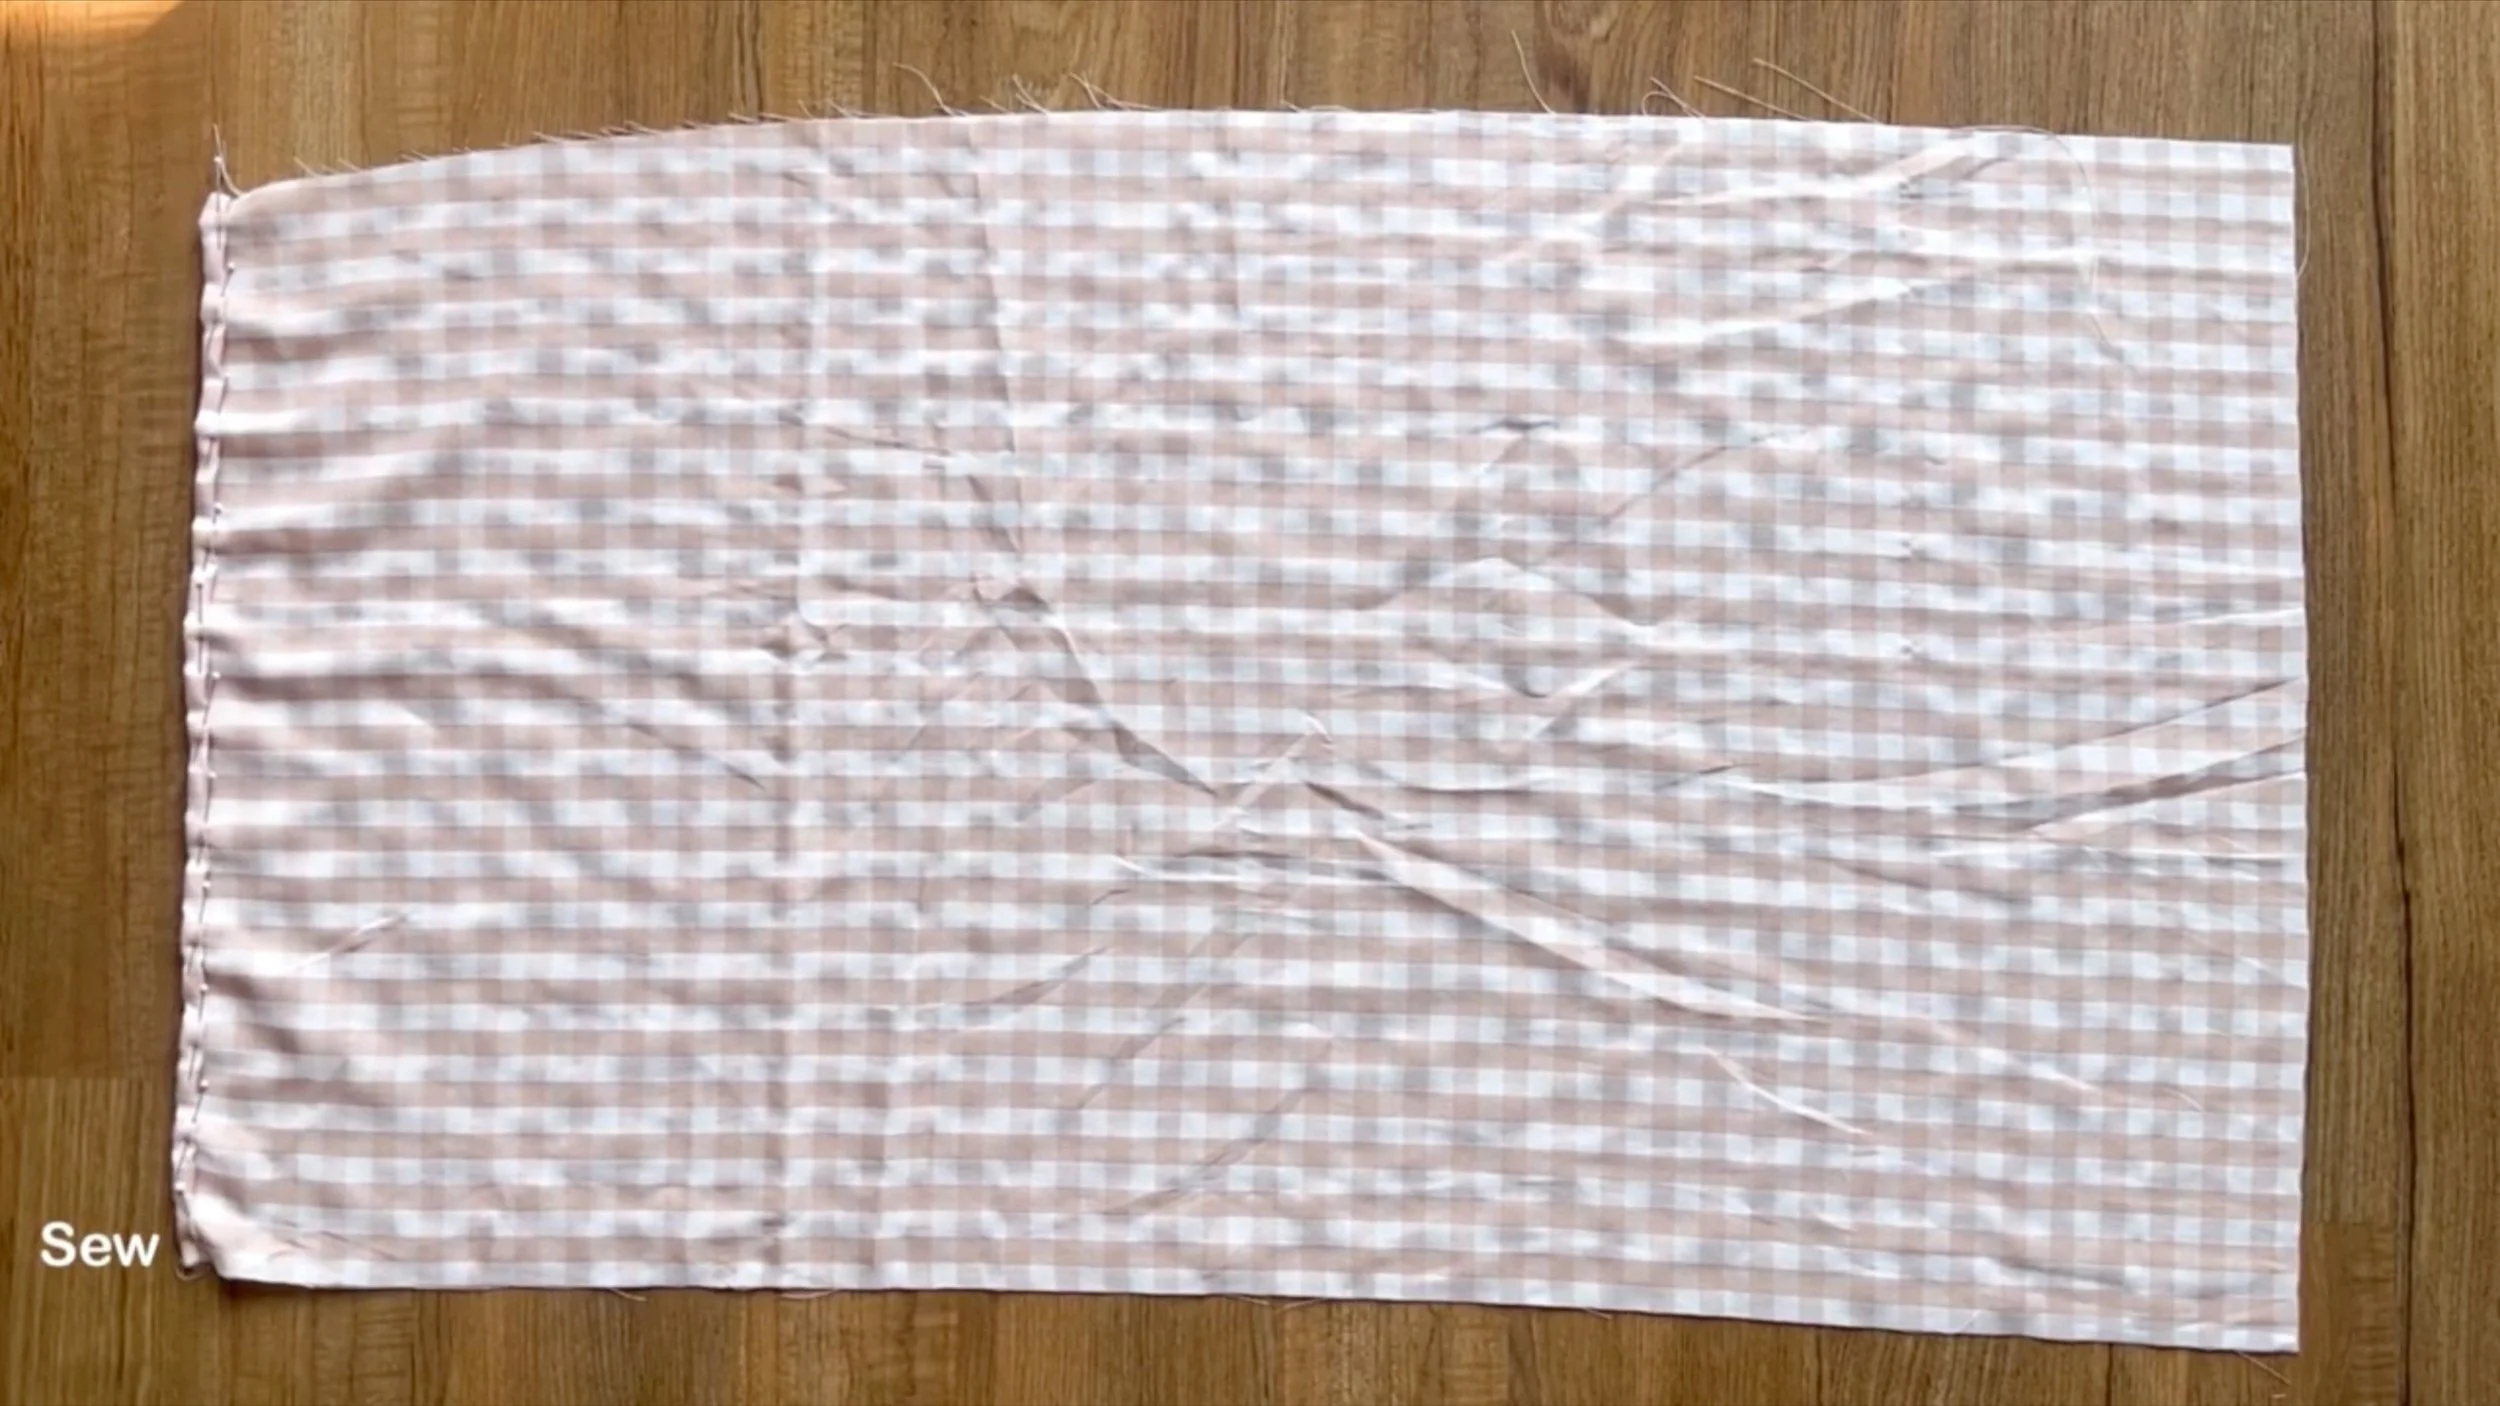
Moving to the wrapping part of the front dress, finish the top of it by folding the end fabric inside two times with 1 cm each time and sewing.
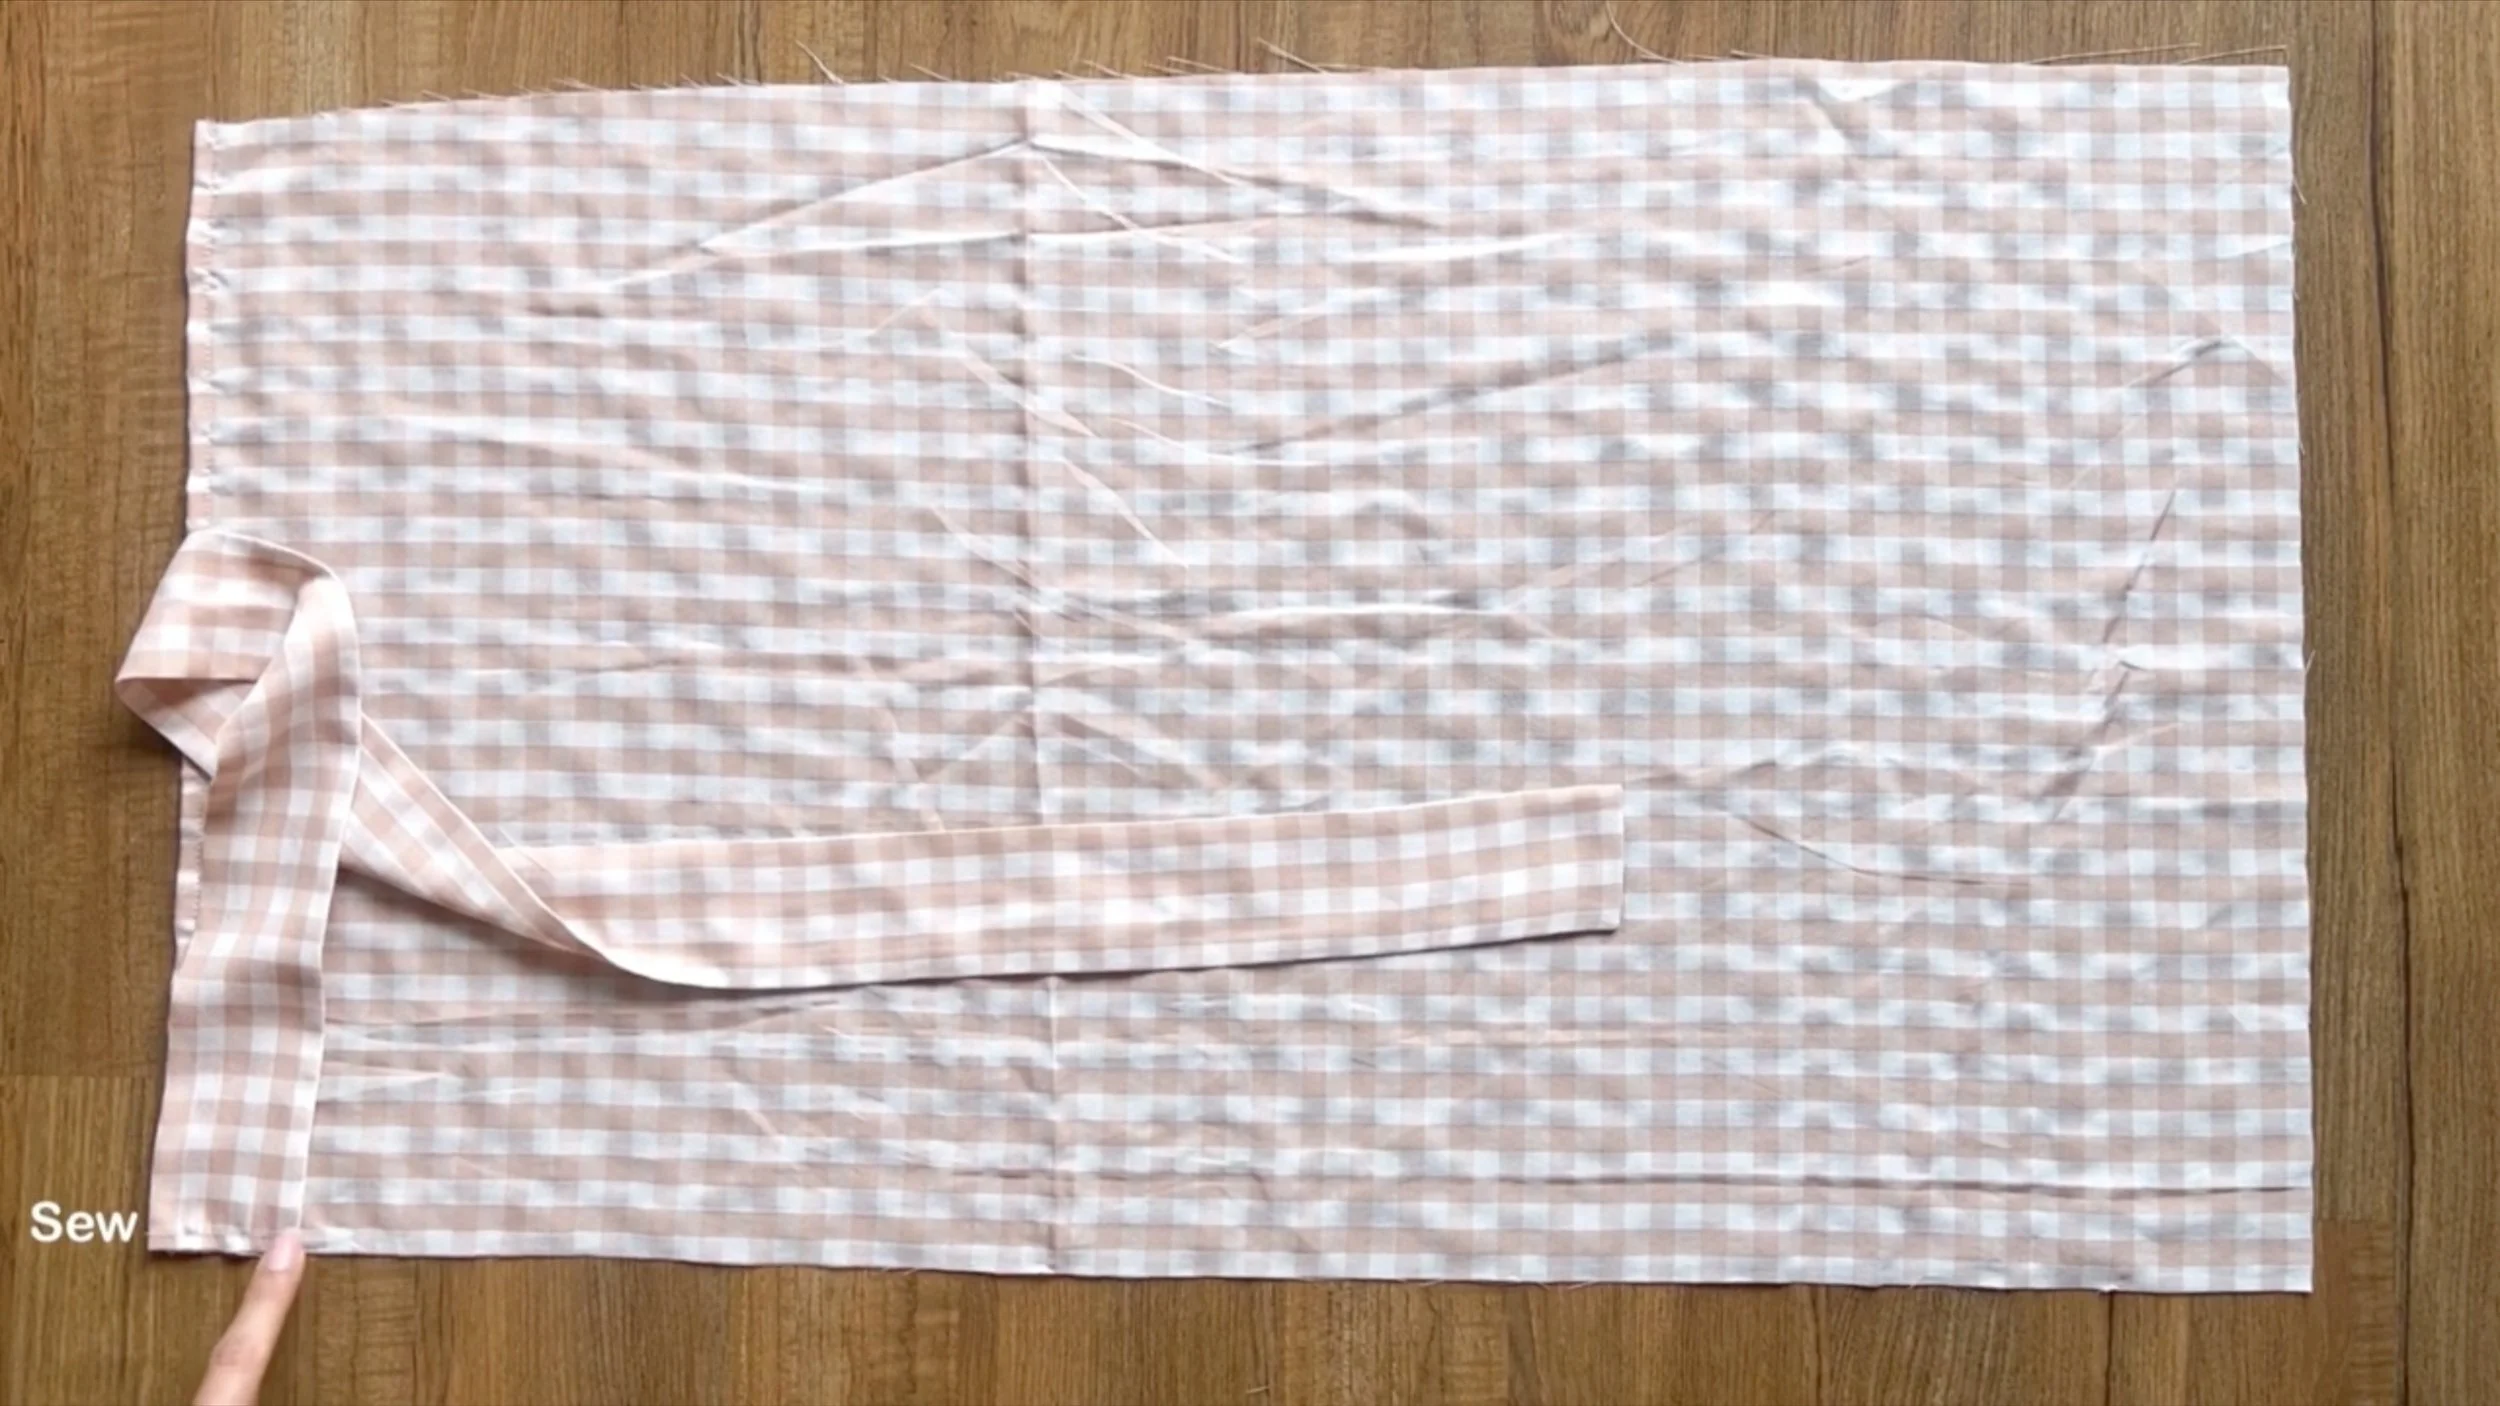
At the opening side of the wrapping part, connect one end of the tie to the top of that line.
Remember to make the seam at 2 cm inside instead of 1 cm for seam allowance.
After that, finish the opening line by folding the end fabric inside two times with 1 cm each time and sewing.
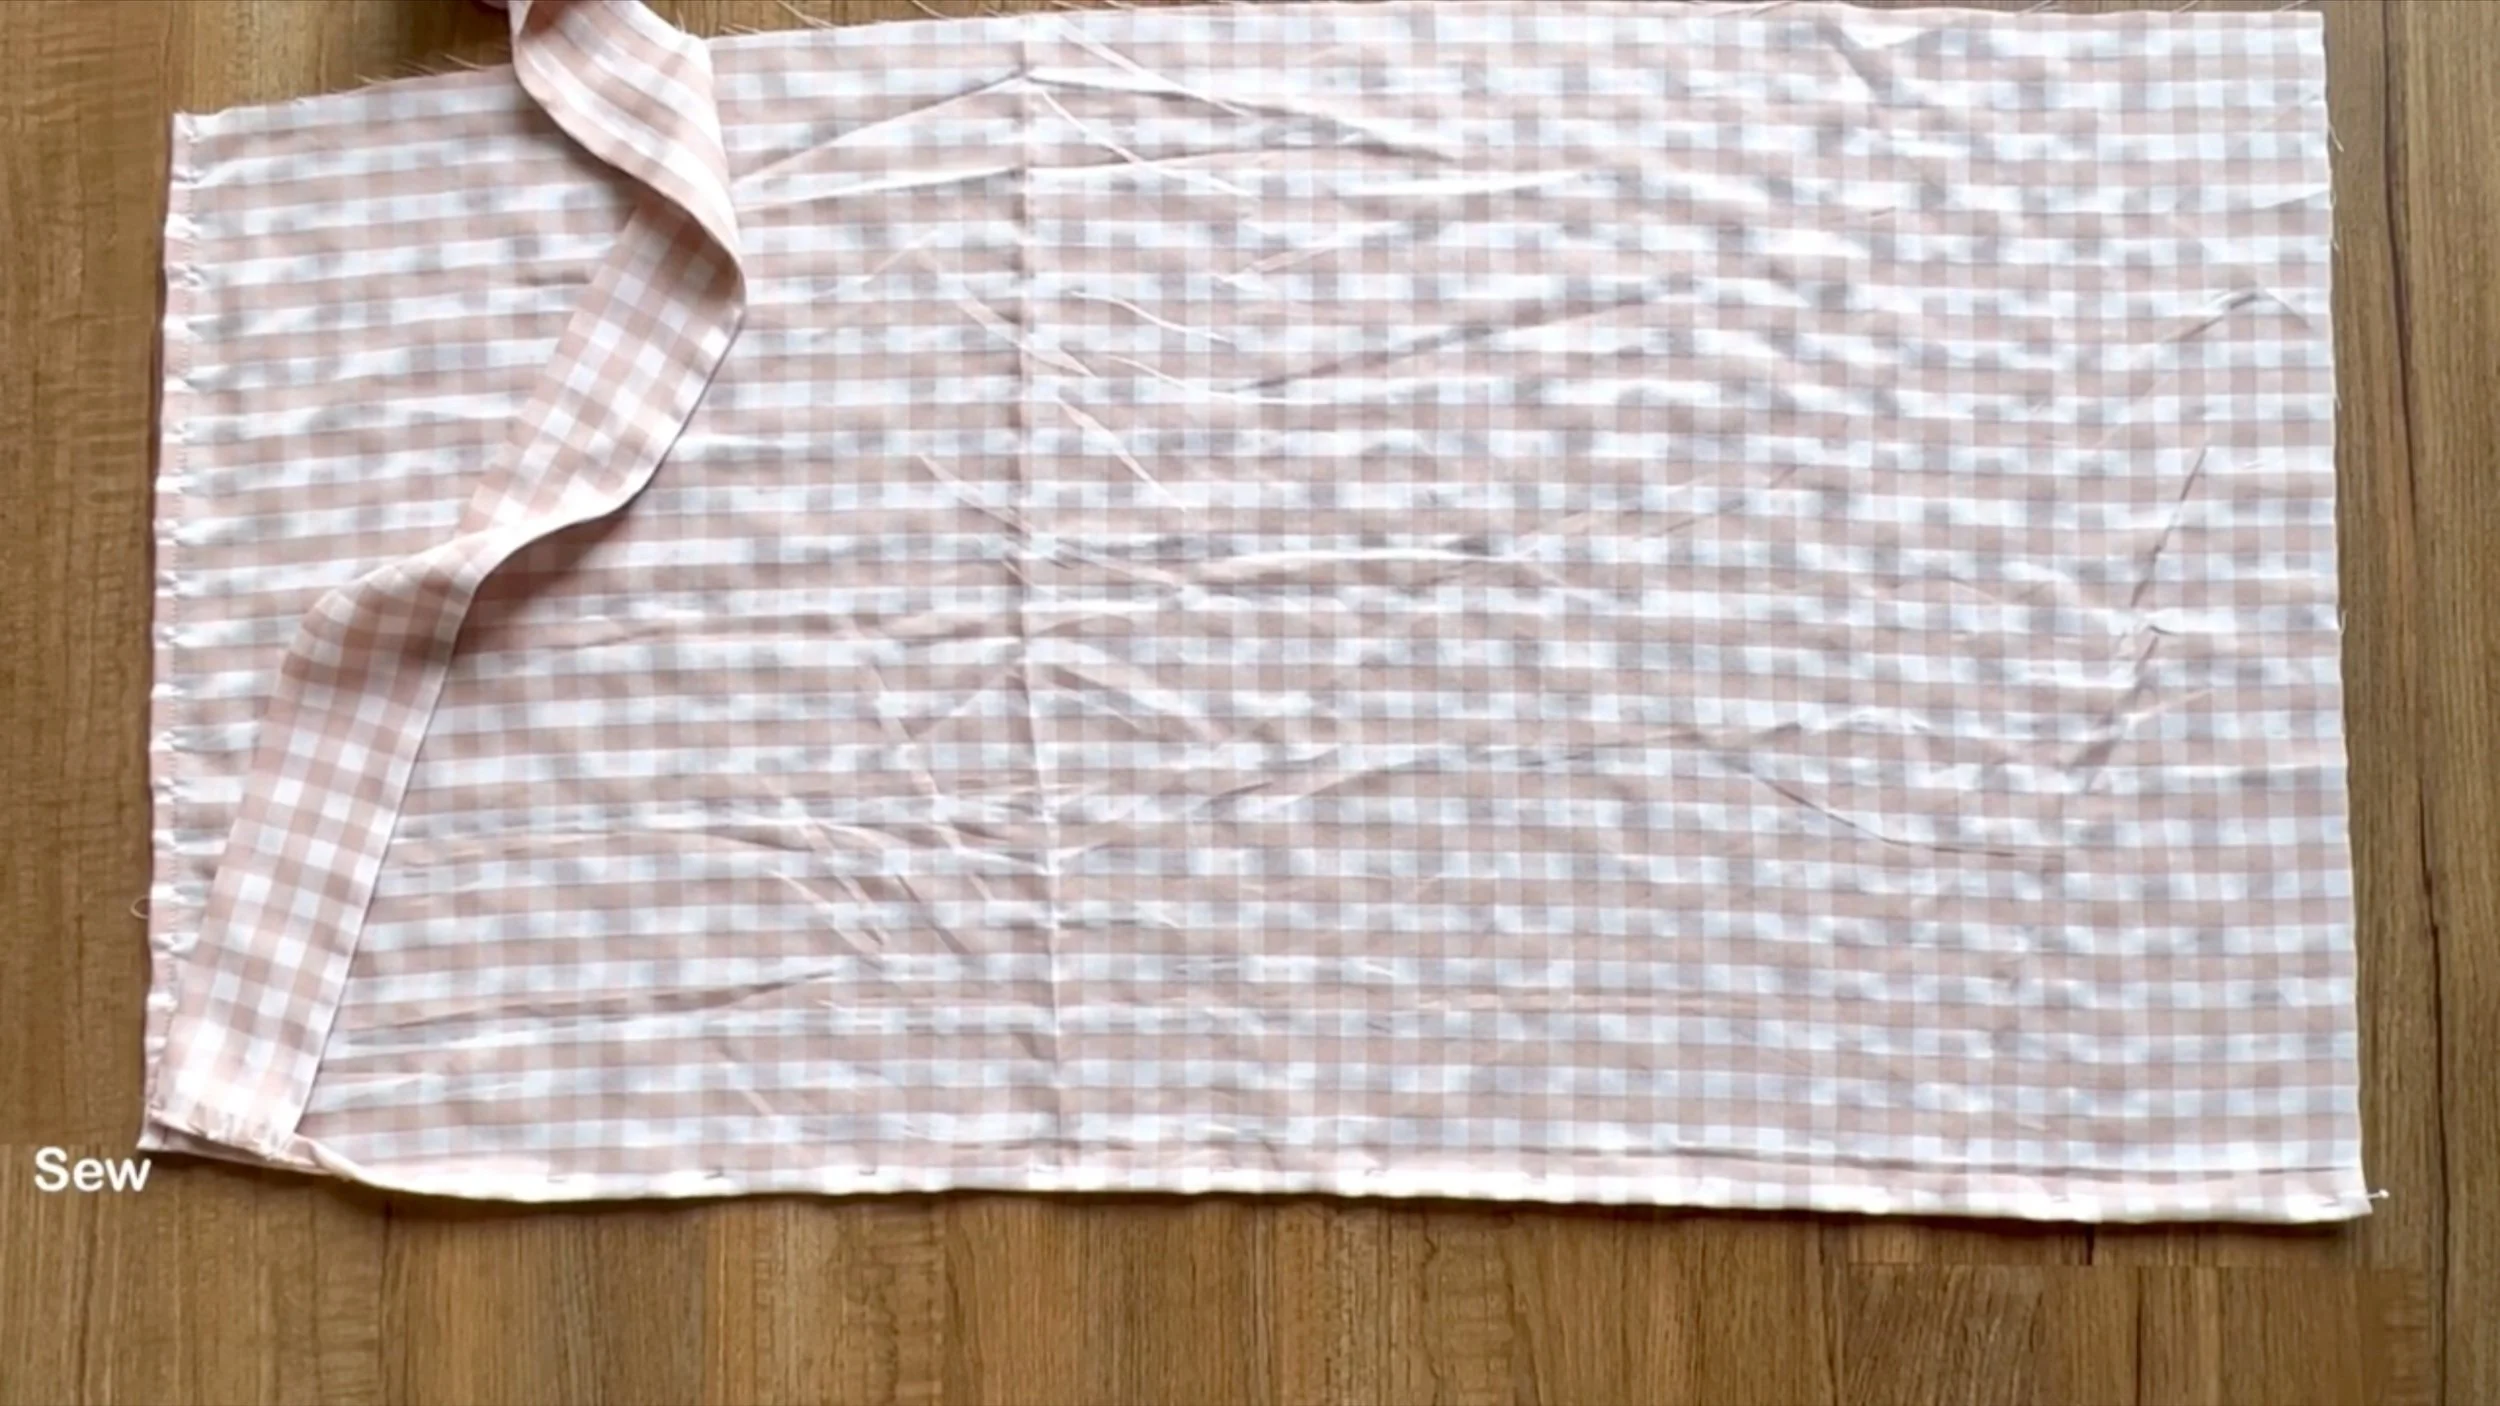
THE FRONT PART
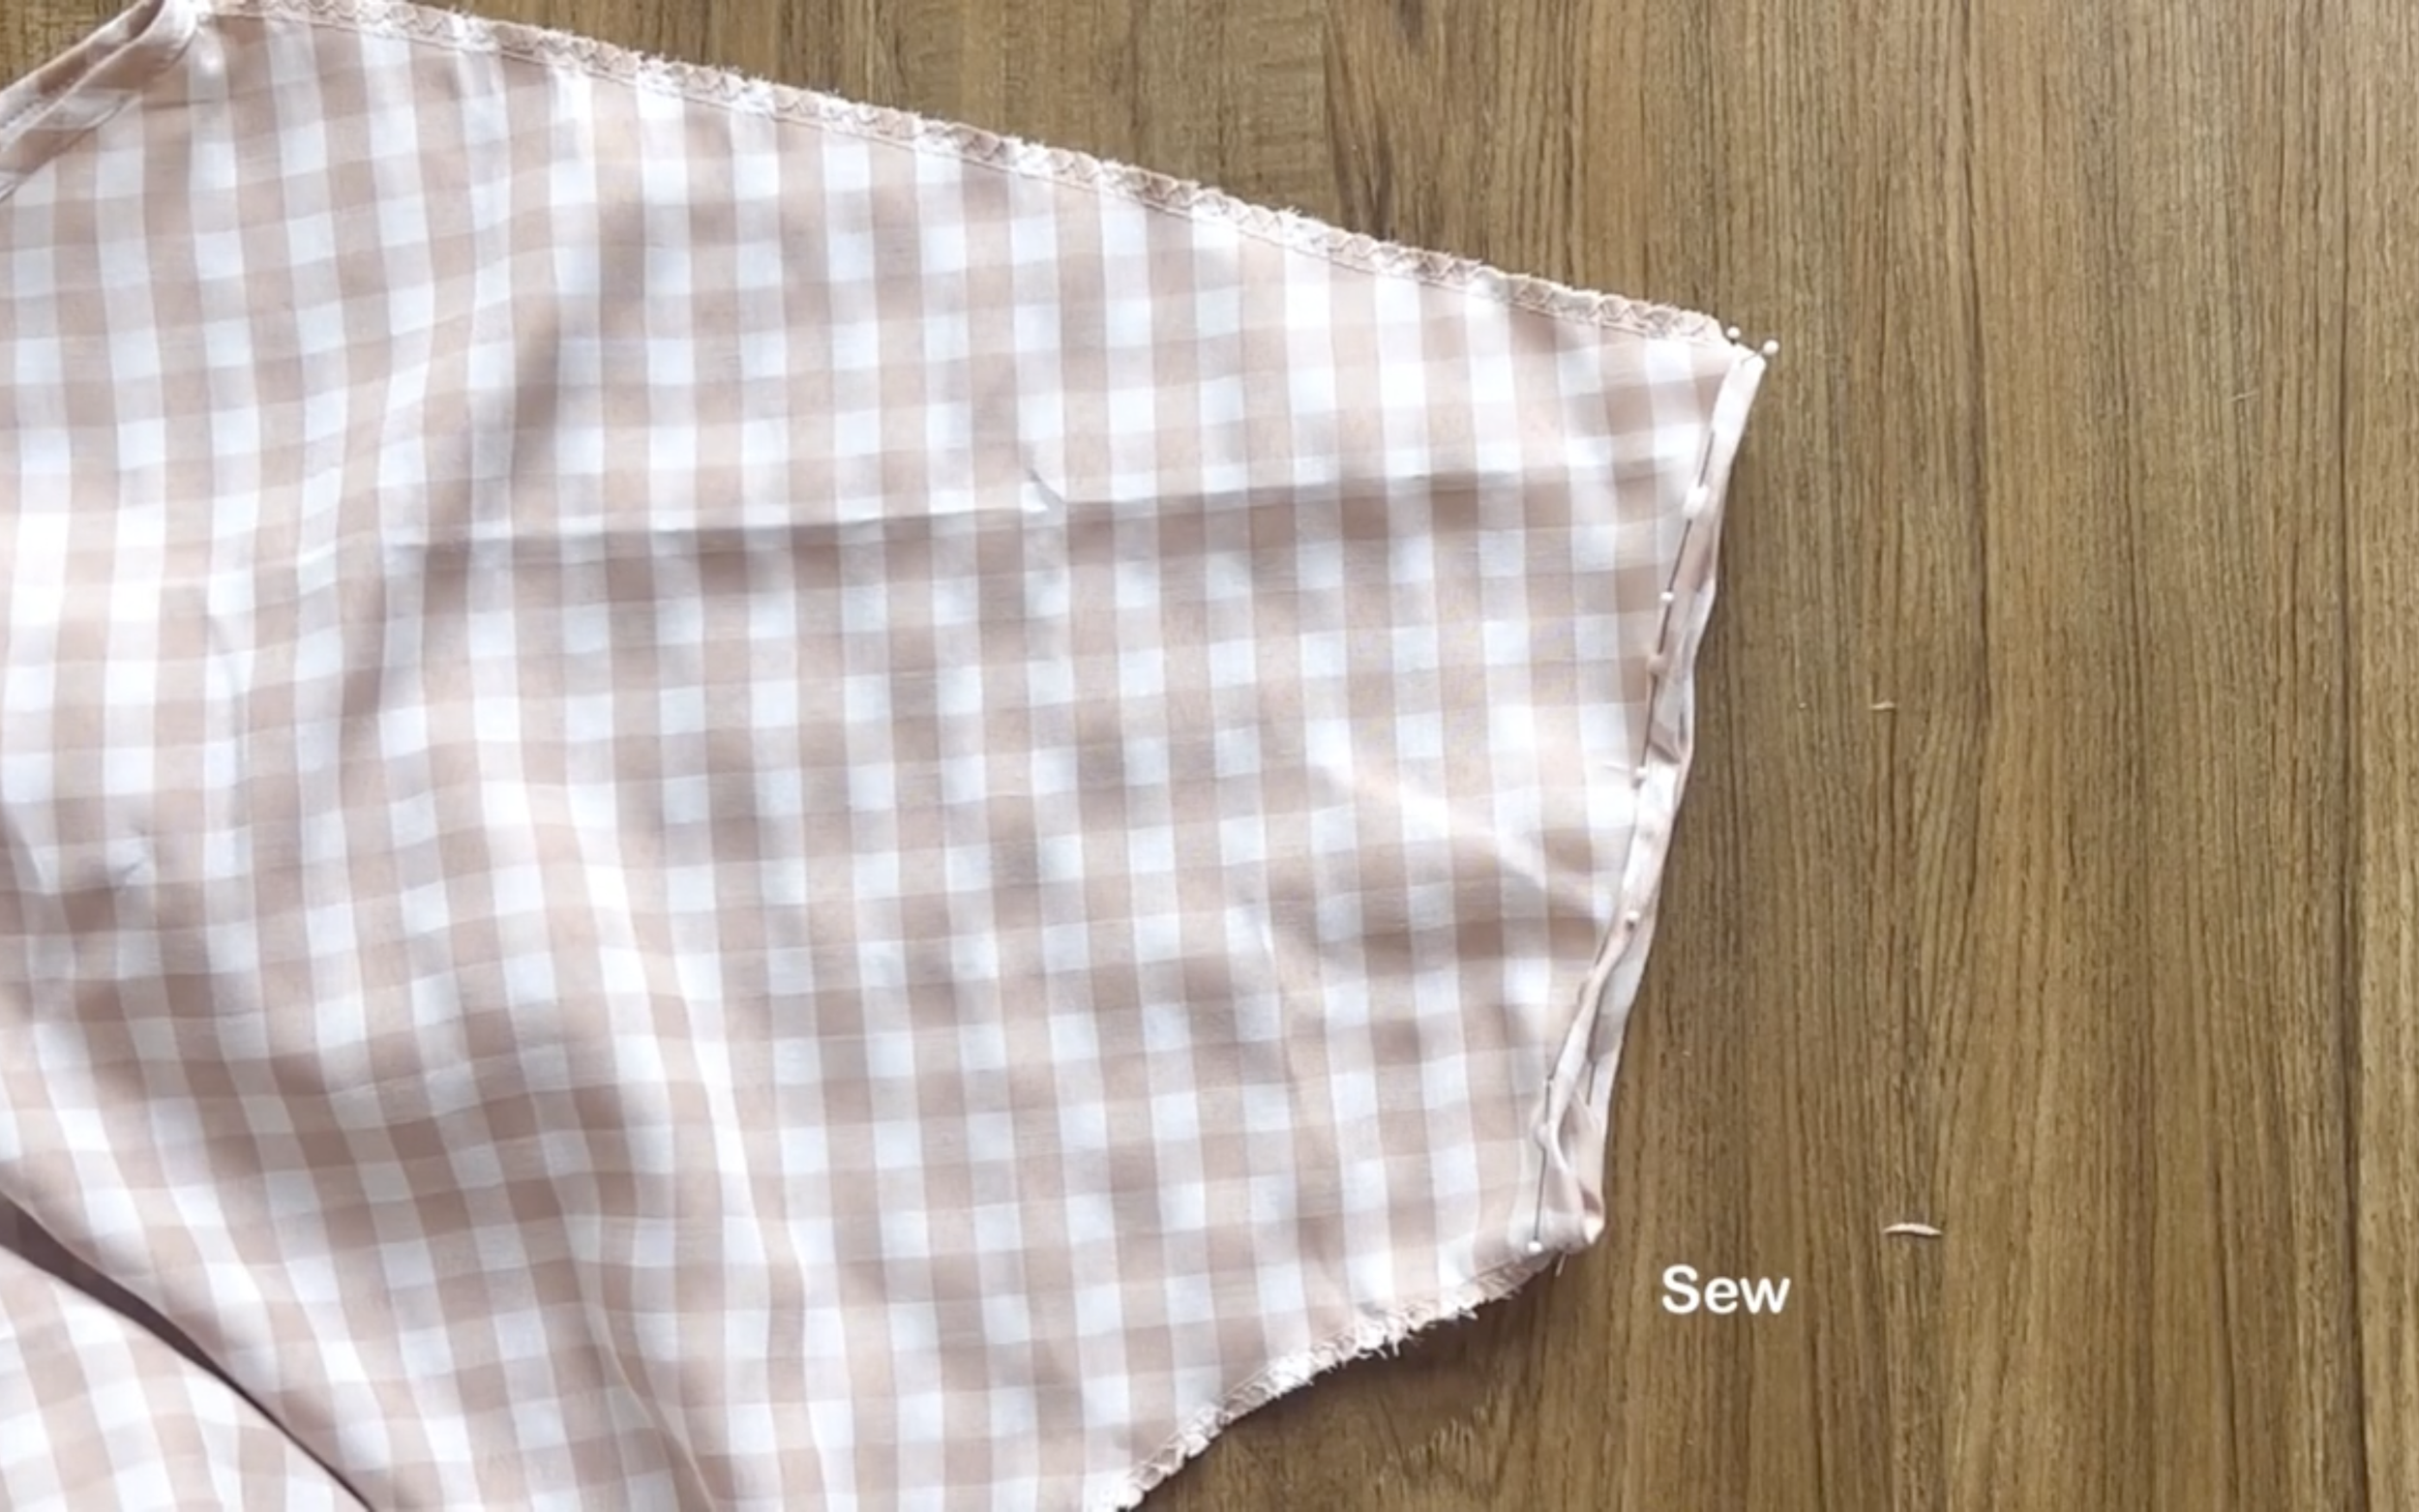
Moving to the front of the dress, finish the slanted line, which is the open part of the sideline at the front of the dress, by folding the end fabric inside two times with 1 cm each time and sewing.
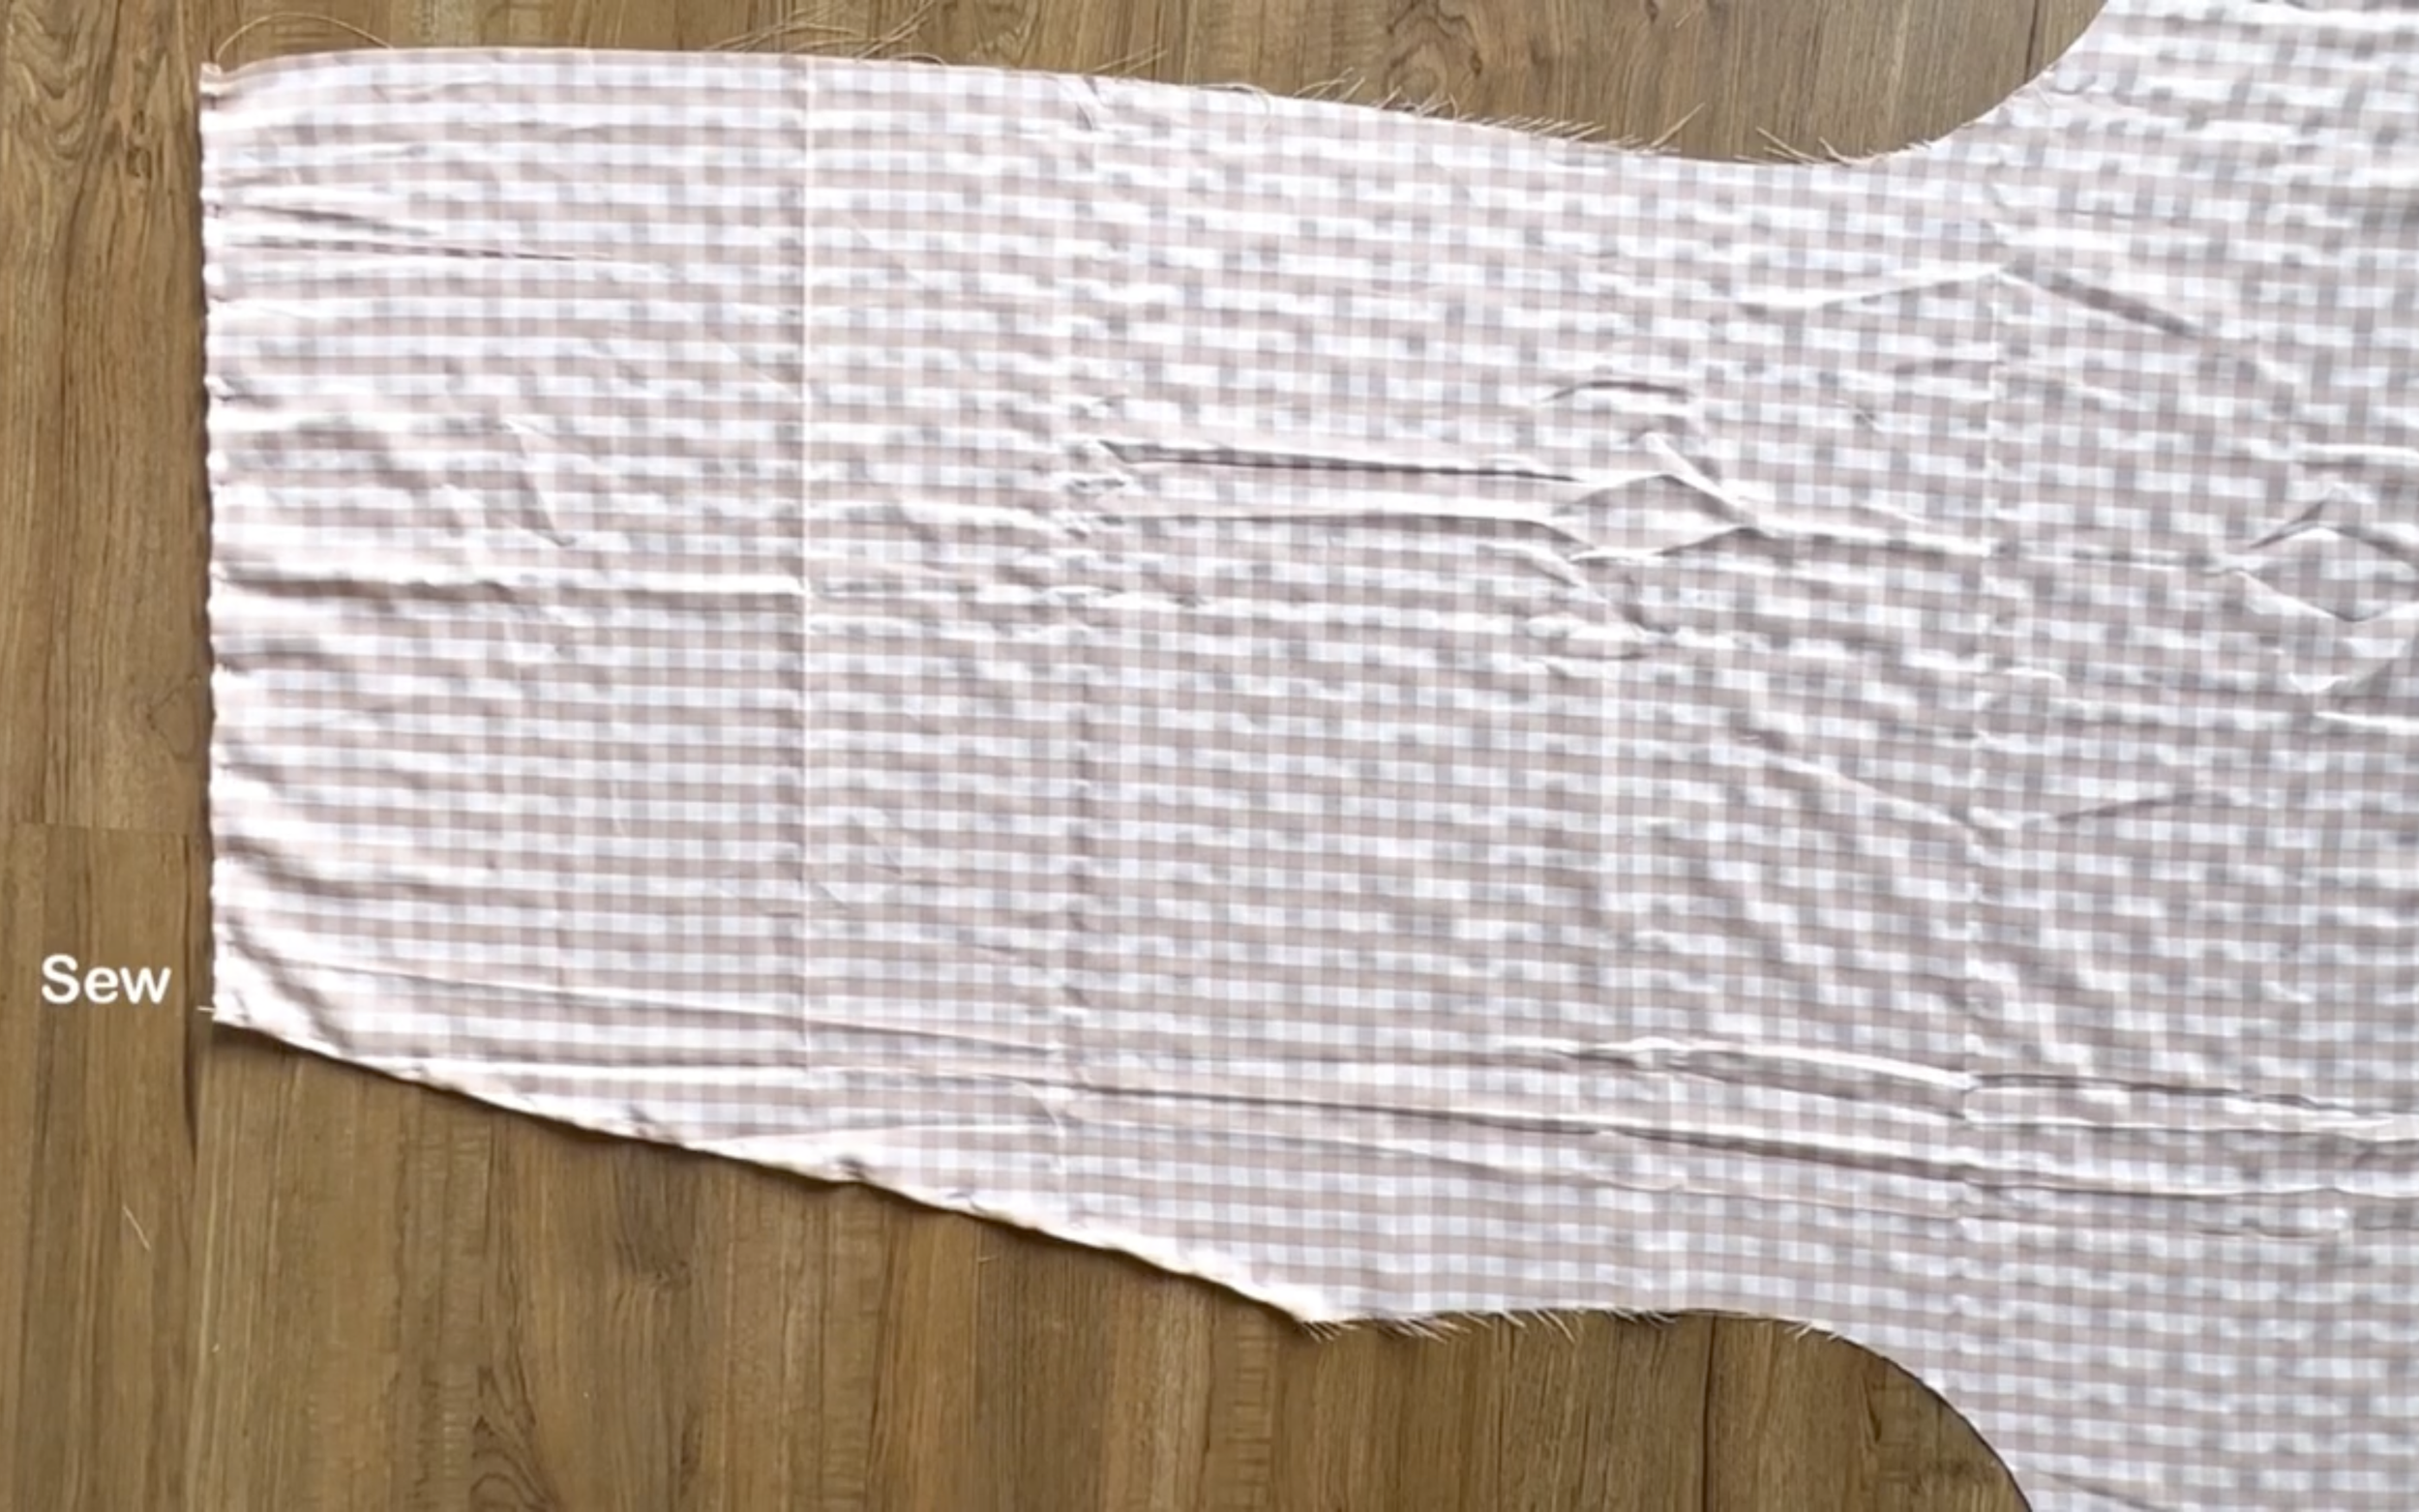
CONNECT THE FRONT TO THE BACK

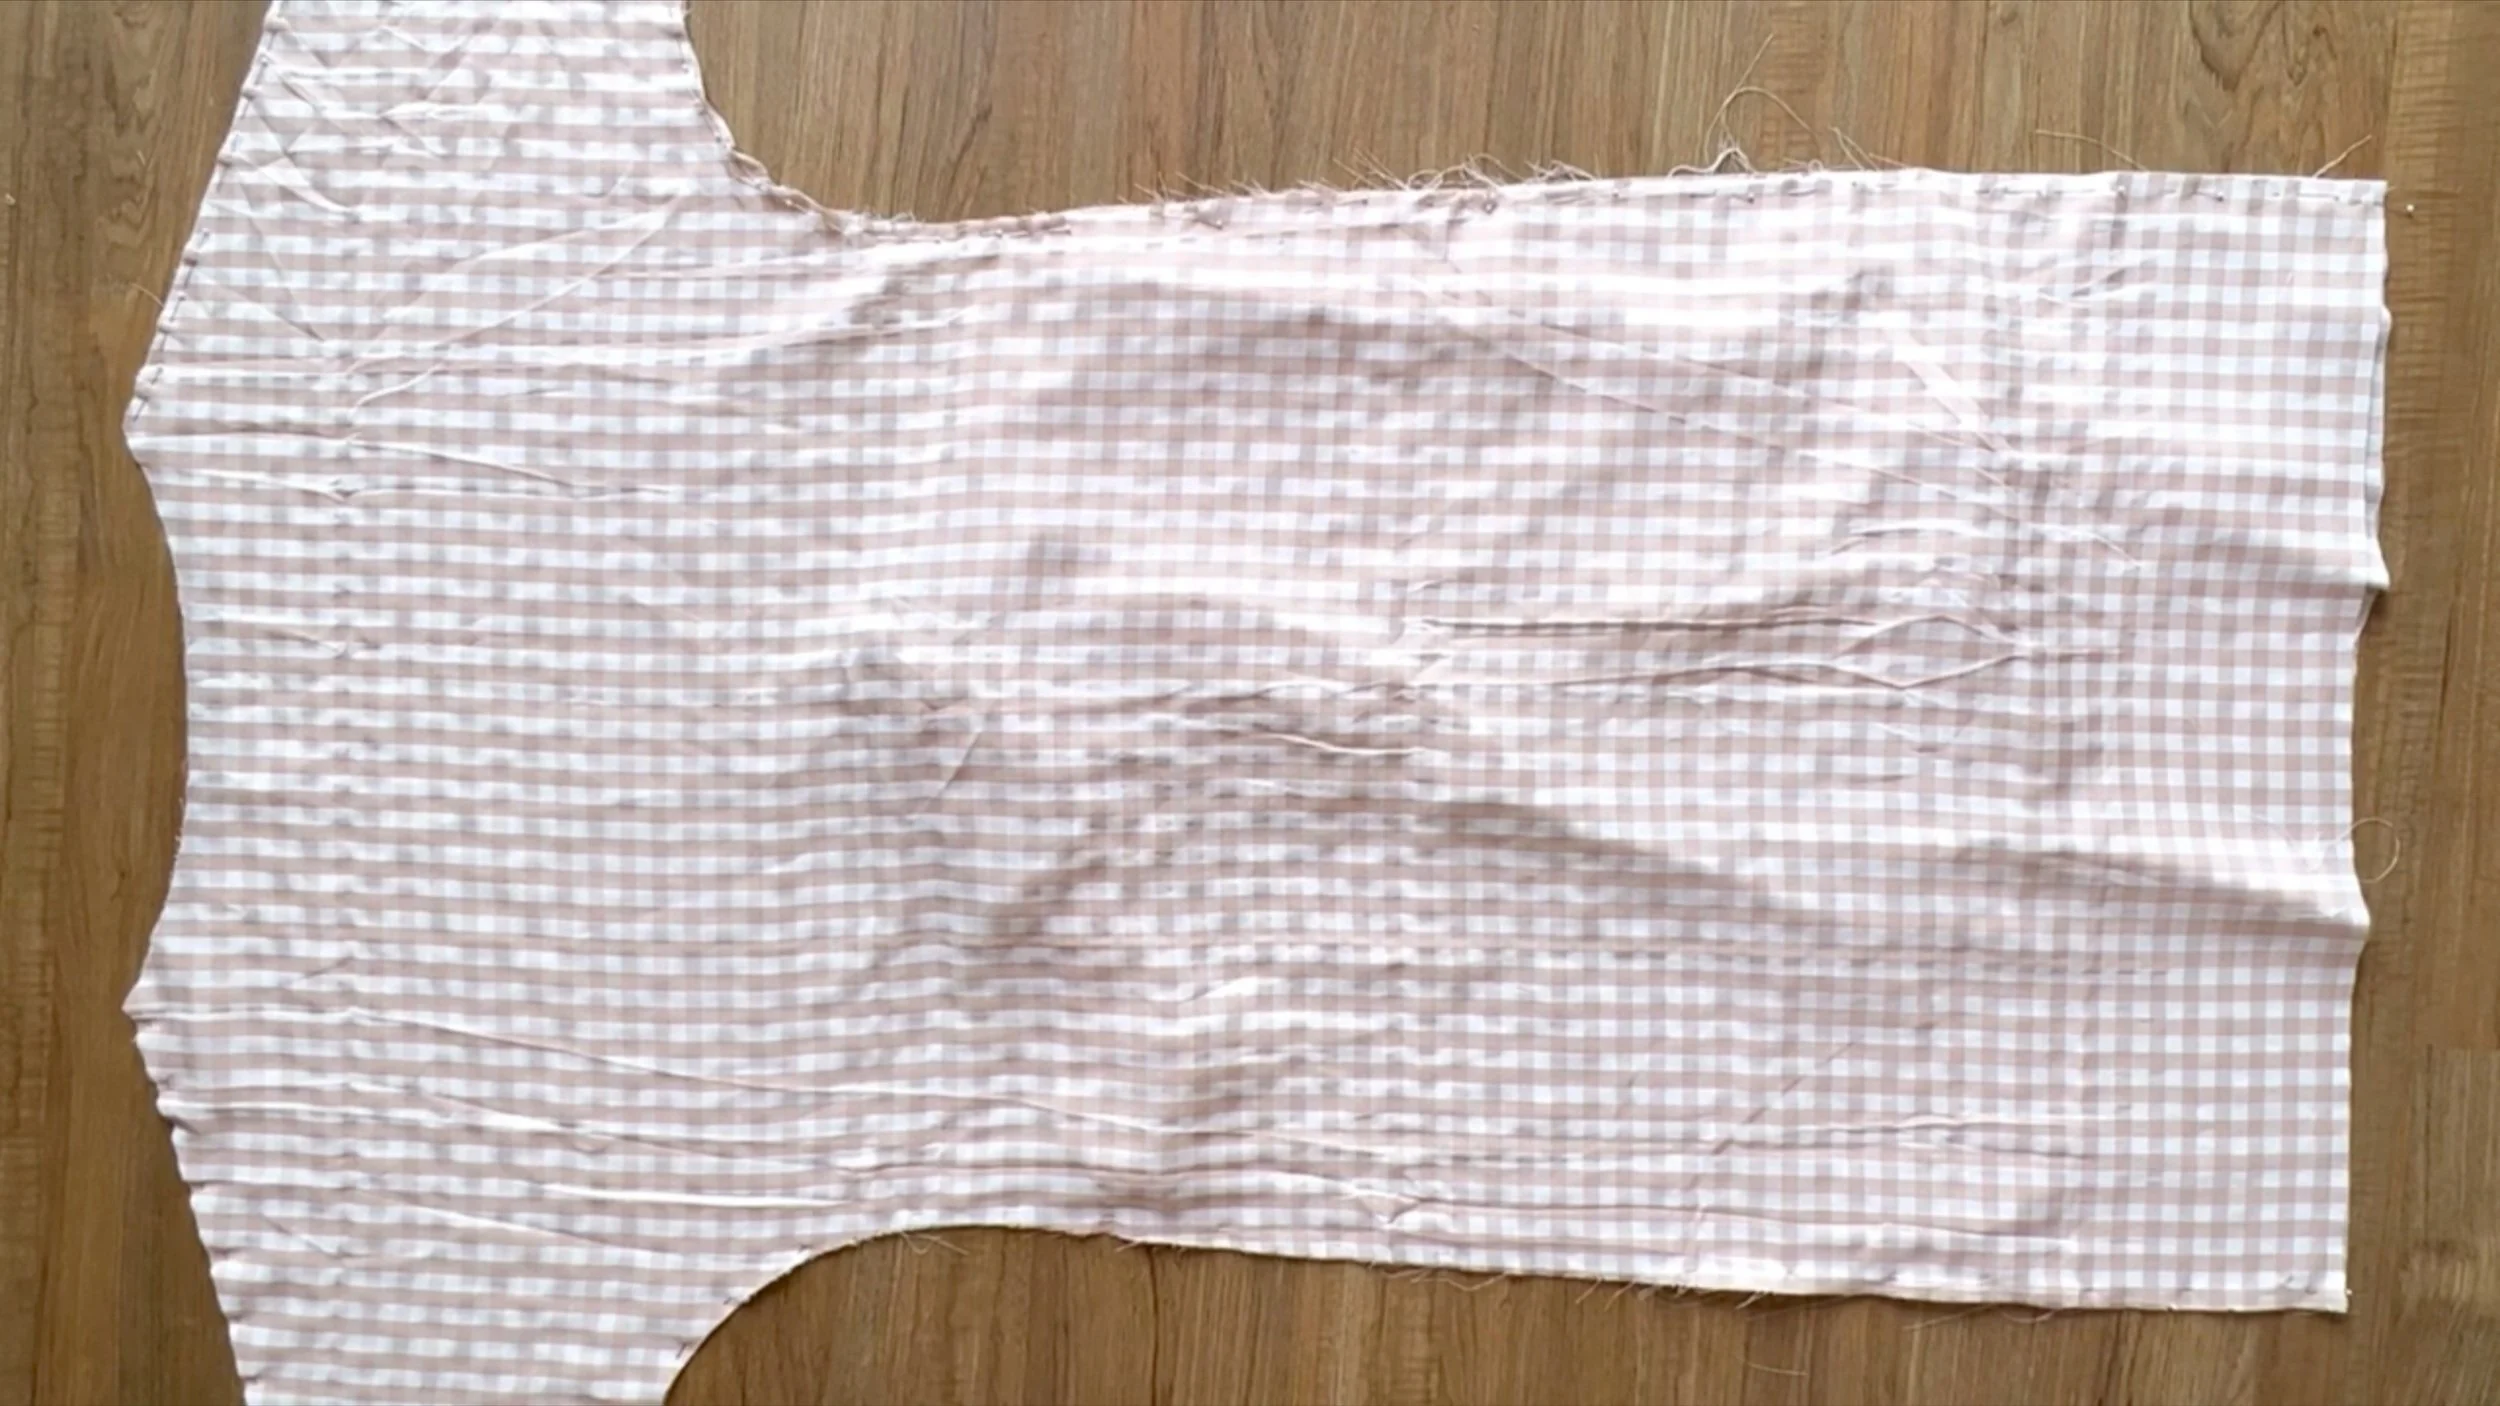
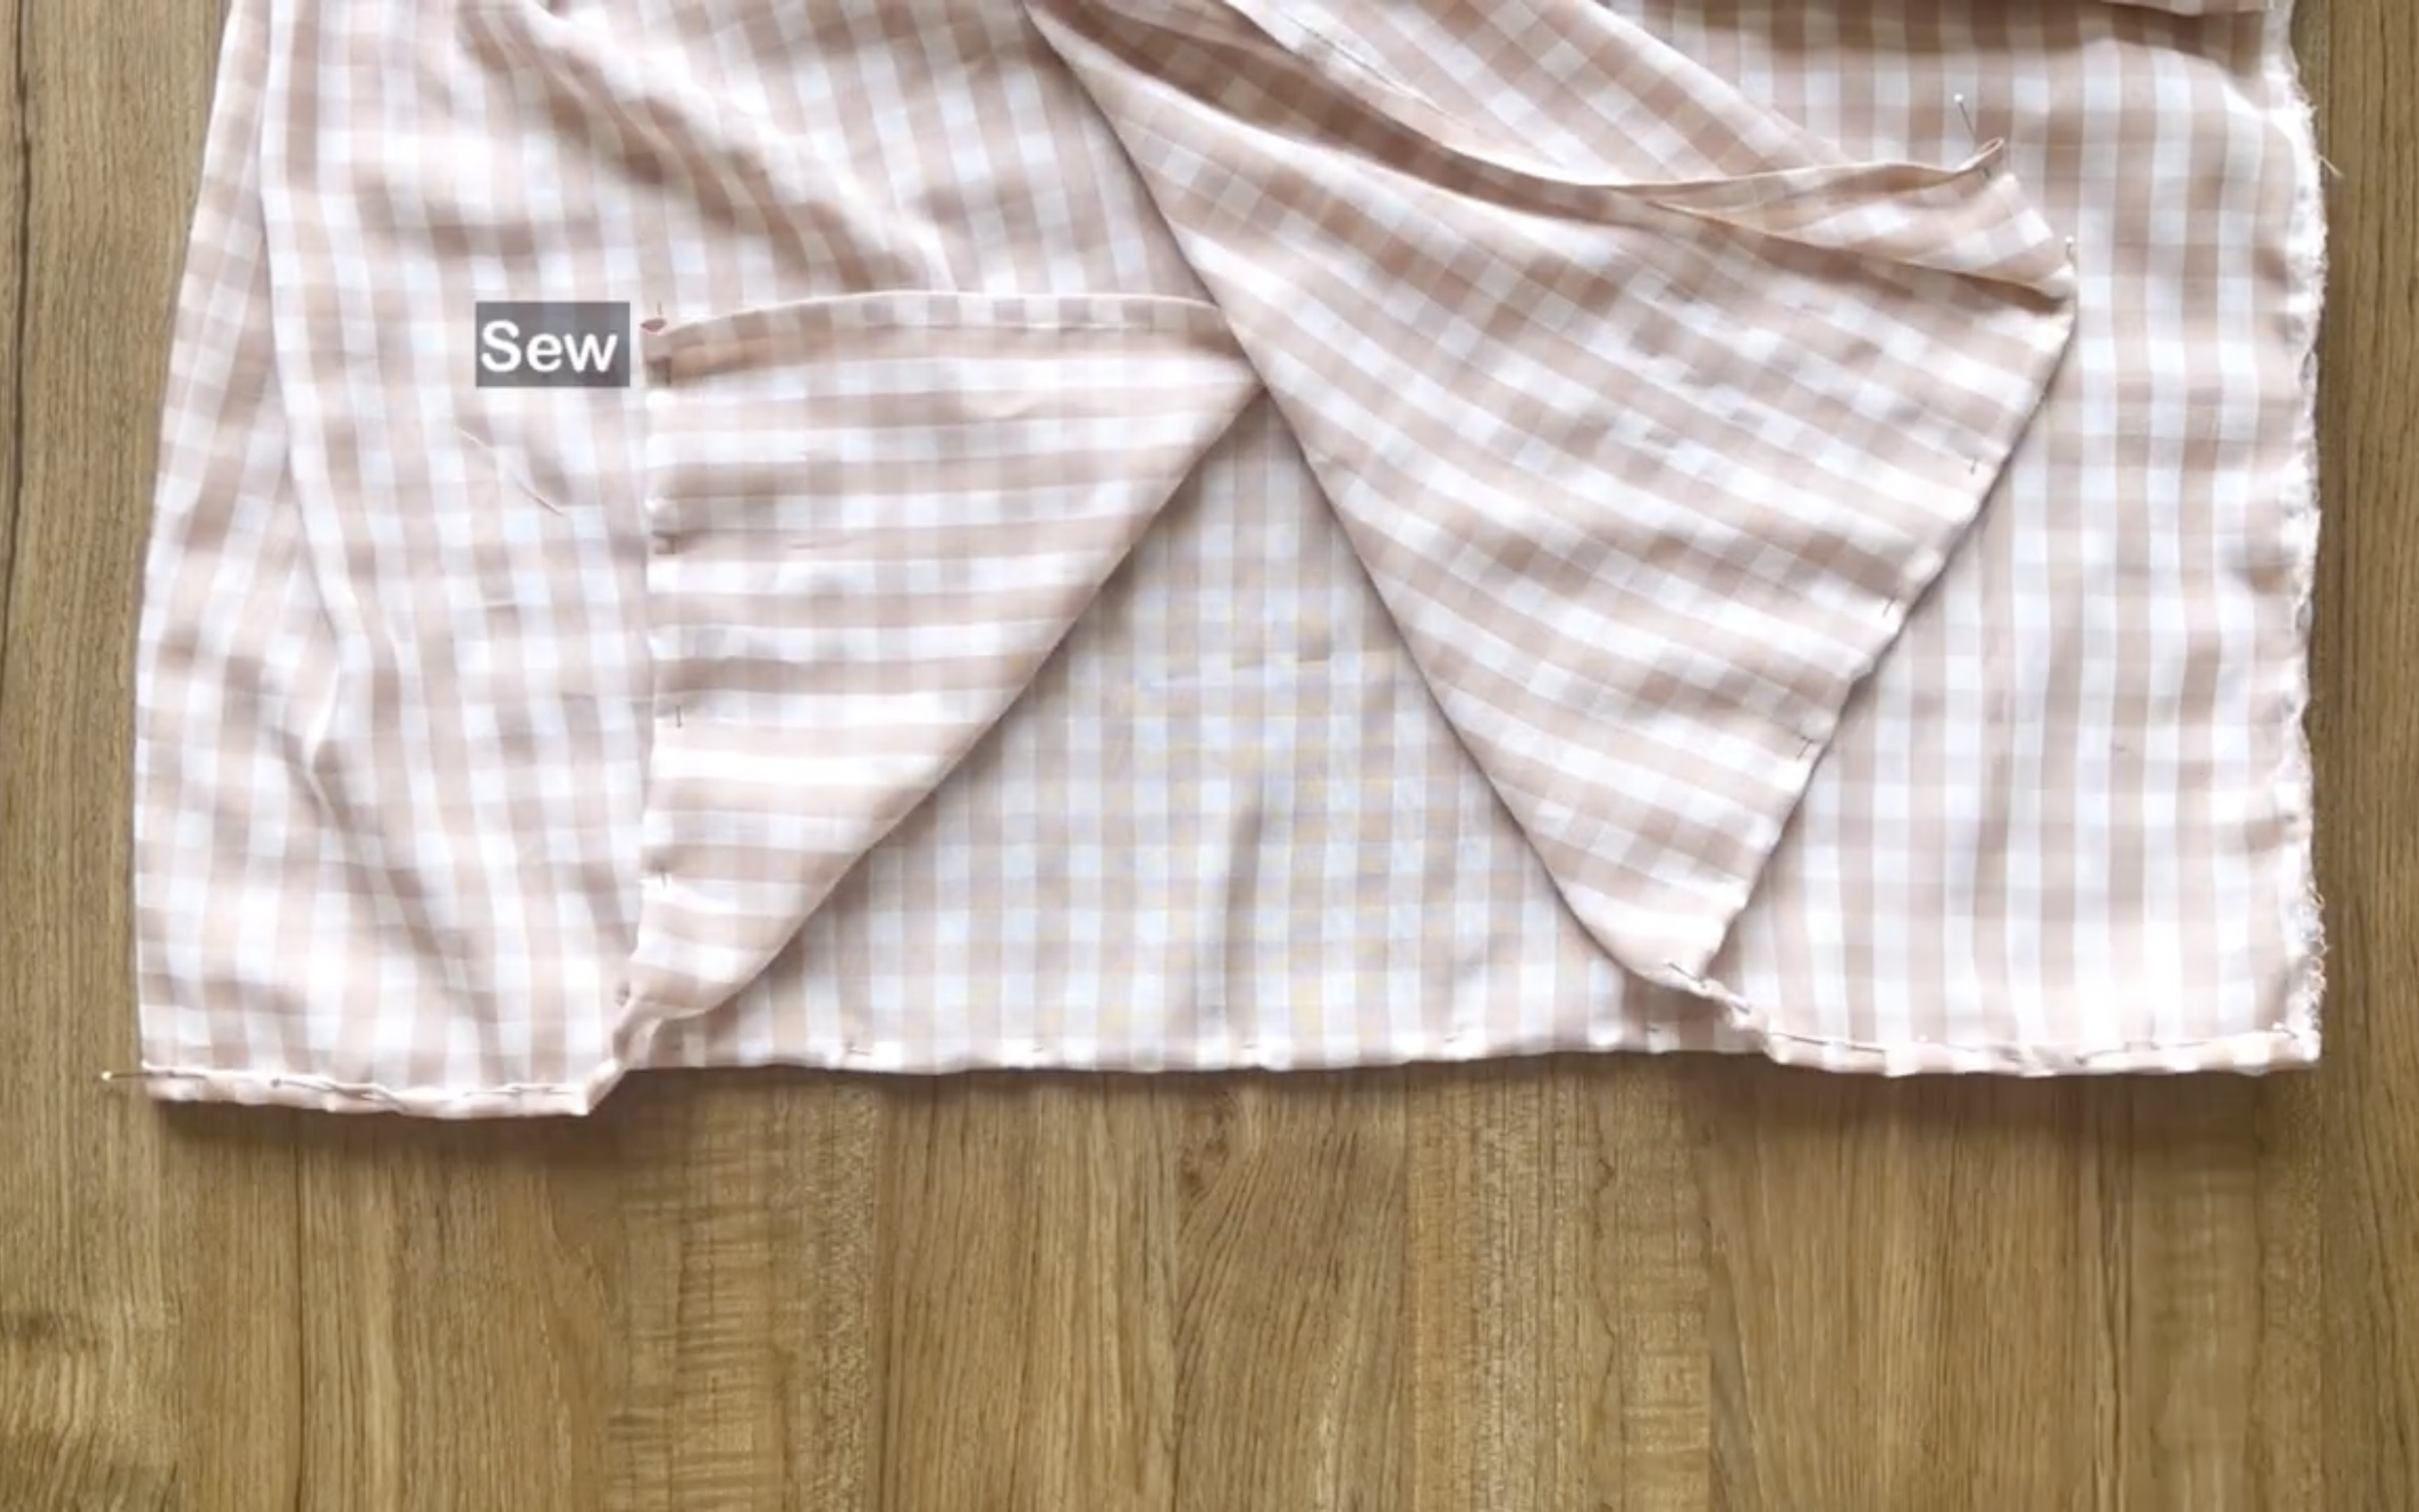
Now, connect the front and the back of the dress together at the shoulder and two side lines.
Remember to put the wrapping part of the front dress in the middle between the front and the back of the dress.
Before sewing, add one end of the other tie right at the top of the wrapping part where it's connected to the sideline.
Then sew to connect them together.
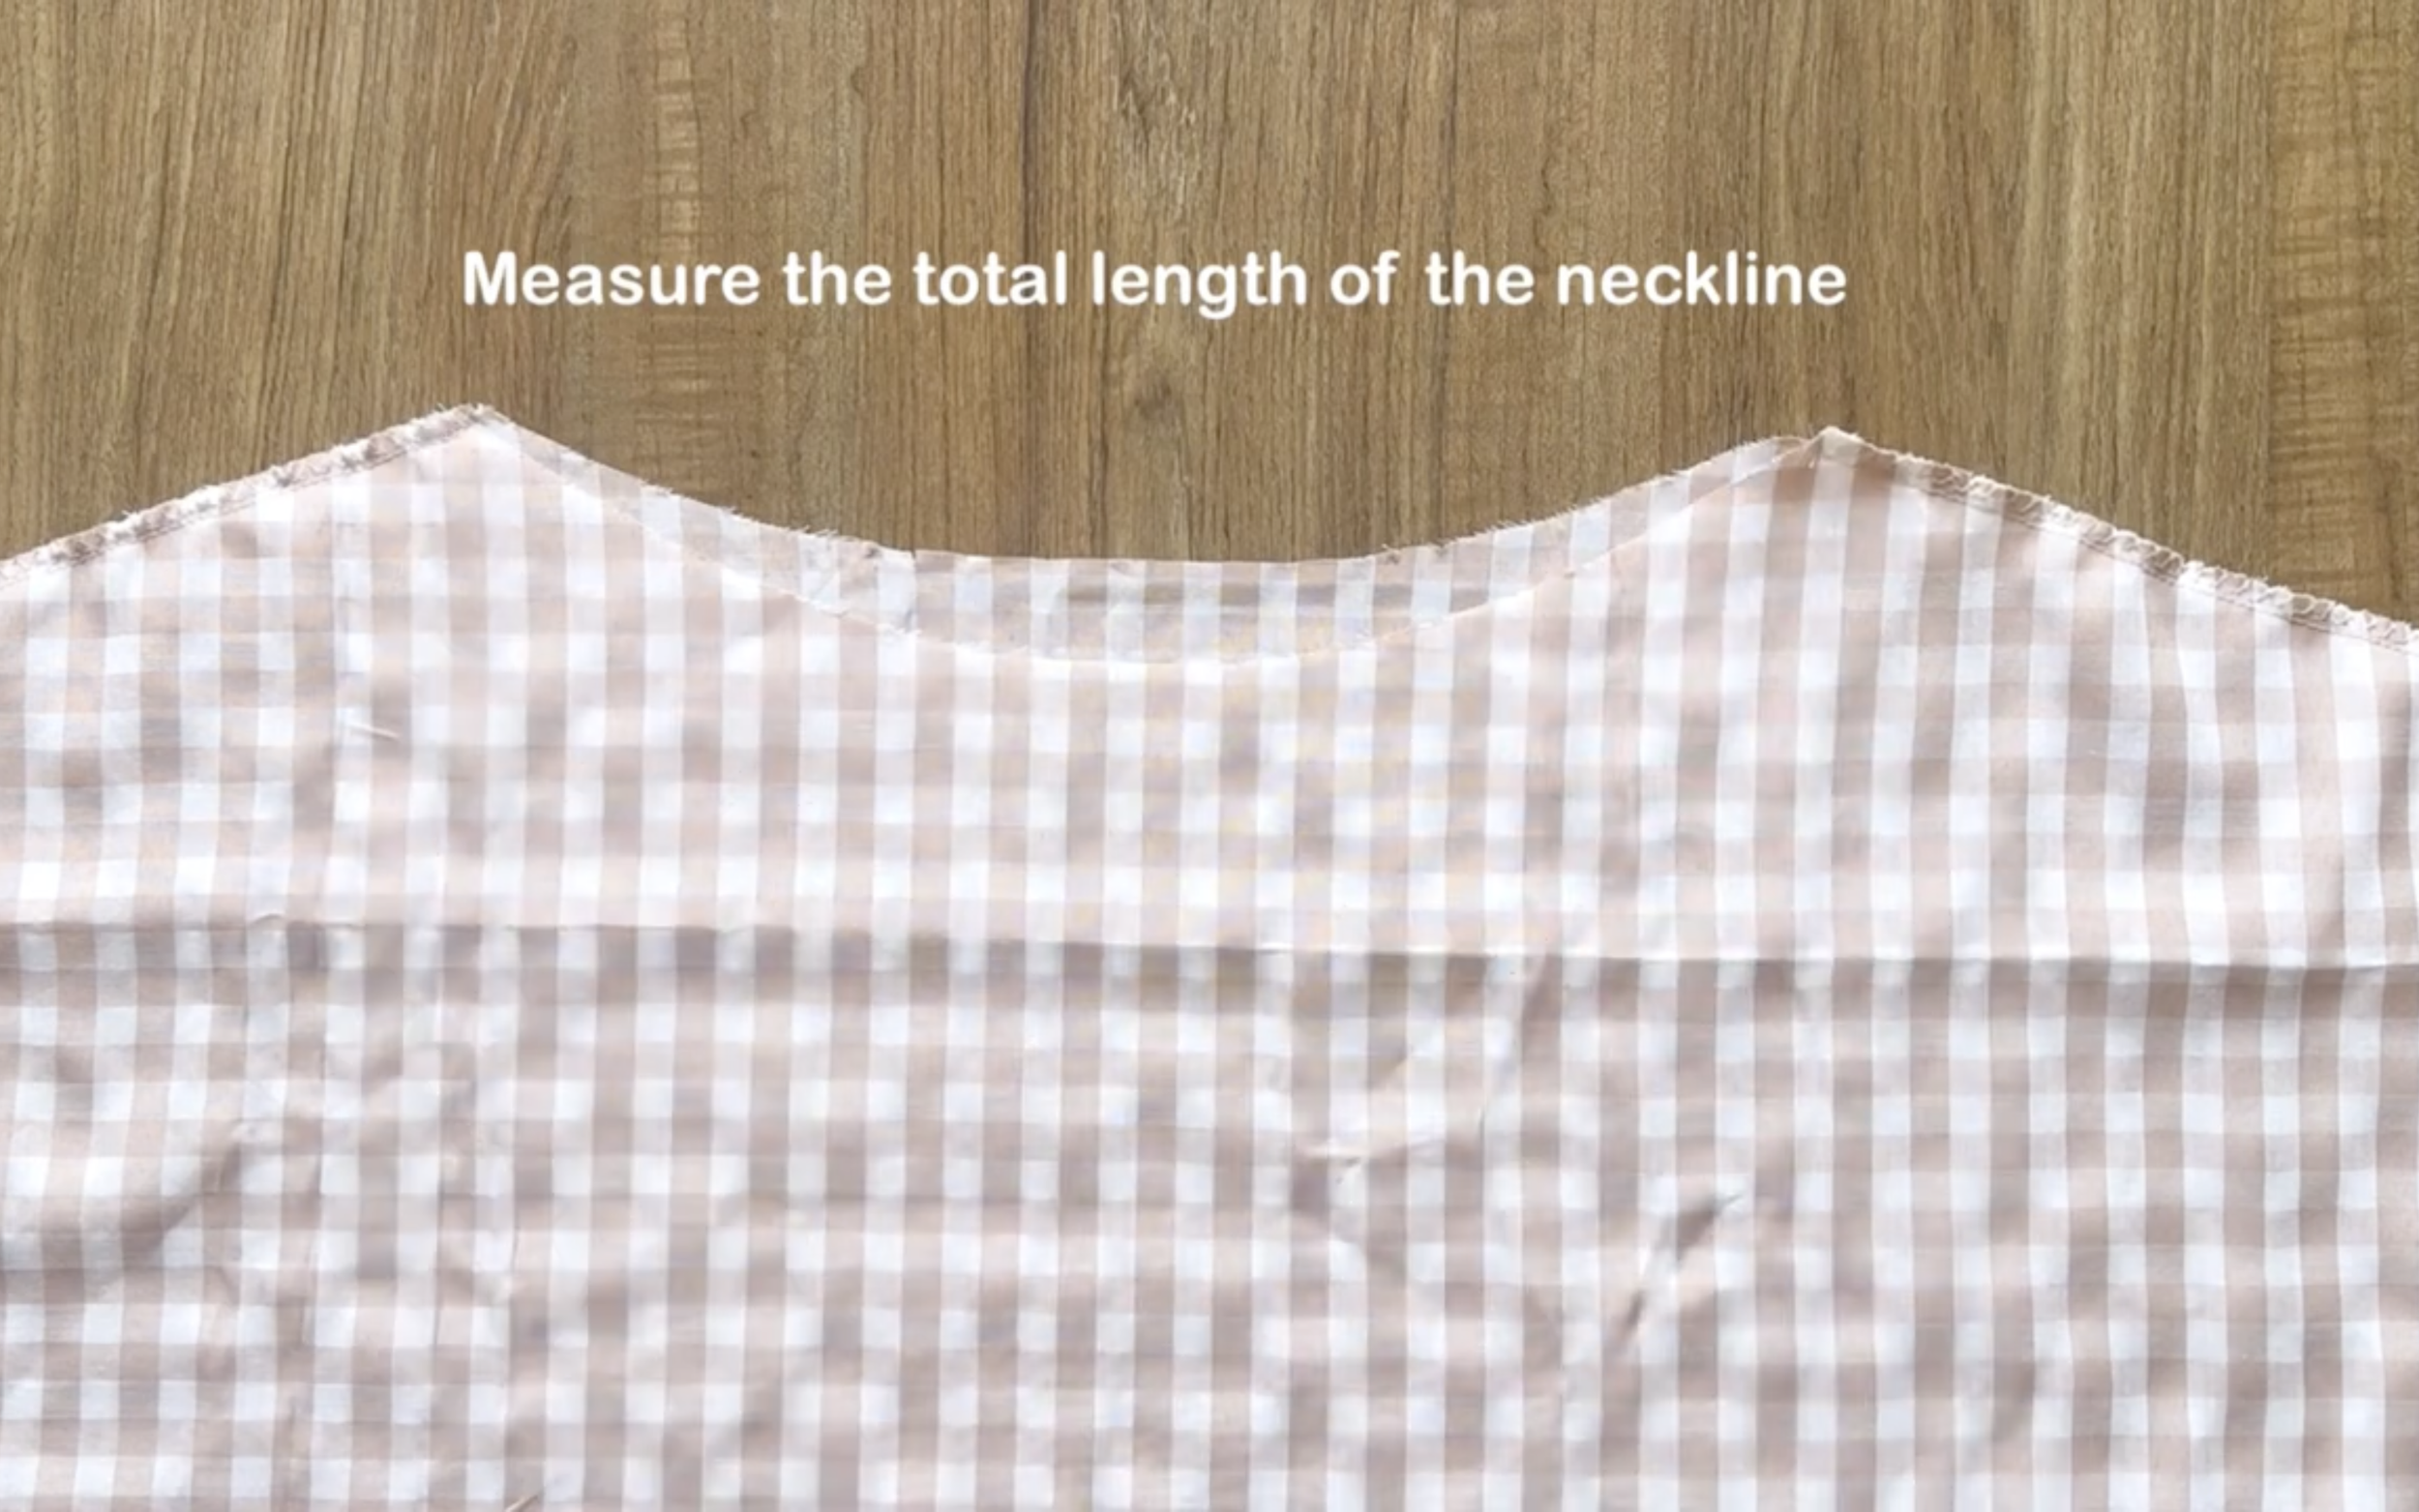
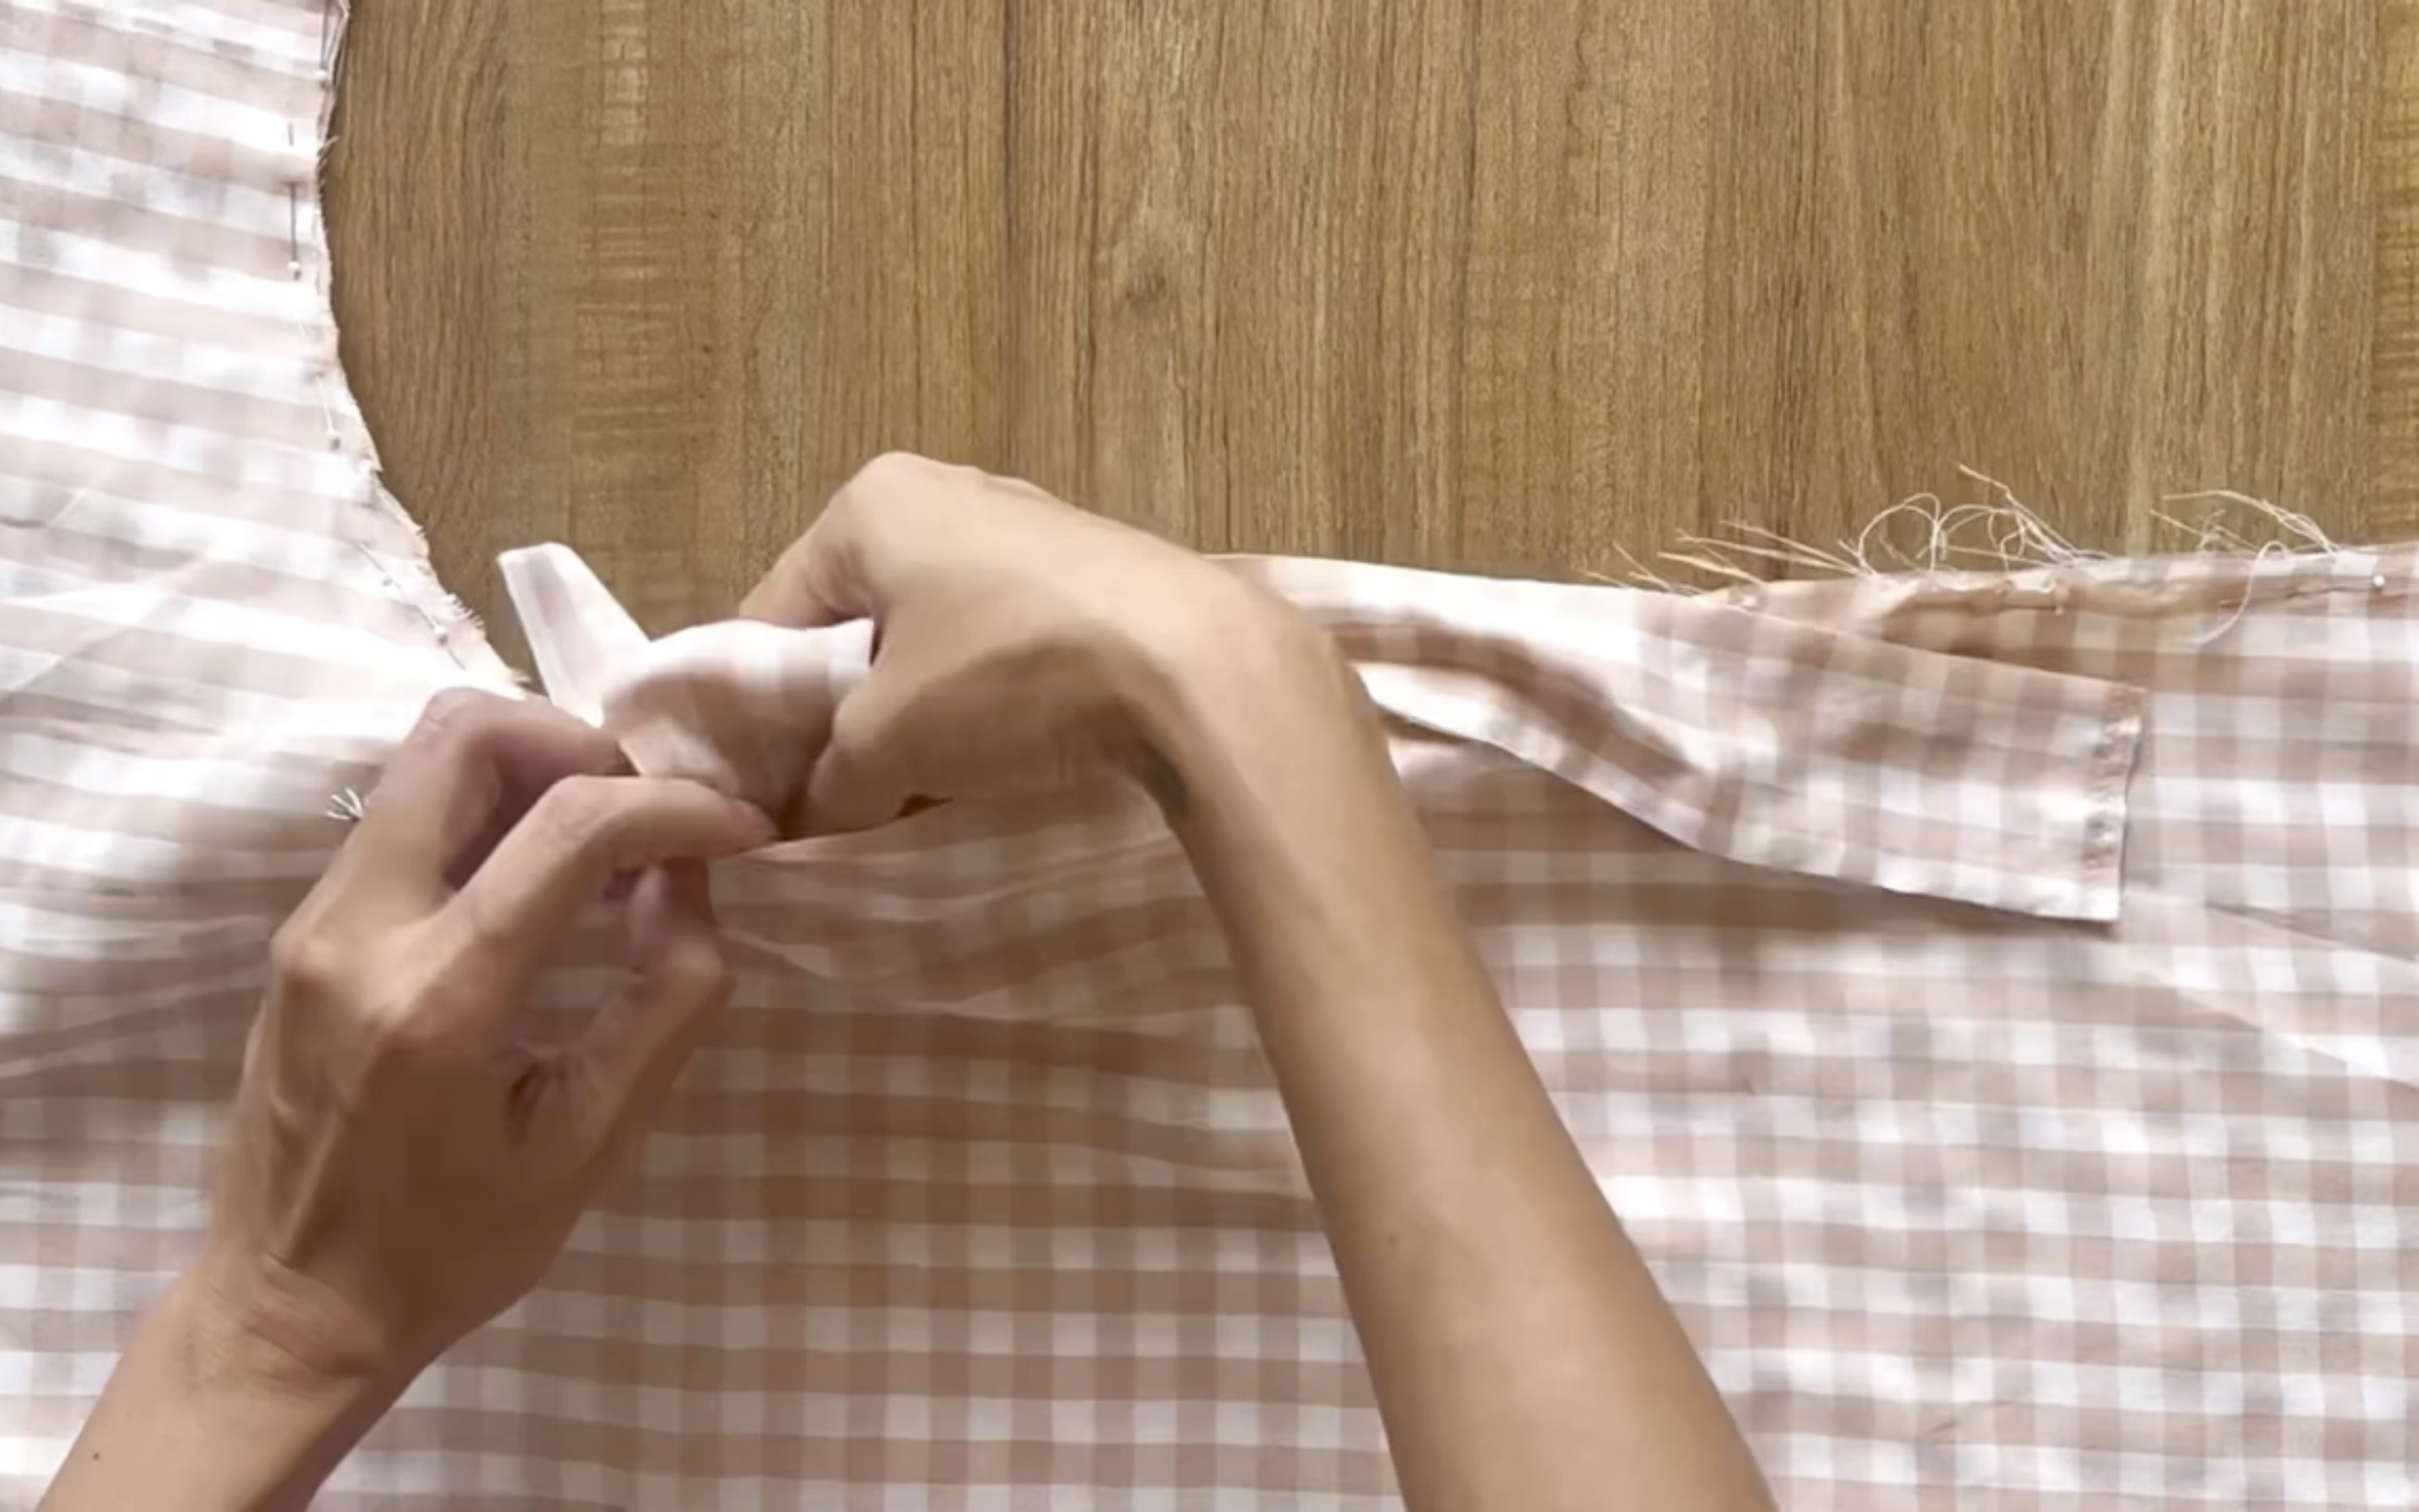
At the neck of the dress, measure the total length of the neckline first.
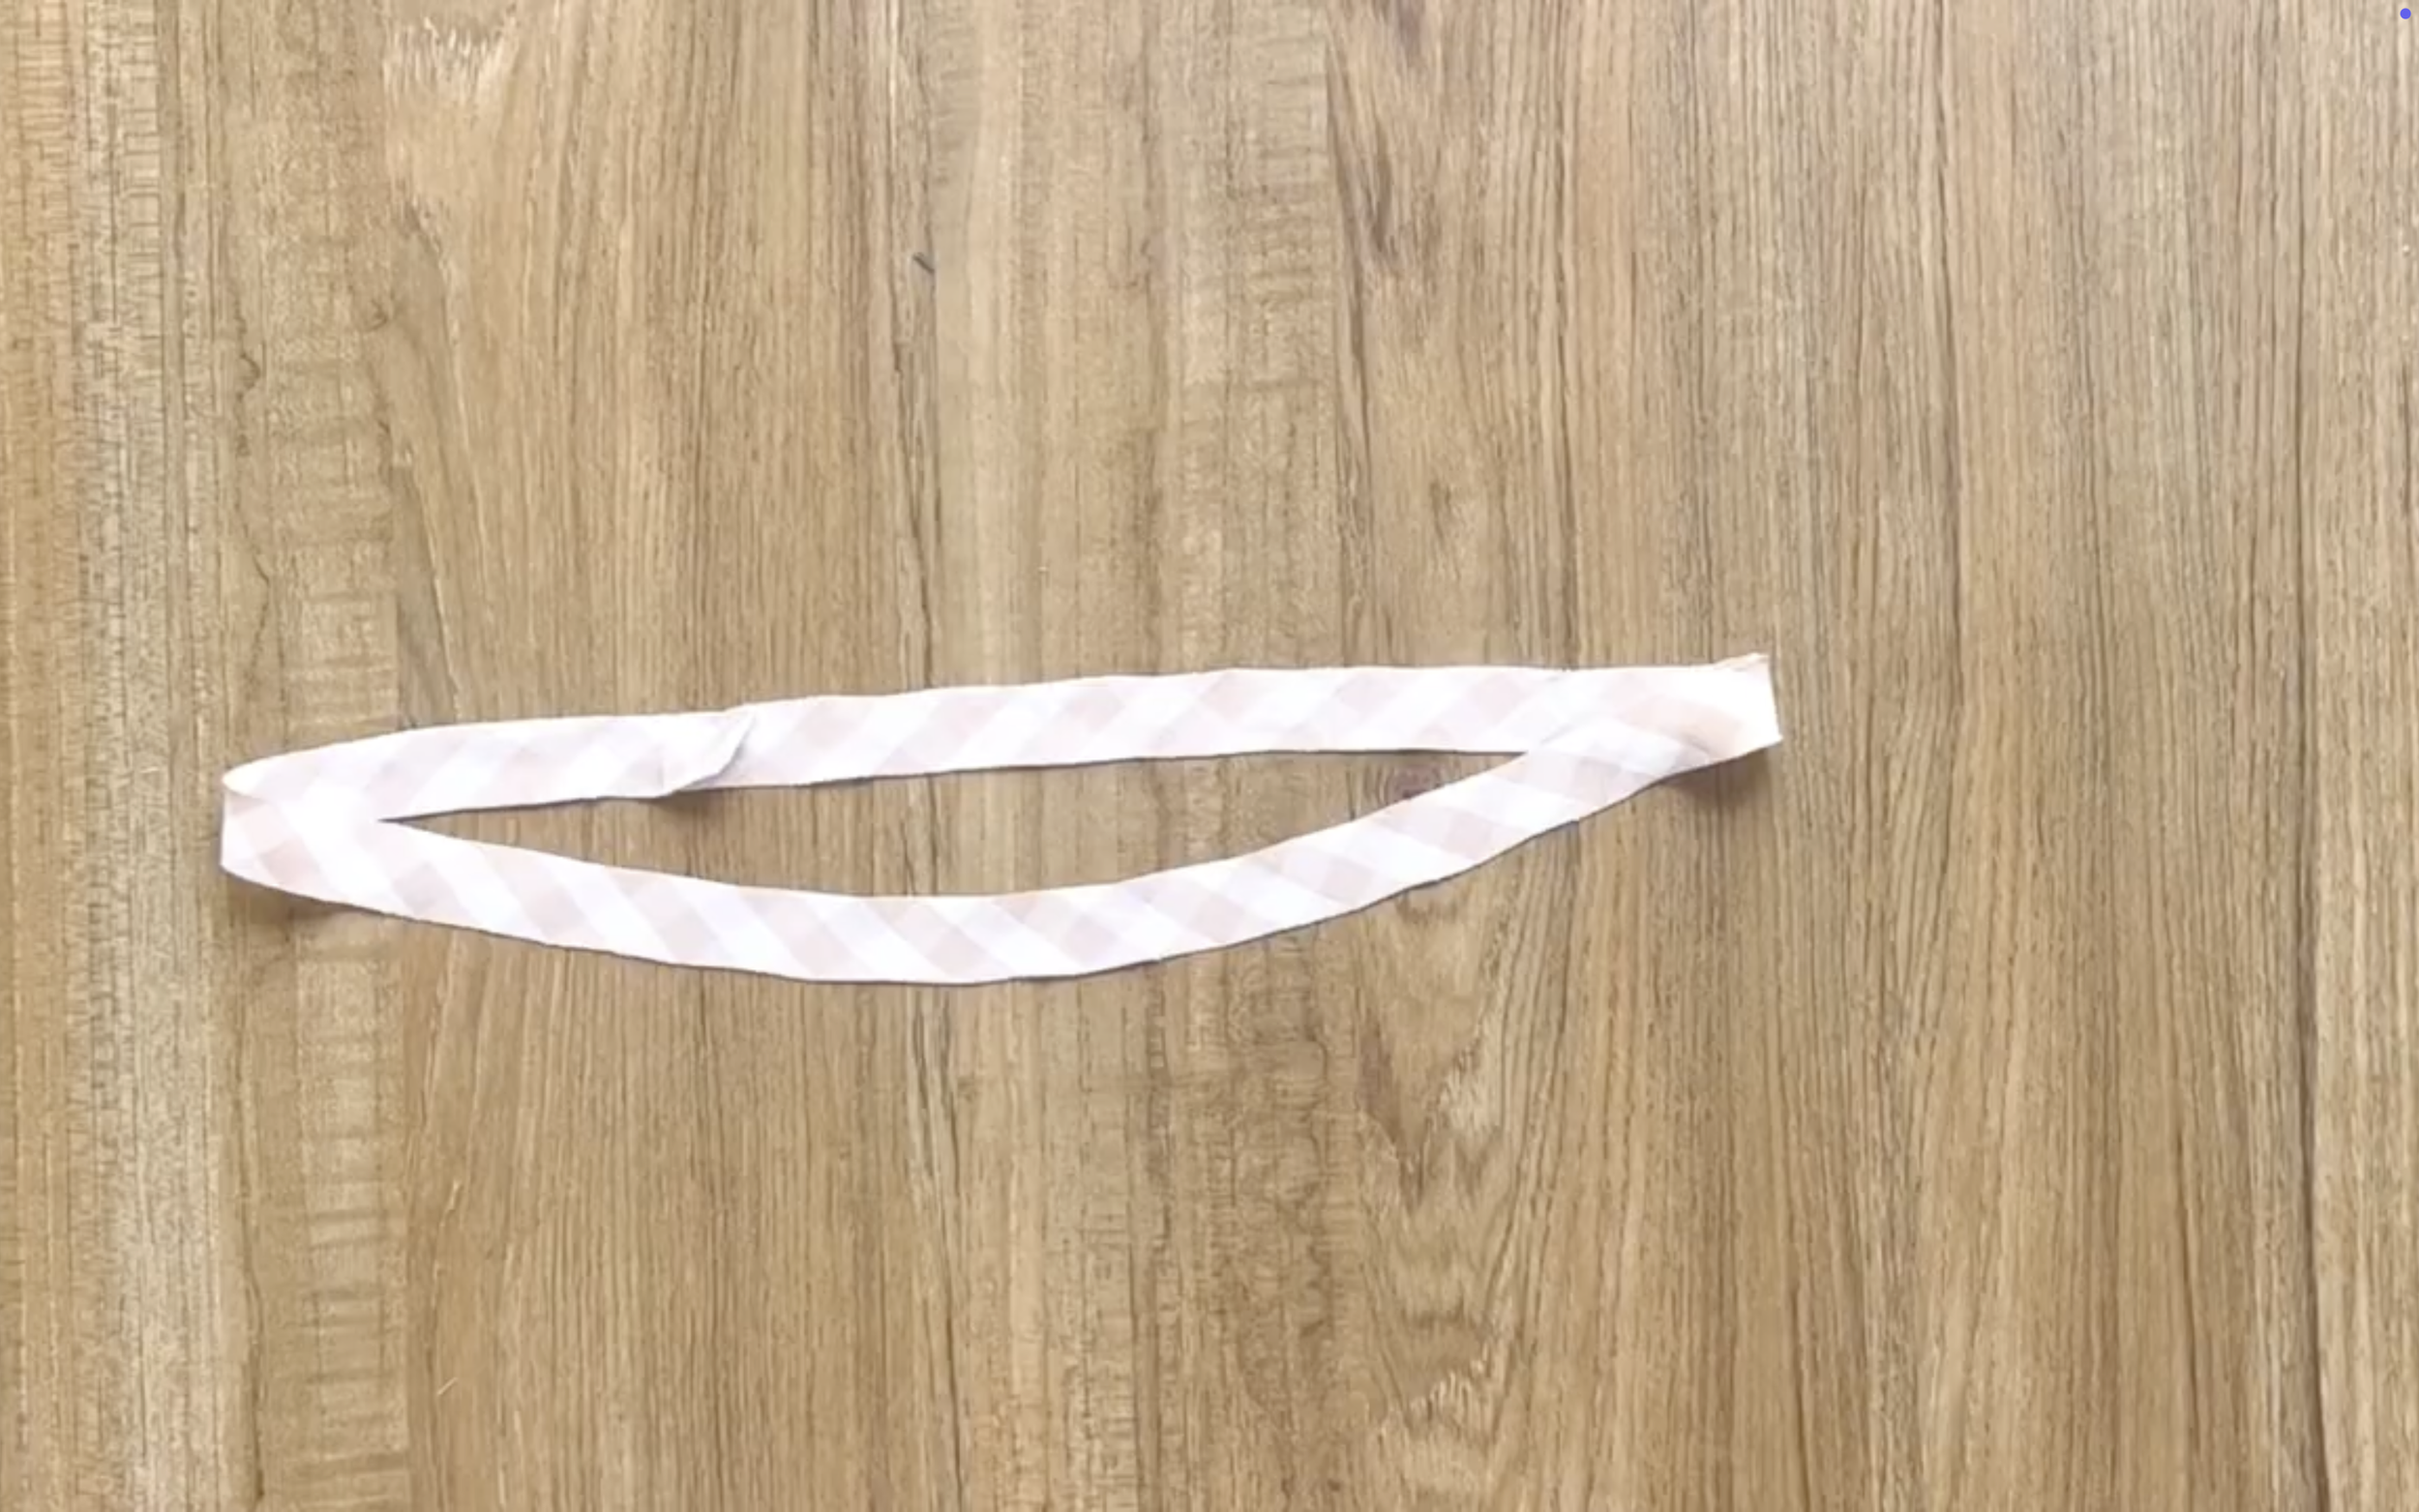
Then cut a circular fabric with the same length and 1.5 times the width of the hem that is wanted.
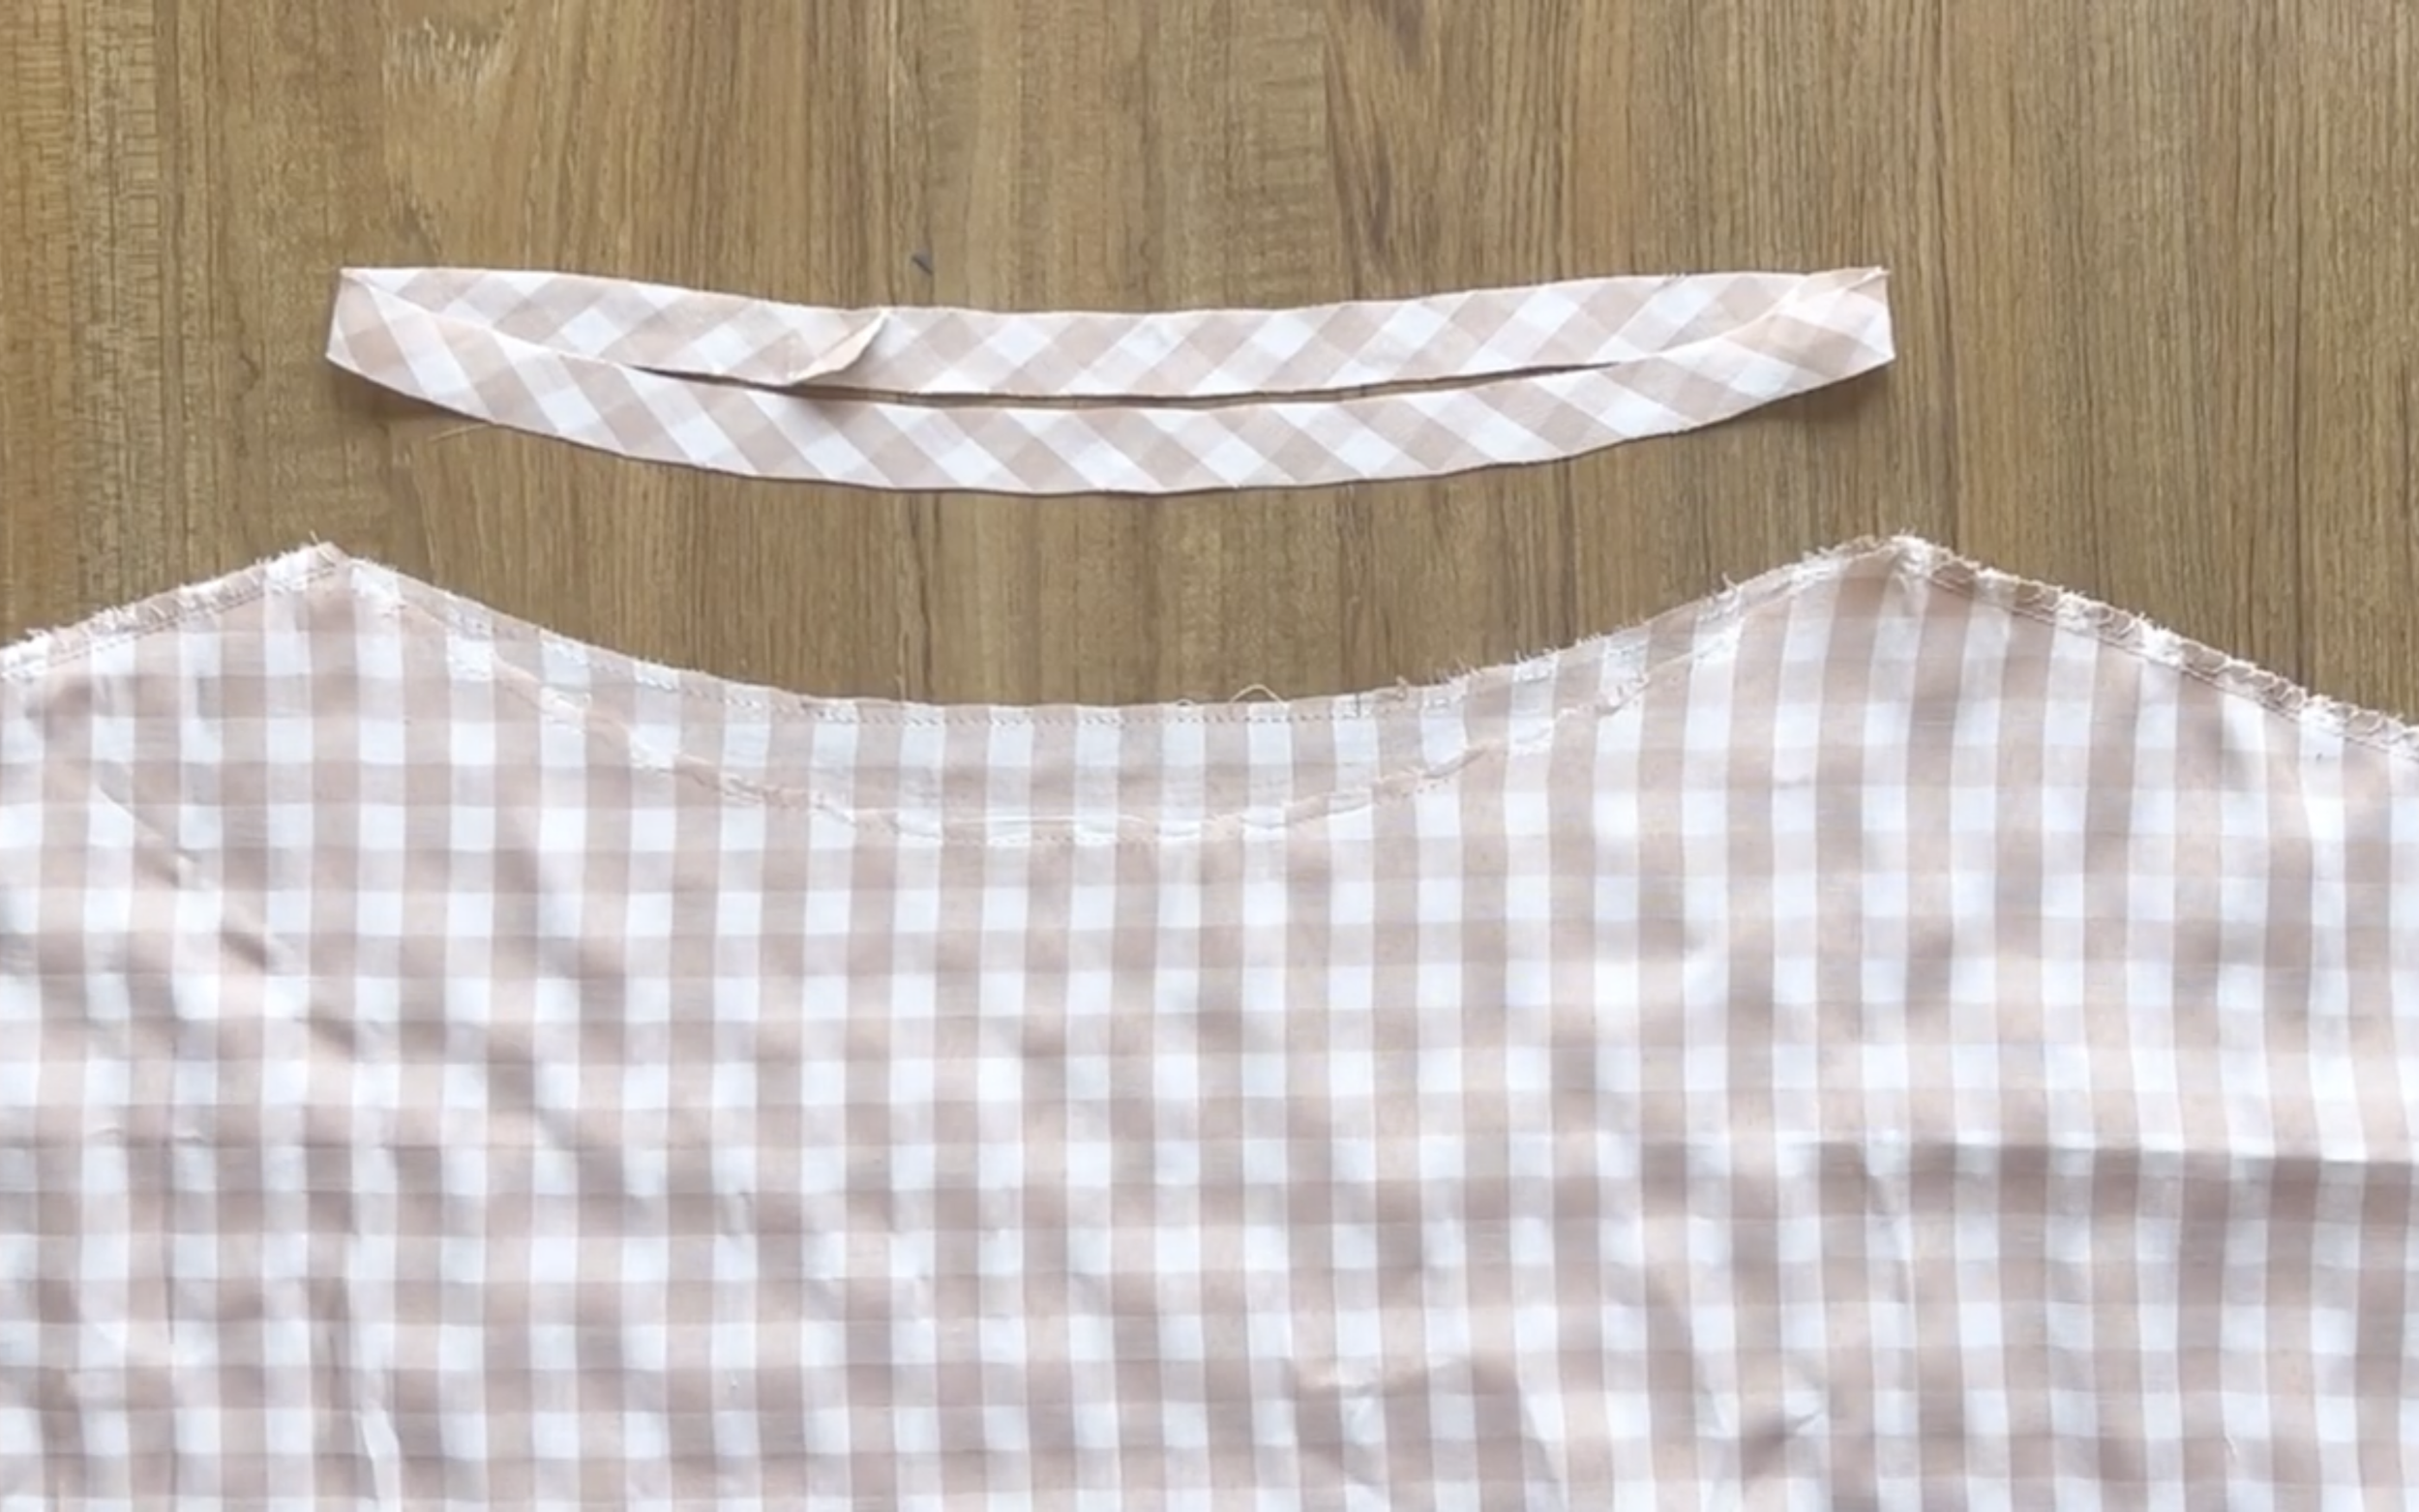
Connect one side of the circular fabric to the right side of the neckline first.

Remember to sew with 0.5 cm of seam allowance only.
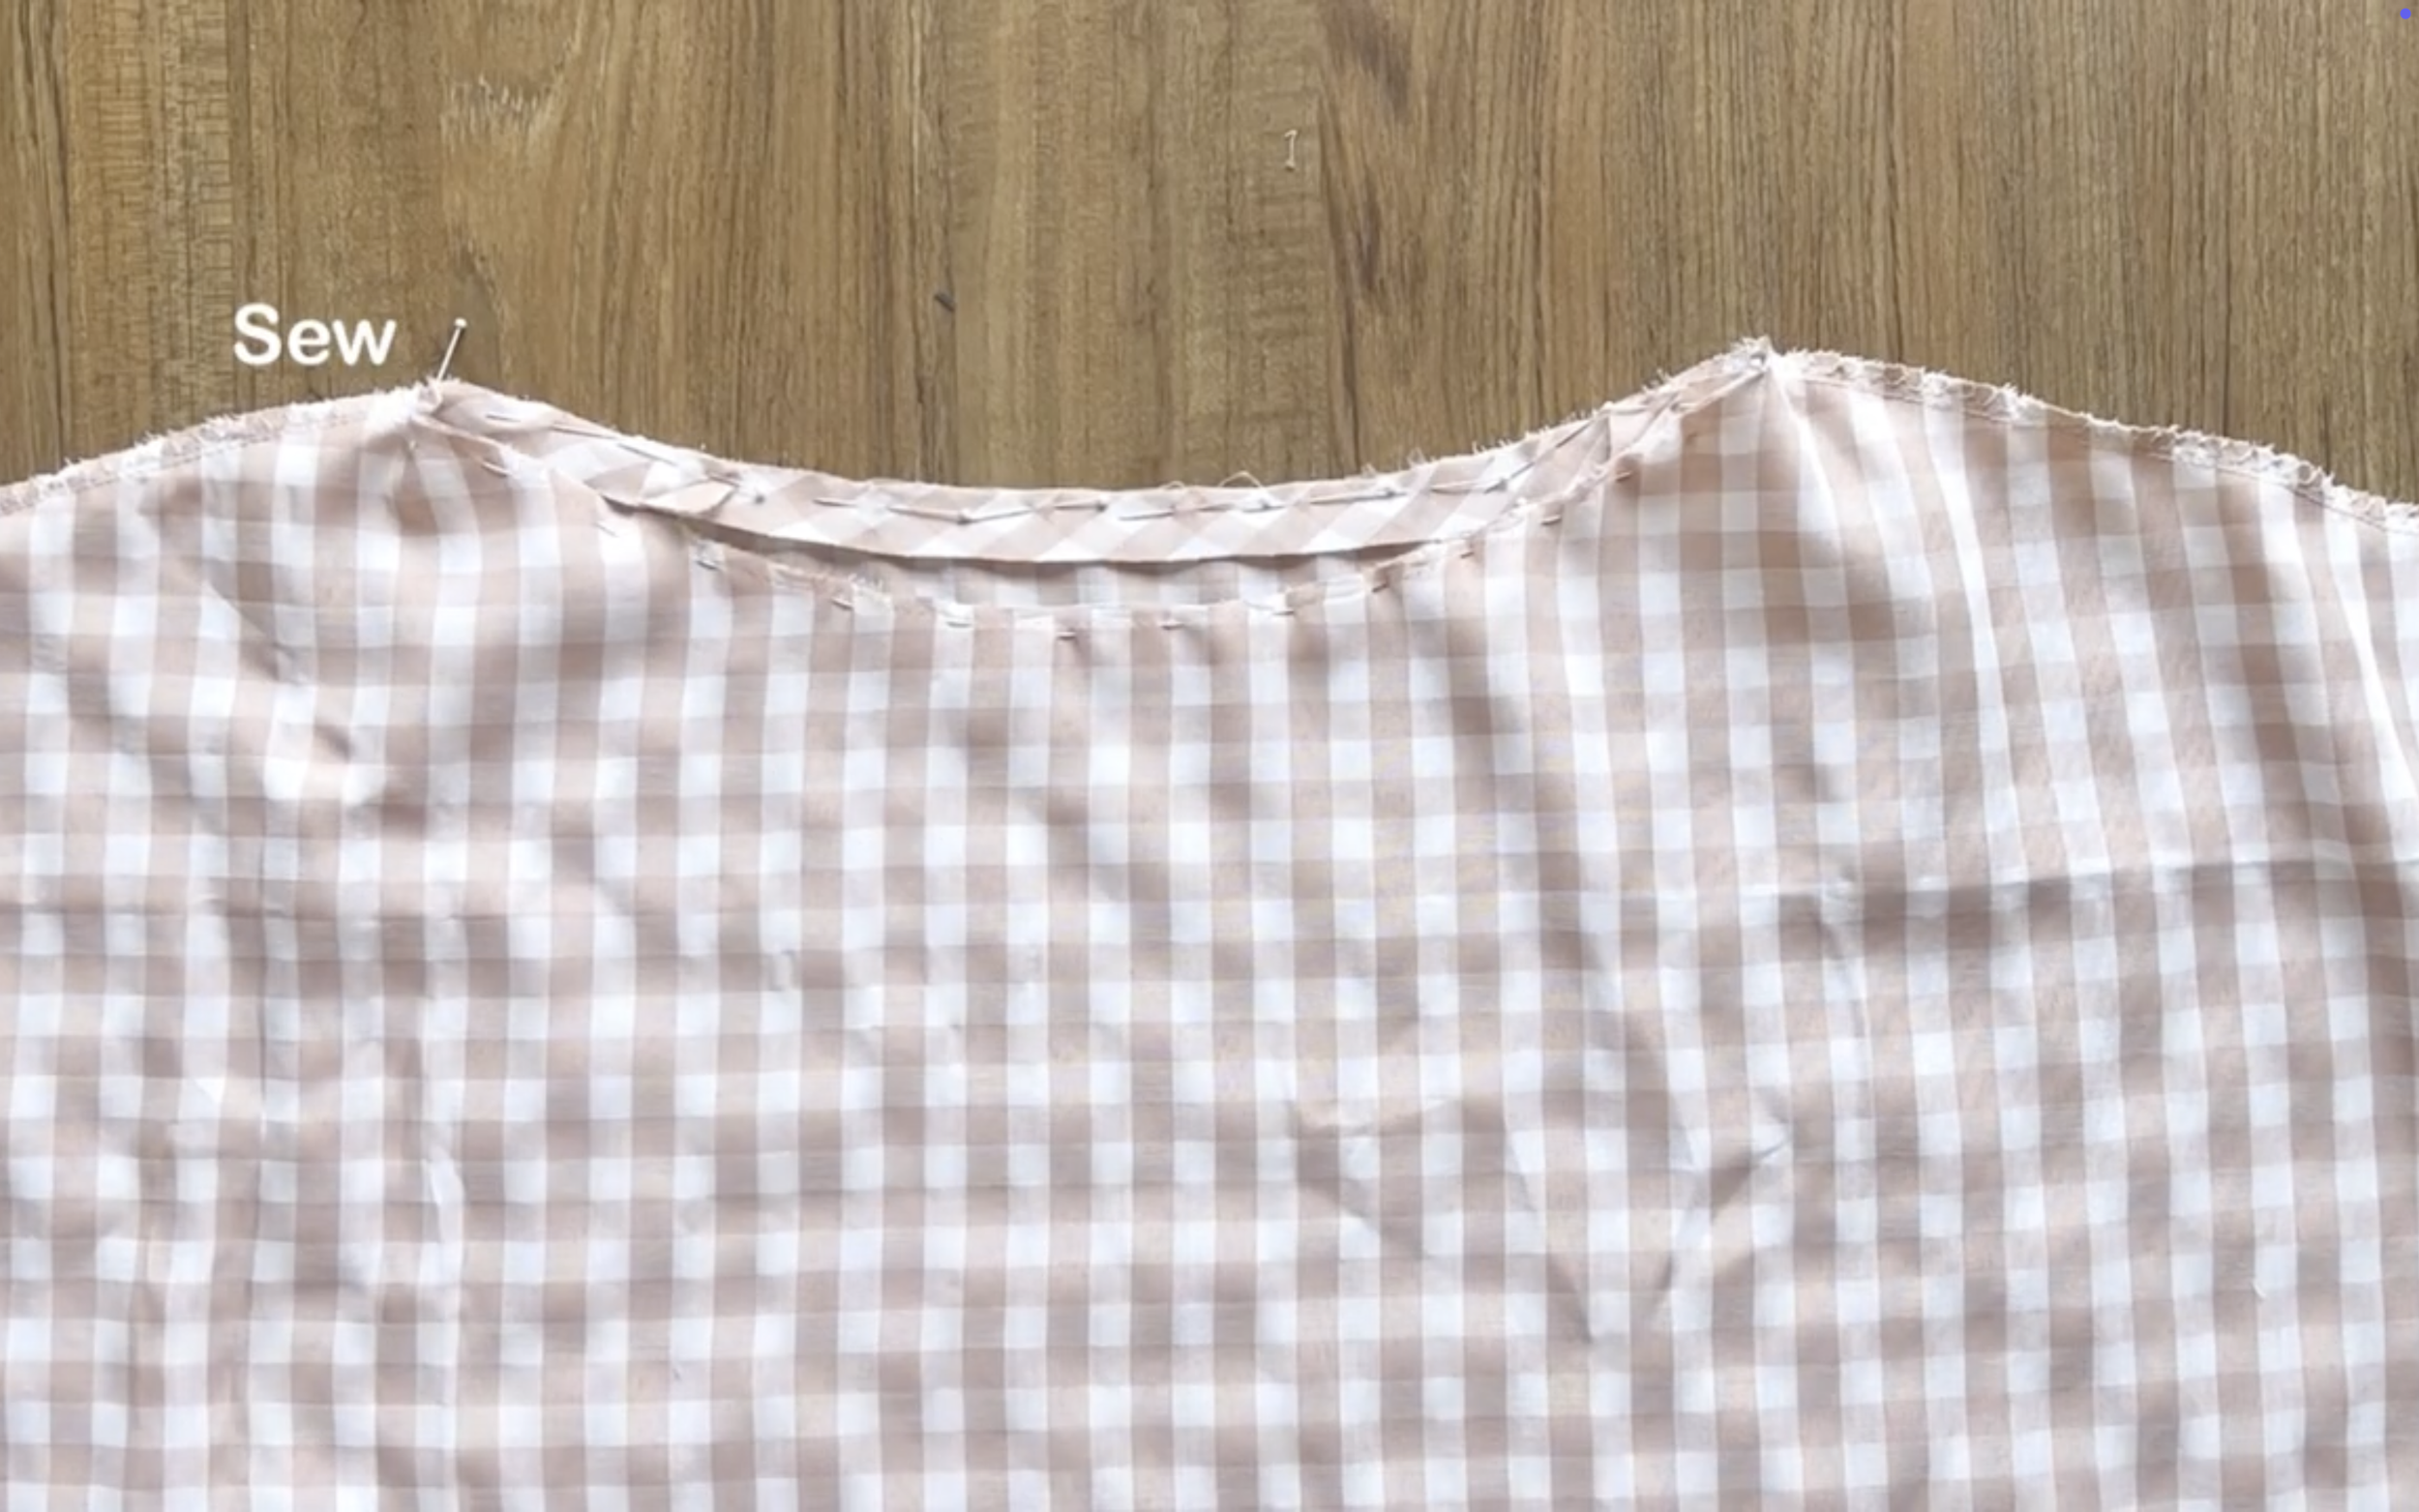
After that, fold the other side of the circular fabric into the first seam, then keep folding it again to hide the end fabric inside and sew.
To finish the sleeve of the dress, fold the end fabric inside around 0.5 cm first, then keep folding it again and sew.
Moving to the end of the dress, finish it by folding the end fabric inside two times with 1 cm each time and sewing.
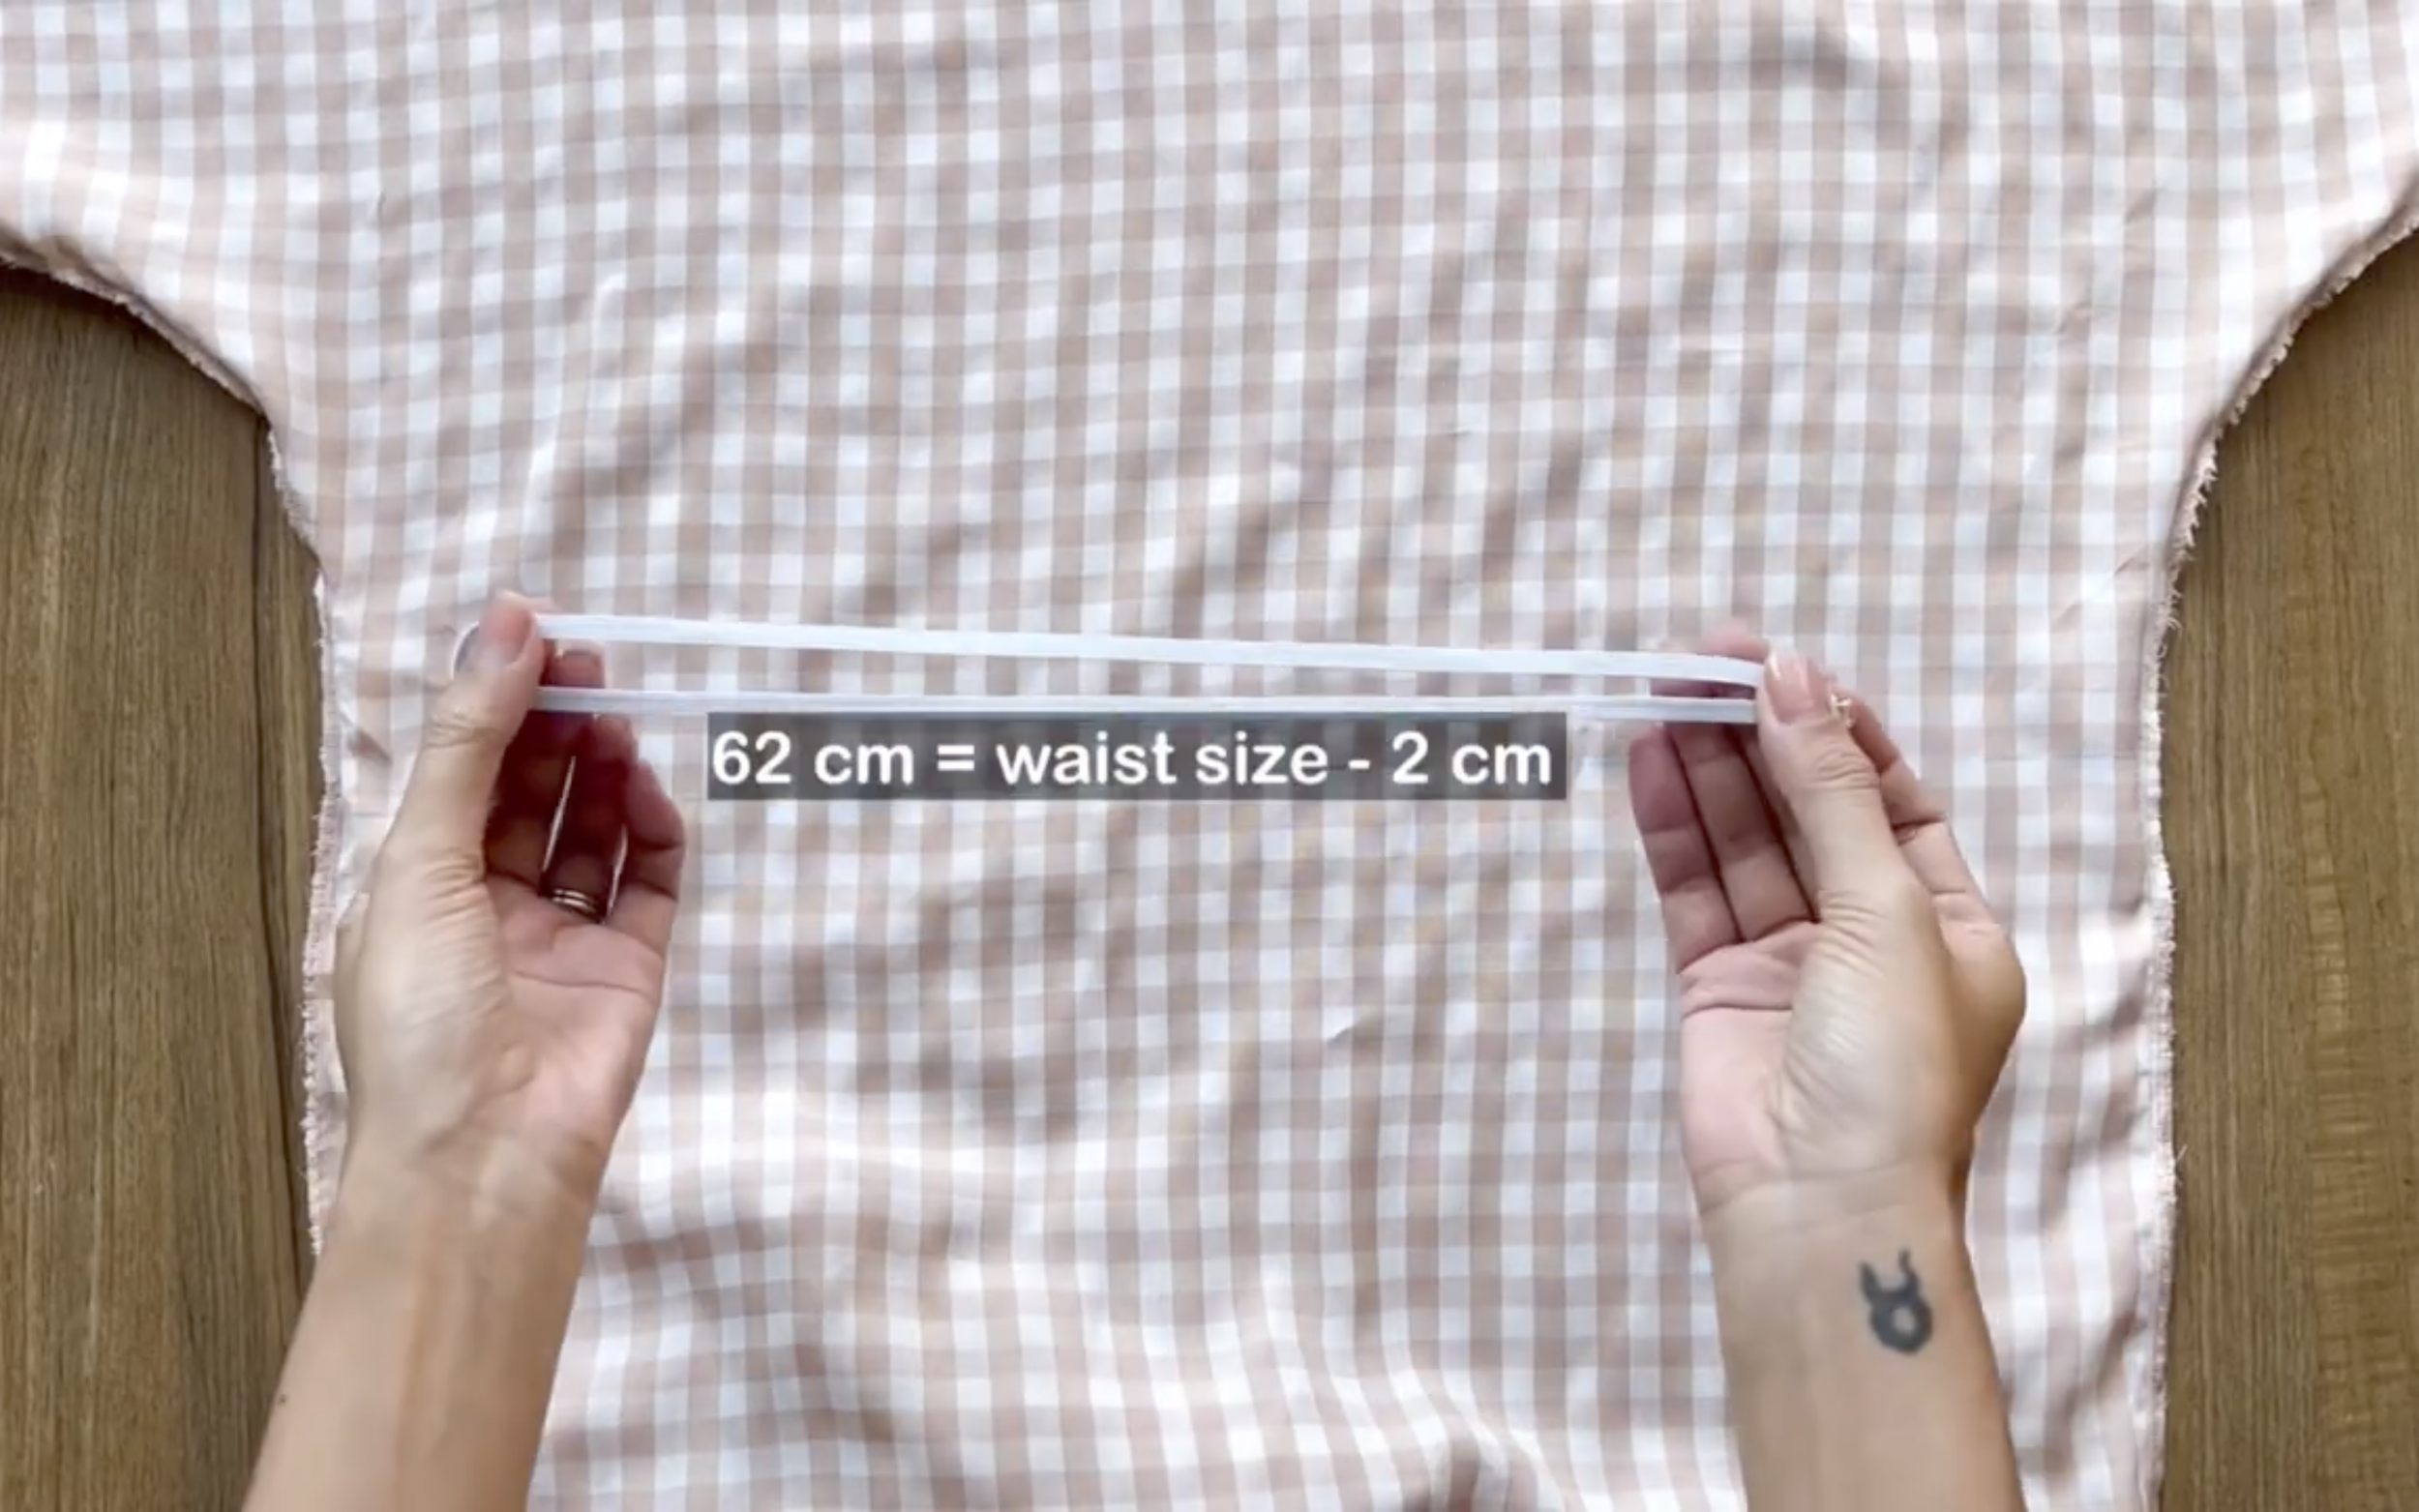
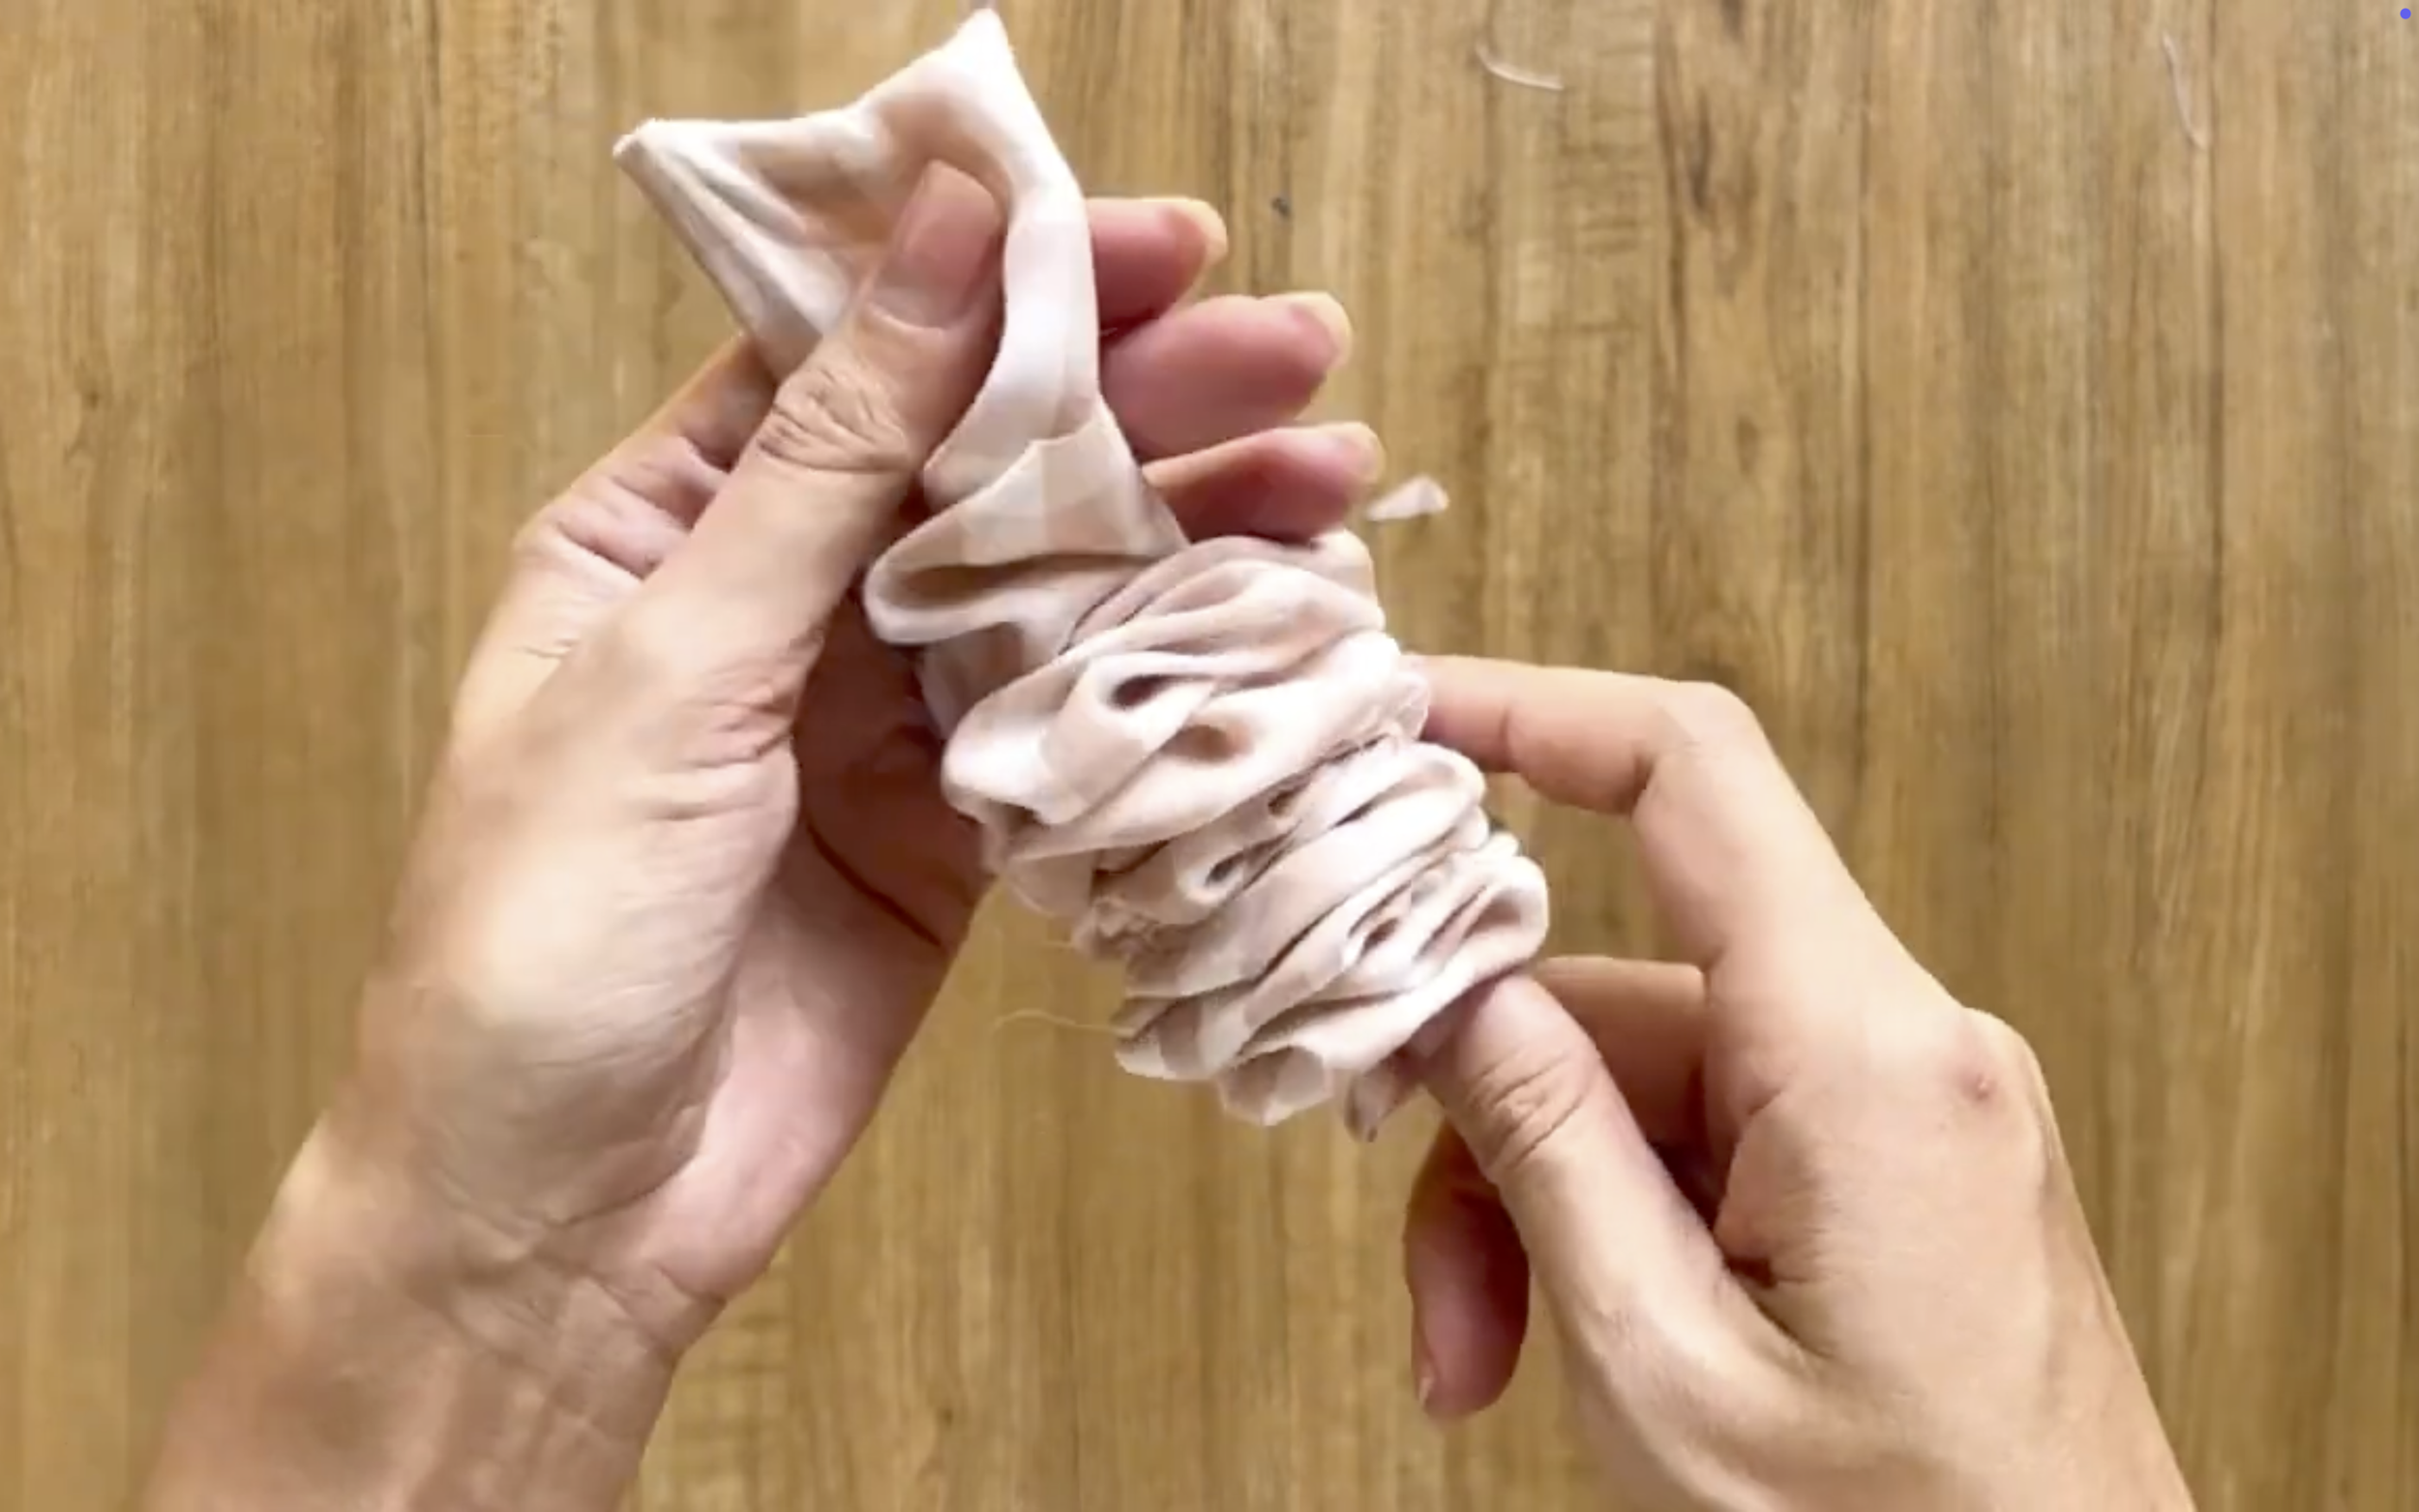
At the waistline of the dress, use an elastic band with 0.5 cm width to make a nice gathering fabric at the waist.
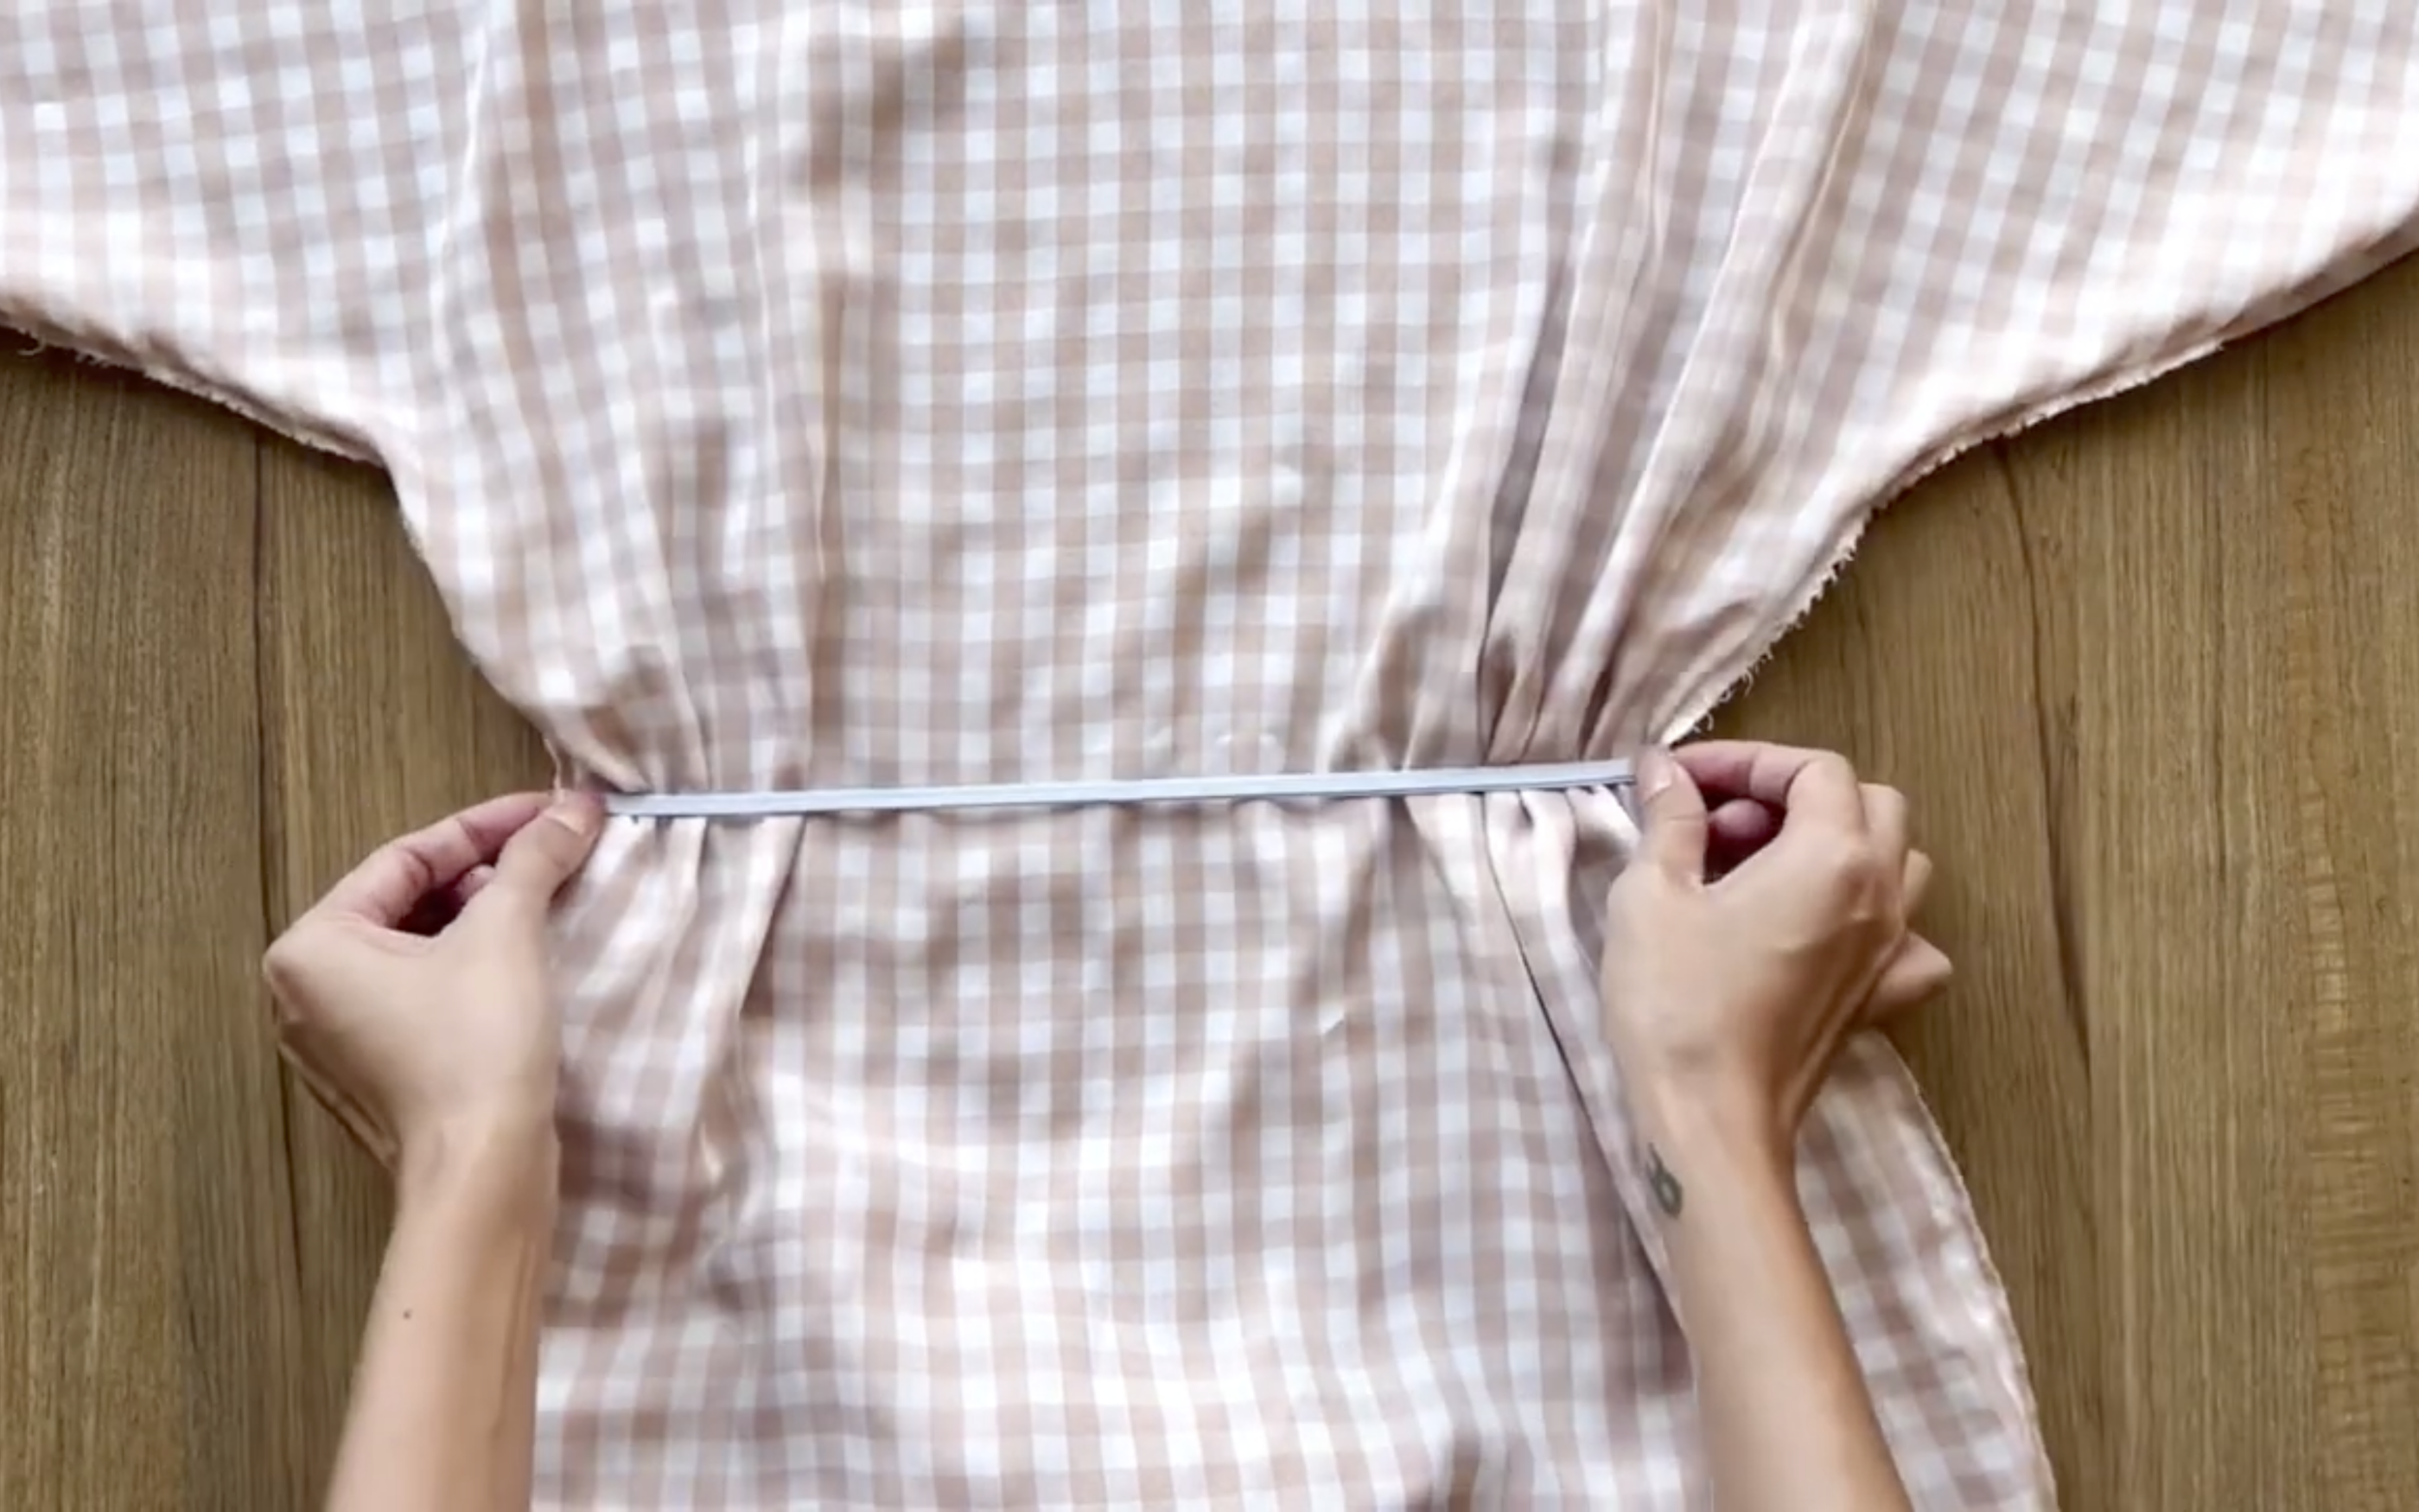
This step will help hold the dress at the waist and make the wrapping part stay nicer, but it's not really necessary, so it can be skipped if not preferred.

Making my Valentine's dress (Boat neck, batwing sleeve, wrap look) | Beginner sewing project
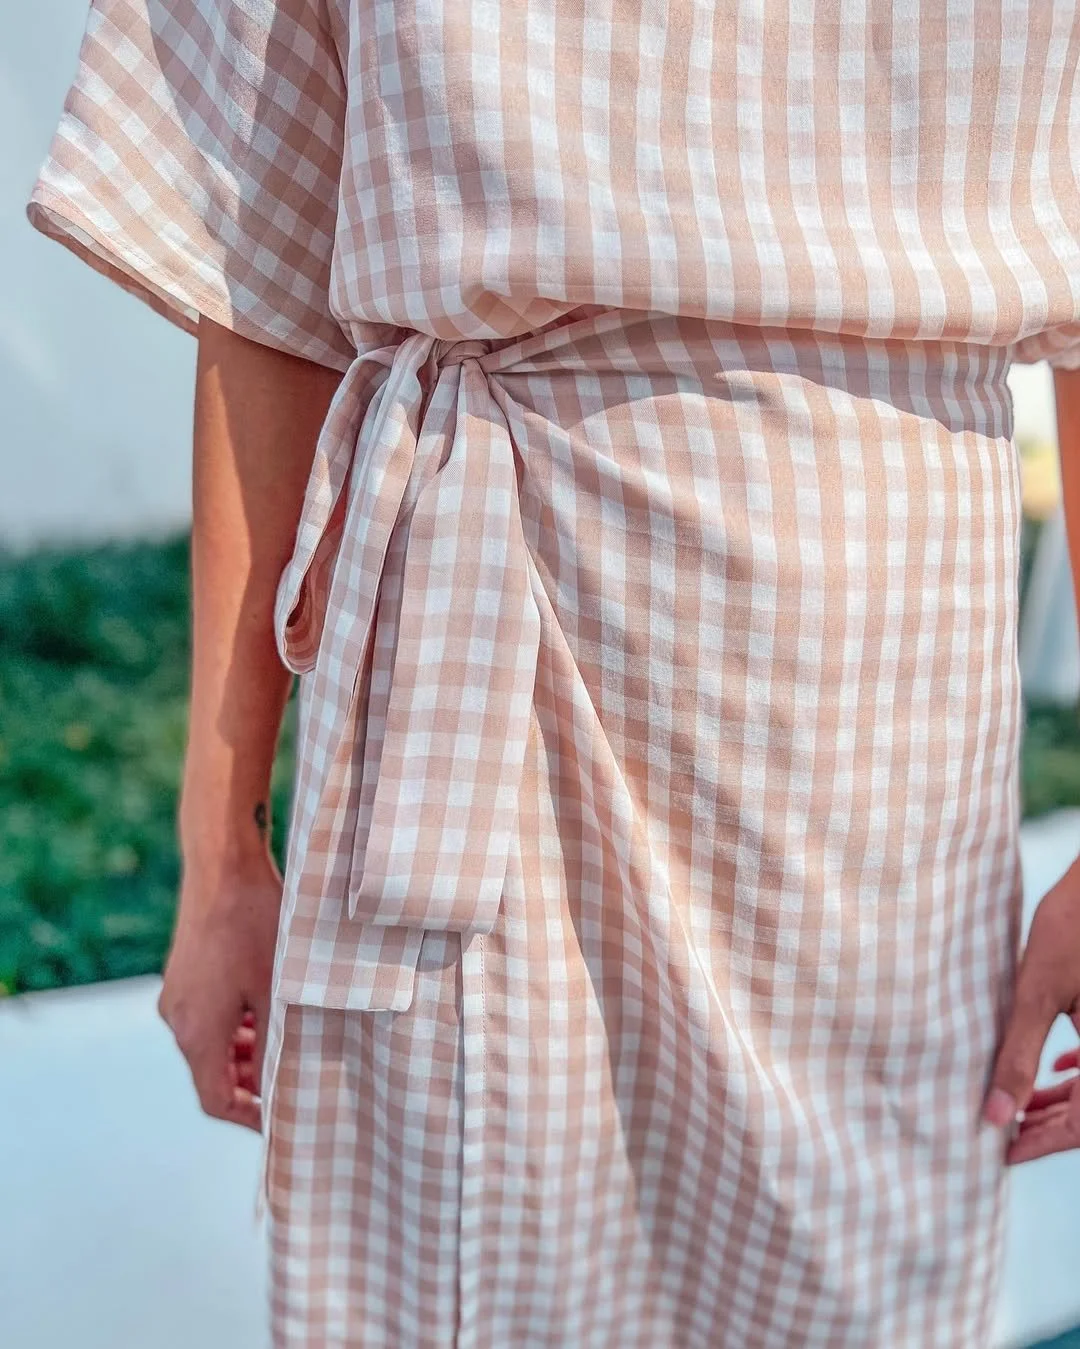
And that’s the final look!
This dress is so feminine with all its details. The gingham fabric makes it perfect for everyday wear, but it could look even fancier in solid silk or satin.


I hope you found my step-by-step guide helpful and inspiring.
If you’re interested in making your own, give it a try and let me know how it goes!
Until then, happy sewing!