Re-making my favorite dresses in the new versions (Coz I love them so much) | Sewing tutorial

Re-making my favorite dresses in the new versions (Coz I love them so much) | Sewing tutorial
Welcome or welcome back to my sewing blog. My name is Jess and I love doing DIY, making clothes in a "simply but pretty" way.
In today's tutorial, I'm going to share with you how I re-made my favorite dresses in the new versions. They're all the dresses that I find myself wearing everyday in my life. They're just perfect for my daily wardrobe.
So let me know which style you like in the comment and let’s get started!
PUFF SLEEVE DRESS
This Puff Sleeve Dress is a remake of the original short baby doll dress! If you want to see the original version and how it was made, check out the full tutorial here.
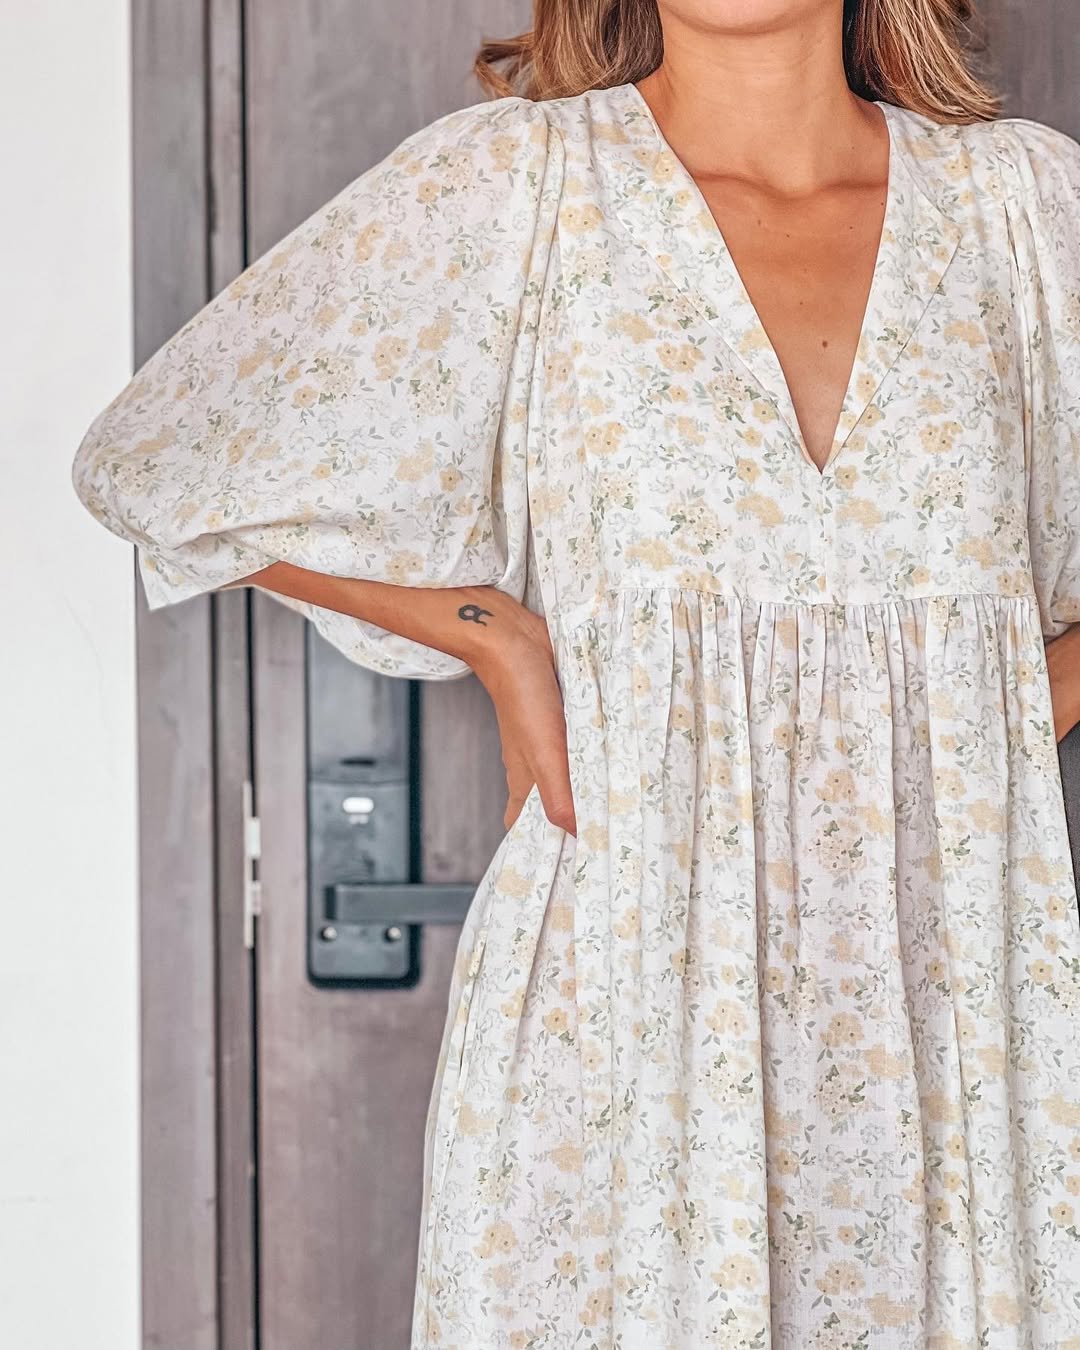
In the new version, it's made in a midi length so it could be more suitable for casual going-out days.
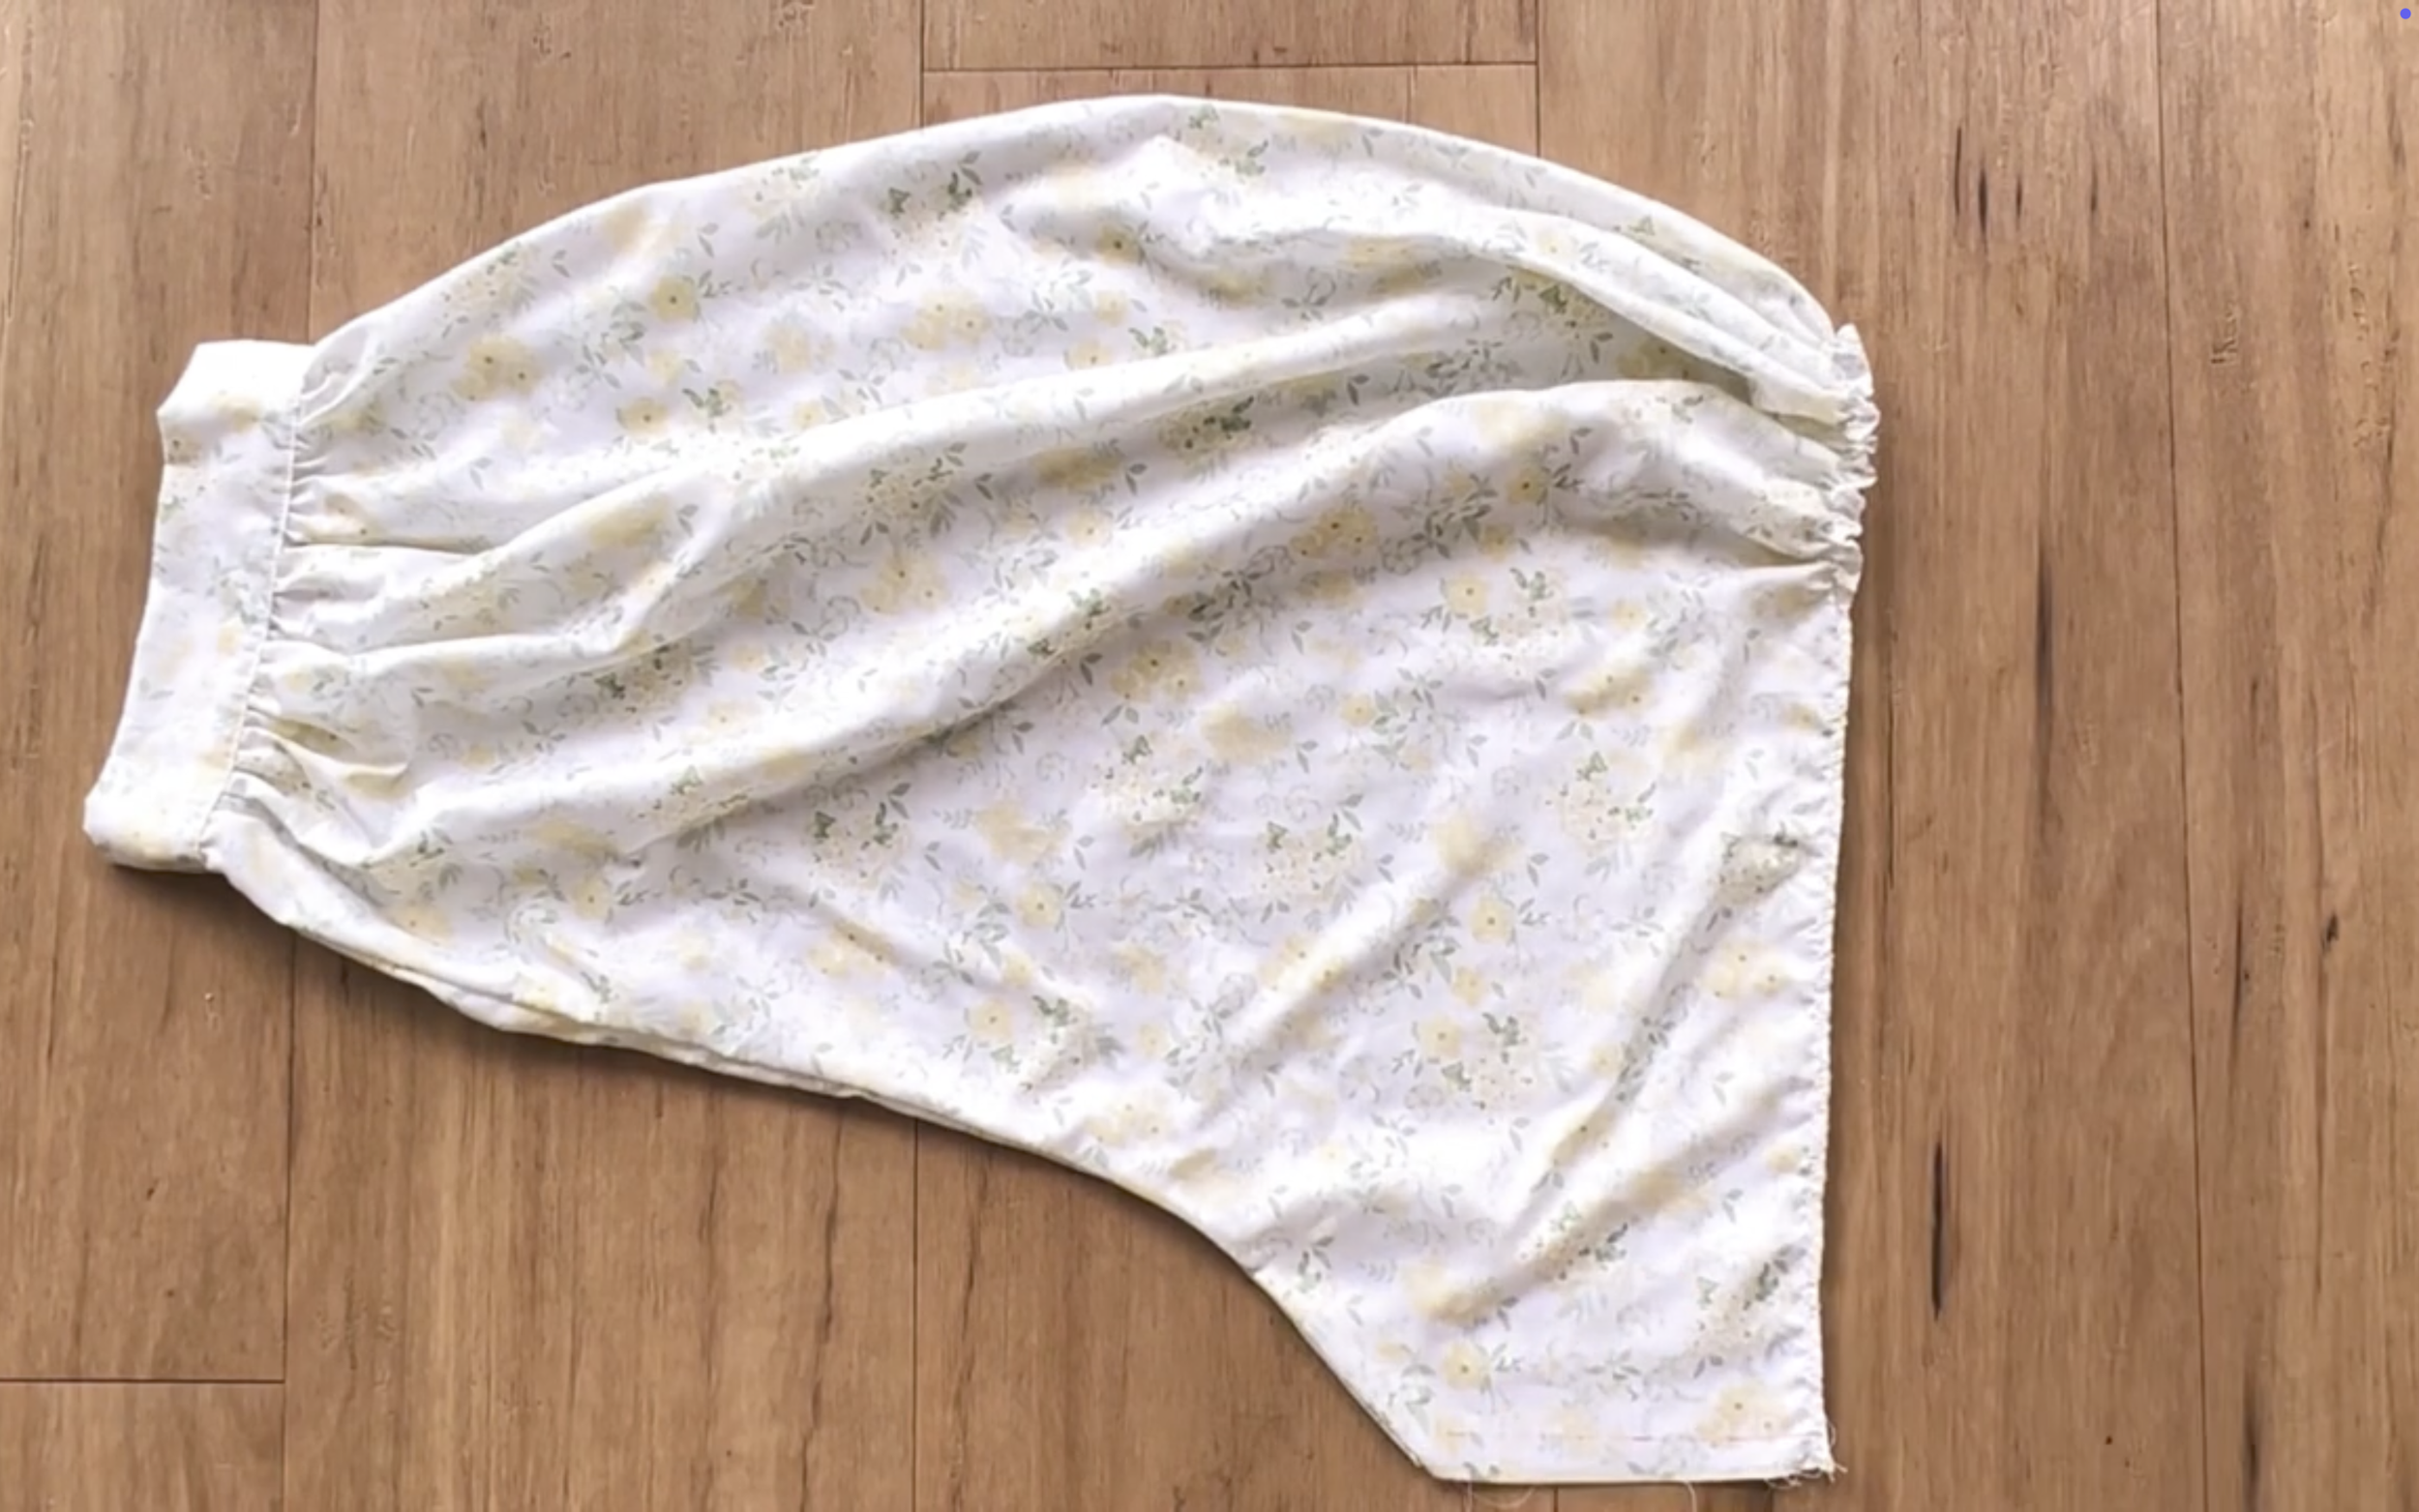
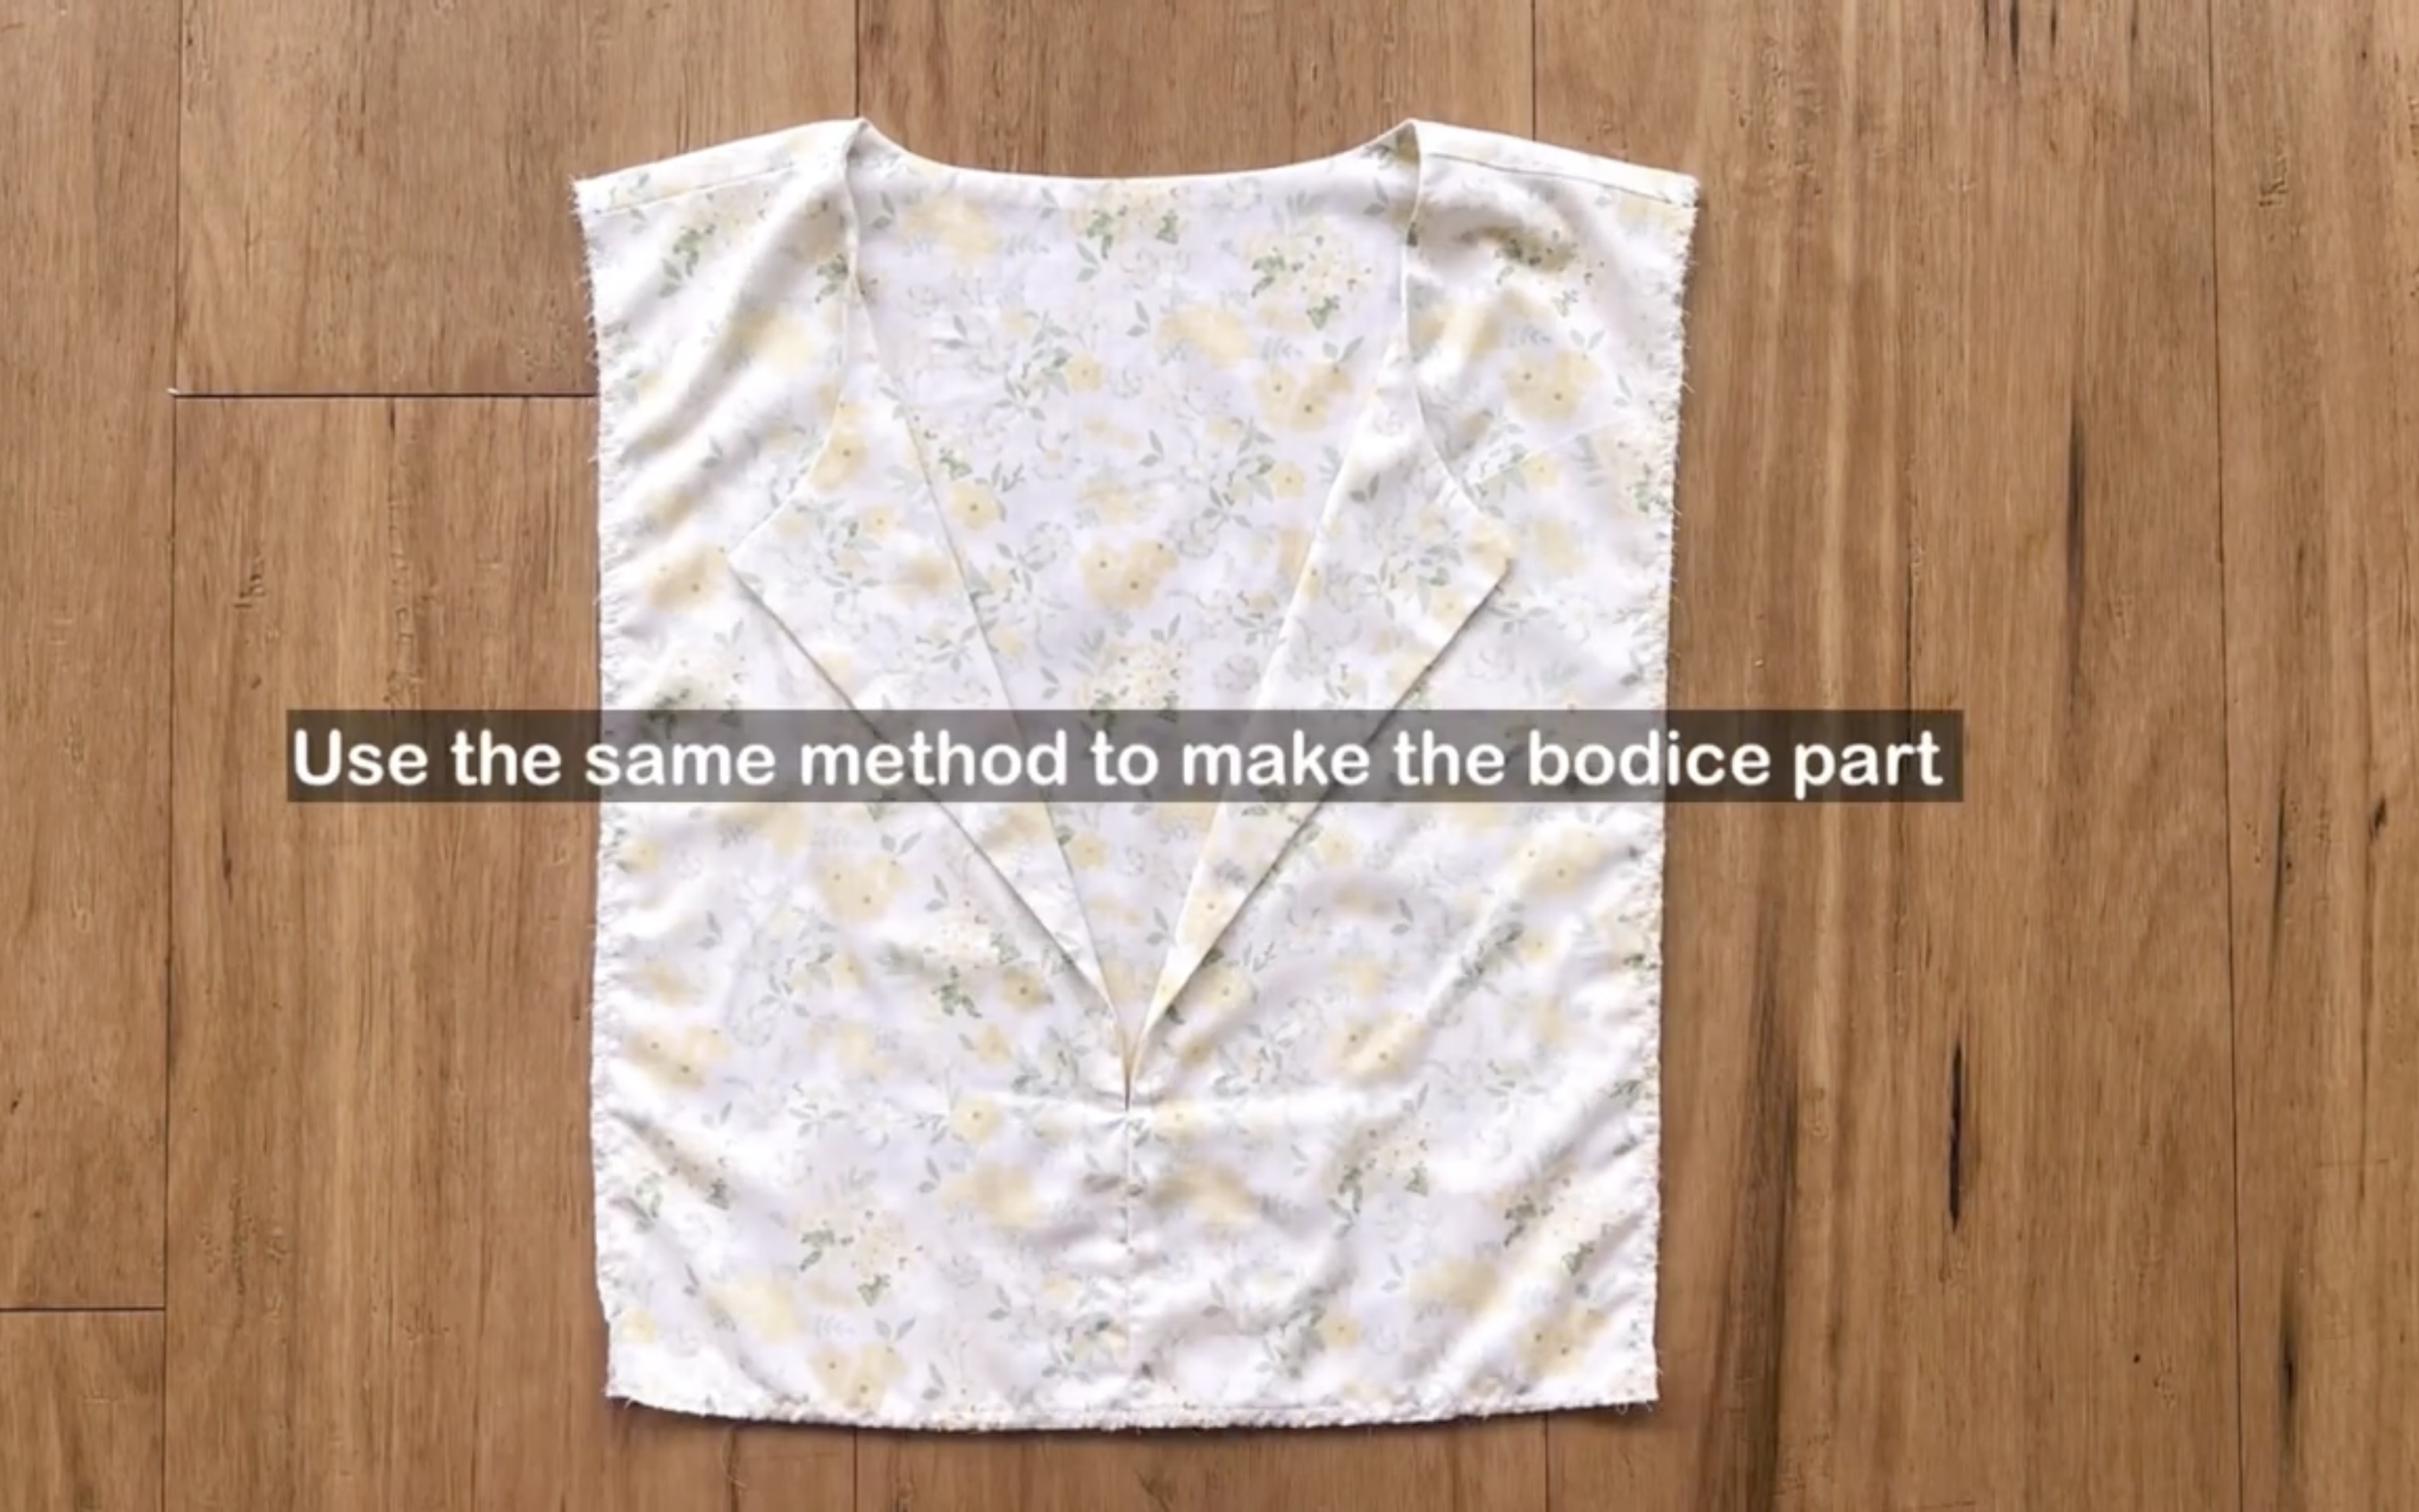
Because of that, the length of the sleeve is made a bit shorter to keep the balance of the whole dress.
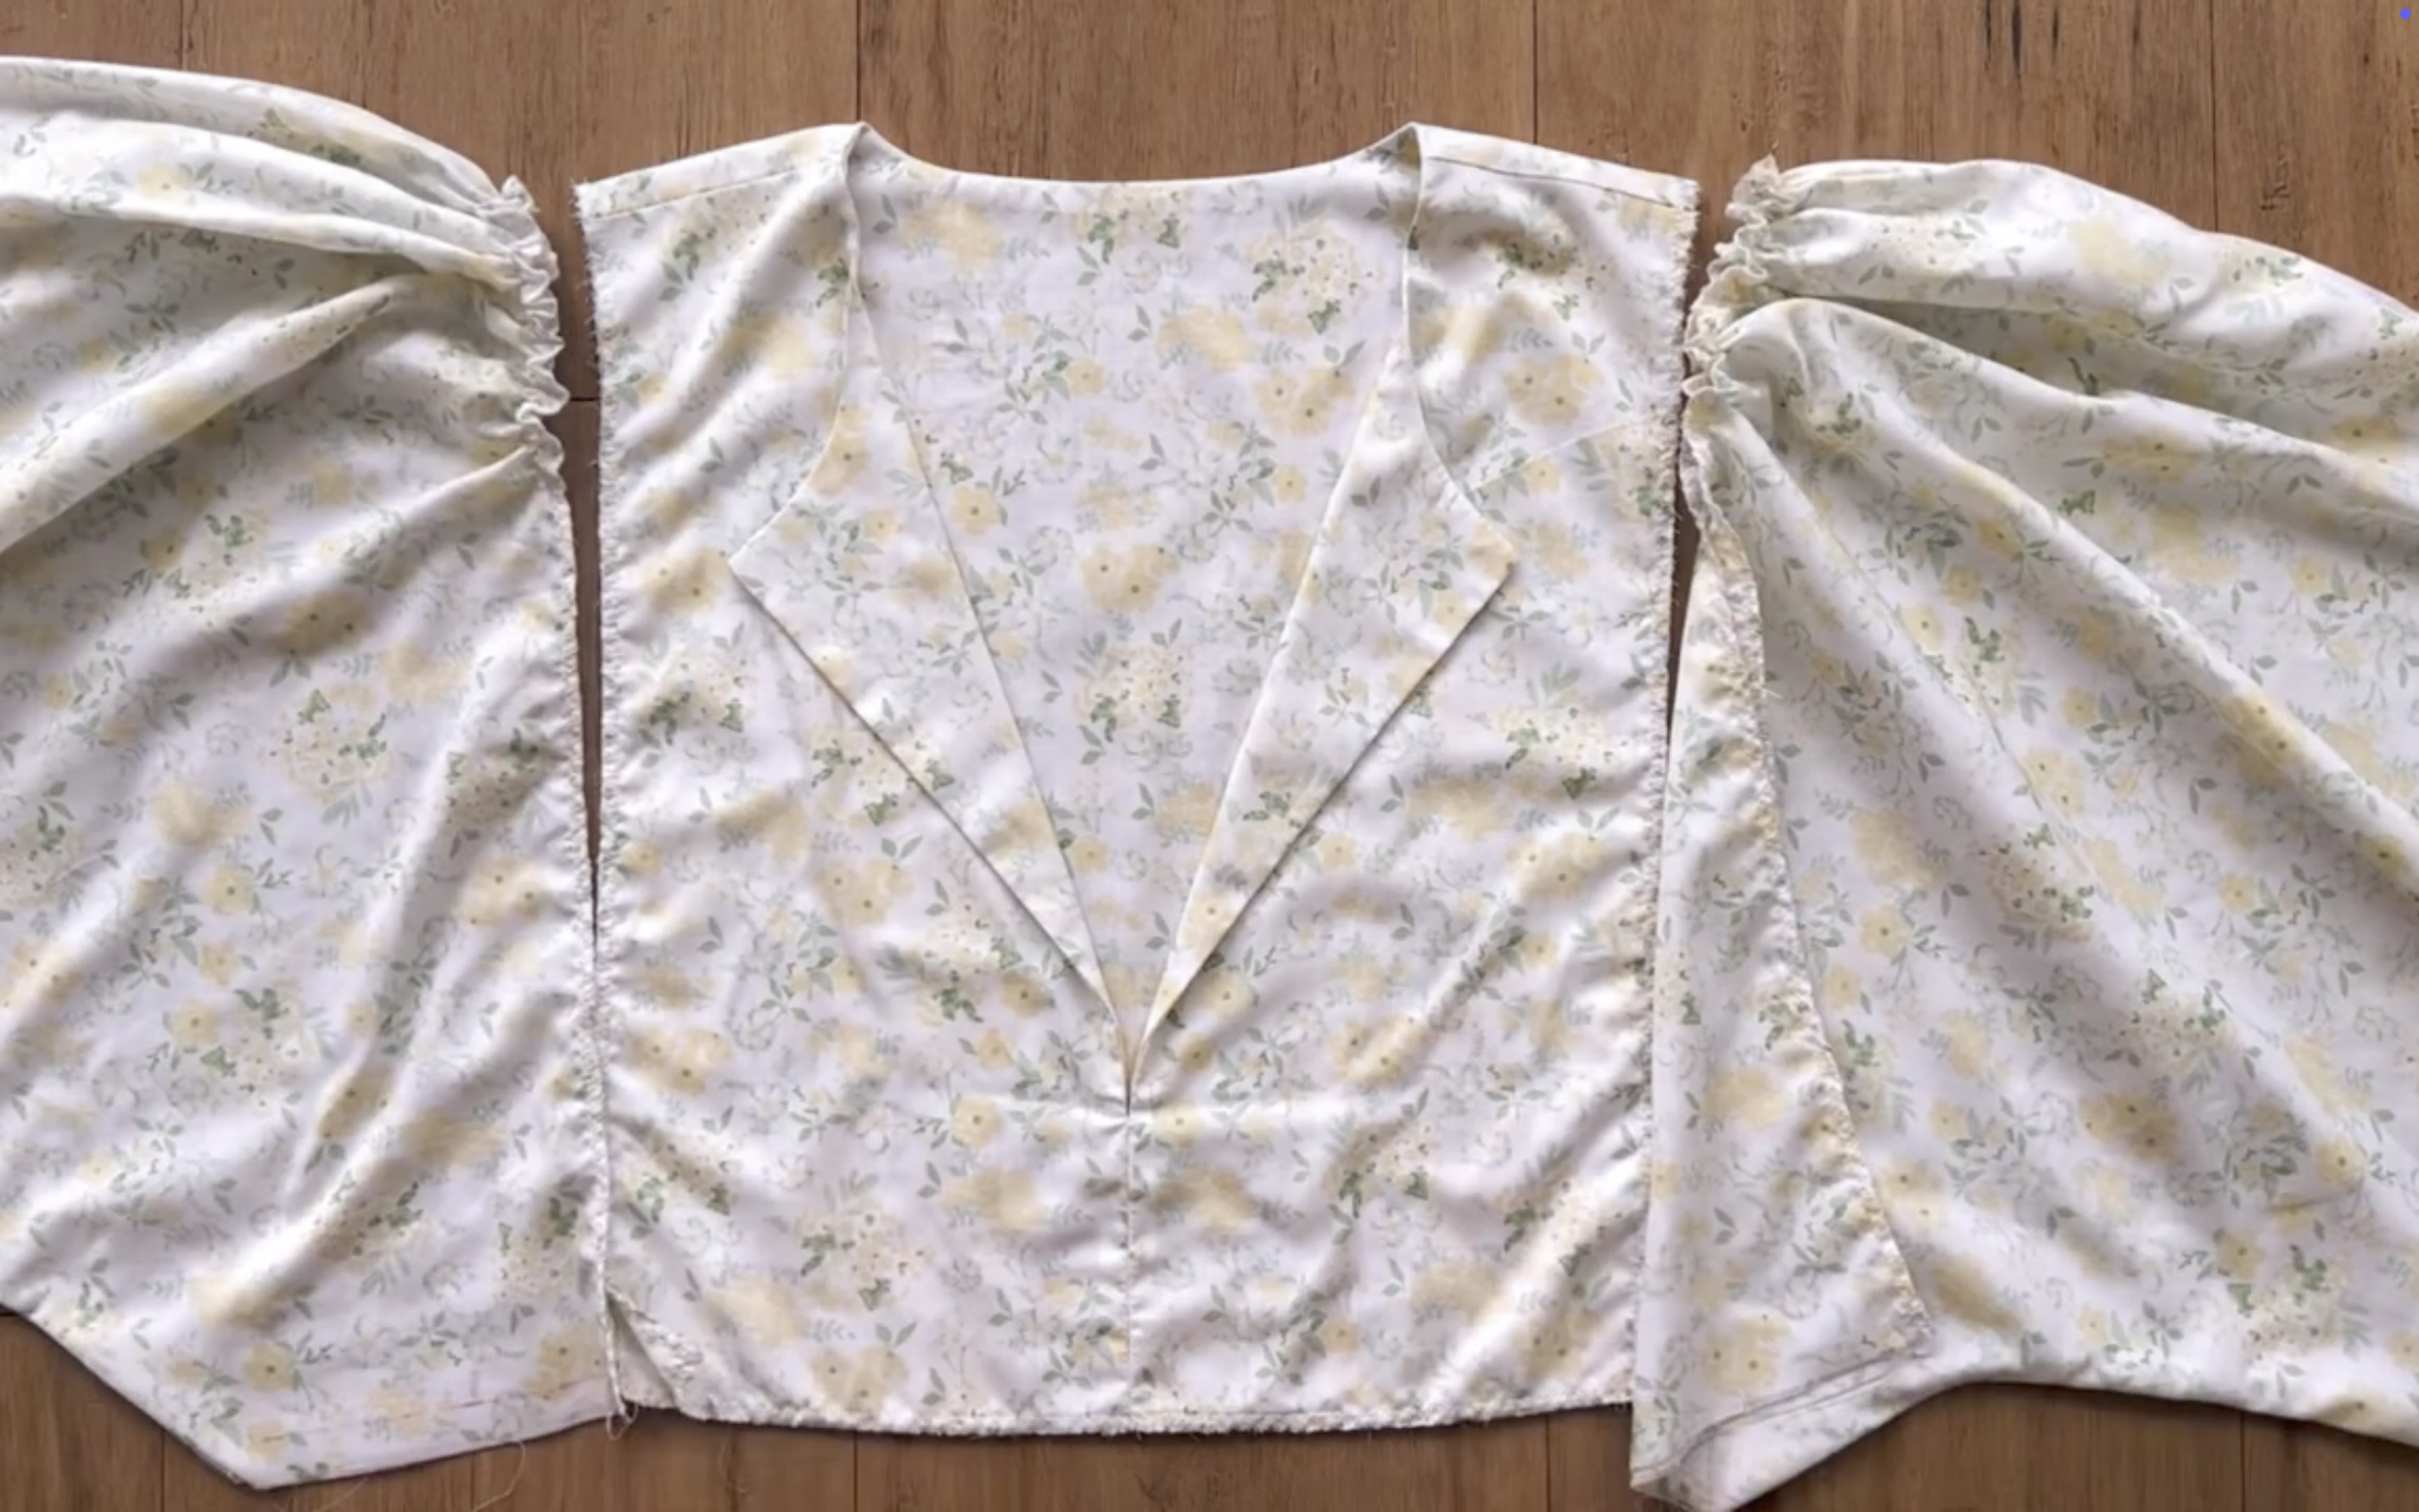
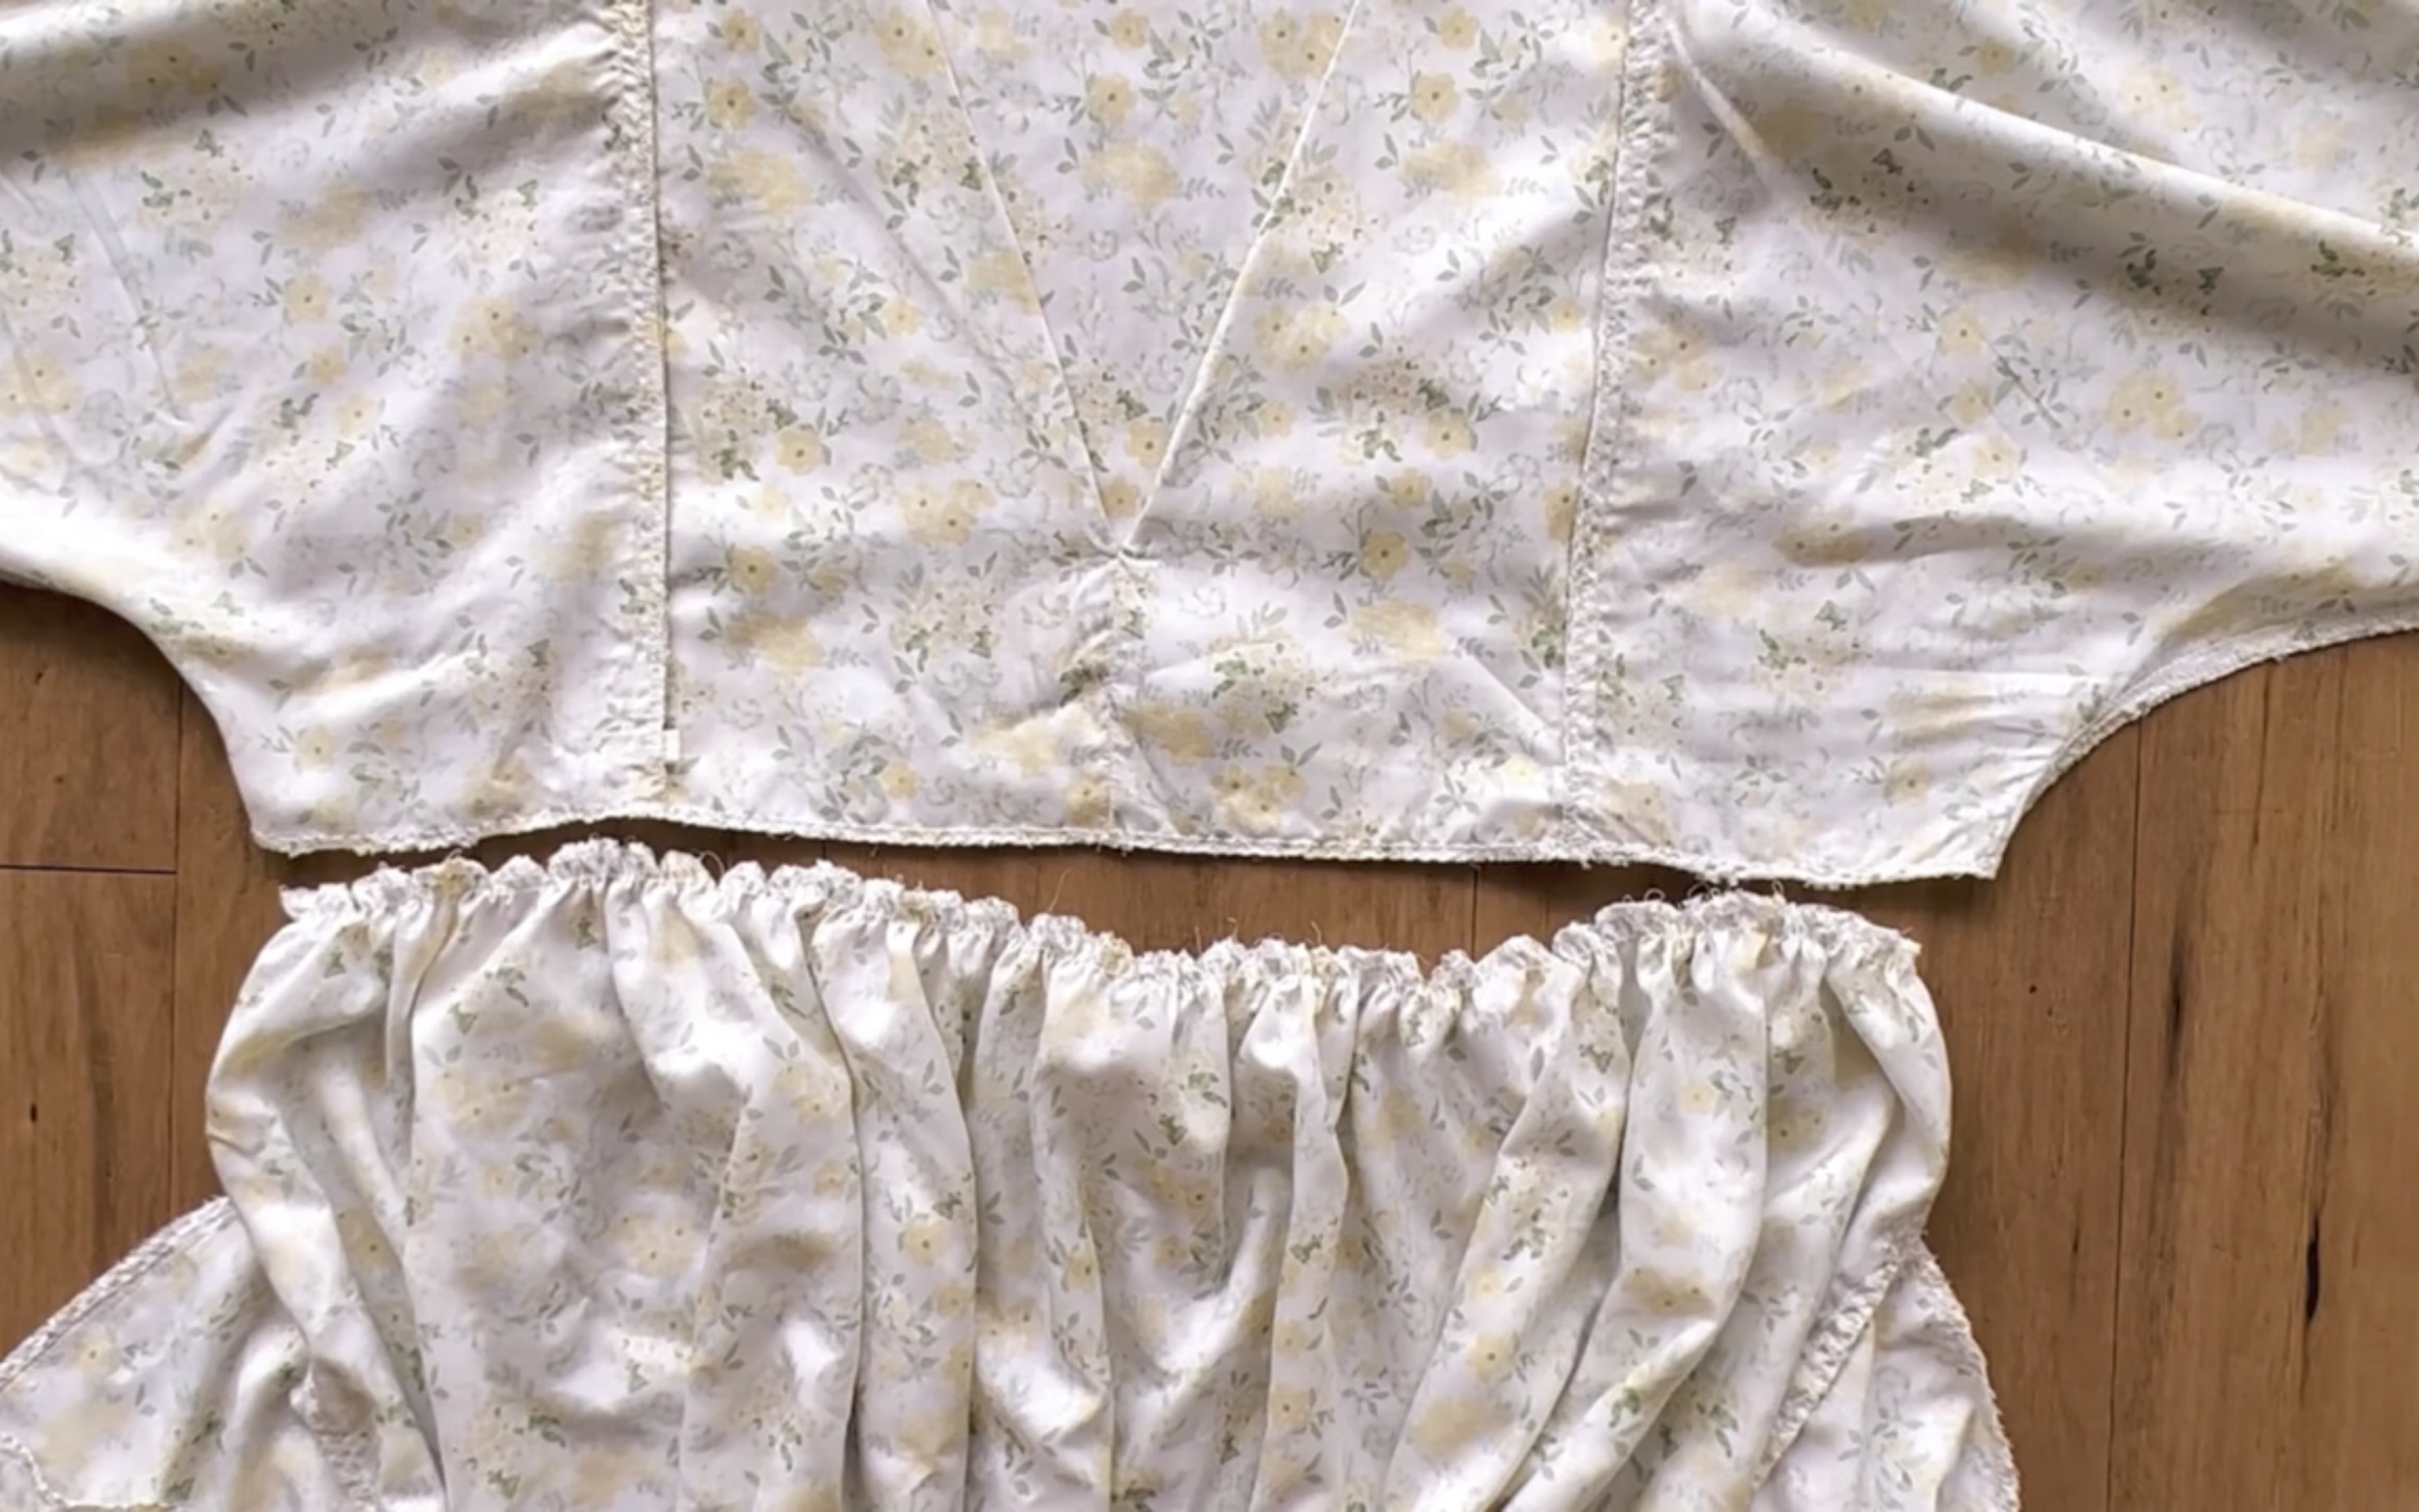
Then connect the sleeve and the bodice together.
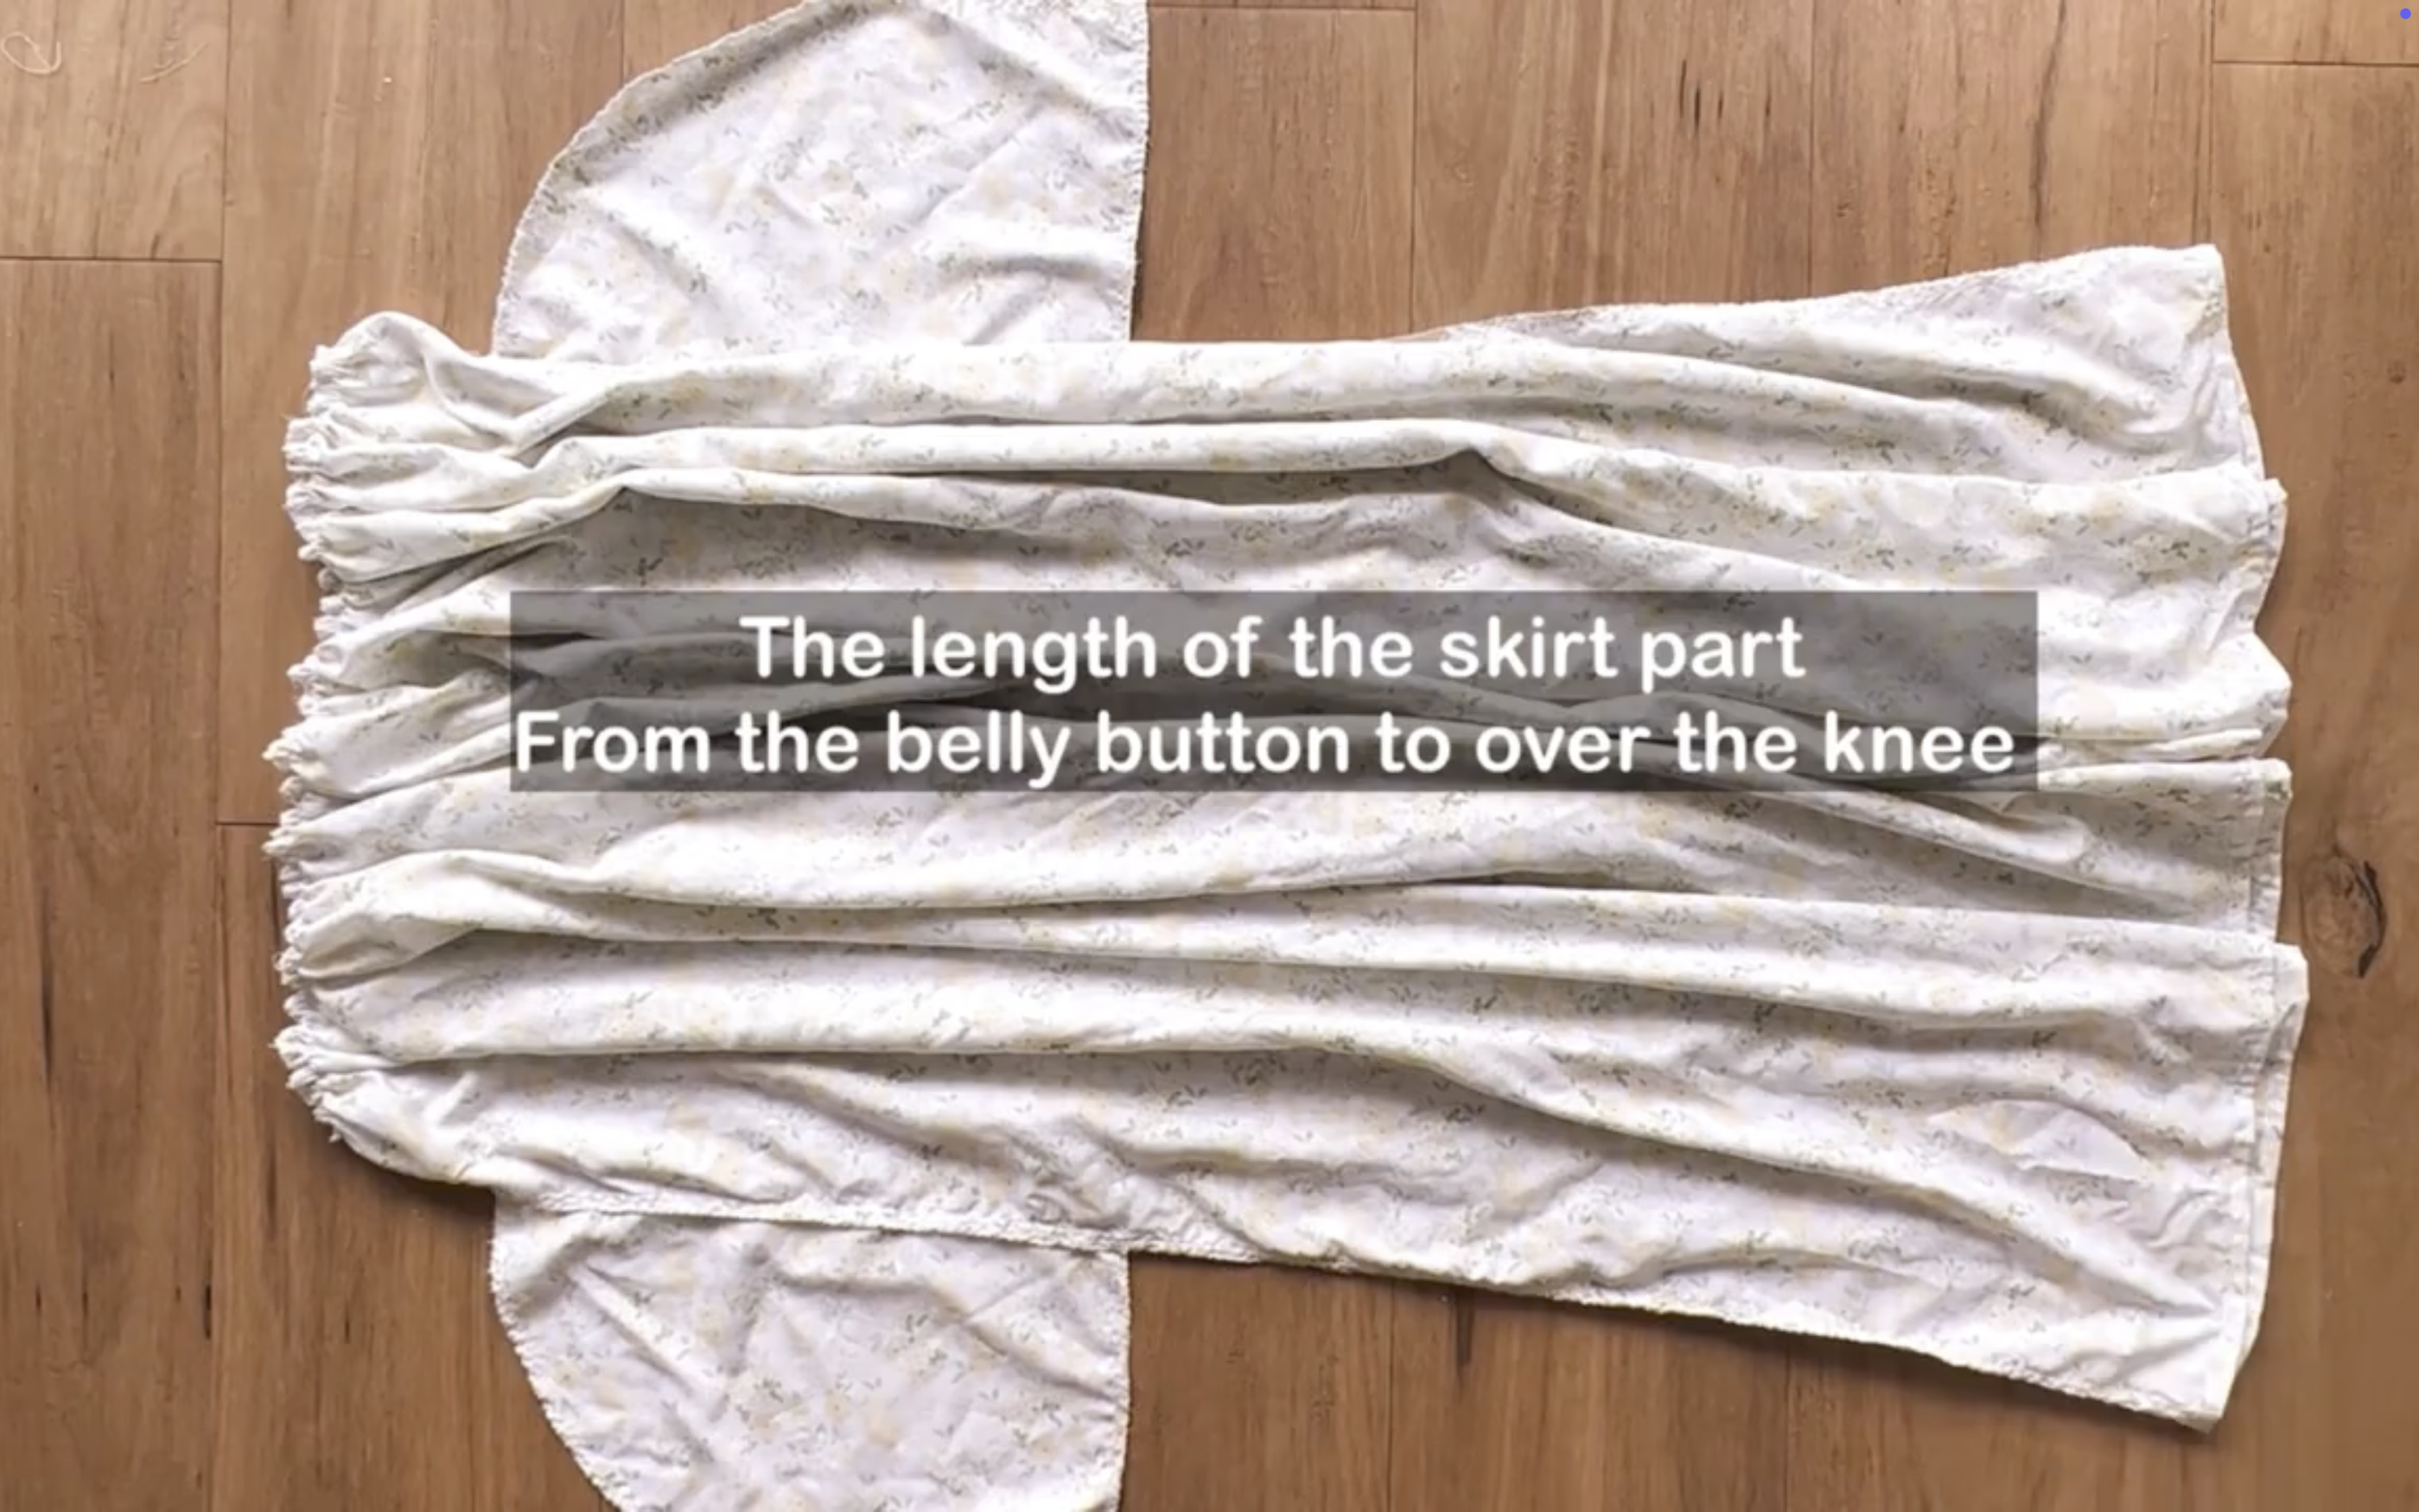
And the length of the skirt part will be from the belly button to over the knee.
Besides these changes, the whole process of making this dress is the same as the first version.
In opinion, it's better to use thin and light fabric to create a flowy feeling for the dress.
Re-making my favorite dresses in the new versions (Coz I love them so much) | Sewing tutorial
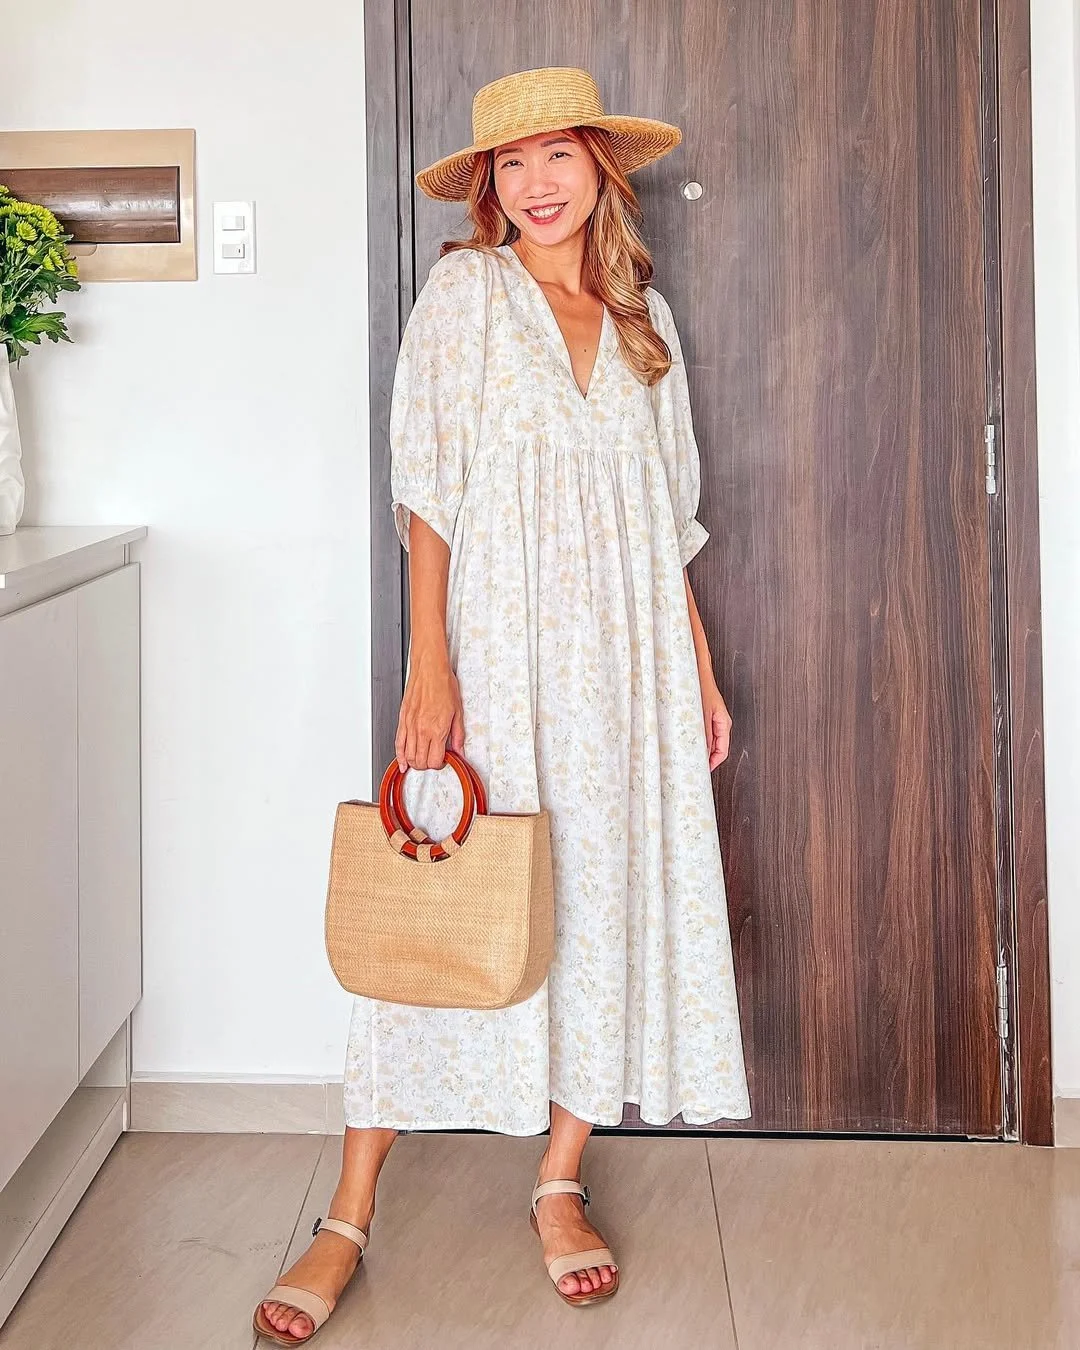
And here is the final result!
With this version, the dress becomes more casual, suitable as a going-out dress.
2. OPEN BACK DRESS
This Open Back Dress is a remake of the original Summer dress with simple open back dress for beginner! If you want to see the original version and how it was made, check out the full tutorial here.
Got a lot of good feedback for this dress because it's not only pretty but also super easy to make.
So in the new version, the bodice part remains the same.
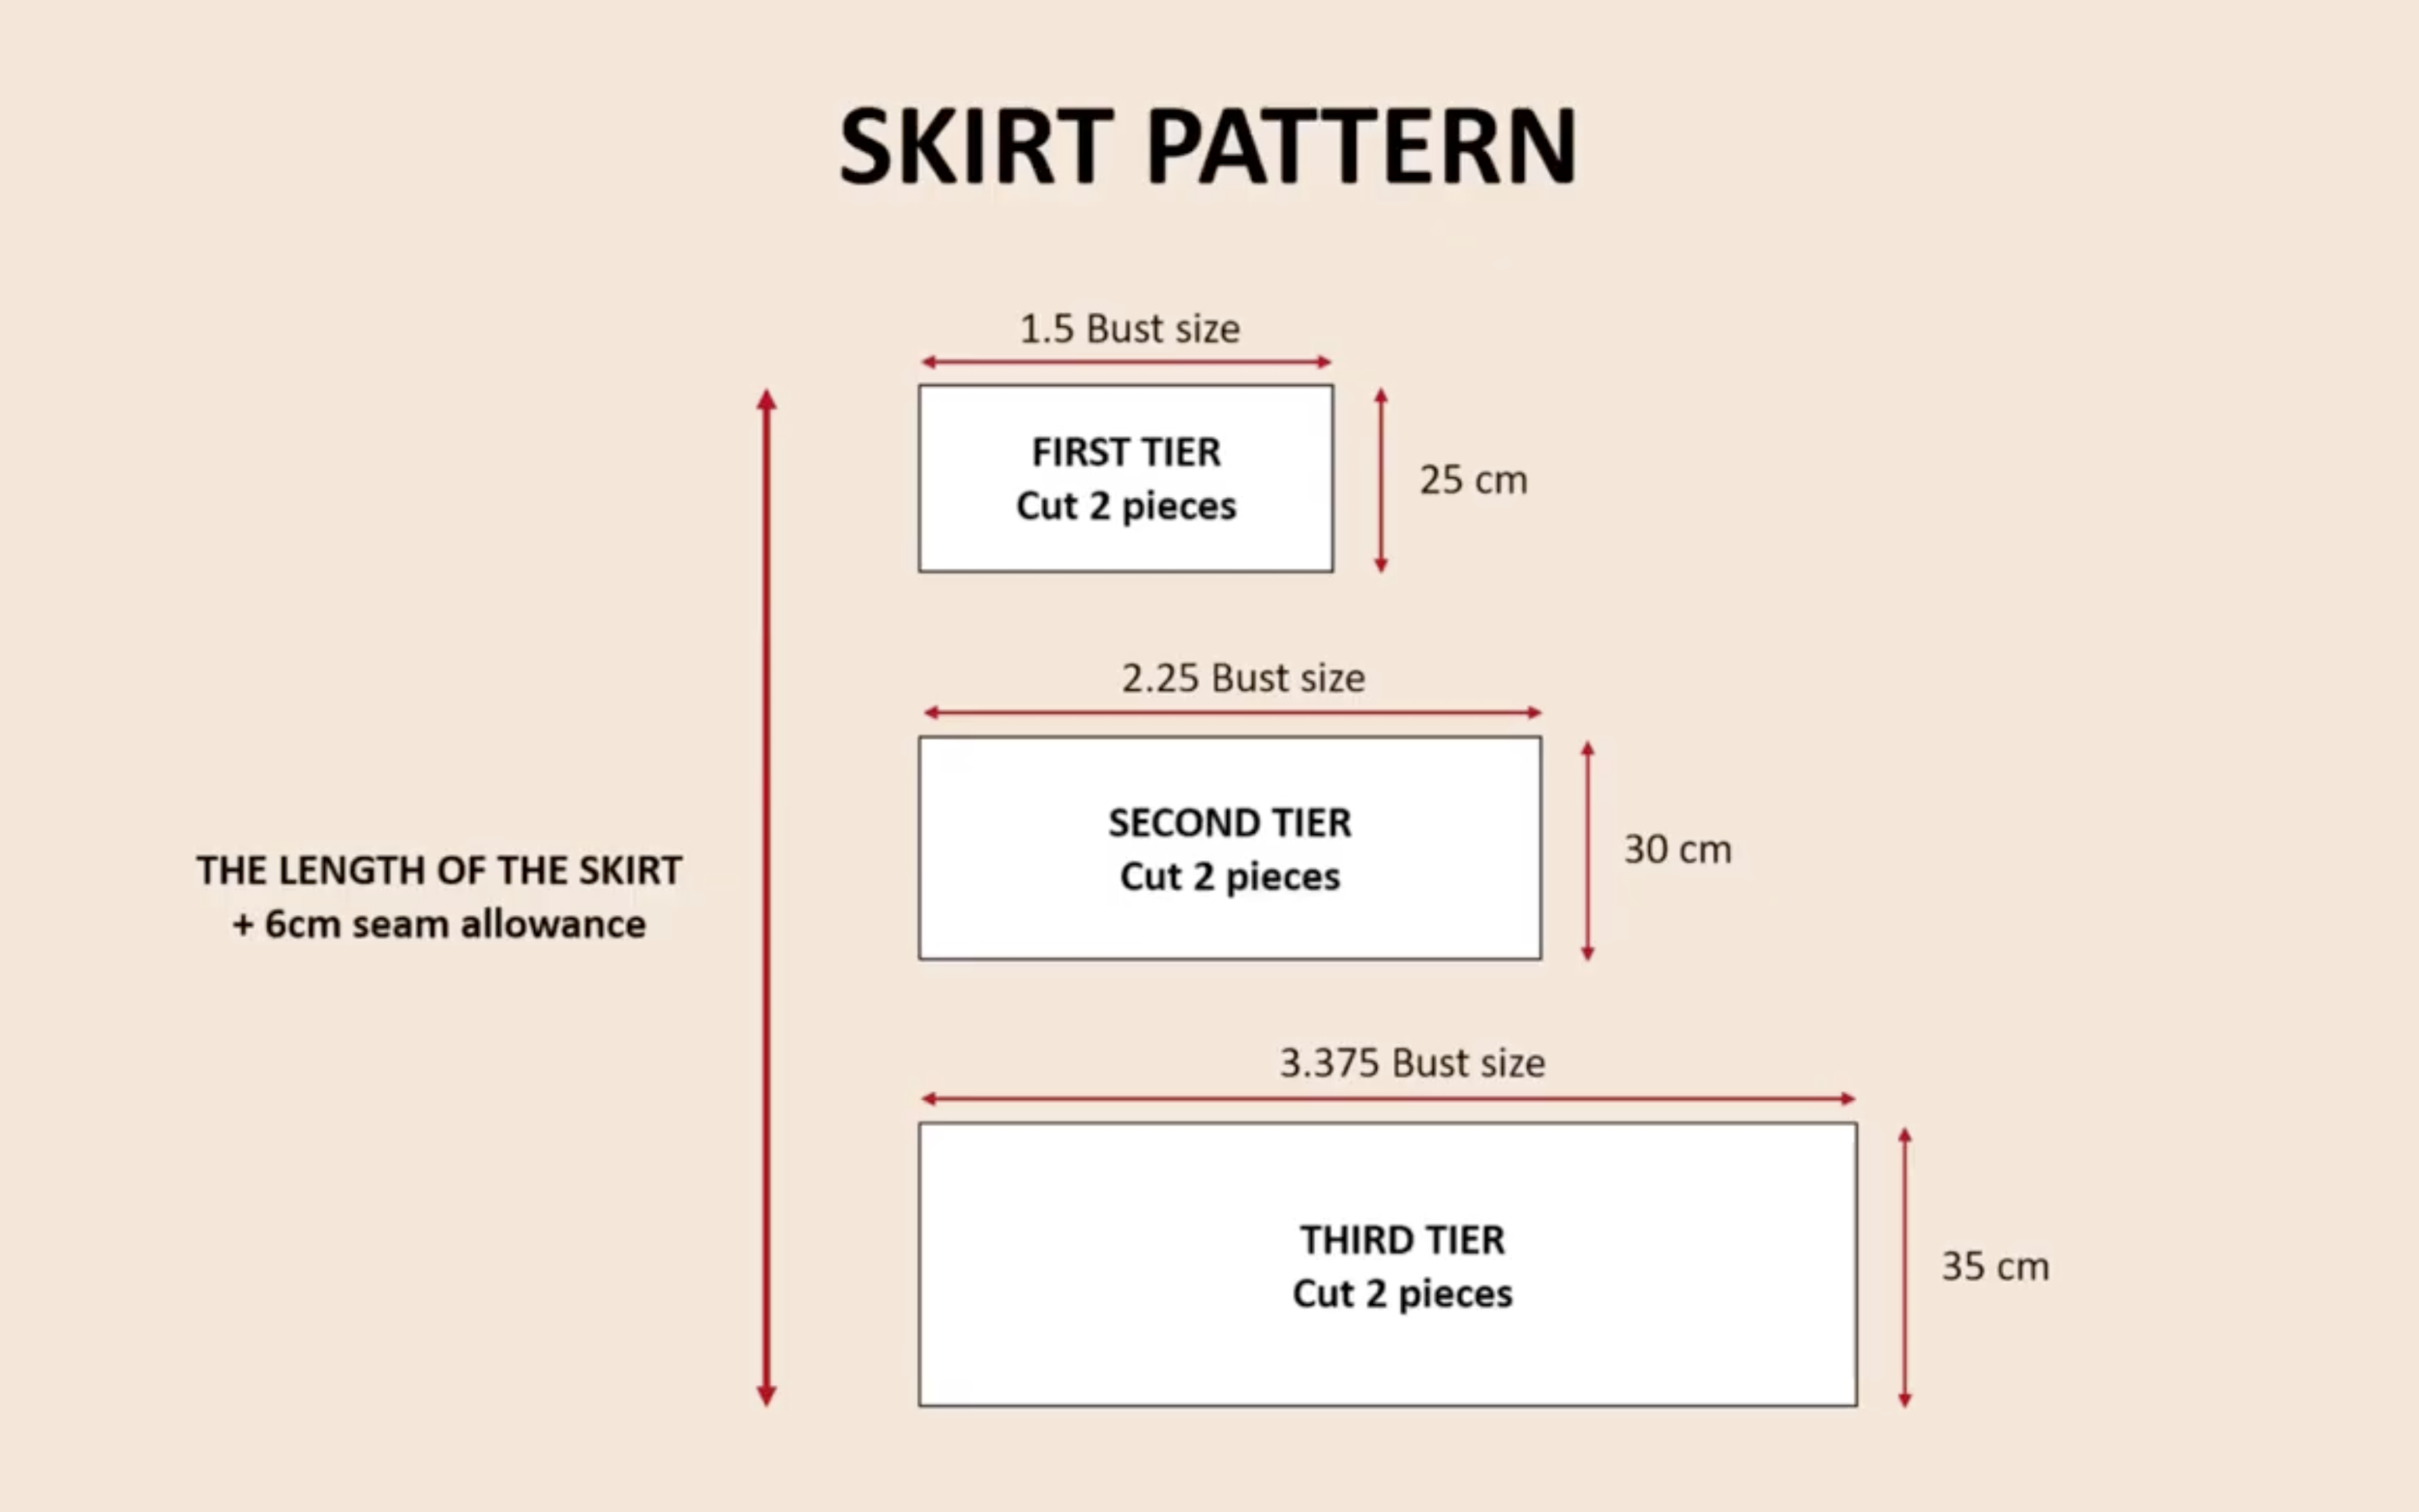
And a big change is made to the skirt part by turning it into a tiered skirt.
Here's a new pattern cut for the skirt part.
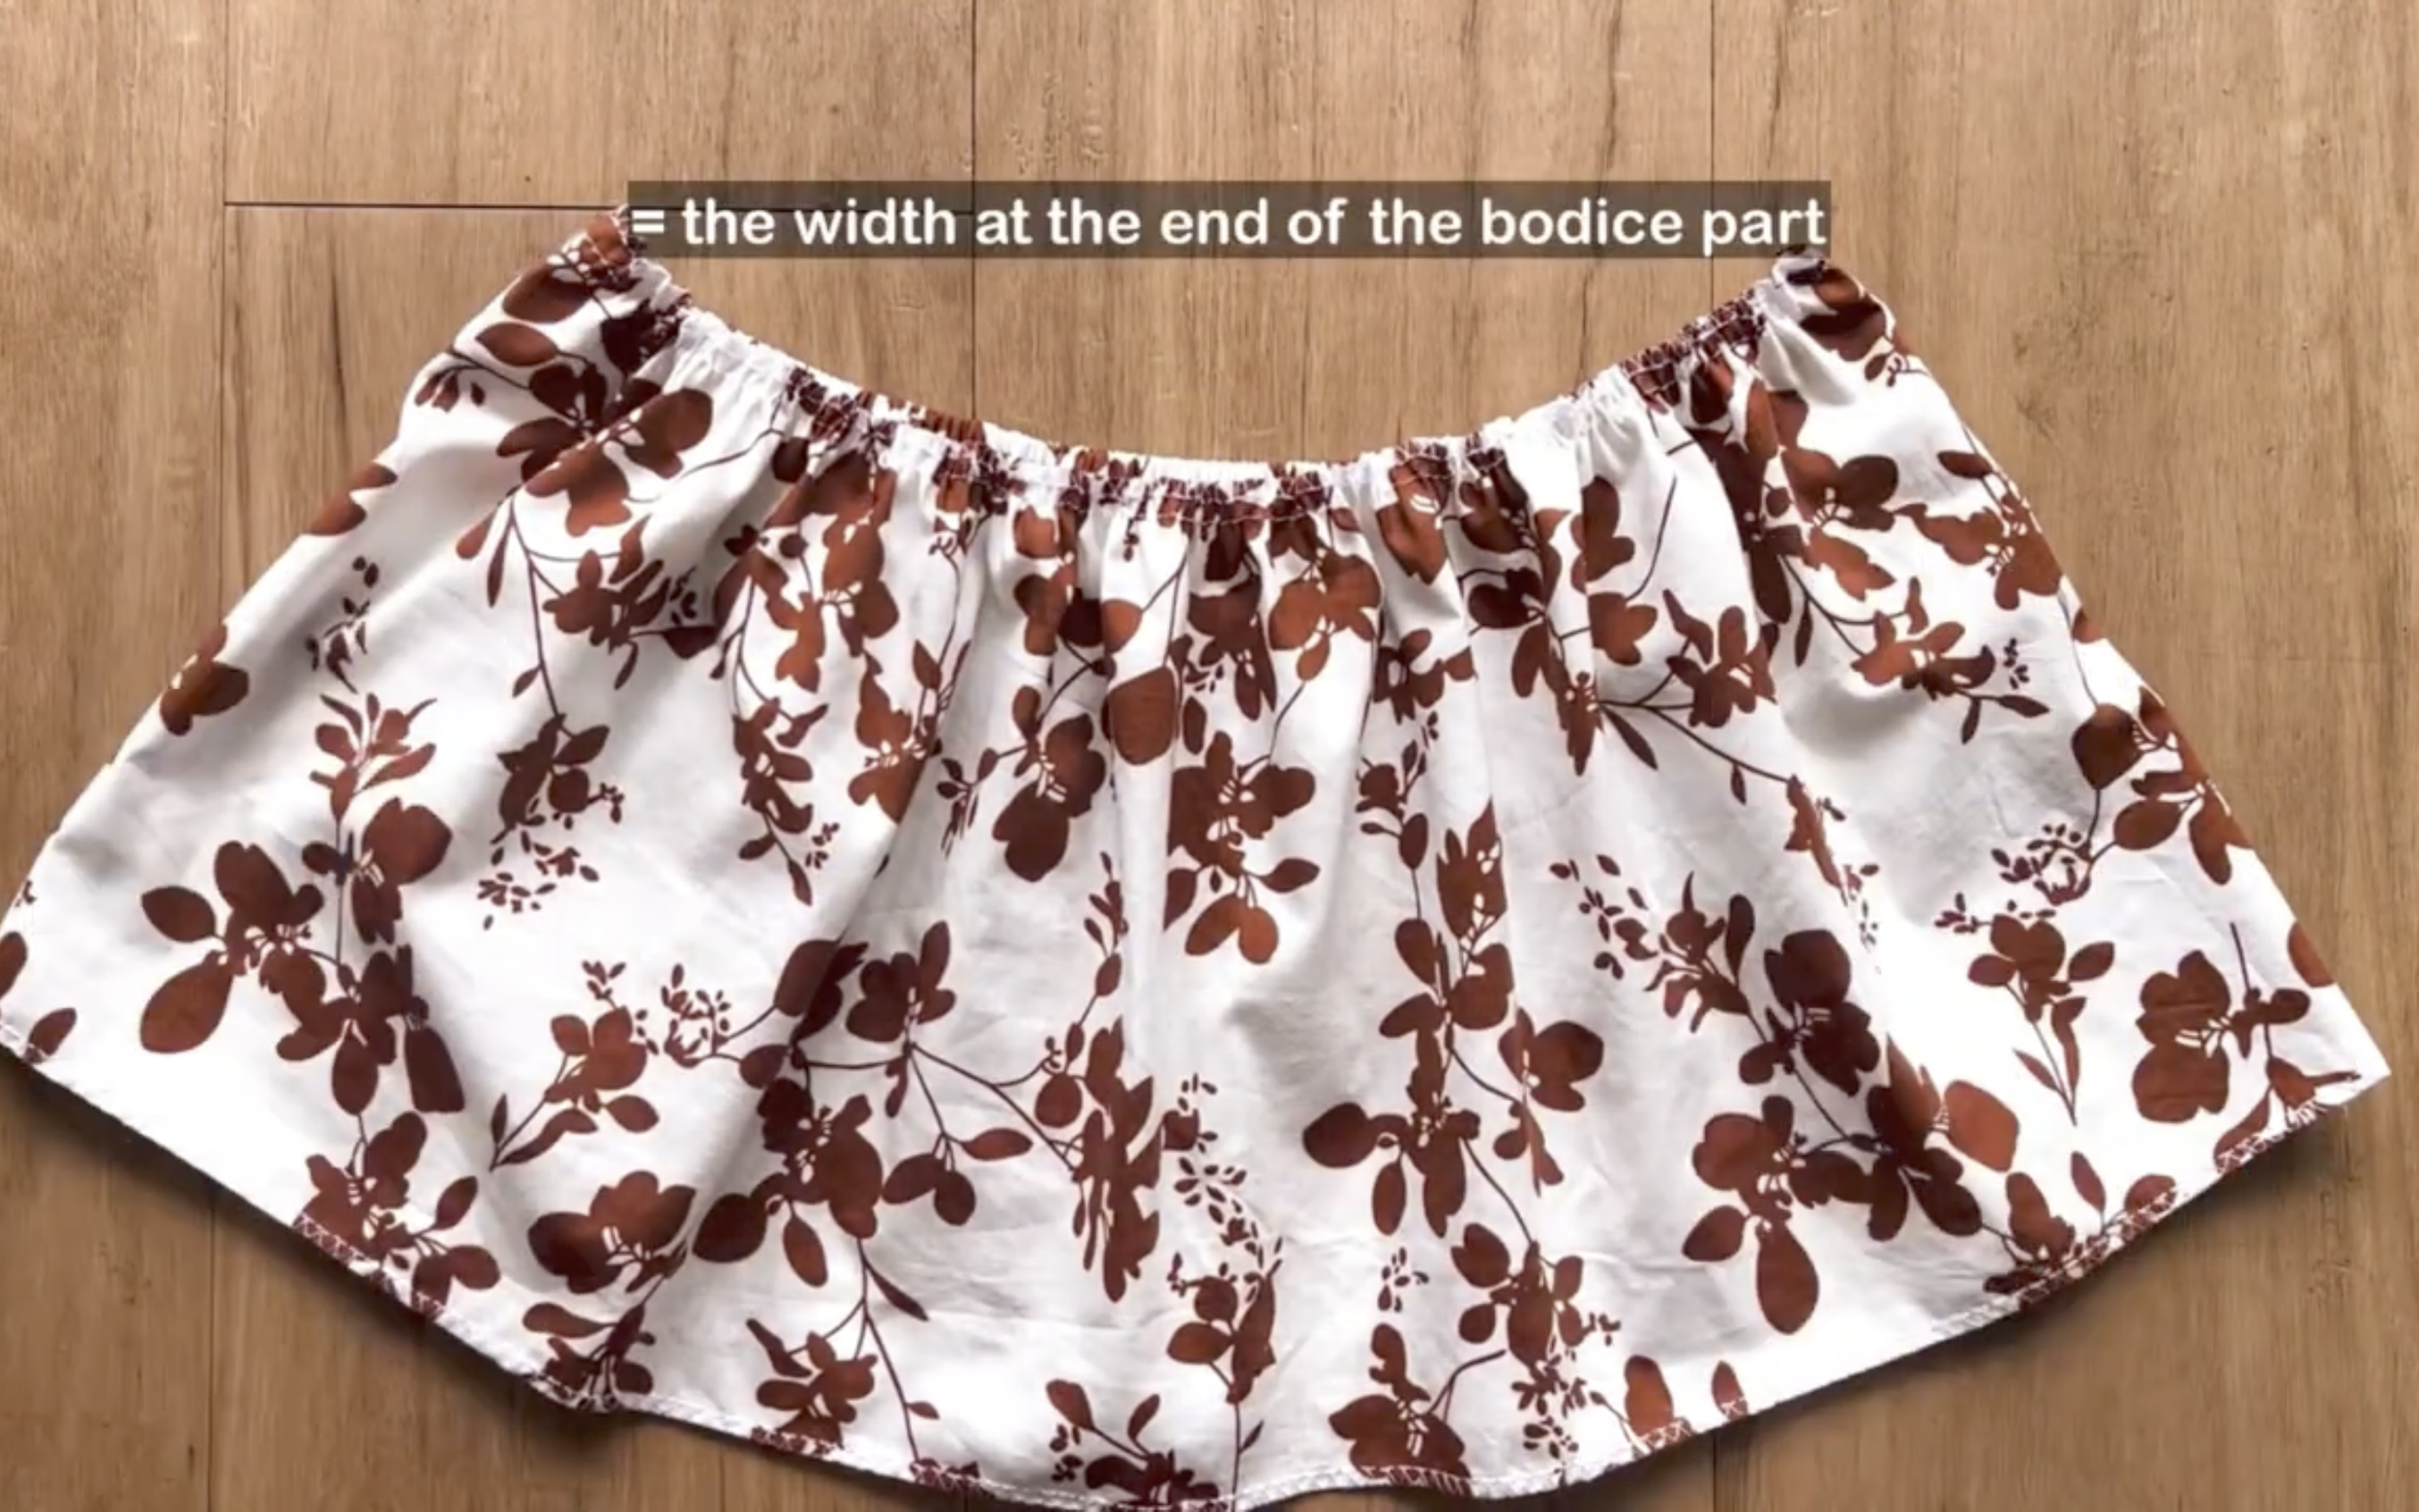
At the first tier of the skirt part, the same process is followed as in the original dress, which means creating the elastic look at the back and the gathering fabric at the front of the first tier.
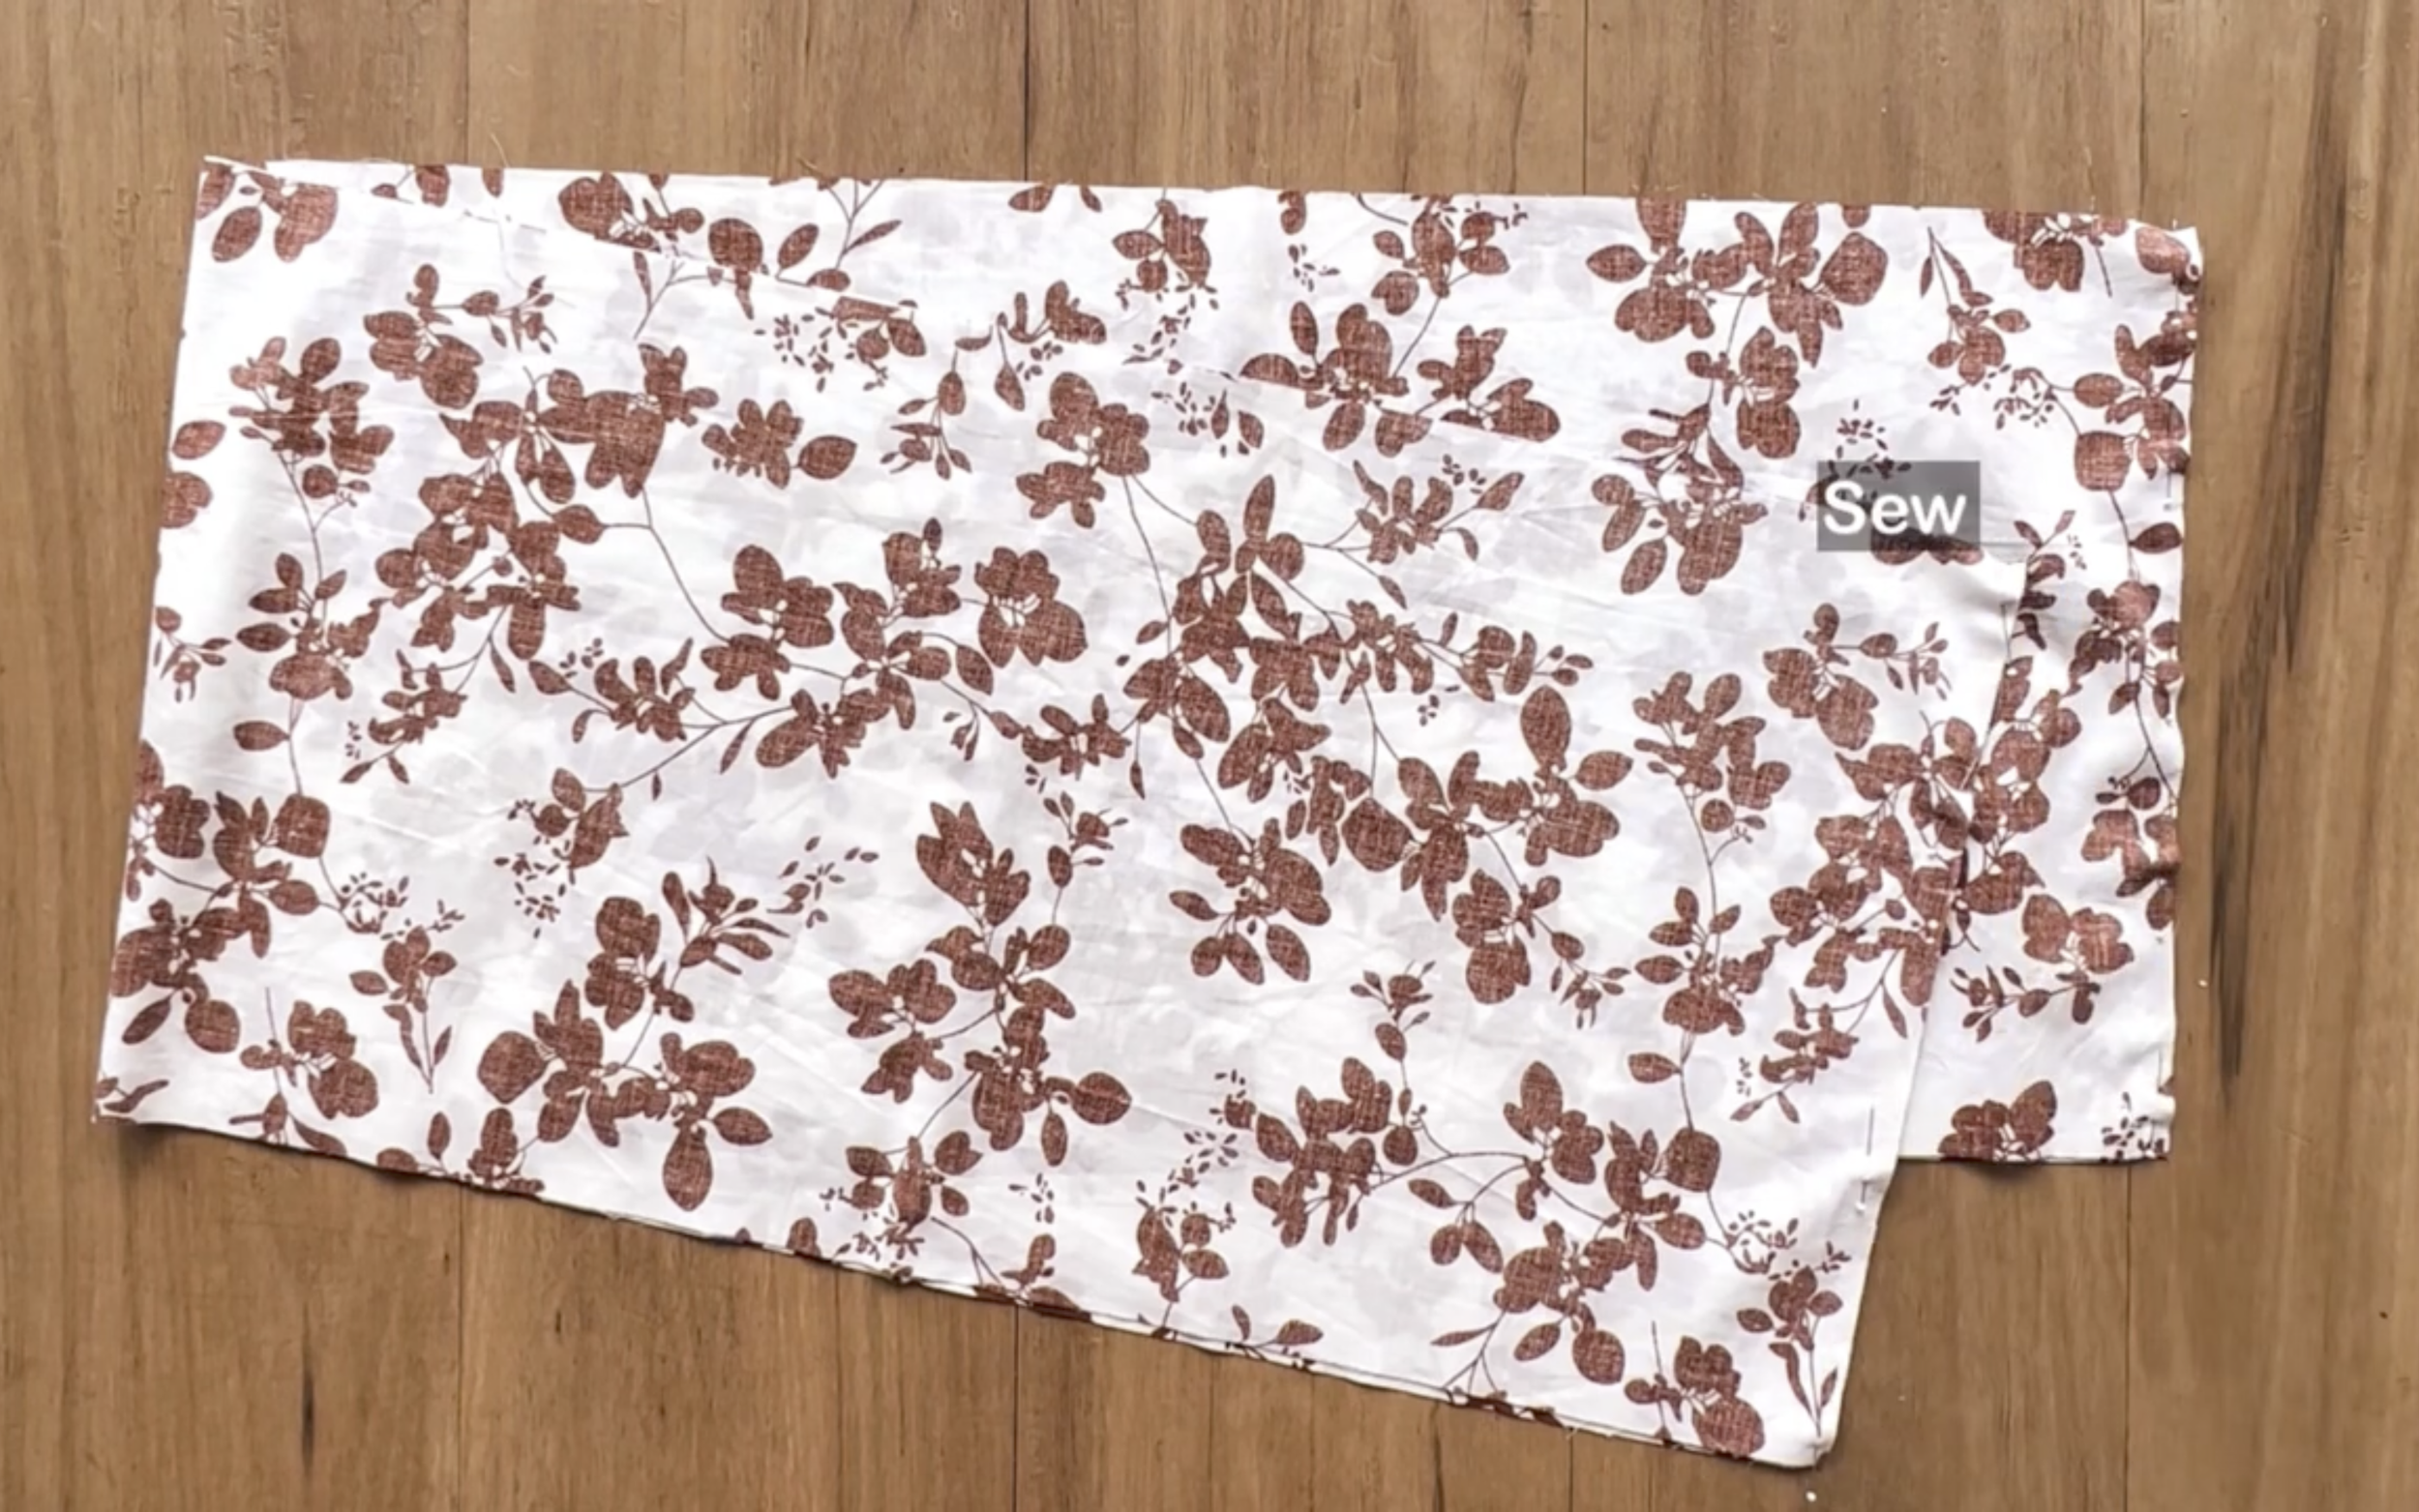
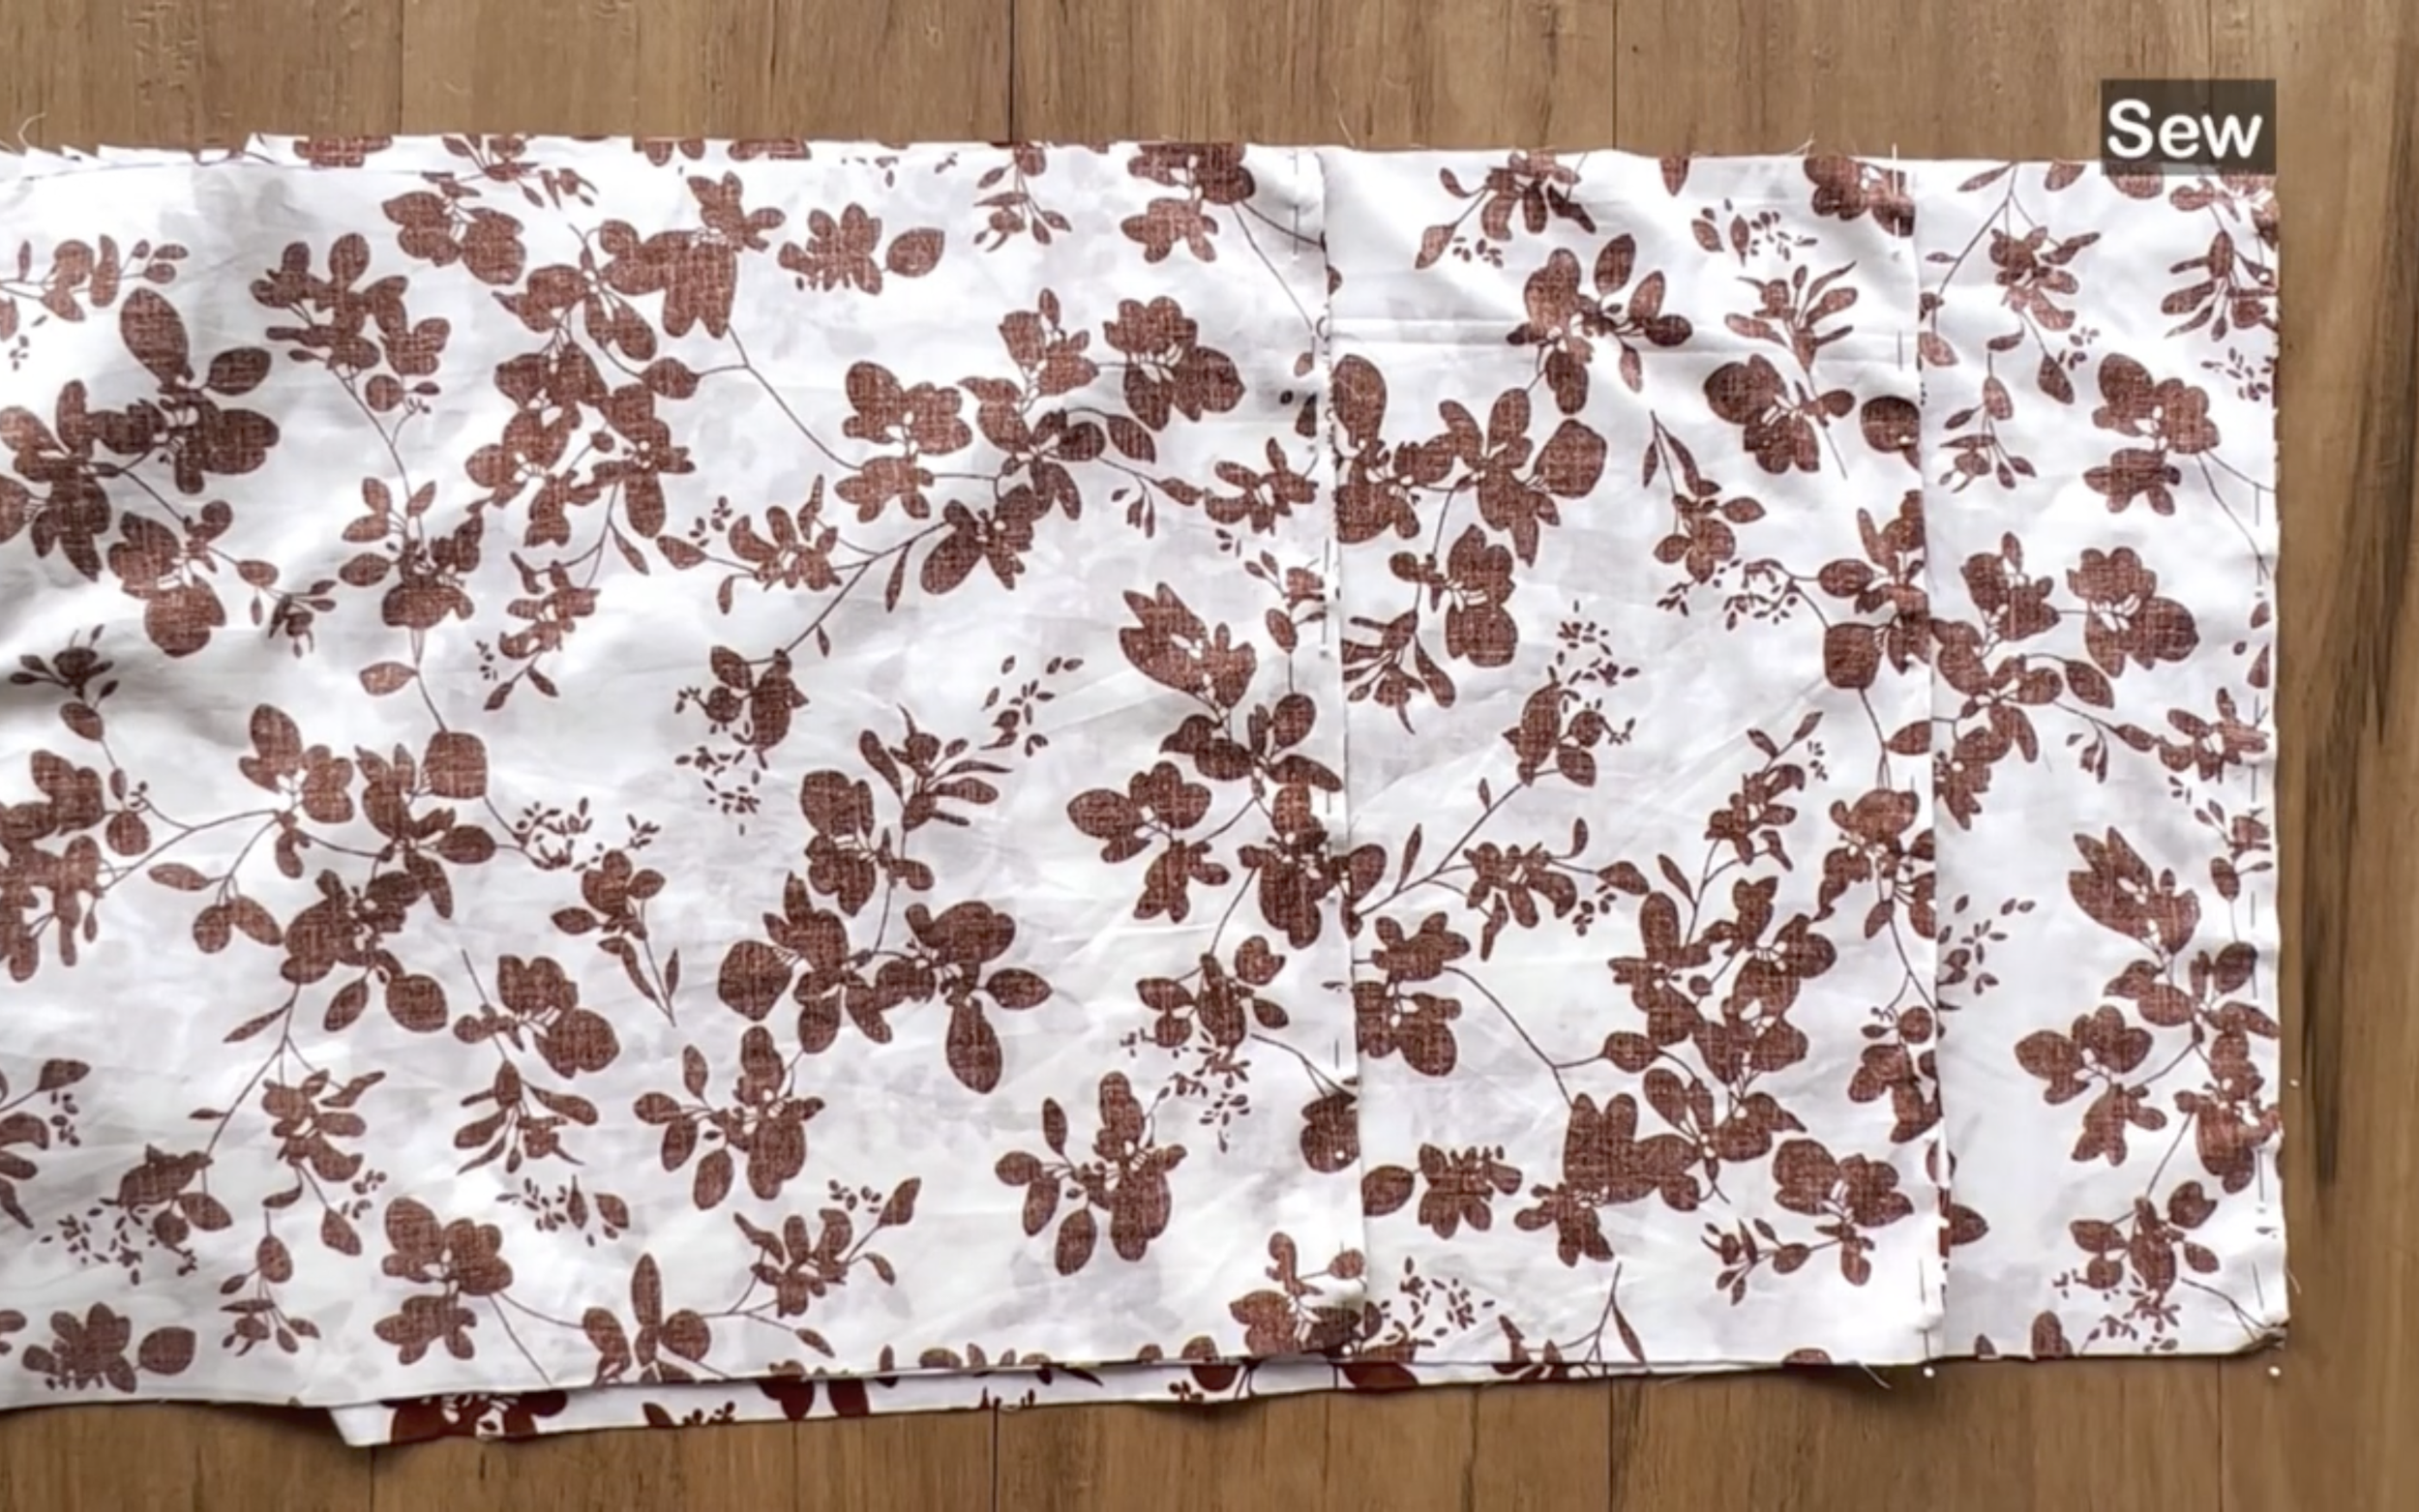
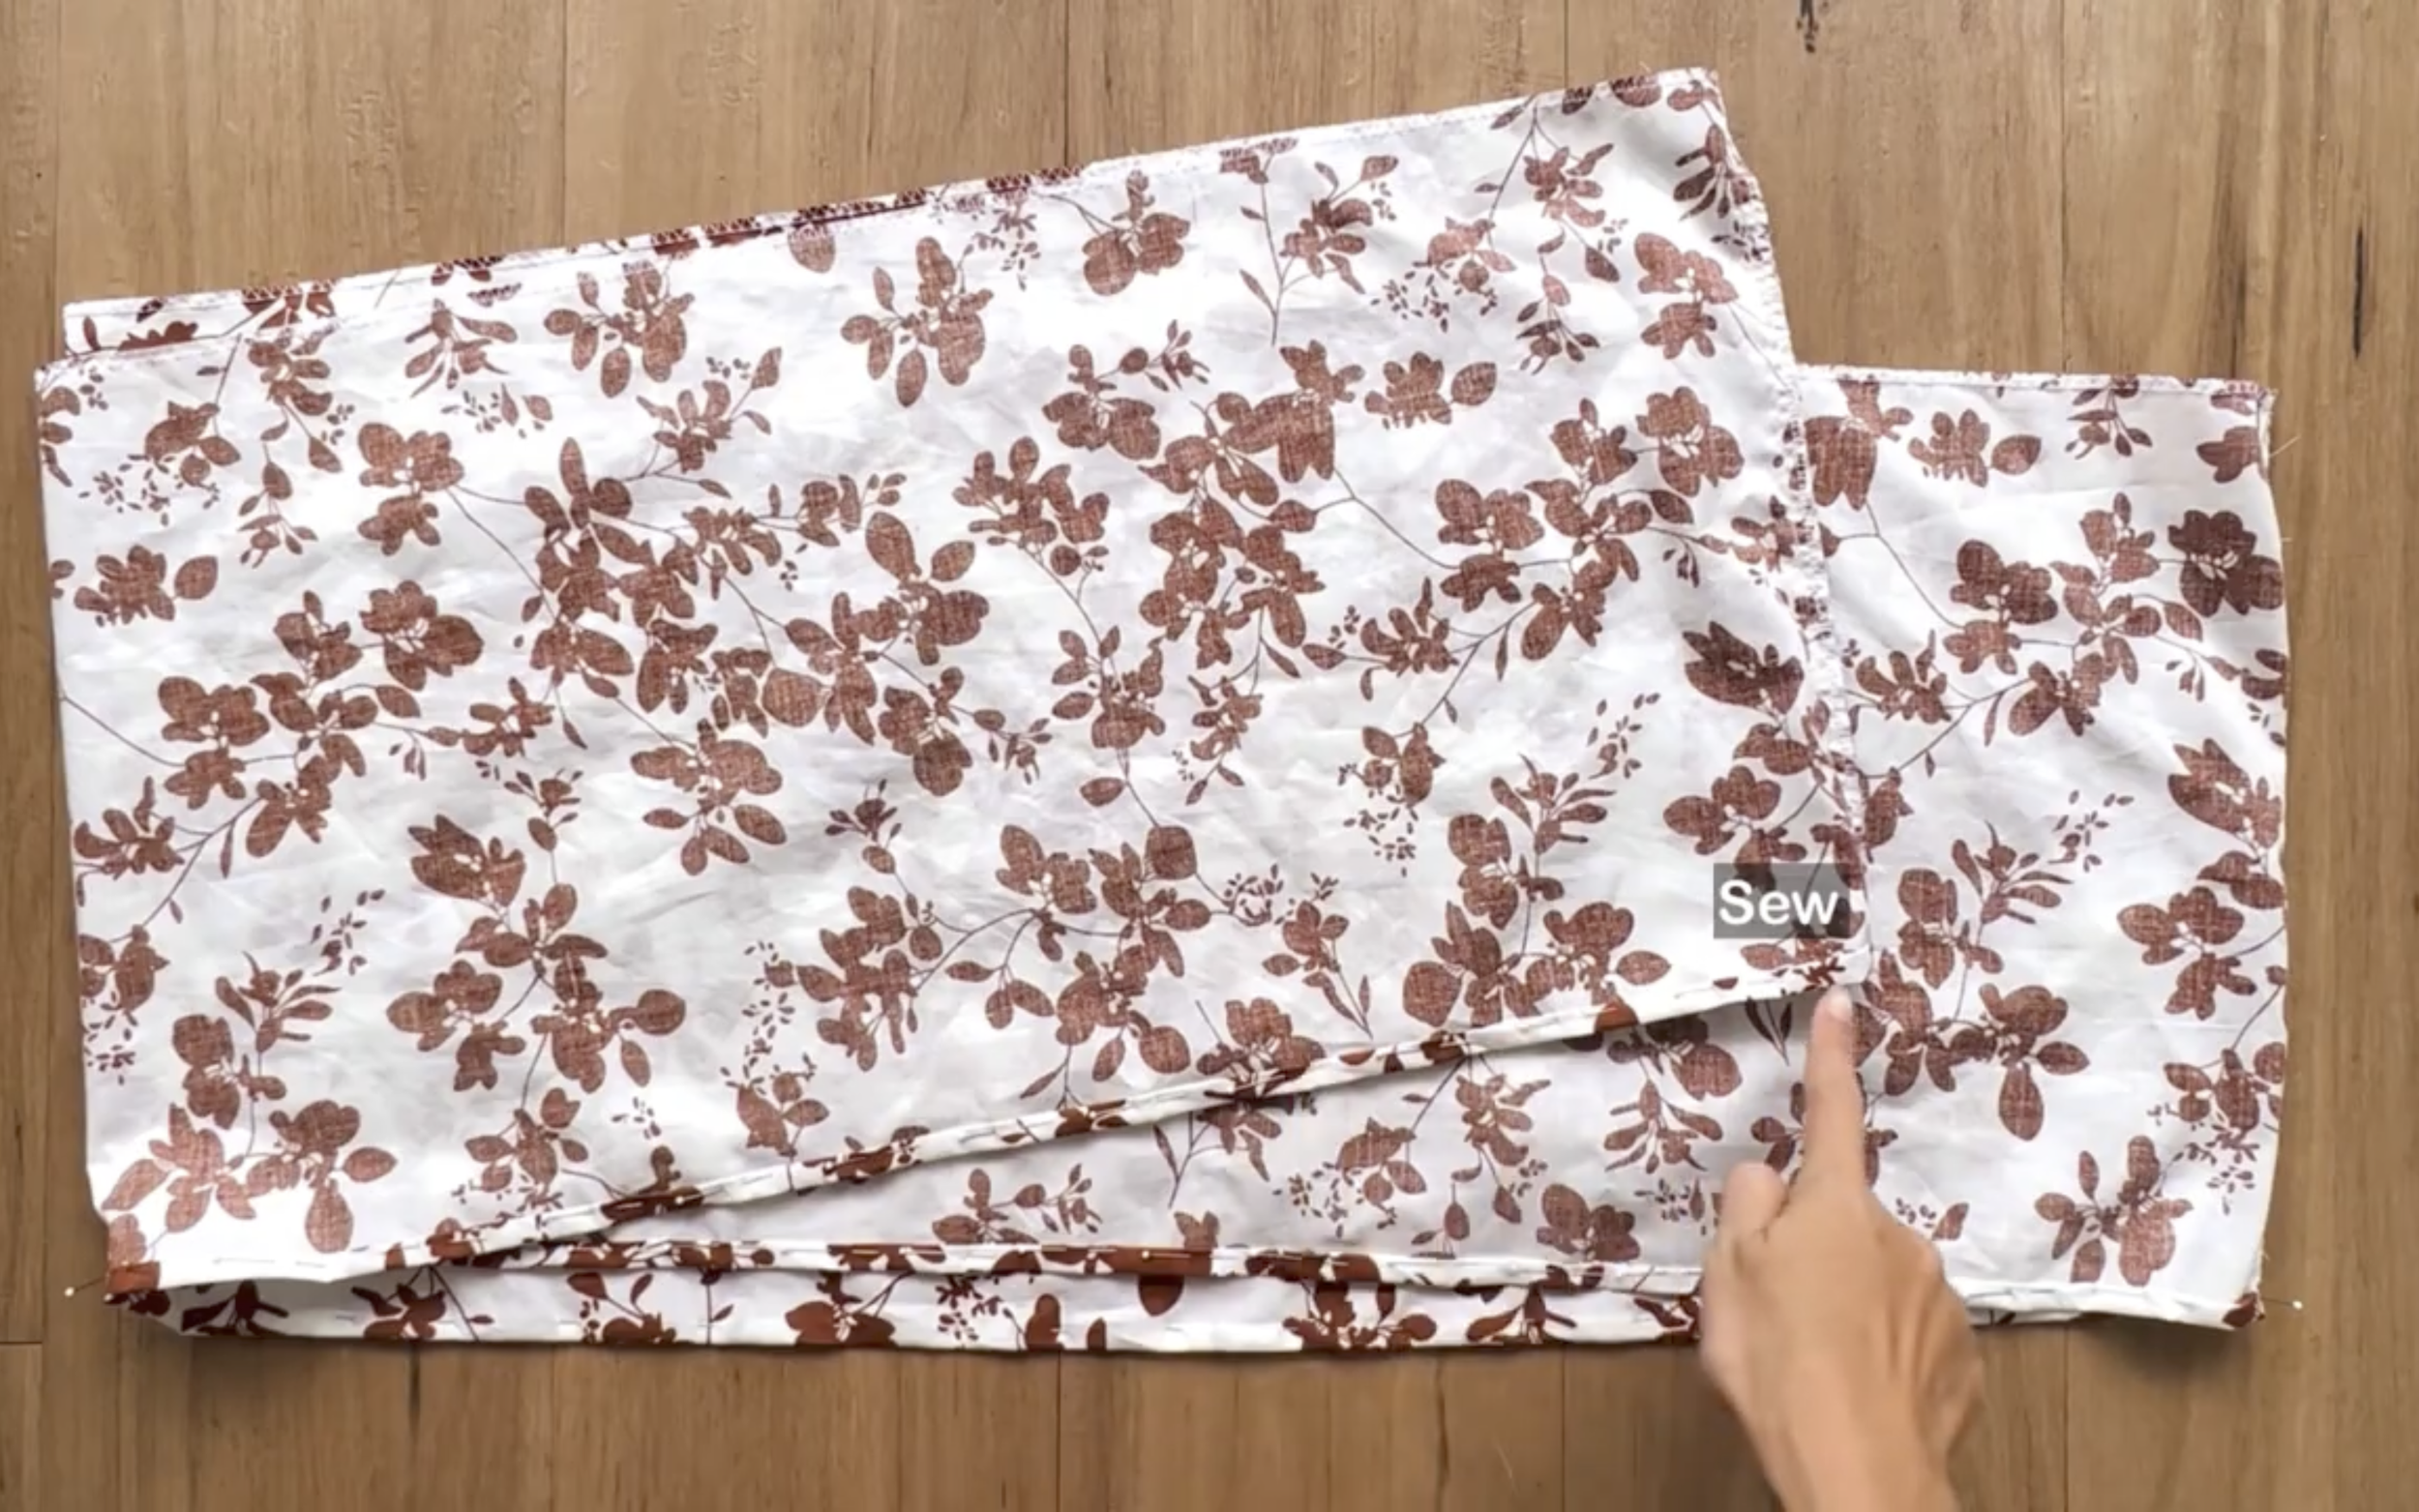
At the second tier, two pieces are connected together by the length line to create a circle fabric first.
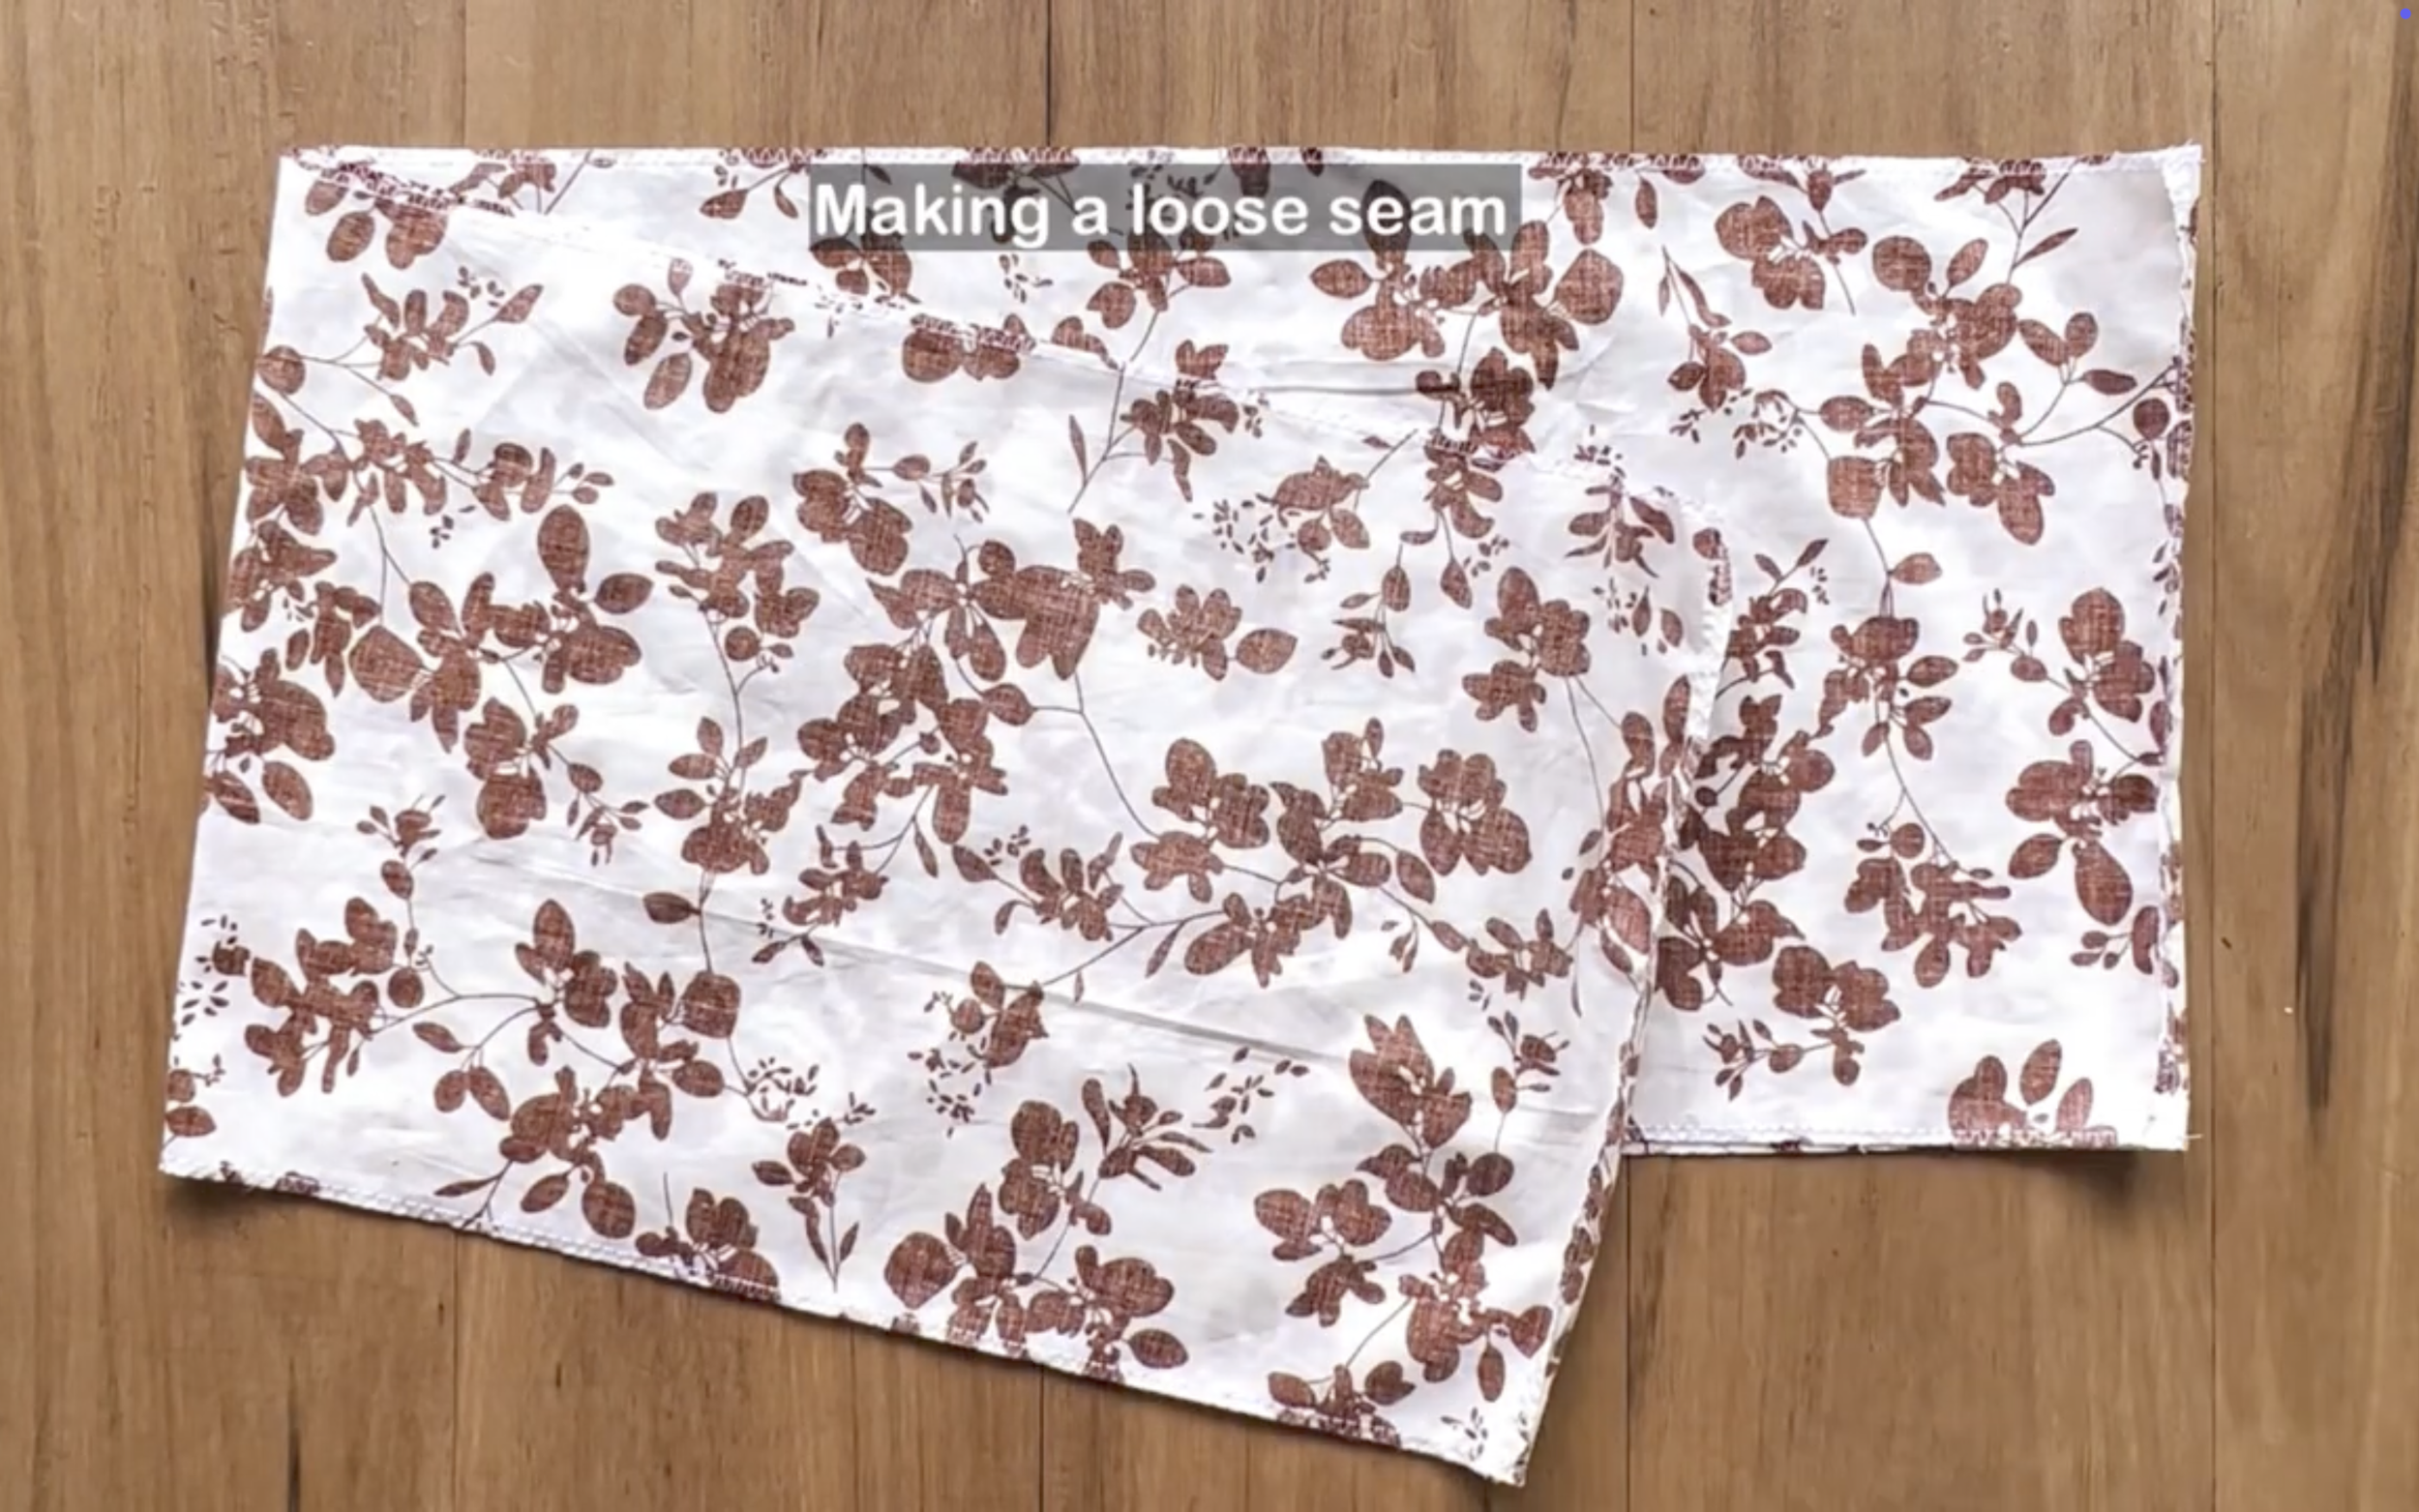
After that, a loose seam is made to create a gathering fabric there later.
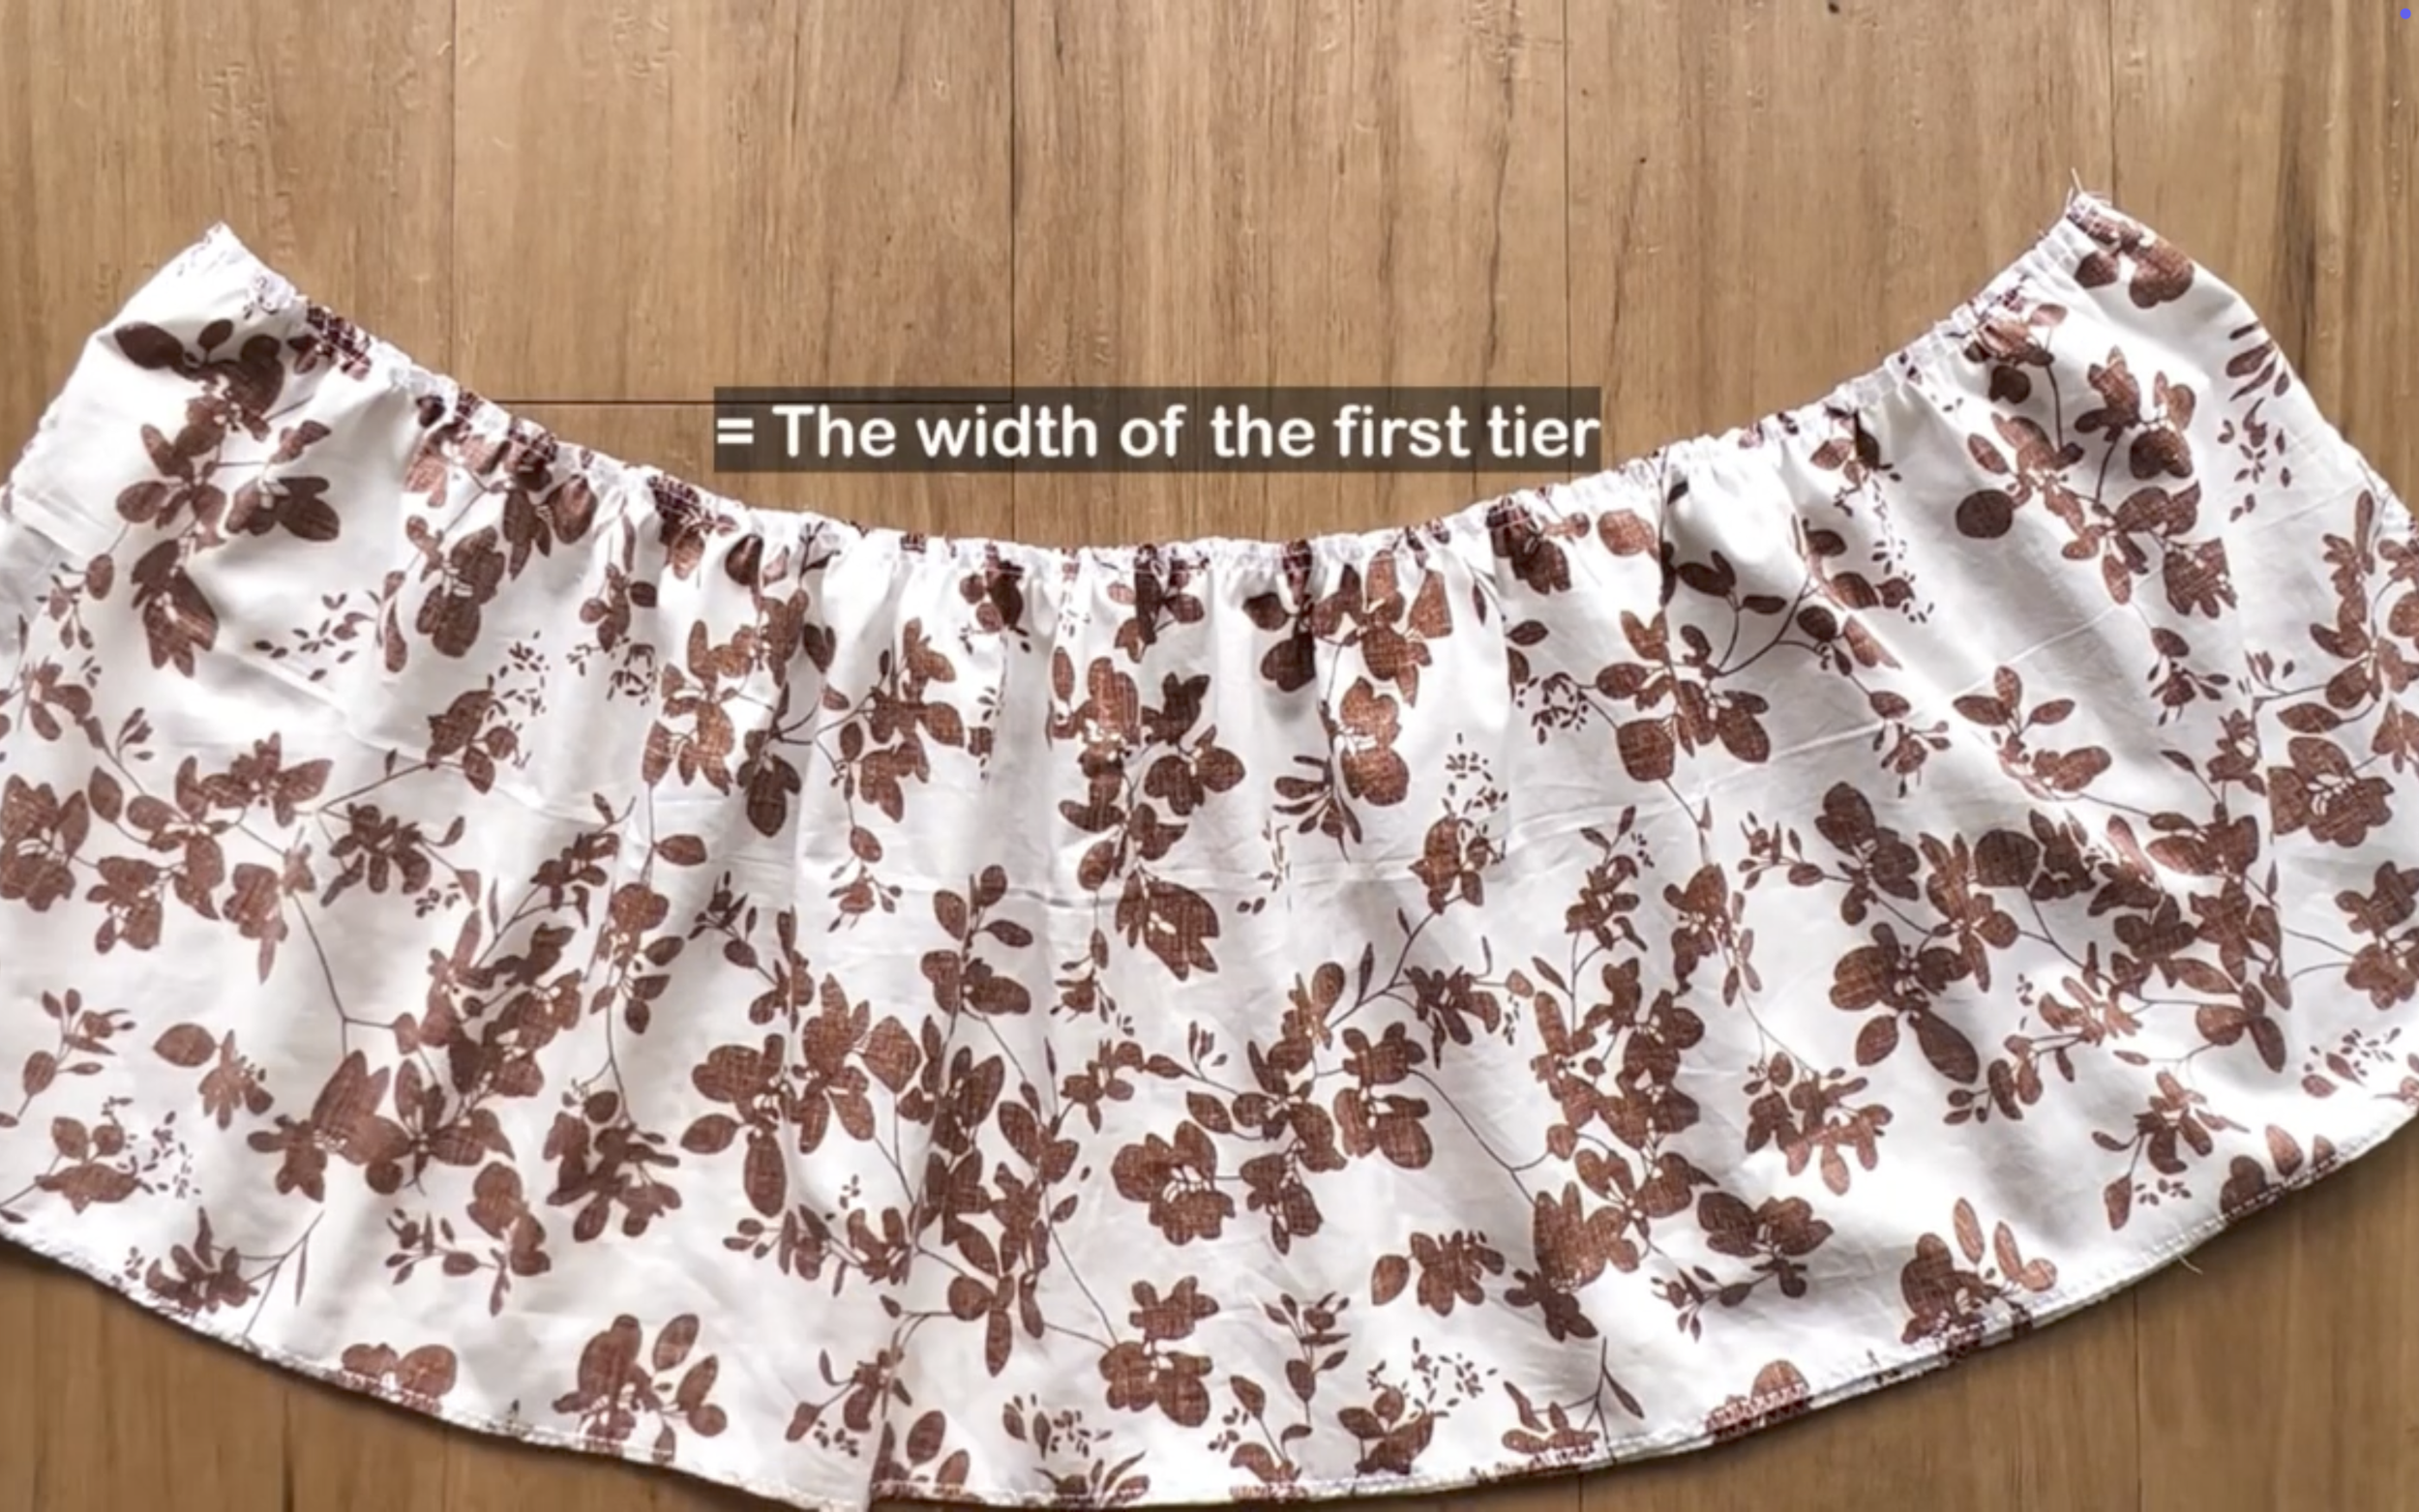
The final width of the gathering fabric should be the same as the width of the first tier so they can be connected together later.
At the third tier, two pieces are connected together by the length line to create a circle fabric first.
After that, one side of the circle fabric, which is the end of the skirt, is finished by folding the end fabric inside two times with 1 cm each time and sewing.
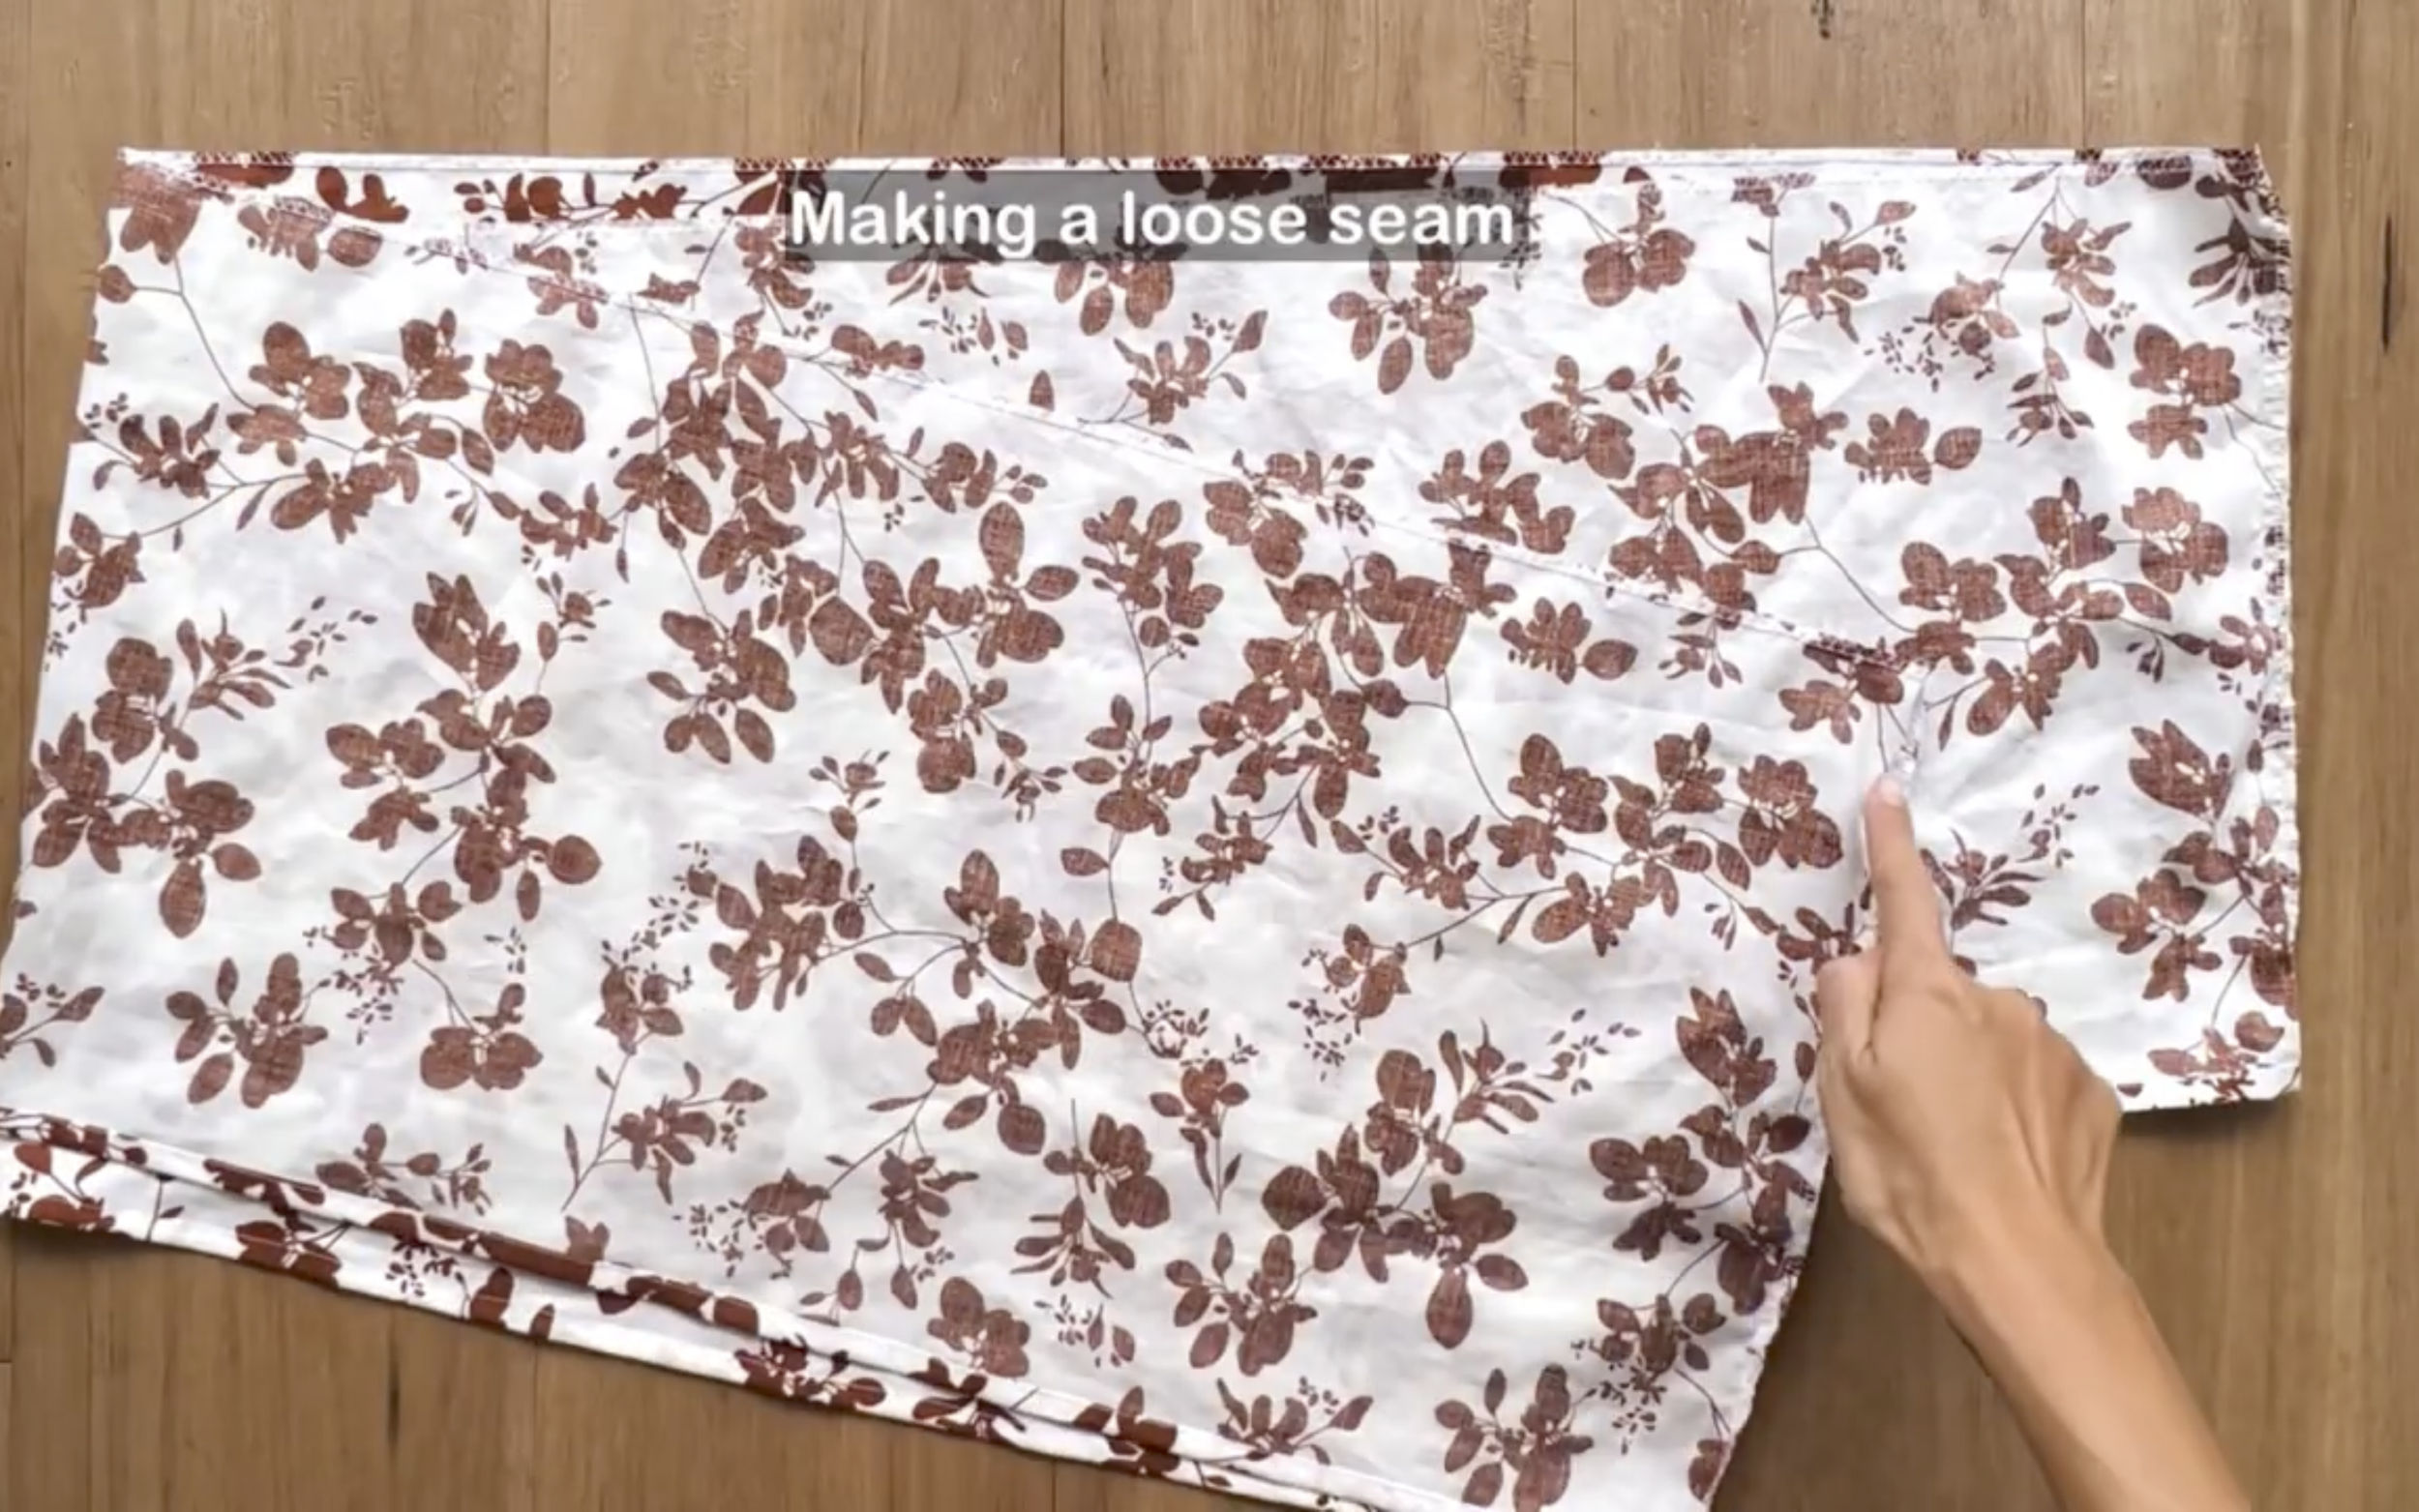
At the other side of the third tier, a loose seam is made first, then a gathering fabric is created there later.
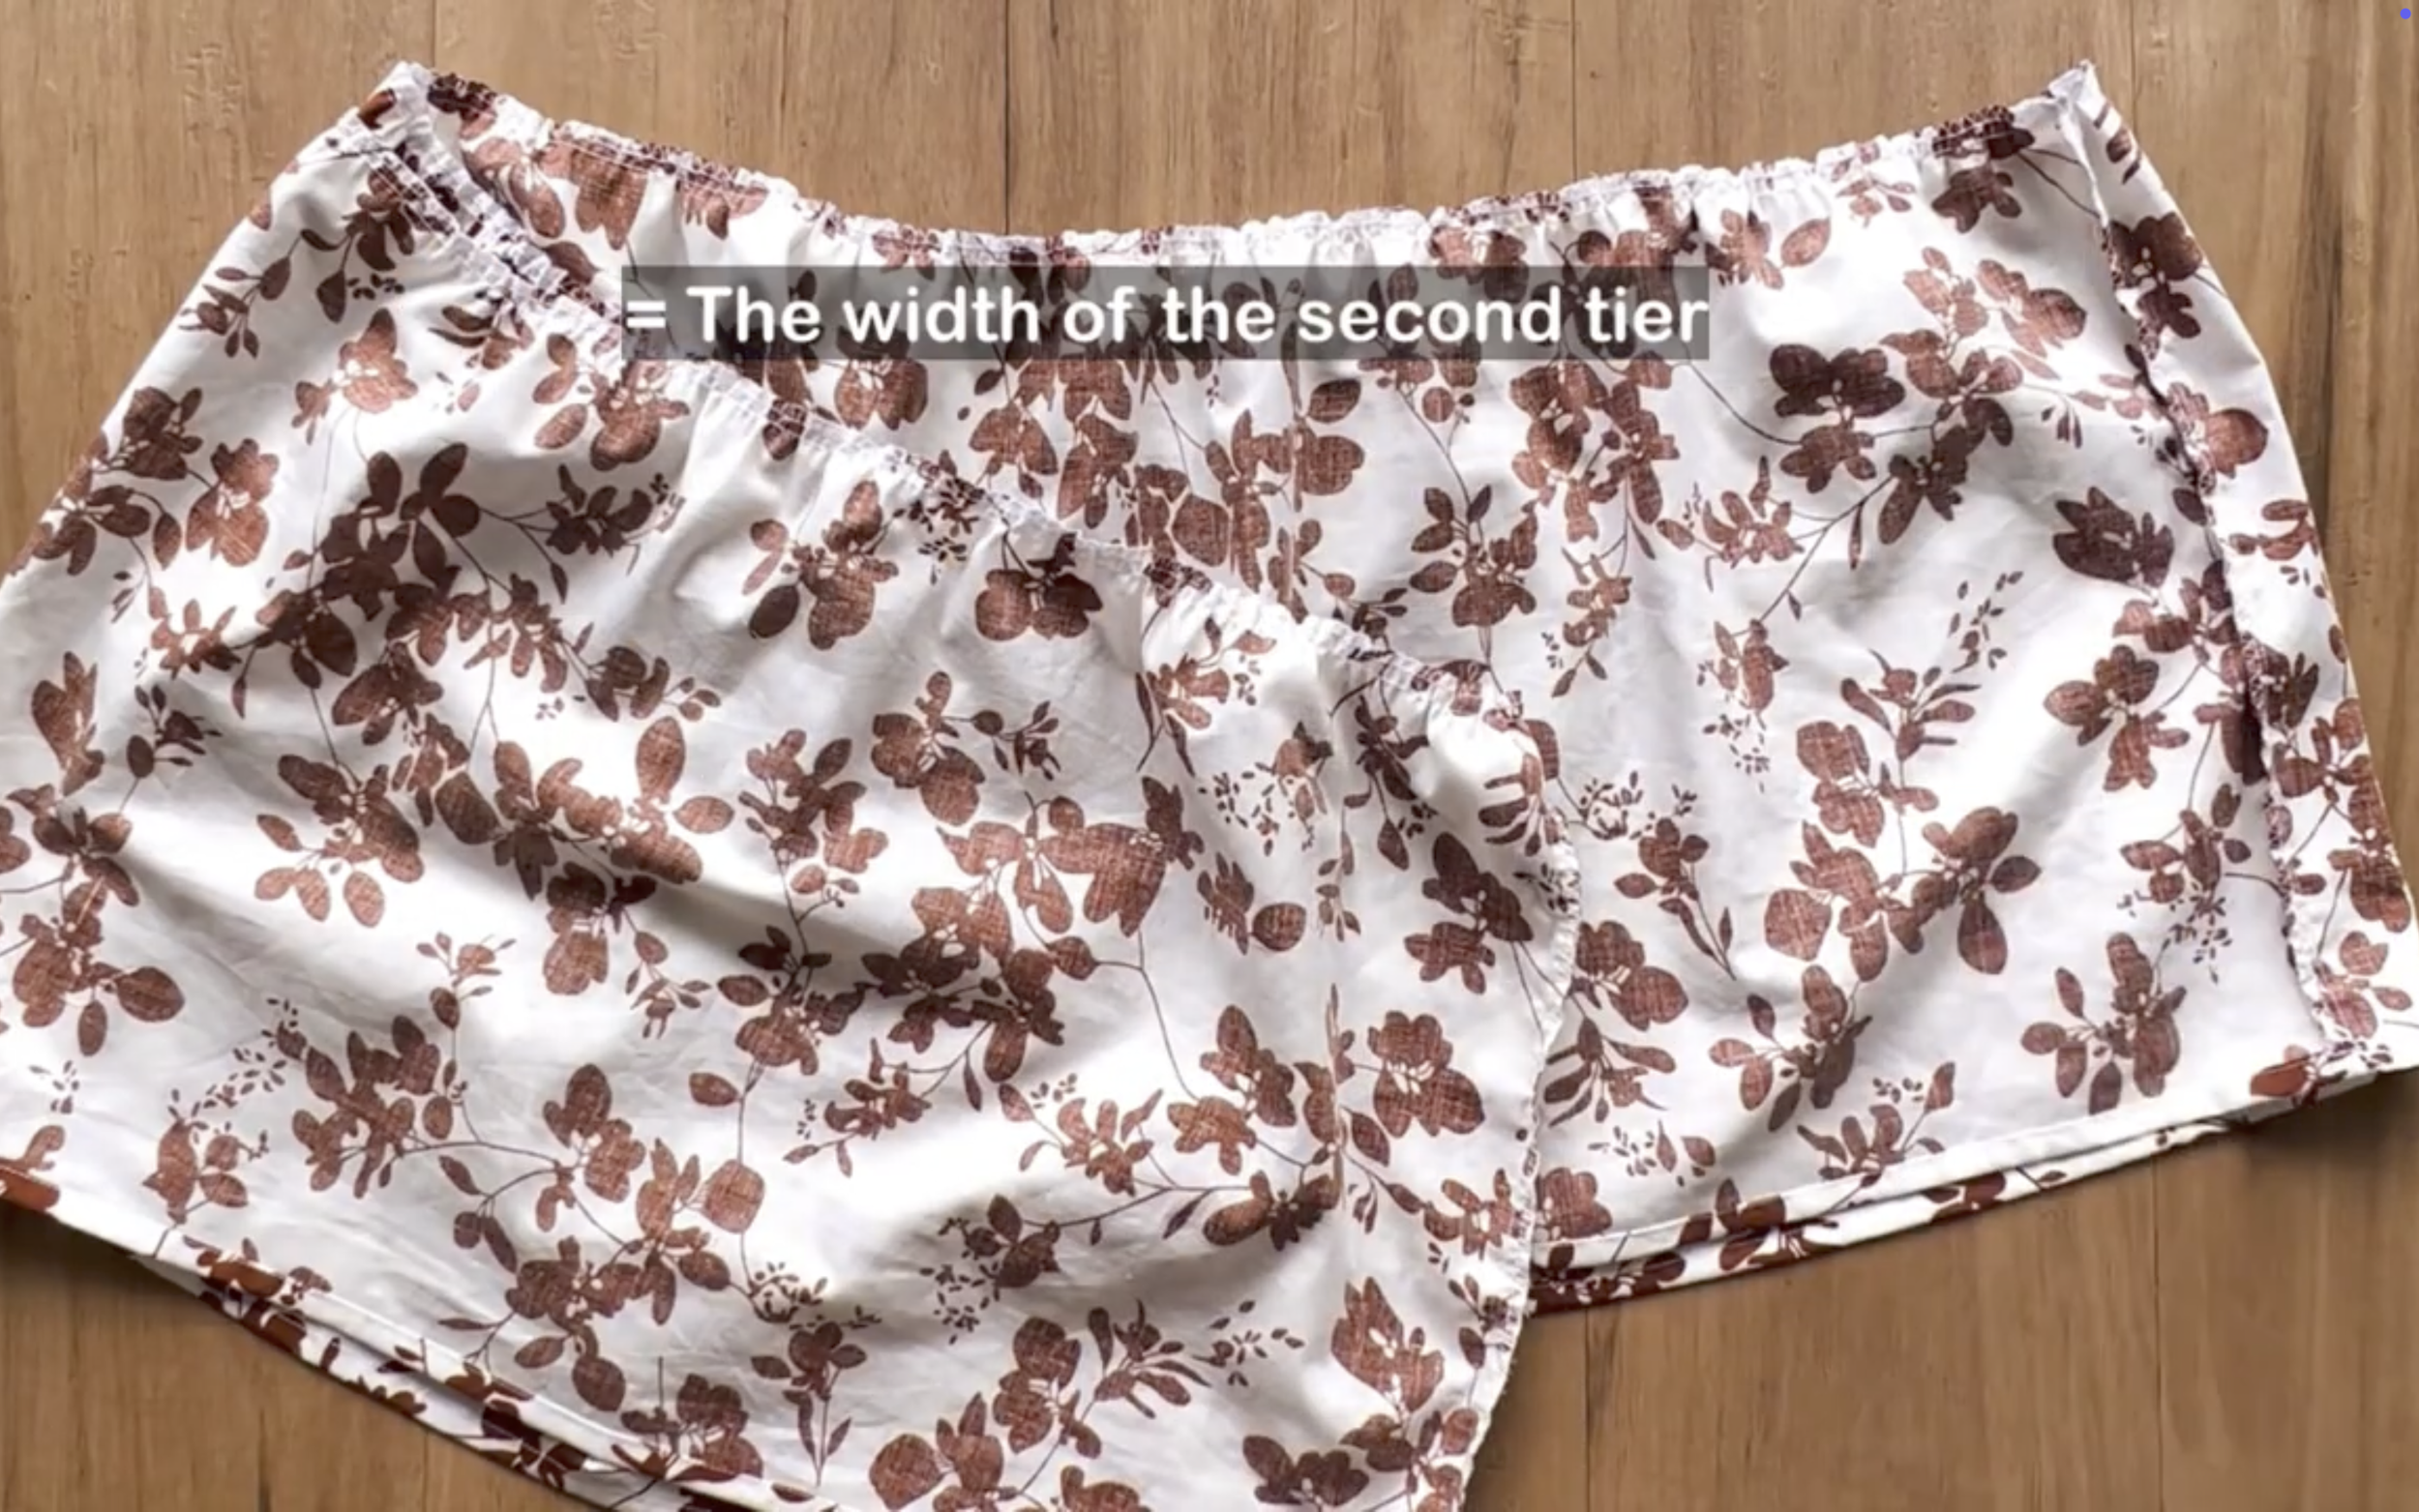
The final width of the gathering fabric should be the same as the width of the second tier so they can be connected together later.

And here are the three tiers of the skirt part. Just need to connect them together and sew to finish the skirt part of the dress.
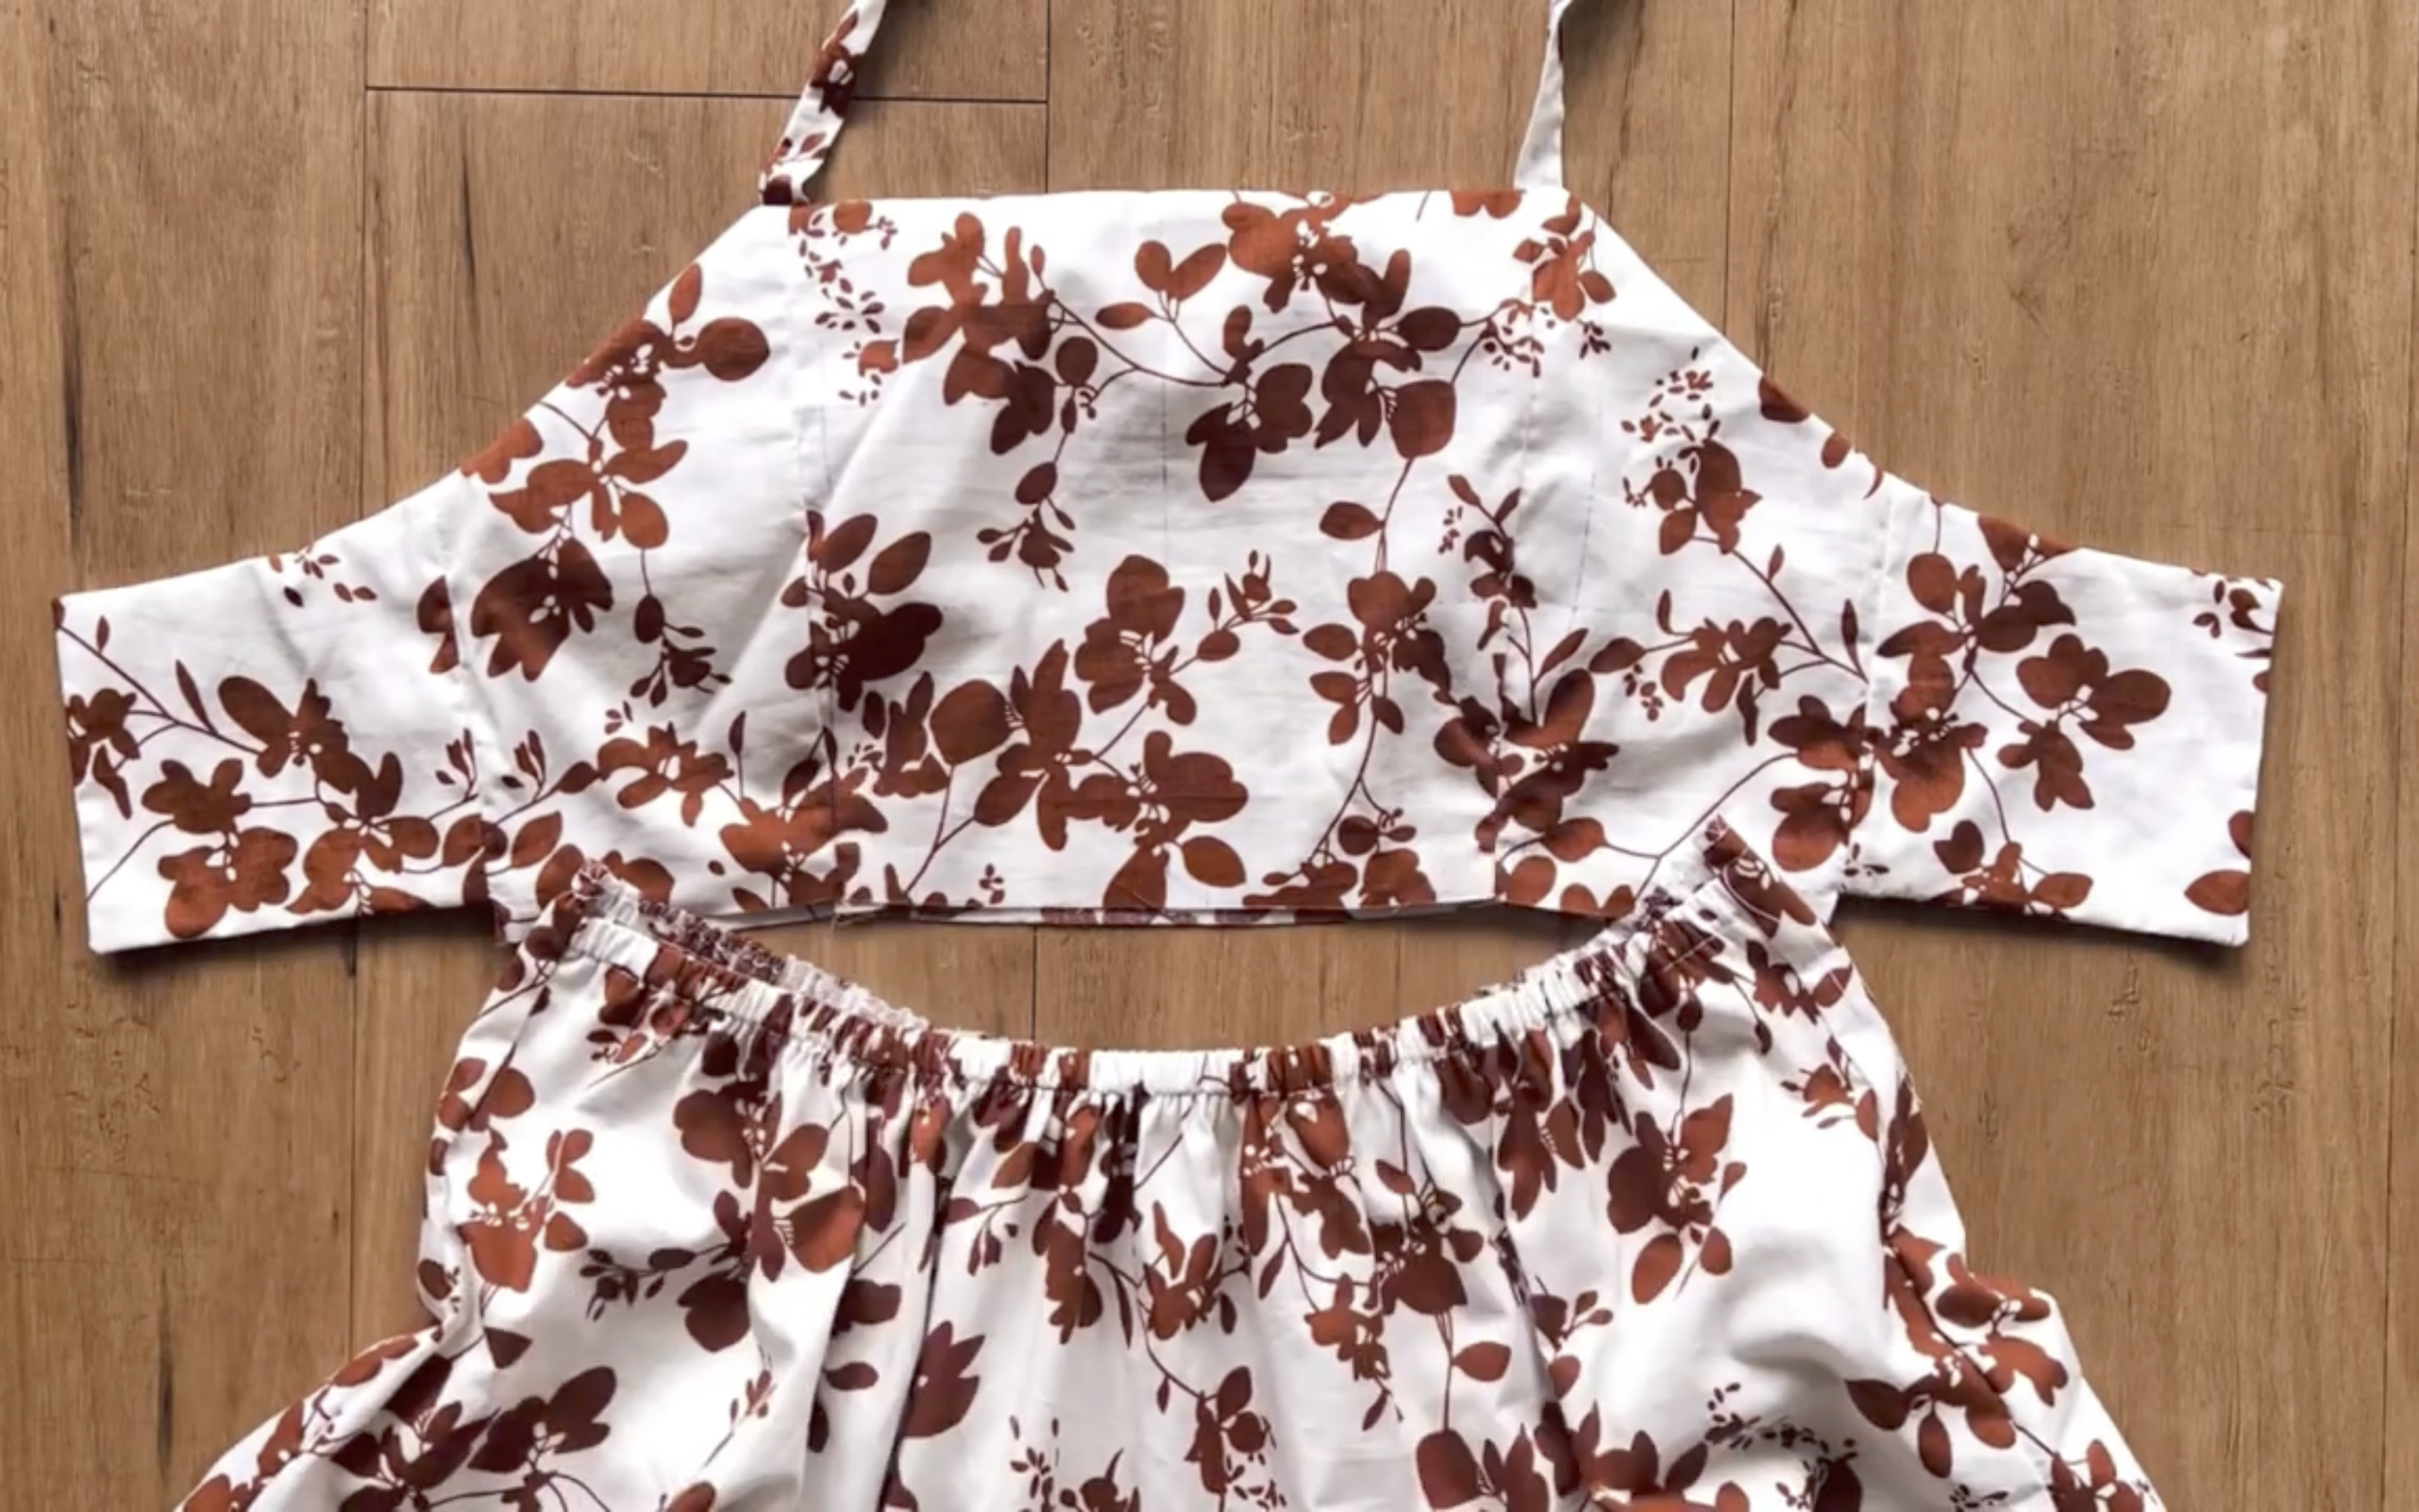
The last step is connecting the bodice and the skirt part together.
Re-making my favorite dresses in the new versions (Coz I love them so much) | Sewing tutorial
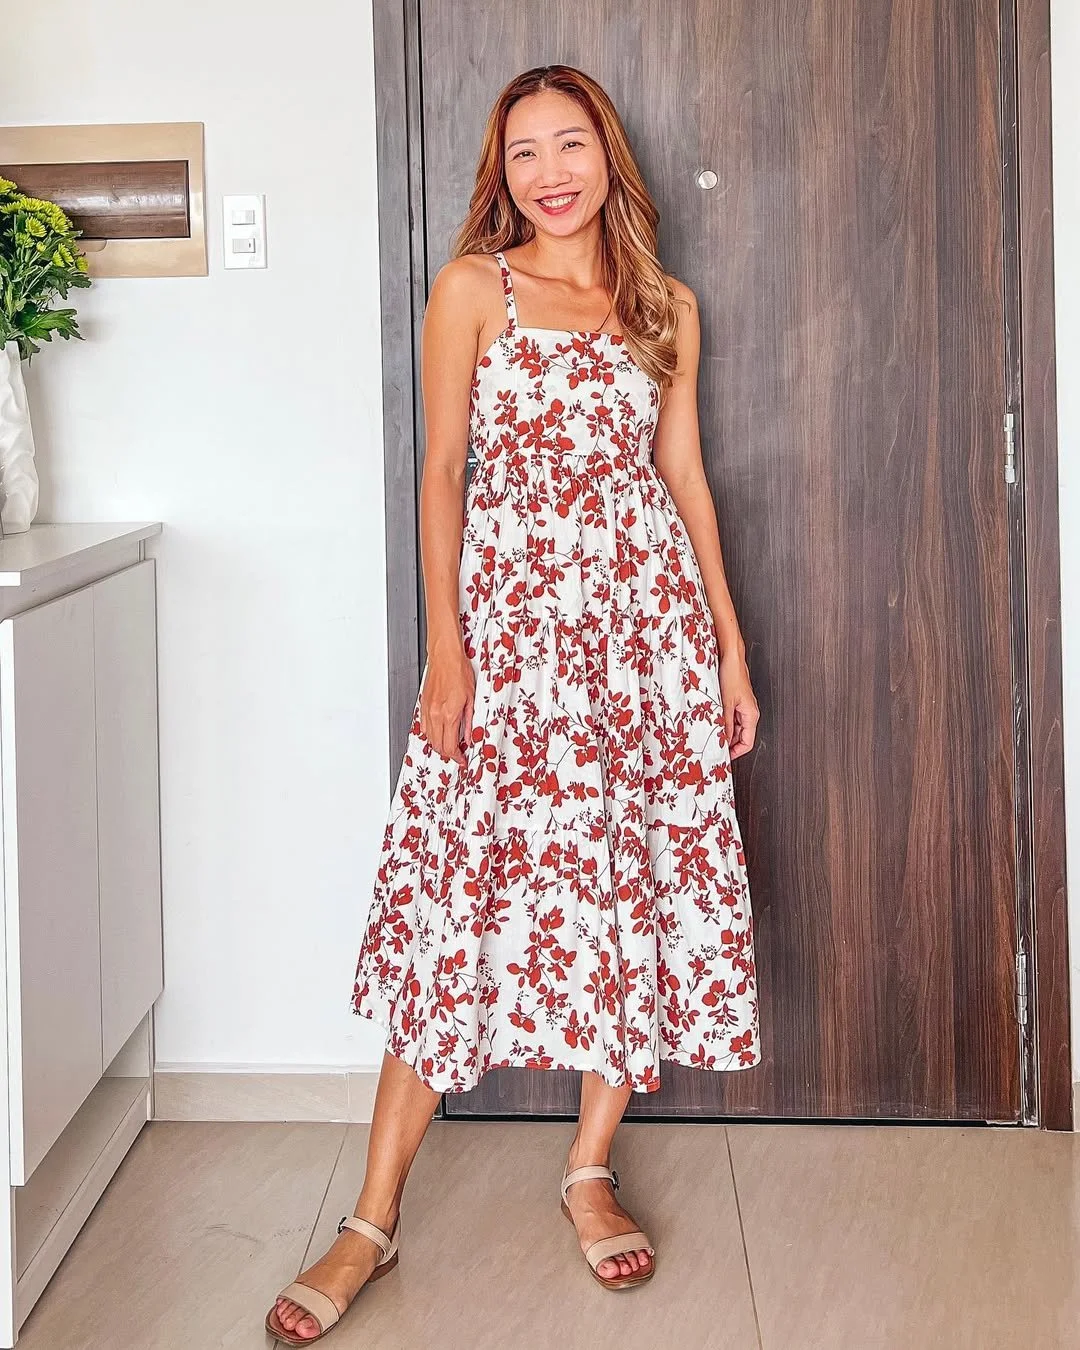
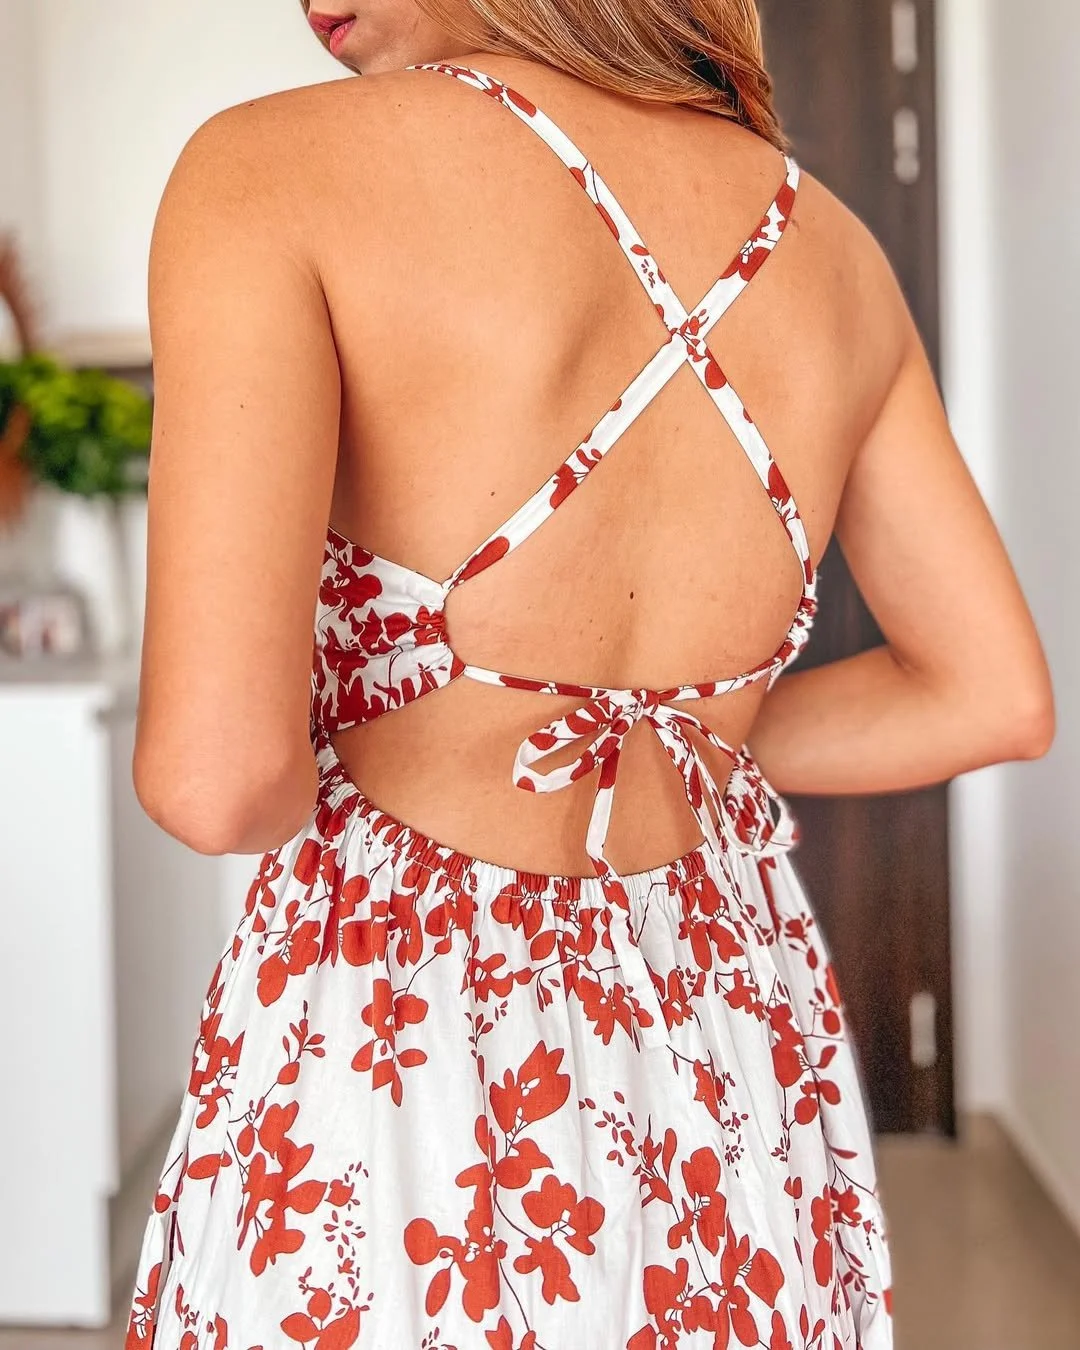
And here's the final result. This dress would be perfect for a beach day.
3. BUTTON DOWN DRESS
This Button Down Dress is a remake of the original DIY Button-Down Midi Dress! If you want to see the original version and how it was made, check out the full tutorial here.
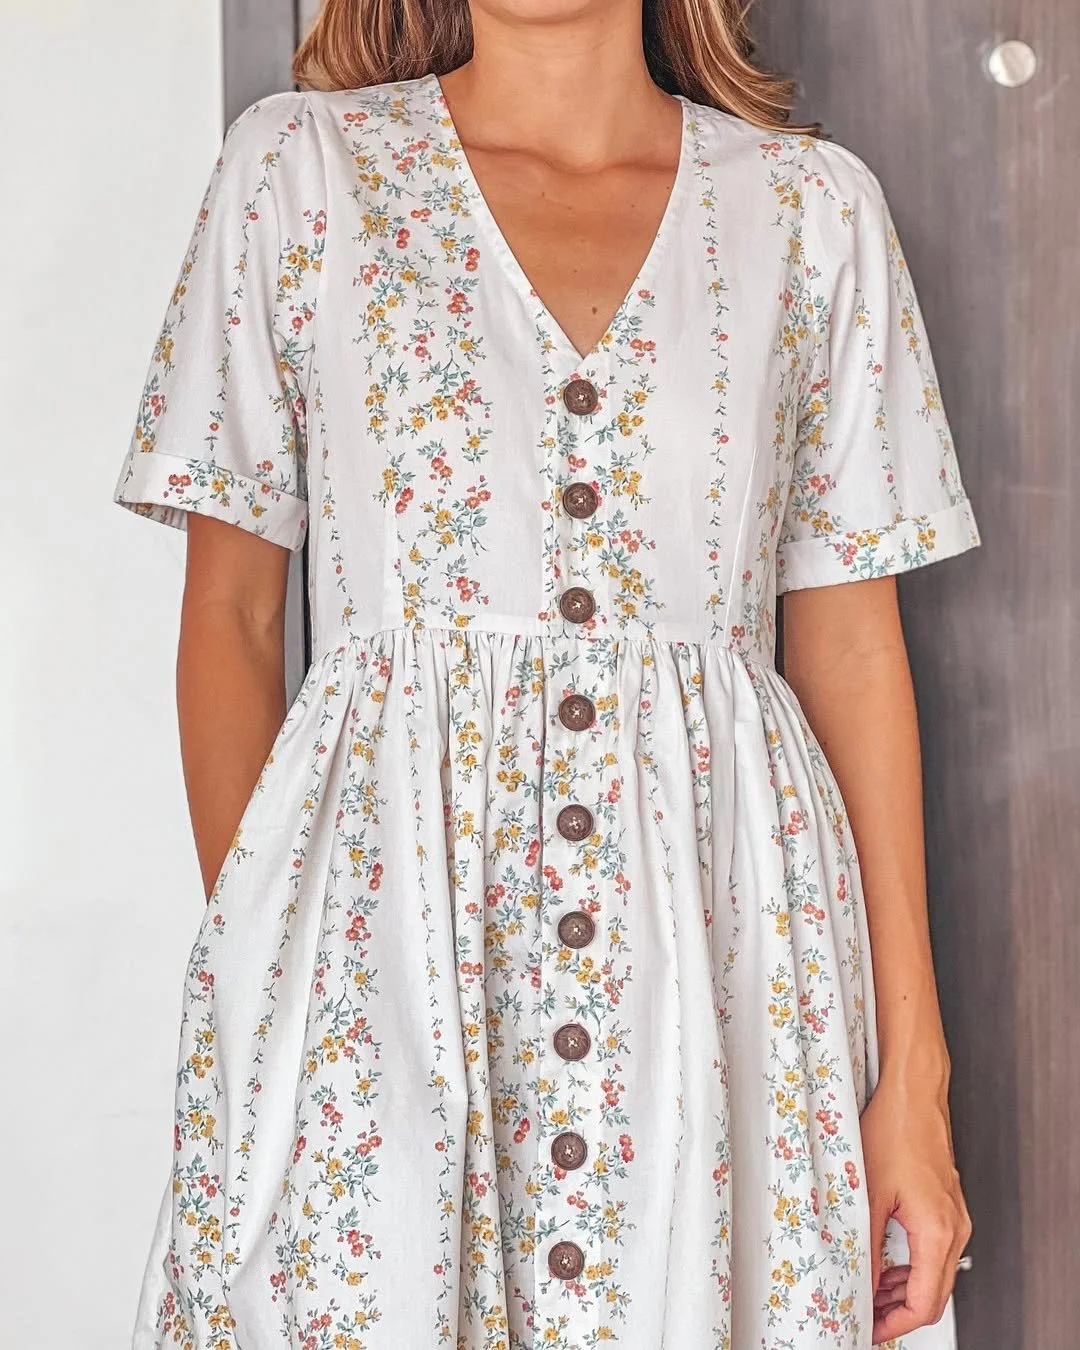
I really love it because of the vintage vibe, and the loose fit makes it so comfy when wearing. I made in midi length with a front pocket in the first version.
So in the new one, I decided to make it shorter in midi length with side pockets.
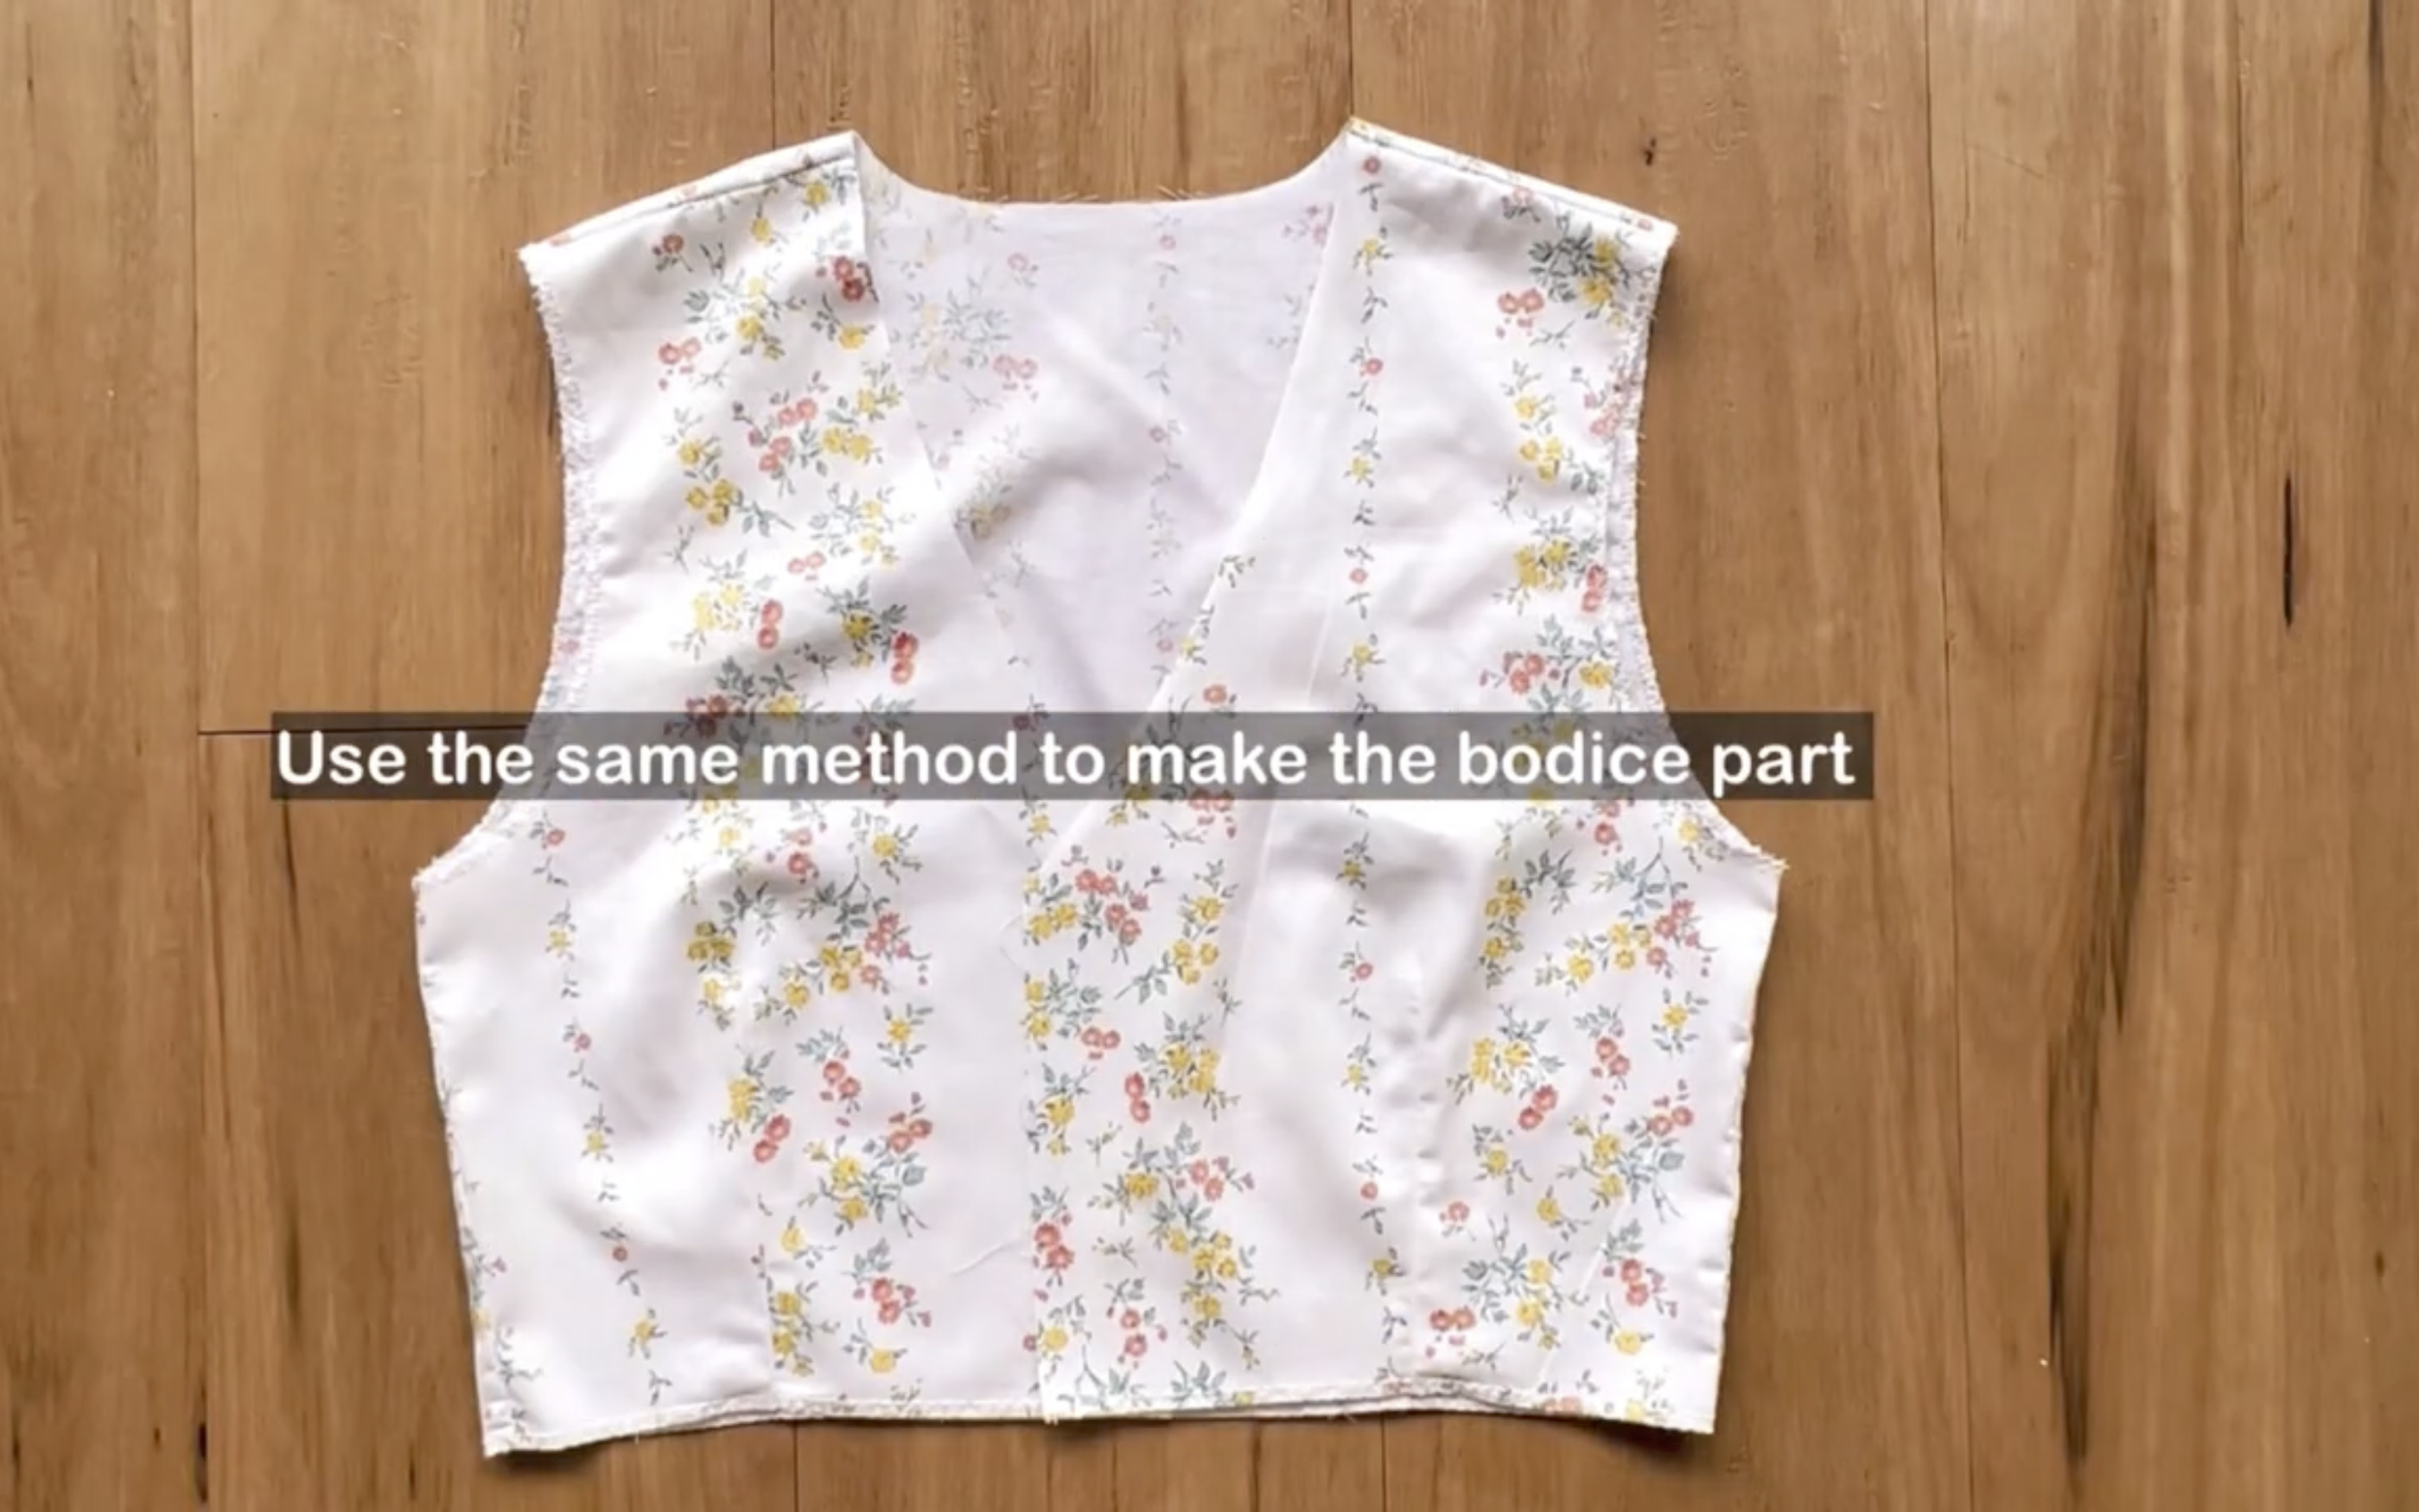
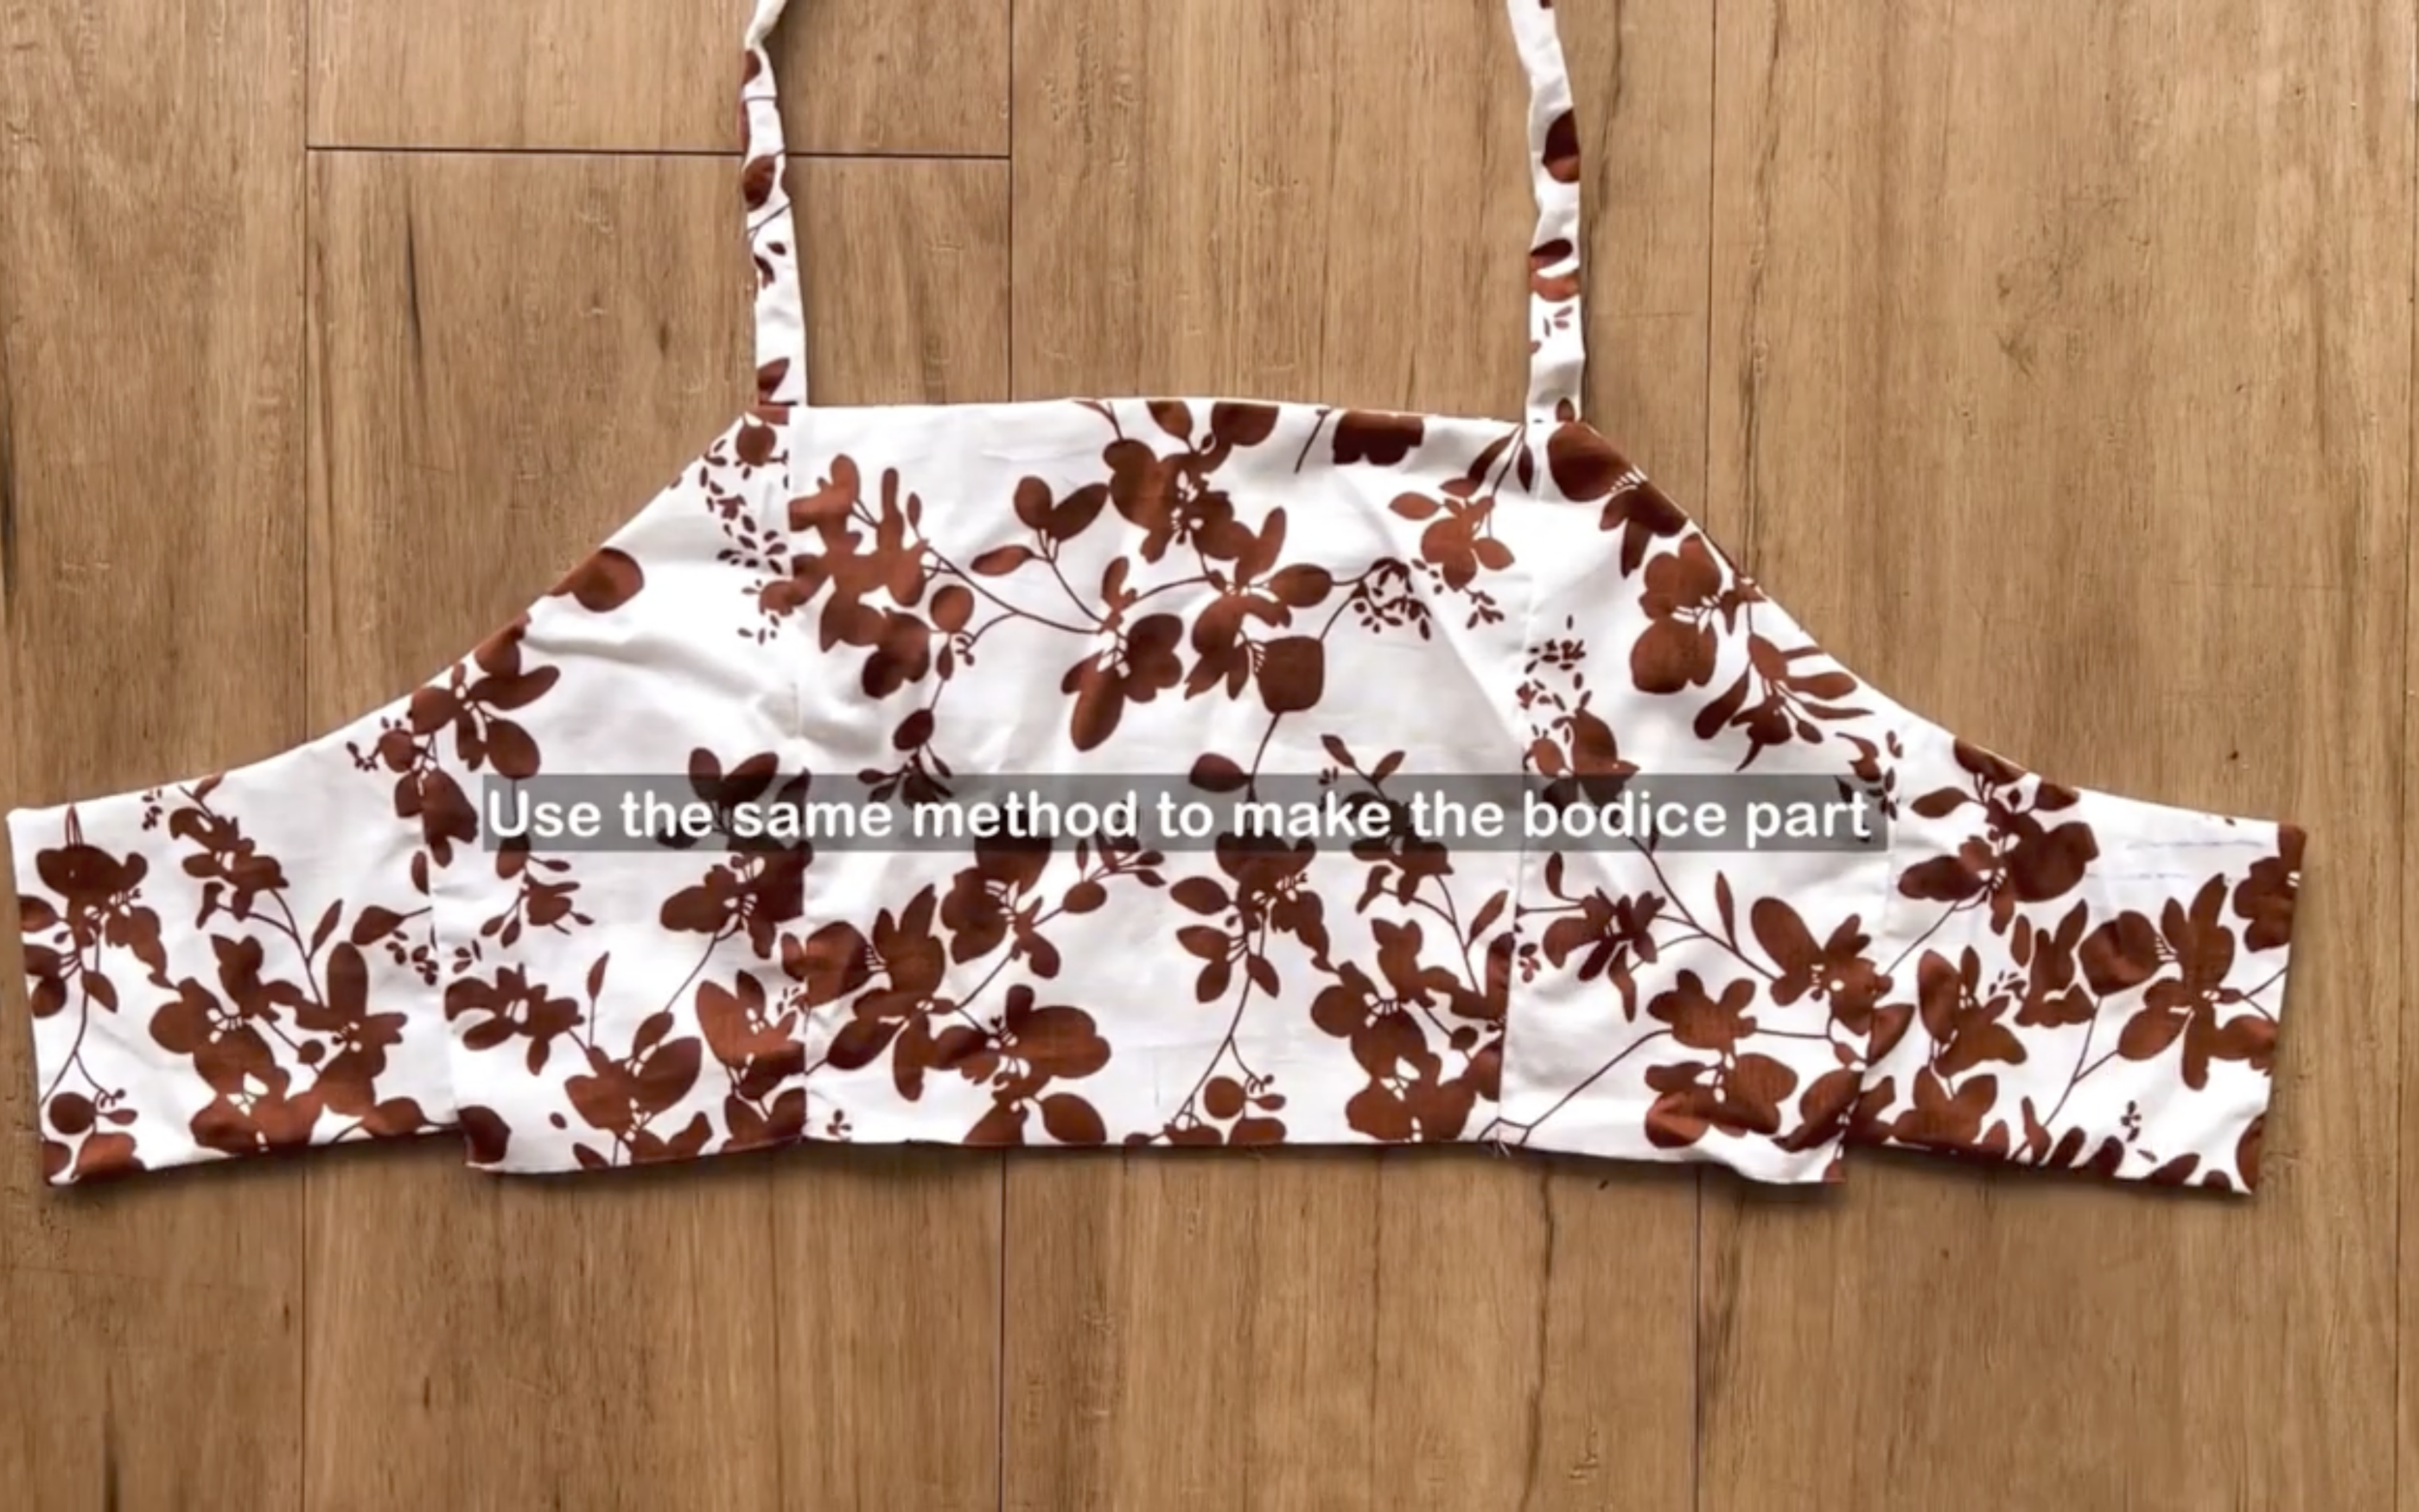
The same method is kept for the bodice part.
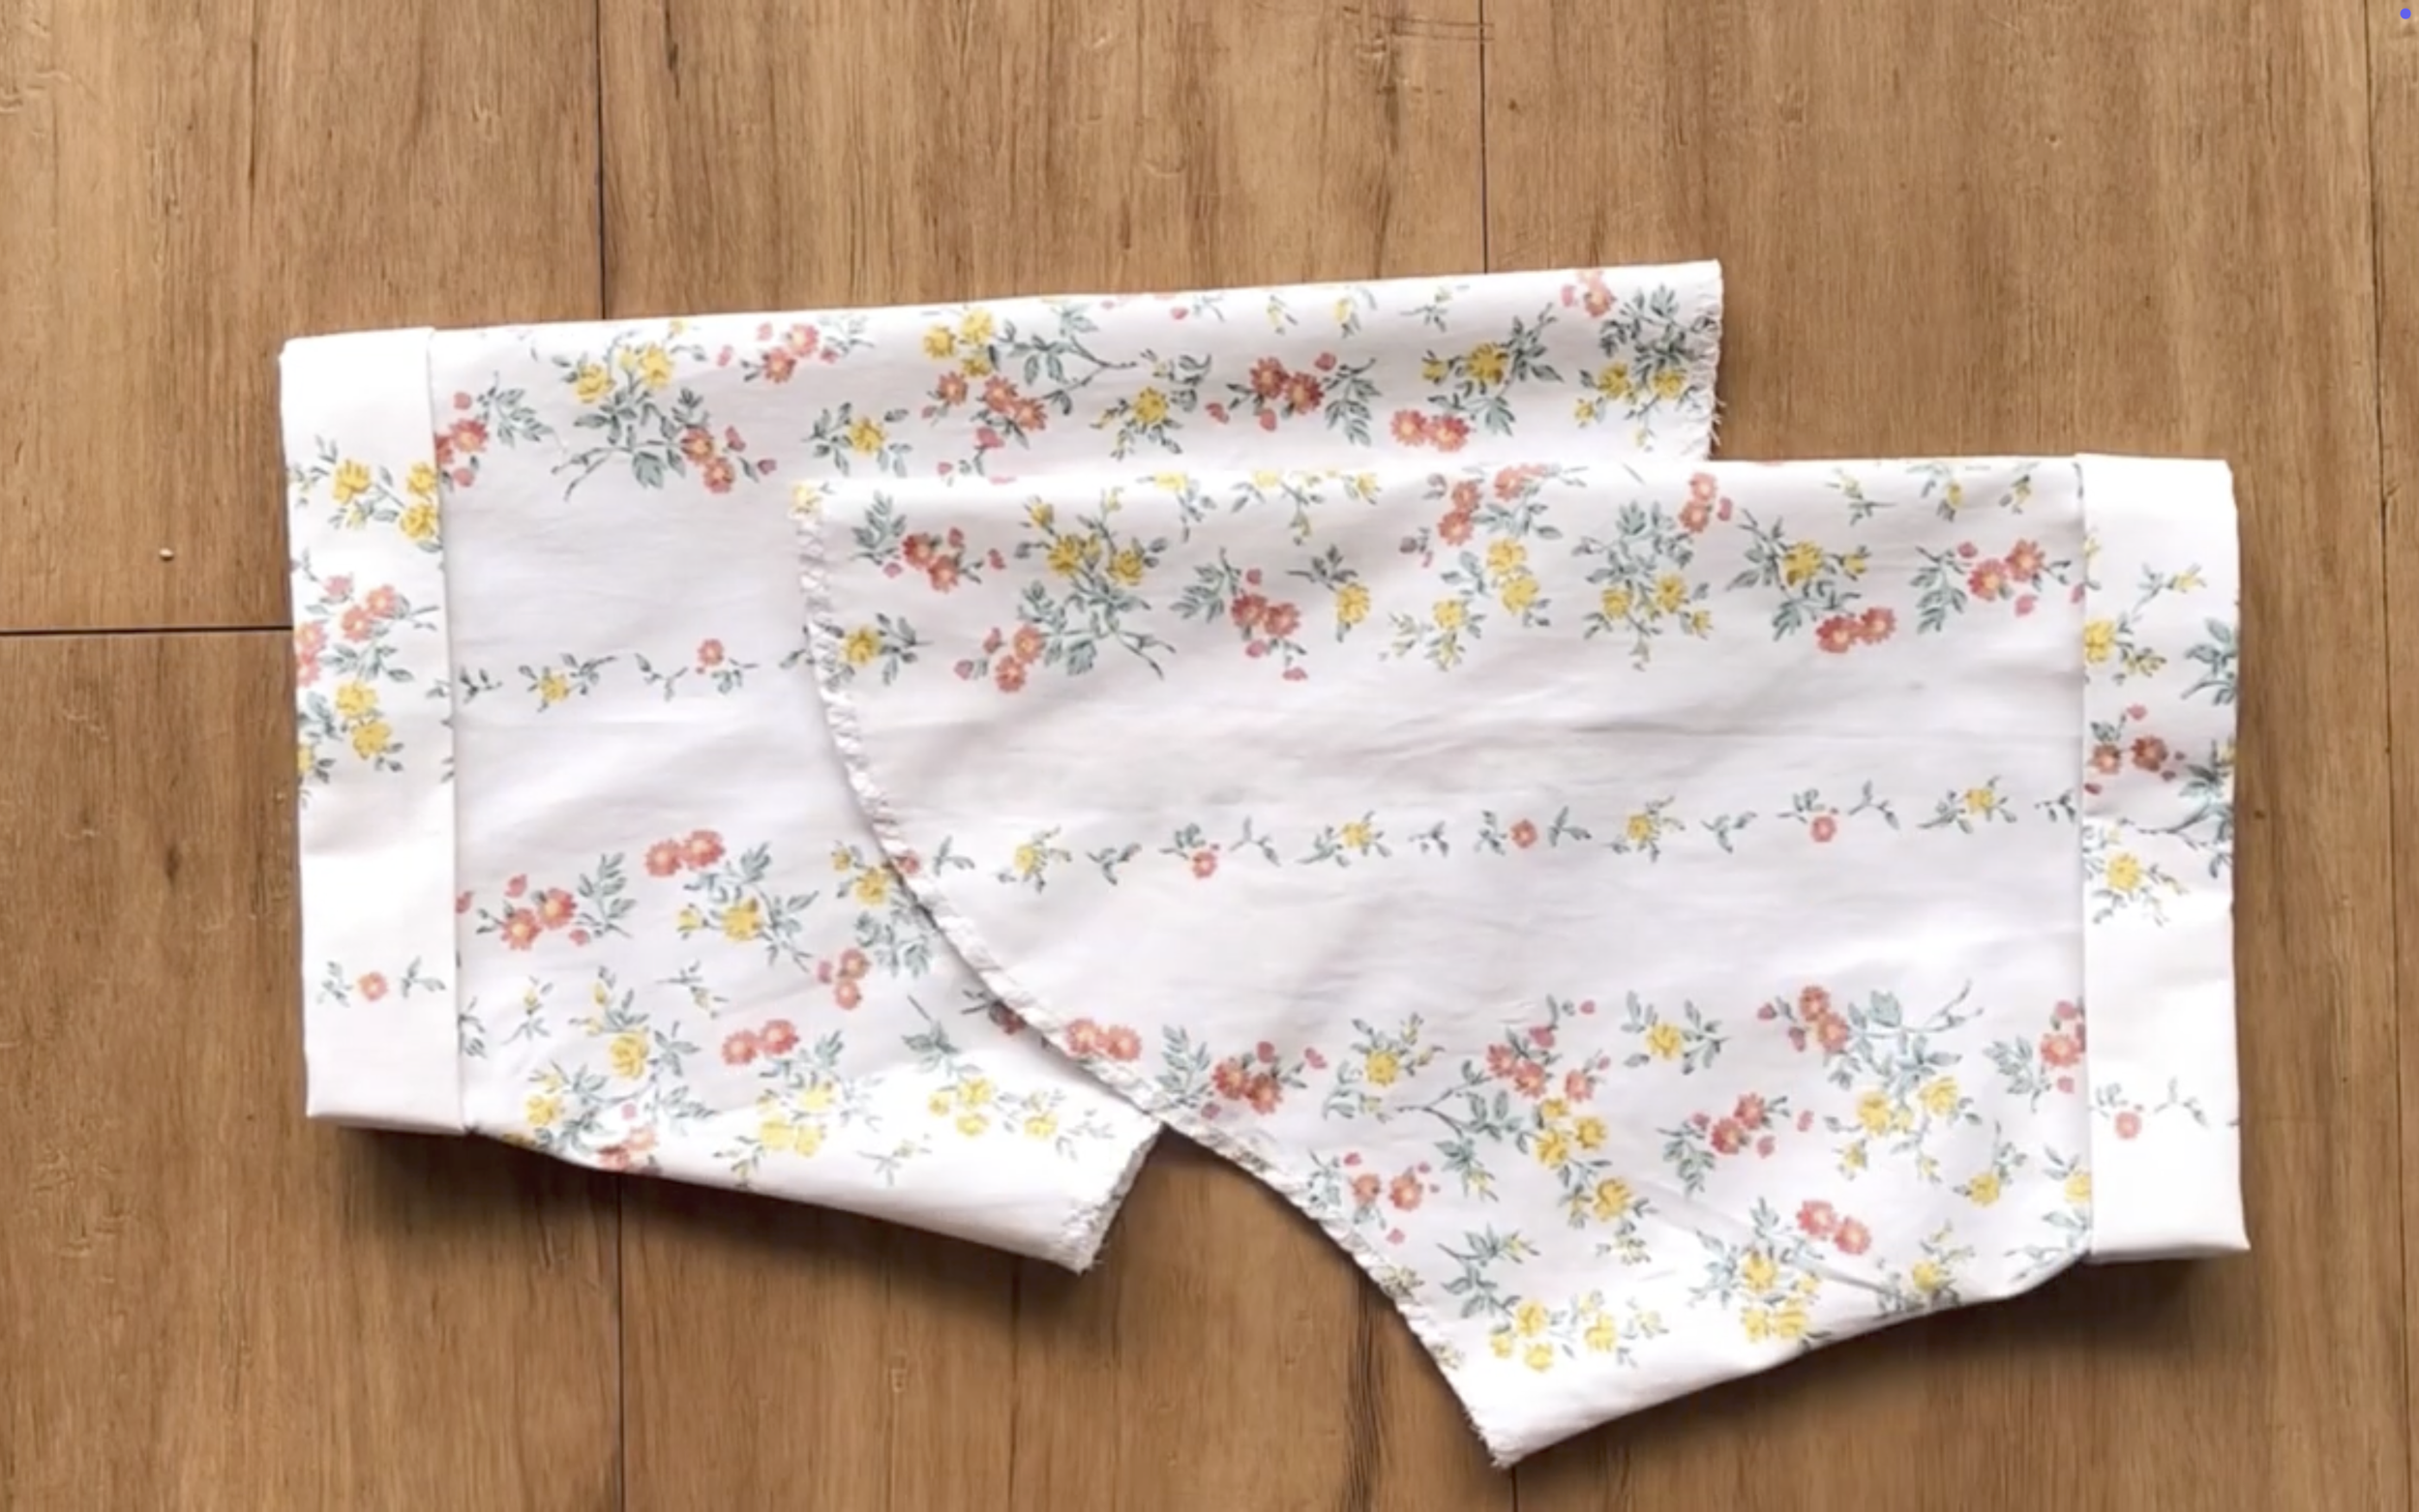
Also, use the same method to make the sleeve.
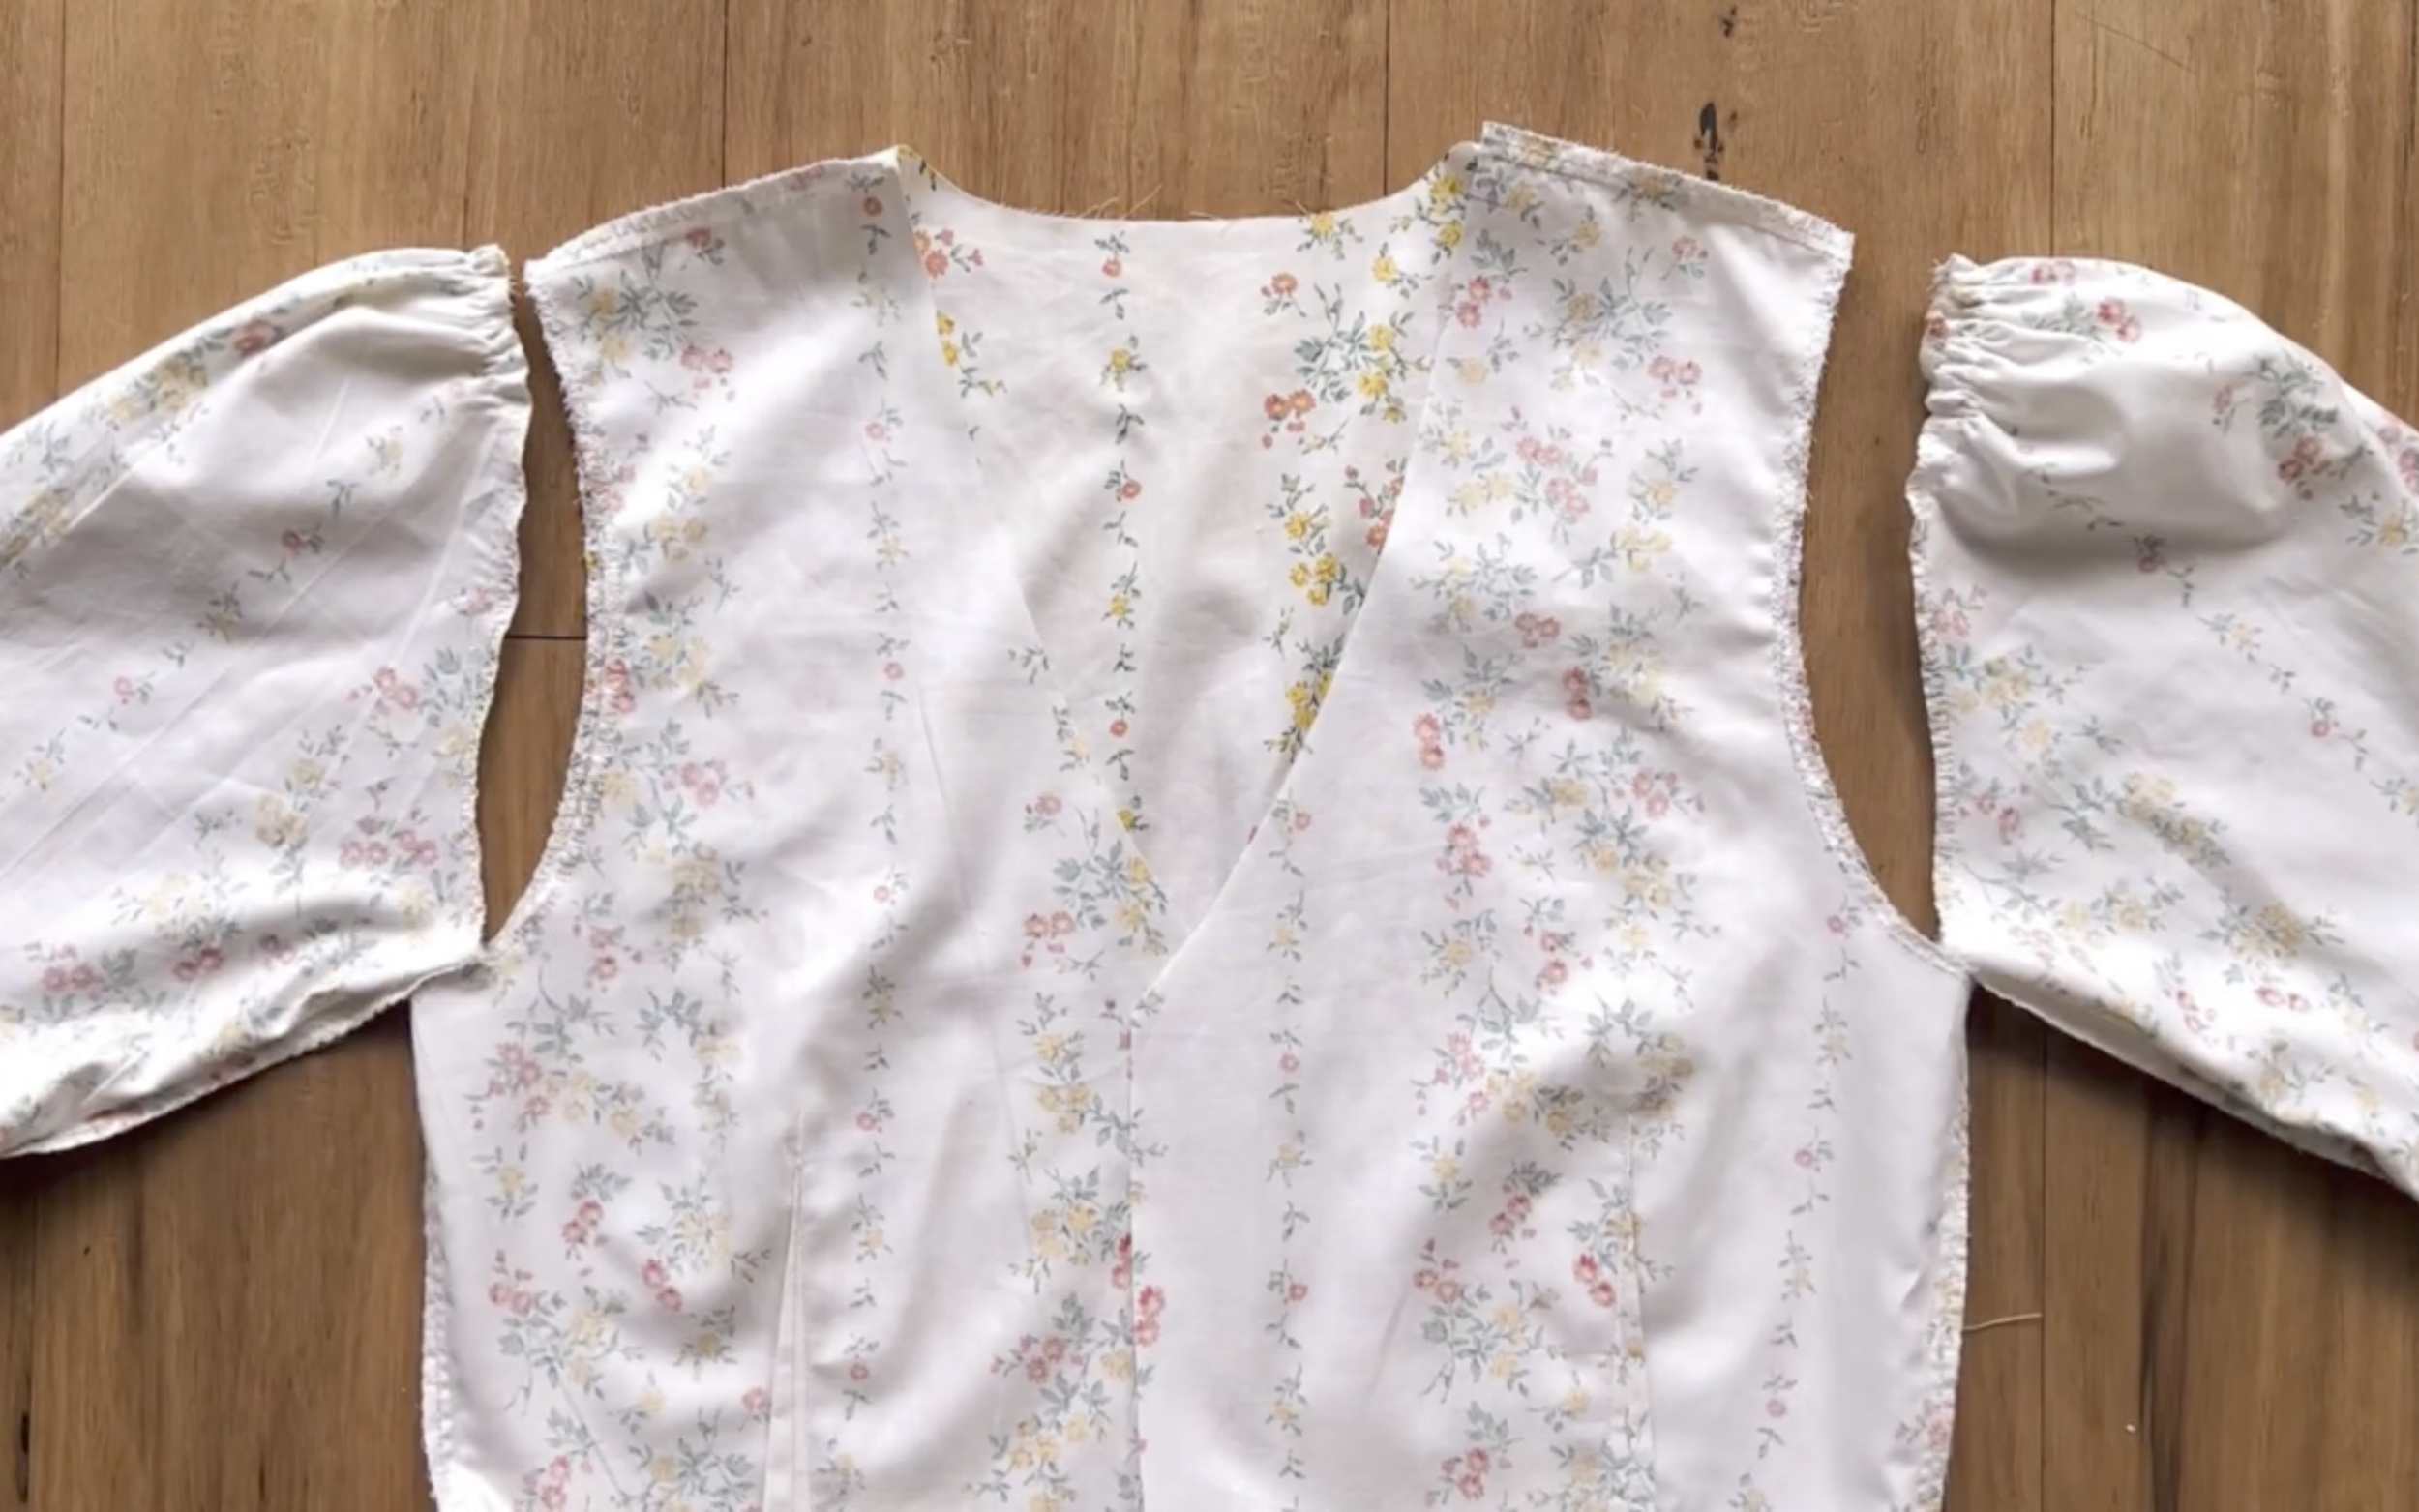
Then connect them together.
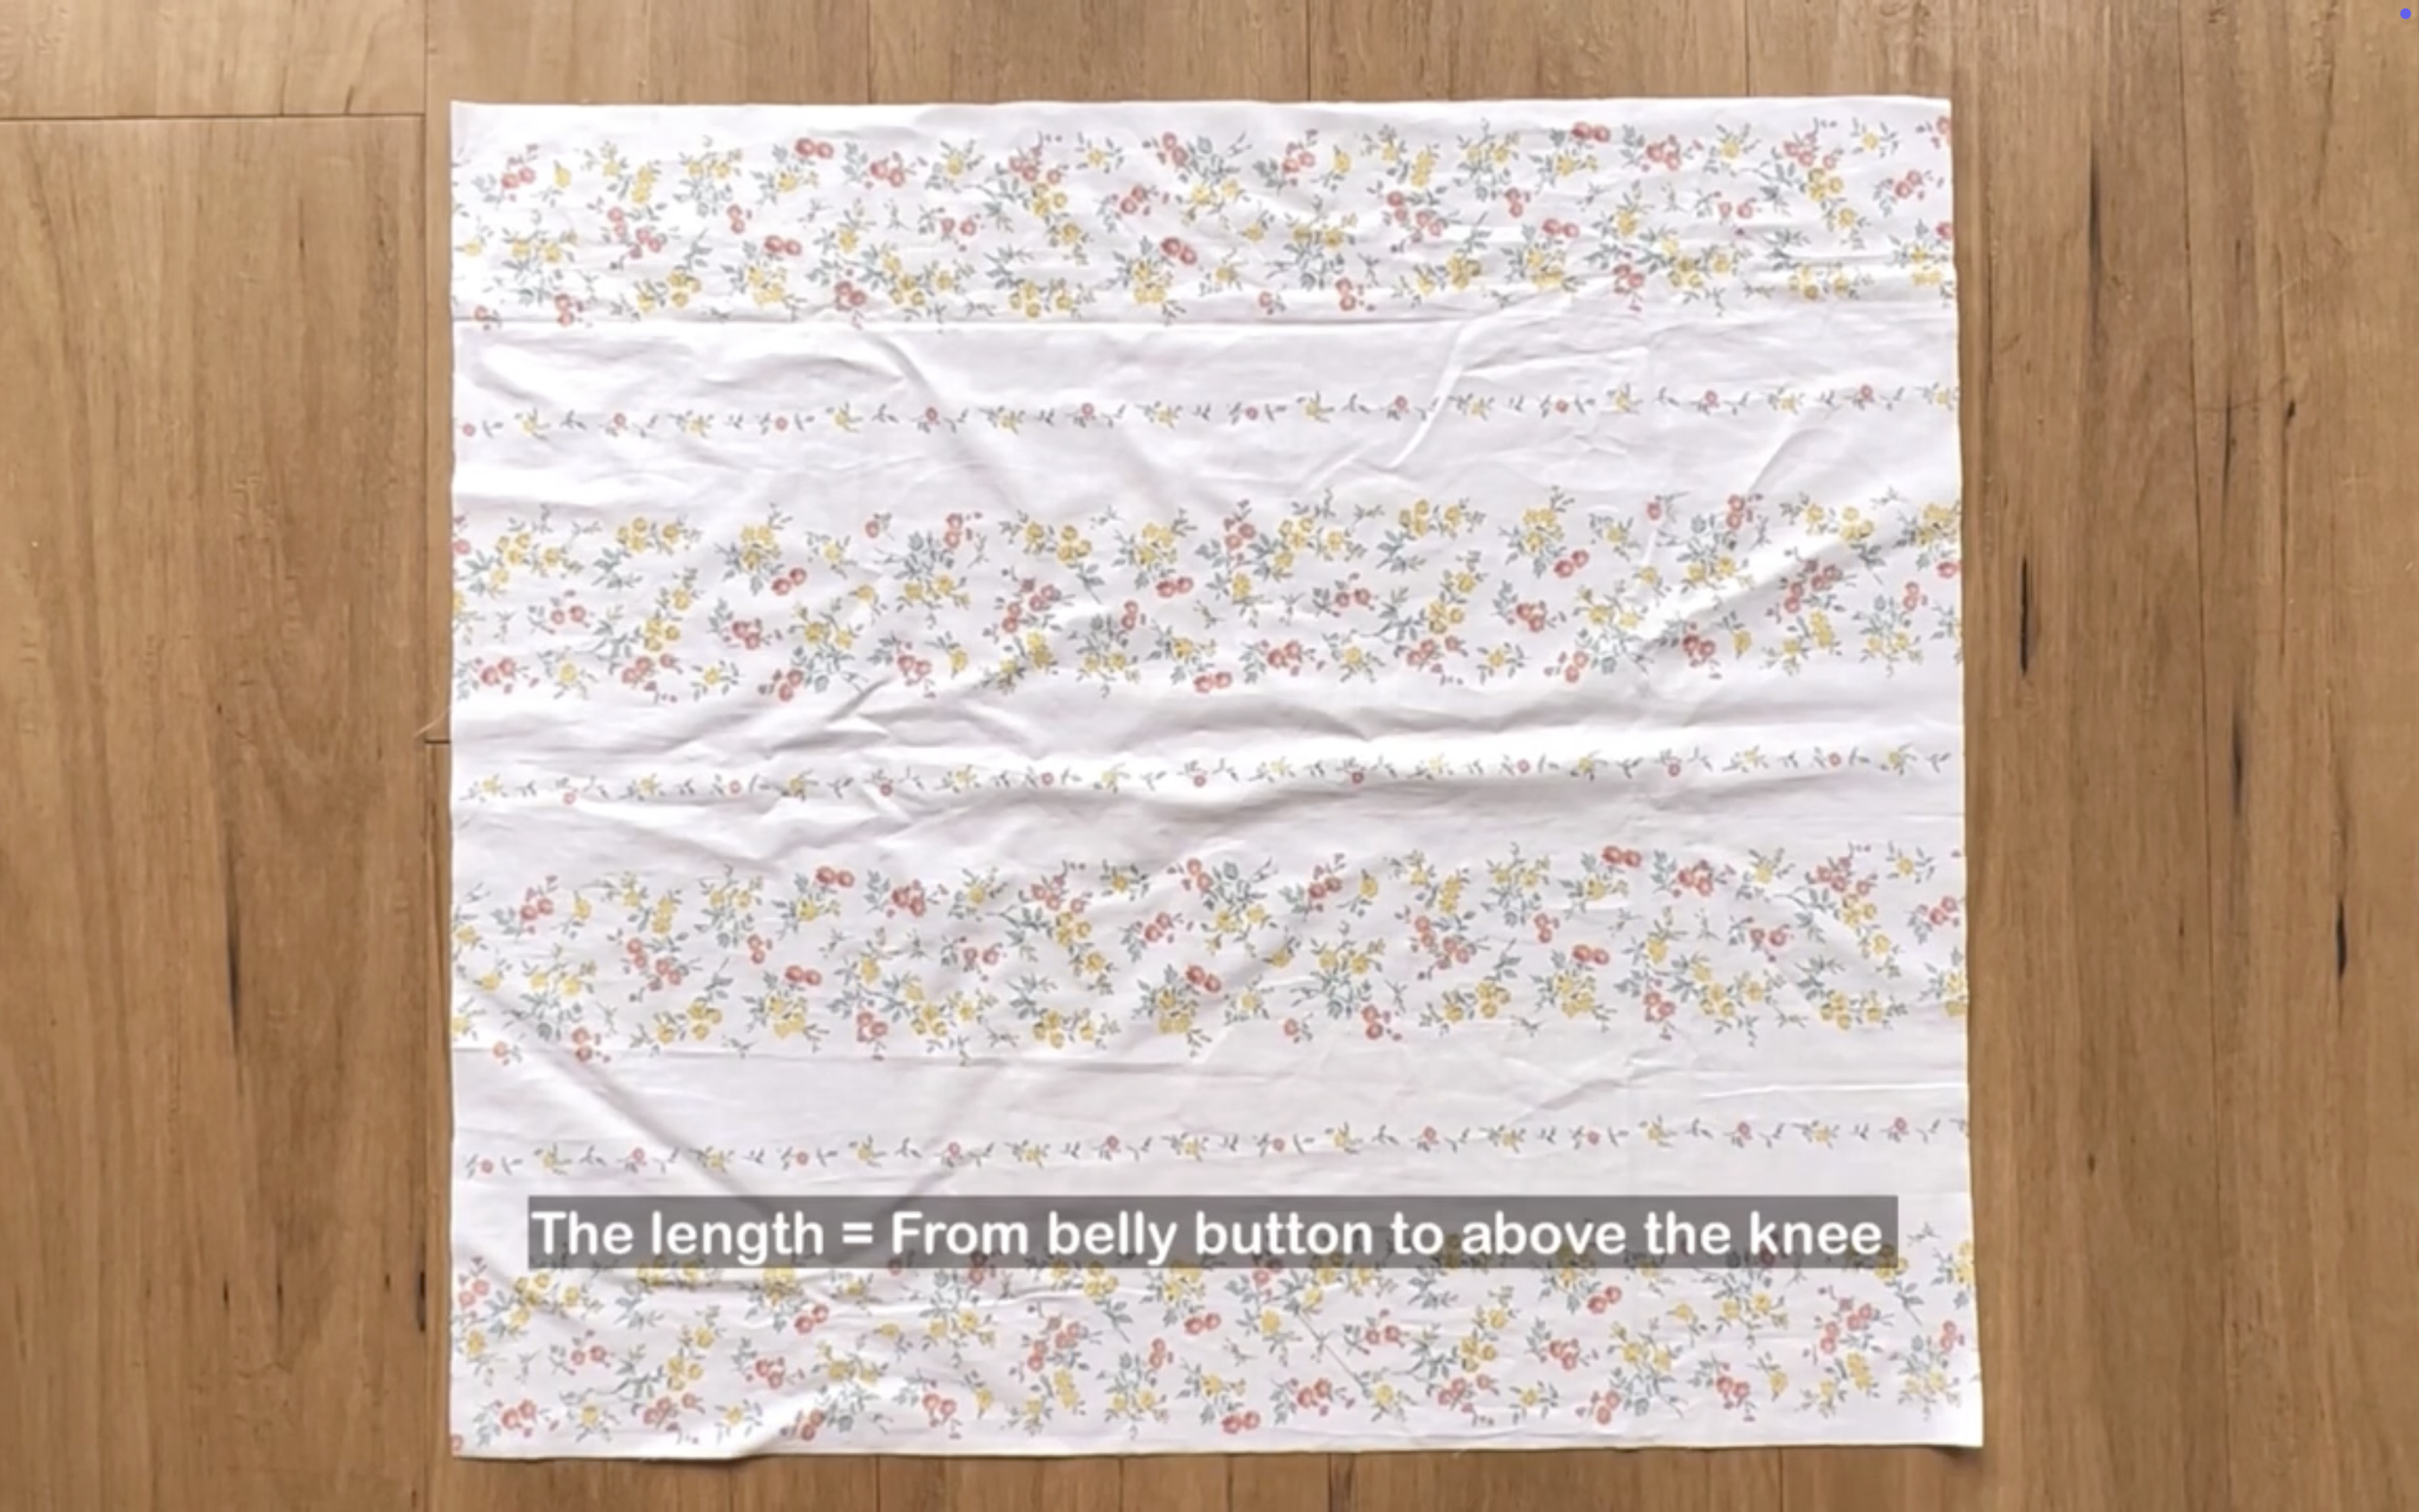
For the skirt part, the length of the dress will be from the belly button to above the knee.
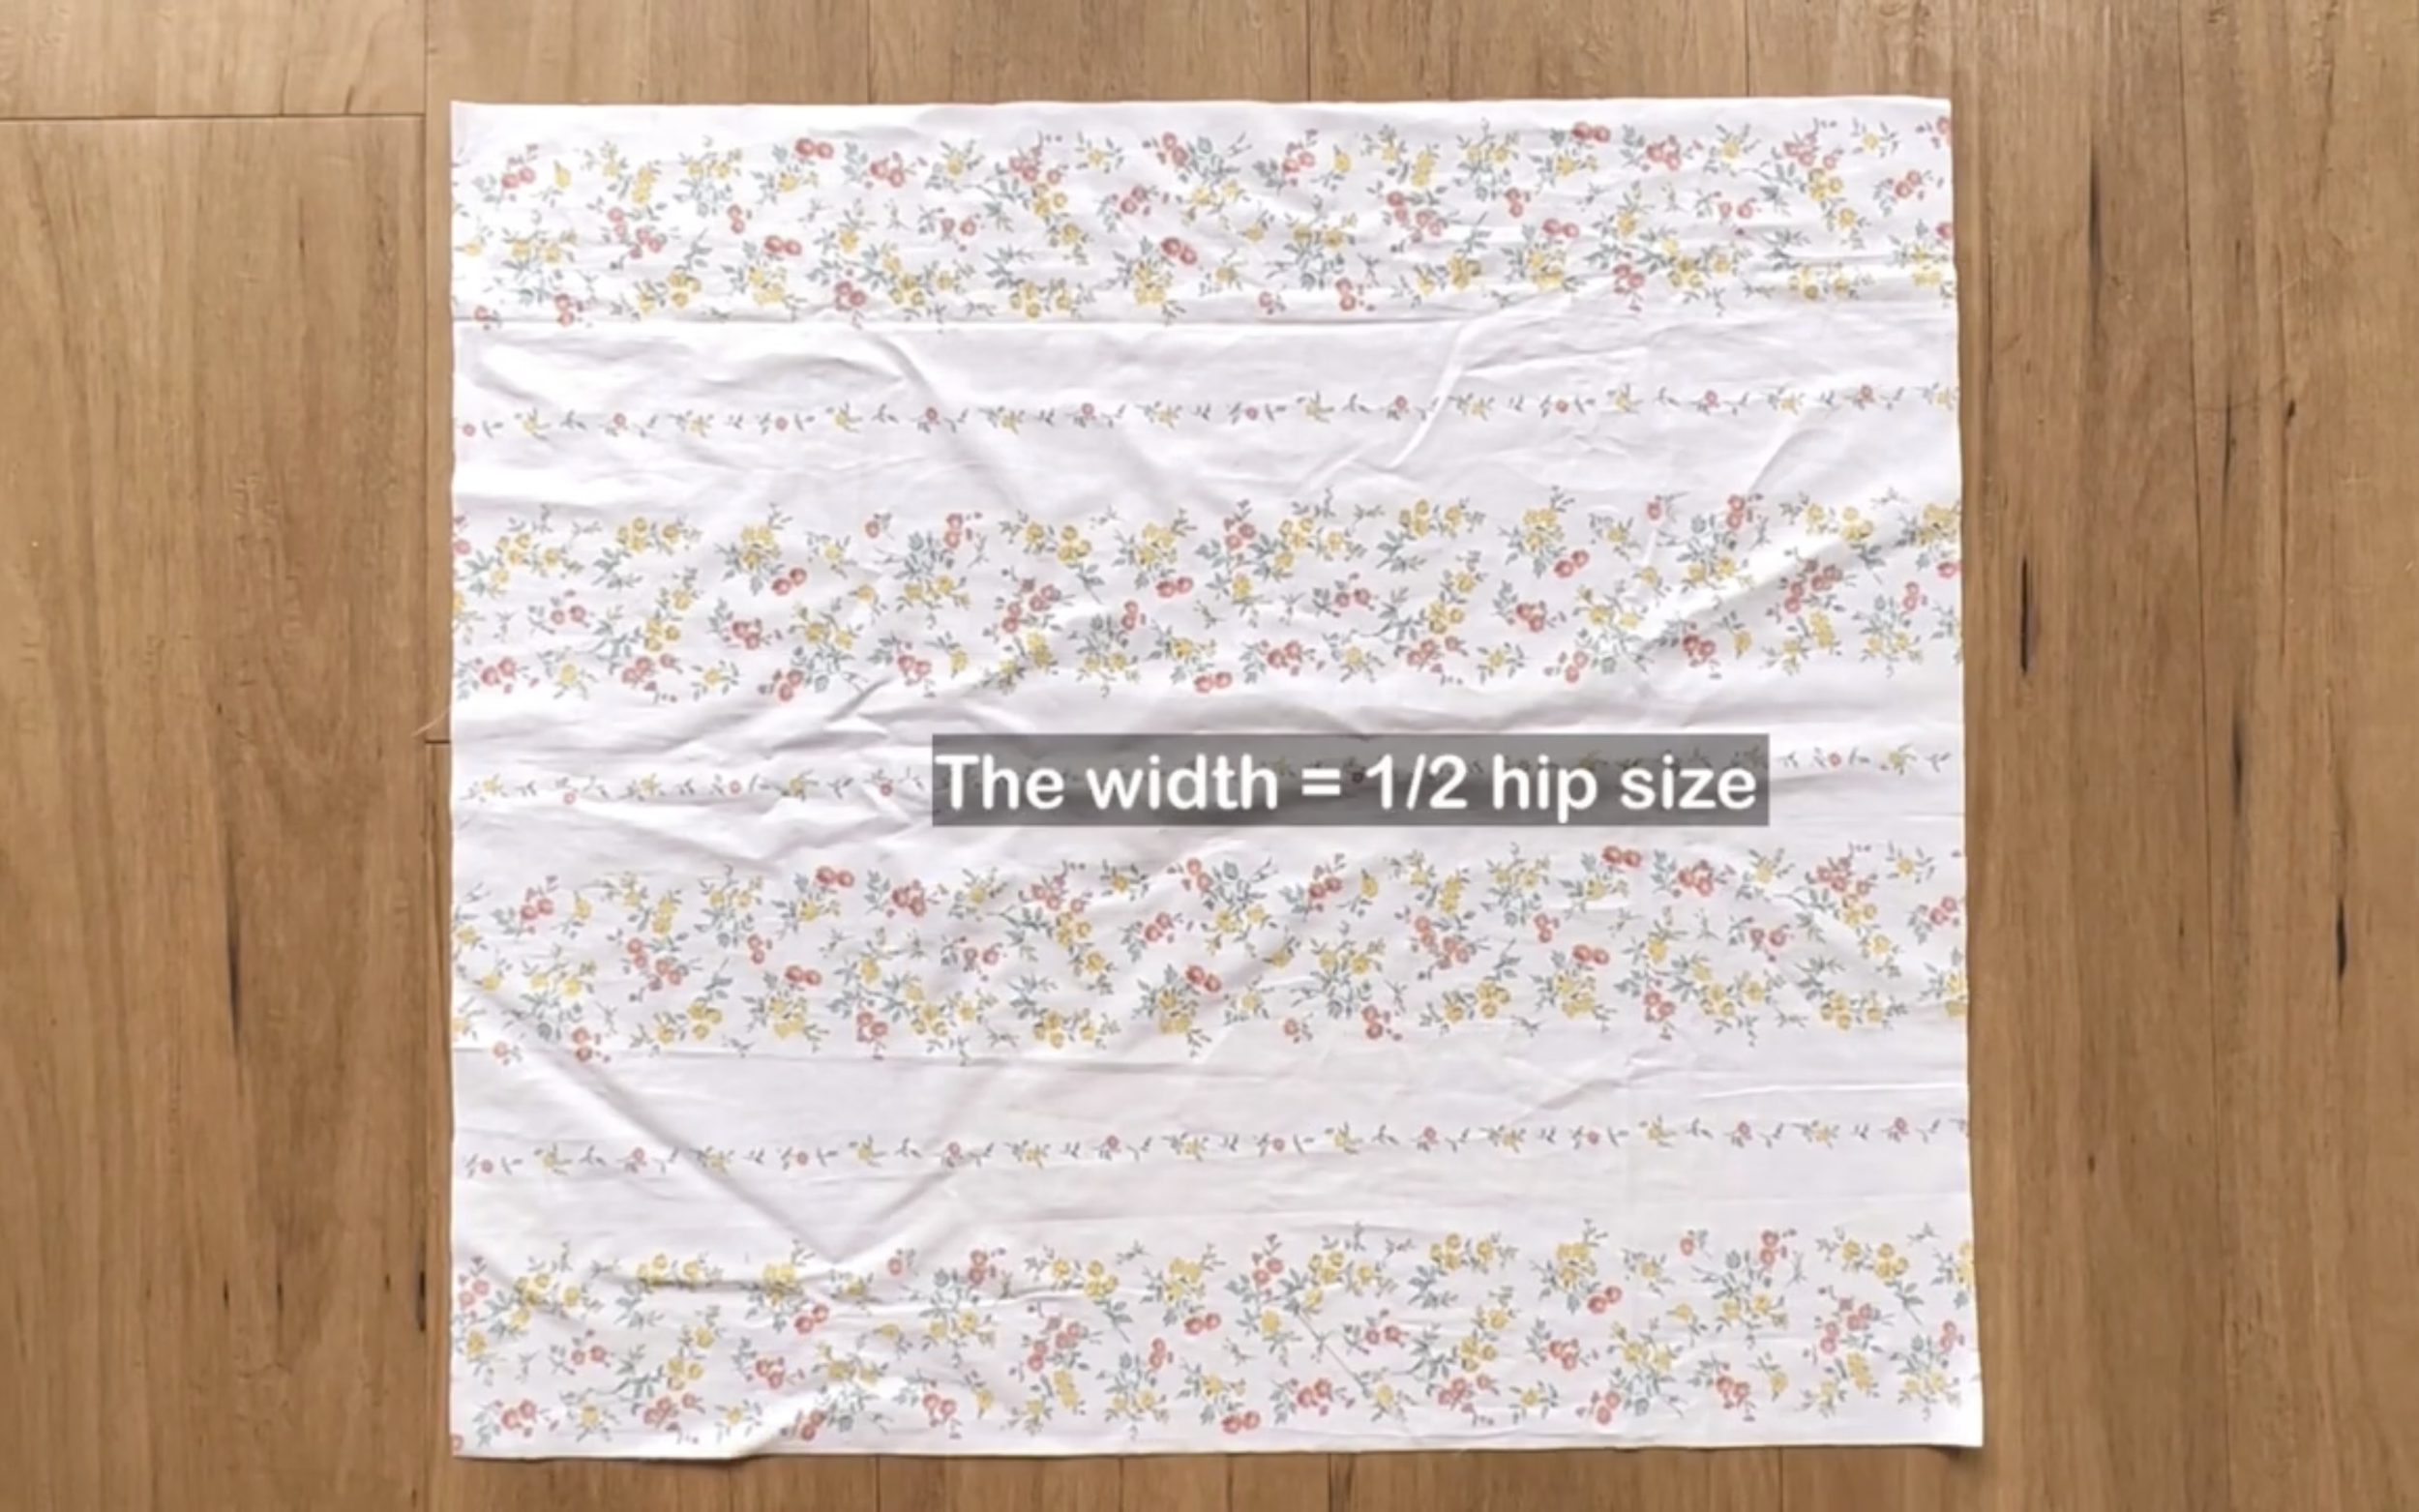
To create the vintage vibe for the dress, the width of the skirt part is remade a bit too.
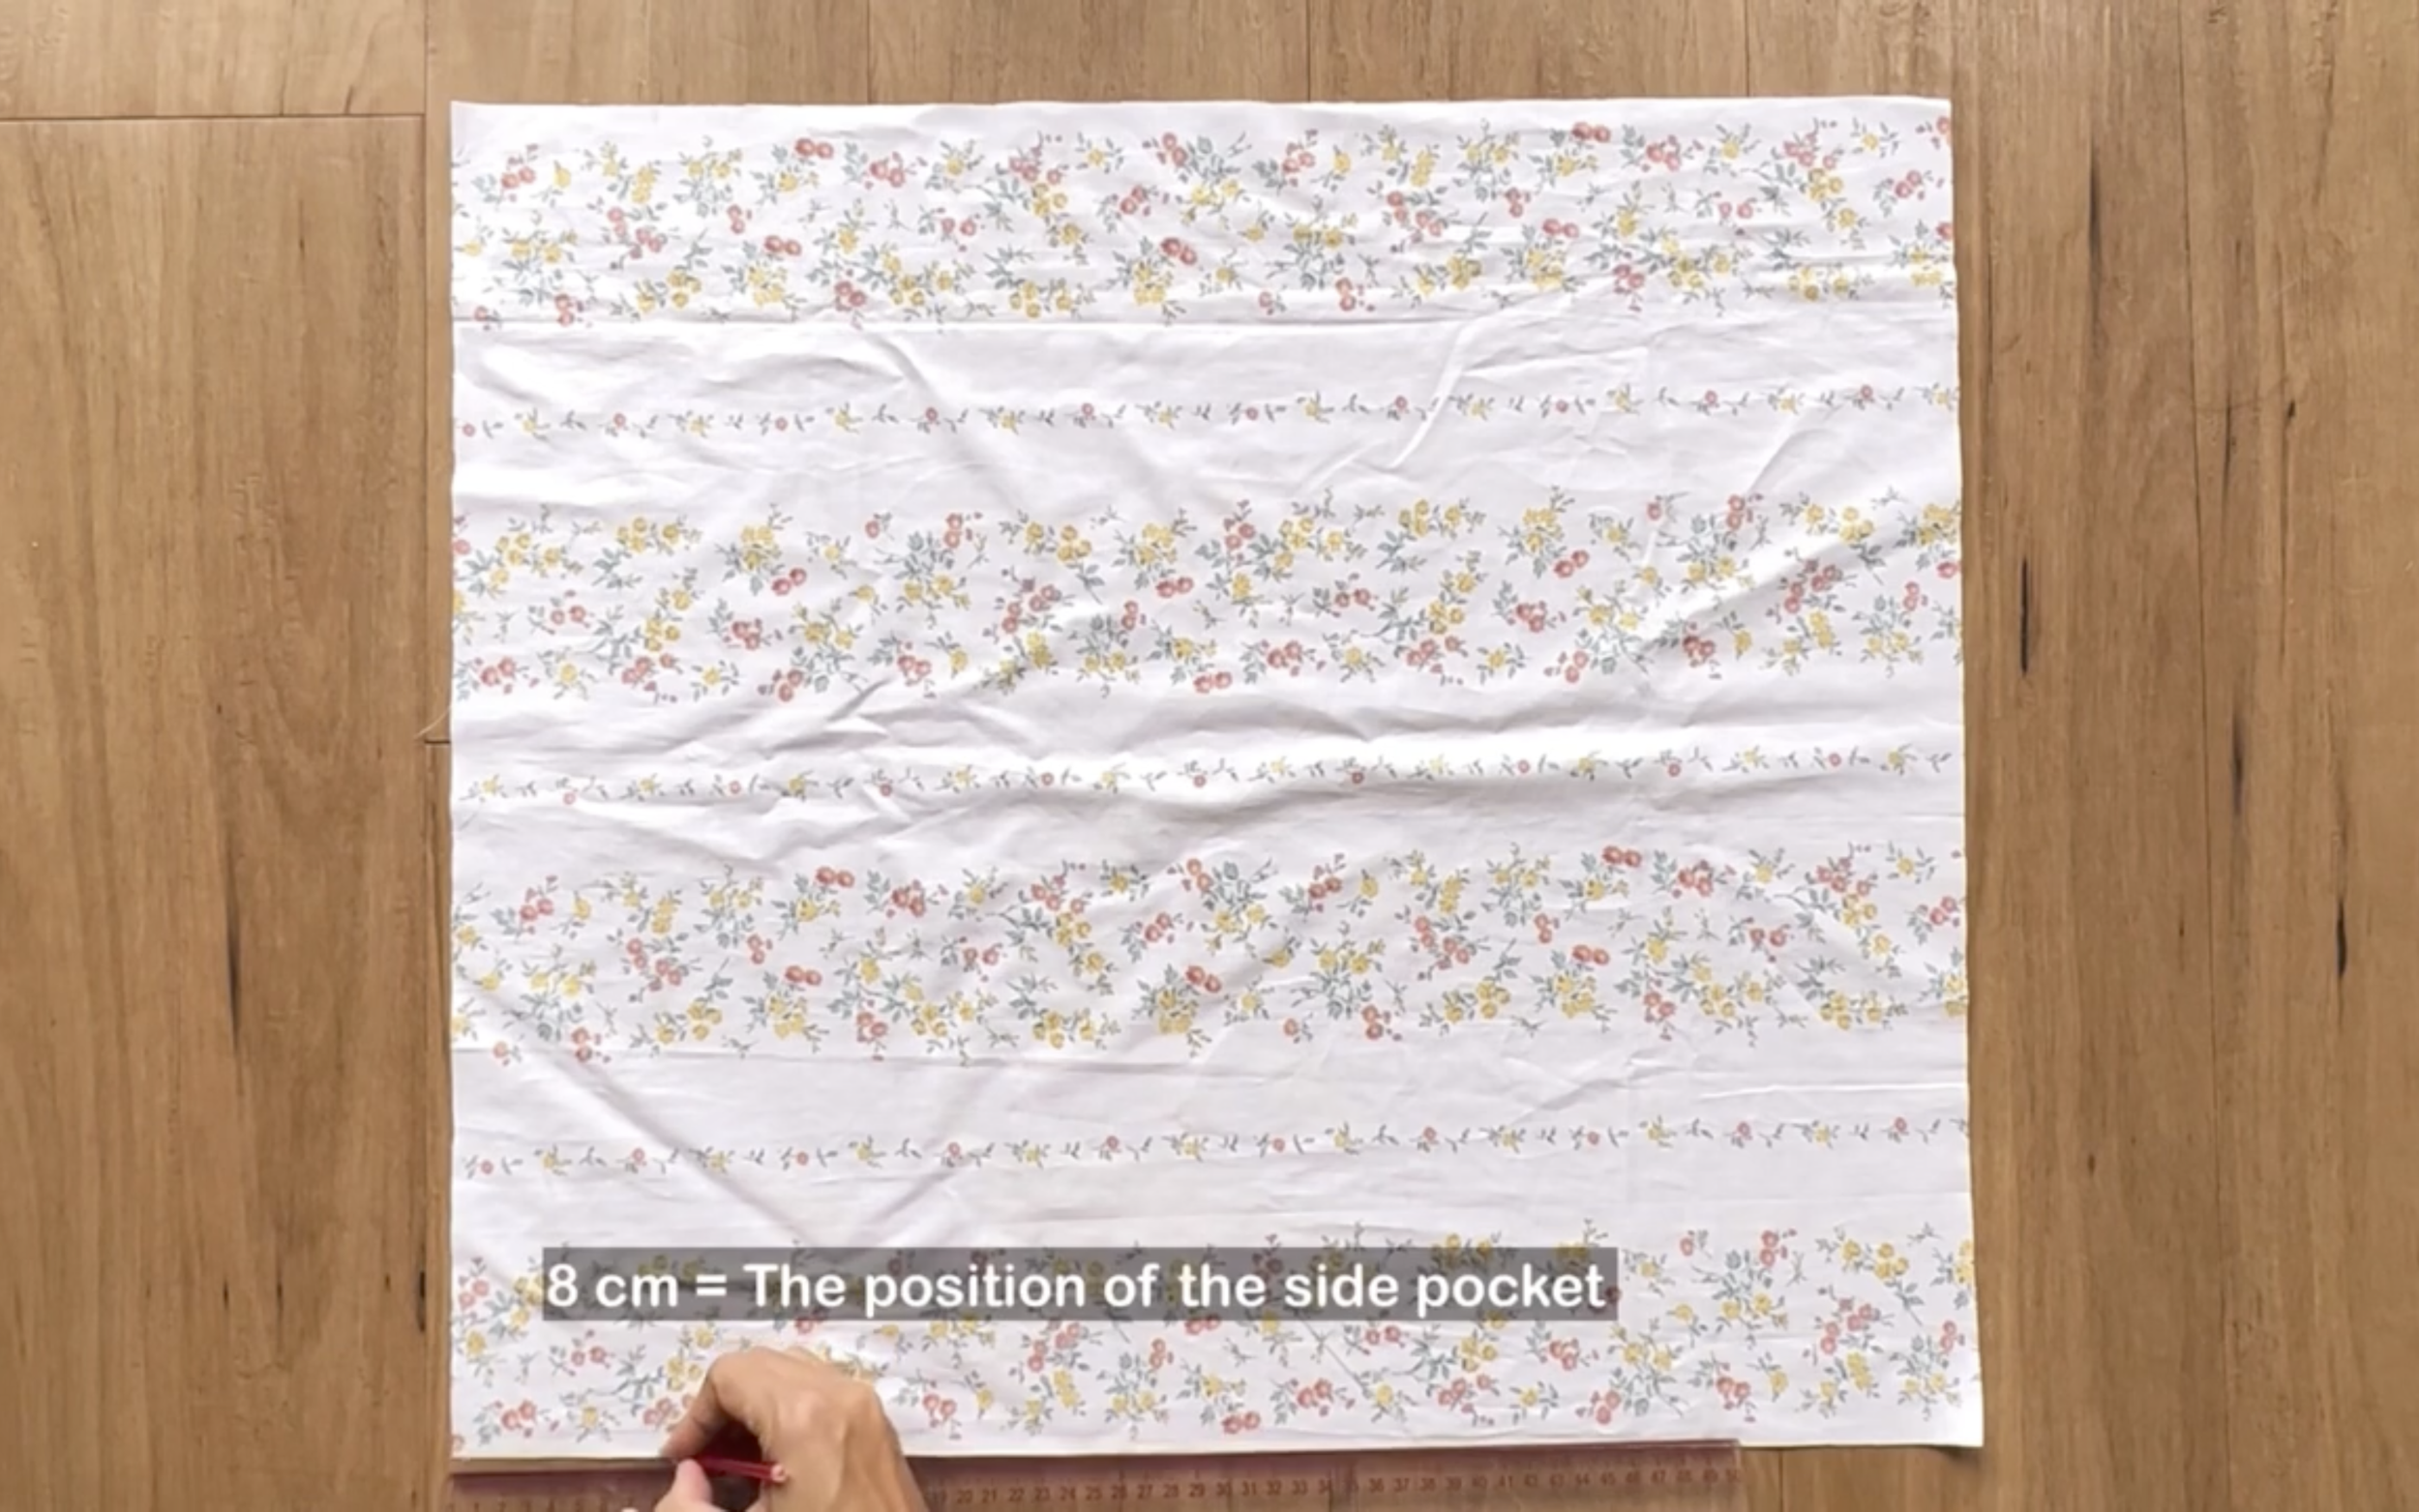
Also added two side pockets to make it more functional. The position of the side pockets is 8 cm under the top of the skirt part.
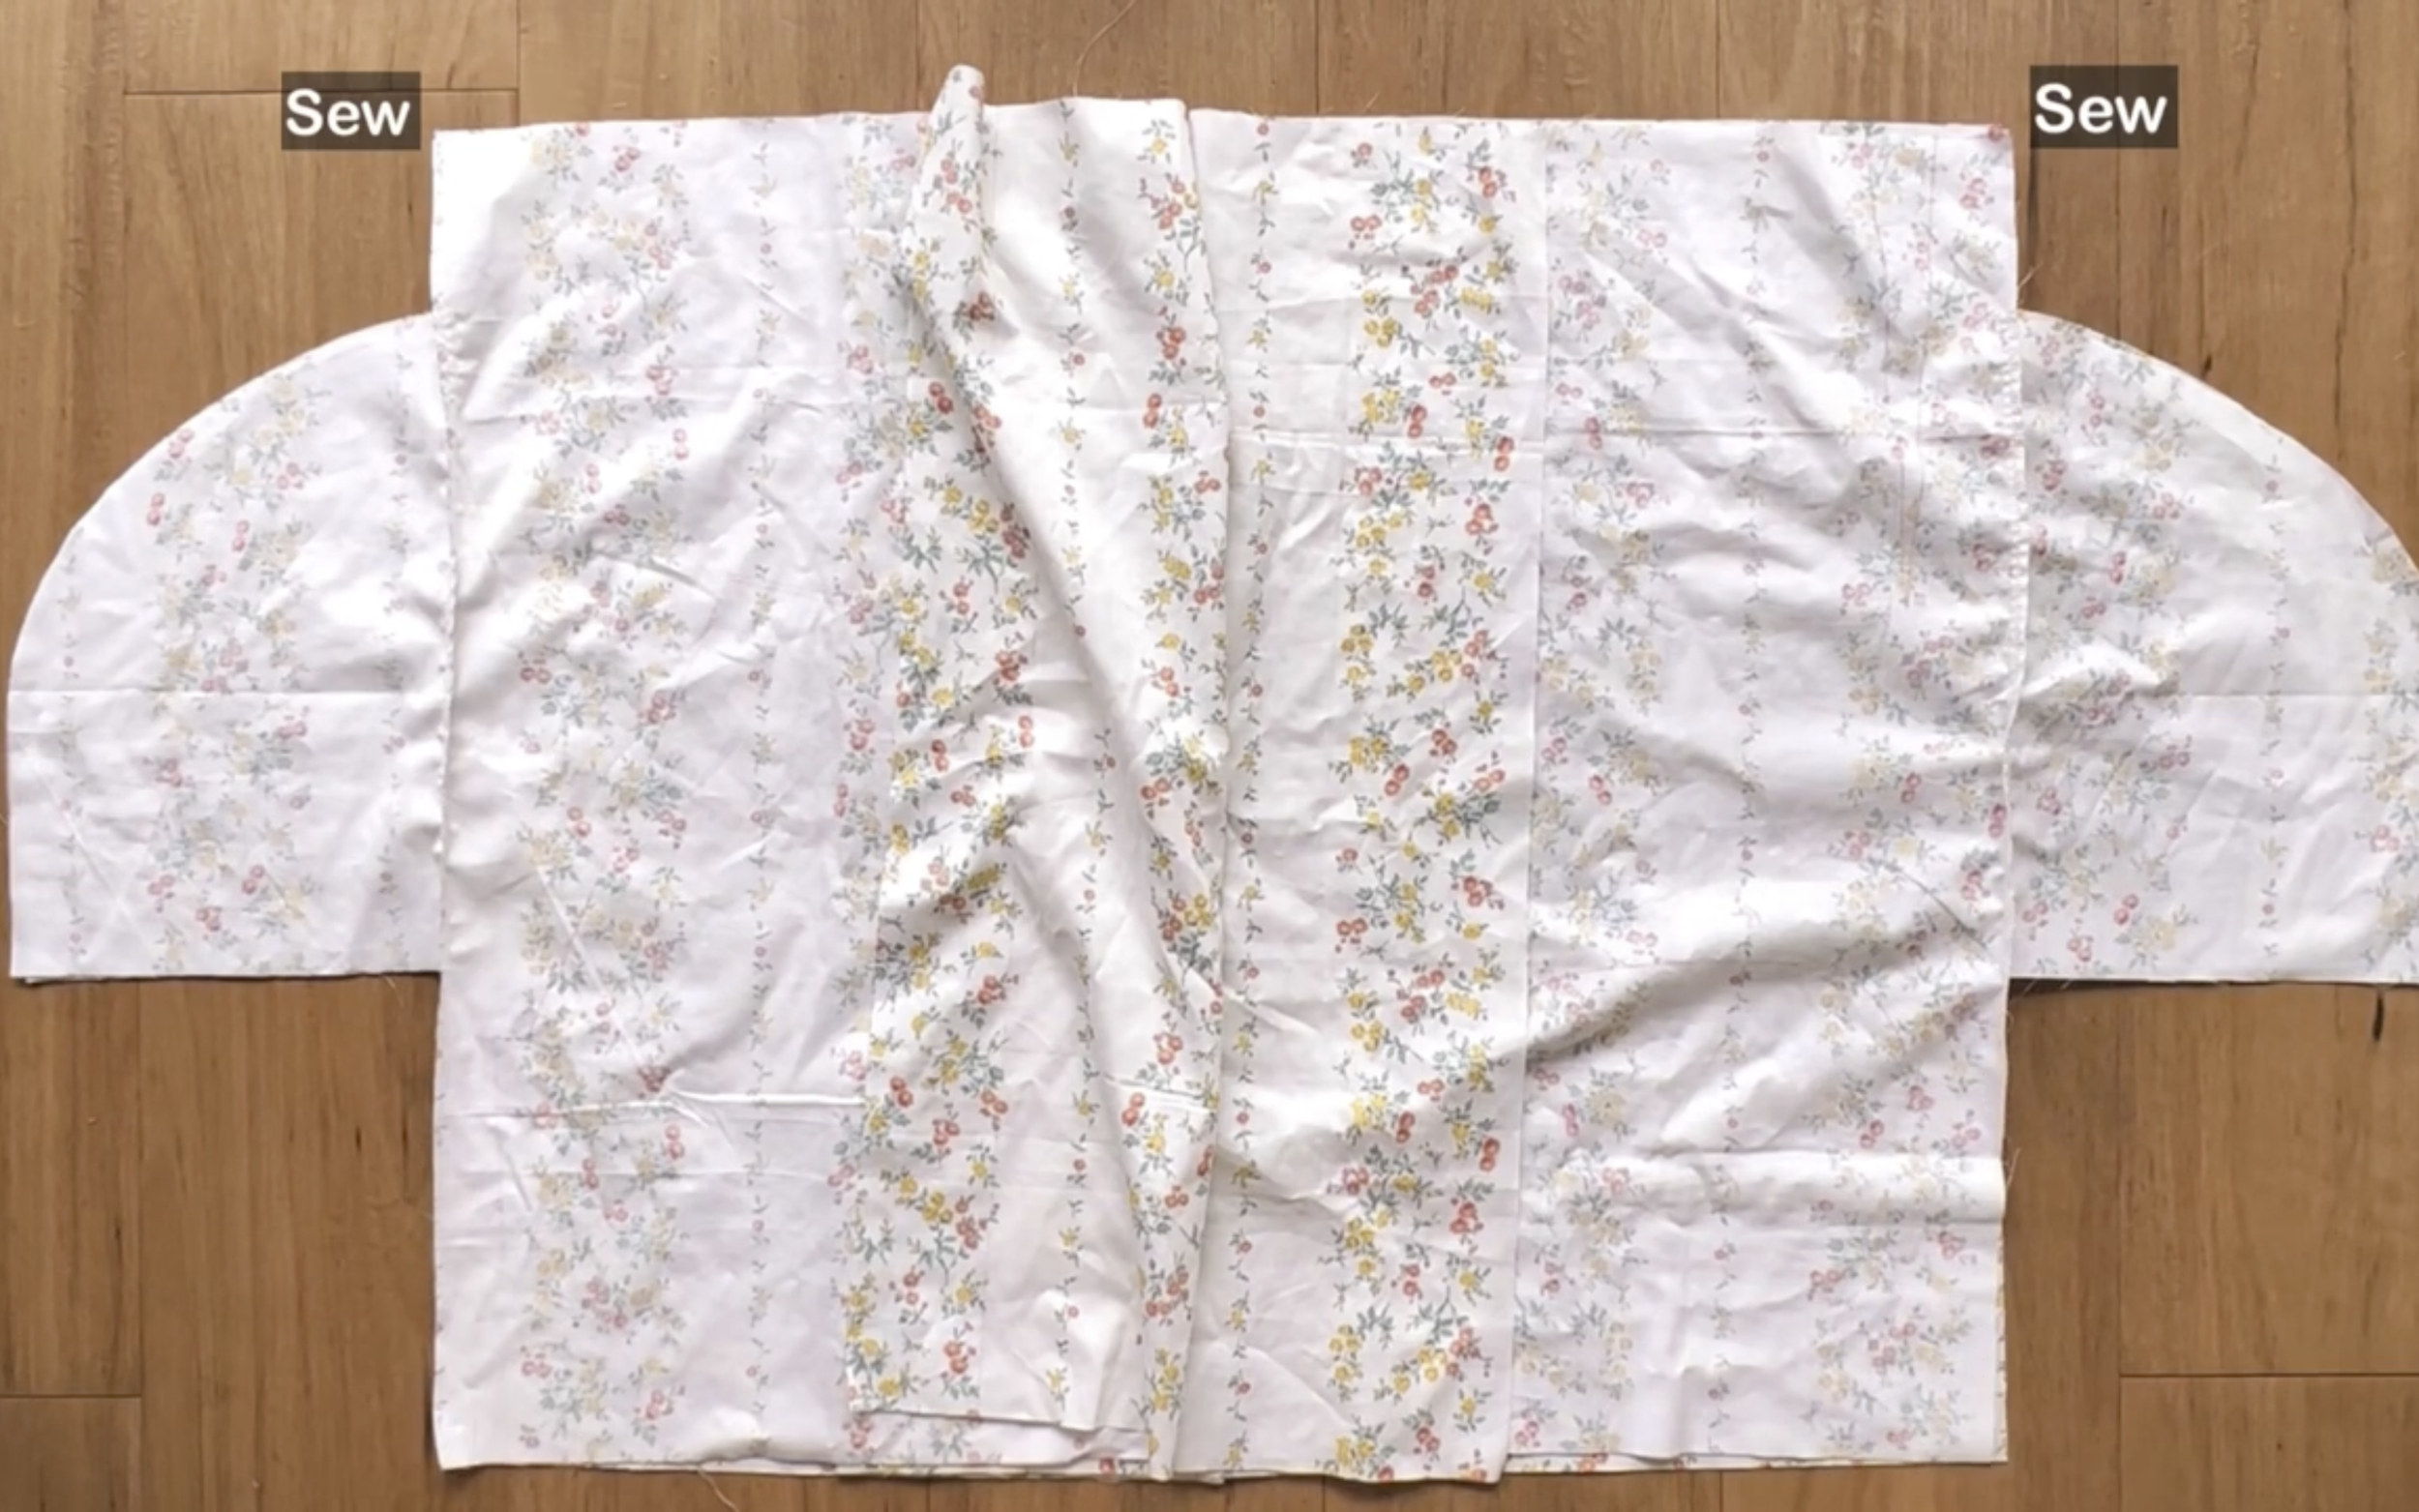
Then connect two front pieces to the back piece of the skirt at two sides.
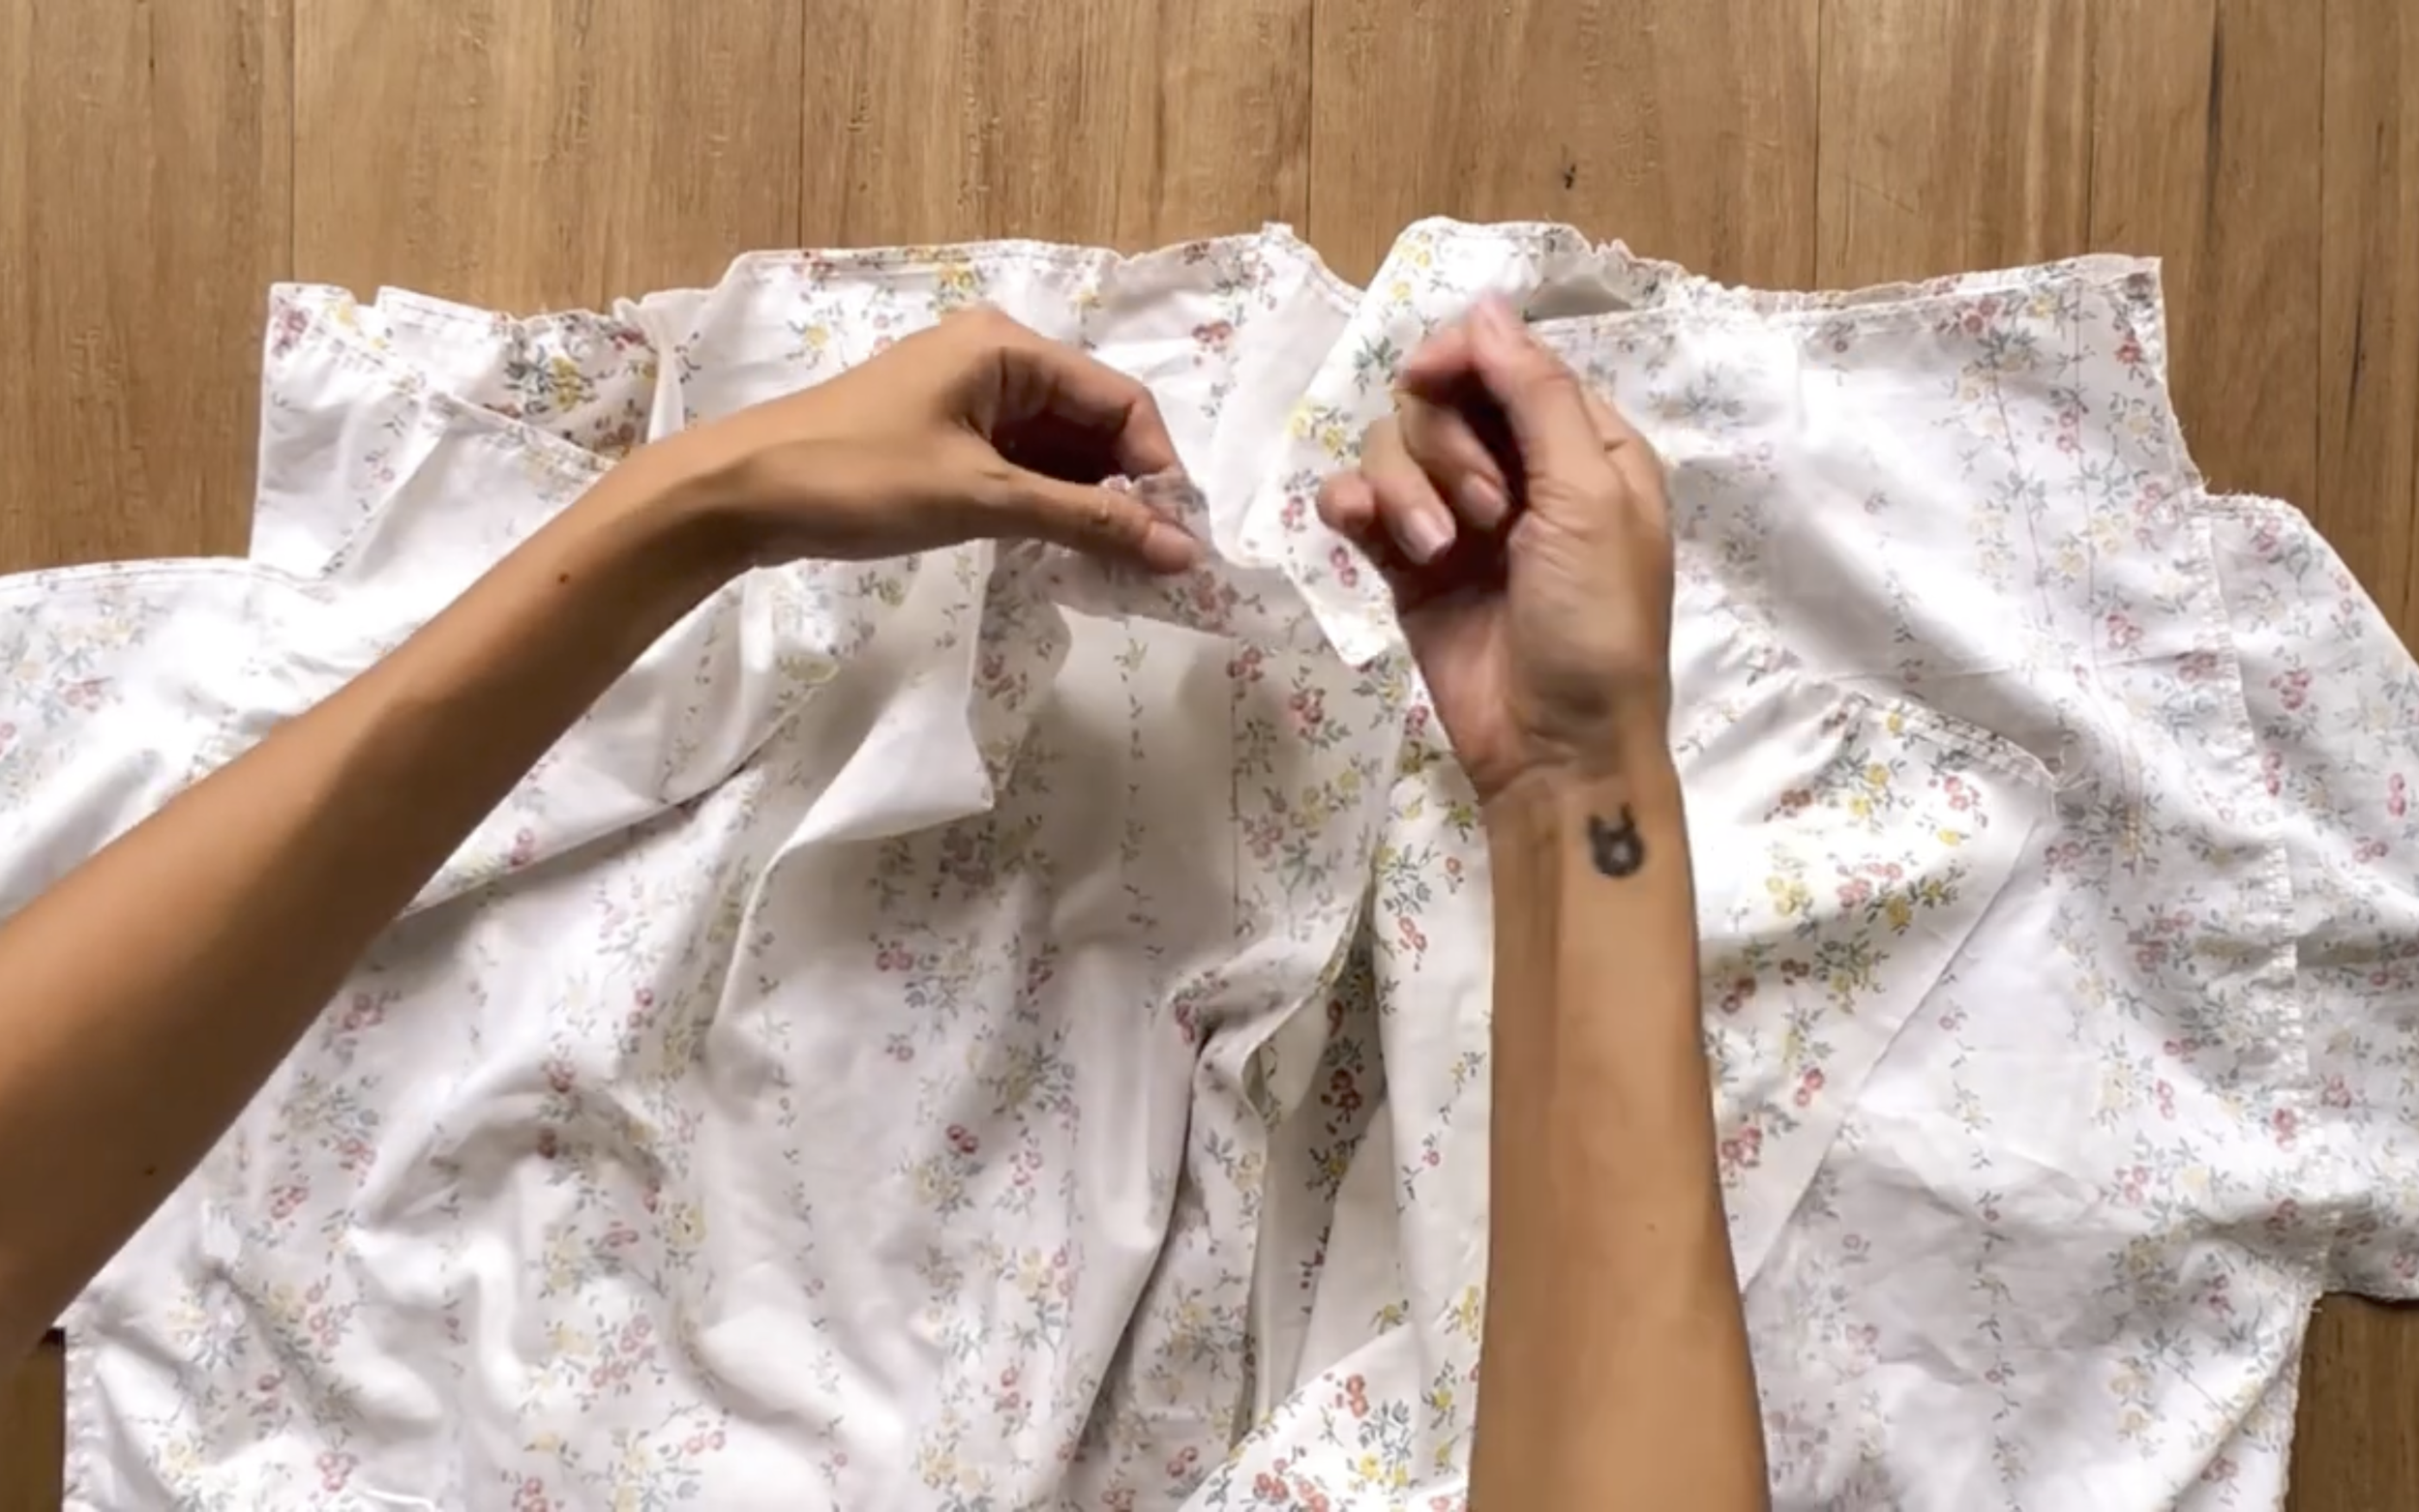
After that, make a loose seam at the top of the skirt and create a gathering fabric there.
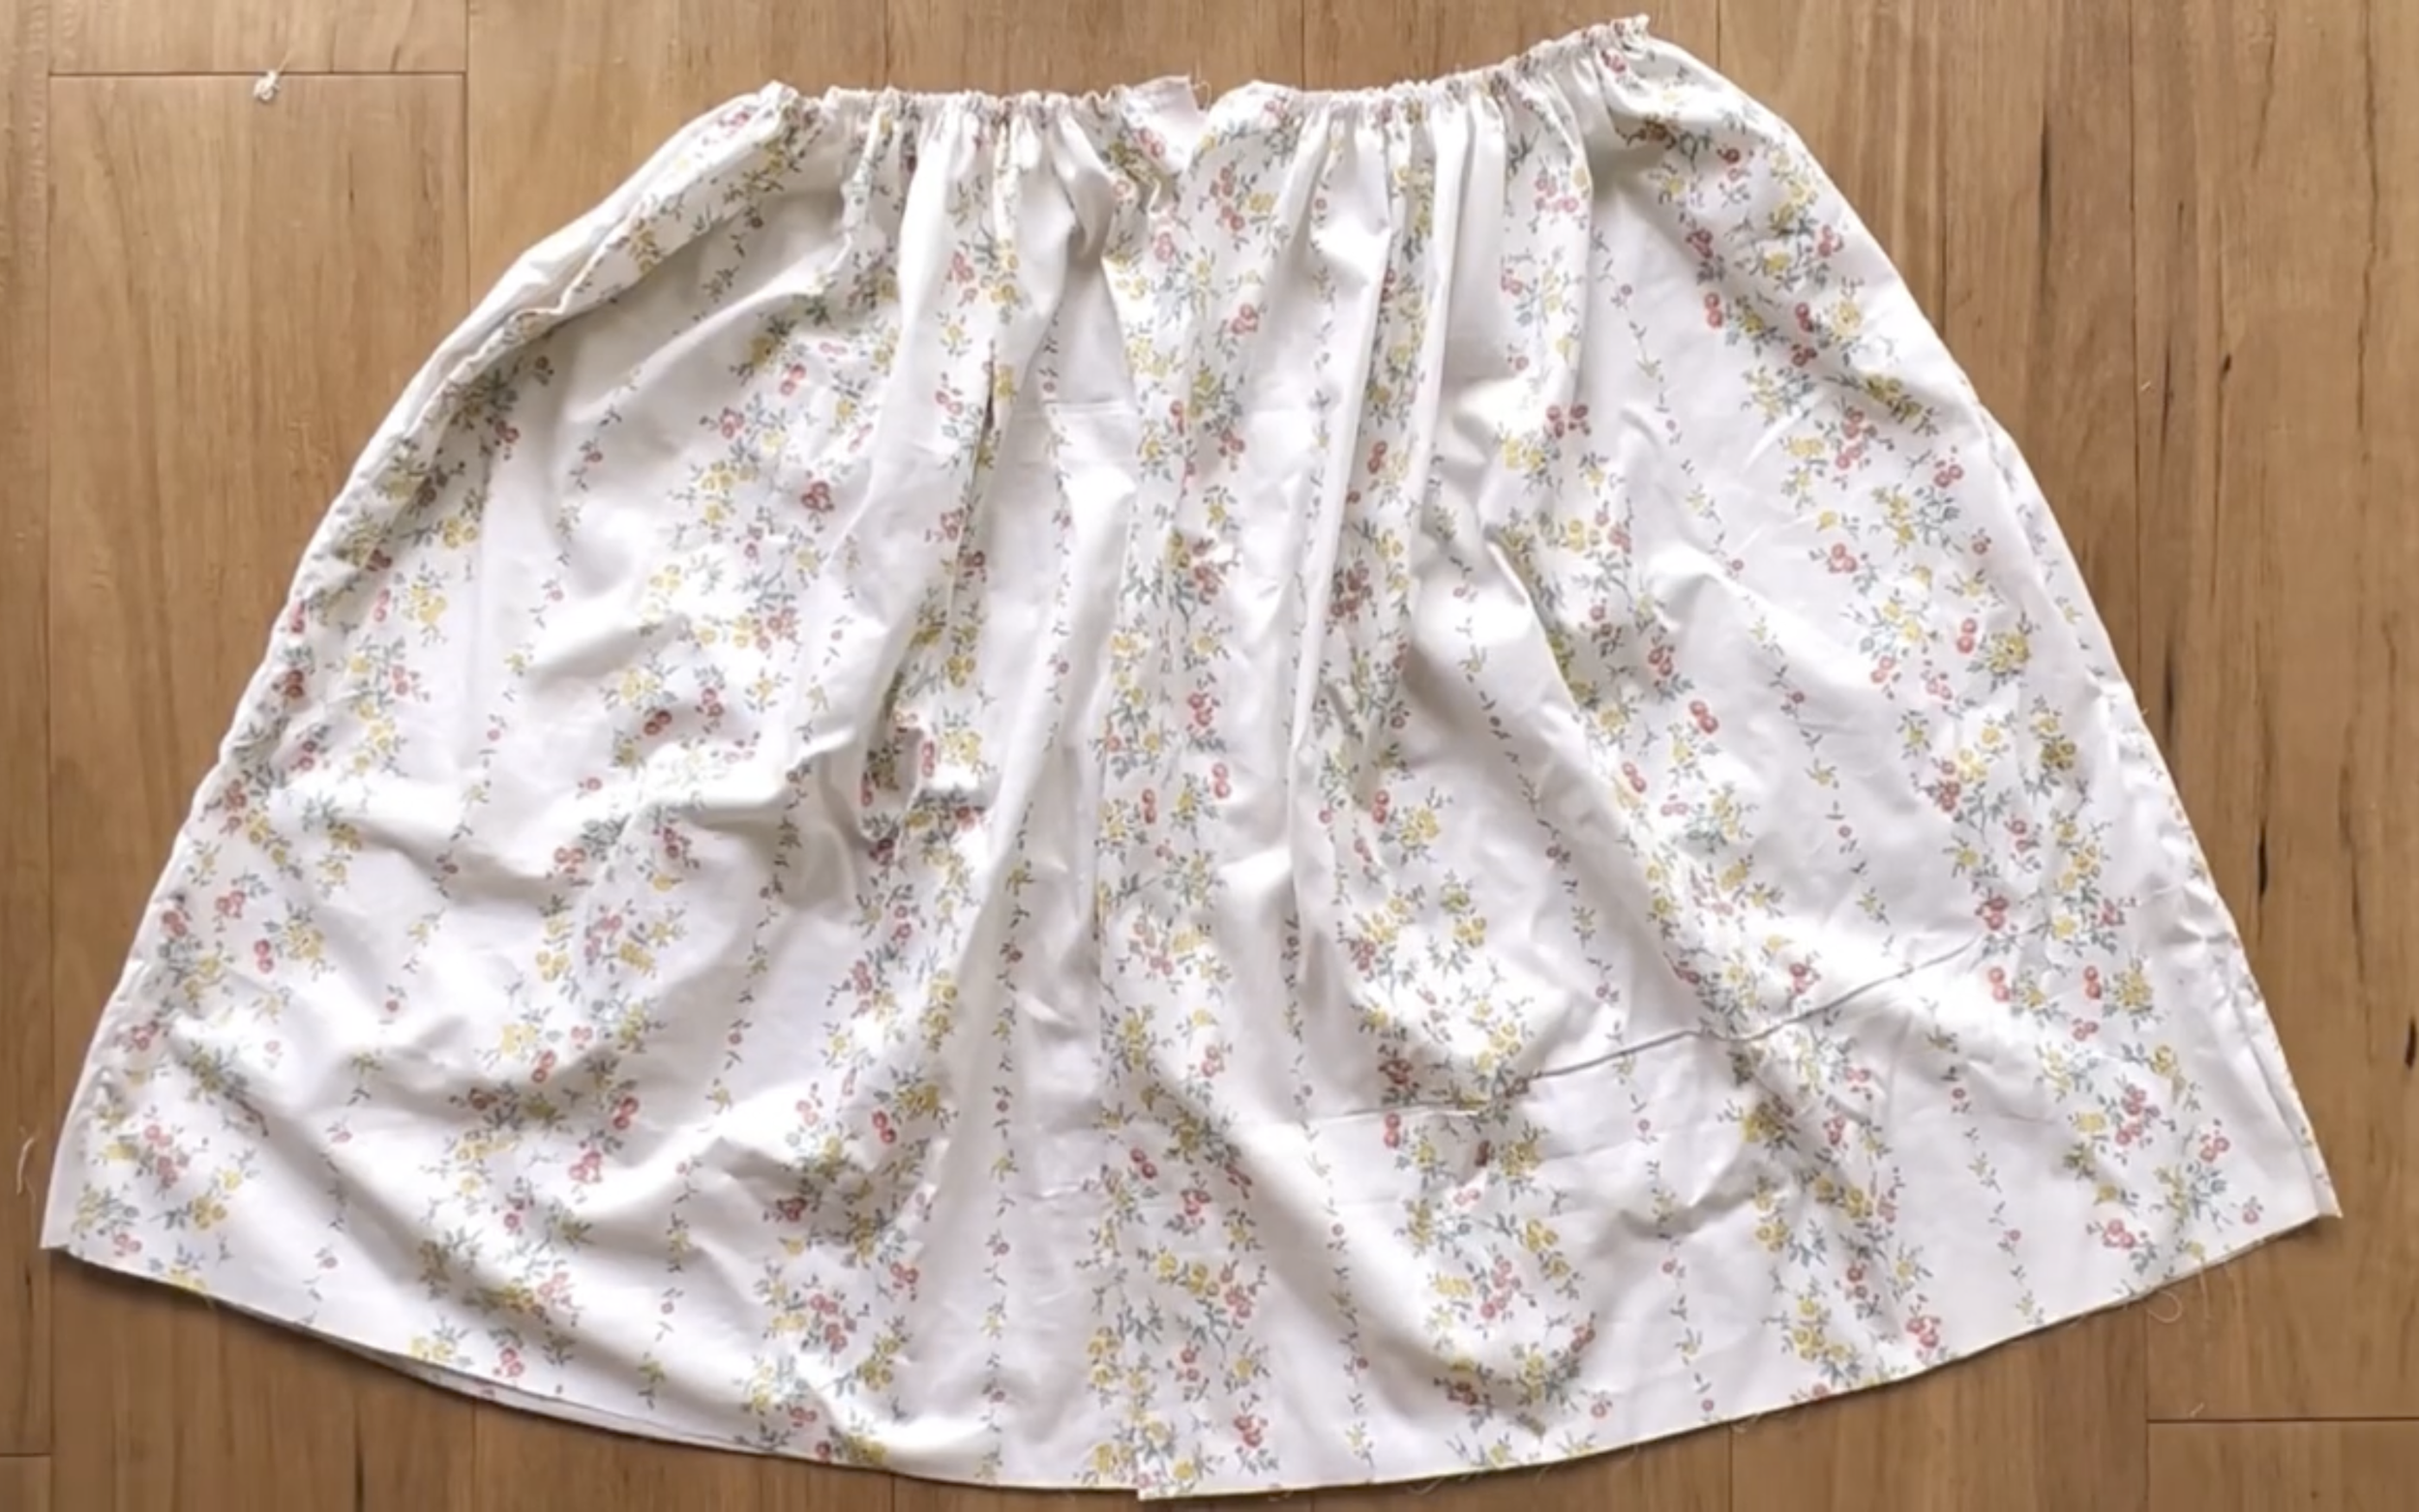
The final width of the gathering fabric will be the same as the bodice part so they can be connected together later.
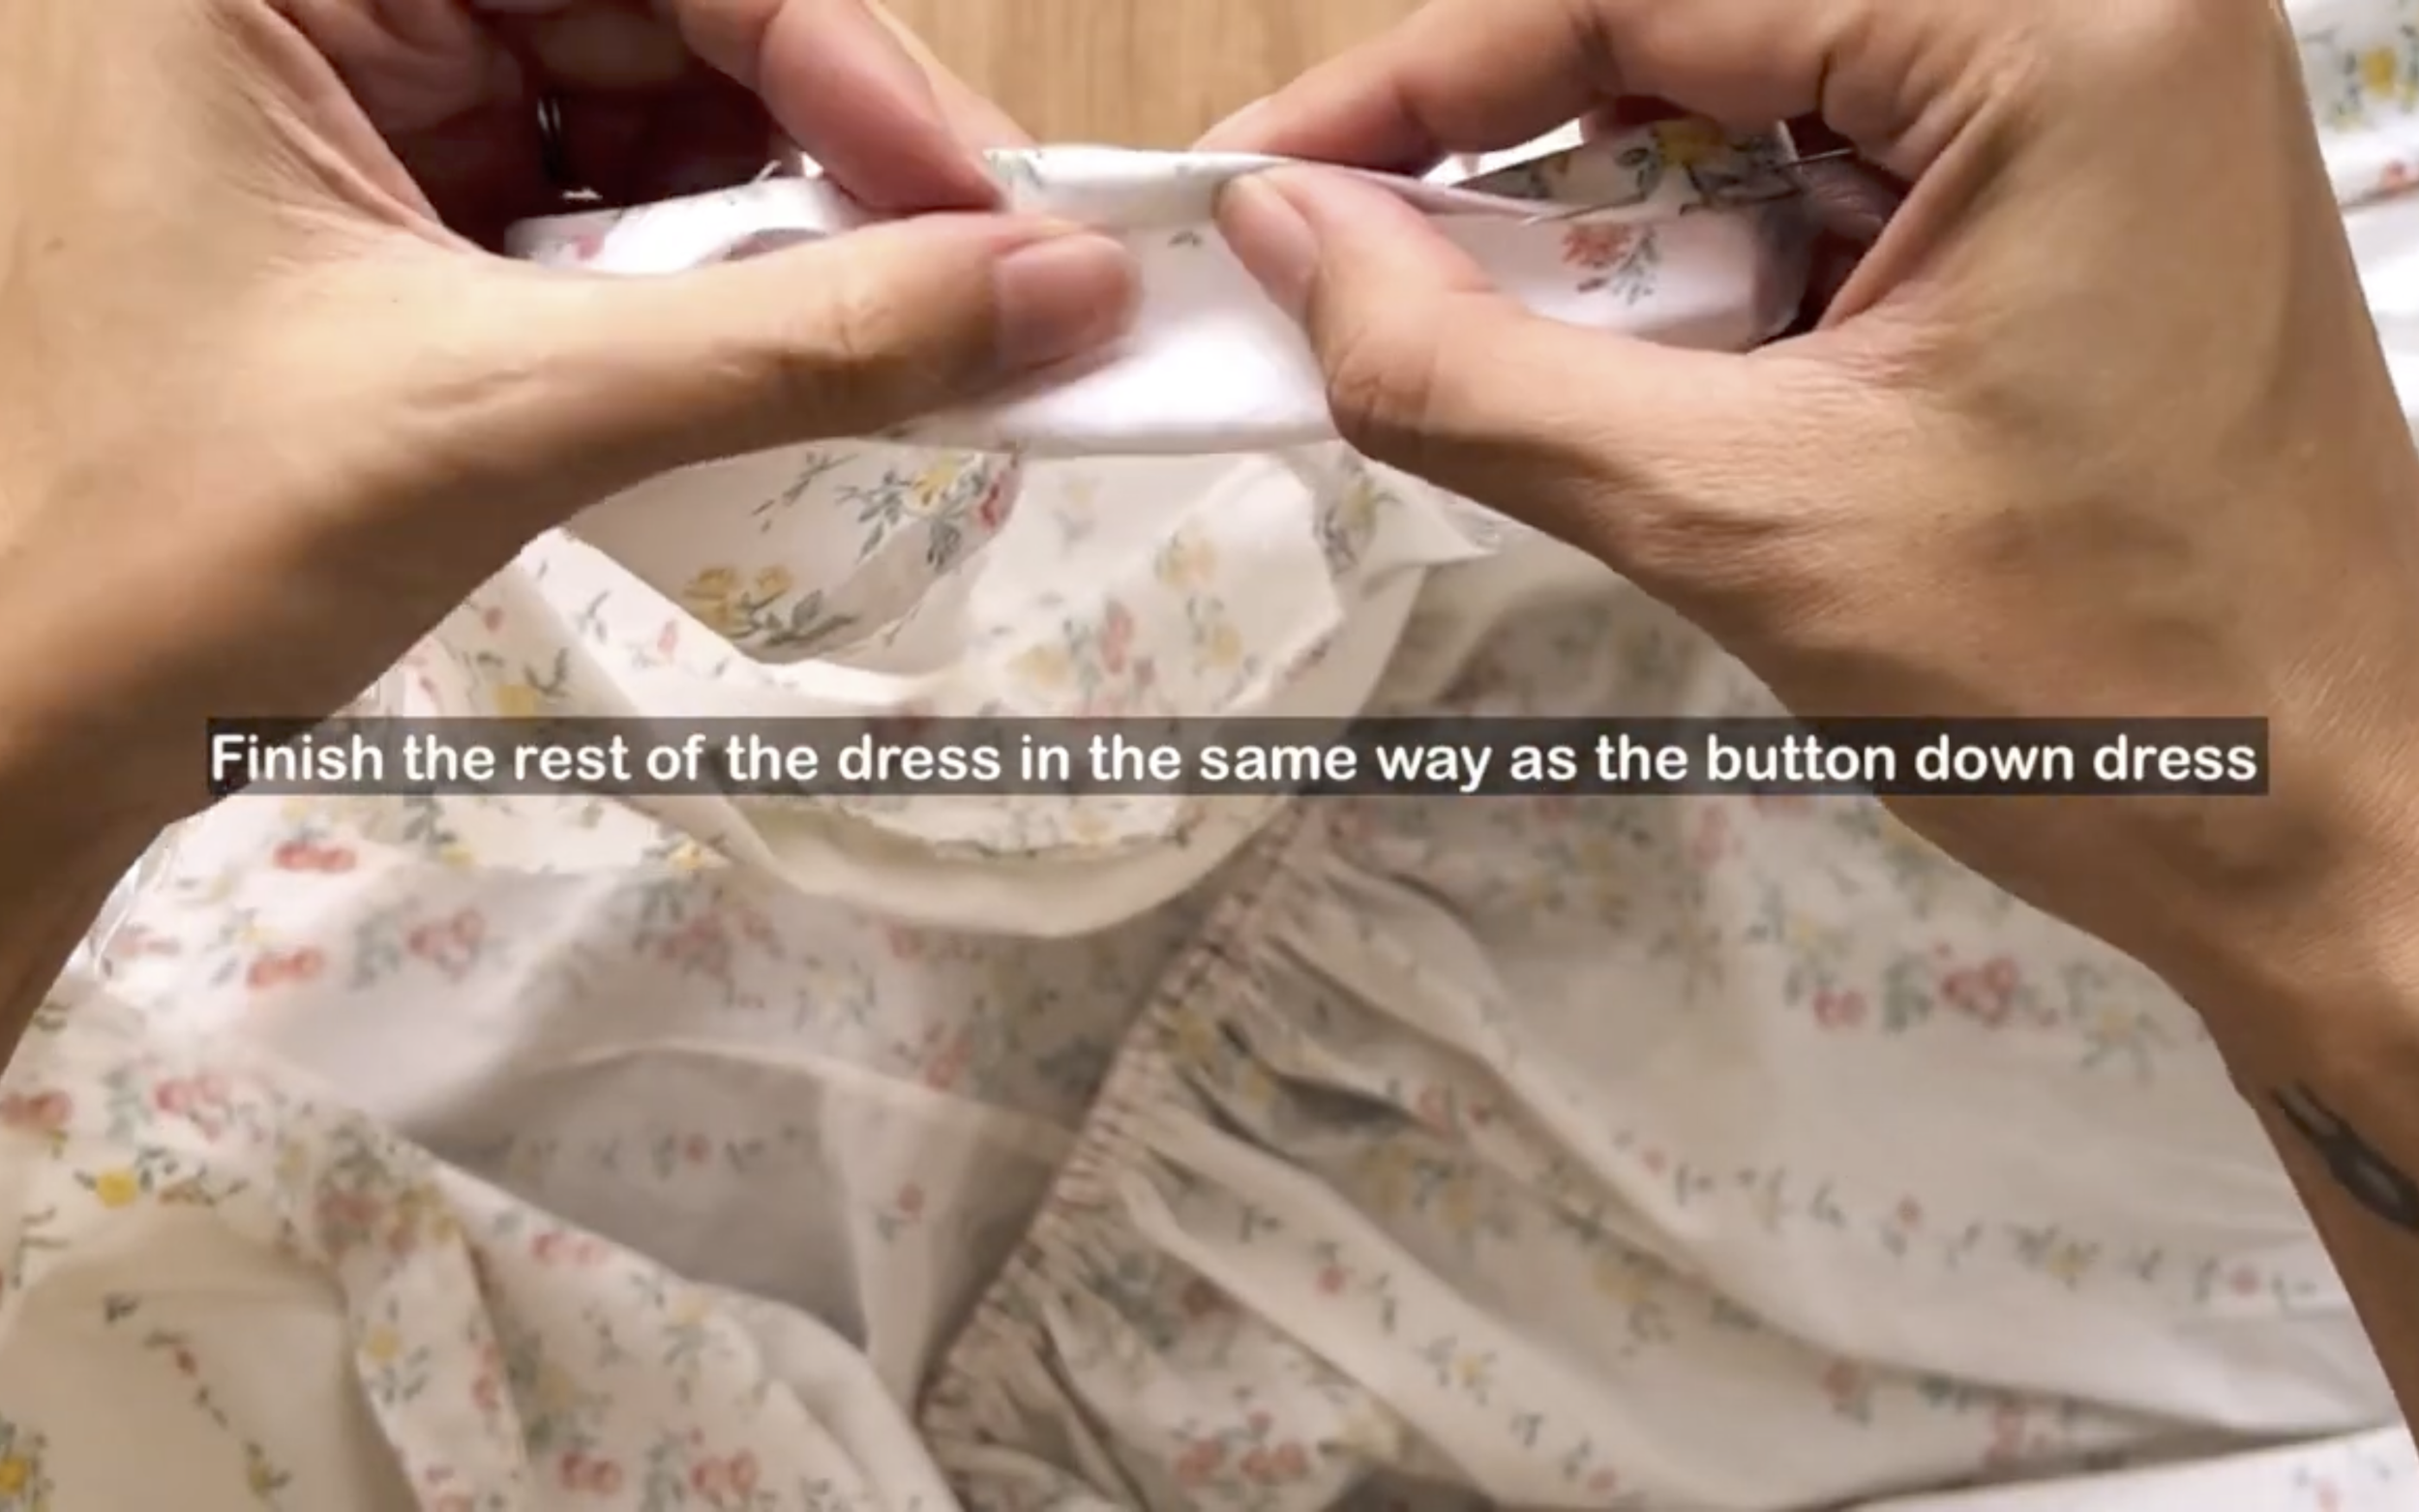
The rest of the dress will be finished in the same way as the original one.
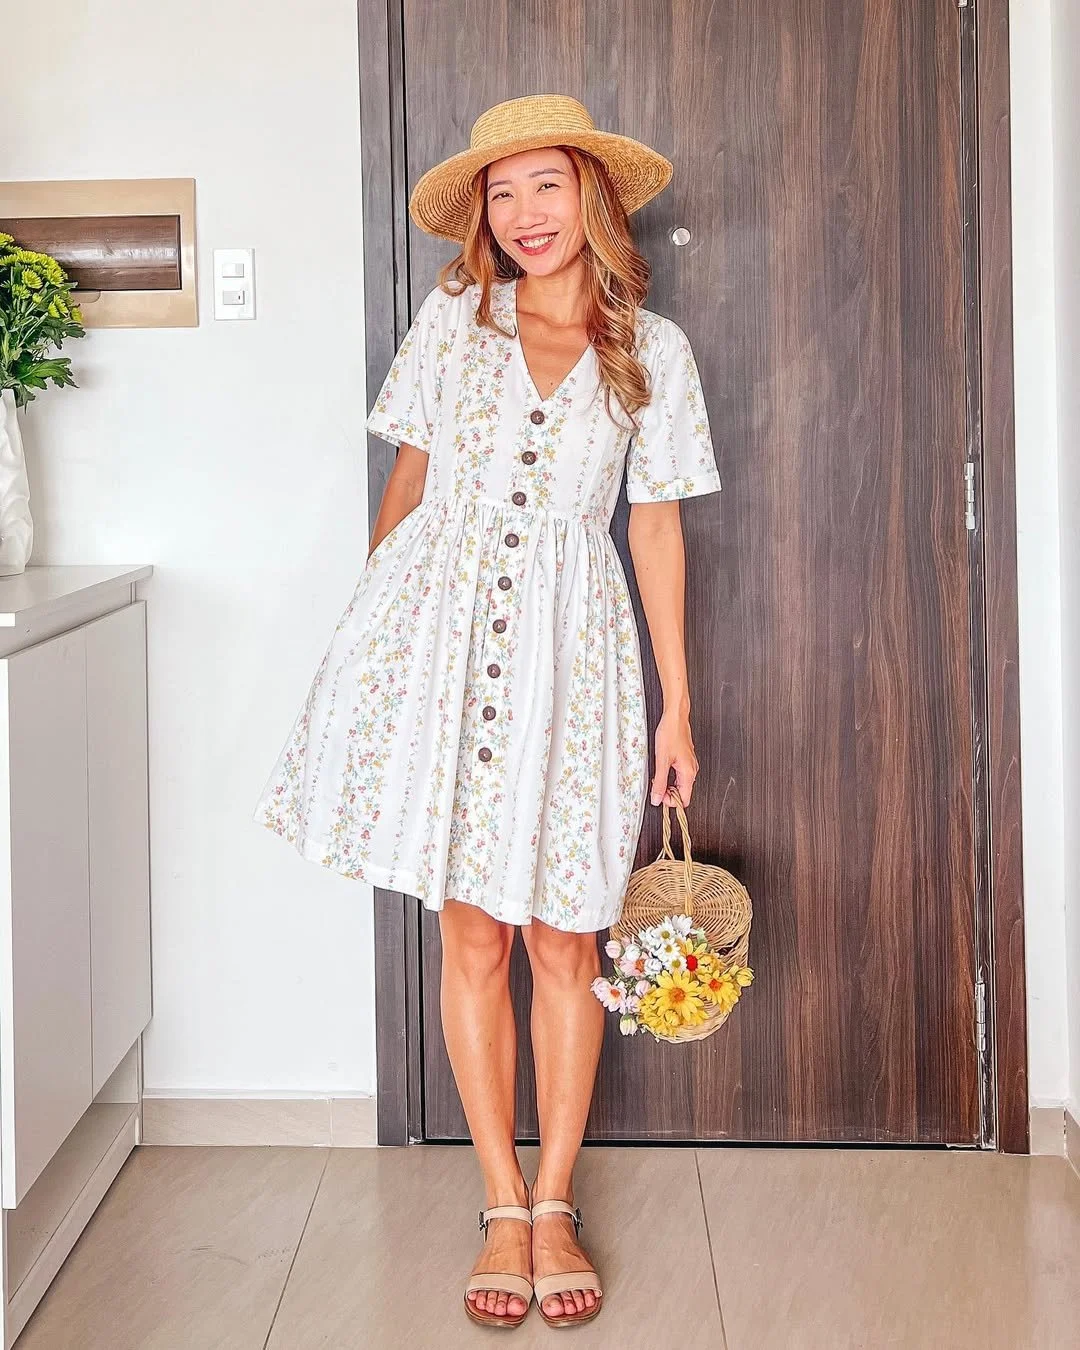
Re-making my favorite dresses in the new versions (Coz I love them so much) | Sewing tutorial
And here's the final result. The floral printing from the fabric makes it even cuter and perfect for a picnic day.
Hope you like them and will try them out. See you next week.