THRIFT FLIP in my current wardrobe - CUTE style vs SEXY style

THRIFT FLIP in my current wardrobe - CUTE style vs SEXY style
Today's tutorial is about my wardrobe transformation. I'm going to share with you how I transform the clothes that I barely wear. But I just like them so much that I don't want to say goodbye to them yet. So I still keep them in my wardrobe. I'm going to have 2 transformation styles: Cute and Sexy
So let me know which style you like in the comment and let’s get started!
WHAT YOU’LL NEED
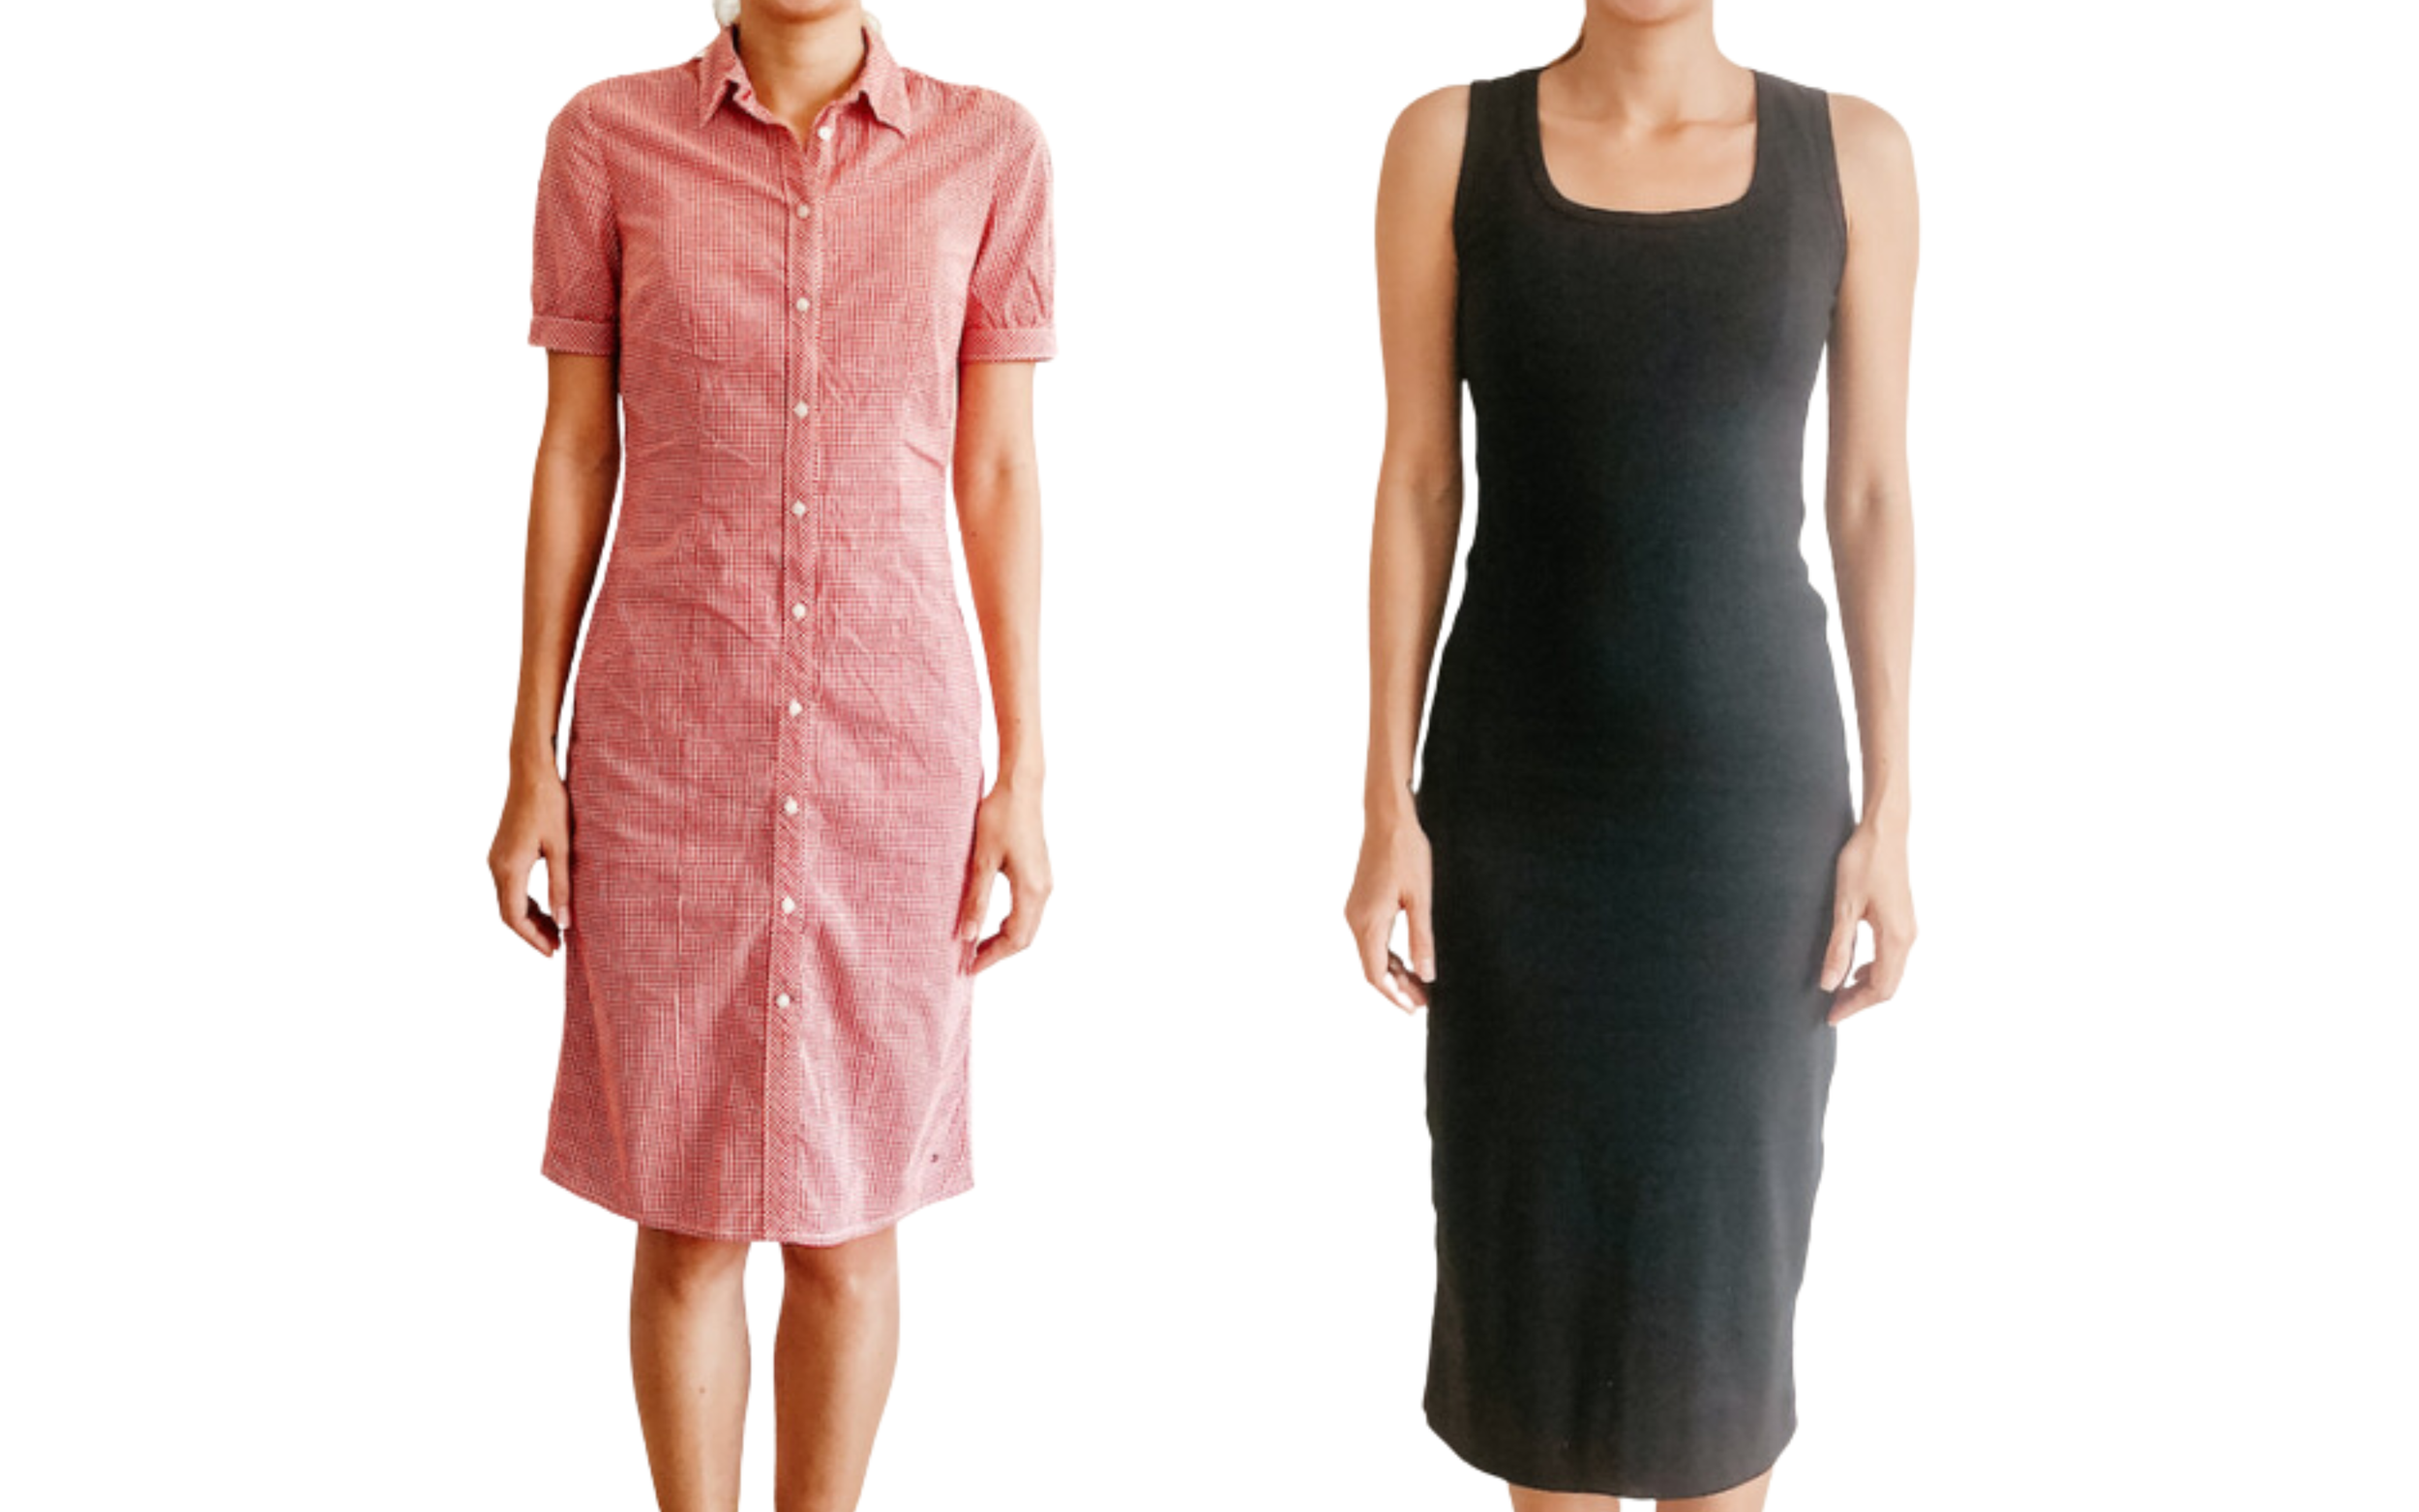
Old dress
Measuring tape
Tailor’s chalk
Scissors
Pins
Sewing machine
CUTE VERSION - 2 Piece matching set
THE TOP PART
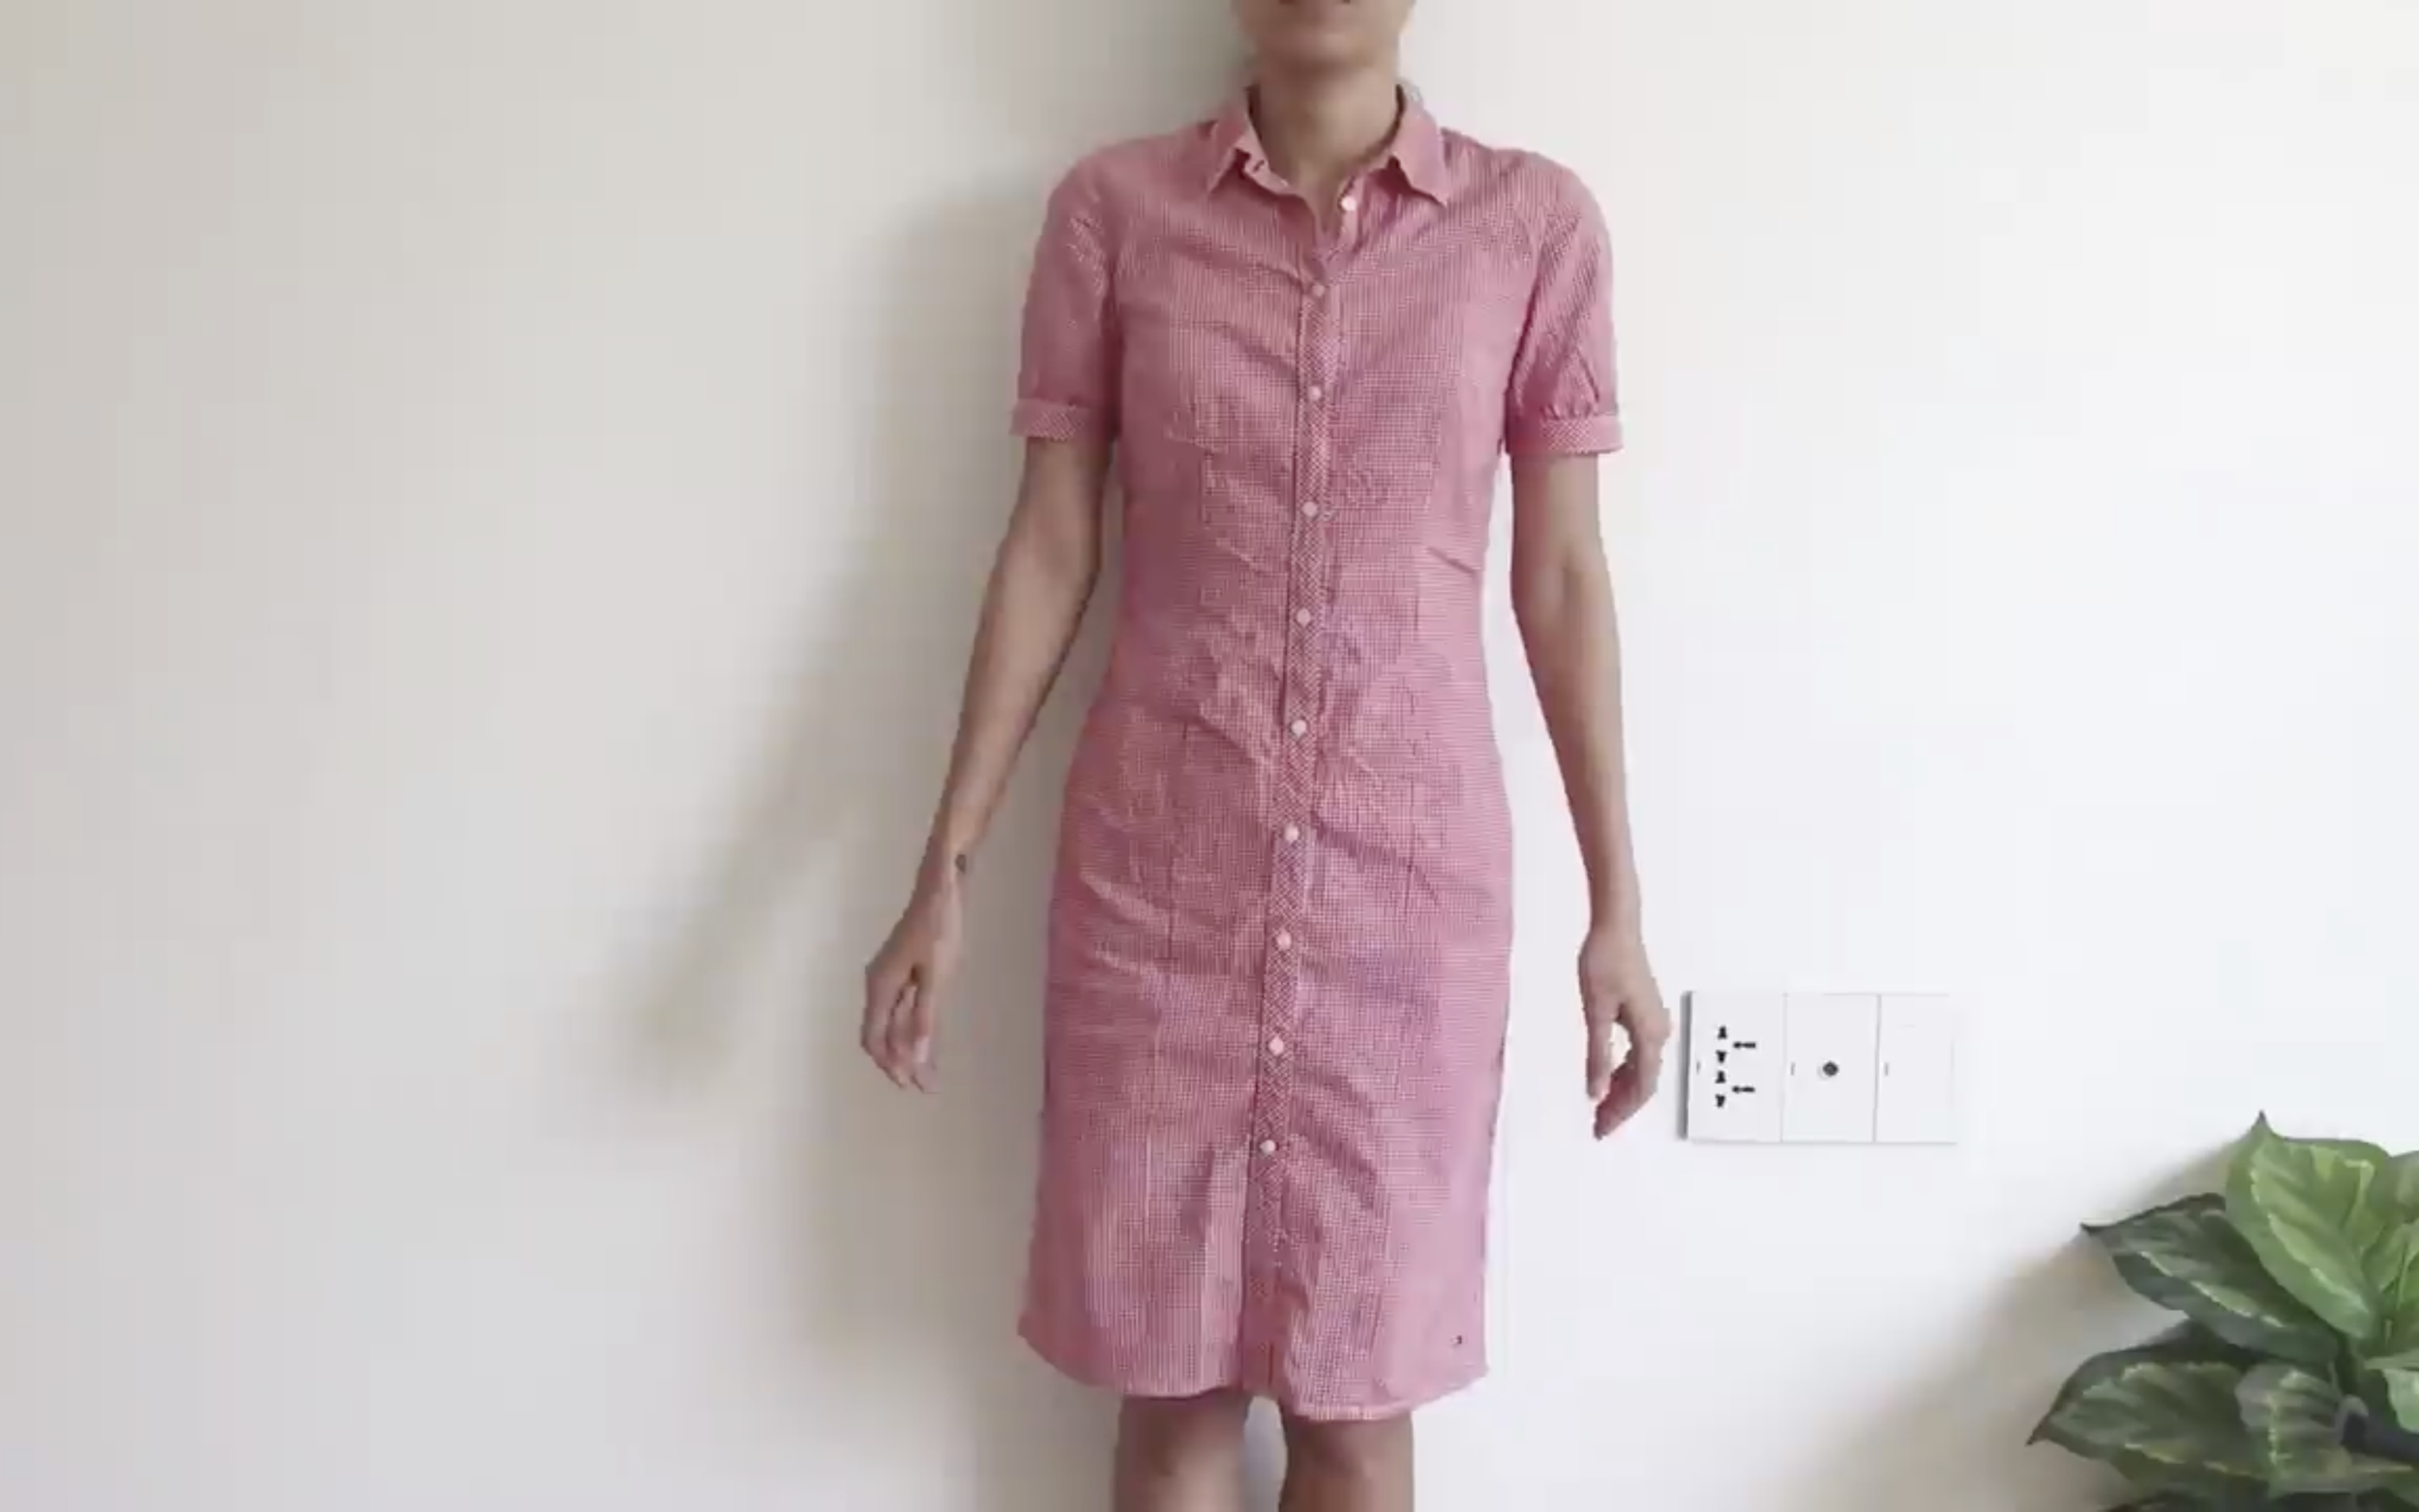
Here's the dress before: it's quite formal, which doesn't fit well.
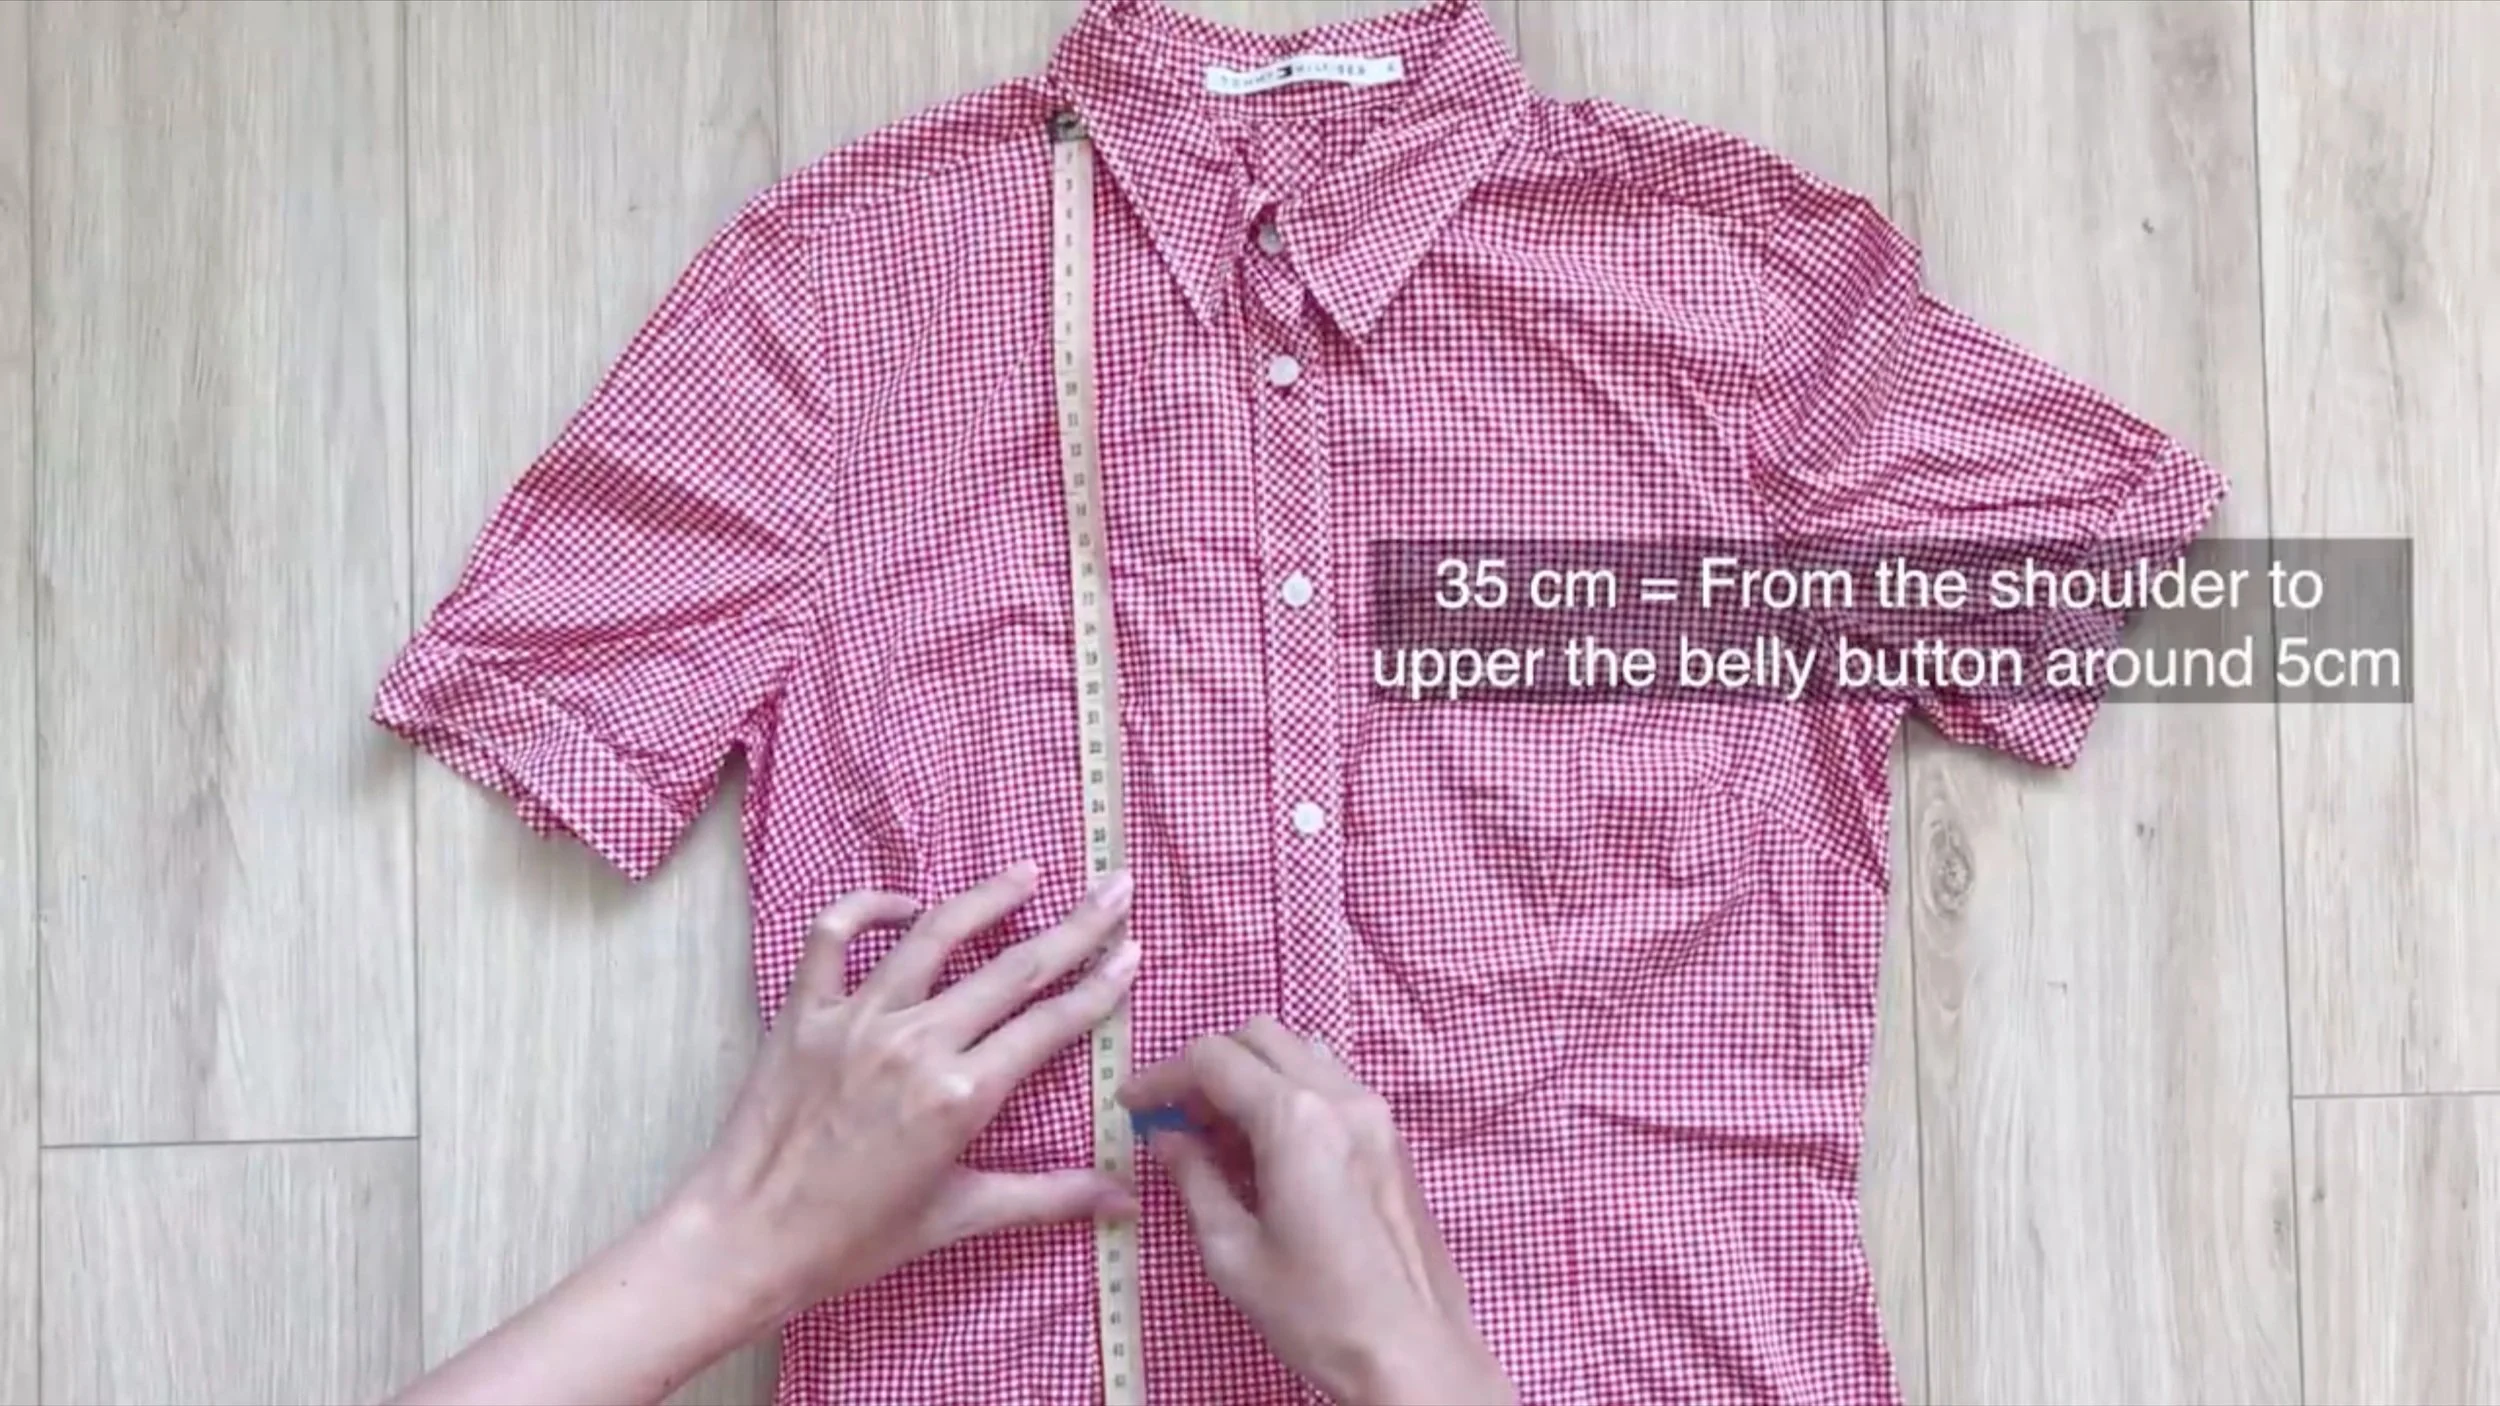
The first step is drawing a horizontal line 35 cm down from the shoulder, which is the width from the shoulder to upper the belly button around 5 cm.
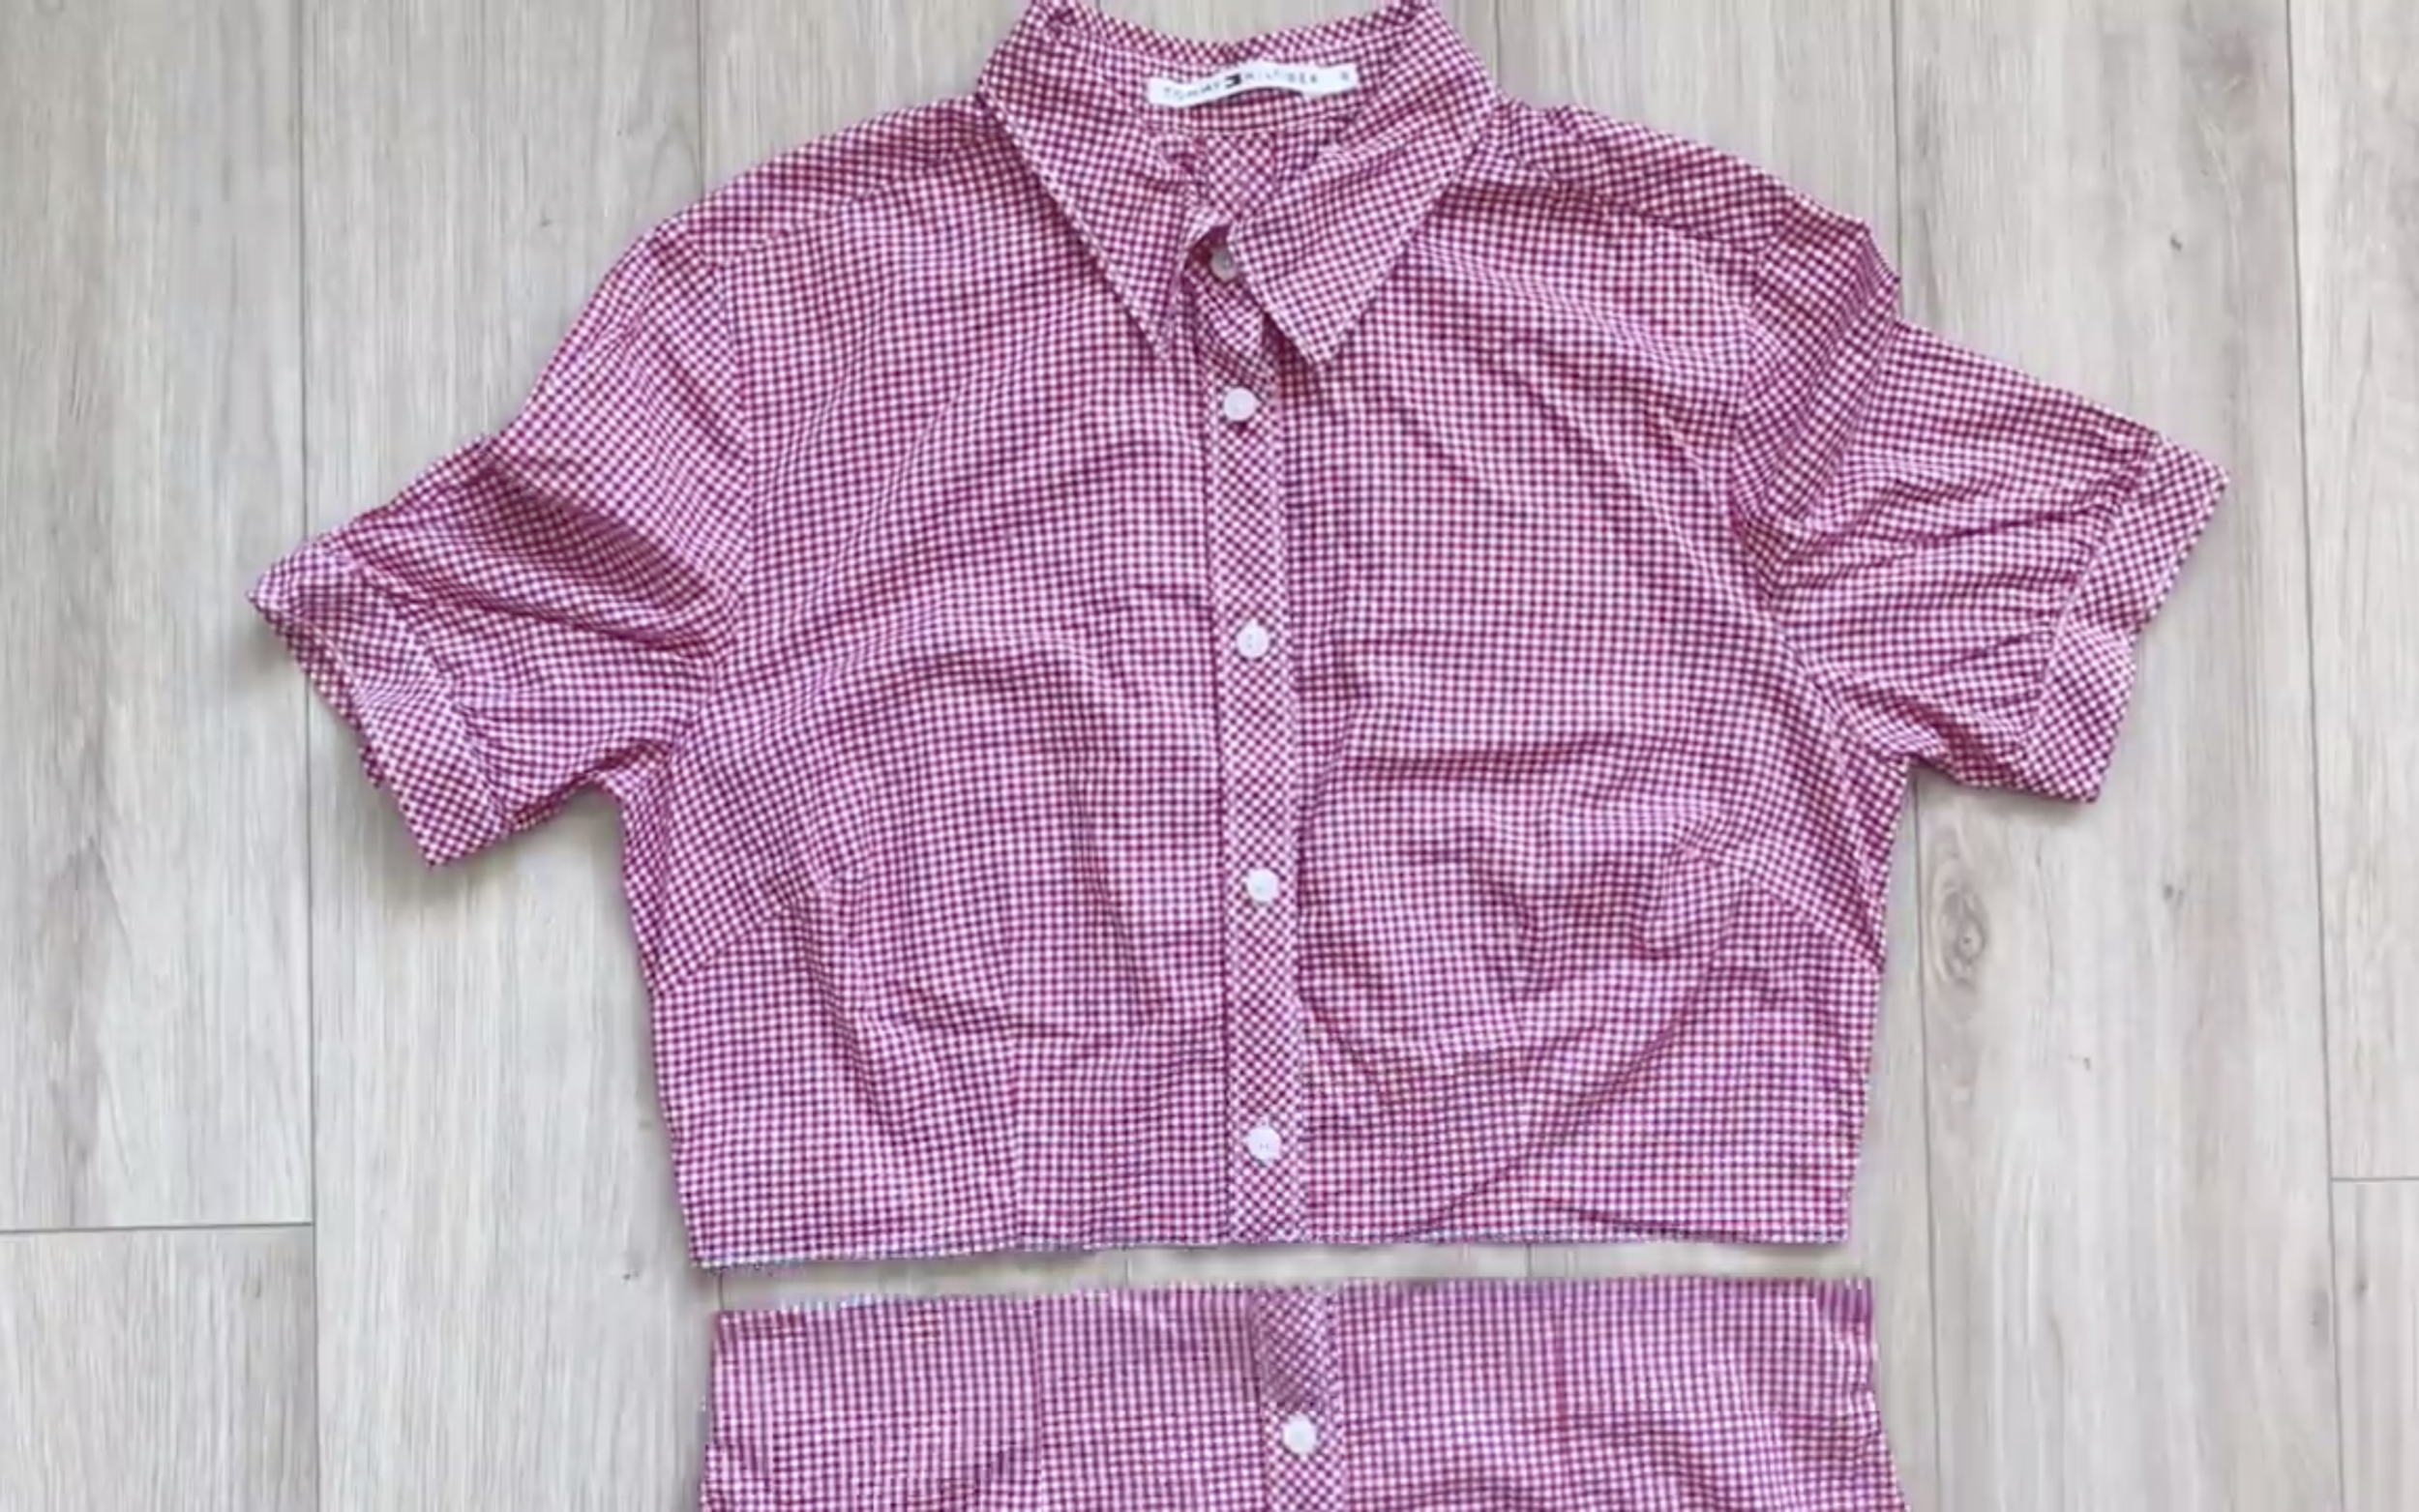
This line divides the dress into two parts: the top and the bottom.
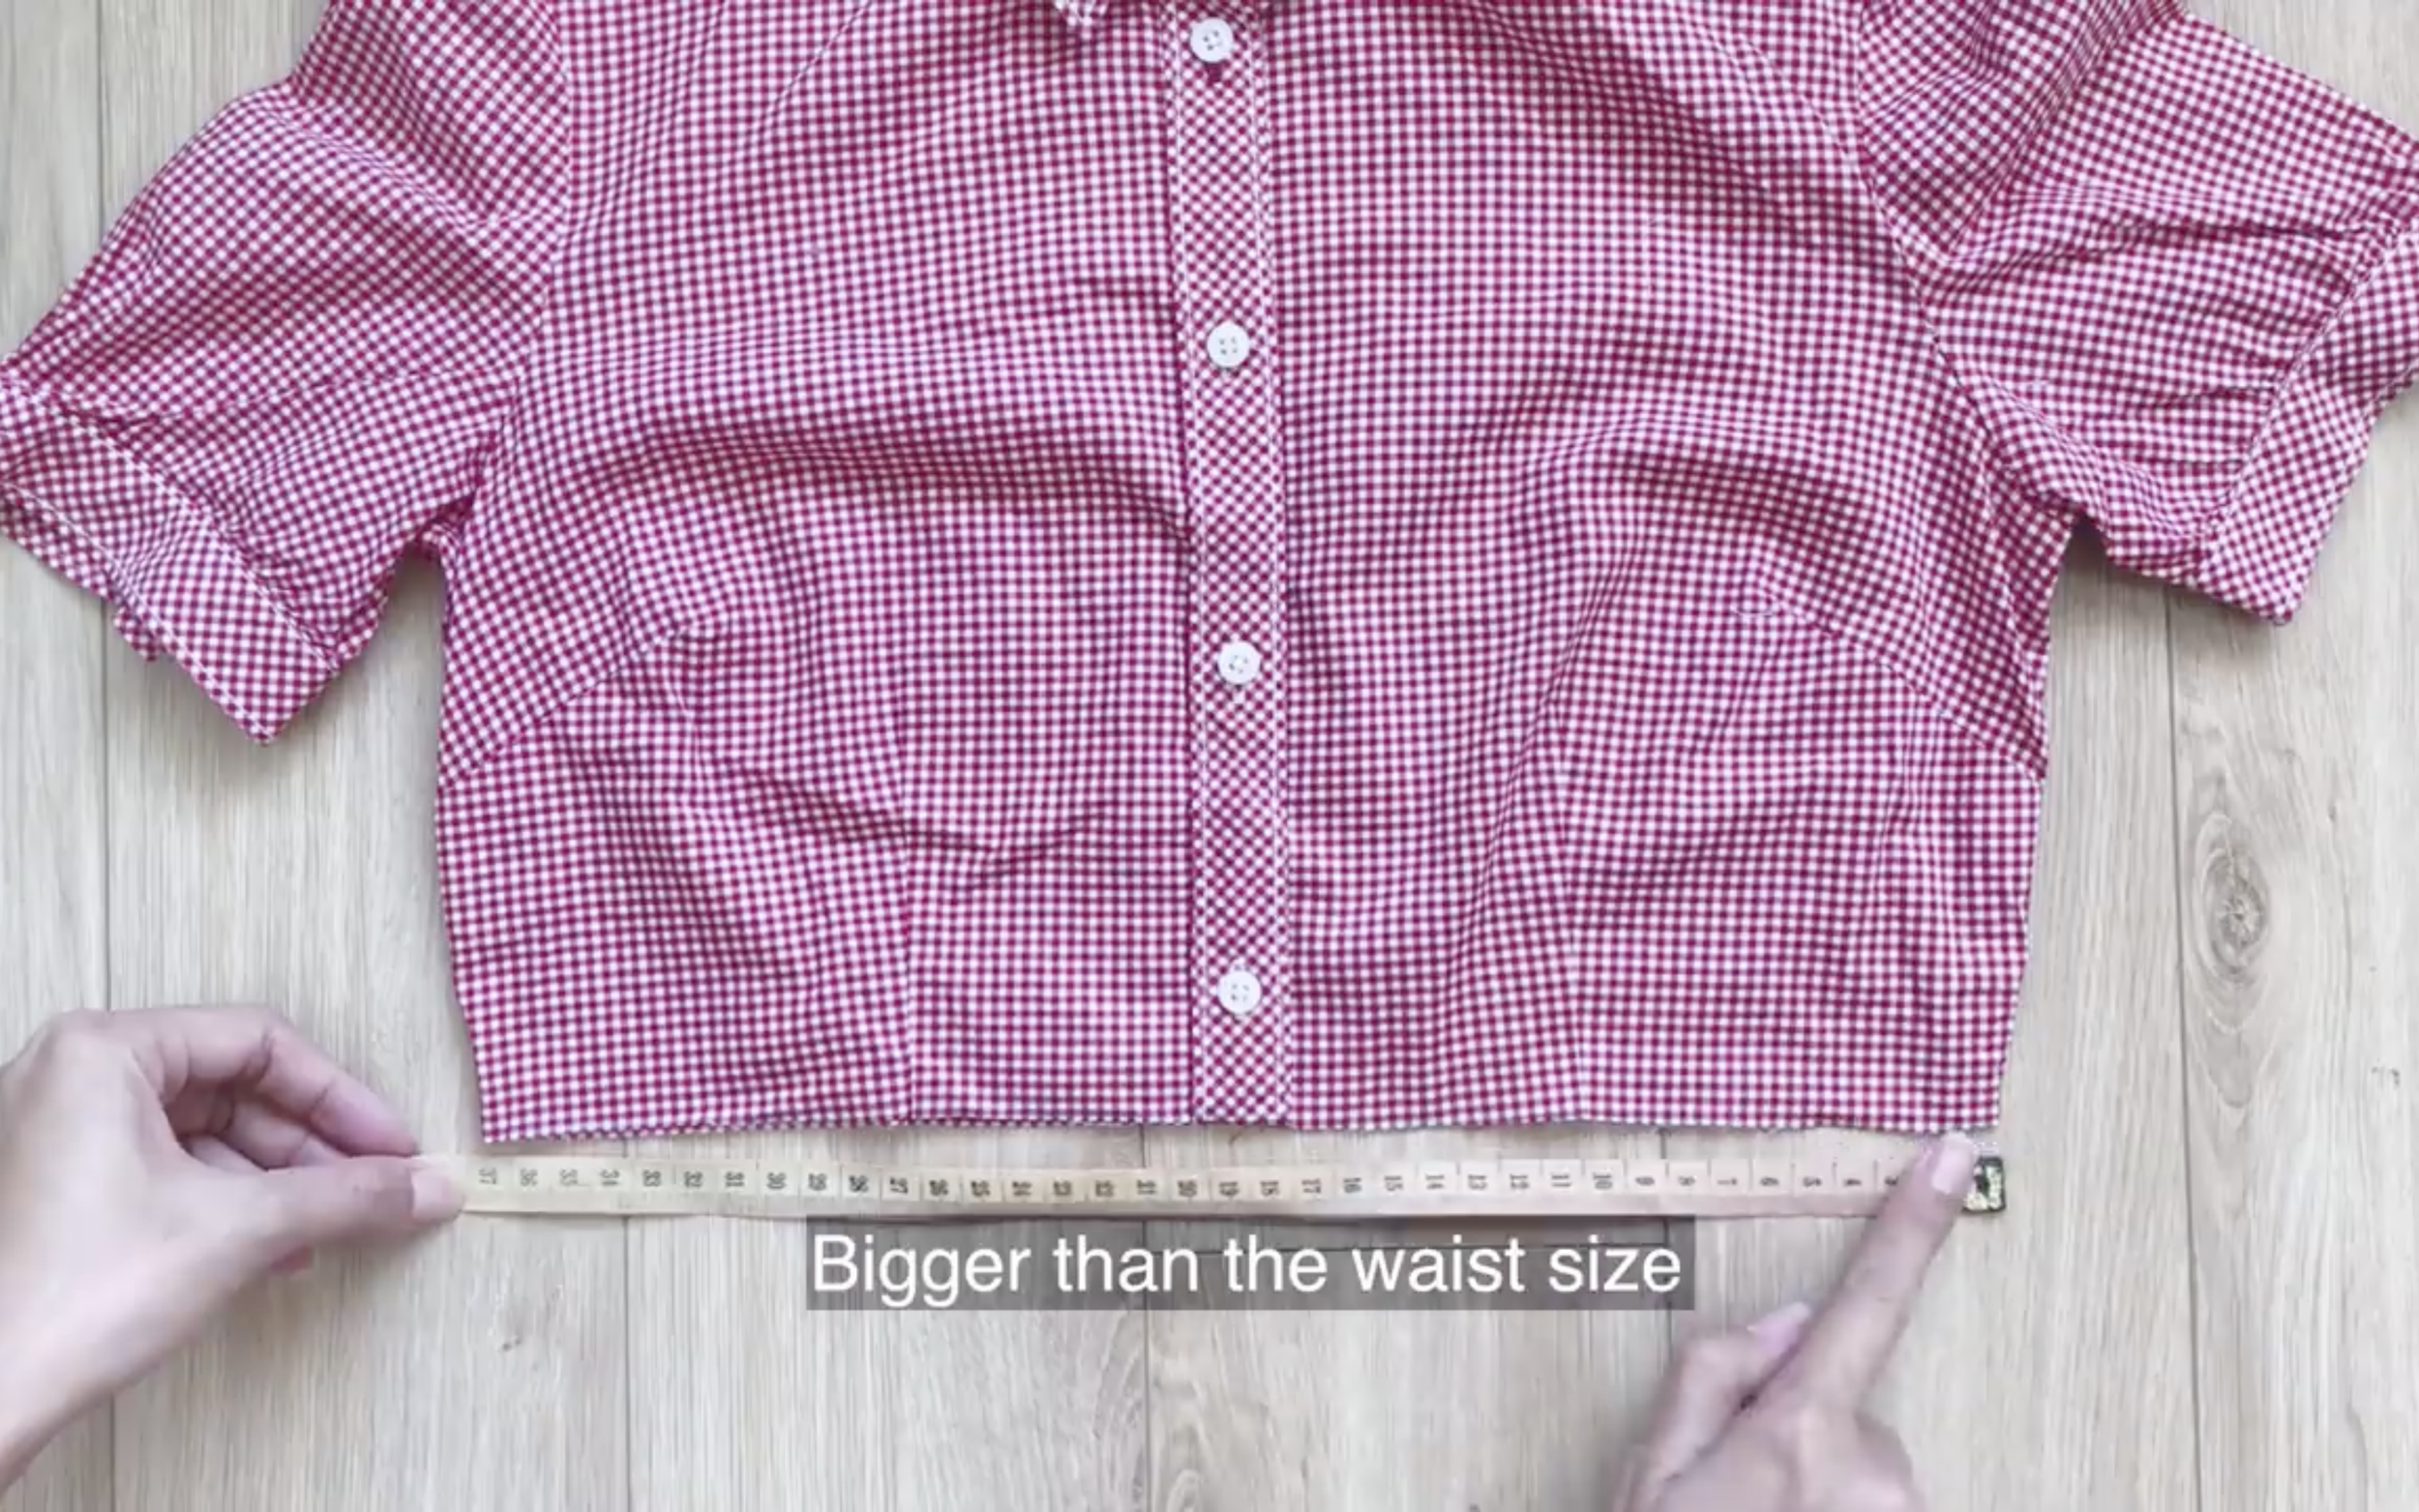
After cutting, check the width at the end of the top to see if it fits the belly size.
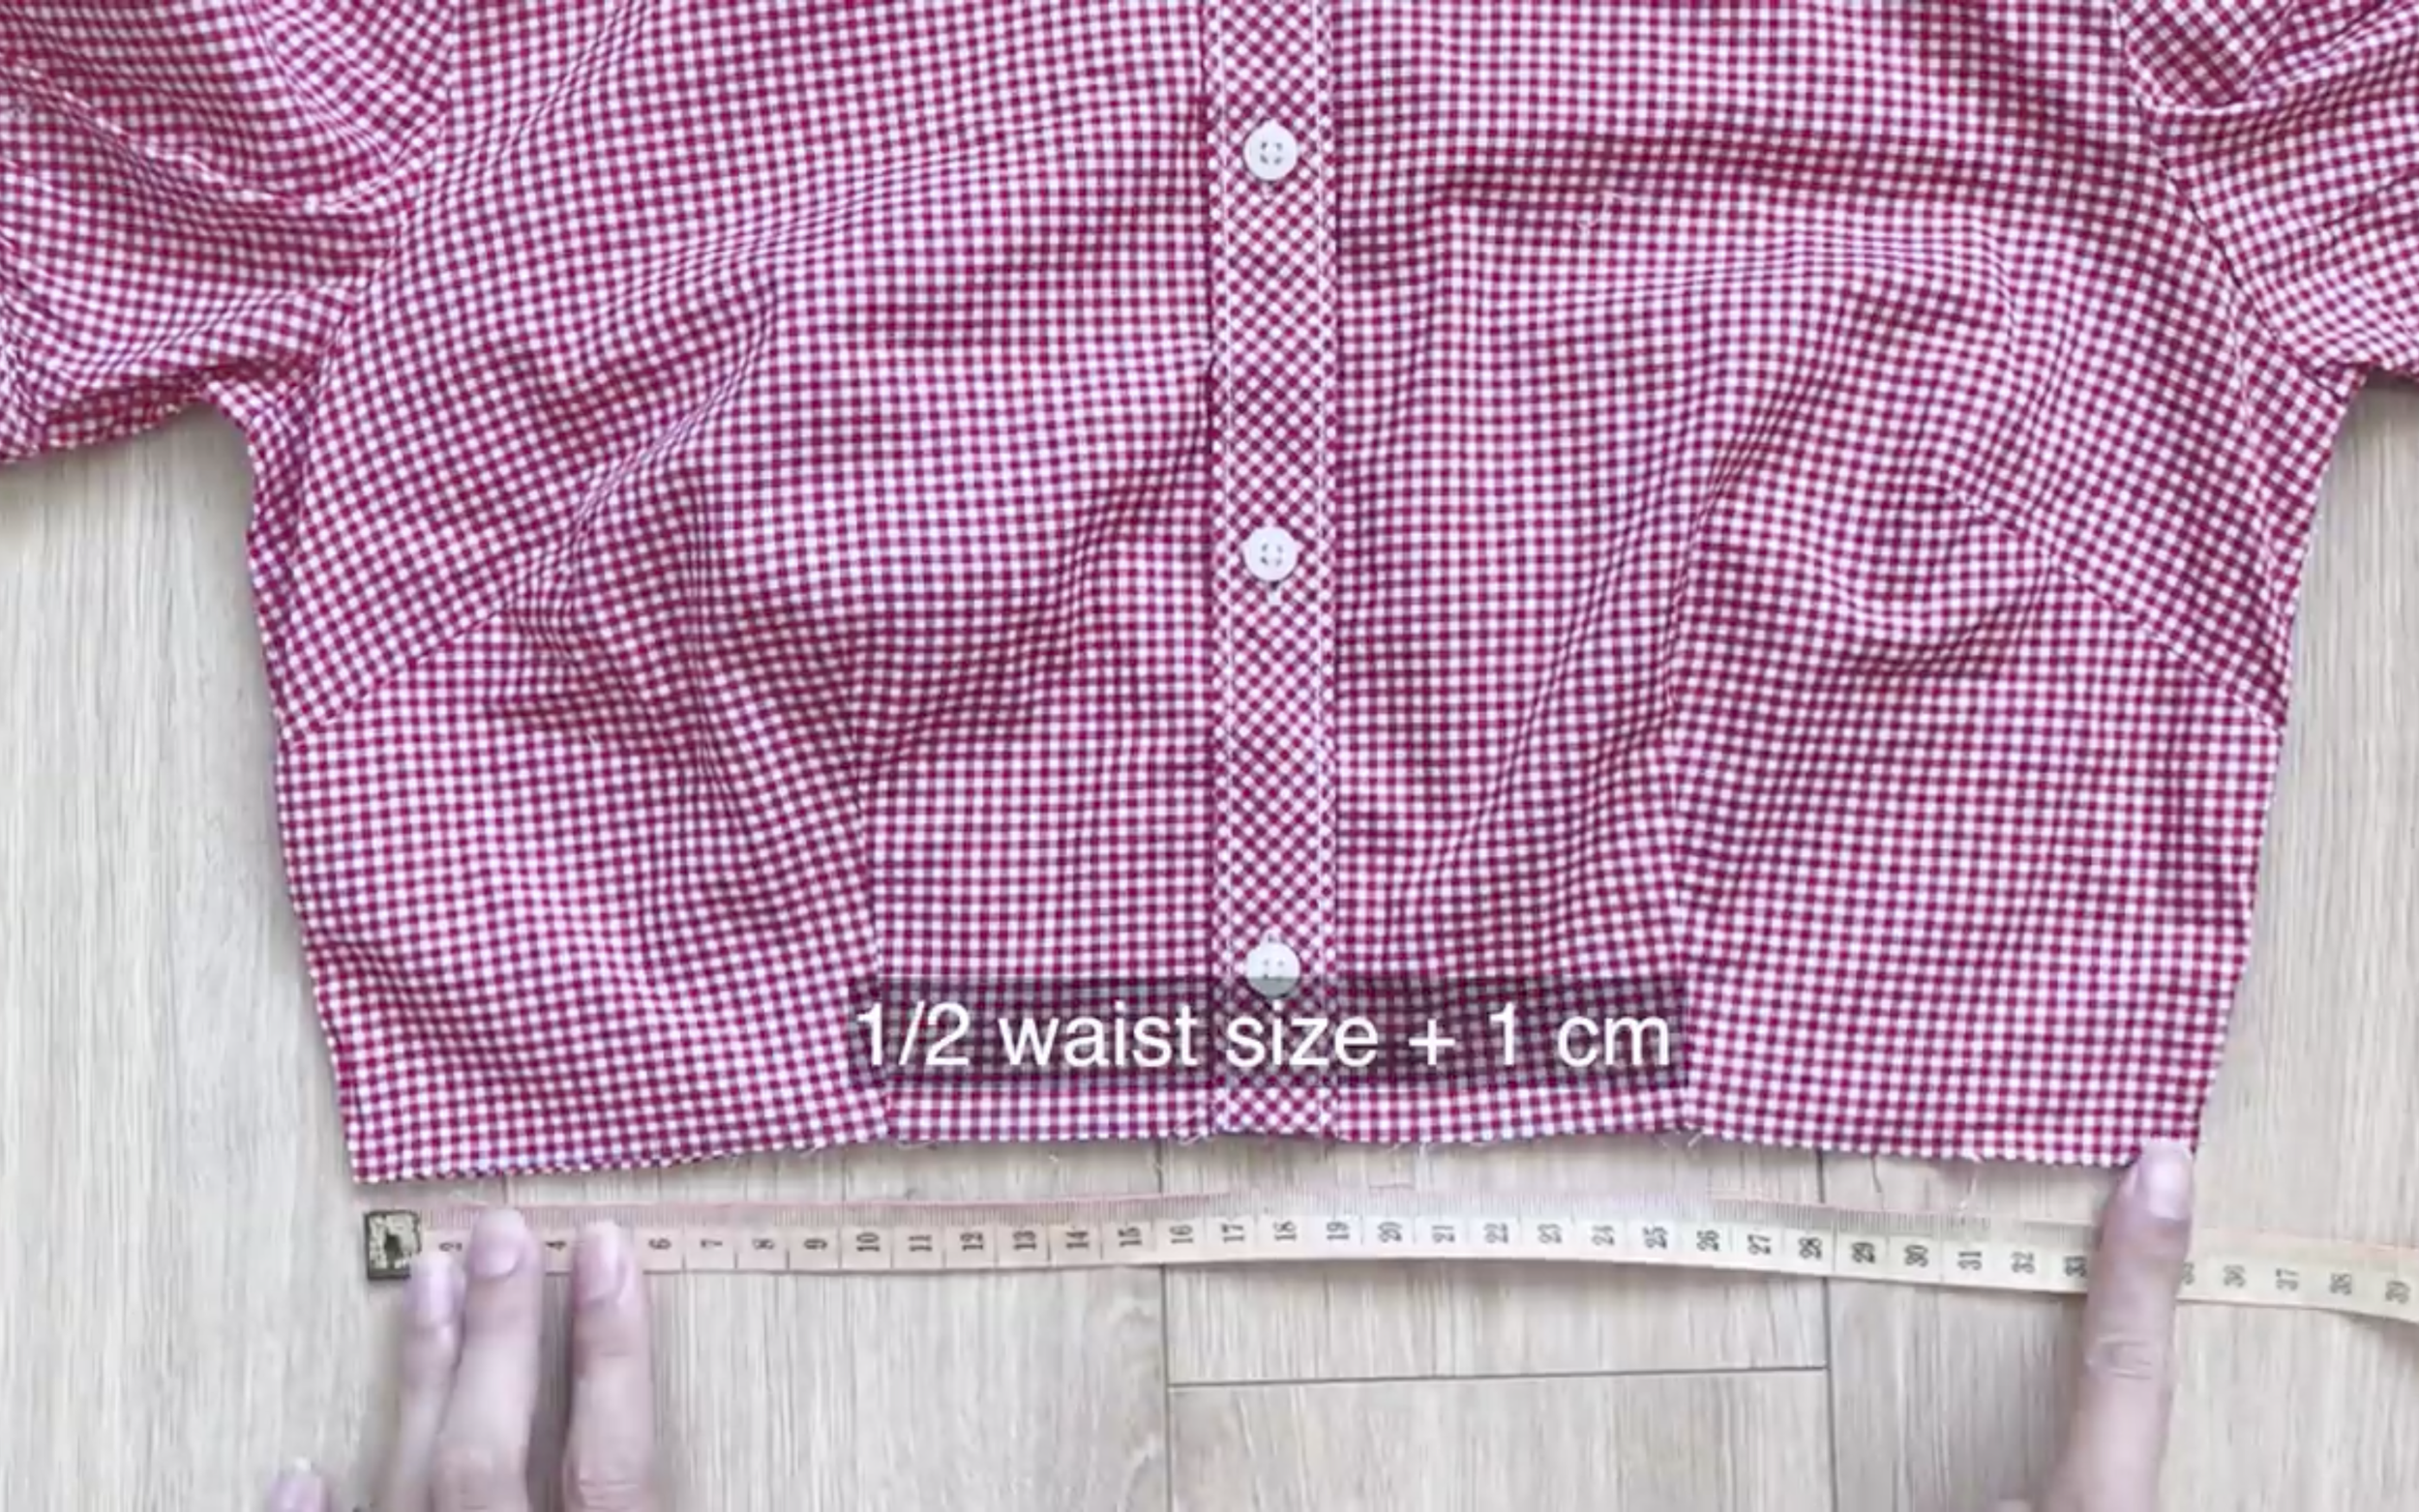
If not, make the dart at the front and back of the top a little bigger until the width meets the belly size plus 1 cm for comfortable wearing.
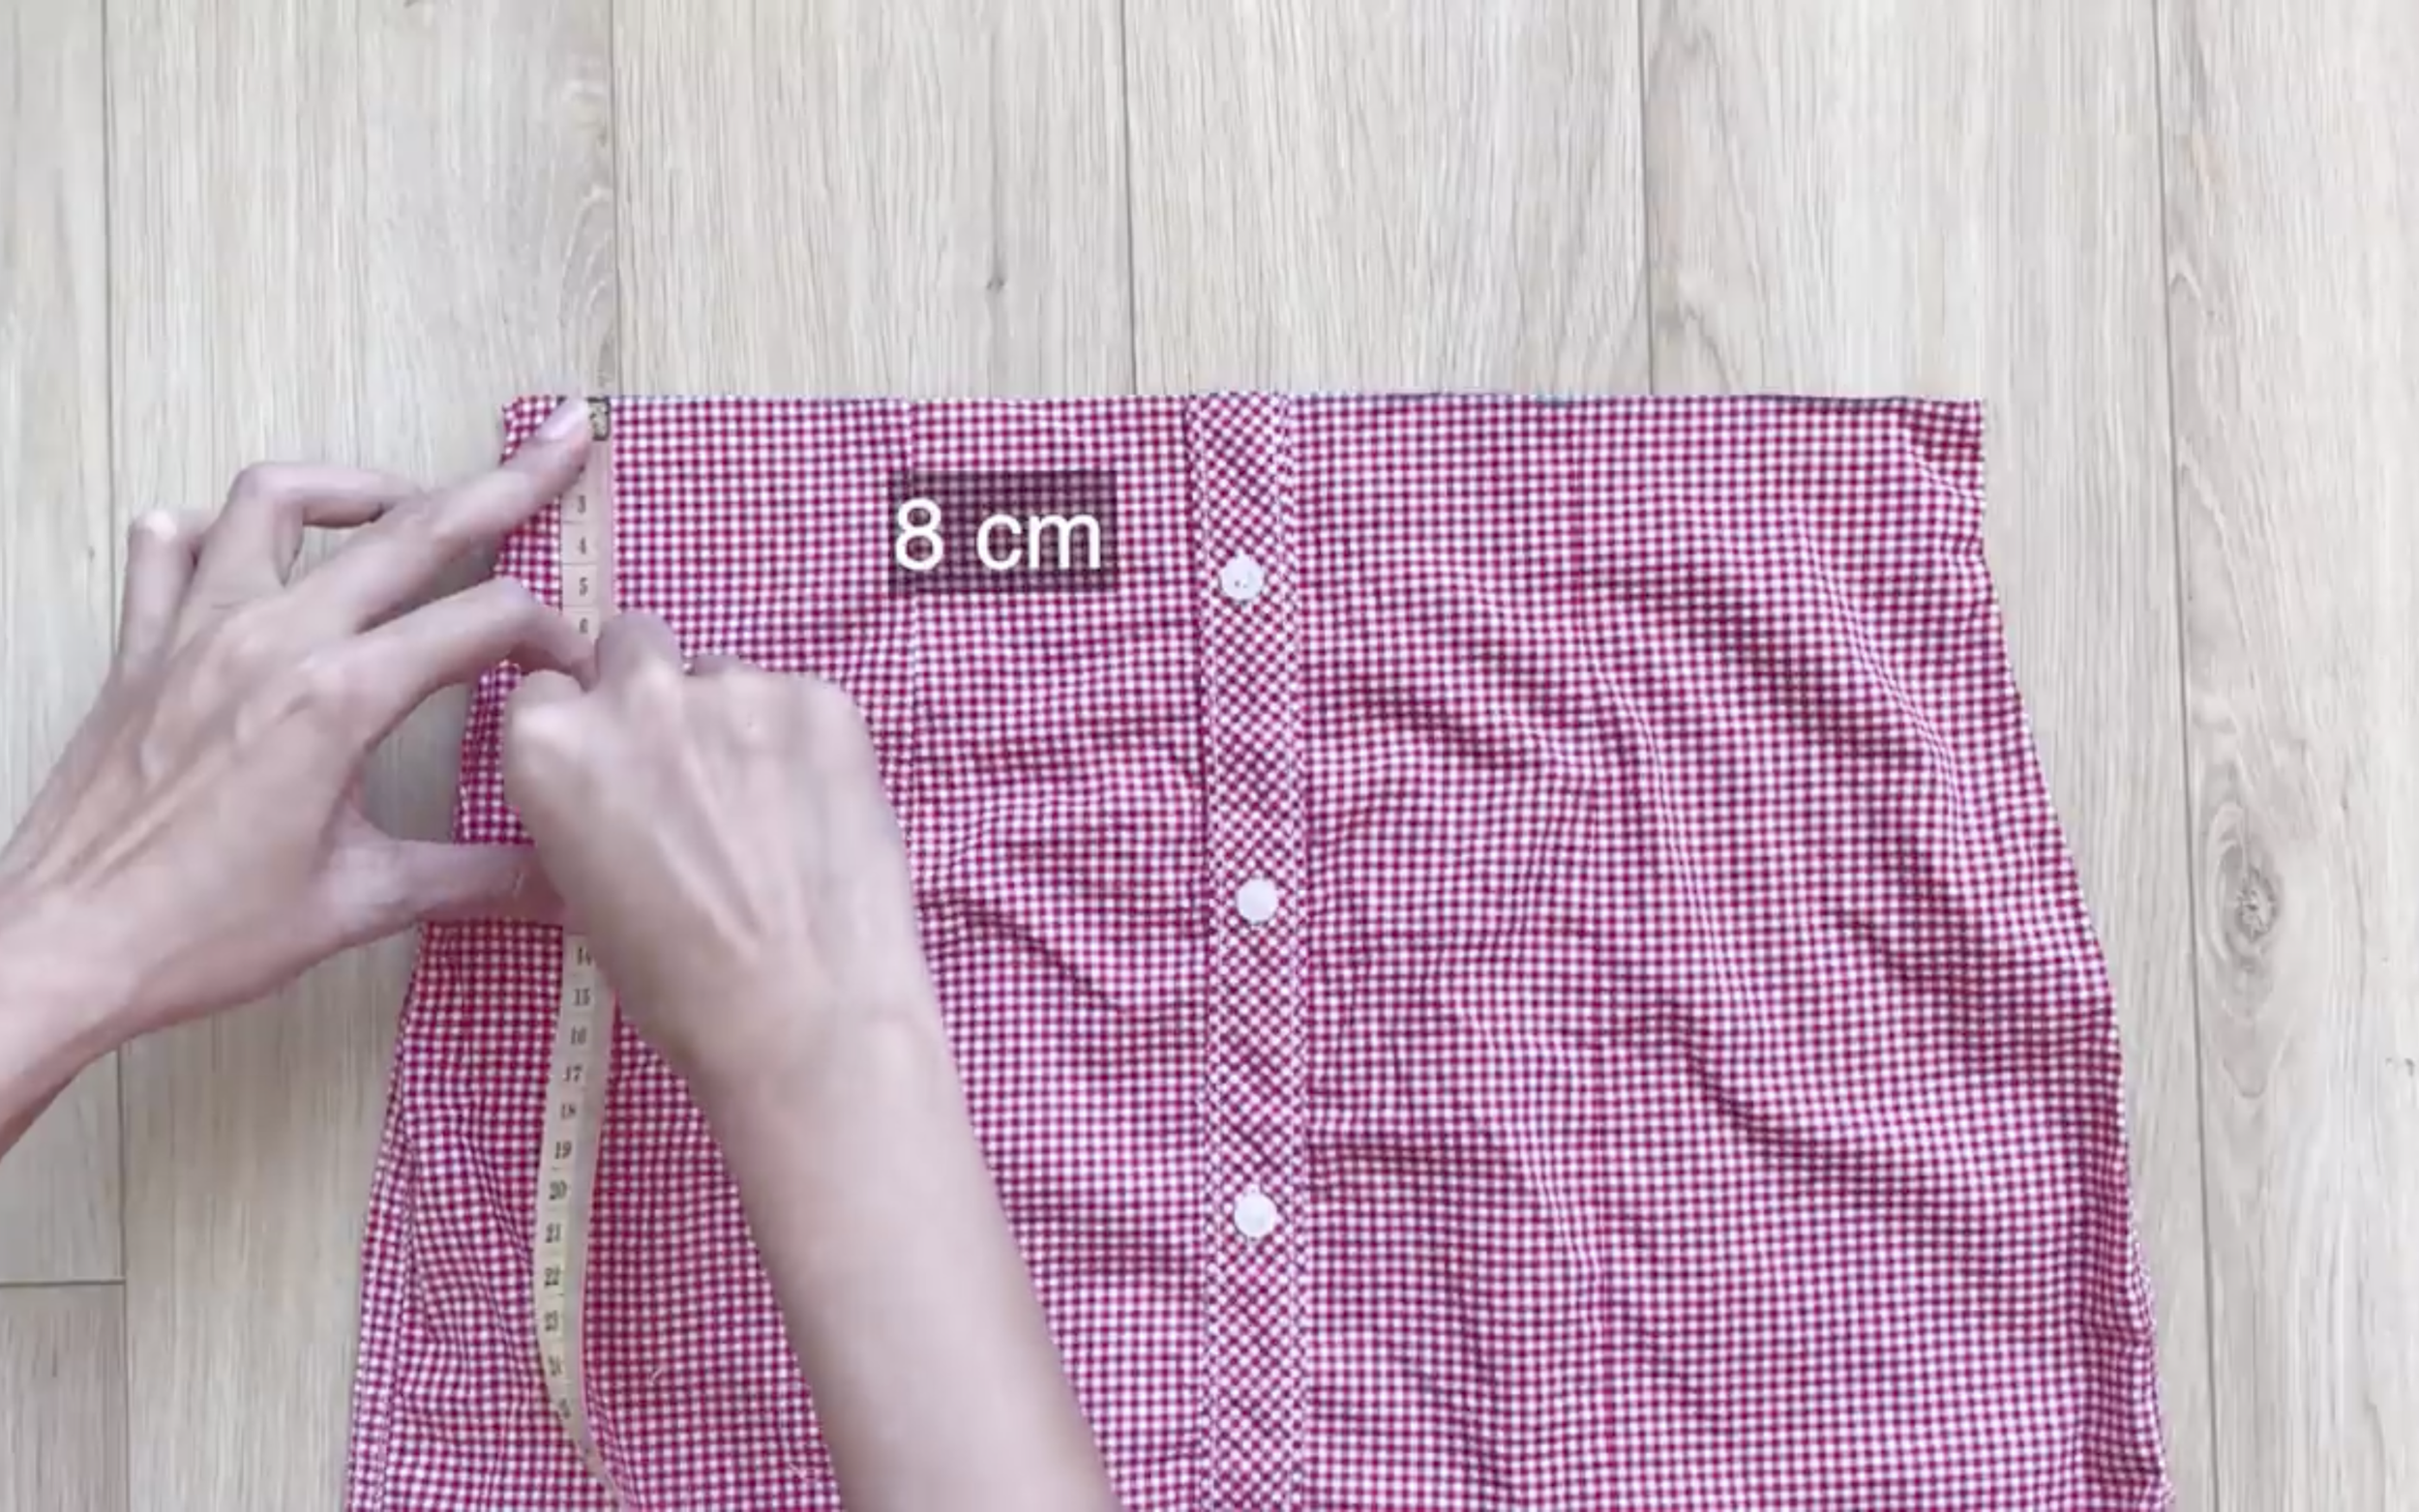
Cut a long rectangle with an 8 cm width at the top of the bottom part to create the waistband for the end of the crop top.
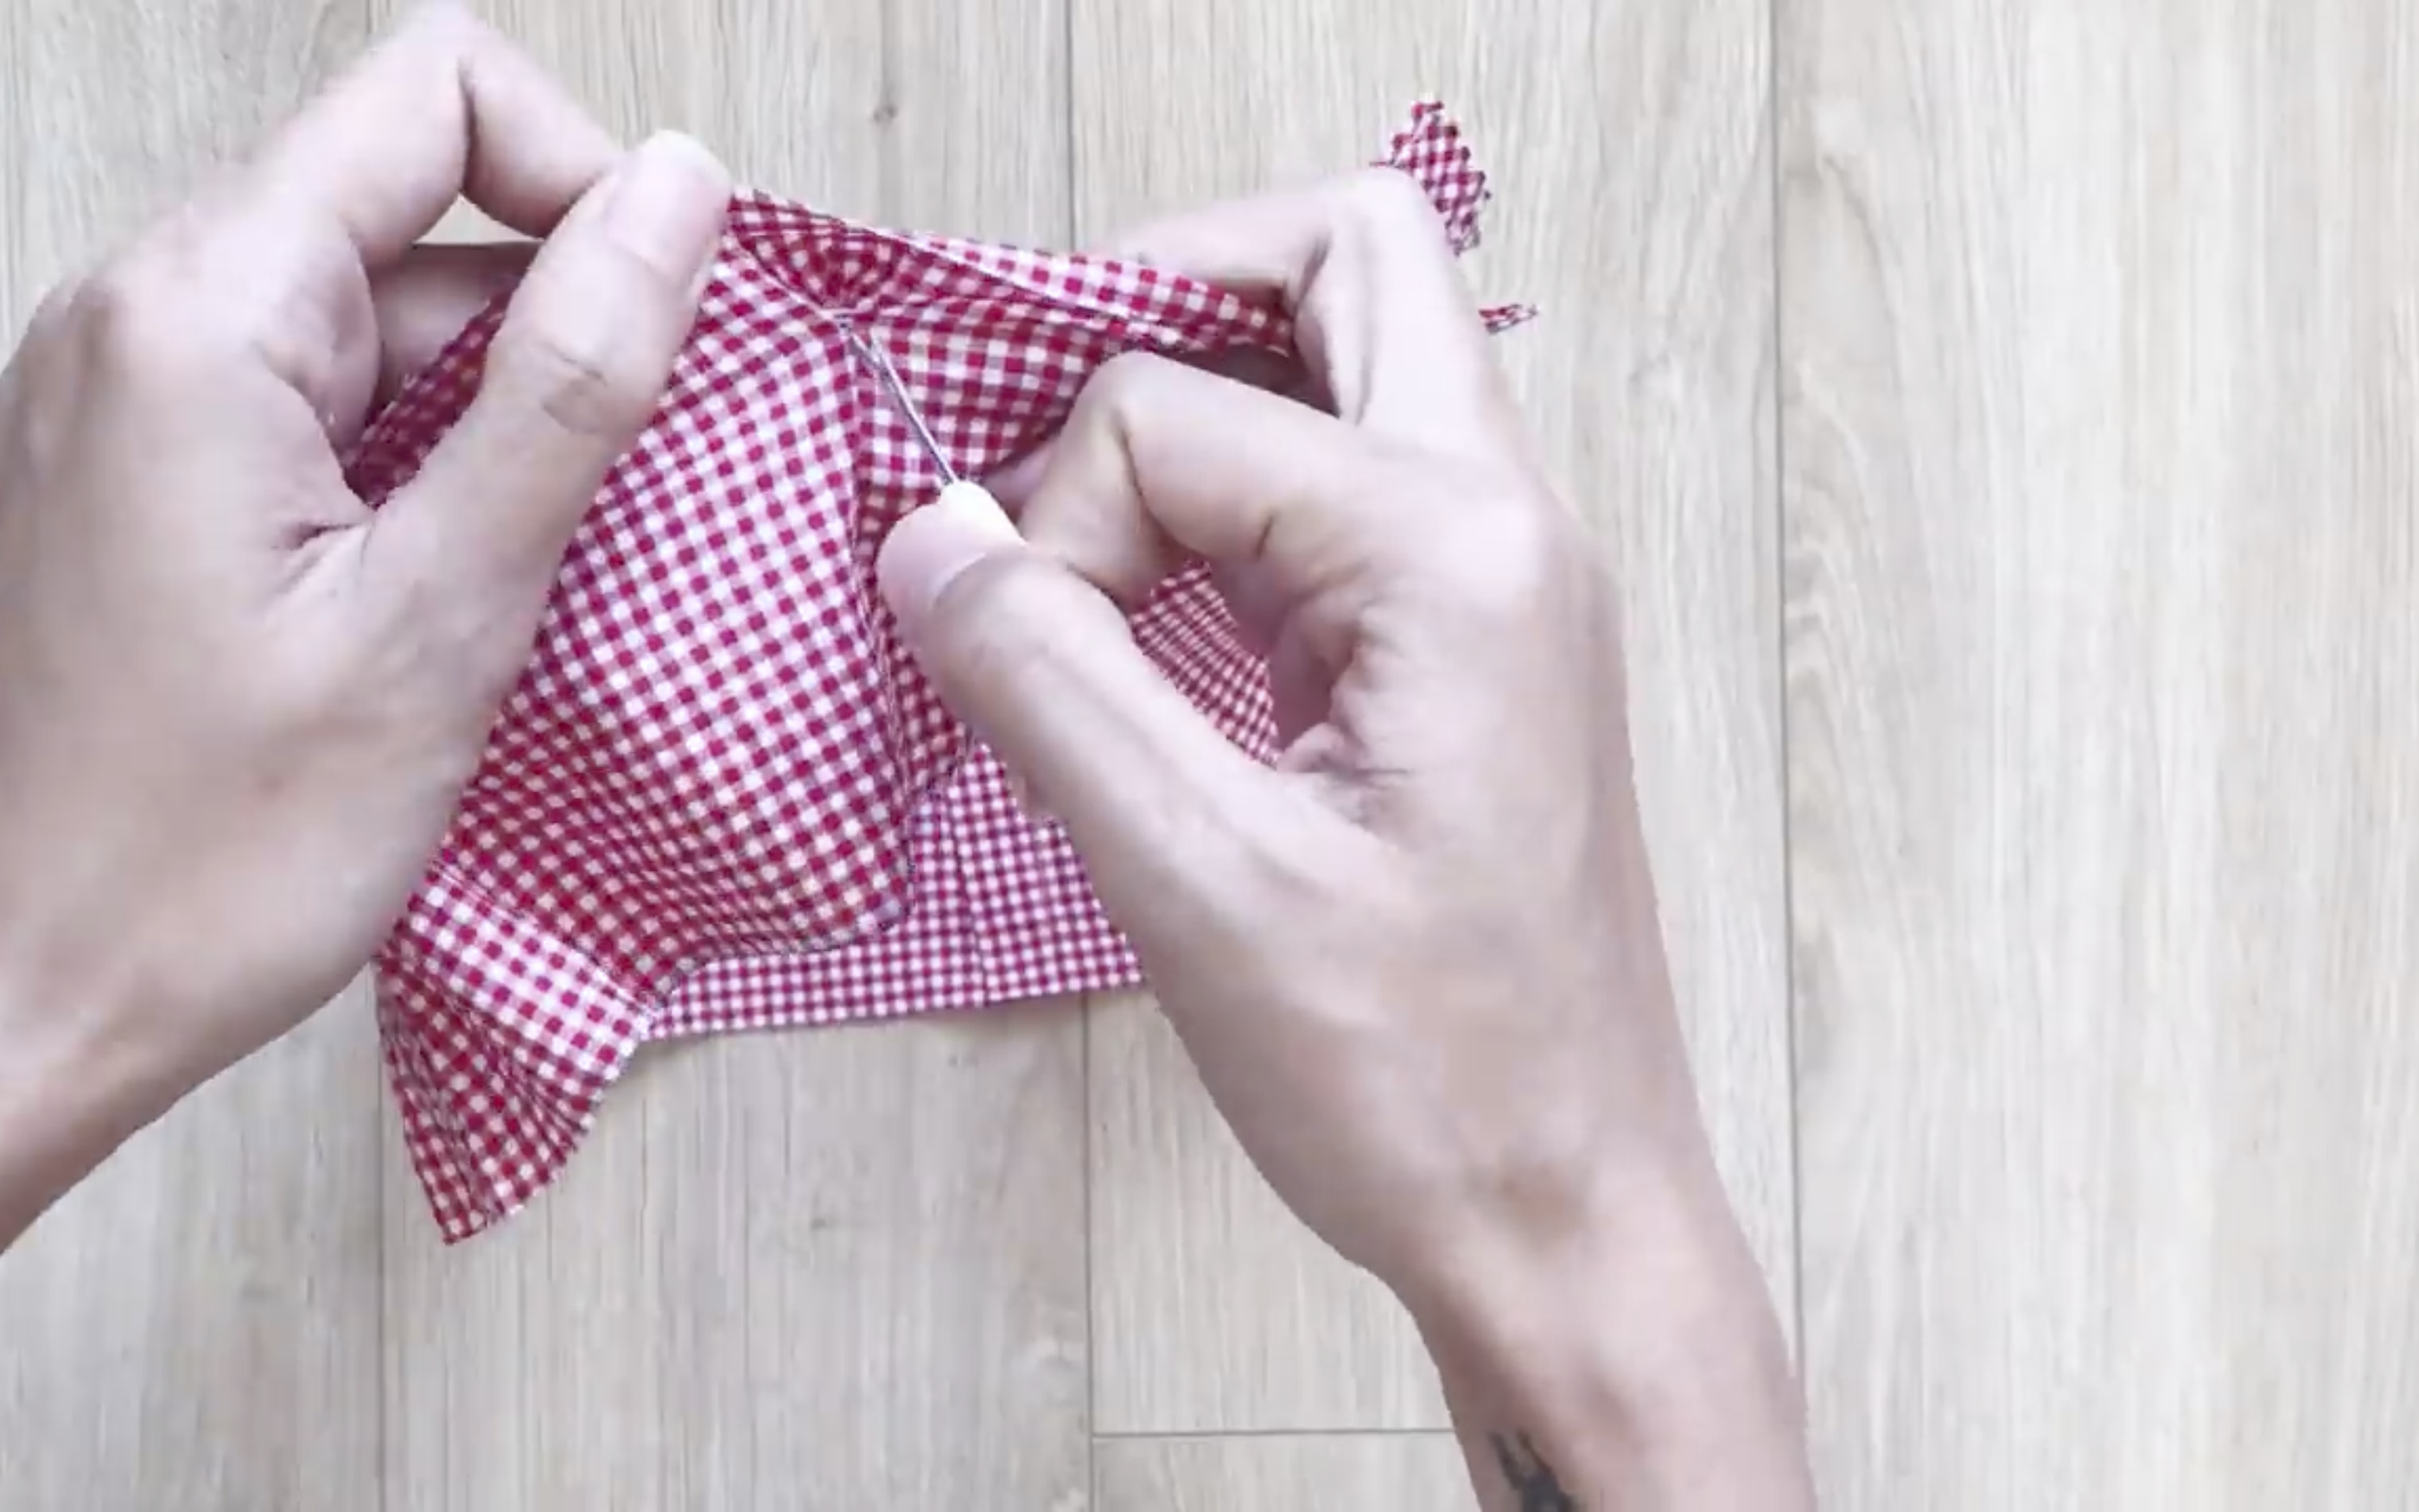
After unsewing the dart, measure the waistband width to fit the waist size.
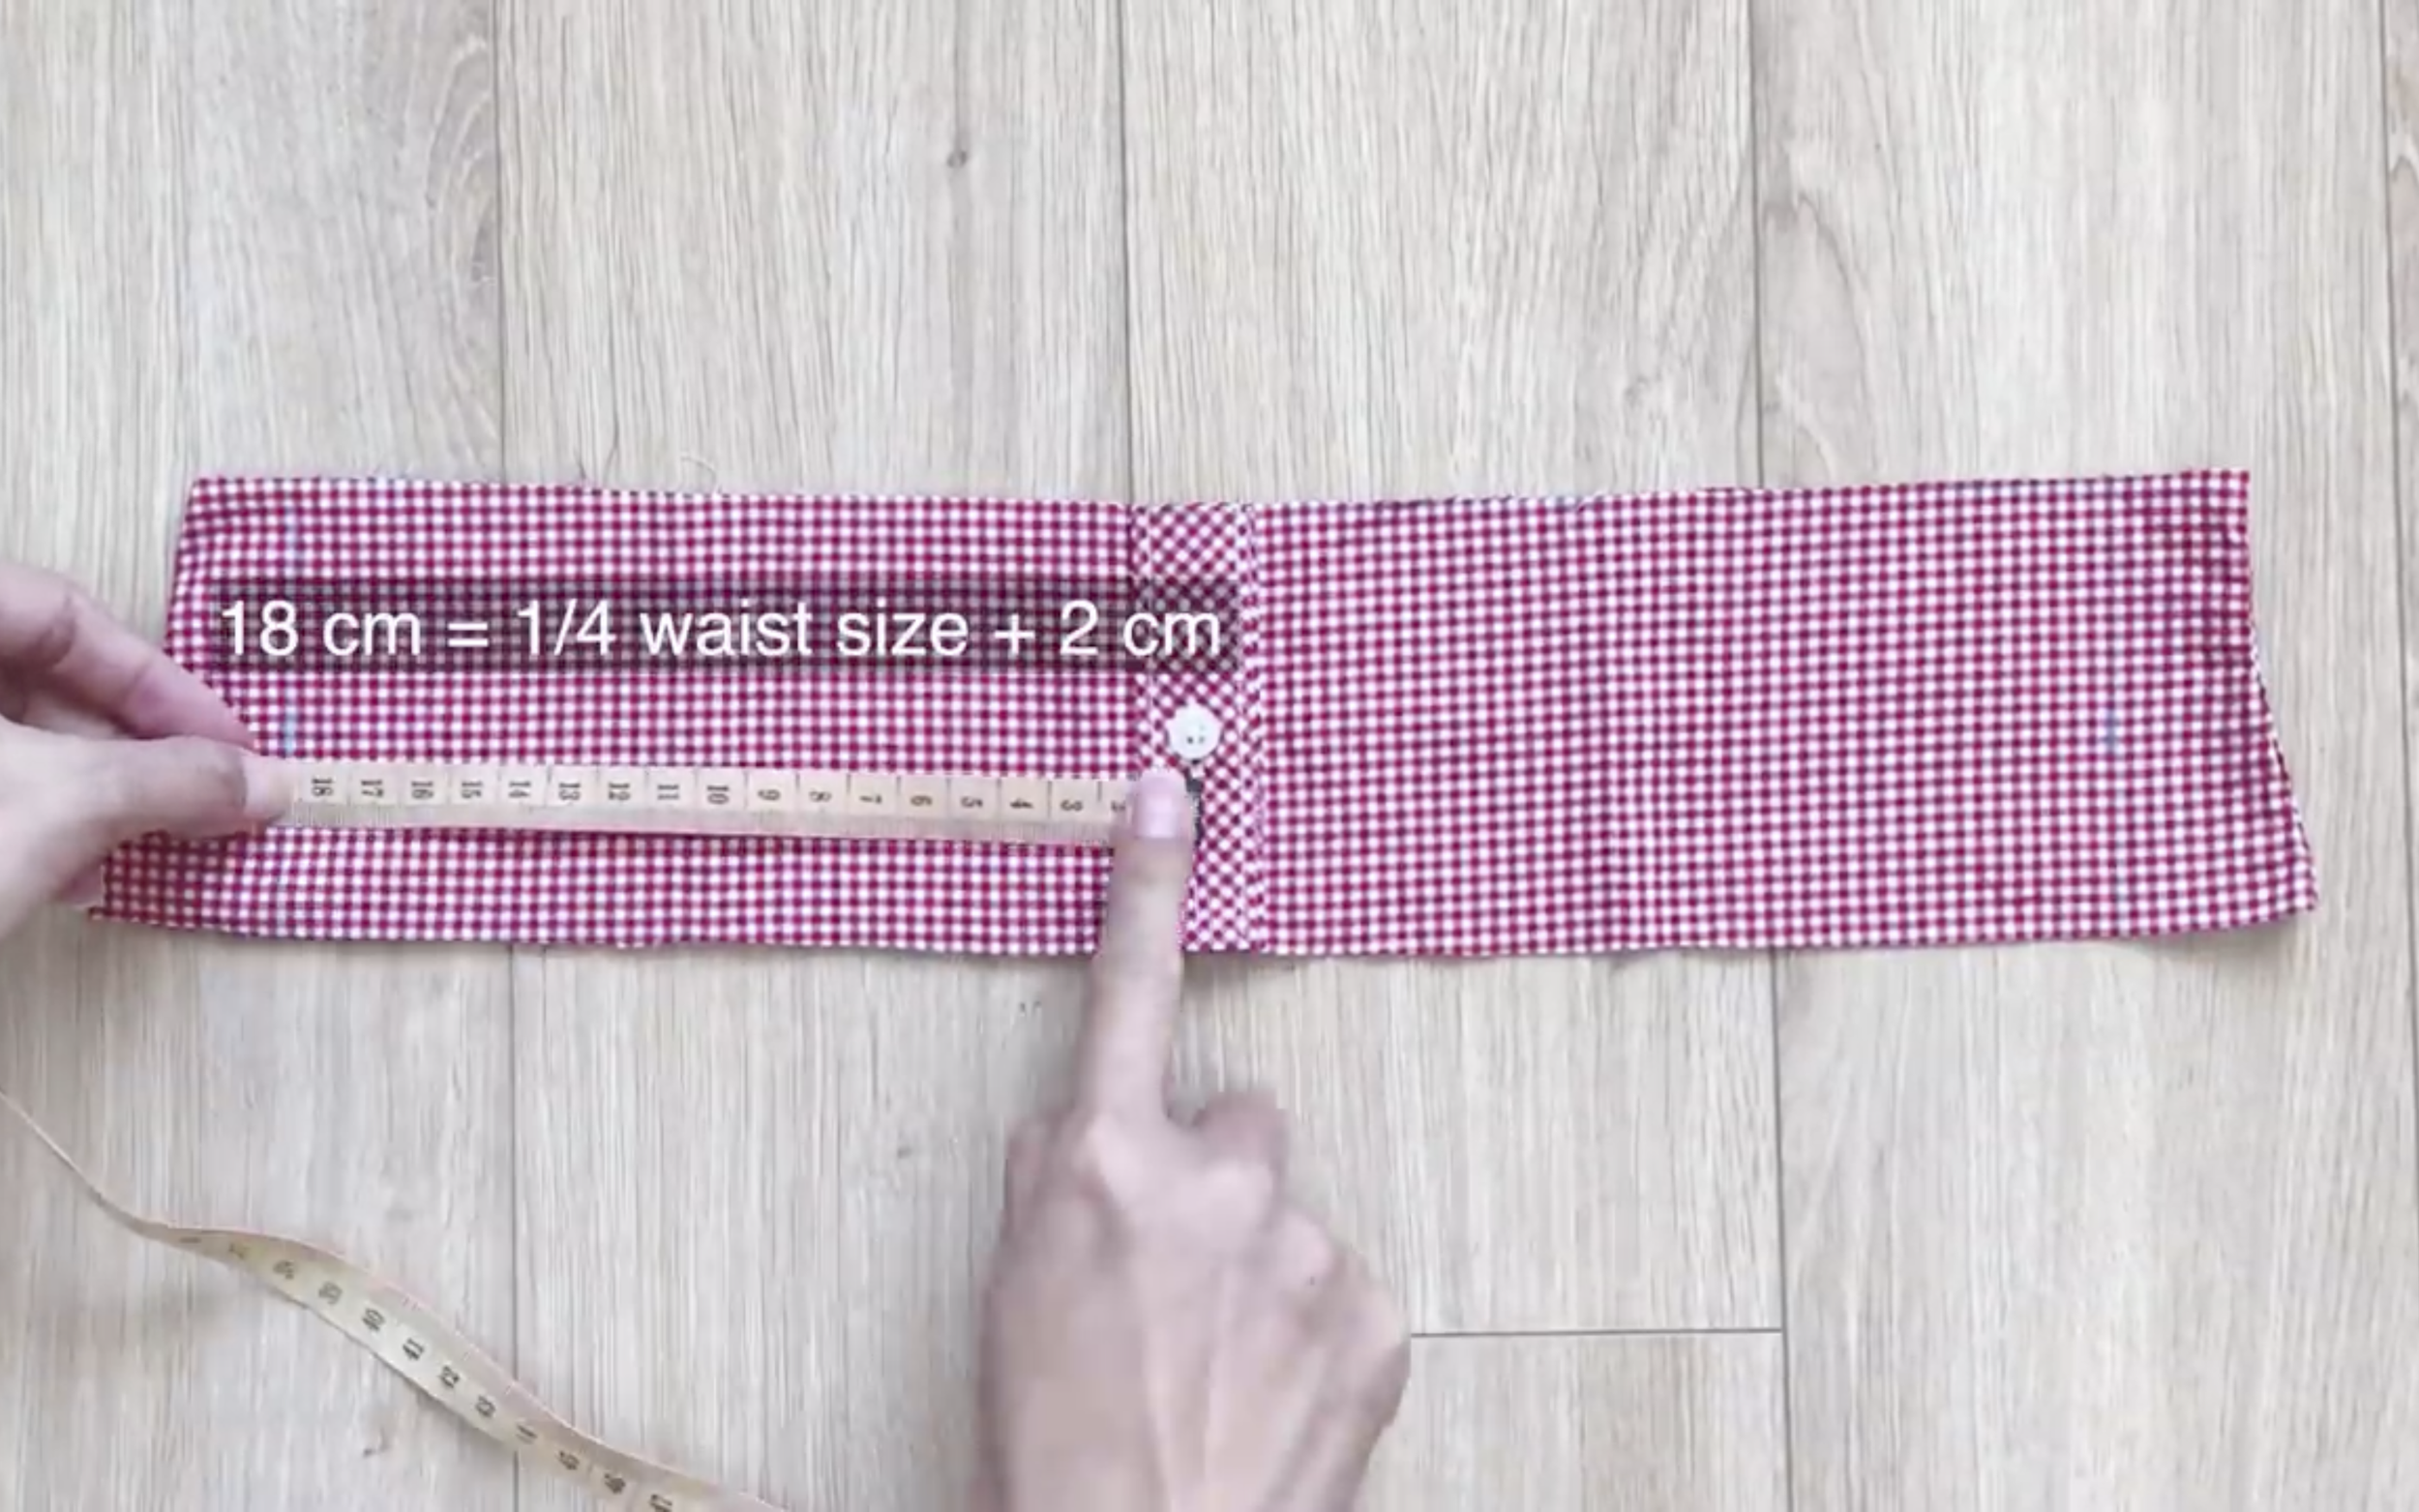
From the middle of the button area, mark 18 cm on both sides, which is a quarter of the waist size plus 2 cm.
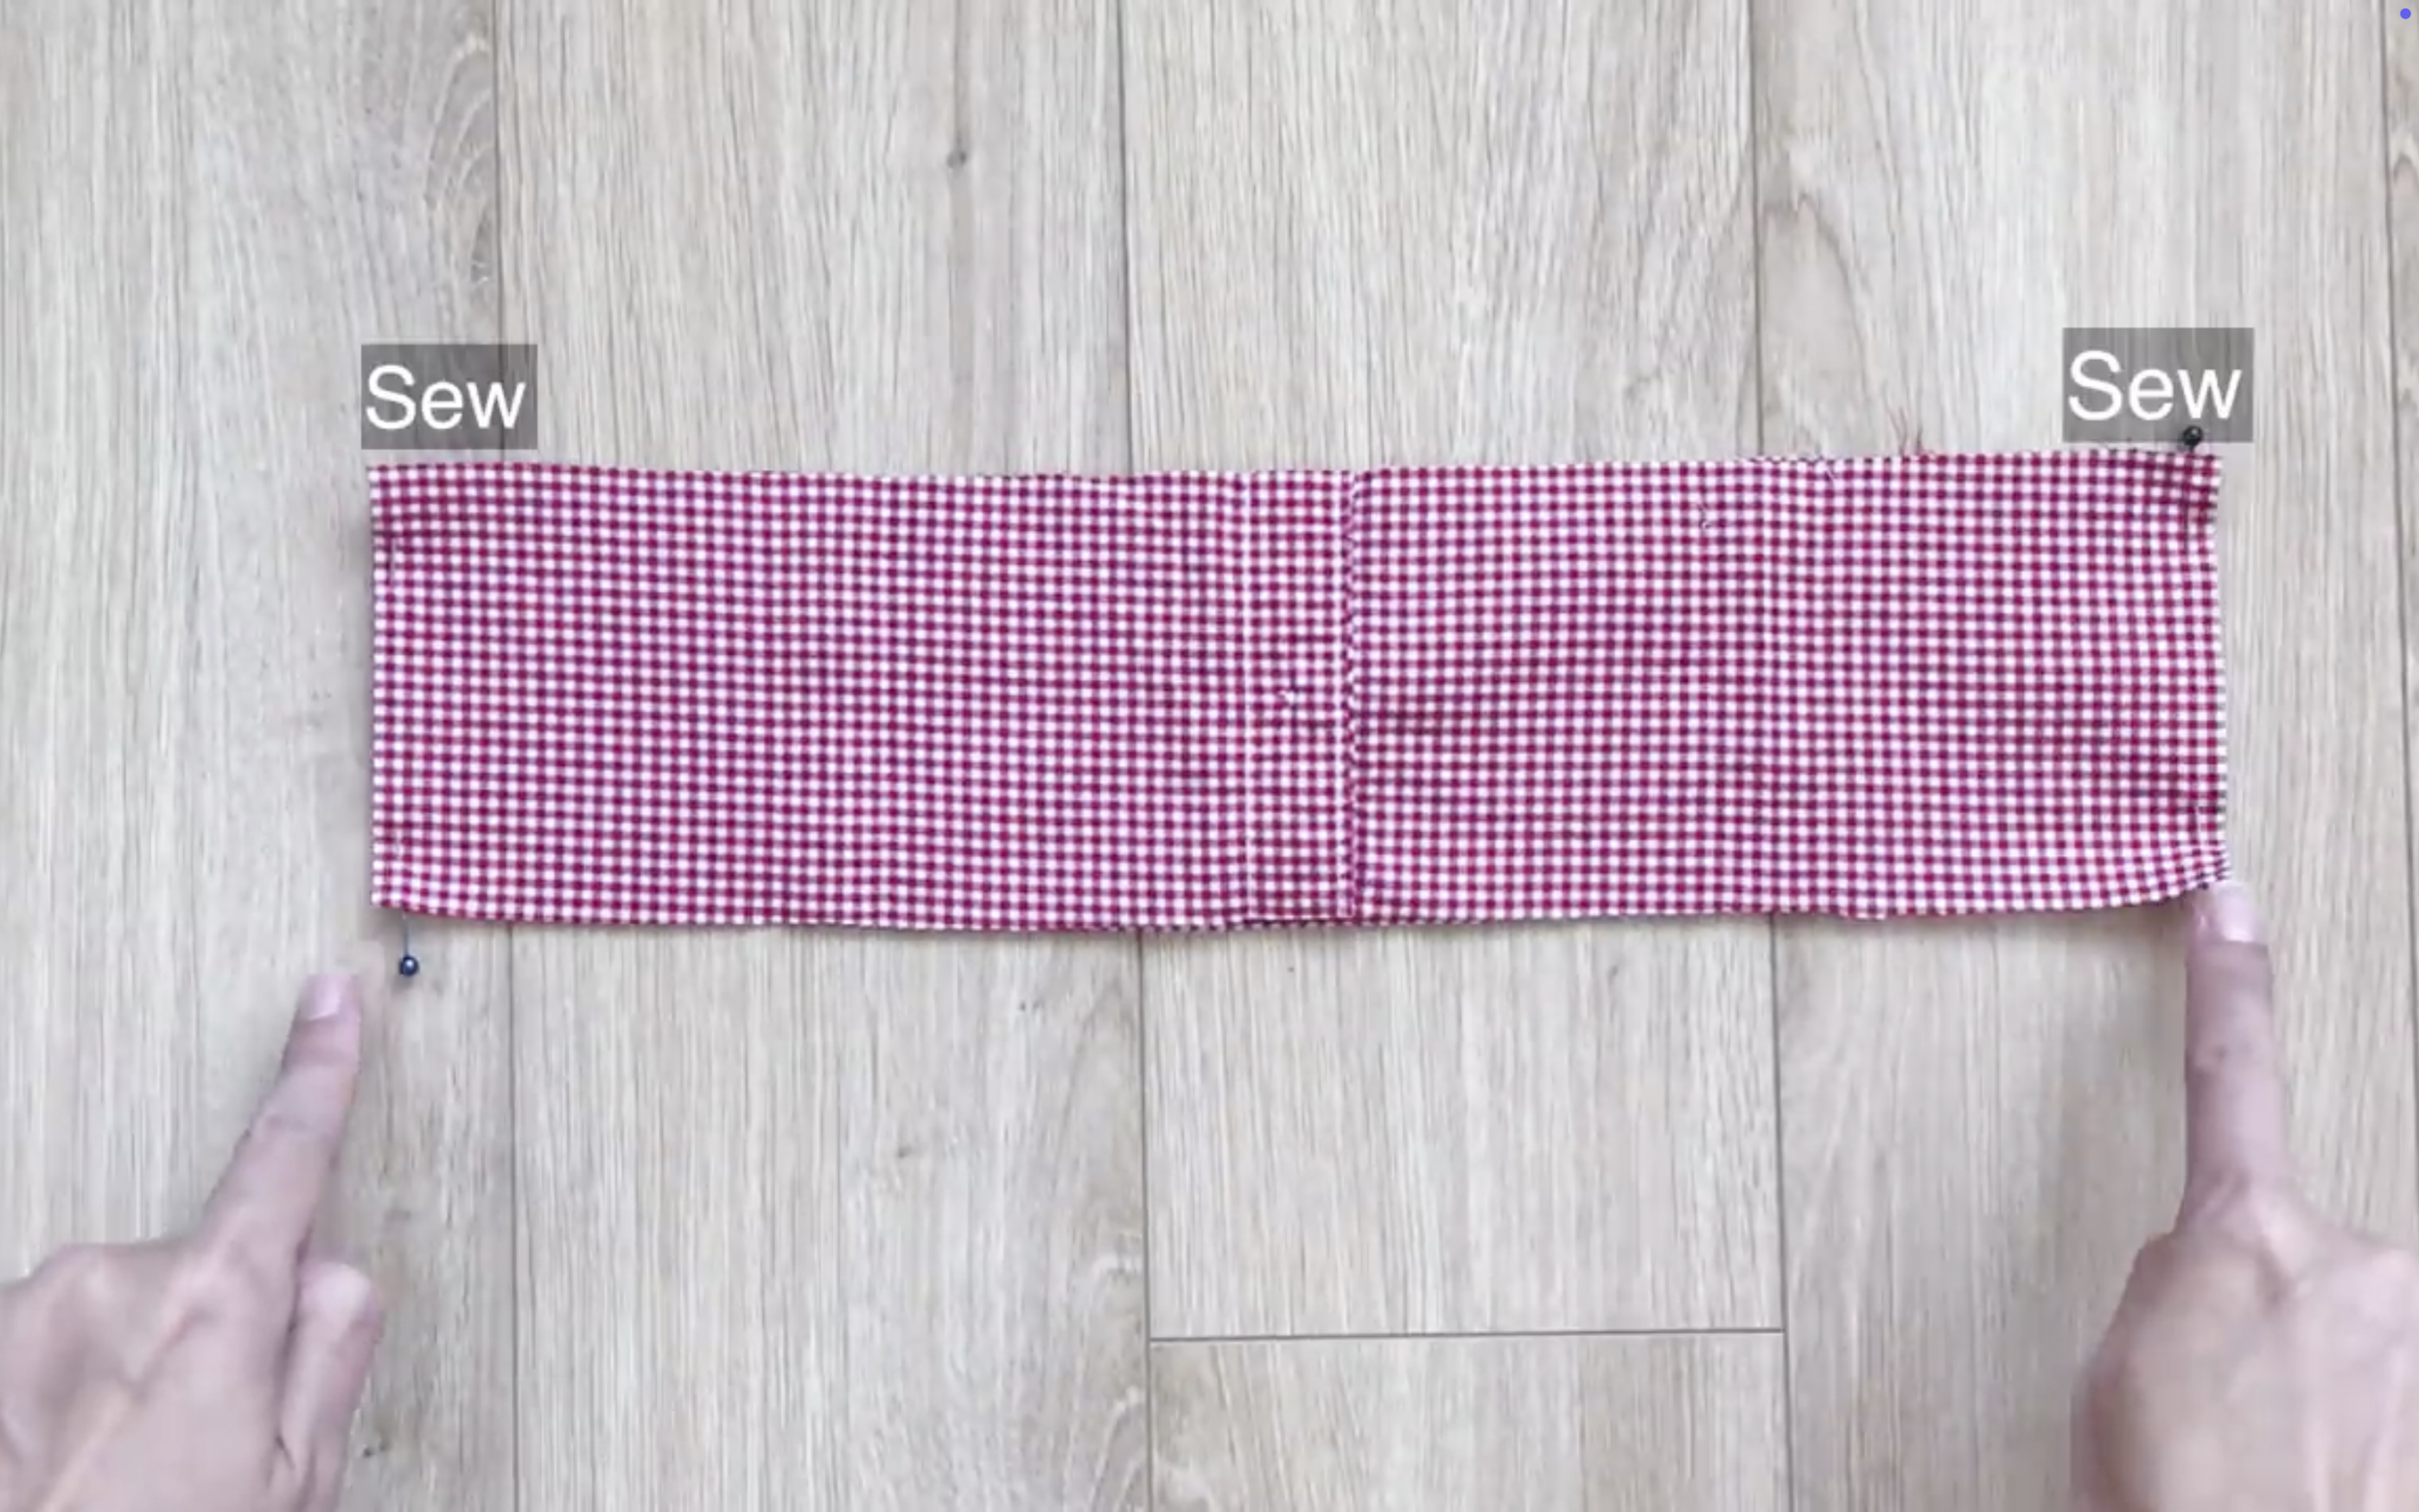
And sew to connect the two side lines together.
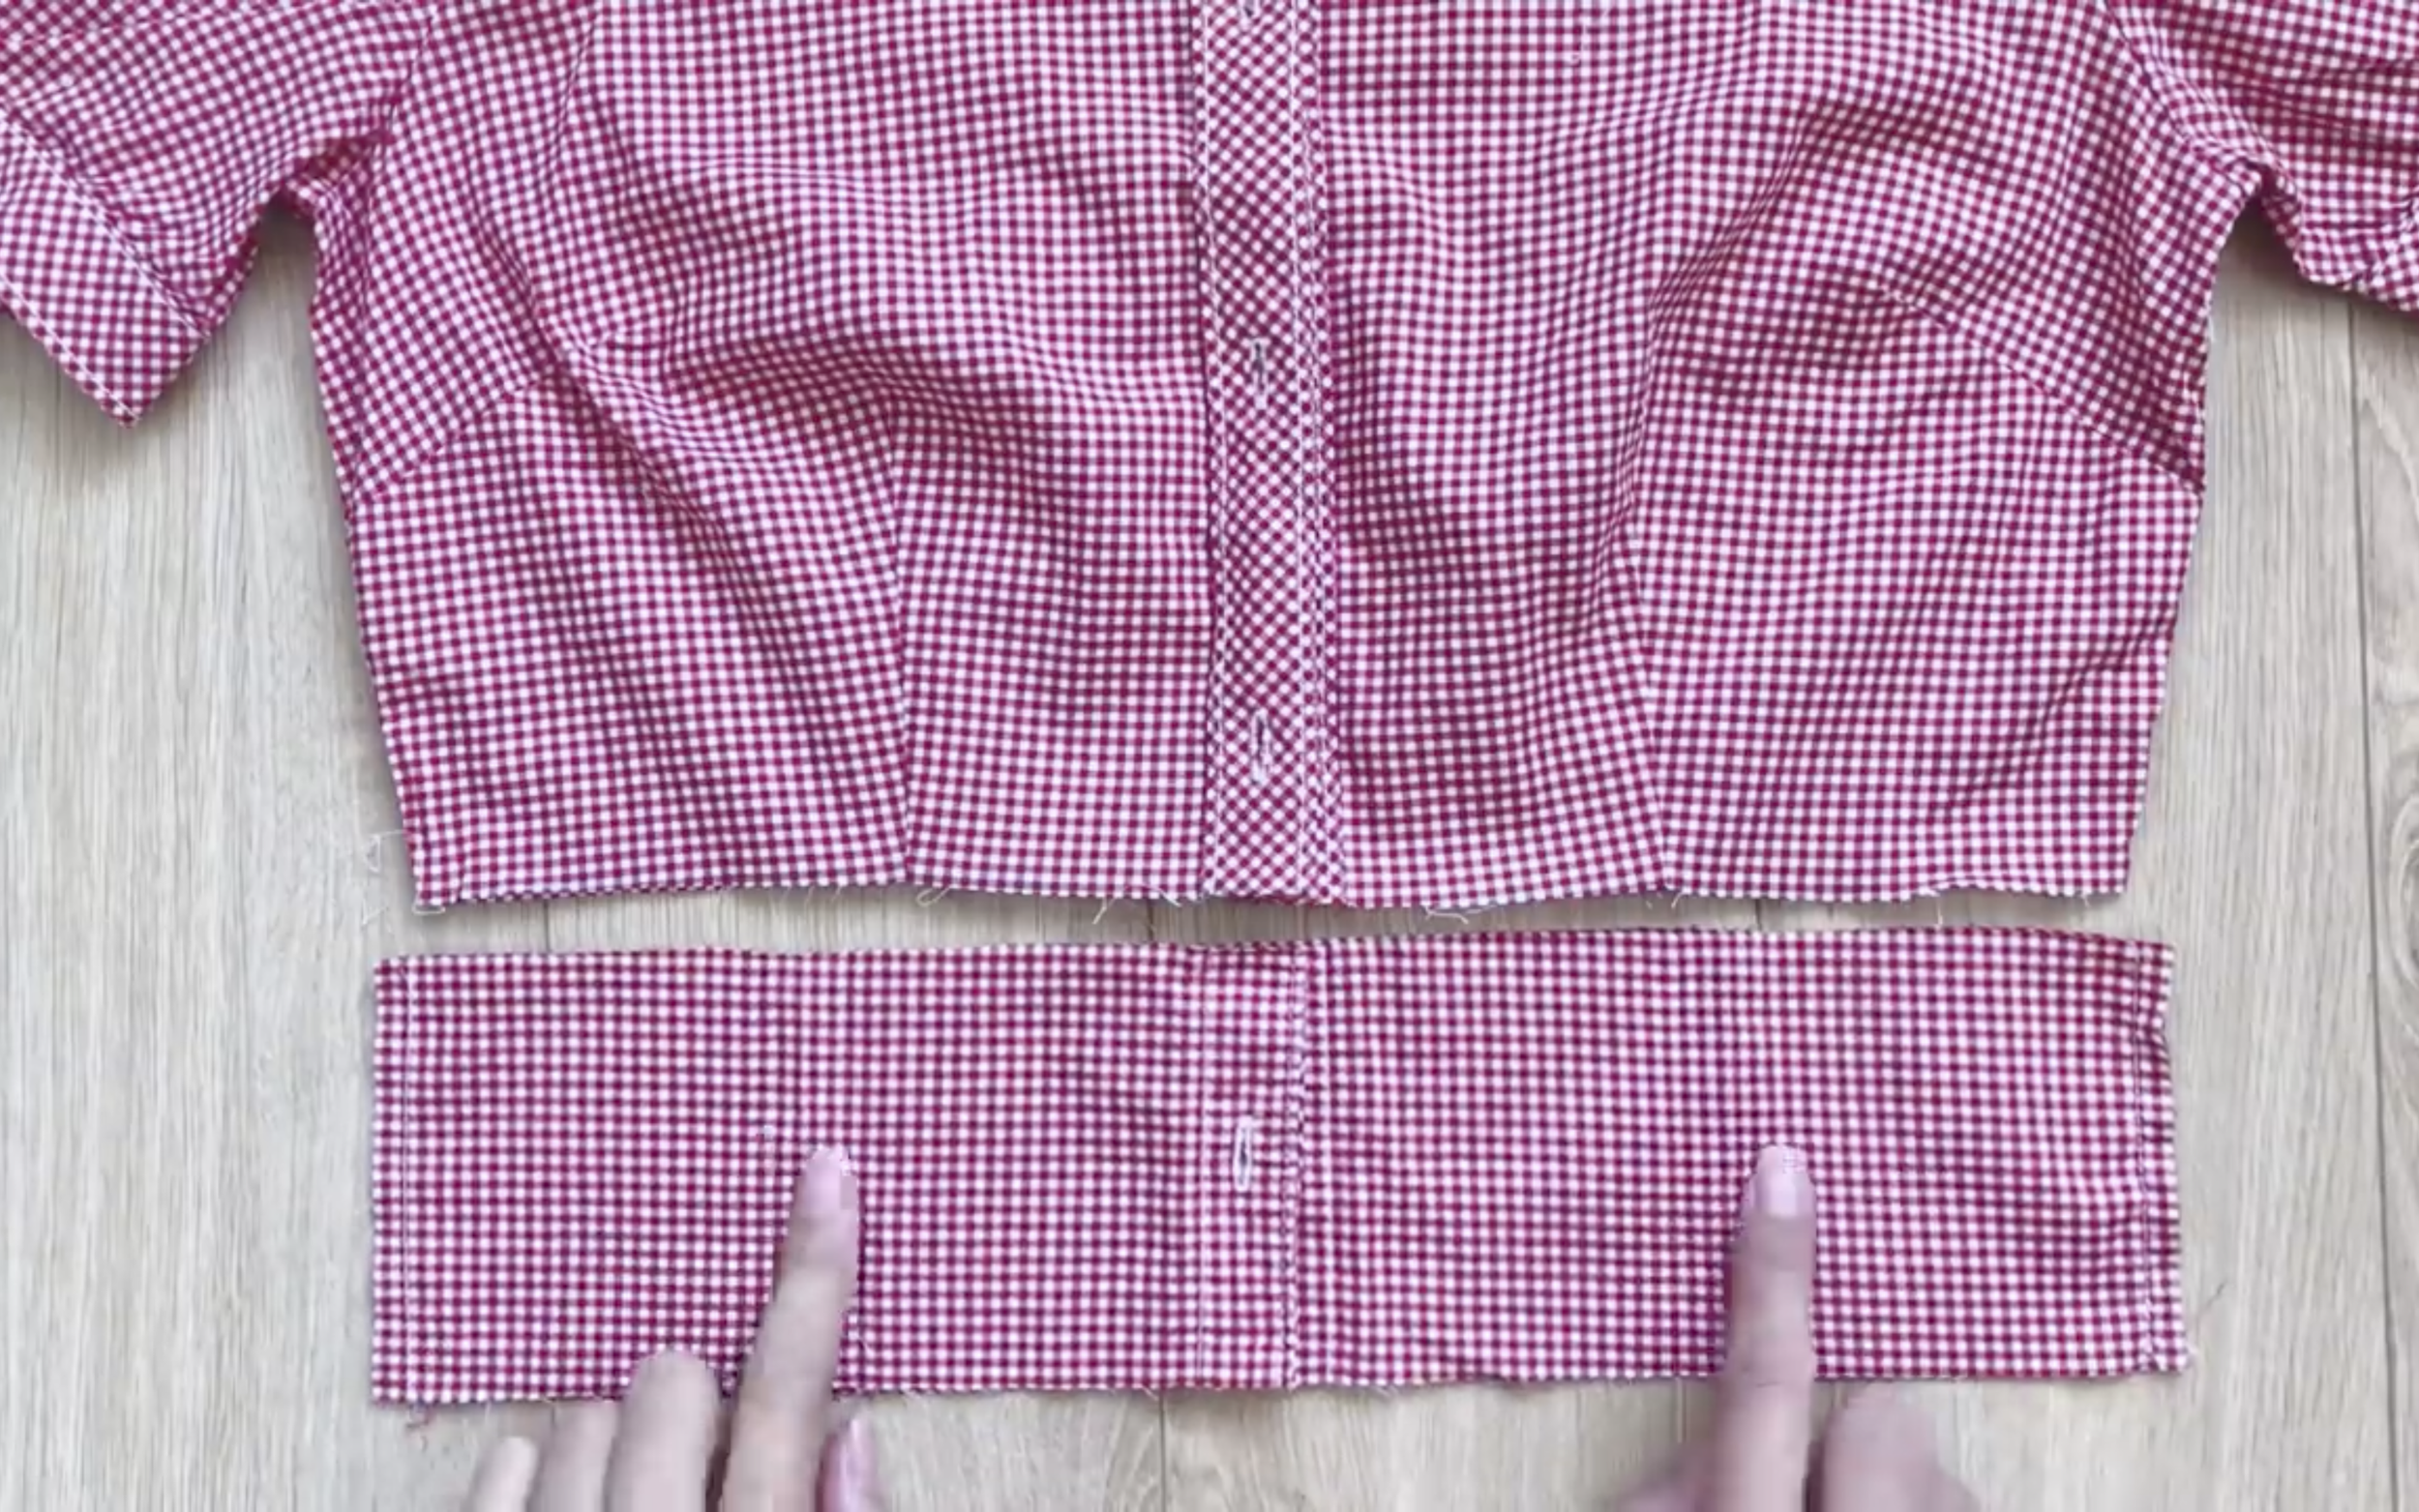
The next step is connecting the waistband to the end of the top, starting at the bottom area first and then the rest.
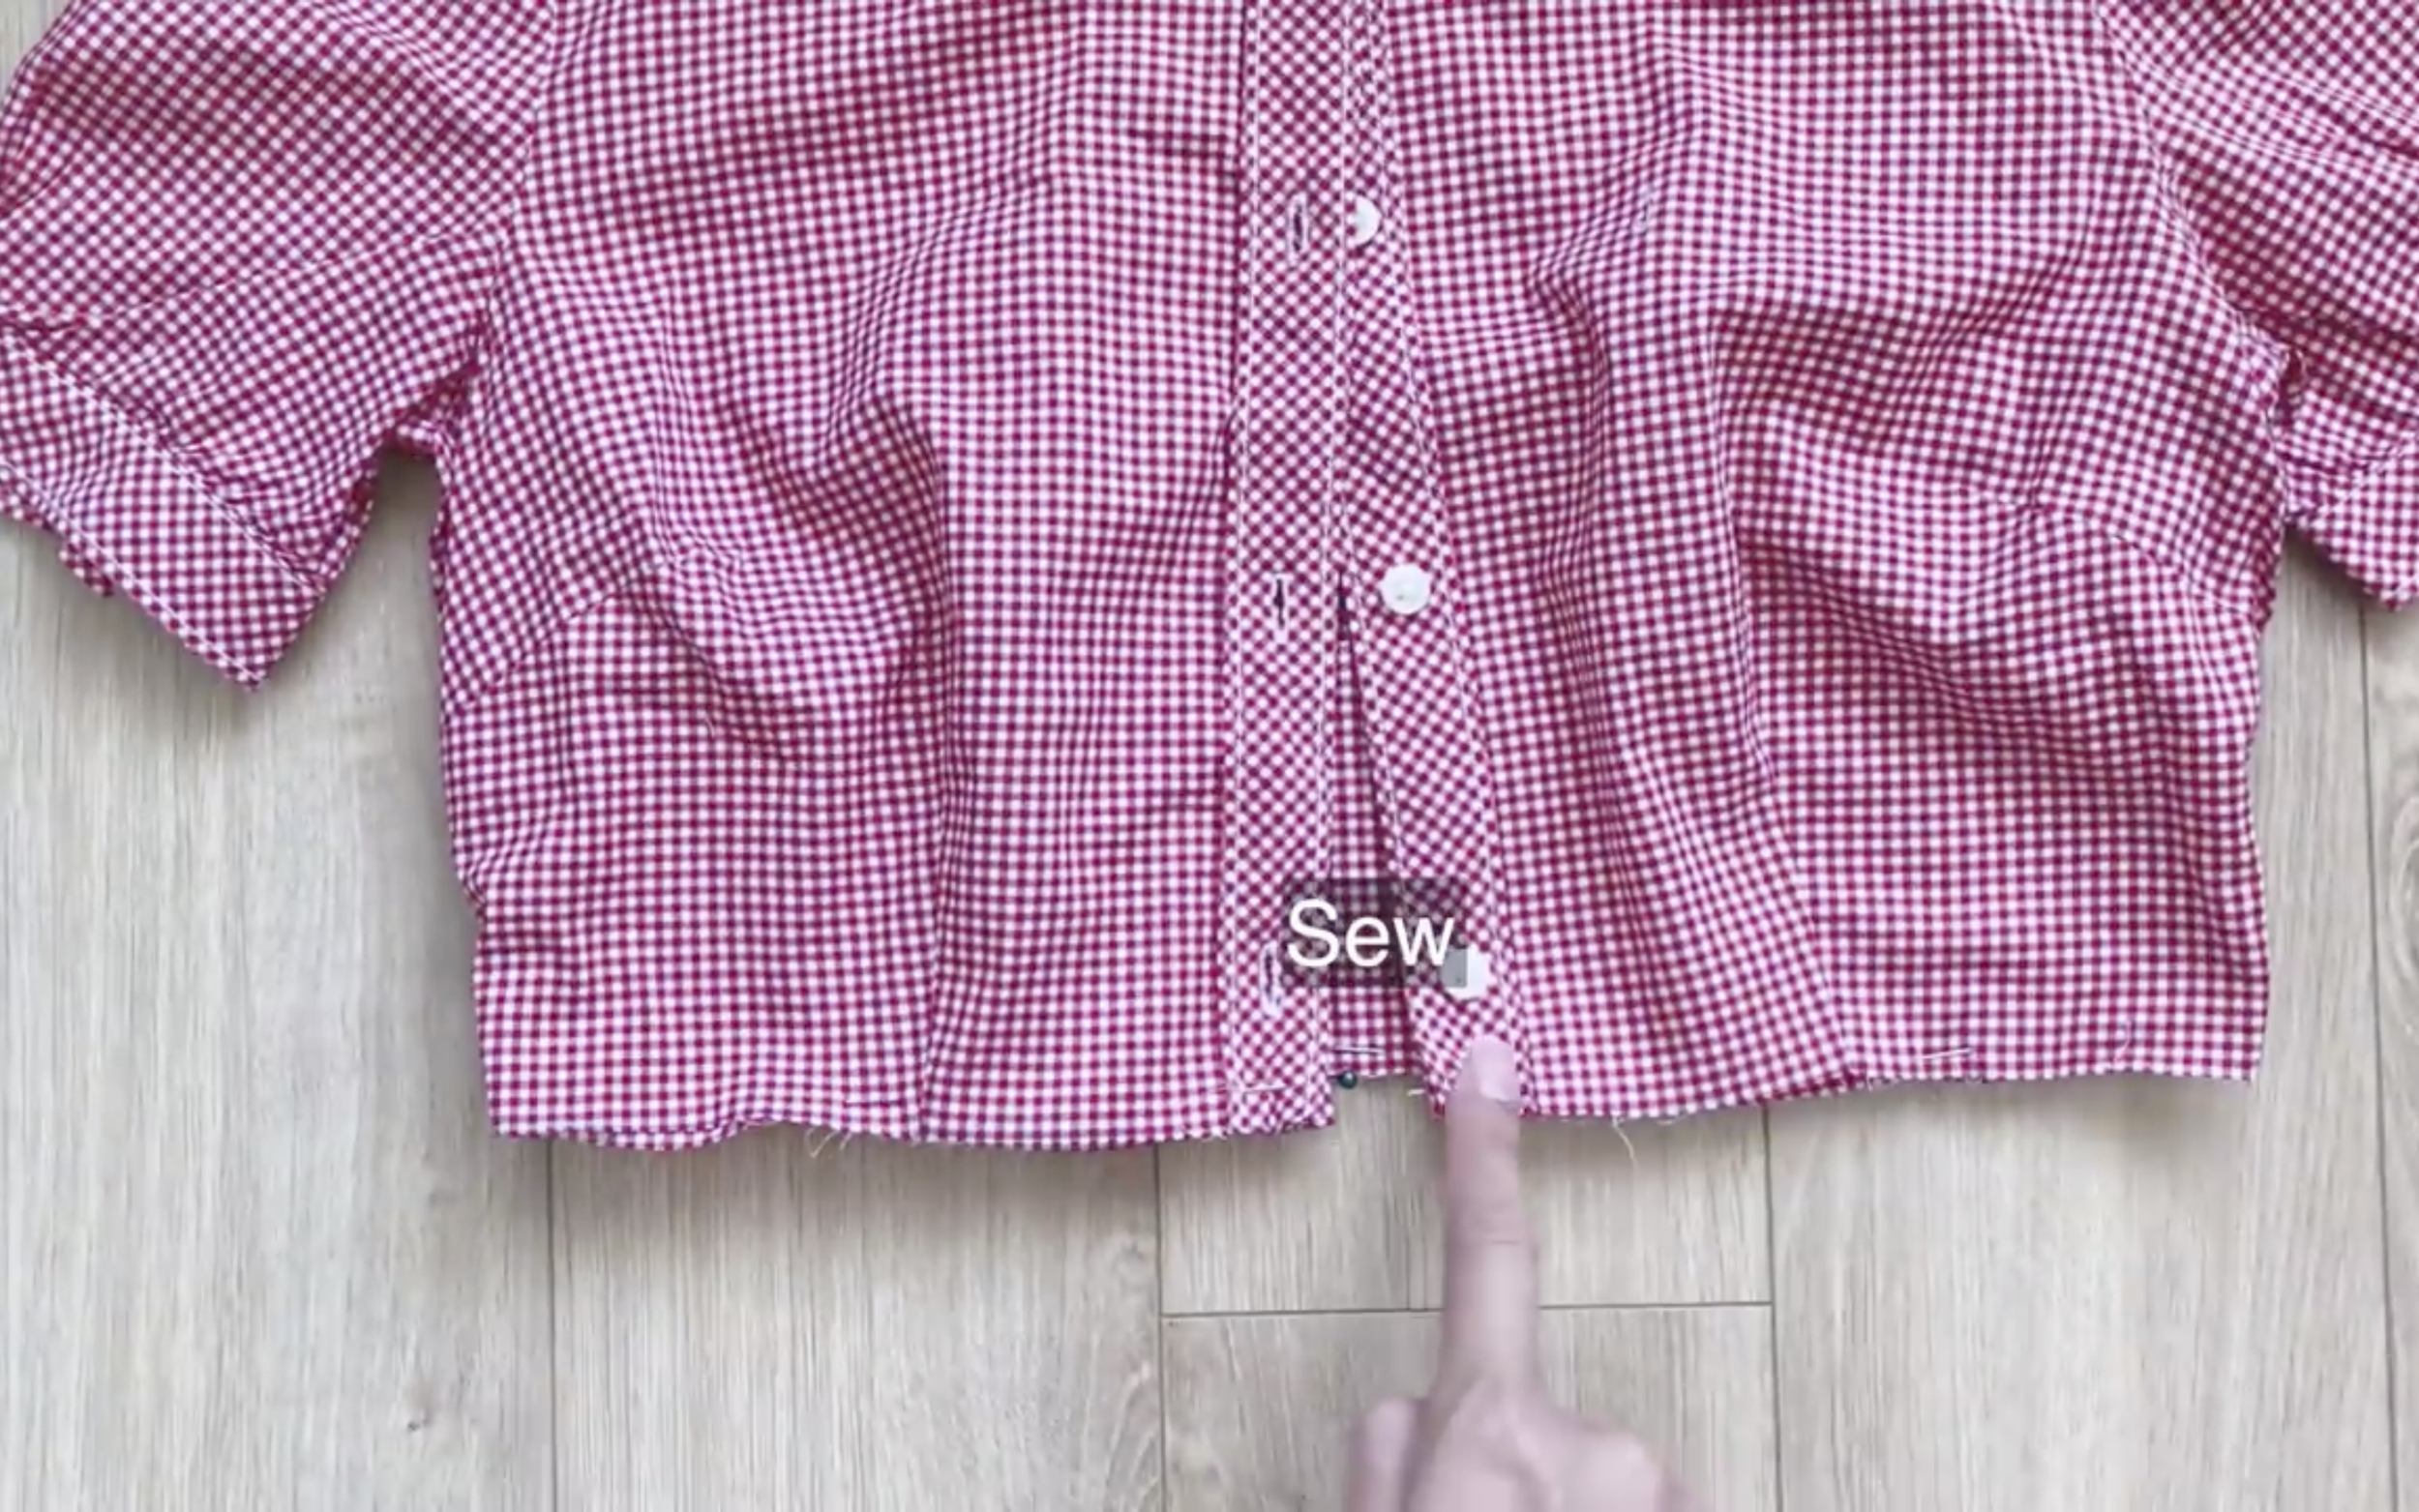
Then sewing.
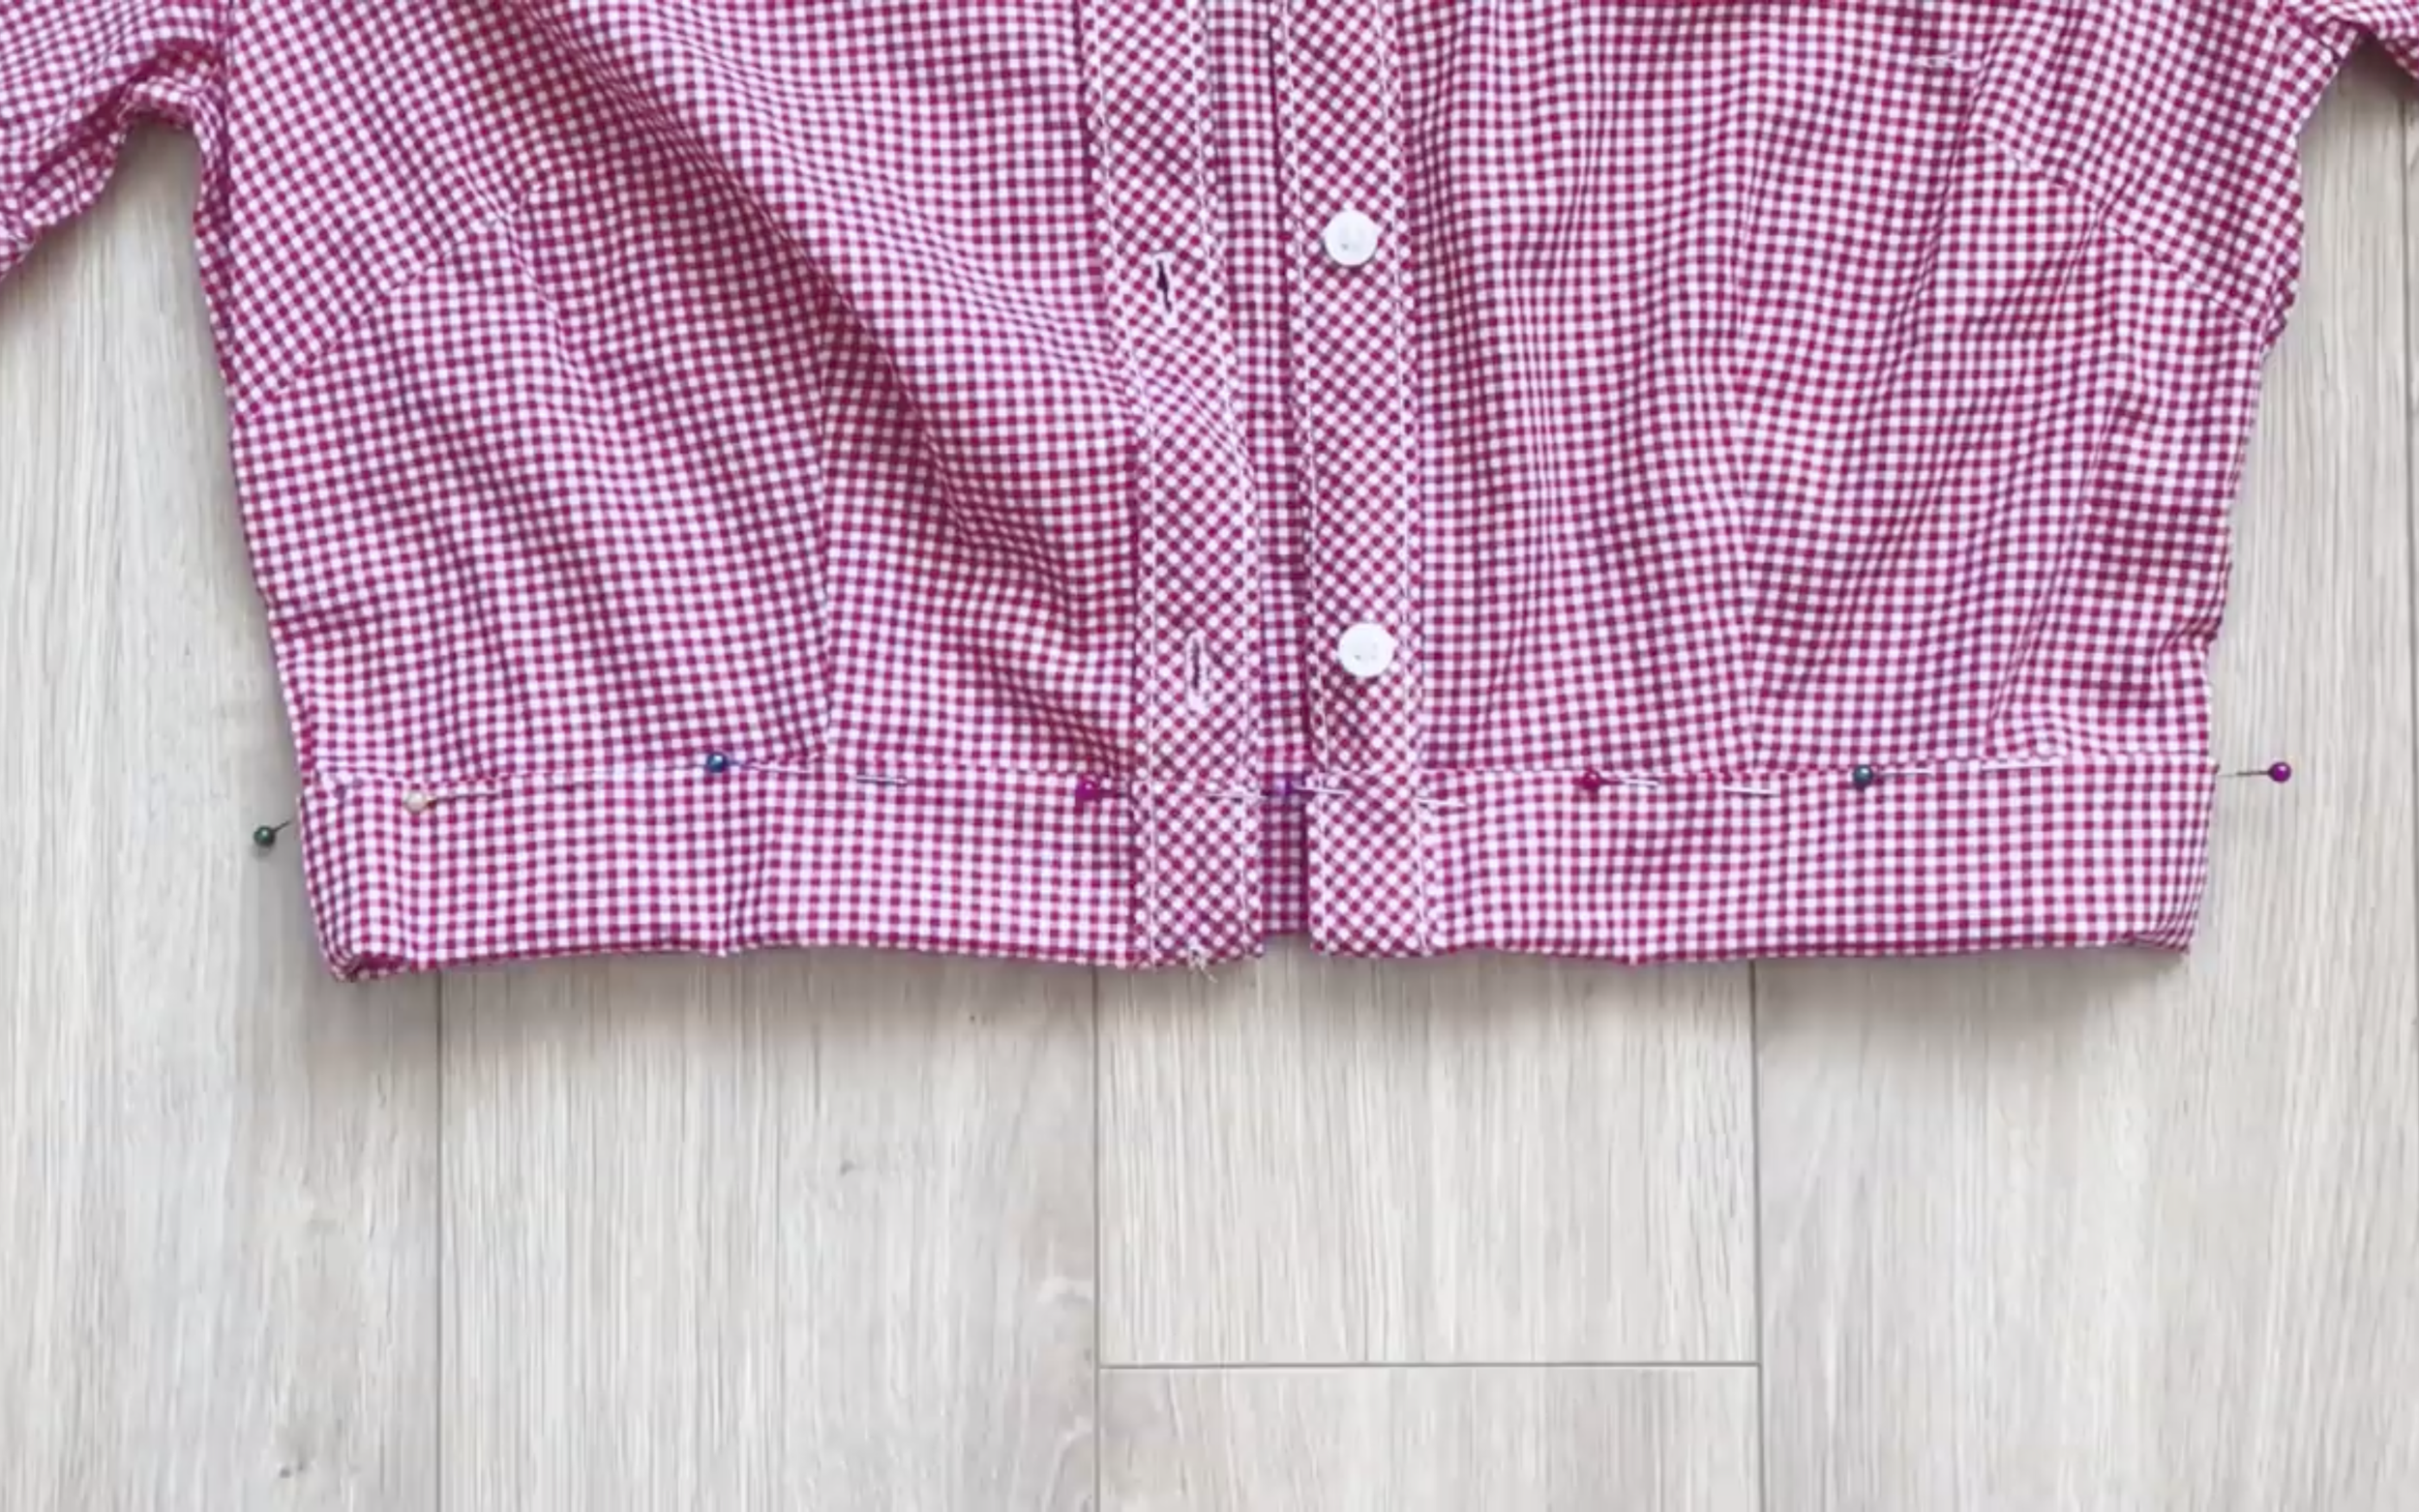
After the first seam, fold the waistband inside twice to hide the fabric edge and make the second seam.
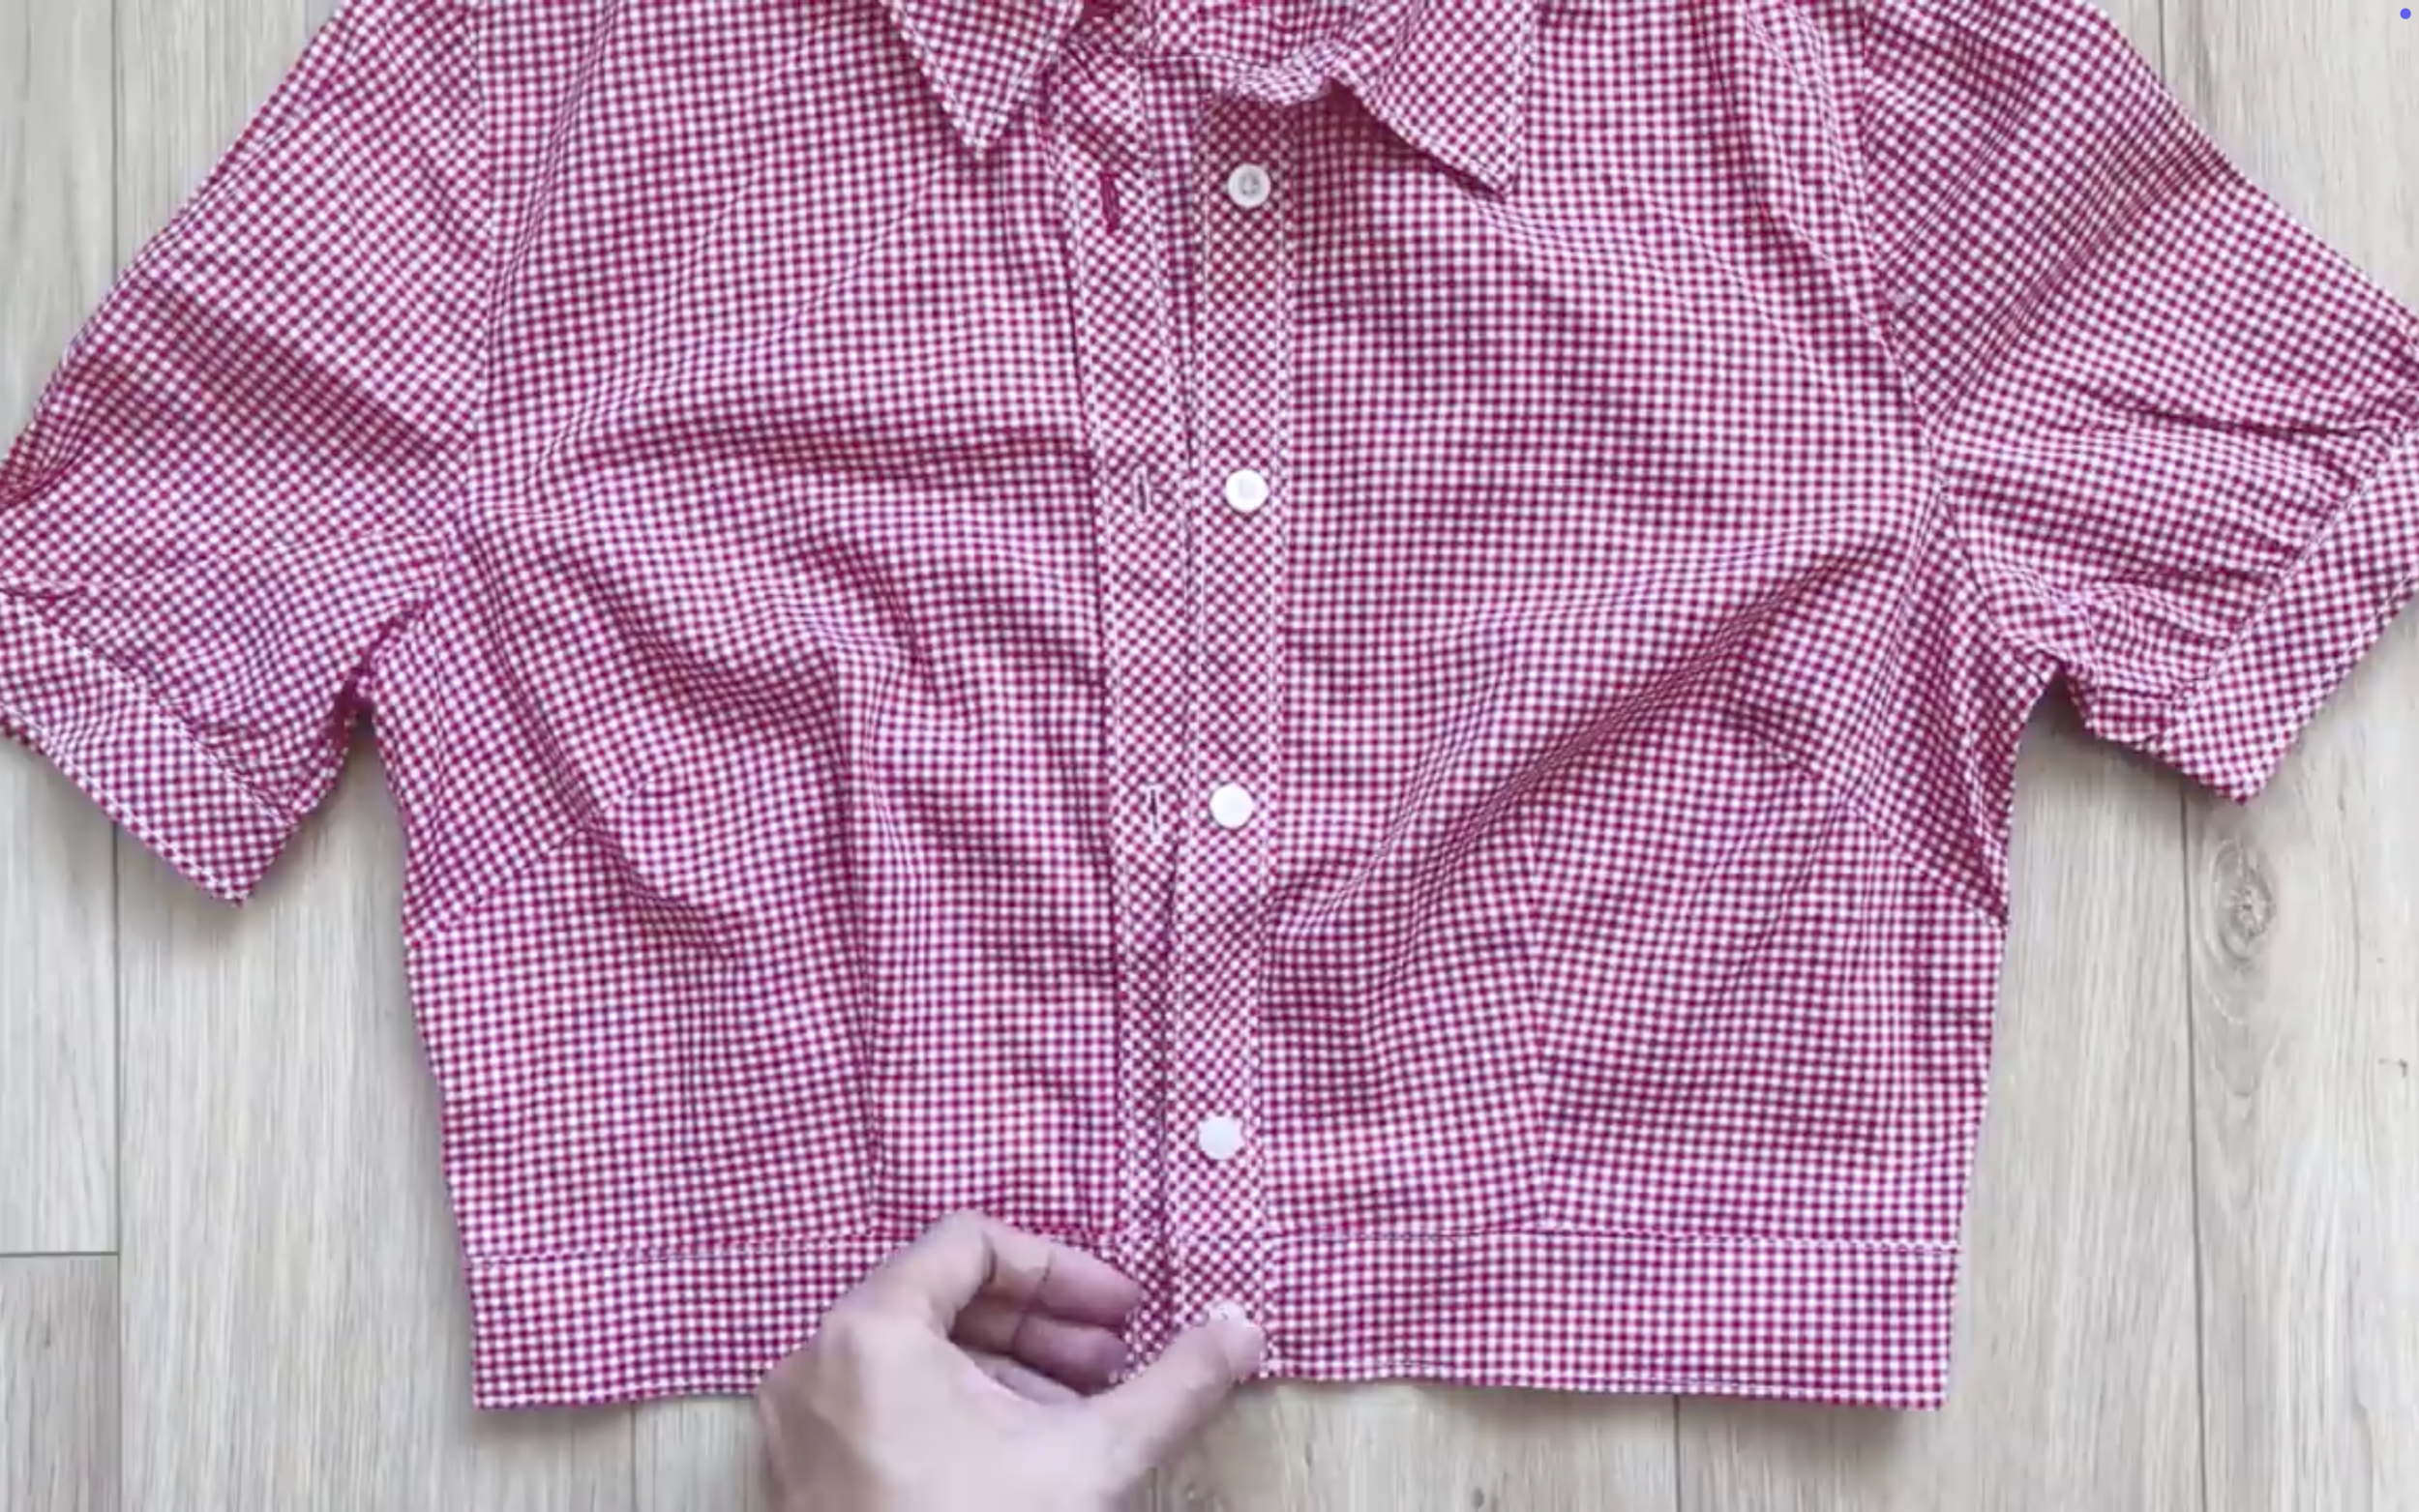
Install the button and make a new buttonhole at the end of the top.
THE BOTTOM PART
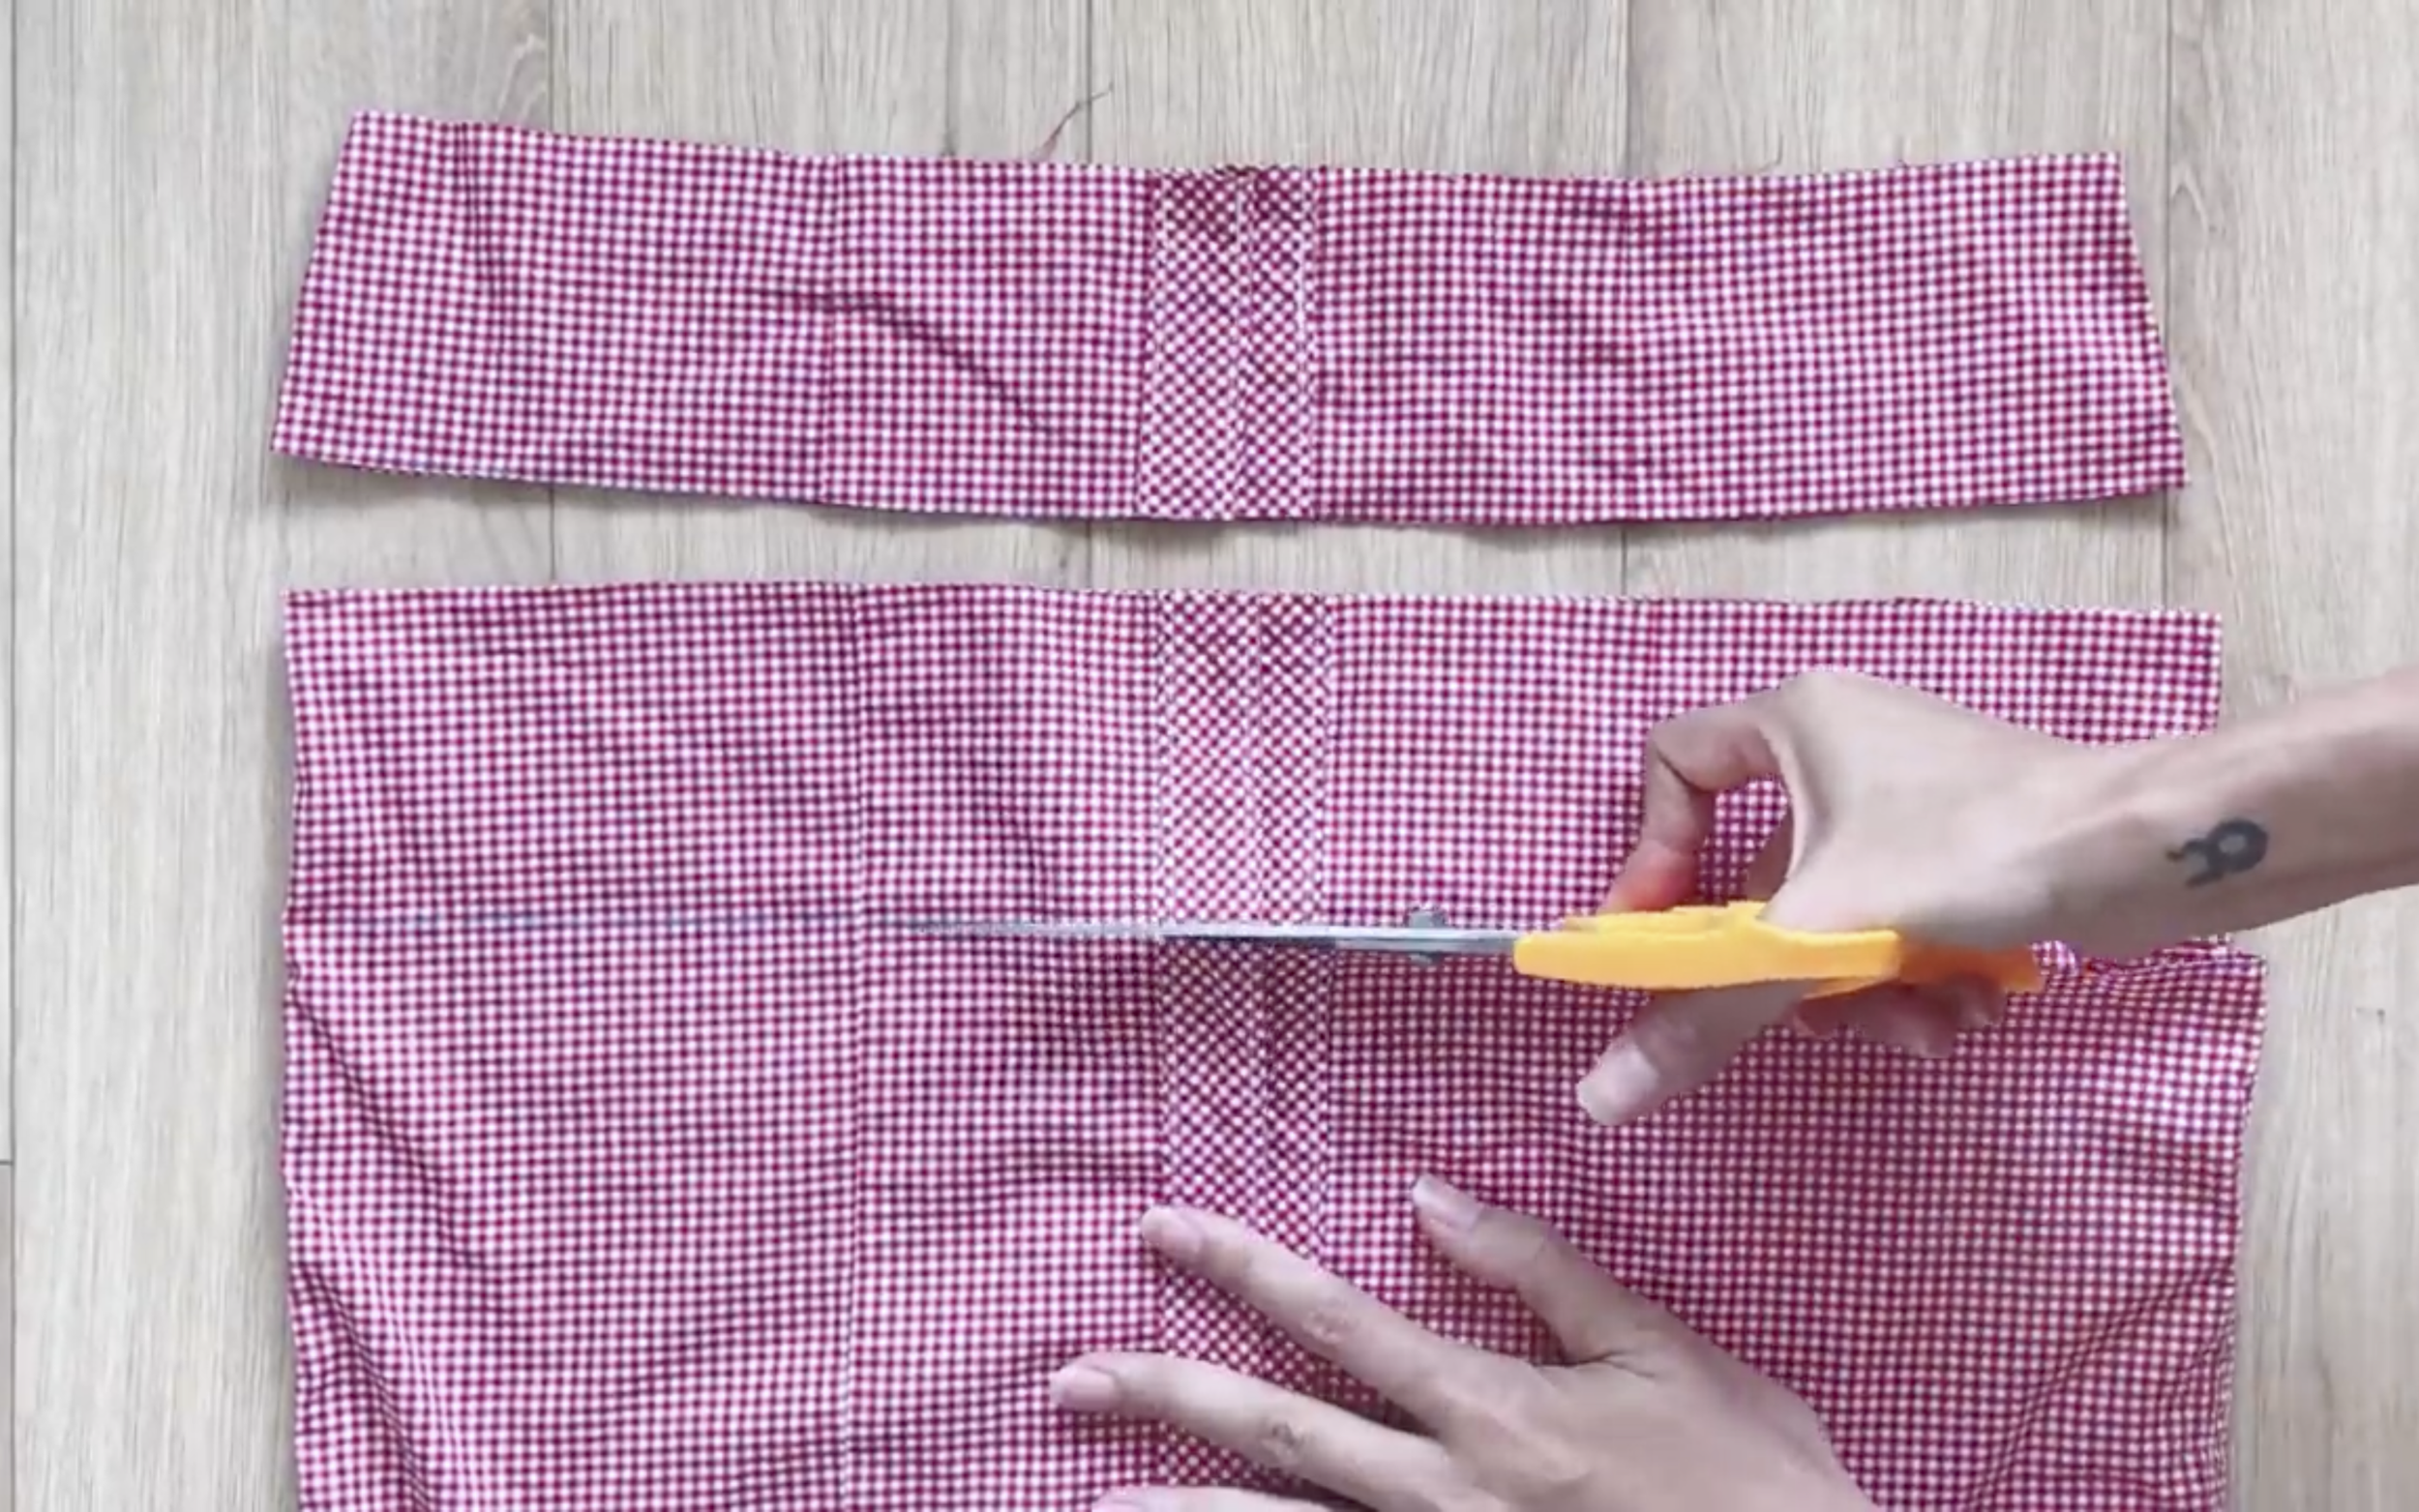
Moving to the bottom of the matching set, to make it a little girly, cut two long rectangles with an 8 cm width from the top of the bottom part to create the ruffle hem.
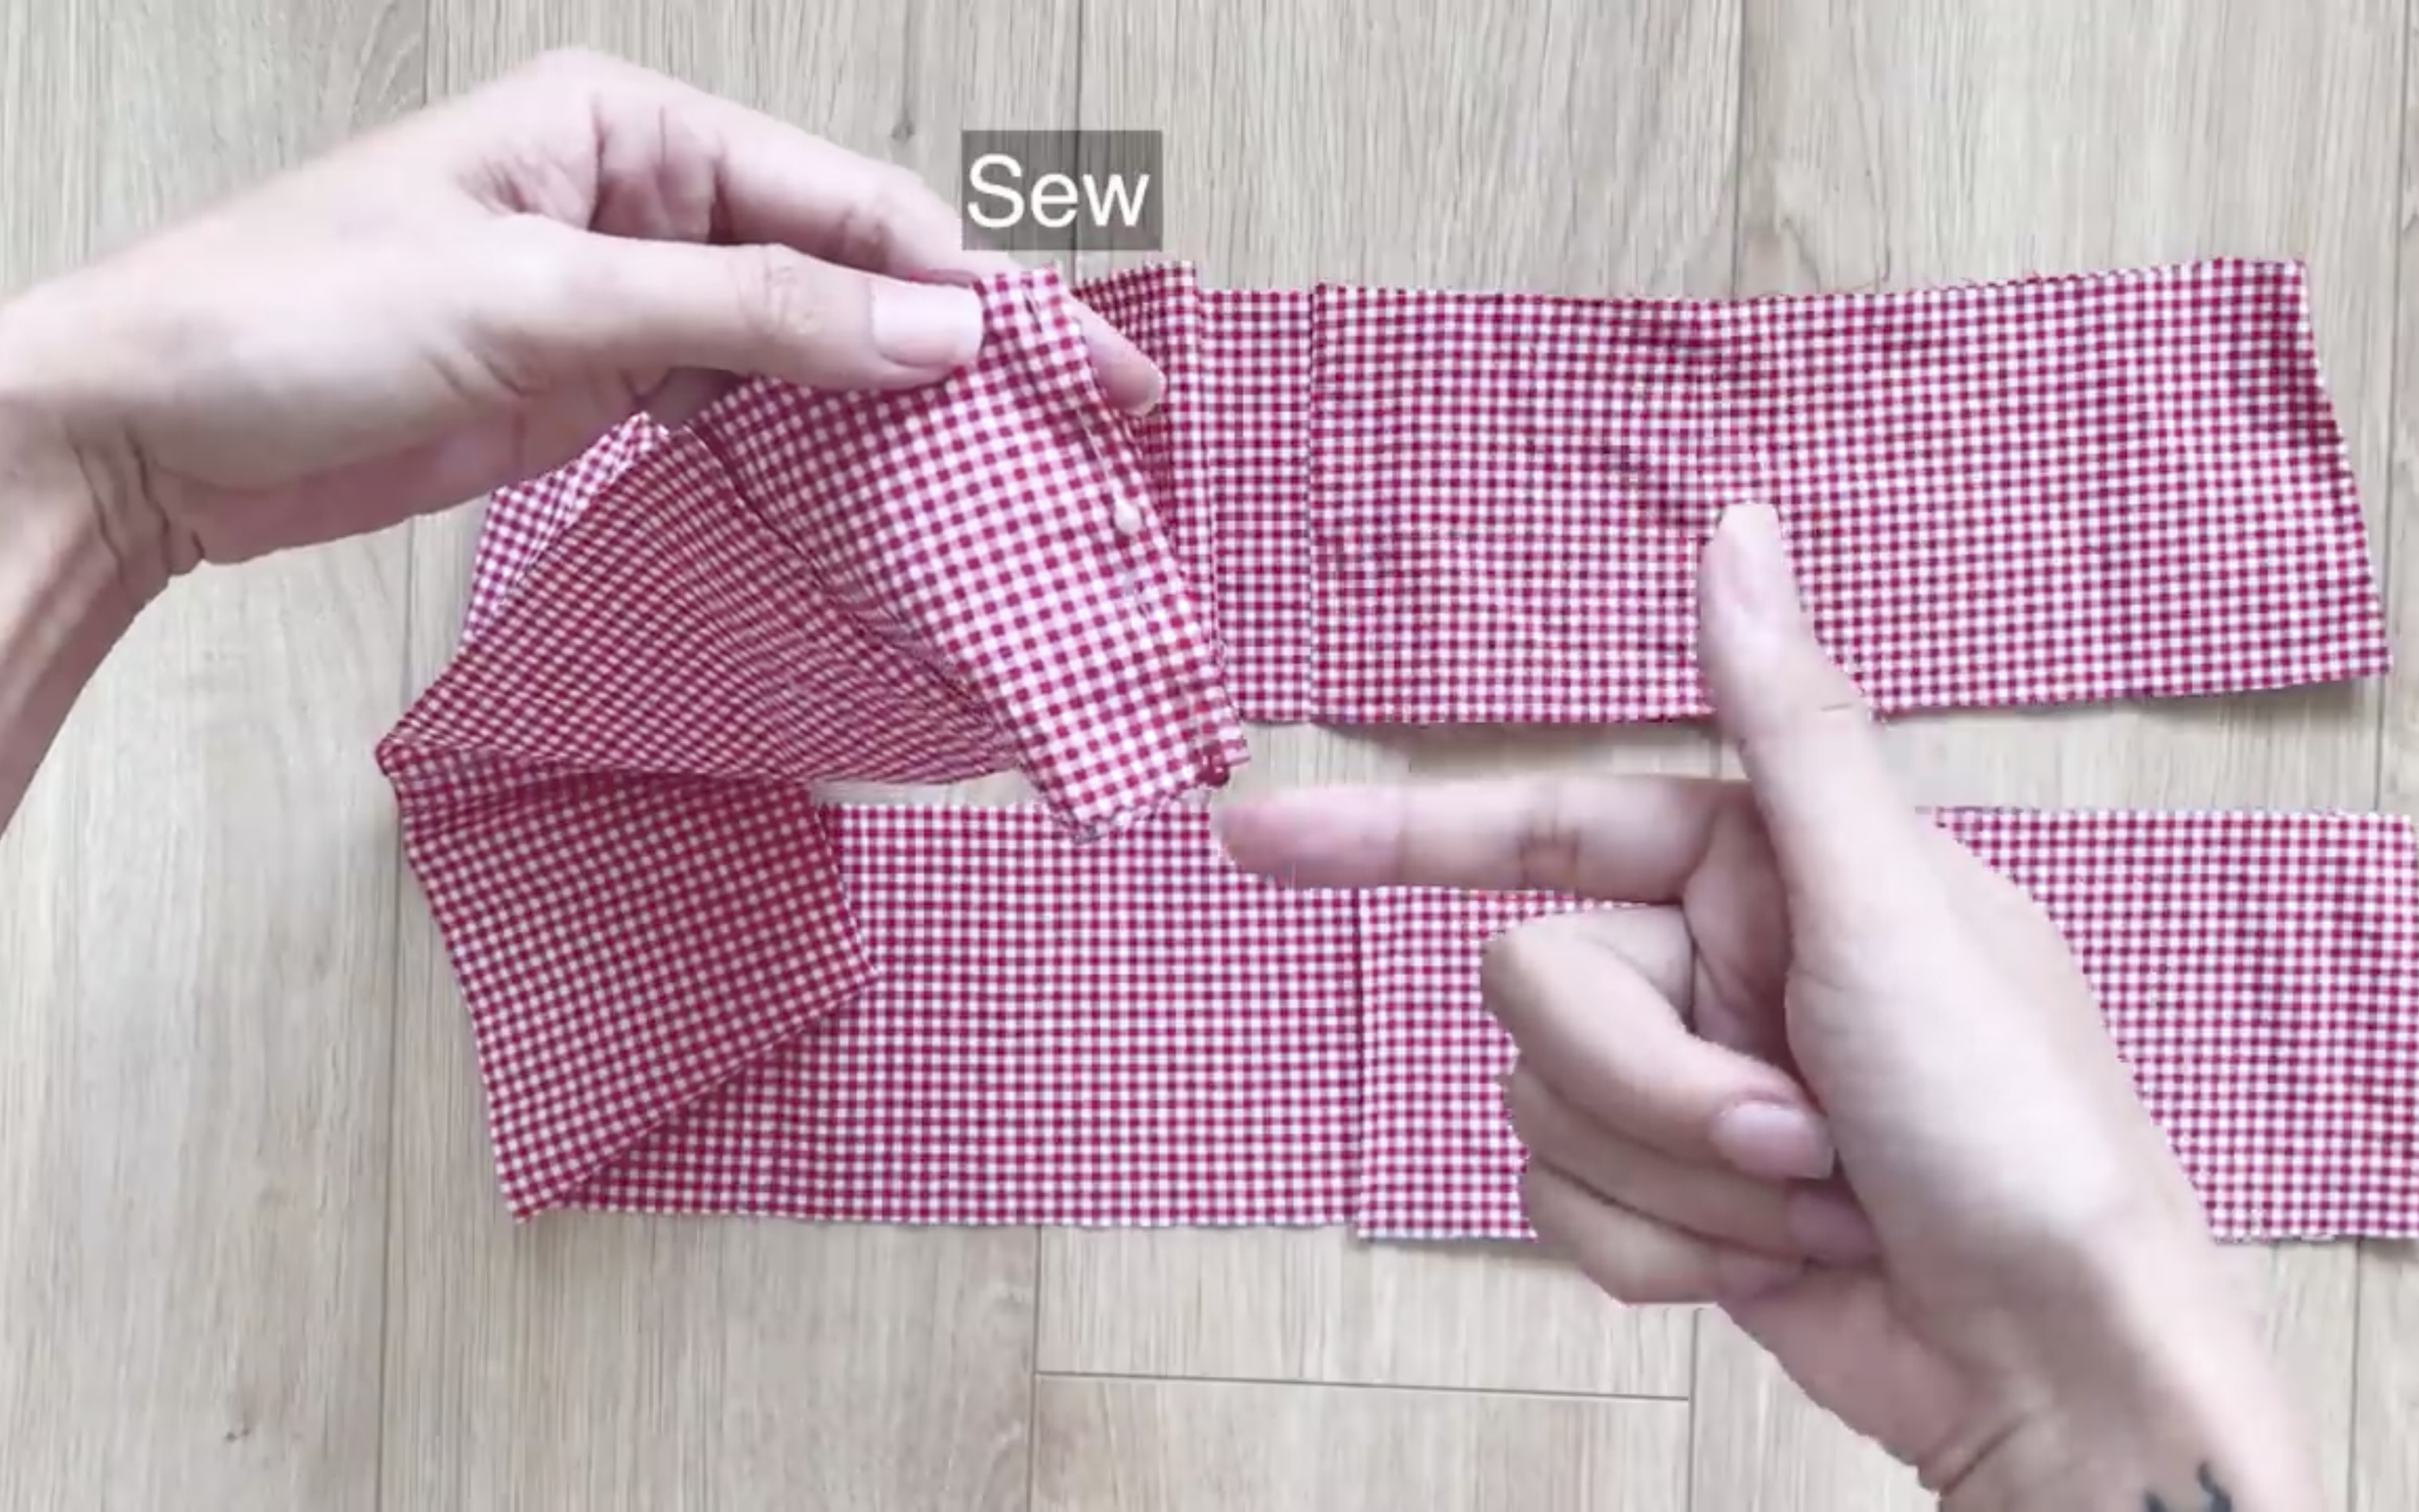
Then connect the two rectangles into a circle fabric.
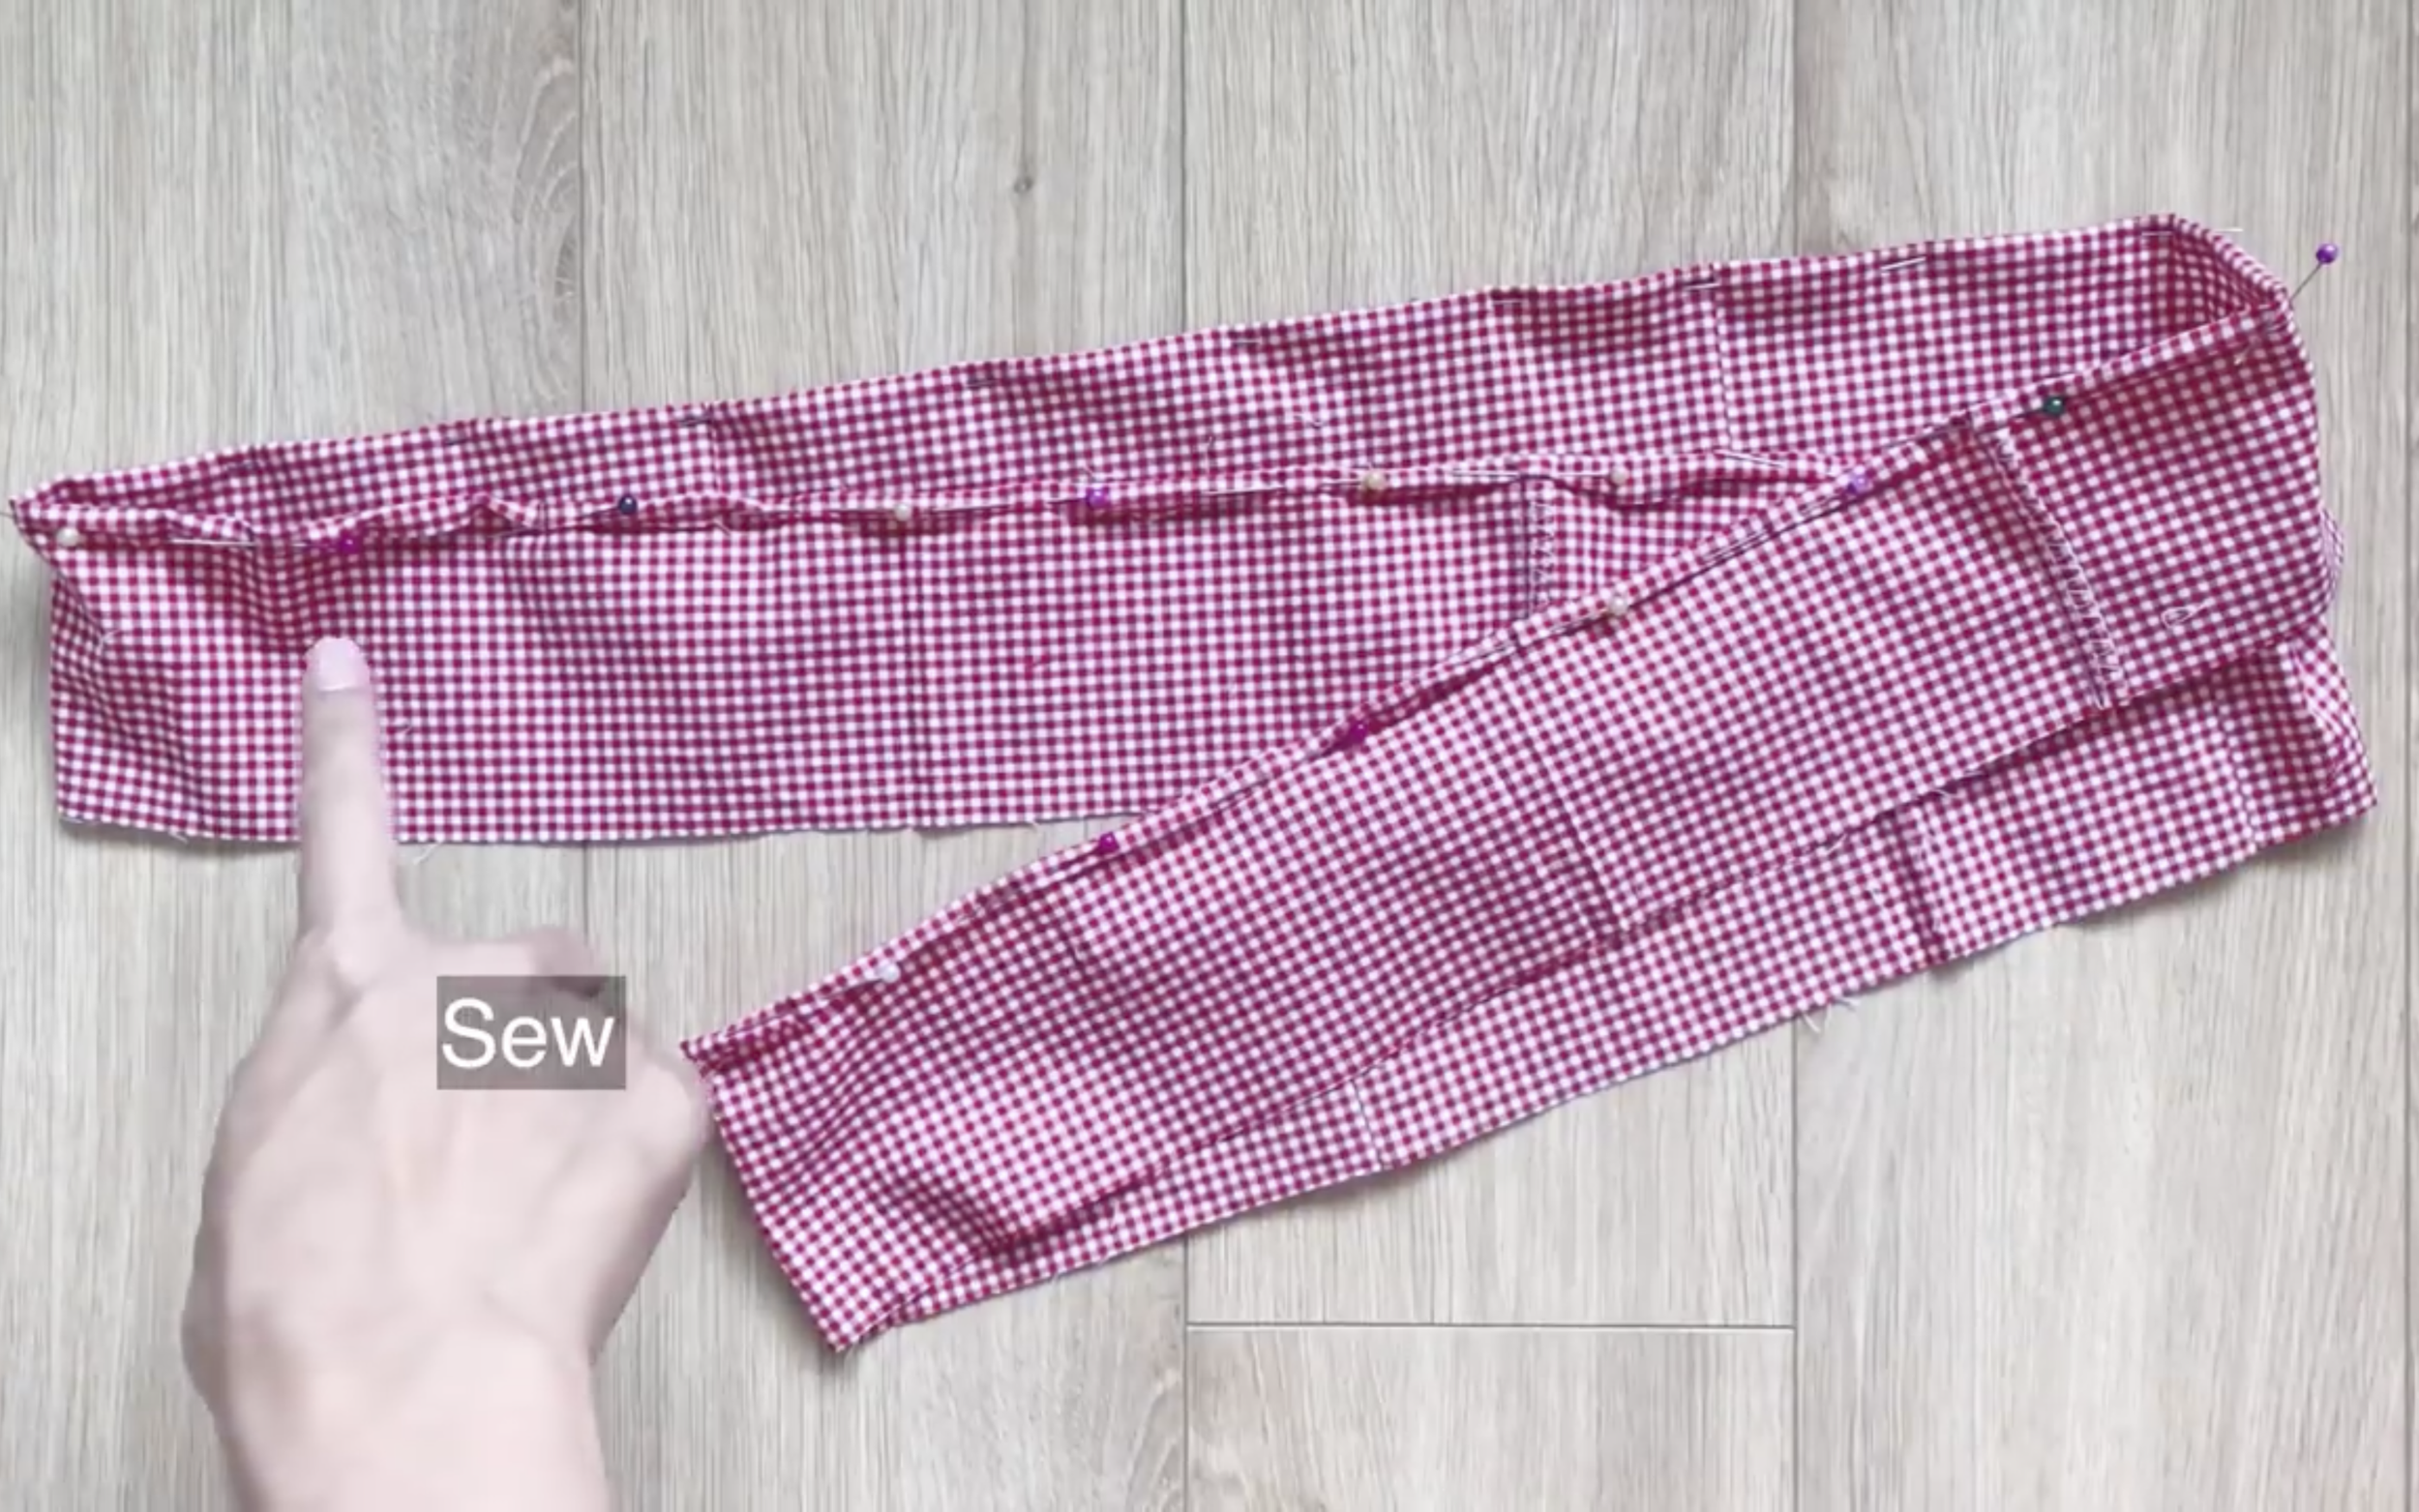
After that, fold one edge of the rectangle inside twice to finish one side.
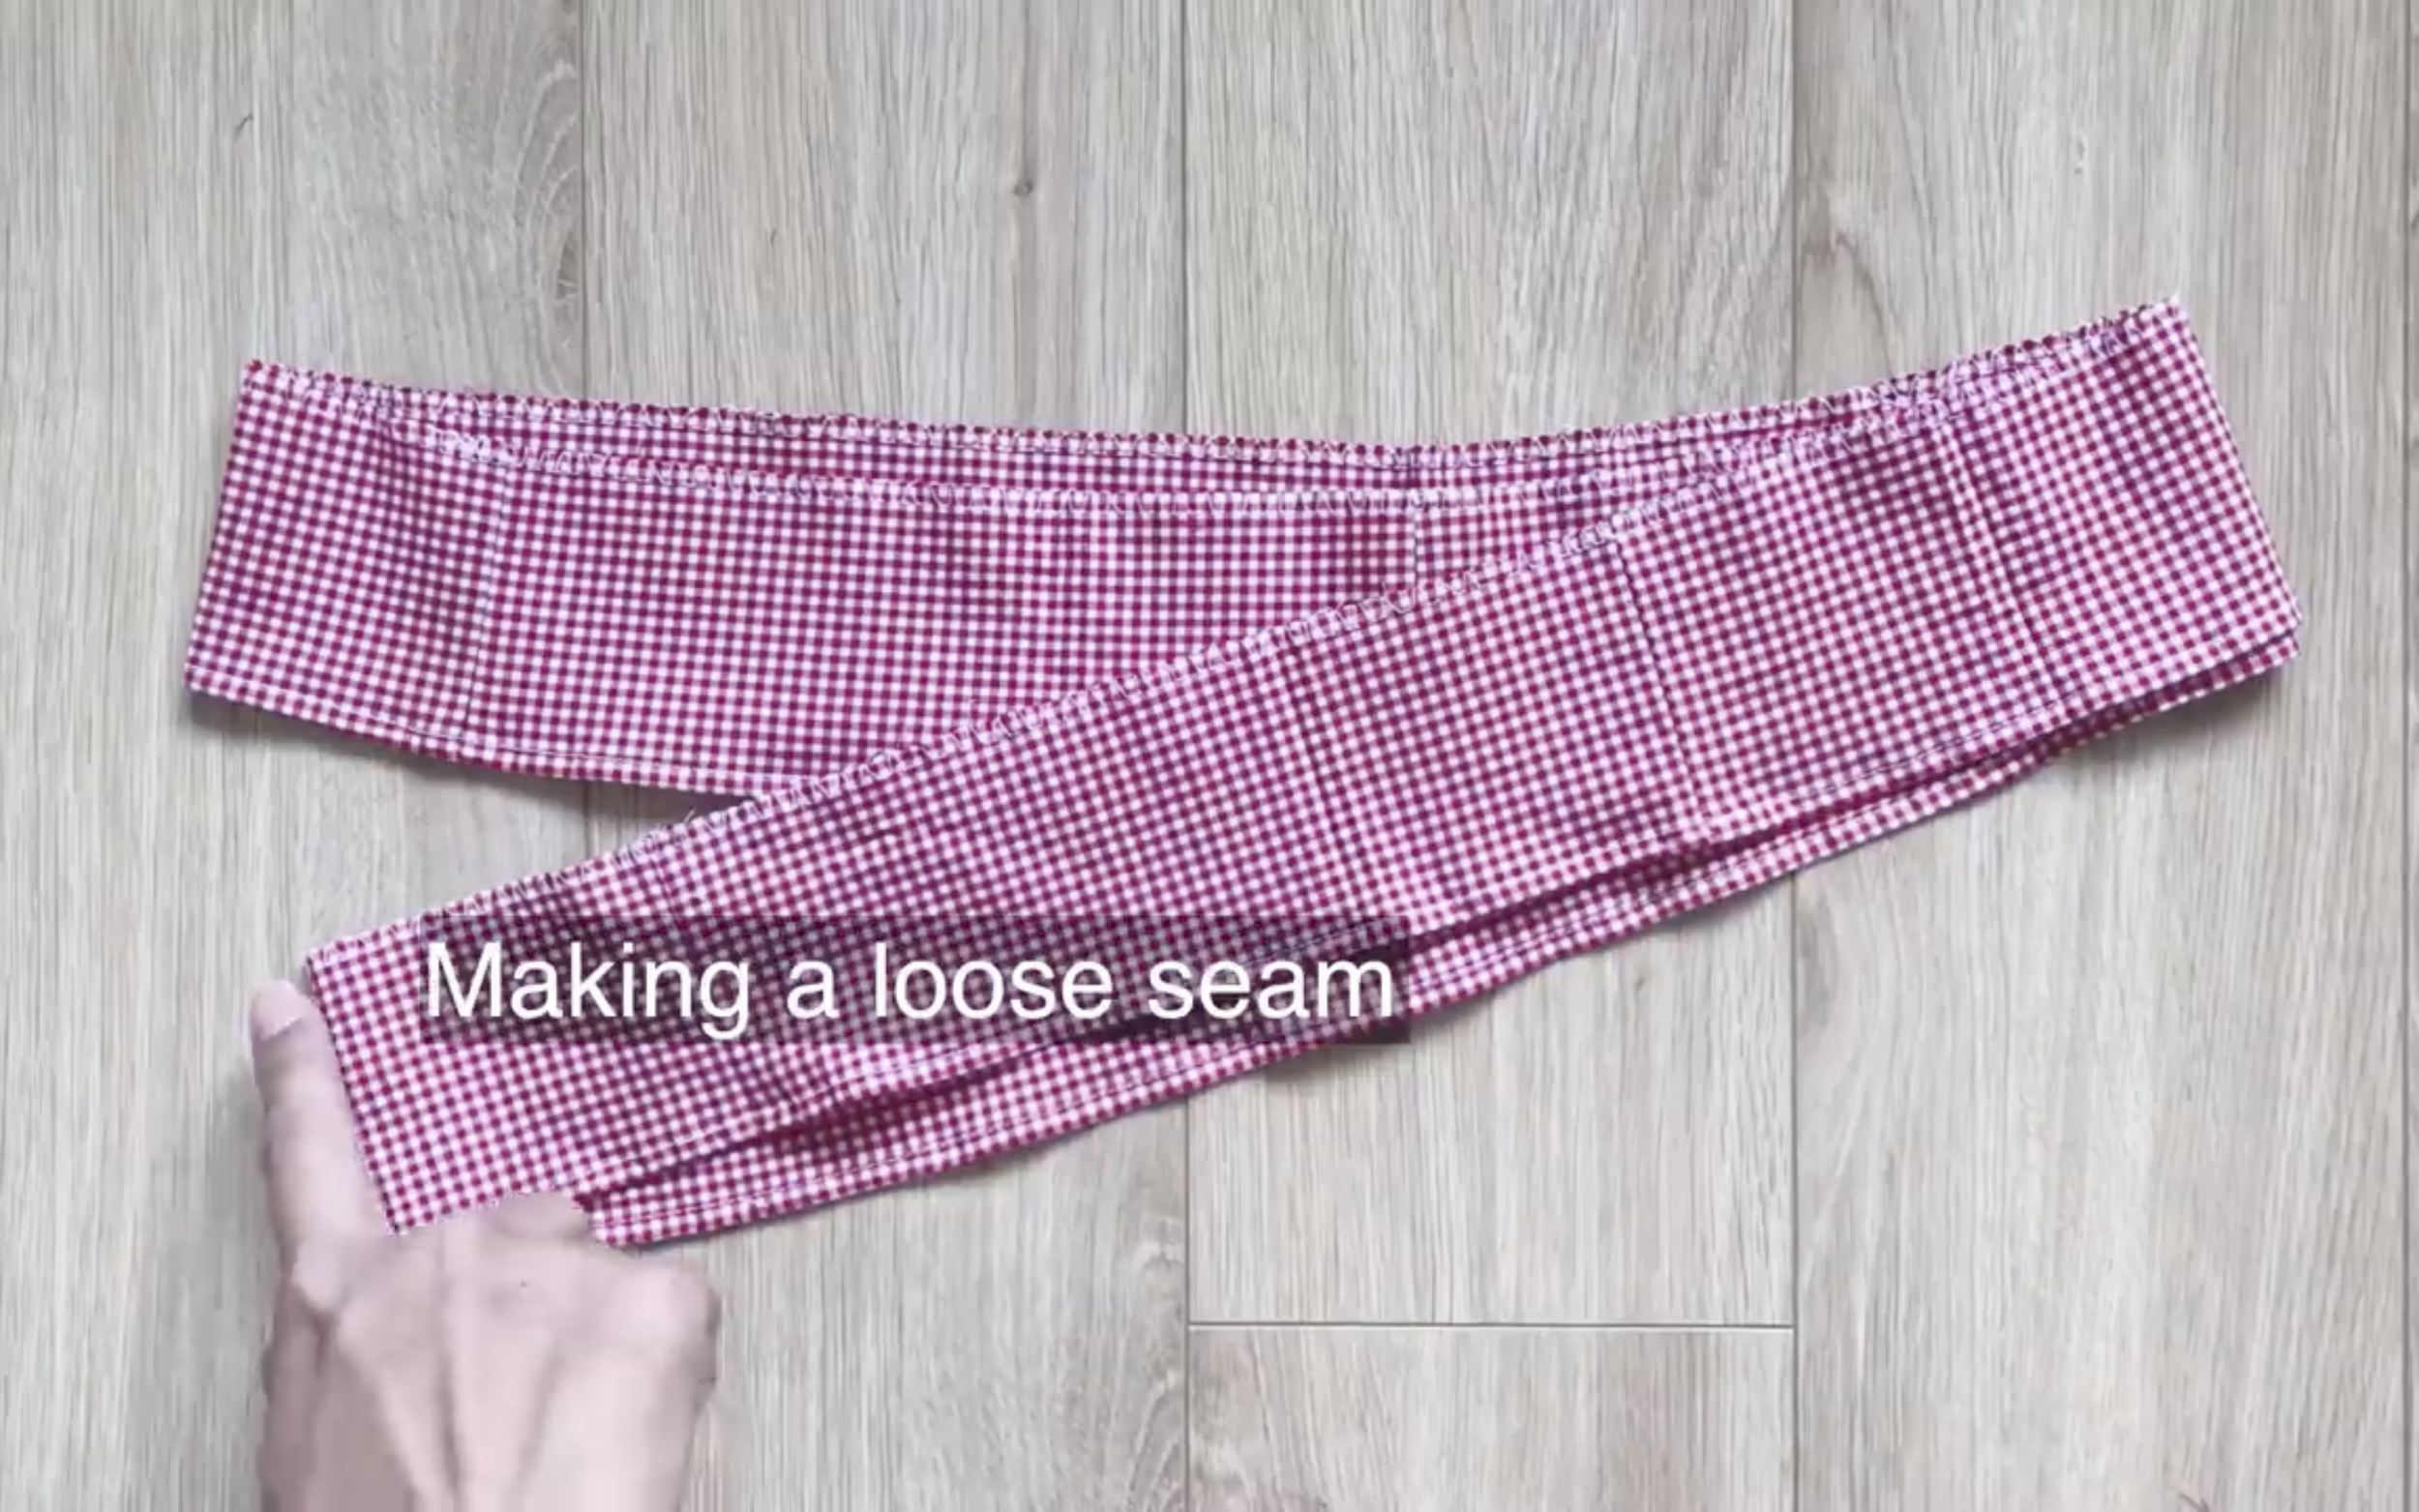
After sewing, make a loose seam on the other side to create the ruffle.
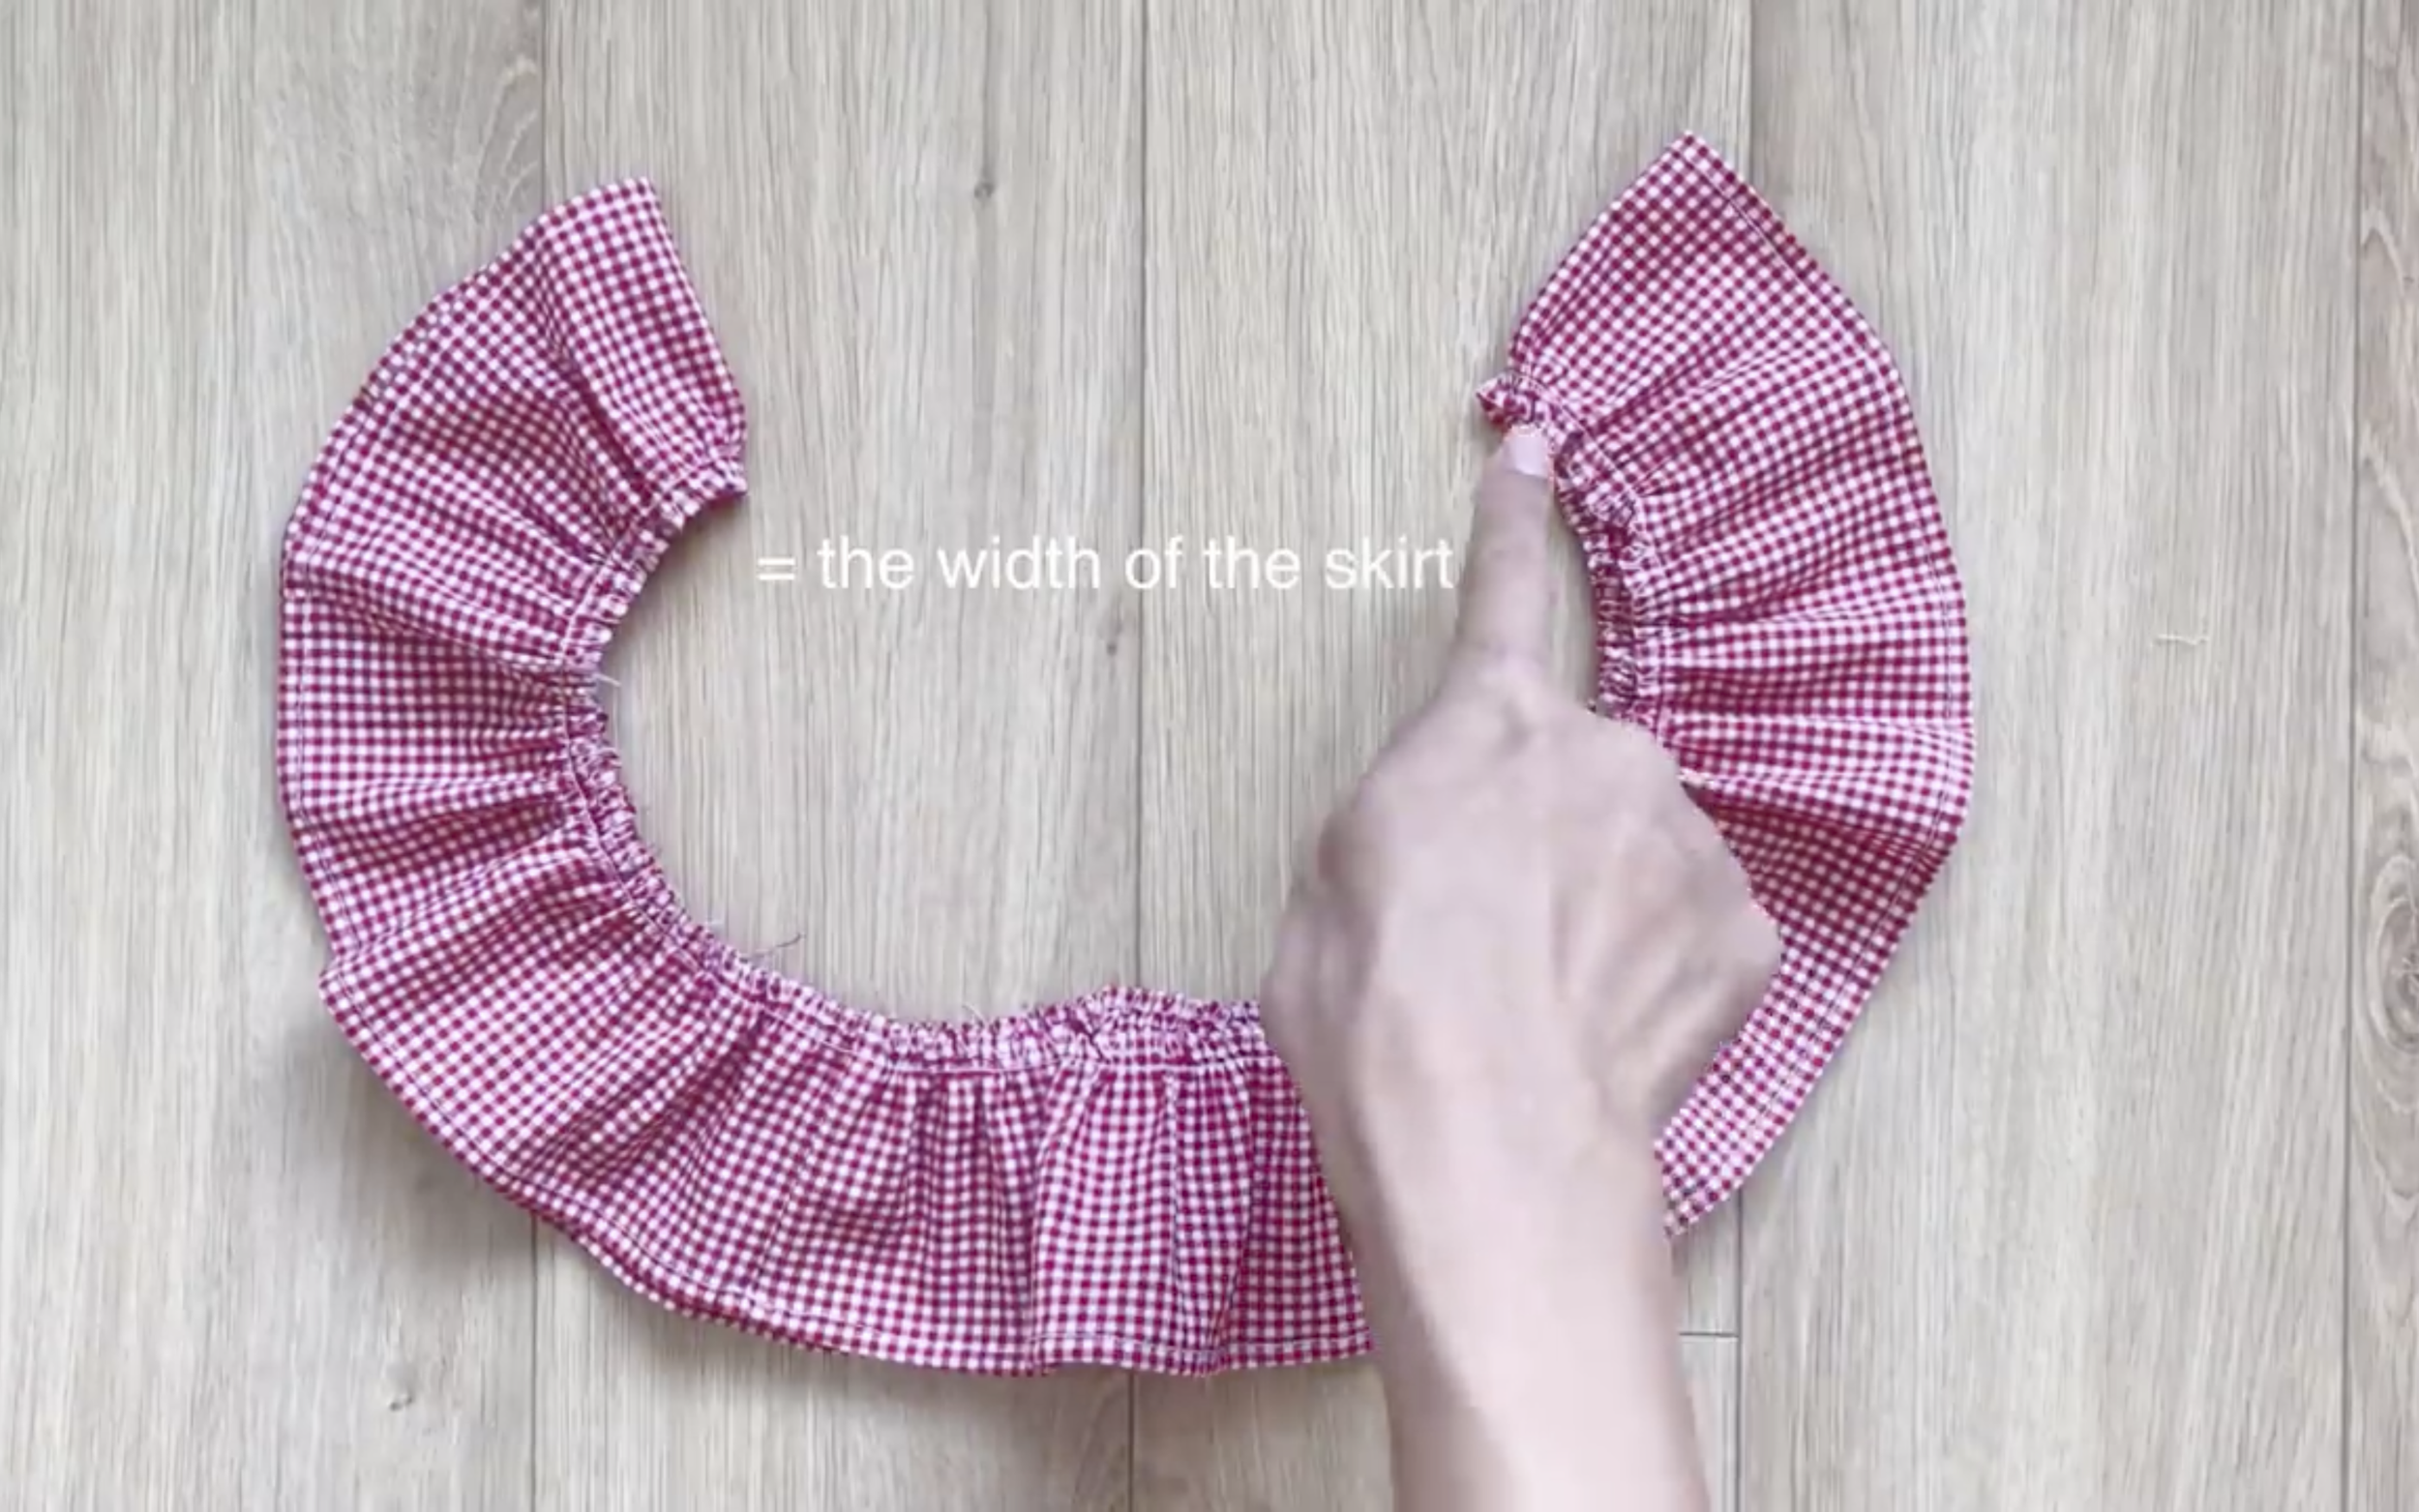
Make sure the width of the ruffle matches the width of the skirt.
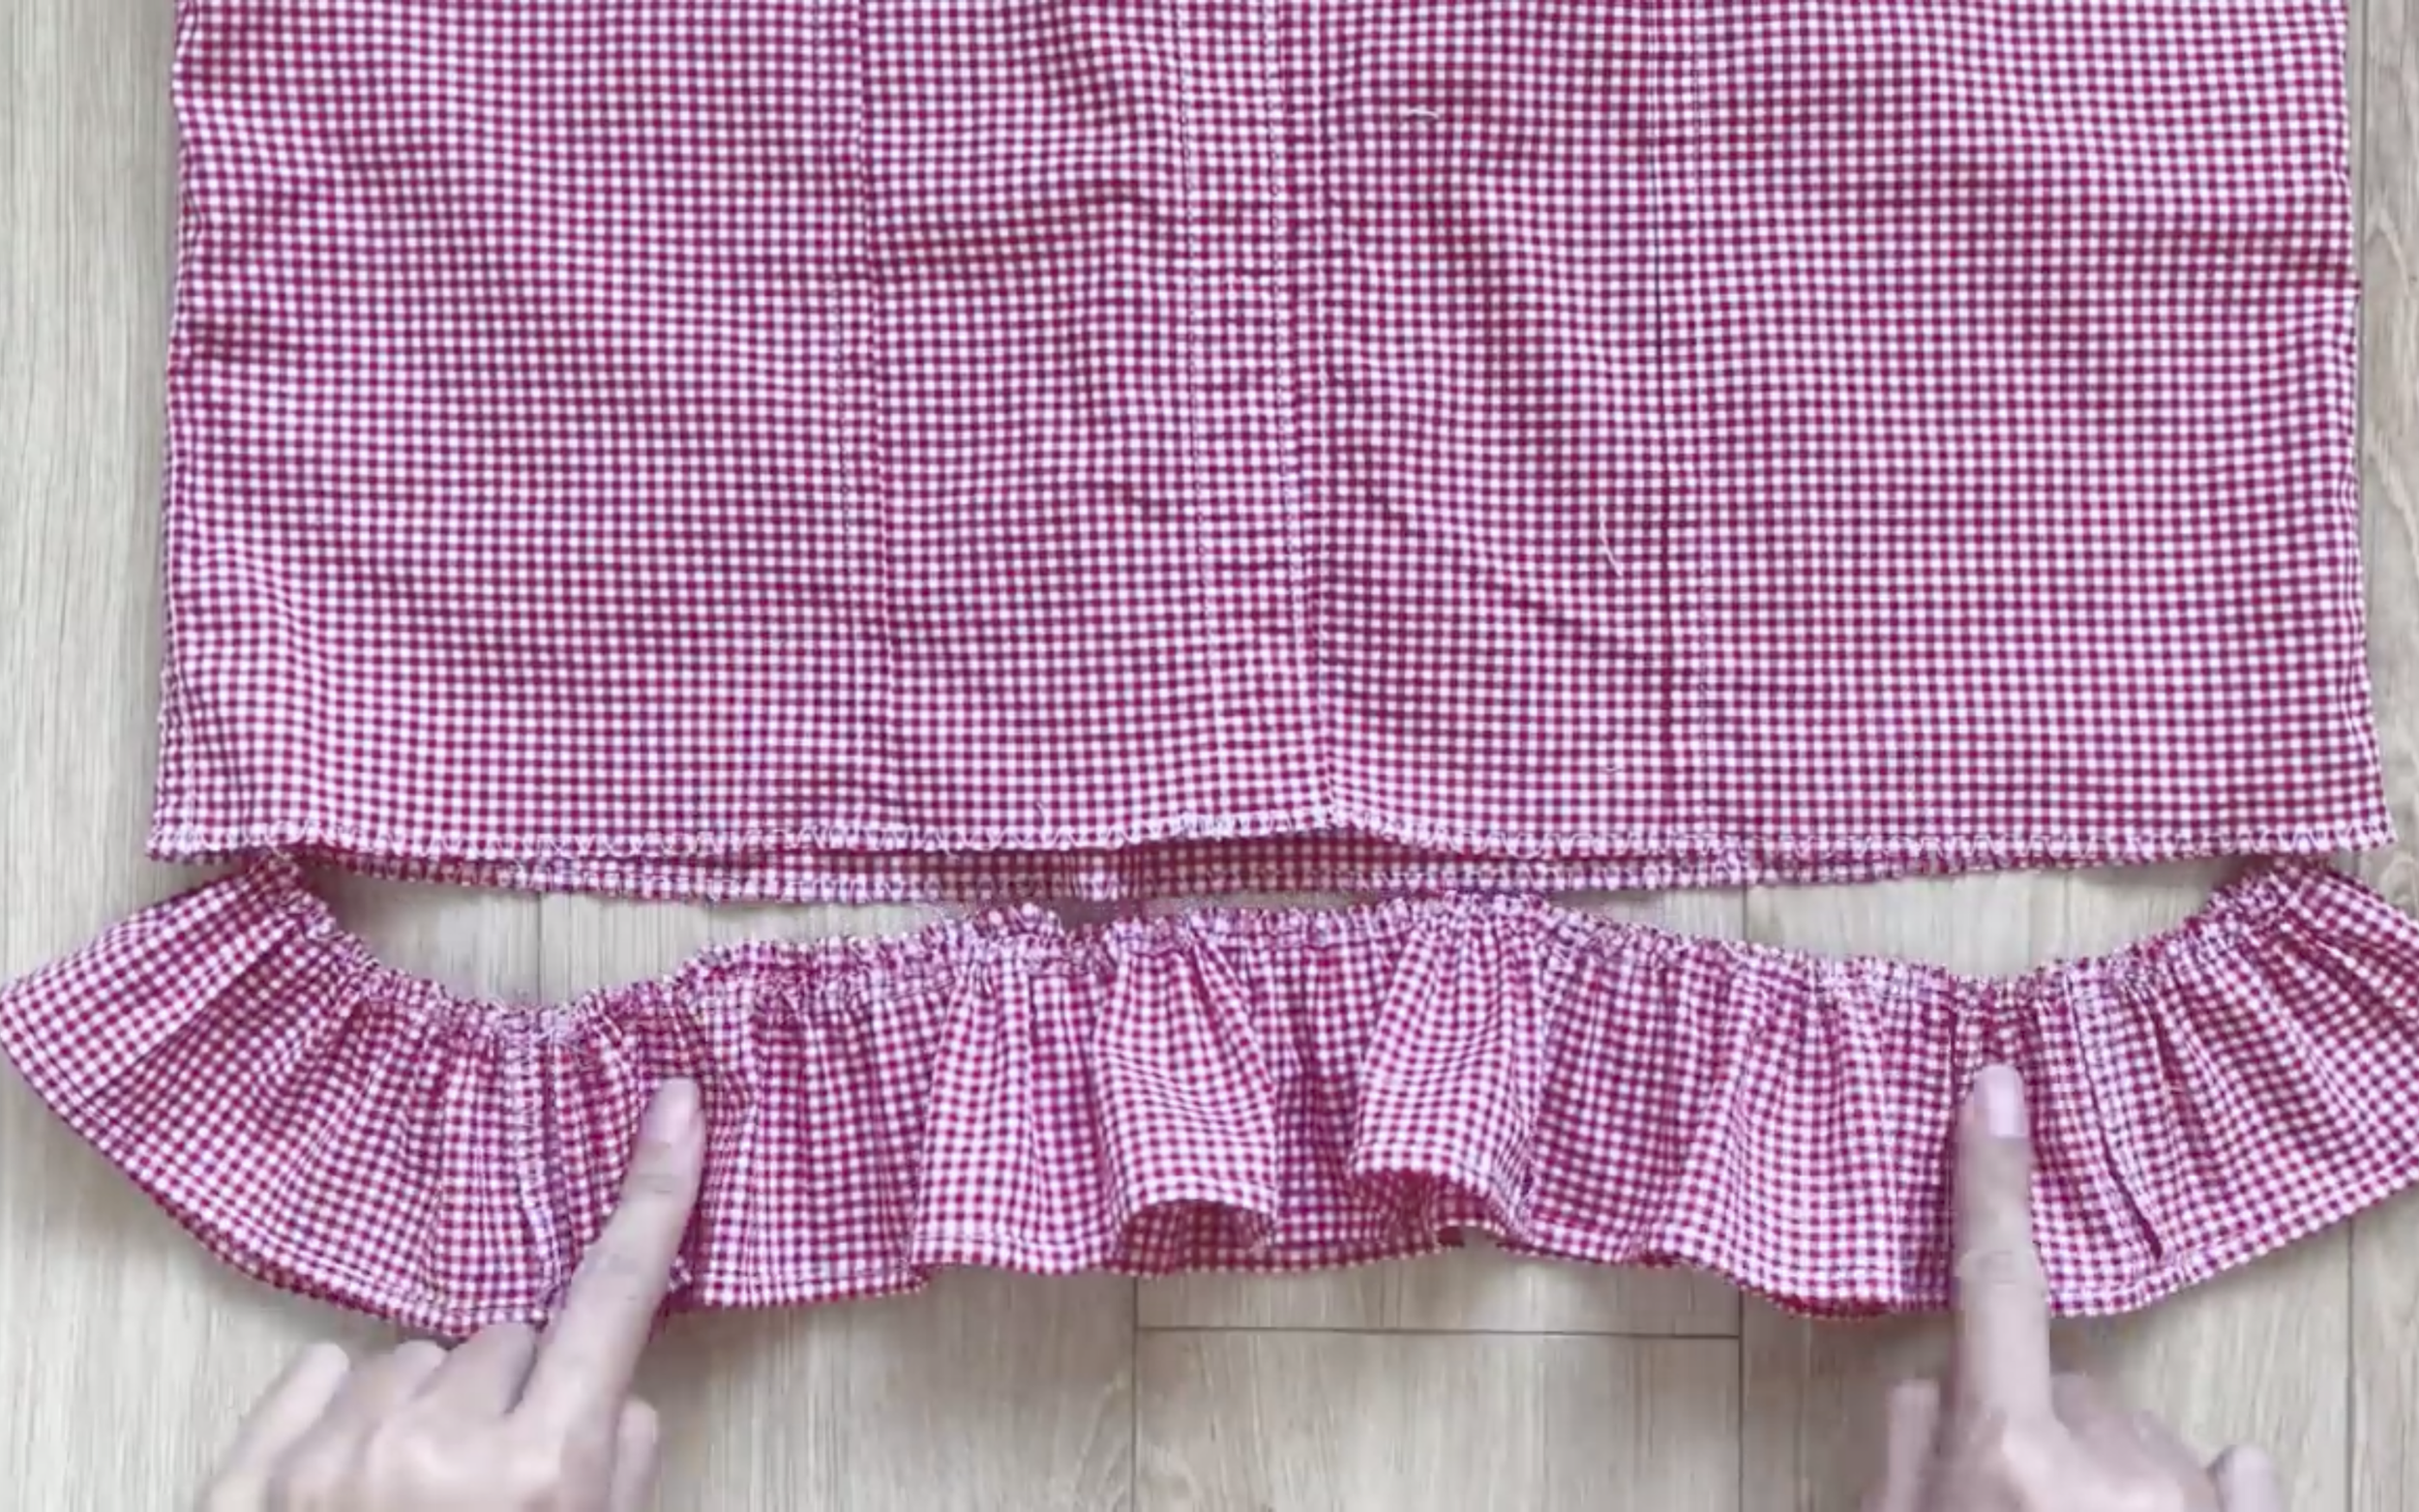
Connect the ruffle to the end of the skirt to create the ruffle hem.
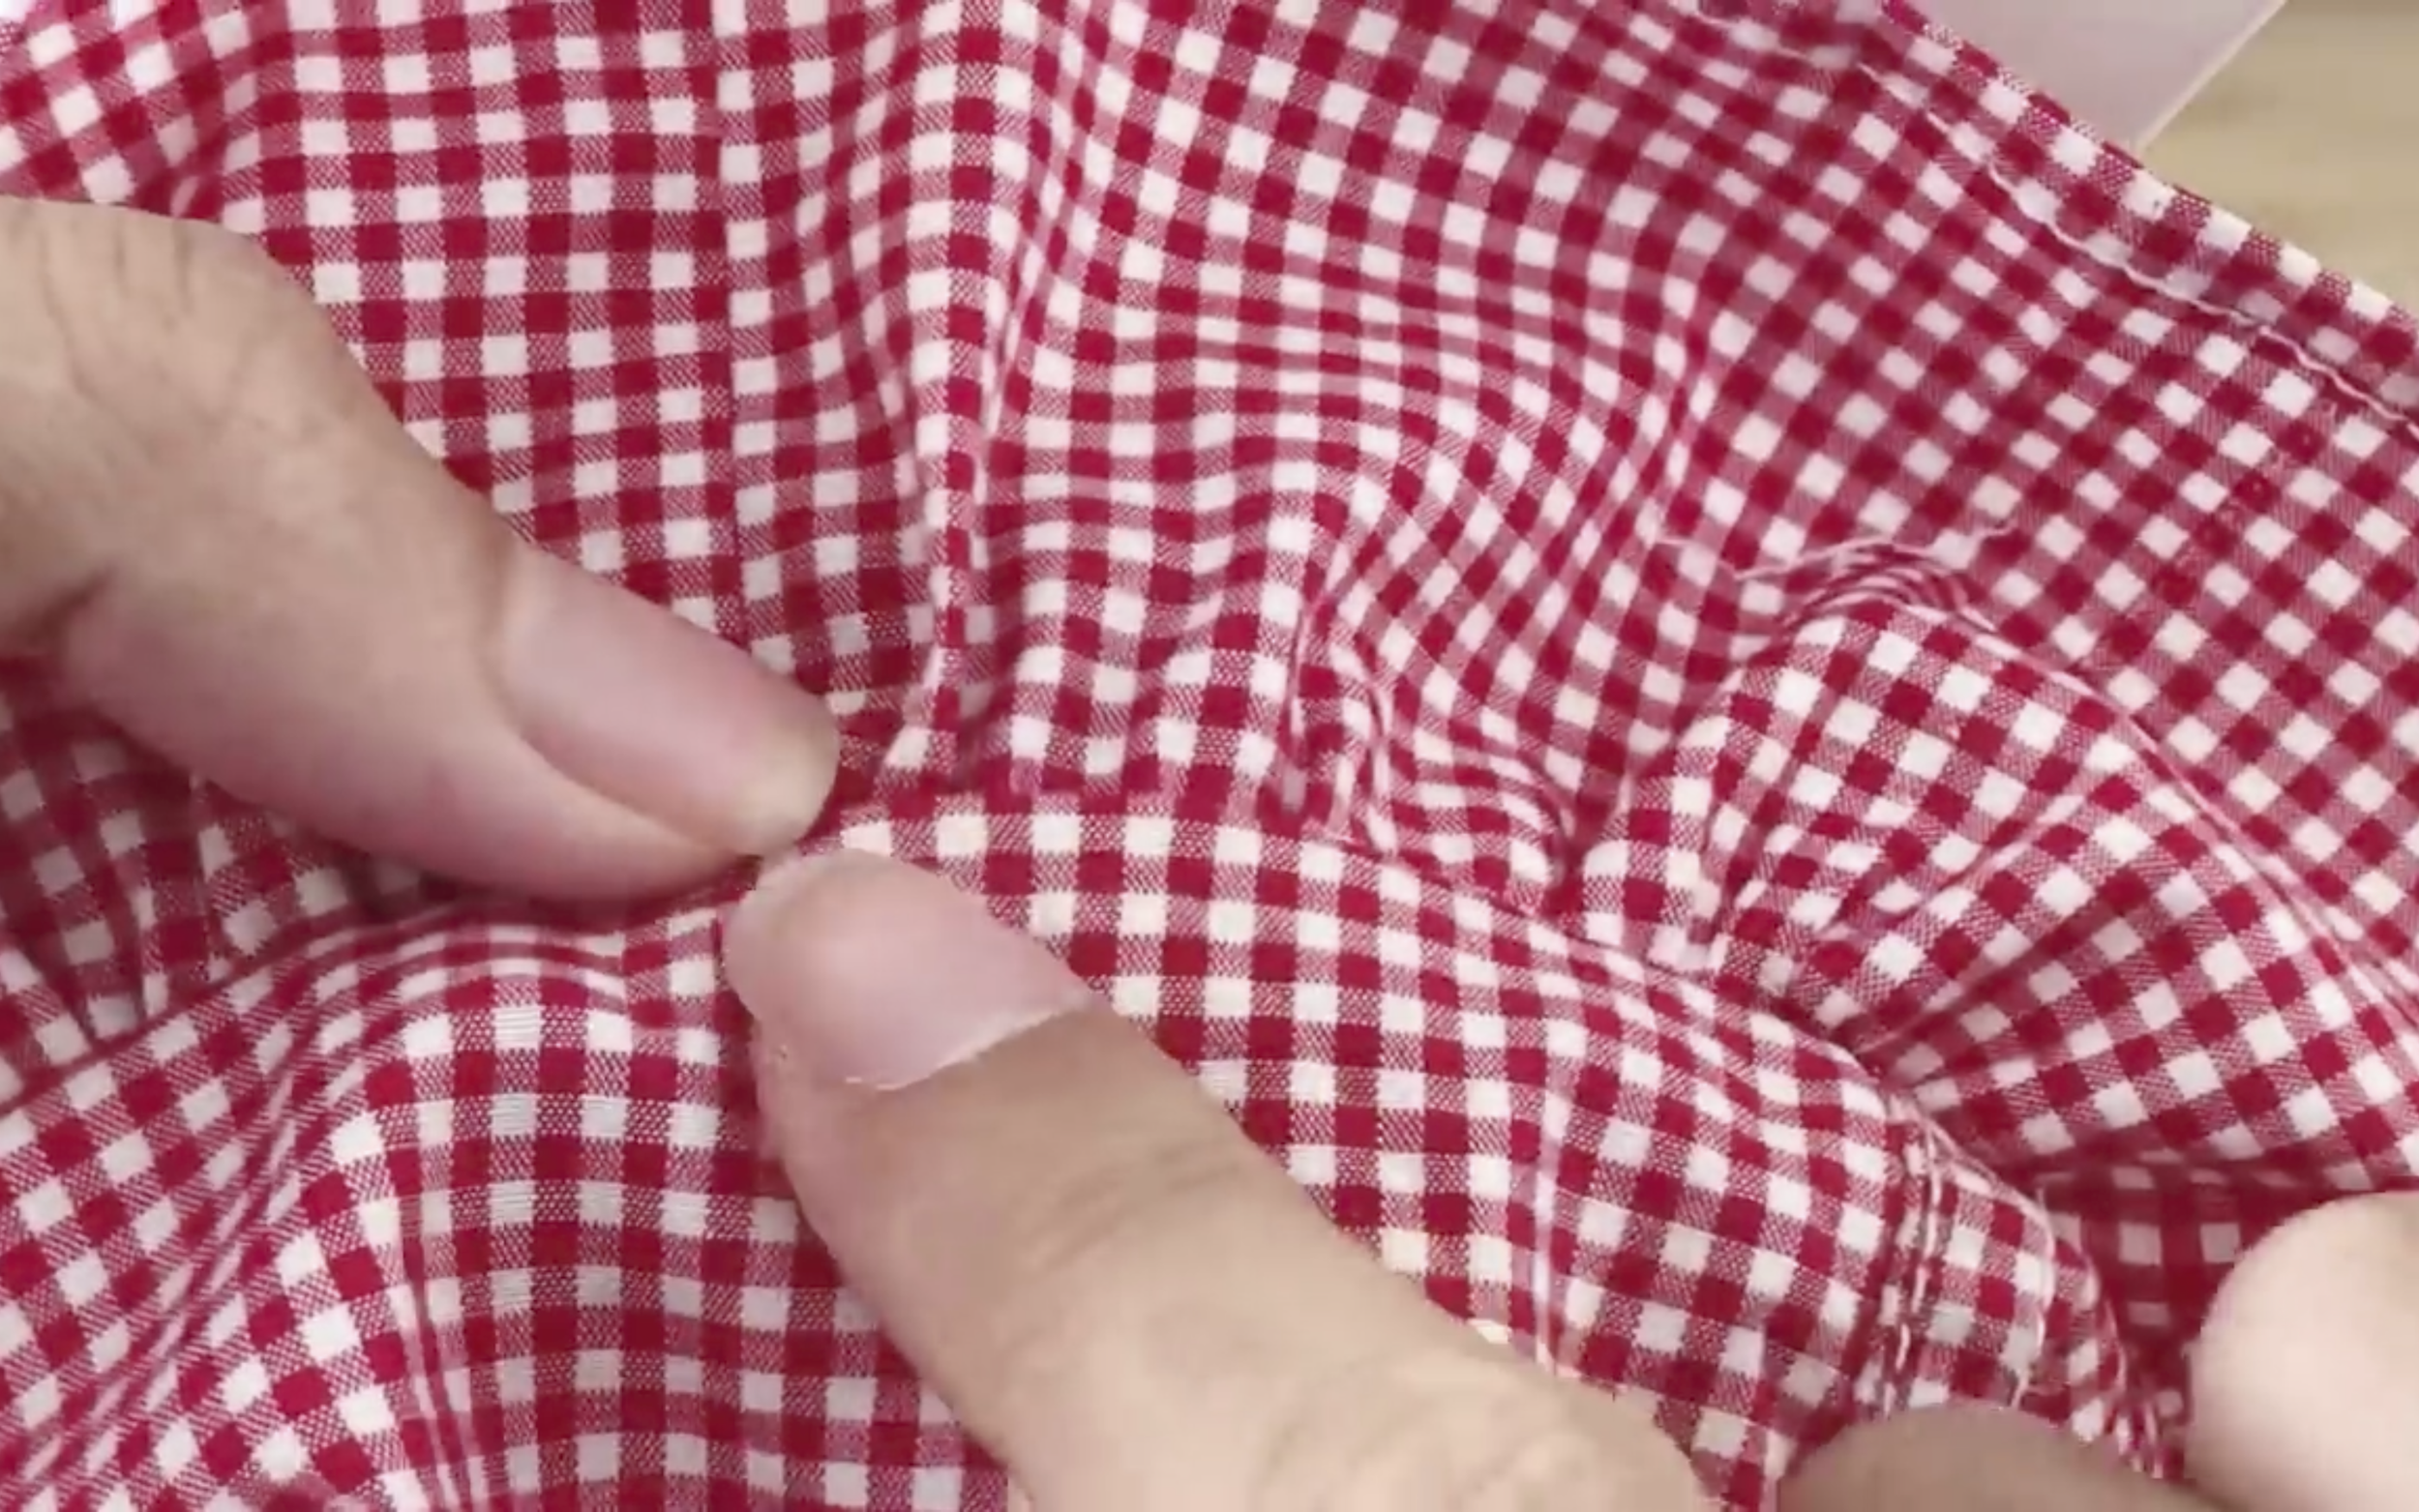
Make one seam next to the first one to gather the fabric on one side so the ruffle stays in place when wearing the skirt.
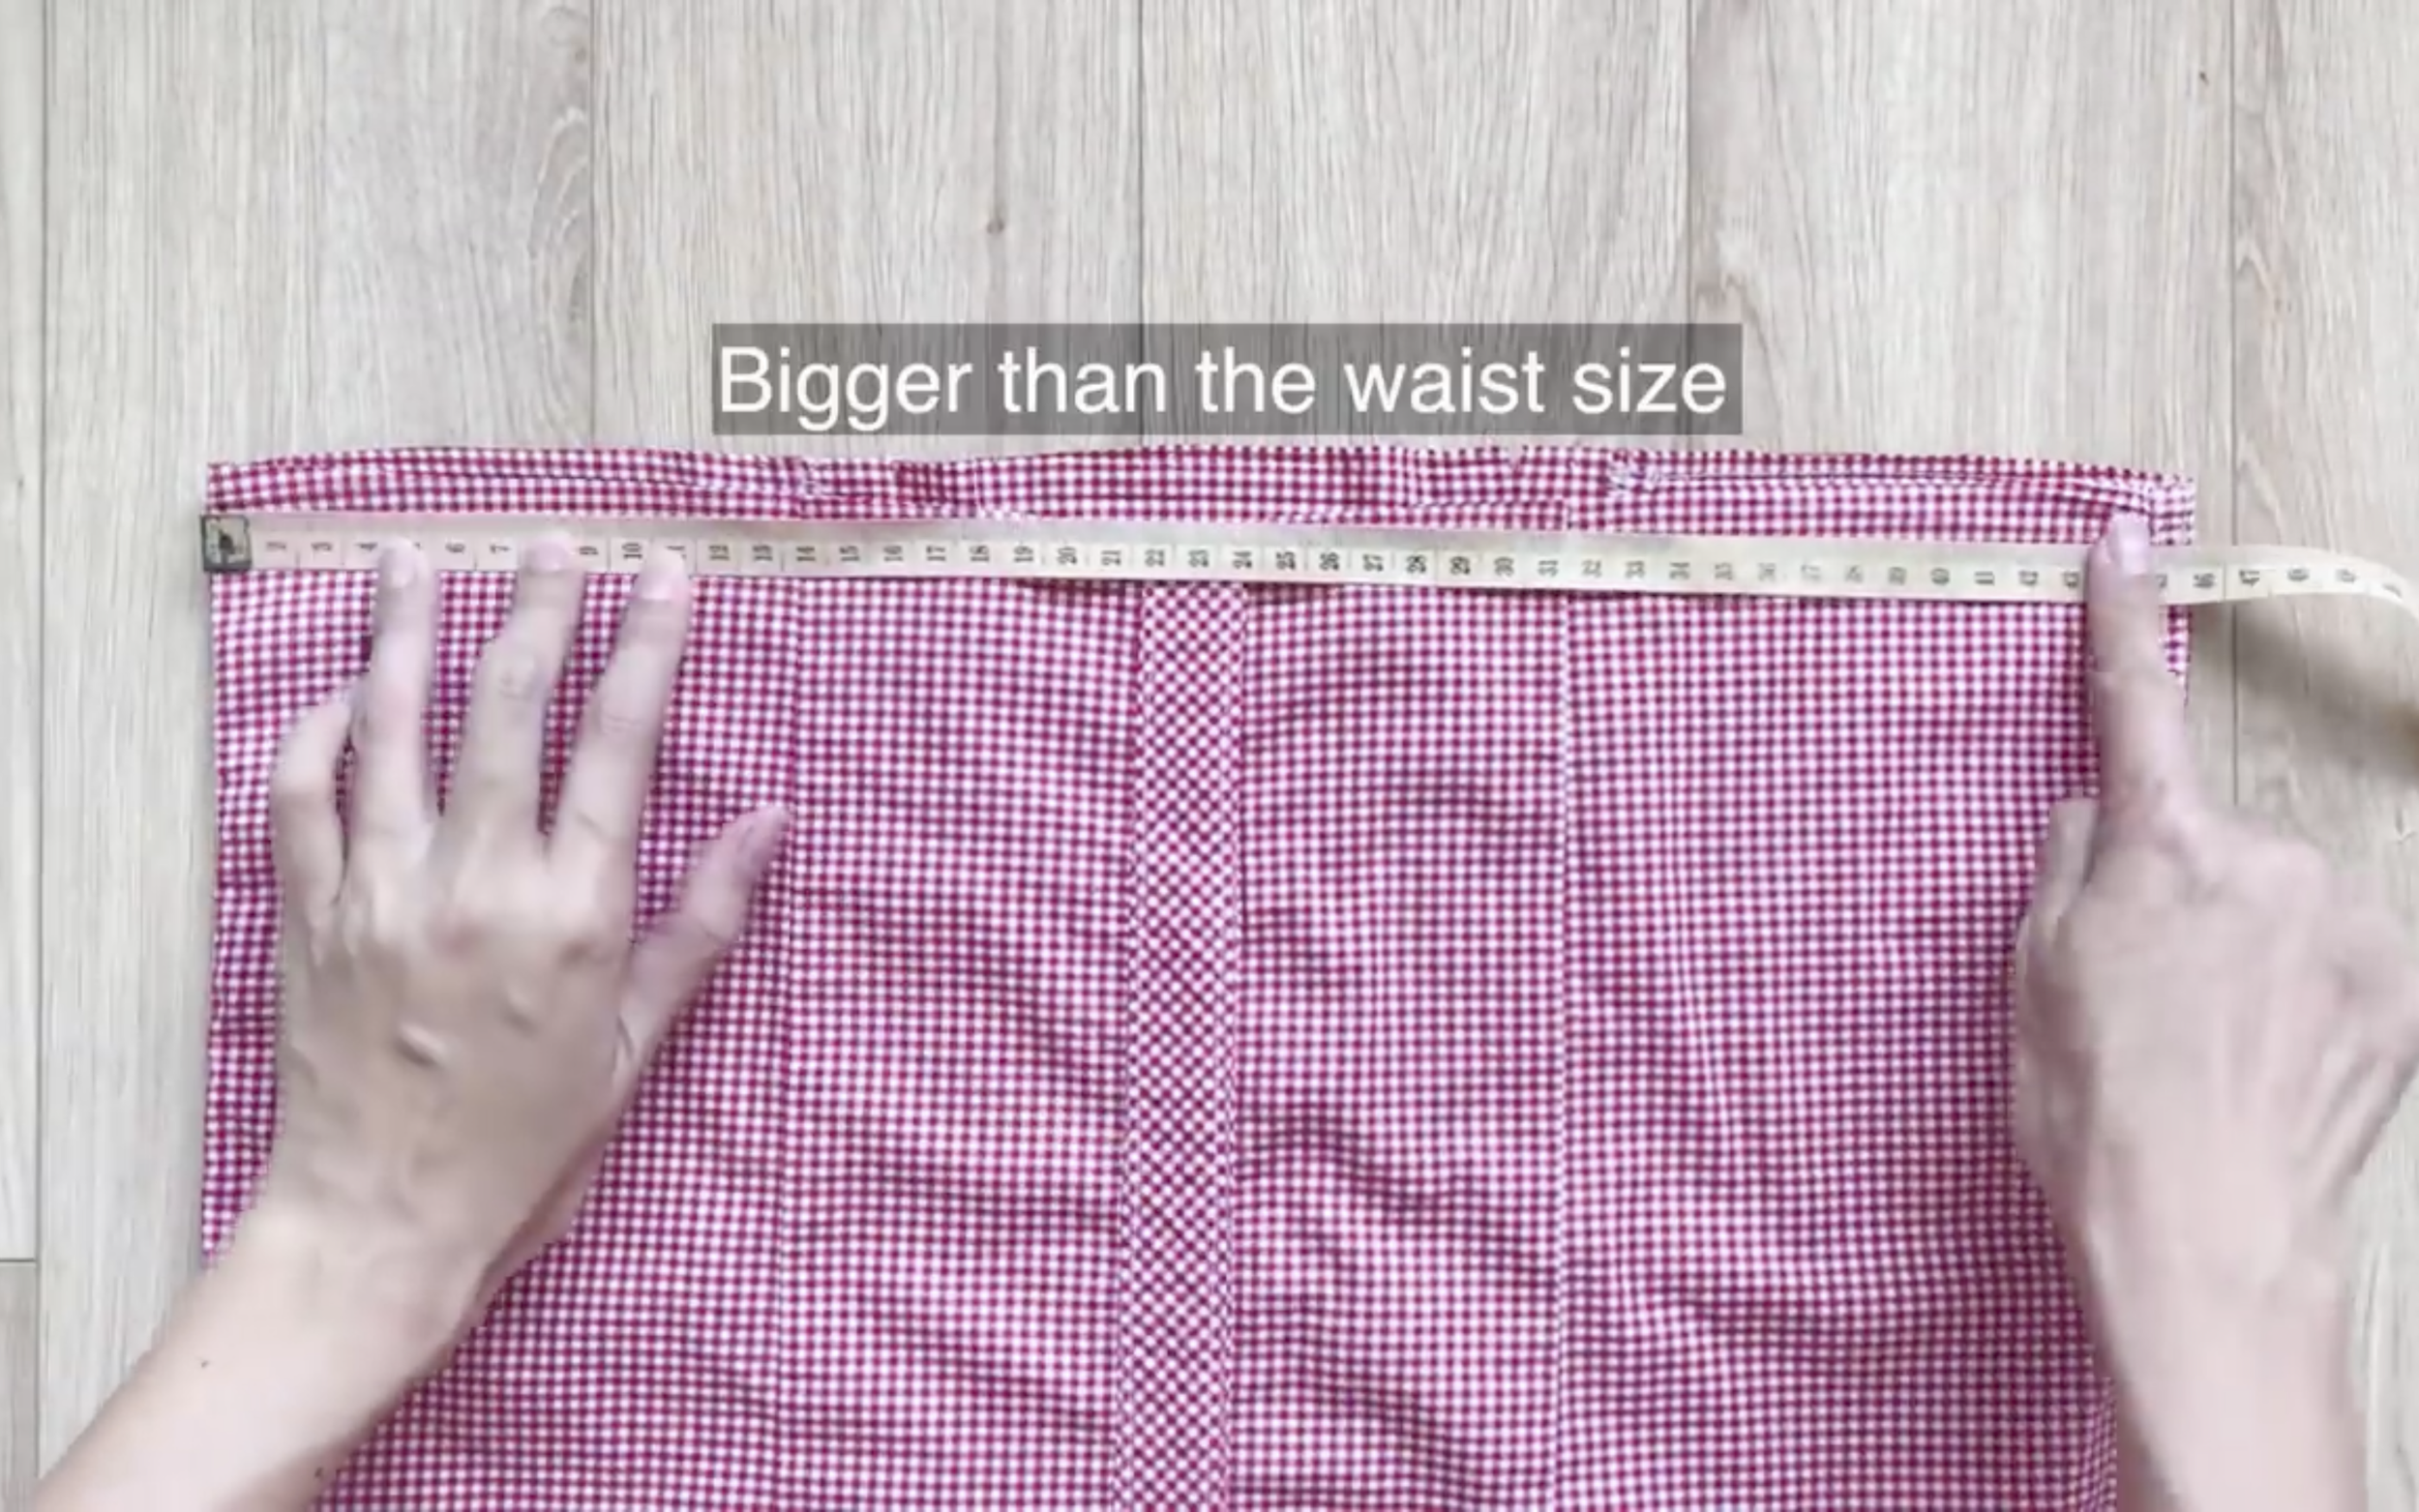
The width of the top of the skirt is bigger than the waist size.
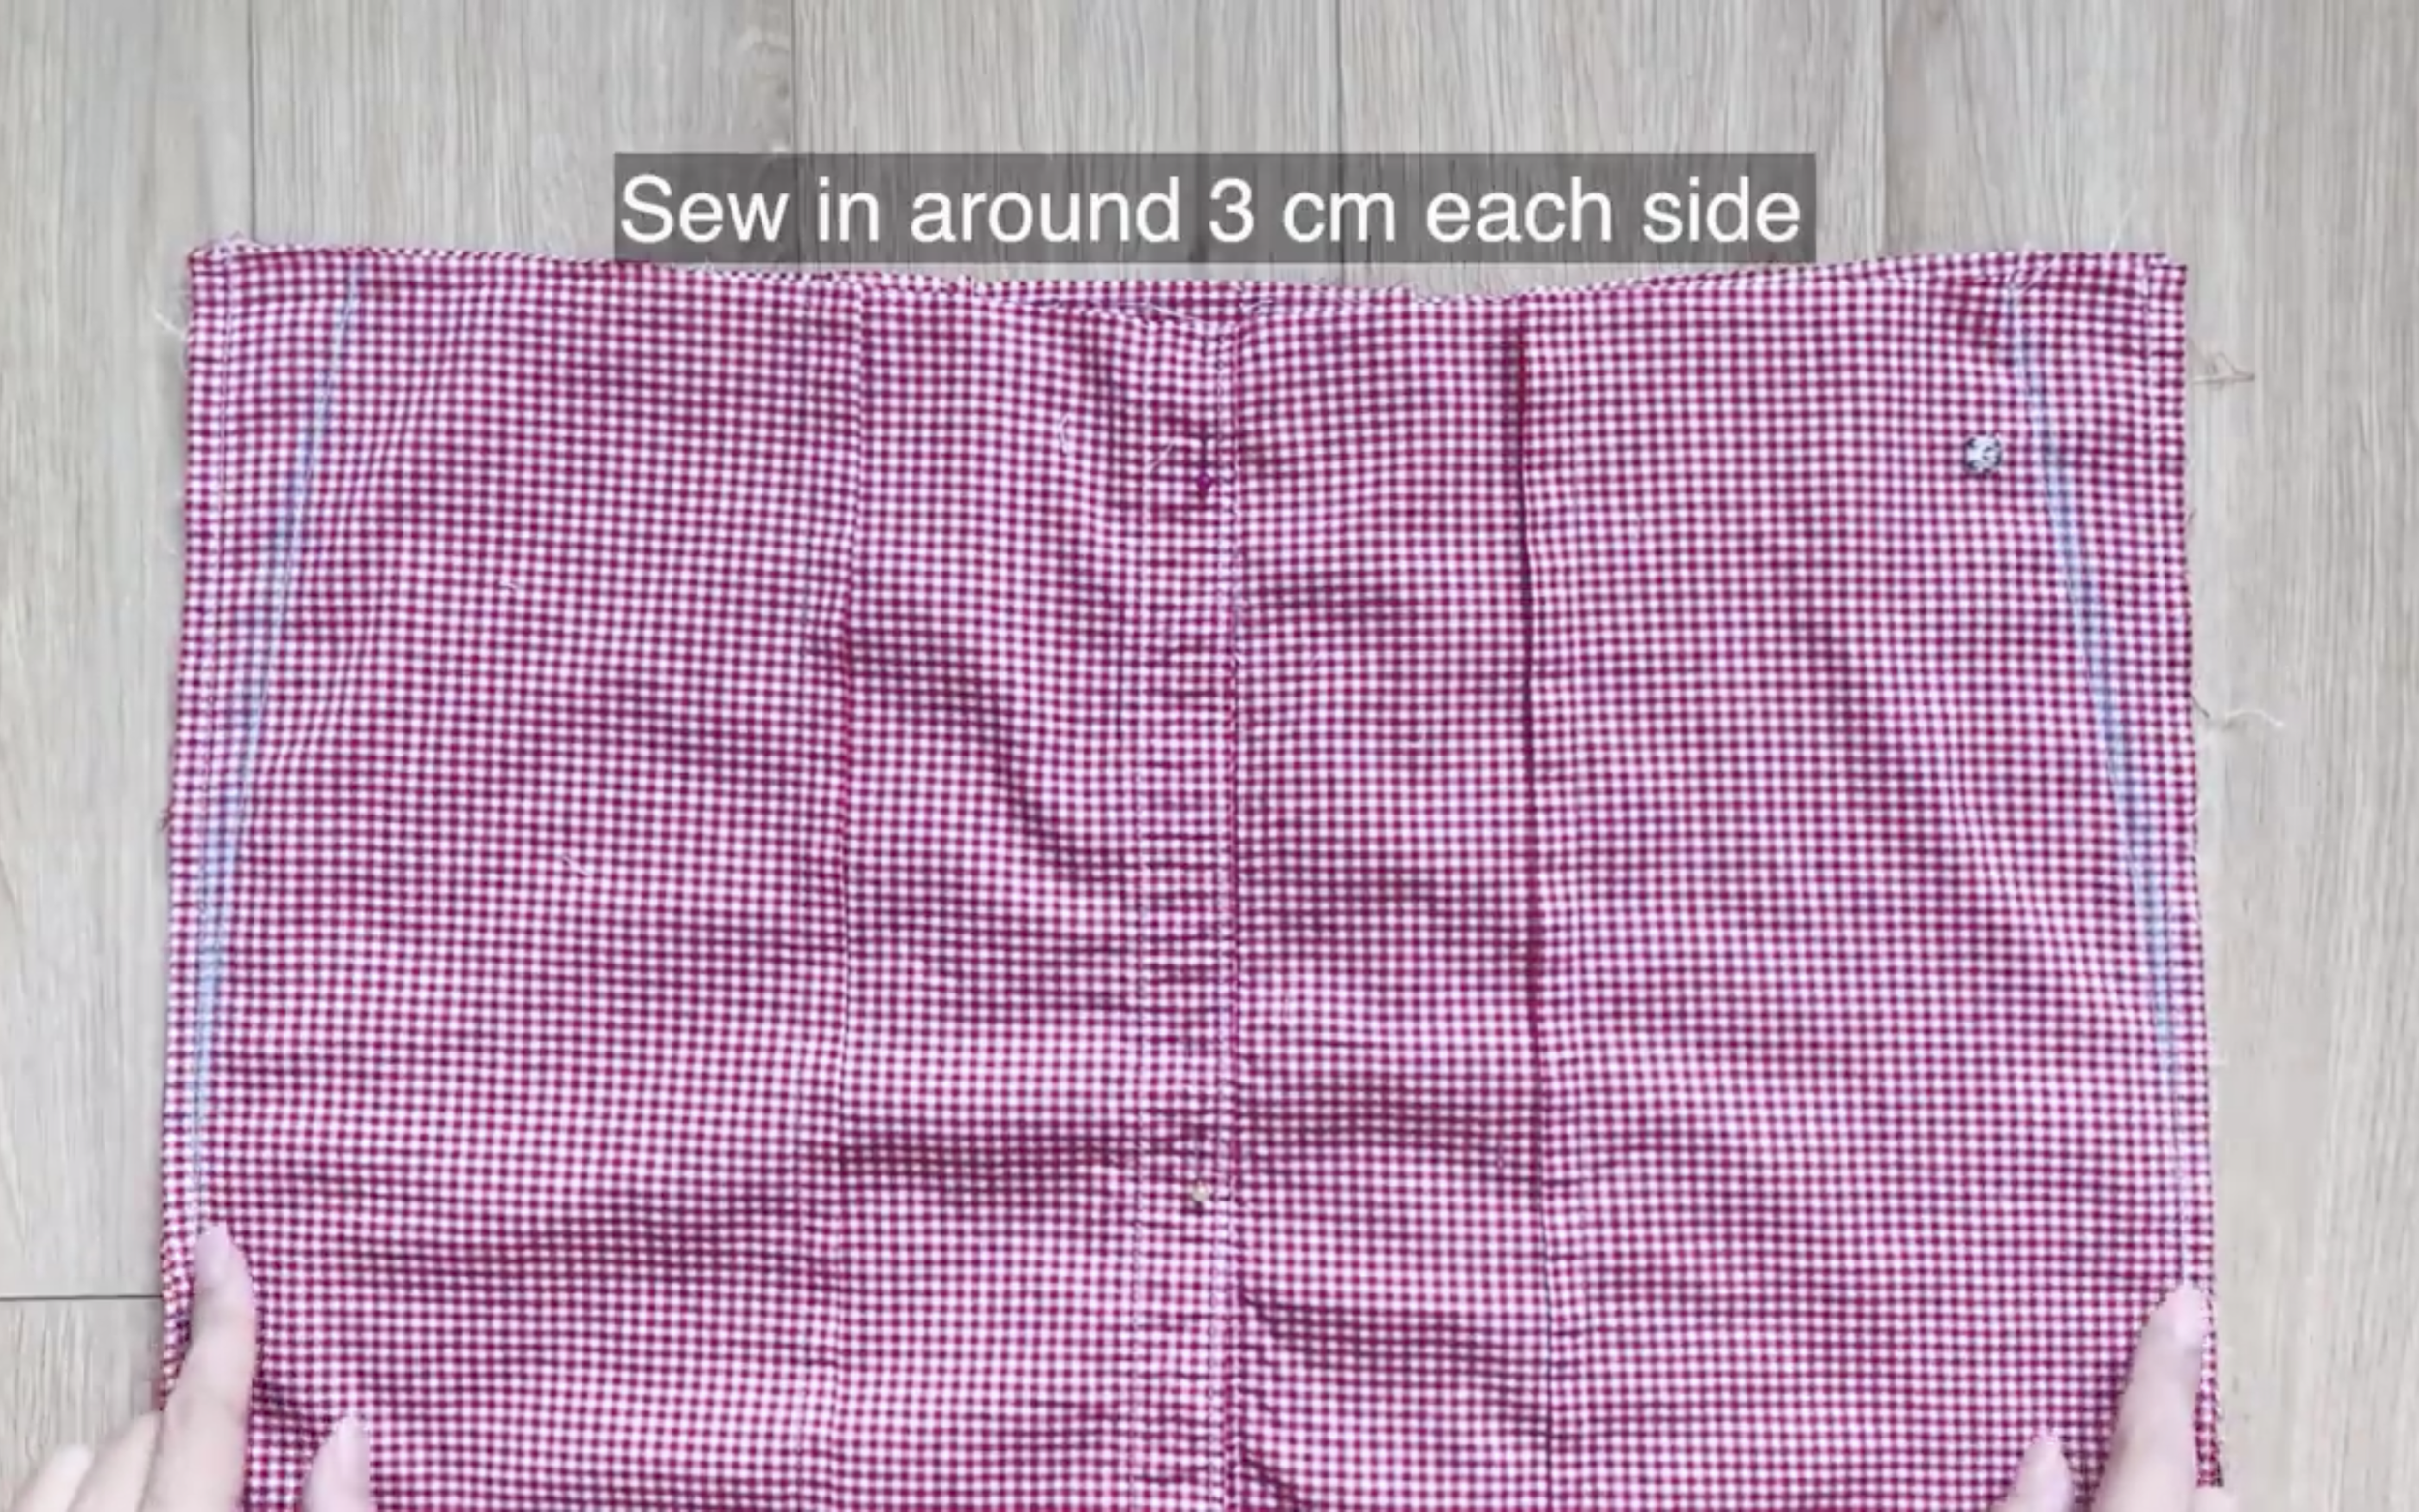
So make a dart on each side of the skirt to reduce the width by 3 cm on each side.
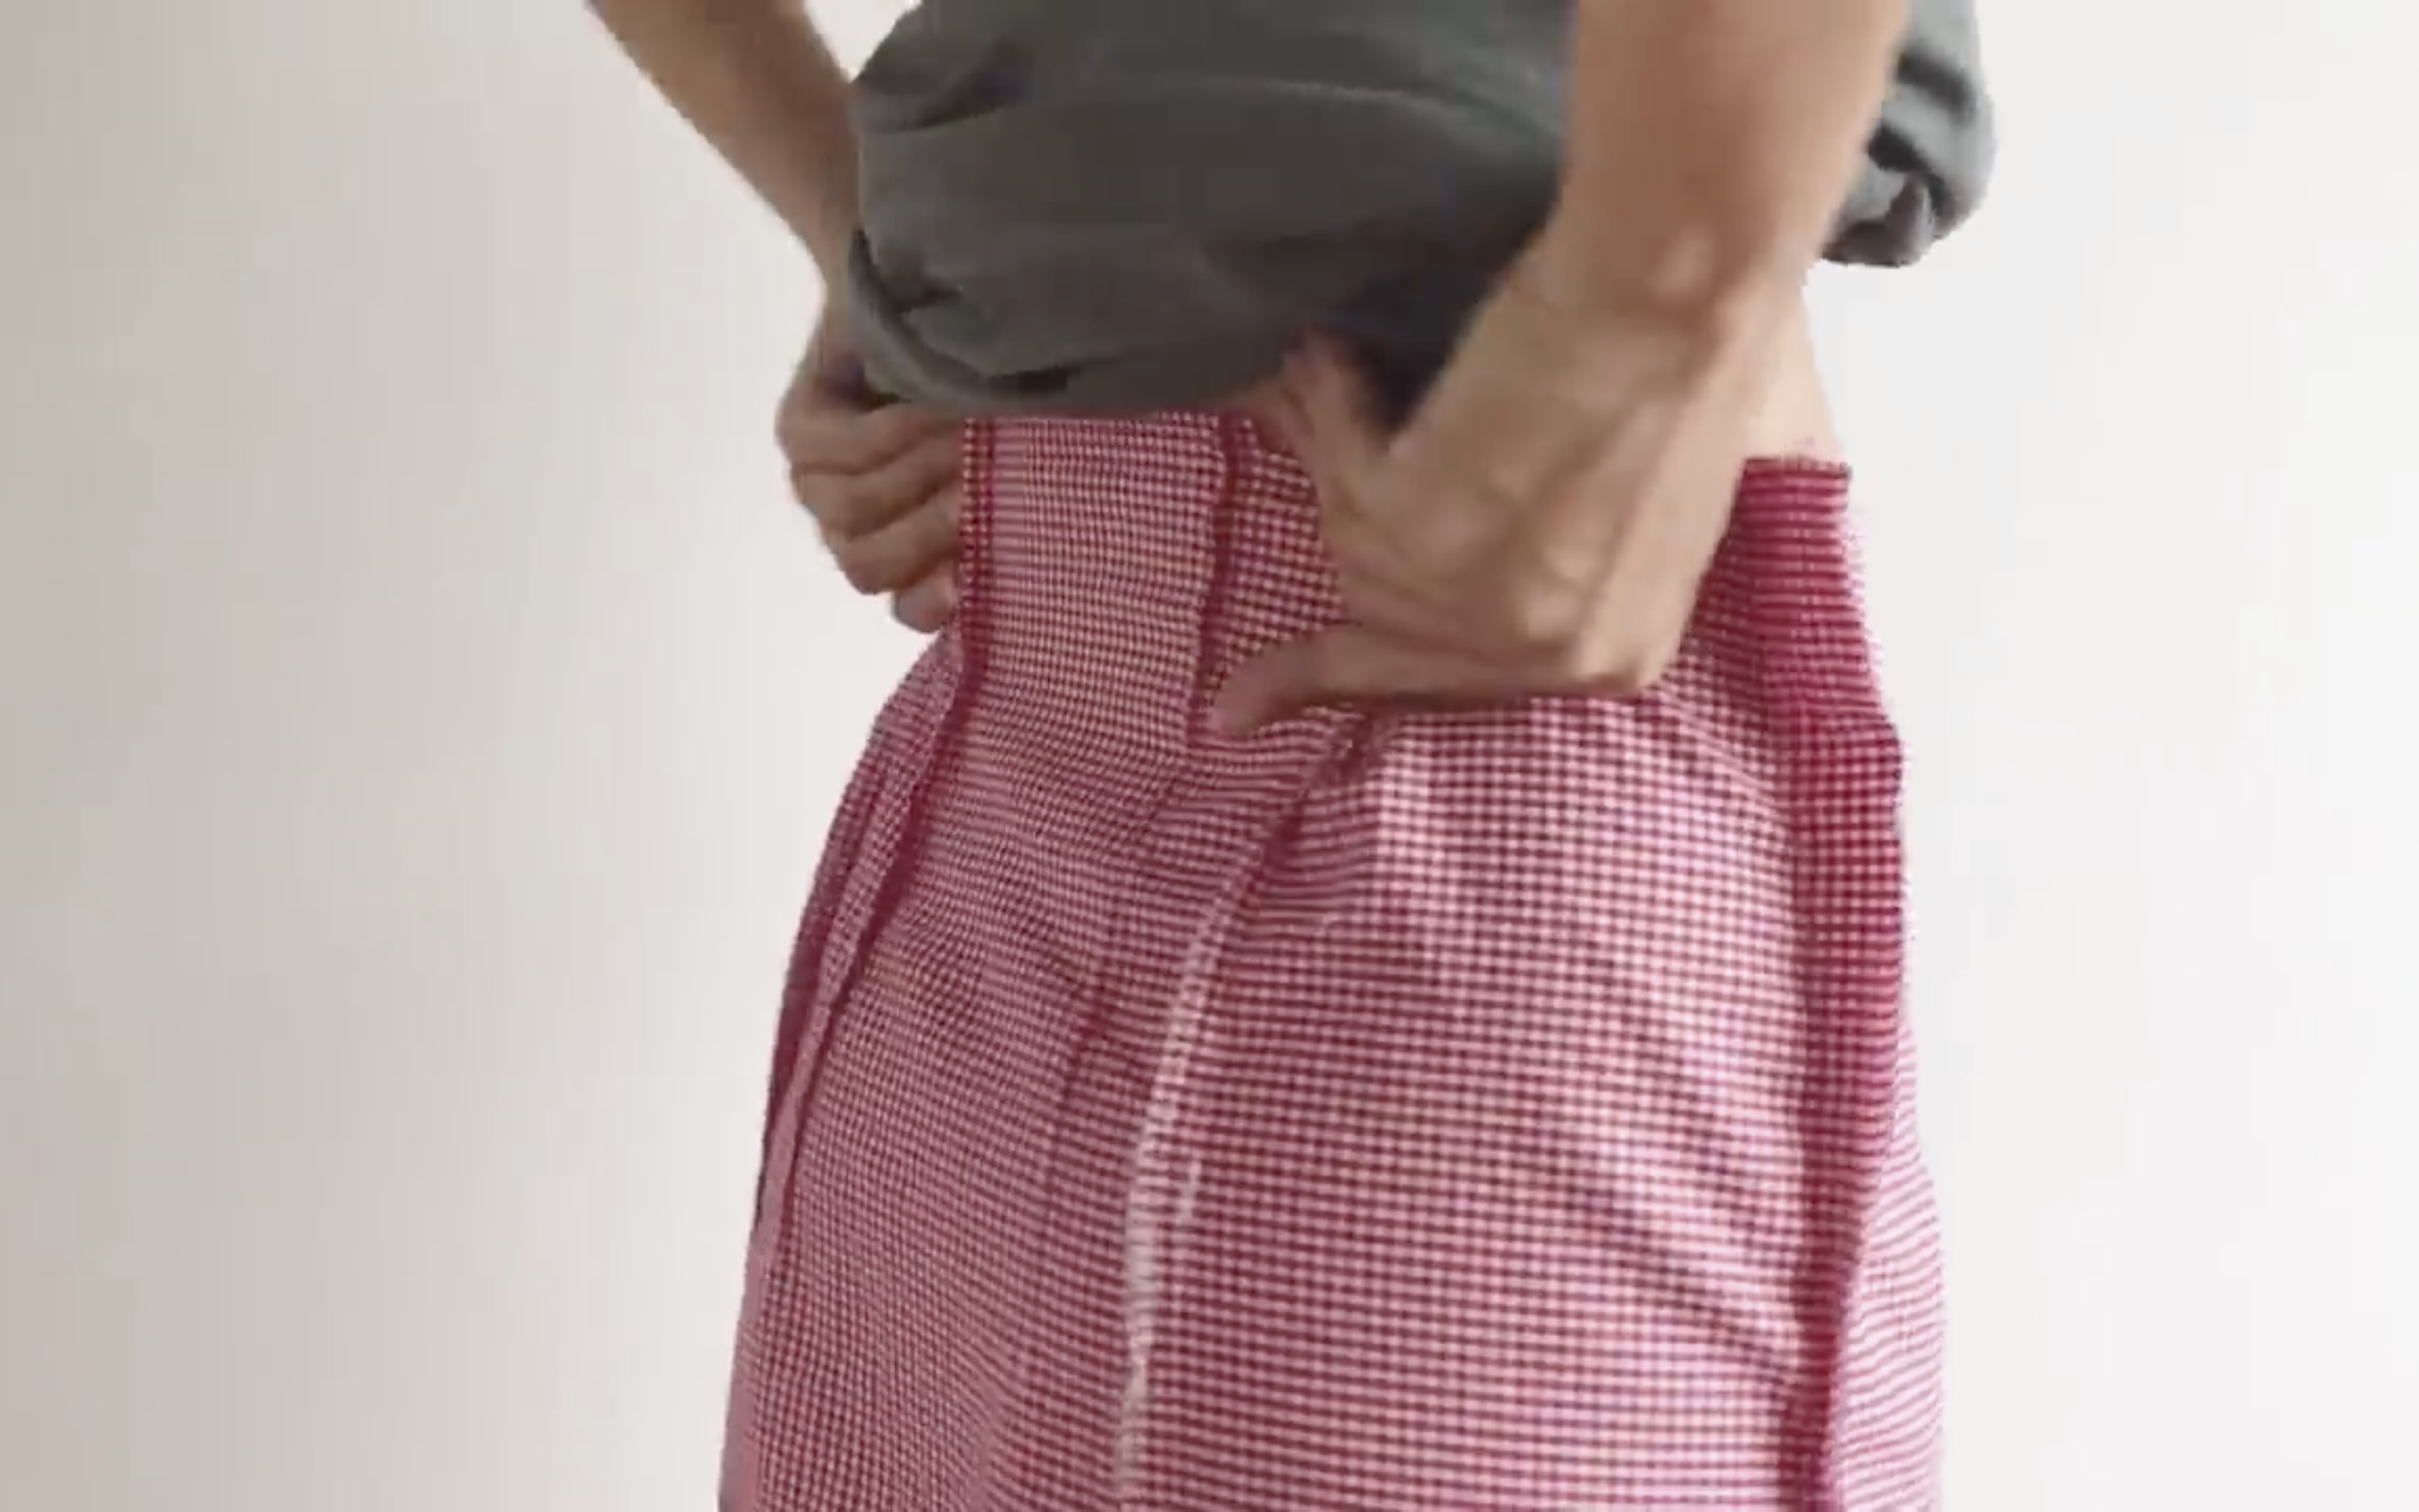
Wear the skirt to mark the dart width at the back for a perfect fit, then sew.
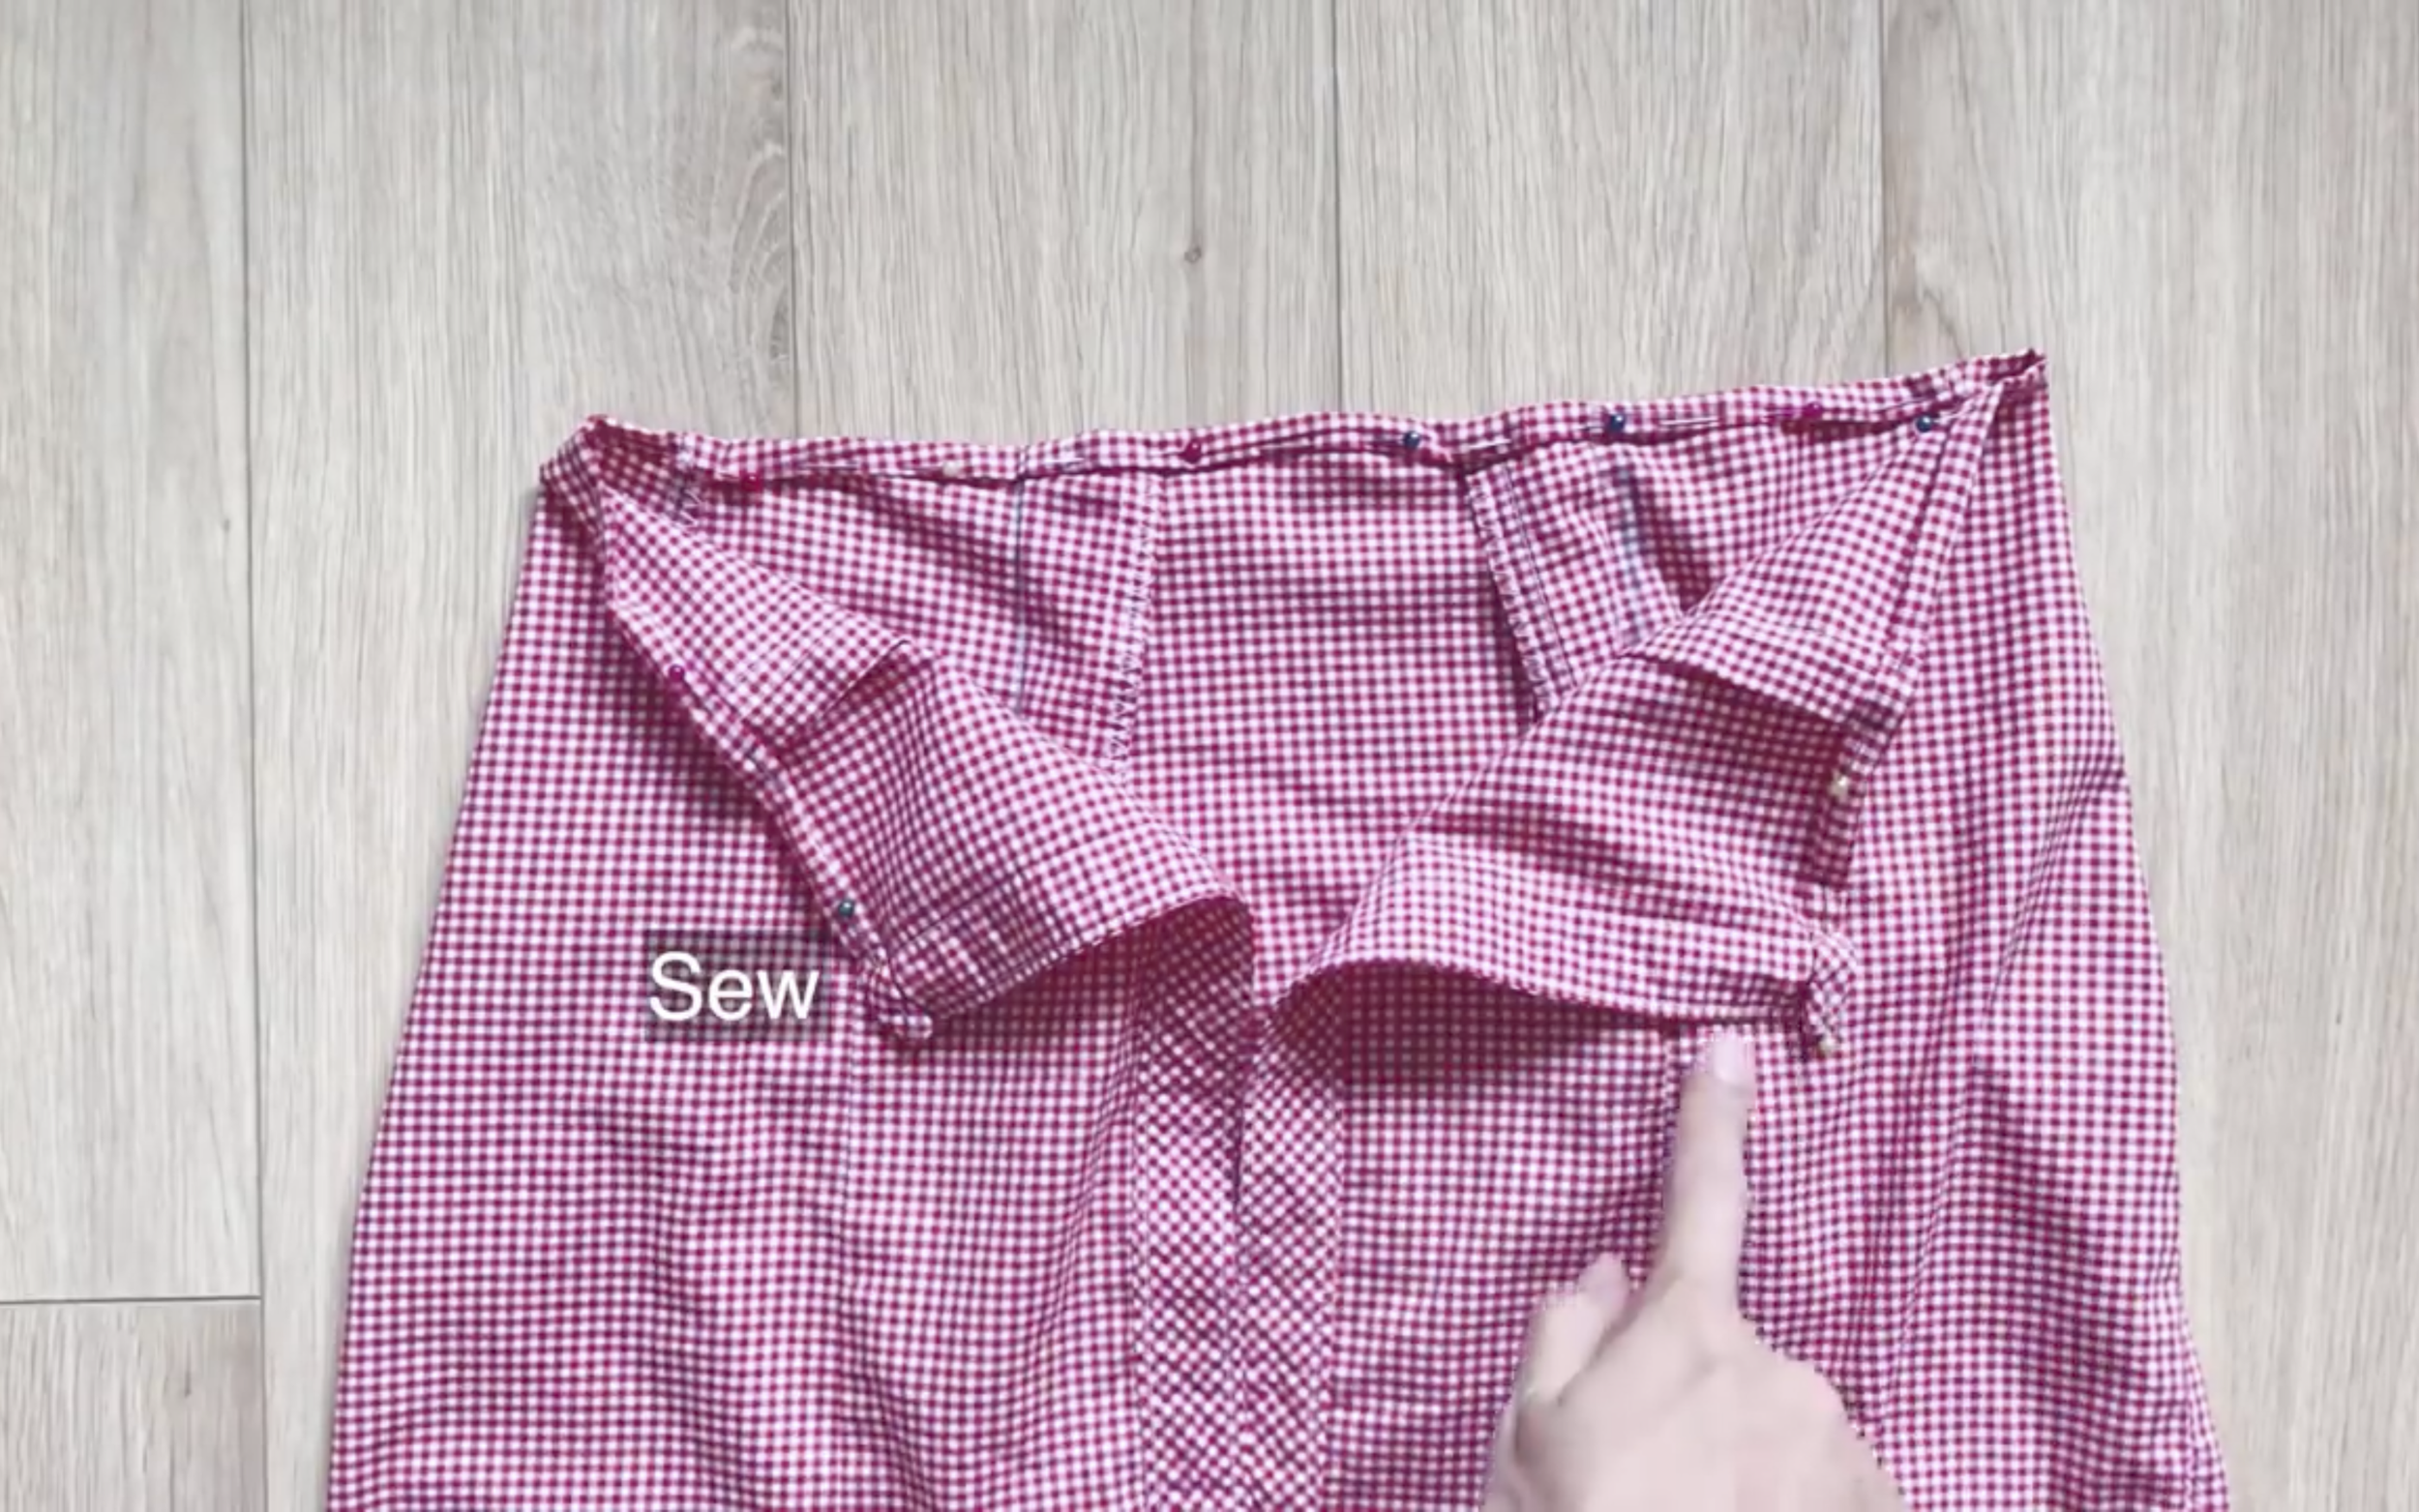
Since there isn’t enough fabric for the waistband, fold the top of the skirt inside twice and sew.
A proper waistband would look nicer.
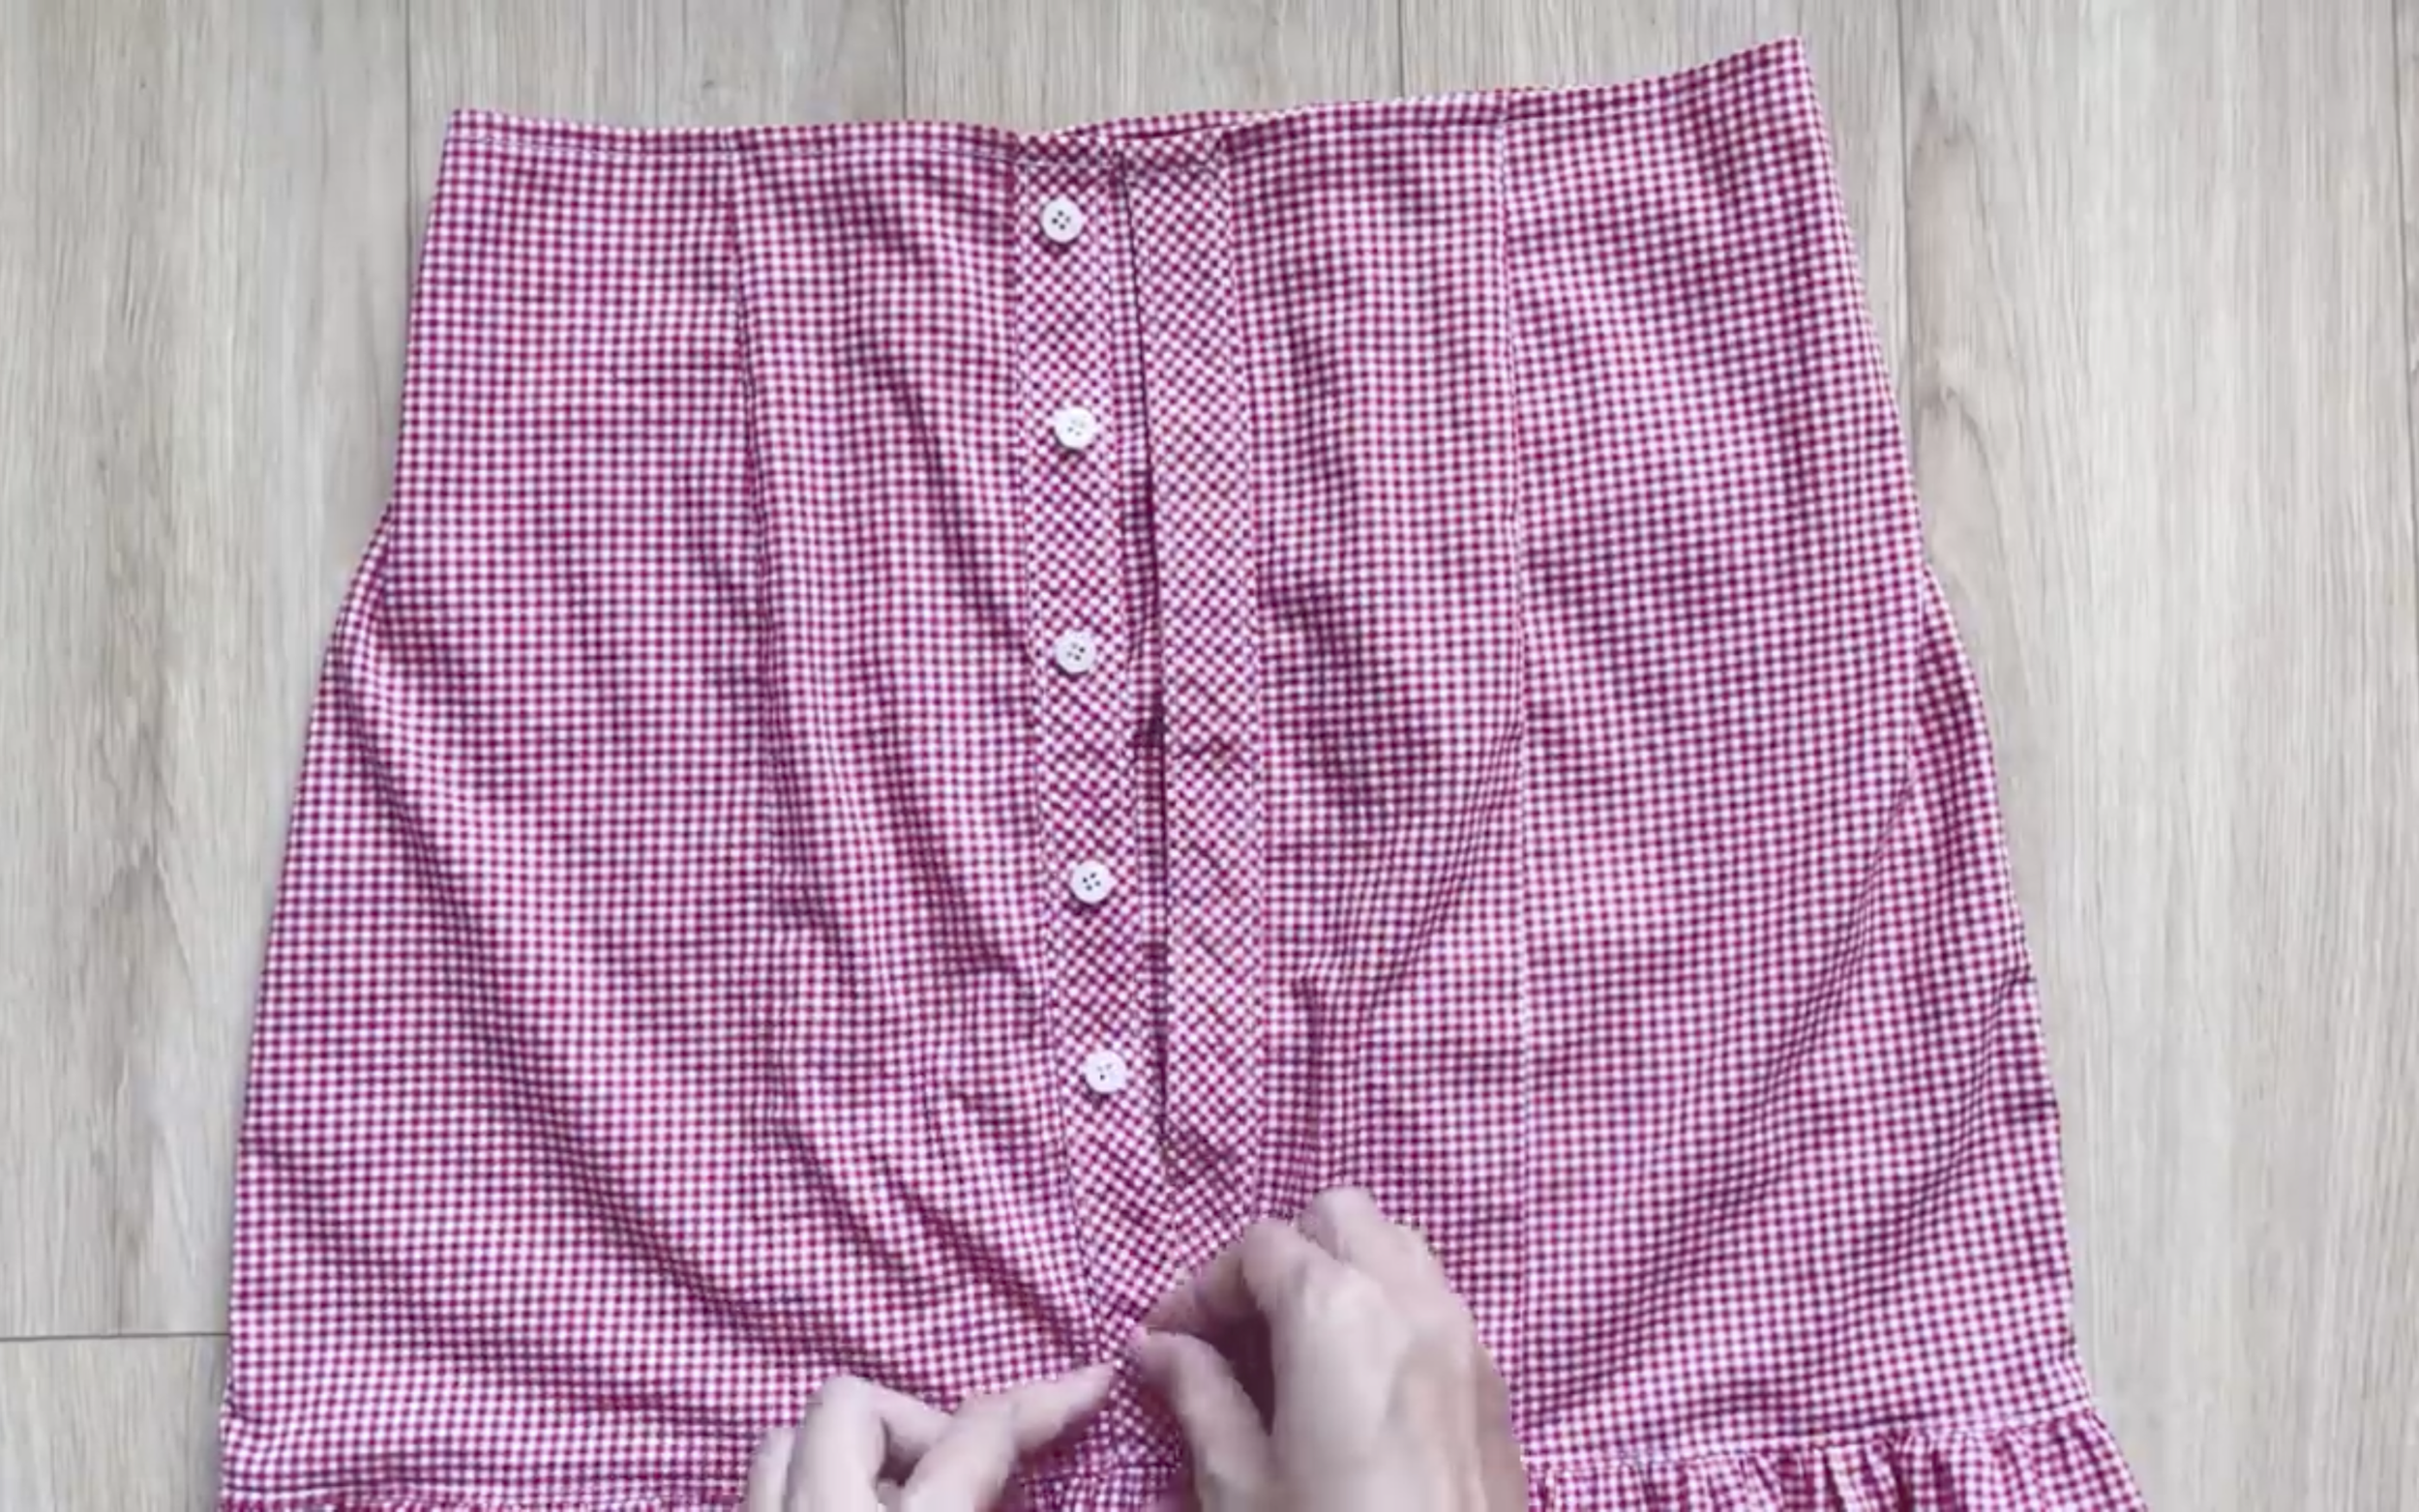
The last step is installing the button and making the buttonhole for the skirt.
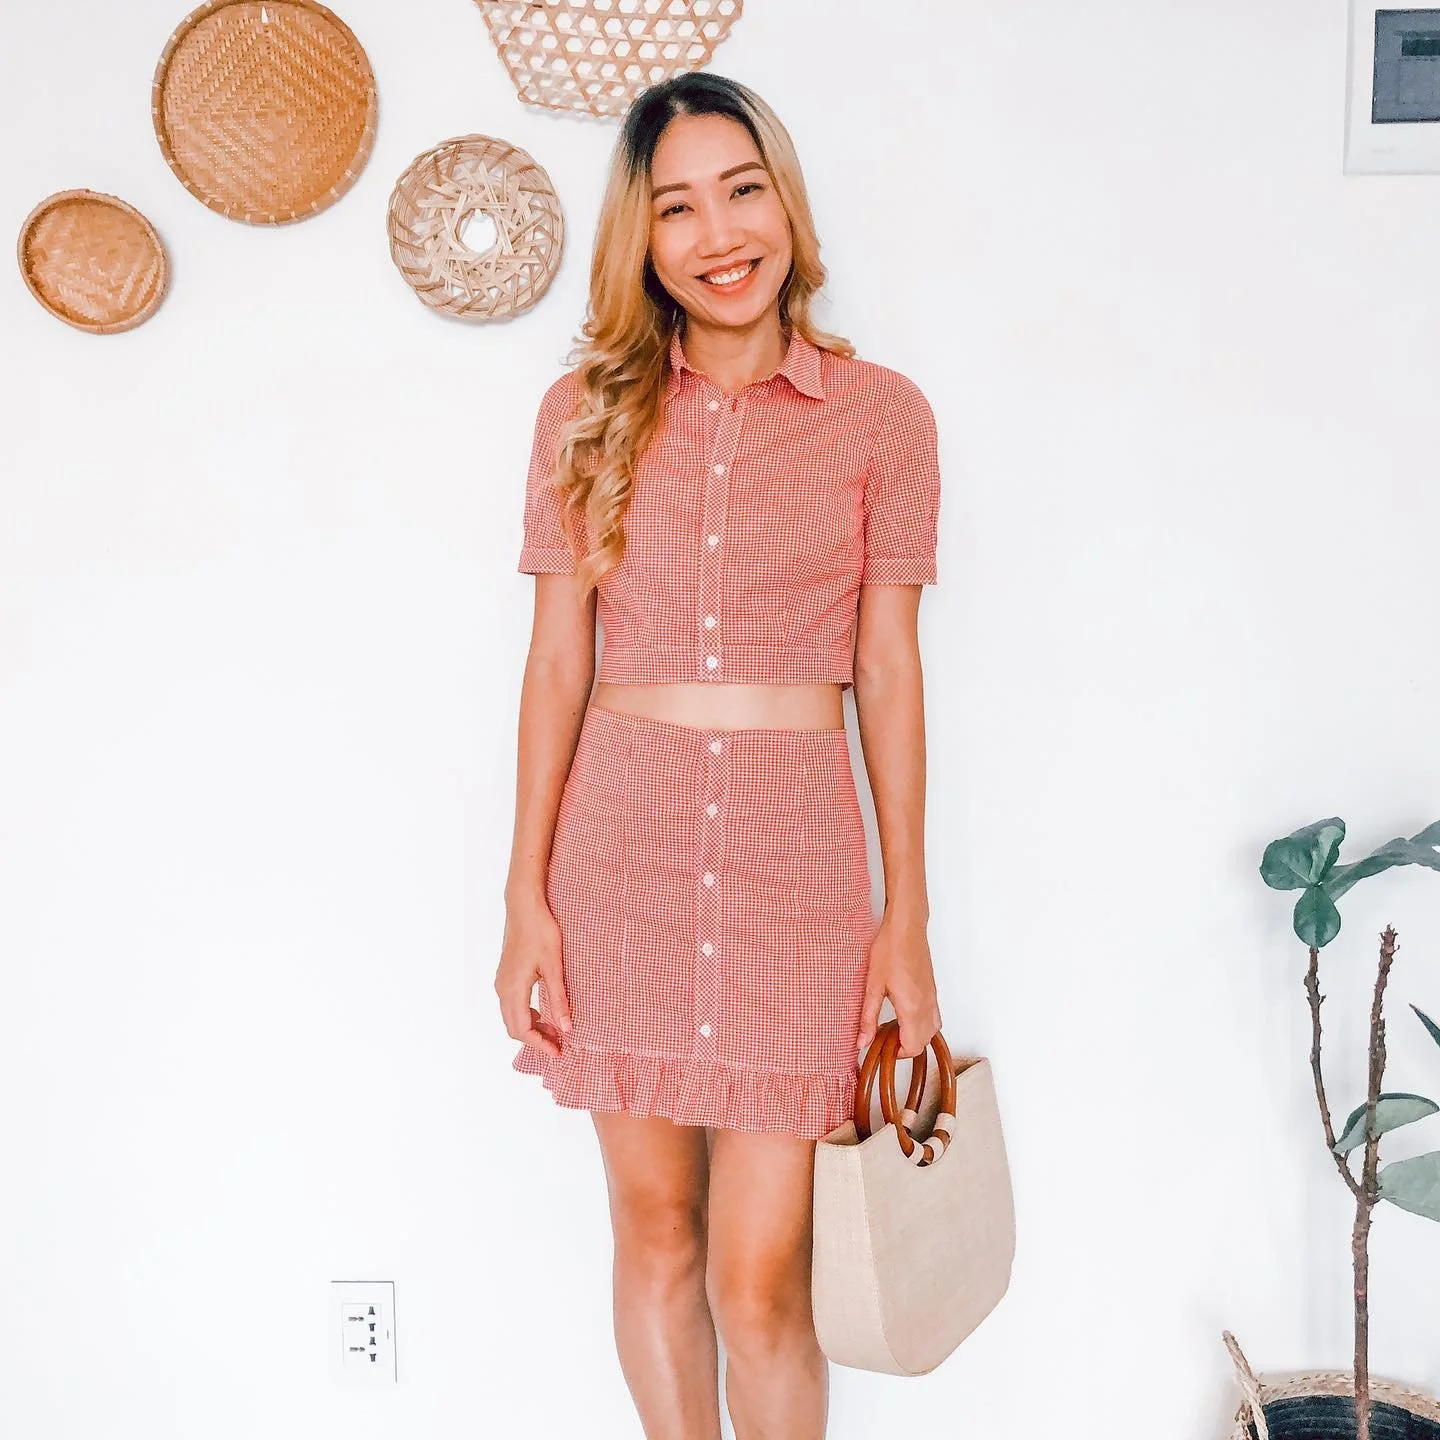
THRIFT FLIP in my current wardrobe - CUTE style
And that’s a wrap on the skirt for this matching set! Here’s the final result—such a cute transformation, don’t you think? It’s absolutely perfect for embracing a girly vibe.
2. SEXY VERSION -Front twisted dress
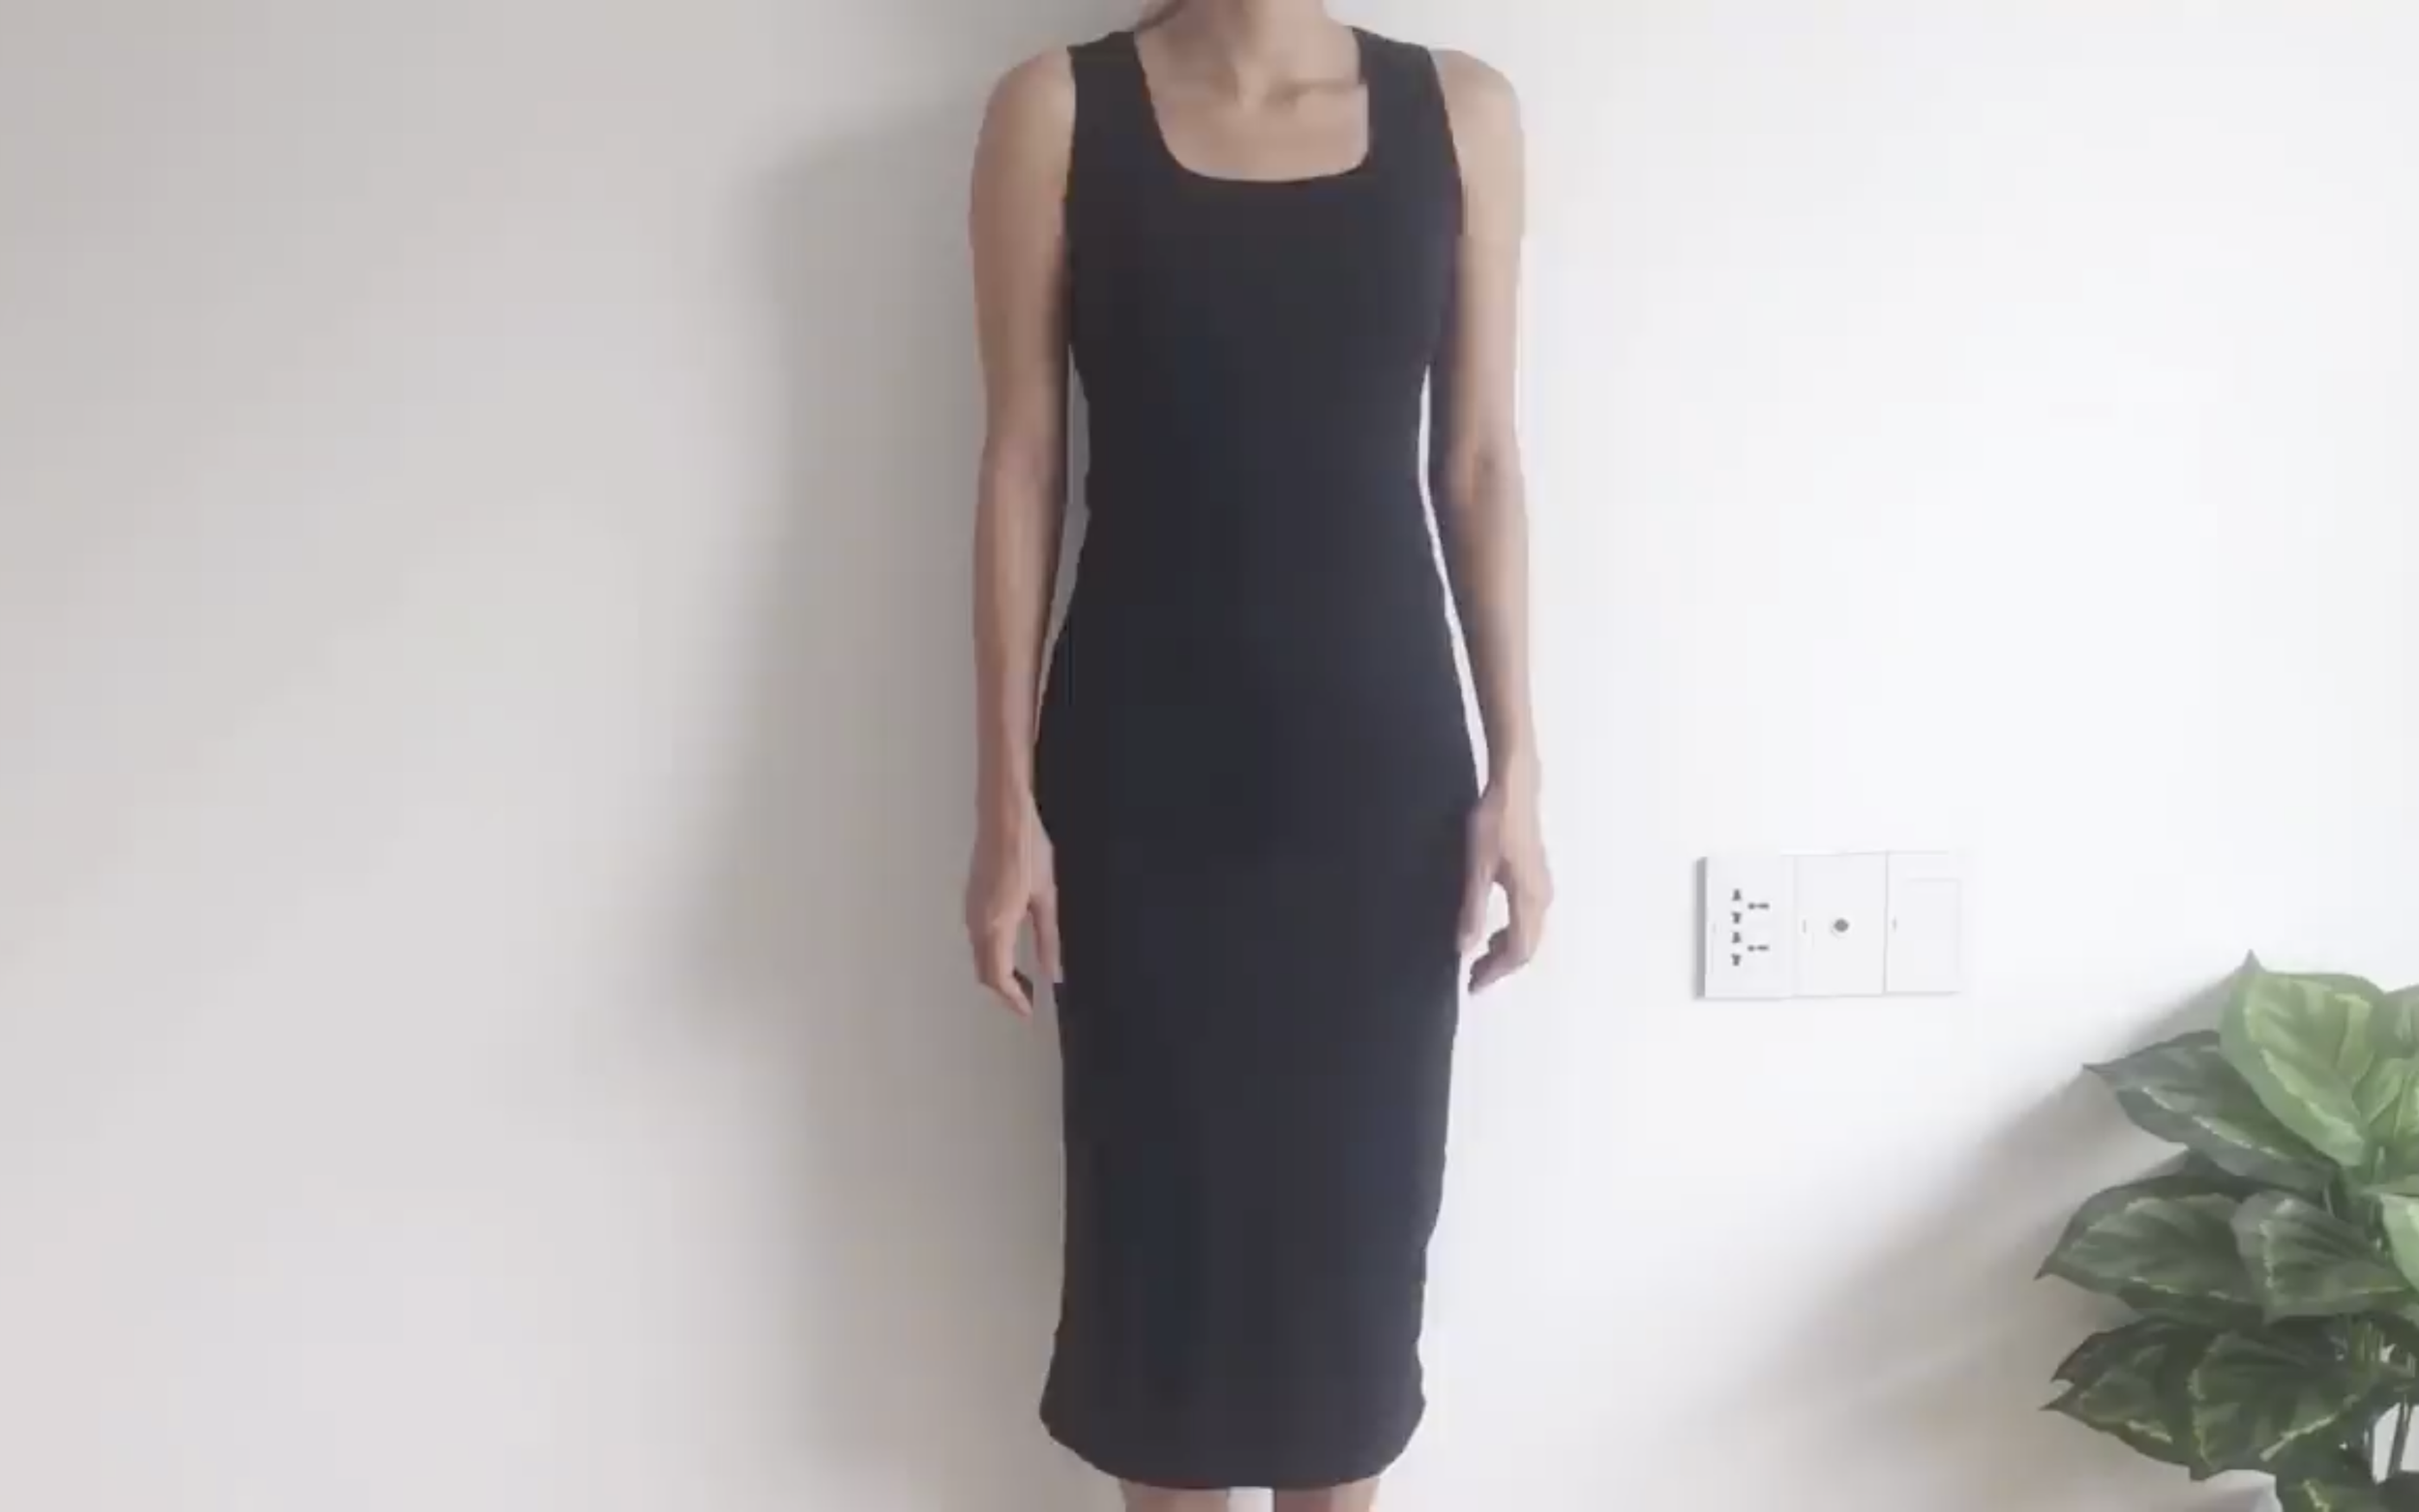
Here’s the dress before: it’s not too bad. The dress fits well but feels a little boring.
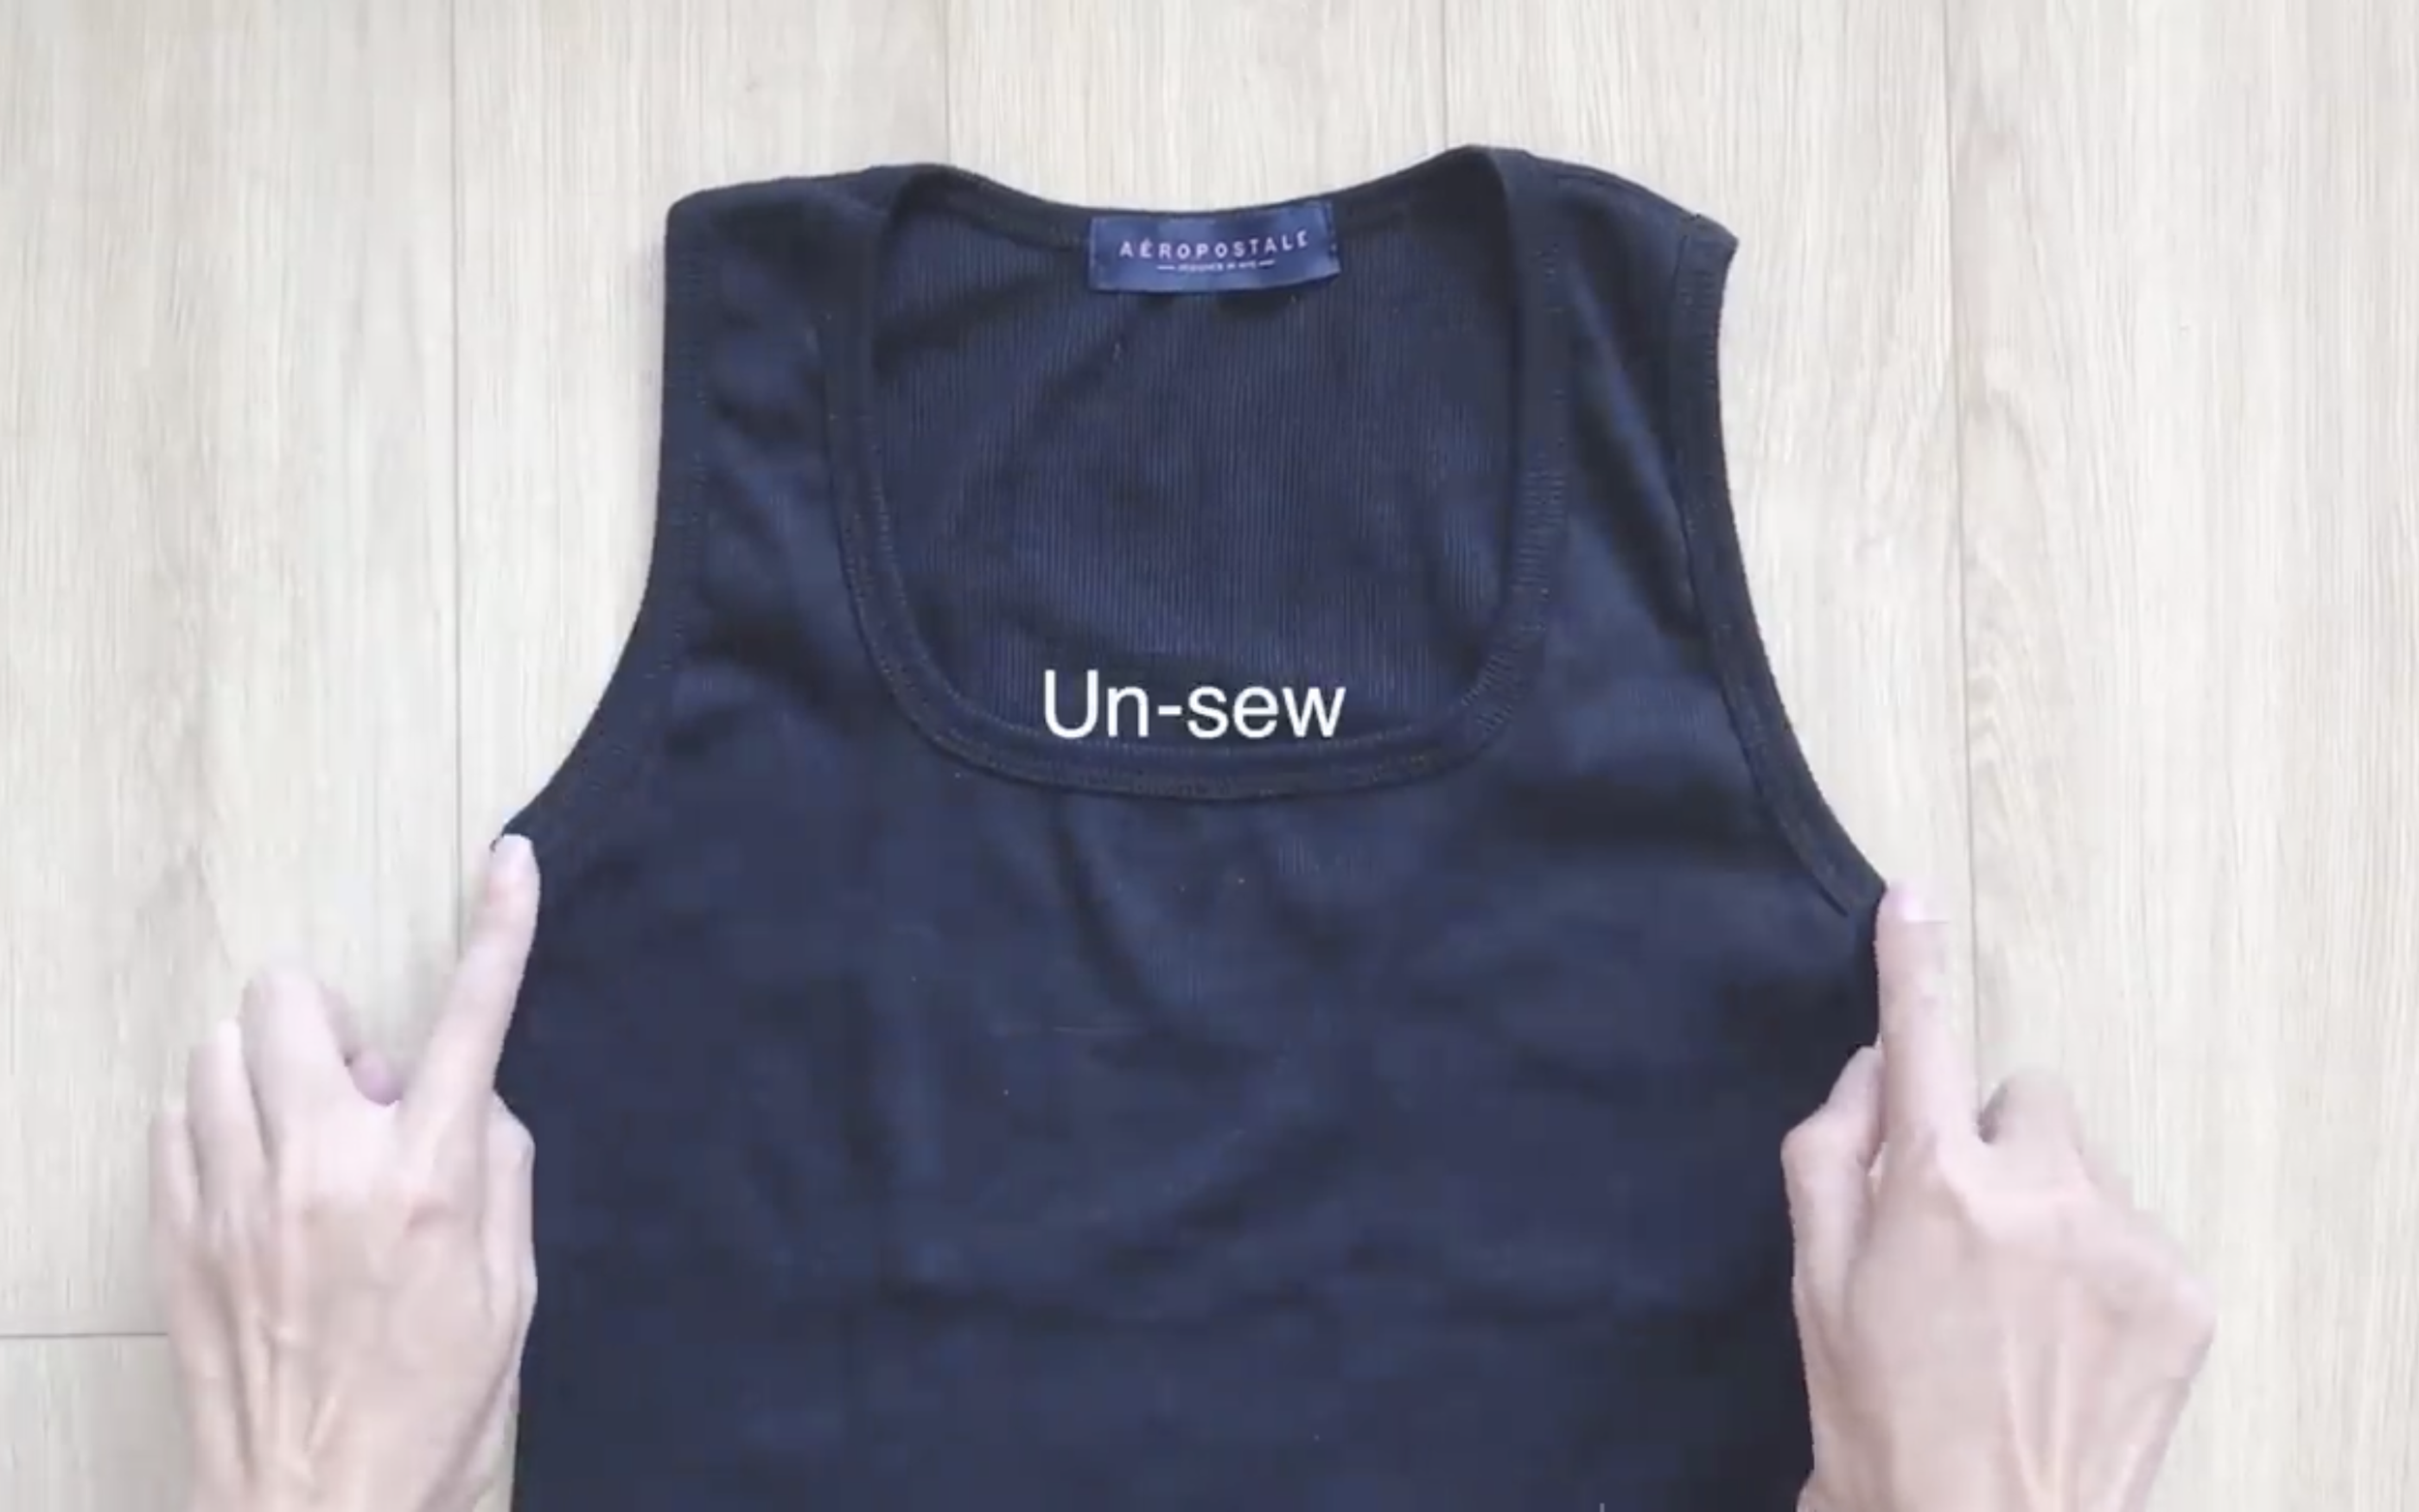
The first step is unsewing the hem at the neck and the two sleeves of the dress.
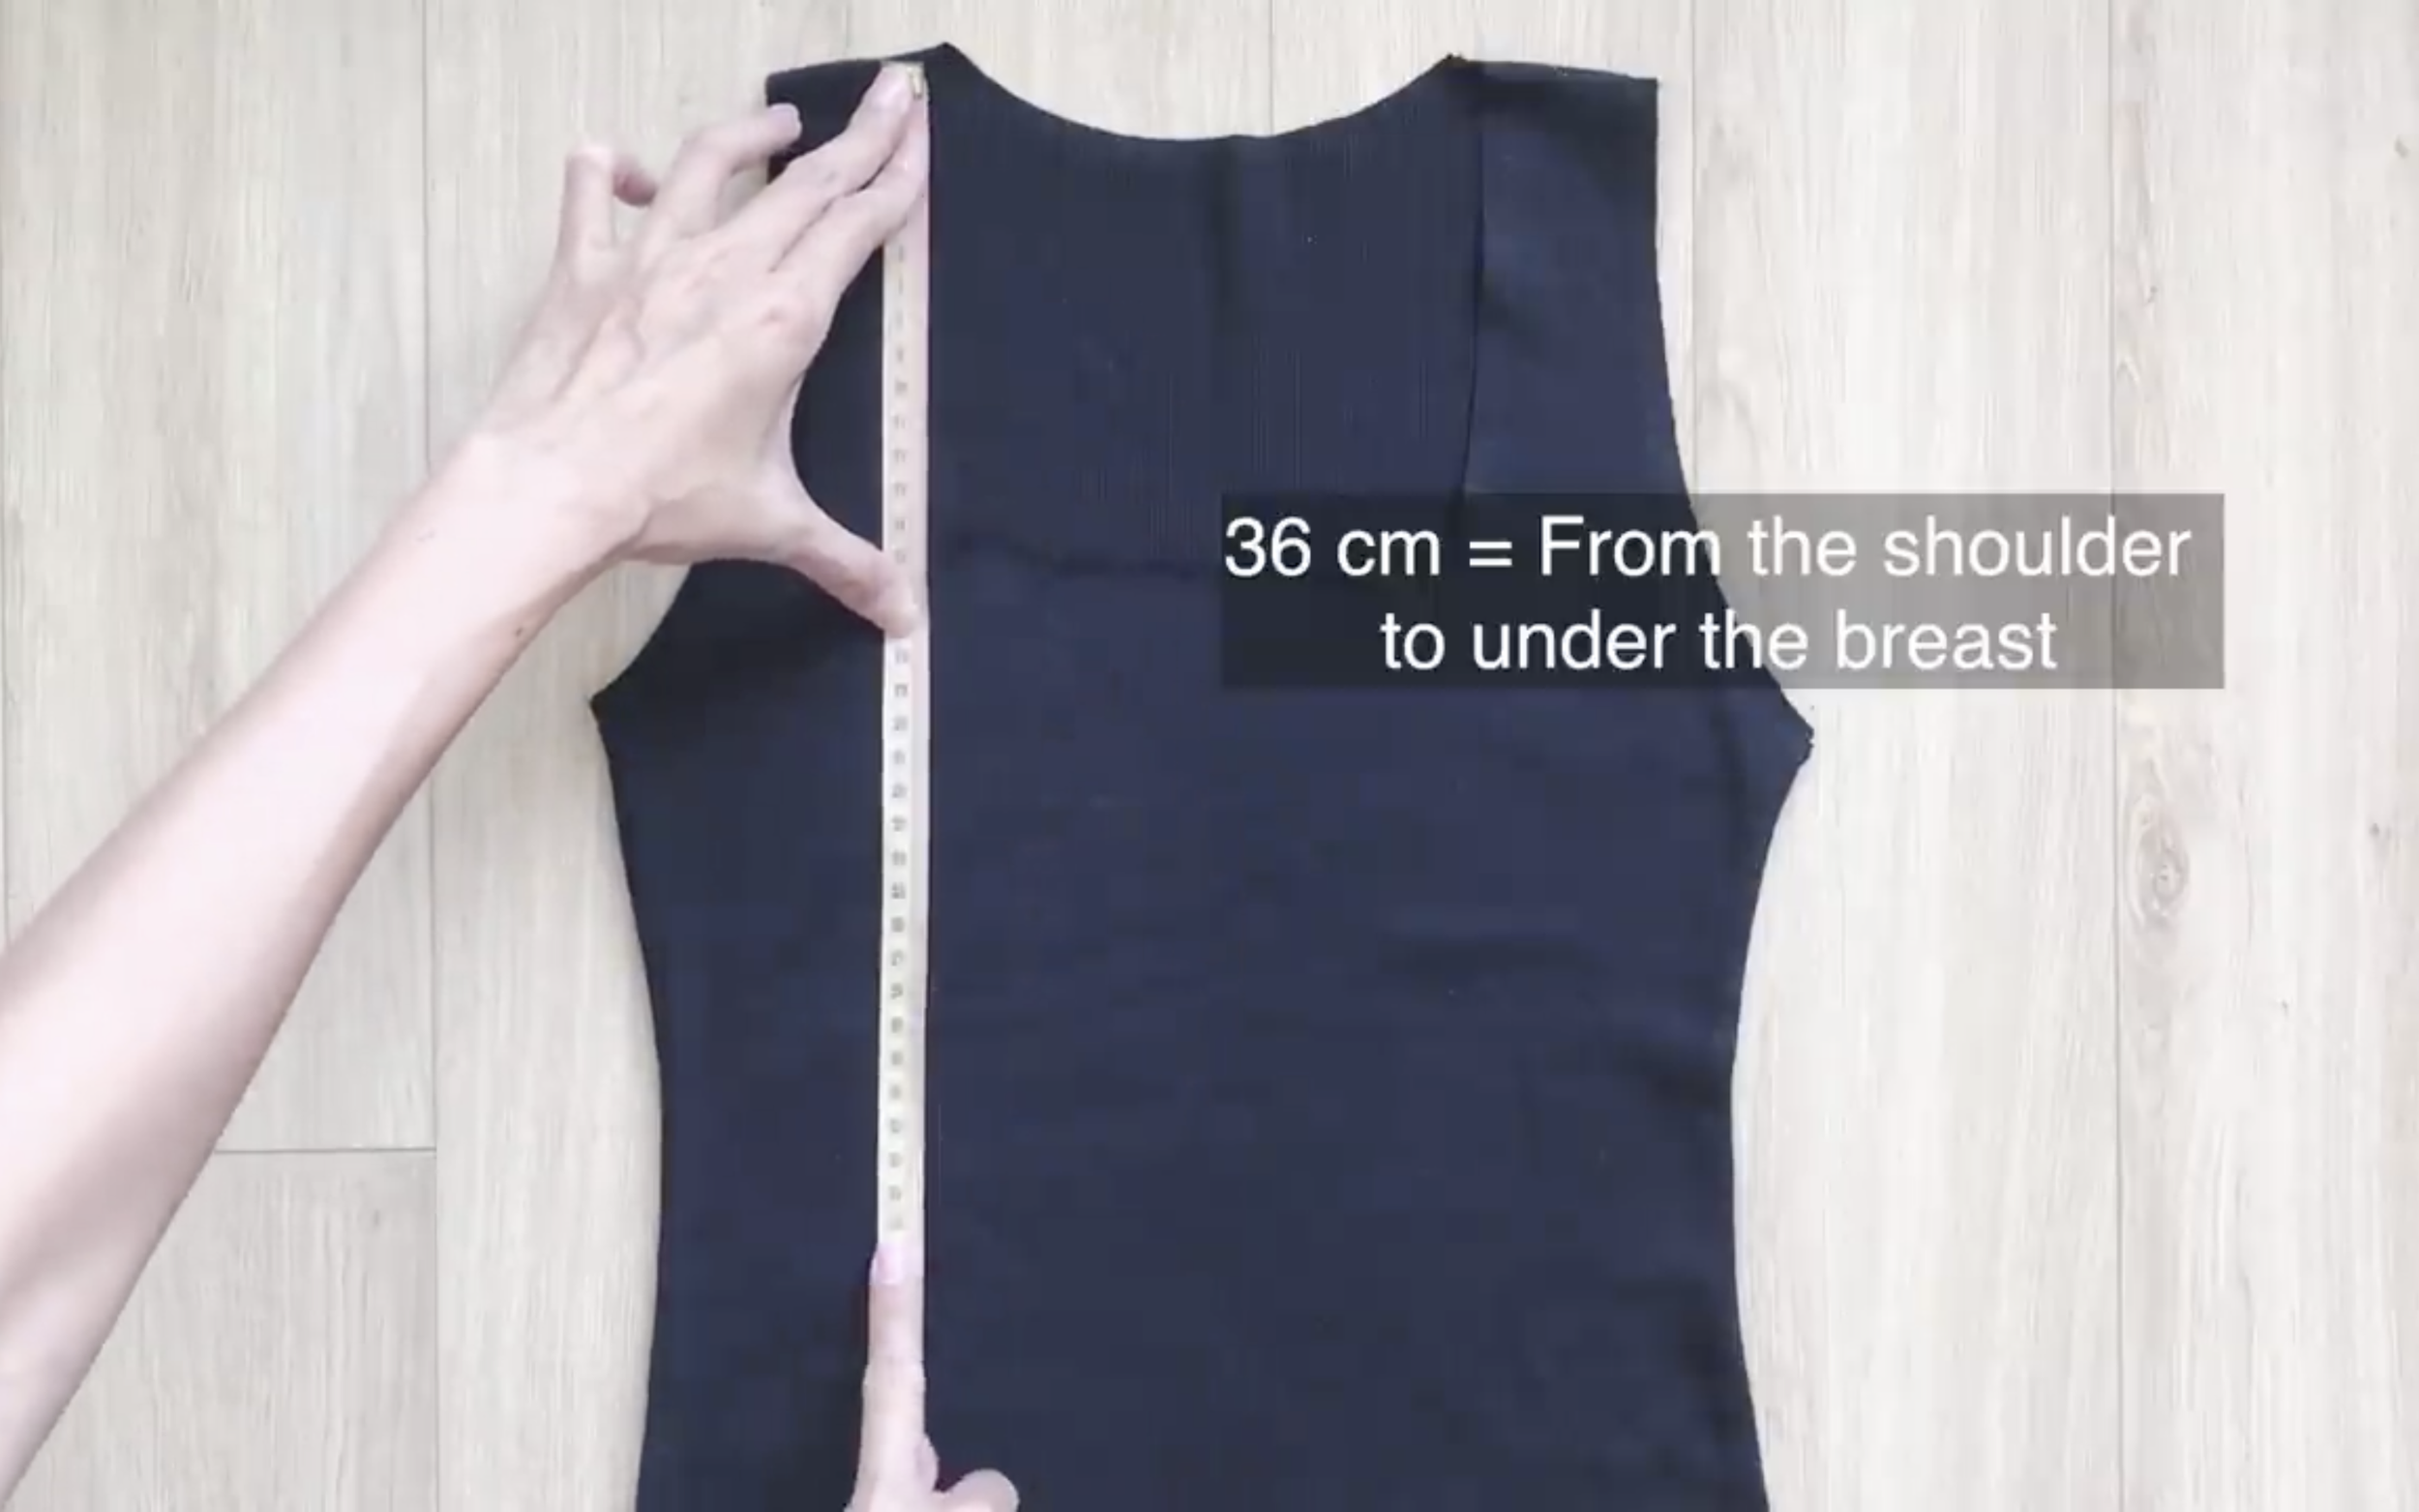
Next, draw a horizontal line 36 cm down from the shoulder, which is the width from the shoulder to under the bust.
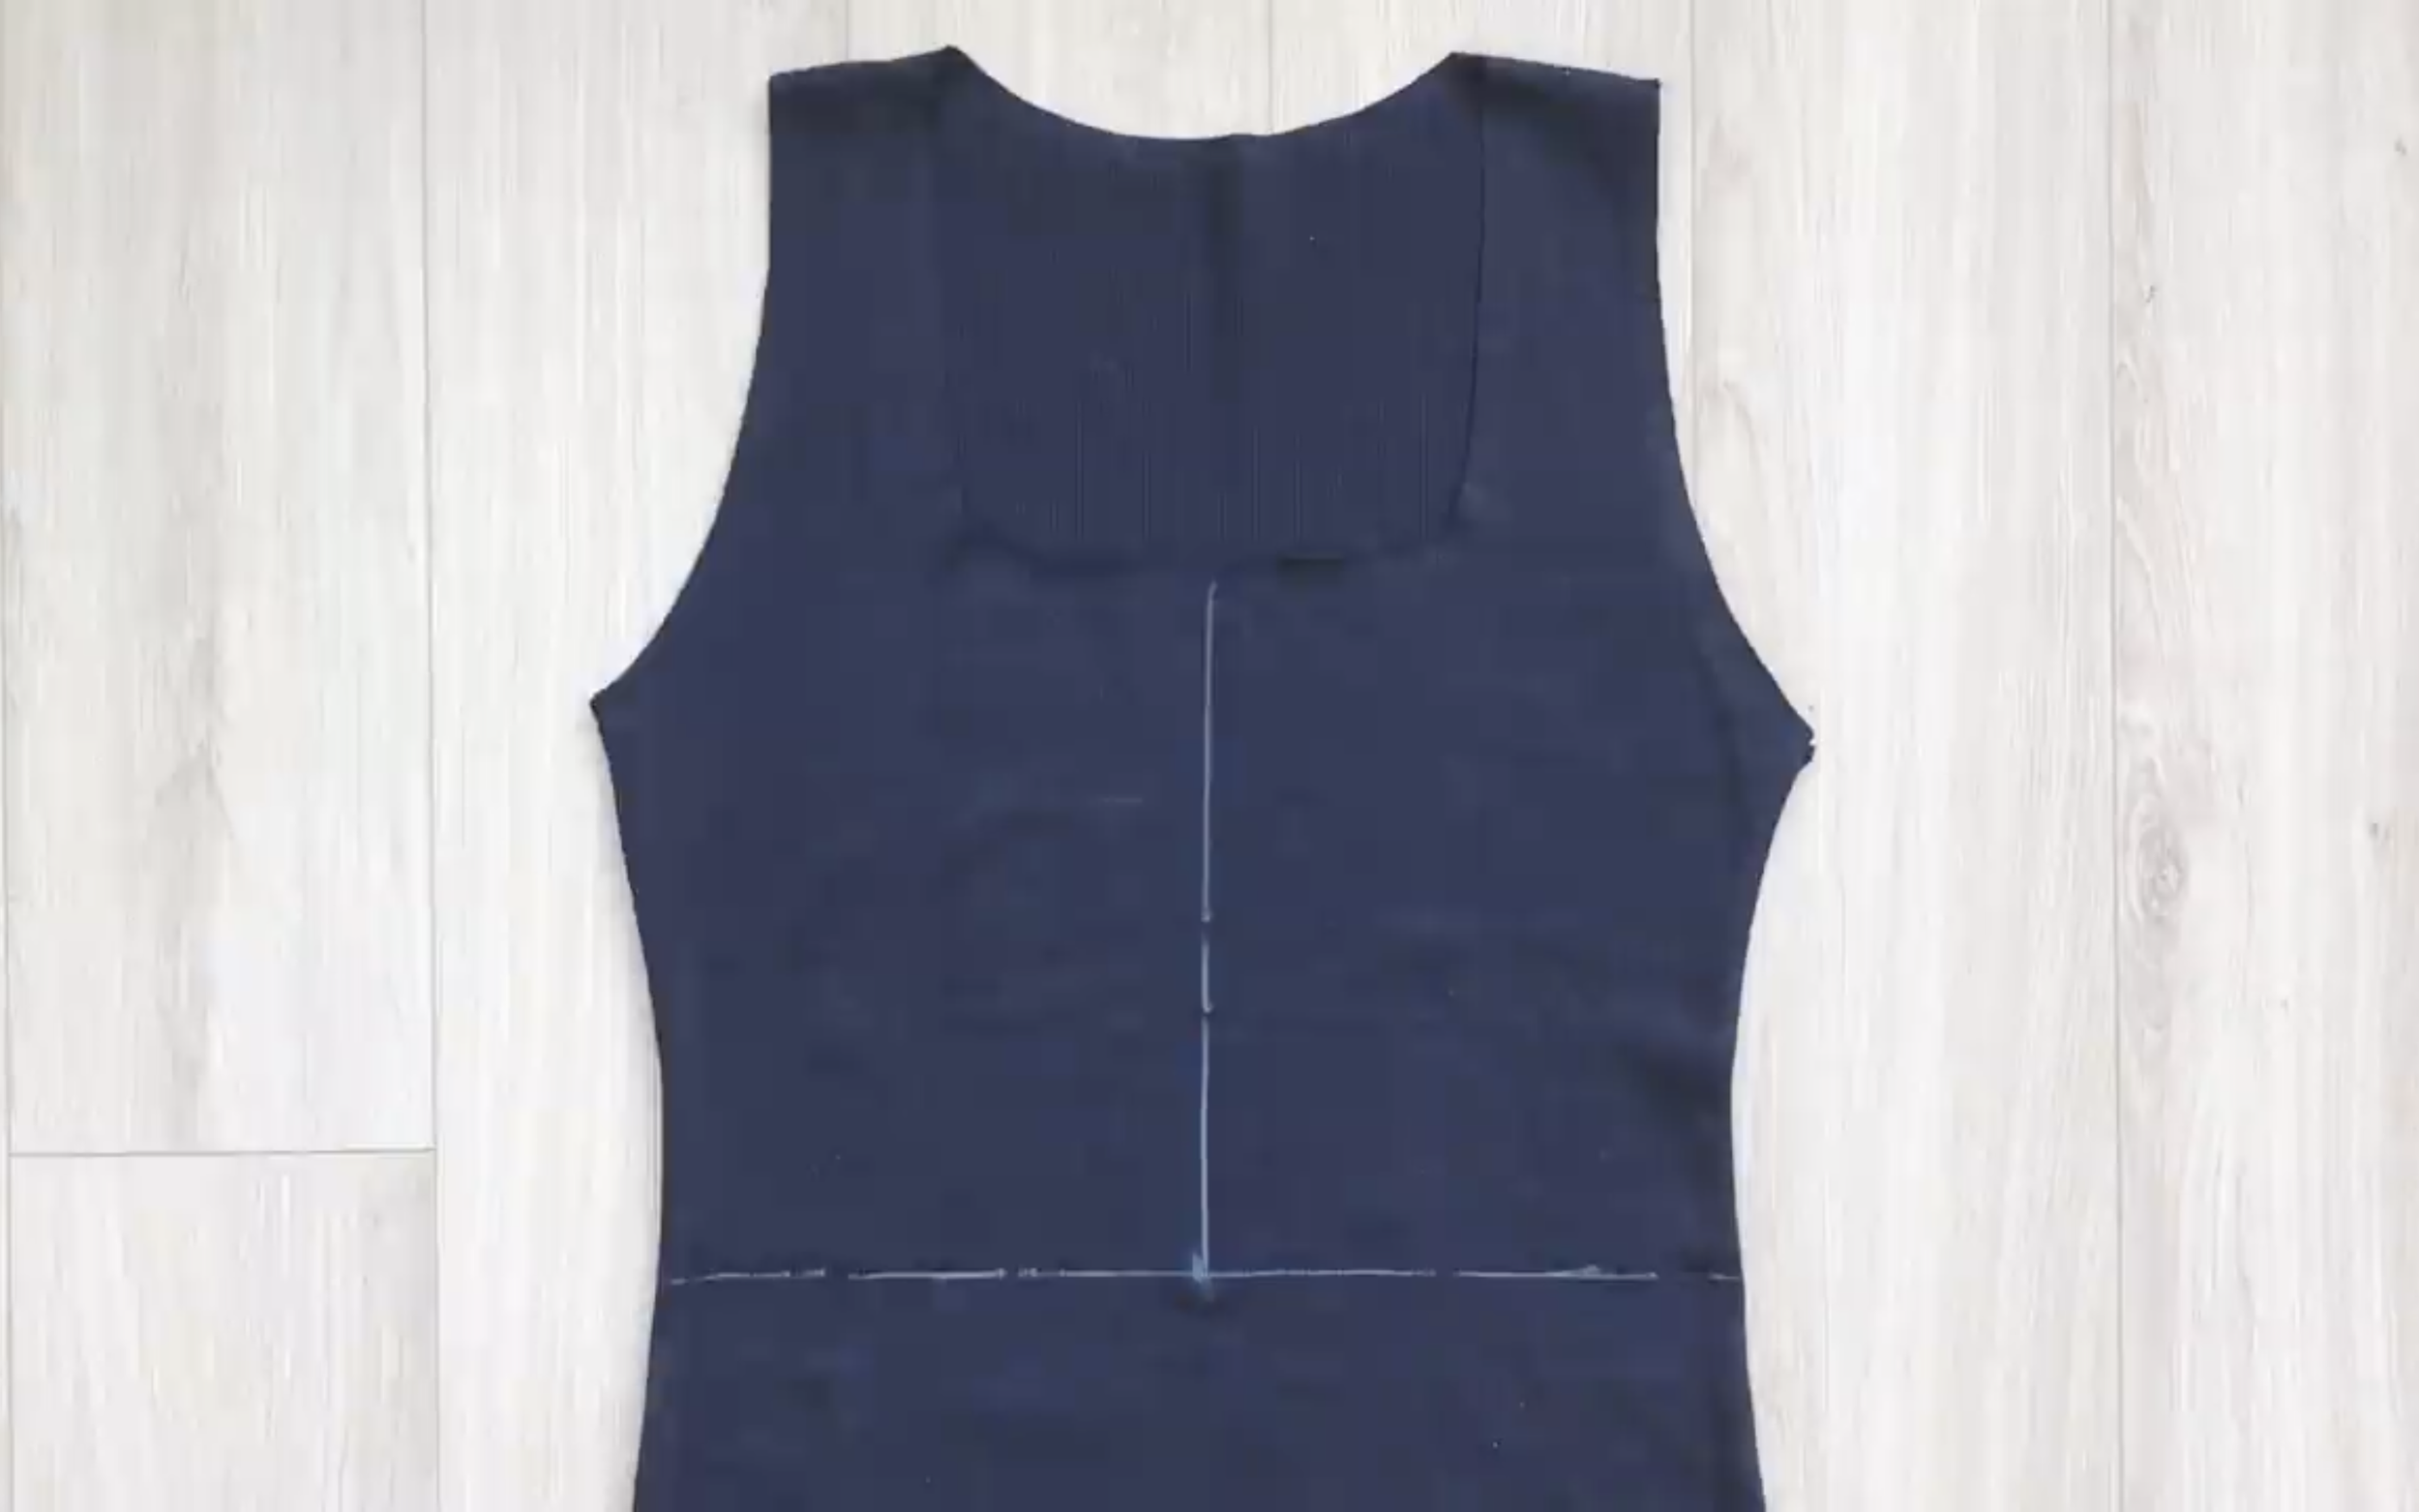
From the middle of this horizontal line, draw a straight line to the neck.
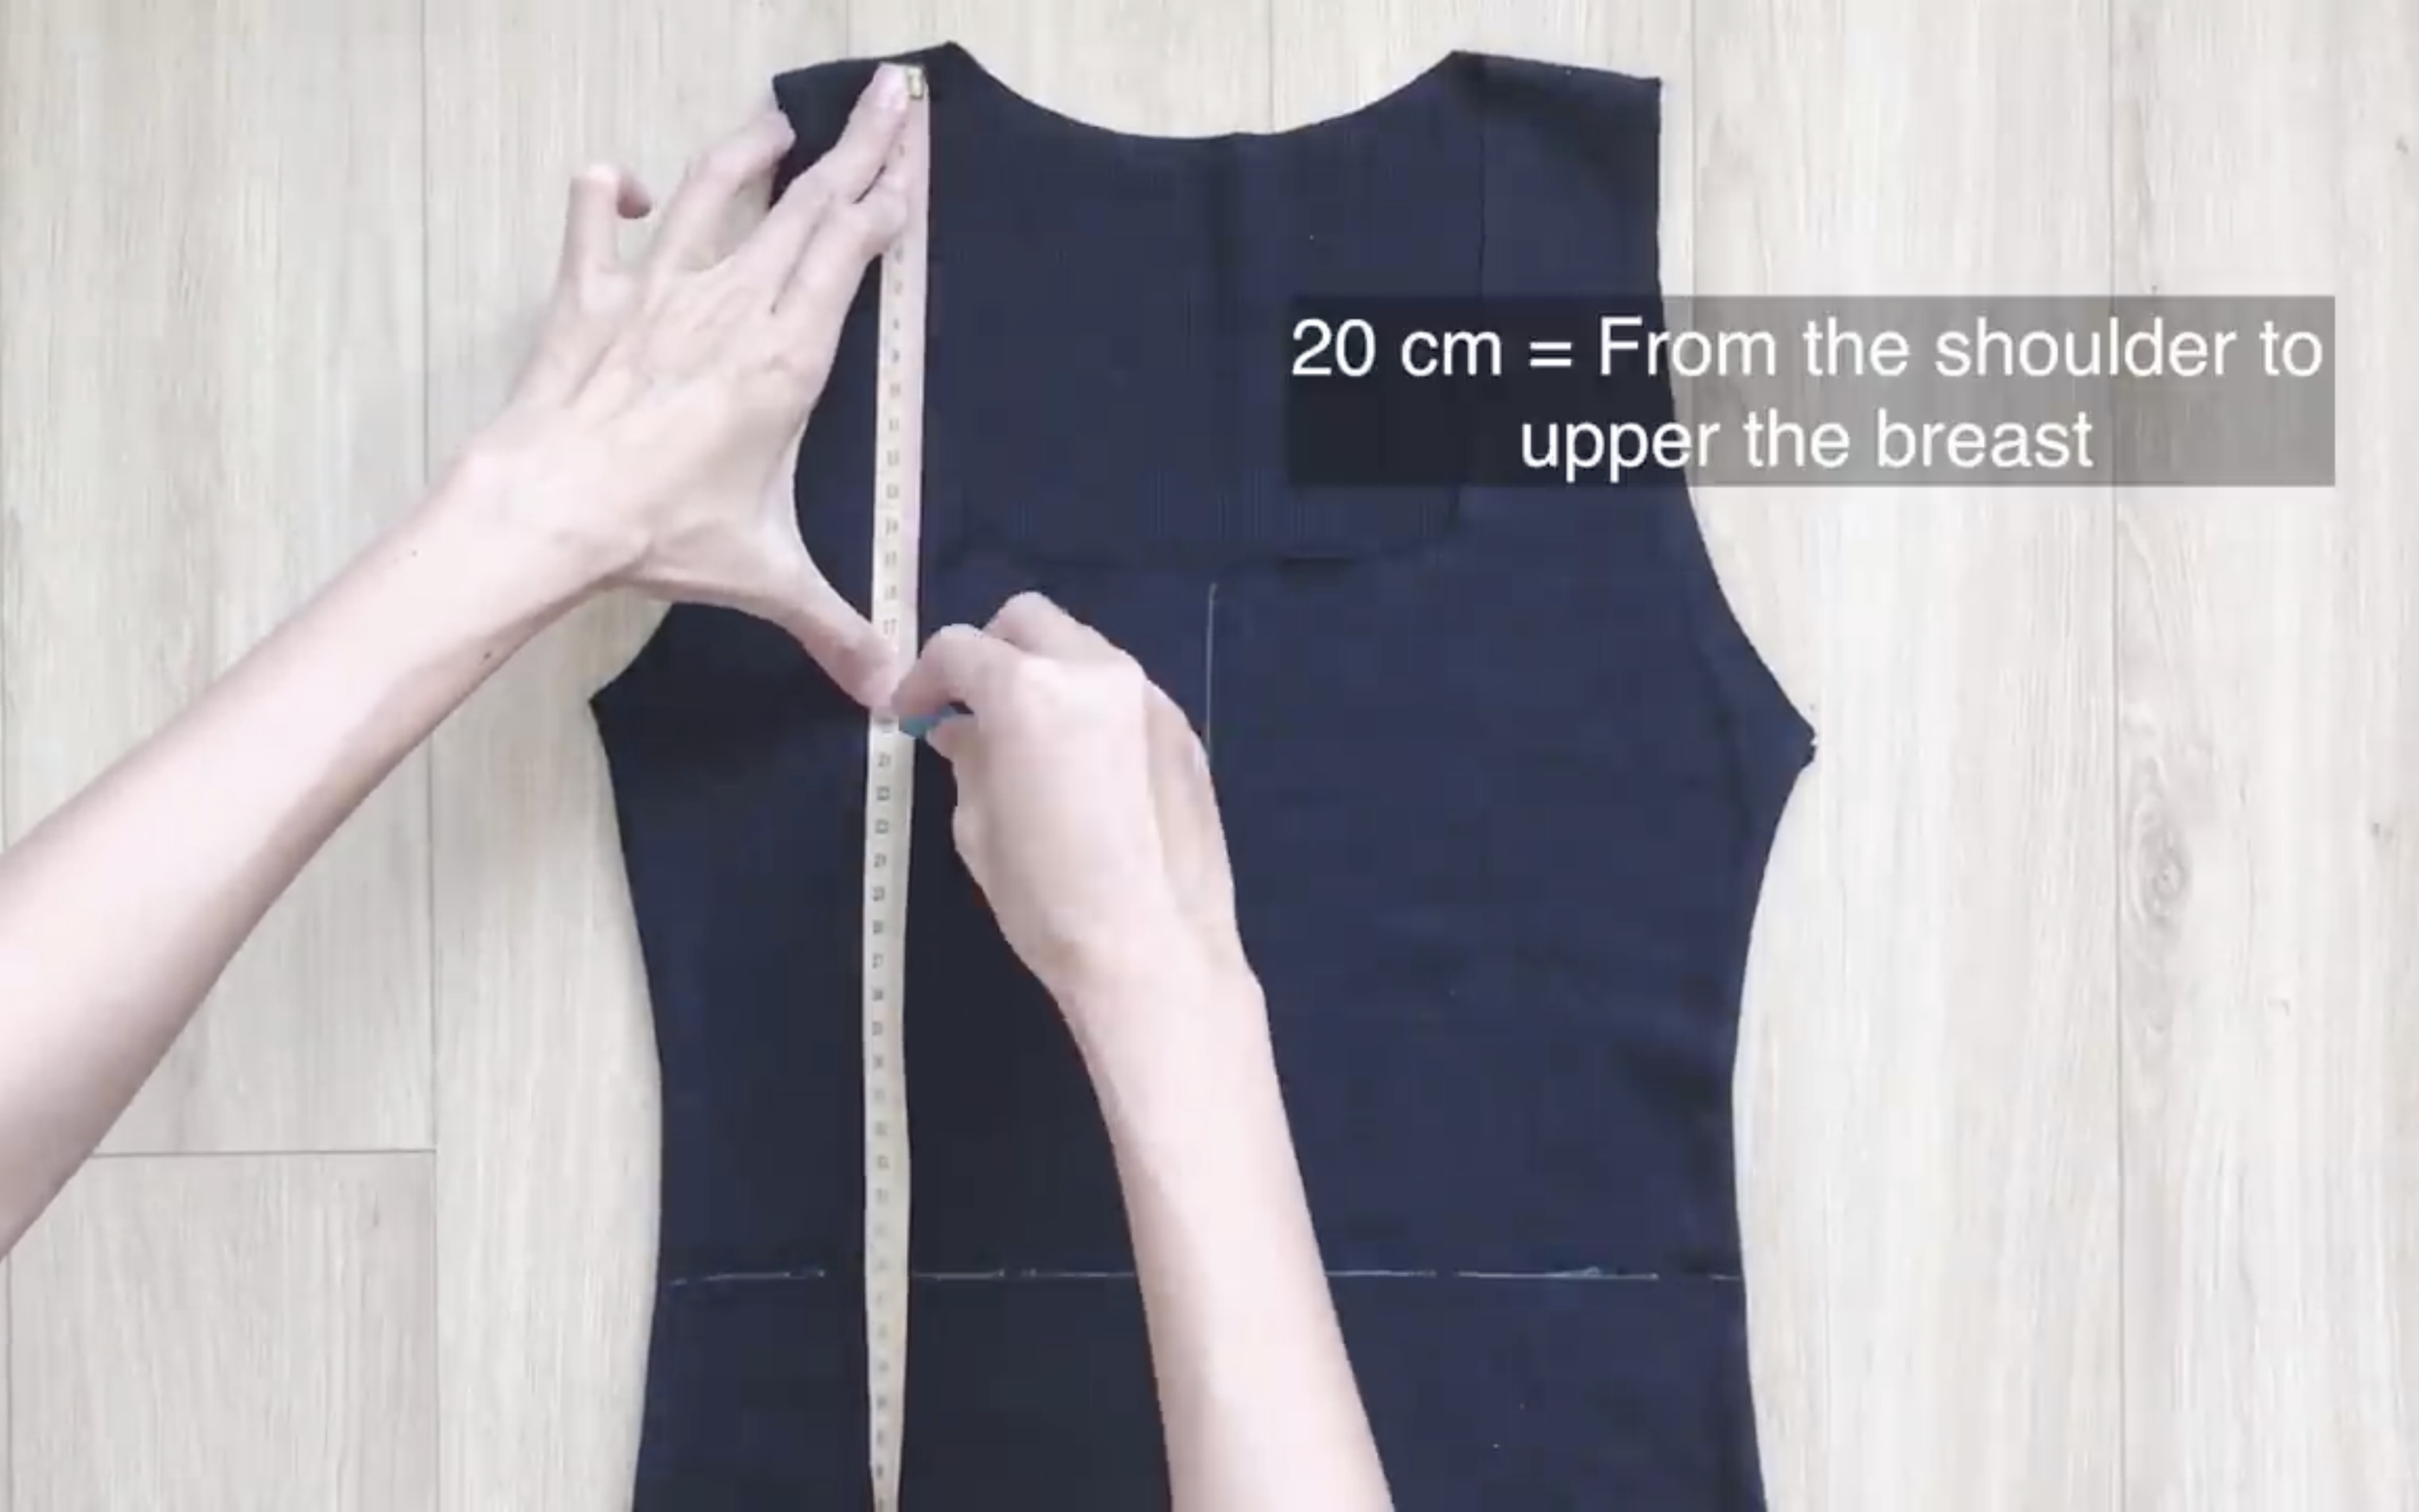
Then, draw another horizontal line 20 cm down from the shoulder, which is the width from the shoulder to above the bust.
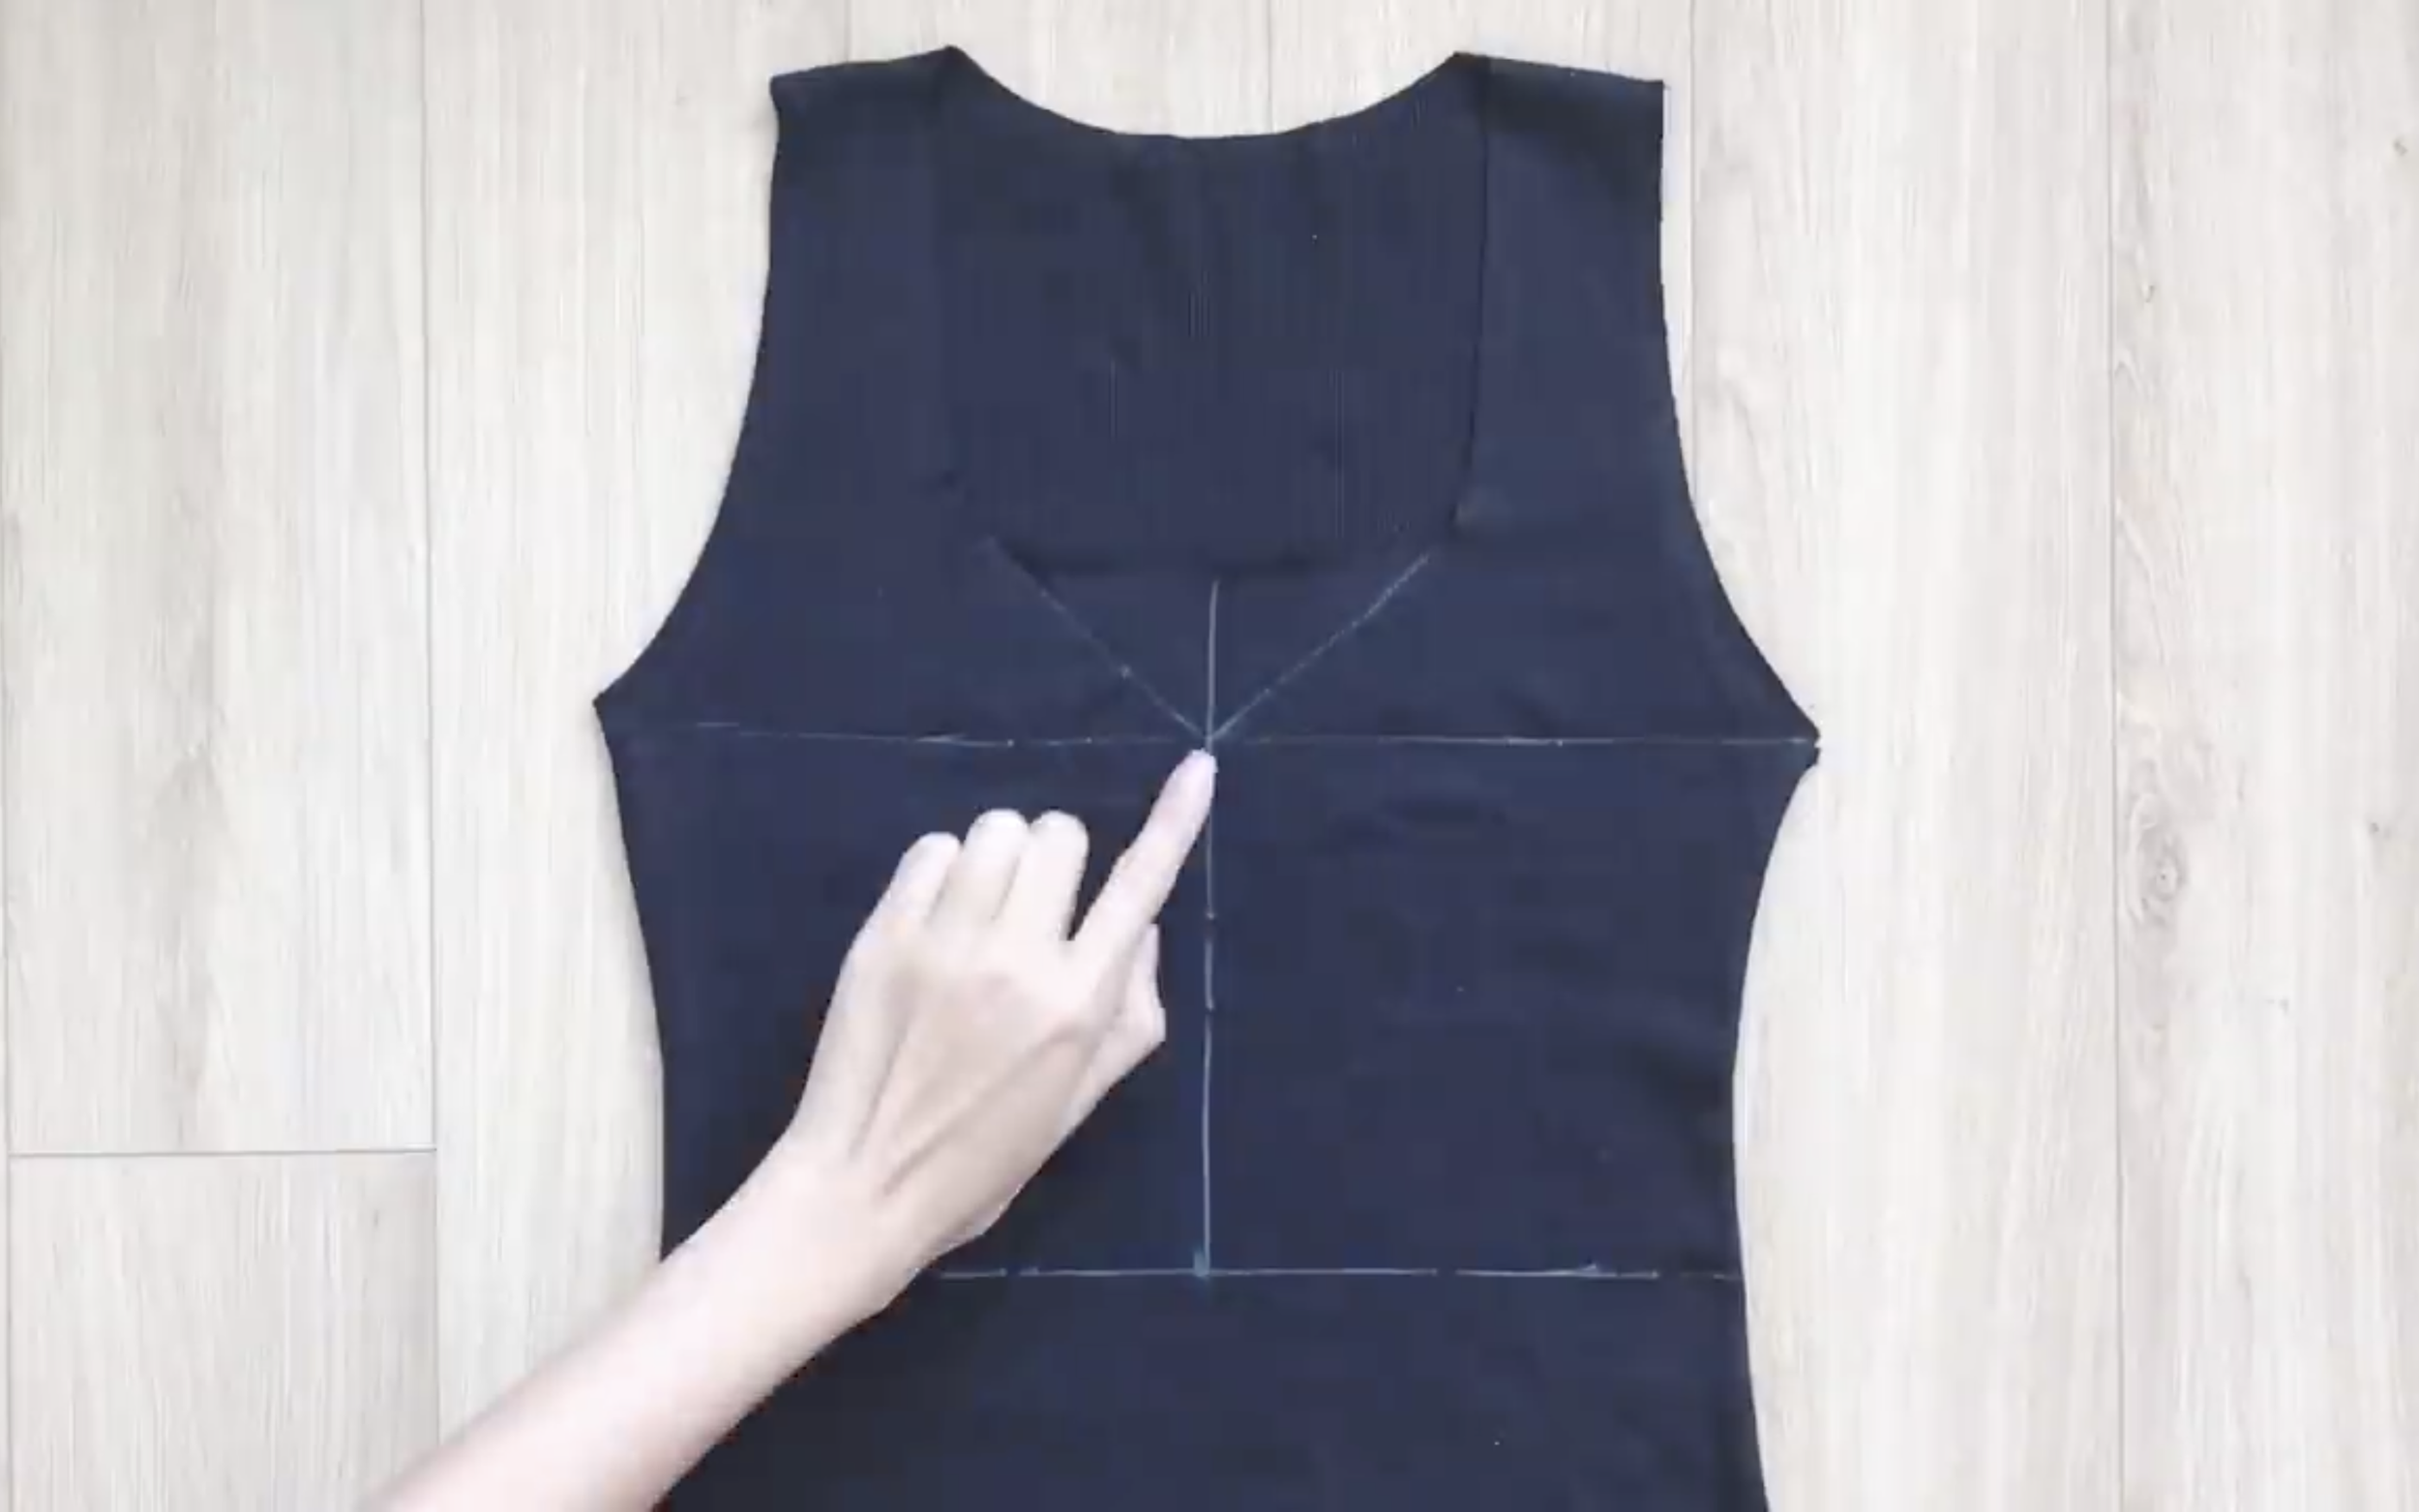
Draw a line connecting the neck to the meeting point of the second horizontal line and the straight line.
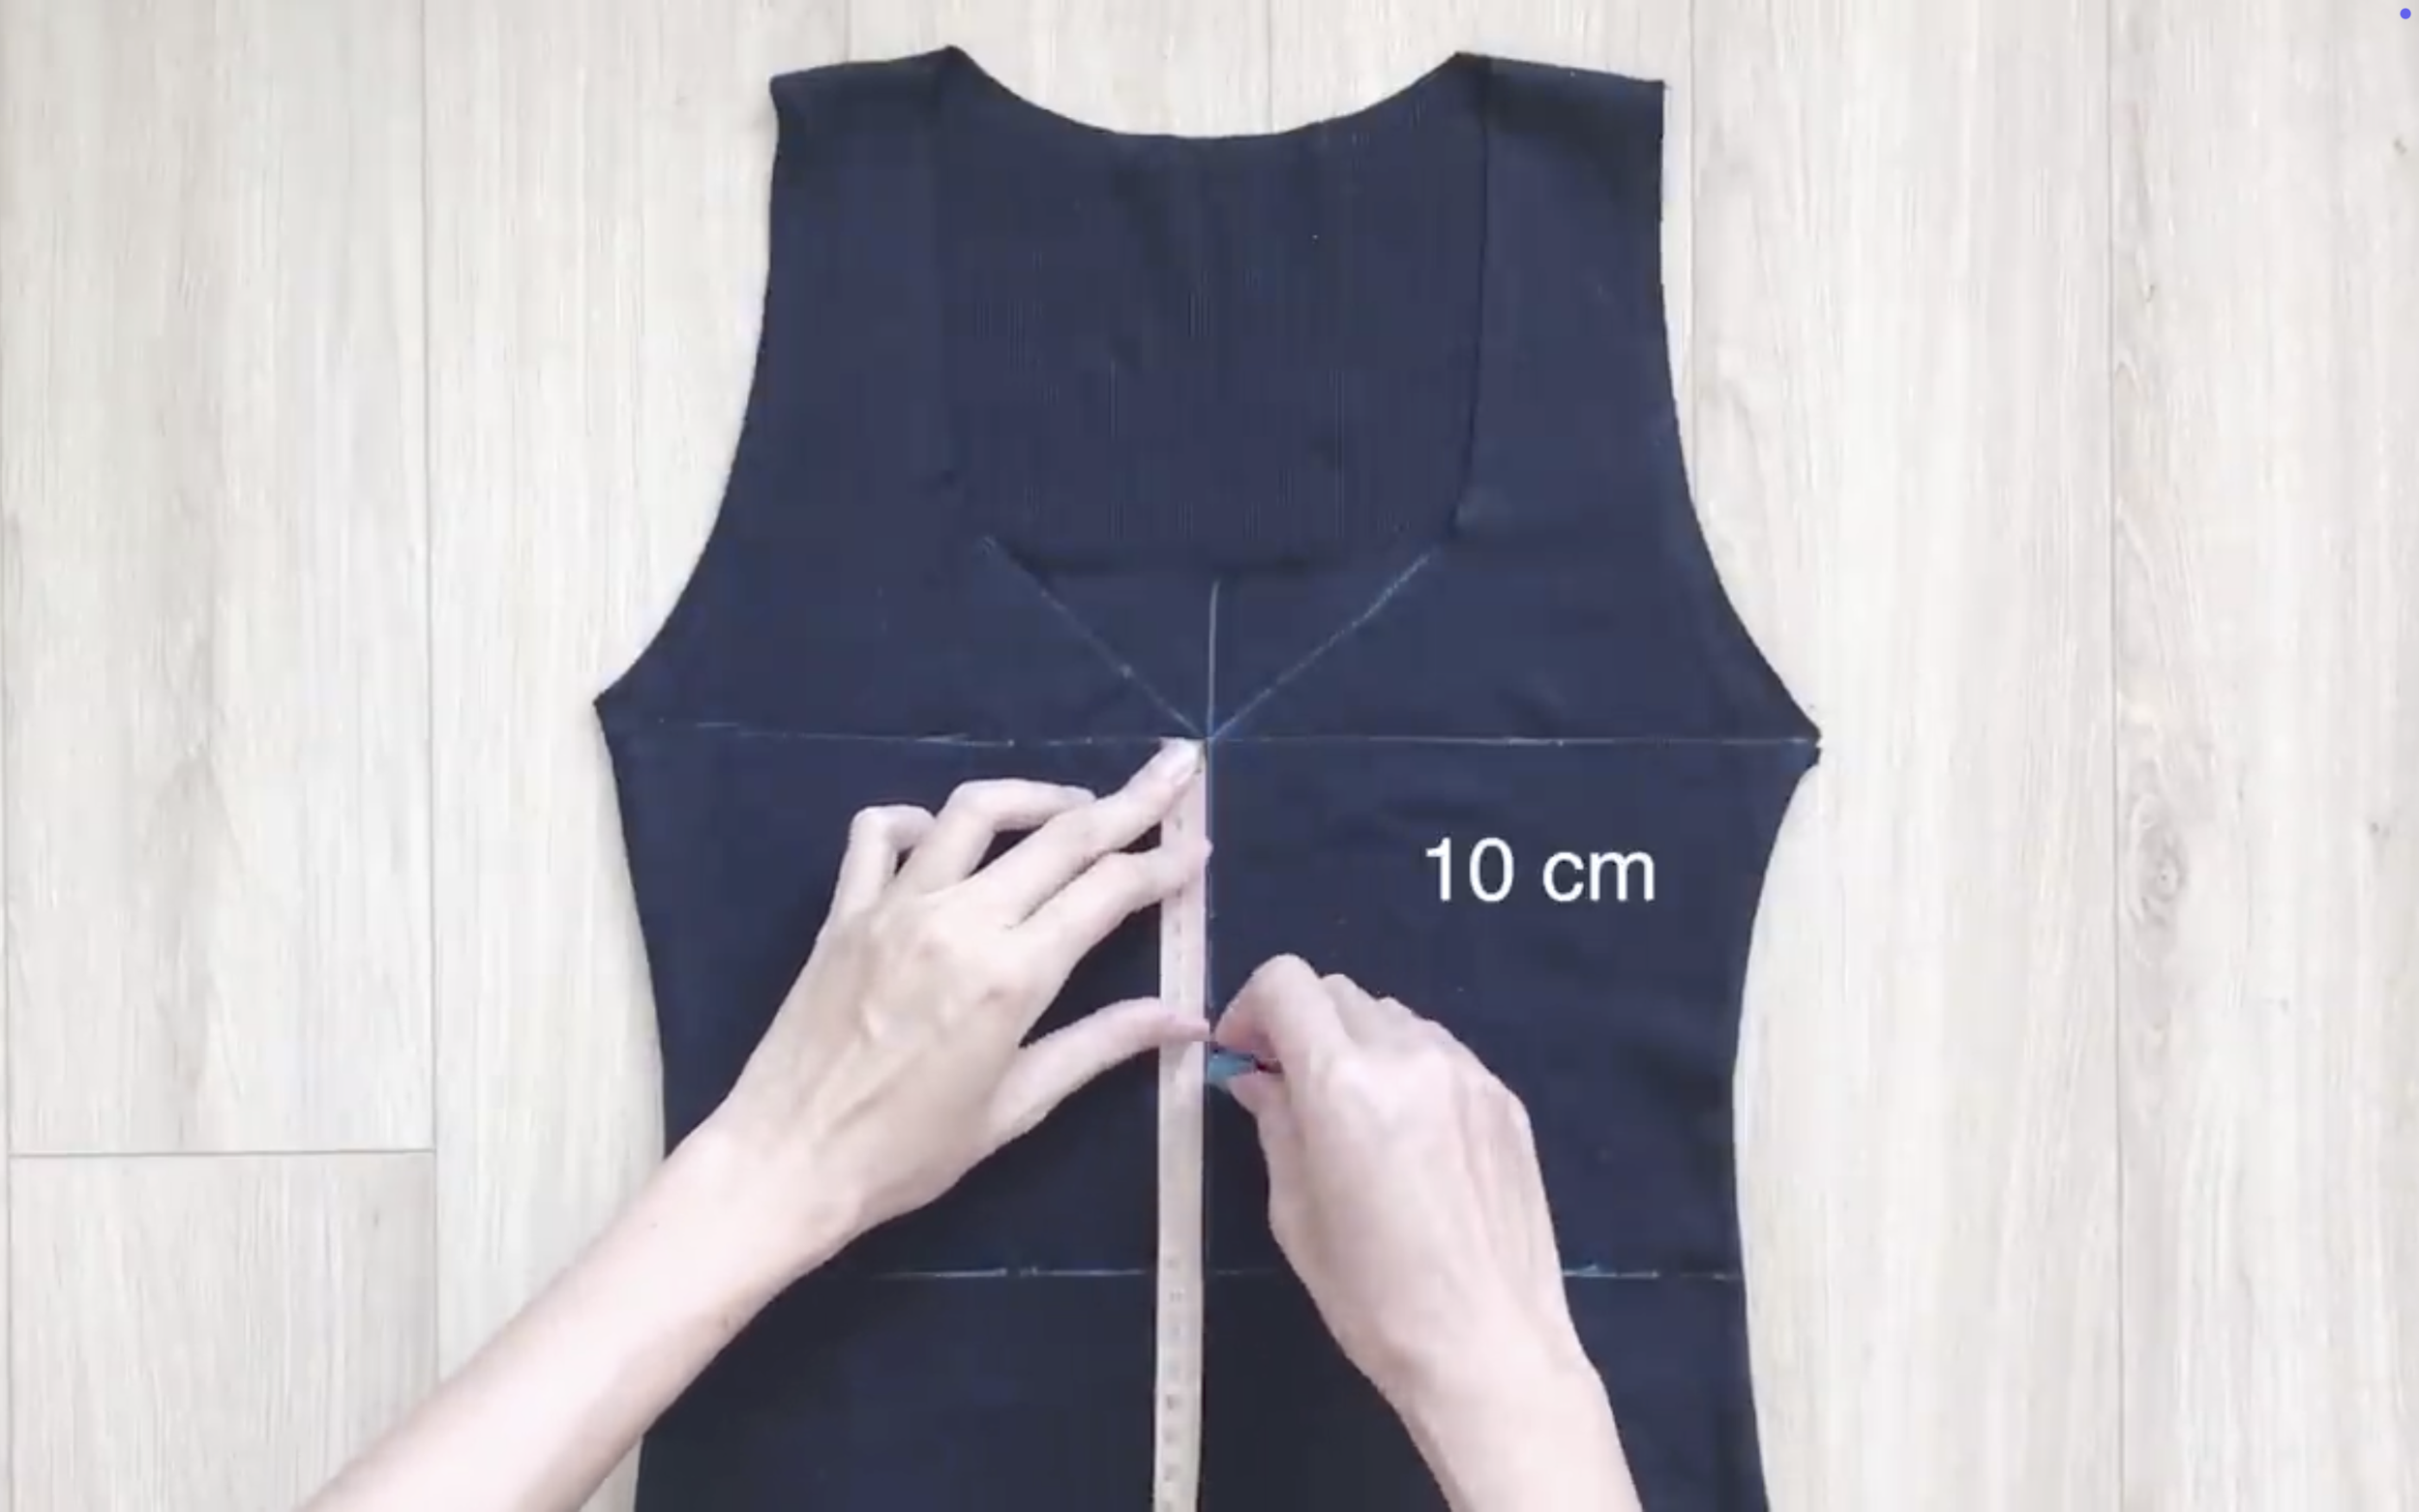
From that meeting point, move down and mark 10 cm.
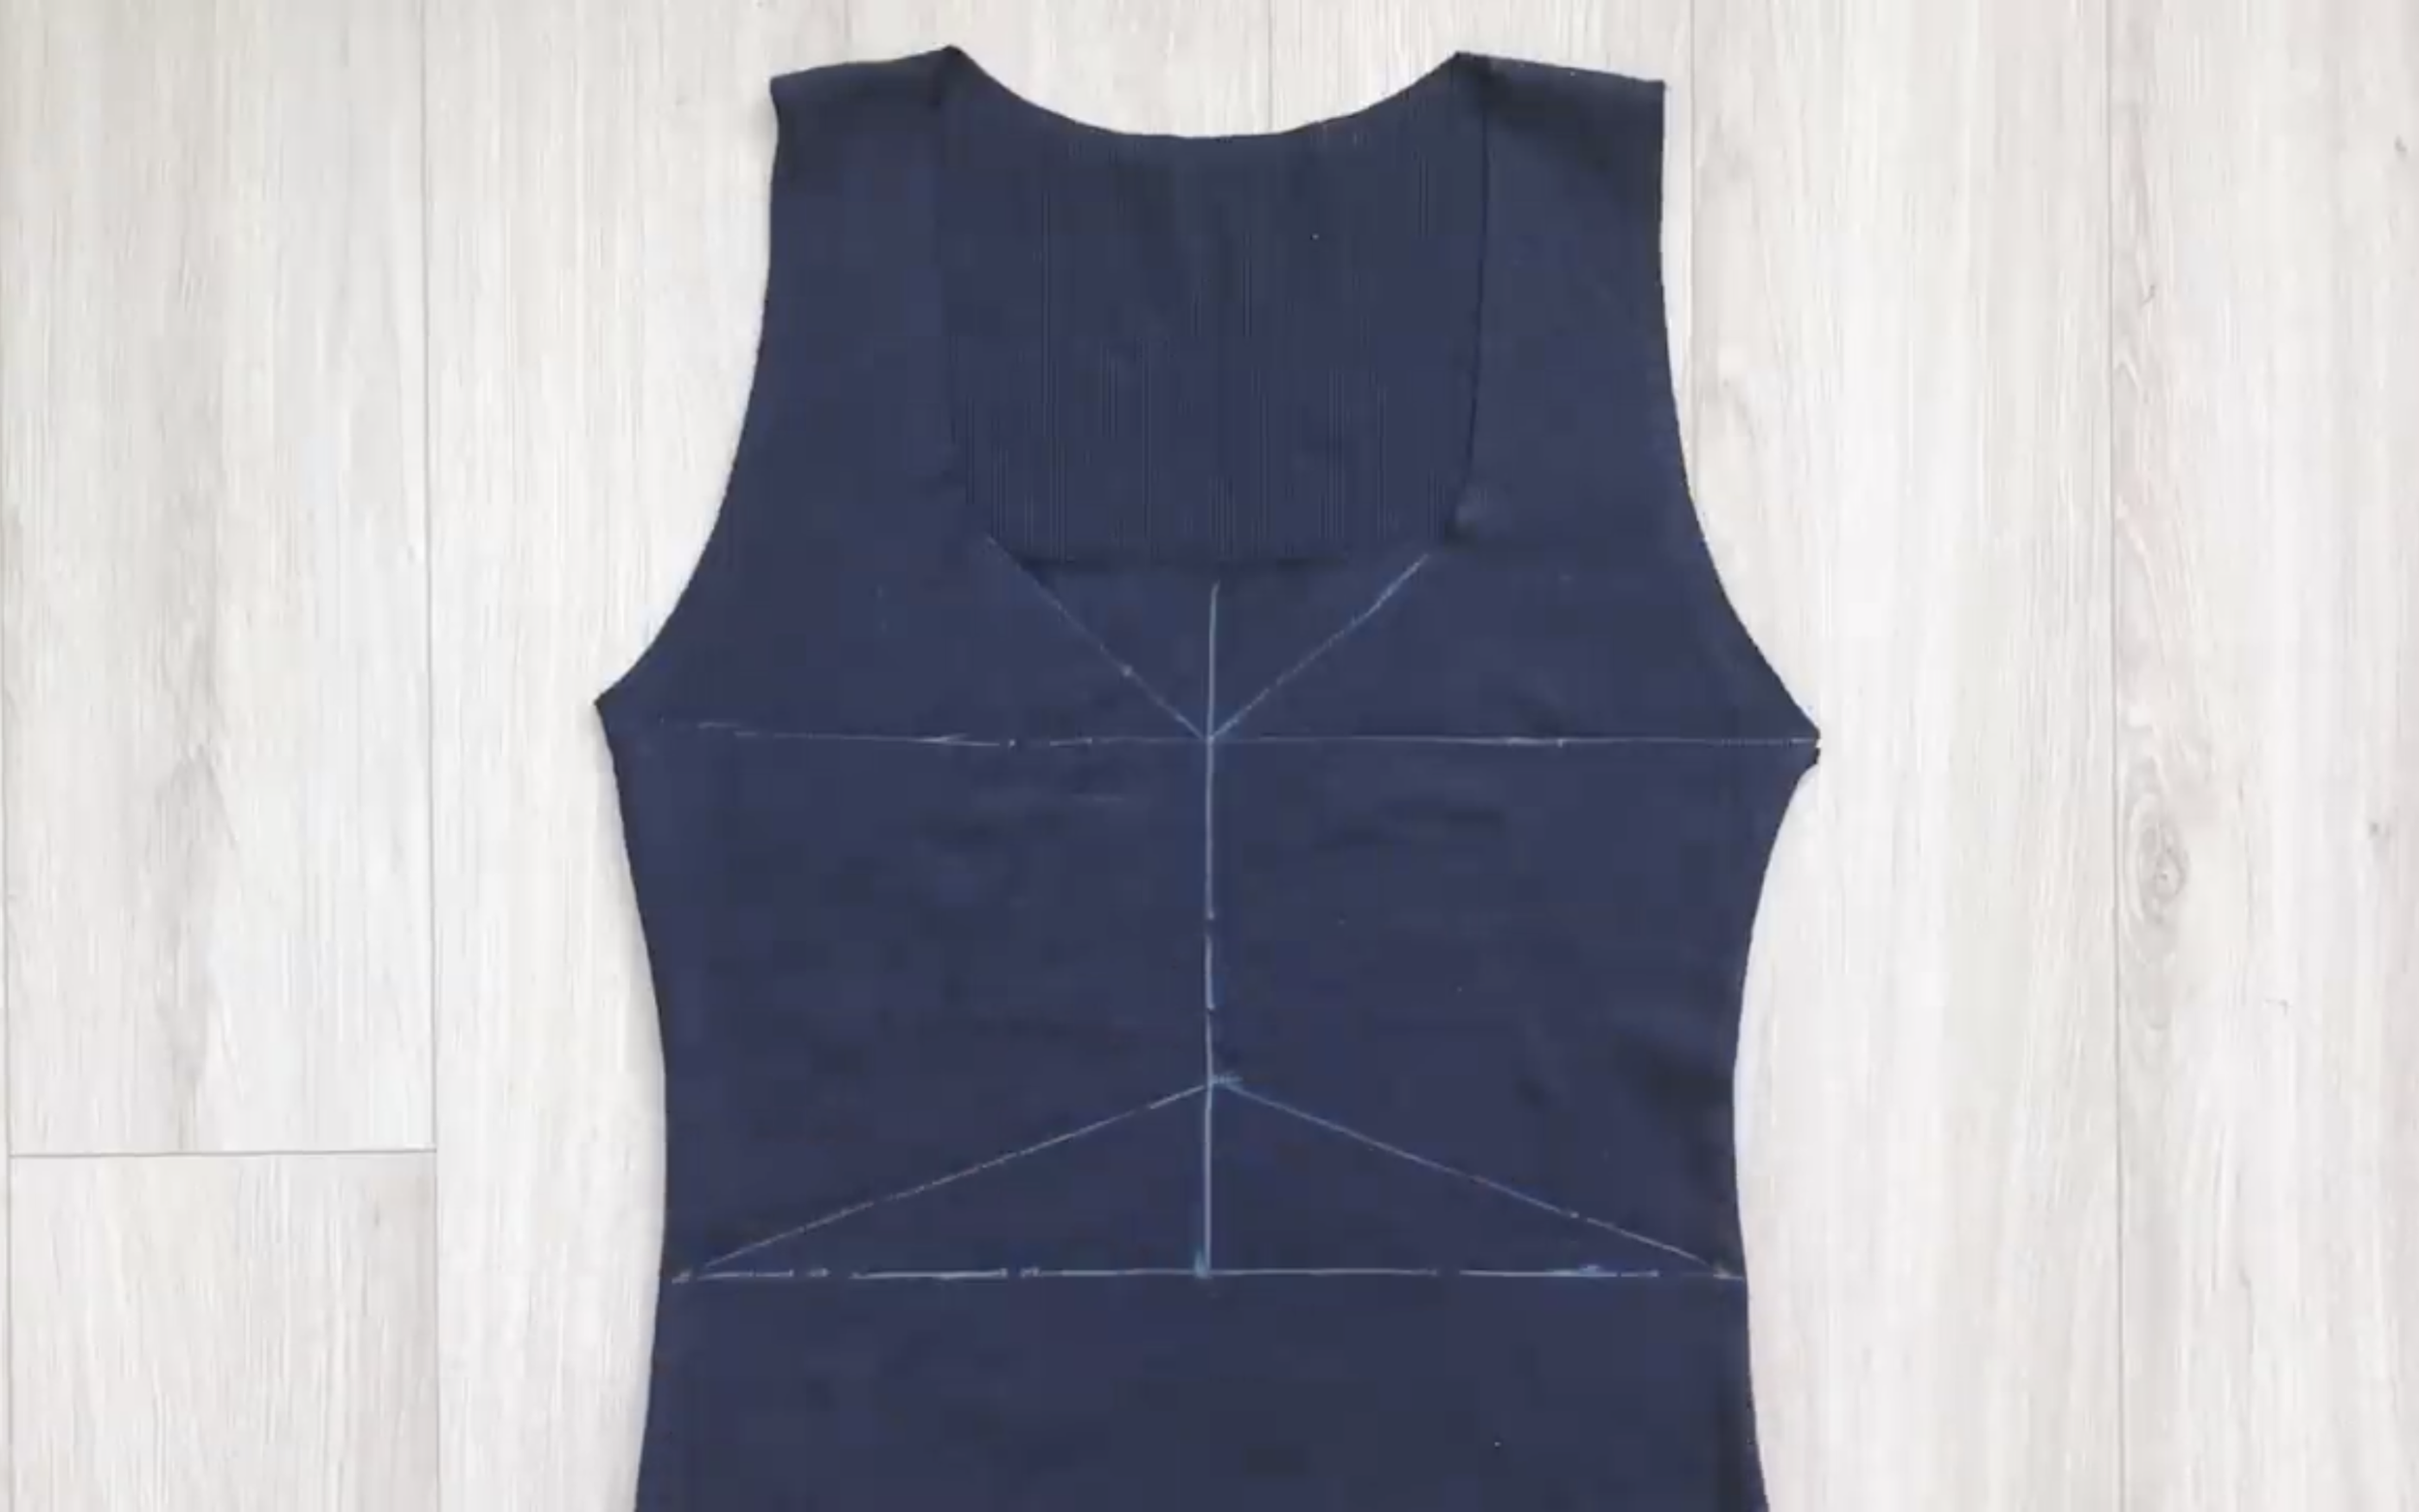
Then connect this mark to the two ends of the first horizontal line.
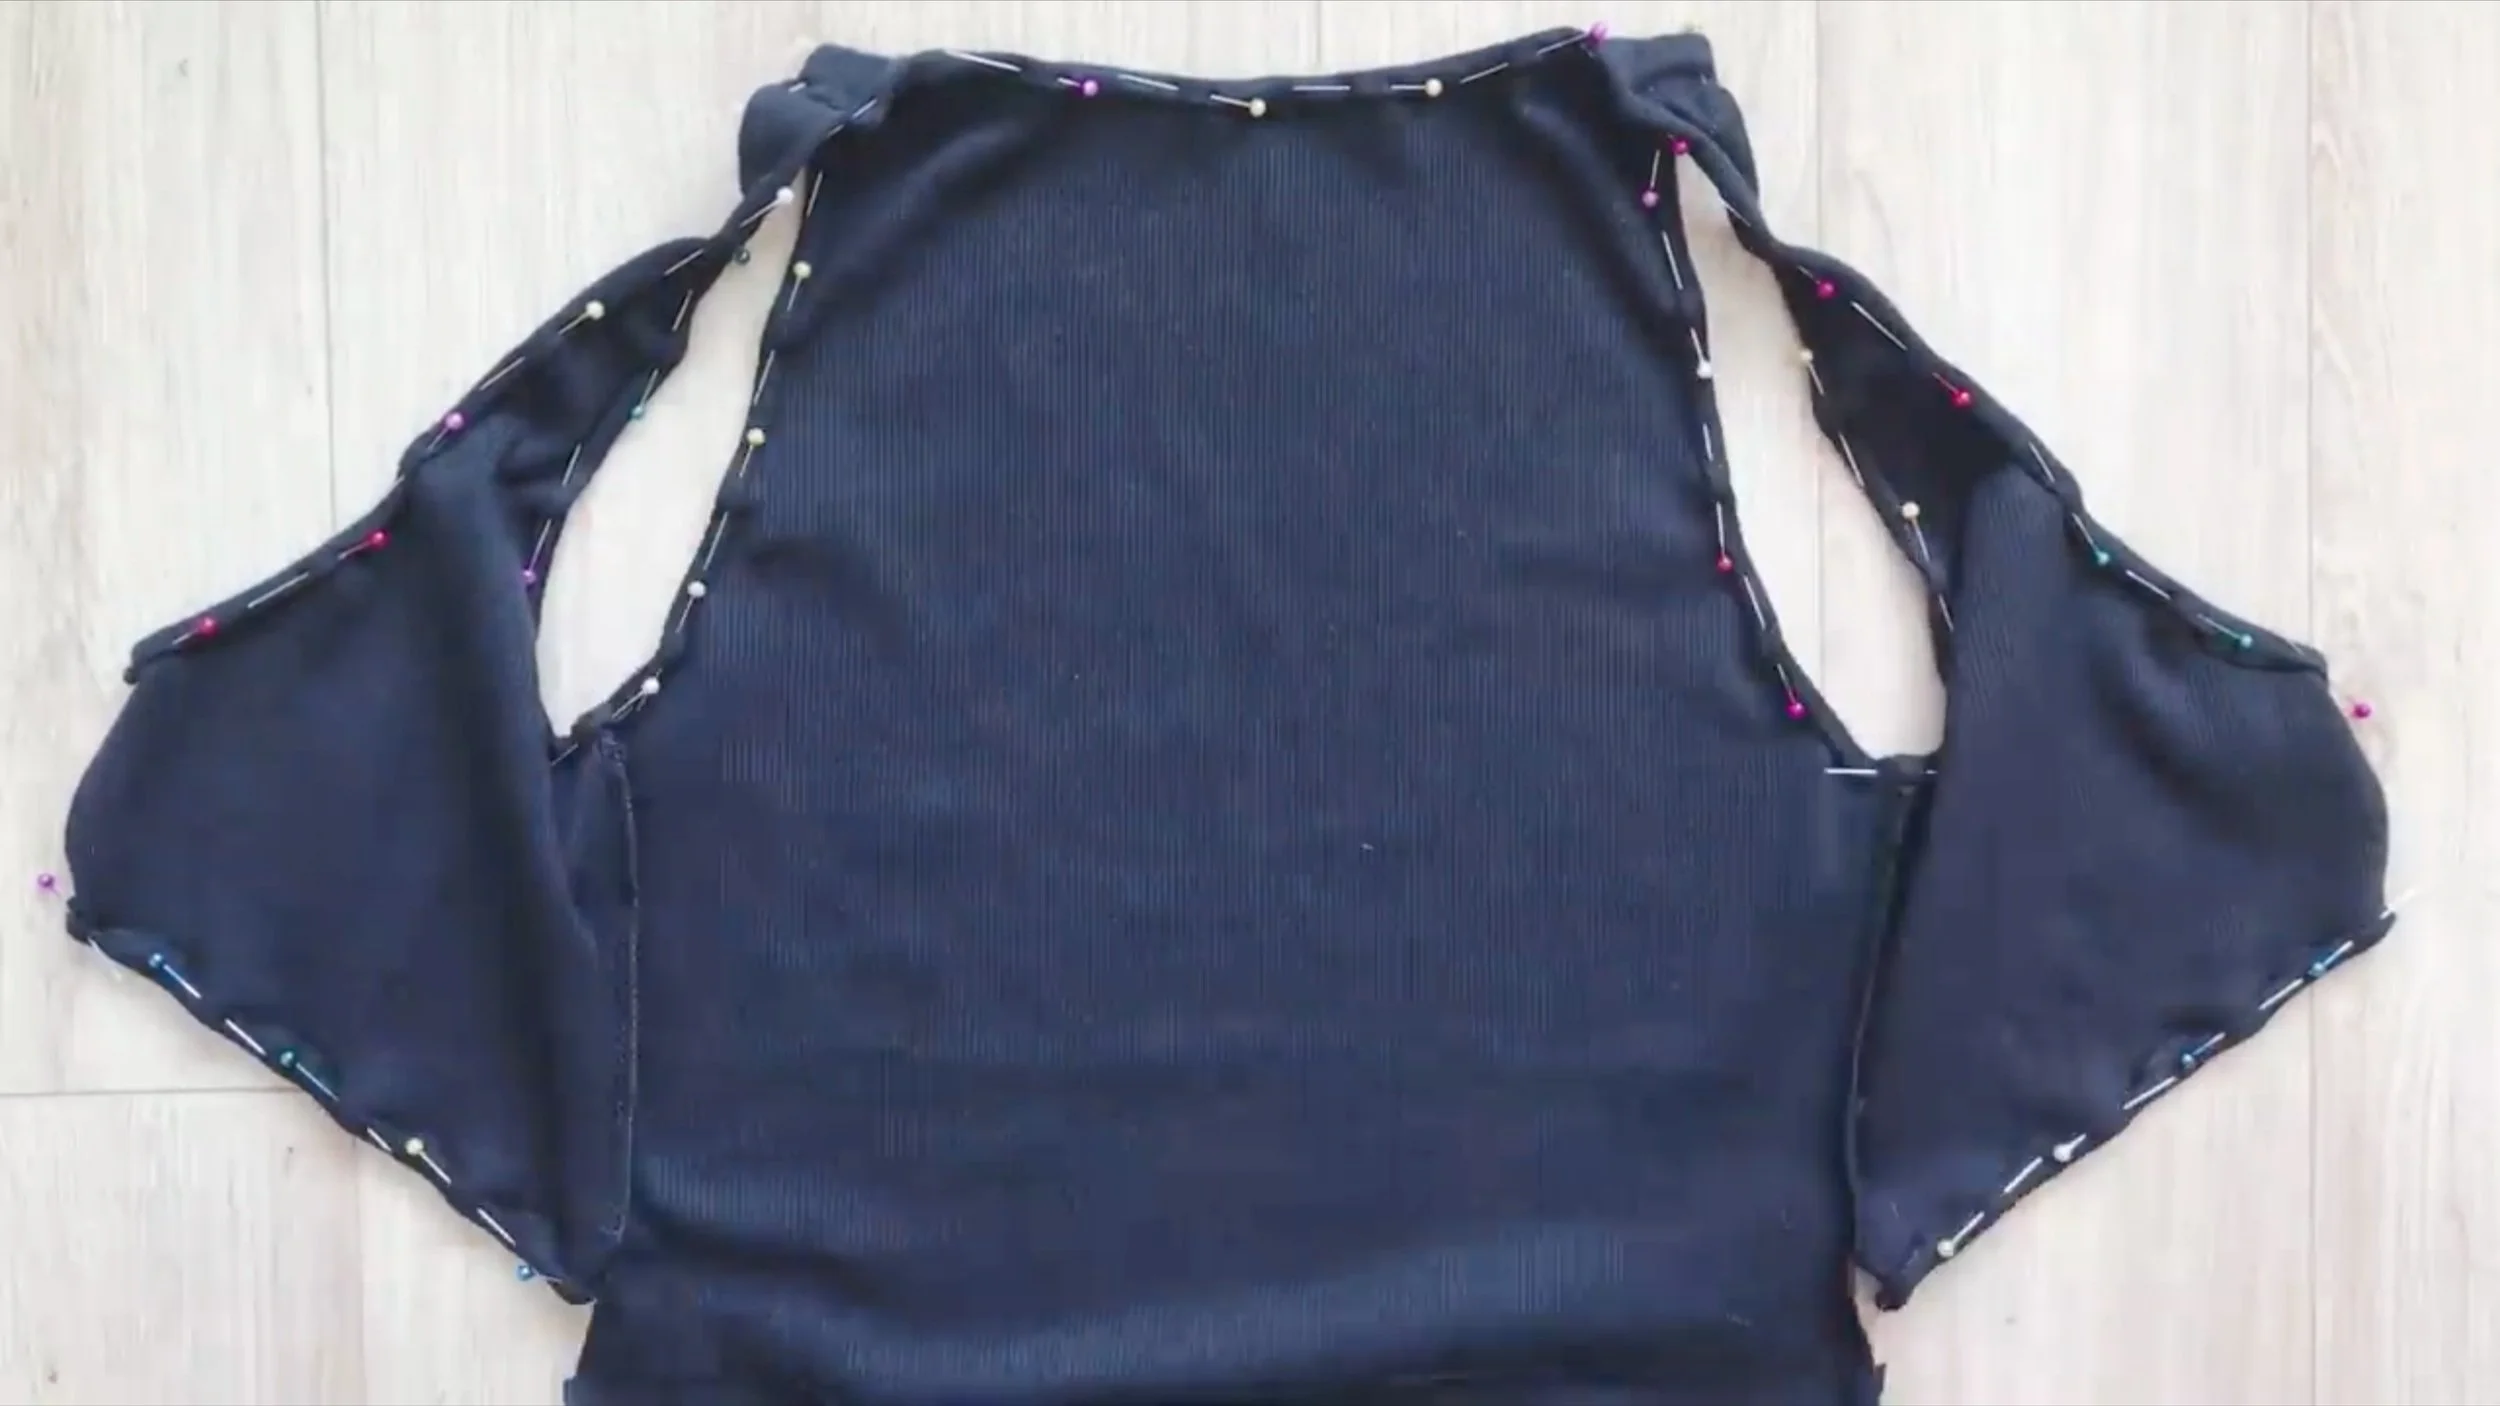
After cutting, fold the edge of the new cutting line inside twice to finish it, then sew.
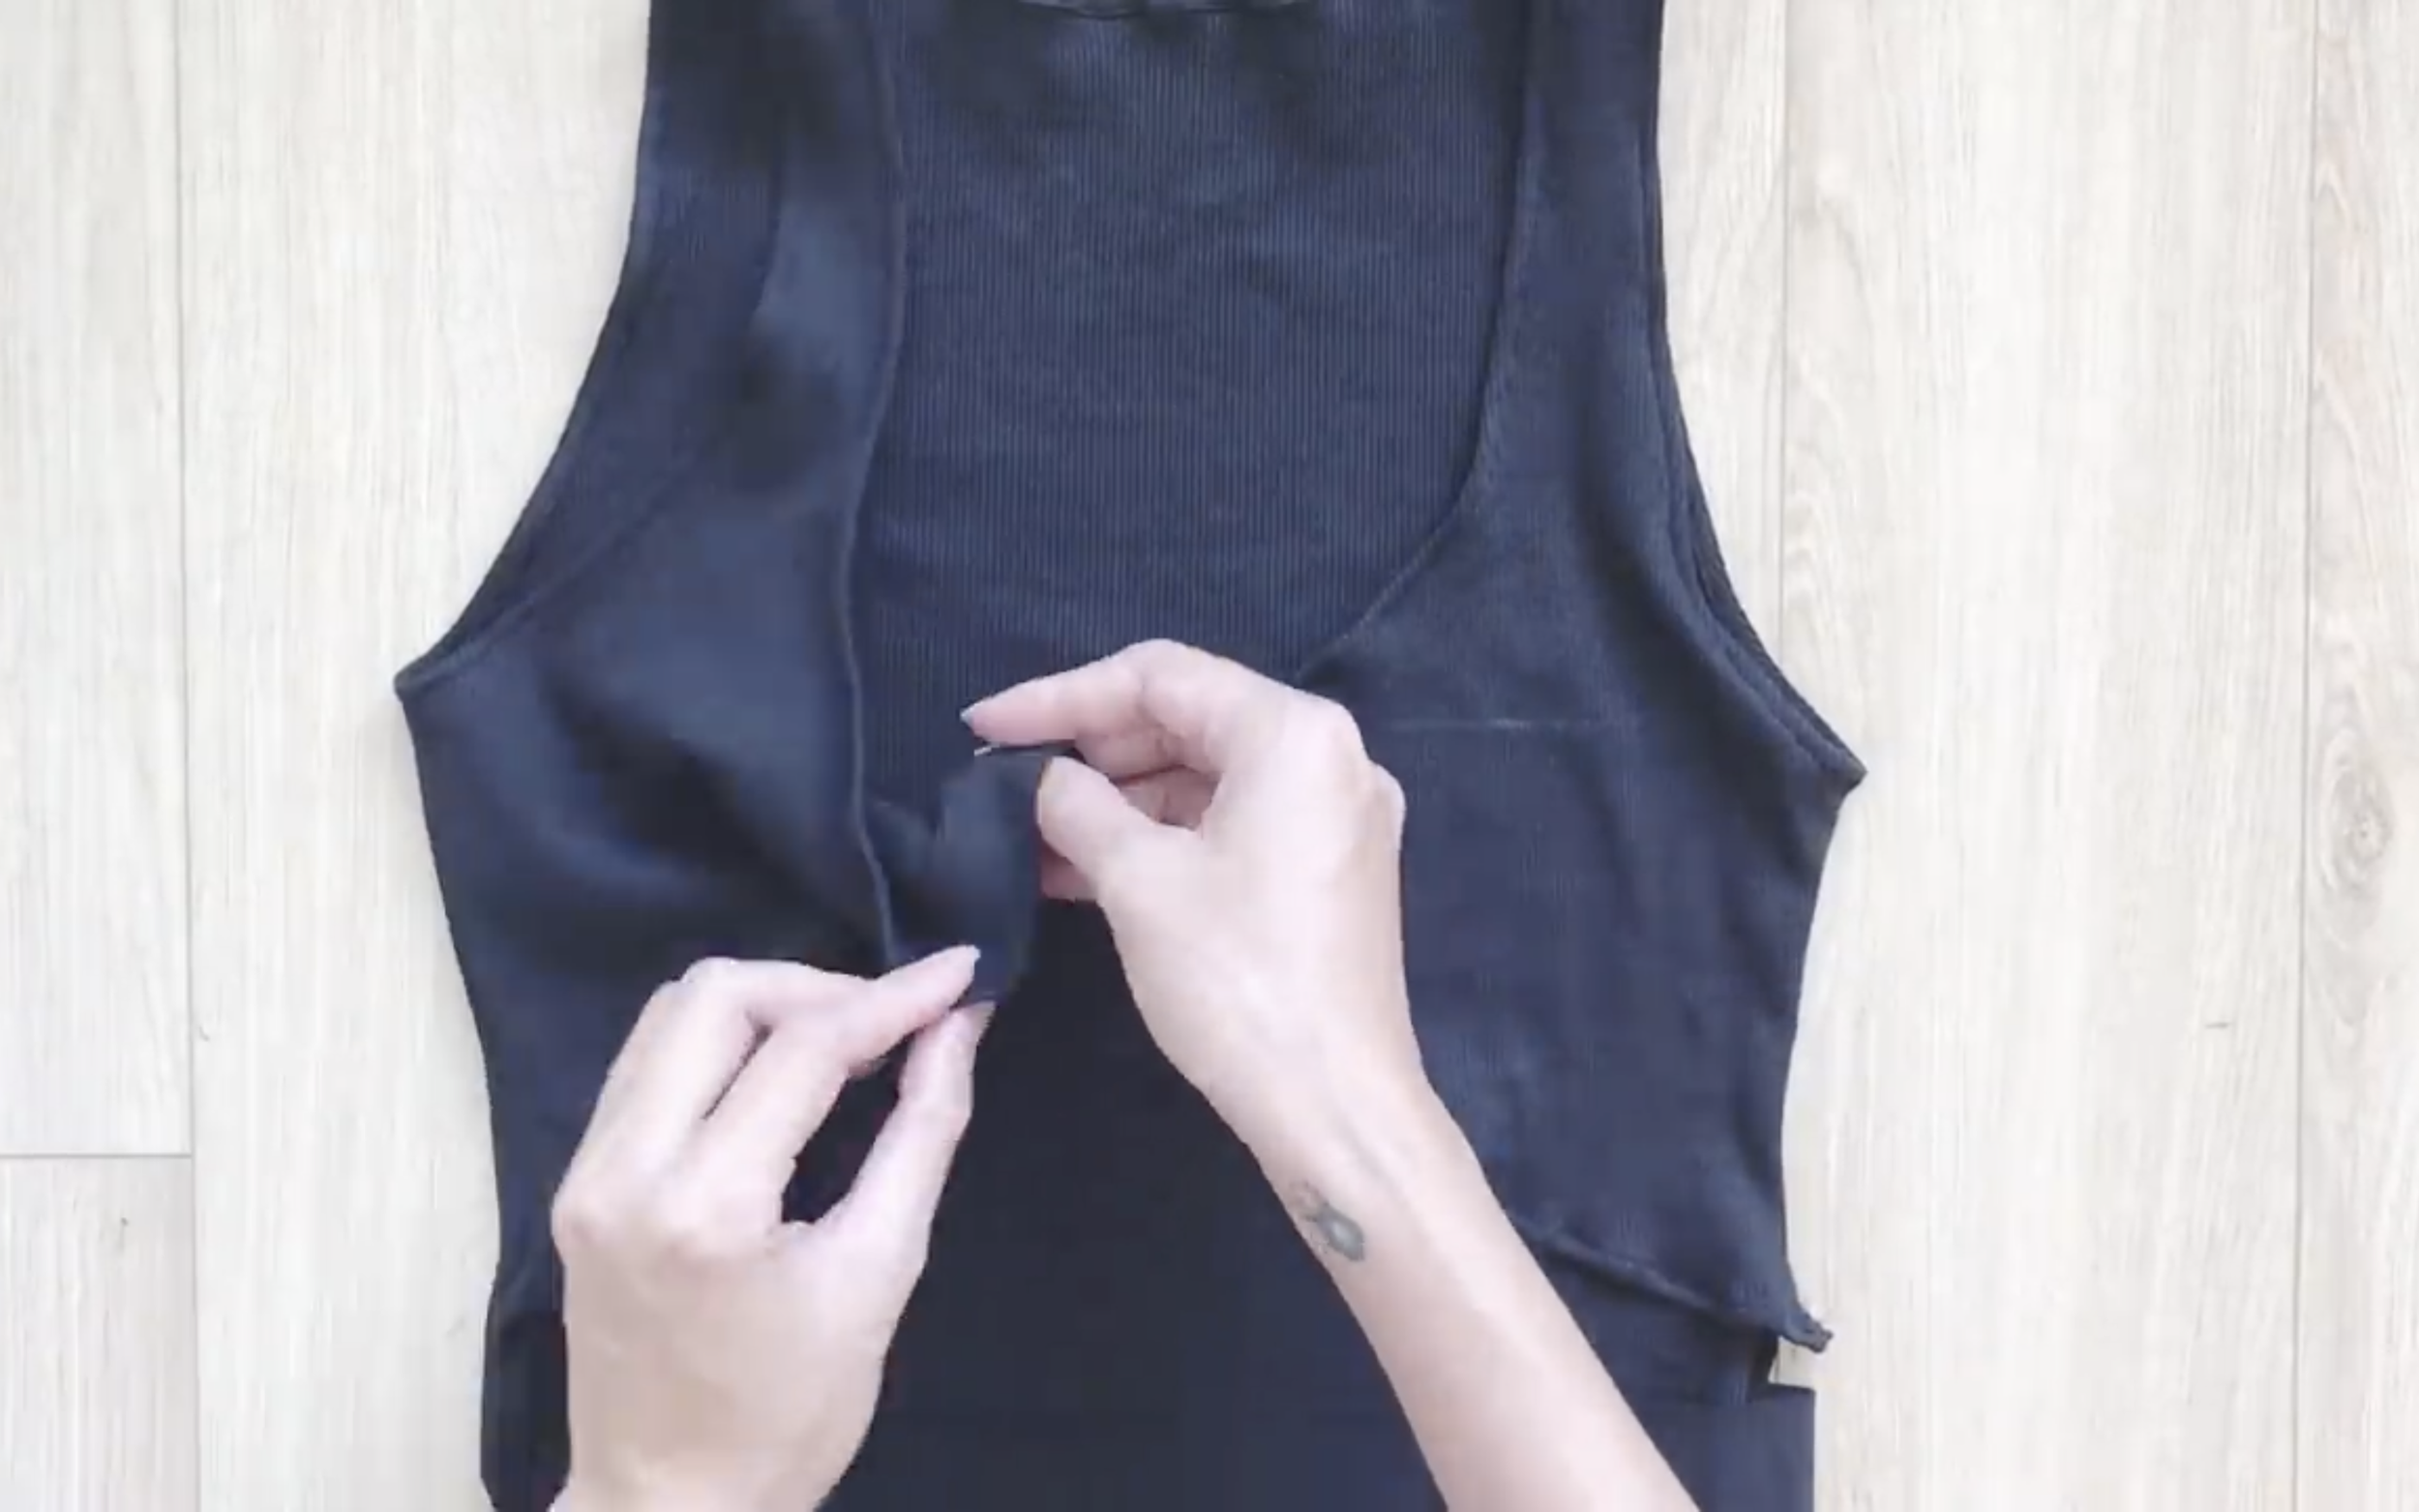
To create a twist, turn one side of the dress upside down once, then do the same on the other side but in the opposite direction.
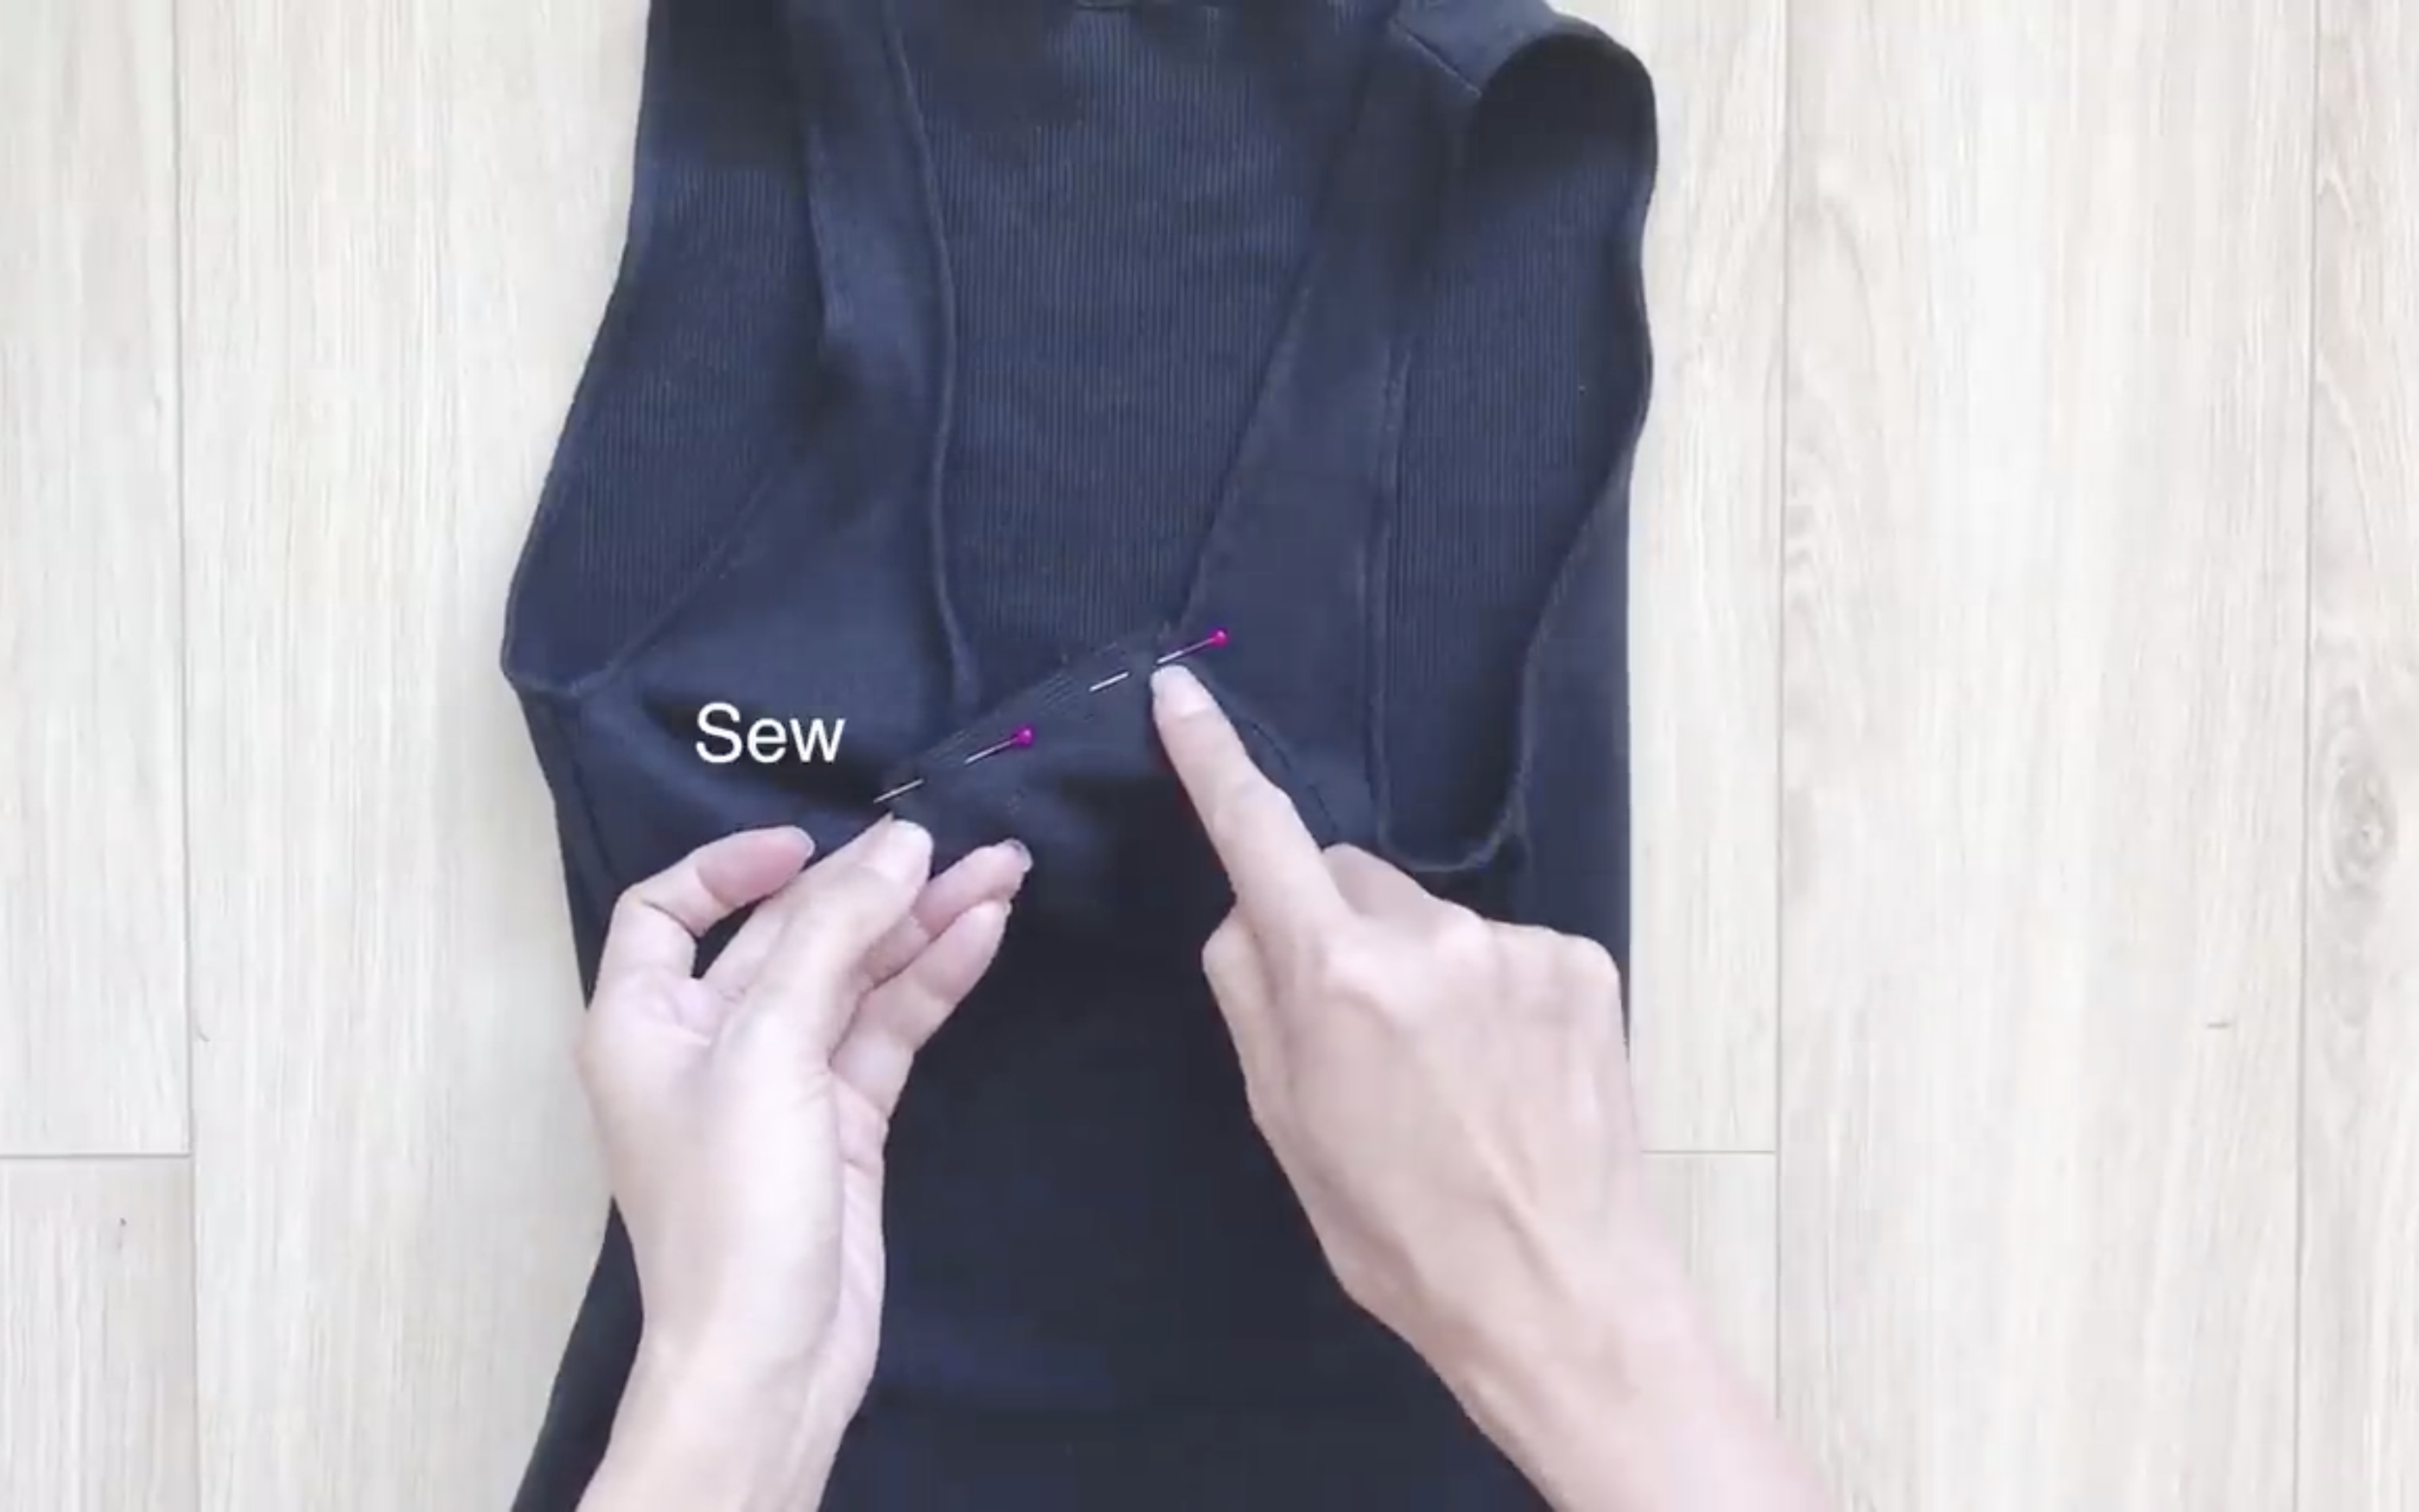
Connect the two sides together to complete the twisted part of the dress.
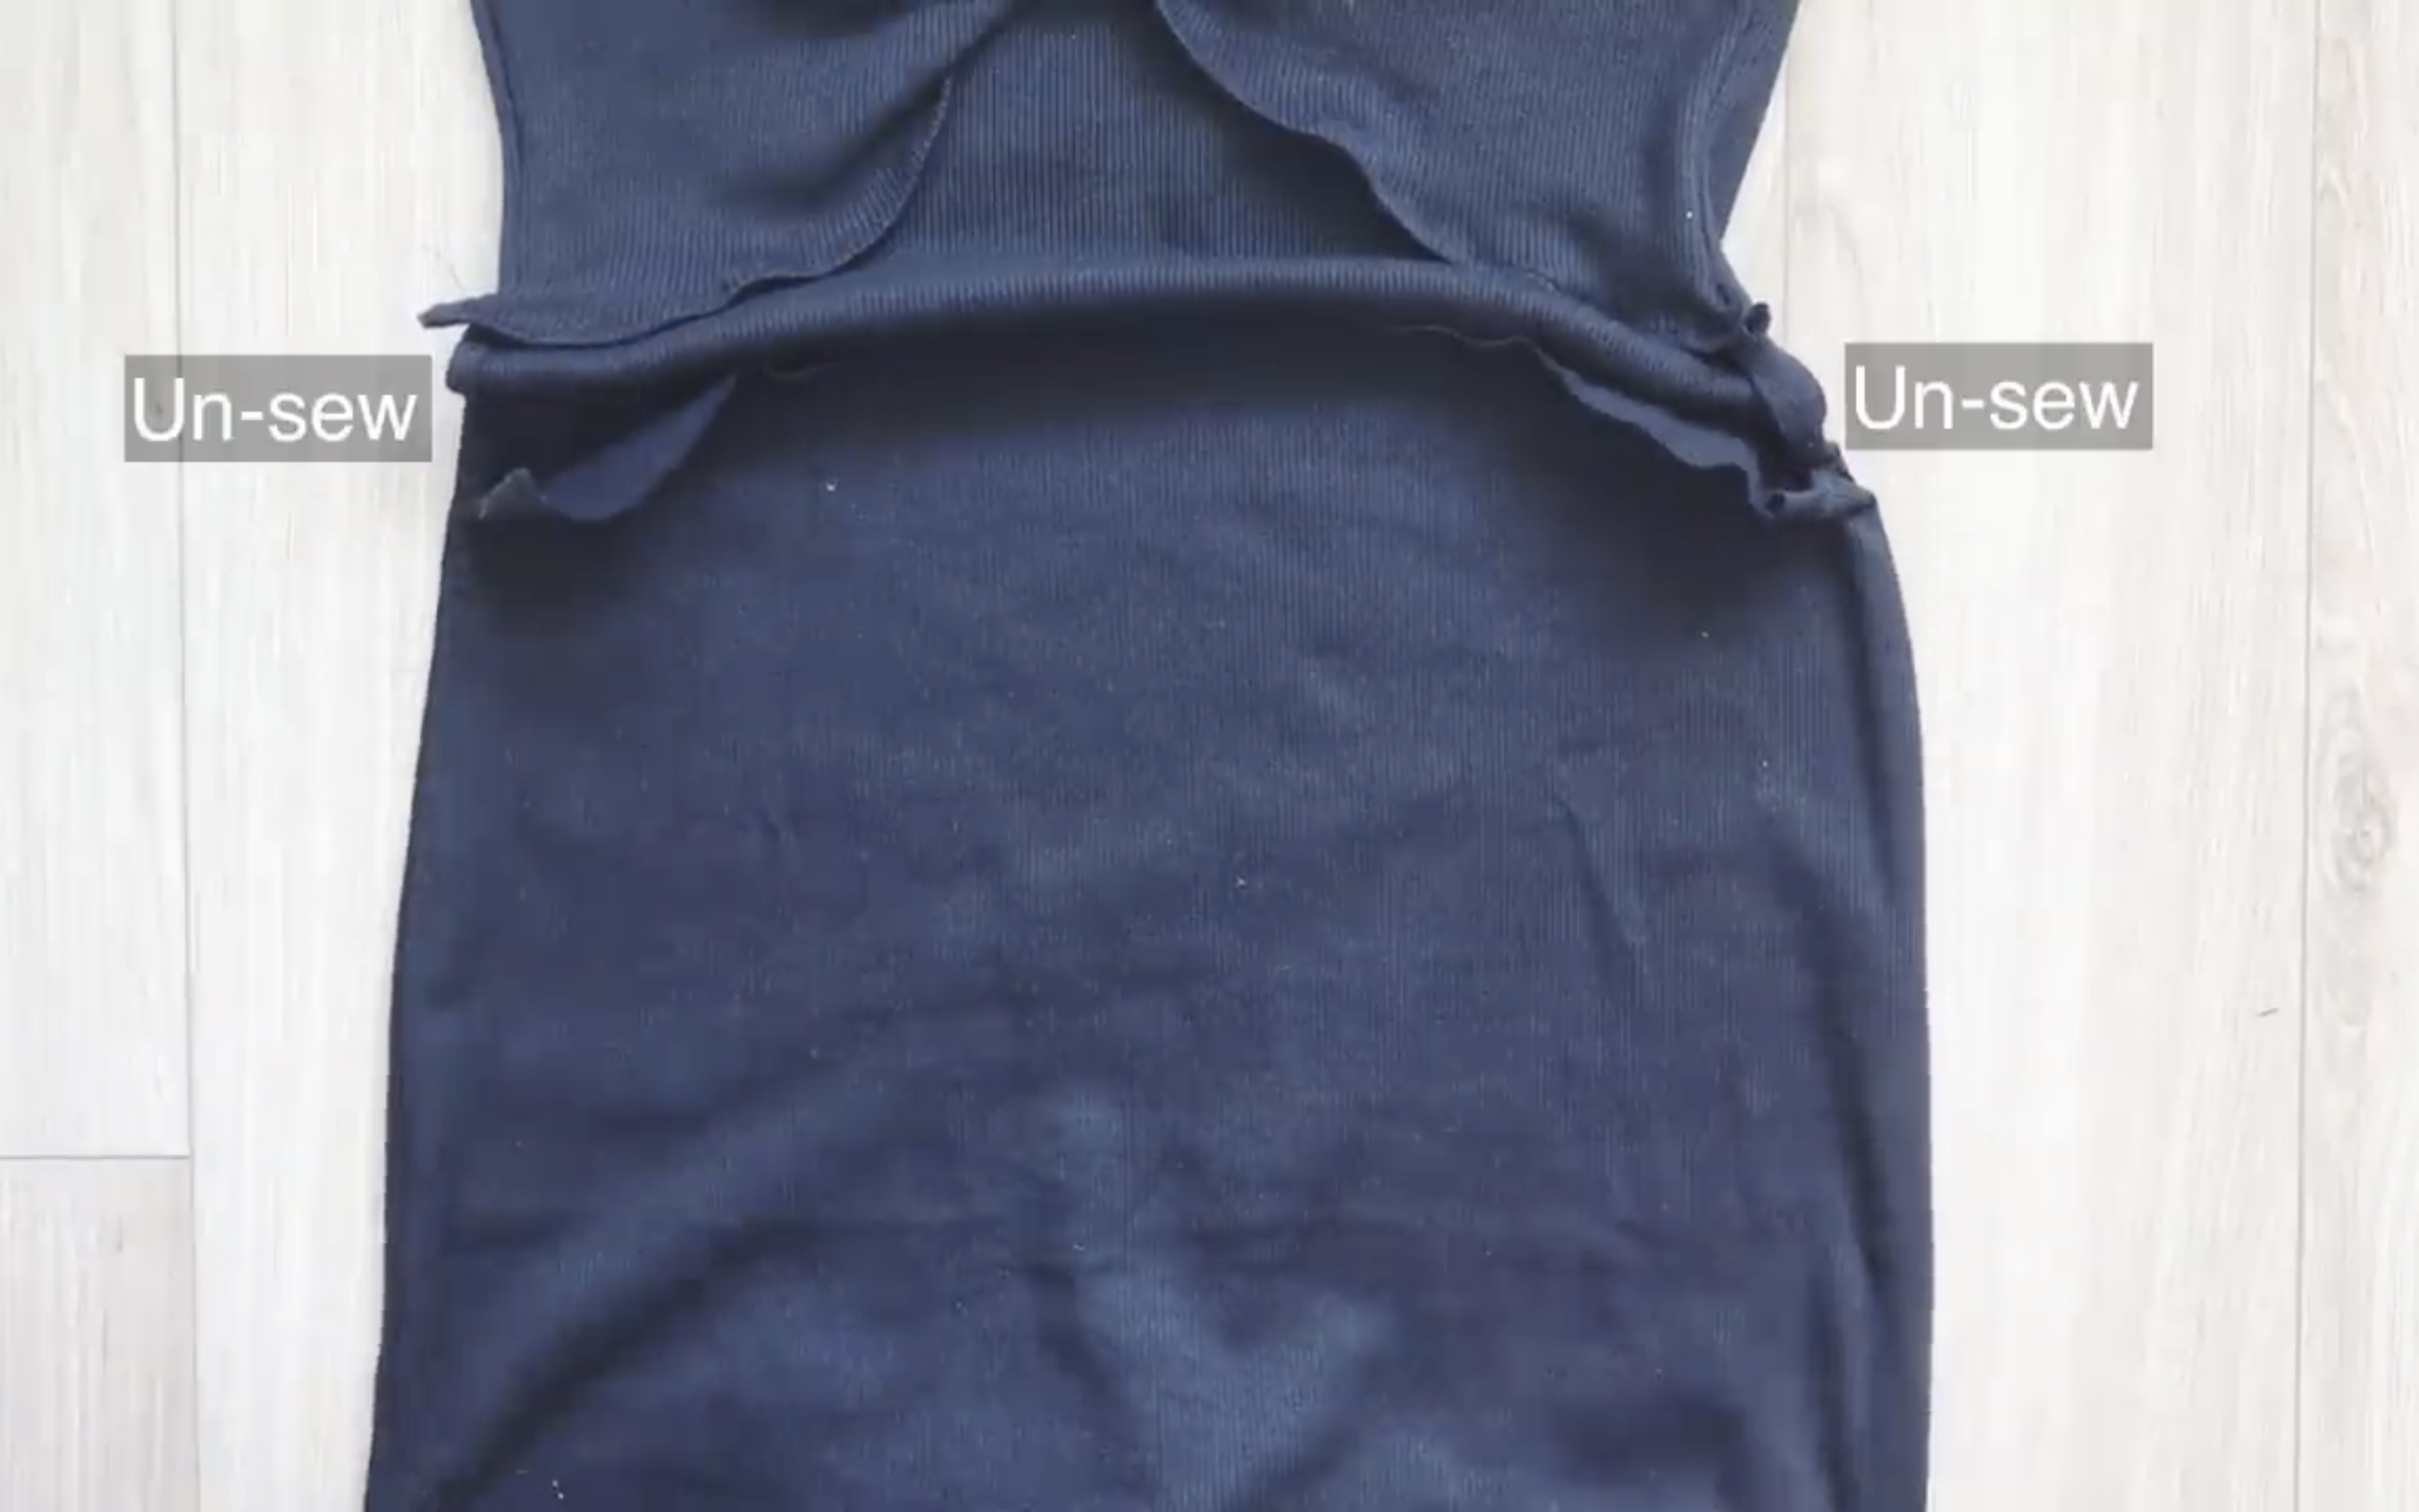
At the under-twisted part, unsew the two sides first.
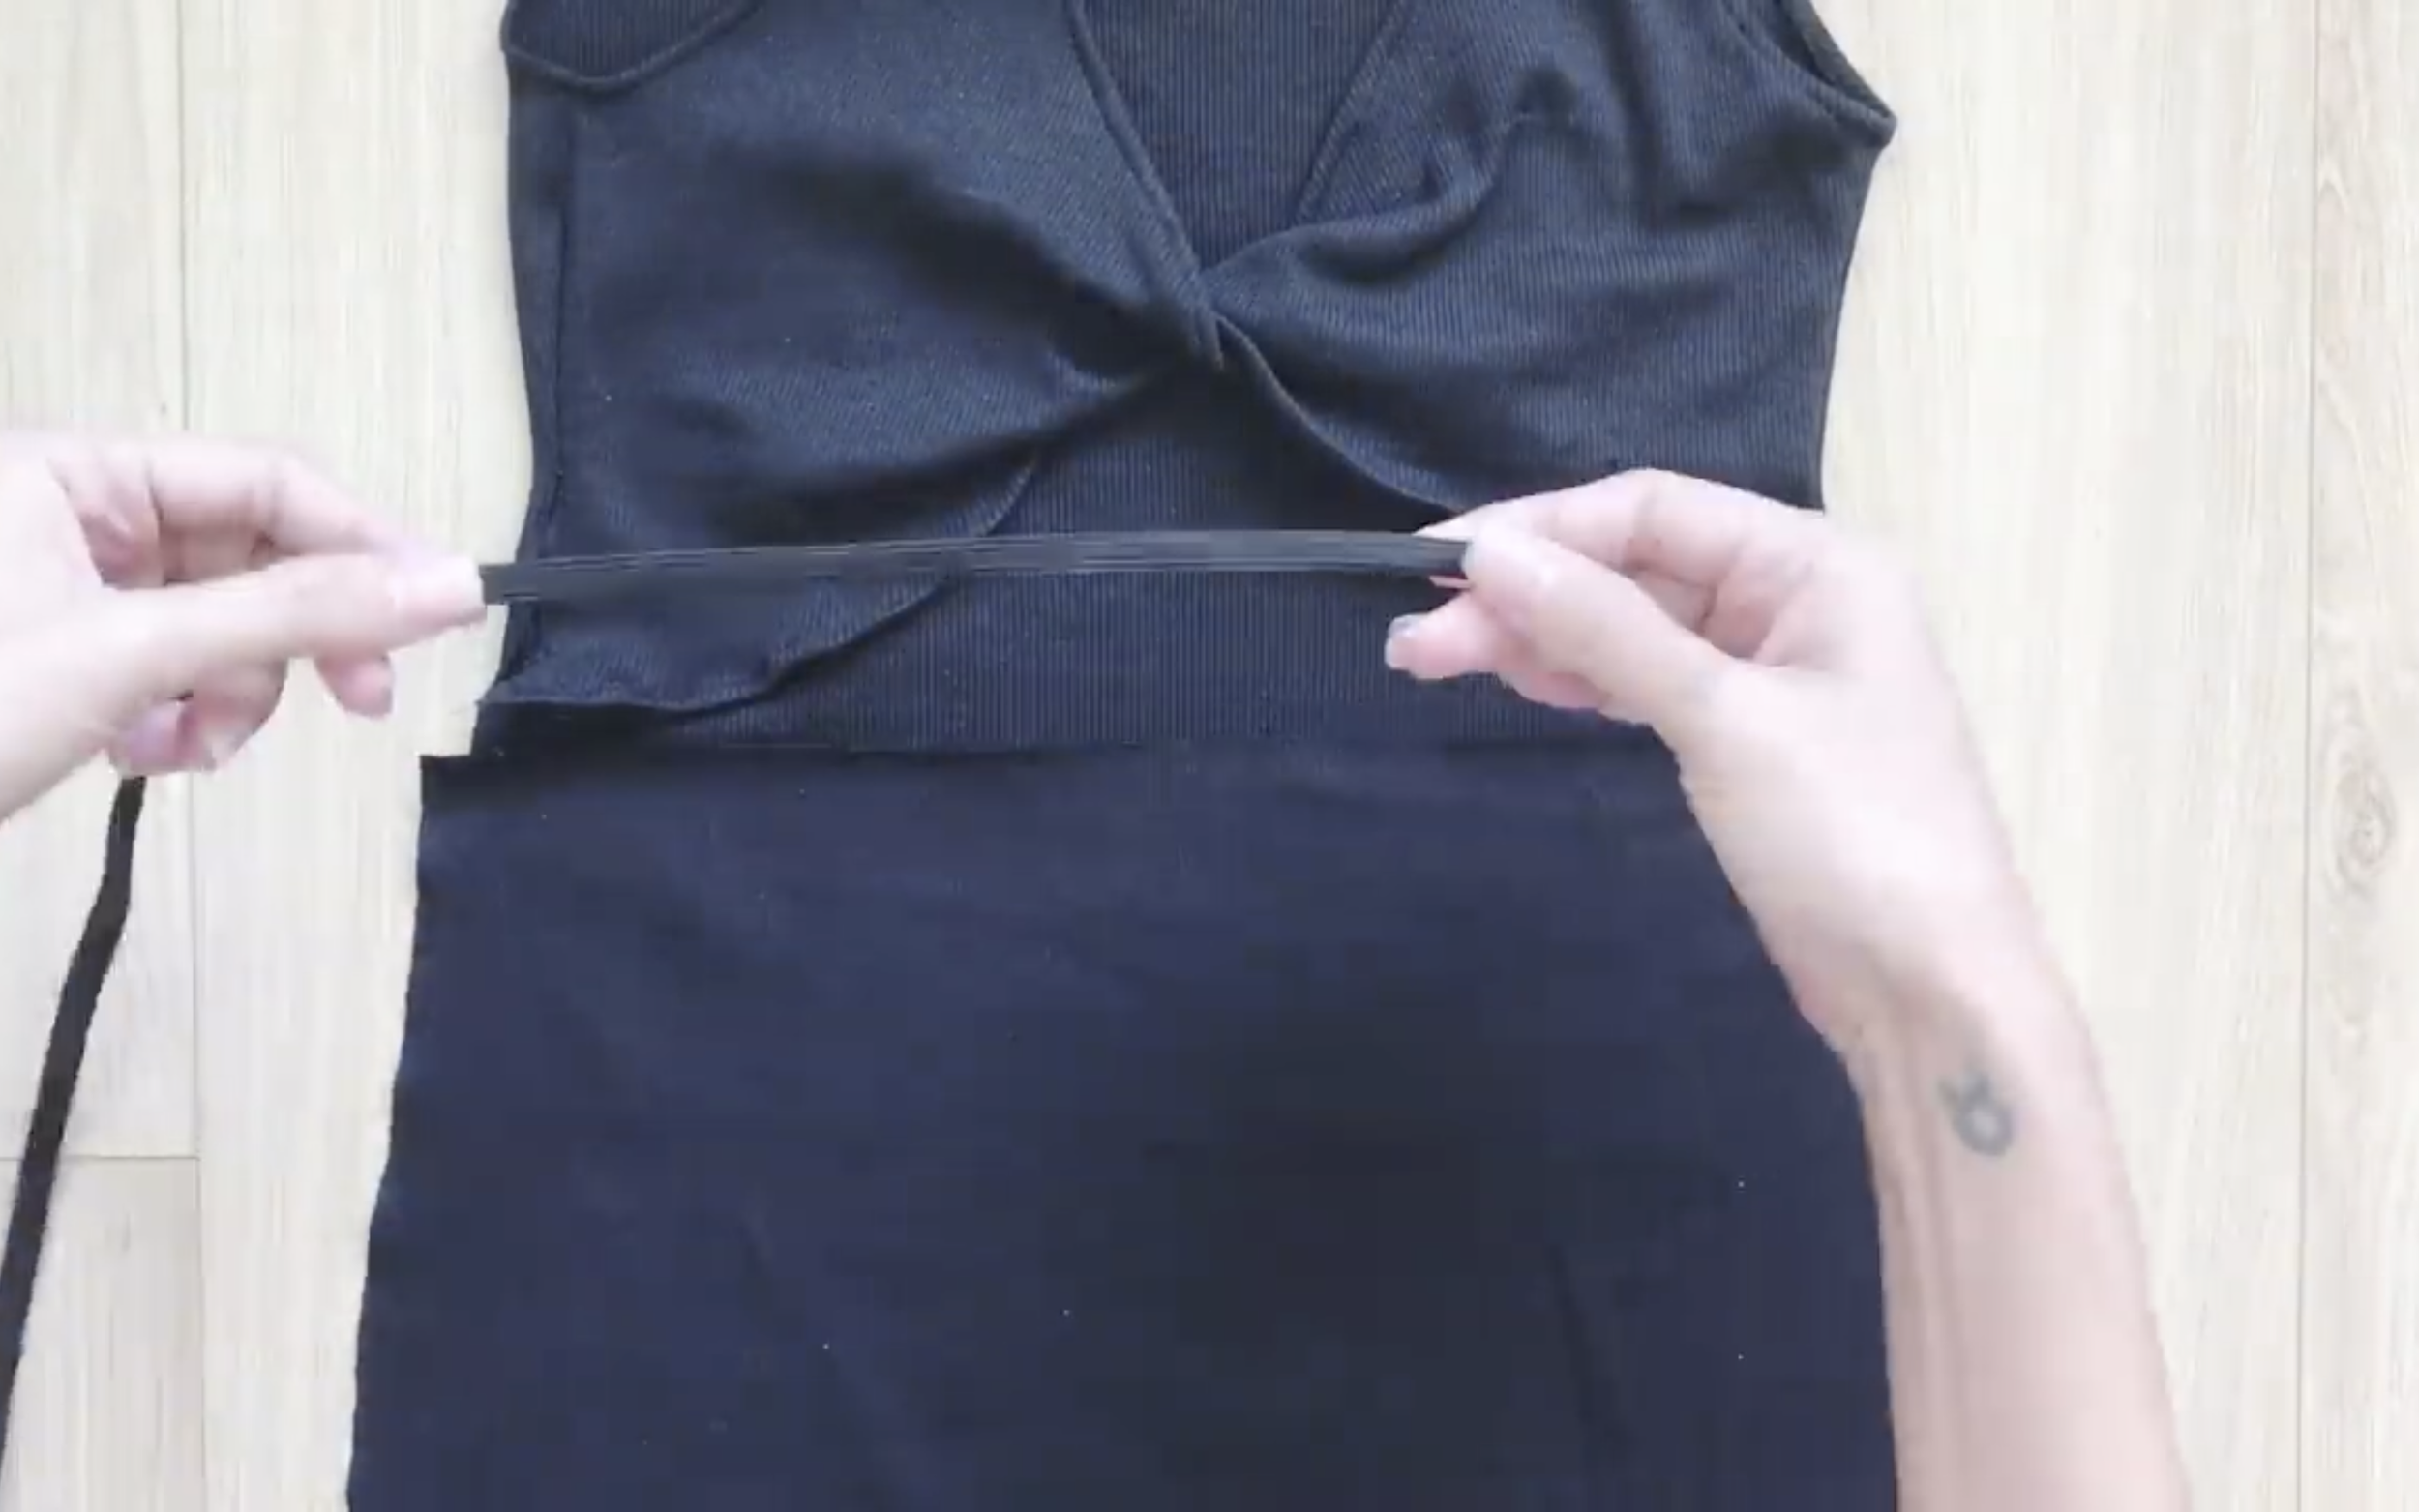
Use a small elastic band around 1 cm wide to make it fit the body when worn.
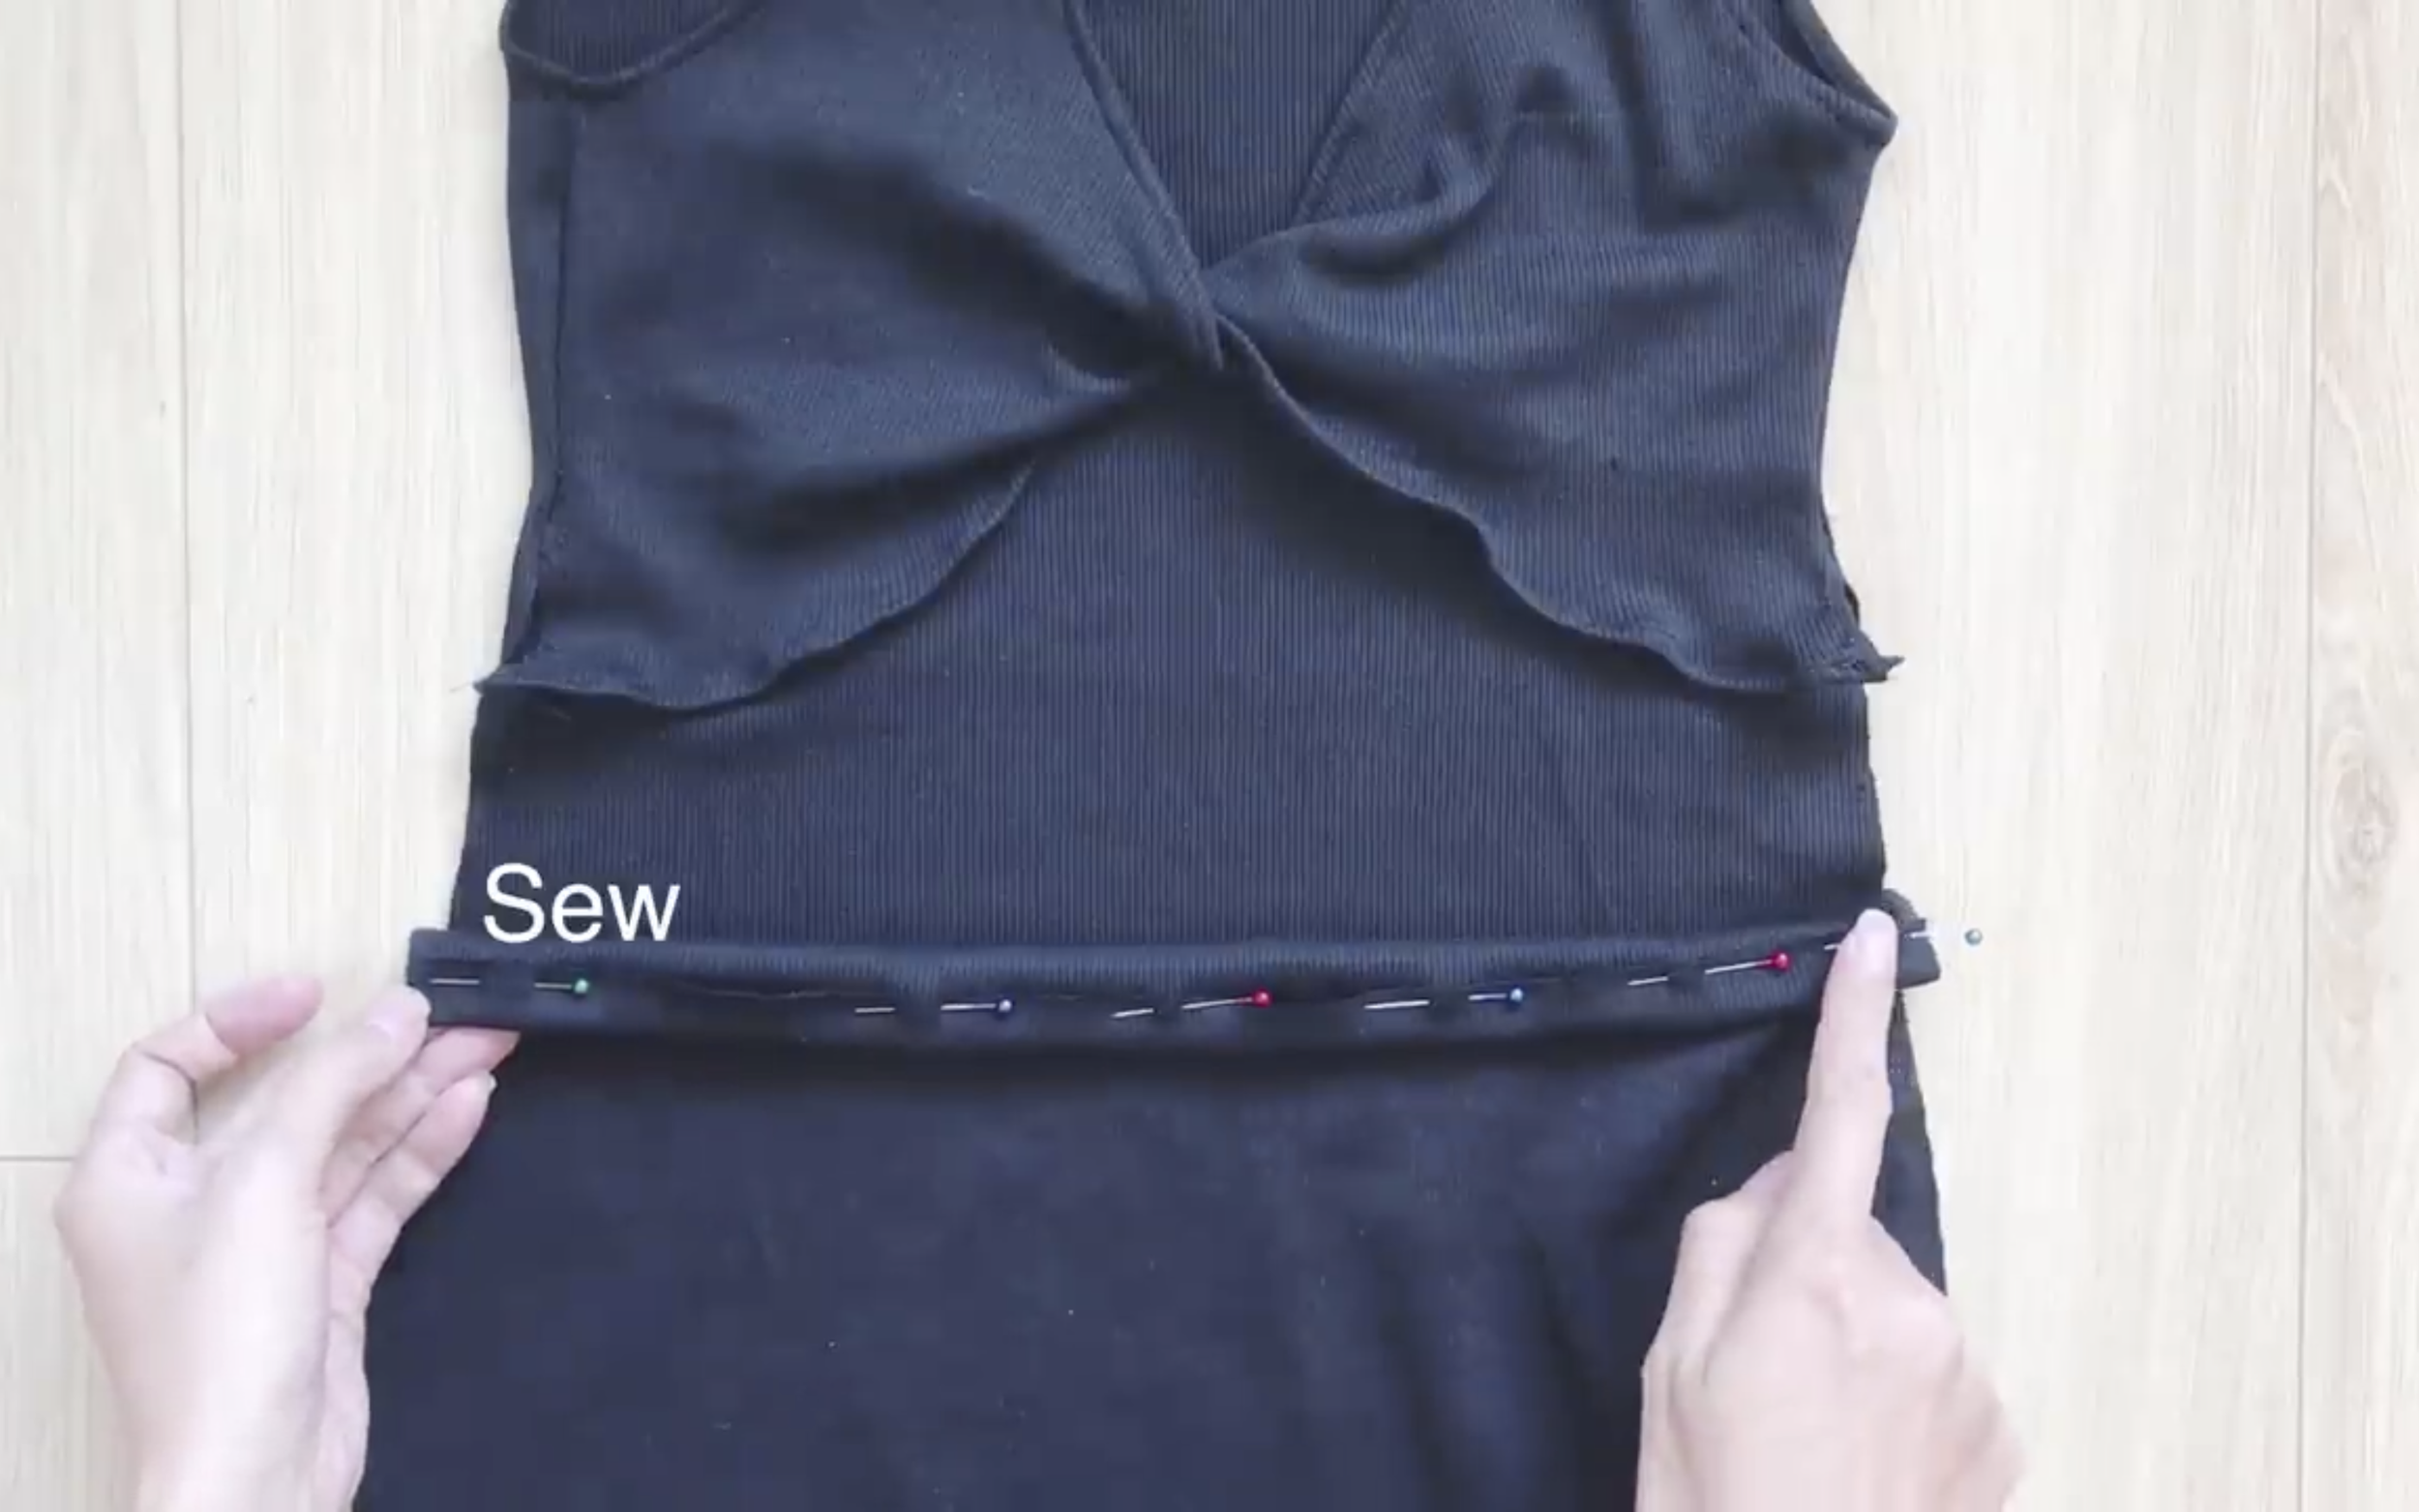
Measure the width of the fabric to fold in, then sew to create a fabric casing.
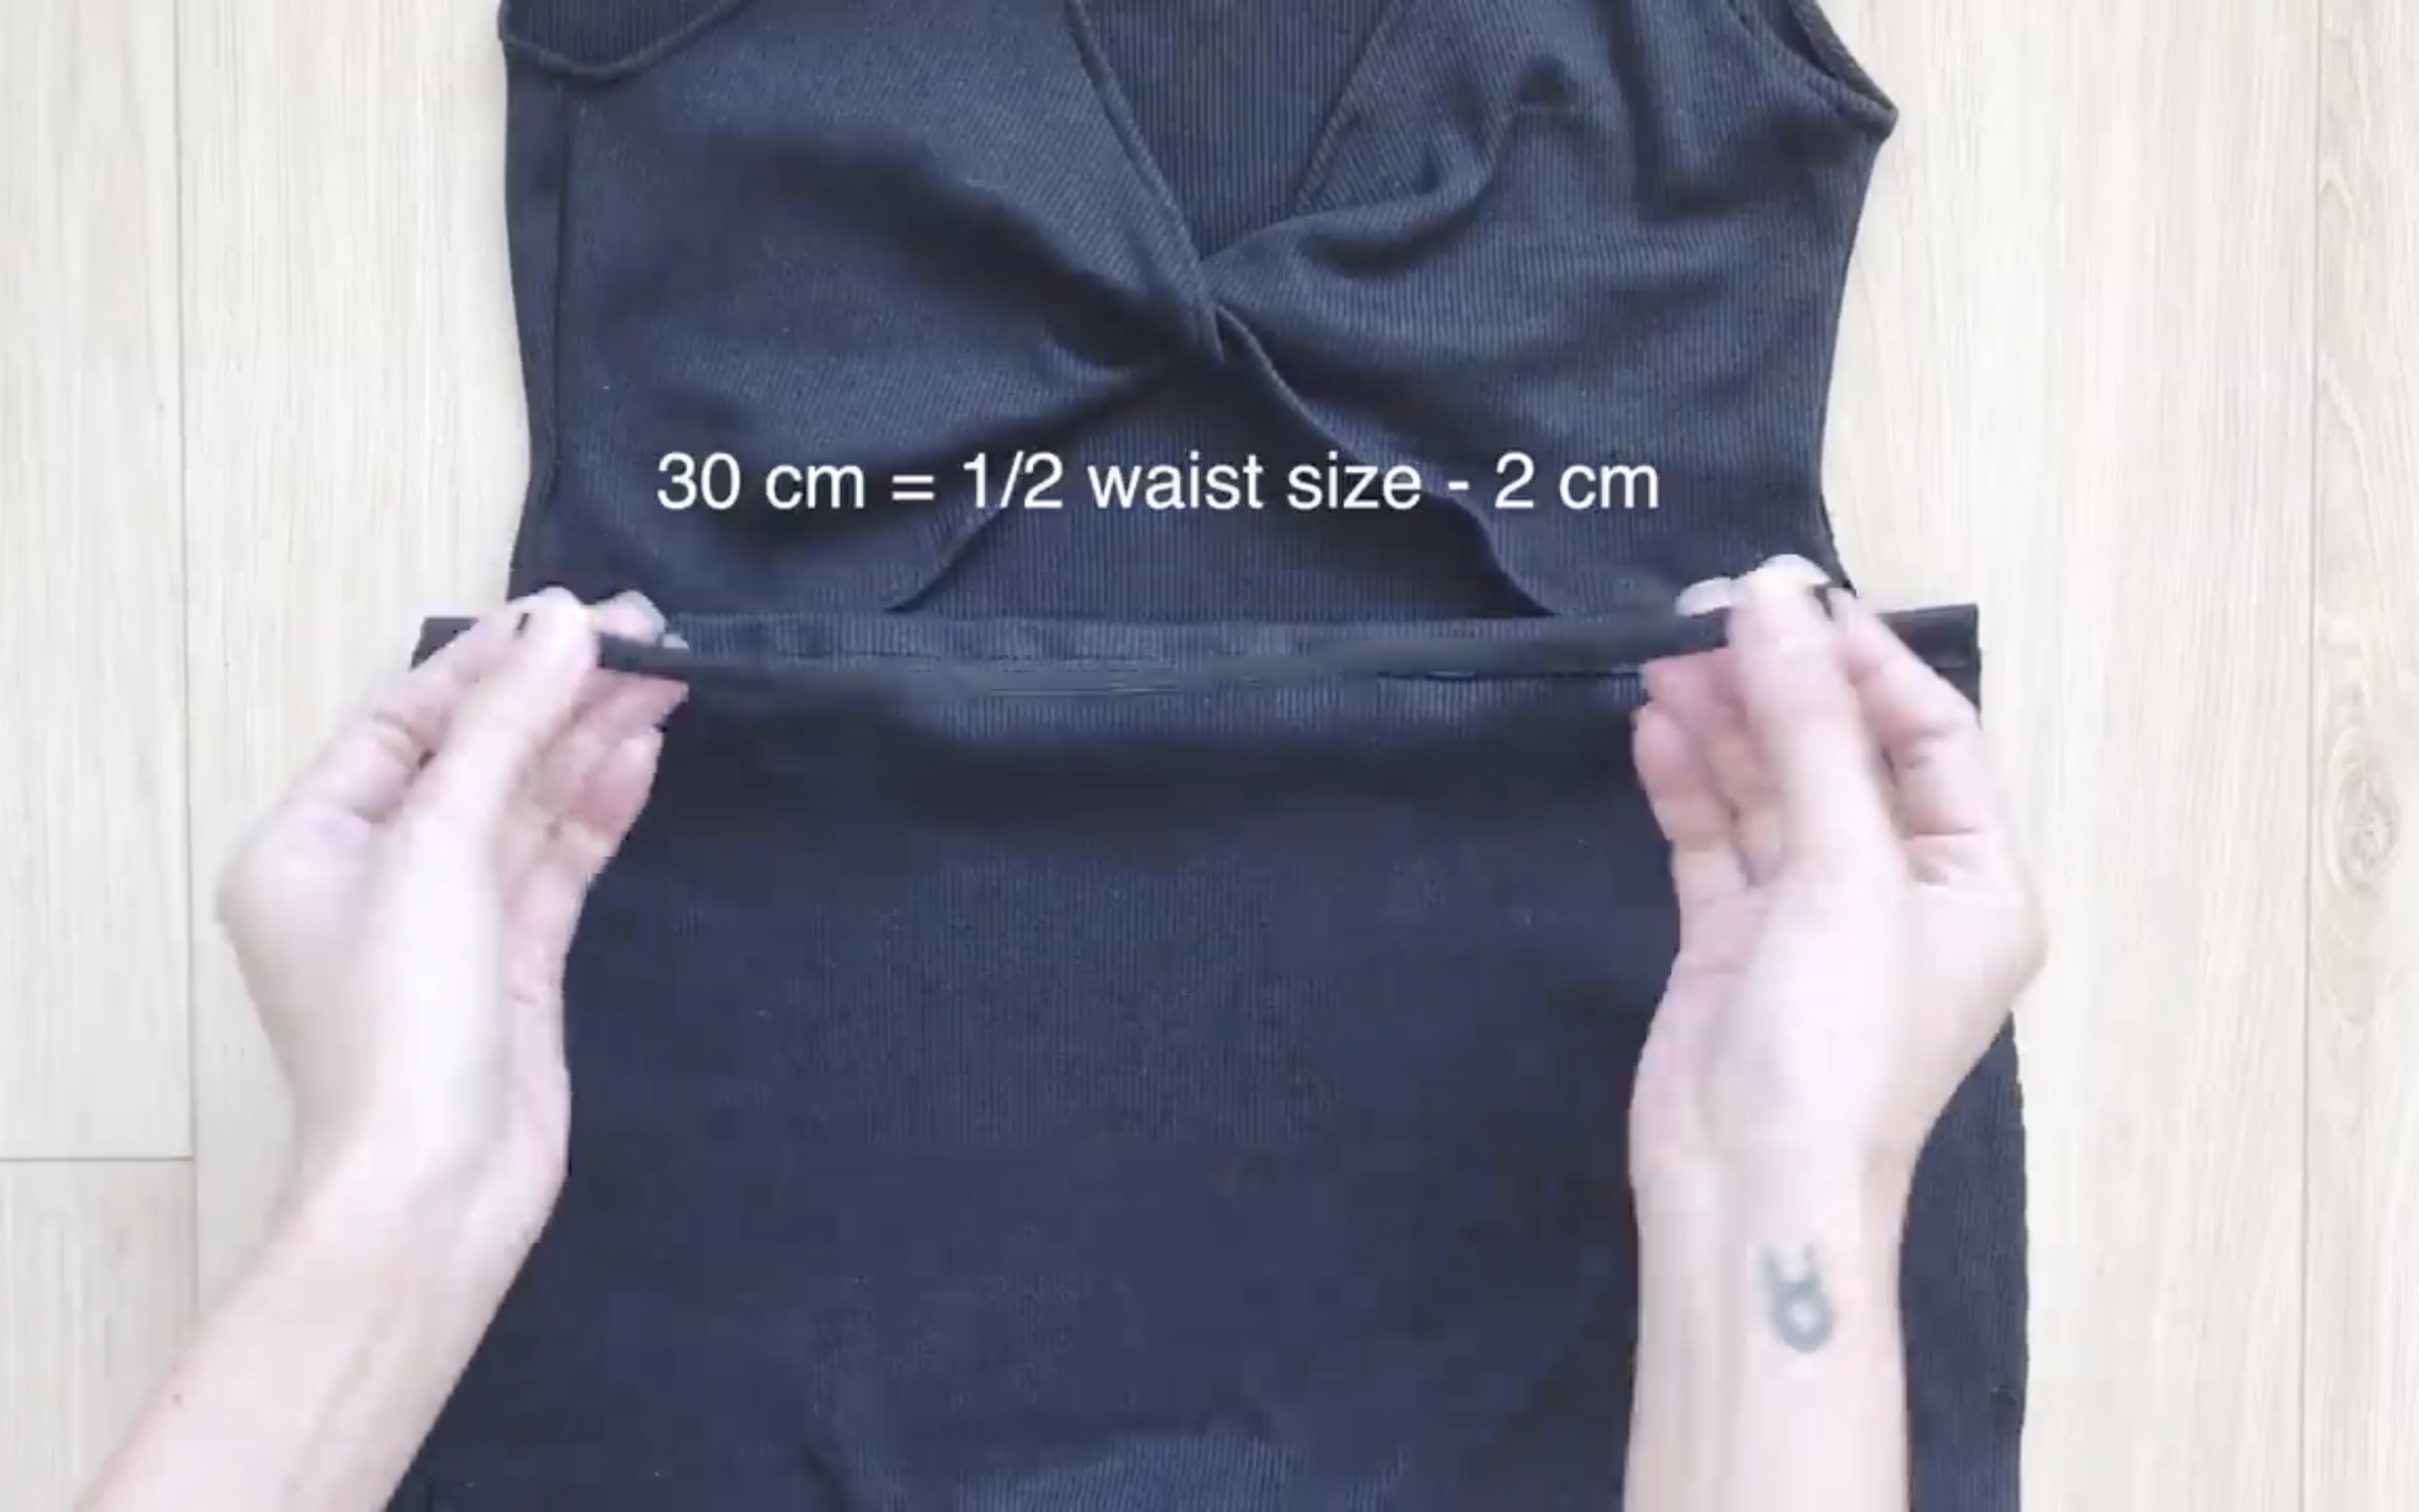
Cut the elastic band to about 30 cm, which is half the waist size minus 2 cm.
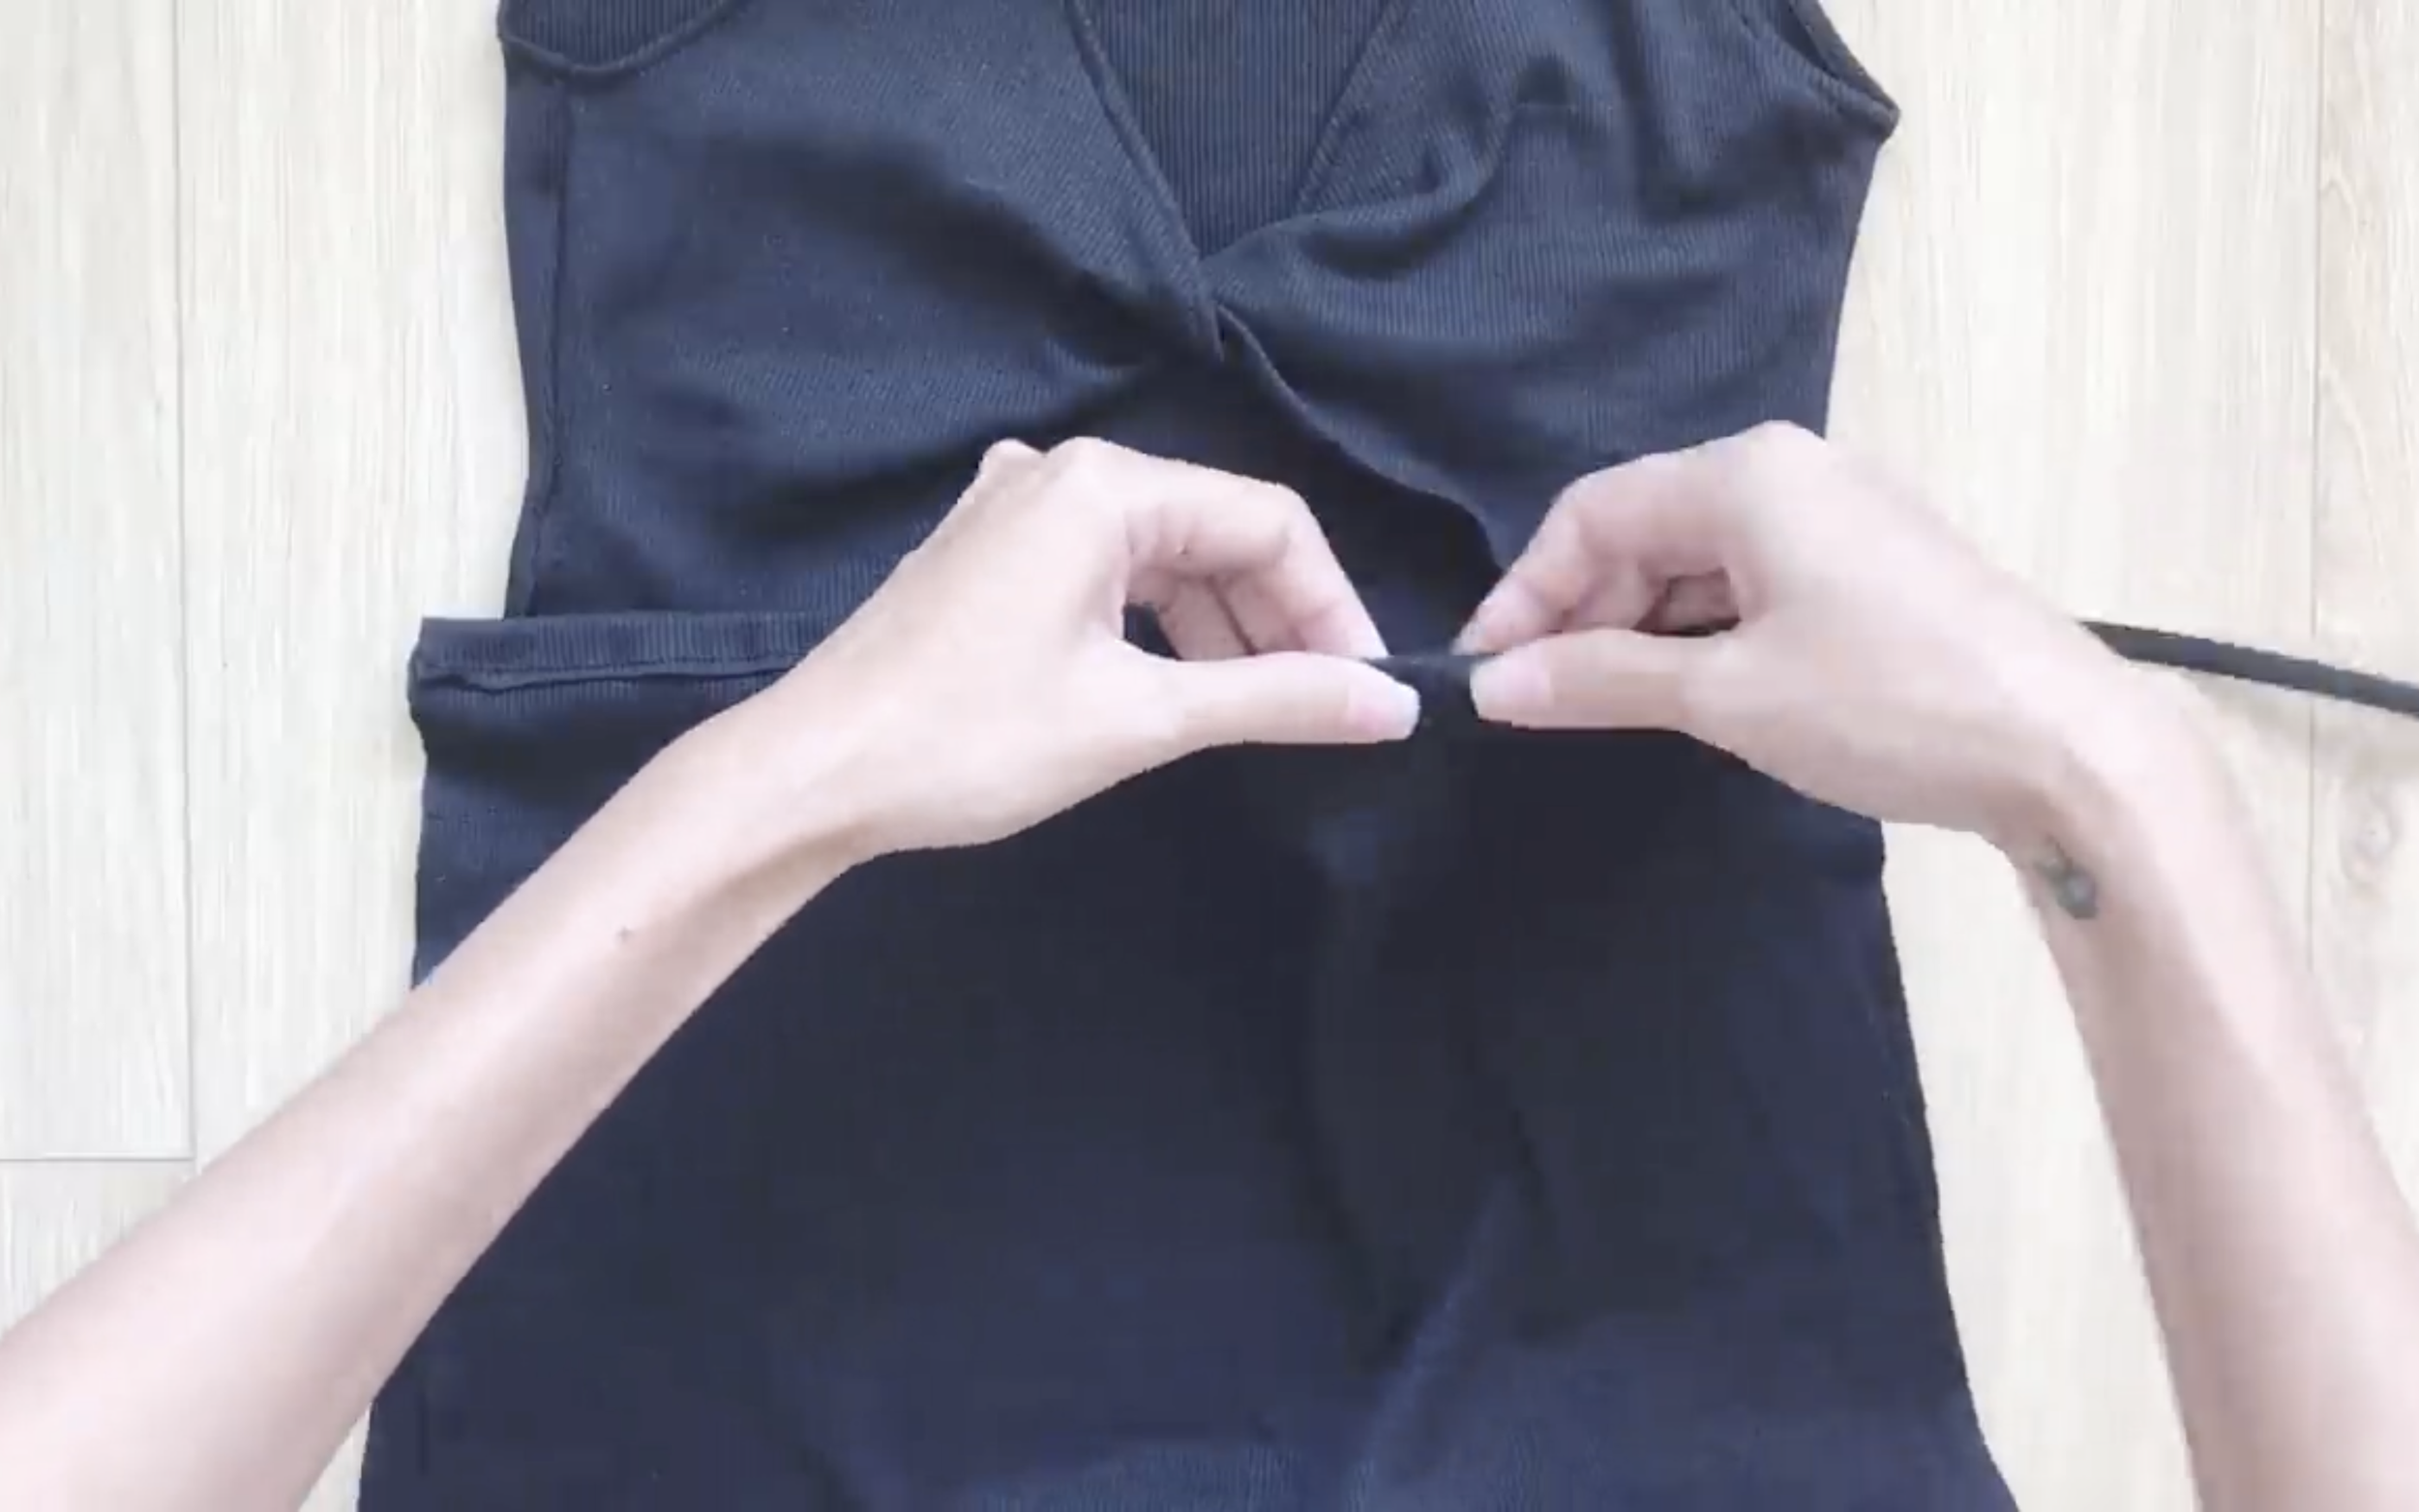
Thread it through the fabric casing.
And sew the two ends of the elastic band together.
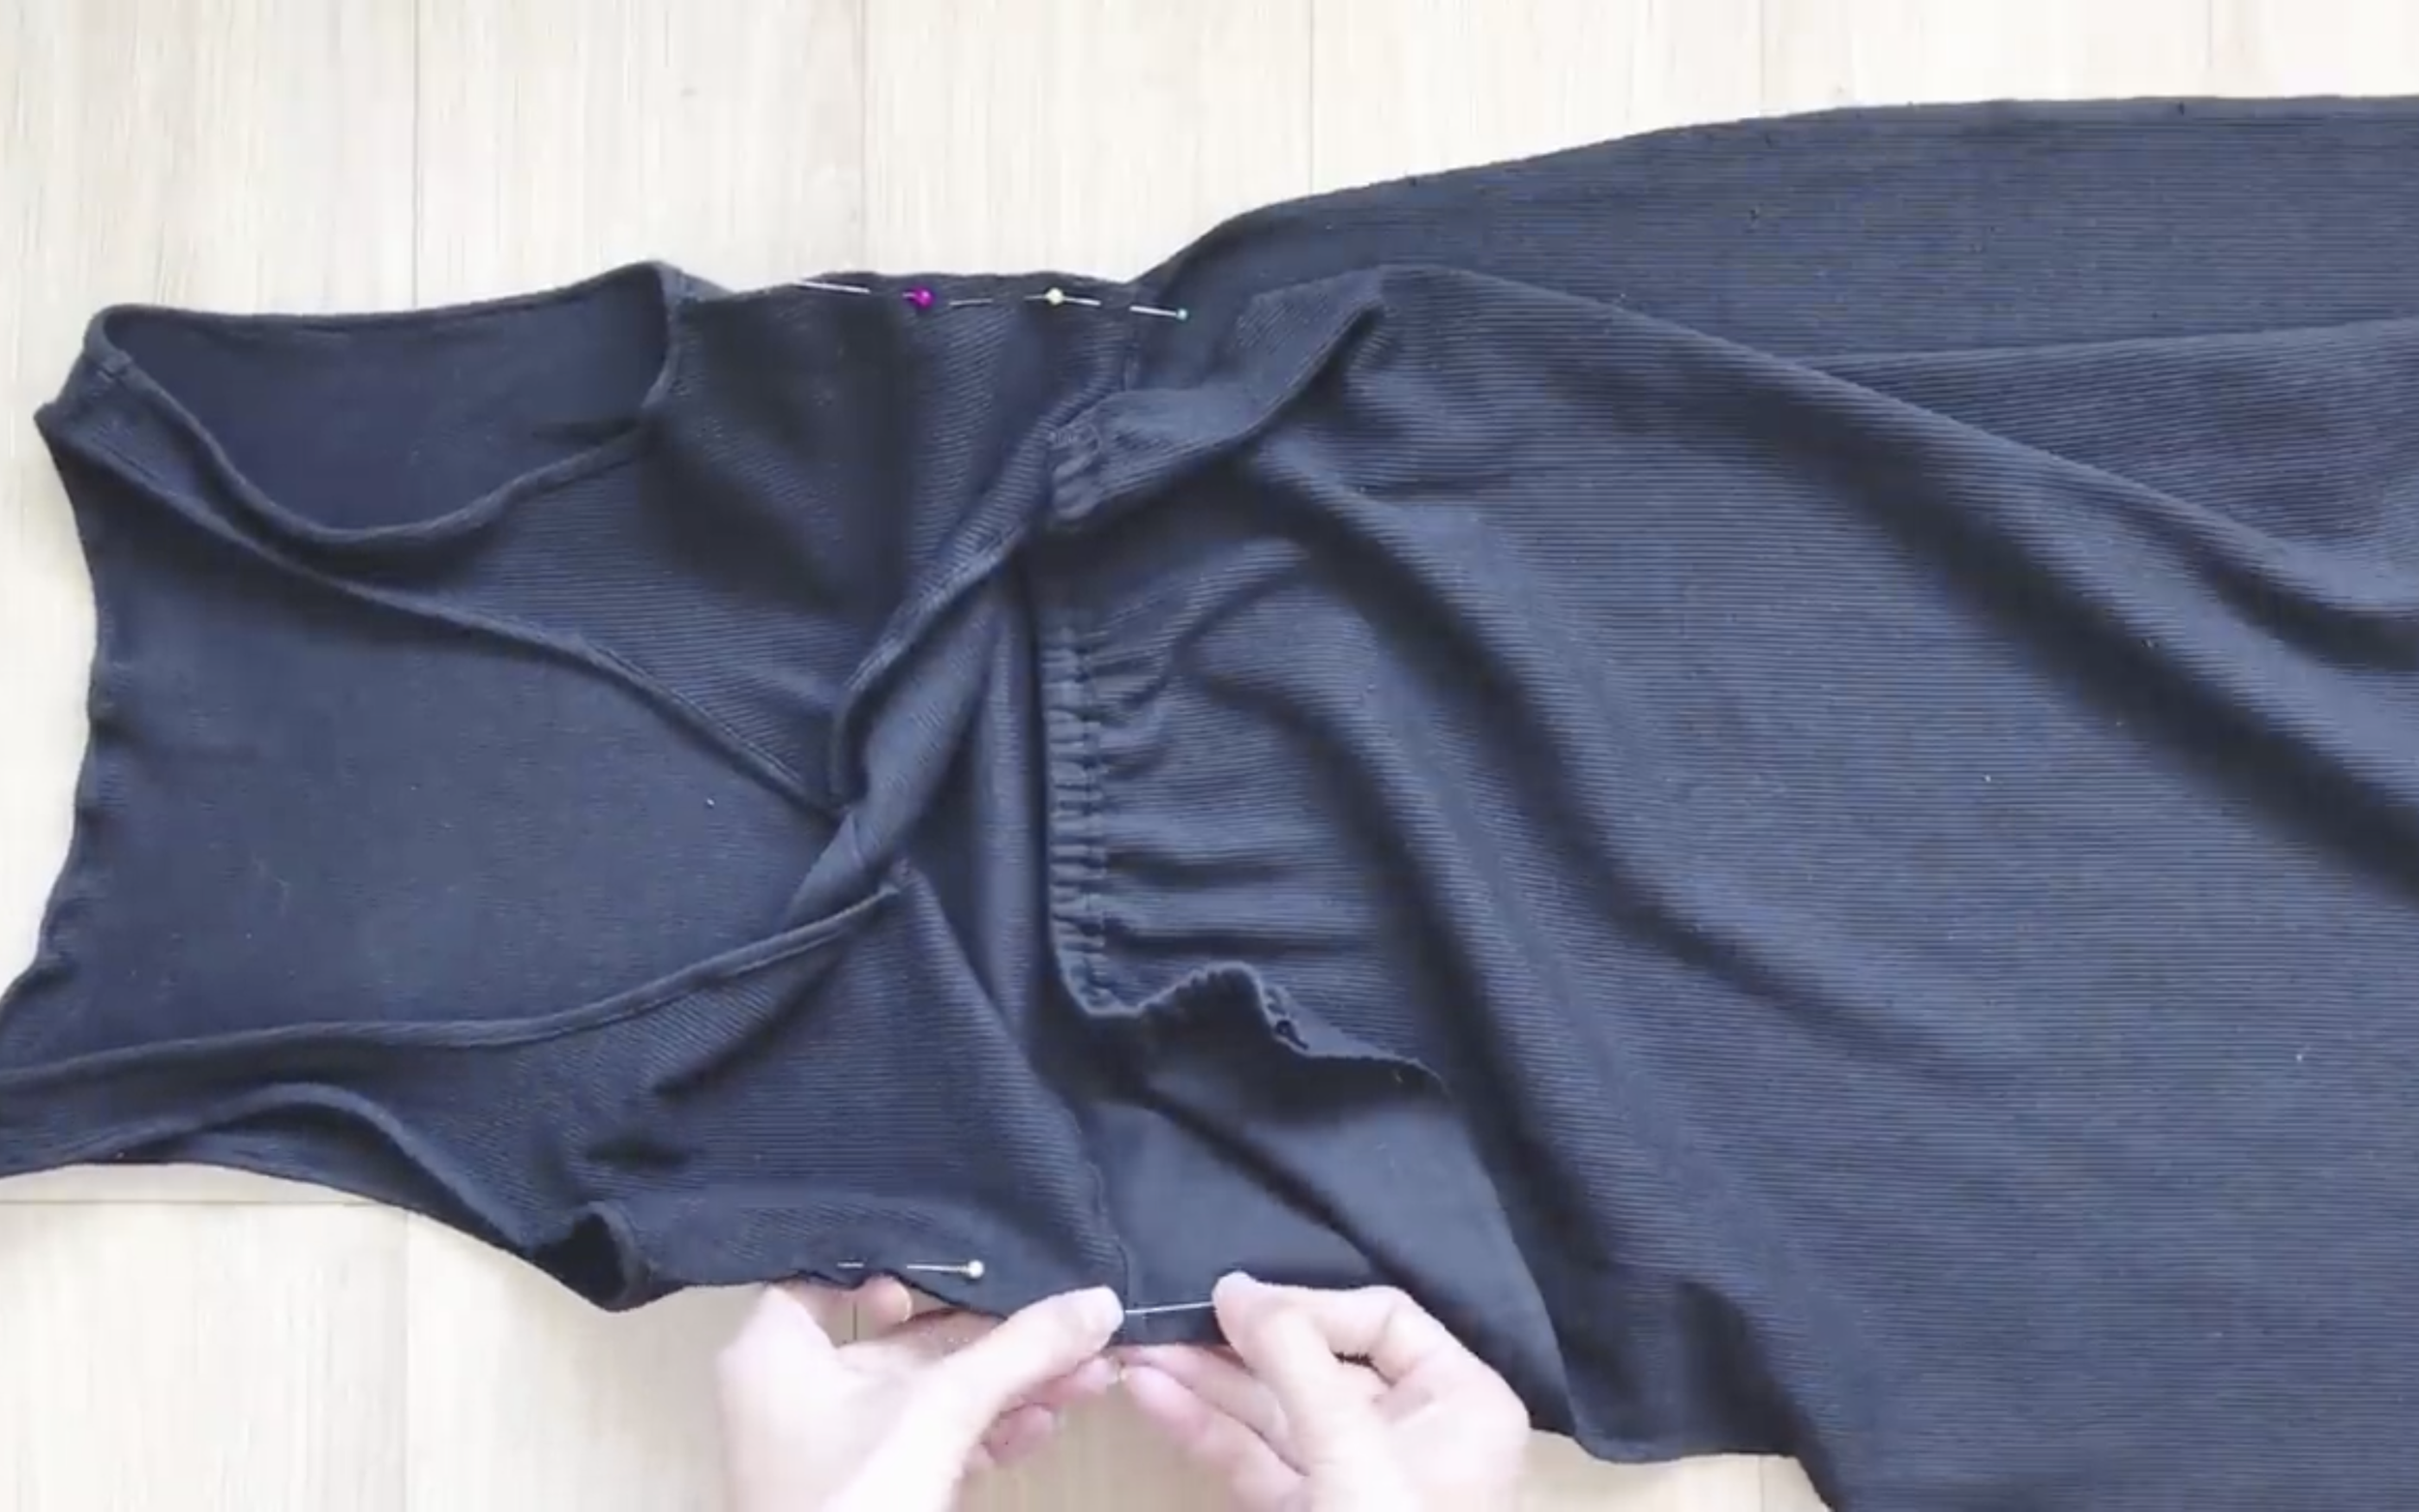
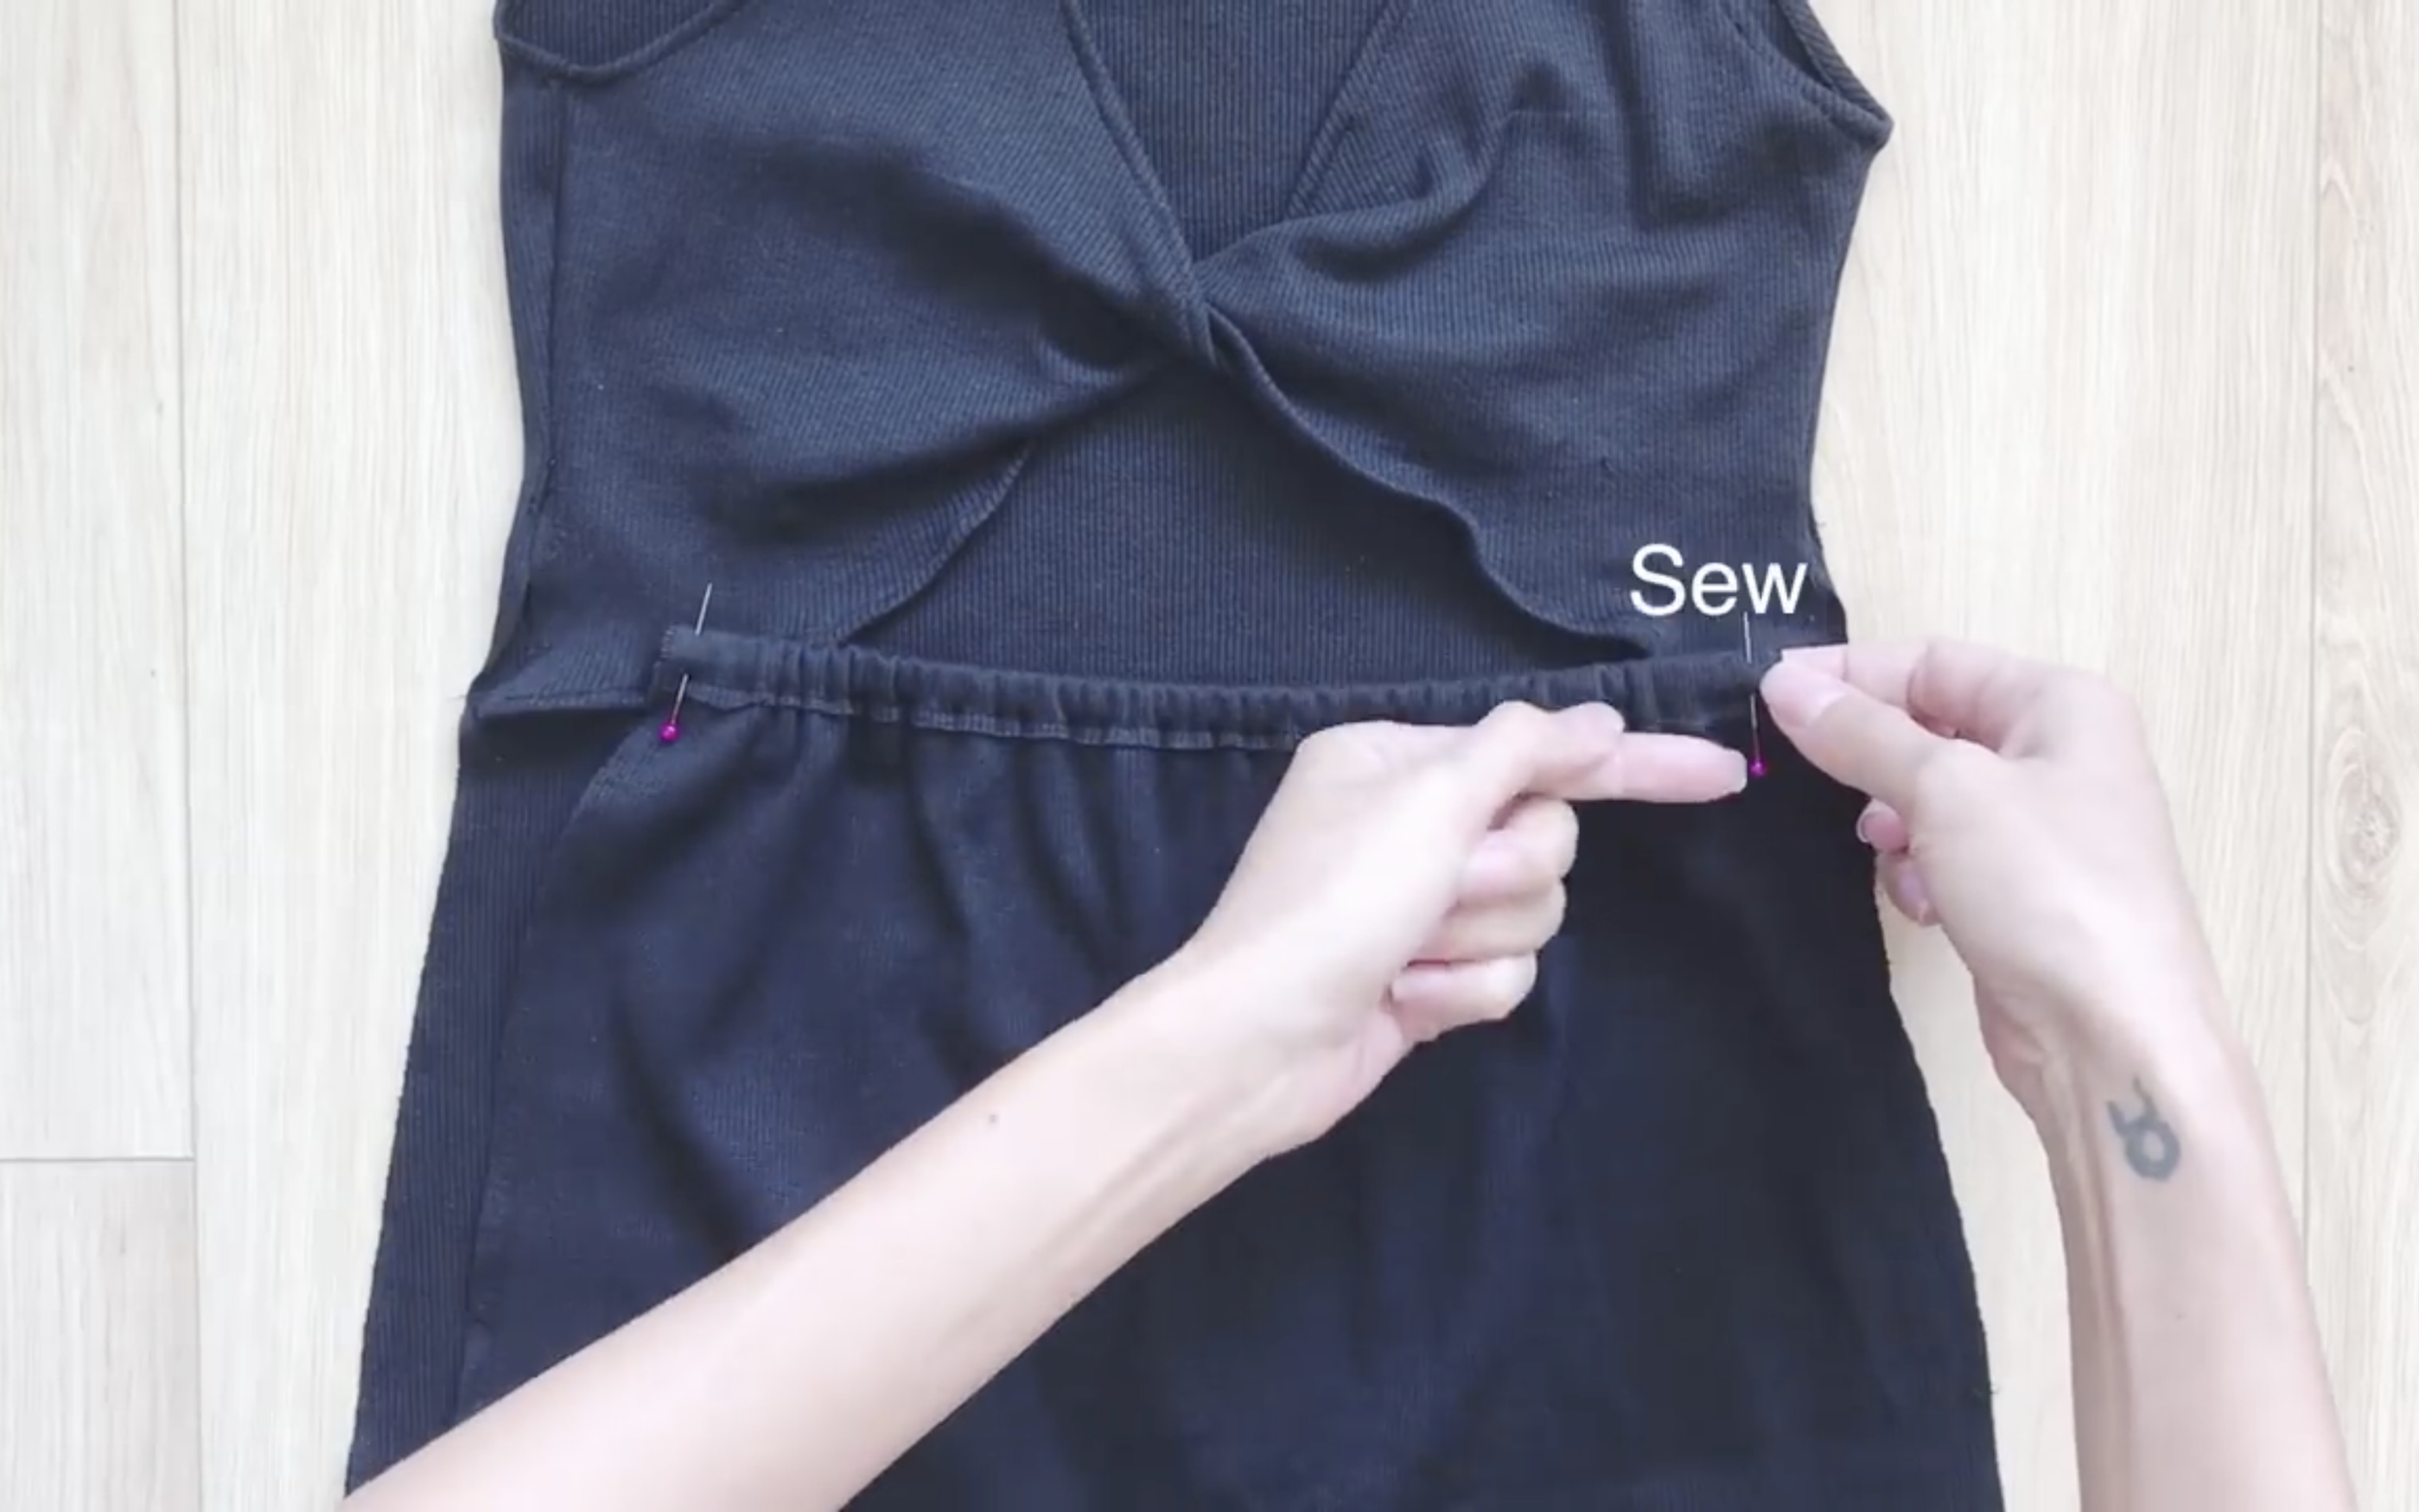
The next step is connecting the bottom to the twisted part.
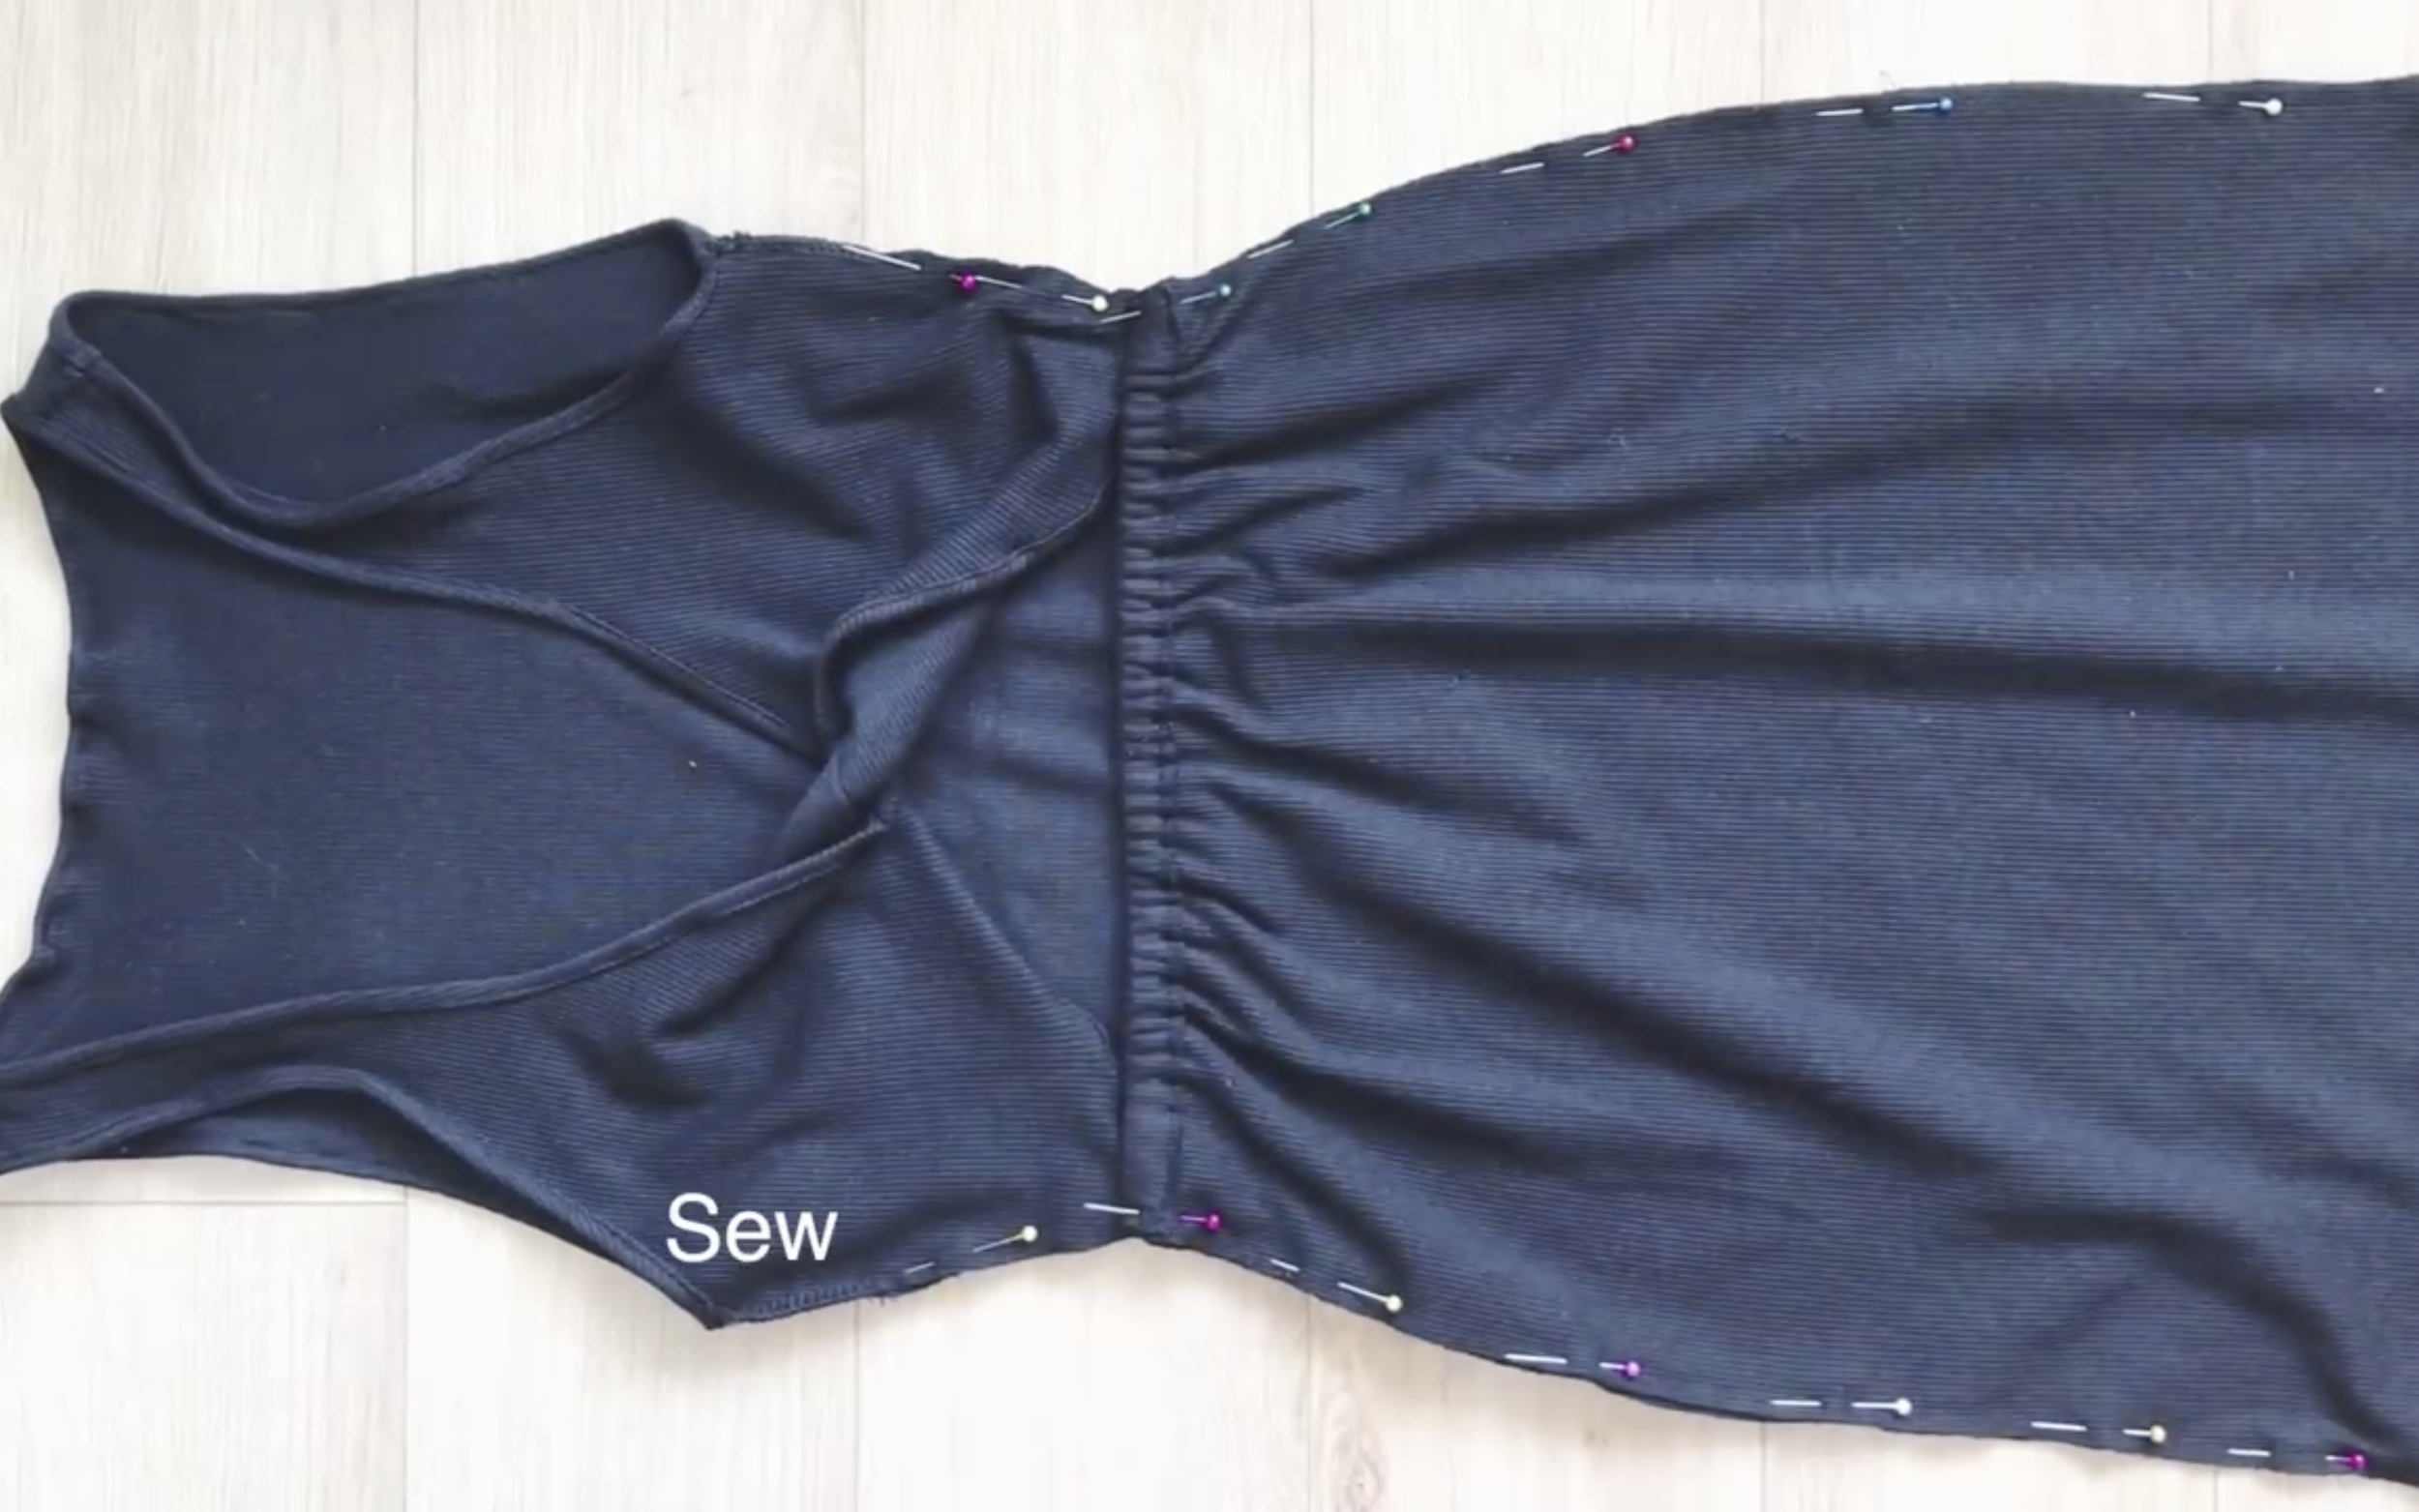
Place the elastic part over the end of the twisted part on both sides to create the meeting area between them. This ensures the hole at the front of the dress isn’t too big, then sew.
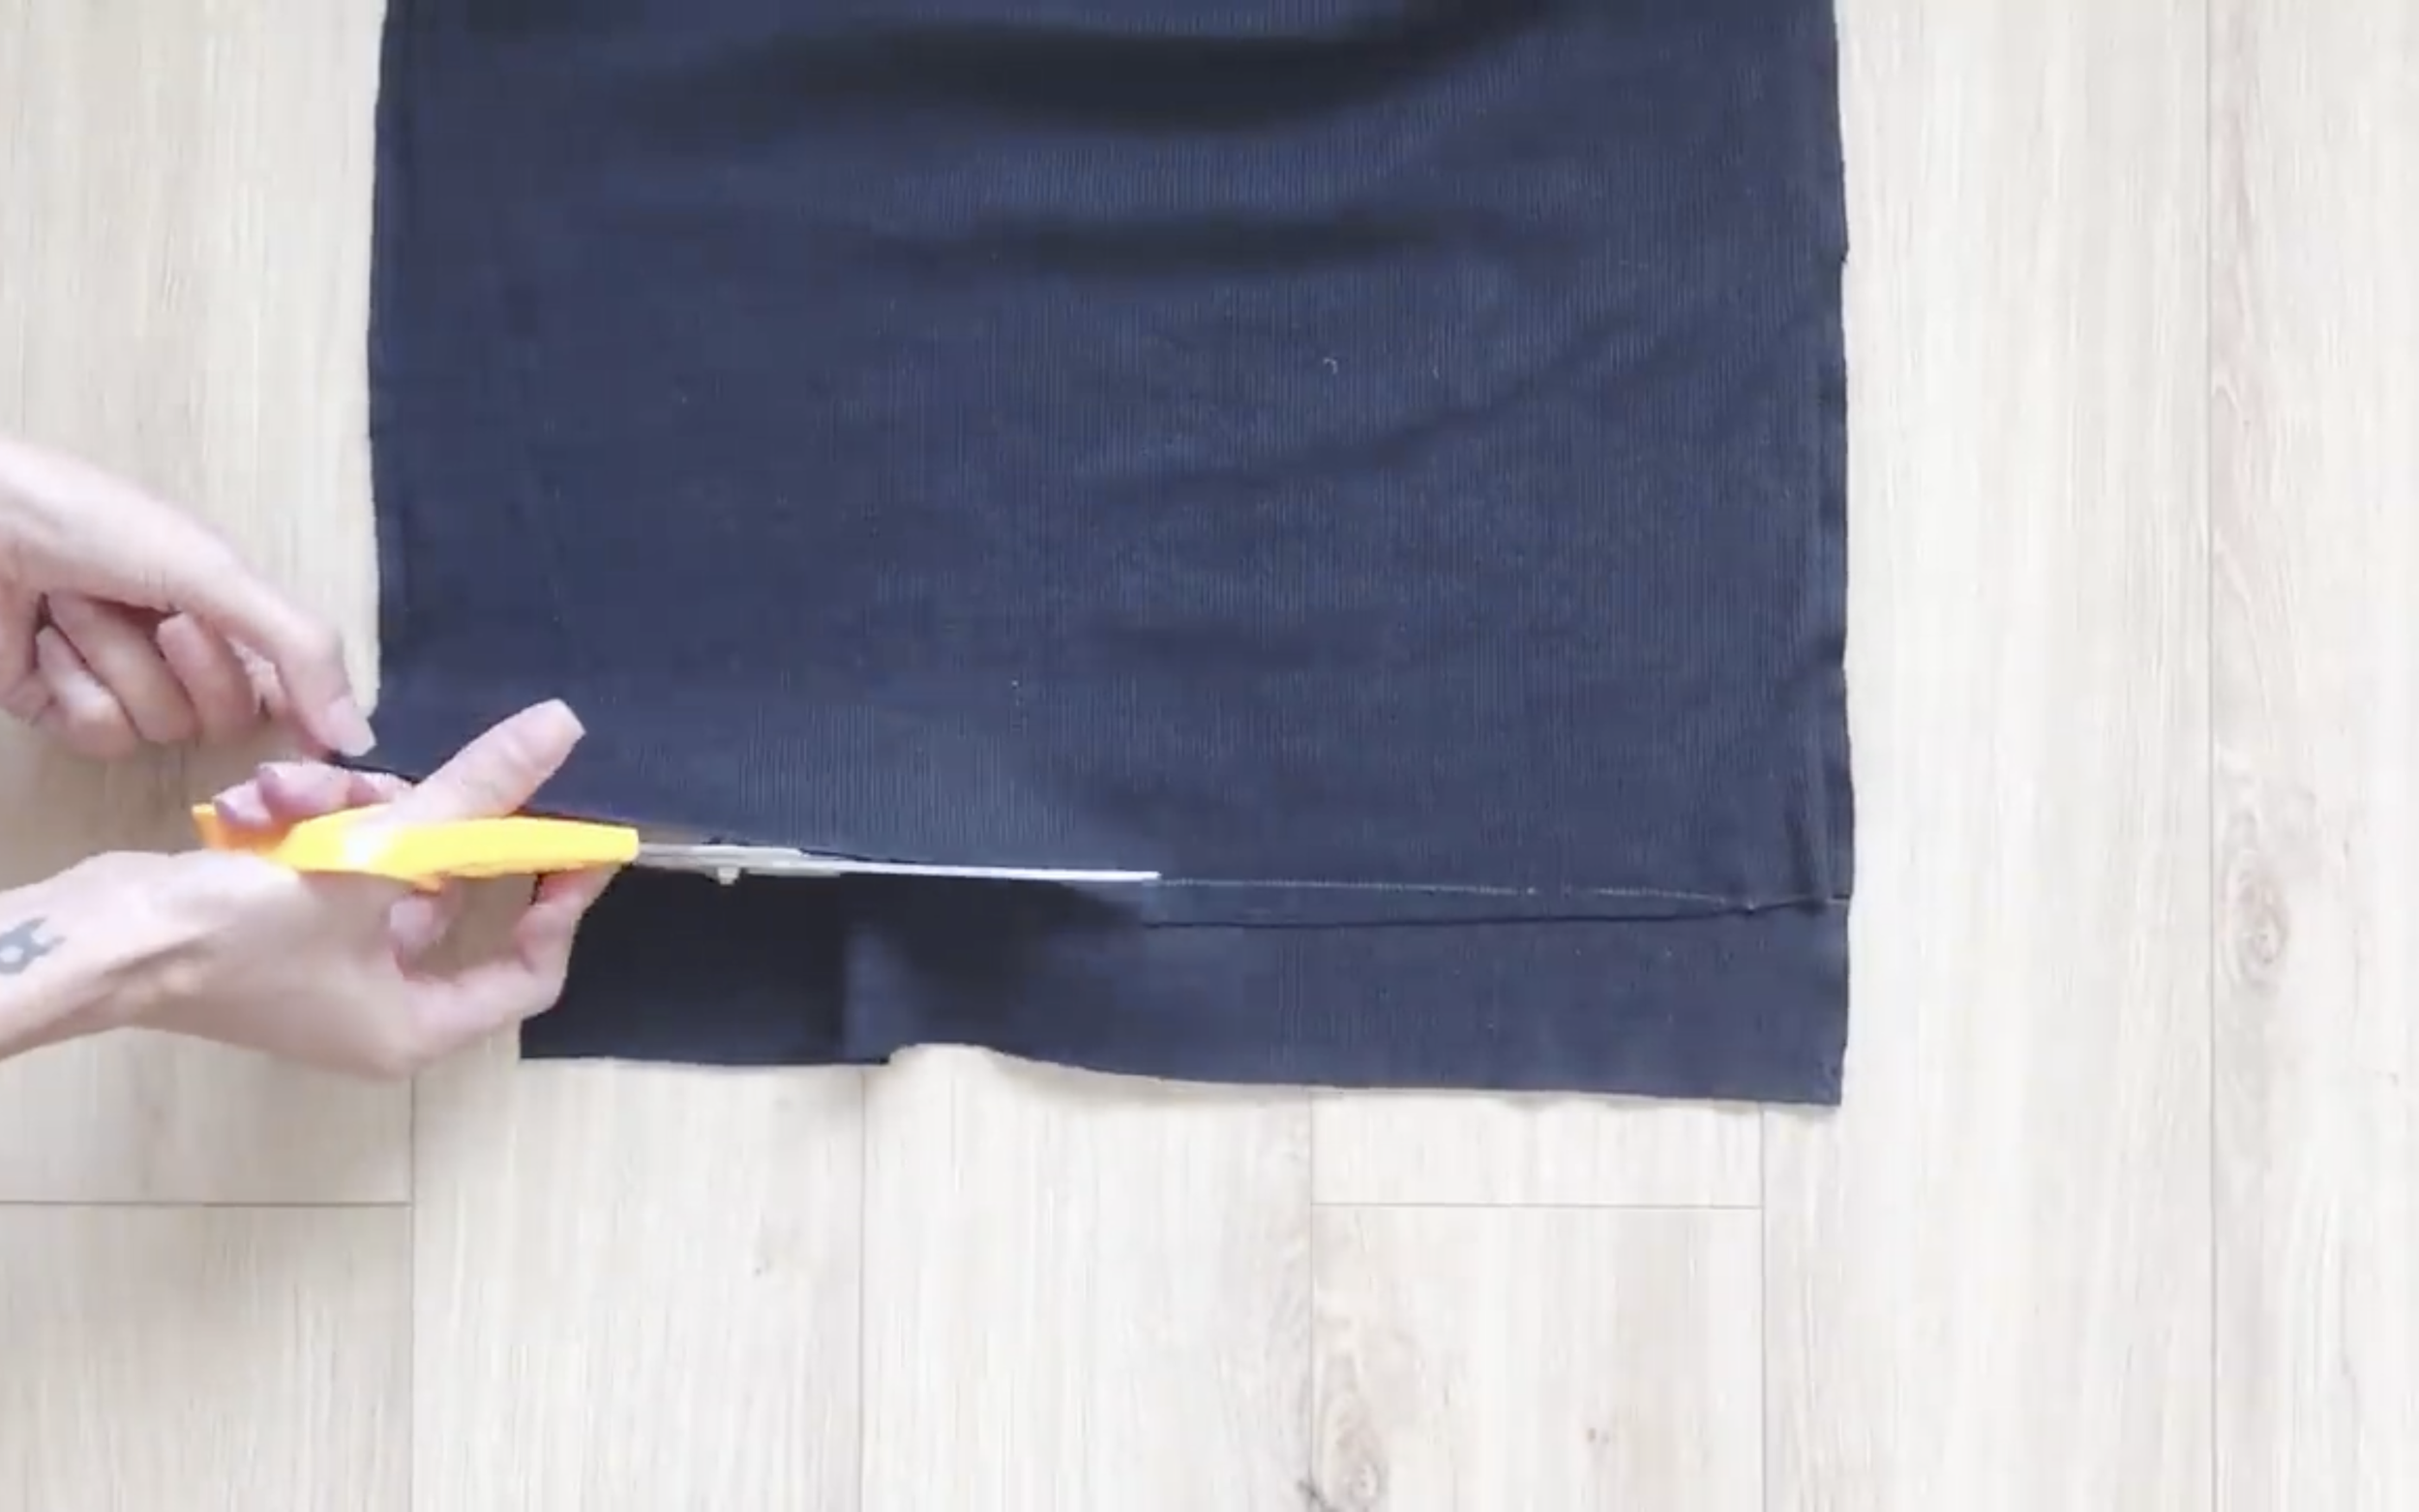
The final step is finishing the hem of the dress.
Since fabric was used for the twisted part, the front and back ends of the dress are uneven.
Cut to even them out.
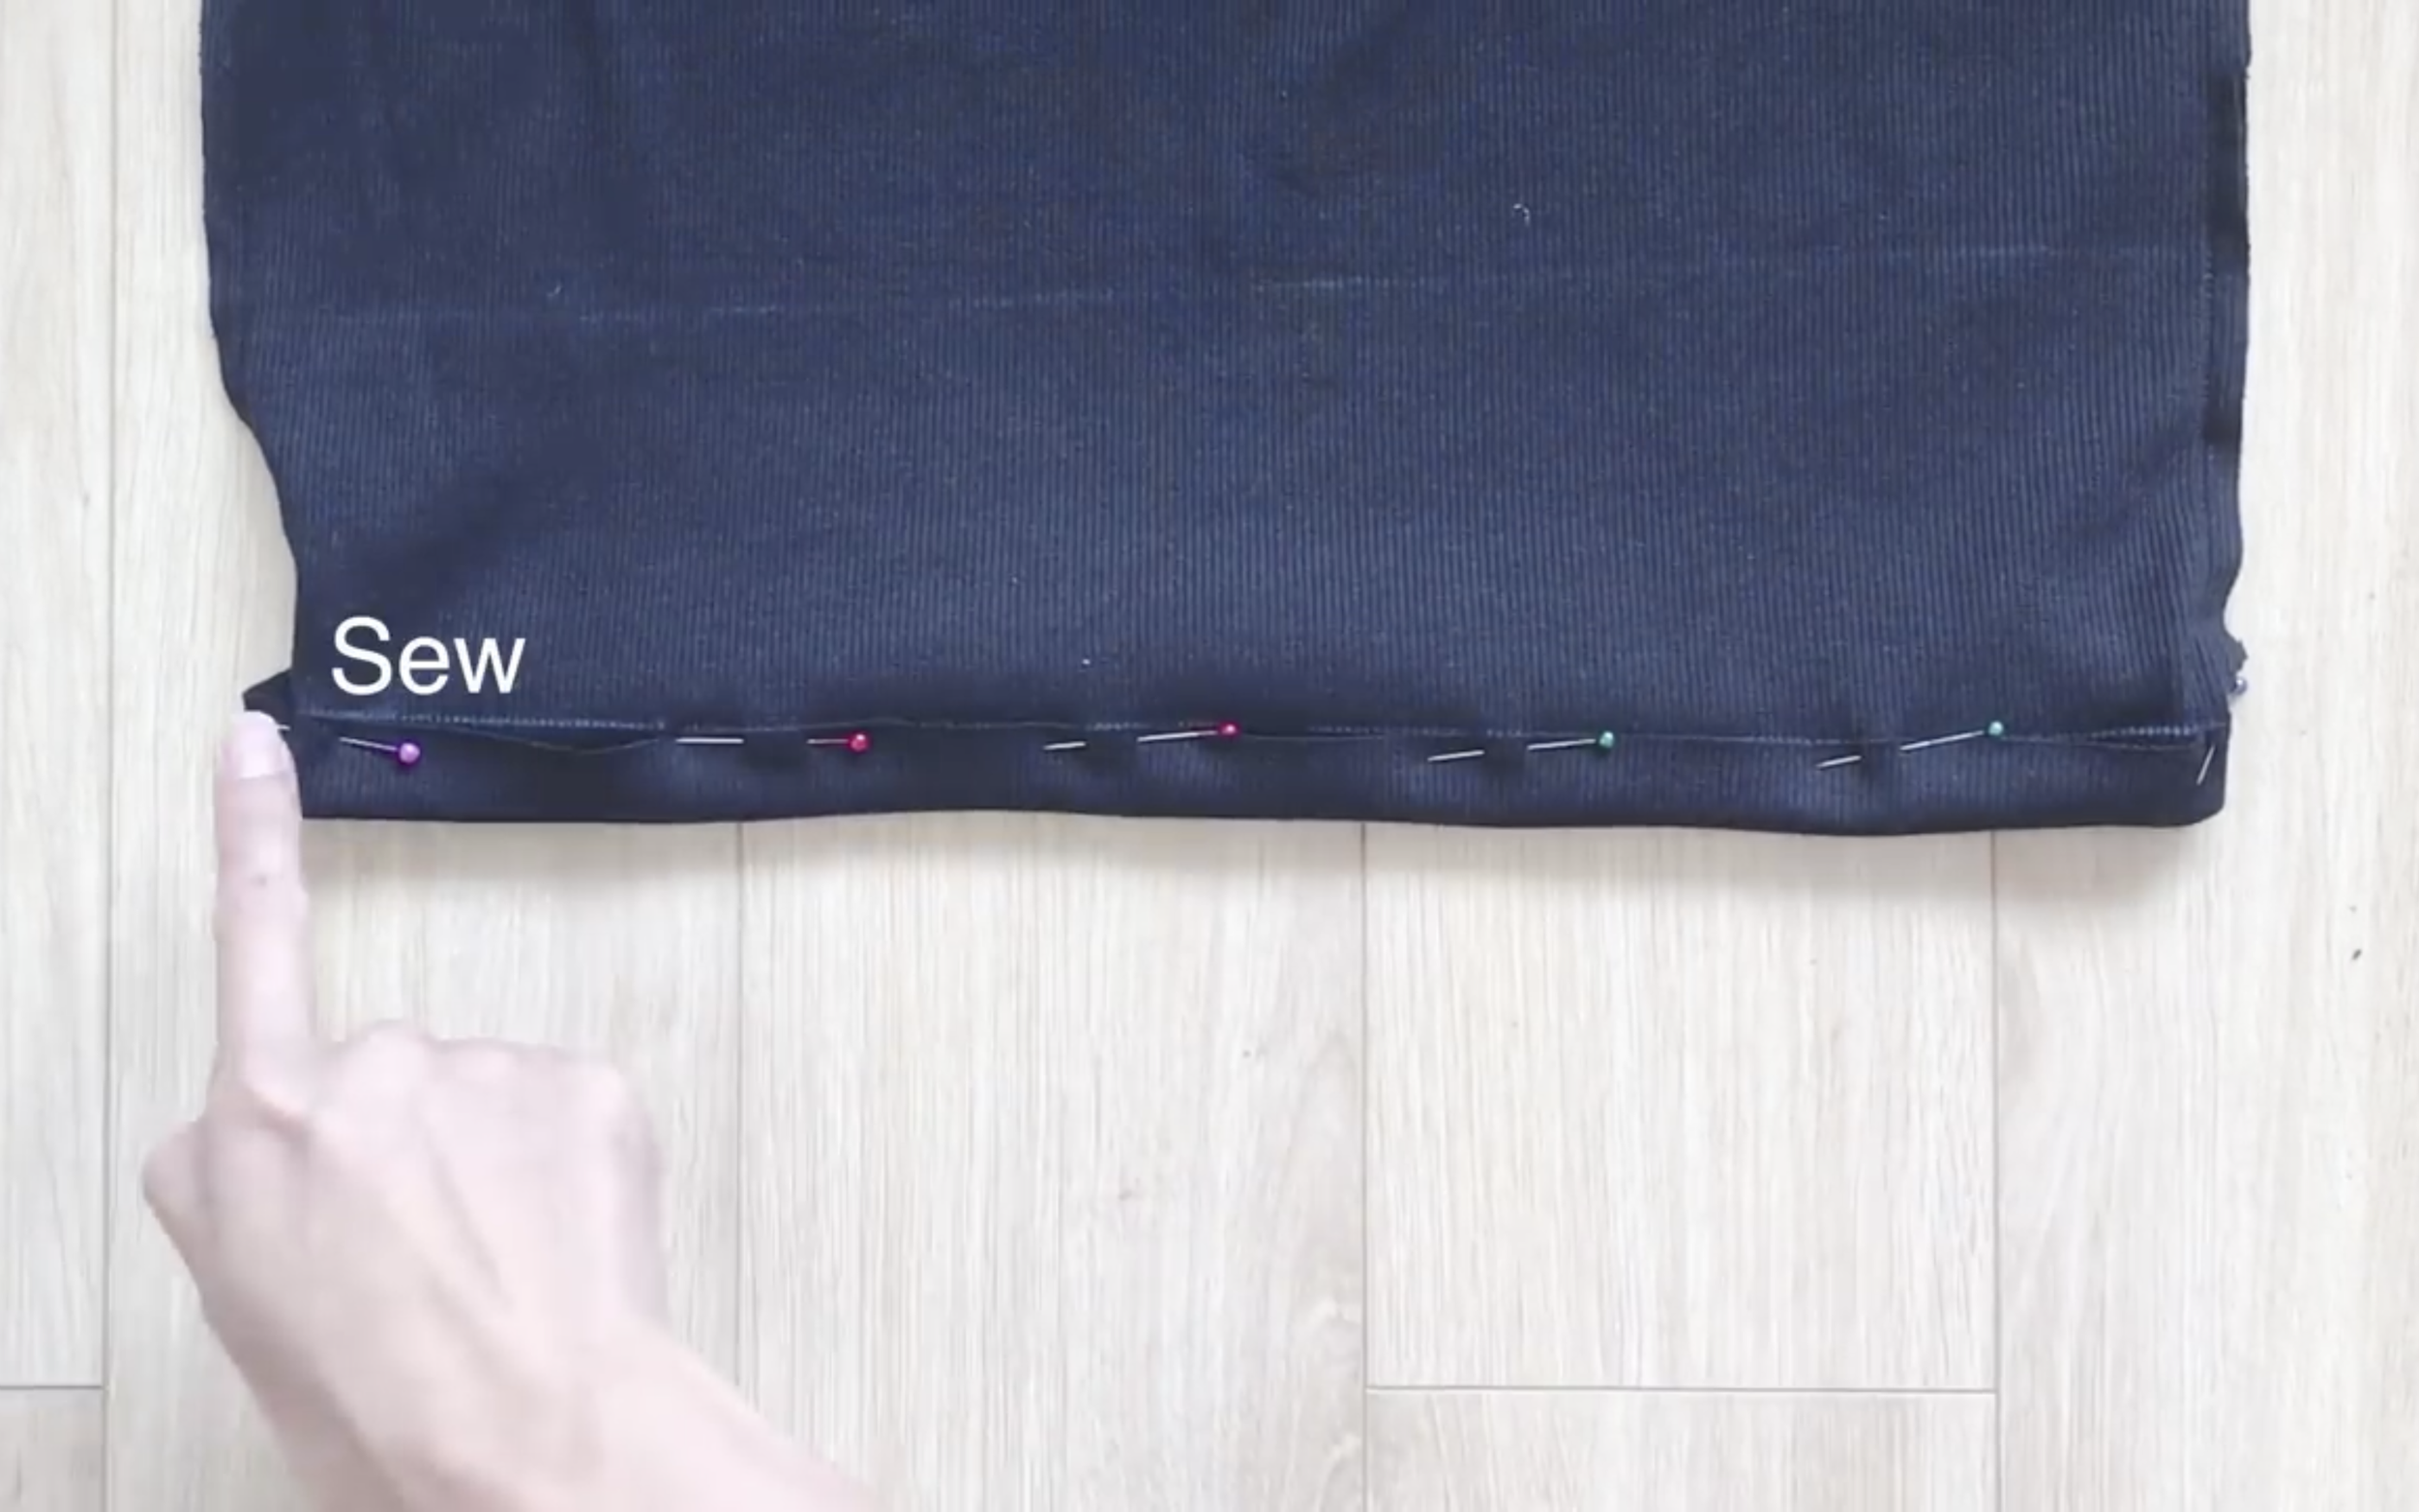
Fold the edge inside about 2 cm, then sew.
Make two seams to mimic the original hem.
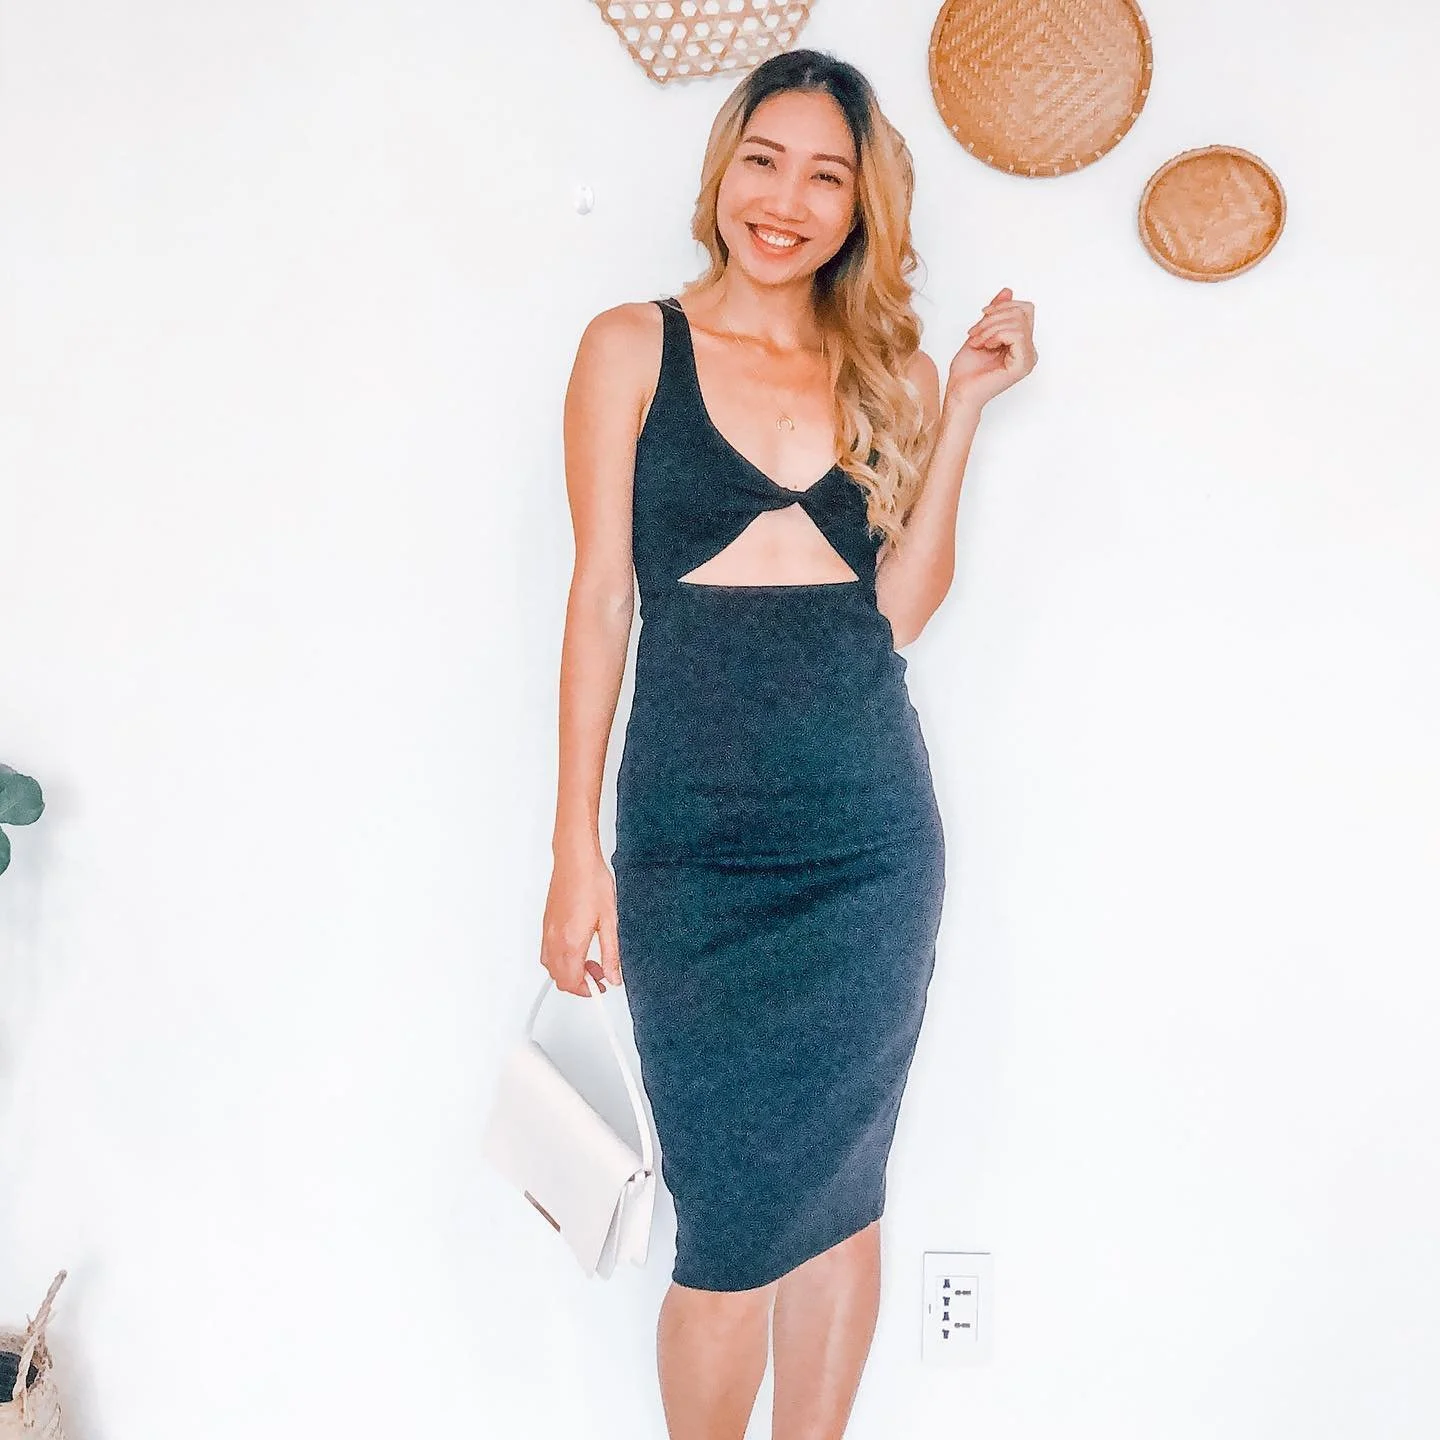
THRIFT FLIP in my current wardrobe - SEXY style
And that’s the final transformation for this DIY!
Is it sexy? For me, it’s just the right amount of sexy.
Which style is your favorite? Let me know in the comments below!