I made my Dream wedding dress (plus my wedding veil) in 2 weeks | My perfect wedding series - Ep 5

I made my Dream wedding dress (plus my wedding veil) in 2 weeks | My perfect wedding series - Ep 5
Welcome or welcome back to my channel. My name is Jess and I love doing DIY, making clothes in a "simply but pretty" way.
Just in case you need a reminder, in the previous tutorial, "Making my Dream Wedding Dress - Design, Fabrics & Pattern Making | My Perfect Wedding Series - Ep 4," I finished the process of finding my desired design and creating the pattern. (If you missed it or need to look back, I've put the link right here!)
Now that we are ready, in this Episode 5 tutorial, I'm going to share with you the process of making my dream wedding dress after having the pattern and my matching wedding veil.
Let's continue with a few last steps in the process of creating my Dream Wedding Dress!
7. TESTING THE PATTERN
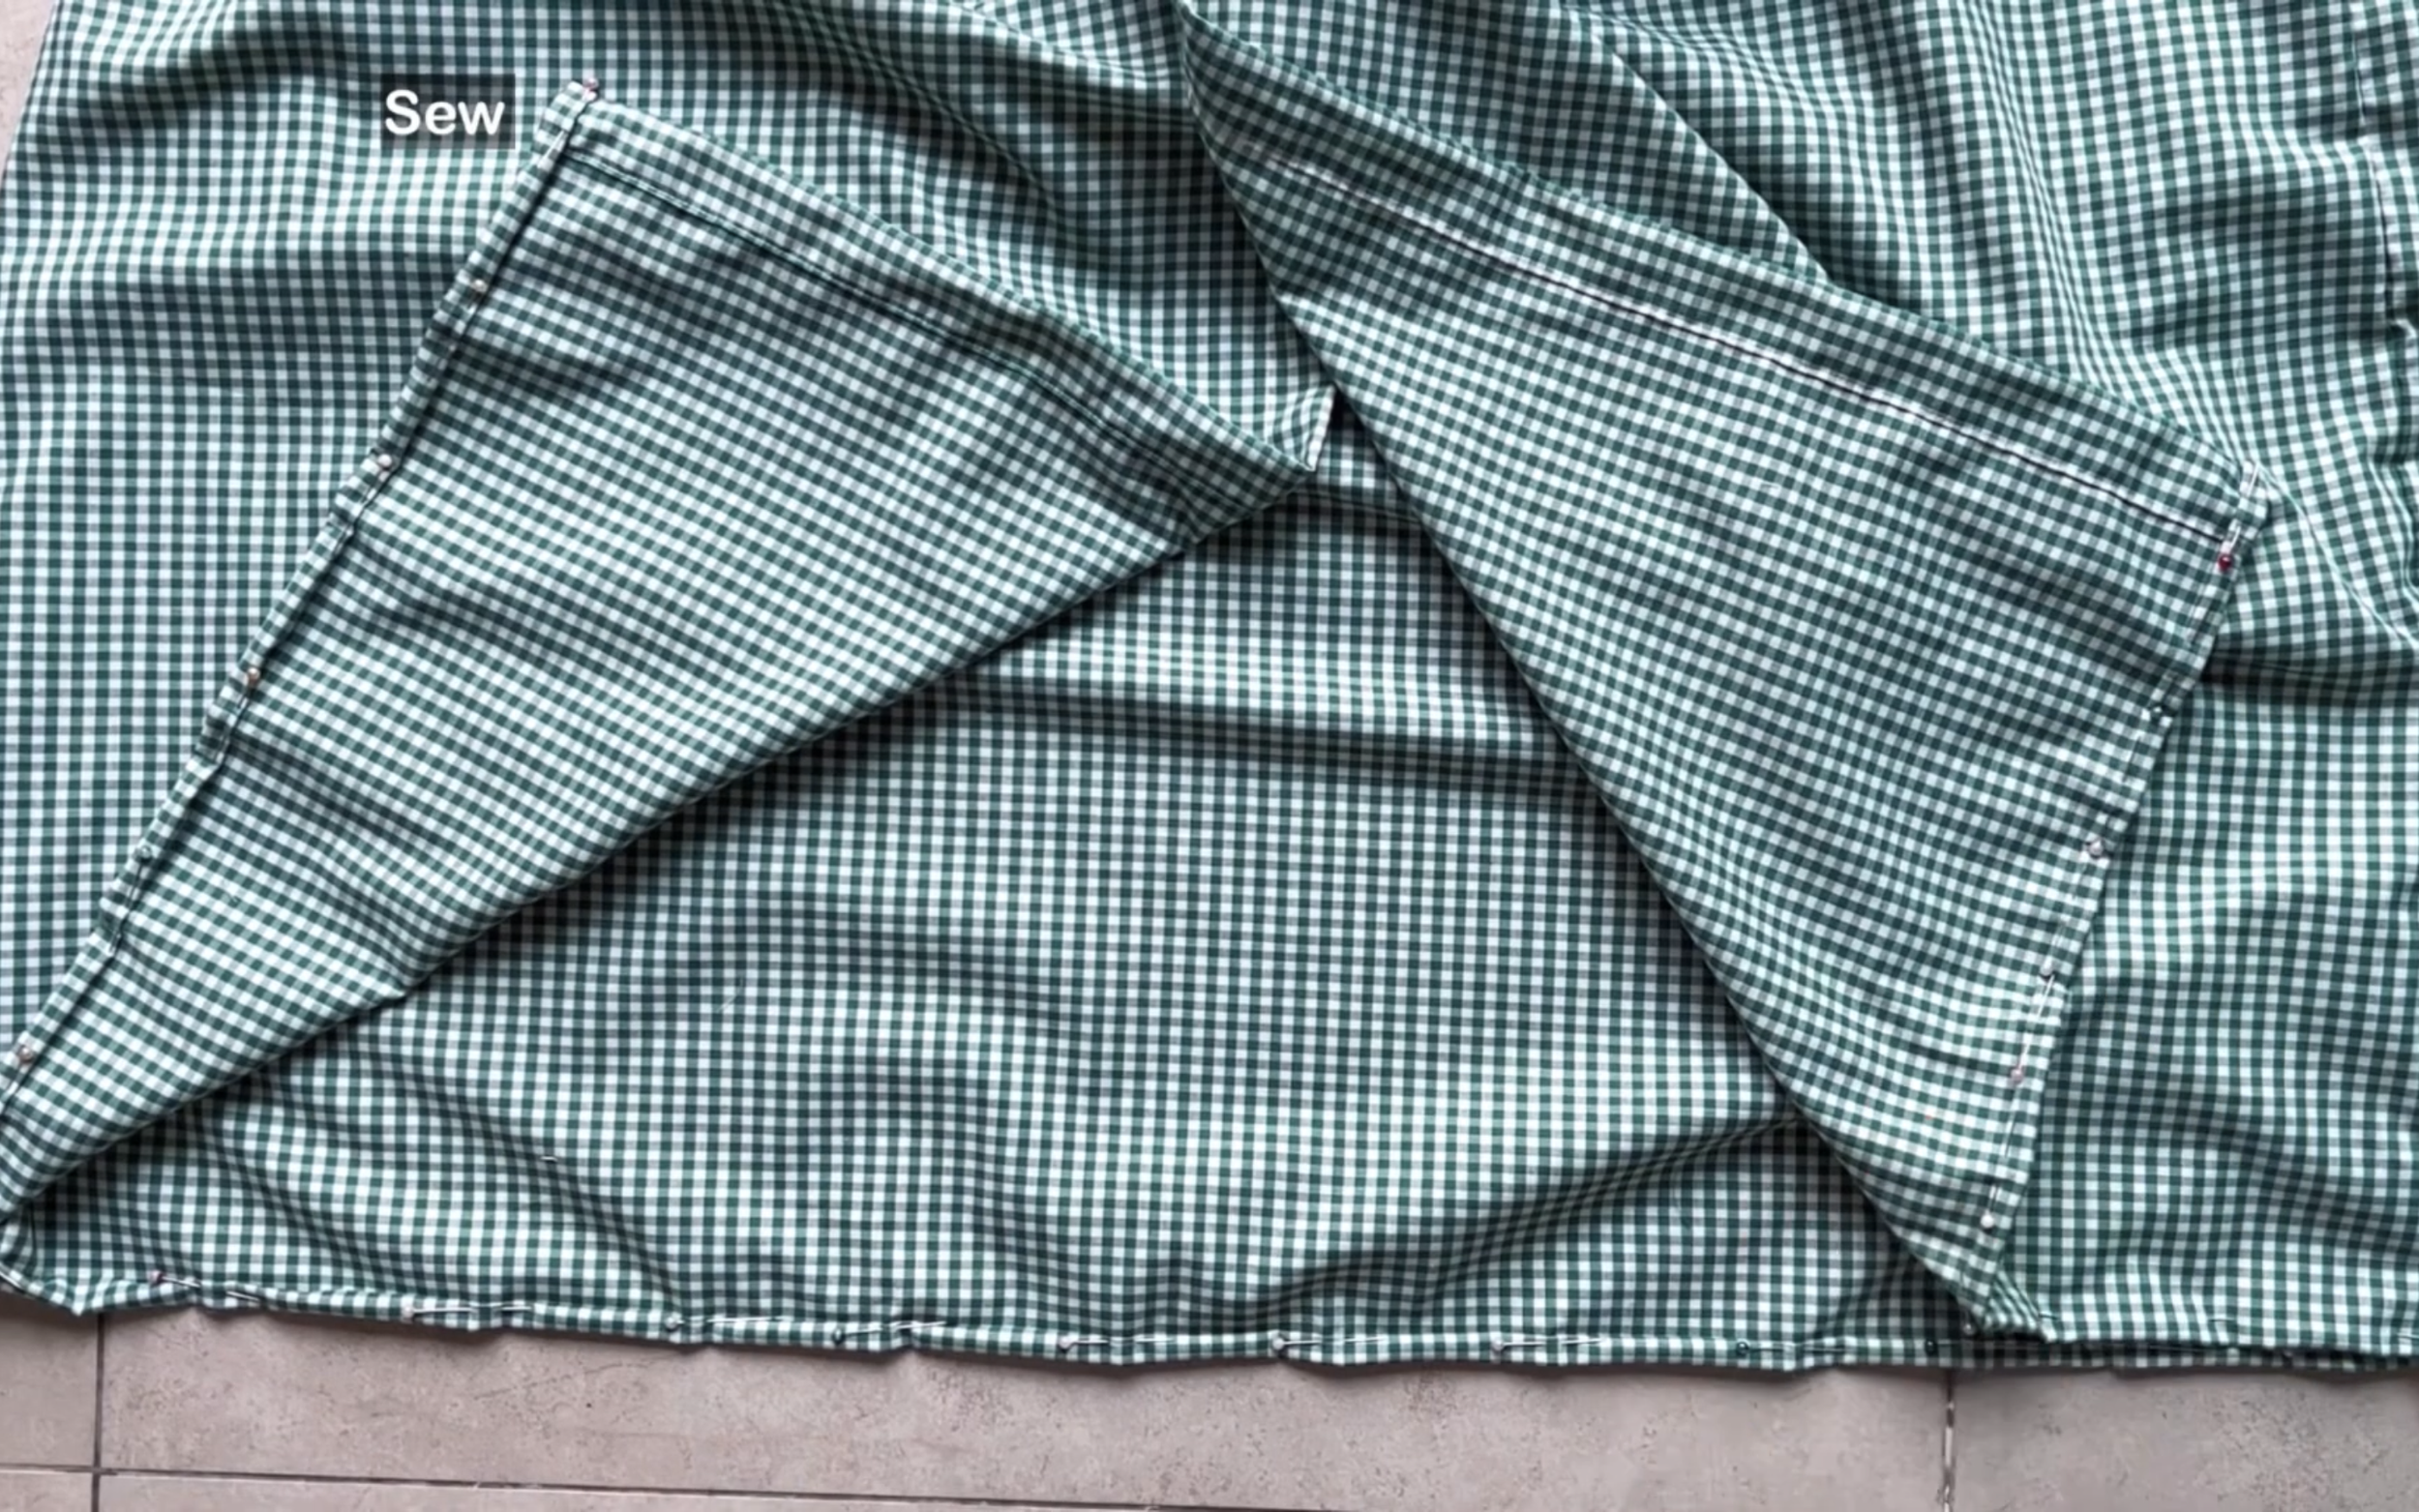
After creating the pattern, test it out before using it on your actual wedding fabrics because this dress is very special and I want it to be perfect. Besides that, wedding fabrics in general are not cheap compared to the normal fabric. So after making the pattern, test it with the similar fabric first.
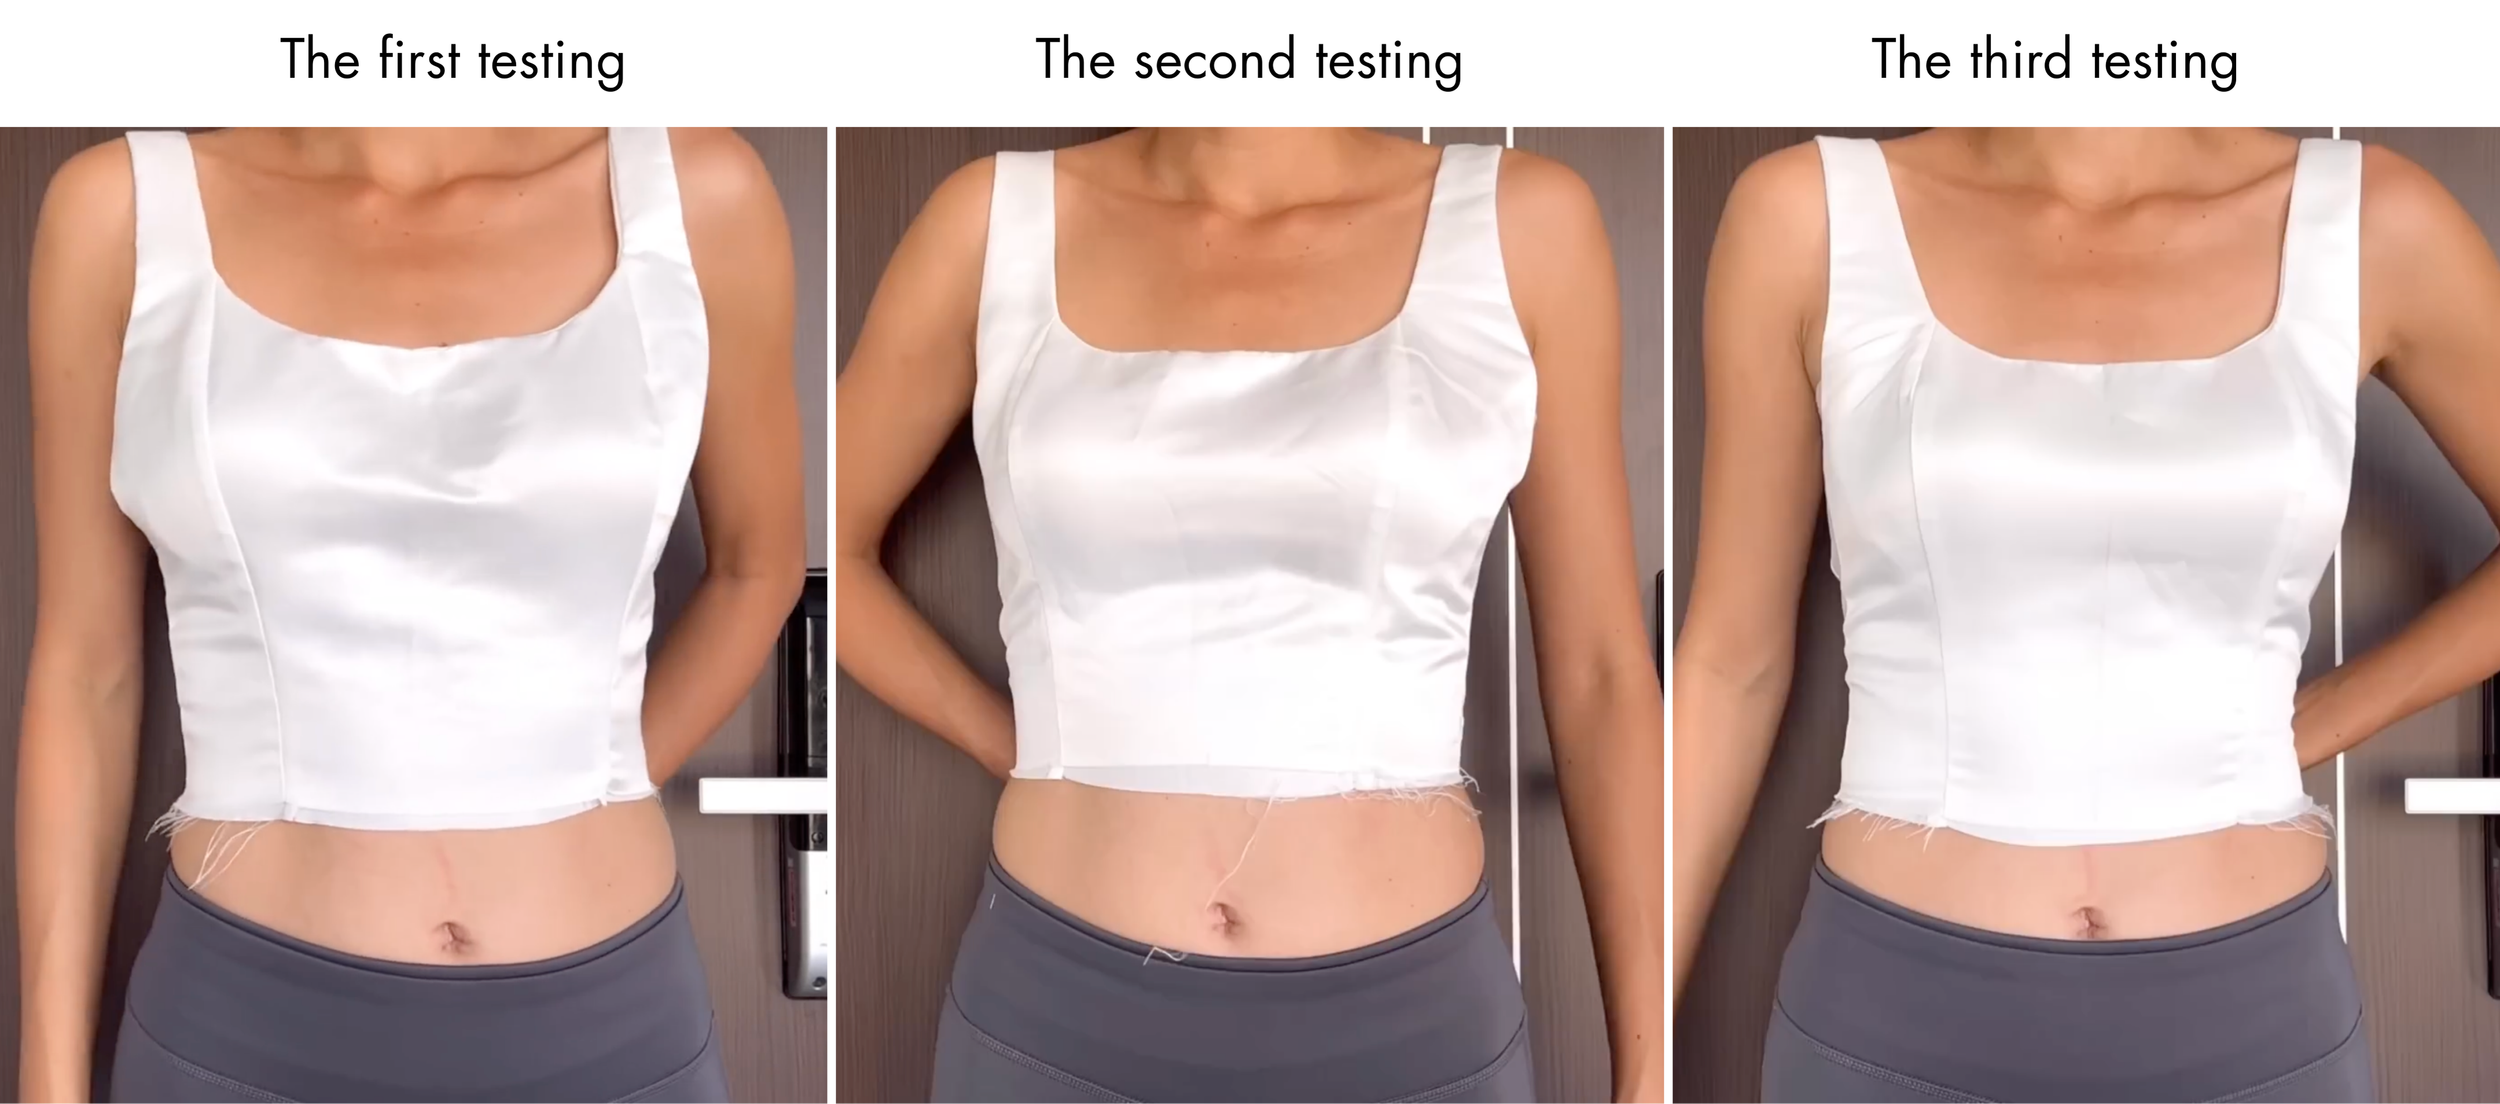
With the design, just start the bodice part because I want it to fit perfectly, and it took three times of testing to get the final pattern for the bodice part of the dress, and it totally worth it. I know what should be done at each step and which one should be careful of when doing it on the actual wedding fabrics.
8. MAKING THE WEDDING DRESS
THE BODICE PART

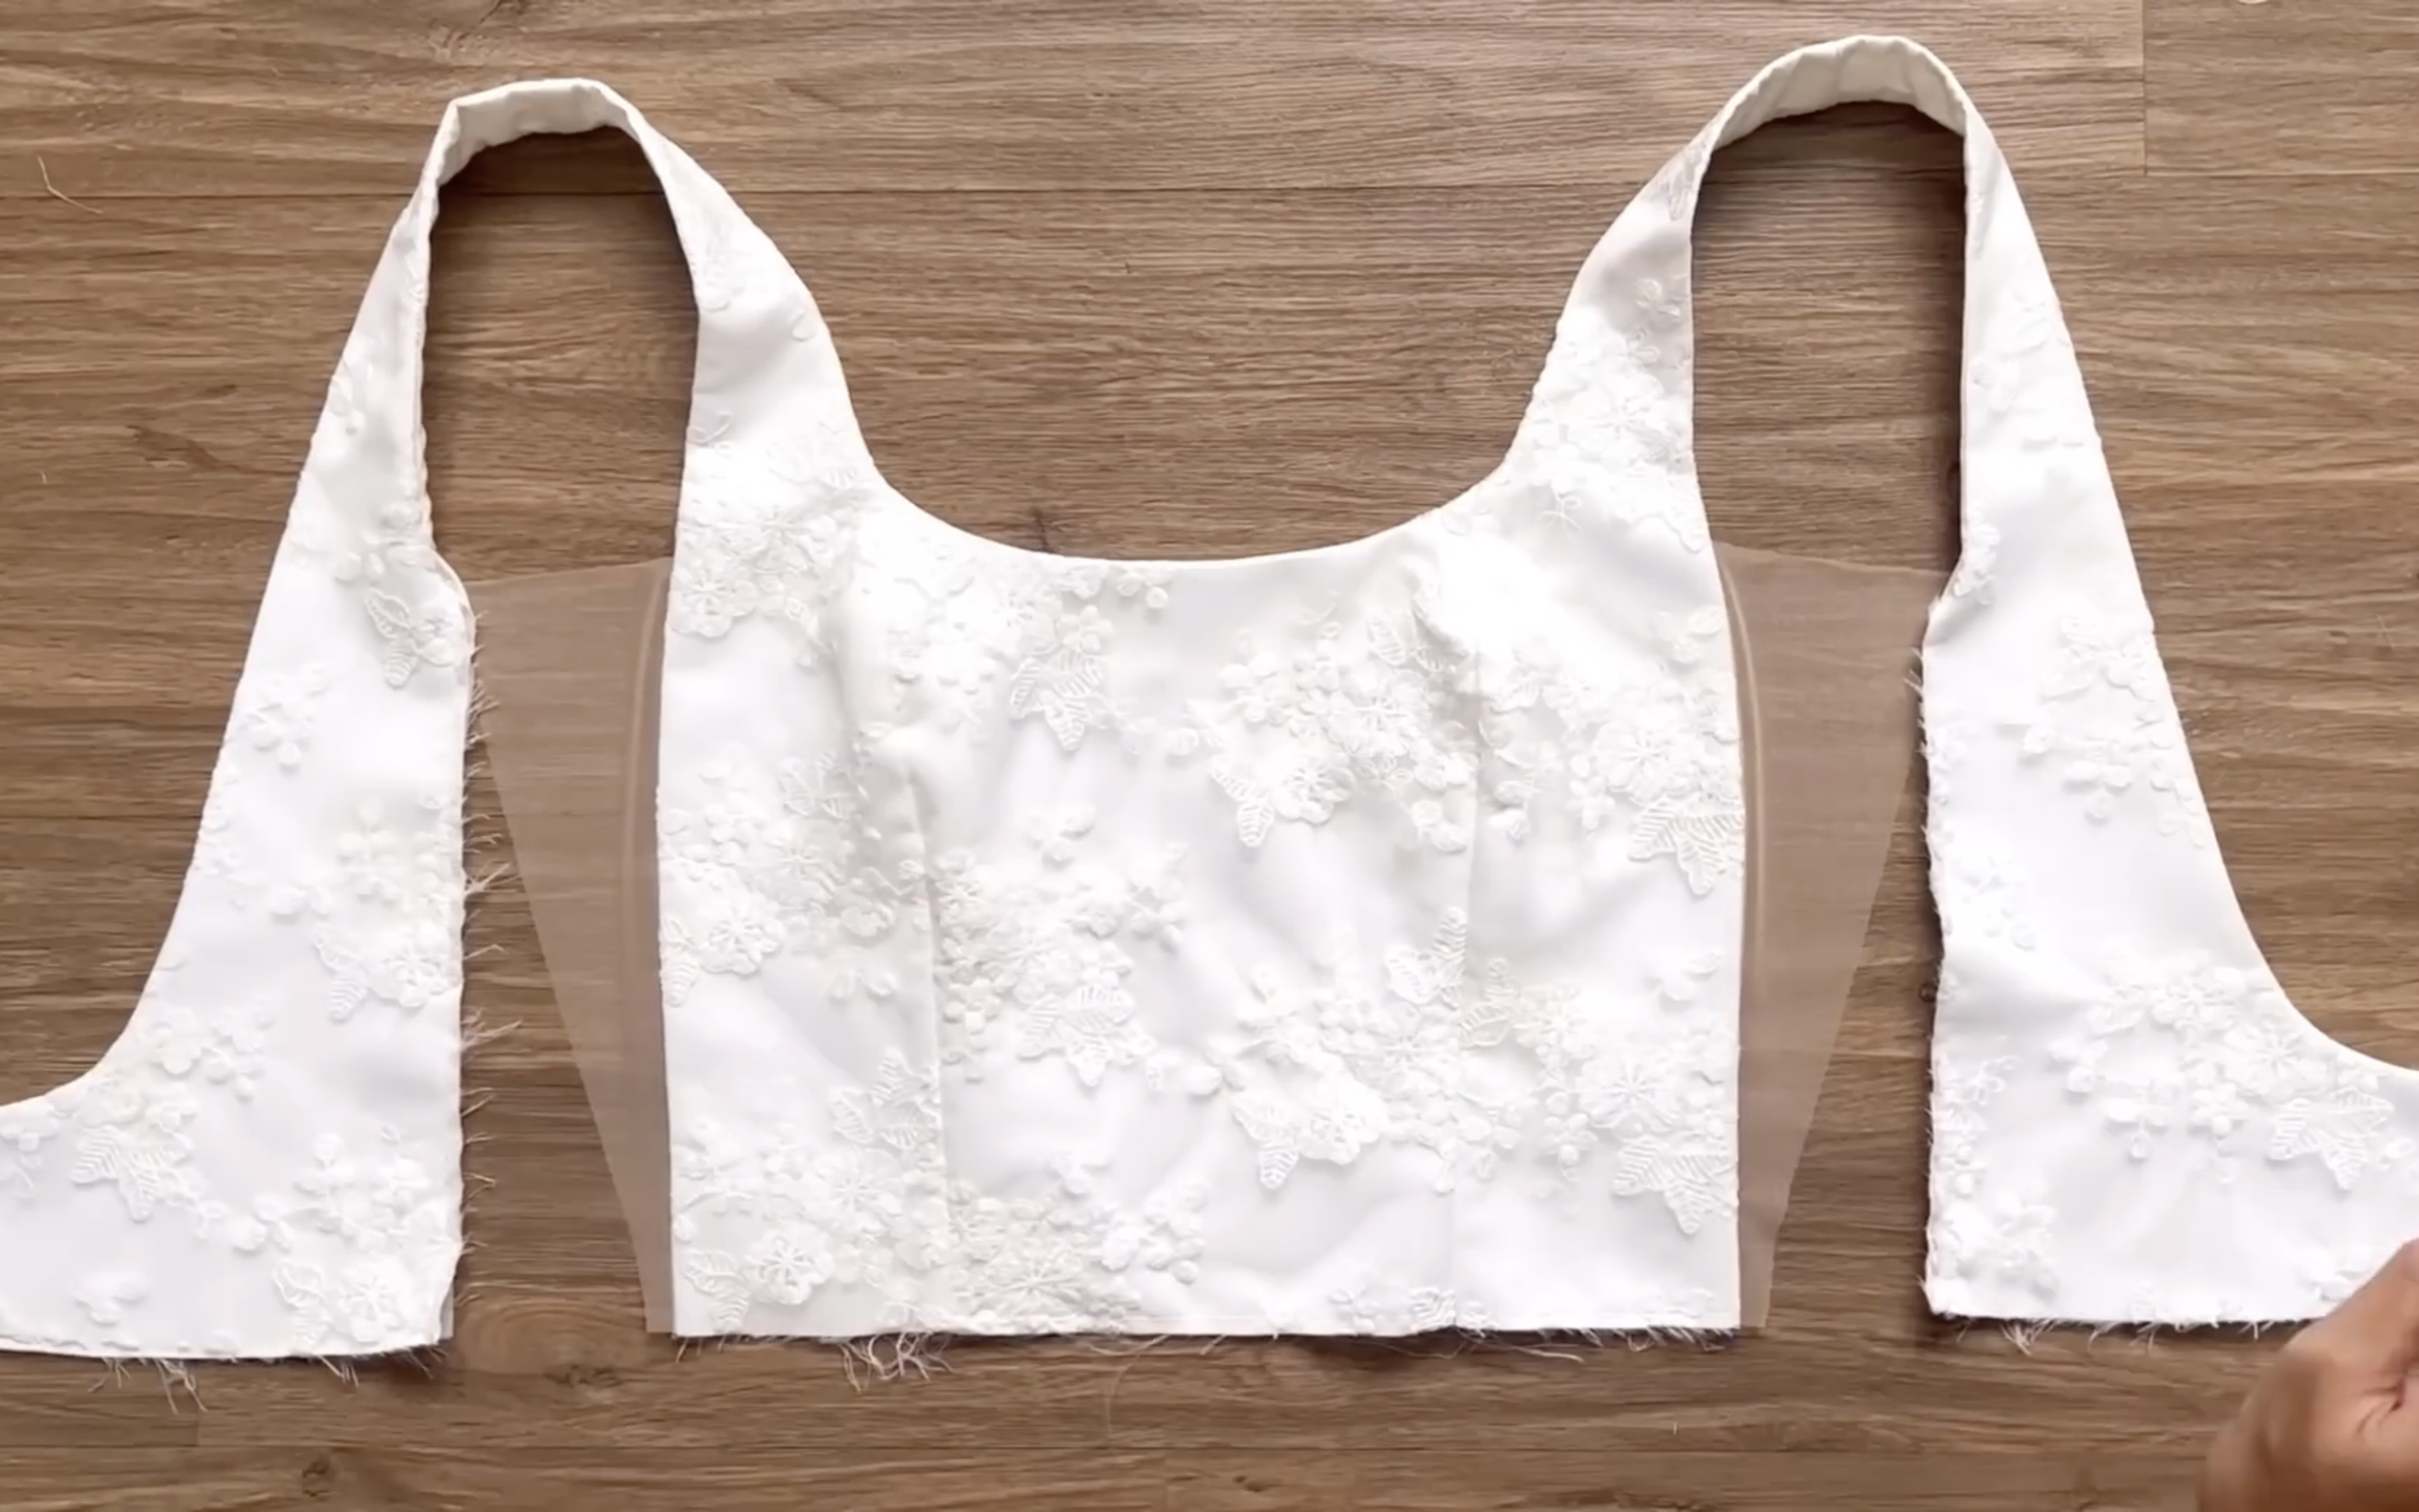
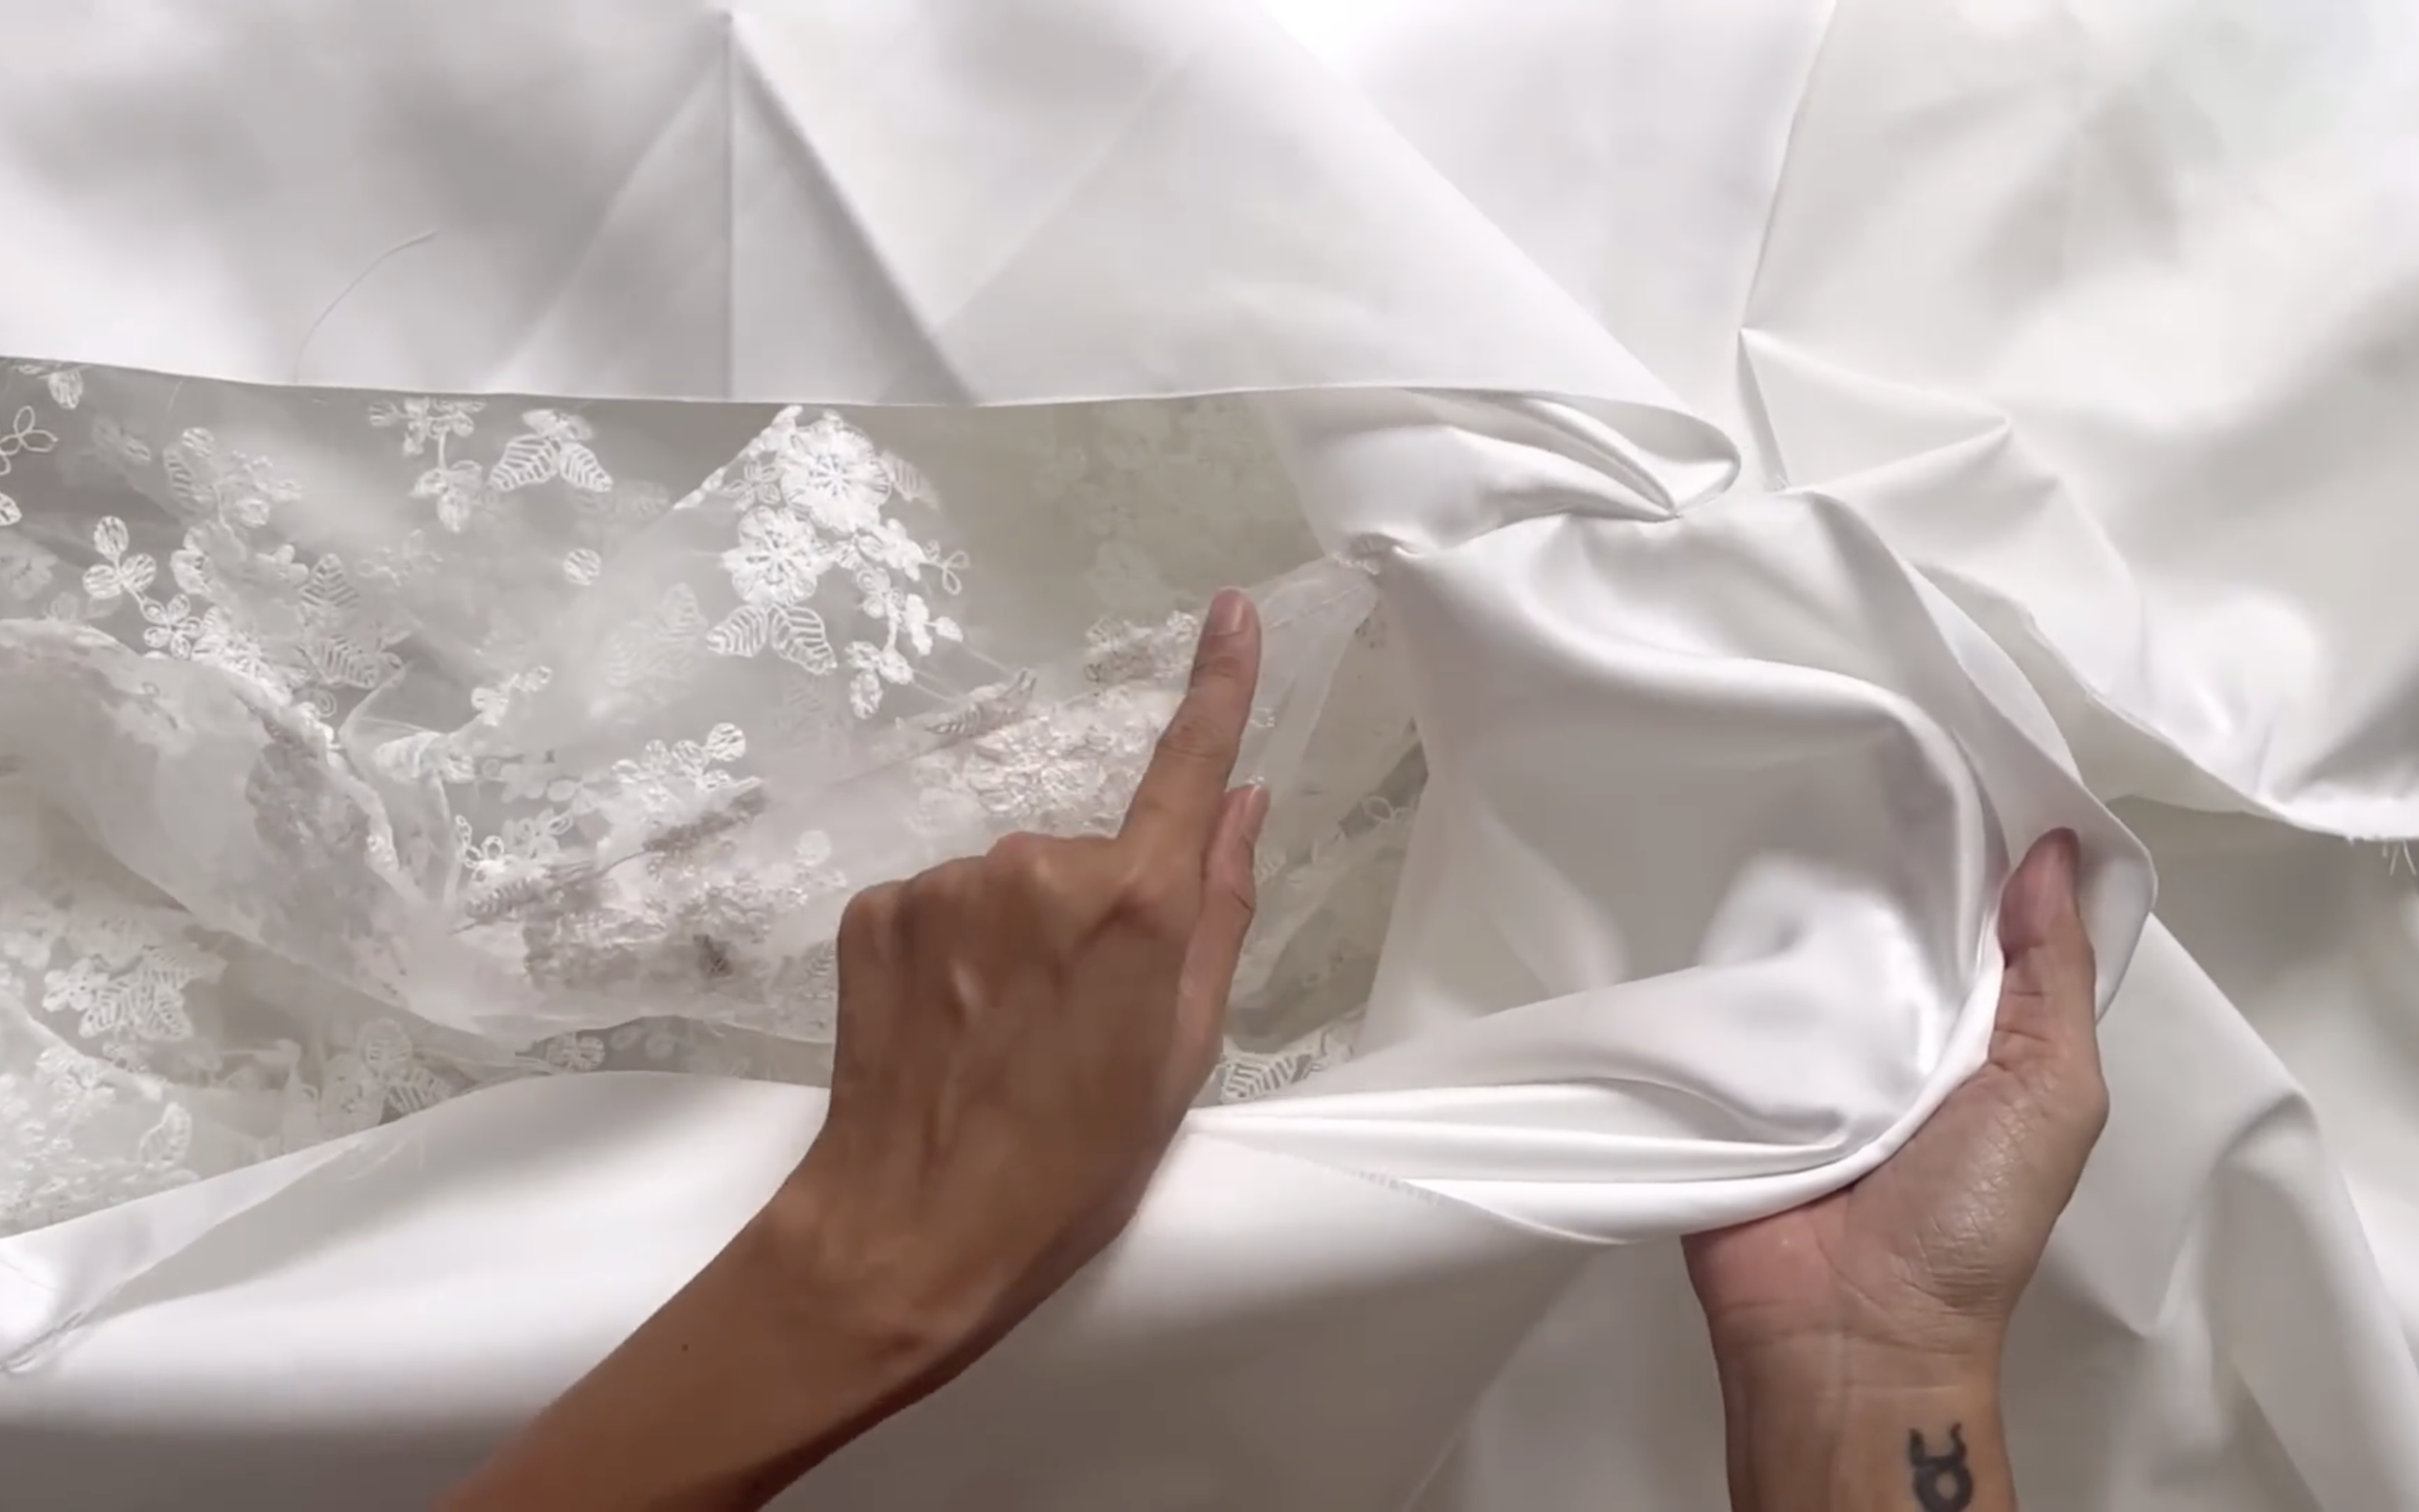
After getting the final pattern, start cutting it in the actual wedding fabrics.
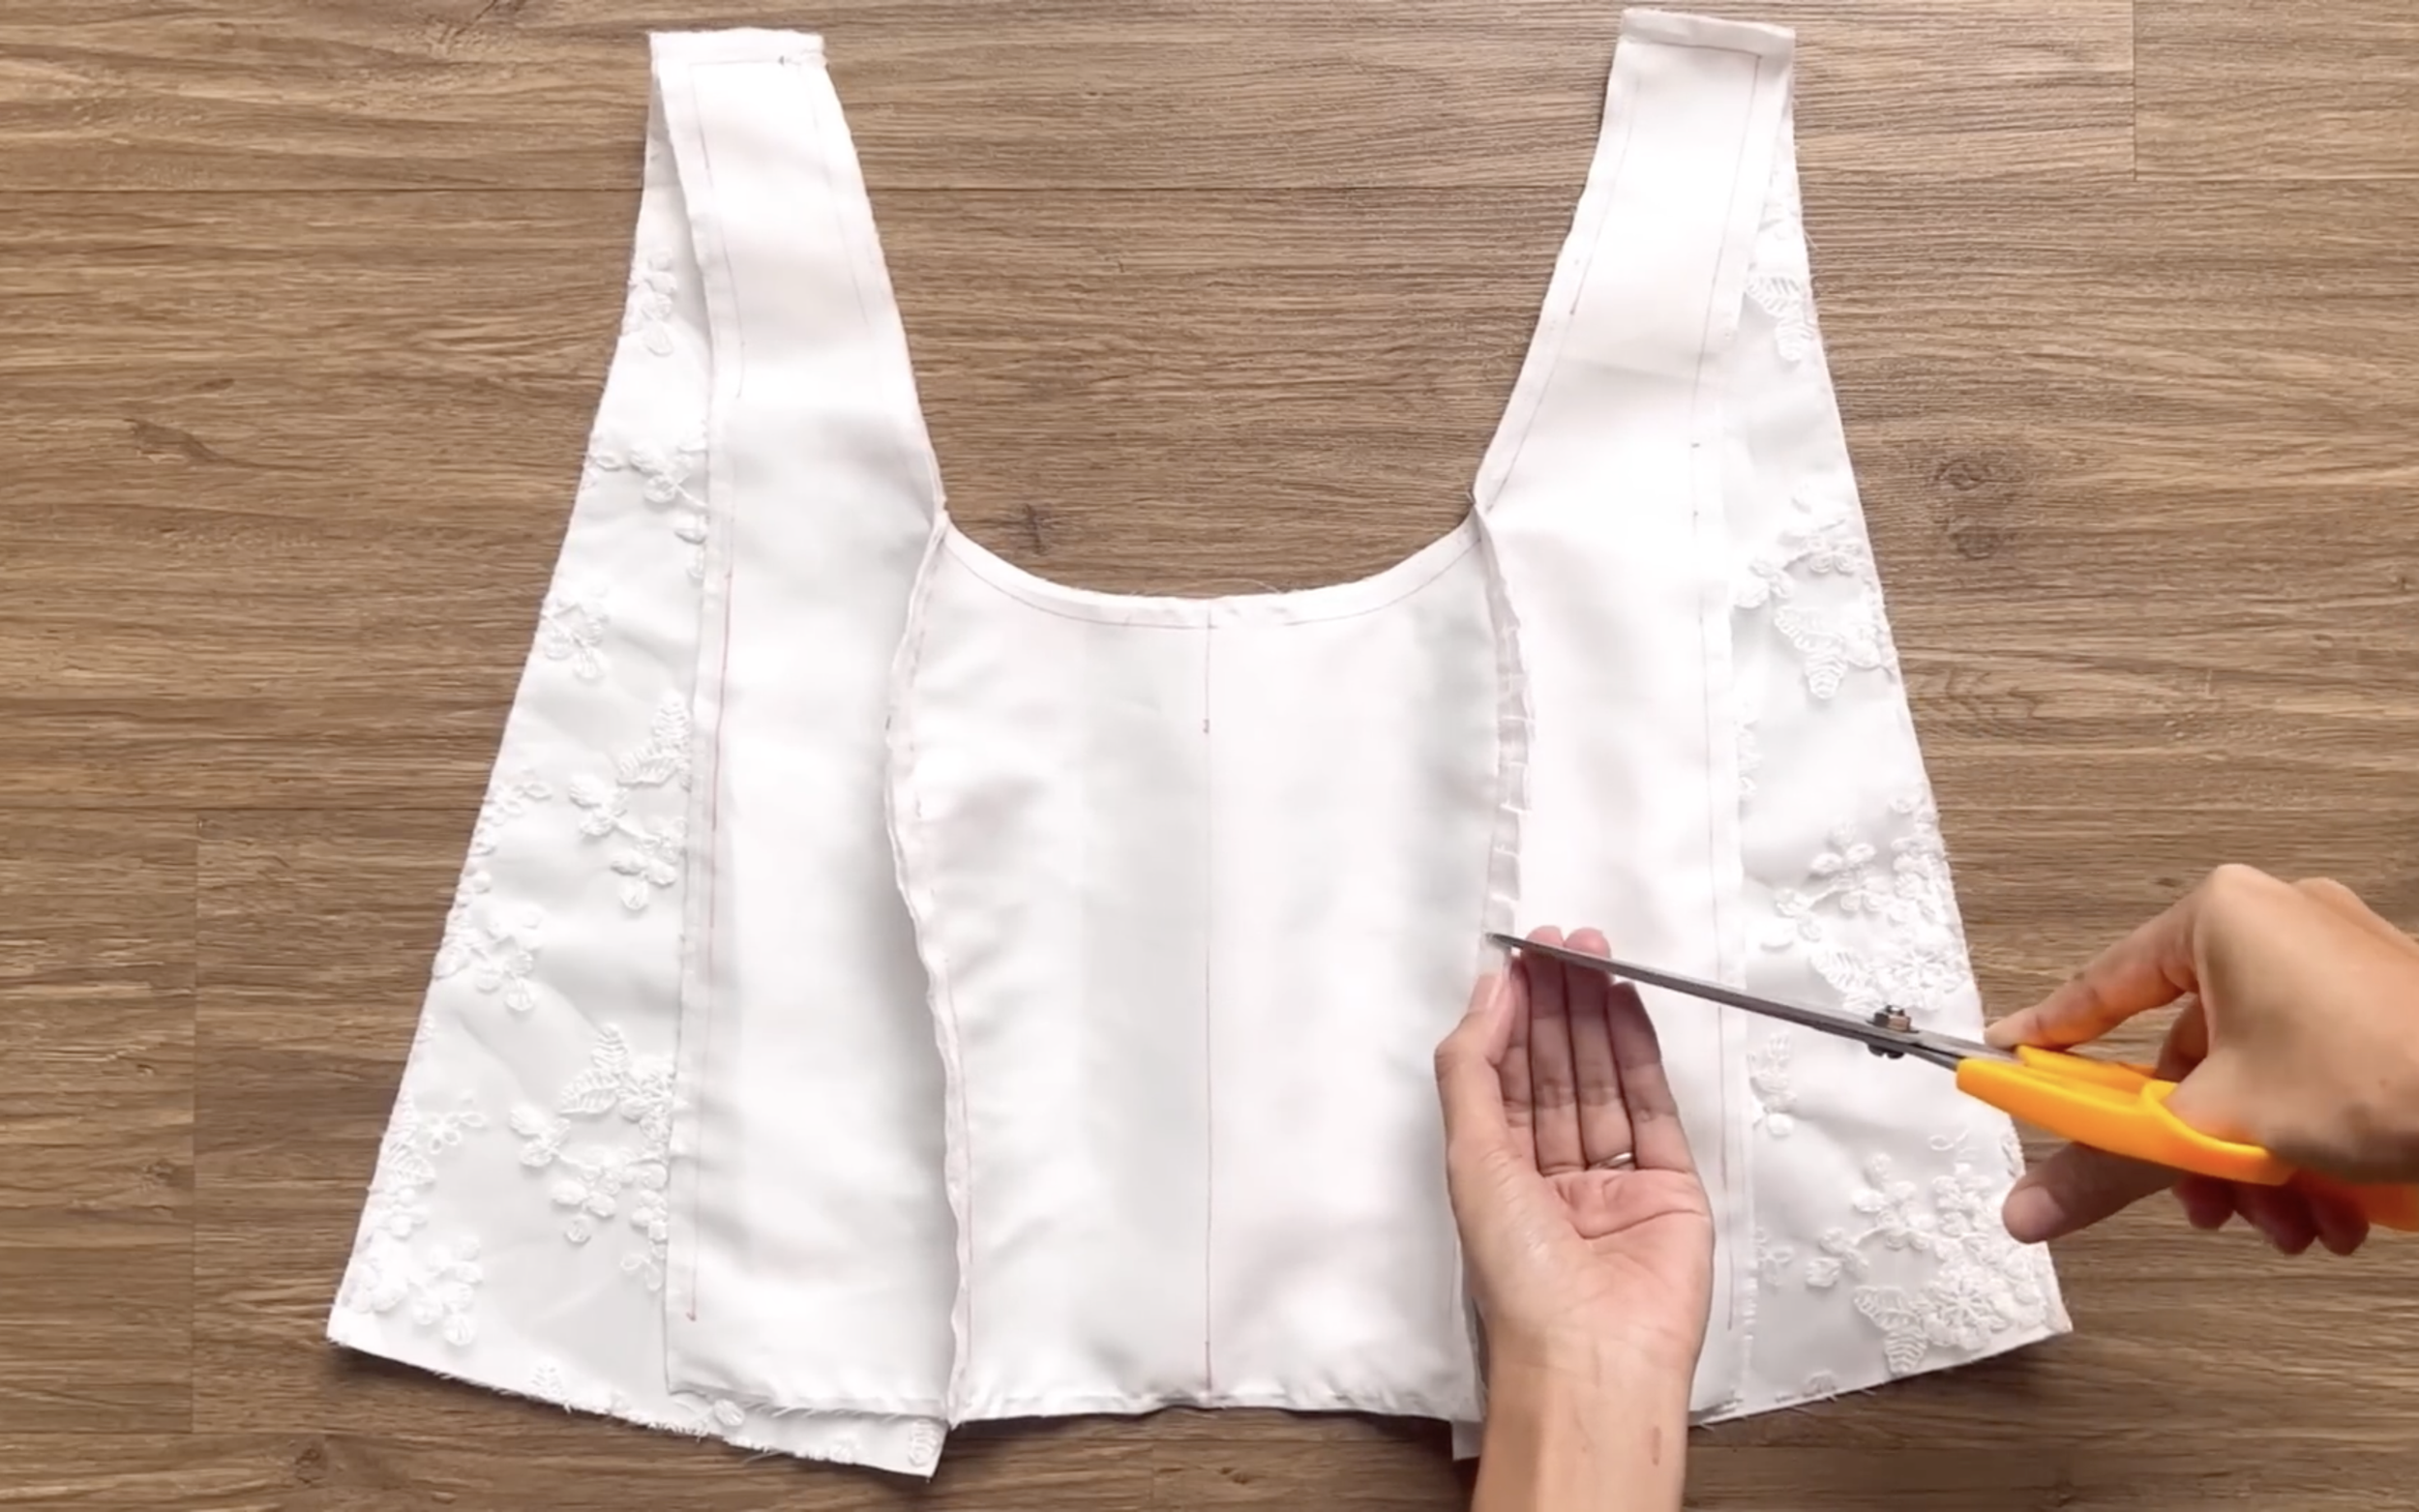
Here is a centerpiece of the bodice in the blank white fabric and in the floral lace fabric.
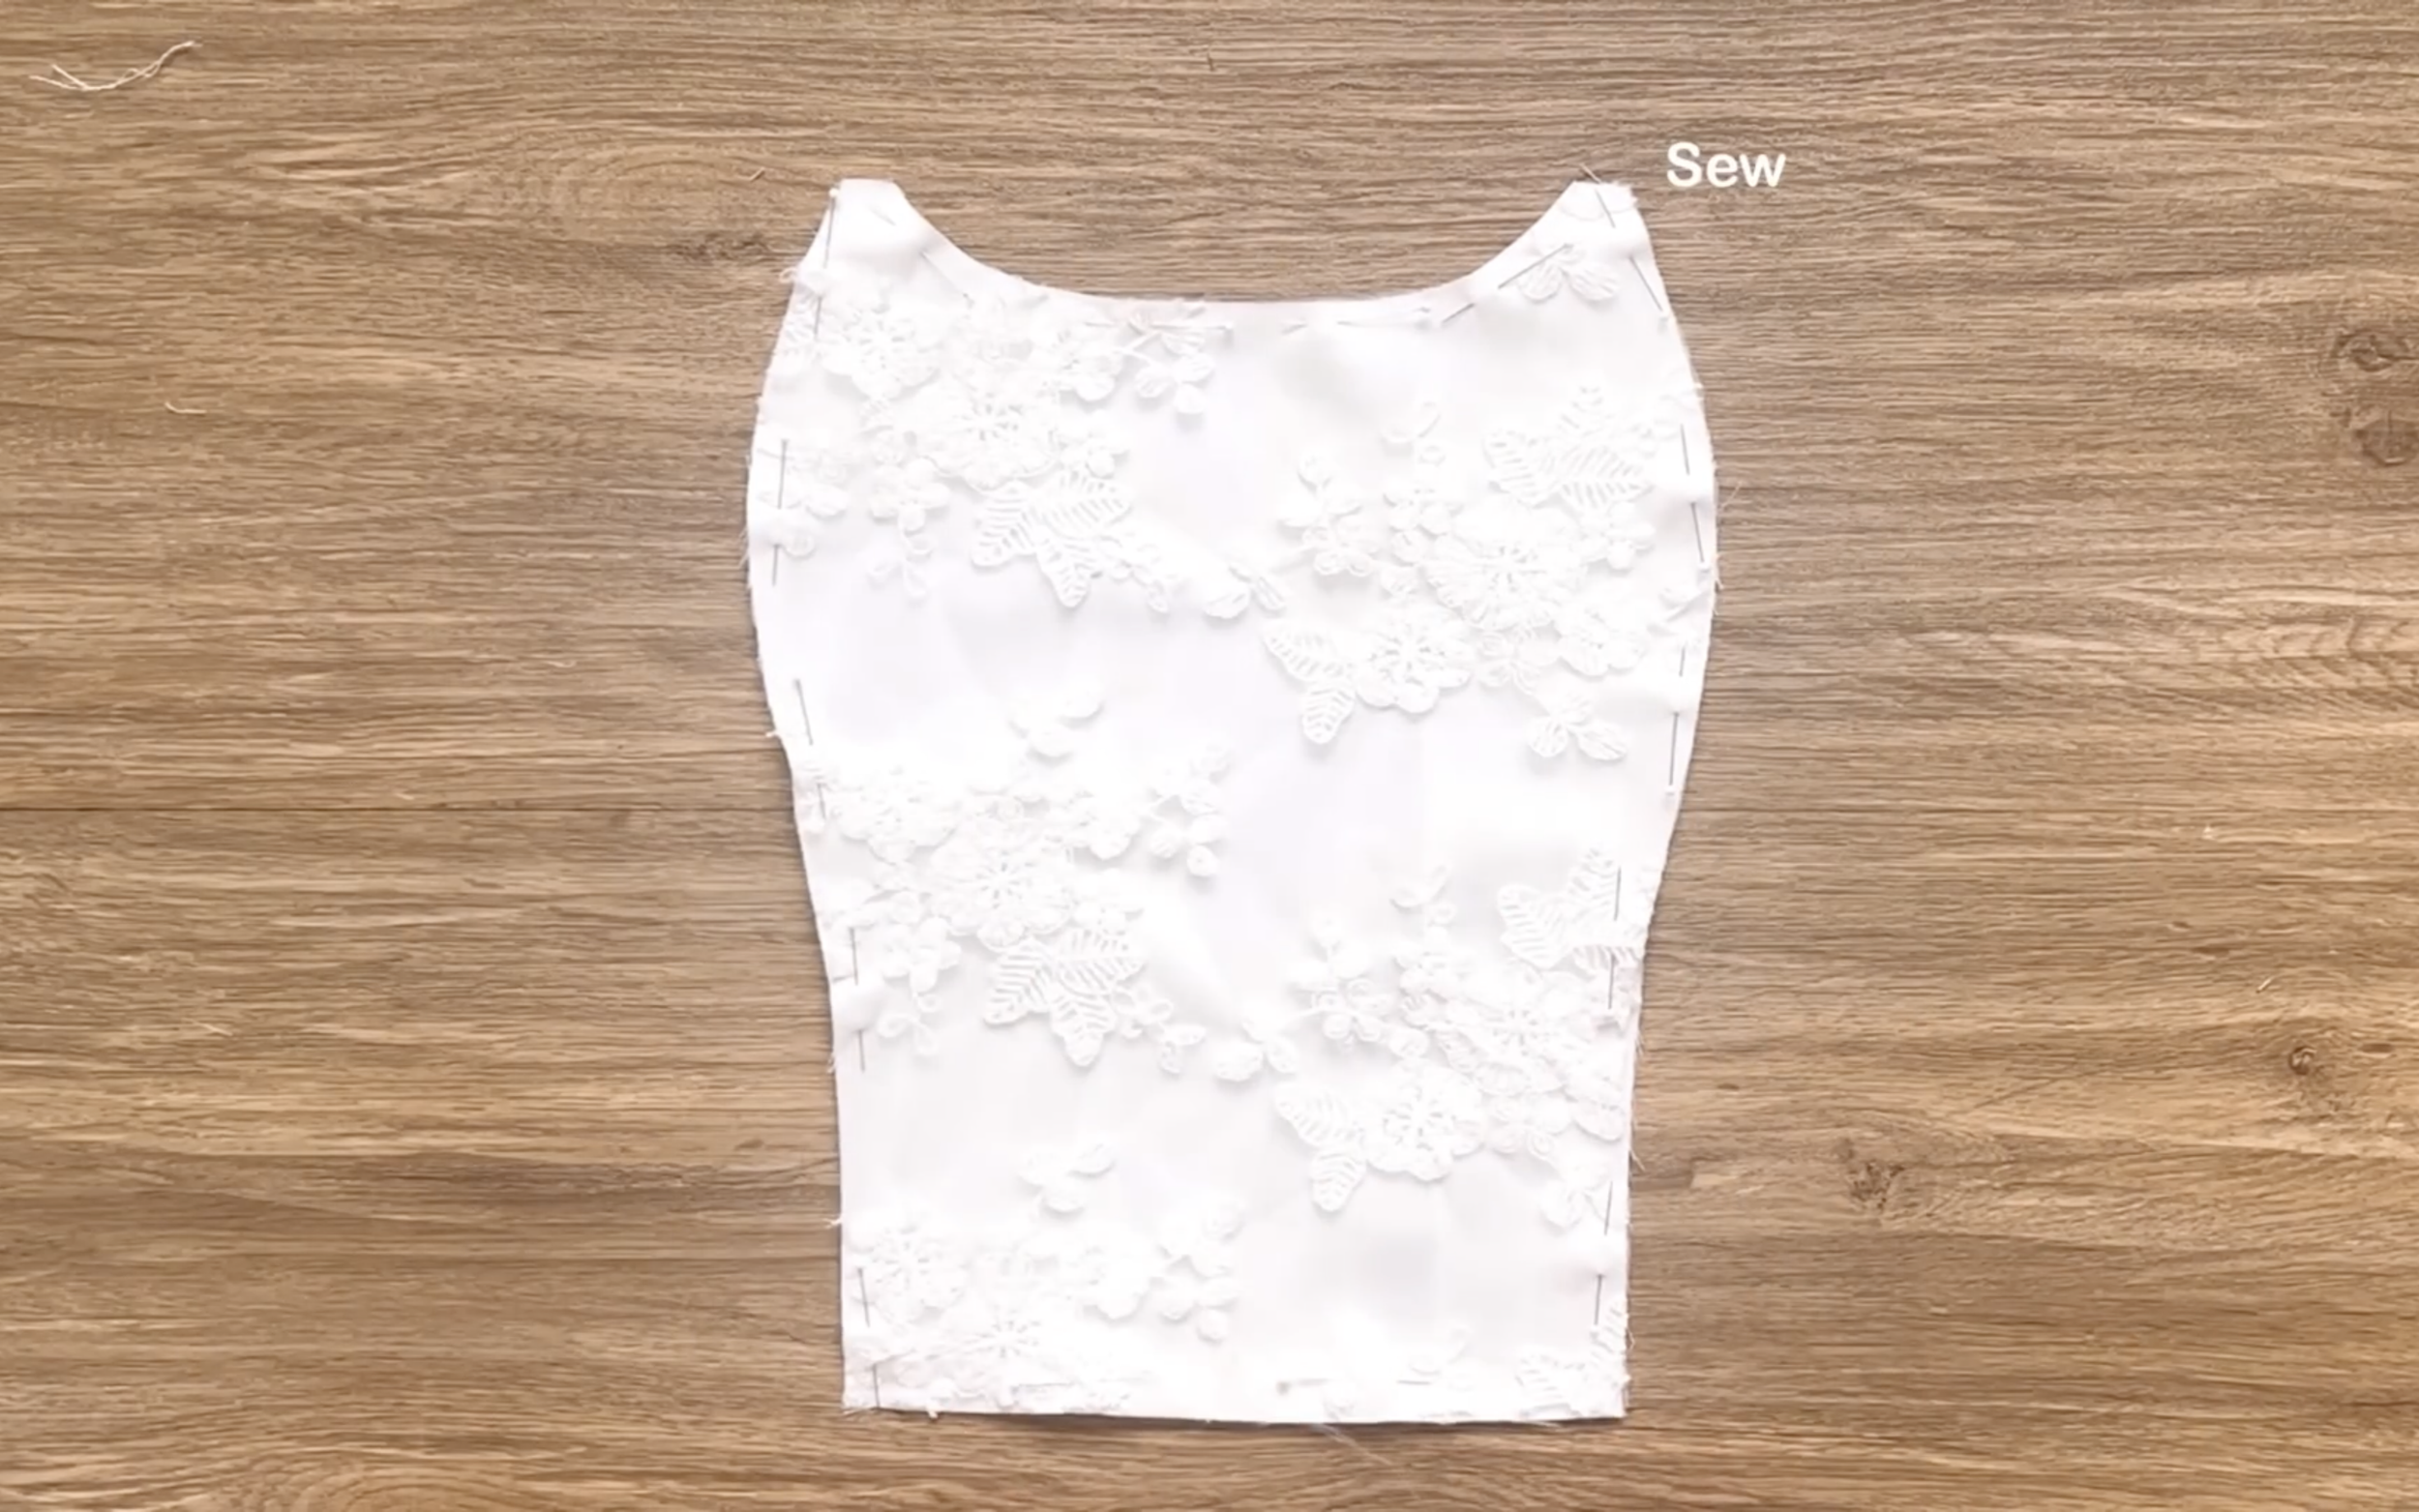
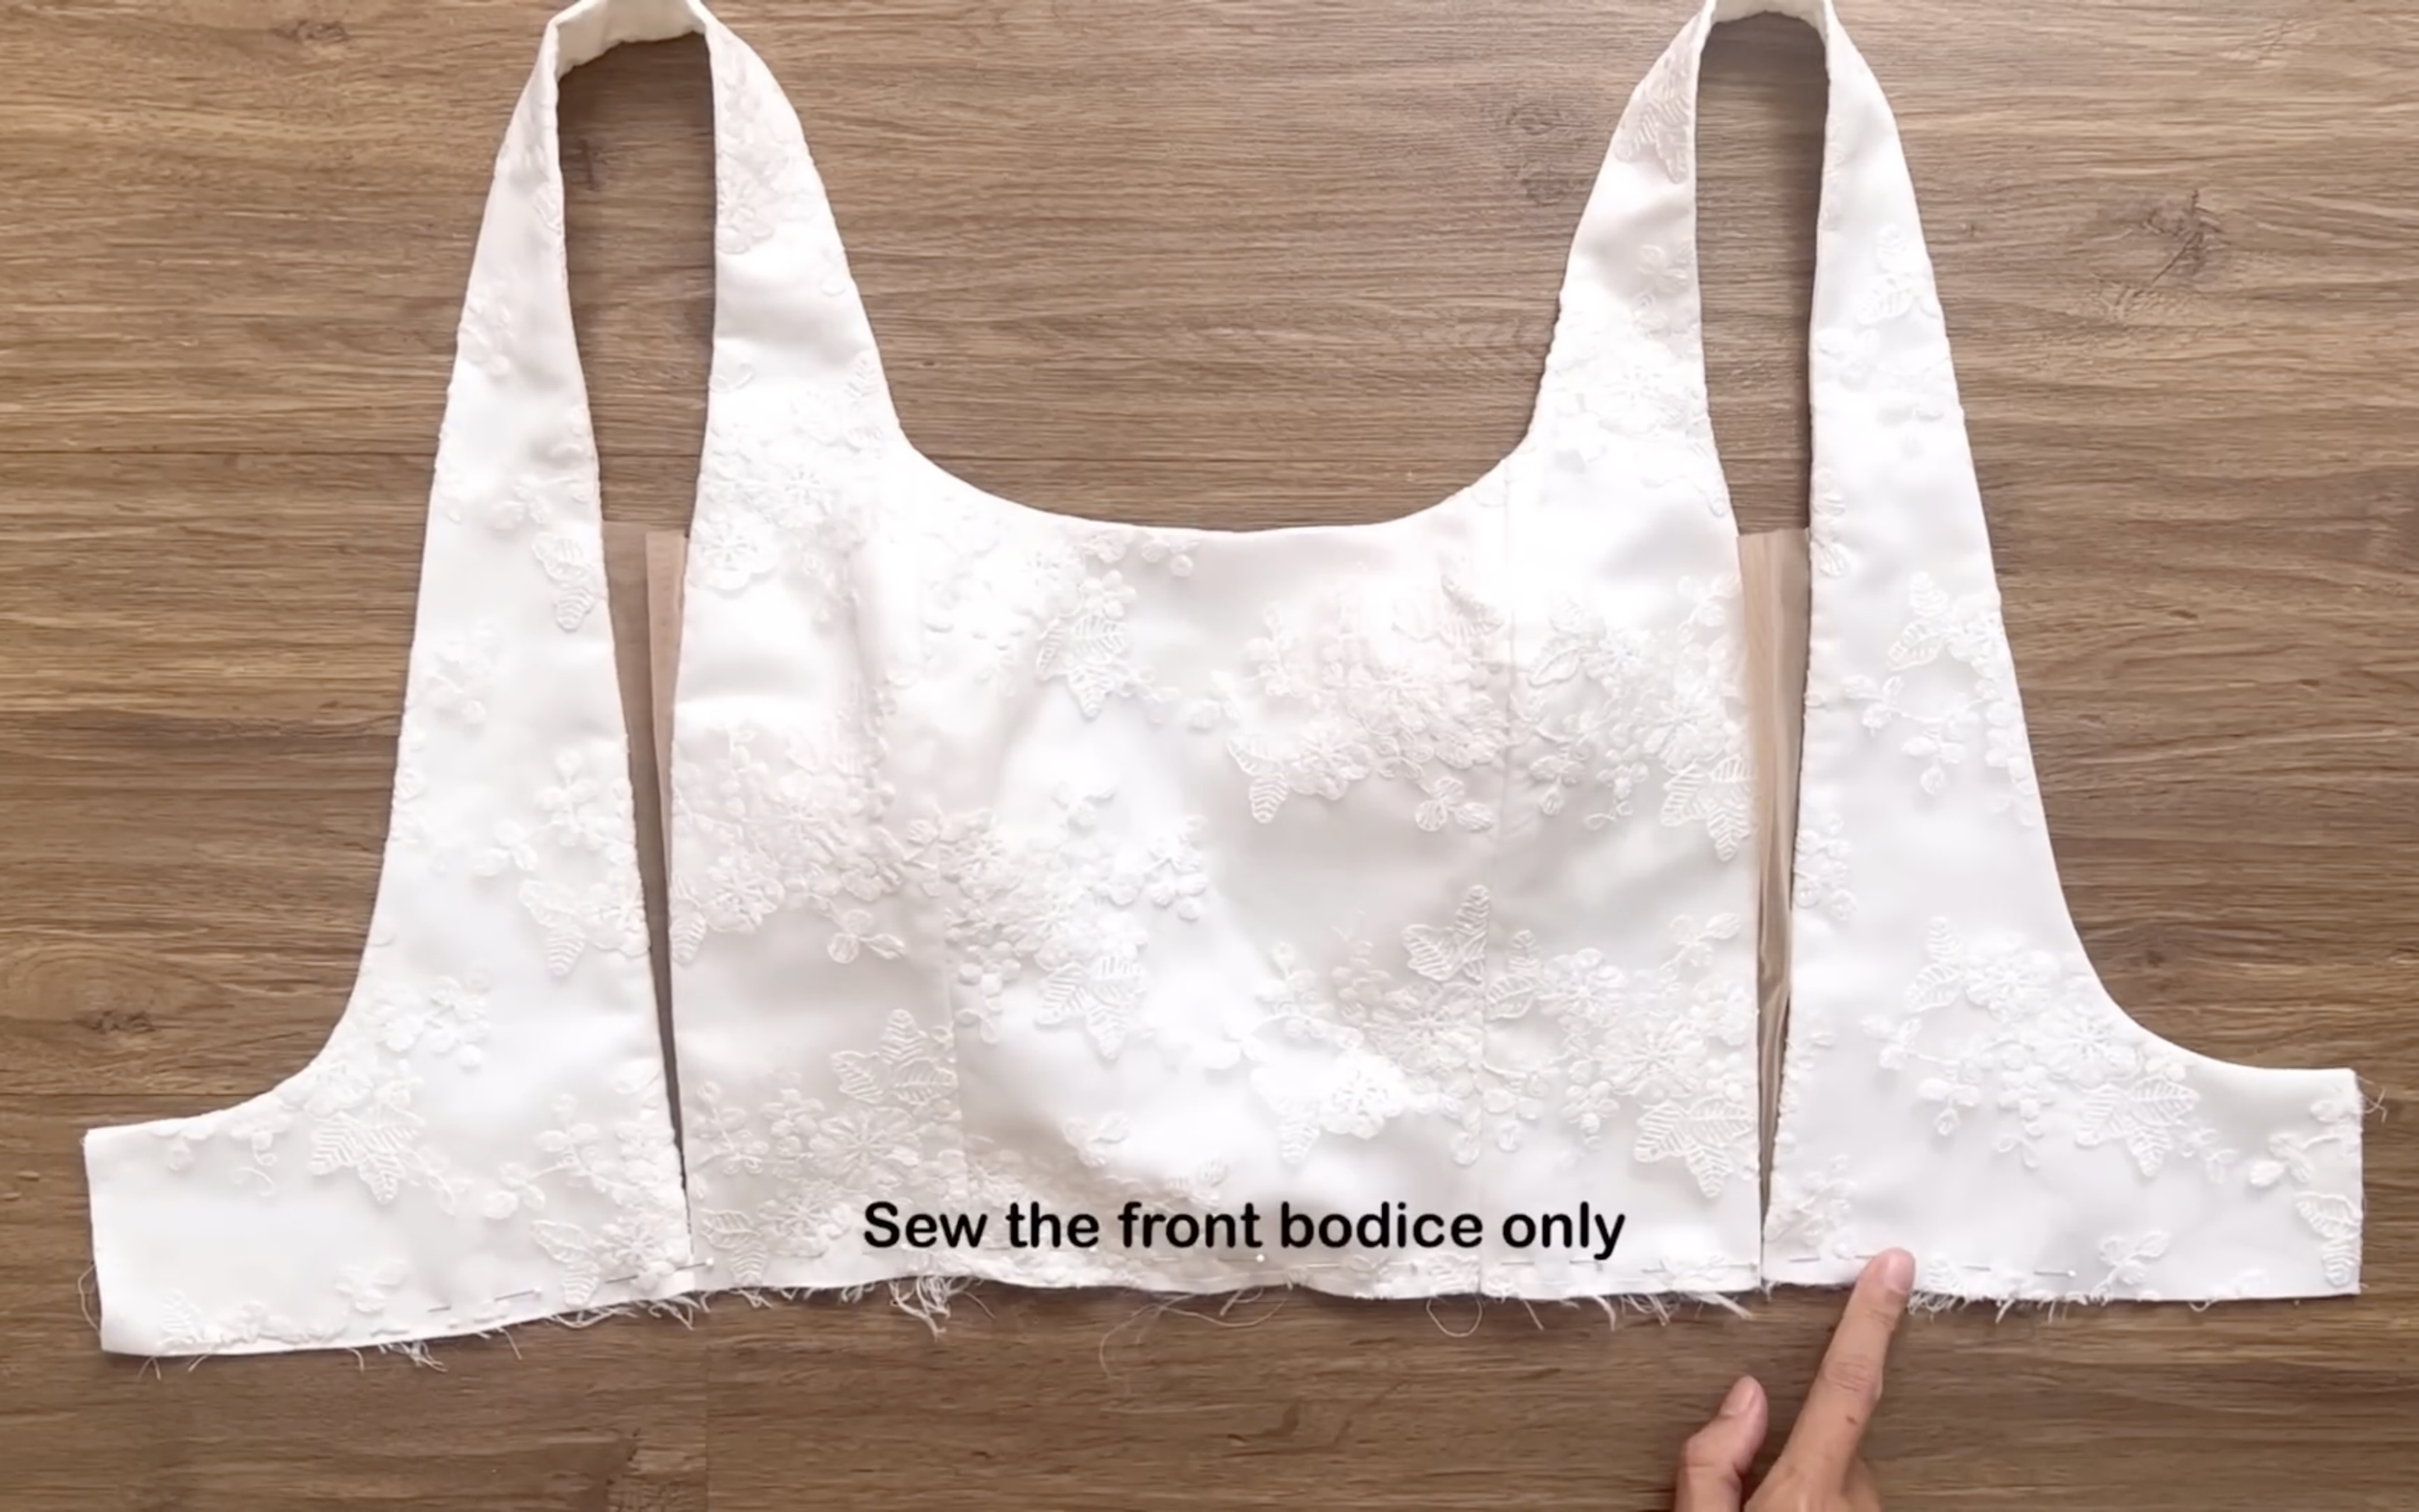
Connect two top of fabric pieces together.
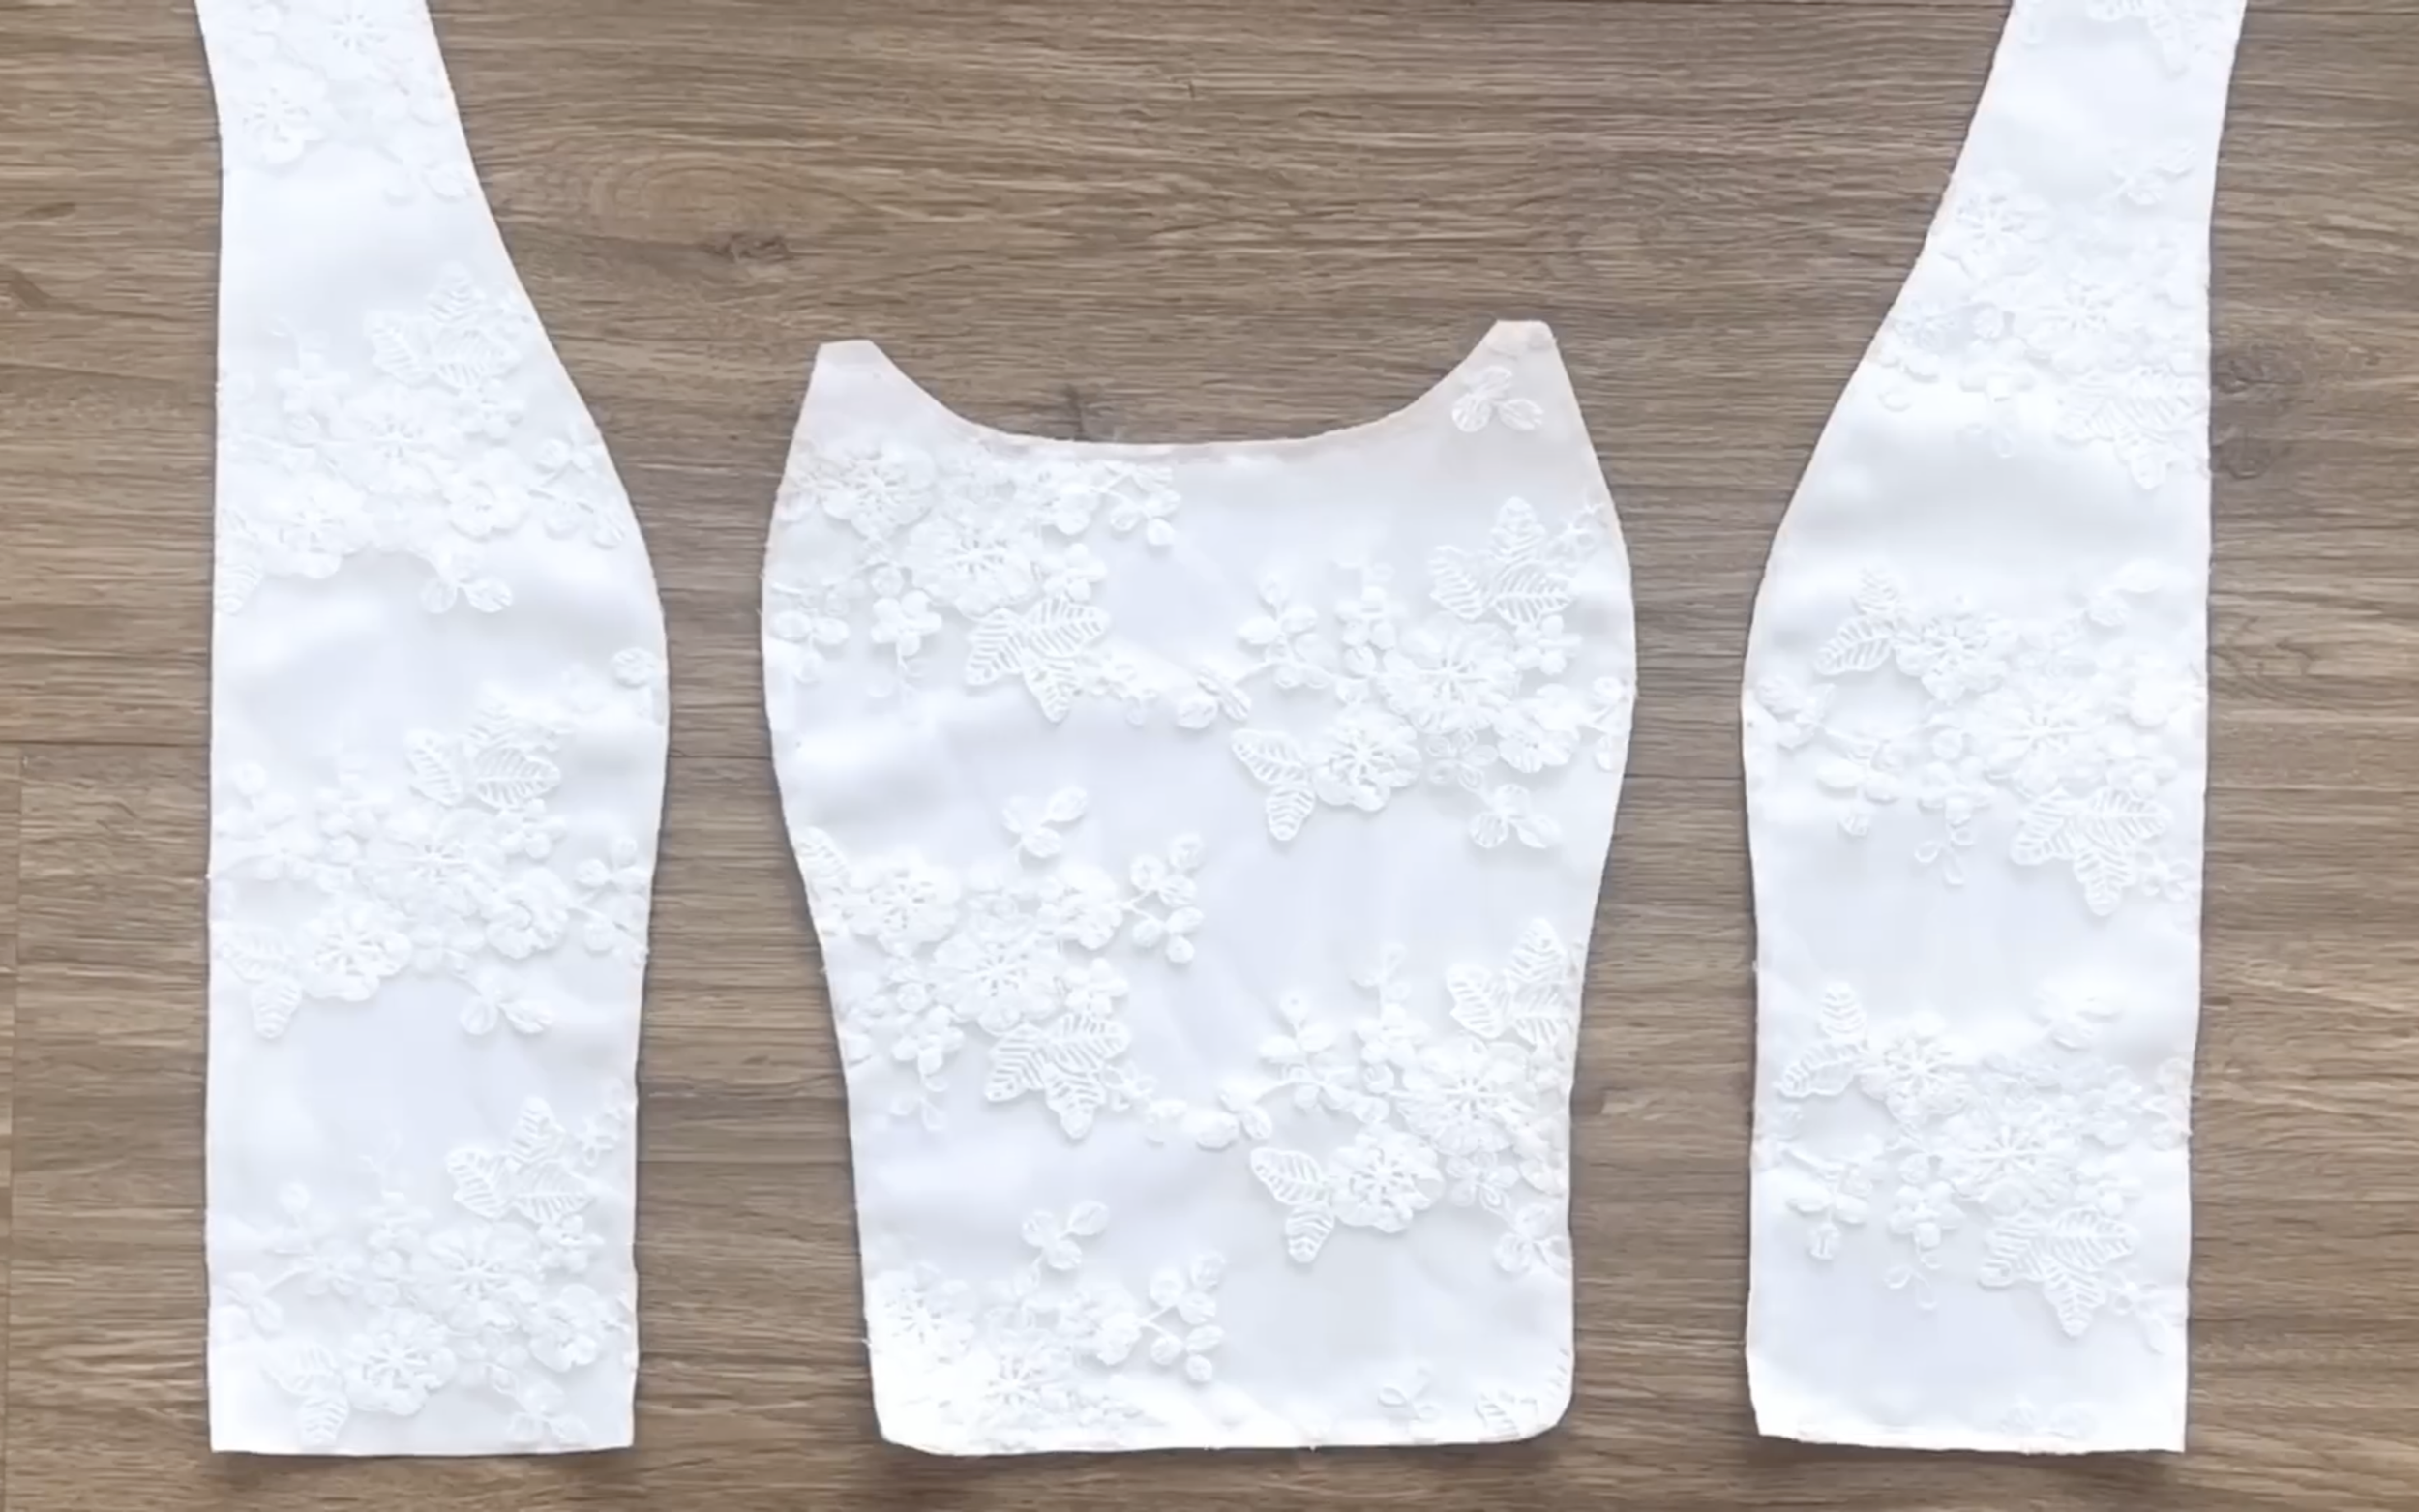
Also, do the same with two pieces of the side front piece of the bodice.

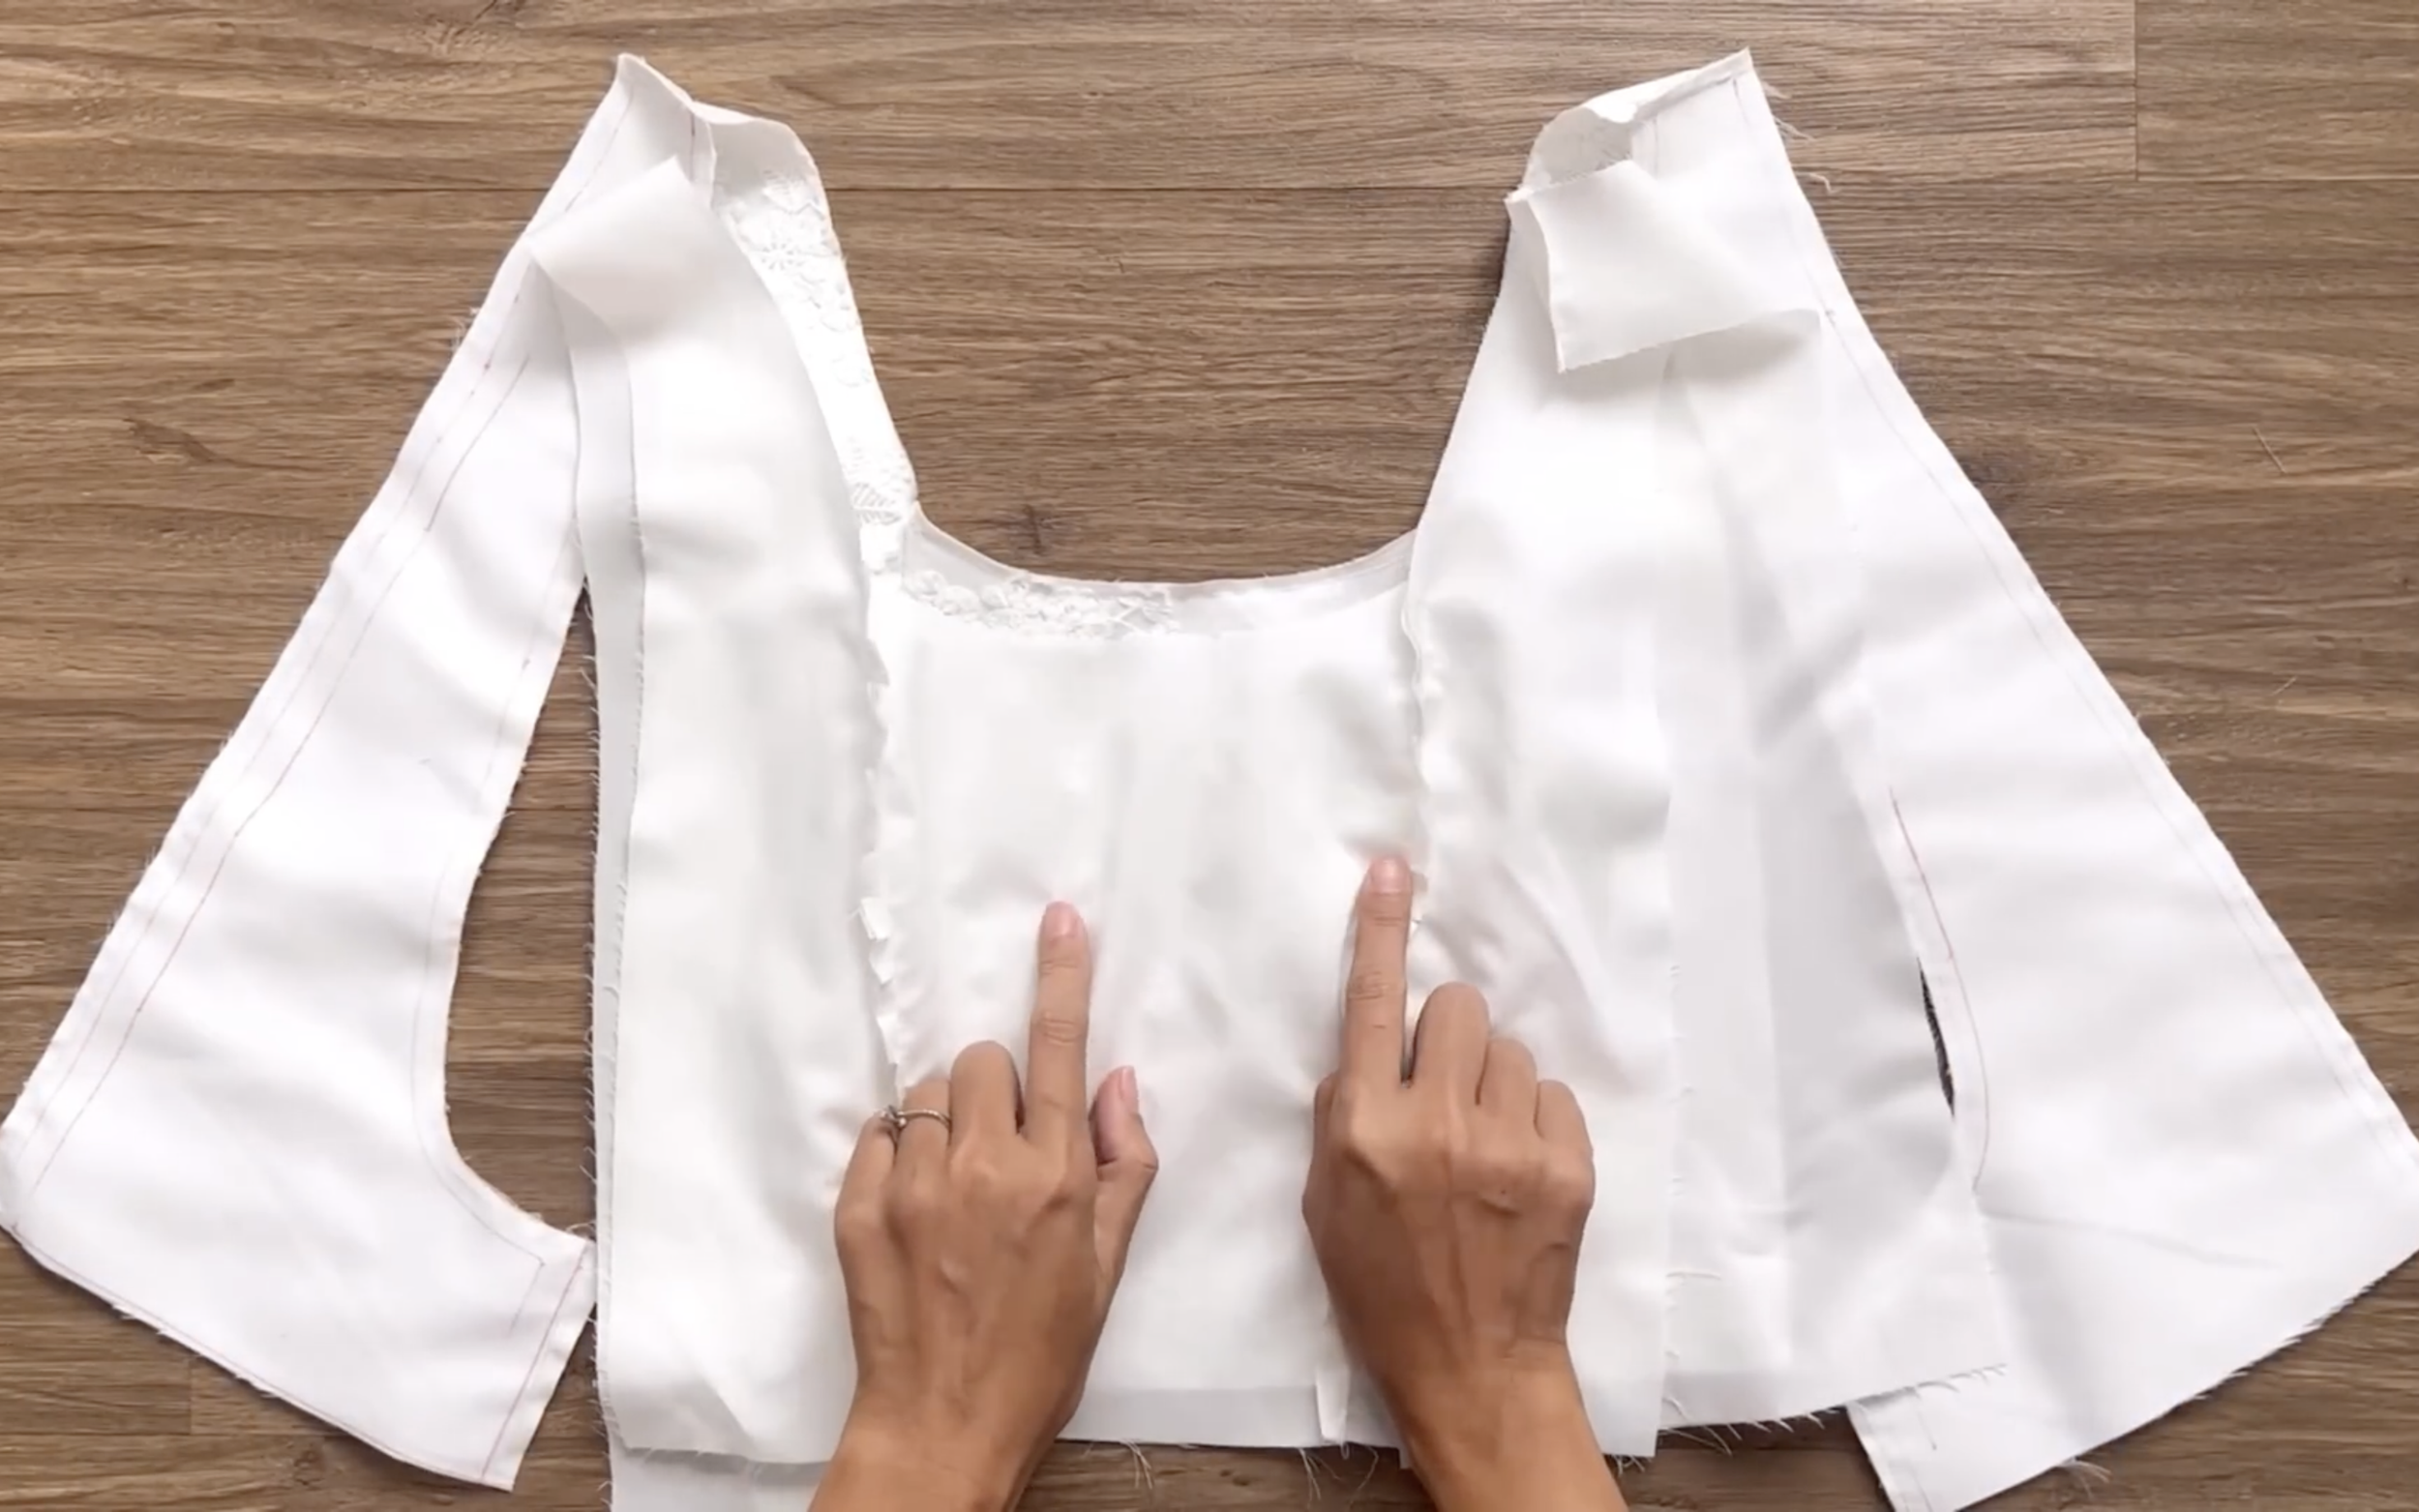
Then, connect them to the center piece at the curved line and sew.
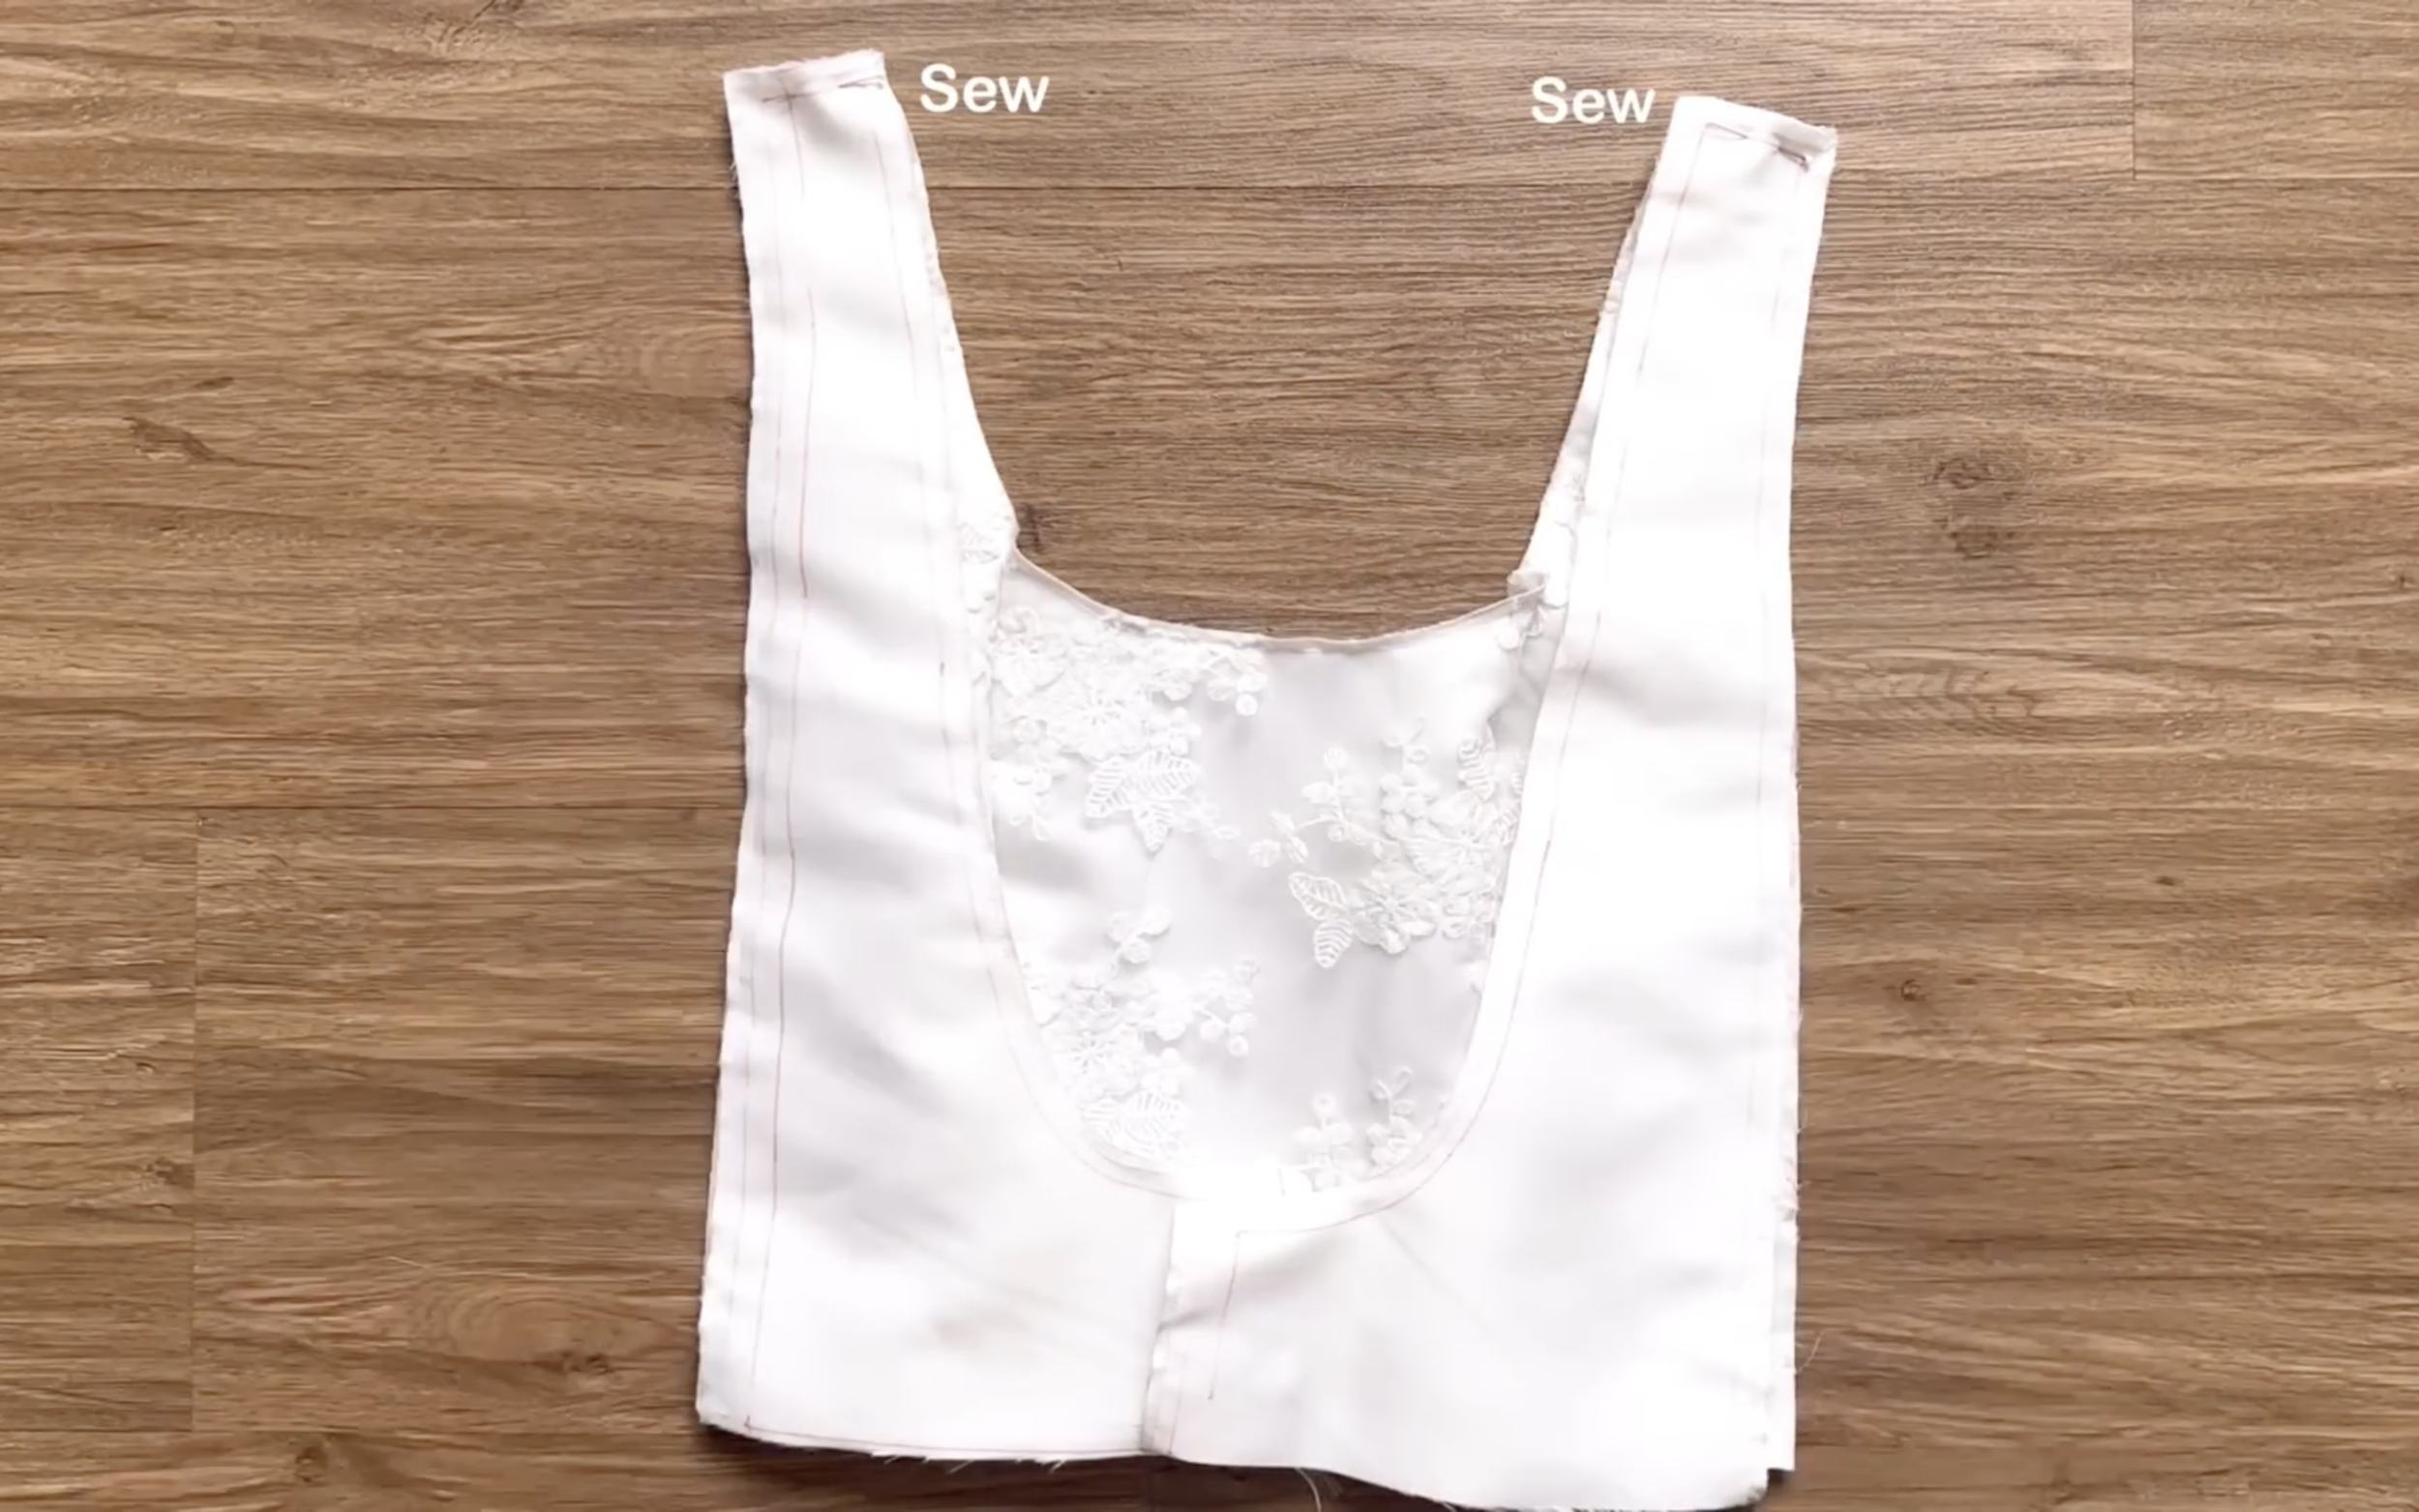
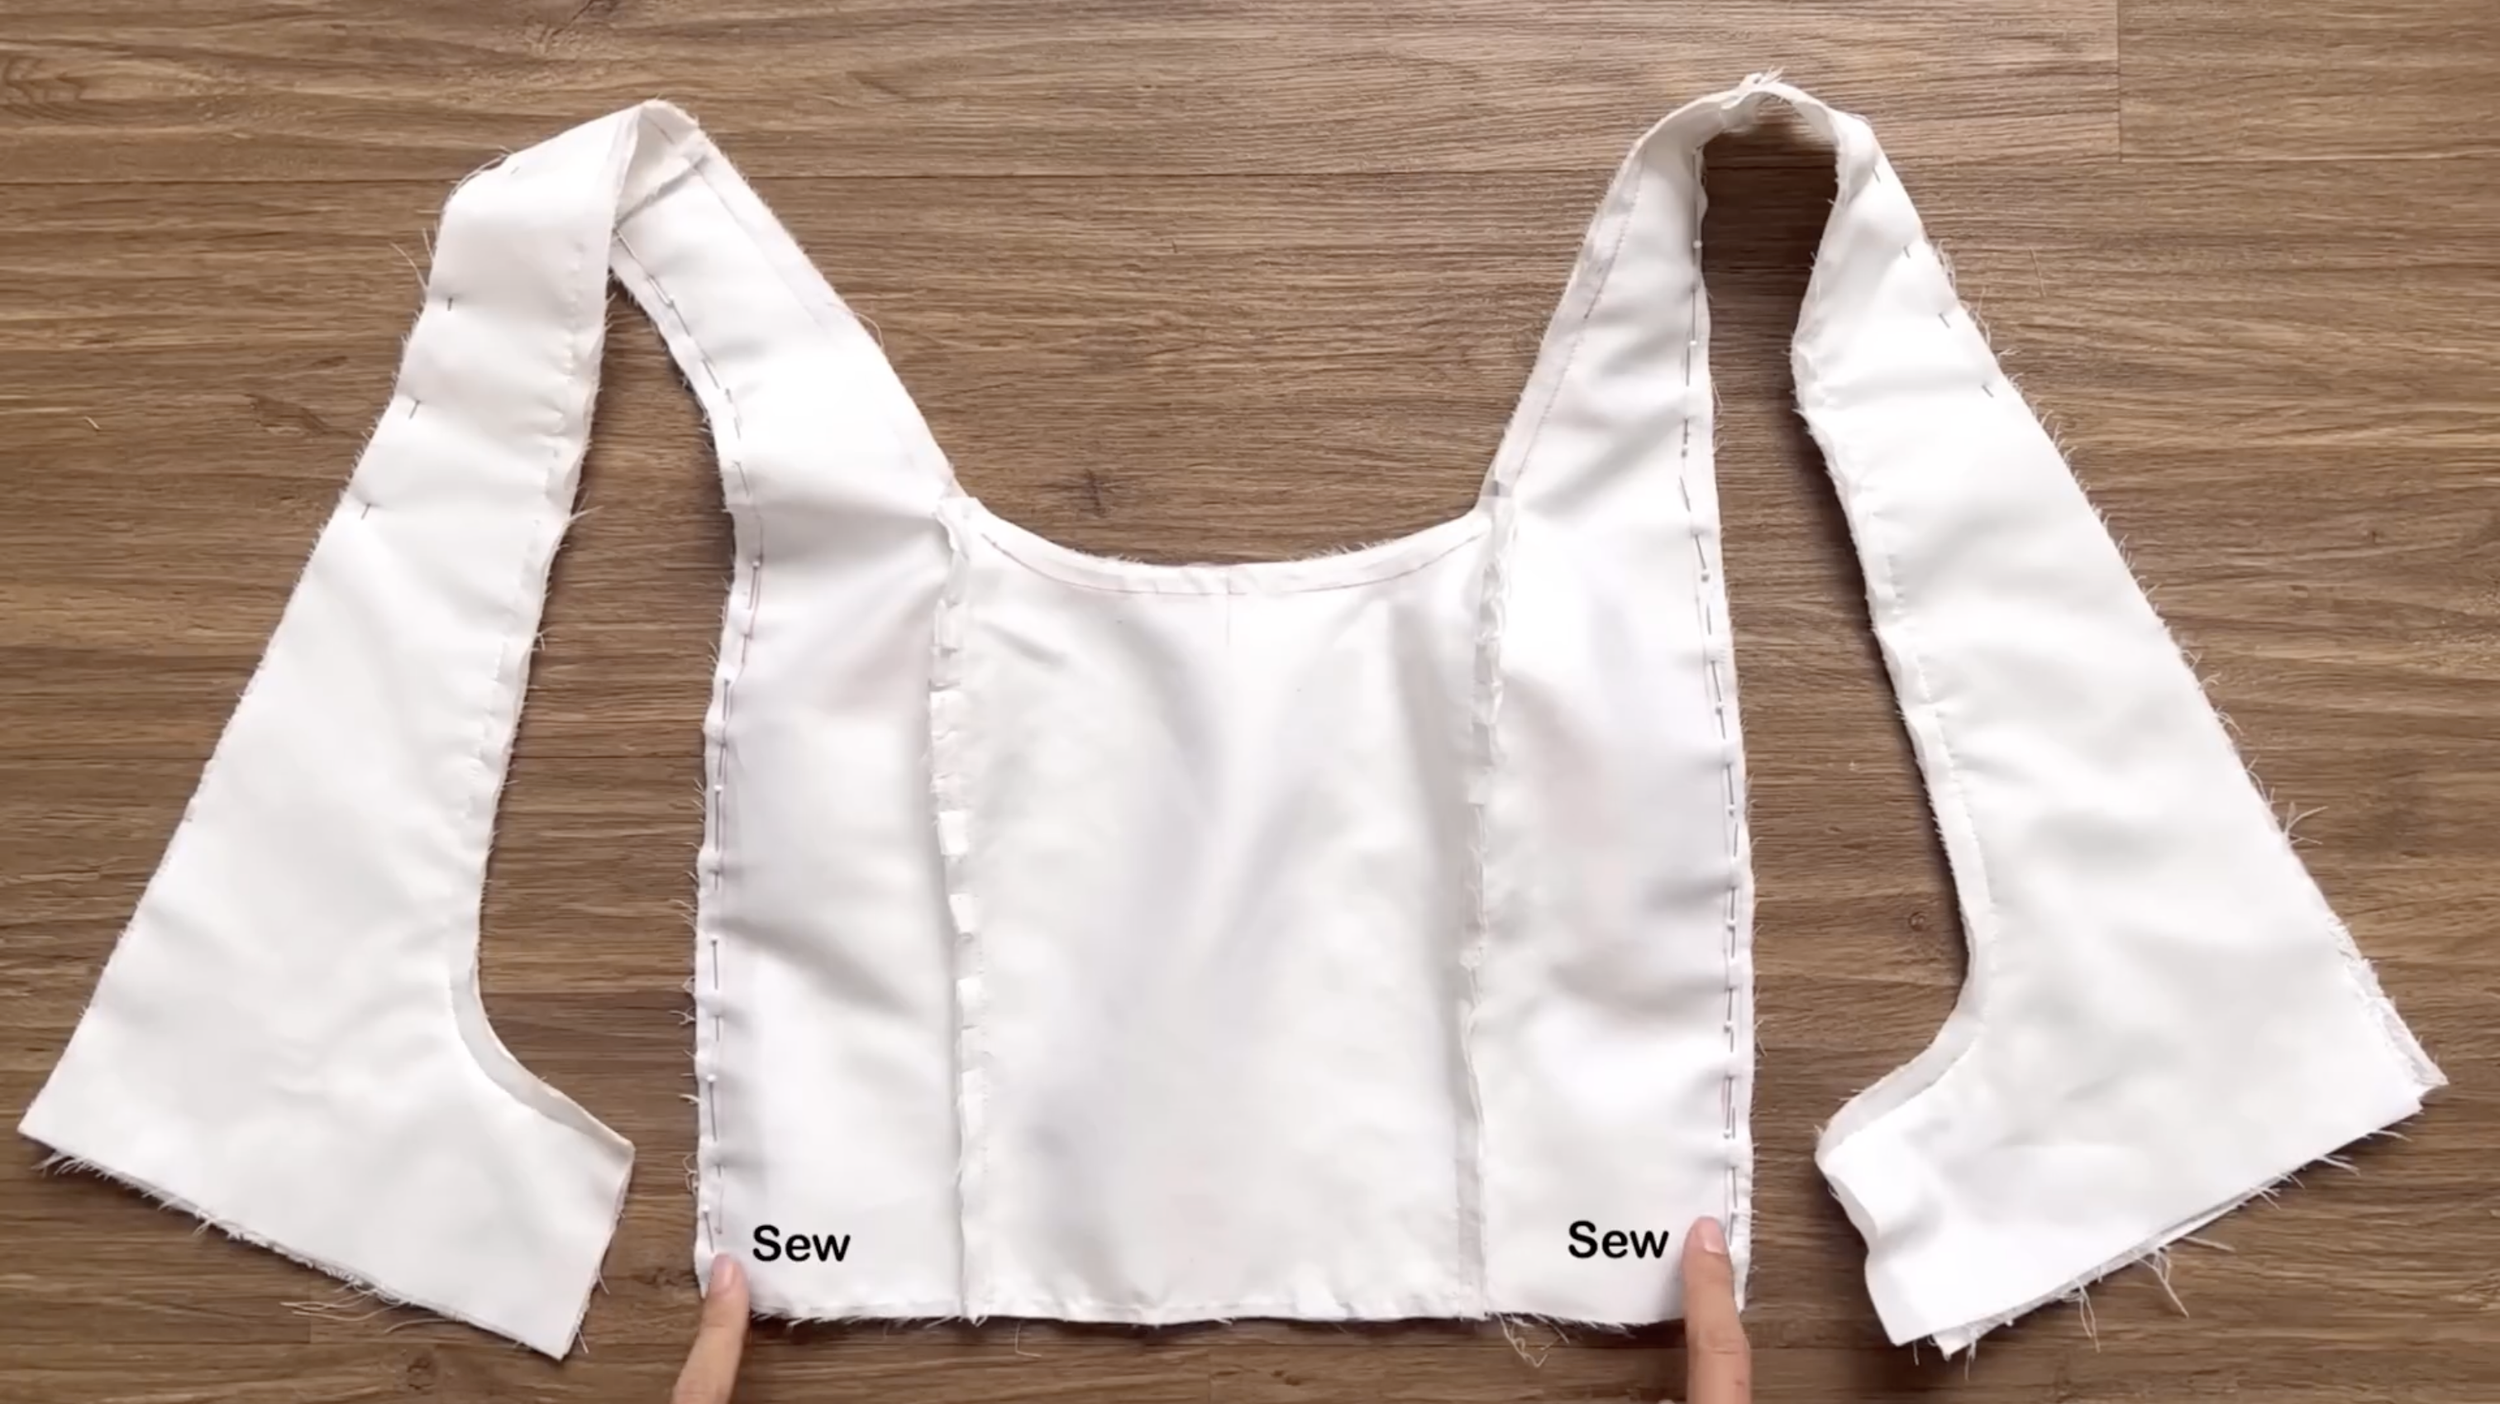
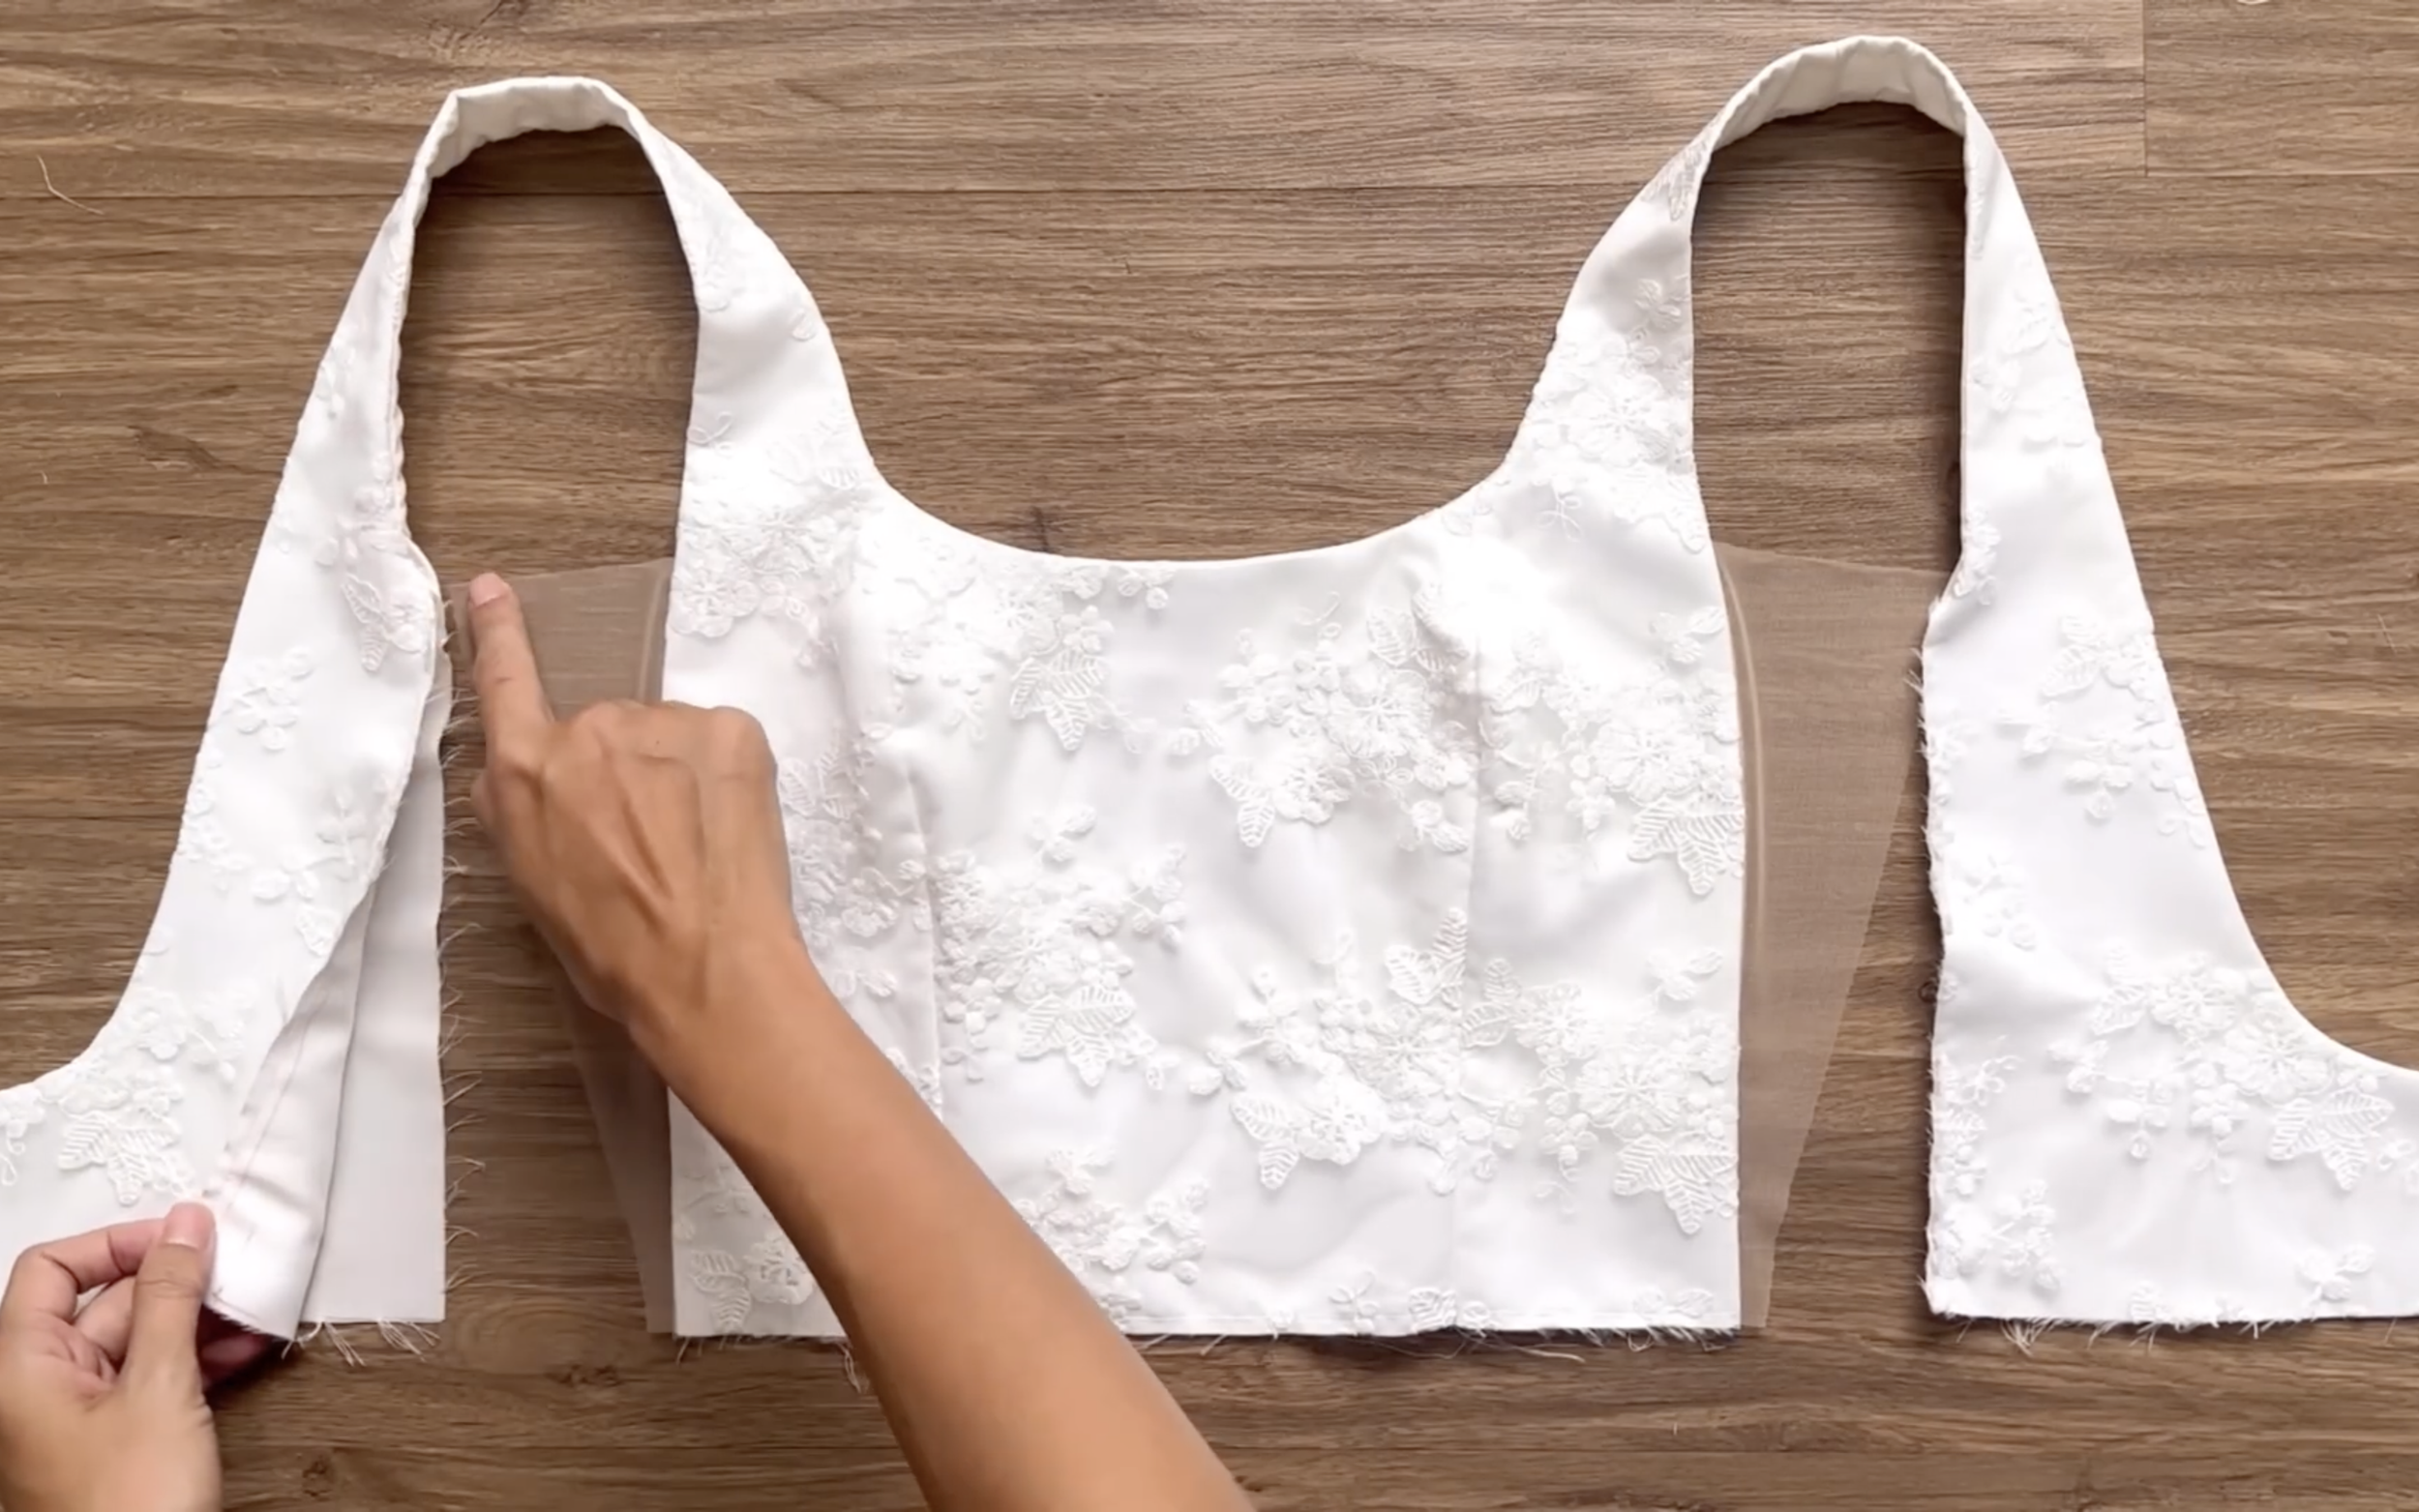
After that, connect the front bodice to the back bodice at the shoulders.
Make a few small cuts at the curved line of the front bodice and iron it.
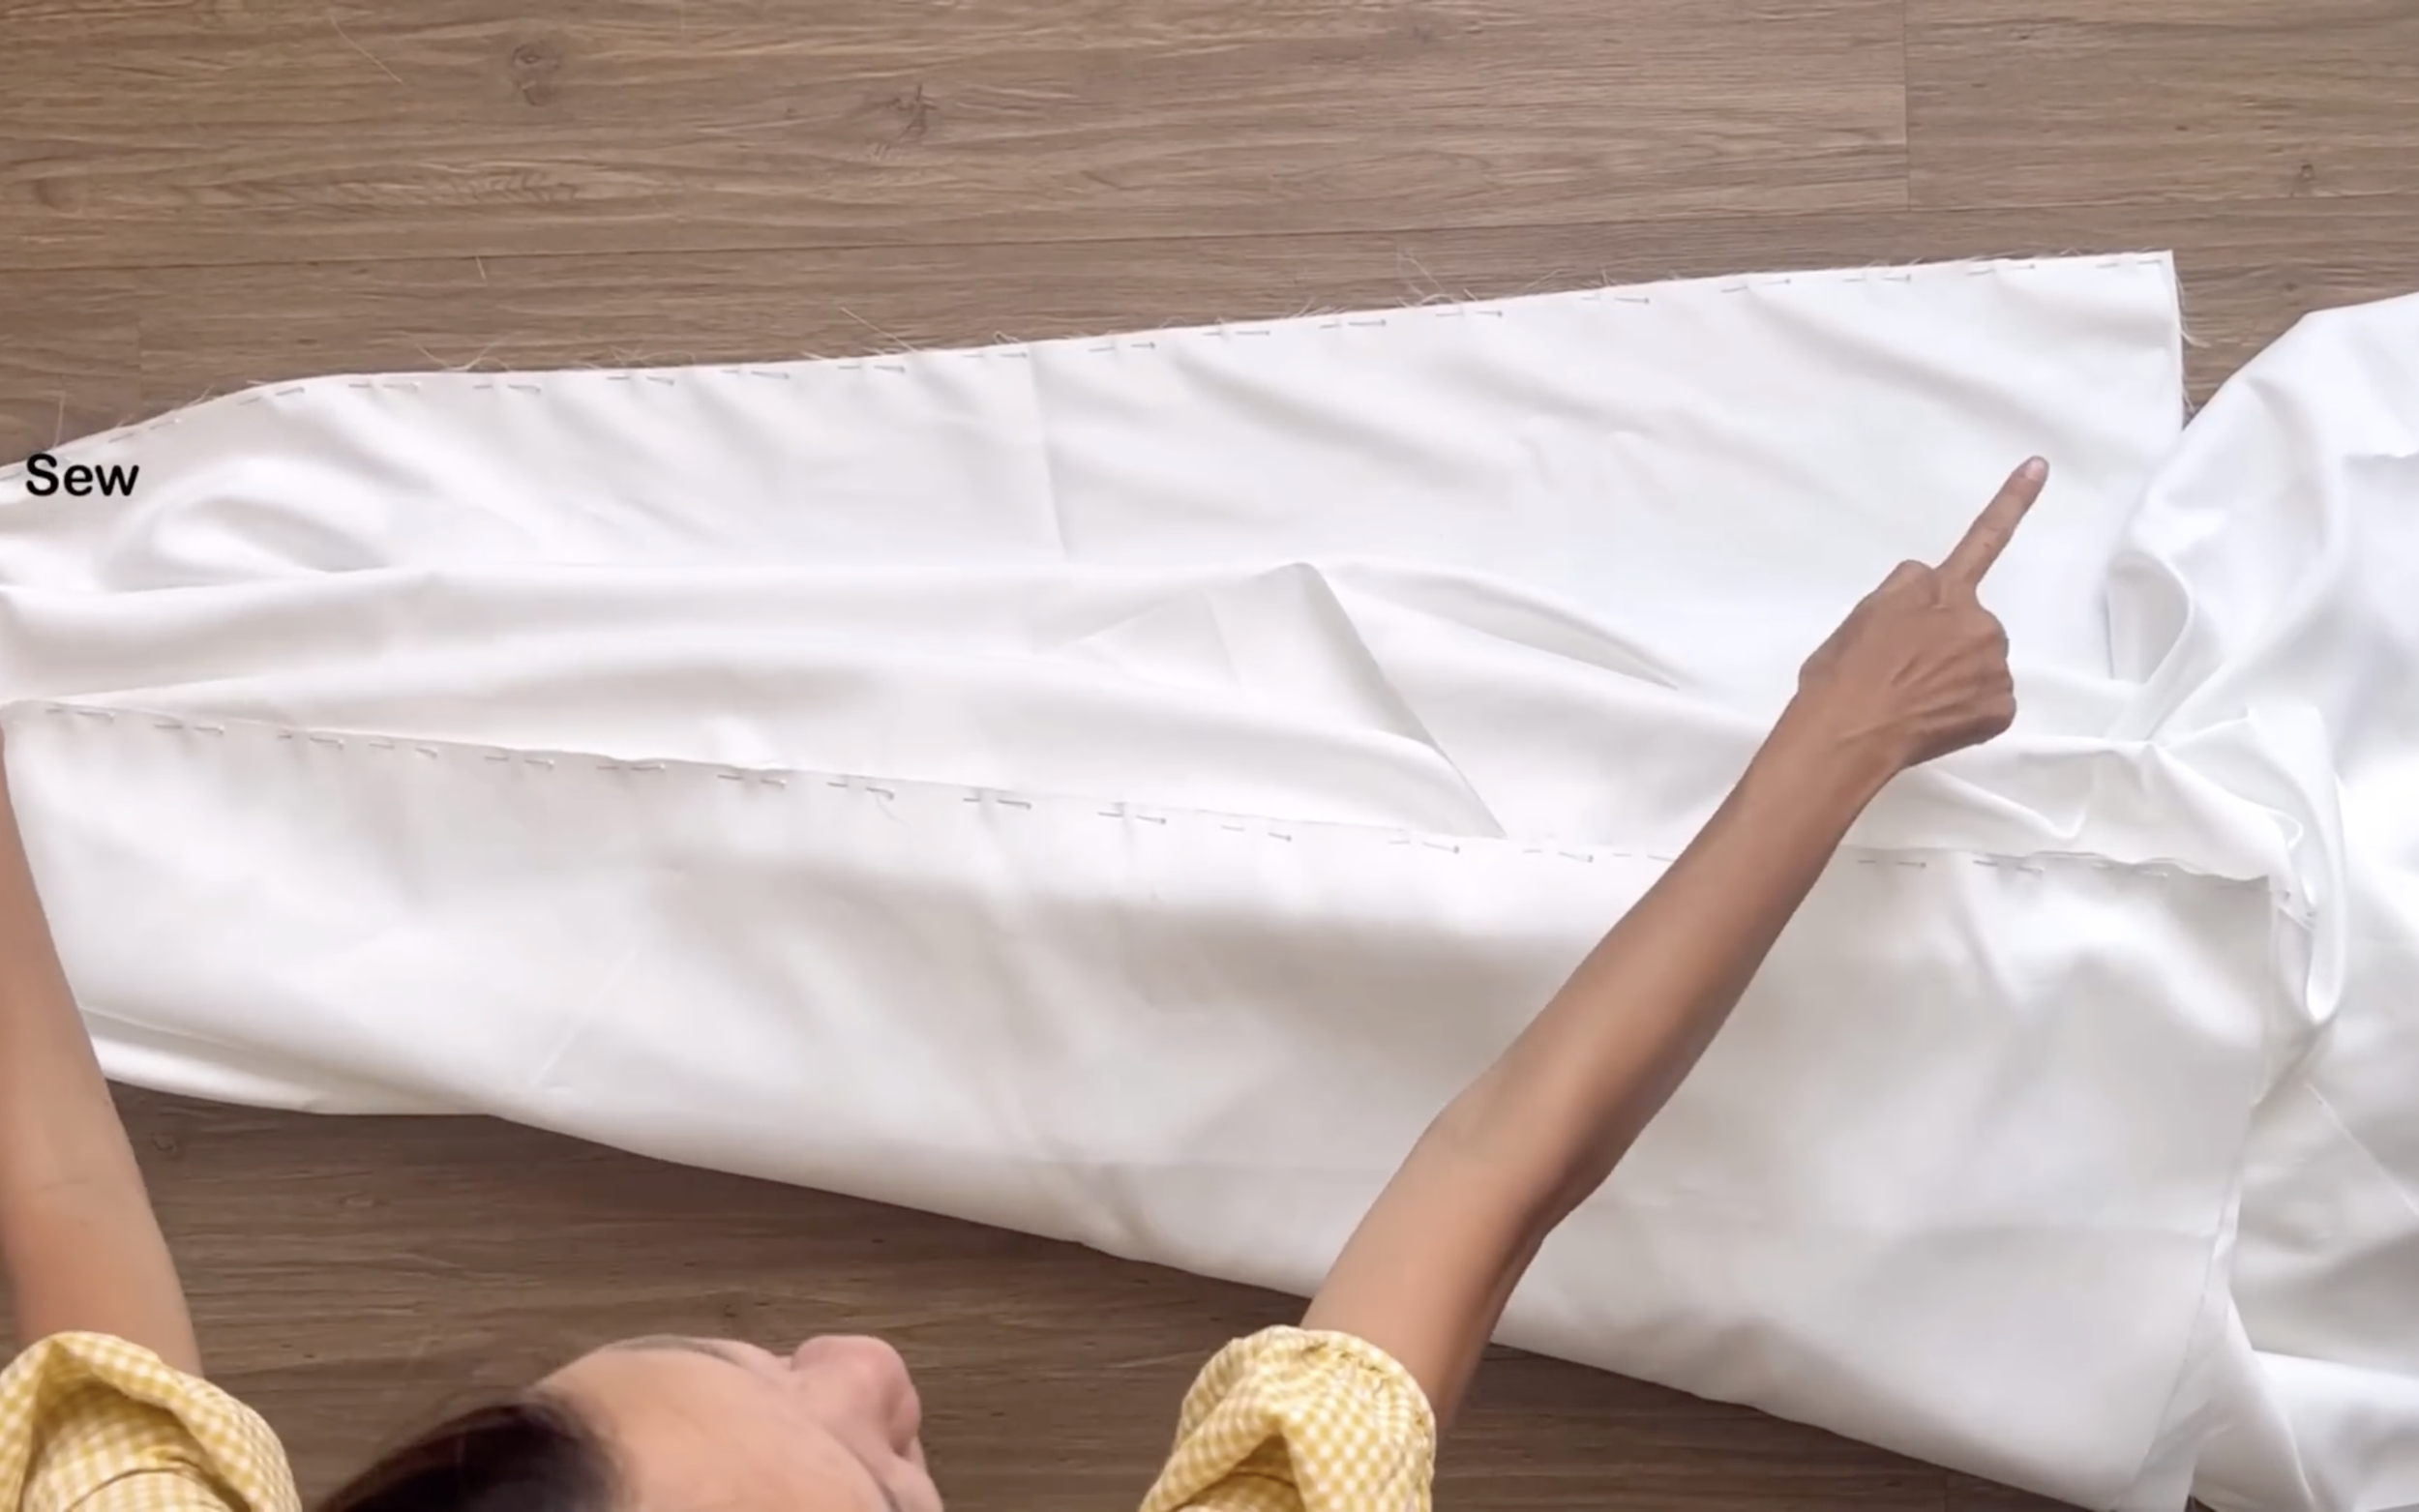
Then connect it to the lining fabrics of the bodice.
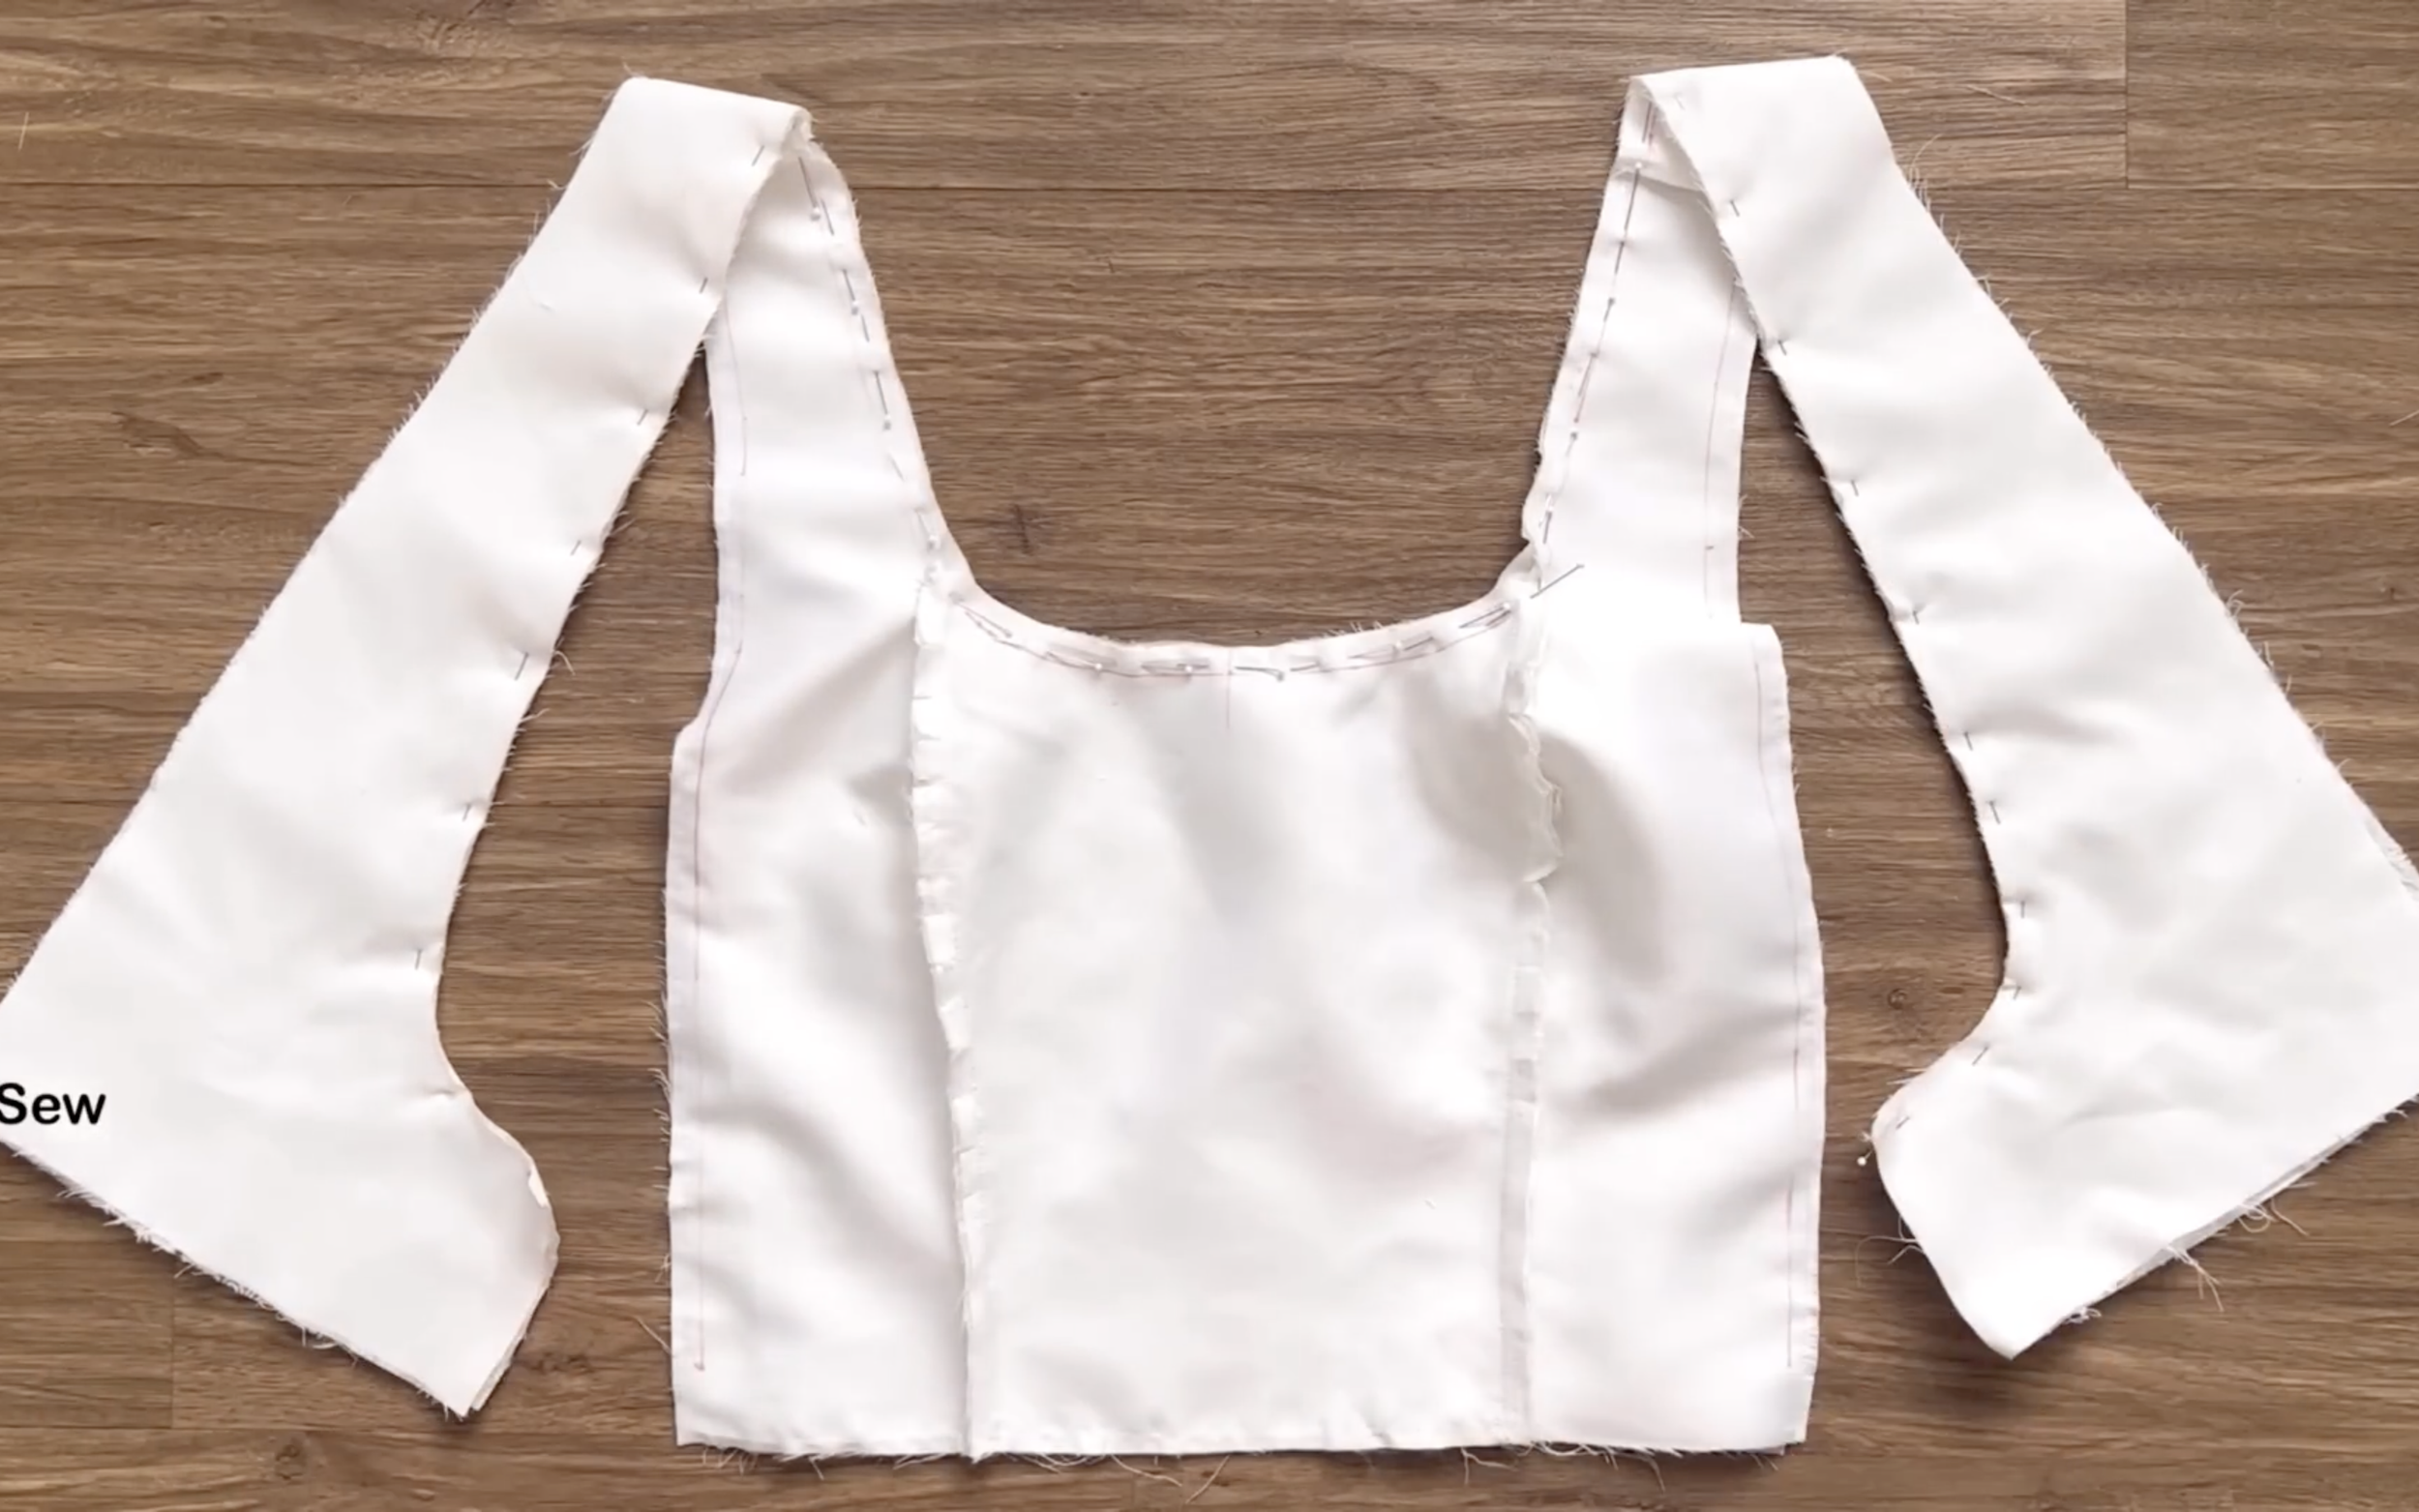
Connect them together at the line from the back to the neckline at the front.
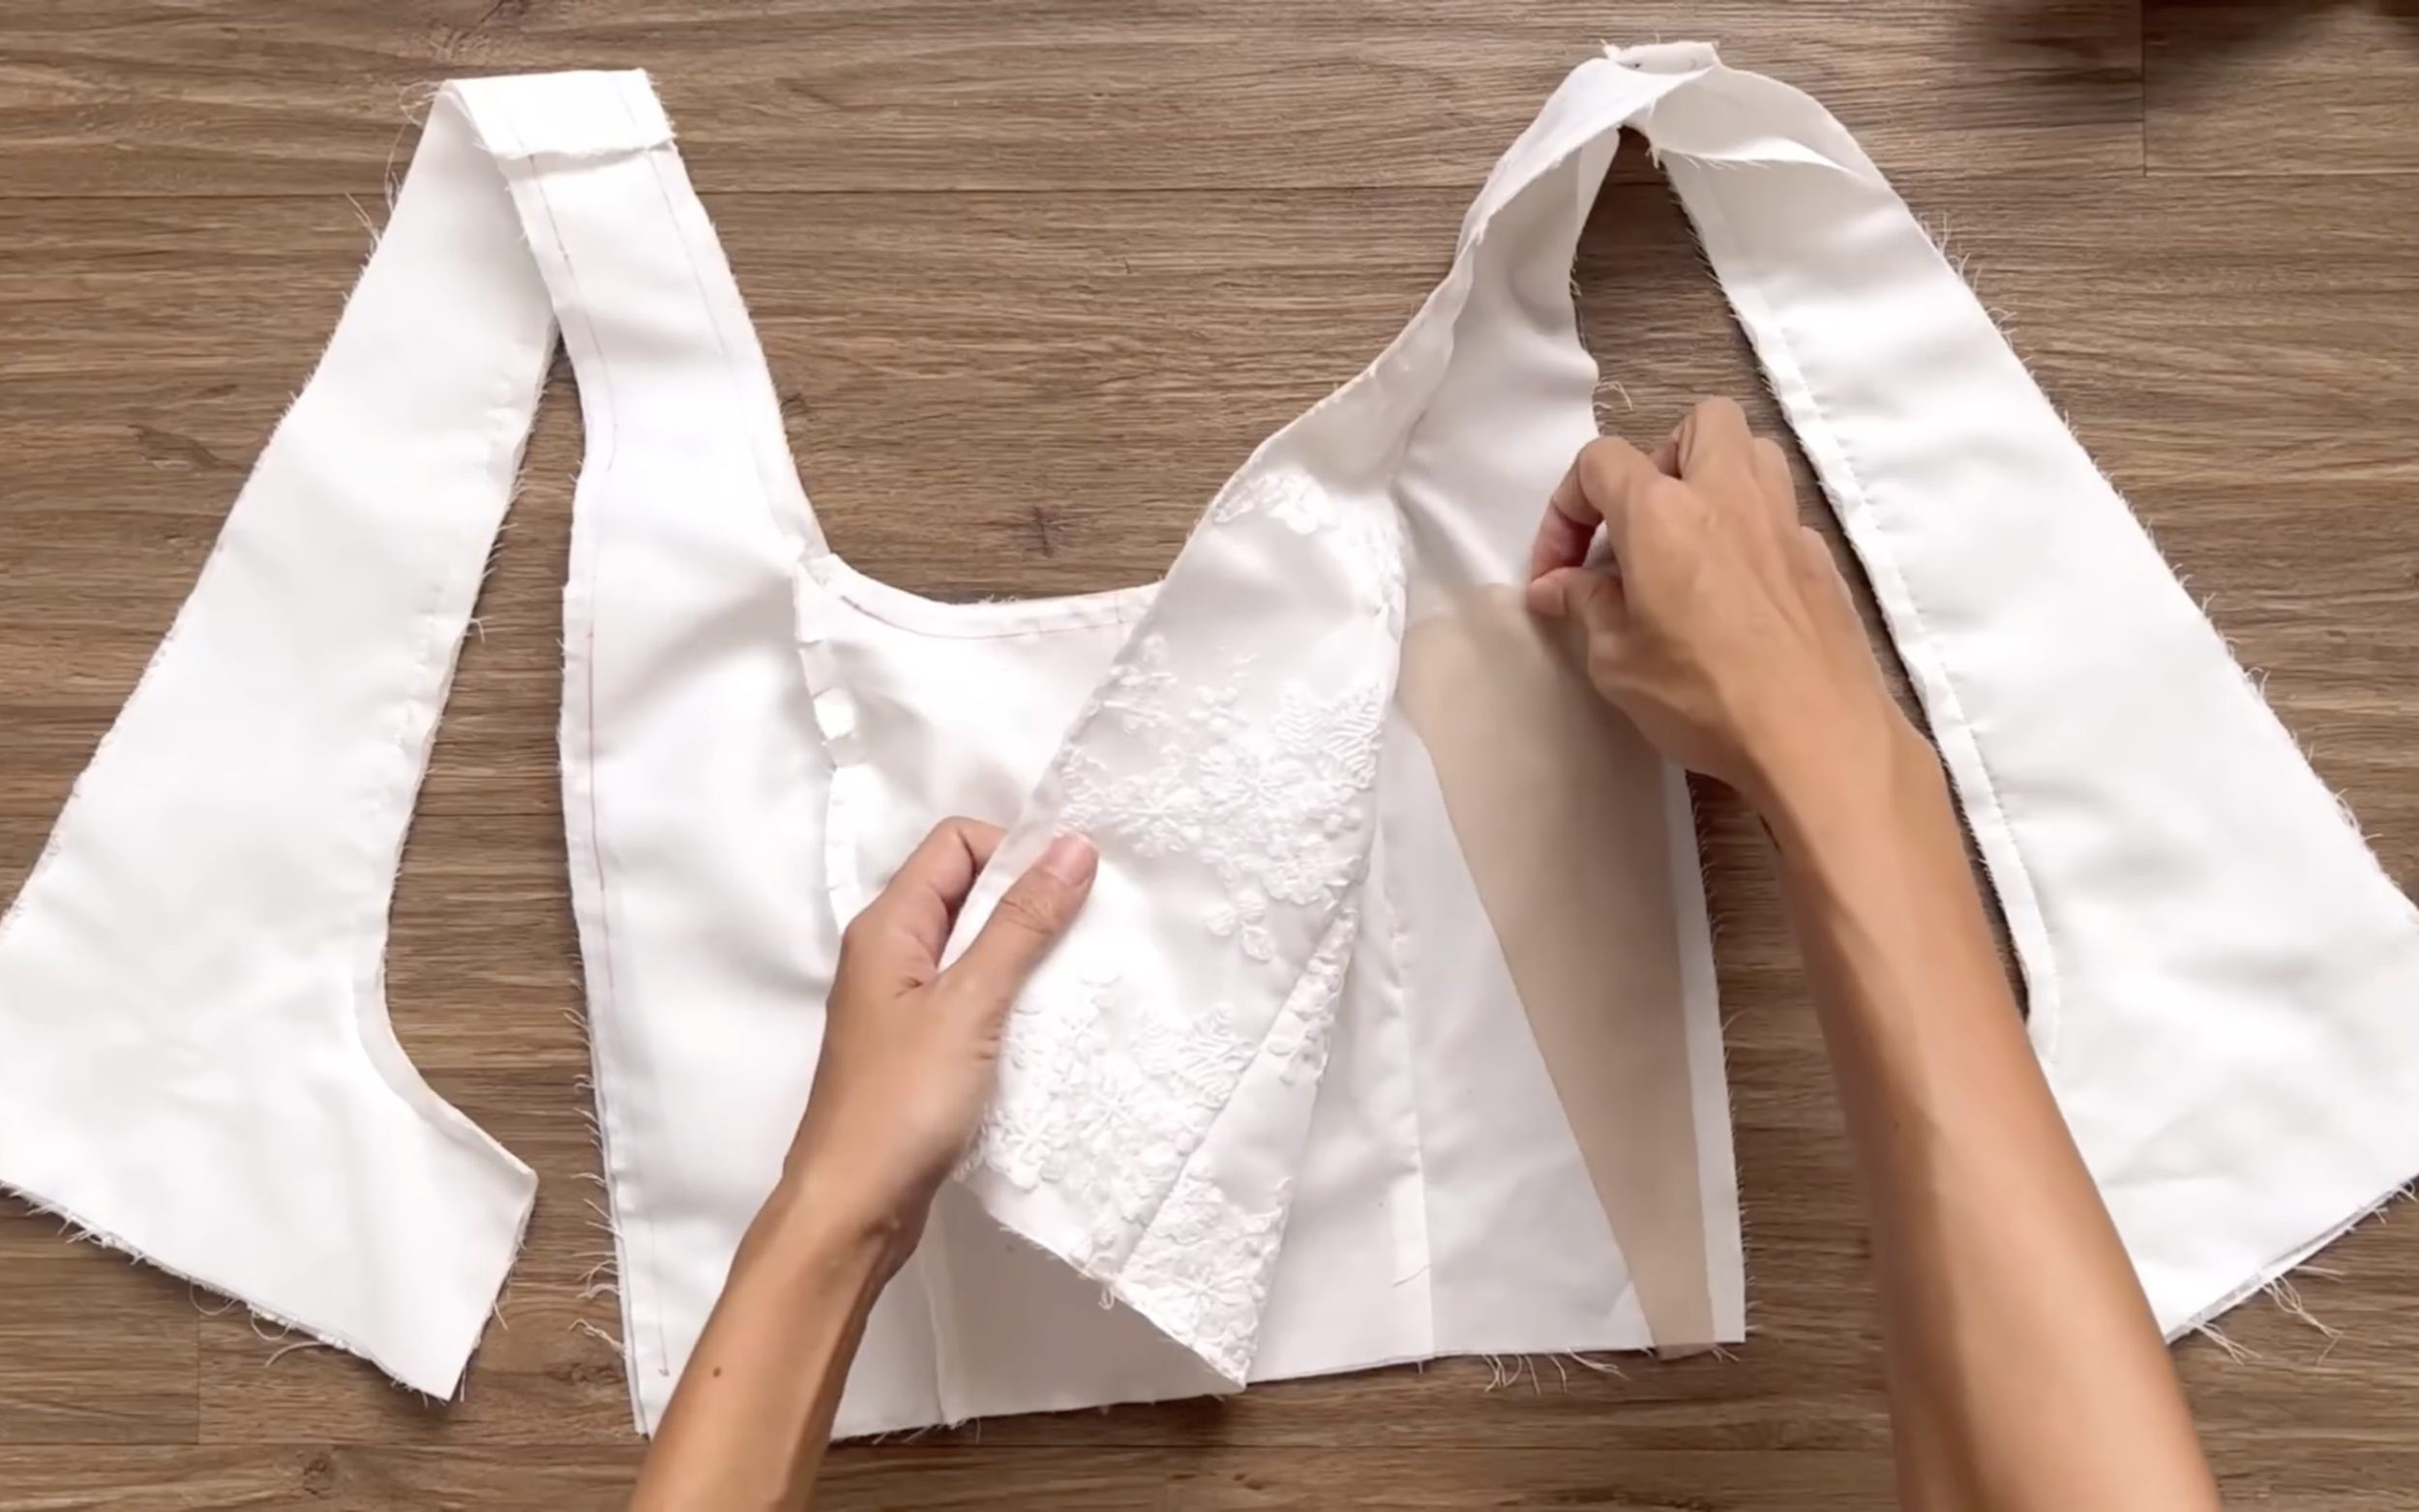
After sewing, put one side of the cut-out piece in new fabric in the middle between the main fabric and the lining fabric at the front bodice.
And sew to connect them all together.
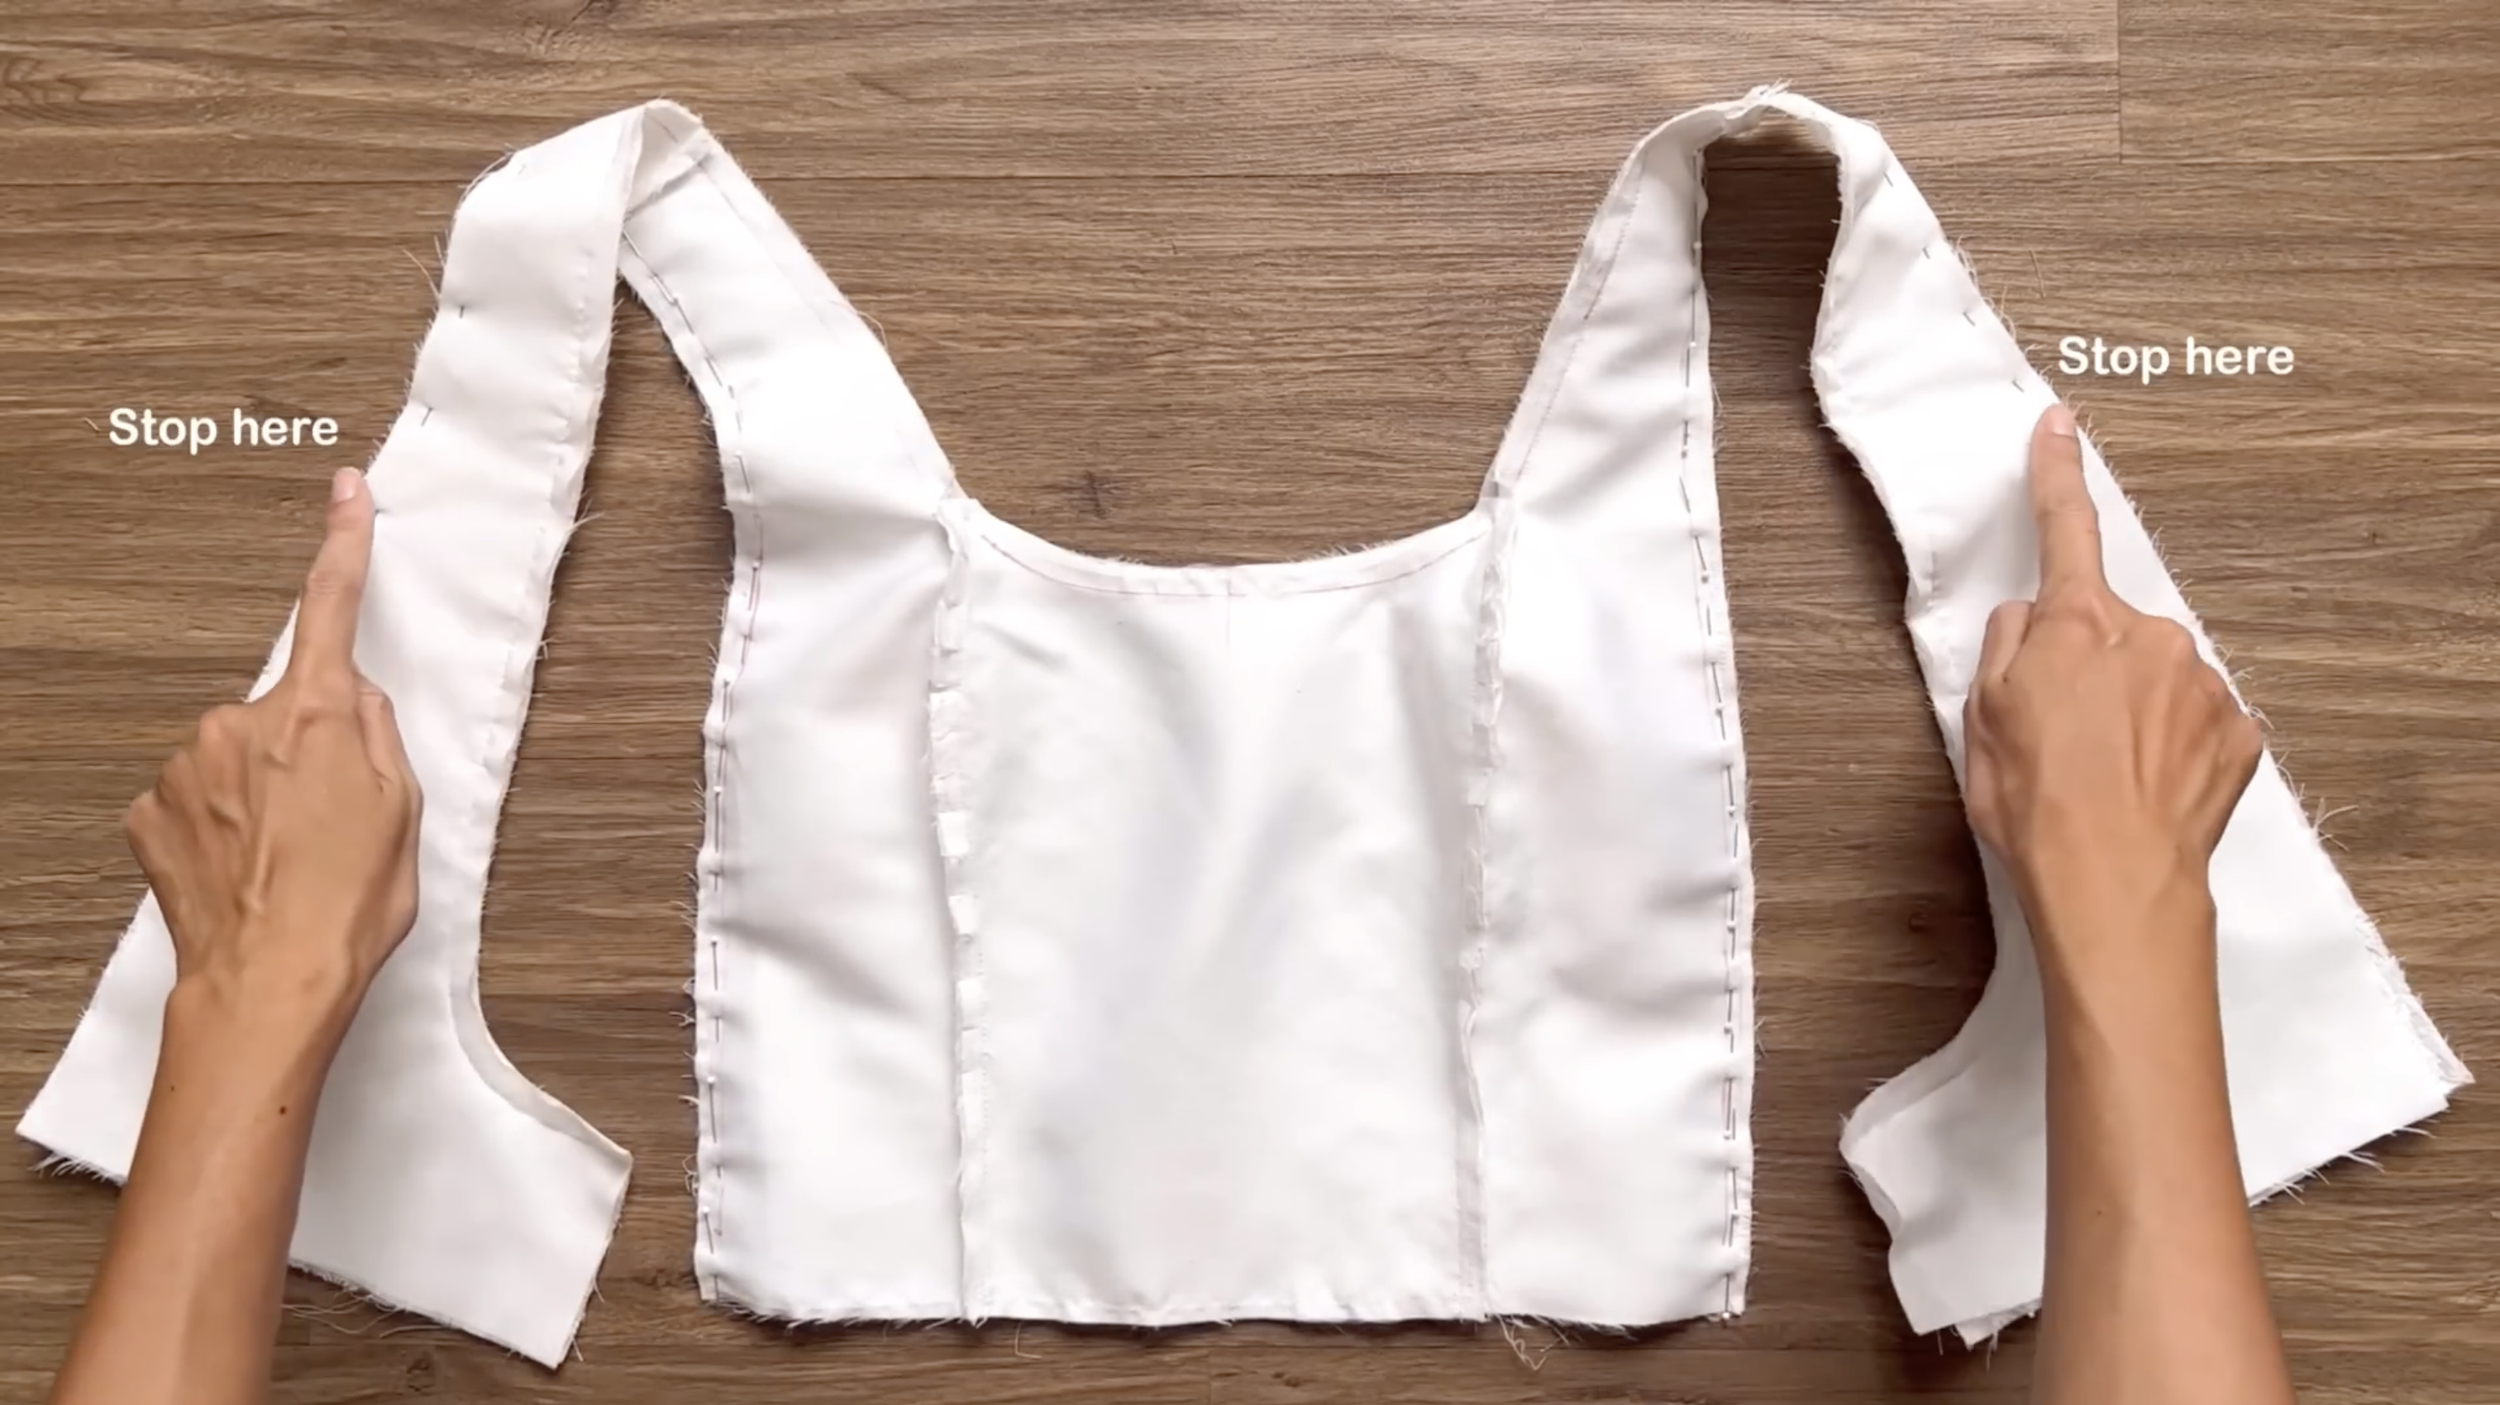
Remember, don’t sew the part at the back of the bodice.
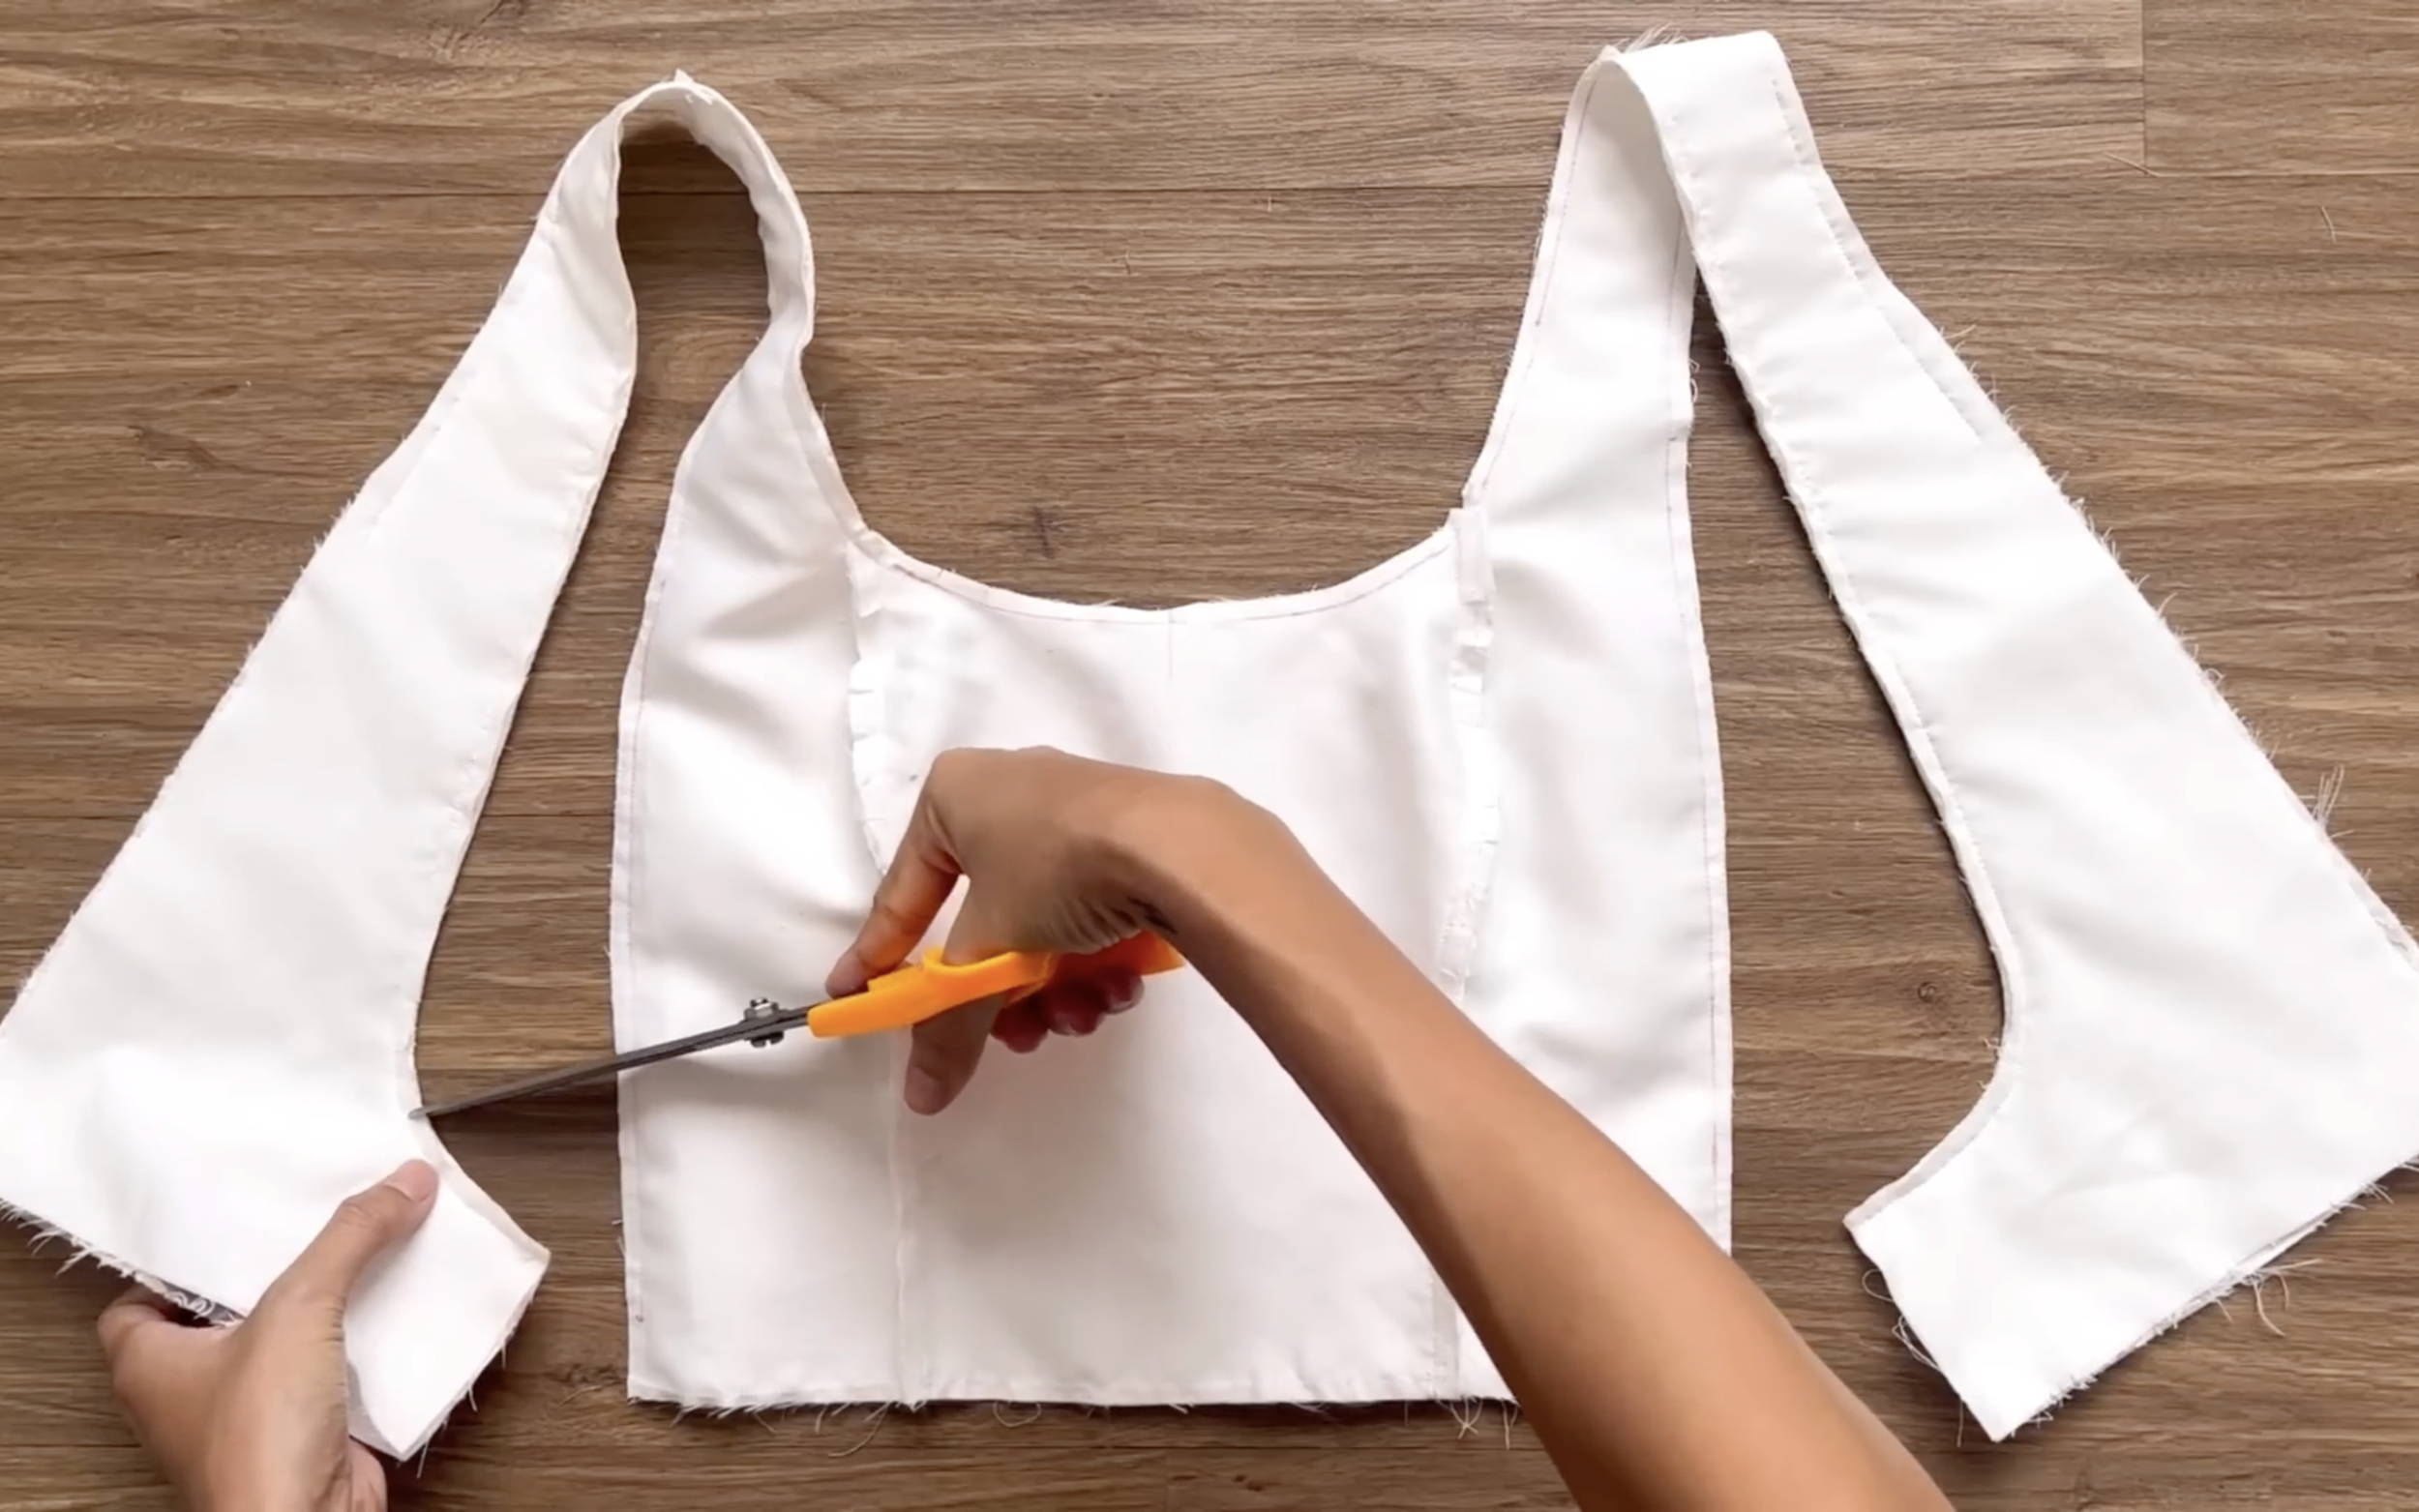
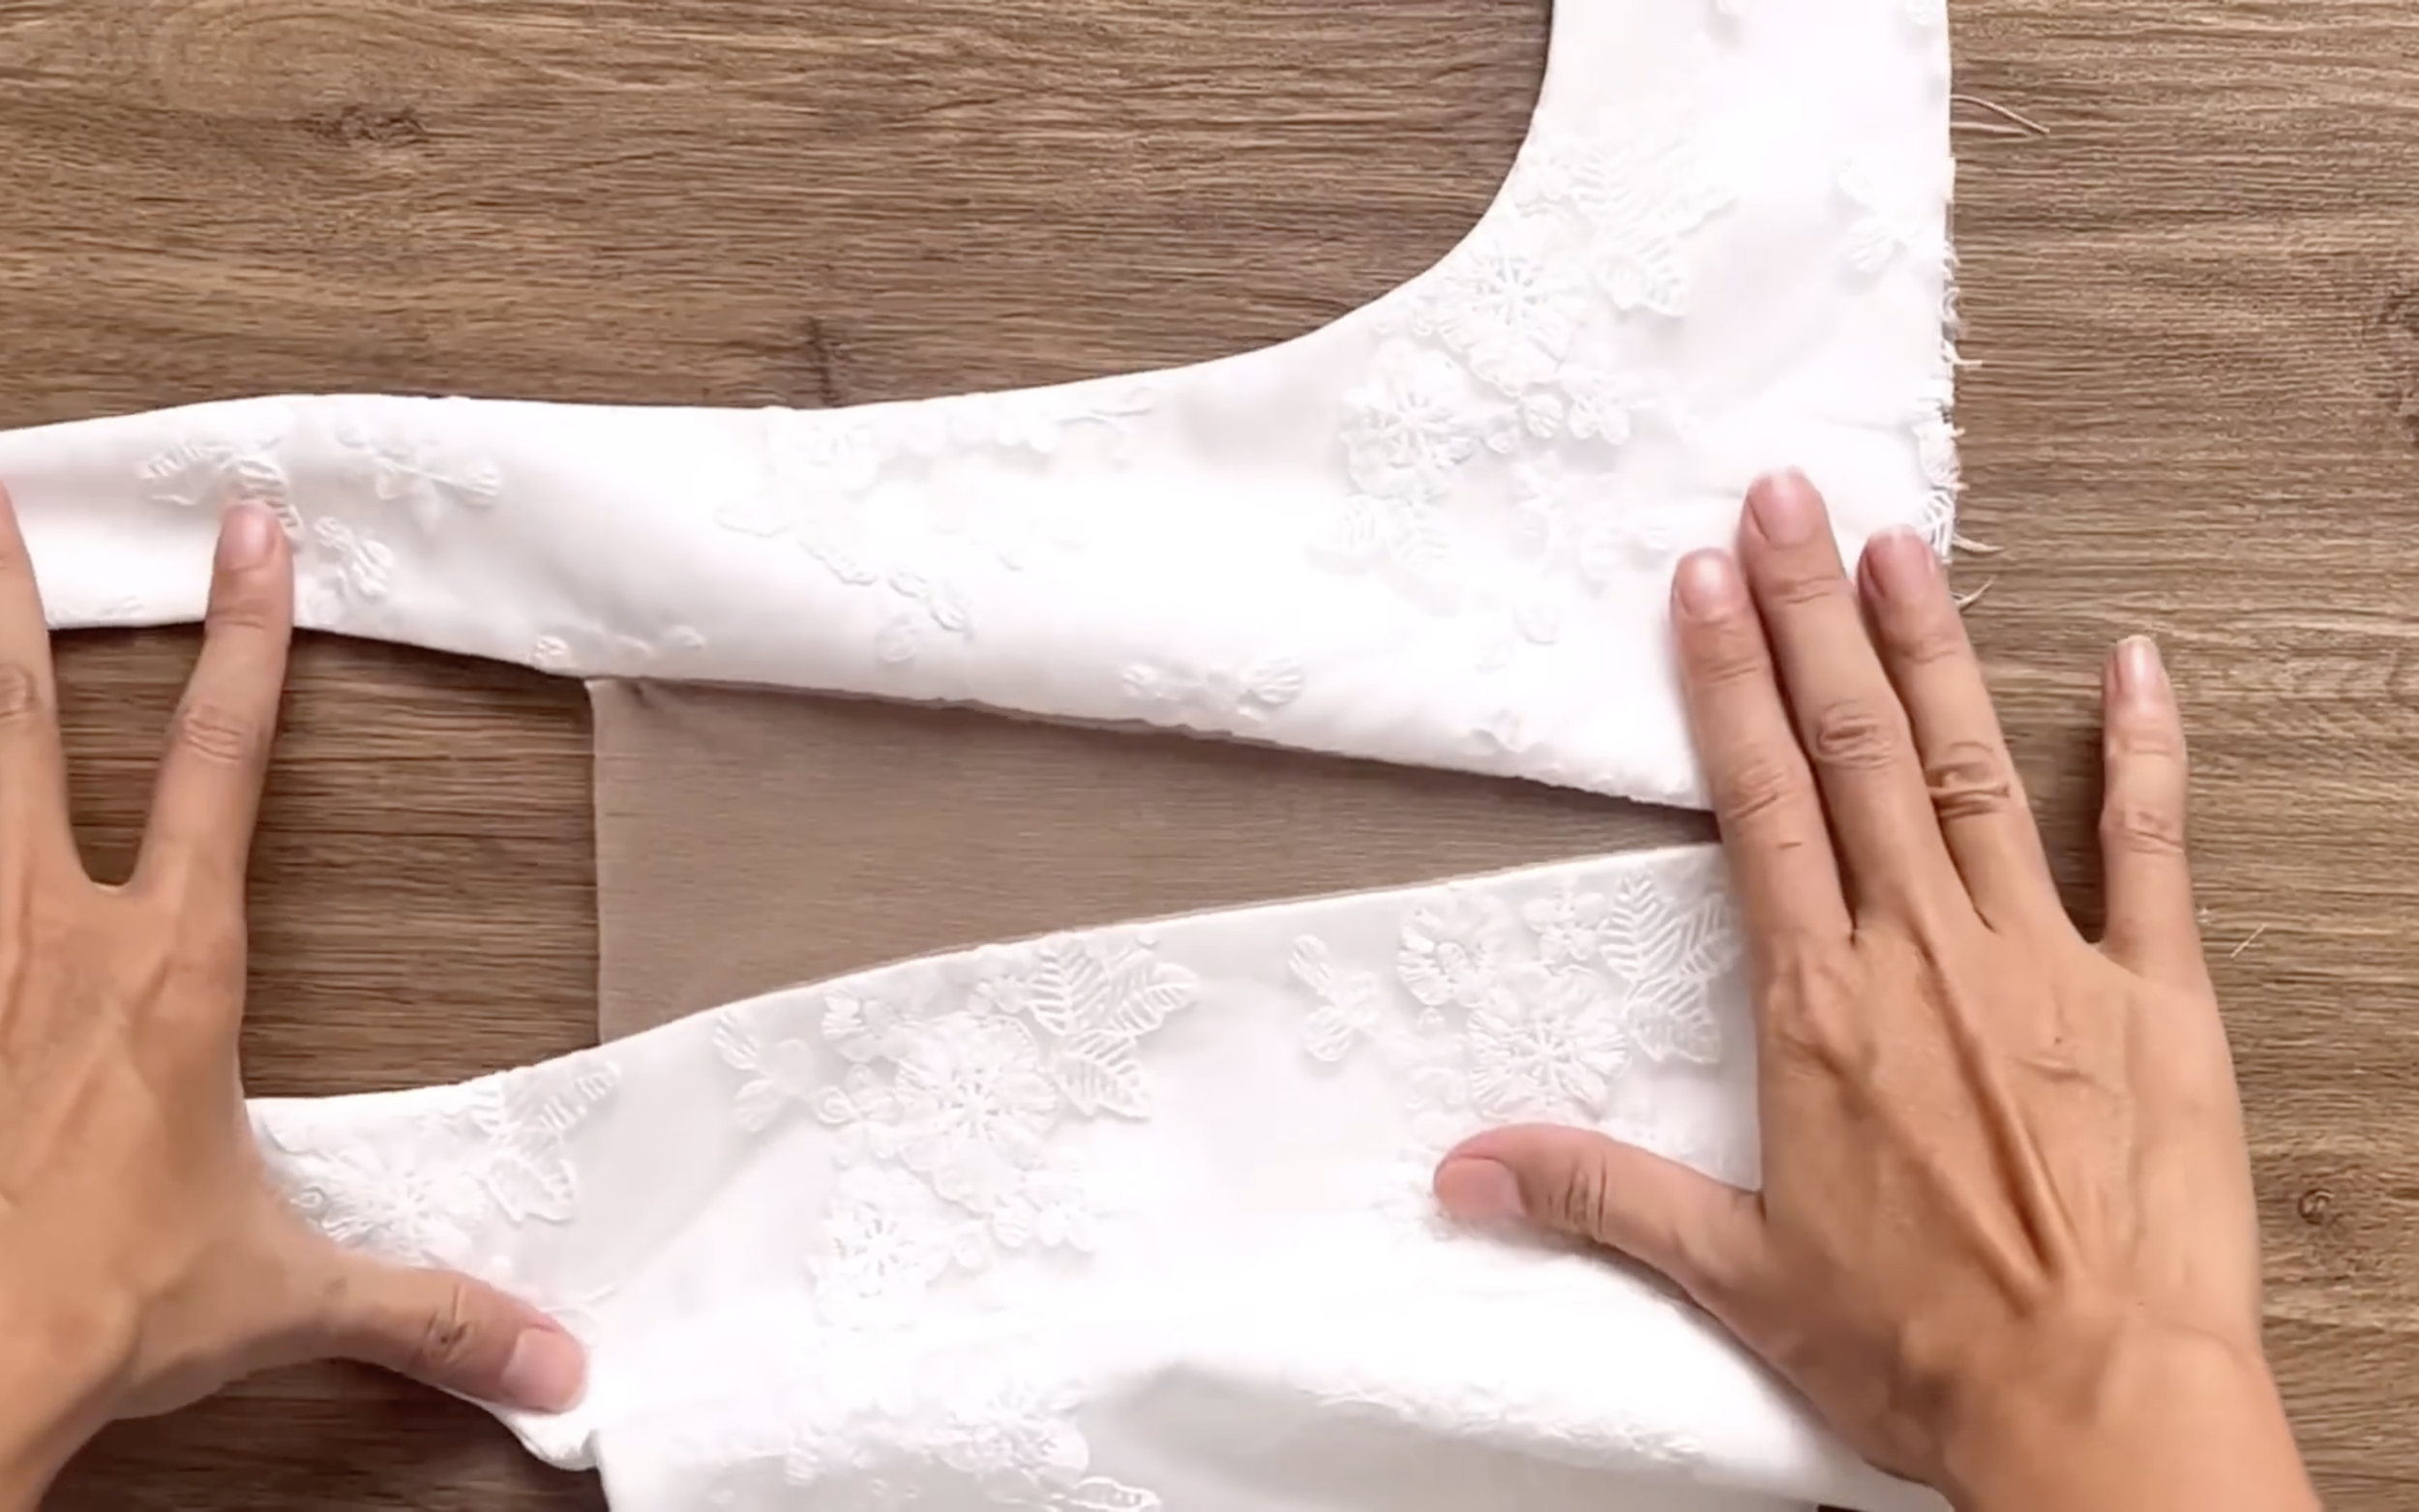
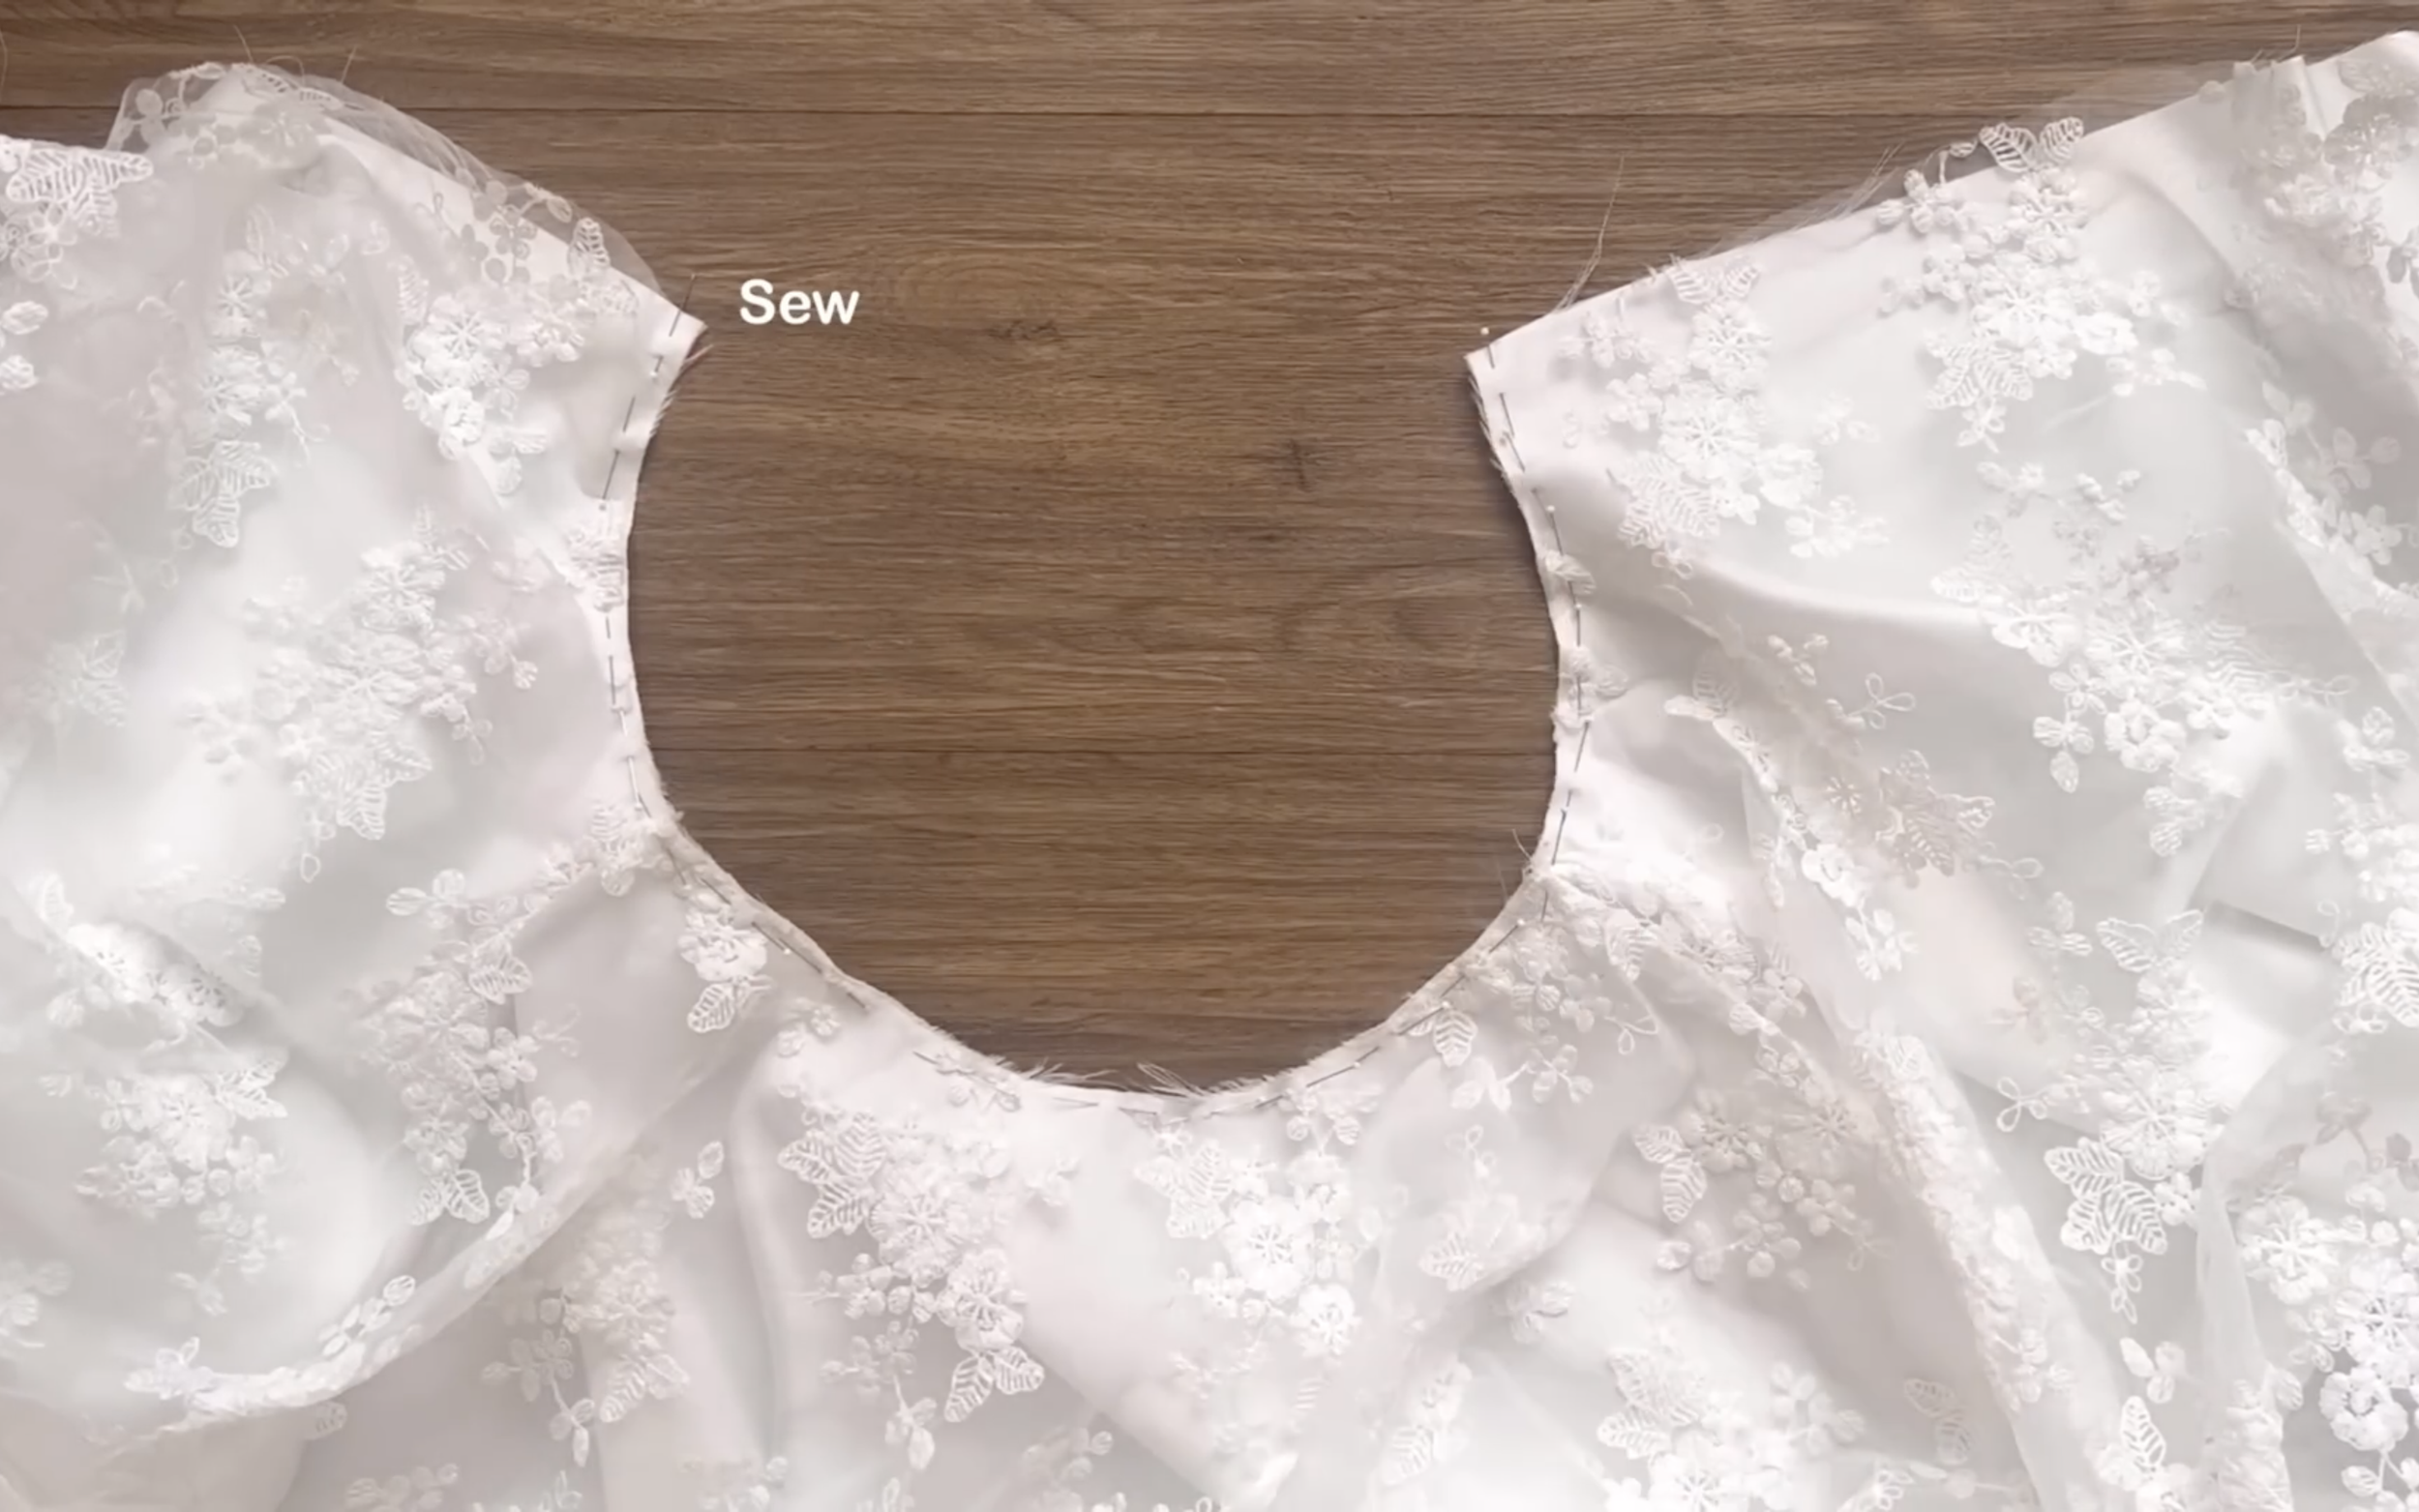
Make a few small cuts at the curved line at the neck and at the end of the open part.
Then turn them inside to hide the end fabric inside.
After that, connect the other side of the cut-out piece to the back of the bodice.
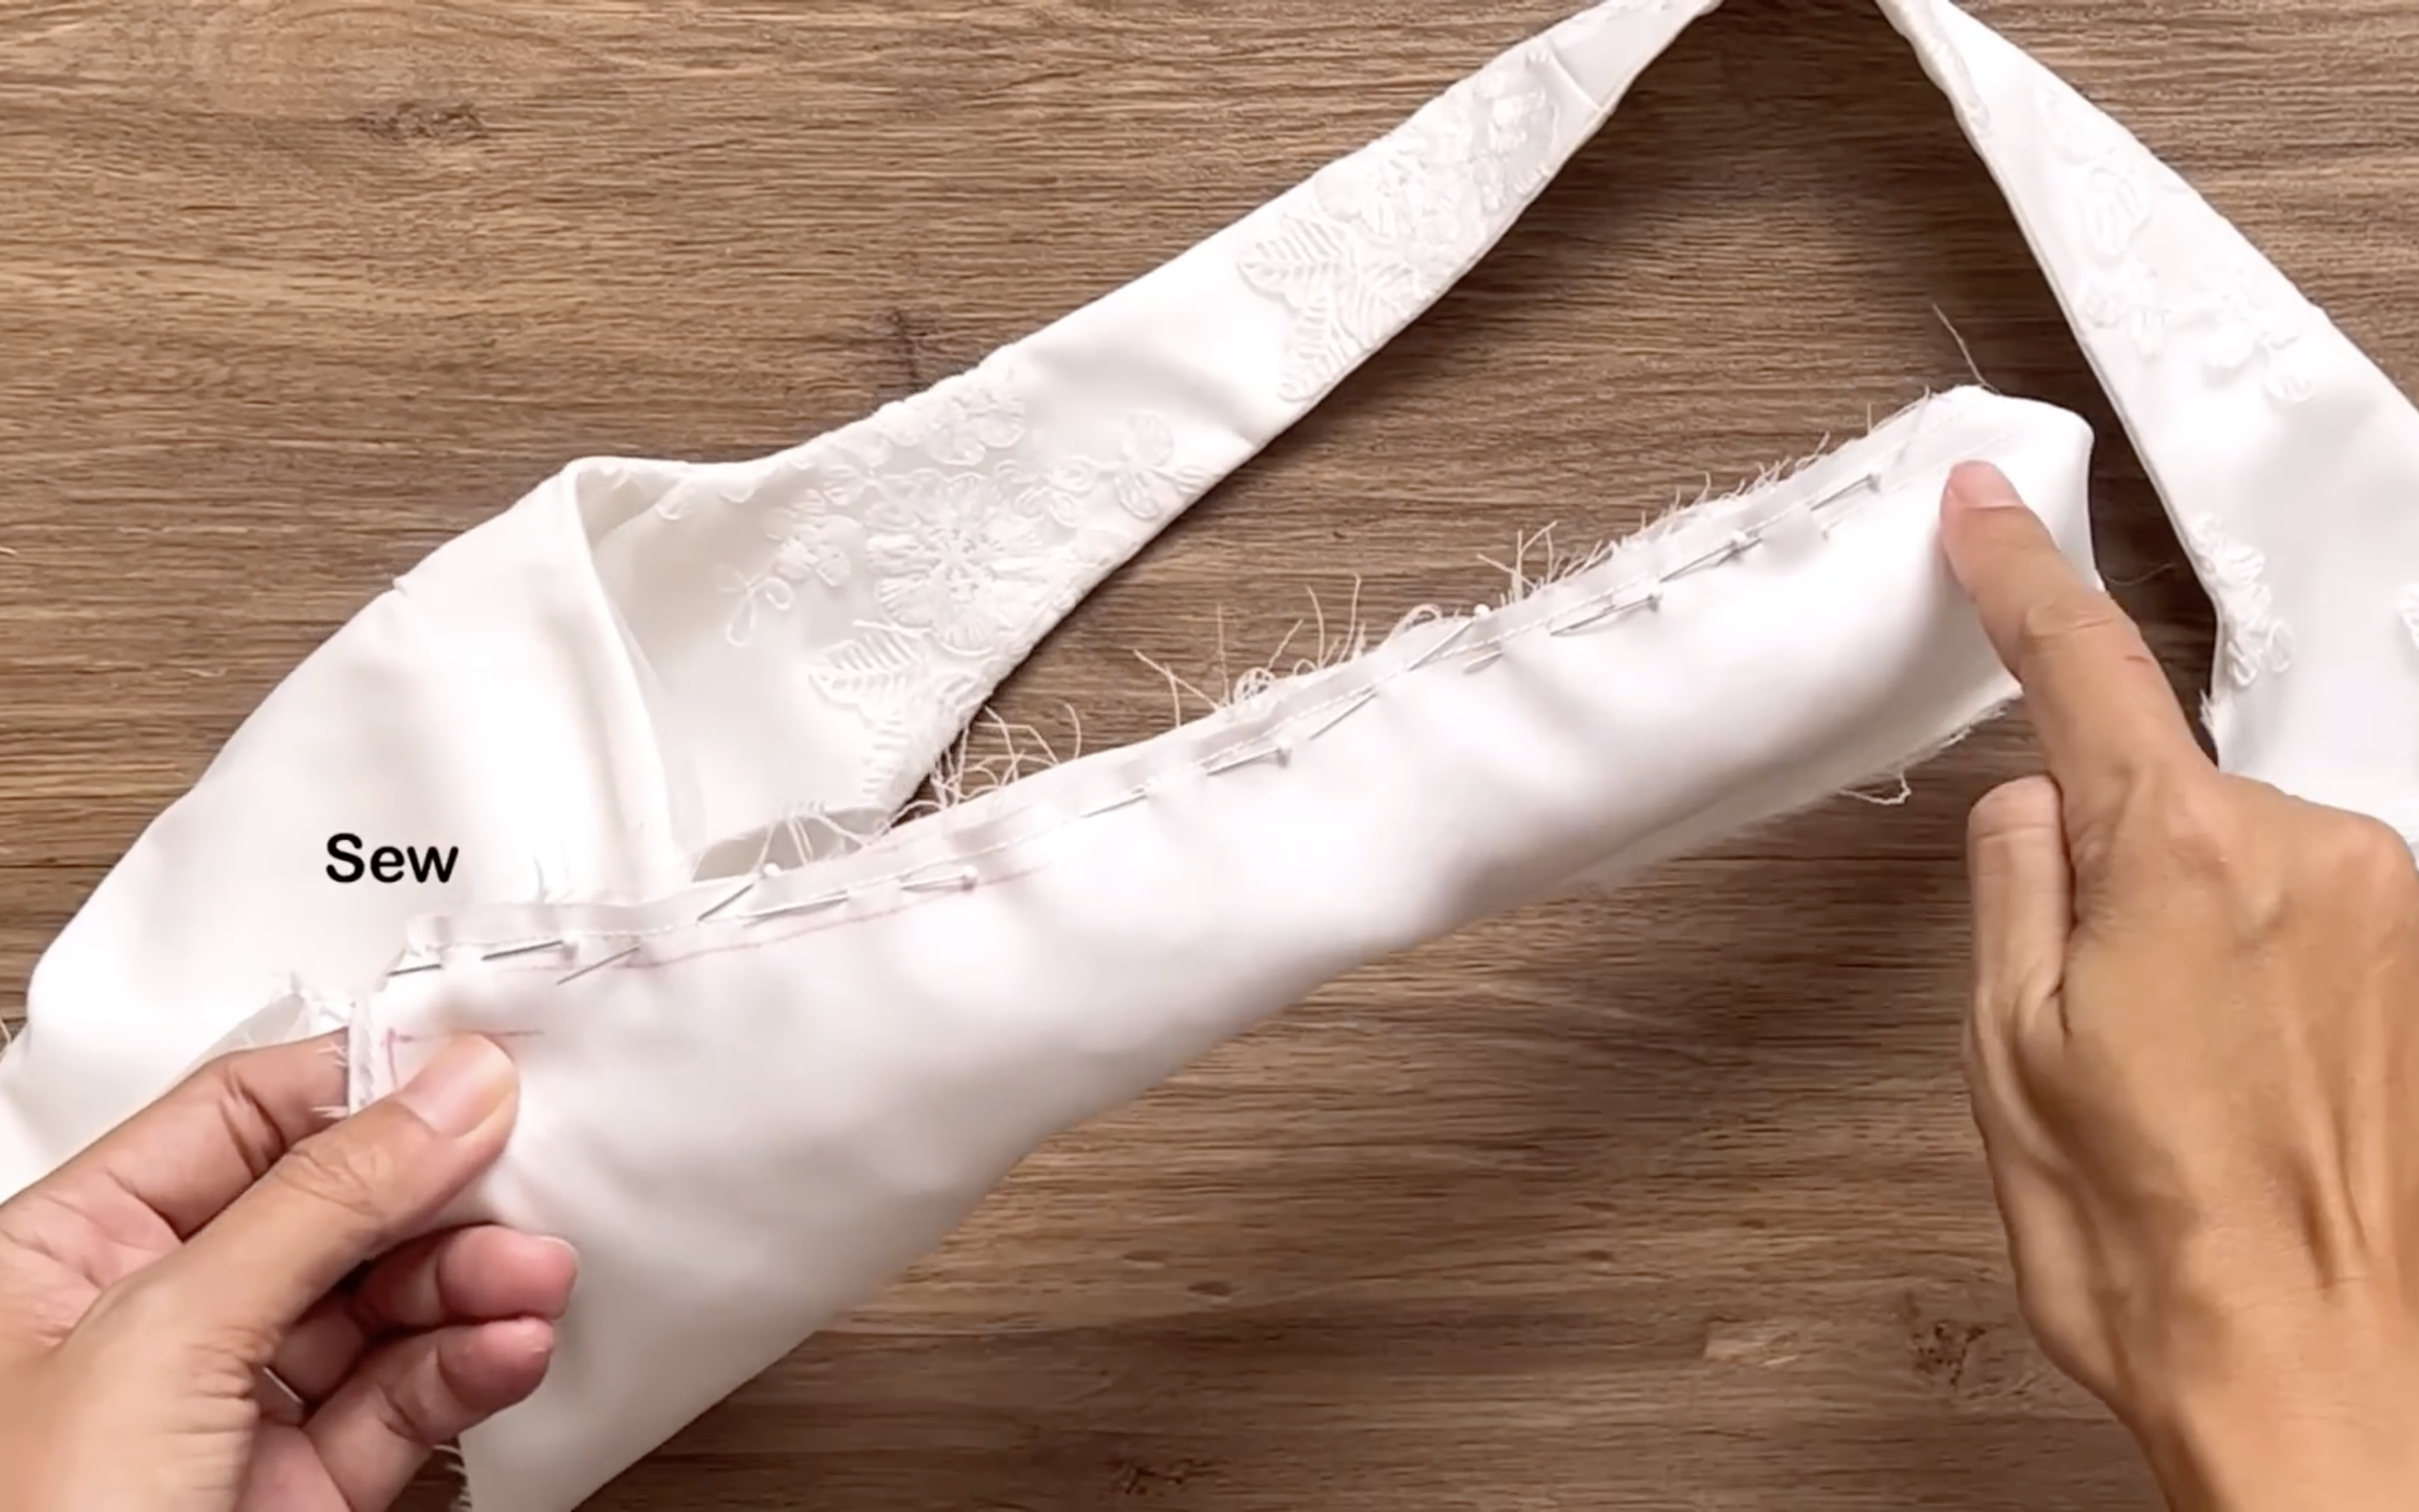
Make sure to put the cut-out piece in the middle between the main fabric and the lining fabric and sew.
After turning the back part right-side out, don't need to permanently set the seam.
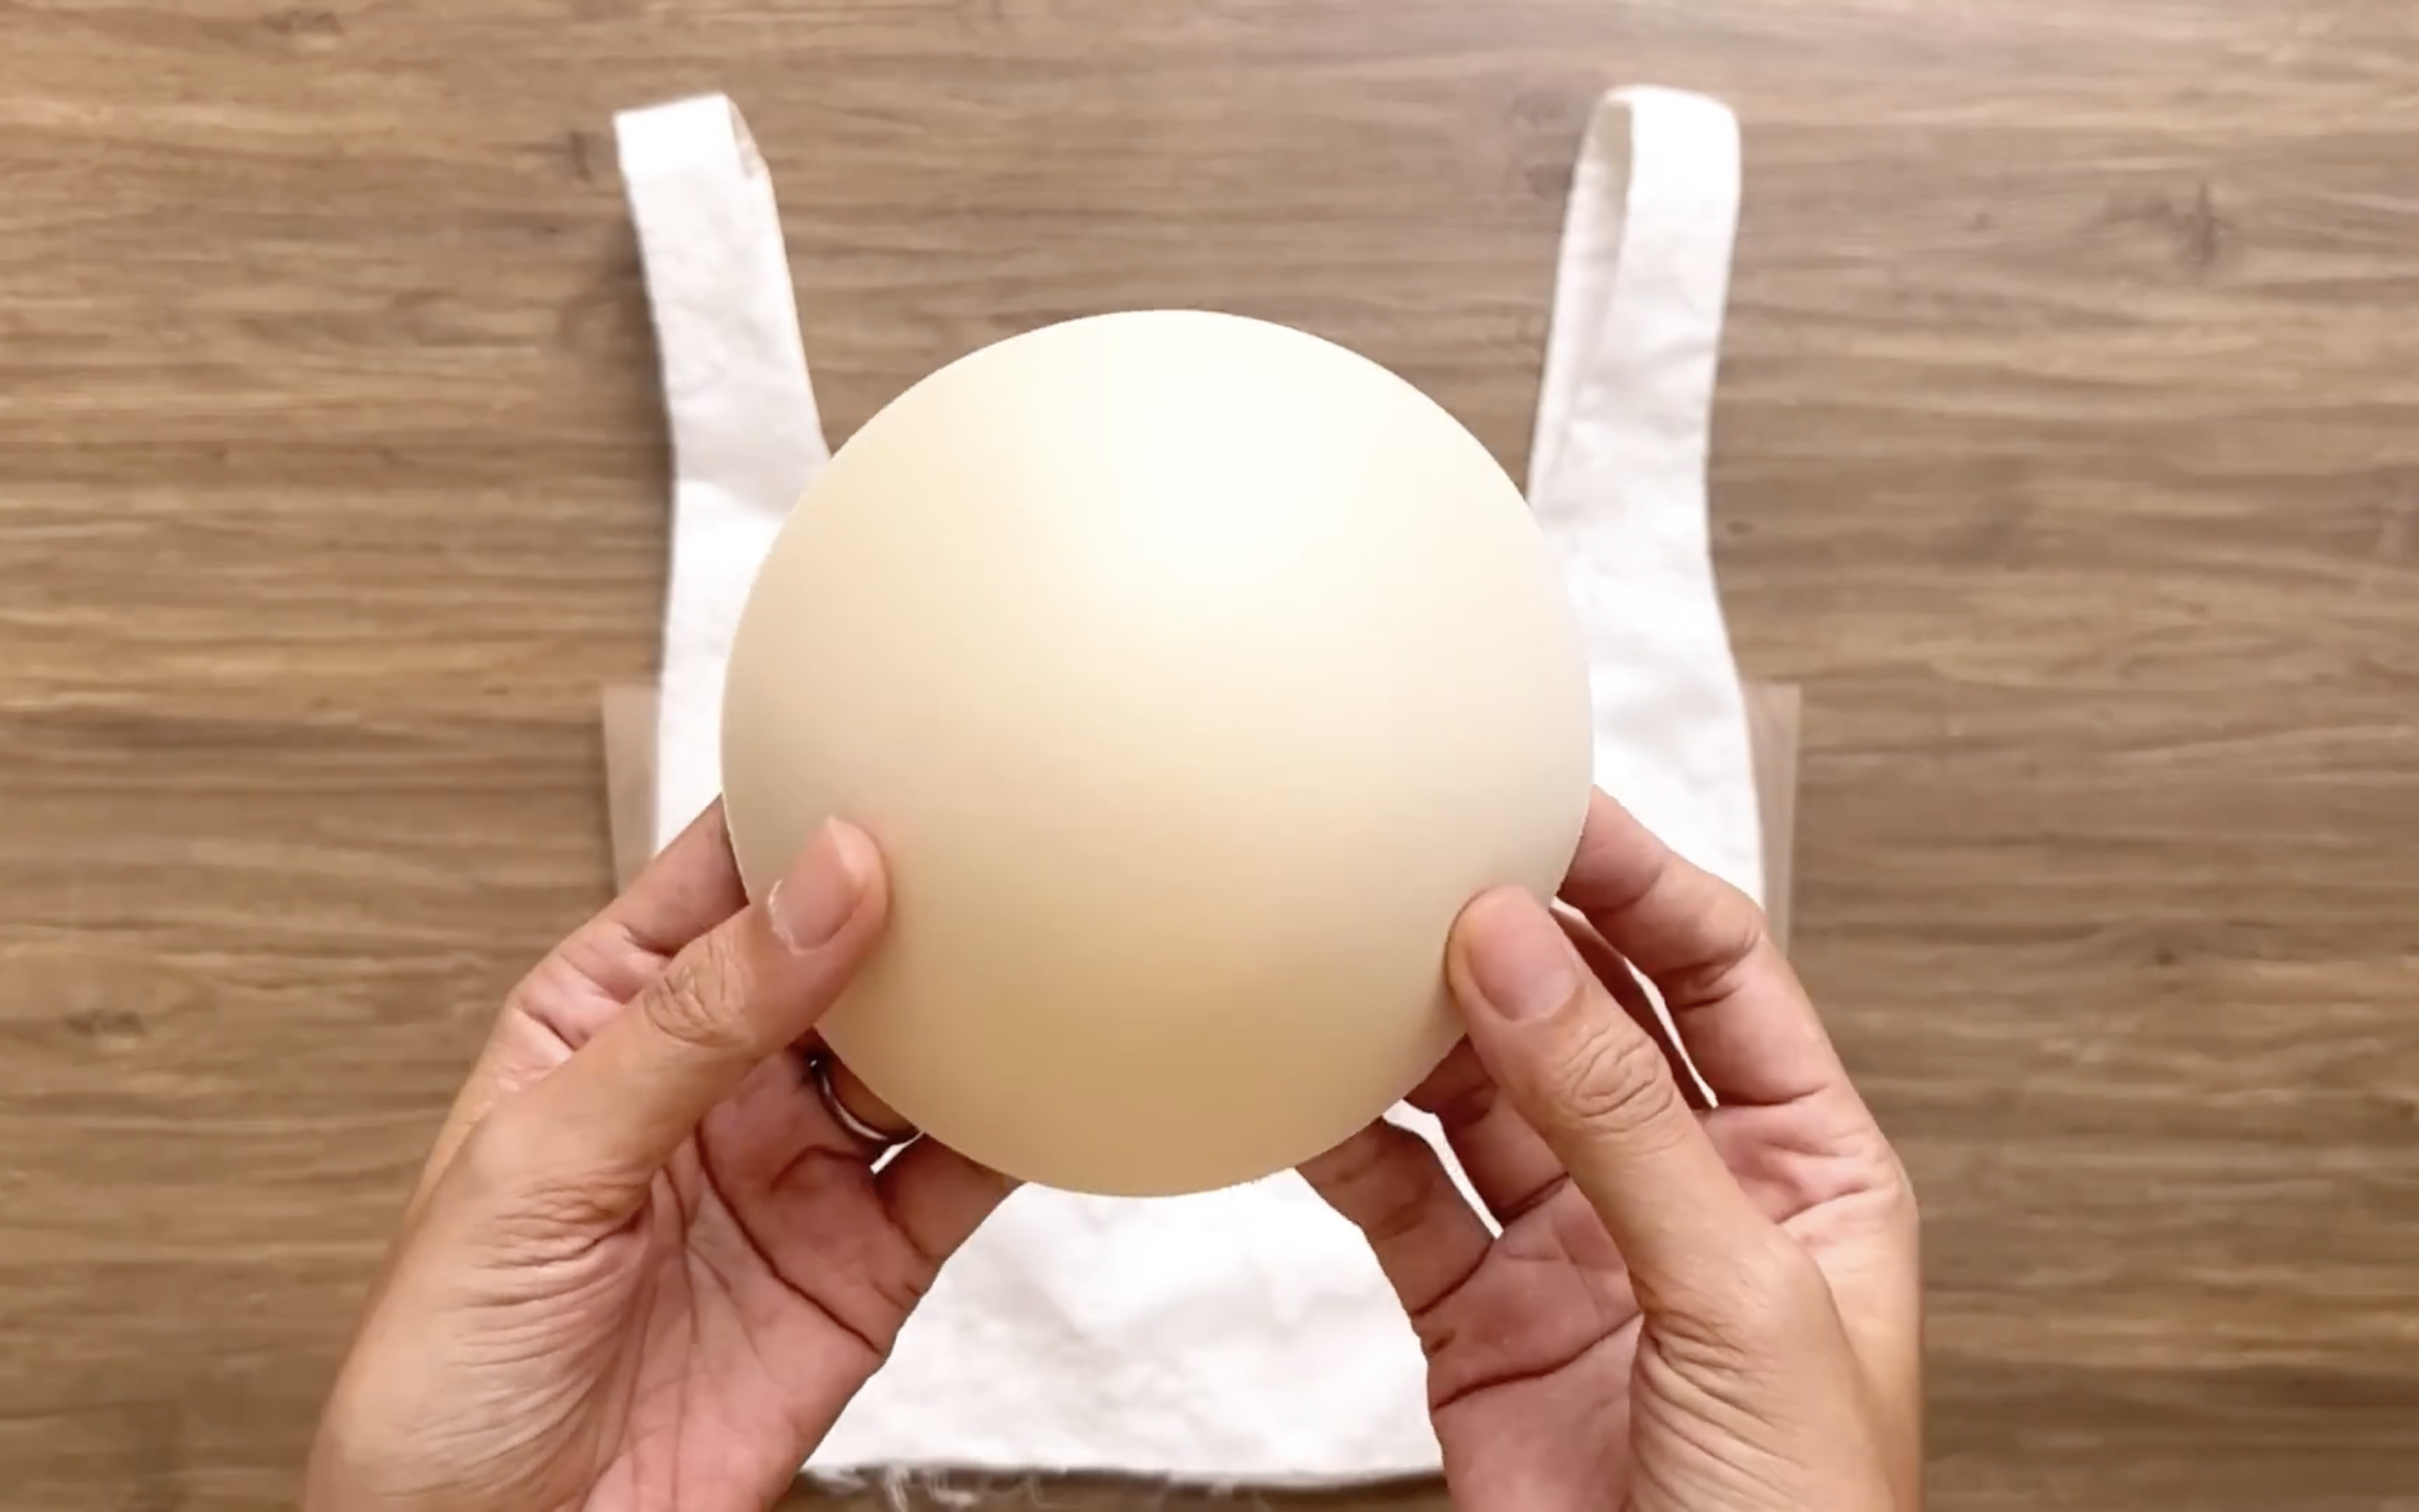
Use a pair of cup foam to add the extra shape for the small breast.
Then, connect the main fabric and the lining fabric at the end of the bodice together.
And the bodice part of the dress will be finished after sewing.
THE SKIRT PART
Moving to the skirt part of the dress, connect the front skirt to two pieces of the back skirts together at the sidelines.
Do the same for the blank white fabric and the floral fabric. Then, connect them together at the waistline.
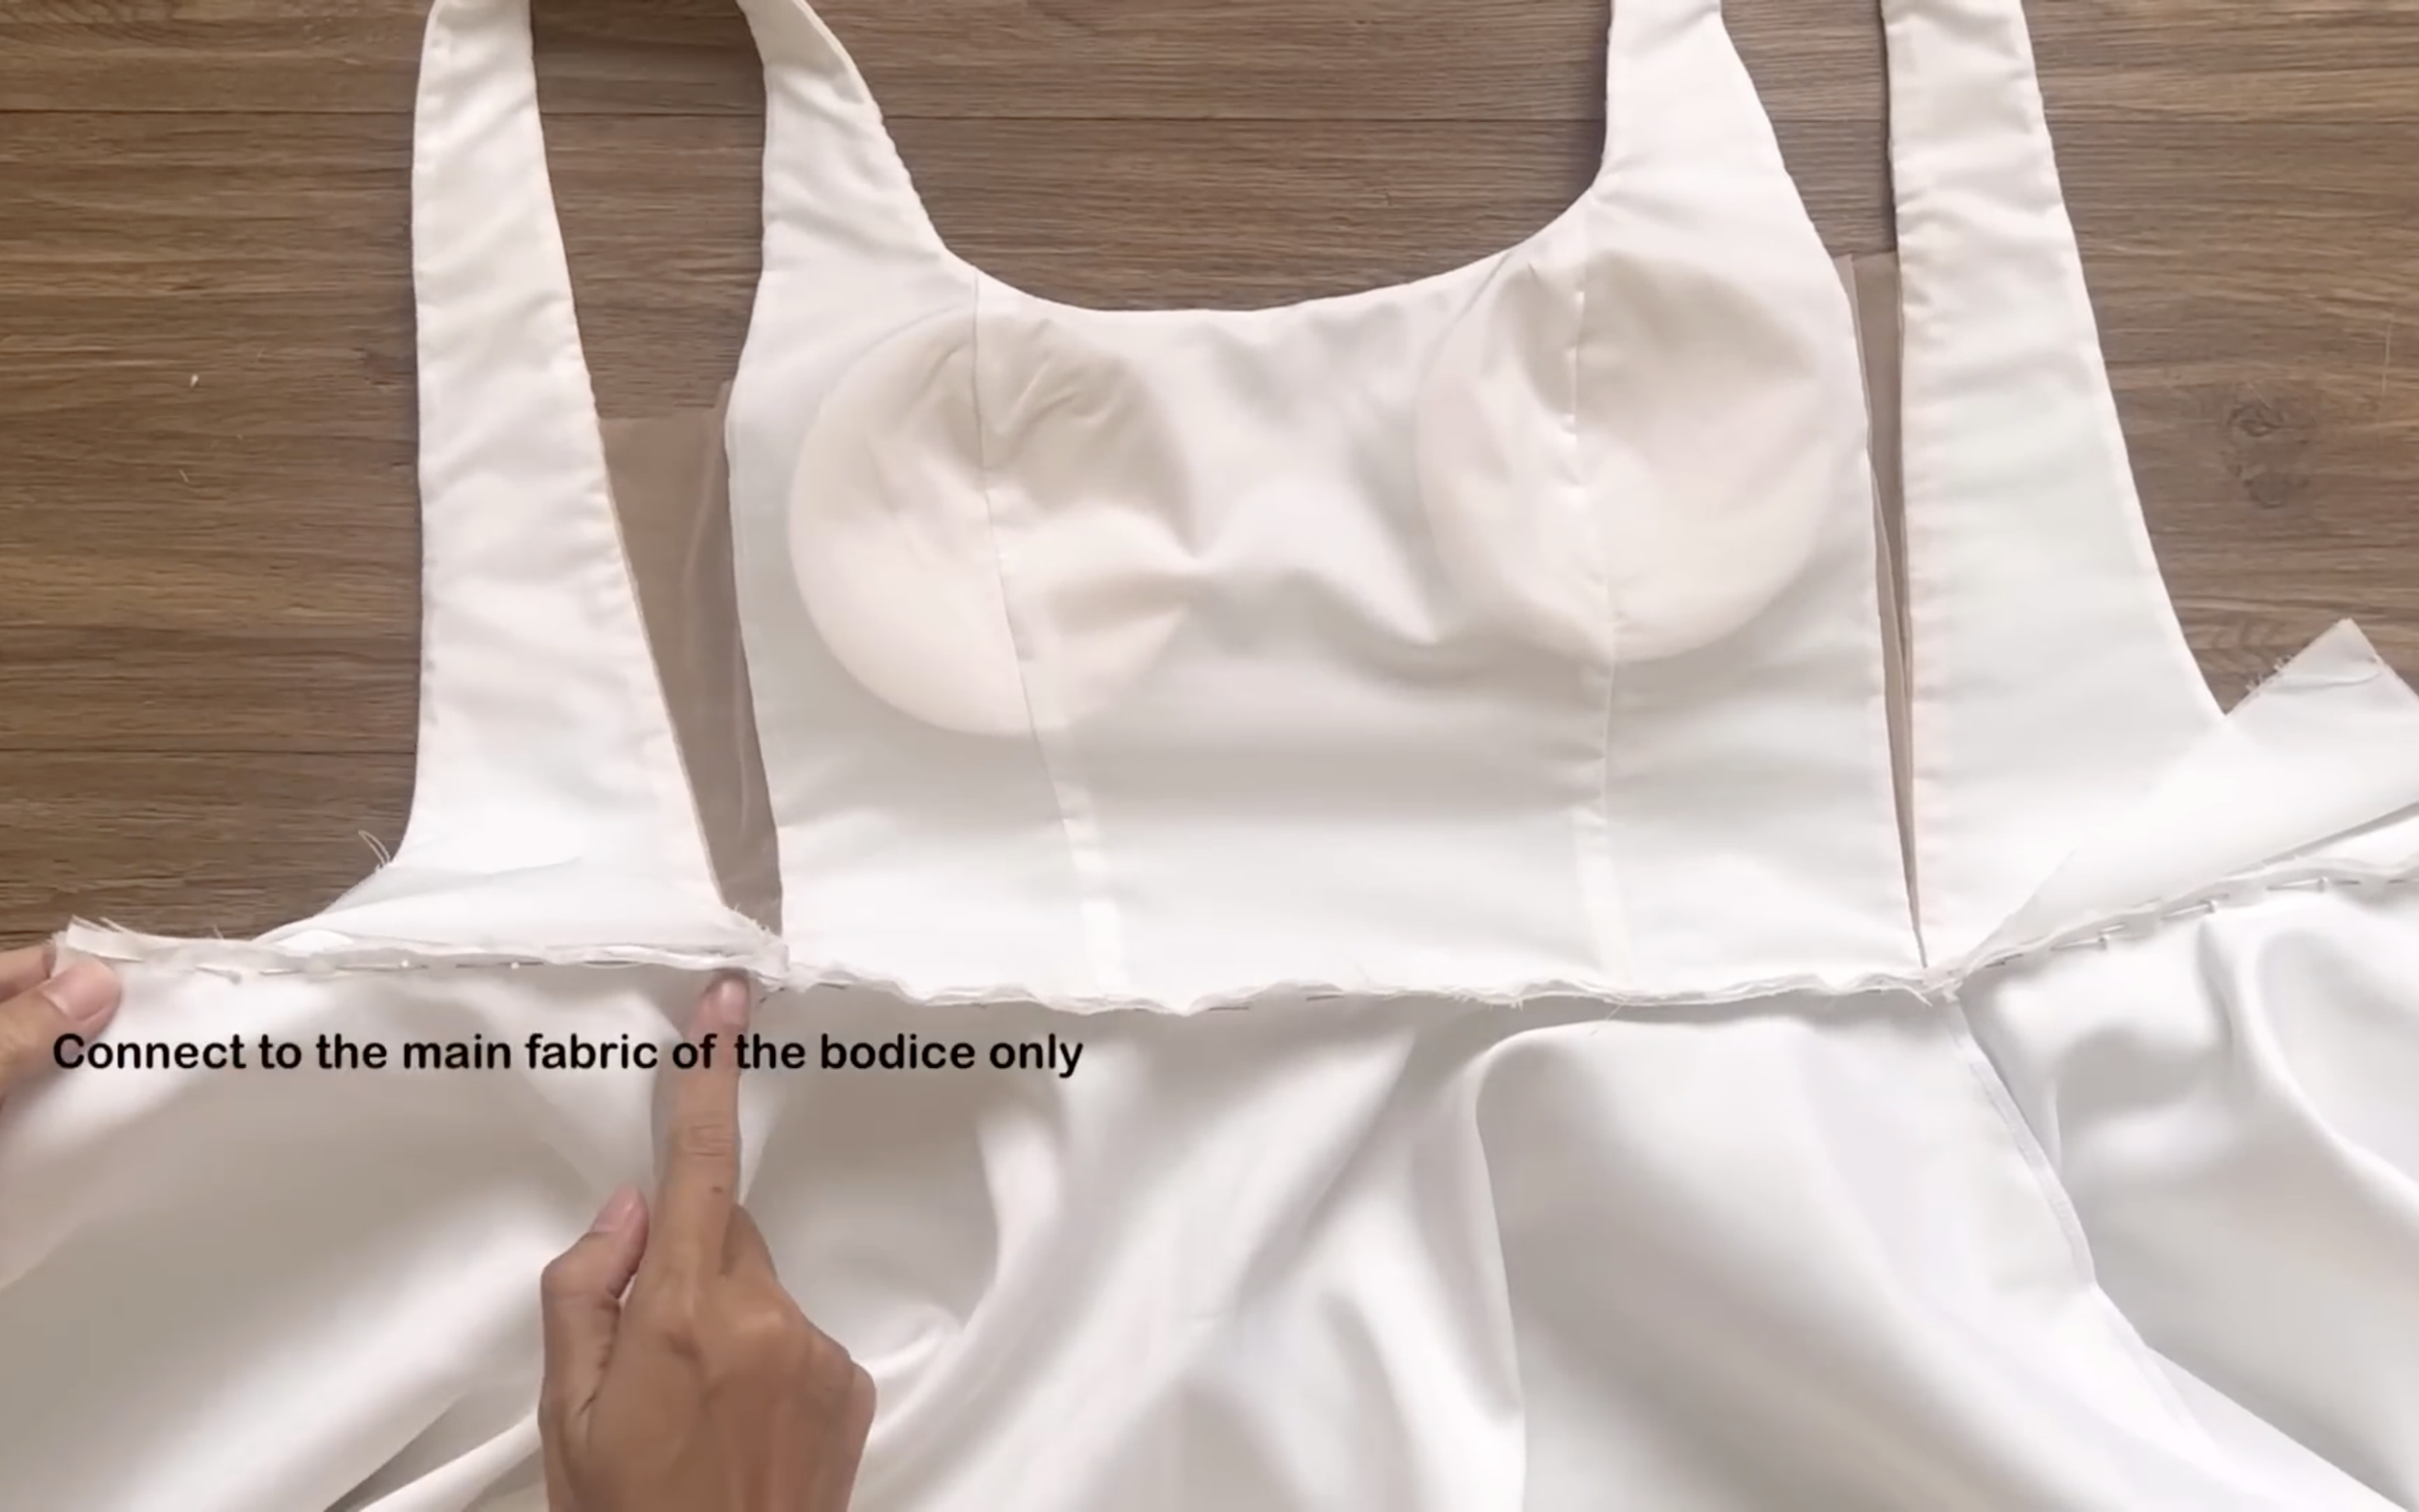
After that, connect the main fabric of the skirt part to the bodice.
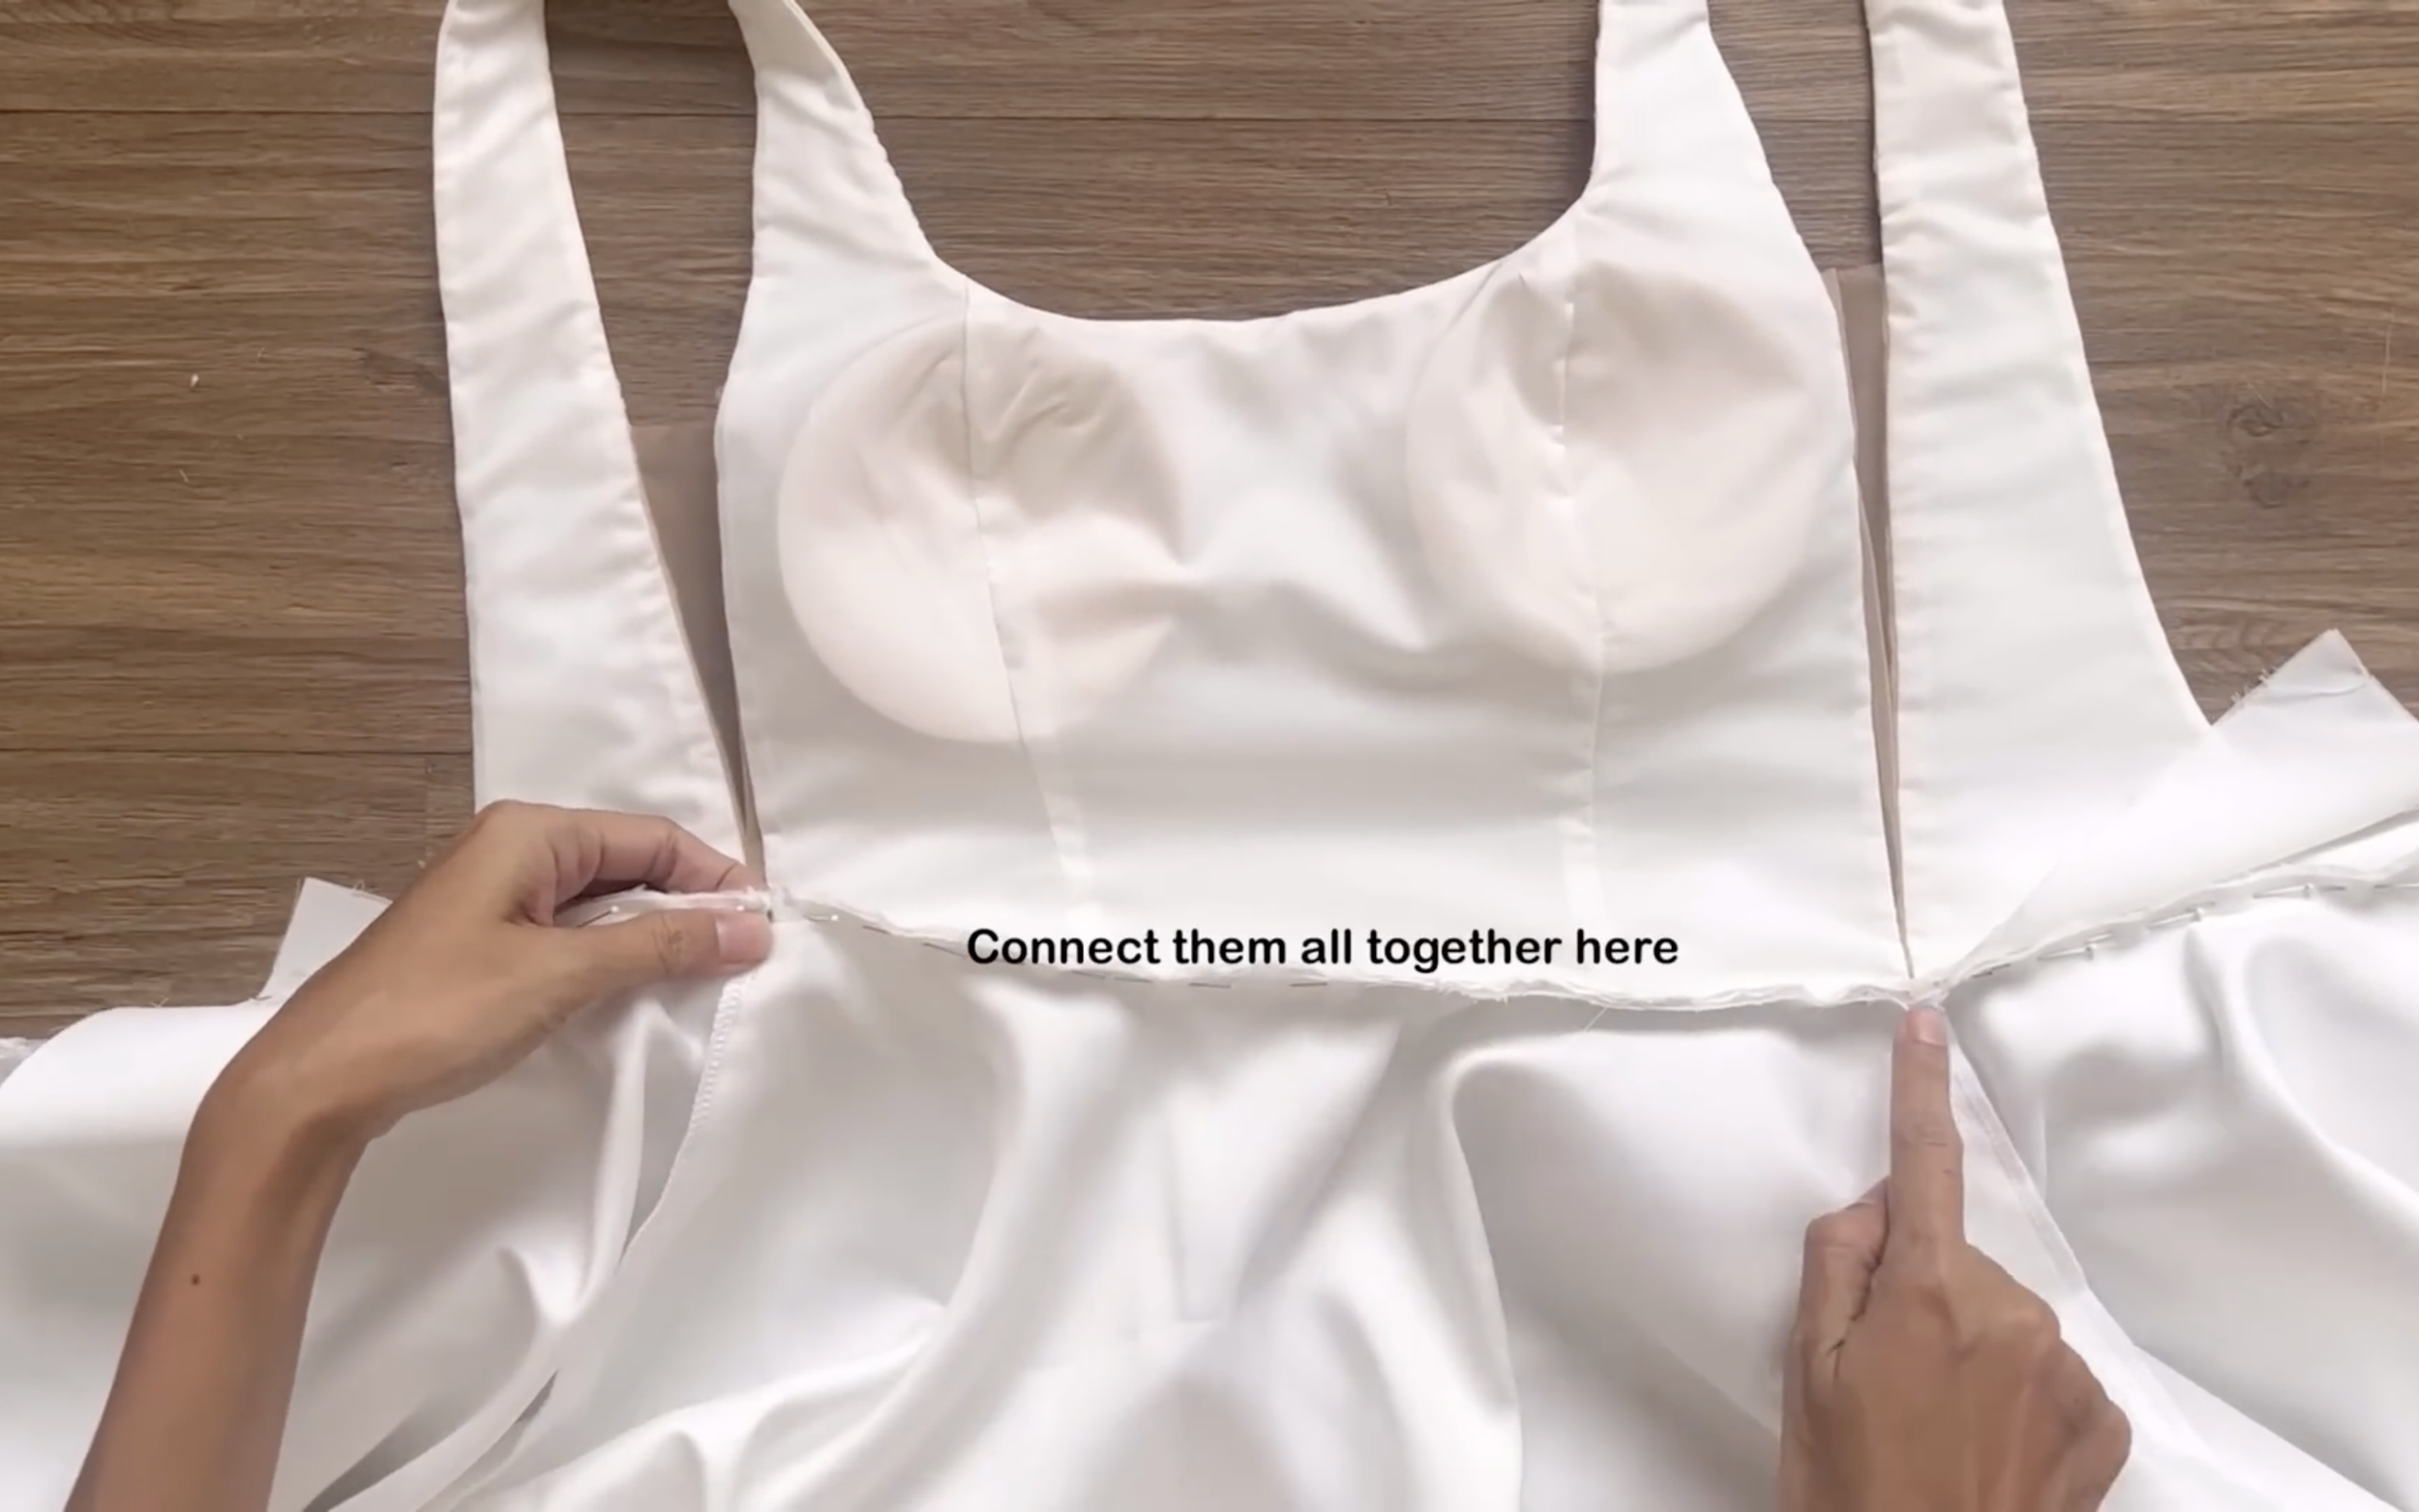
However, just connect them together at the front of the dress and keep the back open.
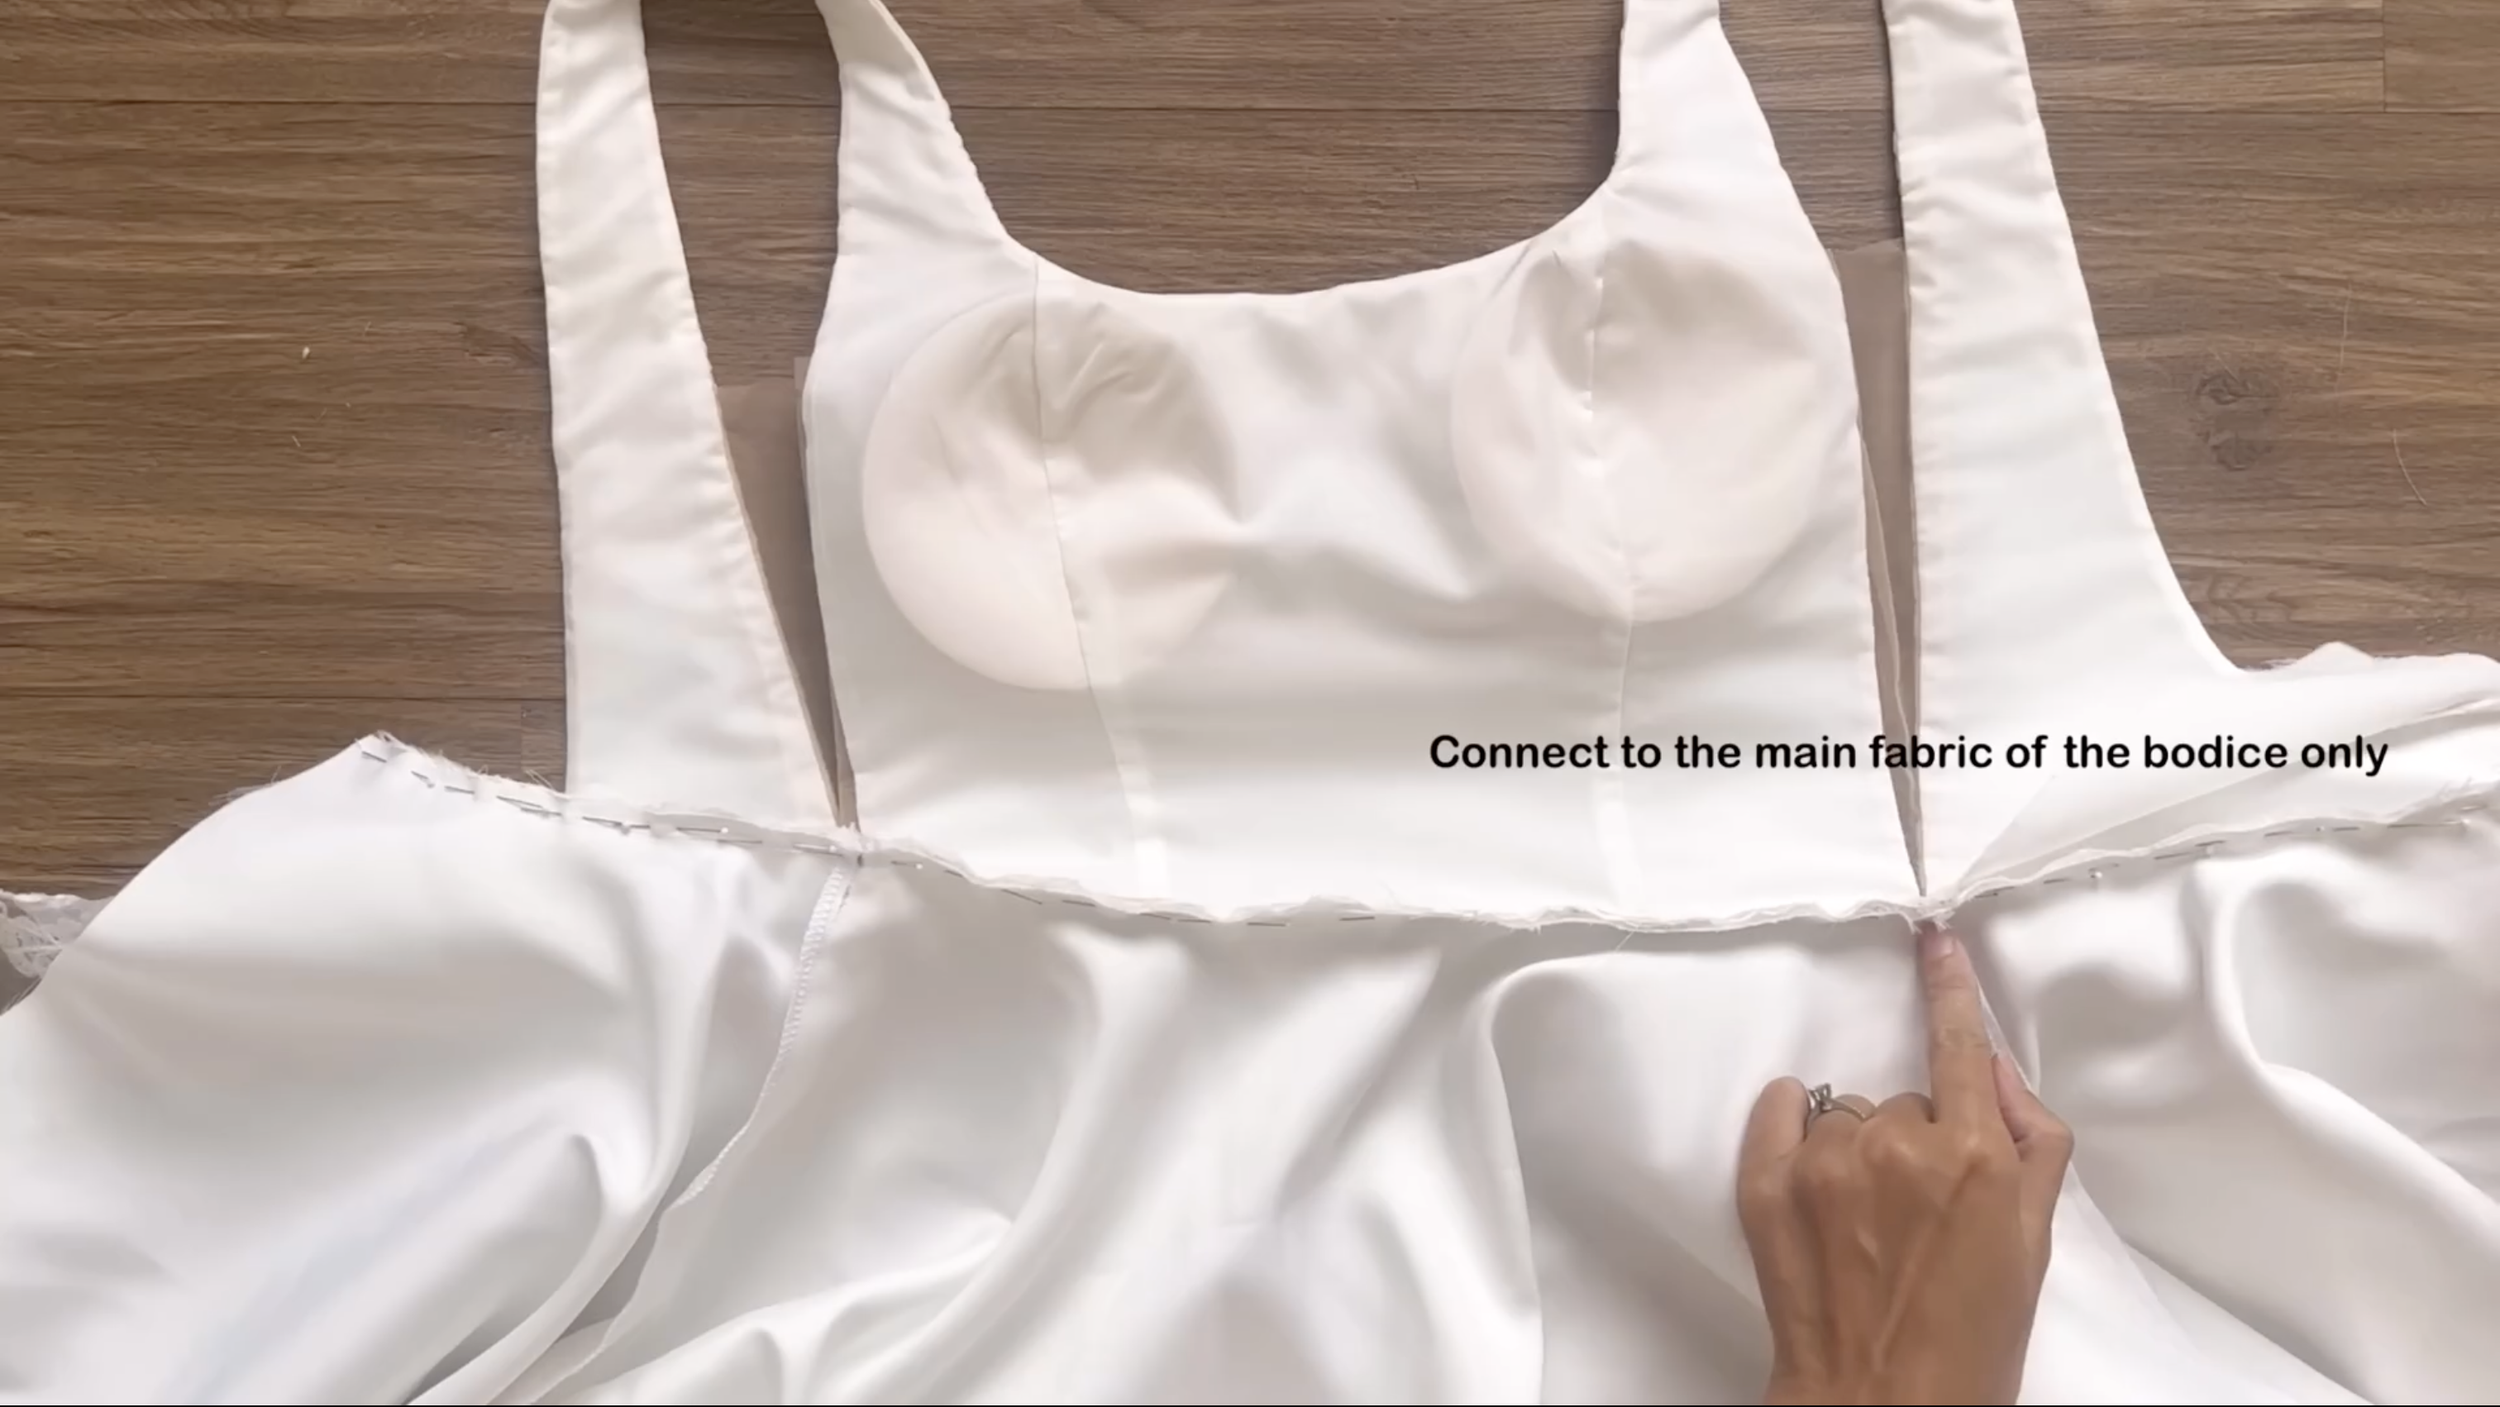
Repeat the same process for the other side.
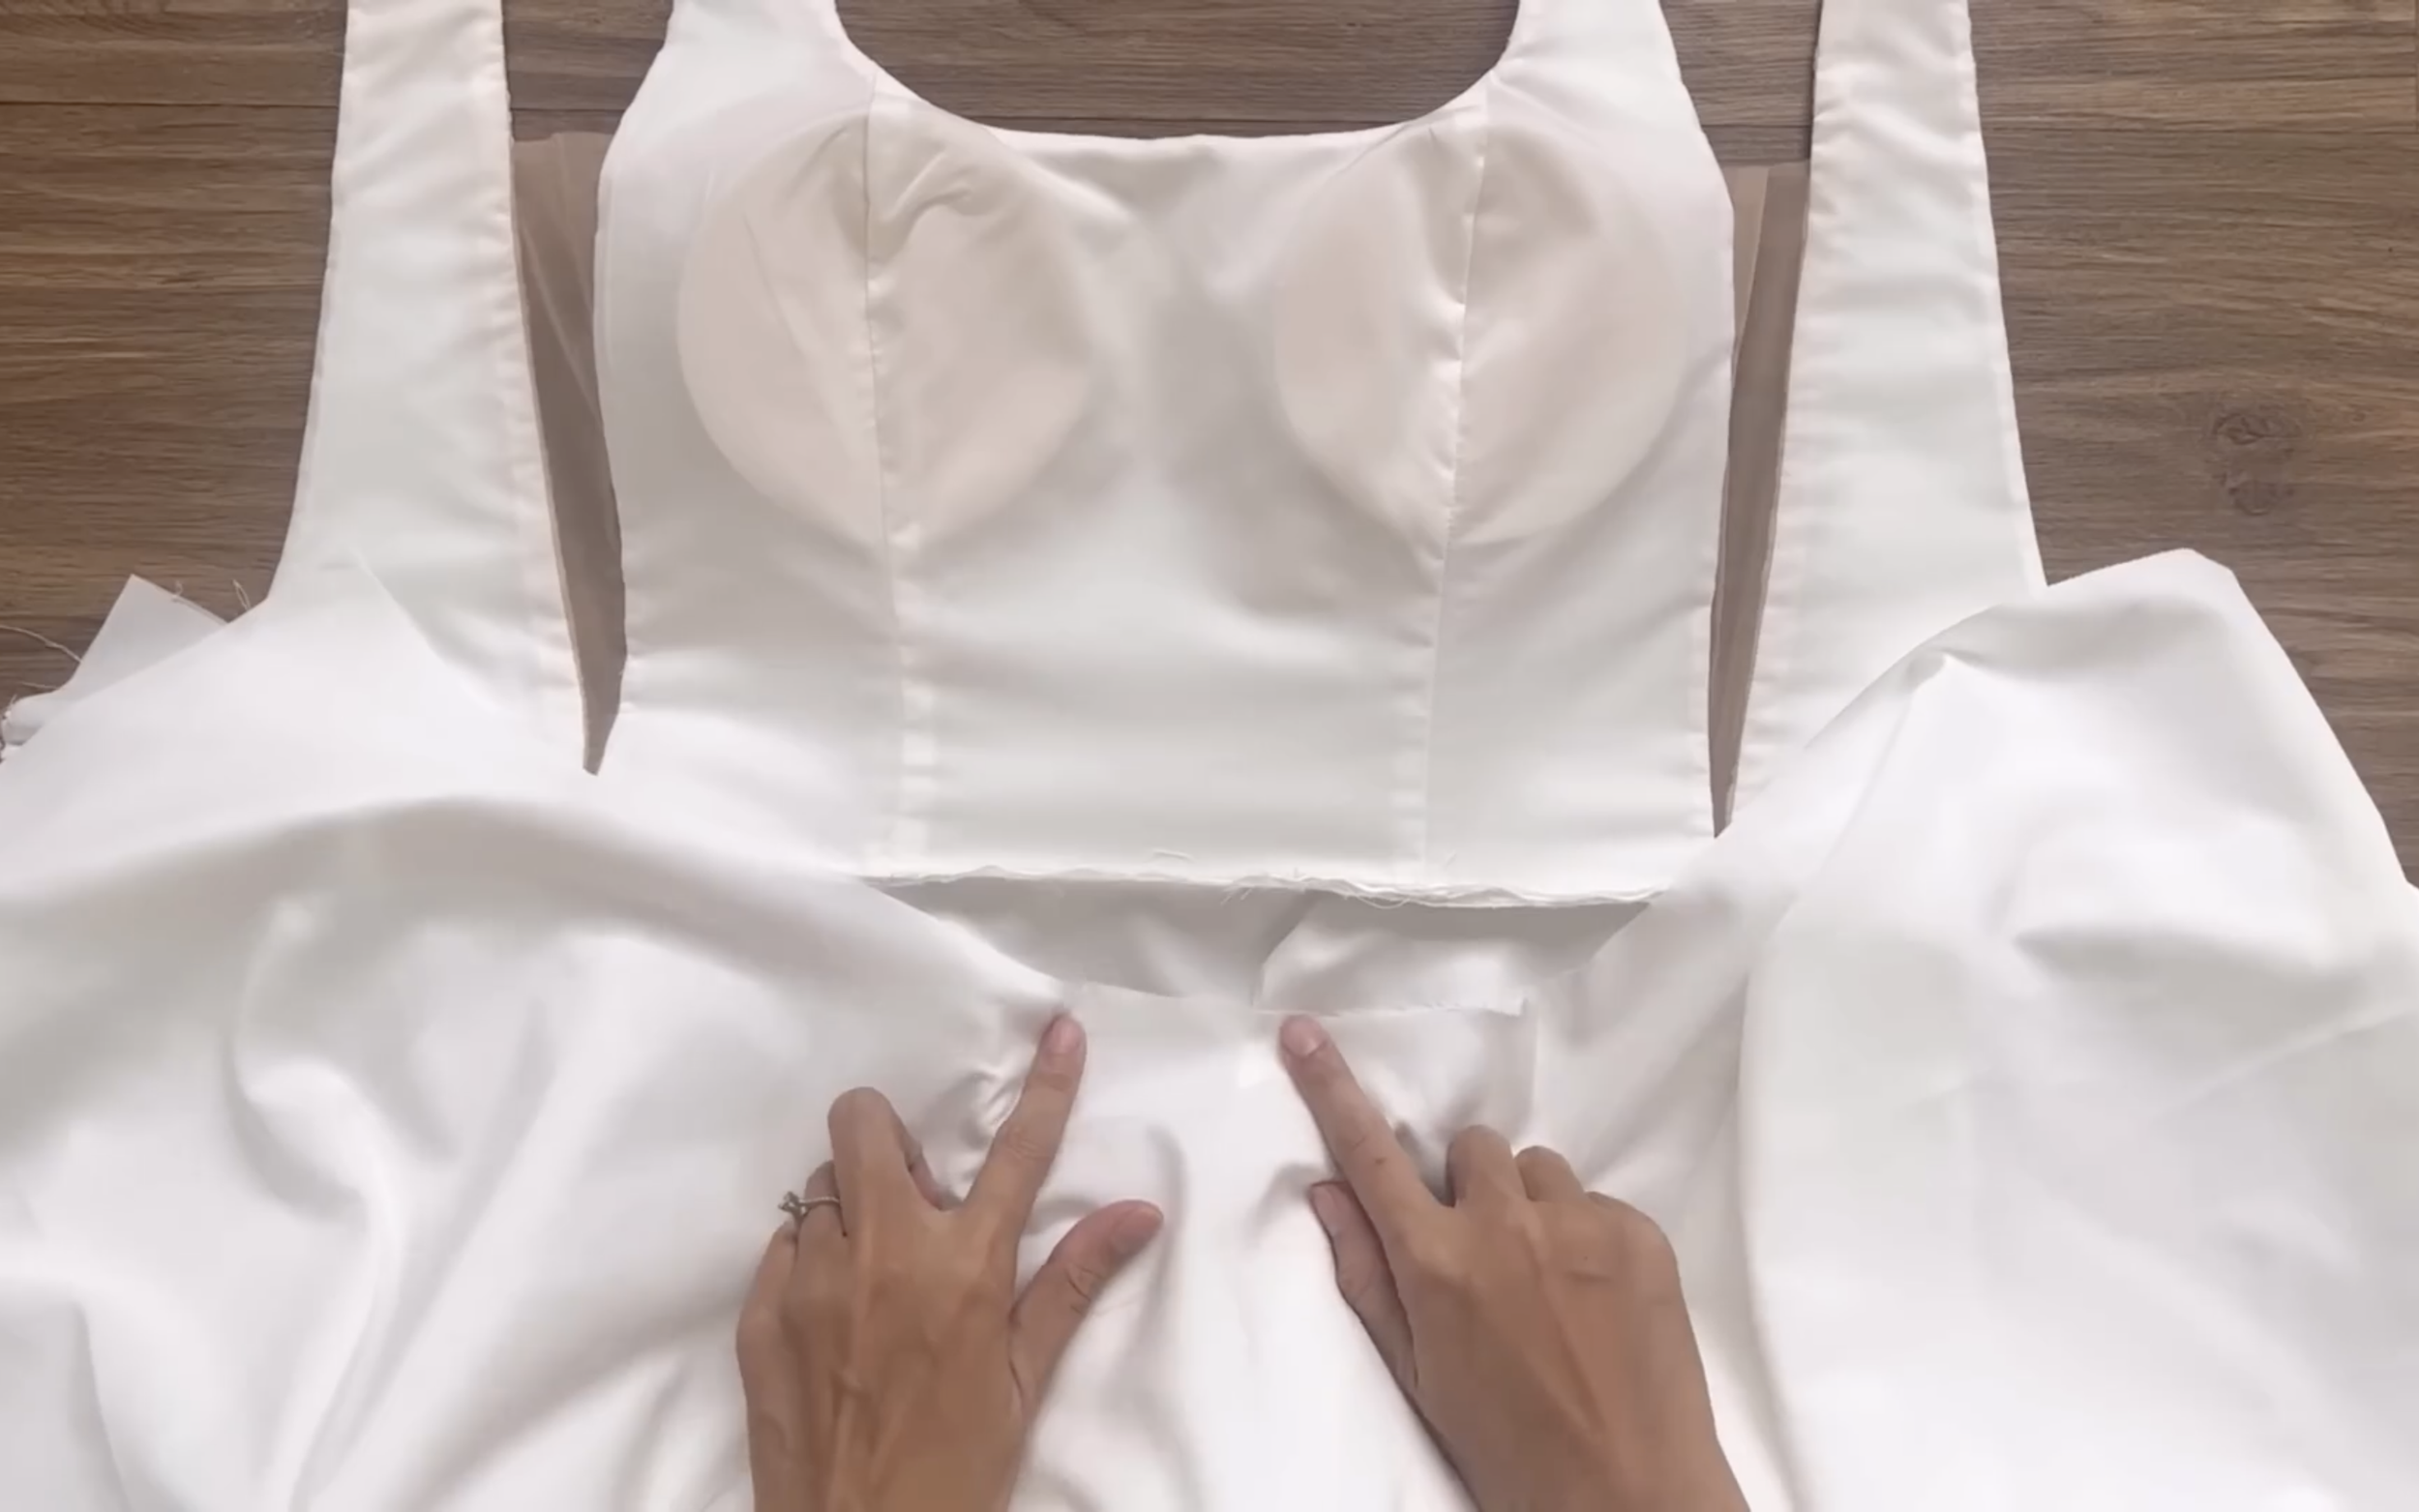
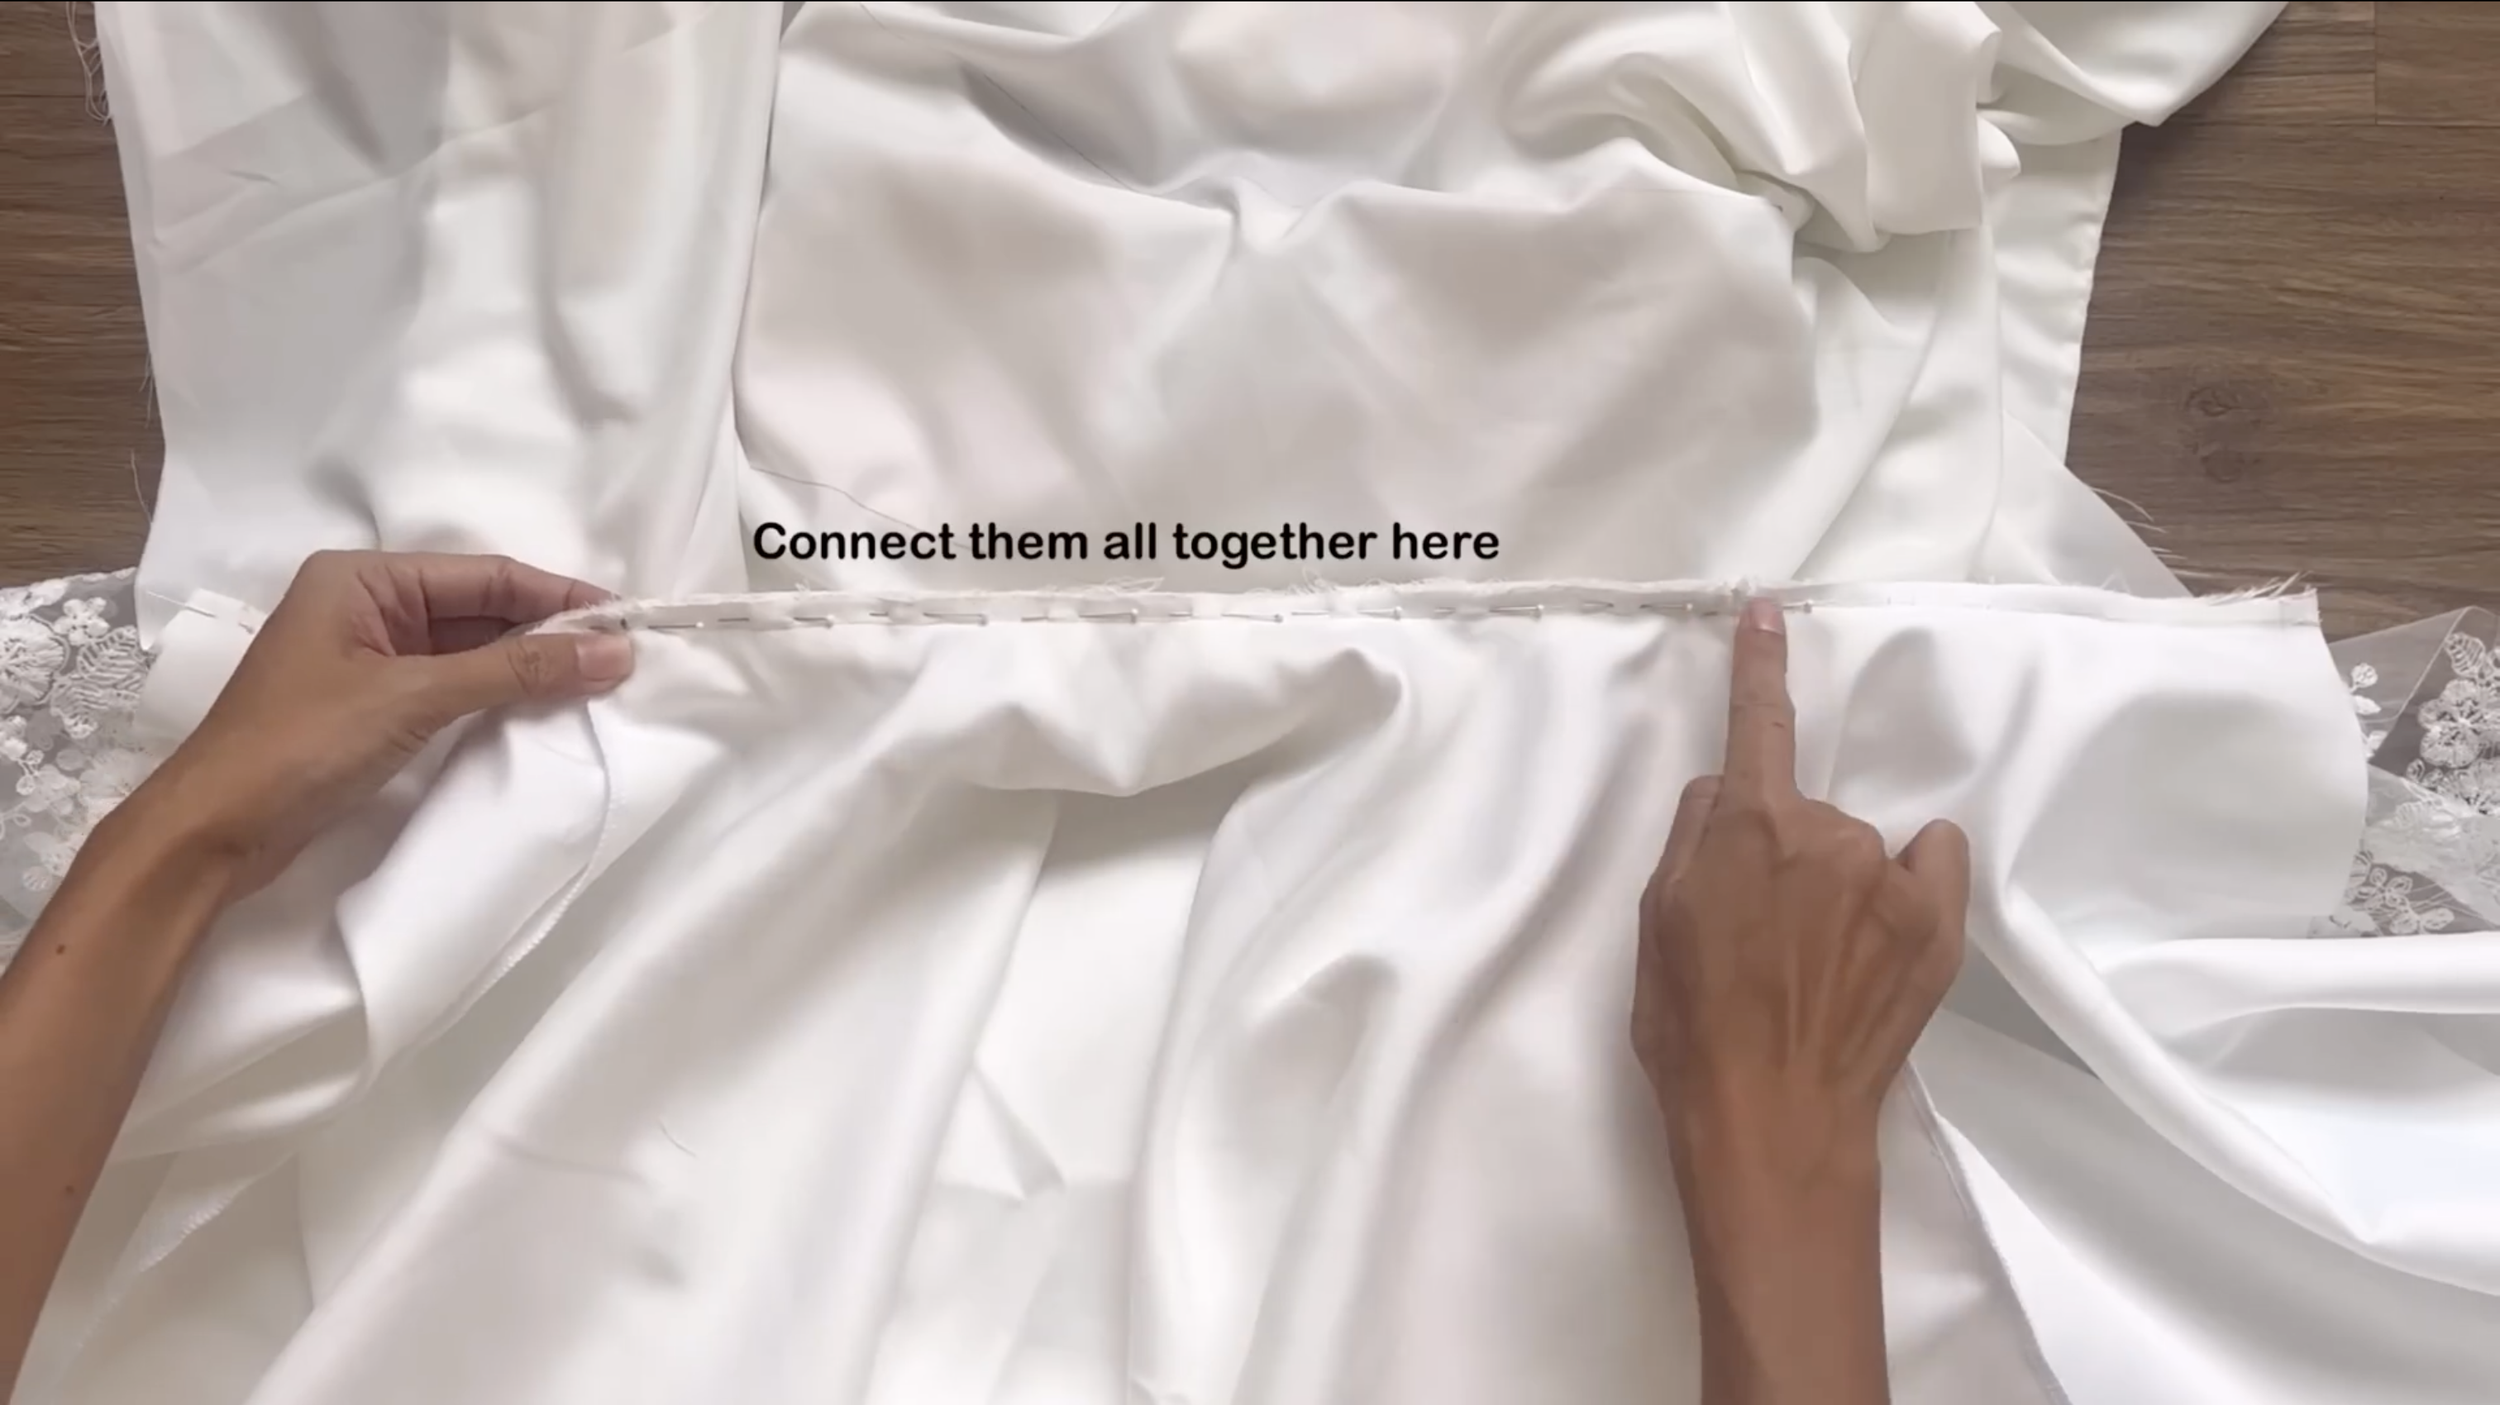
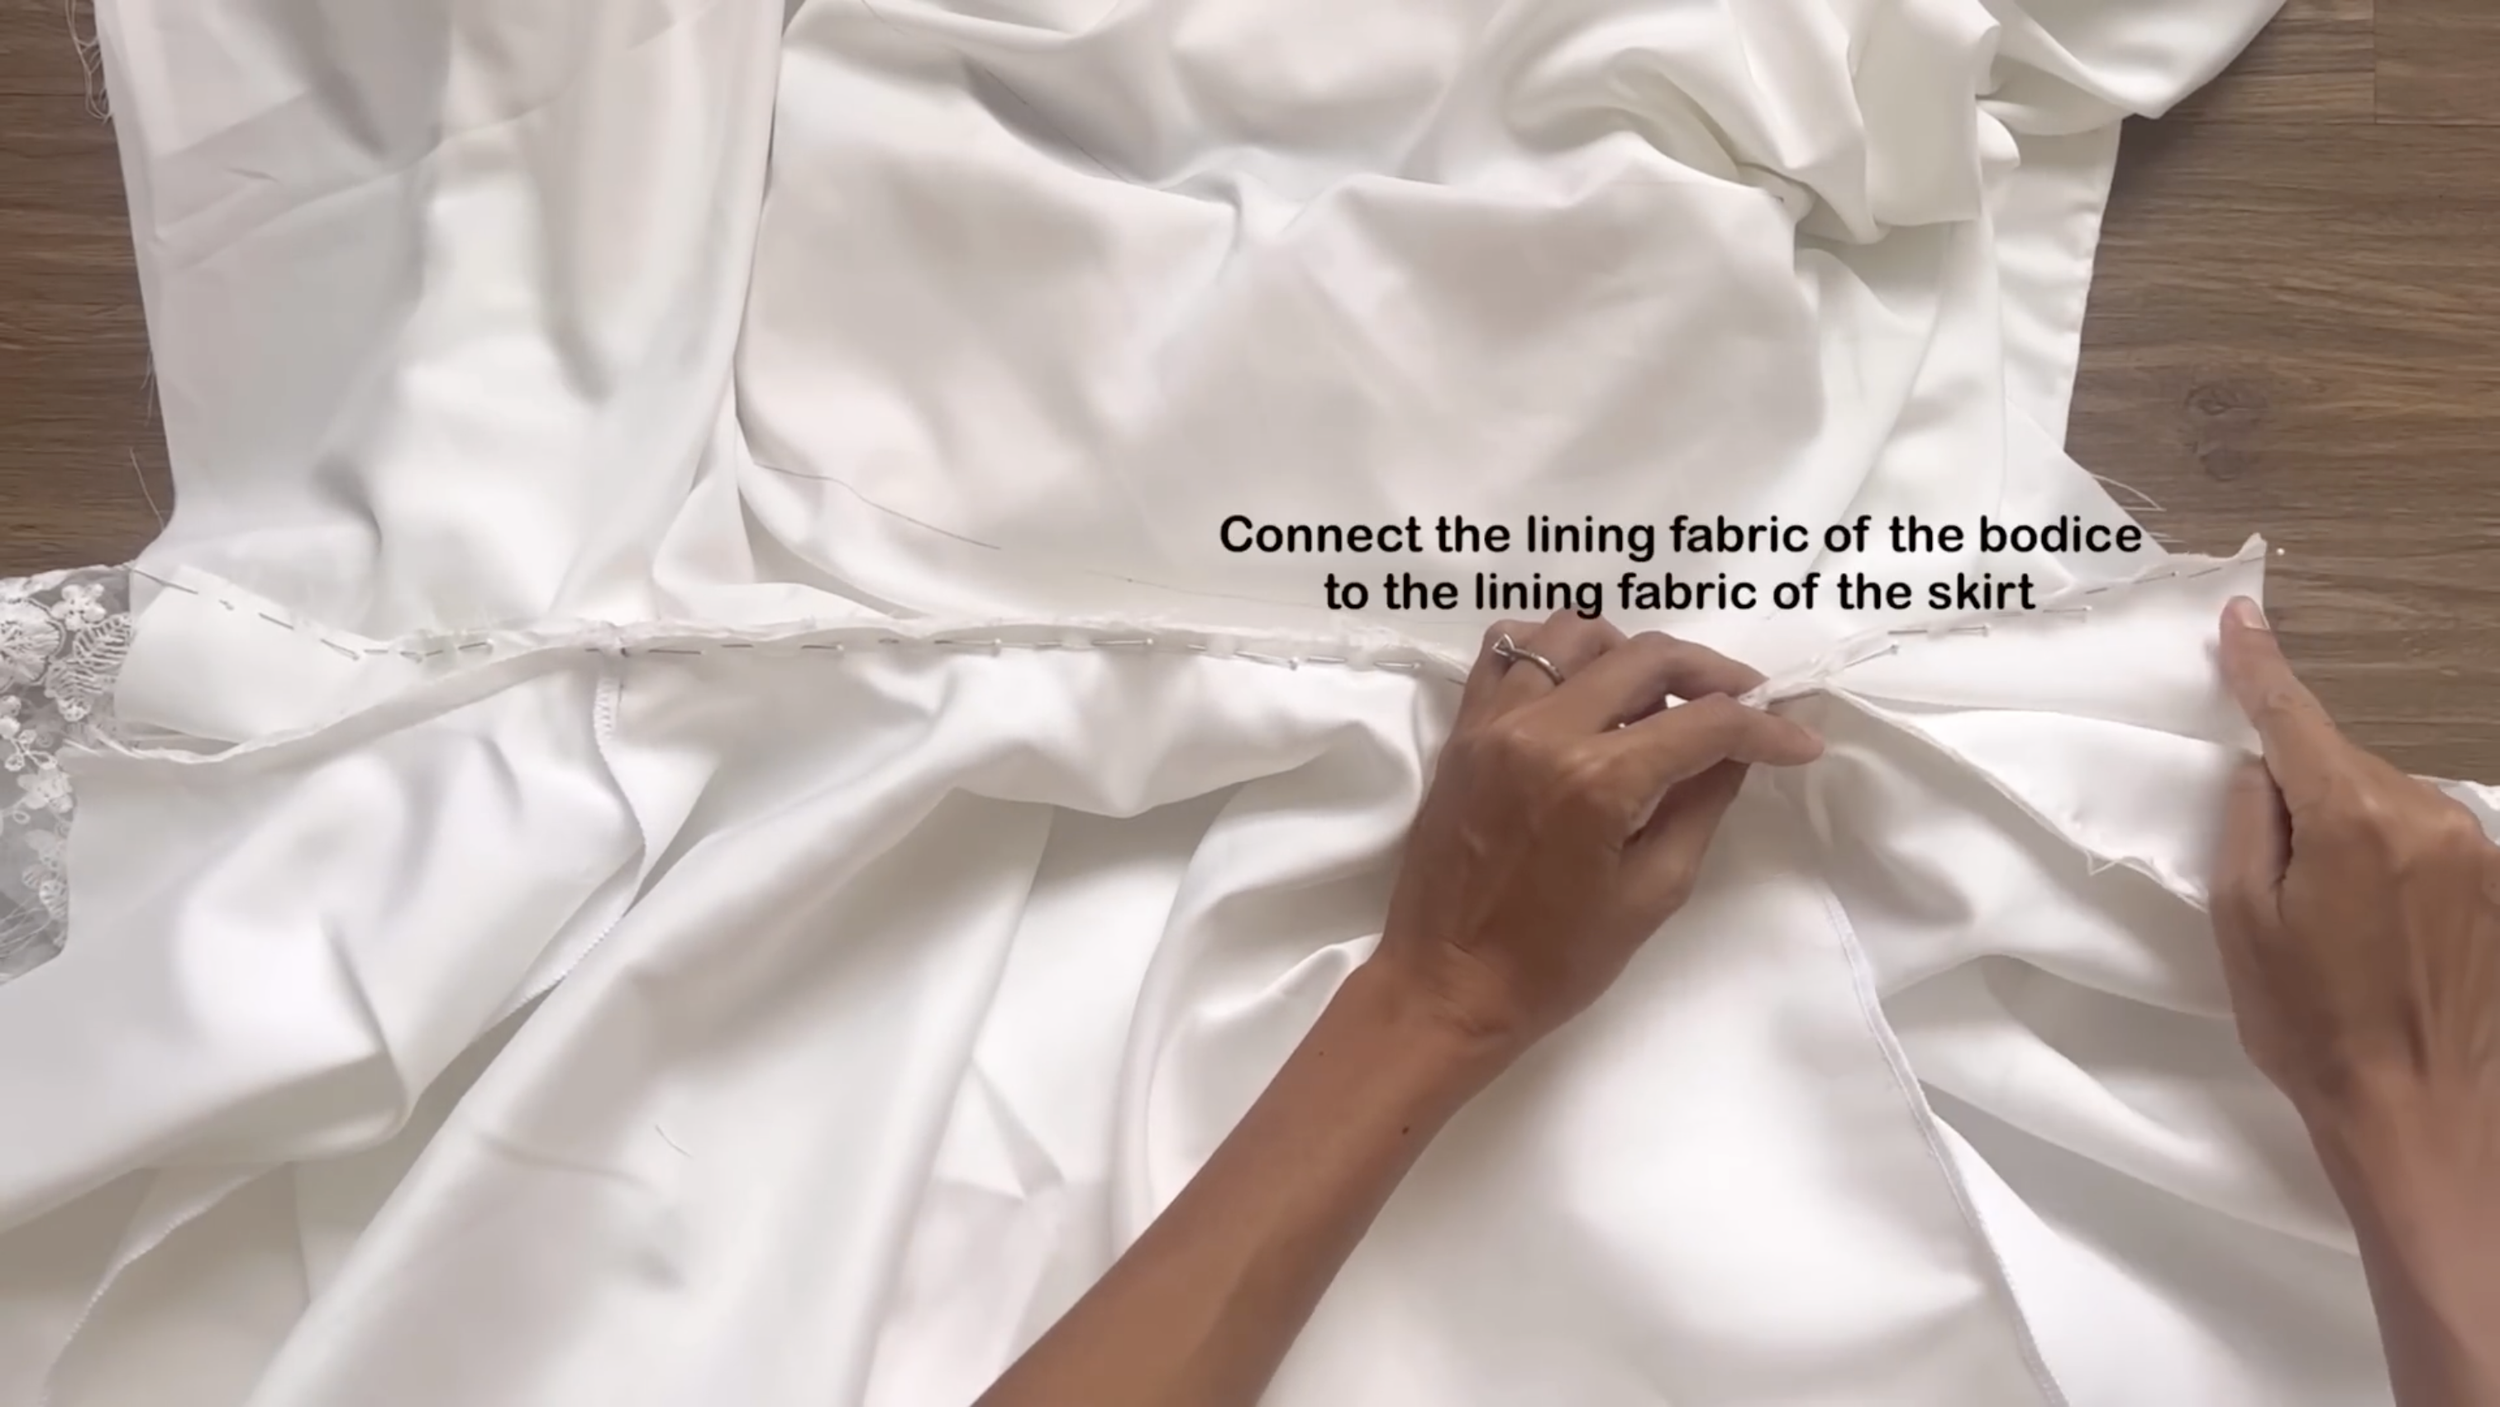
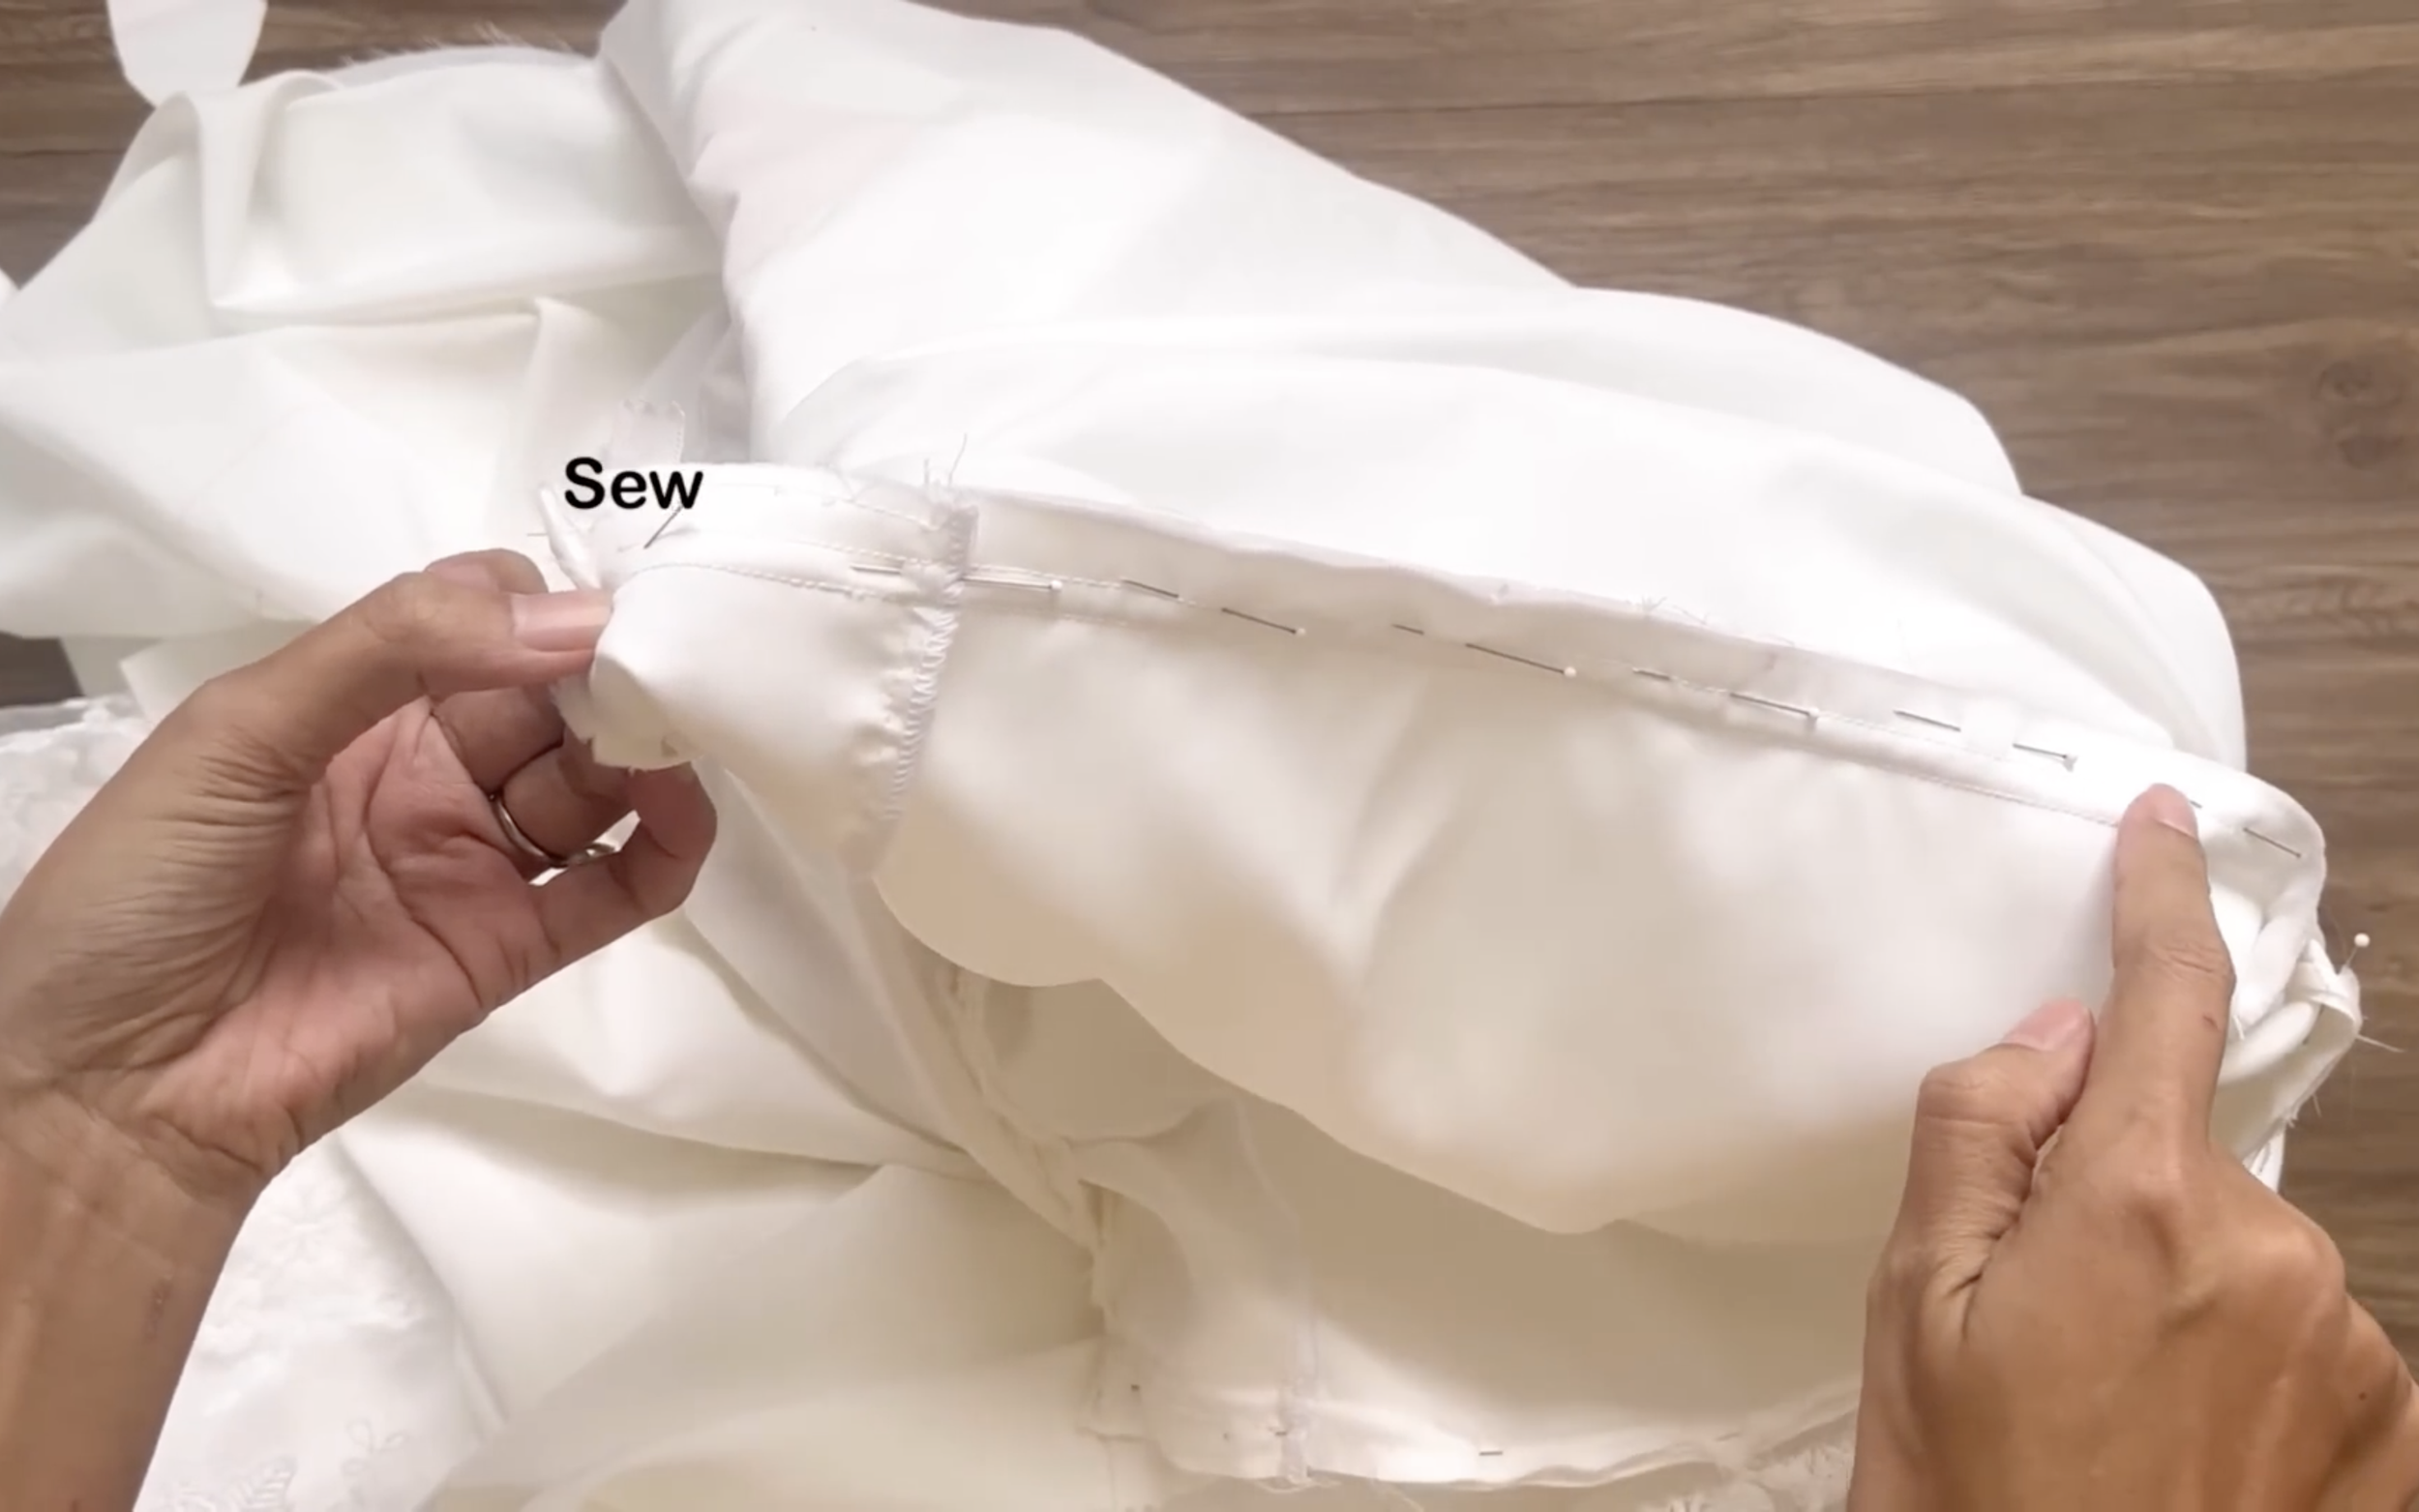
After sewing, keep connecting the lining fabric of the skirt part to the bodice.
Make sure the bodice will be in the middle between the main fabric and the lining fabric of the skirt part and sew to connect them all together.
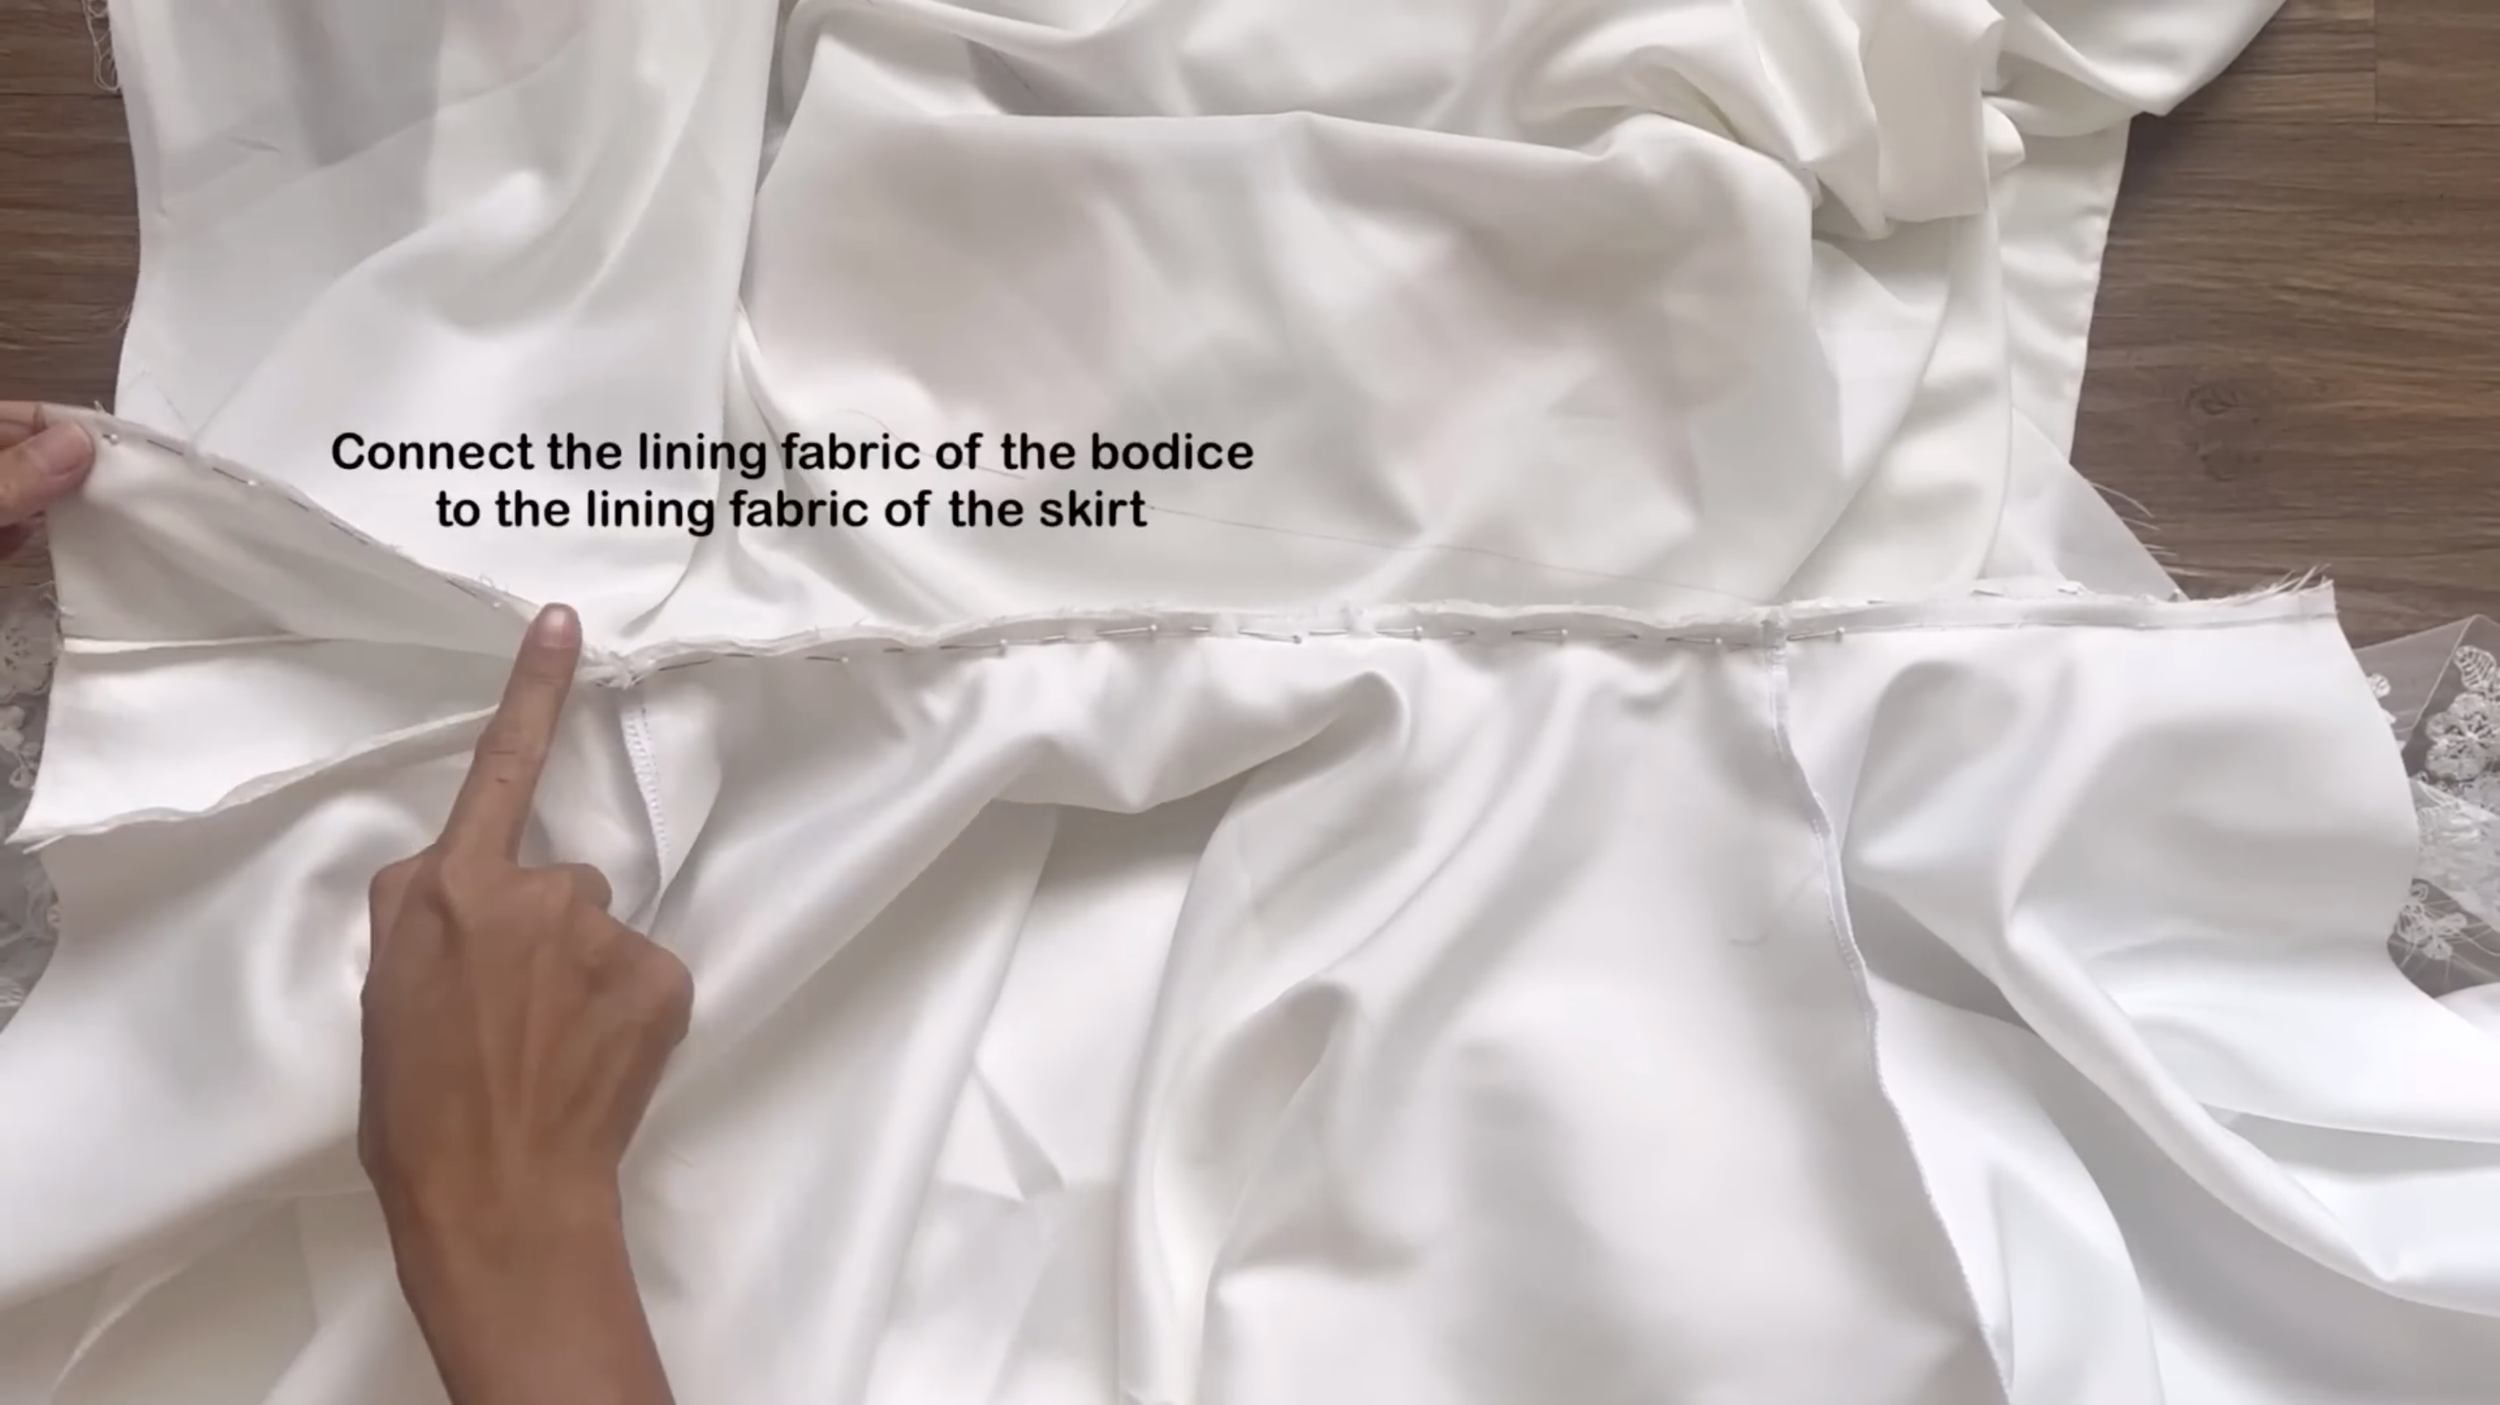
First, attach the bodice lining to the skirt lining at the waist.
Then, connect them all together right at the side seam.
Keep sewing the lining pieces together all the way across.
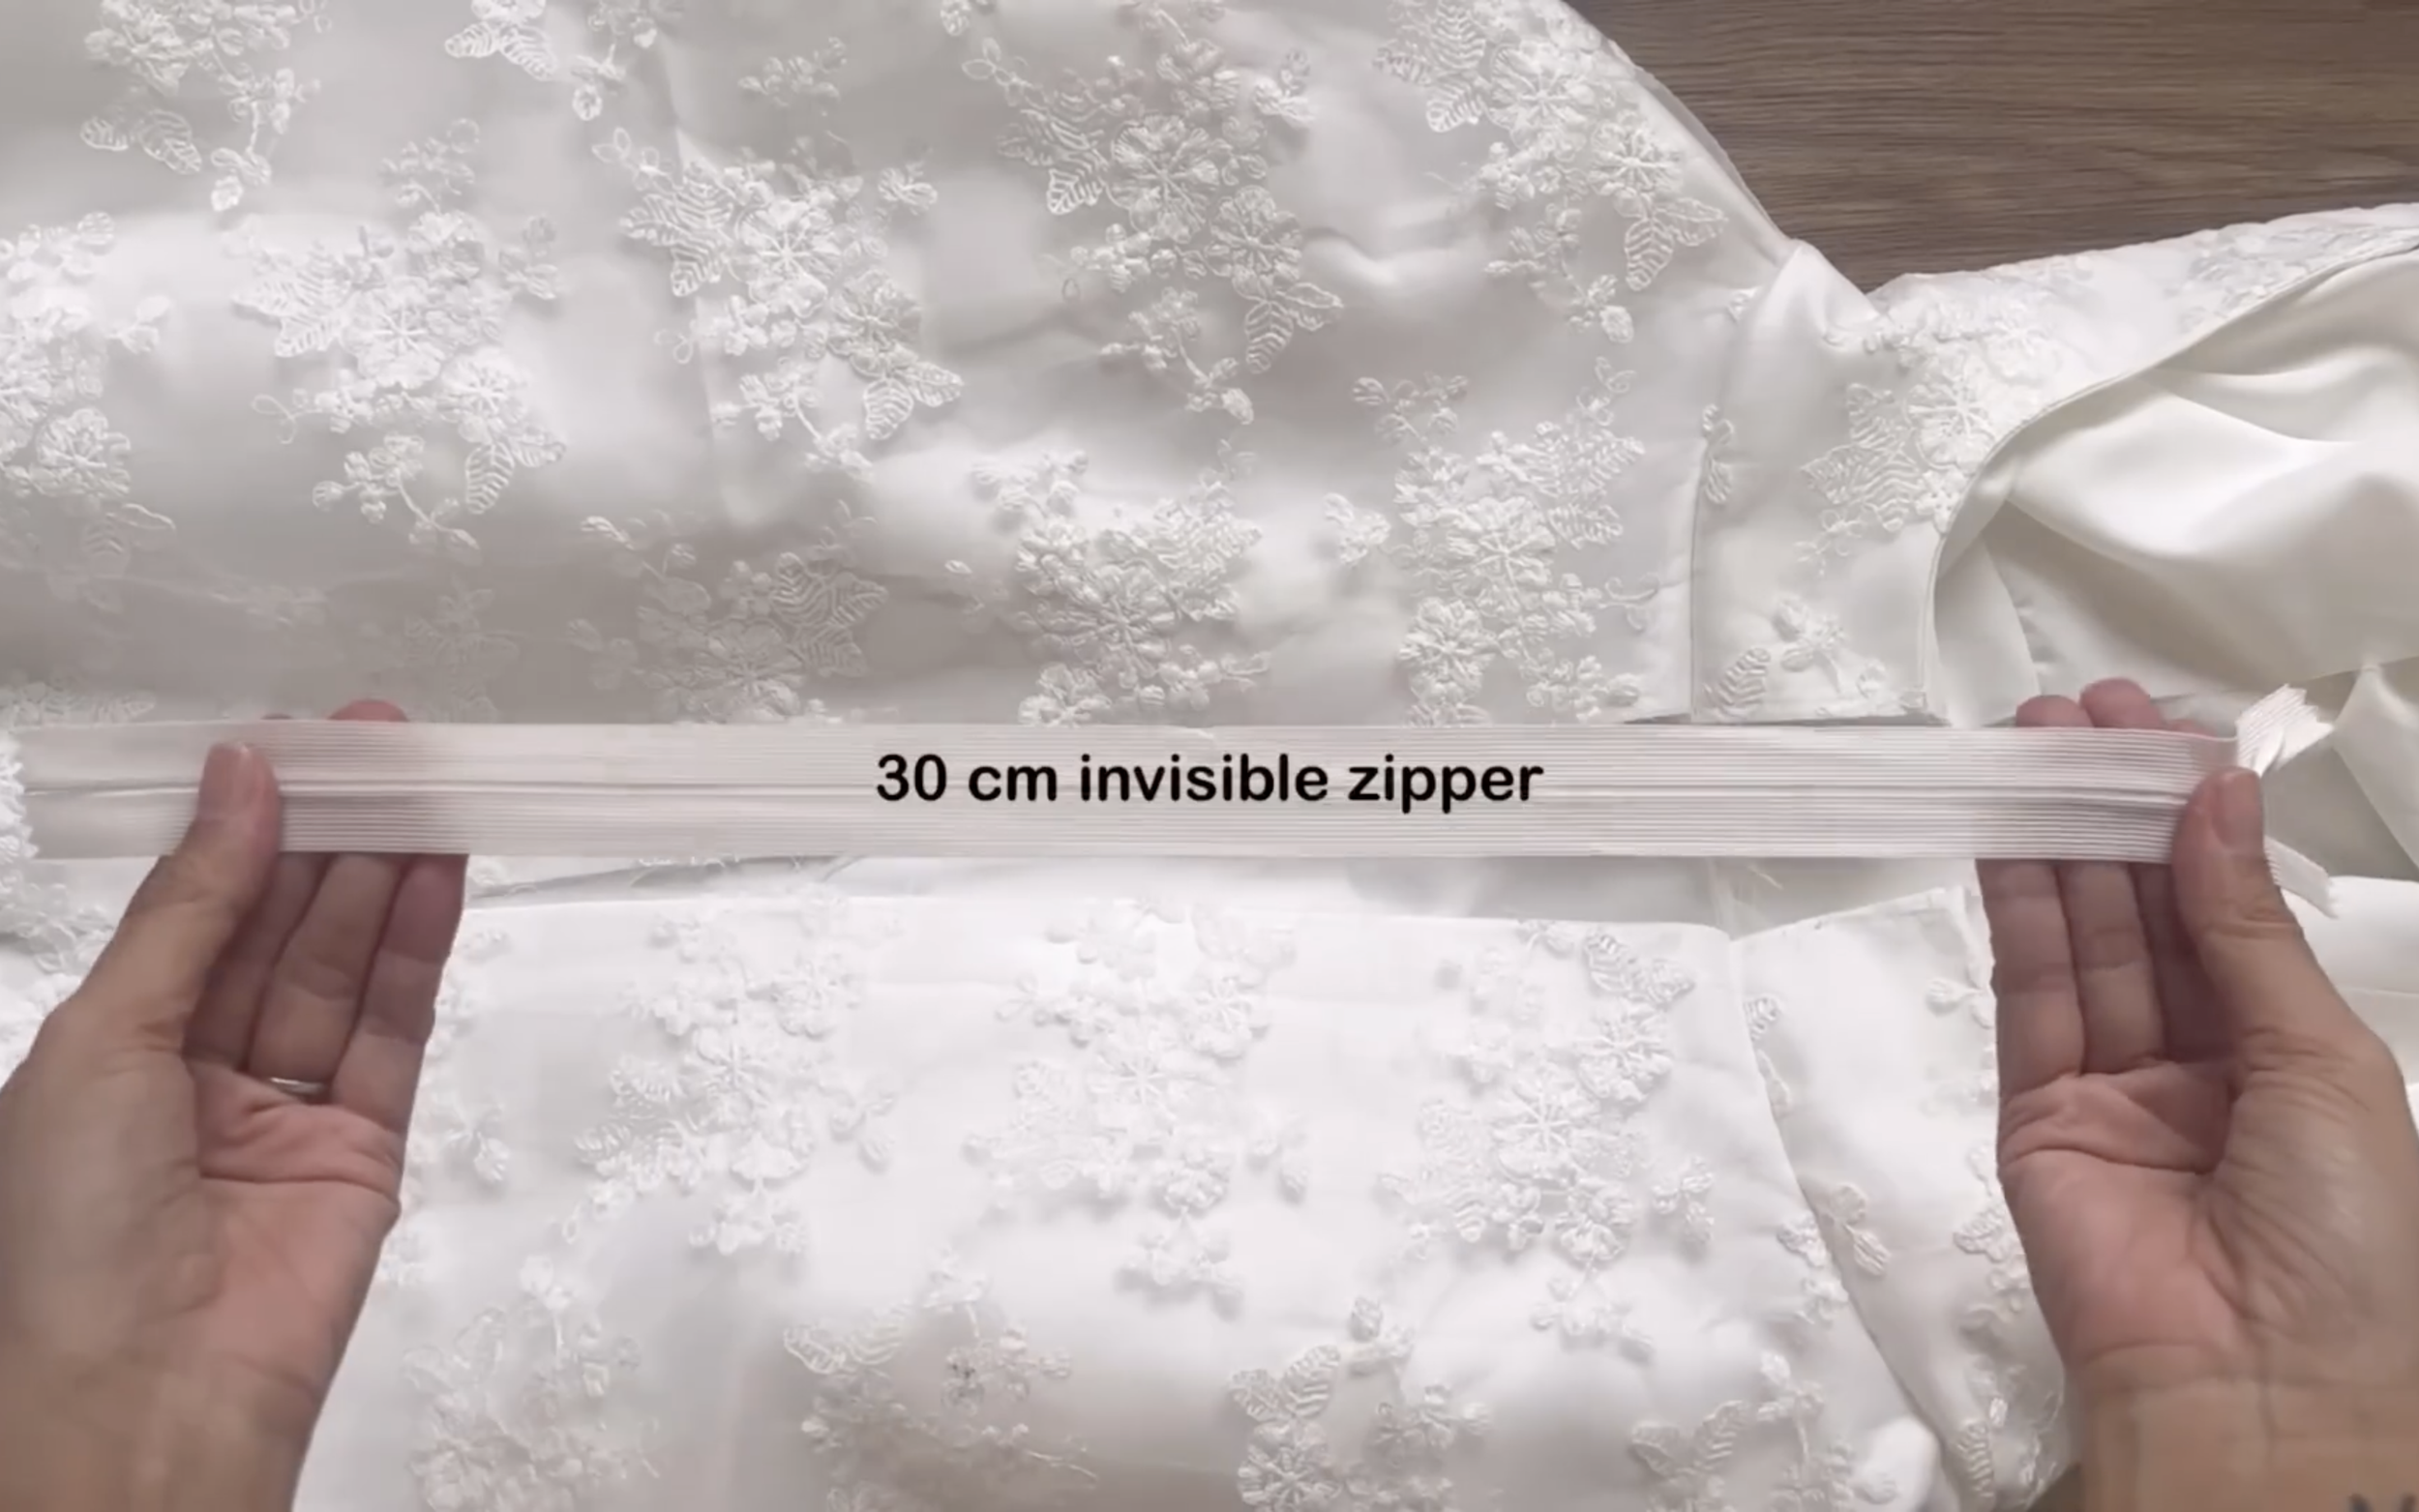
Use a 30 cm invisible zipper to connect two back skirt pieces together.
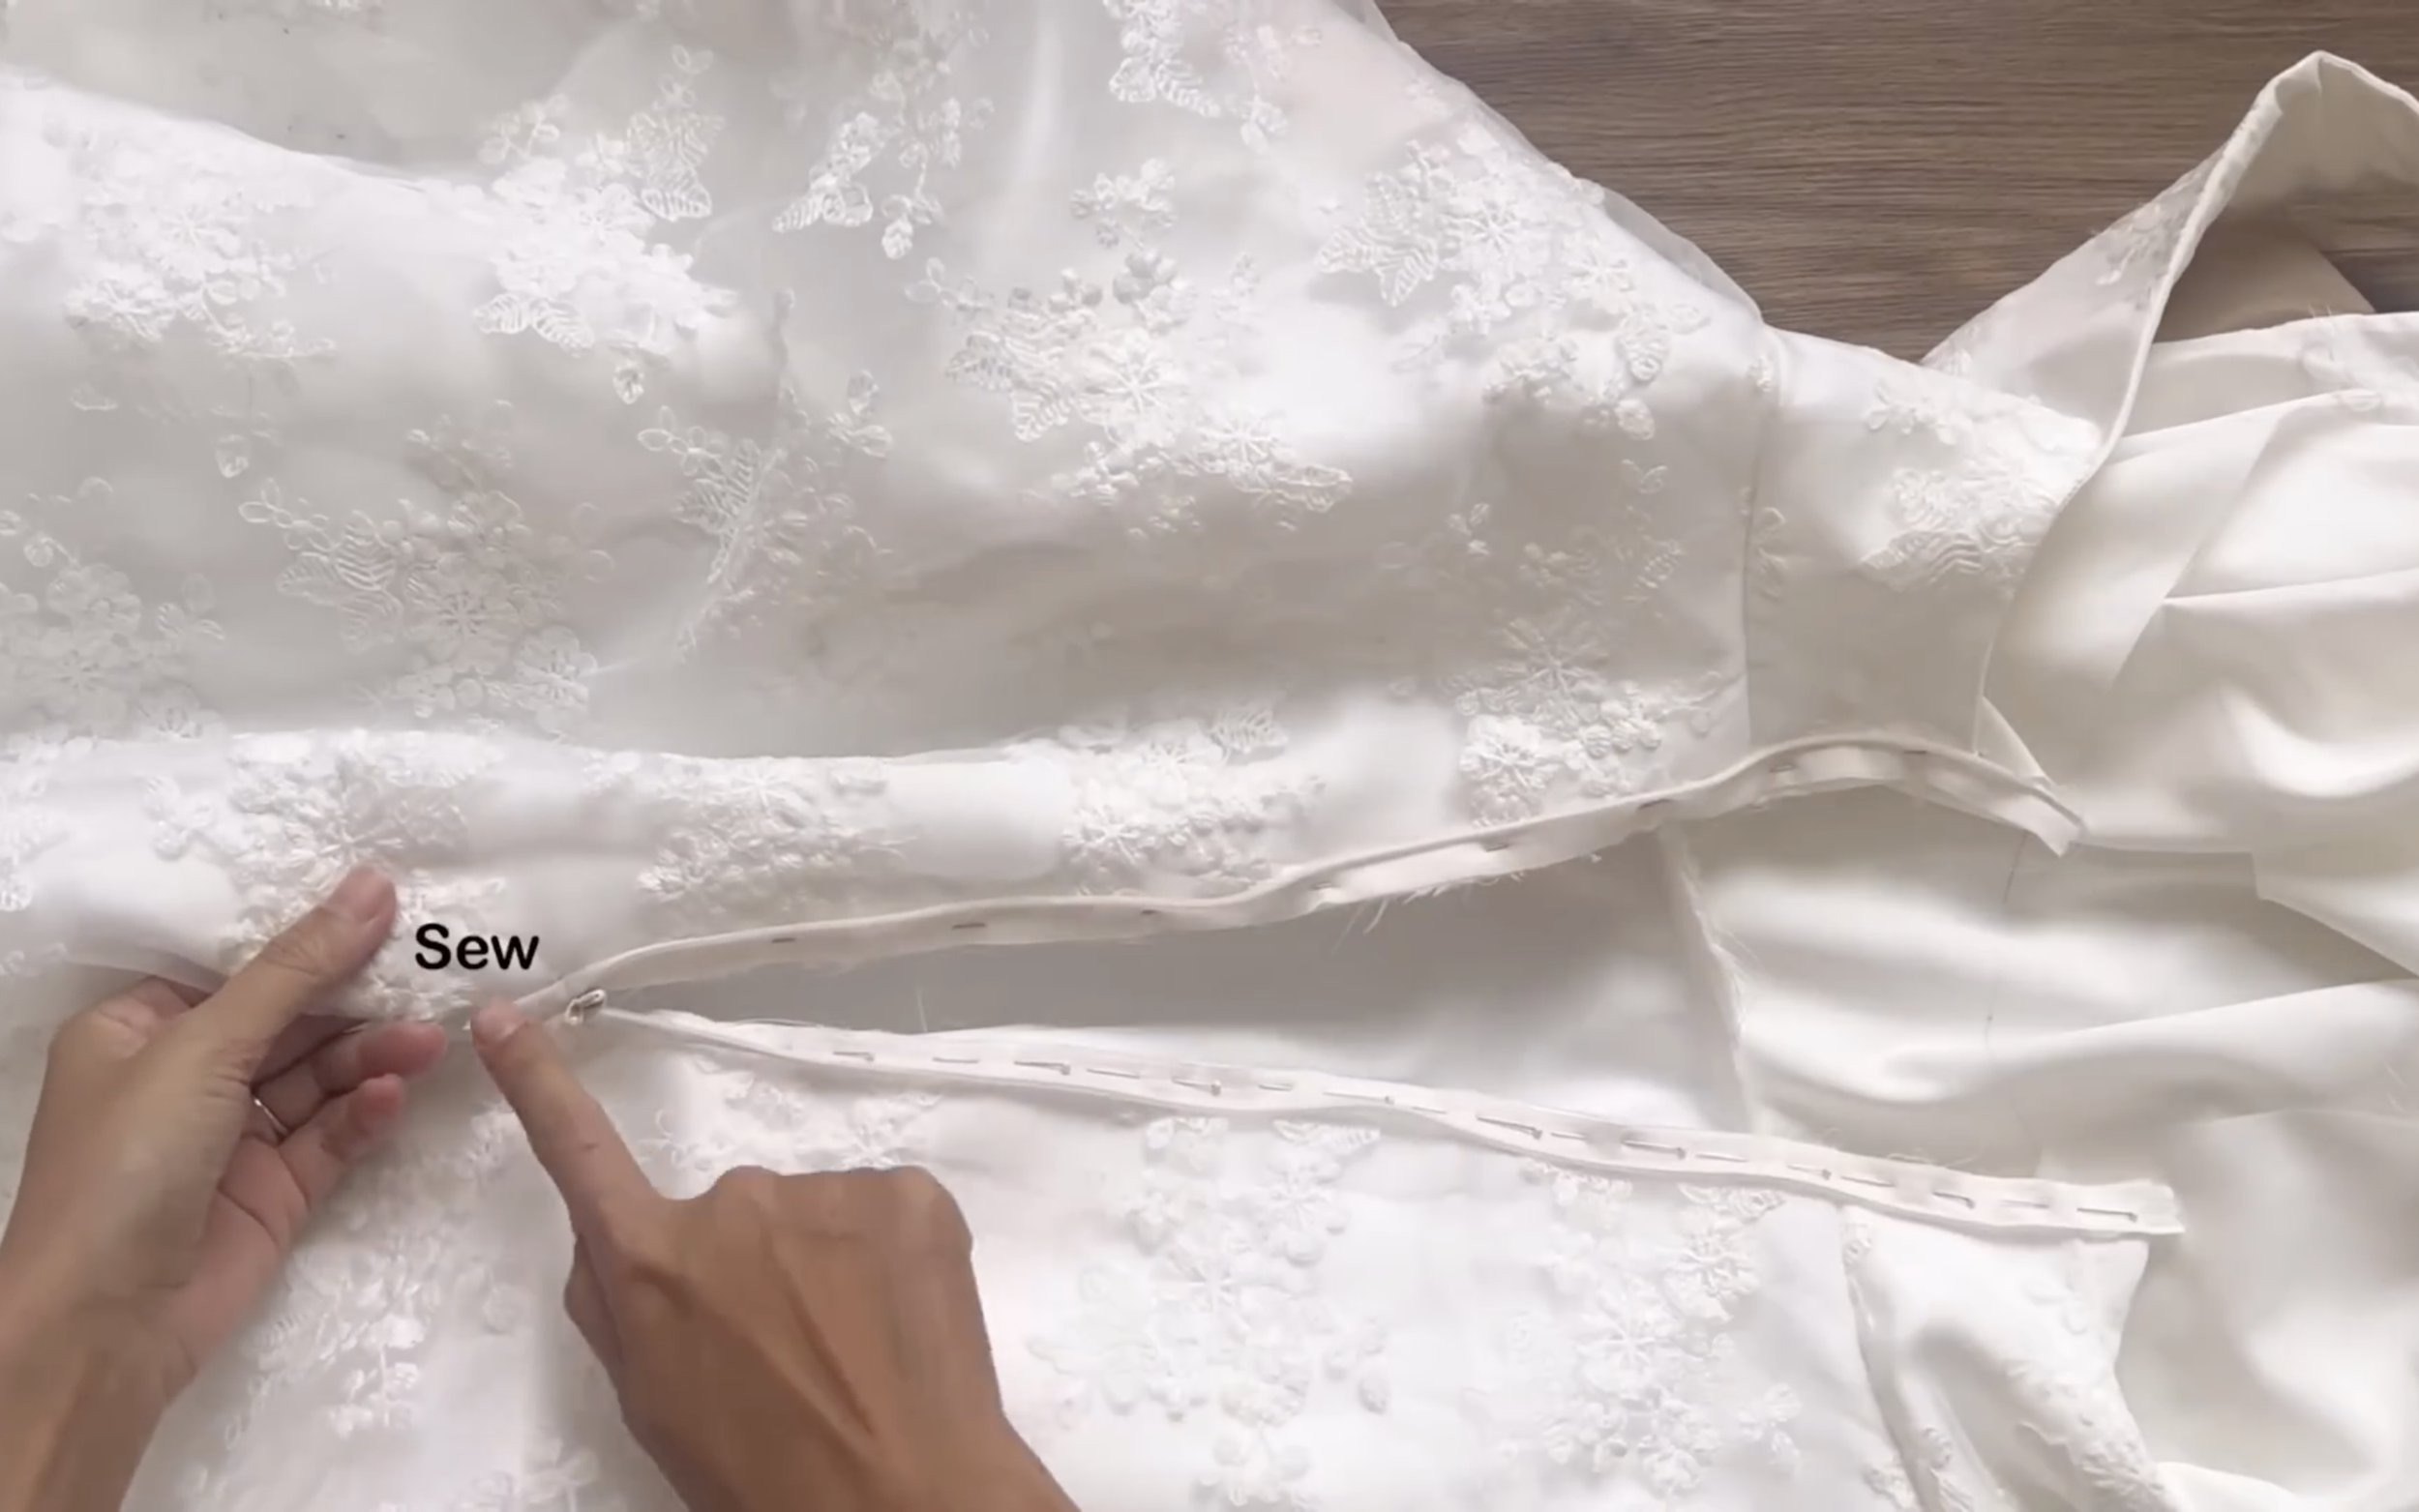
Connect the zipper to the main fabric first.
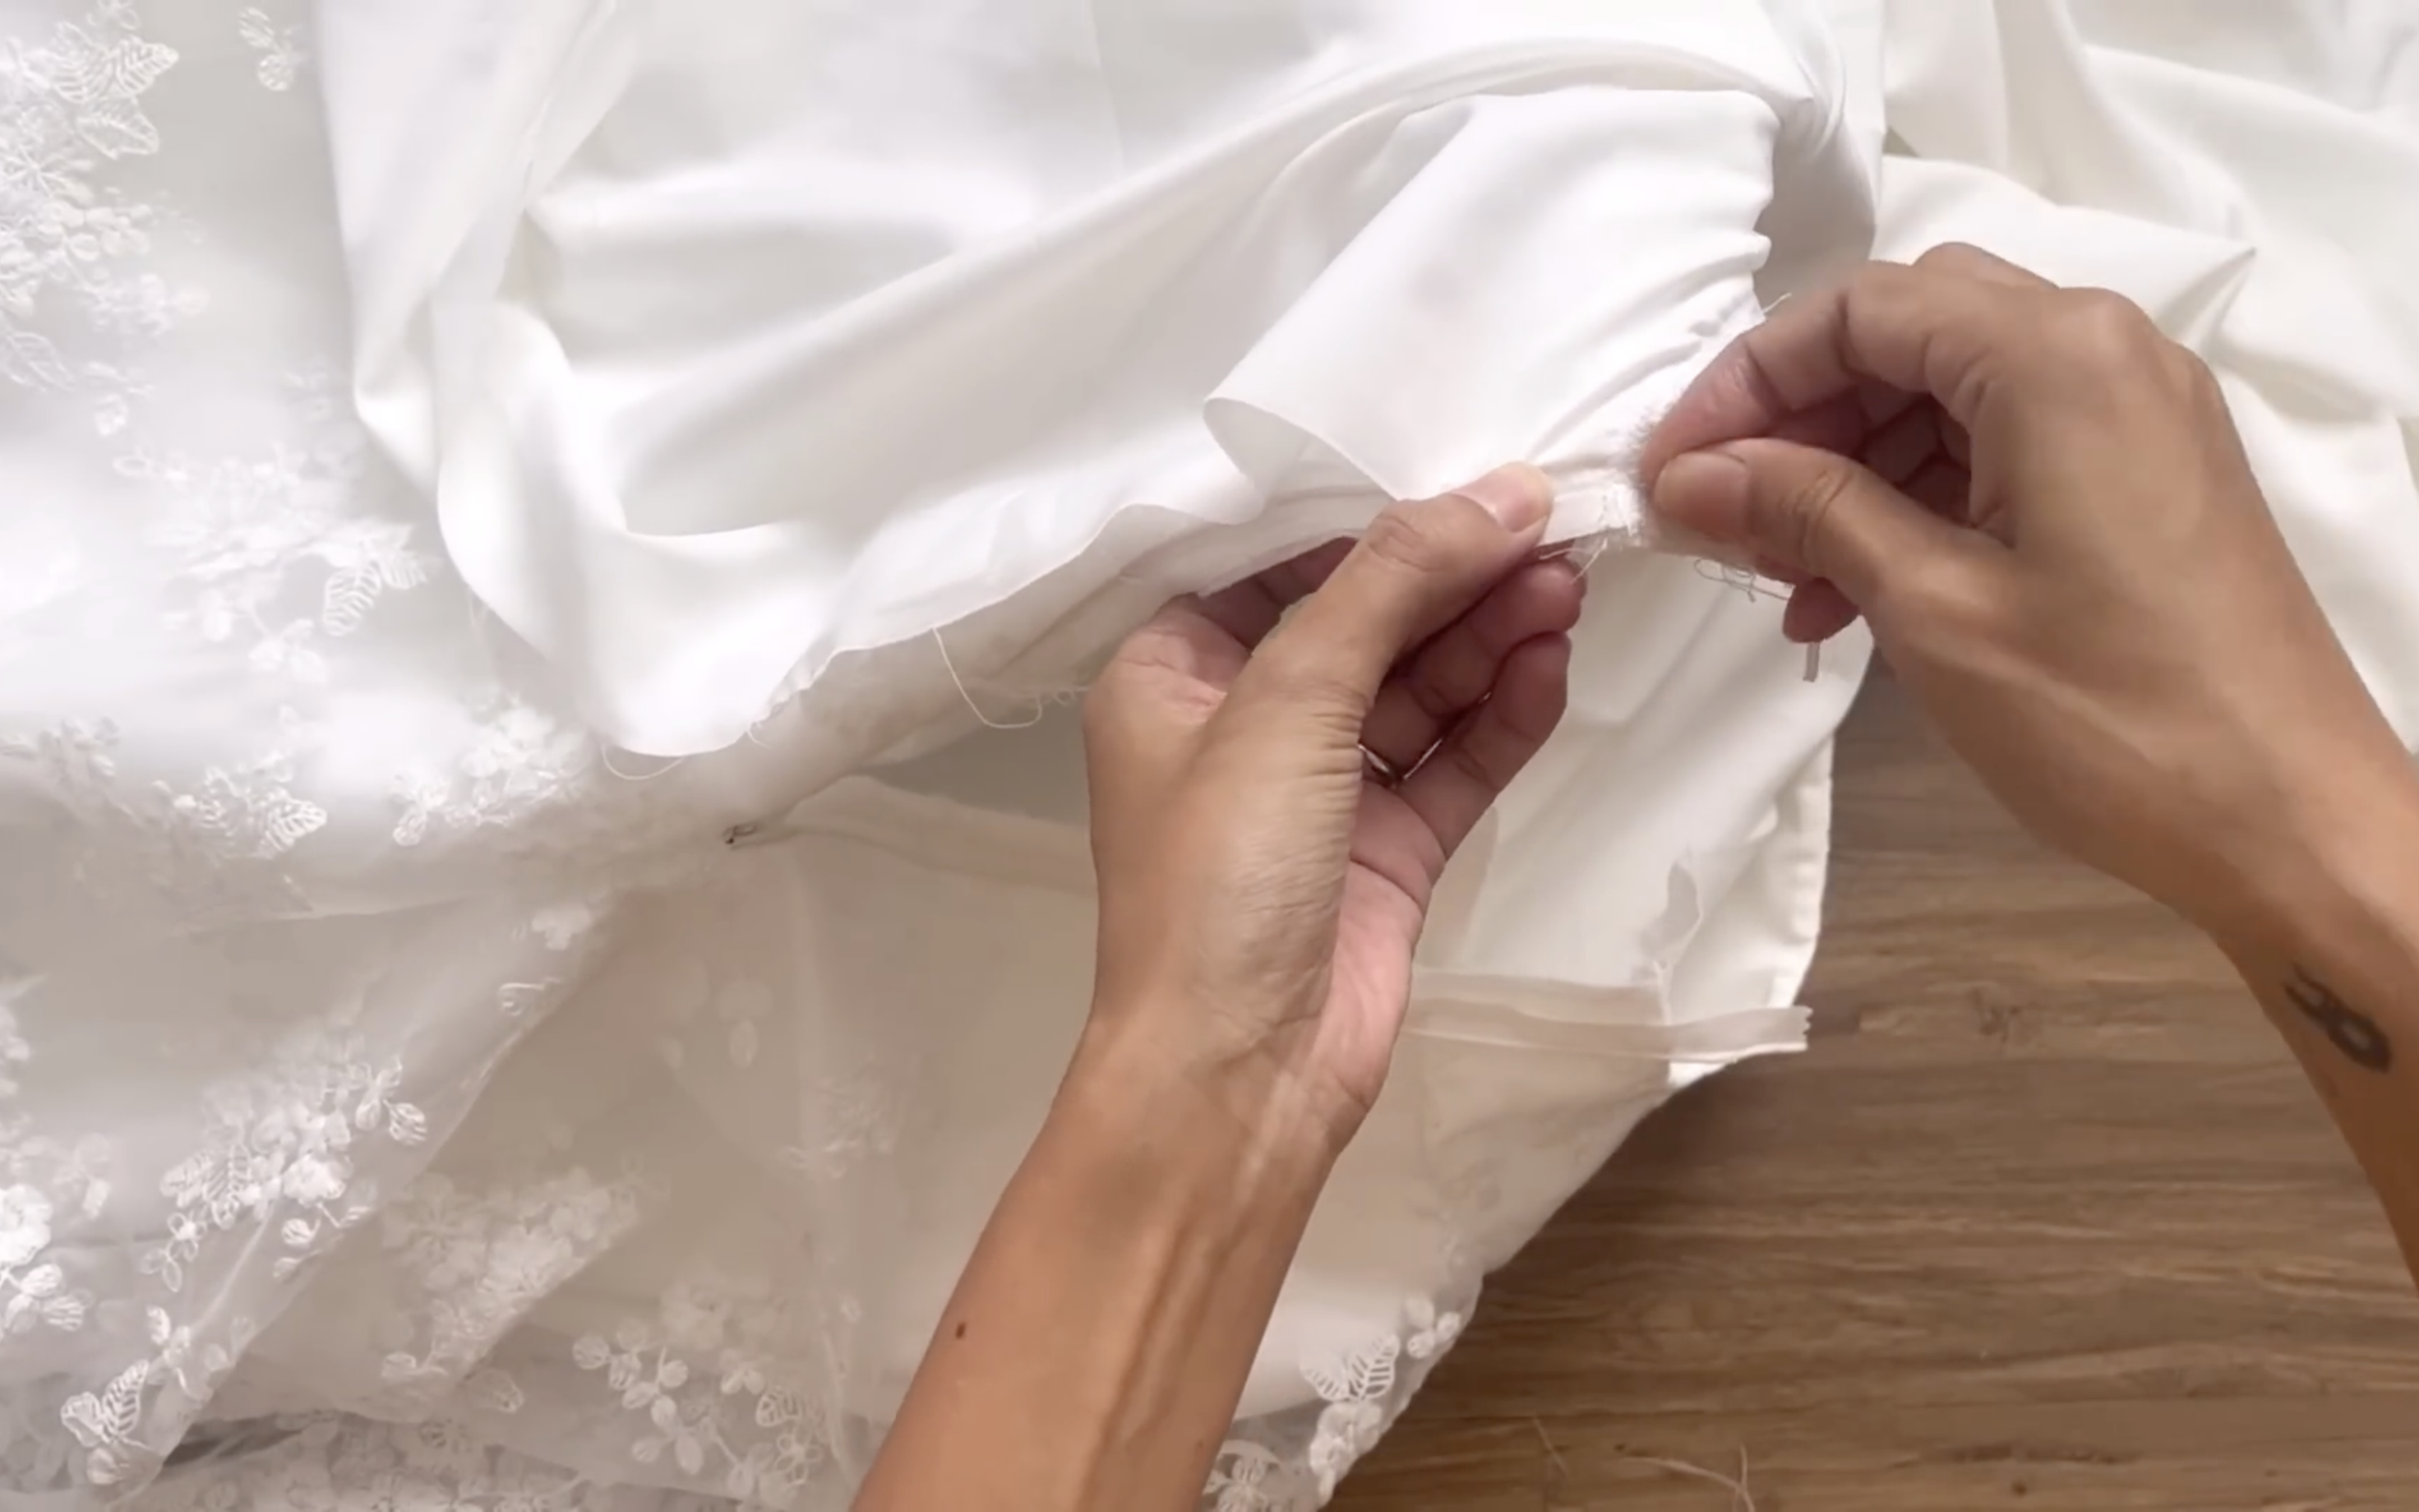
Then, connect the lining fabric to them.
So the zipper will be in the middle between the main fabric and the lining fabric.
So when you turn the lining fabric inside, it will have a clean look not only outside but also inside of the dress.
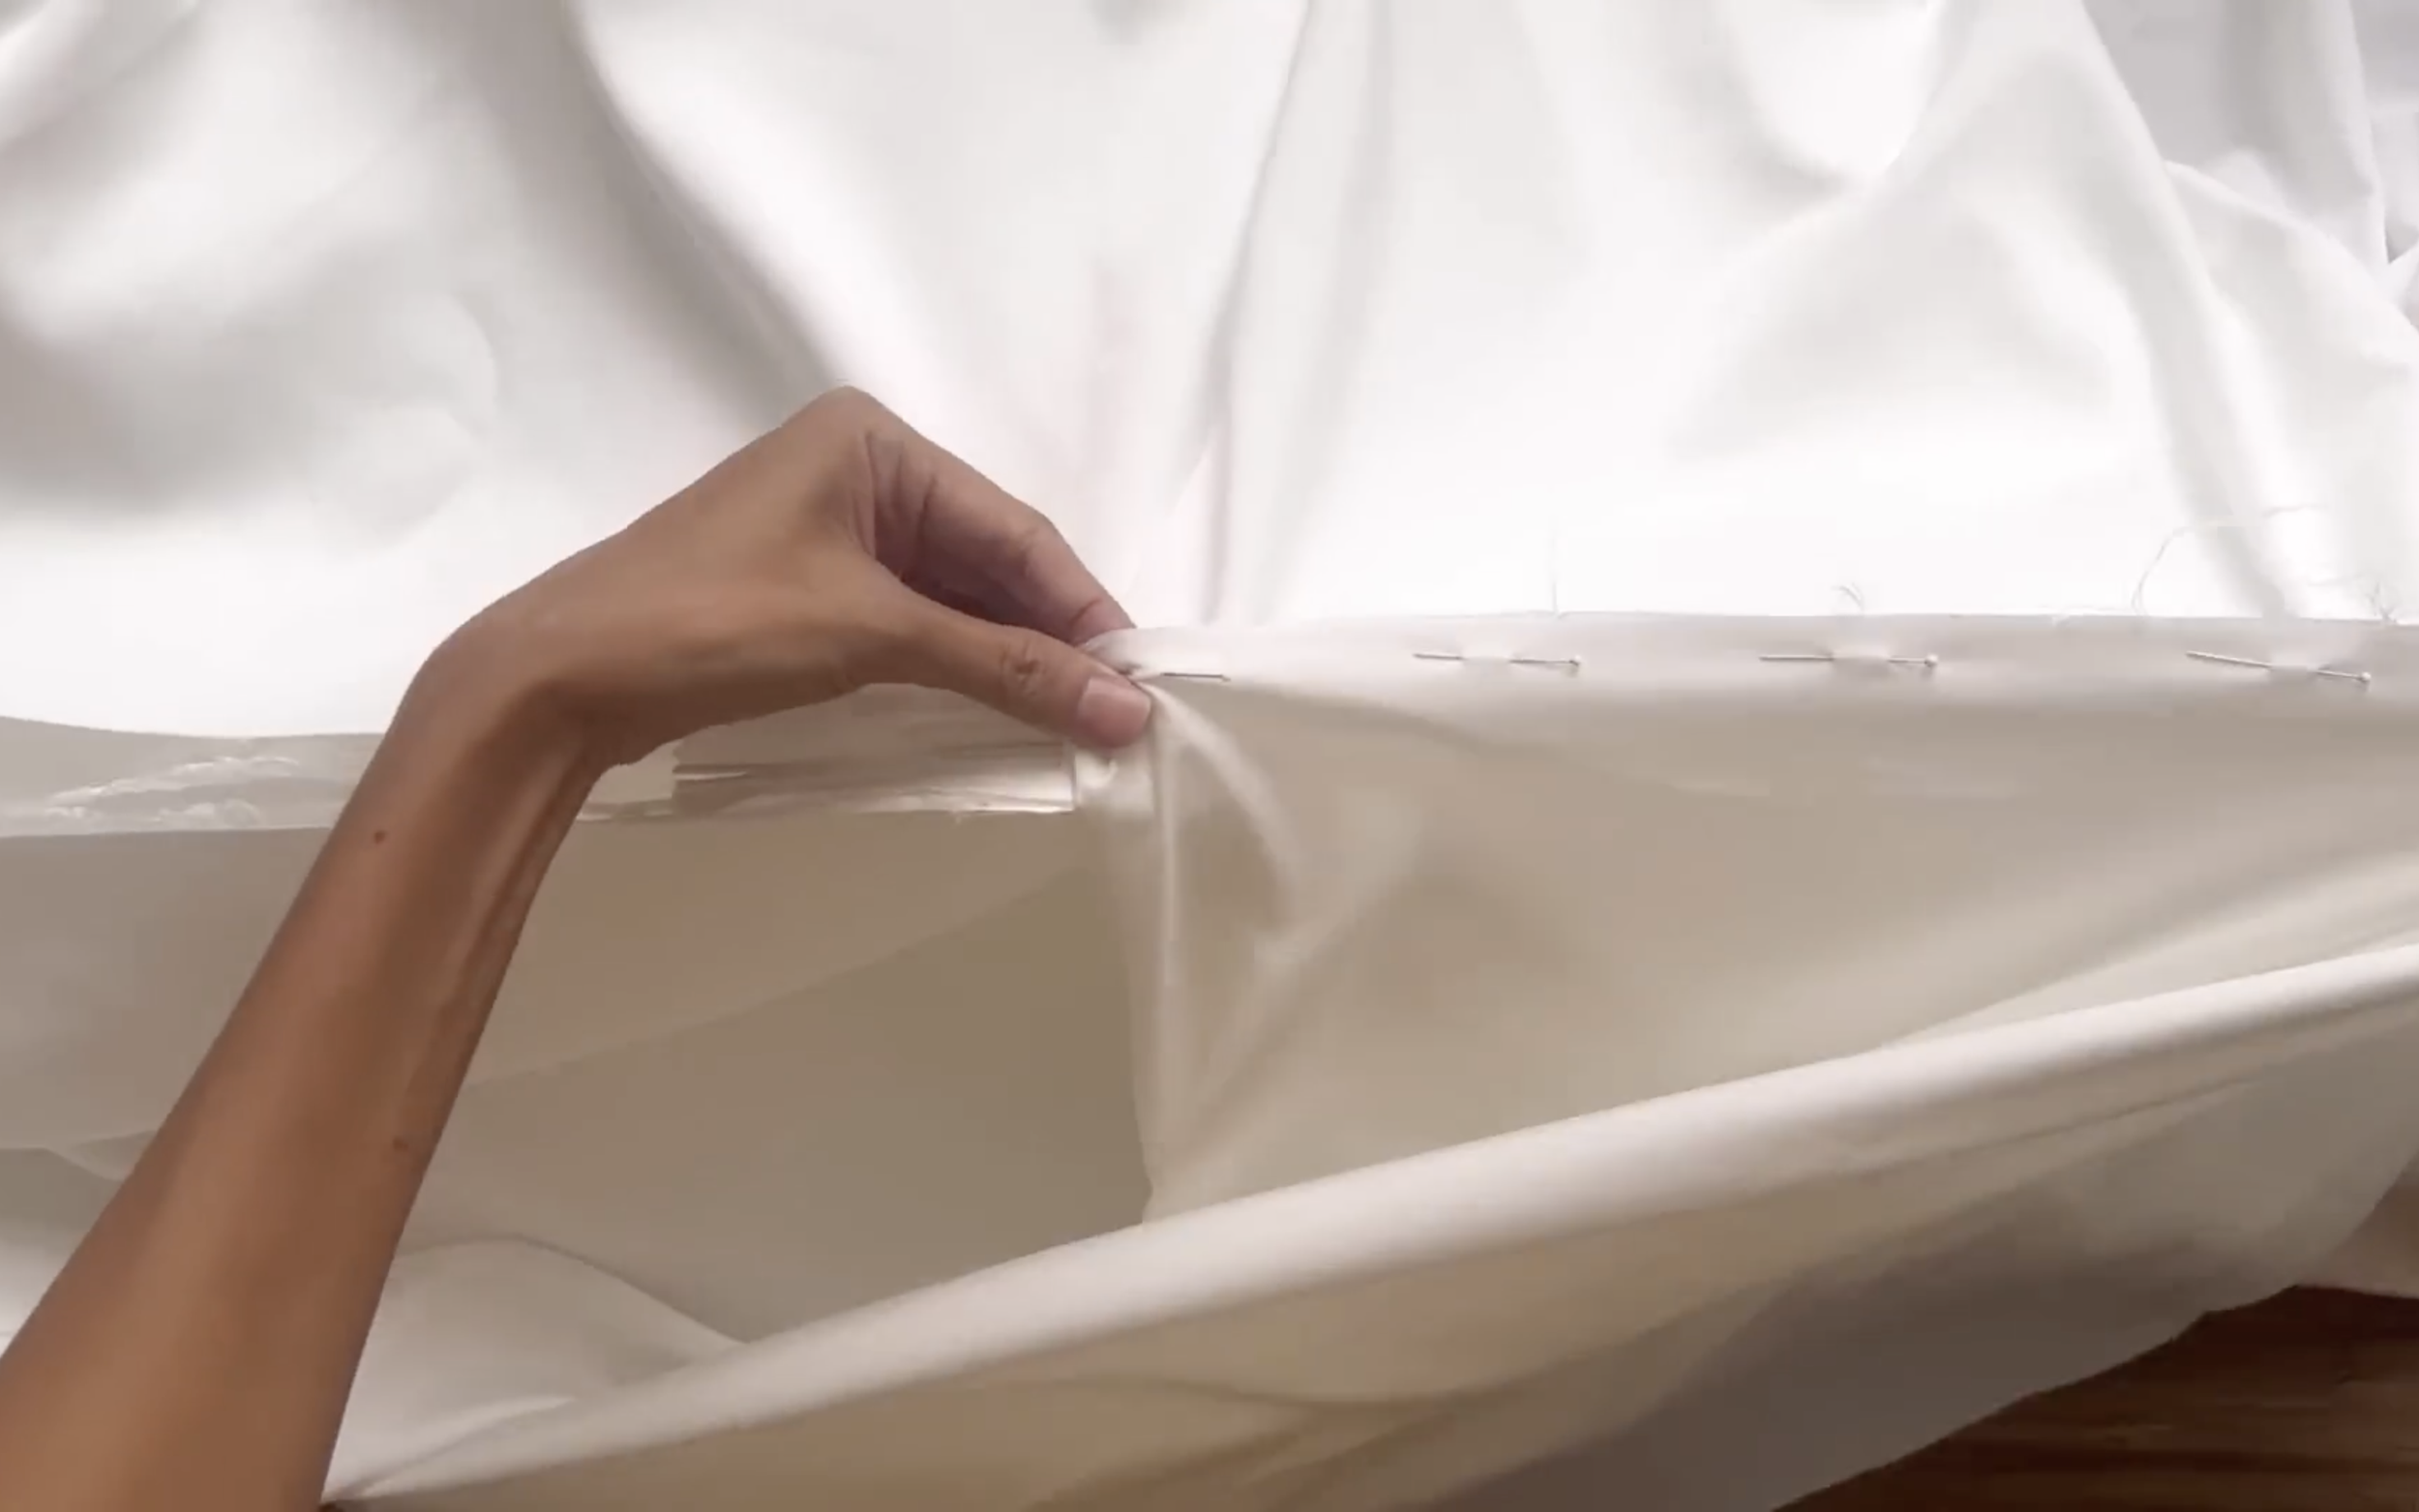
After that, connect the rest of the back skirt under the zipper together.
Remember to connect the lining fabric and the main fabric separately.
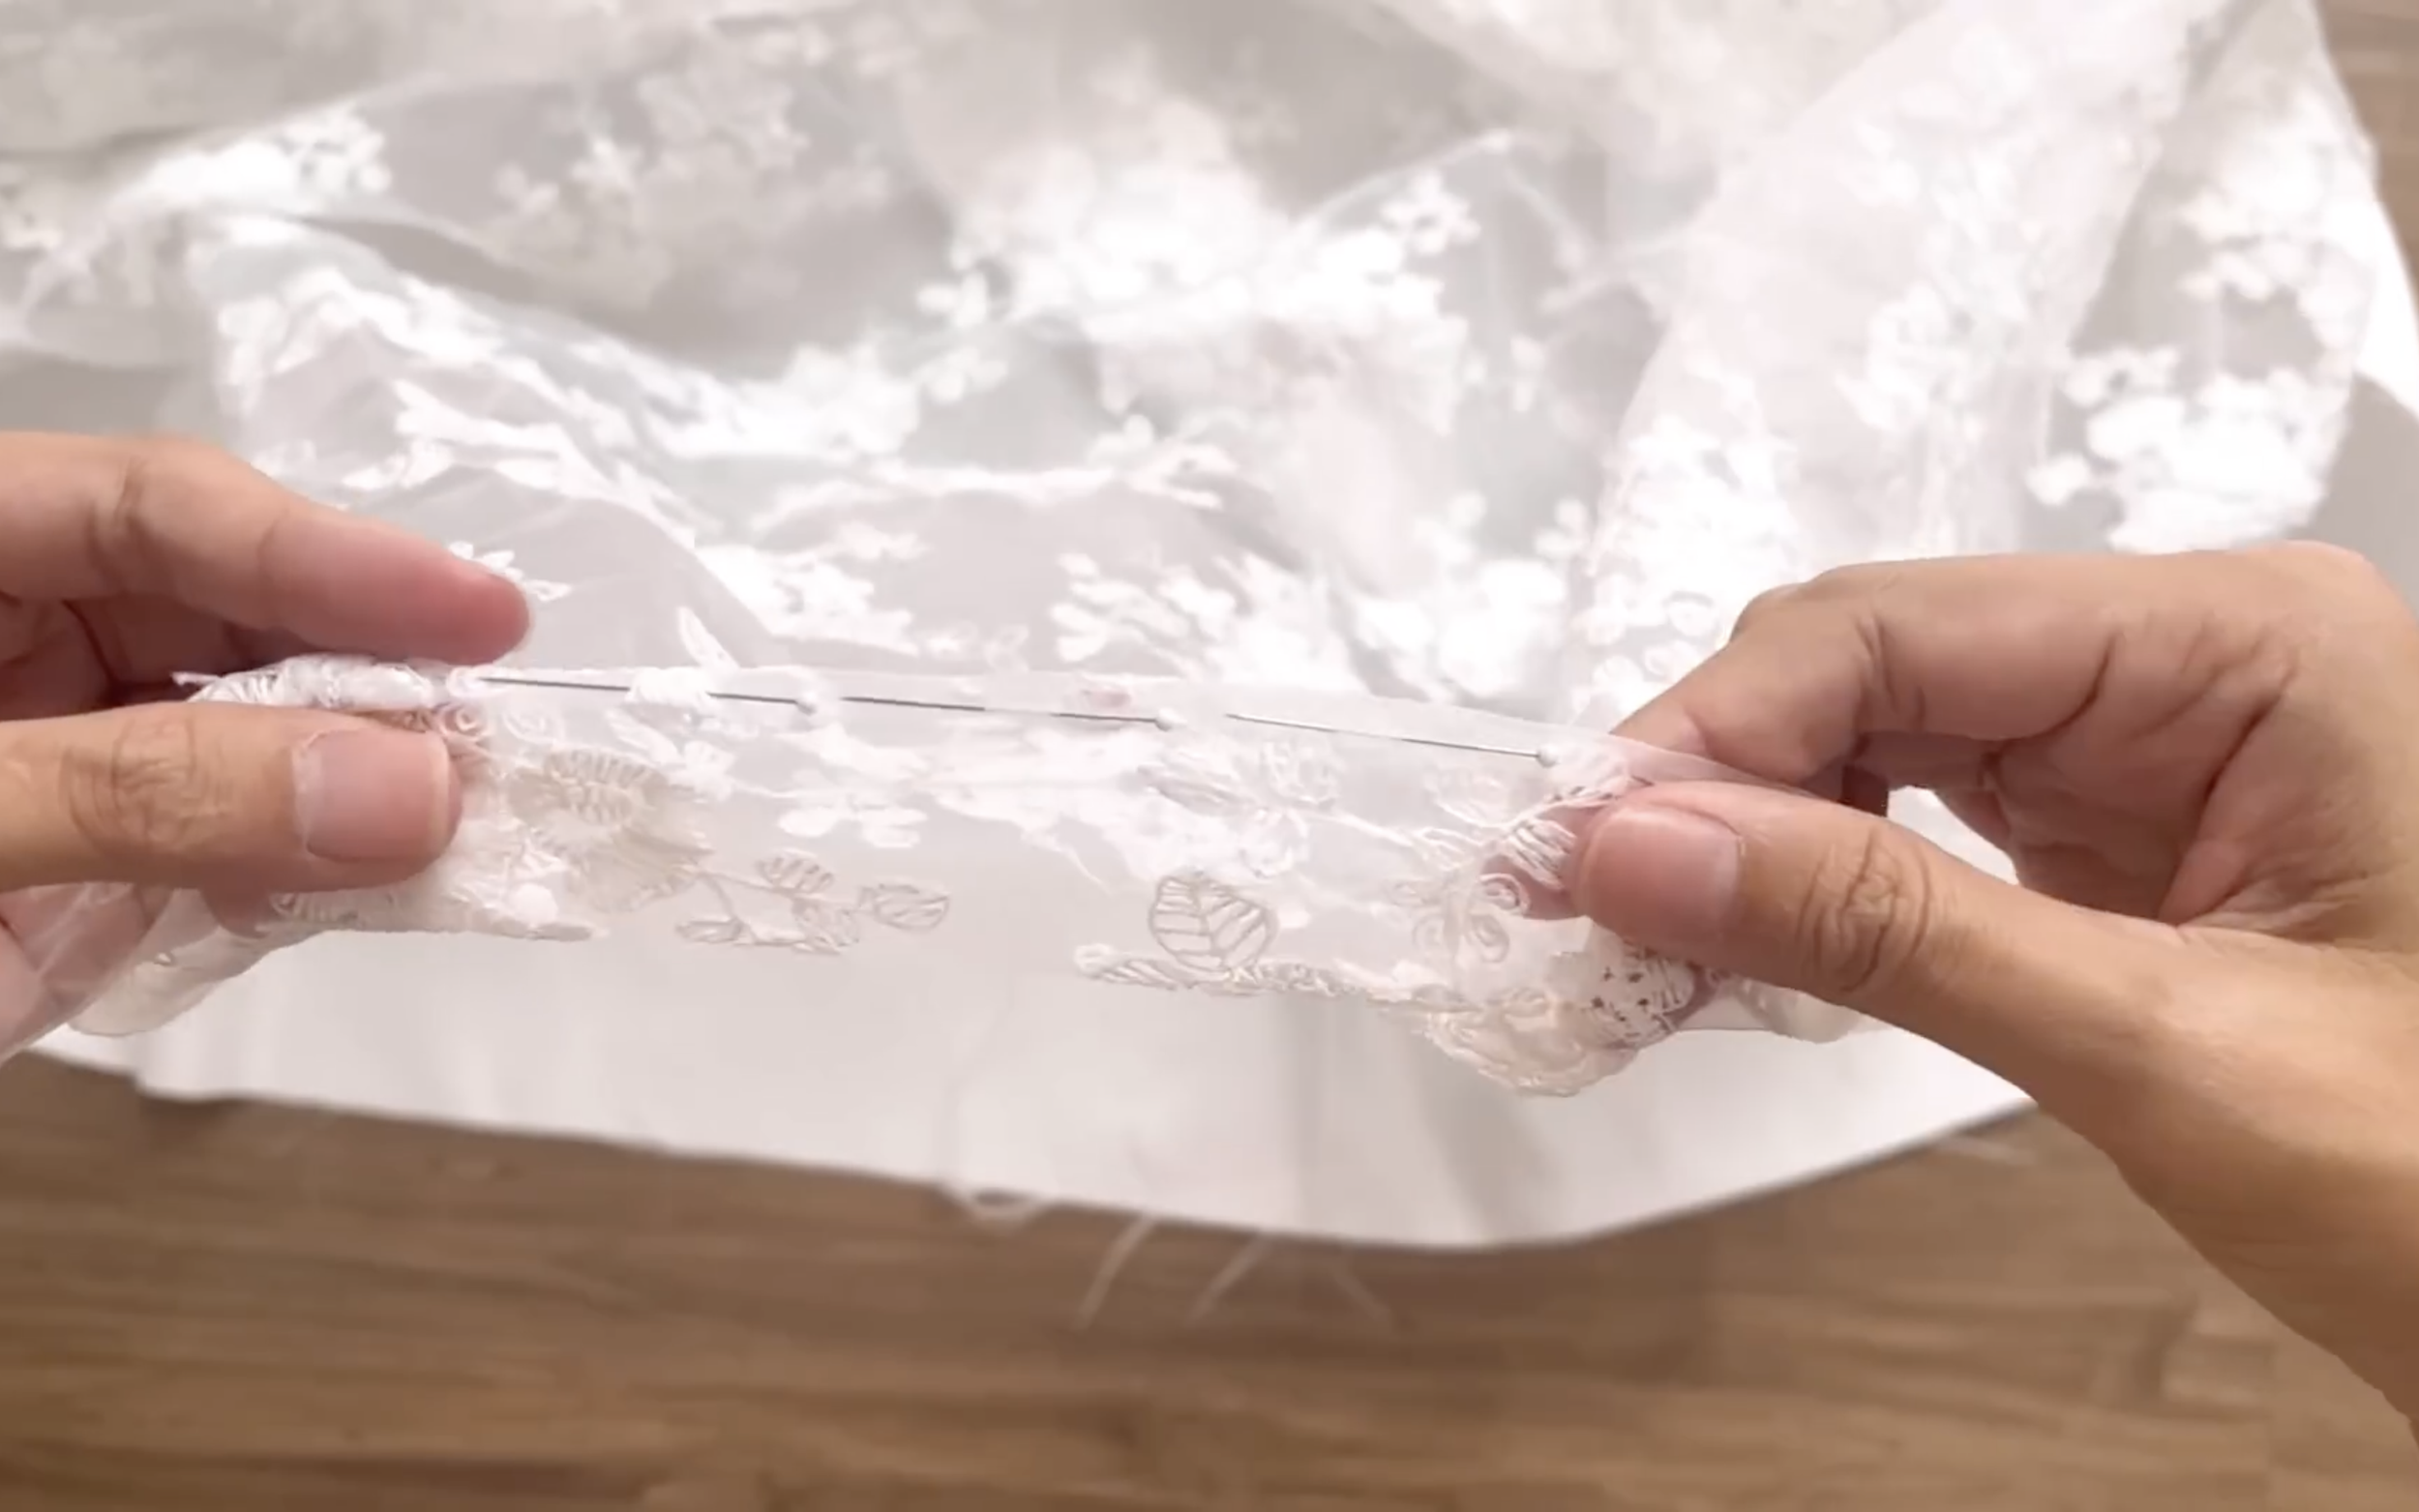
The last step is finishing the end of the dress. Fold the end fabric inside two times with 0.5 cm each time and sew.
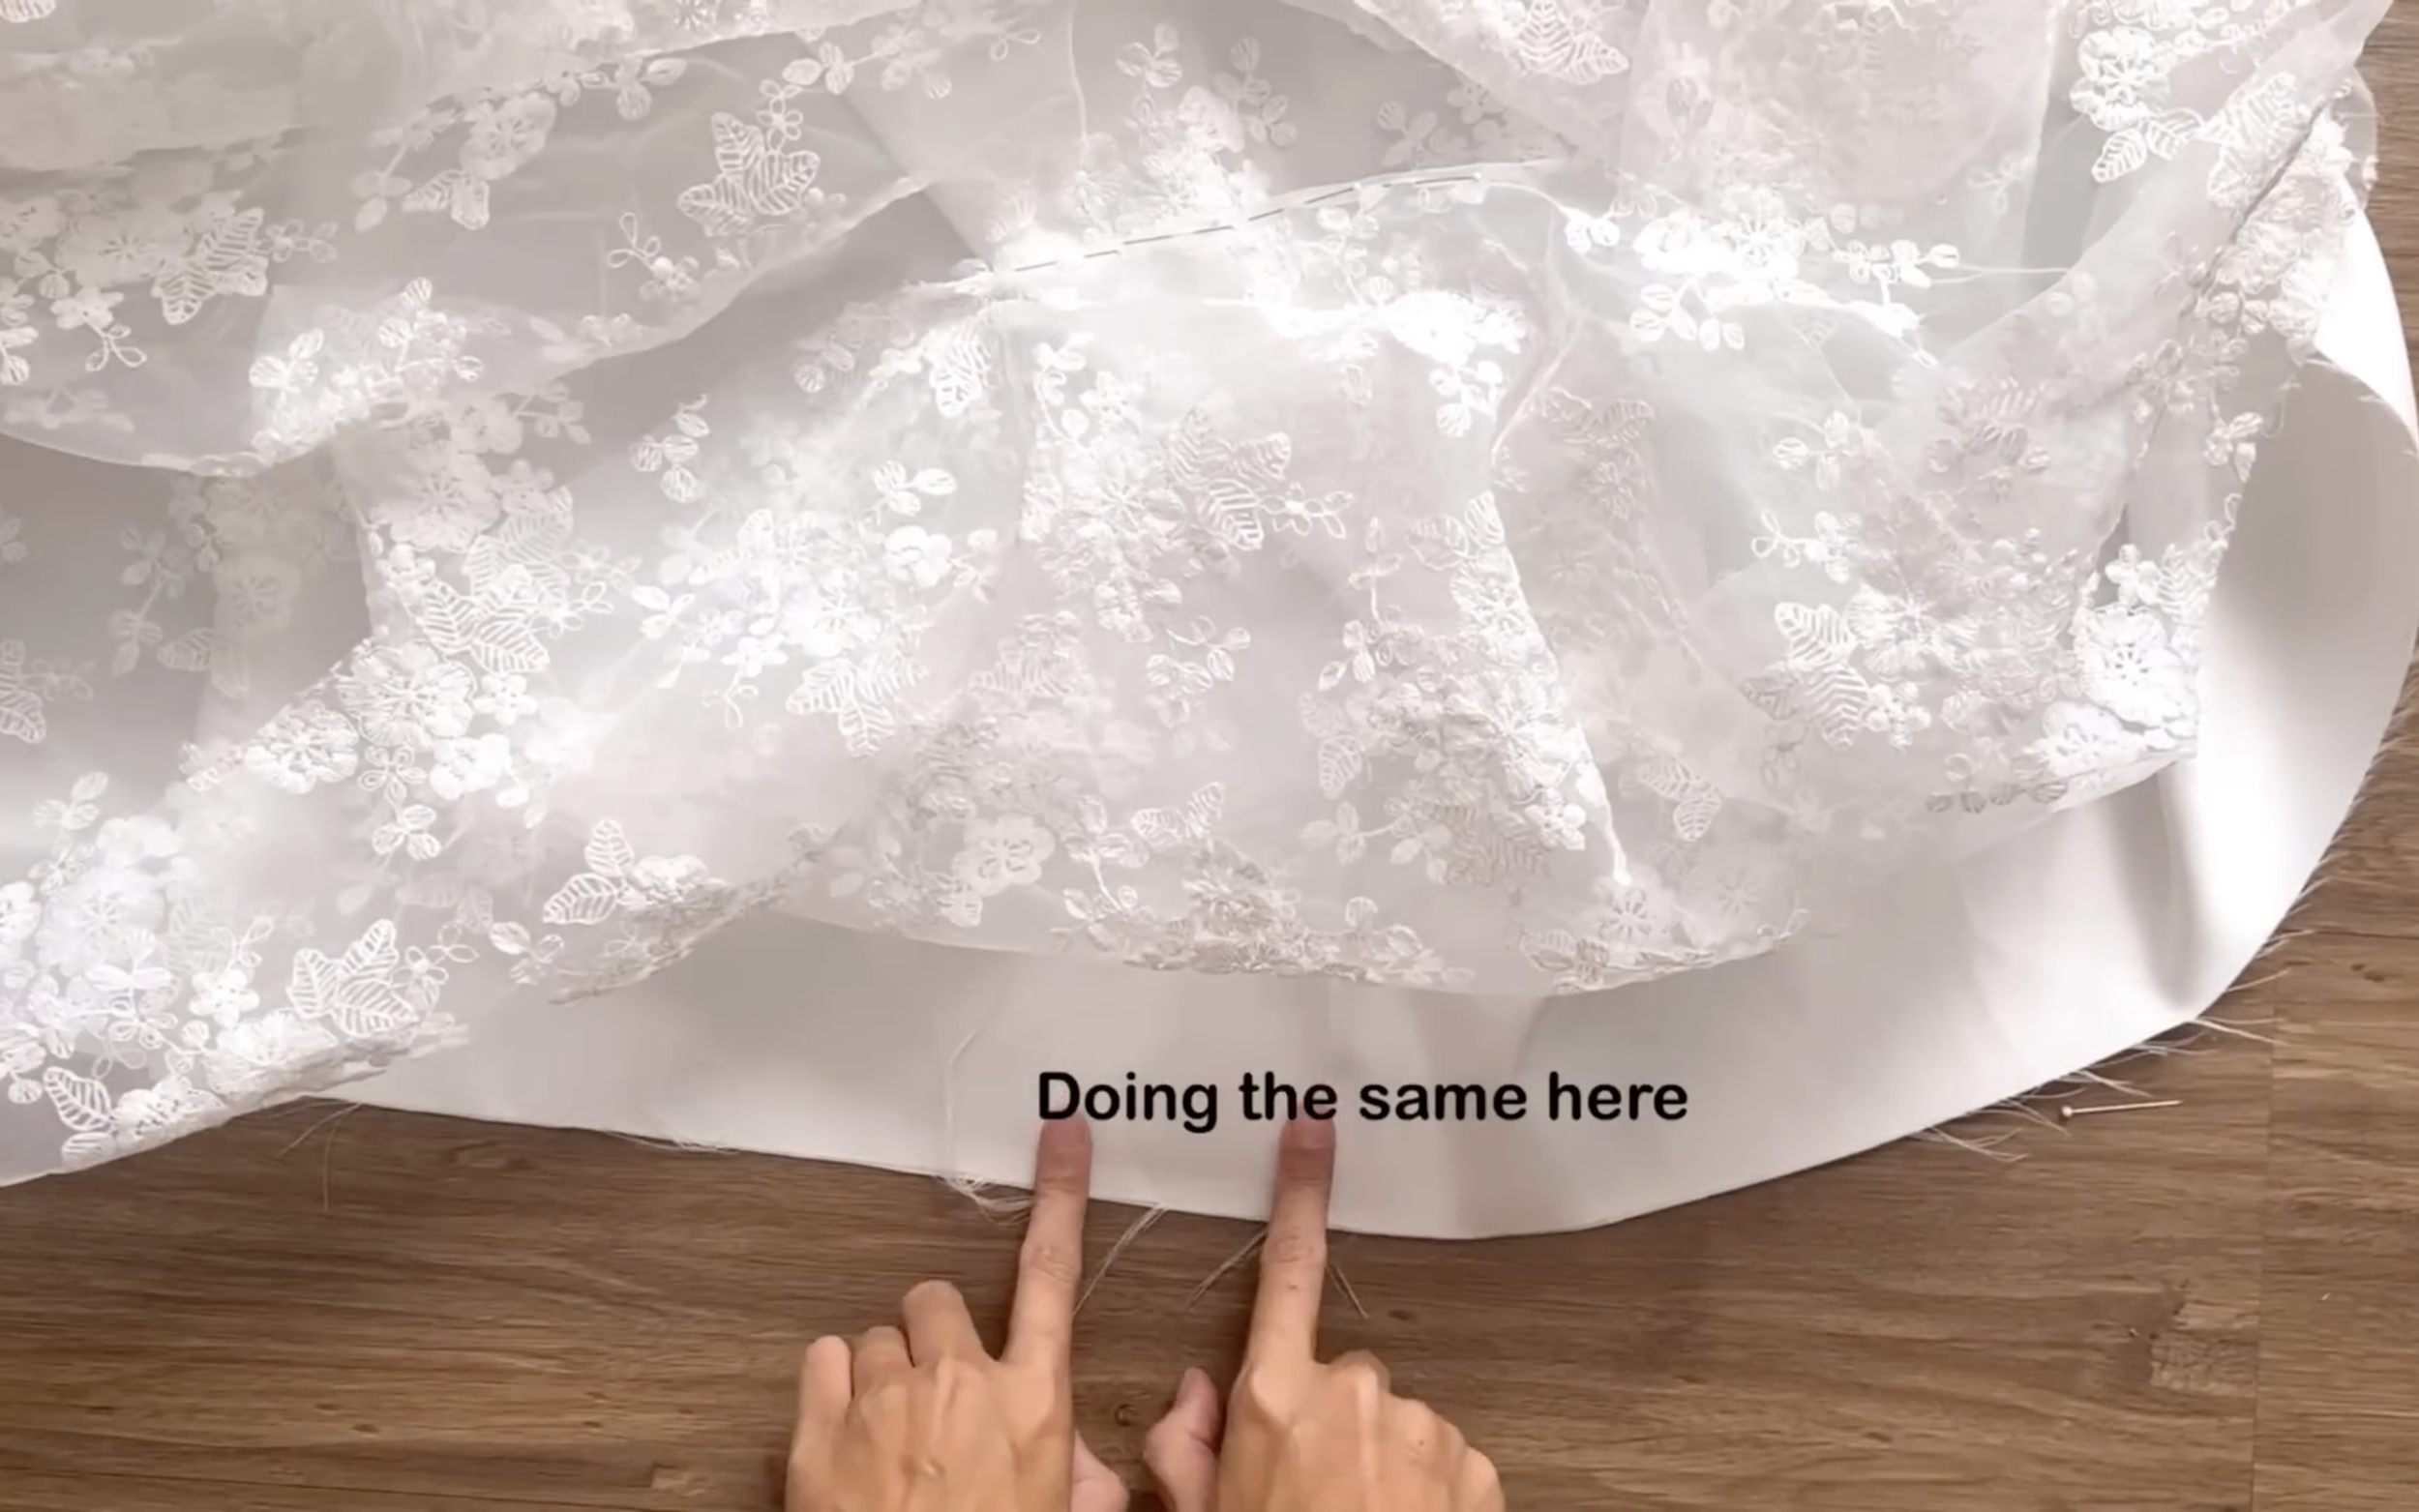
Doing separately for the main fabric and the lining fabric.
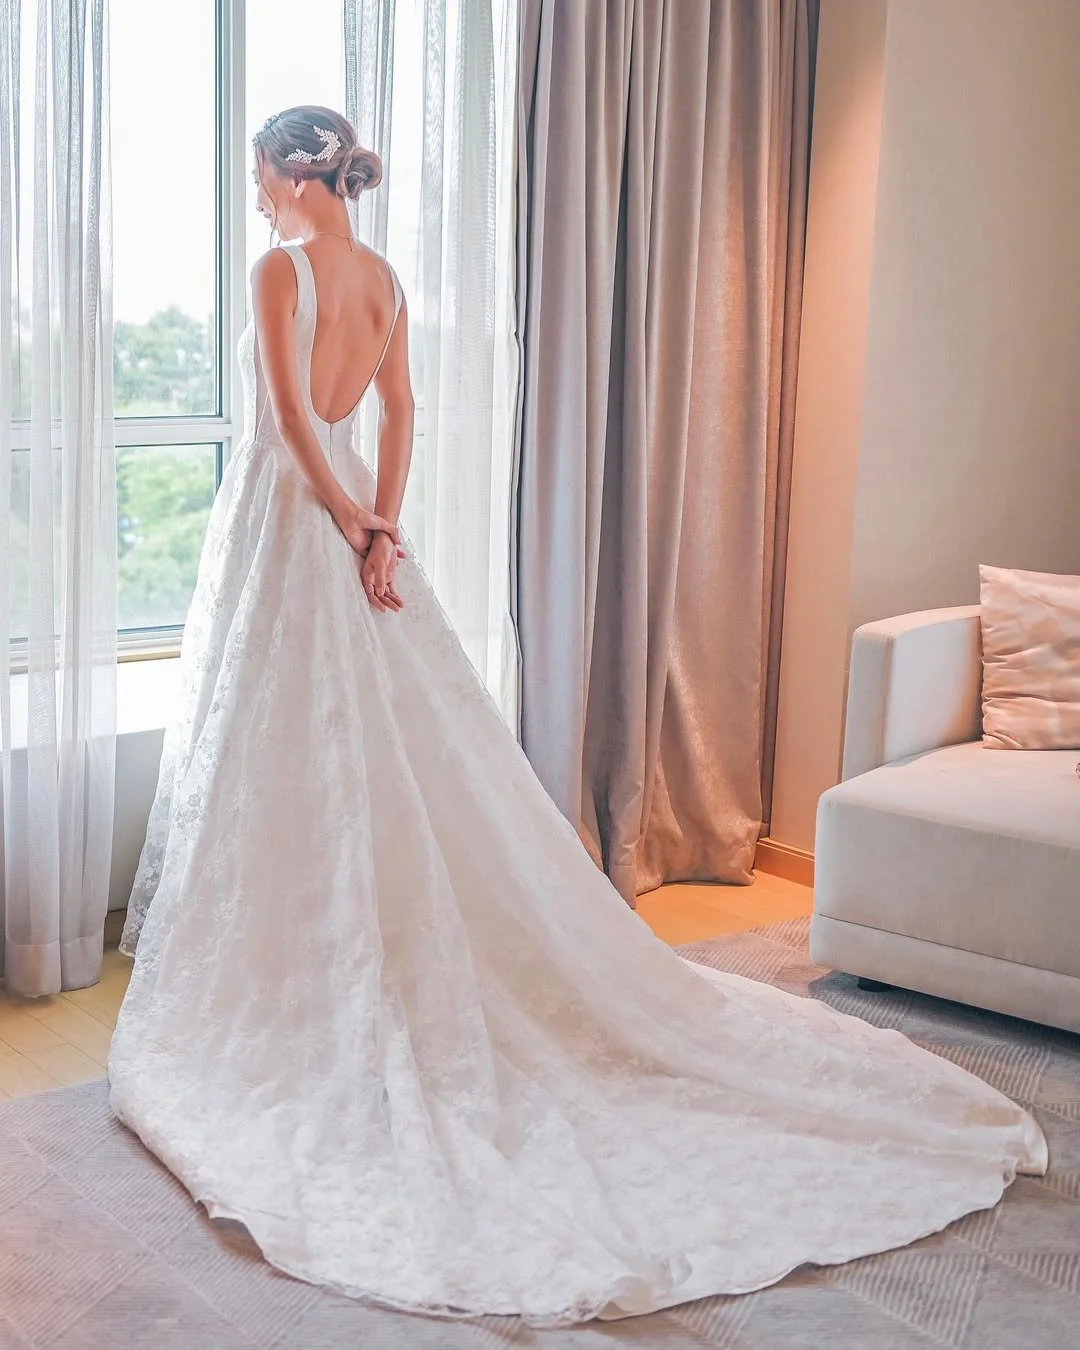
And the dream wedding dress is finished. After that, do a cleaning and ironing to make it ready for the big day.
9. FITTING & ACCESSORIES
THE WEDDING VEIL
Now, for the next step: choosing the right accessories for your wedding dress.
I personally decided to make my own wedding veil to perfectly match my dress. When choosing yours, you should always consider the design of your dress to find the ideal veil style.
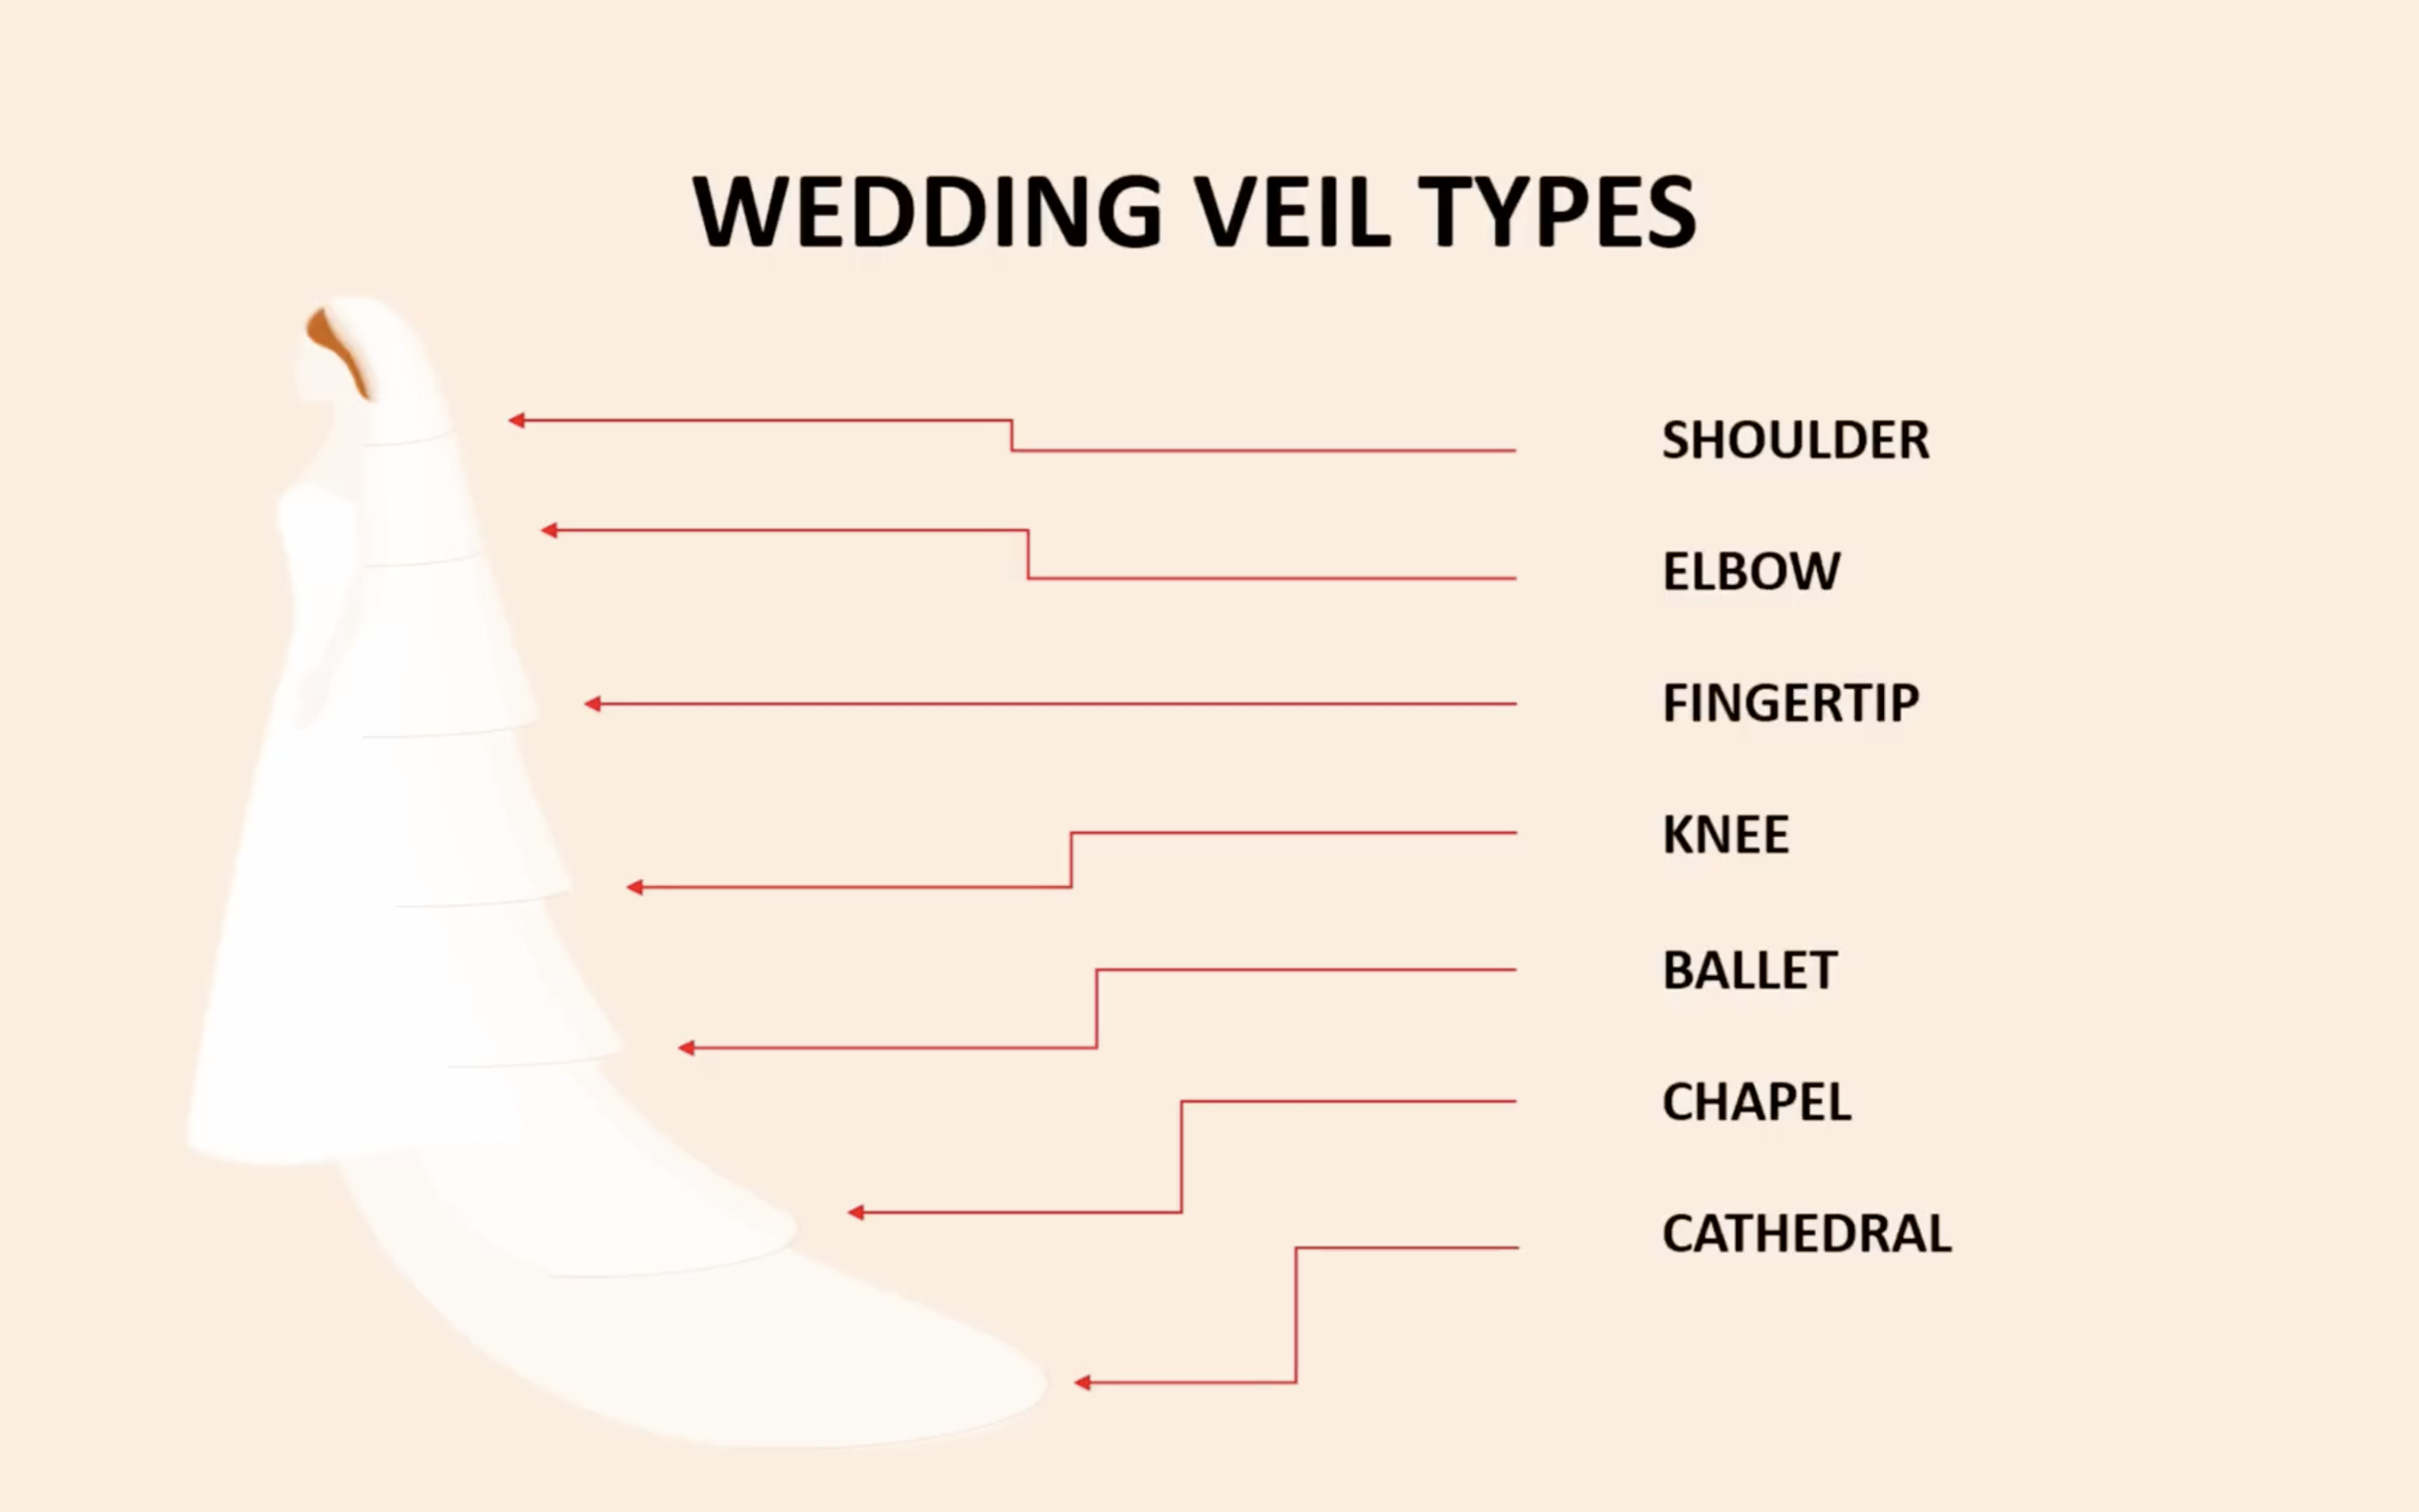
Below are some basic wedding veil types for your reference.
Since I chose the Caroline style for my wedding dress, I made my veil in a similar style, but with a length that extends just a bit longer than the dress itself.
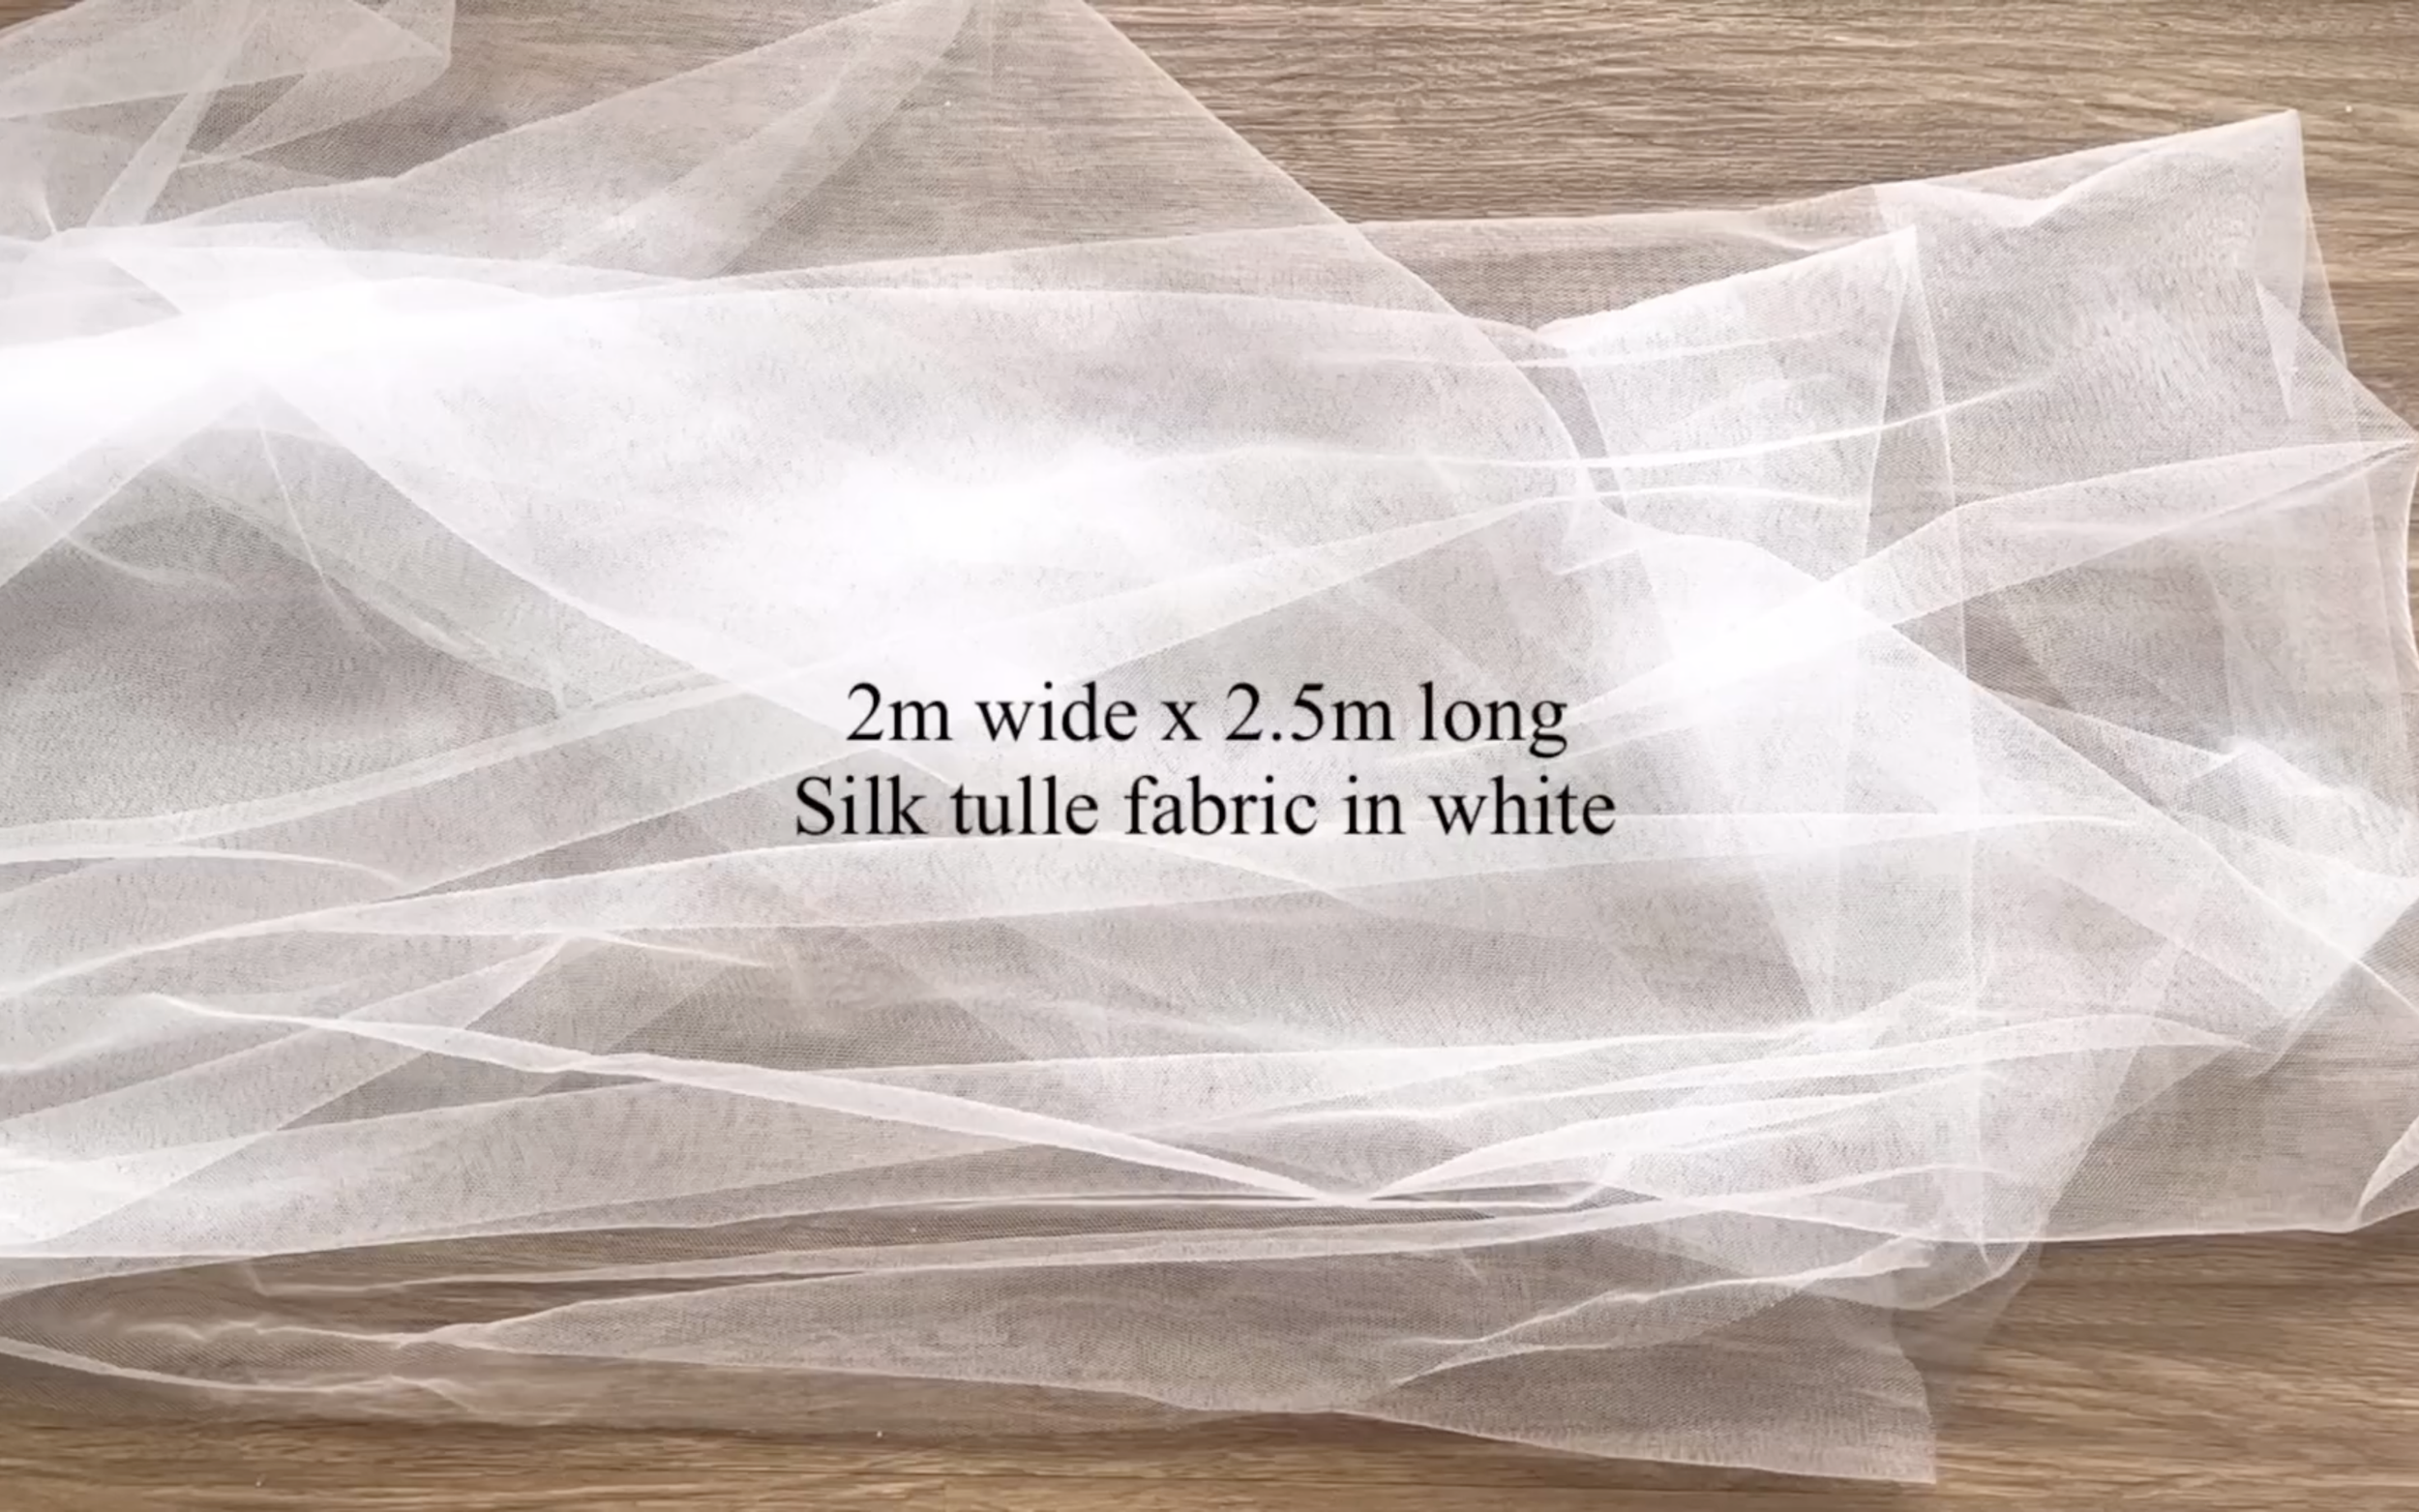
They have a few options for the material of the wedding veil. But I chose white silk tulle to match the color of the wedding dress.
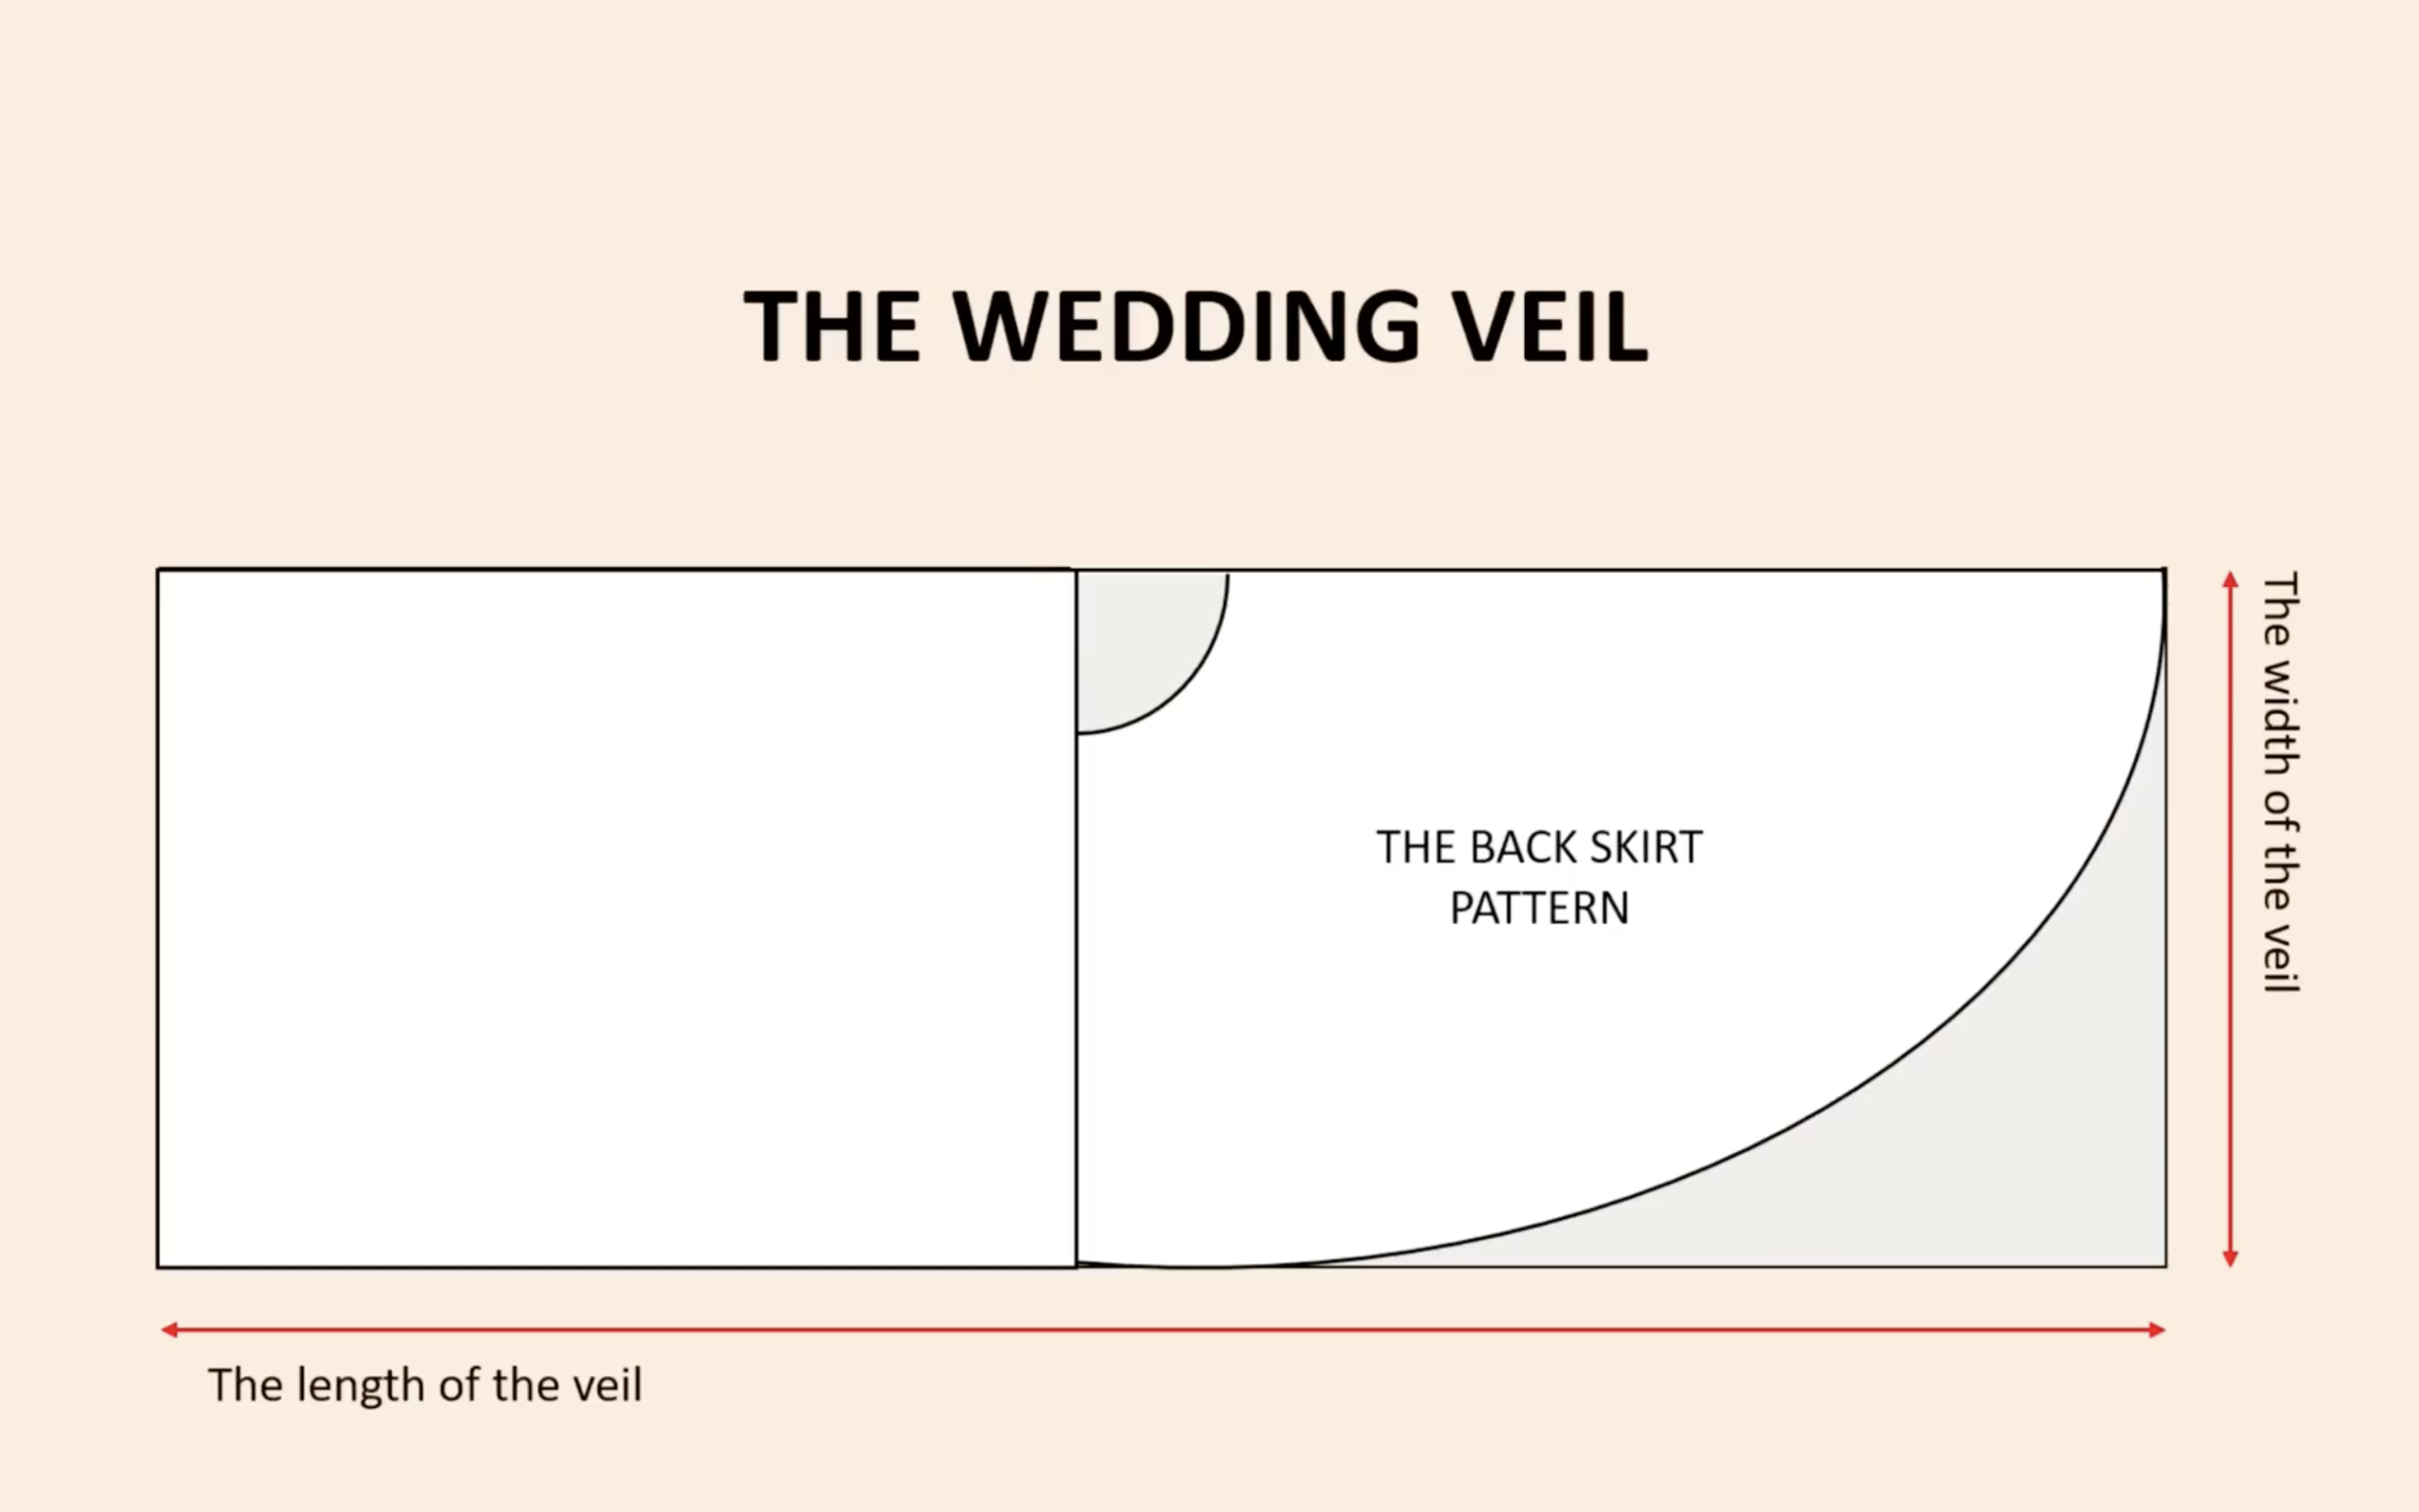
Cut one width line of the fabric in the curved shape by using the back skirt pattern of the wedding dress.
The veil made is two meter wide and 2.5 meter long so they will match each other.
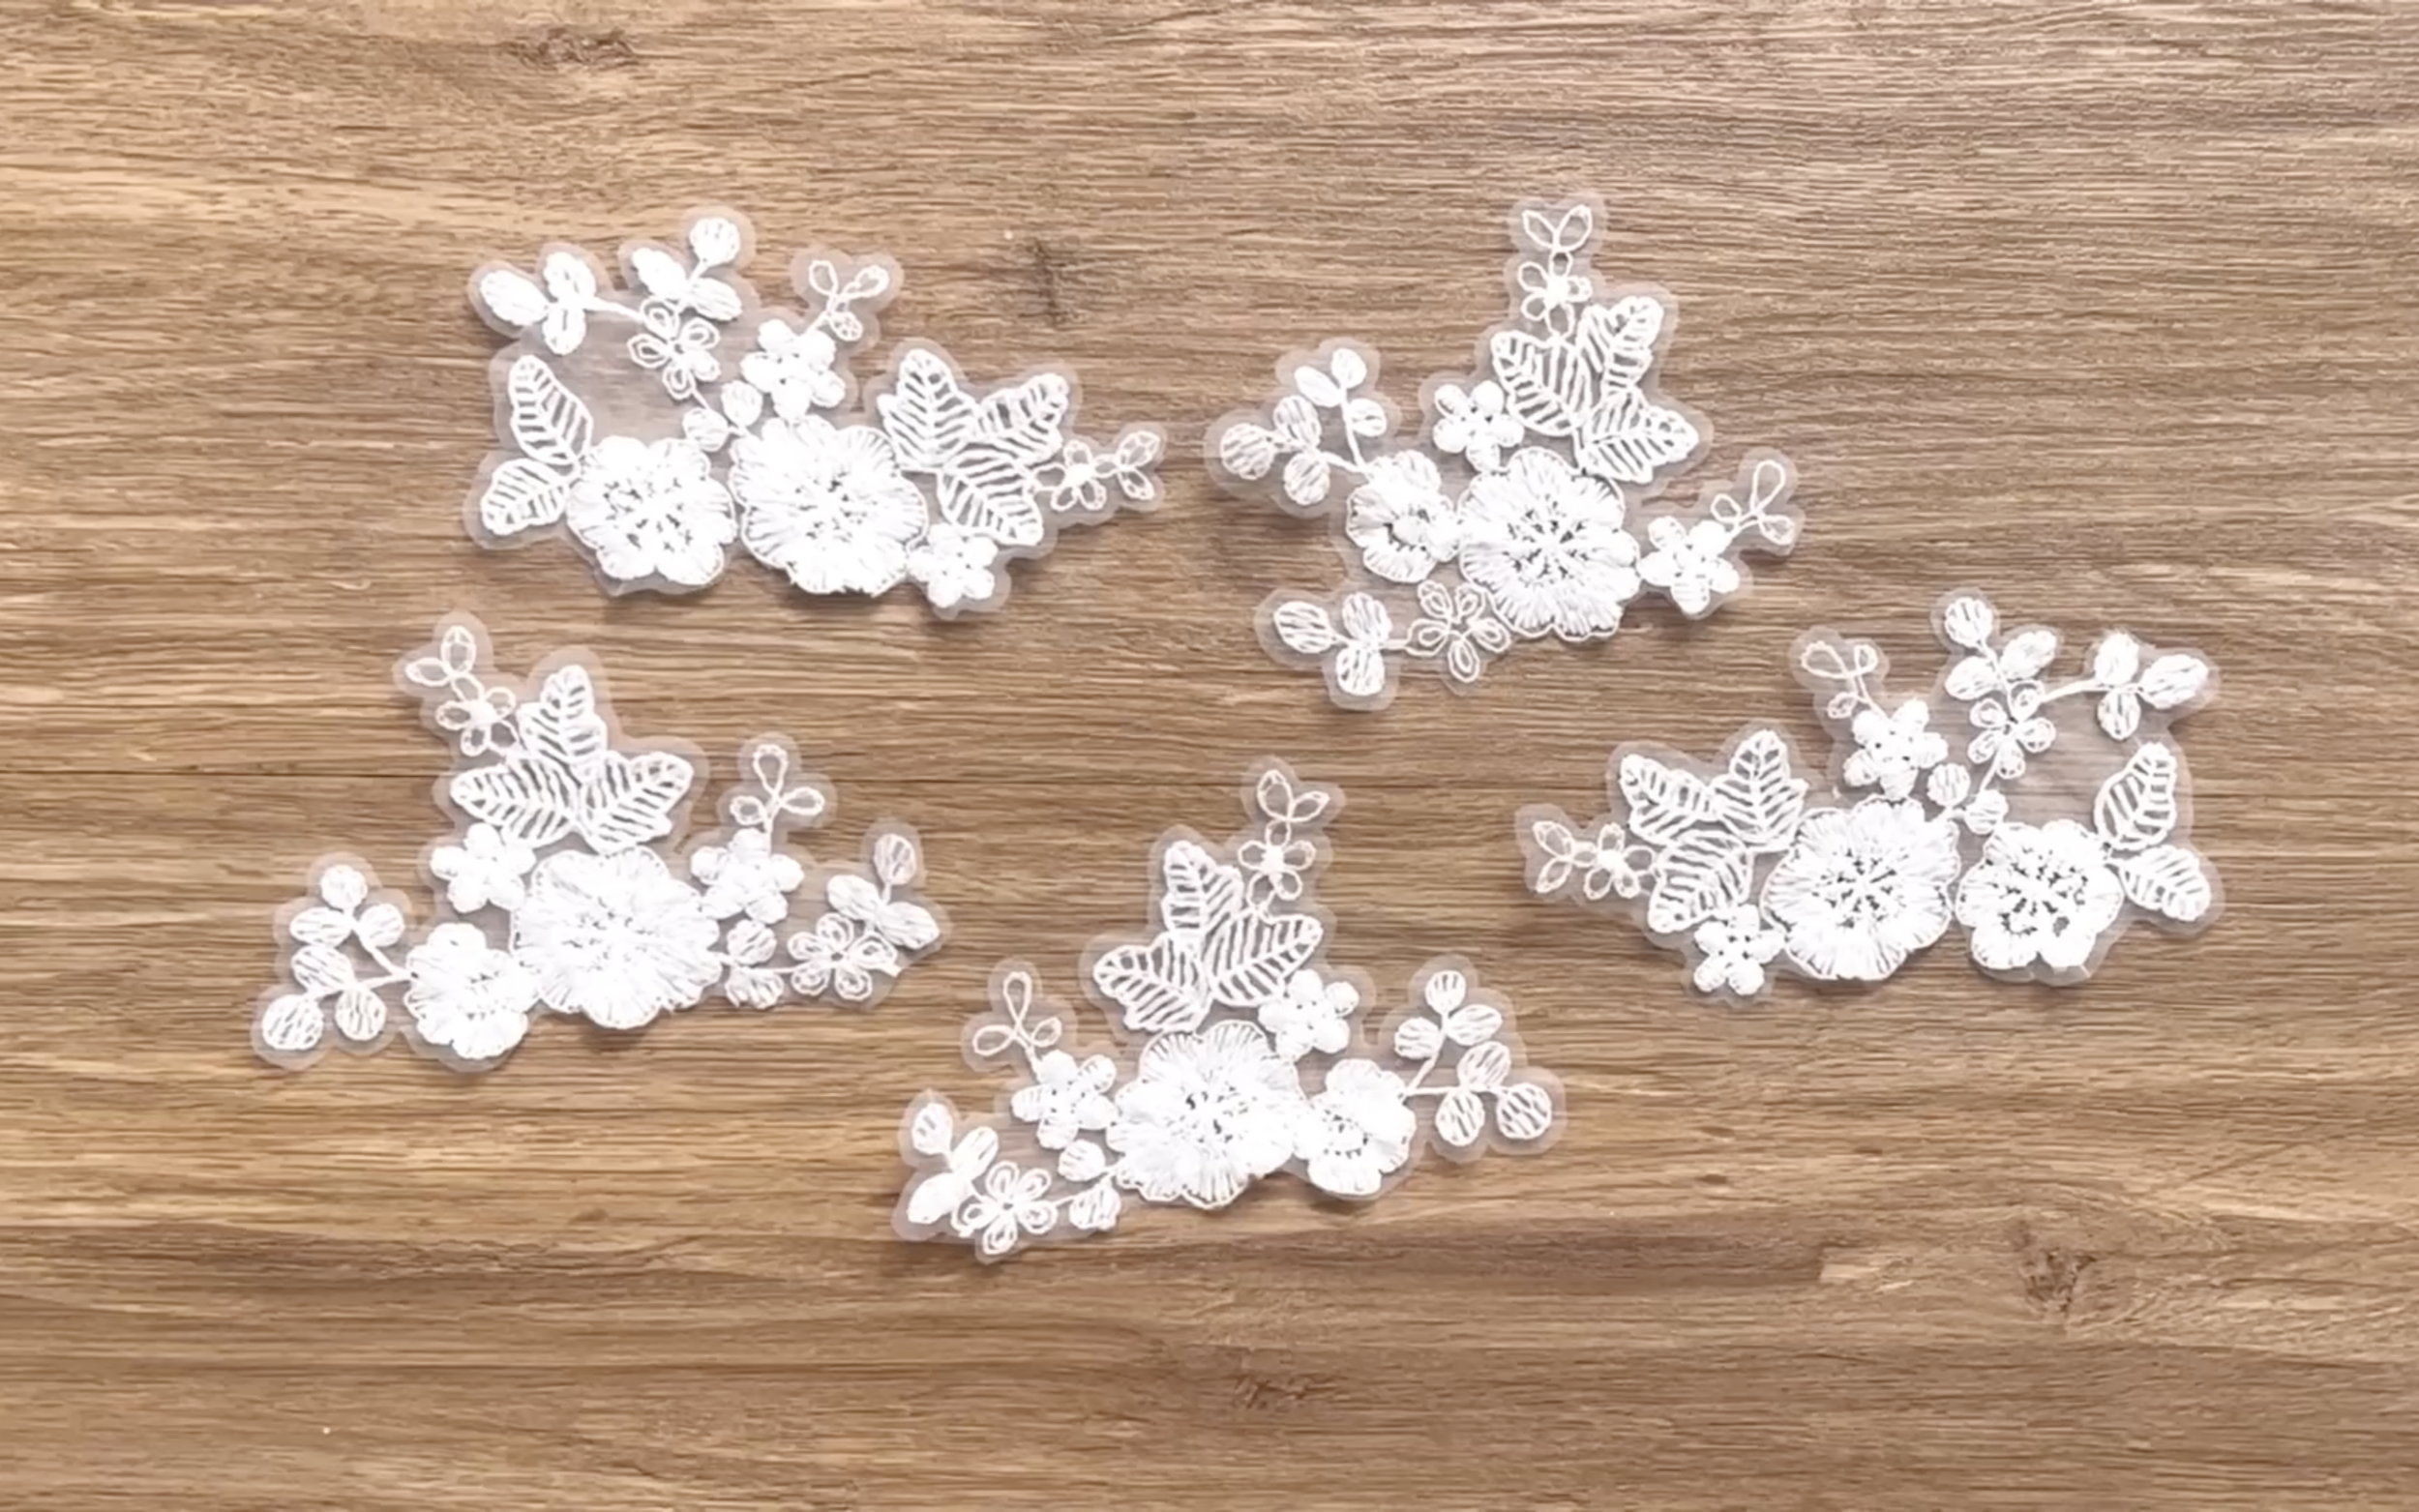
To make the veil more matching to the dress, use the floral from the lace fabric to insert around the curved line of the veil.
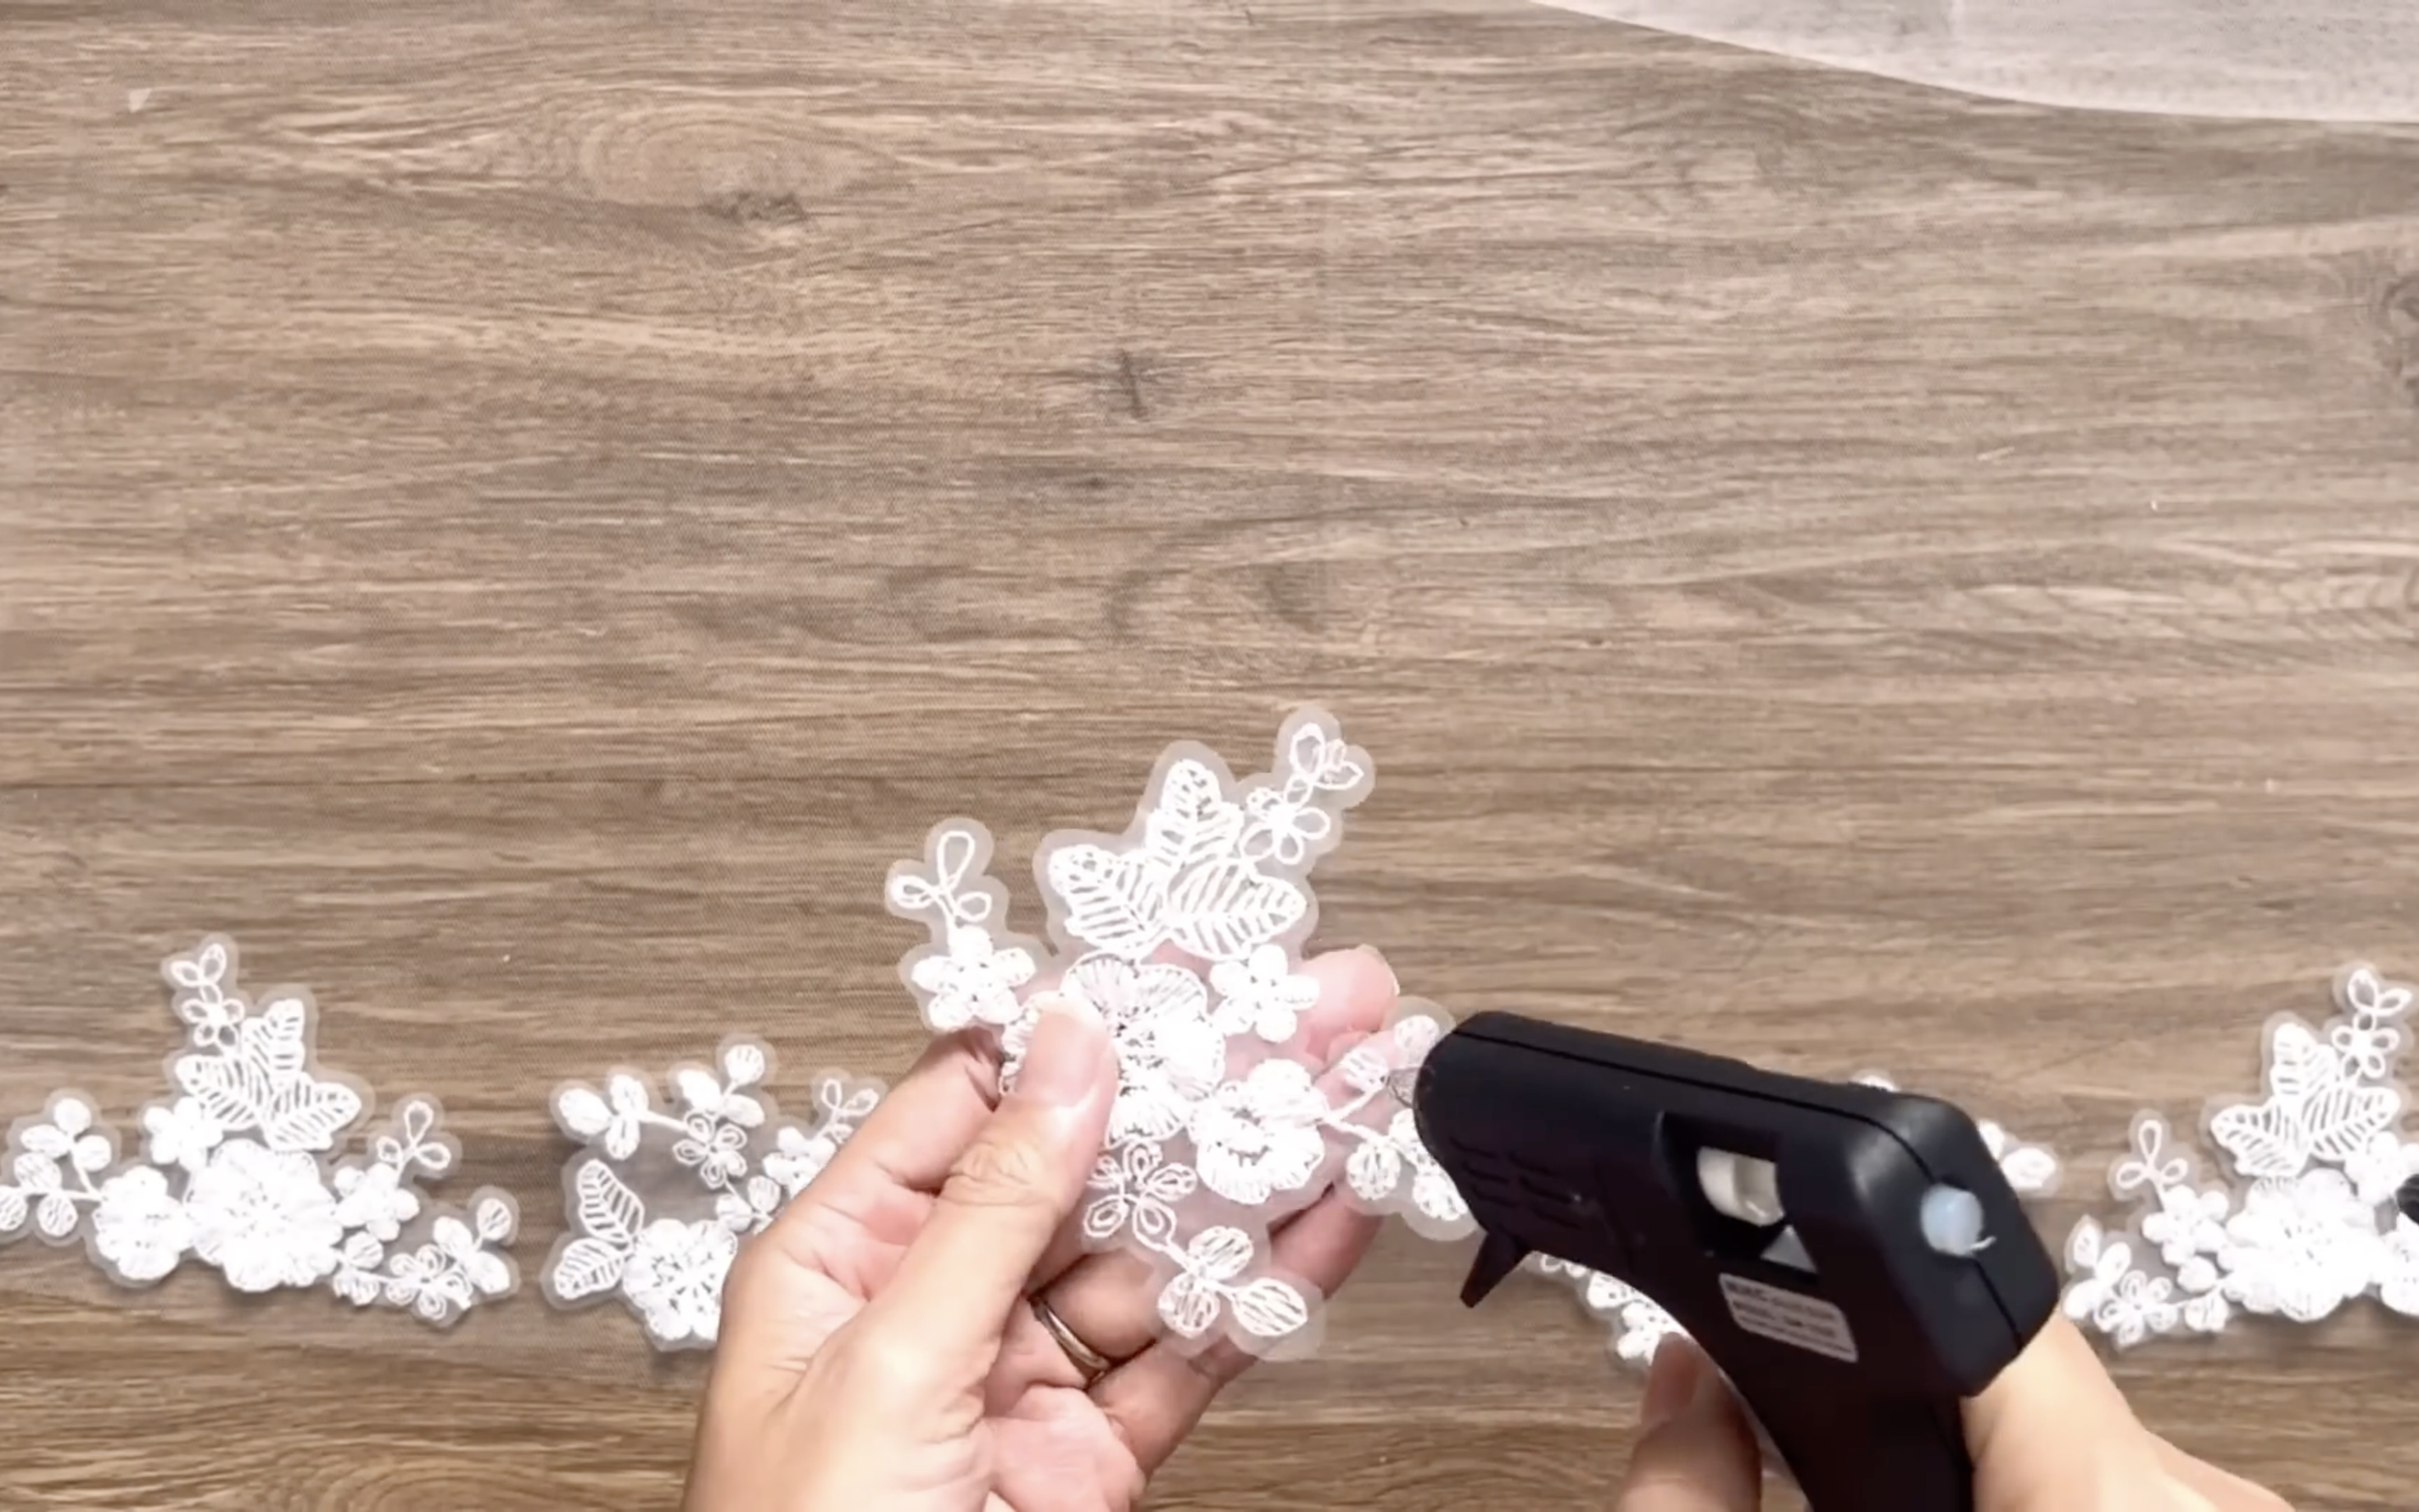
Use a glue gun to do it.

But just do it for the grounded part of the veil and keep it clean for the top part.
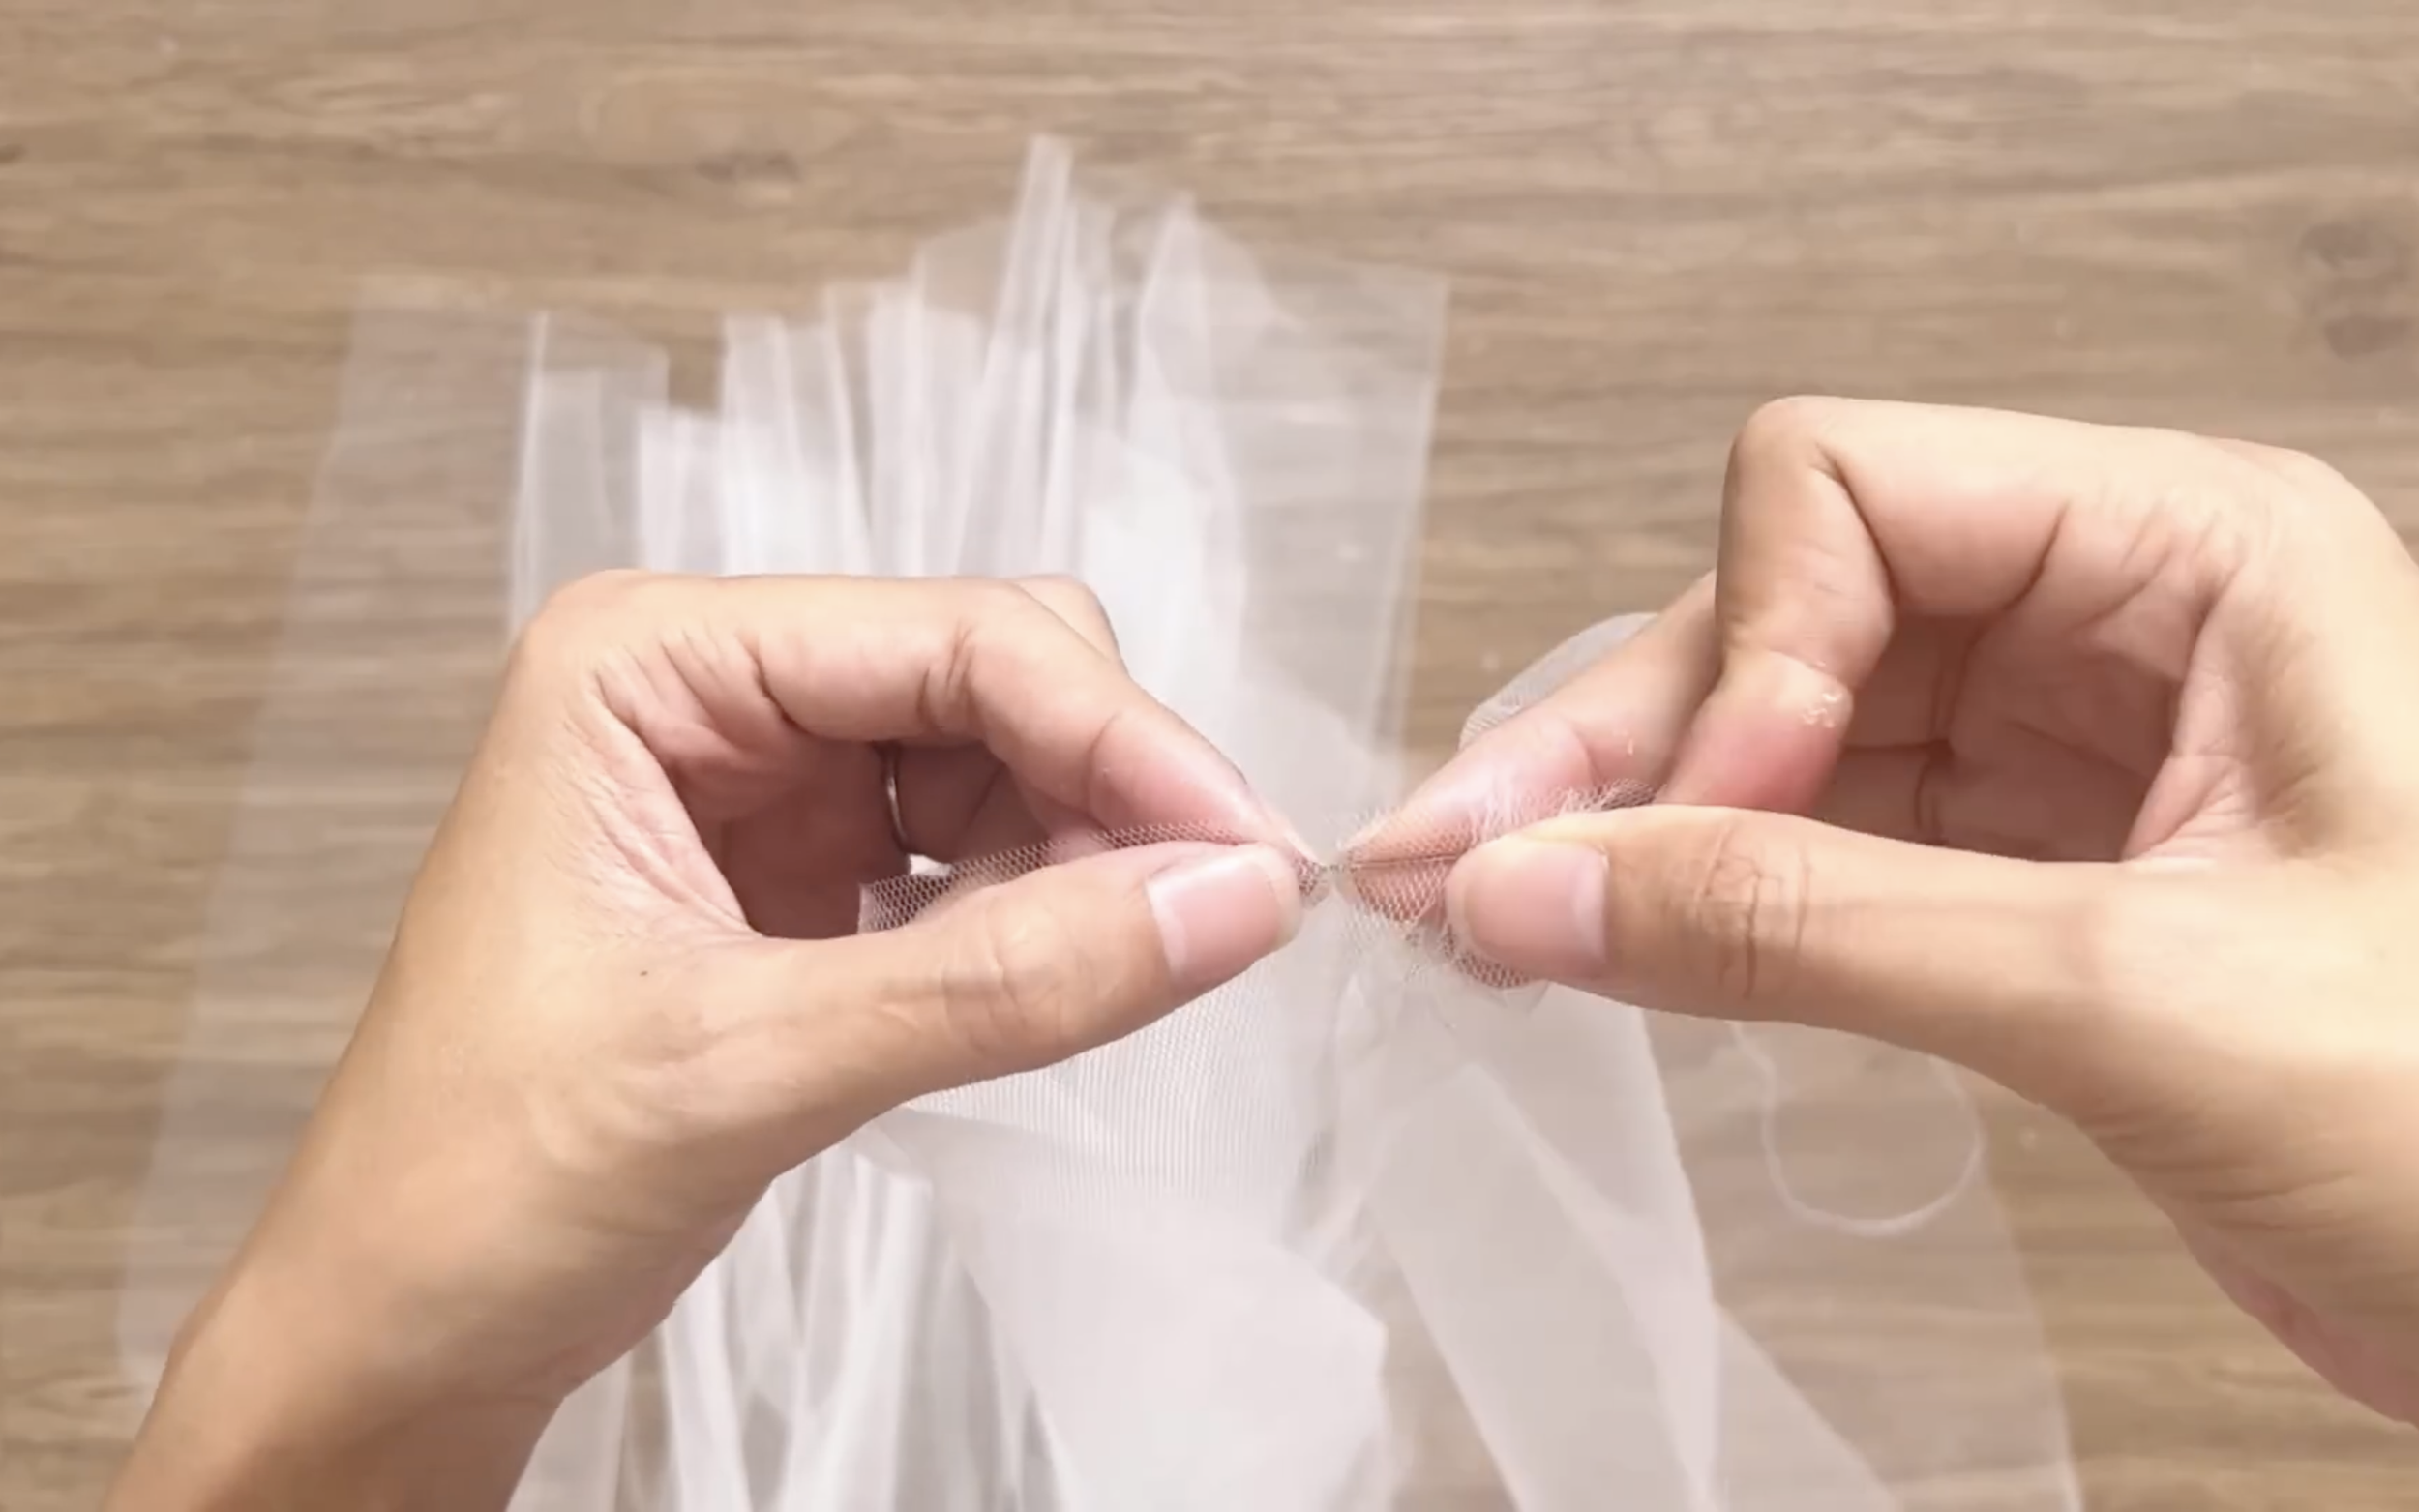
Moving to the top of the veil, gather fabric to 10 cm width, which is the width of the hair comb that will be used.
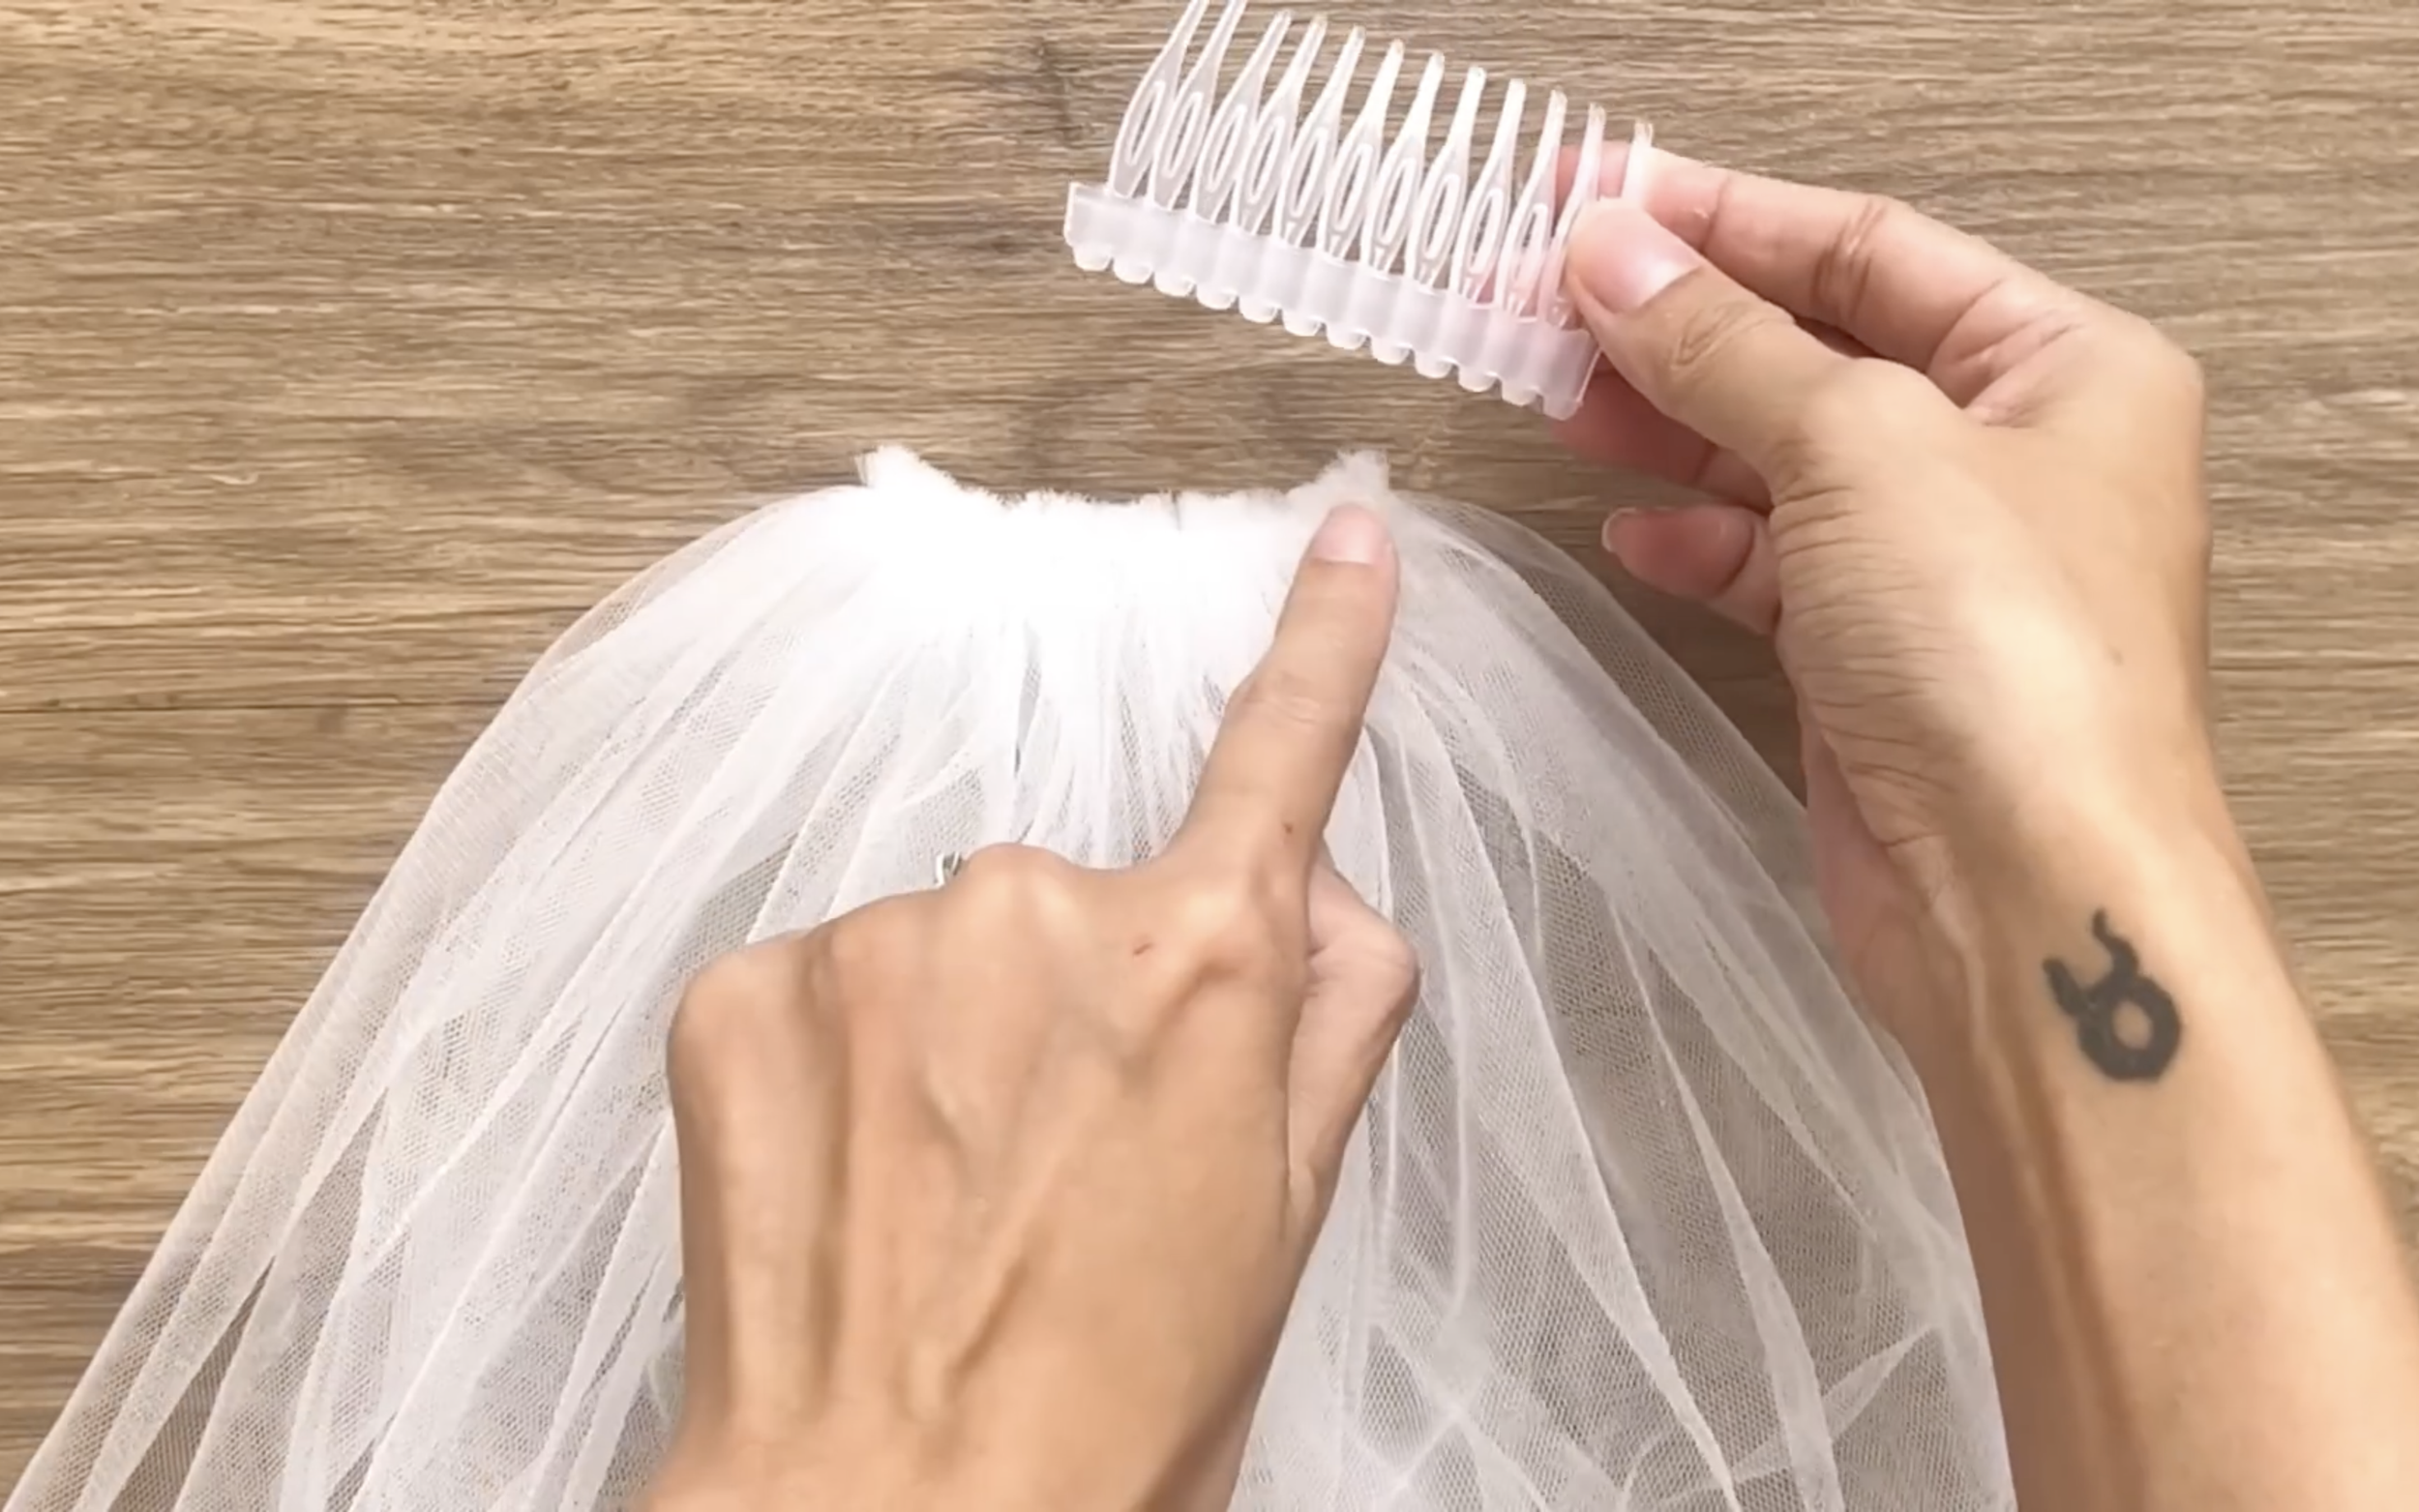
Then connect them together.
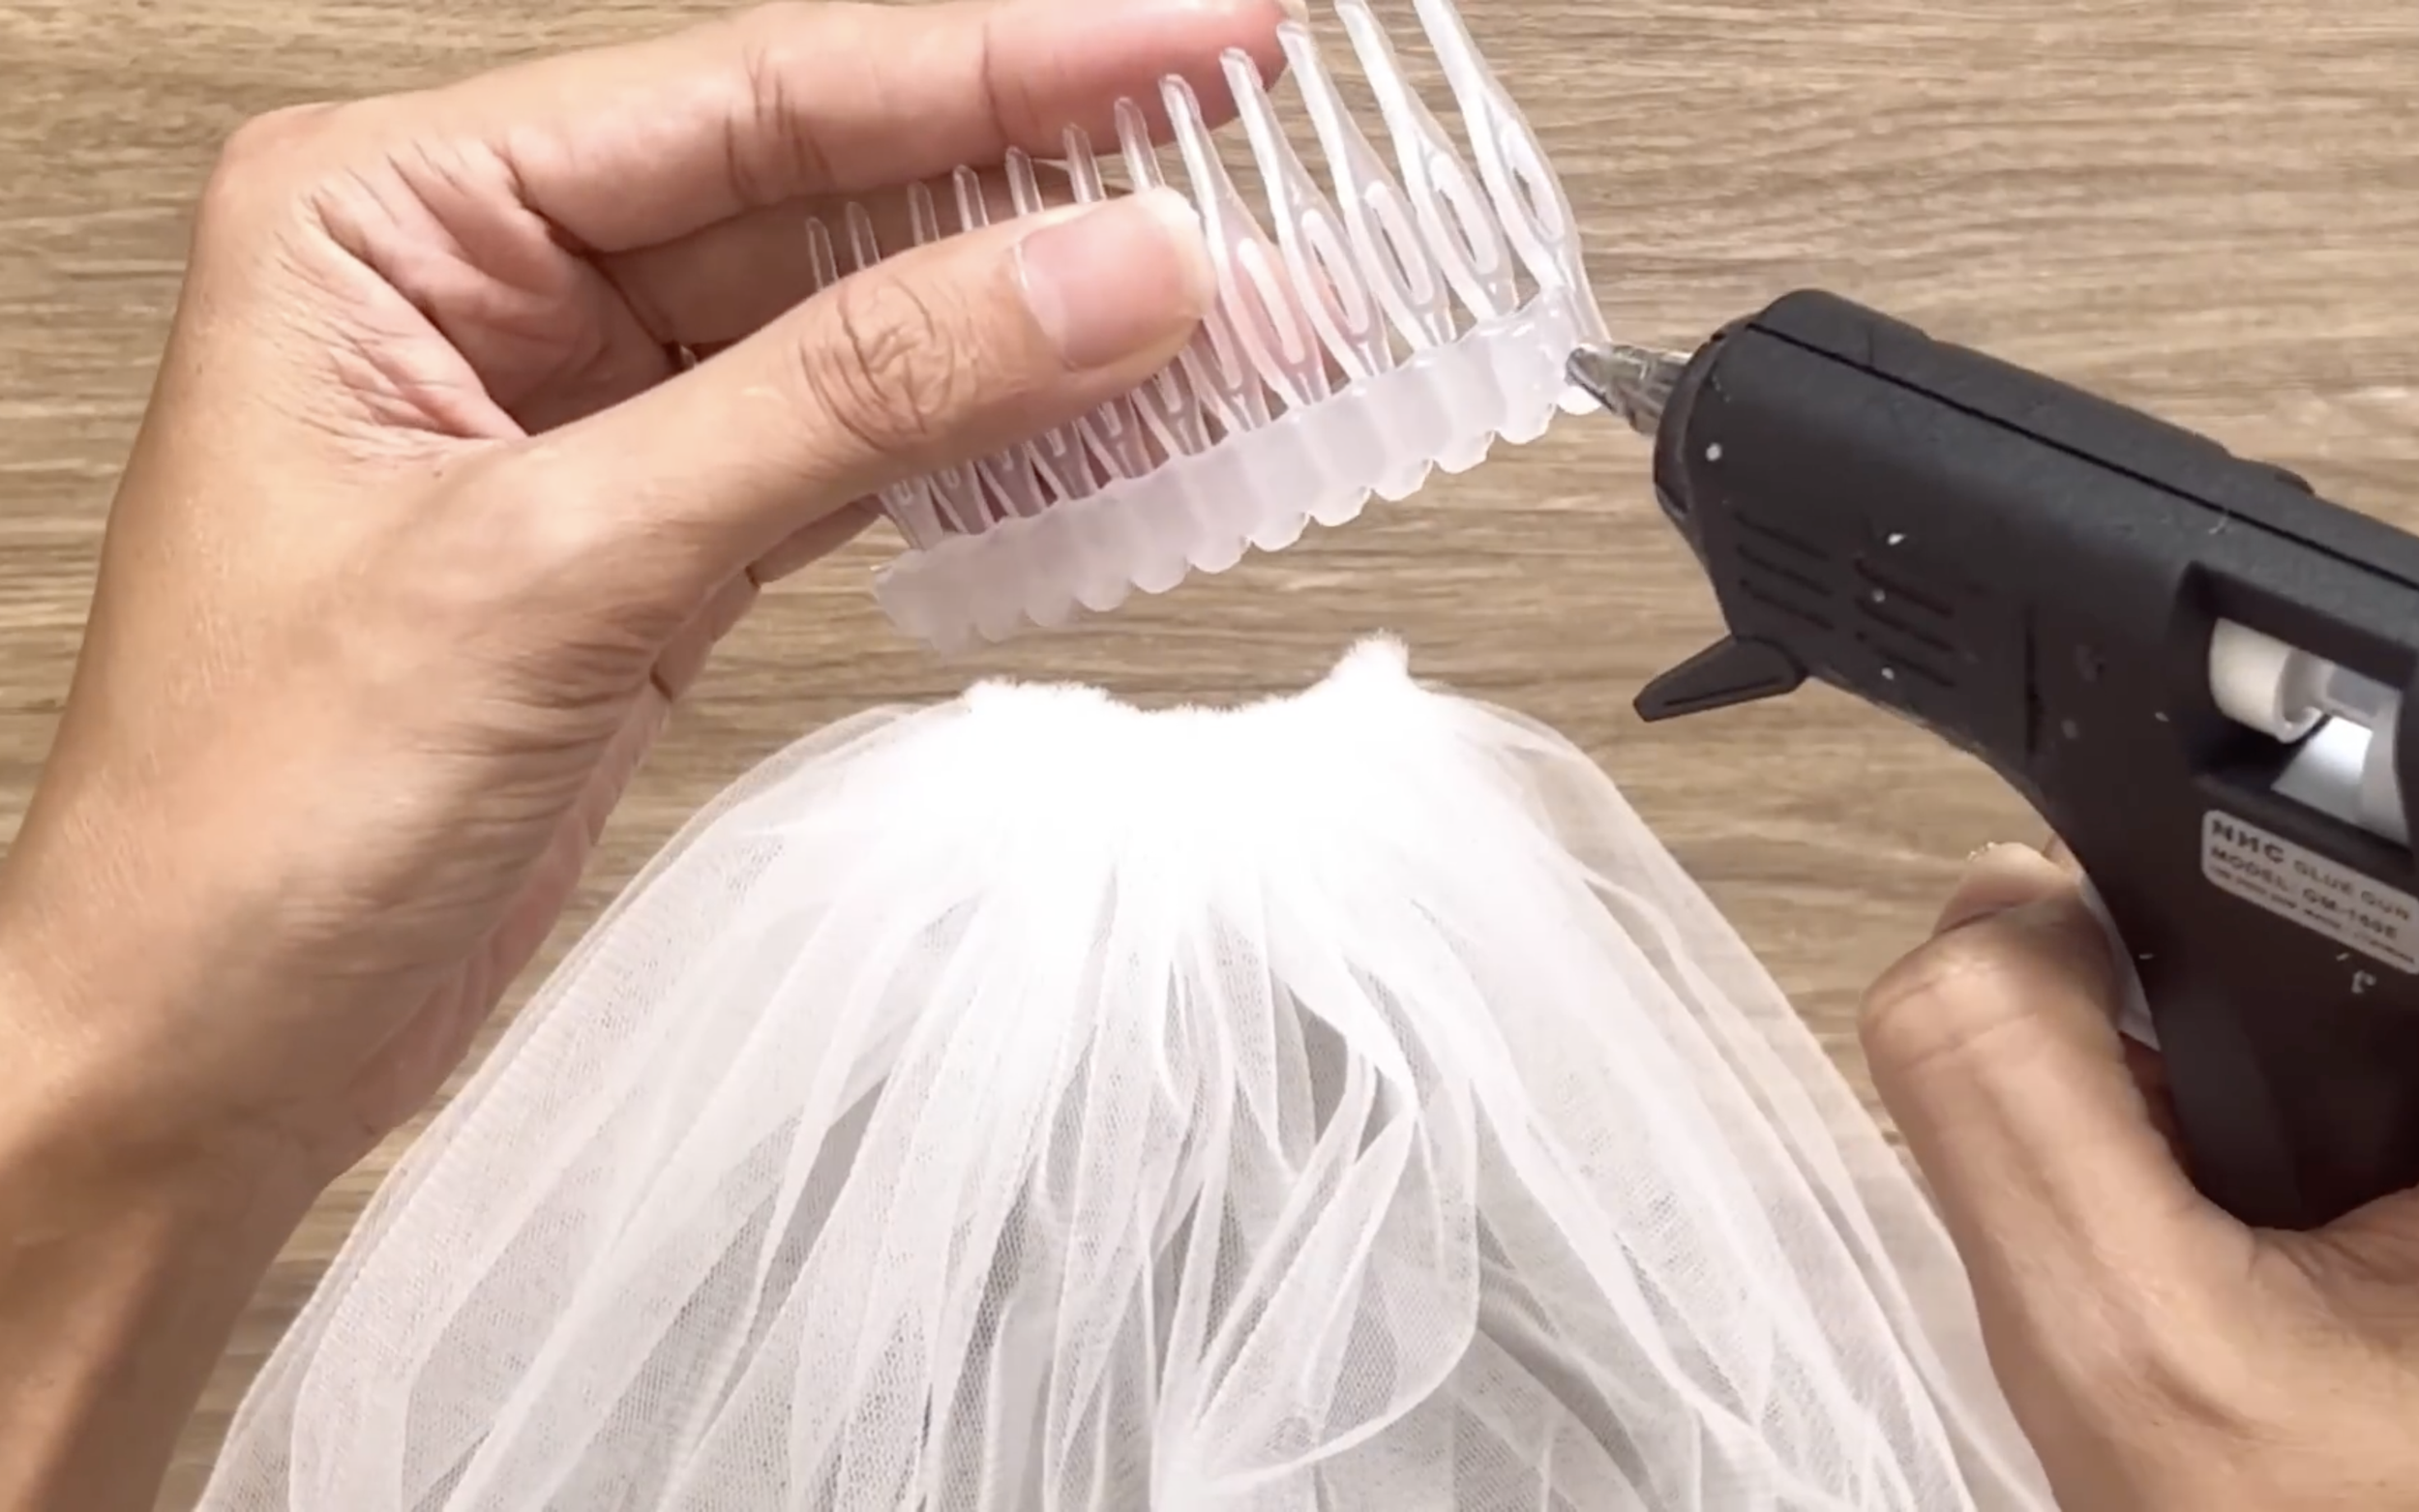
Use the glue gun to do it too.
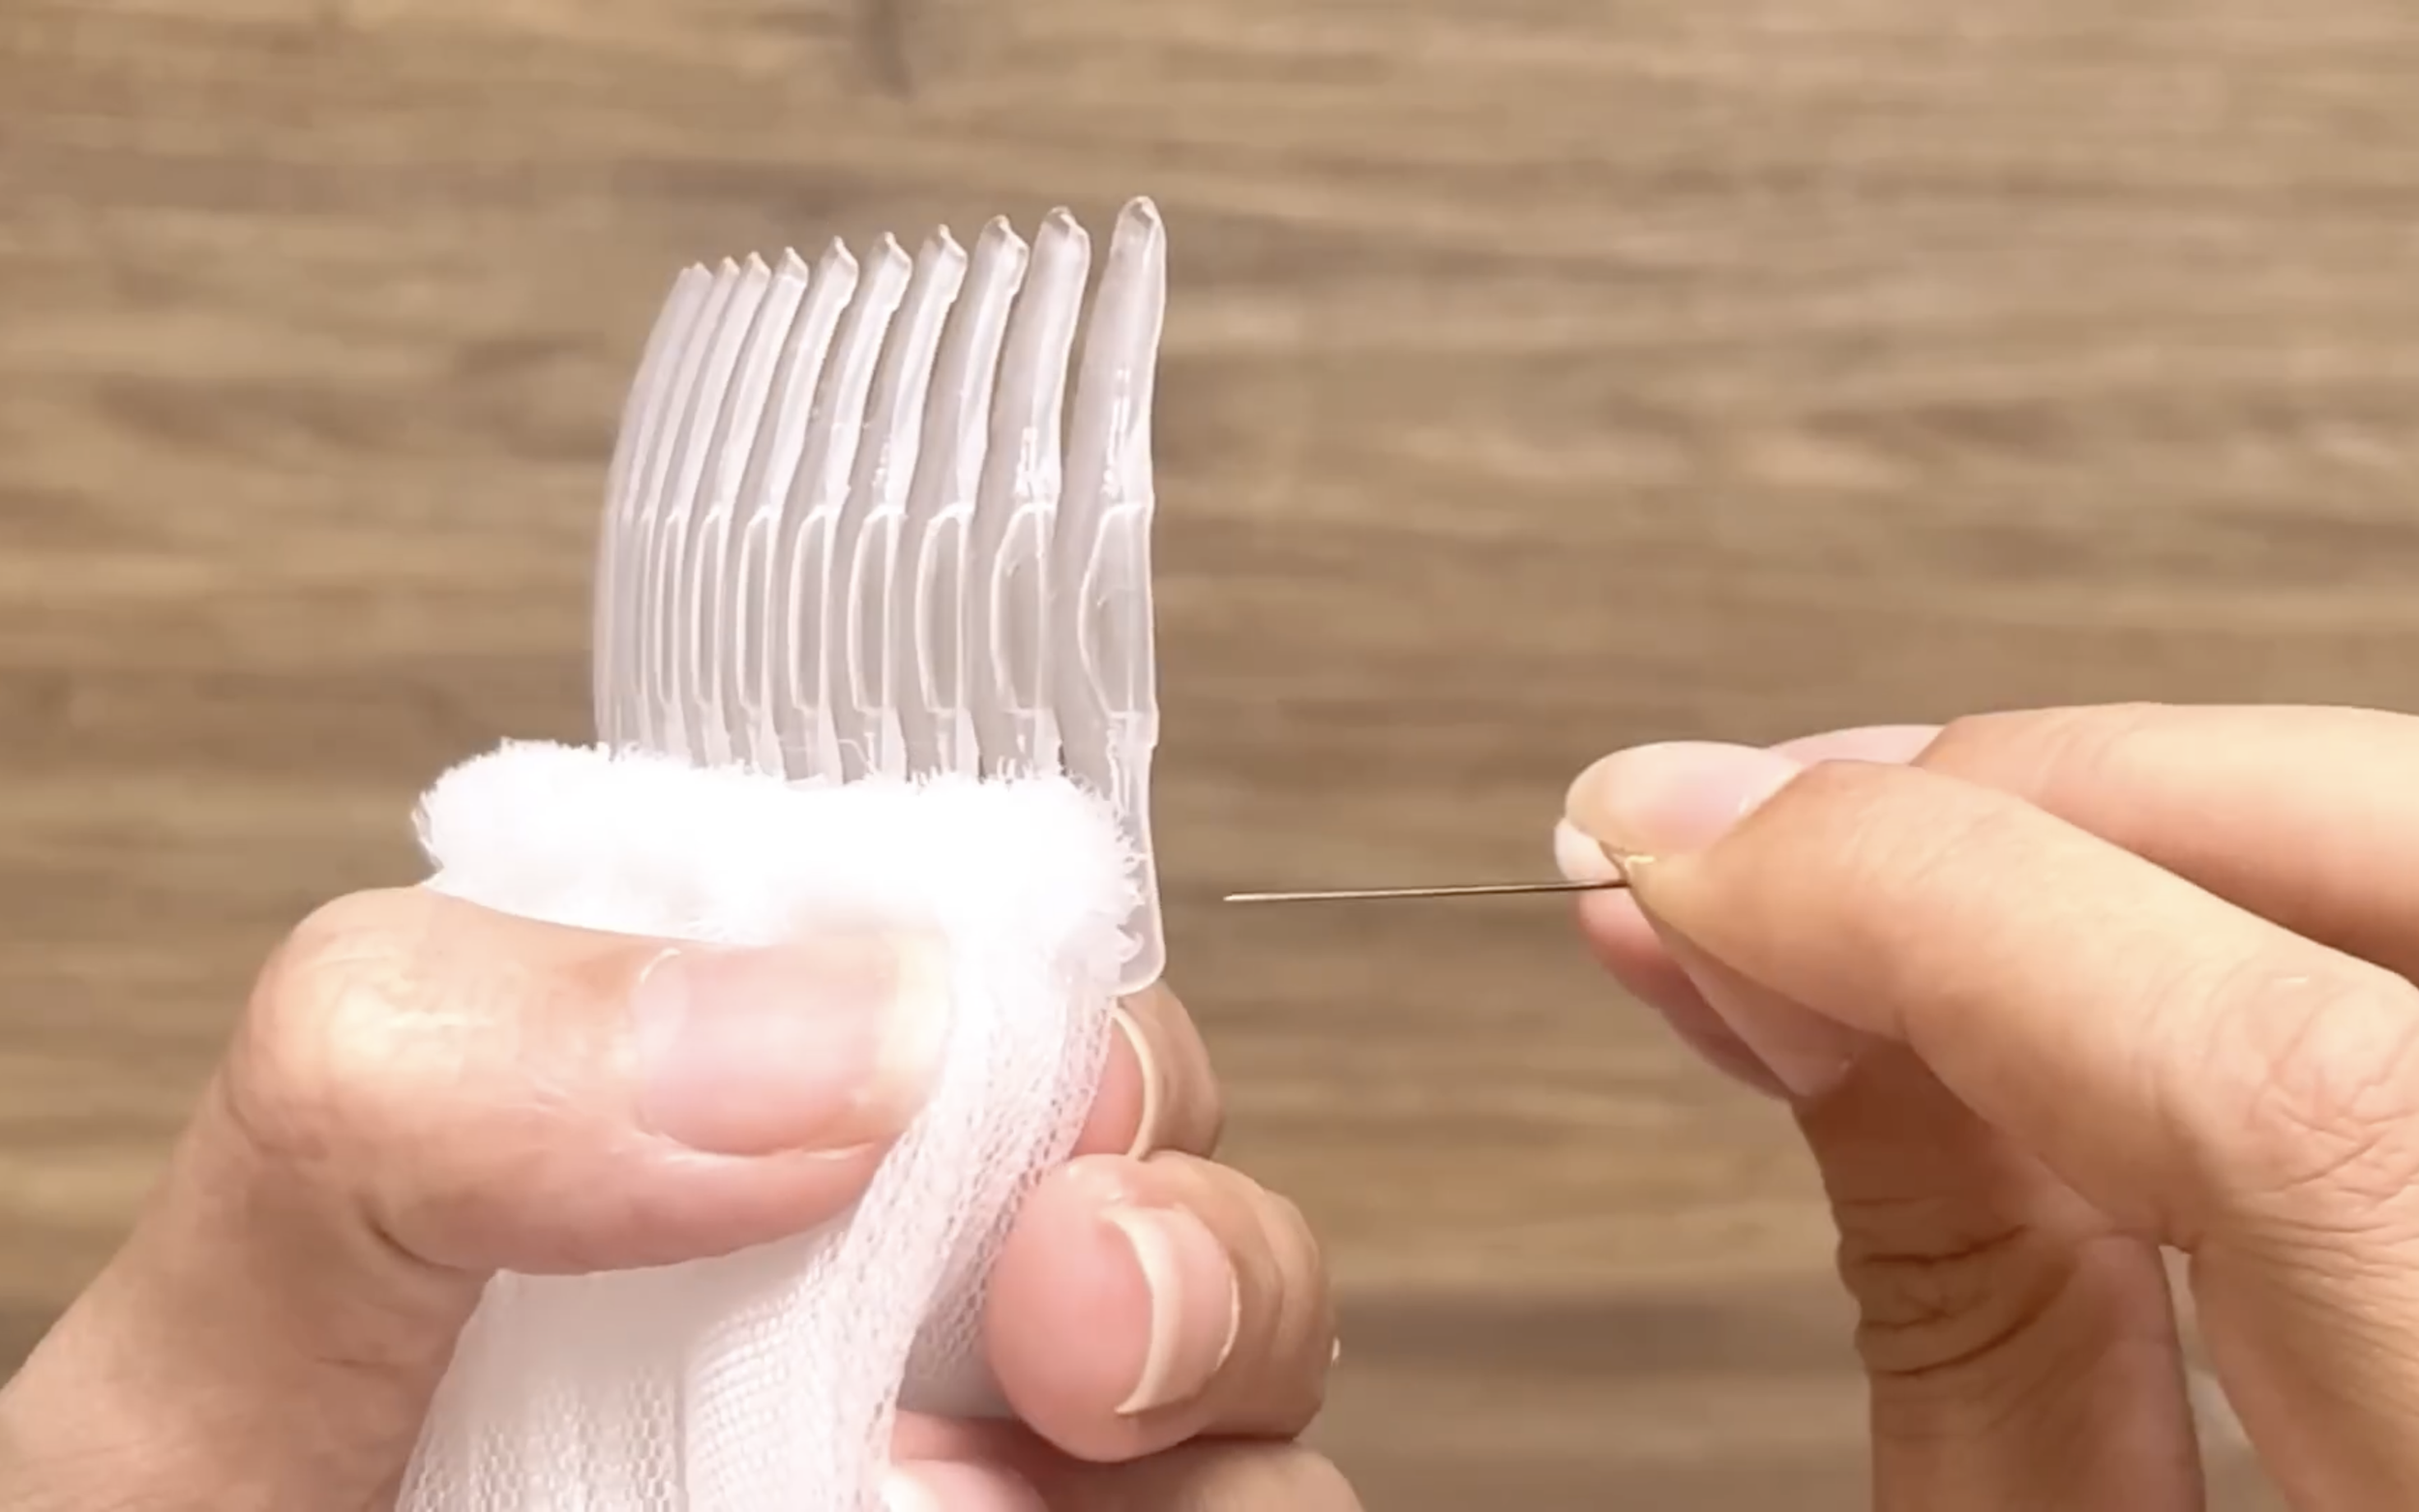
But to make sure it won’t move, hand sew to connect them again.
I made my Dream wedding dress (plus my wedding veil) in 2 weeks | My perfect wedding series - Ep 5
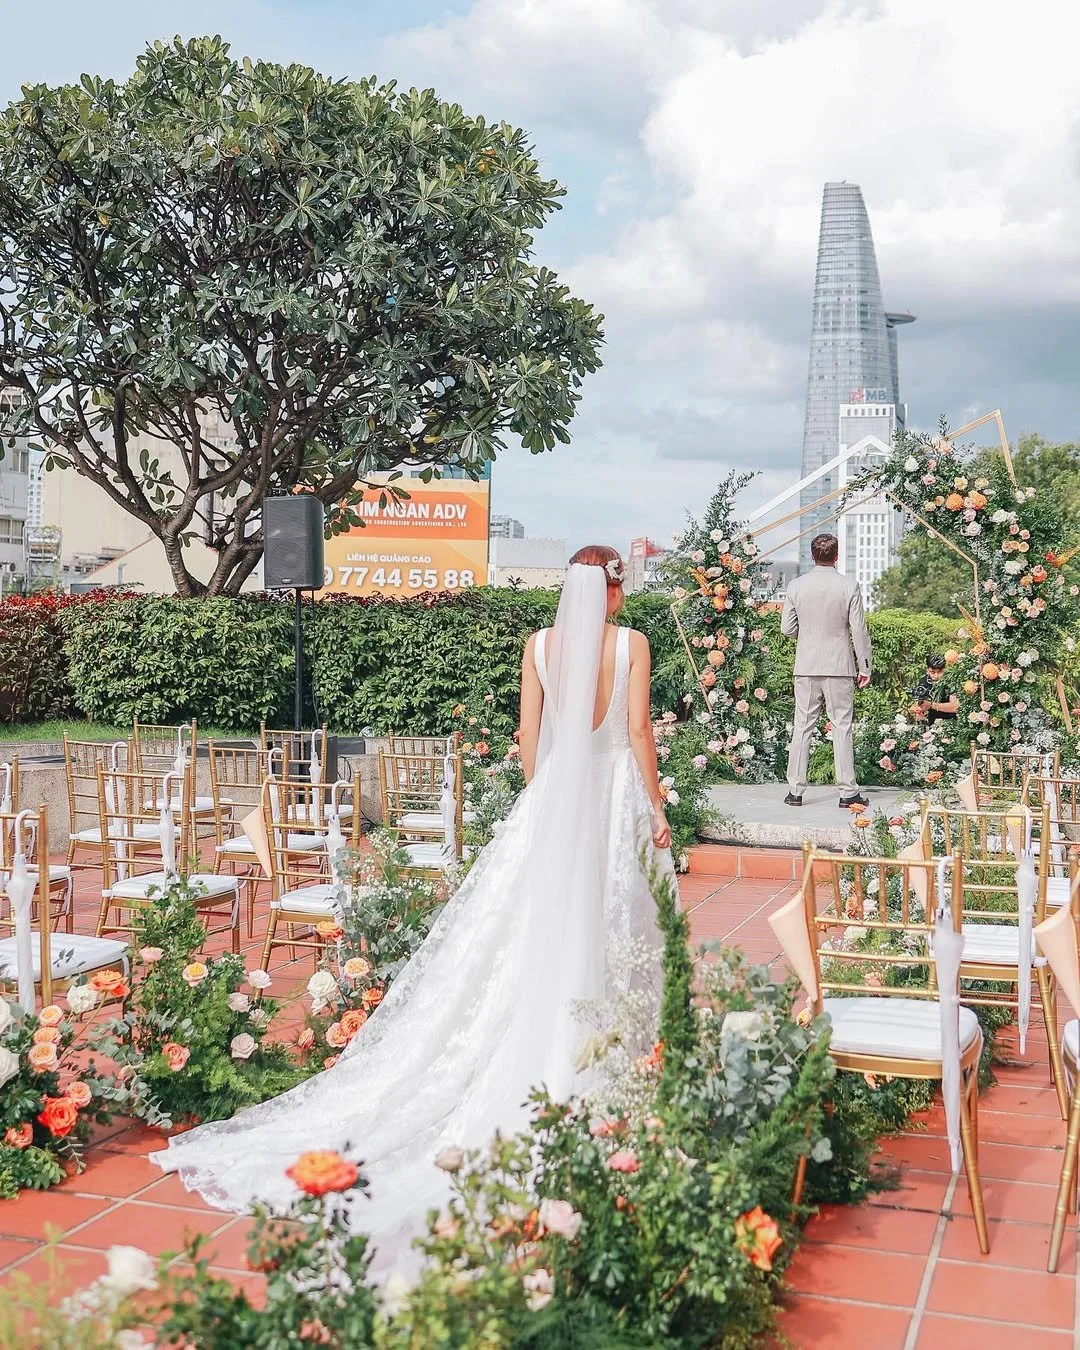
And I've finished this special DIY! Here is the final look of my dream wedding dress!
I absolutely love it, and everyone else did too—it made our wedding day truly amazing.

I hope you found my step-by-step guide helpful and inspiring.
If you’re interested in making your own, give it a try and let me know how it goes!
Until then, happy sewing!