I made some cute ruffle tops from leftover fabric | Beginner friendly sewing tutorial

I made some cute ruffle tops from leftover fabric | Beginner friendly sewing tutorial
Welcome or welcome back to my sewing blog!
In today's video, I'm going to share with you how I made some cut ruffle tops from my leftover fabric. These tops are super cute and very easy to make with a few step. That's why it's a beginner friendly sewing DIYs. I hope you like it and try it out.
So let's get started!
WHAT YOU’LL NEED
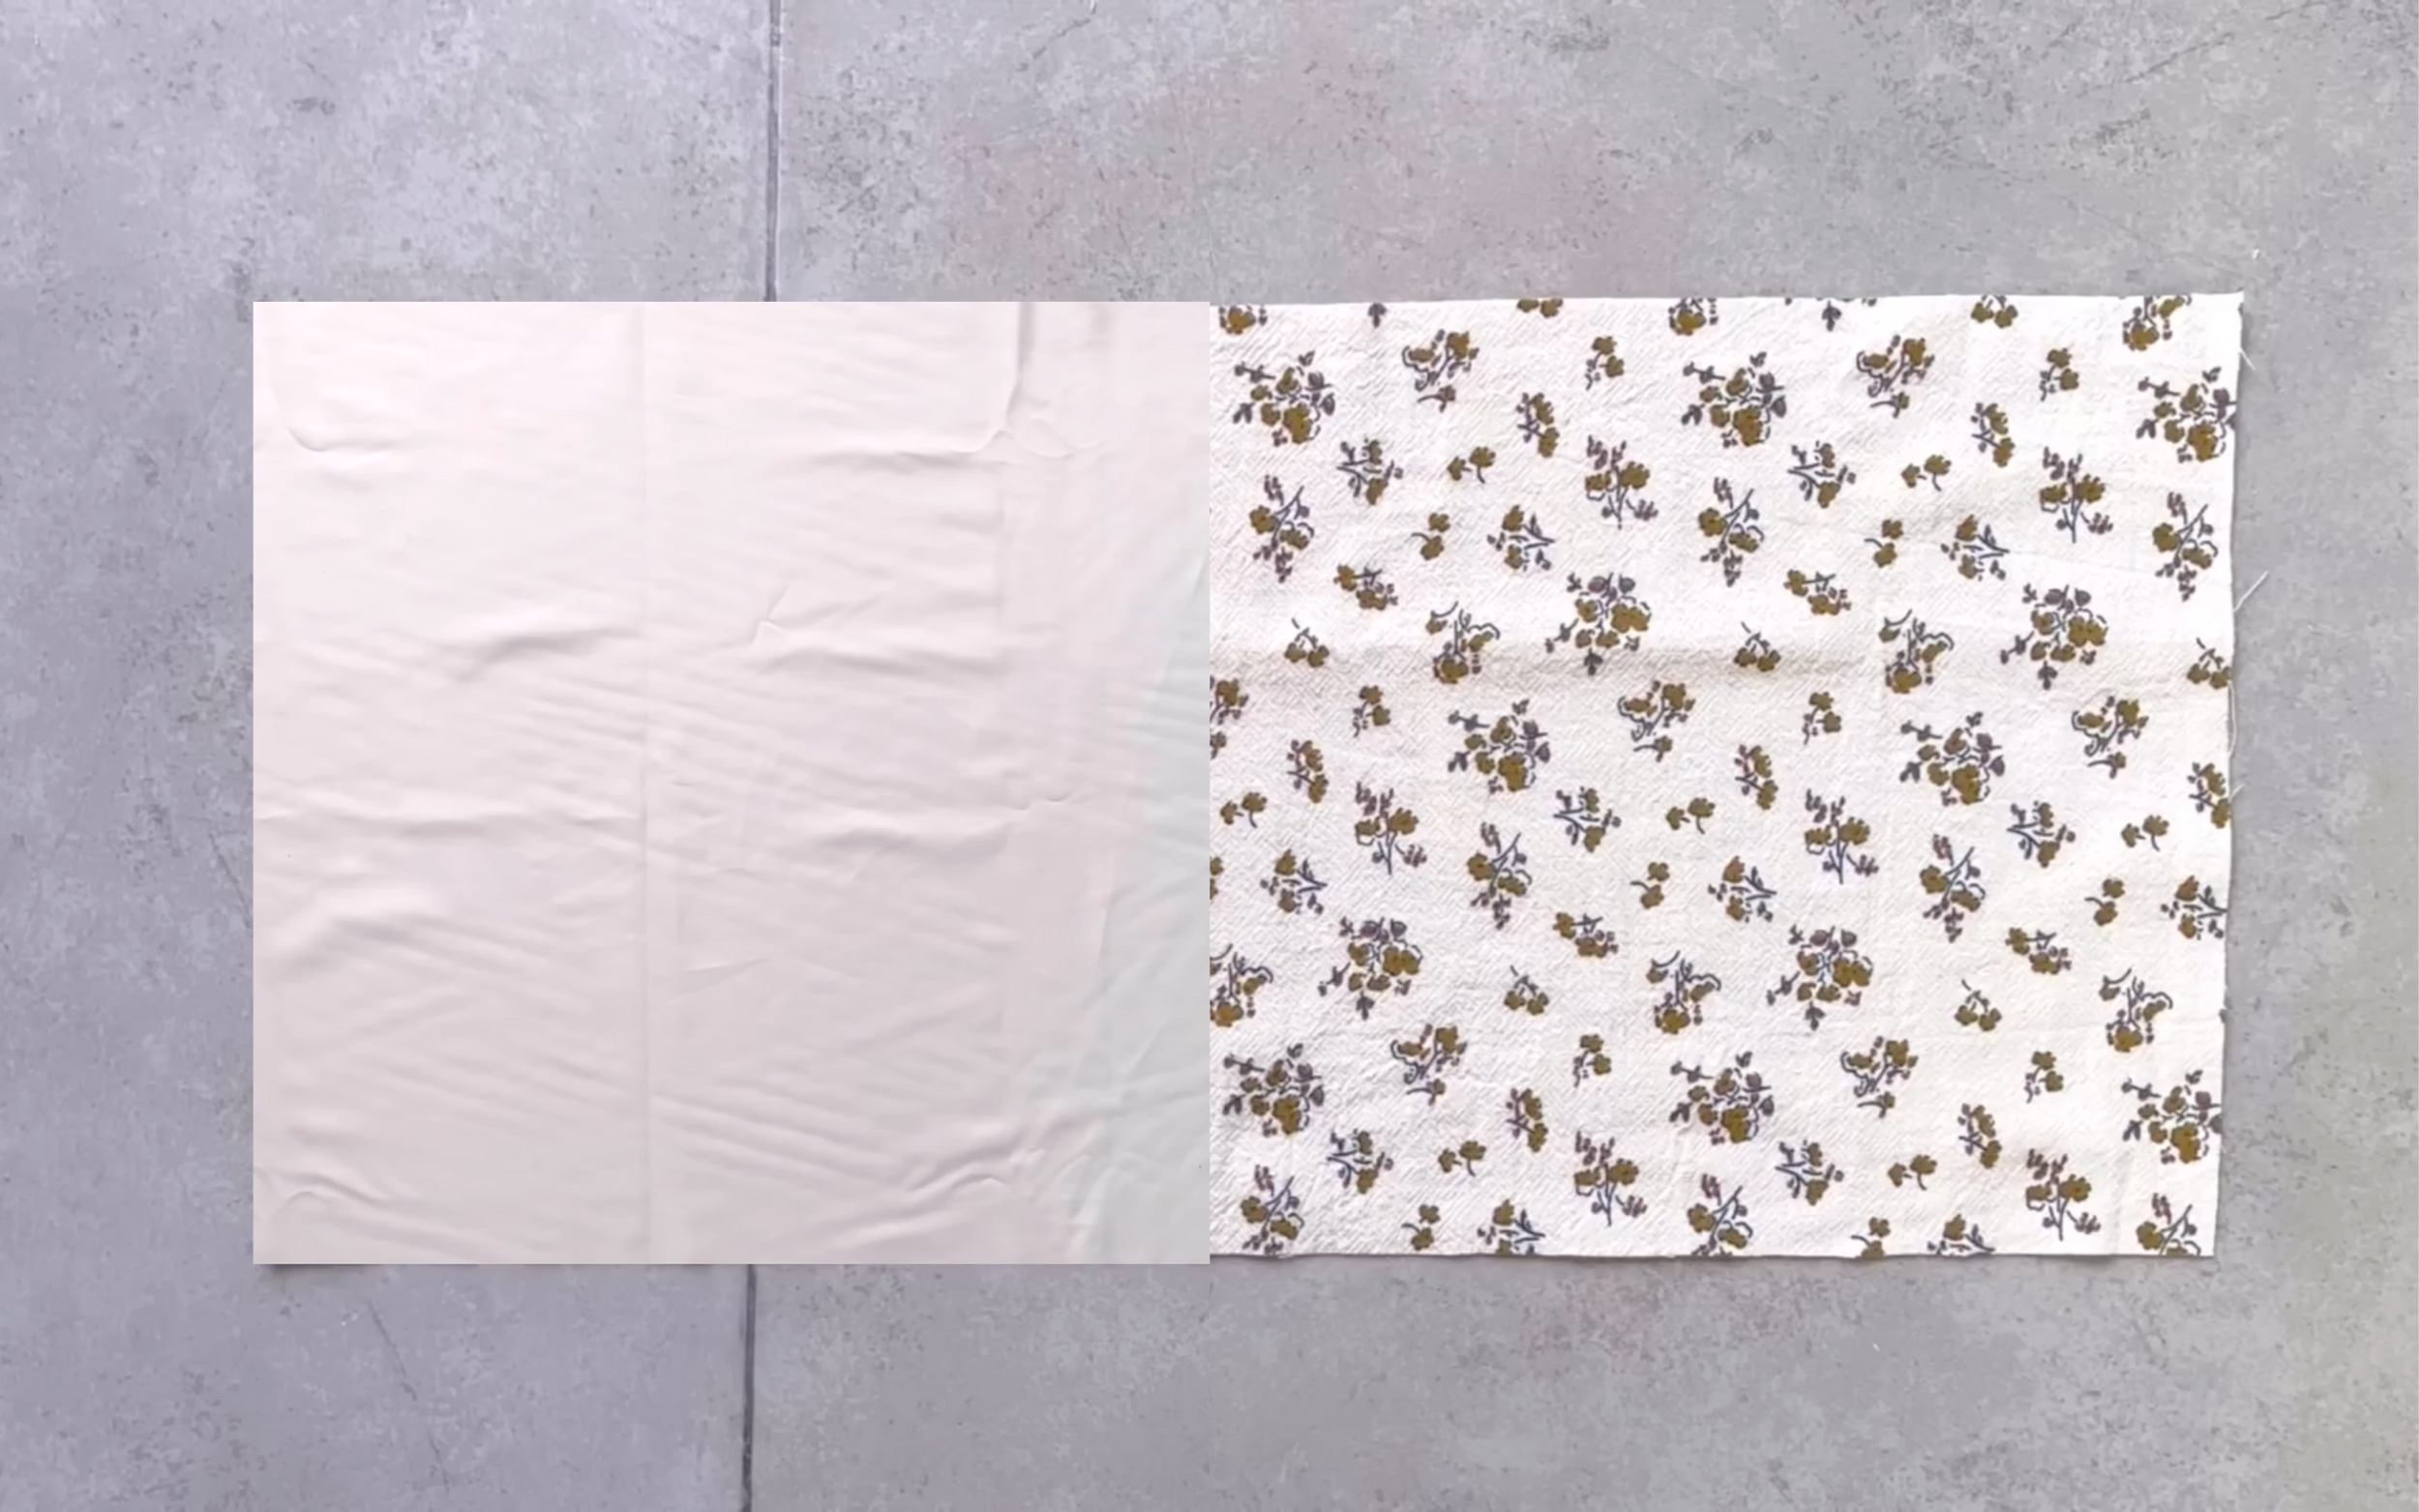
0.8m of cotton/linen fabric for each top
Pattern paper
Sewing machine
Pins
Scissors
Ruler
Long stick
RUFFLE SLEEVE TOP
THE PATTERN
The ruffle sleeve top pattern
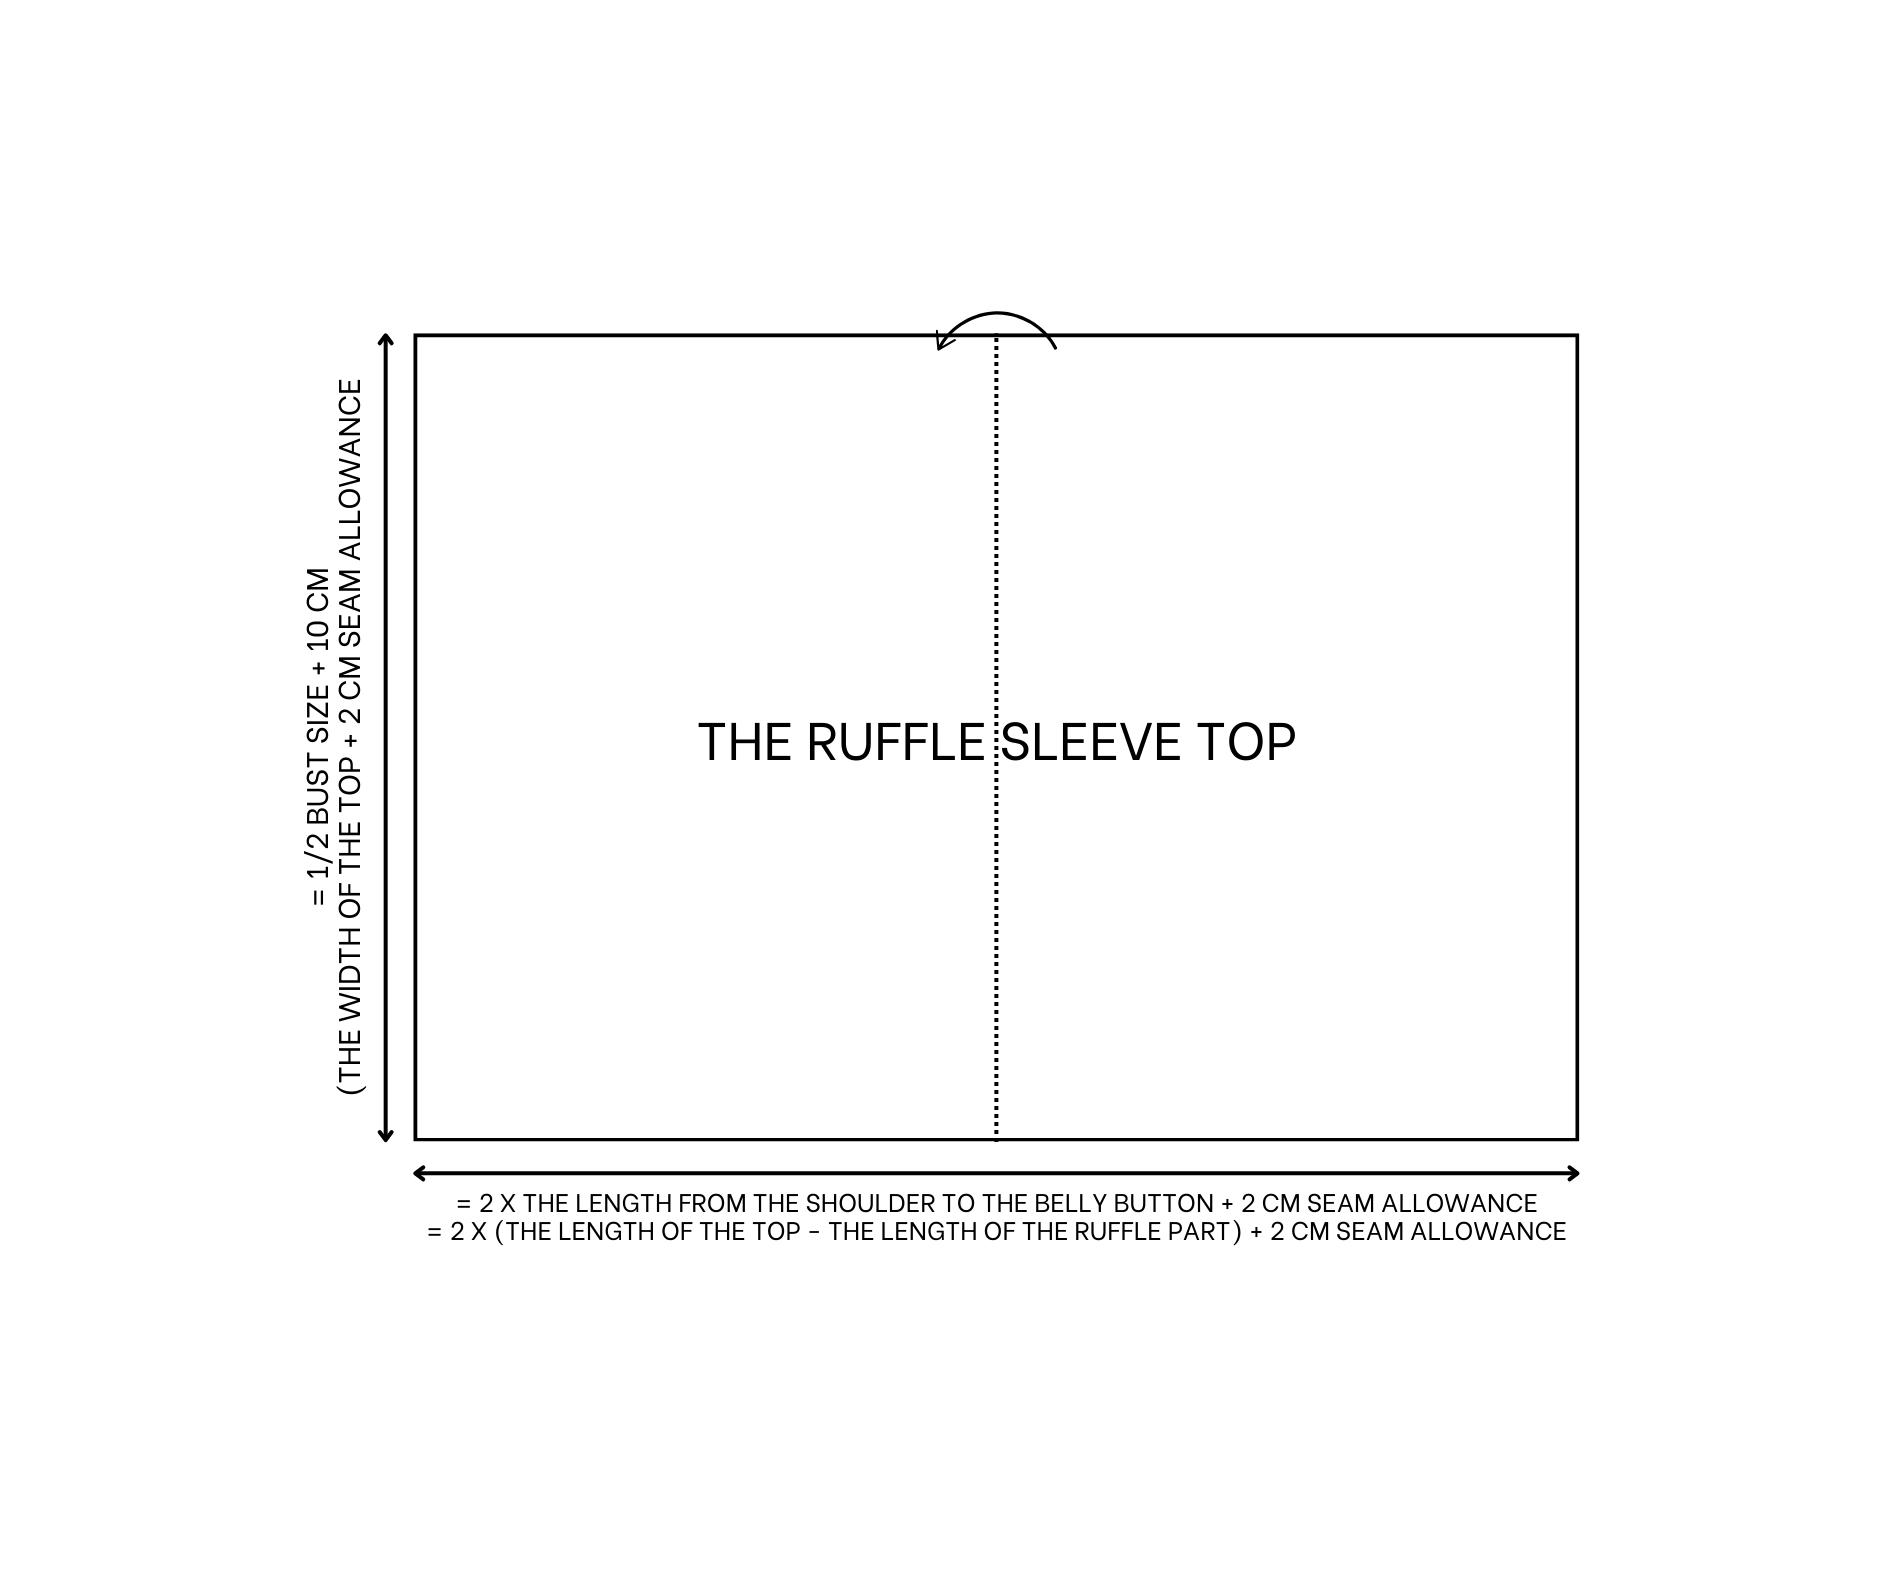
Cut a big rectangle with 50 cm width, which is half of the bust size plus 10 cm, and 86 cm length, which is two times the length from the shoulder to the belly button plus 2 cm for seam allowance.
It's also two times the length of the desired top minus the length of the ruffle hem plus 2 cm for seam allowance.
Fold the rectangle in half along the length line first.
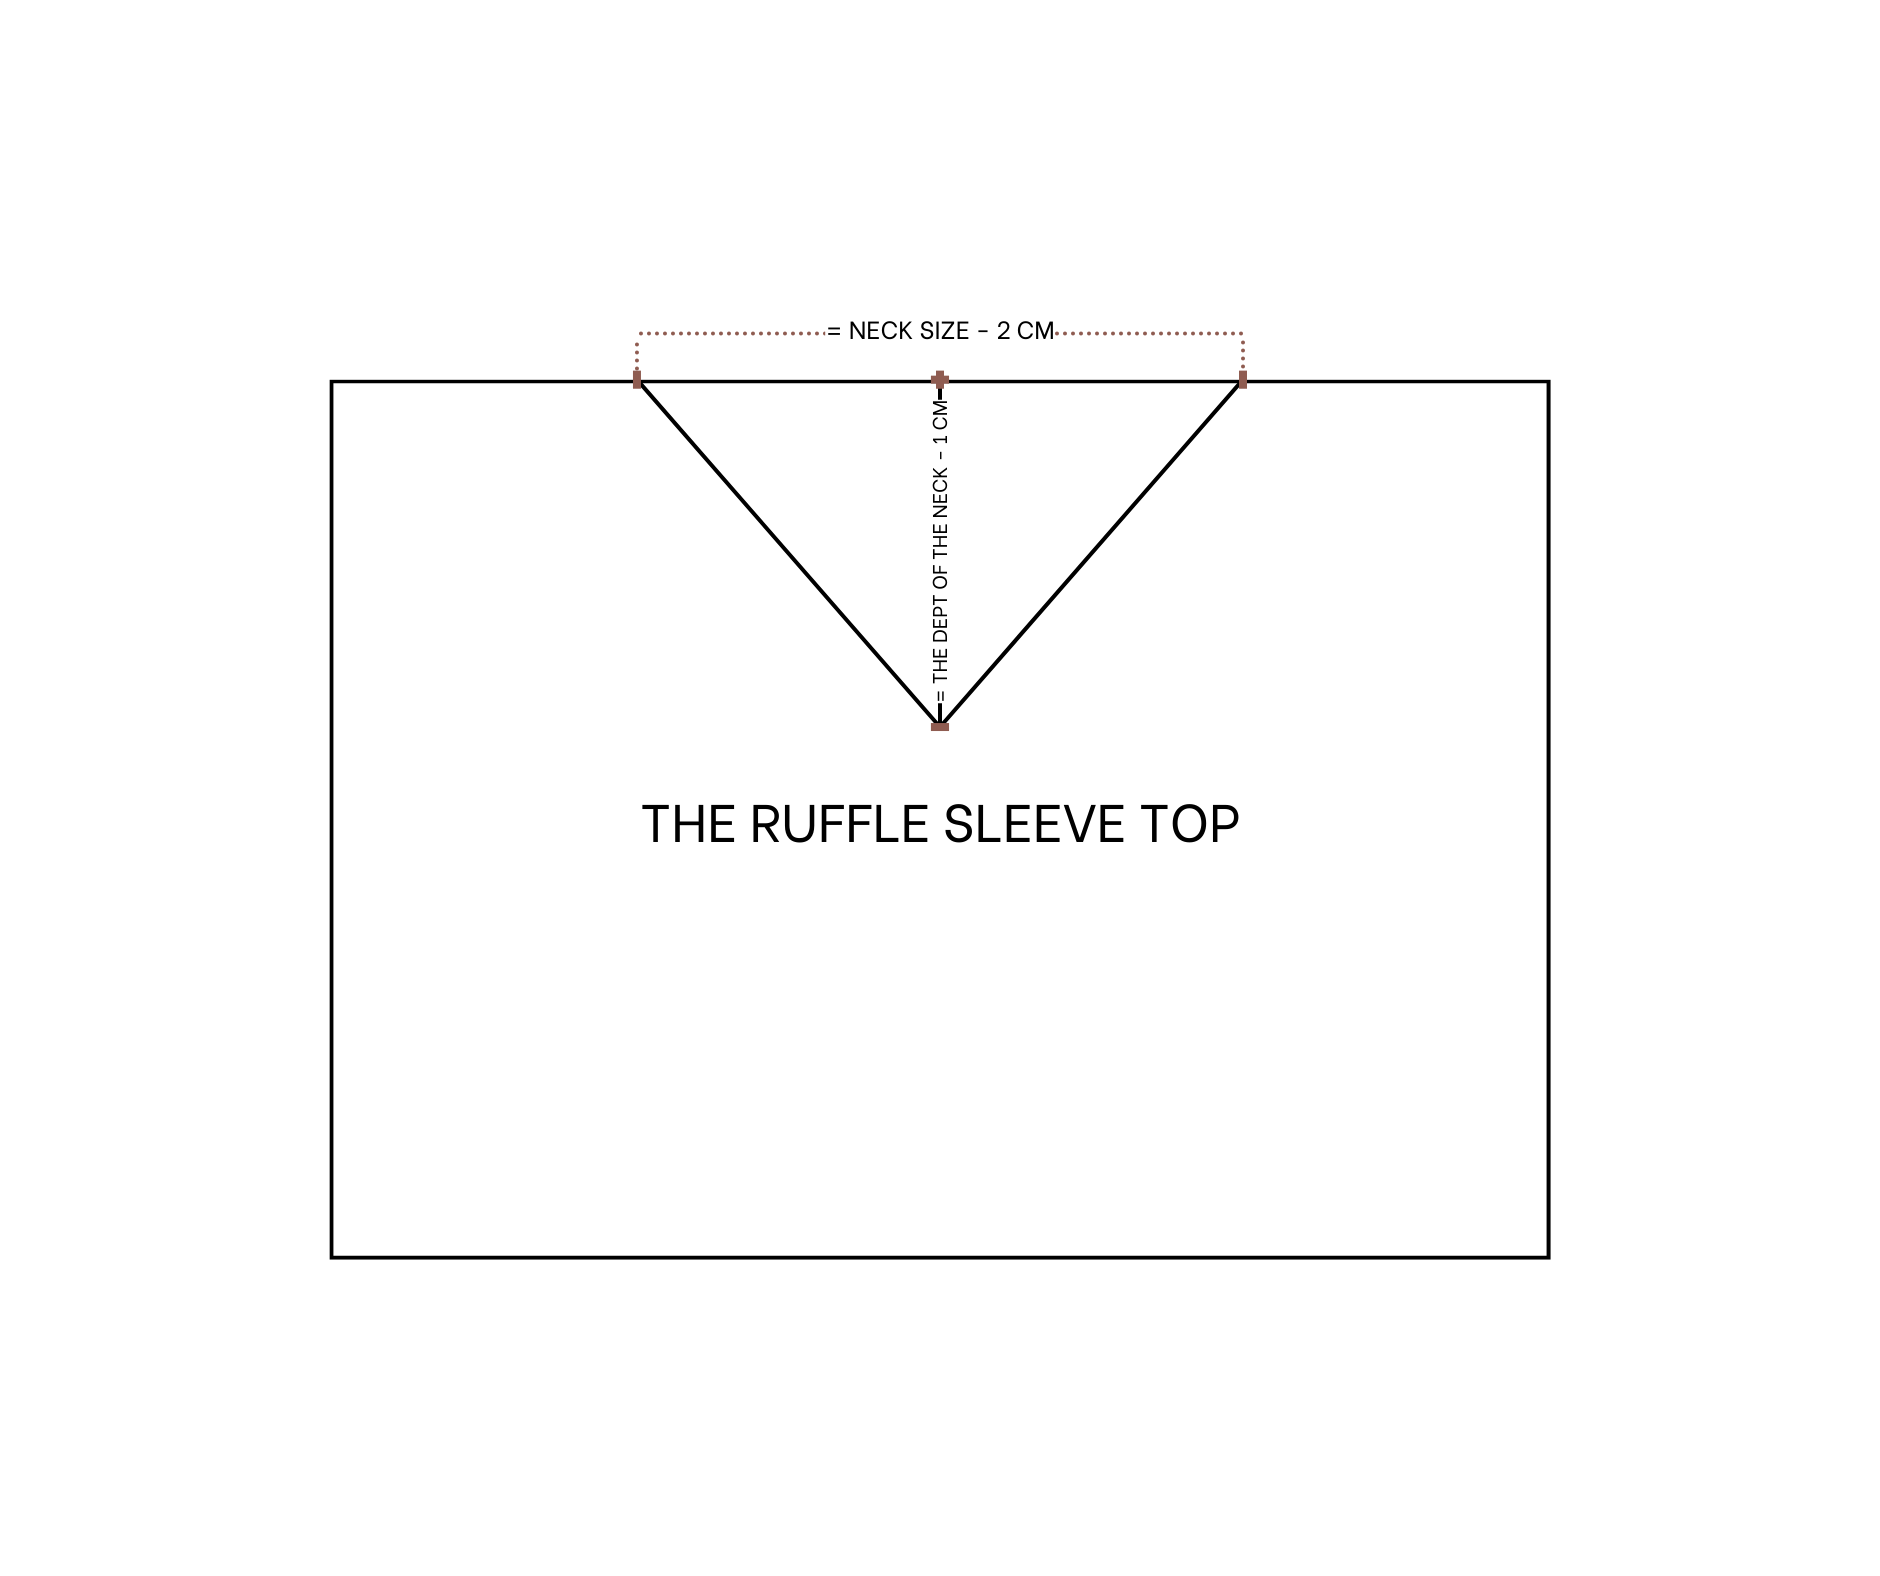
Afterward, mark the middle of the fold line and draw a straight line from that mark.
Make two more marks 10 cm from the middle mark on both sides, so the width between the two new marks will be 20 cm, which is the neck width minus 2 cm for seam allowance.
From the middle mark, mark out 10 cm on the straight line, which is the neck depth minus 1 cm for seam allowance.
Connect this mark to the two marks on the fold line and draw a curved line to complete the neckline for the top.
THE BODICE
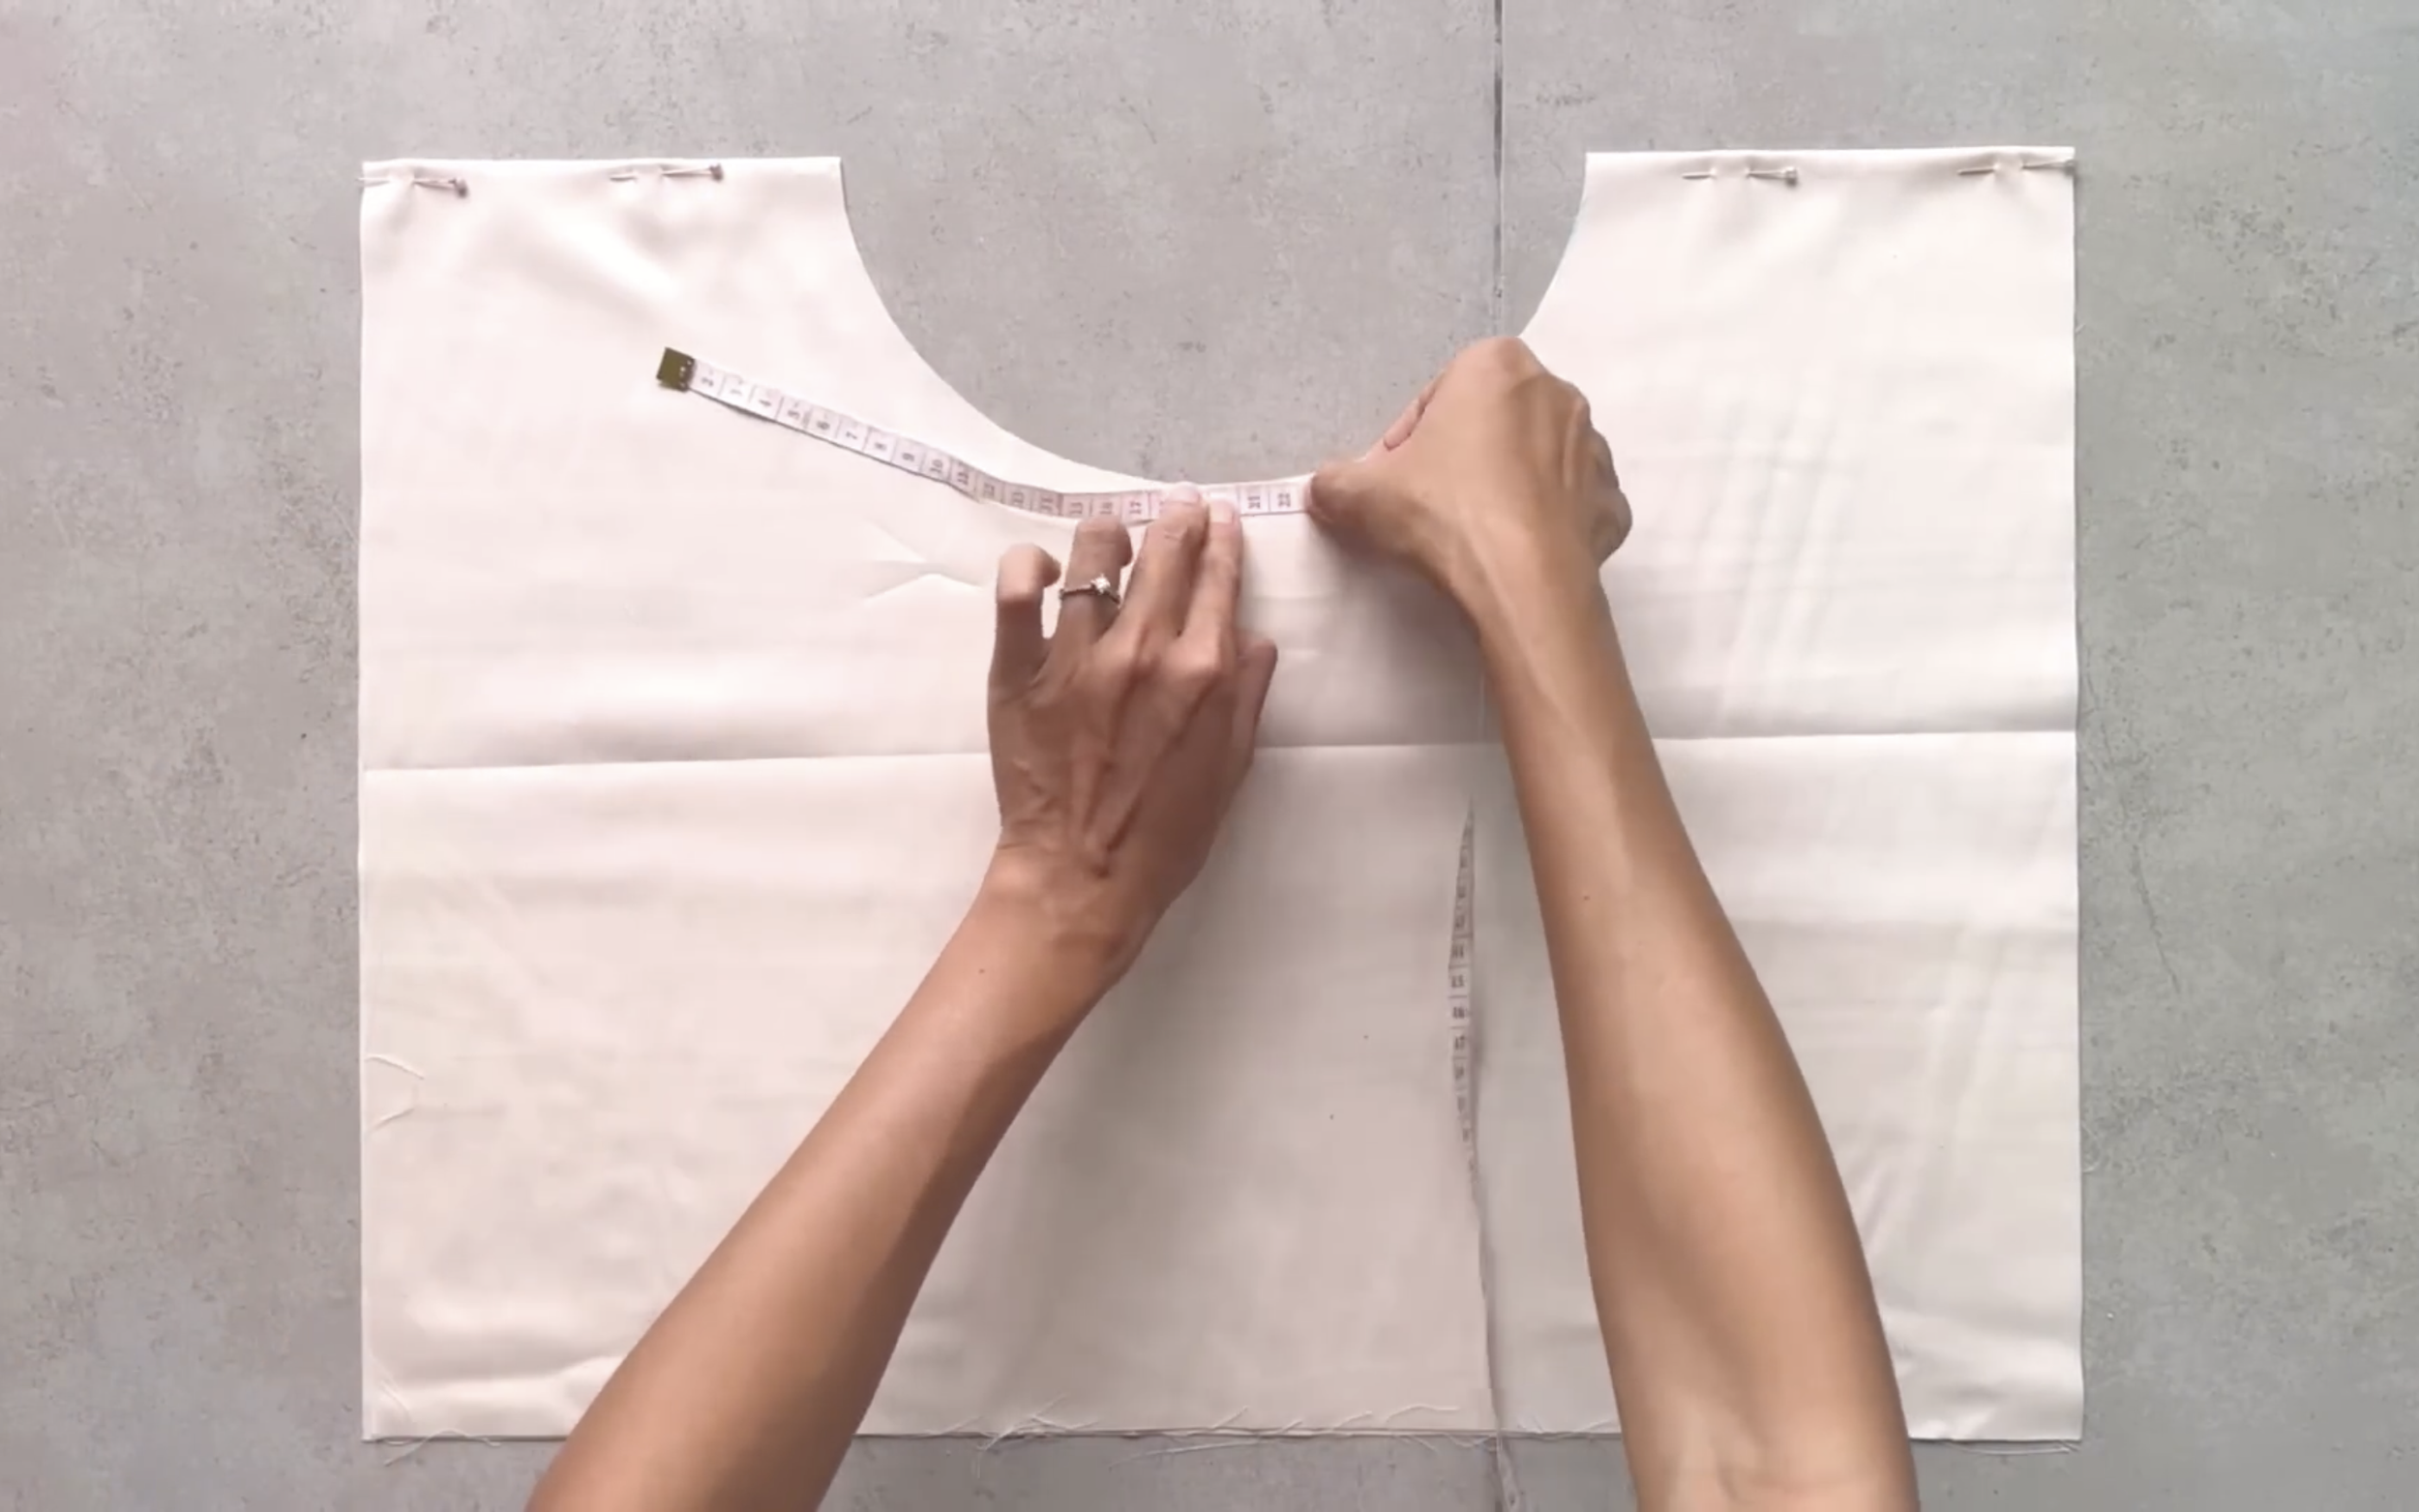
After cutting, measure the neck width from the front to the back.
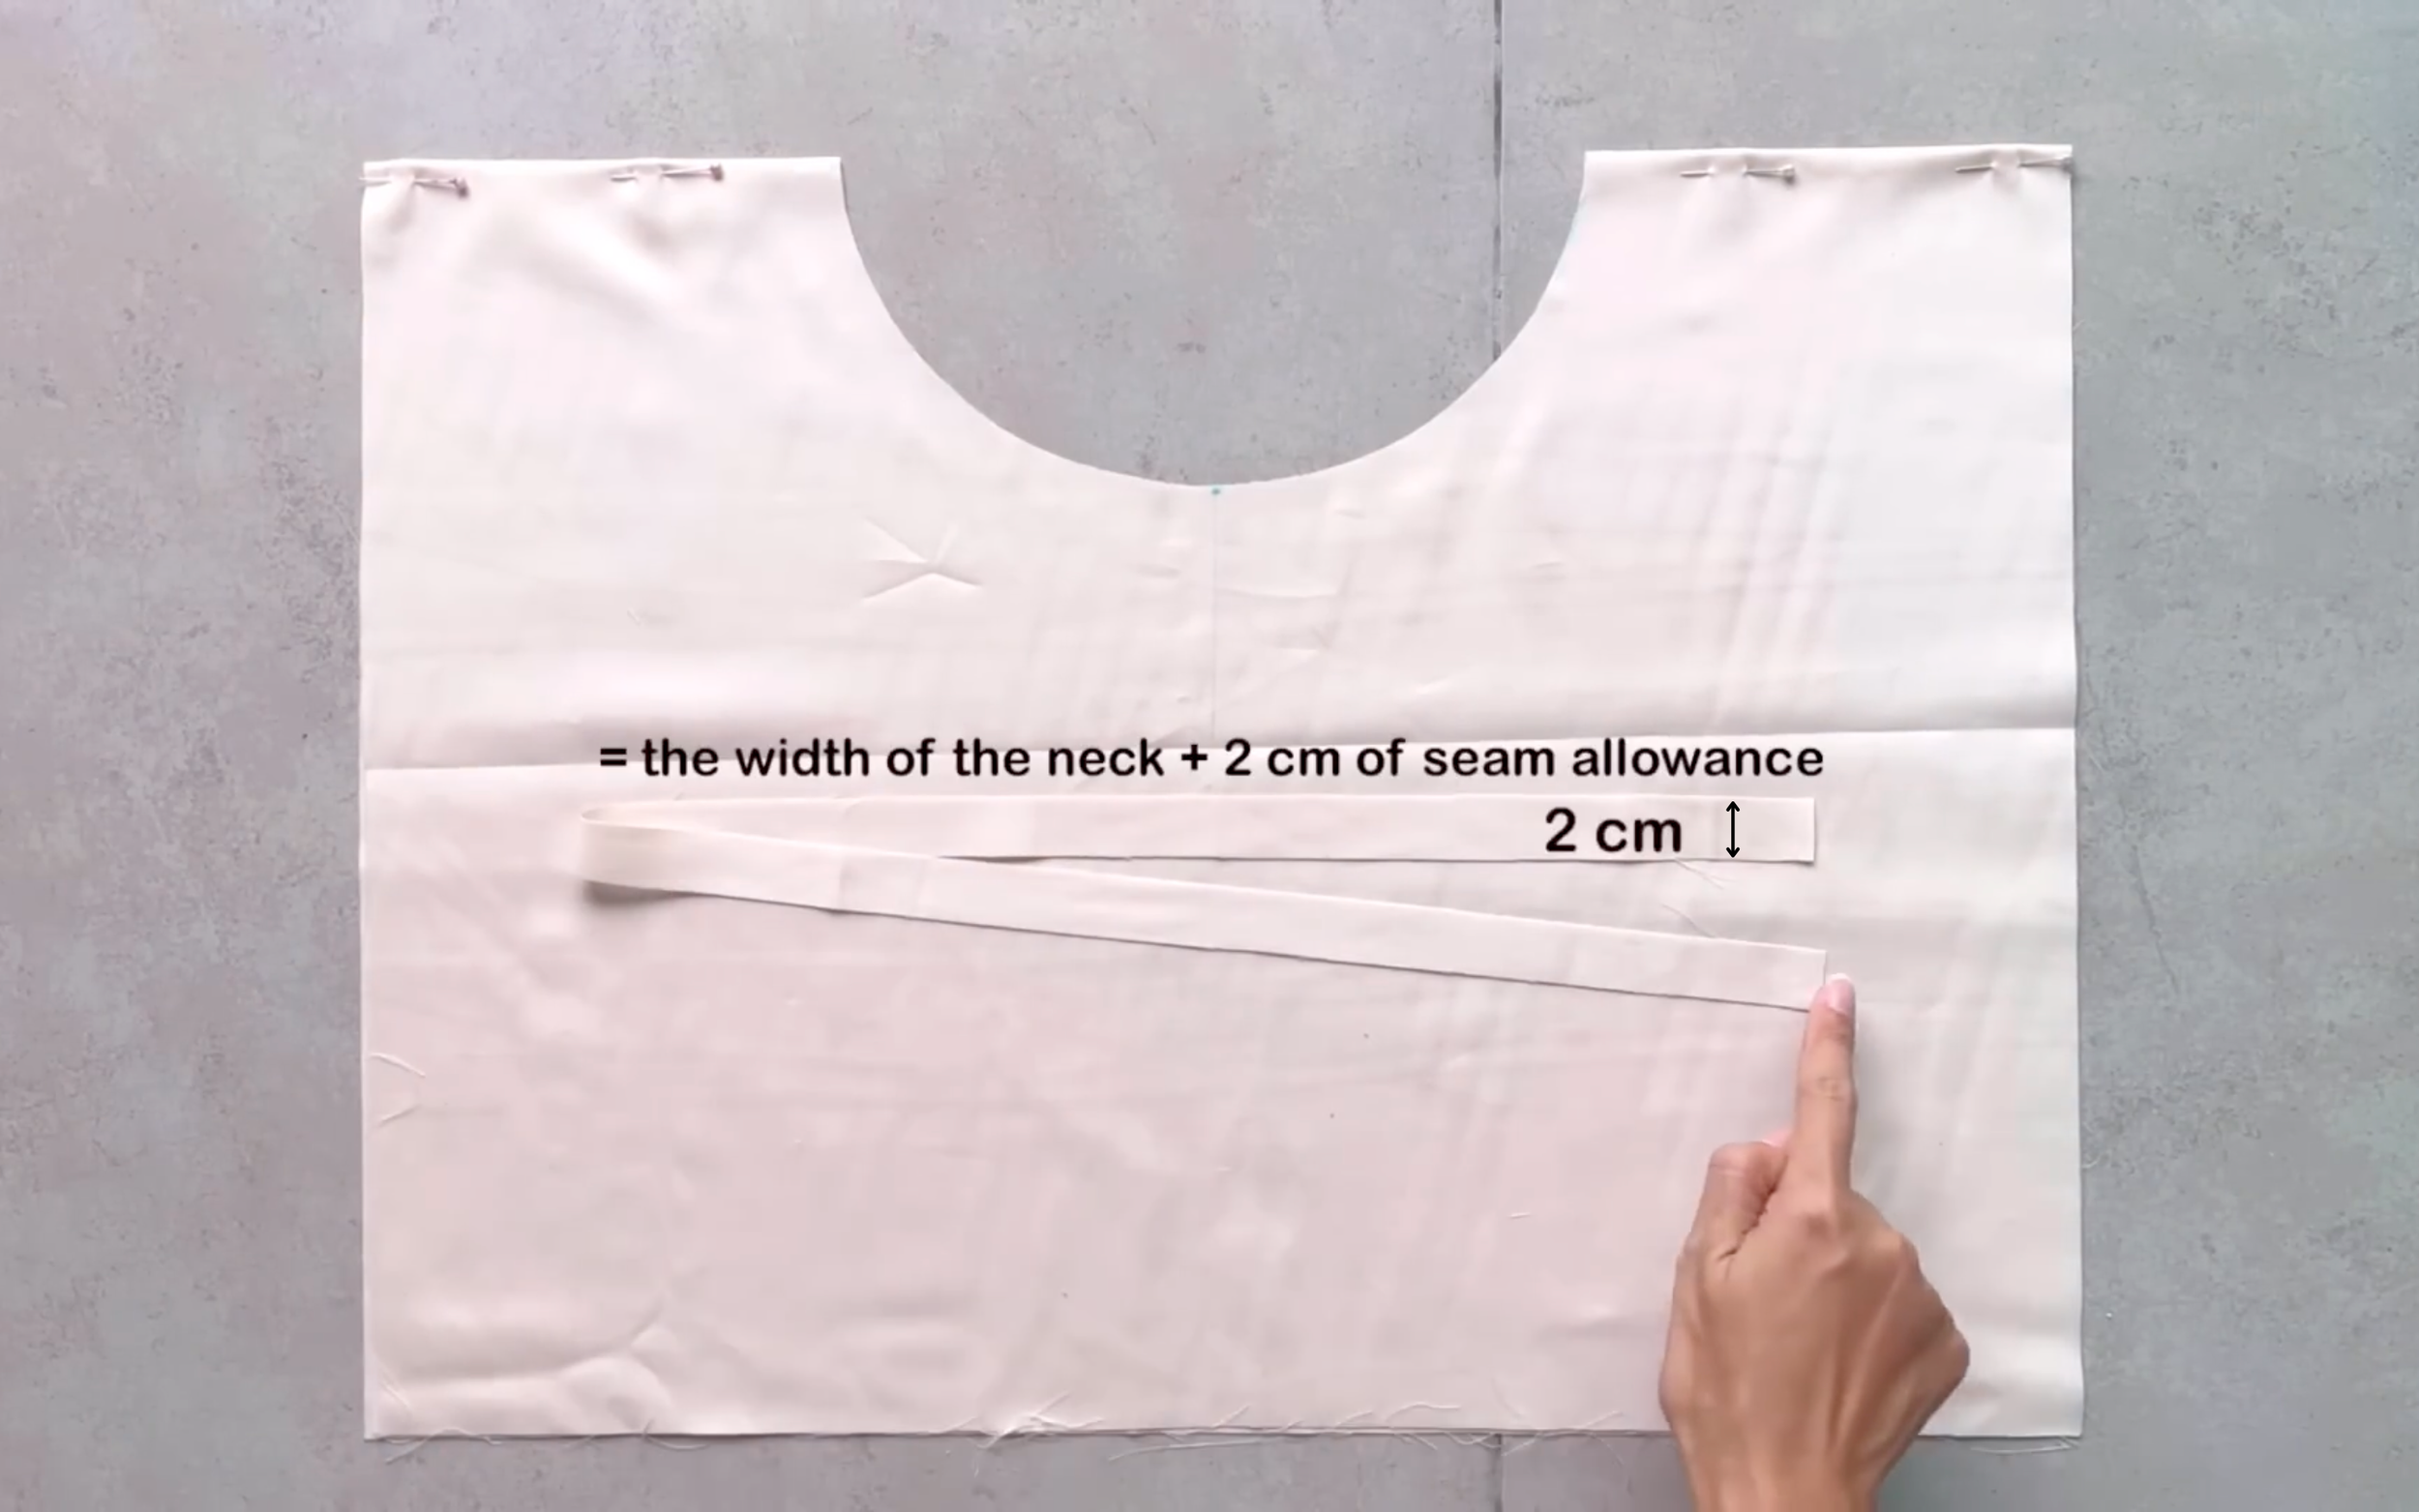
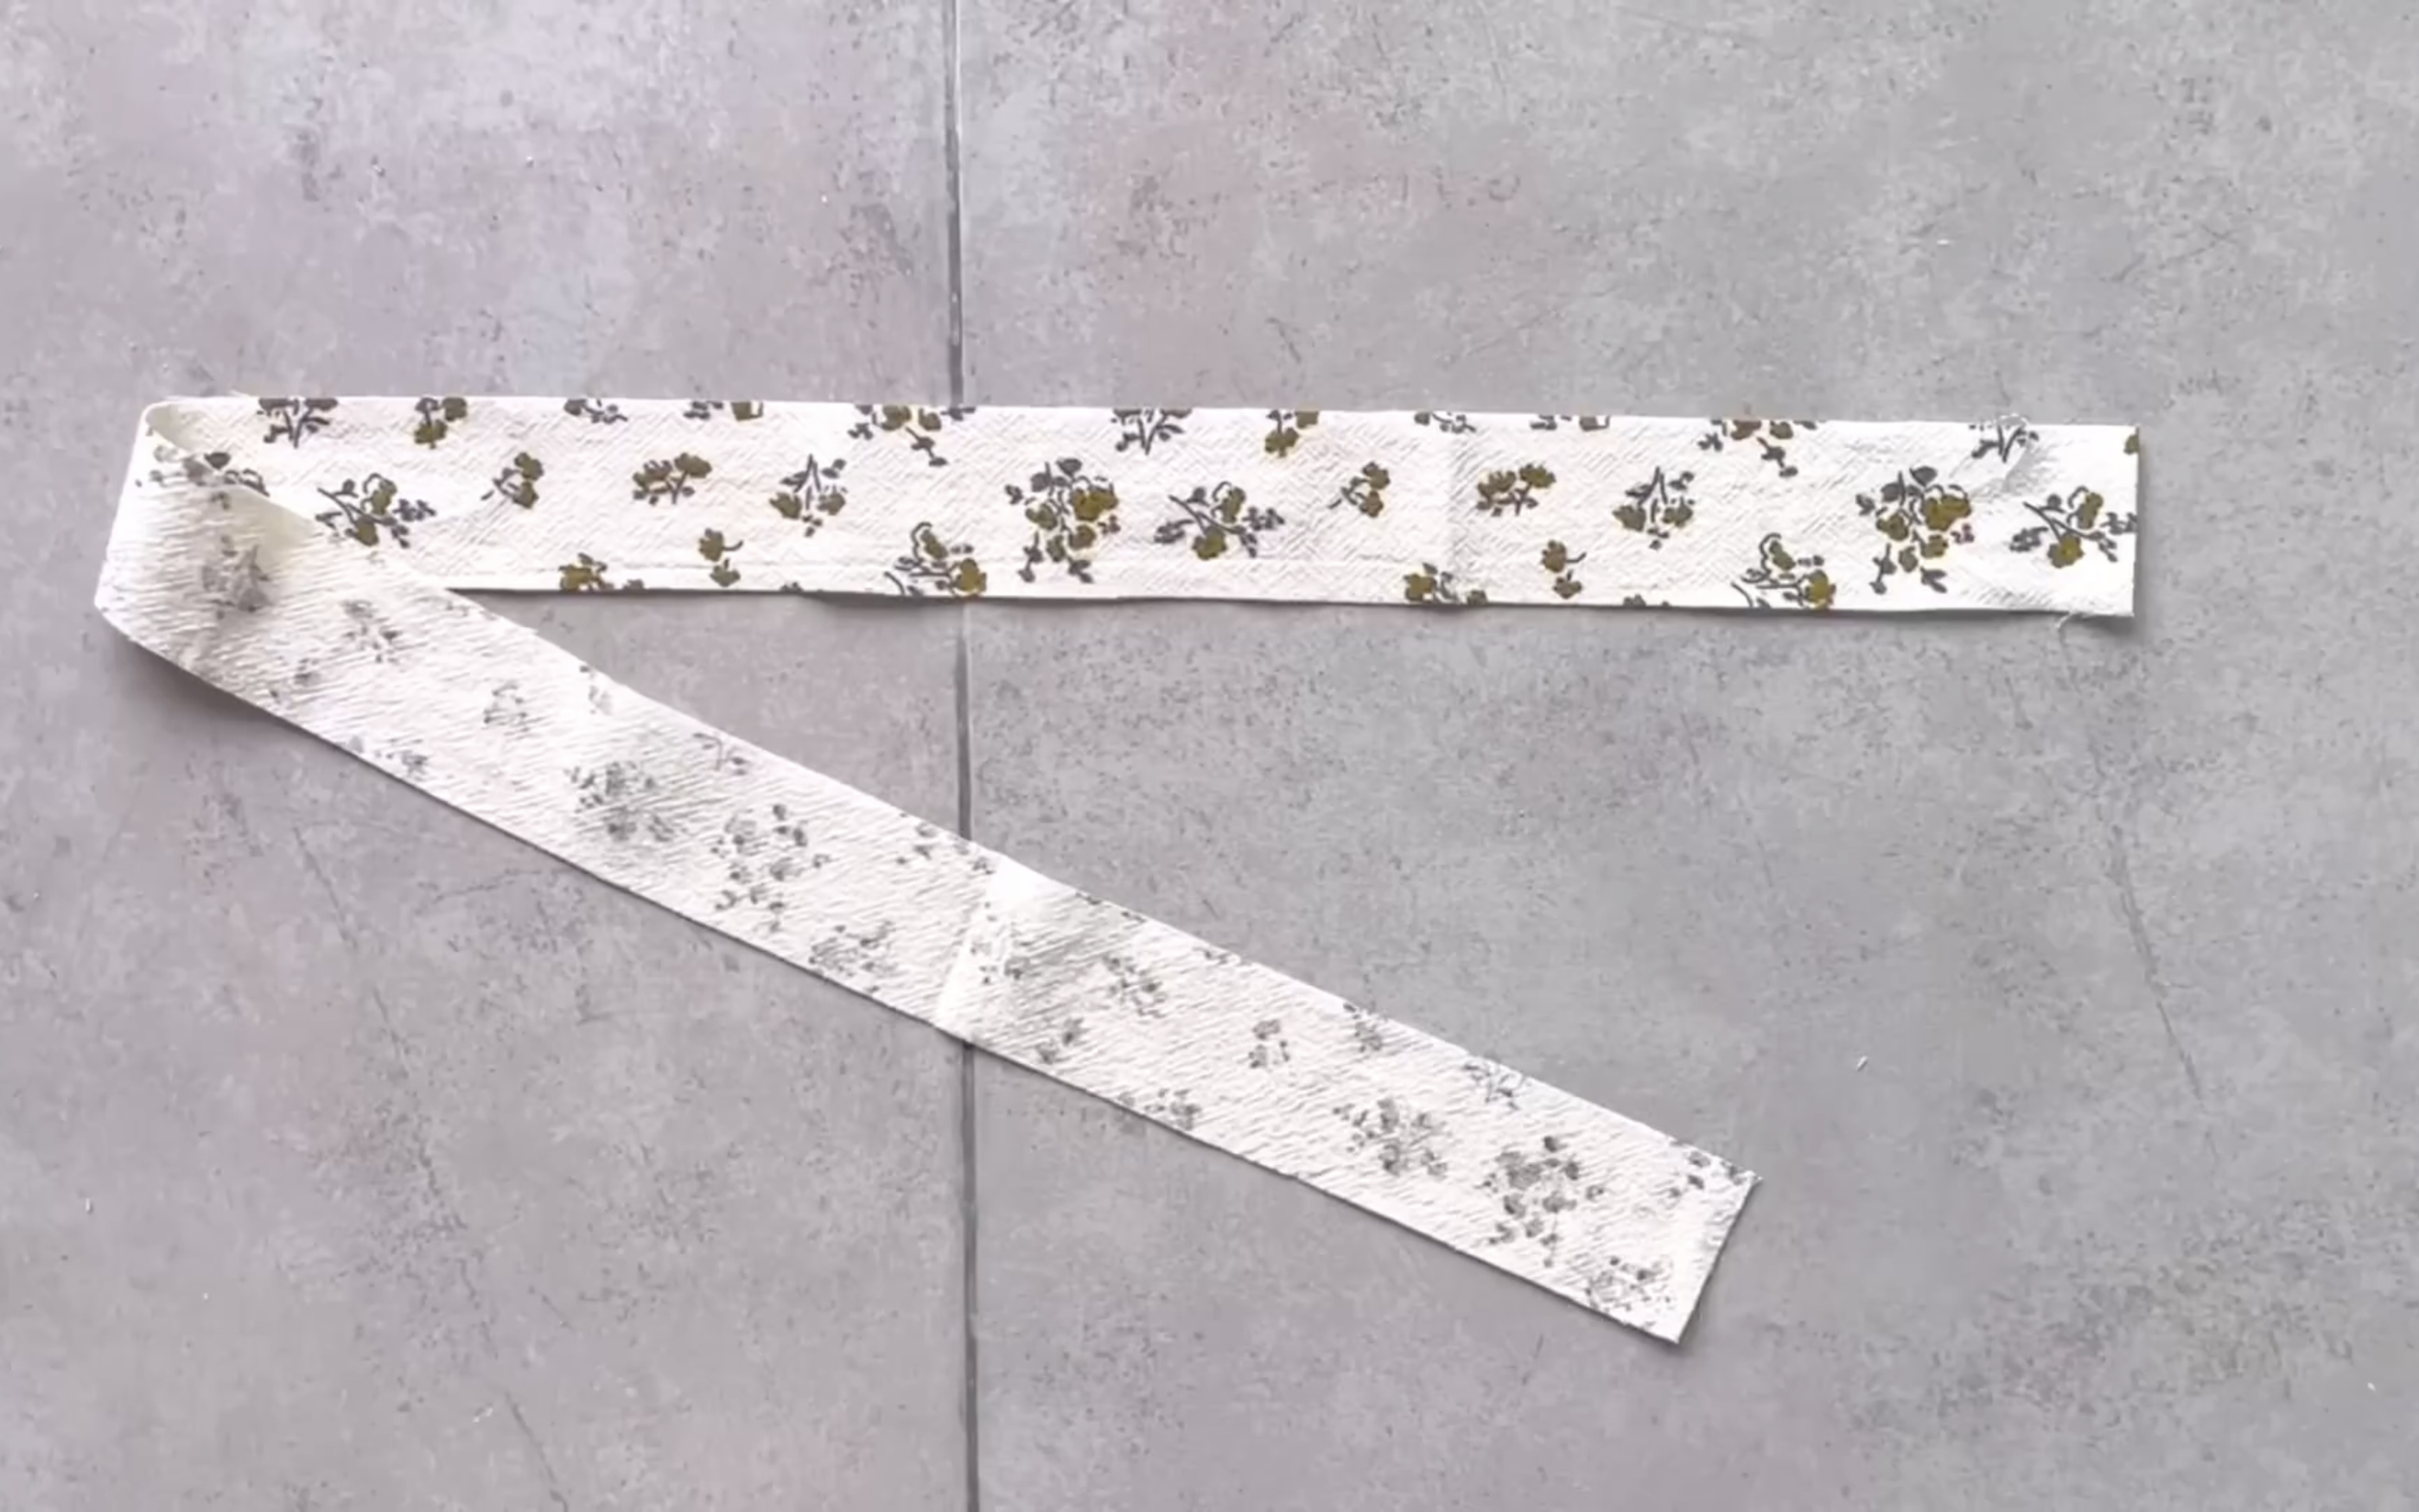
Then cut a long fabric strip with 2 cm width and 2 cm longer than the neck width.
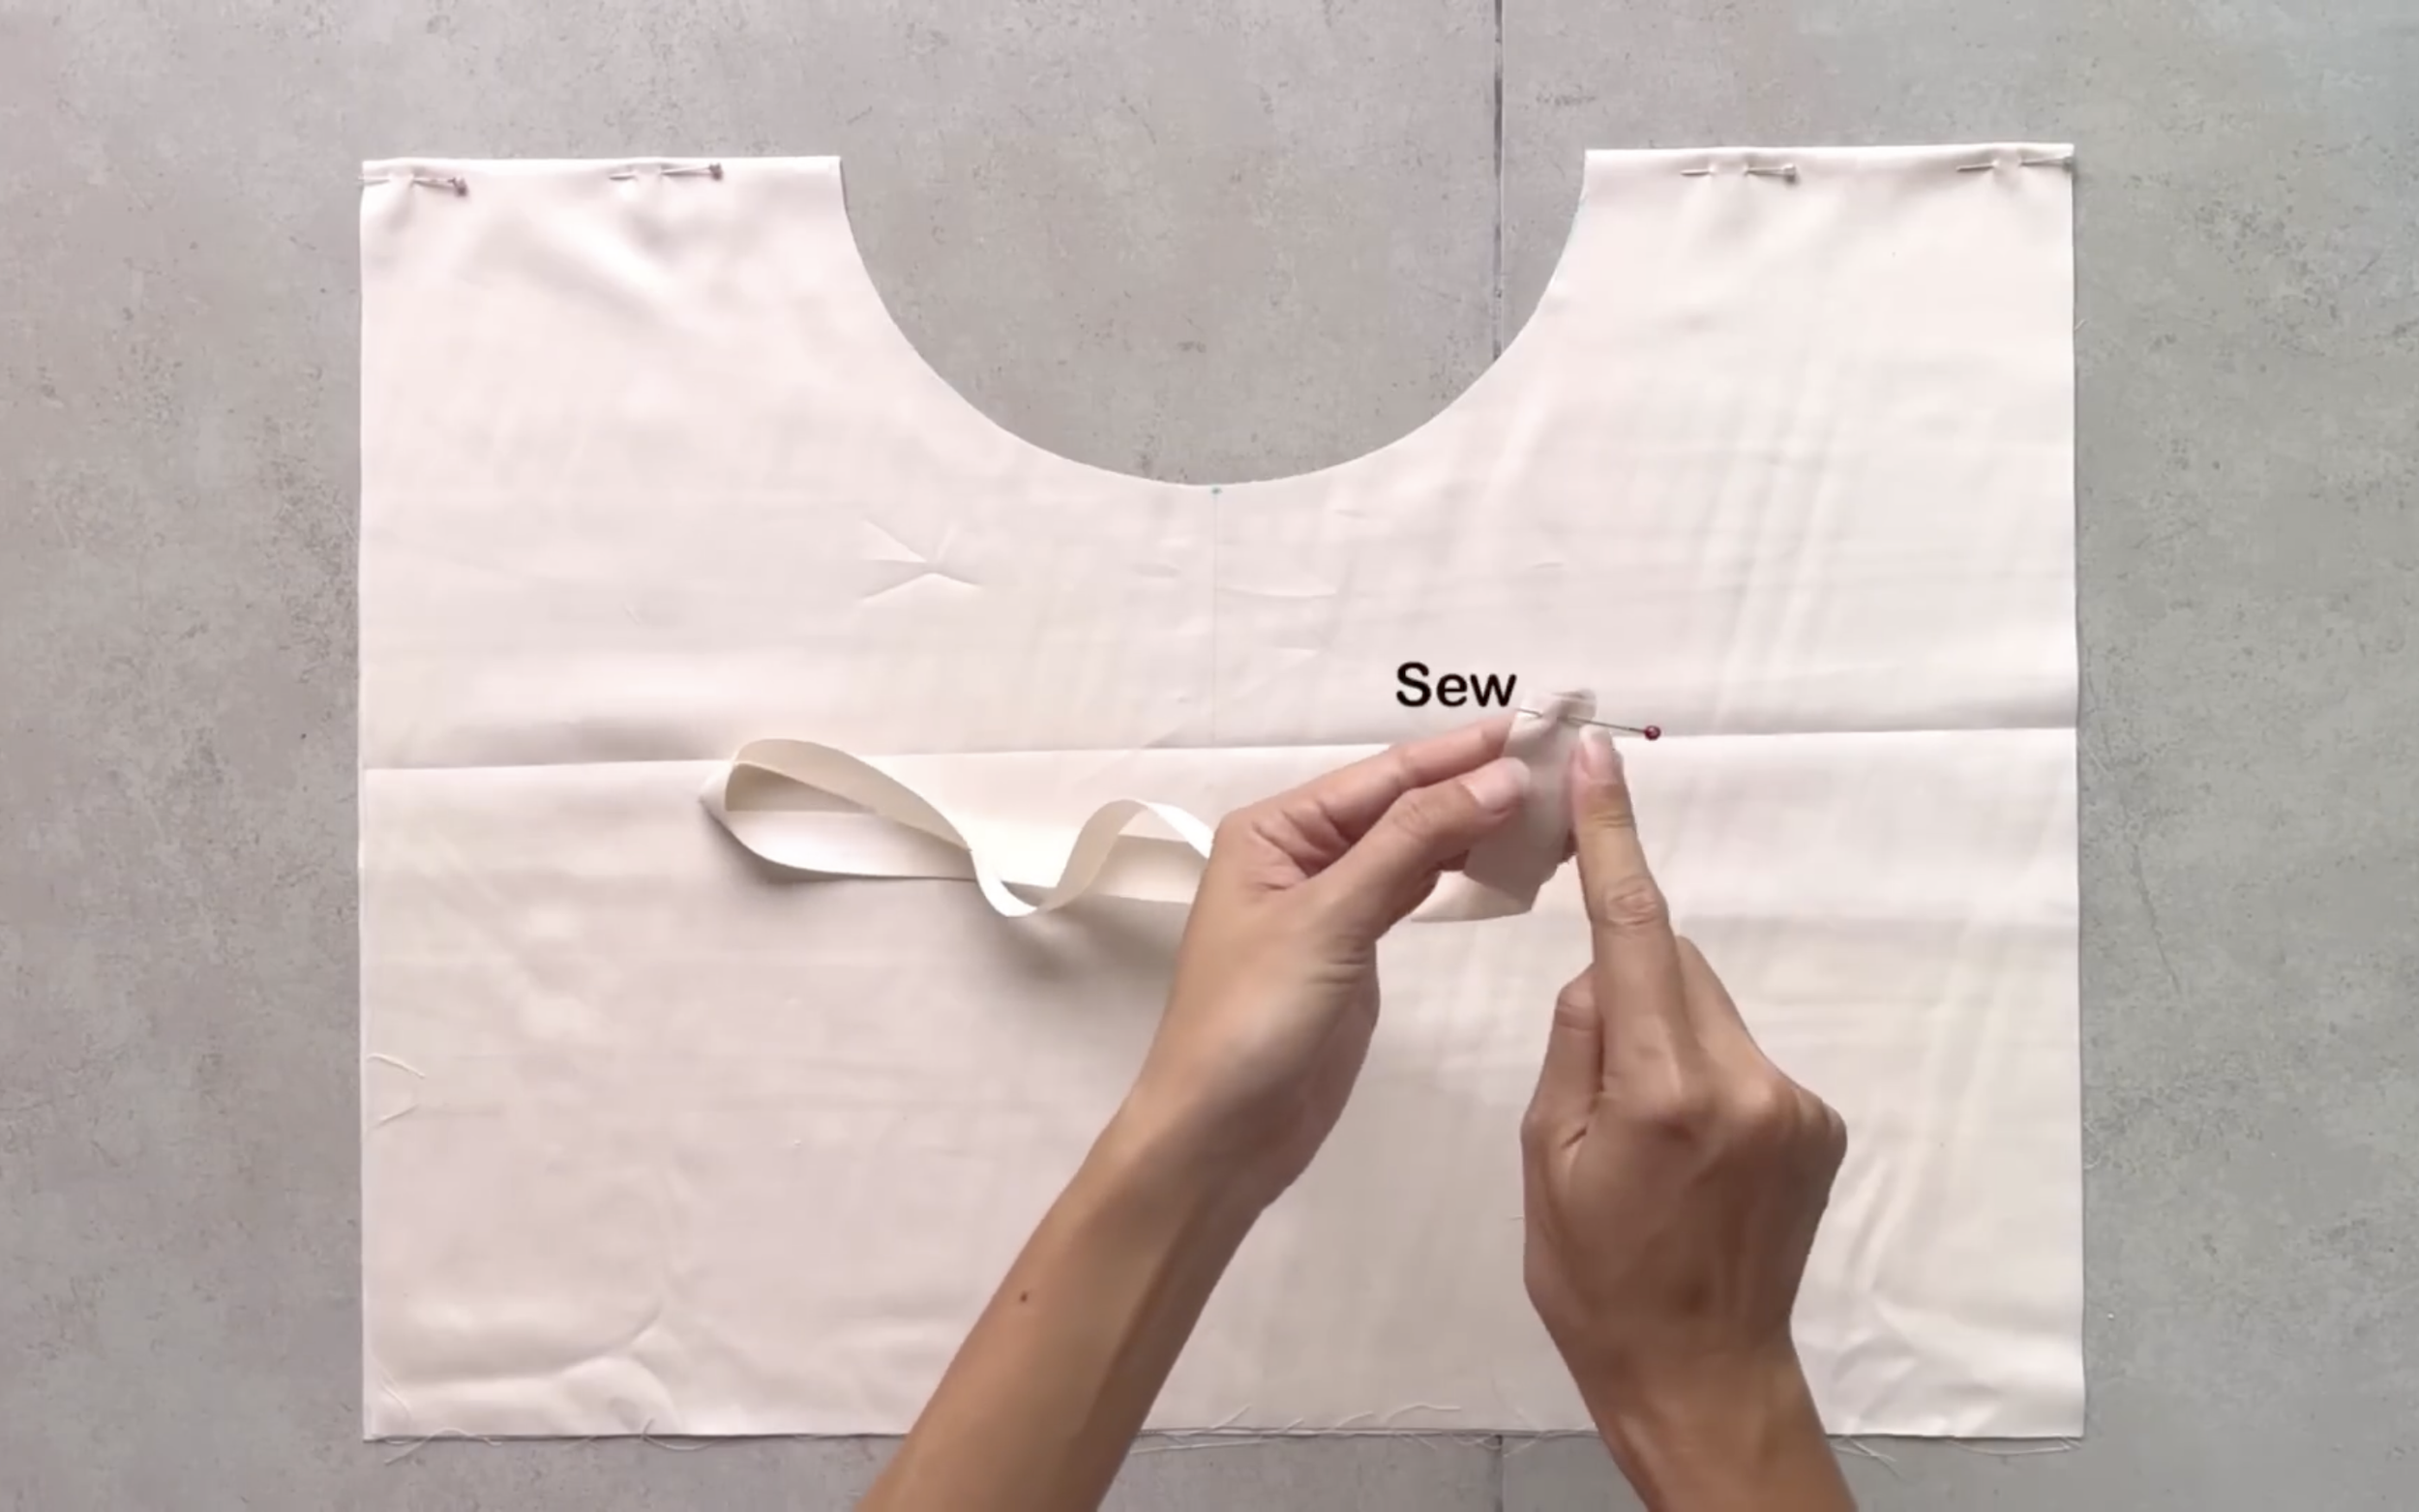
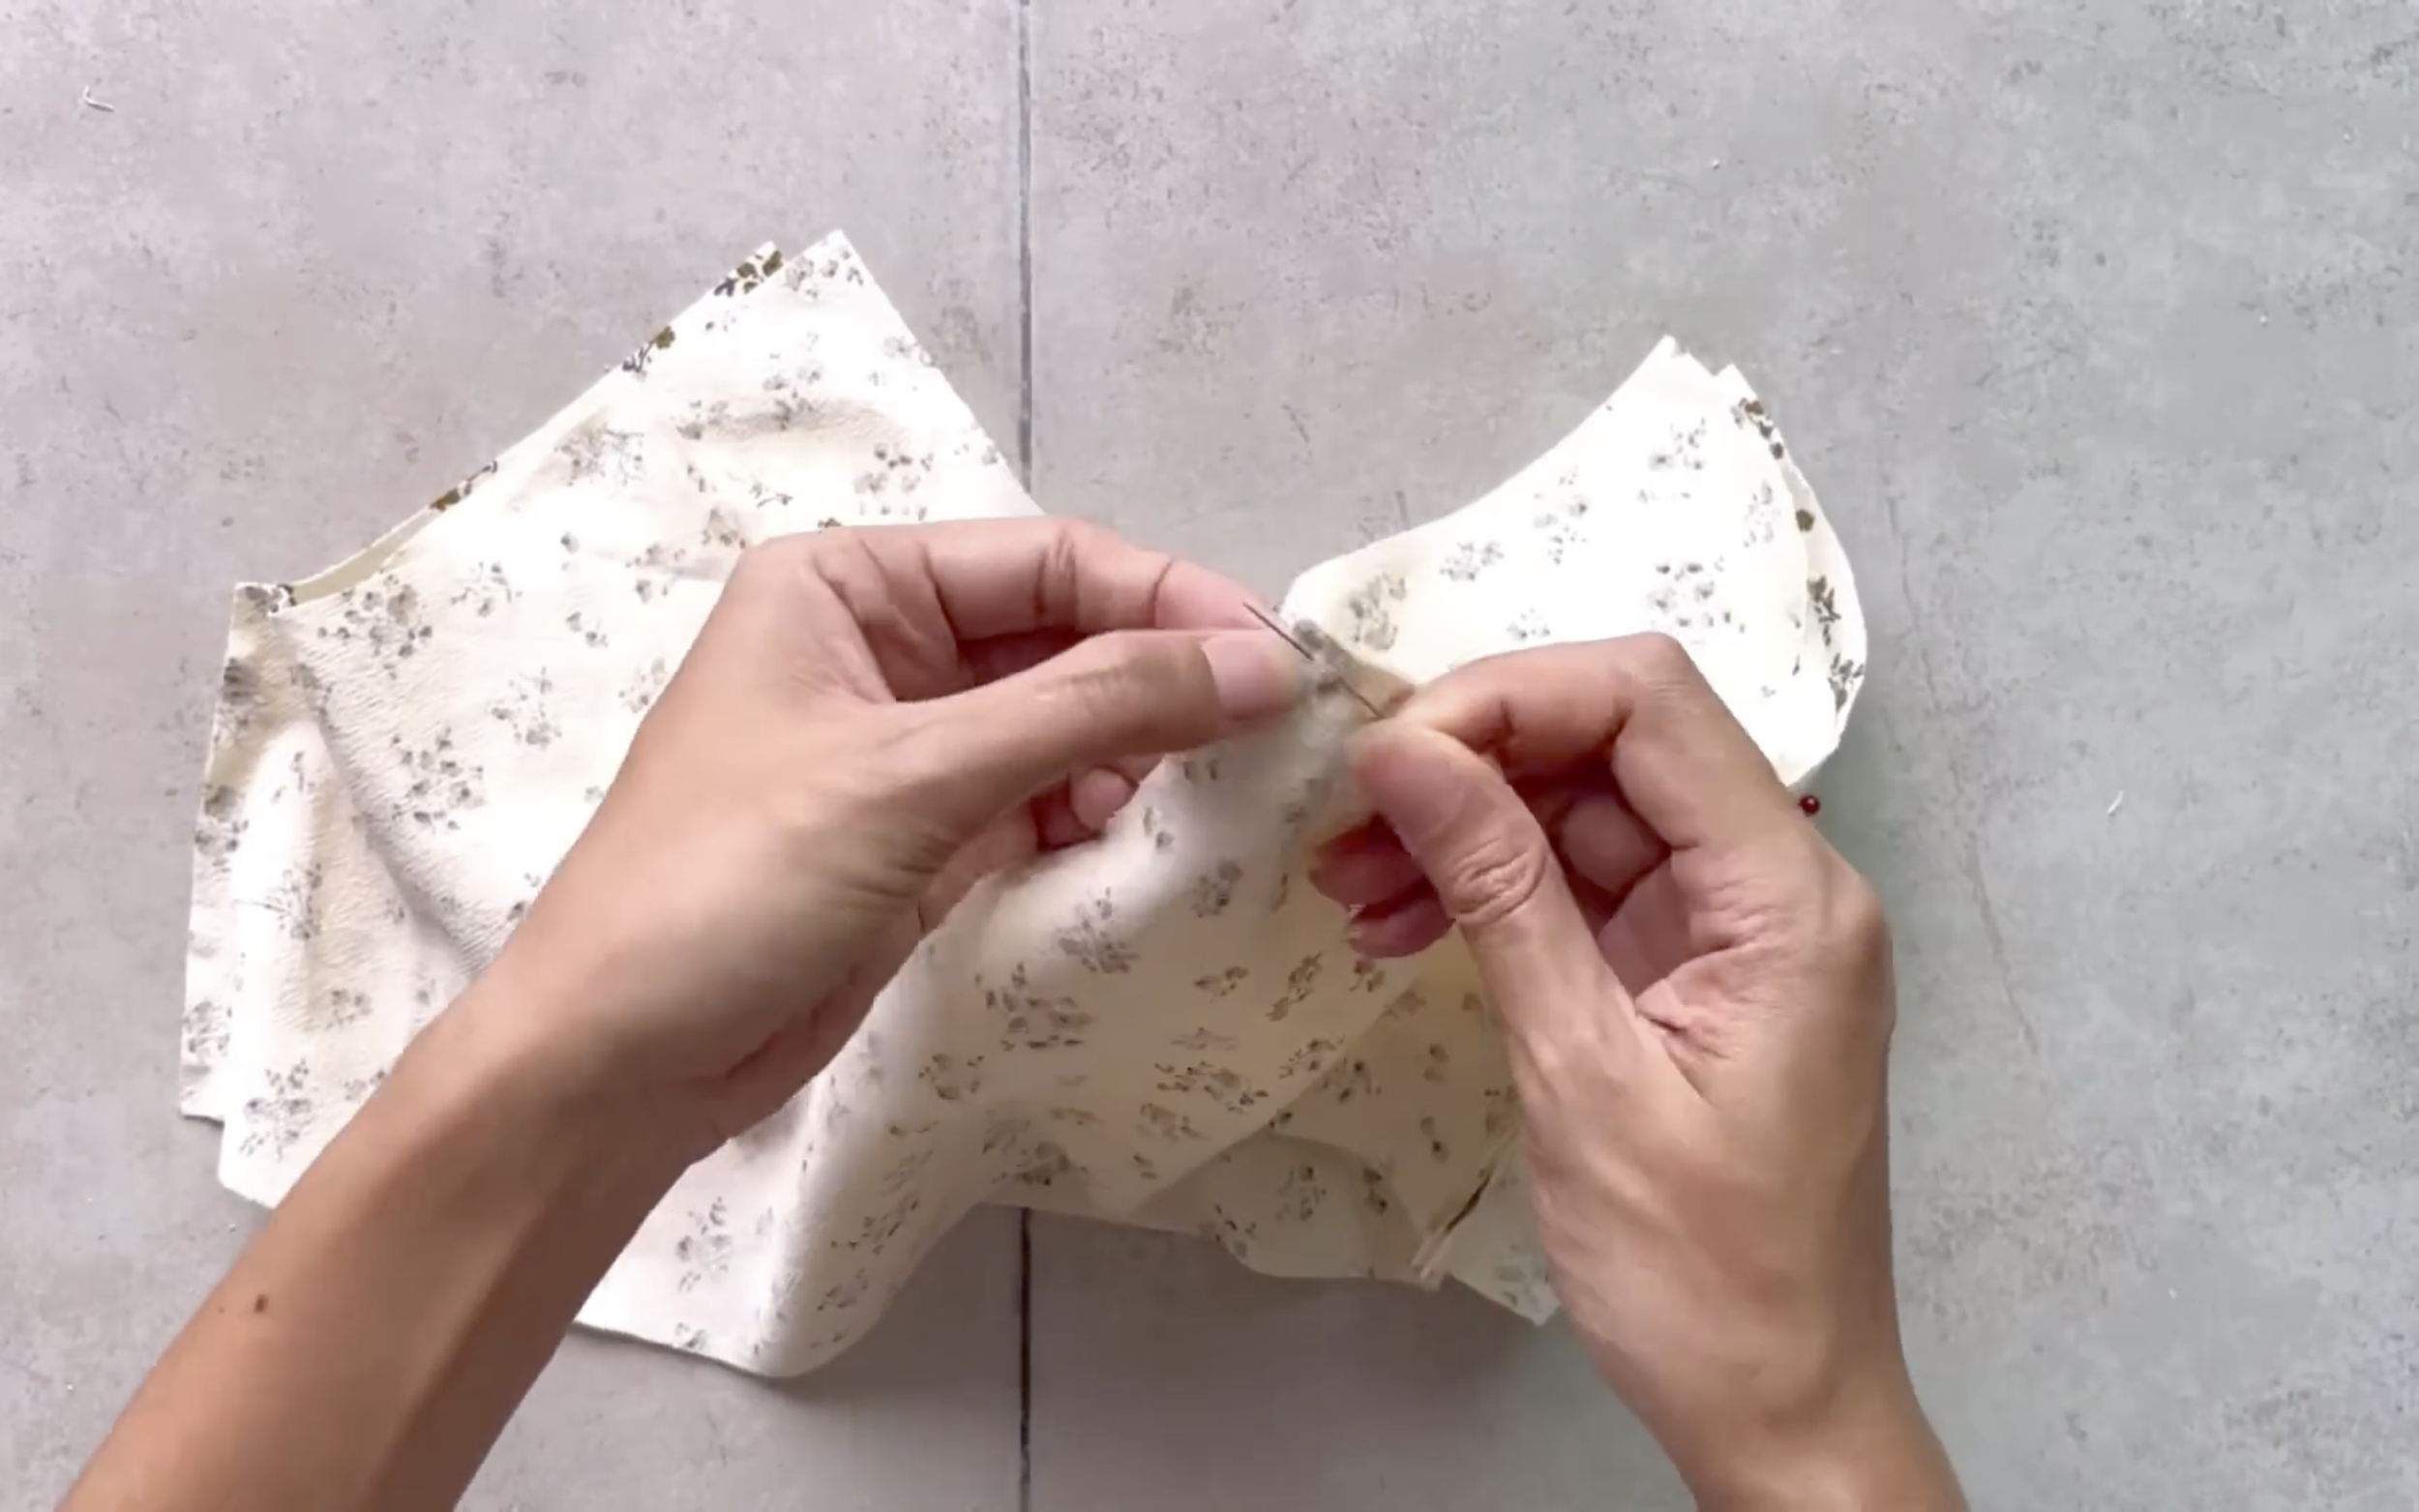
Connect the two width edges of the fabric strip together to create a circle.
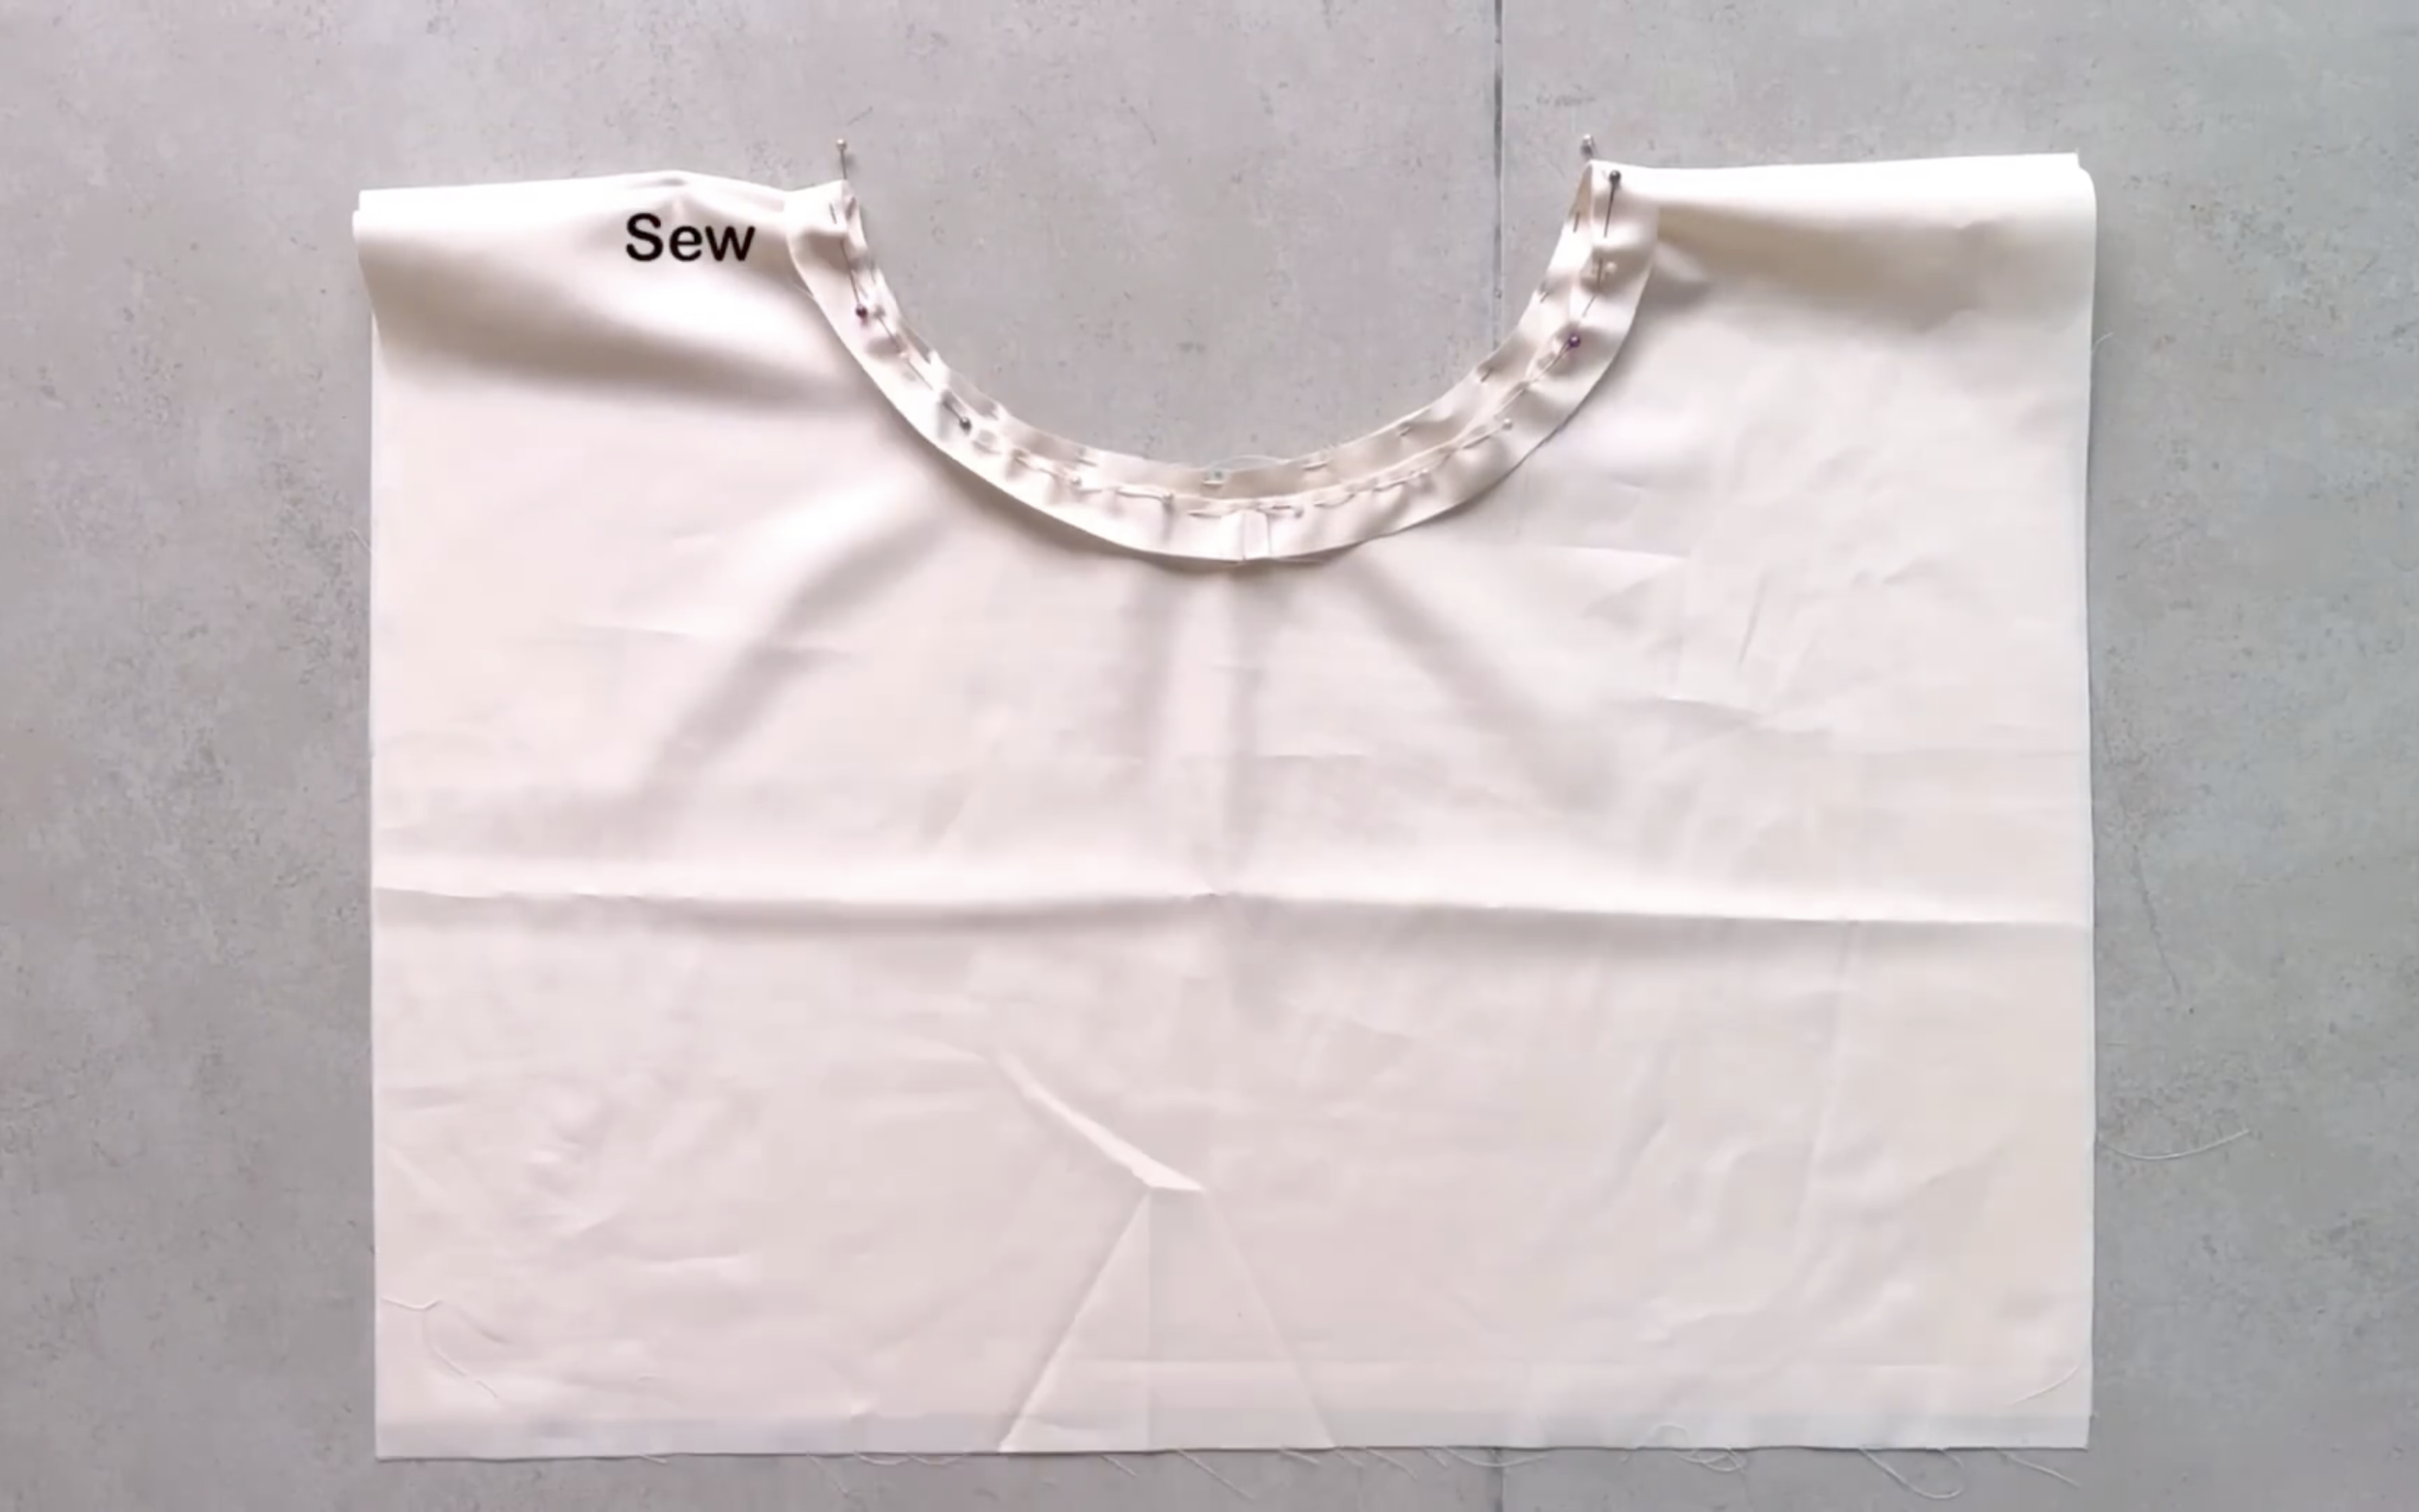
Attach one edge of the circle fabric to the neck and sew them together.
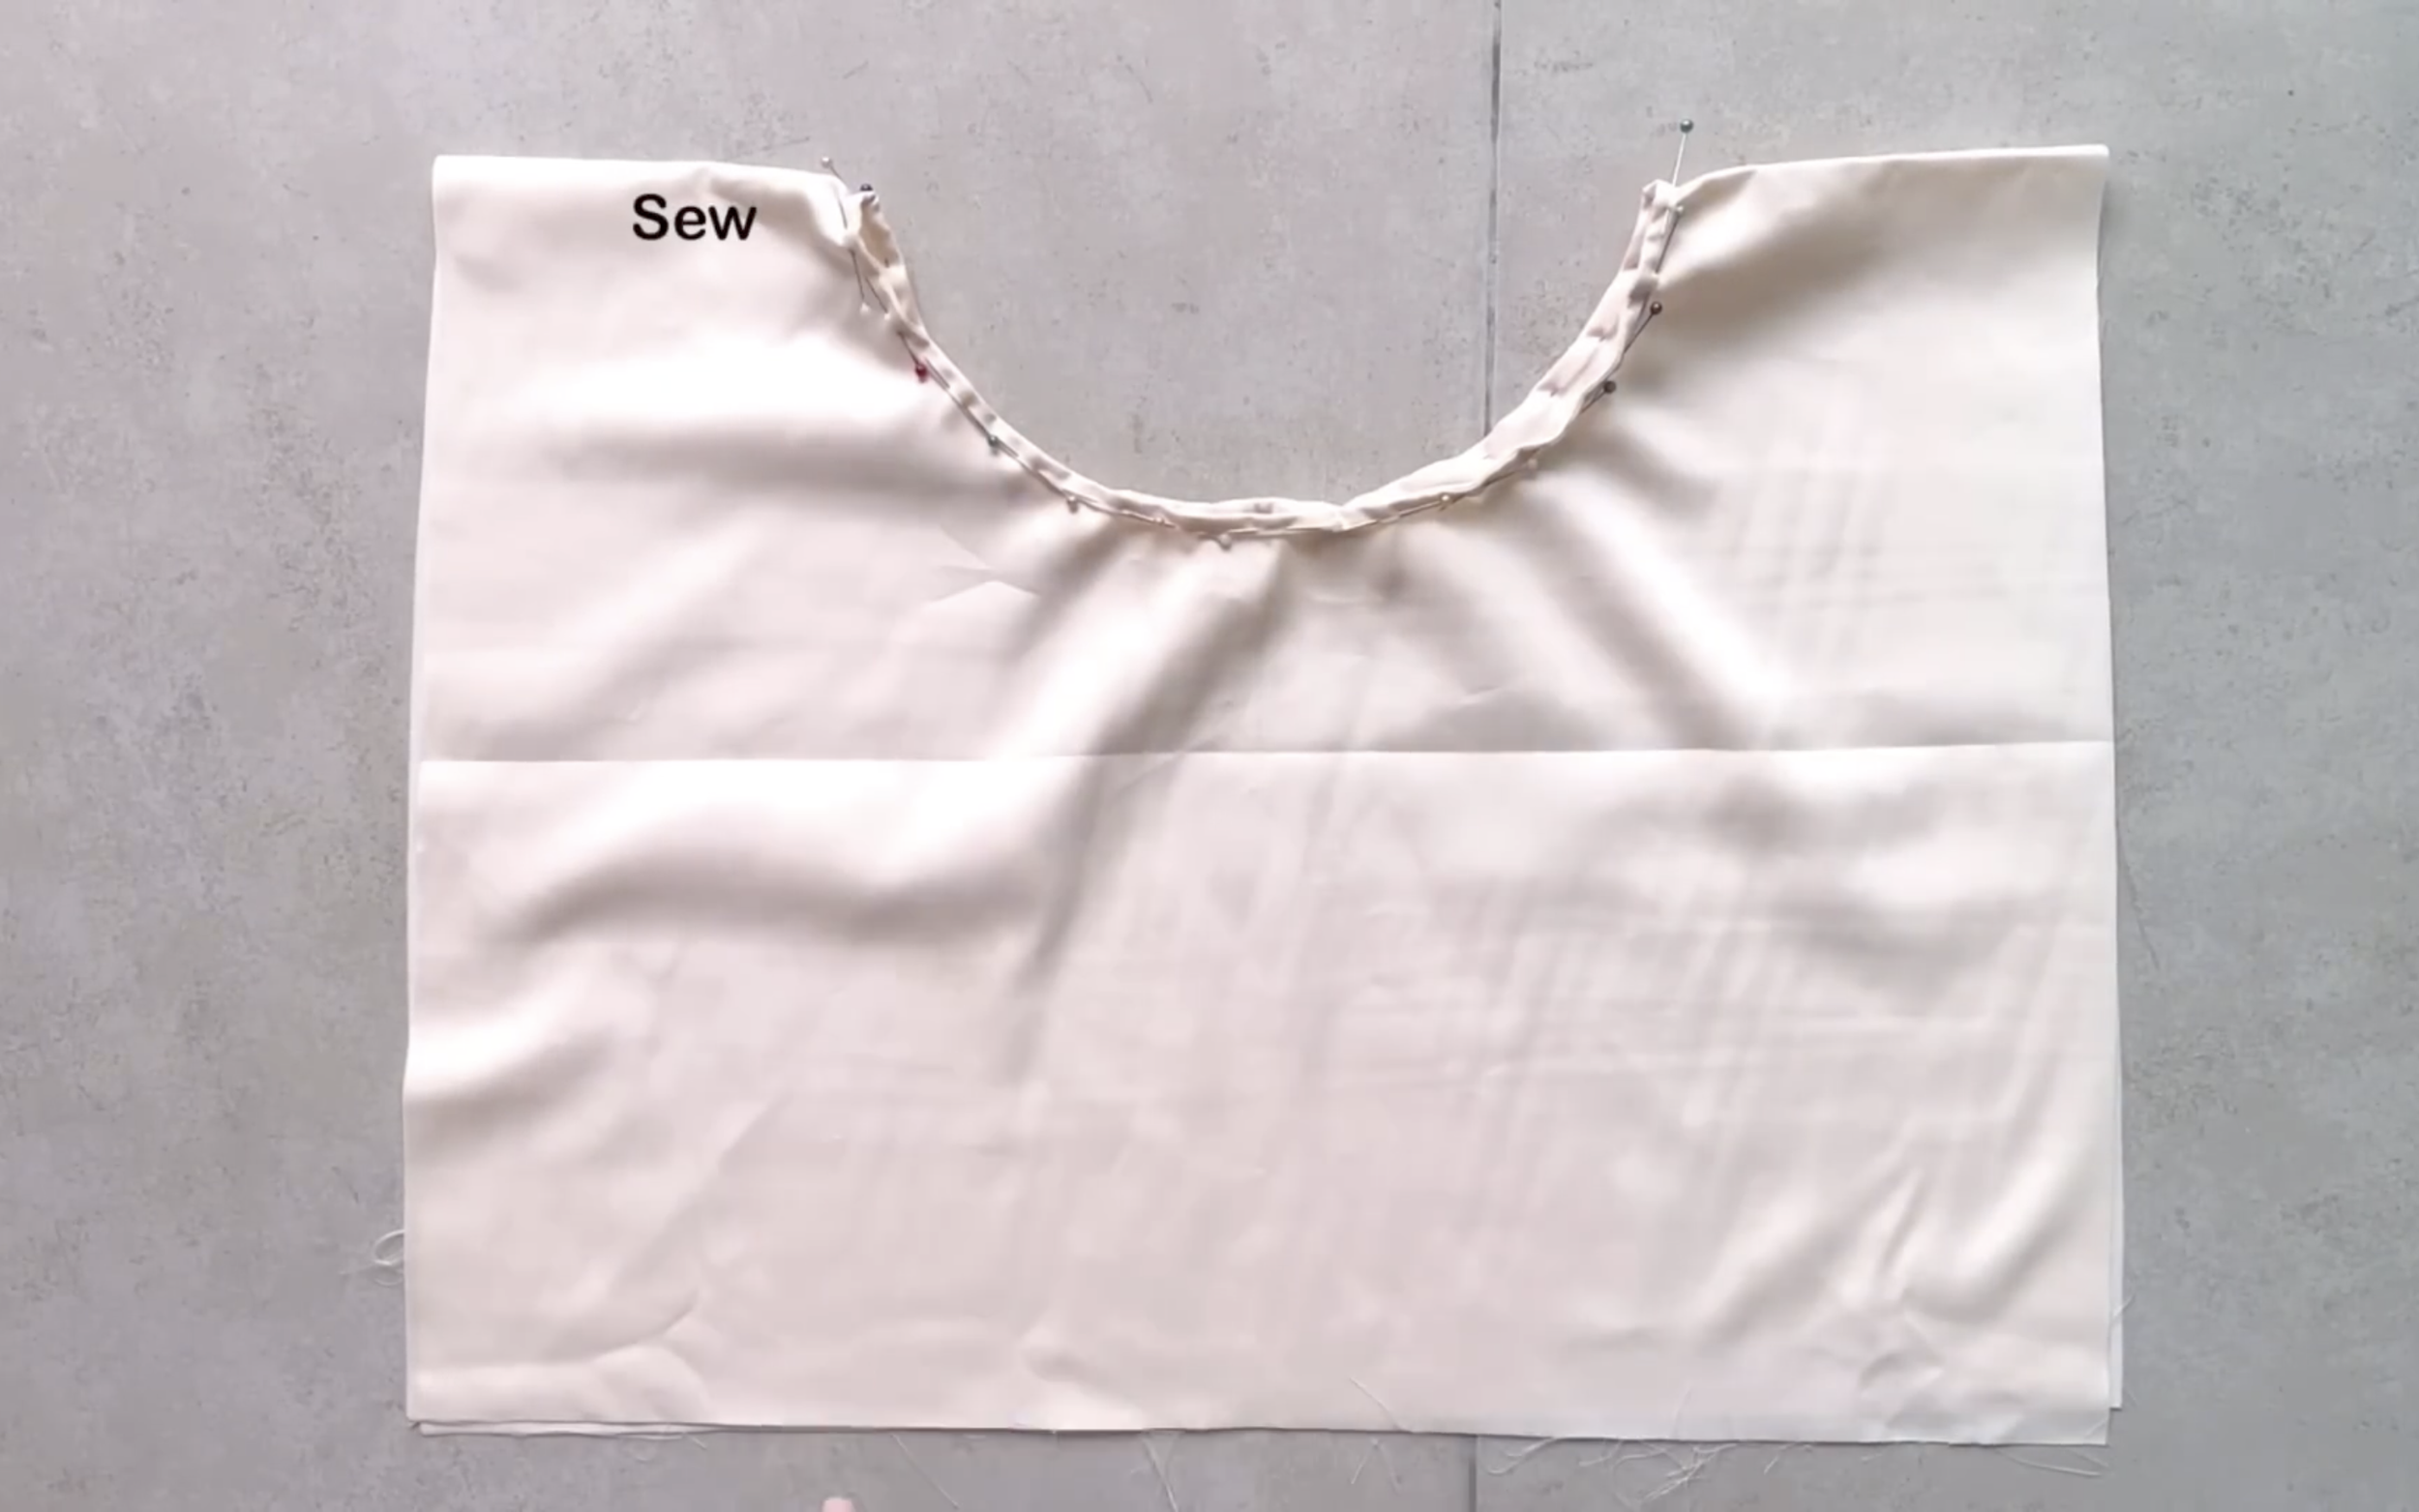
After the first seam, fold the other side of the circle fabric toward the middle, then fold it again to hide the seam inside and sew to finish the neckline.
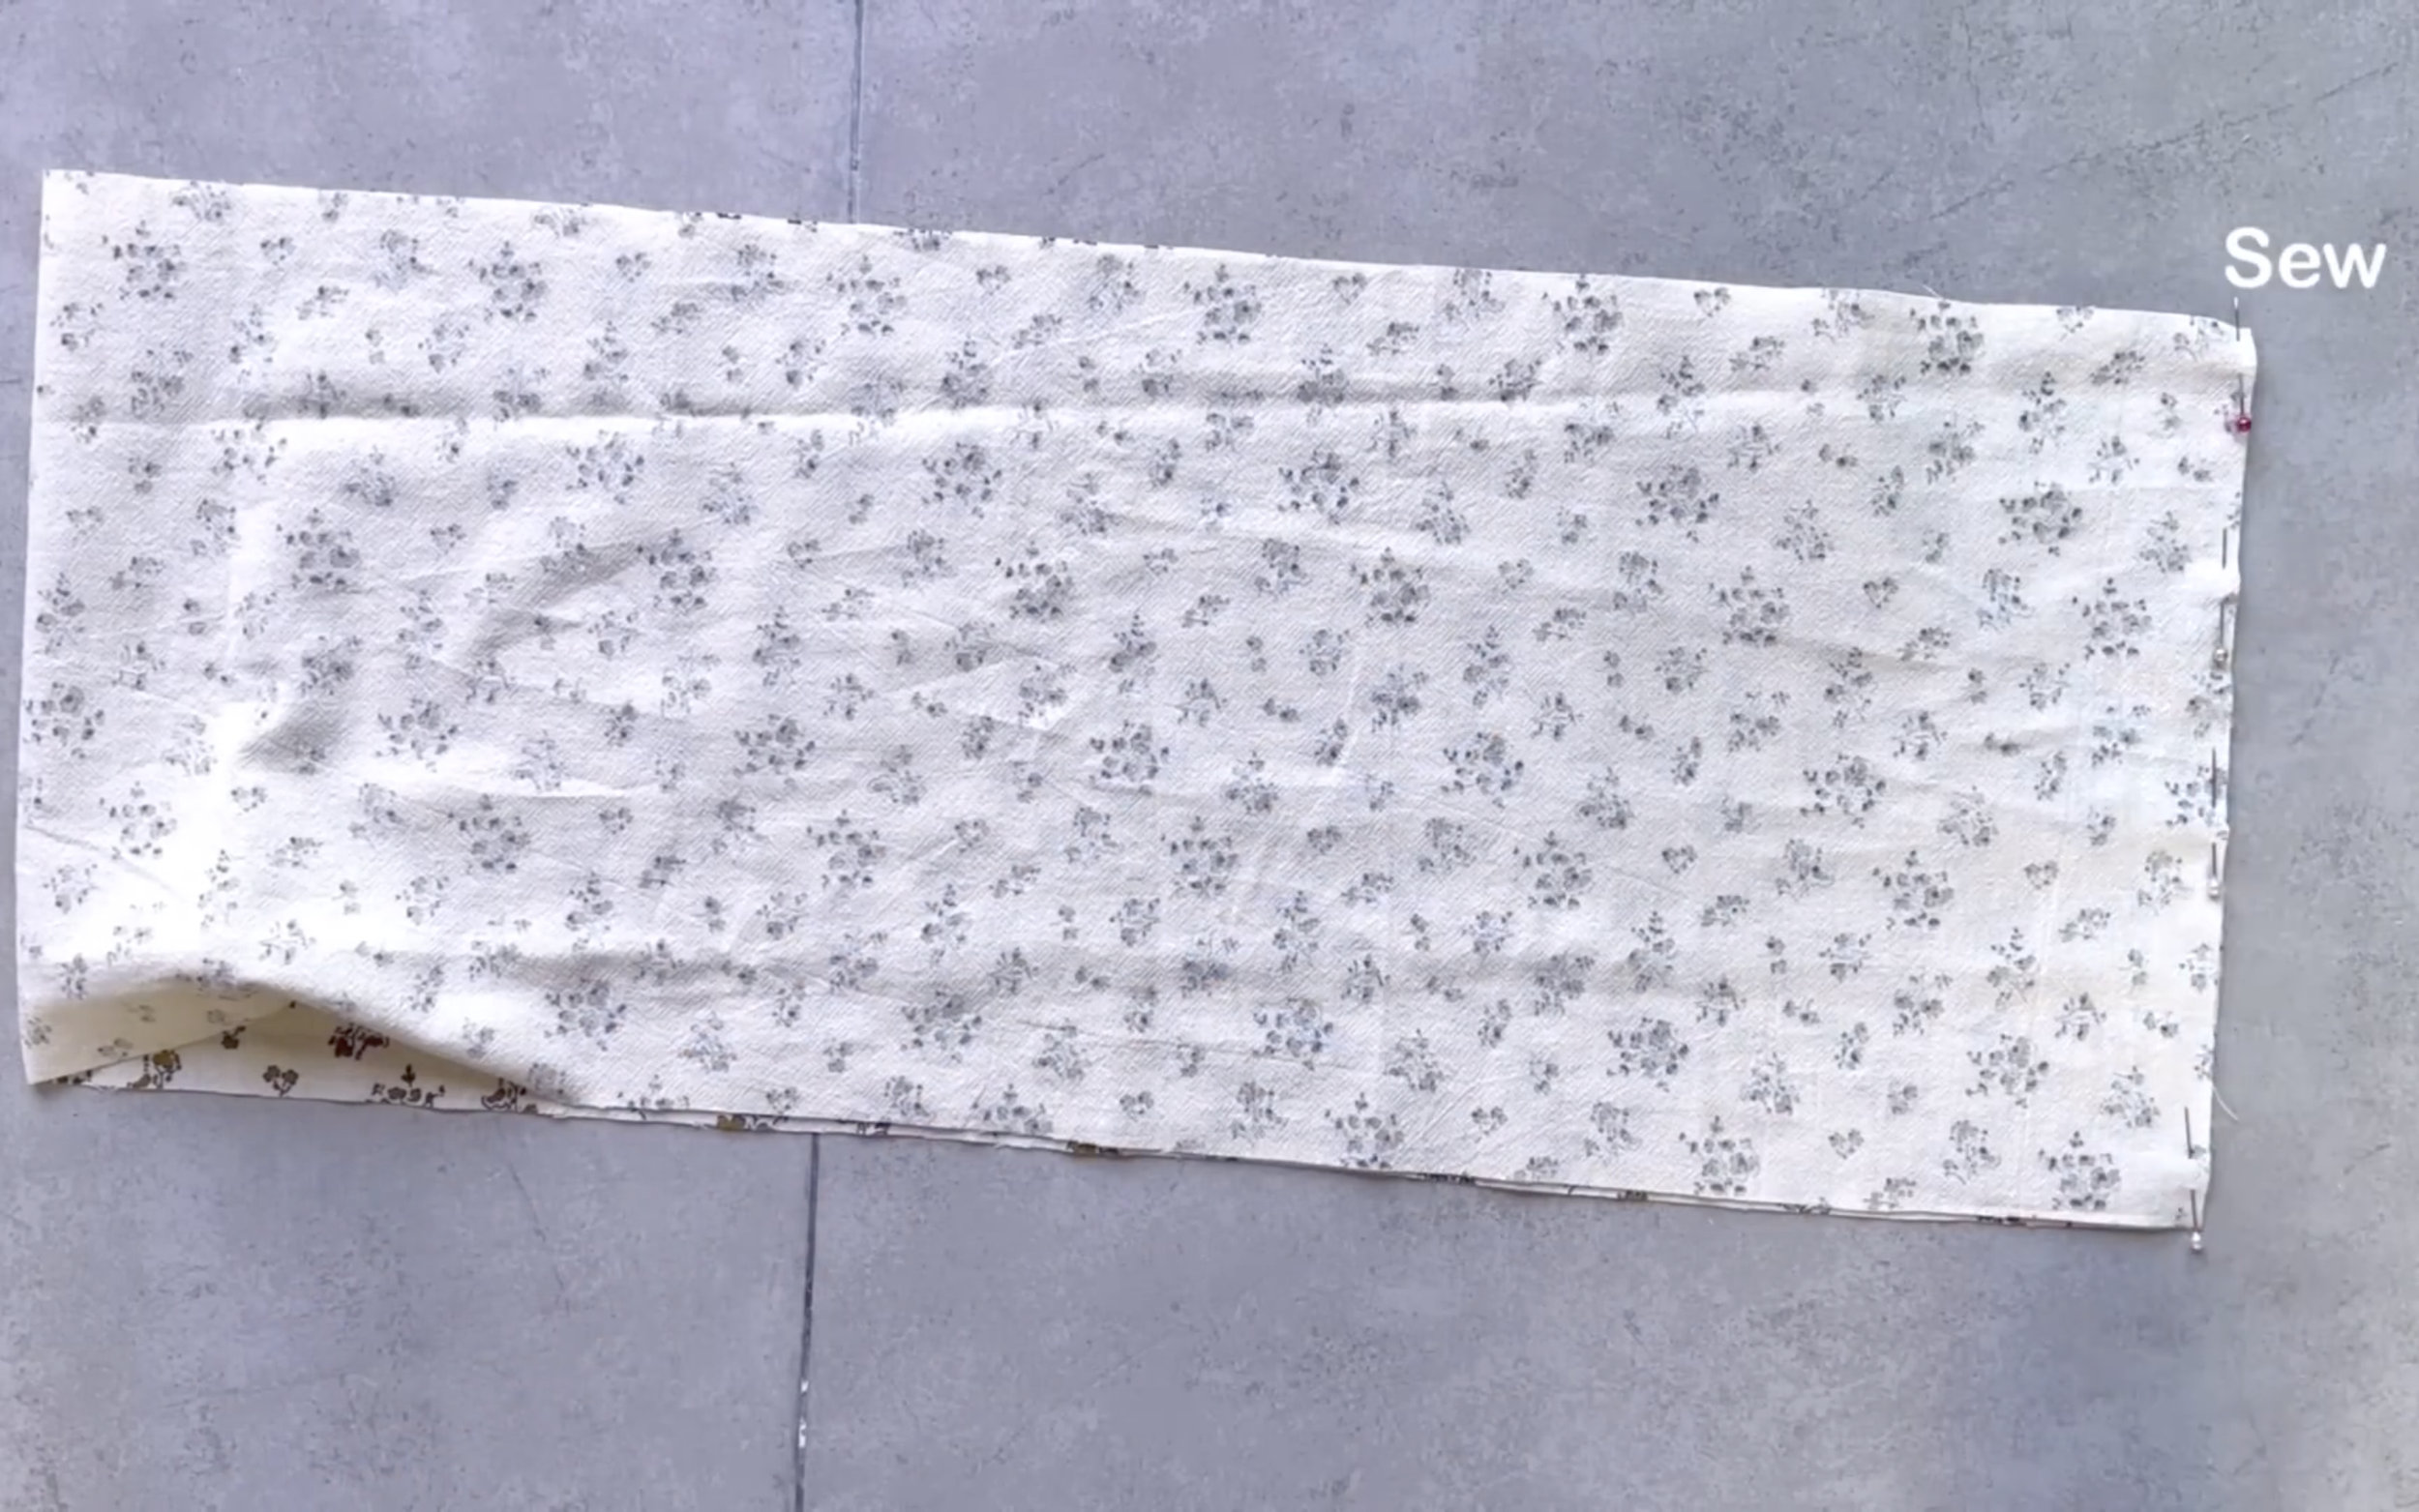
To make the ruffle hem, cut a long rectangle with 10 cm length, which is the length of the ruffle plus 2 cm for seam allowance, and 75 cm width, which is one and a half times the top width.
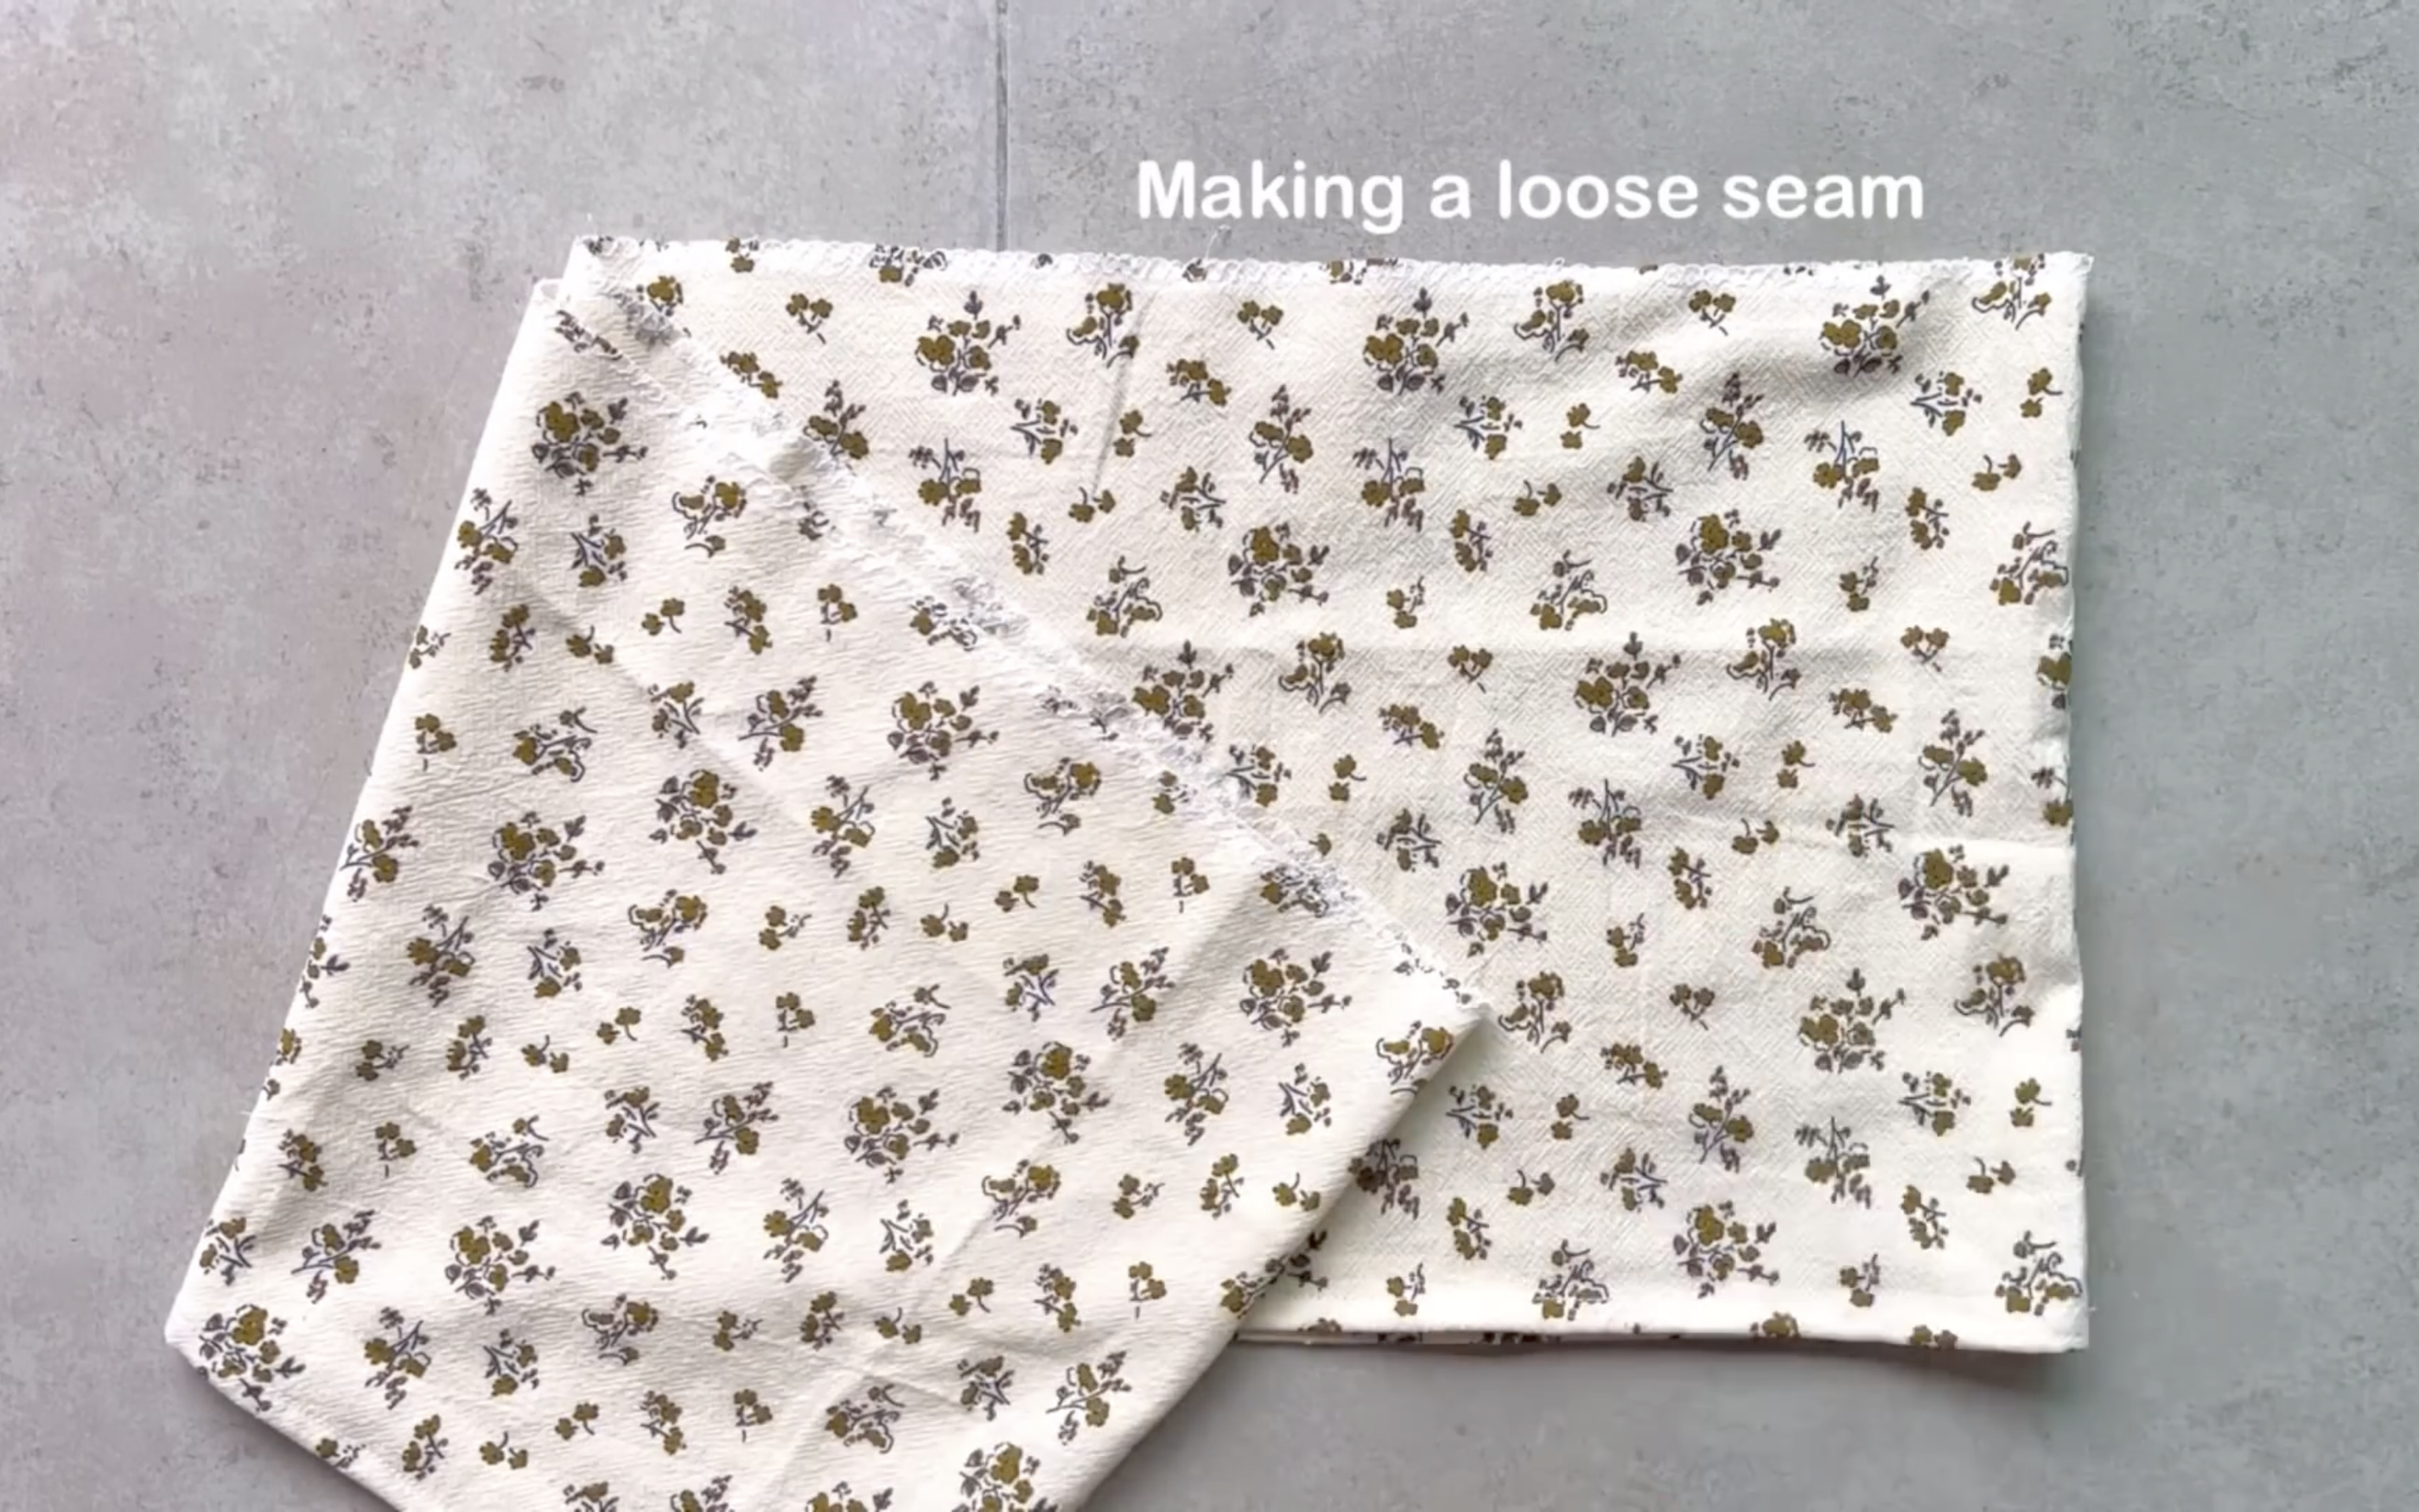
Fold twice, each by 0.5 cm, to finish one edge of the fabric.
Overlock the other edge of the fabric before making a loose seam there.
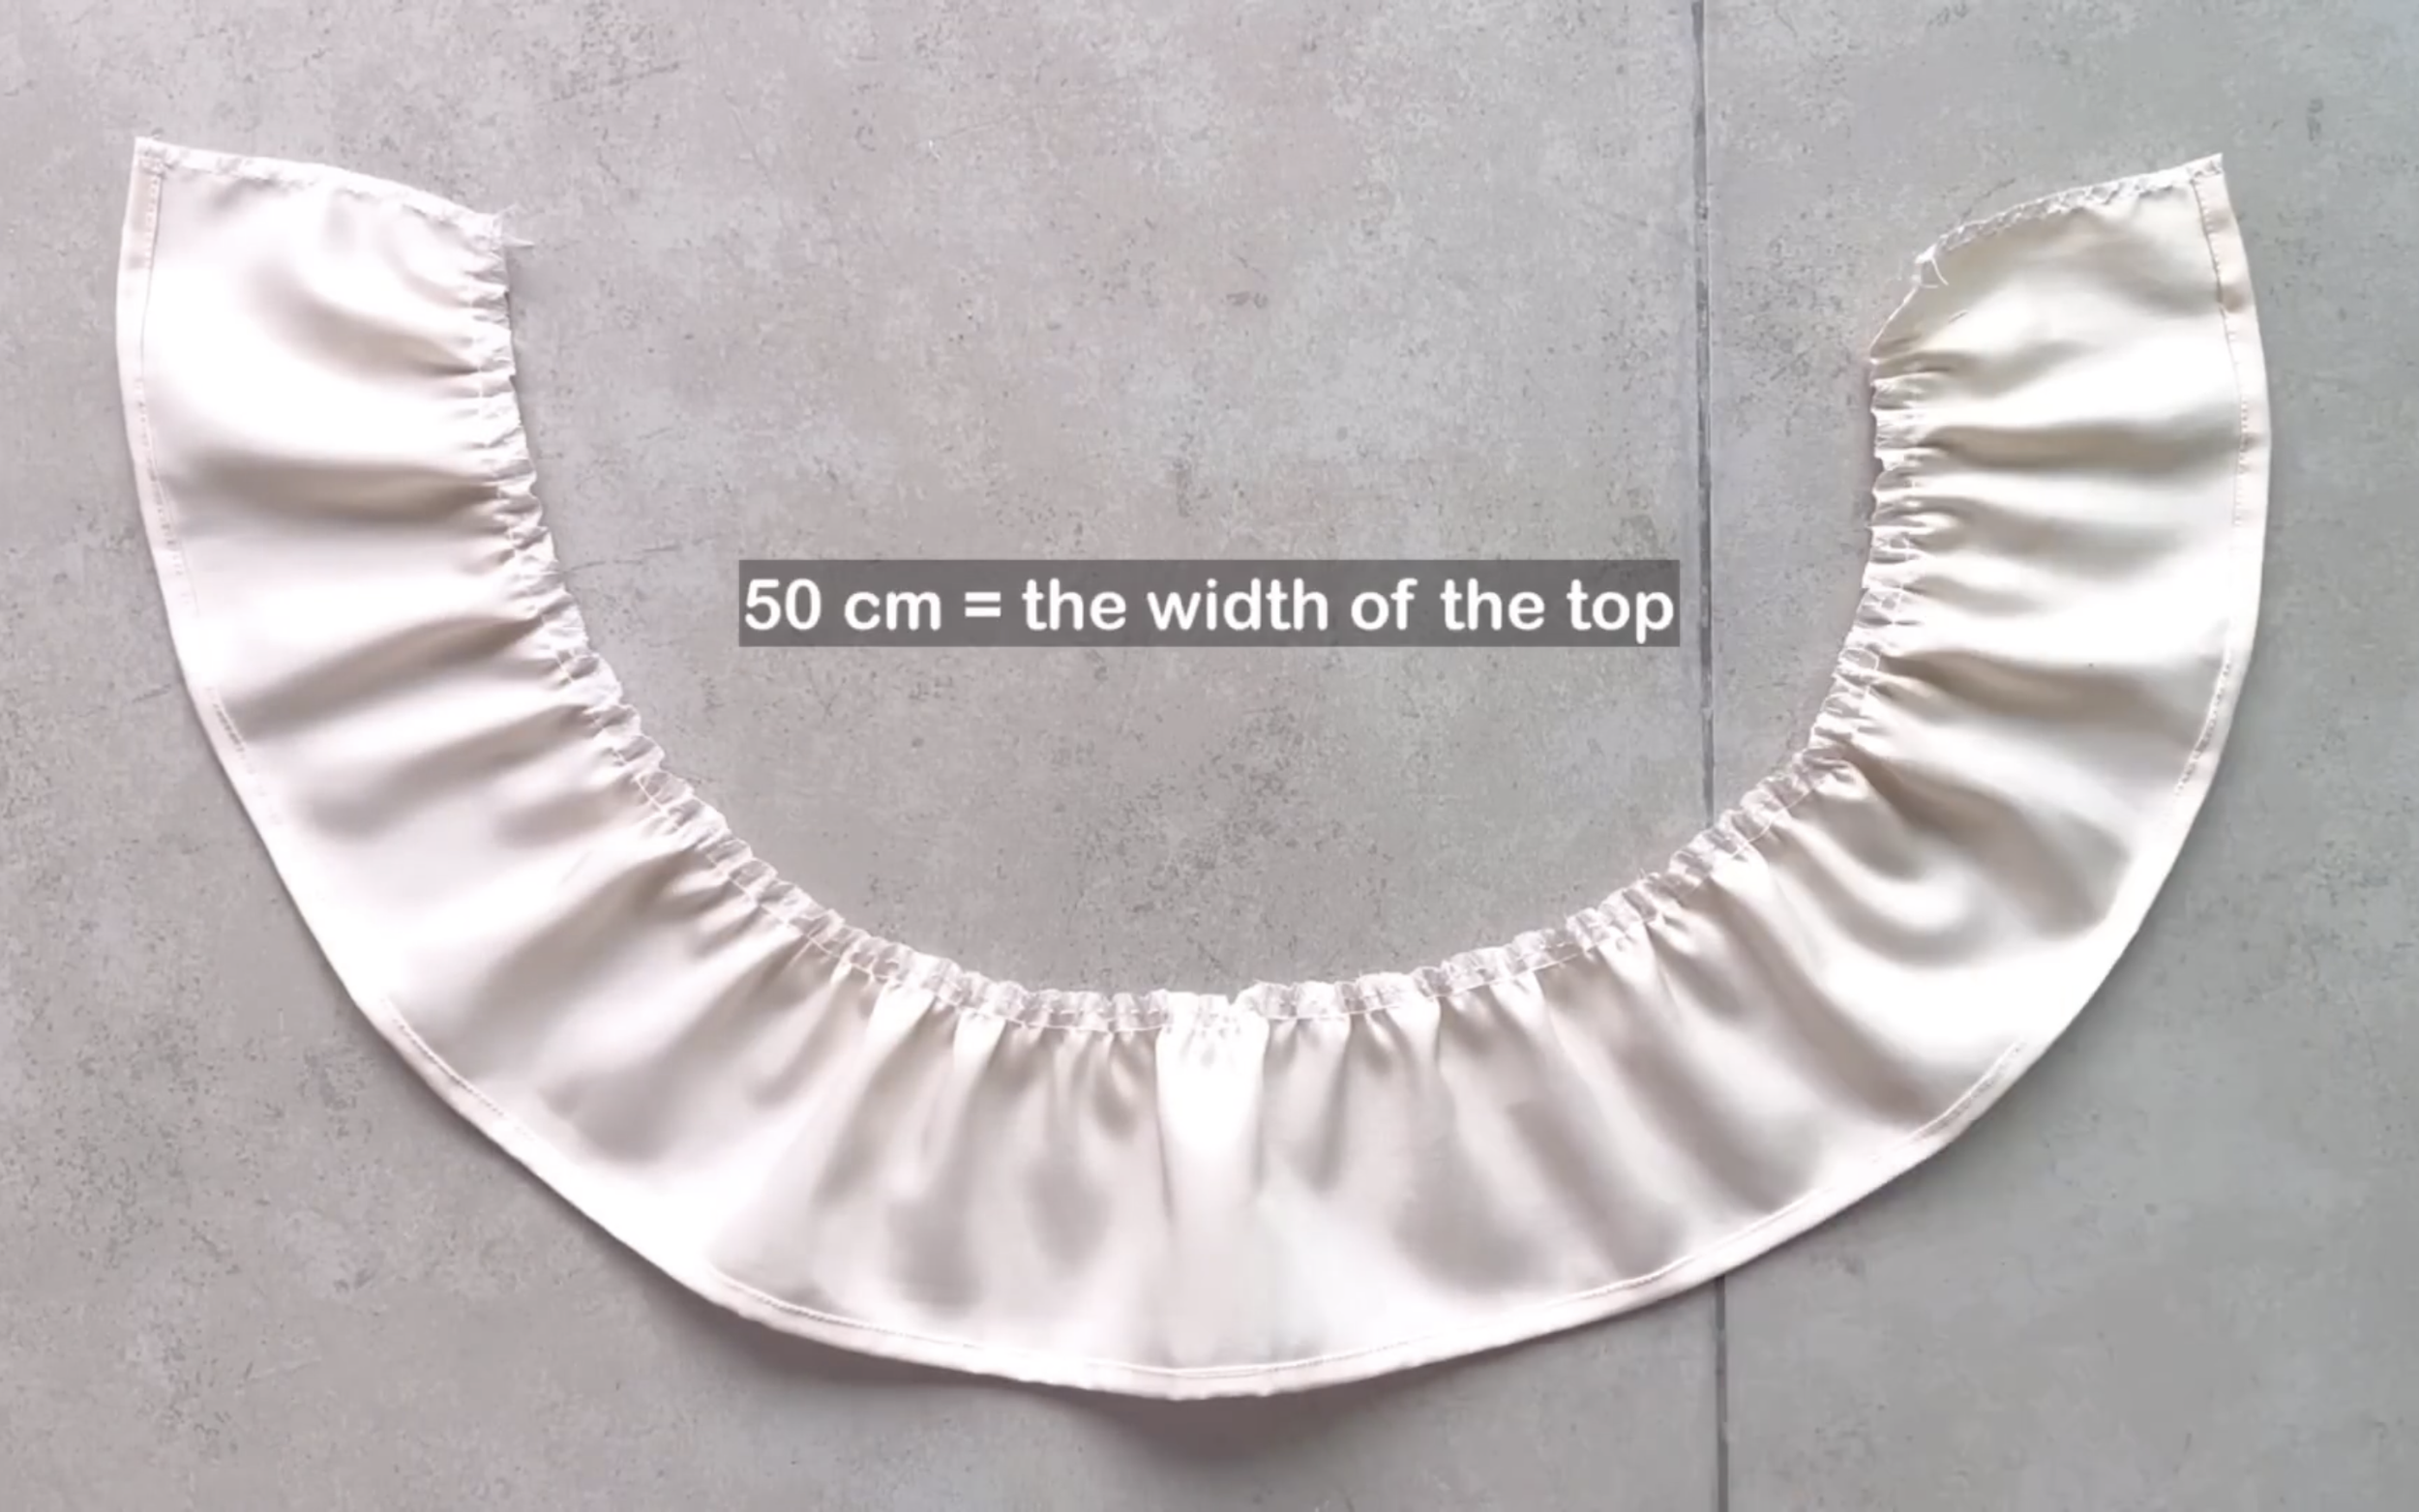
The final width of the gathered fabric should match the top width so they can be connected later.
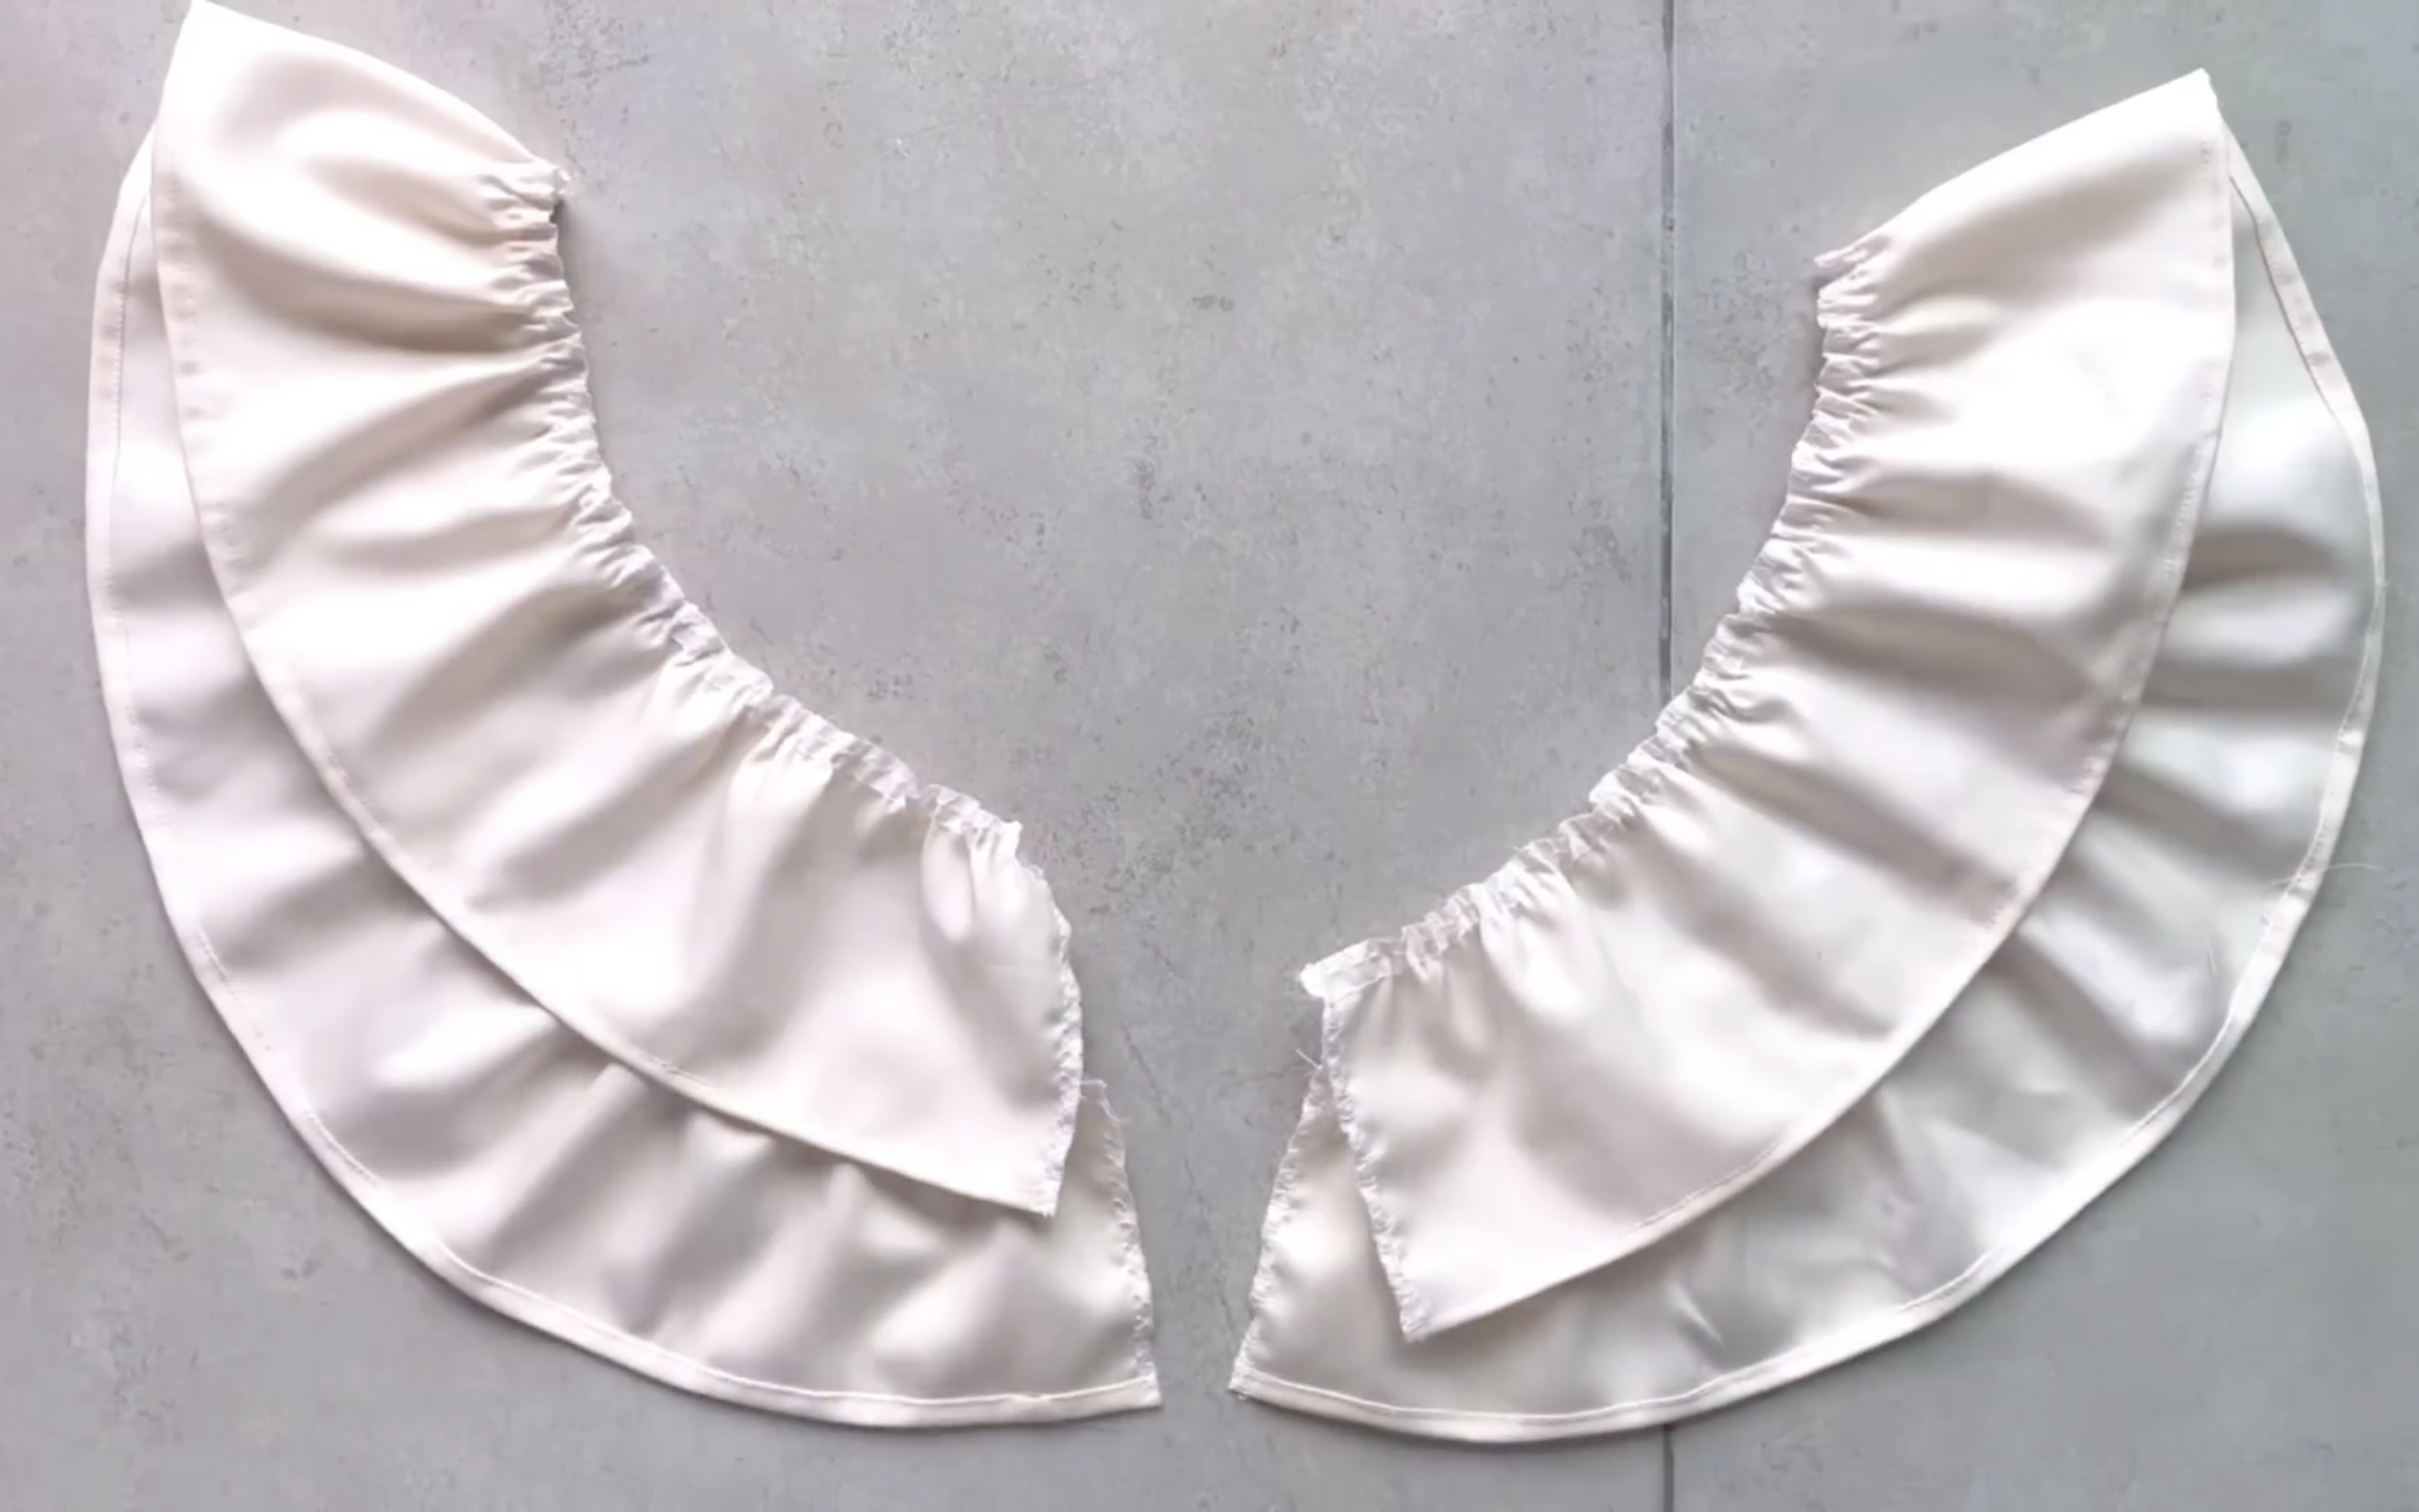
Make sure to make two pieces like this for the front and back of the top.
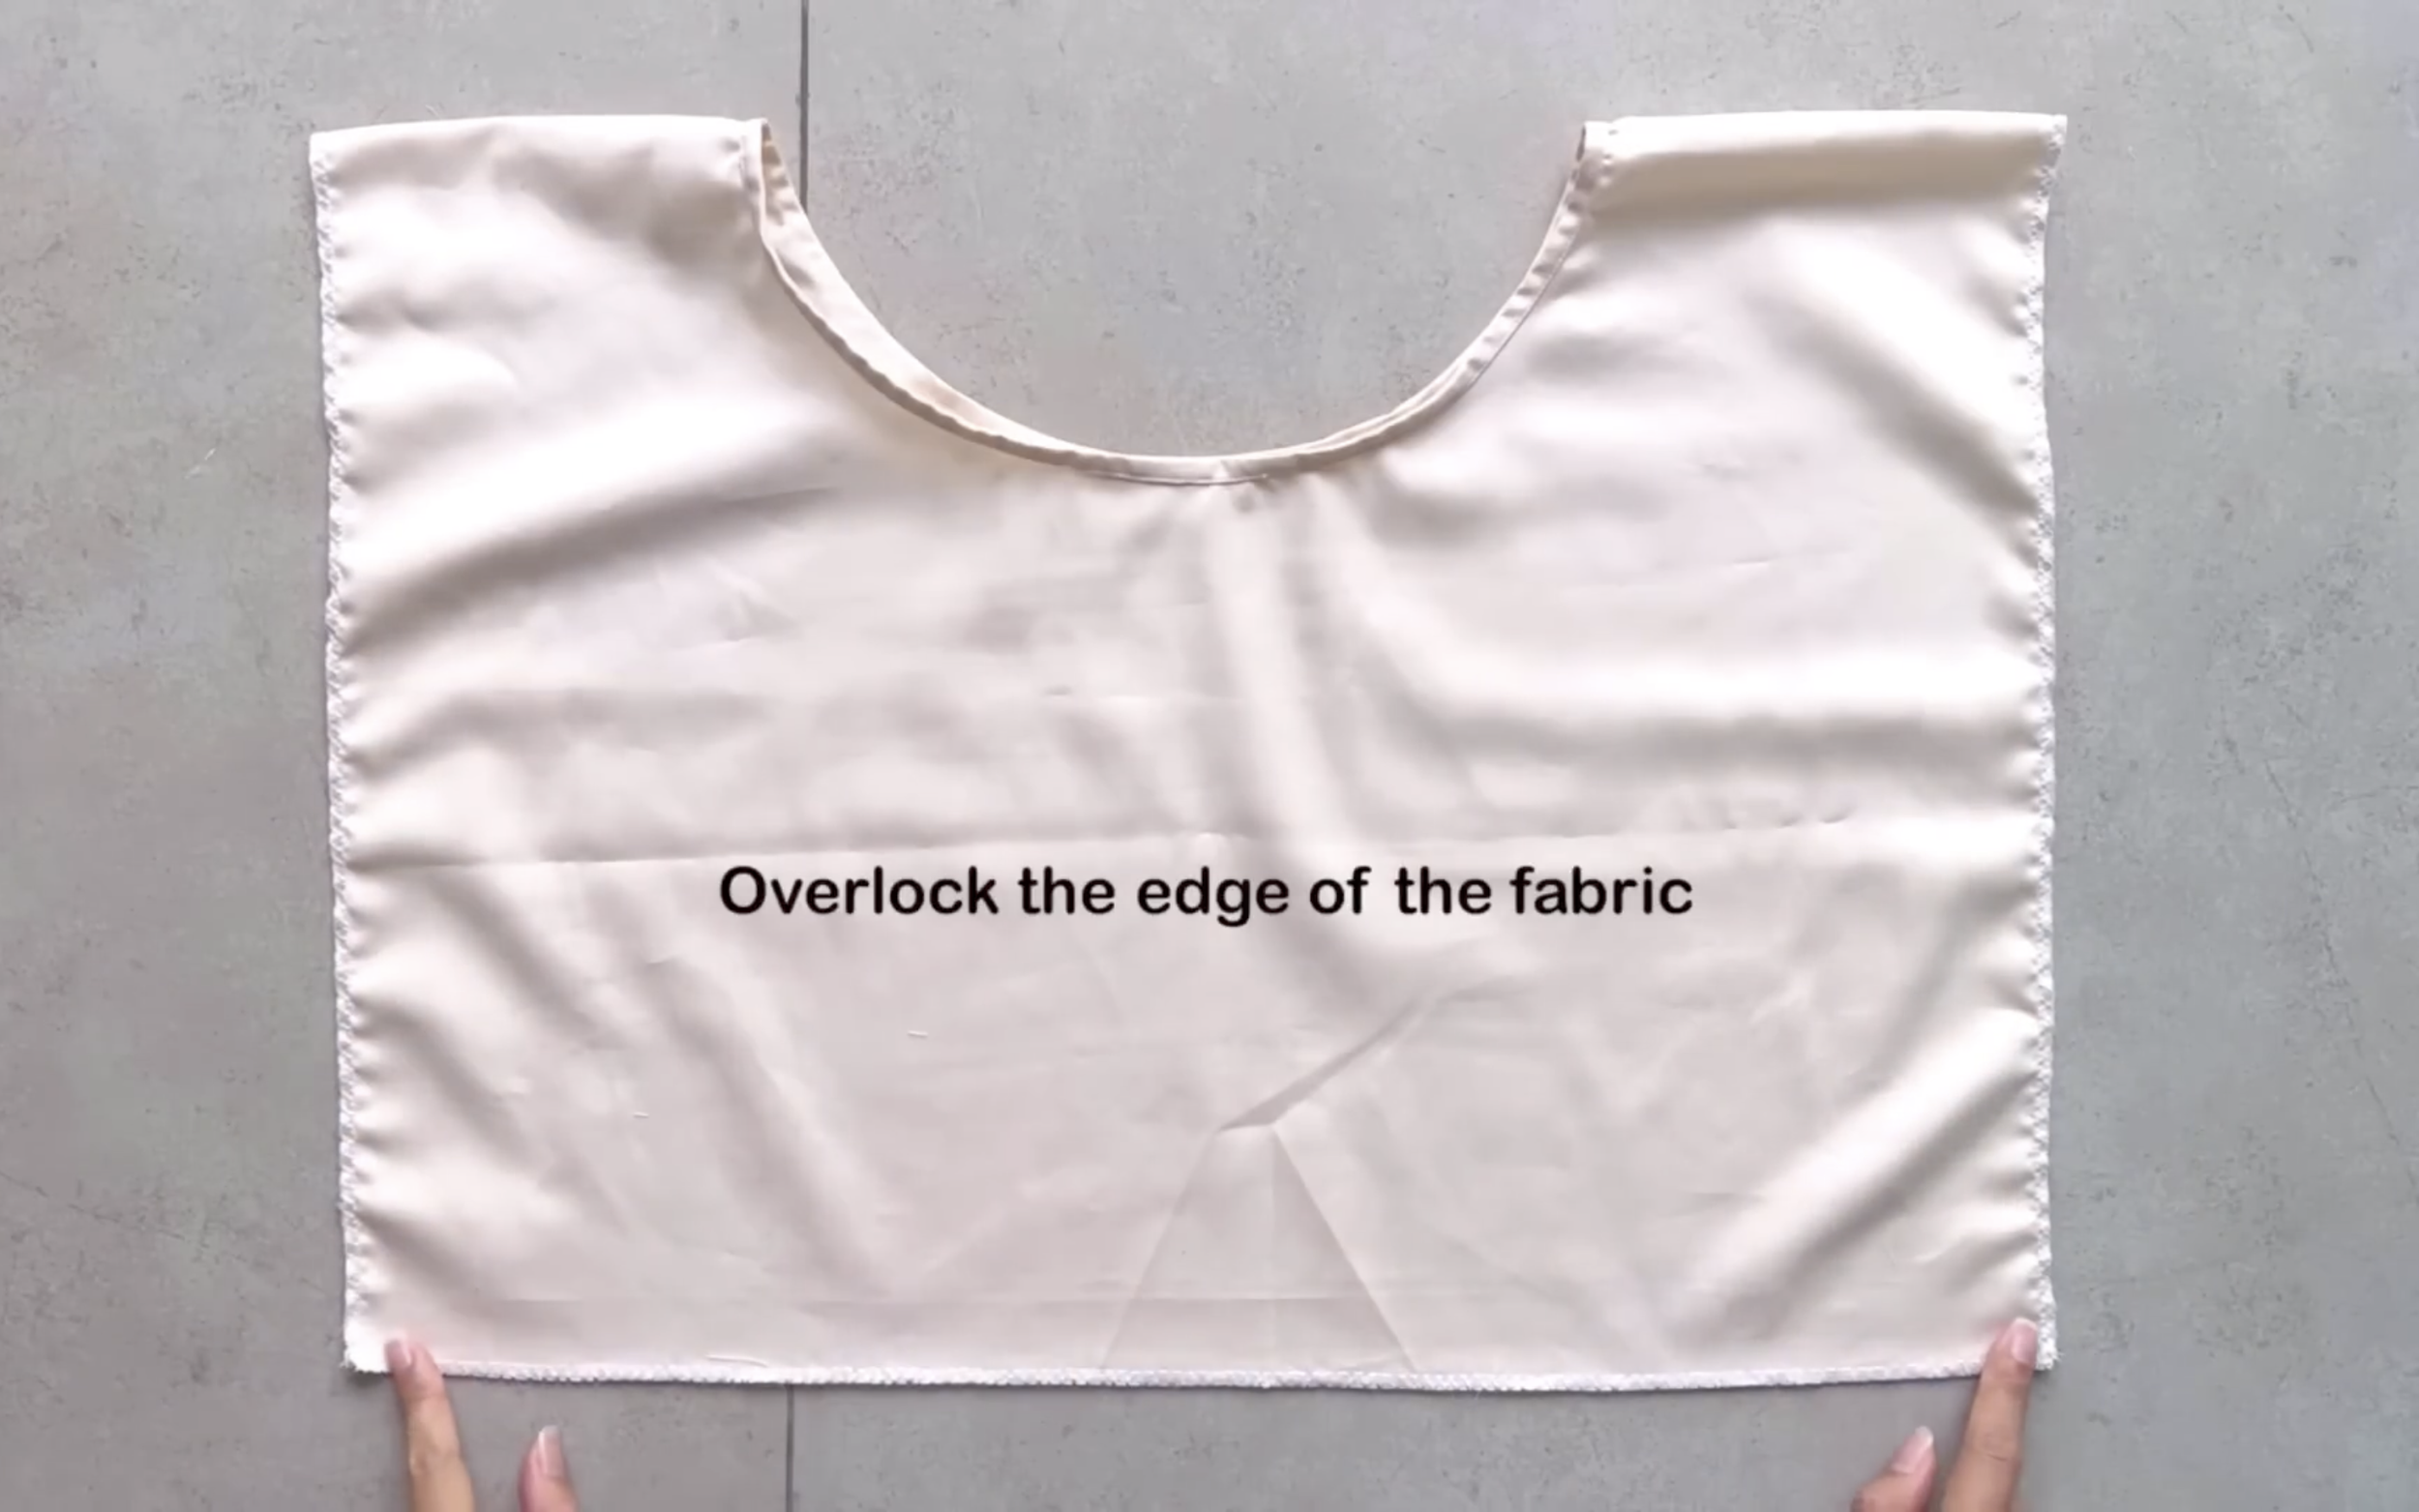
Remember to overlock the edge of the fabric.
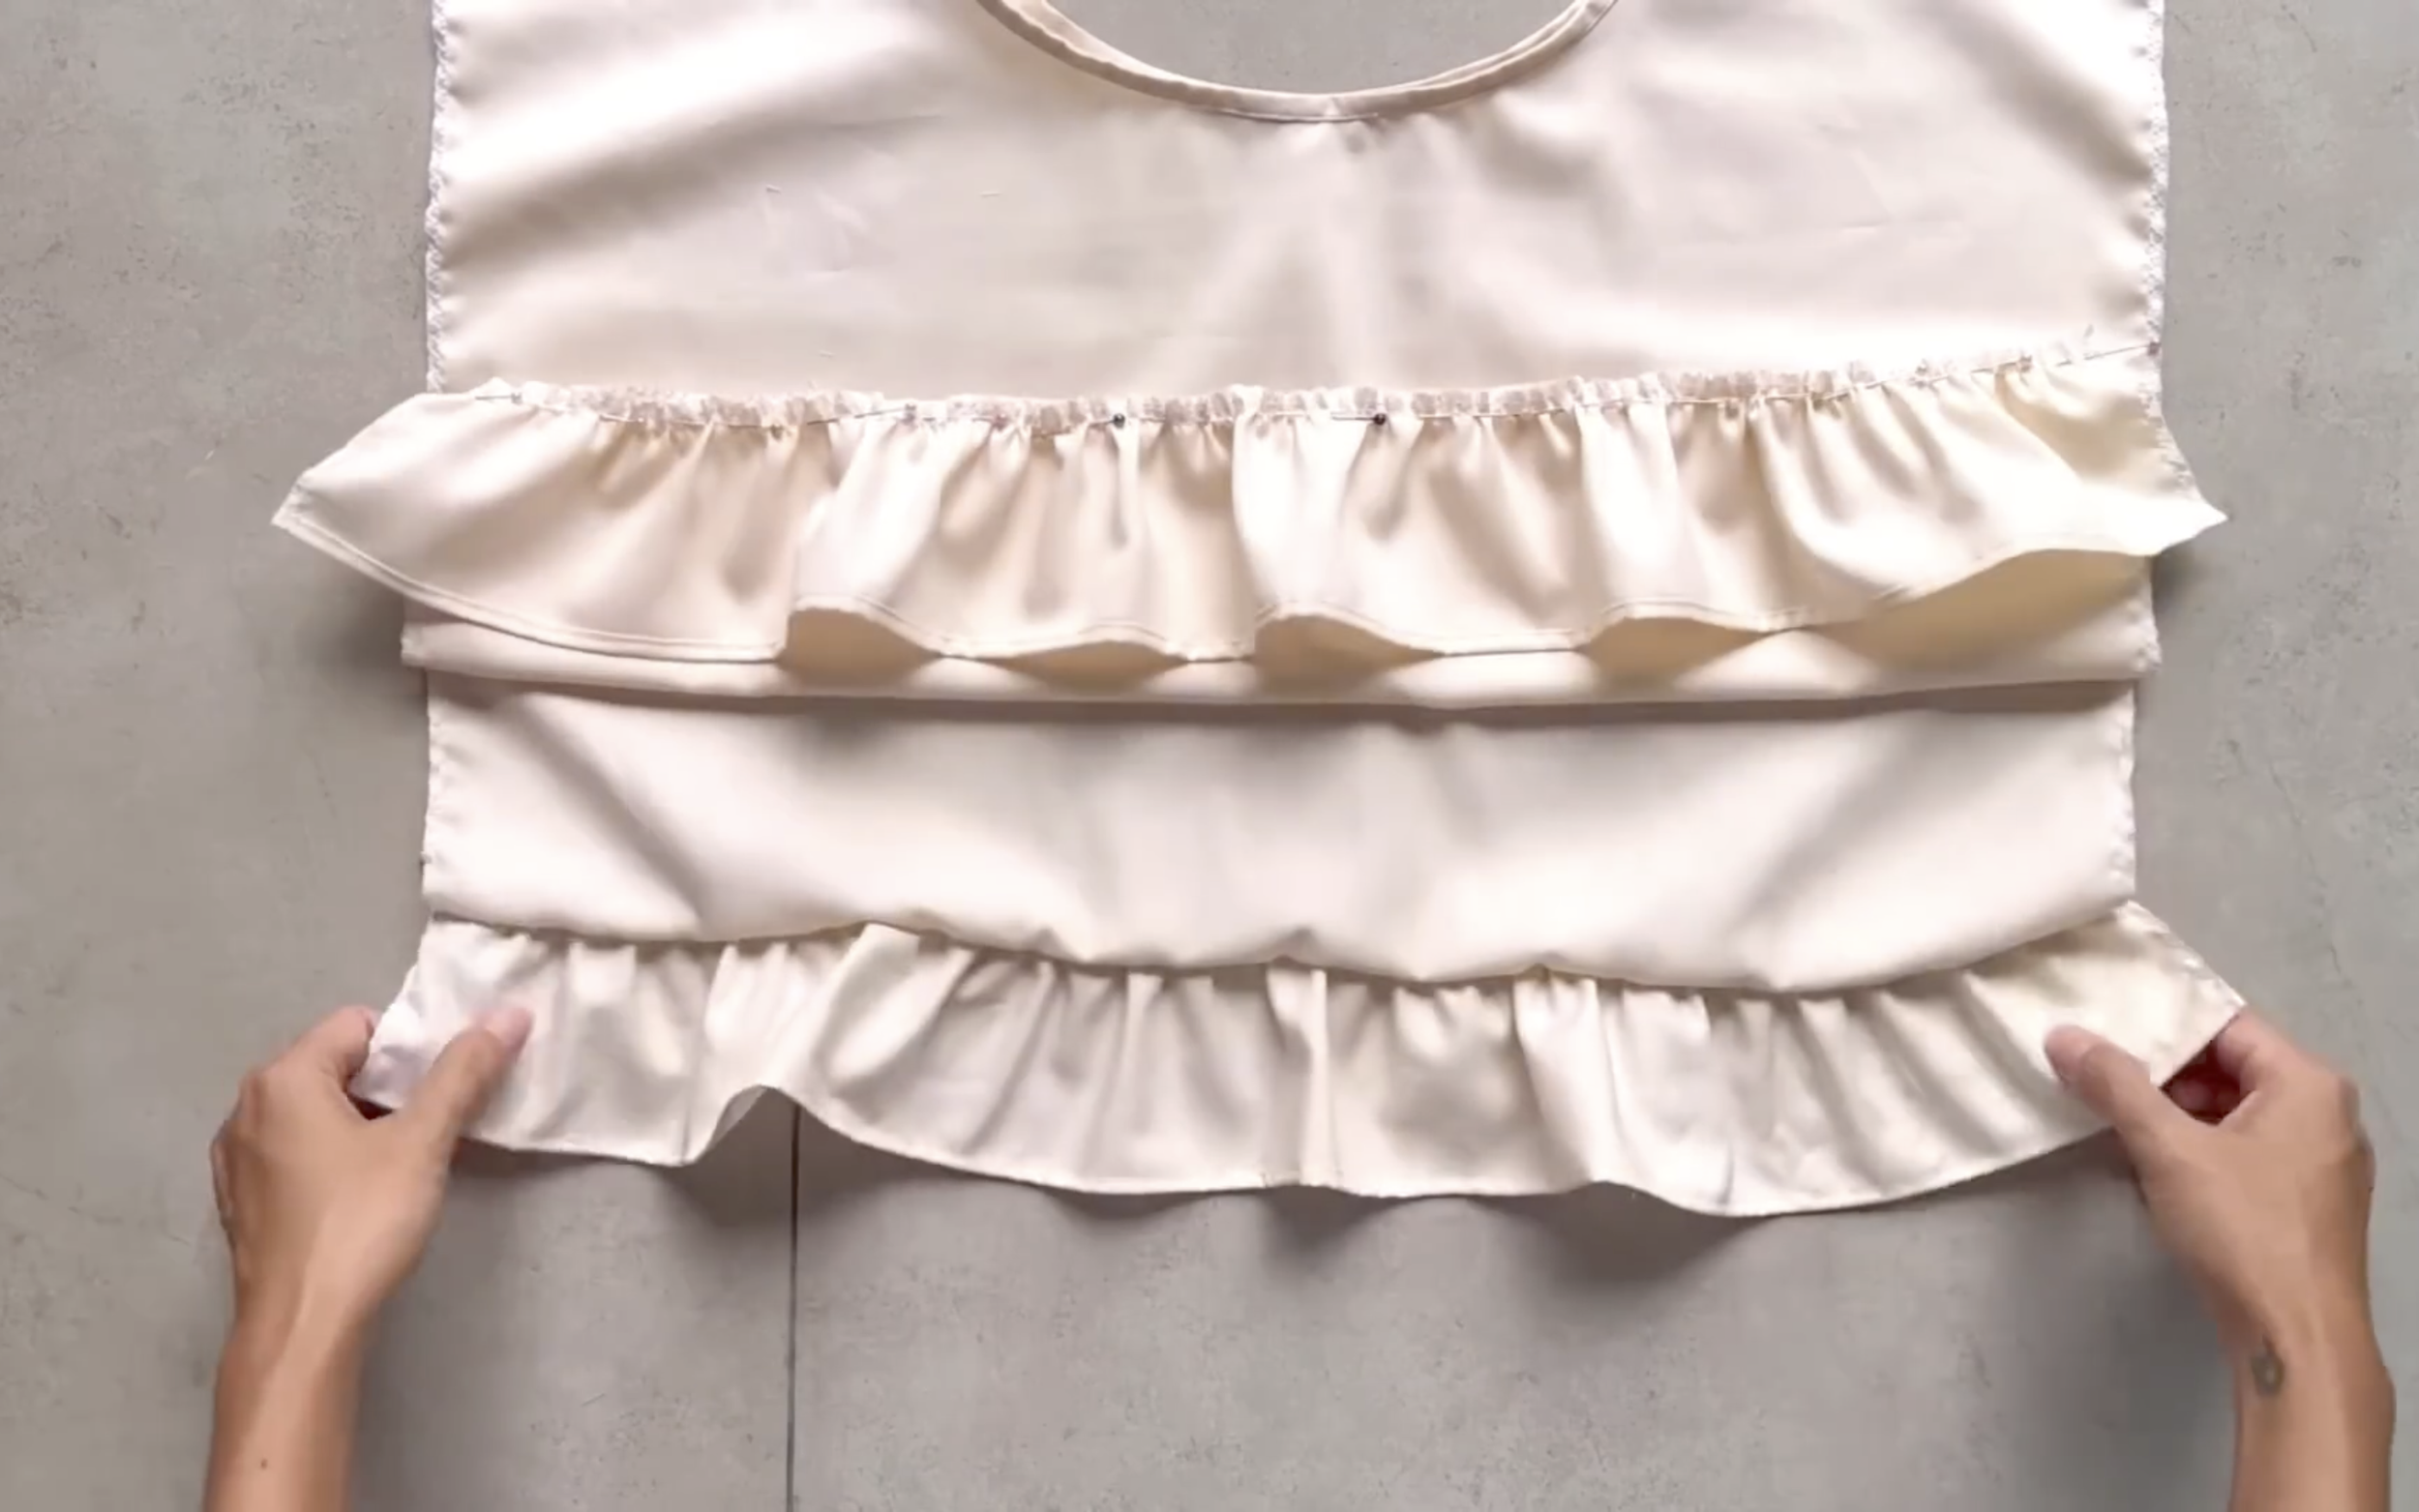
Then connect the ruffle hem to the end of the top.
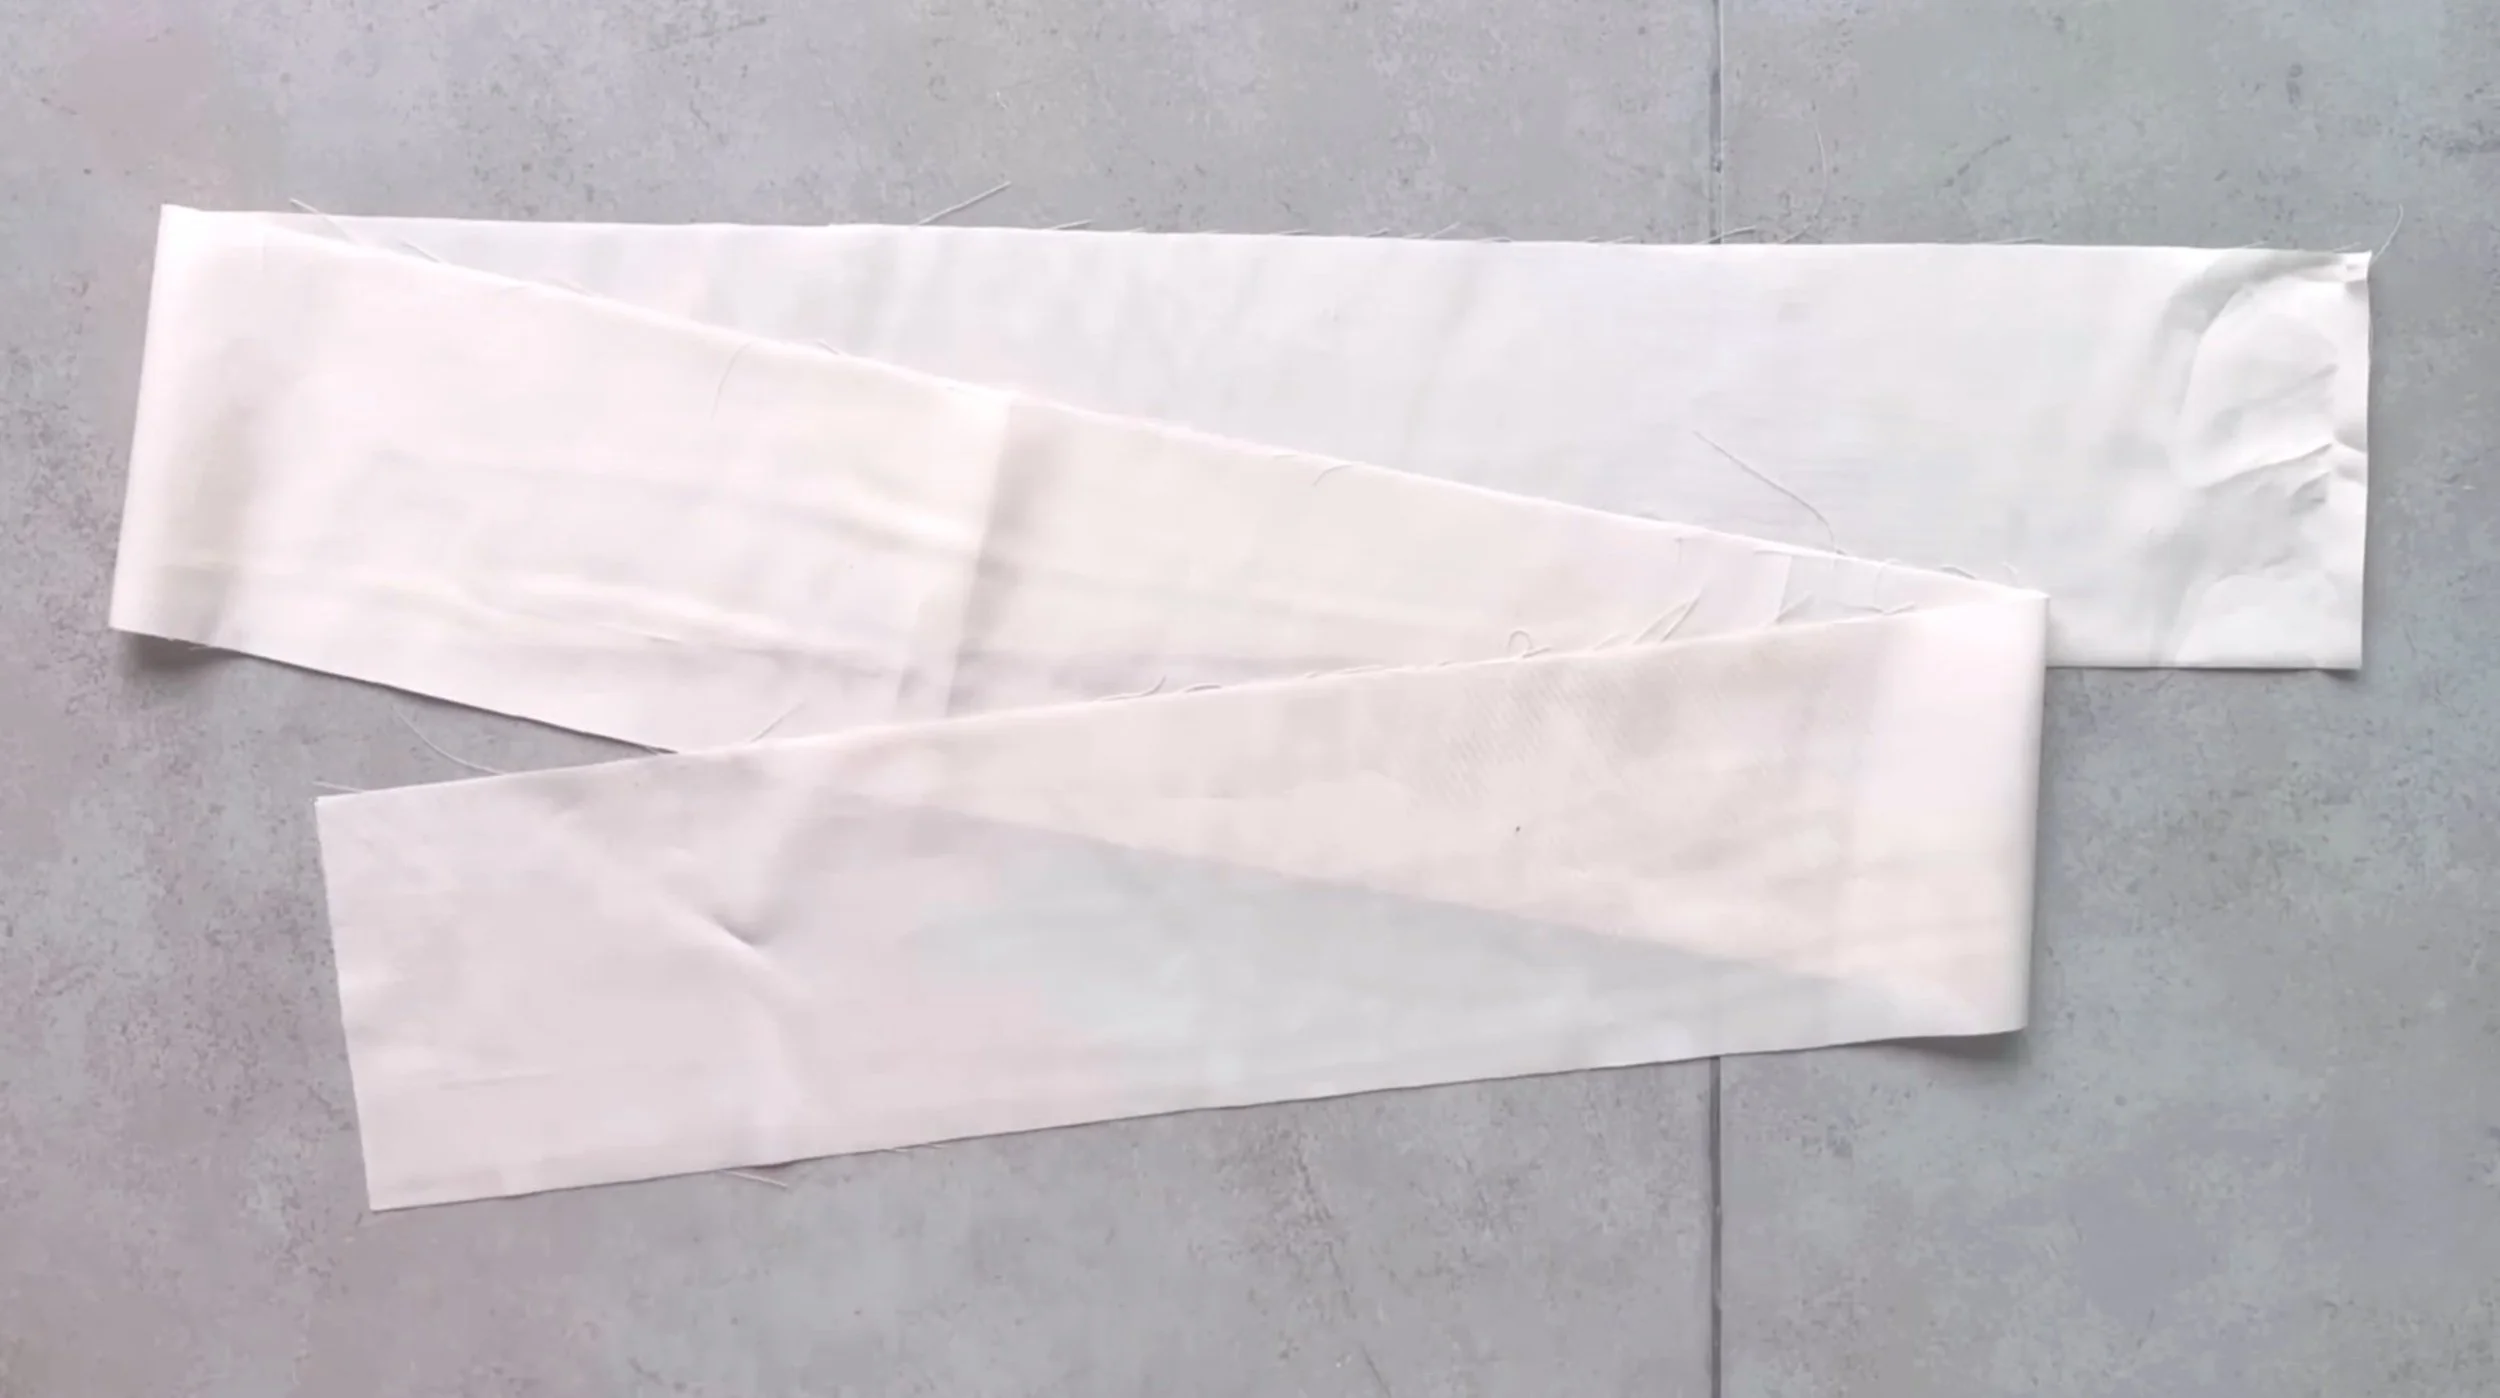
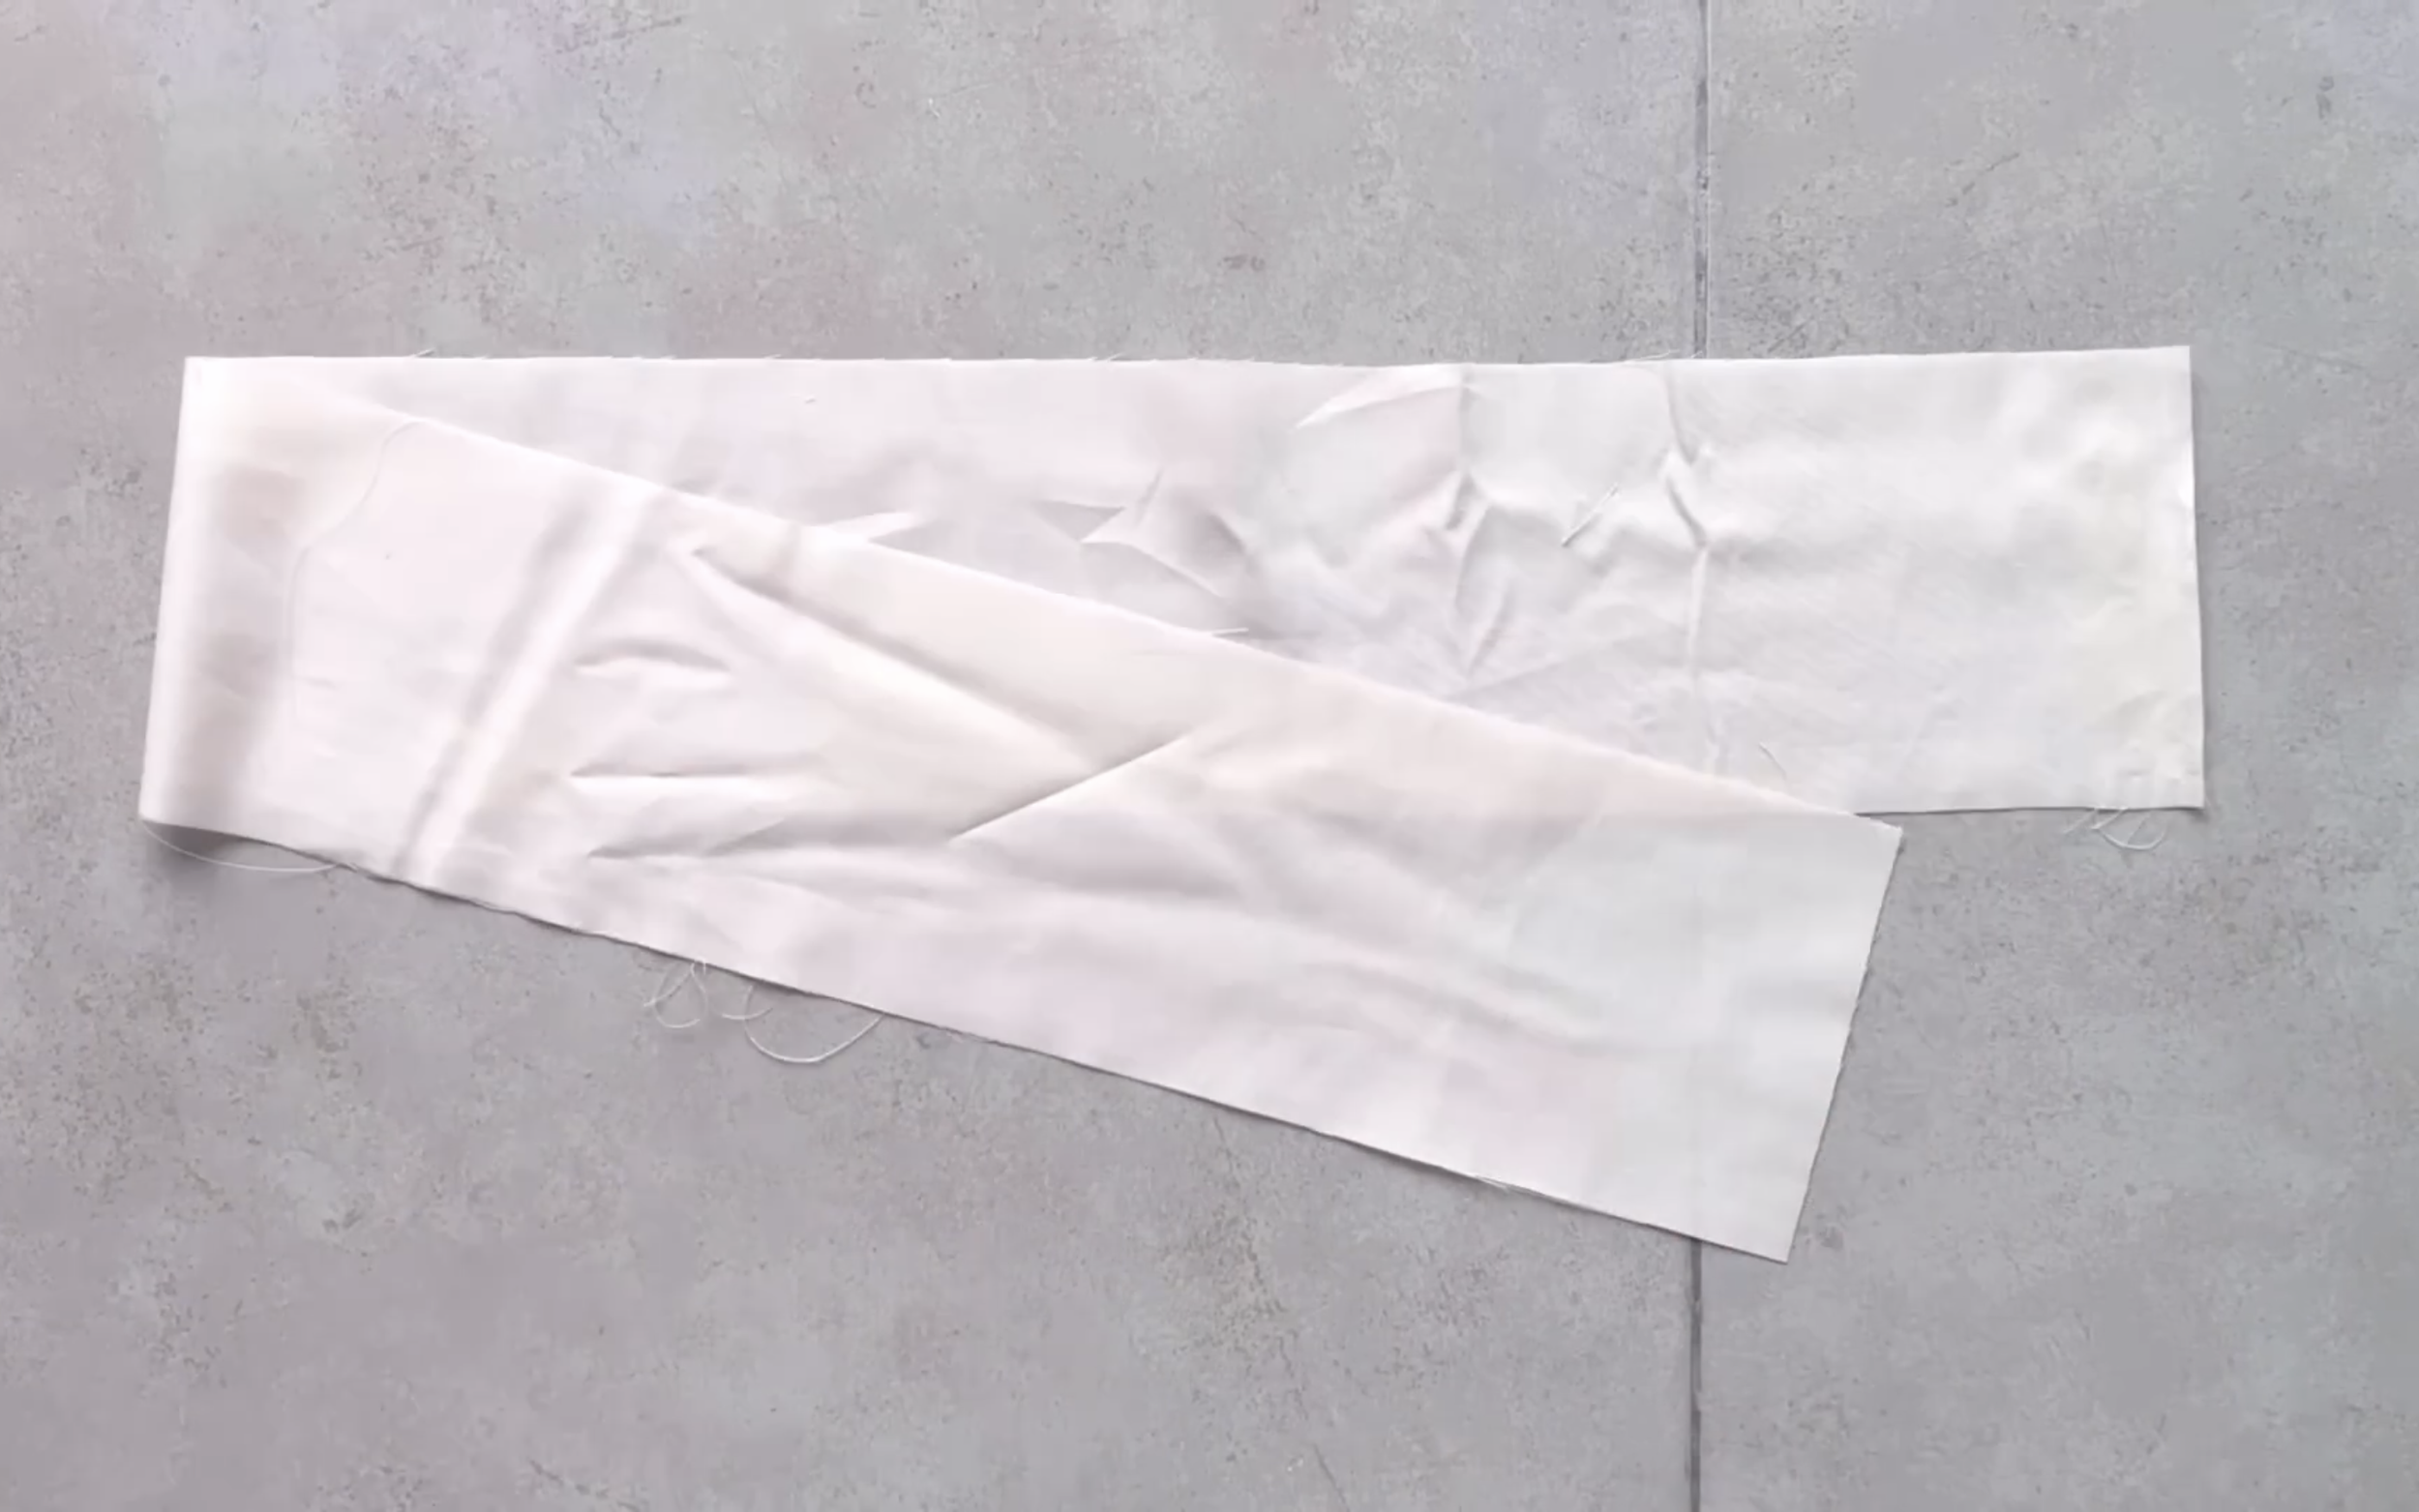
To make the ruffle sleeves, cut a long fabric piece with 10 cm width, which is the desired ruffle width plus 2 cm for seam allowance, and 150 cm length, which is two and a half times the top length.
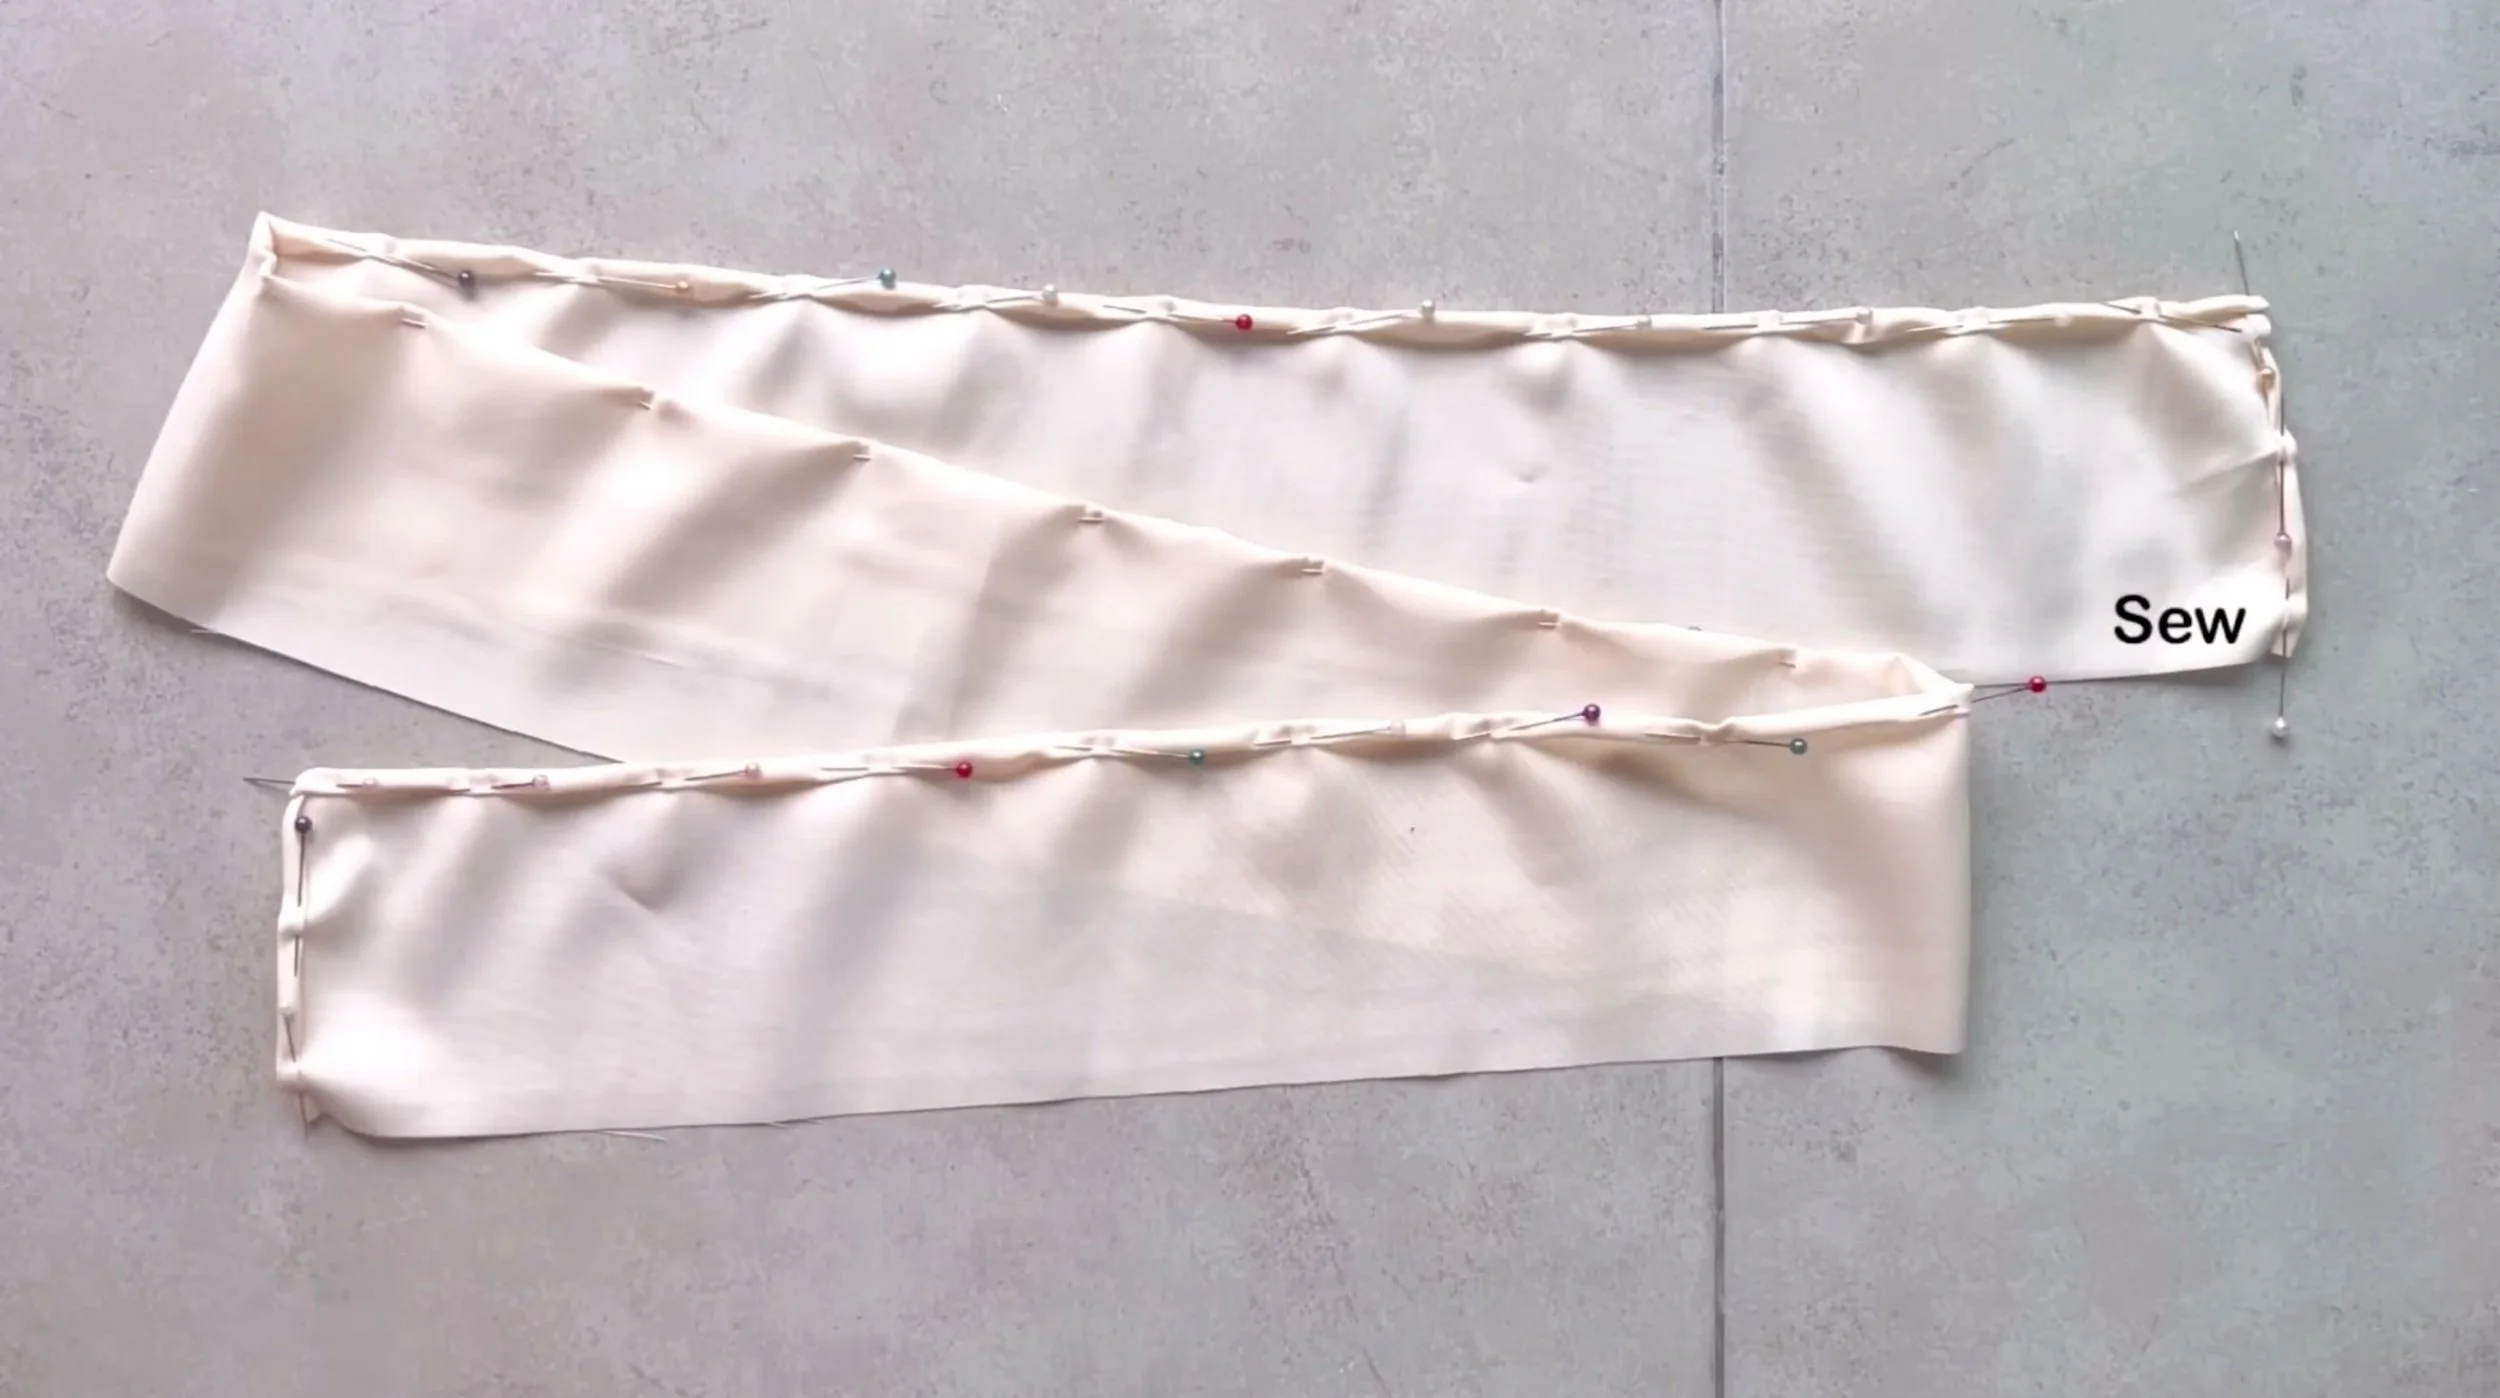
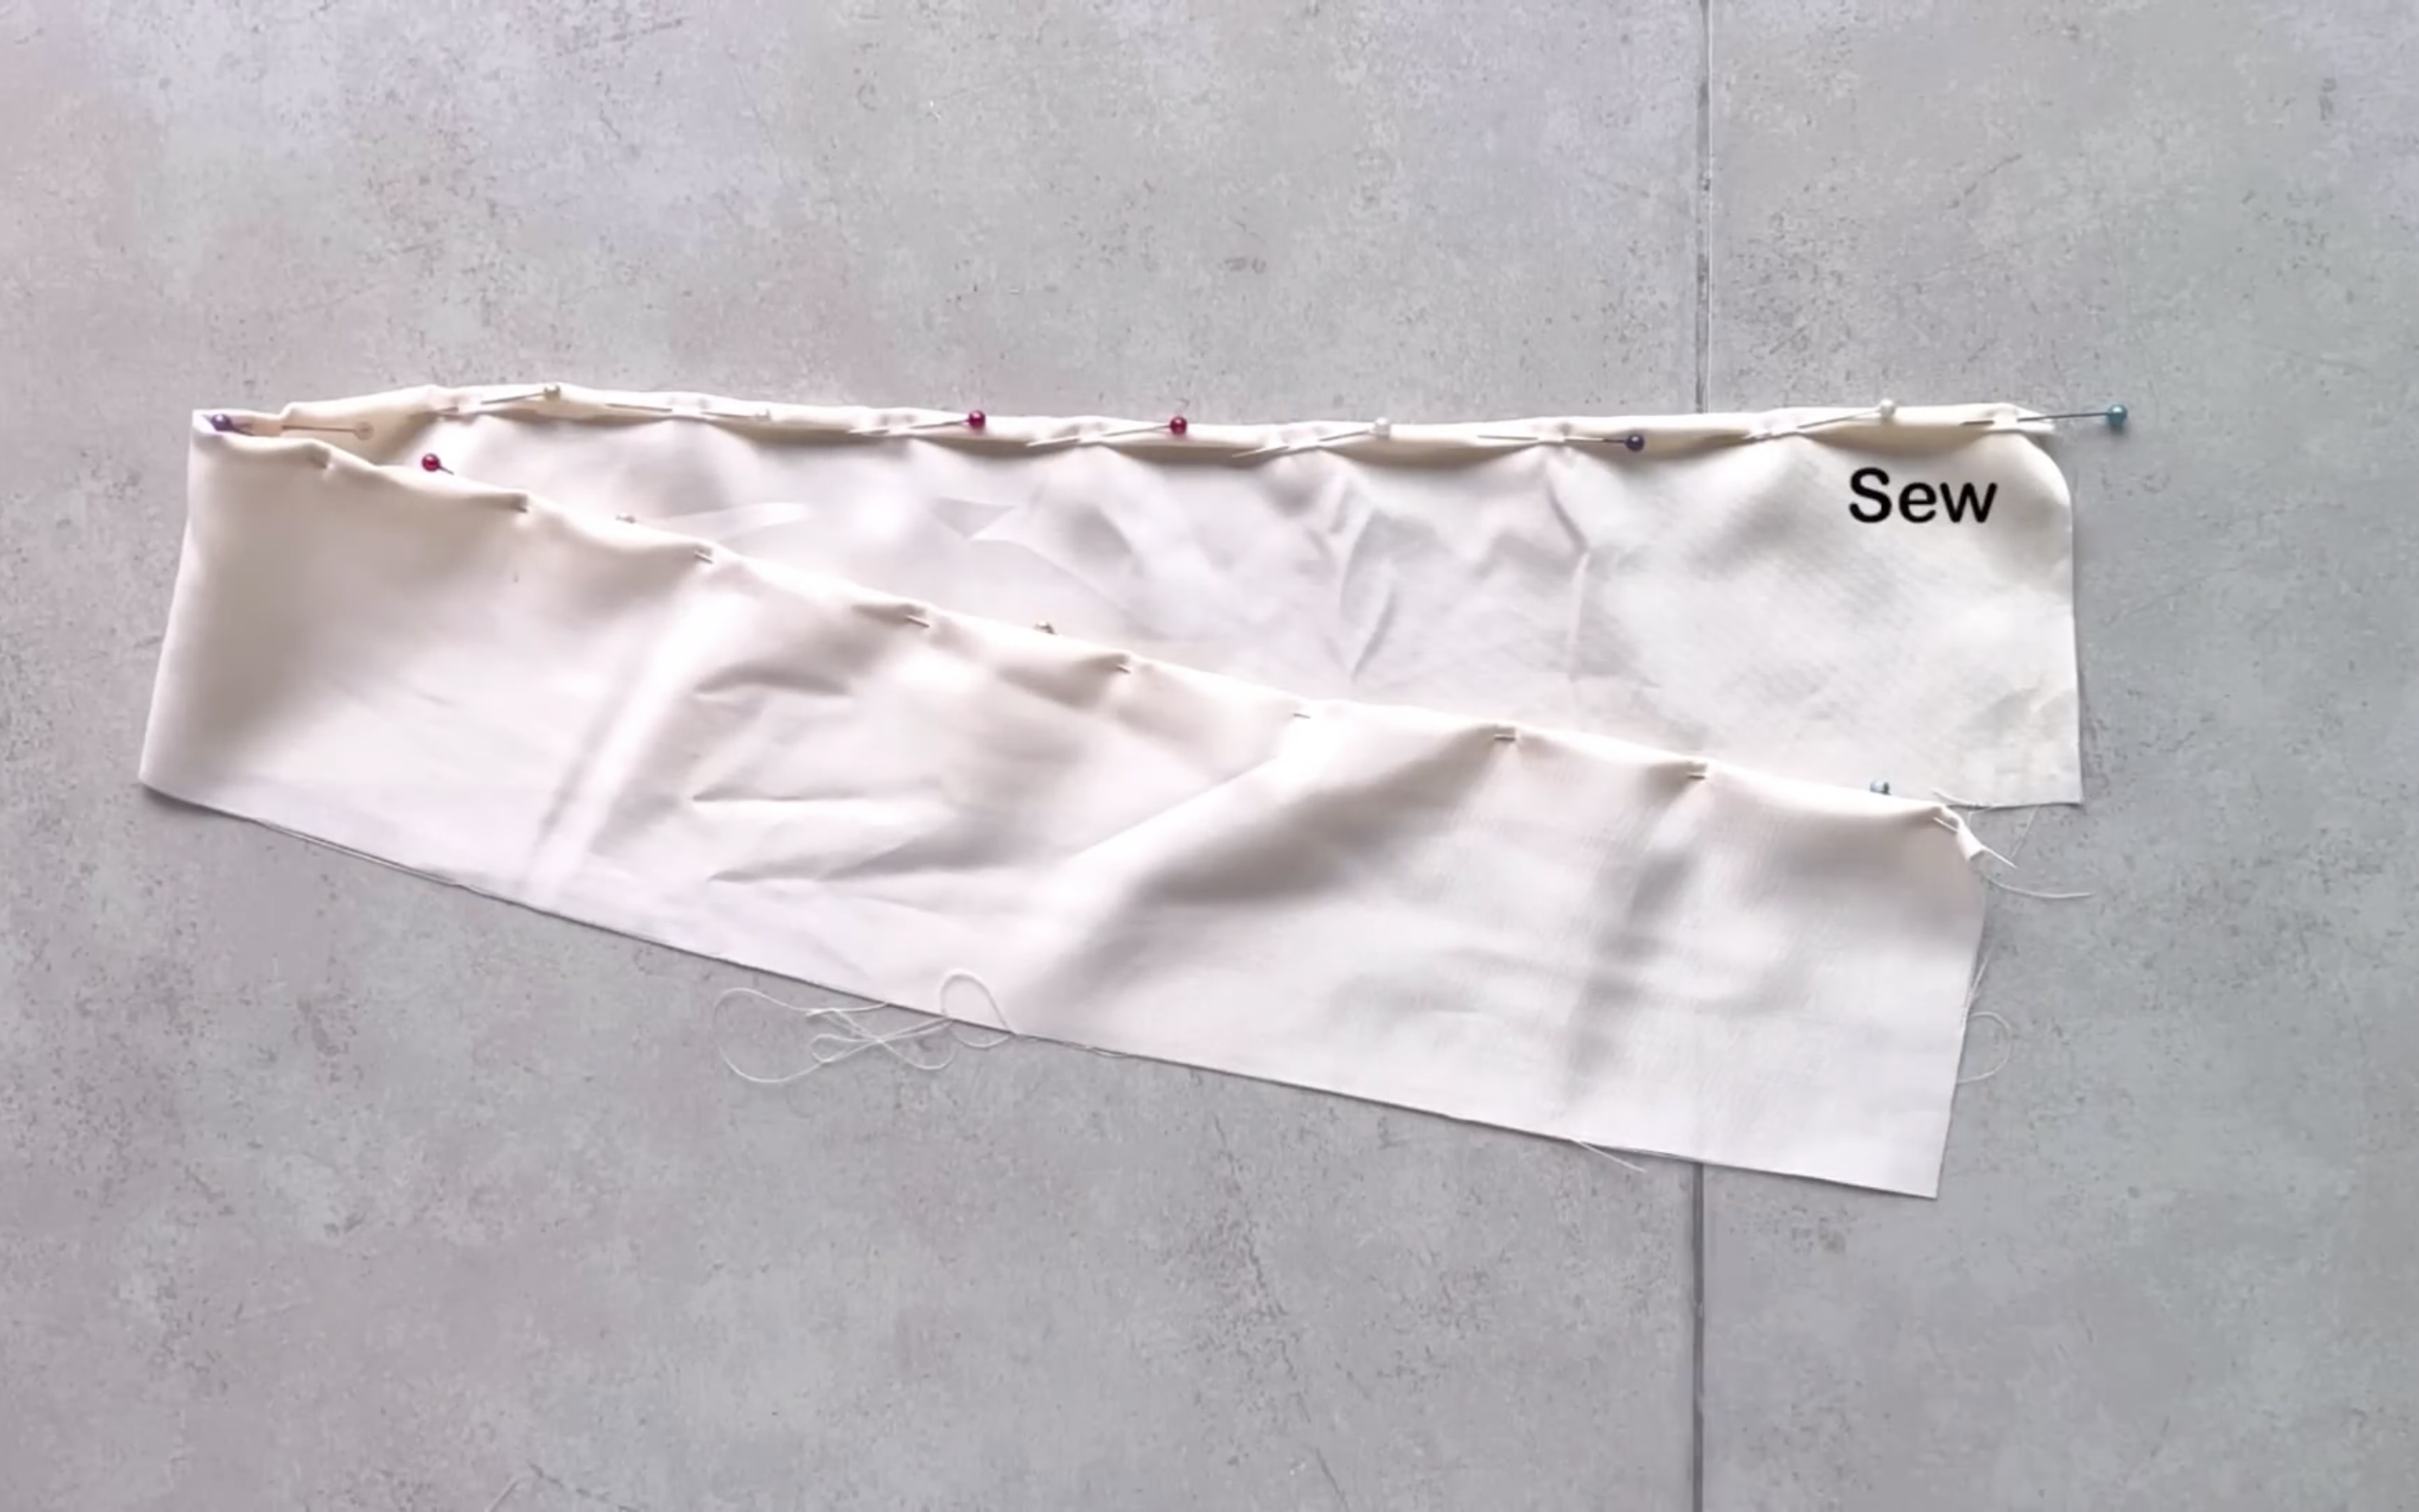
Fold the edges of the fabric along the width sides and one length side twice and sew to finish.
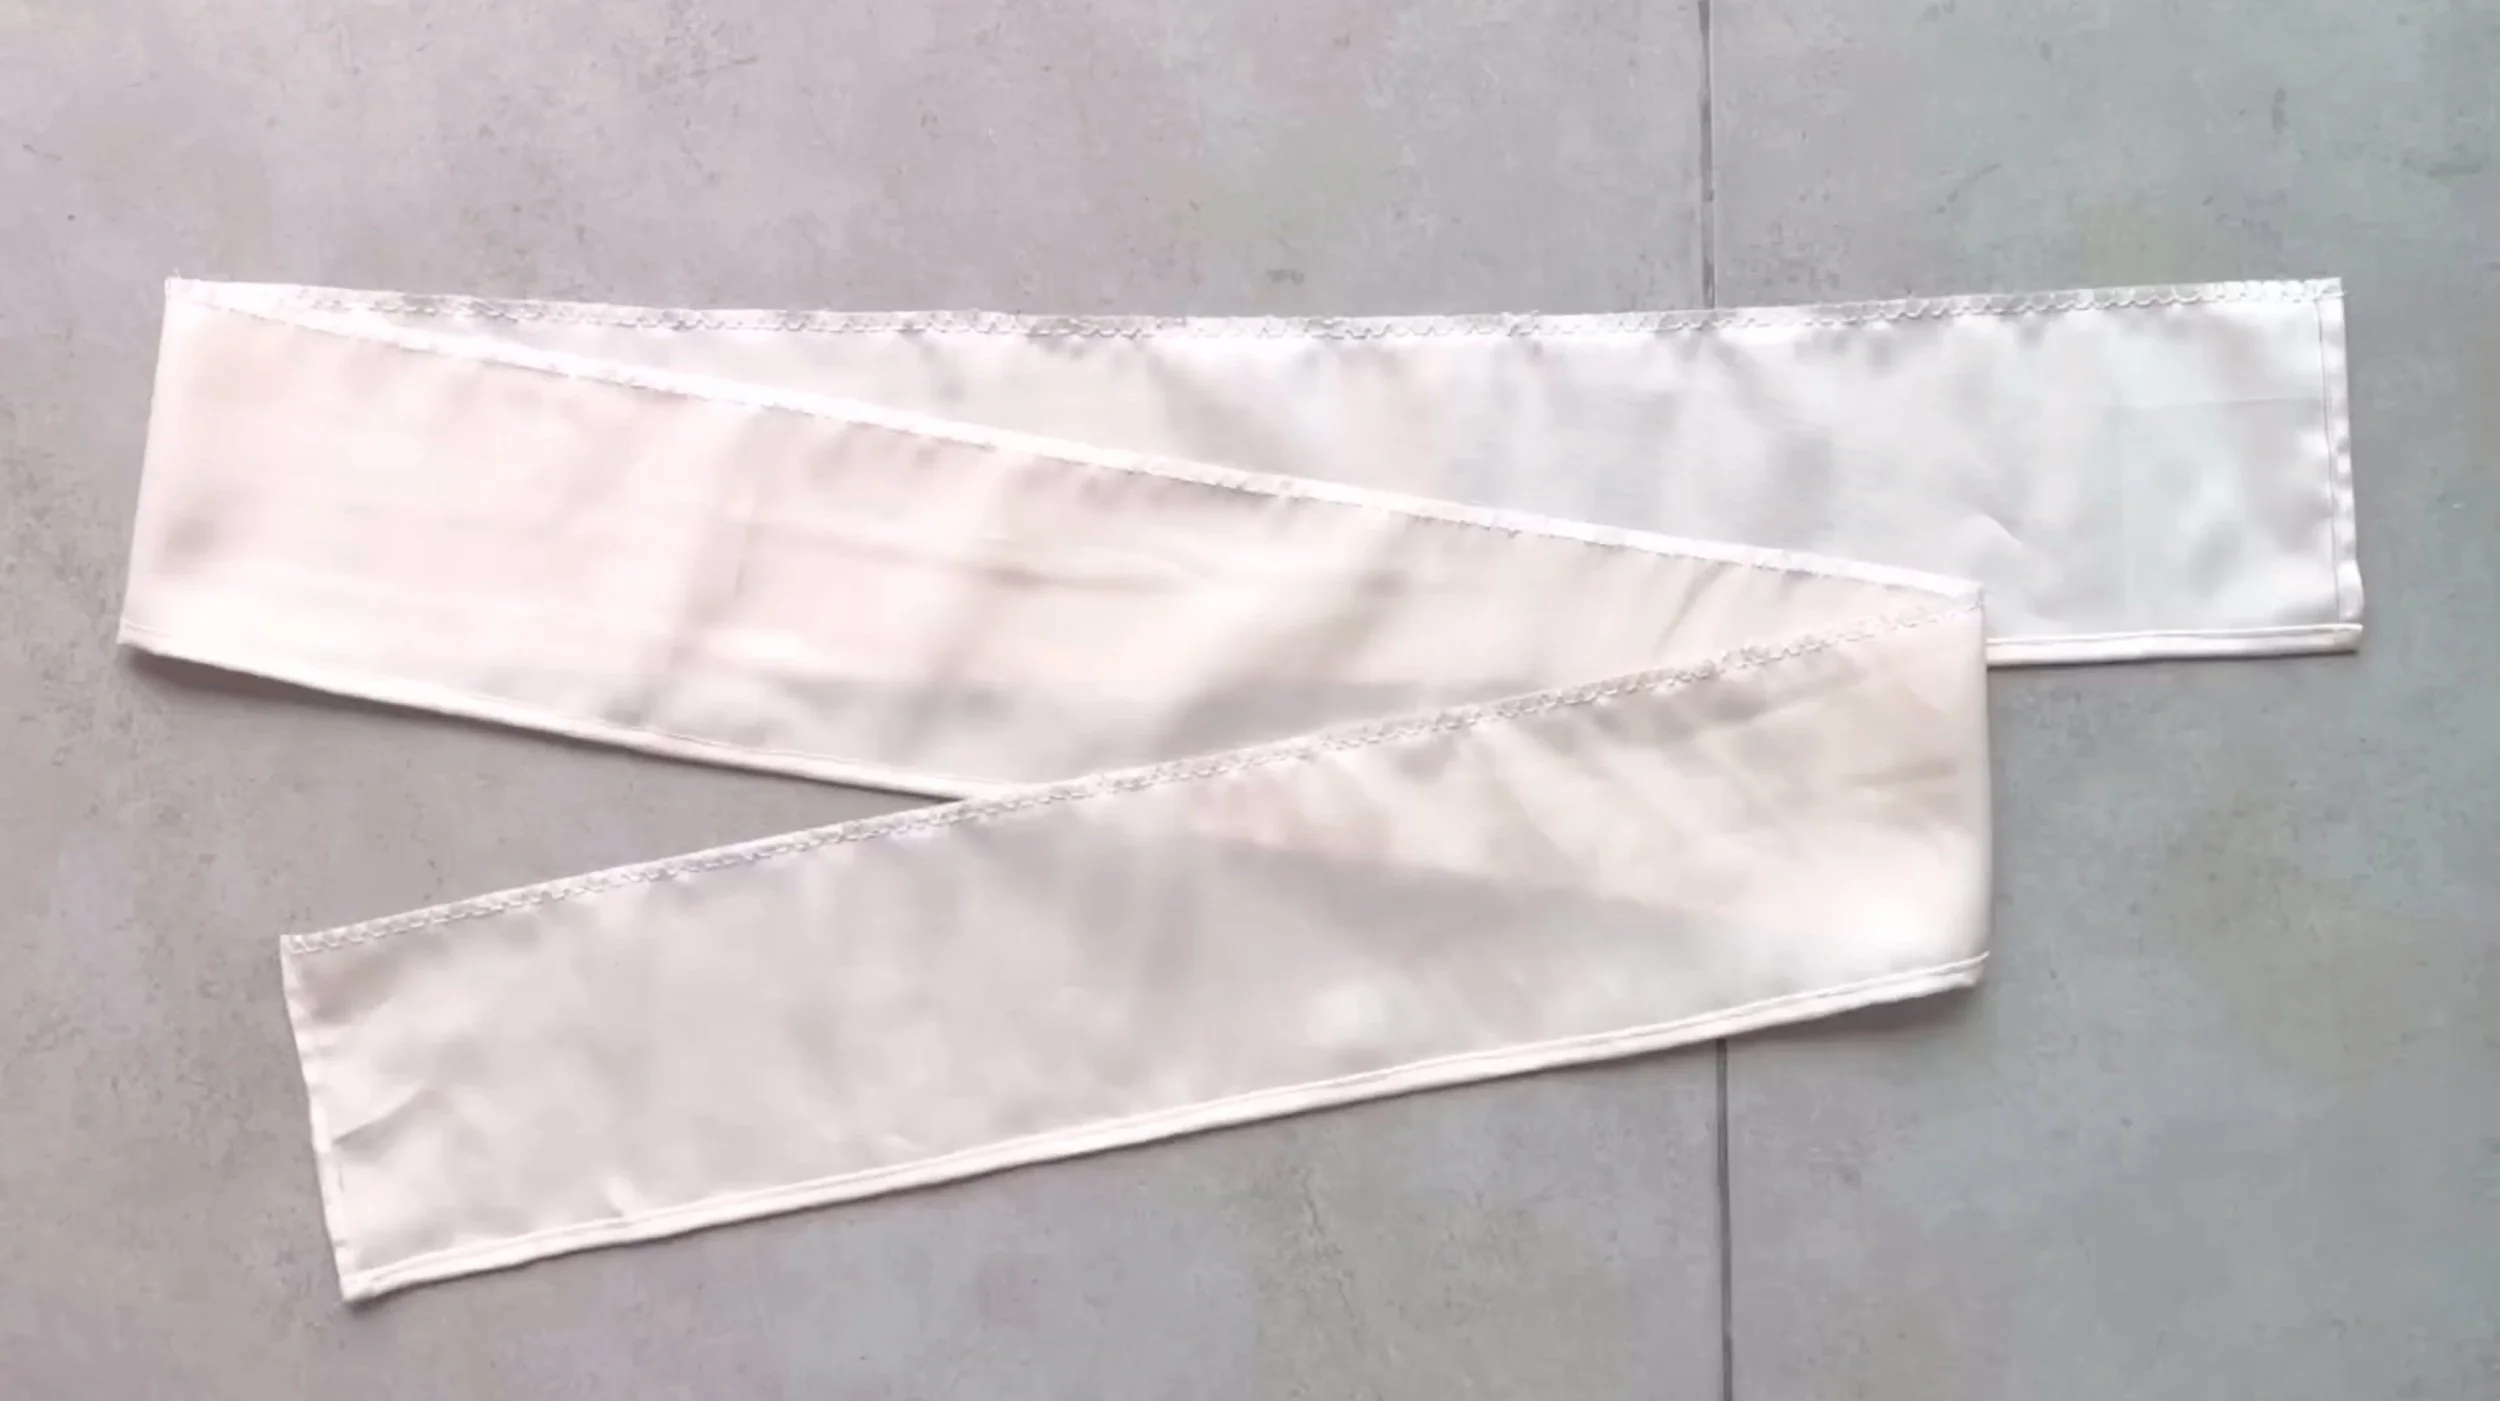
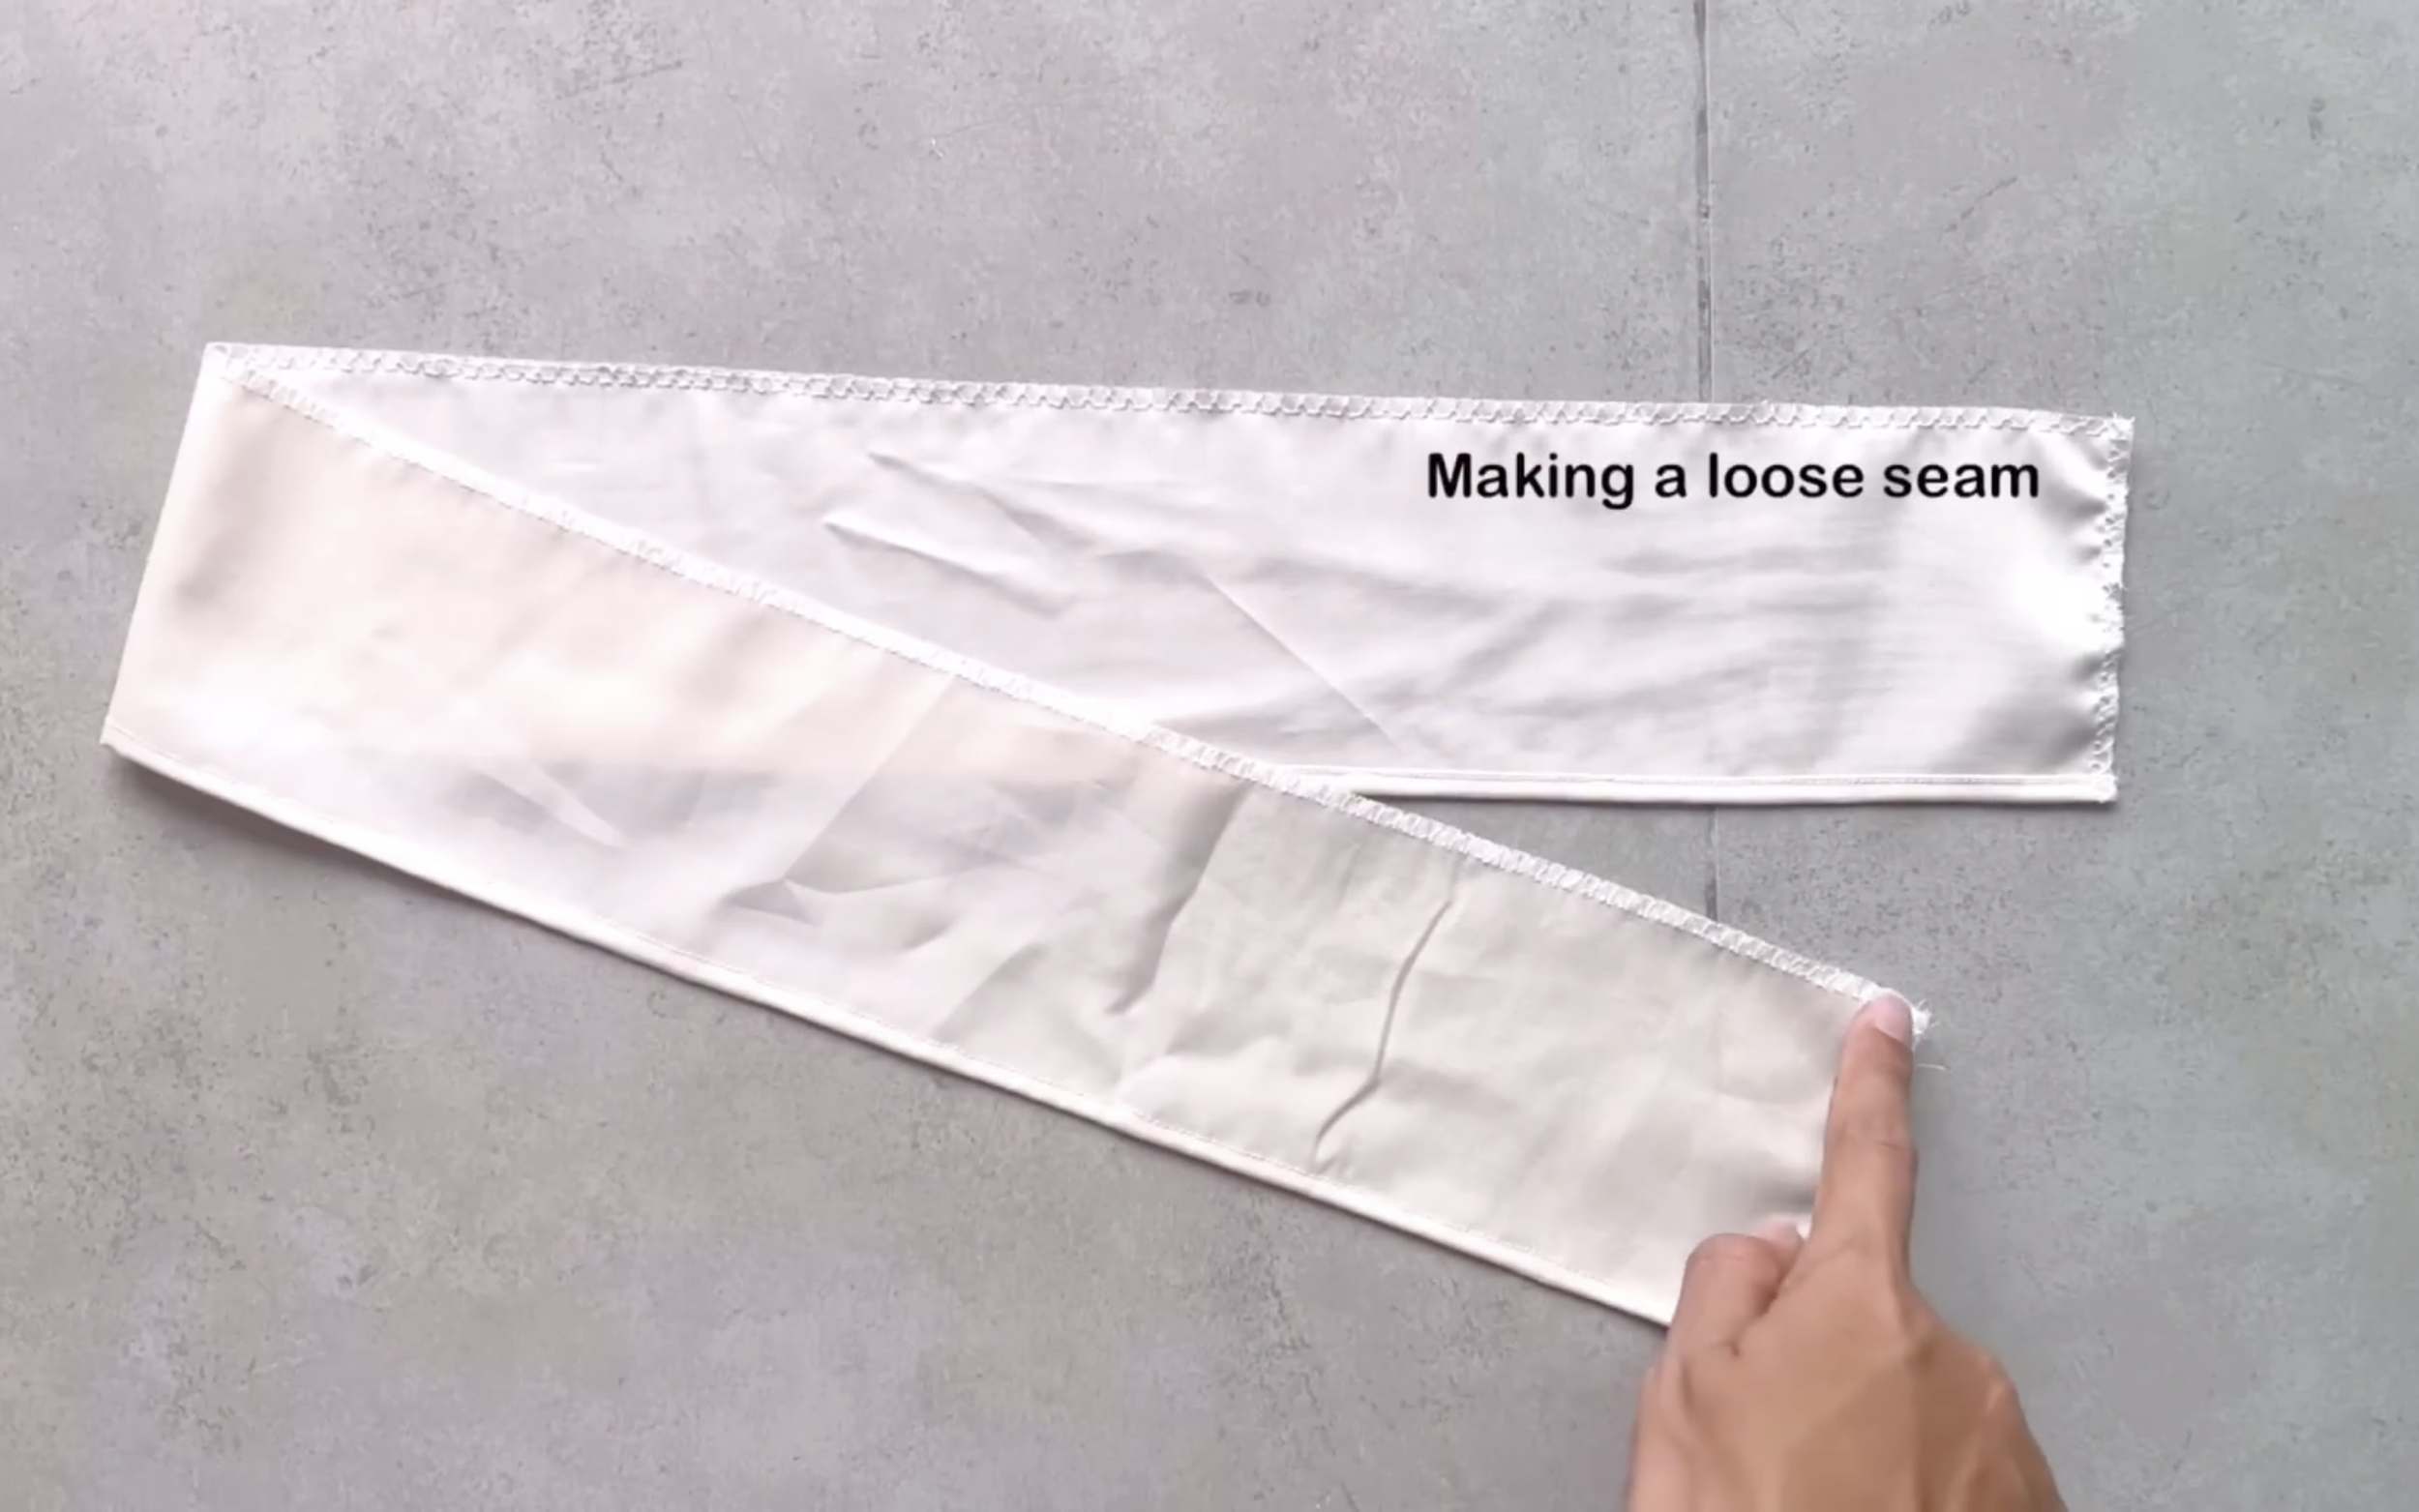
After sewing, overlock the other length side before making a loose seam there.
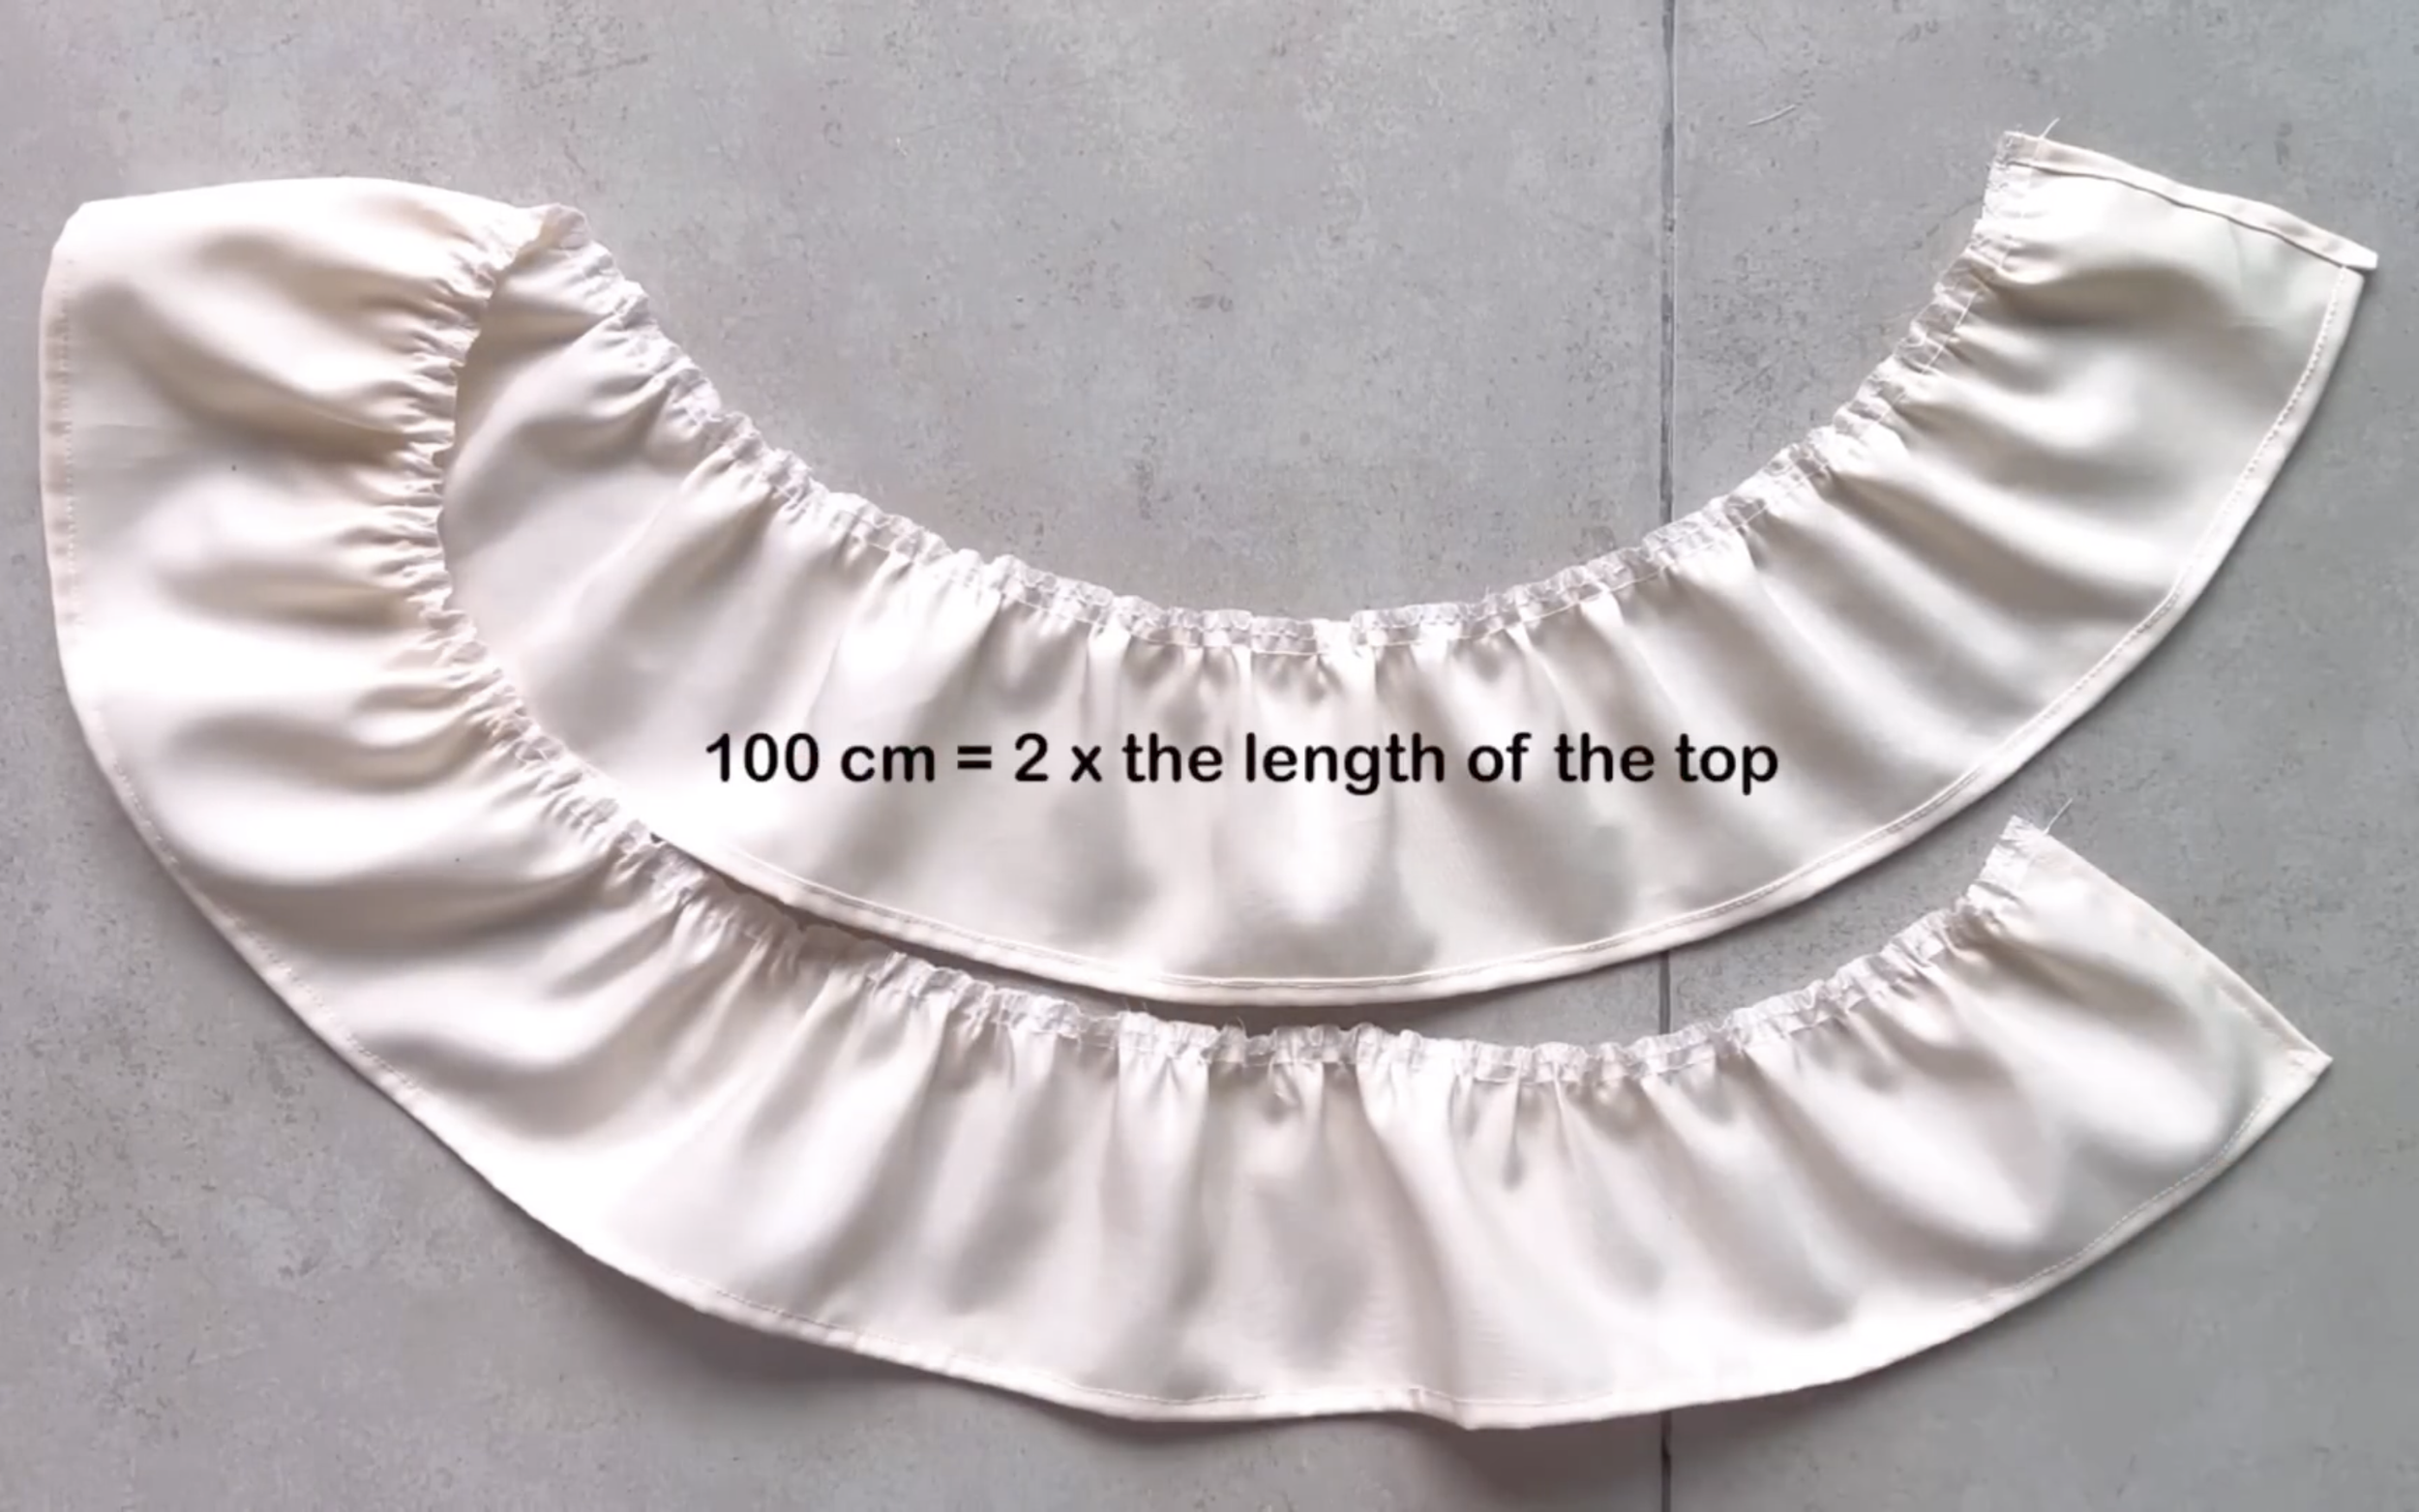
The final length of the gathered fabric should be twice the length of the top so they can be connected later.
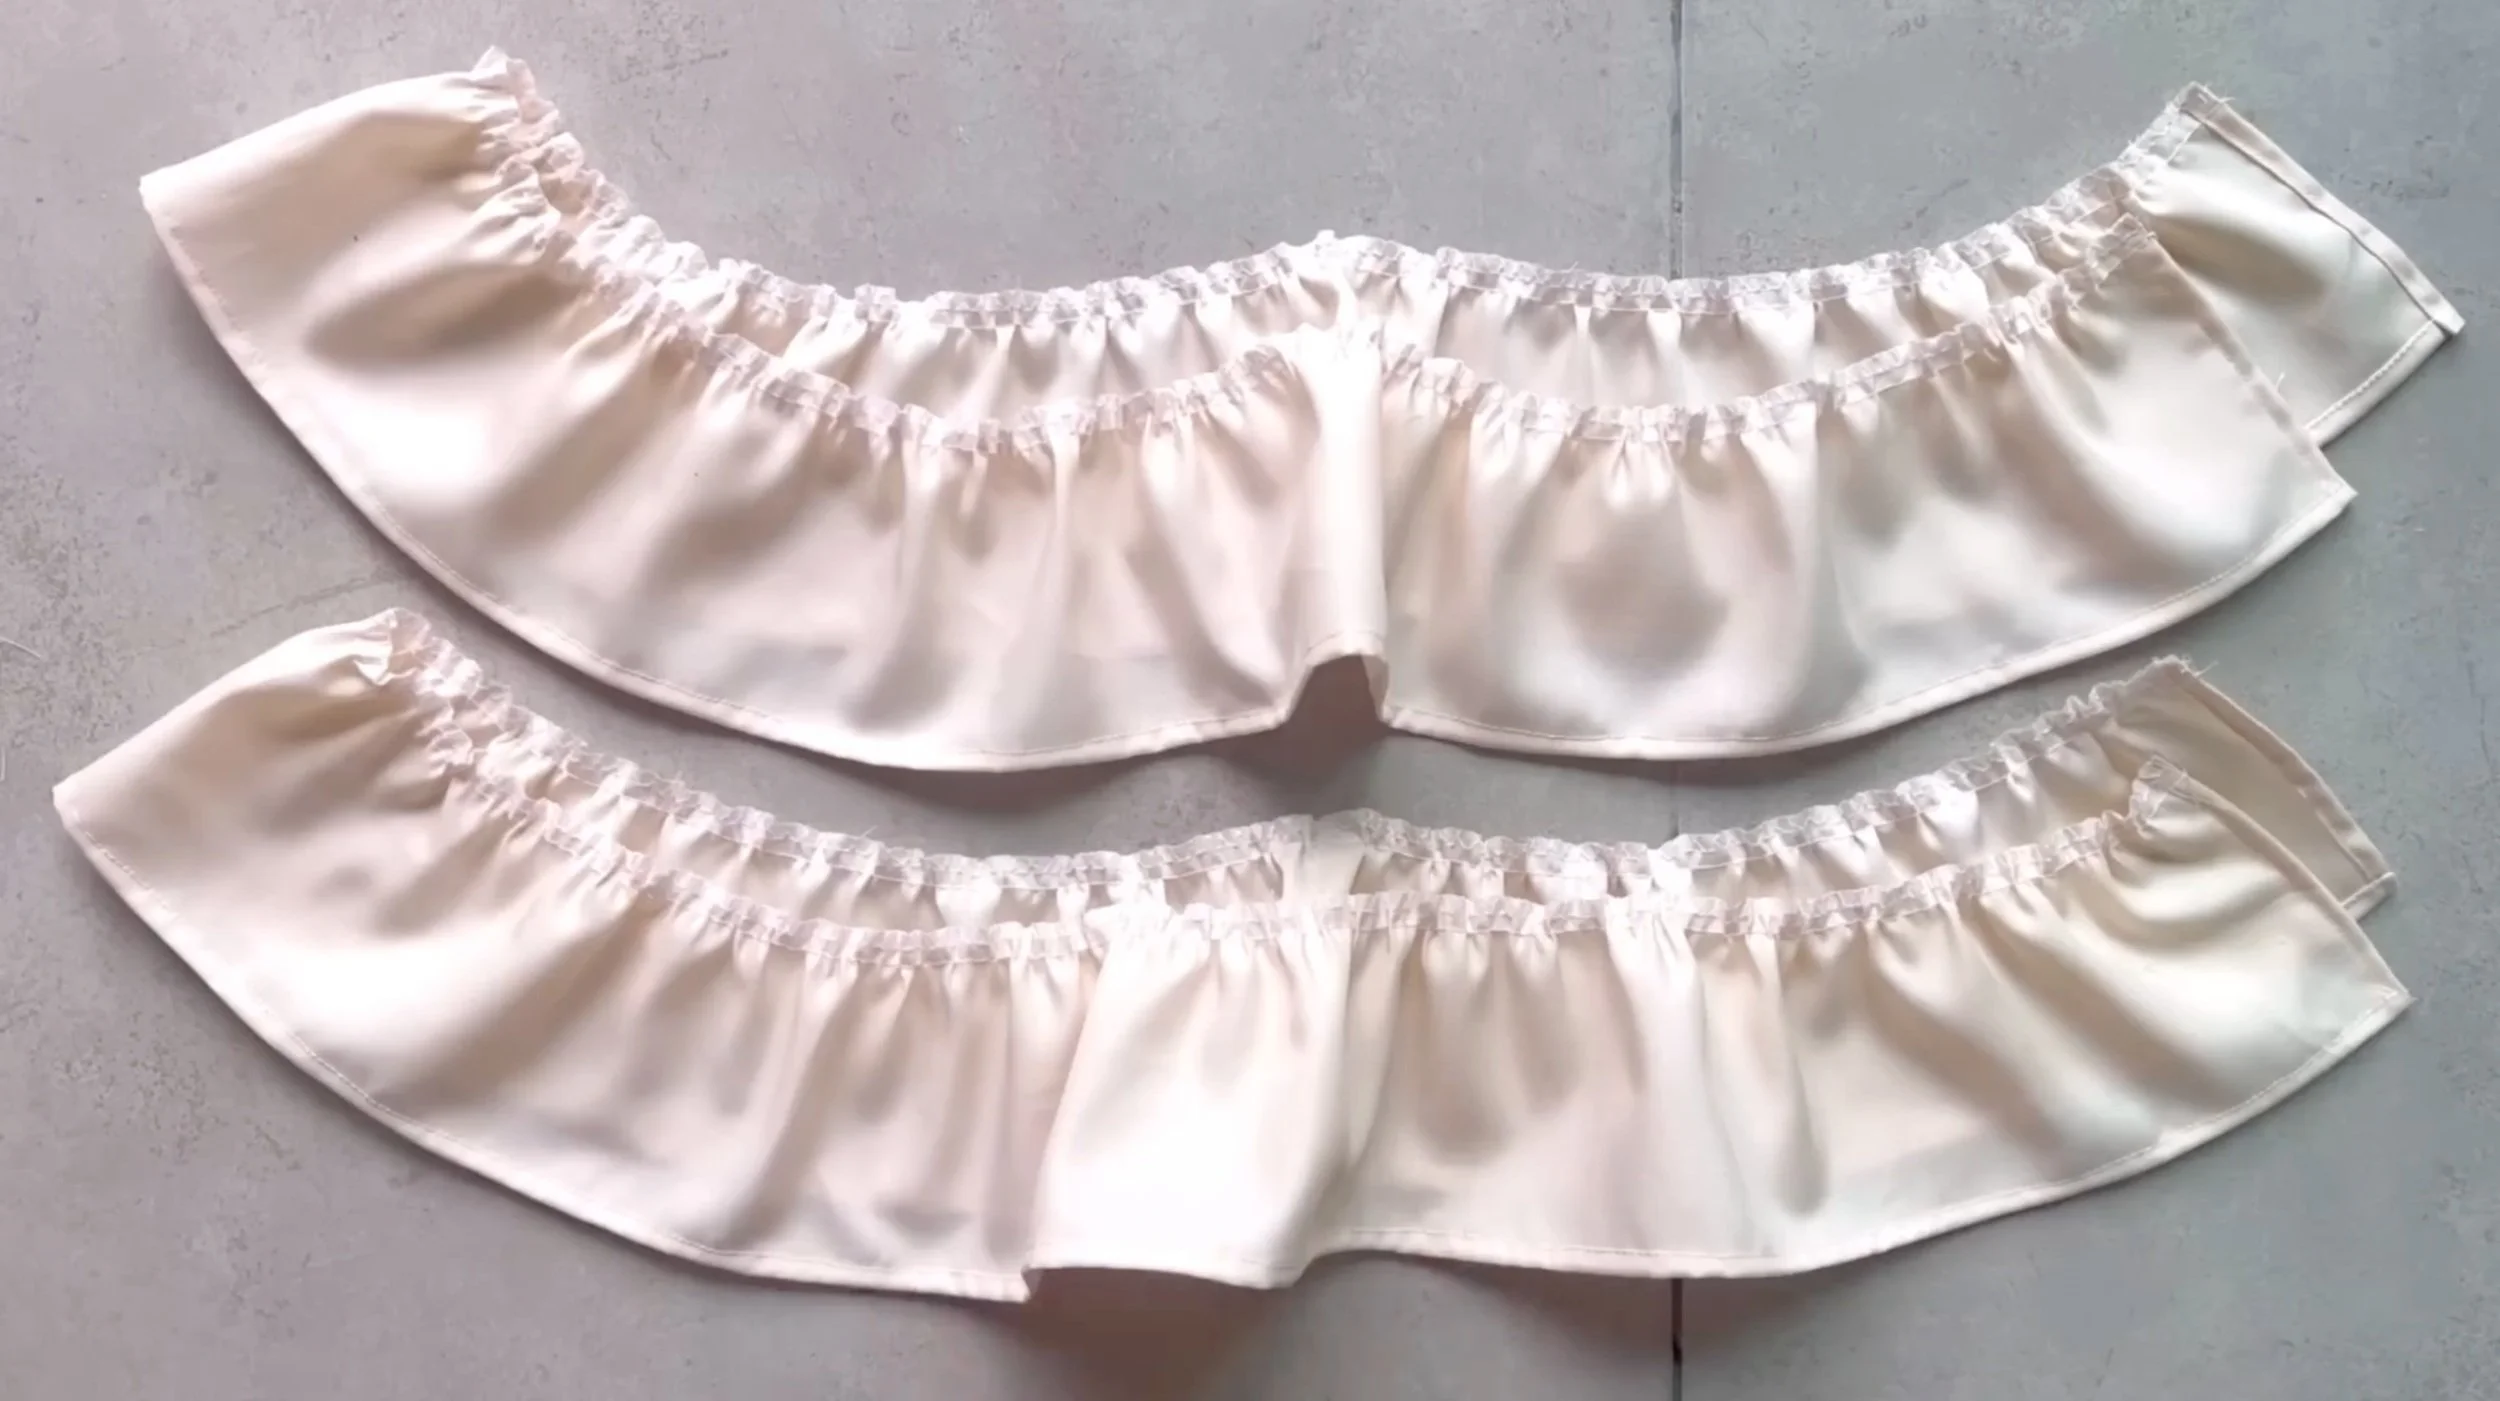
Make sure to make two pieces for the sleeves.
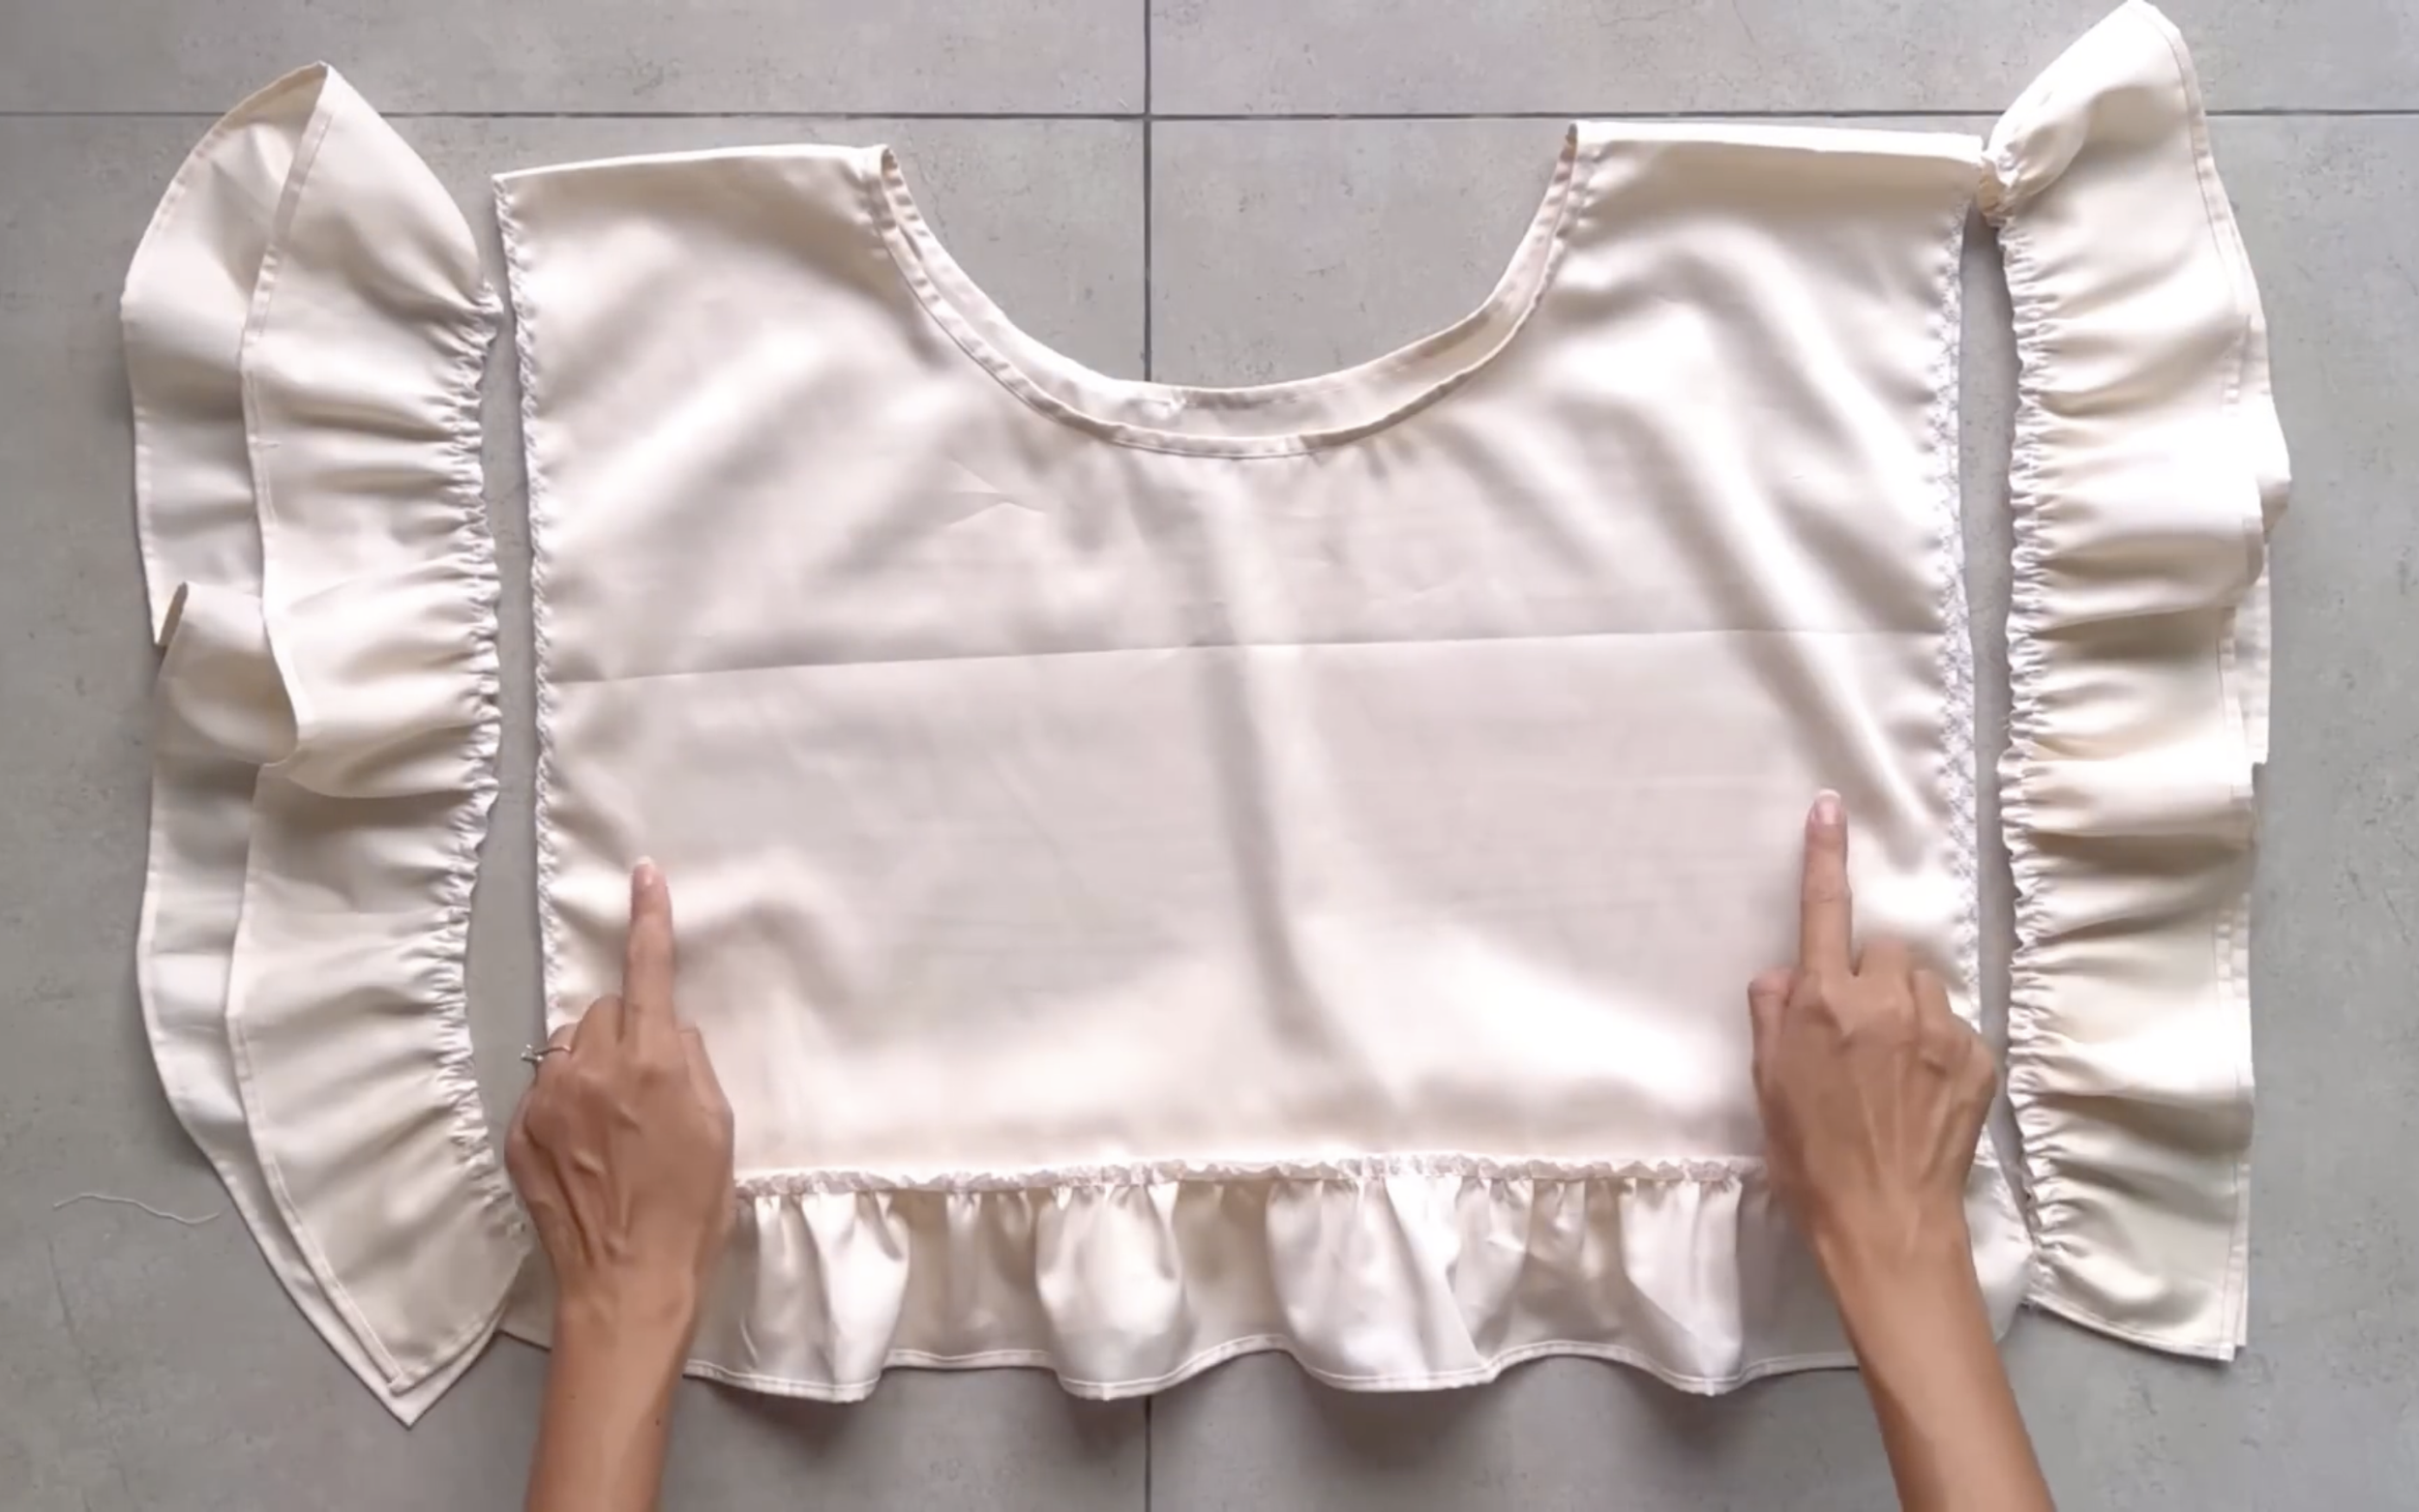
Then connect the ruffle to both sides of the top.
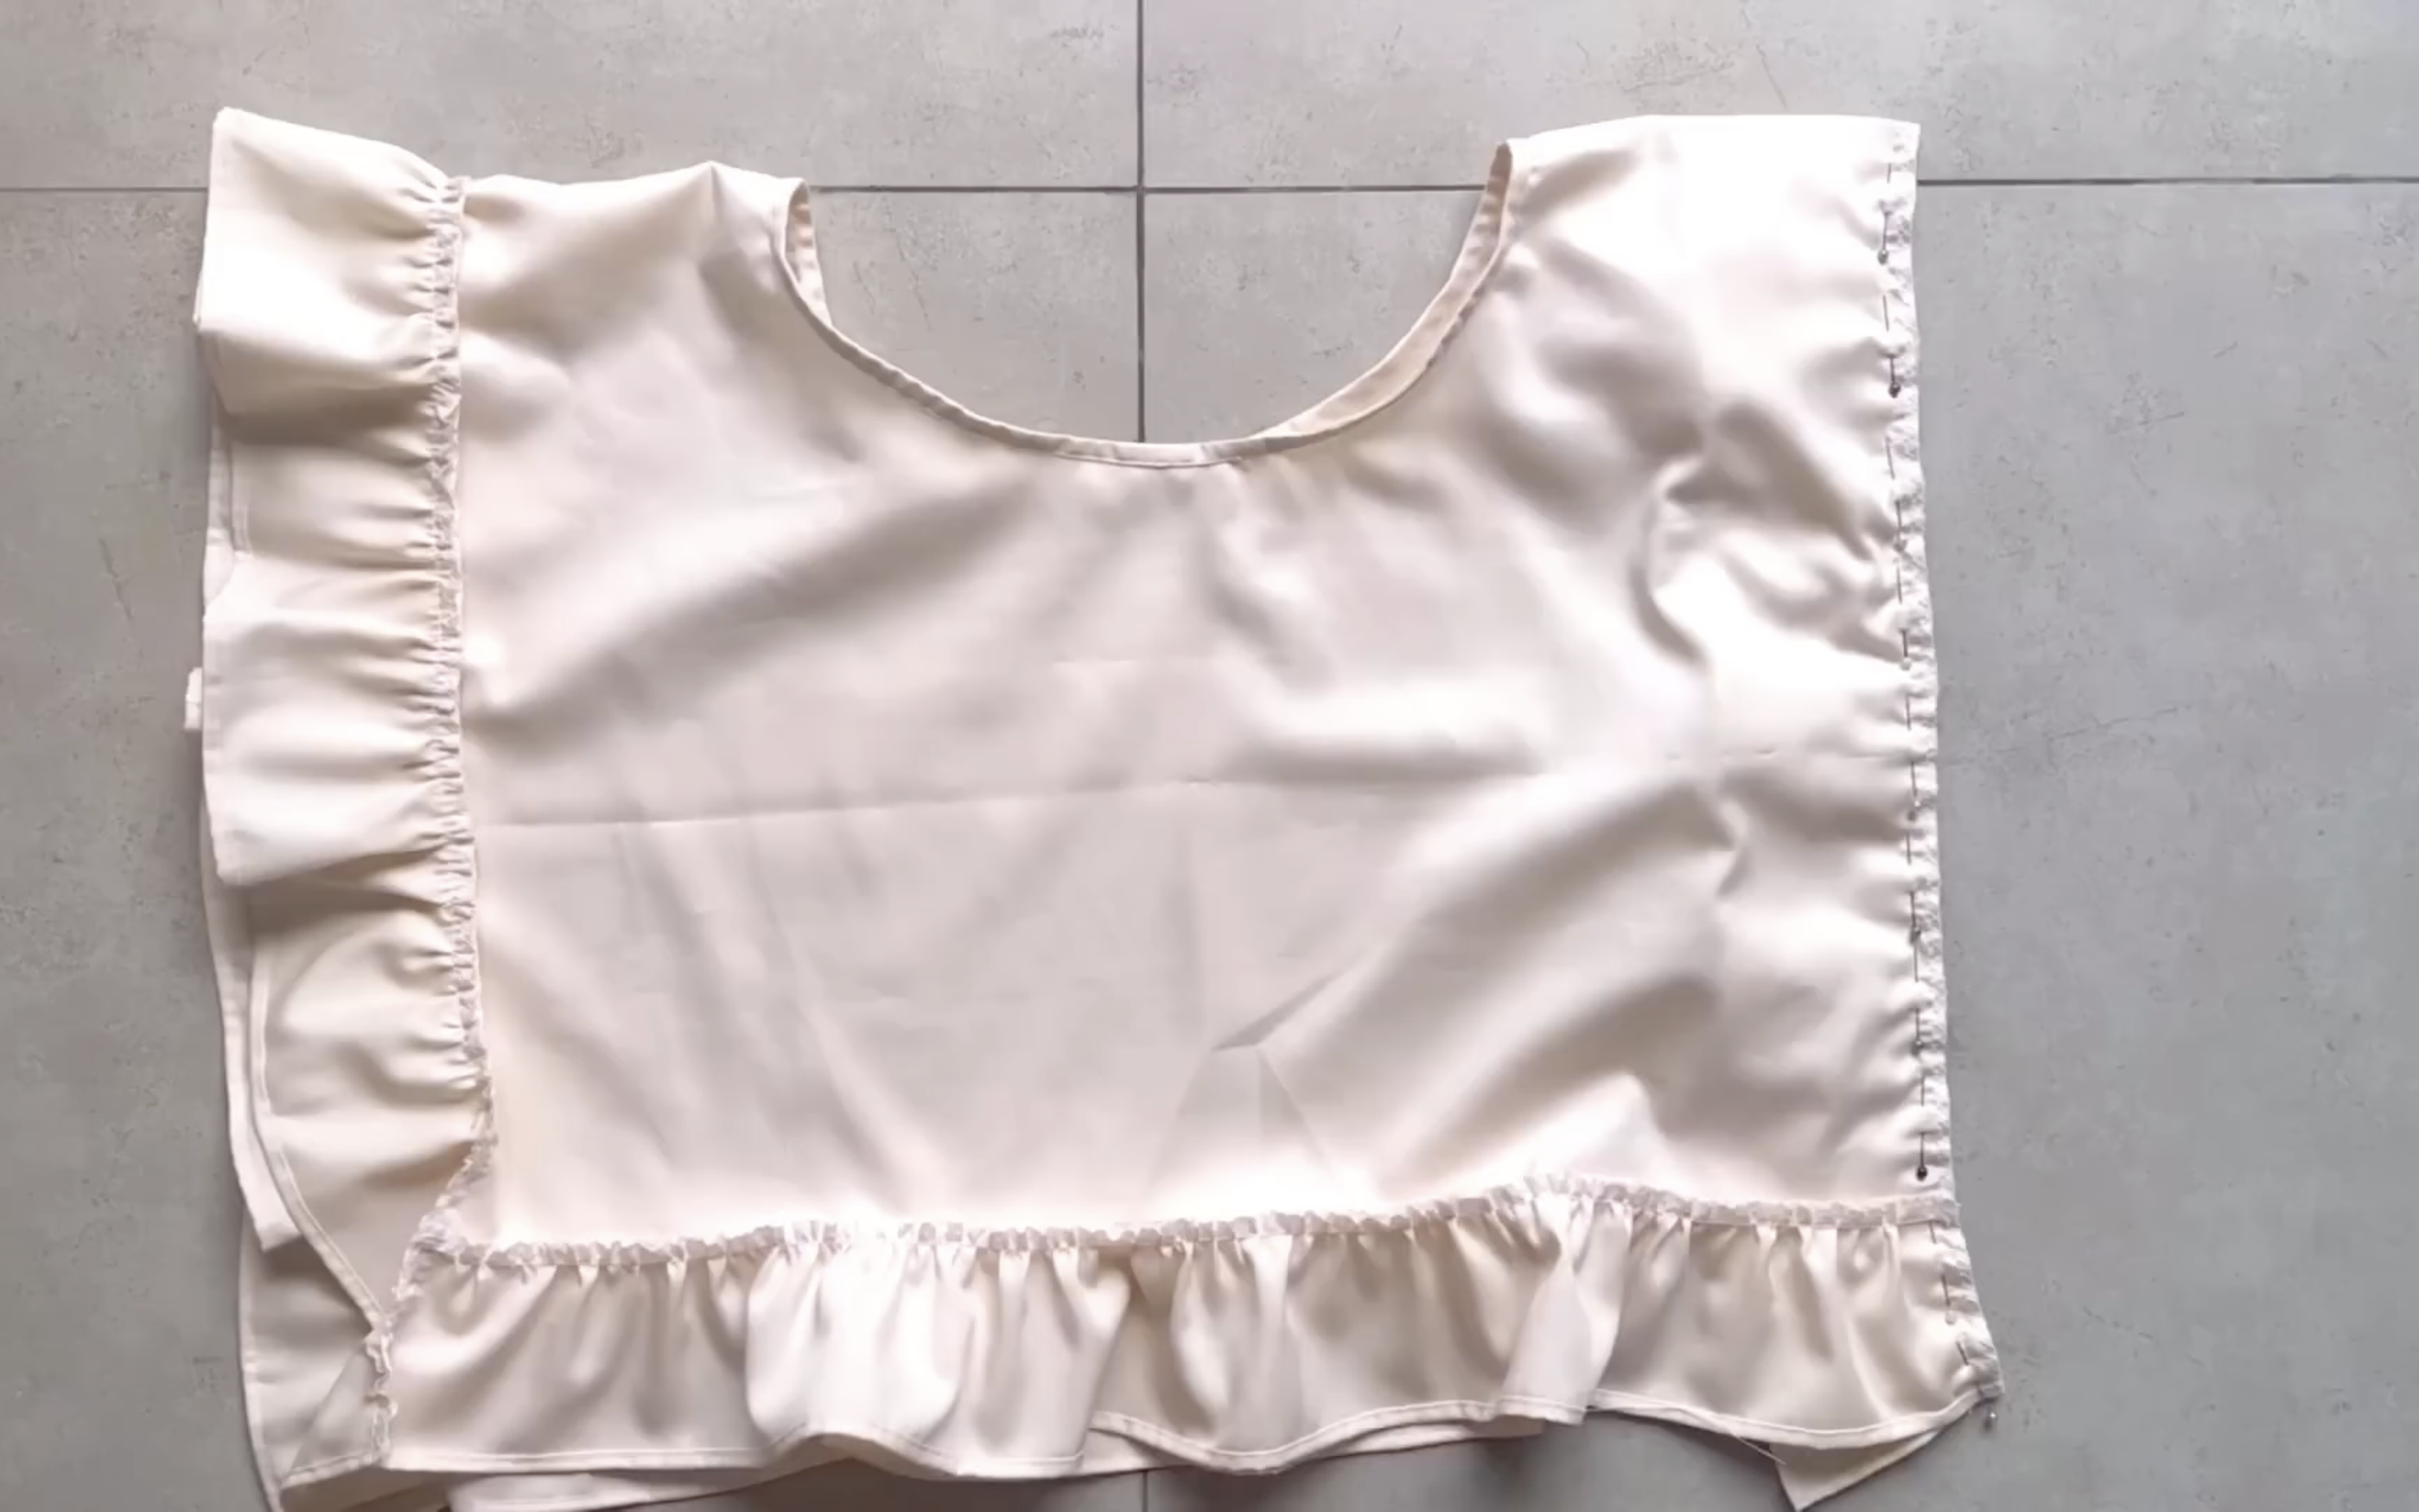
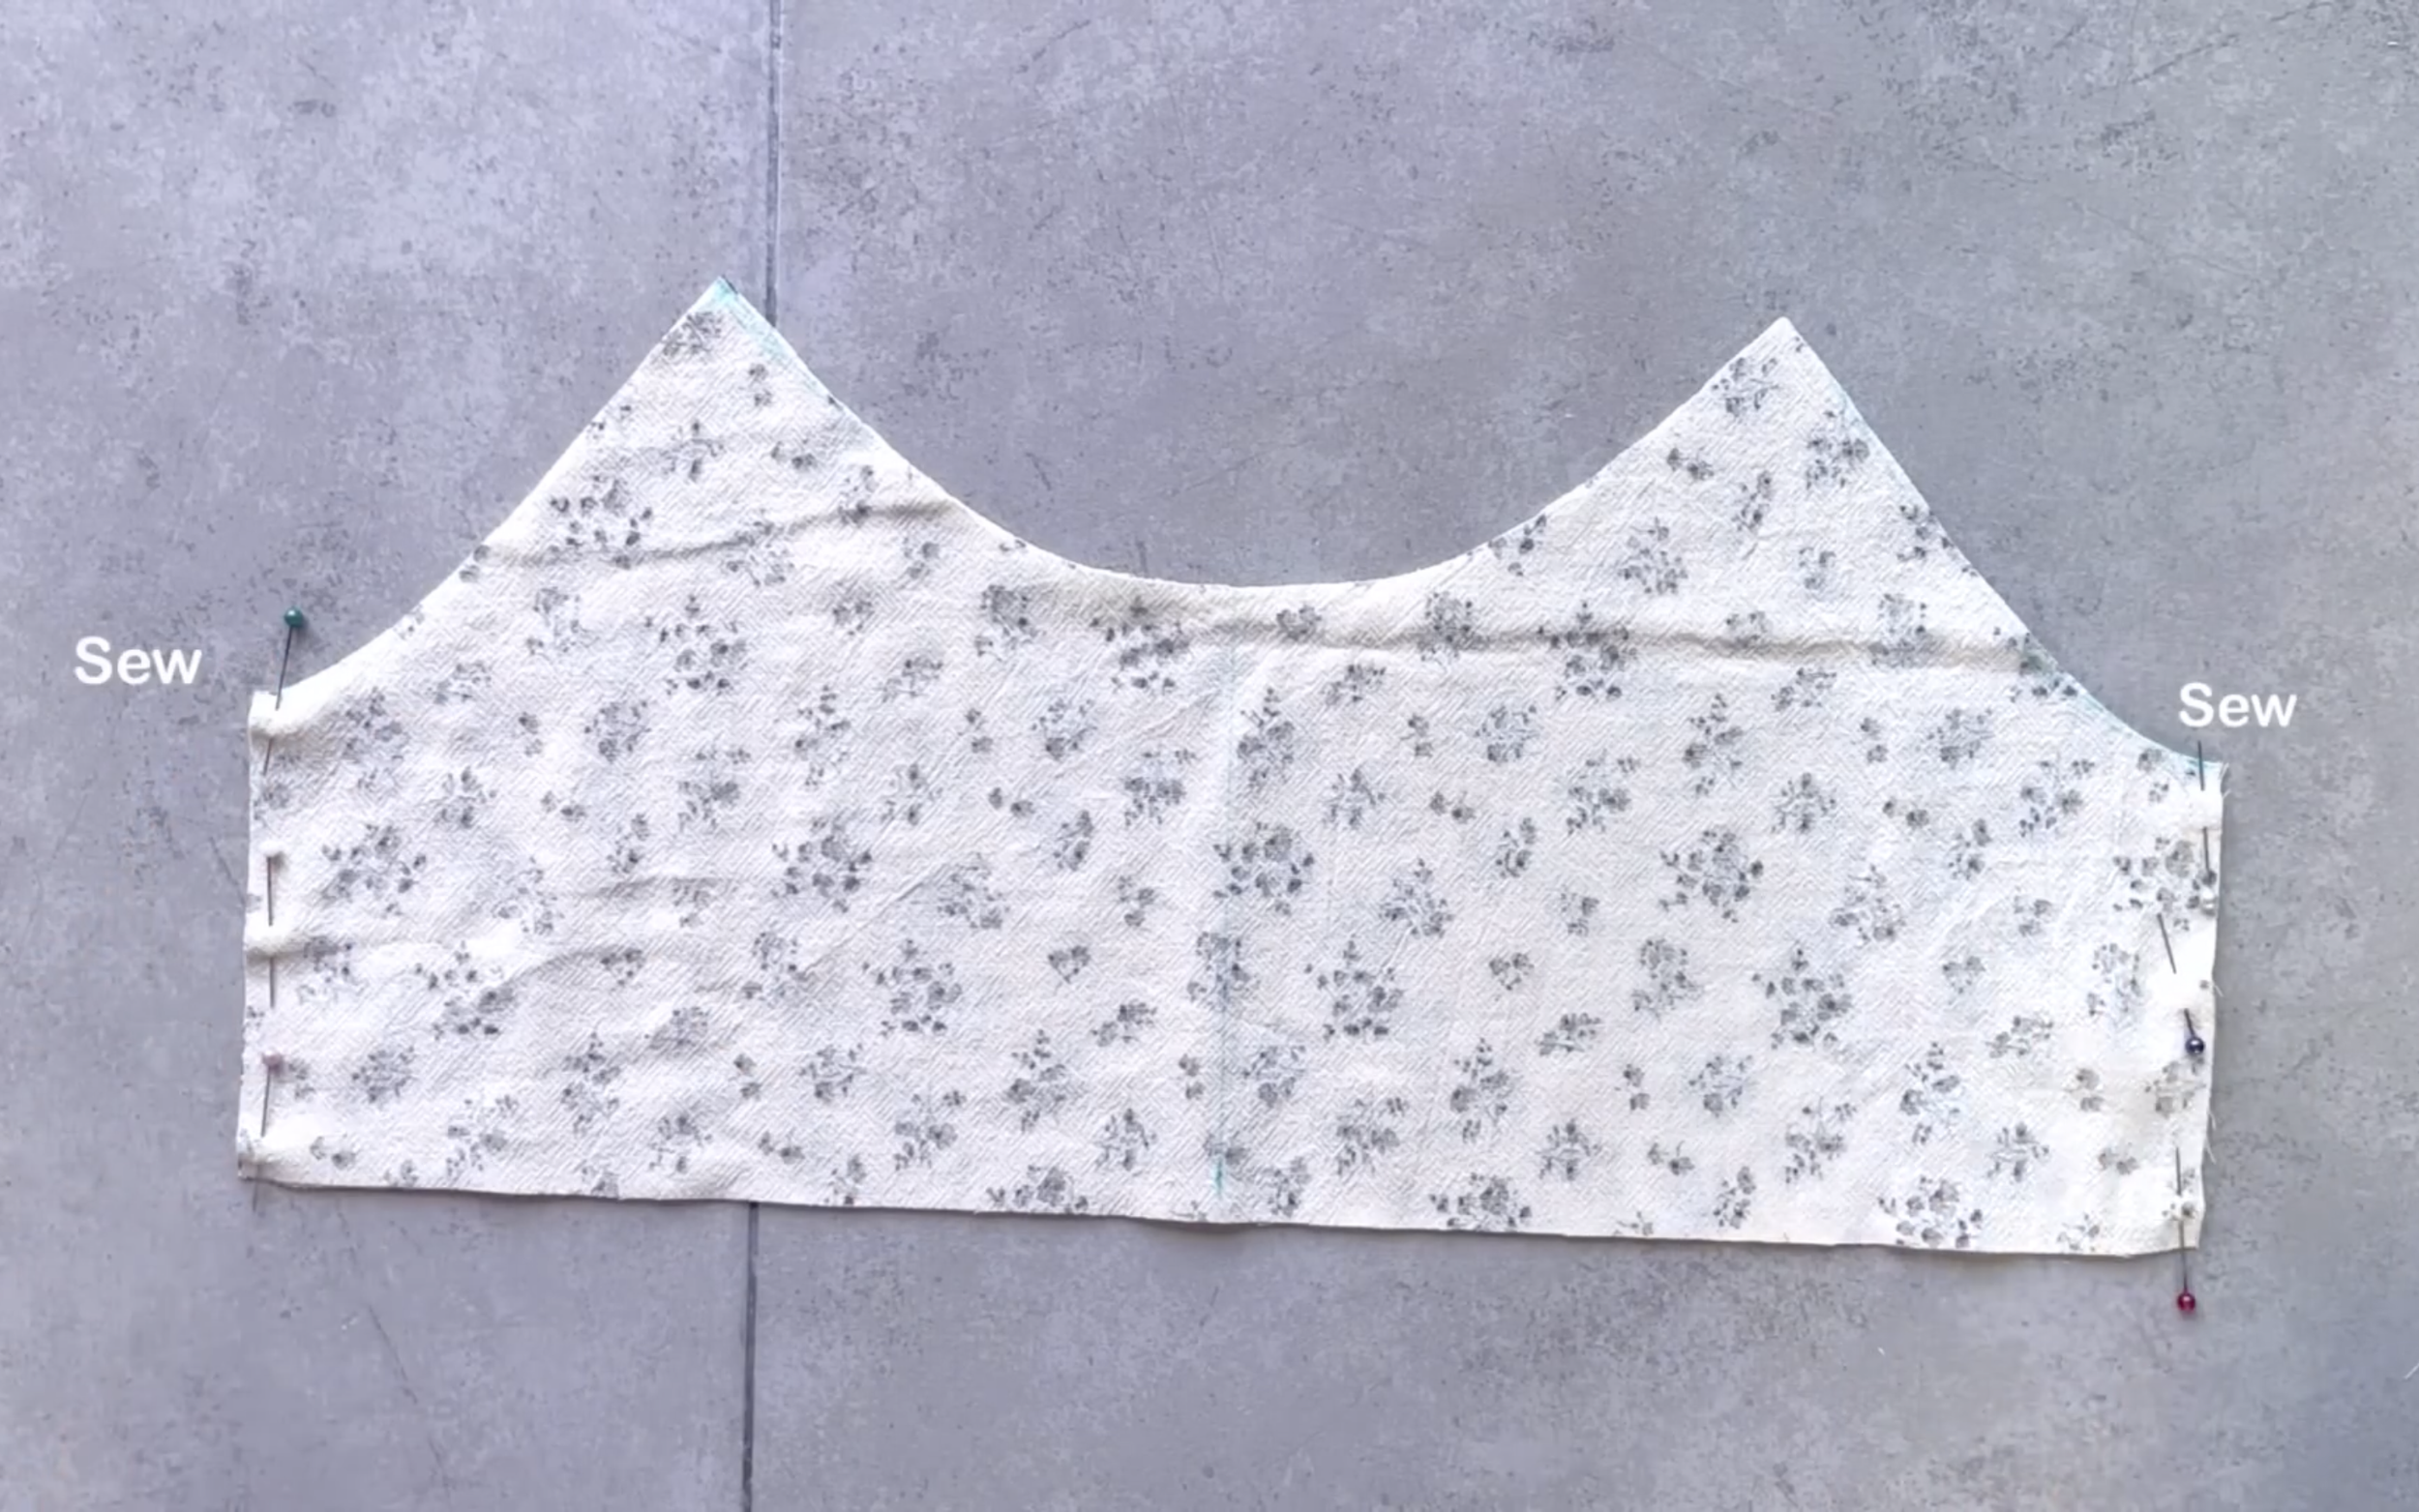
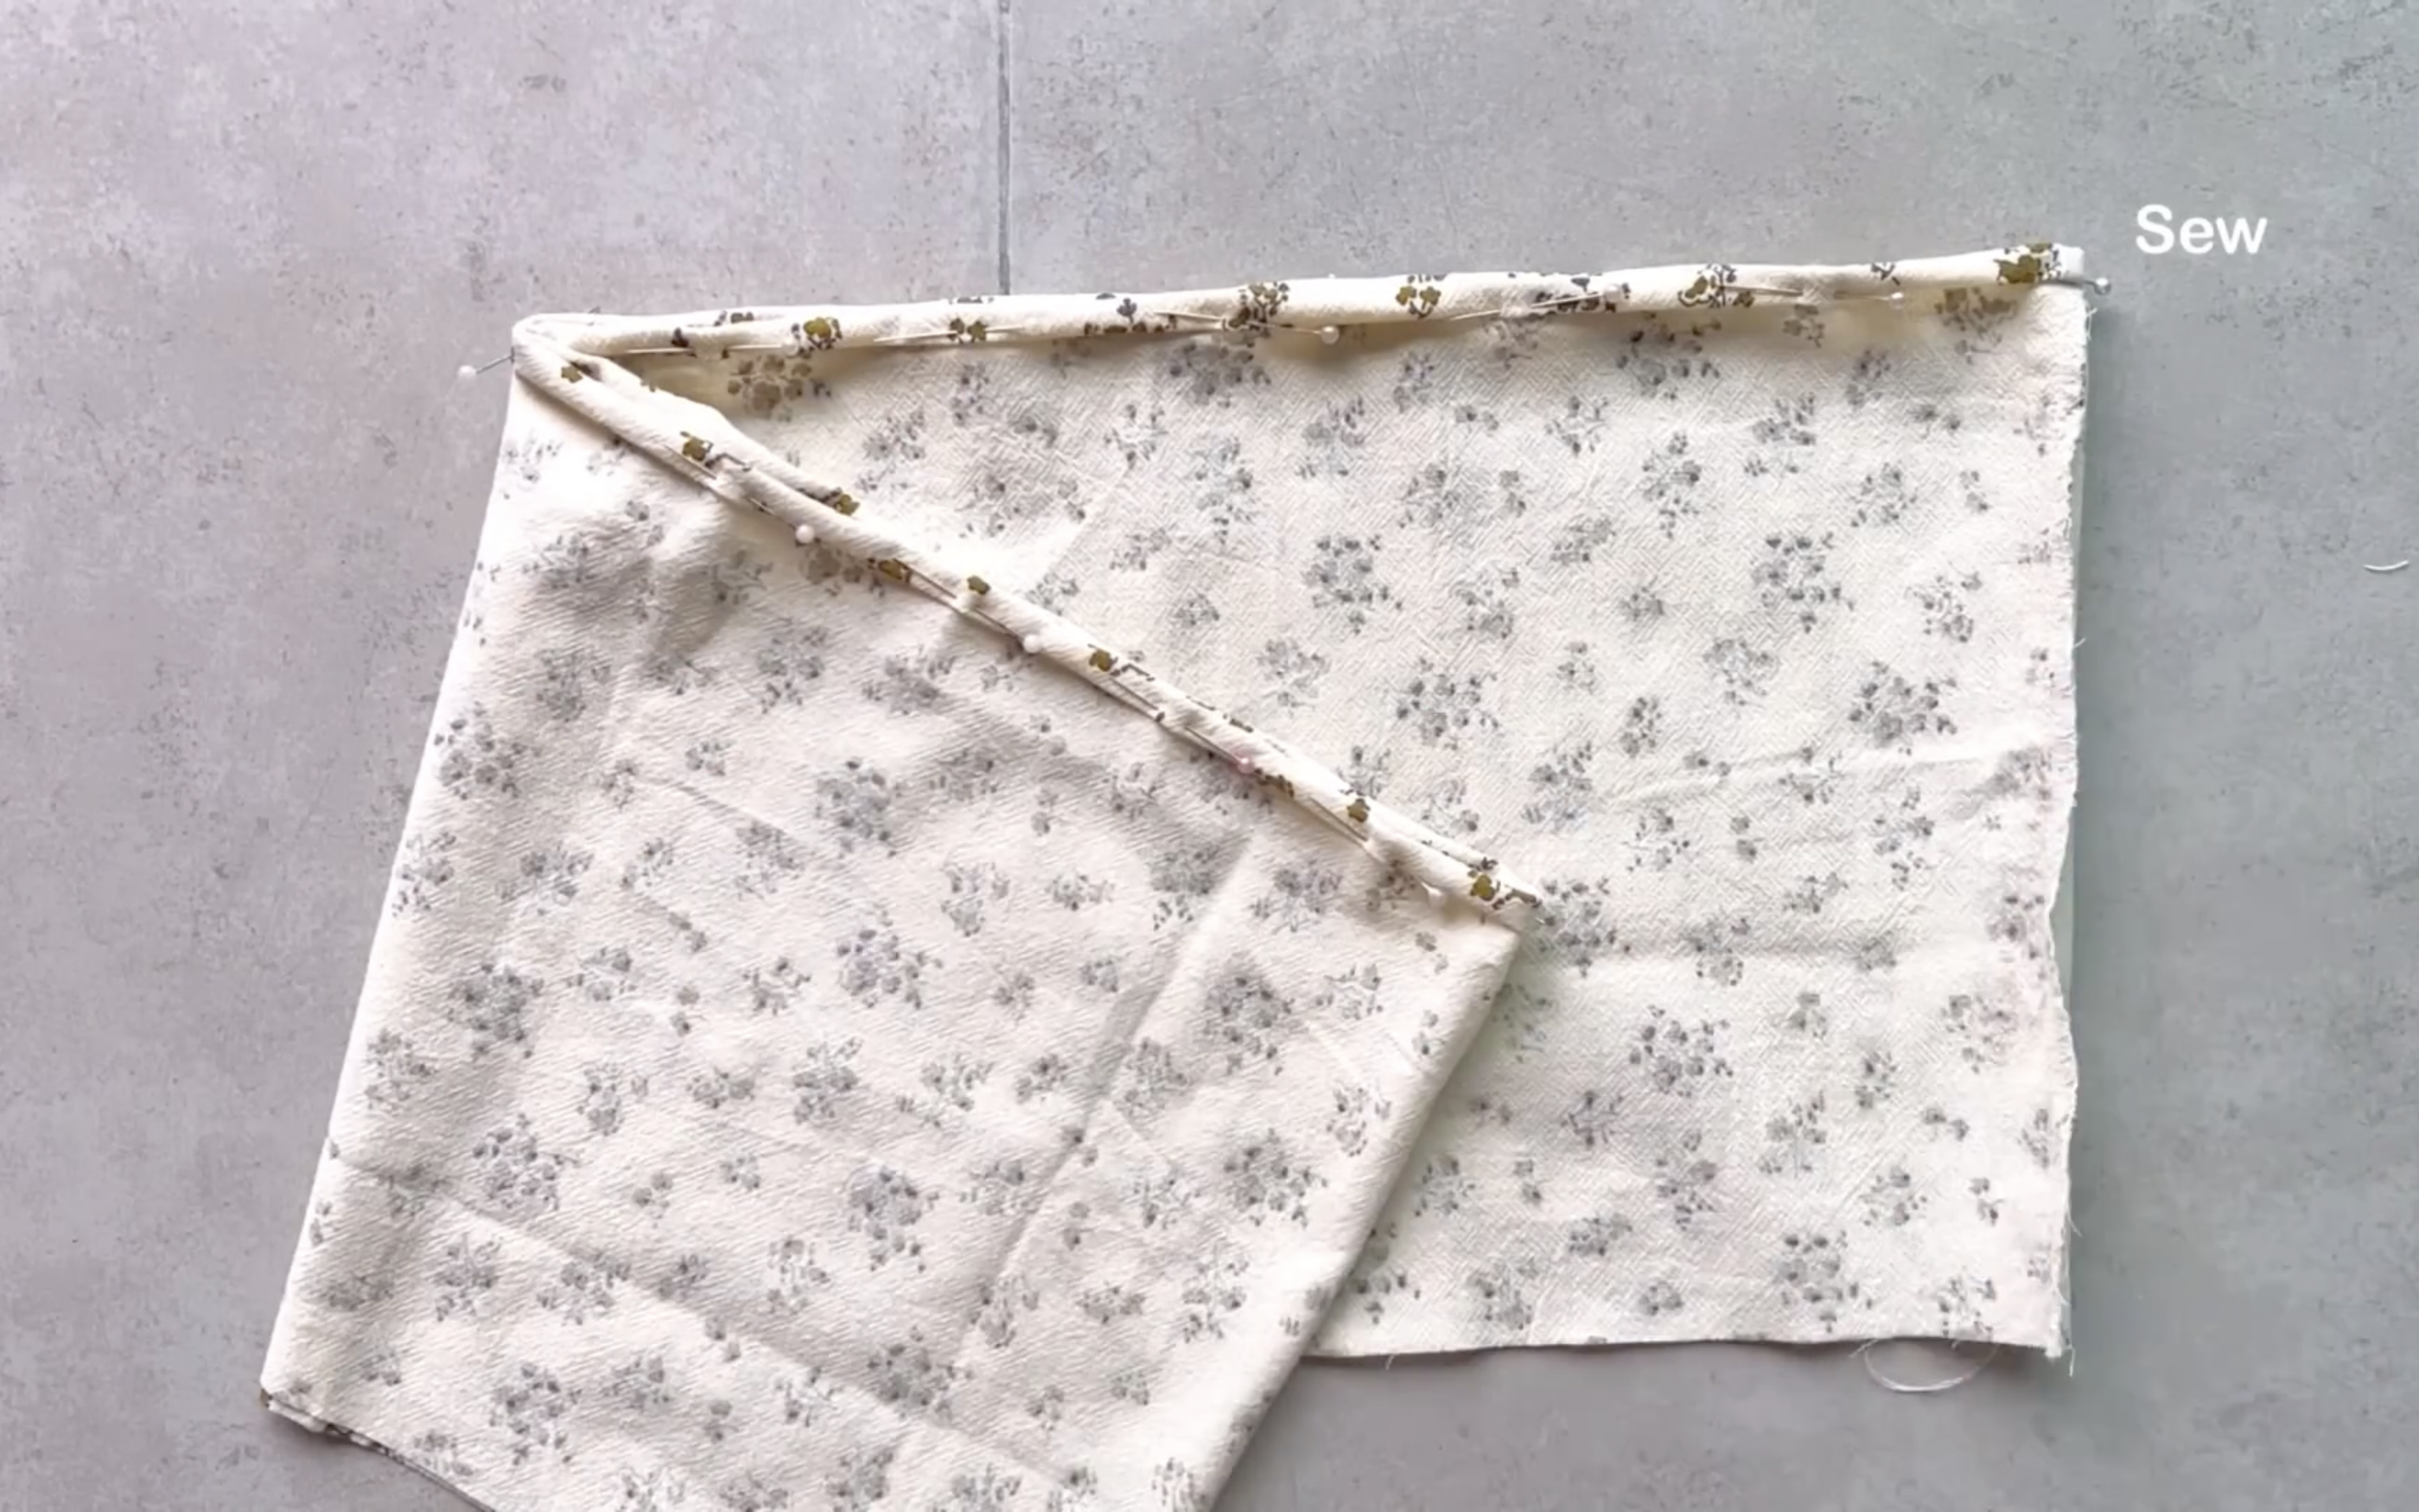
Then turn the top inside out and pin the front and back sides together.
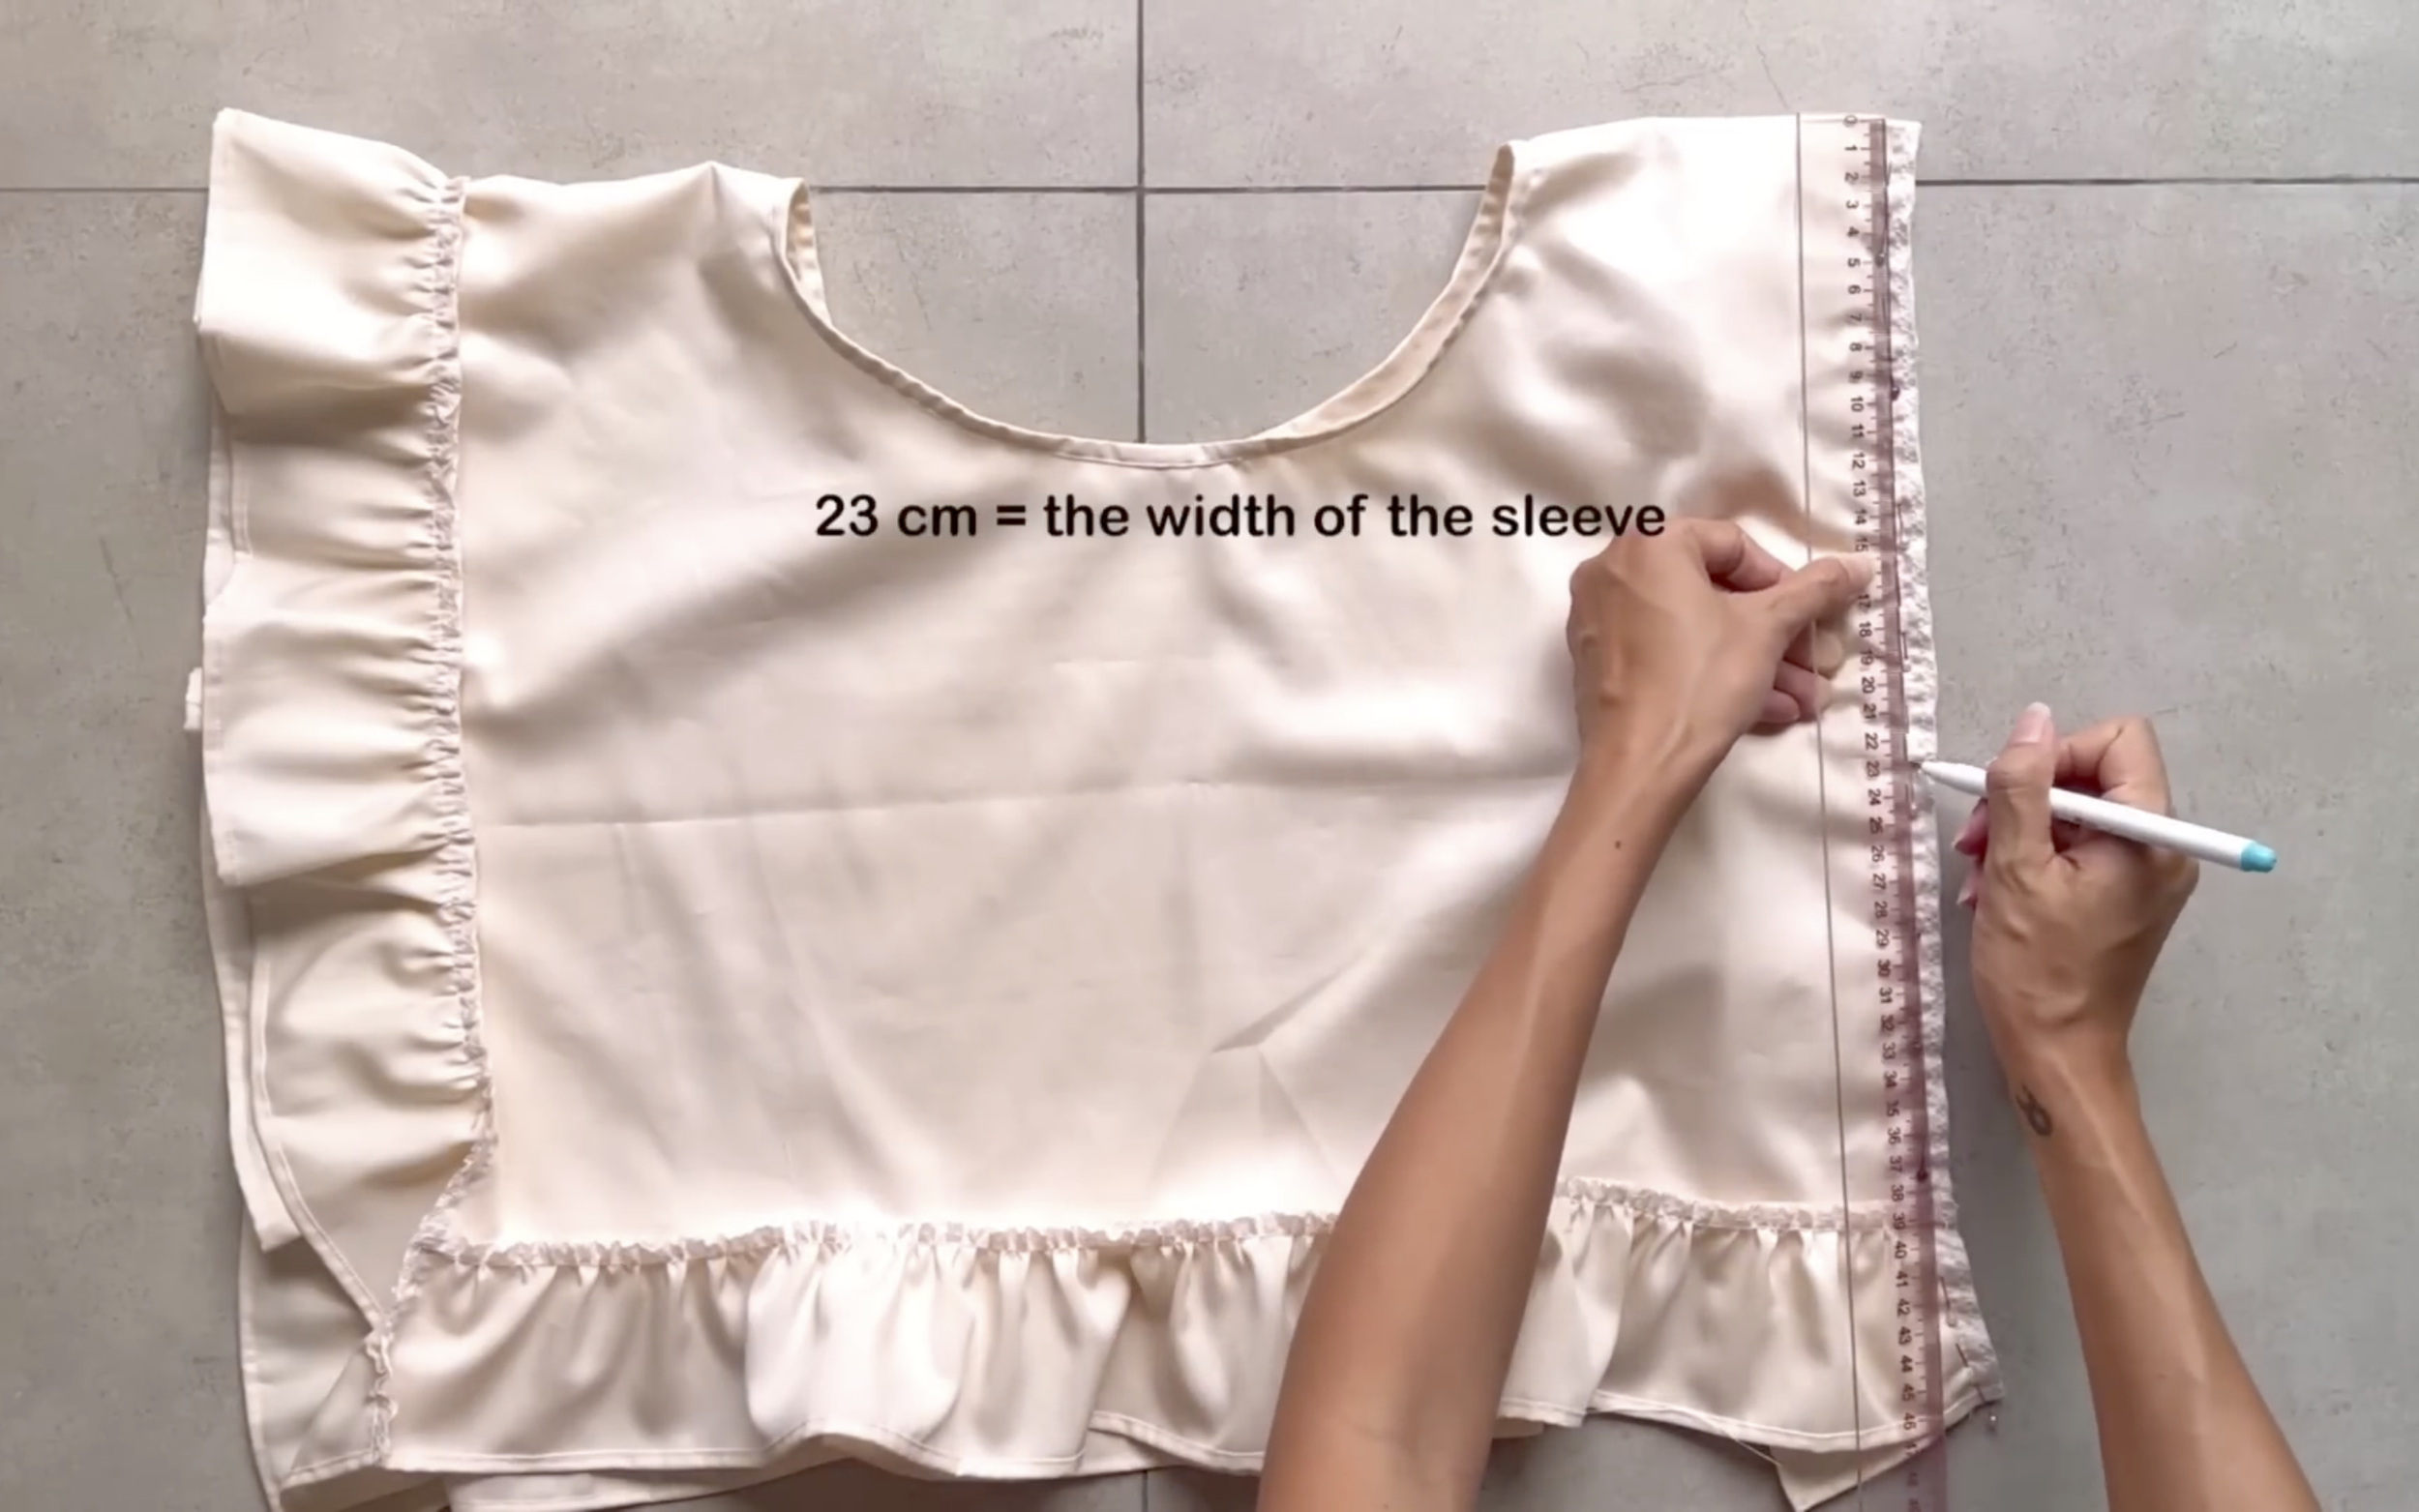
Mark 23 cm from the top of the side, which is the sleeve width.
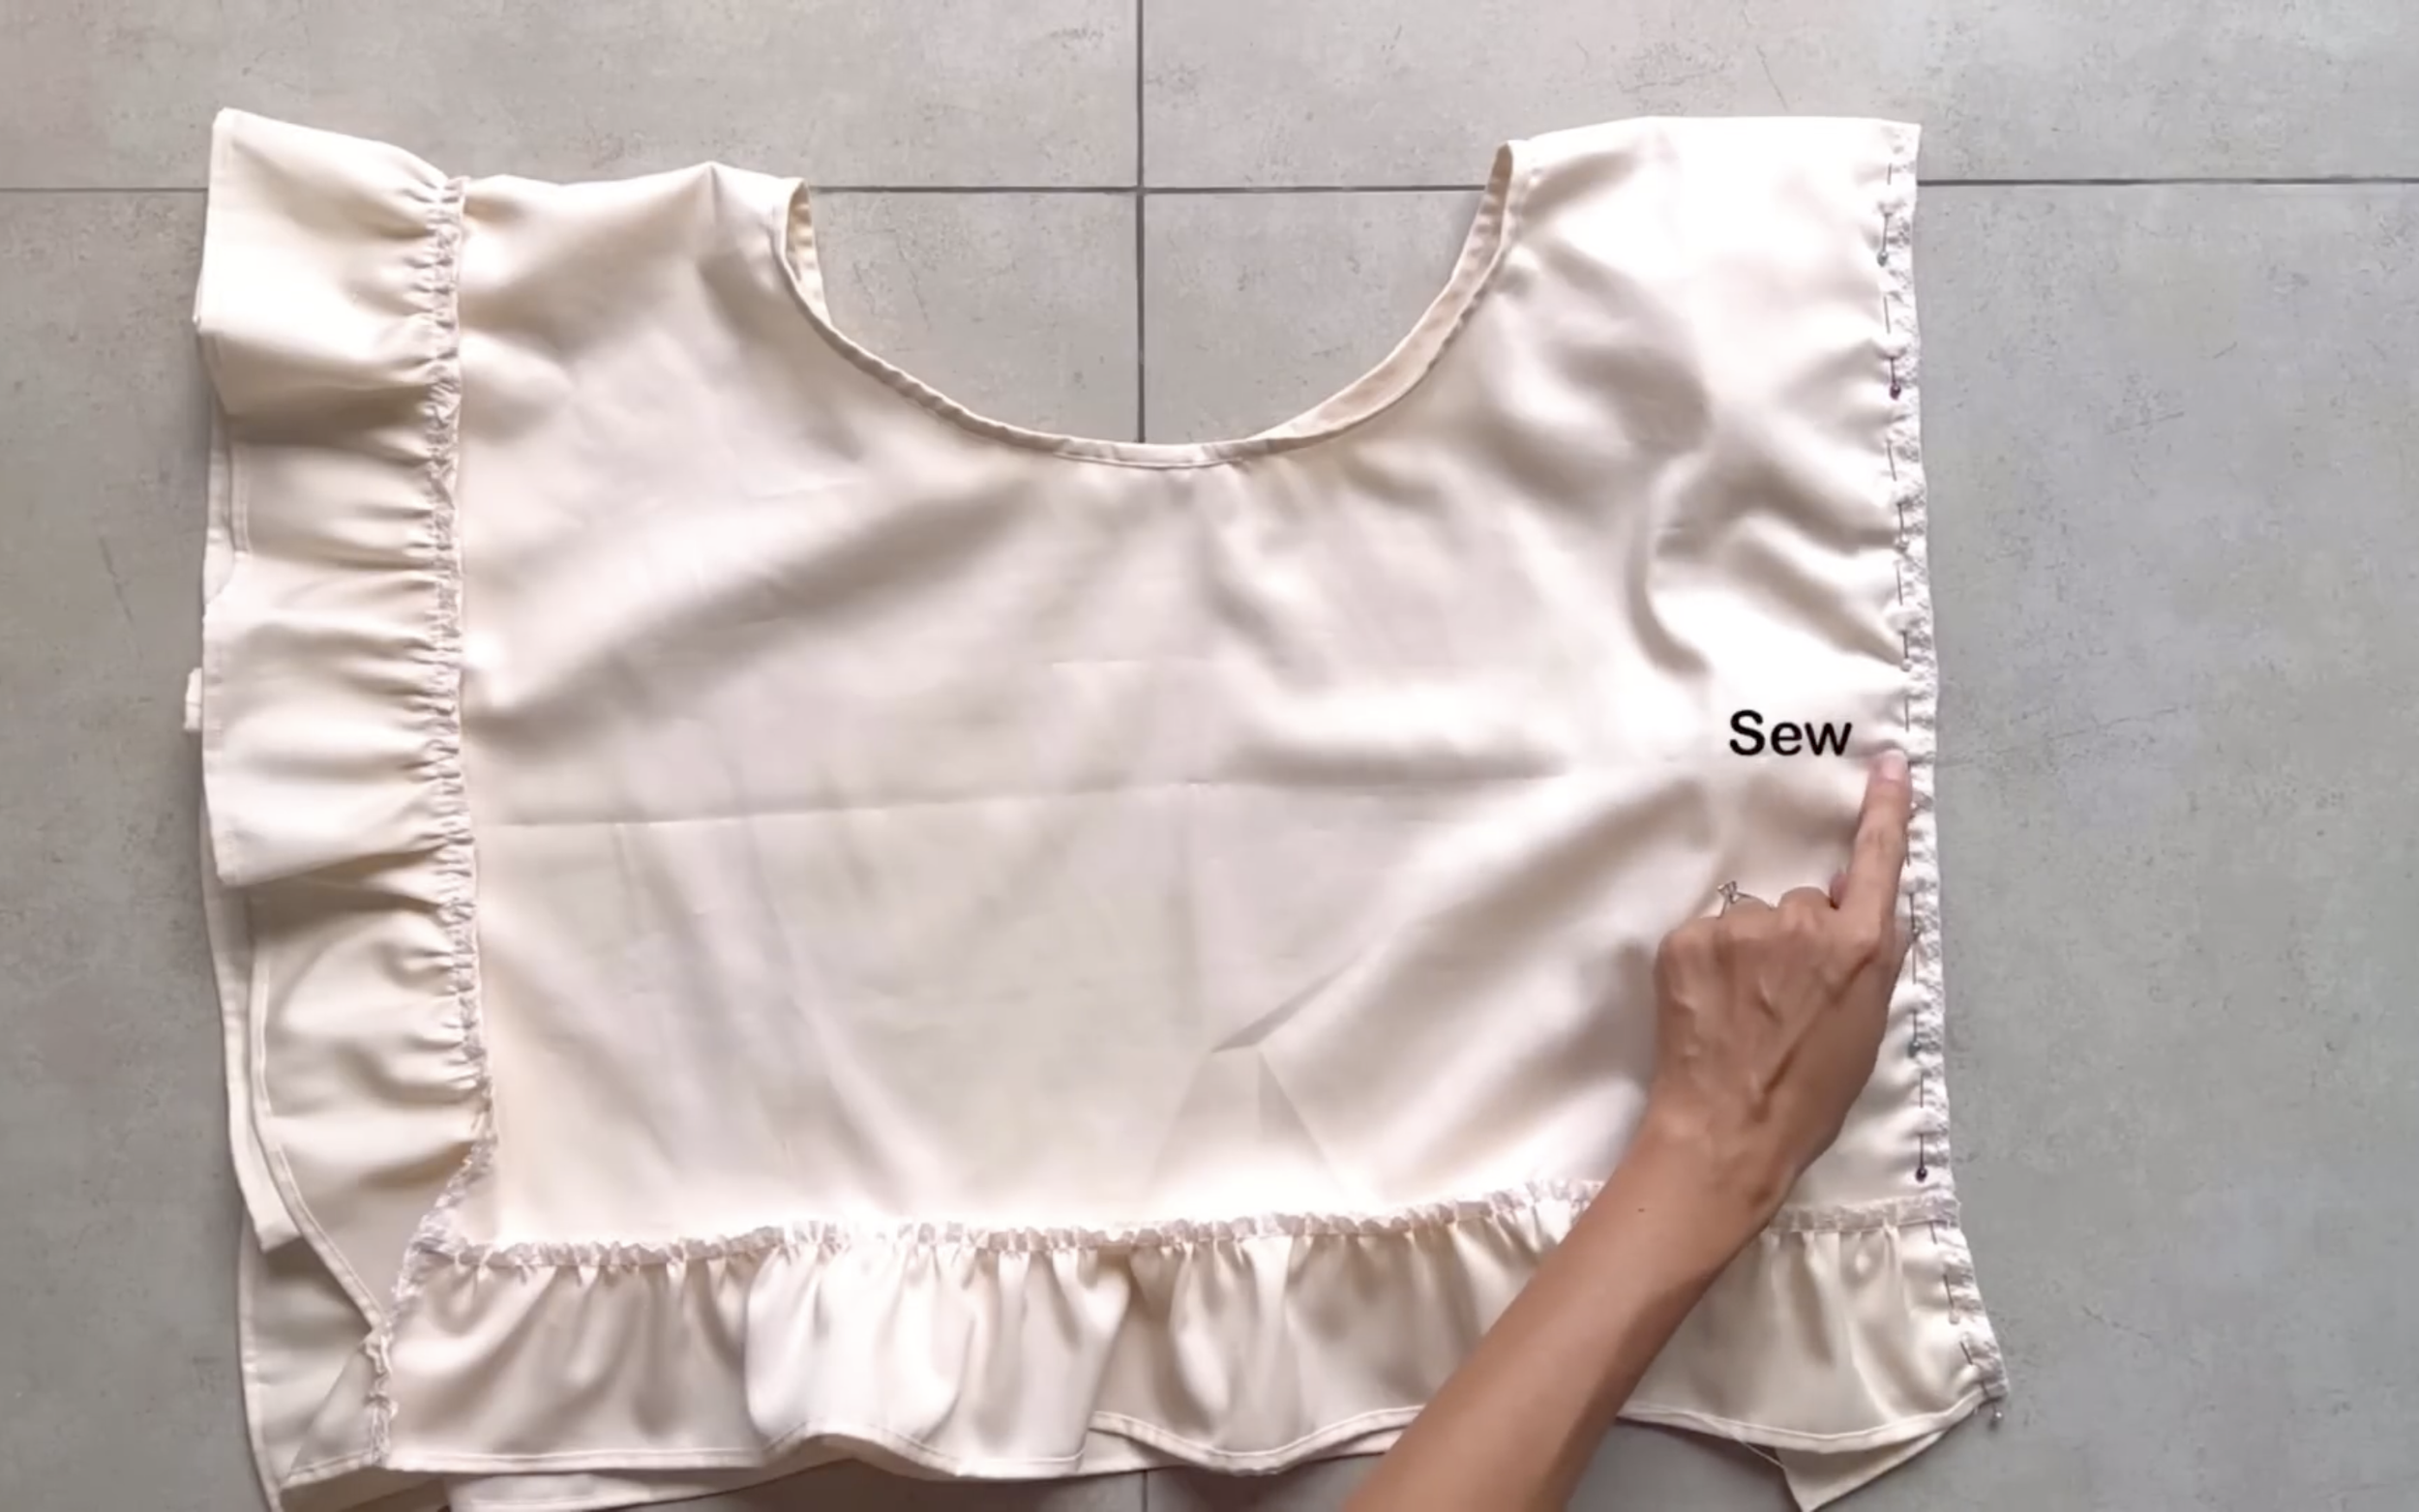
Then sew the rest of the top together.
I made some cute ruffle tops from leftover fabric | Beginner friendly sewing tutorial
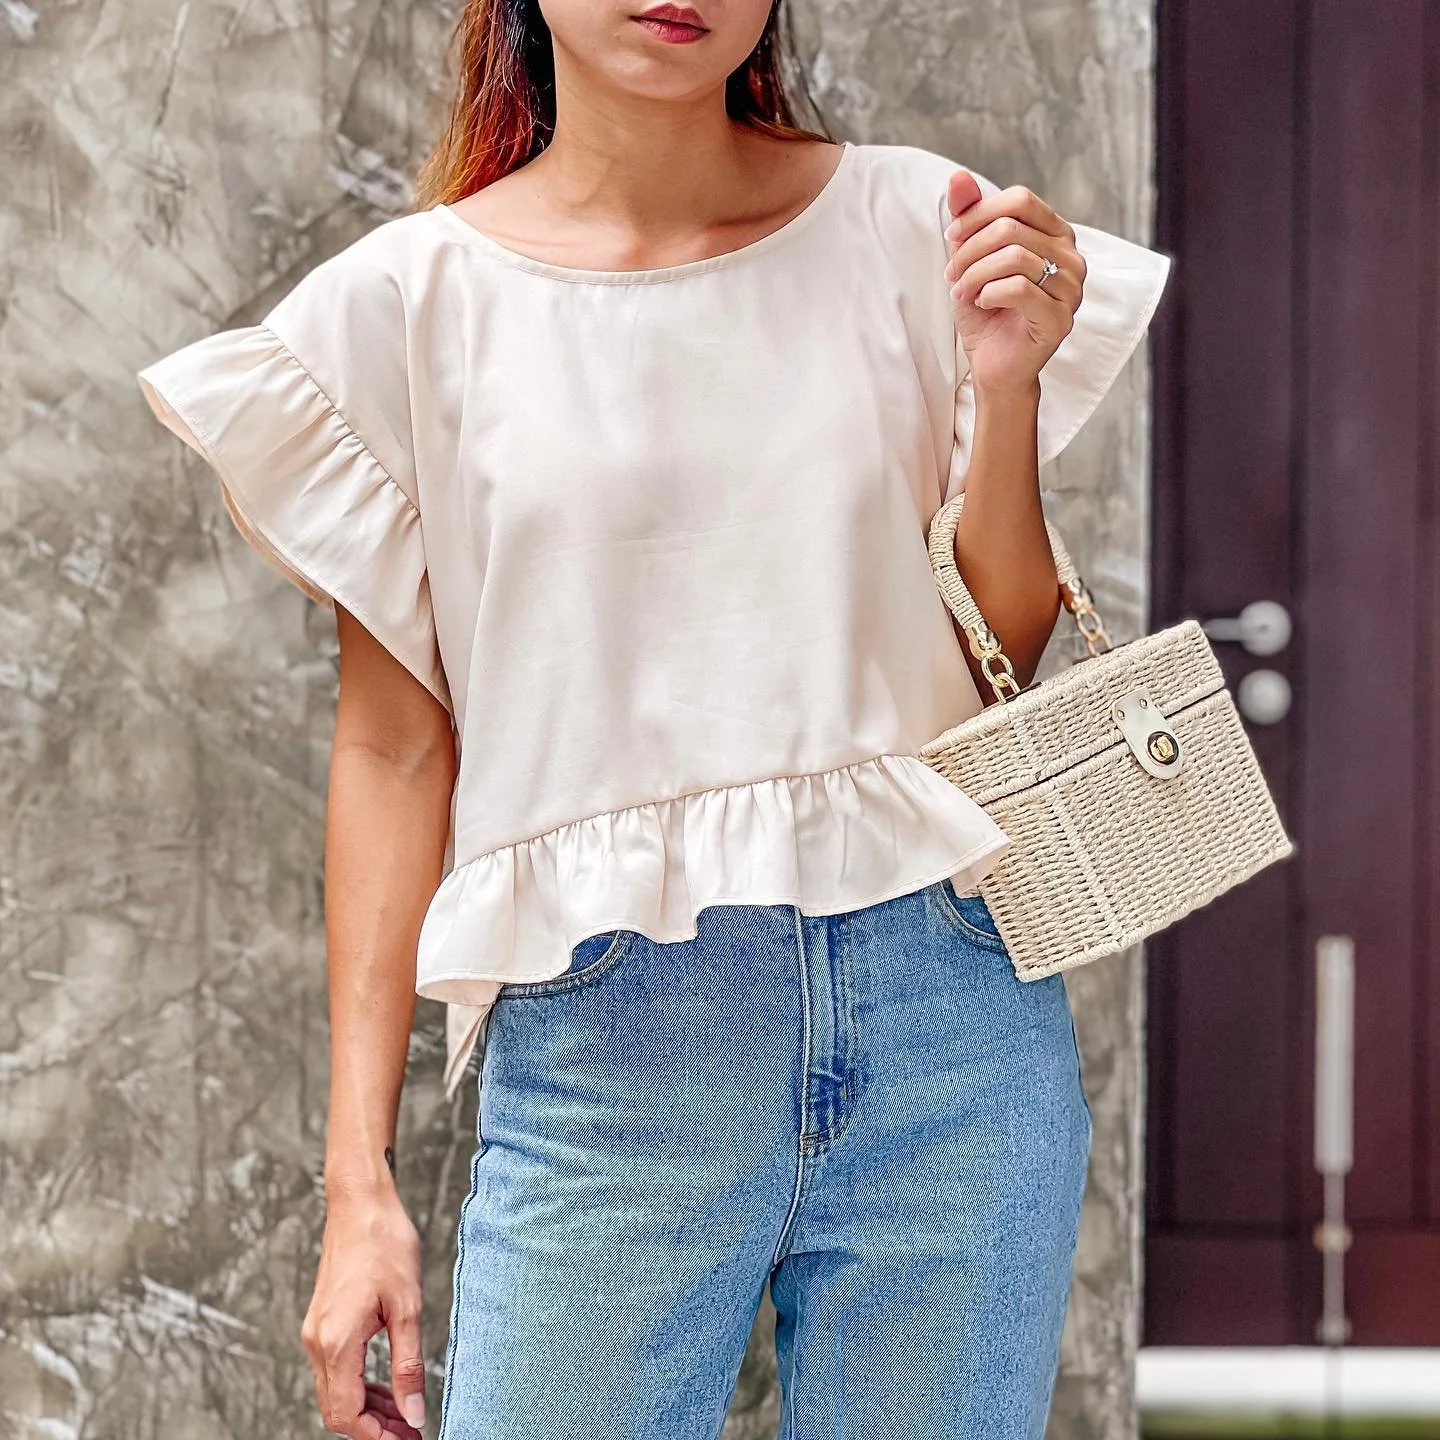
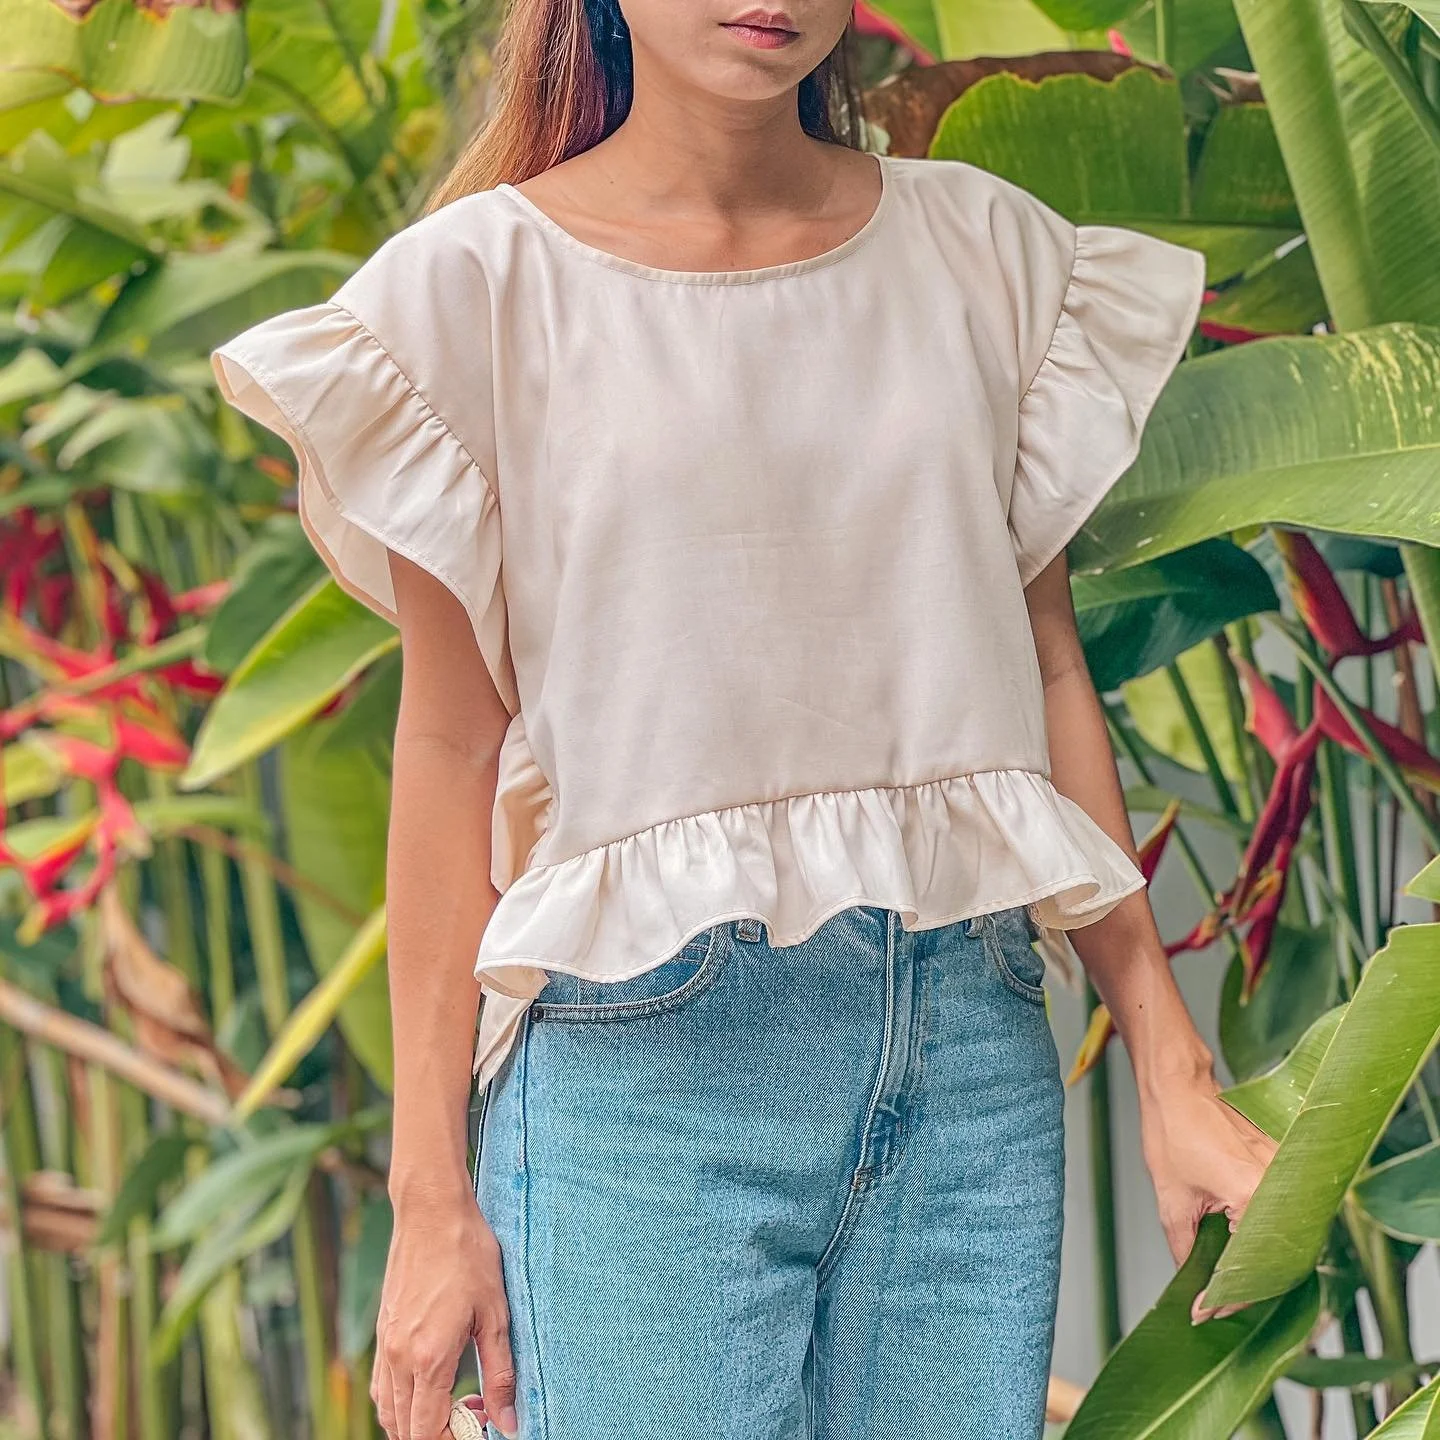
And that’s a wrap on this DIY! Here’s the final result—this top turned out so cute yet still elegant. I hope you love it as much as I do!
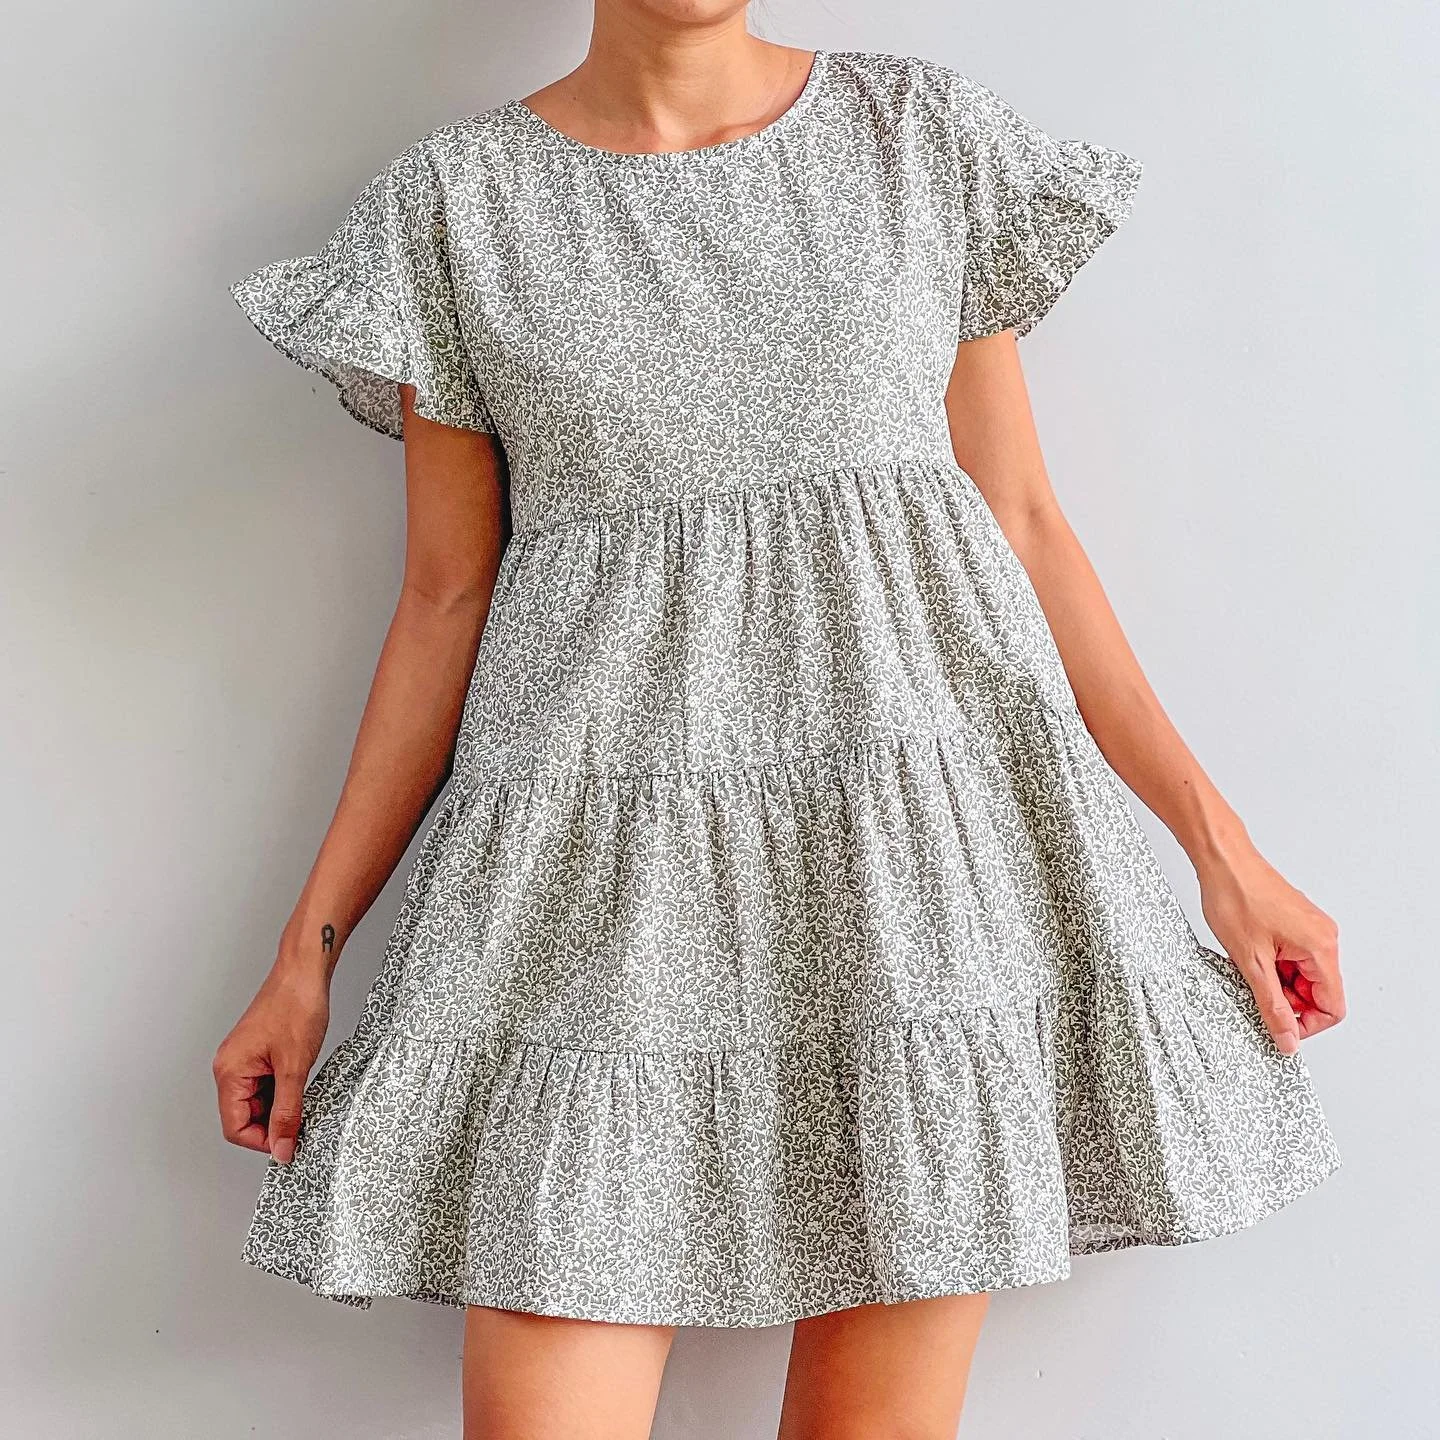
From a ruffle top to a babydoll dress, it’s another great way to take a simple design and turn it into something fresh and unique. I hope you found this inspiring!
2. RUFFLE HEM TOP
THE PATTERN
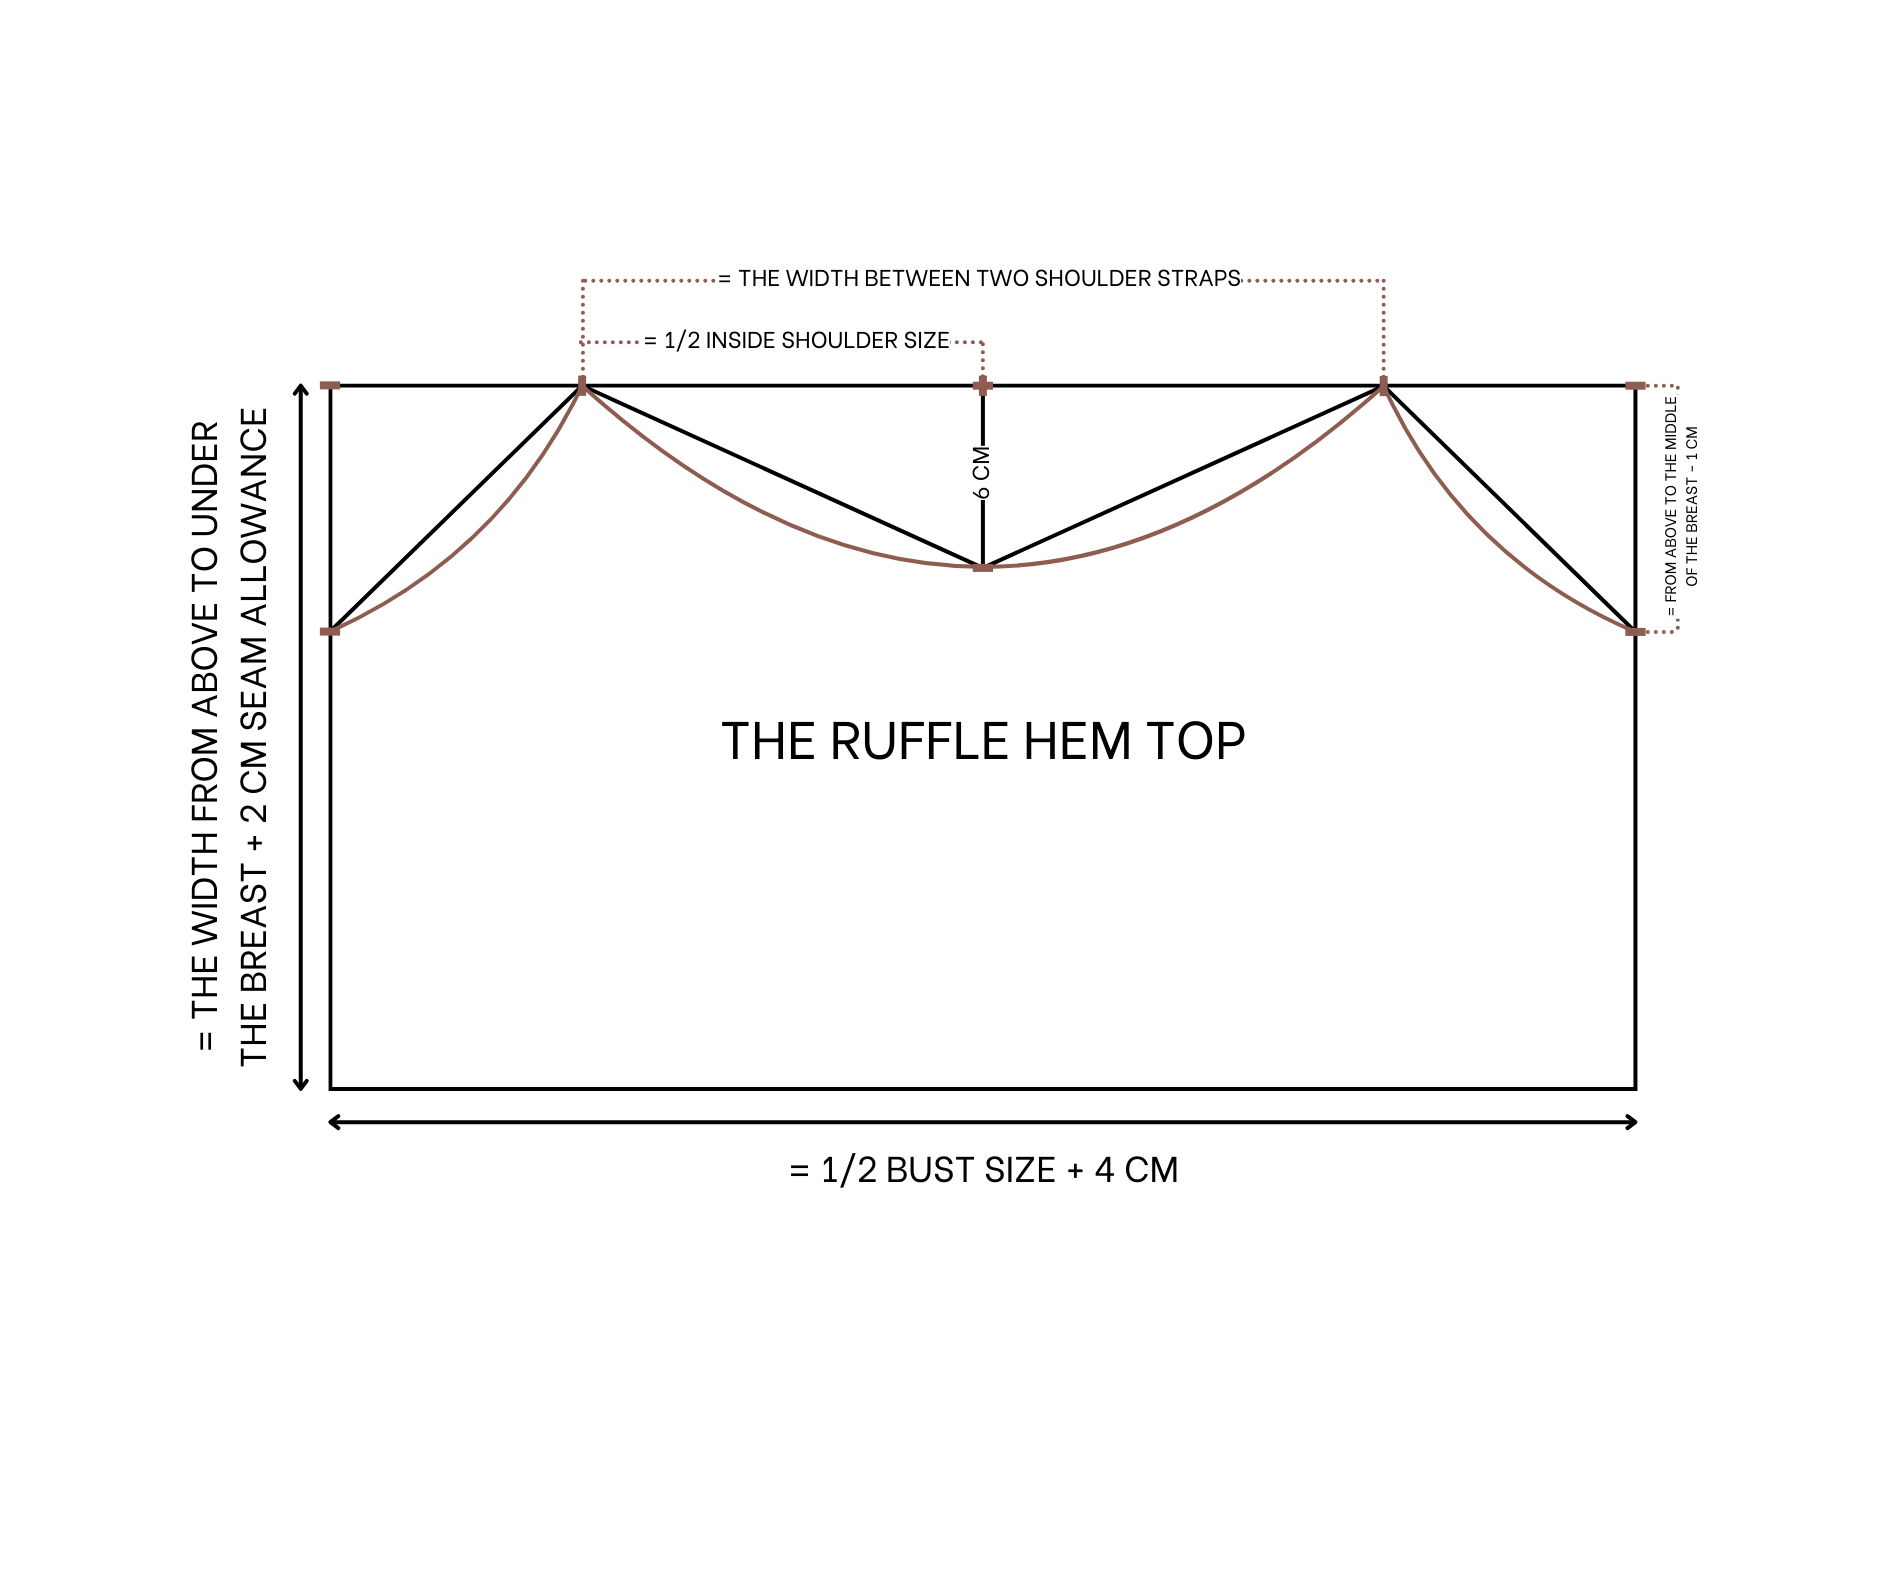
The ruffle hem top pattern
Cut two rectangles with 22 cm length, which is the width from above to under the breast plus 2 cm for seam allowance, and 44 cm width, which is half of the bust size plus 4 cm.
On the top width line, mark the middle first, then draw a straight line from that mark.
From this mark, make two more marks on each side 12 cm away, so the width between the two new marks will be 24 cm, which is the width between the two inside shoulder straps.
From the first mark, mark down 6 cm on the straight line, which is the neck depth.
Then connect this mark to the two marks on the top width line. Based on this, draw a curved line to finish the neckline of the top.
From the end of the top width line, mark down 10 cm along the length line, which is the length from above to the middle of the breast minus 1 cm for seam allowance.
Then connect this mark to one end of the neckline and draw a curved line to finish the sleeve line of the top.
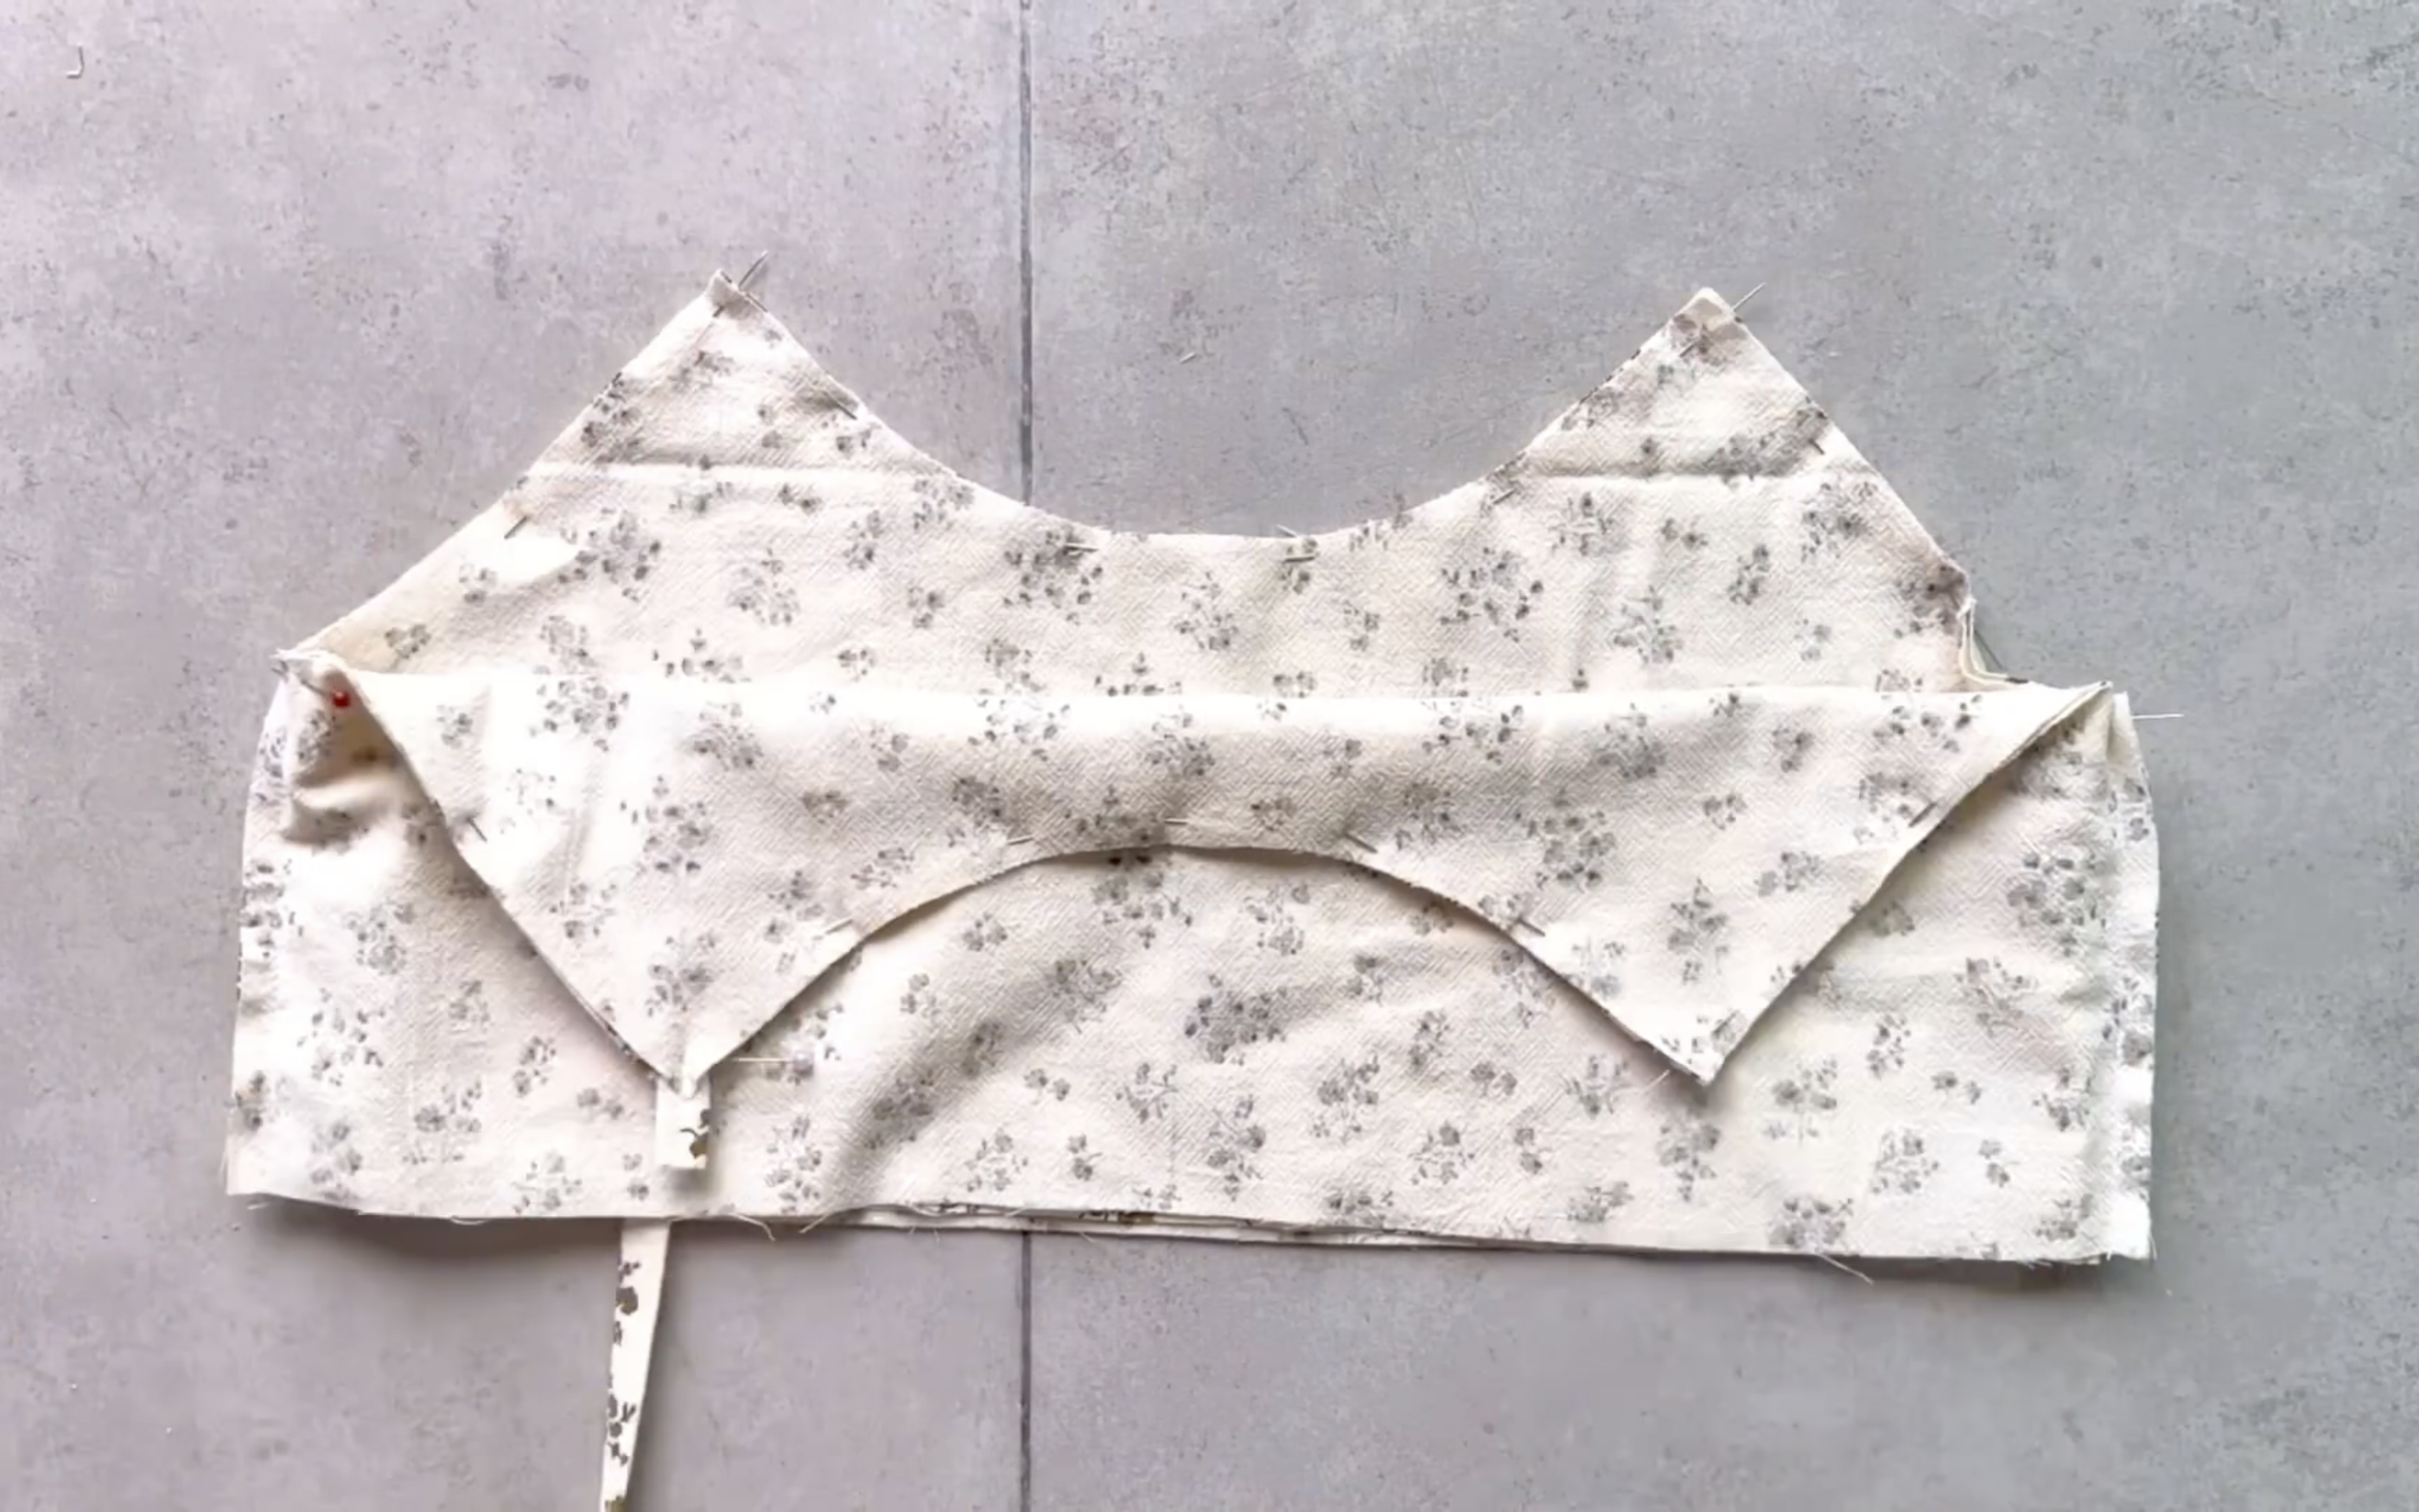
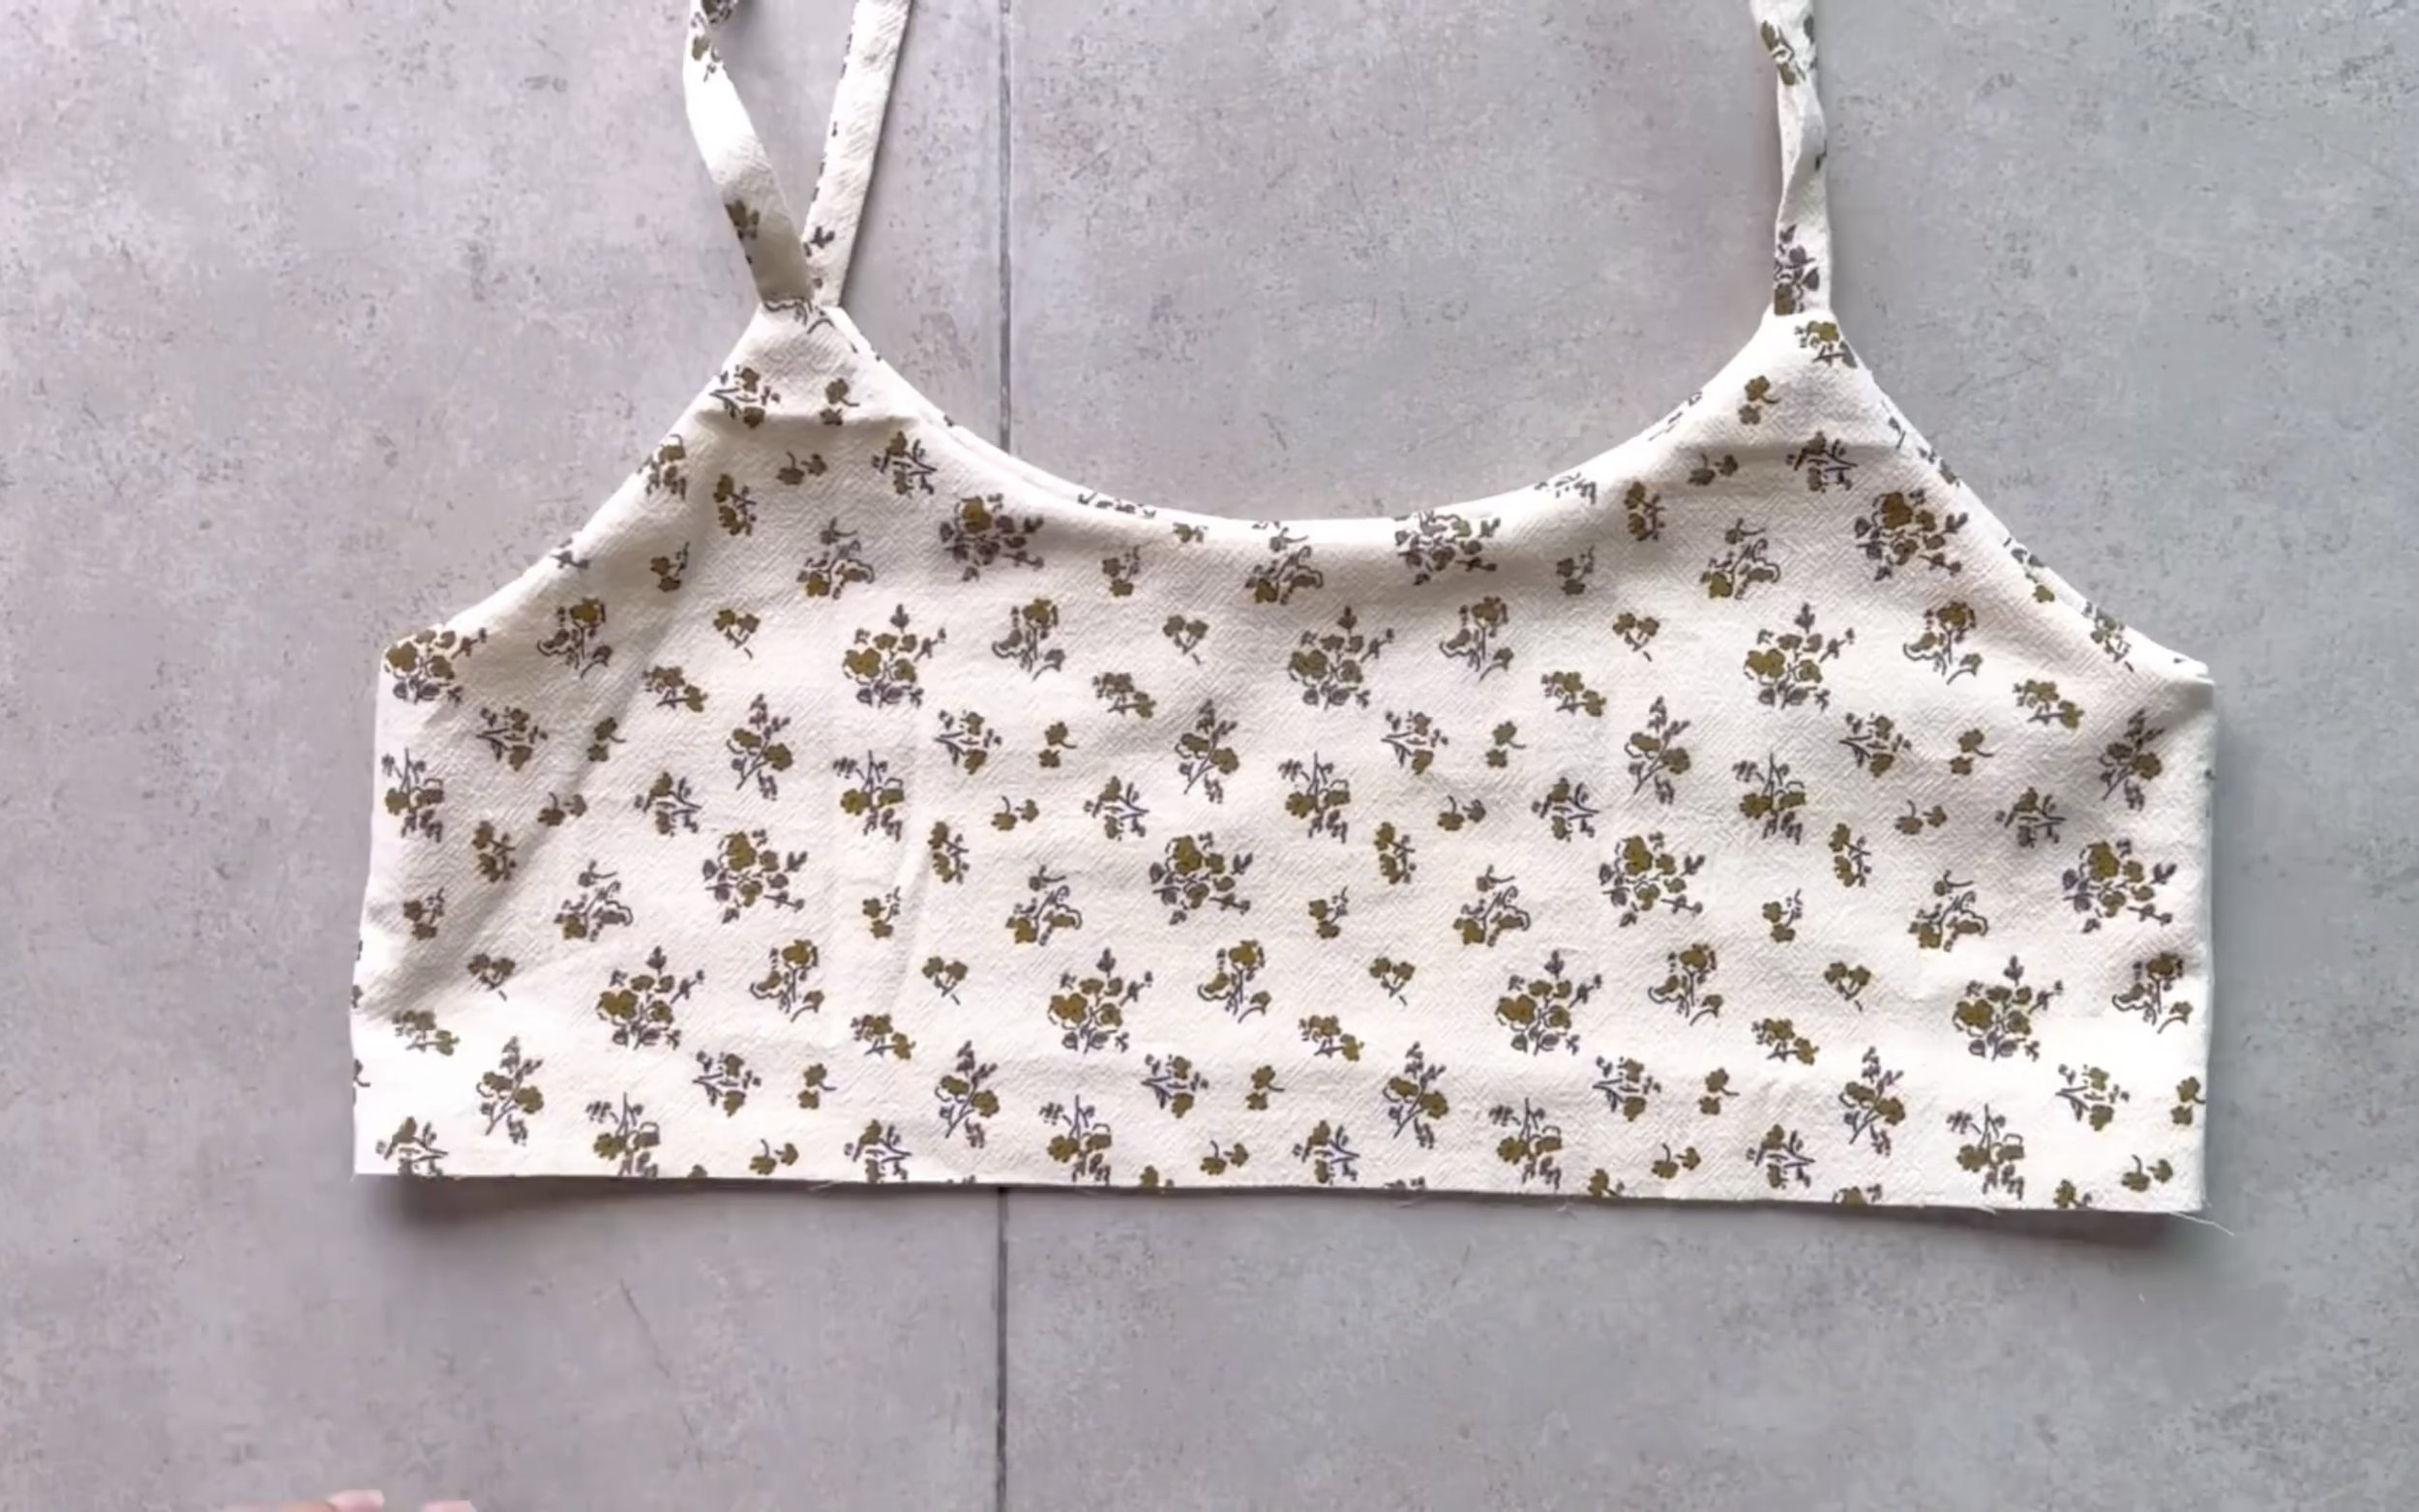
After cutting, sew both sides of the top together.

Make one more piece like this
Then connect two pieces together along the sleeve line and neckline by the pins.
To make the shoulder straps, cut a long fabric strip with 3.5 cm width and around 50 cm length.
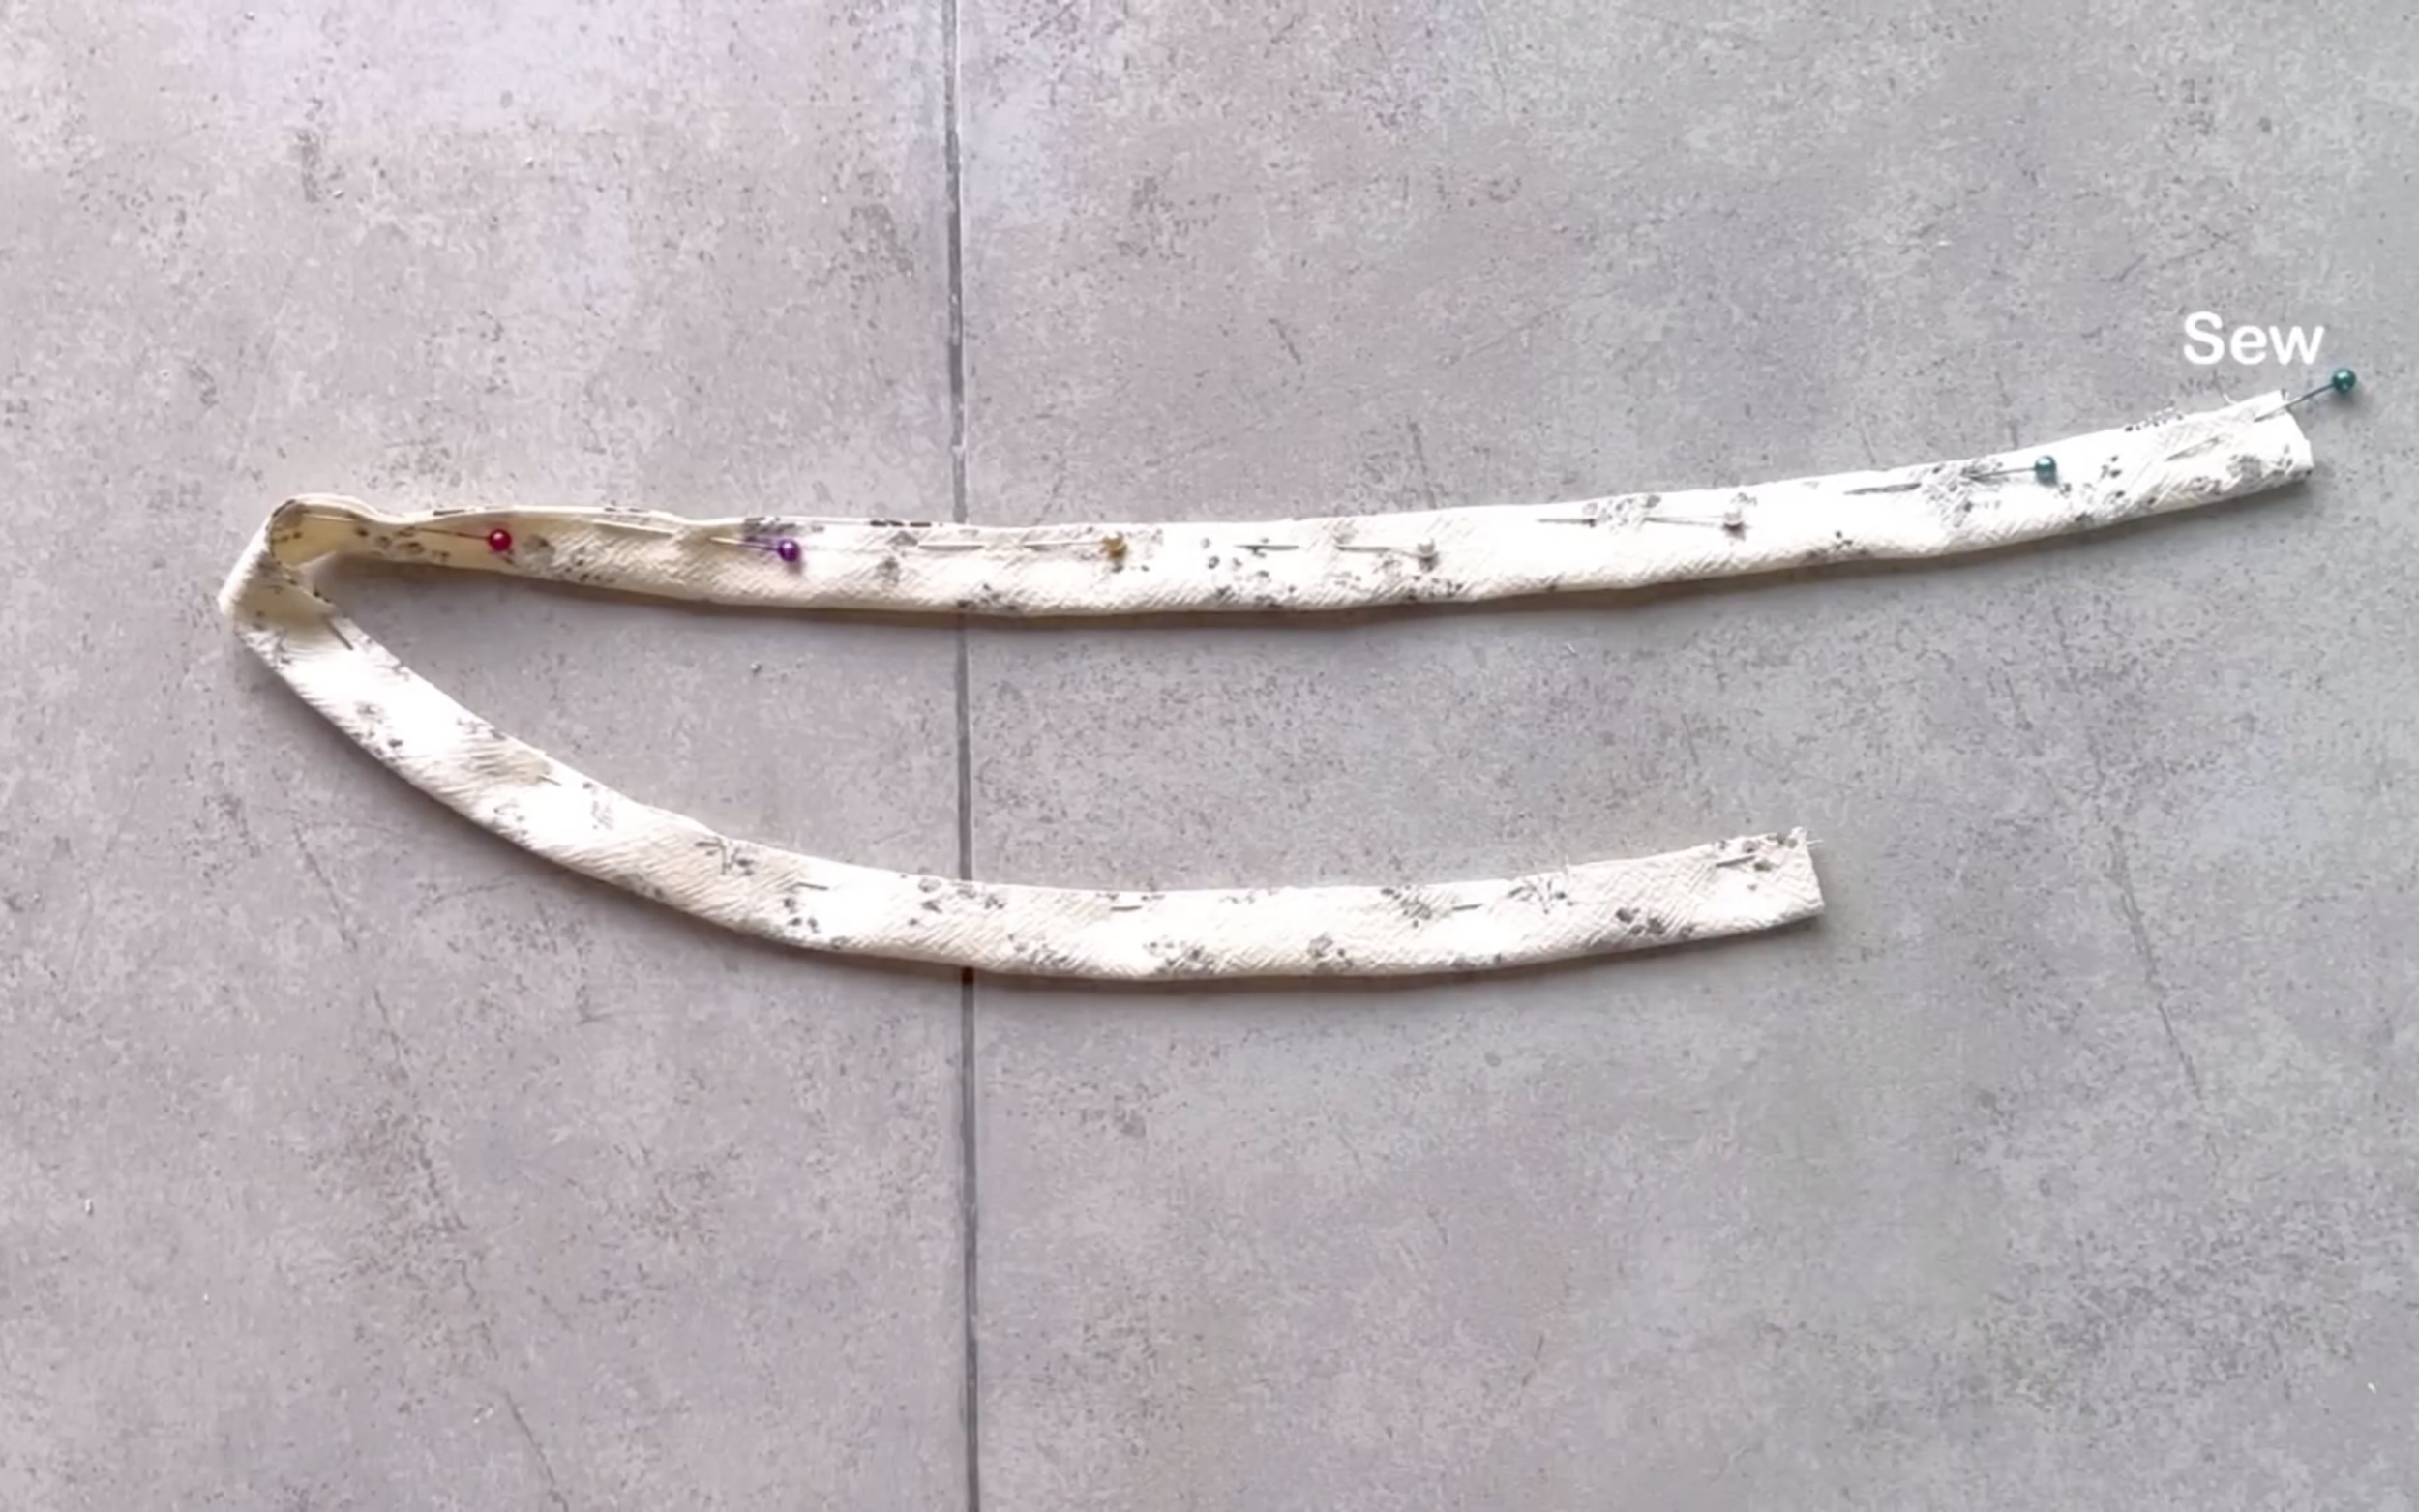
Sew the two length lines and one end of the fabric strip together.
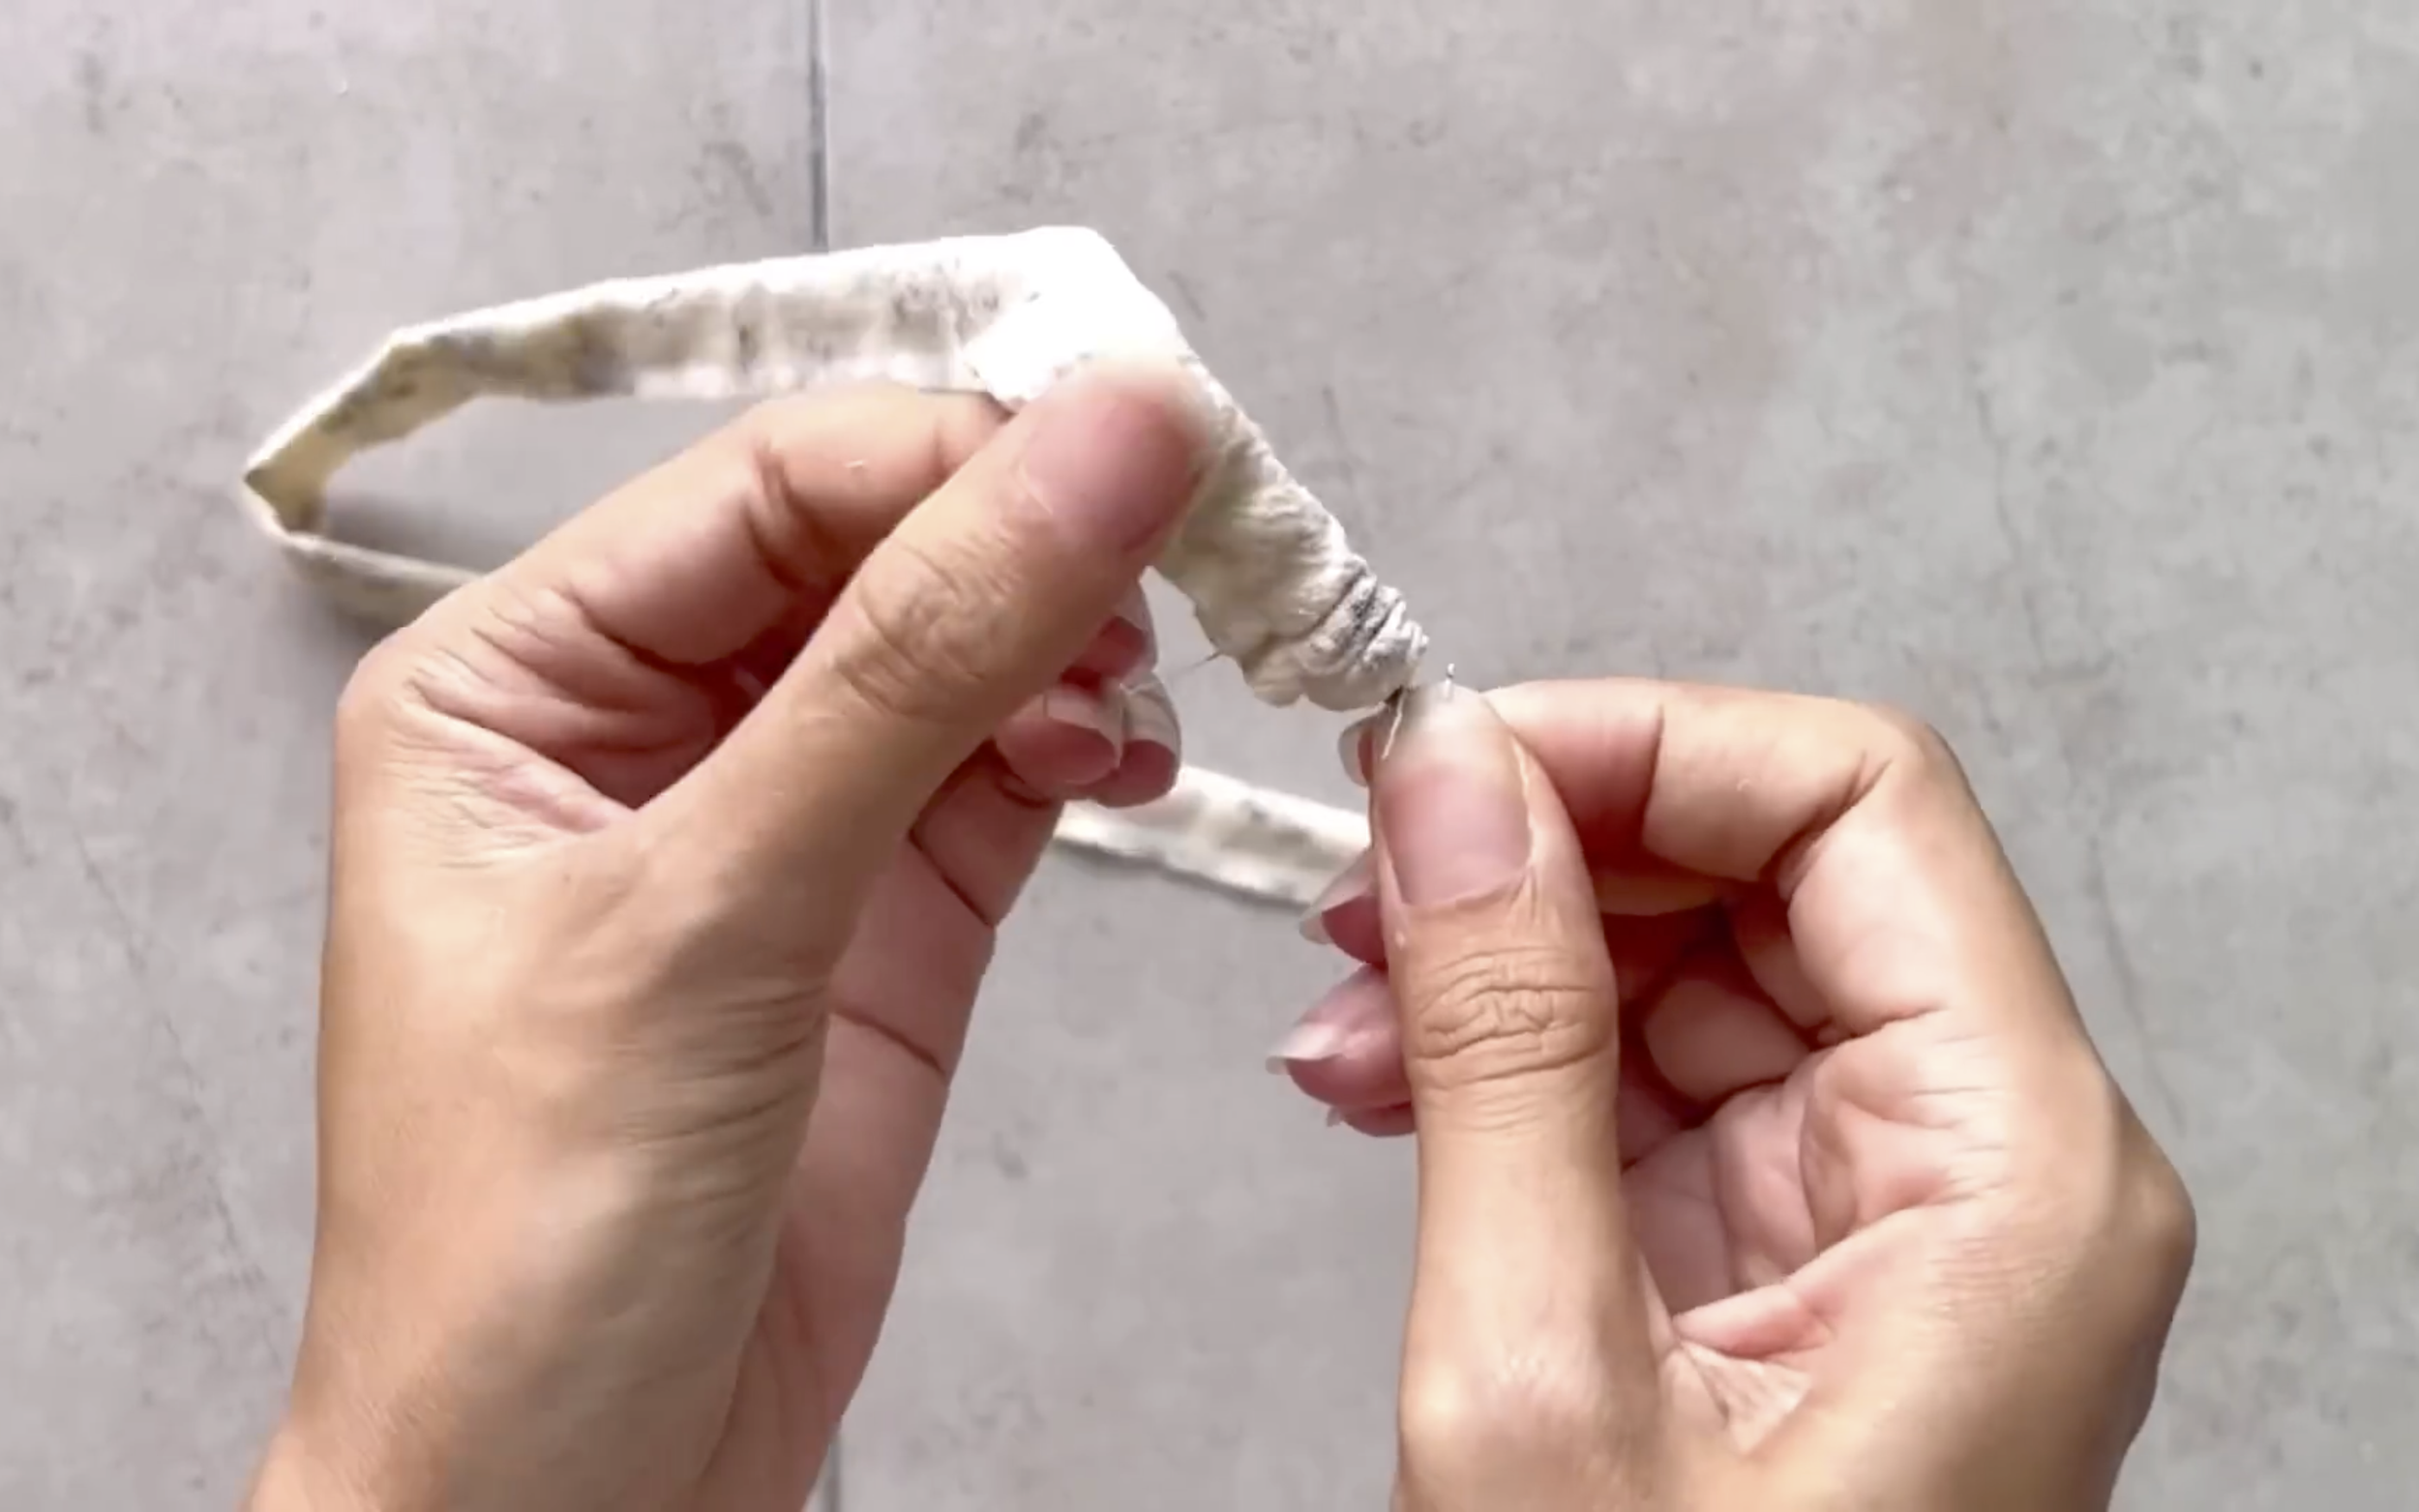
Then turn it inside out.
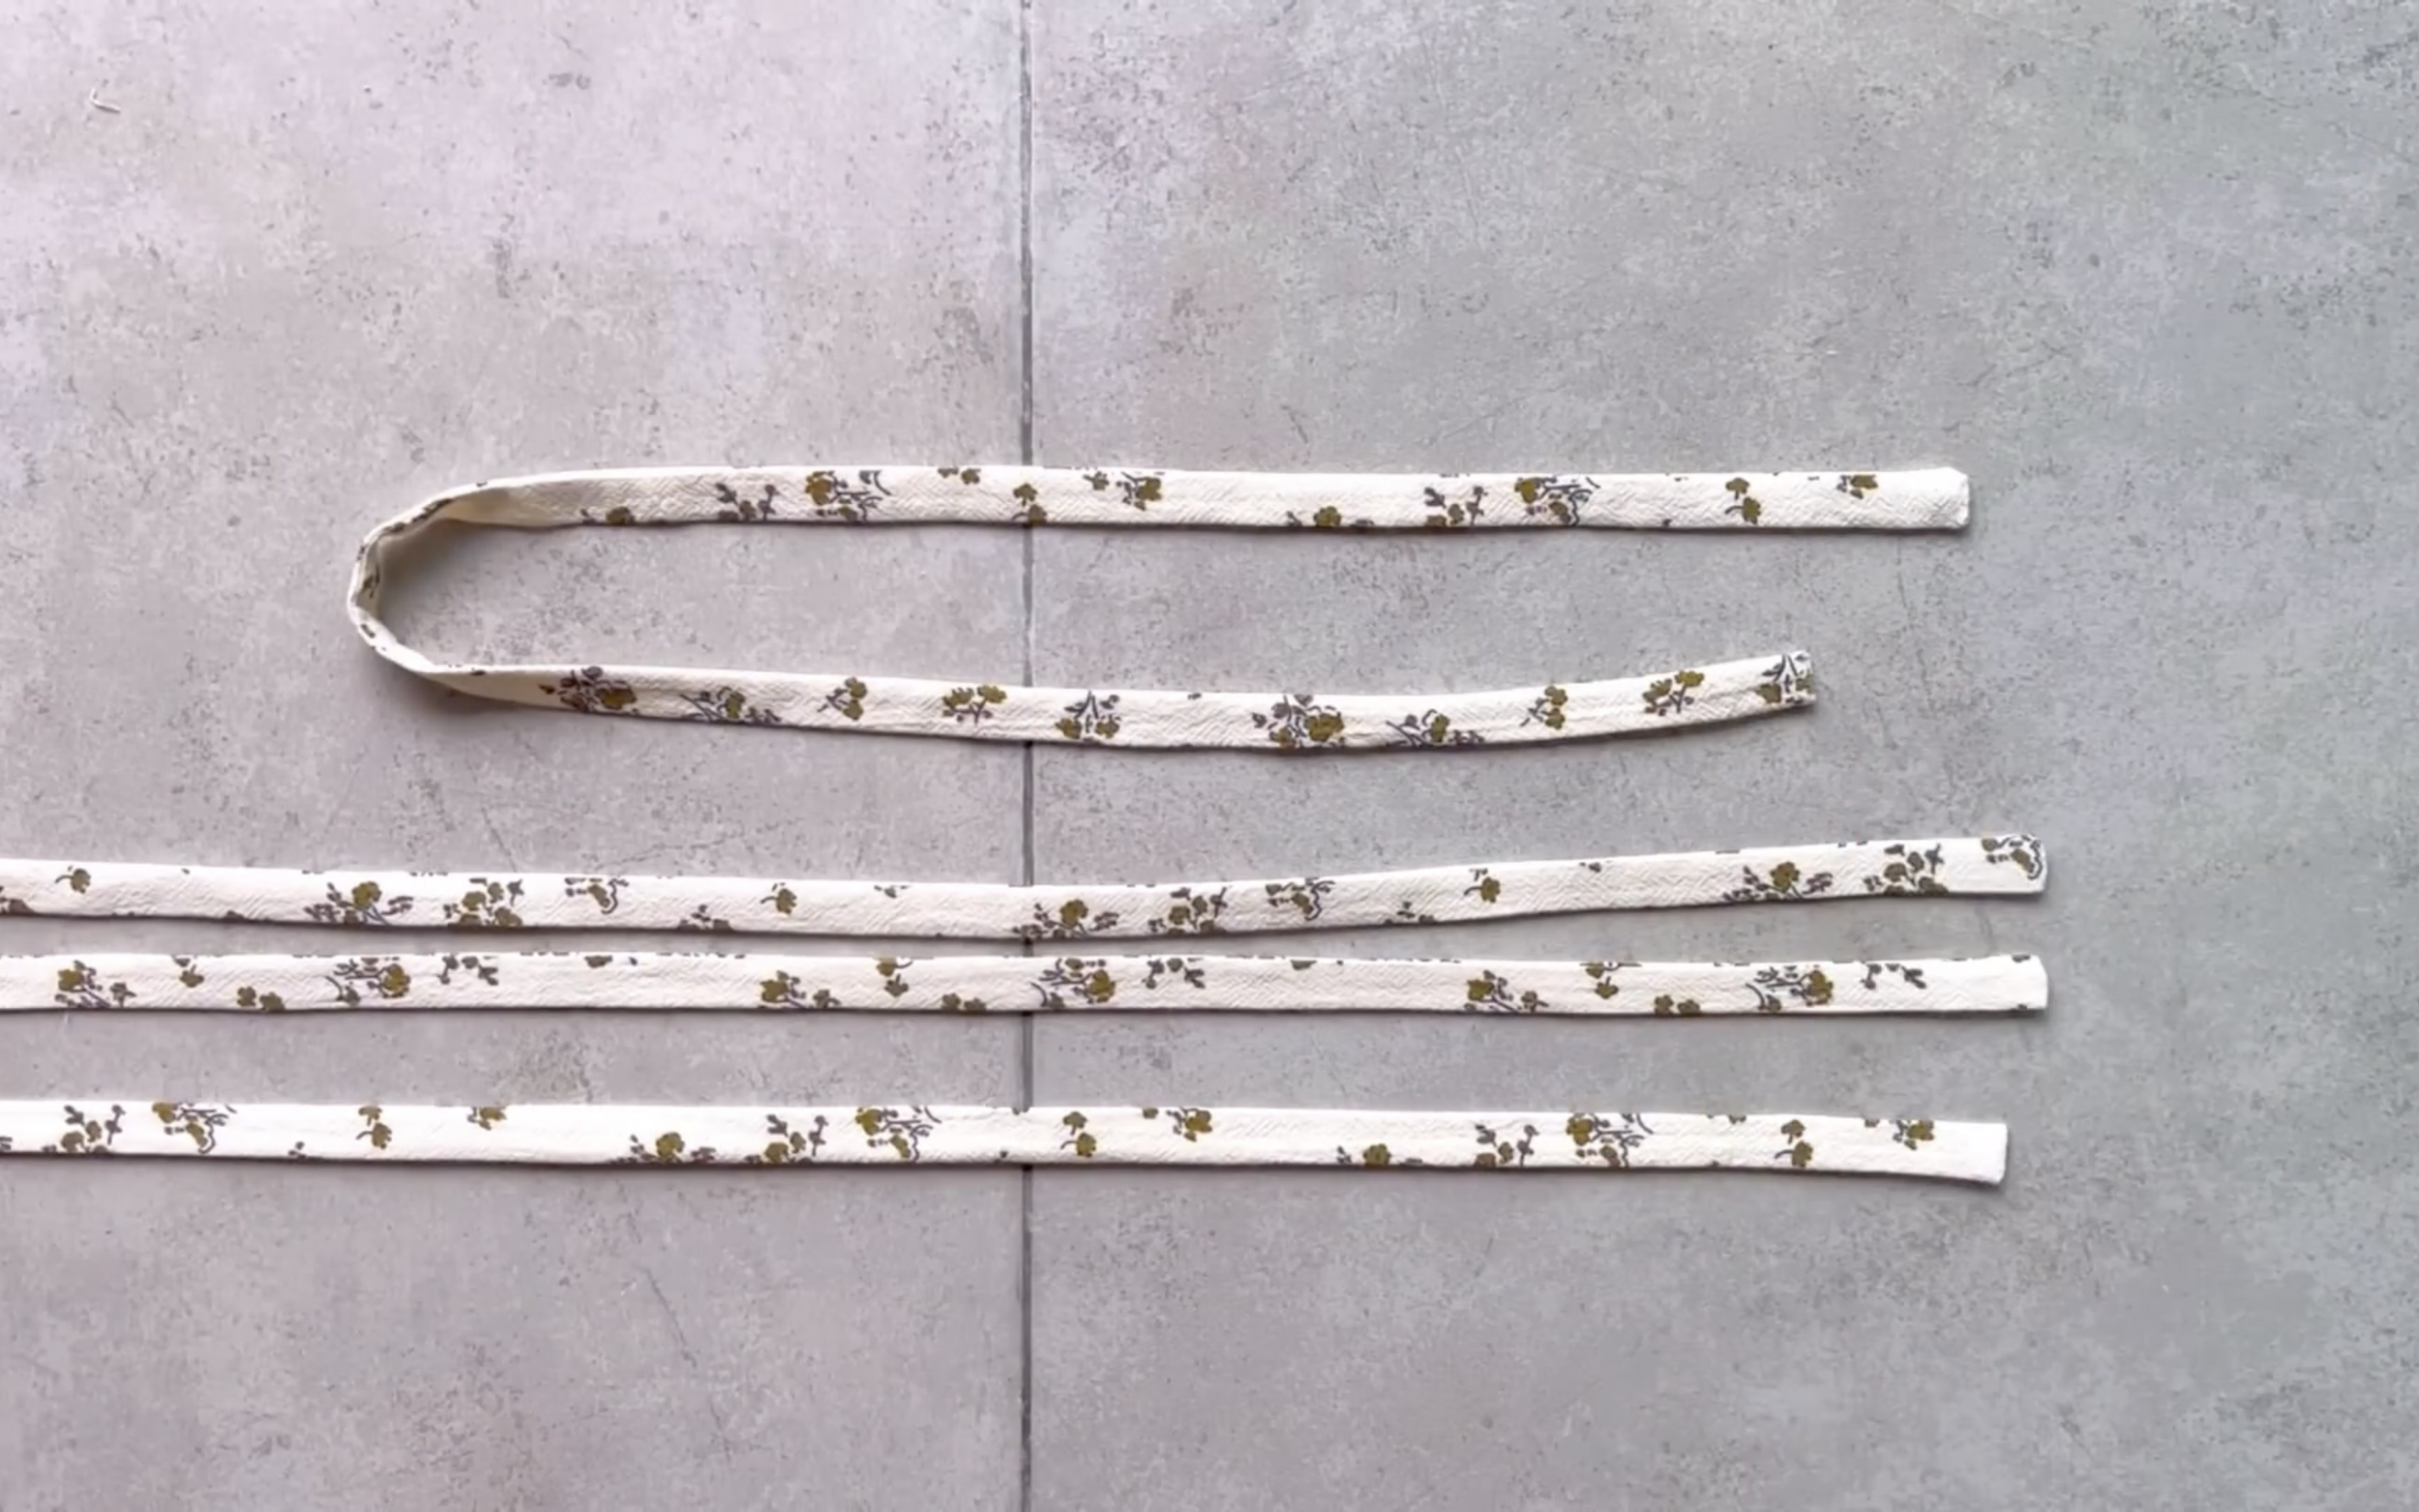
Make 4 pieces like this for the shoulder straps.
Afterward, attach one end of the strap to one end of the neckline.
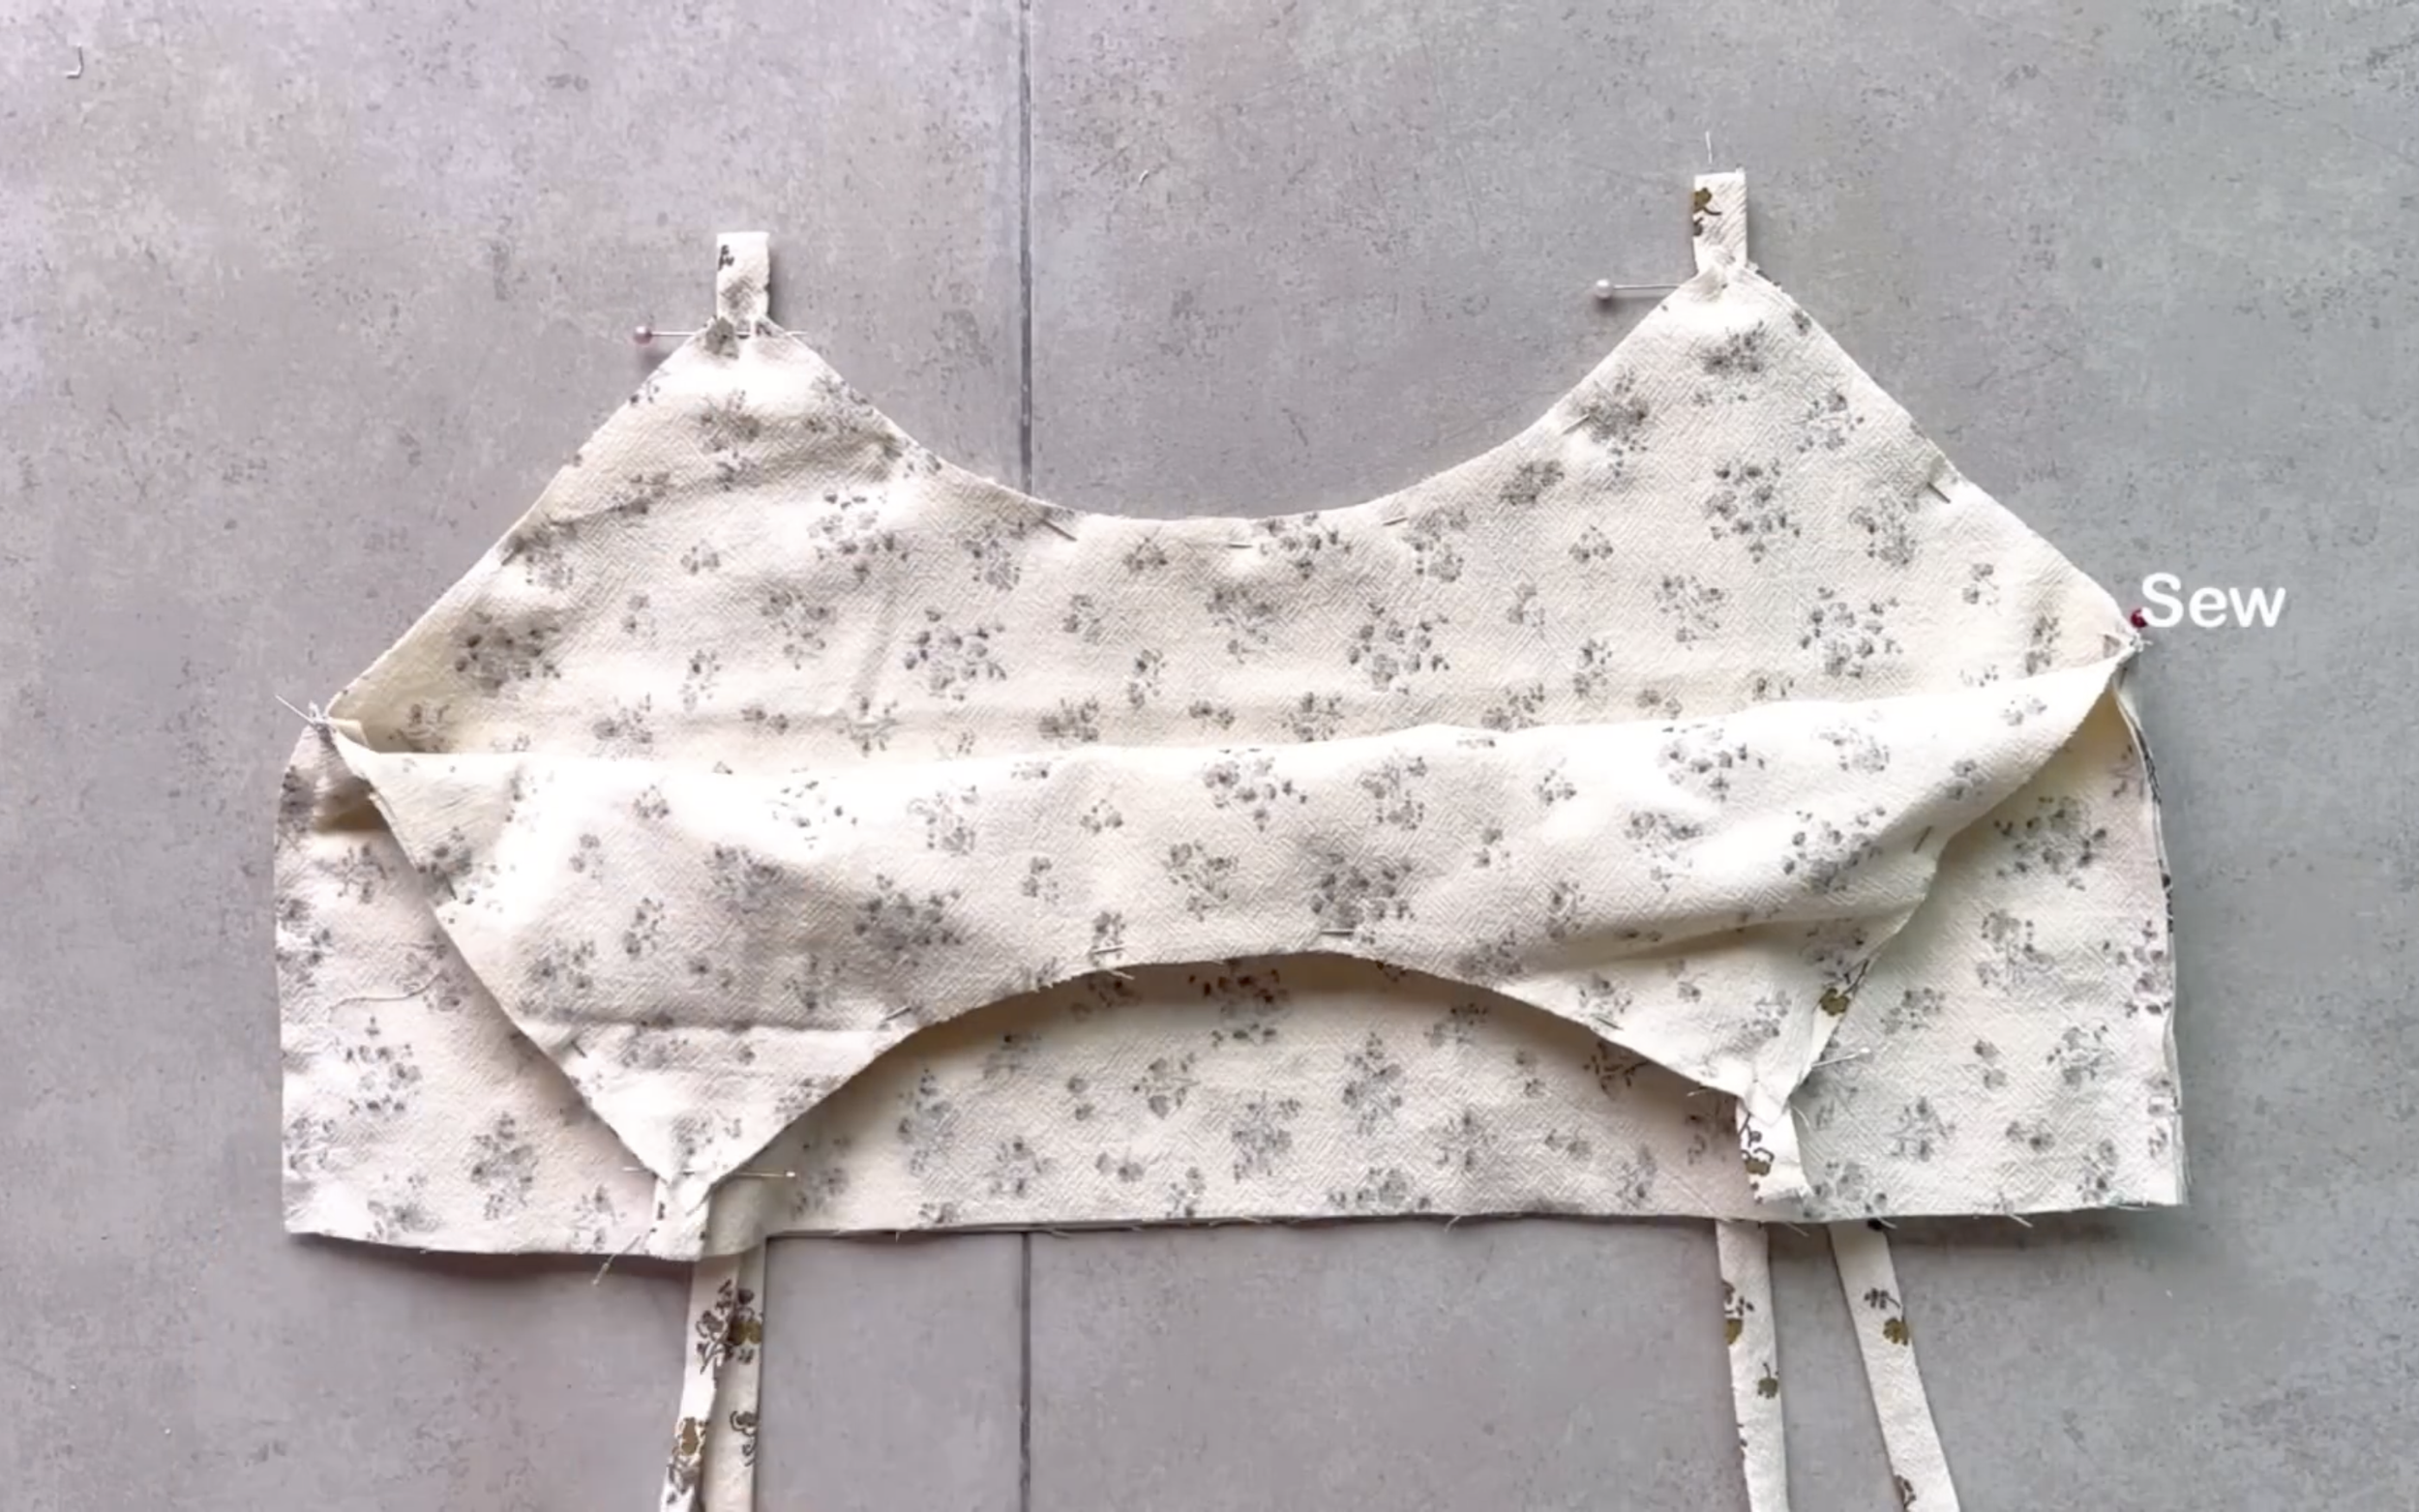
Do the same from the front to the back of the top, then sew them together.
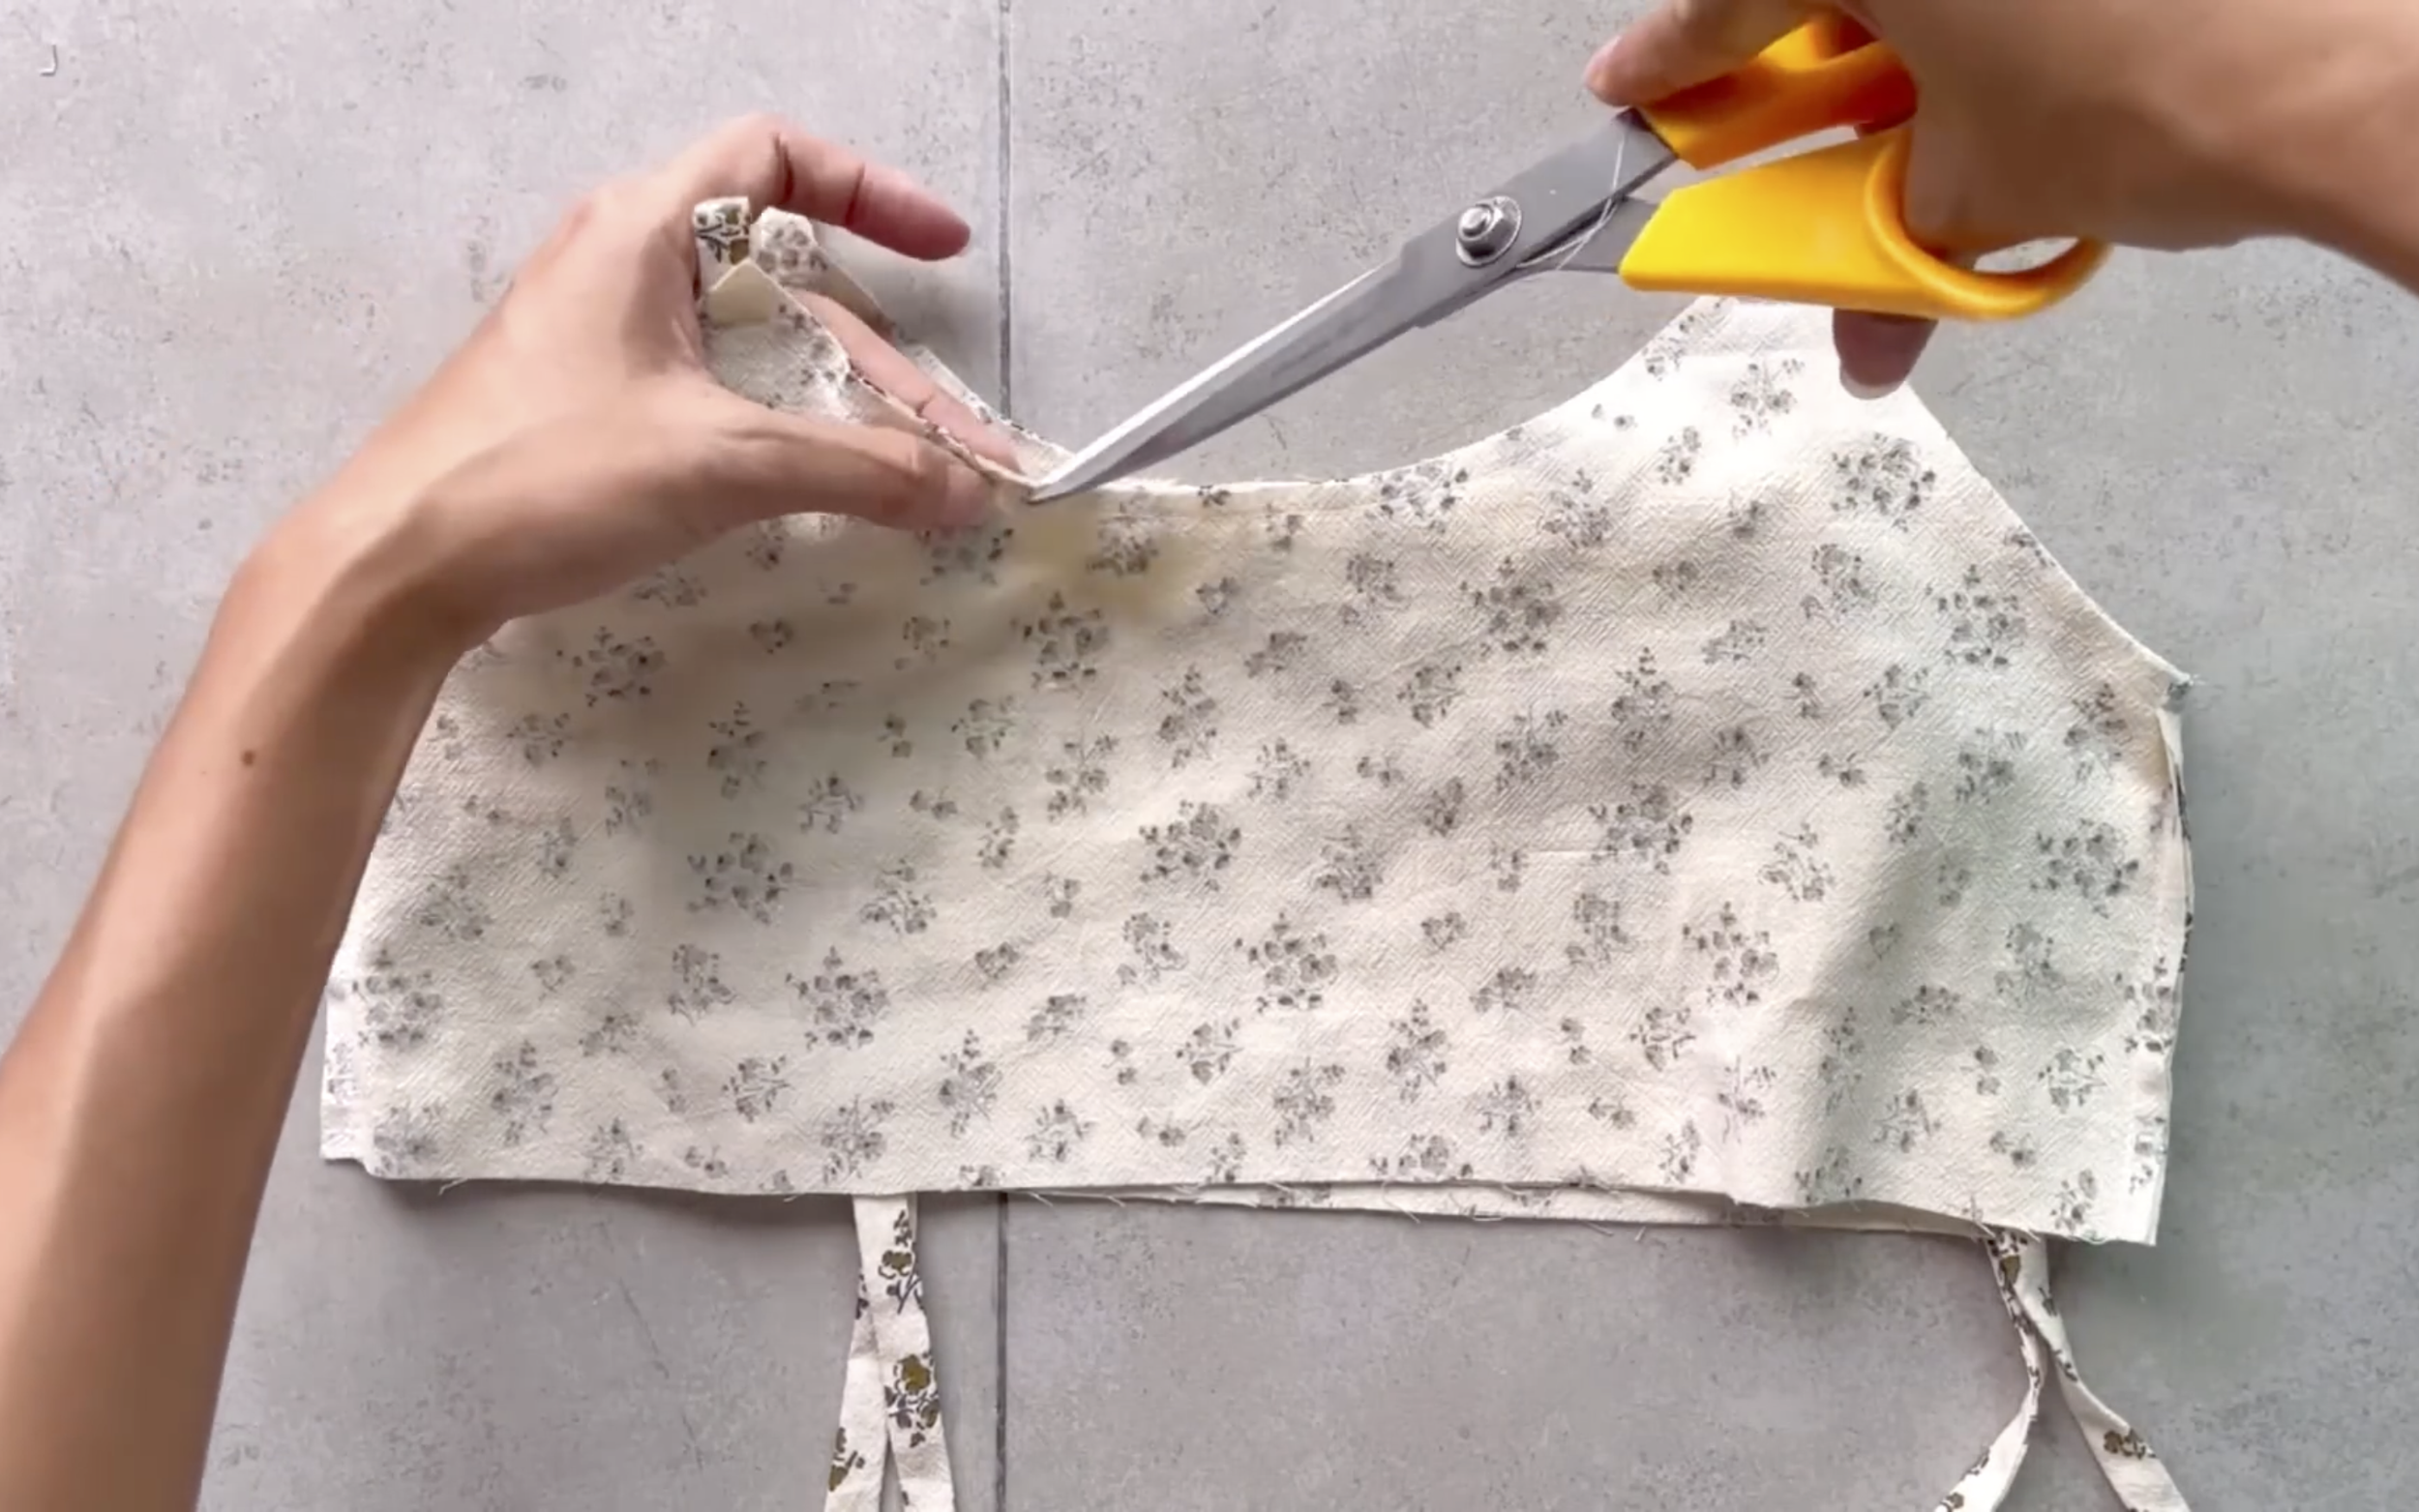
Then make a few small cuts at the curved part of the neck to make it look nicer.
After sewing, turn the top inside out to hide the seam.
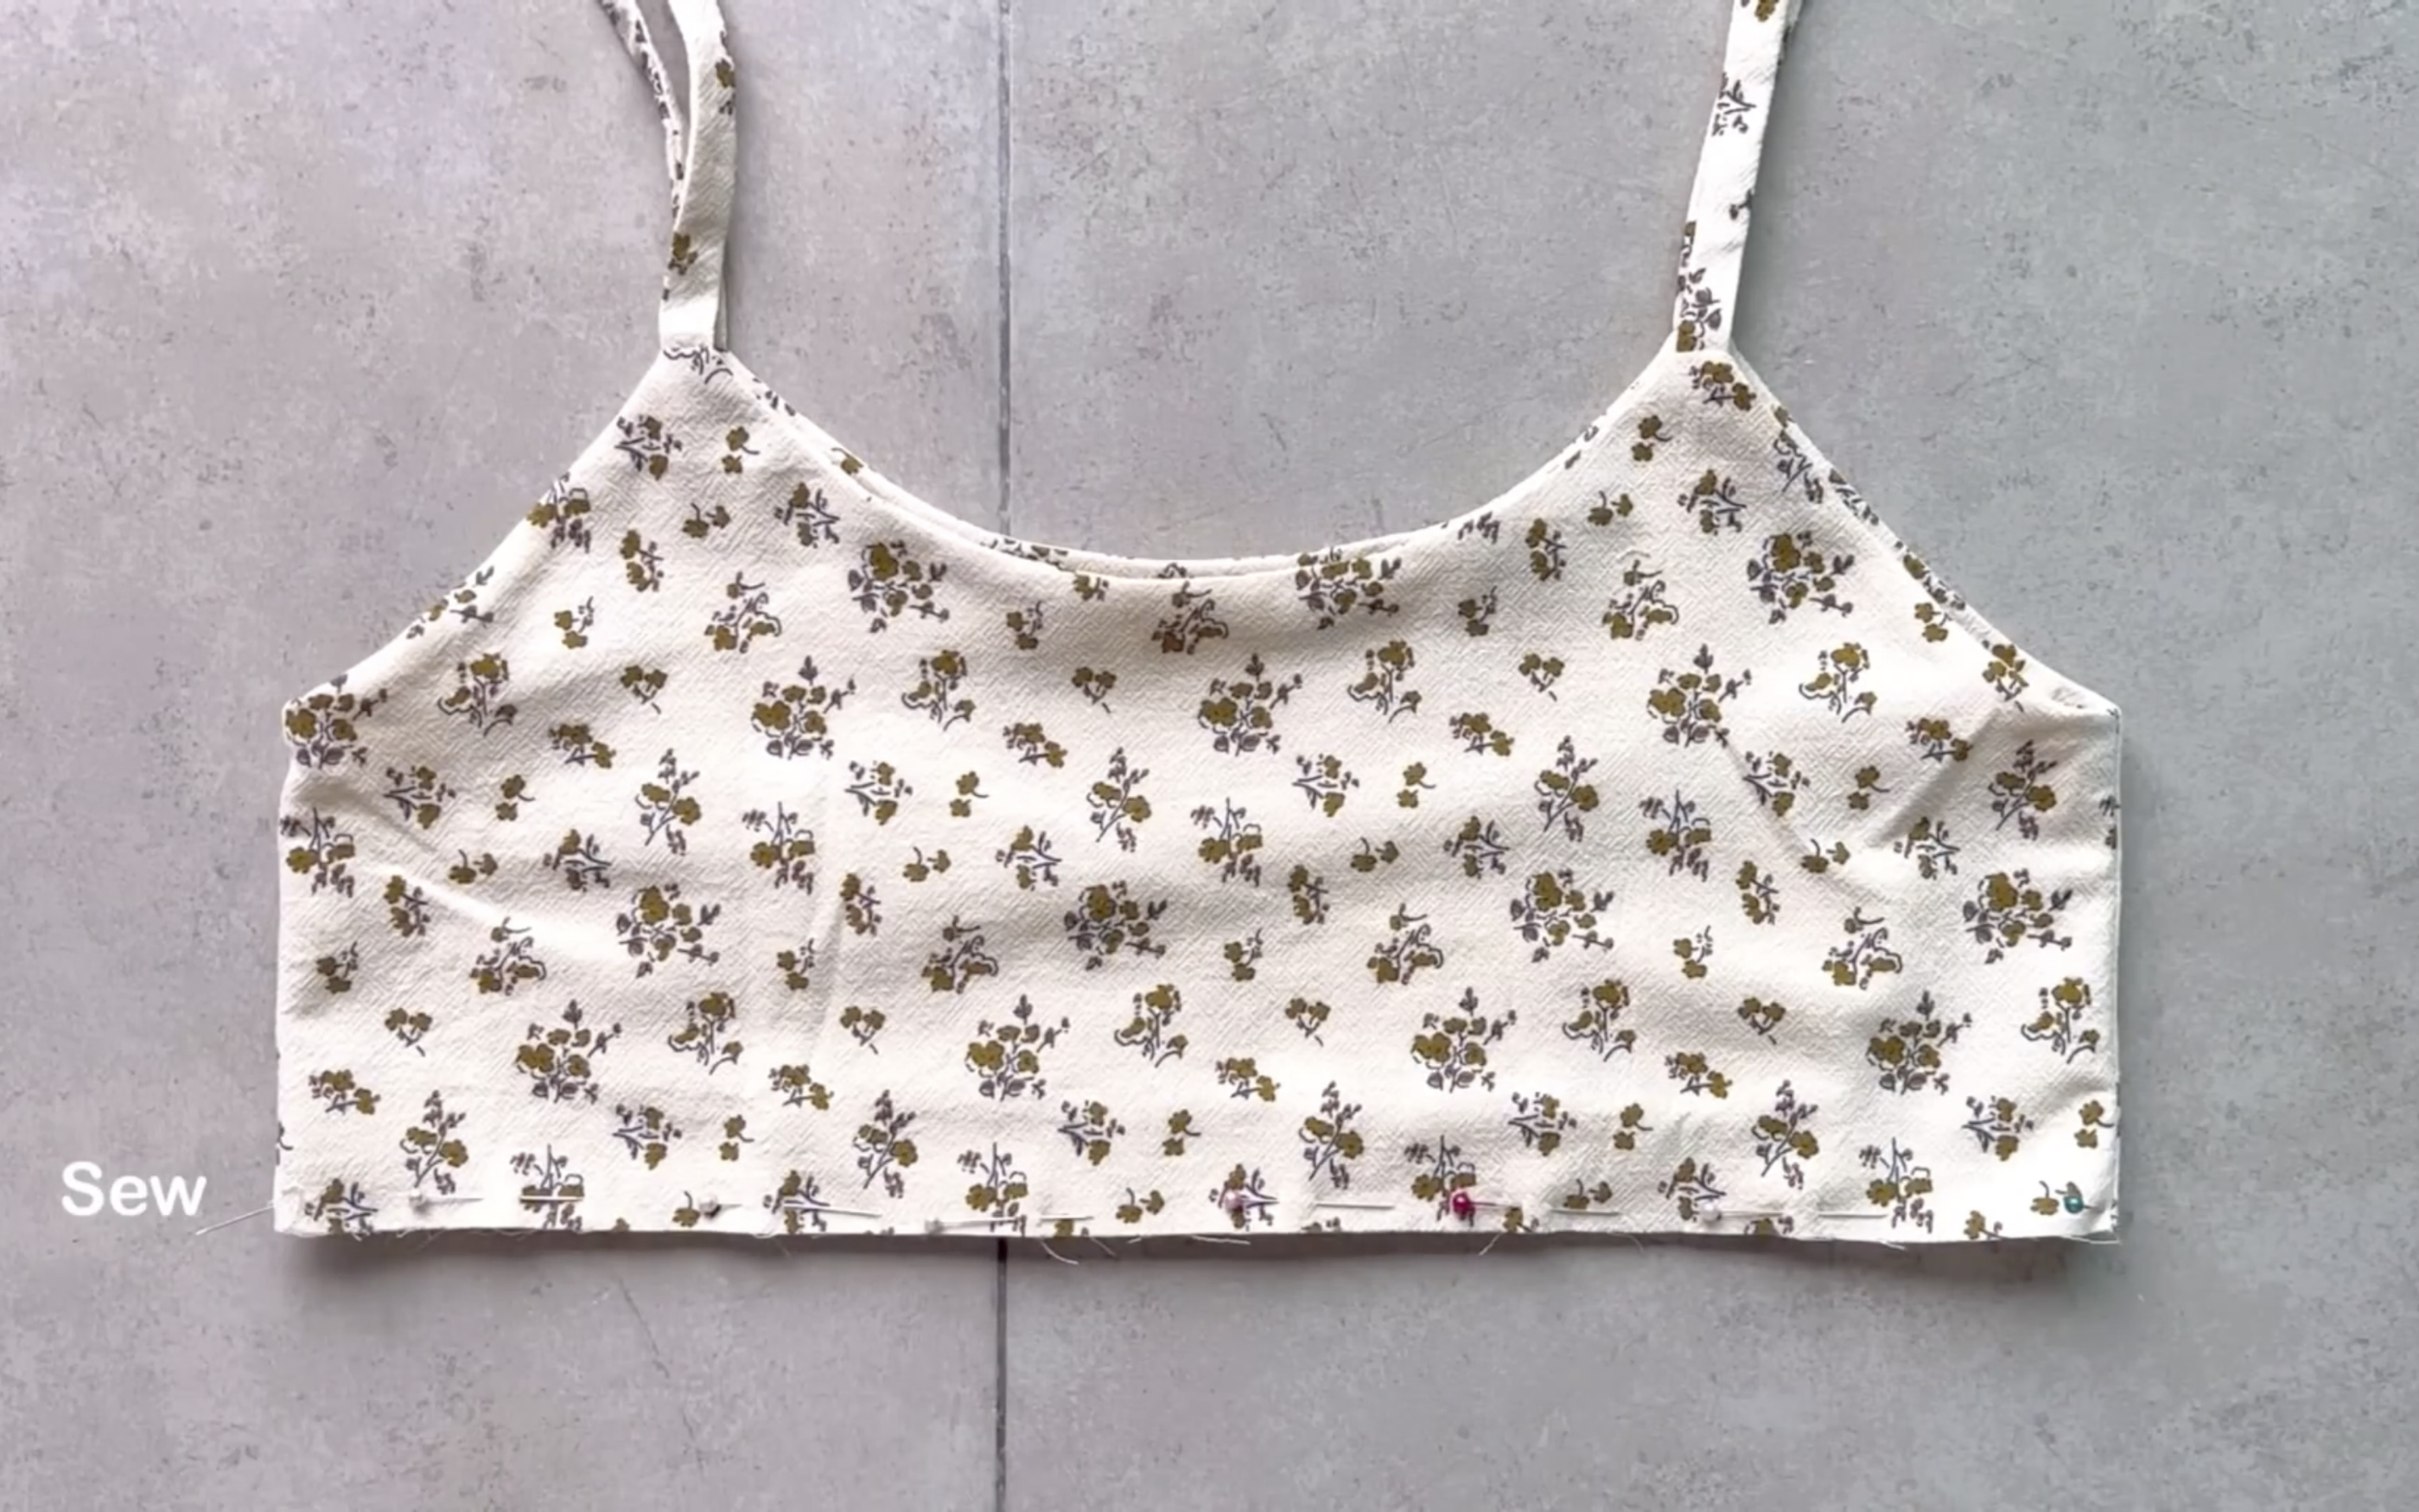
Next, connect the ends of the two top pieces together by overlocking.
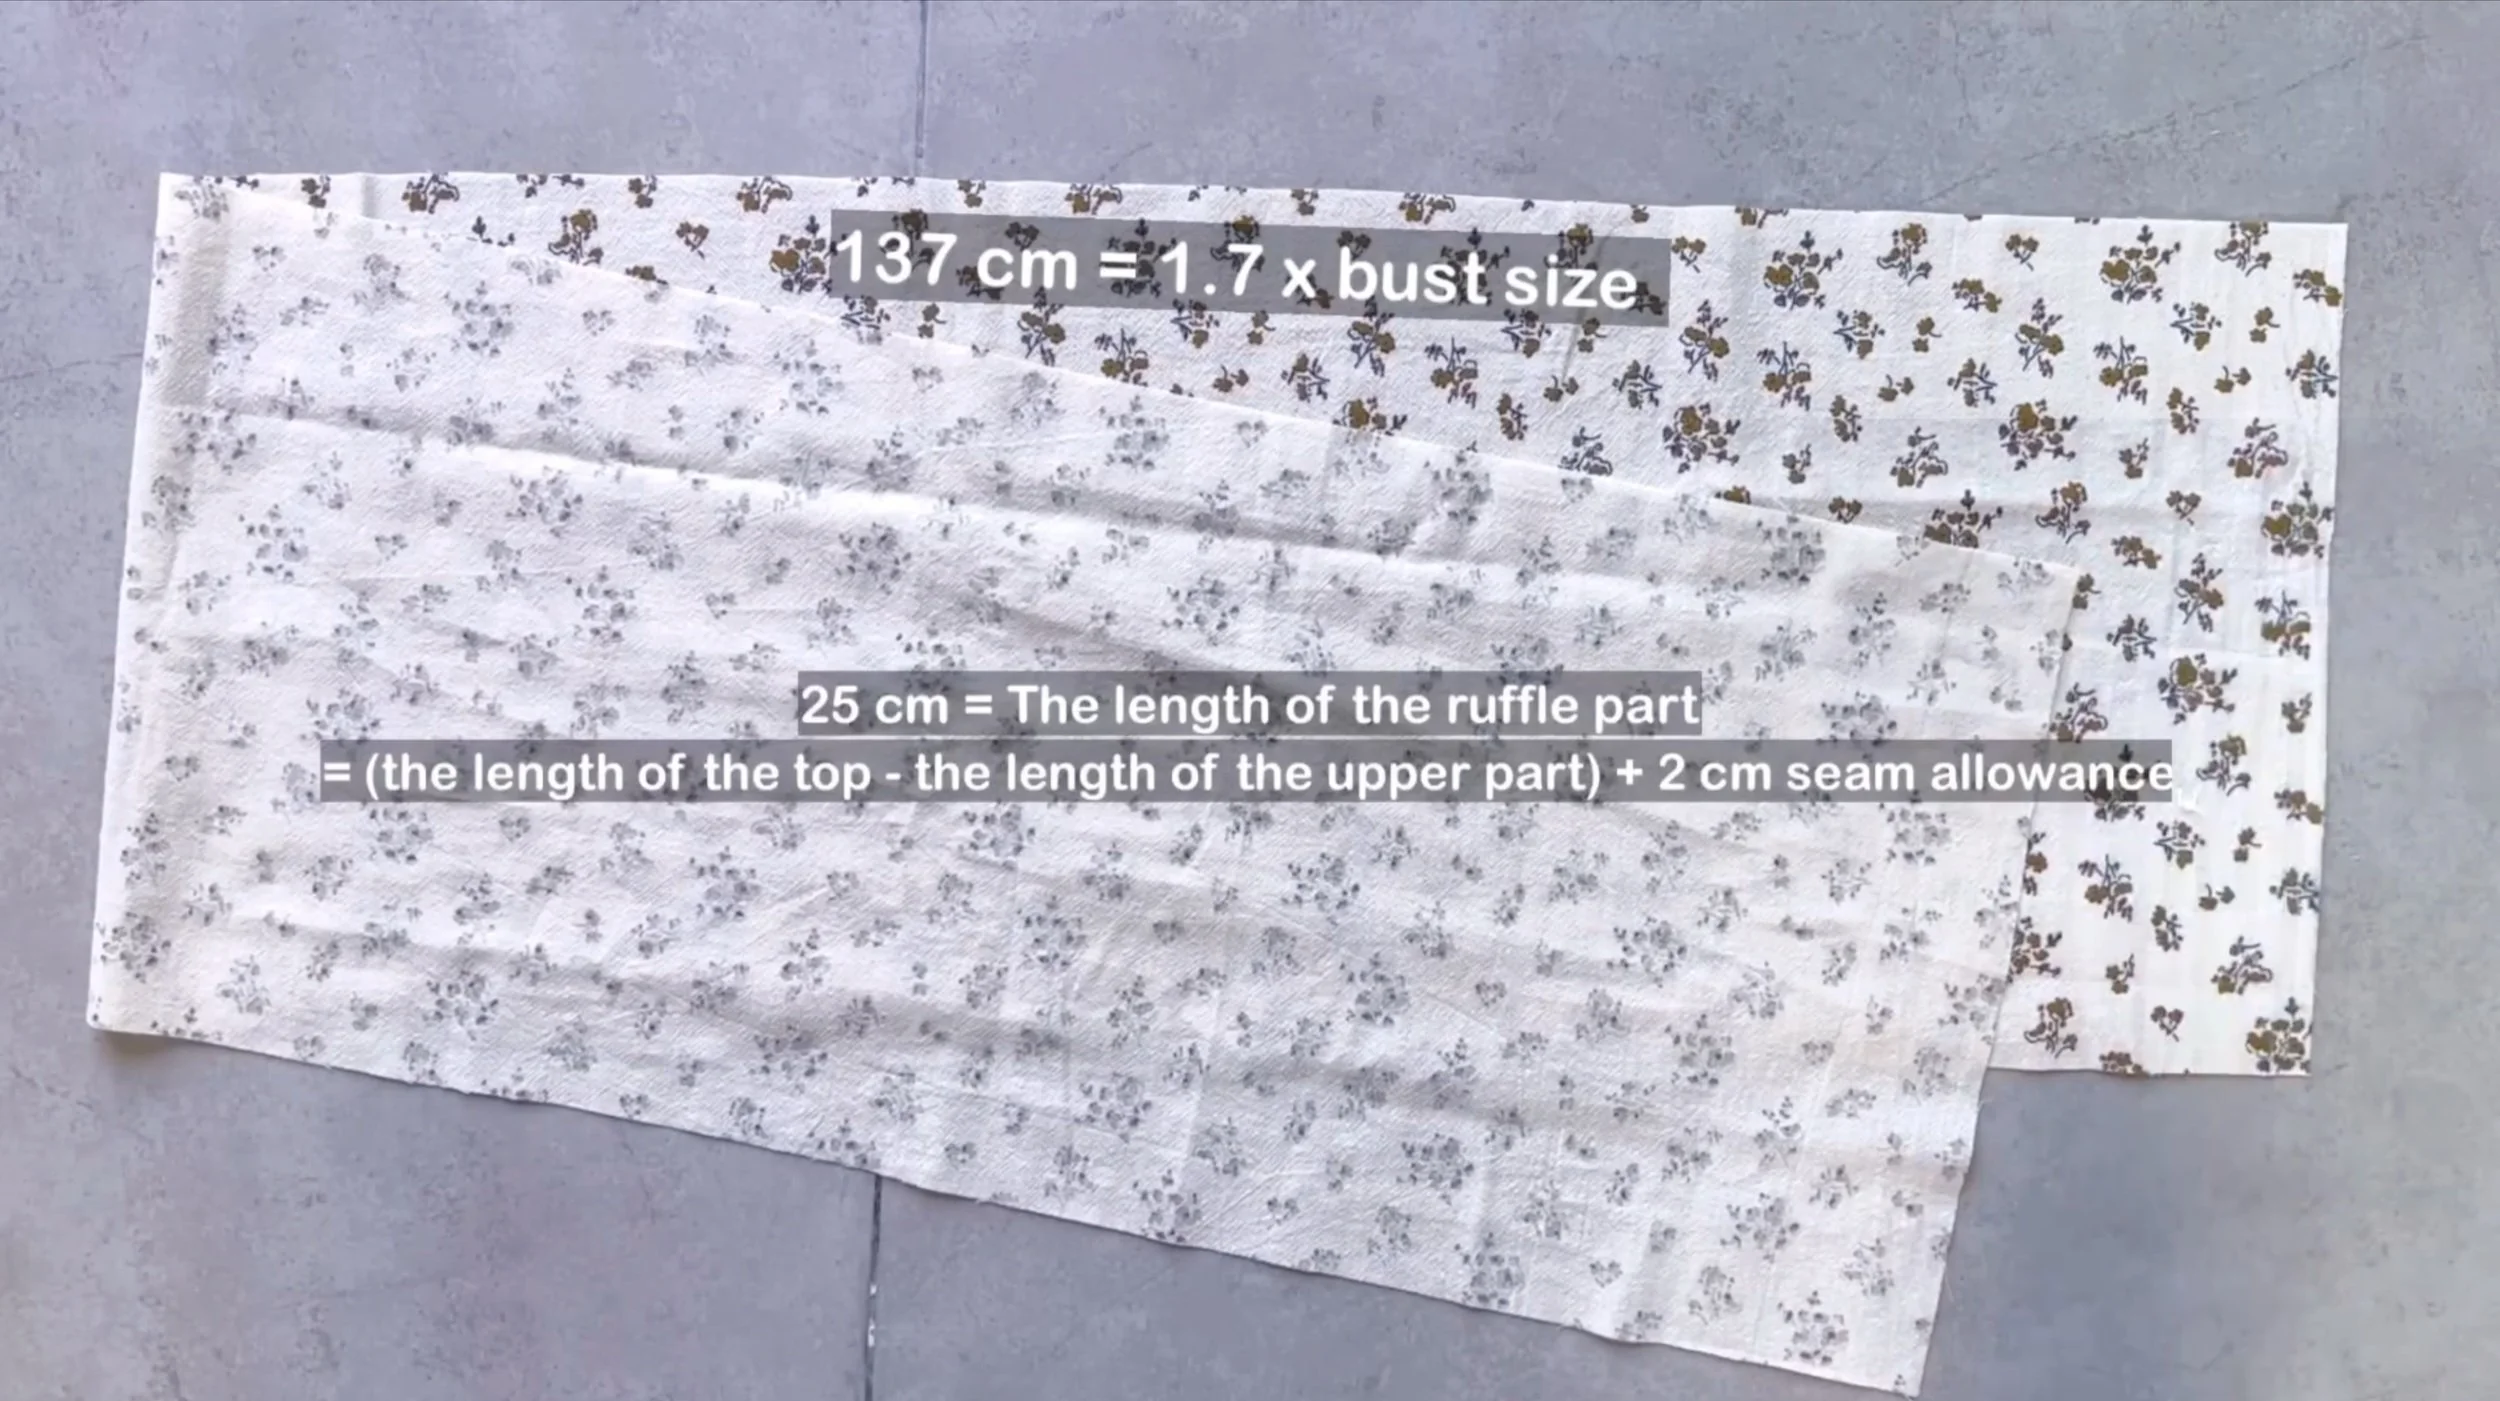
To make the ruffle hem, cut a long fabric strip with 25 cm length, which is the desired ruffle length plus 2 cm for seam allowance. This is also the length of the top minus the top part's length, plus 2 cm for seam allowance.
Connect two length lines of the rectangle together to create a circle of fabric.
On one side of the circle fabric, fold the edge twice and sew to finish it.
On the other side of the circle fabric, overlock the edge first, then make a loose seam.
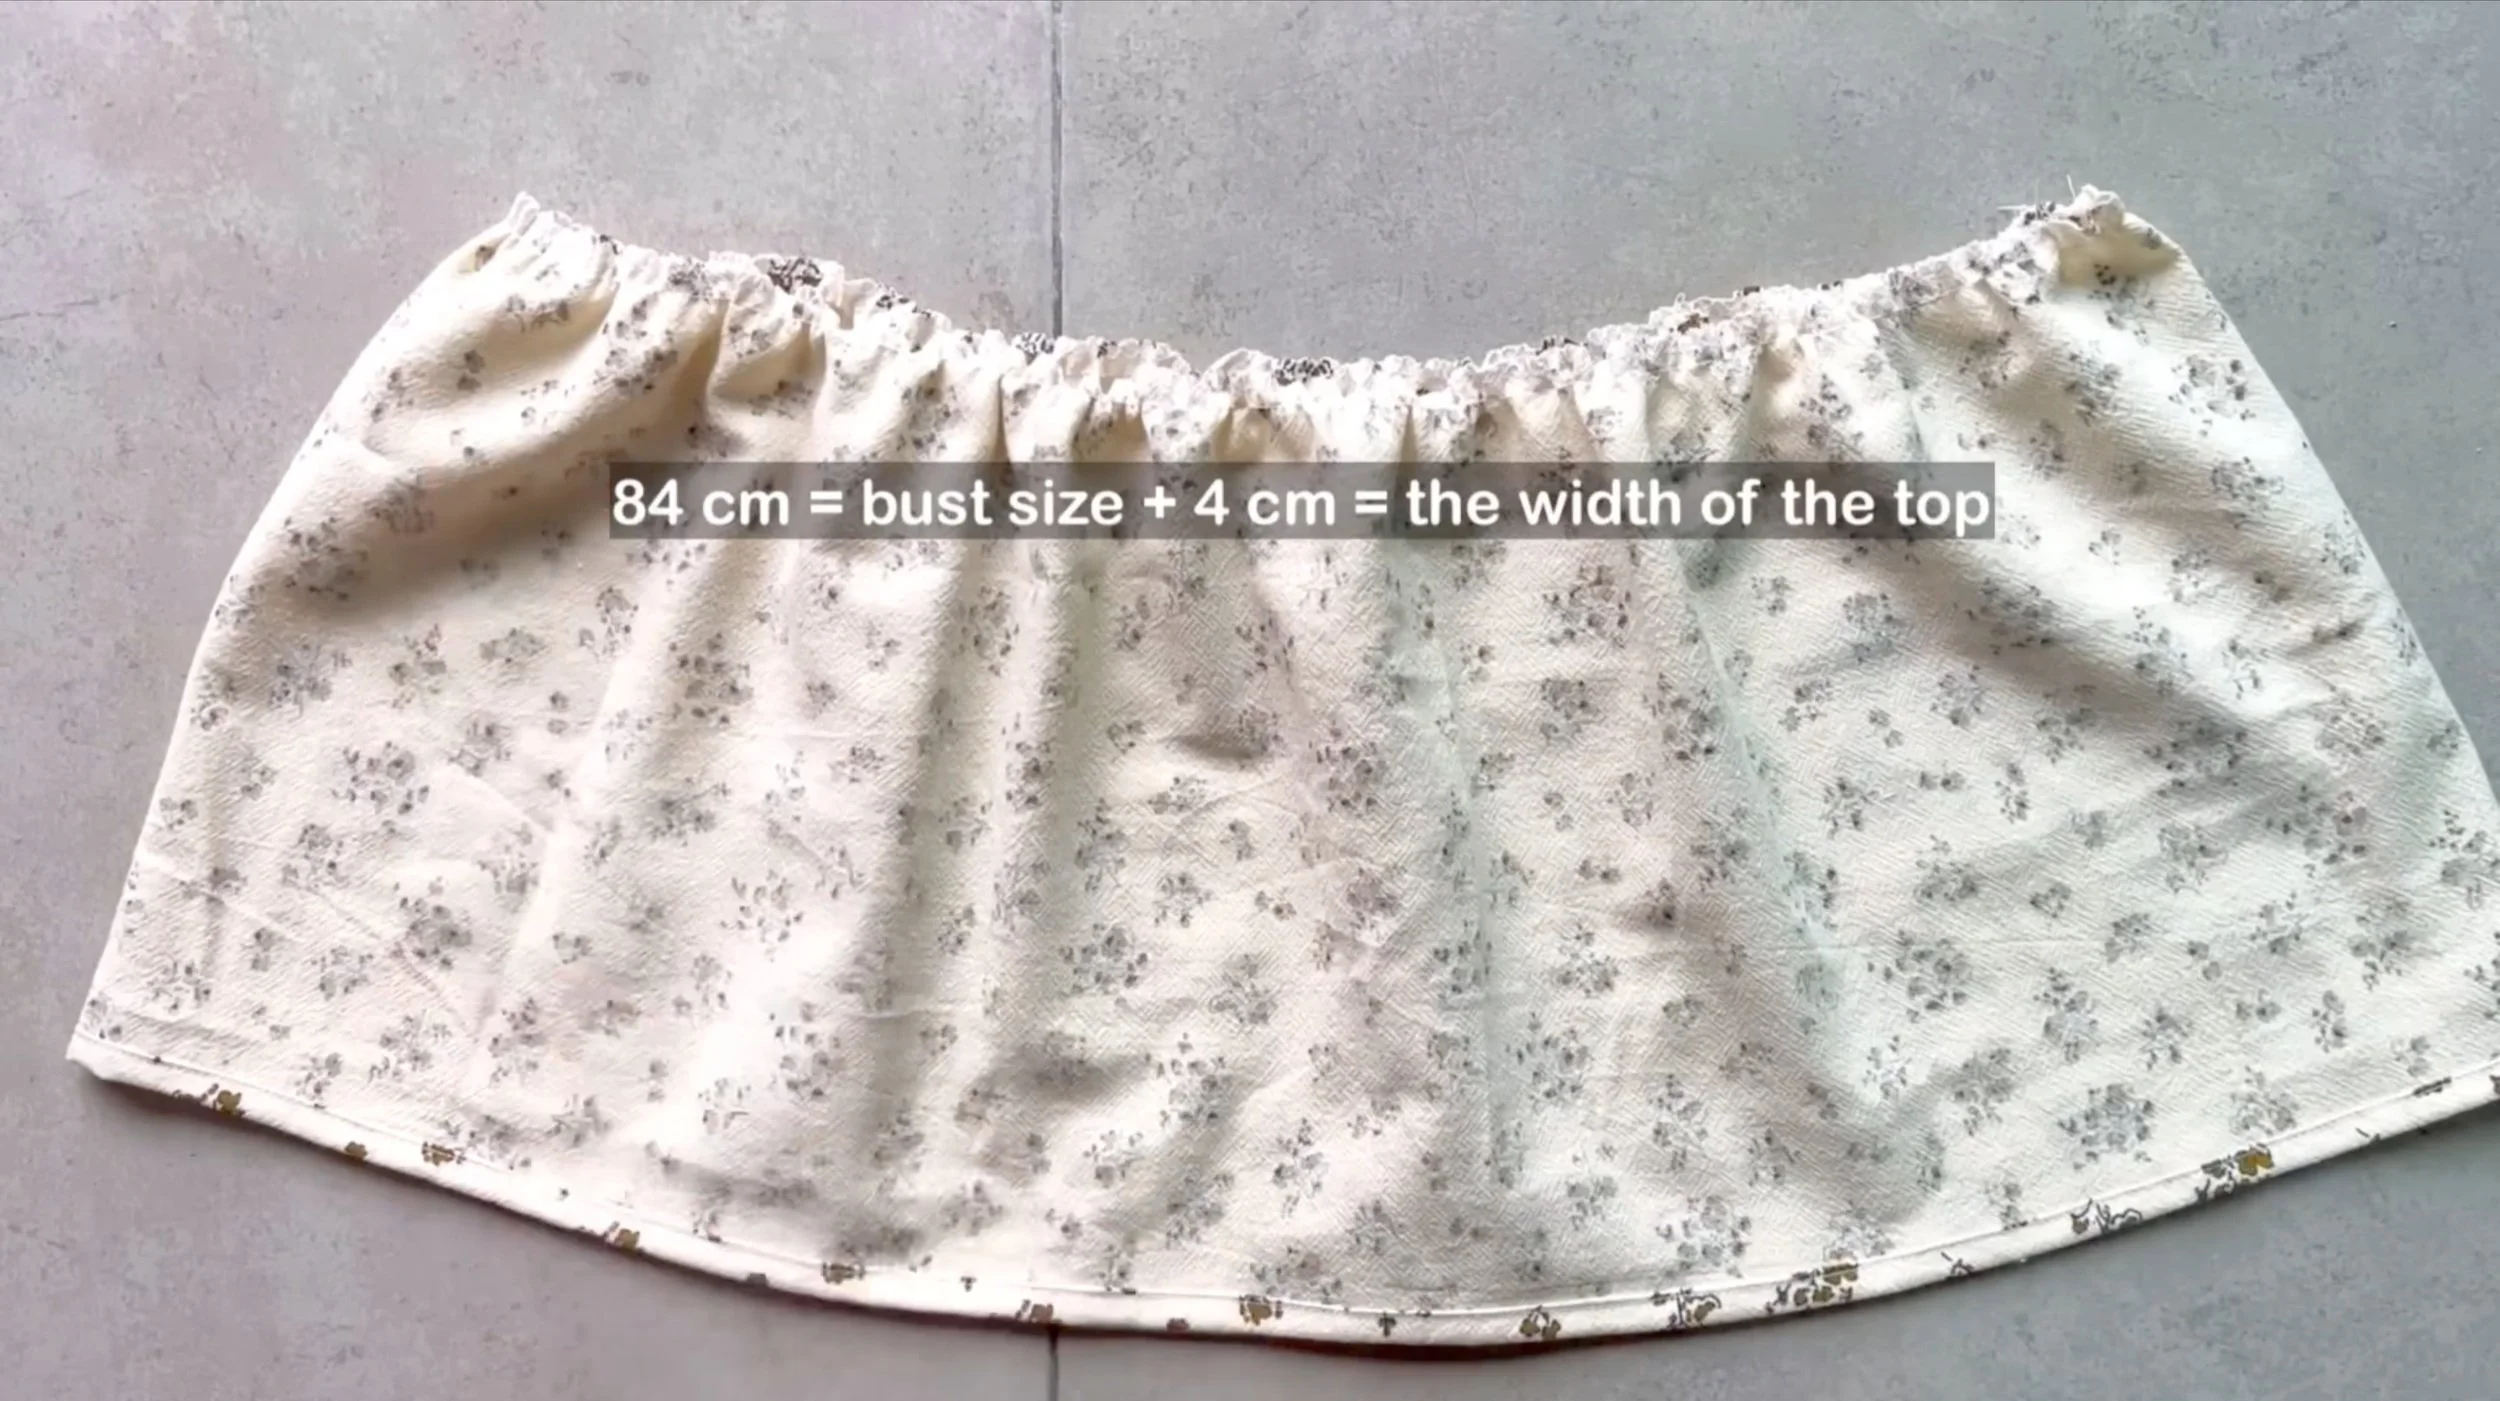
The final width of the gathered fabric will be 84 cm, which is twice the width of the desired top, so the ruffle part can be connected to the top part.
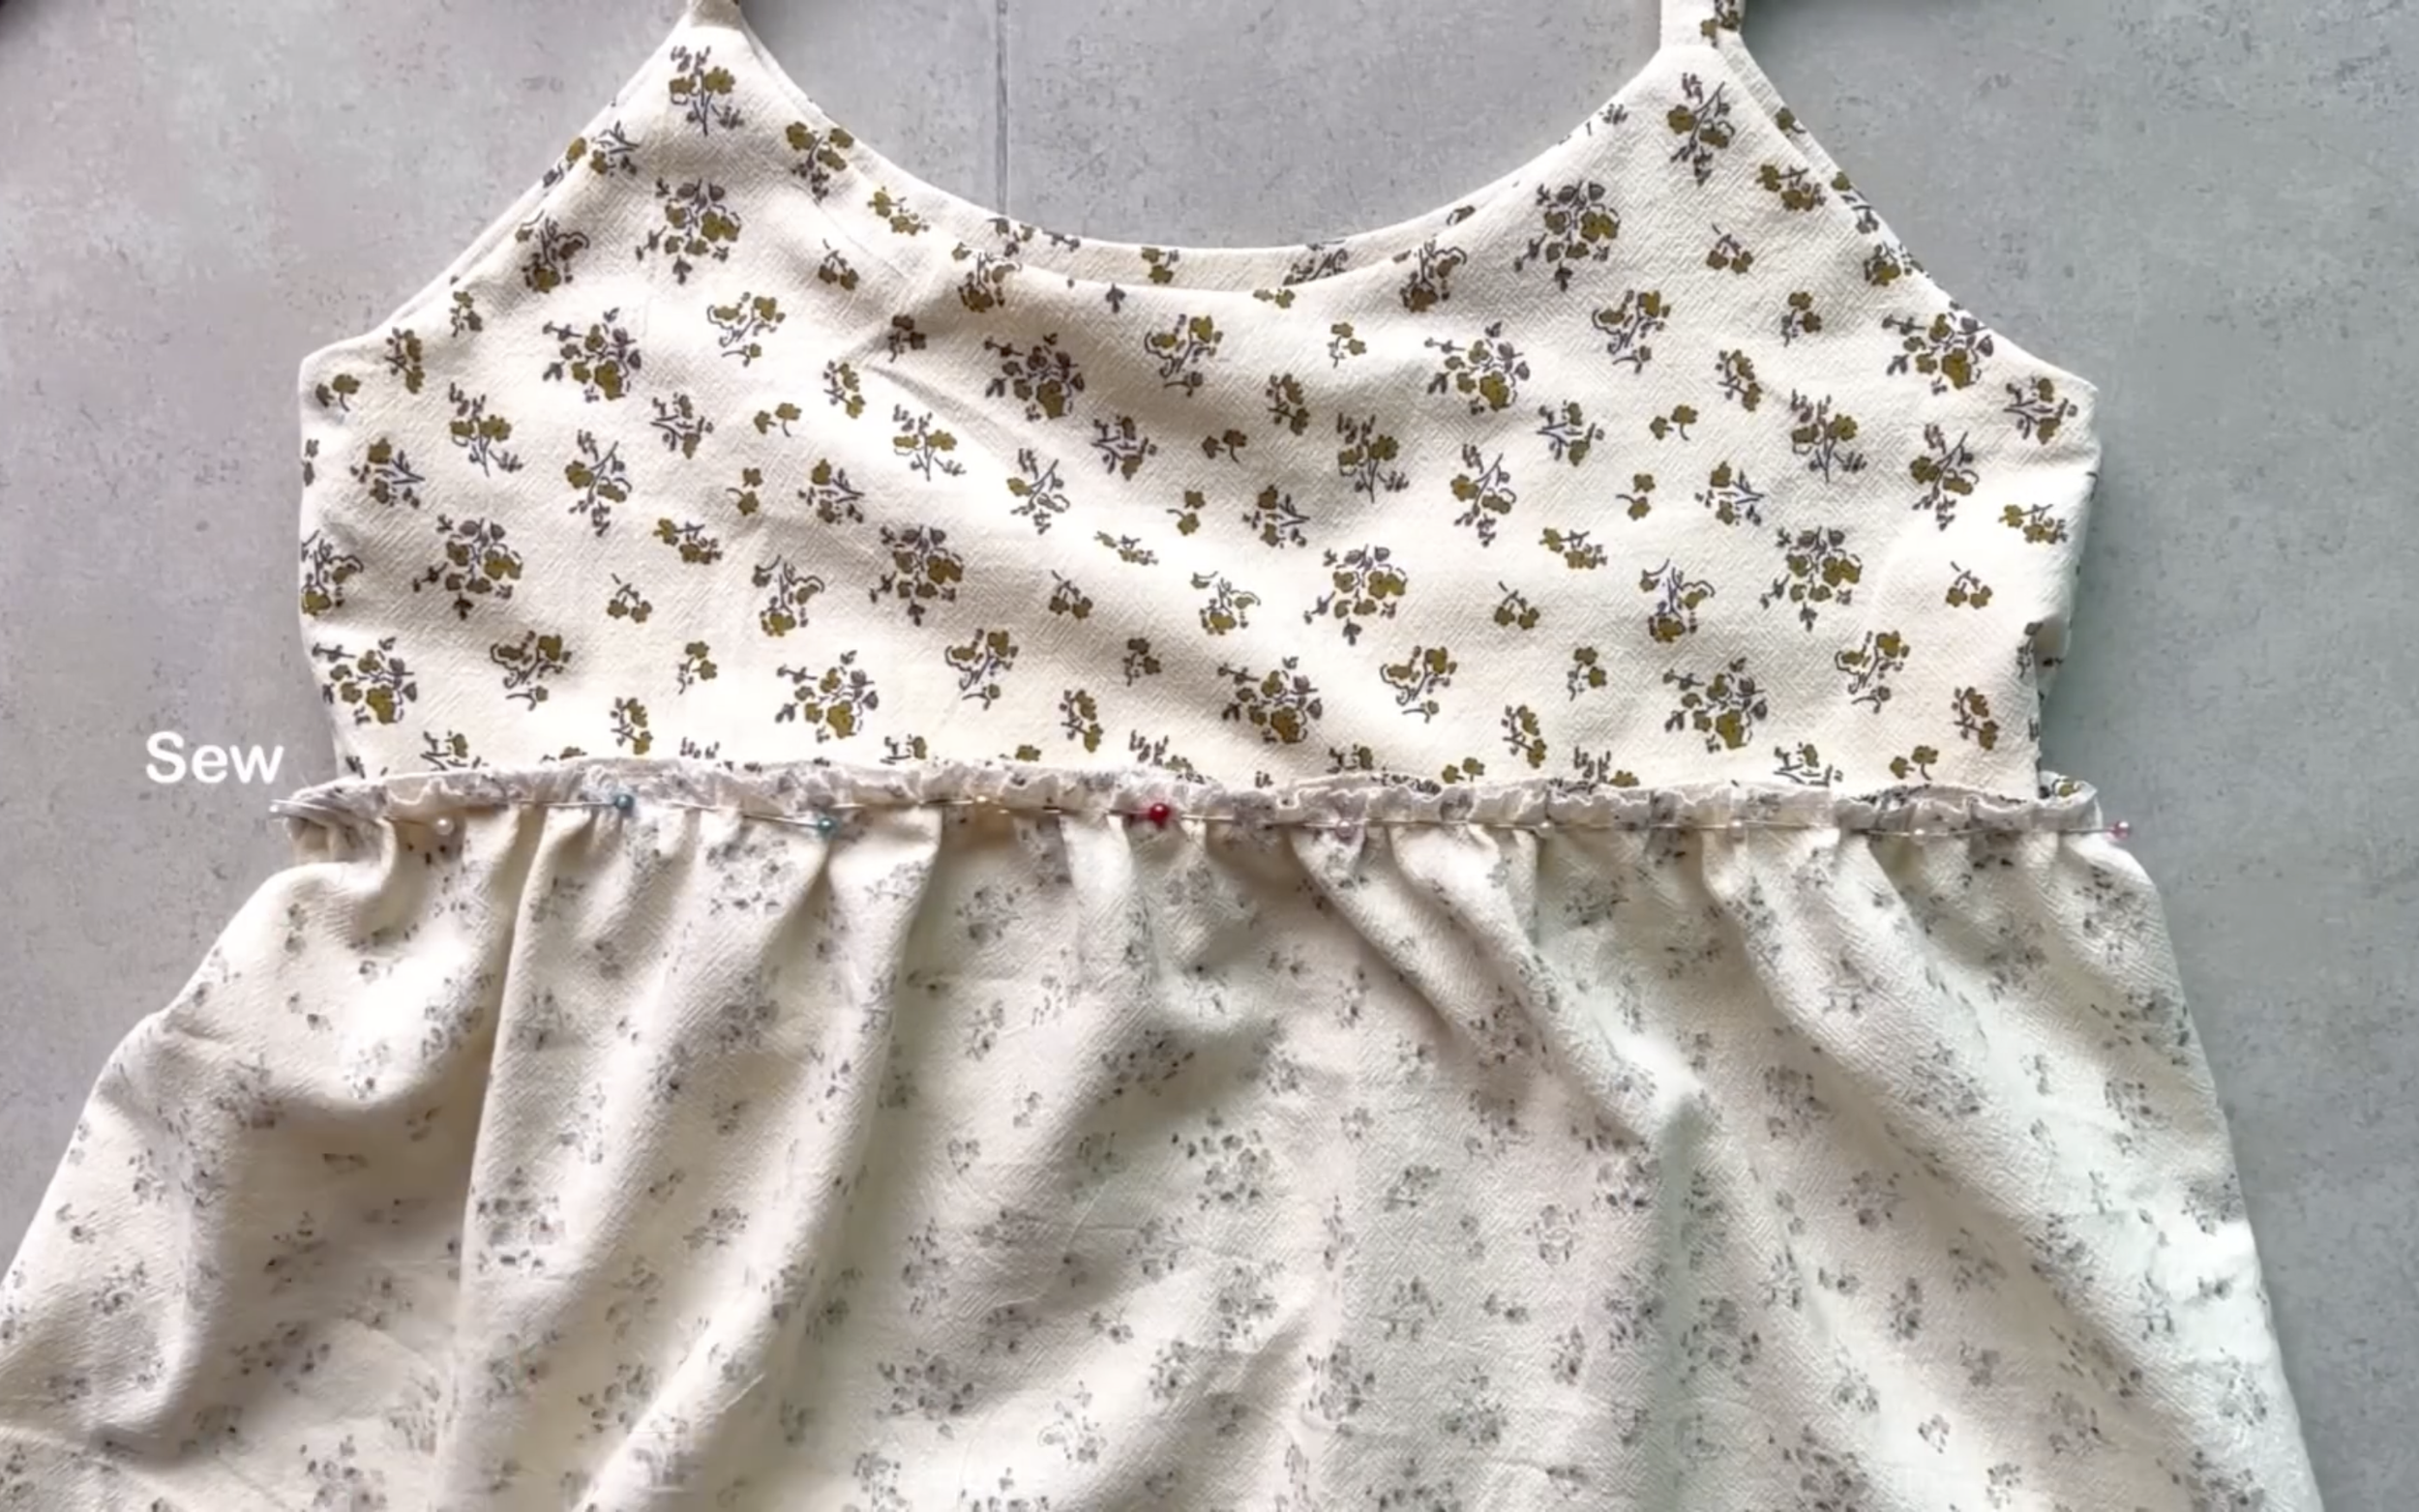
Now, connect the ruffle part to the top part.
I made some cute ruffle tops from leftover fabric | Beginner friendly sewing tutorial
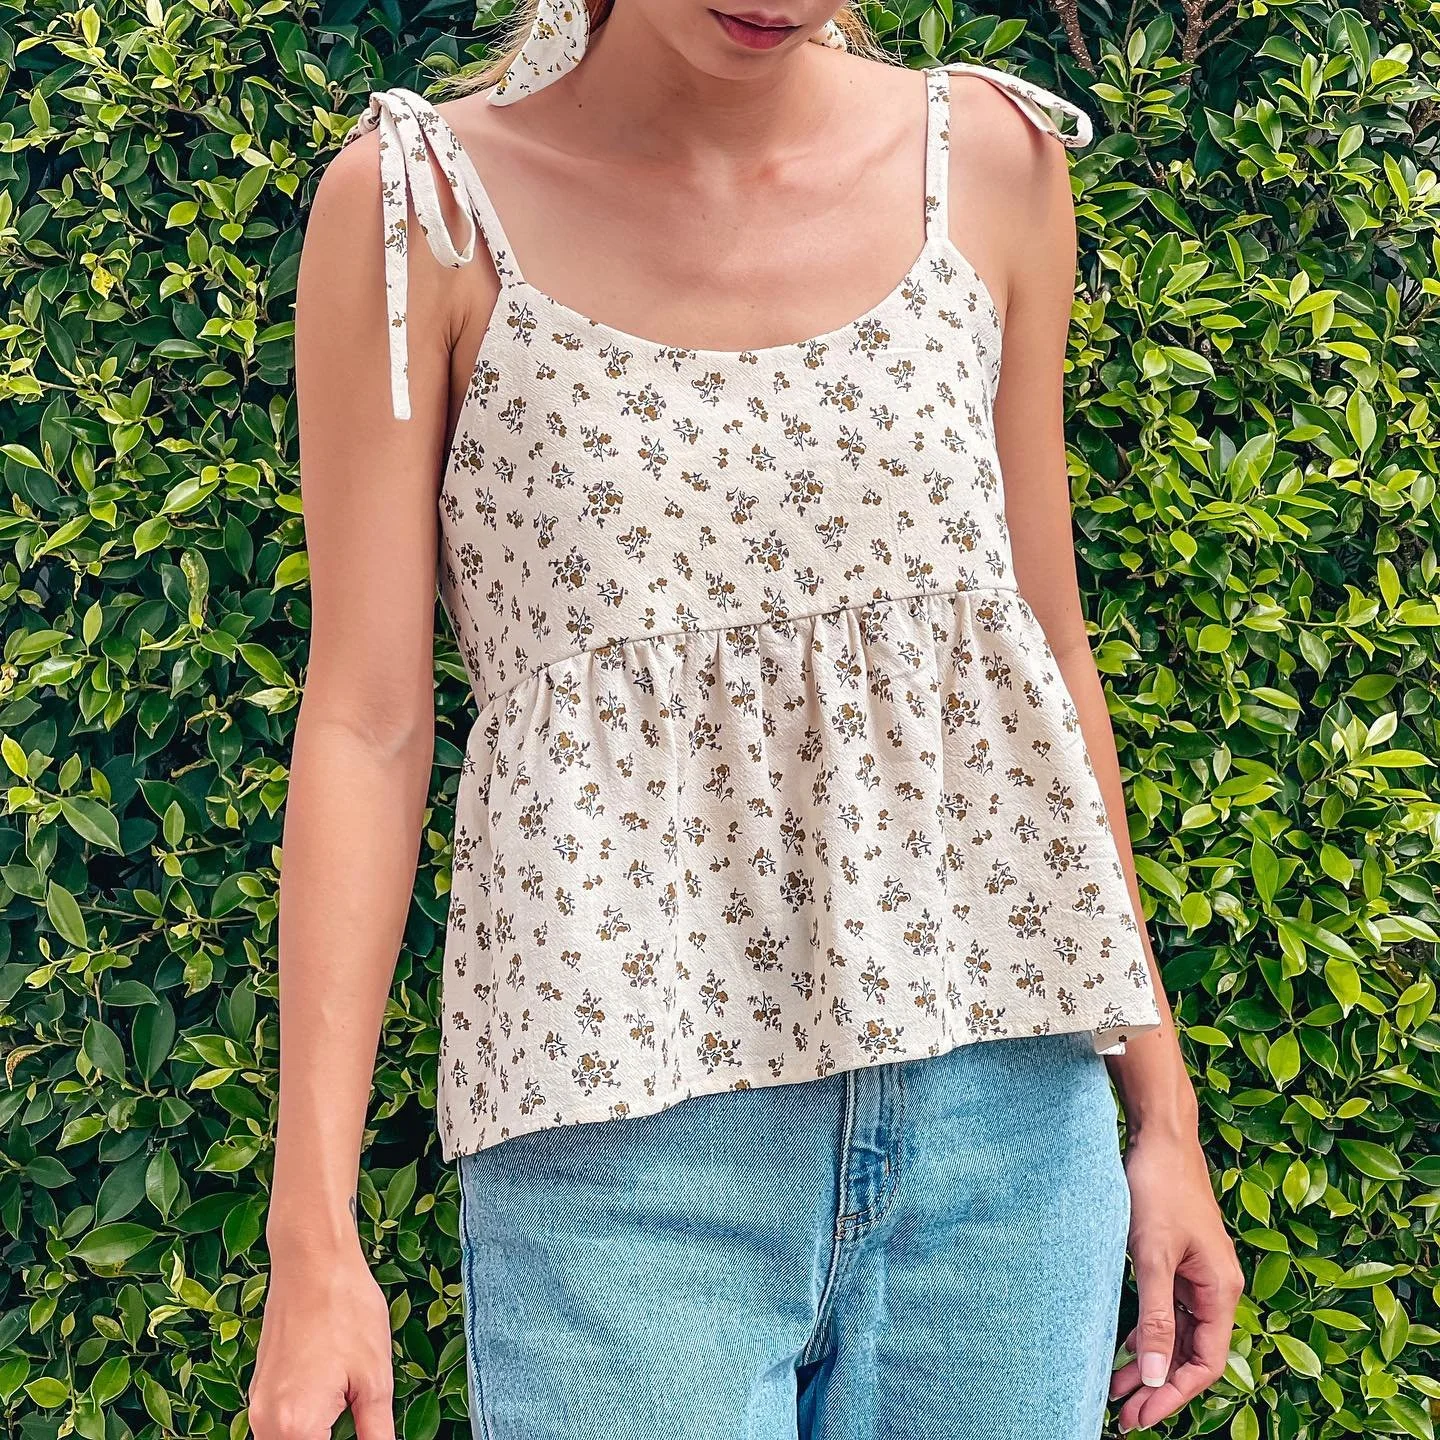
And that’s the finished DIY! Here’s the final result — This top turned out so cute and comfortable.
I hope you’ll give both of these tops a try! They’re fun to make and so versatile.
See you next time!