Making 5 different dresses from 1 pattern | Celine dress - Pattern hacks

Making 5 different dresses from 1 pattern | Celine dress - Pattern hacks
Welcome or welcome back to my channel. My name is Jess and I love doing DIY, making clothes in a "simply but pretty" way.
In today's tutorial, I'm going to share with you how I made 5 different dresses from my Celine dress pattern. These hacks are quite simple and easy to do with the current Celine dress pattern. But you will have totally 5 different looks. It's one of the purpose I want to share to all of you who purchased my pattern. That's you can create new pattern from using a pattern.
So let's get started!
WHAT YOU’LL NEED
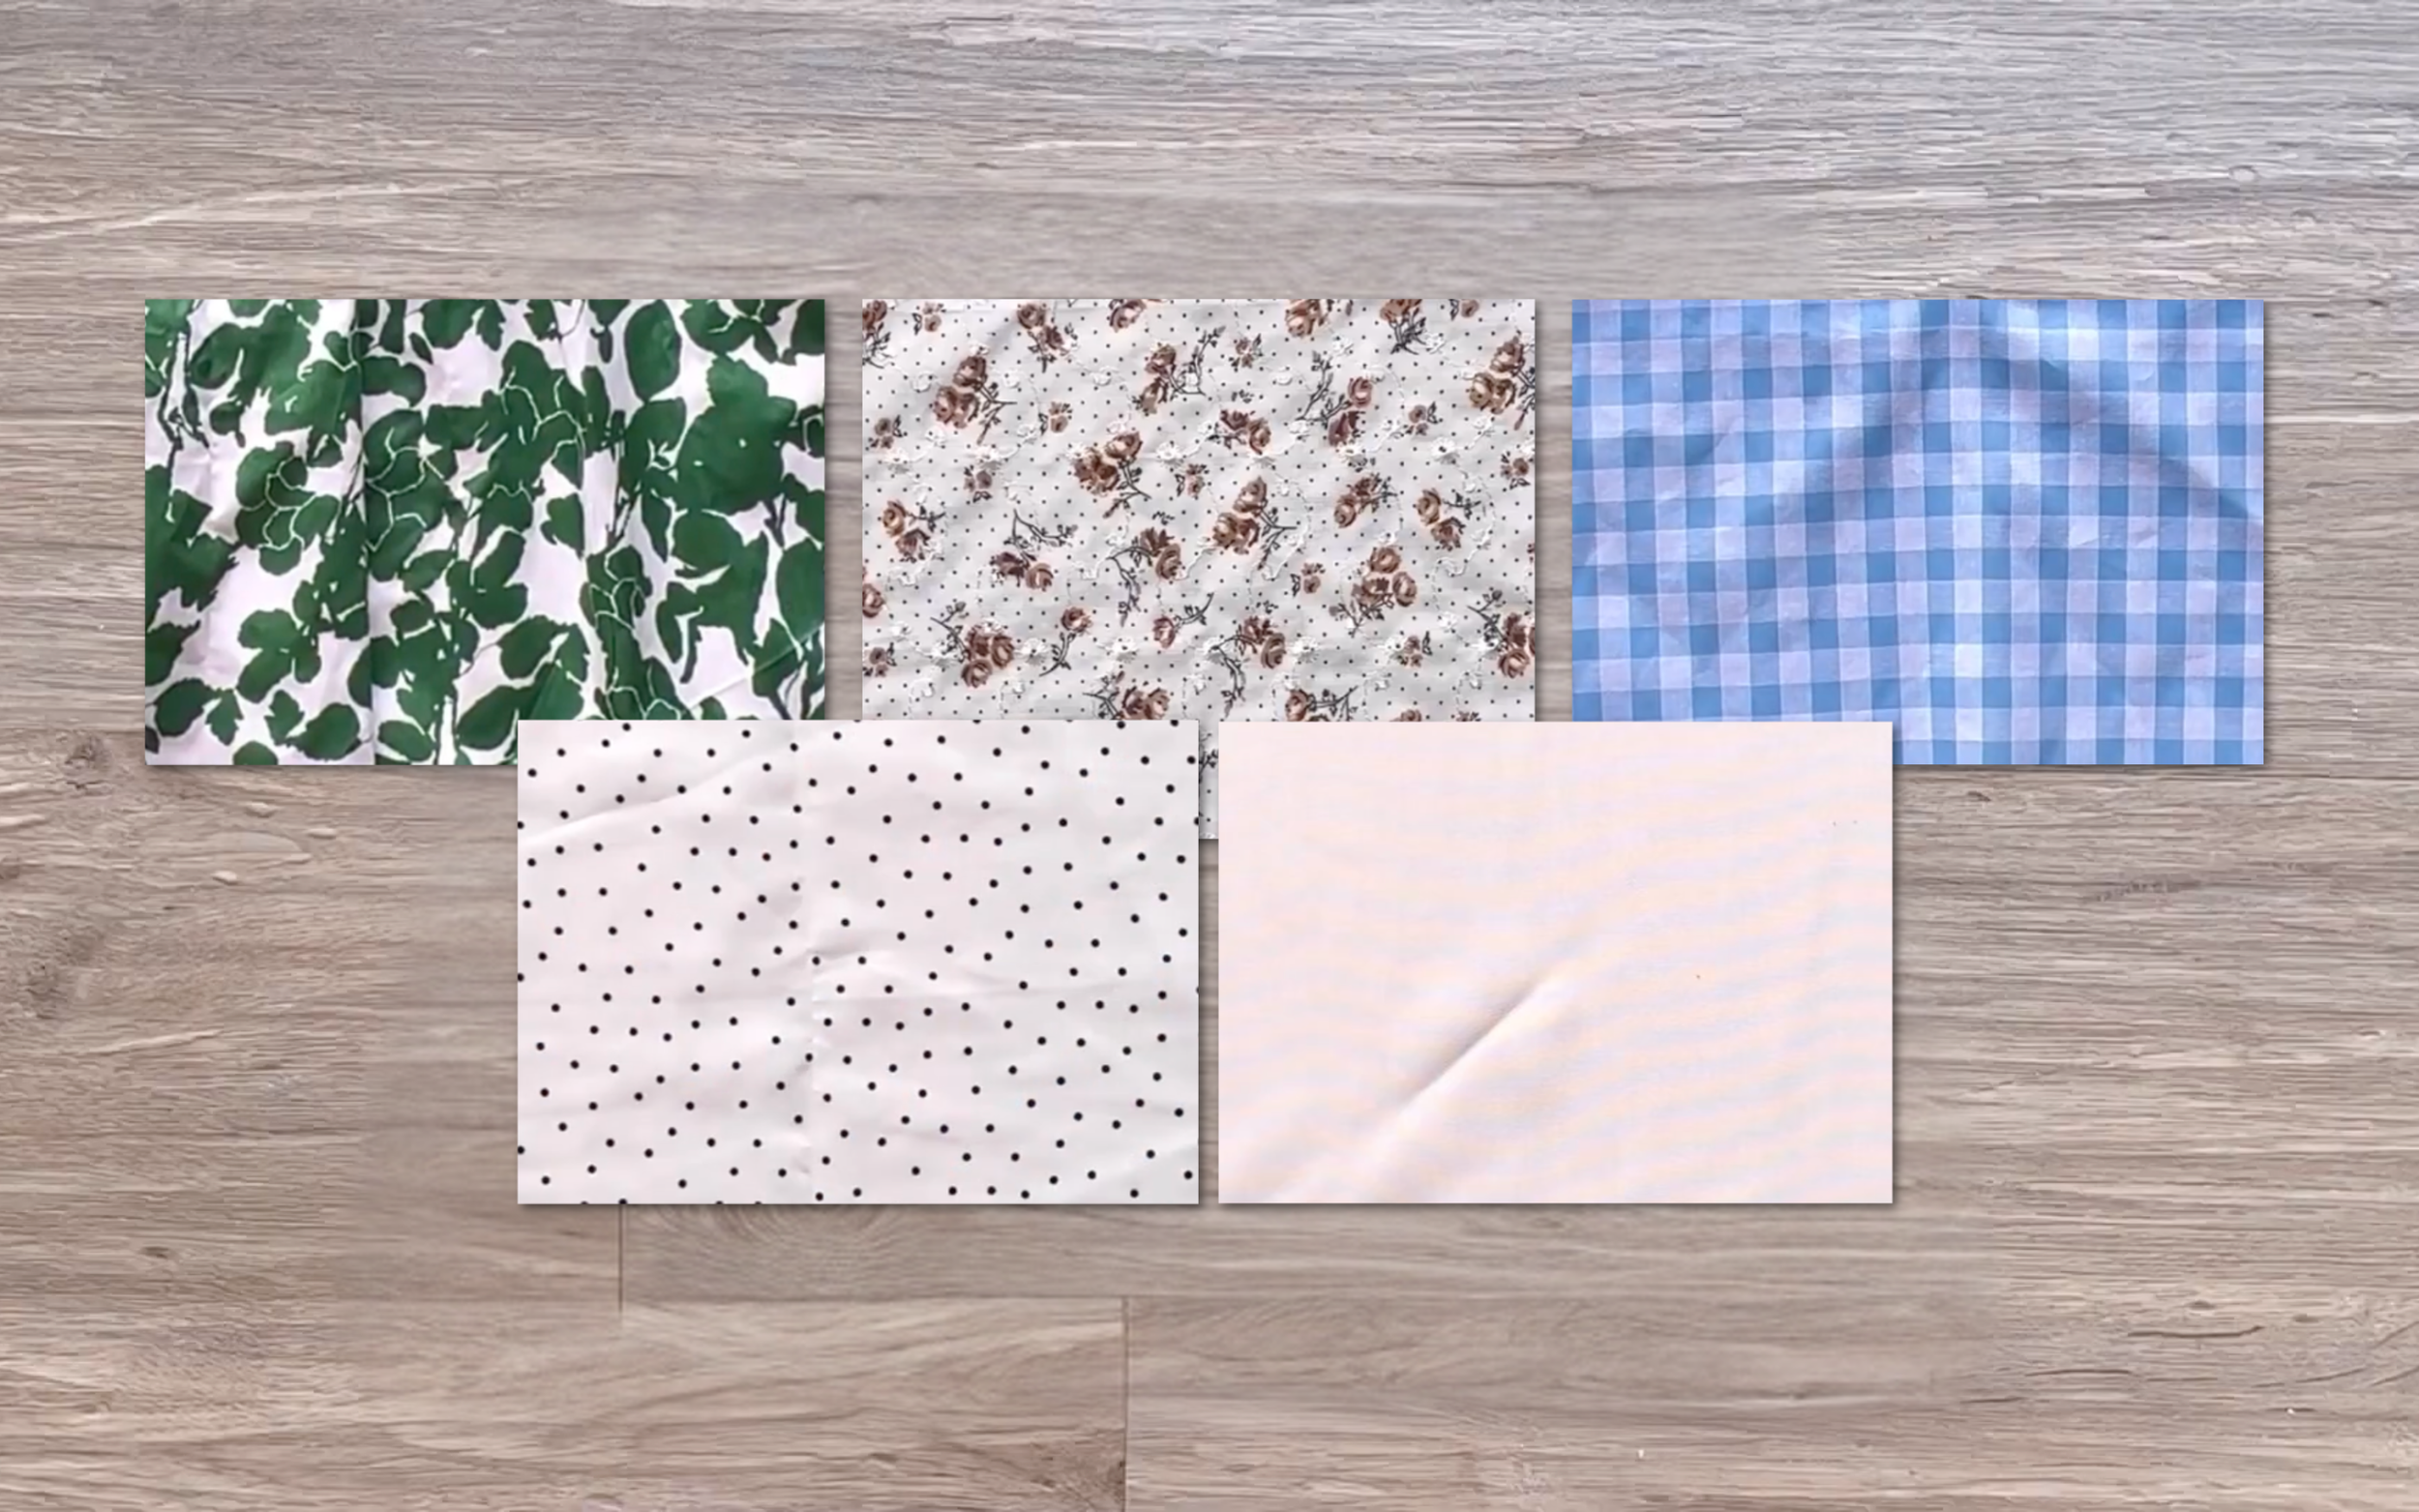
3m of fabric for each dress
Pattern paper
Sewing machine
Pins
Scissors
Ruler
Elastic band
THE RUFFLE HEM DRESS
PATTERN HACK
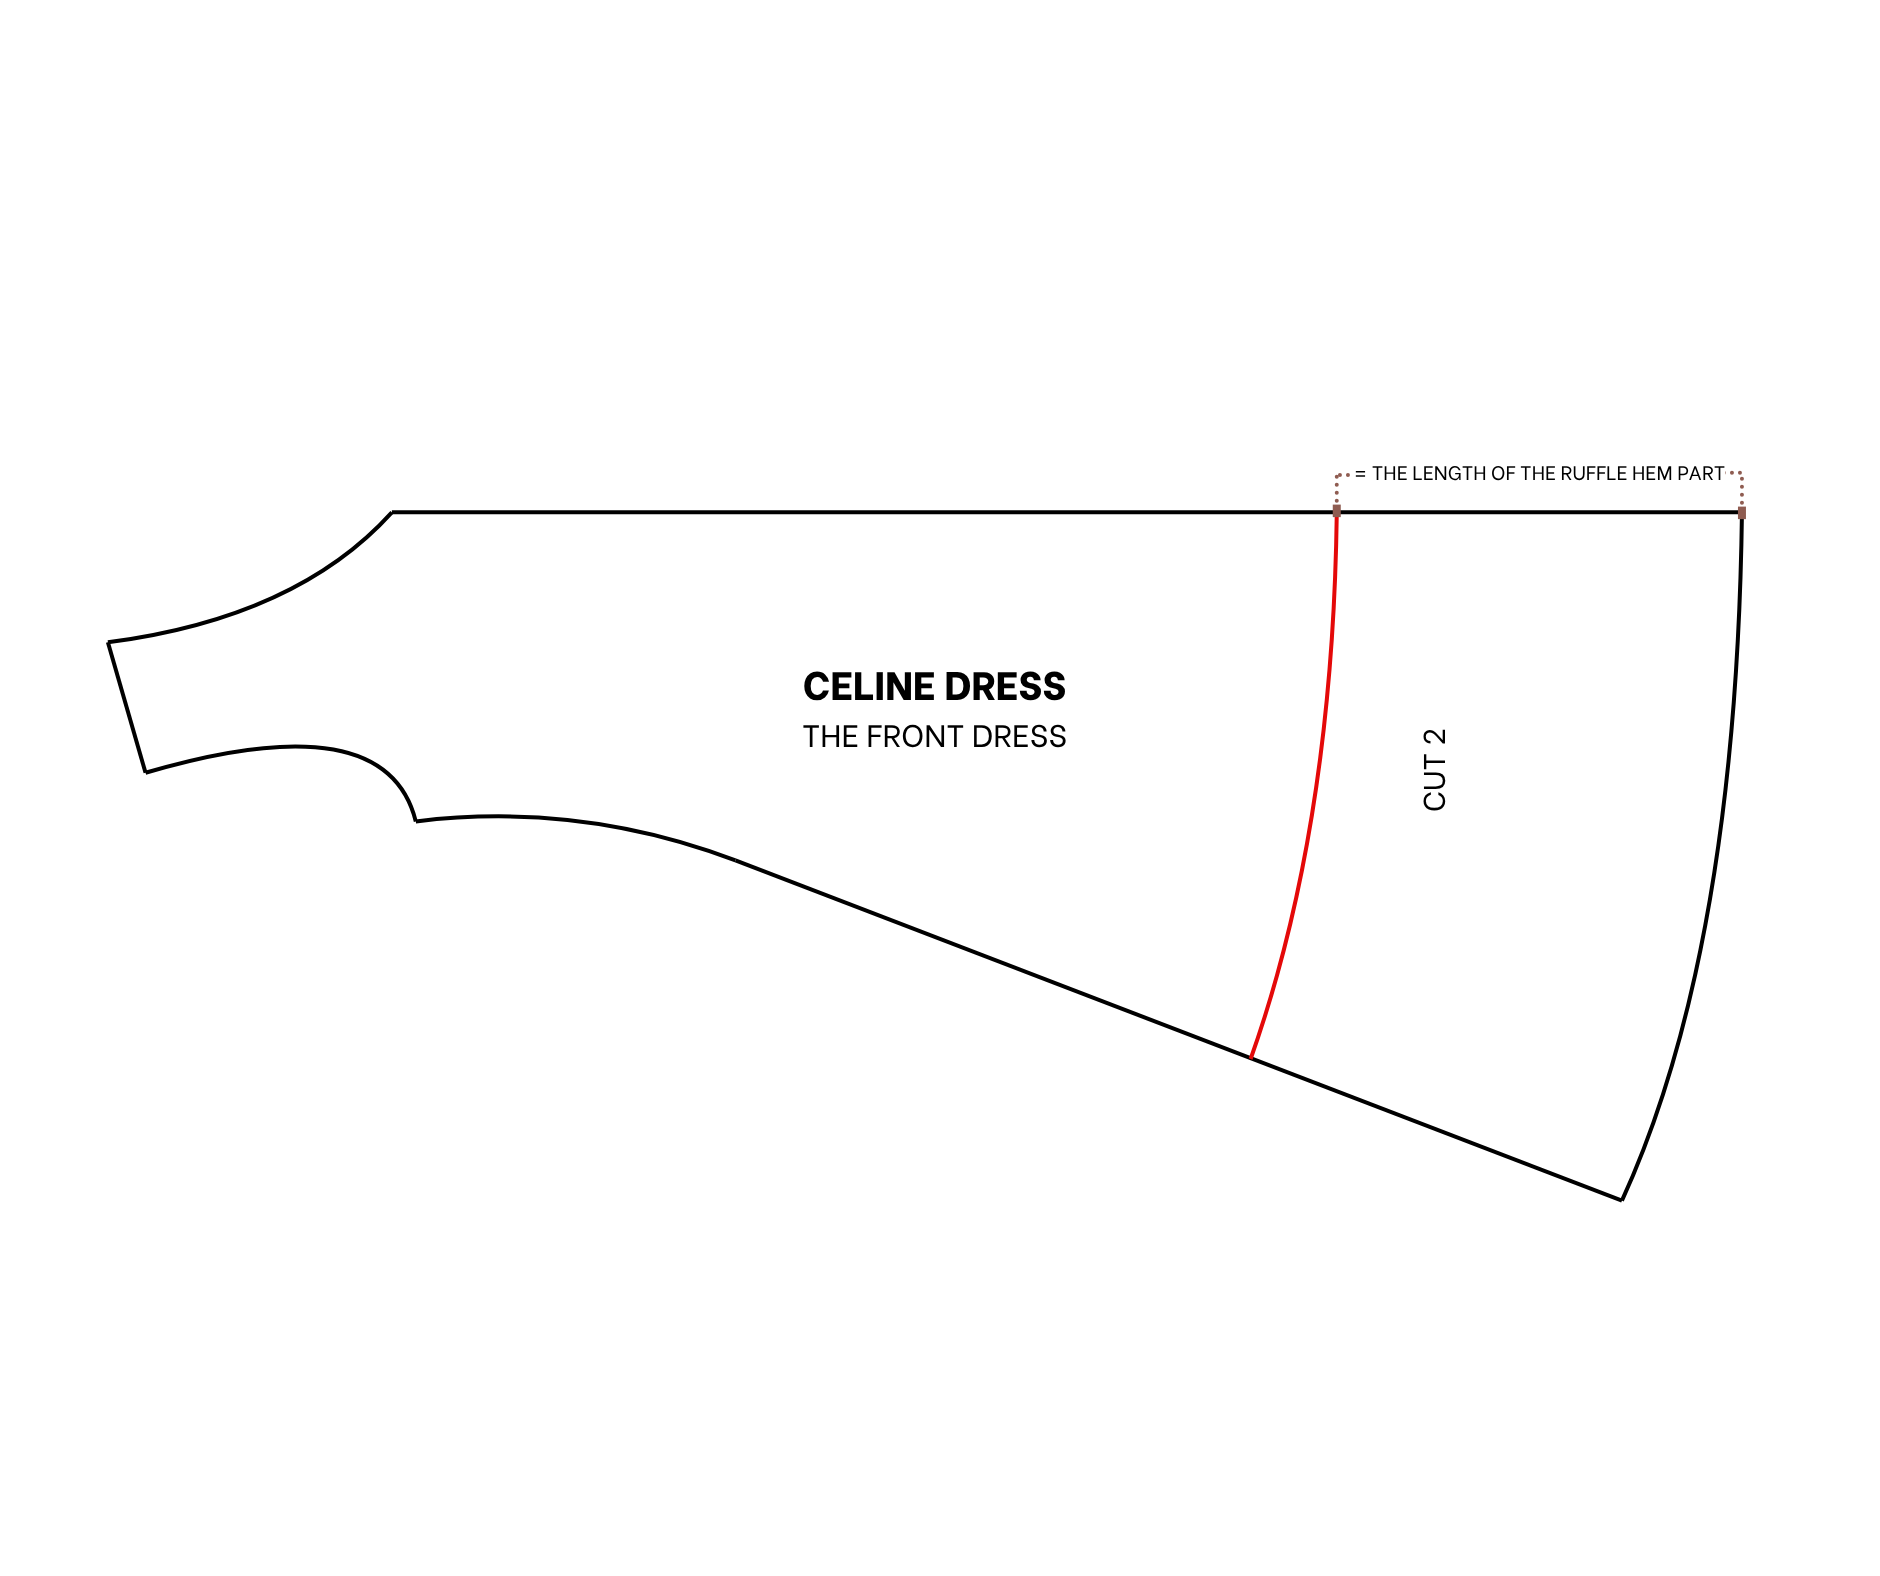
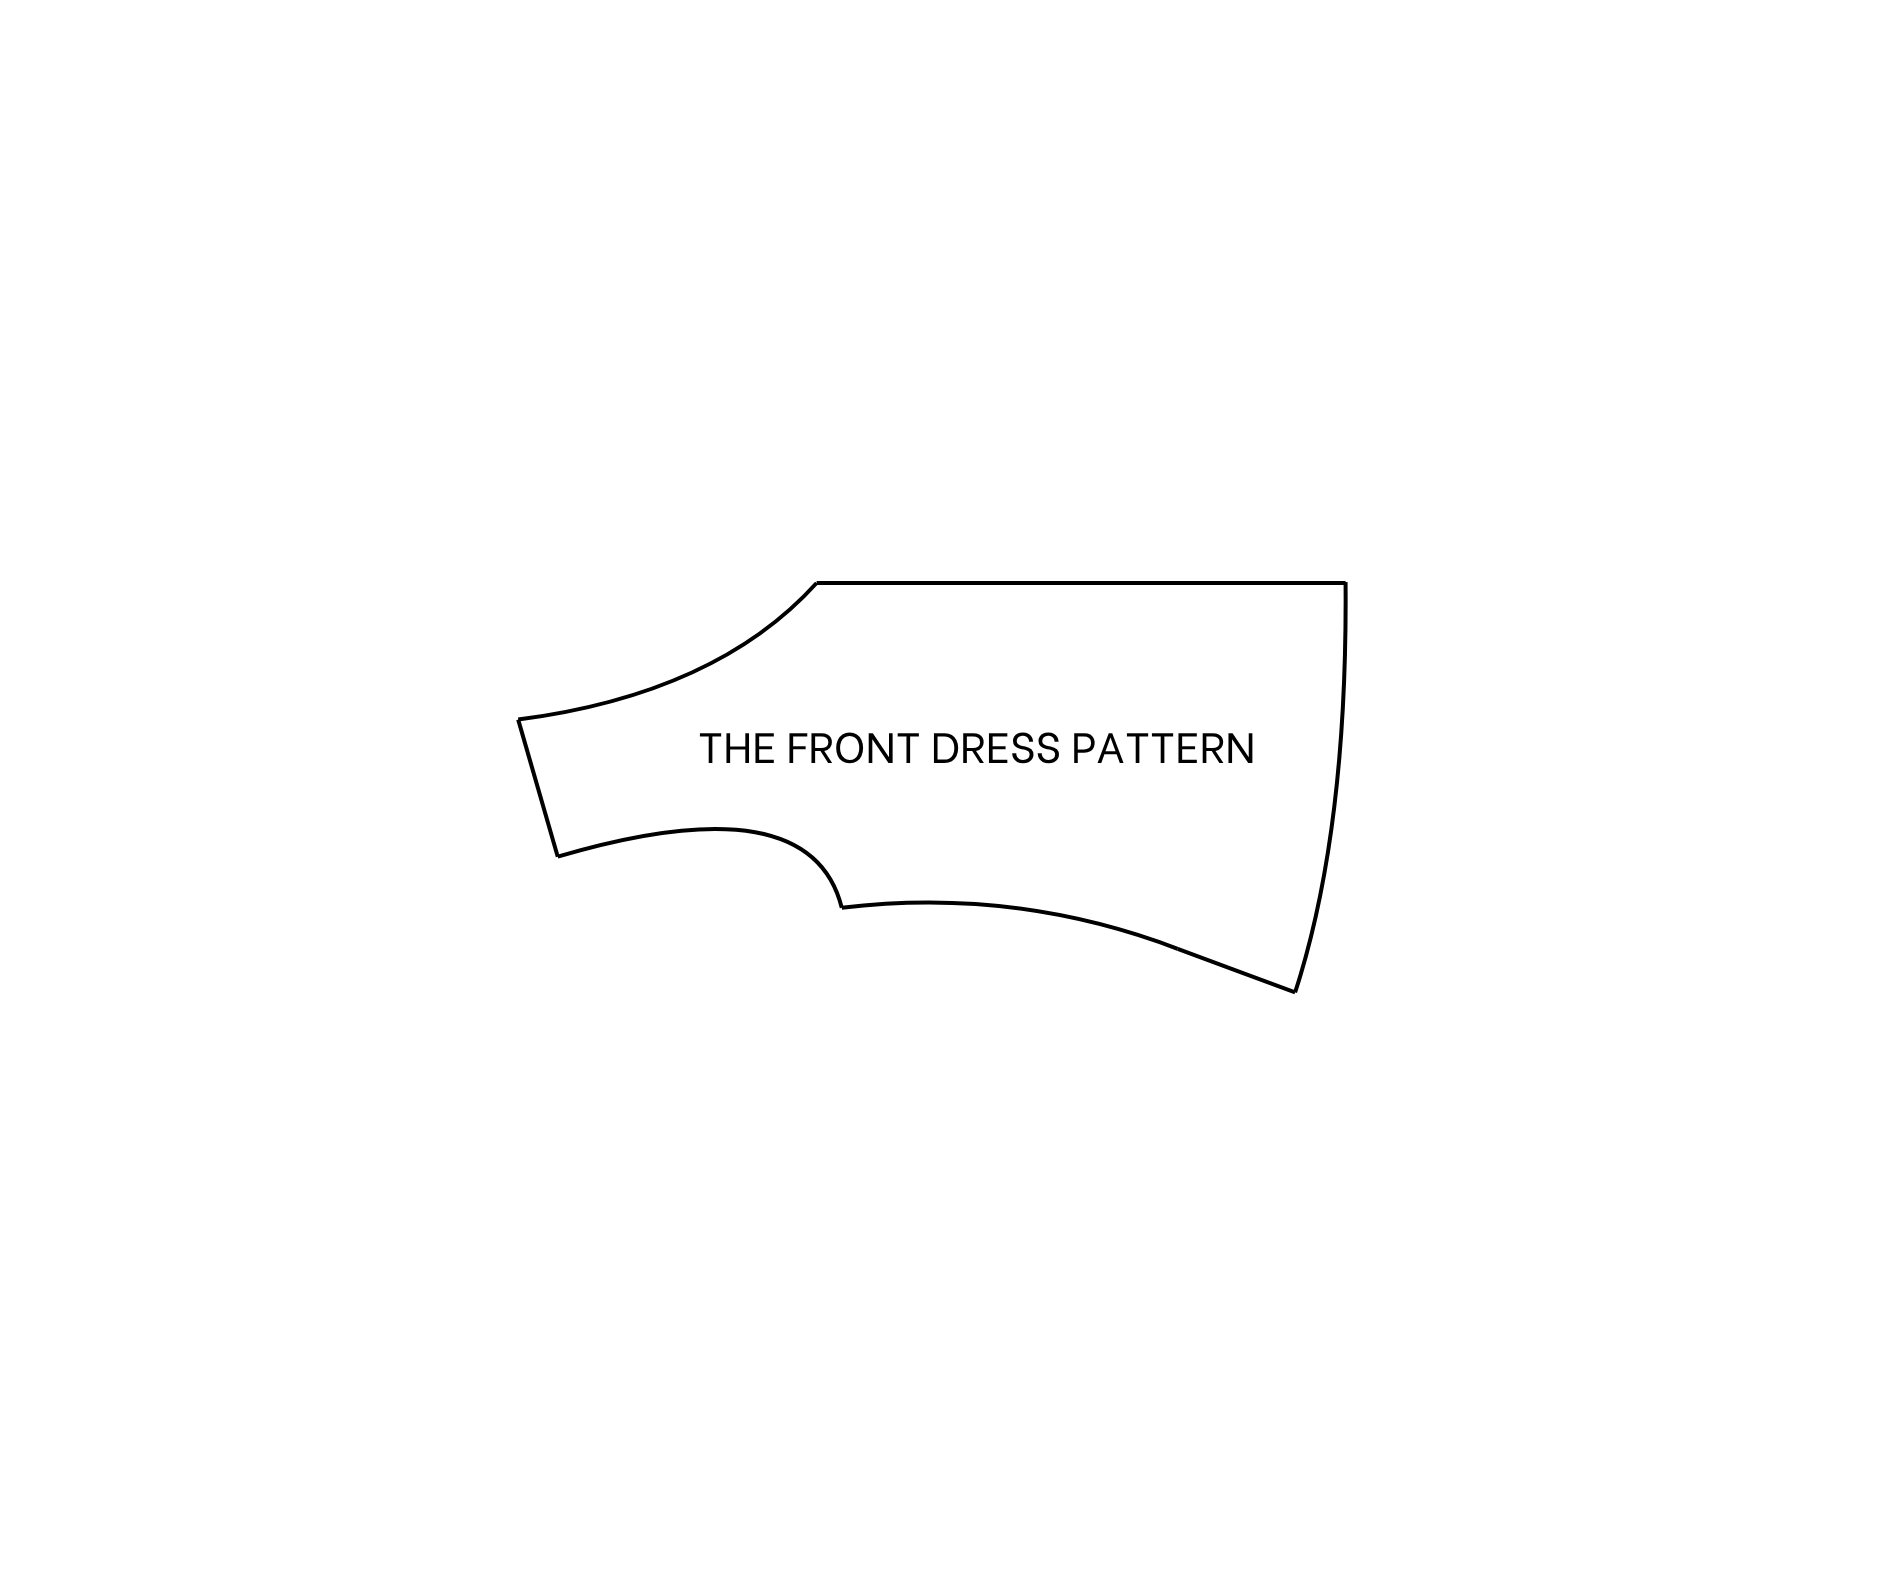
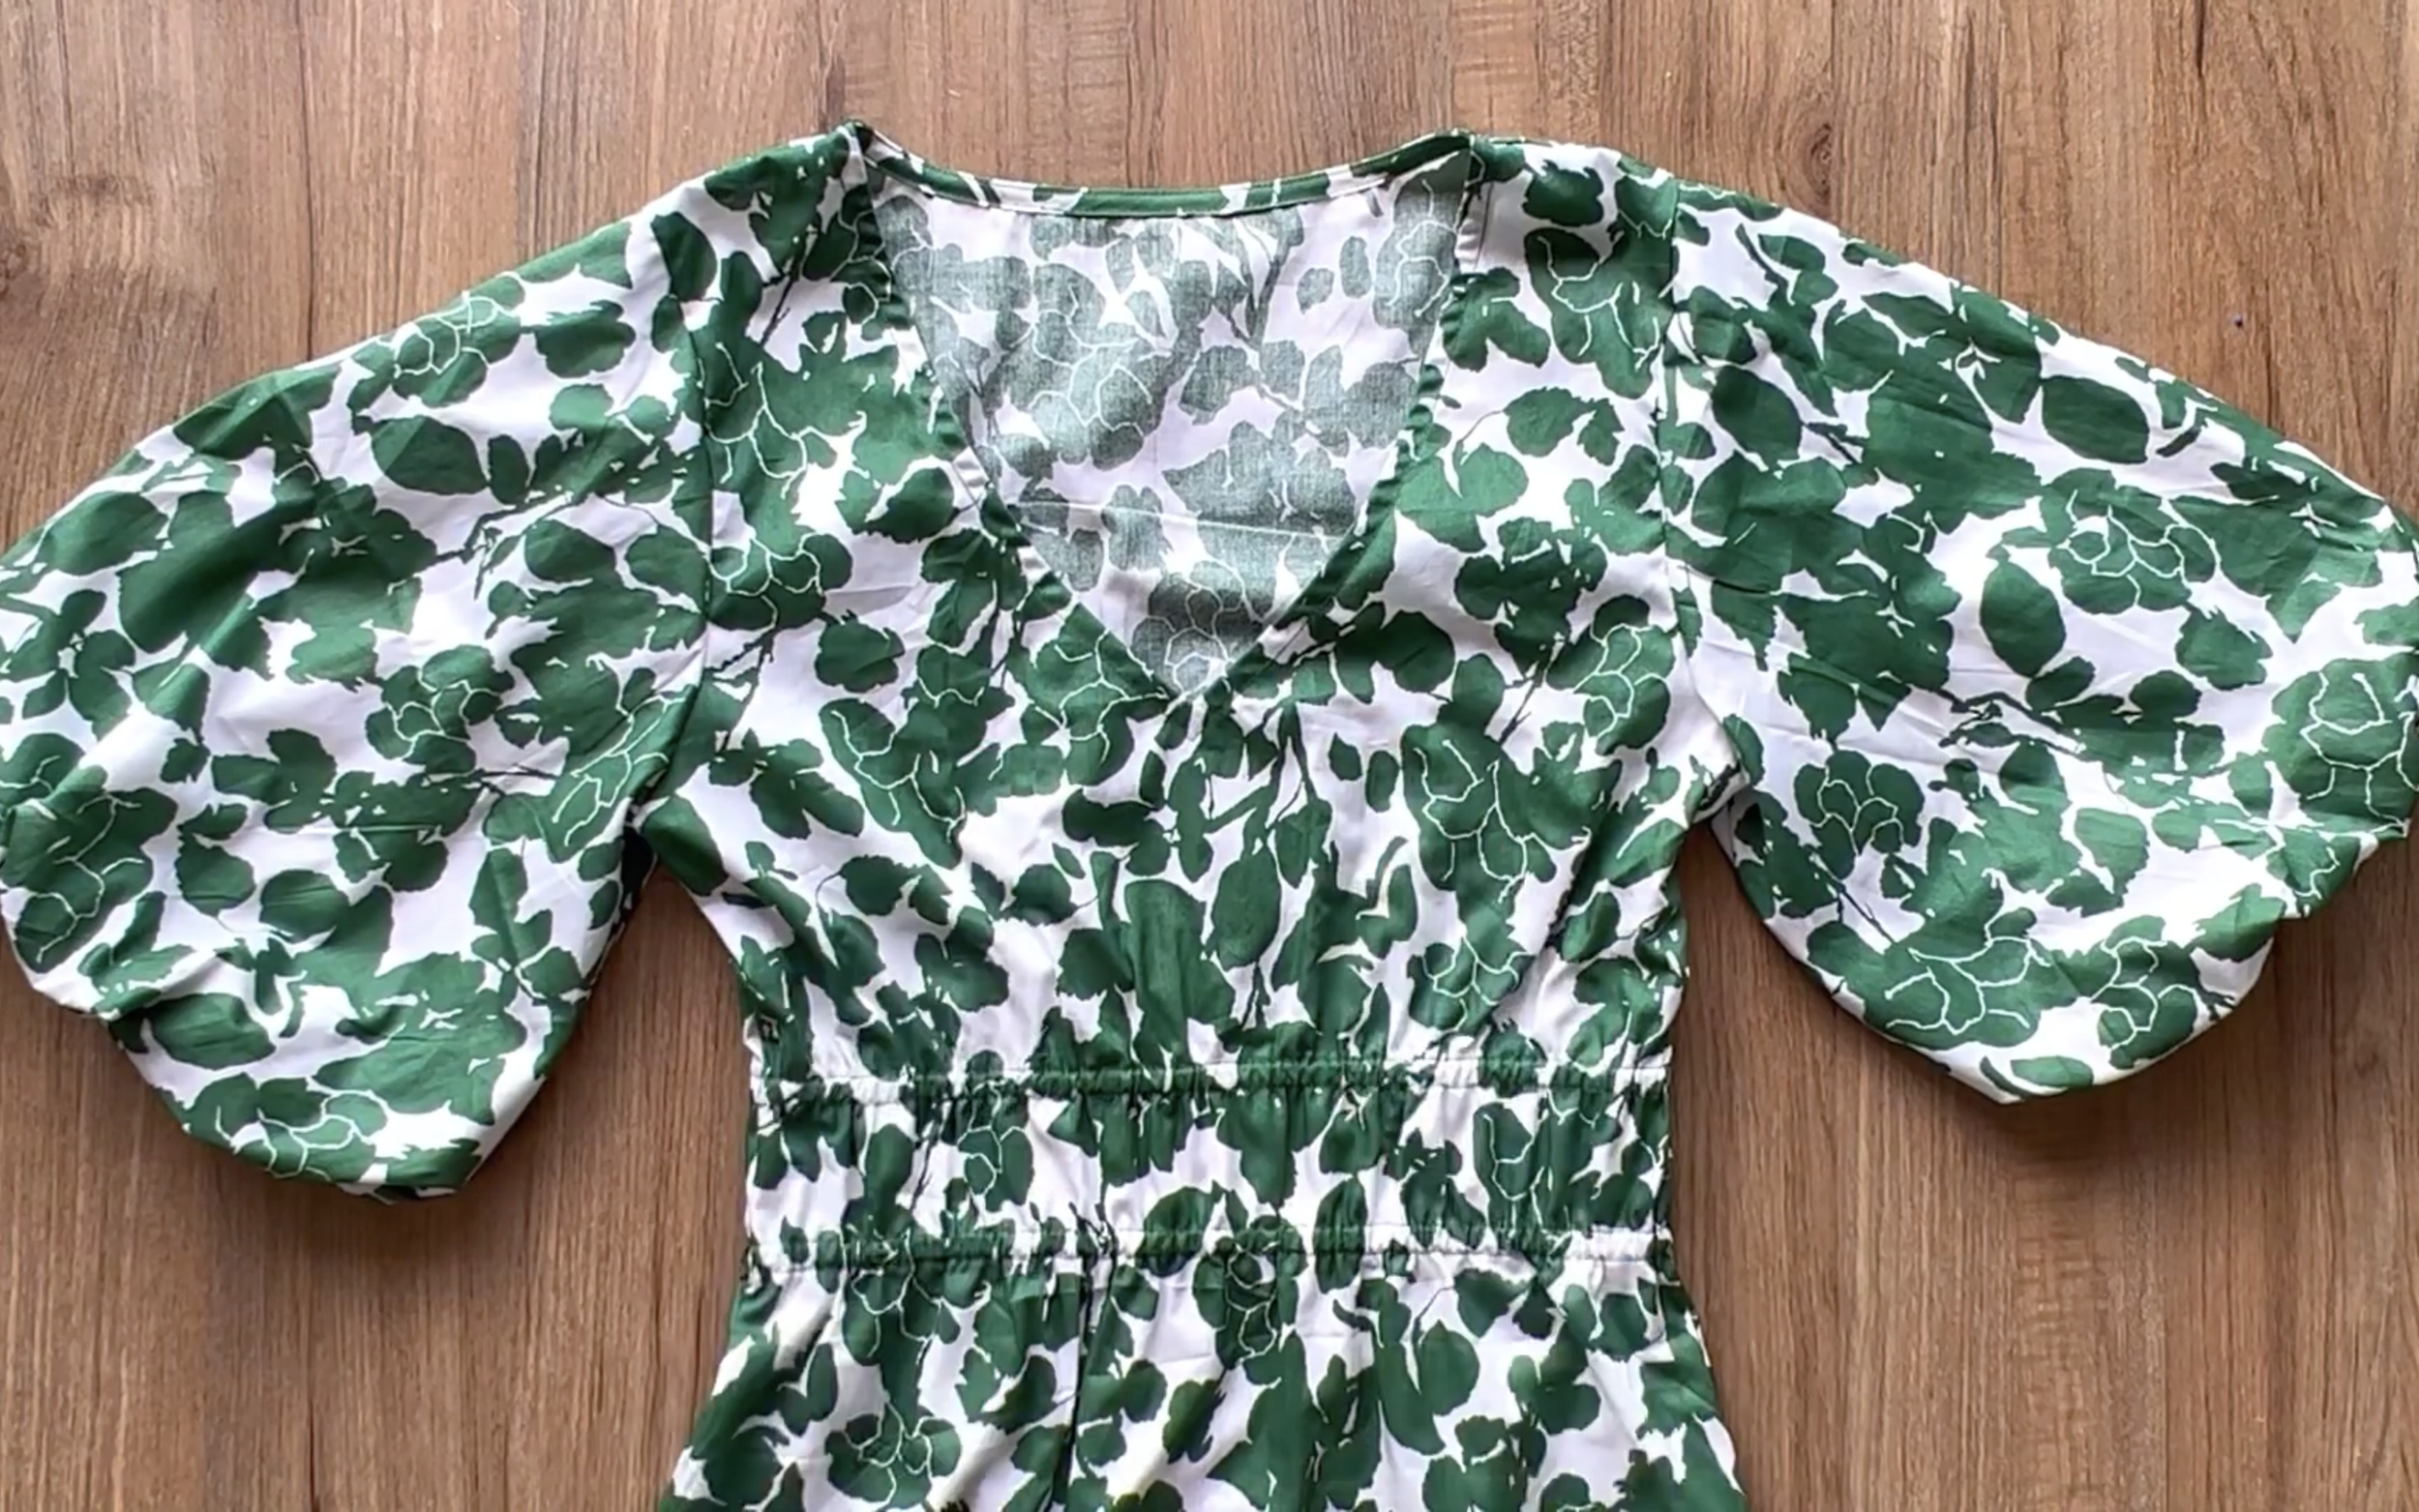
To make the pattern, use the pattern from the Celine dress.
At the end of the front dress pattern, mark up 30 cm, which is a length of the ruffle part that is wanted.
Then, draw a line through that mark and parallel with the ending line of the front dress pattern.
After cutting by that line, the new front dress pattern of the dress will be ready.
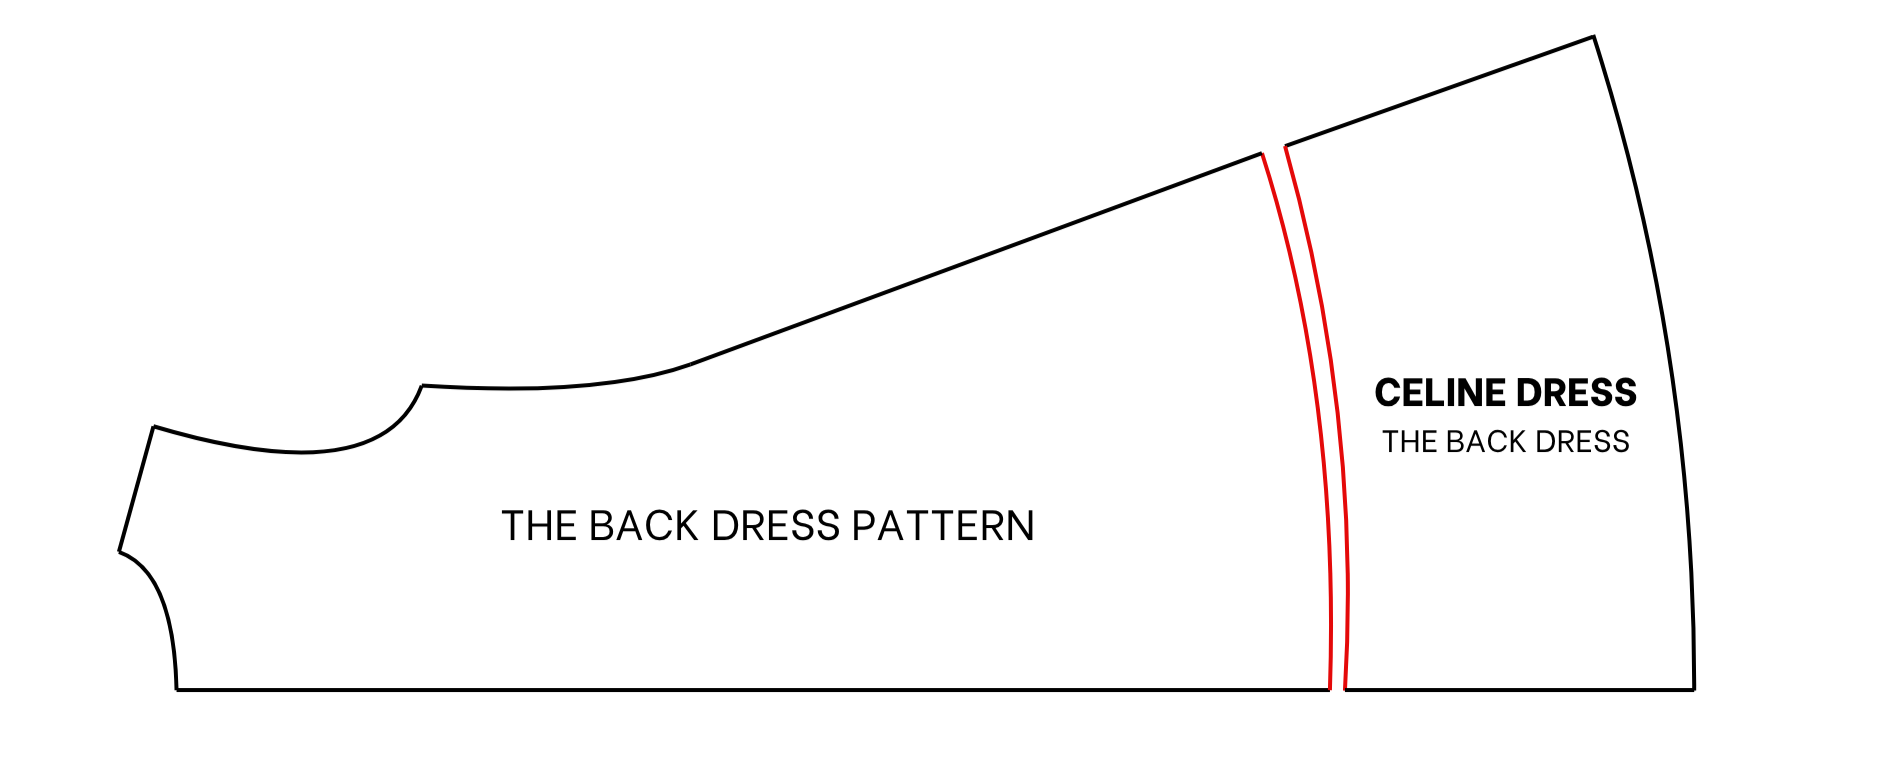
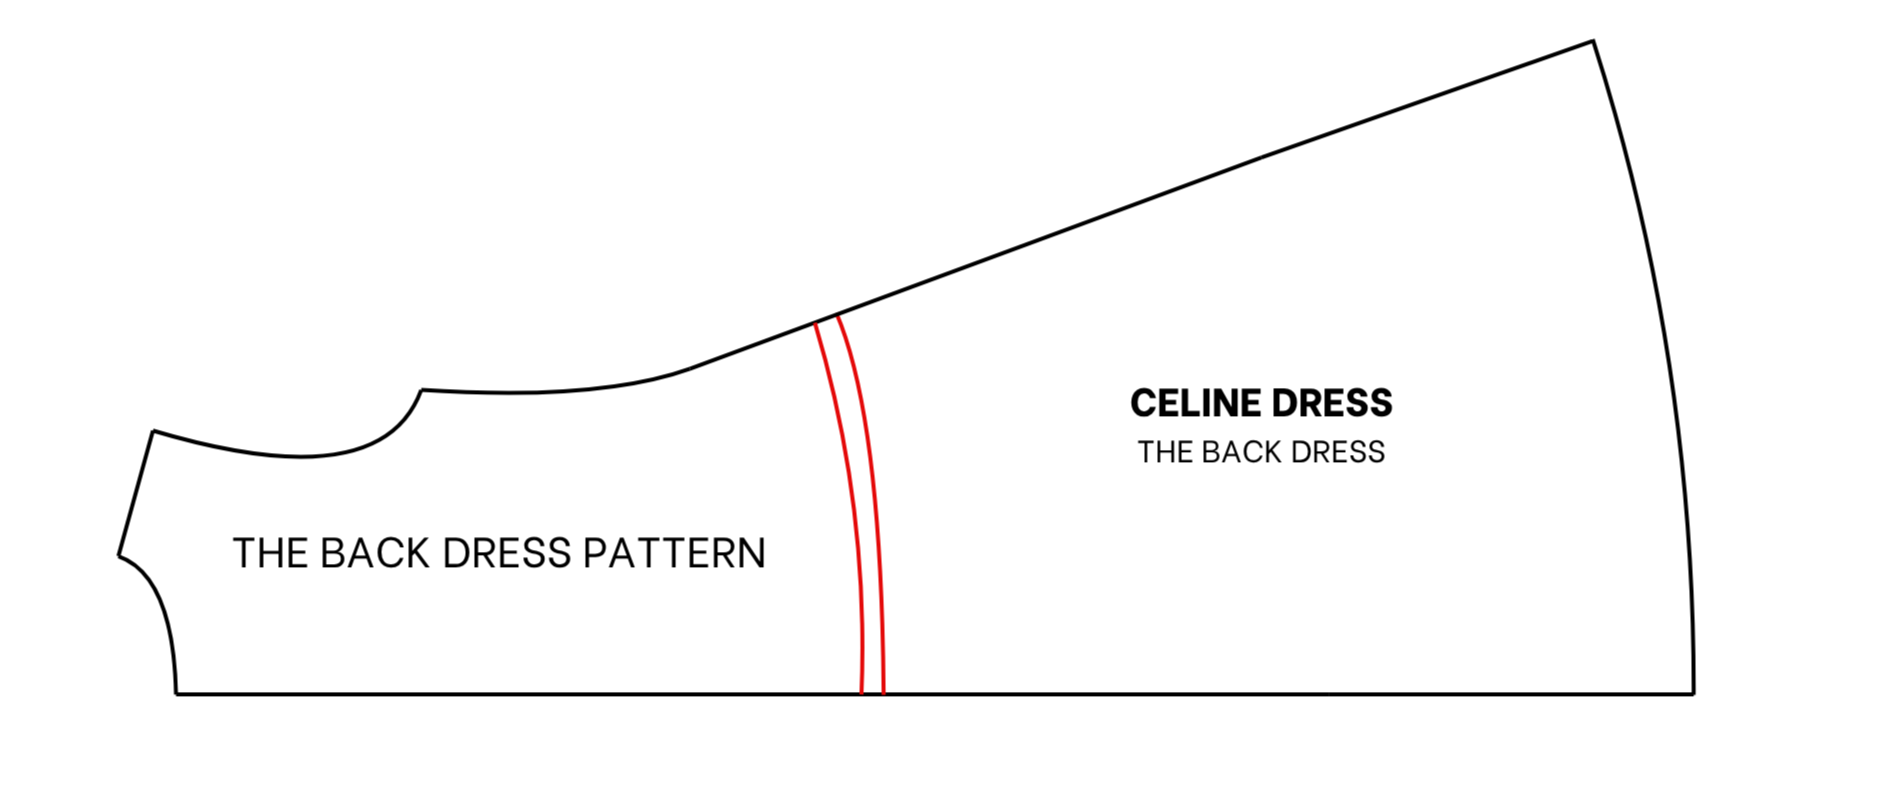
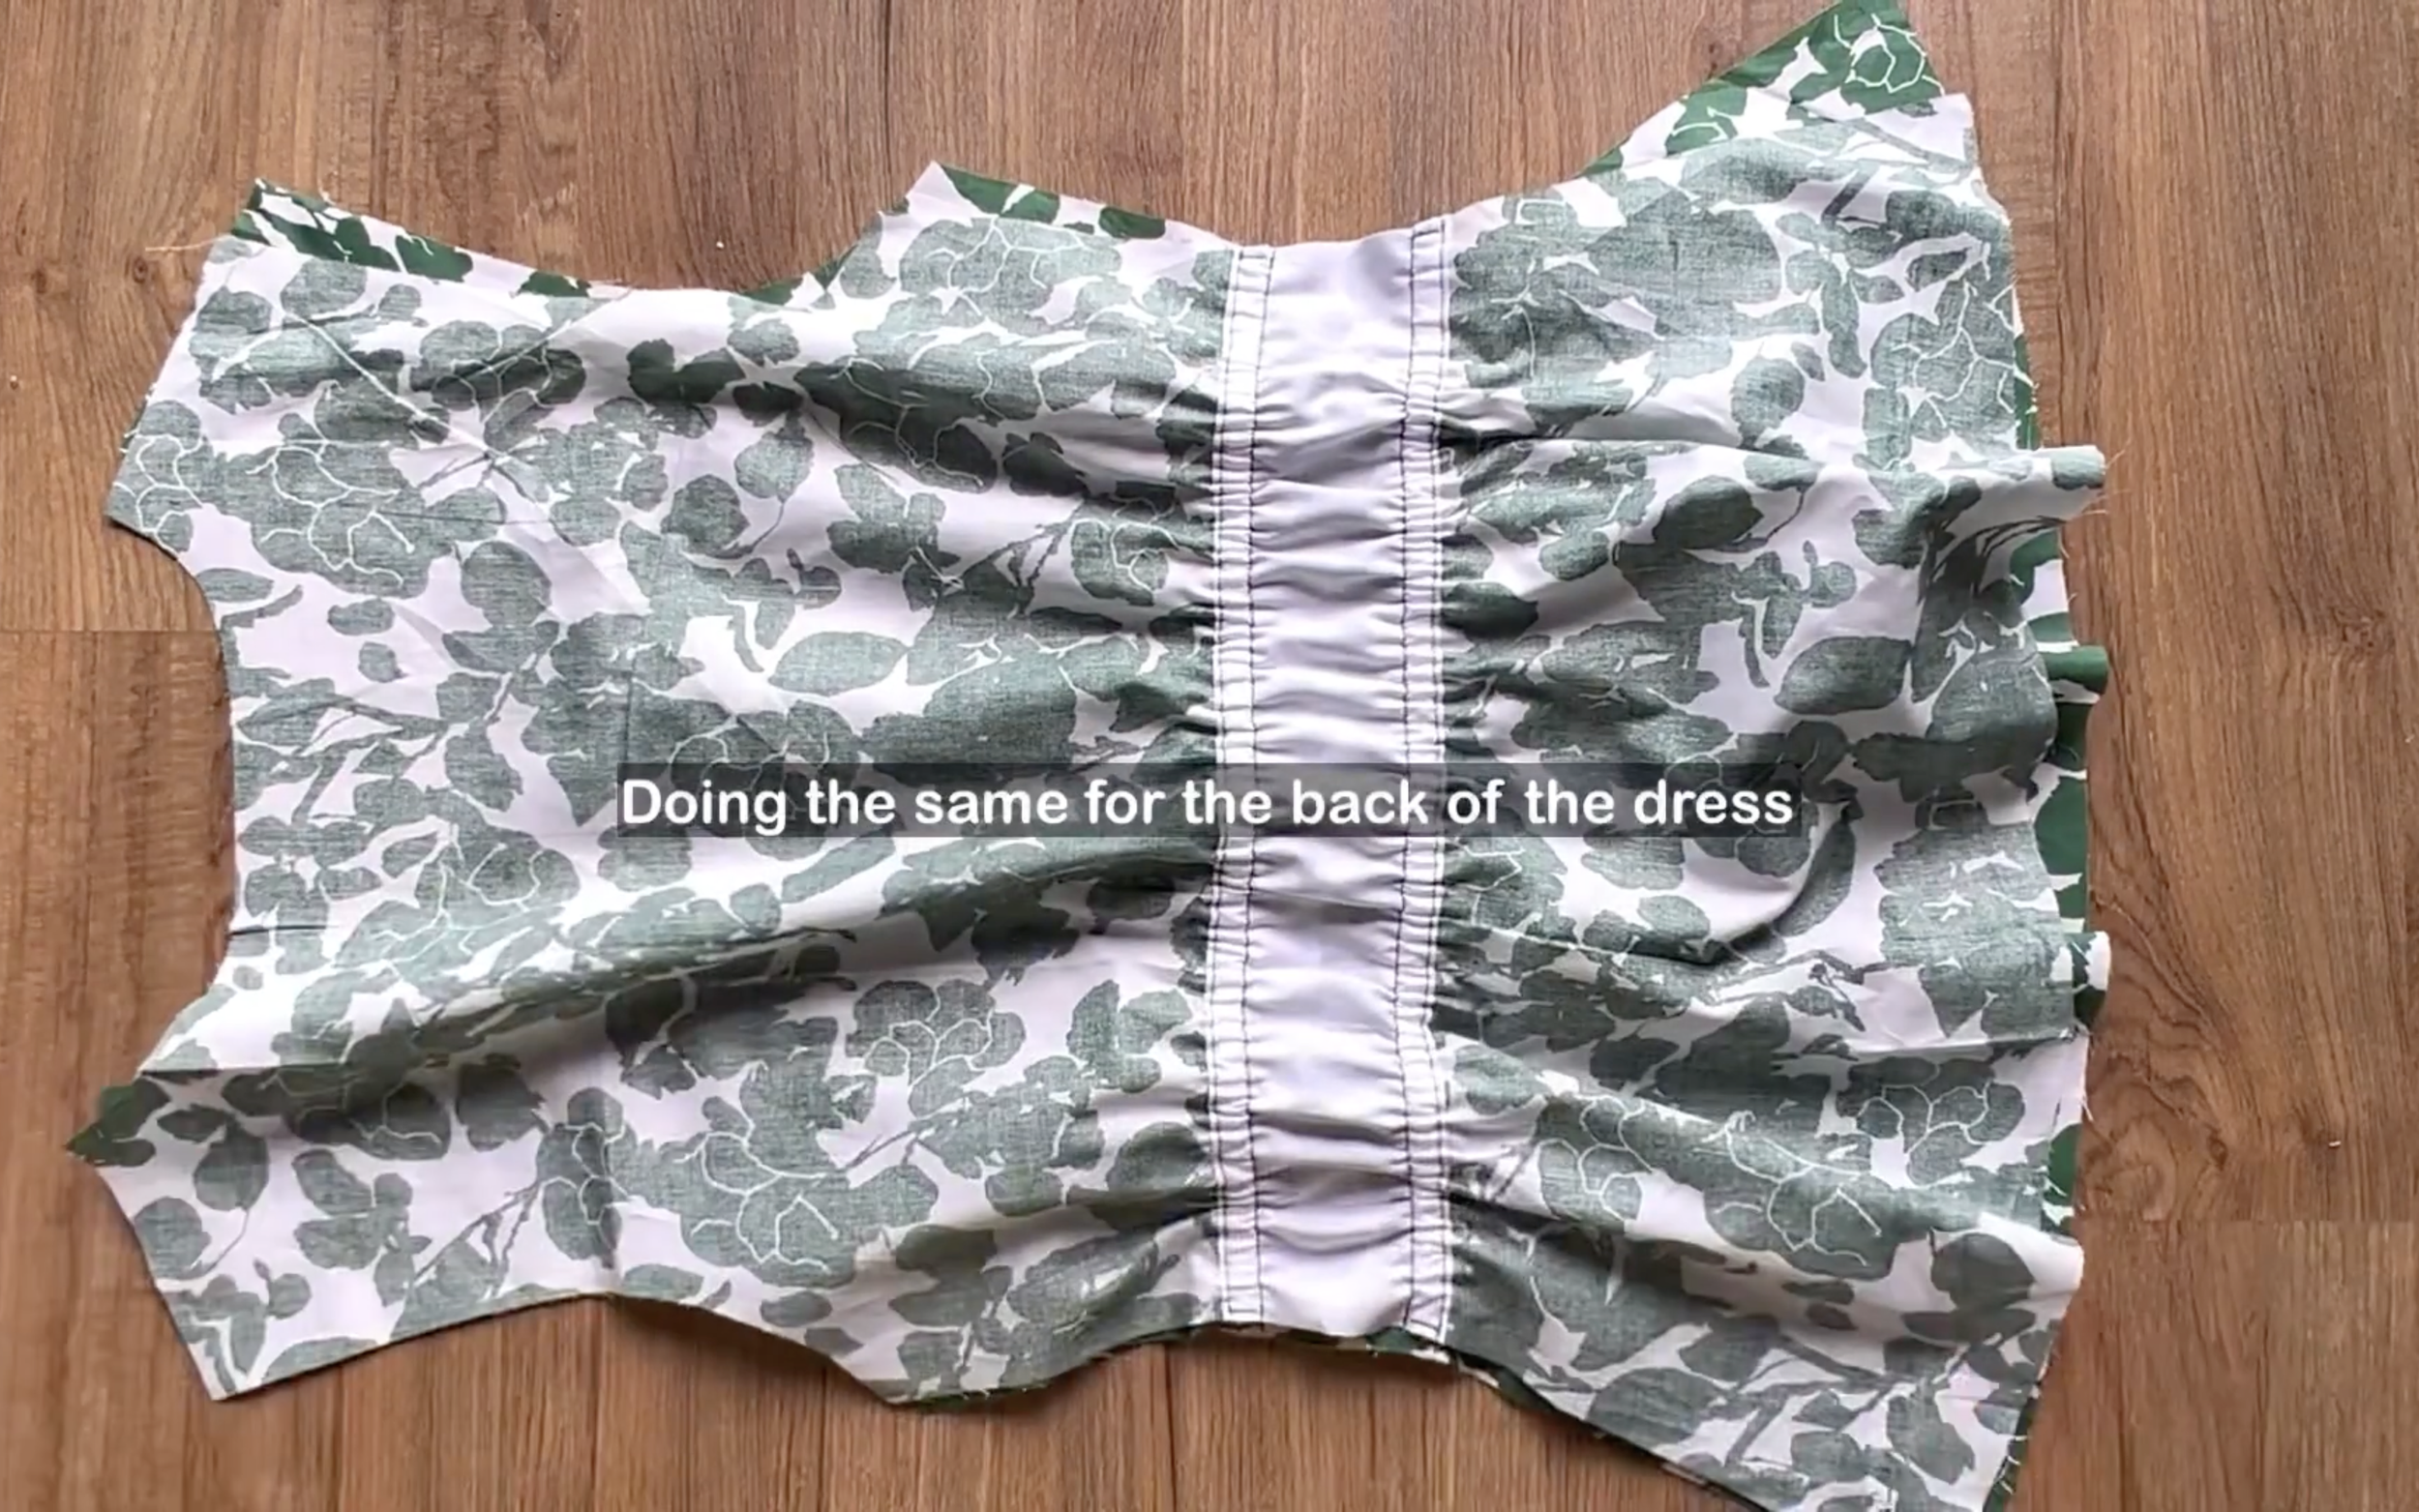
4. Do the same for the back pattern.
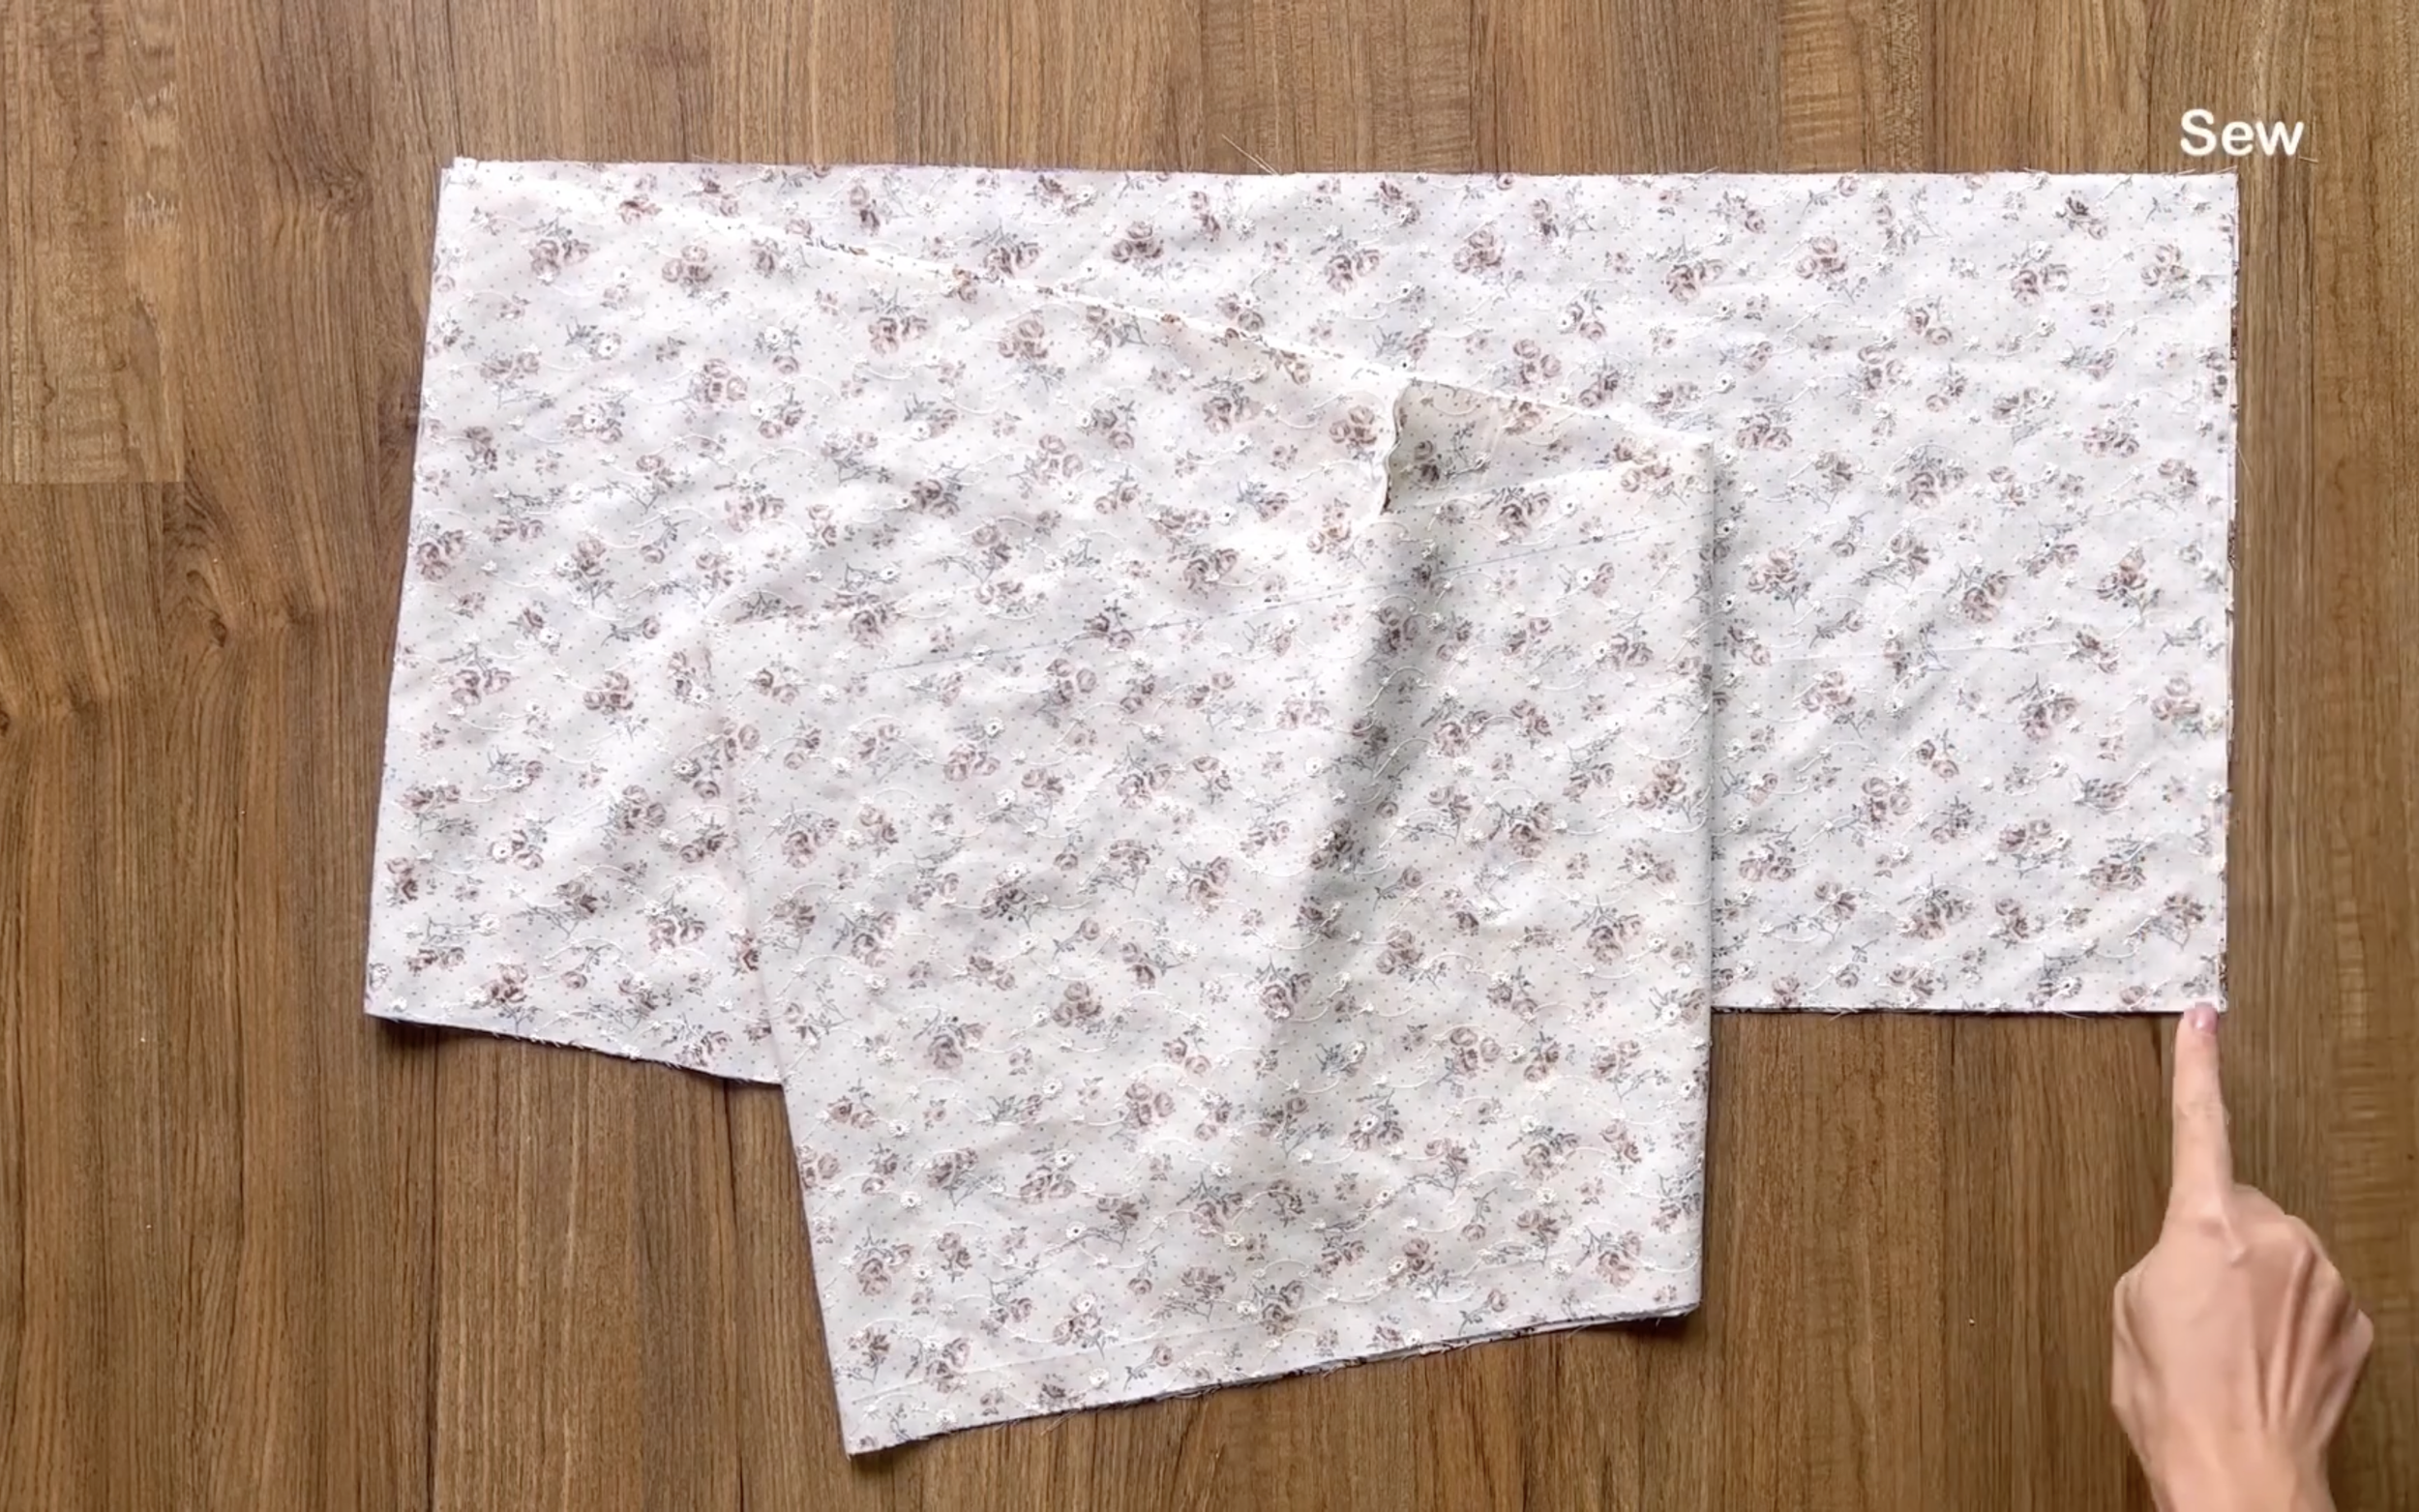
SEWING THE DRESS
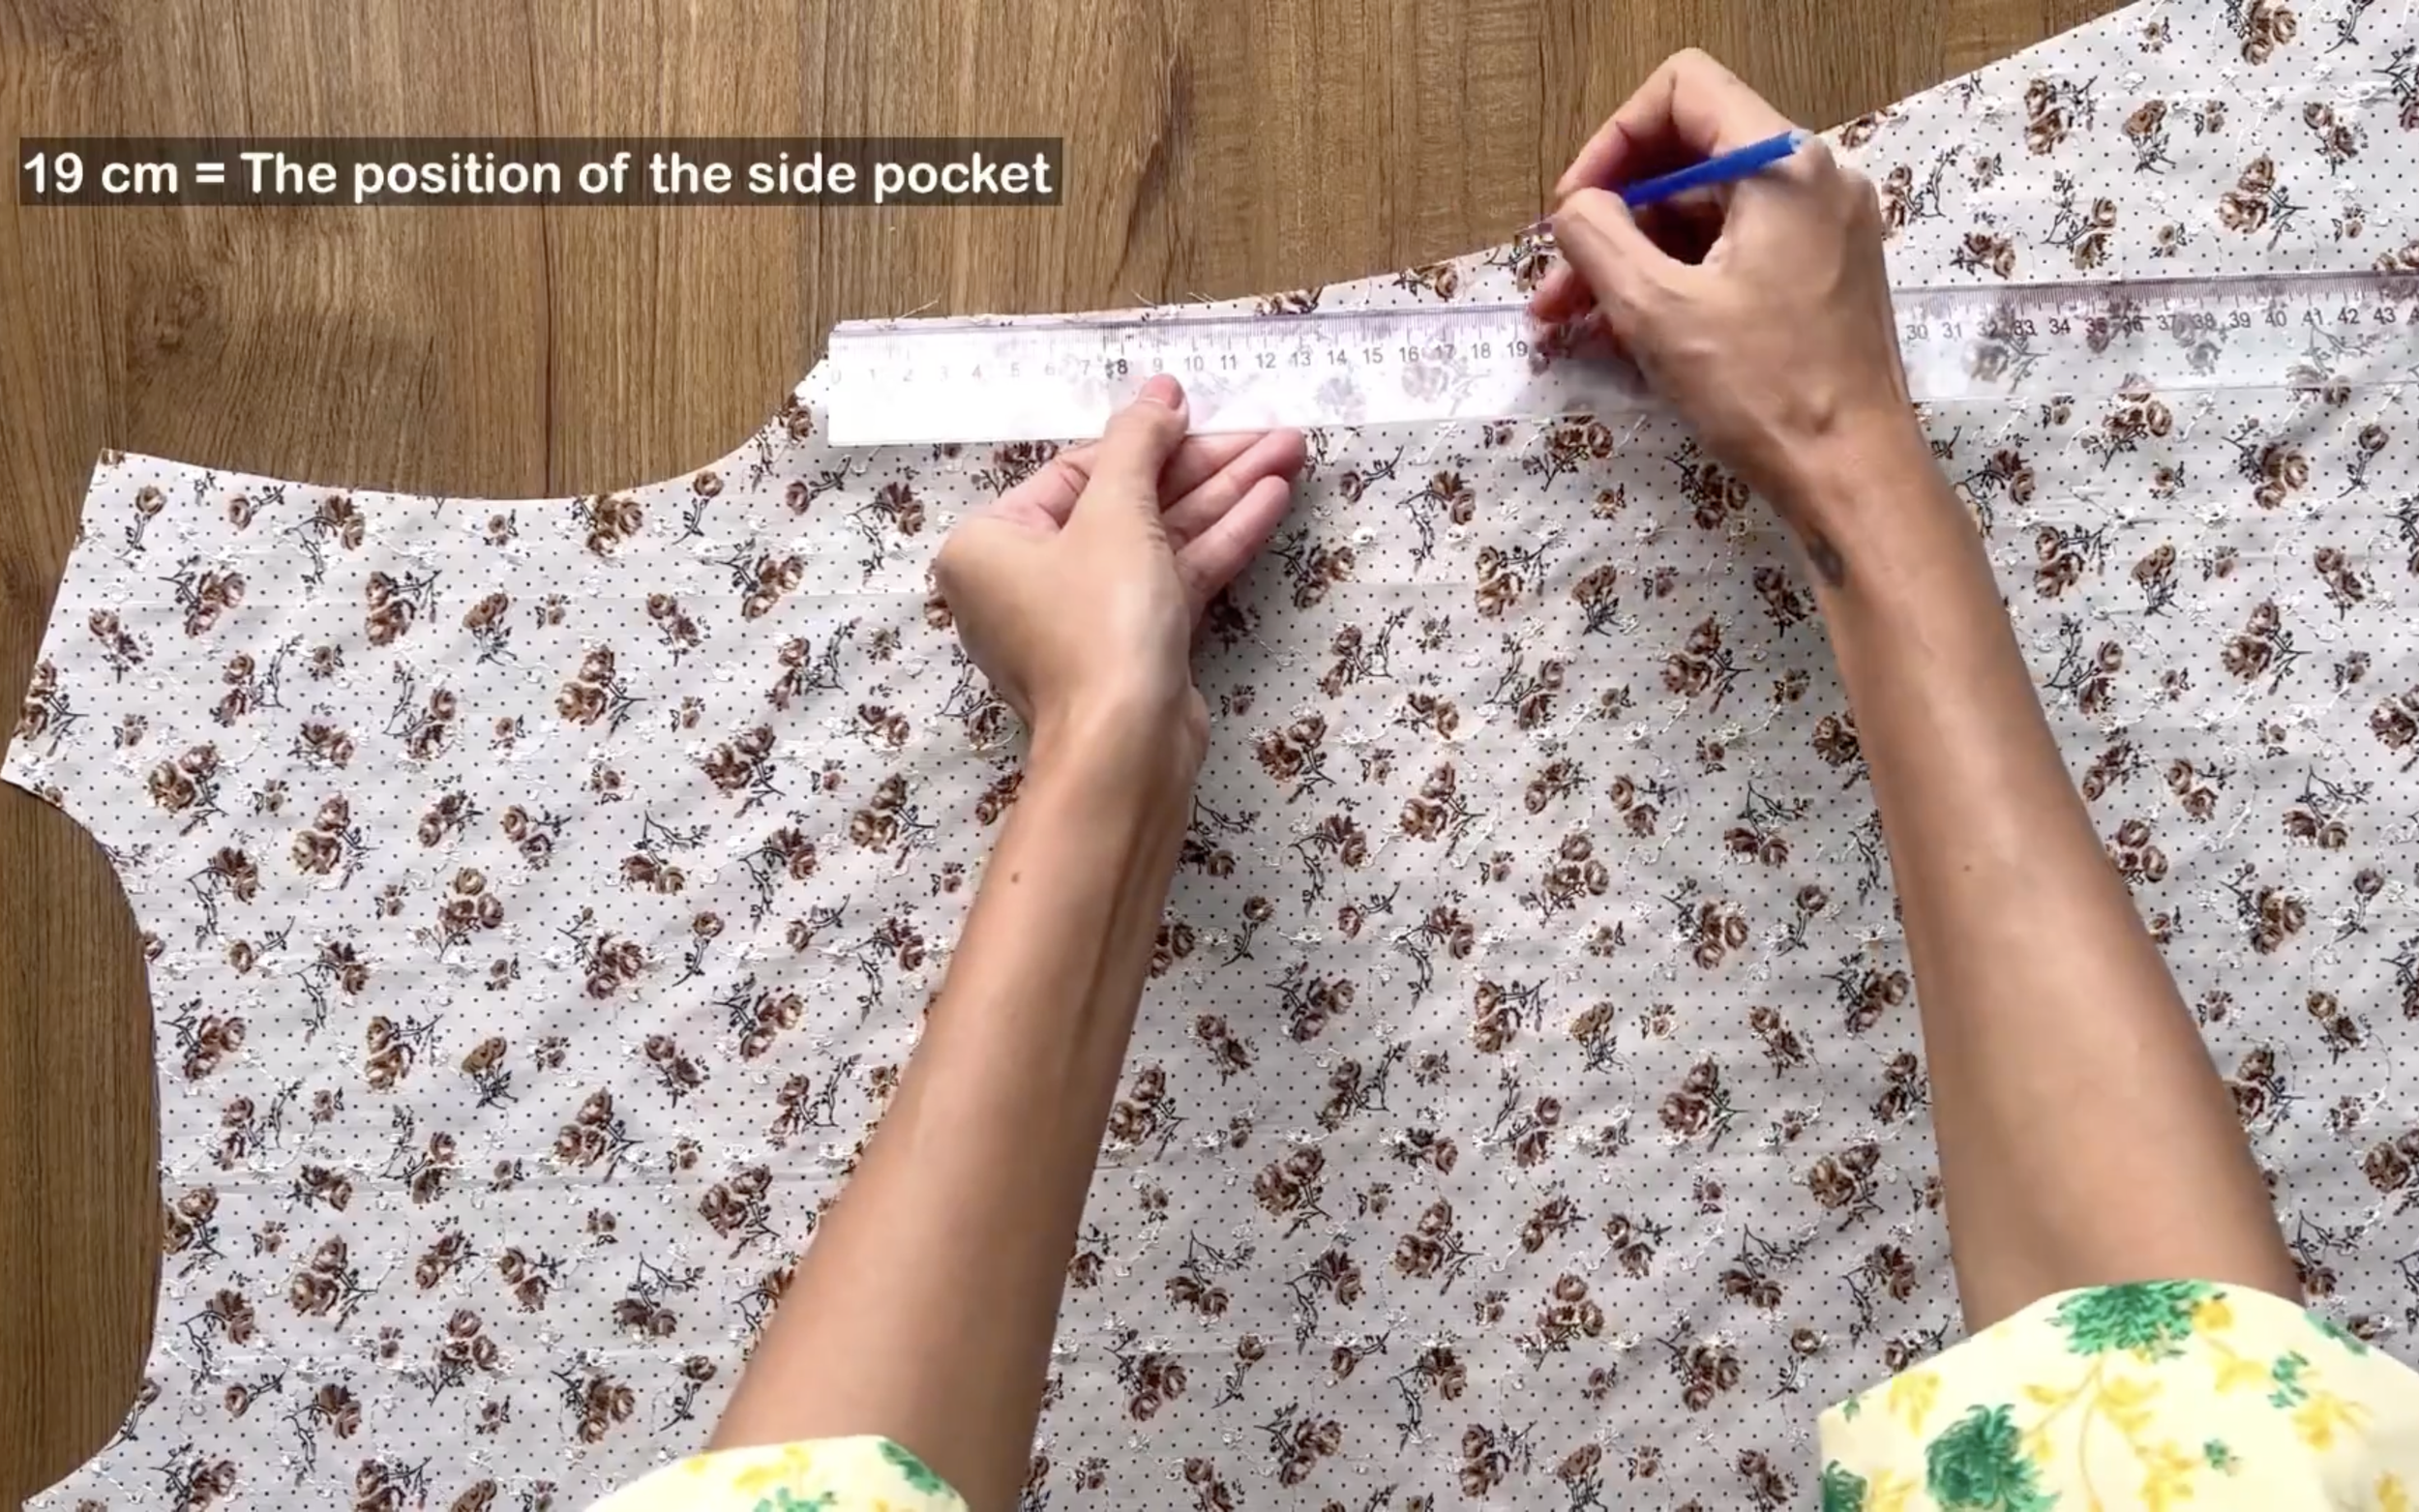
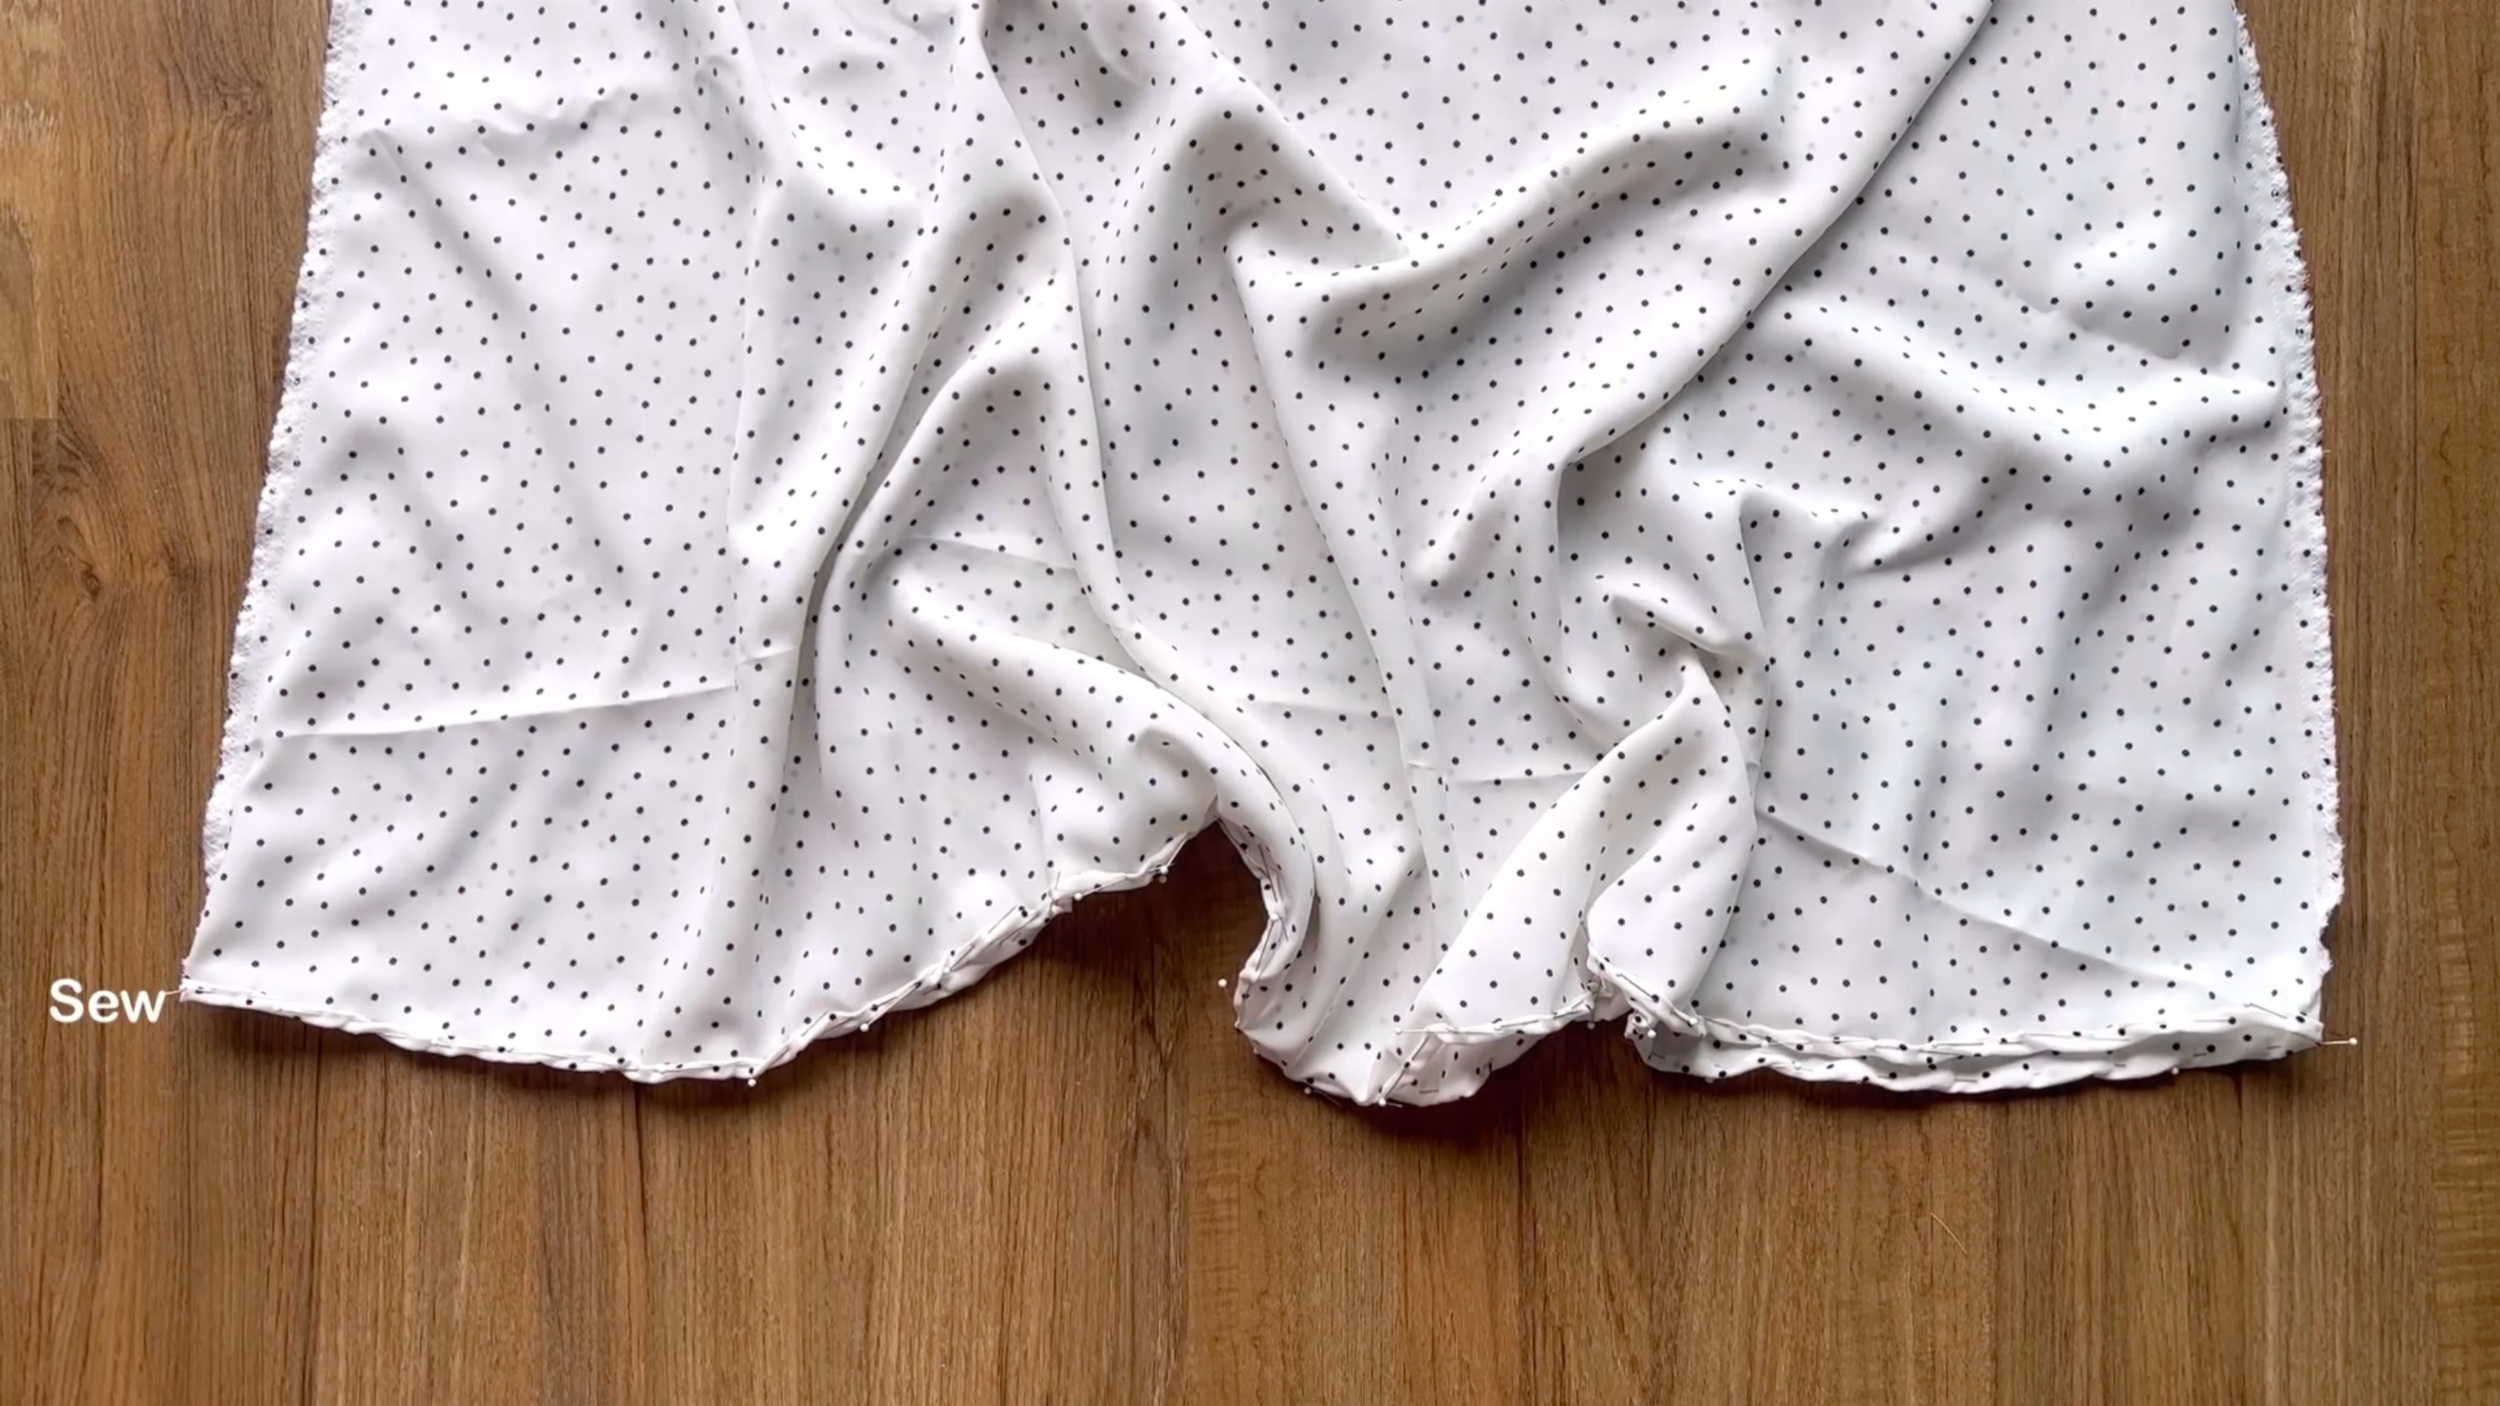
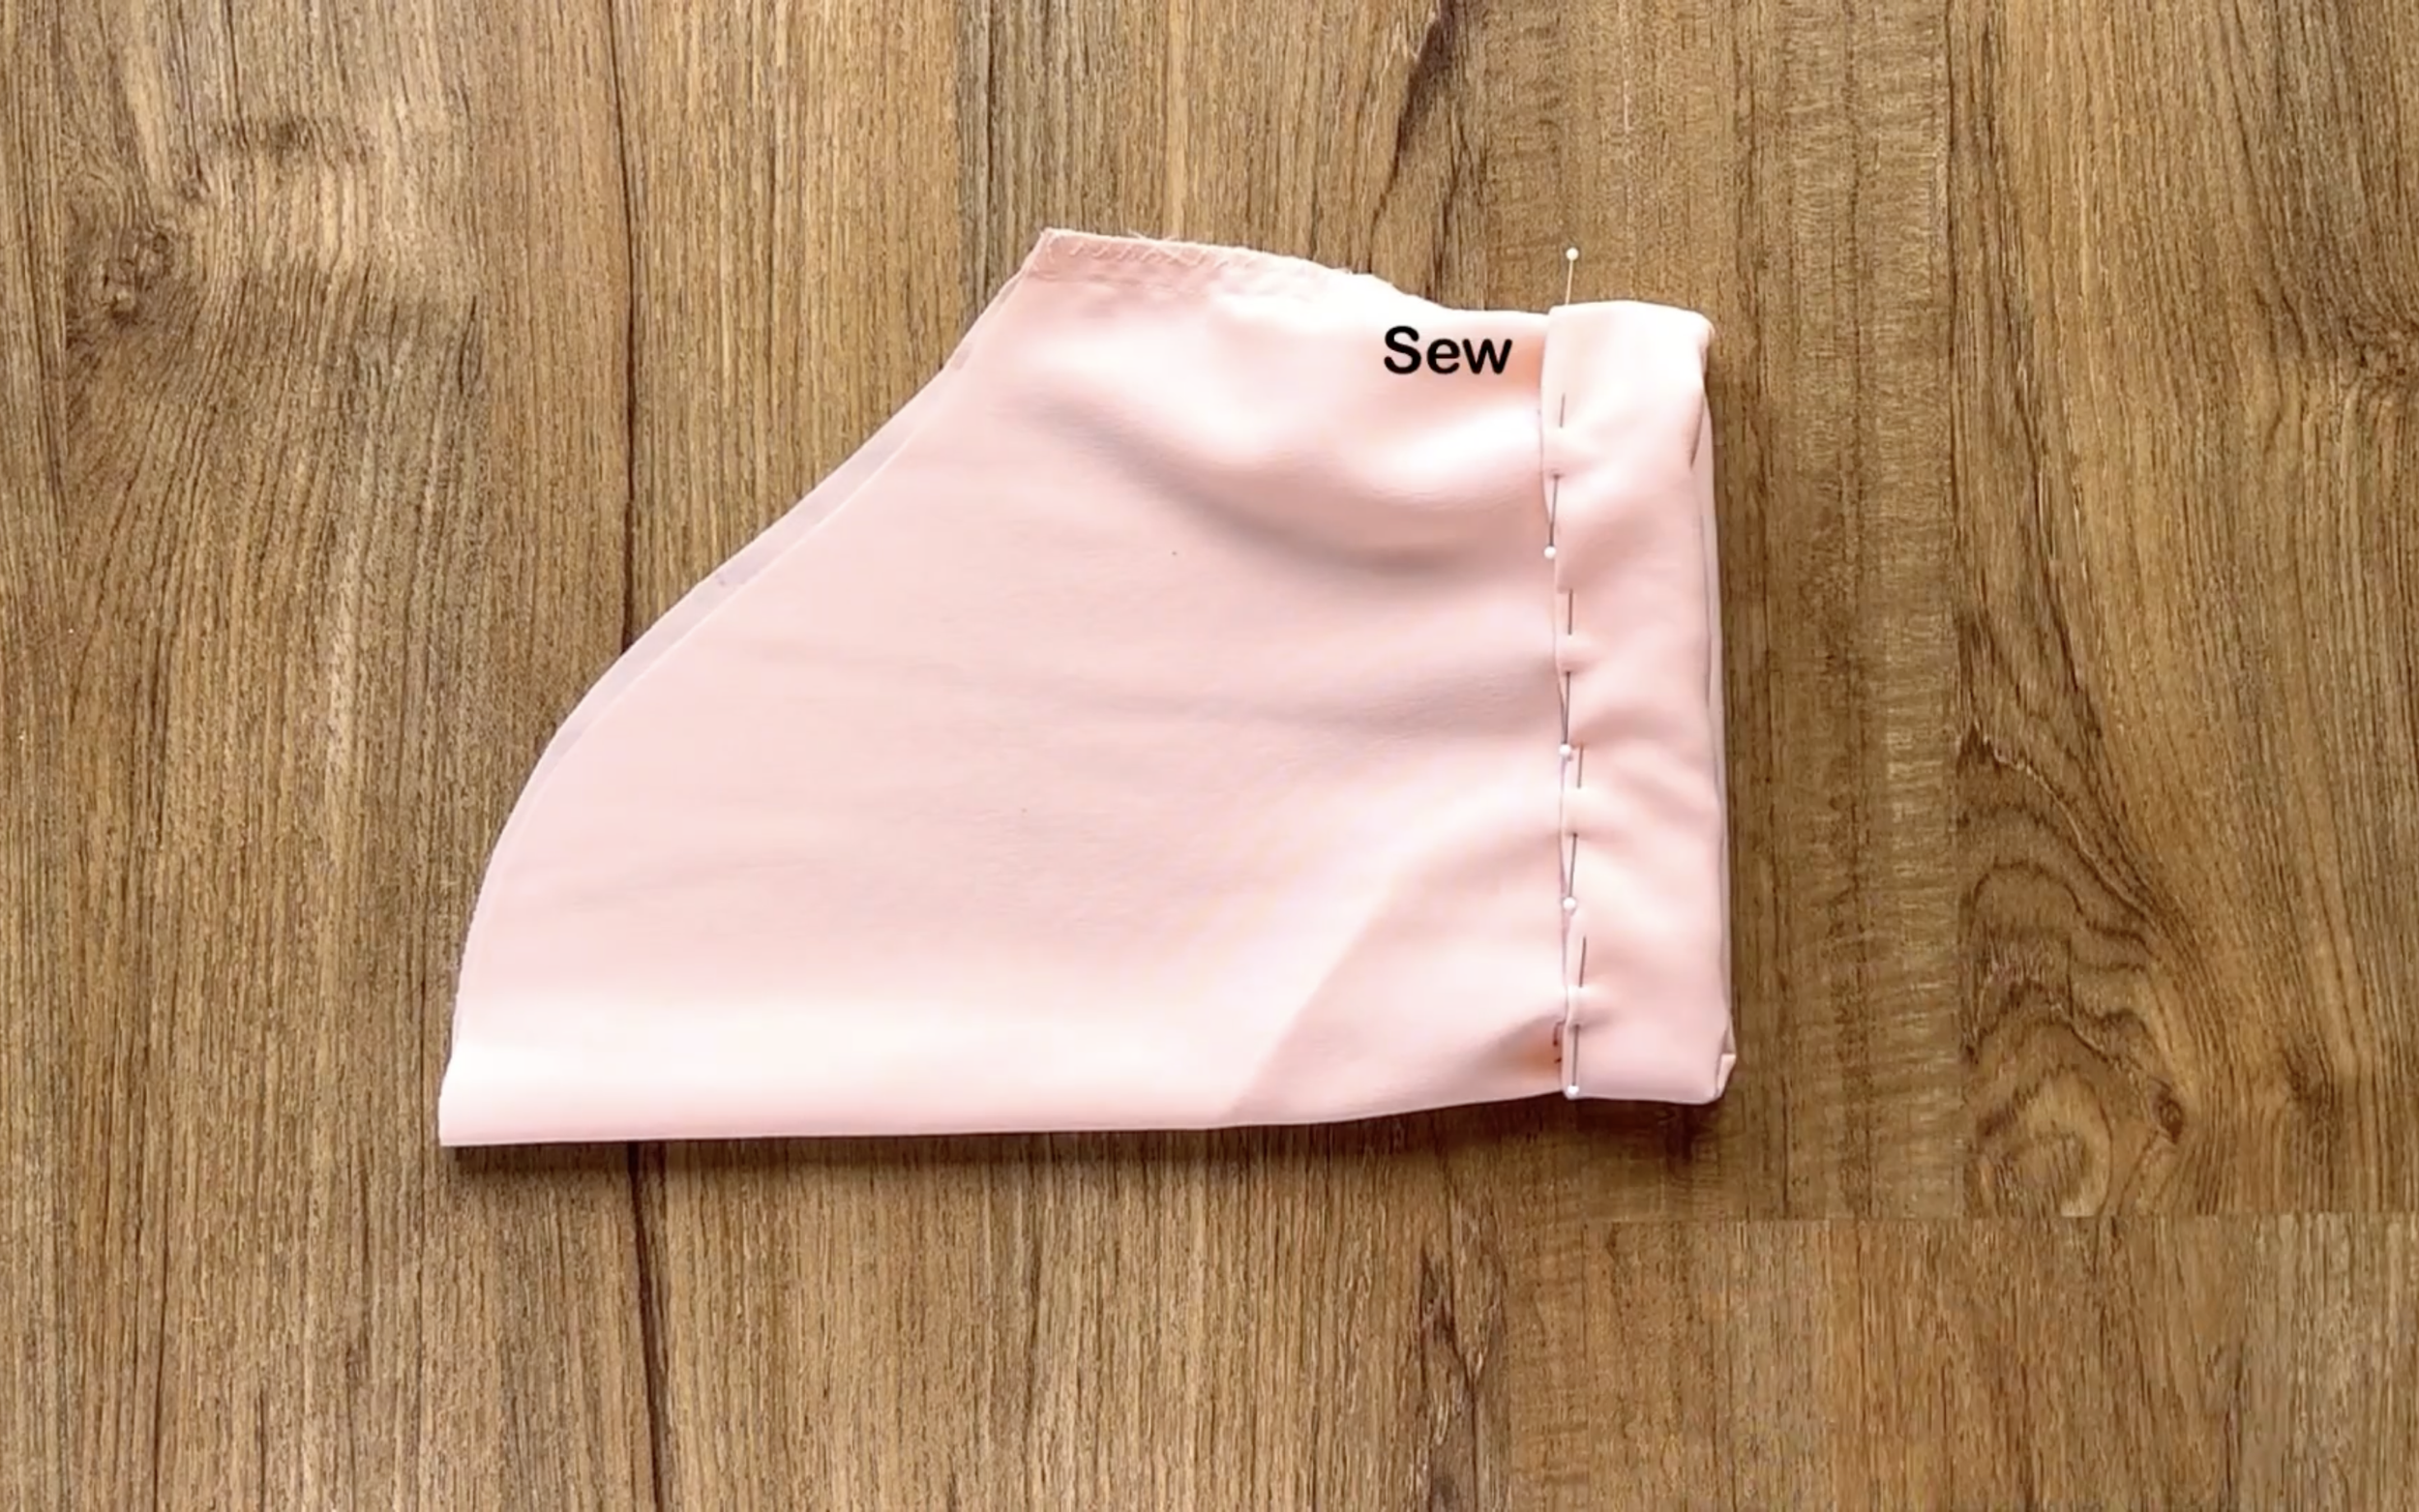
To add the side pocket for the dress, from the top of the sideline, mark down 19 cm, which is the position of the side pocket that is wanted.
Then, add the pocket there and sew.
Do the same for the other side and the back piece of the dress.
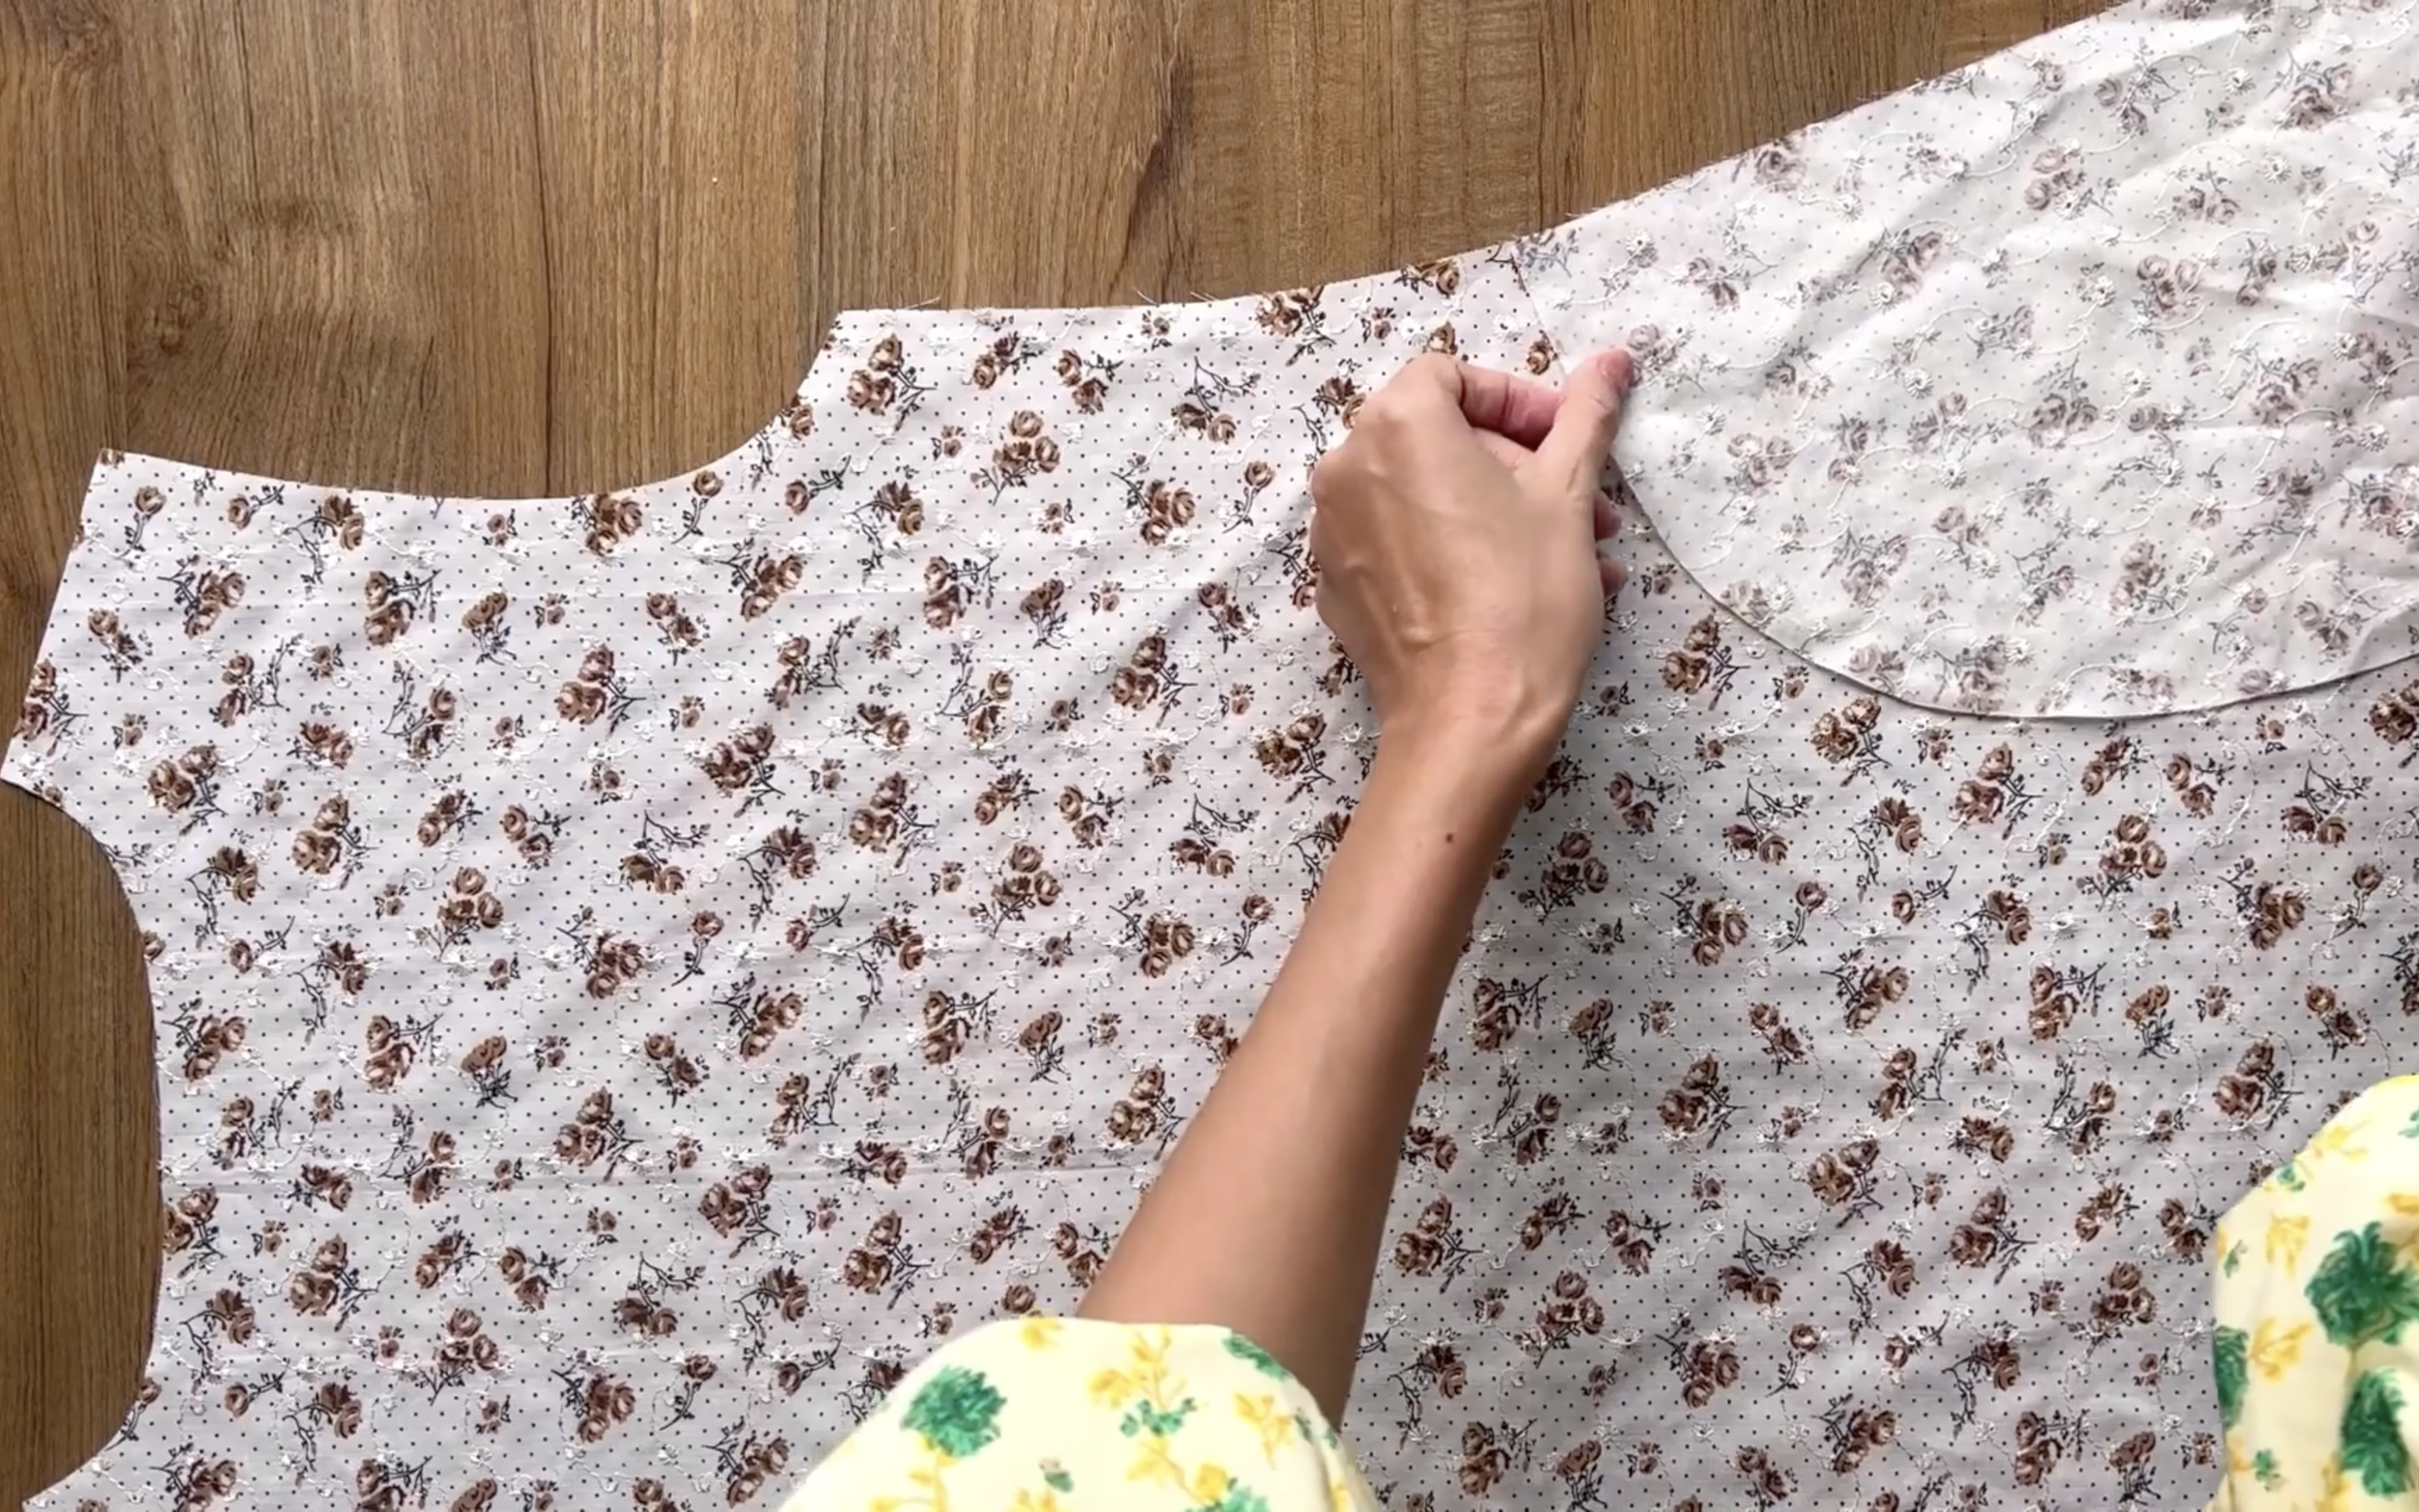
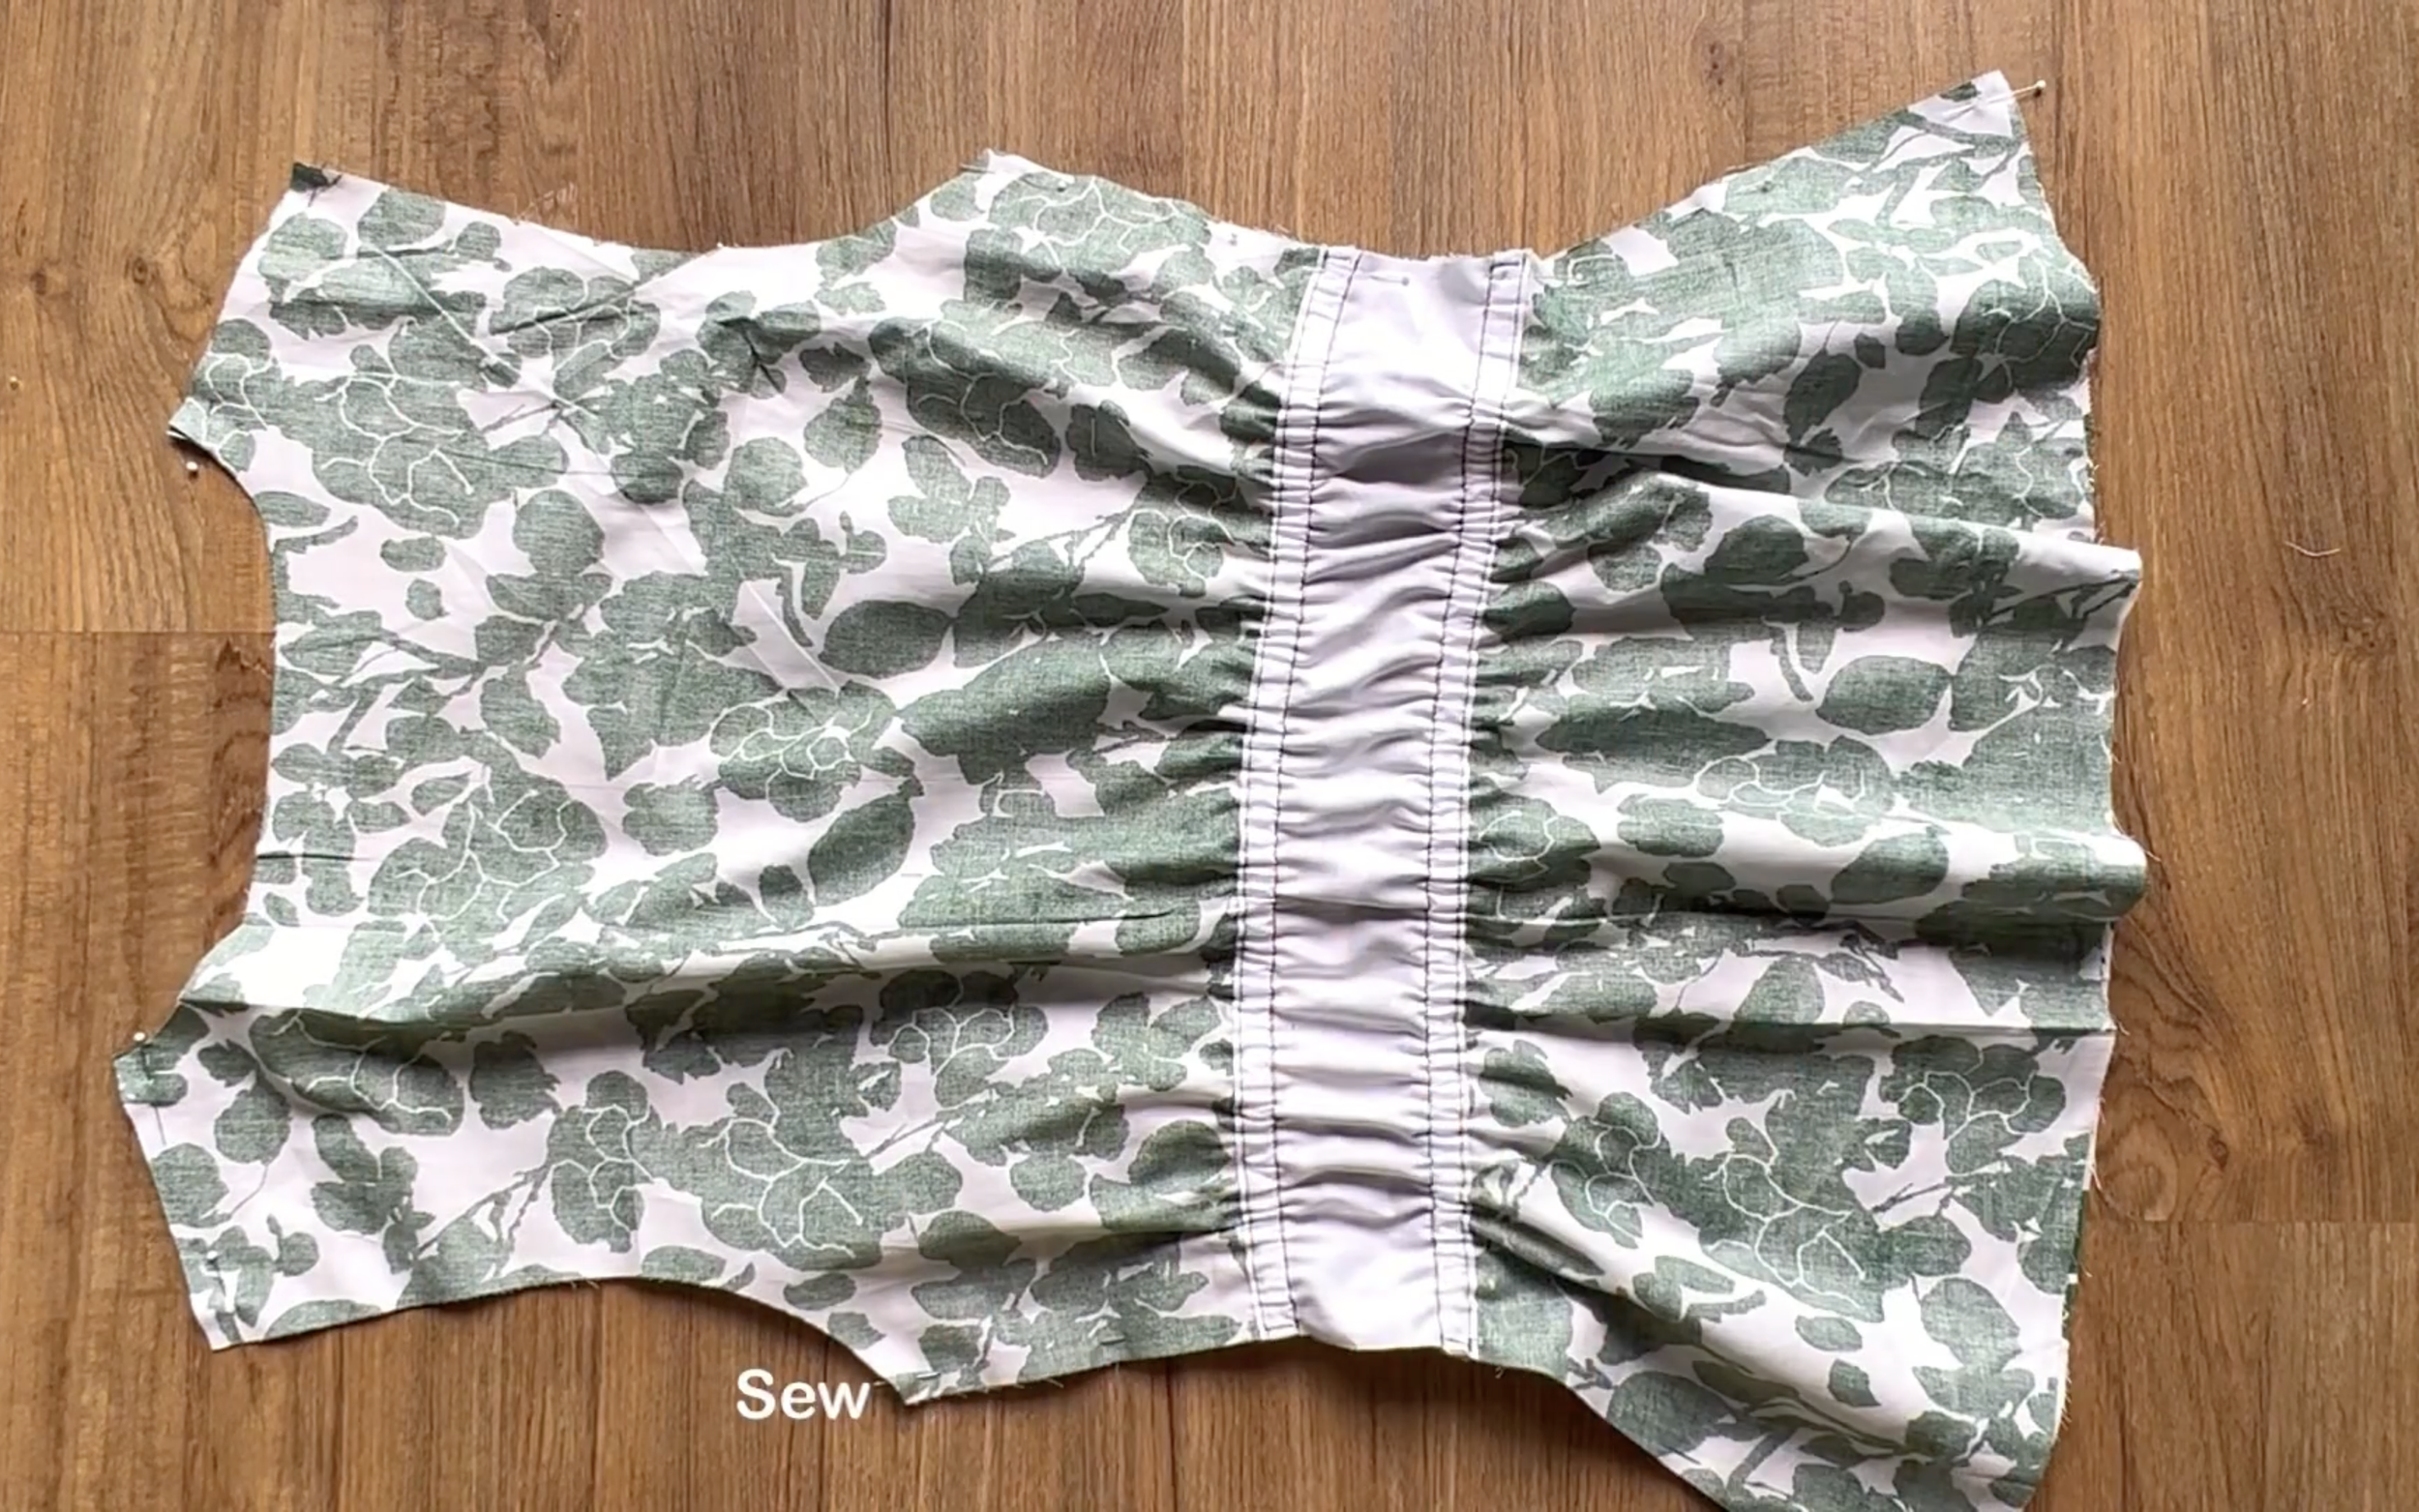
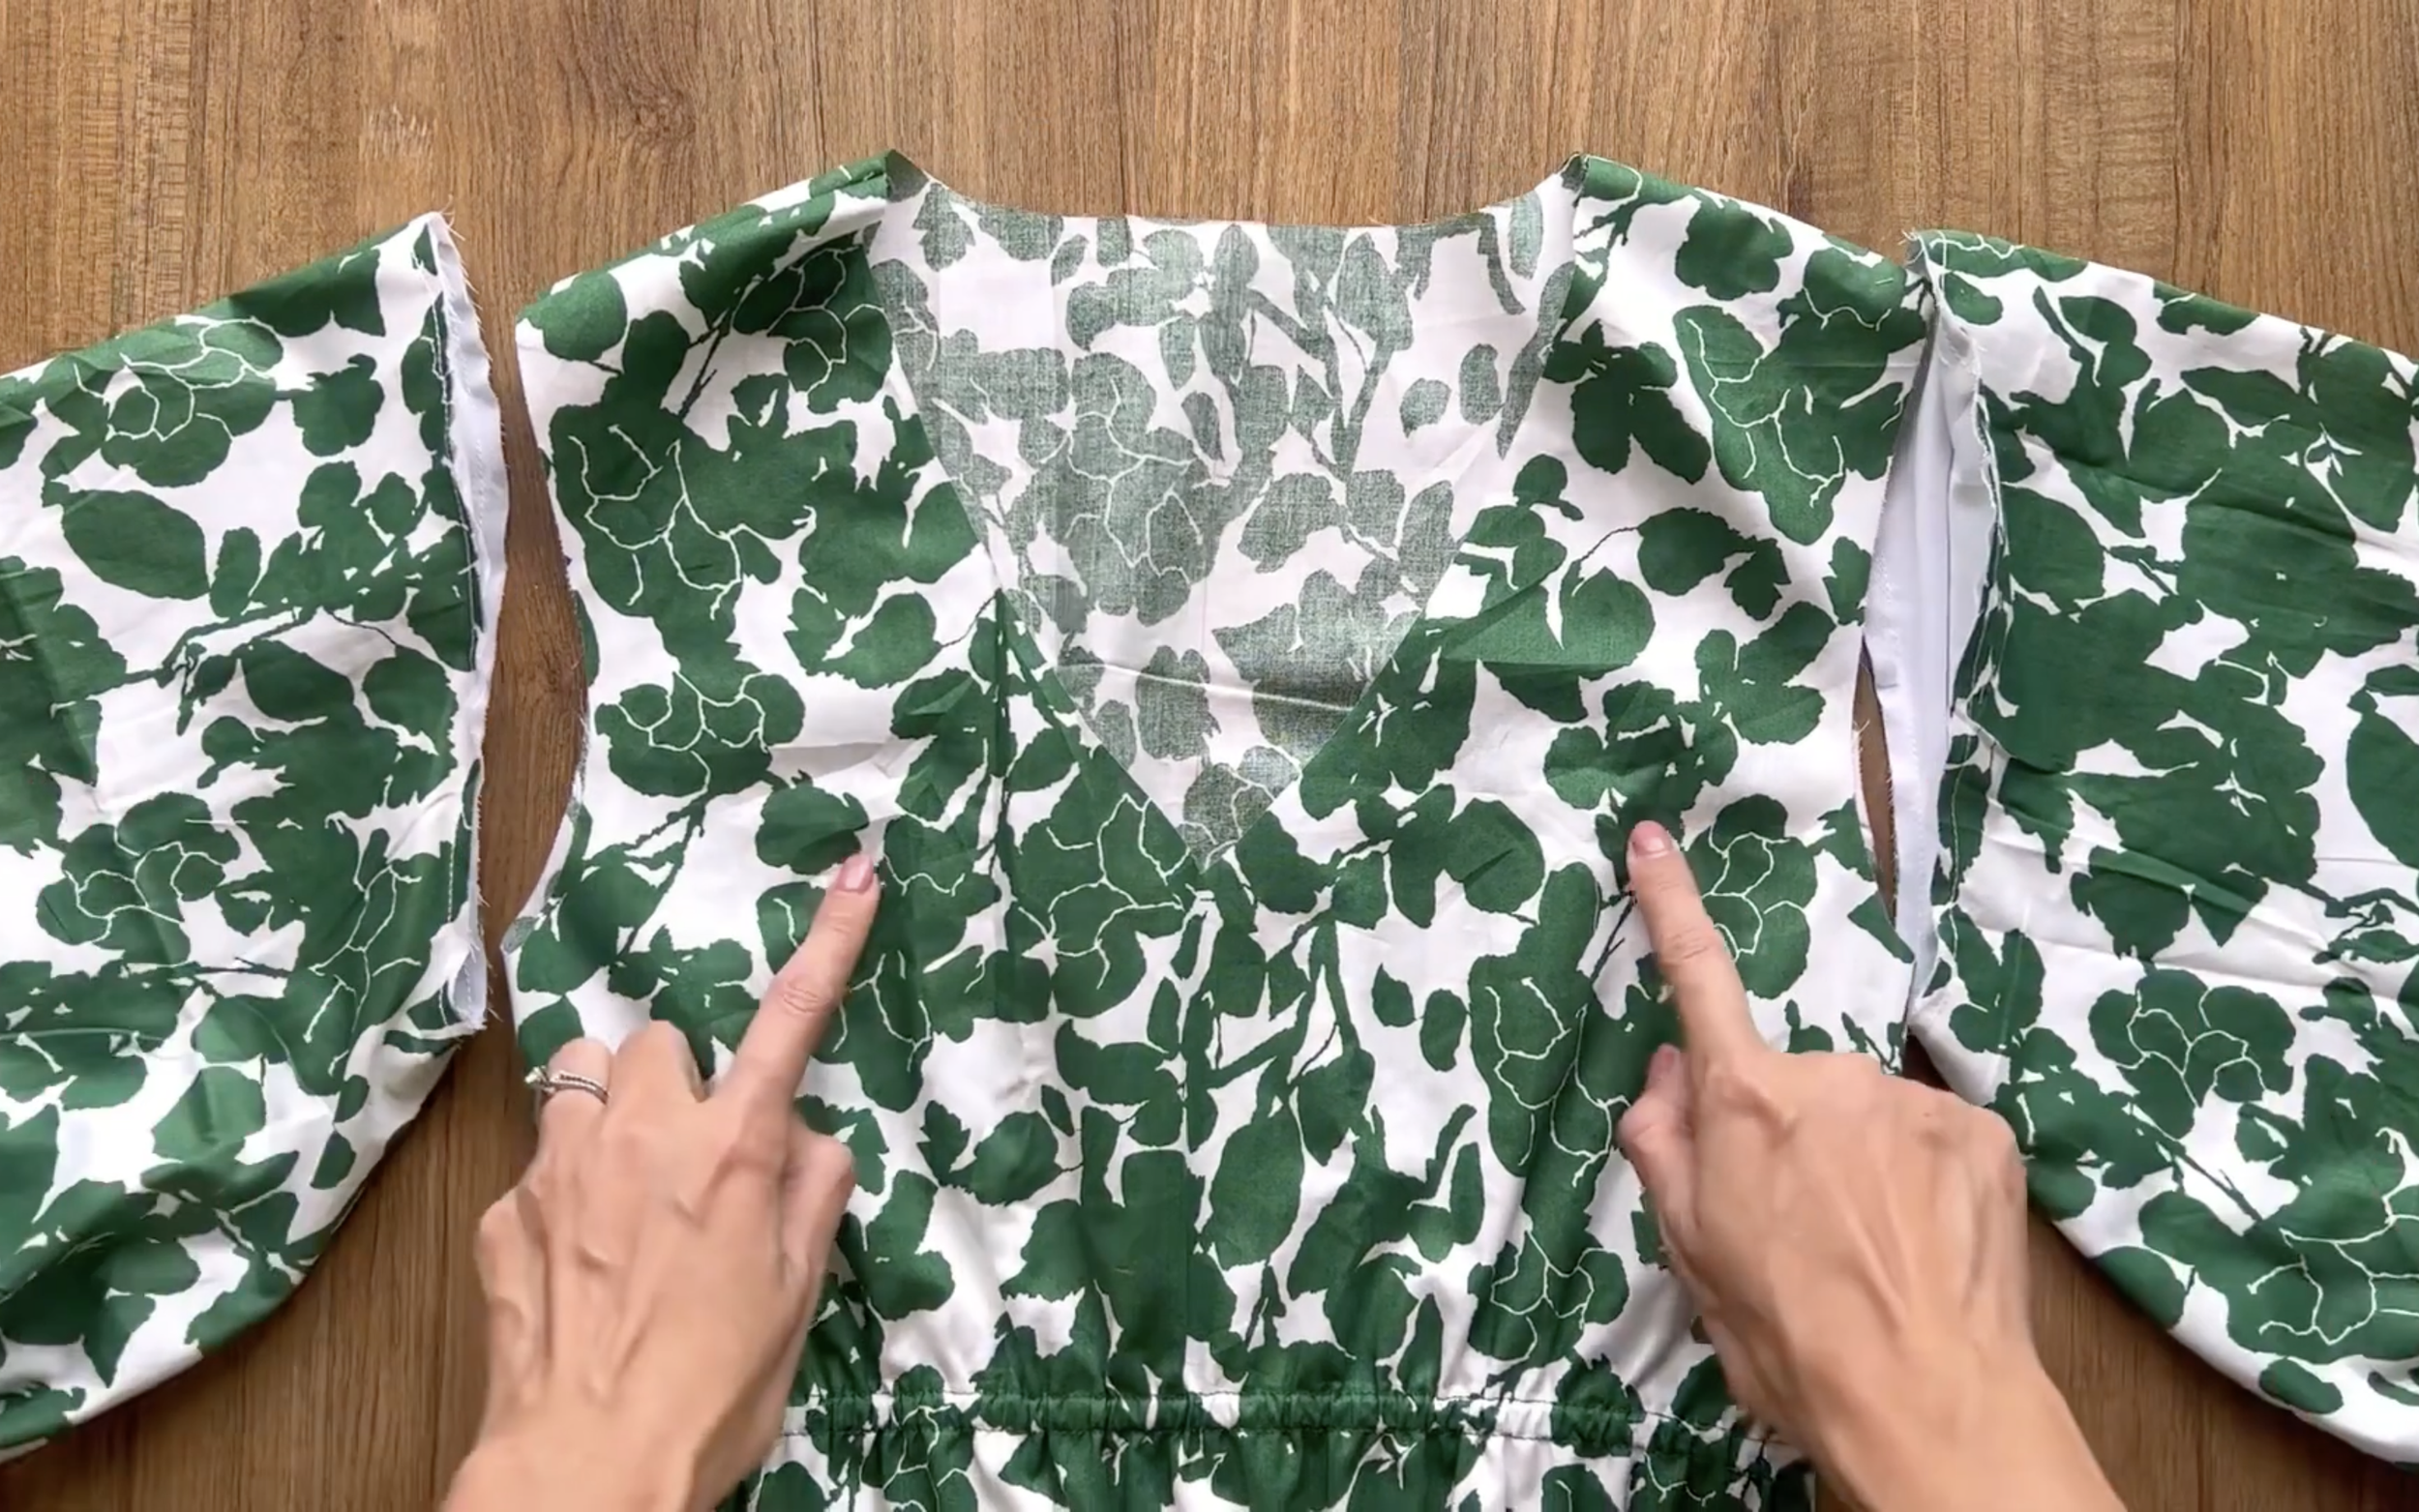
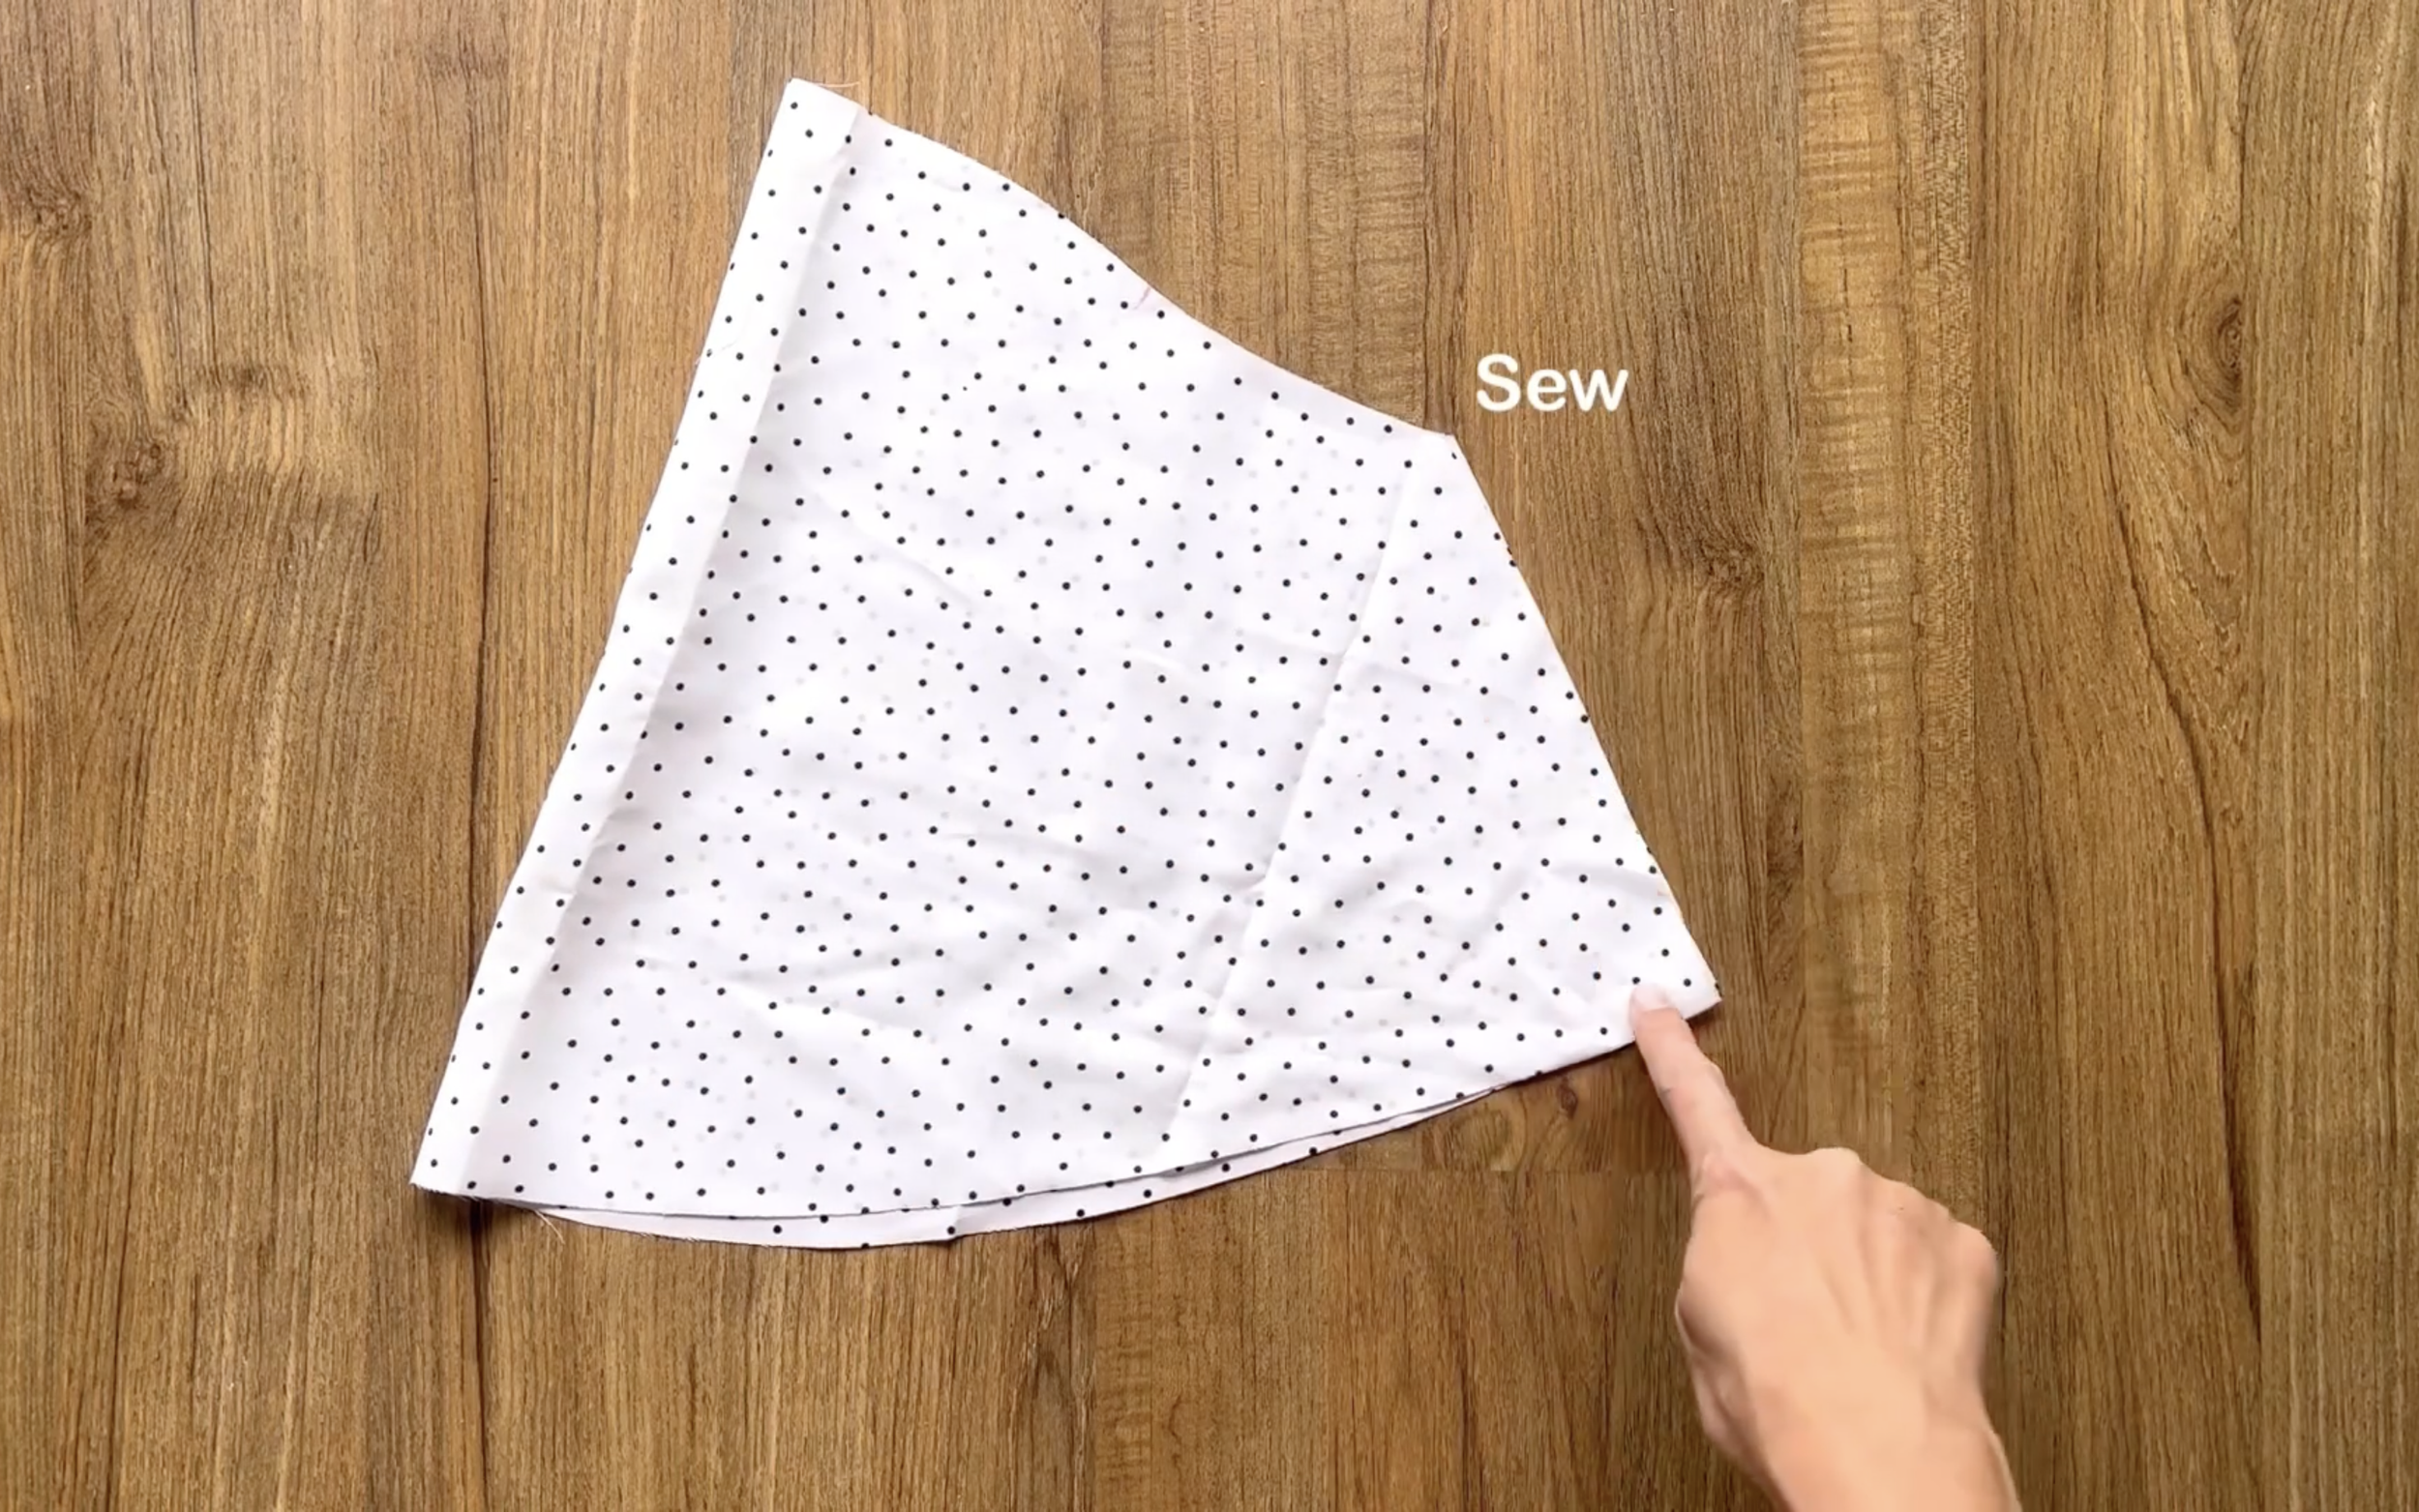
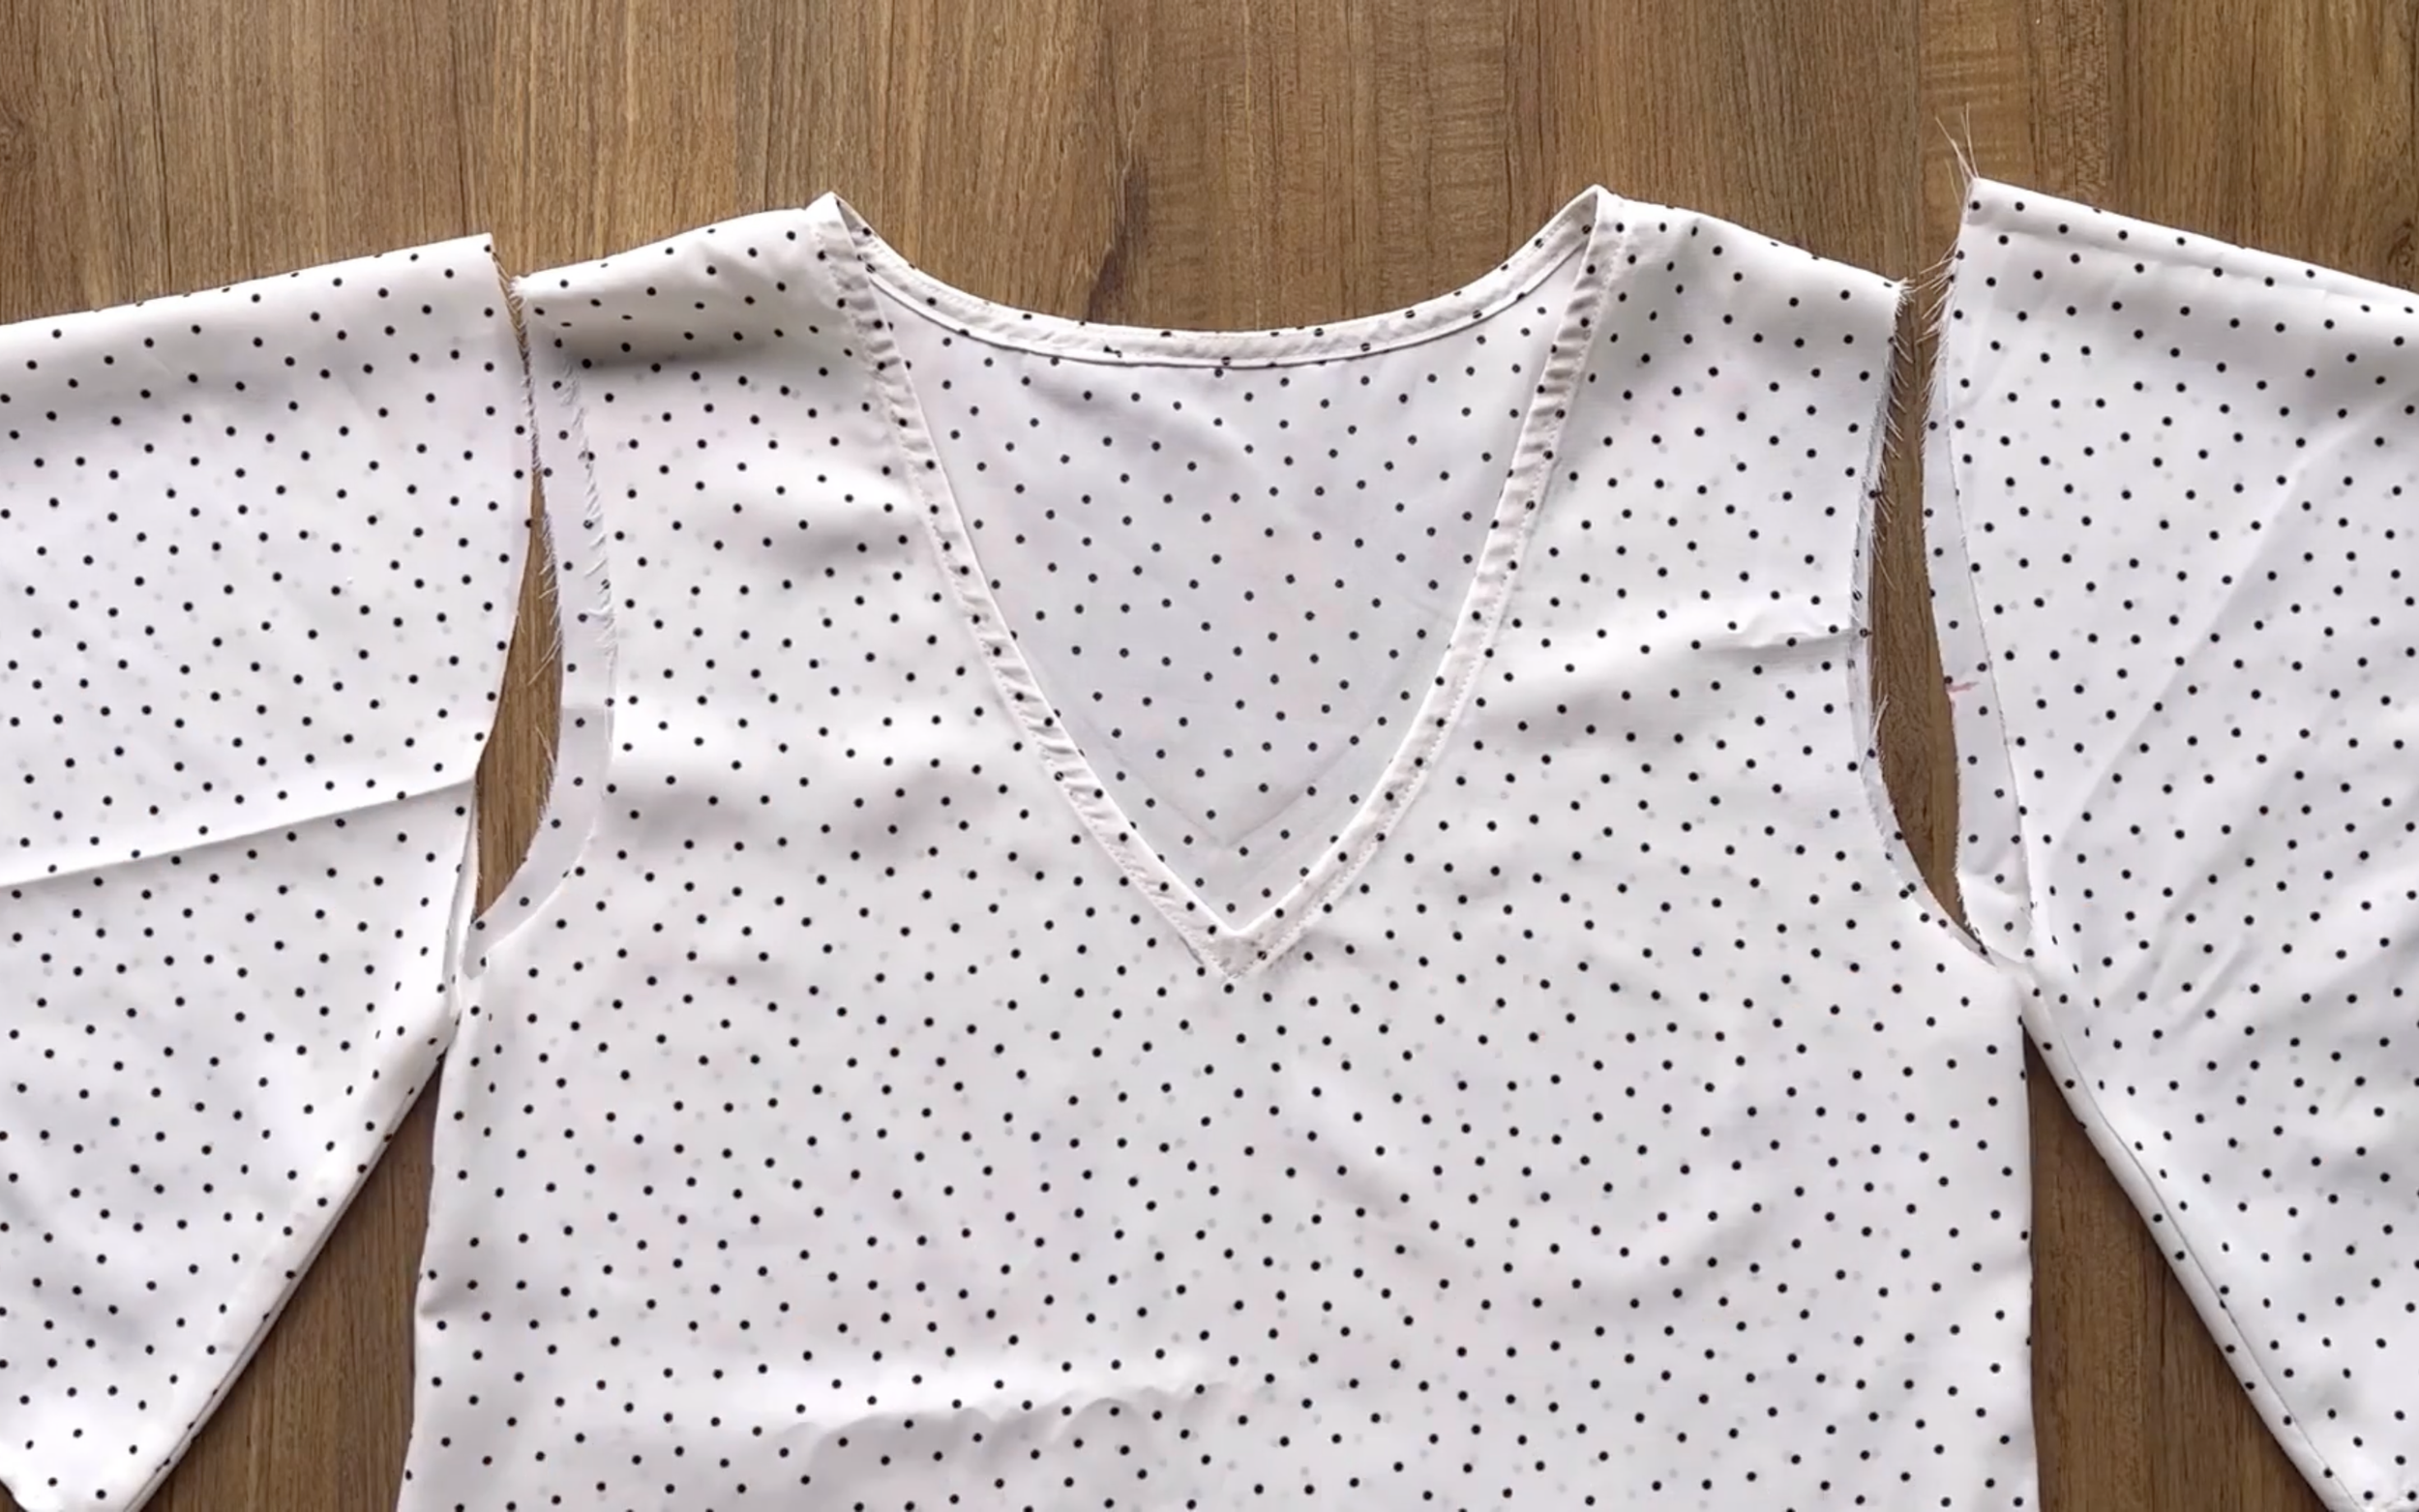
After that, connect the front and the back of the dress together at the shoulder in two sidelines, then sew.
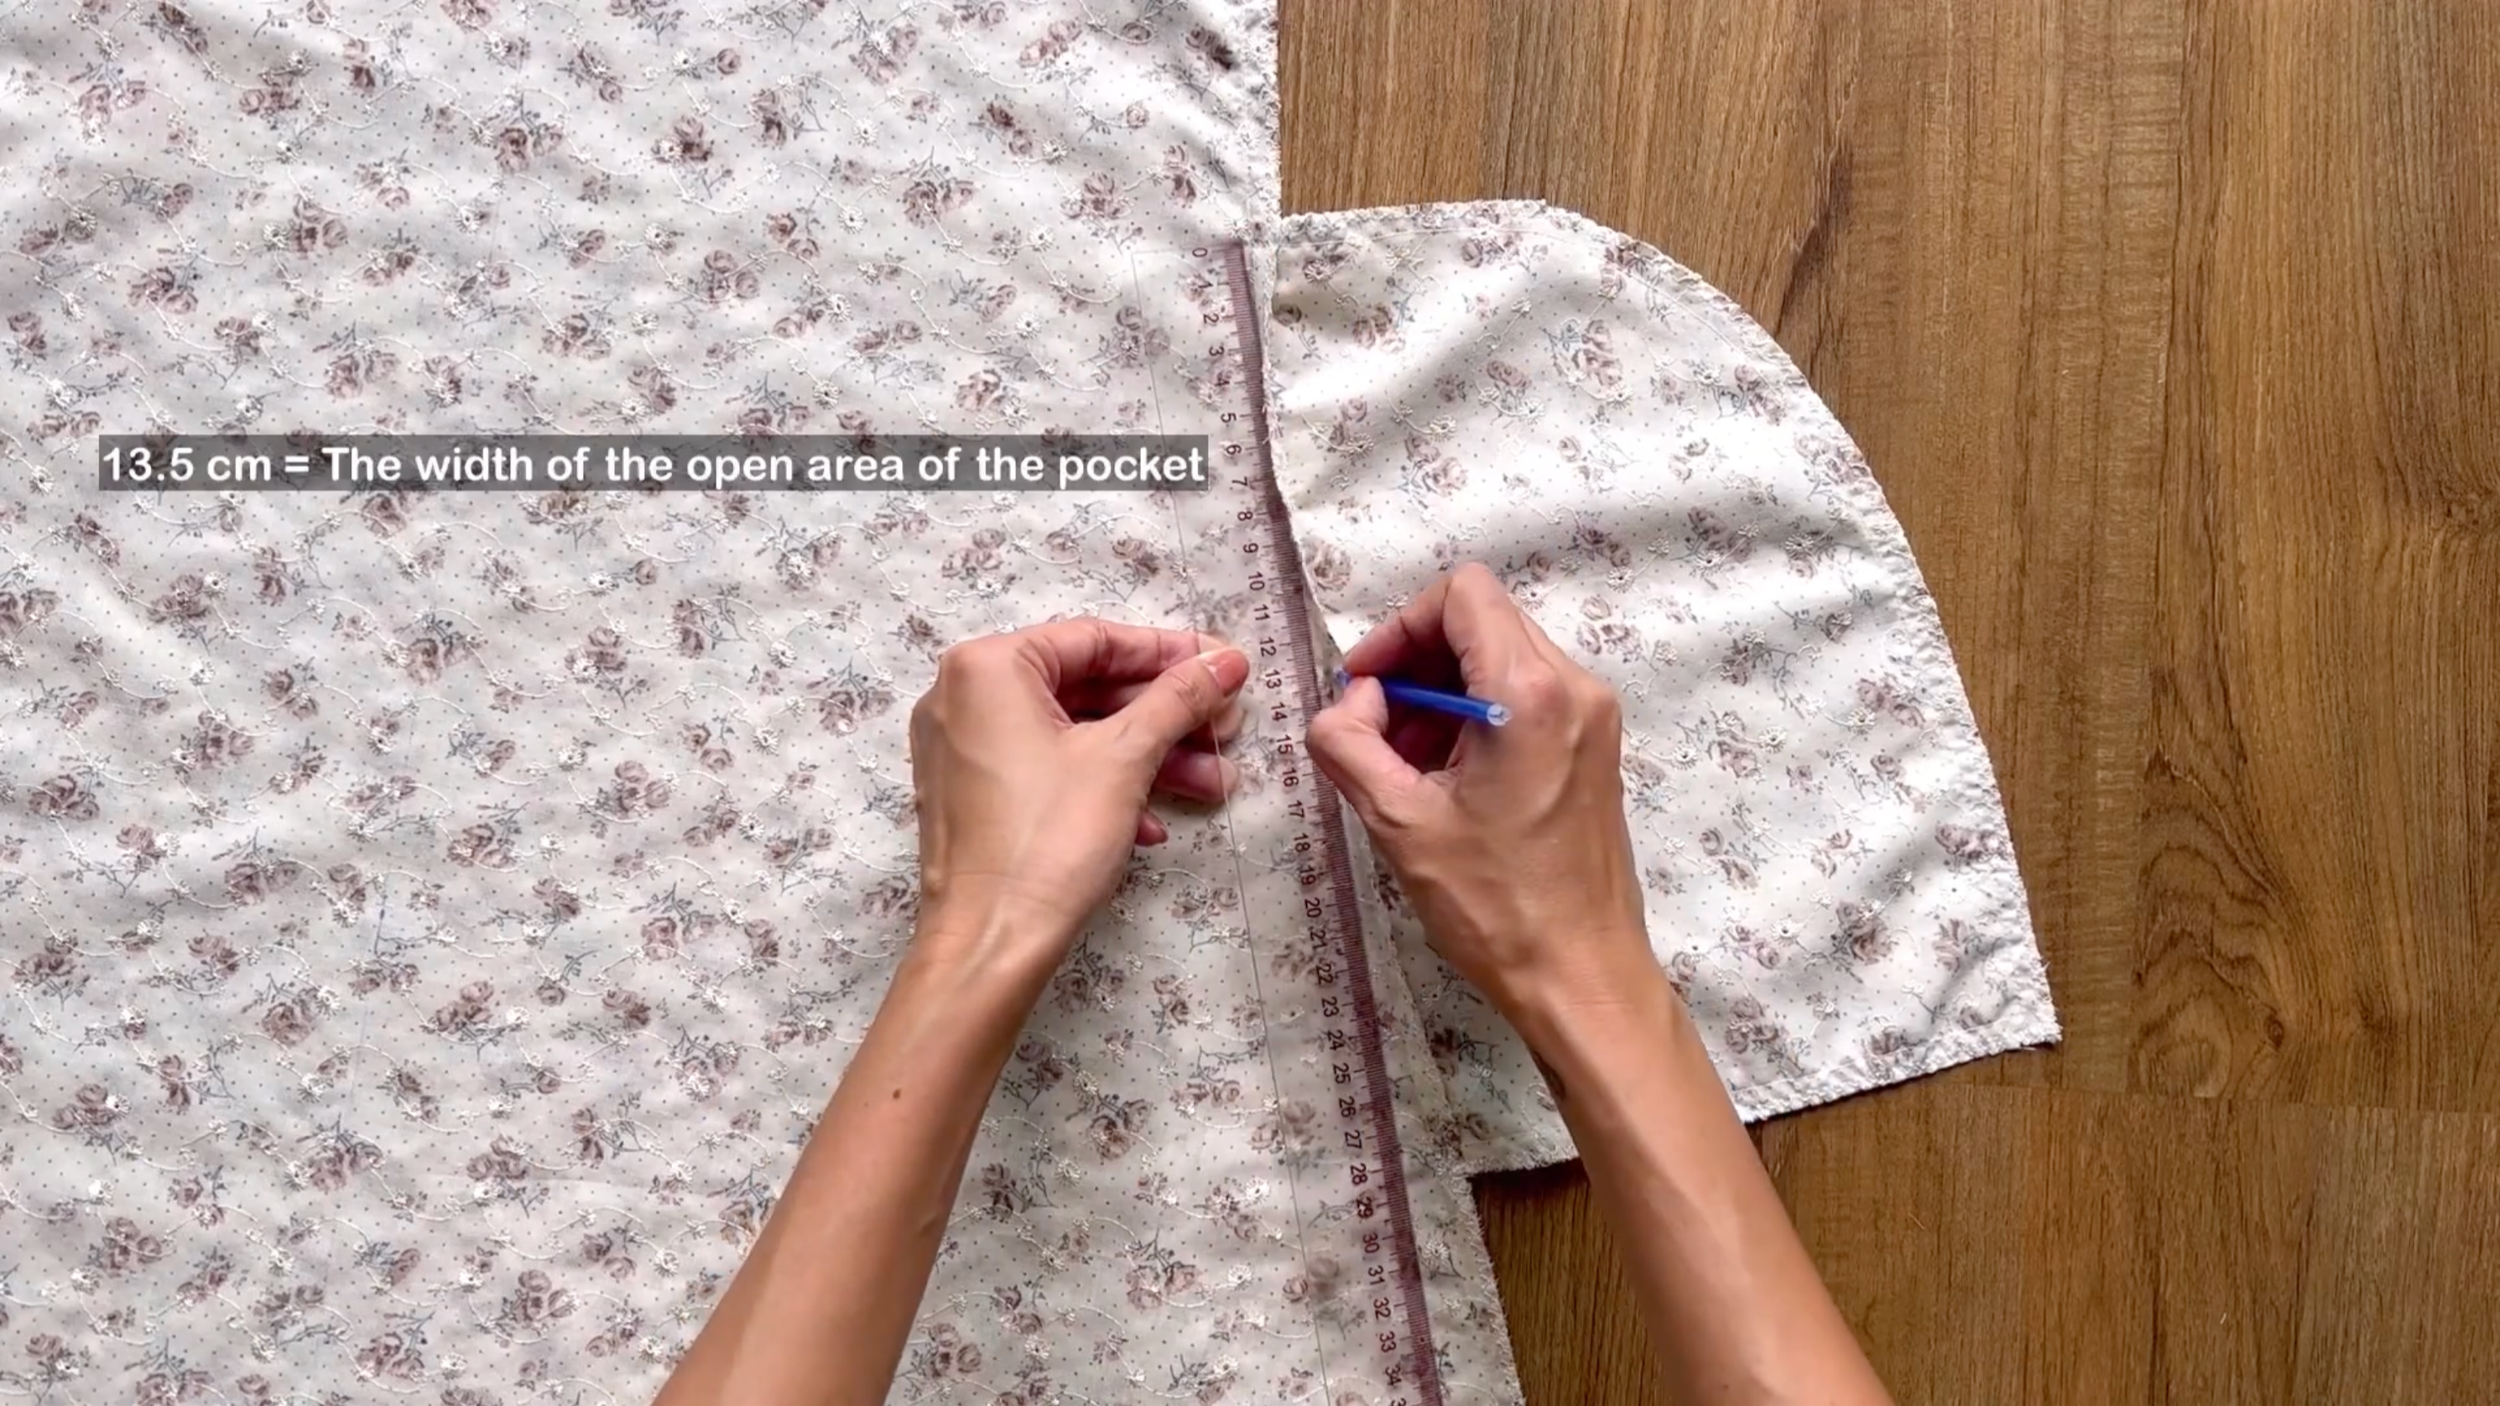
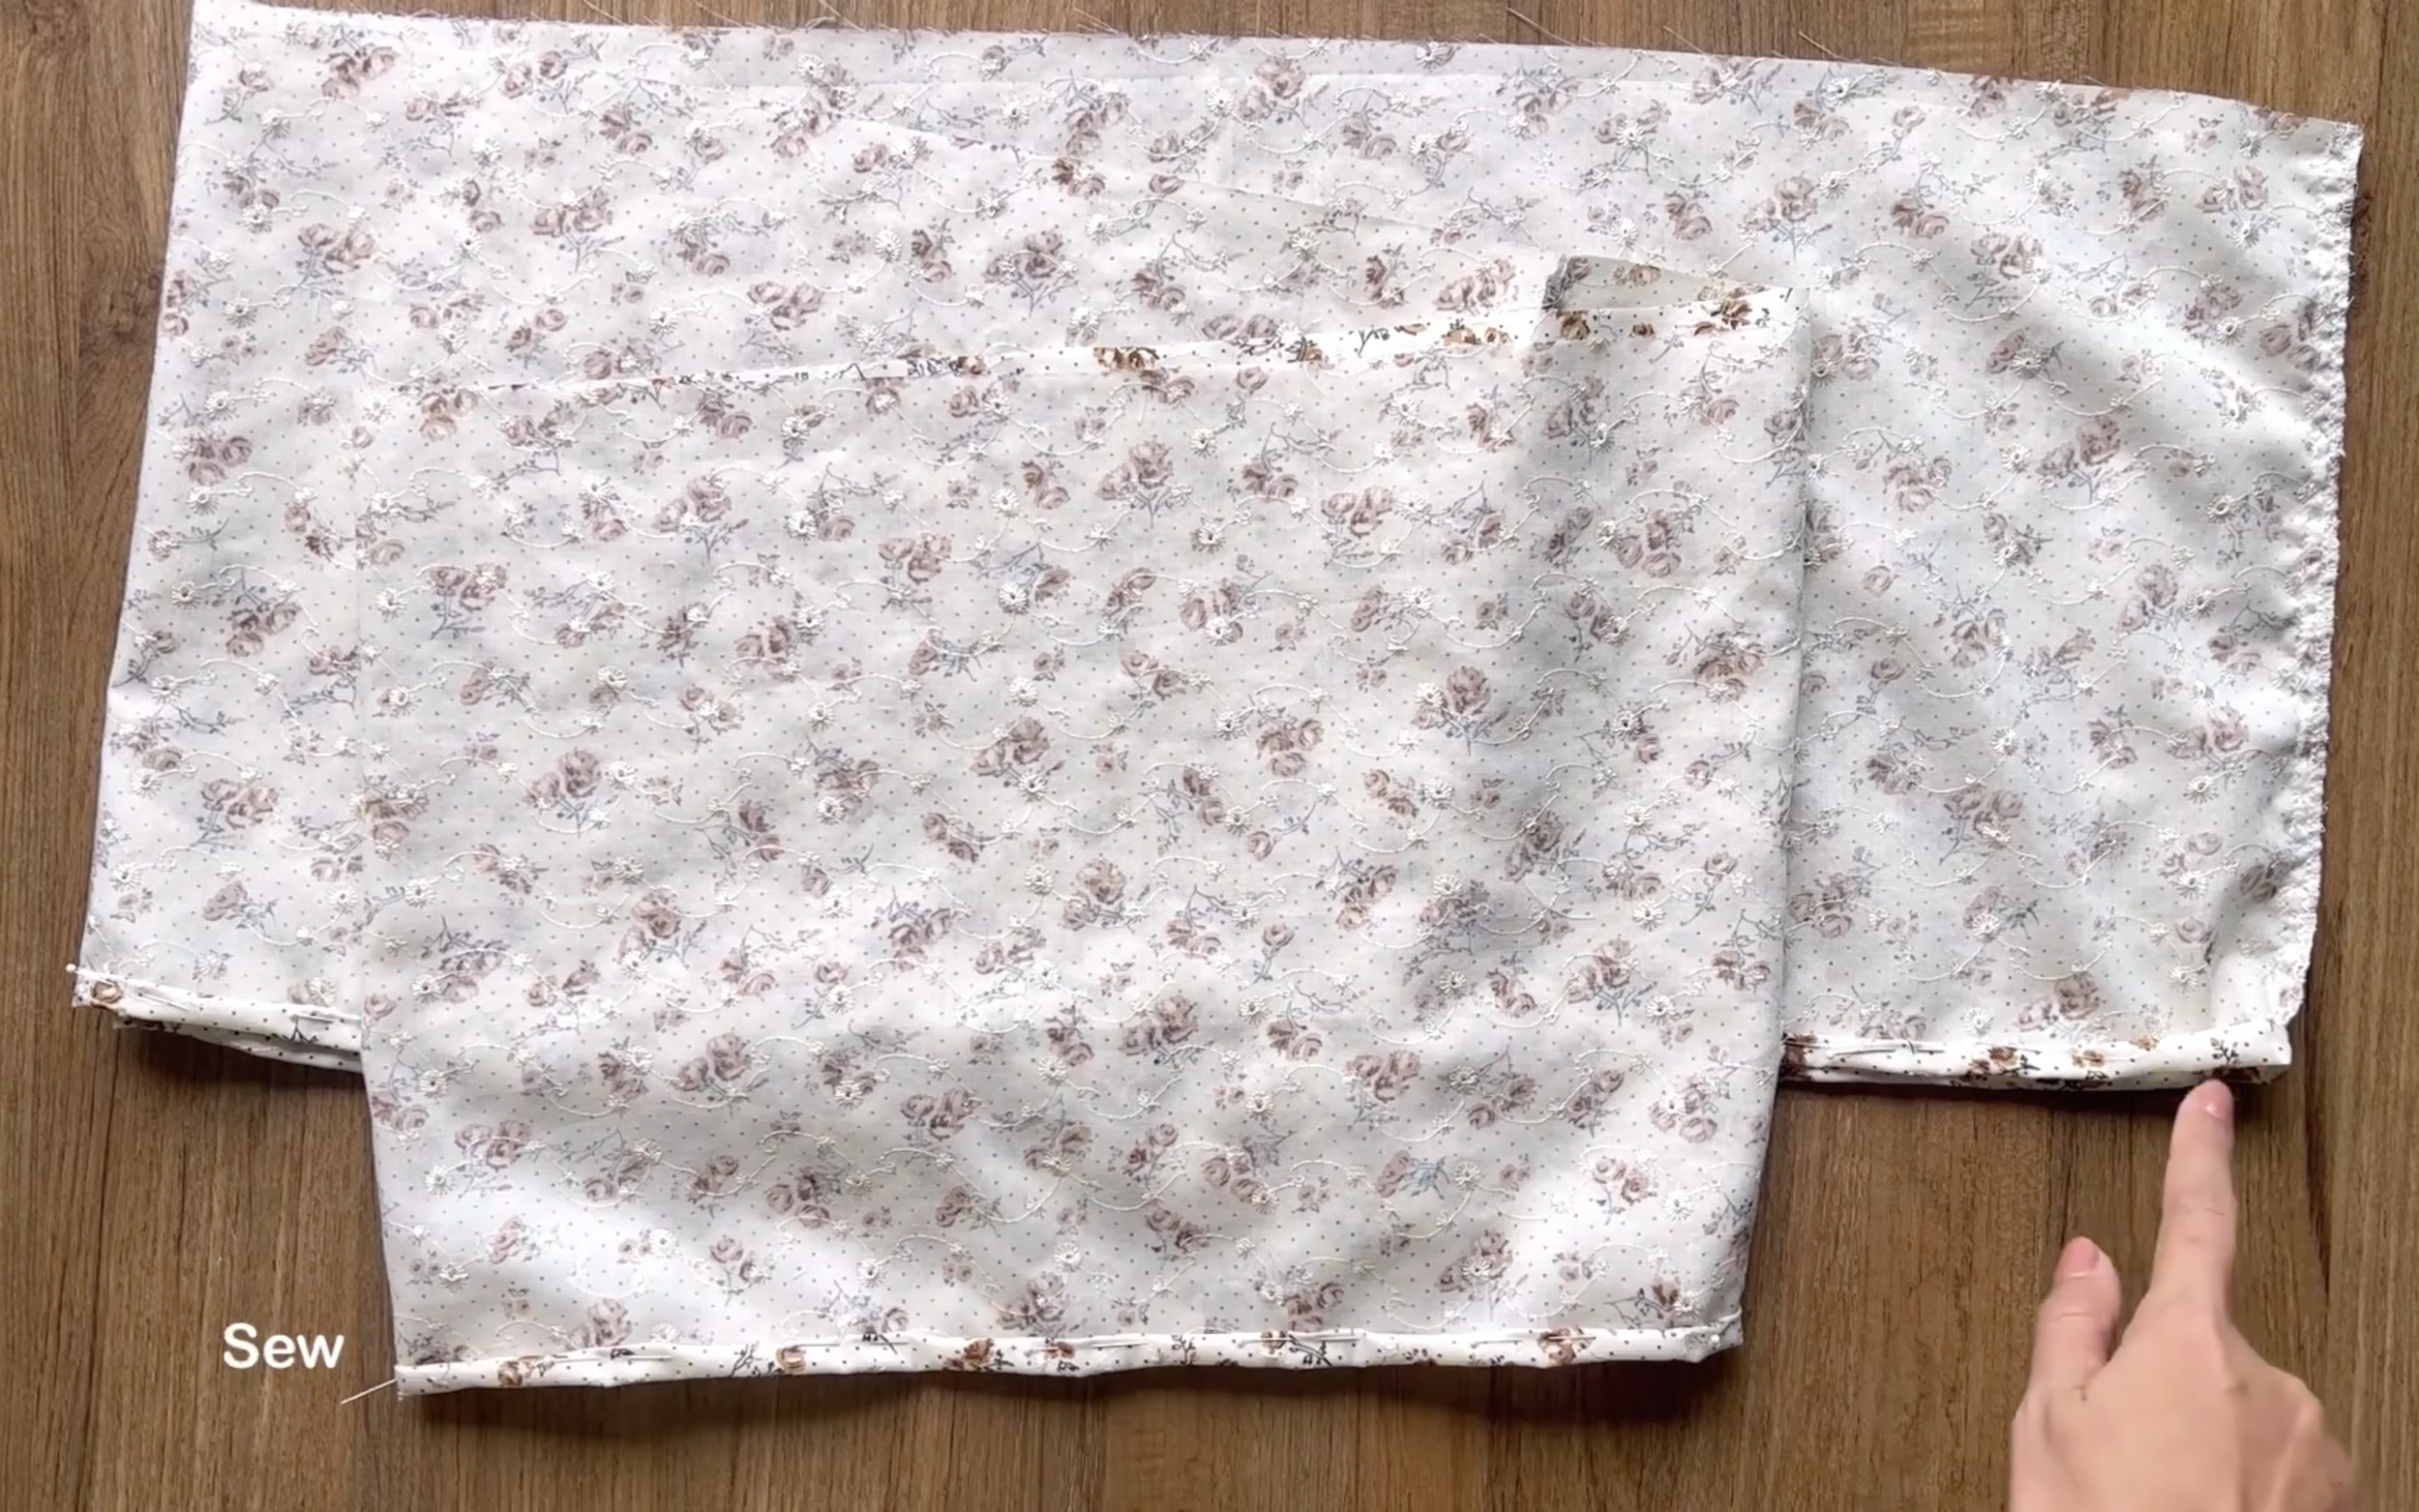
To create a depth for the side pocket, mark down 13.5 cm from the top of the pocket. It is the width of the open area of the pocket where you can put your hand in.
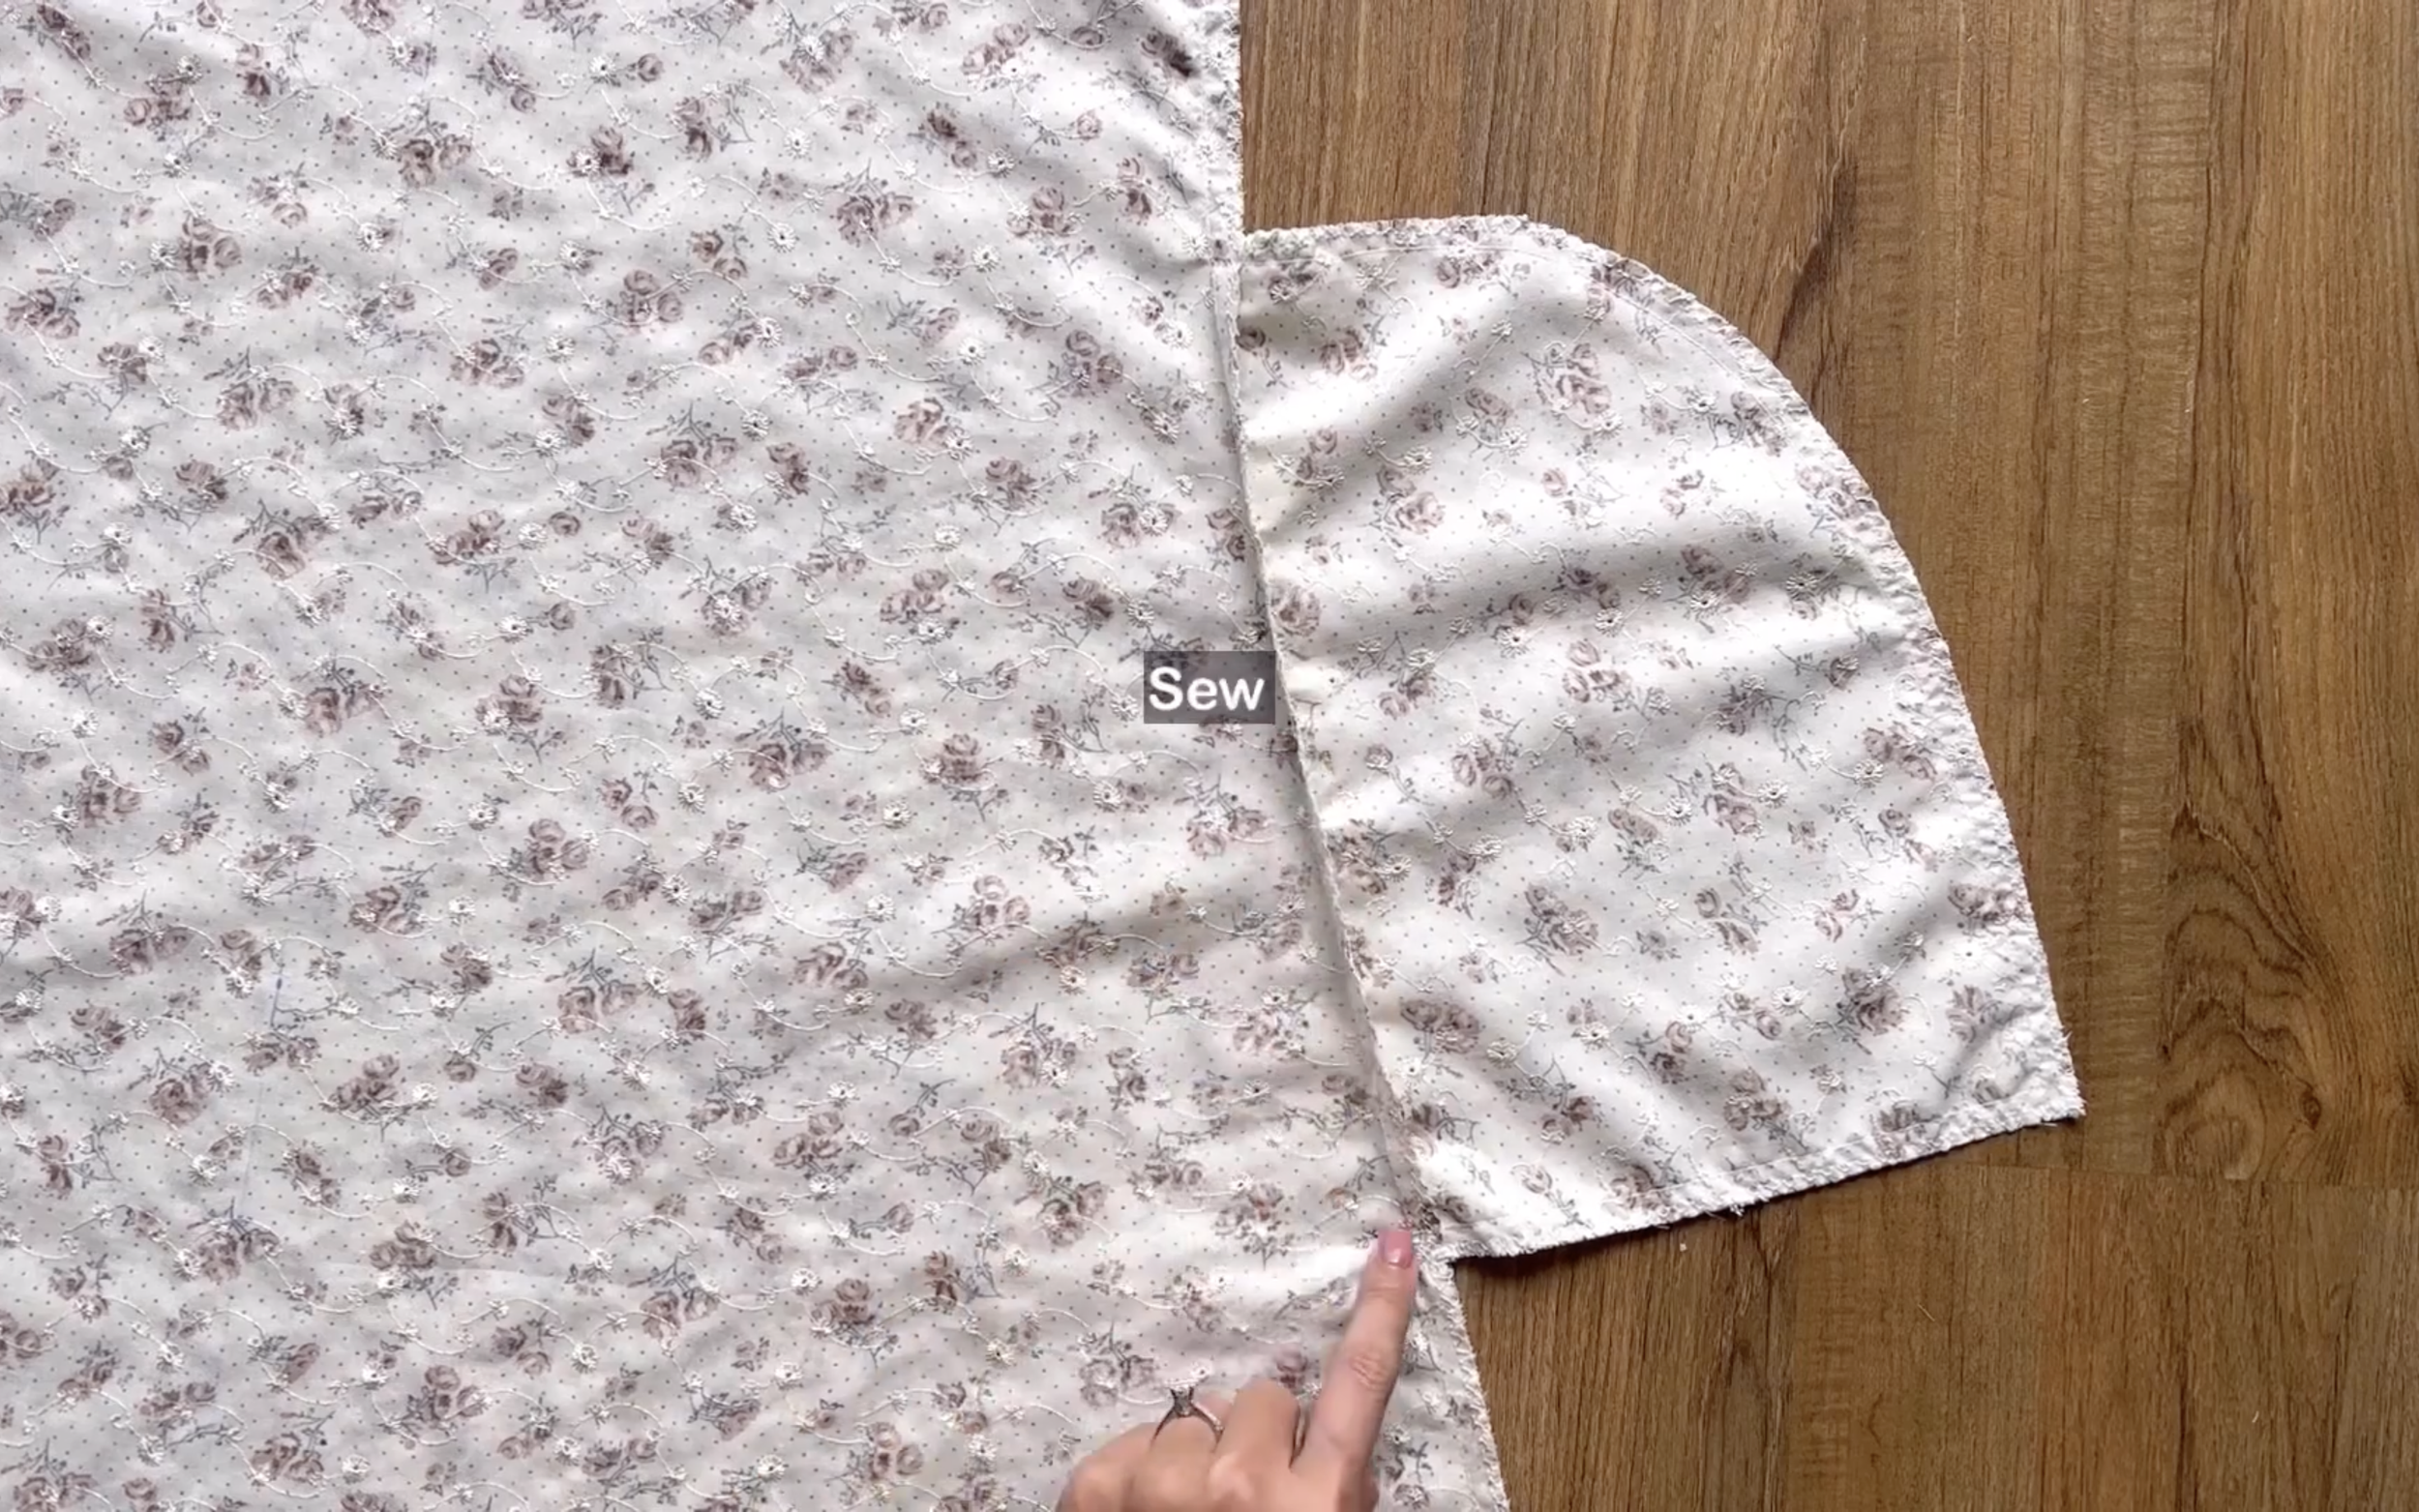
Then sew the rest together.
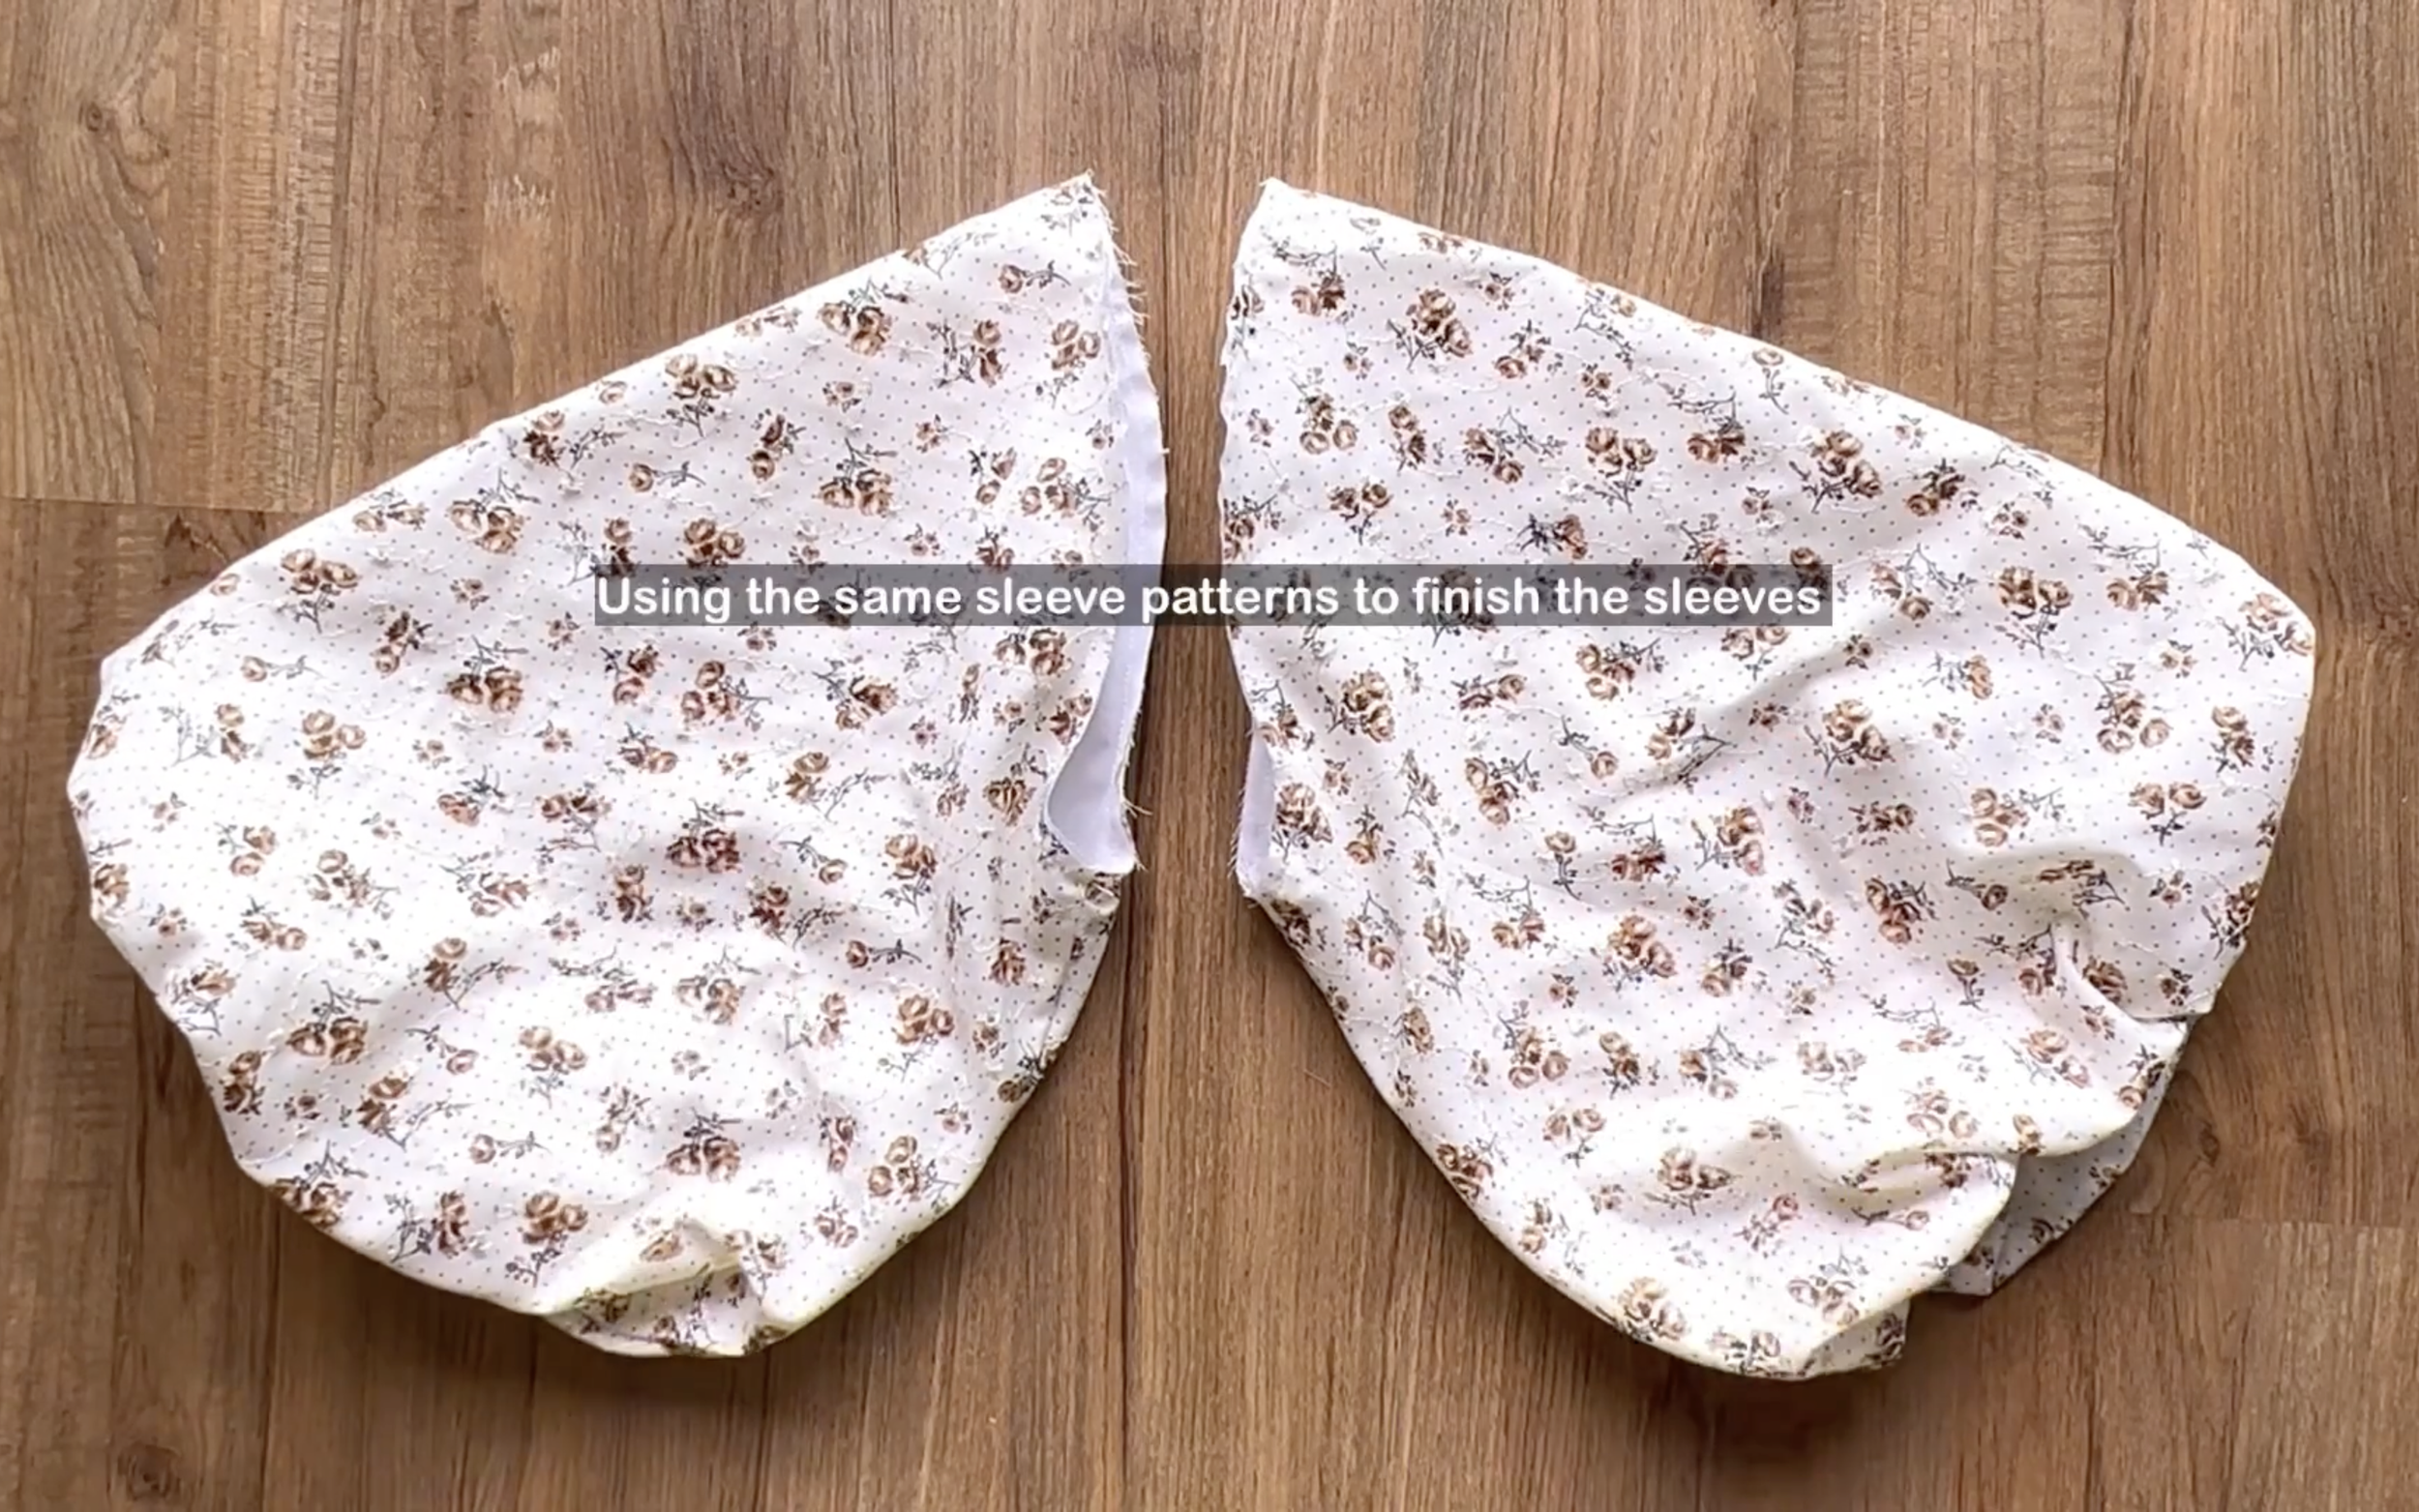
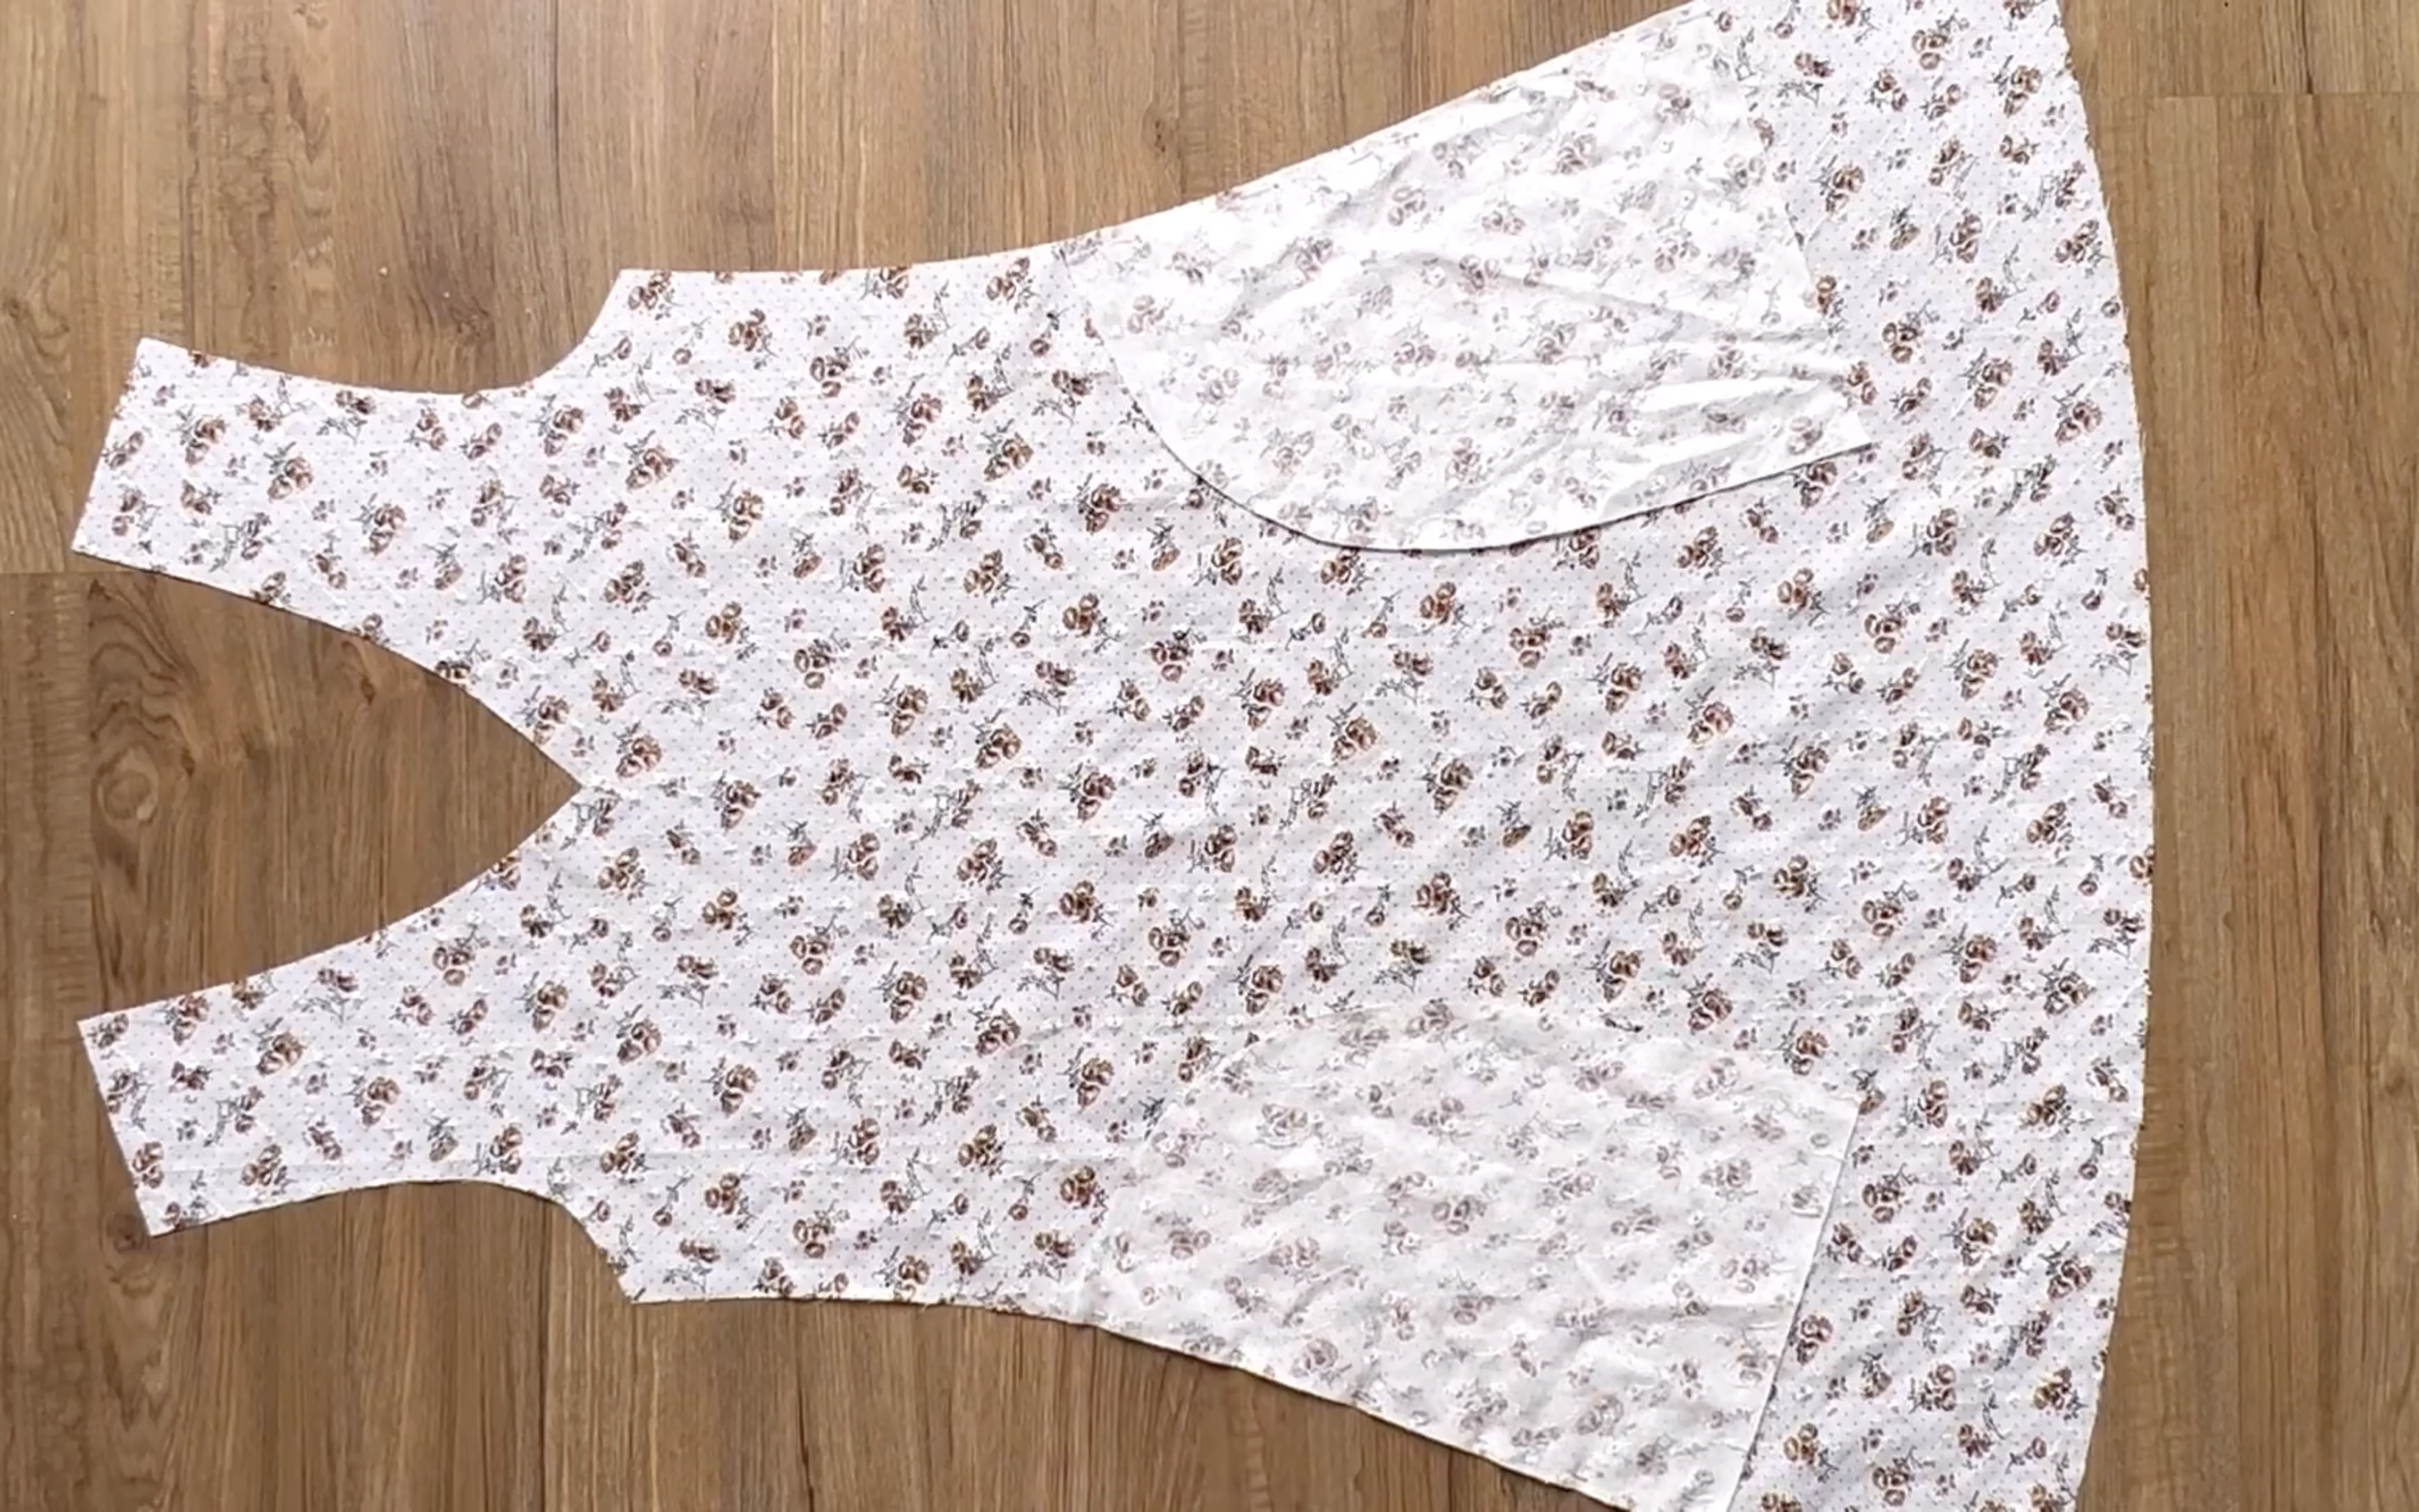
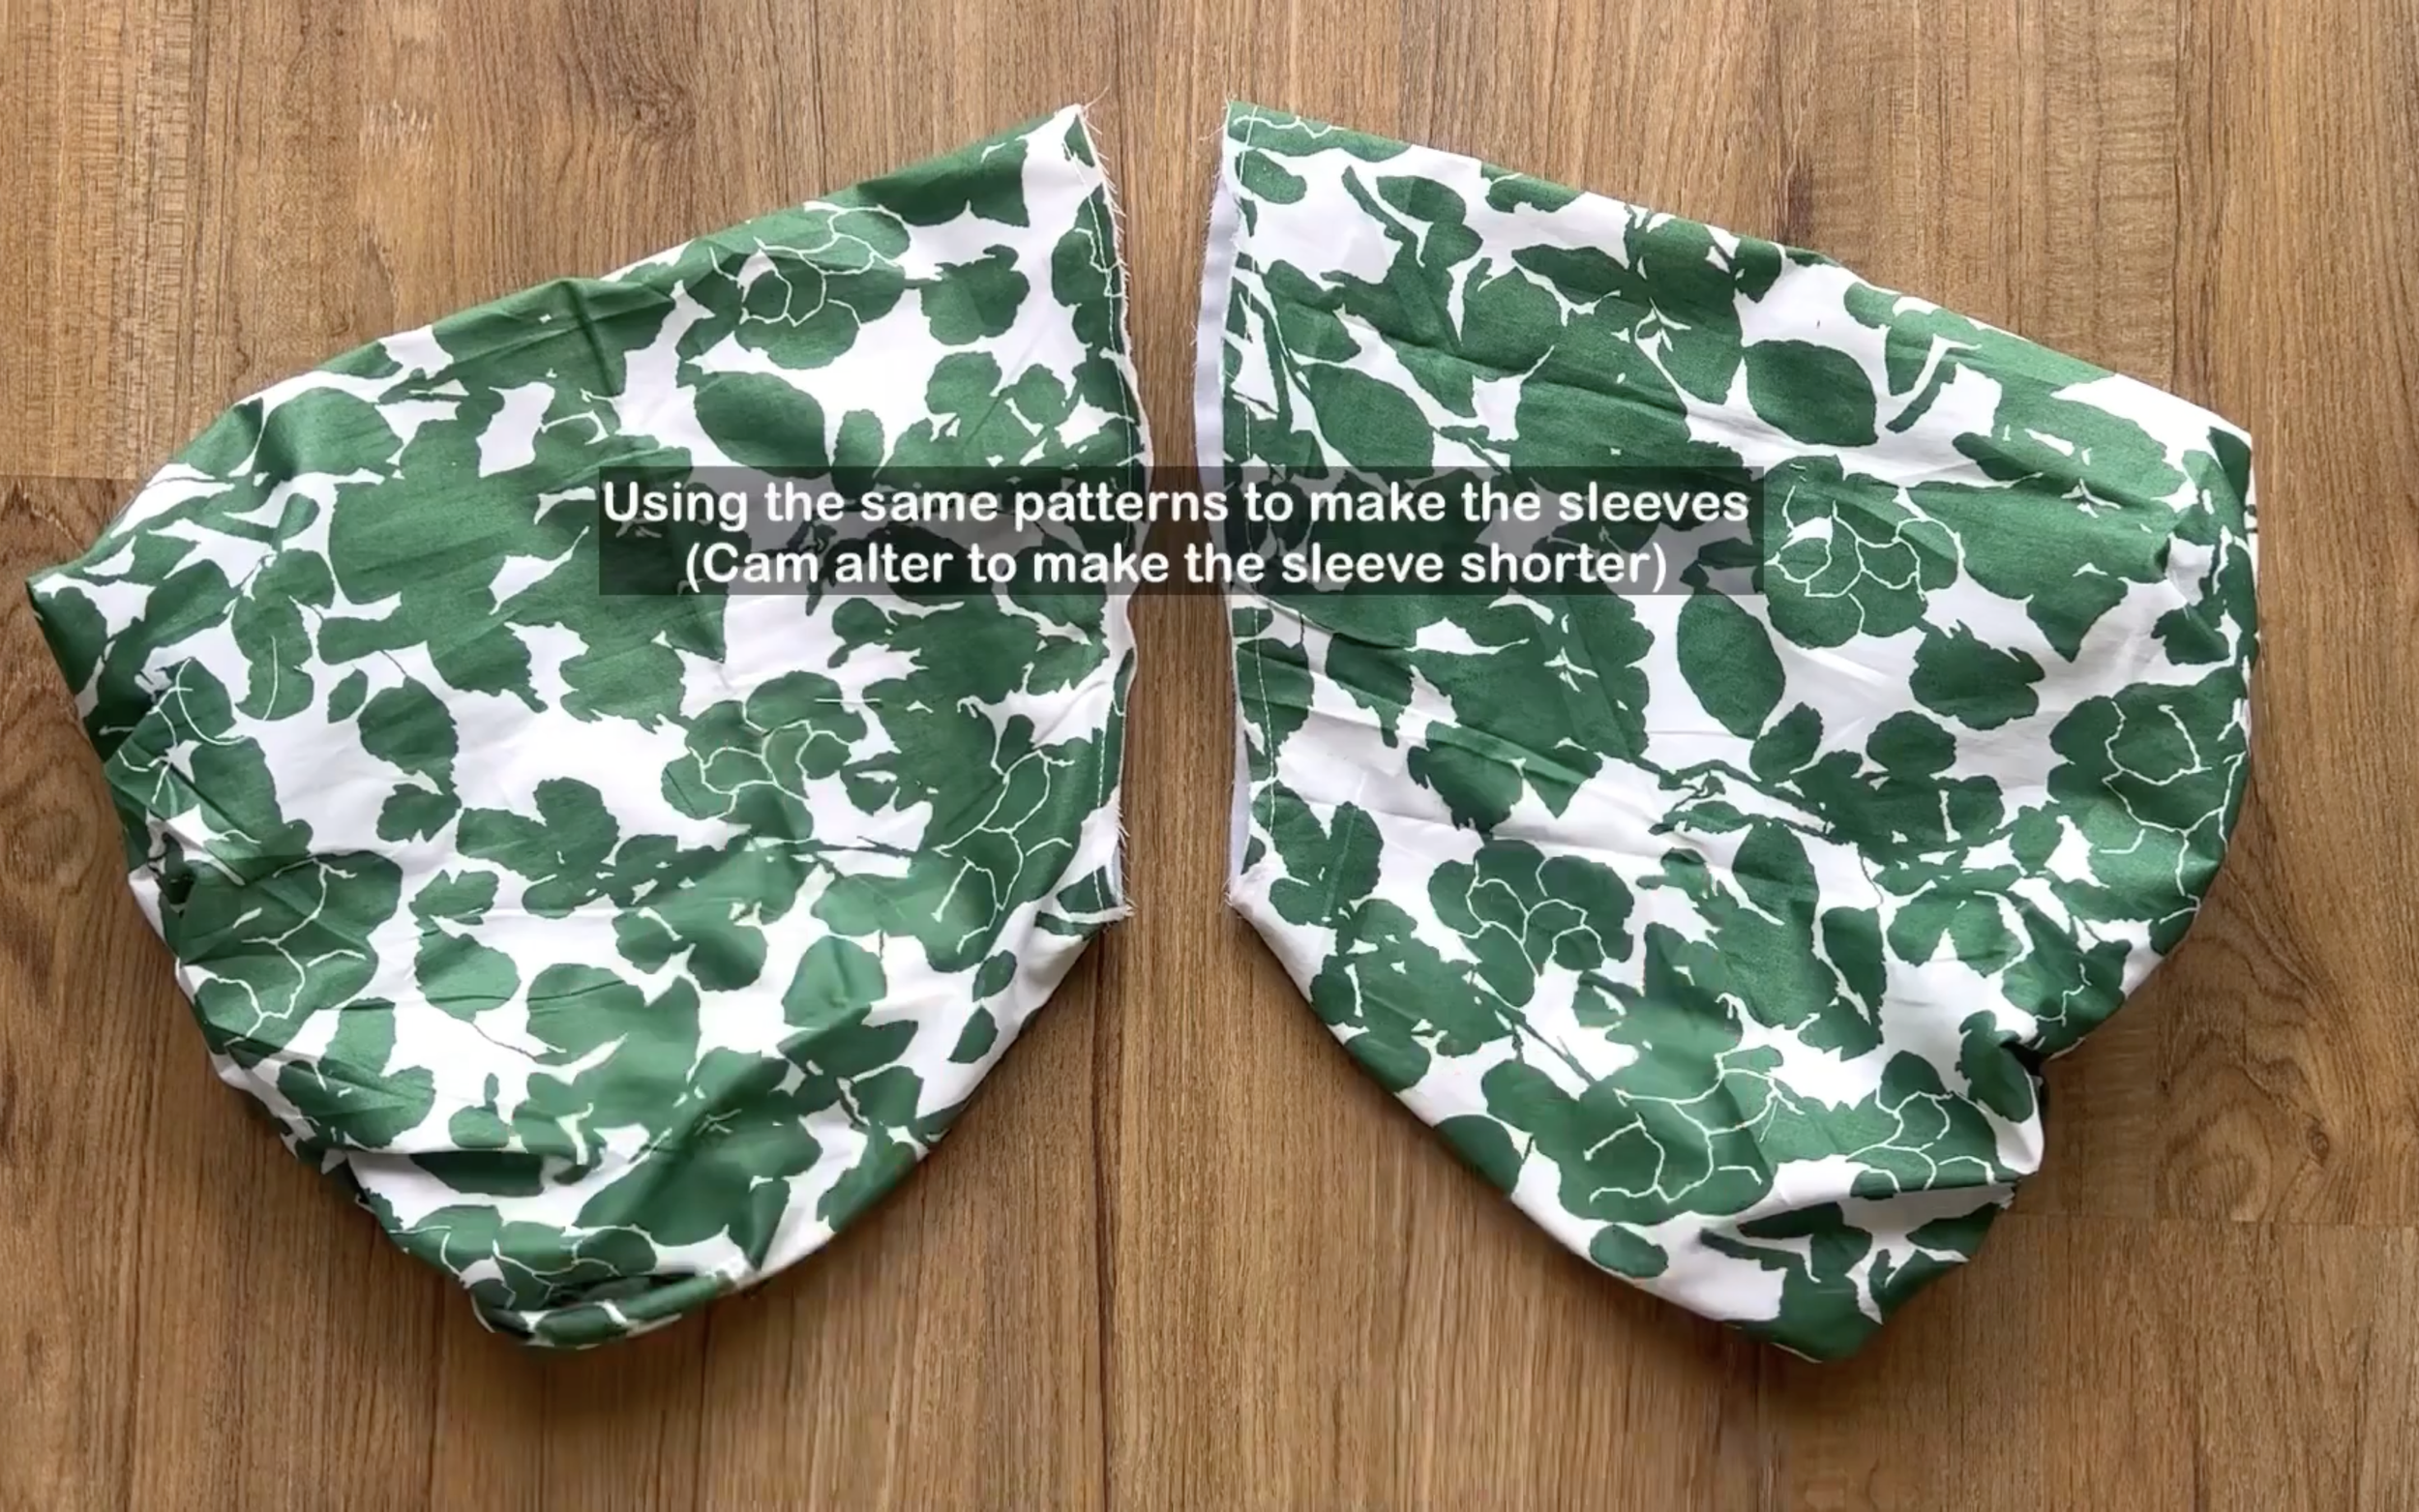
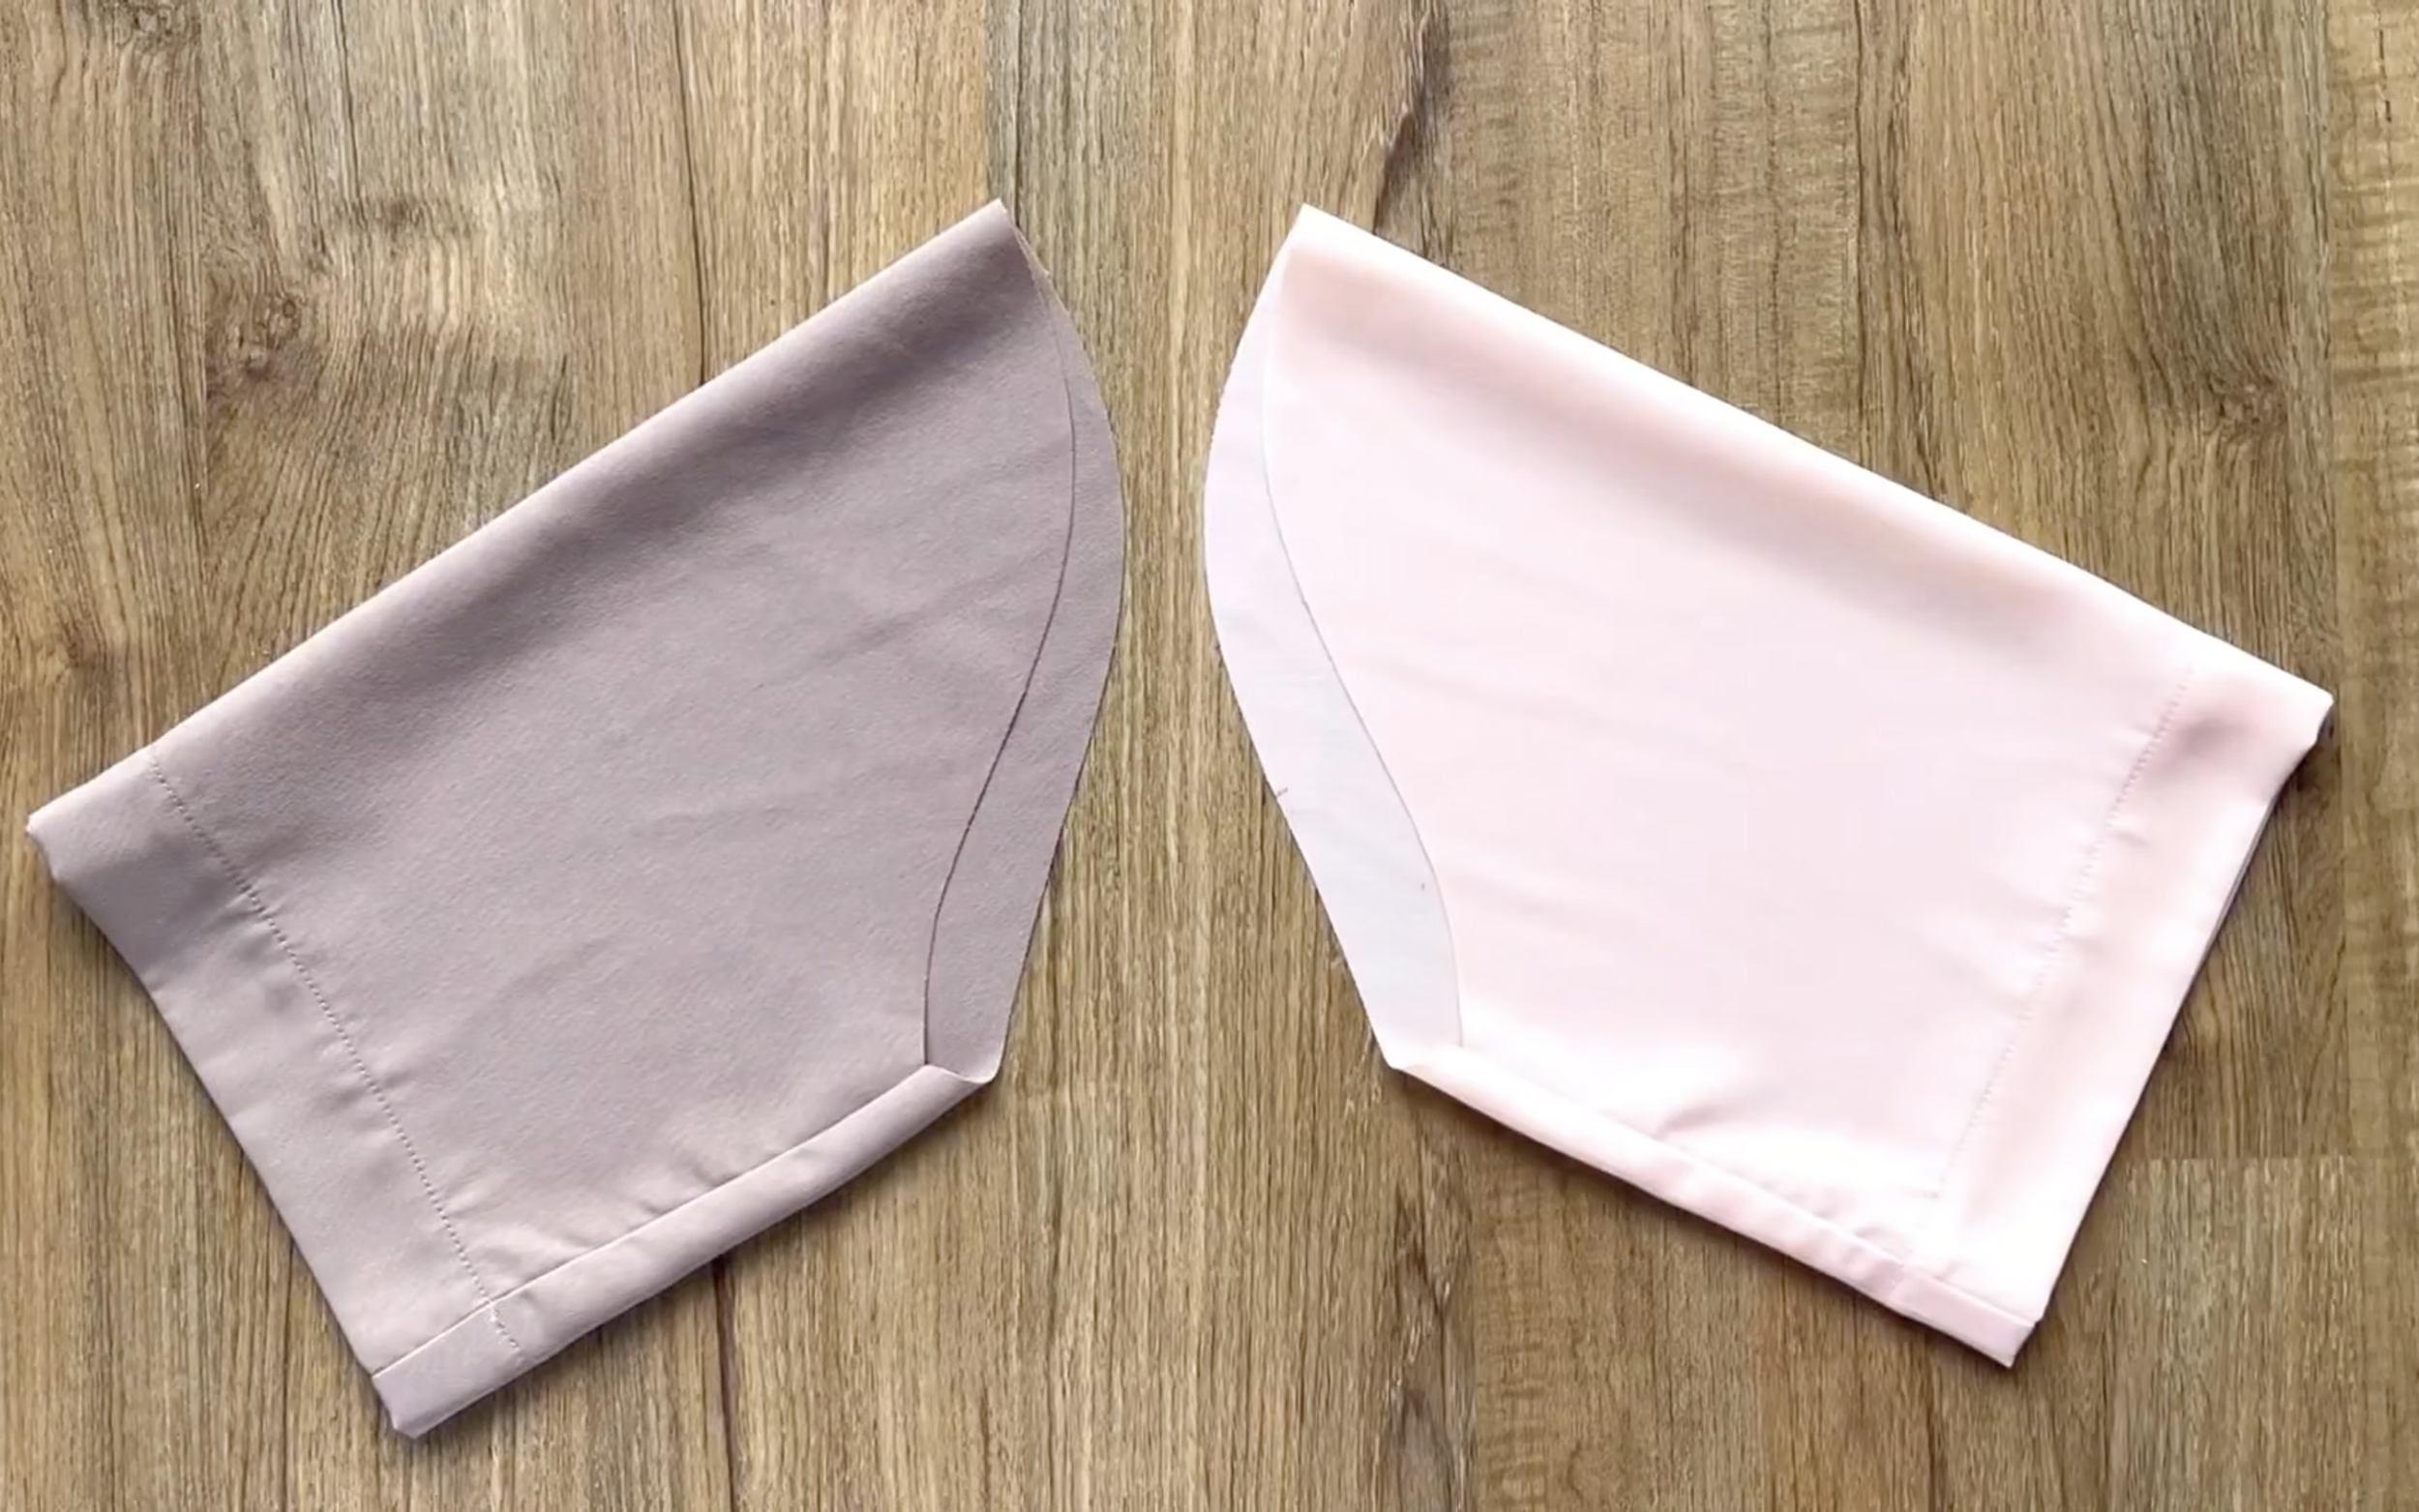
Use the same technique to make the sleeve for the dress.
Then connect them to the body of the dress at the sleeve line.
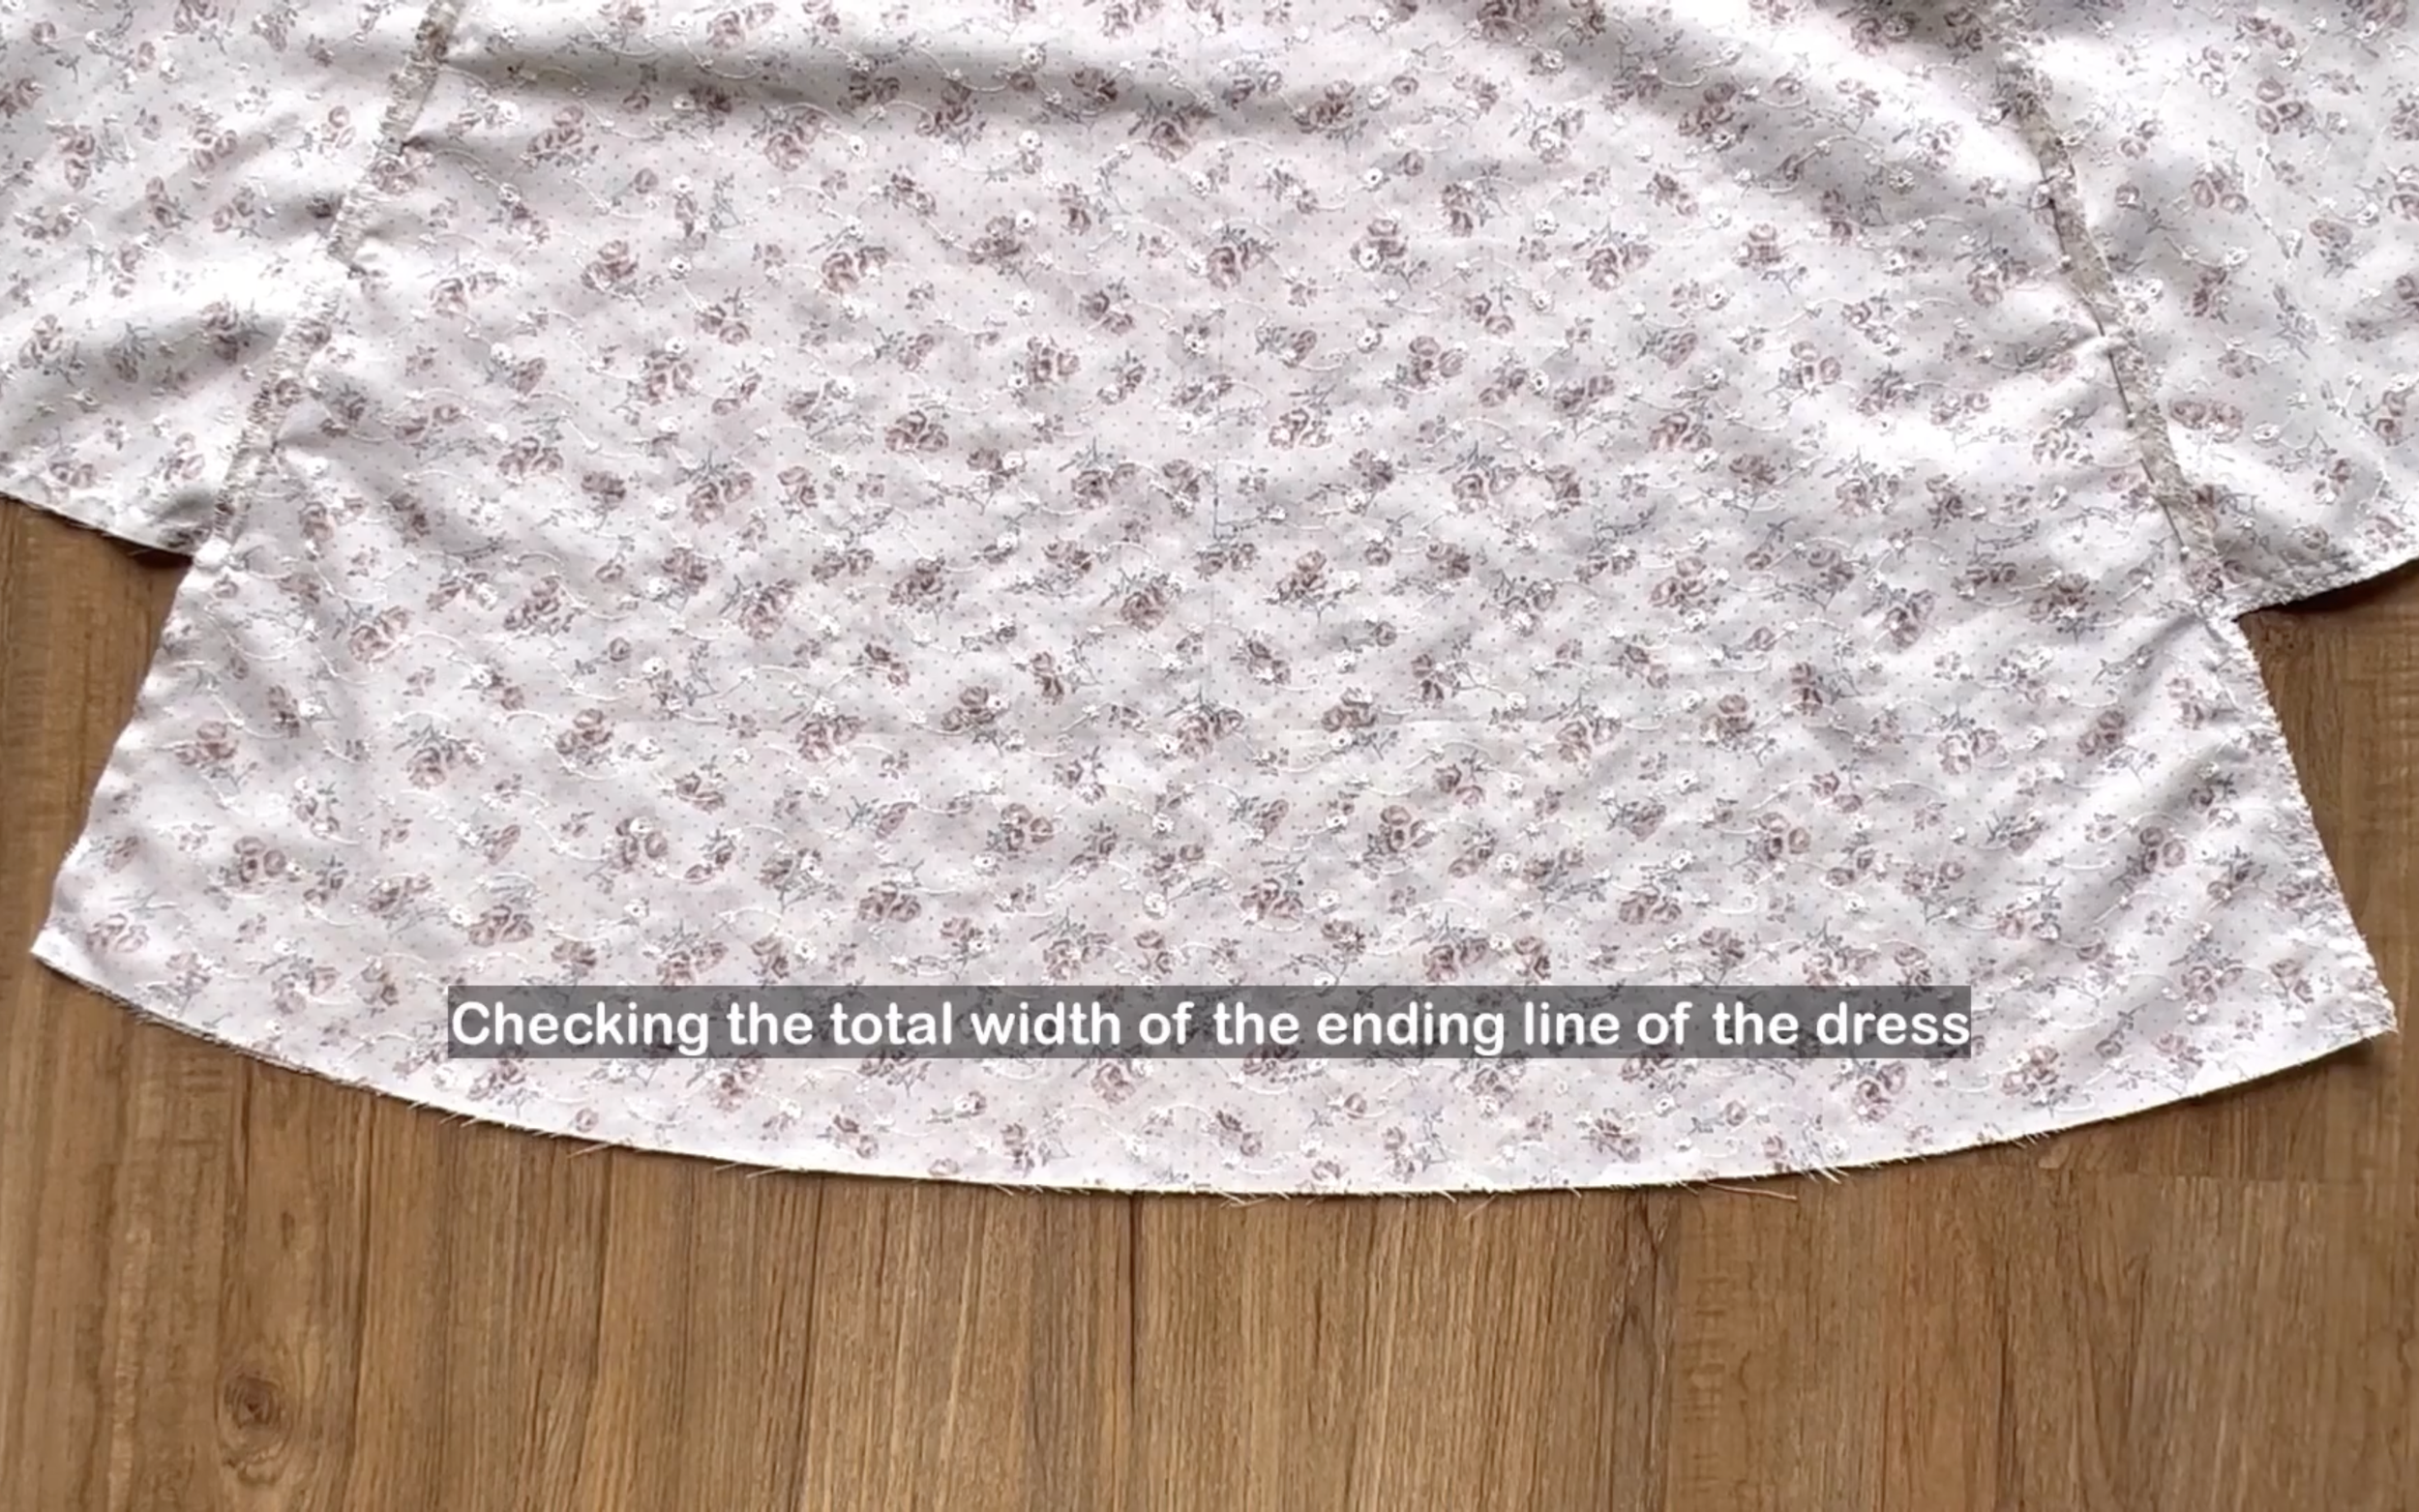
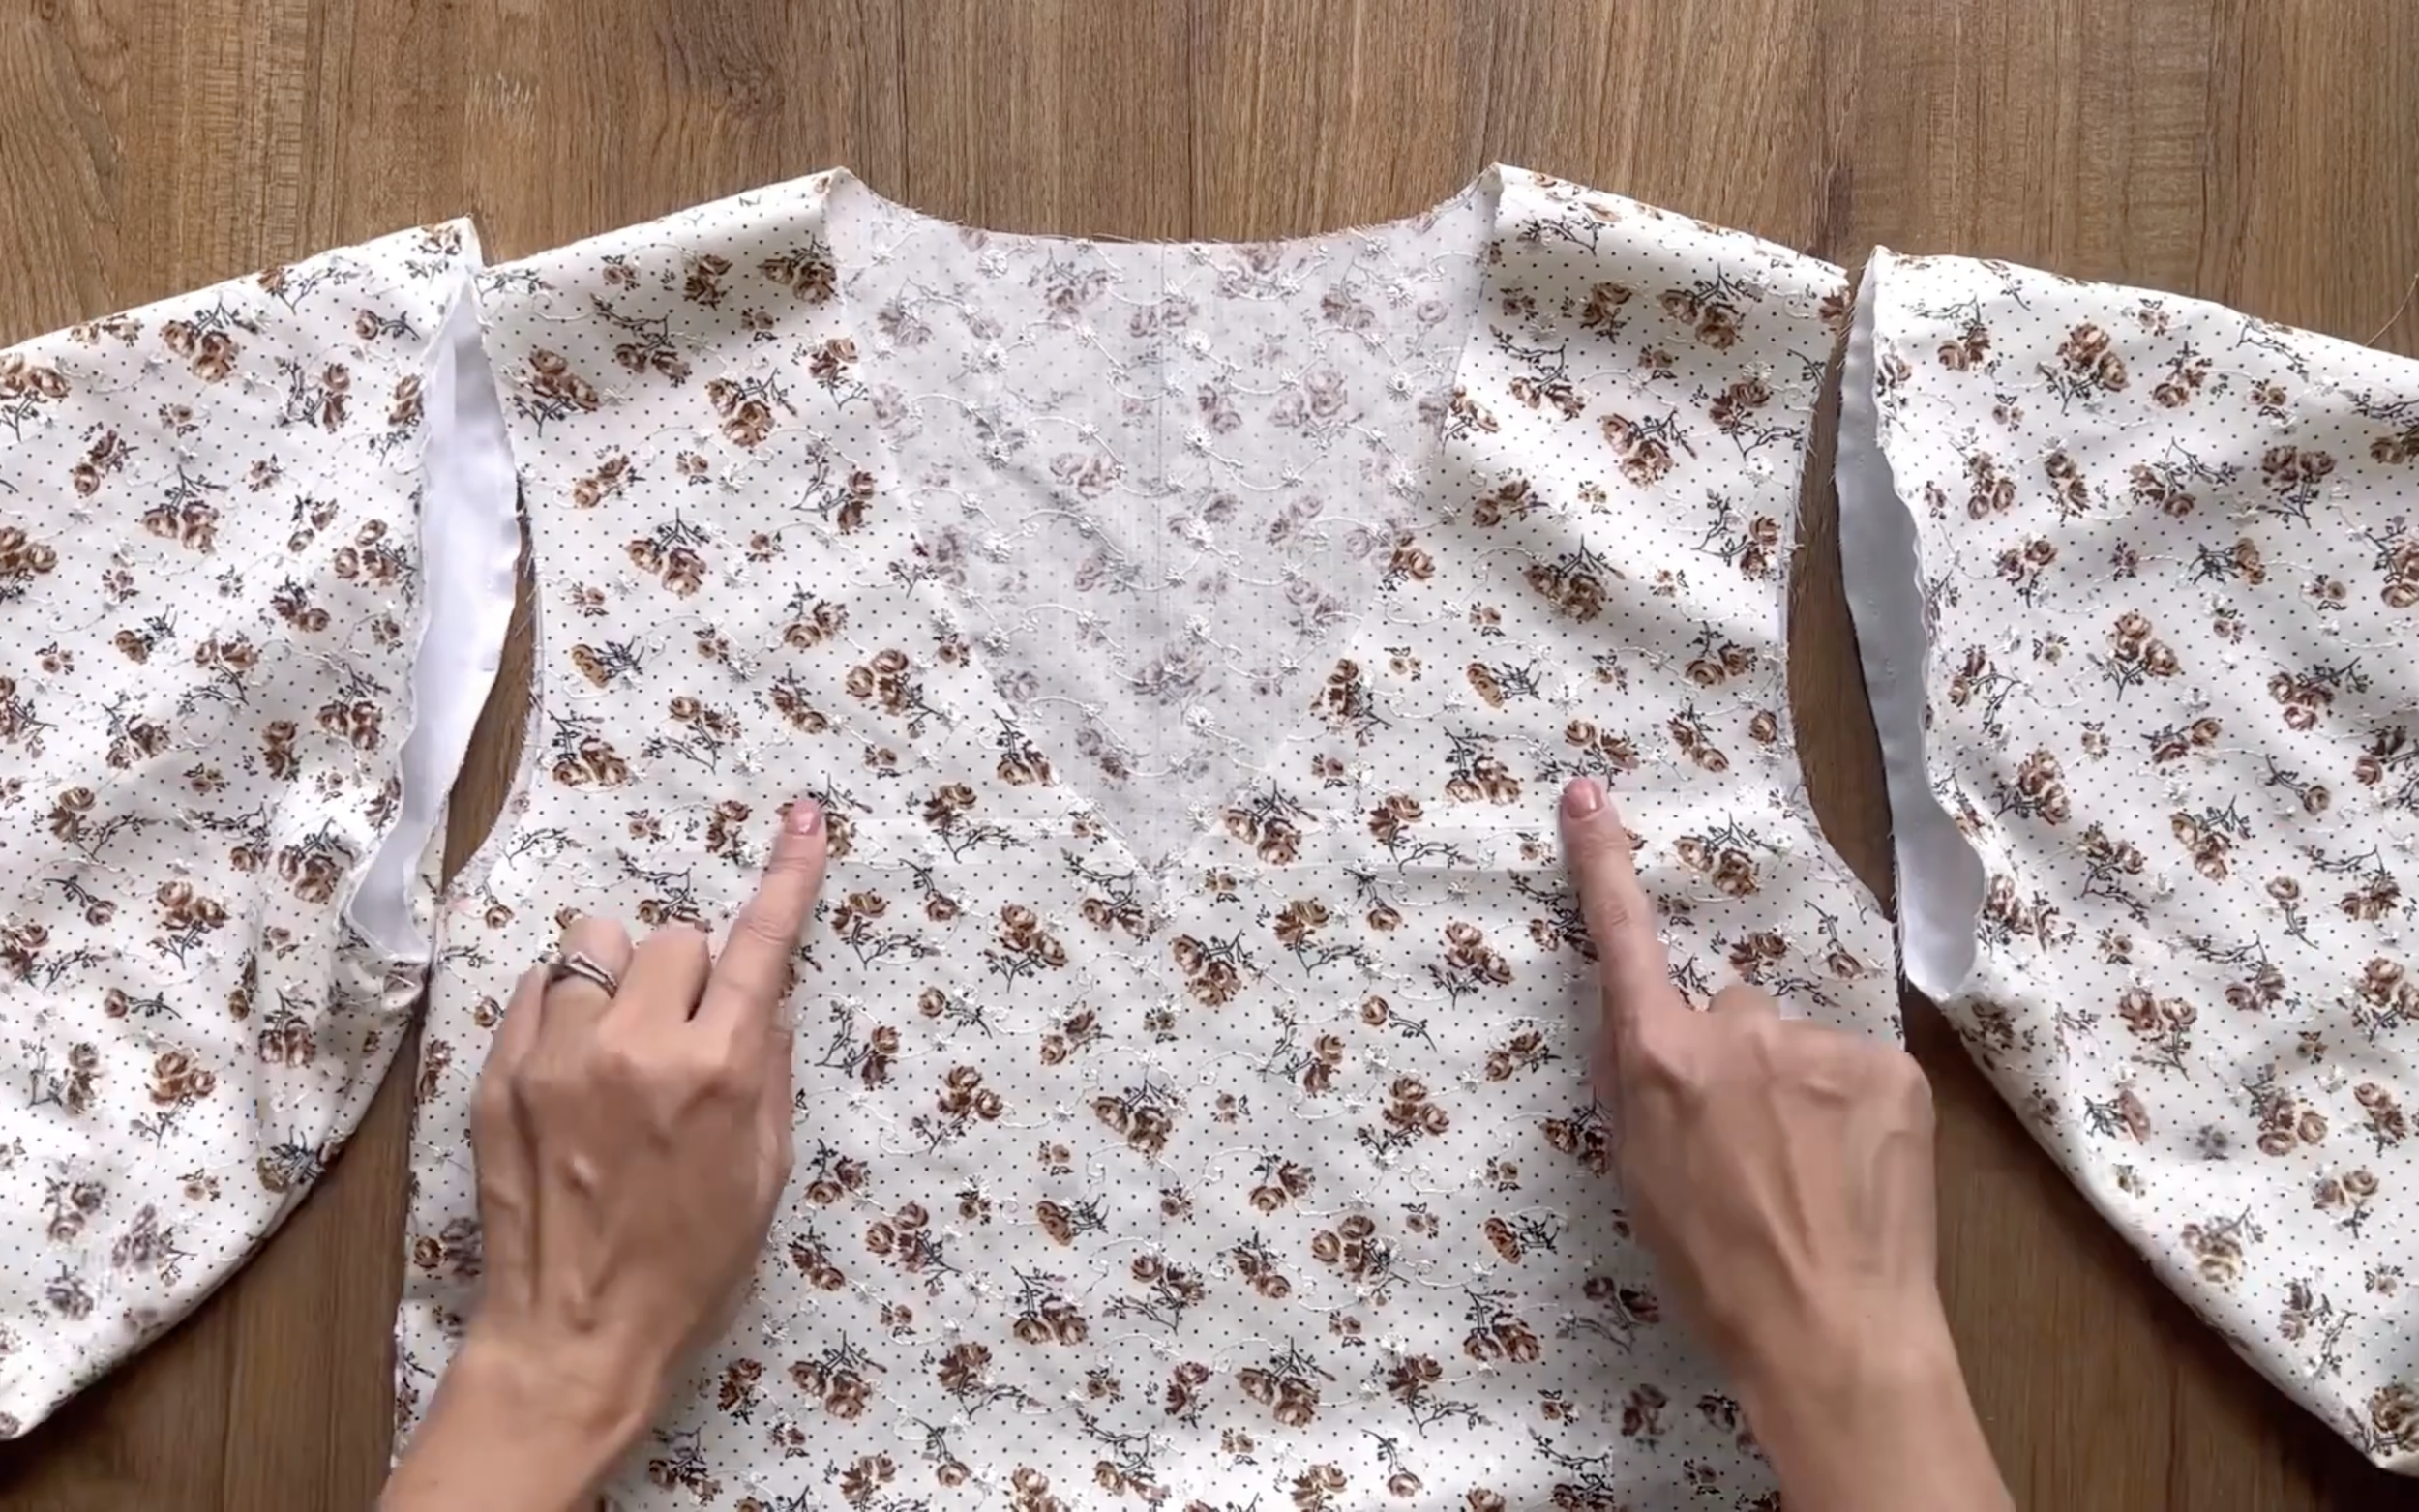
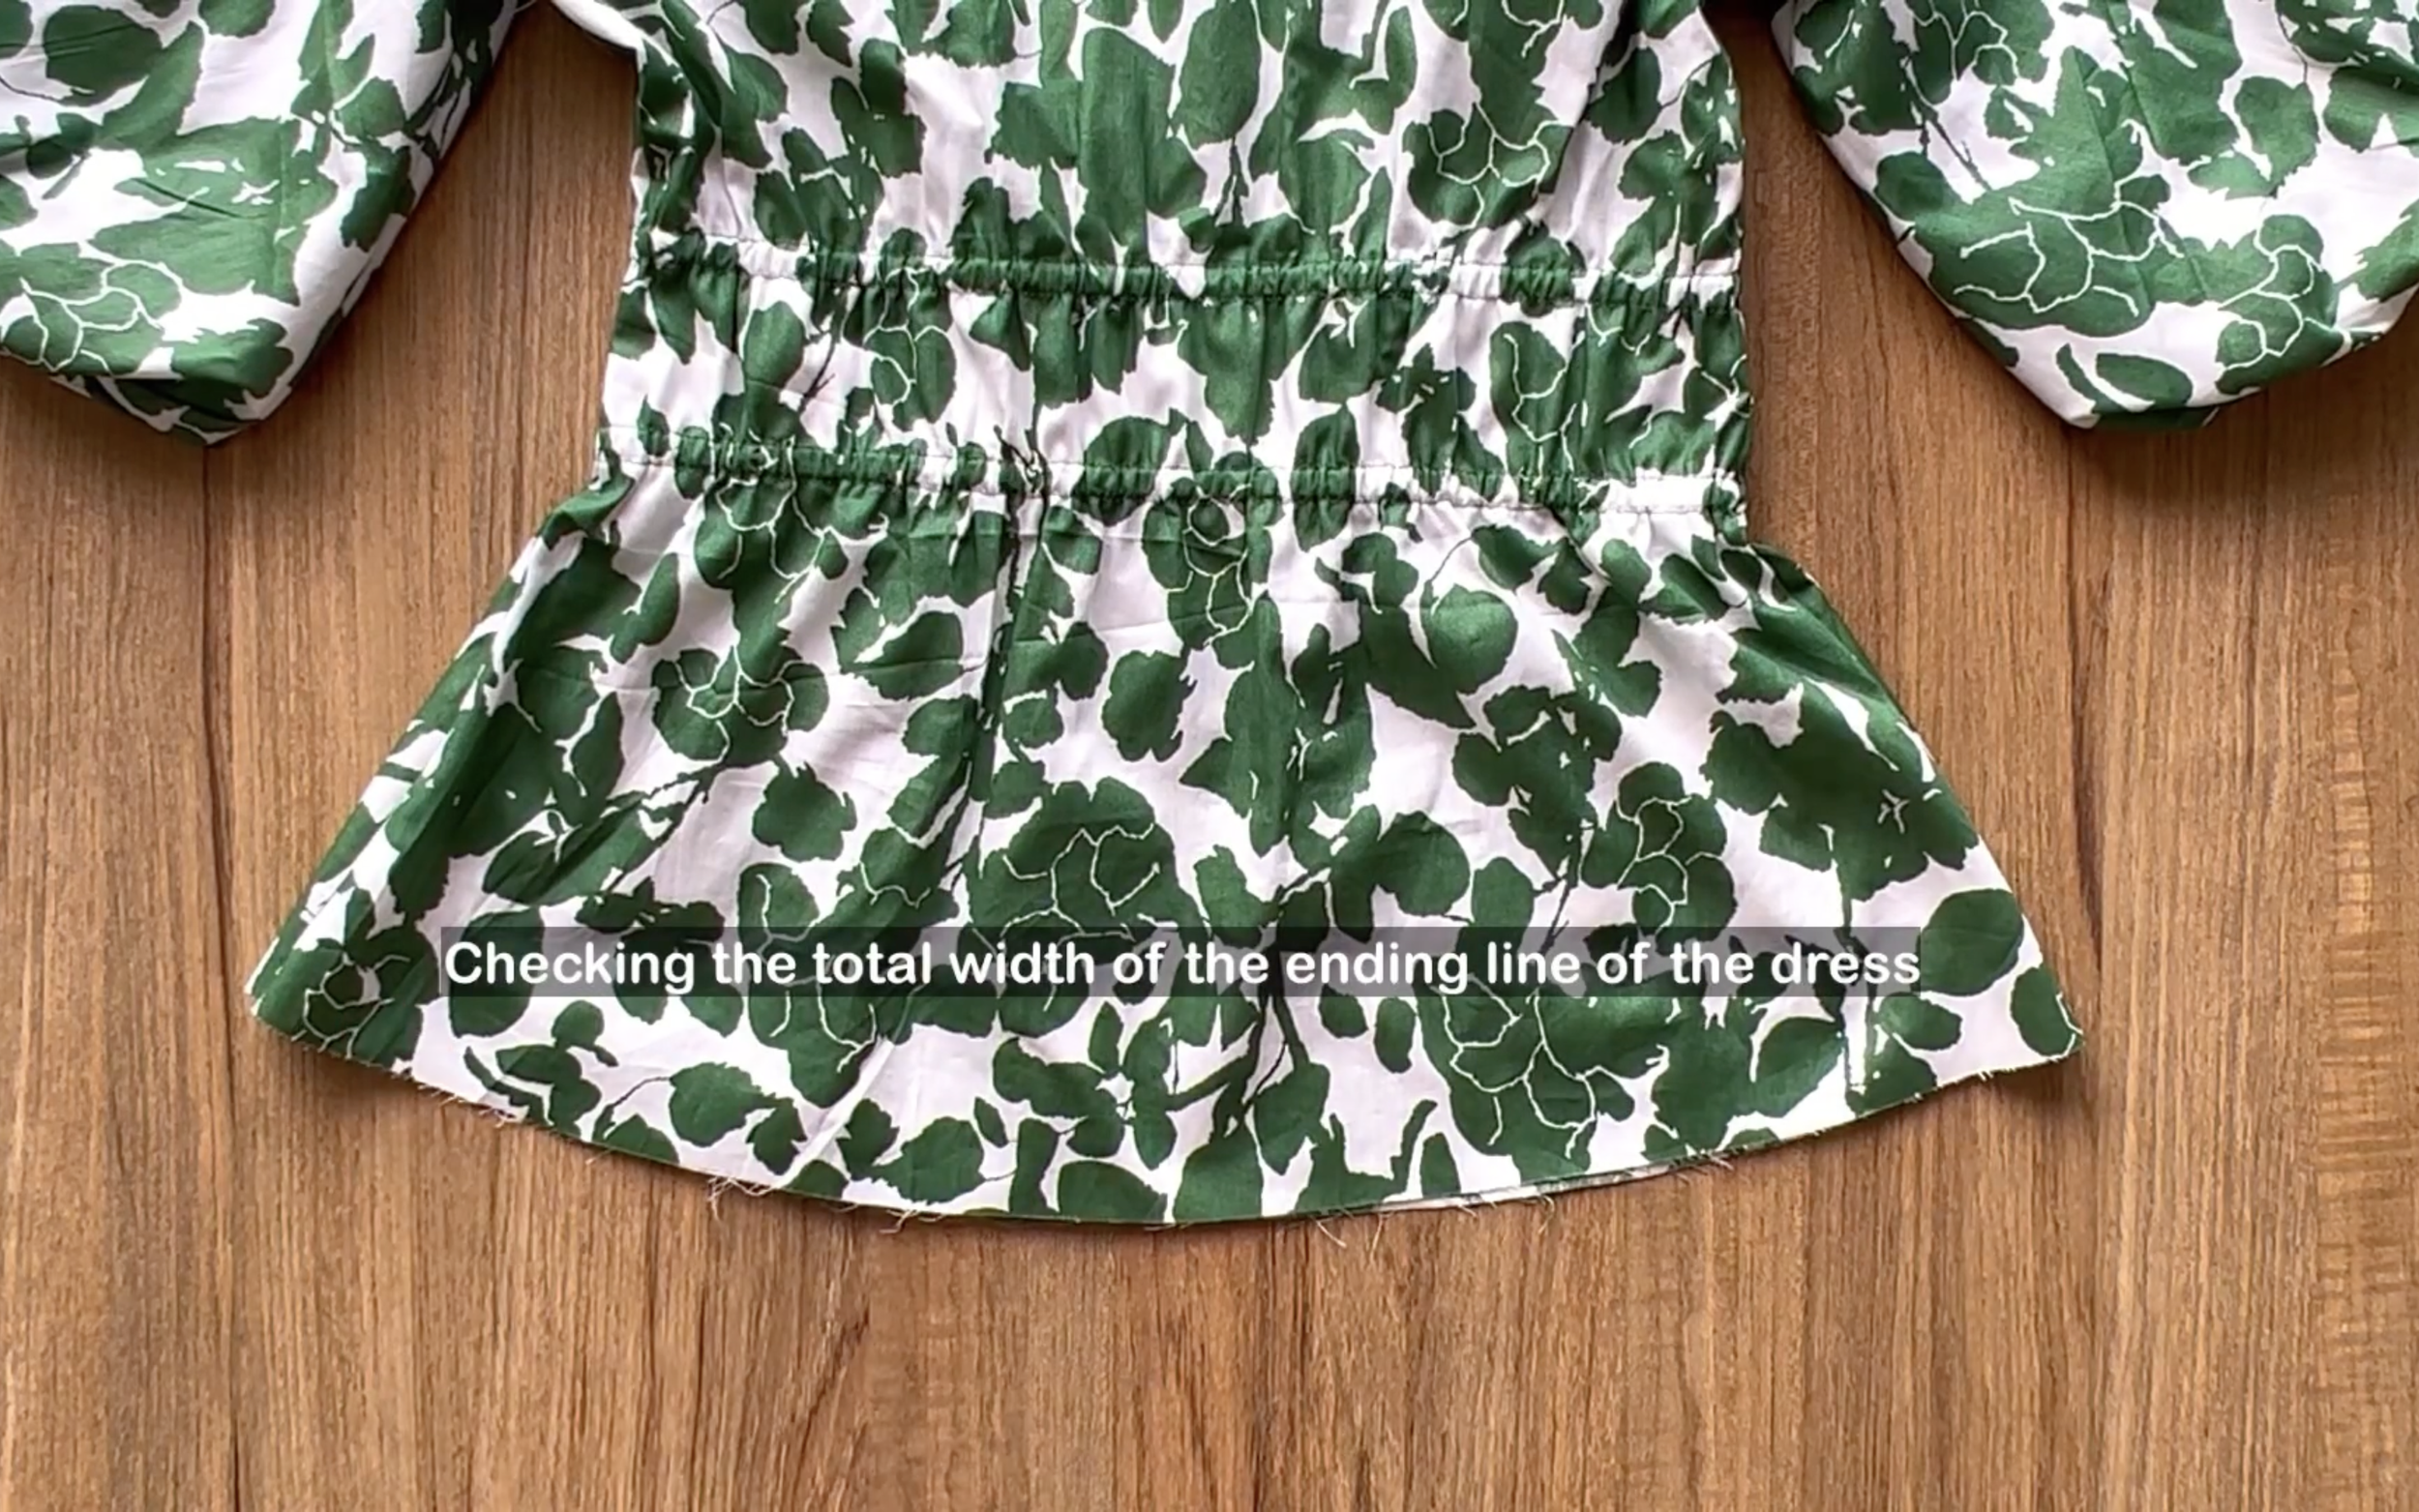
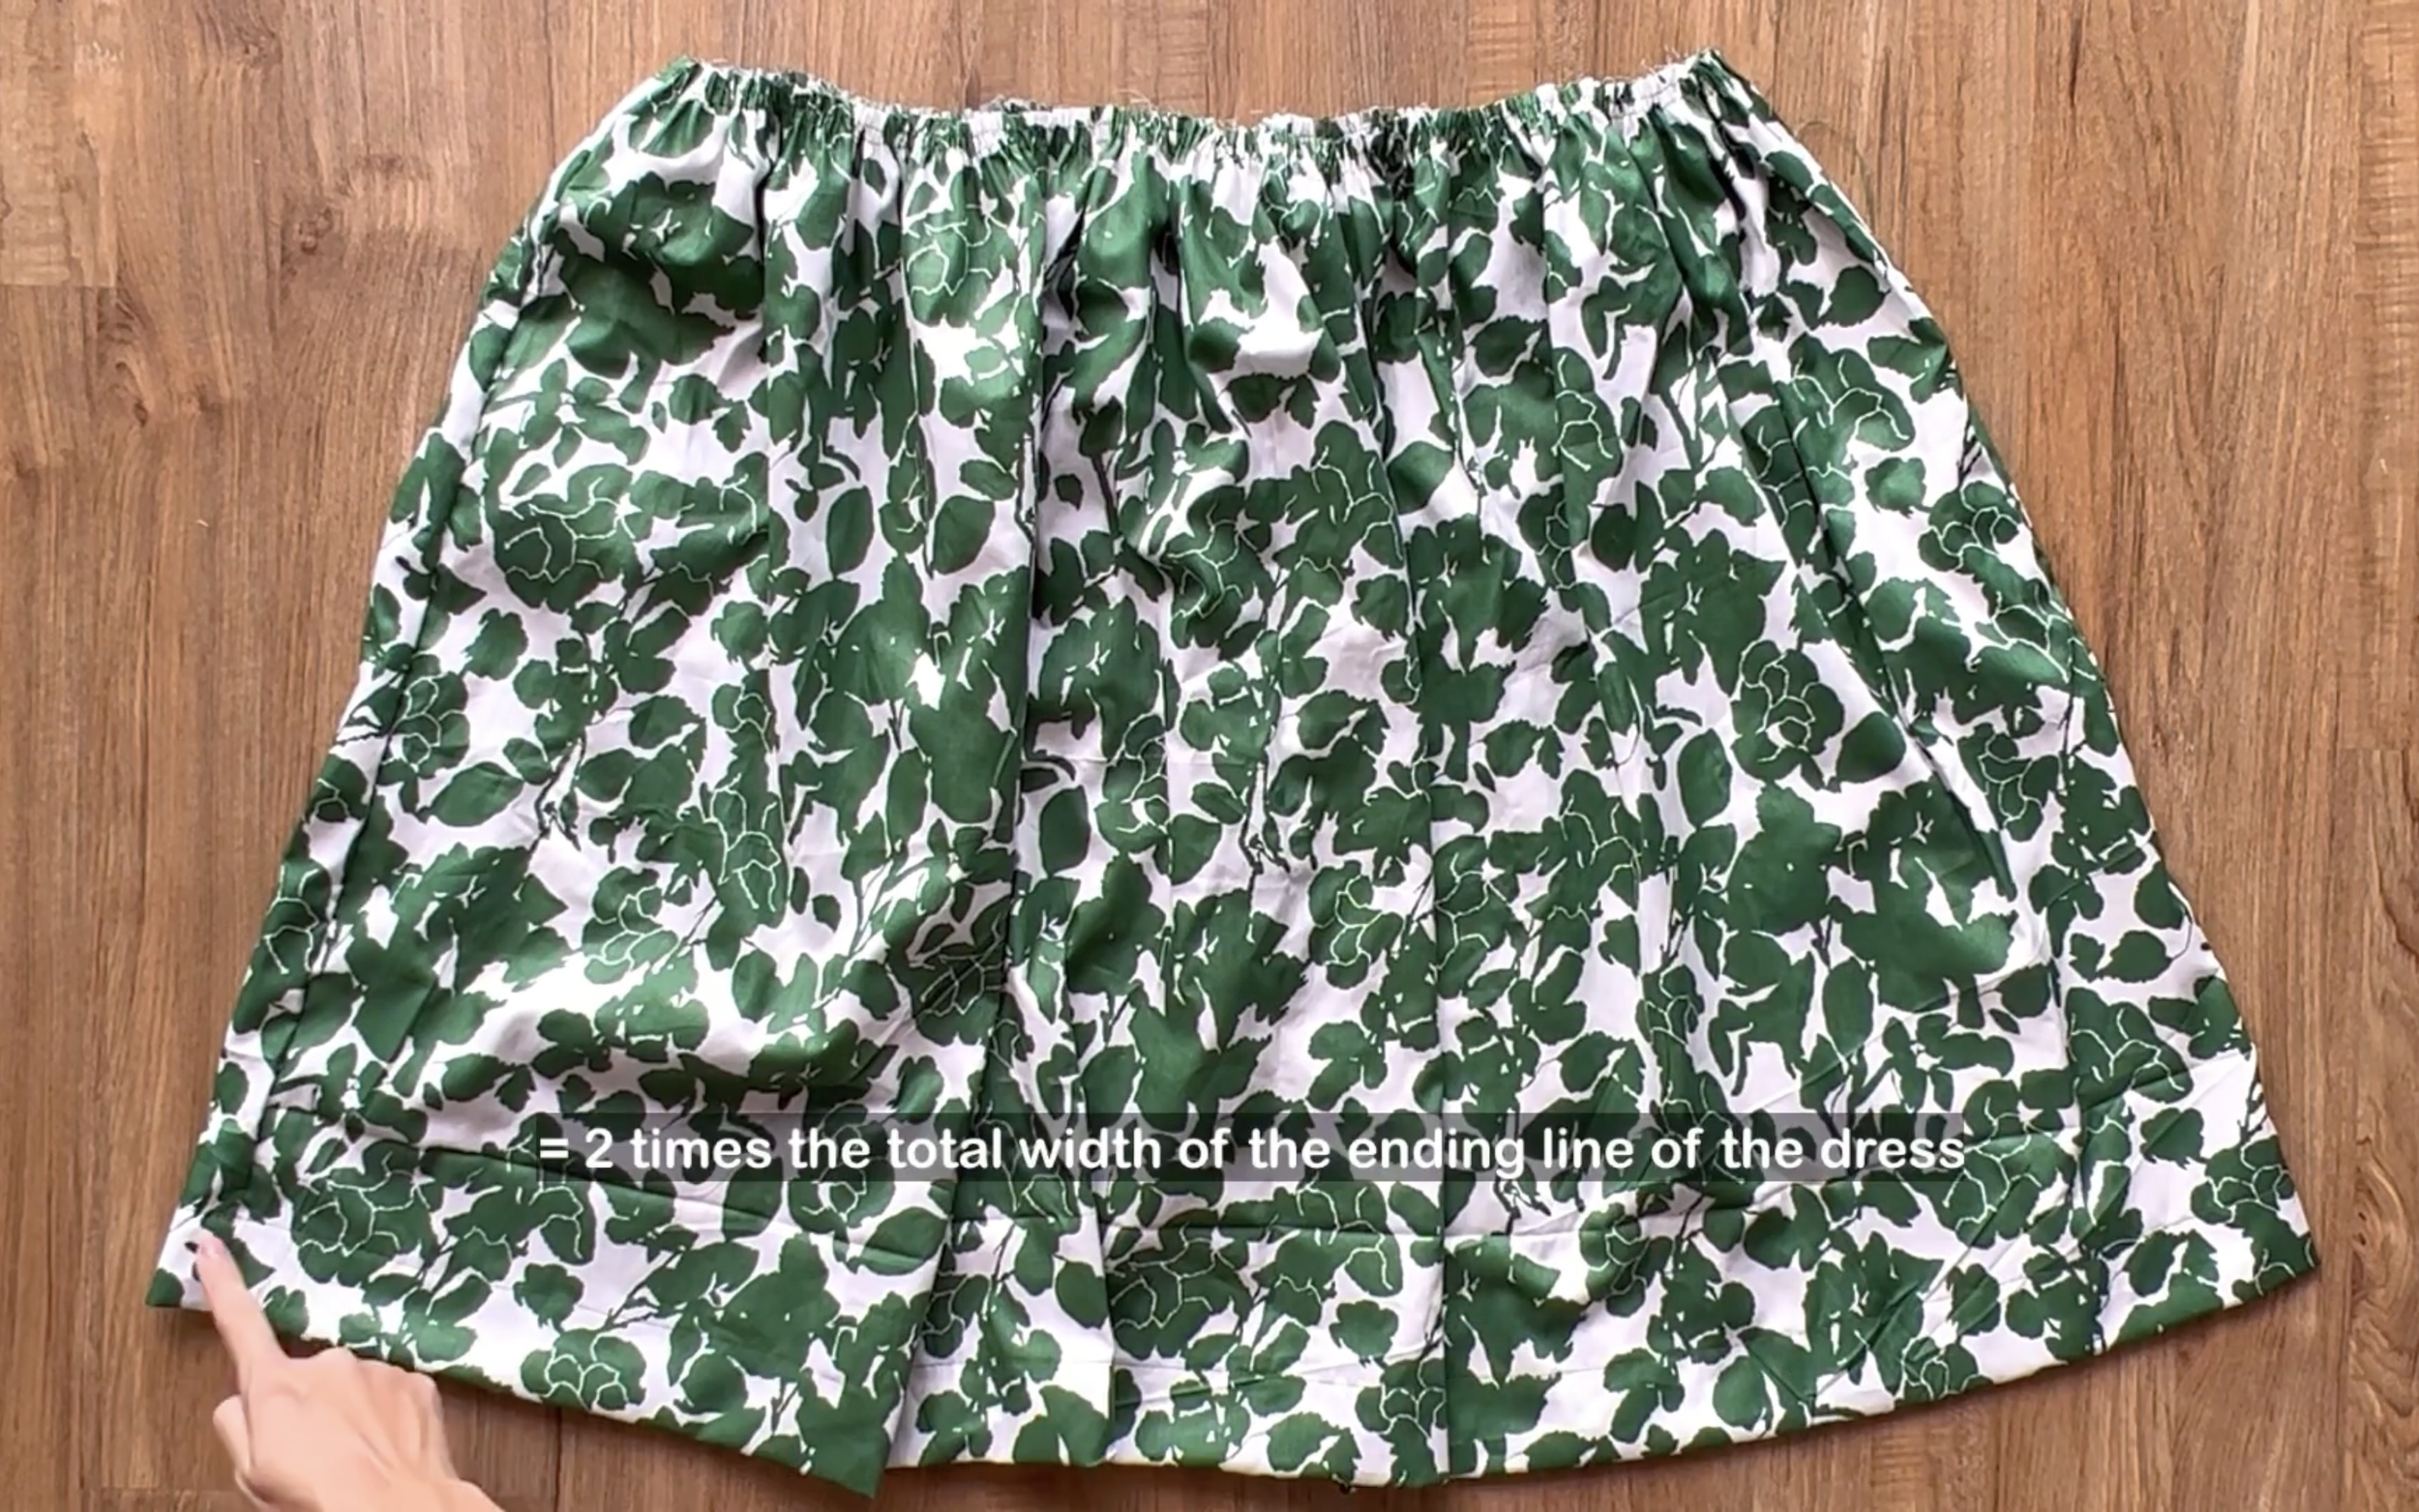
At the end of the dress, measure the total width of the new ending line first.
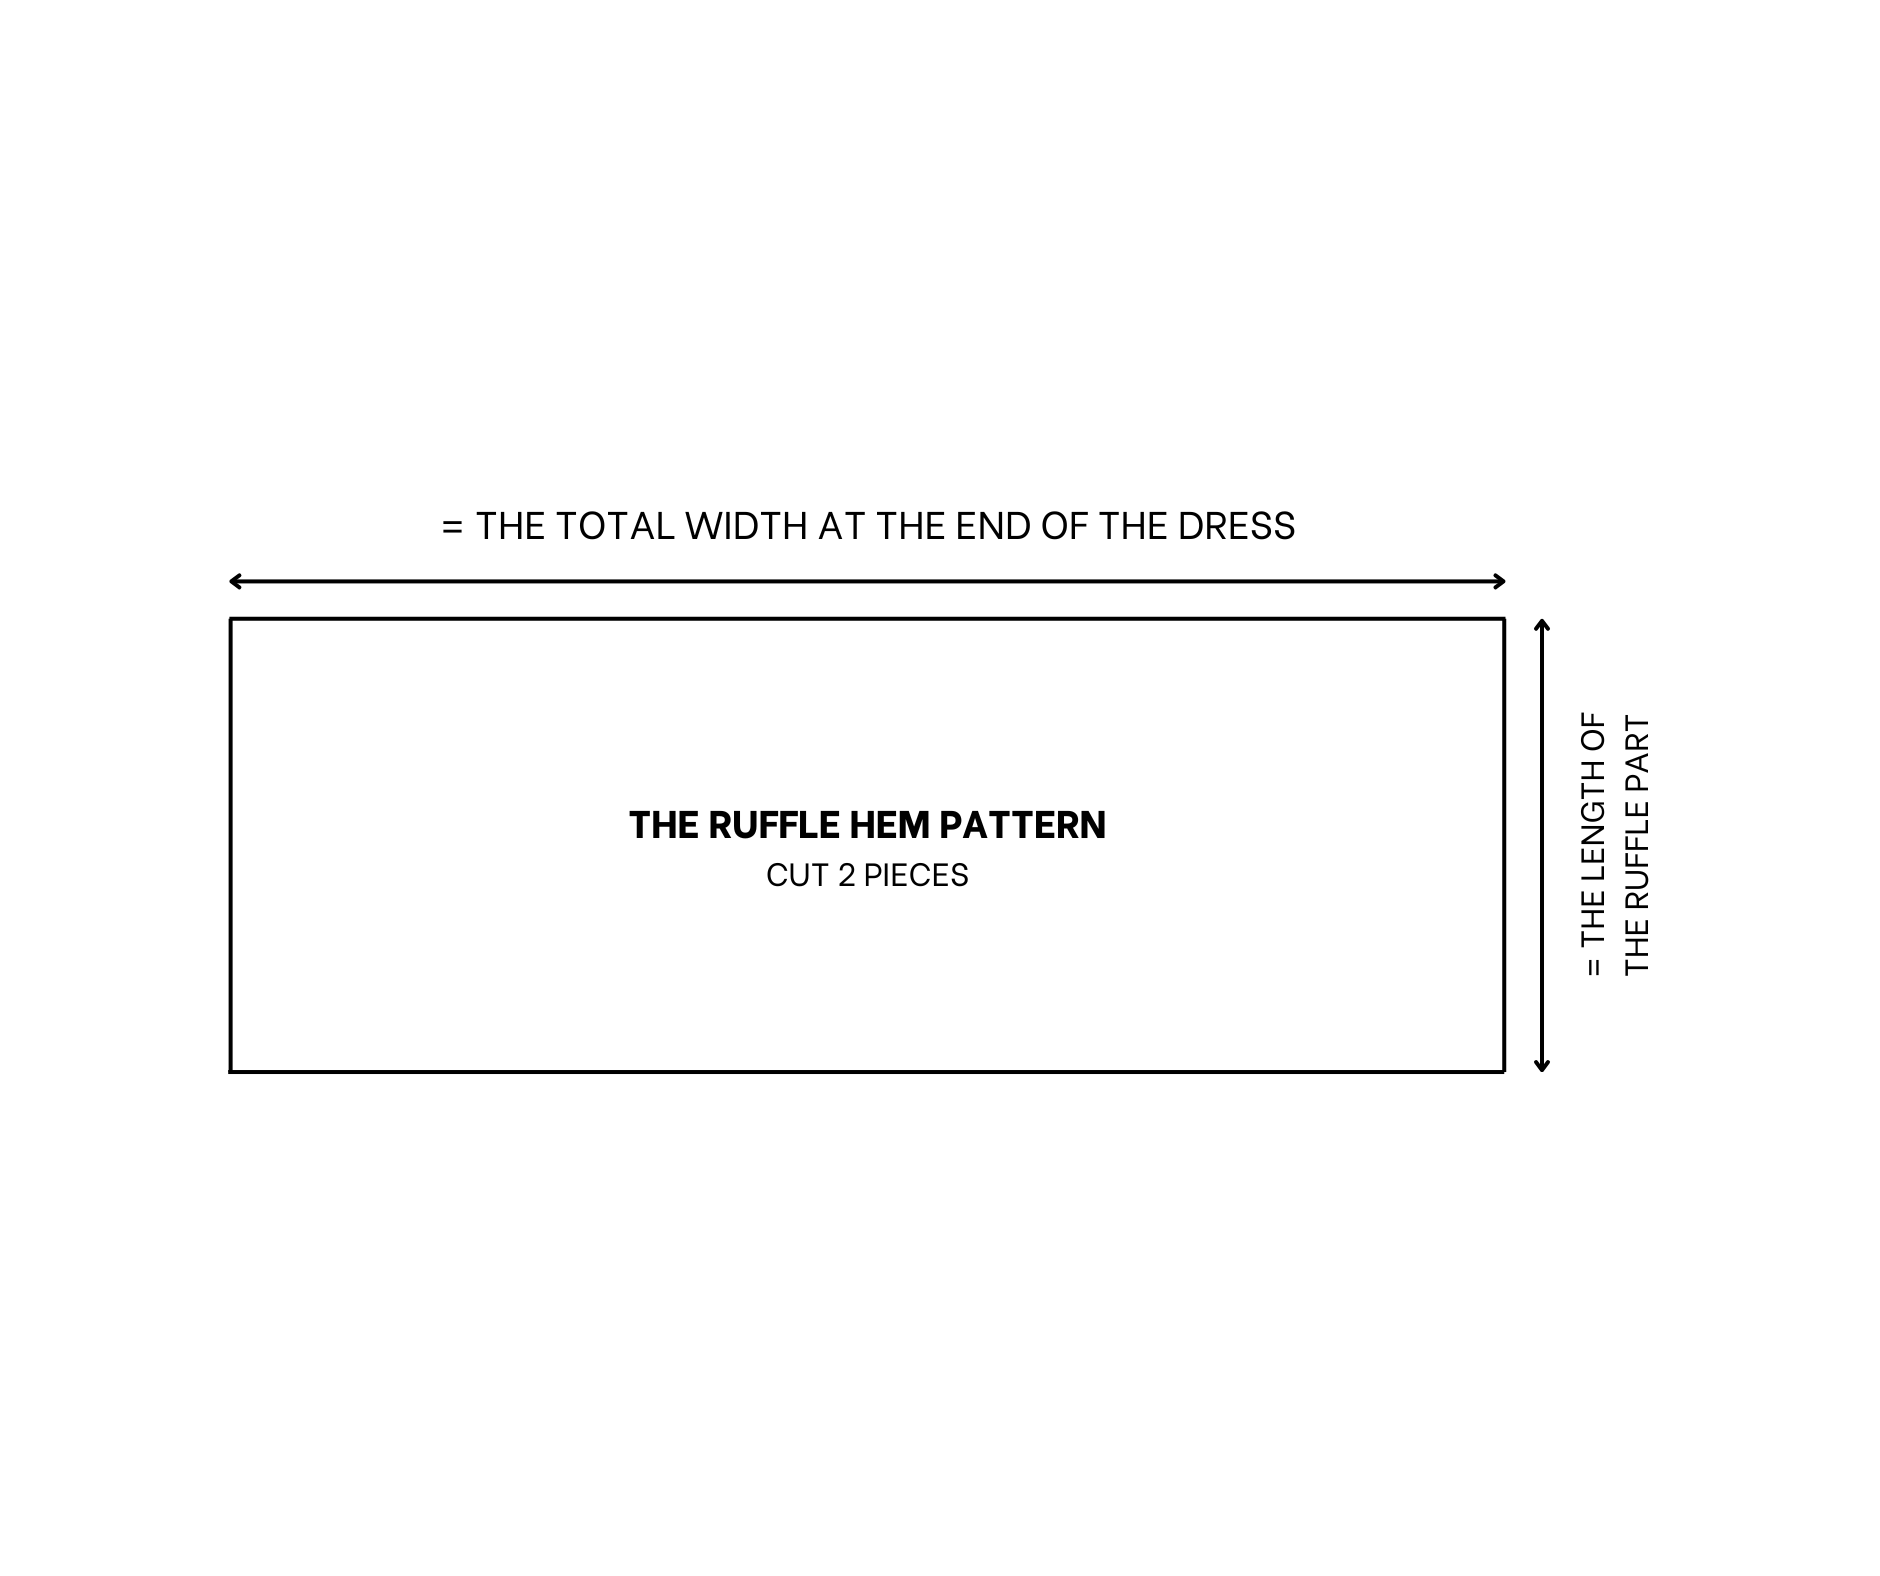
THE RUFFLE HEM PATTERN
At the end of the dress, measure the total width of the new ending line first.
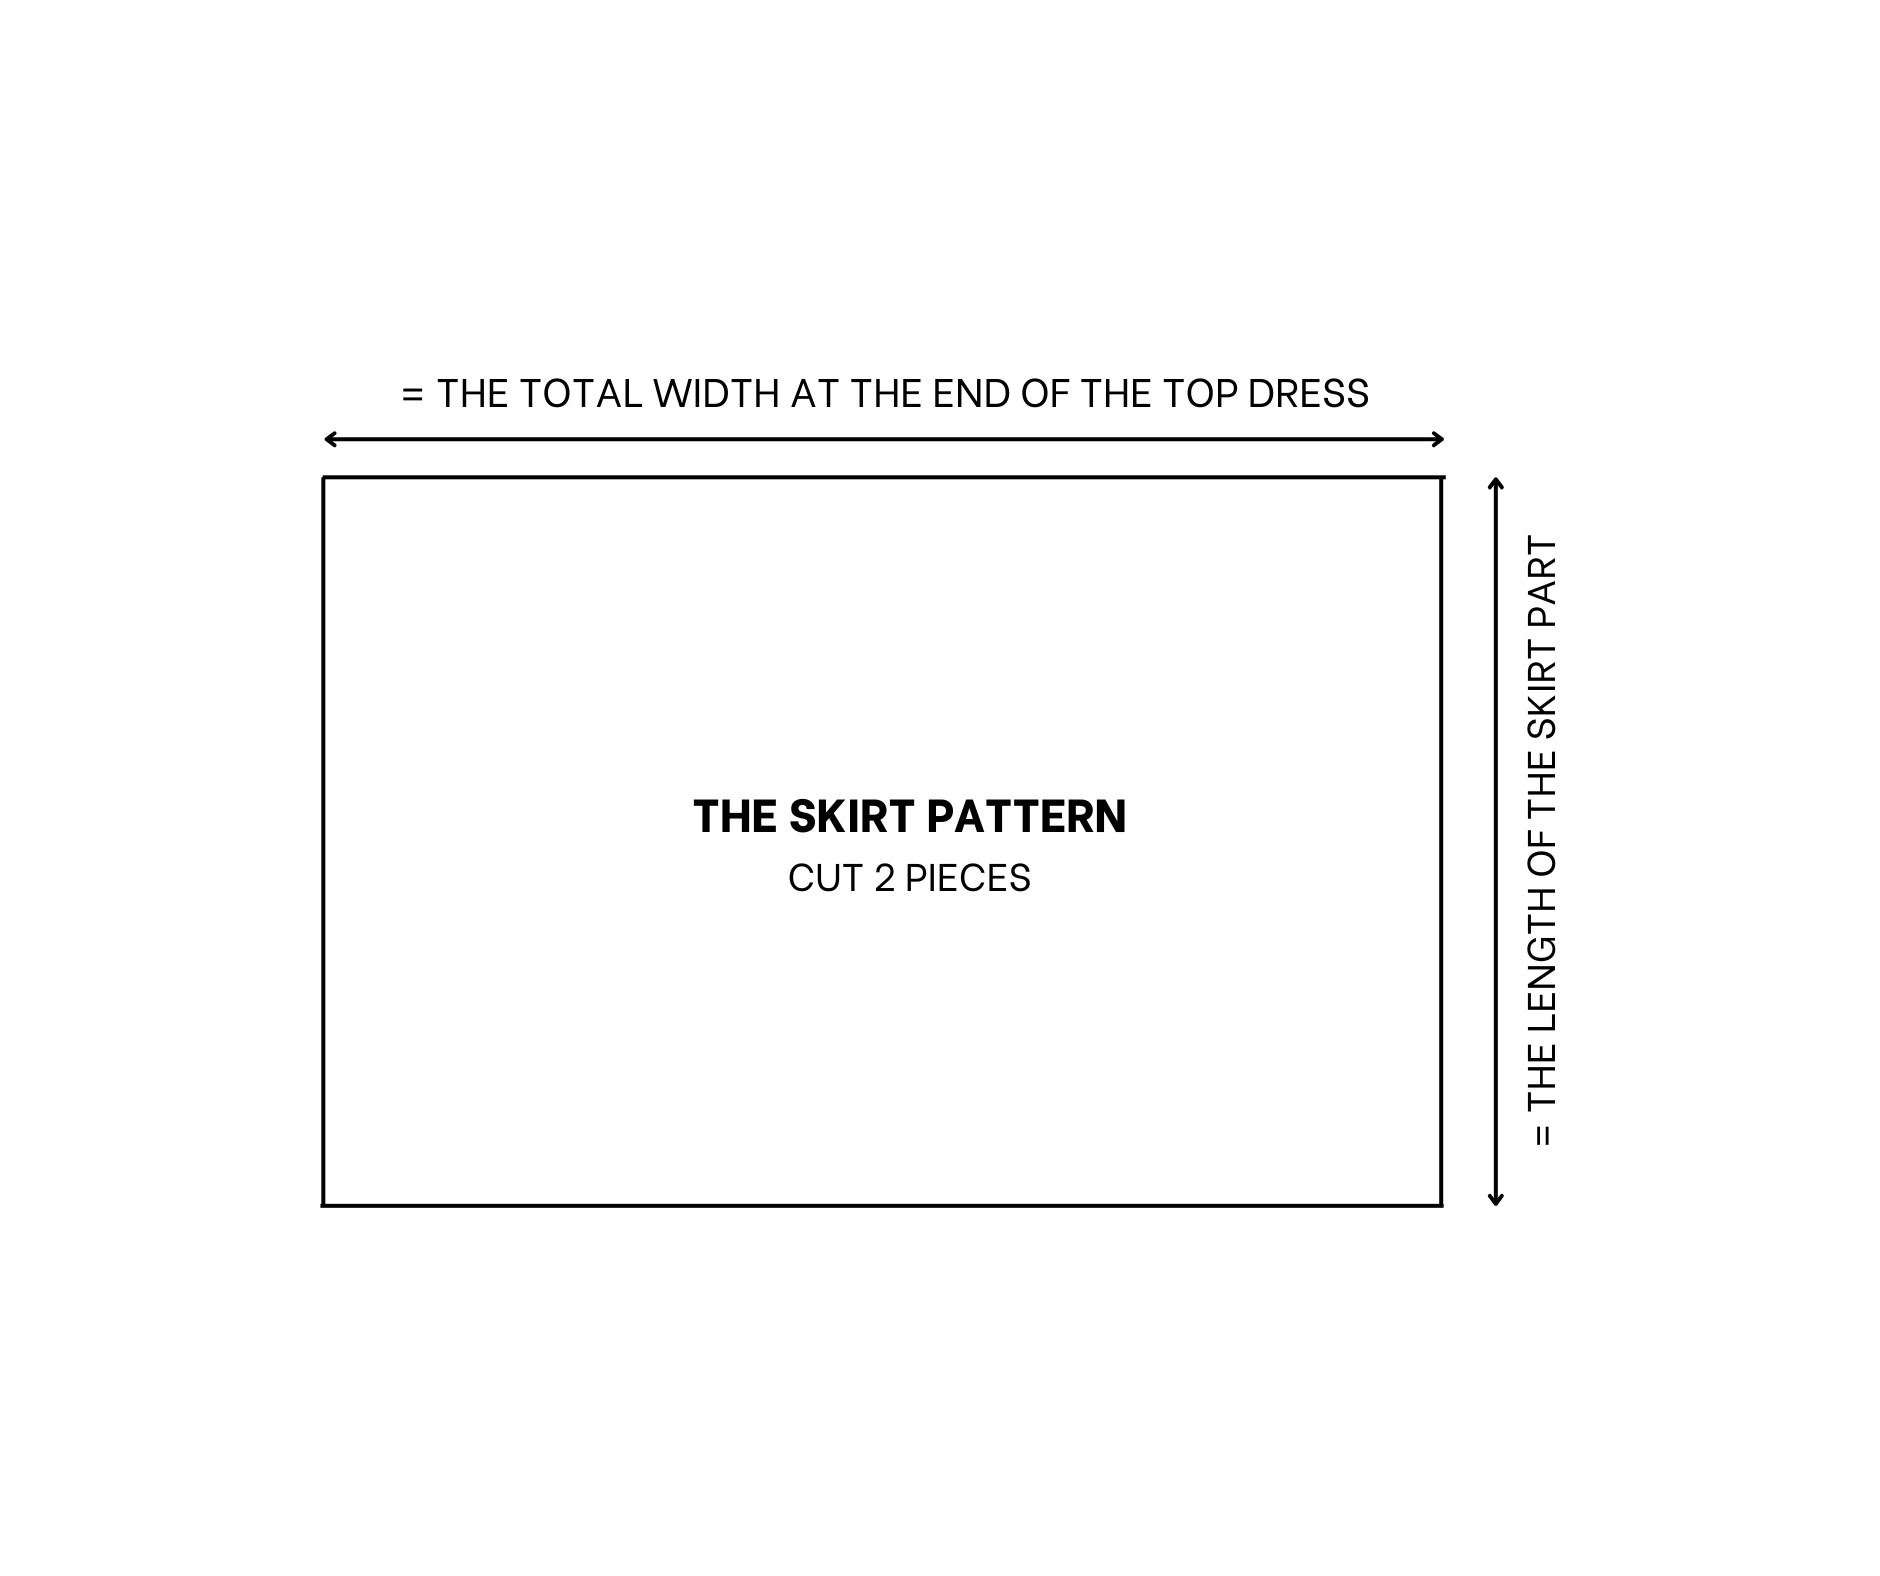
Then, cut two rectangles with 32 cm length (which is the length of the ruffle part that is wanted plus 2 cm for seam allowance) and two times the width of the new ending line that was just checked before.
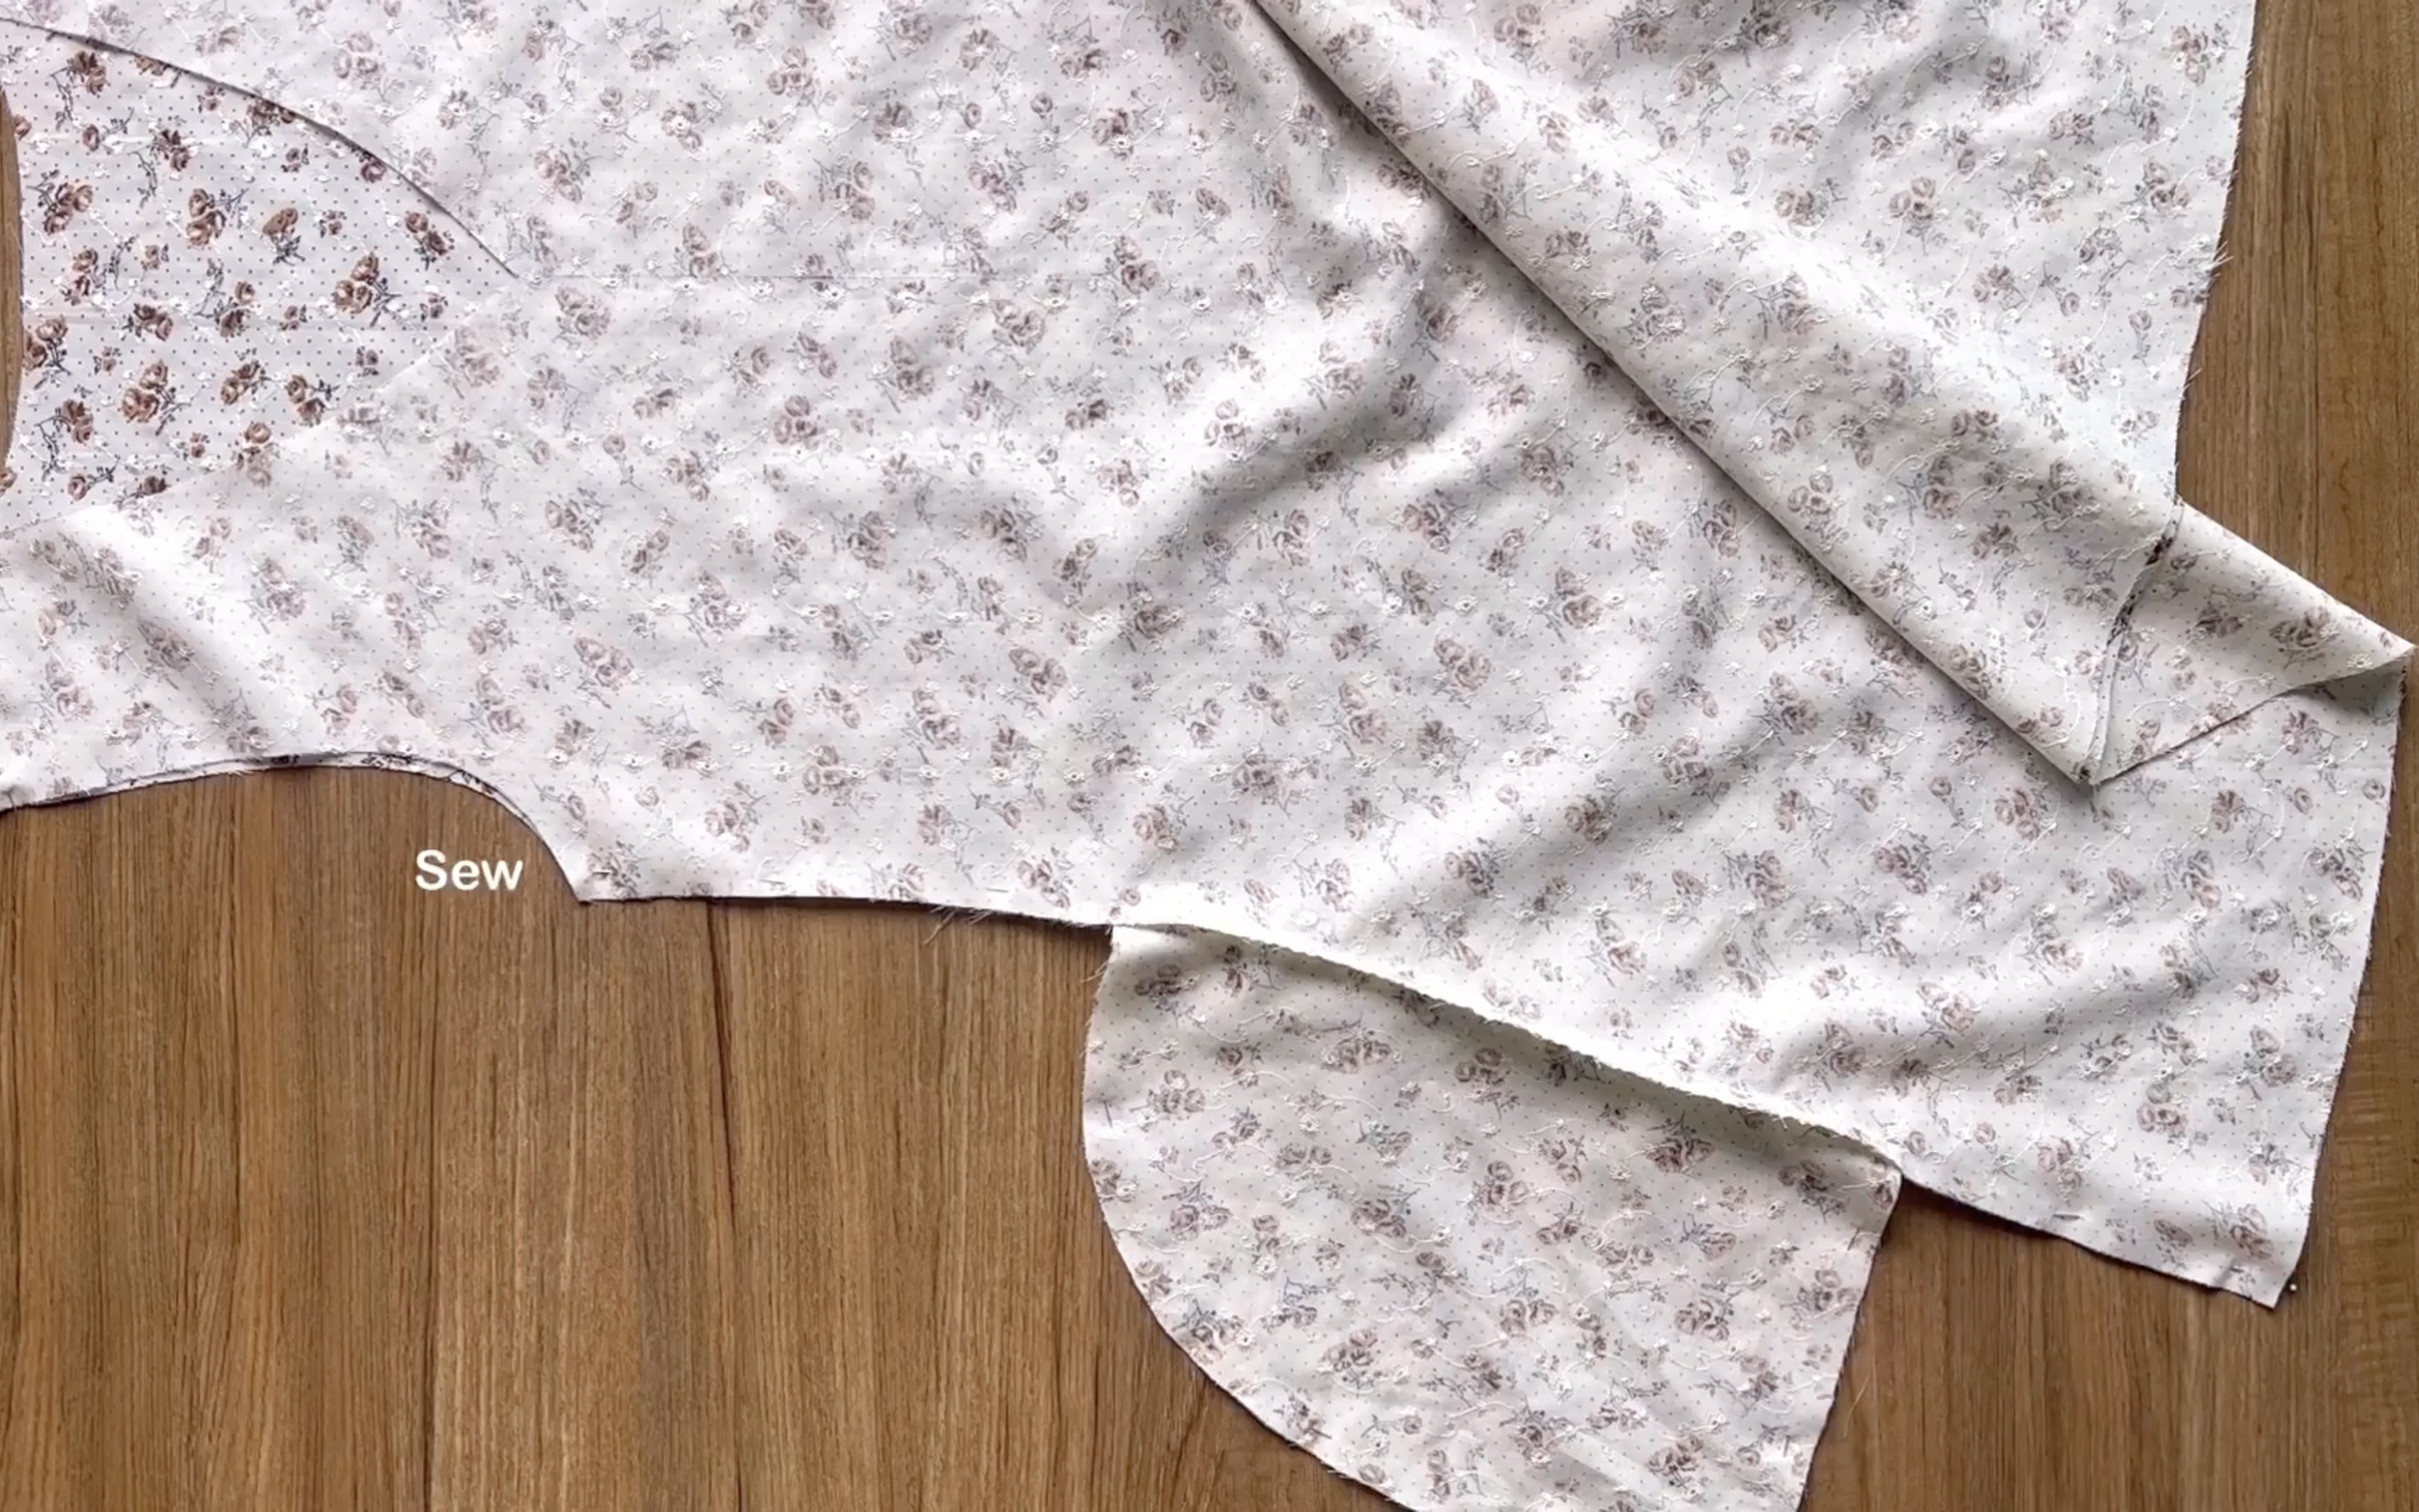
Connect two length lines of the rectangle together to create a circle first.
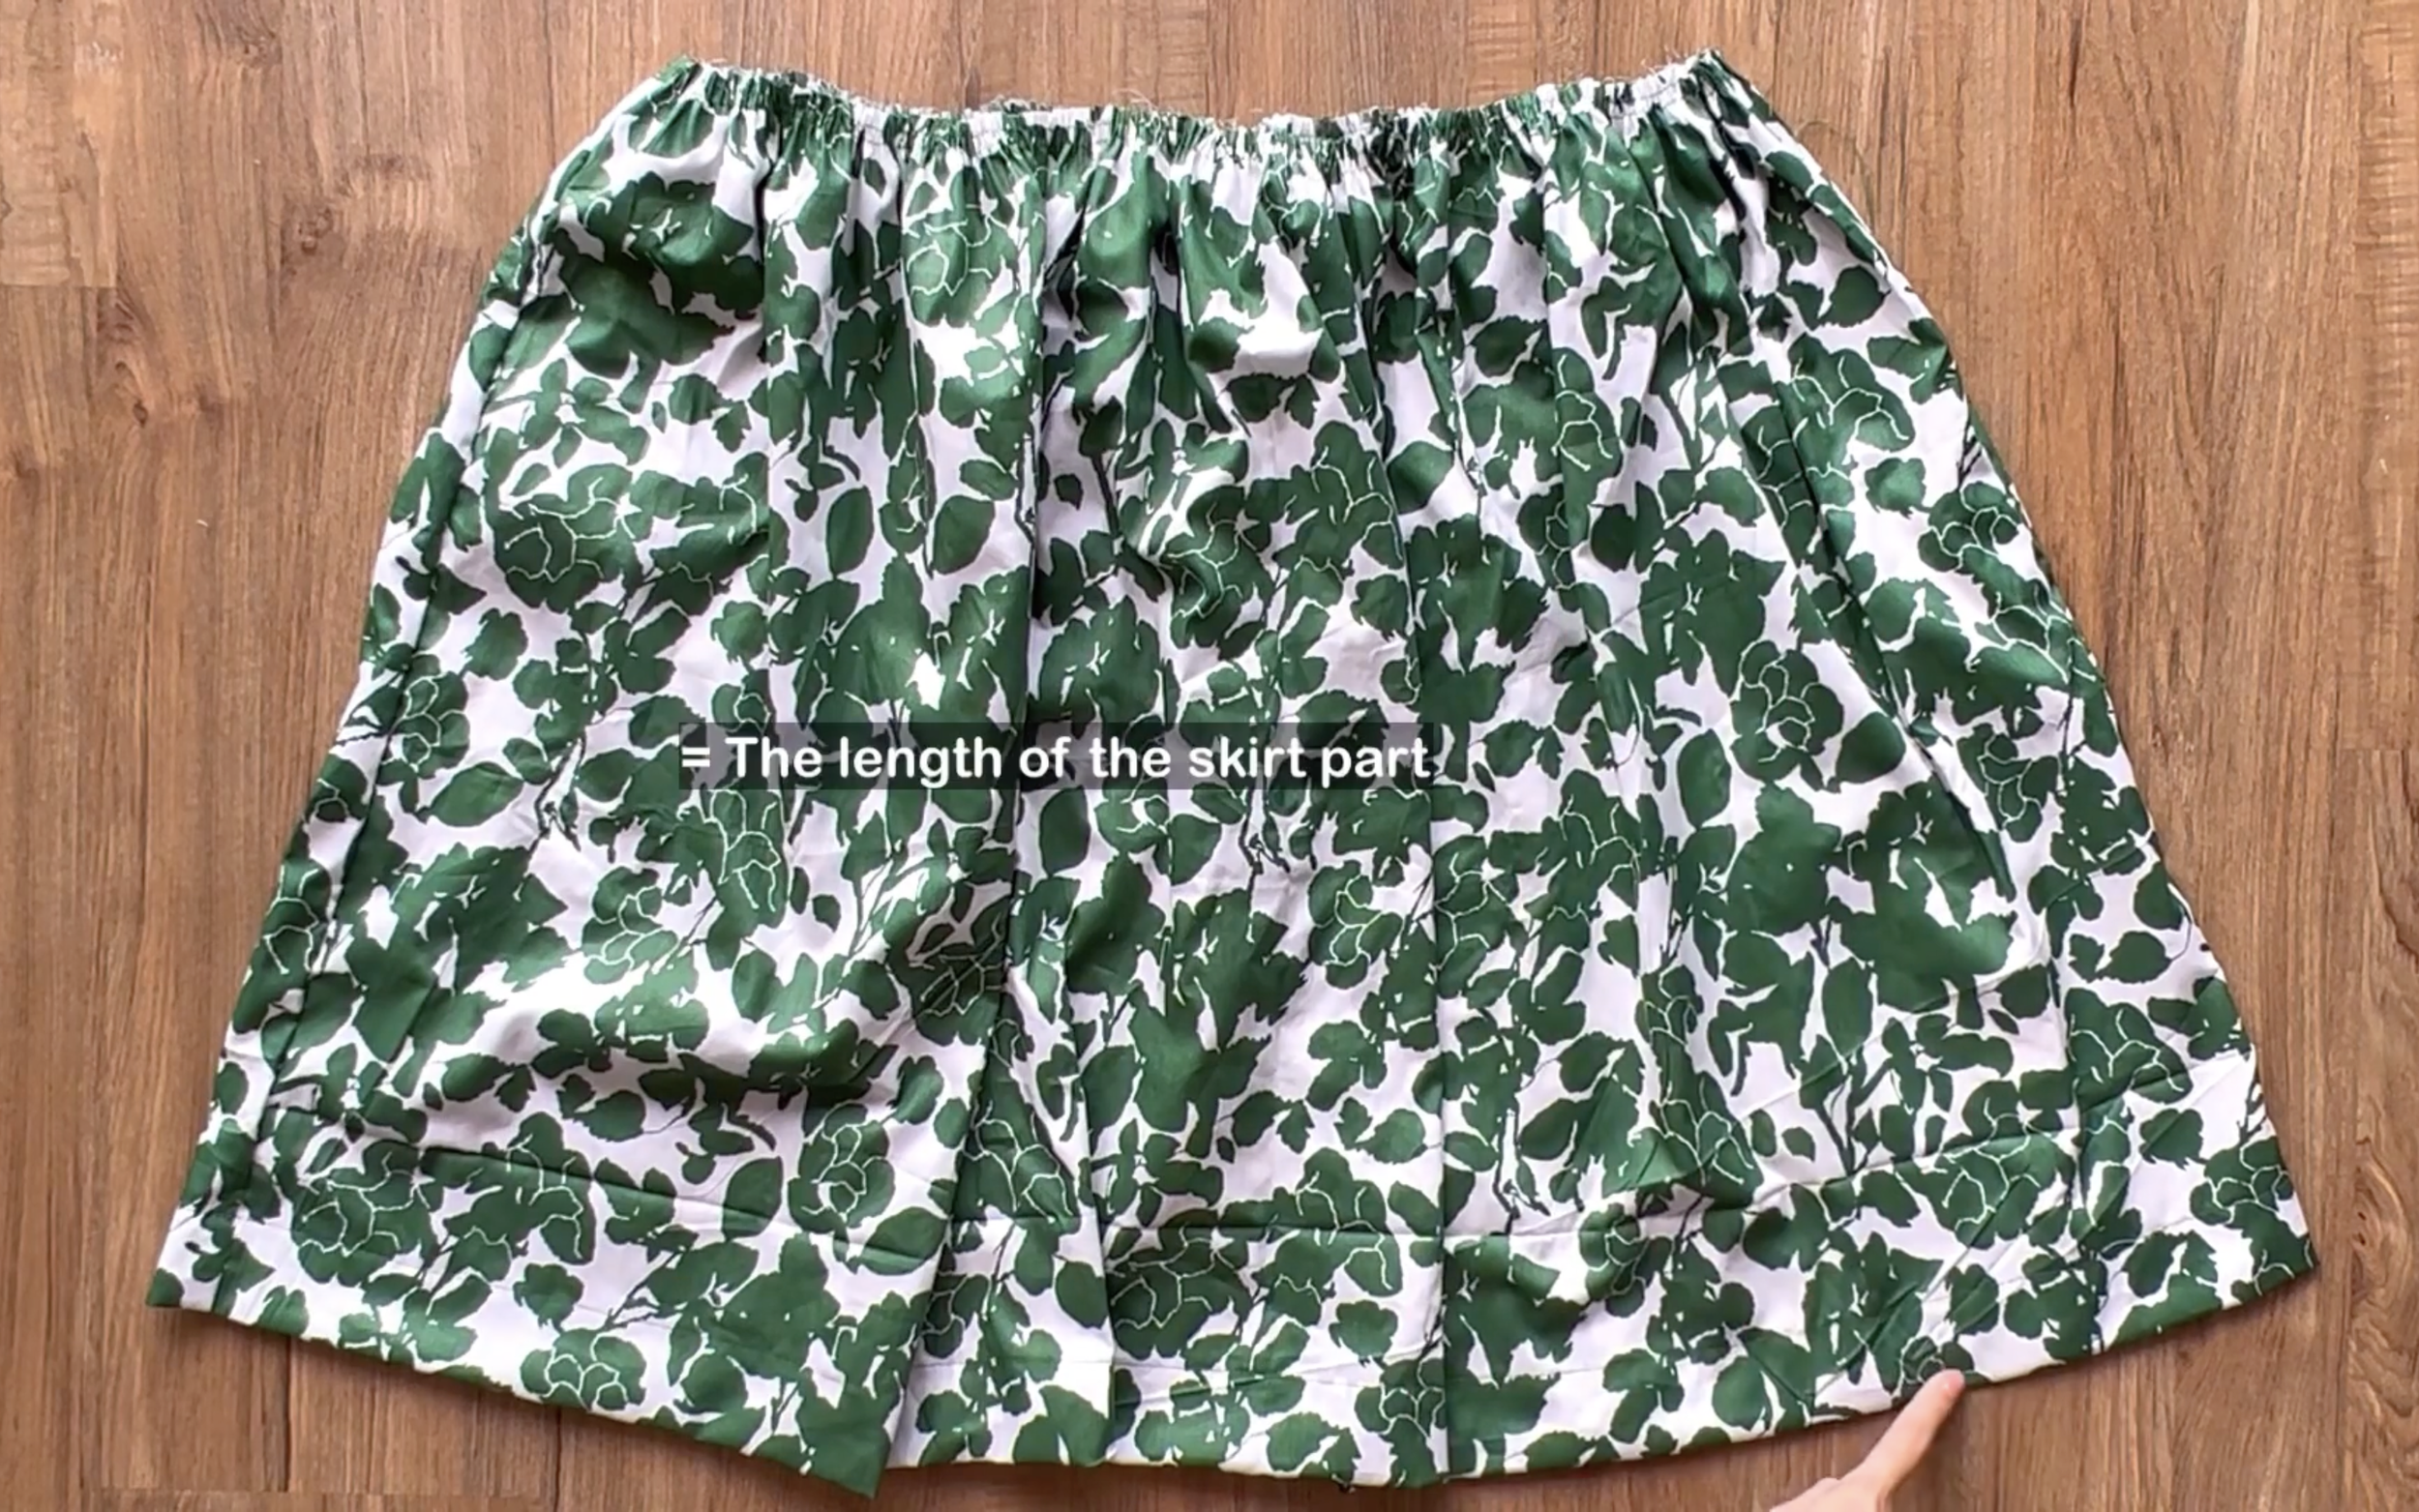
After that, finish one side of the circle fabric, which is the end of the ruffle part, by folding the end fabric inside two times with 1 cm each time and sewing.

At the other side of the circle fabric, make two loose seams first.
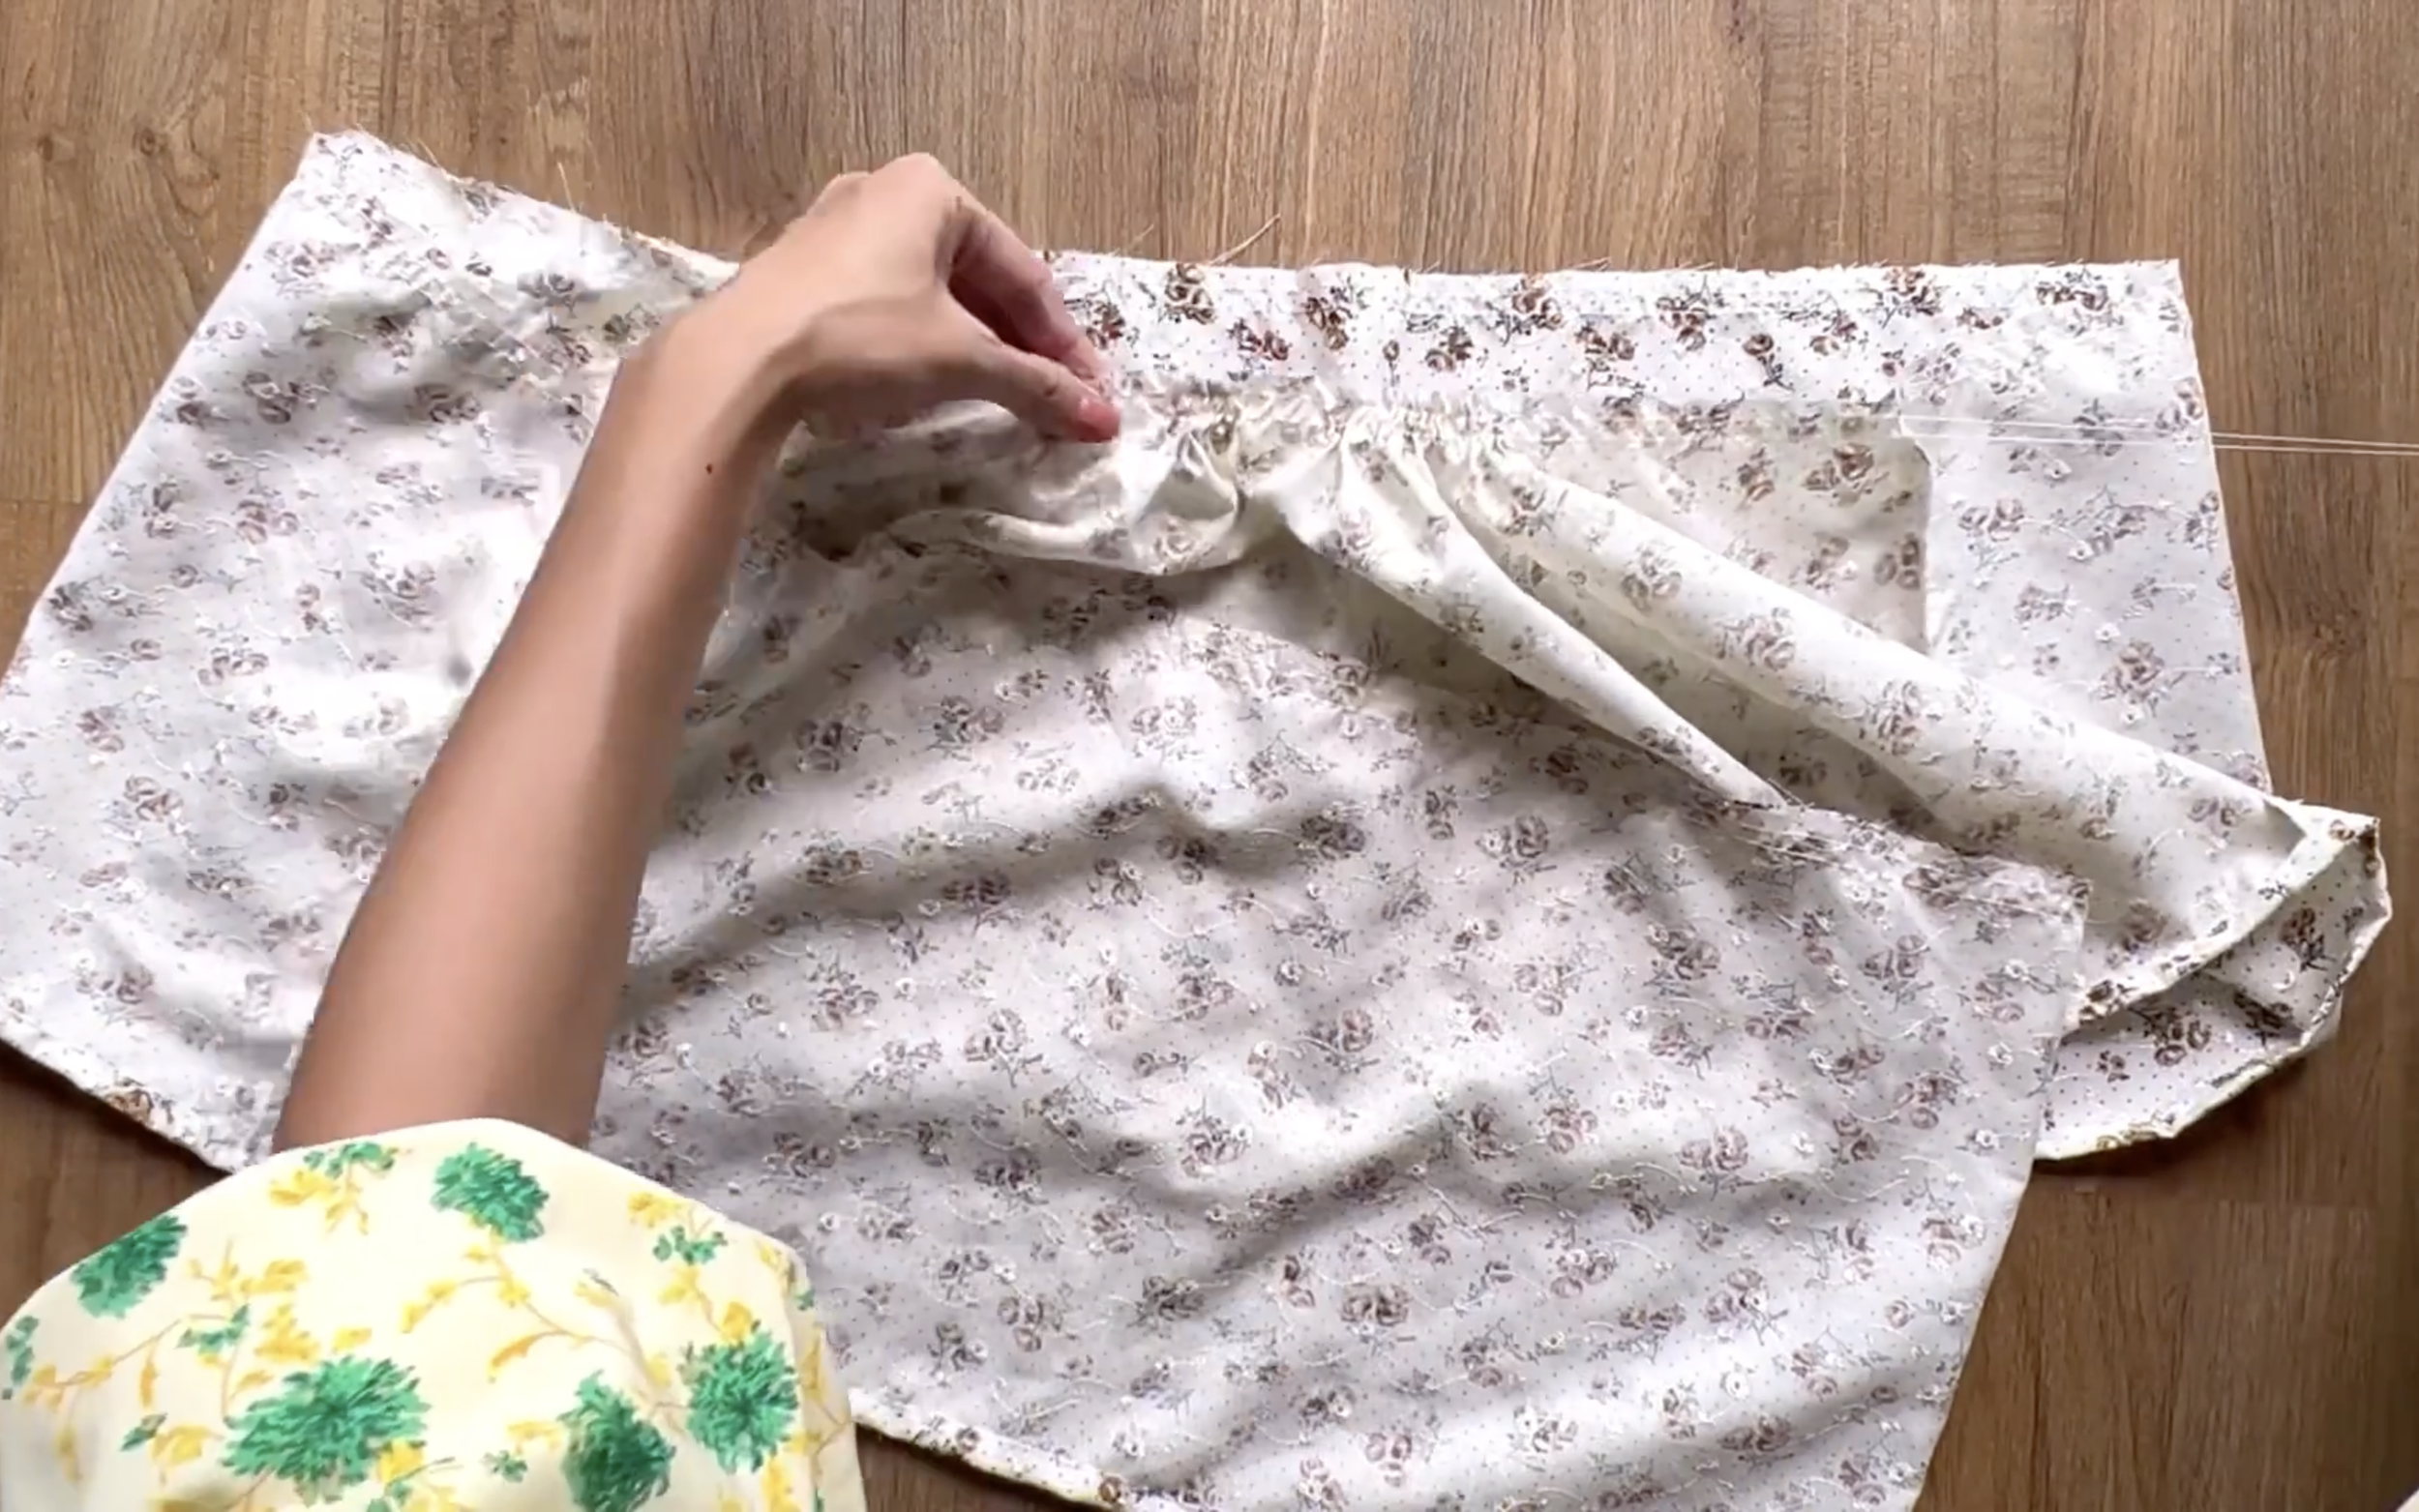
Then create a gathering fabric there.
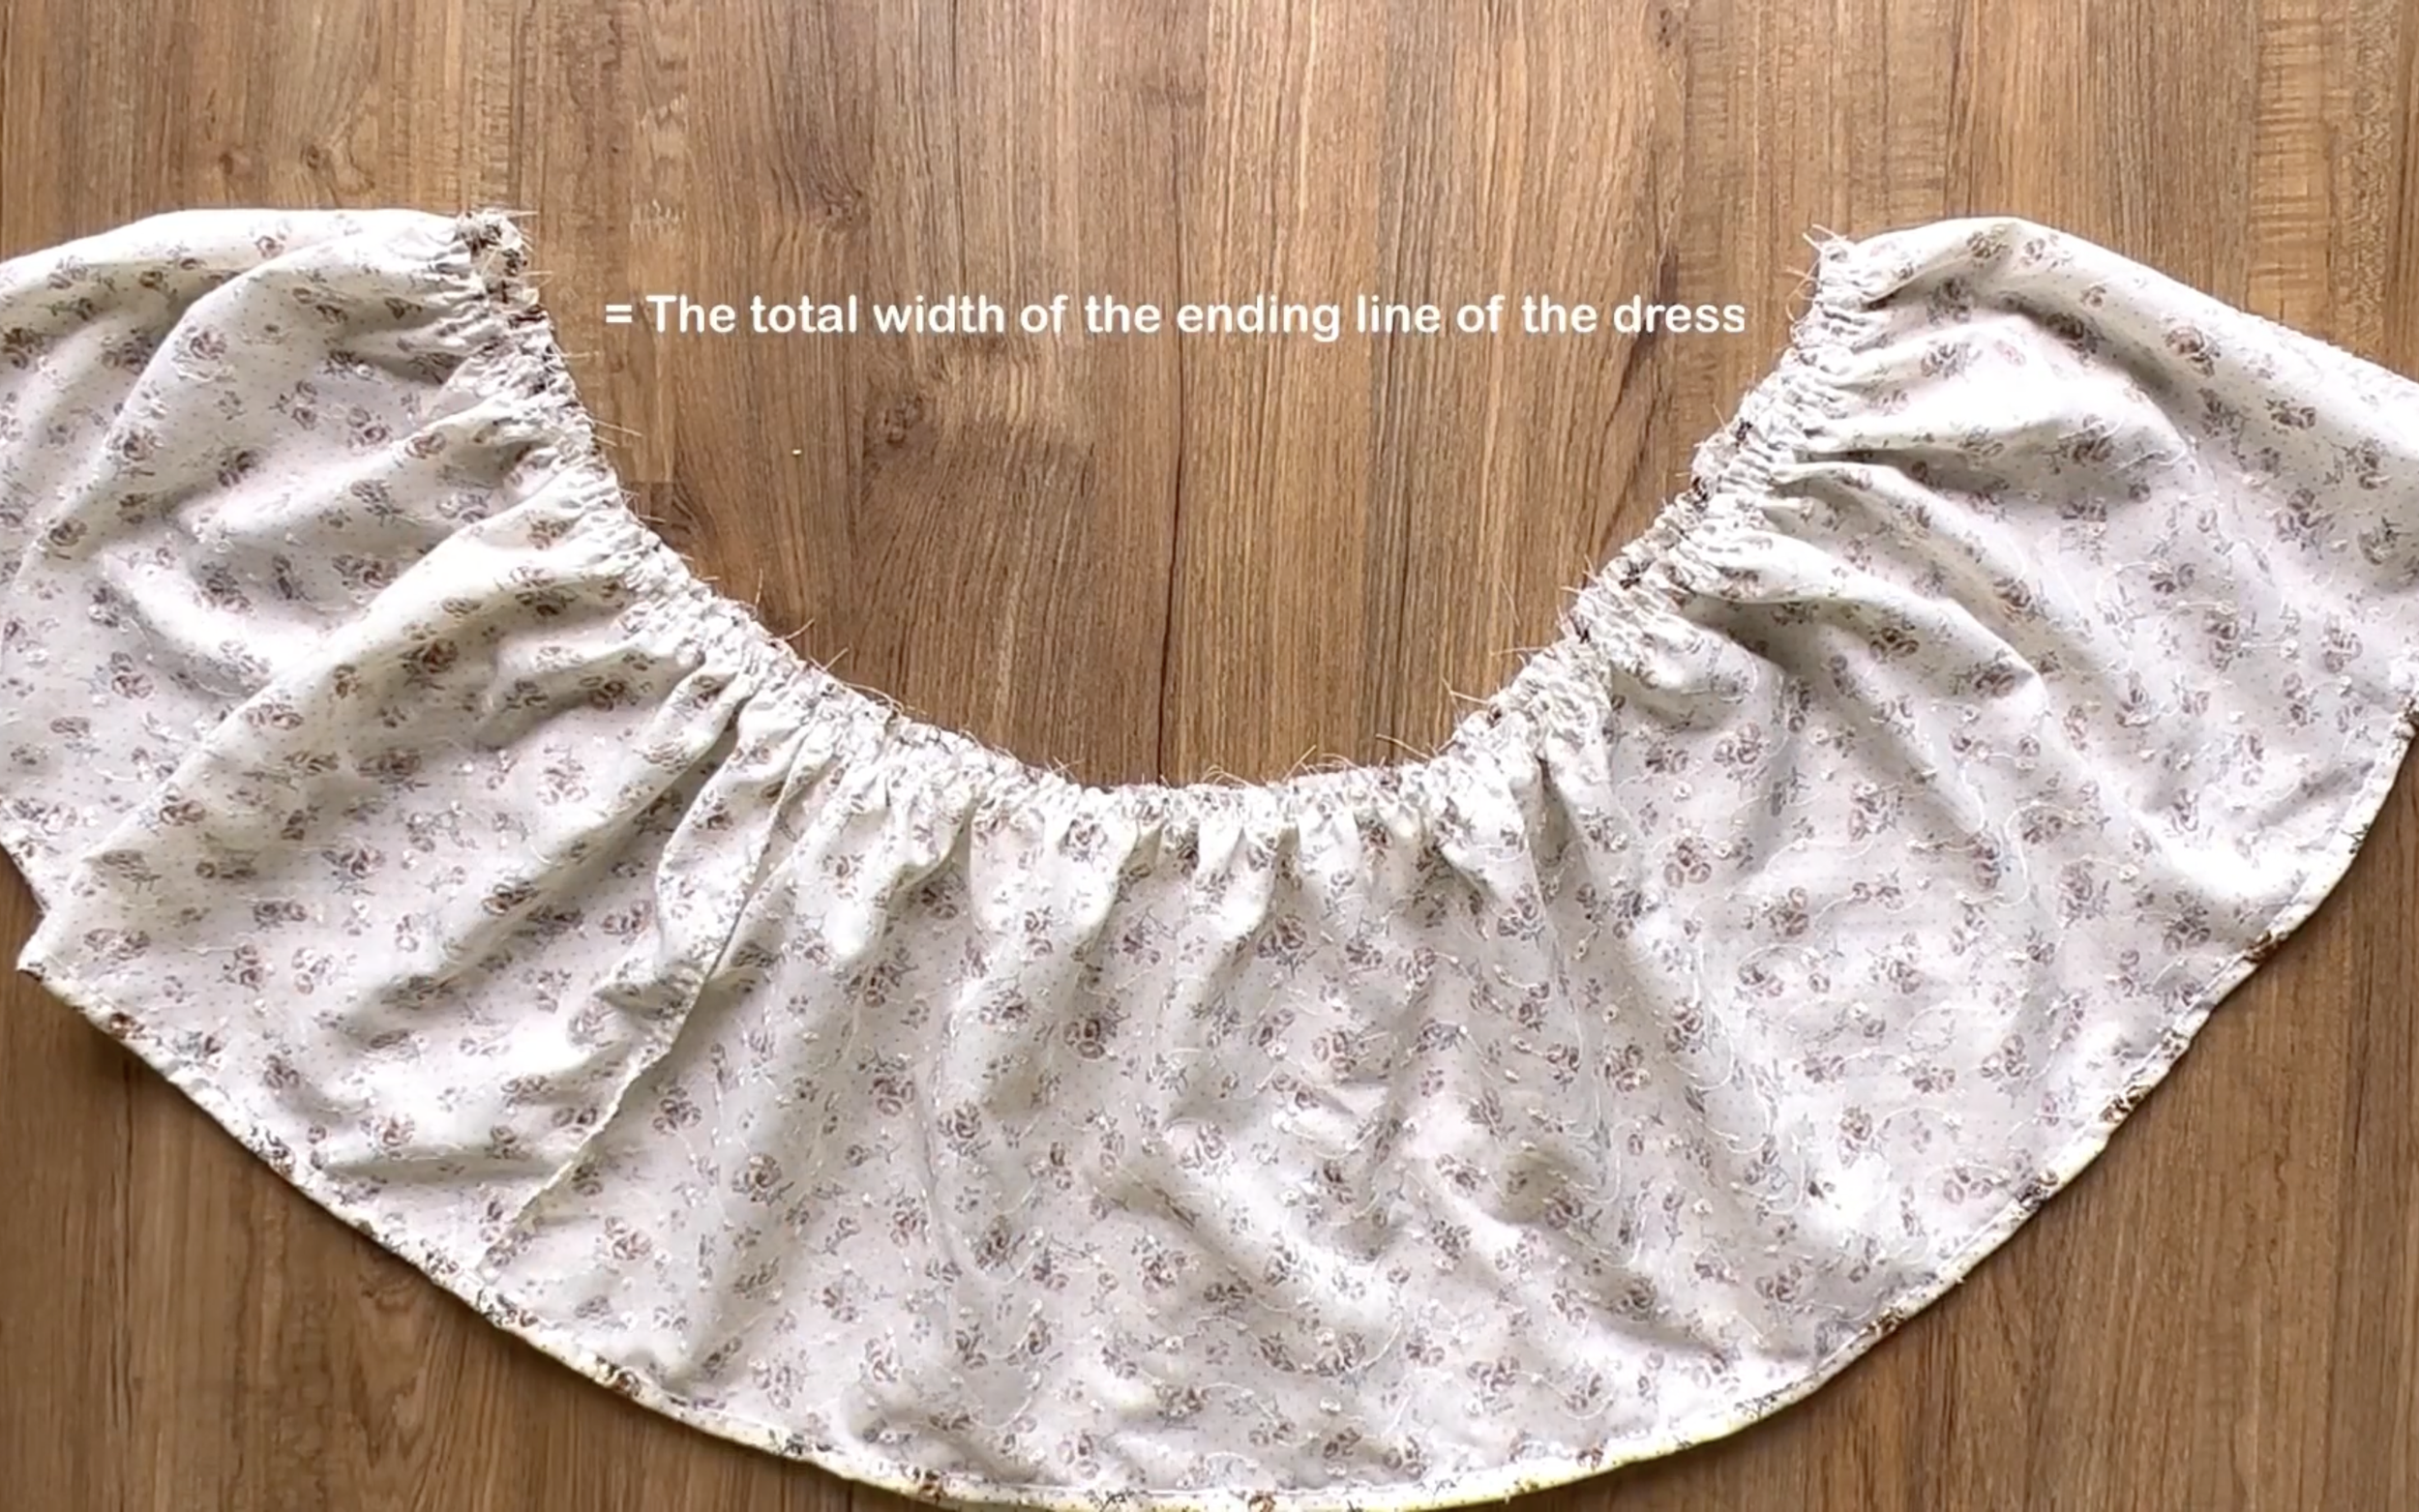
The final width of the gathering fabric will be the same at the ending line of the dress.
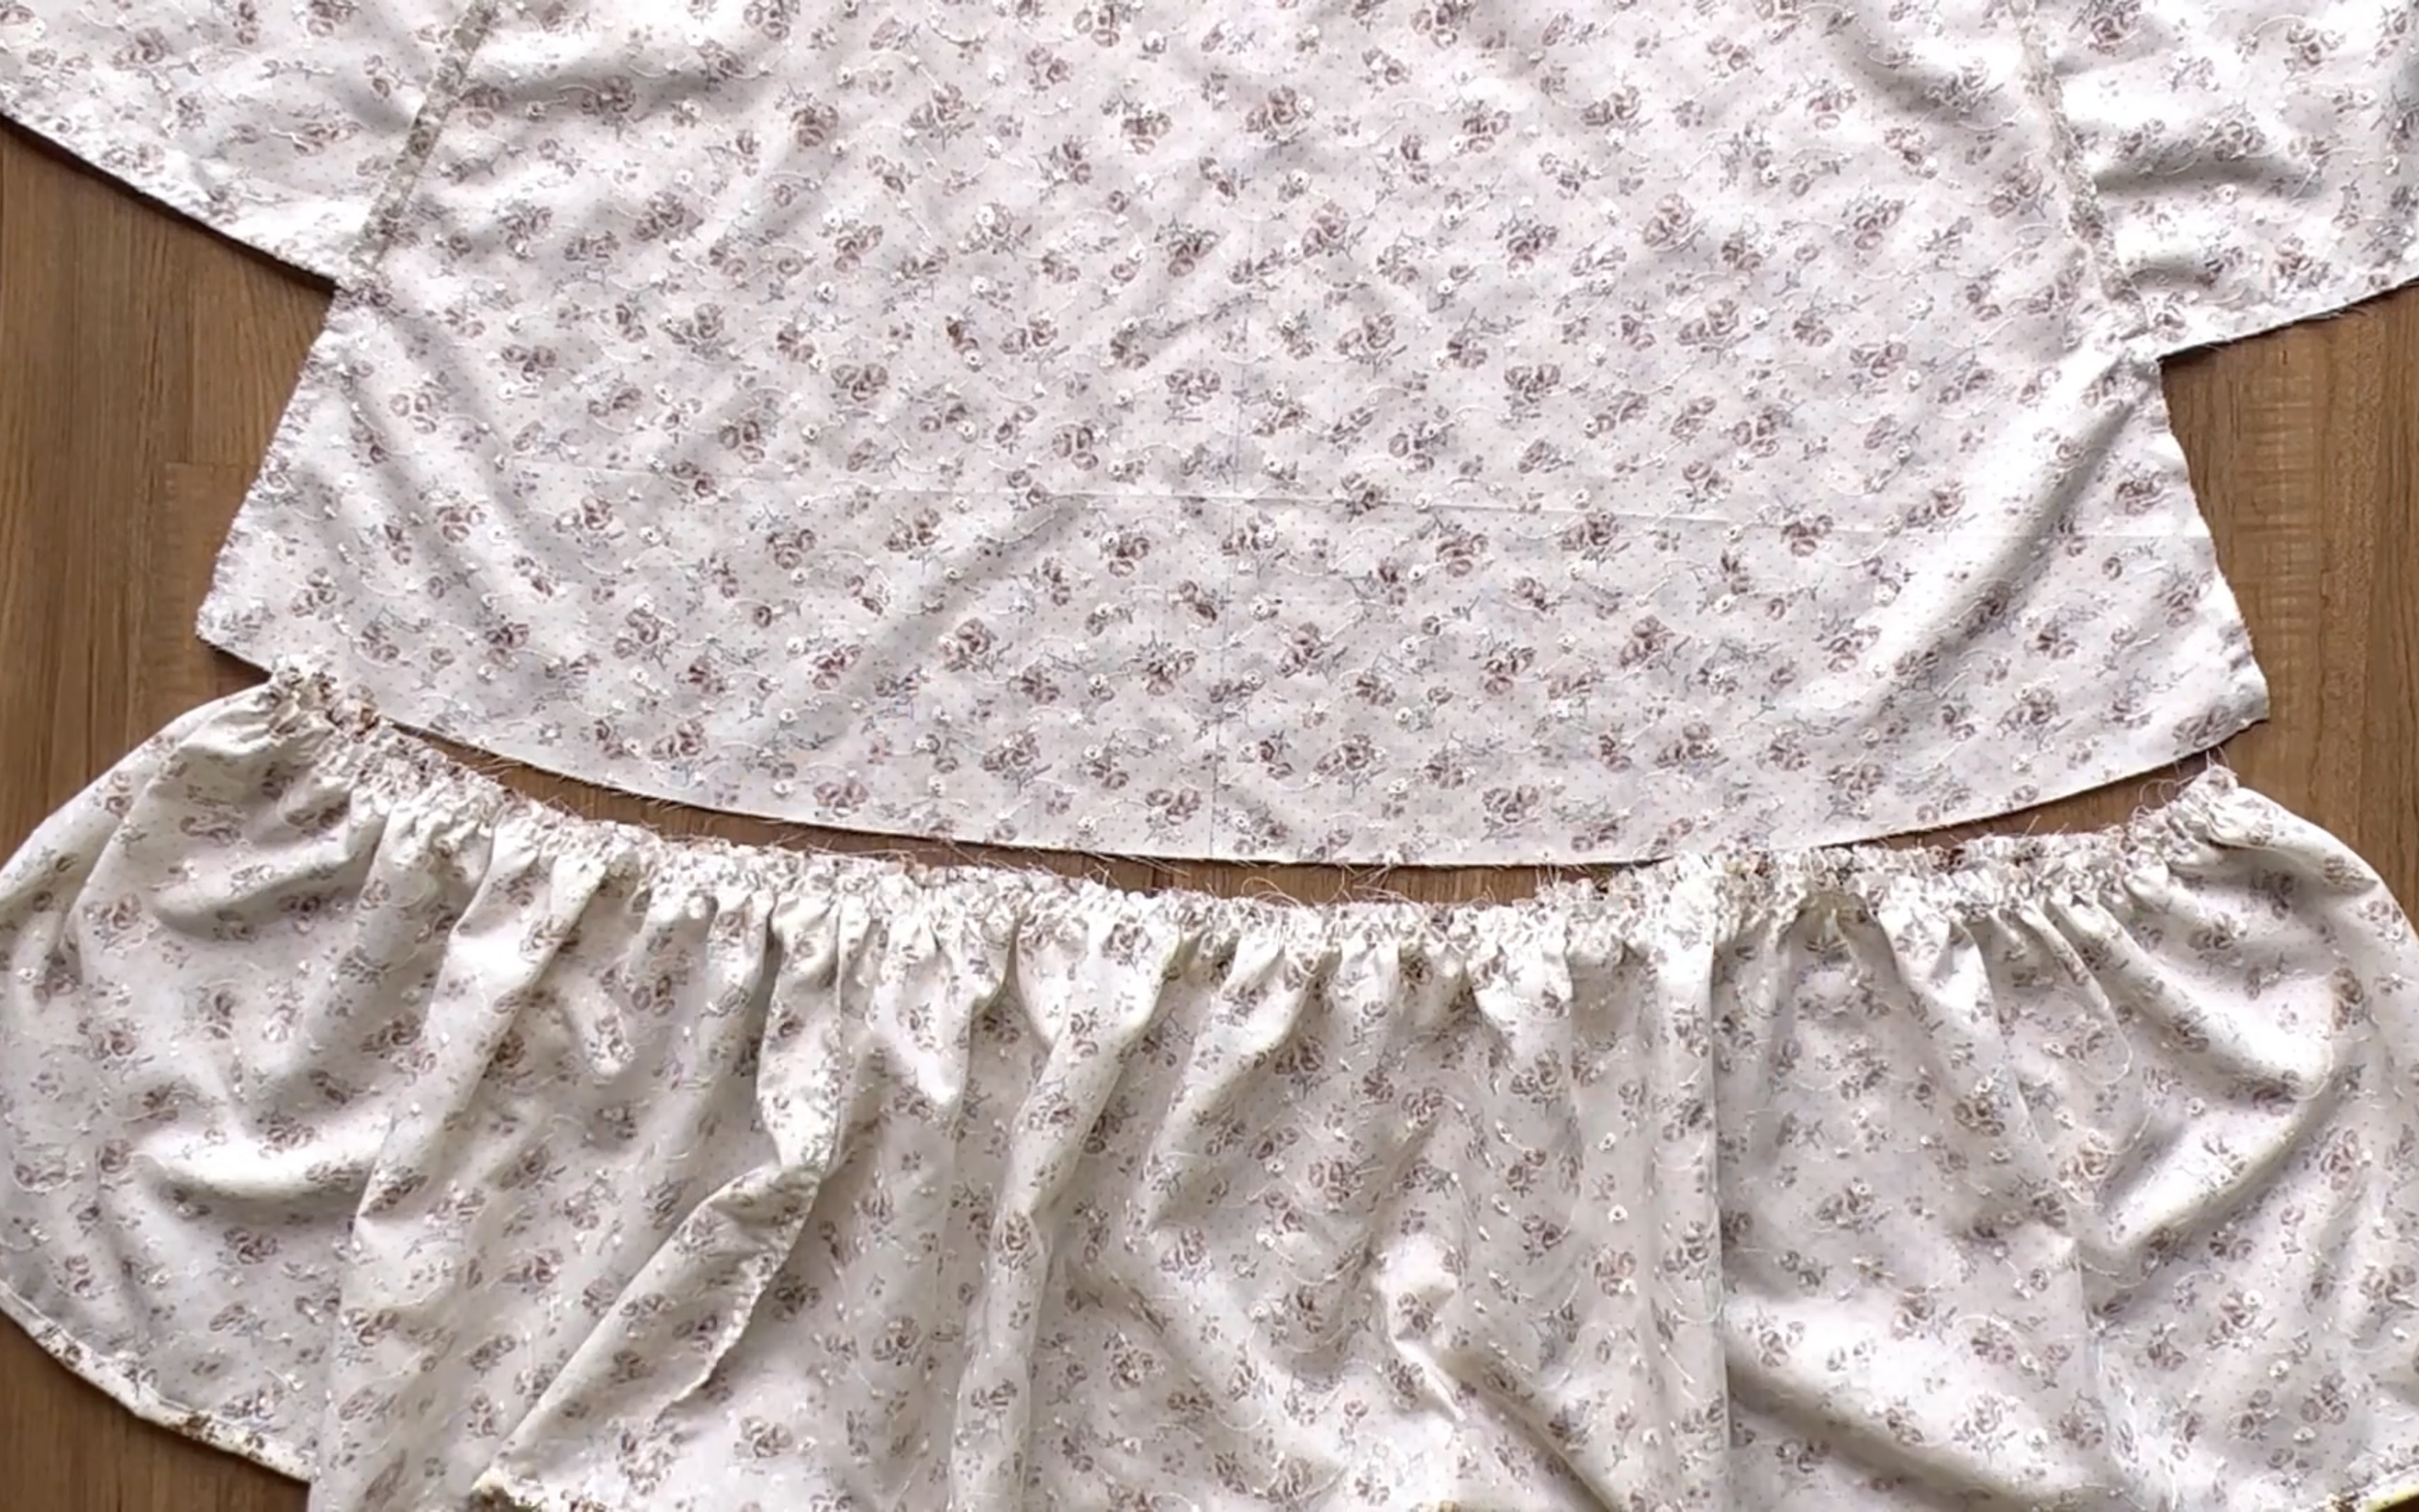
Then connect them together.

Making 5 different dresses from 1 pattern | Celine dress - Pattern hacks
And just like that, here is the final look for our first hack: The ruffle hem dress!
The ruffle on the bottom adds such a cute touch without losing that comfy, feminine feel. It's the perfect mix!
2. THE FITTED WAIST DRESS
PATTERN HACK
This hack is quite similar to the first one; just add two elastic bands at the waist area to create the fitted look for it.
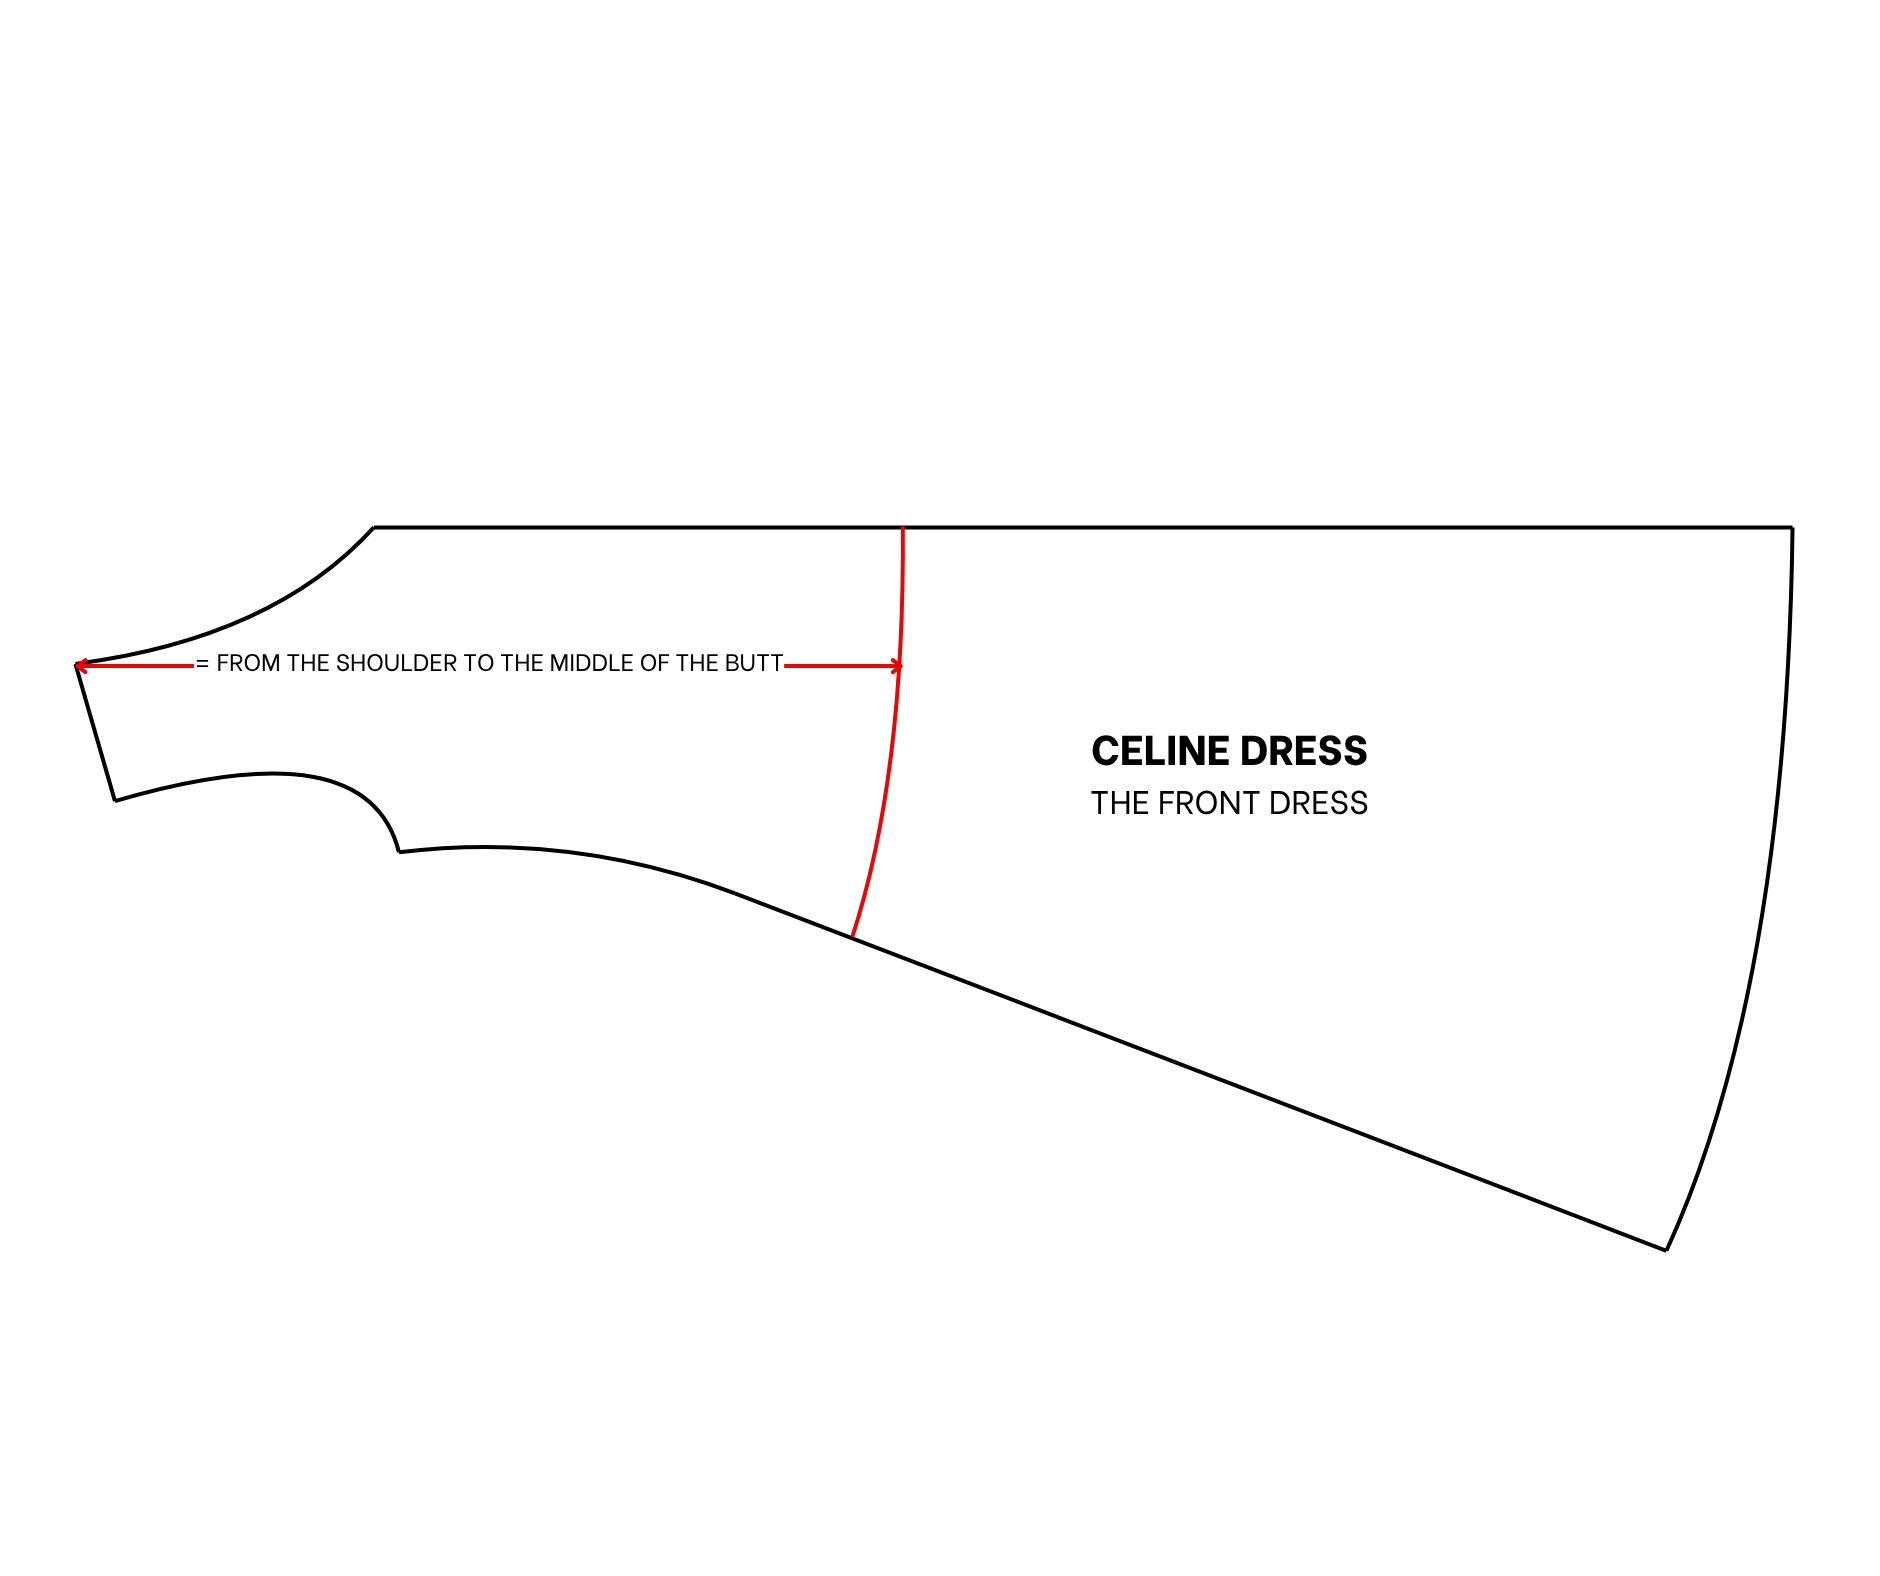
From the top shoulder of the front dress pattern, mark down 60 cm, which is the length from the shoulder to the middle of the butt.
Then, draw a curved line to that mark and parallel with the ending line.
After cutting, the new front dress pattern for this dress will be ready.
4. Do the same to have the back dress pattern.
SEWING THE DRESS
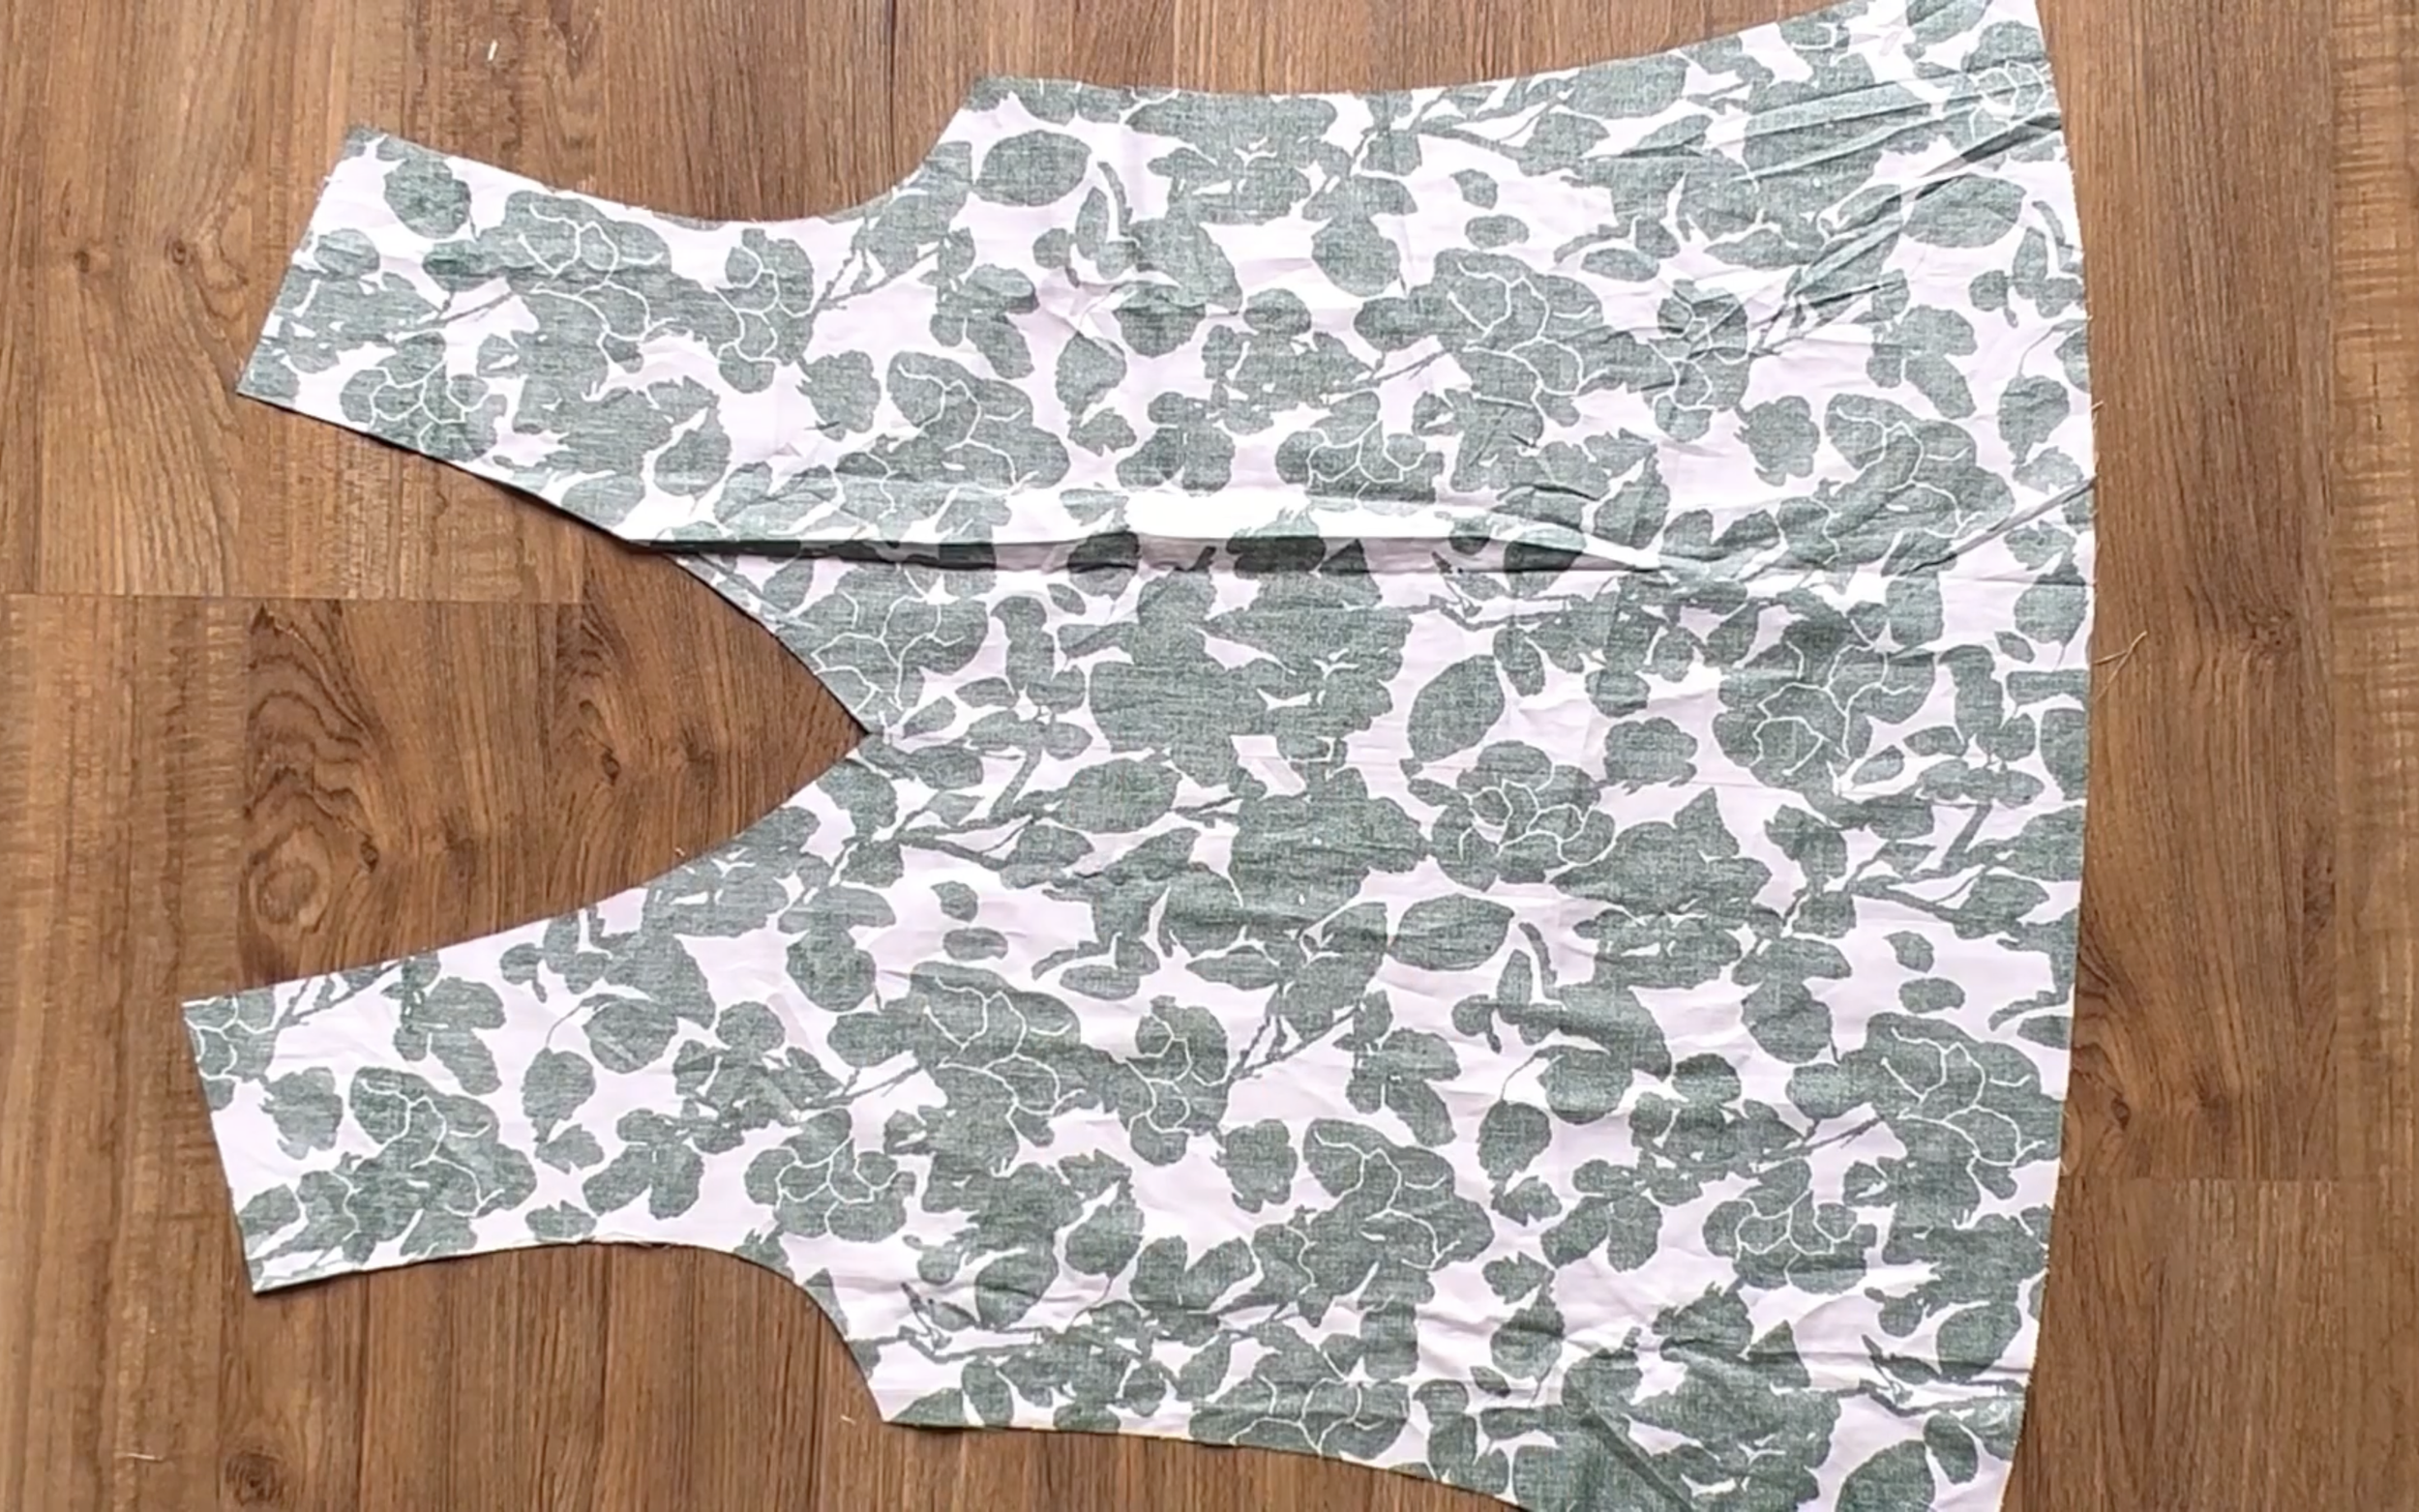
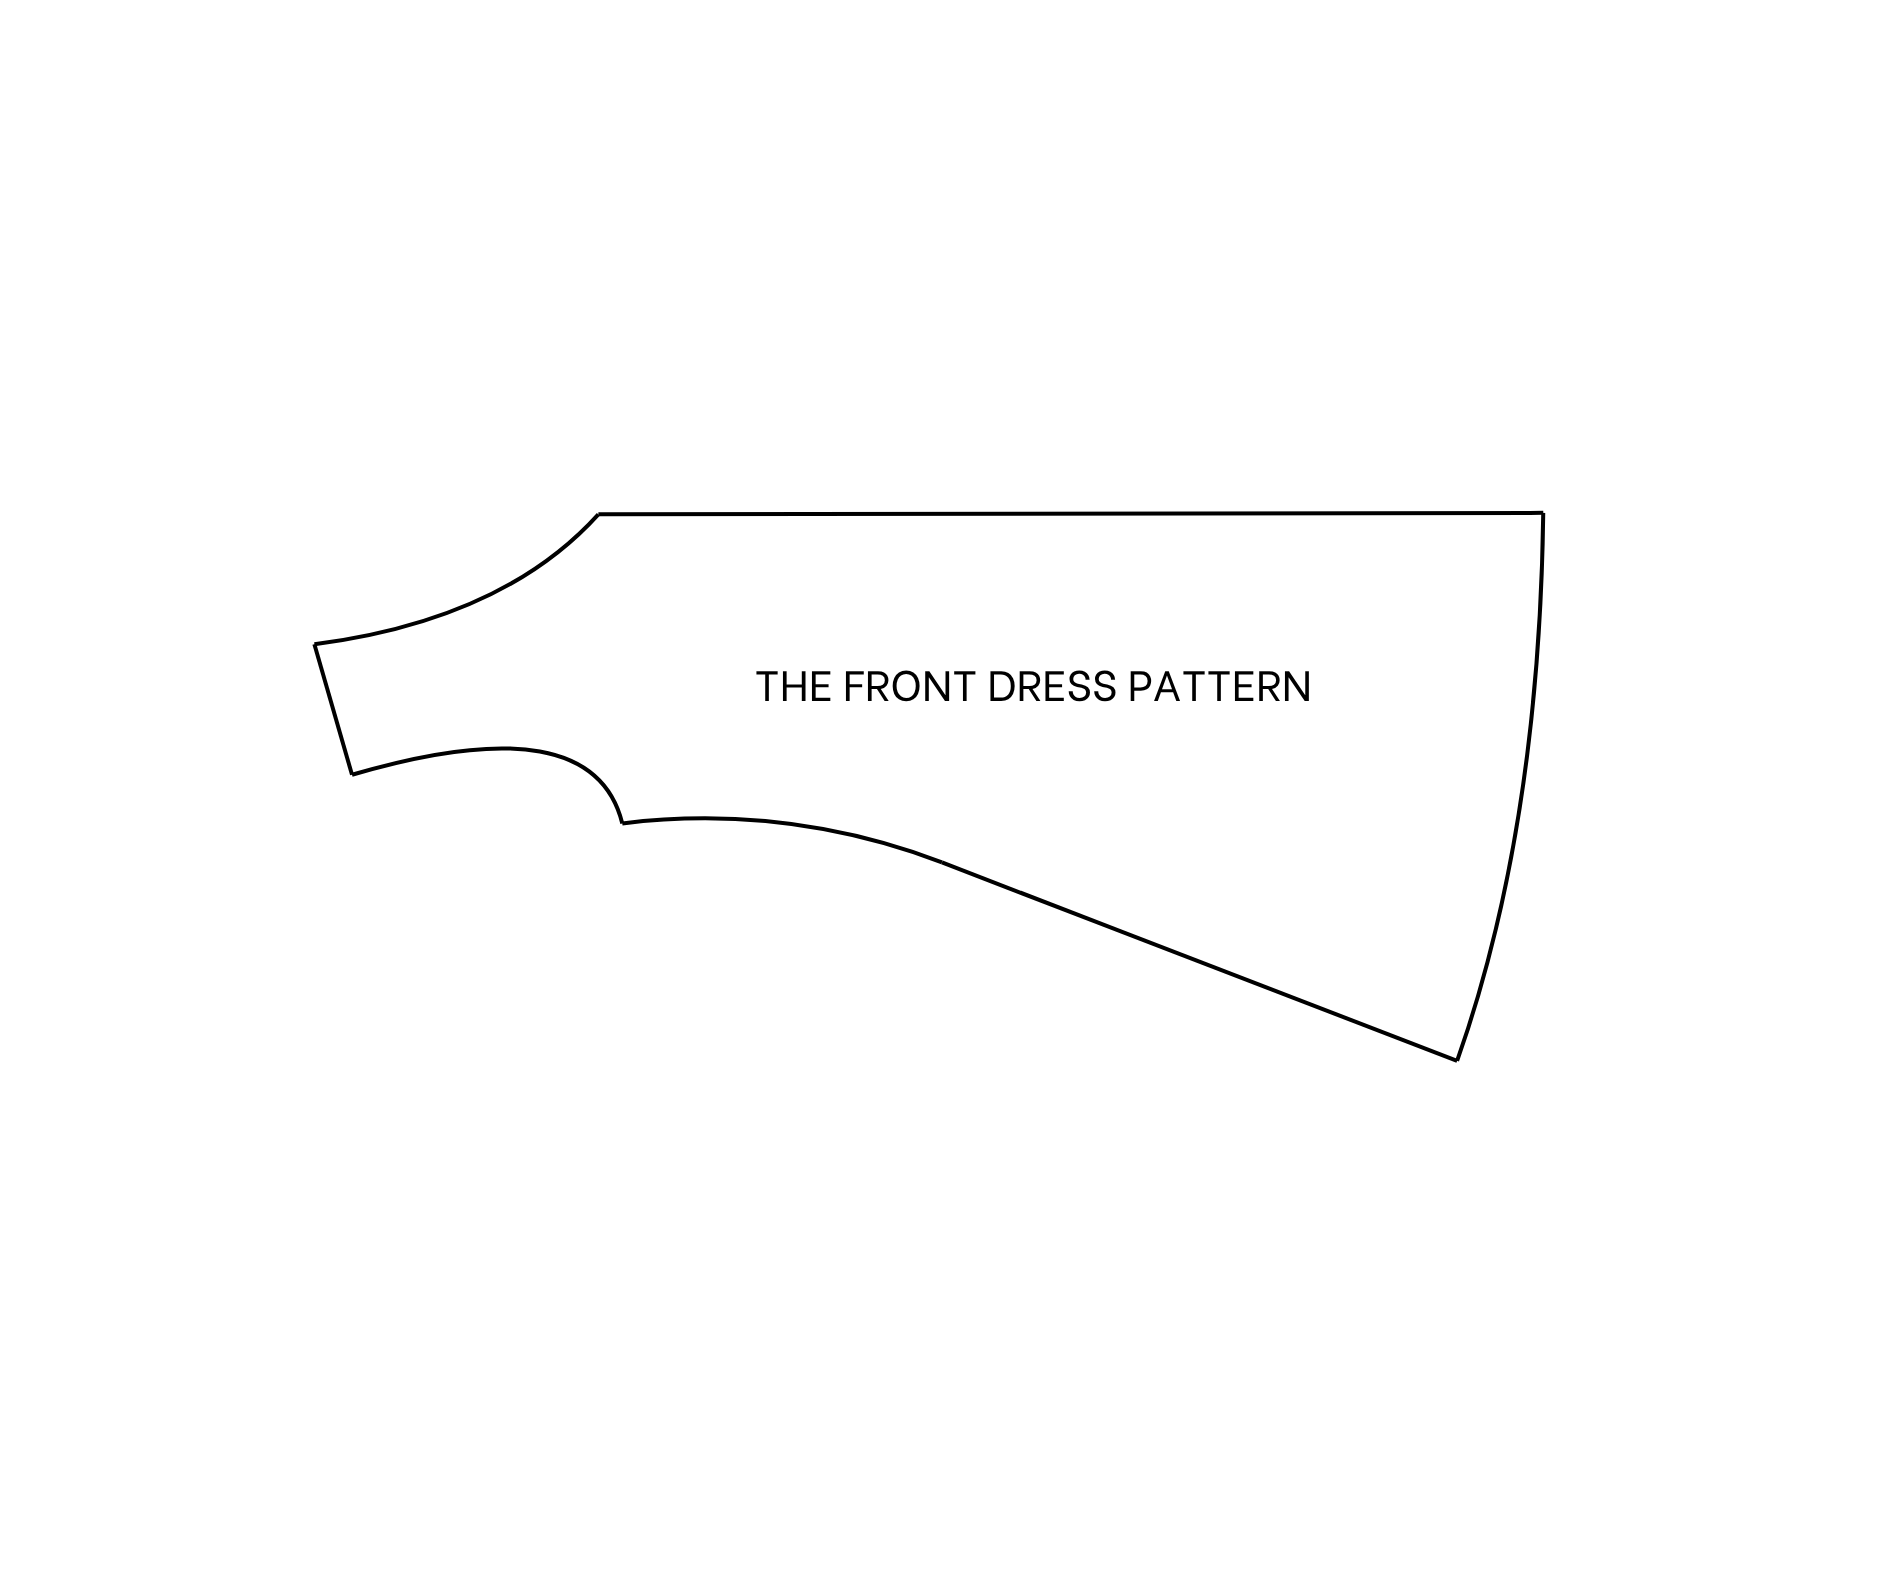
Here is the front dress piece after cutting.
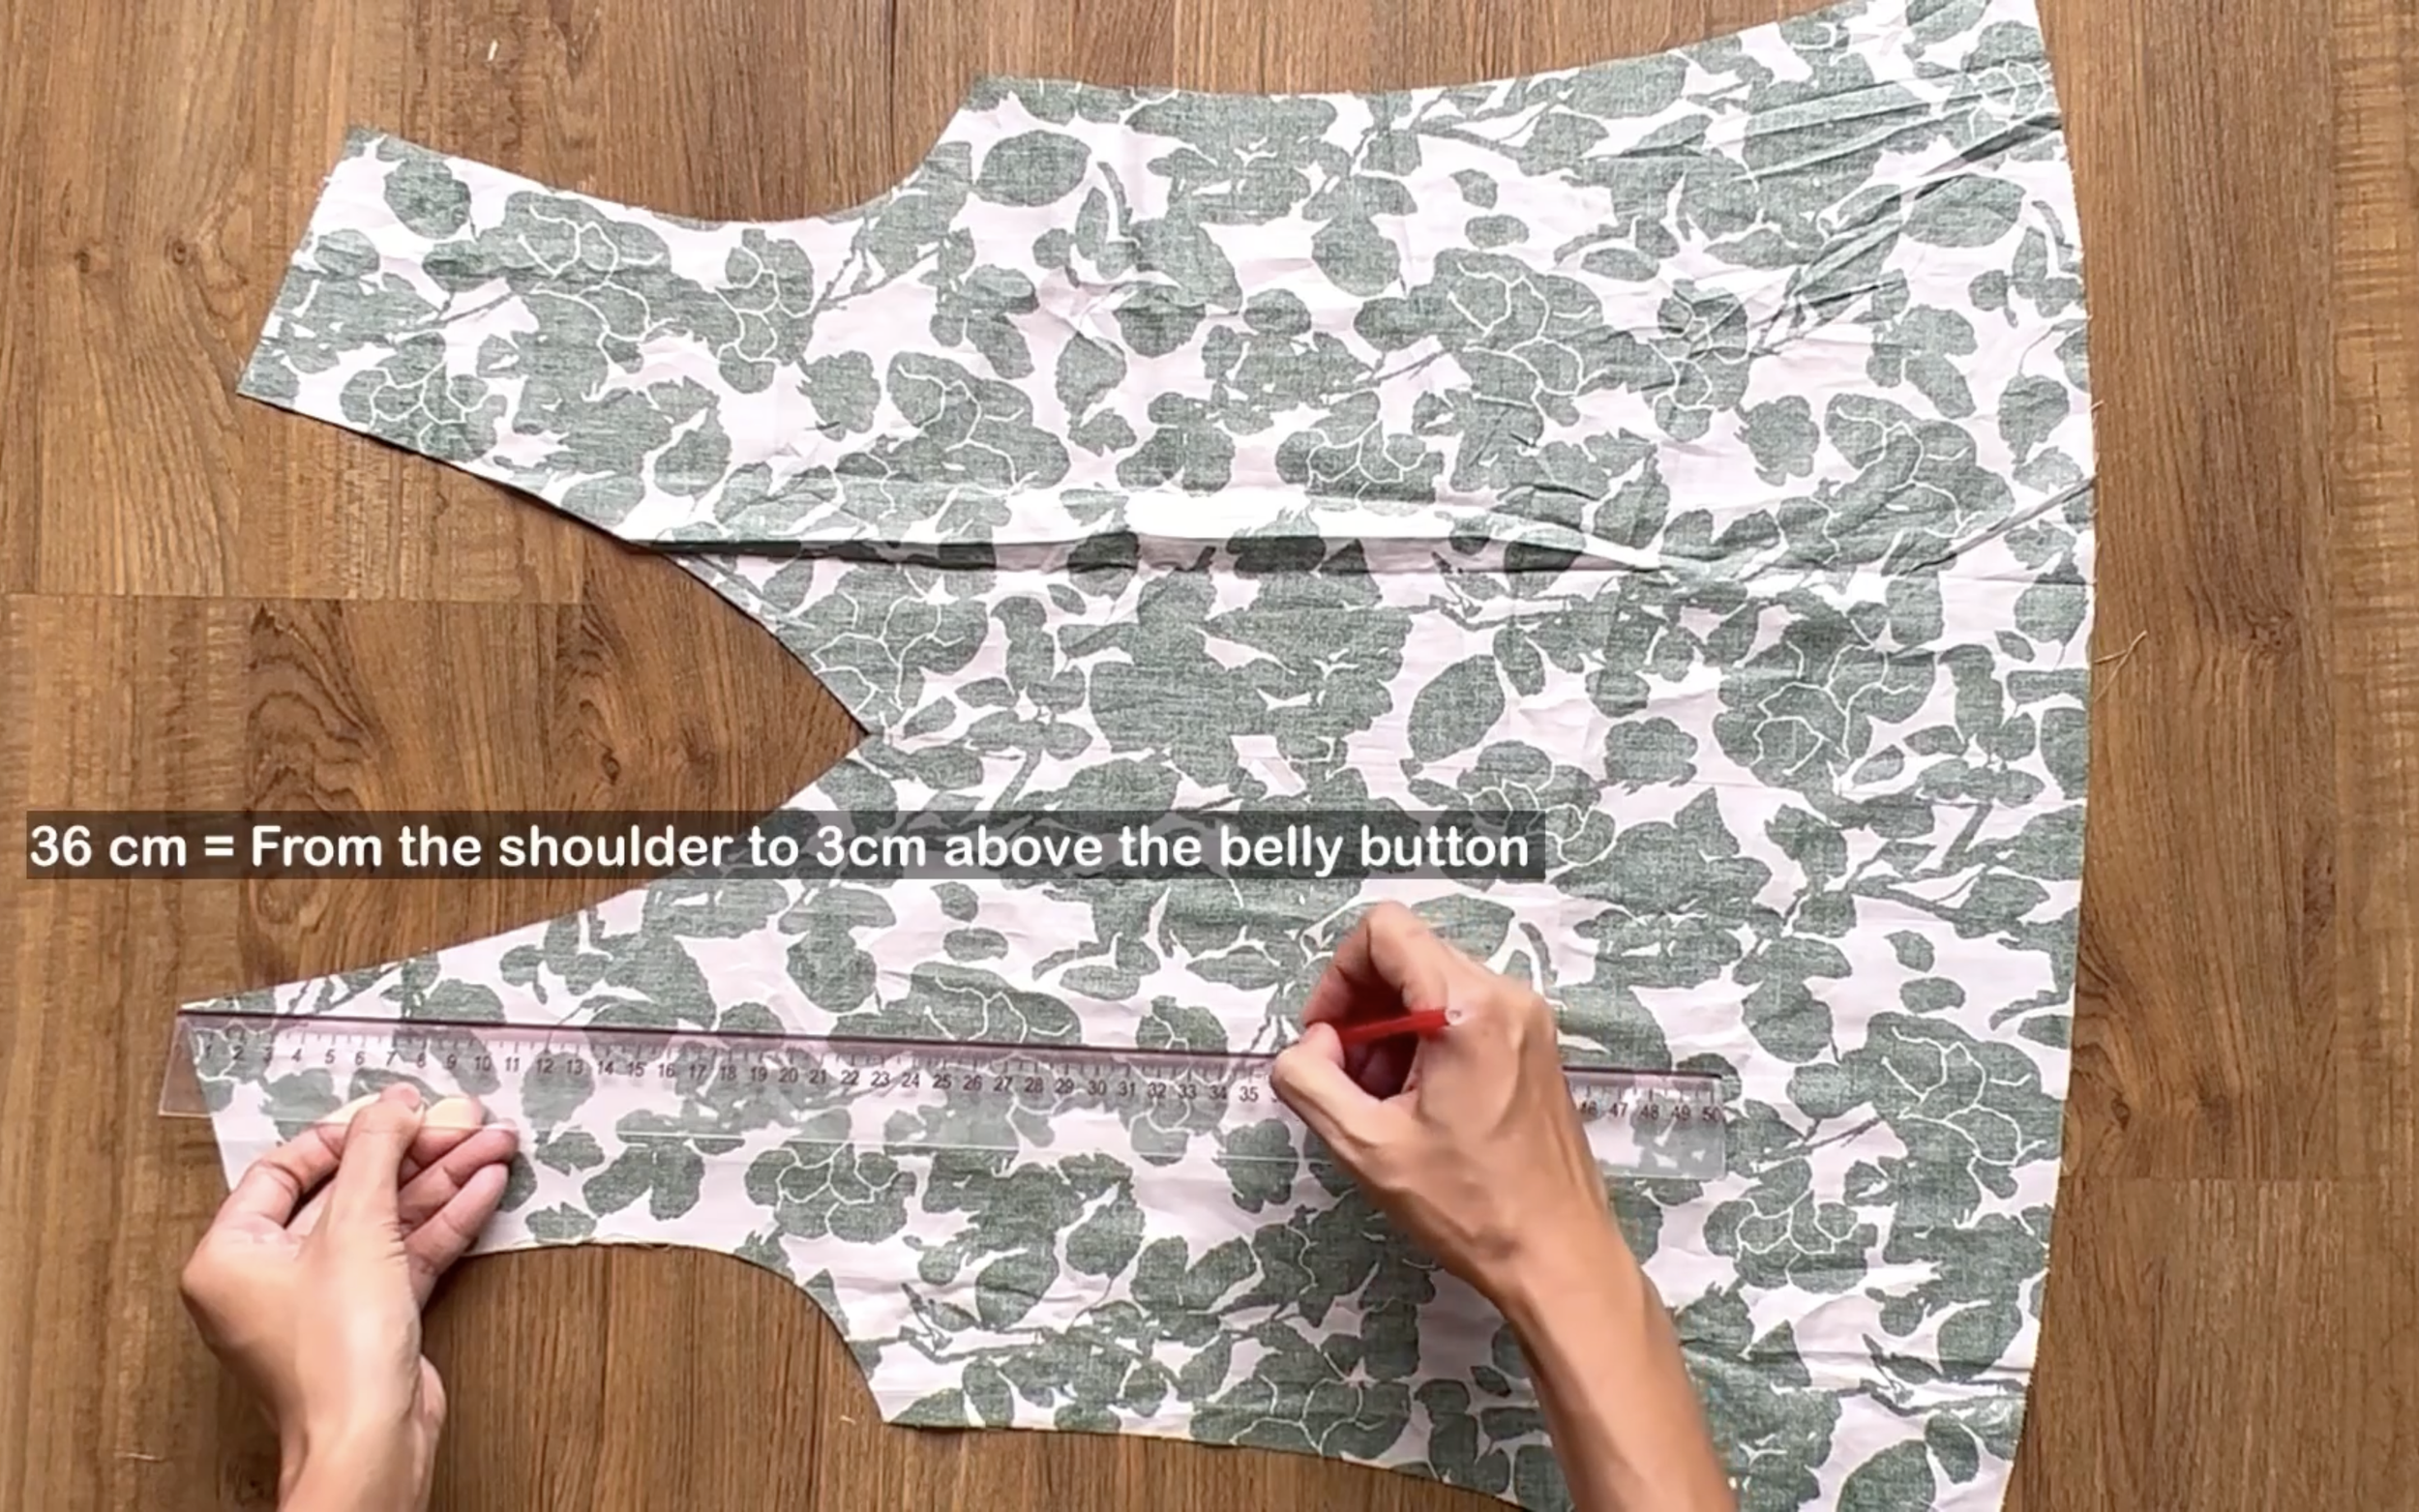
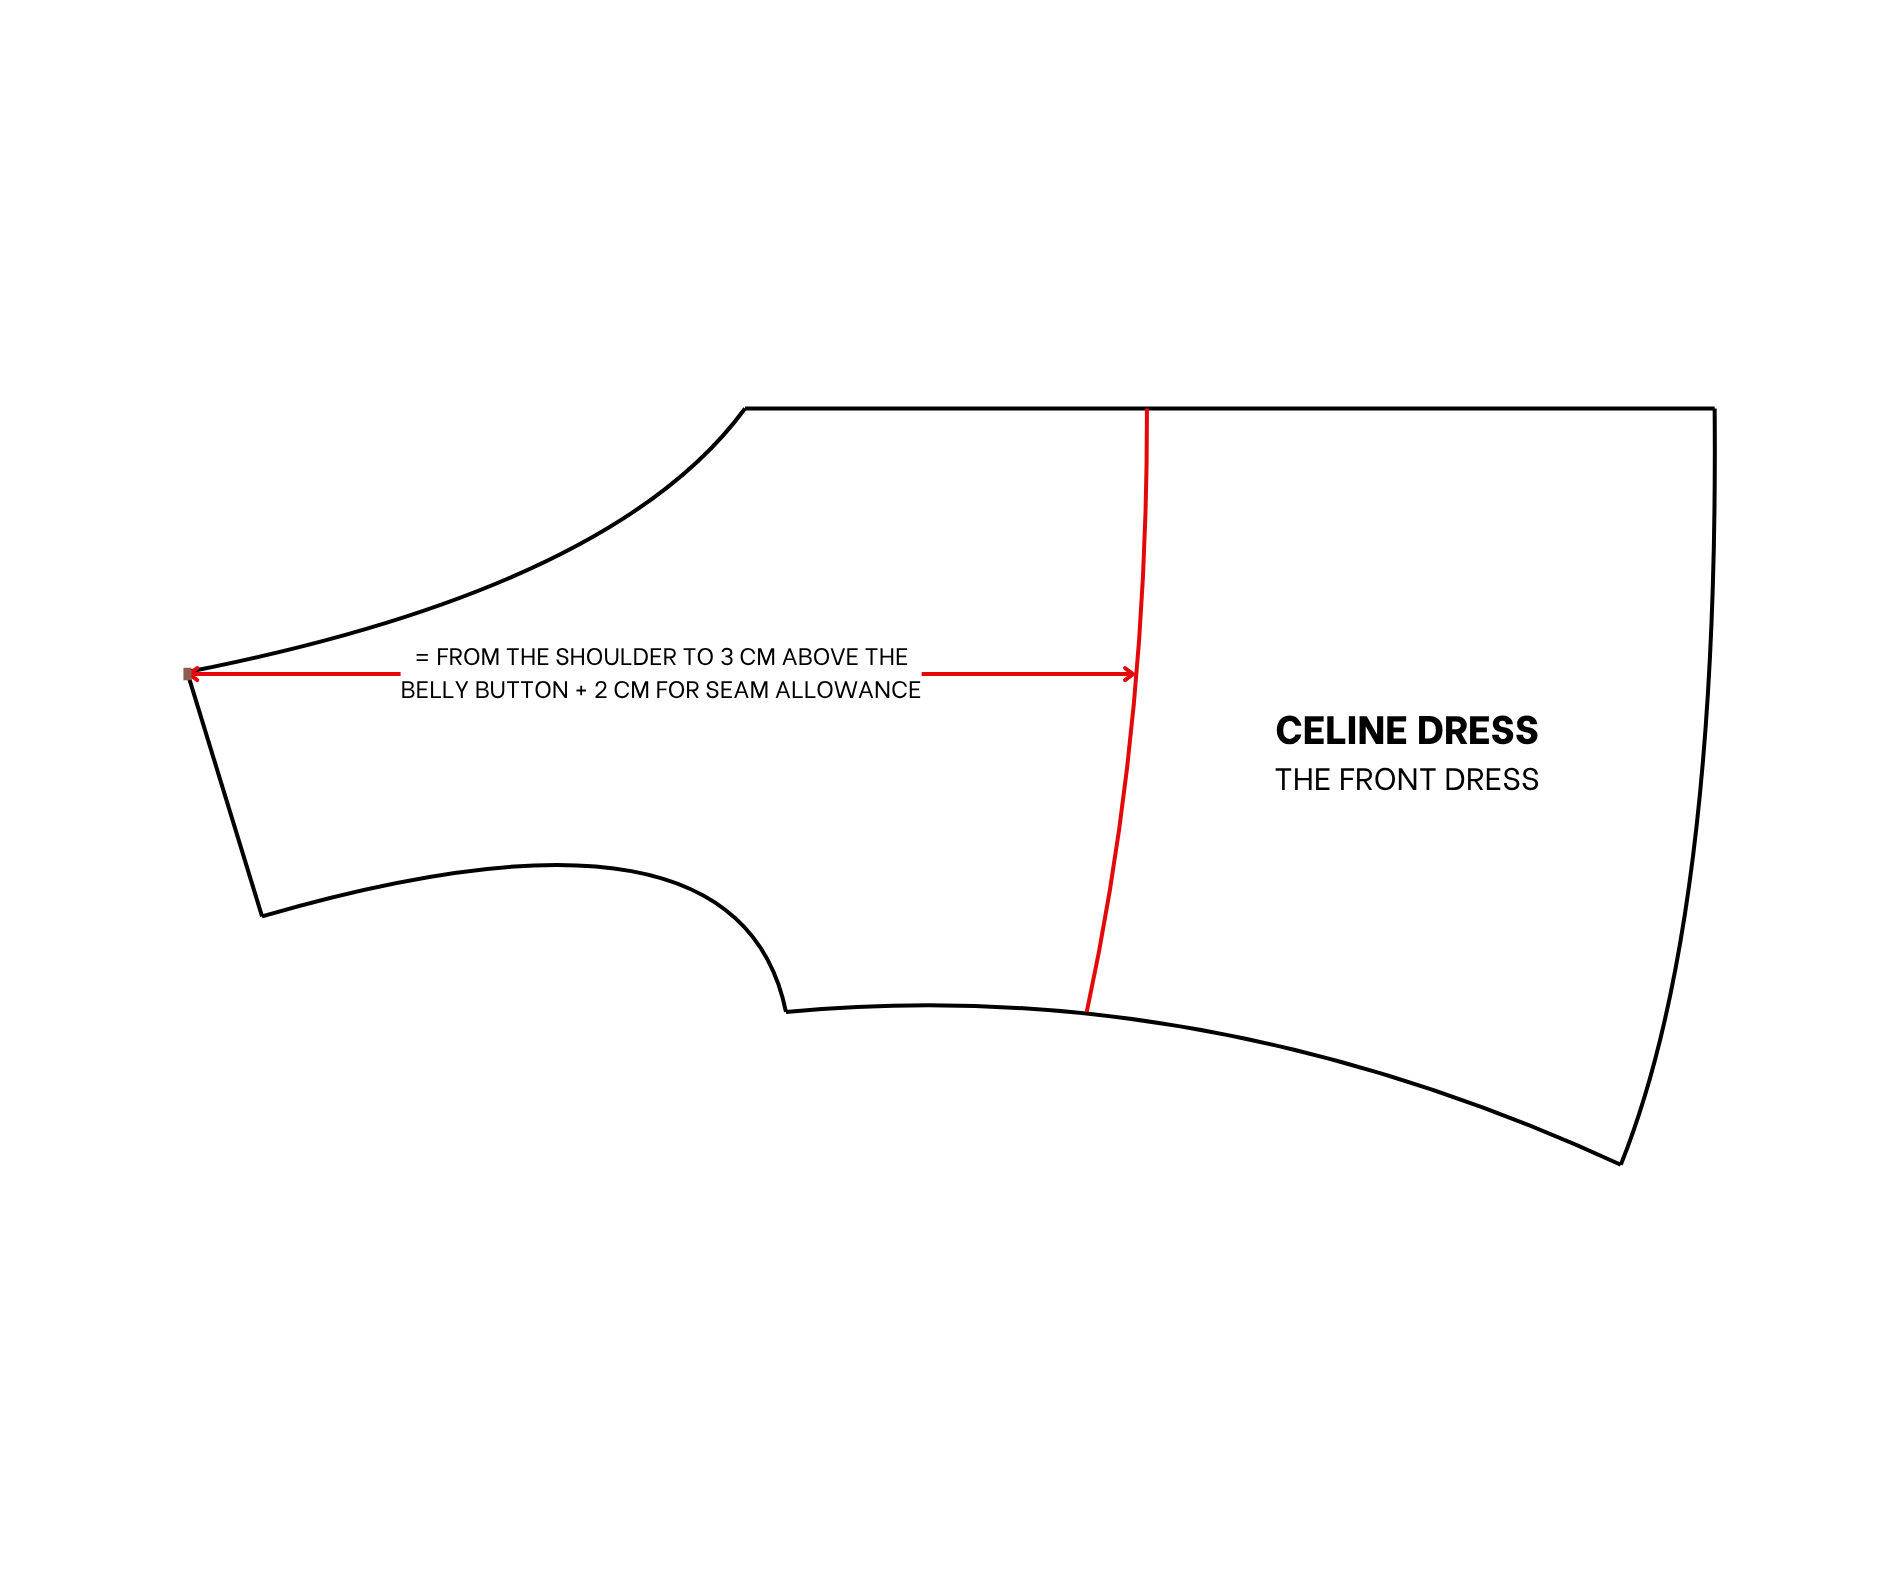
From the top of the shoulder, mark down 36 cm, which is the width from the shoulder to 3 cm above the belly button.
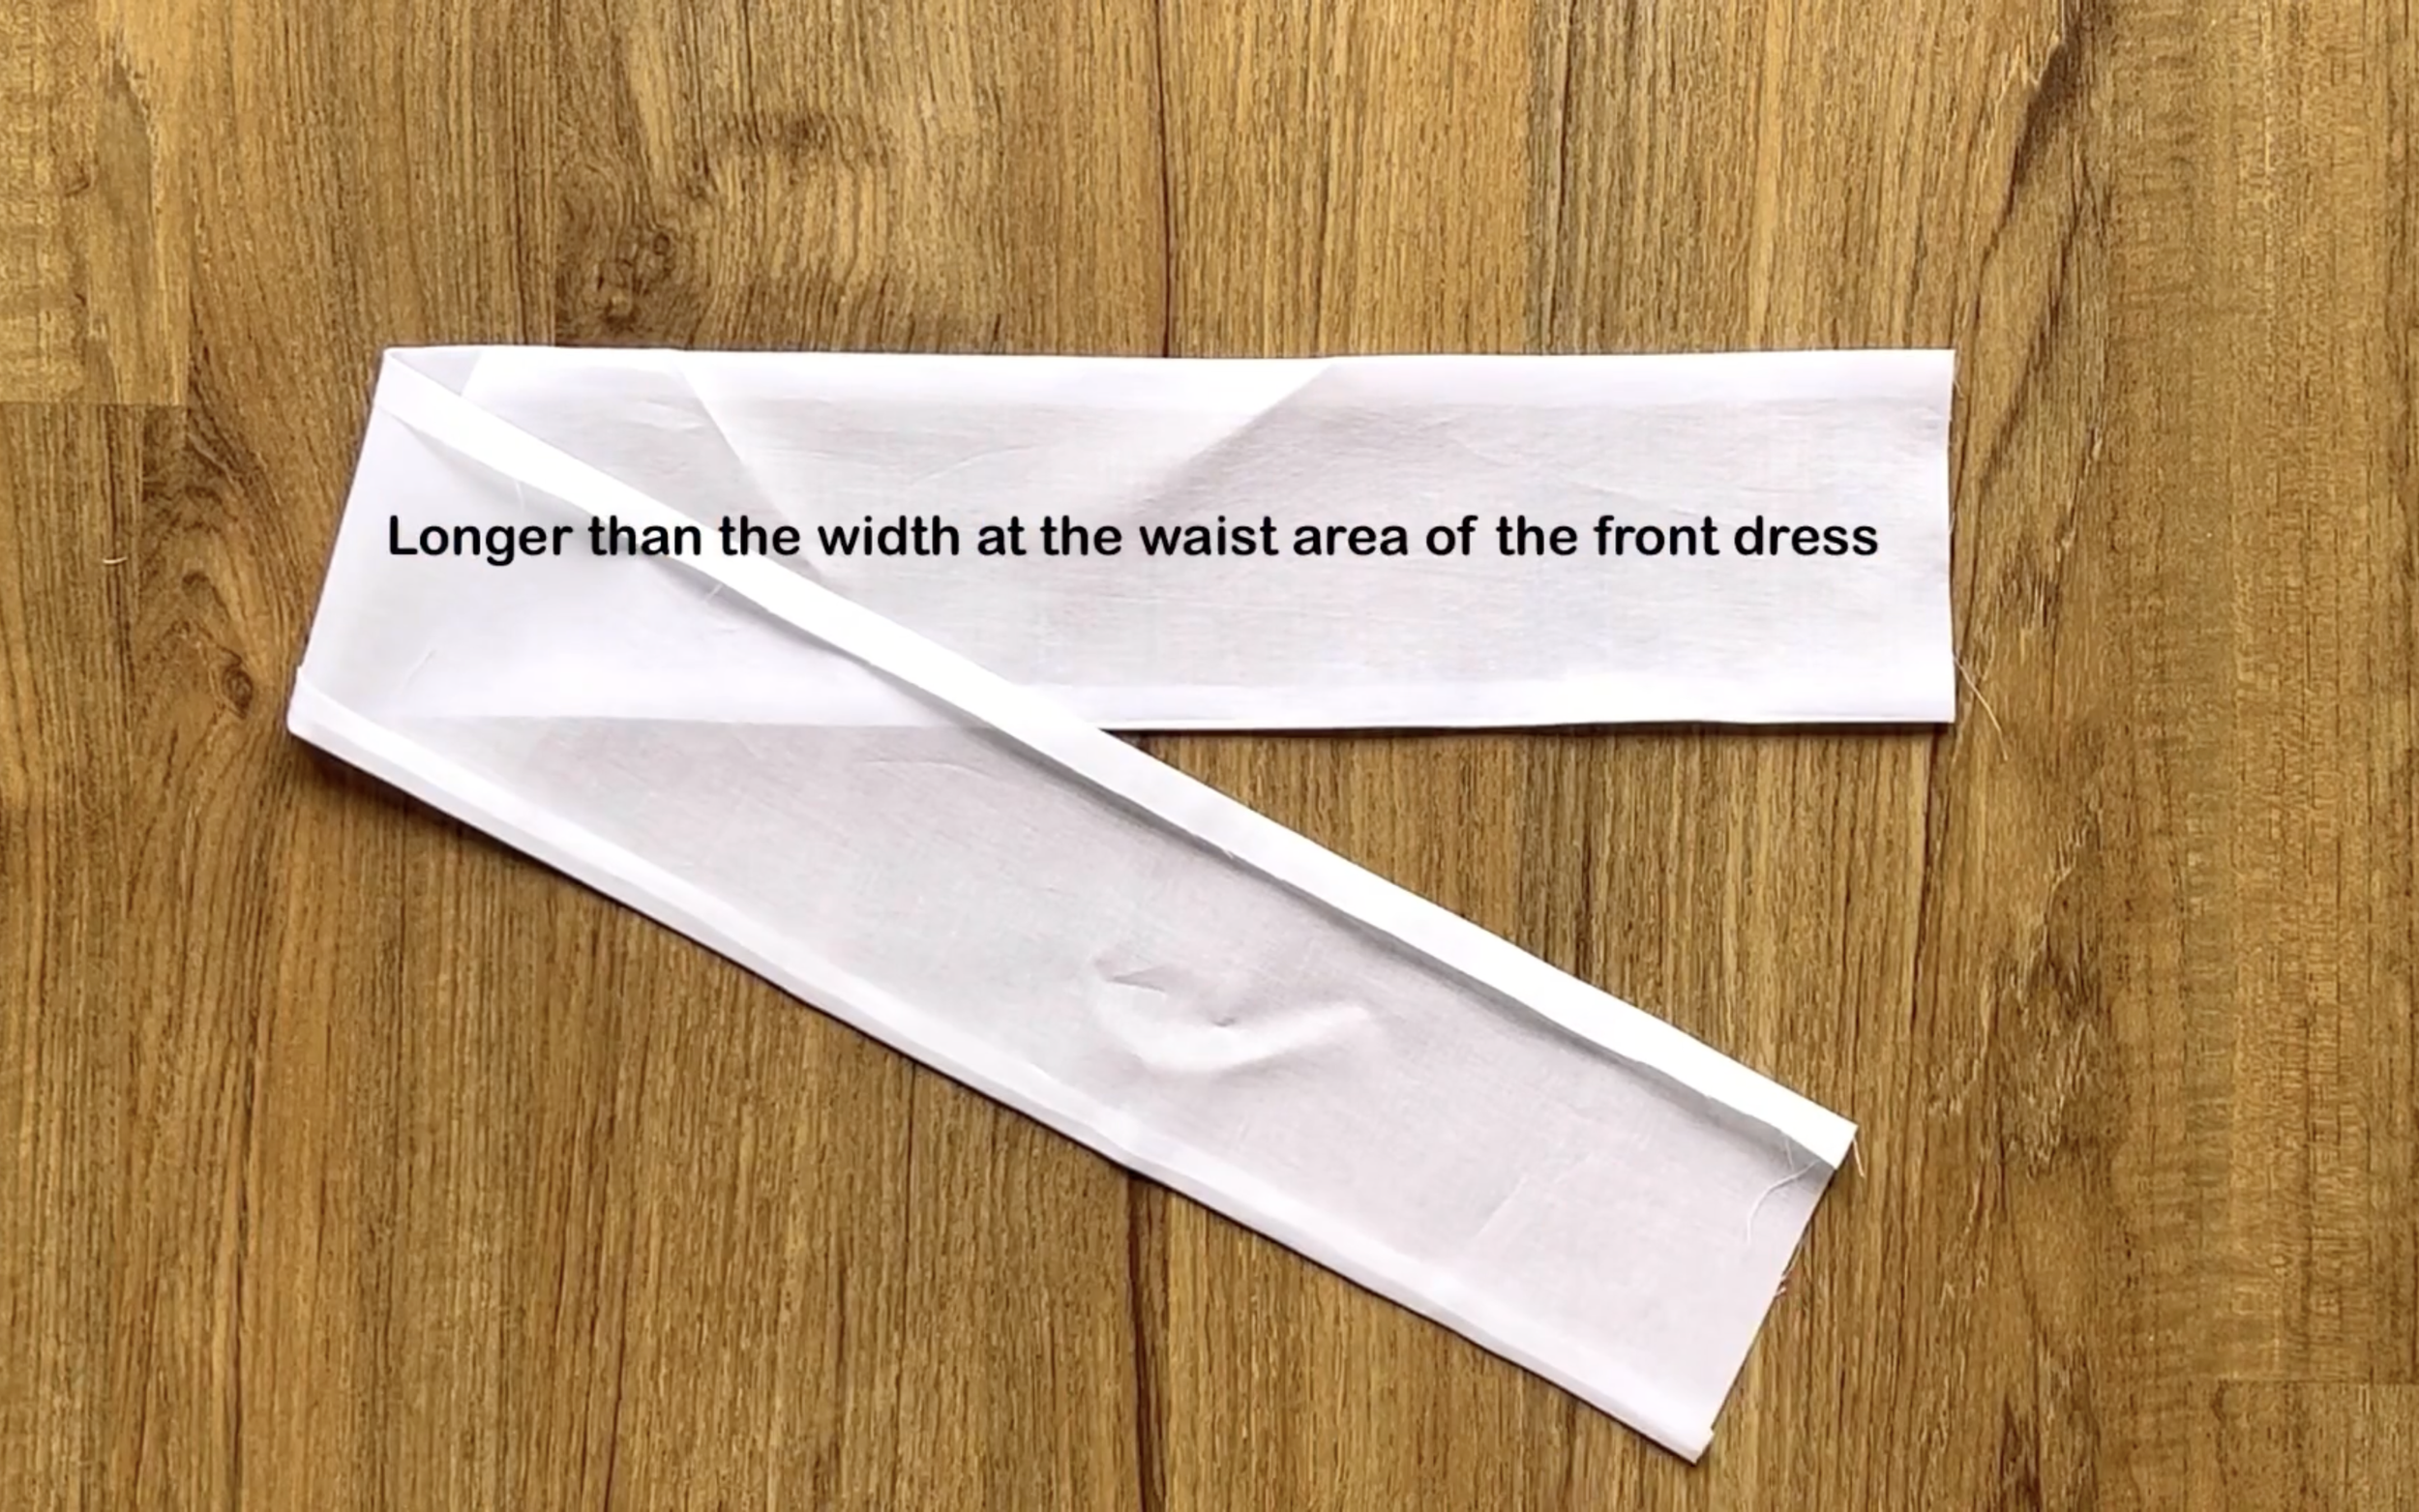
Cut a long rectangle with 8 cm length, which is the length of the elastic band area that is wanted.
The width of the rectangle will be longer than the width of the front dress piece.
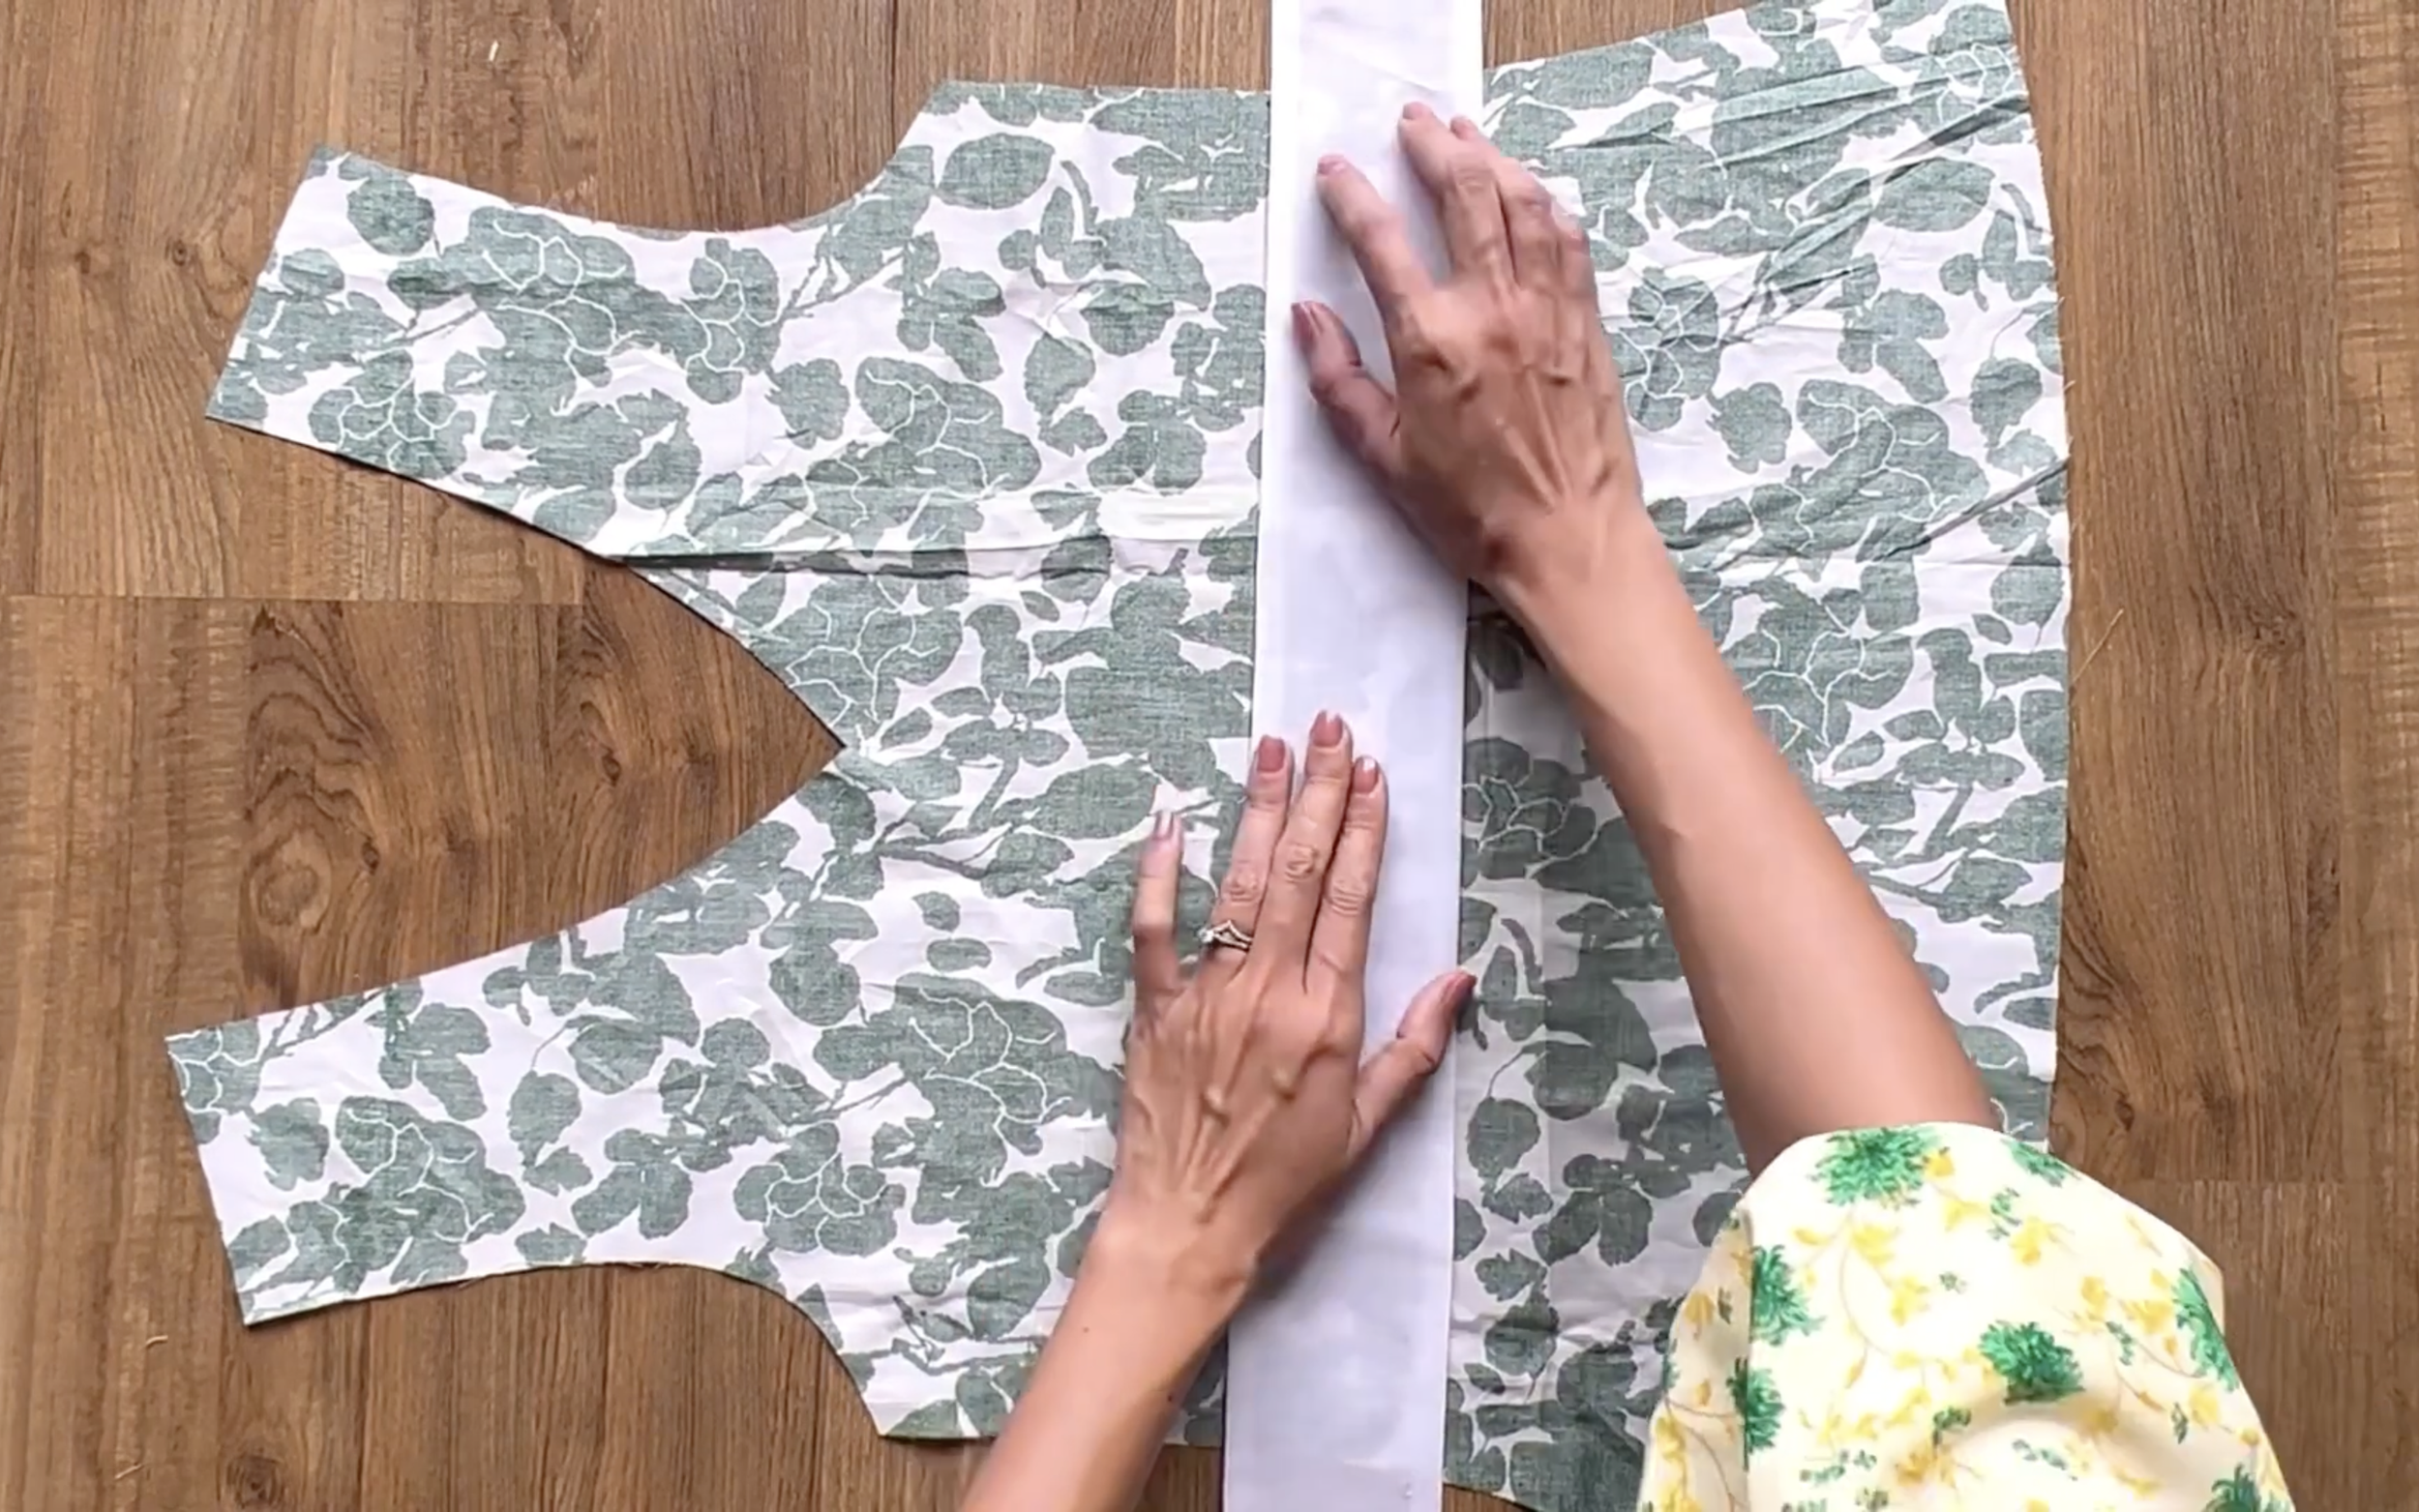
Add the rectangle to the line just drawn before on the front dress piece.
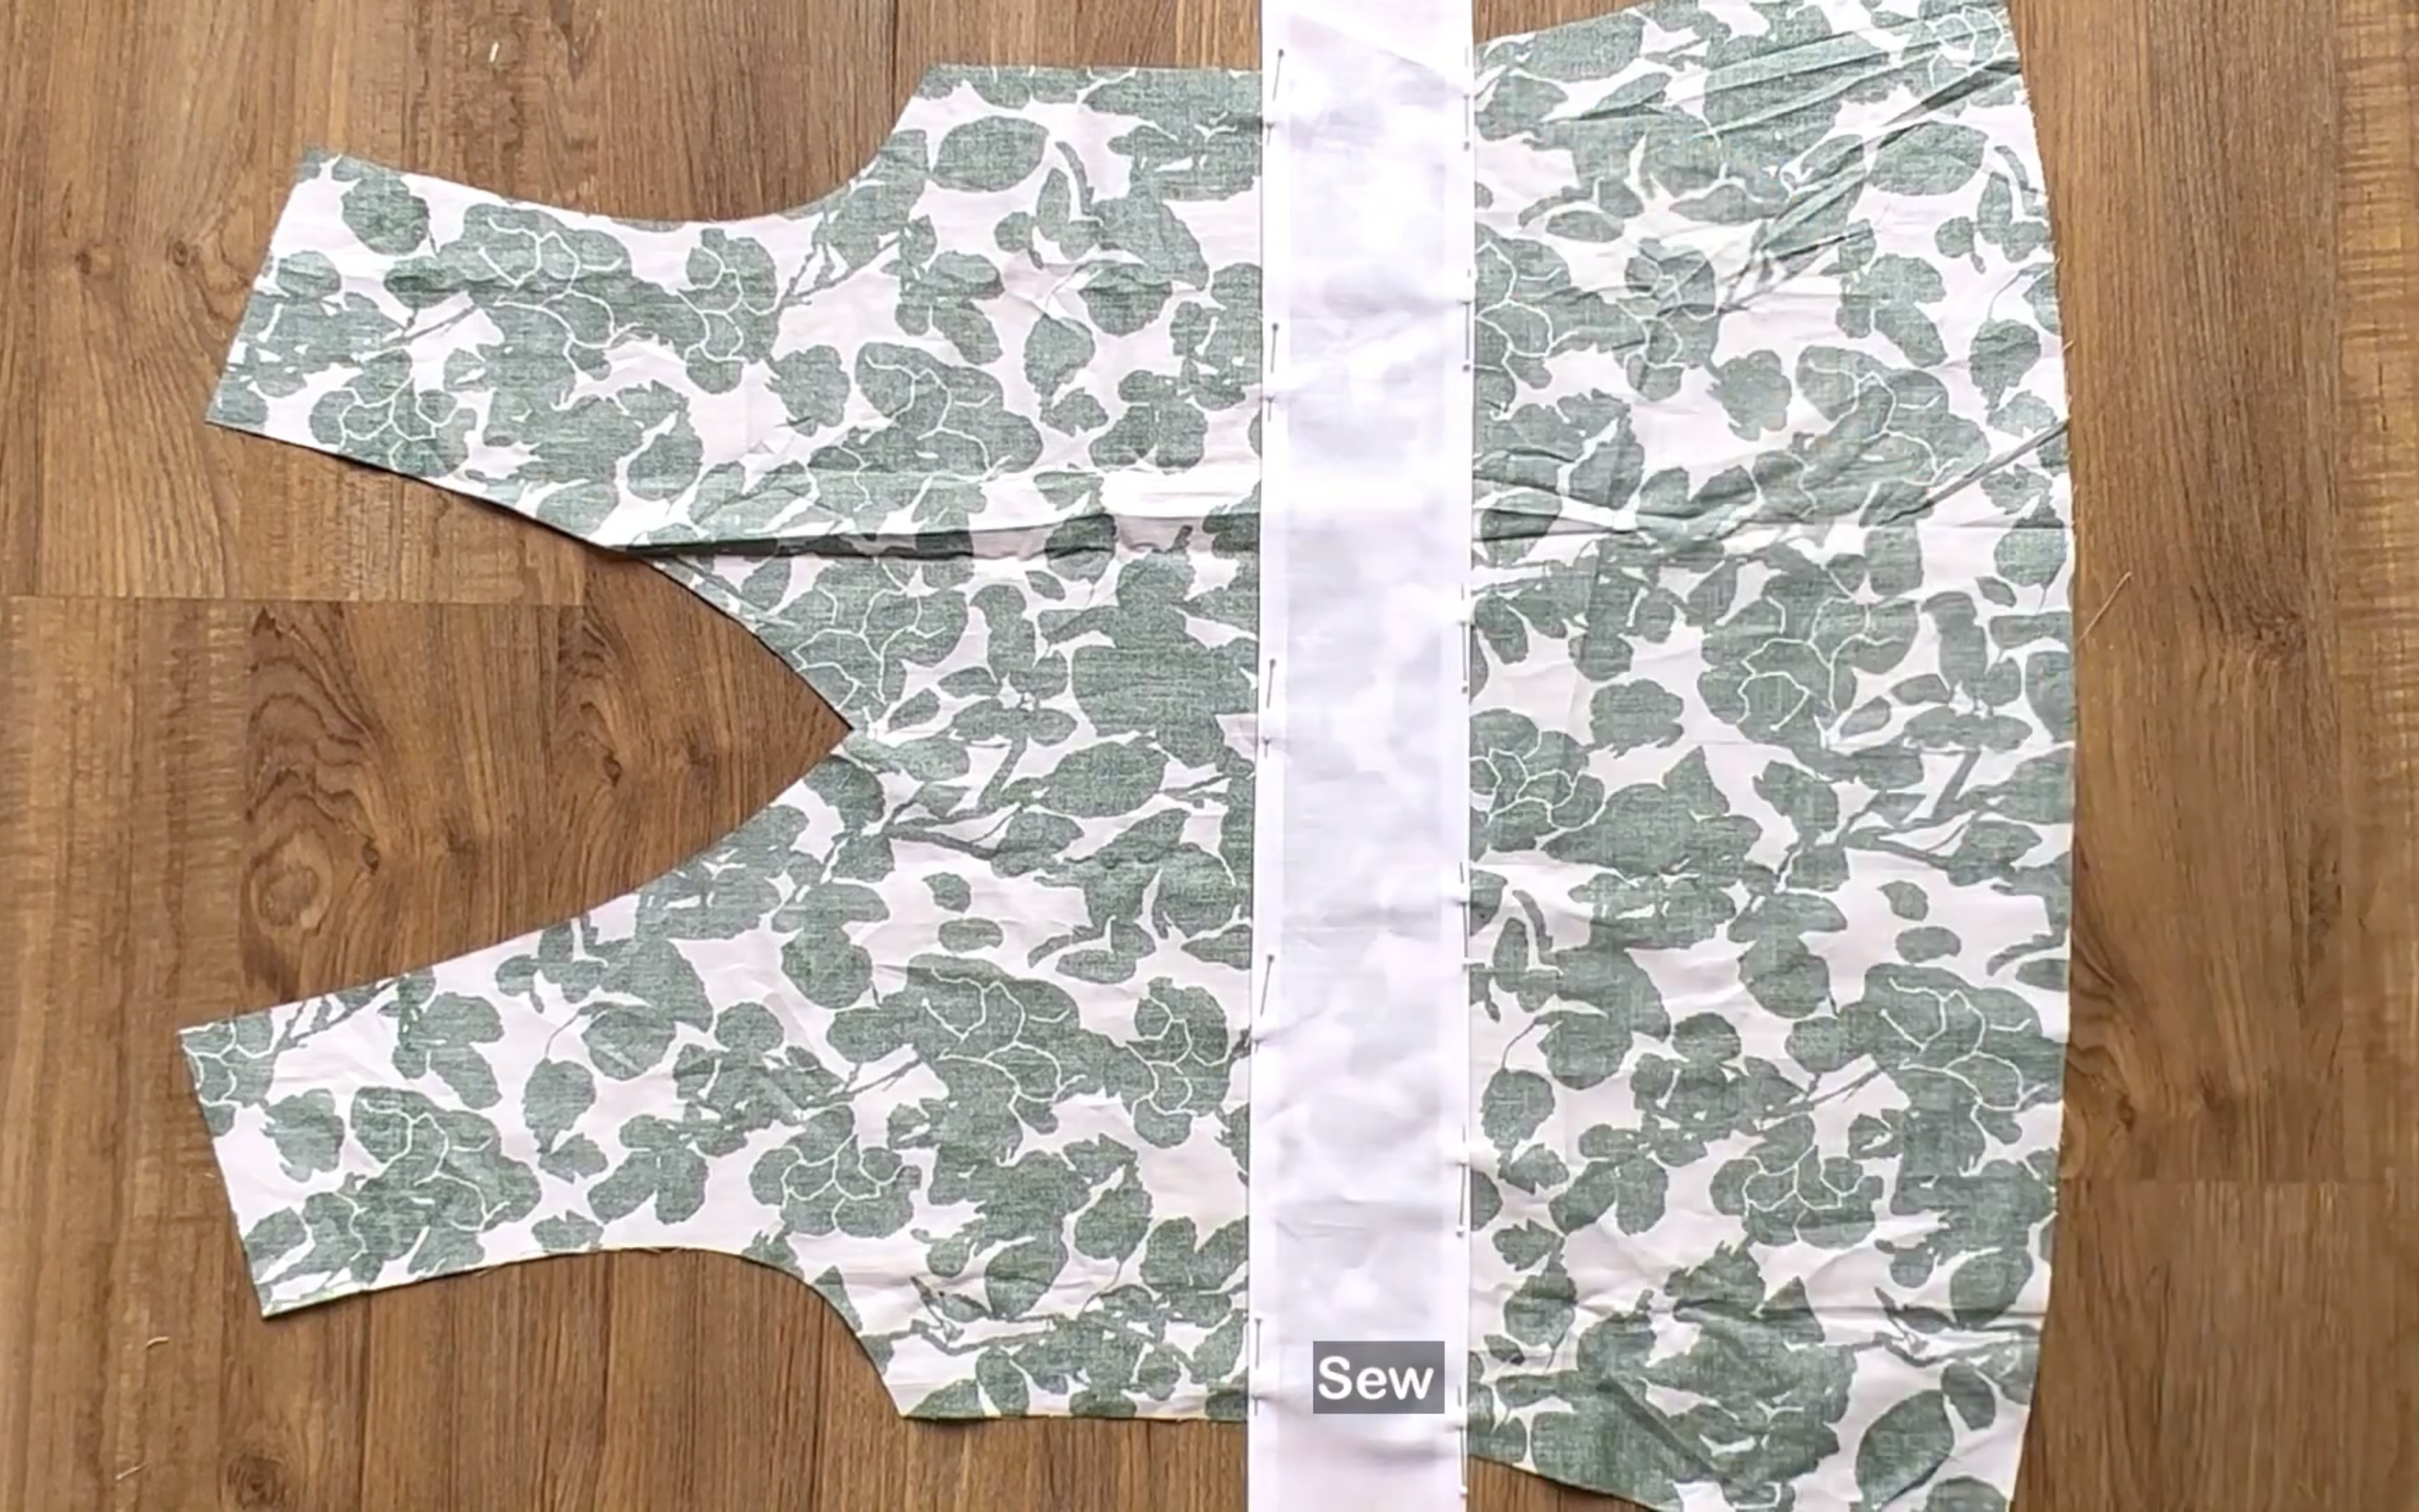
Then, sew two sides of the rectangle to the front dress.
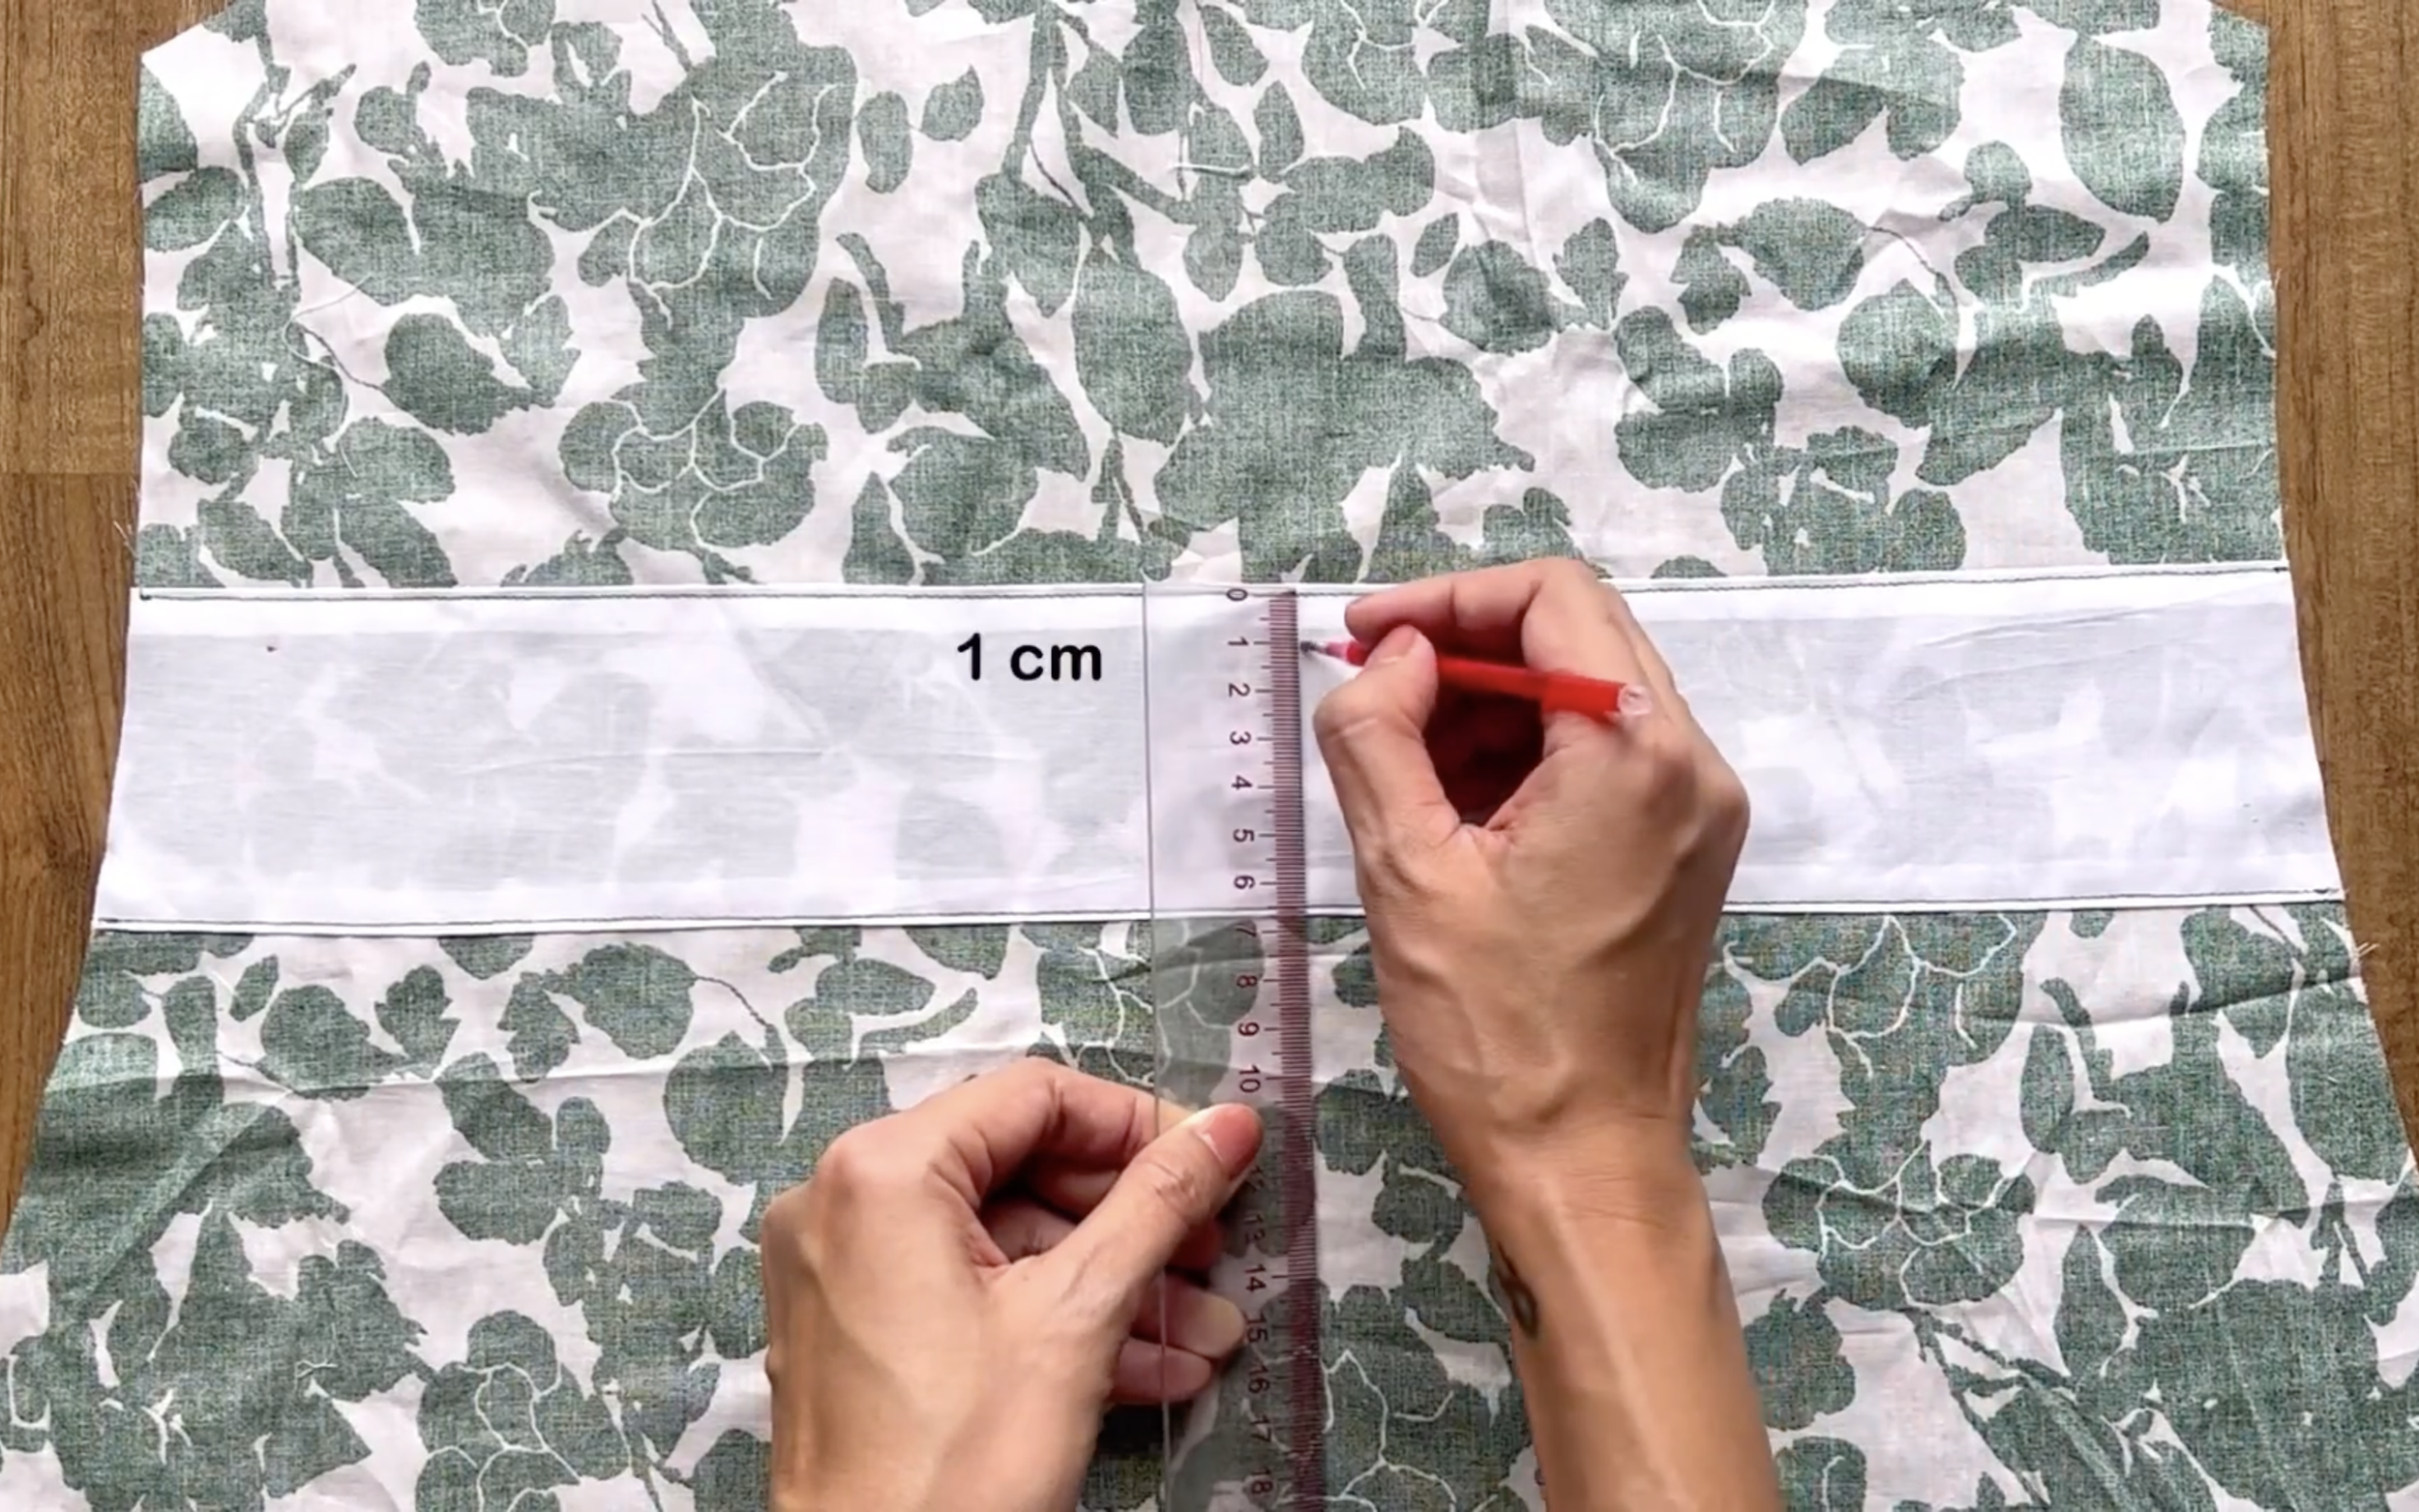
After sewing, draw two other lines at 1 cm away from the first seam, then sew.
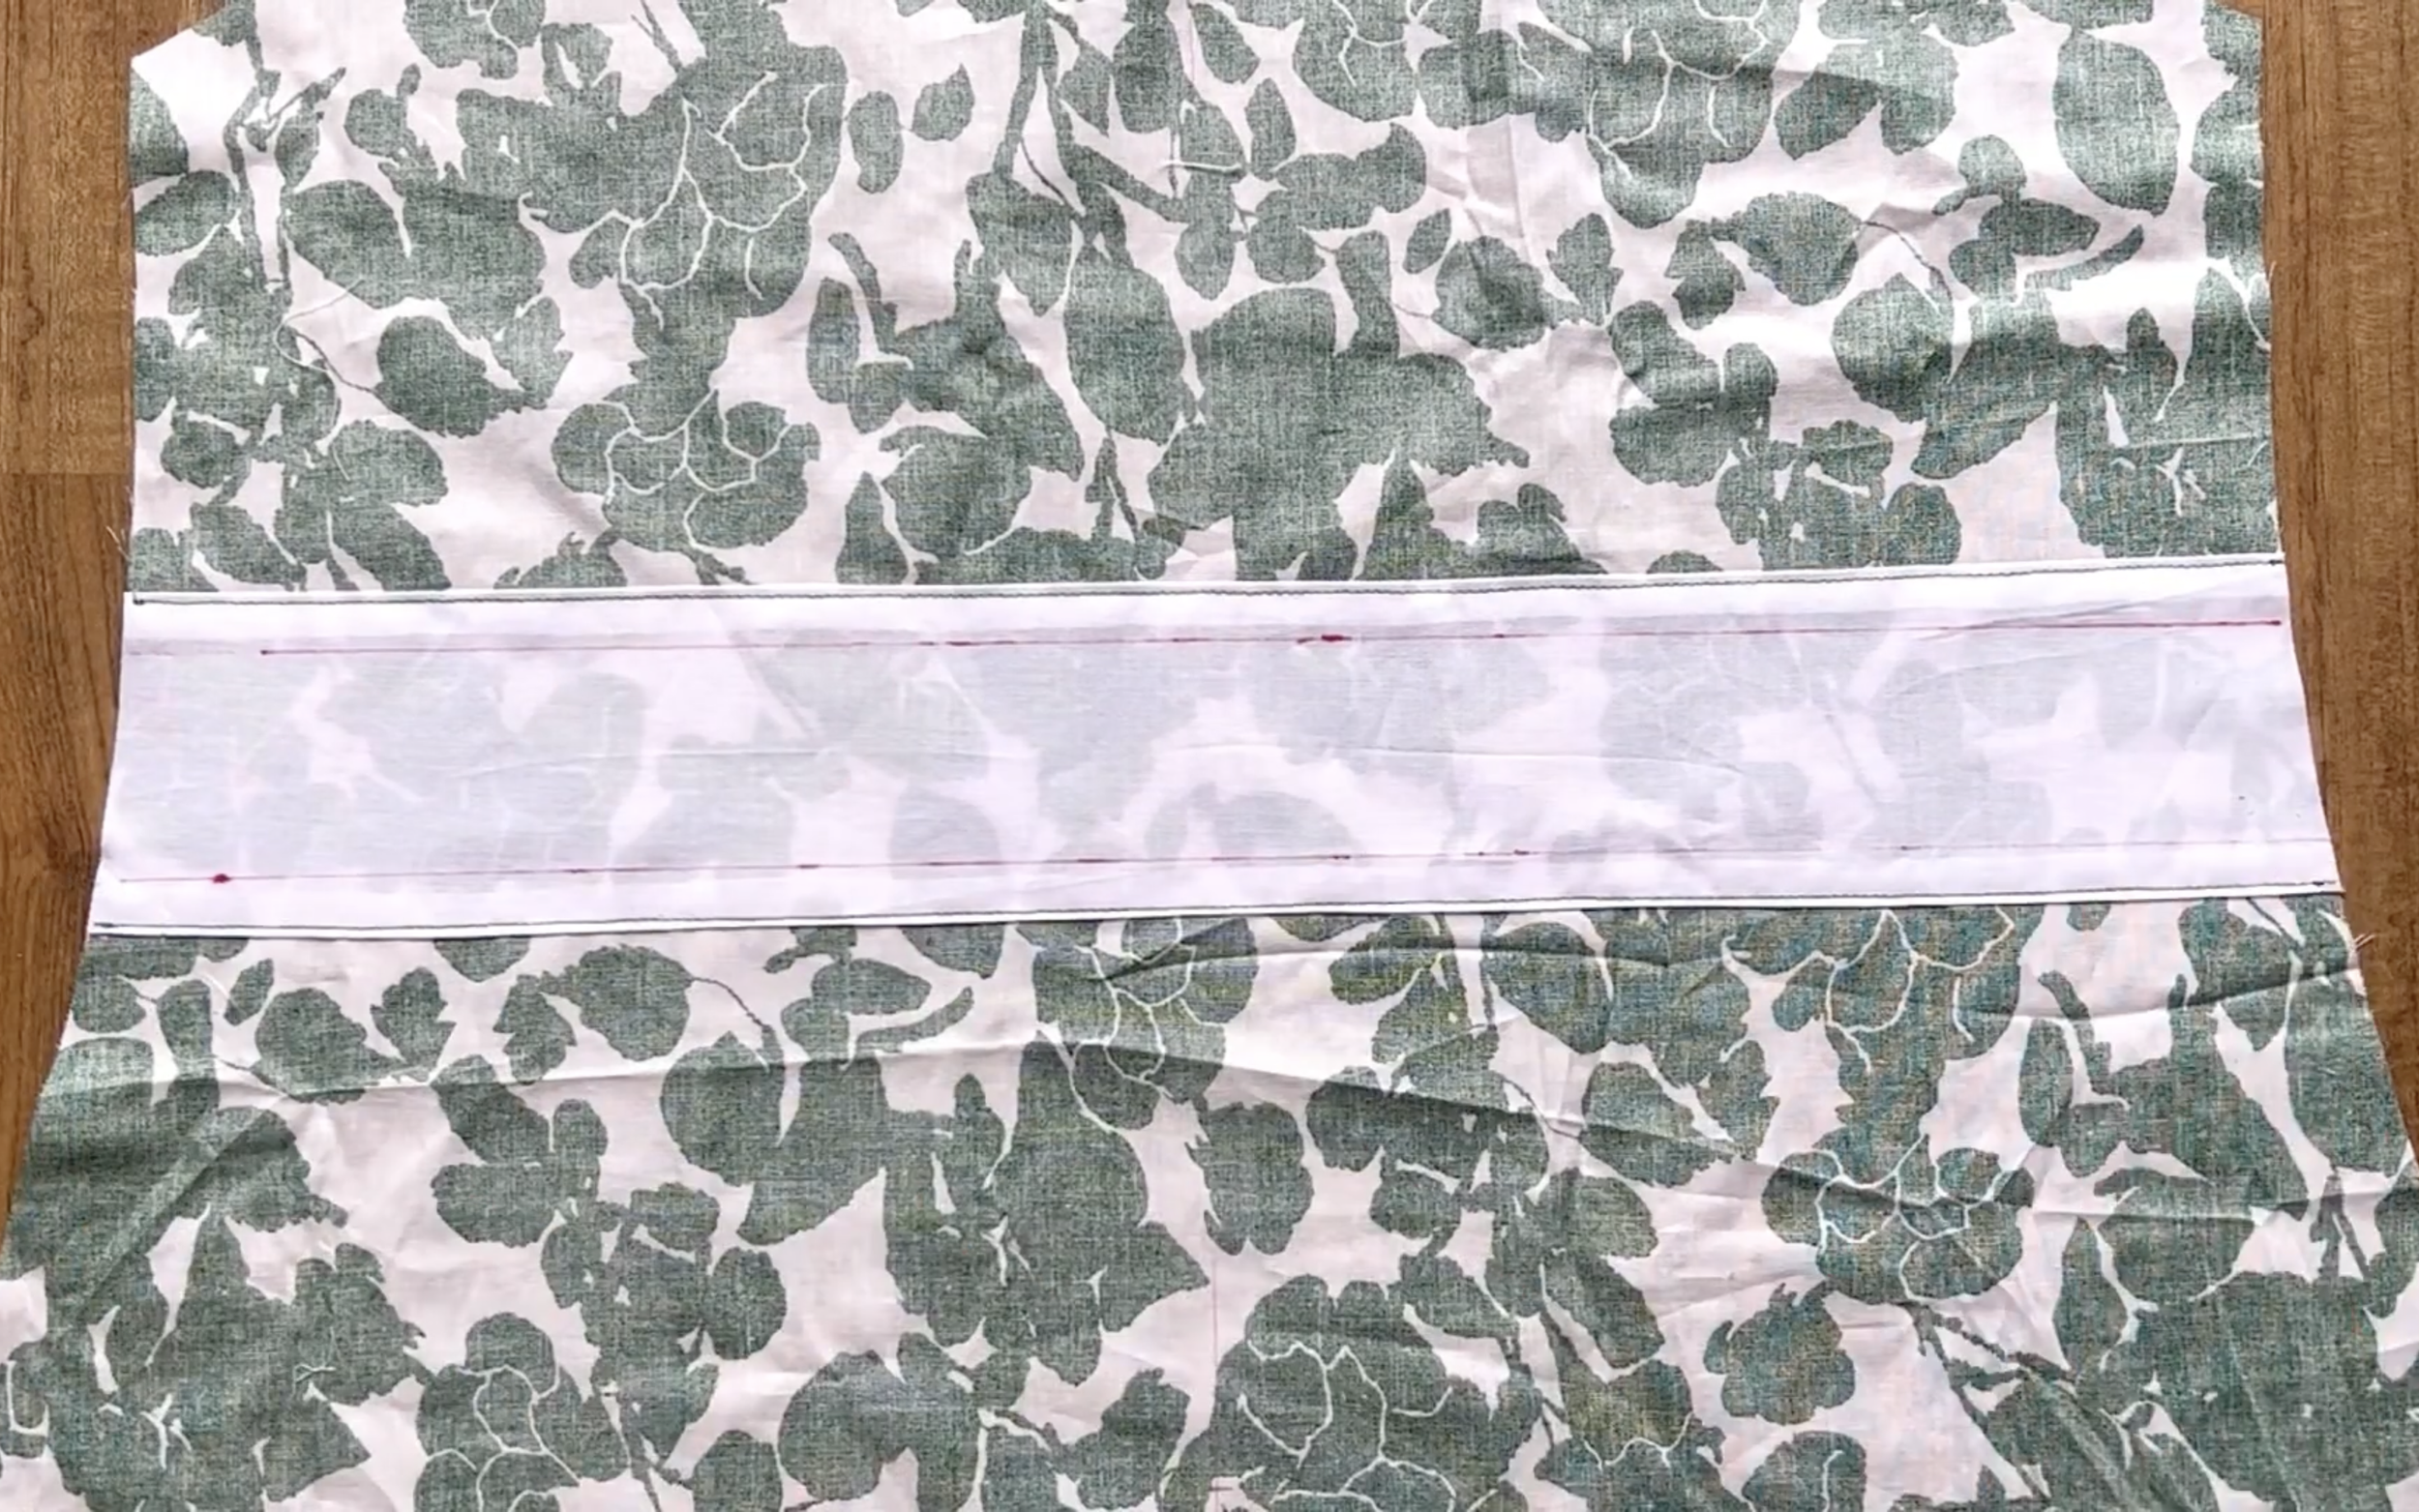
Doing this way will give two fabric holes with 1 cm width.
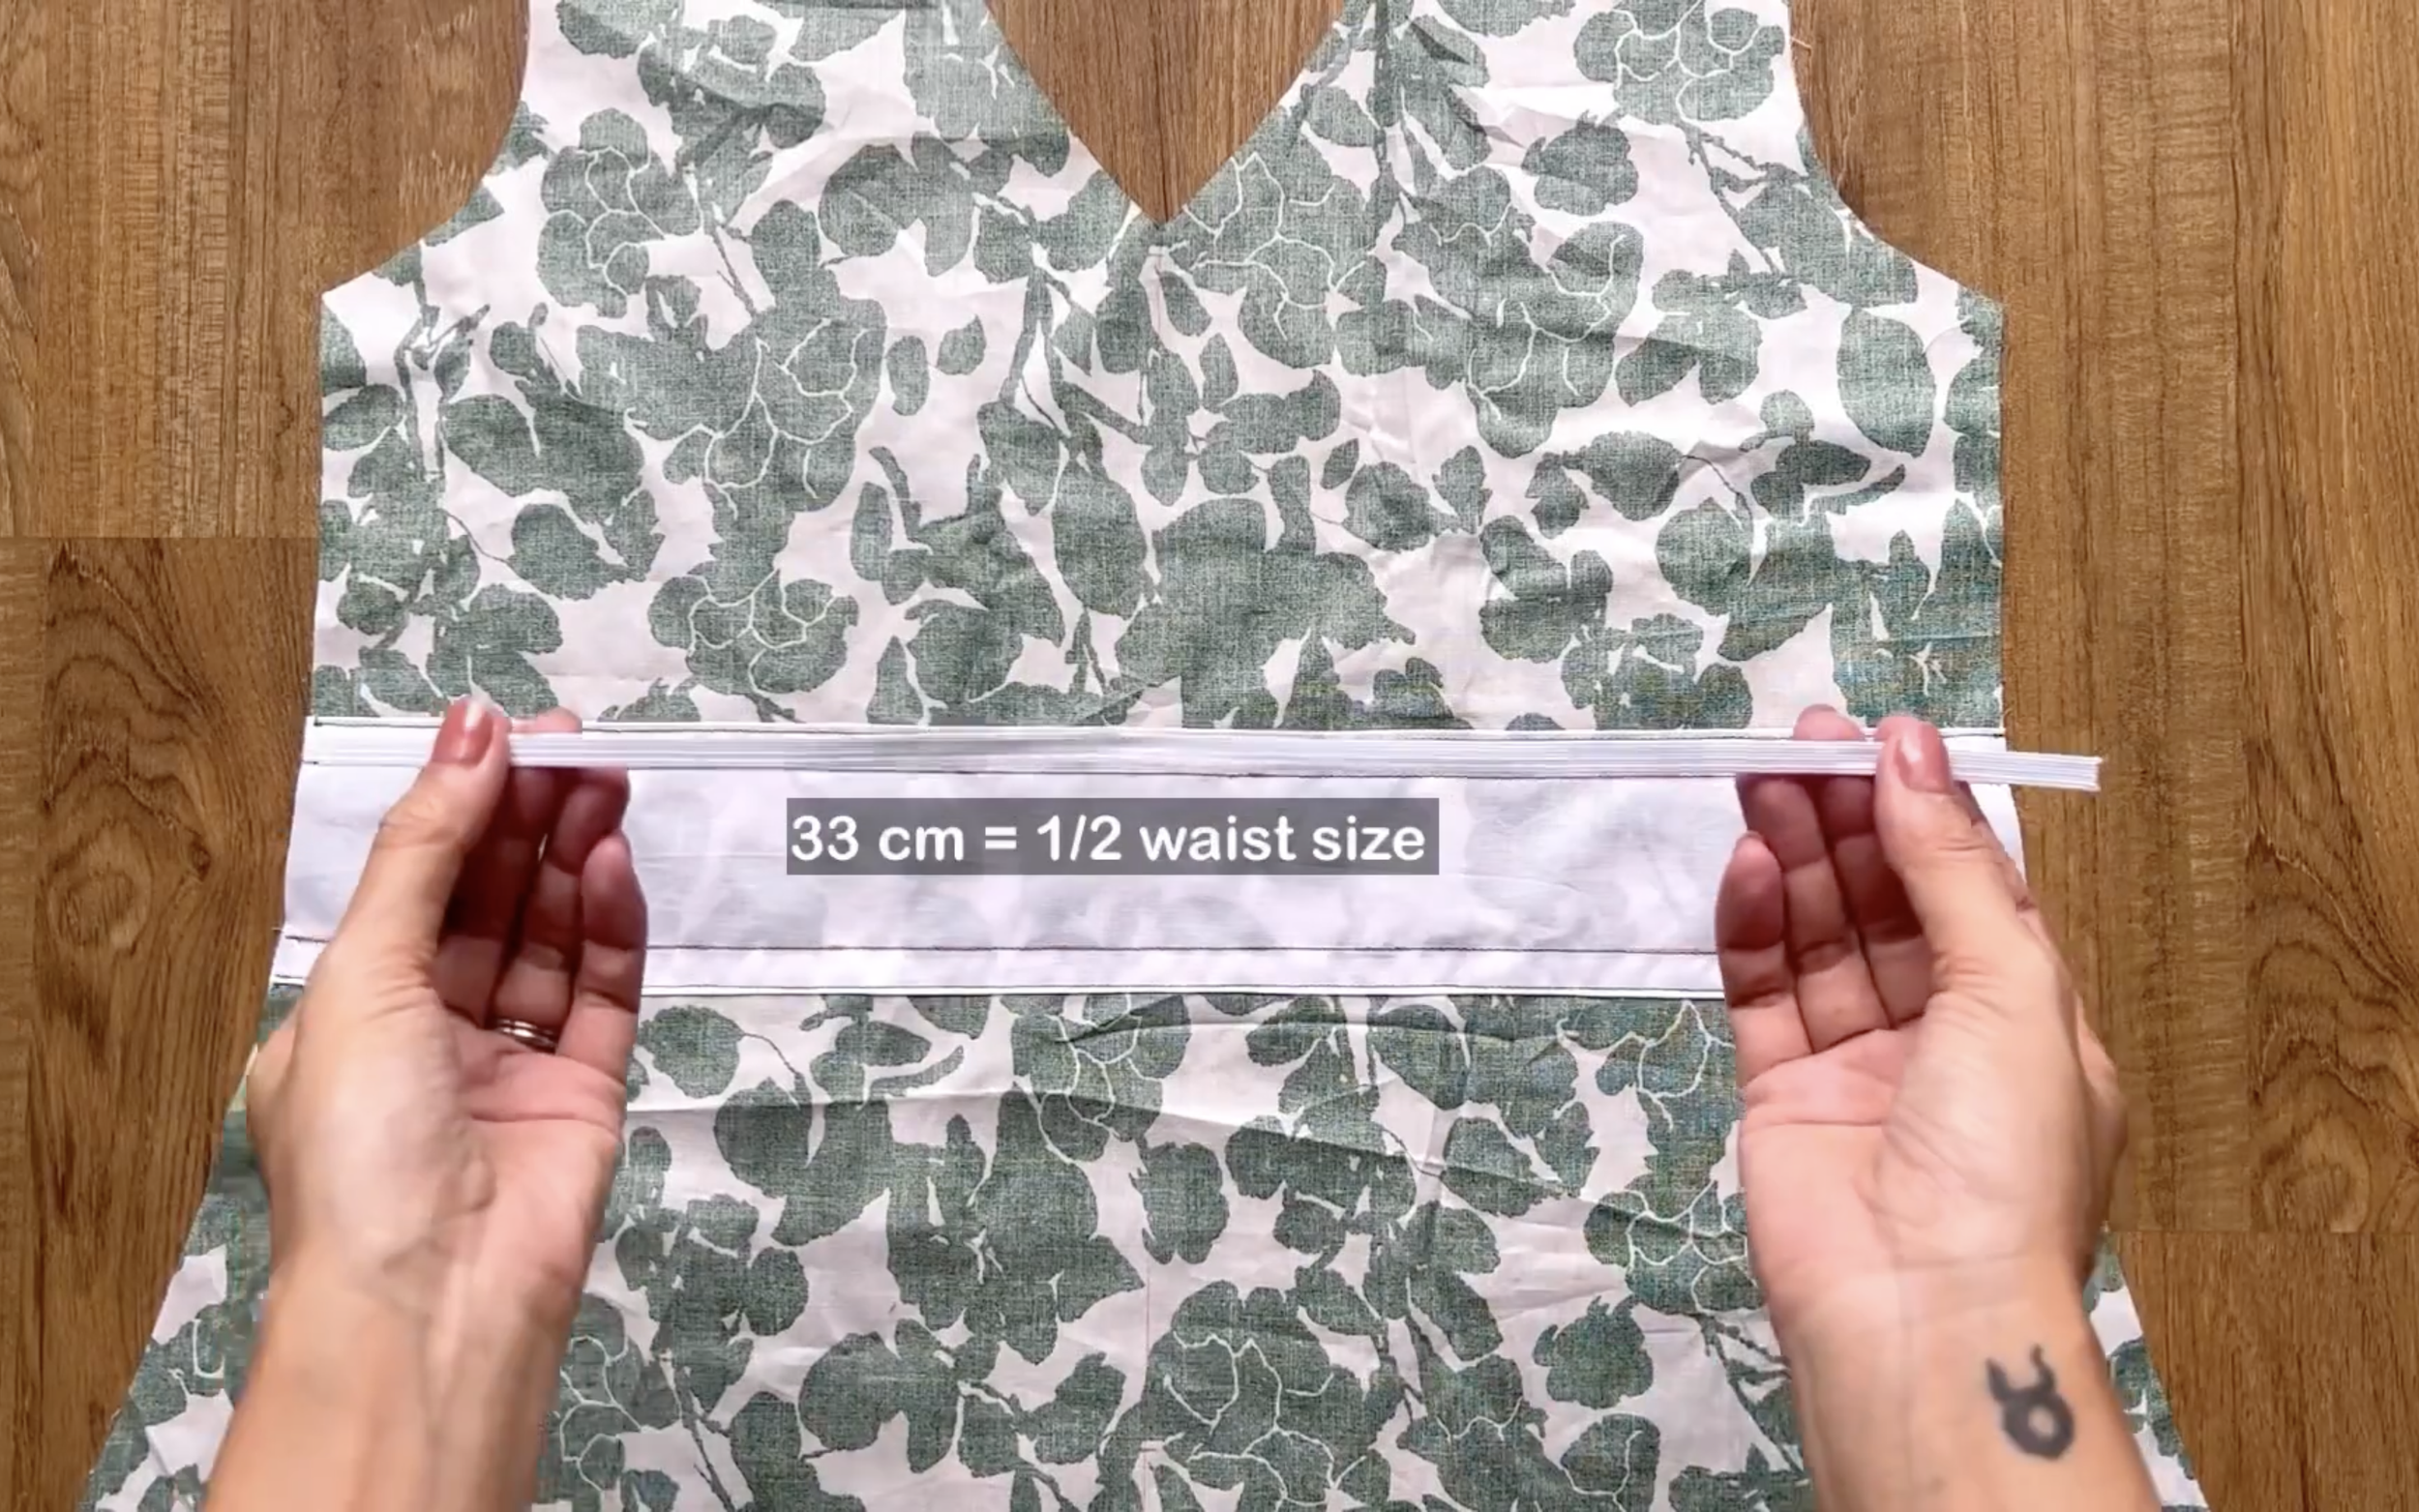
After that, cut two elastic bands with 0.8 cm width and 33 cm length, which is the half of your waist size.
Put the elastic band through the fabric hole first.
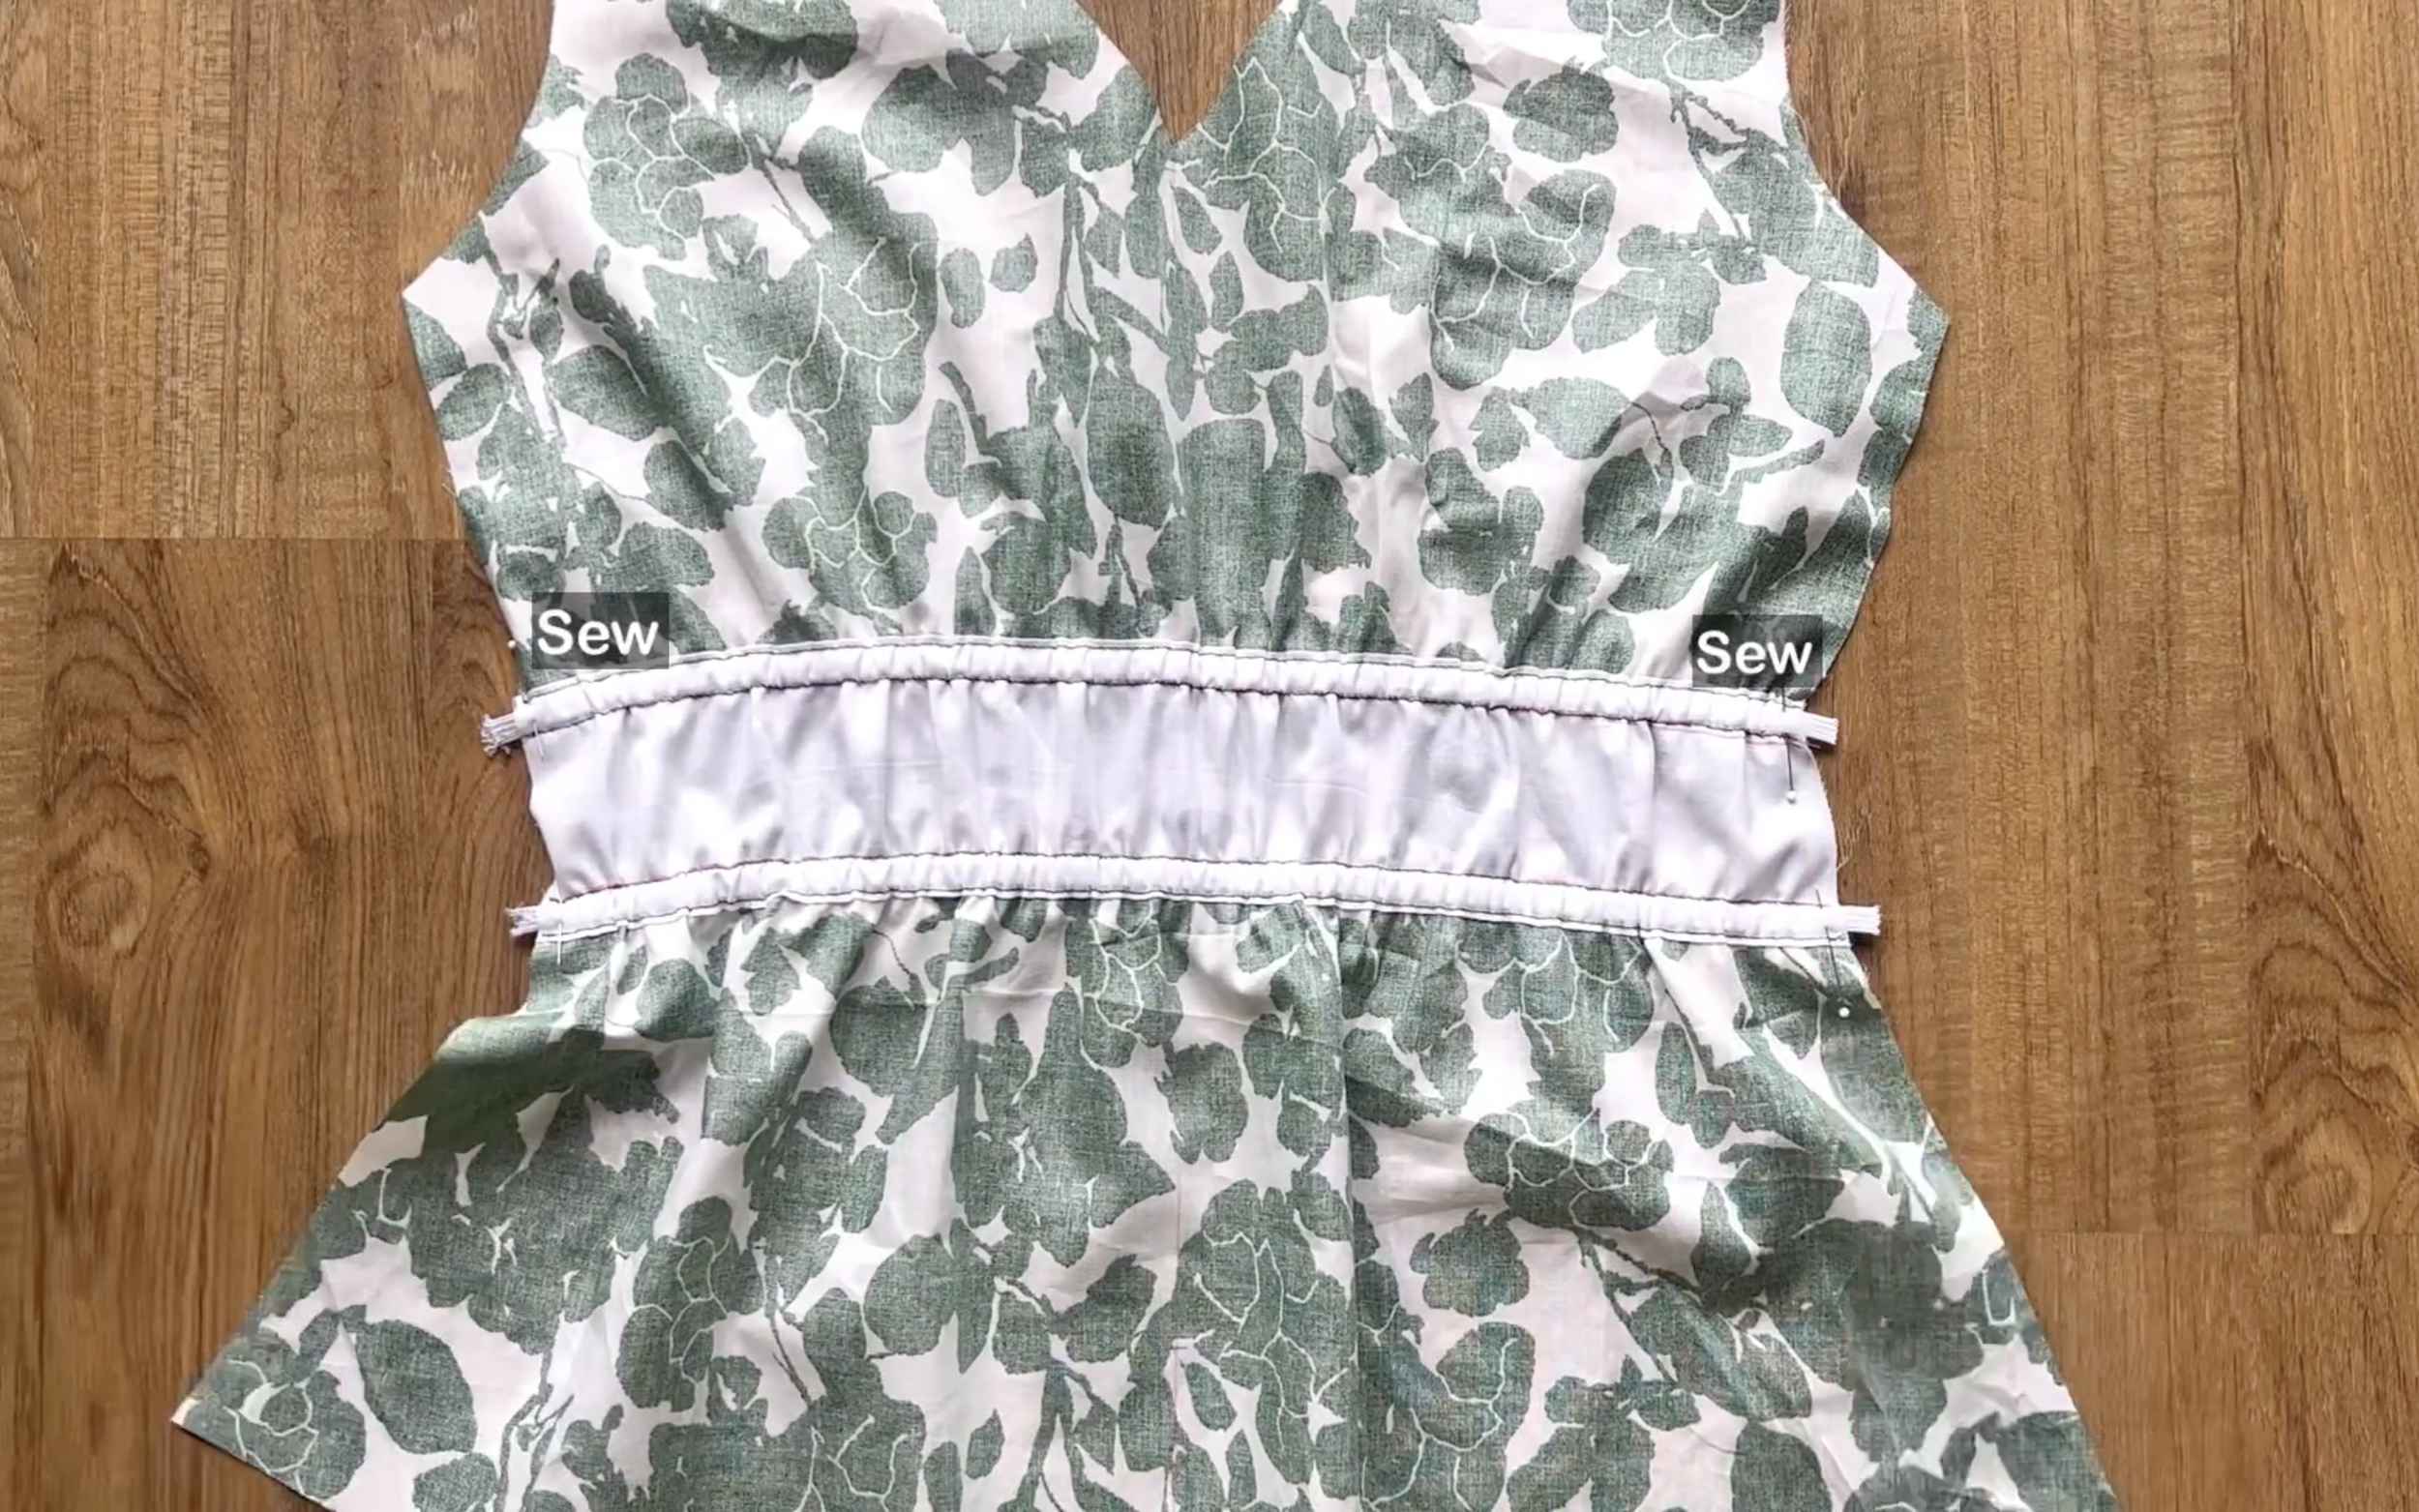
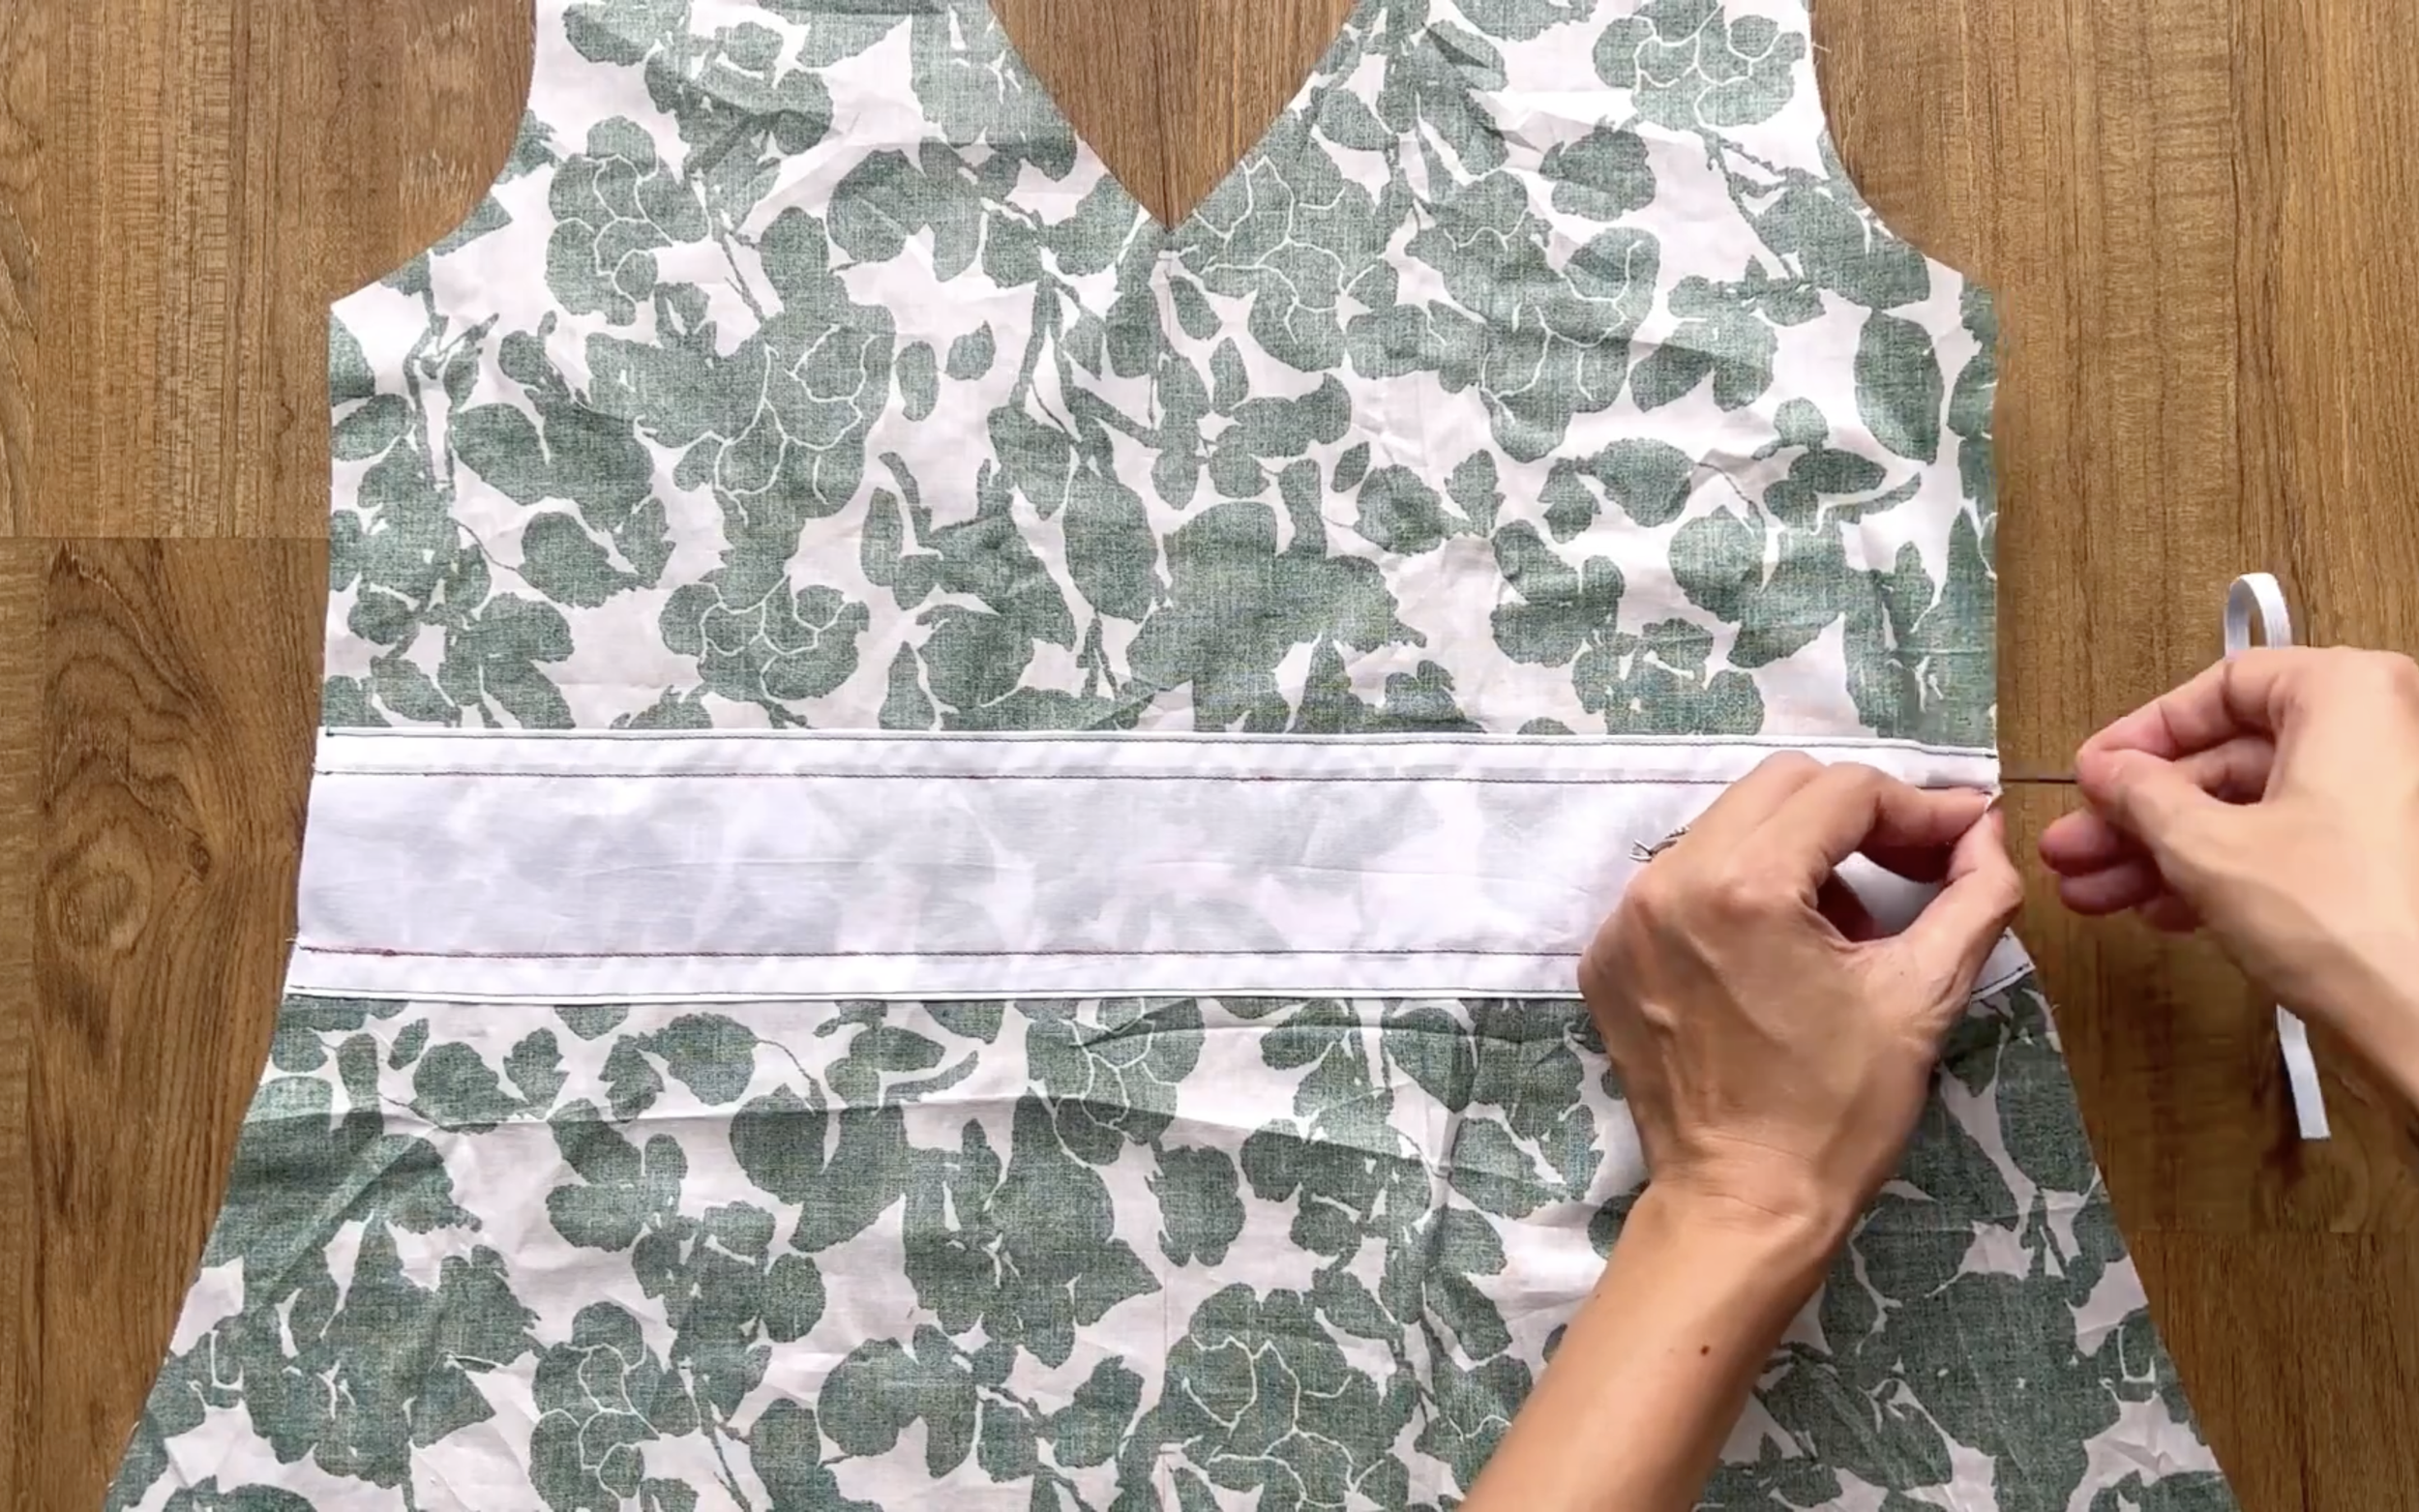
Then, sew two ends of the elastic band to two ends of the fabric hole to keep them stay together.
Do the same for the back piece of the dress.
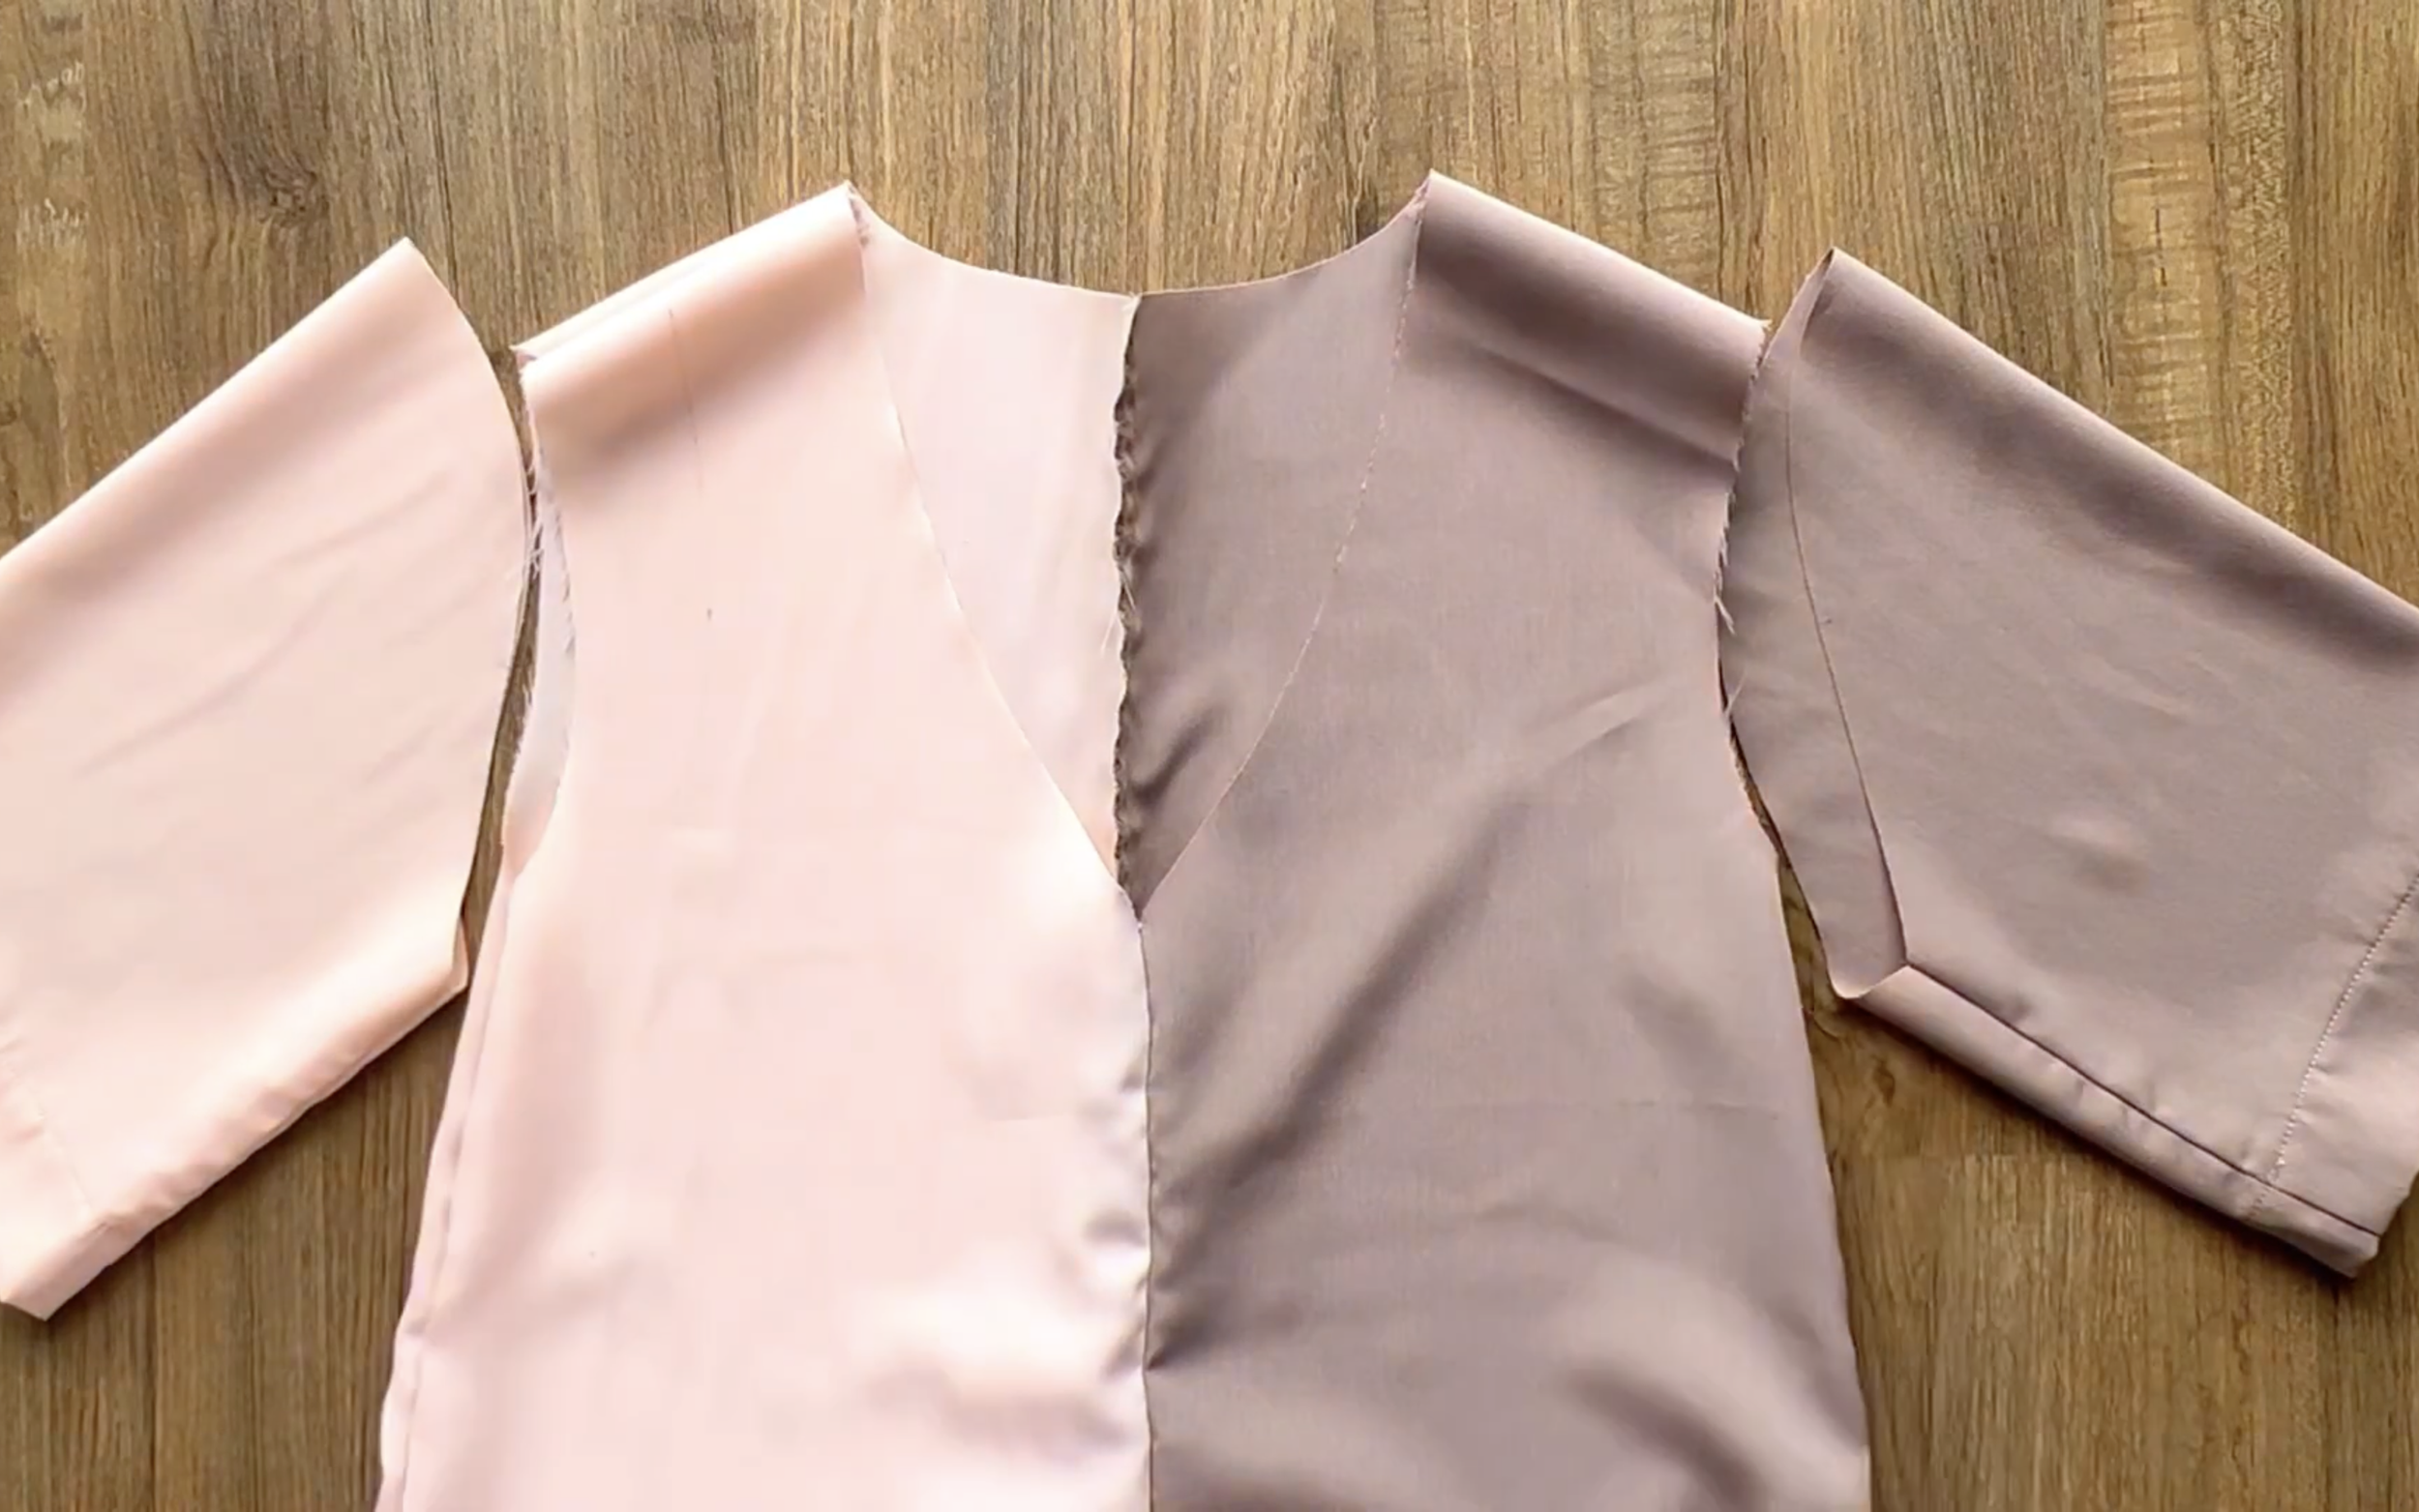
Then, connect the front and the back of the dress together at the shoulder and two sidelines.
After that, use the same technique from the original Celine dress to make two sleeves for the dress.
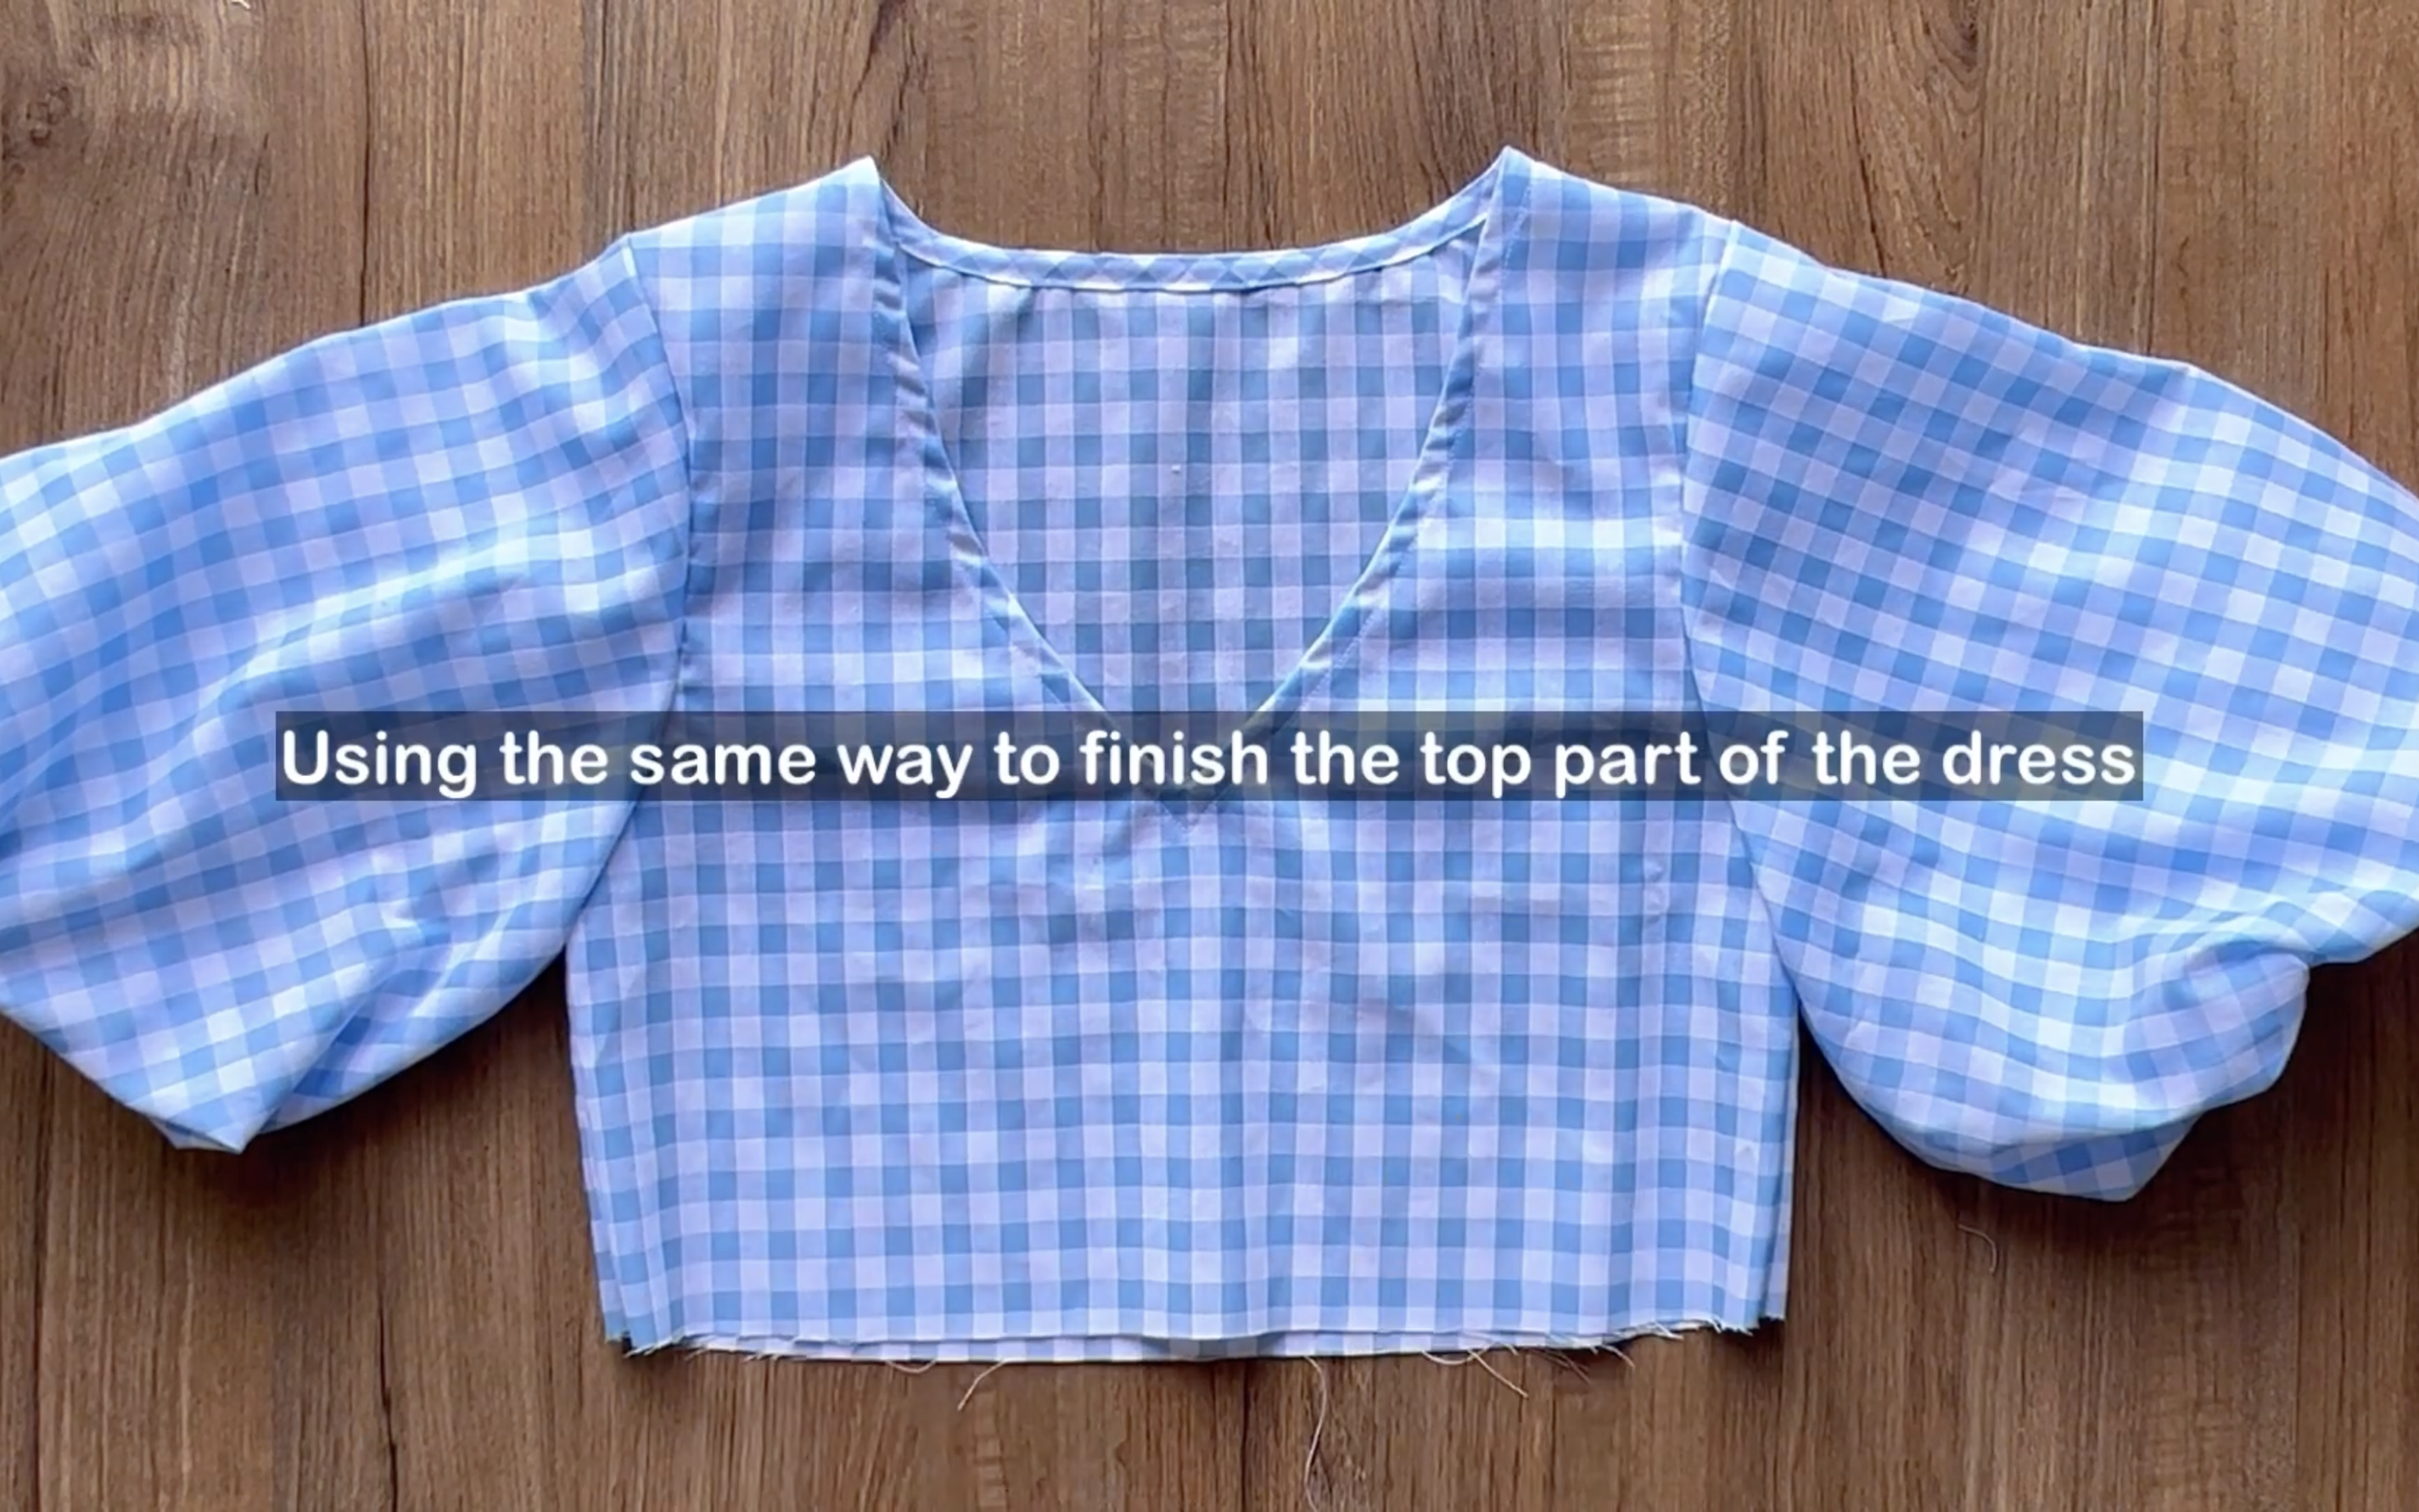
Then, connect them to the body of the dress at the sleeve line. Here's the top part of the dress after all.
Here's the top part of the dress after all.
Then, check the total width of the ending line of the dress
THE SKIRT PATTERN
The bottom part of the dress is quite similar to the ruffle hem part from the first hack.
Check the length will be longer with 60 cm long…
… and the width of the gathering fabric will be the same as the width at the ending line of the top part.

Making 5 different dresses from 1 pattern | Celine dress - Pattern hacks
And we're done! Here is the final result of this dress hack!
The elastic band at the waist does a great job of making the dress fit nicely, and when you combine that with the ruffle skirt, the whole look becomes wonderfully puffy and full. I love the shape!
3. THE TIERED BABYDOLL DRESS
PATTERN HACK
From the top of the shoulder at the front dress pattern, mark down 38 cm, which is the length from the shoulder to 3 cm above the belly button plus 2 cm for seam allowance.
After that, draw a line to that mark and parallel with the ending line.
The new front dress pattern will be ready after cutting.
4. Do the same to have the new back dress pattern.
SEWING THE DRESS
After that, finish the top part of the babydoll dress in the same way as the original Celine dress.
THE SKIRT PATTERN
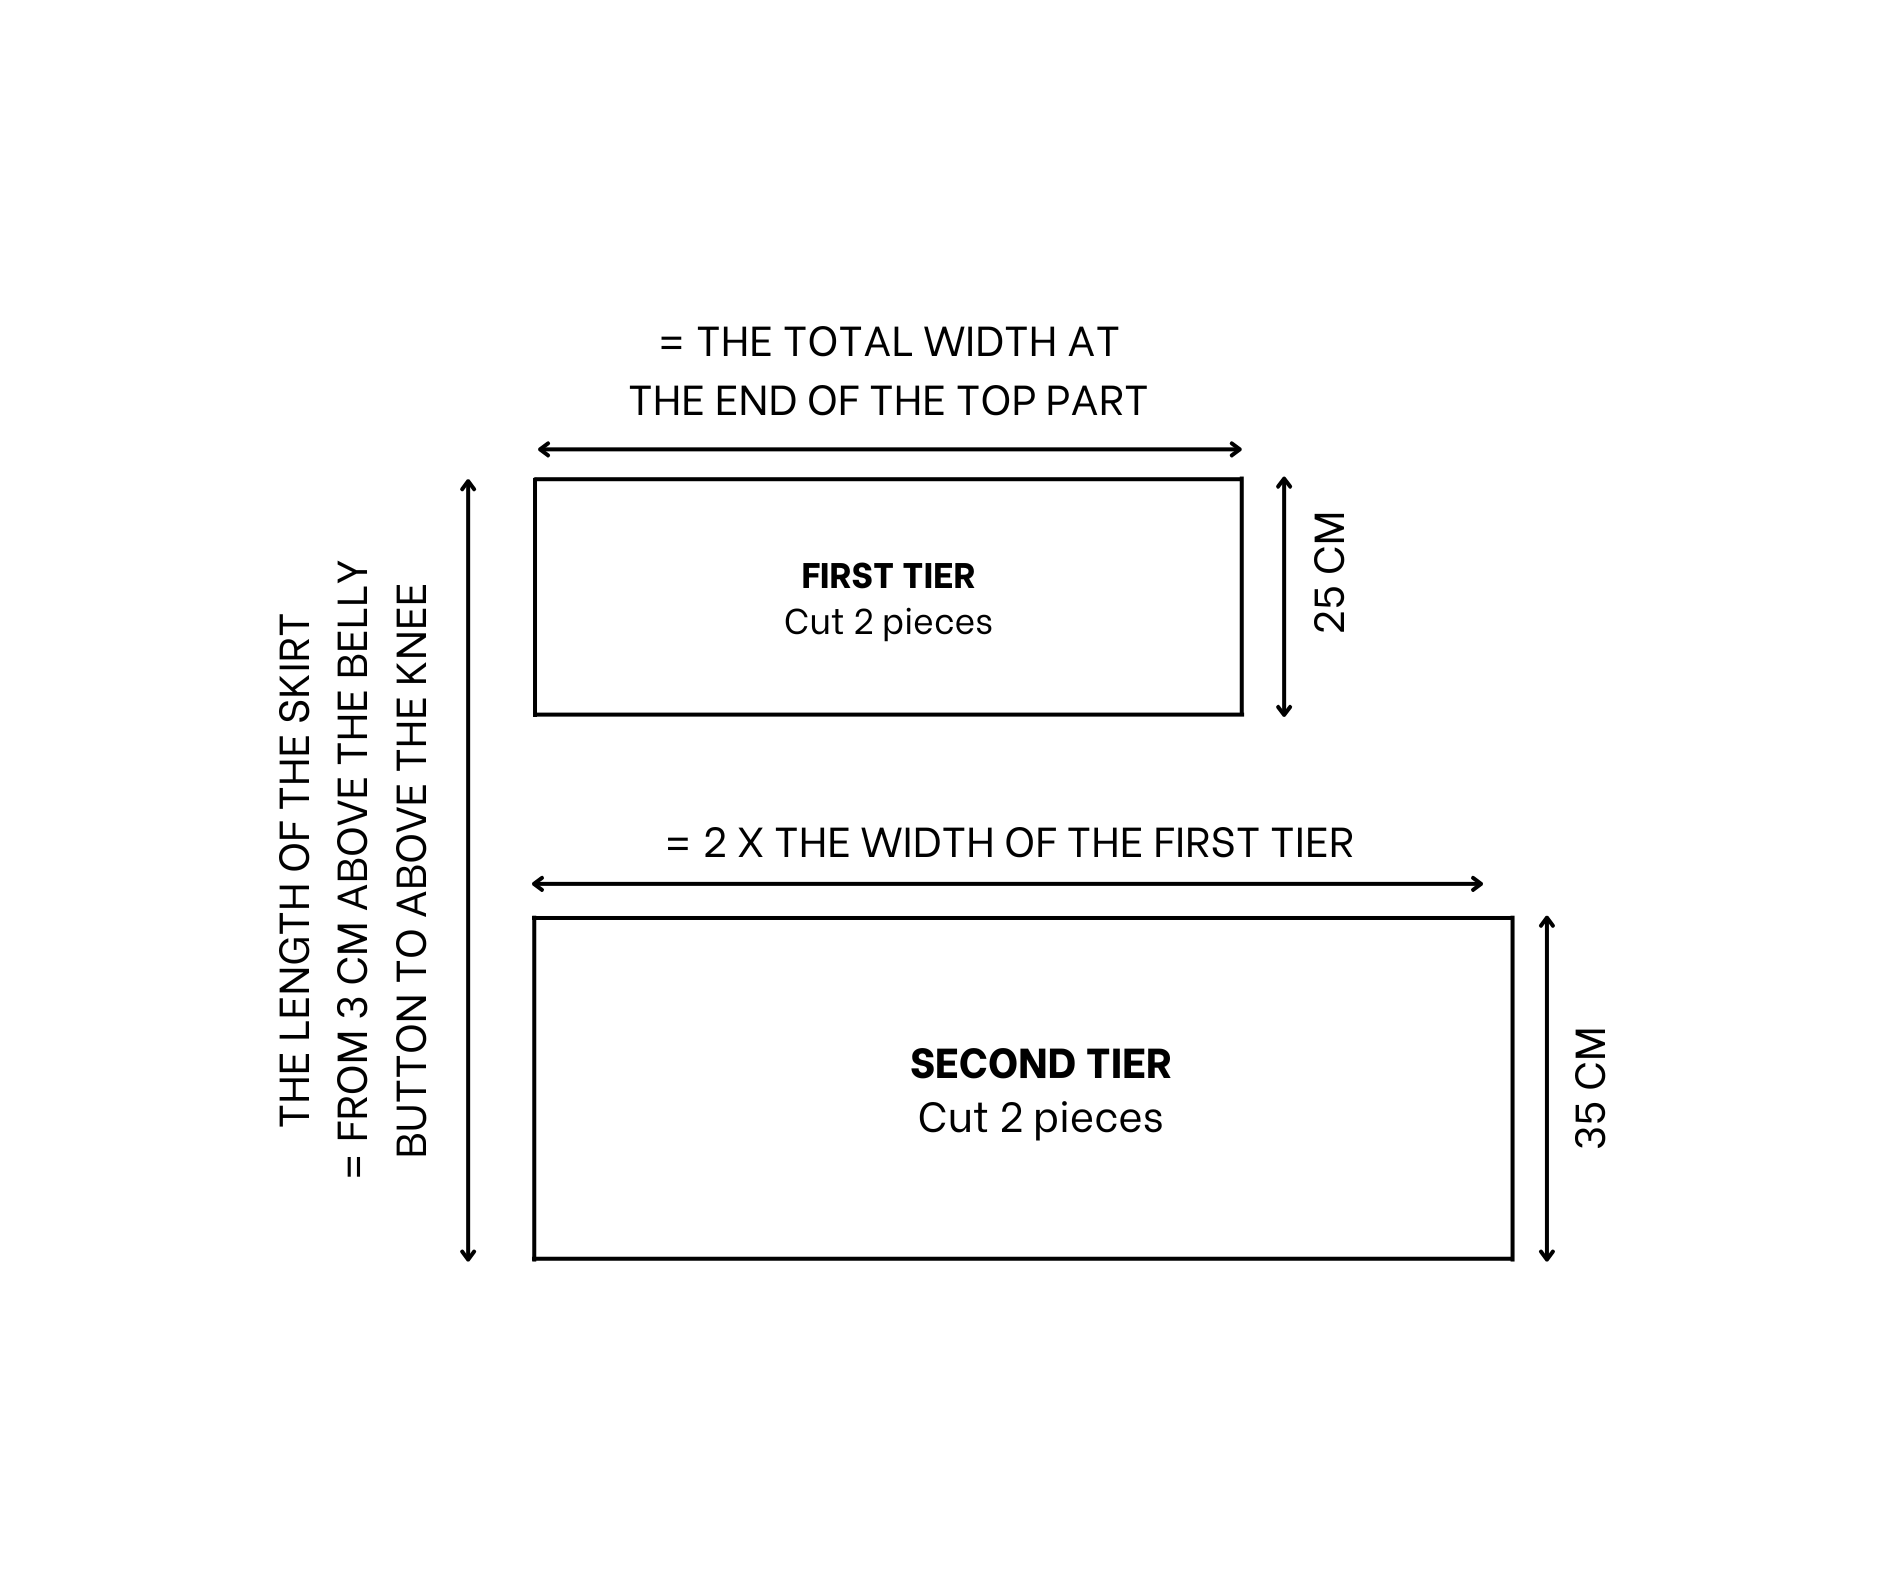
The skirt part of the babydoll dress will have two tiers, and here are the pattern. They are quite simple, just from a basic rectangle.
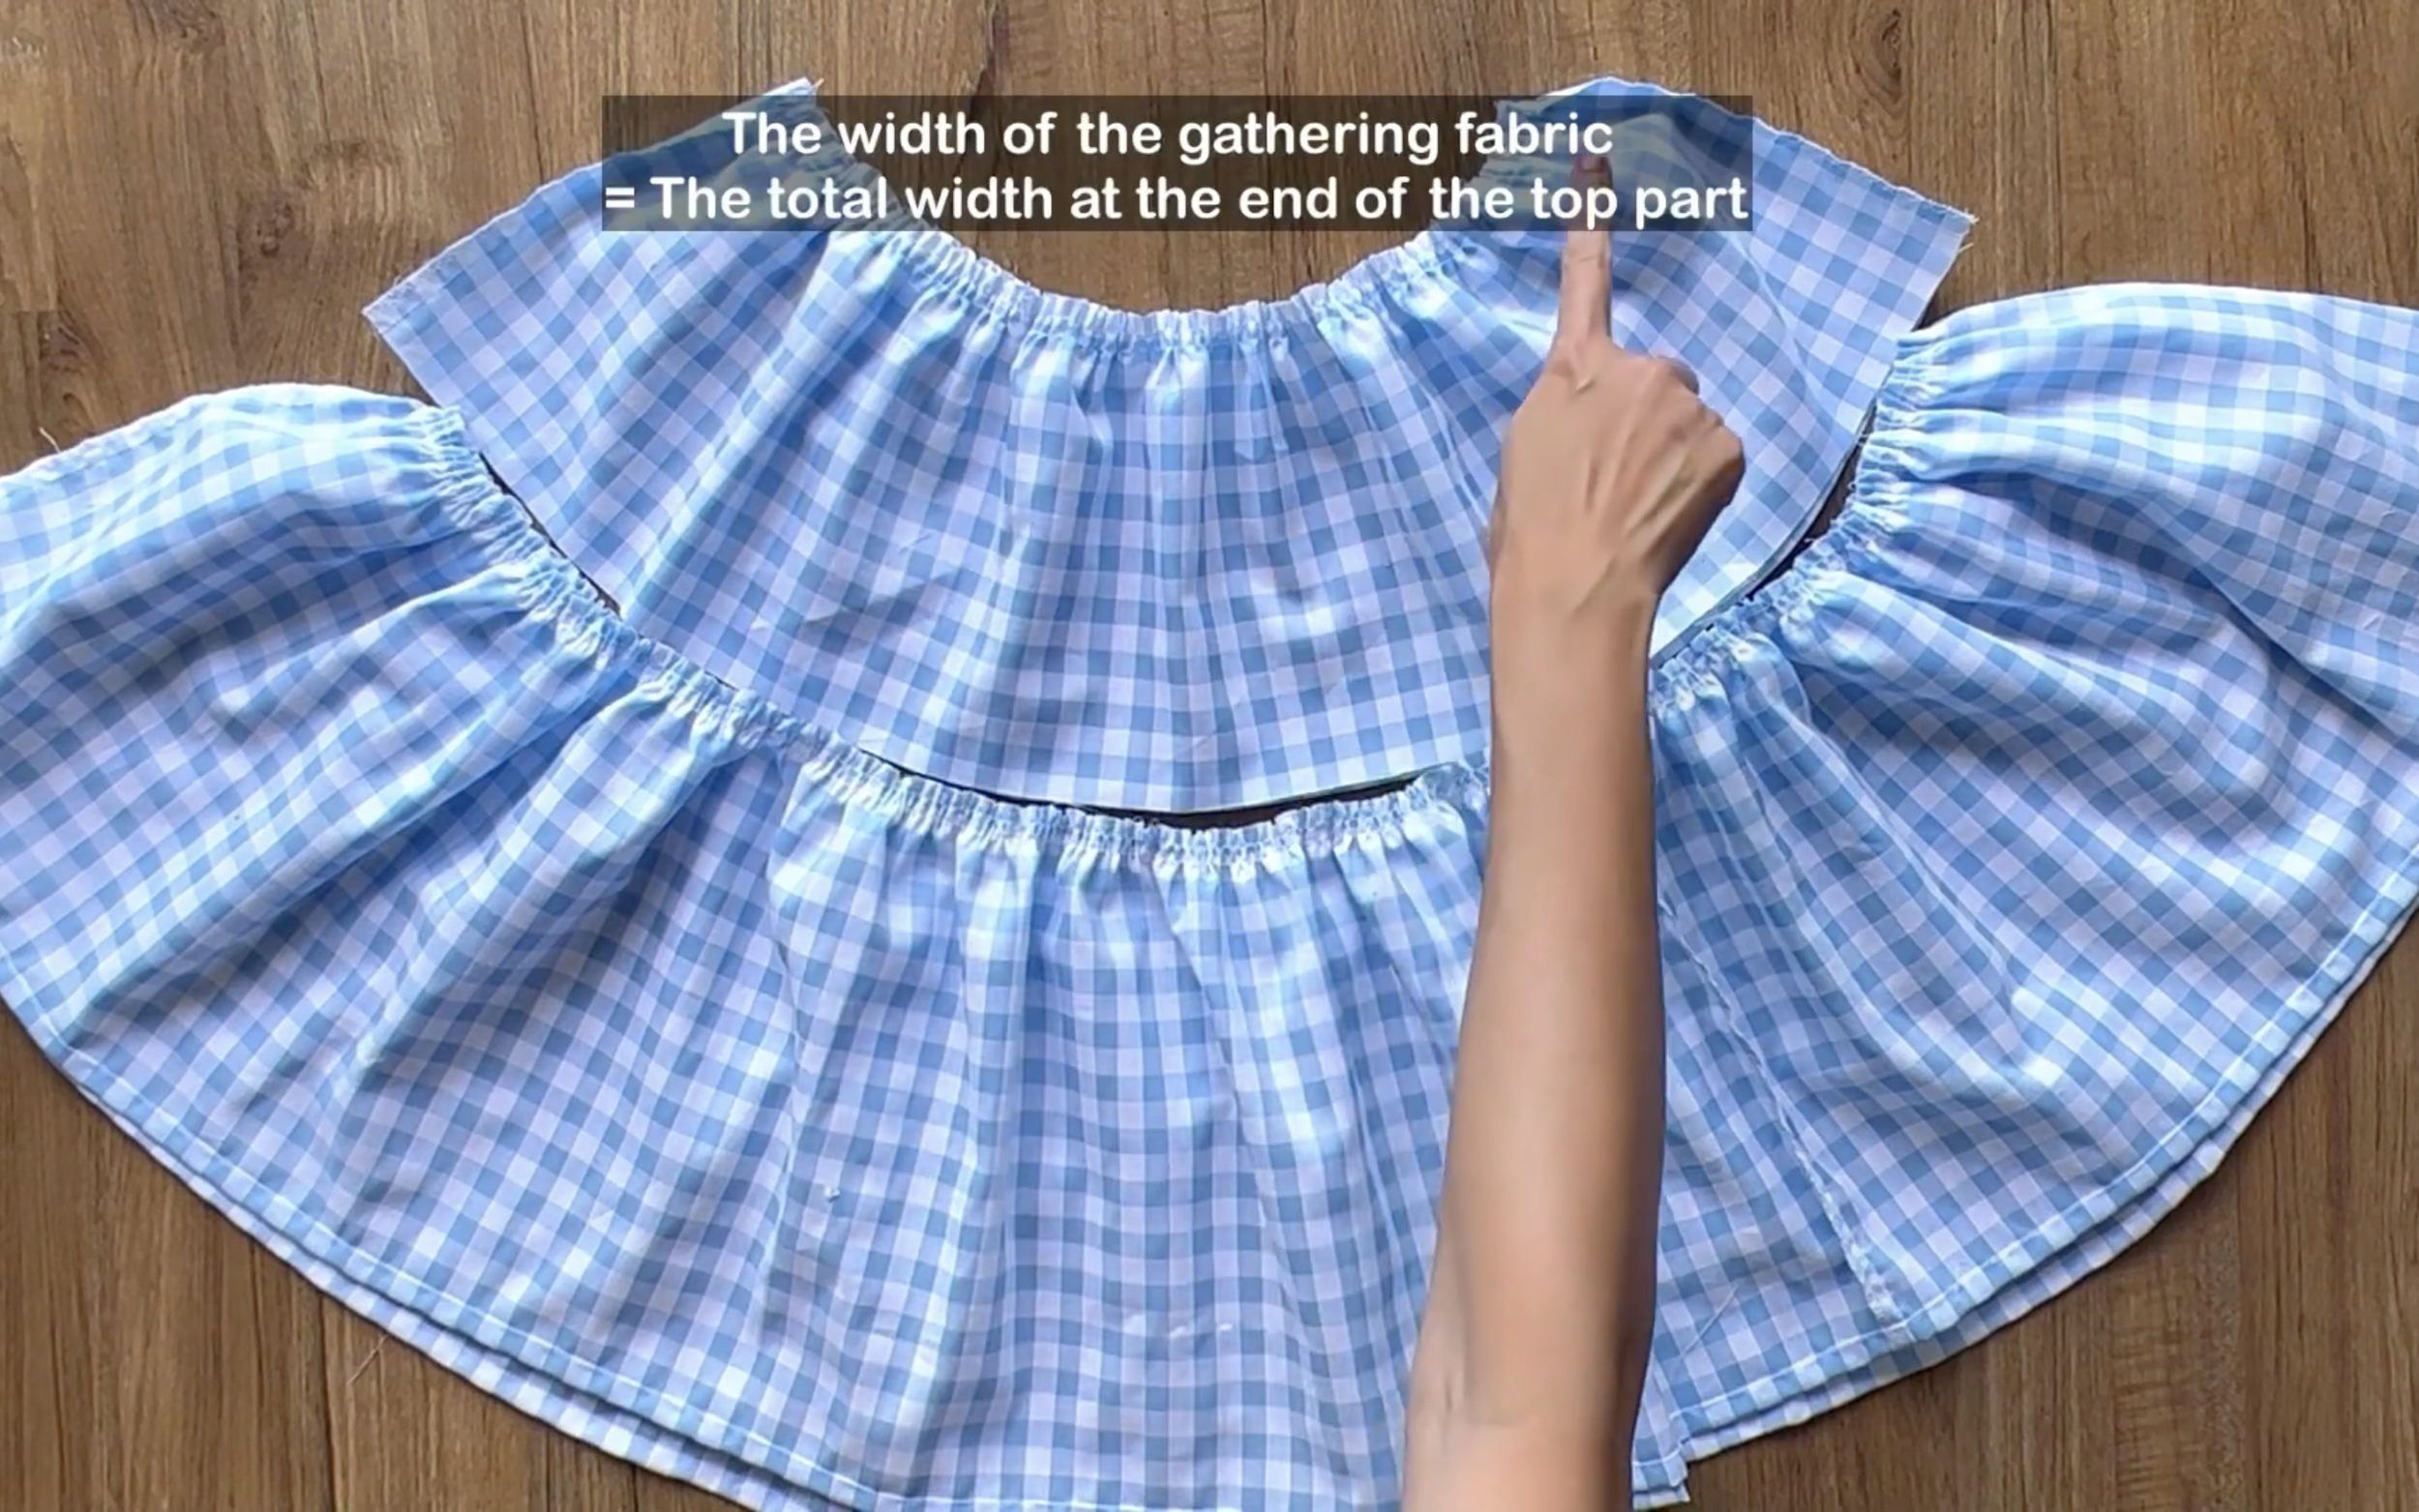
Use the same technique that was done at the ruffle hem part from the first hack to finish two tiers of this skirt part.
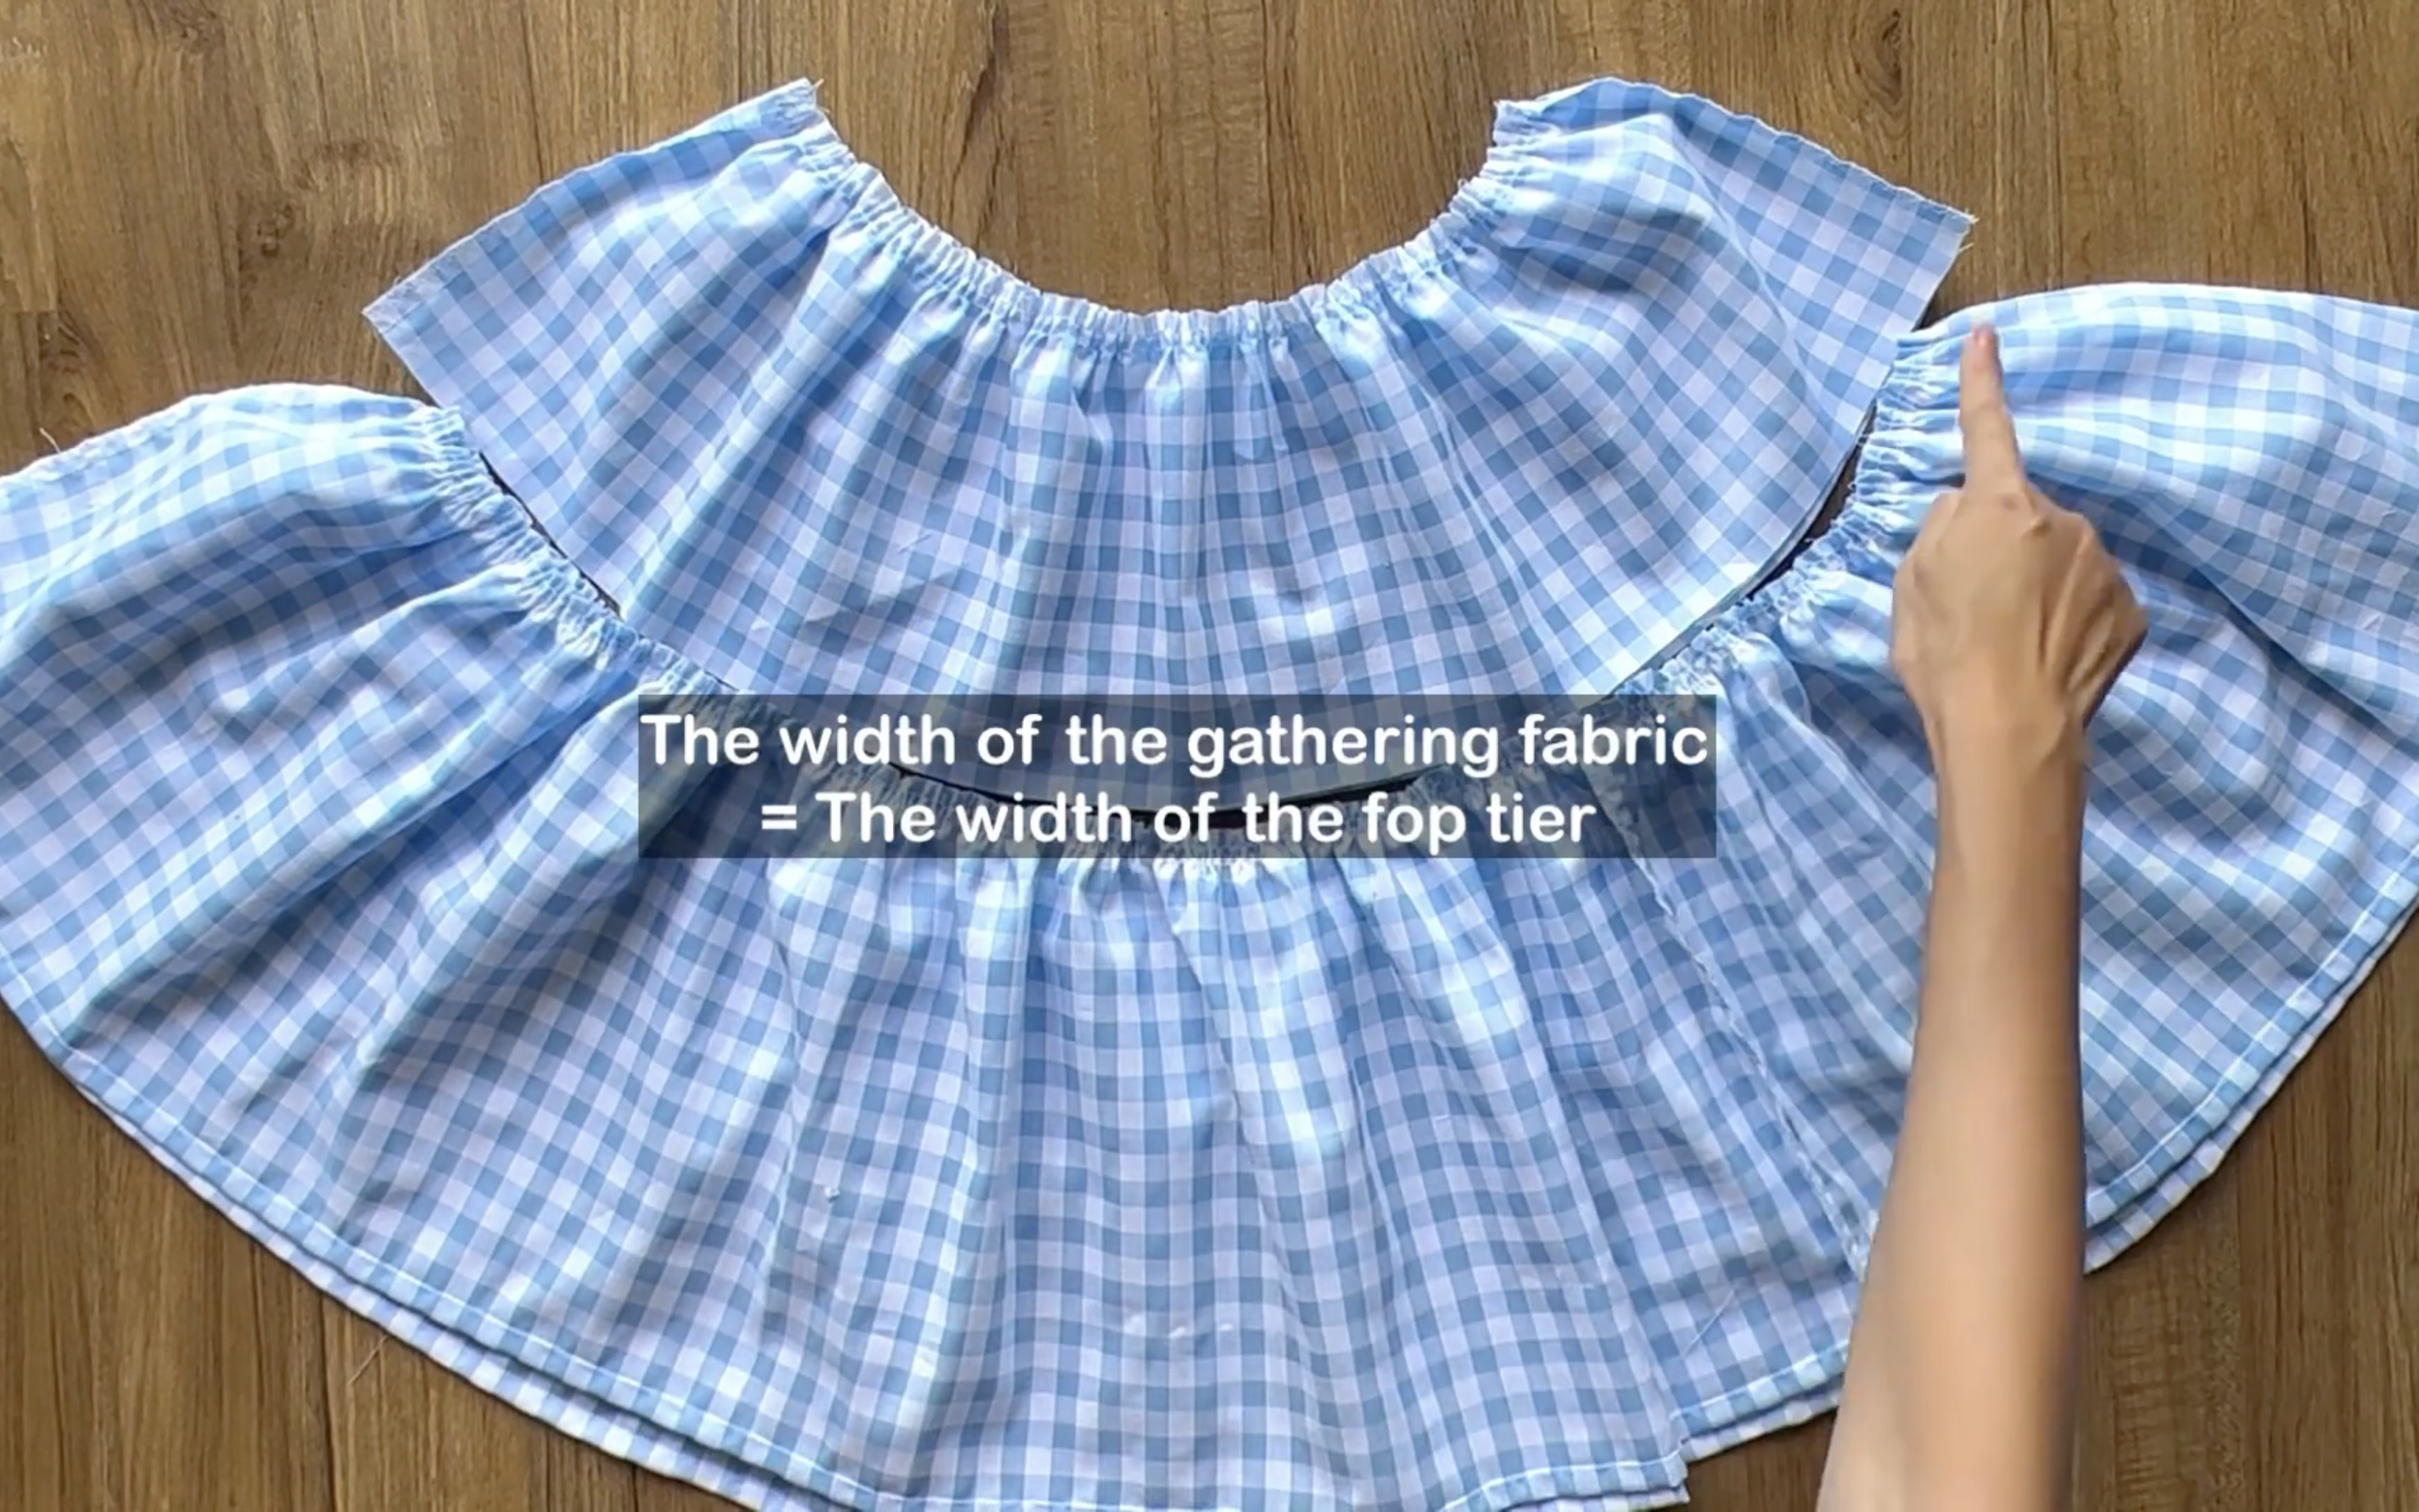
Here are how they look after all.
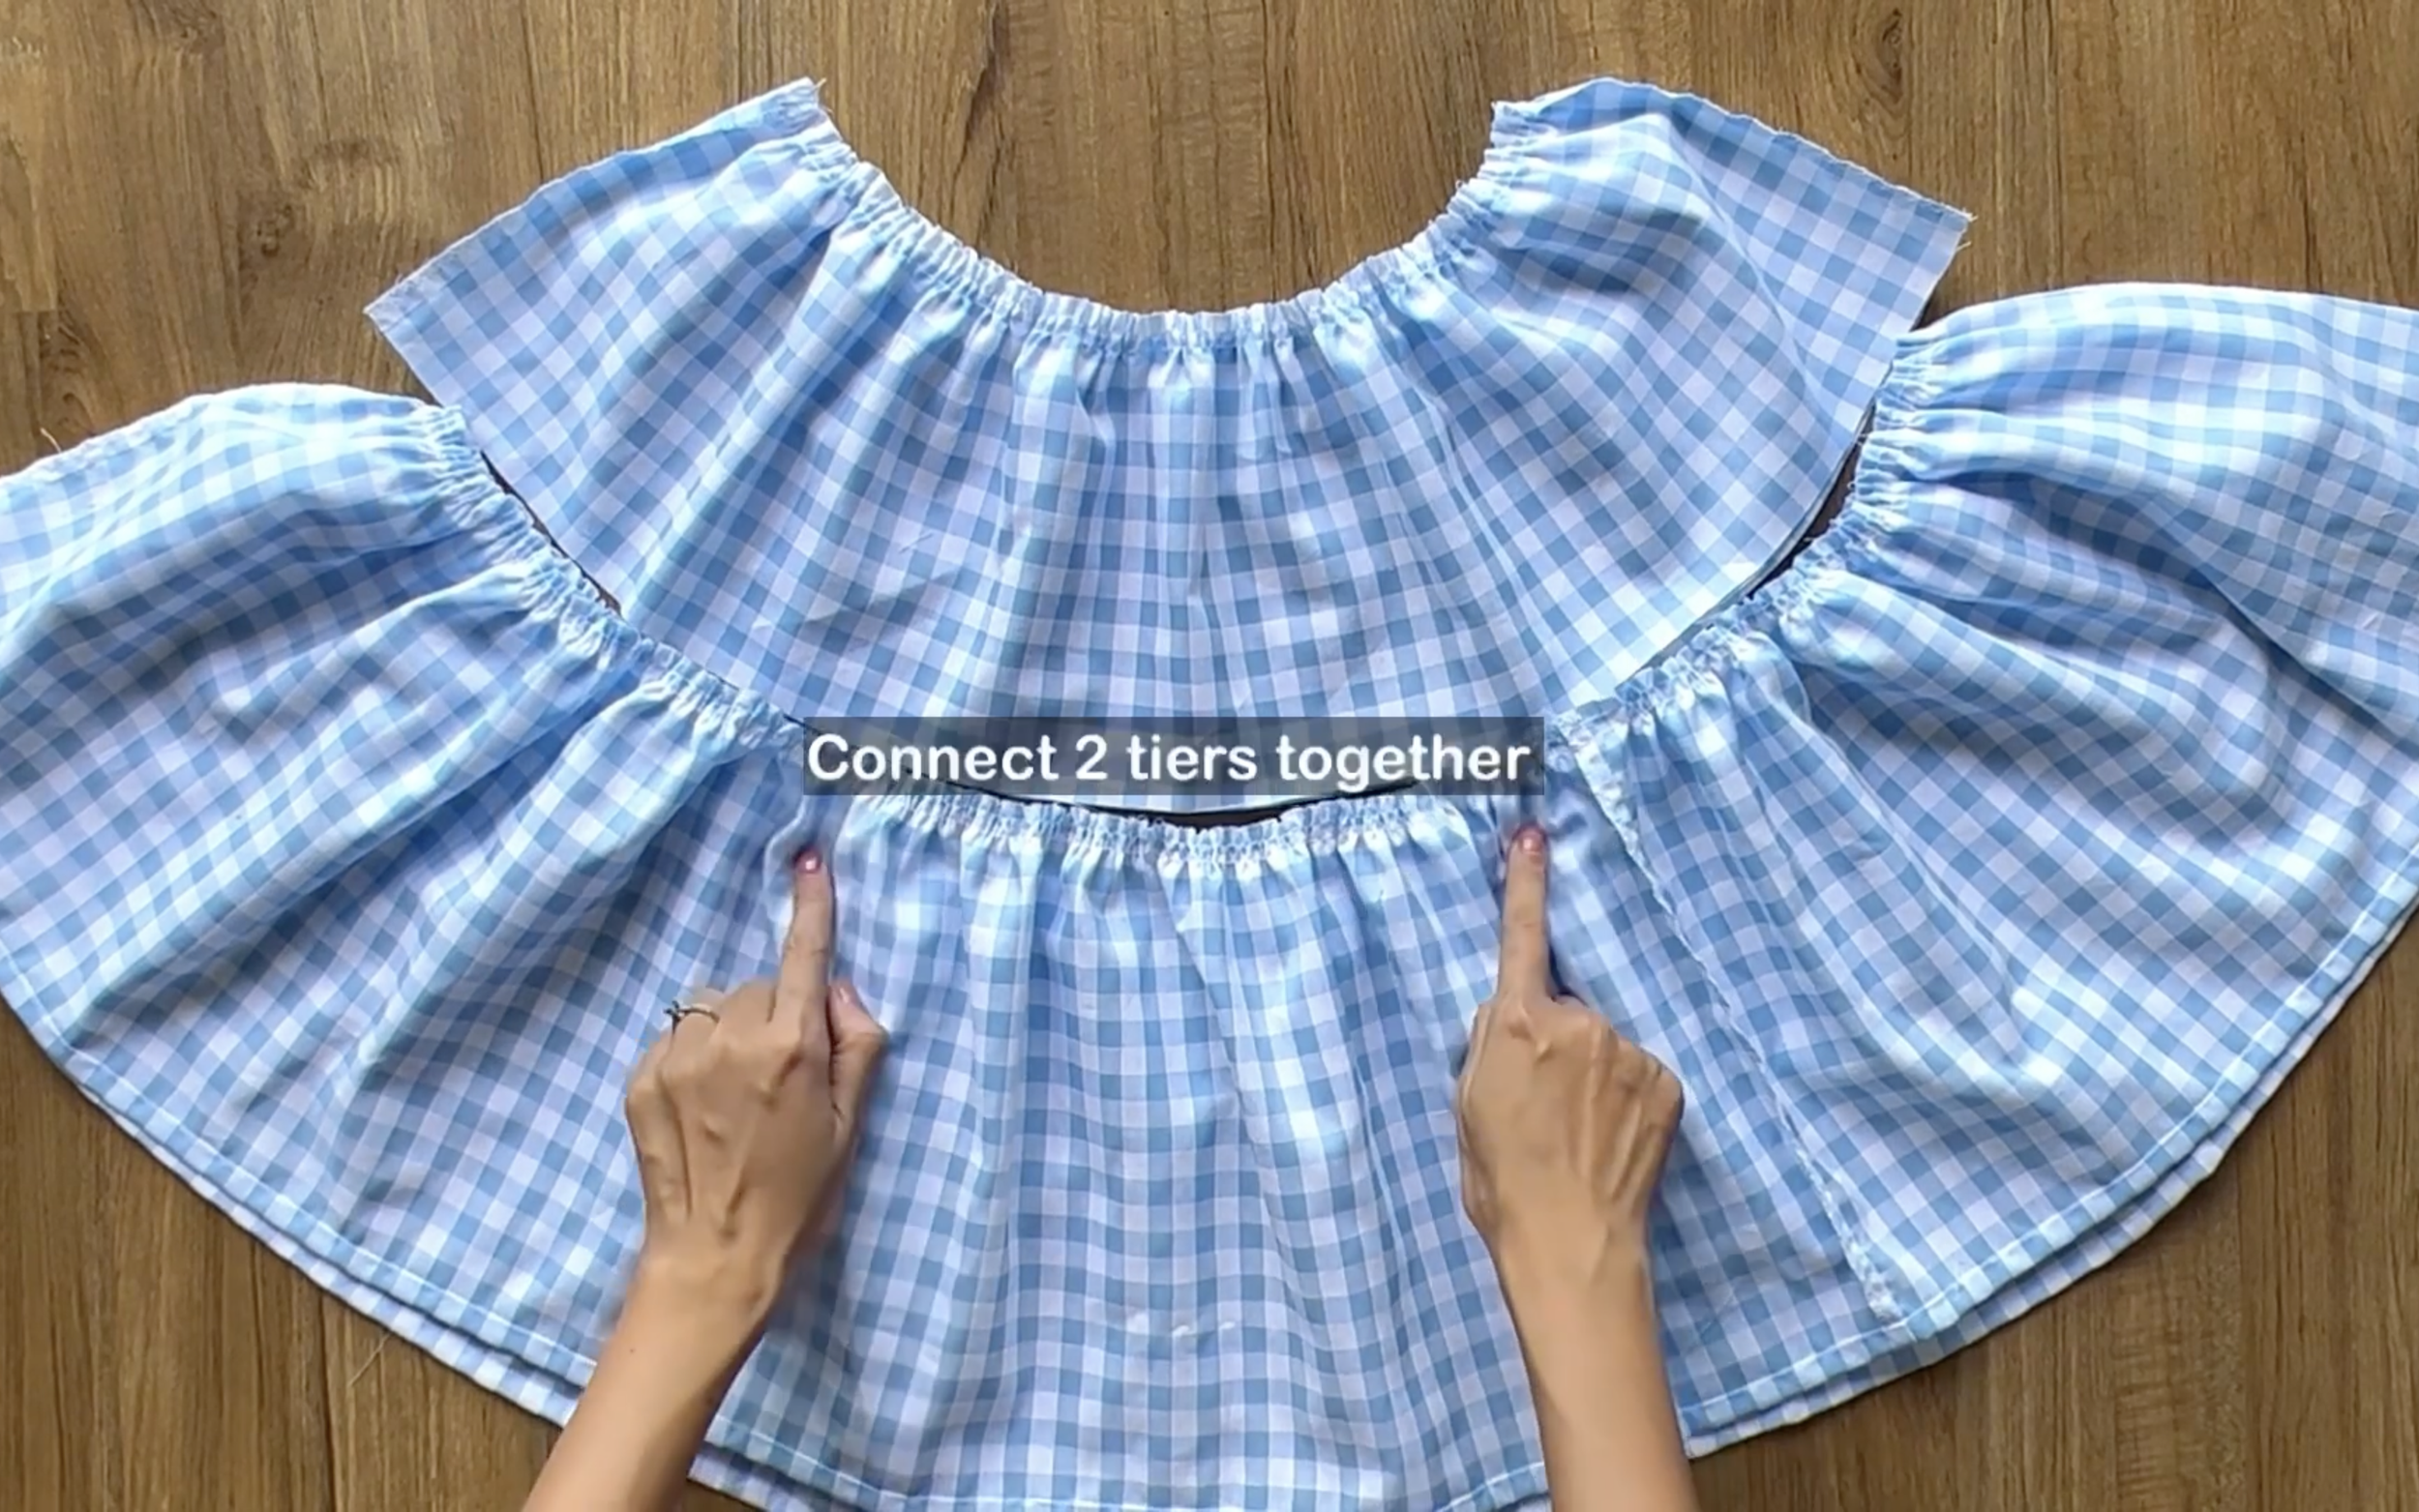
Then connect them together to finish the skirt part of the babydoll dress.
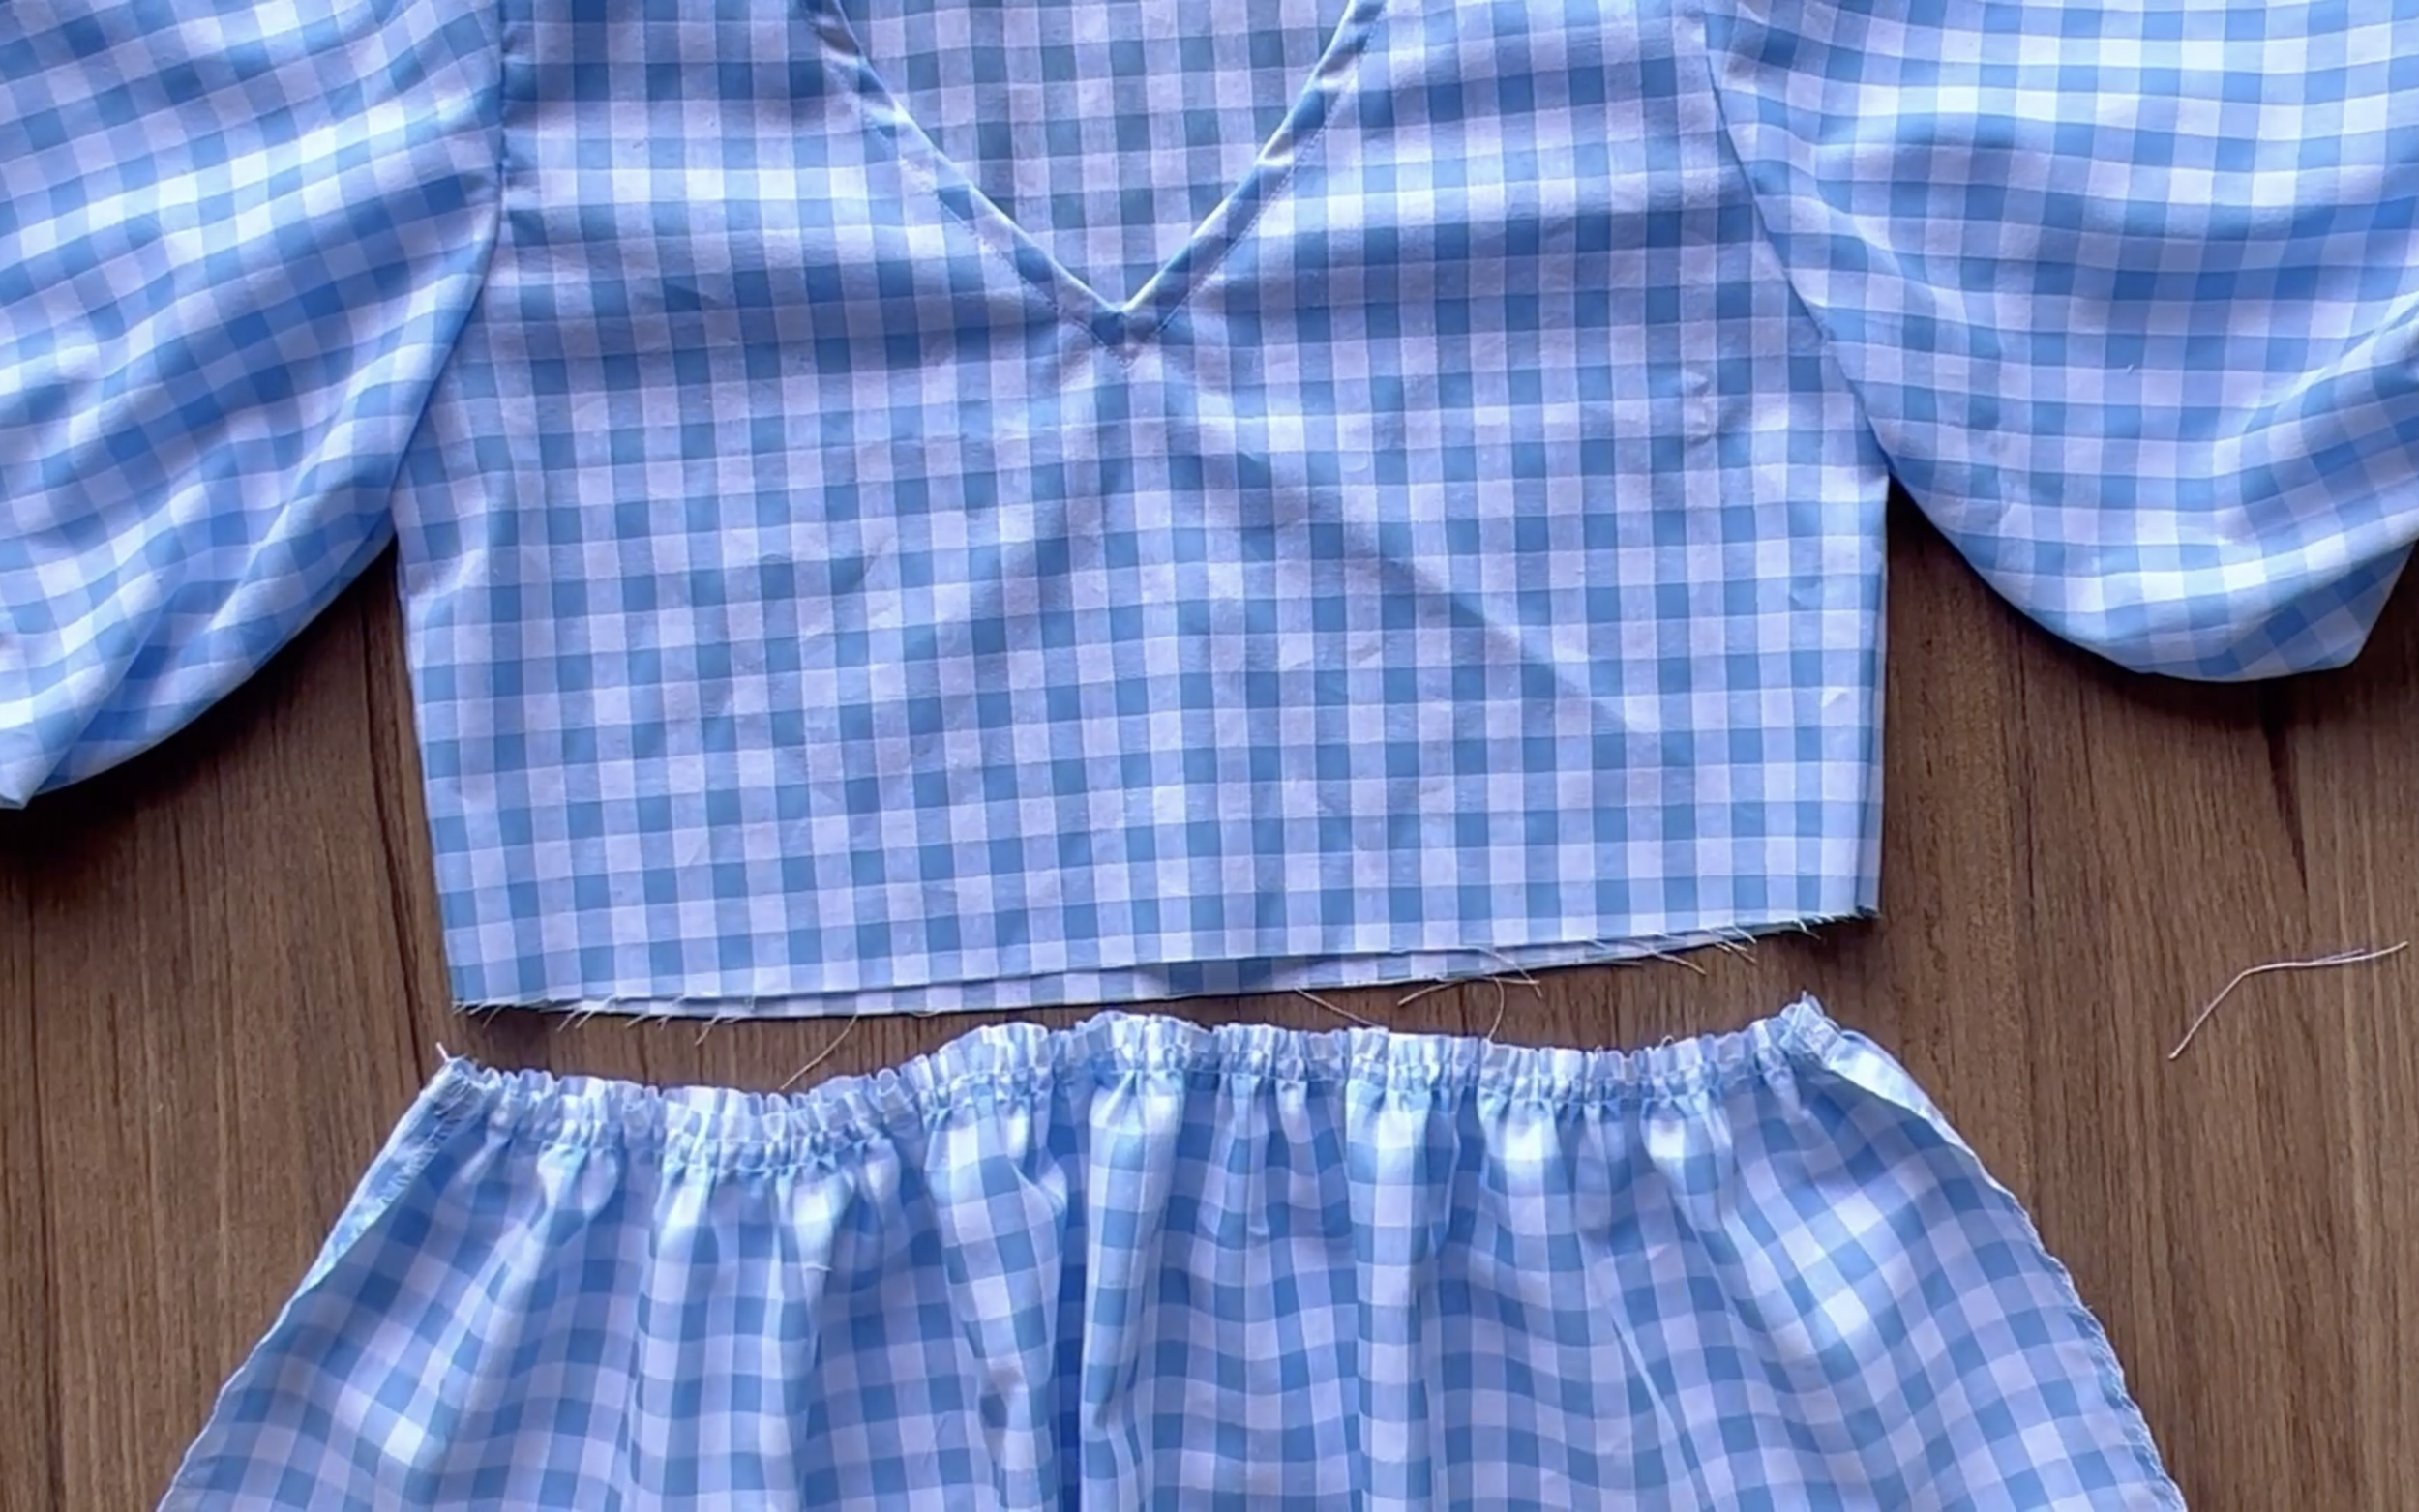
Then, connect the skirt to the top part of the dress after that.

Making 5 different dresses from 1 pattern | Celine dress - Pattern hacks
And I've finished this hack! Here is my final result.
I think this version of the Celine dress turned out absolutely cute! The balloon sleeves combined with the tiered skirt really create that wonderful, extra-charming look for this design.
4. THE BUTTERFLY SLEEVE MIDI DRESS
PATTERN HACK
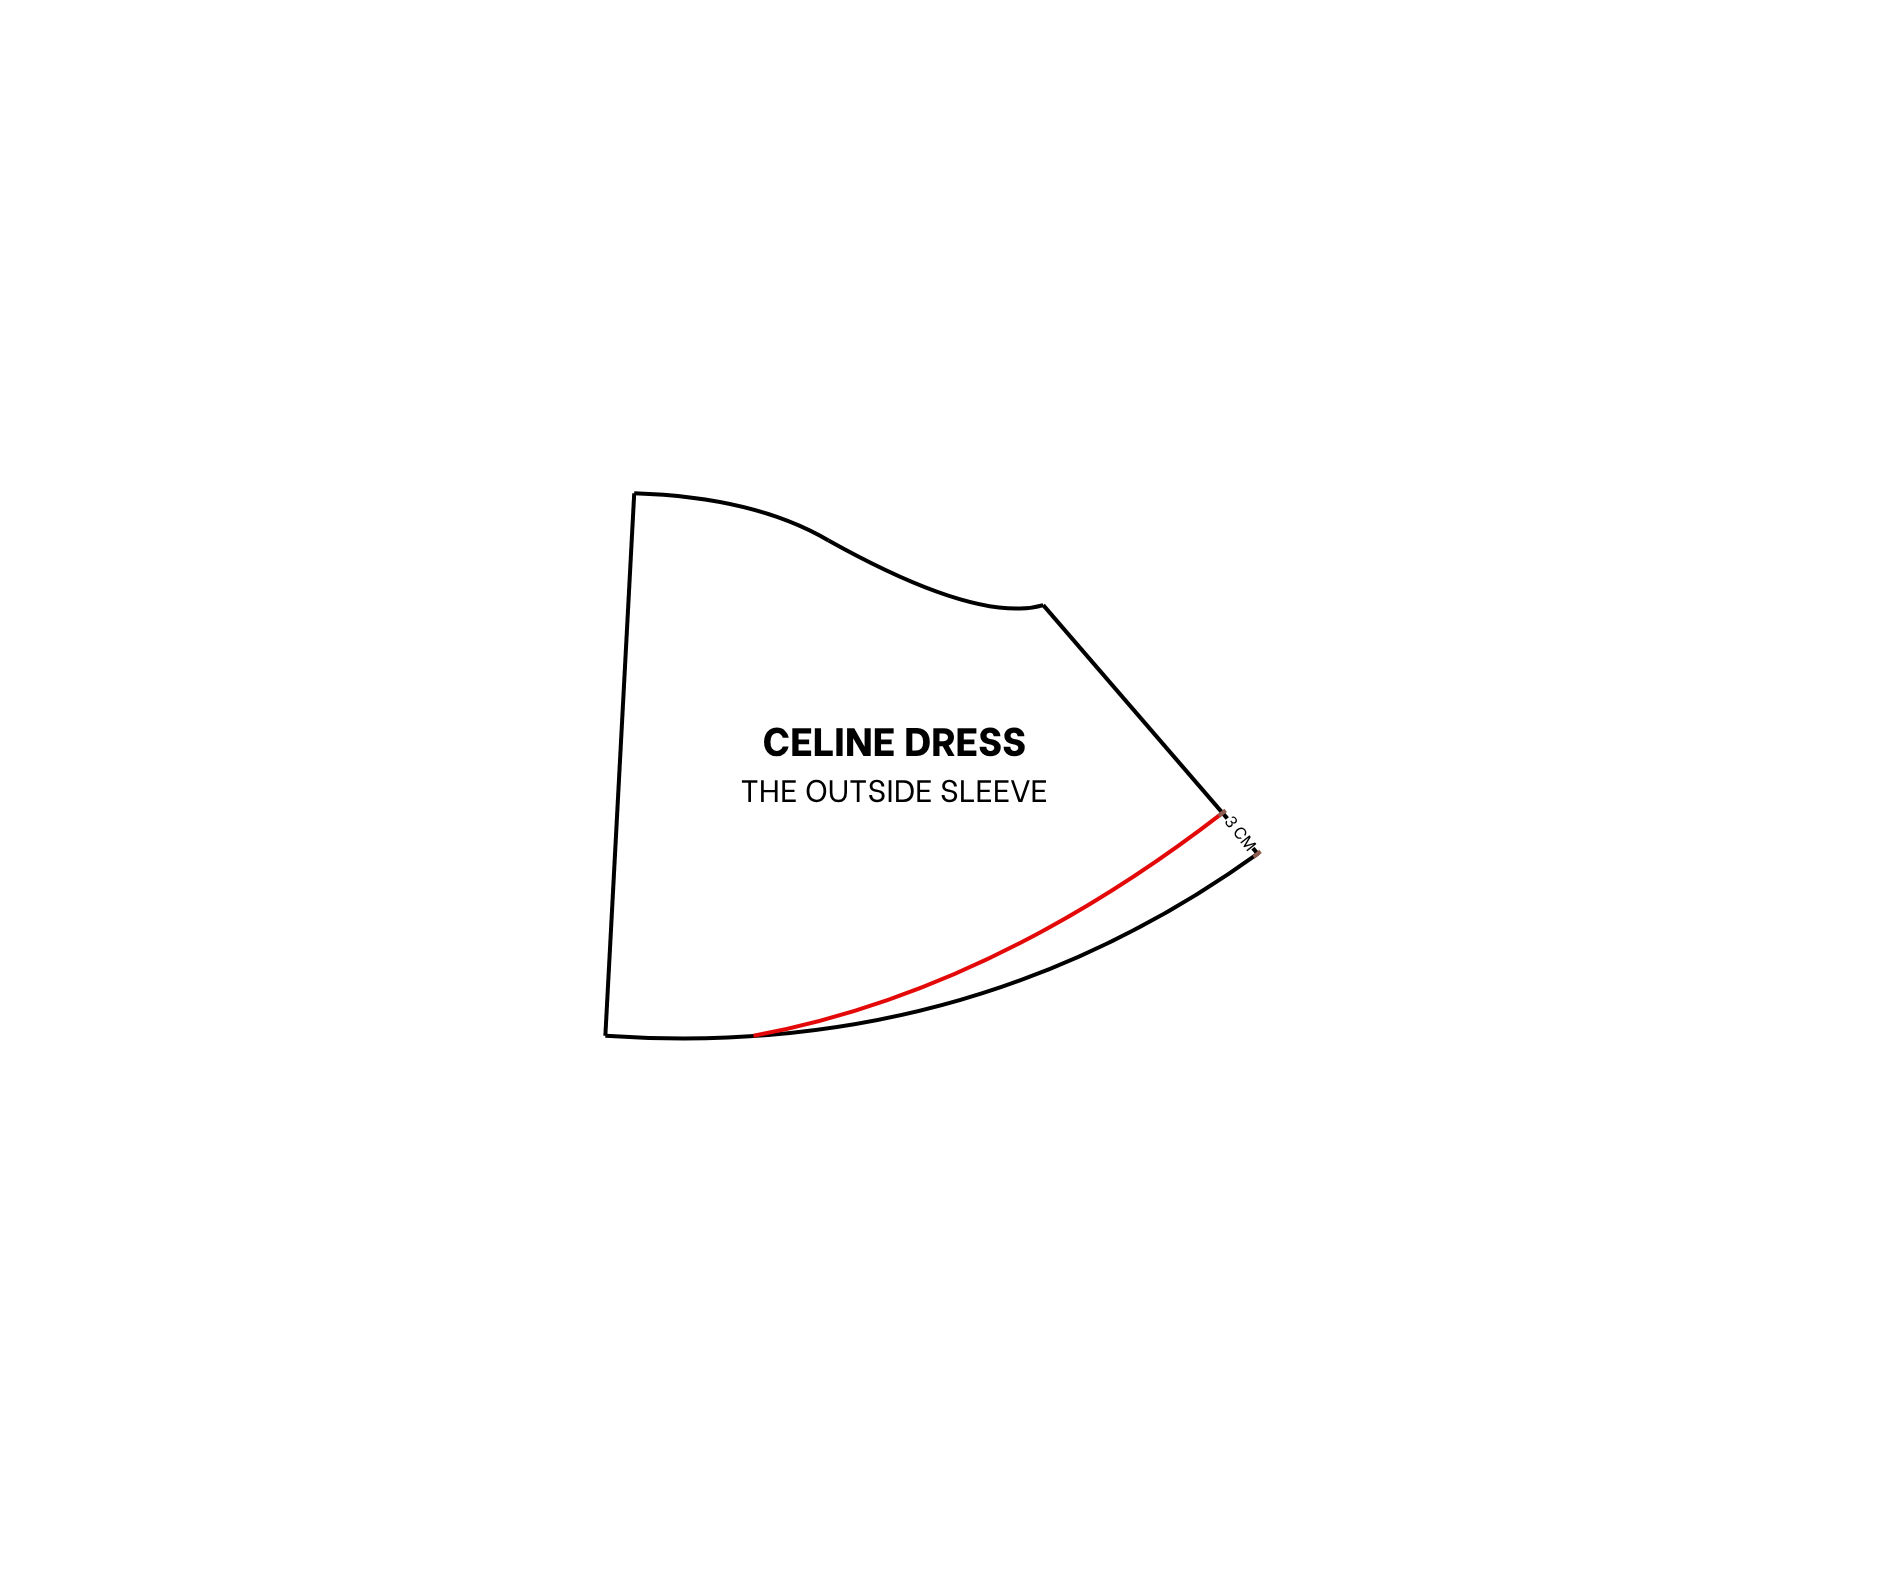
With this hack, you will use the outside sleeve pattern only. You can keep the same length for the sleeve or change it a little bit like was done here.
From the top of the shoulder at the front dress pattern, mark down 38 cm, which is the length from the shoulder to 3 cm above the belly button plus 2 cm for seam allowance.
After that, draw a line to that mark and parallel with the ending line.
The new front dress pattern will be ready after cutting.
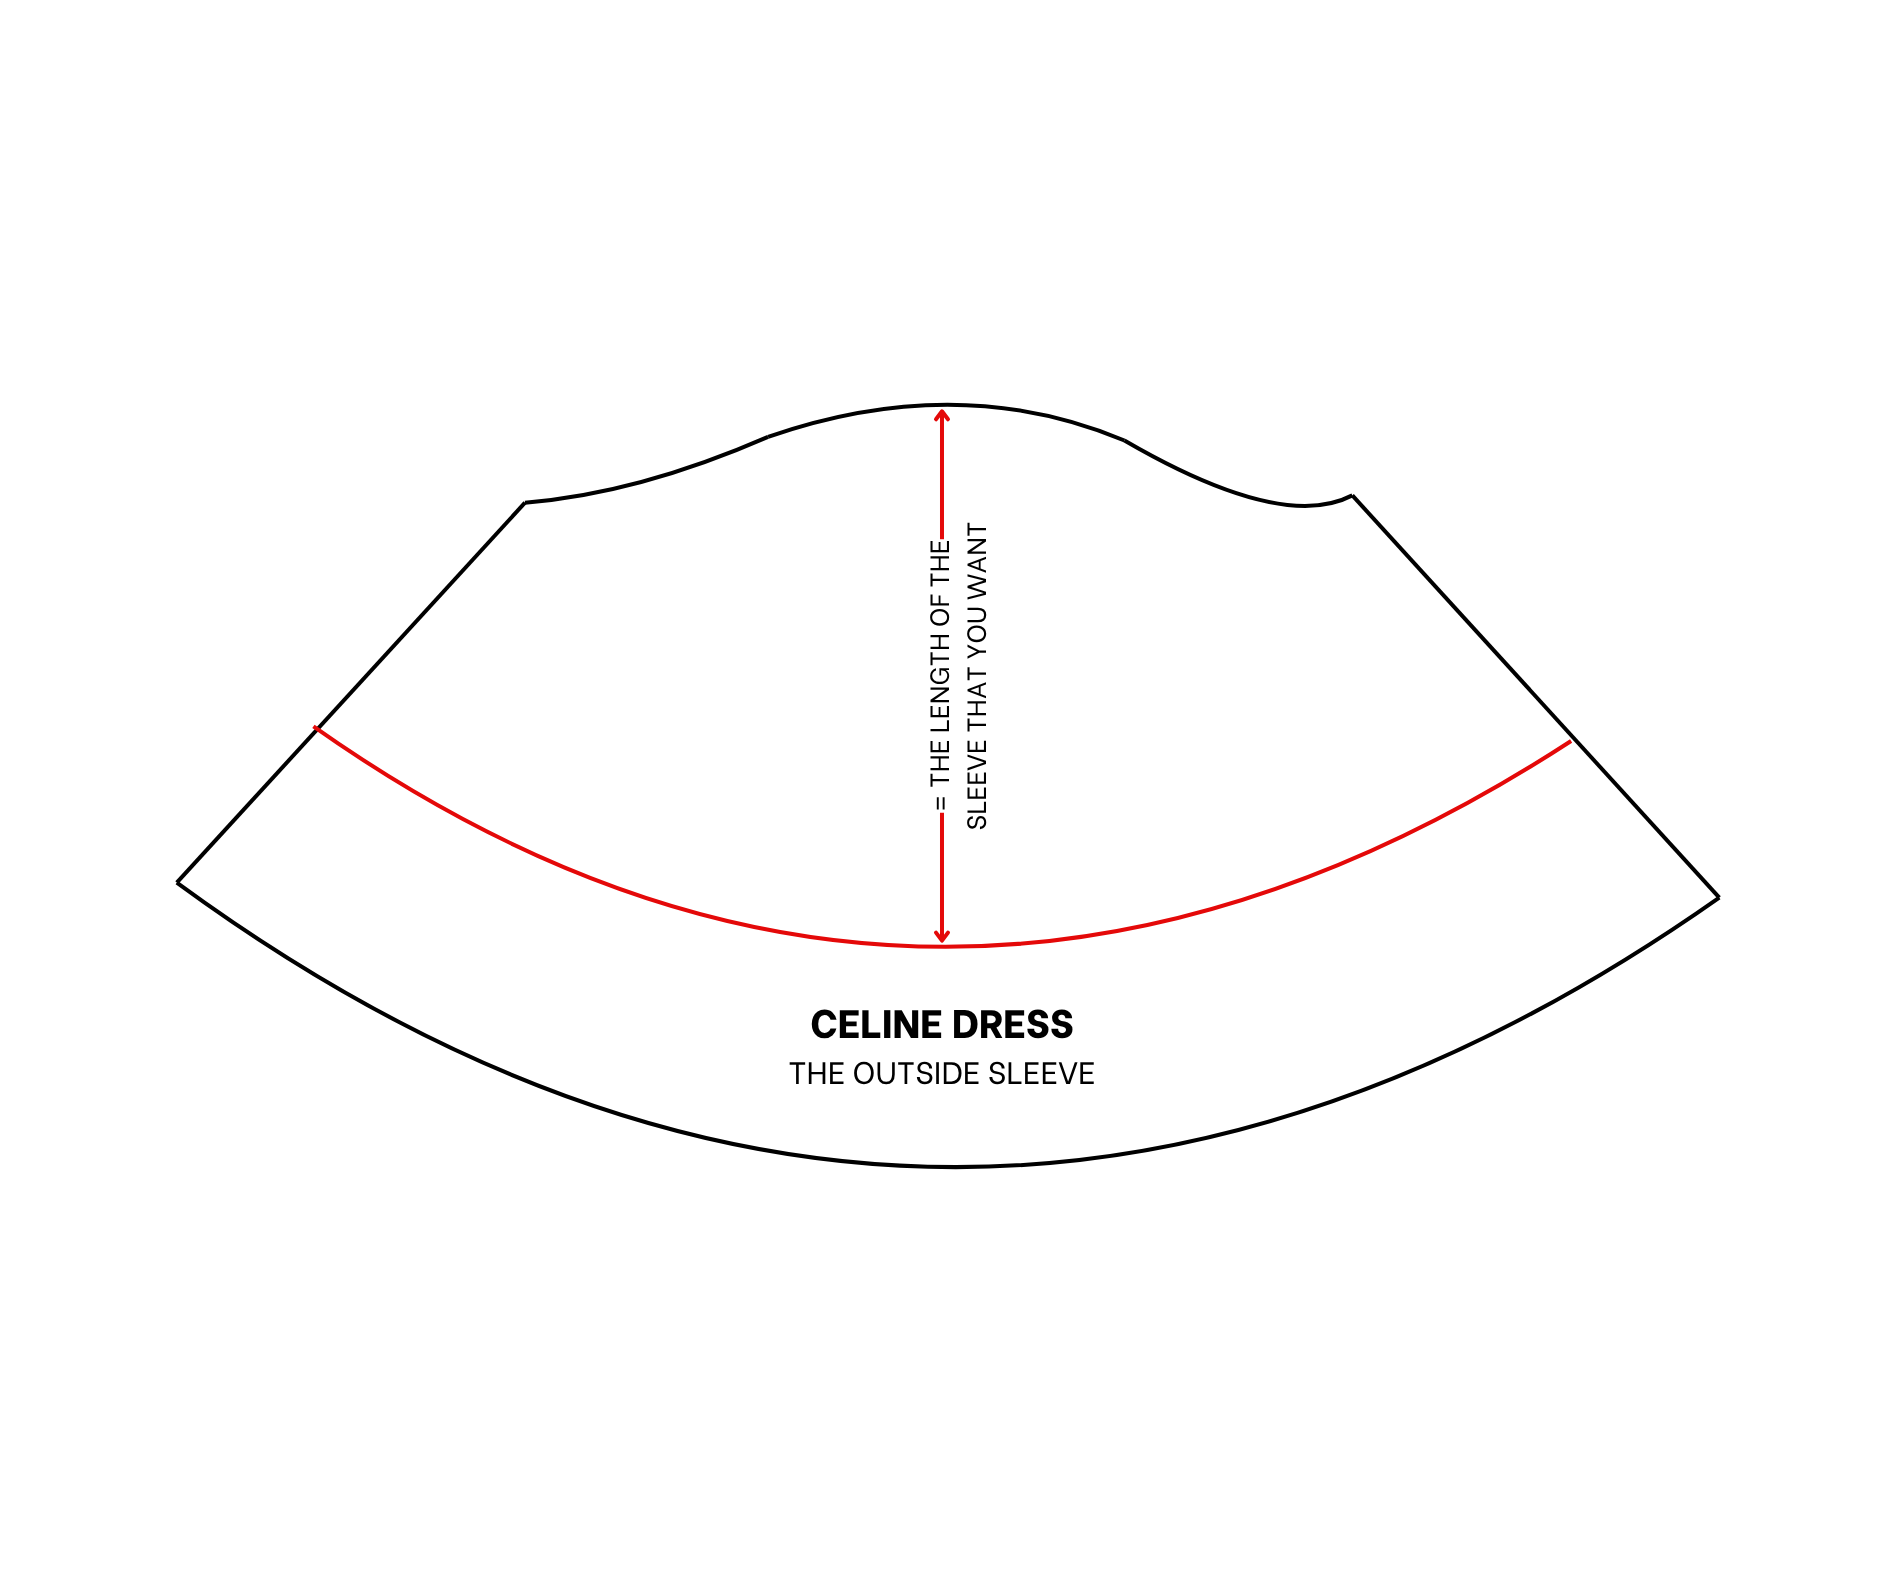
4. After cutting, fold the pattern in half first.
5. At the end of the underarm line, mark up 3 cm.
6. Then, redraw the new ending line for the sleeve pattern.
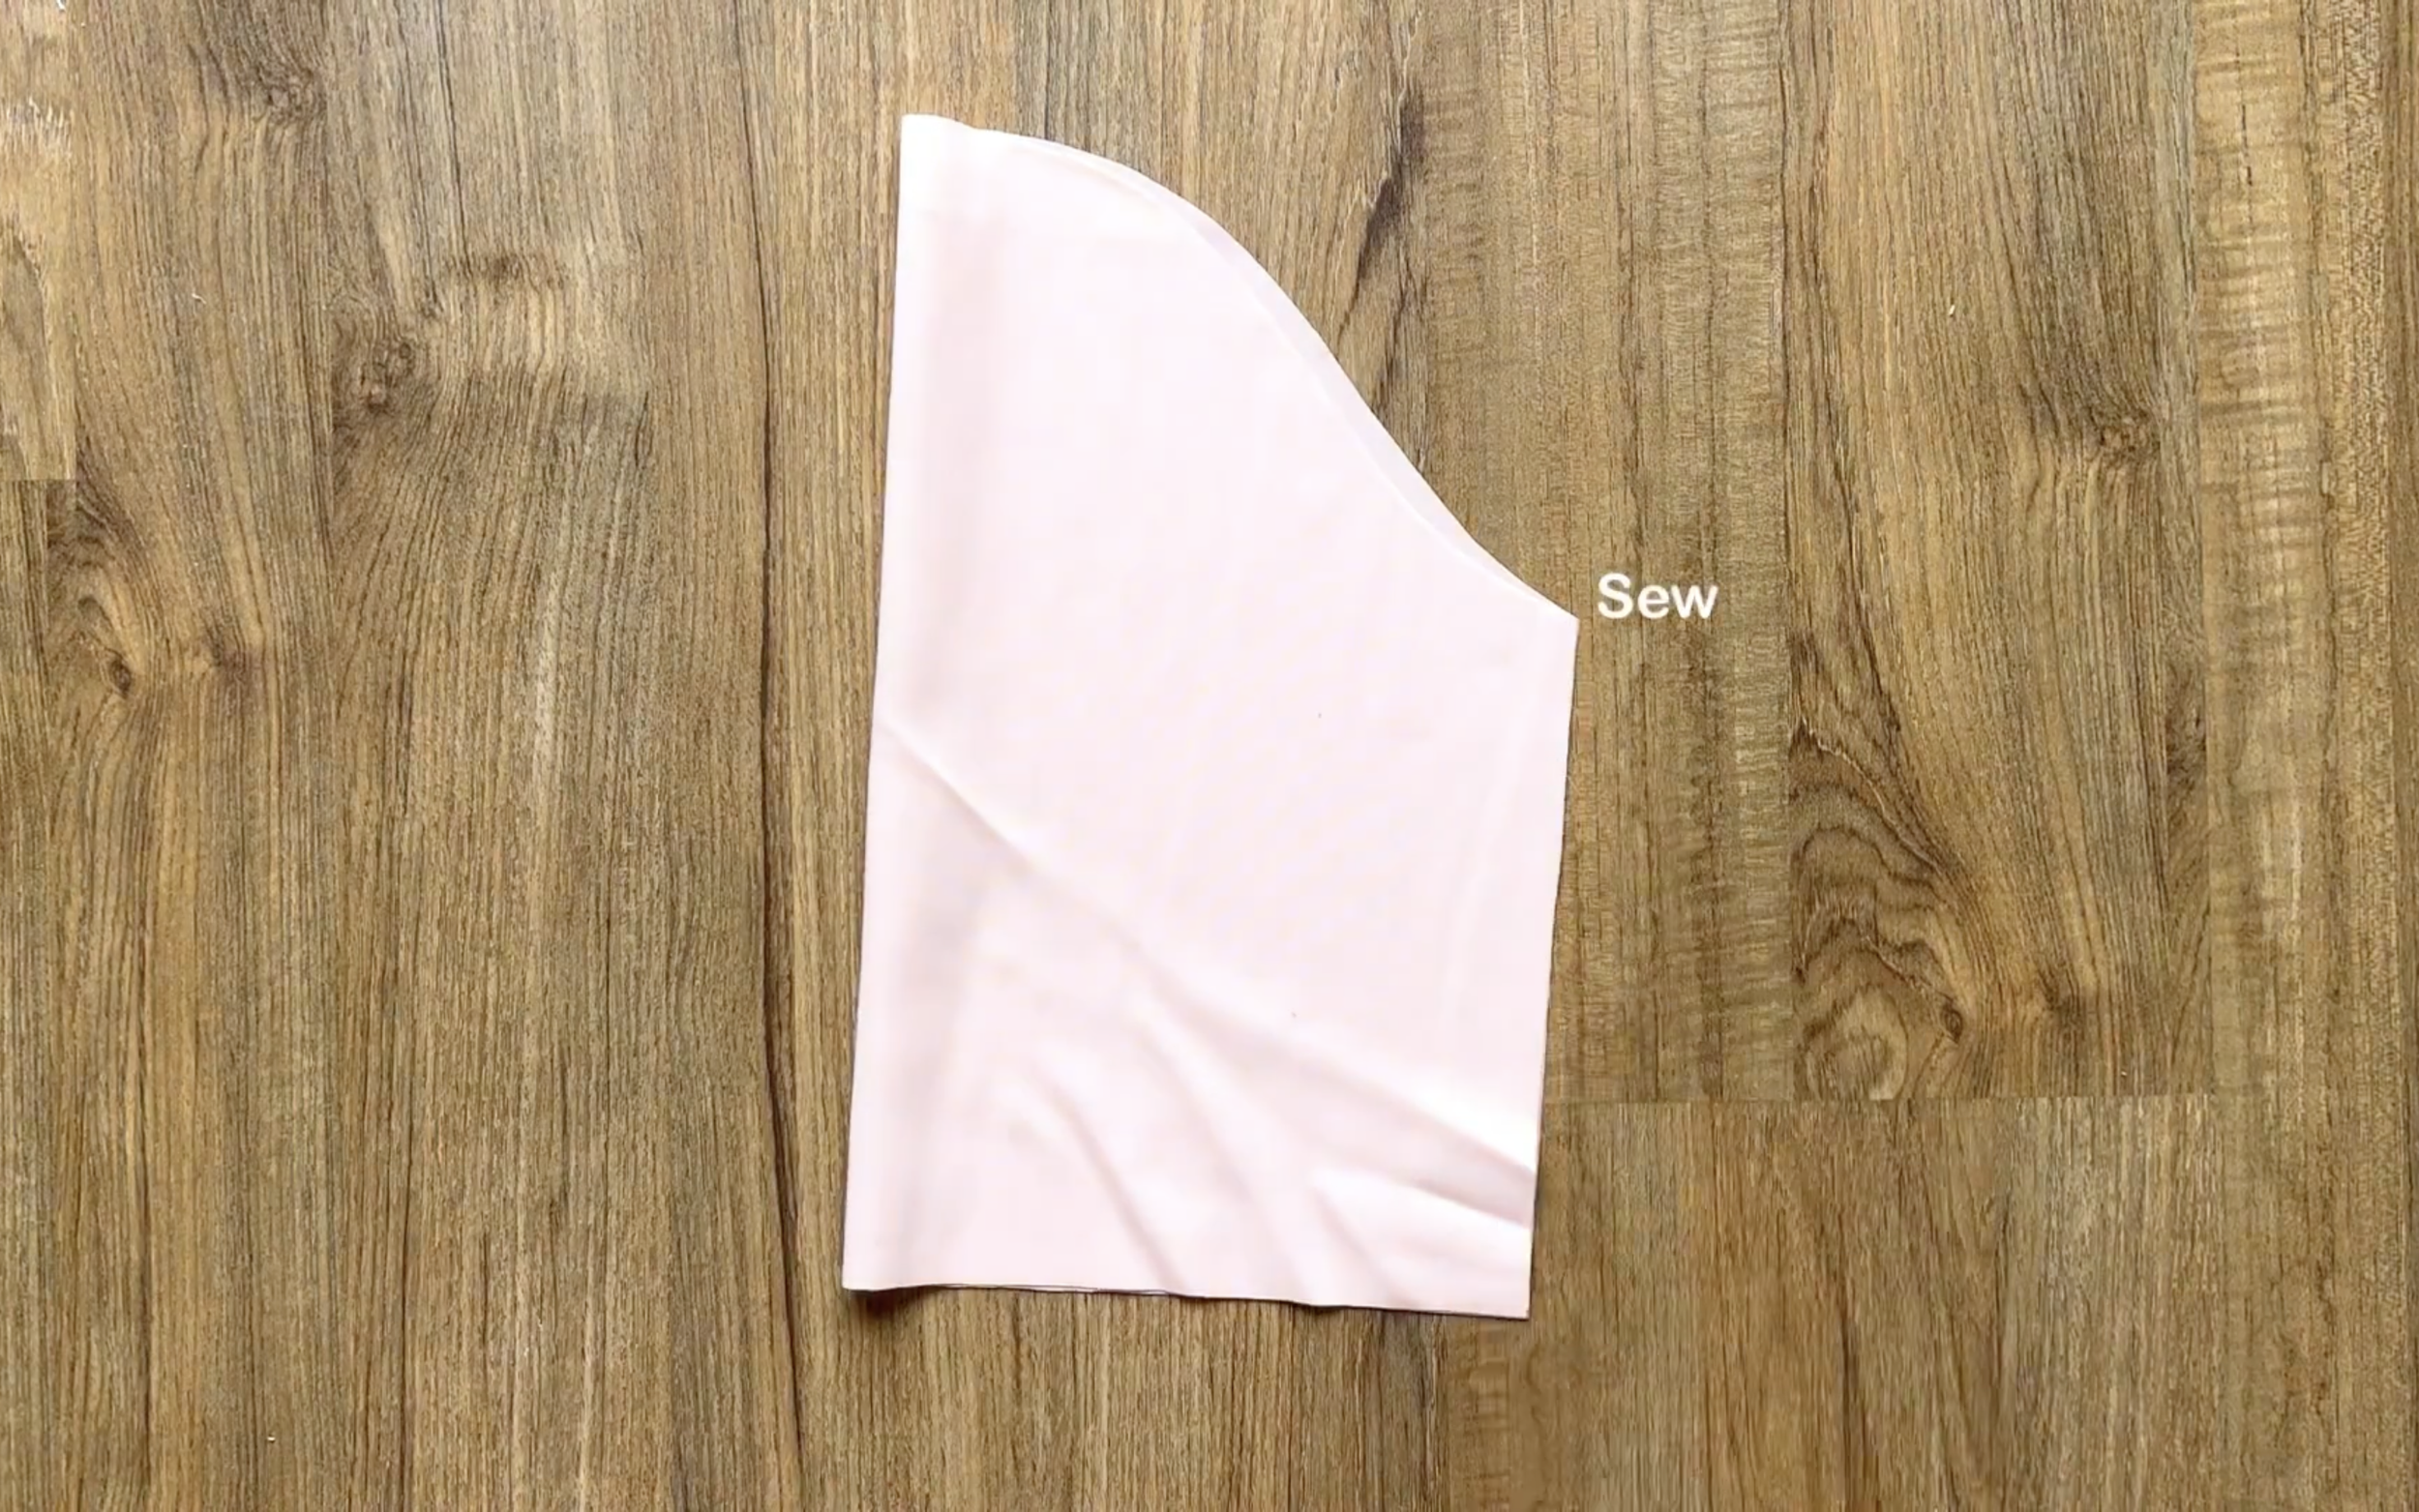
7. Here is the final sleeve pattern after cutting.
SEWING THE DRESS
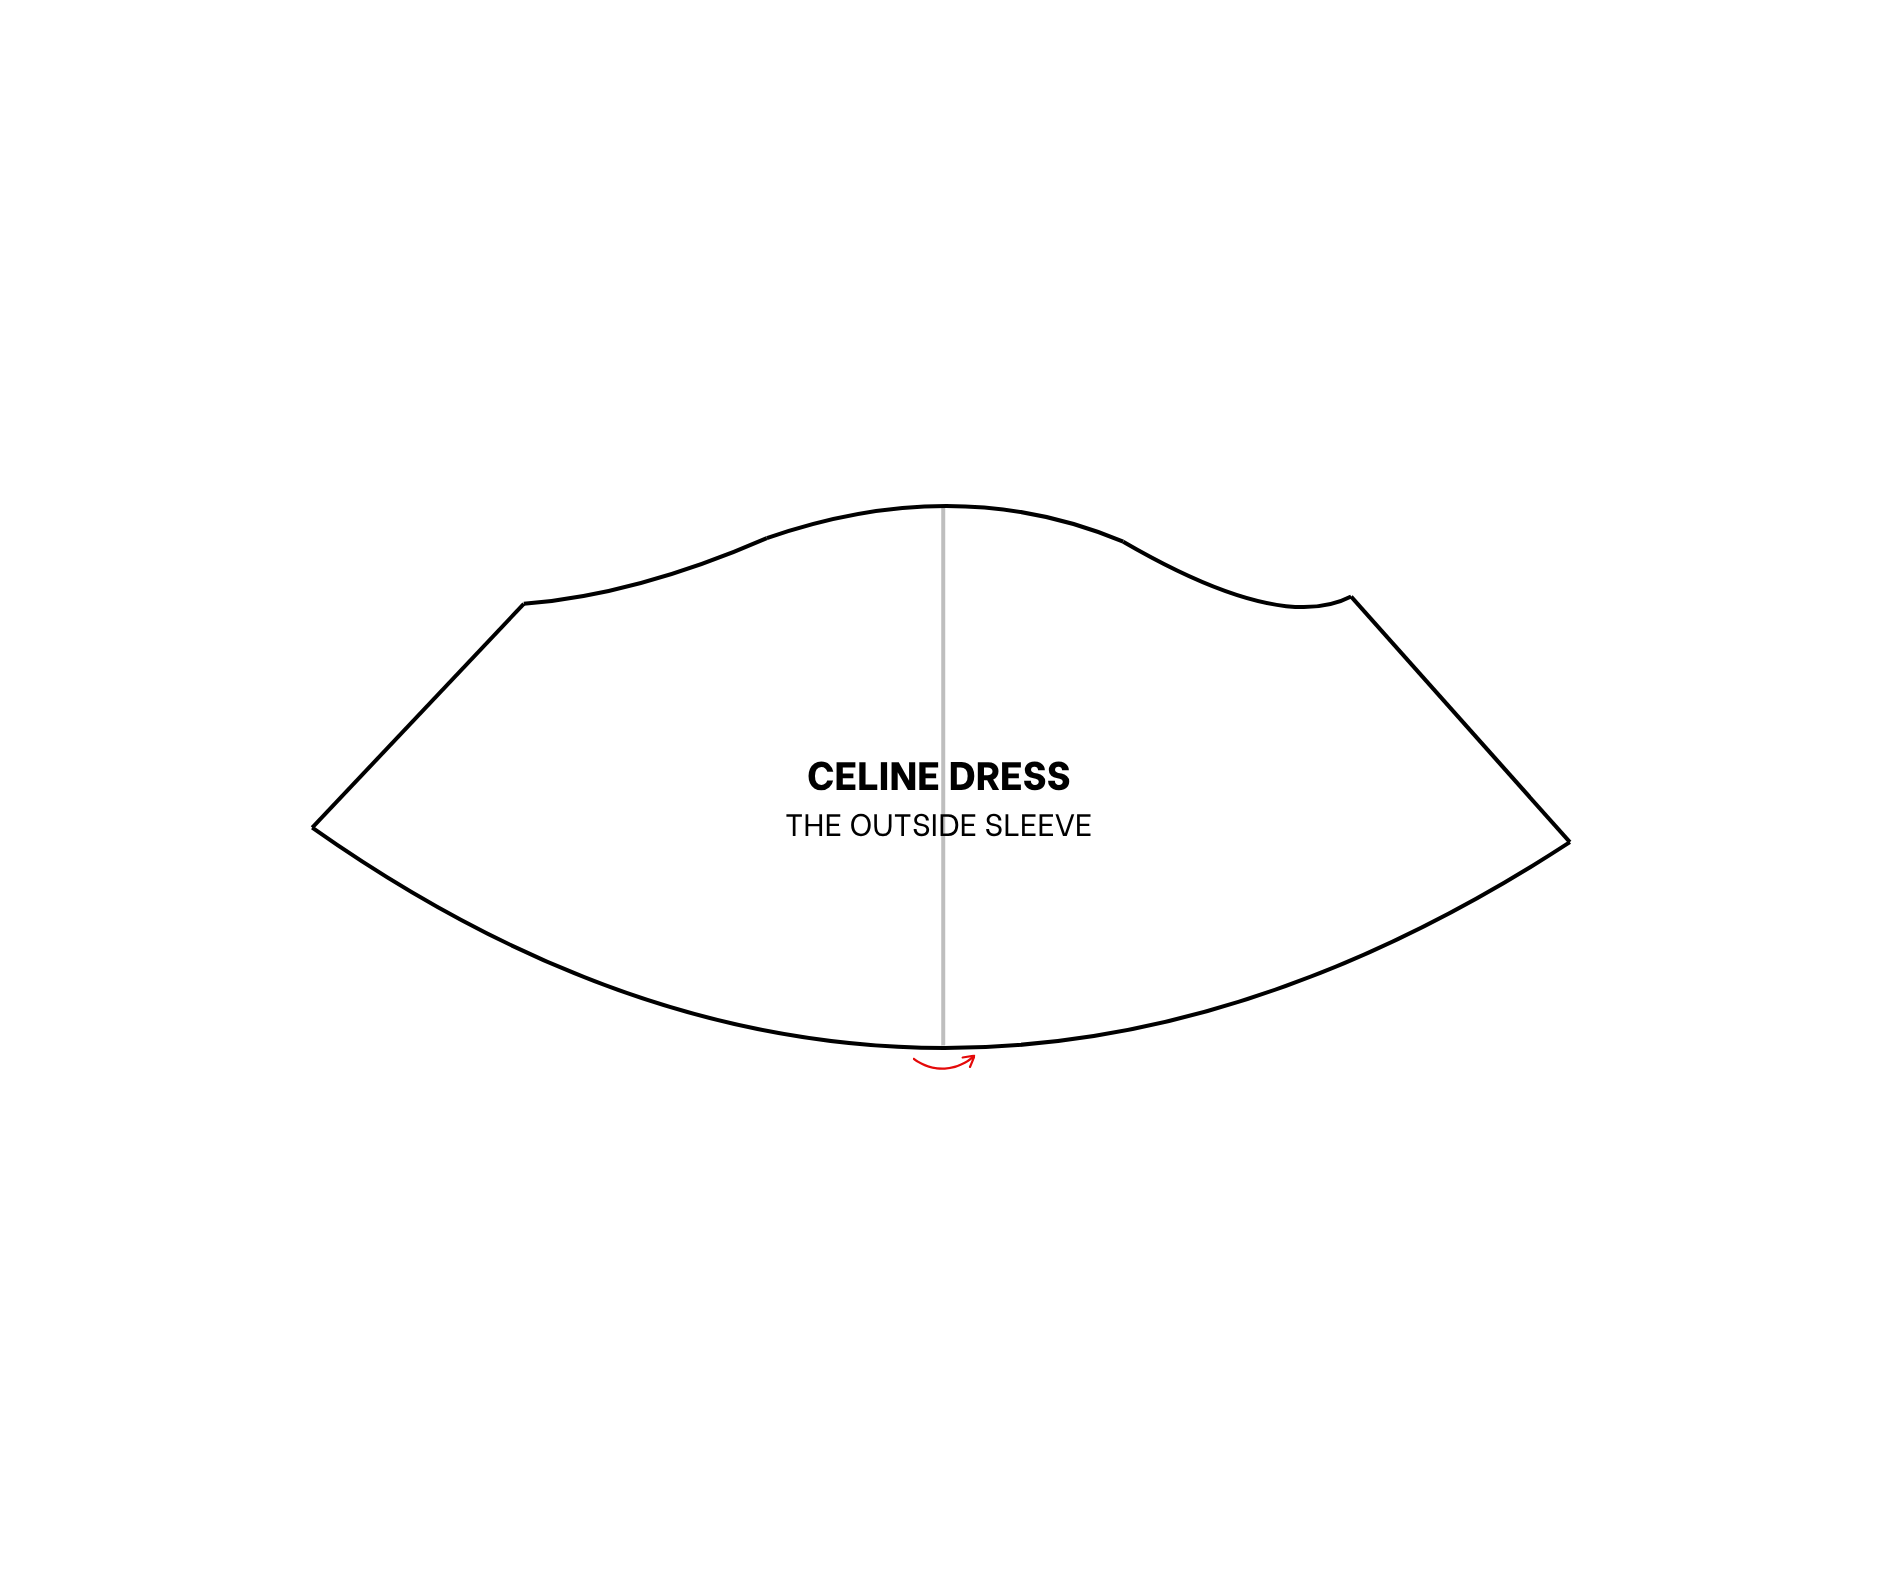
Connect the two underarm lines of the sleeve together first.
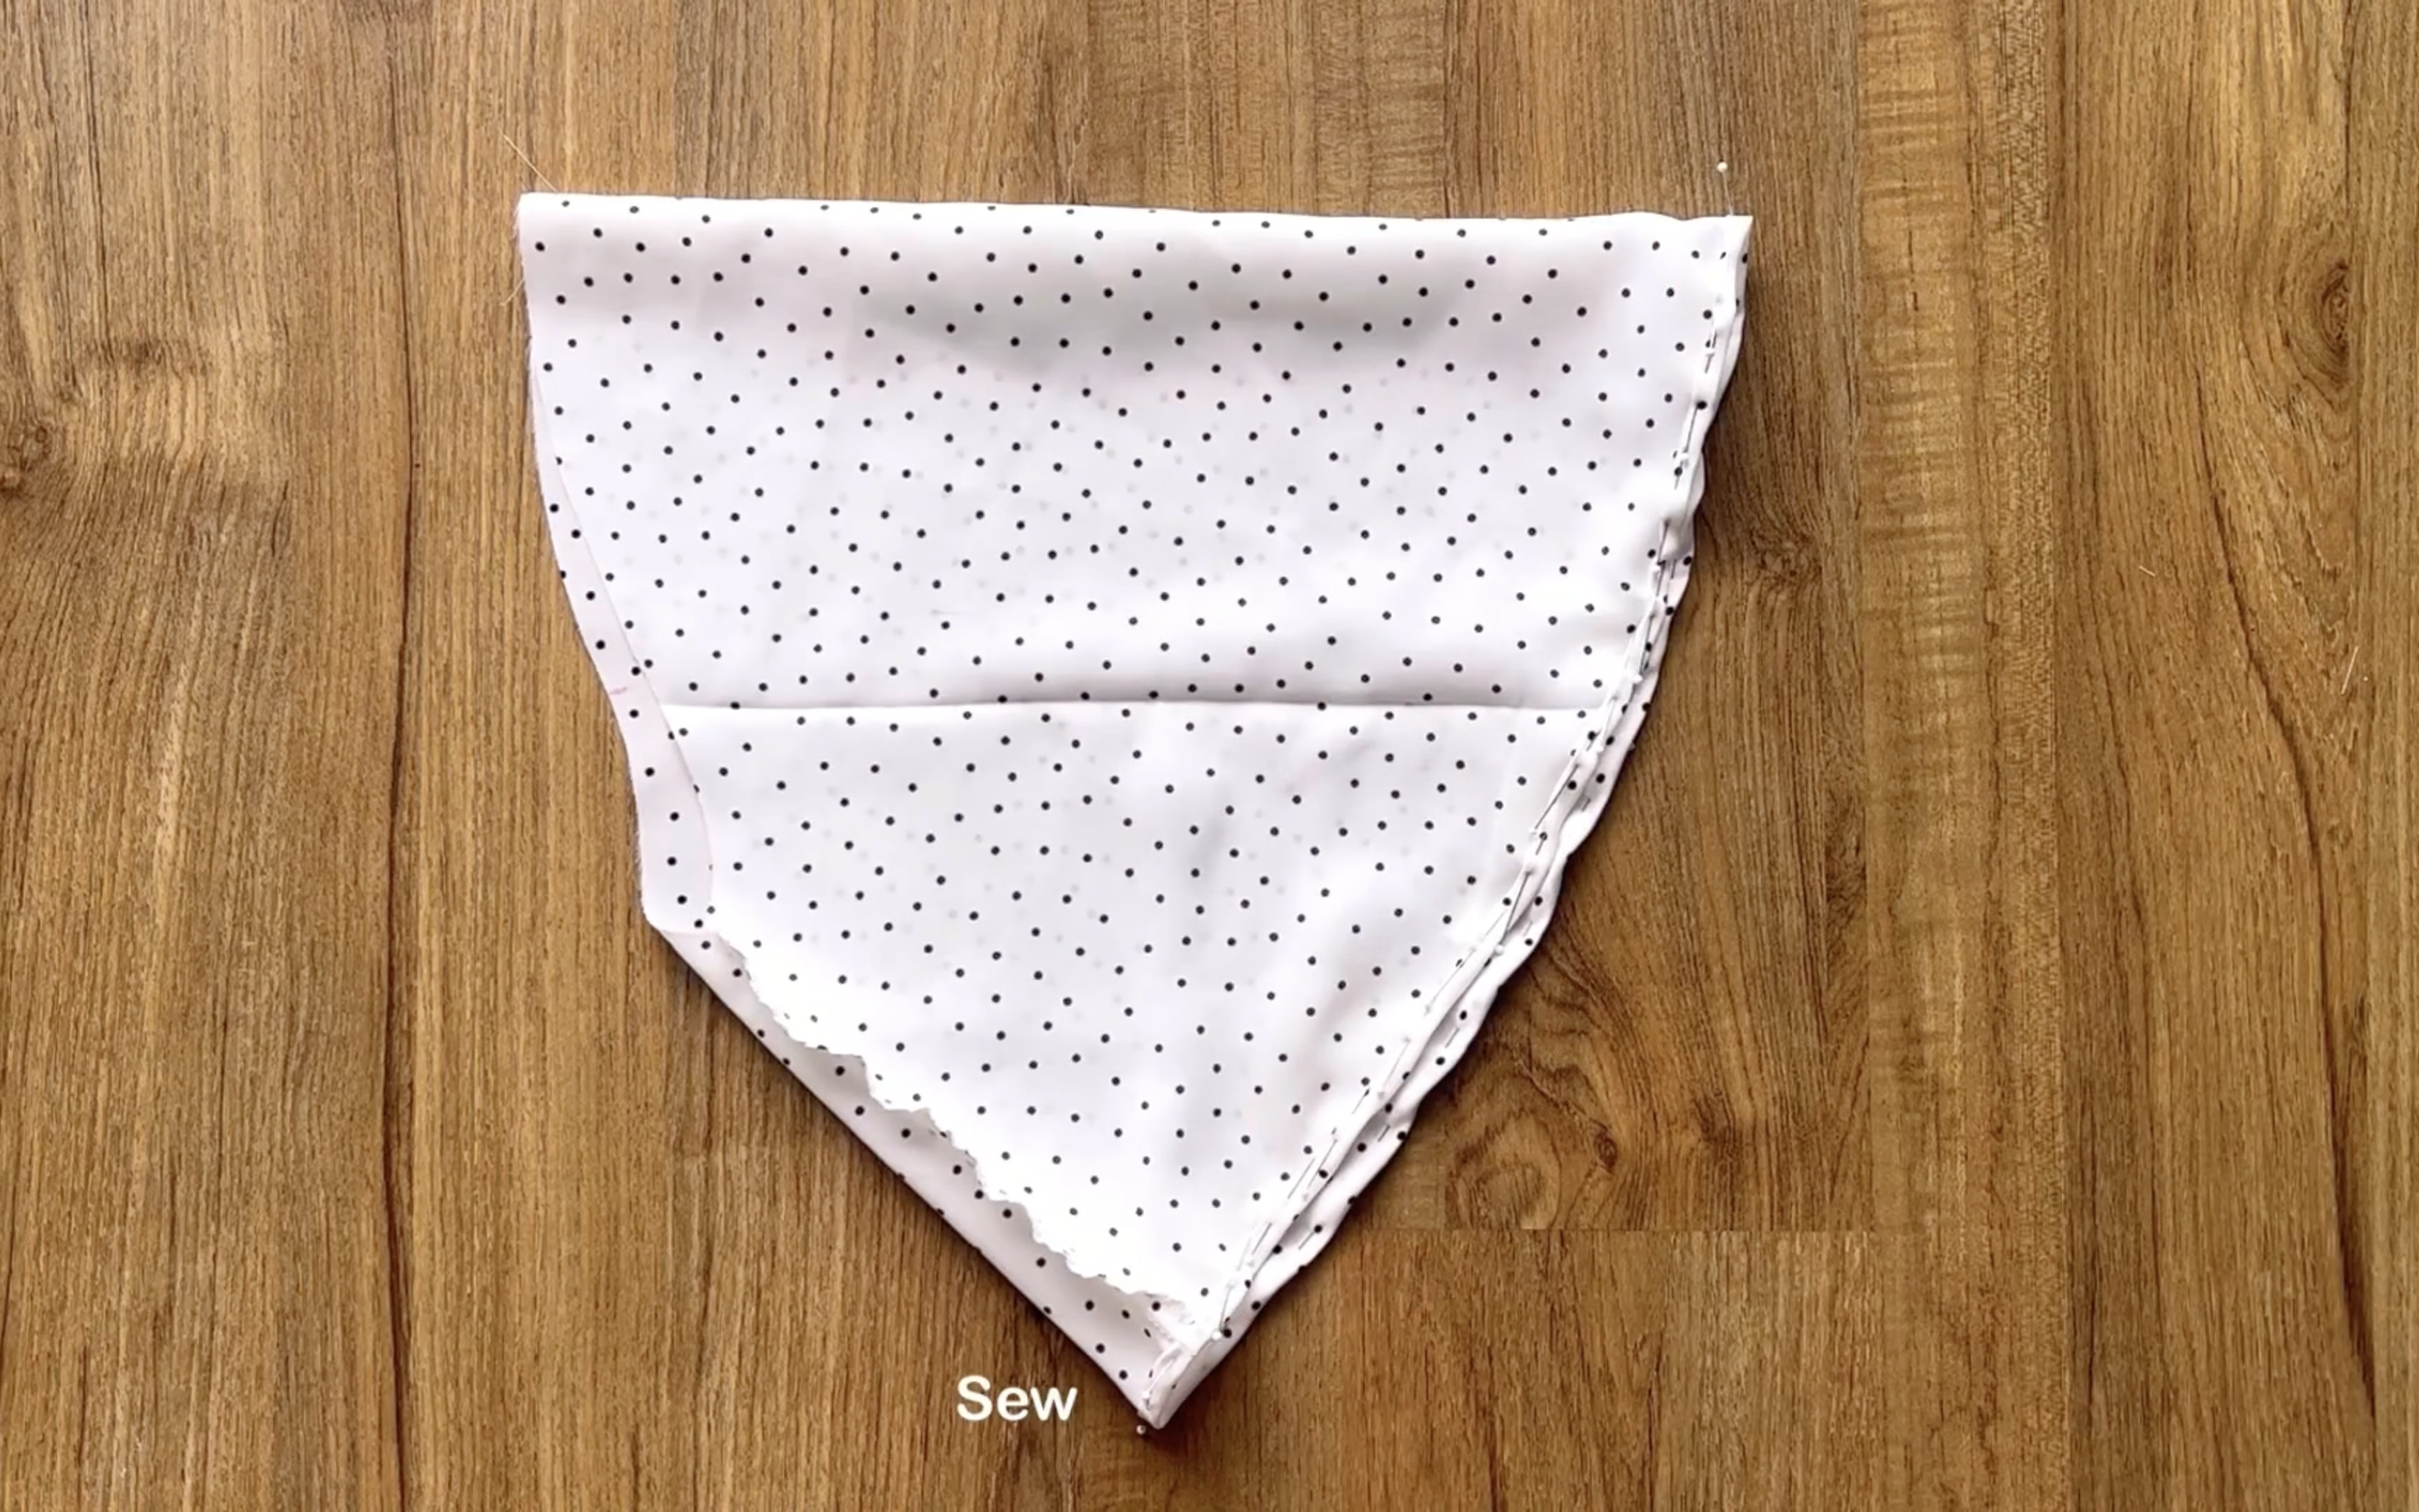
Then, finish the ending line of the sleeve by folding the end fabric inside two times with 0.5 cm each time and sewing.
Here is the final look of the sleeve after all.
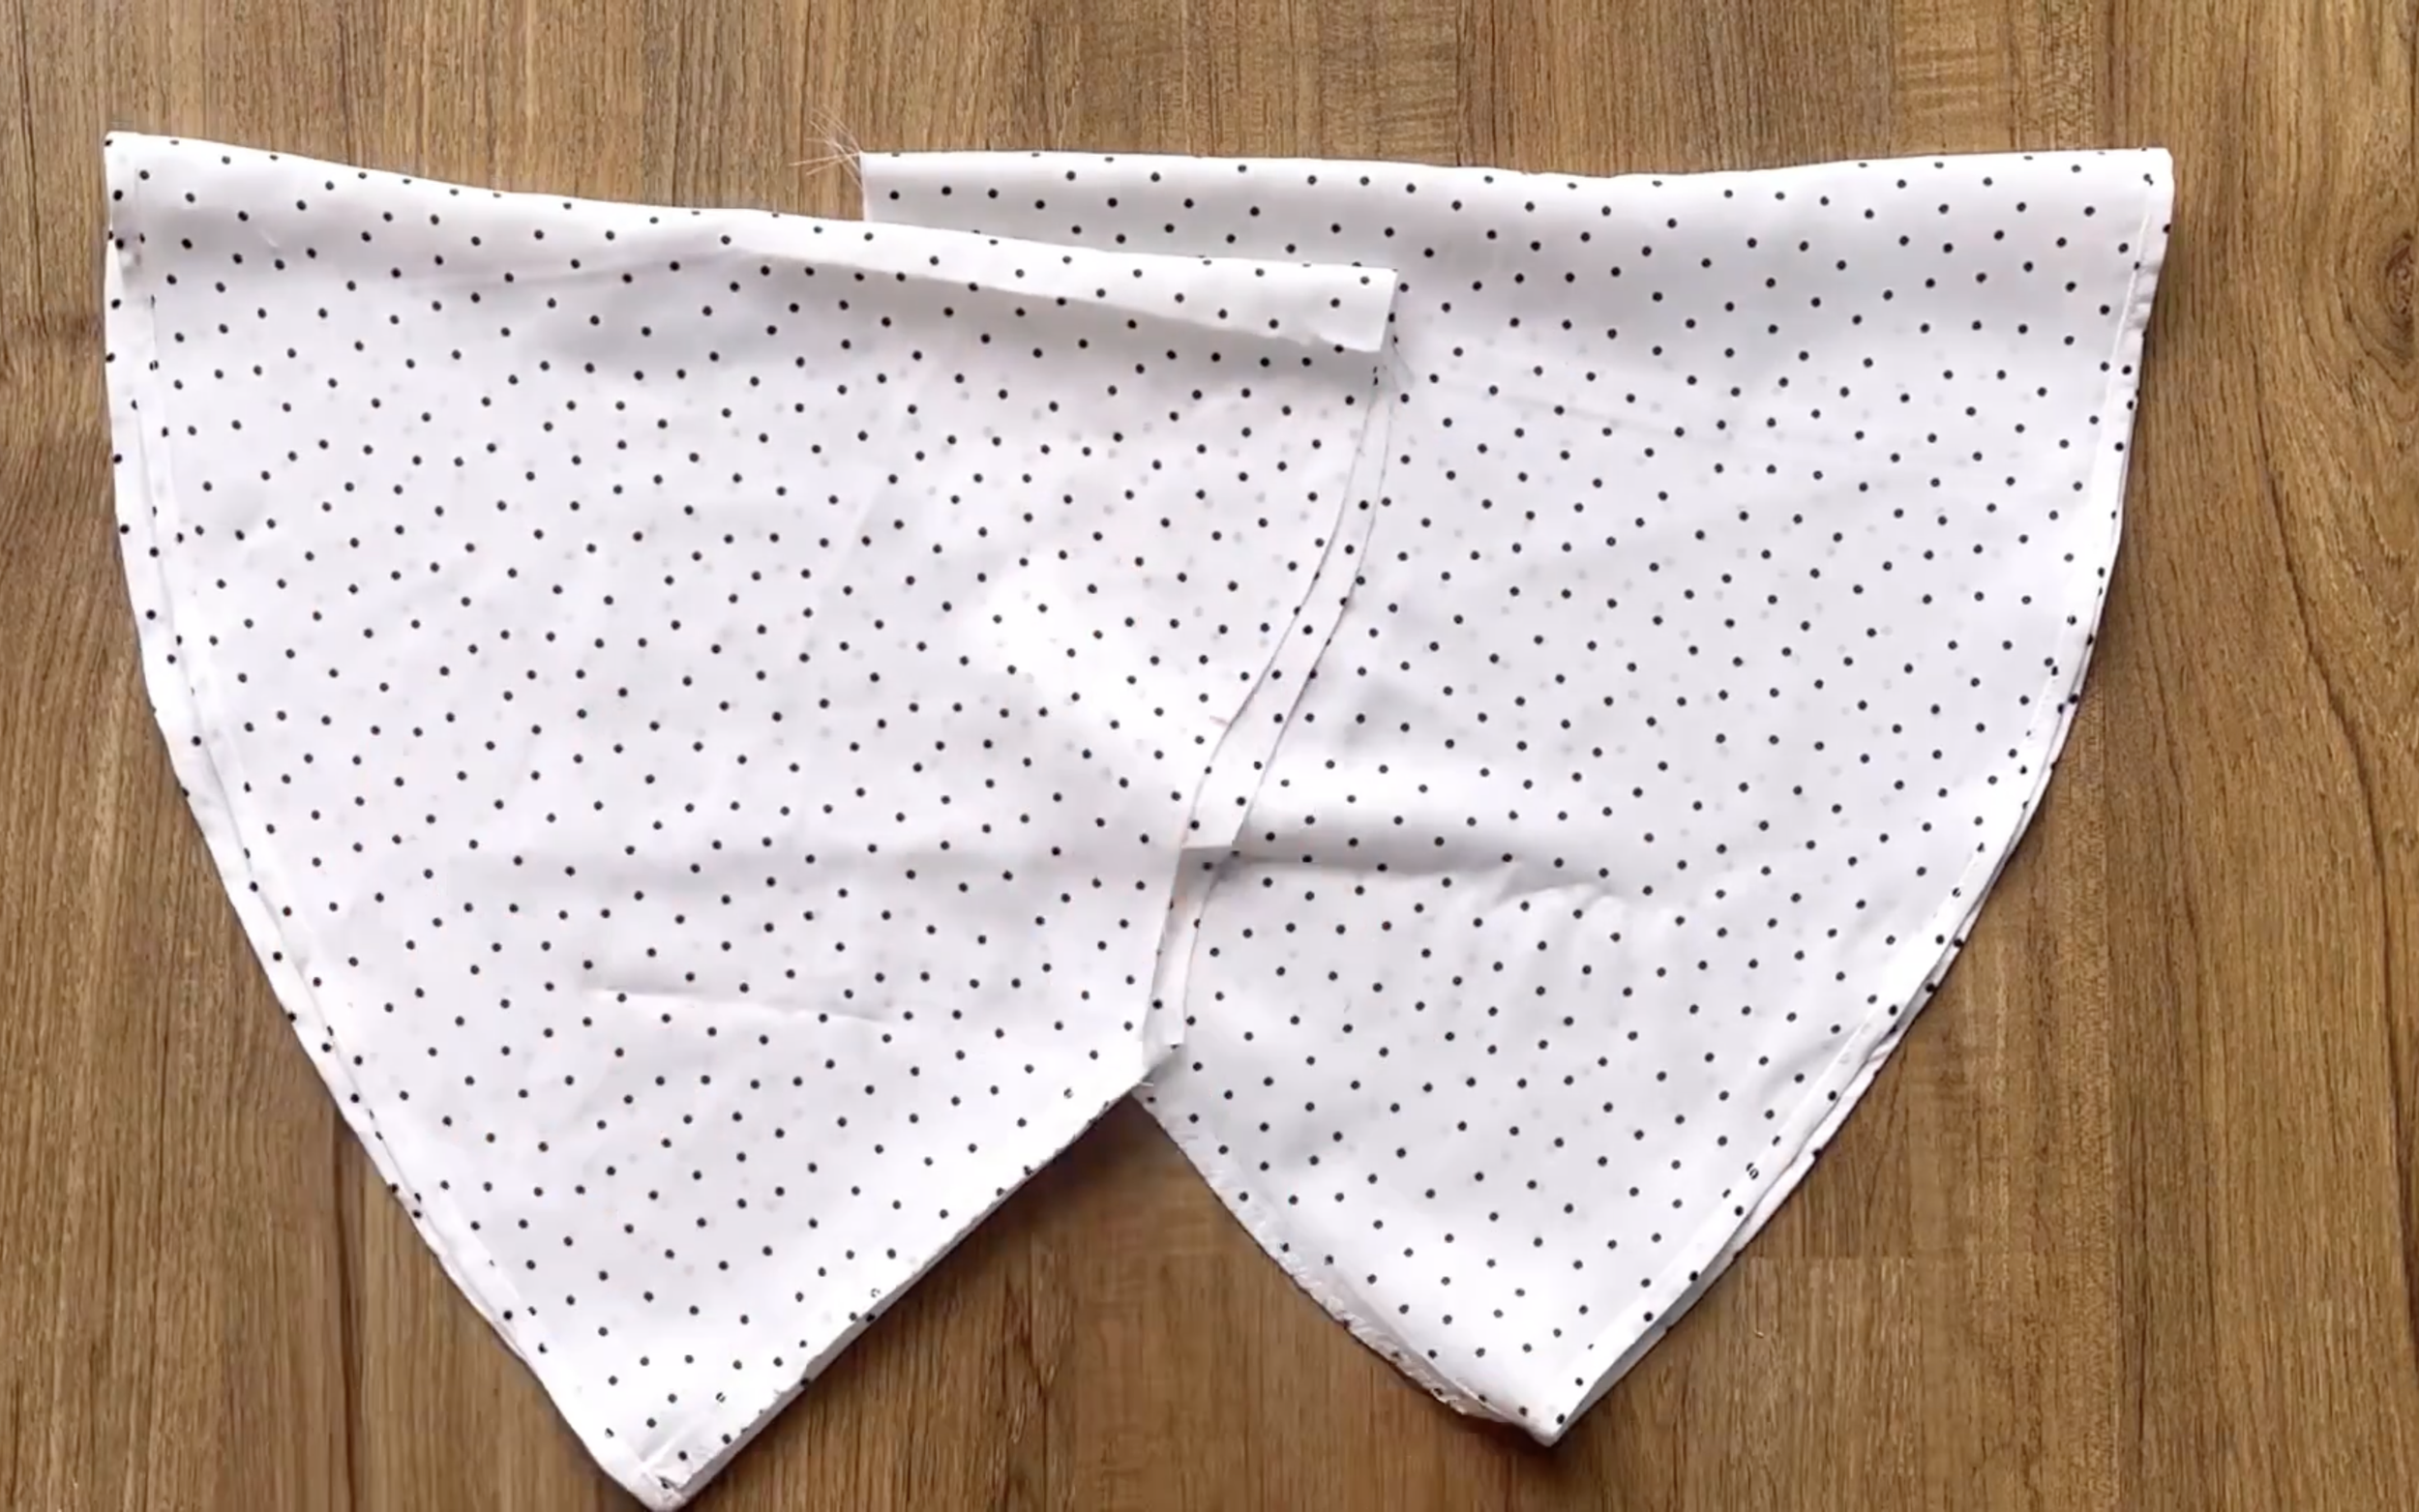
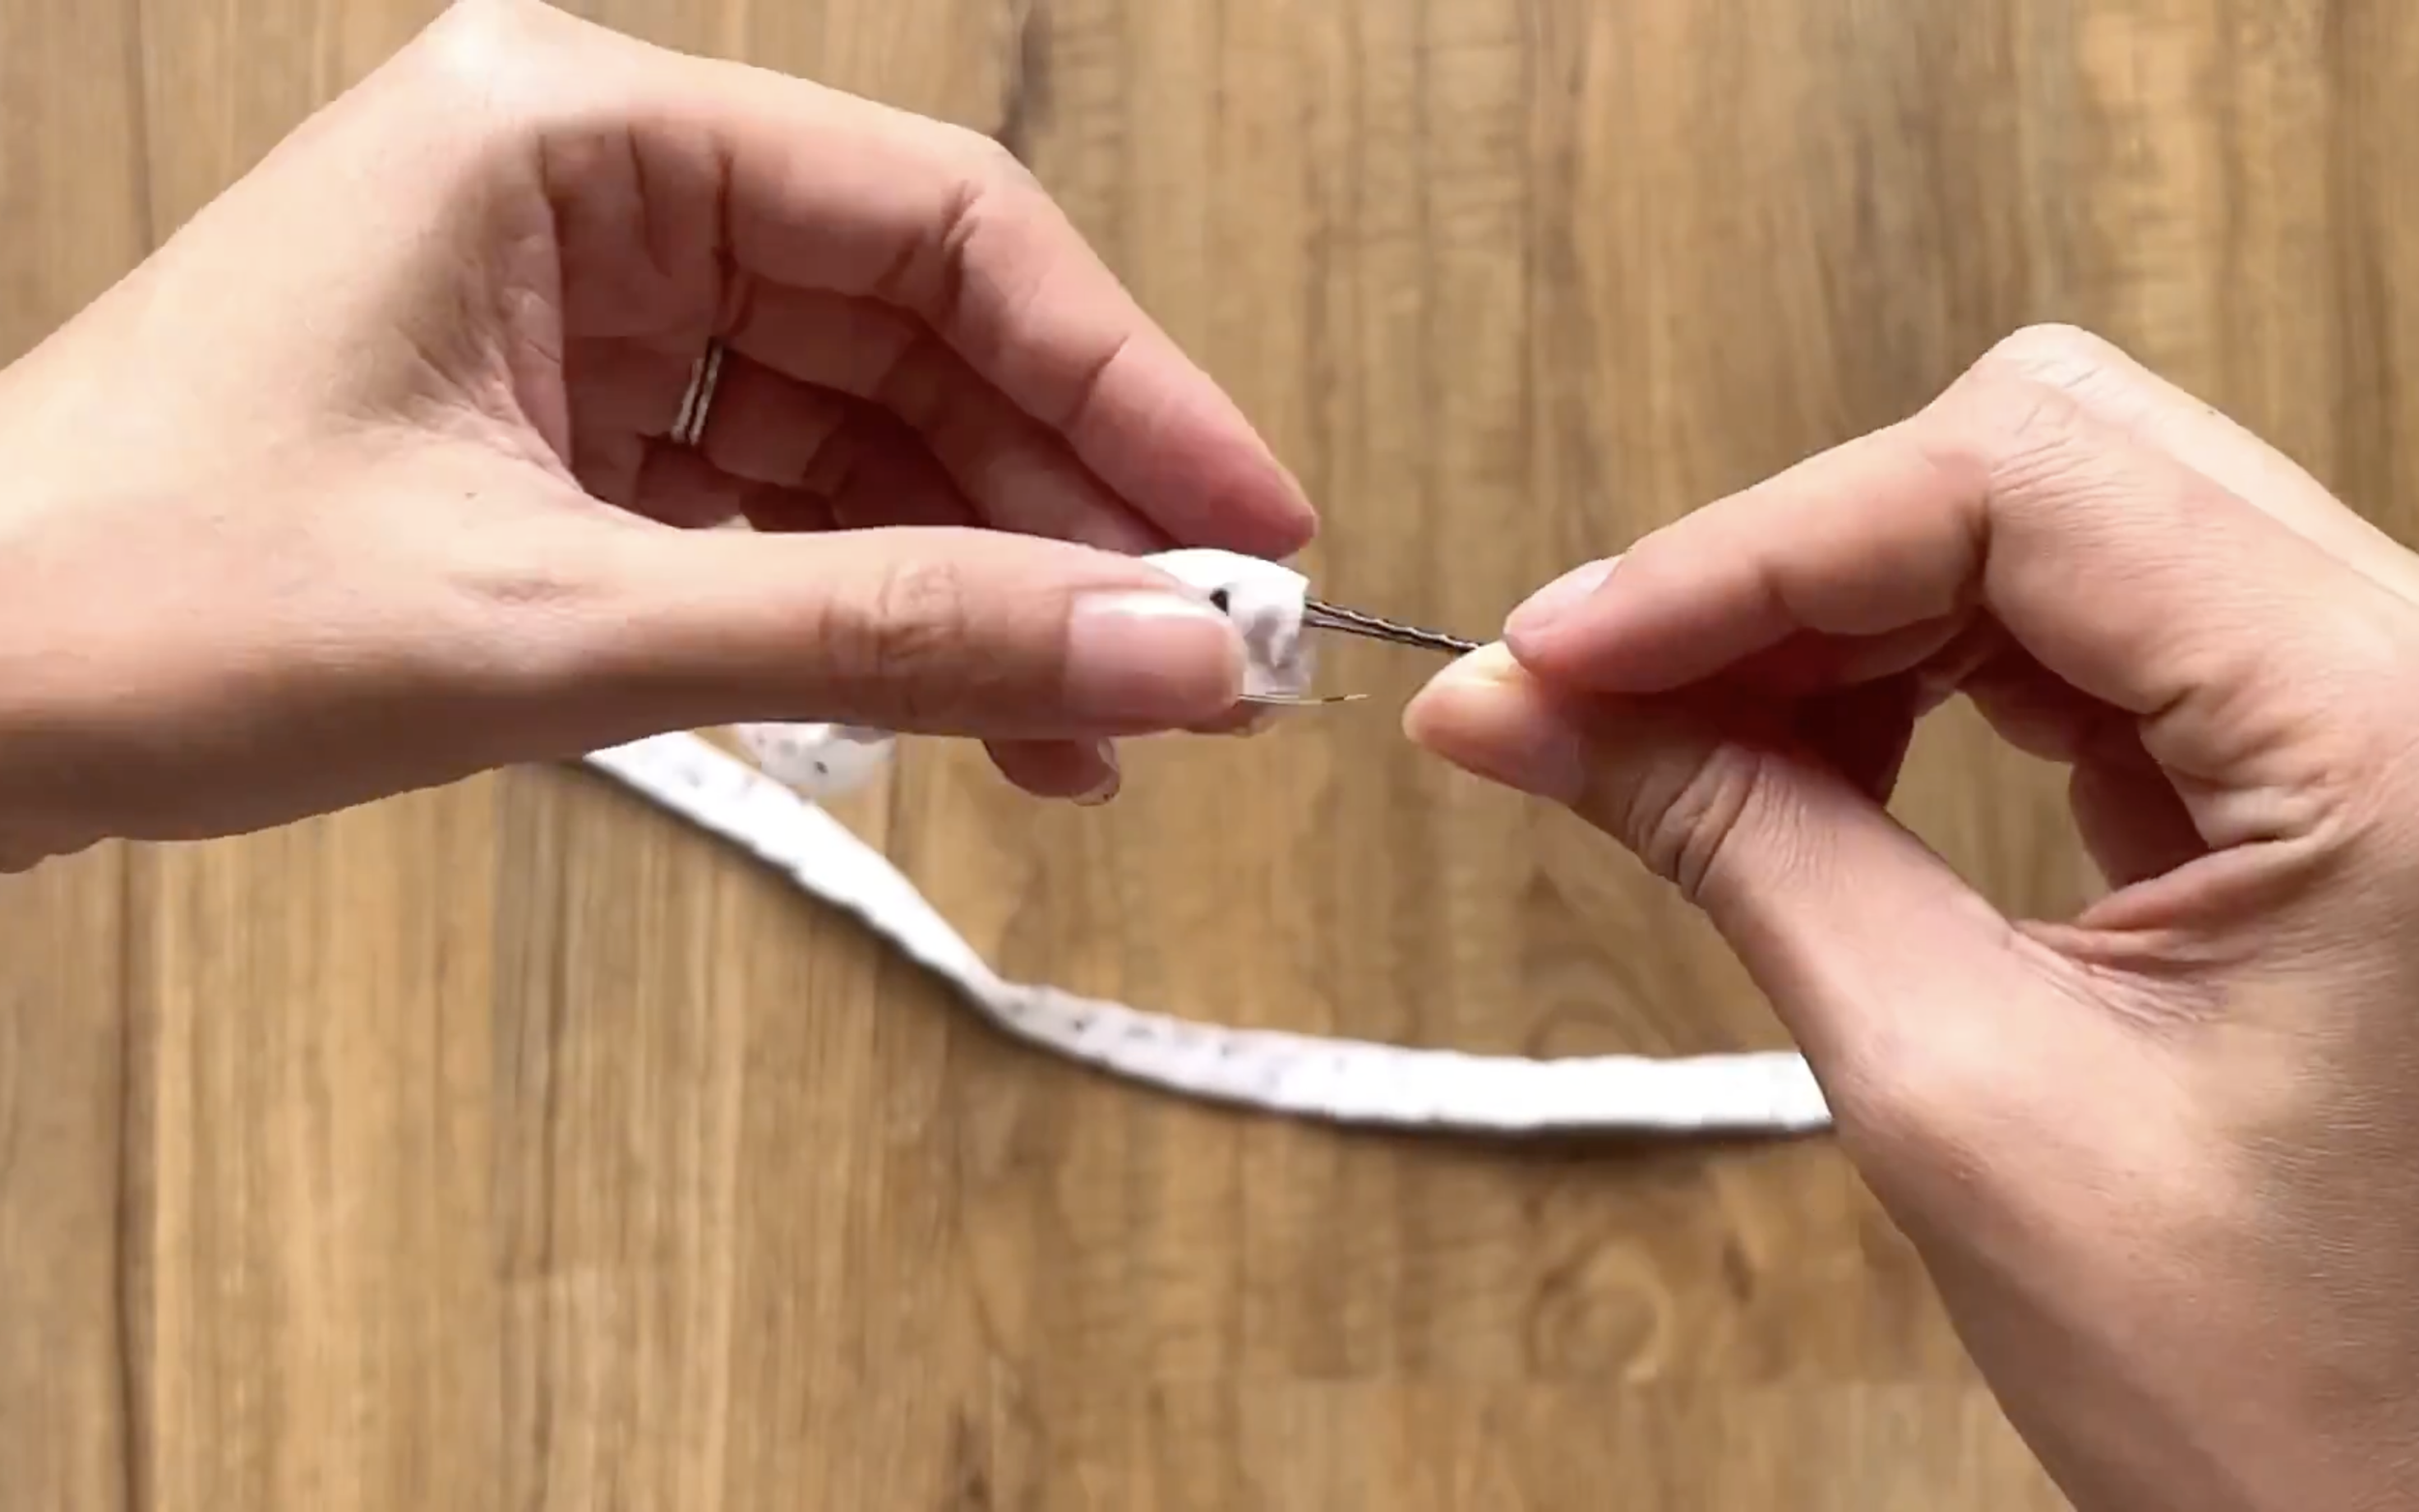
To create a fitted look at the waist for this dress, add two ties at two sidelines of the dress.
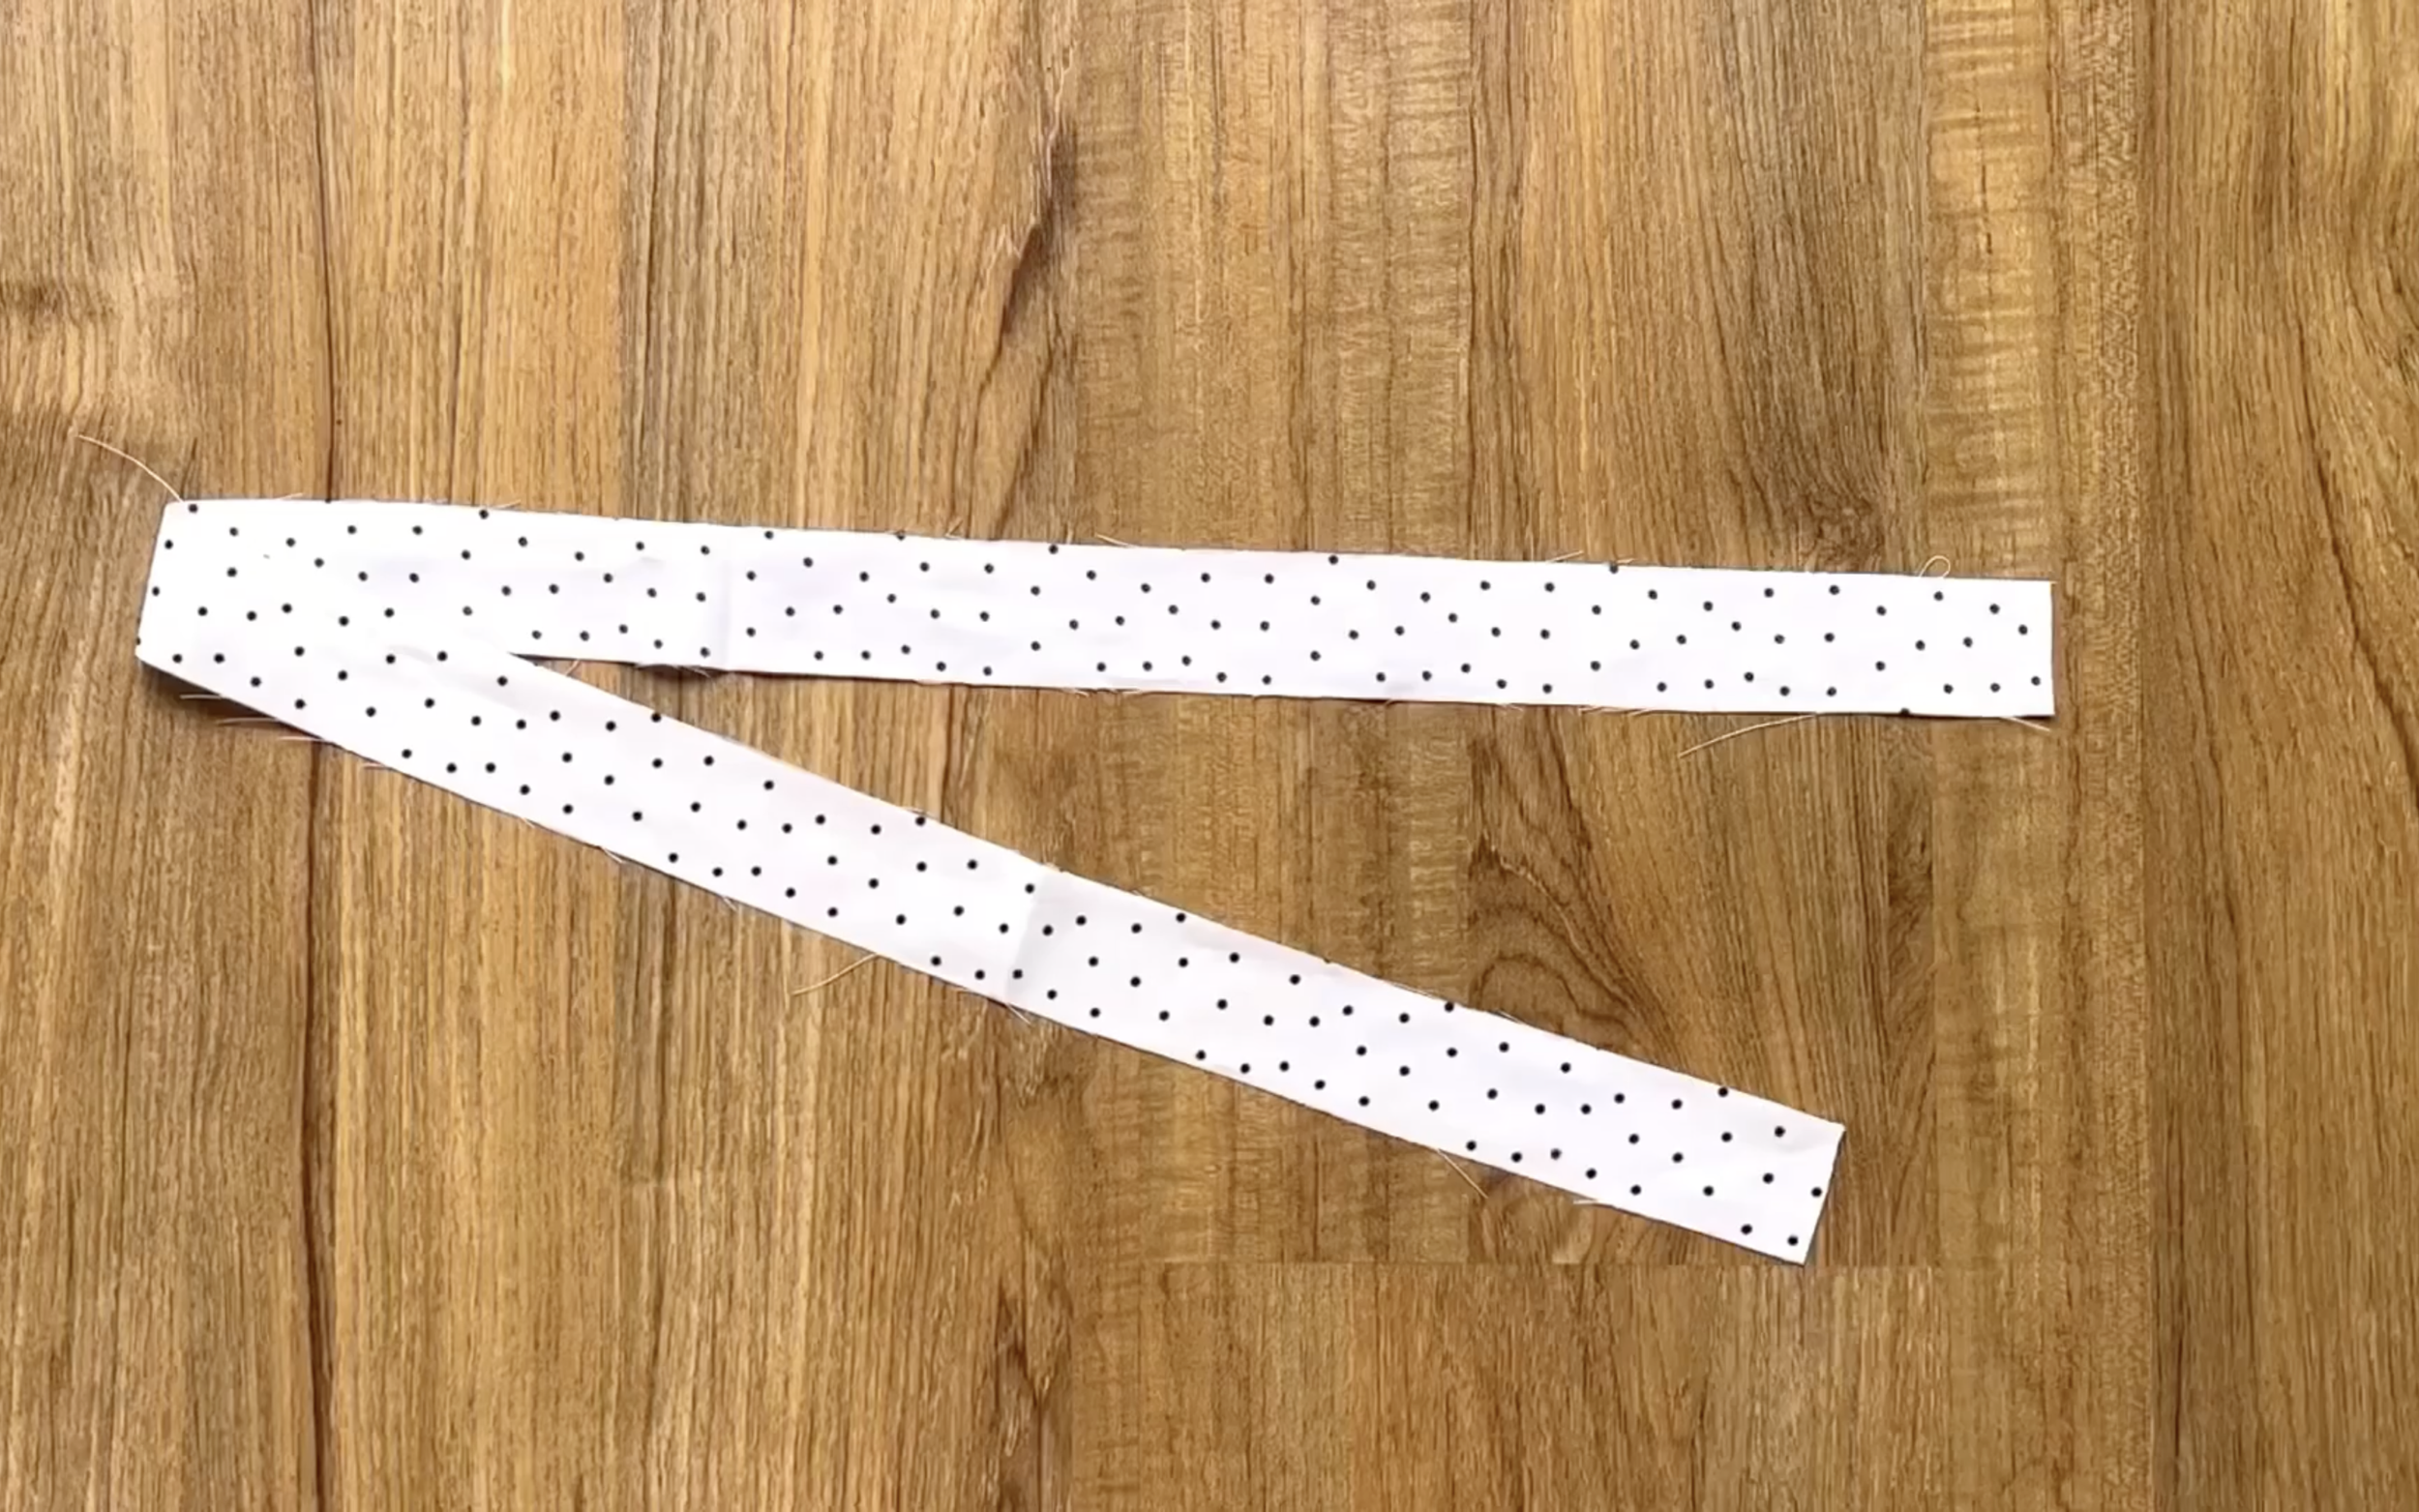
To make the tie, cut a long fabric line with 4 cm width (which is two times the width of the tie that is wanted plus 2 cm for seam allowance) and around 70 cm length.
Connect two length lines and one width line of the rectangle together first, then sew.
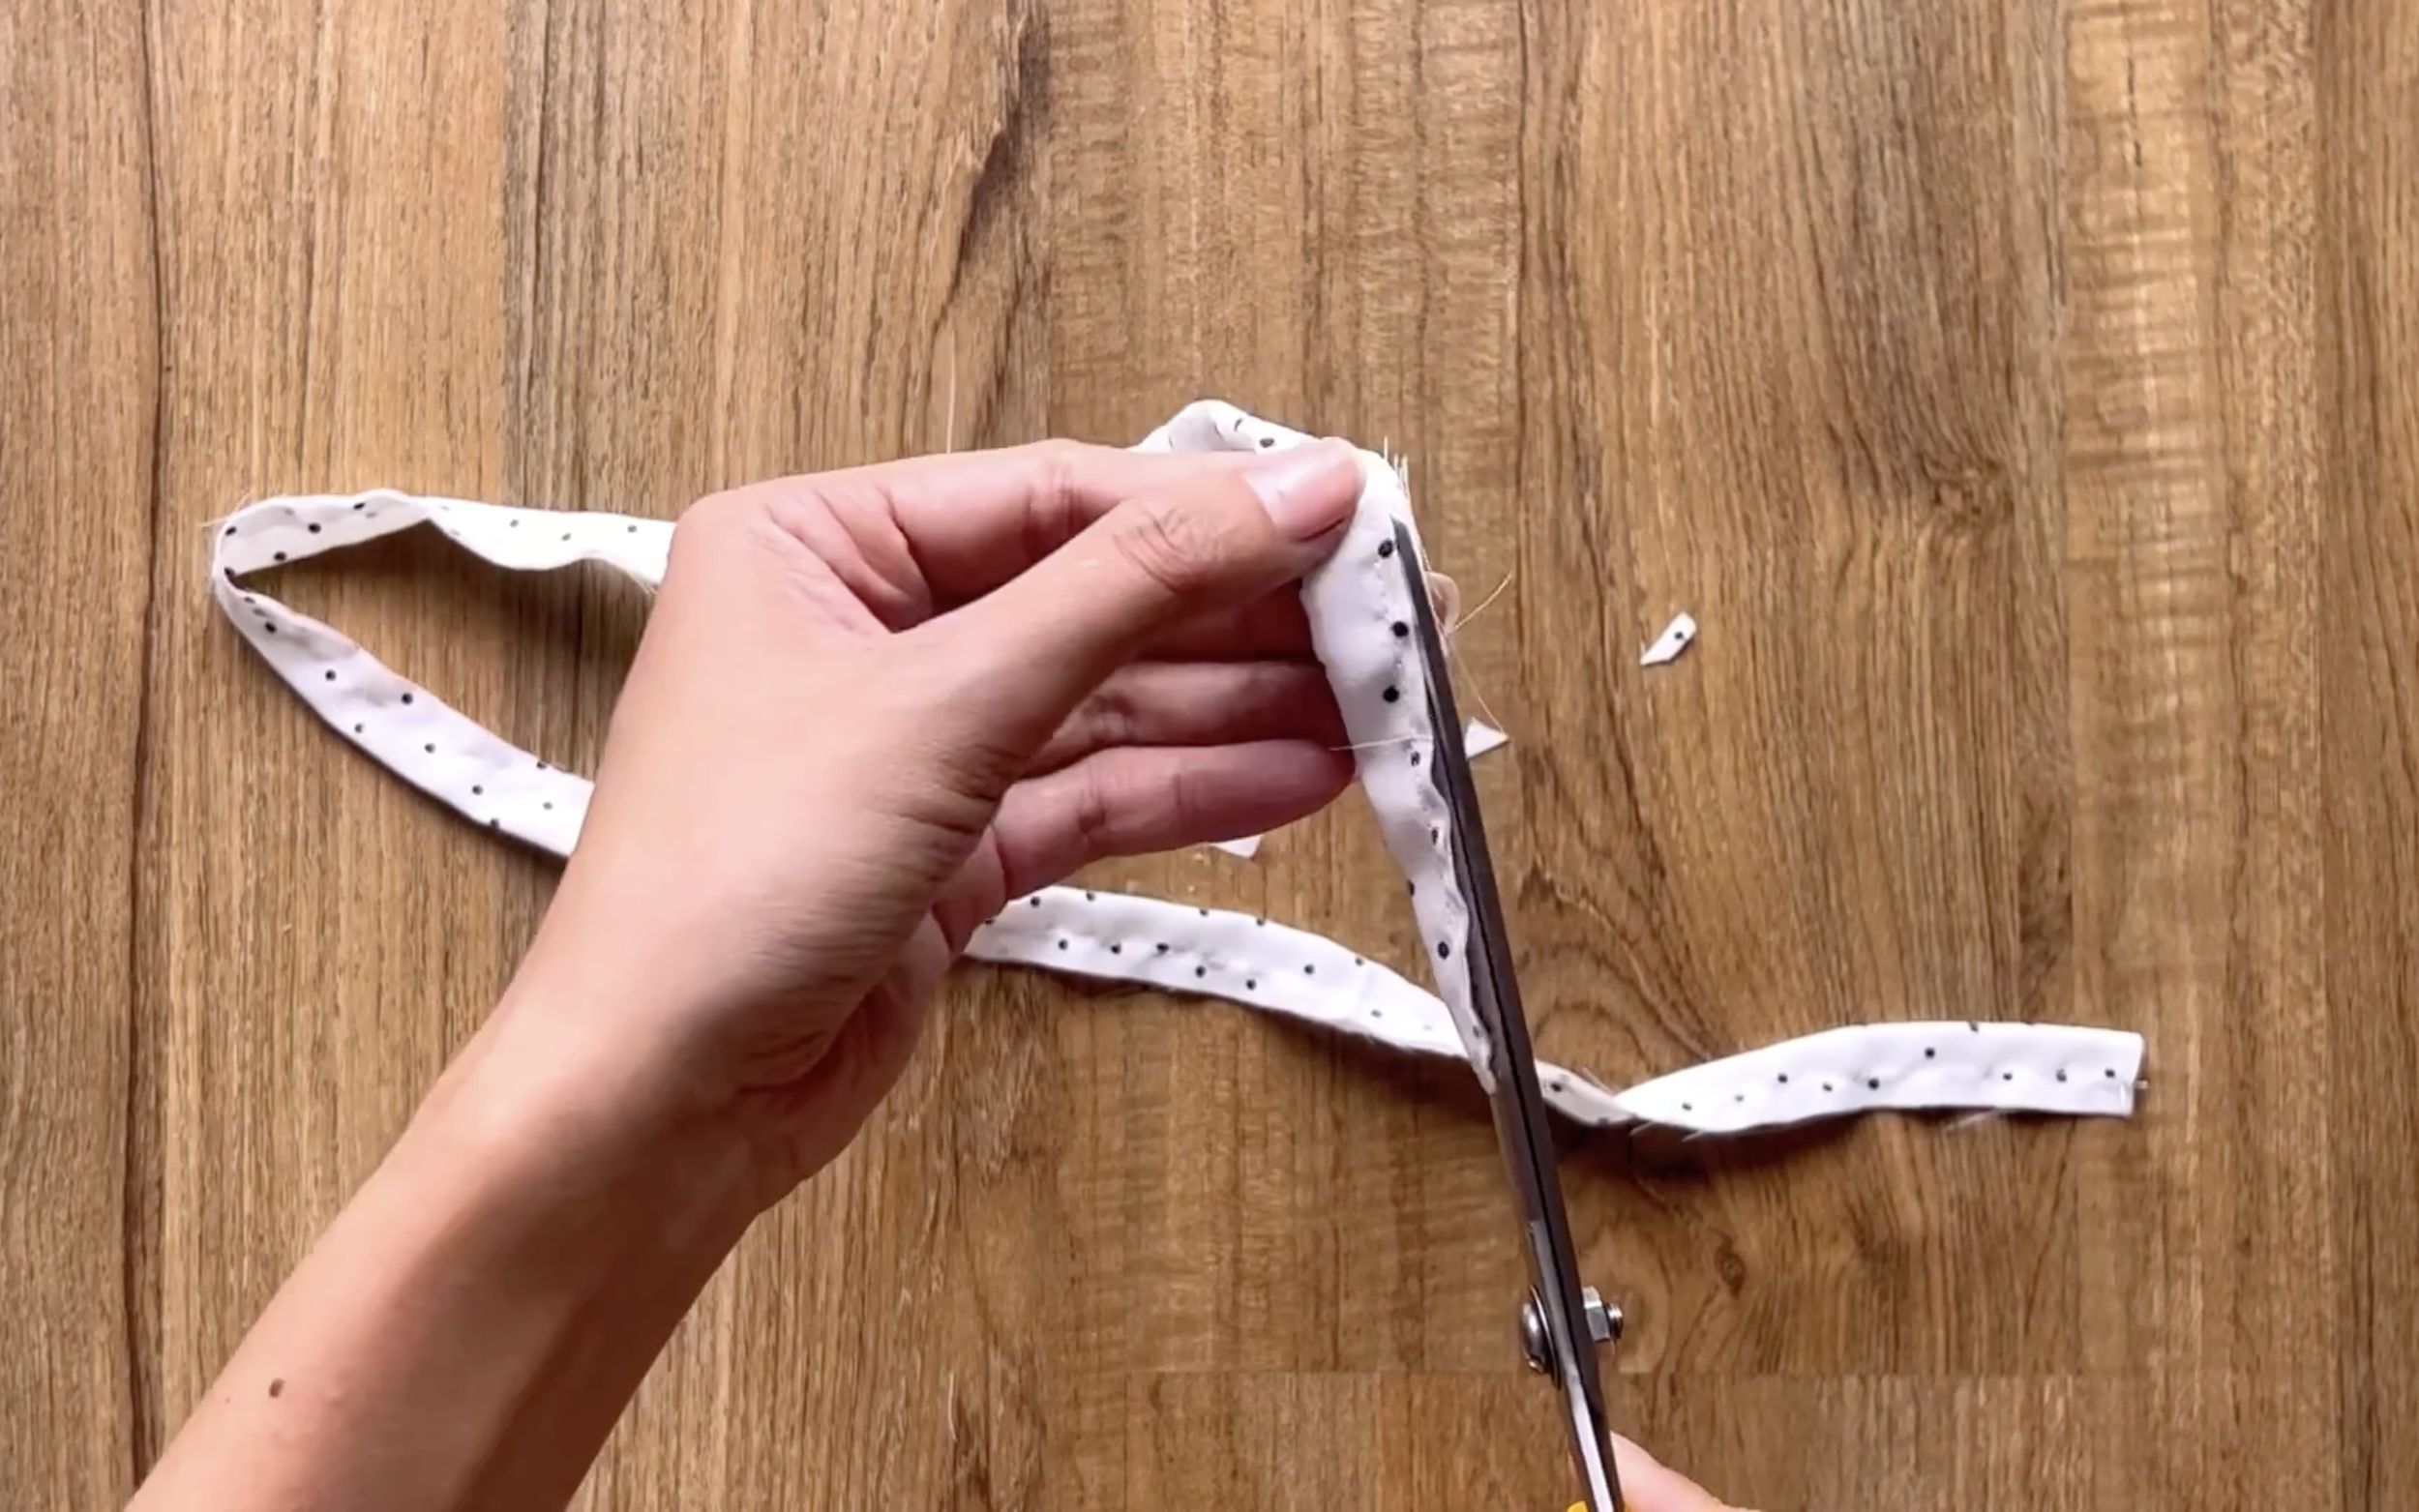
After that, trim the extra fabric a little bit.
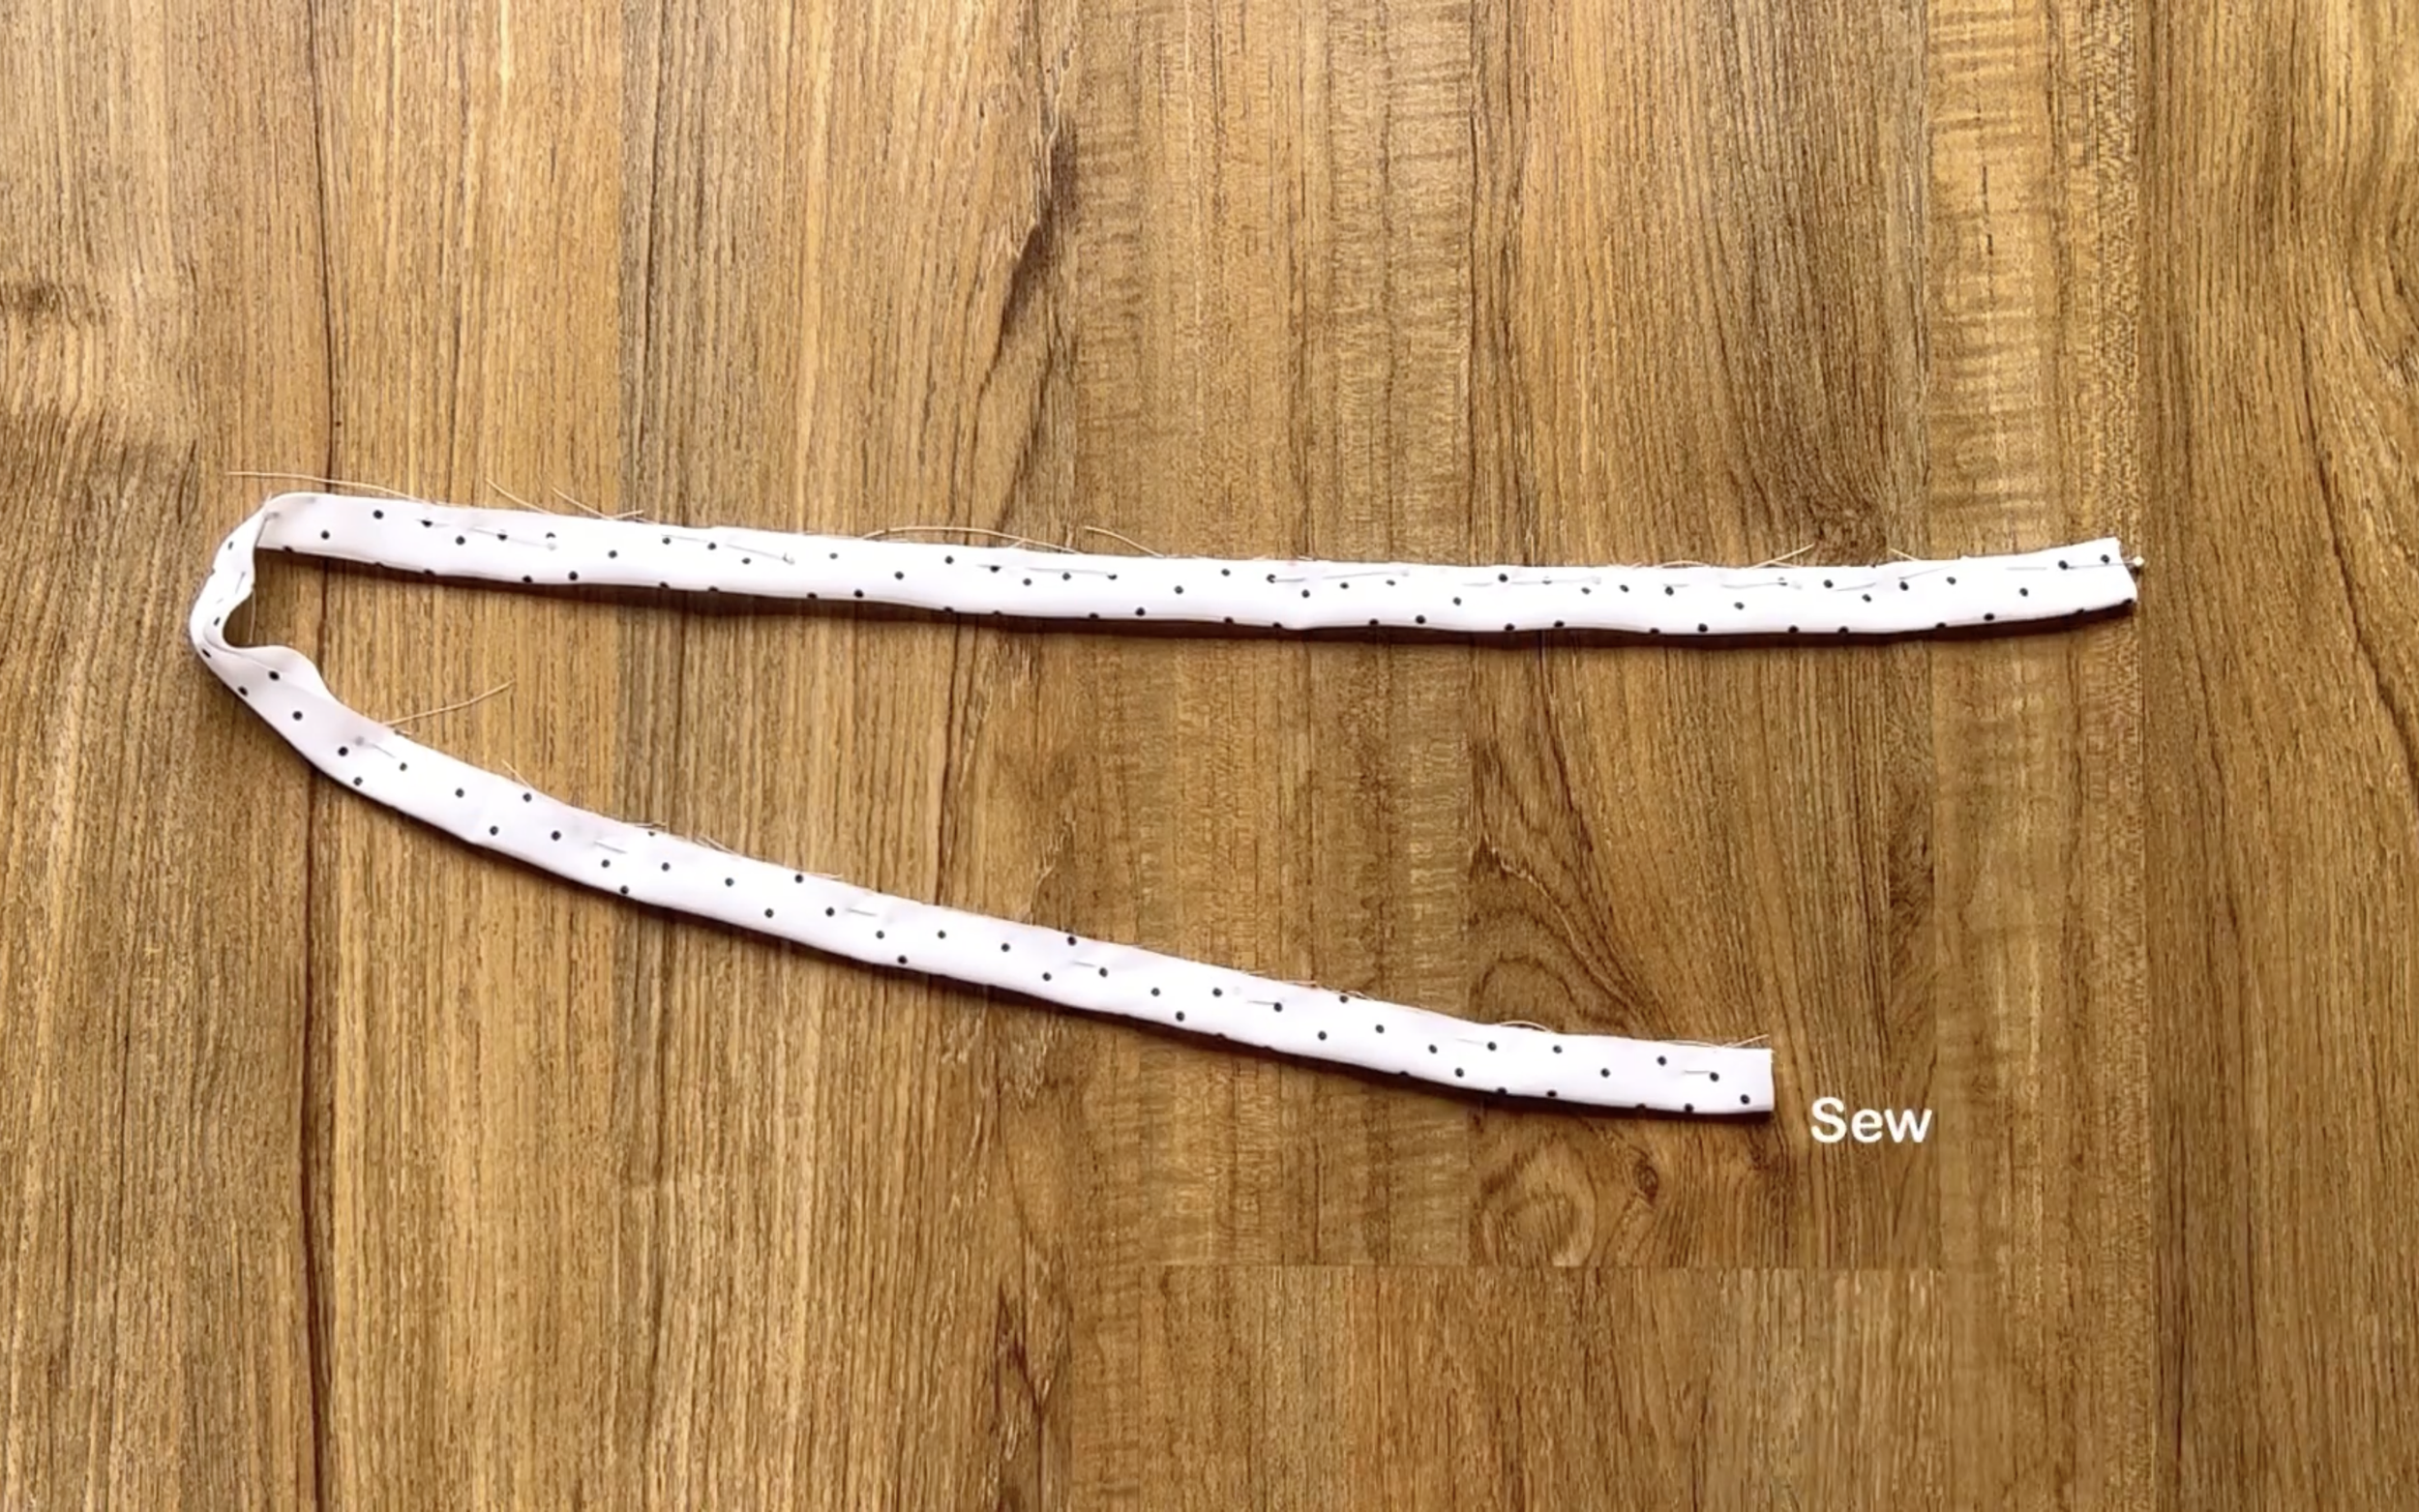
Then turn the tie inside out.
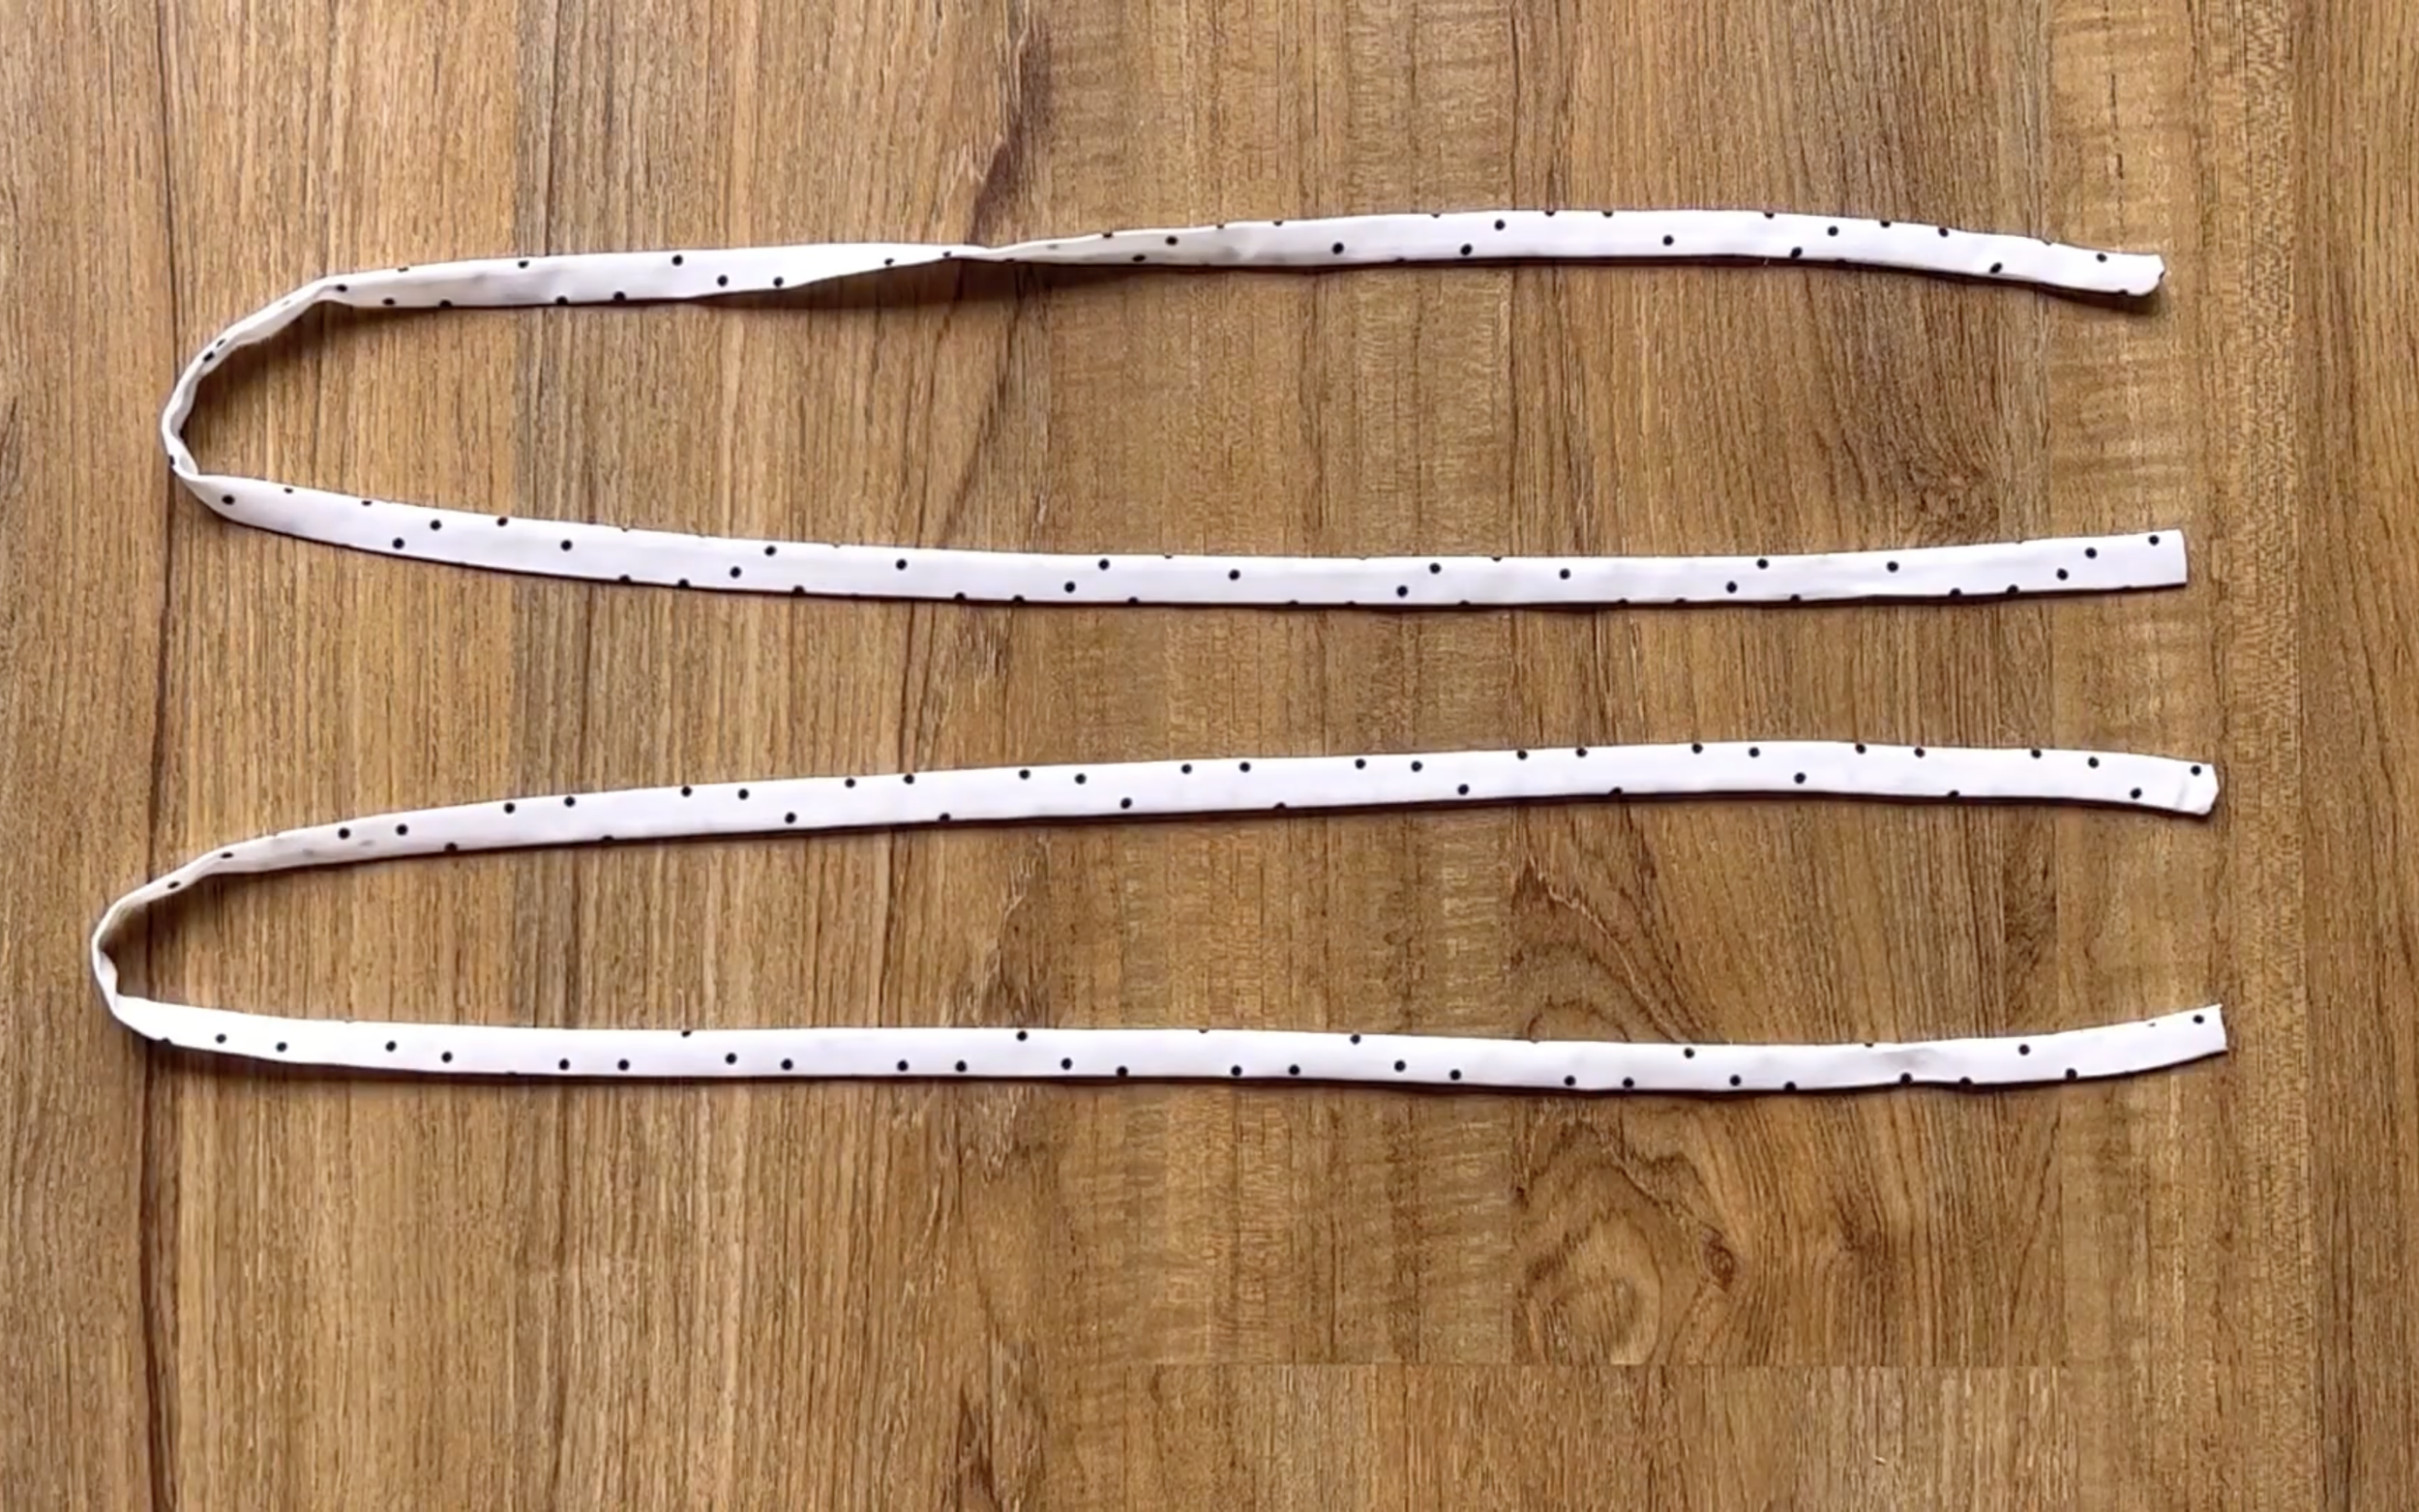
Don't forget to iron it to make the tie look nicer.
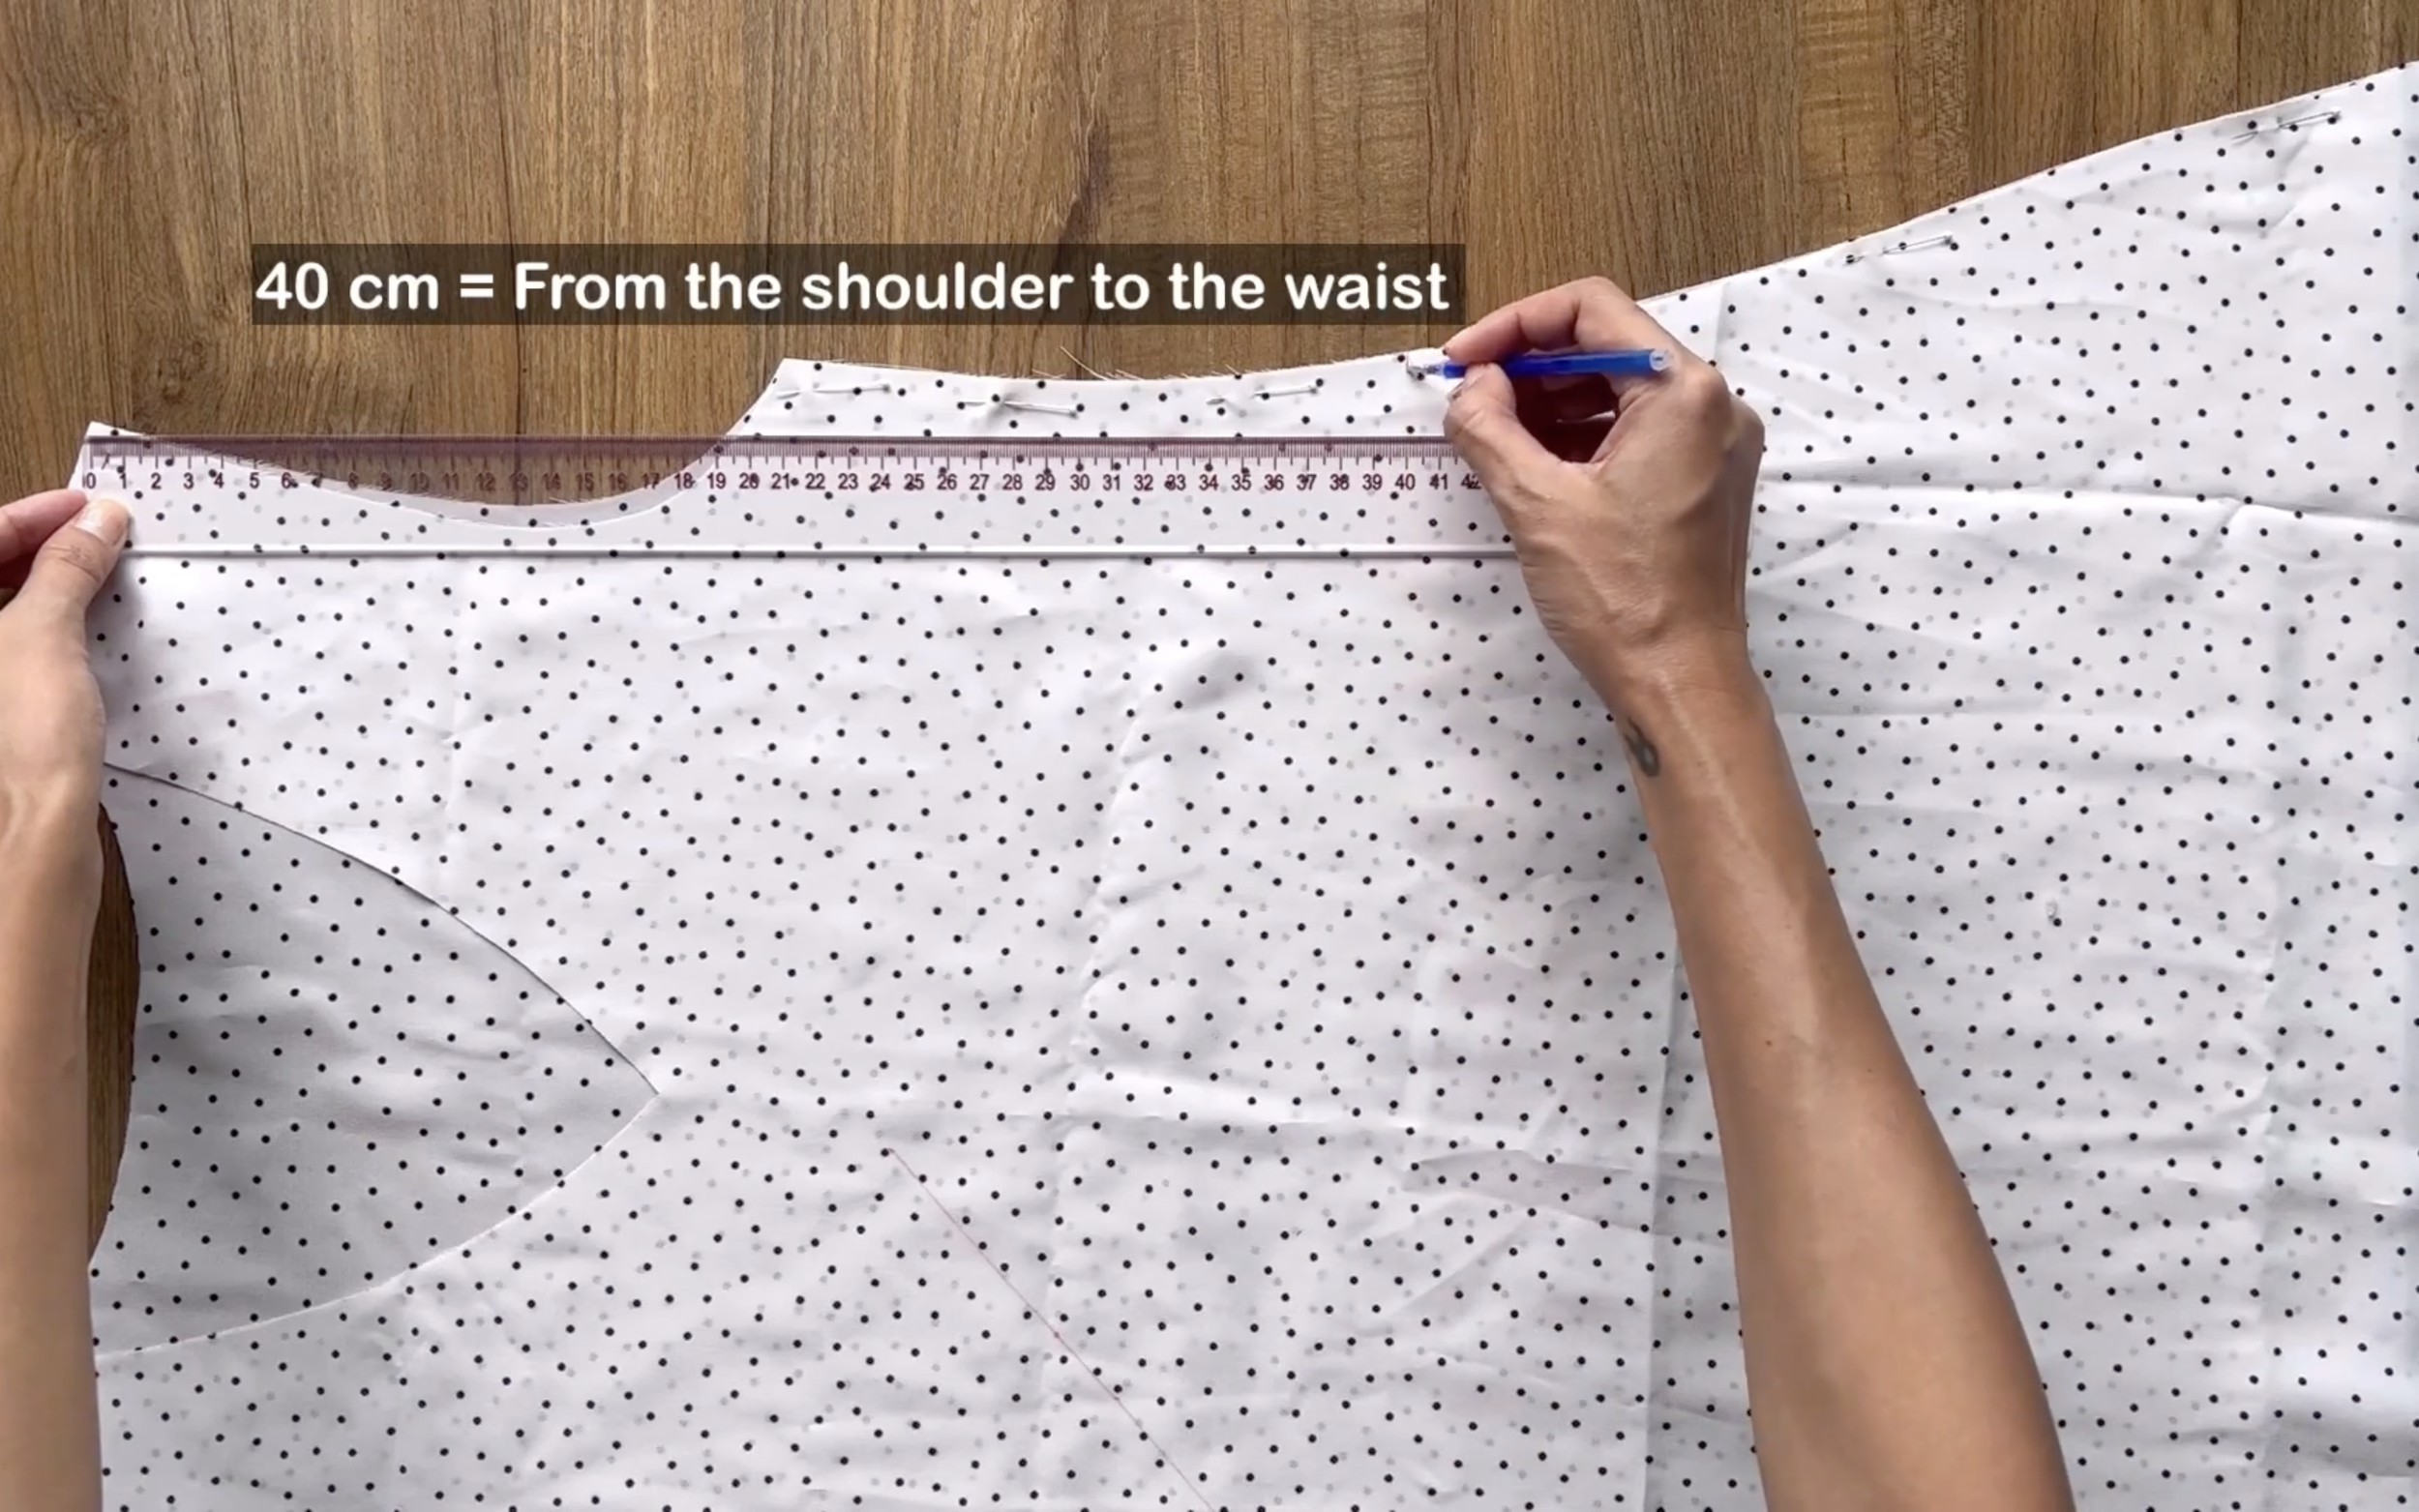
The position of the tie will be at 40 cm from the shoulder of the dress, and the tie should be in the middle between the front and the back piece of the dress.
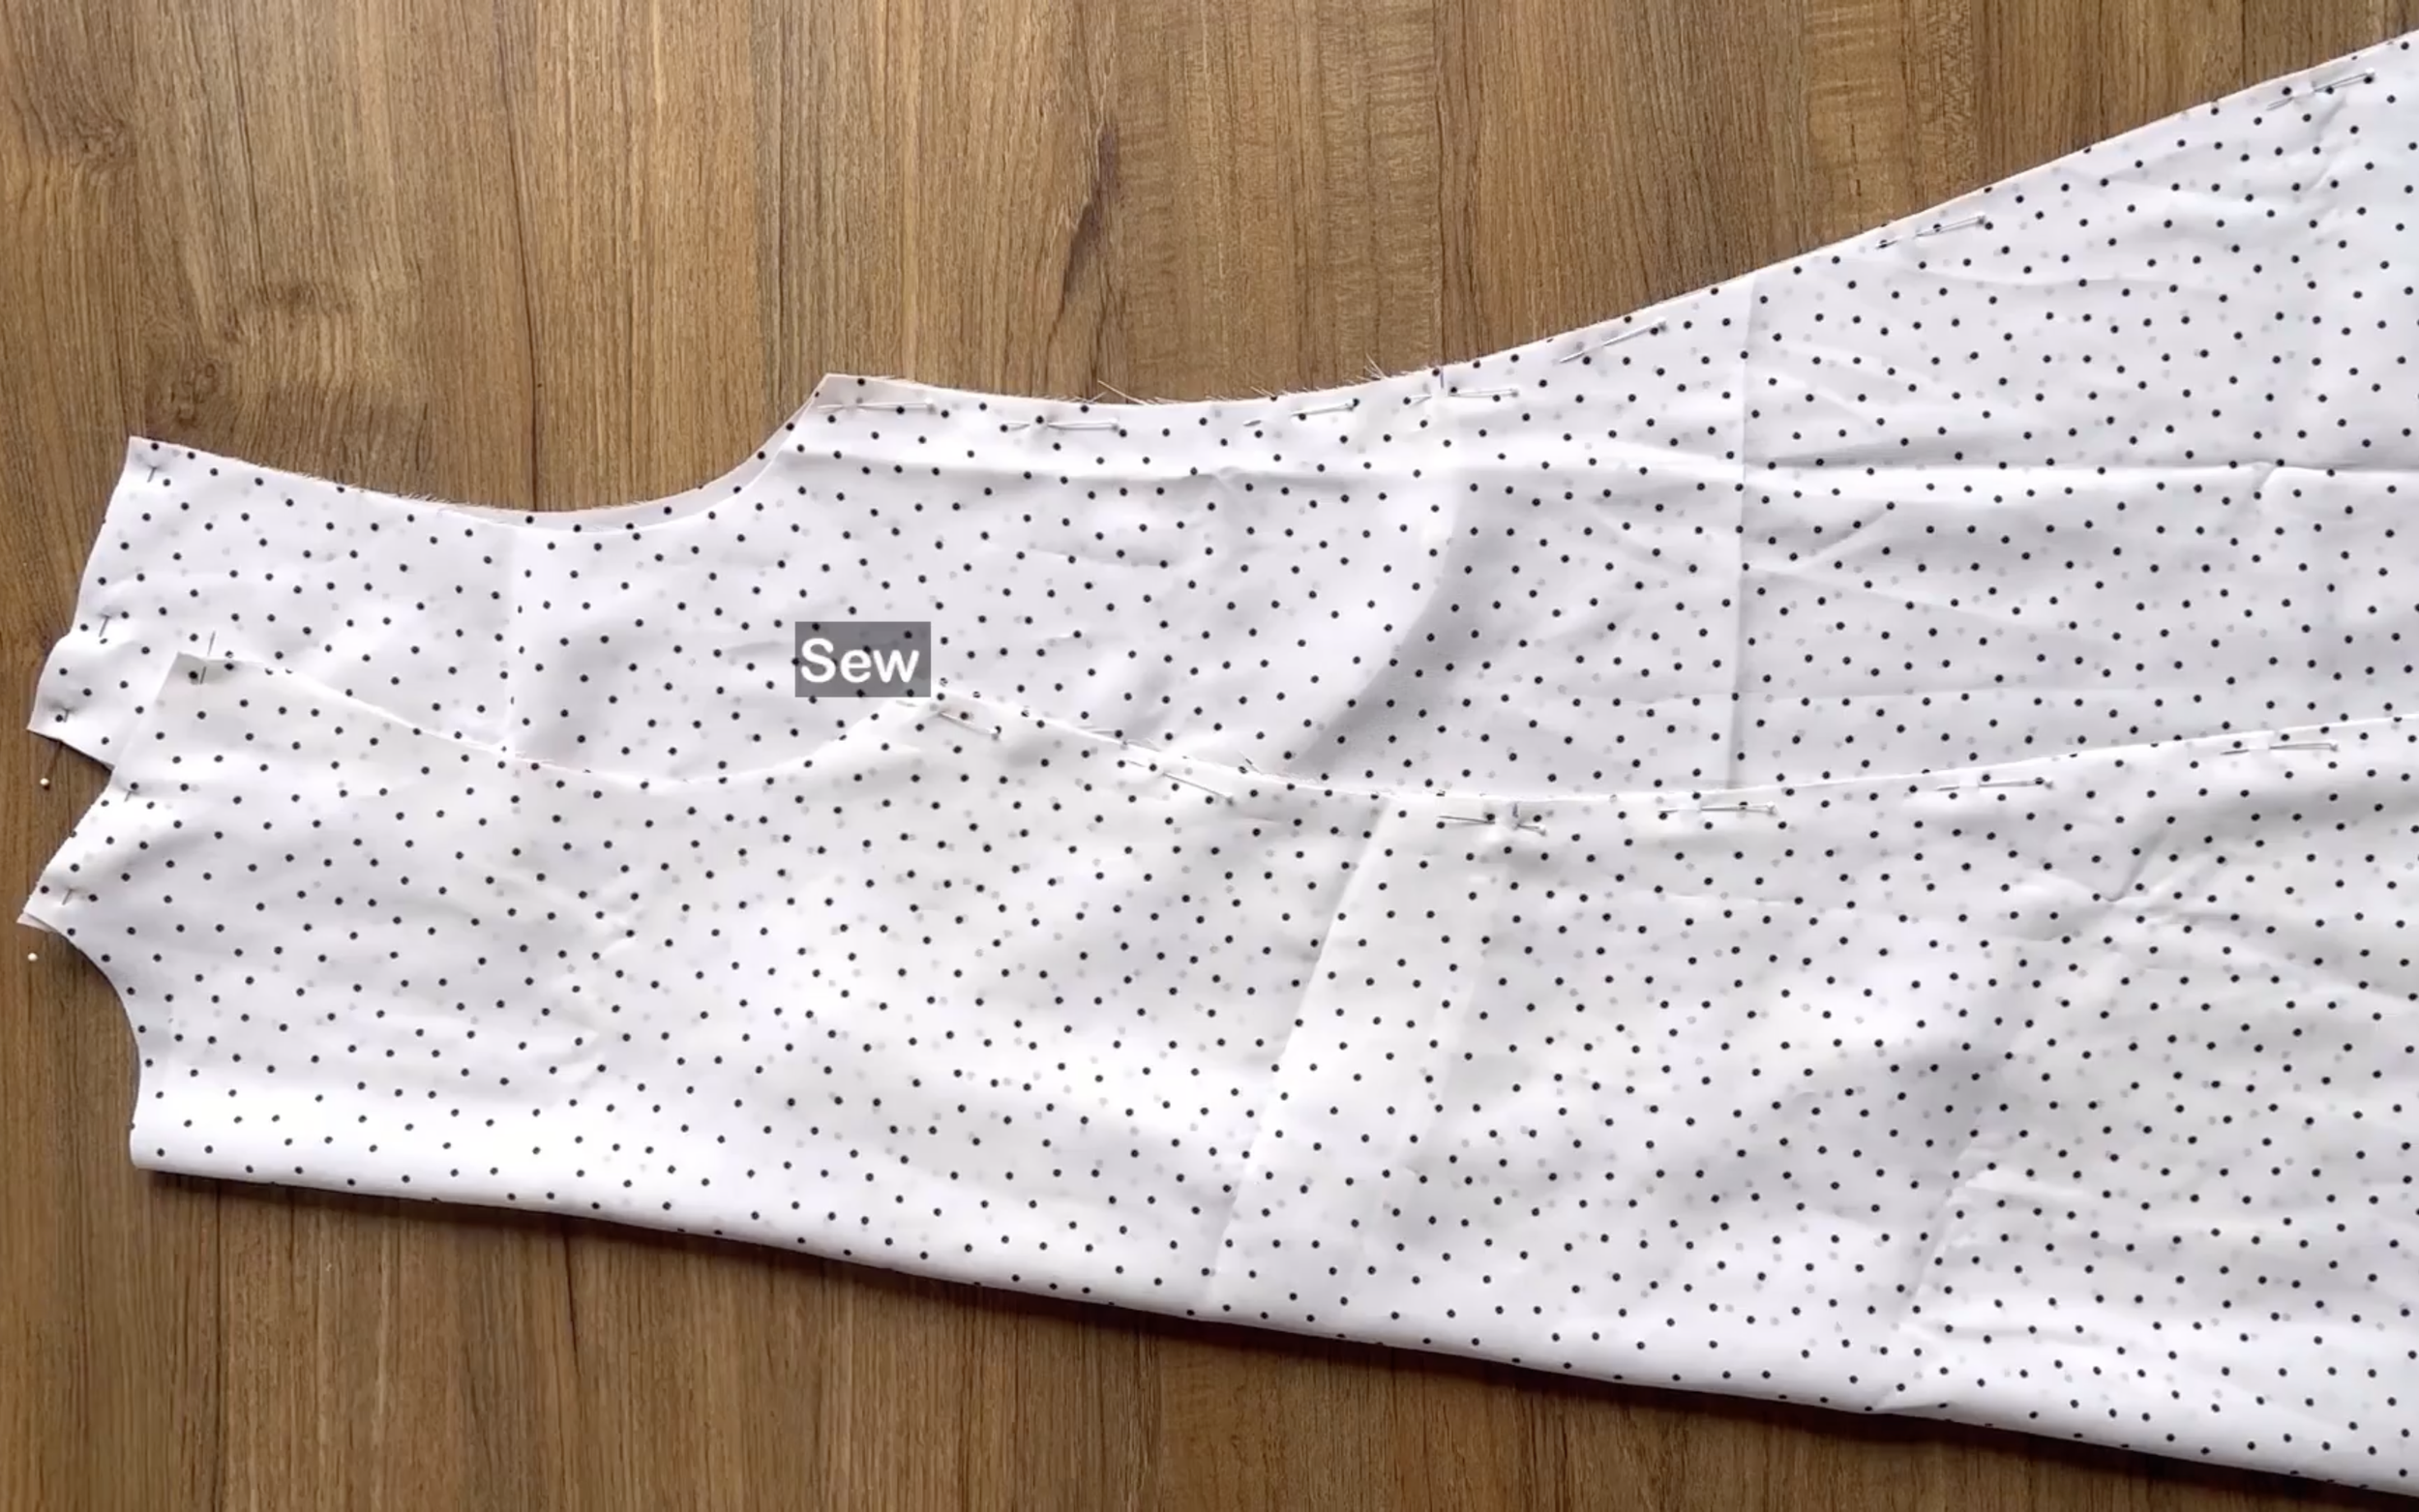
Then, sew to connect them all together.
After that, finish the rest of the body part of the dress in the same way as the original Celine dress.
The last step is connecting two sleeves to the body of the dress at the sleeve line.

Making 5 different dresses from 1 pattern | Celine dress - Pattern hacks
And I'm finished with this hack! Here's the final result.
The butterfly sleeves totally changed the look of this dress. And the new waist tie is great because you can easily adjust how tight the dress fits to your body, making the whole outfit look fantastic!
5. THE STRAIGHT SLEEVE DRESS
PATTERN HACK

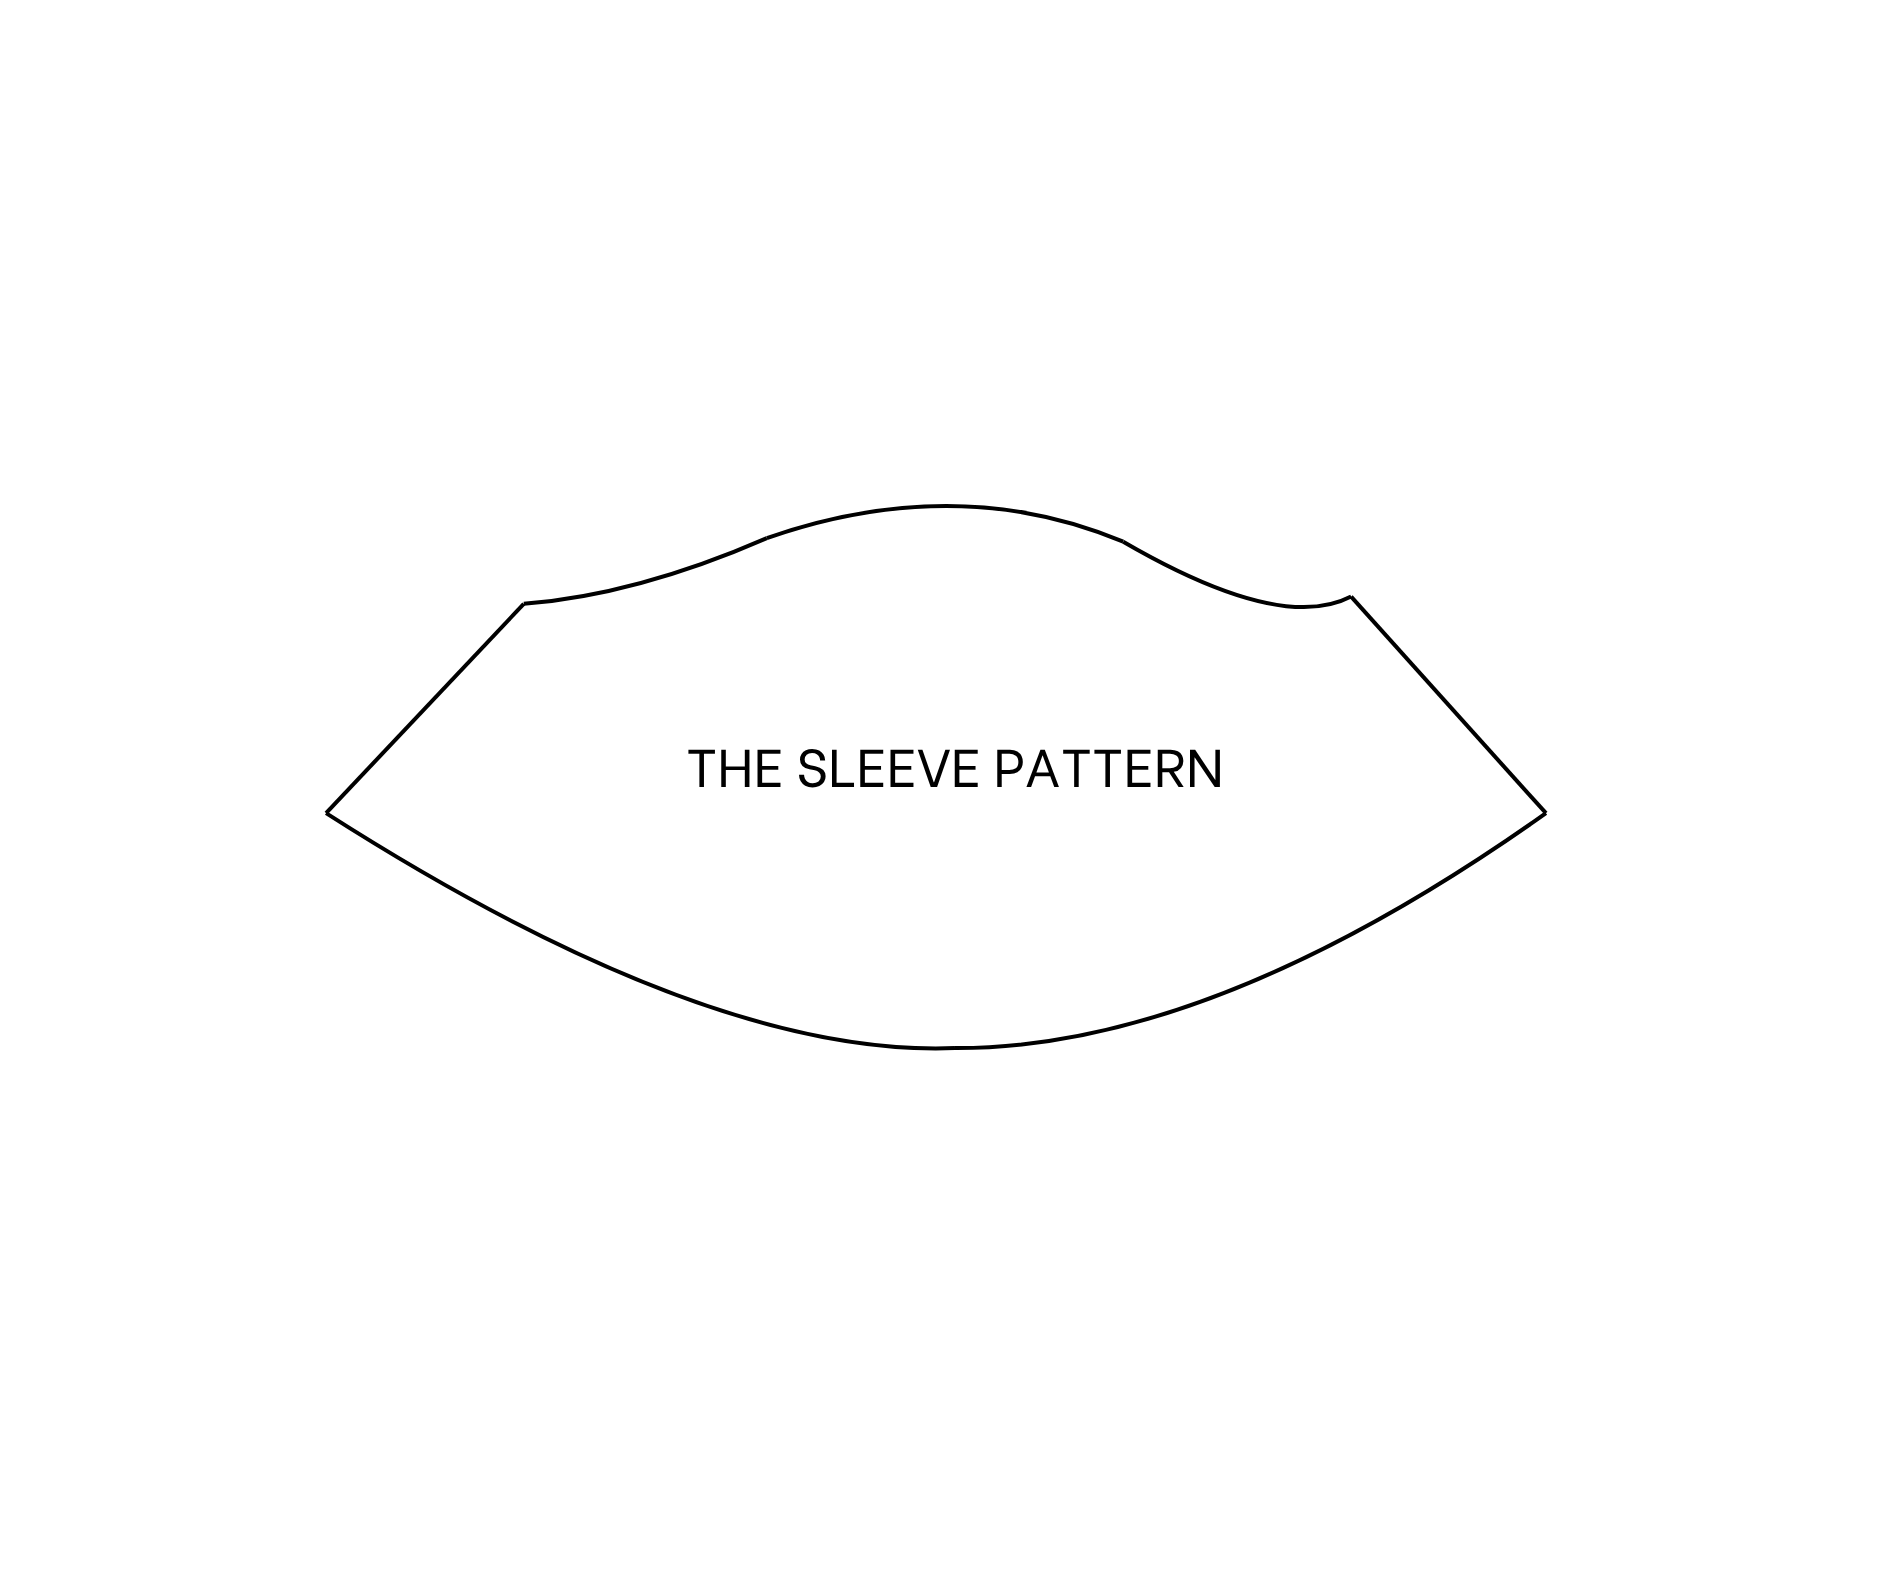
With this hack, you will use the inside sleeve pattern only.
Copy the inside sleeve onto the paper first.
After that, draw a straight line from two ends of the sleeve line to cut the ending line of the sleeve.
The final sleeve pattern will be ready after cutting.
SEWING THE DRESS
After that, connect two underarm lines together.
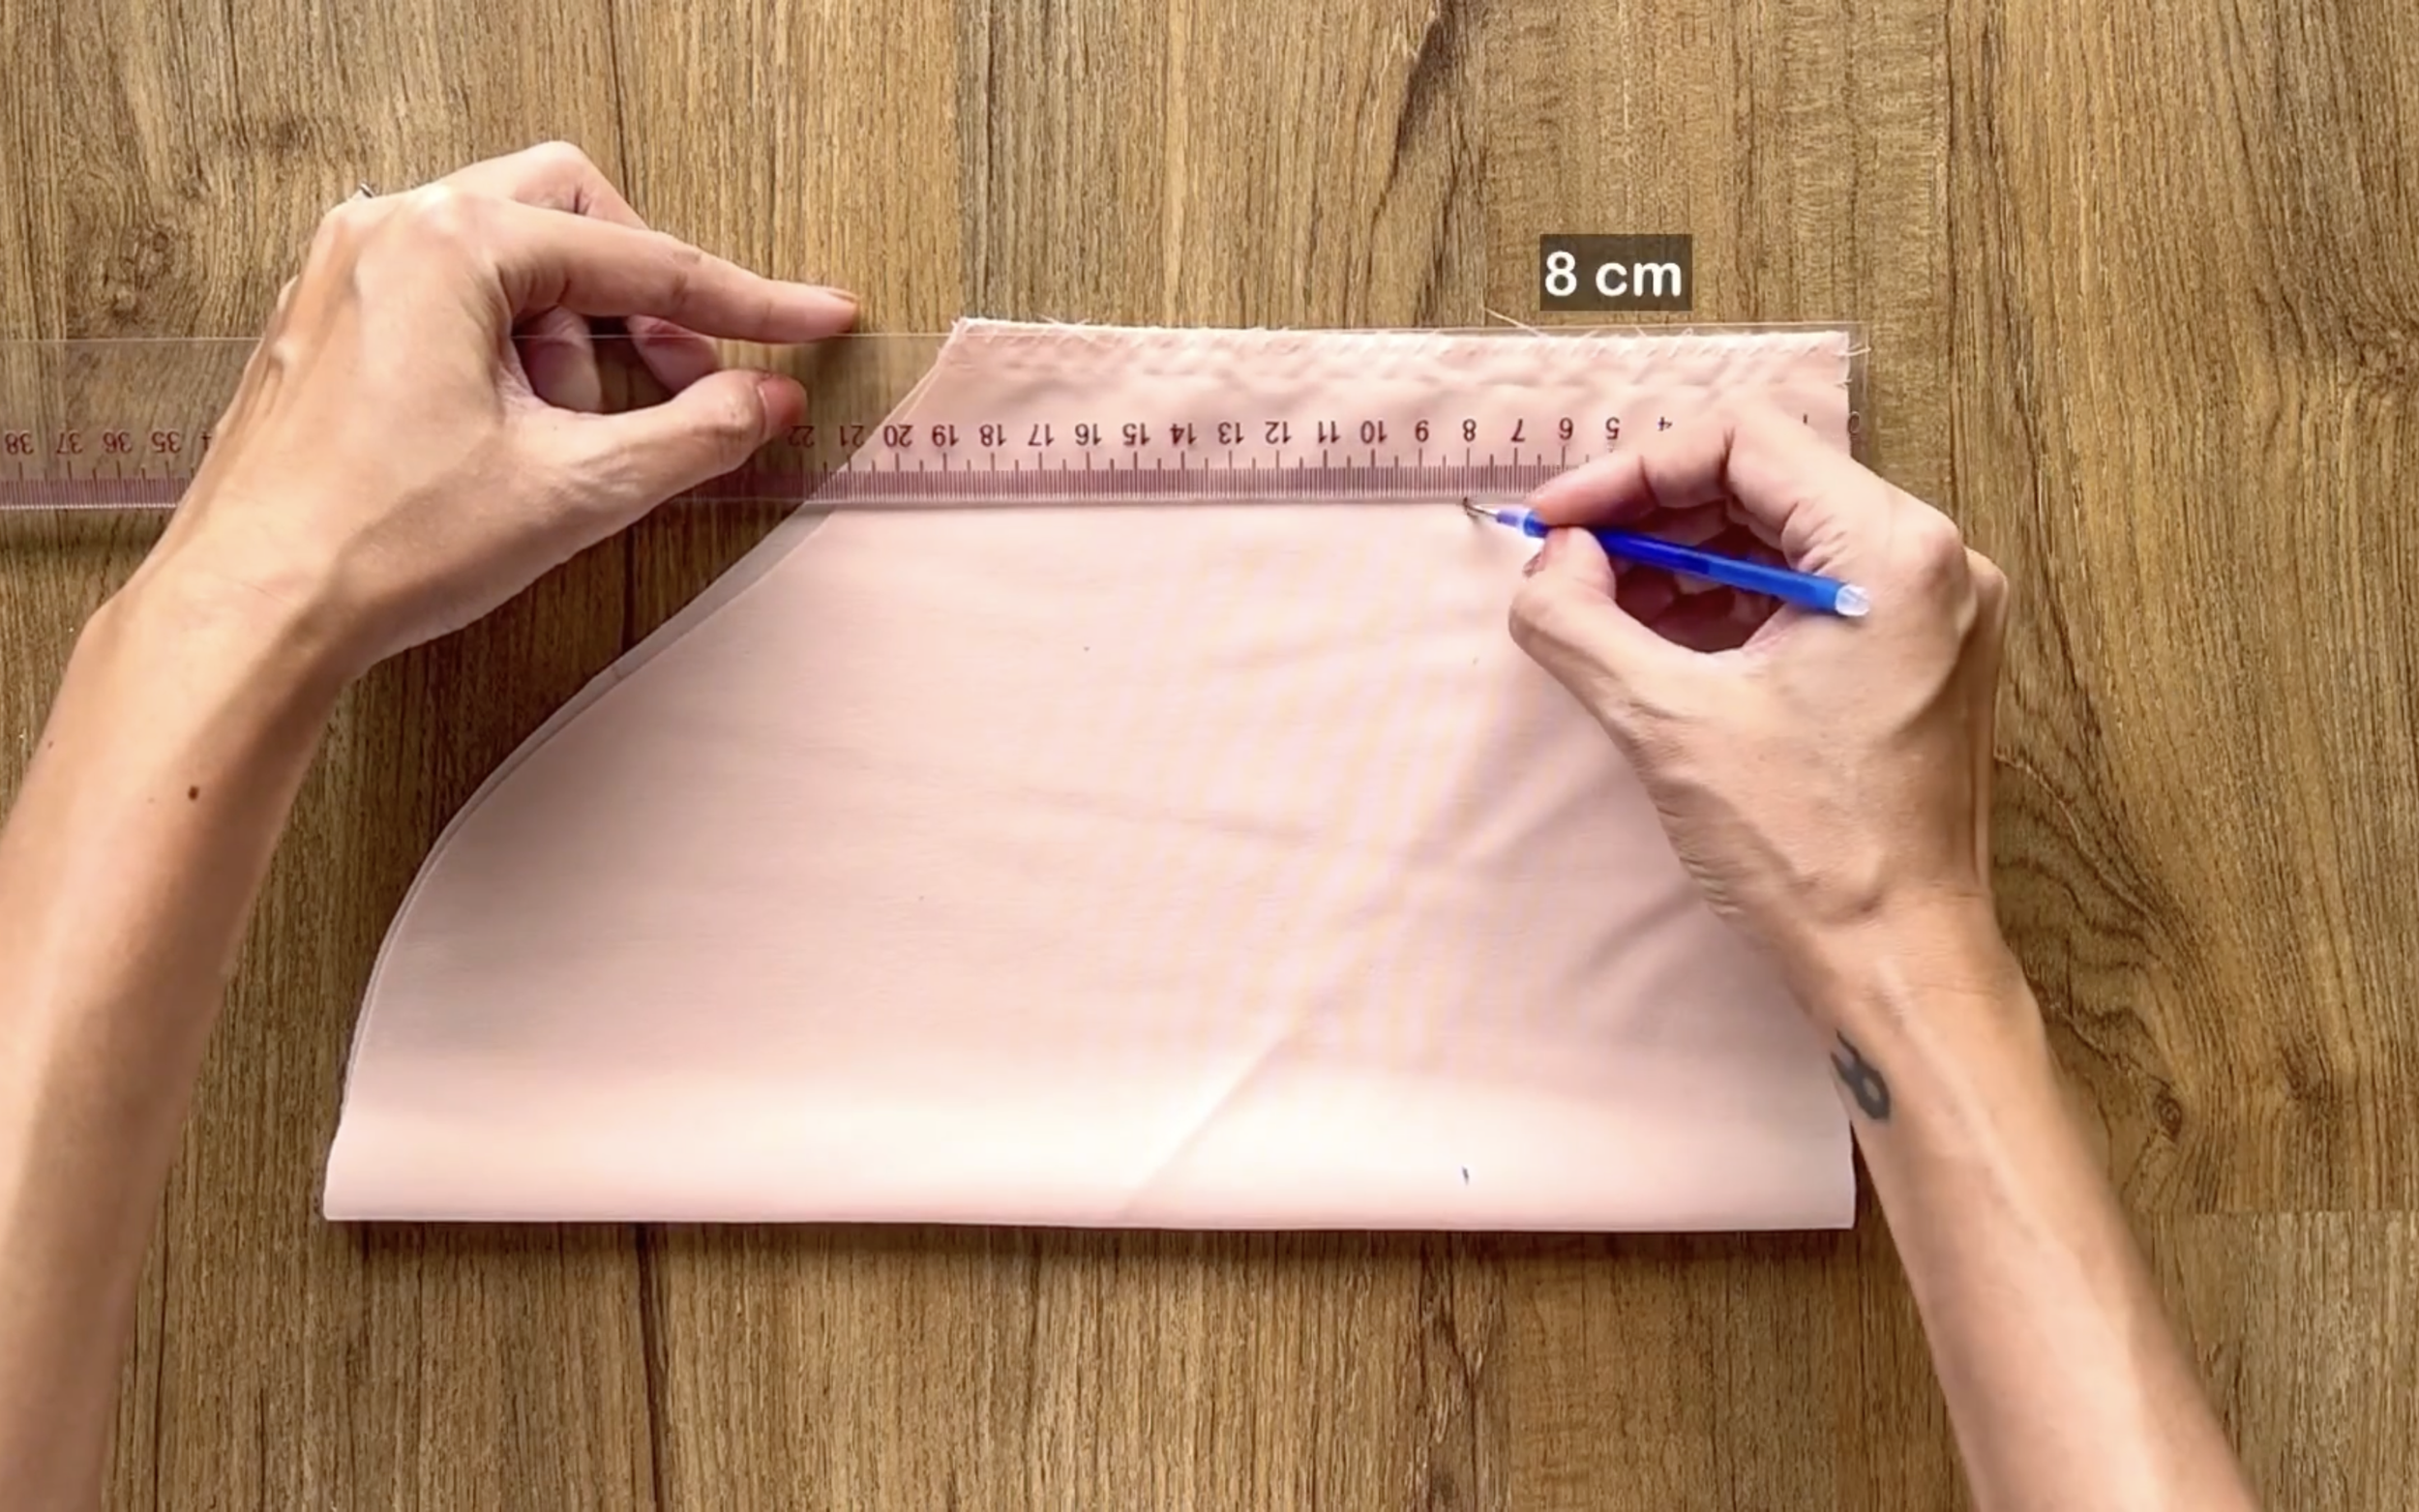
From the ending line of the sleeve, draw a line at 8 cm above it.
After that, fold the ending fabric inside around 1 cm first, then keep folding it to the line that was just drawn before and sew to finish the end of the sleeve.
Use the same technique and pattern from the original Celine dress to finish the body part of the dress.
Then, connect the new sleeve to the body of the dress at the sleeve line.

Making 5 different dresses from 1 pattern | Celine dress - Pattern hacks
And the hack is complete! Here is the final result.
The stretchy fabric gives this dress a beautiful simple look, making it absolutely perfect for anyone who loves that minimal style.
I truly hope you like this easy hack and are inspired to try making one yourself soon! Give a thumbs up if you enjoyed this video, and subscribe to my channel to see more DIYs.
See you next time!