Making 6 different Puff sleeve dresses from 1 pattern | Clara dress - Pattern hack | Sewing tutorial

Making 6 different Puff sleeve dresses from 1 pattern | Clara dress - Pattern hack | Sewing tutorial
Welcome or welcome back to my channel. My name is Jess and I love doing DIY, making clothes in a "simply but pretty" way.
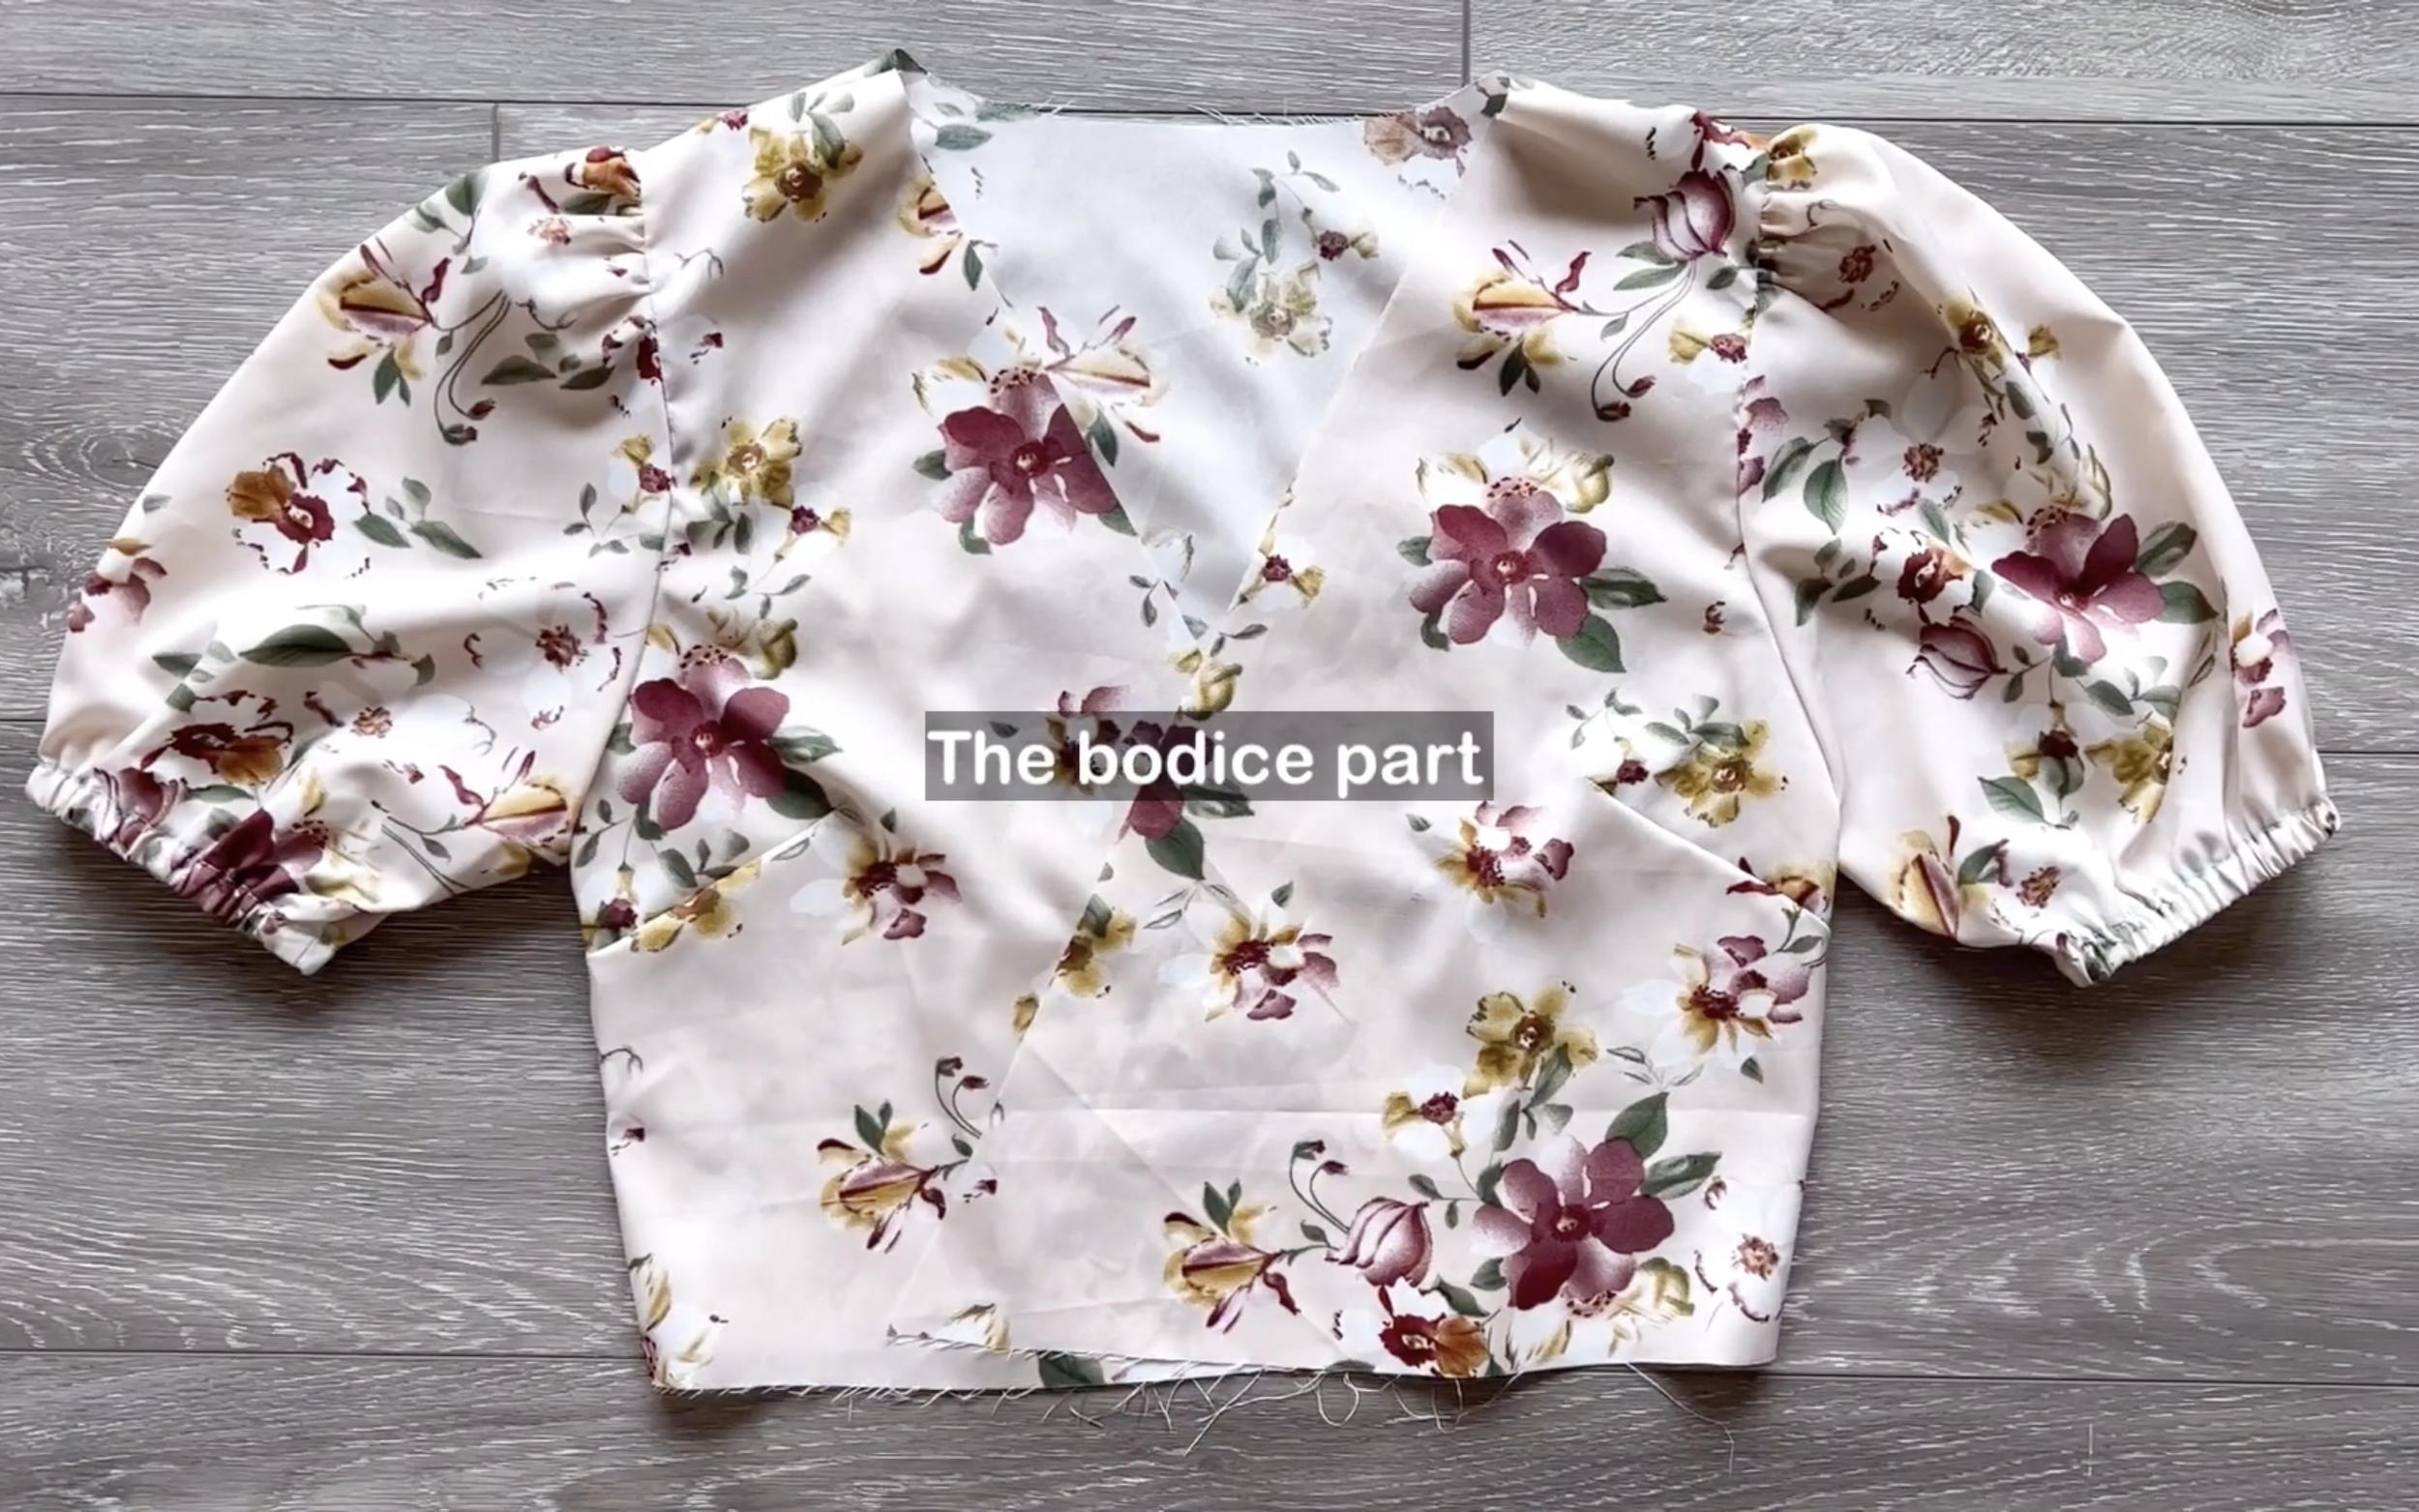
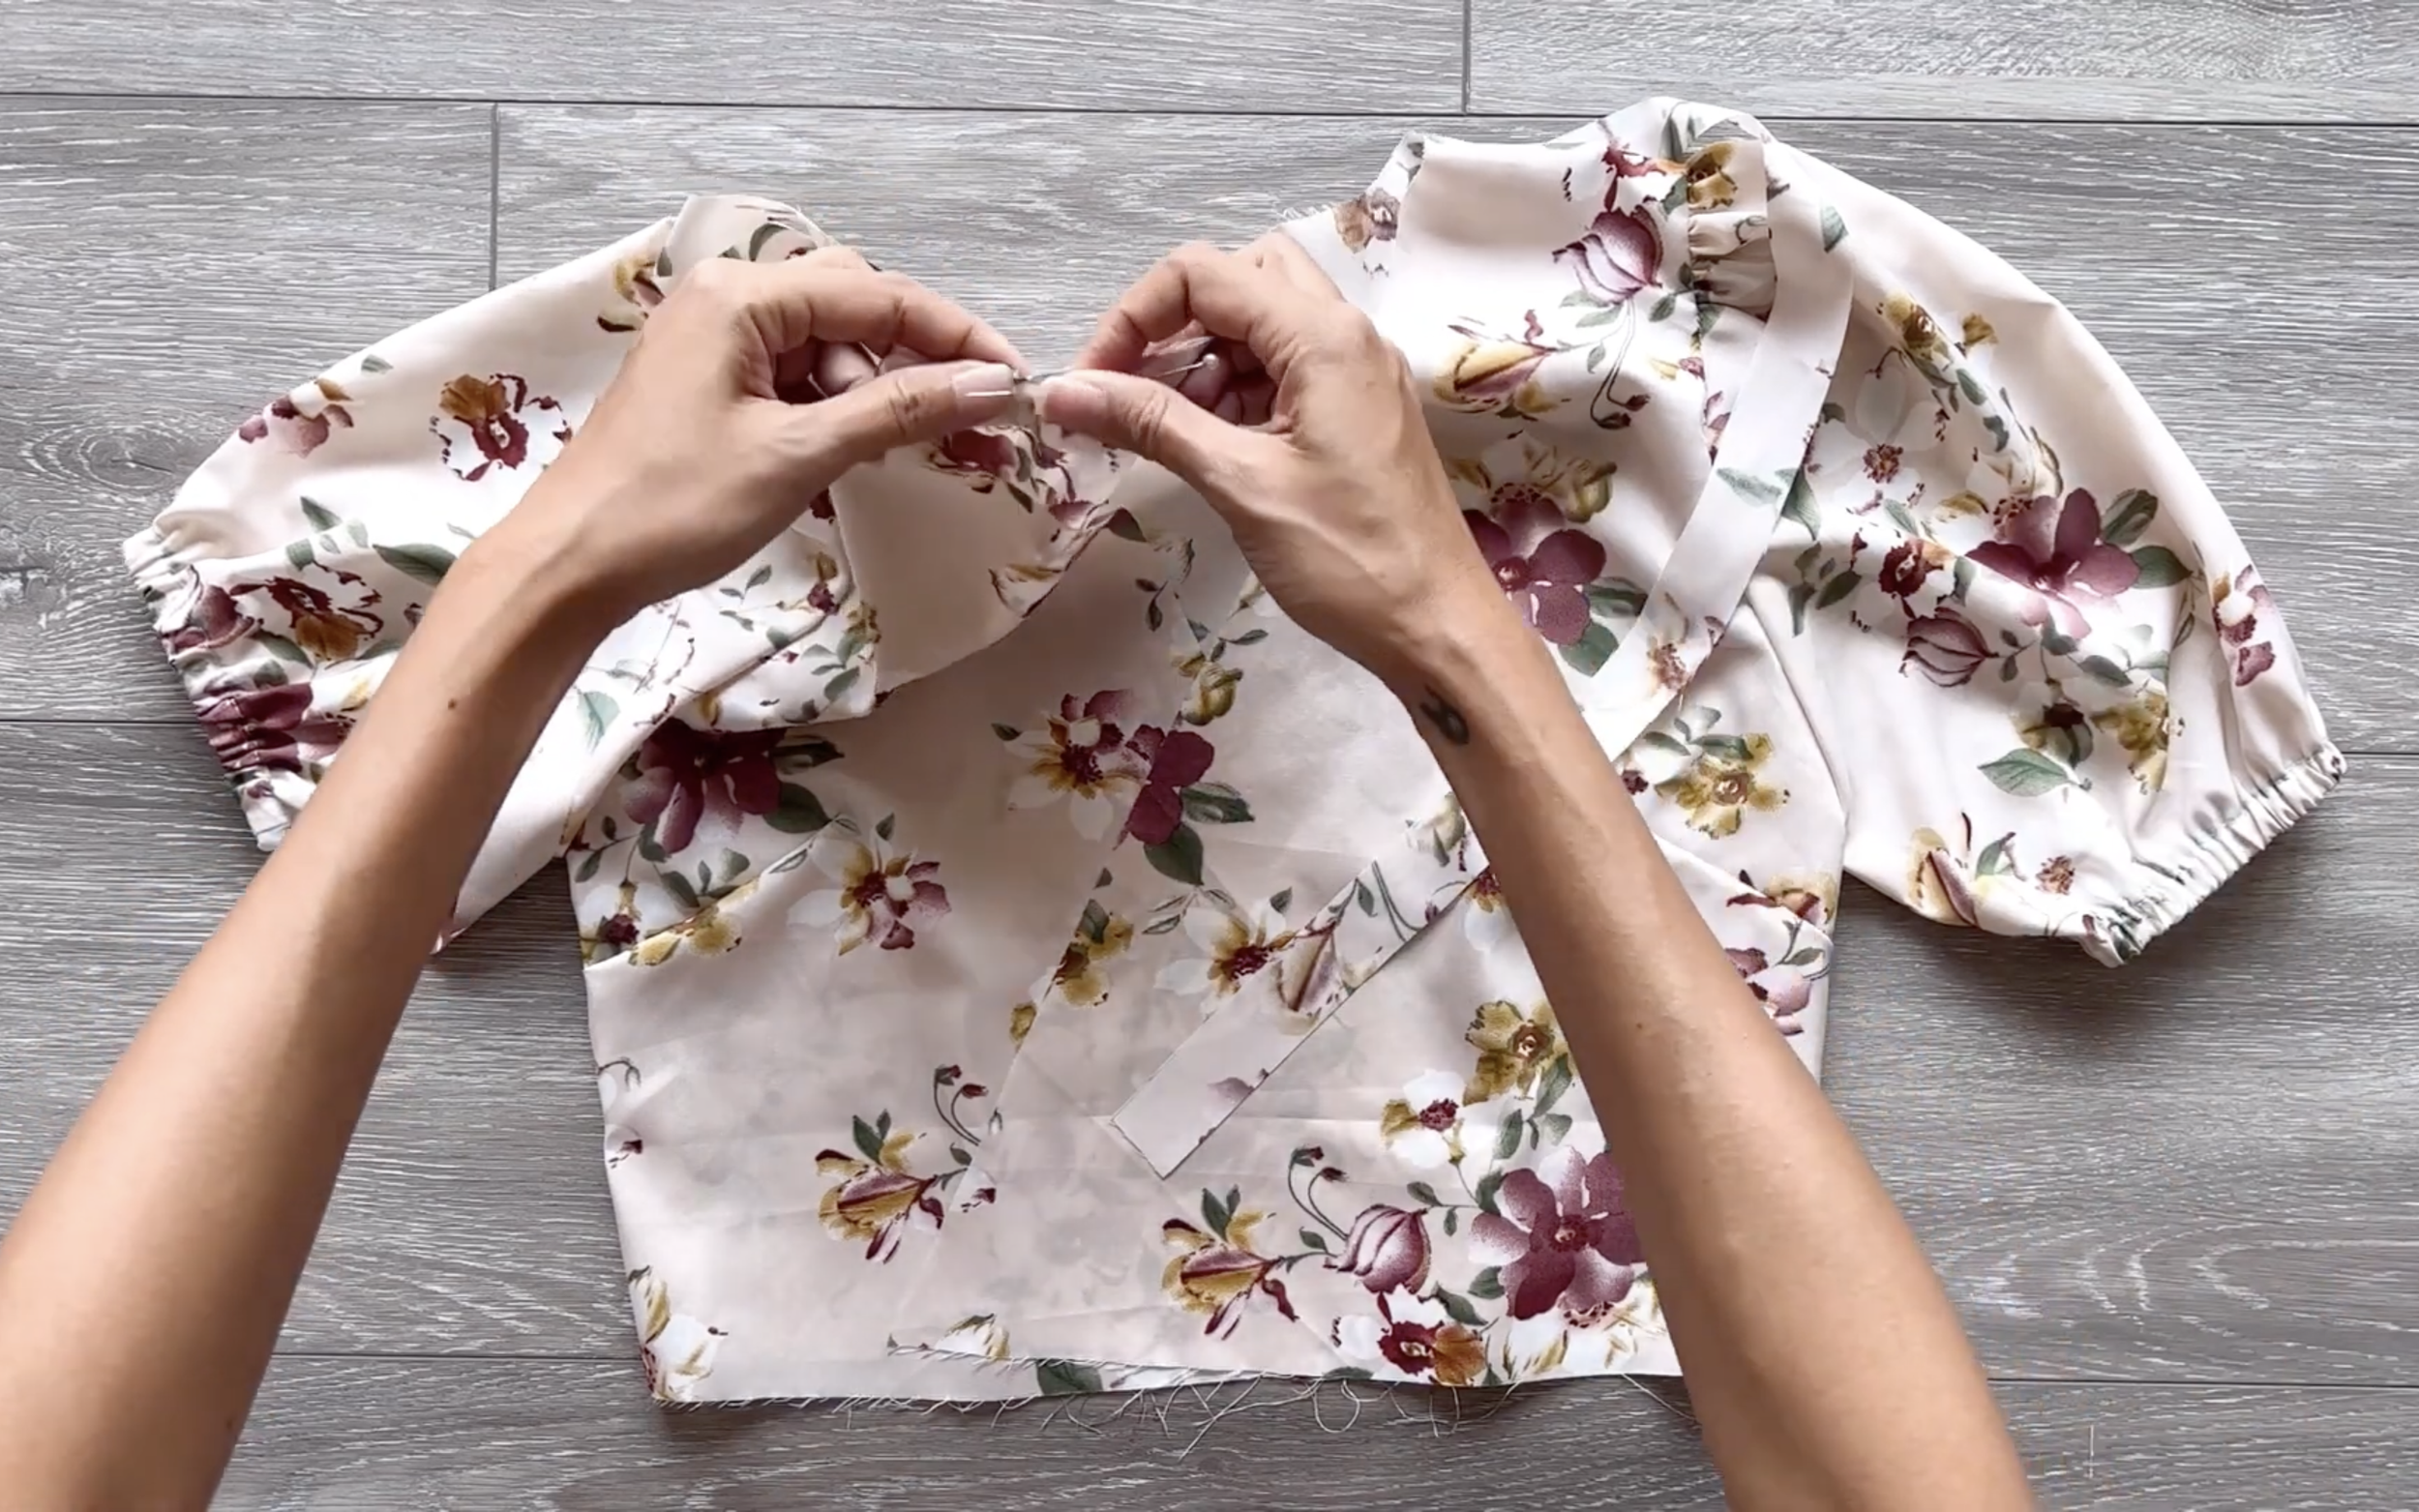
In today's tutorial, I'm going to share with you how to hack my Clara dress pattern in 6 different ways. All the hacks in this video will be all about the skirt part of the dress. It means there is no change for the bodice part of the dress.
So let's get started!
WHAT YOU’LL NEED

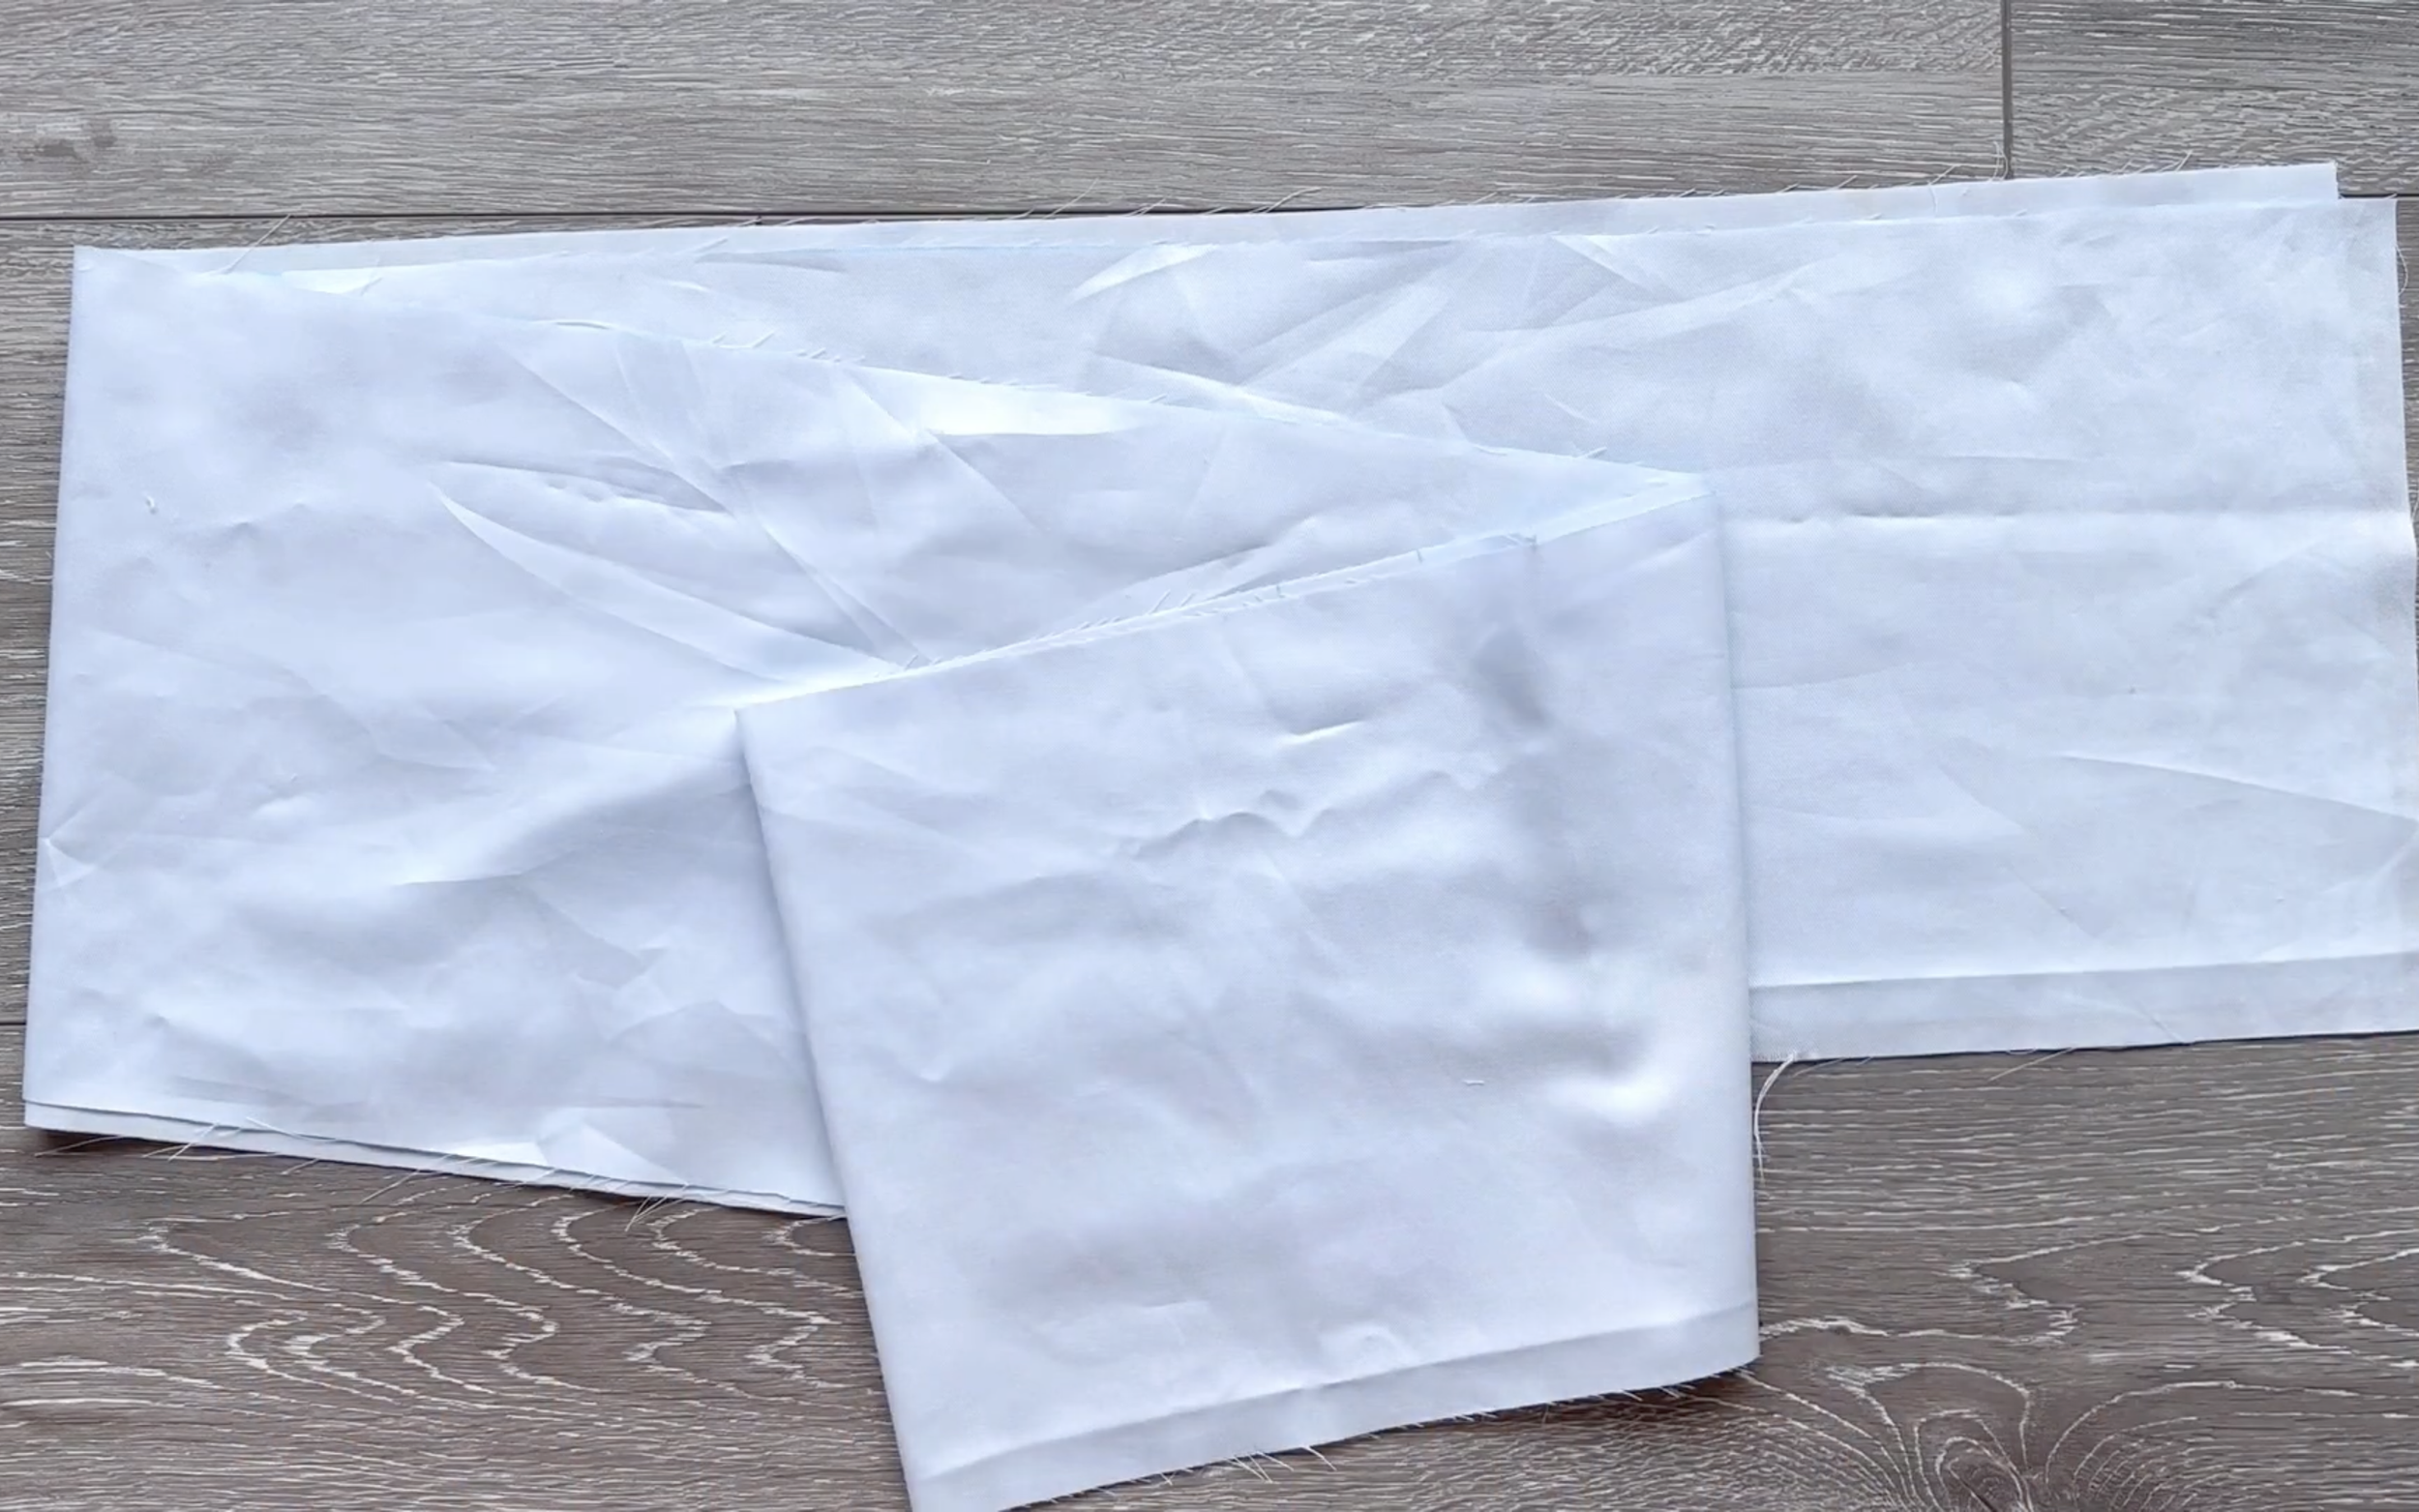
Cotton fabric, mix cotton and chiffon fabric
Pattern paper
Sewing machine
Pins
Scissors
Ruler
Elastic band
THE GATHERED WAIST DRESS
PATTERN HACK
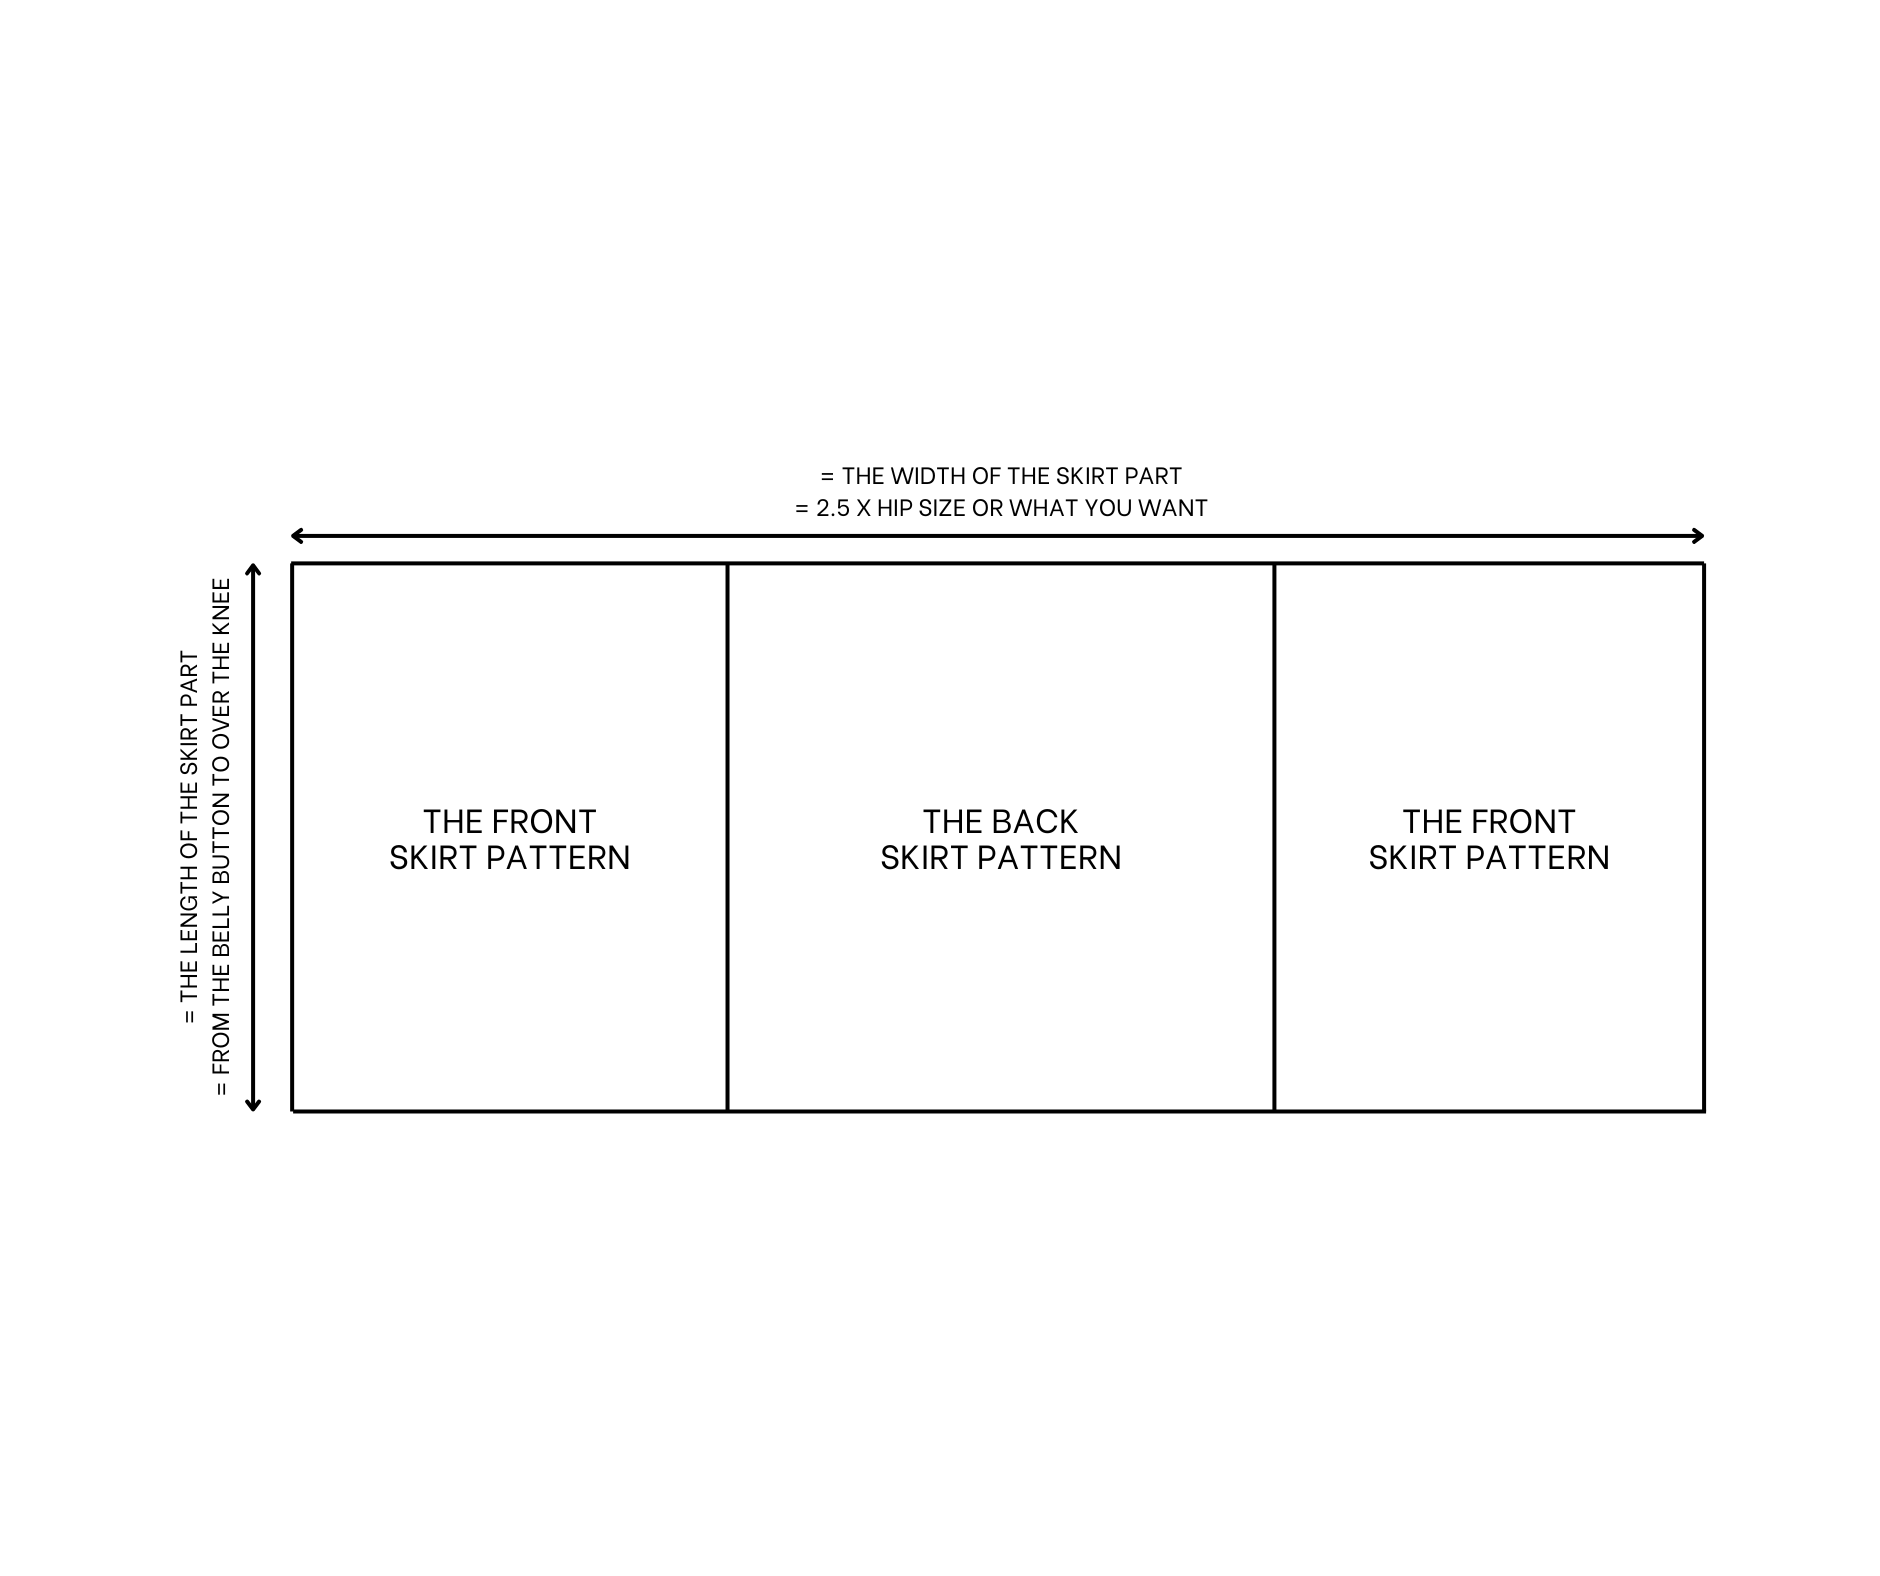
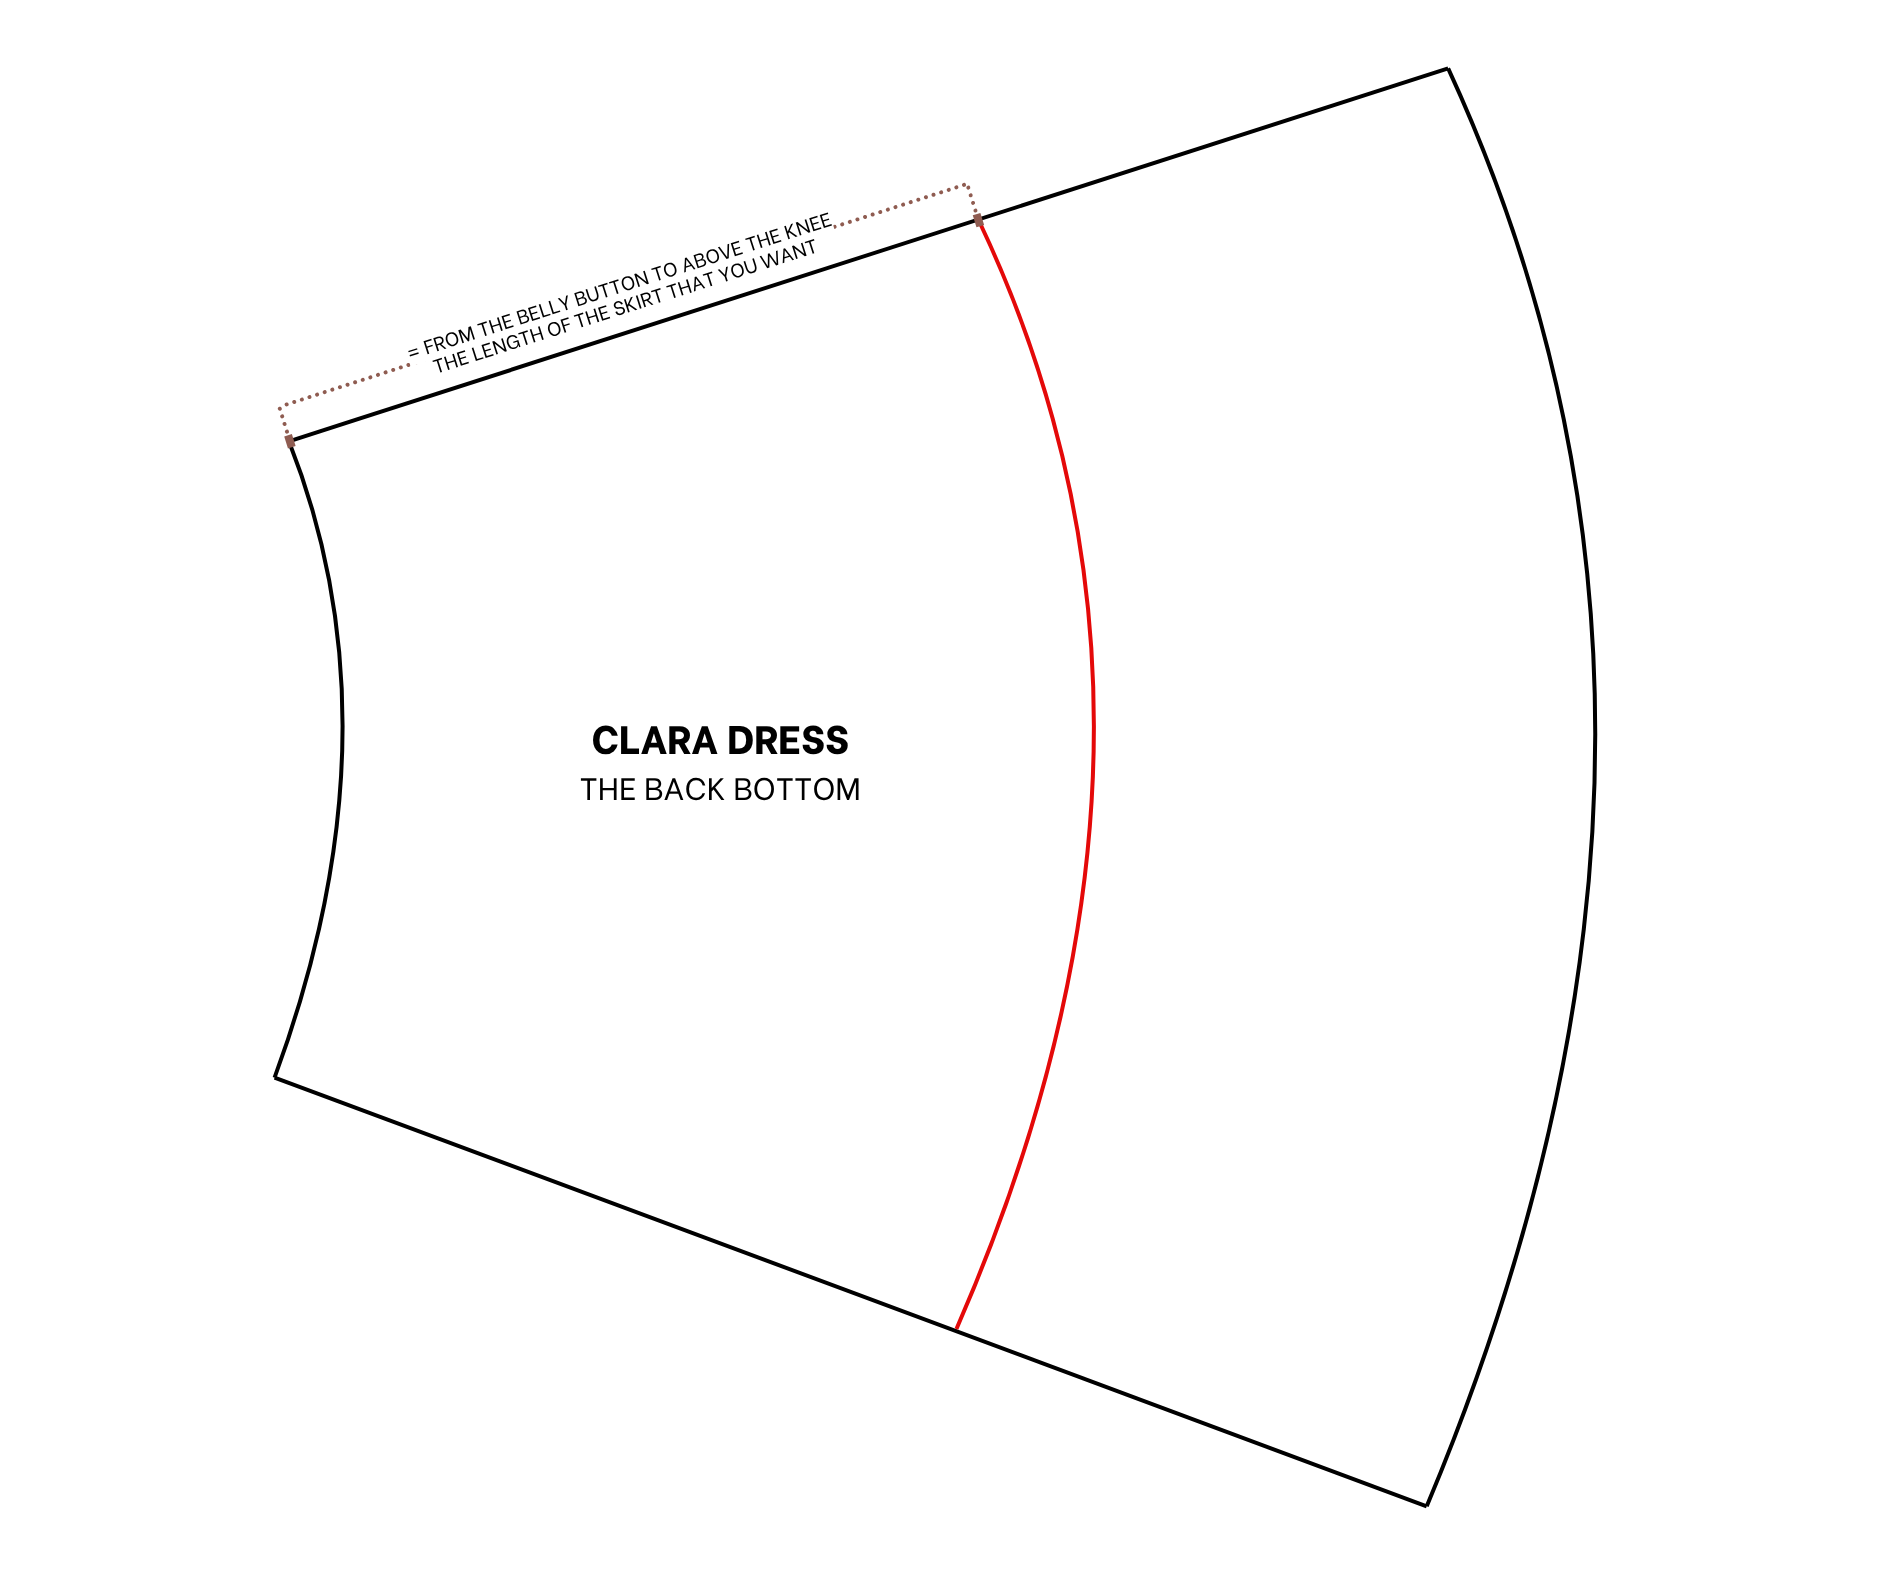
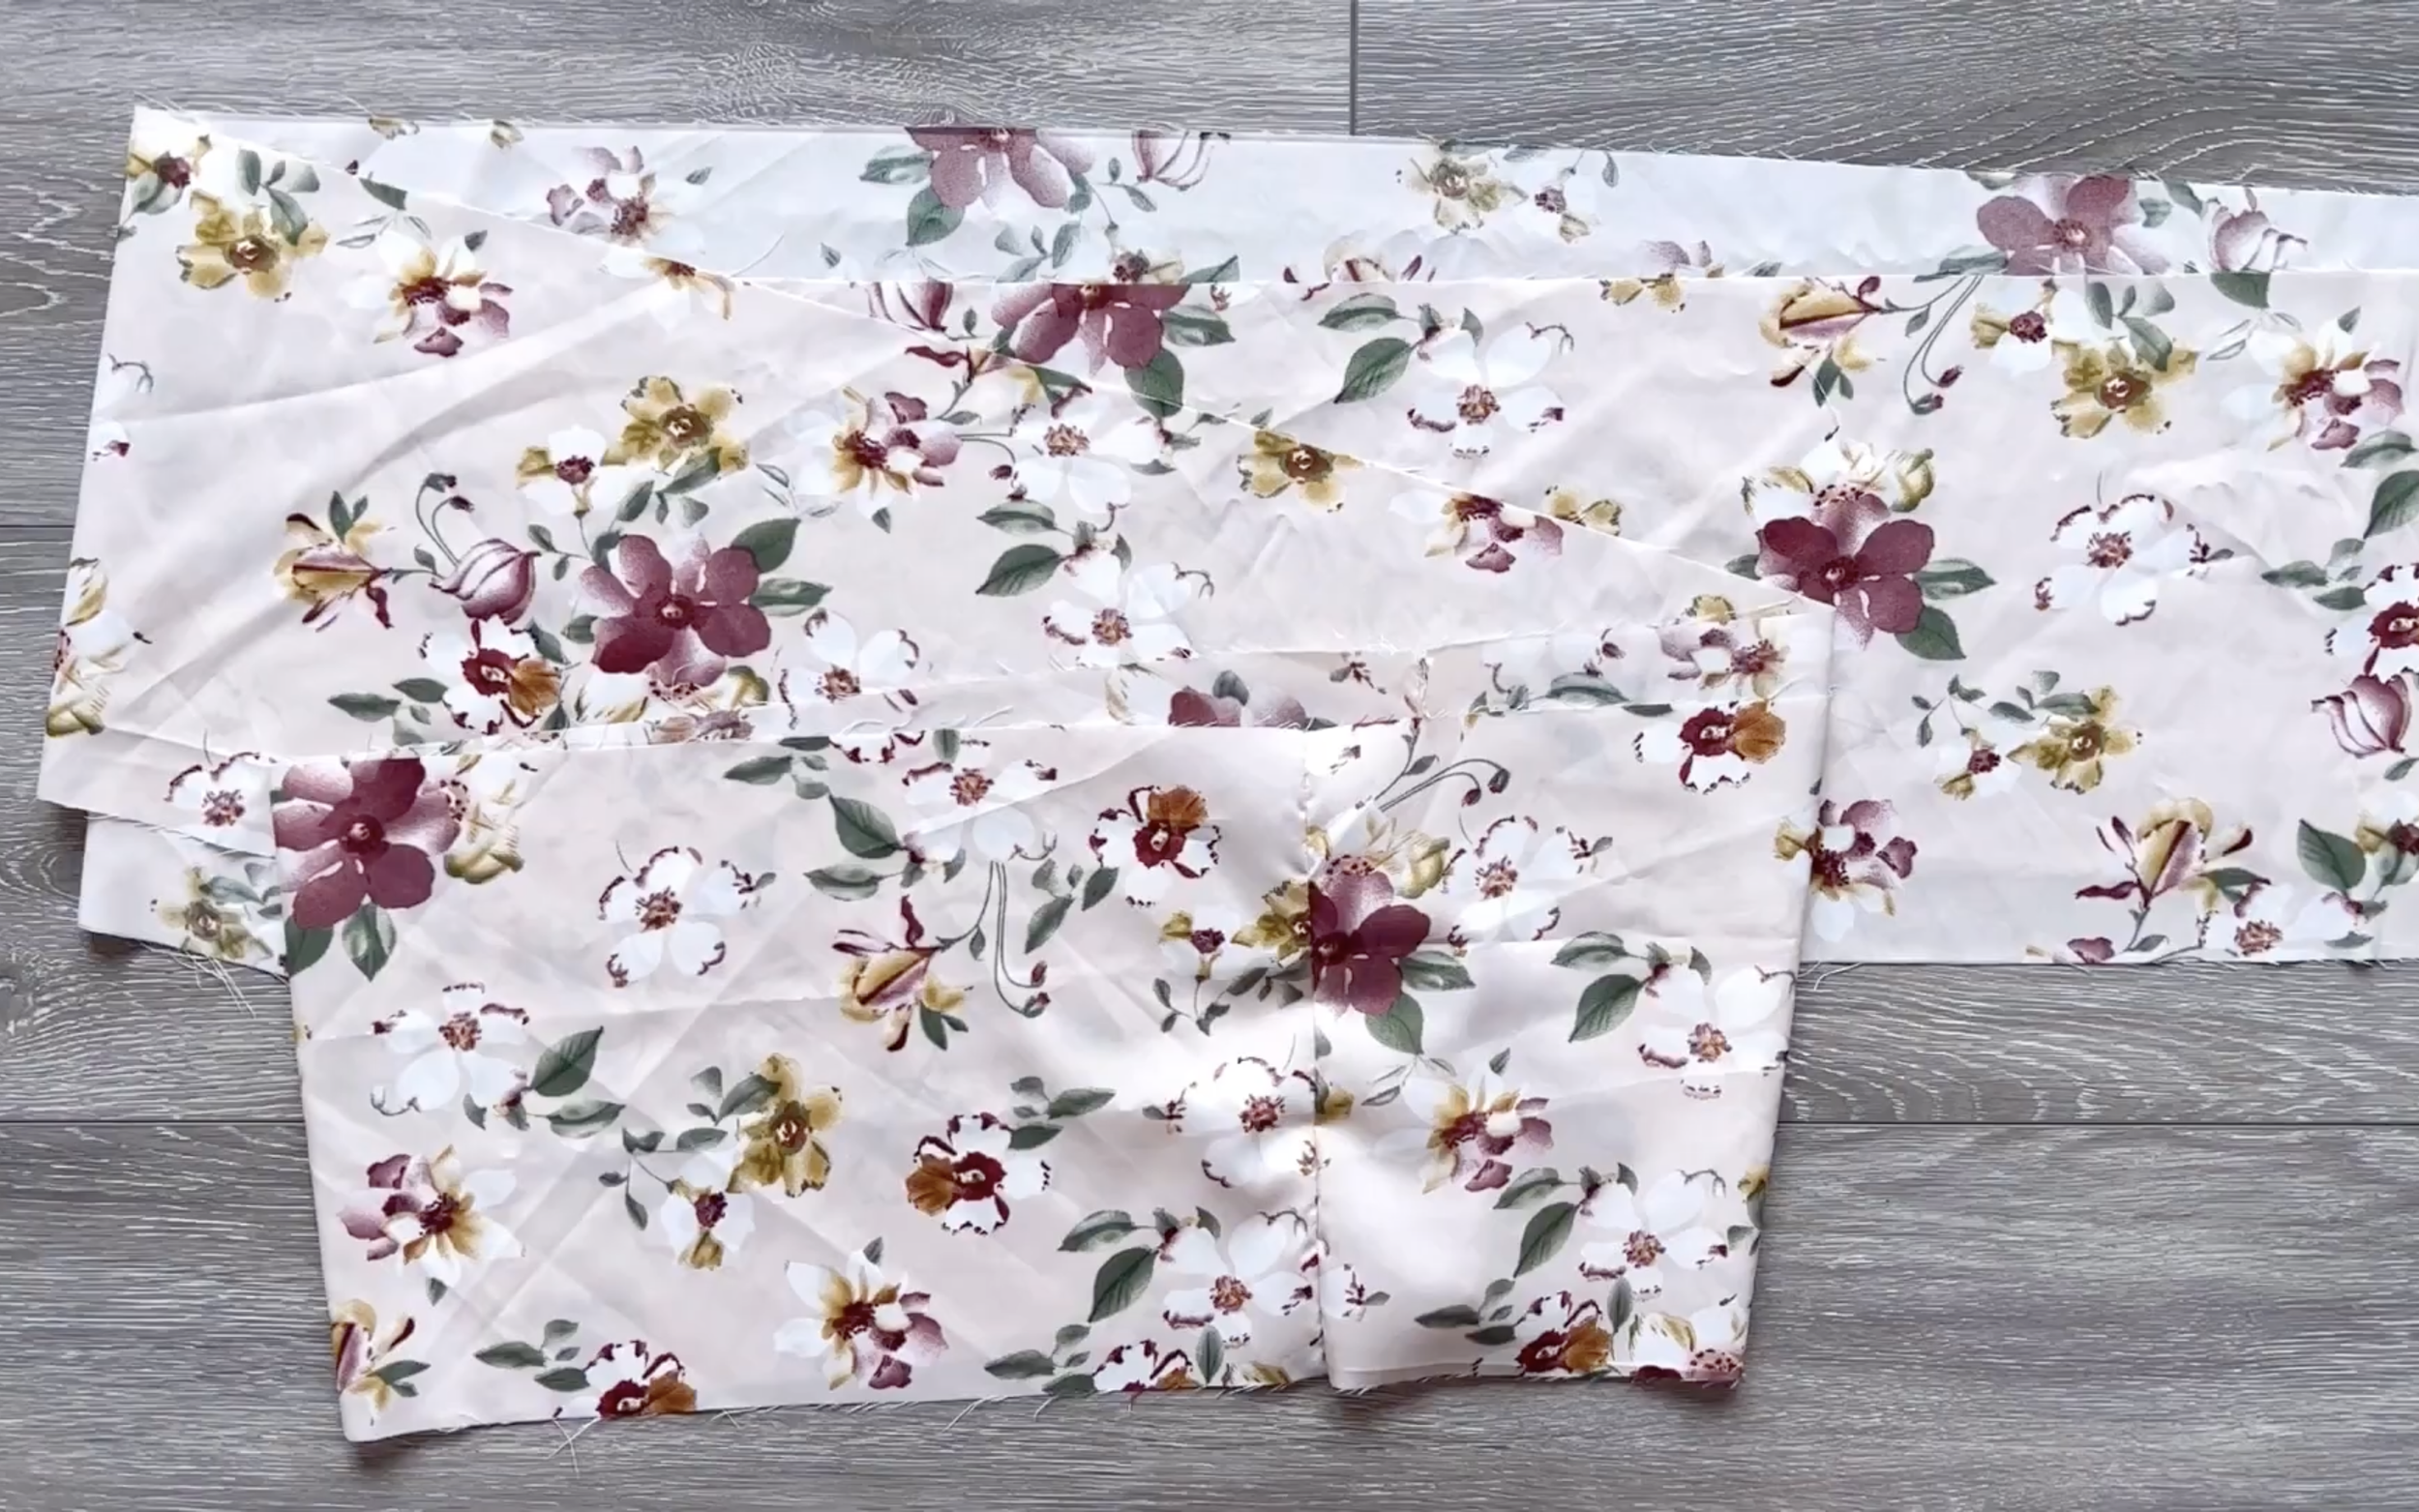
Instead of using the skirt pattern, cut a big rectangle with 80 cm length, which is the length of the skirt part that is wanted. It is the length from the belly button to over your knee, and 230 cm width, which is 2.5 times your hip size.
SEWING THE DRESS
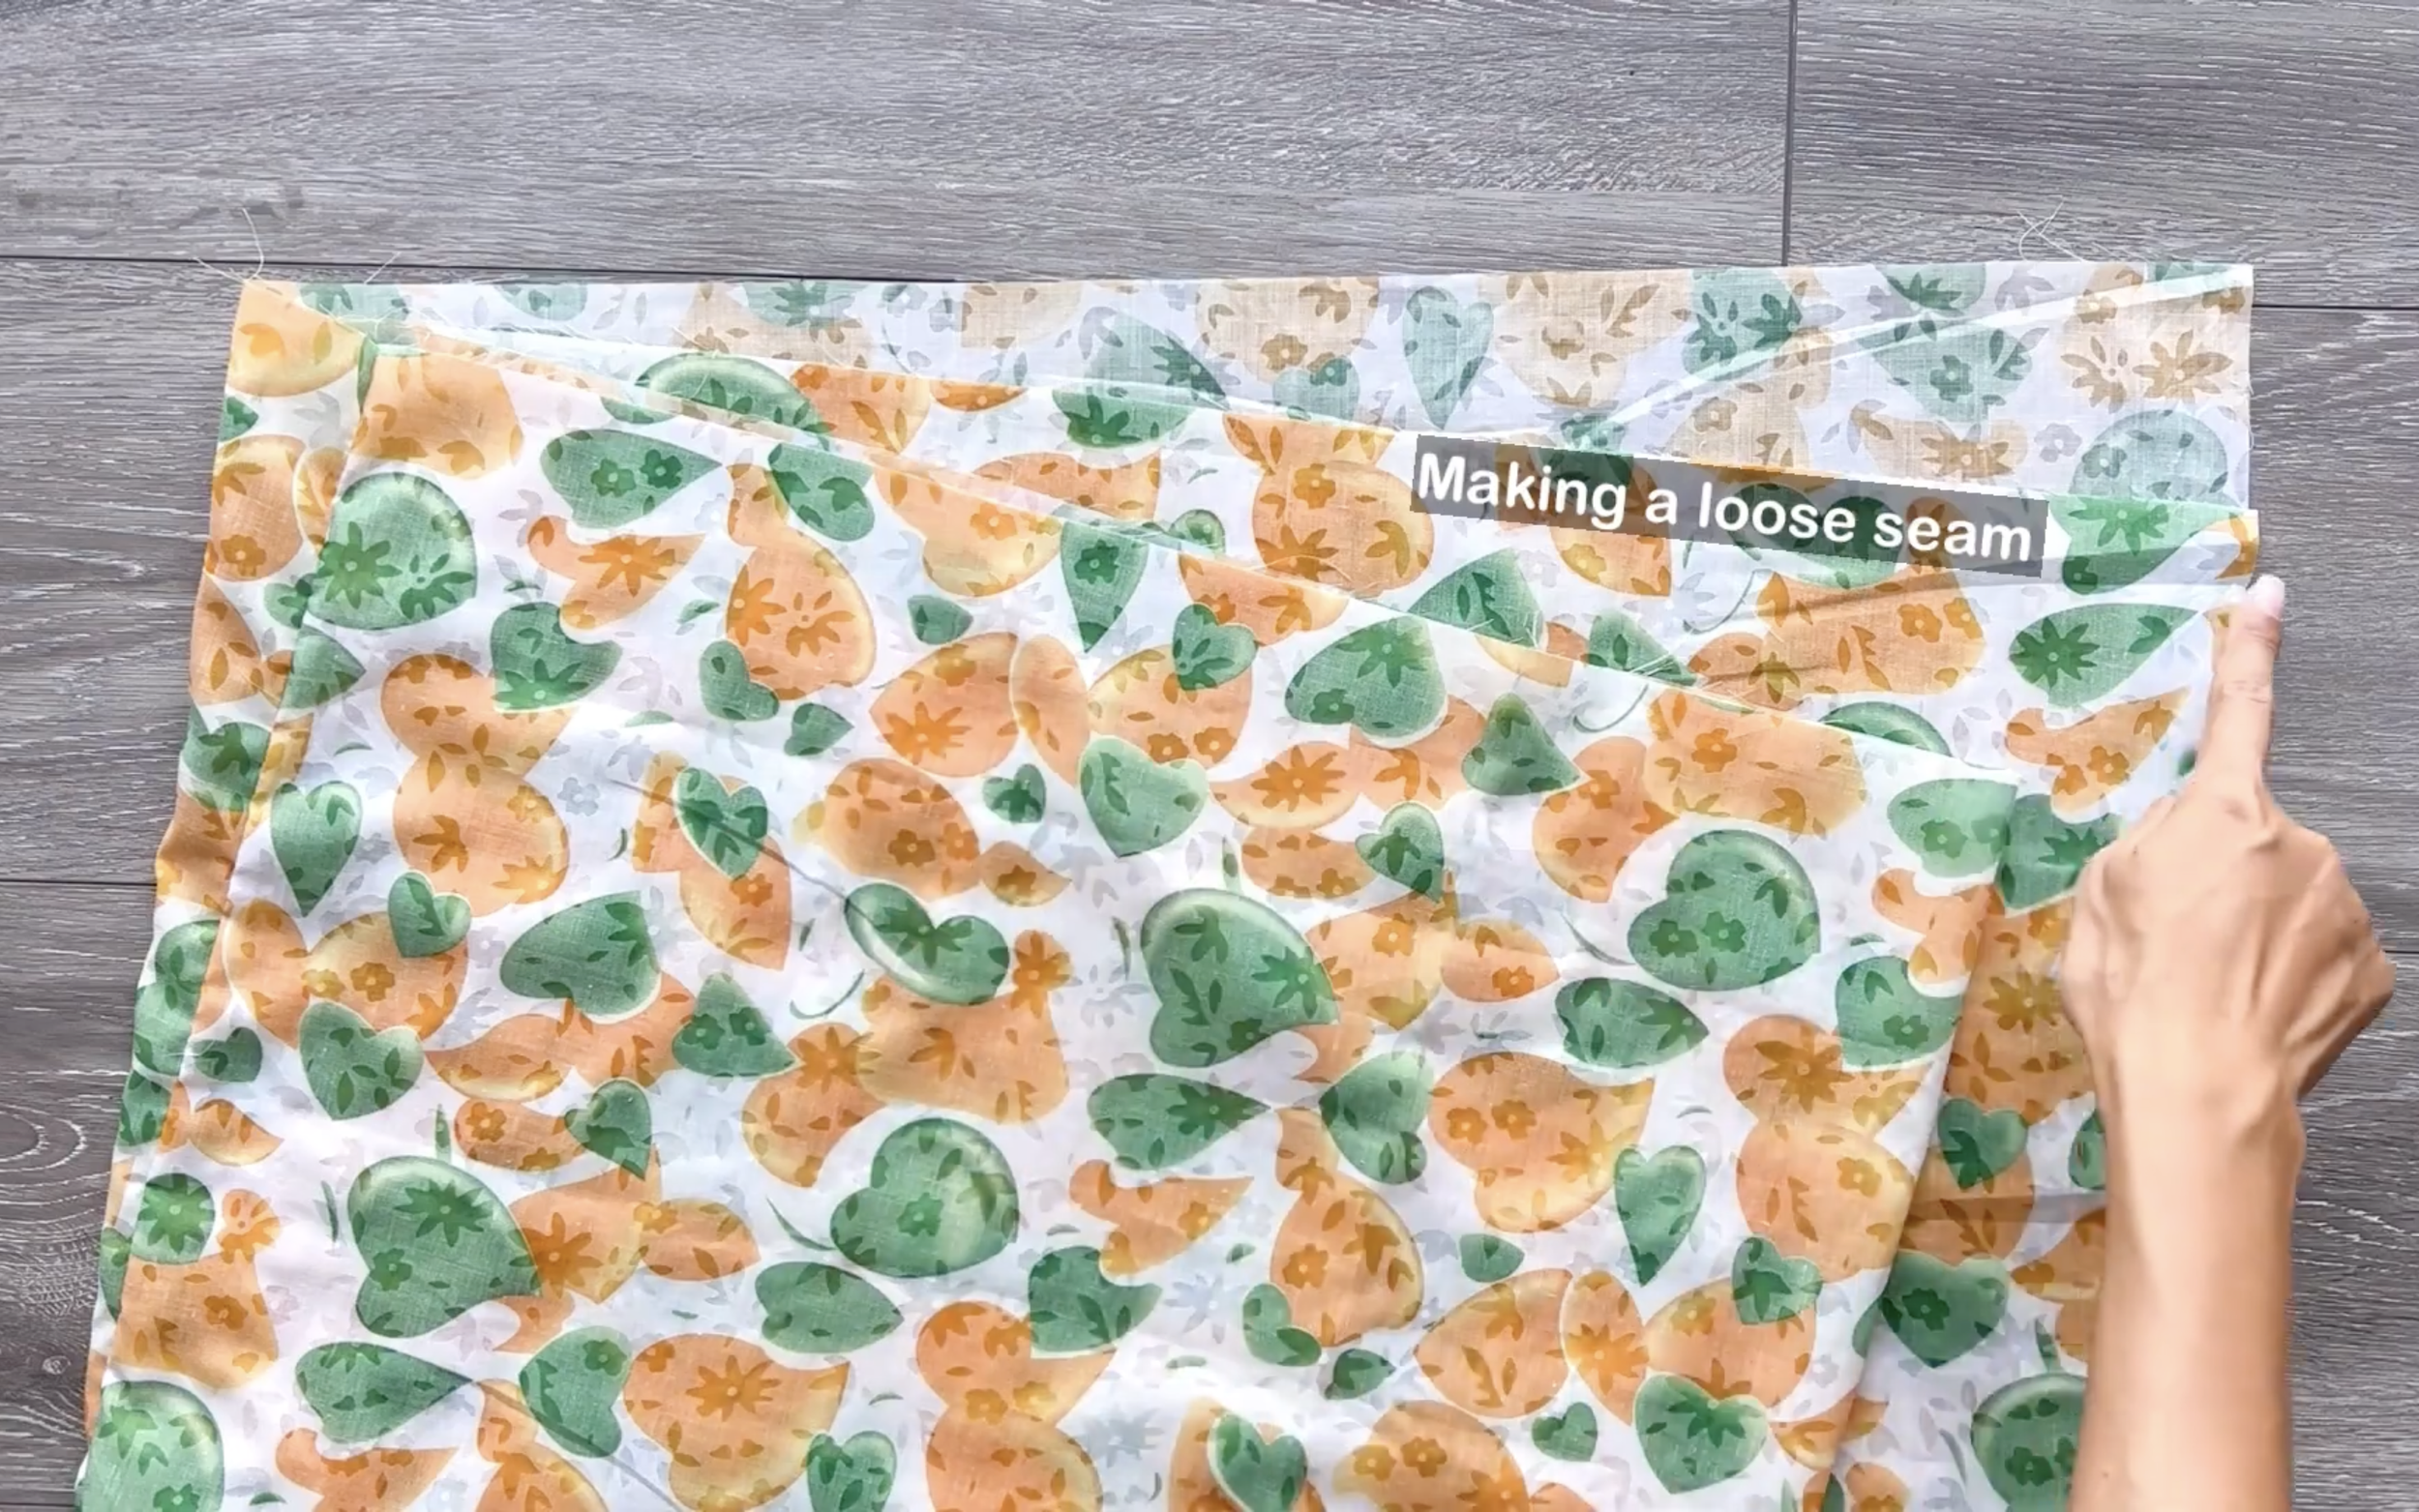
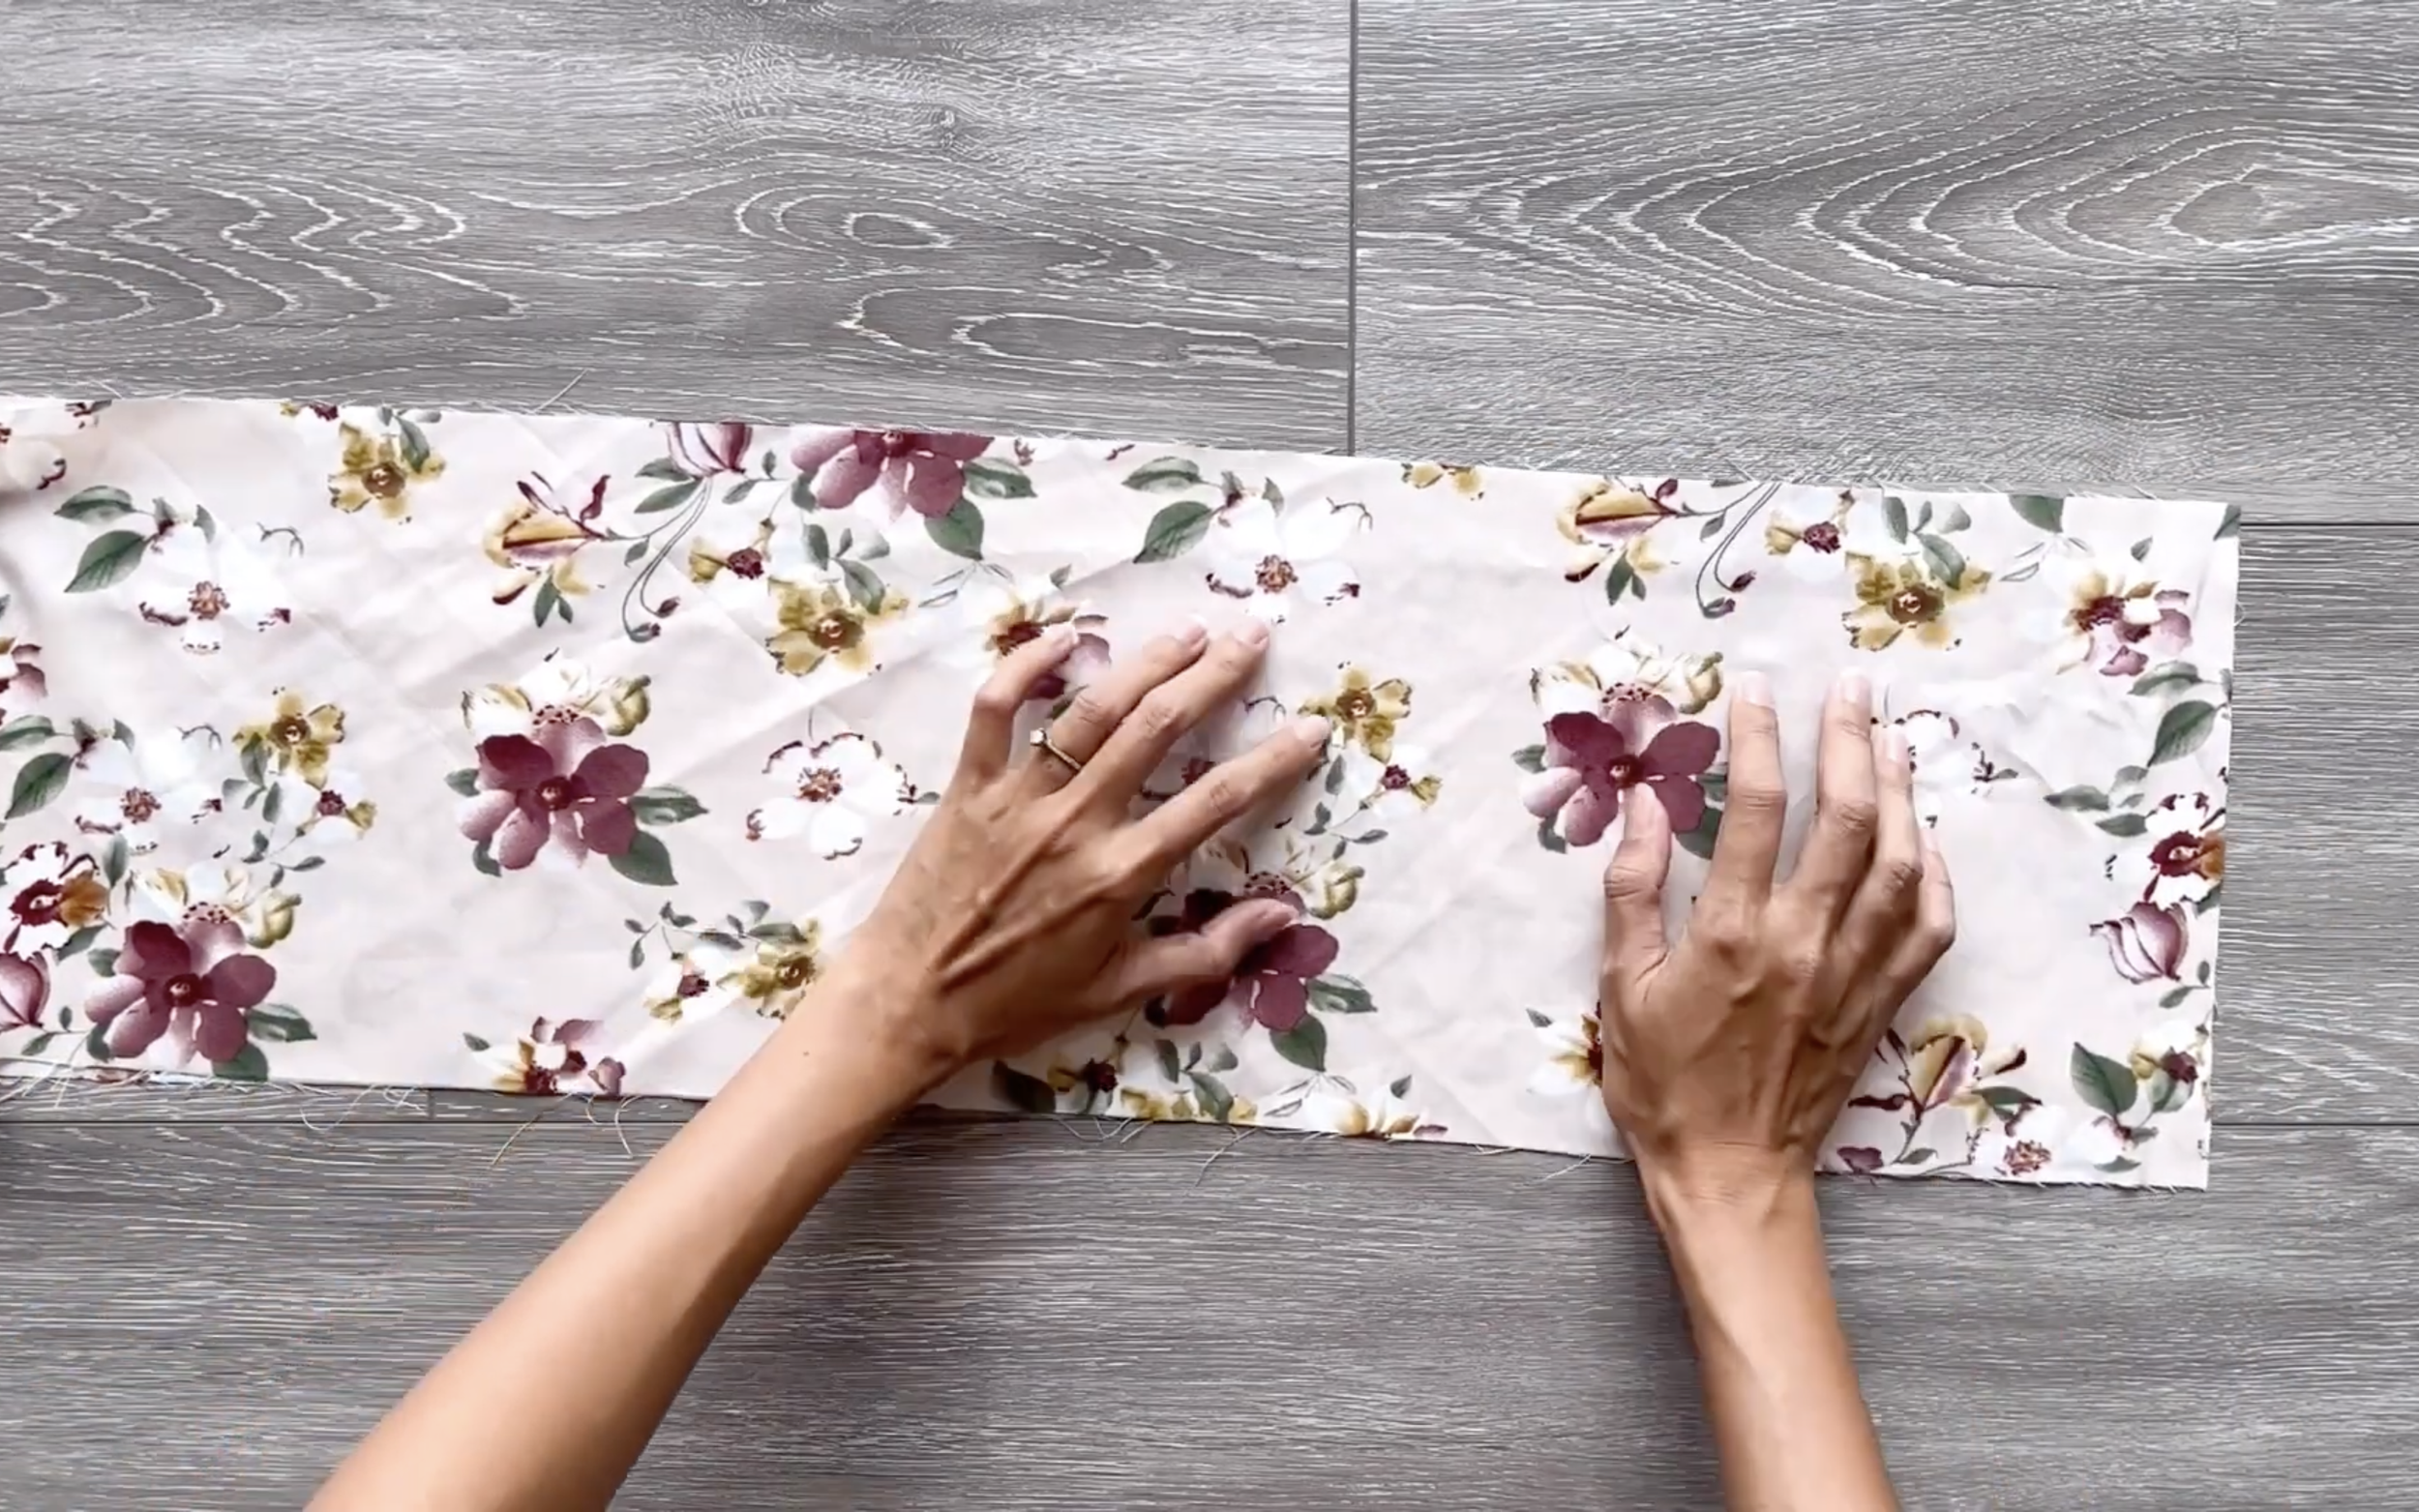
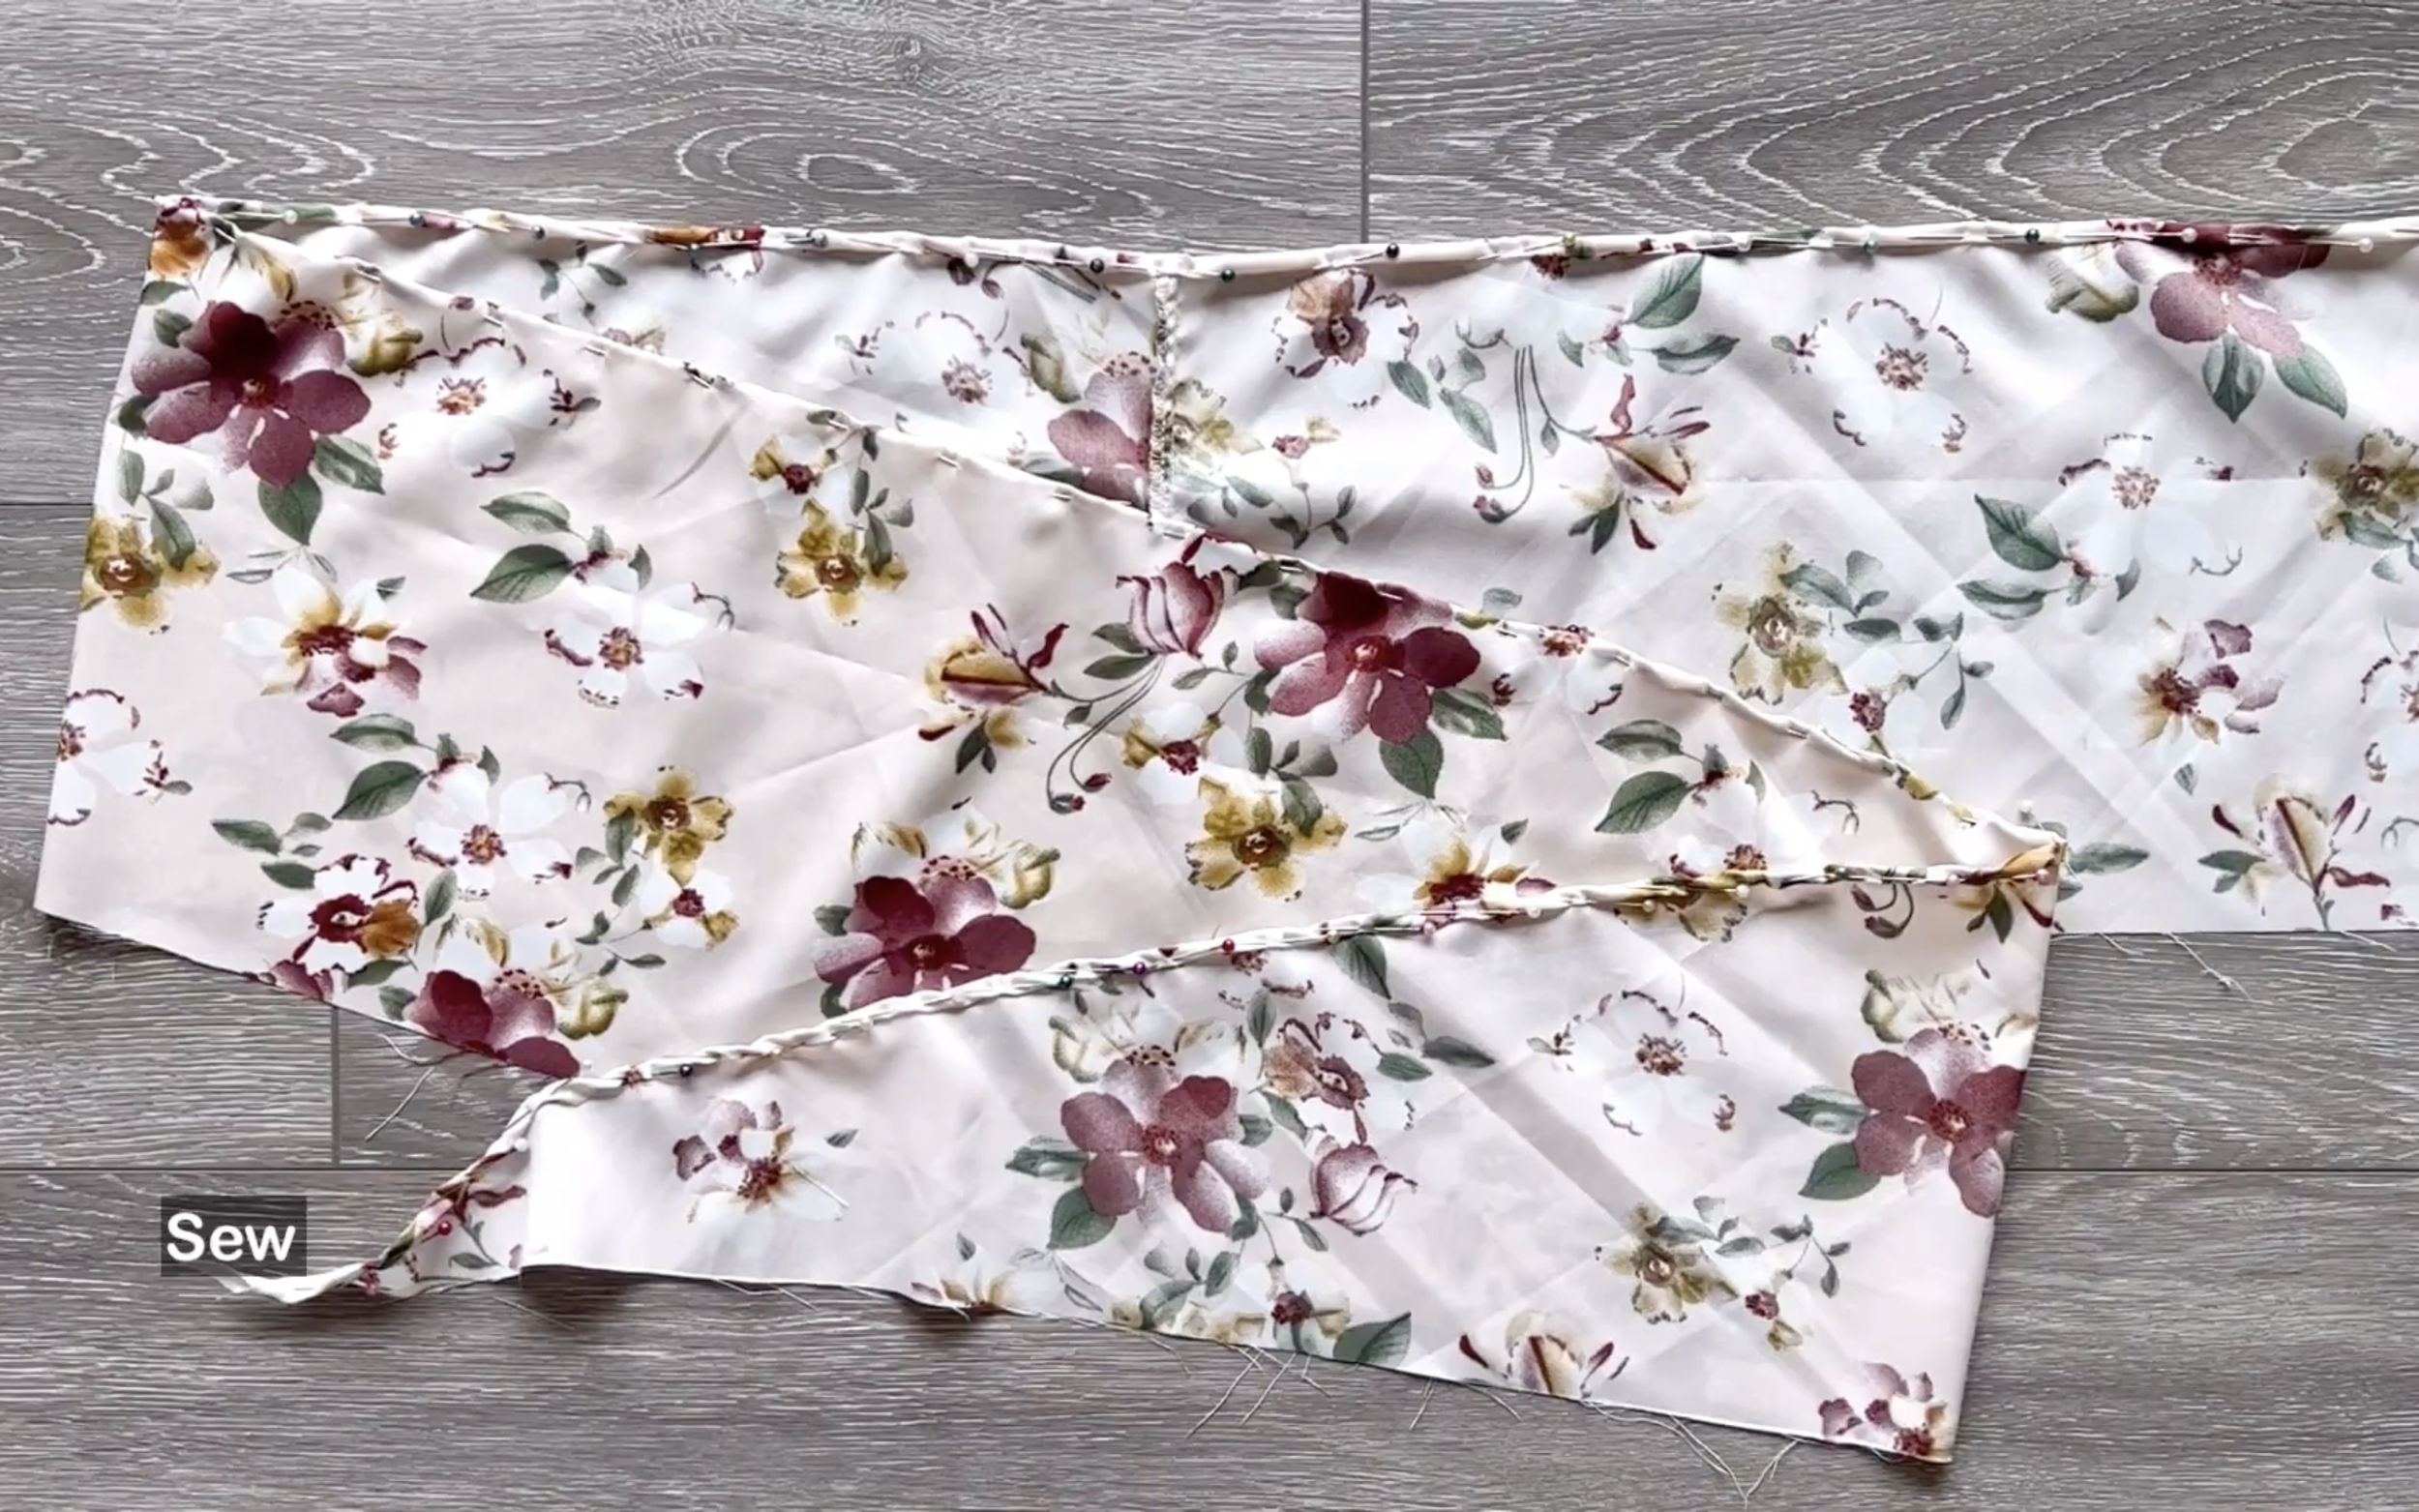
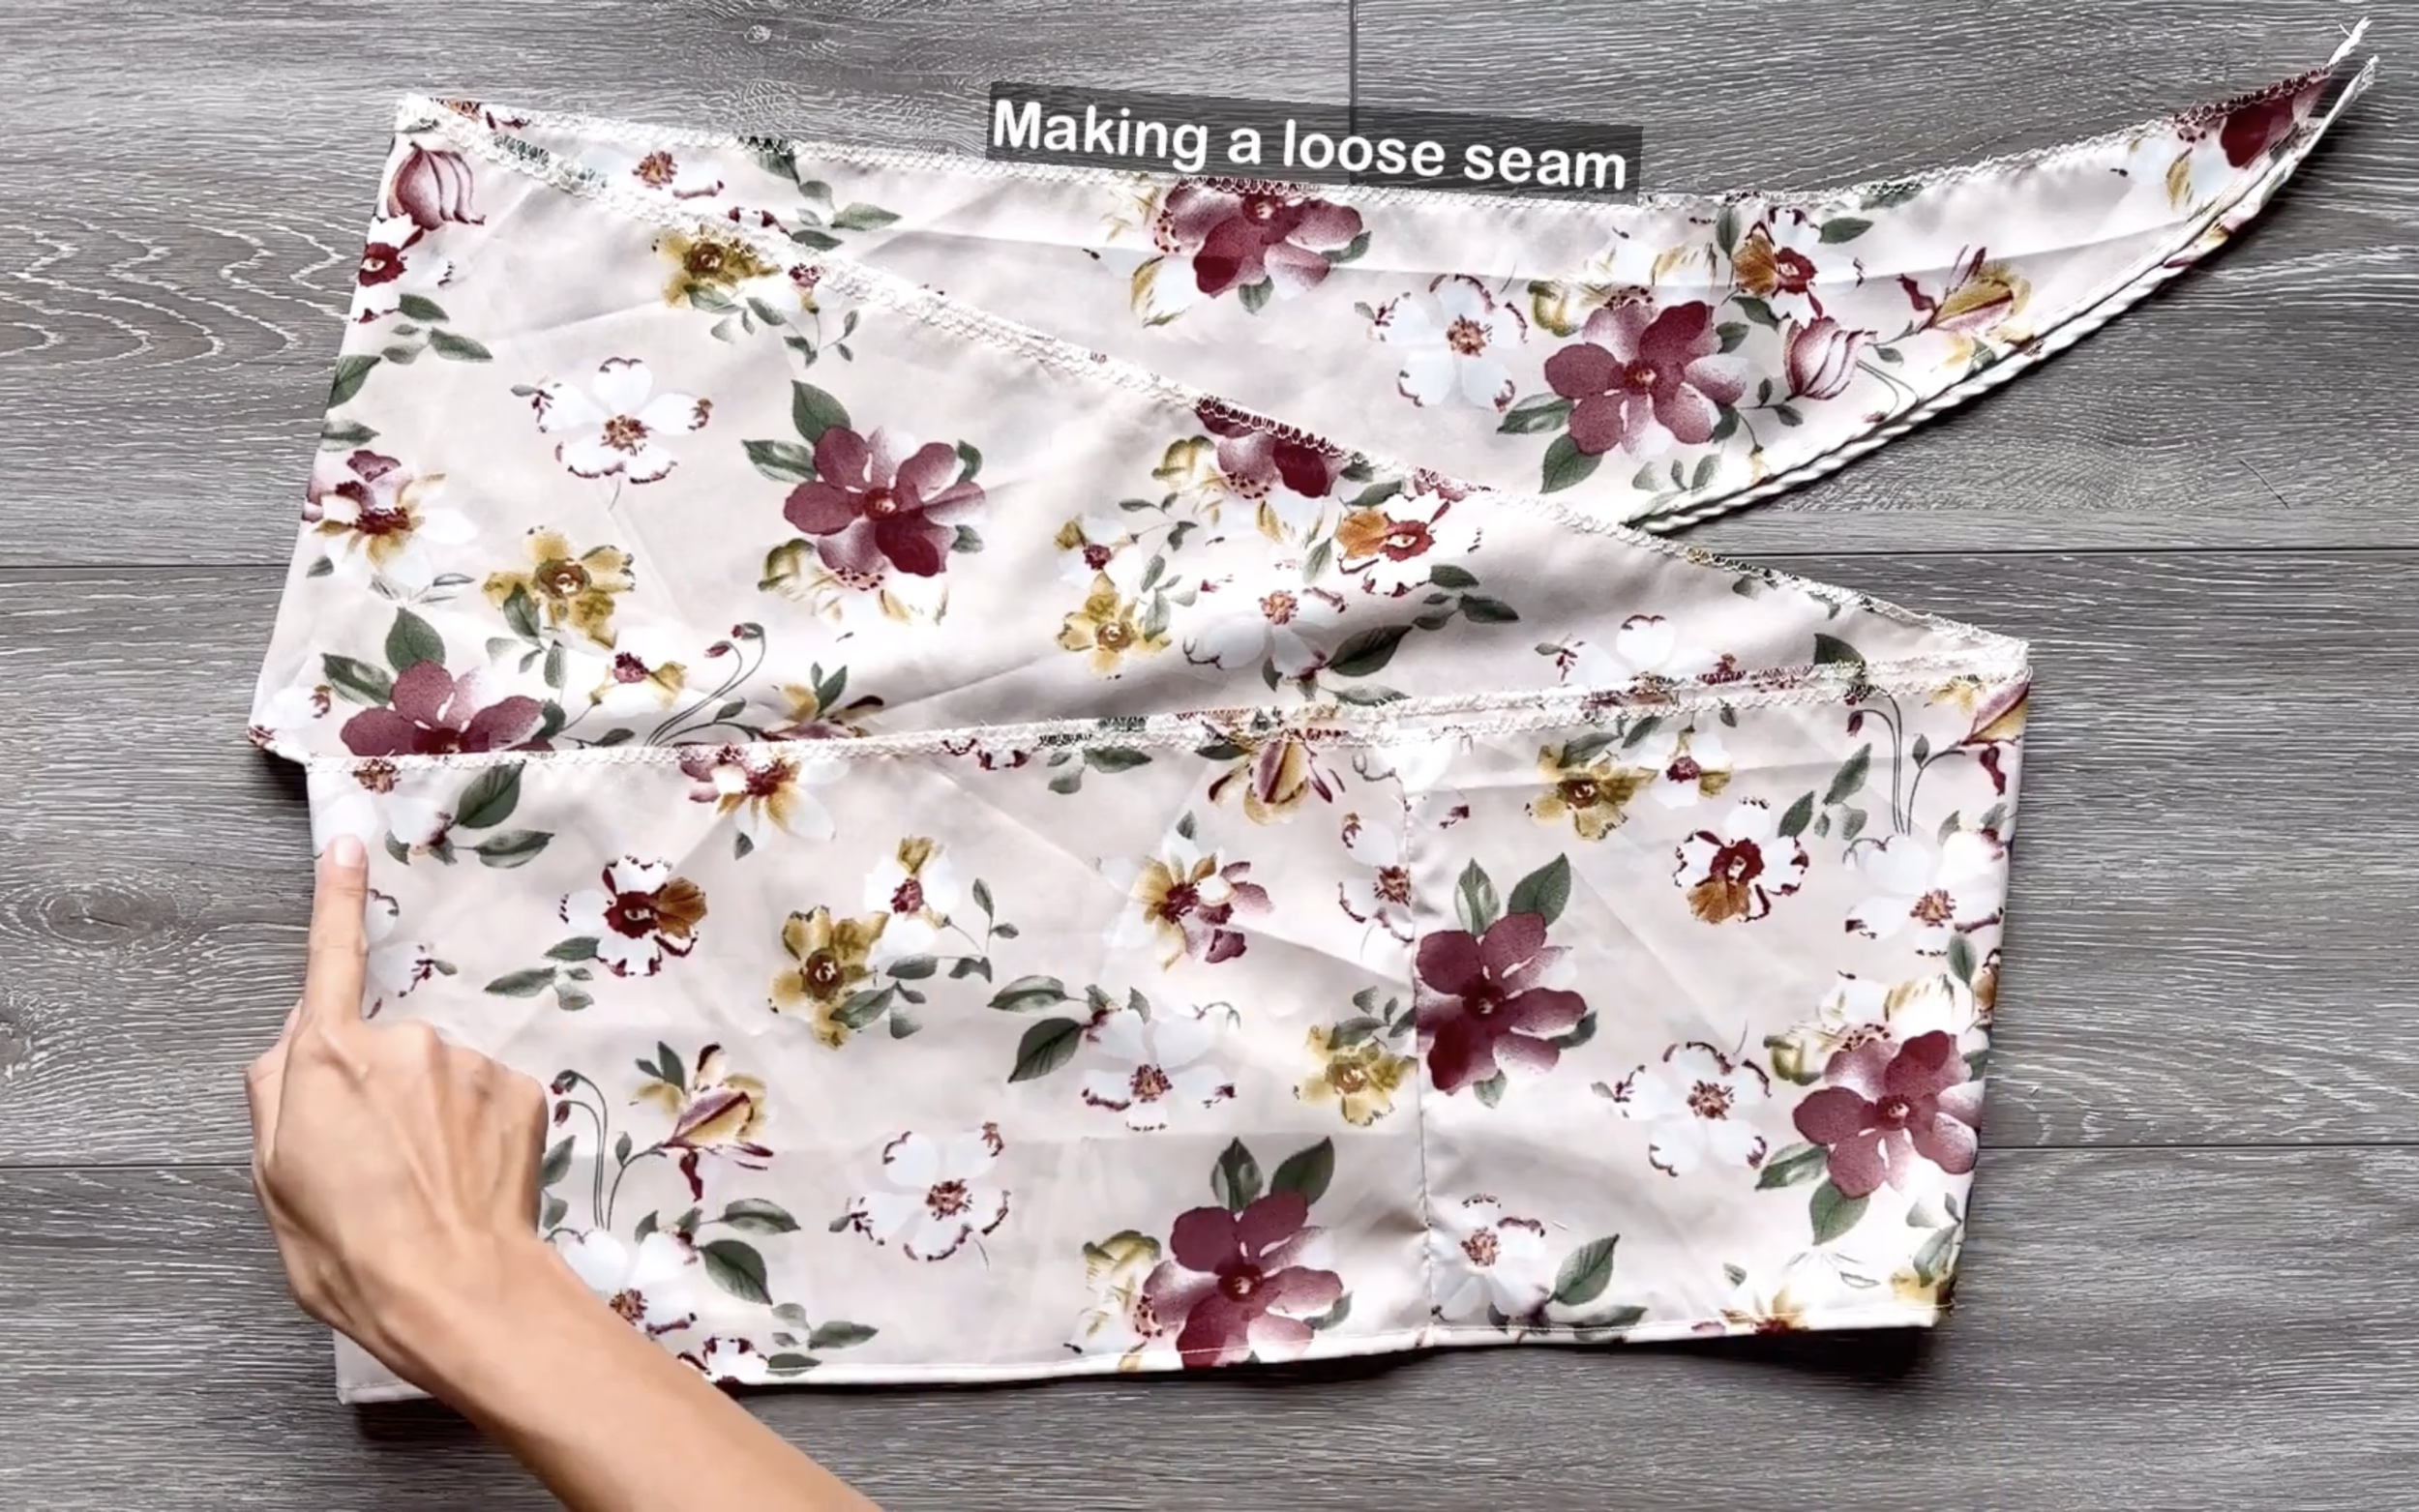
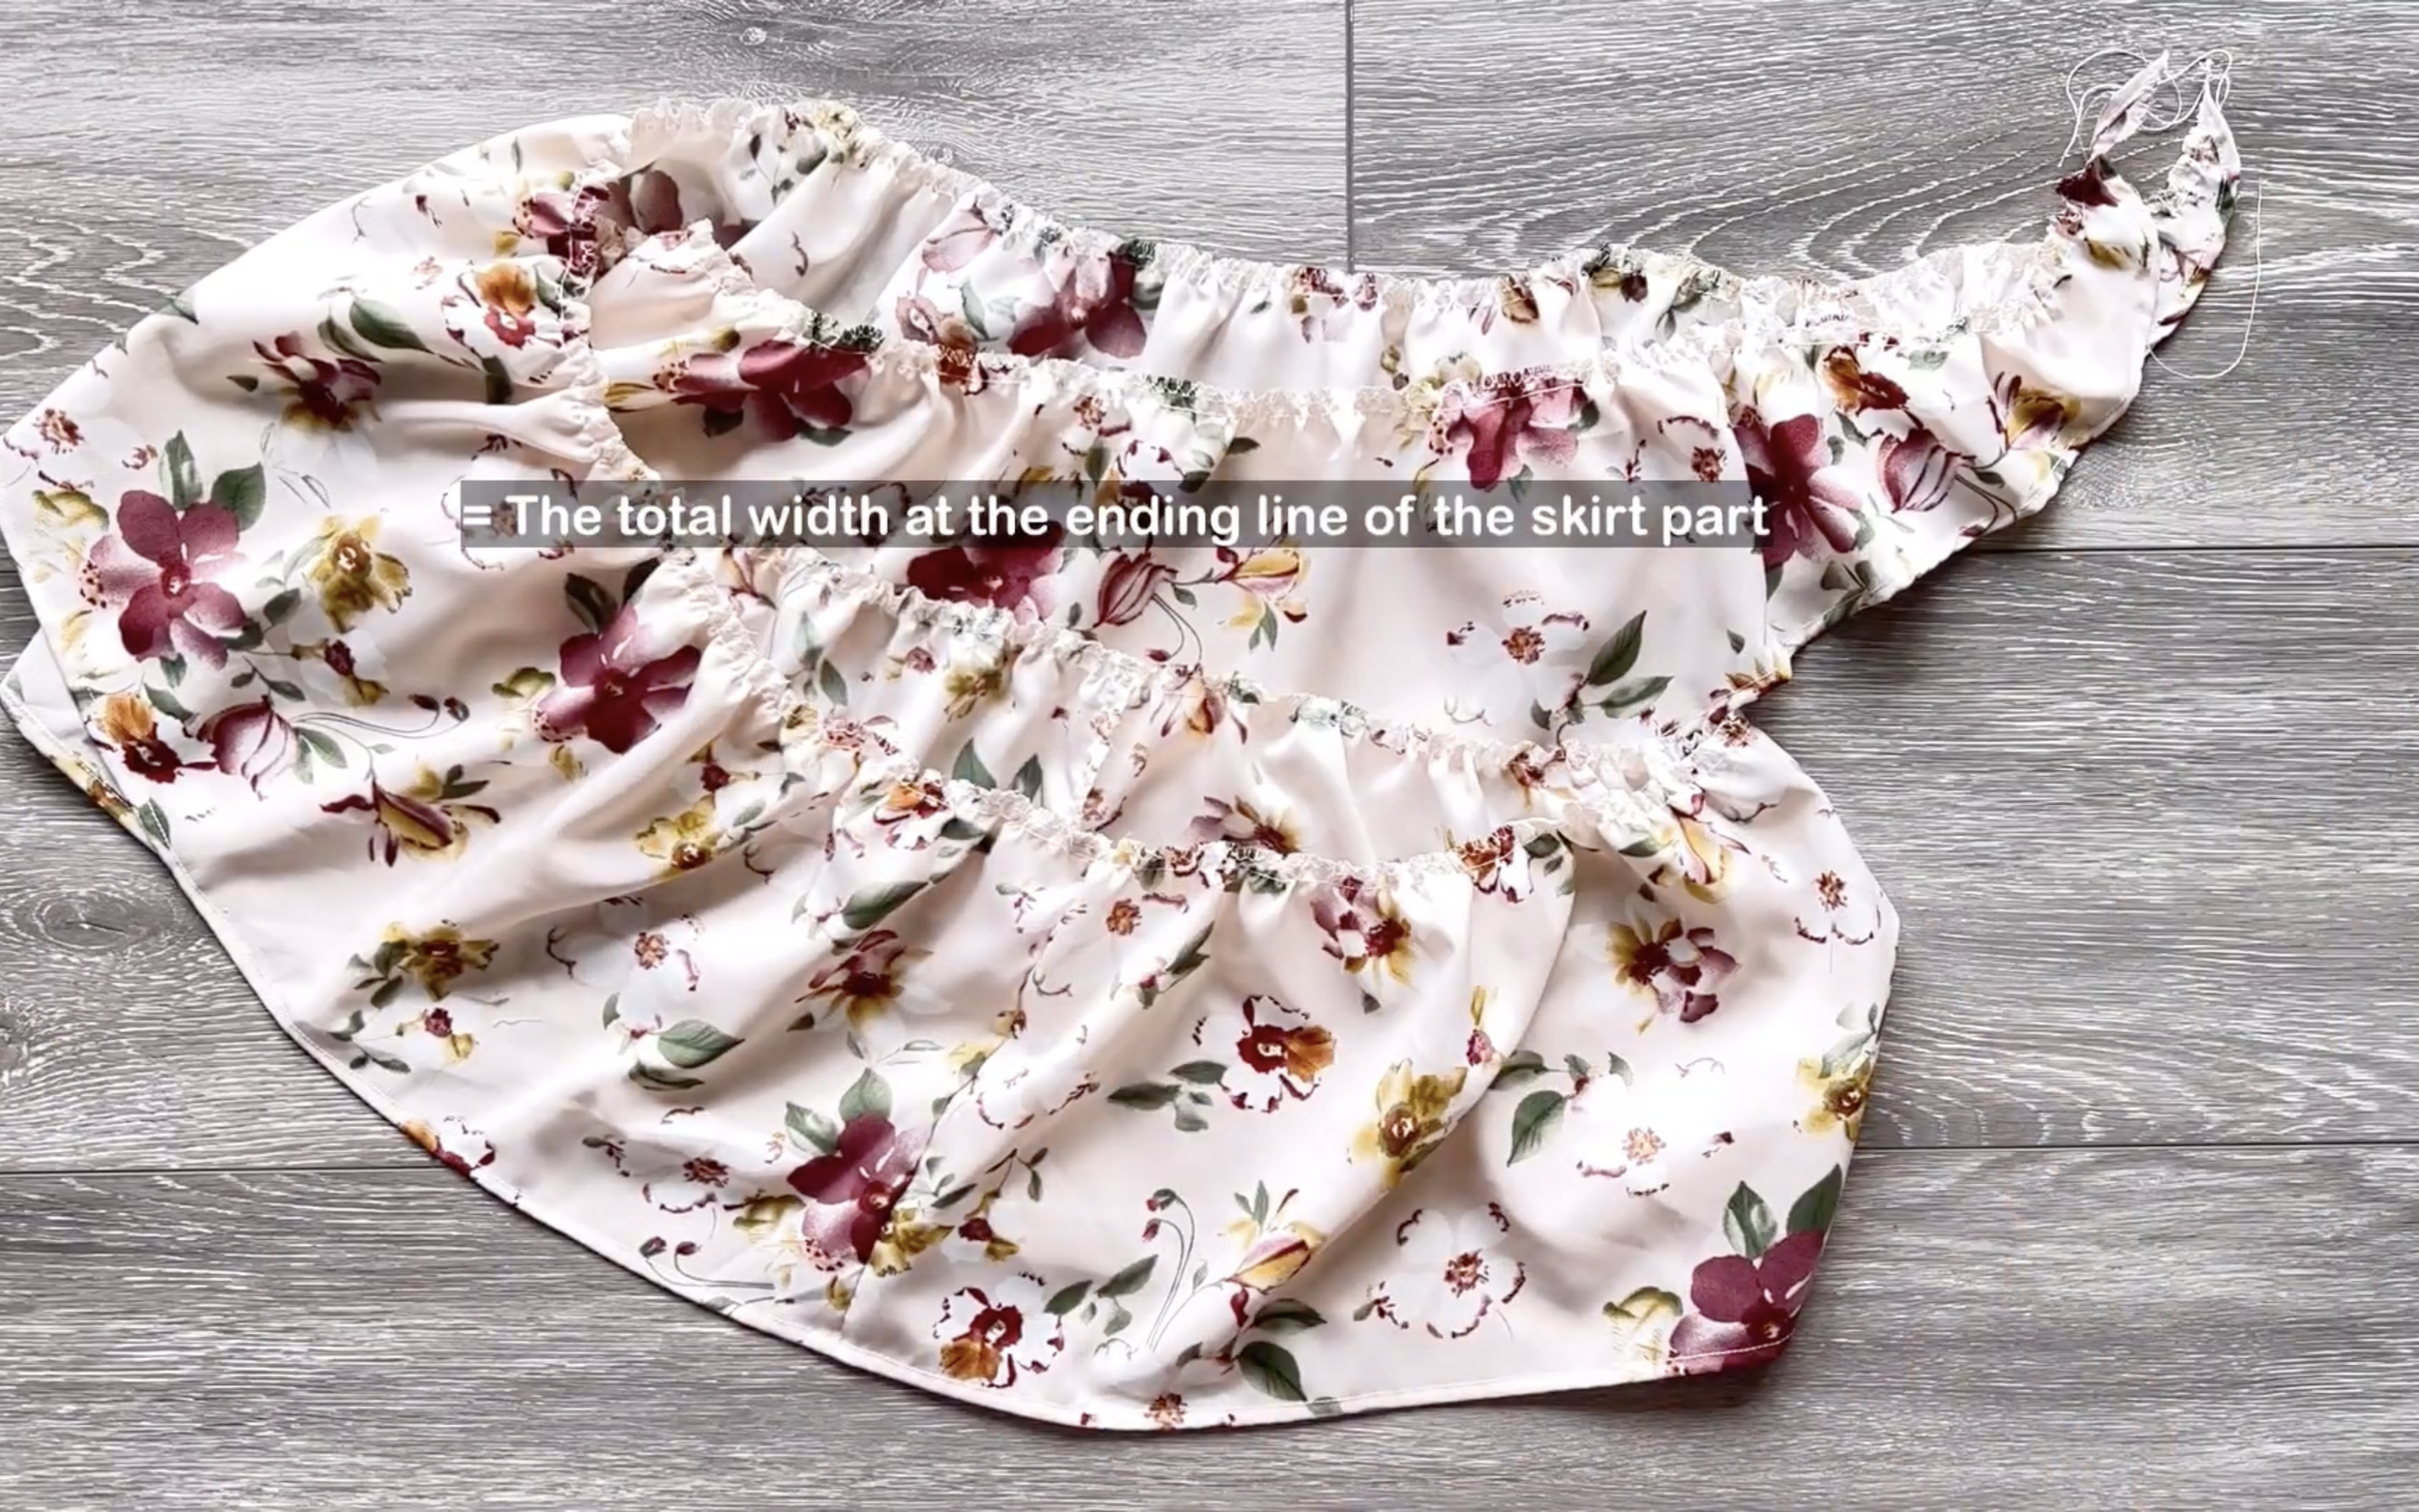
At the top width line of the rectangle, make a loose seam first, then create the gathering fabric there later.

The width of the final gathered fabric will be the same with the width at the end of the bodice part so you can connect them together later.
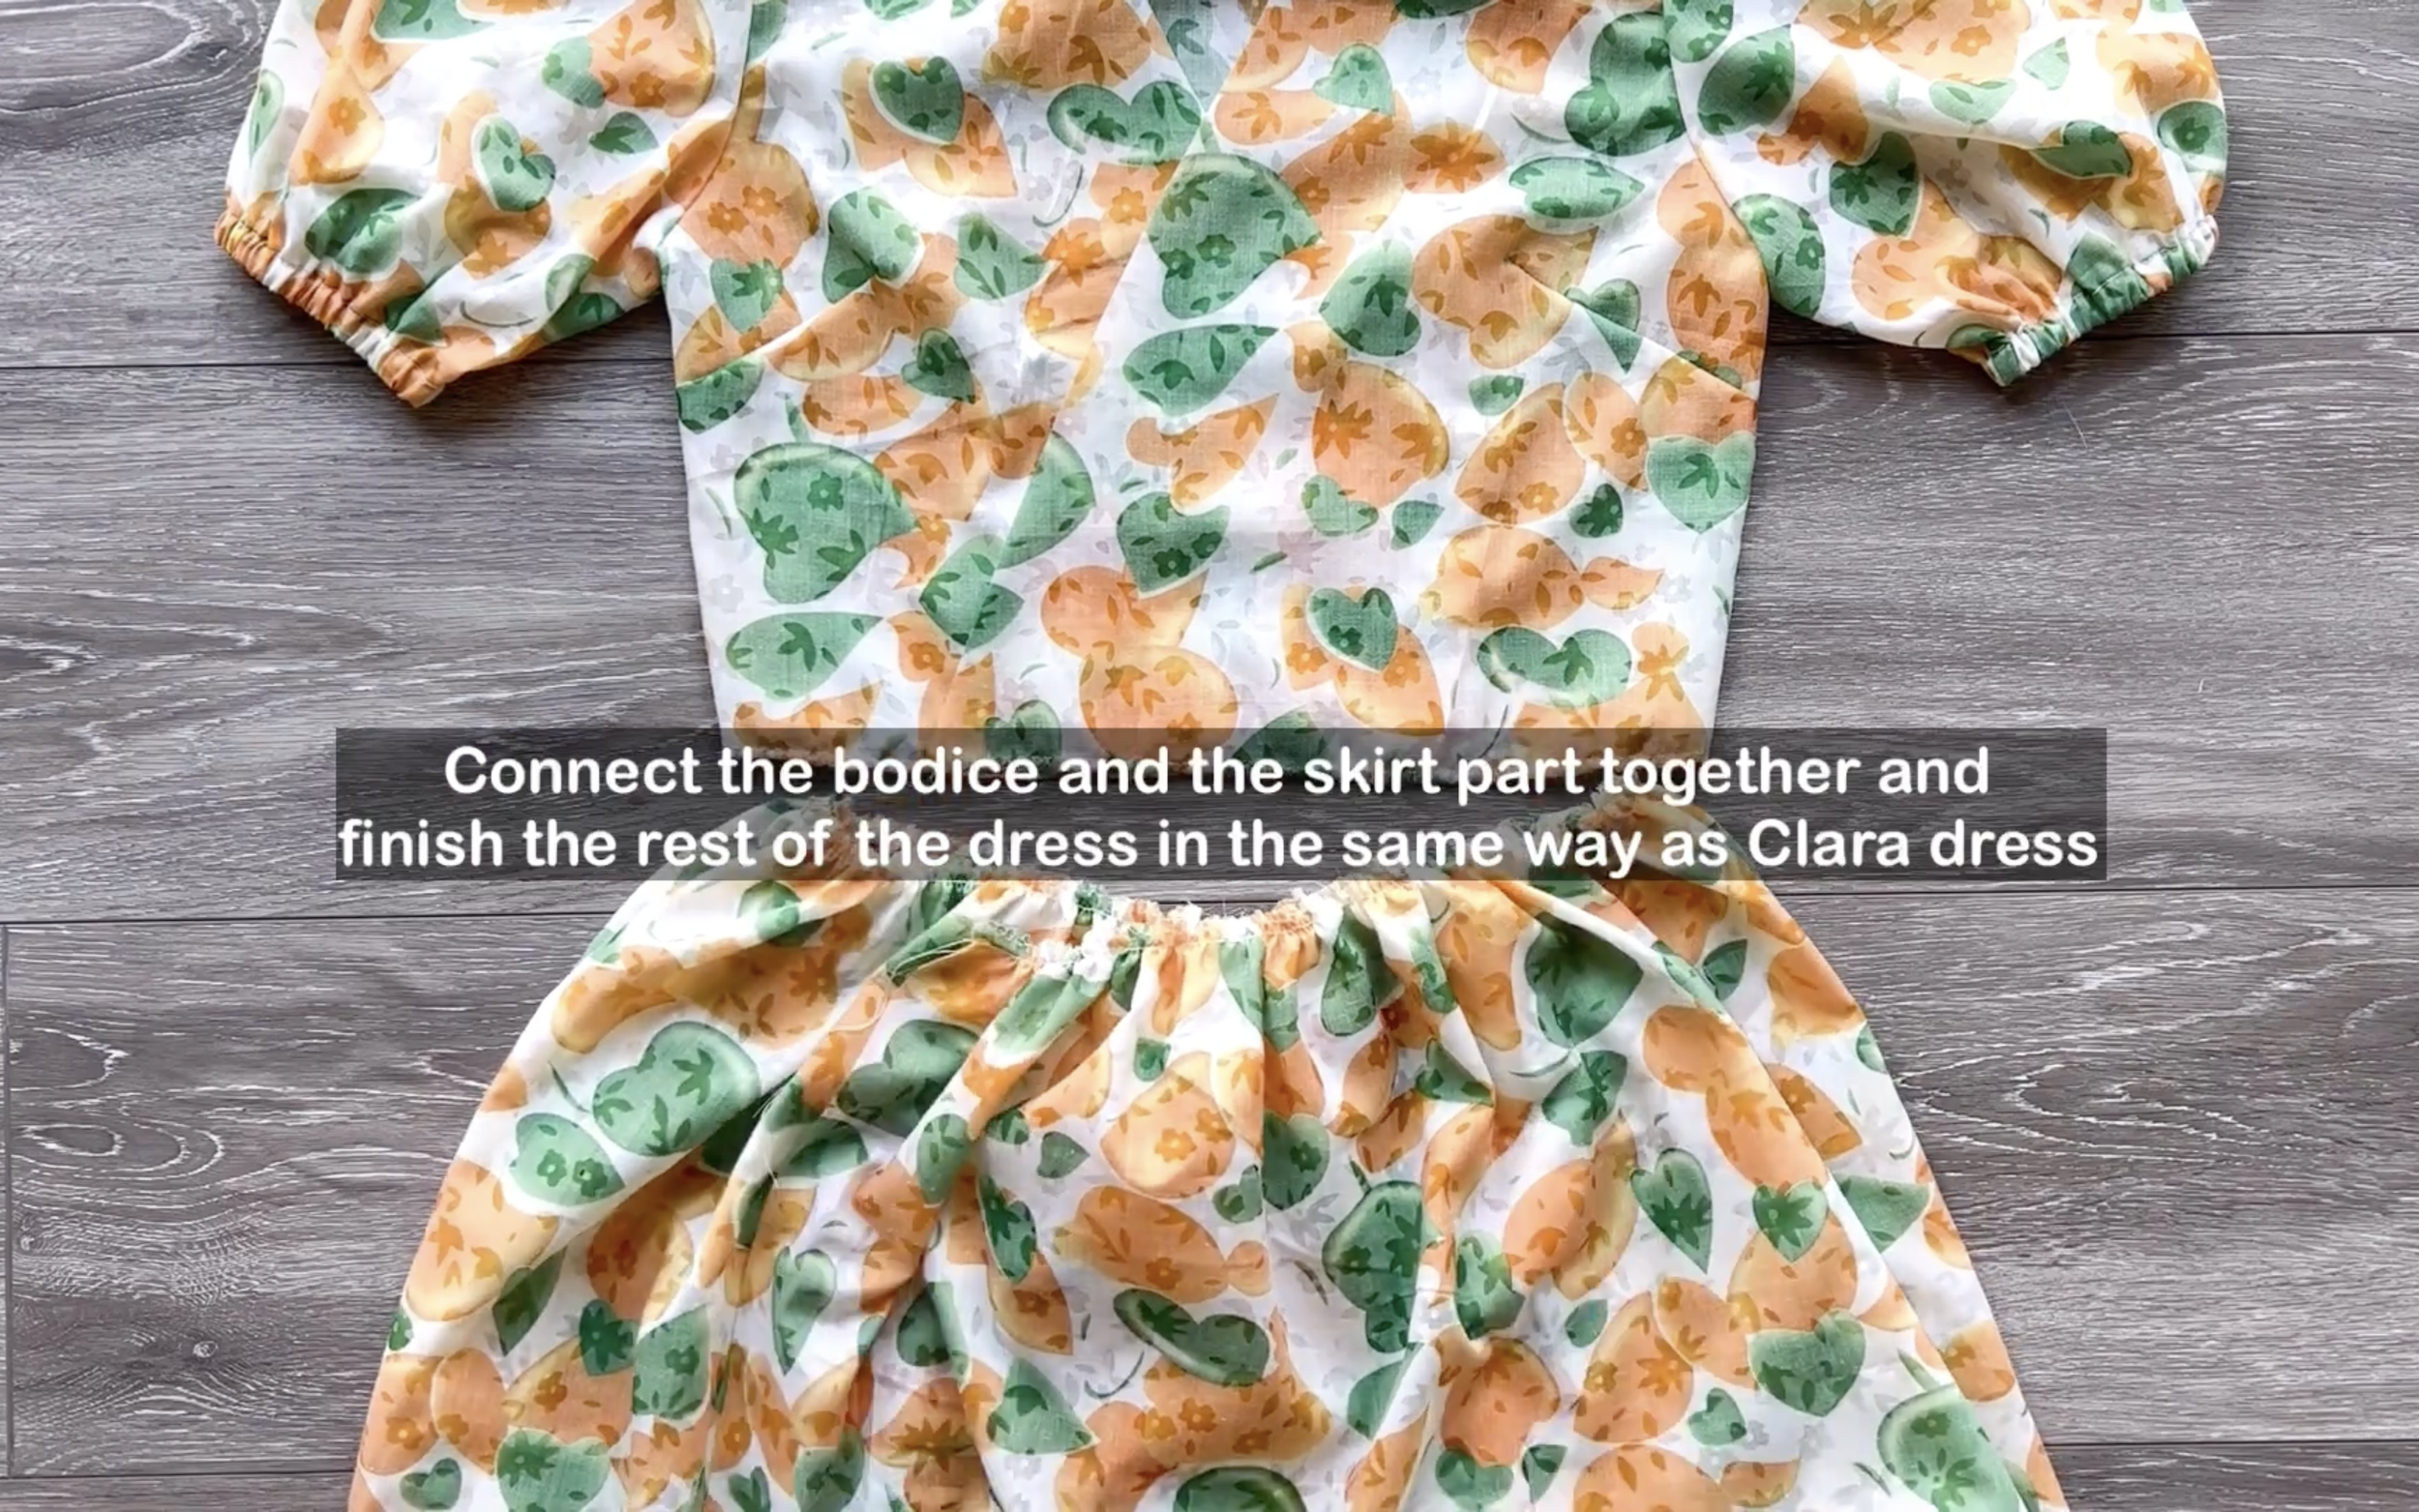
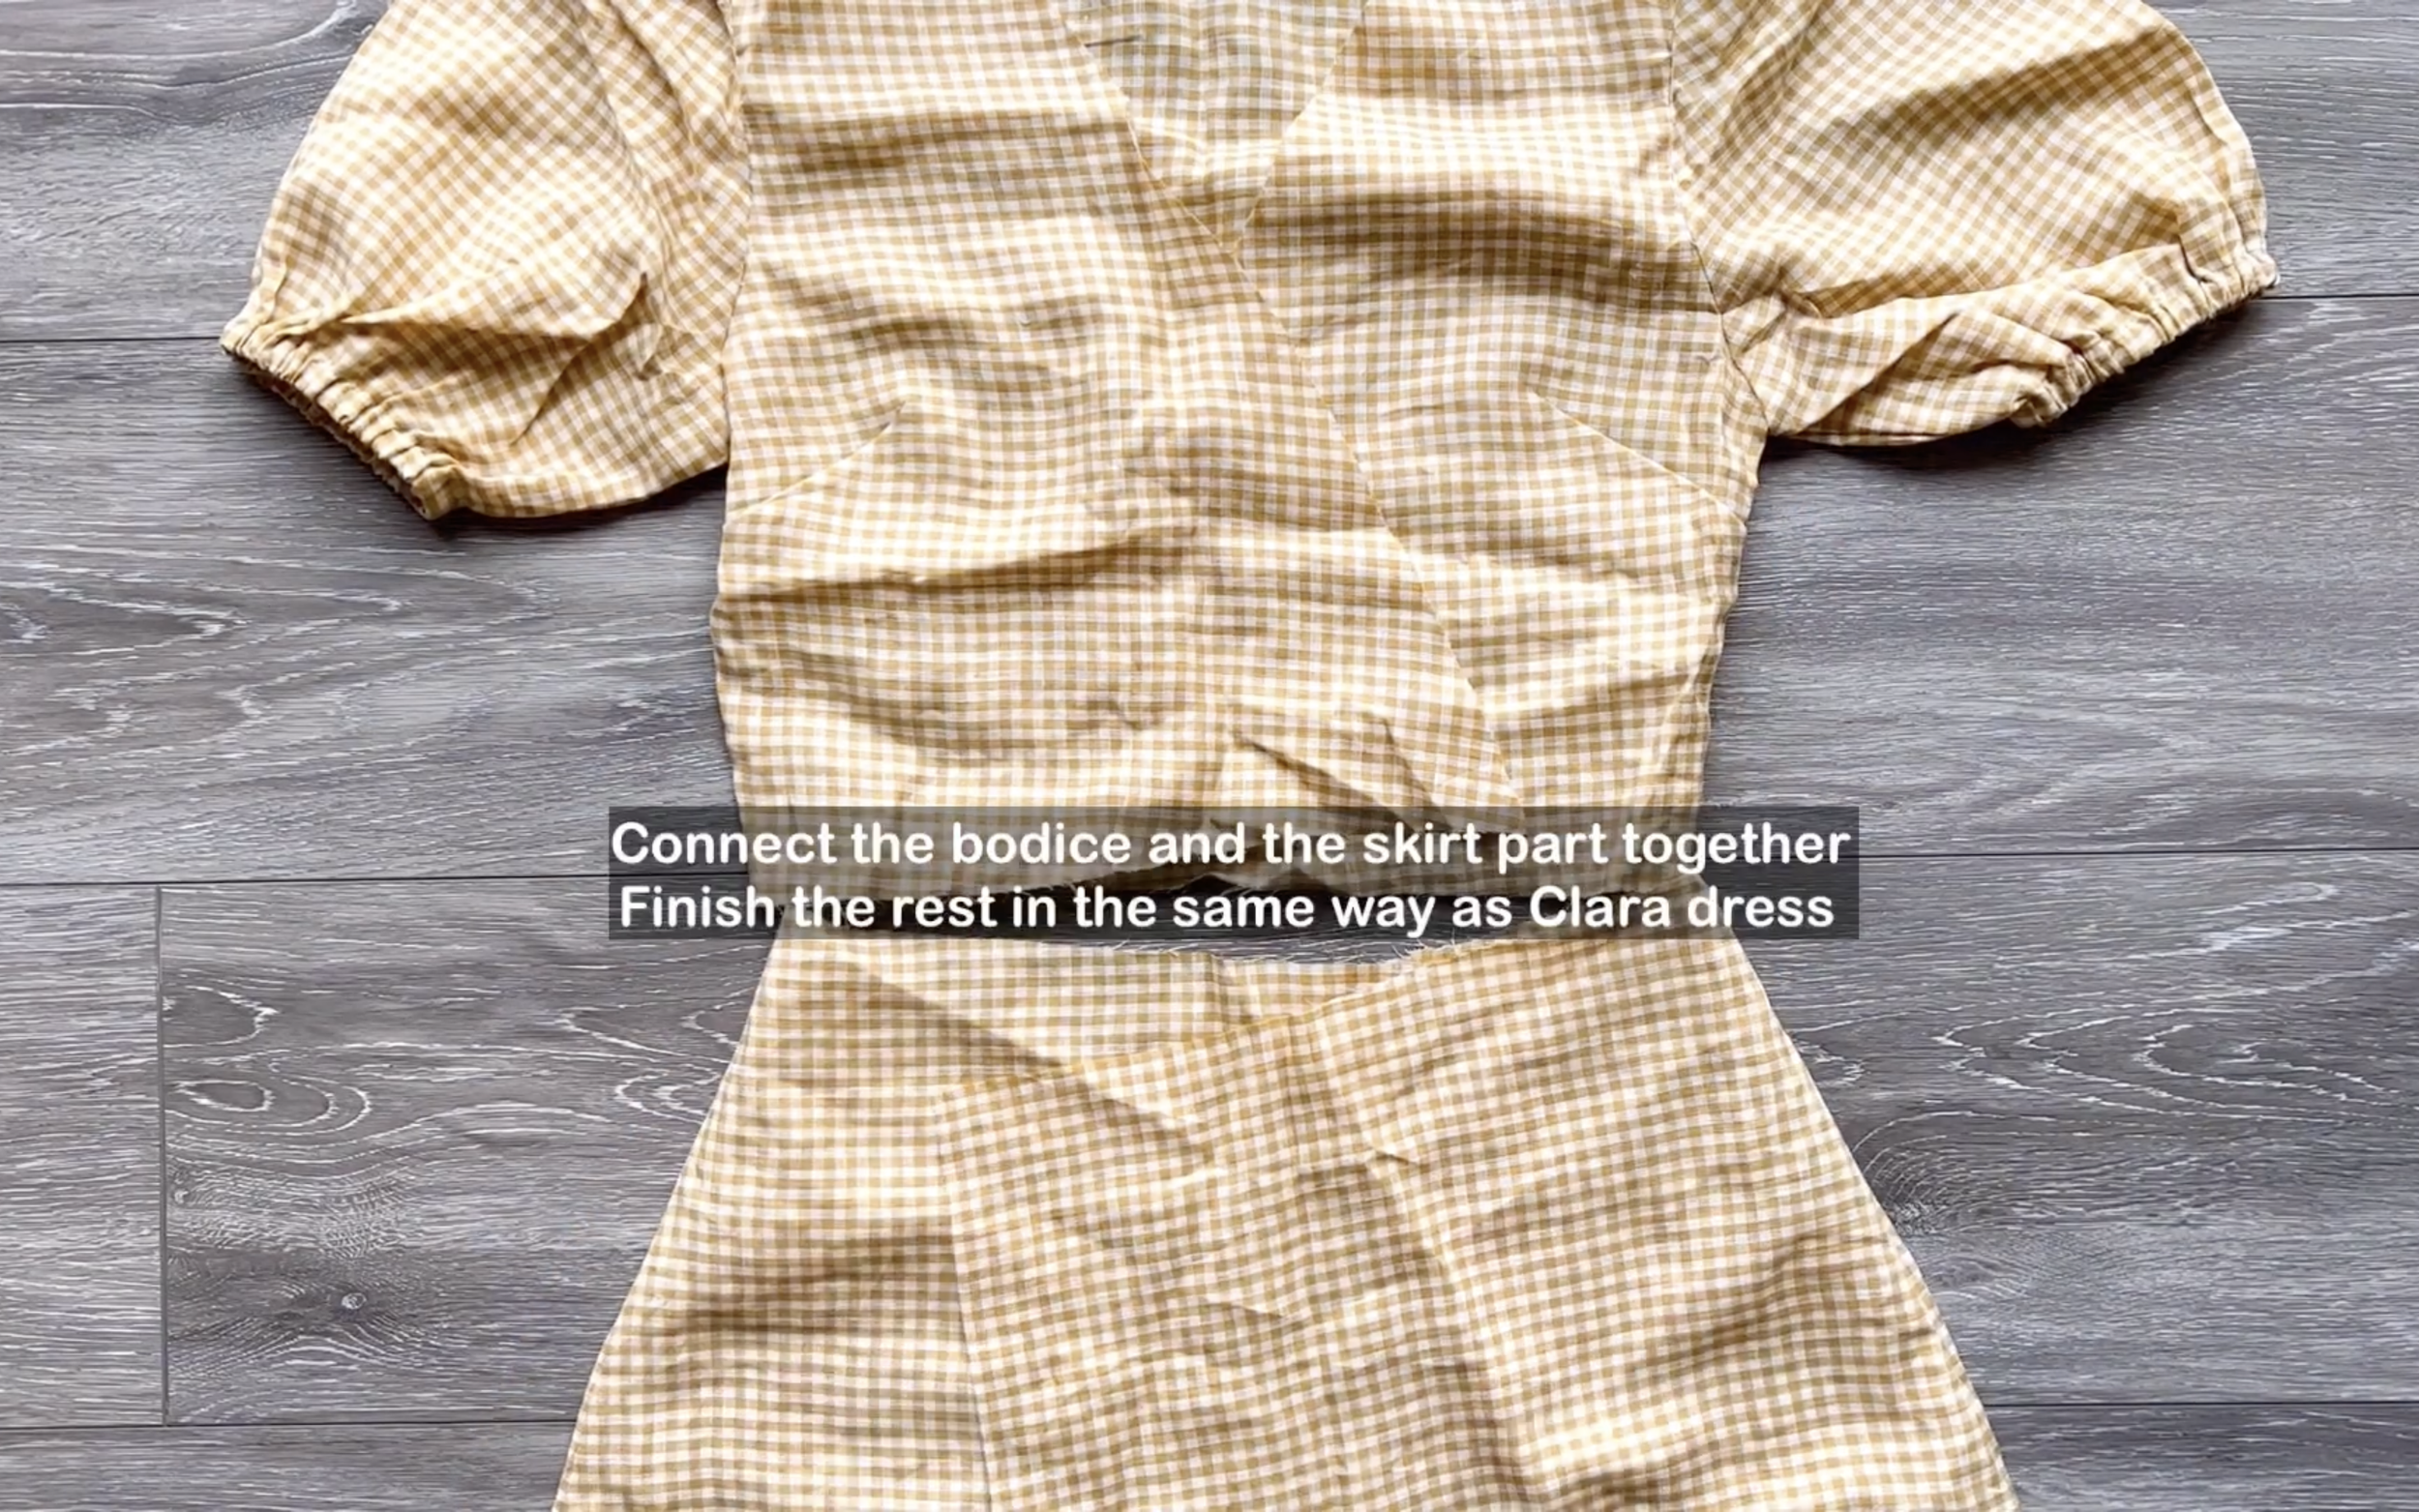
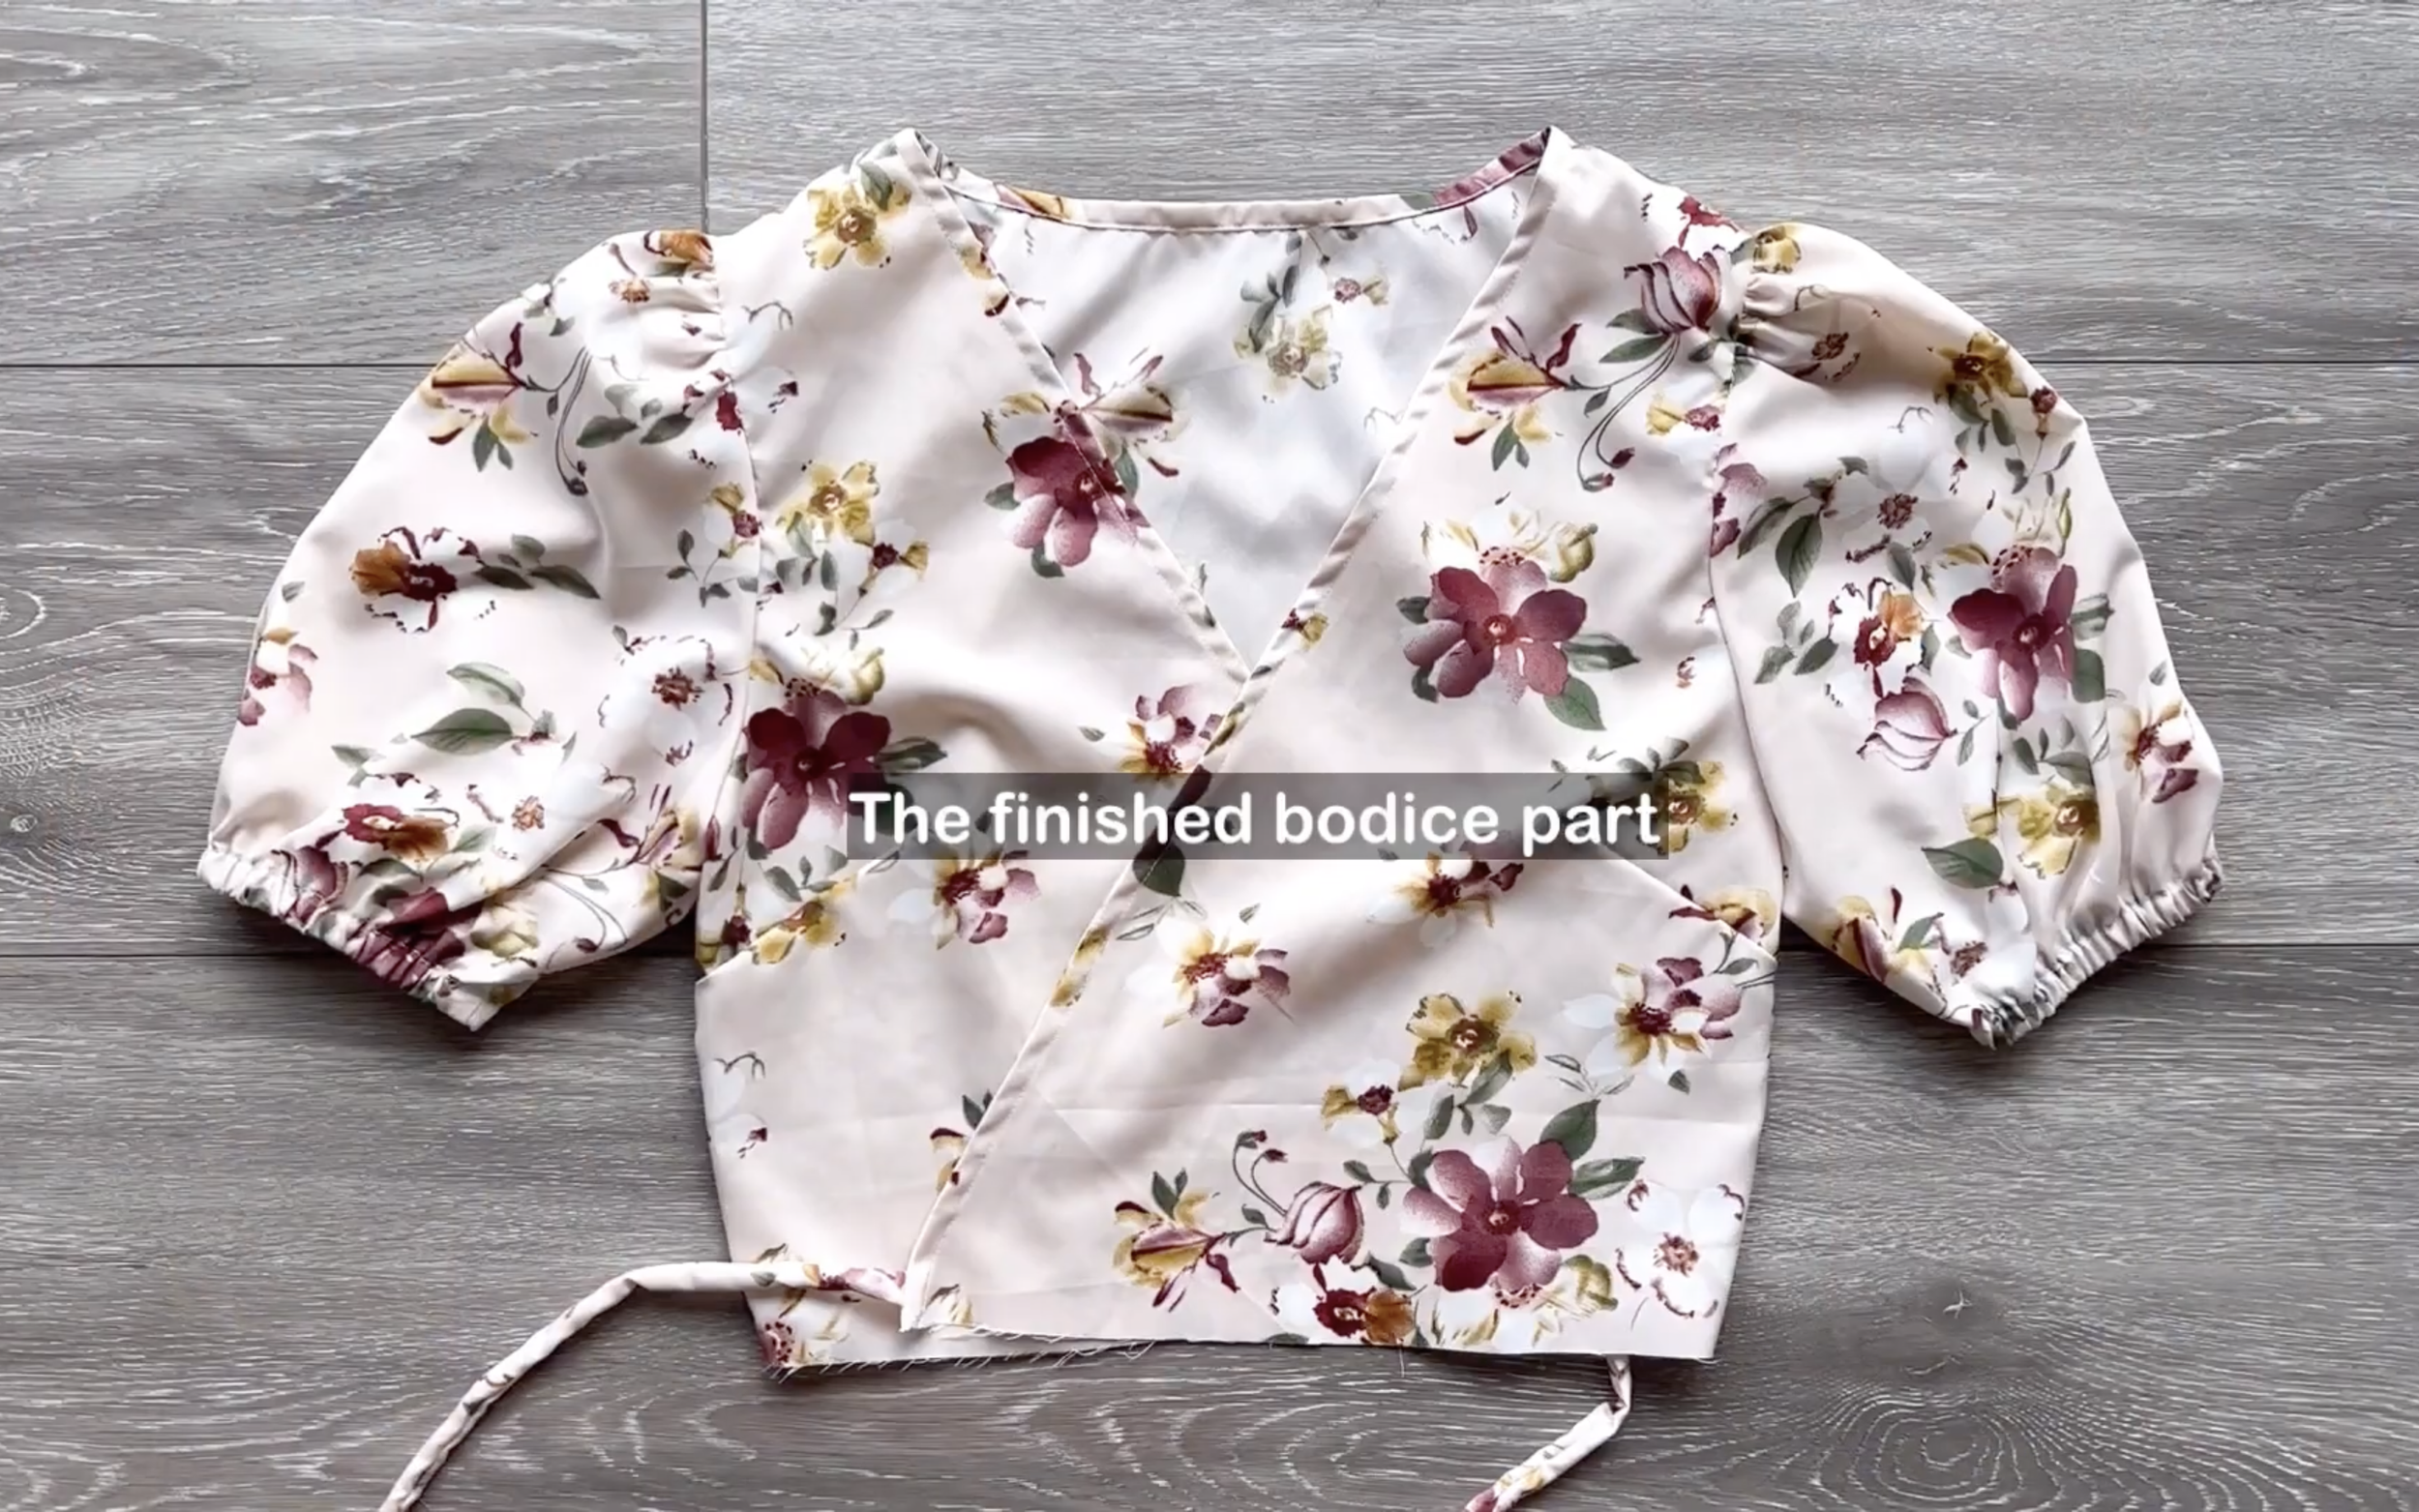
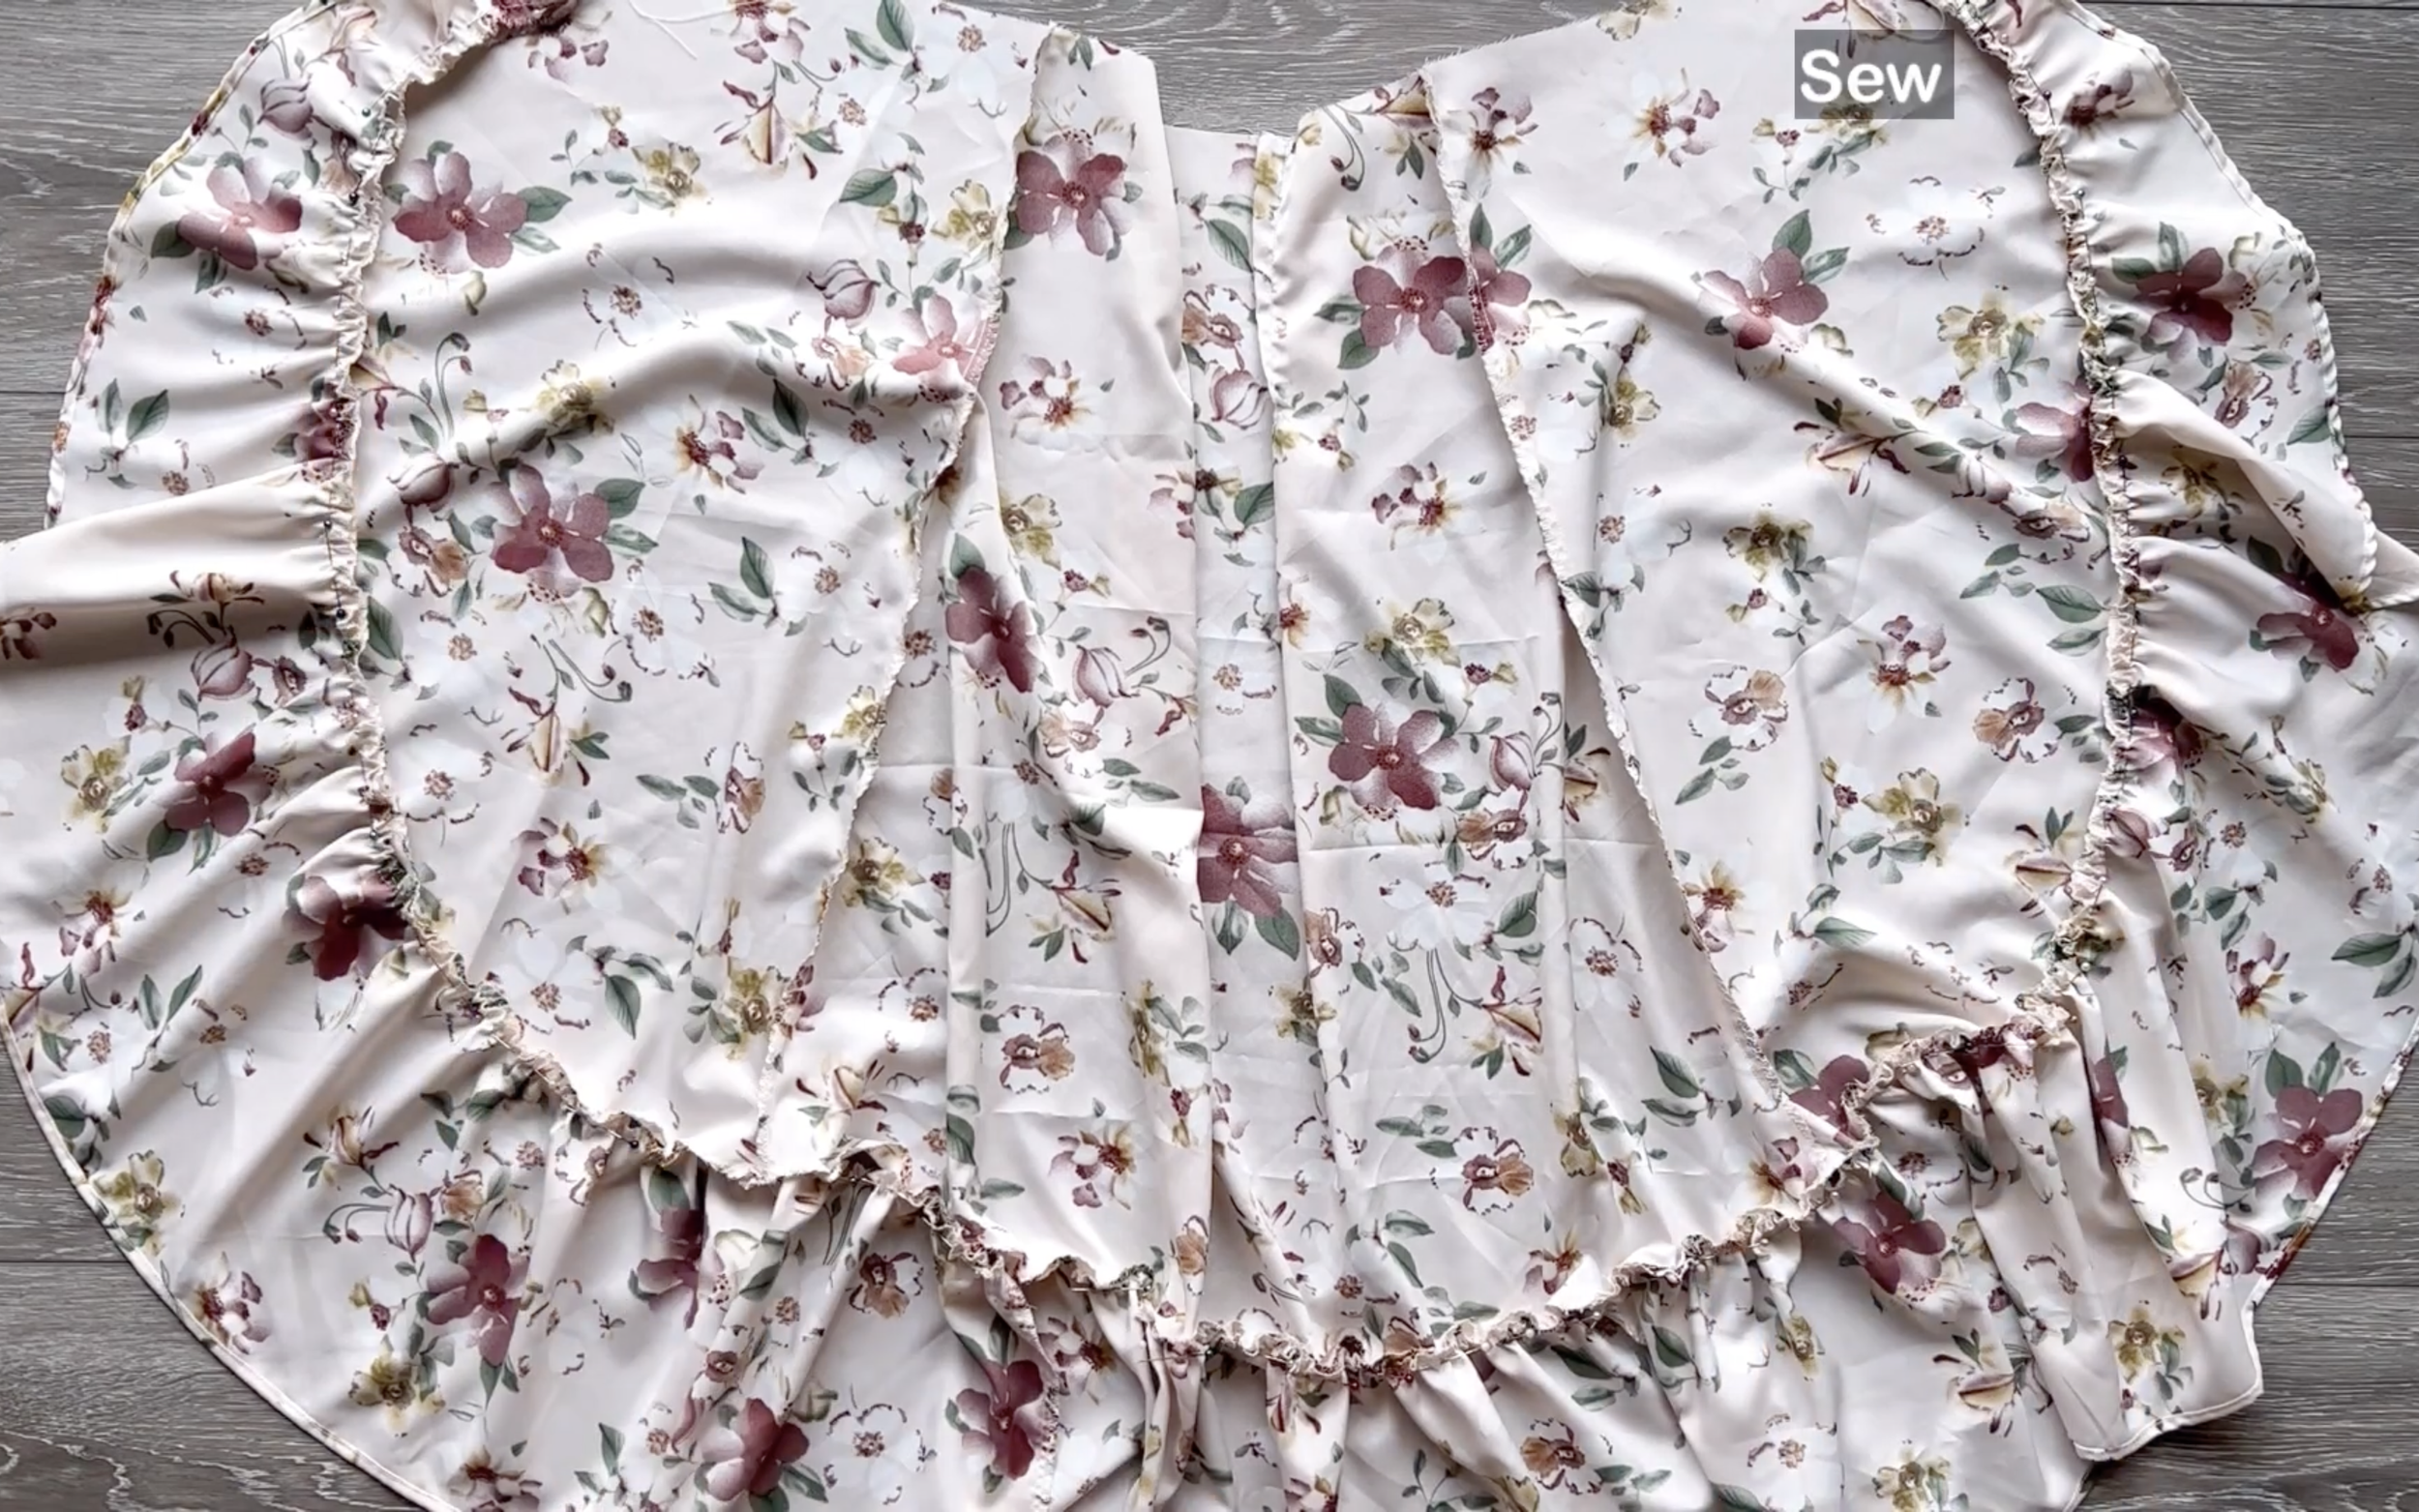
After connecting the bodice and the skirt part together, you can finish the rest of the dress in the same way as the original Clara dress tutorial.

Making 6 different Puff sleeve dresses from 1 pattern | Clara dress - Pattern hack | Sewing tutorial
Here's the result of this hack. This looks so much like a vintage vibe, right?
2. THE MINI CLARA DRESS
PATTERN HACK
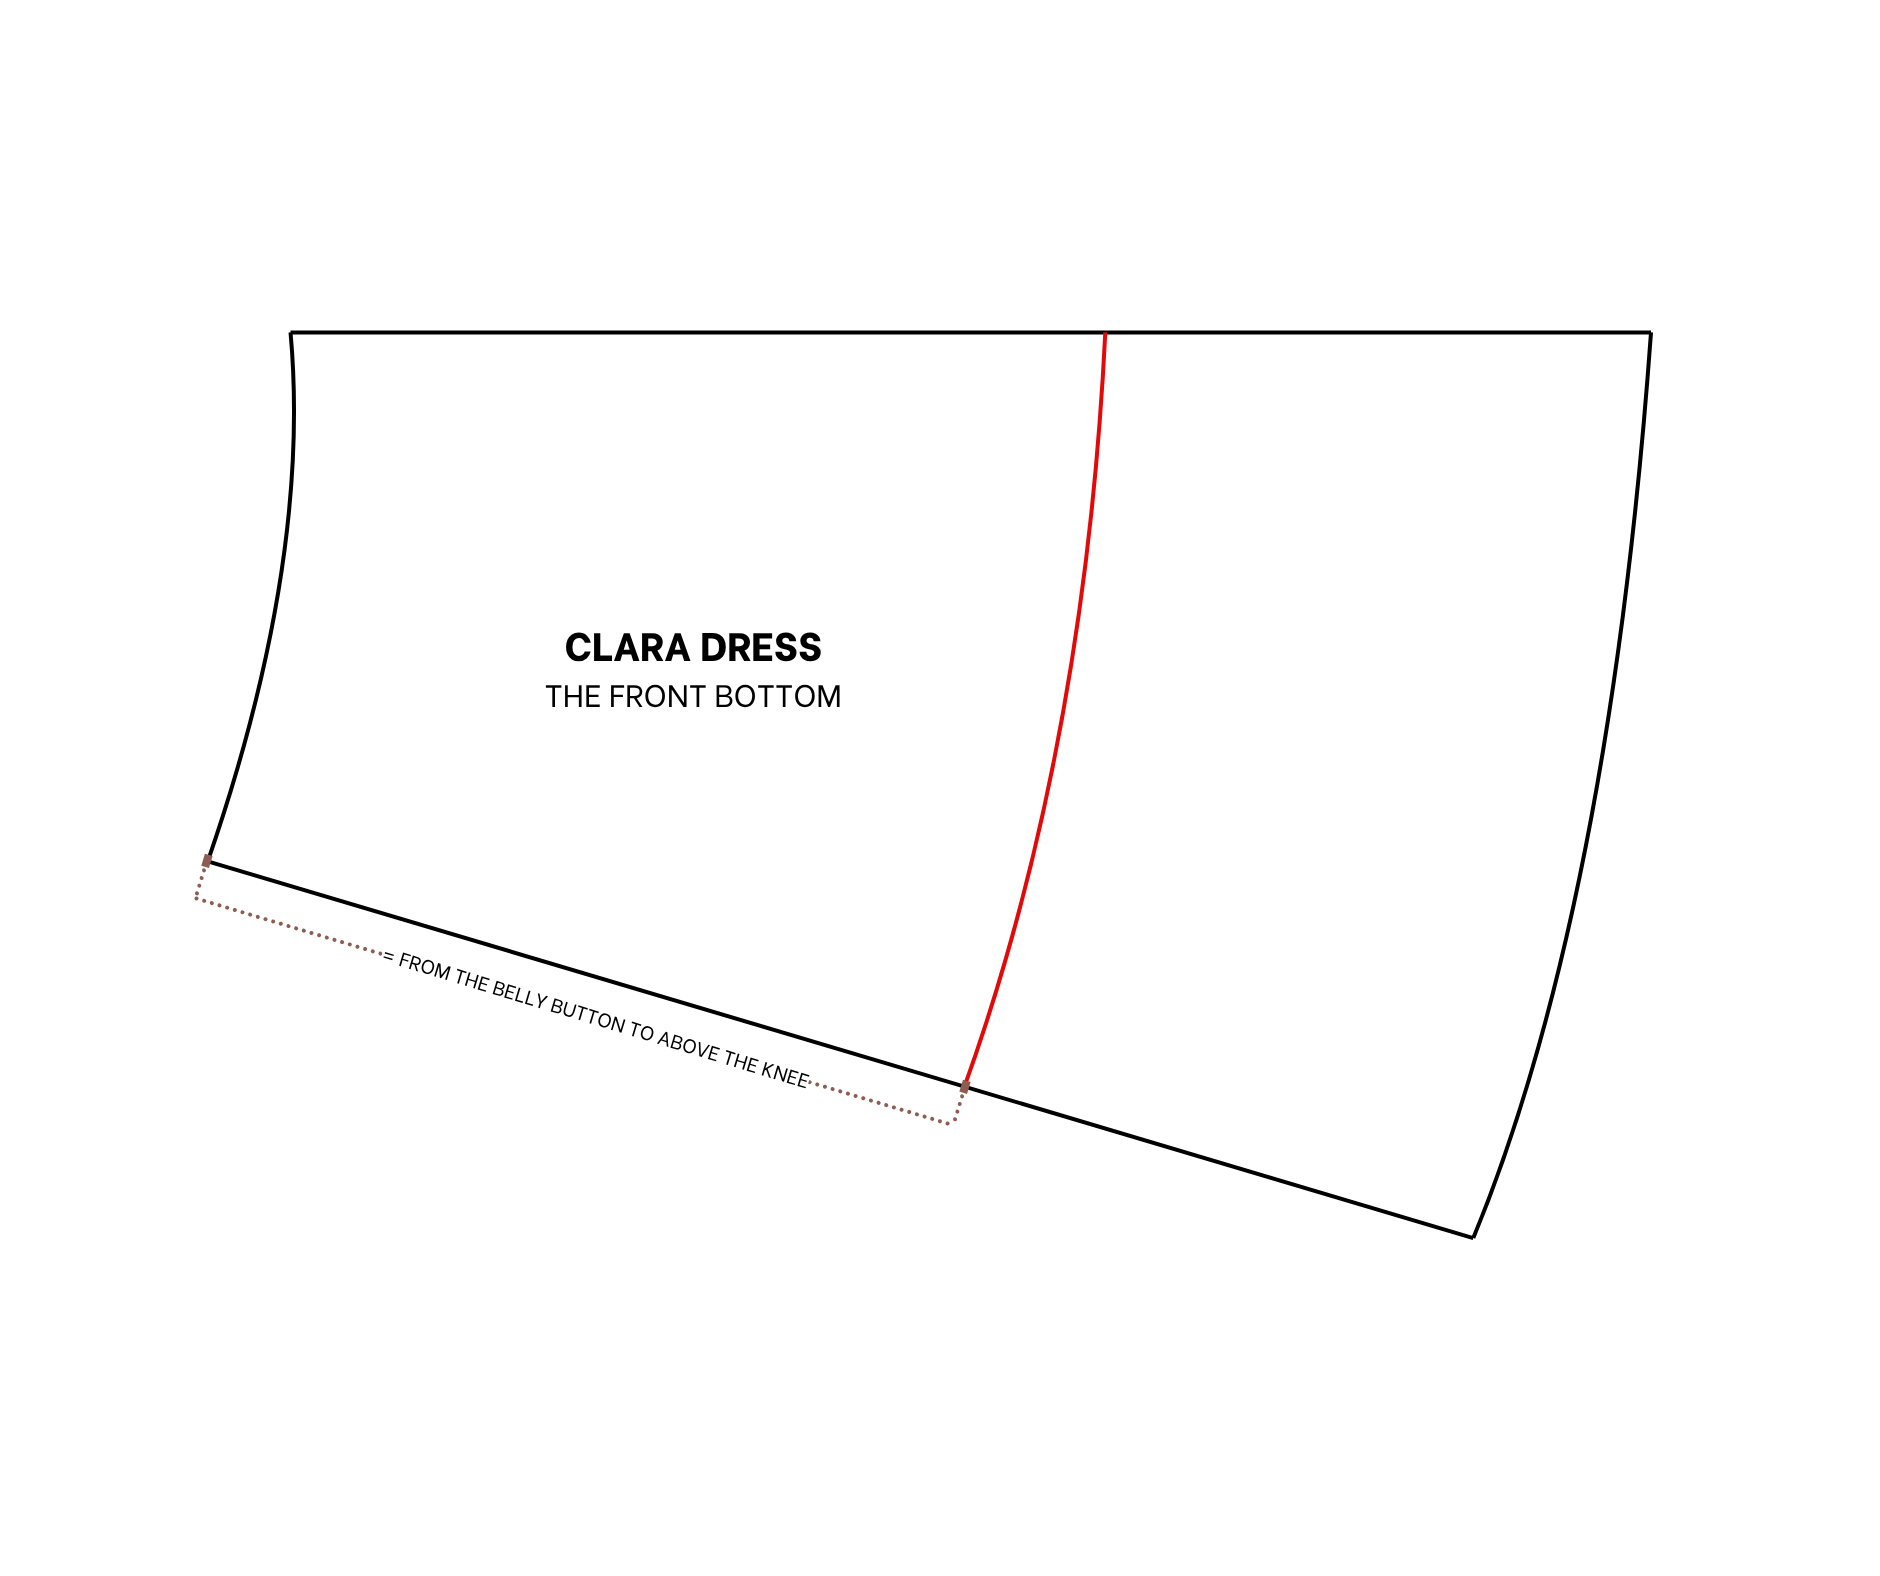
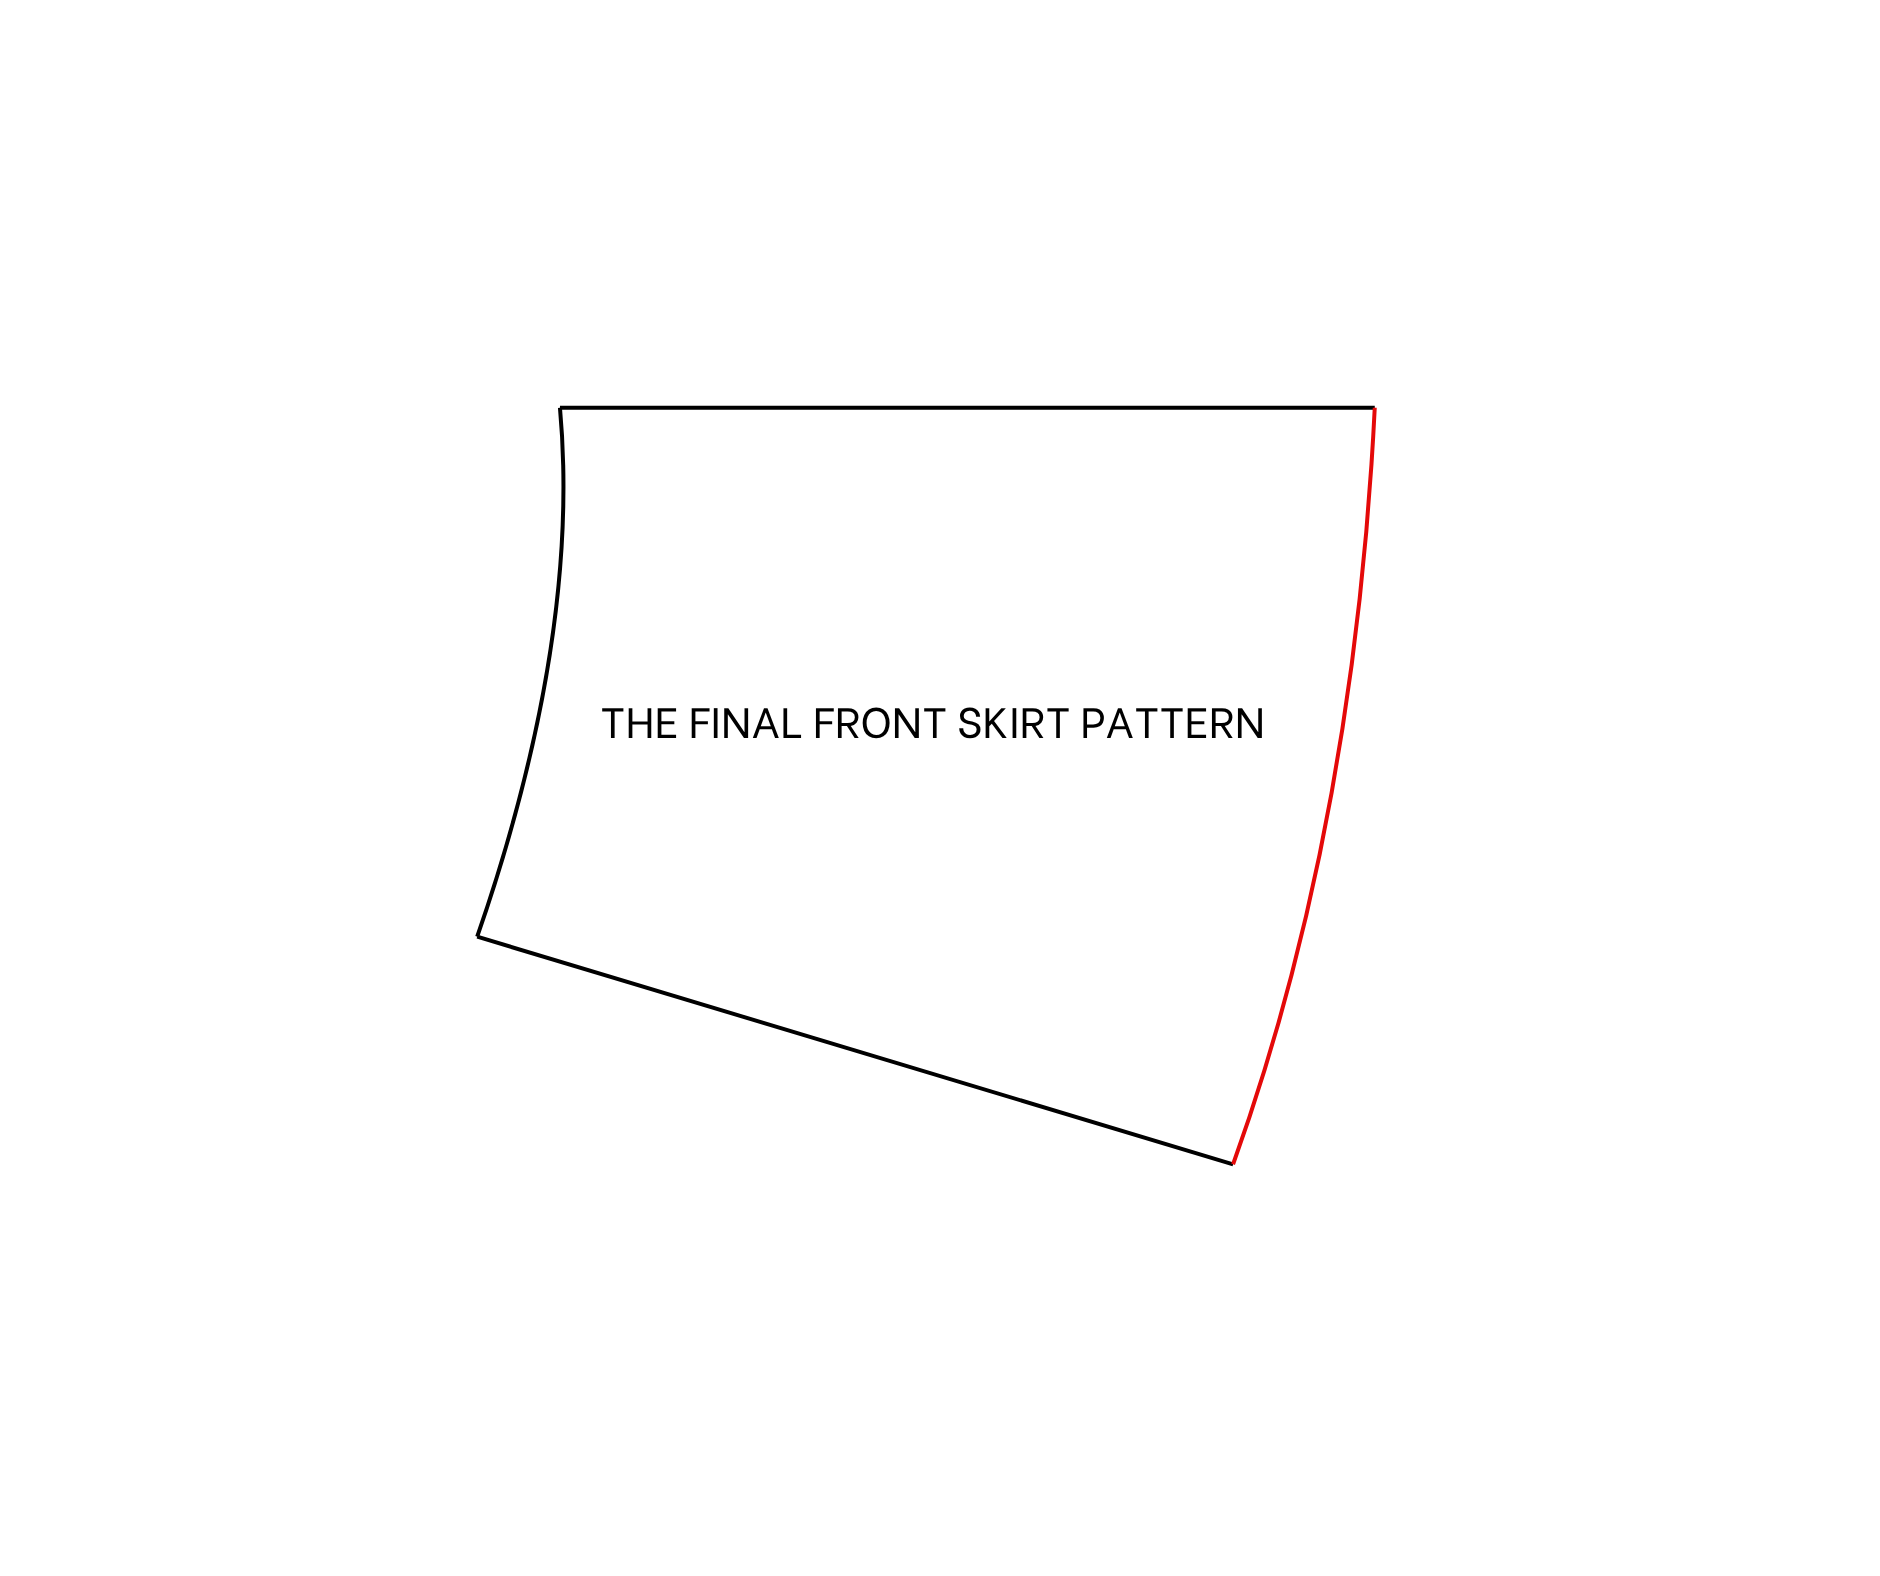
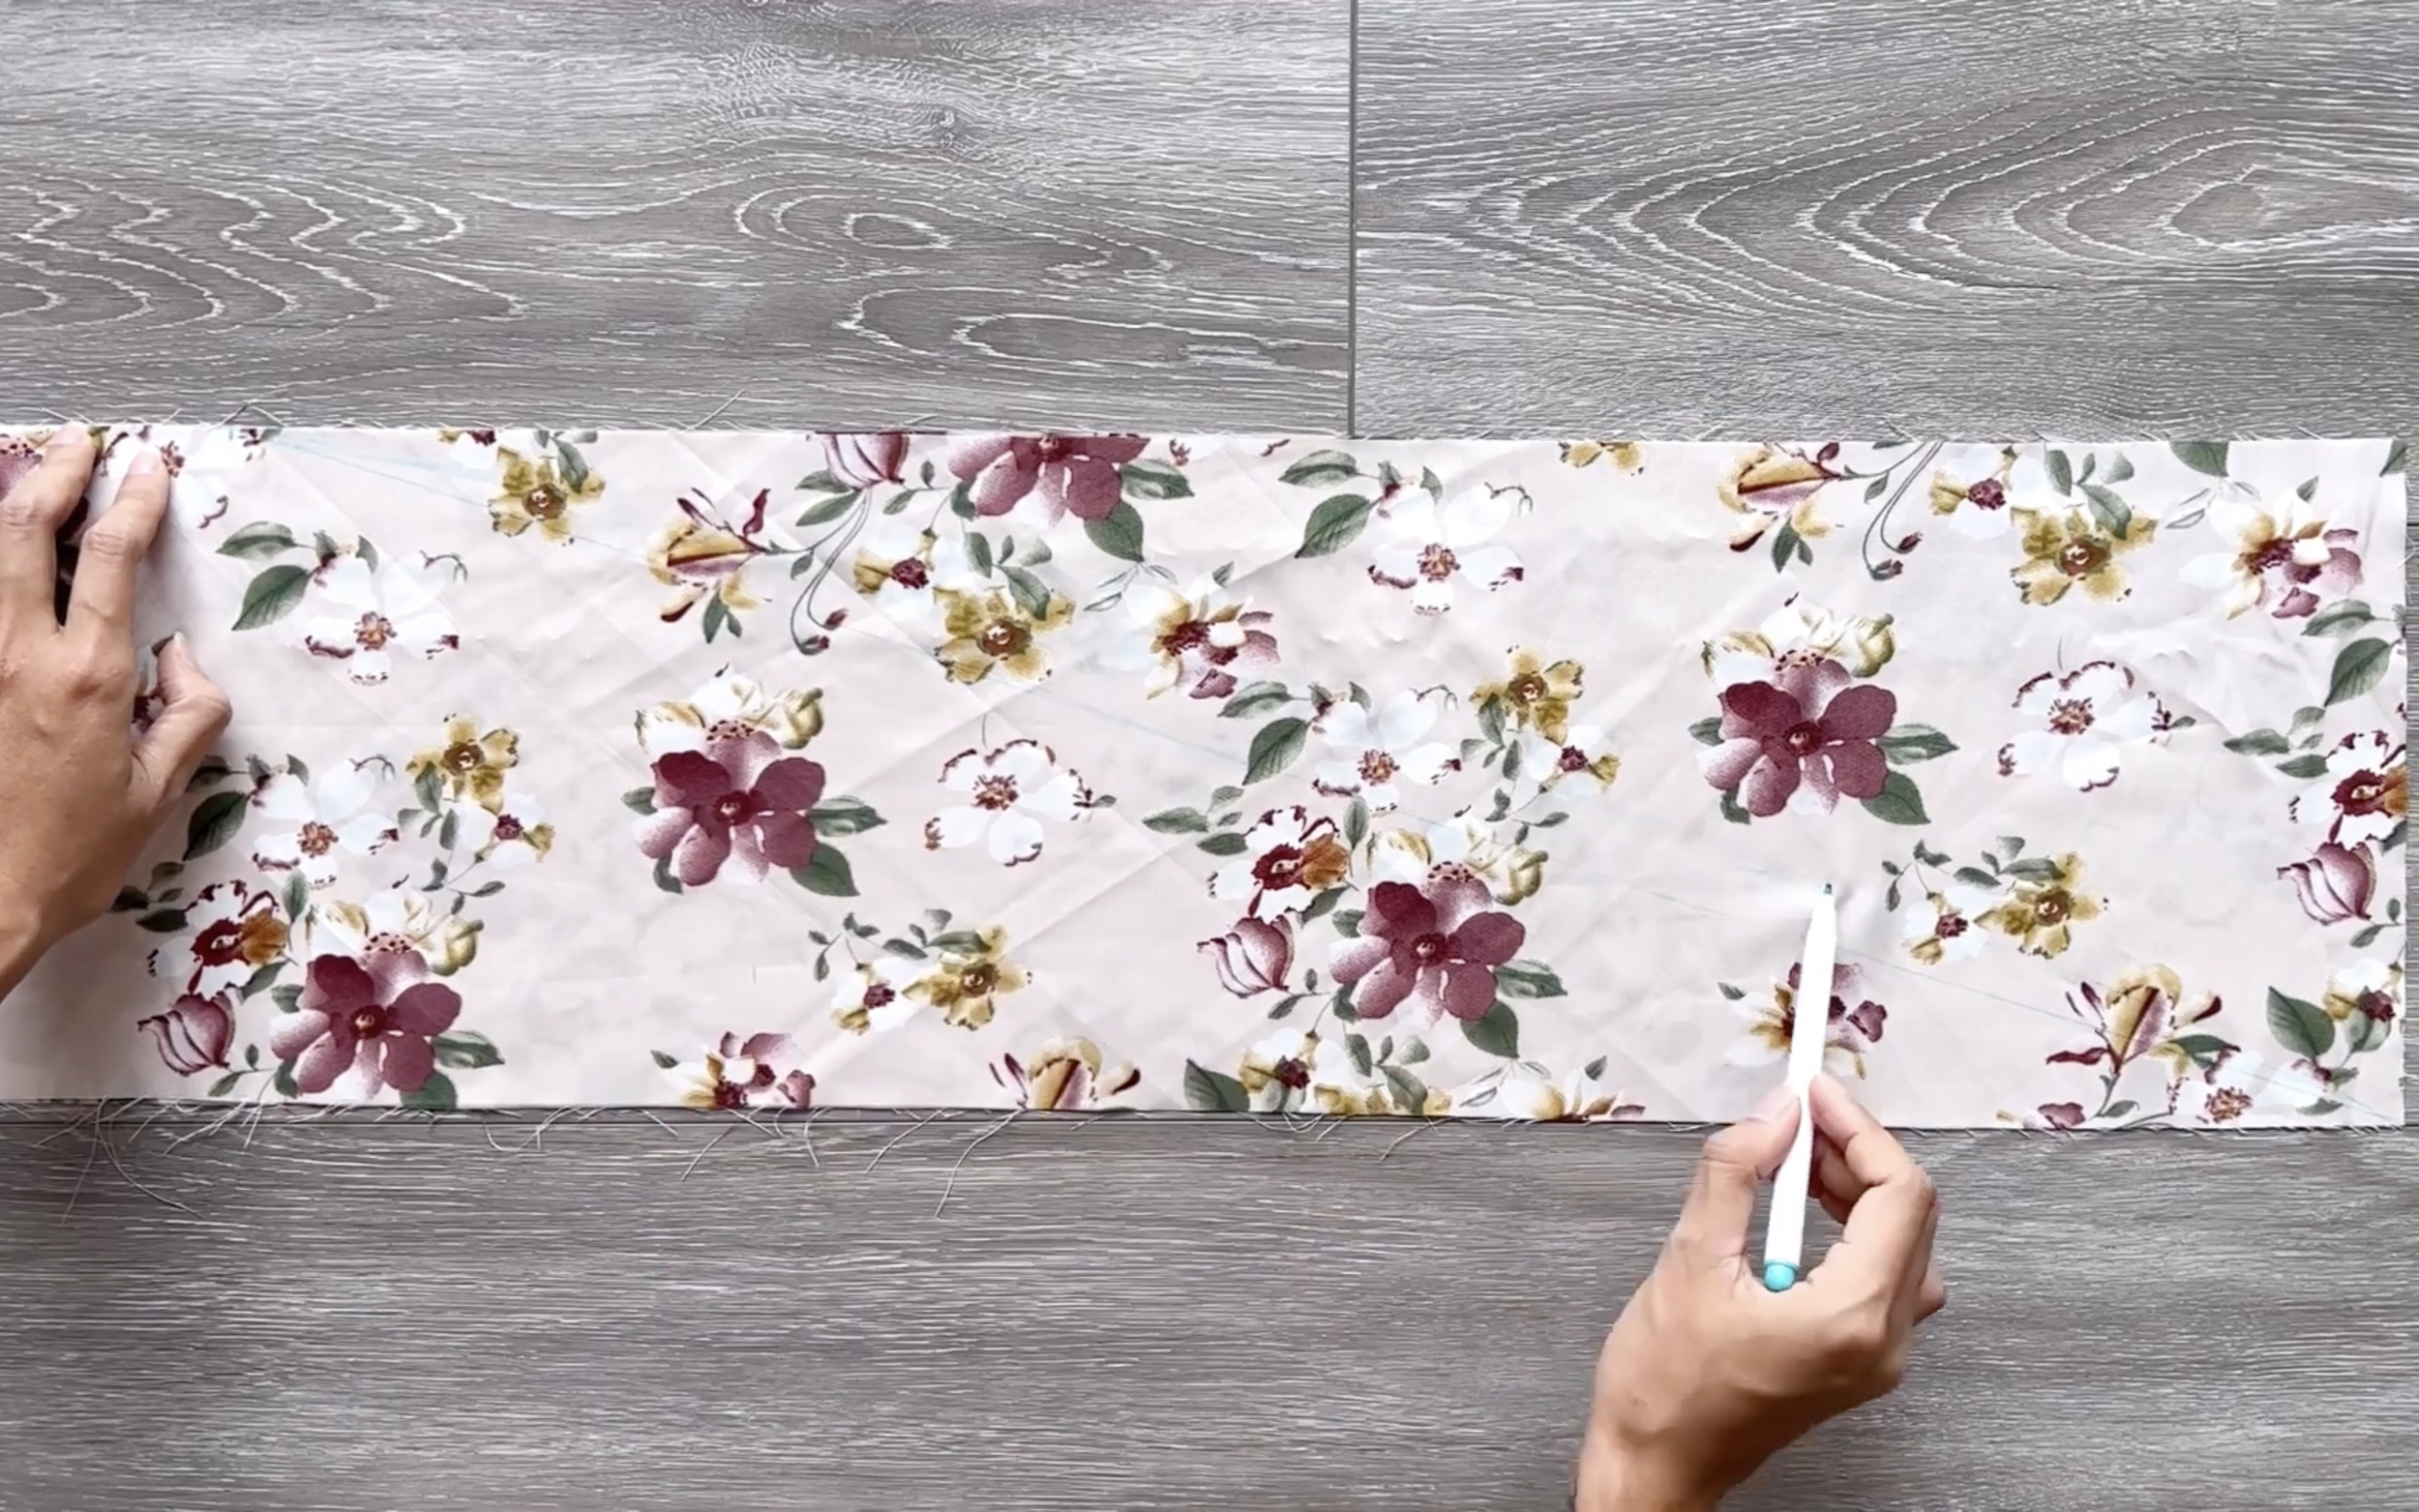
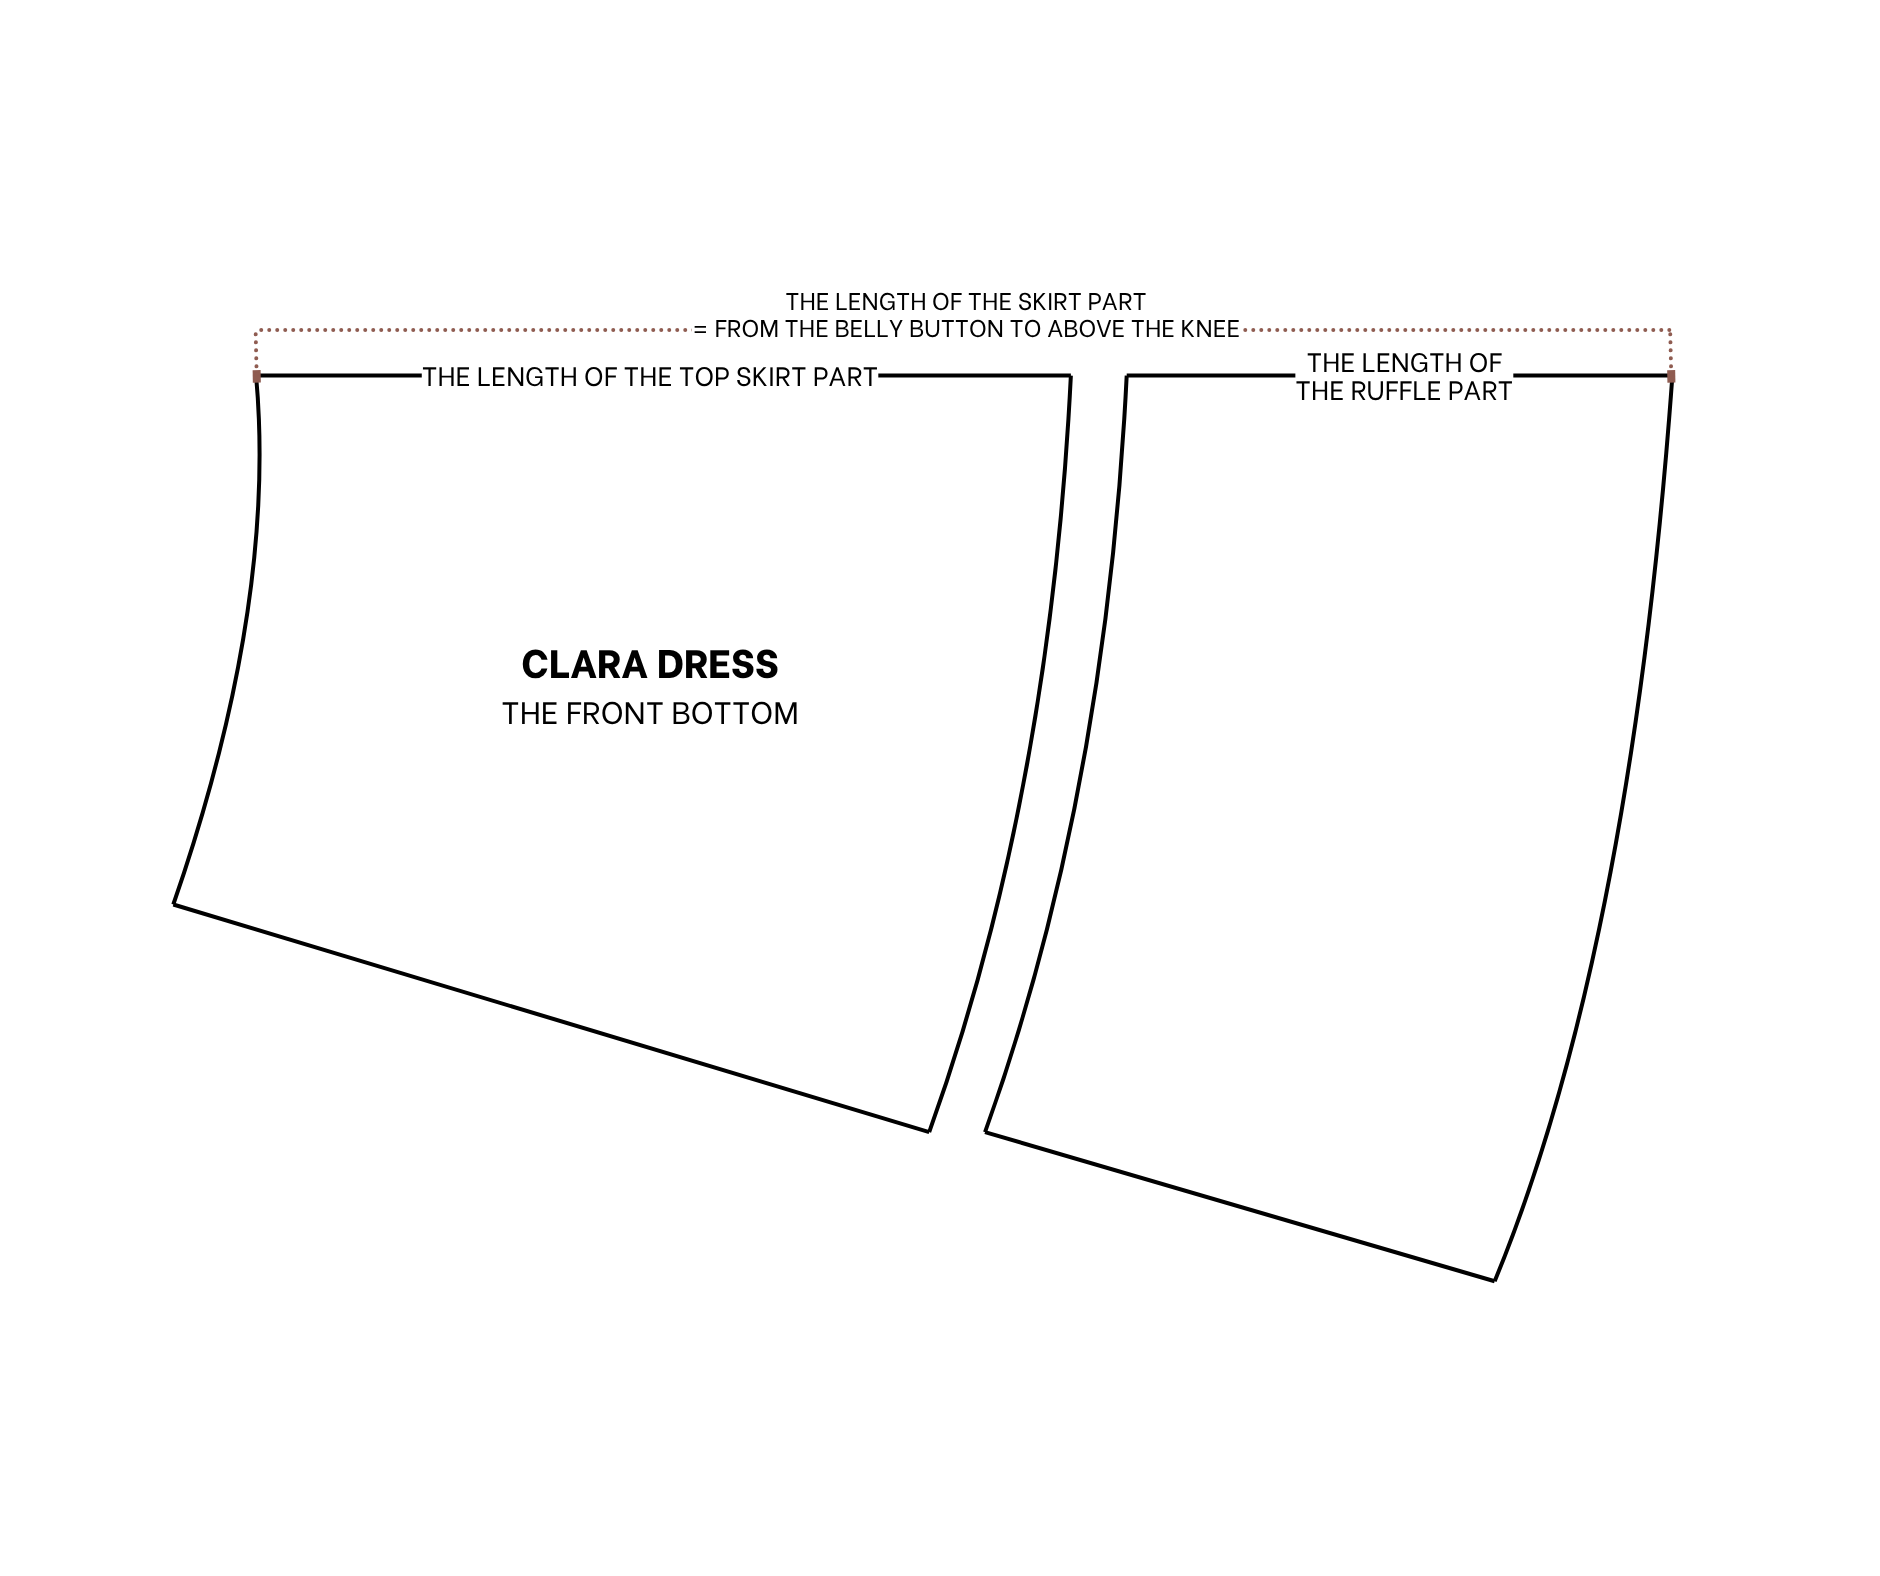
From the top of the front skirt pattern, mark down on one side line 45 cm, which is the length of the skirt part that is wanted. It's a length from the belly button to above your knee.
Then, draw a curved line through that mark to the other side of the pattern to create a new ending line of the skirt.
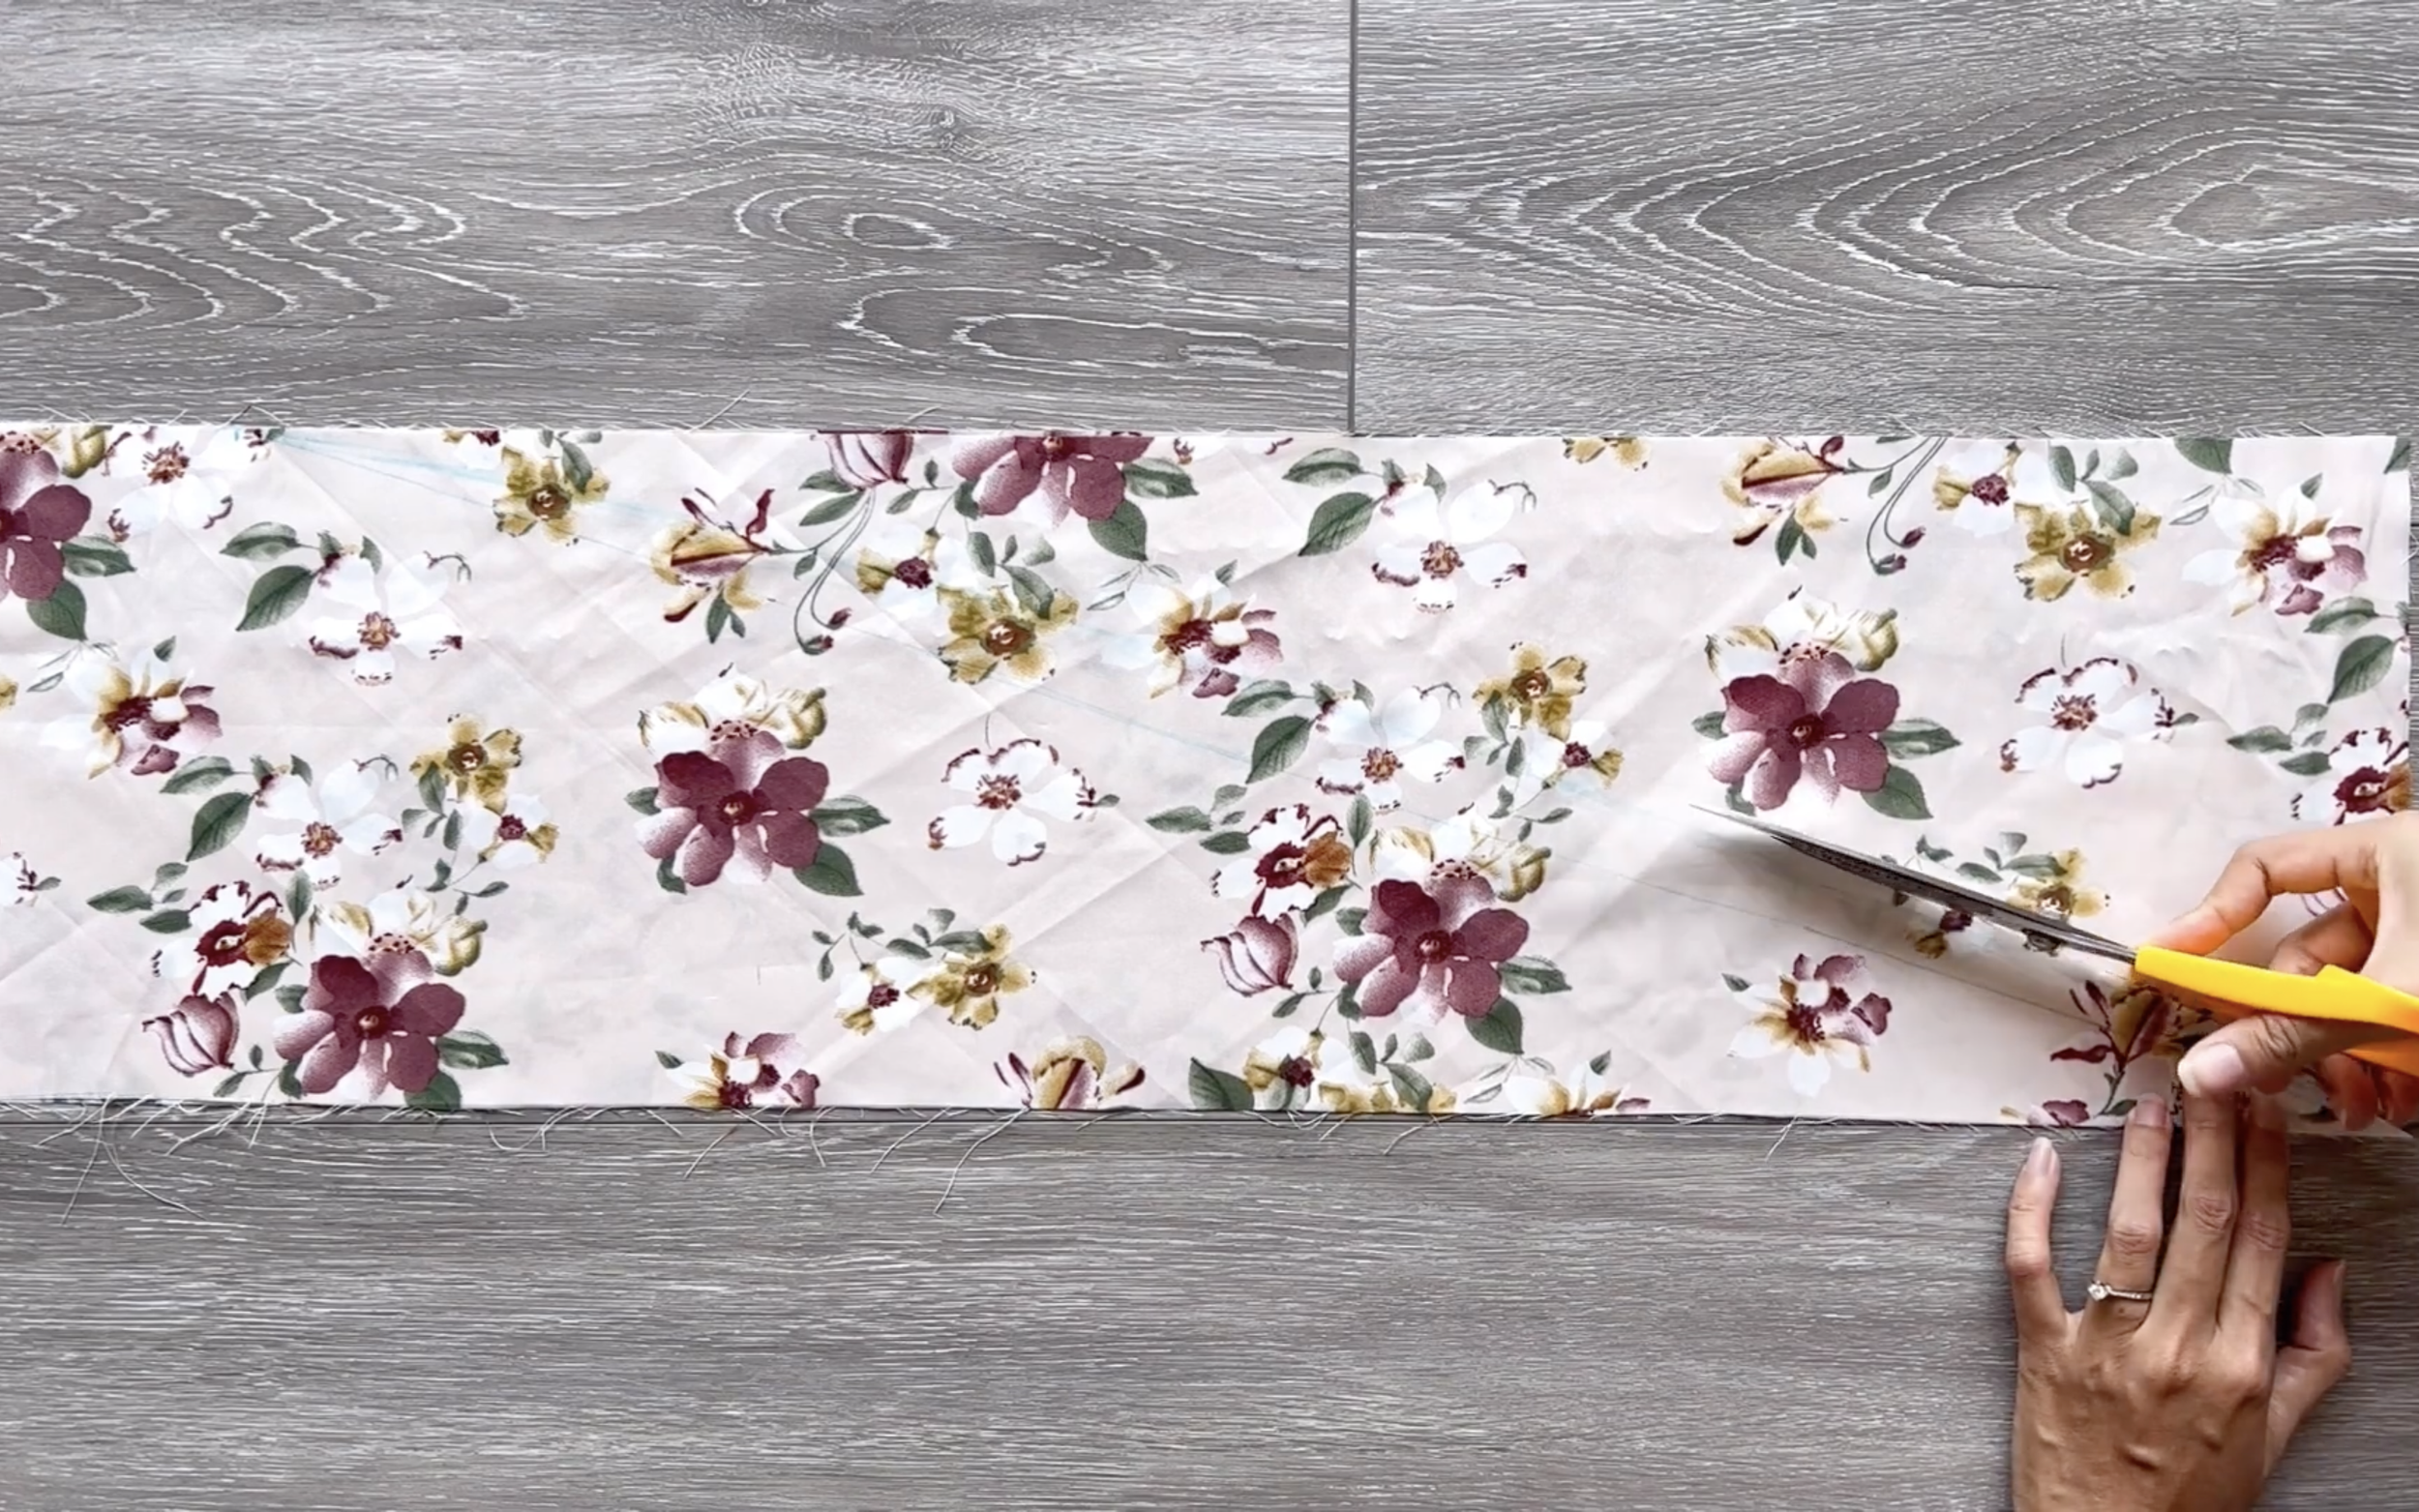
After cutting, the new front pattern of the skirt part will be ready.
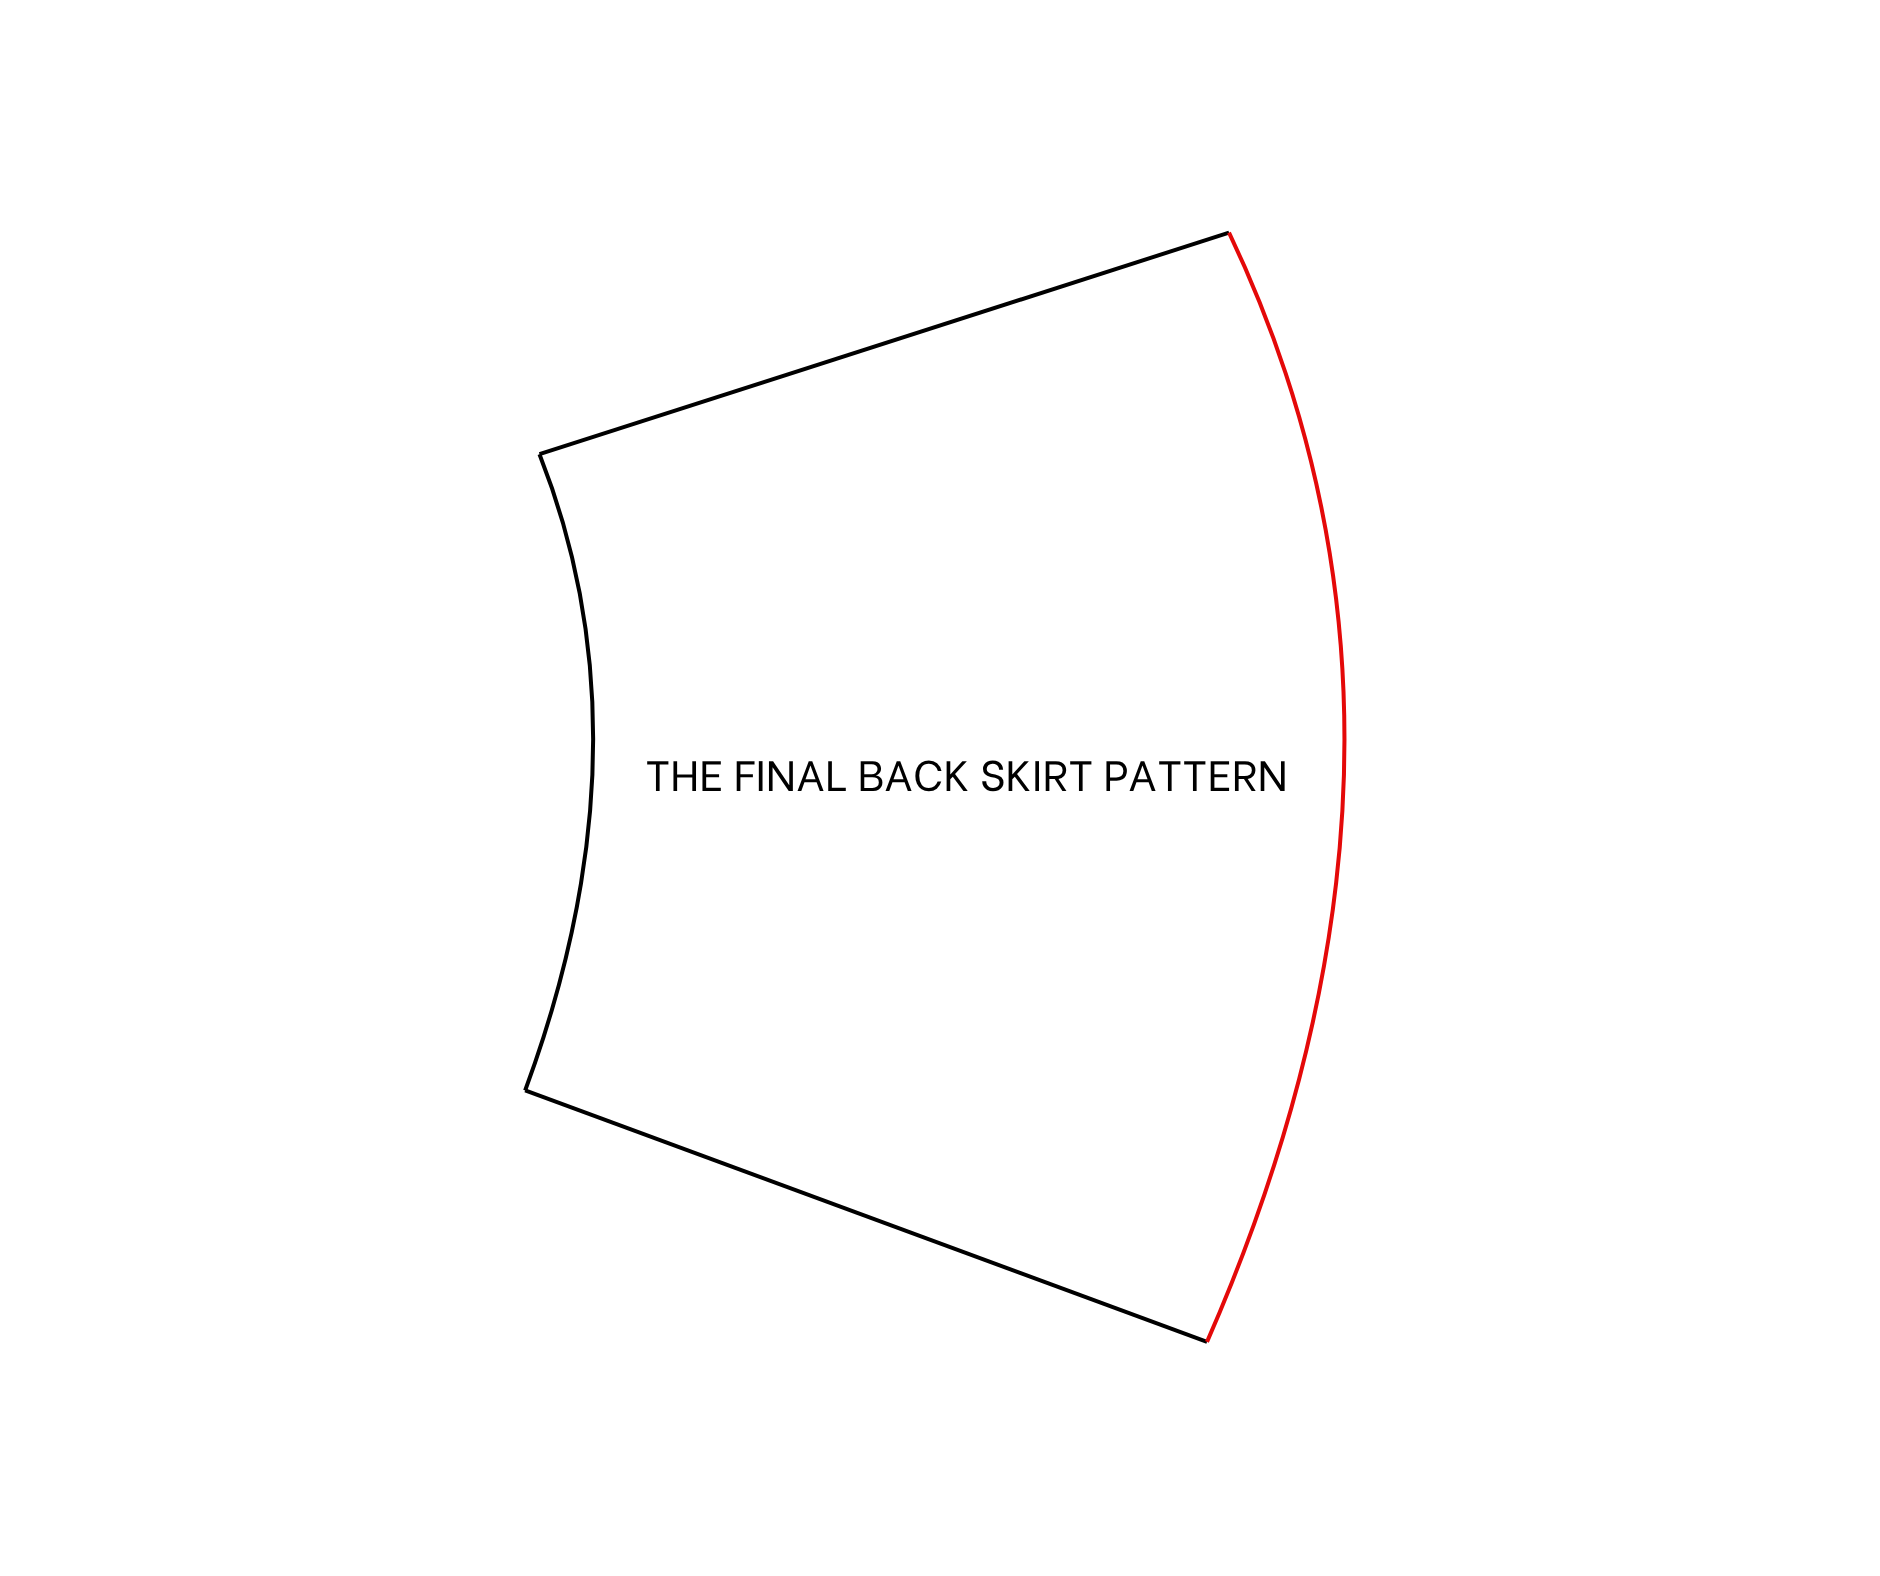
4. Use the same method to create a new back pattern for the skirt part of the dress.
SEWING THE DRESS
After that, make the dress in the same way as was done with the original Clara dress.

Making 6 different Puff sleeve dresses from 1 pattern | Clara dress - Pattern hack | Sewing tutorial
Here is the final result. The short version makes this dress look more active but still pretty, right?
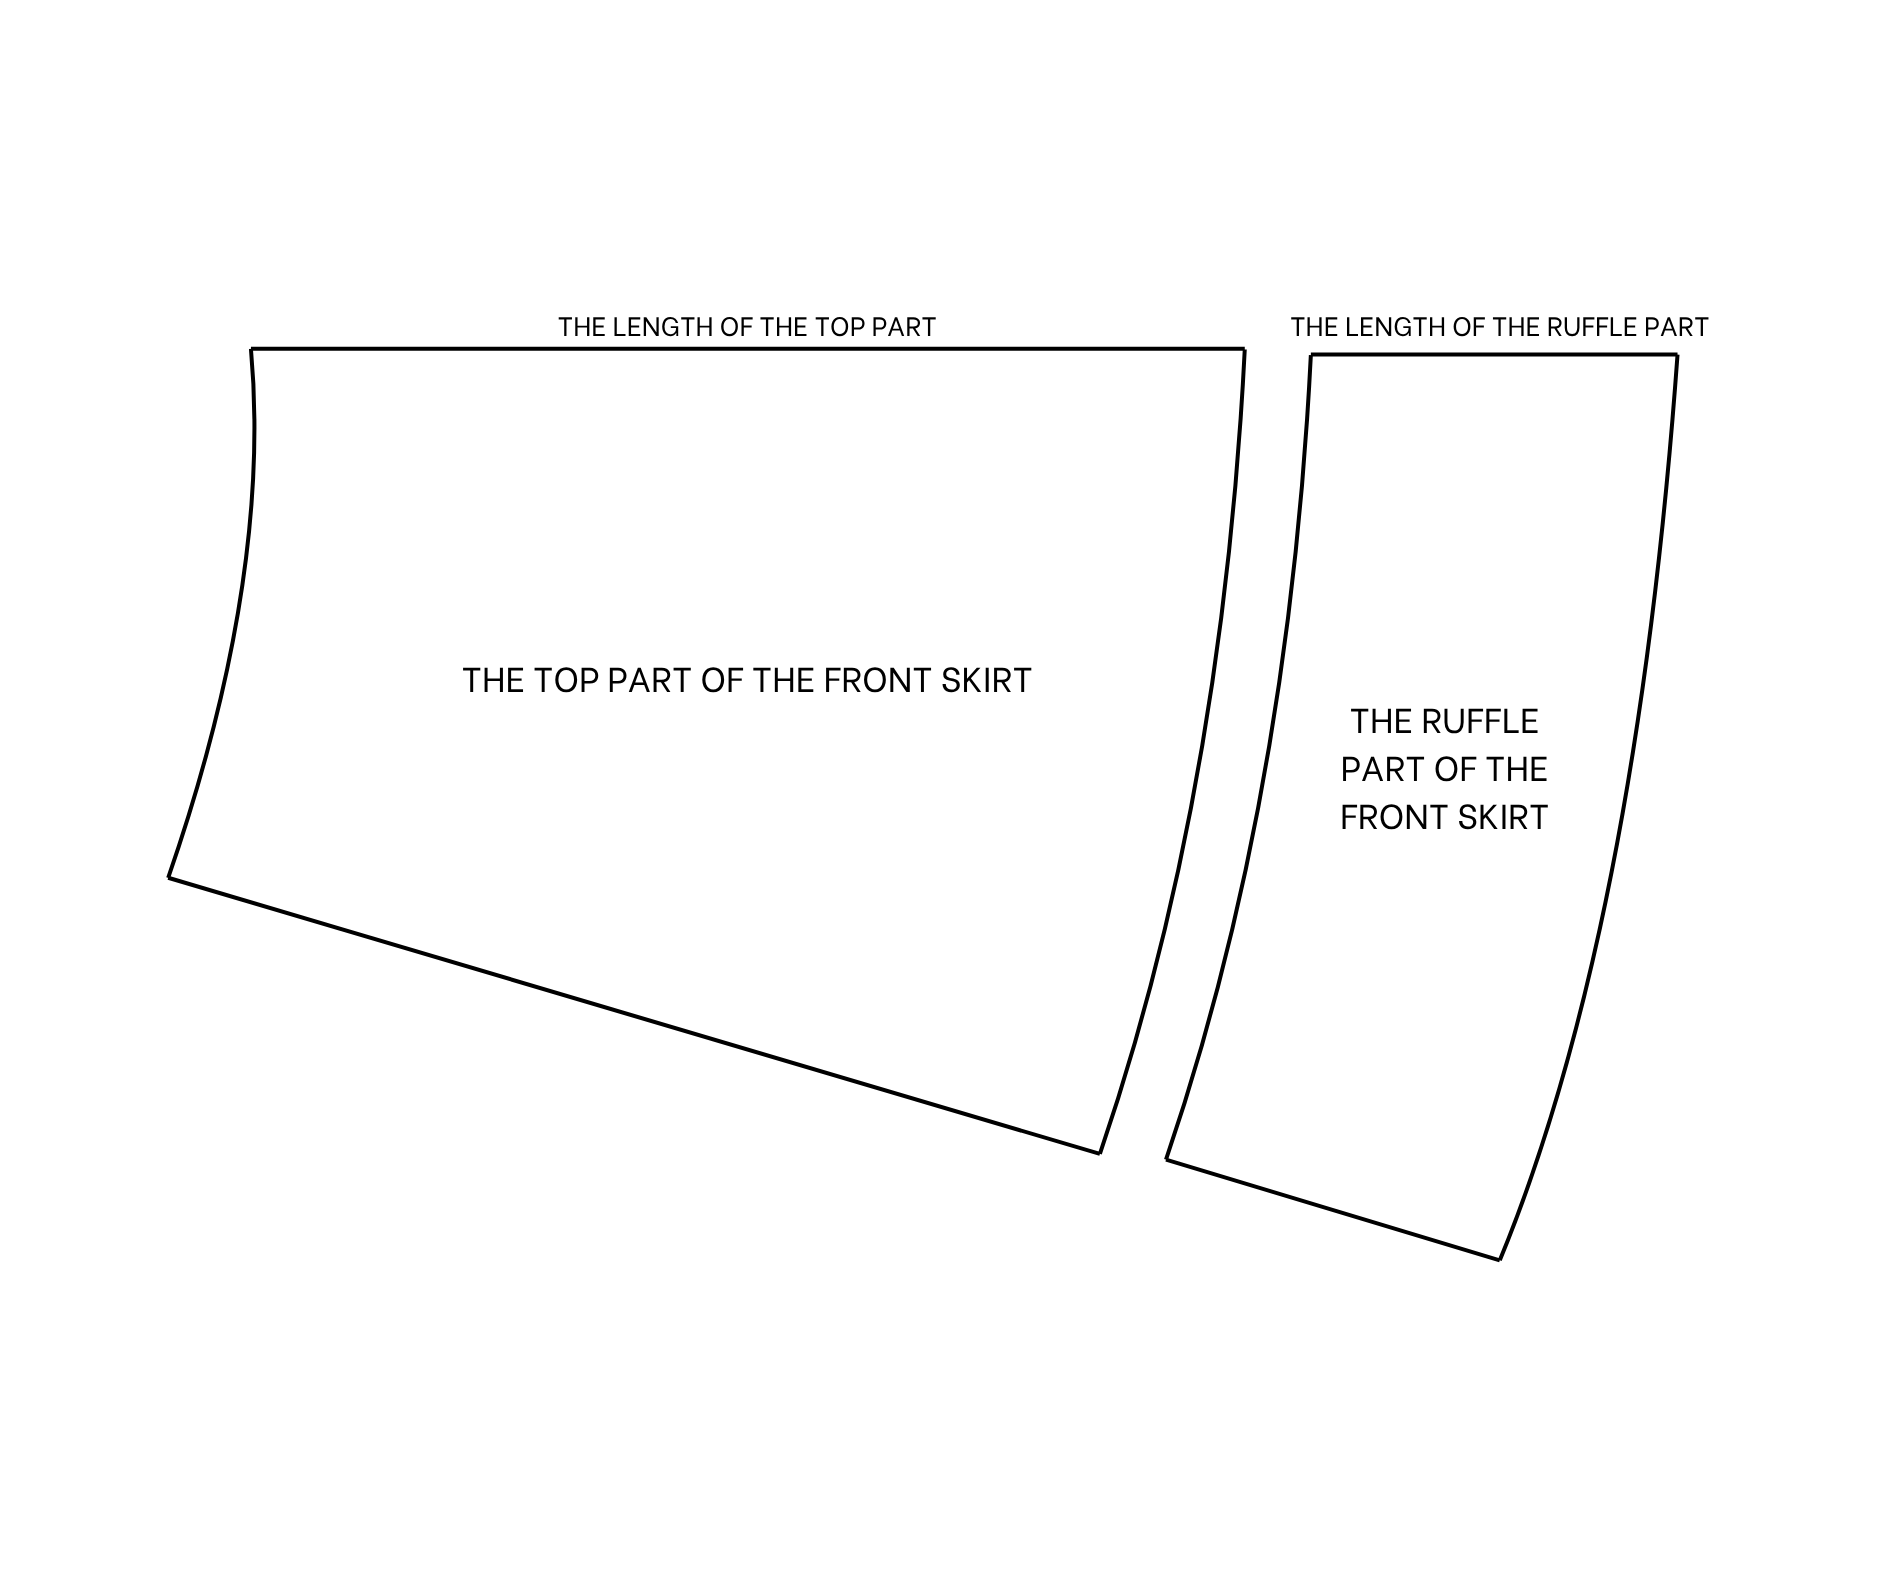
3. THE RUFFLE HEM DRESS
PATTERN HACK
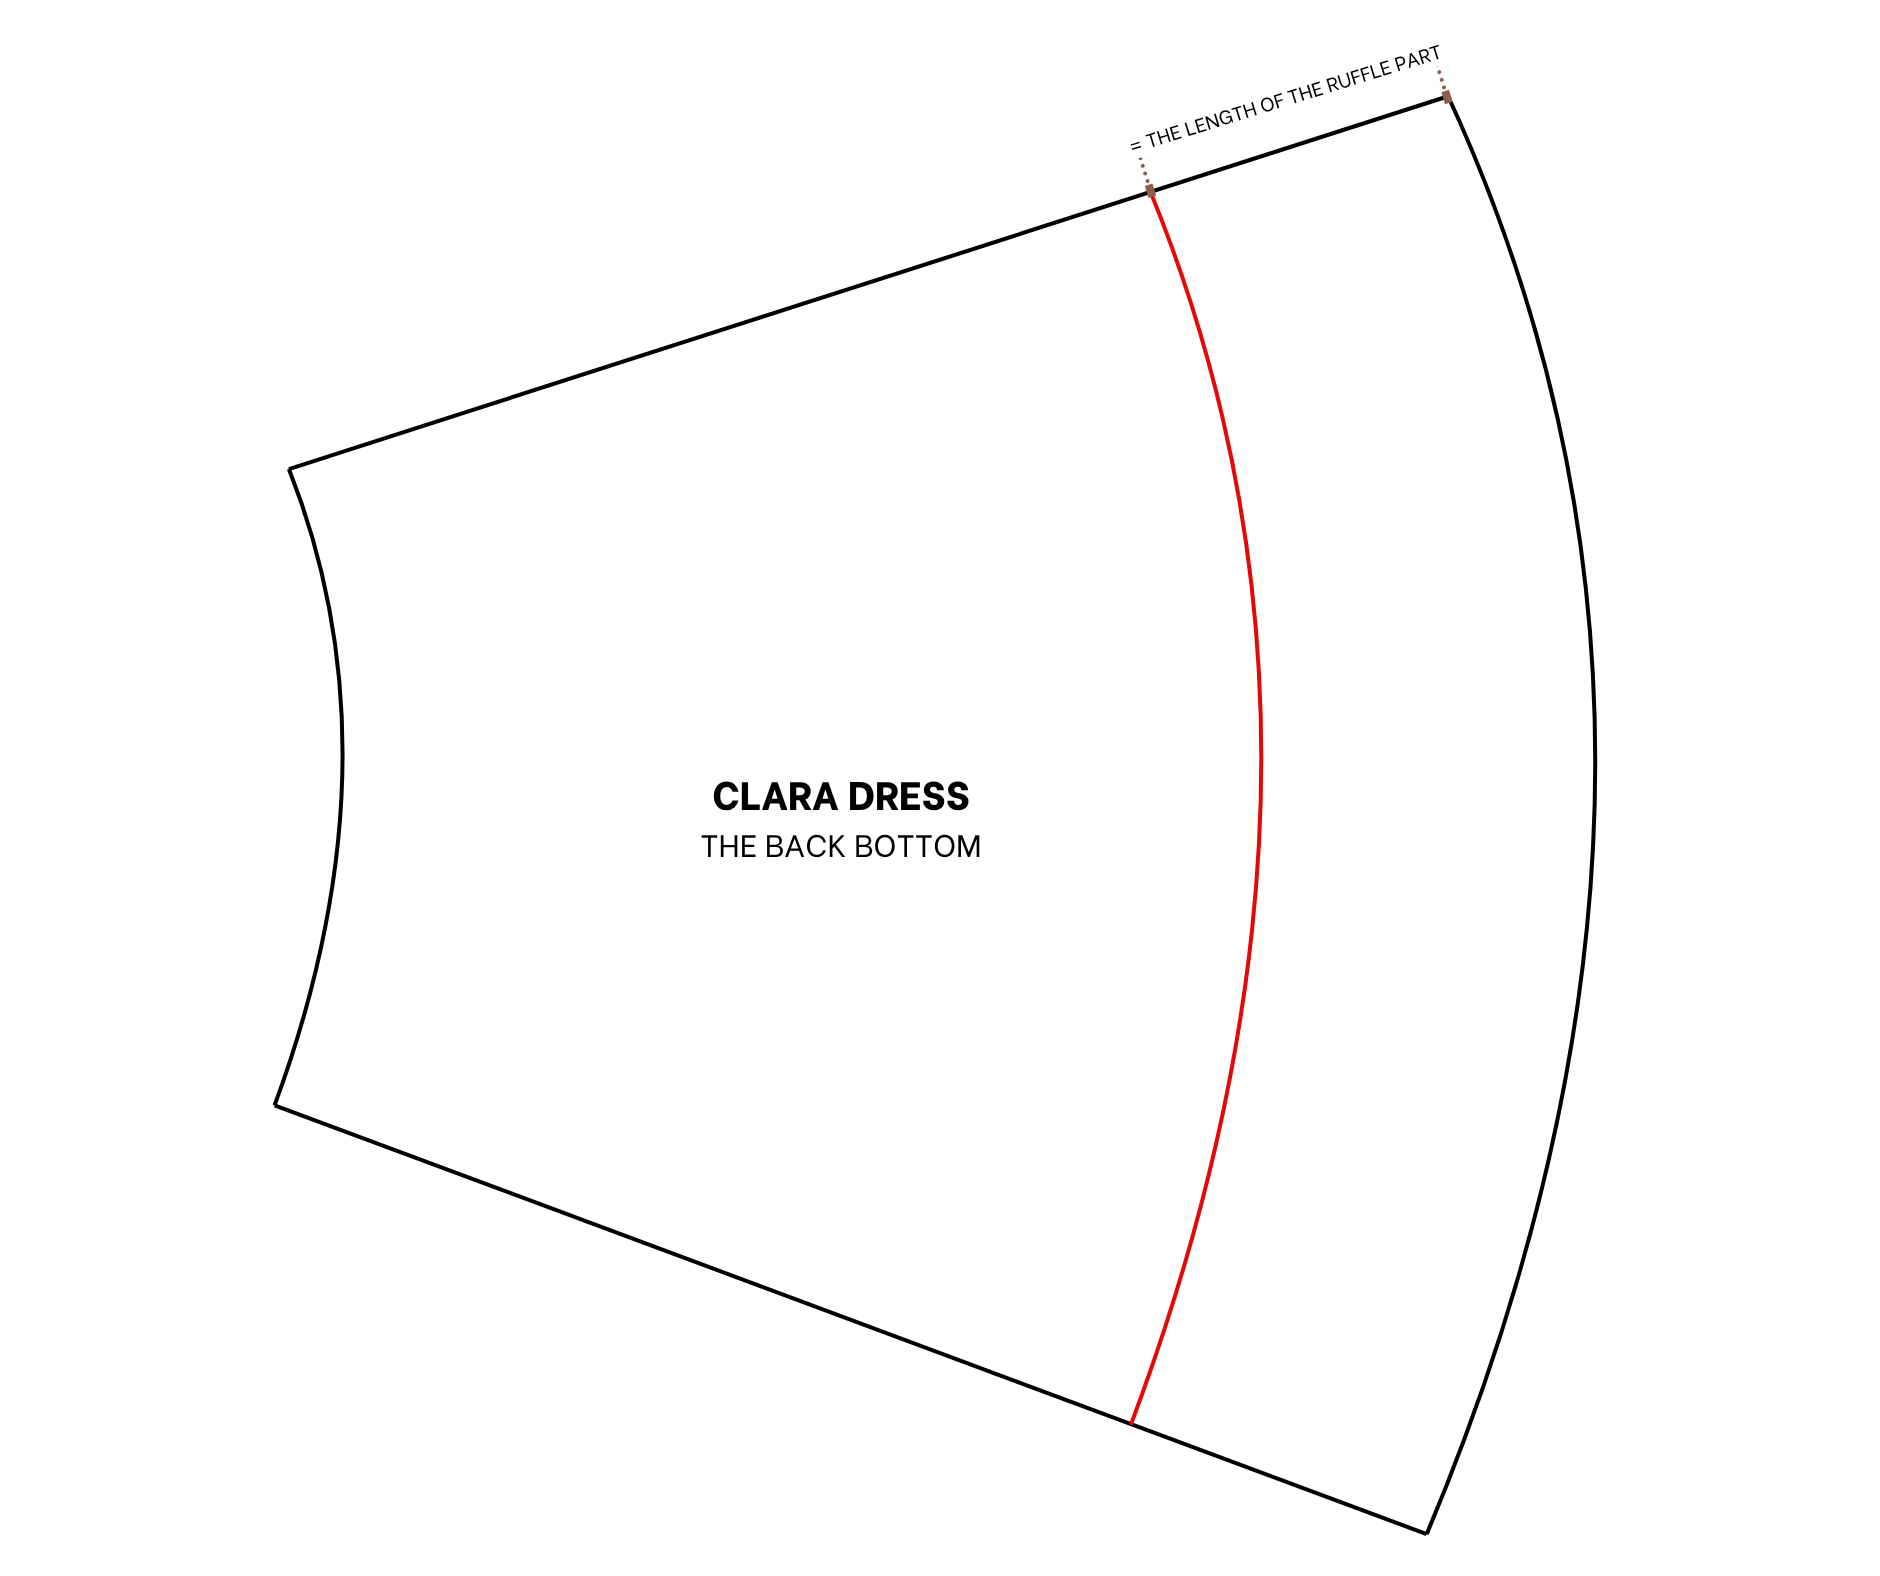
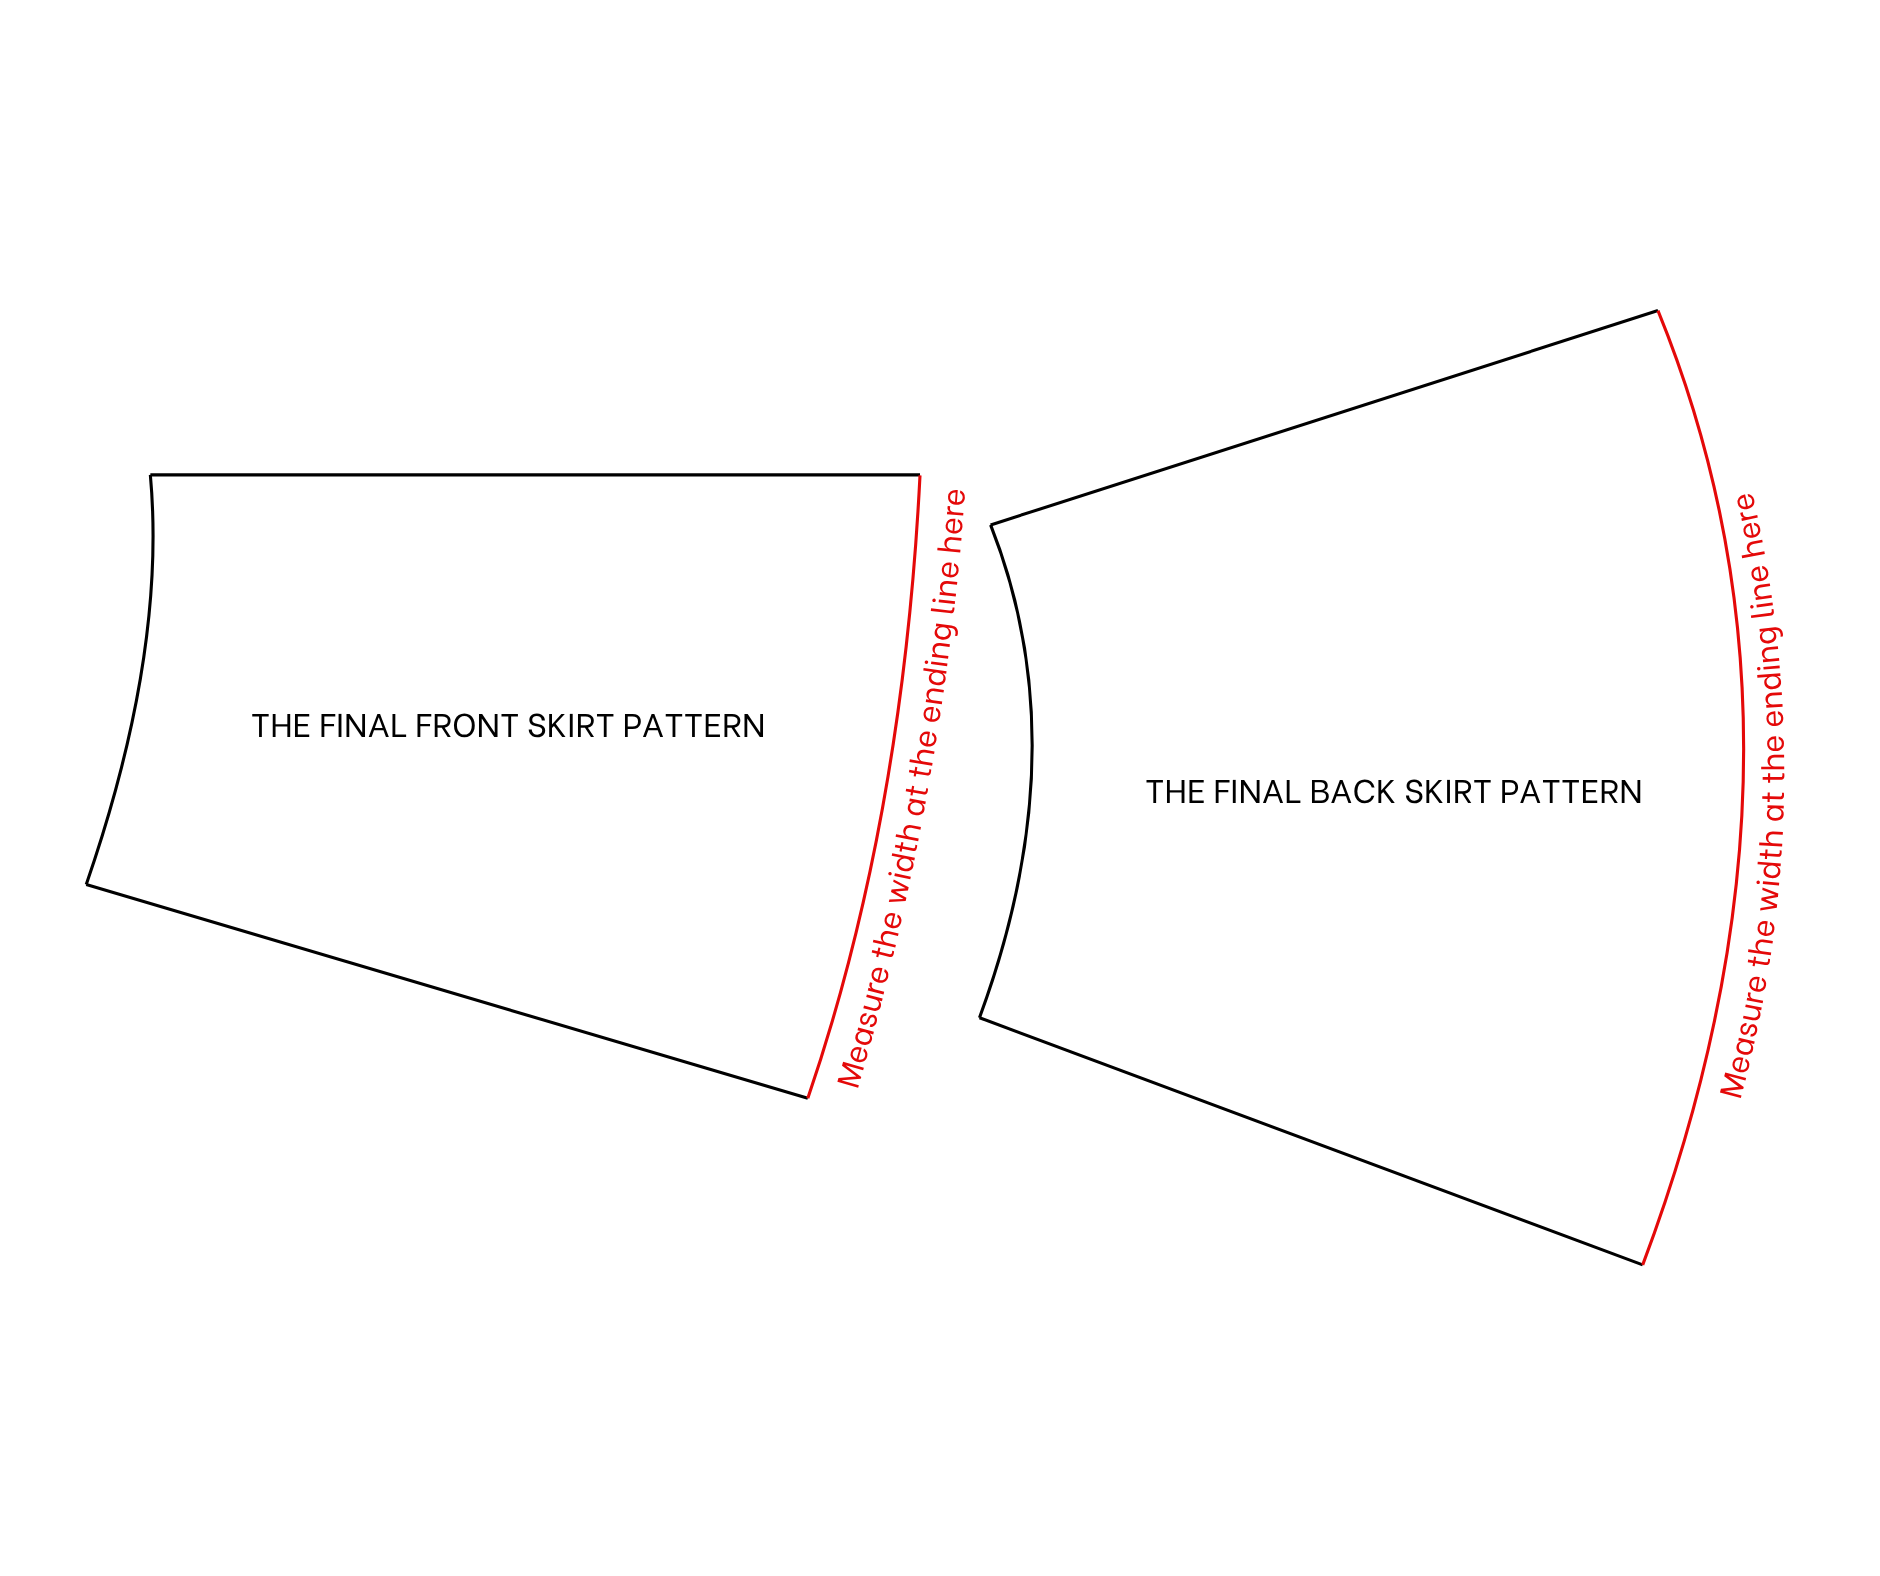
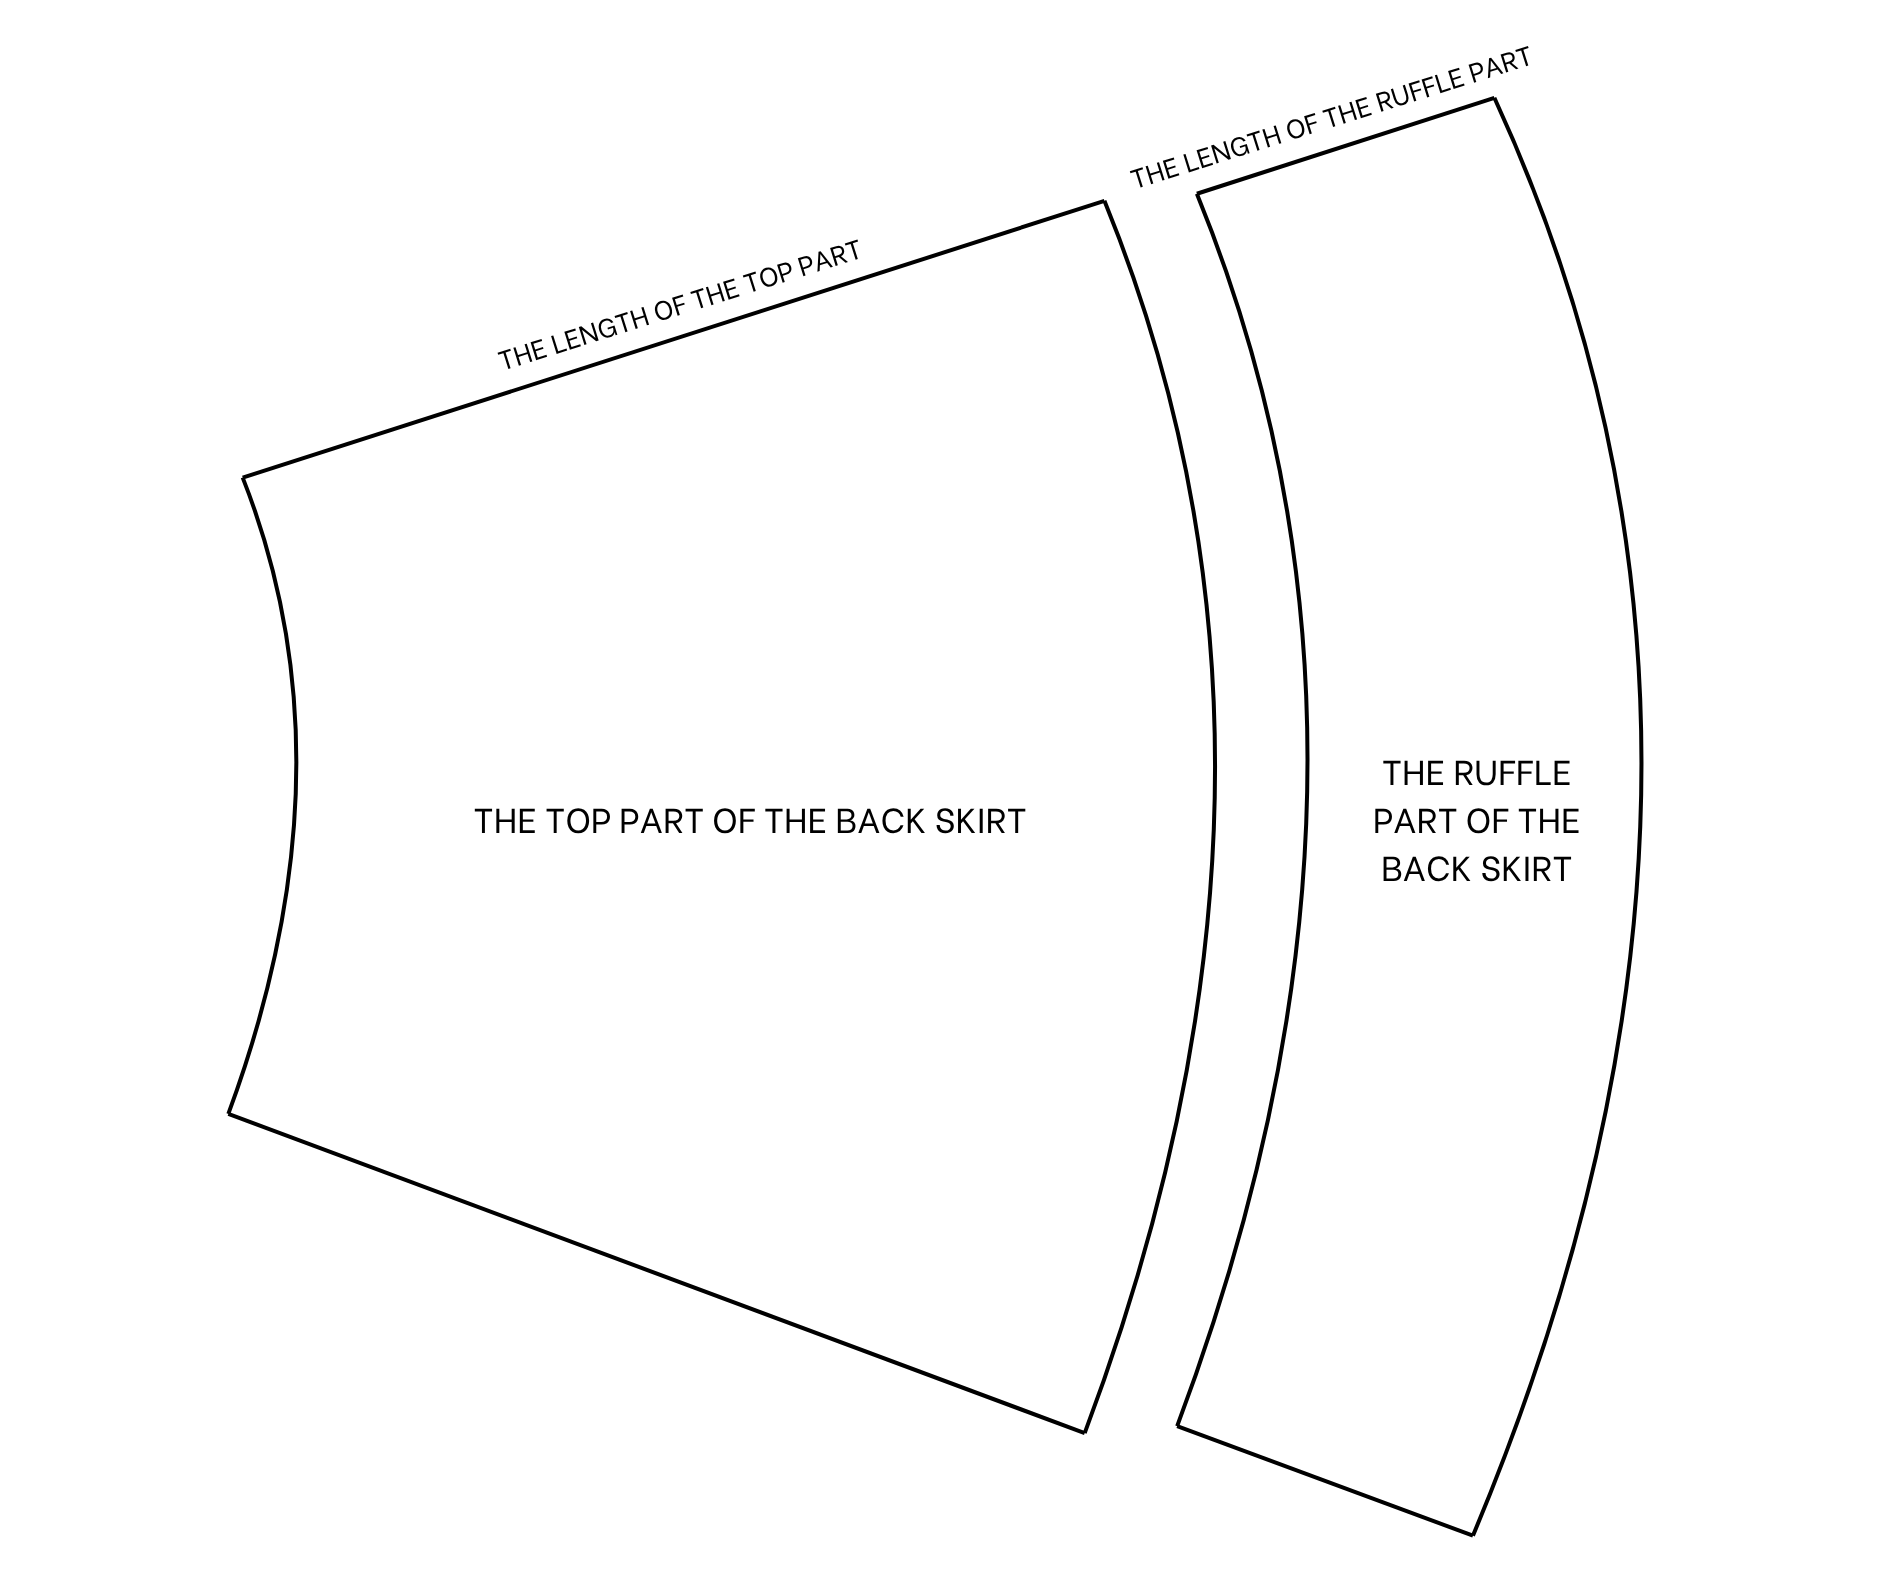
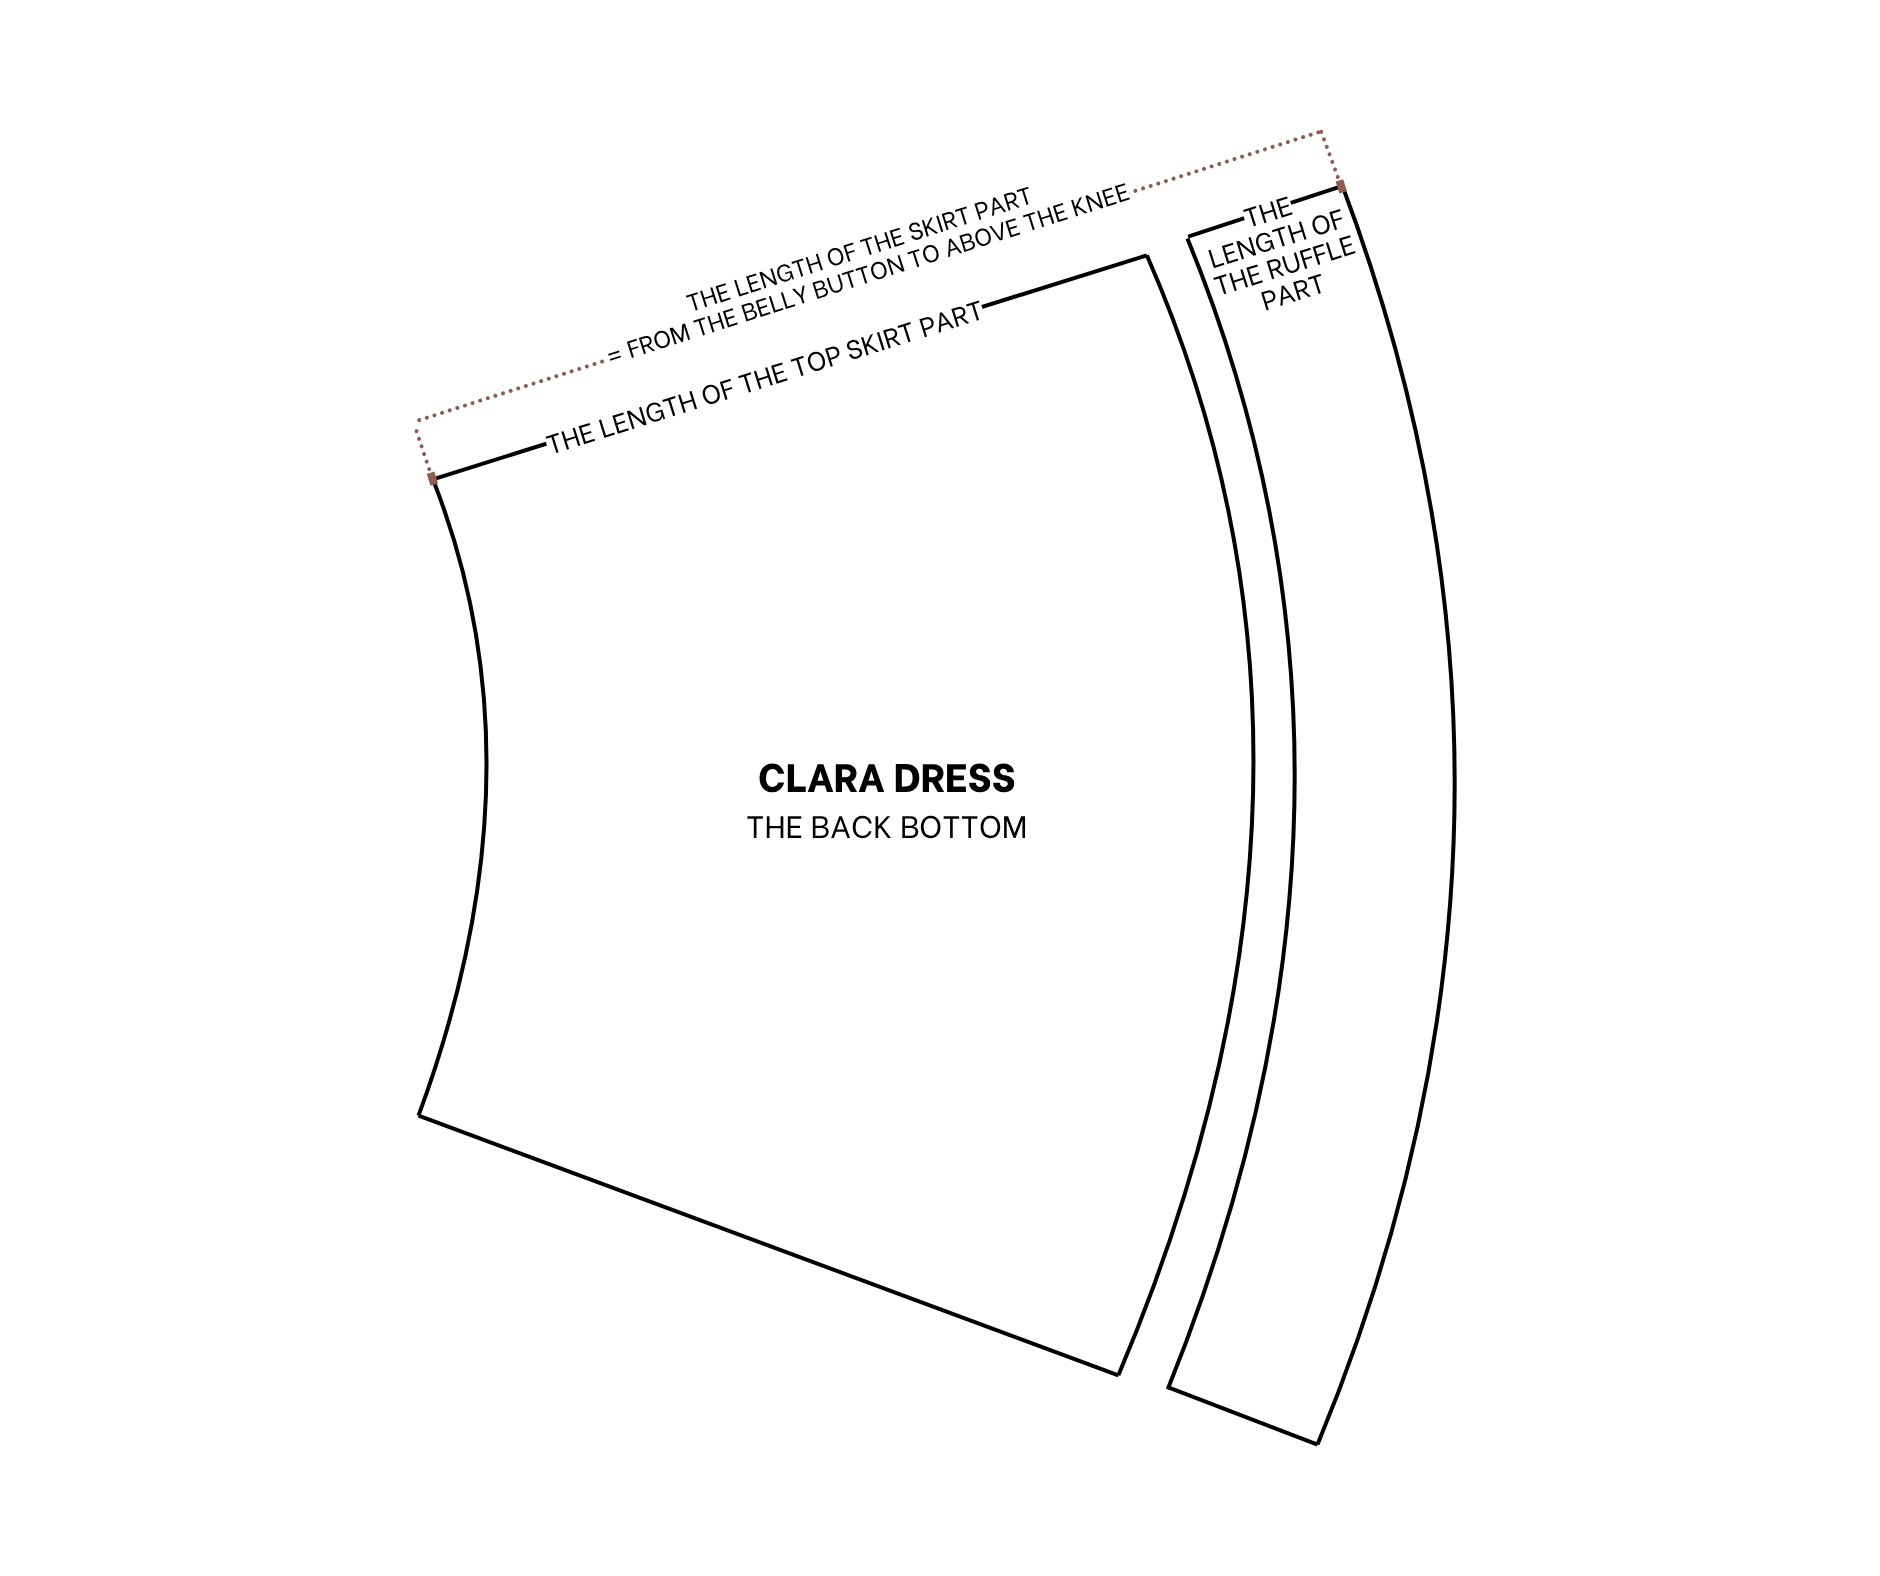
From the end of the front skirt pattern, measure and mark up 20 cm, which is the length of the ruffle part at the end of the skirt that is wanted.
Then, draw a curved line from that mark to the other side of the pattern to create a new ending line for the front skirt pattern.
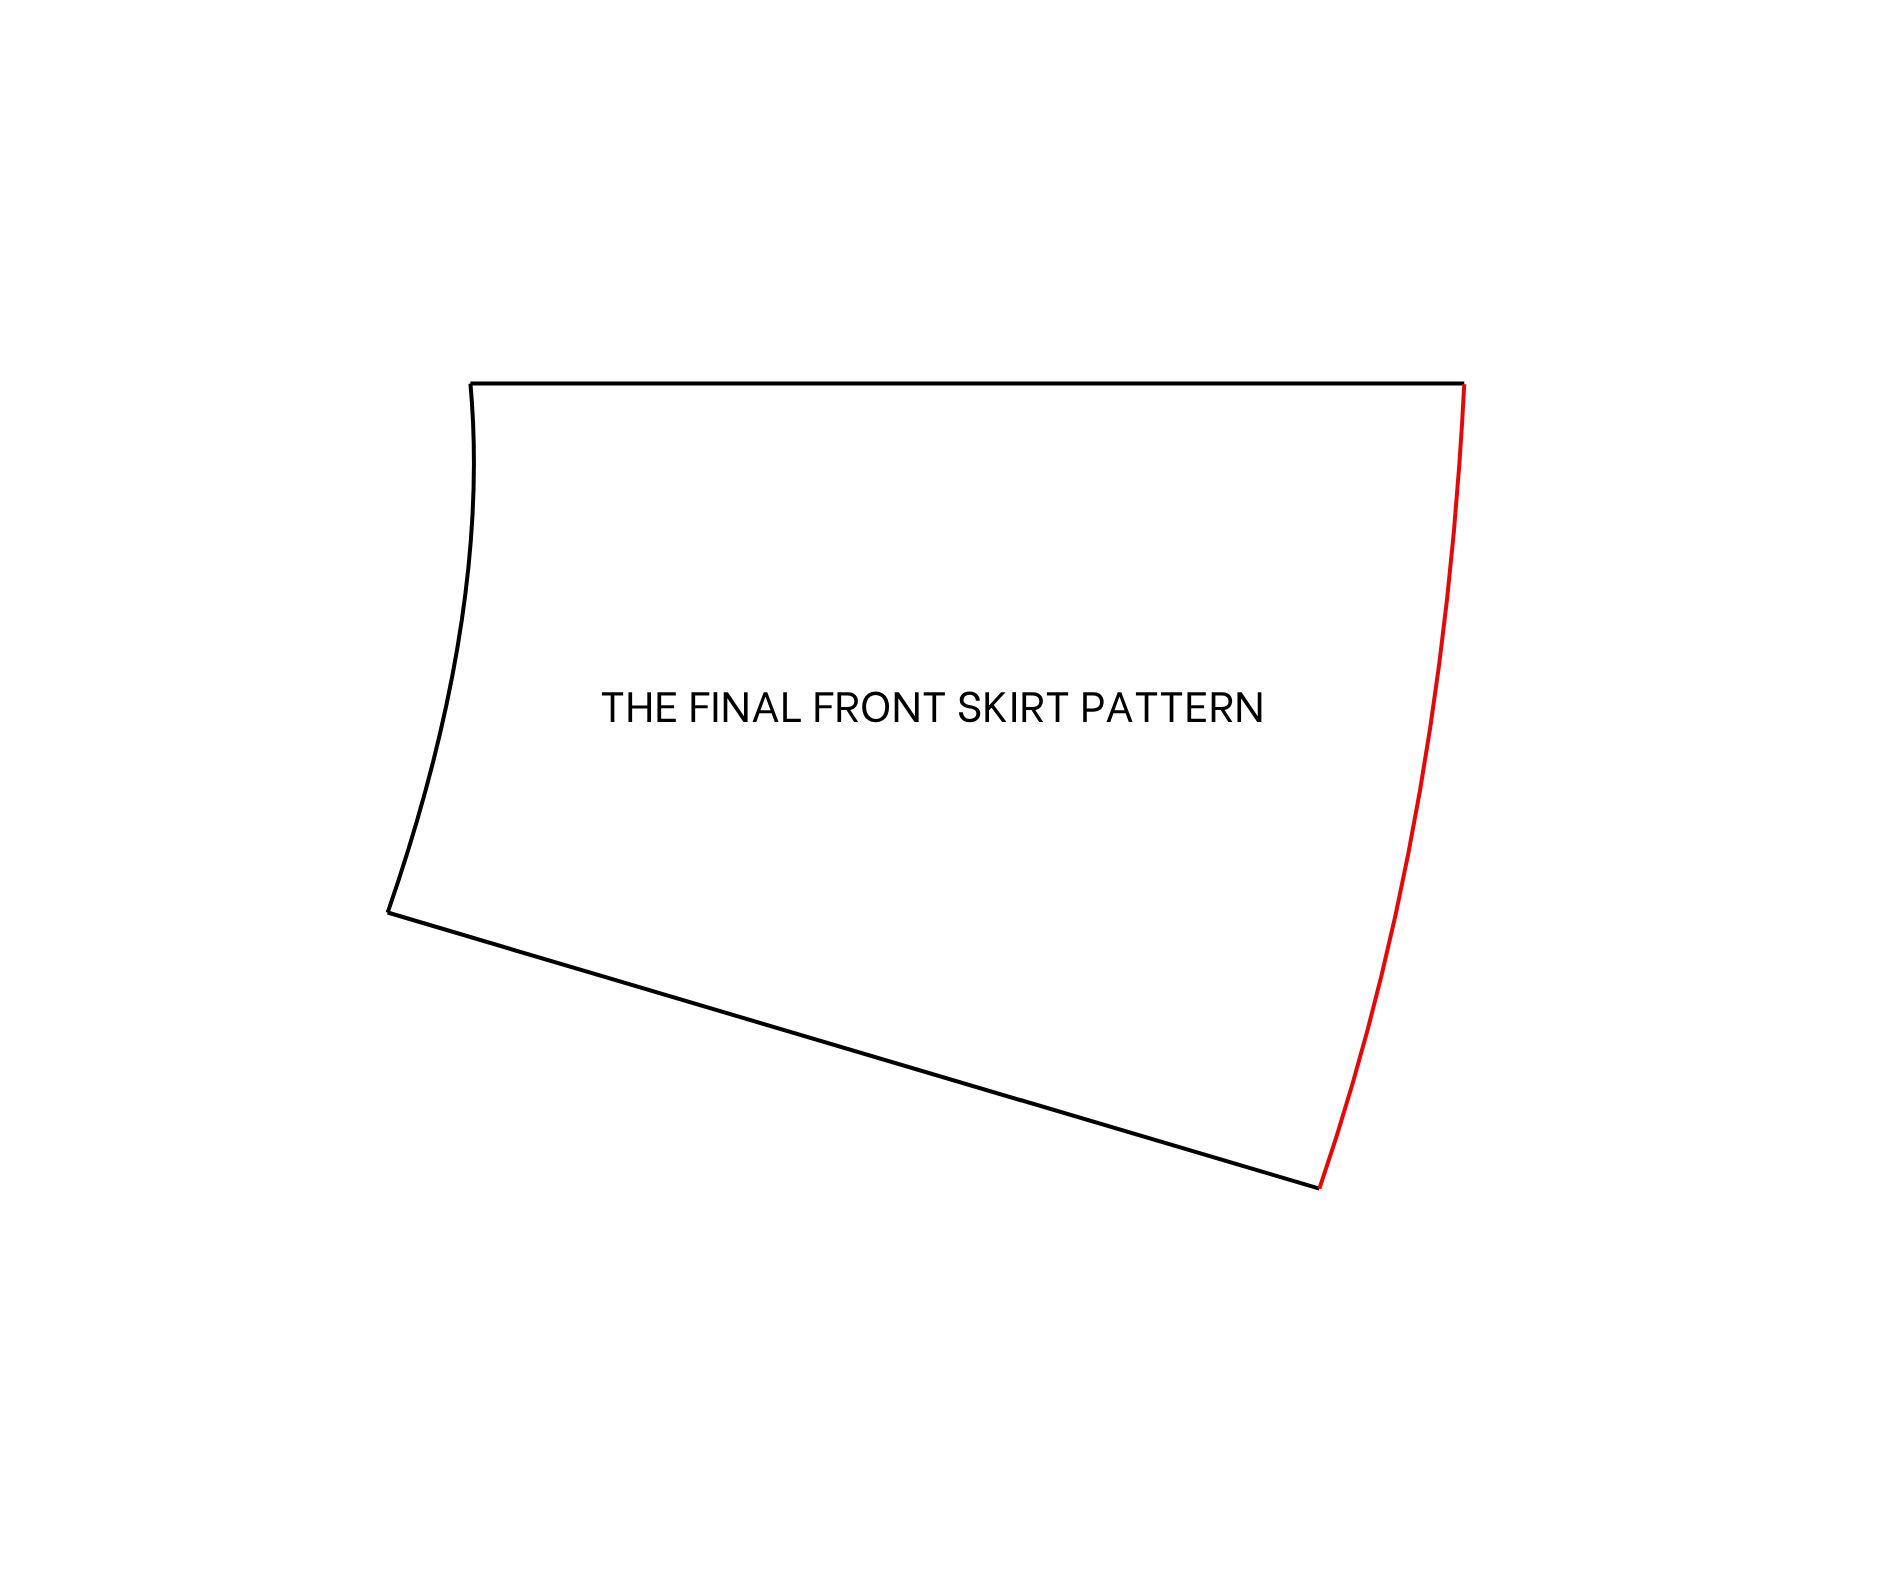
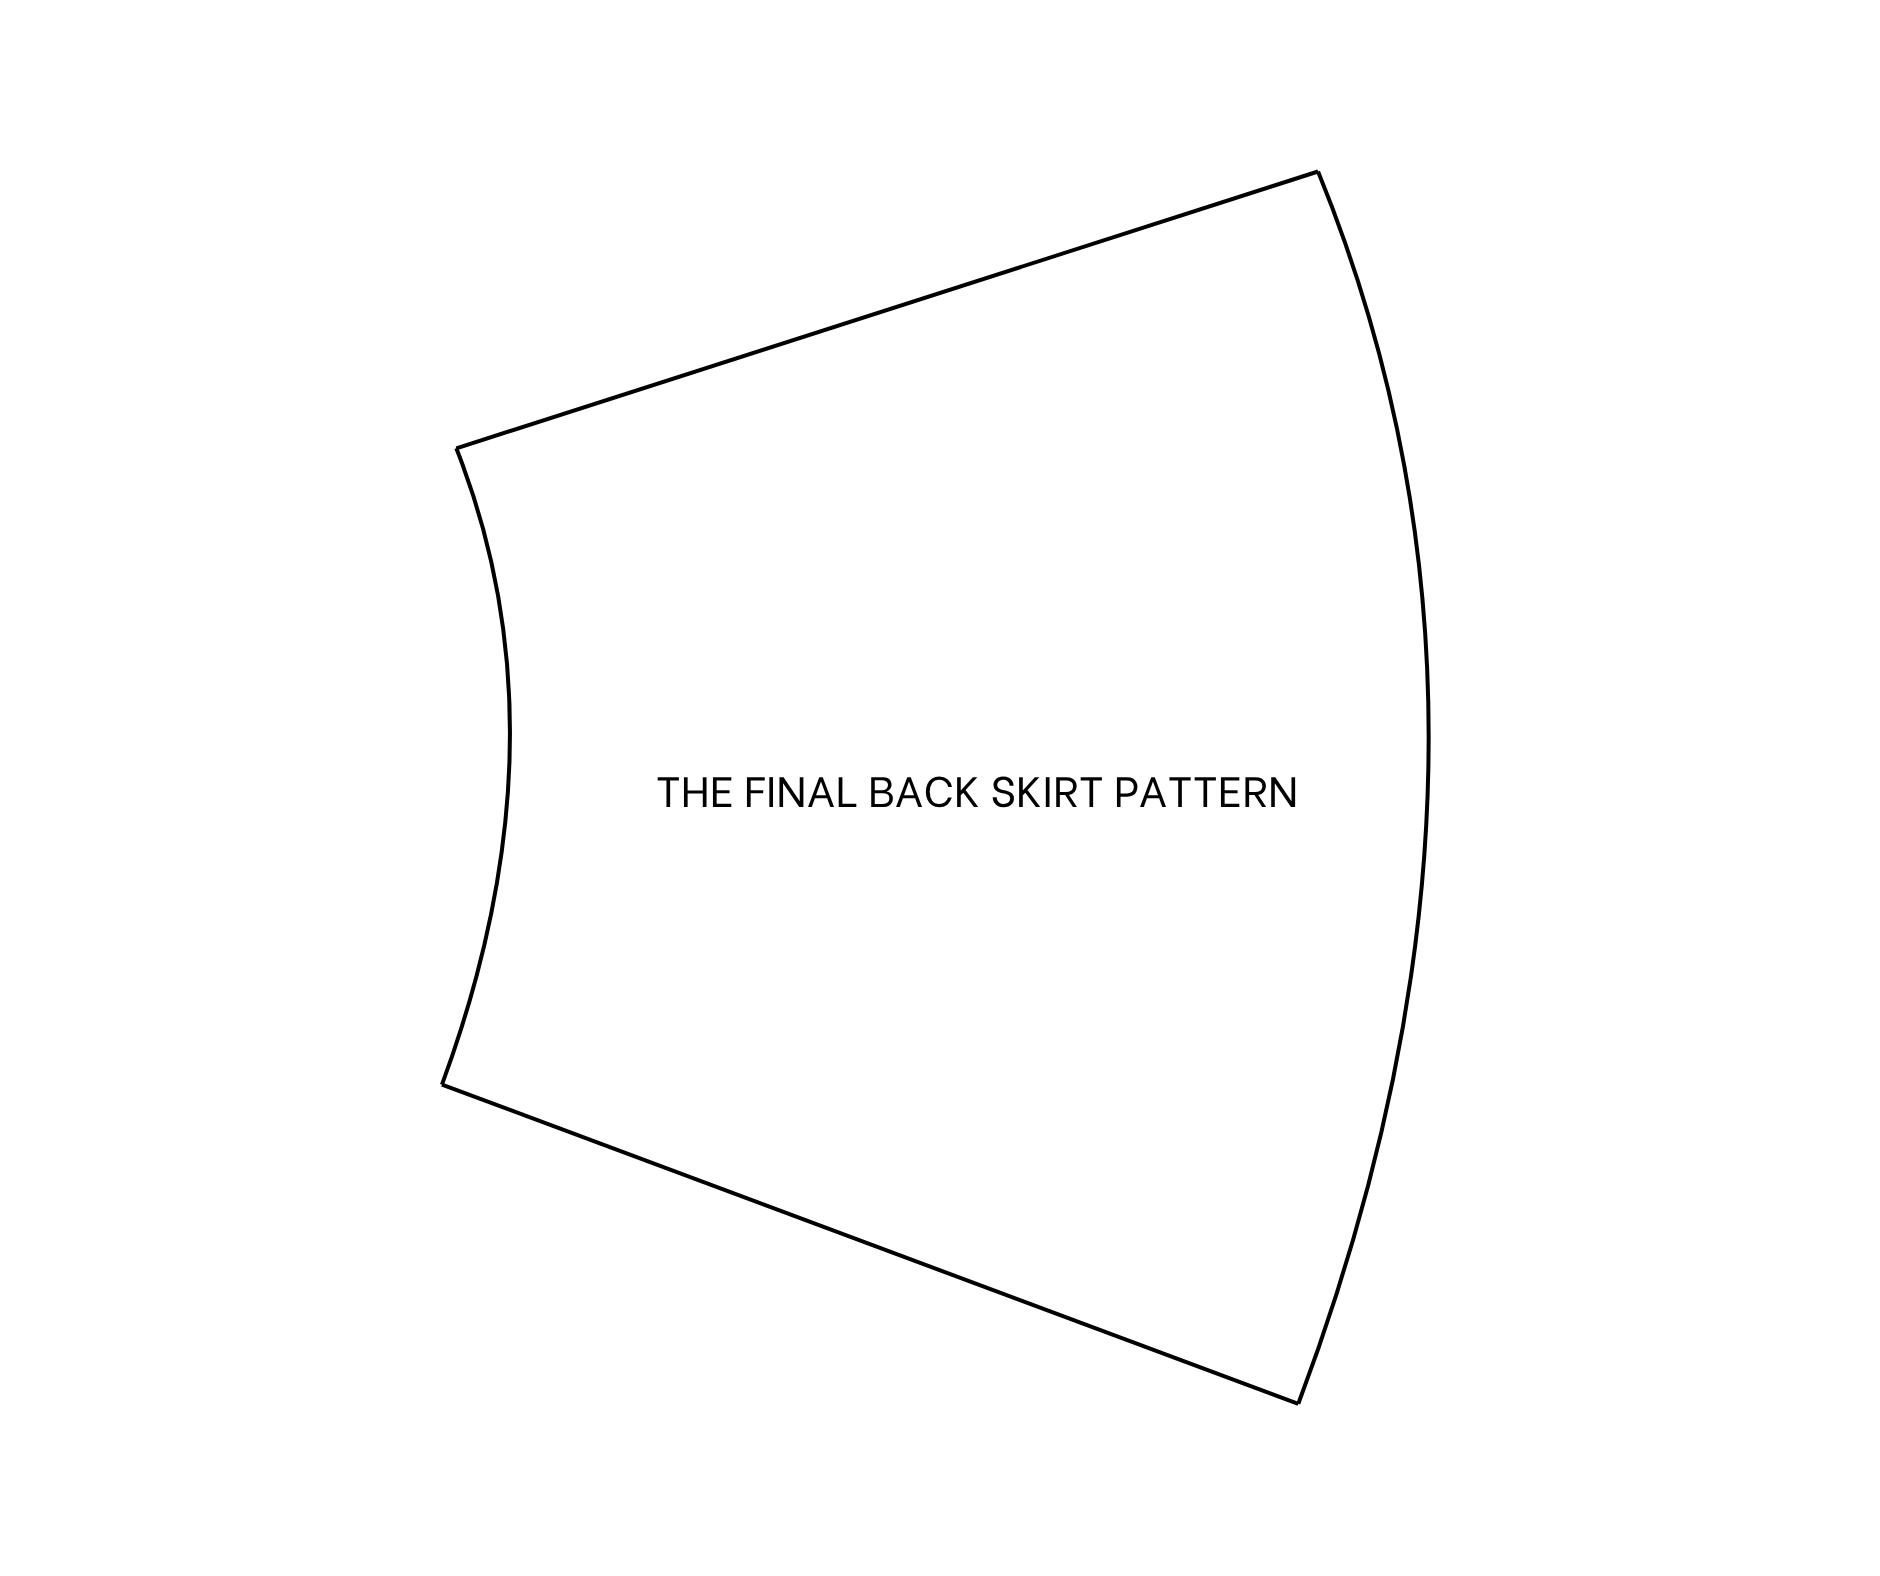
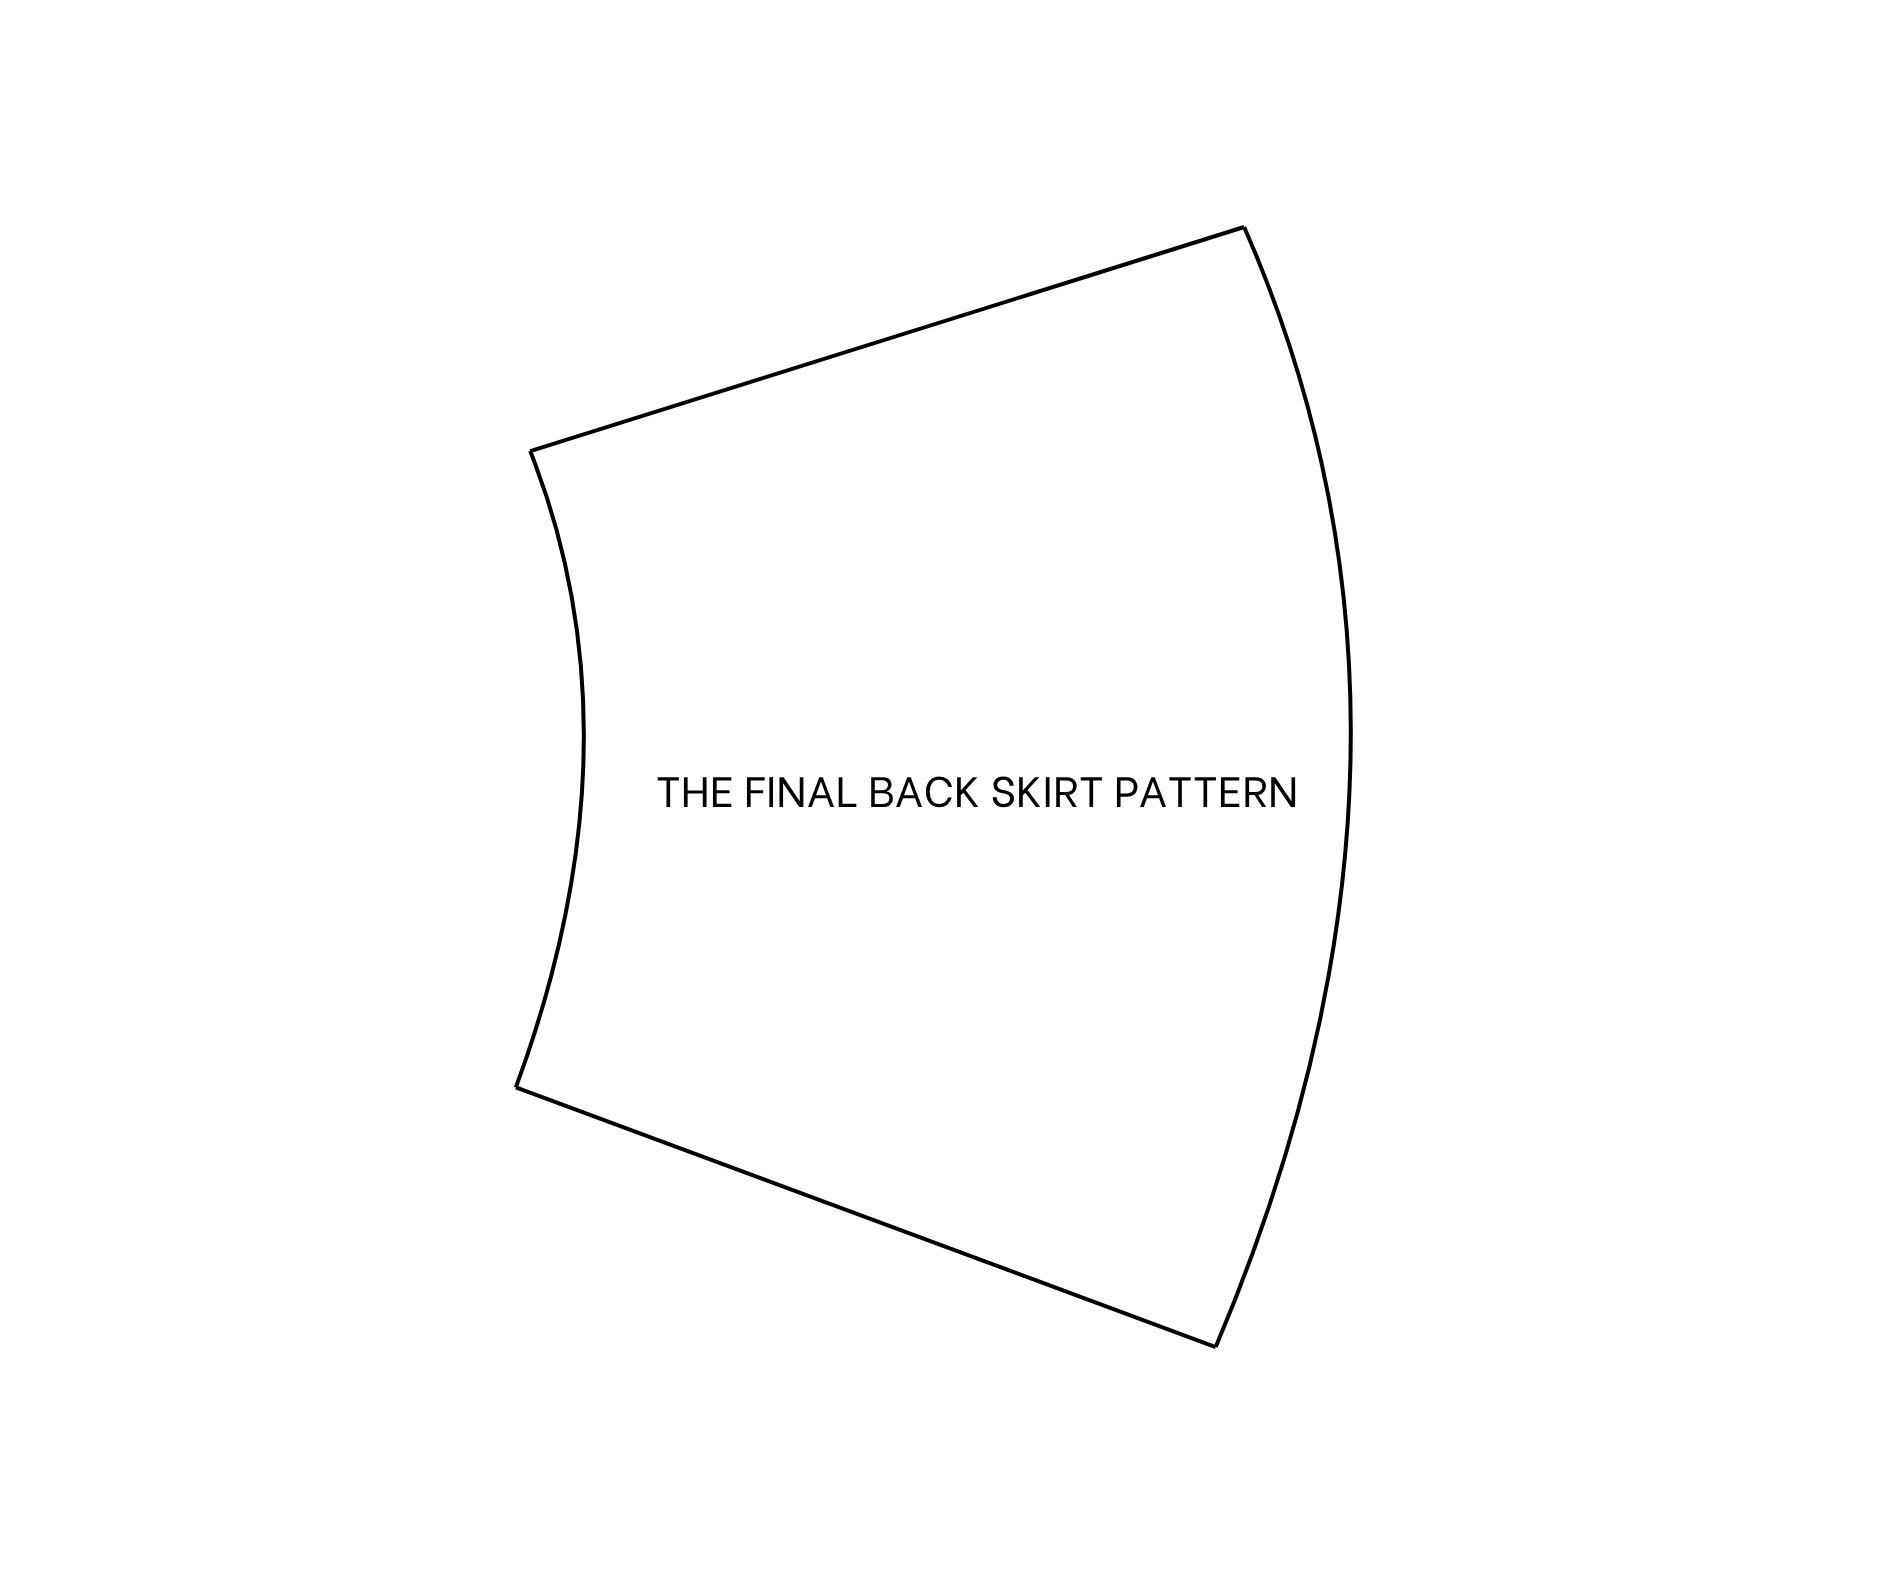
After cutting, the top part of the pattern will be the new front skirt pattern.
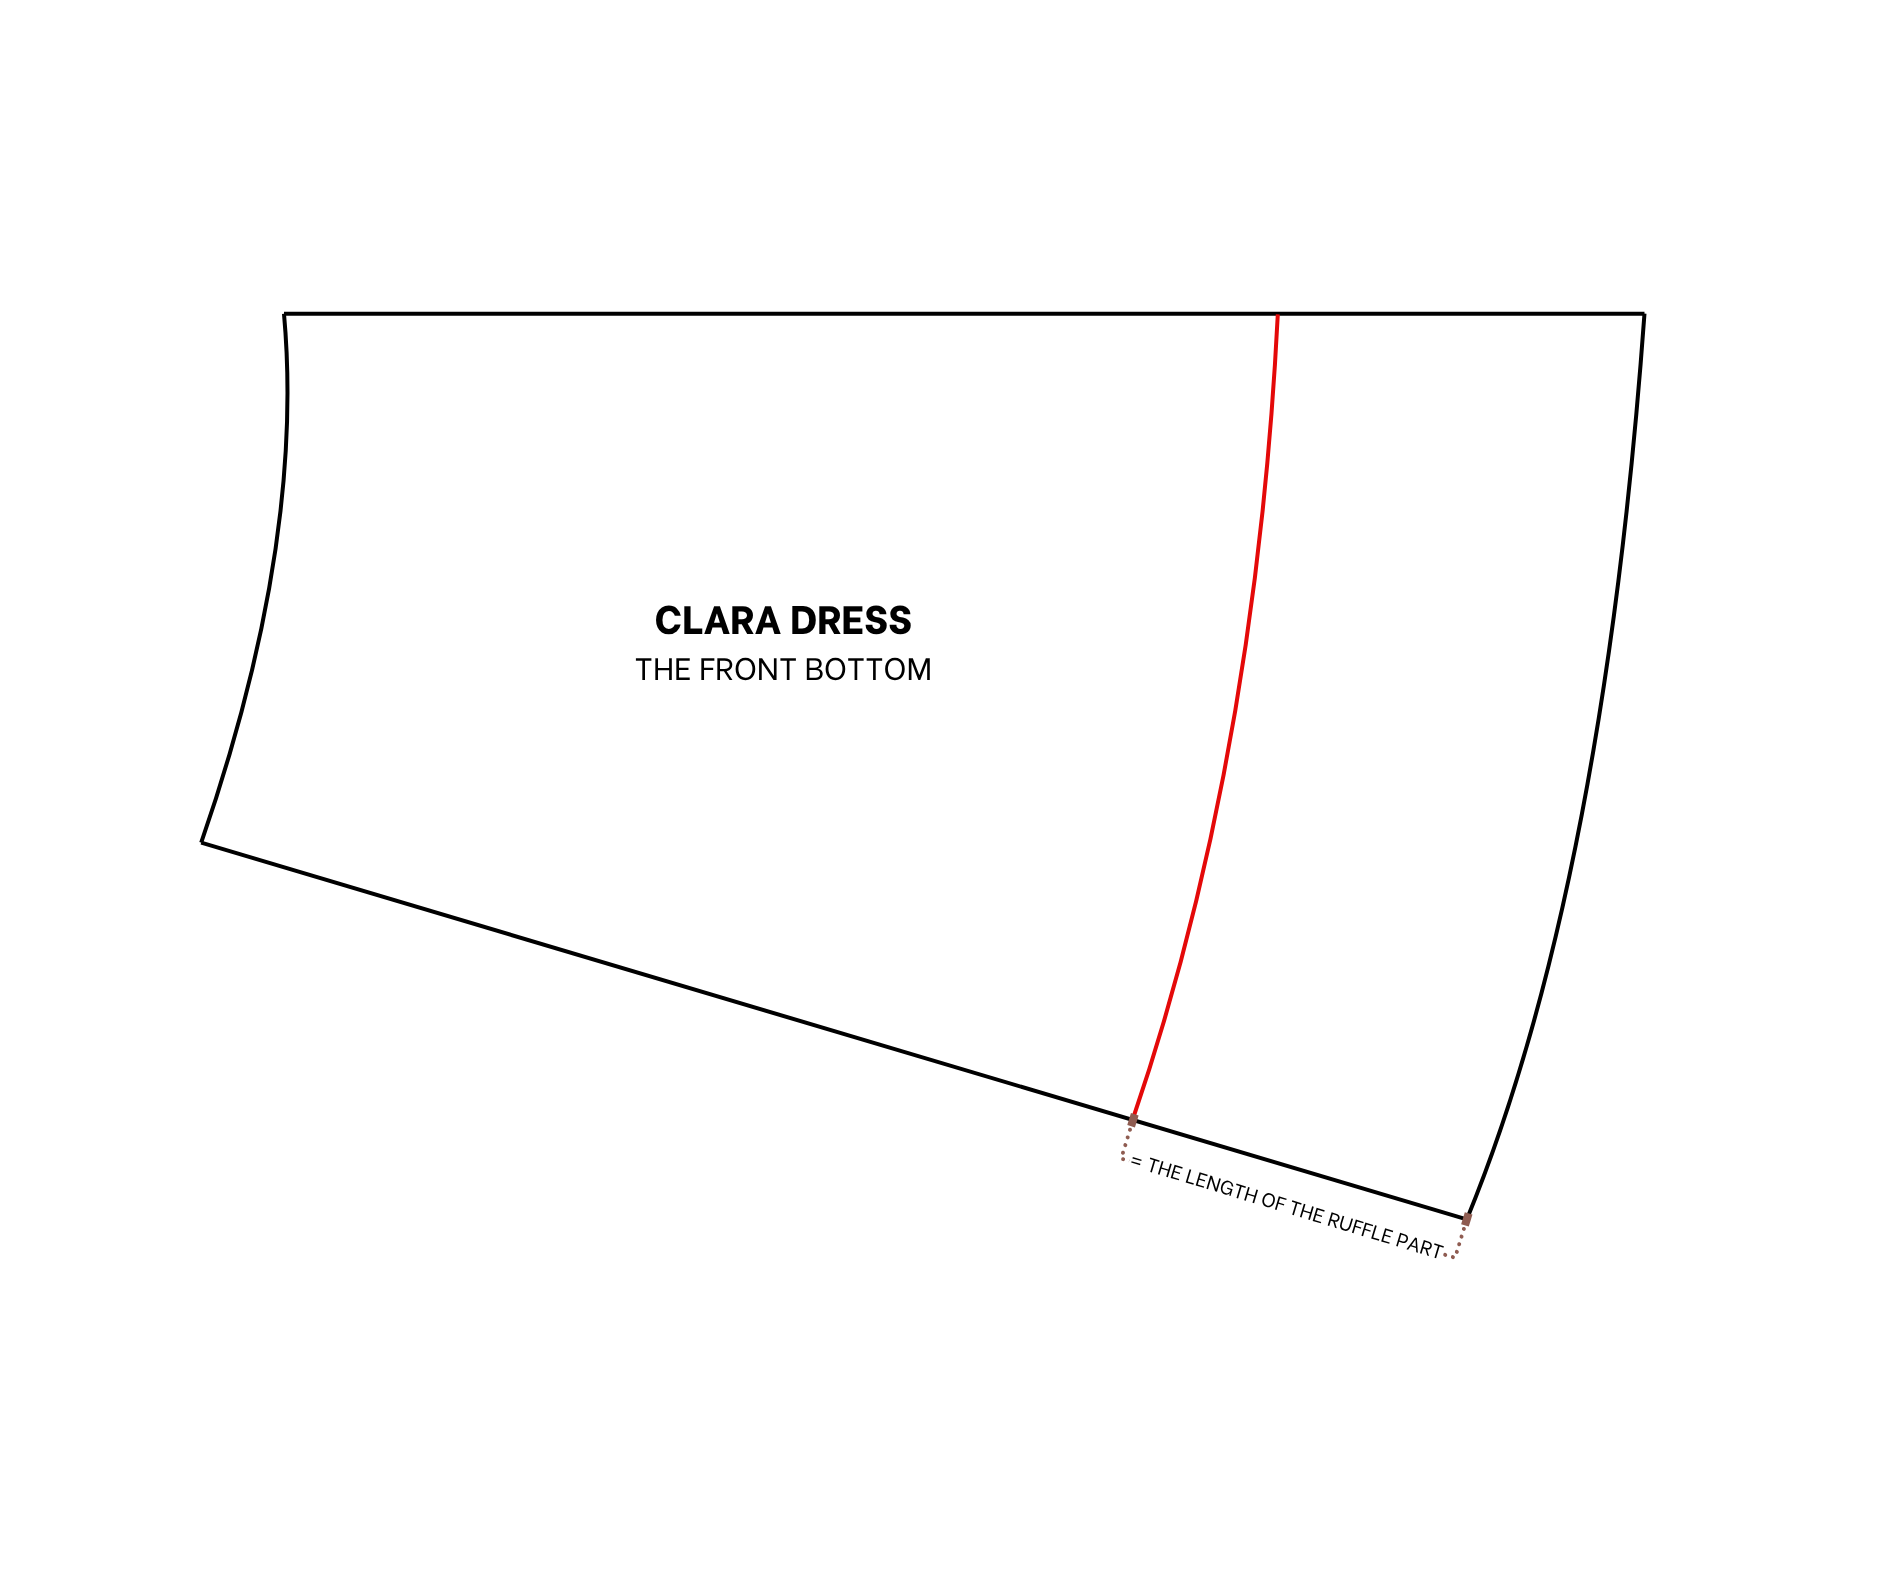
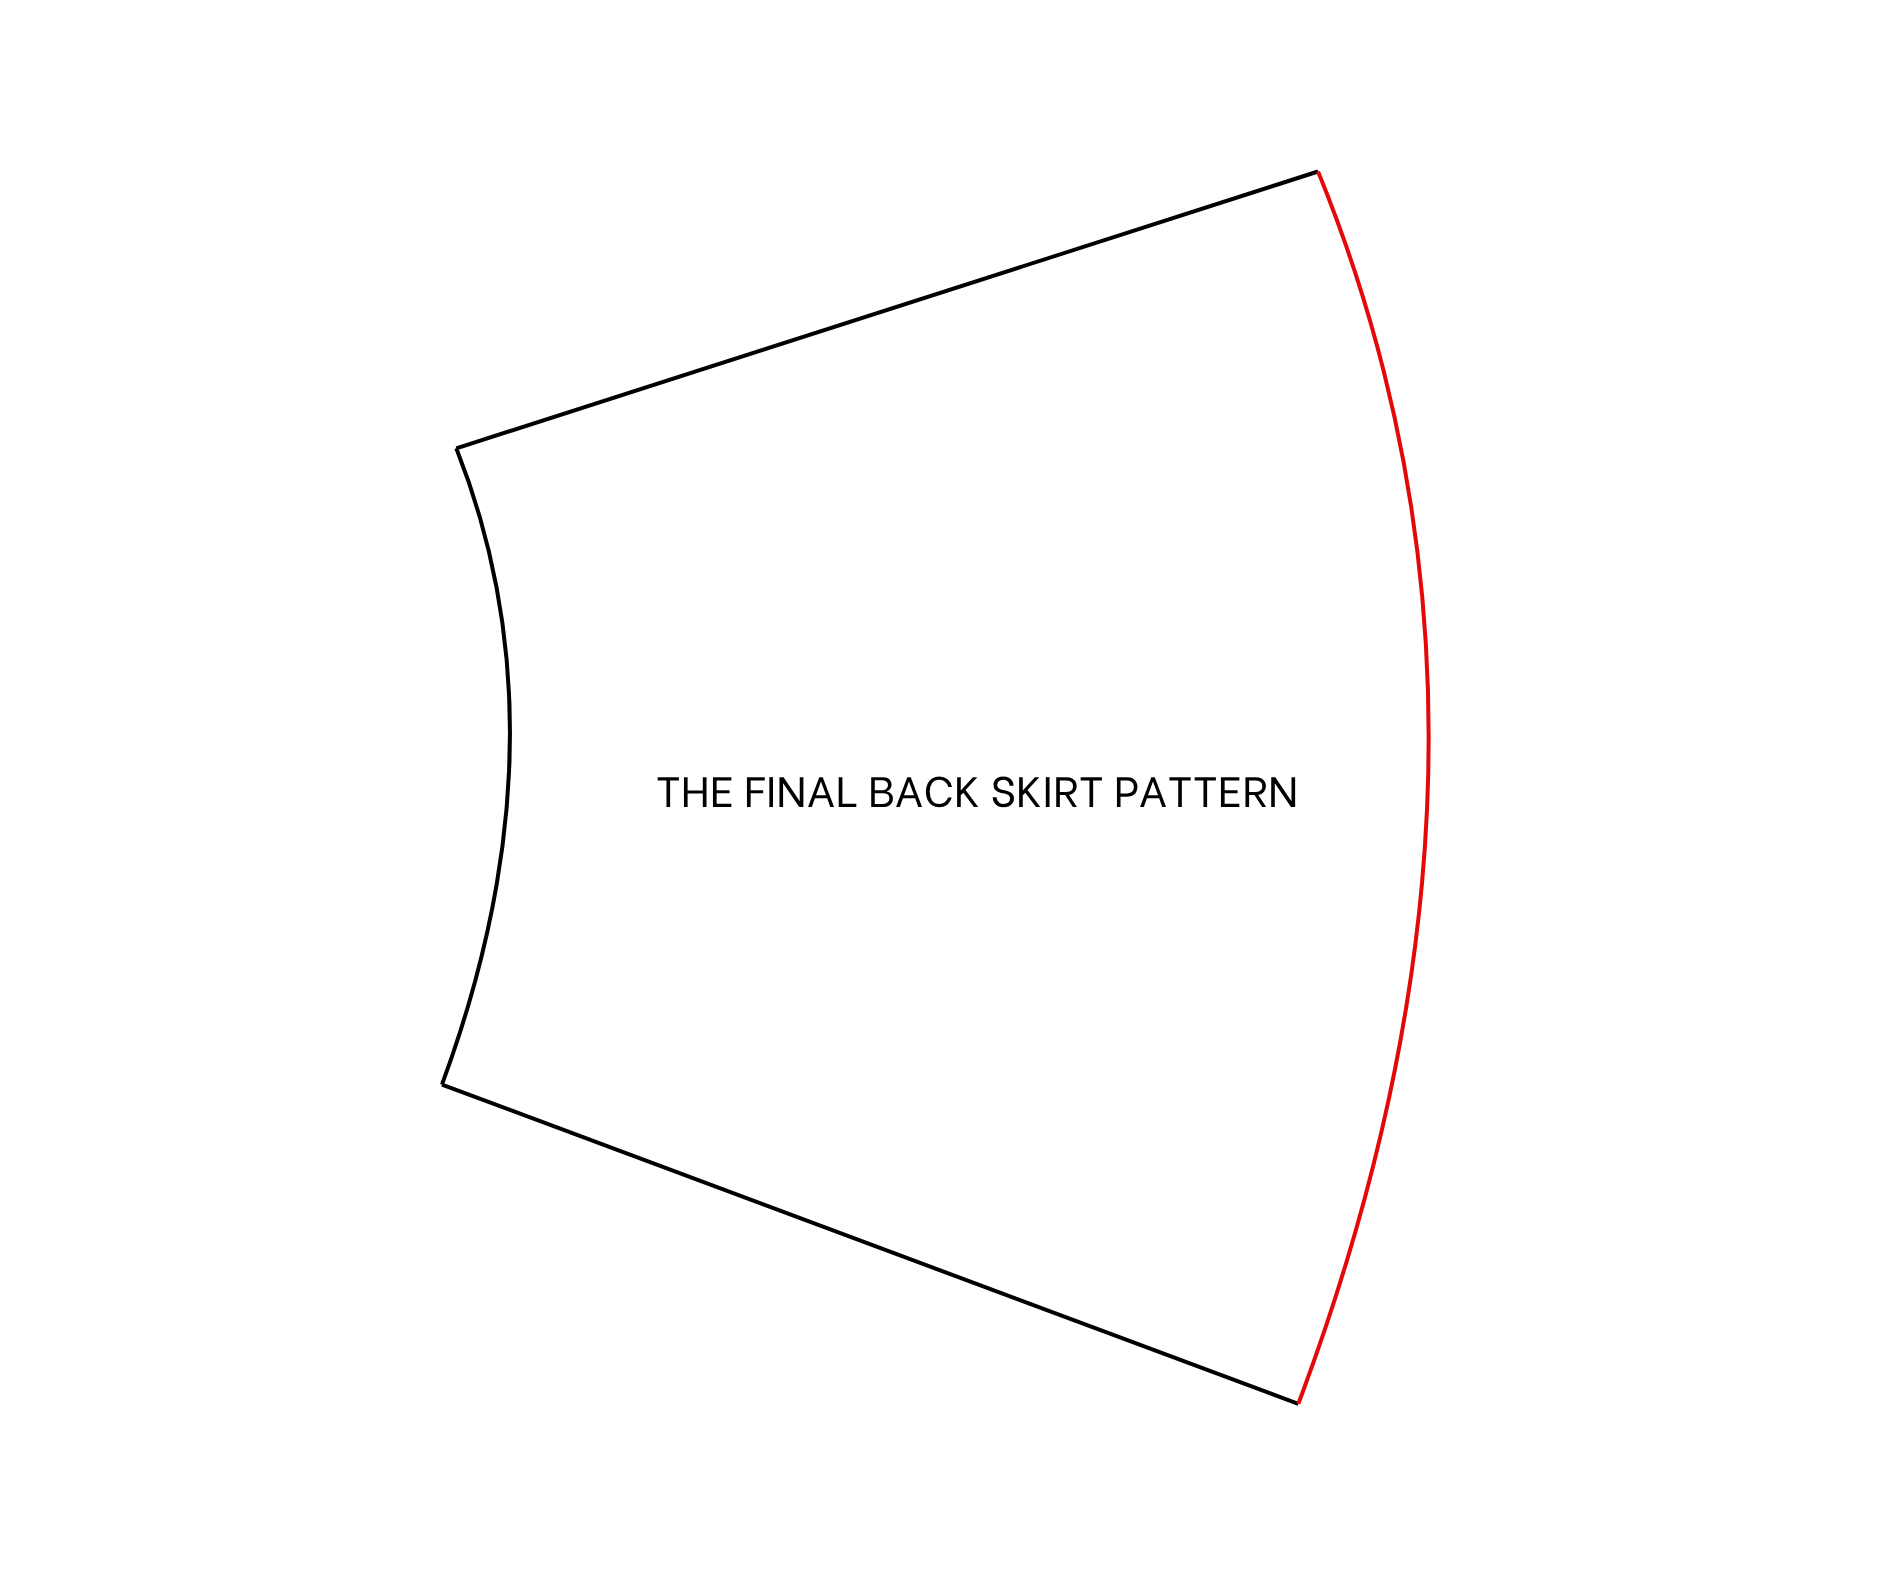
4. Use the same way to create a new back skirt pattern of the dress.
5. After that, measure the width at the end of the front and the back of the new skirt pattern.
SEWING THE DRESS
Then, cut along the rectangle with 22 cm length (which is a length of the skirt part cut off from the original Clara skirt pattern before, plus 2 cm for seam allowance) and two times the total width at the end of the front and the back of the new skirt pattern that was just checked before that.
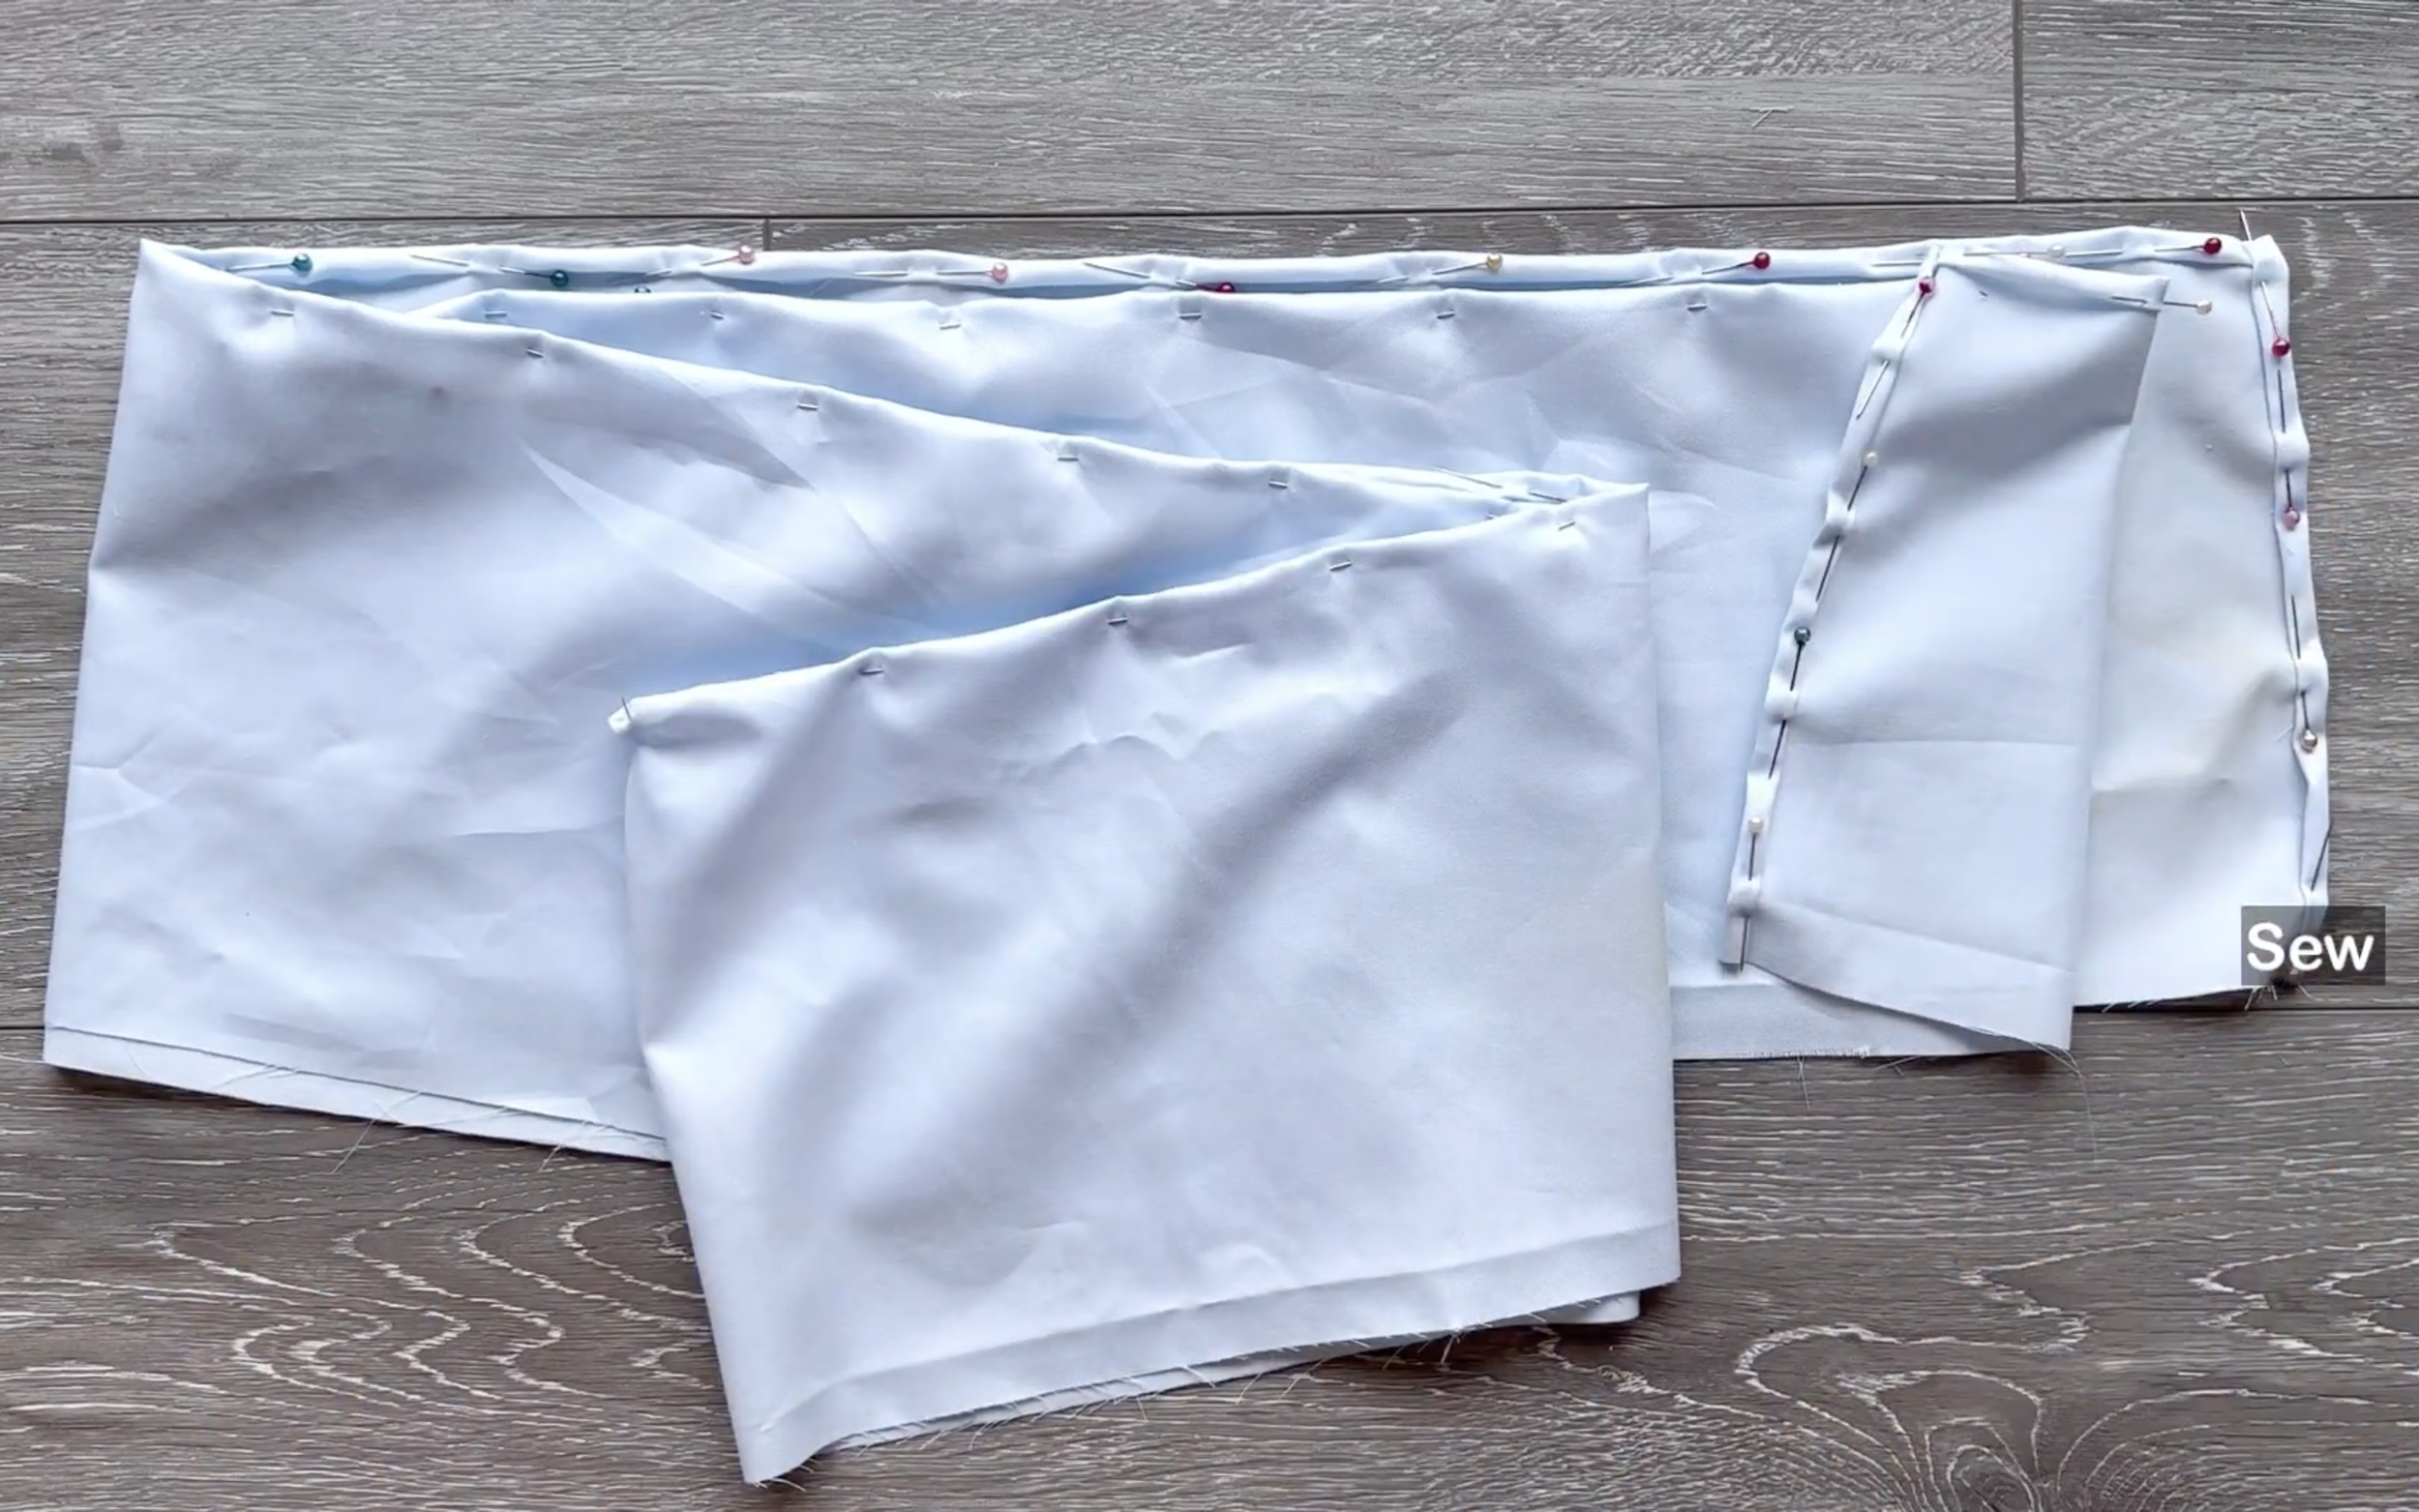
Finish two length lines and one width line of the rectangle (which is also the ending line of the ruffle part) by folding the end fabric inside two times with 1 cm each time and sewing.

After that, make a loose seam at the other width line of the rectangle, then create the gather fabric there later.
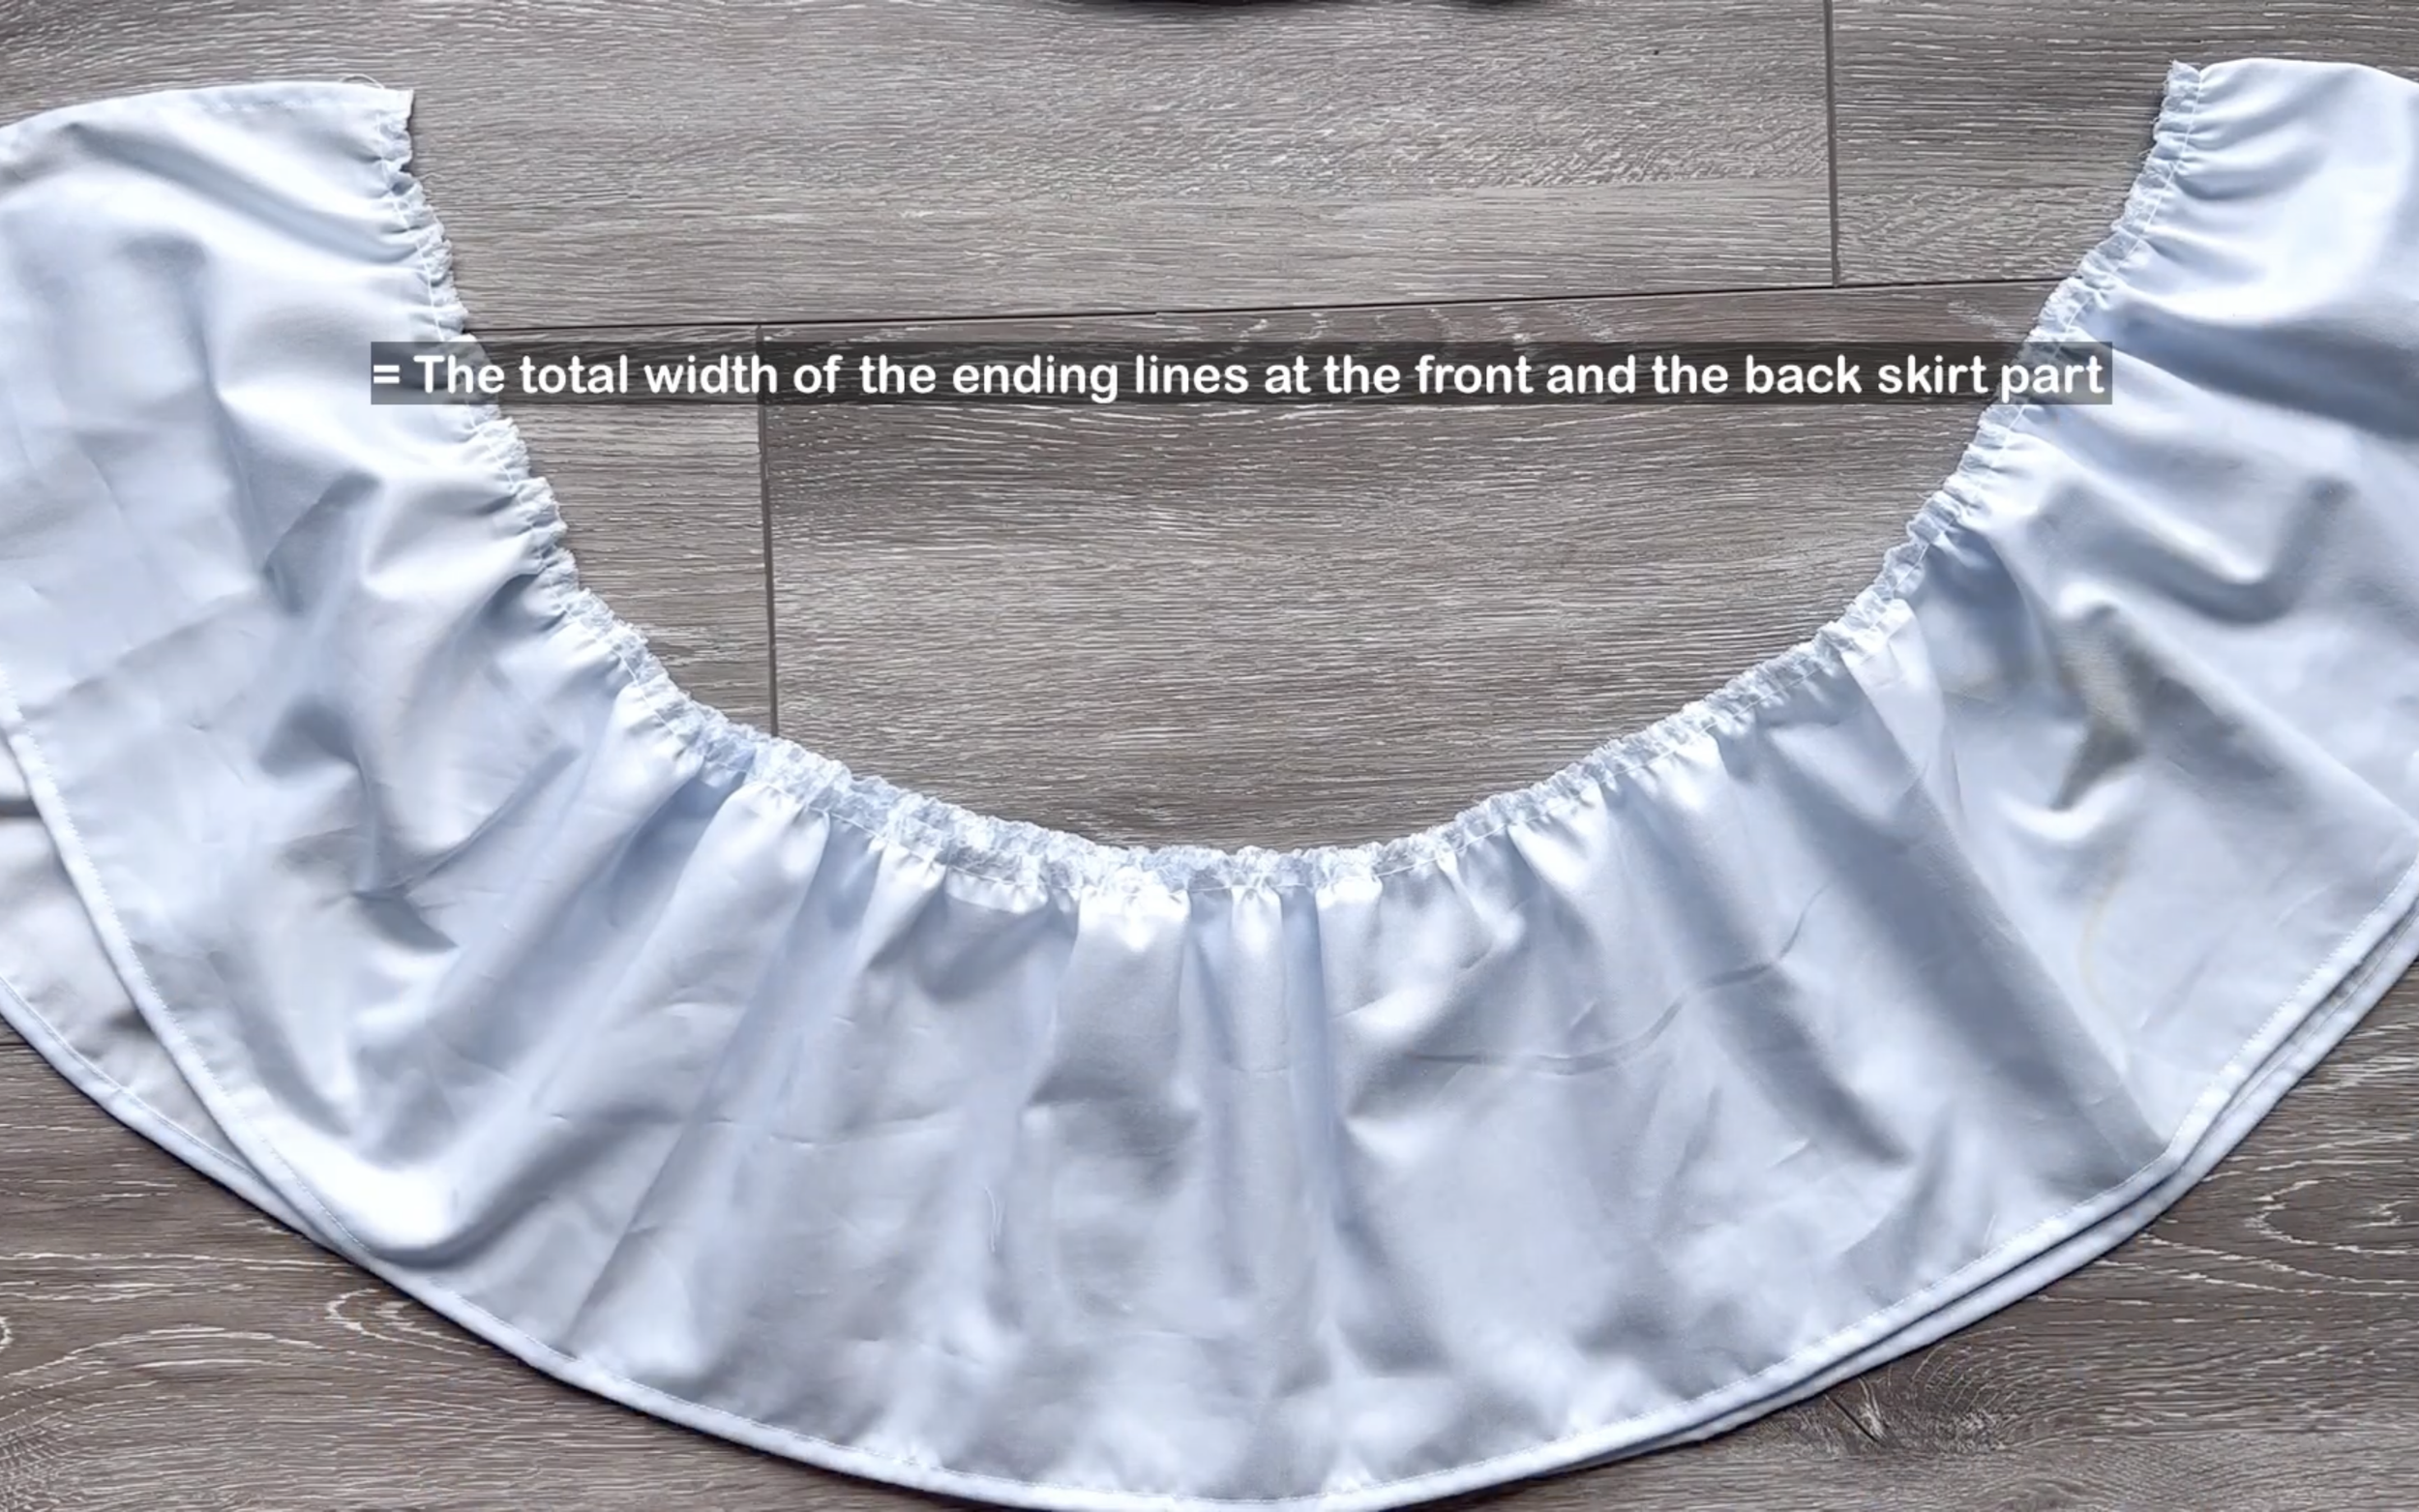
The final width of the gathered fabric there will be the same with the total width at the end of the front and the back of the new skirt pattern that was just checked before so they can be connected together later.

For this dress, use the new skirt pattern to finish the whole dress first.
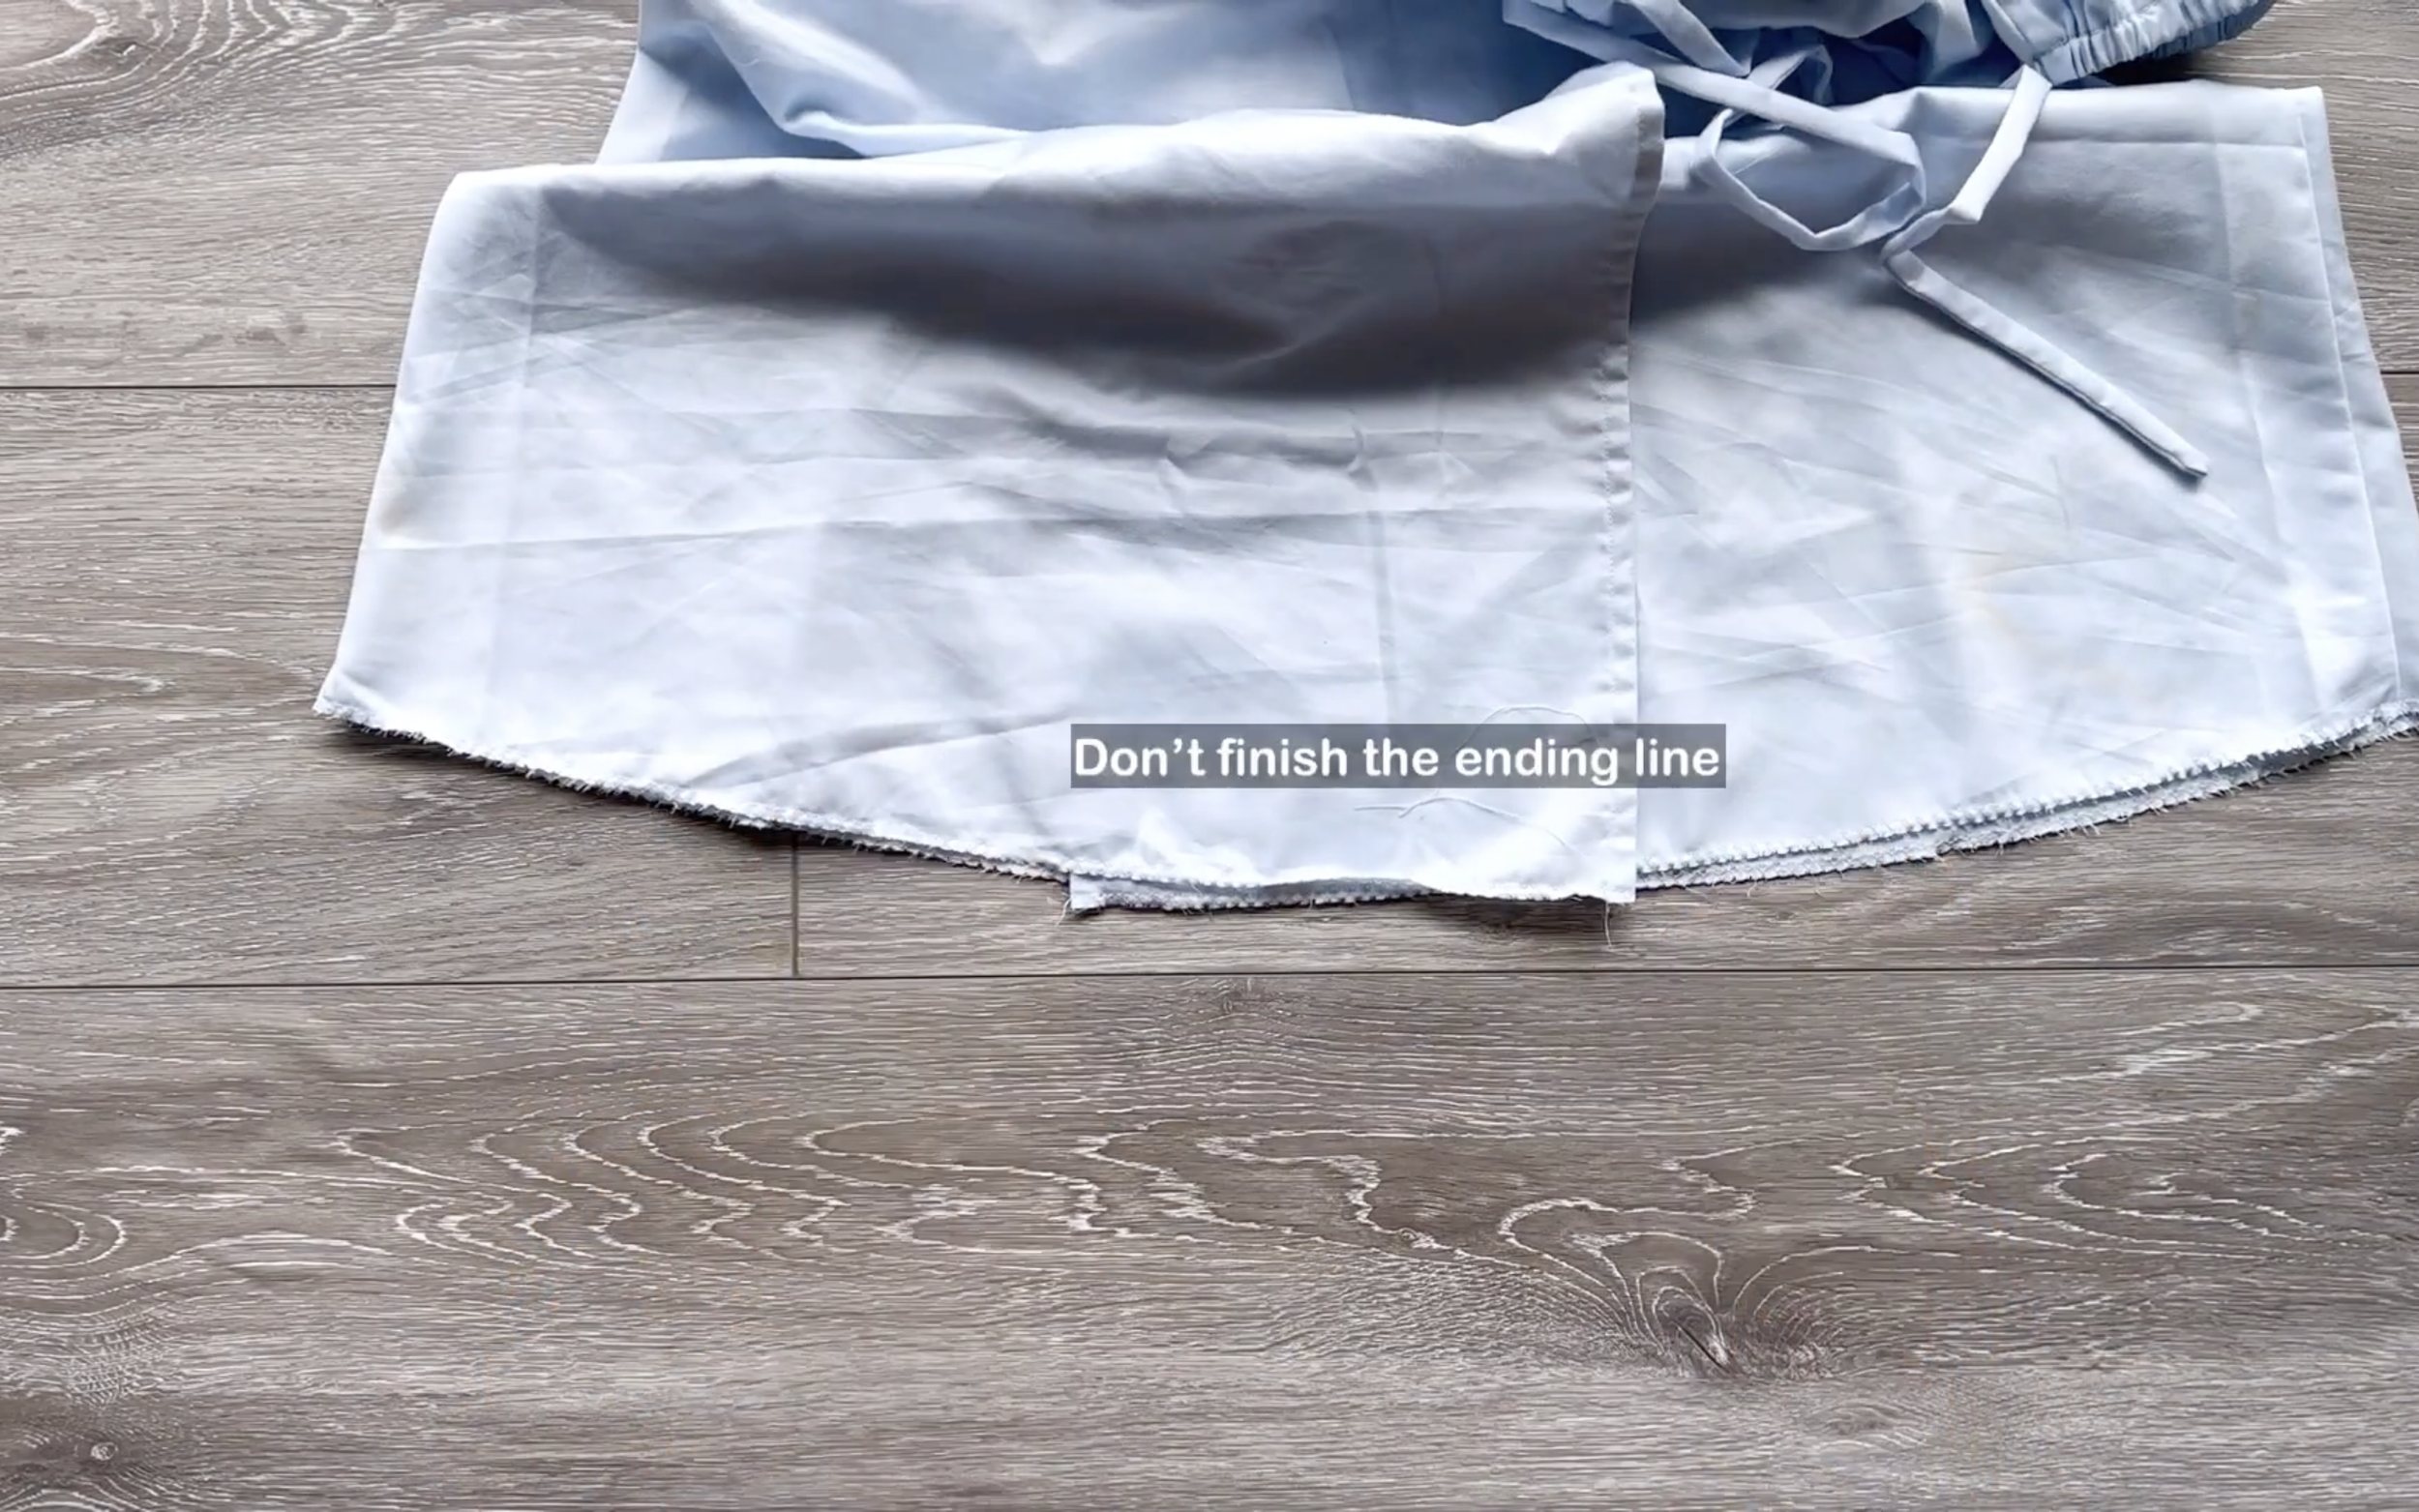
Just not finish the end of the skirt part.
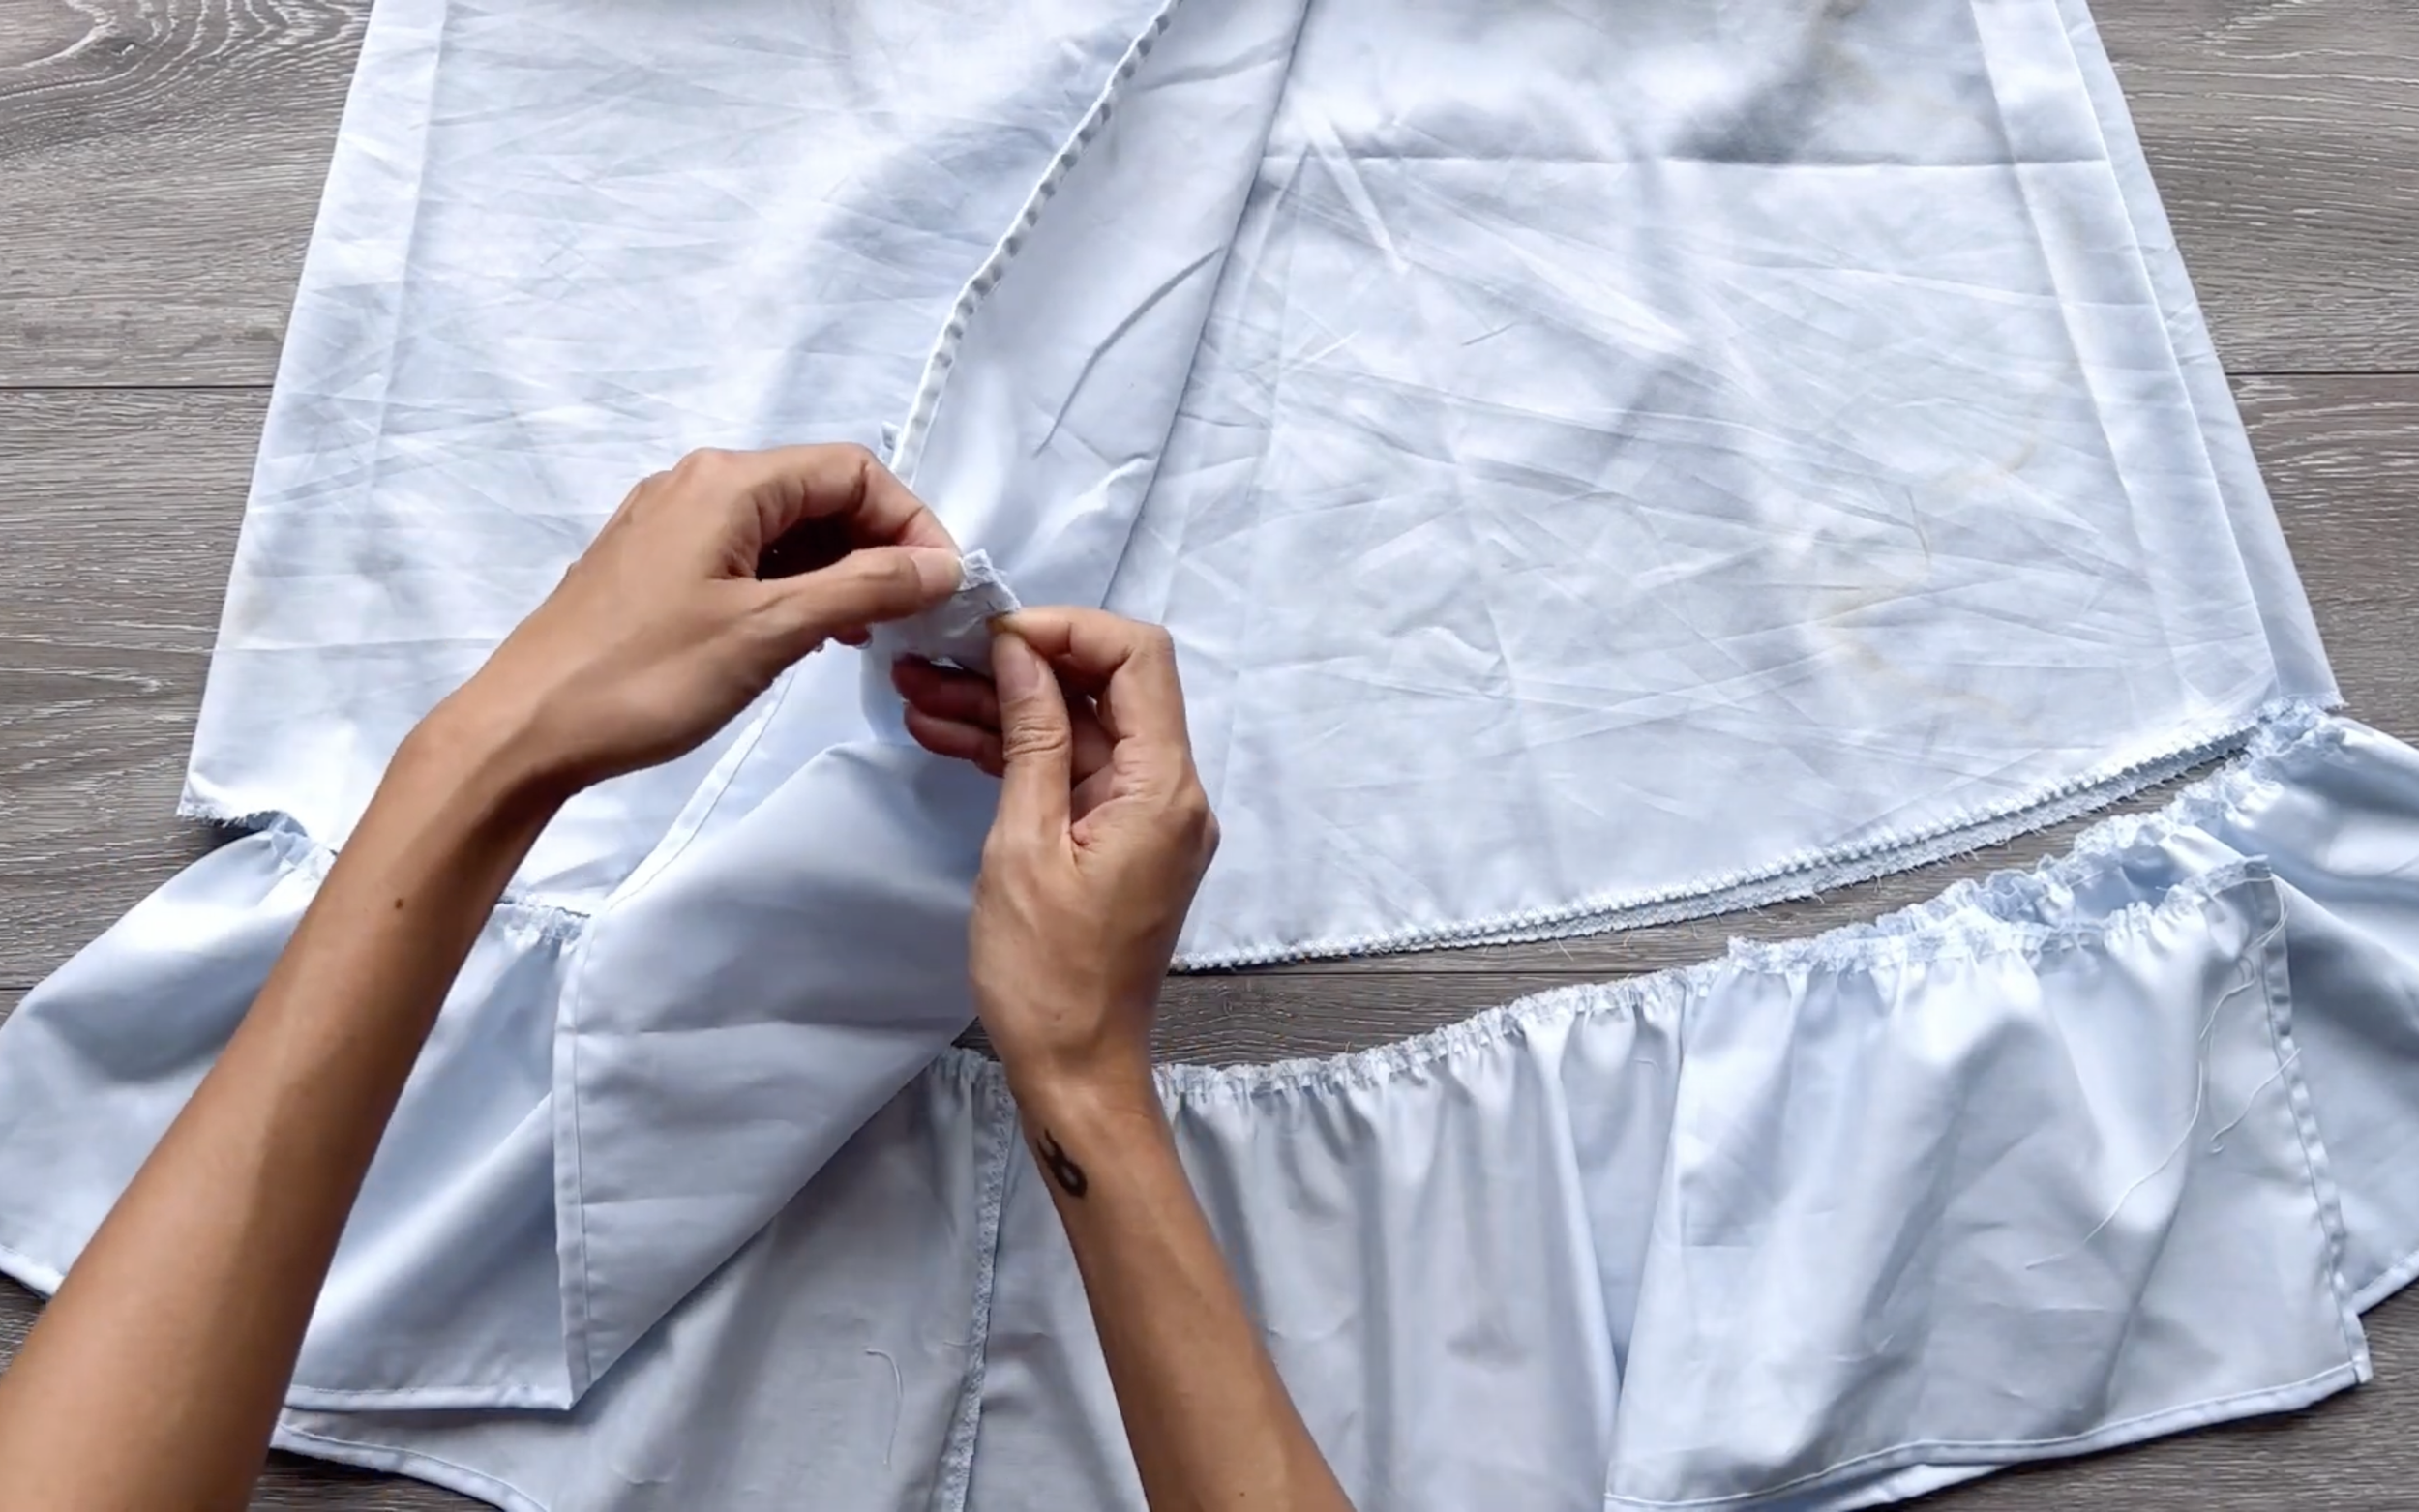
Then connect it to the ruffle part.

Making 6 different Puff sleeve dresses from 1 pattern | Clara dress - Pattern hack | Sewing tutorial
Here's the final look of this hack. Just by adding a ruffle hem, this skirt becomes more beautiful with the cottage vibe, right?
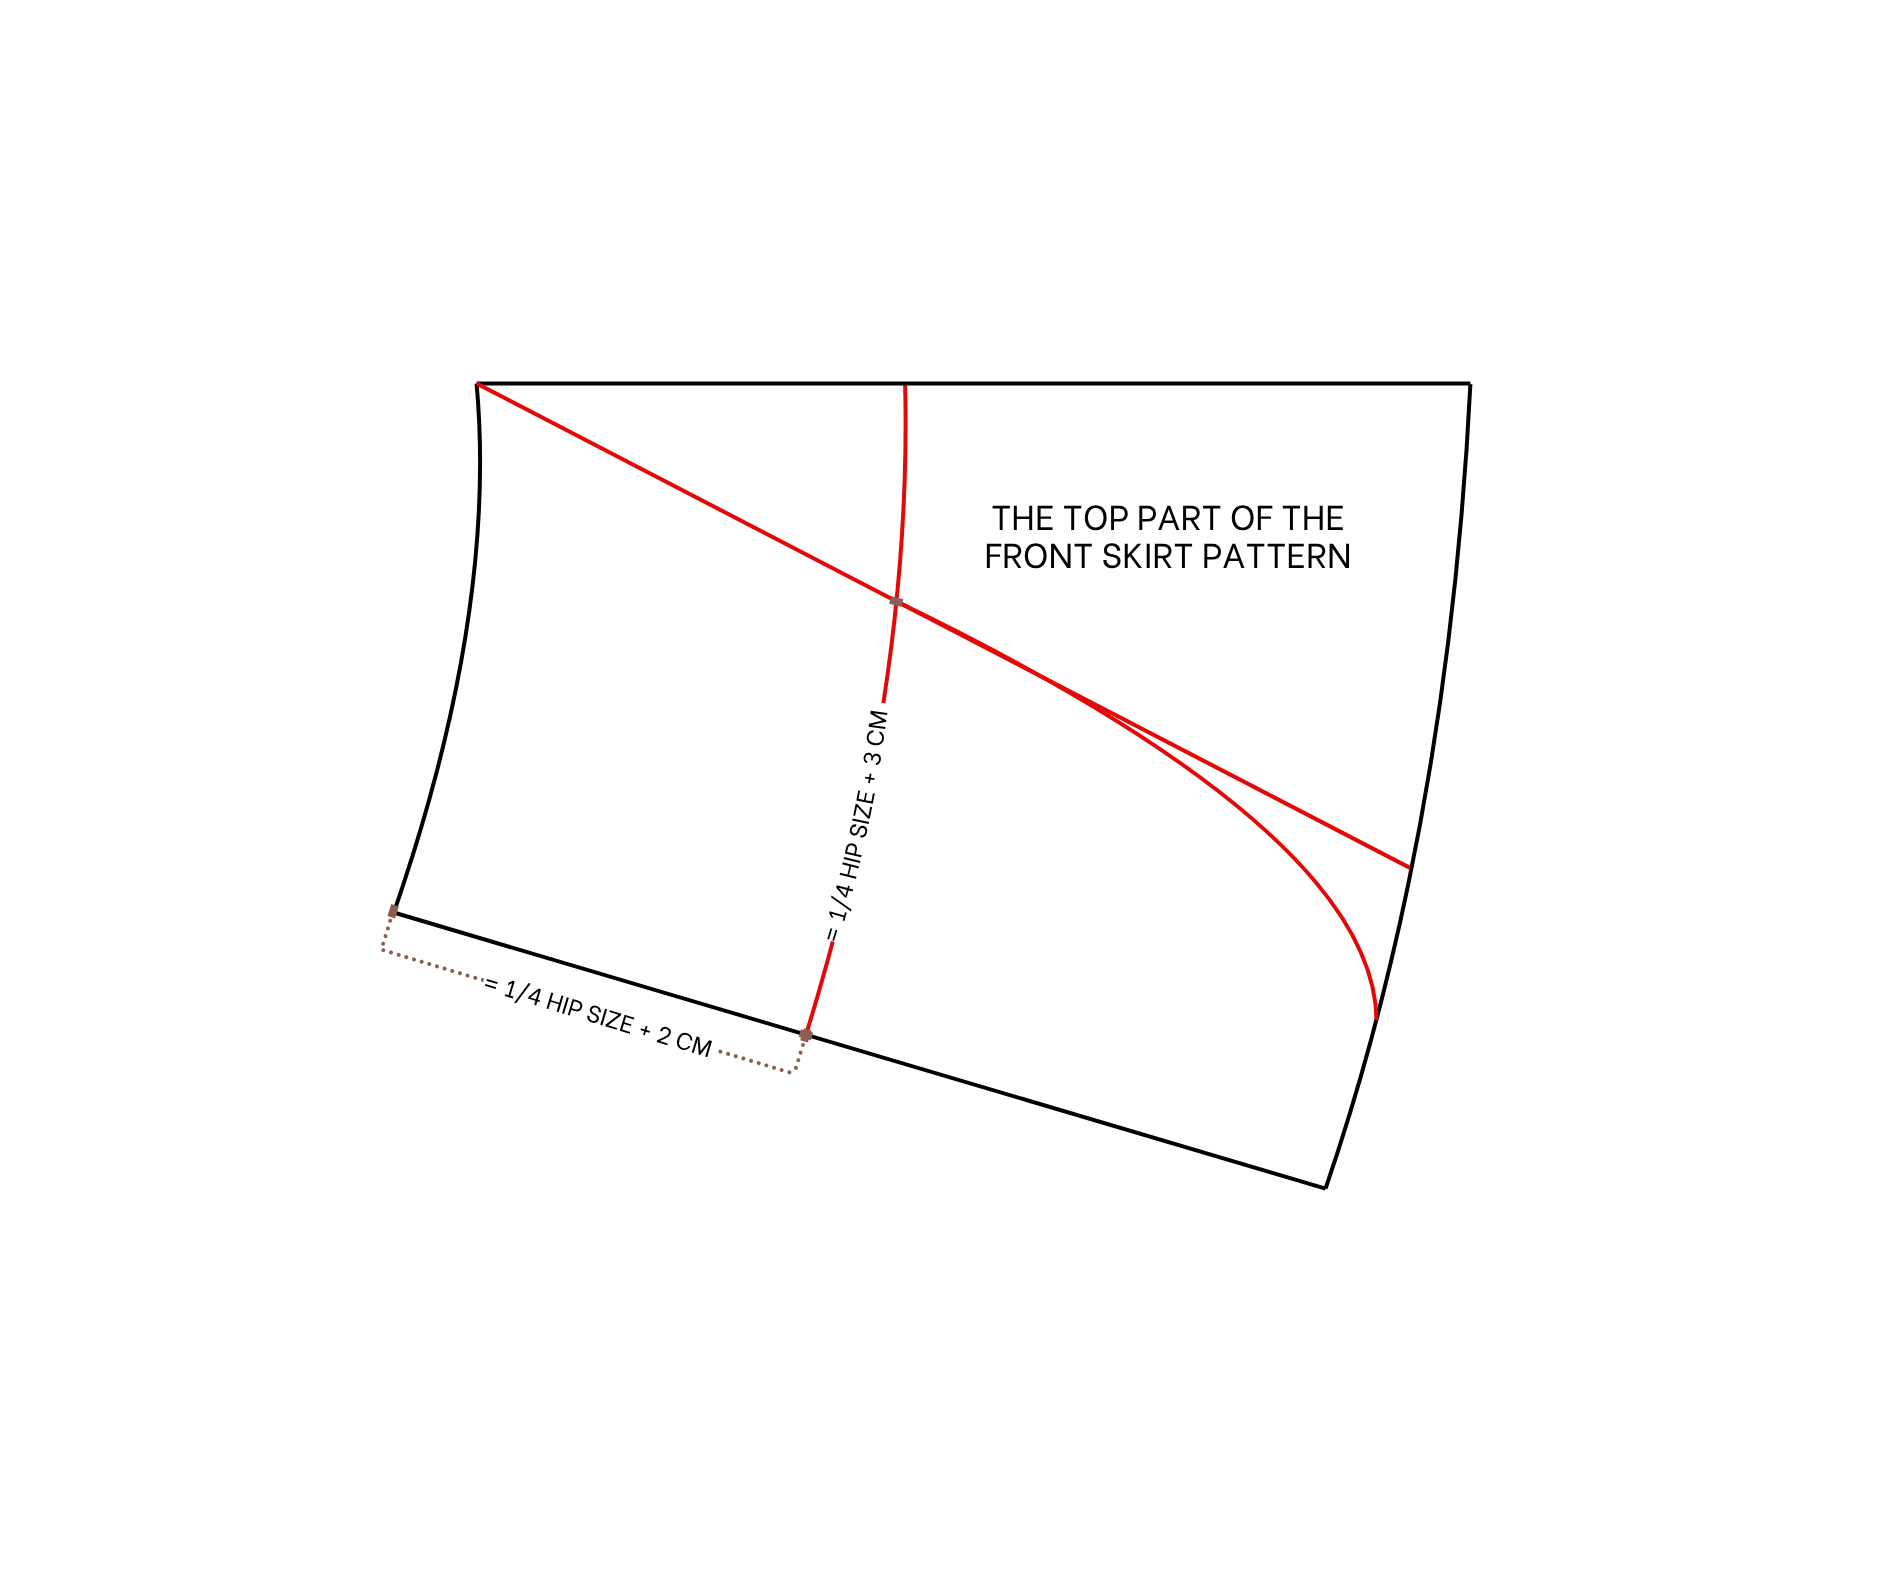
4. THE RUFFLE HEM DRESS WITH THE CURVED AT THE FRONT
PATTERN HACK
To make this dress, use the same method that was done at the ruffle hem dress before to cut the back skirt pattern into two parts: the new back skirt pattern and the ruffle hem.
2. Do the same for the front pattern.
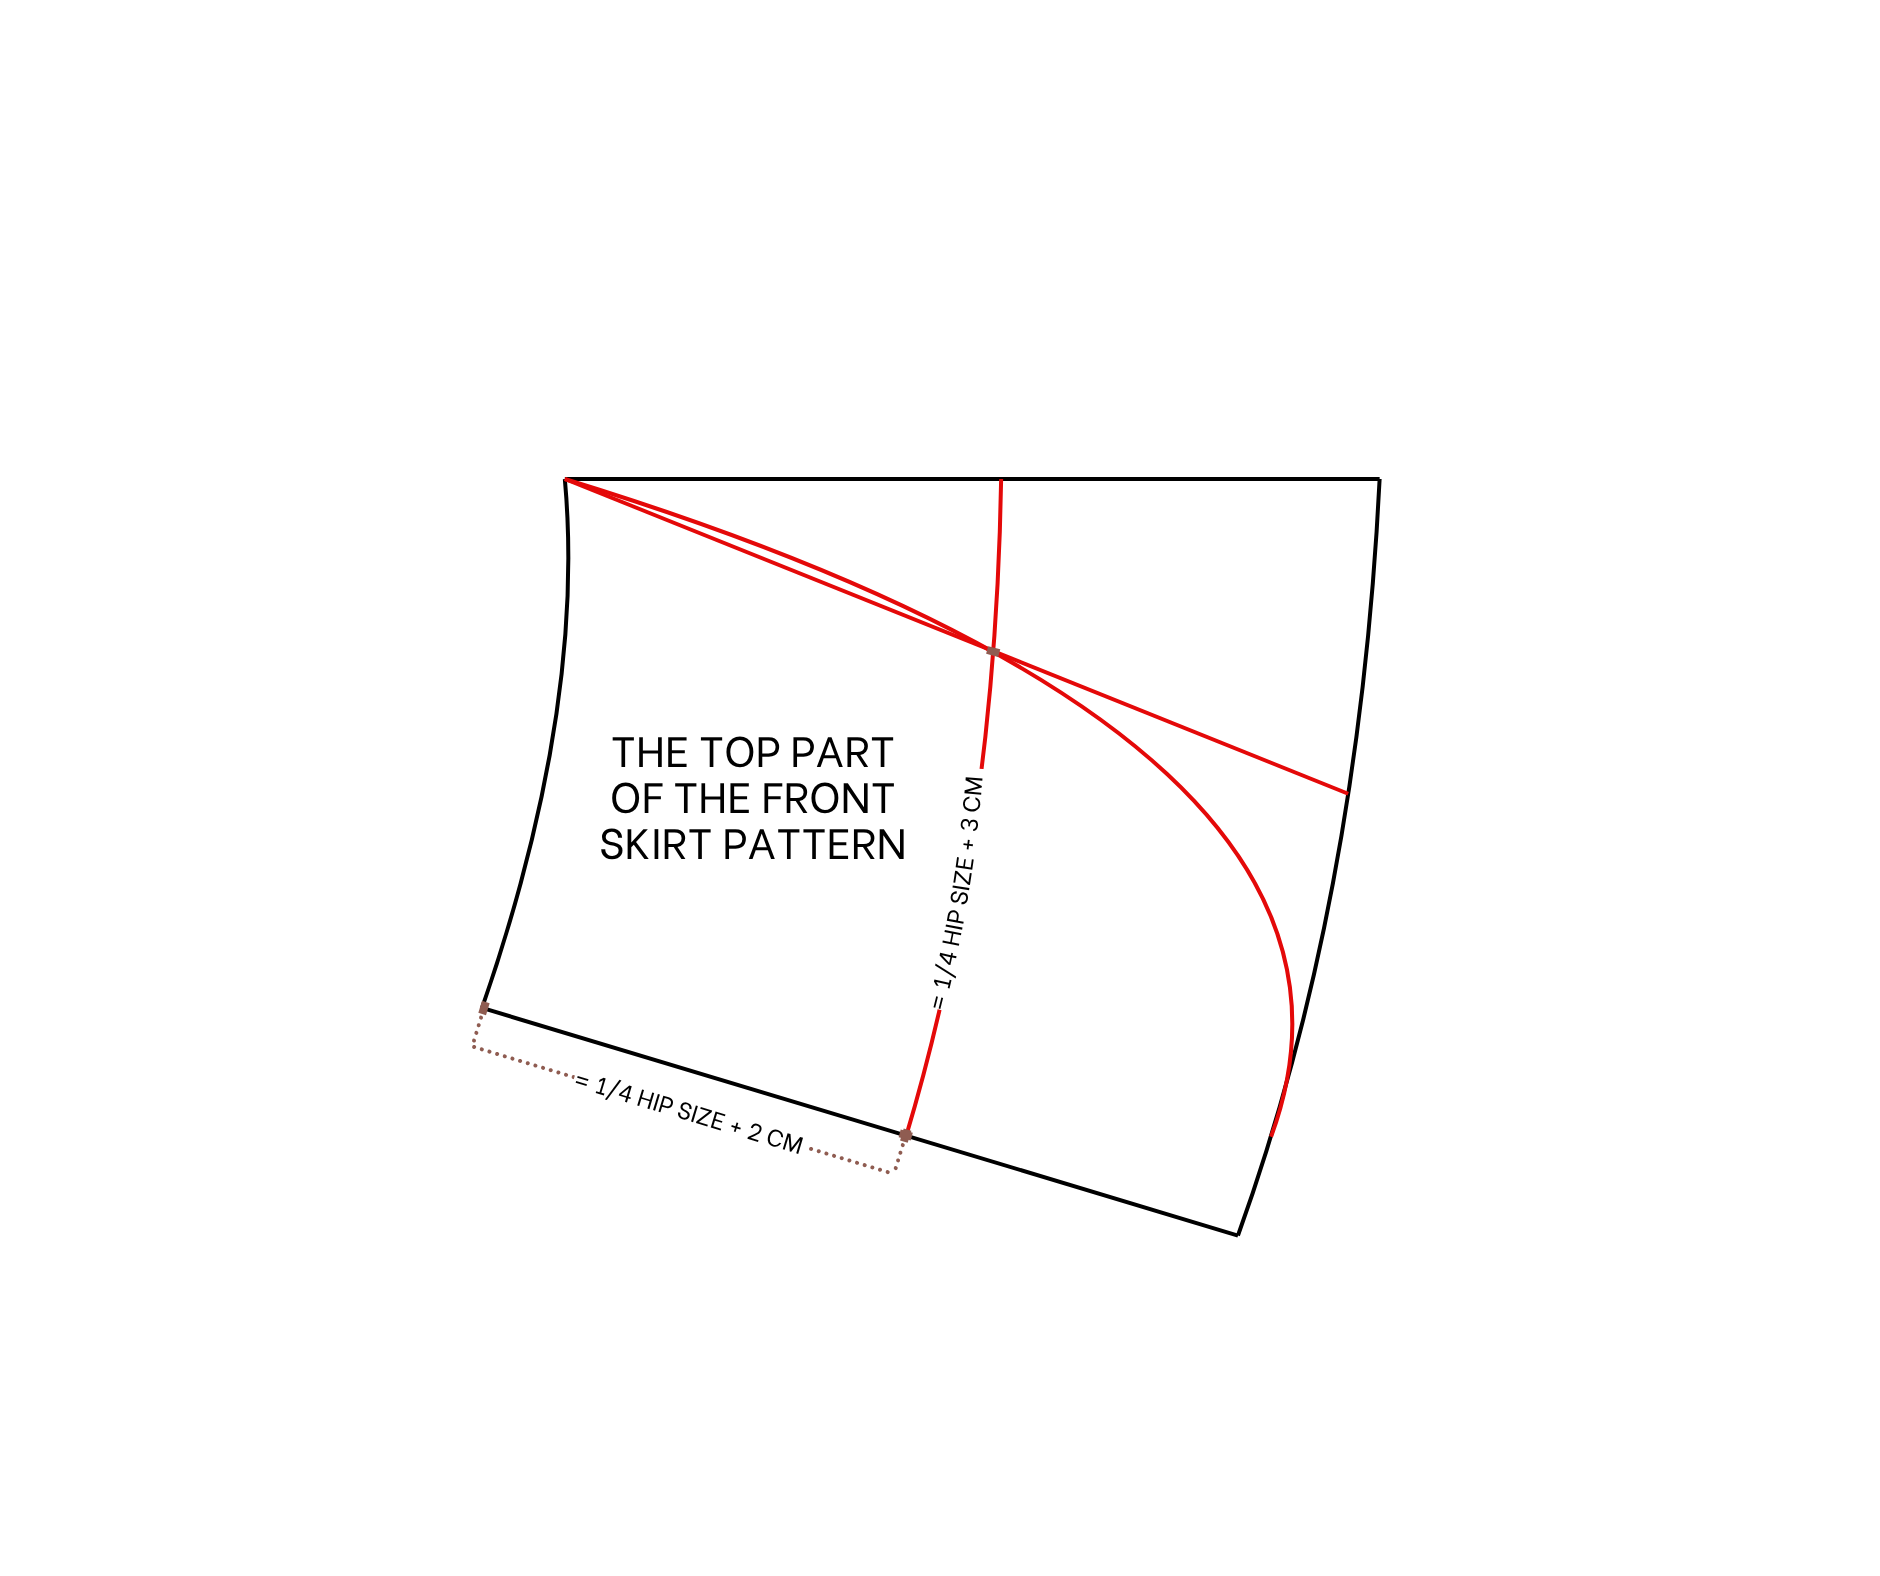
3. From the top of the new front skirt pattern, mark down 25 cm on the sideline, which is a quarter of the hip size plus 2 cm. It's the position of the biggest part of your butt.
4. Then, draw a curved line from that mark to the other side of the pattern.
5. After that, from one end of this curved line on the sideline, measure and mark at 26 cm, which is a quarter your hip size plus 3 cm.
6. Then, draw a line from the end of the waistline to this mark and cut the ending line. After that, make this line a big curve at the end.
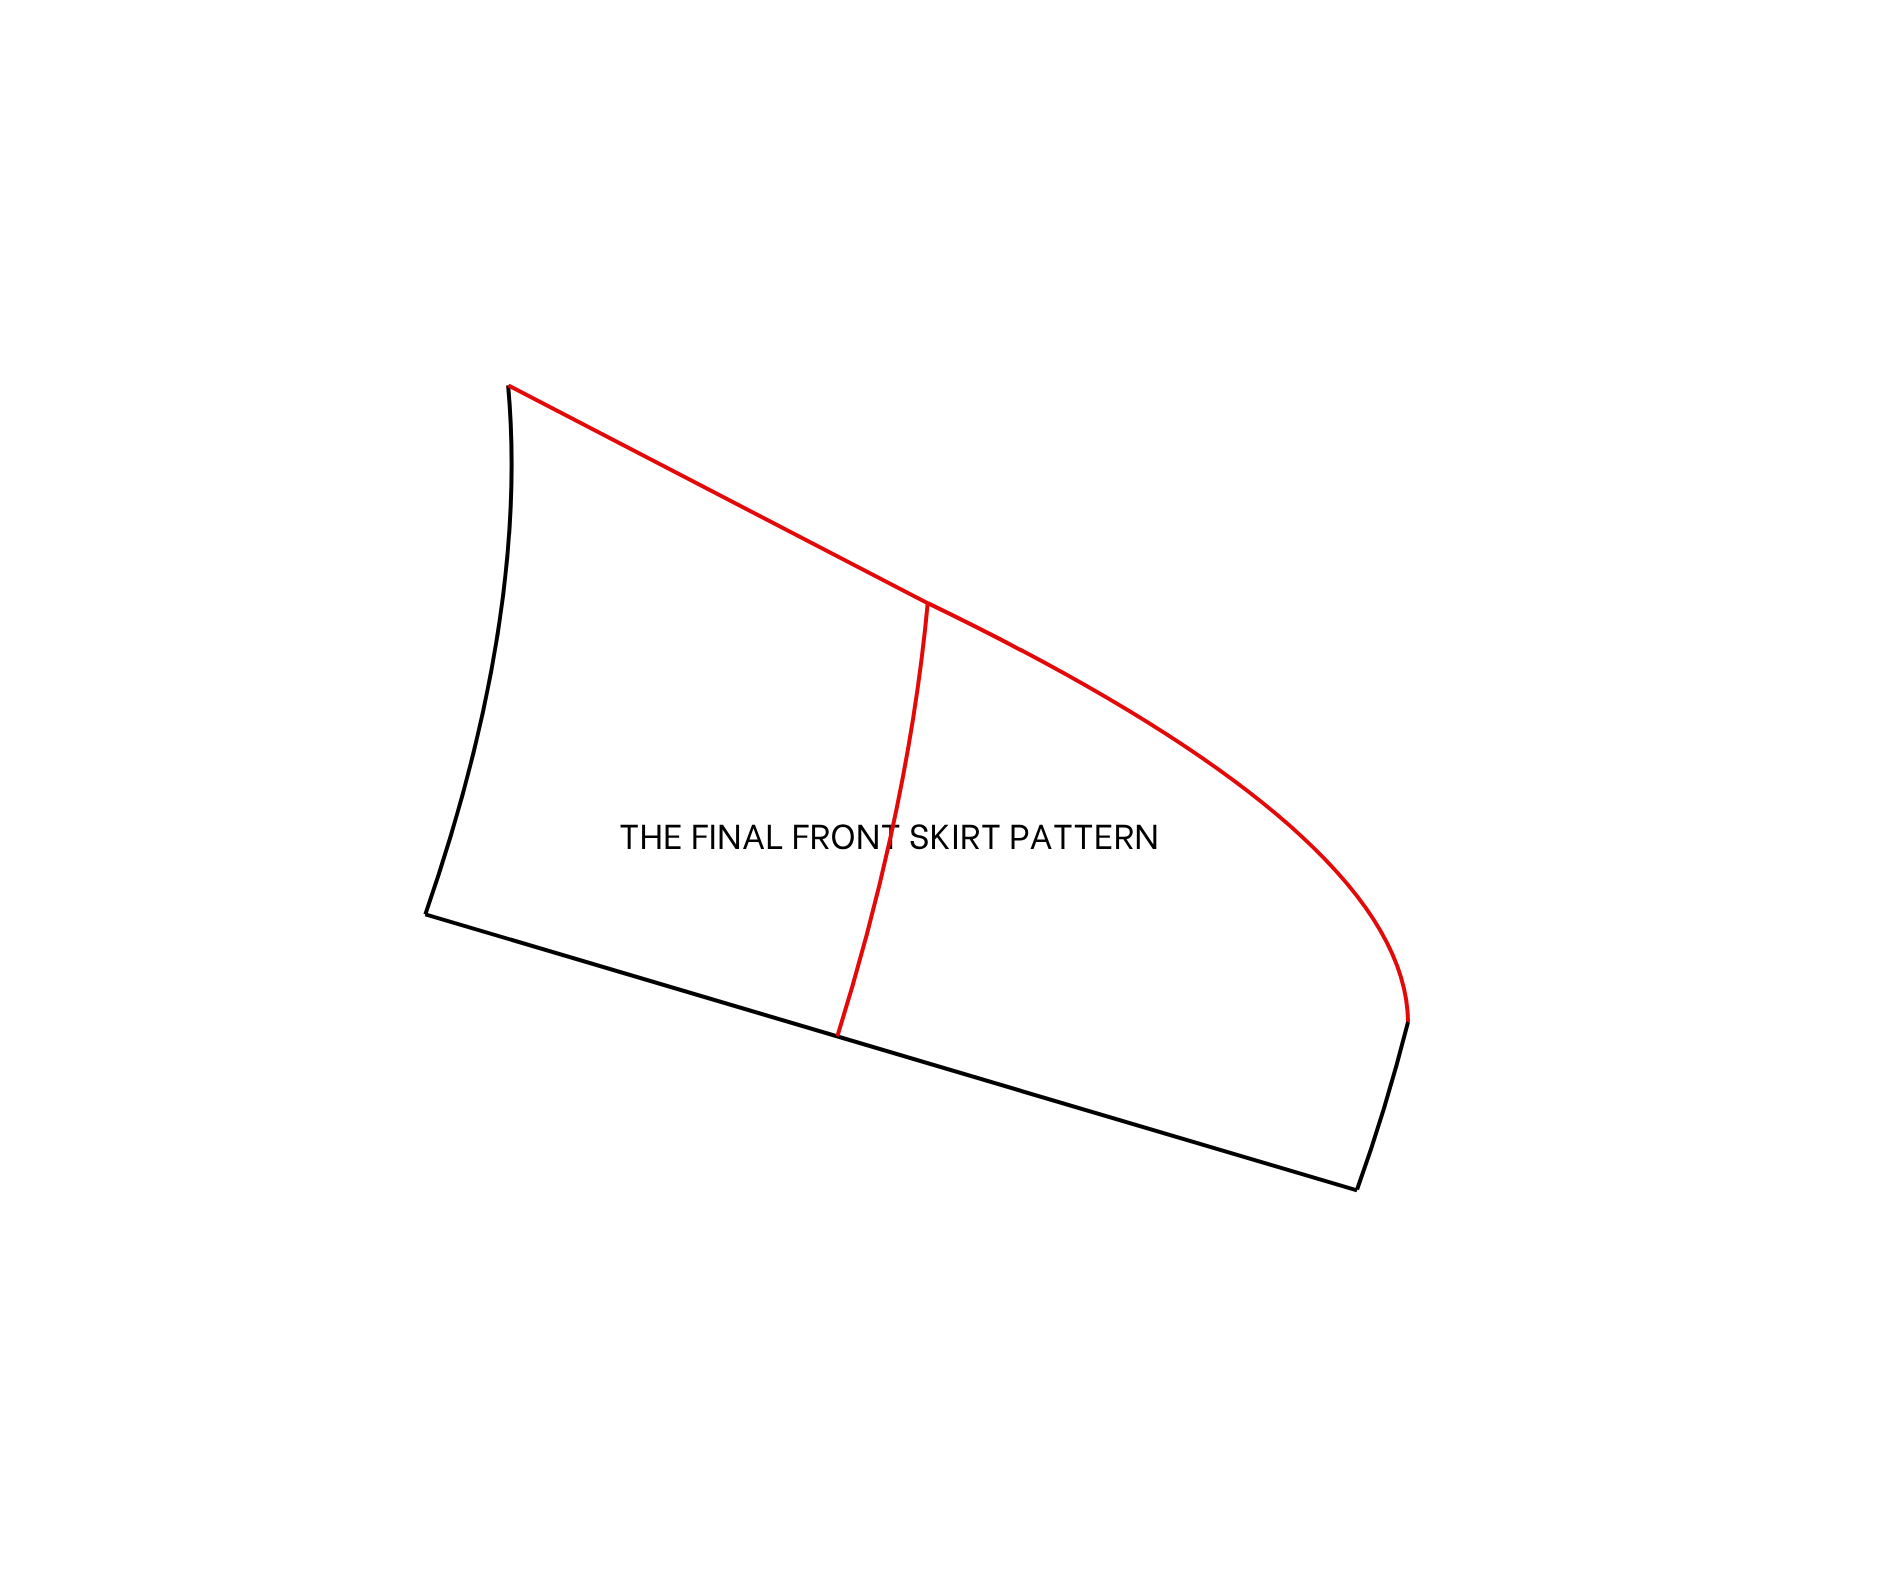
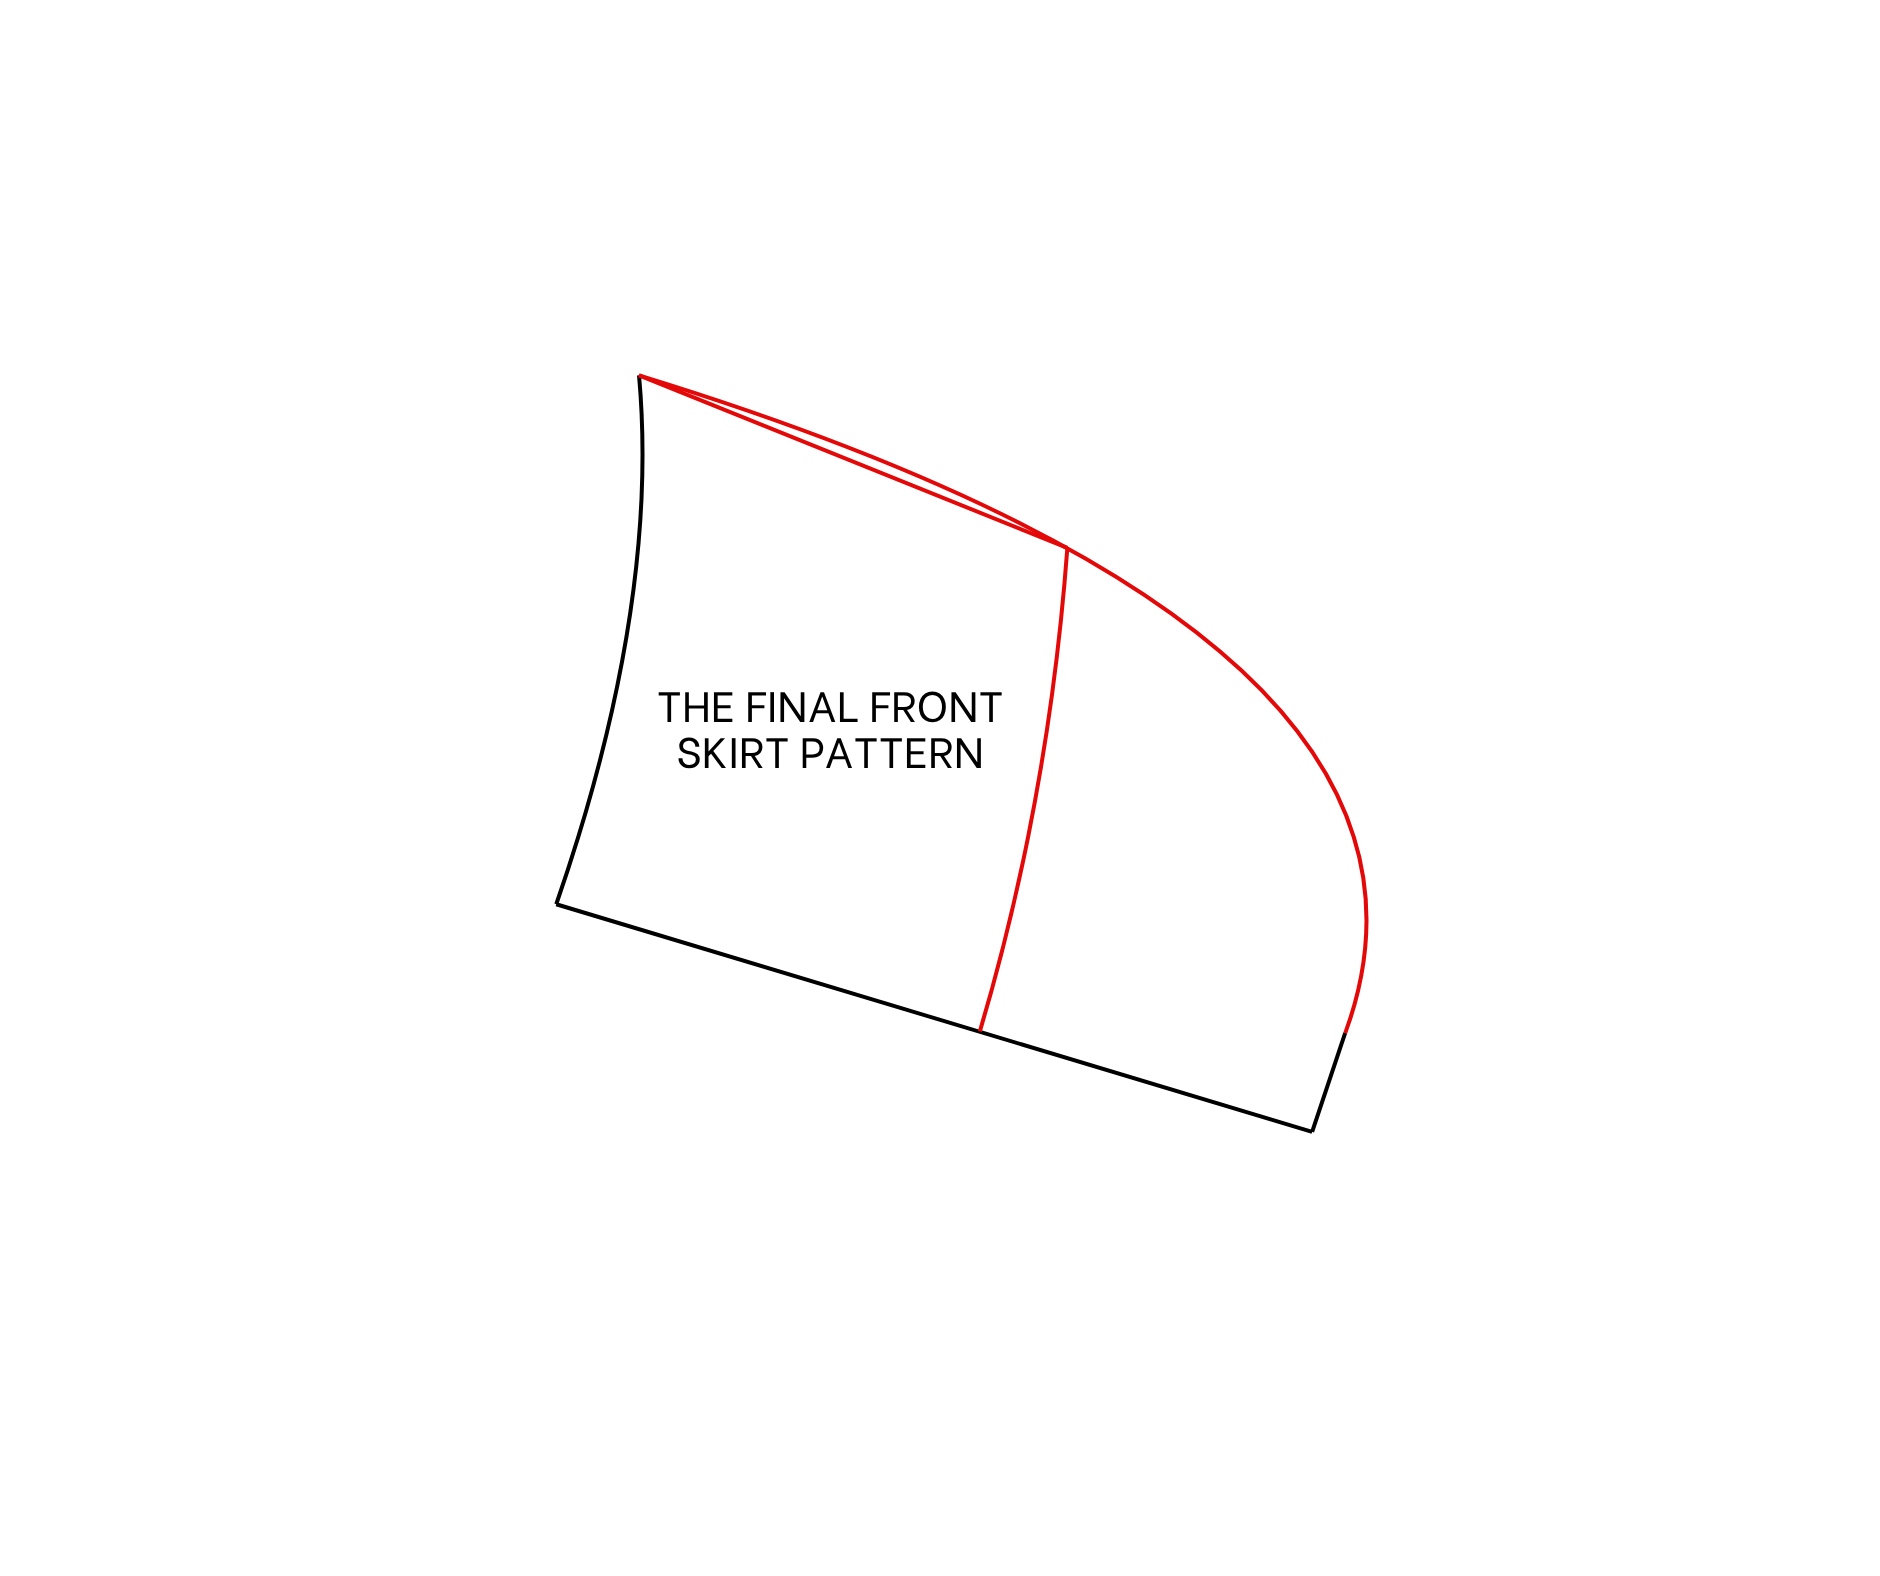
7. The front skirt pattern will be ready after cutting.
SEWING THE DRESS
For this dress, you need to finish the bodice part of the dress before connecting it to the skirt part.
It means you need to finish the neckline and also the tie at the end of the bodice as well.
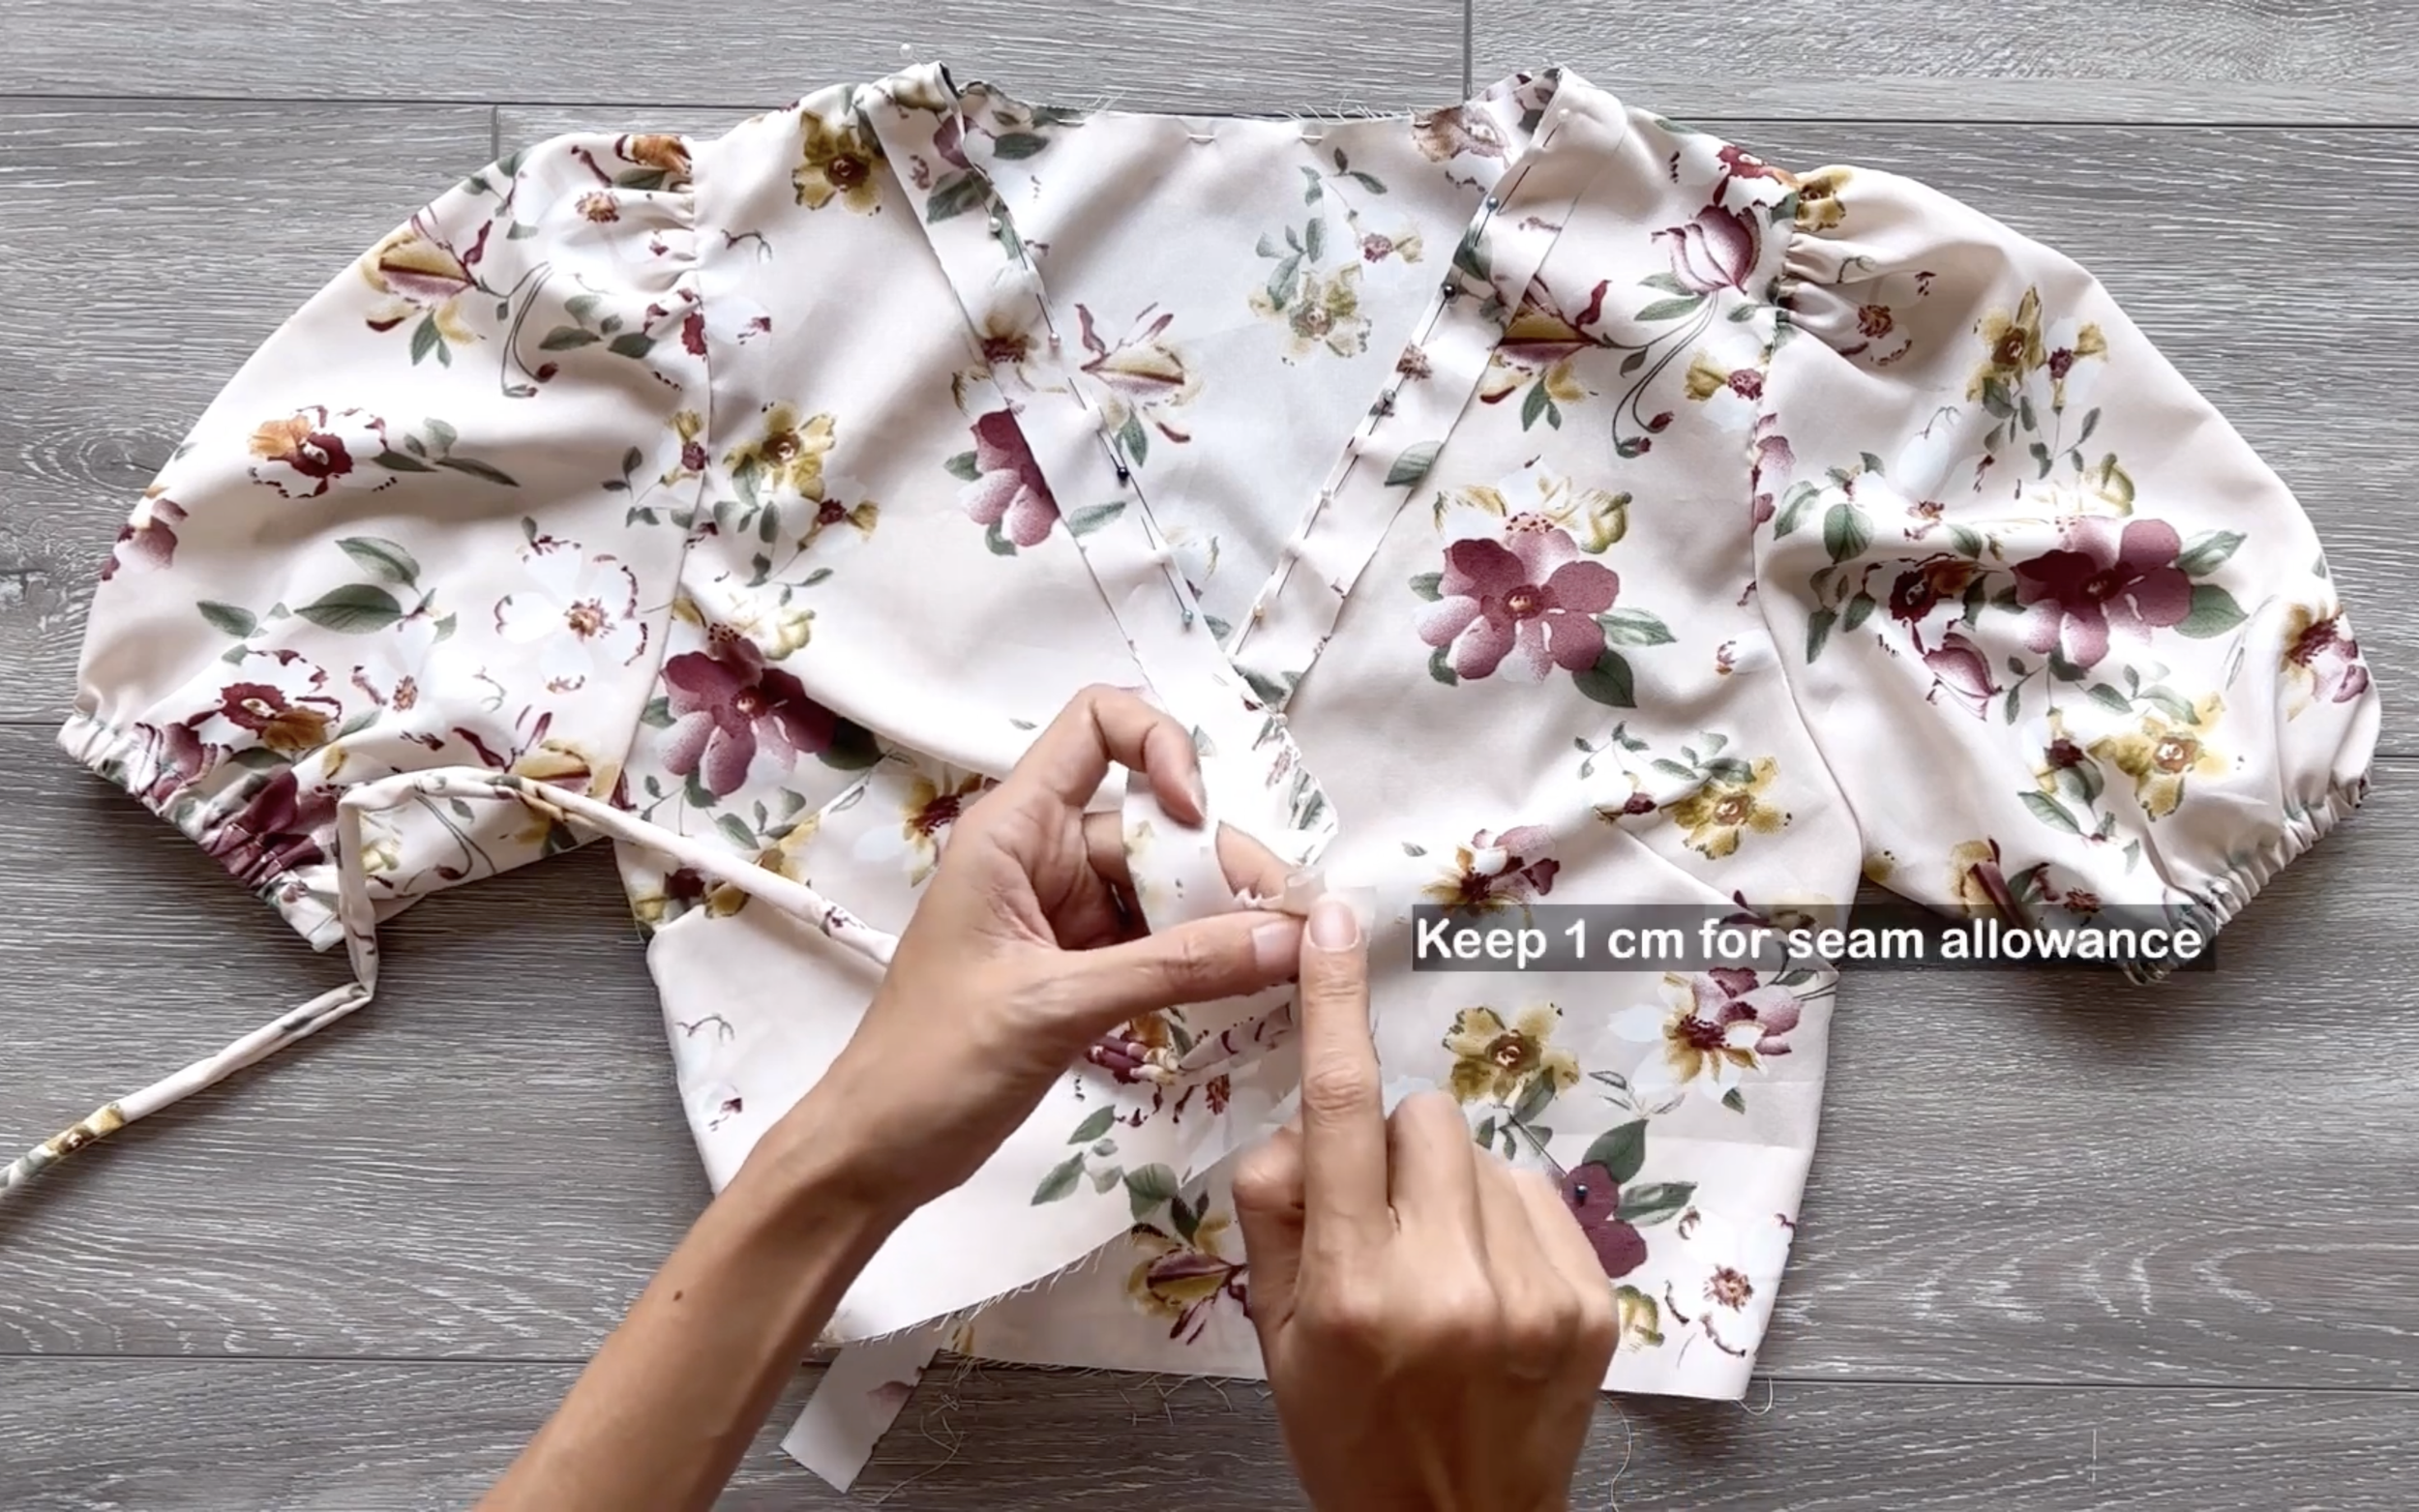
Make sure to keep 1 cm extra for seam allowance when adding the tie there.
Using the same way from the original Clara dress, finish the skirt part of the dress with the new skirt pattern.
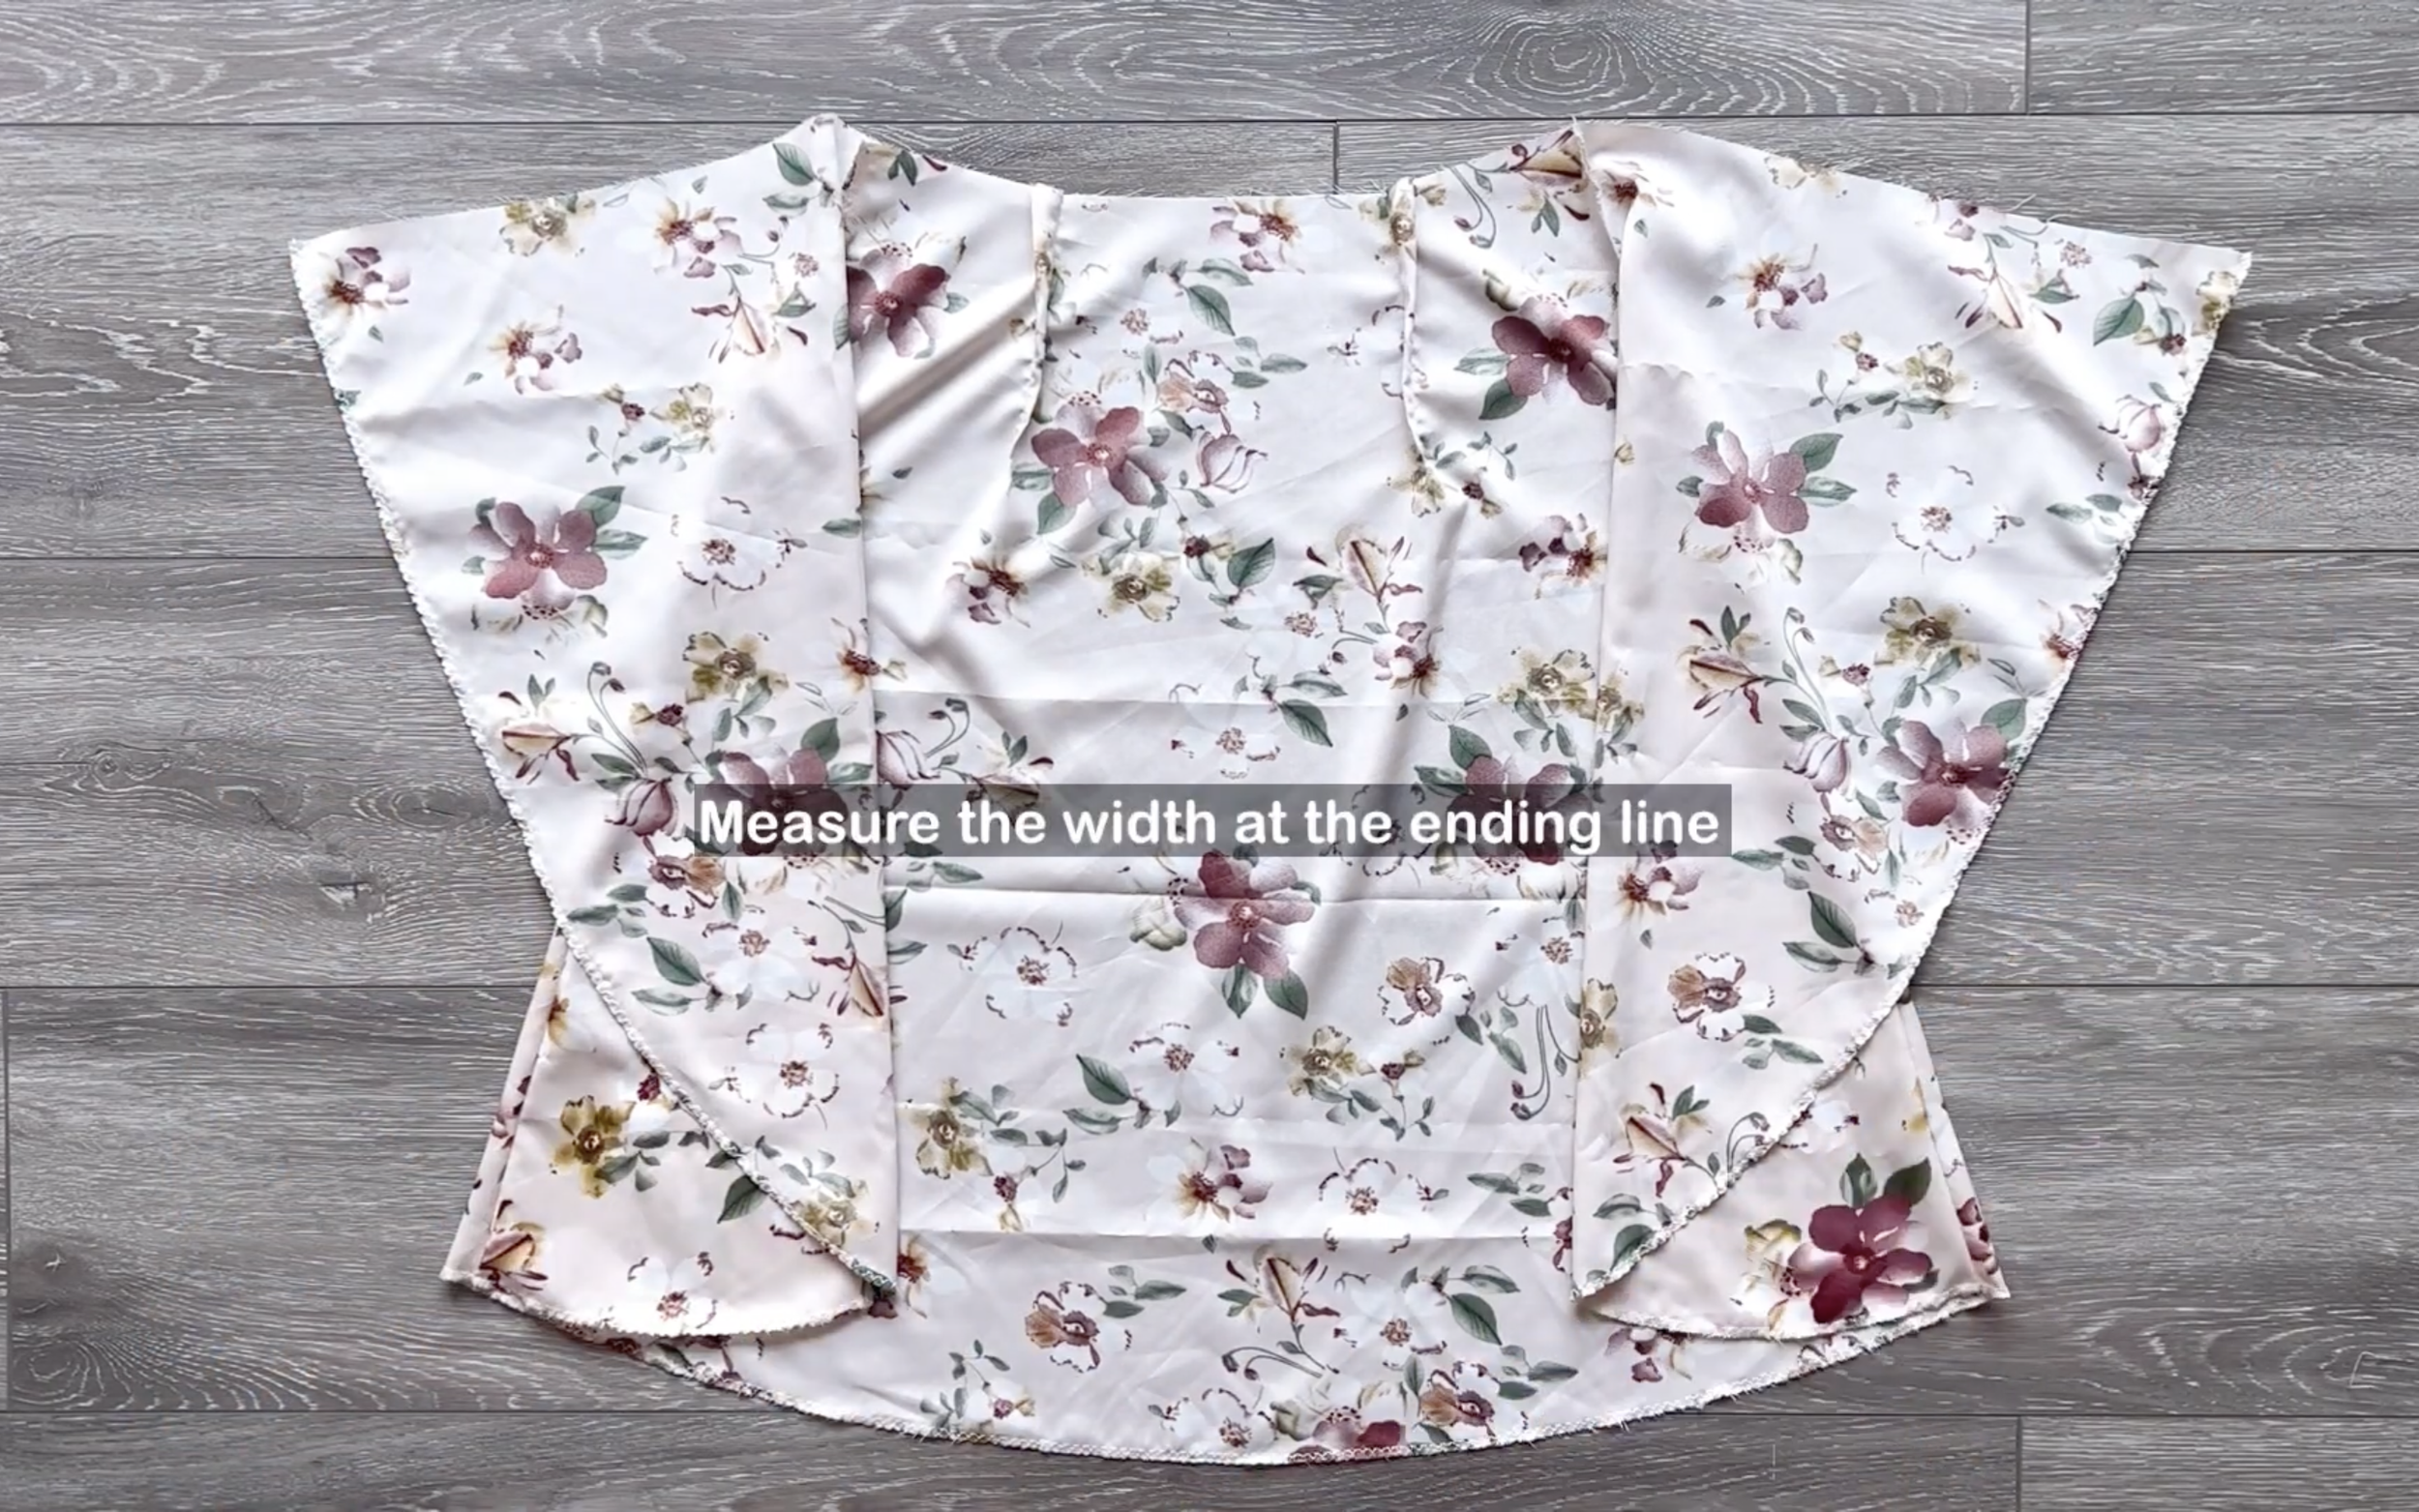
After that, measure the width at the ending line of the skirt part with the new skirt pattern.
To make the ruffle hem, cut a long rectangle with 22 cm length (which is the length of the ending part that was cut off from the original skirt pattern before, plus 2 centimeter for seam allowance) and two times the total width at the ending line of the skirt part that was just checked before.
Fold a rectangle in half by the length line first.
Then, draw a curved line from one width line to connect to the end of the other one.
Then cut.
After cutting, finish the width line with this curved line by folding the end fabric inside two times with 0.5 cm each time and sewing.
At the other width line, make a loose seam first, then create the gather fabric there later.
The final width of the gathered fabric will be the same with the total width at the end of the skirt part that was just checked before.
Then connect them together.
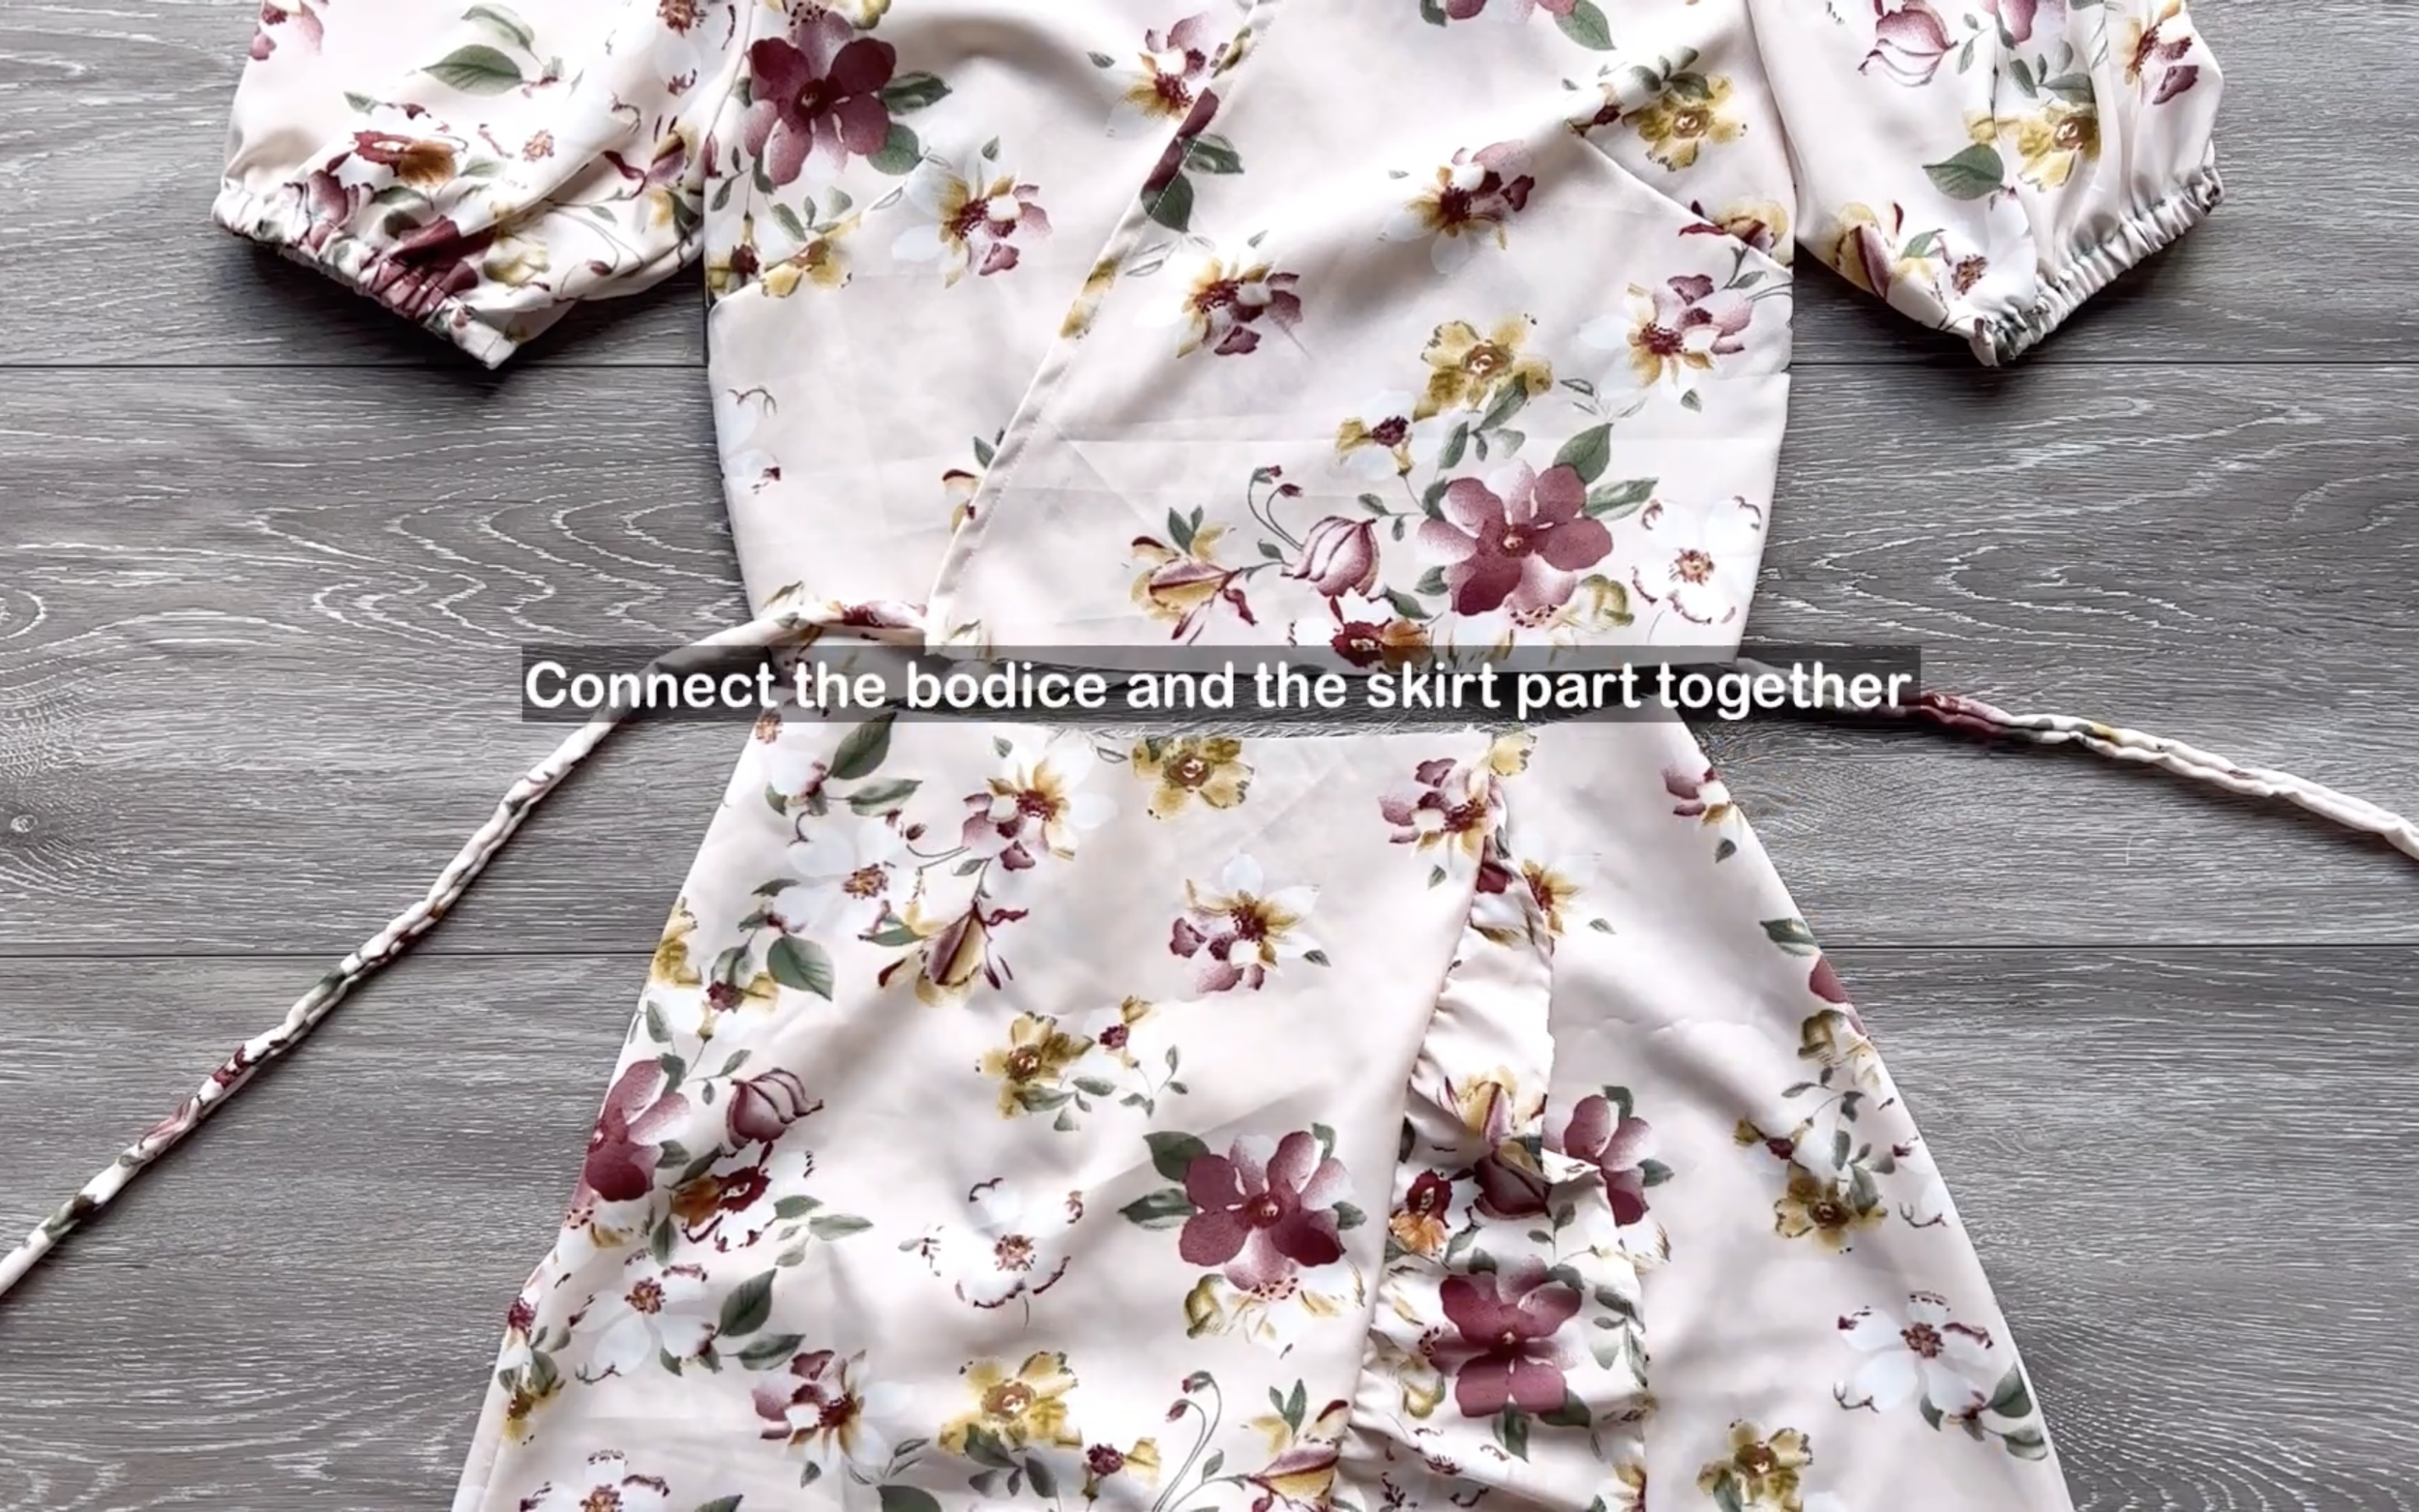
After that, connect the bodice and the skirt part together.

Making 6 different Puff sleeve dresses from 1 pattern | Clara dress - Pattern hack | Sewing tutorial
Here's the final result of this hack. The ruffle hem with a curved look at the front makes this dress so romantic, right?
5. THE SHORT VERSION OF THE RUFFLE HEM DRESS
PATTERN HACK
You can also use the same method to make this dress in the short version.
Divide the back skirt pattern into two parts: the new back skirt pattern and the ruffle hem. The length of the new back skirt pattern will be 45 cm, and the length of the ruffle part will be 12 cm.
3. Do the same for the front skirt pattern.
4. After that, just using the same way as was done with the long version to make the short version for this dress.

Making 6 different Puff sleeve dresses from 1 pattern | Clara dress - Pattern hack | Sewing tutorial
And here is how it looks! With the short version, it's way more active, right?
6. THE FITTED CLARA DRESS
PATTERN HACK
THE BACK SKIRT PATTERN
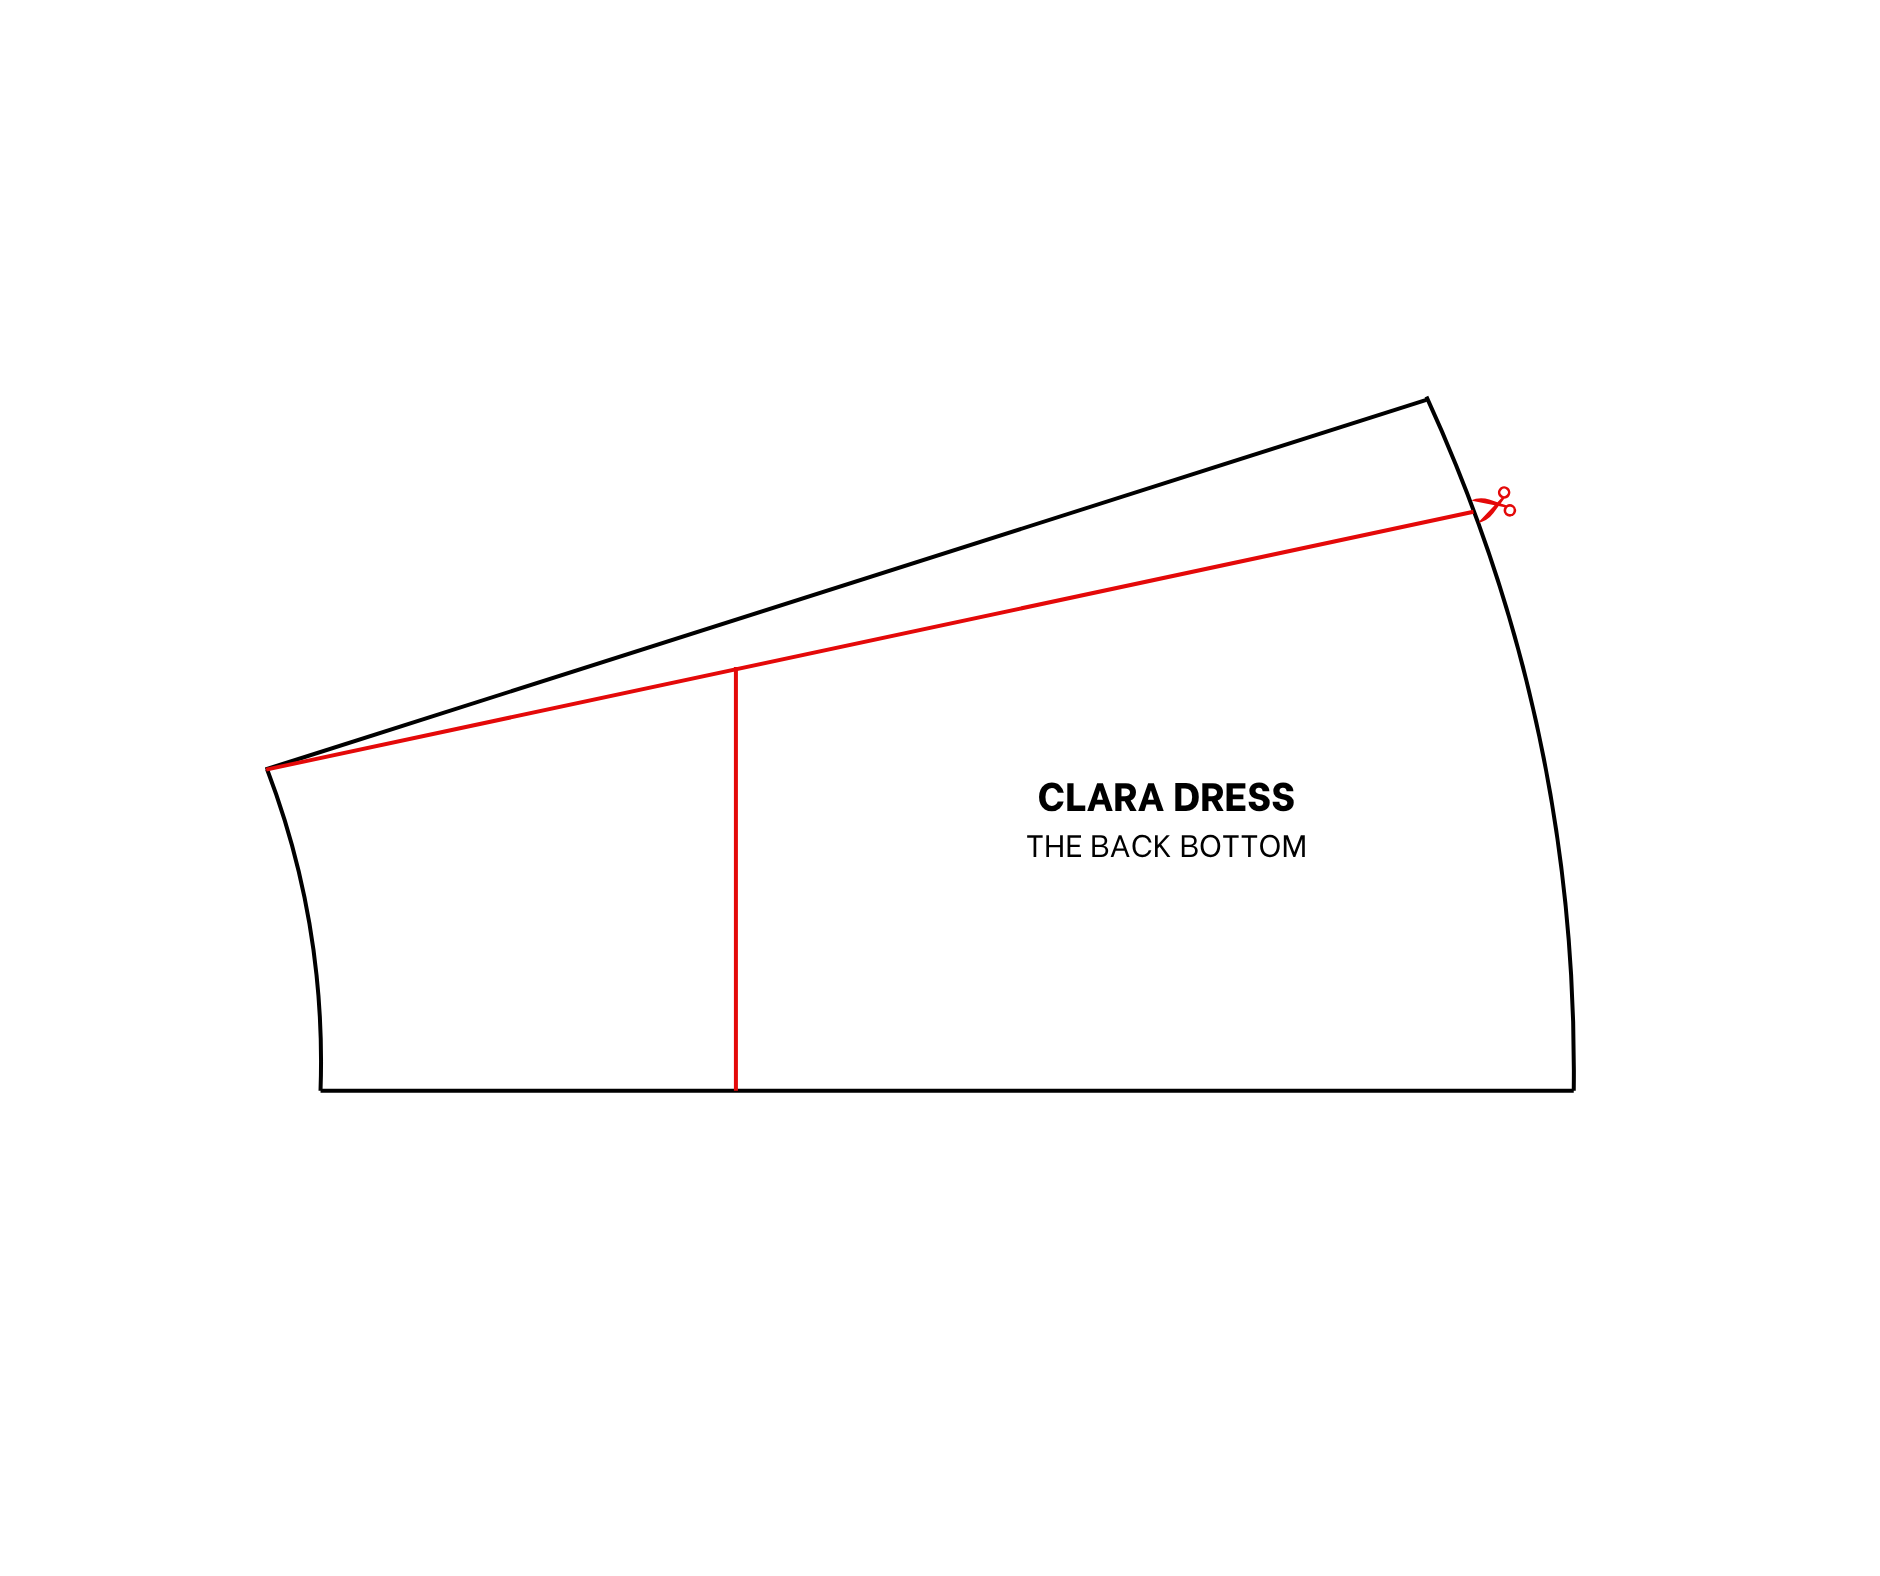
Fold the back skirt pattern in half first. From the top of the folding line, mark down 25 cm, which is the quarter of your hip size plus 2 cm.
Then, draw a straight line from it.
After that, mark up at 26 cm on this straight line. It's a quarter of your hip size plus 3 cm.
Then, draw a line from the end of the waistline to this mark and cut the ending line. This will create a new side line of the skirt pattern.
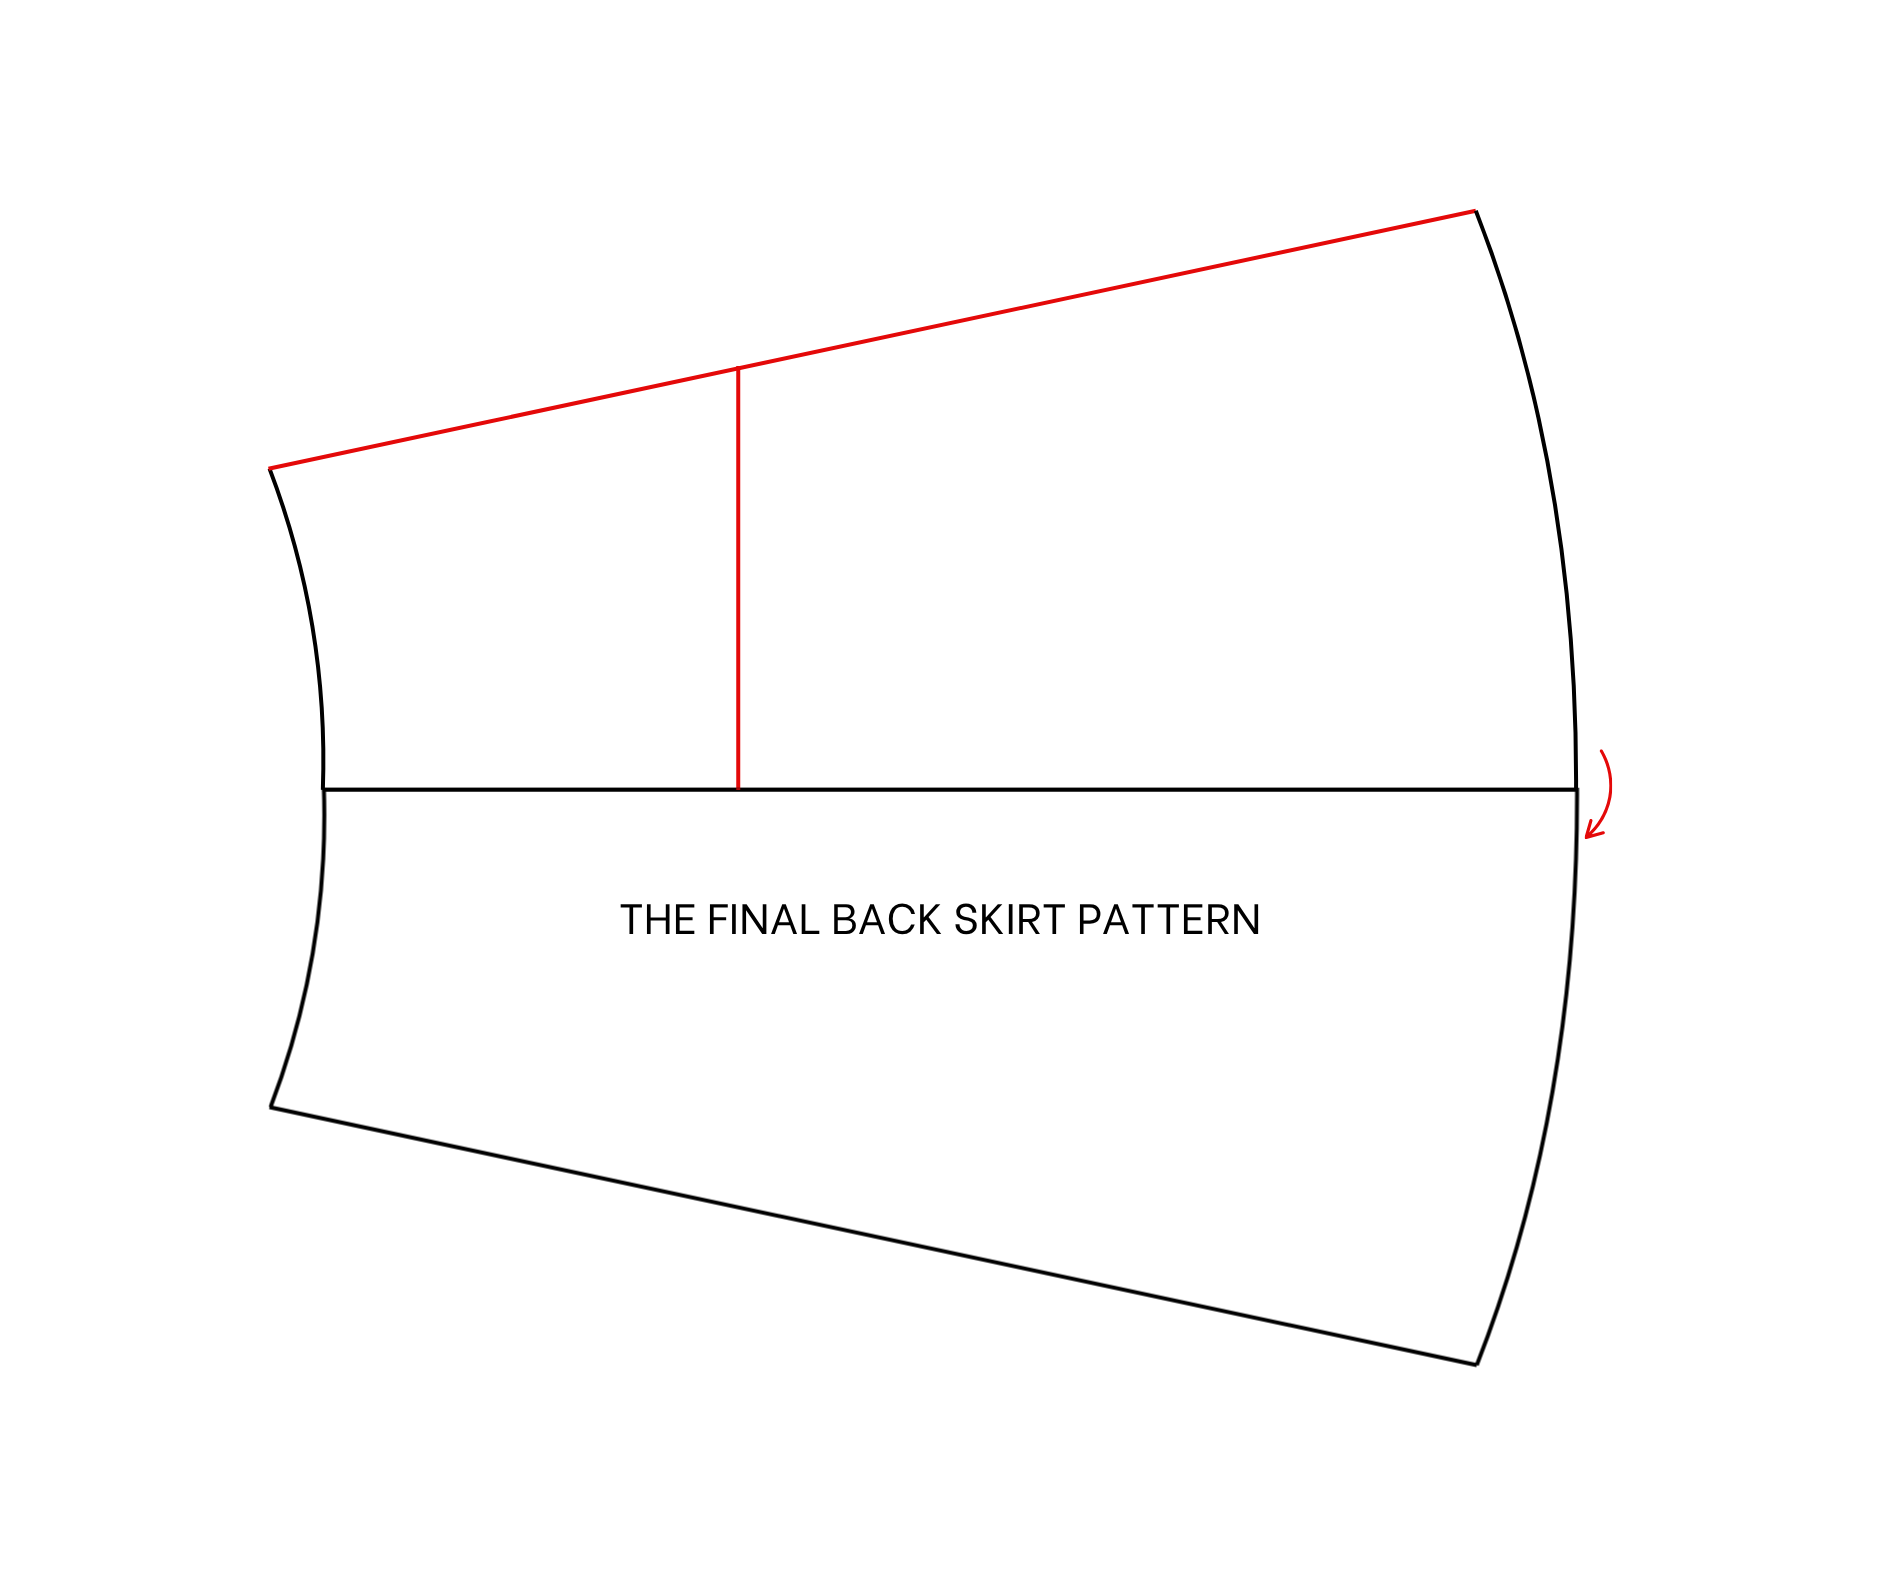
The back skirt pattern will be ready after cutting.

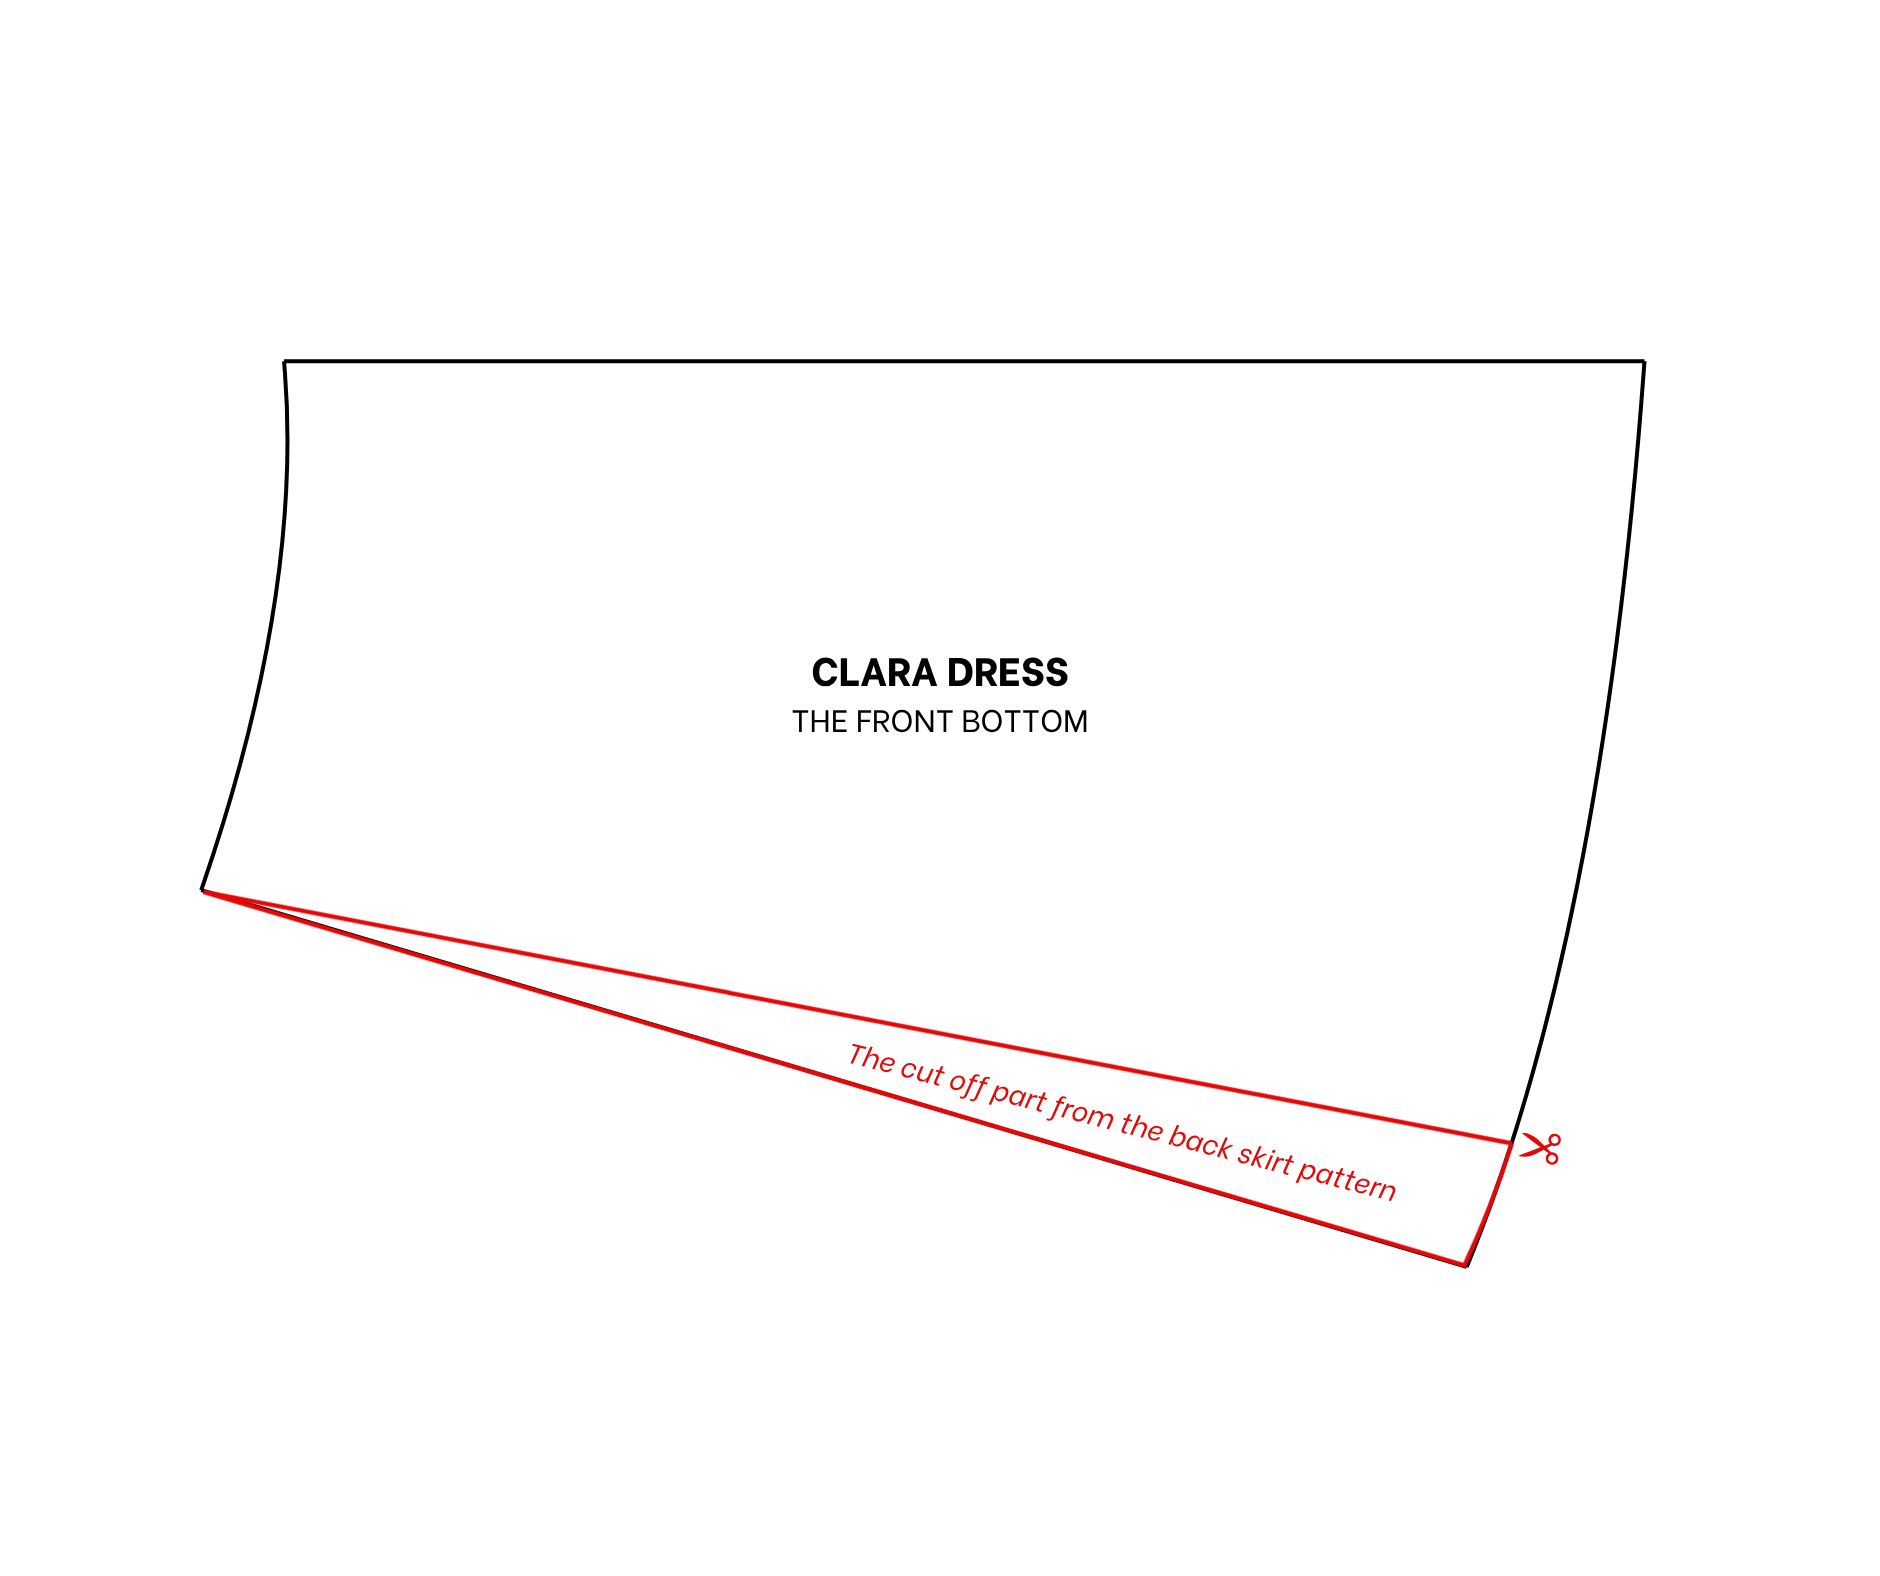
THE FRONT SKIRT PATTERN
Moving to the front pattern, use the part that was cut off from the back pattern before to apply on the side line of the Front pattern to copy the new sideline
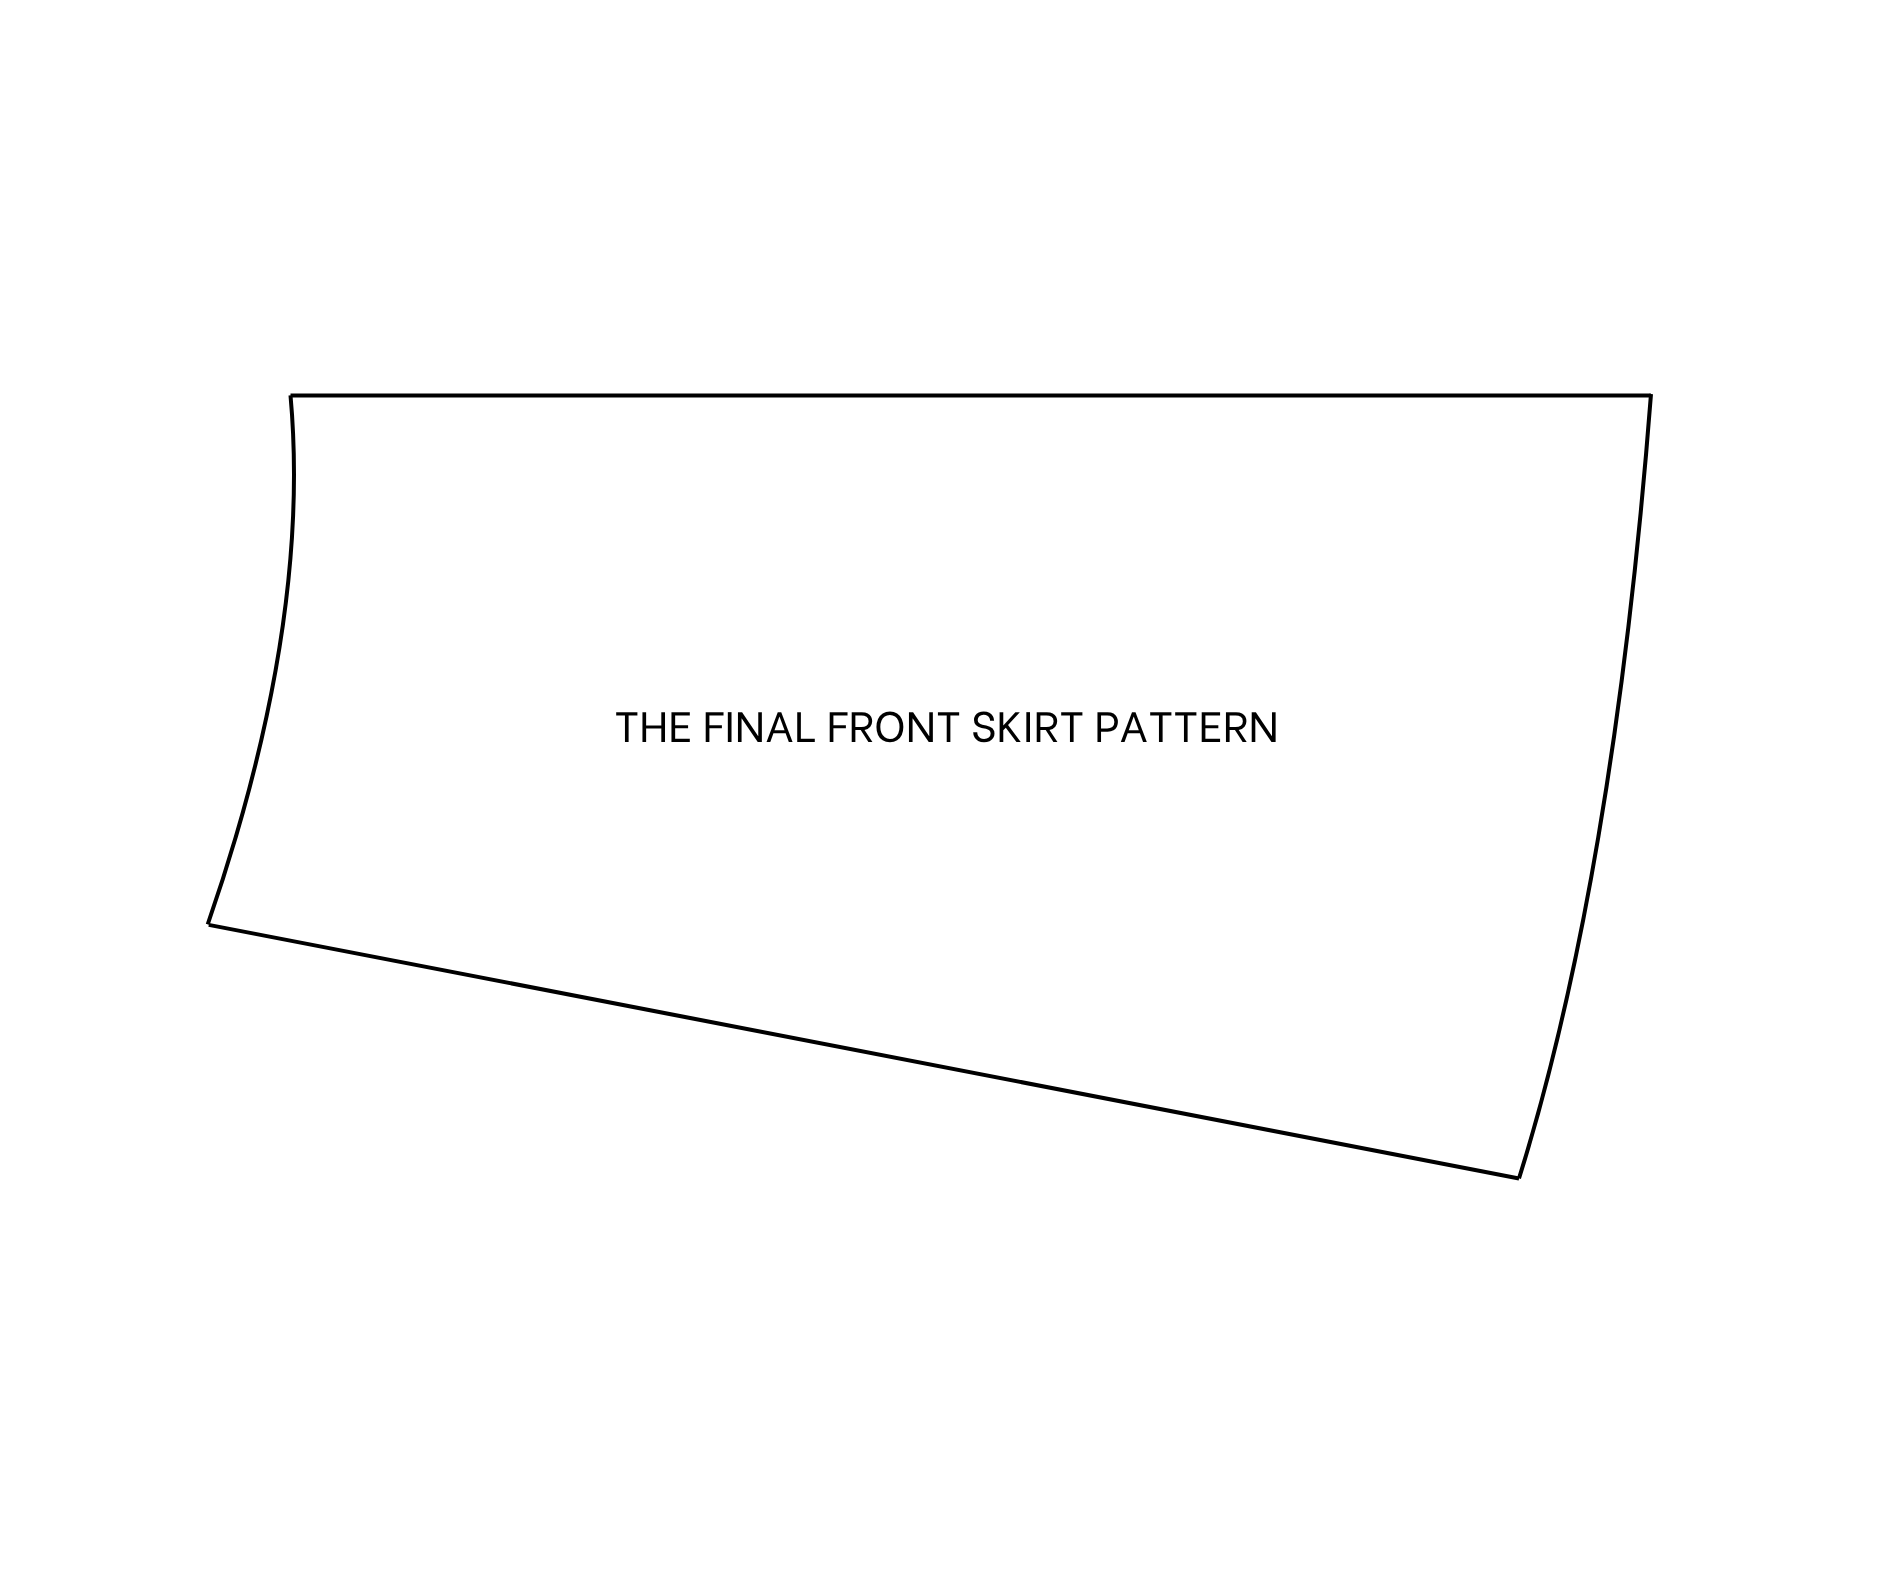
The front skirt pattern will be ready after cutting.
SEWING THE DRESS
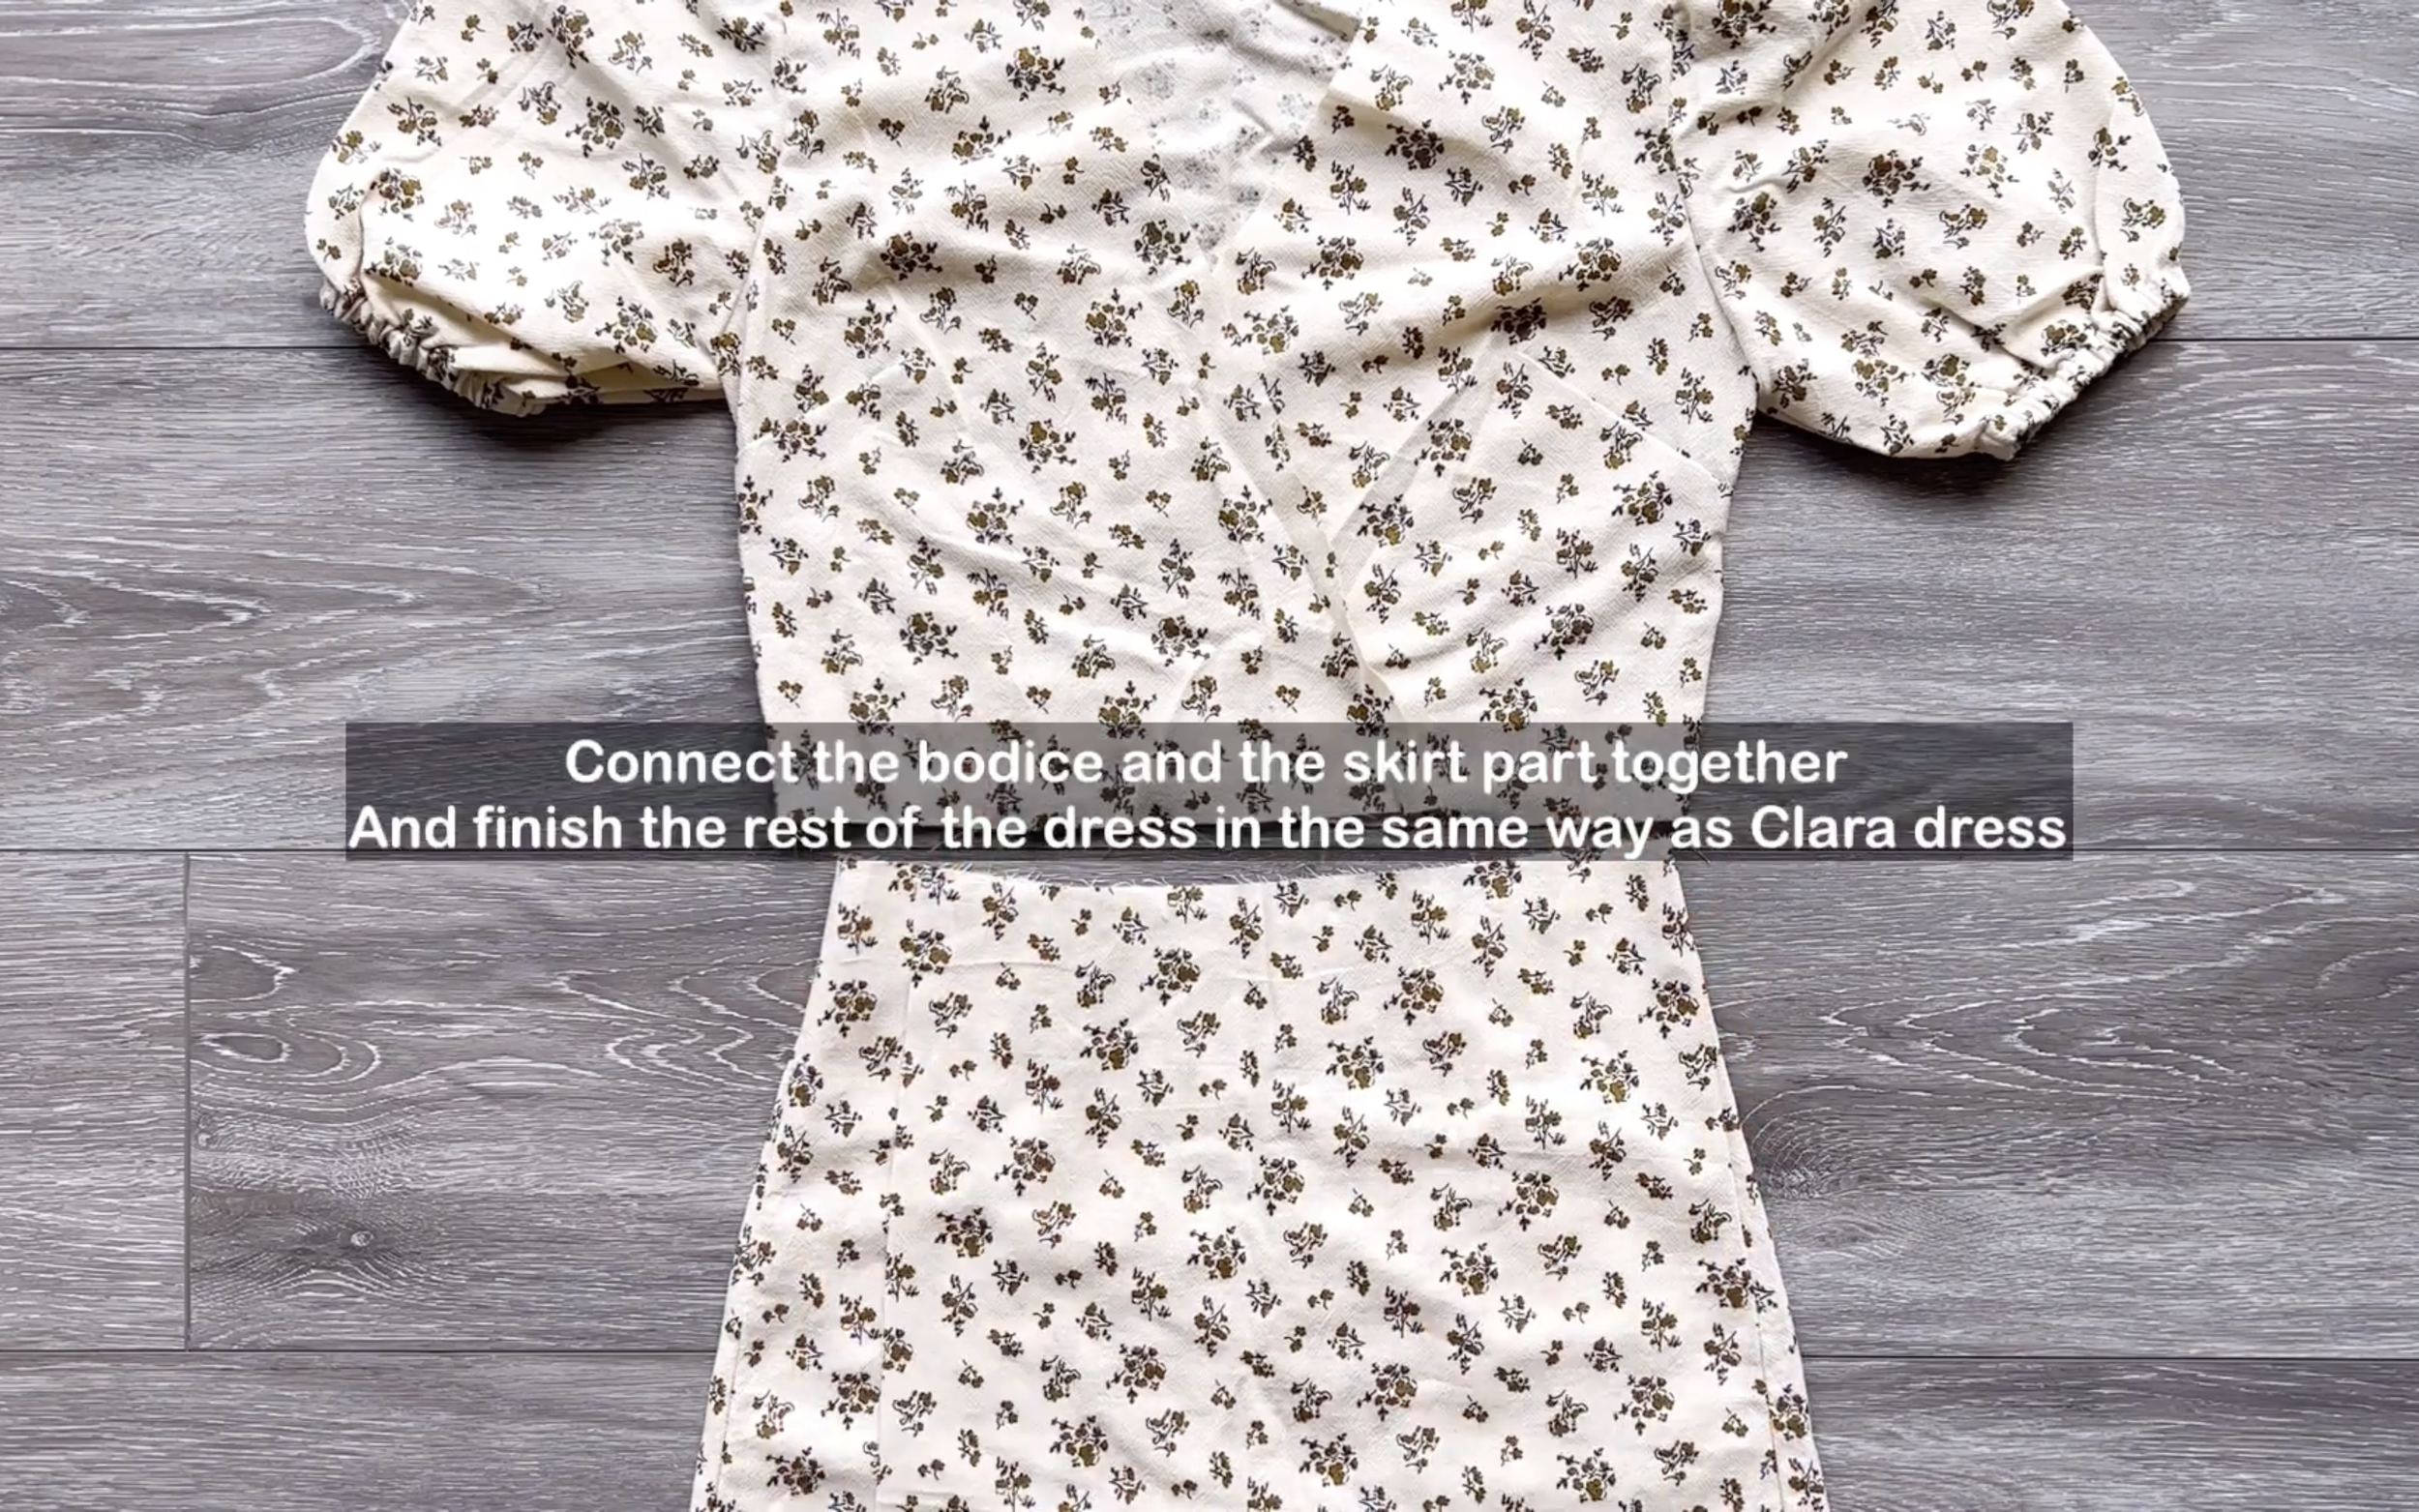
After that, using the same way of making the original Clara dress to make this one.
To make it a bit more different, make the tie a bit bigger by making the width of the tie three times bigger than the original one.

Making 6 different Puff sleeve dresses from 1 pattern | Clara dress - Pattern hack | Sewing tutorial
Here's the final look of this hack. This looks so elegant and a bit feminine, right?
I truly hope you like this easy hack and are inspired to try making one yourself soon! Give a thumbs up if you enjoyed this video, and subscribe to my channel to see more DIYs.
See you next time!